HOLIDAY DONATION DRIVE - SUPPORT MSW - DO YOUR PART TO KEEP THIS GREAT FORUM GOING! (Only 44 donations so far out of 49,000 members - C'mon guys!)
×


acaron41120
-
Posts
257 -
Joined
-
Last visited
Content Type
Profiles
Forums
Gallery
Events
Everything posted by acaron41120
-
Just wondering if there is a tool maker that makes a tool similar to a punch that would cut the square holes in the gratings contained in kits. I don't want to create a new way of doing things but it would be nice to take the grating in the kits and be able to punch out the holes in the gratings rather than using a pin vise and swiss file to square the round hole. Thanks.
-
 Thanks Henry. So if I understand it correctly, the anchor cable ran from the cable tier, around the capstan and then through the hawse hole to the anchor. Great info. Thanks again.
 -
I understand how the ship’s anchor rope is tied off at the anchor but not back at the capstan. Was it tied off near the base of the capstan and then wrapped around and out through the hawse hole to the anchor or was it tied off to a separate eye? Just getting ready to add a few finishing touches prior to installing the top deck. I guess the question of the rope tie off applies to all the capstans. Thanks for you excellent help.
-
Showing my ignorance with using planes here but if I understand correctly, I start with a square piece of wood stock that's almost the correct size of the mast; ie. 8mm round; then cut down the square piece to the correct size and then finger plane it until close to round and finish by sanding it round. What about starting with a square piece, cut it down do the correct size for the top of the mast and from there insert it in my drill and use the drill like a lathe and sand it round using my sanding stick? I think I'd feel better doing that. Would that work?
-
What is the best method of cutting the top portion of a mast square? I do all my building using hand tools and I've managed it but it was very difficult. I have used single edge razors and Exacto knives followed by sanding. What do you experienced builders do? Thanks in advance.
-
Recommended pins for planking?
acaron41120 replied to Capella's topic in Modeling tools and Workshop Equipment
Agree. I have 3 sets of those. Helps to predrill the hole in the bulkhead just smaller than the nail. Jim...I have the same building jig. Works fabulous. I guess when someone comes to your workshop they enter "Mister Roger's neighborhood!" -
Sails set when leaving port
acaron41120 replied to acaron41120's topic in Masting, rigging and sails
Thanks for the help. I think I'll set the lanteen sail on the mizzen mast and the top sails on the main and fore masts and have the rest of the sails furlled. -
Quick question (hopefully). When a ship of the 1500s etc. left the port, which sails were set? I don't imagine all sails were set. I would like to set the sails on my Mayflower the same way. Thanks in advance or the help.
-
Securing Ropes Wrapped Around Masts
acaron41120 replied to acaron41120's topic in Masting, rigging and sails
I used the bight and wind method so far on the fore mast. But they slide up and down fairly easily. Perhaps I didn't tighten them enough. I'll give it another and try to make the windings a little more taut. Thank you all for your excellent help. -
What method do you use to secure the ropes wrapped around the fore and main masts? A drop of clear glue, superglue or what? Thanks in advance.
-
Thanks for all your help. My kit of the Mayflower does not have much detail...mainly decks, cannon ports (sans cannons) and two lifeboats. I want to add a little detail to my build. Even though you can not see the stove or pipe, I might add at least the pipe through the forecastle just to port of the grating. I will add a capstan but just aft the main mast. So far I have replaced the plastic pieces in the kit by making those pieces out of wood (the beakhead was a real pain).
-
Does anyone building or has finished building the Mayflower know where the binnacle, capstan(s), stove and water pump were located on board? Thanks in advance for any thoughts or where I could go to find out.
-
Finally almost done with the hull of my Mayflower. Going with the recommended color scheme of white below waterline and a dark color stain on the rest of the hull. So 1st question. What color stain do most modelers use? I see a lot of beautifully stained models but haven a clue if they are dark oak, walnut, mahogany or whatever. 2nd question. Is it possible to mix stain colors to get the color you want? For instance mixing Minwax dark oak with Minwax light maple, etc.?
-
Good to know. Thanks Roger.
-
Not sure about paints v stains on our ship models but I have heard that paint used on the actual ships was a flat (non gloss) color as gloss paint didn’t come out until the 1900s.
-
I'll have to bring out my Nikon and use that for posting photos. I like it better anyway. Thanks for that info.
-
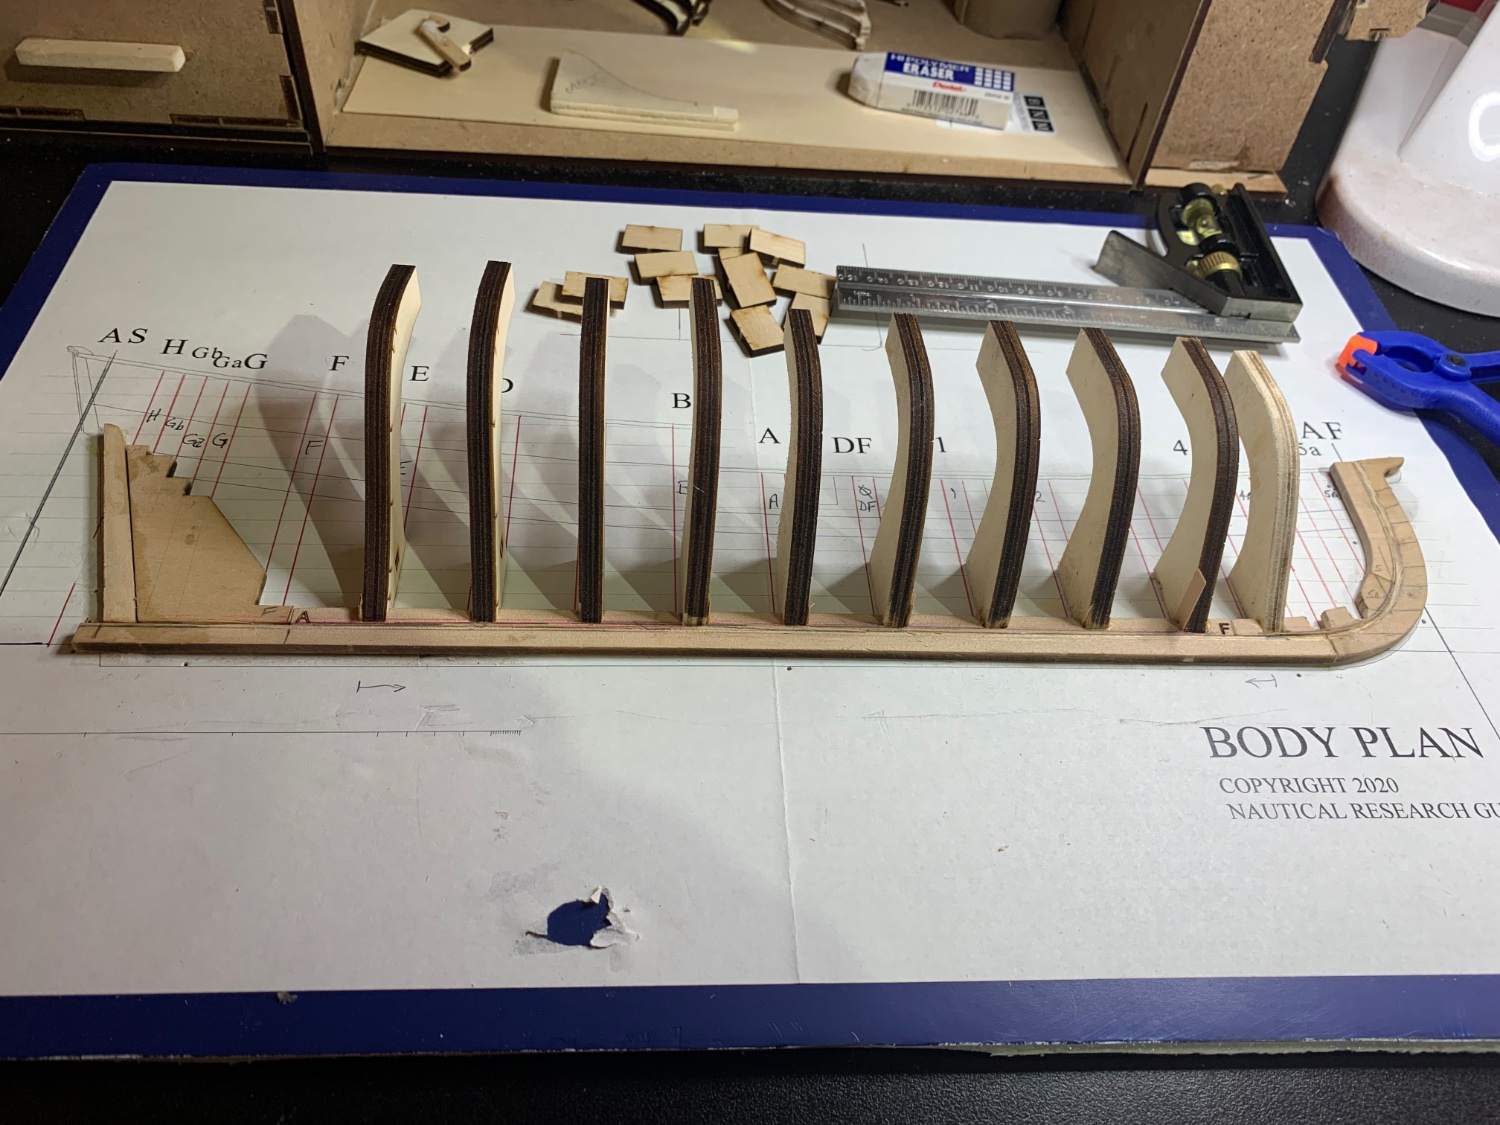
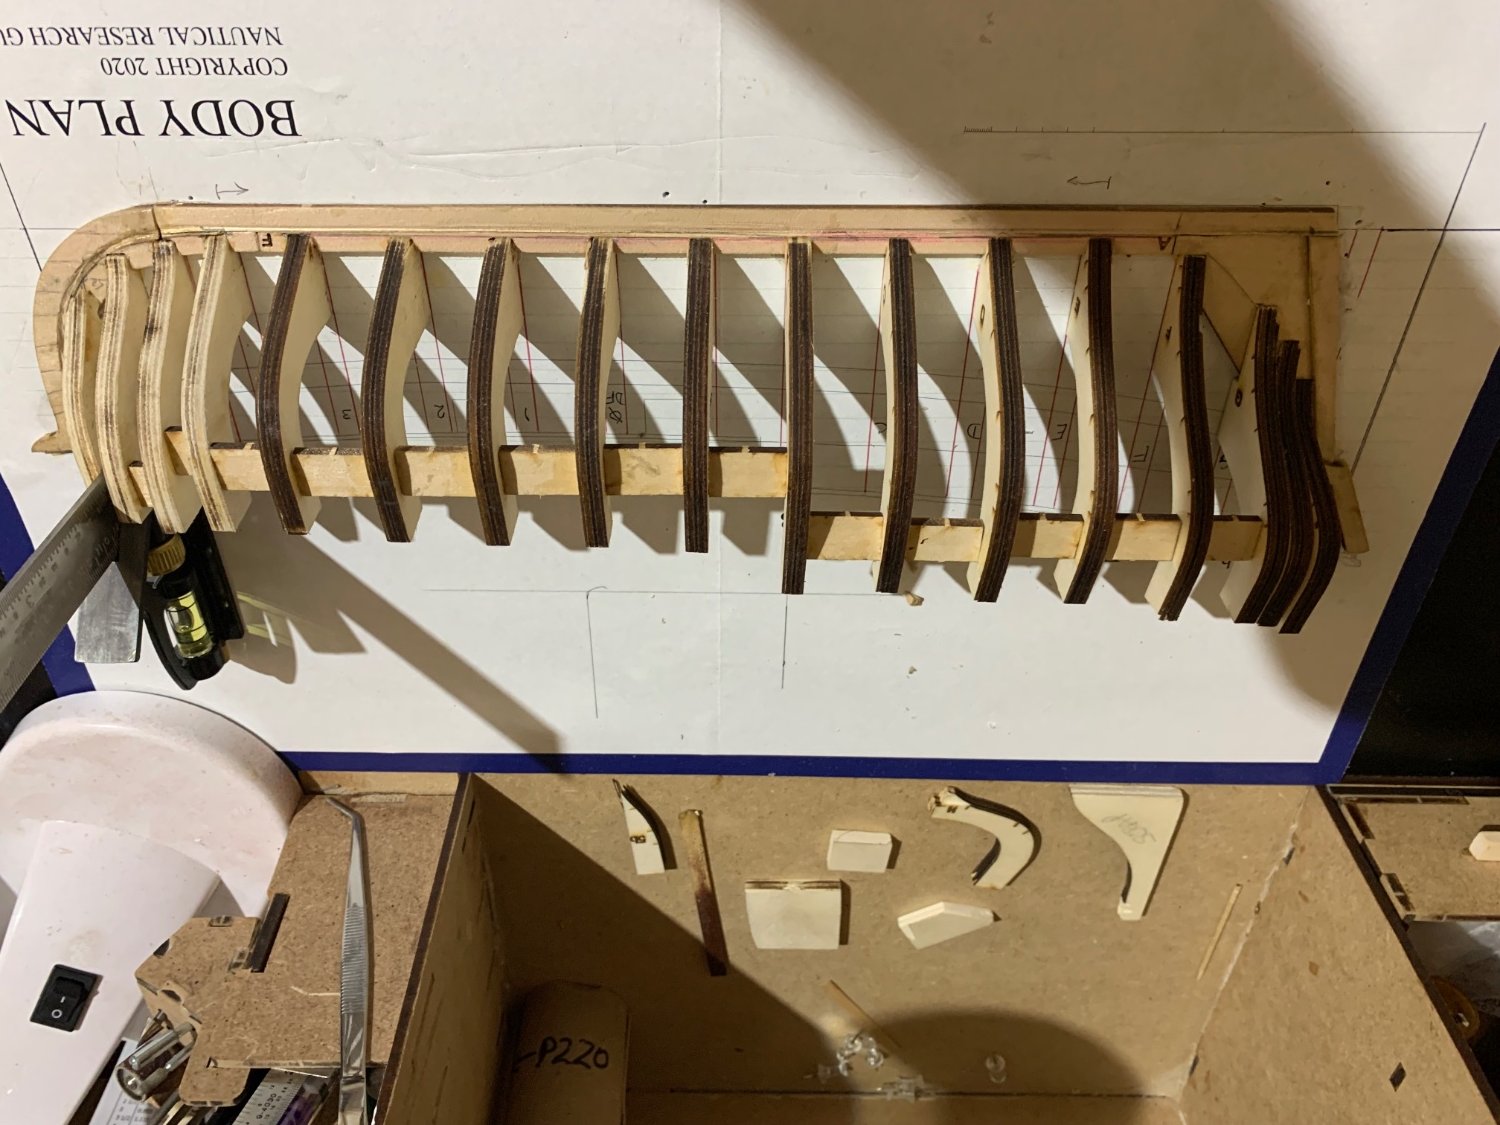
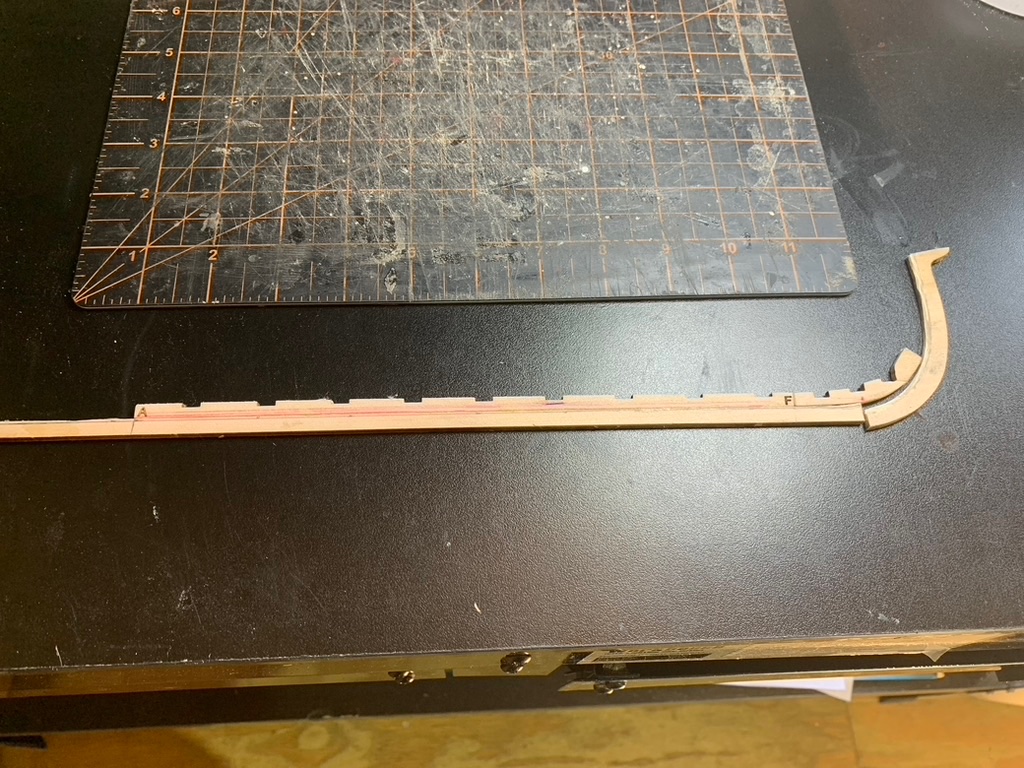
While scouting the different build logs I came across a NRG Half Hull Planking Project by T Livine and decided that I should get this and learn the proper technique. After receiving this tutorial kit I did my usual kit inventory and all was well. The bulkheads are thicker than what is normally found in the kit and that in itself makes the fairing (shaping) of the hull easier AND it gives more surface for the planks to adhere to the bulkheads. So without further ado, I begin. Pictures will be aded at the end of this segment. Following the instructions I attached the the plan to the building board (1/4 inch foam board) purchase from our local craft store. Then I carefully removed the parts for the beginning of the build. The stem post, keel, keelson, stern post etc. and dry fit them all on the plan. The slots in the keelson for the frames were cut a little narrow which allowed for a better fit after some slight sanding. Then came the first of my worries...the rabbet. Kits usually don't have nor do they mention a thing about cutting the rabbet. I thought of trying it on my Mayflower build but not knowing enough I refrained from trying its until I learned the correct way. This kit was great at teaching the proper way to cut the rabbet. I wish I had known about this kits for my other builds. After reading and re-reading the method in the tutorial, I carefully marked the rabbet and used a small file to carve it out. I think I did a fairly good job of it. I then removed the frames from the supplied sheets and sanded off the char so the frames could be glued. Did you know that glue doesn't hold well on the areas with char from the laser cuts? I didn't! Starting with the first three frames, I had to file just a little off of one of the slots in the keelson for the frame. It took me three days to get all the frames mounted to the keelson and now I have to add the supplied spacers between frames for stability and strength. Next thing will be to mark the bearding line and remove the deadwood below and aft of it. Well stay tuned. I'll add the missing photos when I figure out why they won't post here. Until next post....build on! Dry fitting the keel, keelson and stem post. Marking the Rabbet on the Keel and Keelson After twisting my knee working outside, I finally got back to the planking tutorial. I tackled the bearding Lind, deadwood nd most of the remaining frames. I still have a few remaining frames and the transom to take care of before I start fairing the frames. This time I won't have the false deck to help me get the shape correct but this IS a tutorial right! These next photos are where I am in the build now. Somehow the last photo wants to upload upside down.


- 4 replies
-
- 7
-

-
- half hull planking project
- NRG
- (and 1 more)
-
Many of the articles and tutorials I have read talk about kits not having enough bulkheads. Indeed, many of my kits certainly could have used a few more. Which leads me to my question. How does one make additional bulkheads? For instance, if I am adding a bulkhead between No. 3 and 4, how do I know the shape of the added bulkhead? It seems that it would be wider than 3 but less wide than 4. What would someone use to get that width or is it just a shot in the dark and hope for the best. Any thoughts from you more experienced modelers is greatly appreciated.
-
Book(s) on how to Tie Knots
acaron41120 replied to acaron41120's topic in Masting, rigging and sails
Thanks everyone for the references. I like the idea of reading how to in a book and the followup in a video. Sometimes my pea of a brain has trouble figuring out what’s written. -
Is there a book that covers how to tie knots on our model ships? On virtually all my ship models the knot I use is the standard double knot.
-
i have several wood model ship building books and have read those and read many on-line sites on the subject of cutting the groove in the keel for the garboard strake. What I find interesting is that cutting the groove in the keel is never mentioned in the kit model instructions. Which leads me to my question. Are the kit instructions taking for granted that everyone knows to cut the groove for the garboard strake or is that groove really unnecessary? Just wondering is all. I’ve never cut this groove in my model ships until my current build, Mayflower and have had no problems.
-
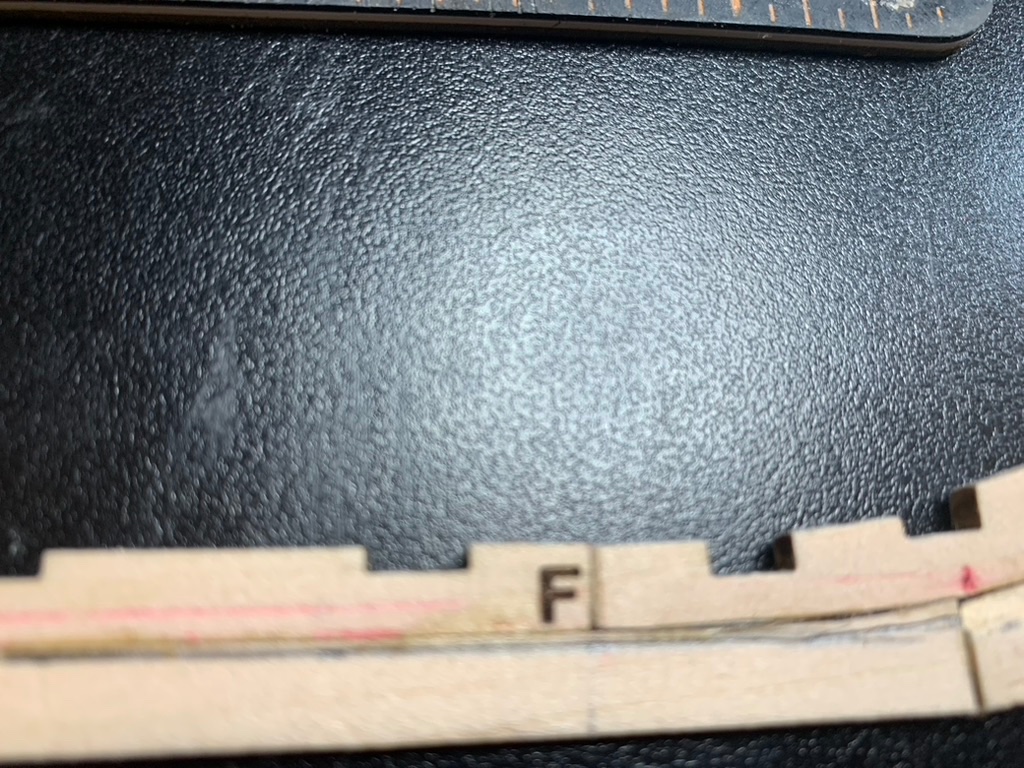
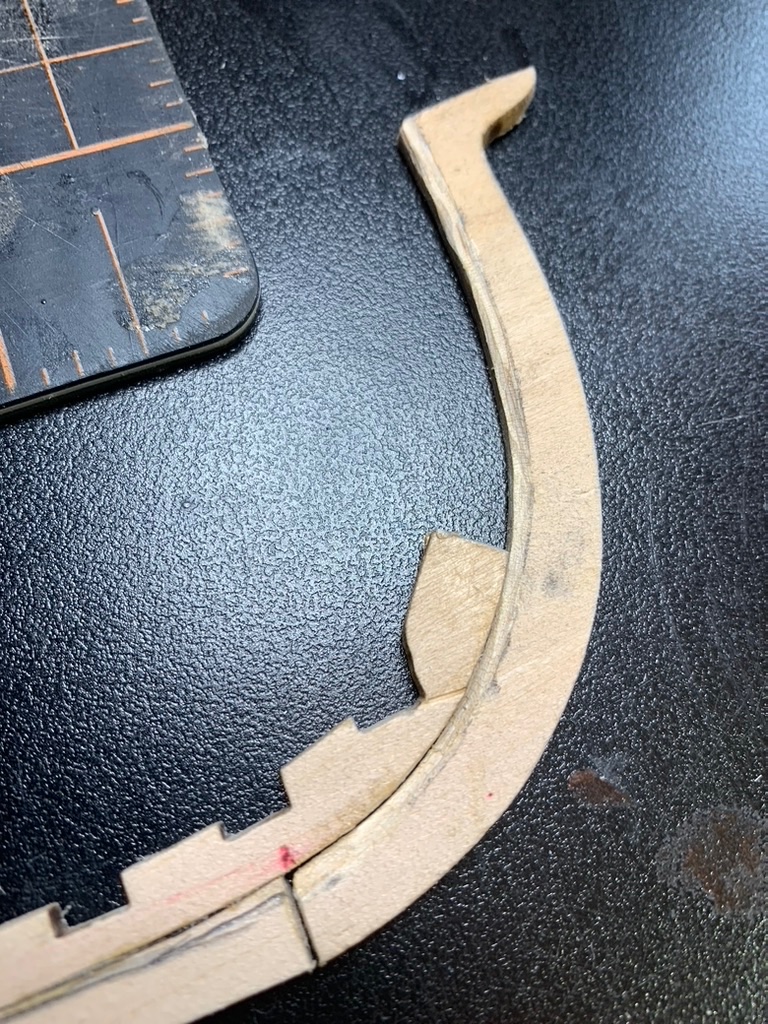
I’m building the Mayflower by Billing Boats. I’m working on making the ships Grates because this is an older kit with plastic grates and I don’t like mixing plastic with wood. Plus I’m still what I call a semi-experienced builder but don’t have the $$$ to buy the expensive model tools I see in many of the build logs and NRG articles. So my question is what wood would you use to make the grates and outer frame around them? I have several basswood strips of various thickness. All the cutting I do is accomplished using a basic hand saw and/or Exacto knife. Thanks for any advice.
-
Quote from me. "I'll have to check on Titebond and see what the difference between Titebond and Titebond II is." Well I googled it and found out that not only titebond but in general wood glues DO NOT take stain. Then I searched for stainable wood glue and came up with this little tidbit. Elmer's Stainable Wood Glue Max contains real wood fibers that make it especially receptive to sanding and staining. I've been using Elmers wood glue max on all my builds. Go figure!
-
Bruce d. You are correct! The thickness should read 0.5mm. My bad. Jaager and Captian Shaun I'll have to check on Titebond and see what the difference between Titebond and Titebond II is. Thanks all for the assist.
-
Like the topic title asks. Do you just brush a thin layer of wood glue on each plank or do you thin the glue and then brush it on? My 2nd layer of planking is 0.05 mm thick.