HOLIDAY DONATION DRIVE - SUPPORT MSW - DO YOUR PART TO KEEP THIS GREAT FORUM GOING! (Only 44 donations so far out of 49,000 members - C'mon guys!)
×

Halfdan
-
Posts
36 -
Joined
-
Last visited
Content Type
Profiles
Forums
Gallery
Events
Everything posted by Halfdan
-
Interesting Jan, I will definitely look further into this.
-
Thanks for you kind words! I already started the build log before I posted in the new memeber area, I was a bit too eager to get going. Thanks for reading! Regards, H
-
That's probably why it's there, I can't think of any other reason, thanks for the insight. I will cut out the gunports except for that particular one, it just looks really silly when you think about it.
-
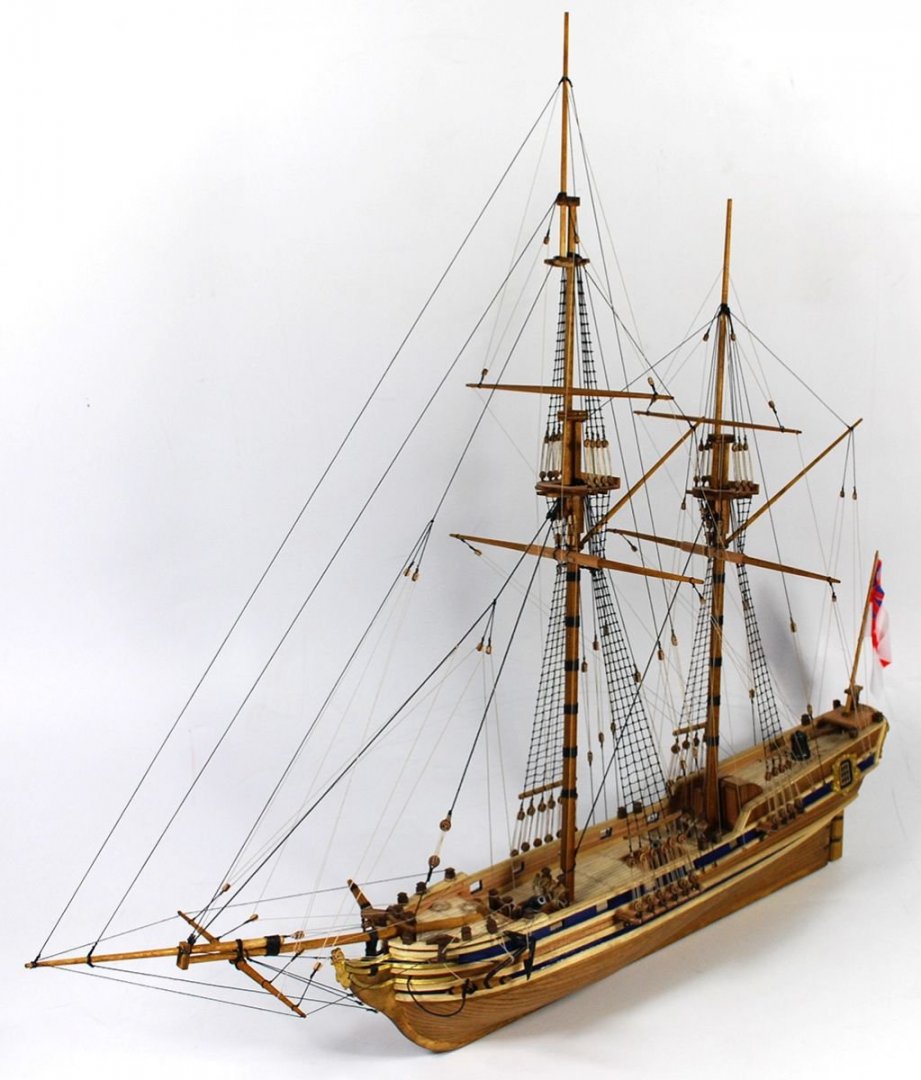
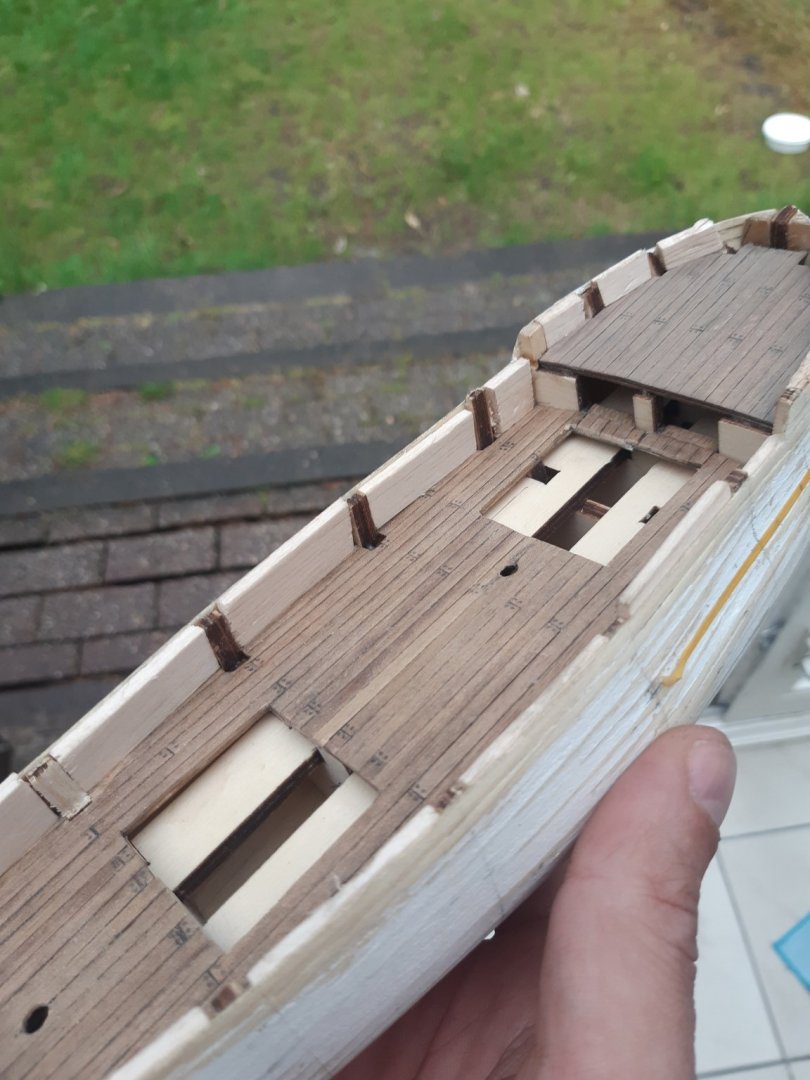
As I was thinking about where to make the gunports, I saw on the box of the kit that there is supposed to be a gunport behind the ratline. I know this is a bomb ketch and there are no cannons on it, but since it actually is a standard ketch adjusted and strengthened to withstand the recoil of mortar-fire, at one point it must have carried cannons. Now what I'm getting at is, wouldn't they shoot their own ratline to pieces if they fired that cannon? Photo for reference :
-
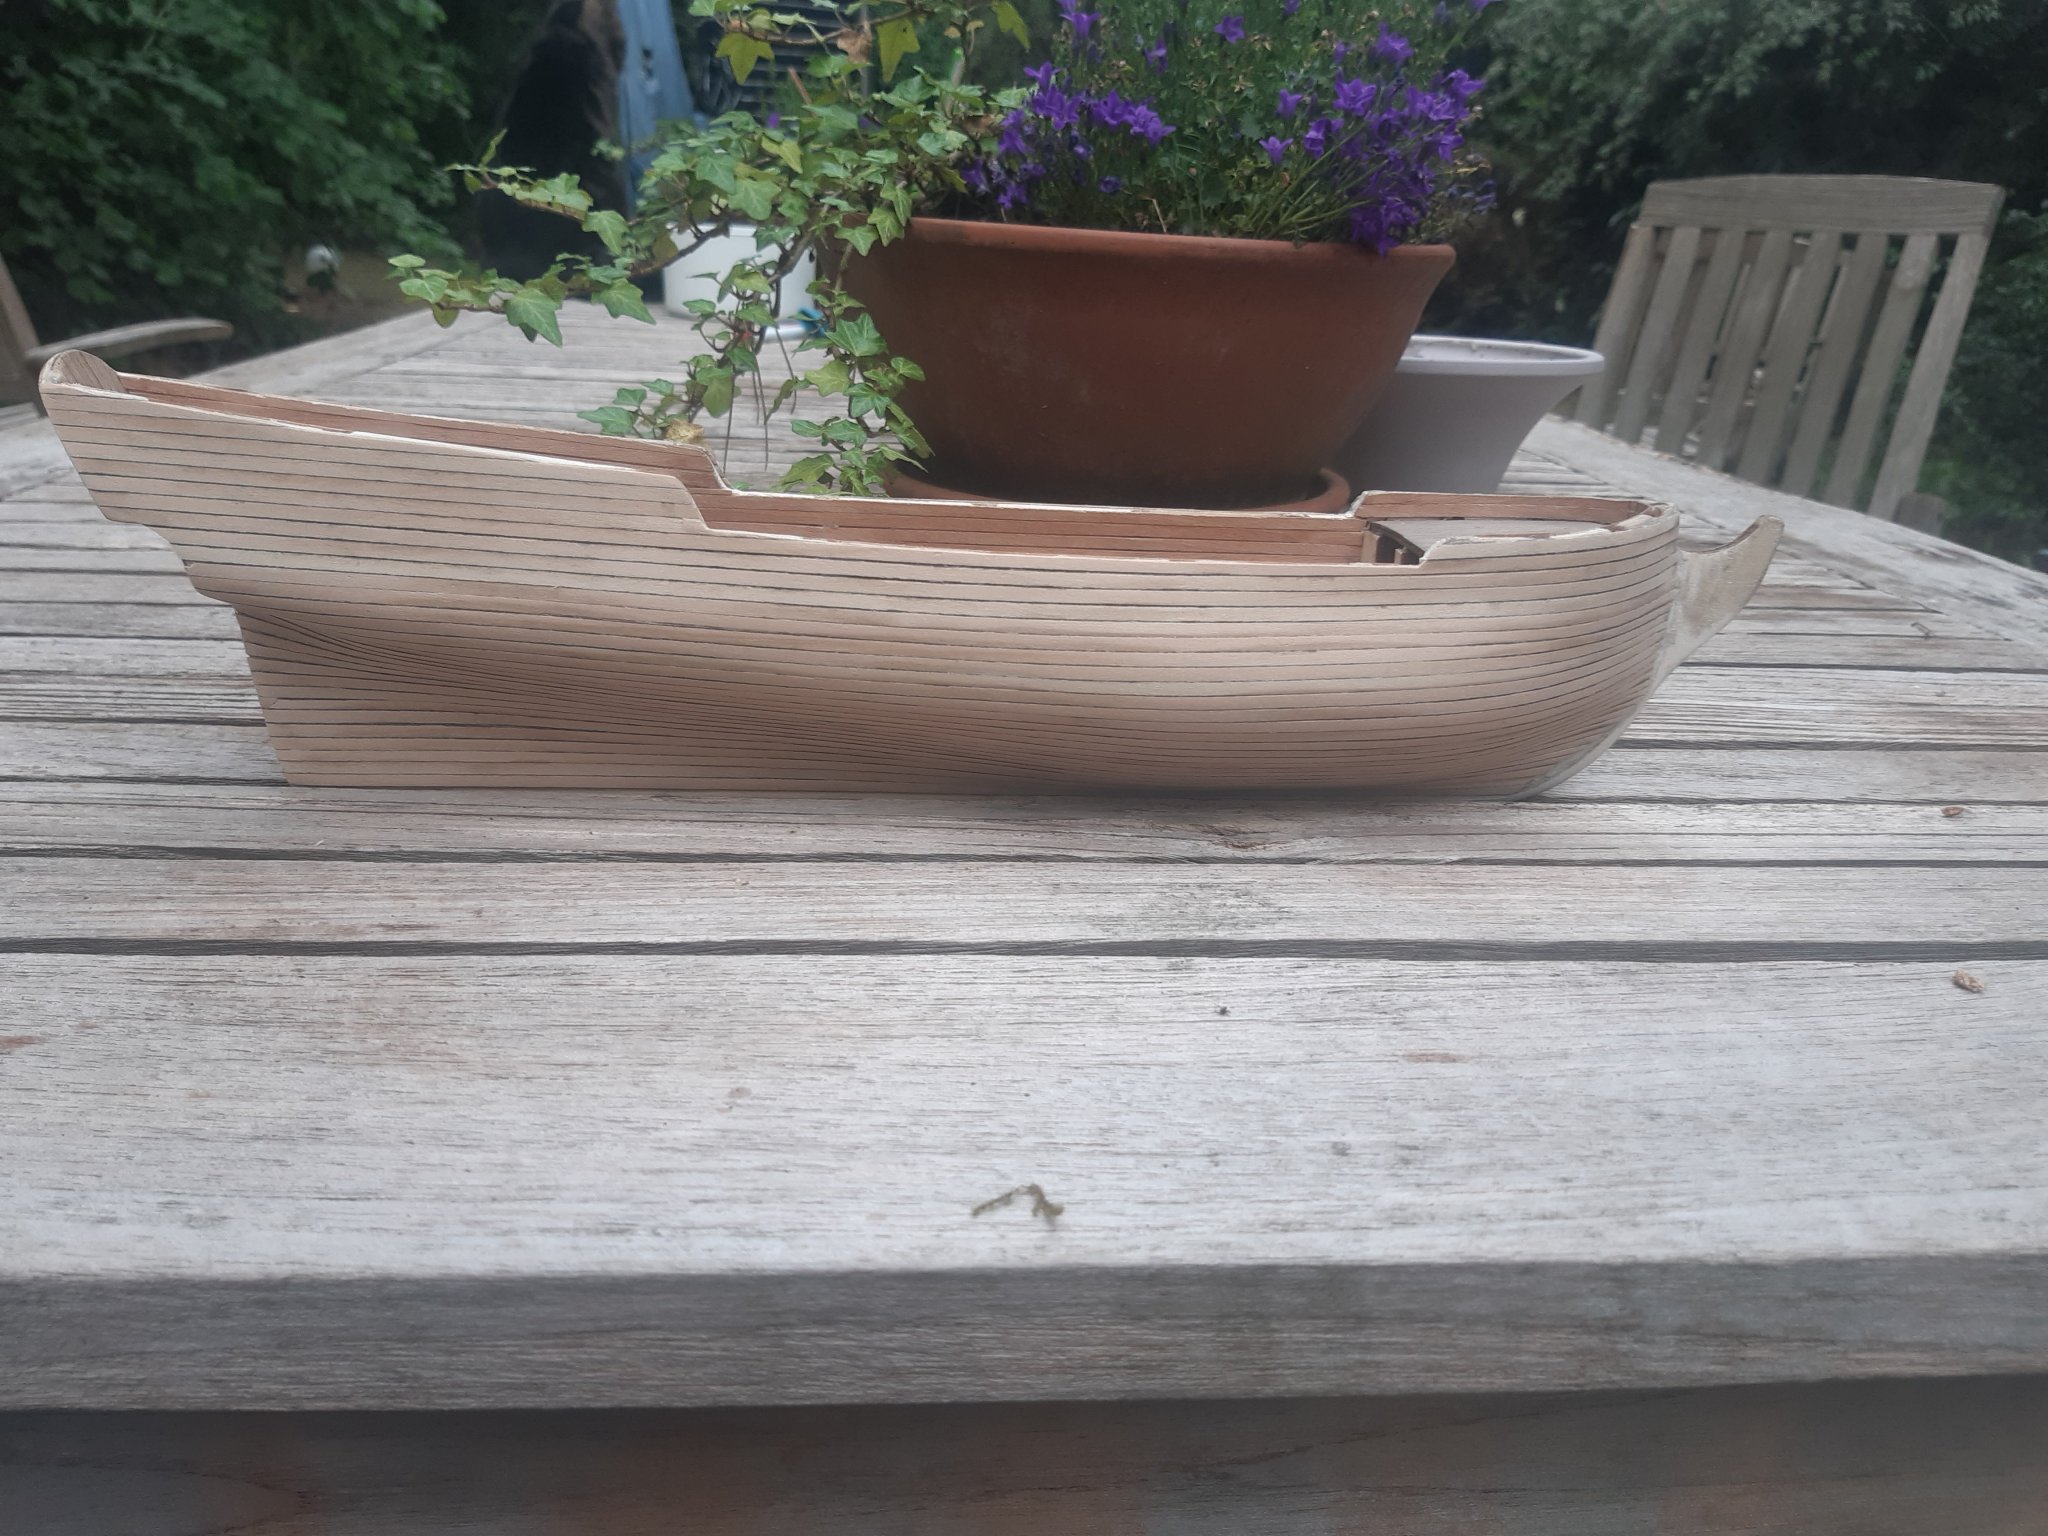
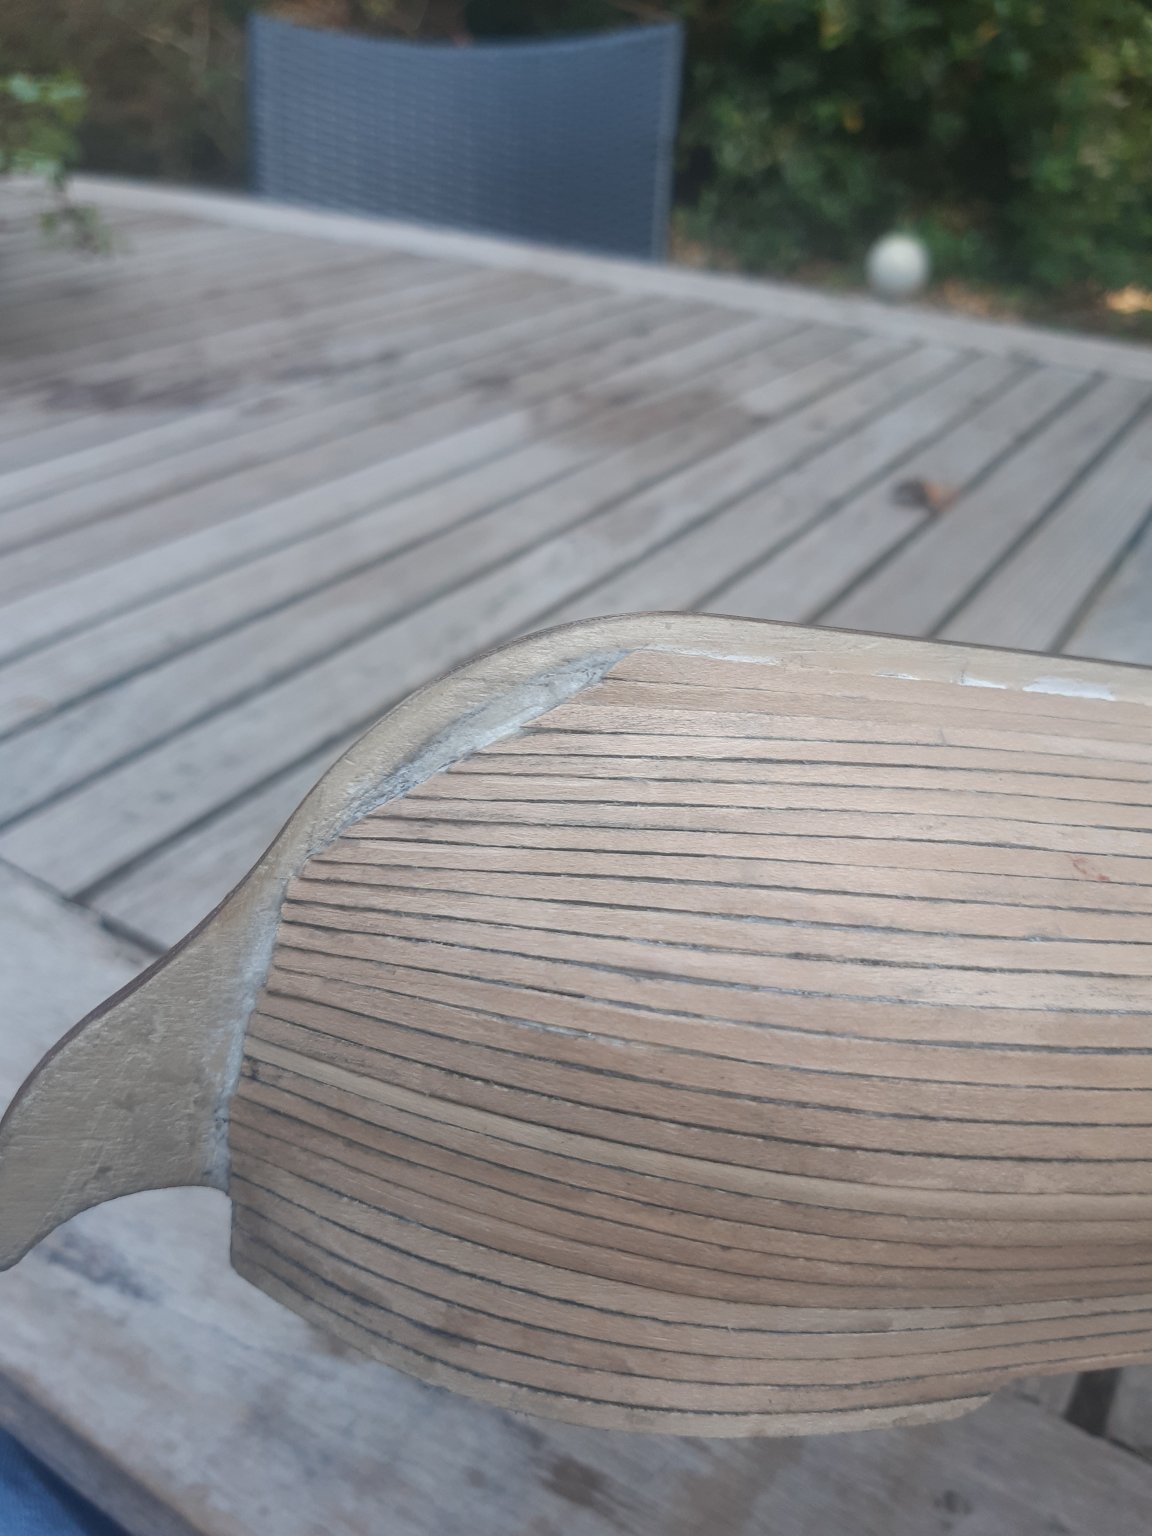
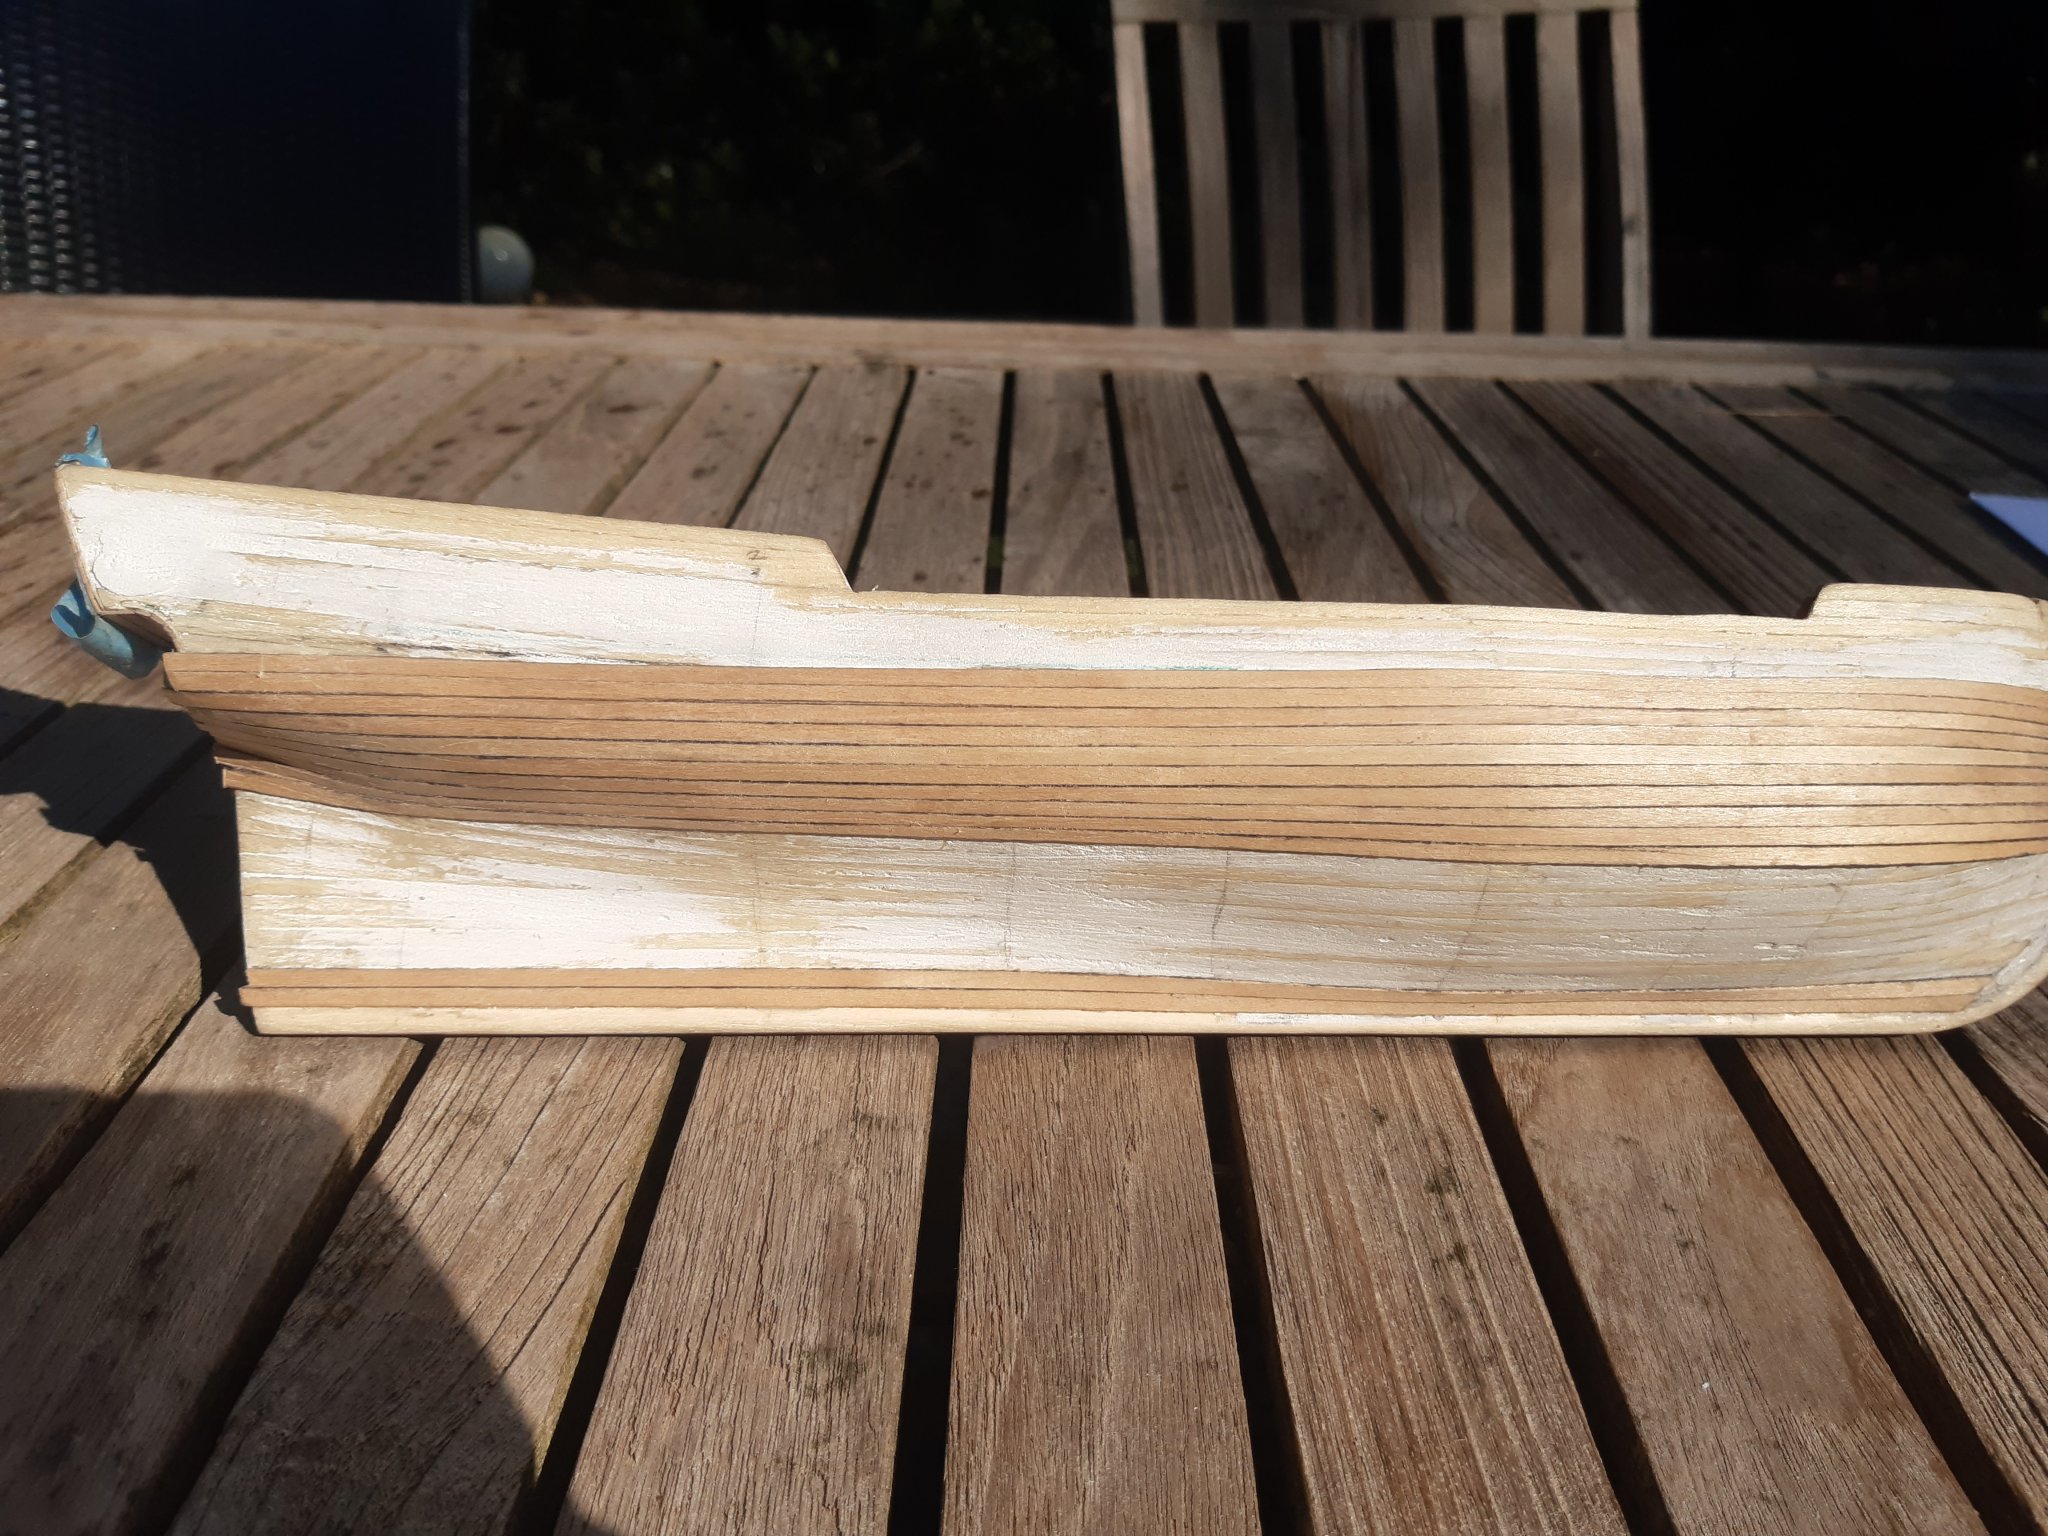
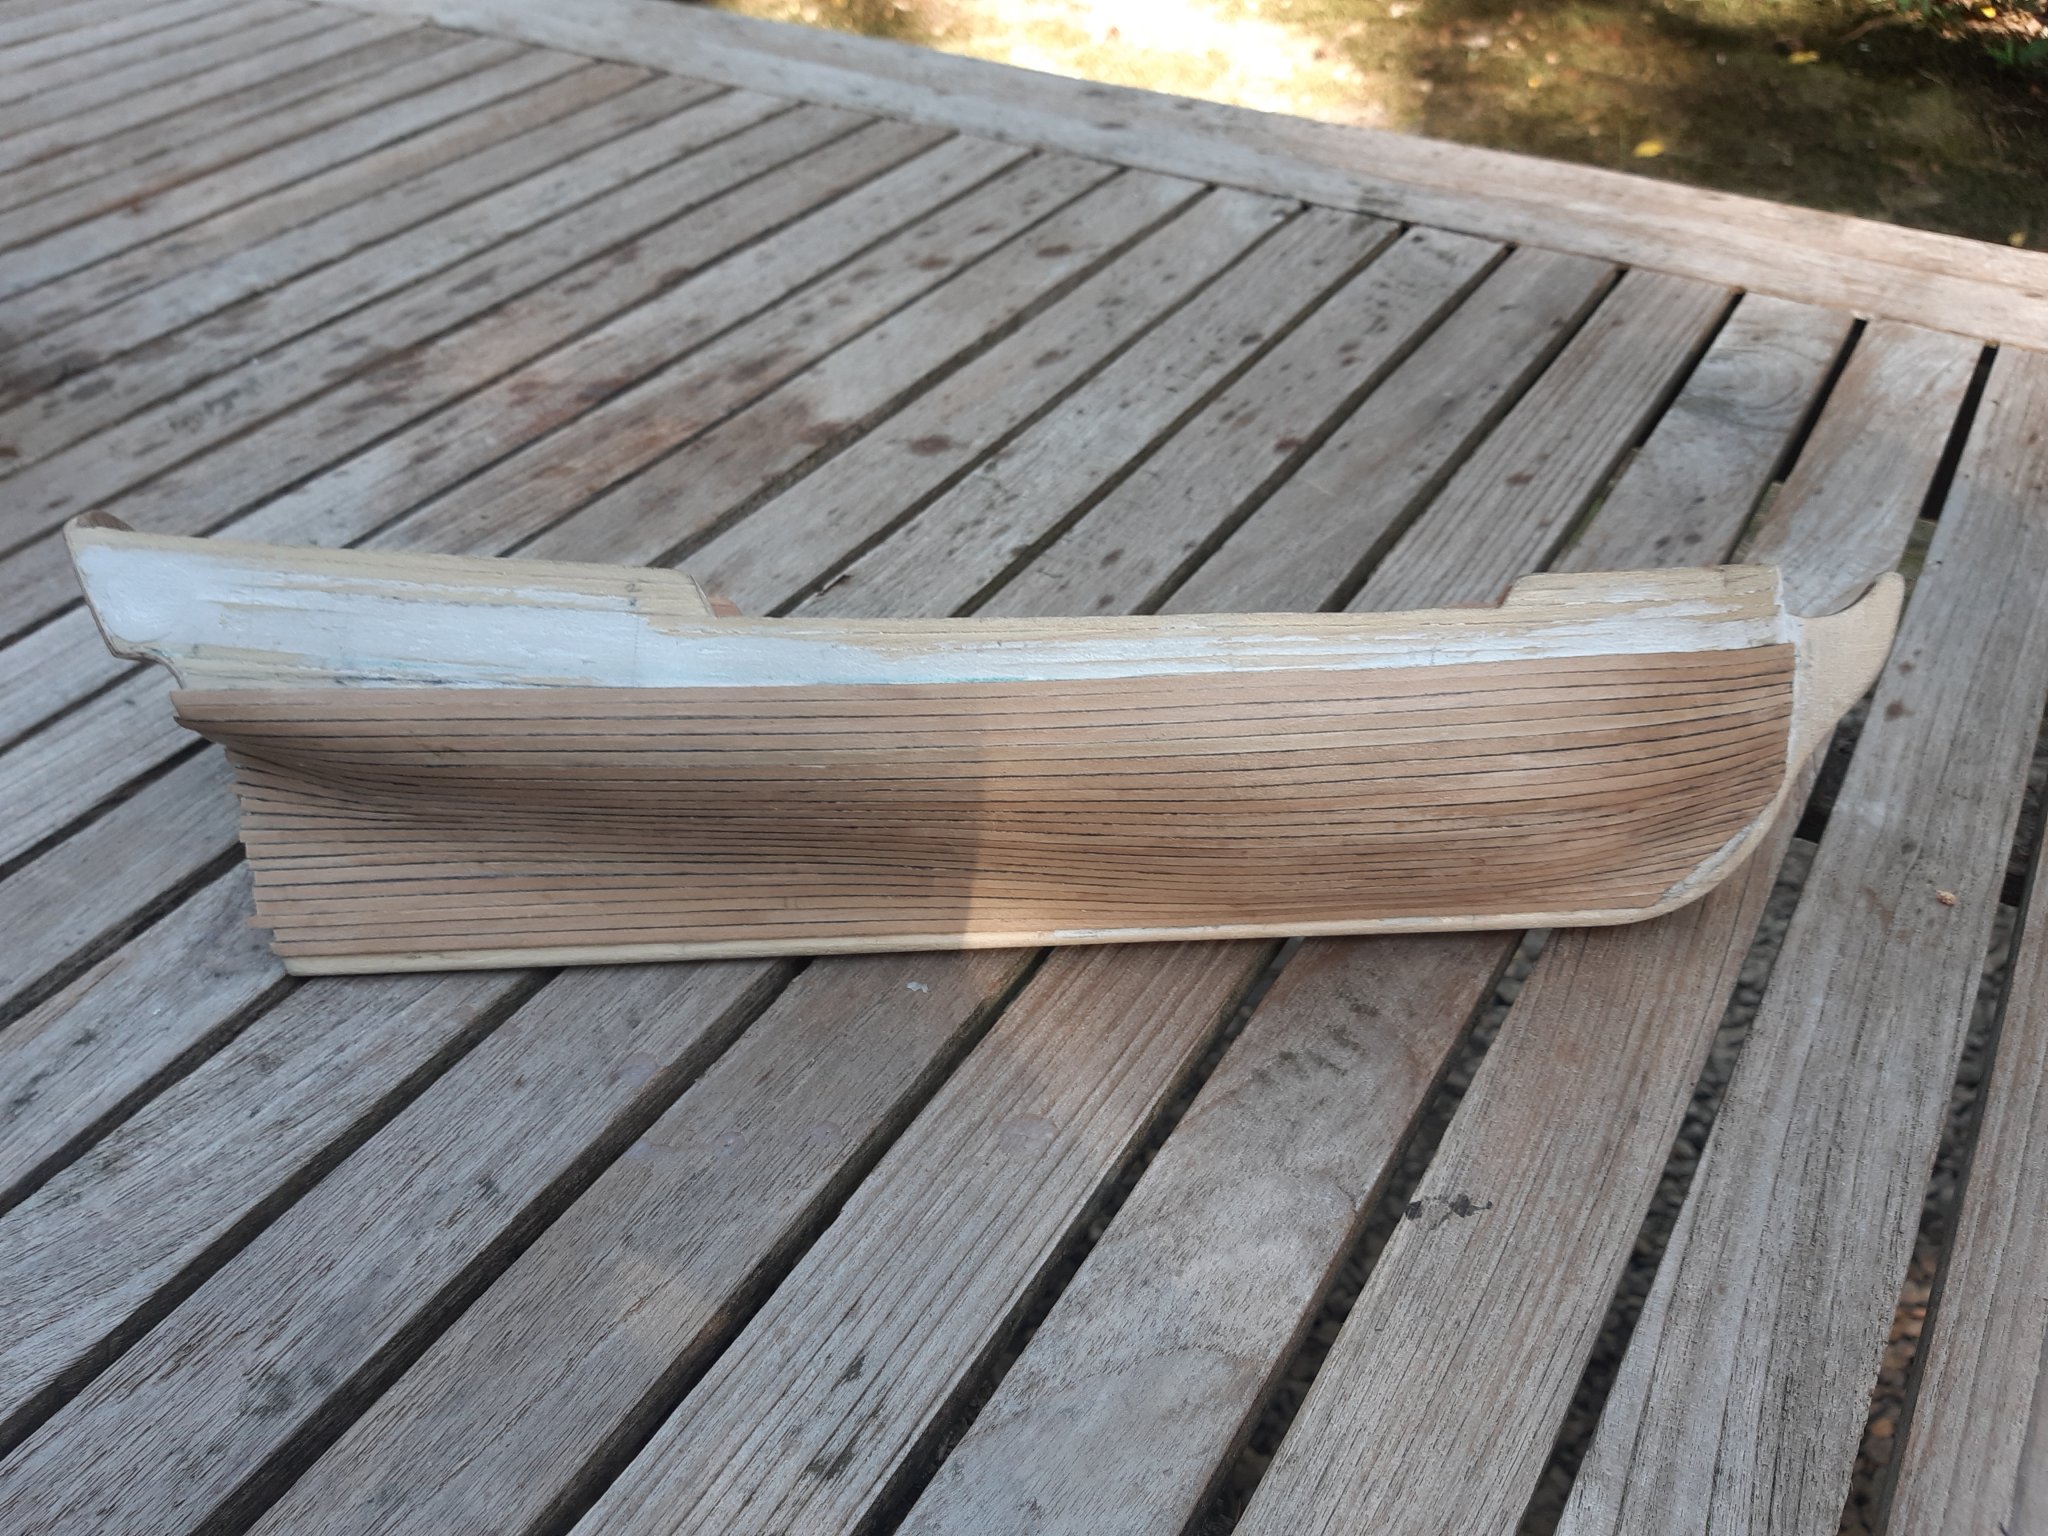
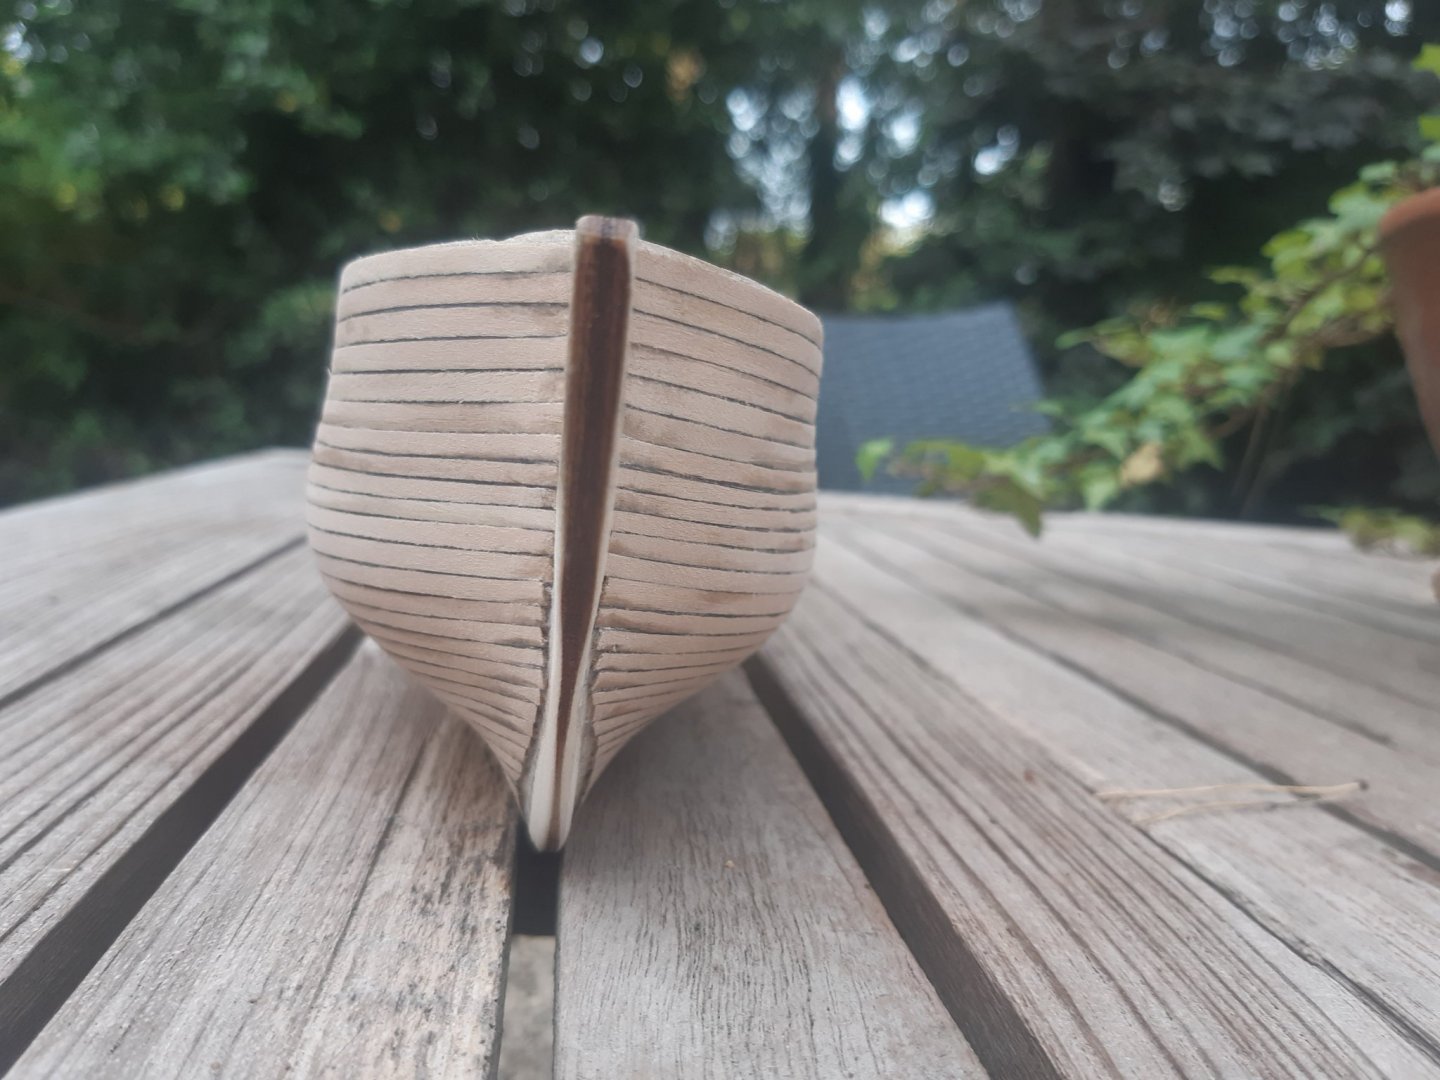
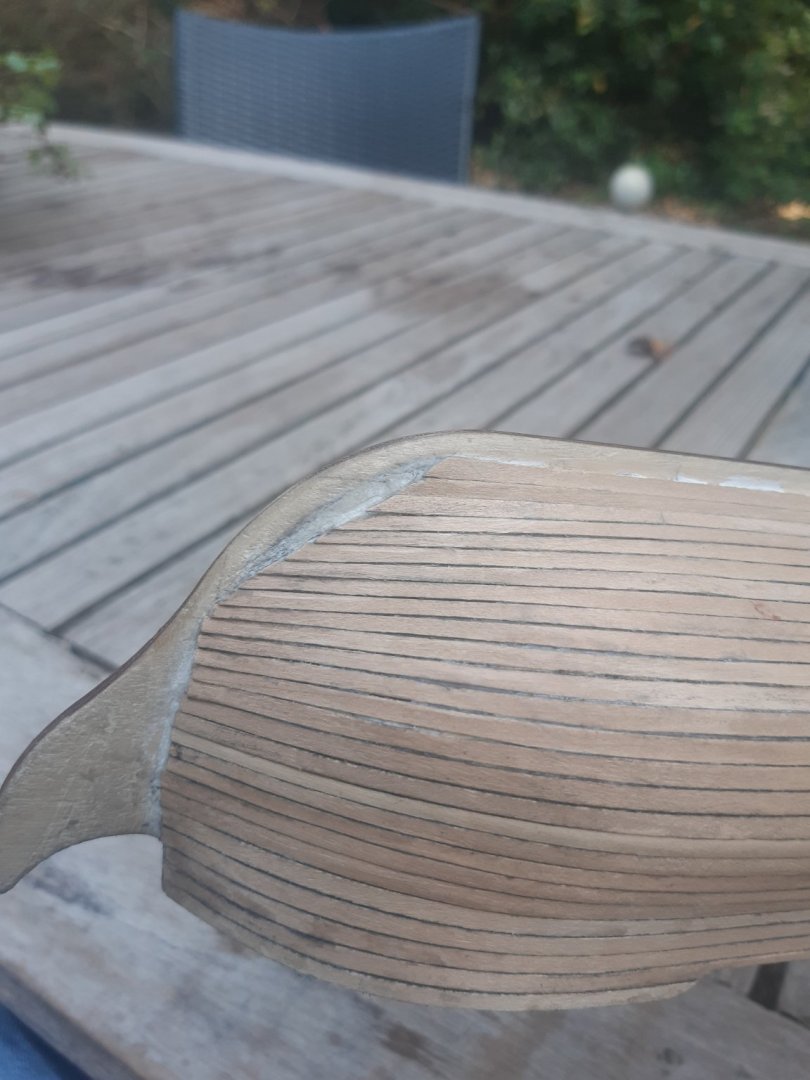
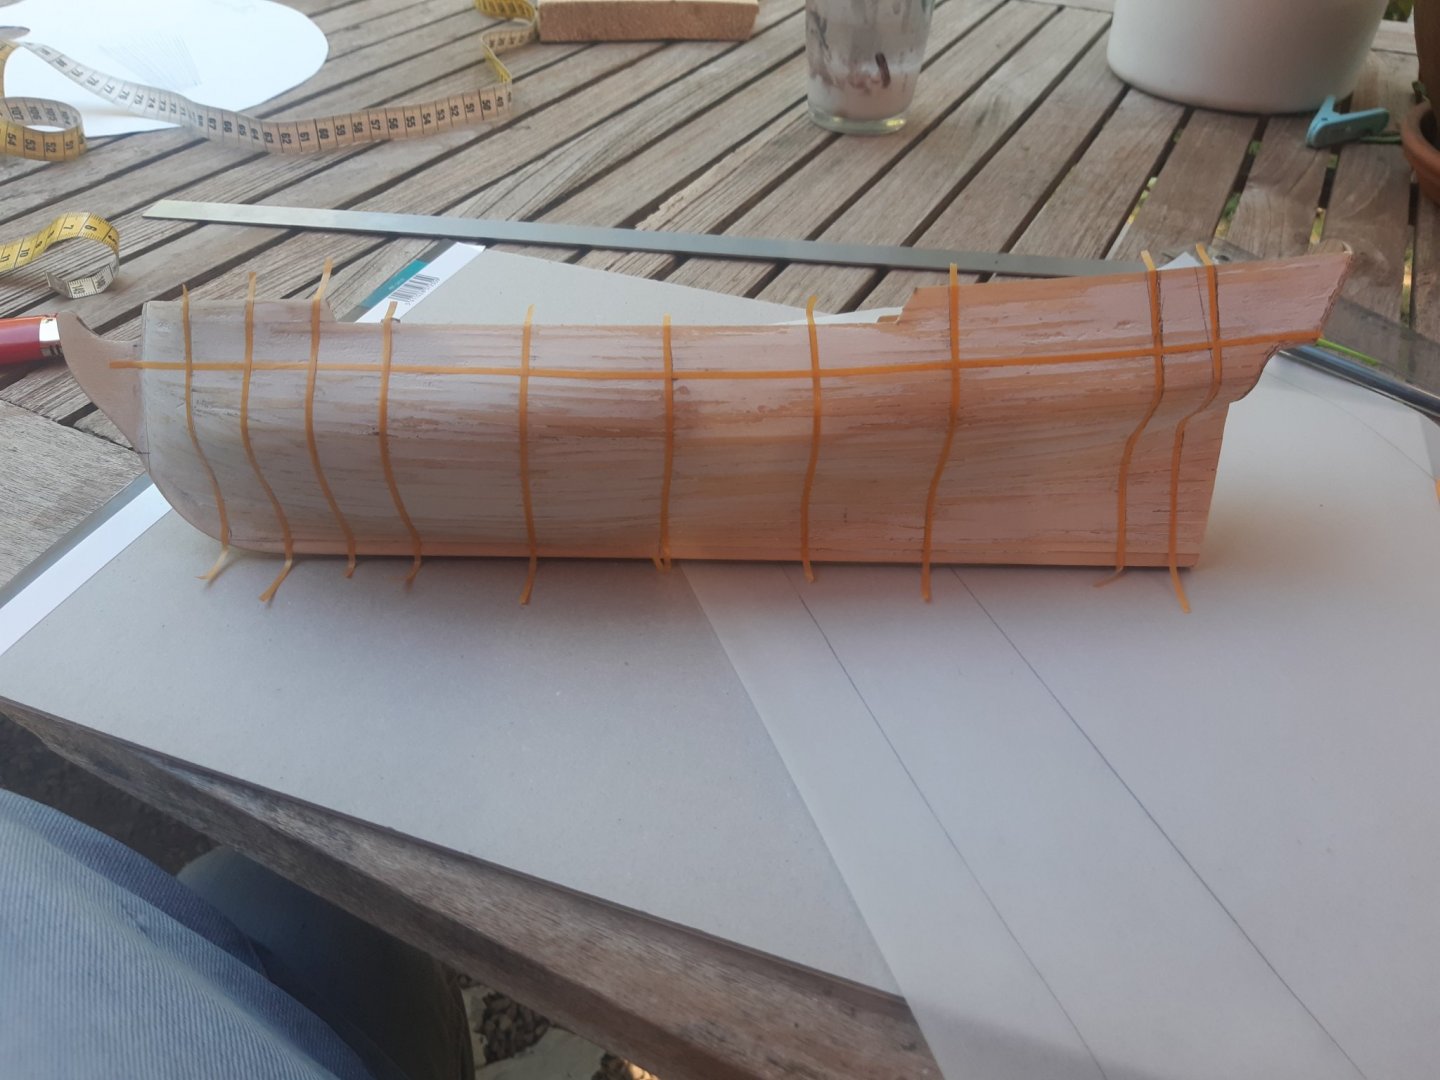
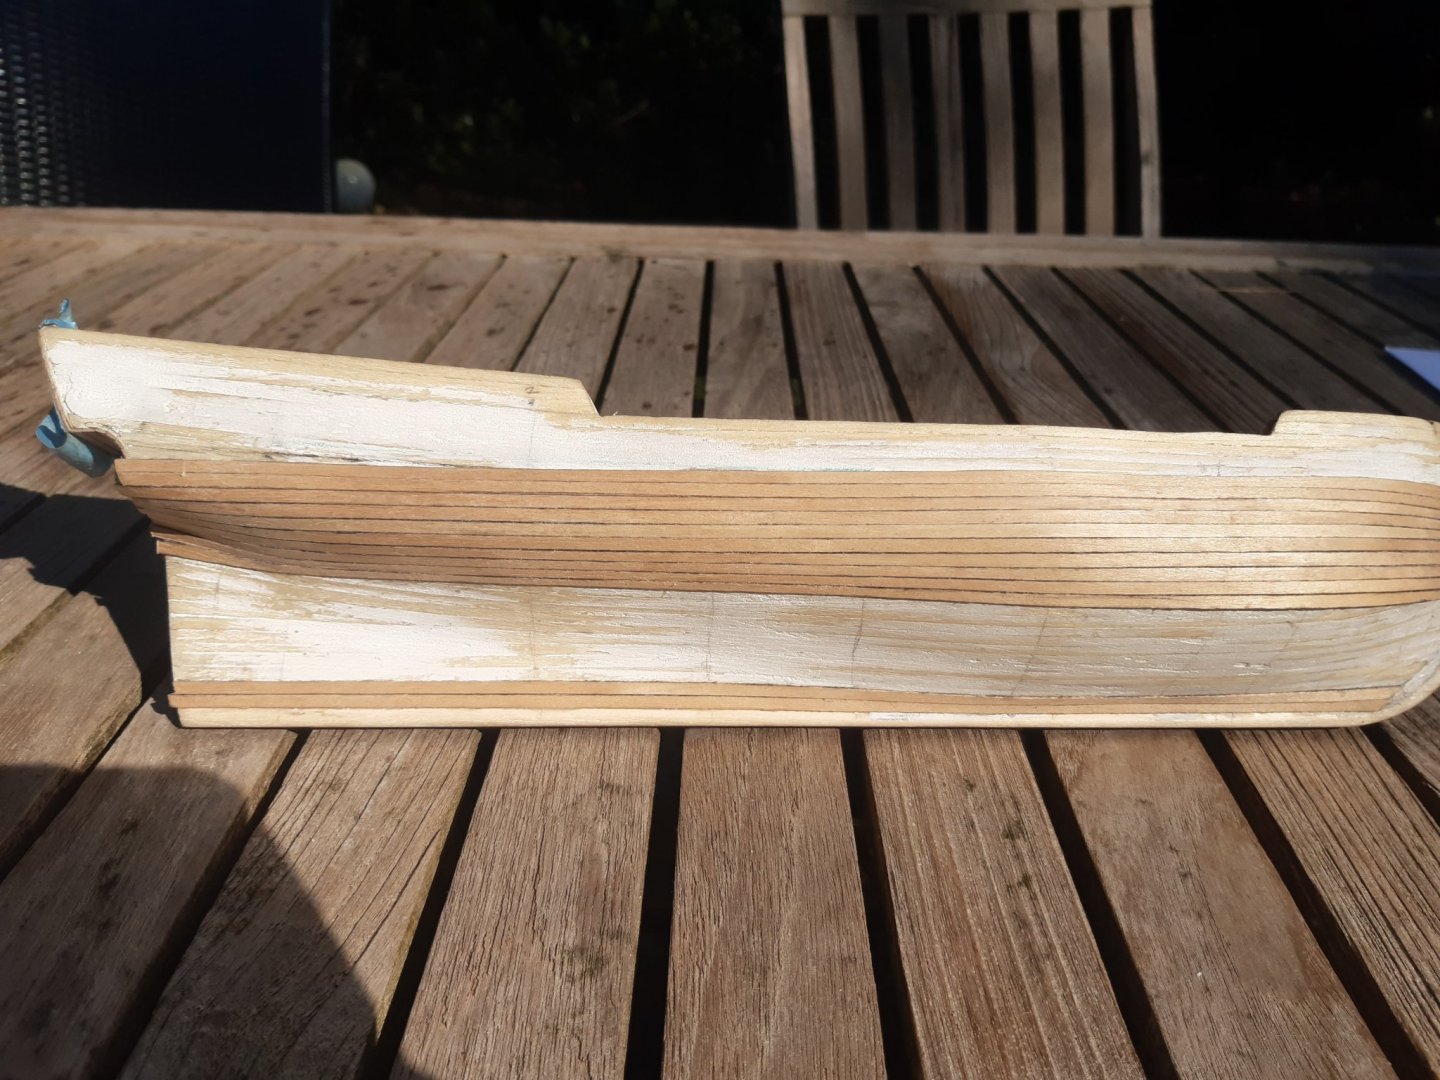
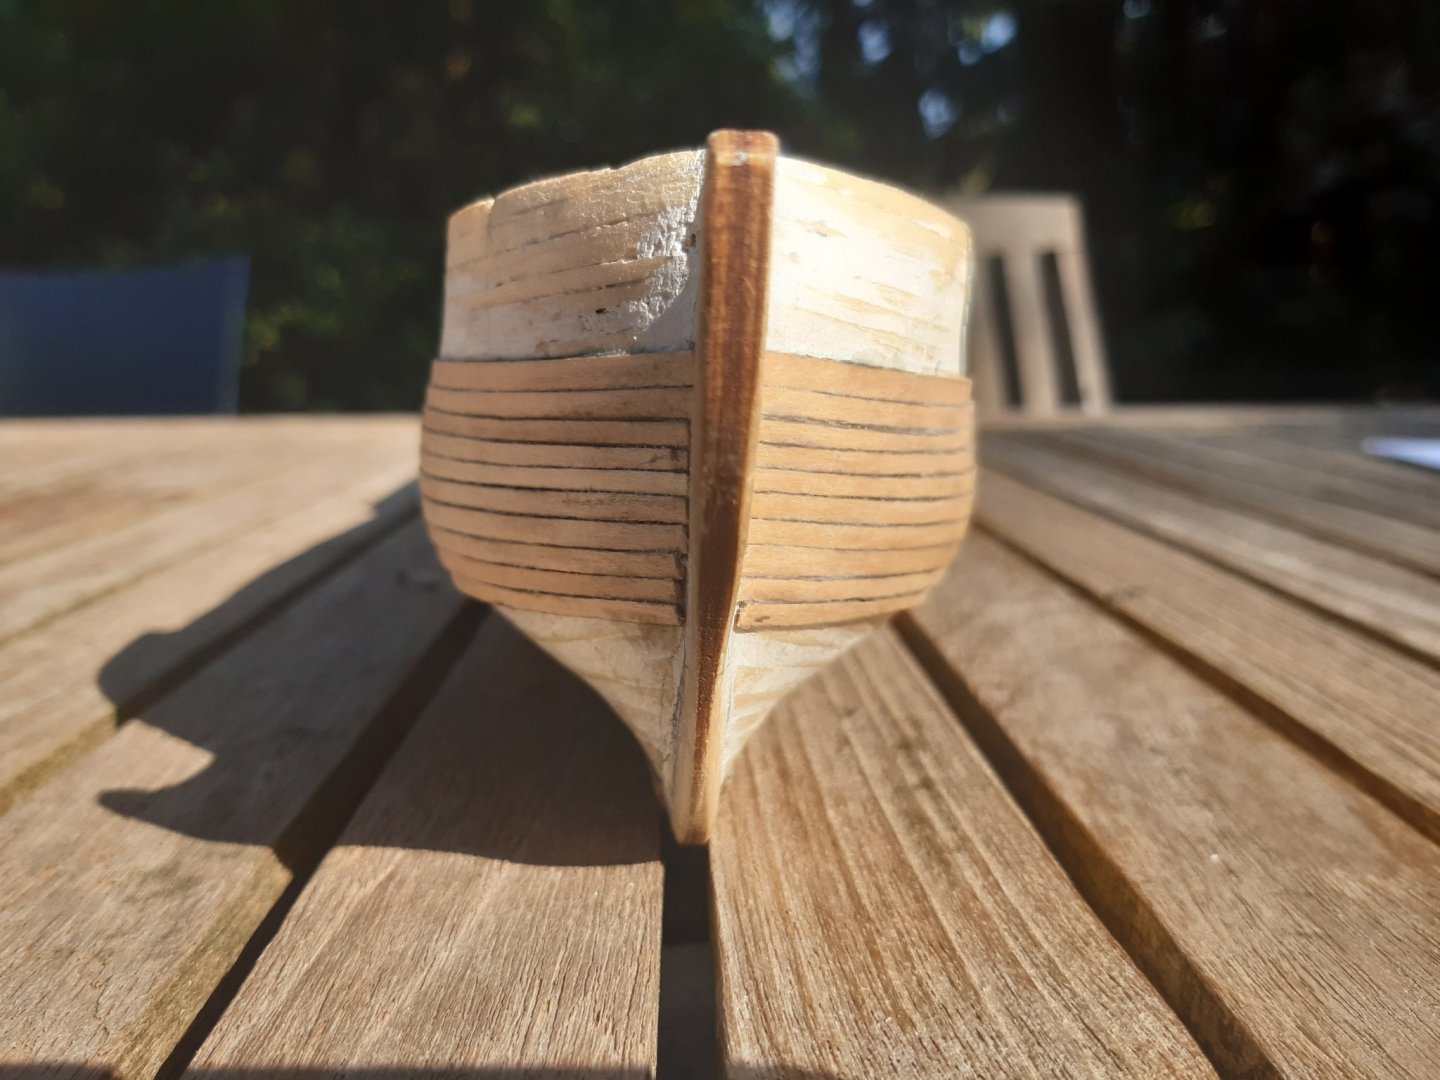
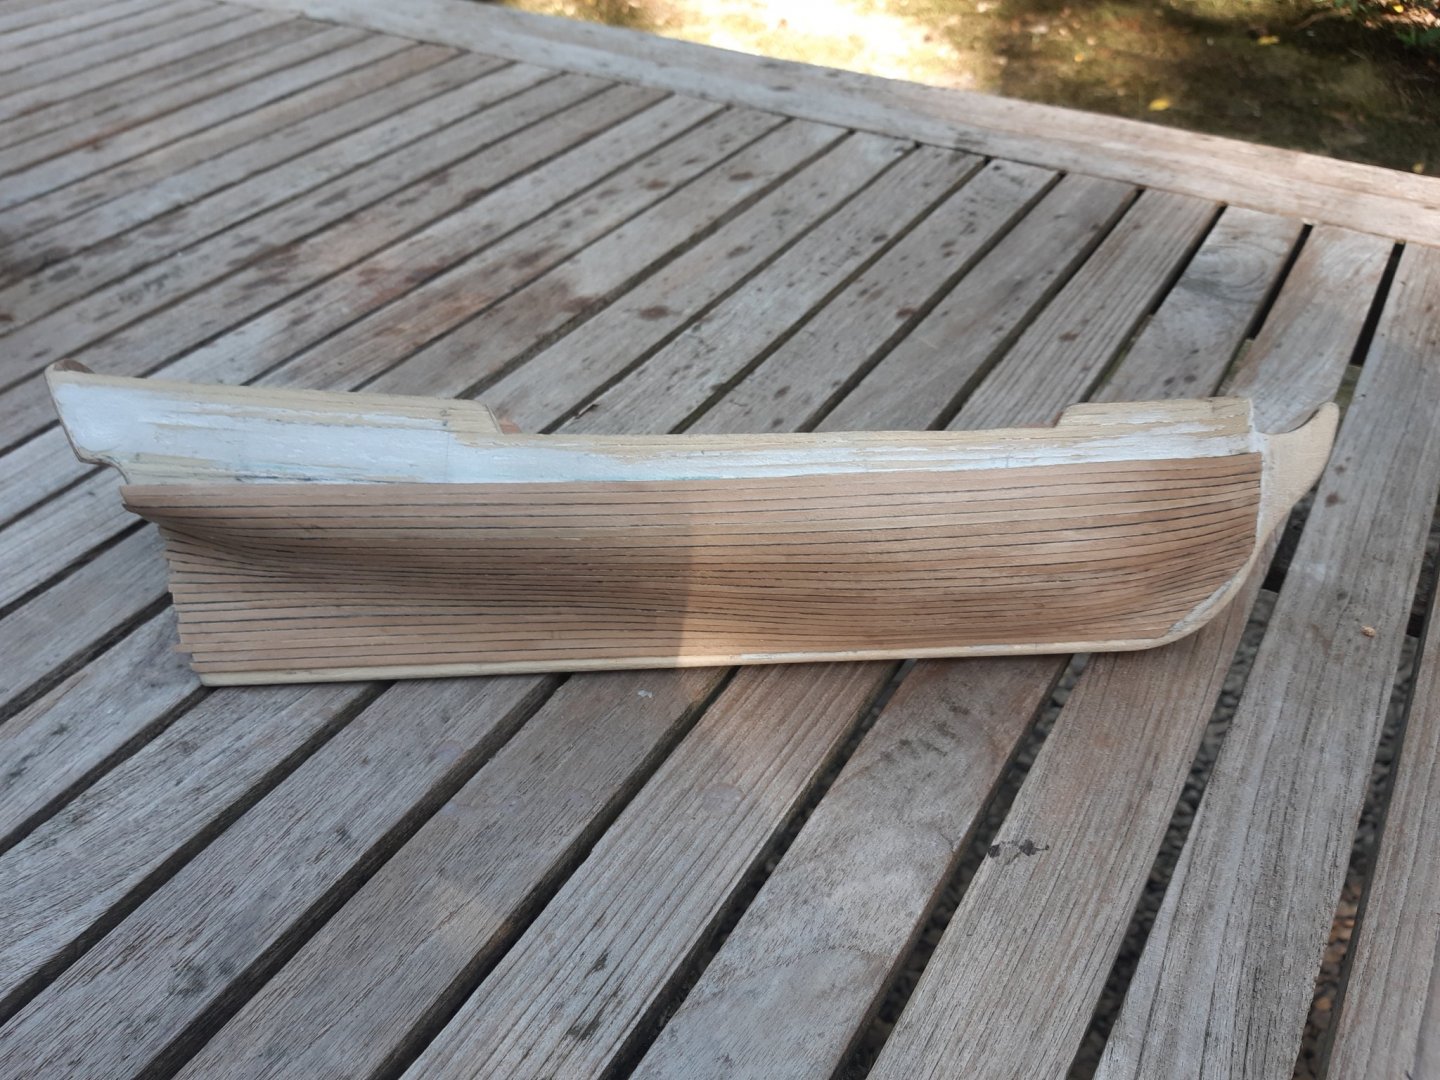
OHello again Today I sanded the hull. Grid 120 -> 150 -> 400 -> 600. The surface feels very smooth, so smooth it almost slipped out off my hands at one point. Needless to say that after all this work my heart skipped a beat. Overall I am satisfied with how it turned out. As I already said, I did not need to instal any stealers and I only added one short and very thin piece of “plank” to fill a tiny gap between two planks on one side. The only thing I made a mess of is the planking near the bowline. The planks on the bow near the keel are too short and do not form a clean bowline. You can clearly see this on the pictures, the woodfiller coming from underneath only accentuates the problem. Since the kit doesn’t provide a false keel I was planning on making one myself and to keep the color of the forepeak similar to the keel I will also plank the forepeak. This way I can still give the illusion of a rabet line and camouflage the weird bowline near the keel. I should probably just remove those planks and start over but first I will test if I can fix it with a less drastic manoeuvre. I do not know whether I will be painting or staining the hull yet. My first thought was to stain it but the build log of my fellow countryman Patrick, , made me reconsider. That is also the build where I got my inspiration for the deck coloring. I can strongly advise to have a look at this build, the man truyly knows what he’s doing, in my eyes his ships look amazing! Thanks for the inspiration!


-
Thanks! I am trying my best. I won't be using it to cross the Schelde anytime soon tho By the way, your builds are truly amazing!
-
Amazing build Patrick. The amount of detail is stunning! I hope I can ever achieve this level of craftsmanship! (Finally there will be some rain in the following days, my garden urgently needs water too!)
- 756 replies
-
- 2
-

-
- galleon
- golden hind
- (and 2 more)
-
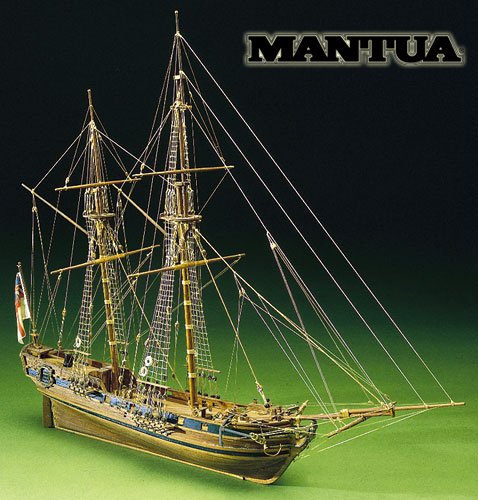
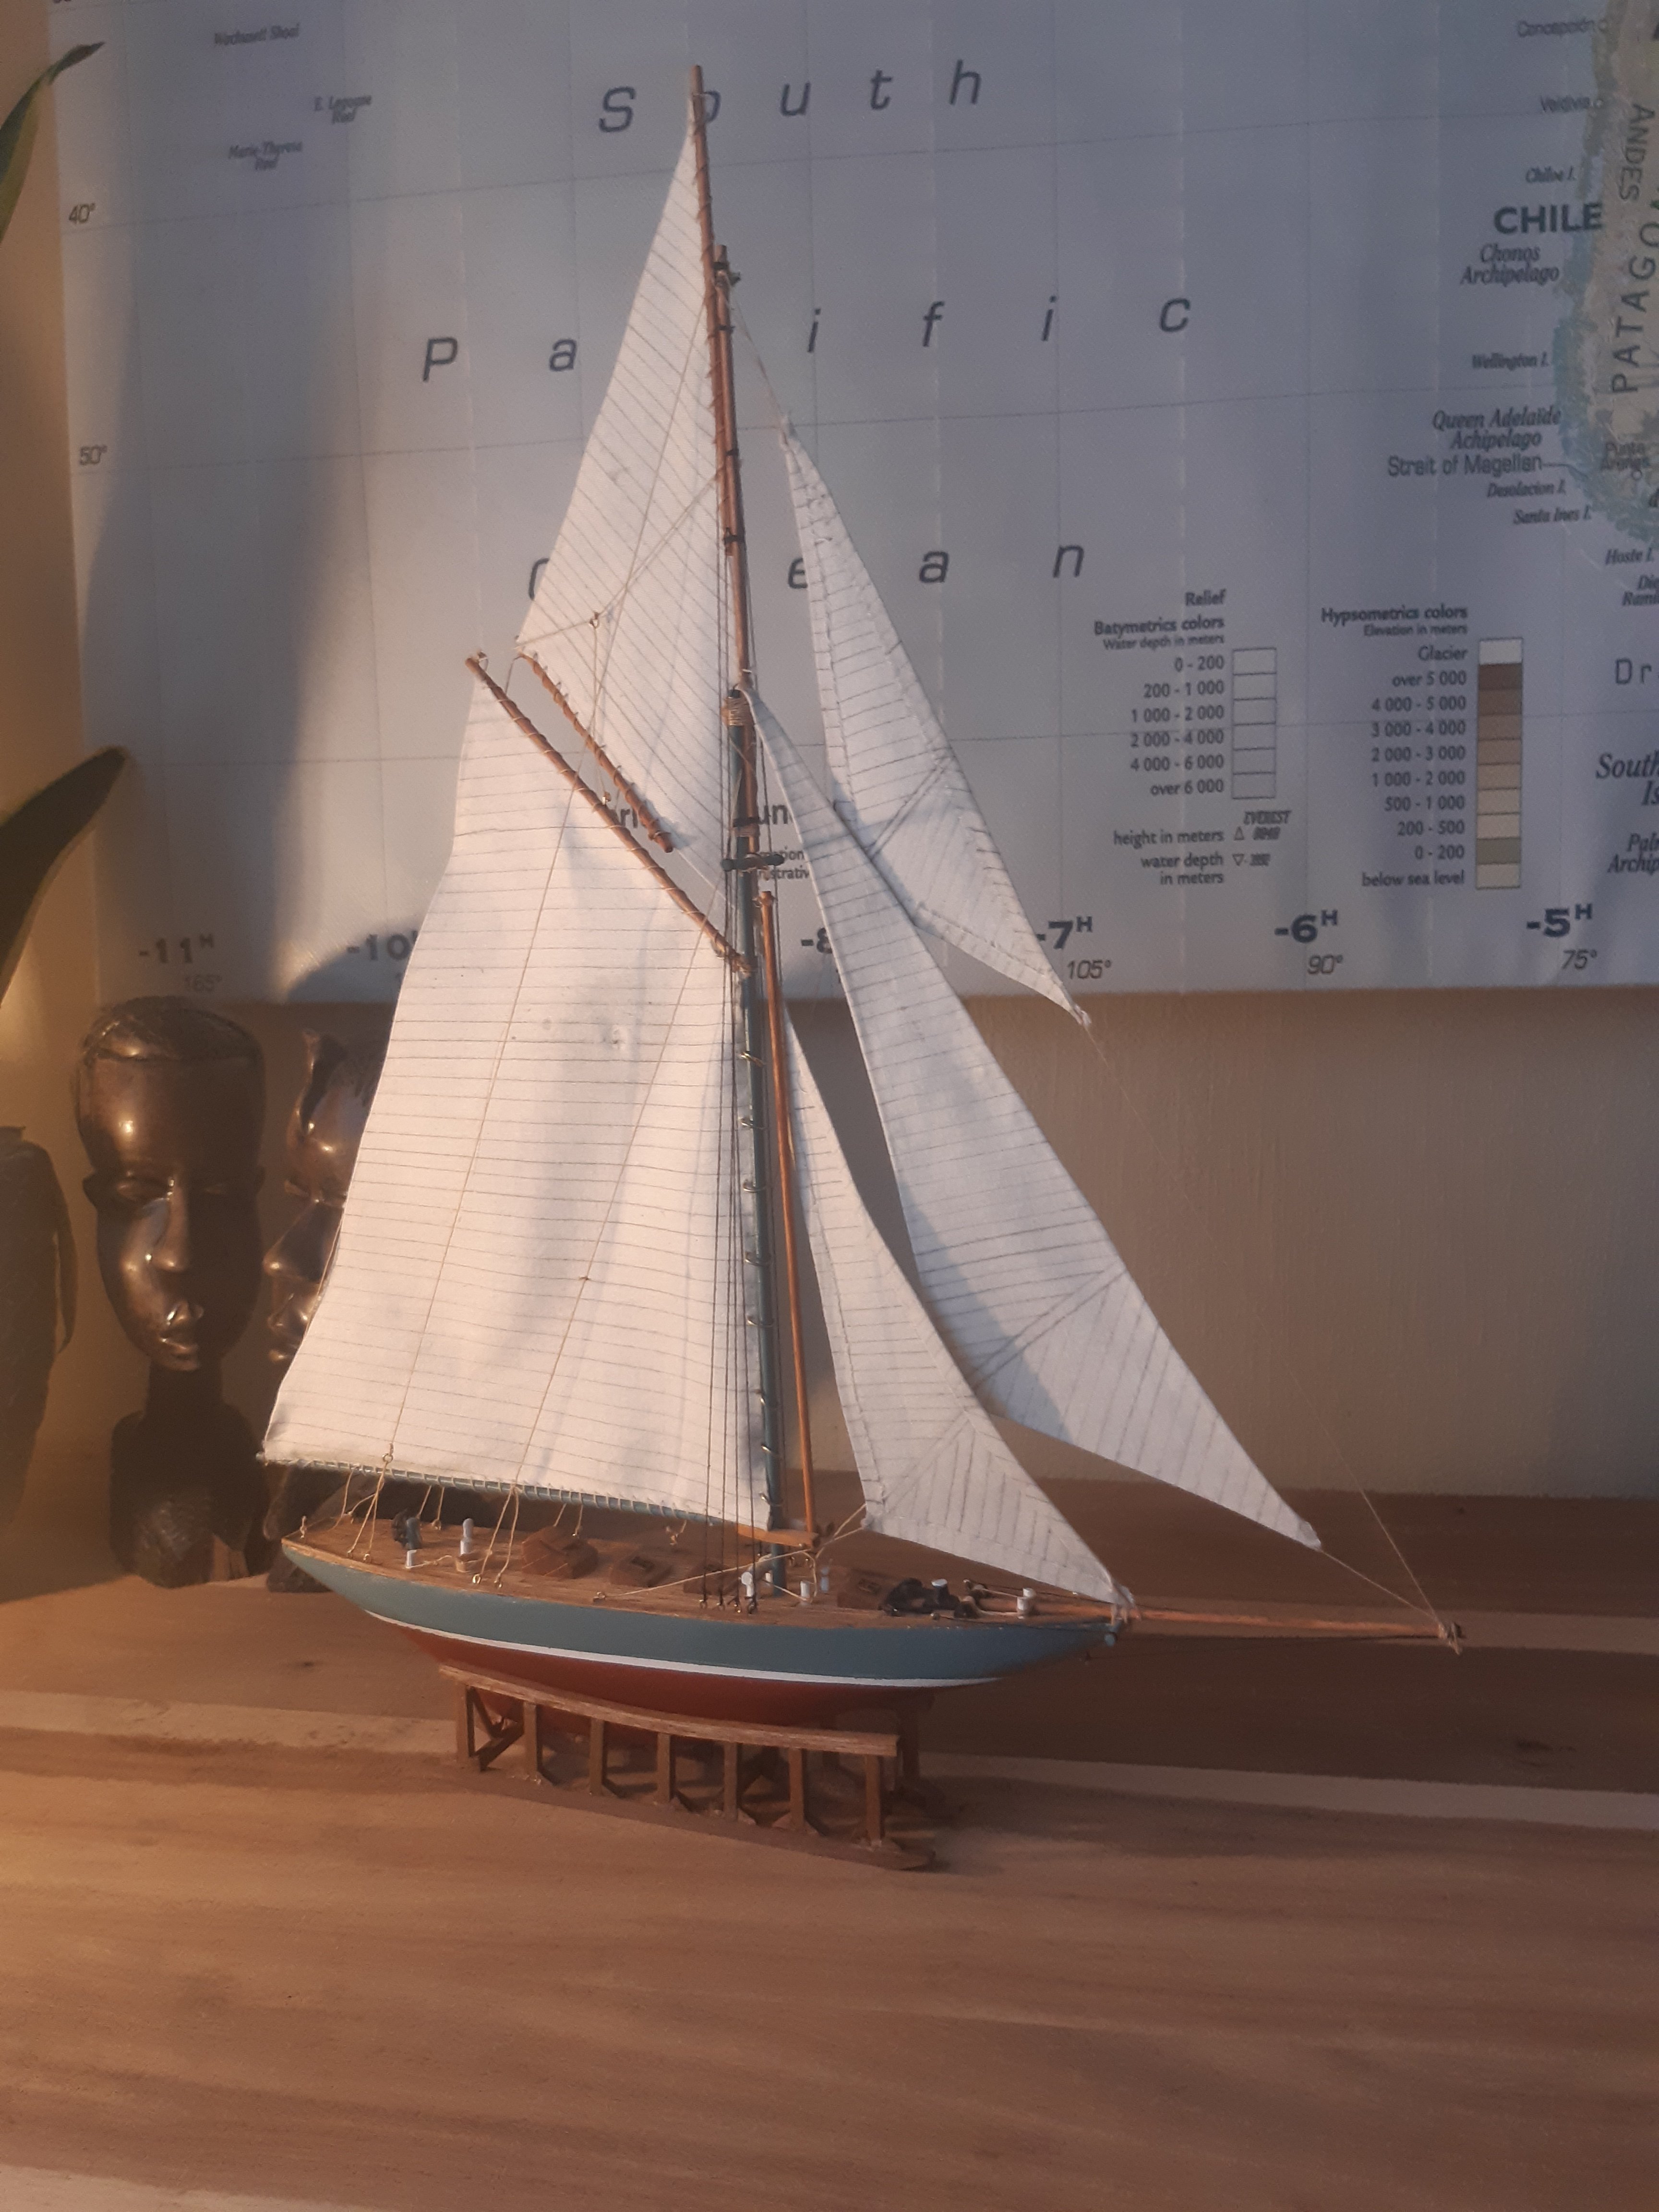
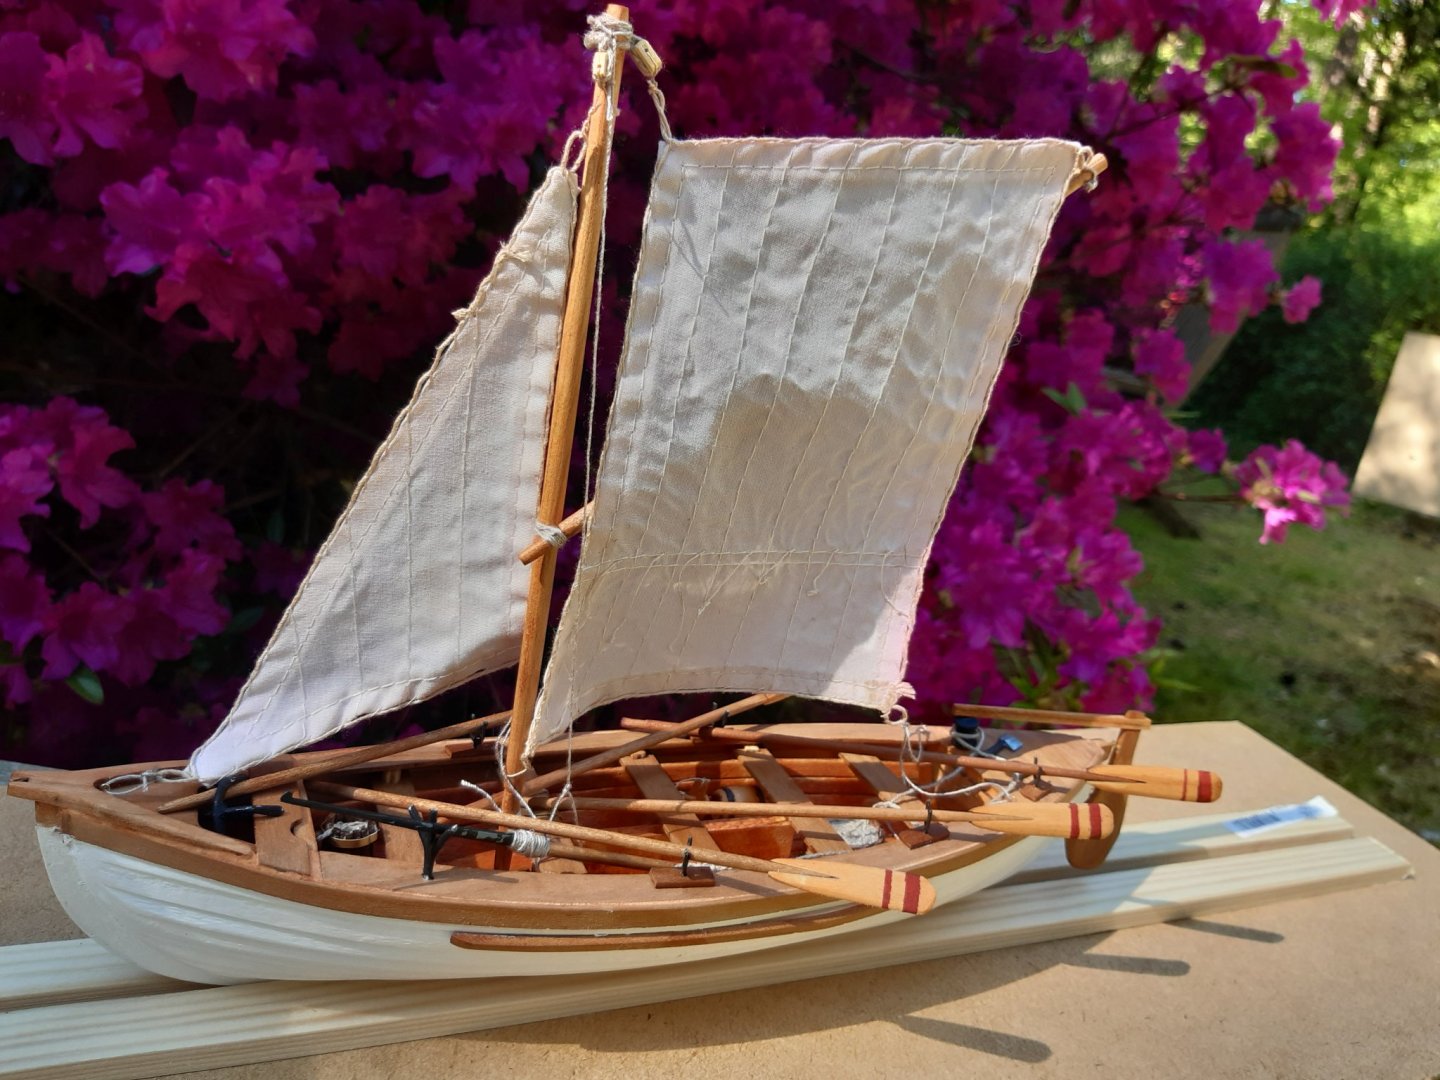
Hello msw I am a 39 old male living in Antwerp, Belgium. Due to lots of spare time during the corona staycation I ordered the Mini Mamoli Brittania kit. At first it wasn't my intention to start model ship building, but when the Brittania was finished I wasn't done. I searched online for build logs and kit reviews and that's how I ended up here. My next build was the Whaling Sloop by Artesania Latina. I read somewhere on the forum that this is a good kit for beginners to gain some experience and so I gave it a go. The build wasn't that challenging tho. I spend about as much time building the hull of the sloop than I did sanding, planking the deck, painting...the pre-build hull of the Brittania and the latter's rigging was a a lot more intricate as well. The sails of the whaling sloop were prebuilt which was a disappointement as I enjoyed making those of the Brittania. The only new thing was the construction of the hull, this was pretty straightforward and the planking was very minimal so it didn't pose any difficulties. At this point I realized I had a new hobby, lol, and for my next build I felt comfortable to tackle something more elaborate. I searched online and decided on the Racehorse Bombketch by Sergal/Mantua. It was listed under skill level 2 (beginner/intermediate) and I really like the look of it. I already started a build log on this model and will be updating it regularly. Thanks for reading!
-
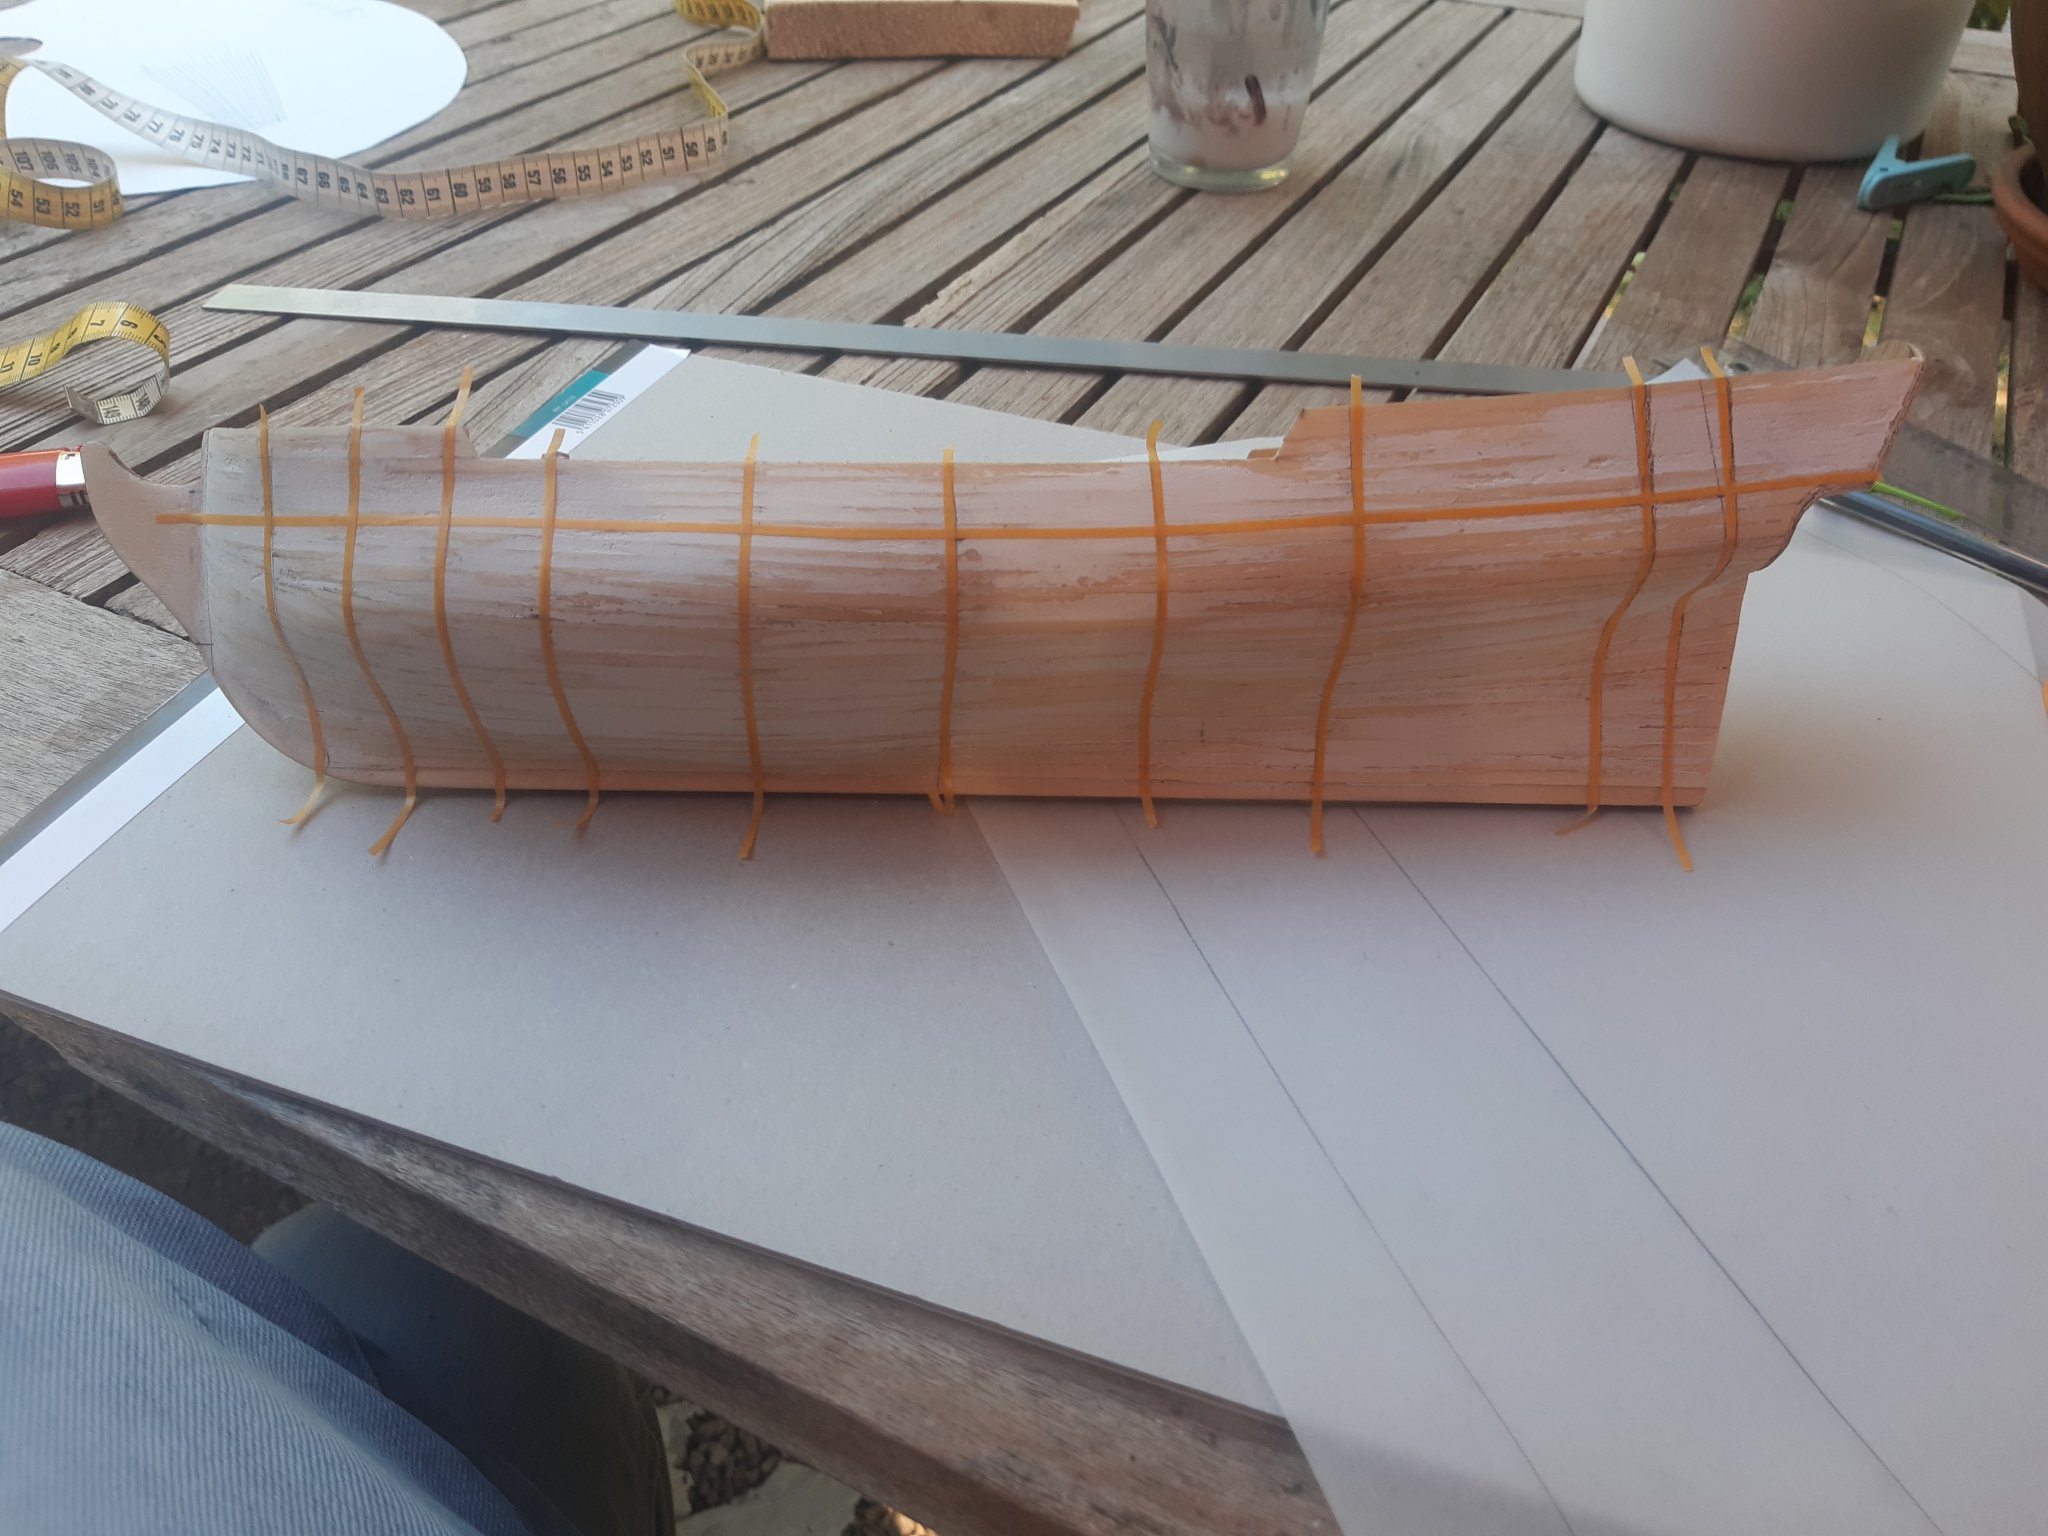
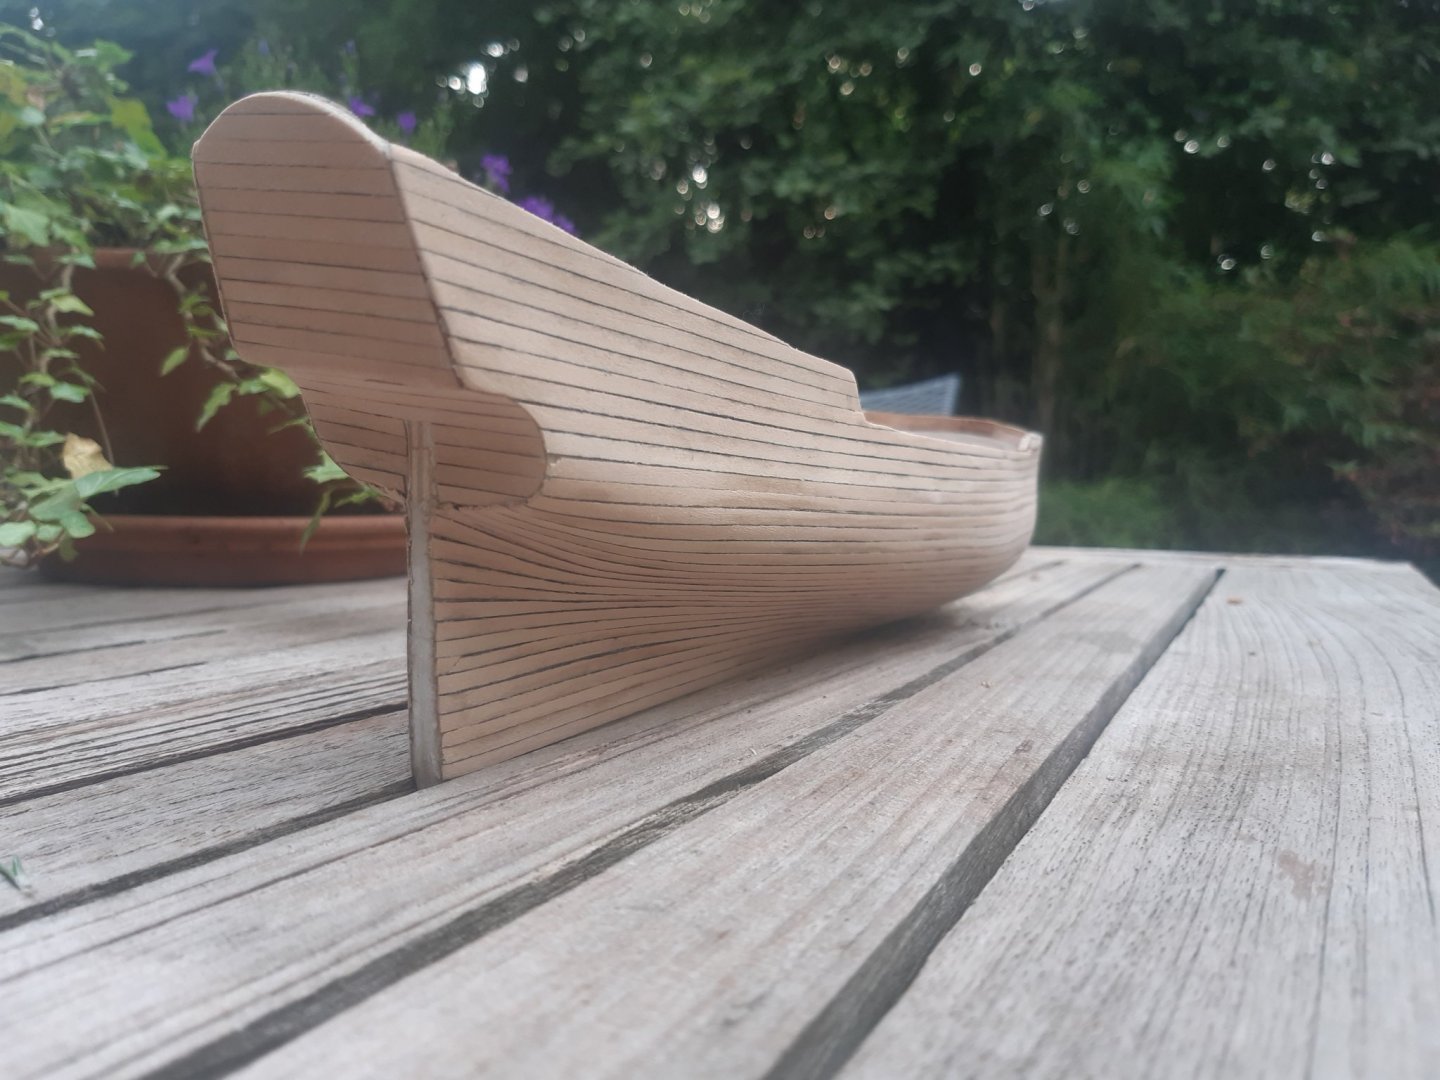
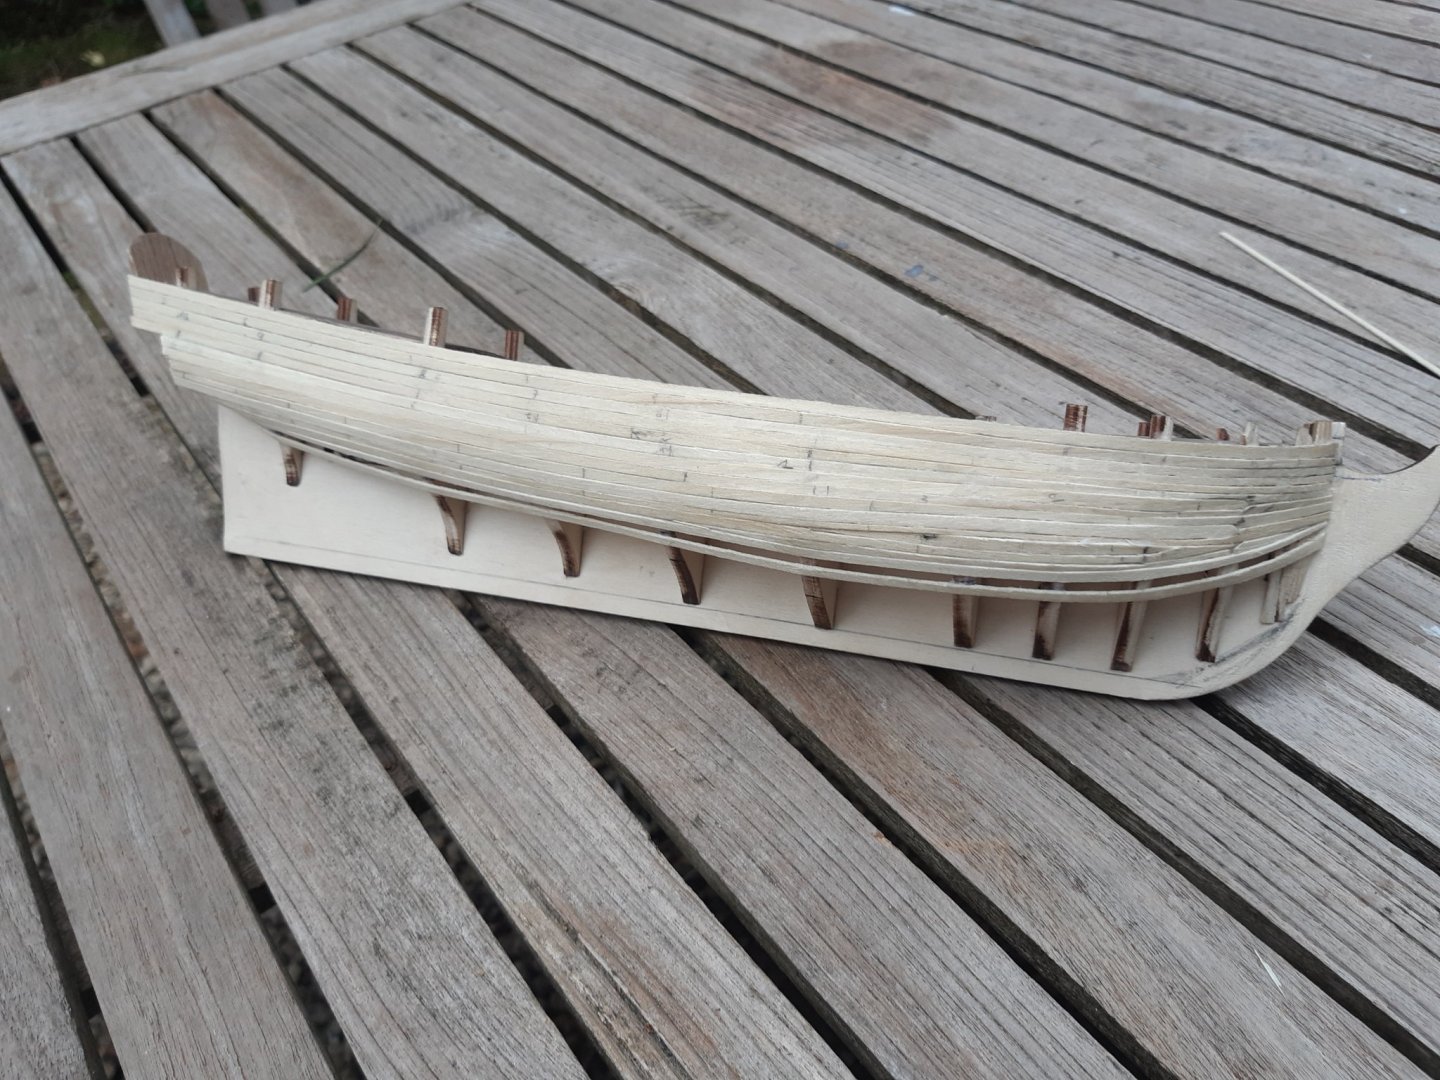
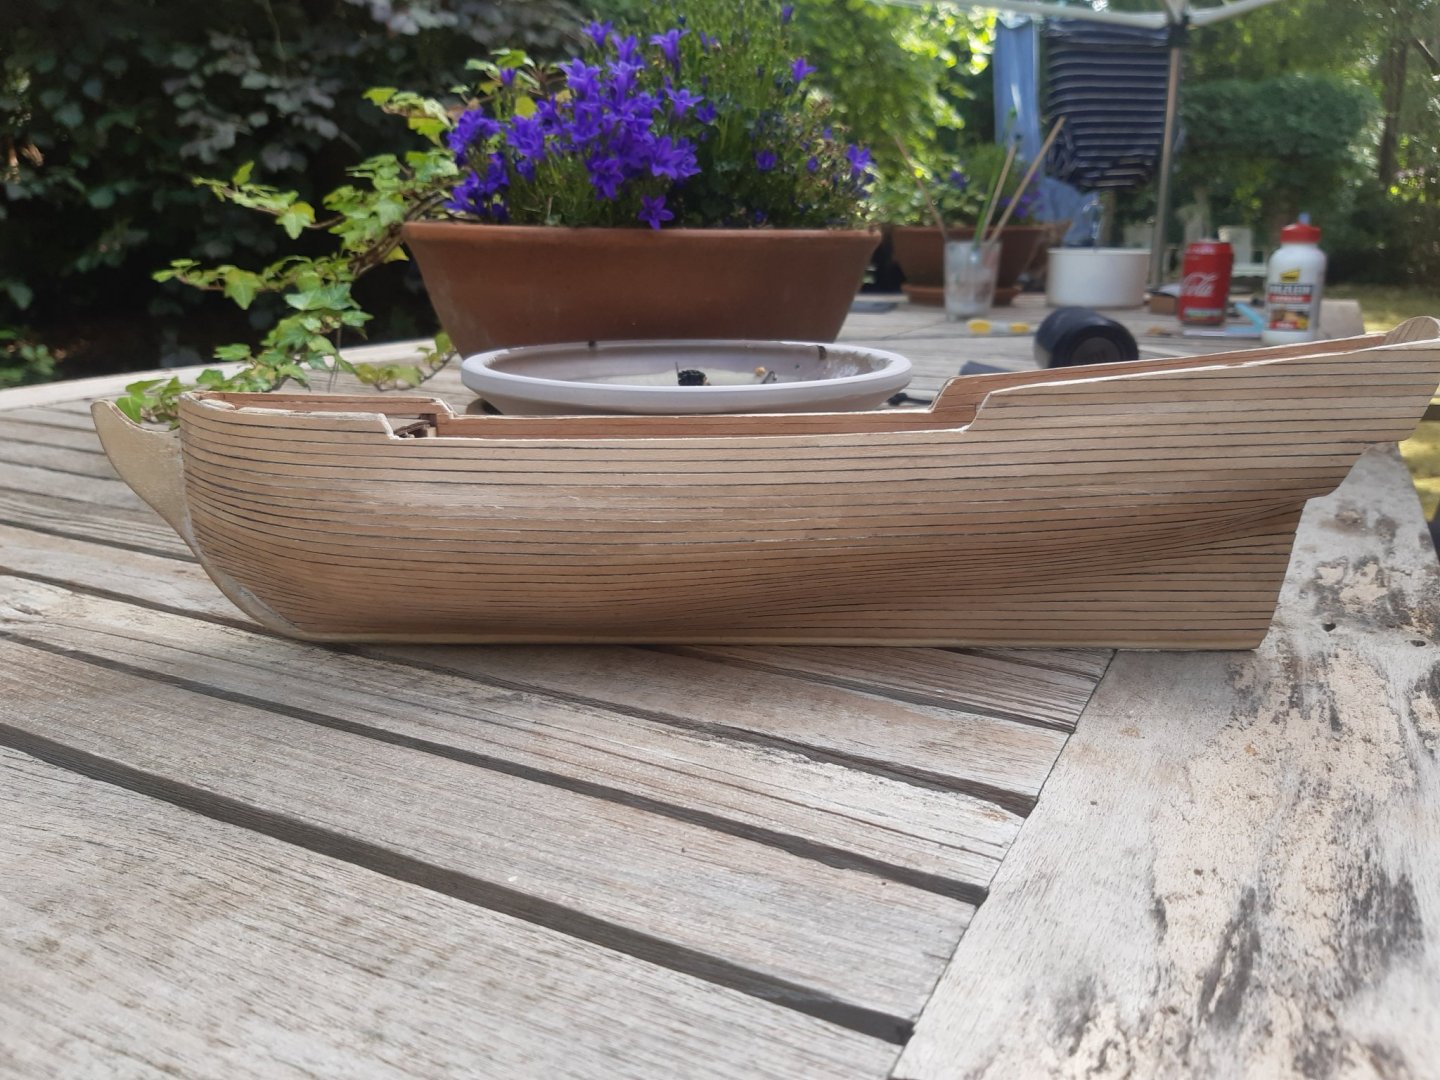
Planking the hull: This was something I was very unsure about as a beginner. Luckily this kit requires 2 layers of planking, so the first layer was perfect for experimenting. After beveling the bulkheads I placed the first plank on each side. But I overdid the curvature of the ship and so when the firt layer planking was finished it showed a lot of clinker effect as the planks were too much curved. In order to make up fort his I used waaaaaaay too much woodfiller. It did not cause any irreversible problems but sanding was a bitch and it looks messy/sloppy. As you can see on the pictures I am also going to plank the inside of the “shiprailing”. And to make the planking above deck between the bulkeads less flimsy I put some balsa wood between the bulkheads. This made the structure stronger to withstand manhandling during the placement of the second layer of planks, and give a stronger structure to cut out the gunports and put a plank on top of the railing. (I do apologize for my lack of “sailing-ship-parts-terms as I am still learning them.) This is what I mean with not having to be historically correct and experimenting. I have no idea whether or not bomb sketches were build this way but it sure is making things a bit easier/stronger. For the second layer’s first planks I followed the main deck and let the planks flow “naturally” to the bow and stern. I think I read most articles and viewed most videos on msw to wrap my head around the whole planking technique. But the more I read about it the more complicated it became, I was seriously overthinking this. + I do not know how you guys do this but if I devided the number of planks required on the midship bulkhead by the length from the first plank to the keel of the bulkheads more towards the stern and bow, the measurements on these smaller to cover distances where ridiculous. For example, bulkhead “2” 2,67 mm plank width – bulkhead “3” 2,72 mm plank width. I don’t ware glasses and the max difference in distance I can see on my ruler is 0,5 mm. Everything smaller than that is a guestimate. And also, the tip op my pencil is 0,3 mm so I would have had to take that into account as well. So I placed the first planks as stated above, measured the distance per bulkhead and roughly used that as I guideline as I went along, keeping the plank width at least ½ of the original width (3mm). The more the gap closed, the more I rechecked the measurement per bulkhead so I would know when to put stealers in if needed. On my first layer planks I needed stealers but none on the second layer, I think I got lucky on the second layer or I must have remembered something from all those articles and videos without realizing it. I tried to work as clean as possible. I did have to scrape off a lot of glue excess. Tldr; - first planking was sloppy – Too much woodfiller – Don’t overthink things – First plank is the most important (according to my experience) To be continued…… My first plank on the second layer does not completely follow the yellow masking tape line. Starting from the rear deck the masking tape curves upward too much. As you can see on the final planking pictures below it flows more naturally towards the stern. This made the distance between the first plank and the keel at the stern about the same distance as the midship ones. This way I could easily plank mid and aft with the same amount of planks. At the bow you want to make sure the planks flow “naturally” as well, otherwise you end up with a clinker effect. I did this on the first layer and needed lots of woodfiller and sanding to achieve a smooth(er) surface.


-
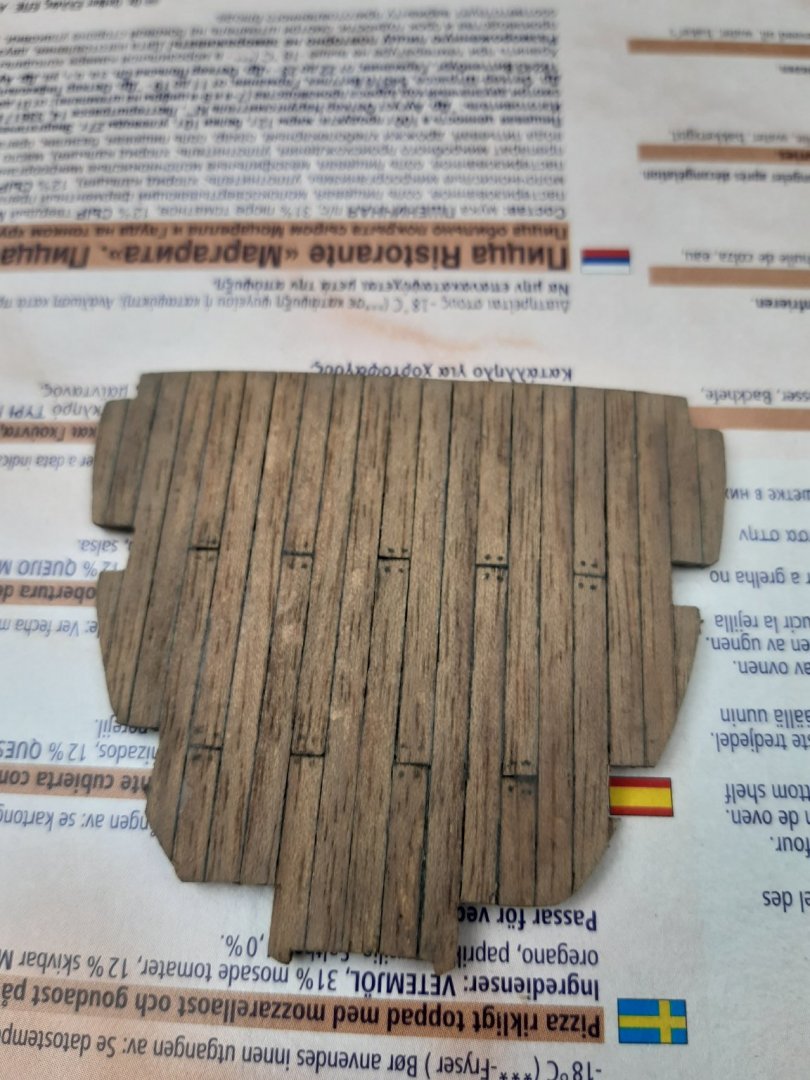
Now for the build log: I started the build about three weeks ago. The bulkheads dryfitted rather loosely on the keel. After seeing different methods and constructions in order to attach the bulkheads perpendicular to the keel, I decided lego was the way to go. Without any ado, the bulheads were glued in place. note to other novices: I searched for the best/easiest ways on how to clamp bulkheads/planks while the glue sets, I bought small clamps, bigger clamps, pins, …. BUT 90% of the time I just used my hands to hold stuff in place while it dried. If you use express woodglue it takes about 4 to 5 minutes to dry and after about one or two minutes it already stays in place so you don’t have to hold it any longer. “The Racehorse” is 590 mm long so I could easily cover that distance, pushing down on a few key points, with both hands. On my whaling sloop build I used CA glue but I will never use this again for plaking/decking because if you spill some (which is inevitable for me), there is no (easy) way to remove it and stain doesn’t penetrate the wood because of the layer CA. So the spots where you spilled CA will forever be visible, except if you plan on painting the hul of course. Before I started planking the hull I decided to plank the deck first. I did not want to wait with this until the decks were glued in because this would make things more difficult. I dryfitted the decks to make sure I would be able to put them in place after planking them (when planked the decks can’t be “bent” anymore in order to fit between the curved bulkheads). The main deck was a problem so I decided to cut it in half (lengthwise). This way I could easily plank them and later when installed on the ship, easily join the two halves back together as they are glued in place. For the coloring of the decks I used 20 % grey paint thinned with 80 % isopropyl alcohol (you can buy this alcohol in a pharmacy) in order to get a weathered look. For this I was inspired by a build log on msw, i can’t remeber which one to give credit. As you will see in the following pics, the decks look rather mat. When all planking is finished I will try to make them a bit more shiny again. Tldr; - used pva glue - Planked deck before hull - Deck coloring (20% paint – 80% isopropyl alcohol)
-
Greetings MSW I am new to the forum and to model ship building. During the corona-staycation I decided to give model ship builing a go to kill some time. I started off with the Brittania by mini mamoli. This is a pre-build hull kit so it wasn’t really challenging but I had a lot of fun building/assembling it and therefore decided to learn more about the hobby. When searching online for building logs etc, it didn’t take me long before I ended up on msw, where I found all the information (and a lot more) that I needed. After the Brittania was finished, I ordered the whaling sloop by Artesania Latina because I read somewhere on the forum that this is a good kit to build up some experience and so I decided to give it a go. It took me about two weeks to finish this model and in hindsight I can say I enjoyed the build, but it wasn’t that more challenging than the Brittatnia. I did however “plank” a “hull” for the first time. Then I went looking for the next kit. With all my newly acquired experience (lol), I decided it was time to tackle something more elaborate. I searched online in the “2” (novice/intermediate) category and found my next build, the topic of this build log, the Racehorse by Sergal. I chose this kit/ship for it’s looks and also because the kit is not that expensive and so failure wouldn’t be too costly. I started this build about three weeks ago. I was not planning on making a building log, but since the building logs of others on this forum helped me so well, I decided to make one anyway. None of you masterbuilders will ever learn anything from me, but I hope to help other beginners out and maybe pull some over the line in having a go at this hobby. I am making lots of mistakes and for now my work looks sloppy-ish, but most important of all, I am having fun! I know I will get better at it. We all have to start somewhere. After reading a few reviews of this kit I learned that the model wasn’t based on an actual ship, but a chimera from Sergal. But I do not mind that all, on the contrary, it only gives me more “artistic-liberty” to make my own interpretation of a bomb sketch. For this model I will mainly be focussing on the building process and tyring out different things anyway rather than making a historically correct ship. That’s something for later models. Tldr; - novice - 2 previous builds (Mini Mamoli Brittania and Artesania Latina Whaling Sloop) - having lots of fun - build log : Sergal Racehorse…