HOLIDAY DONATION DRIVE - SUPPORT MSW - DO YOUR PART TO KEEP THIS GREAT FORUM GOING! (Only 51 donations so far out of 49,000 members - C'mon guys!)
×


manic8479
-
Posts
55 -
Joined
-
Last visited
Content Type
Profiles
Forums
Gallery
Events
Everything posted by manic8479
-
Thank you all for your support. It has been greatly appreciated. I wasn't sure whether I would want to, or be able to finish her and so I went into the garage the other night to clear her away and tidy up. My plan was to put her safely into a cupboard so that she didn't get damaged. Many hours later the canons were safely on the deck... it seemed the safest place for them.... . I know Sam would have wanted me to finish her and it will be lovely to remember him with it. Once again Thank you
- 89 replies
-
- 2
-

-
- Enterprise
- first build
- (and 2 more)
-
I had been rushing through this project a little, desperate to finish it in time.... It was bought in part to give me something to do during lockdown (and I had always wanted to build a ship), and in part to be a gift for a very good friend of mine. I took my time to choose the ship - although I missed the part about researching the instructions and company. Instead I focused on where the ship was from and the significance it would have from my friend (Sam). A few months ago Sam was diagnosed with leukaemia and told he wouldn't make it till Christmas. I began to race through the build, still wanting it to be as good as possible for him and resenting any mistake I made since it postponed the final completion. This afternoon Sam died, and with him my momentum and passion for the build. I was speaking to him just yesterday questioning whether I should show him a photo of the build or wait until all the canons and grates were on the deck. I made the mistake of waiting and so Sam will never see the ship I started for him. I am not sure how to return to the build after this... I don't even know if I want to. The ship was always his in my mind. Thank you all for your support over the past few months. I don't know when I will post again.
-
Your attention to detail is amazing. great build so far
-
I am very much in awe of your achievement. It is stunning. I cannot understand anyone would be "trolling" you for it. It is certainly an achievement worth being proud of. I cannot wait to see her when she is finished.
- 312 replies
-
- 3
-
-
- enterprise
- caf
- (and 1 more)
-
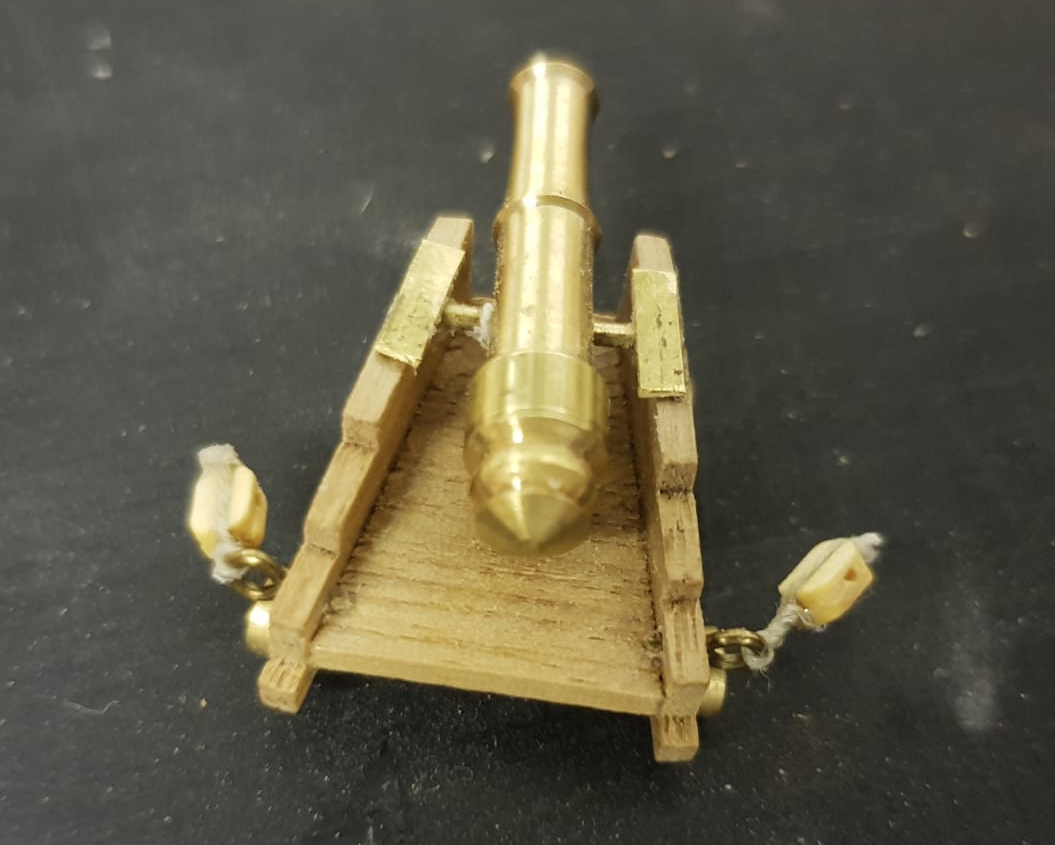
well, after a couple of hours (watching a fascinating documentary on Pirates on Netflix in the background) Here is the first canon in place. I am sure I would have gotten it in place much sooner but the documentary was really very interesting. only 13 more to go
- 89 replies
-
- 3
-
-
- Enterprise
- first build
- (and 2 more)
-
That Video is AMAZING. Thank you for sharing.
-
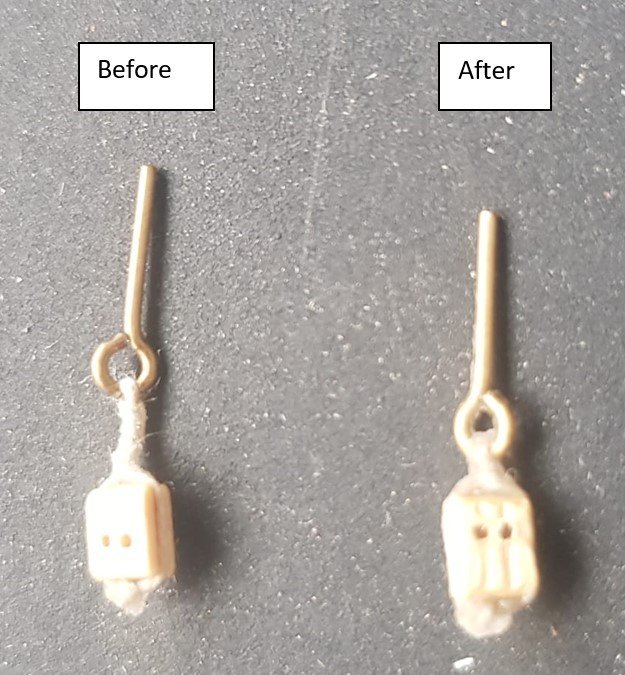
Thank you for the advice. I have get what your saying about the blocks and have turned them around. I have only made 14 so far but that is enough for tonight. I have a comparison photo below and the space saved will make the overall effect much better. Sorry for the whitewashed photo - I didn't even have a flash on but for some reason it came out looking like this. Thank you also for the advice about kit review threads - I will start researching ready for my next acquisition 🙂
- 89 replies
-
- 4
-
-
- Enterprise
- first build
- (and 2 more)
-
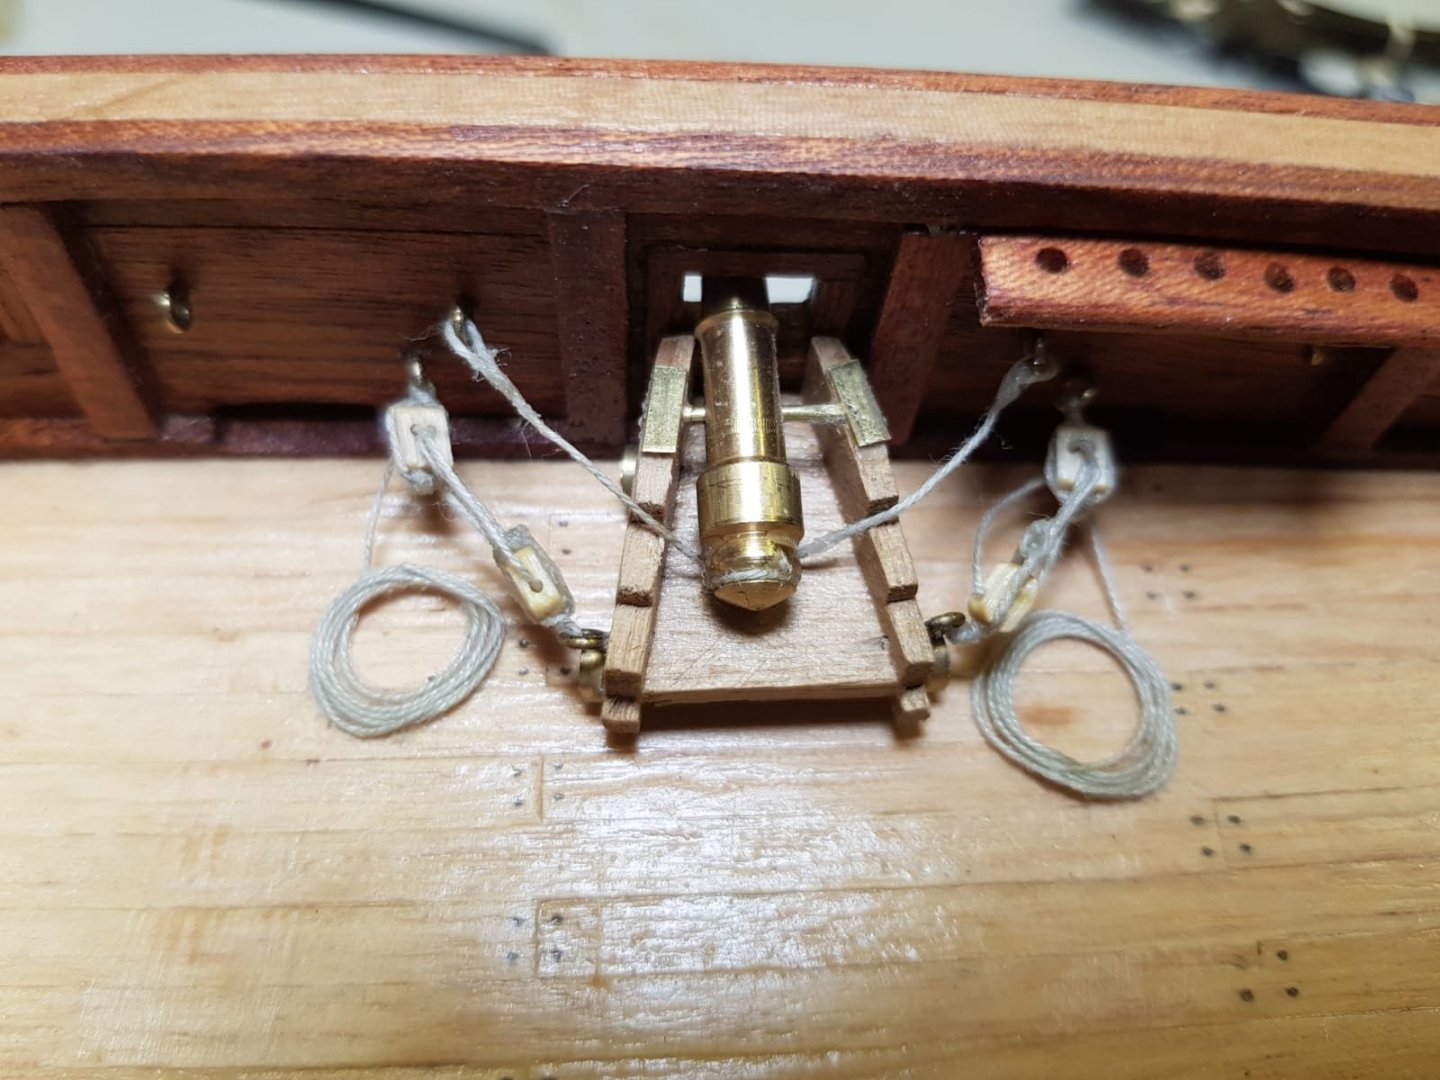
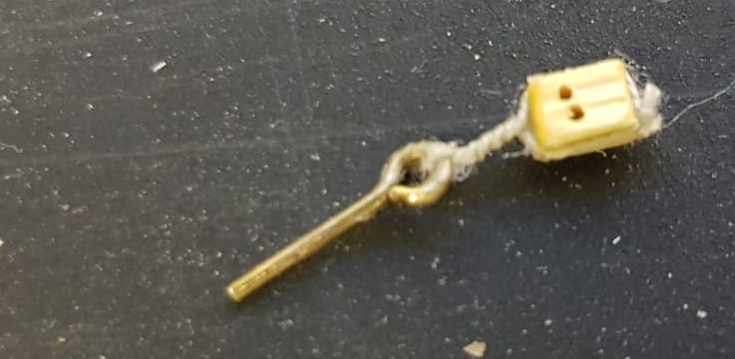
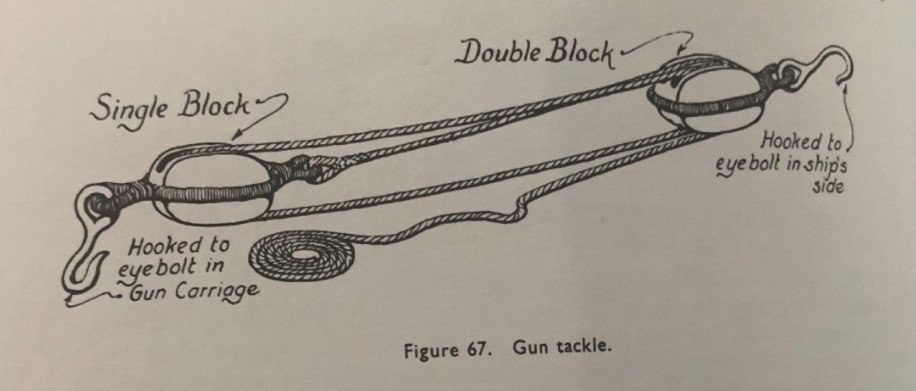
I have started working installing the canons onto the deck. I have seen a method of attaching the pulleys but am hopeless at soldering and so I have adapted it. Here is my trial run Although I class it as a success I later discovered that because the gap between the single and double block and the hoop was so long it meant that the 2 blocks (the one one hull and the one on the canon) were almost touching each other and therefore I lost the effect I was trying to create. I am going to give it another go to try and get the authentic look I am hoping for. I know that it should really have a metal hook on the block attached by rope, as shown in the image below - but I feel this would only exacerbate the issue I already have and increase the distance between the 2. I am already using smaller blocks then were provided with the ship (the plans call for a 5mm and a 3mm block to be used) but this would look ridiculous! I think the method is sound and hopefully my next try will yield a better result as I aim to make it a few millimetres smaller.... and then repeat 56 times 😉

- 89 replies
-
- 2
-
-
- Enterprise
- first build
- (and 2 more)
-
Cathead - for my next ship (whenever I get to it) could you suggest a manufacturer who's instructions are good and easier to follow. I intend to finish this ship to the best of my abilities, but am already planning ahead to my next. I am hoping to have a fleet built to the same scale of 3 or 4 ships of different sizes and styles. I was thinking of something like the HMS fly or similar - working my way up to a frigate
-
Thank you GrandpaPhil... it is not exactly easy to follow incorrect instructions.
- 89 replies
-
- 1
-
-
- Enterprise
- first build
- (and 2 more)
-
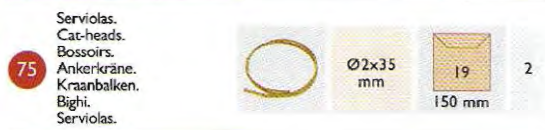
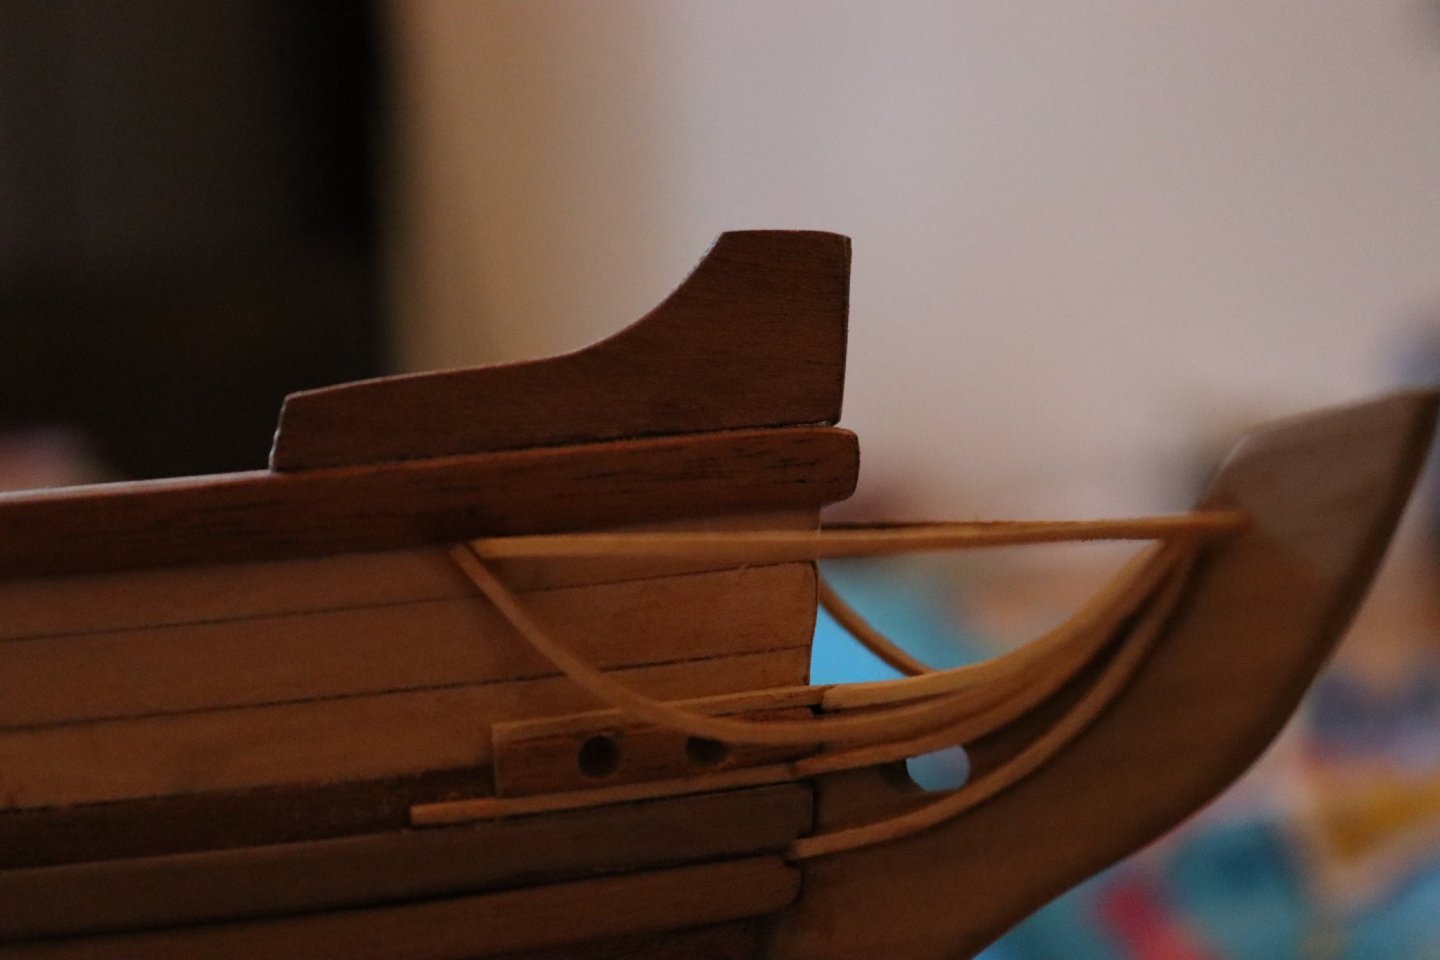
I need a little help The instructions are describing the brass pipe projecting from the ship as the Cats-head (75 - in the picture) it says that I should .... the pipe is only 2mm thick how then am I supposed to use a 2mm drill bit and what it it supposed to accomplish. my confusion is not helped by the fact that I don't actually understand what I am trying to achieve or what its purpose will be in the future. I have tried to find it using the internet but all I can find are examples of the wooden cats-heads which I have already installed any advice would be greatly appreciated. Thank you


- 89 replies
-
- 1
-
-
- Enterprise
- first build
- (and 2 more)
-
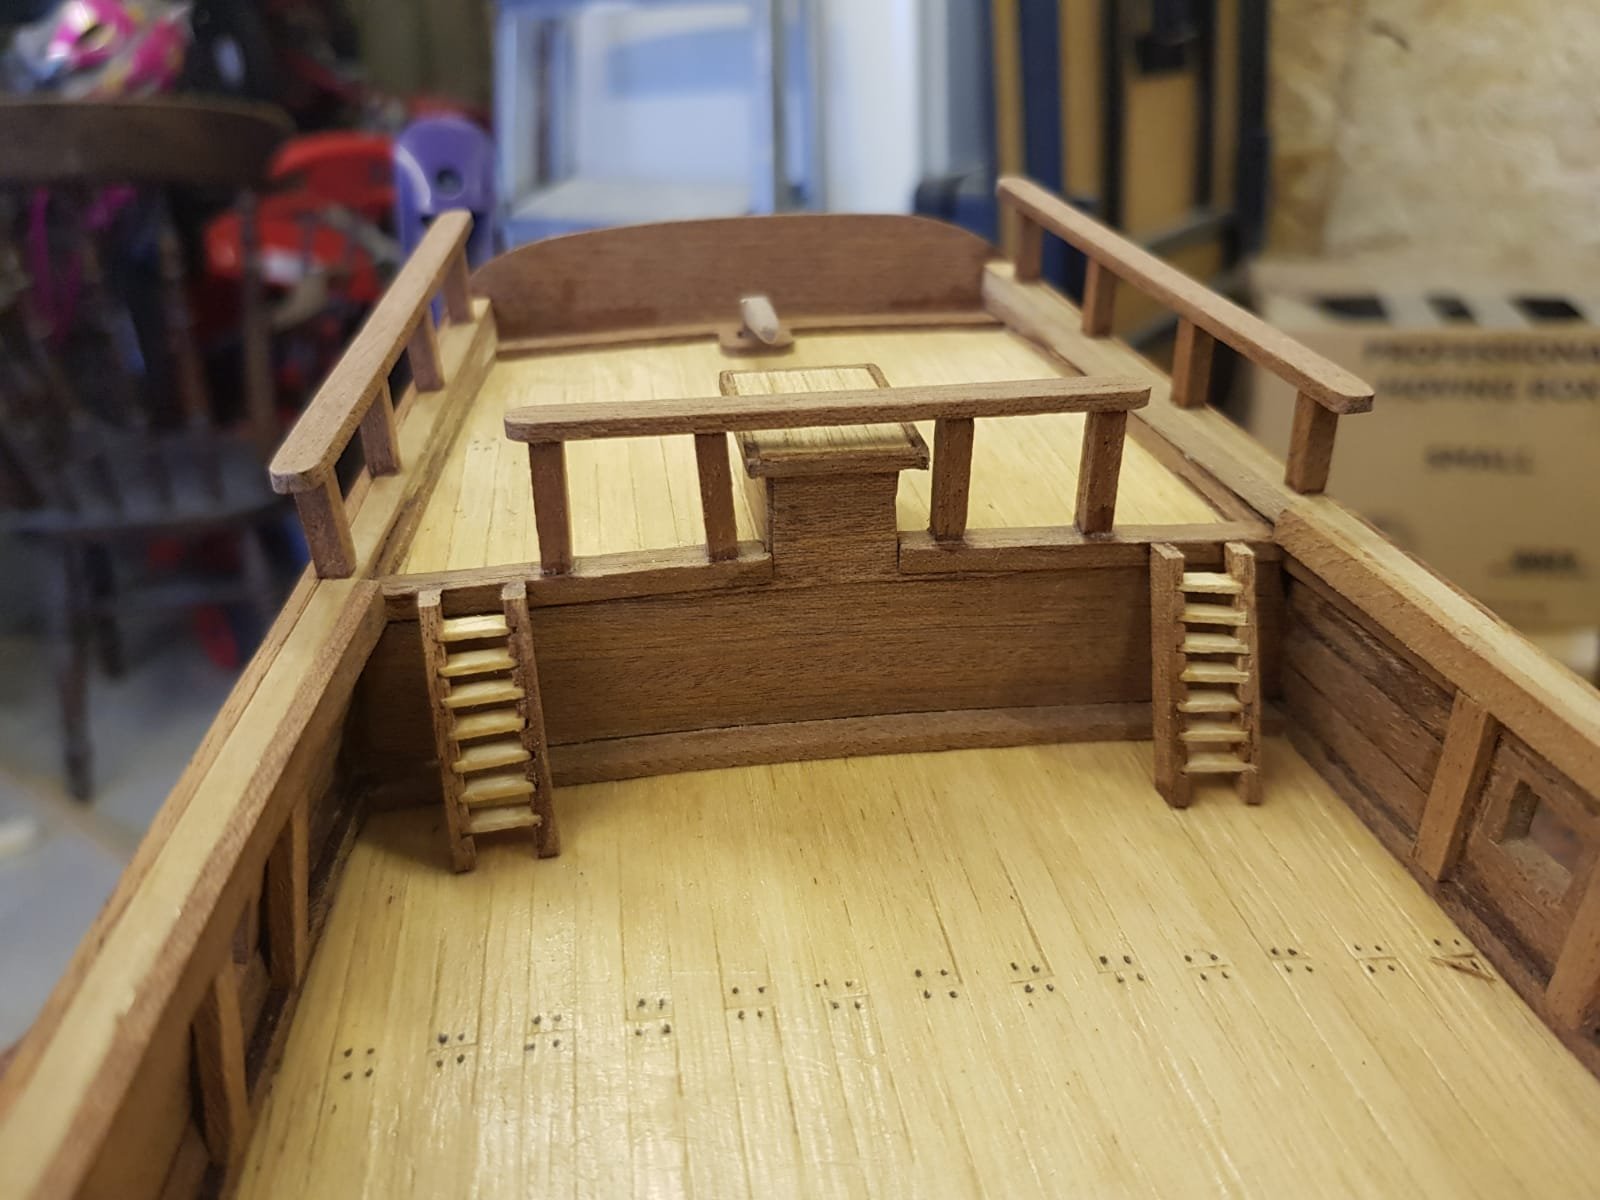
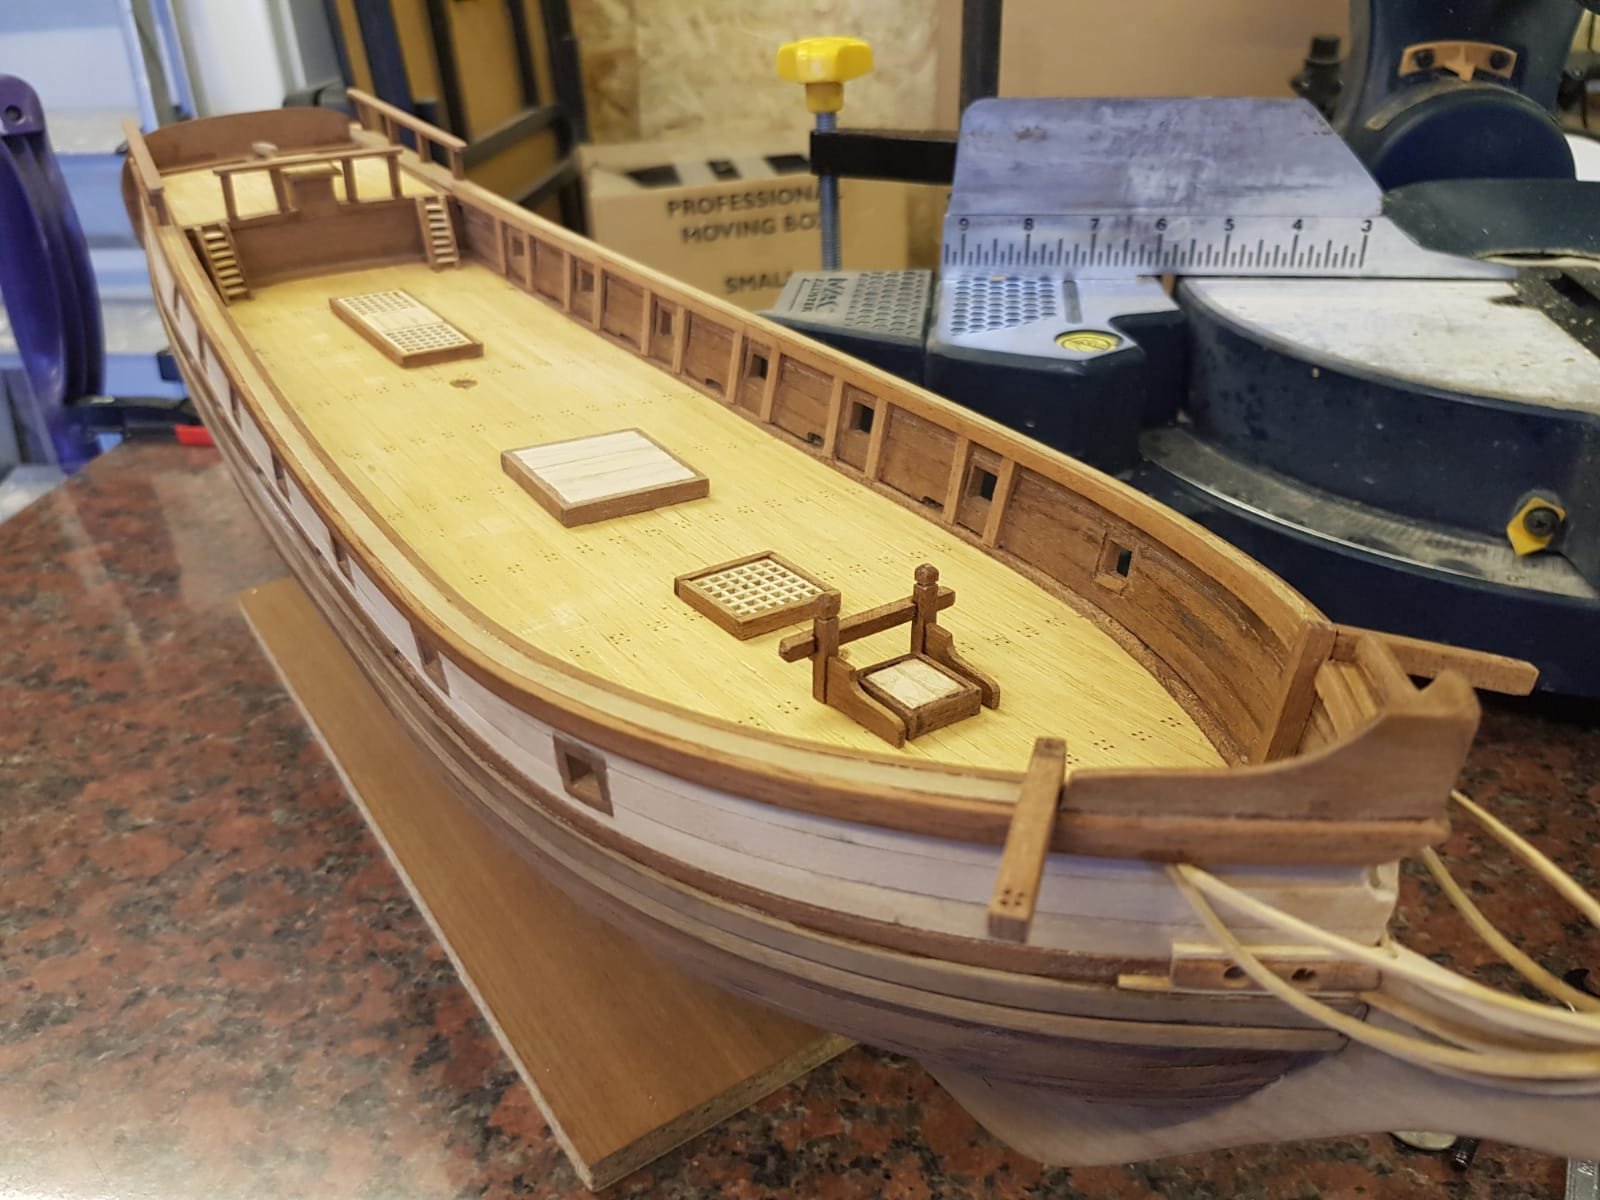
Well I am ploughing along with the ship having made some of the railings and the "deck bits" - I really should learn some nautical terms - ok according to the plans I have made the: hatch covers, gratings, pinrails, capstan (which I have subsequently lost 😒, the ladders, the barrels and the chimney (although not pictured) and am ready to glue them into place. There are a few more pieces I need to make and shape before I can oil the ship. I have finally decided to use Danish oil, although I am happy to be corrected if this is a bad choice. All in all it seems to be going very well and I can't wait to see how she looks once everything is oiled and in place.


- 89 replies
-
- 2
-
-
- Enterprise
- first build
- (and 2 more)
-
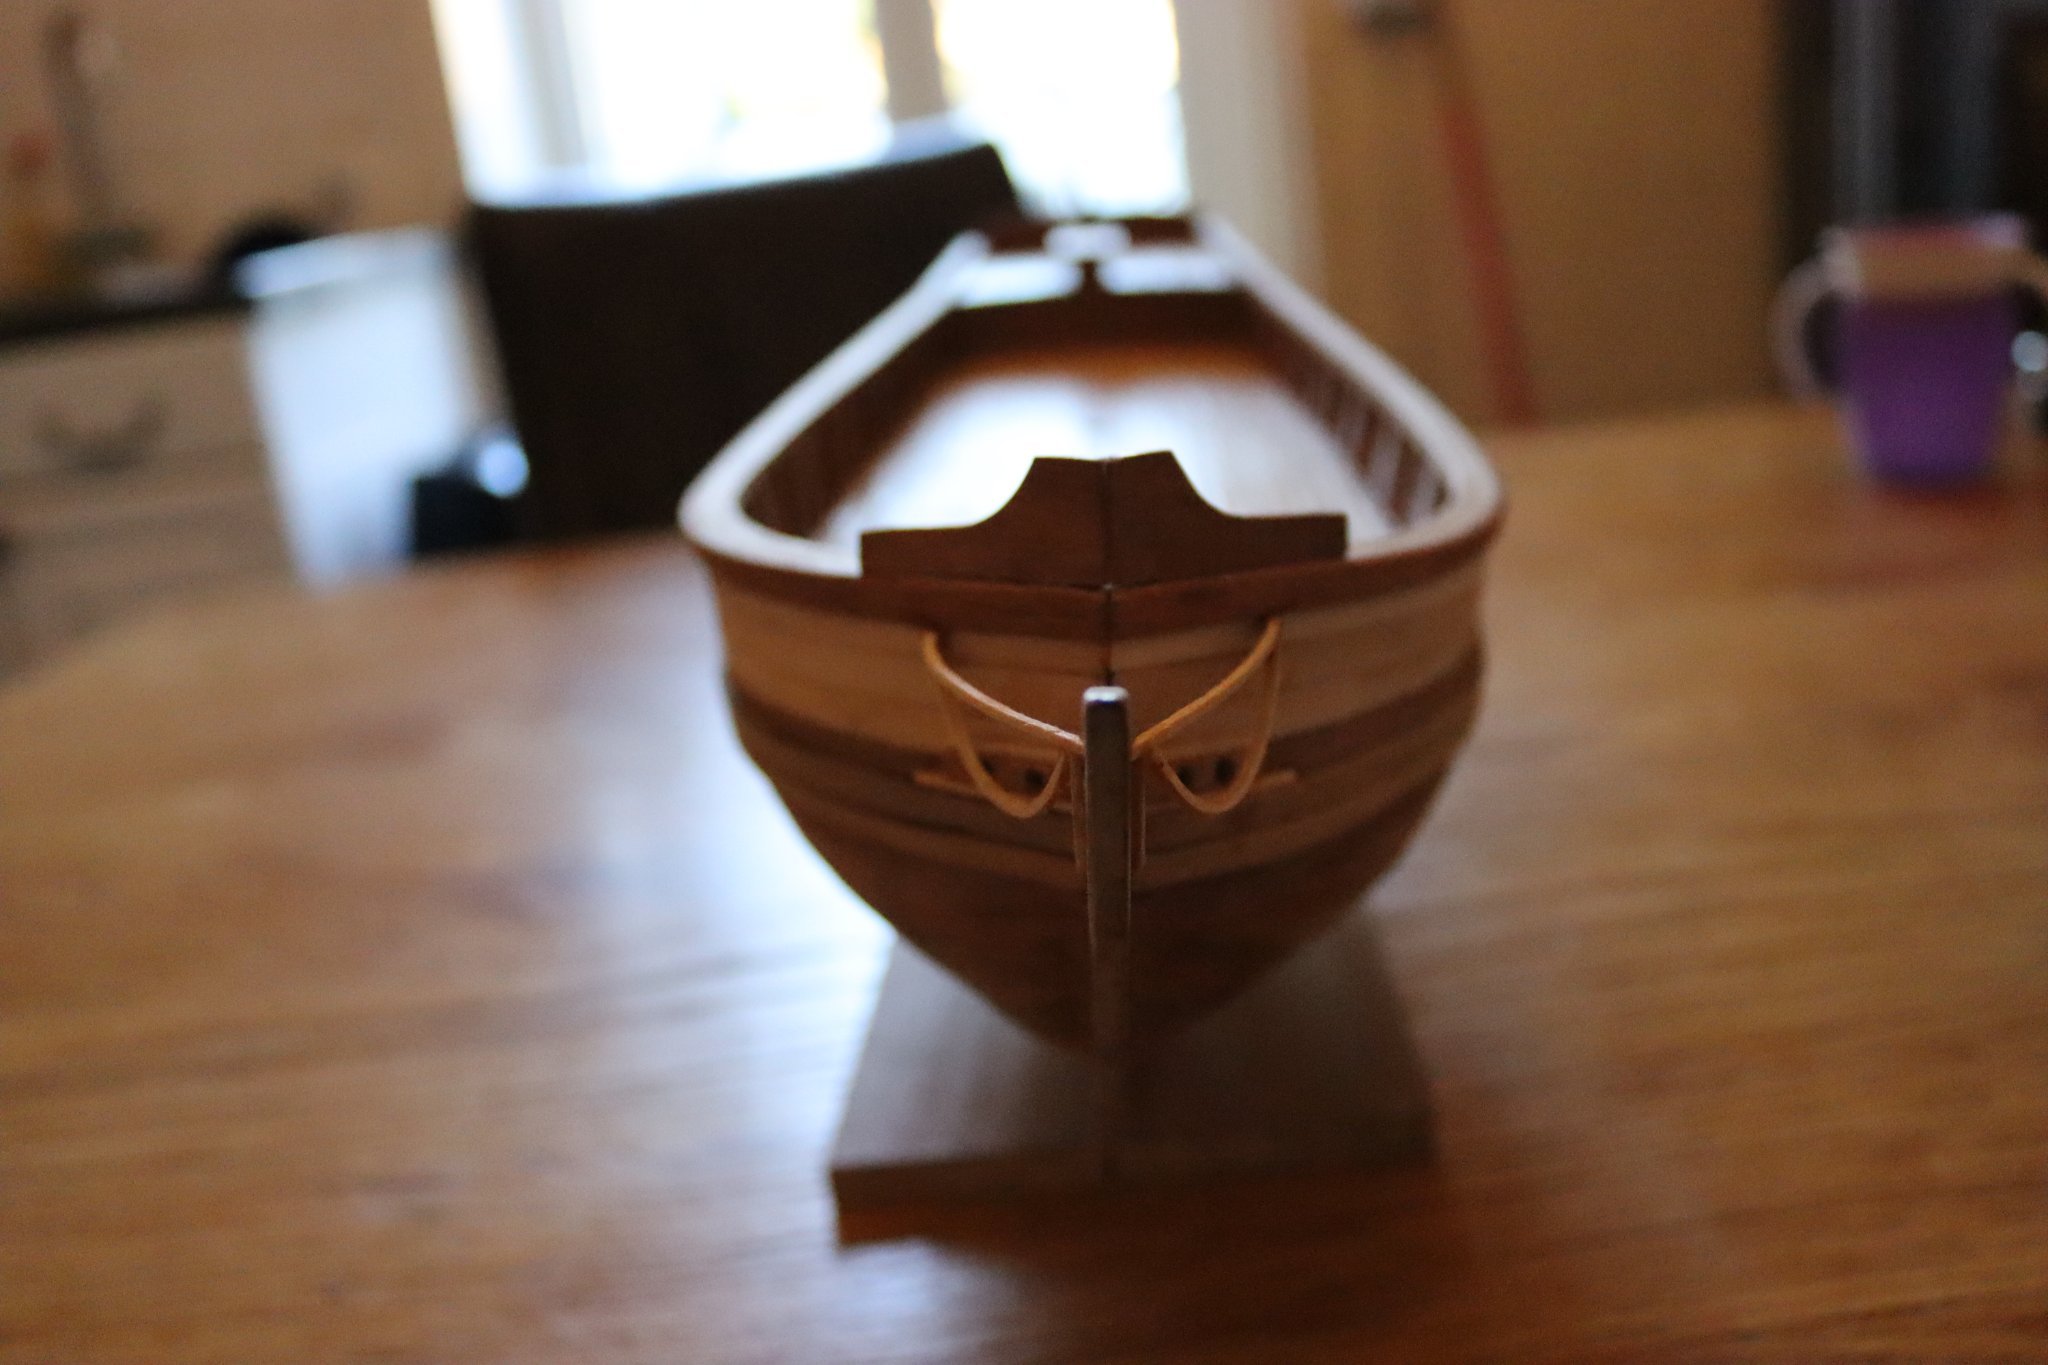
Well its been a very long time since I posted anything... I have just (today) finished the planking of the hull. That is not to say it has taken me this long to do the planking itself - rather it has taken me this long to be motivated to get it done. - I have however kept myself busy with other aspects of the ship. and it is starting to take shape. I am so relived that planking is behind me. I and really excited about the rest of the ship. I have been busy making the "deck bits" hatches, anchor pull thingy, barrels etc and am nearly ready to add them to the deck. I am delayed by needed a piece of wood which is on order. Once it arrives I will be full steam ahead with the rest of the model. I also need to commit to the finish of the ship, oil, wax, varnish etc. I am still open to any suggestions you may have. Thanks for all your support.

- 89 replies
-
- 2
-
-
- Enterprise
- first build
- (and 2 more)
-
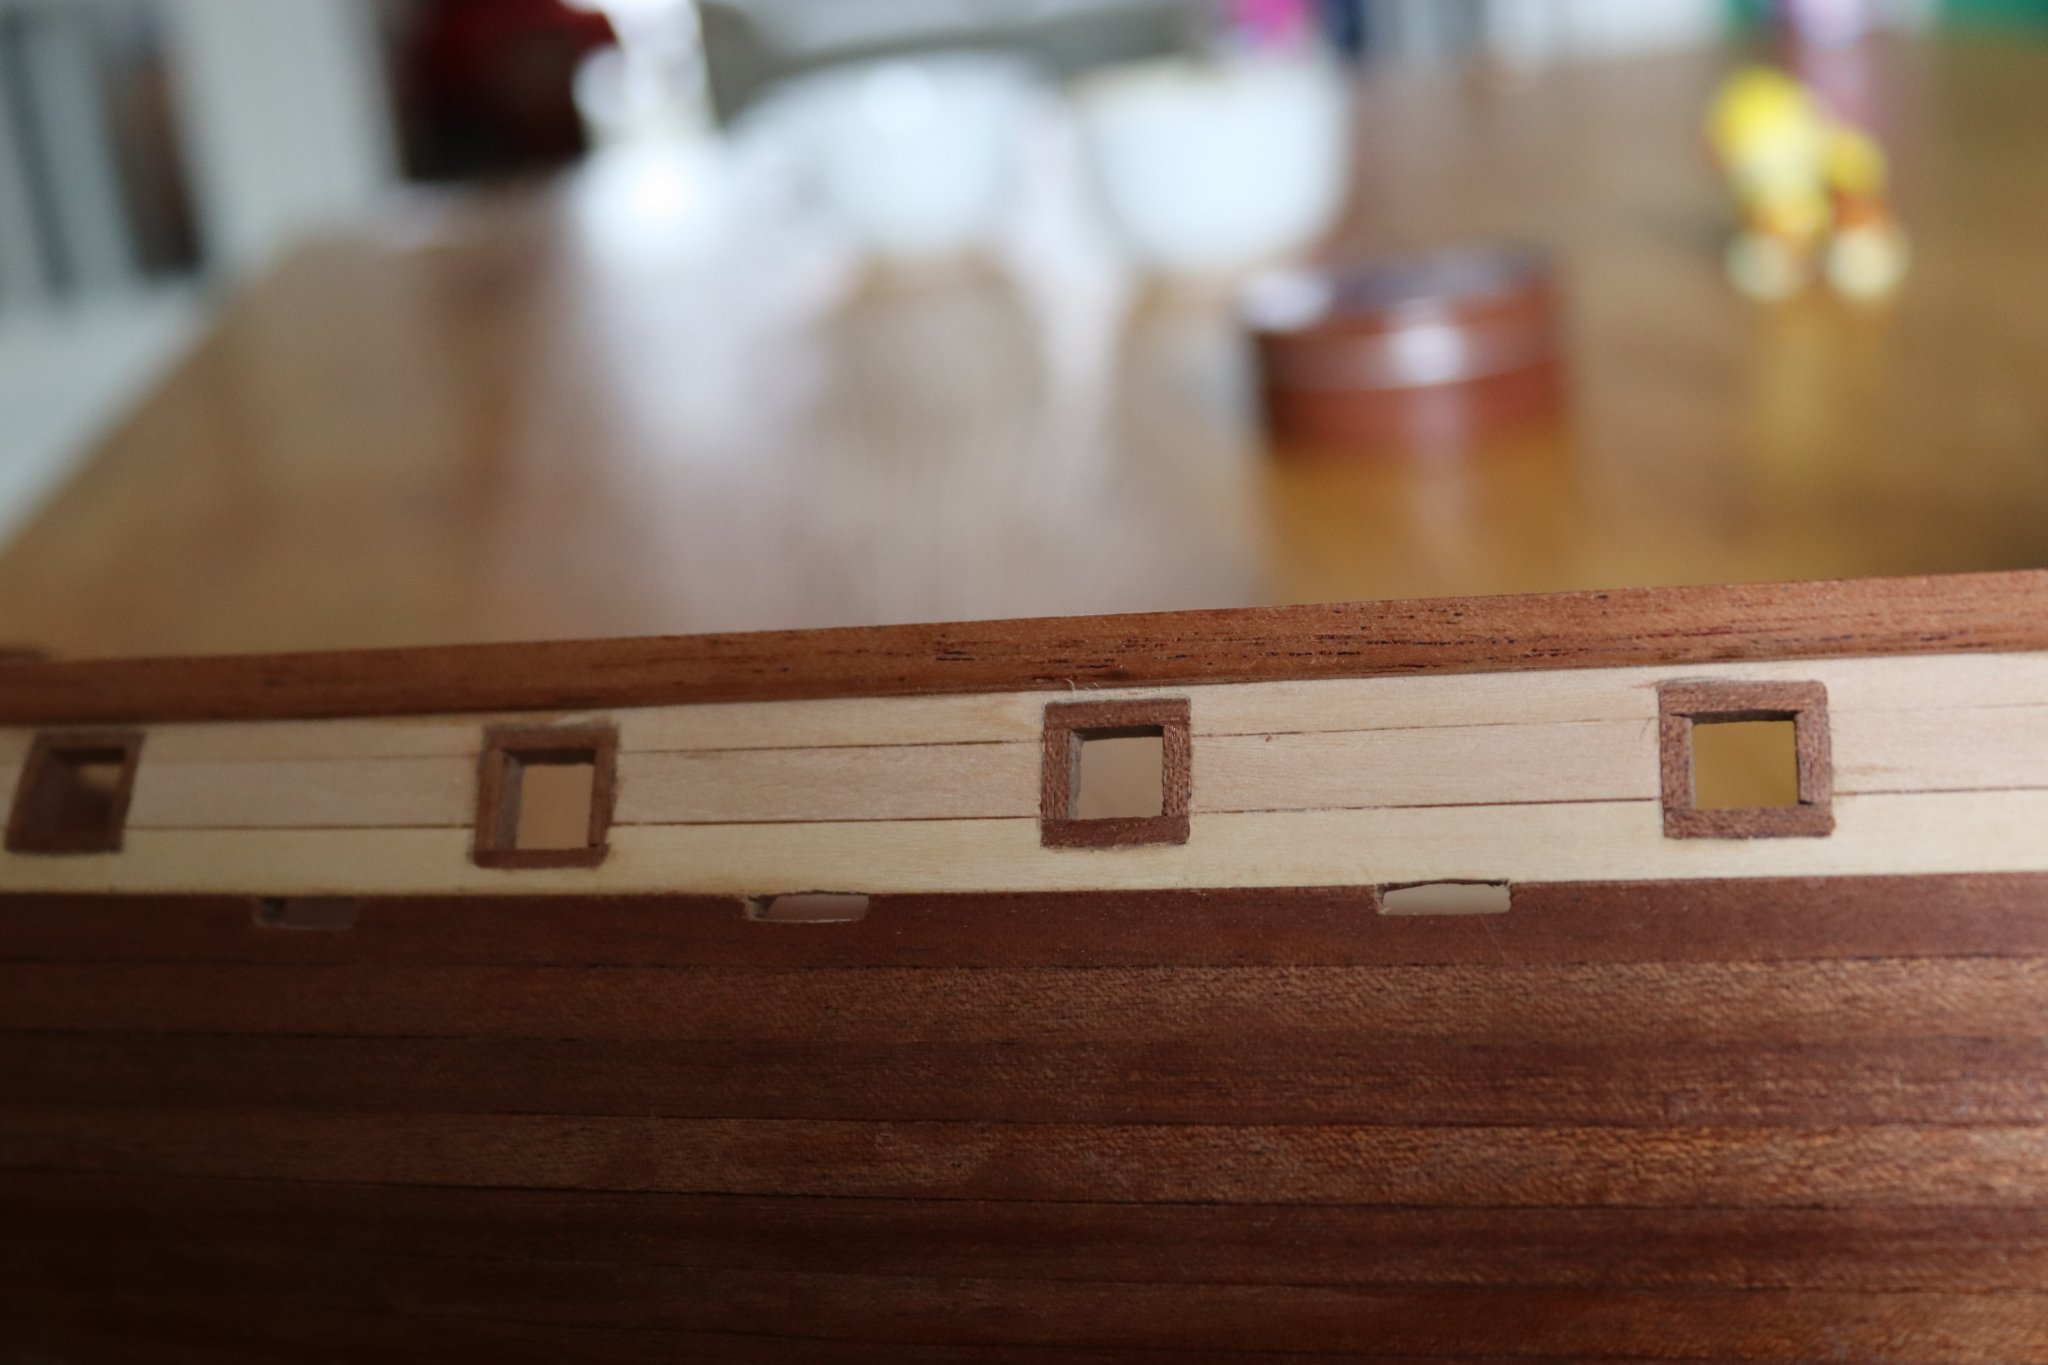
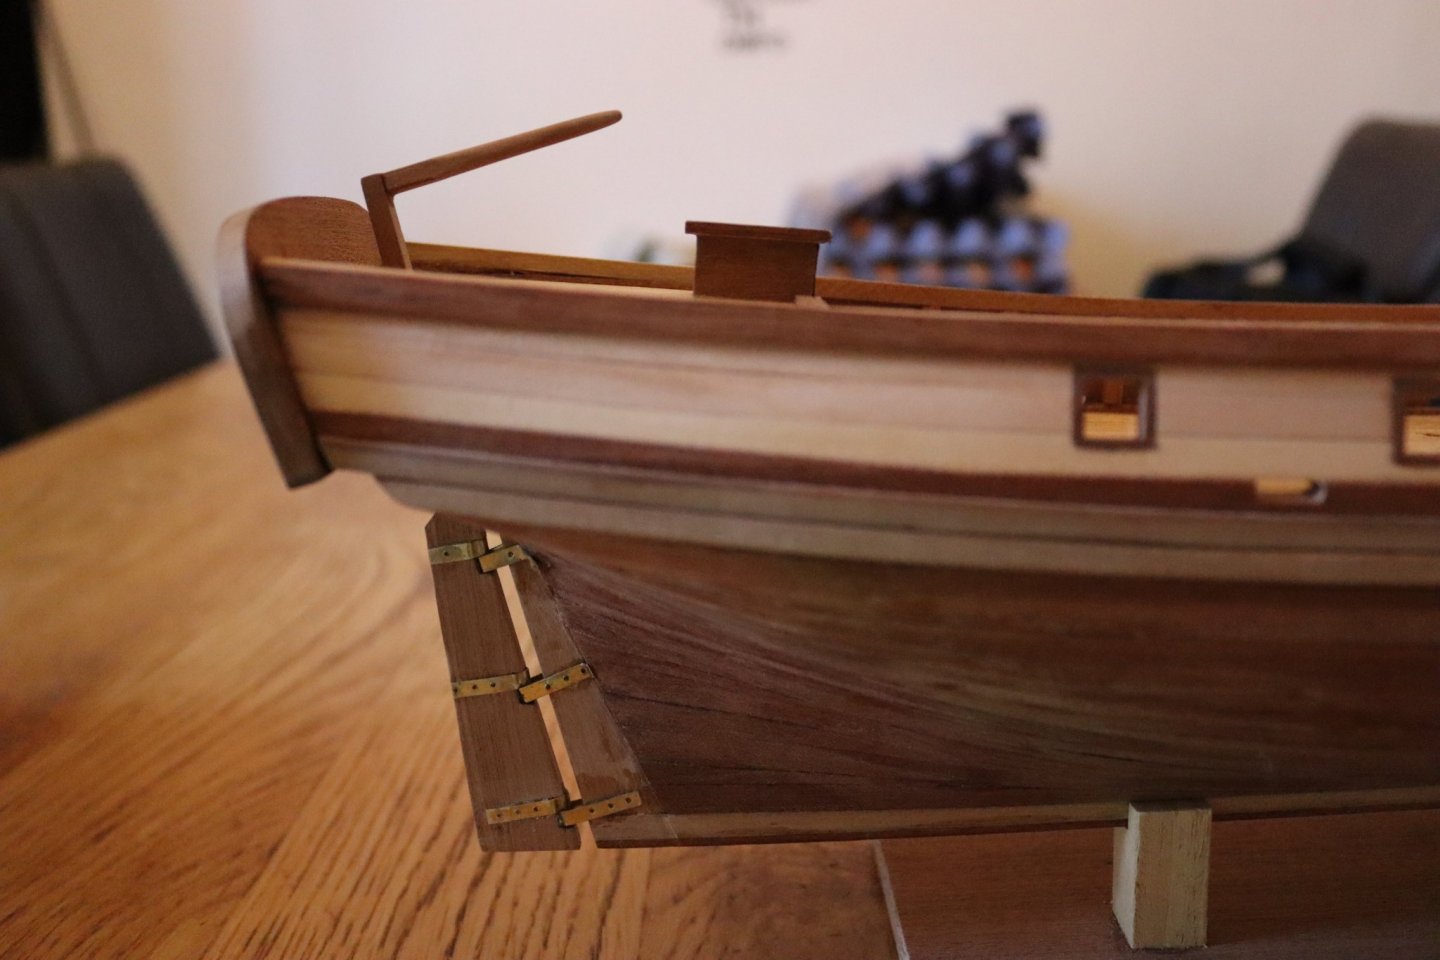
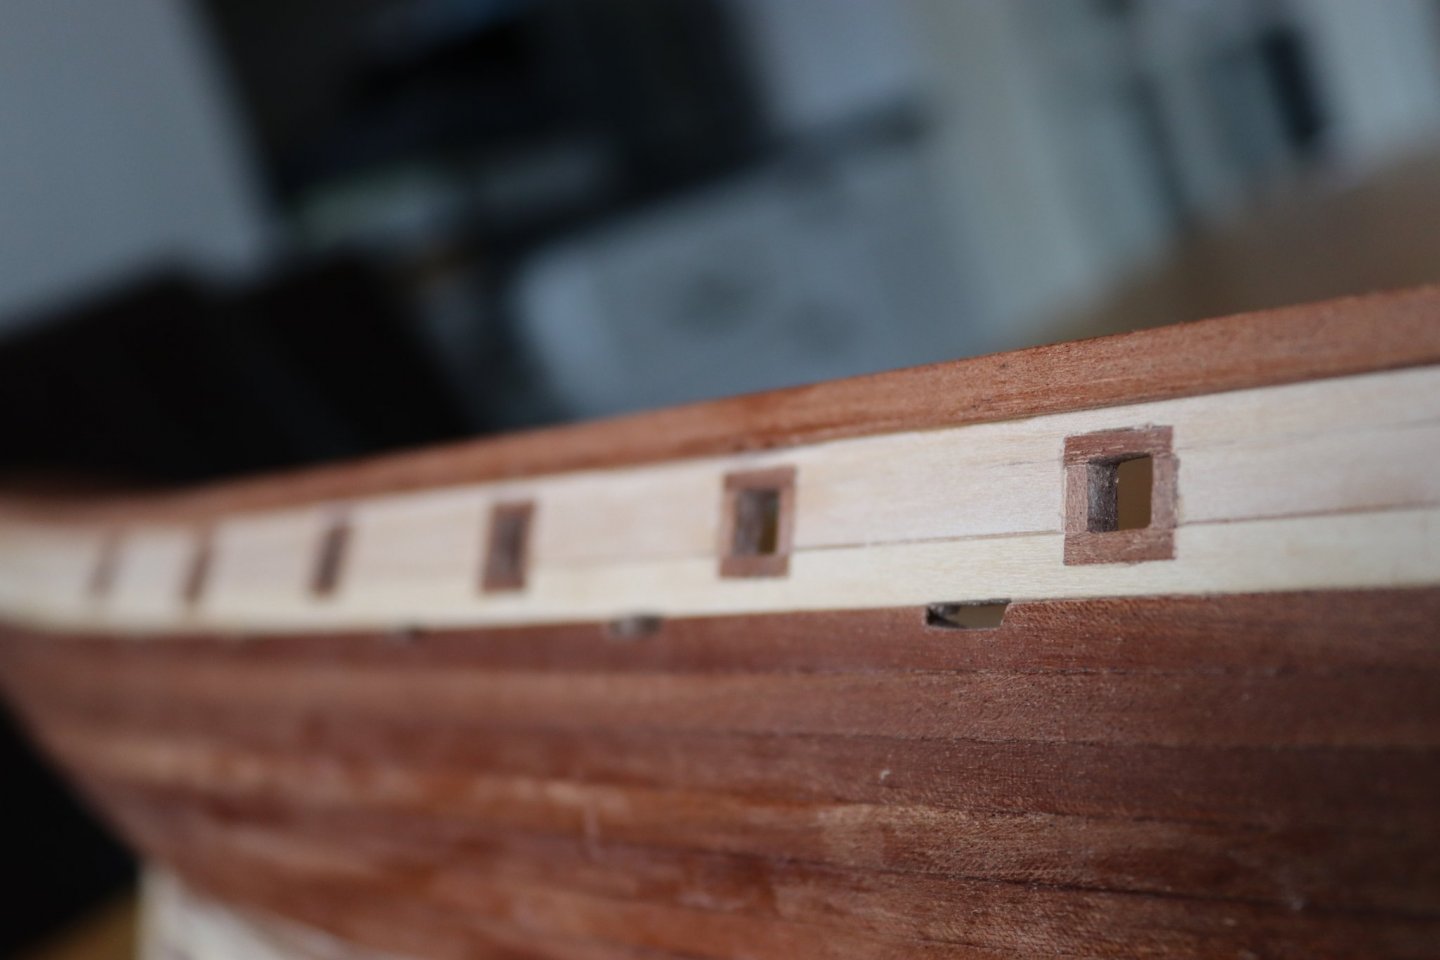
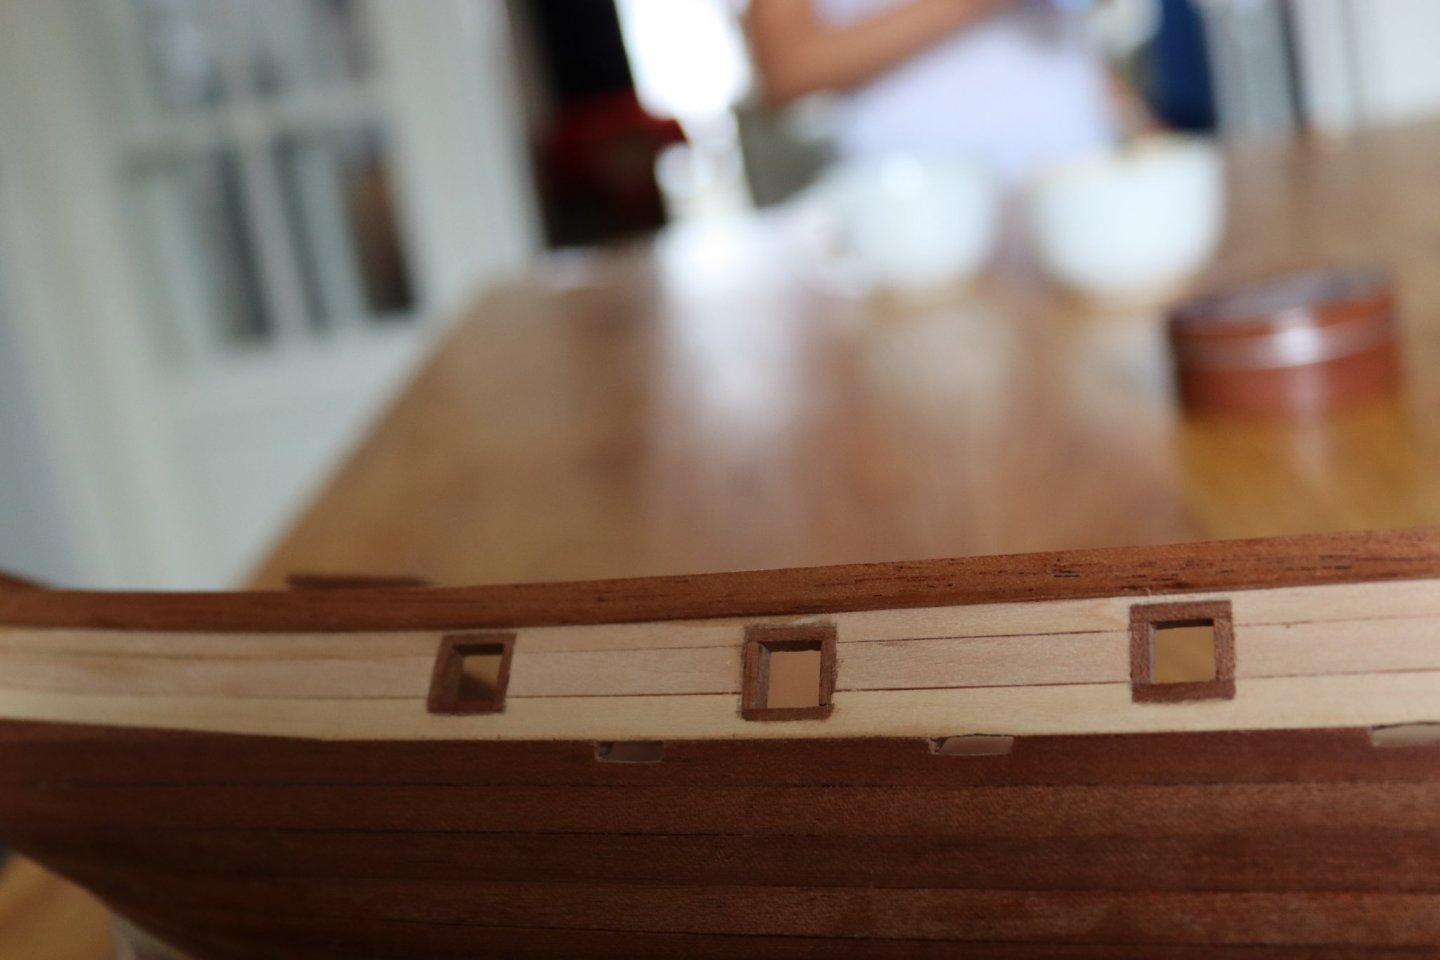
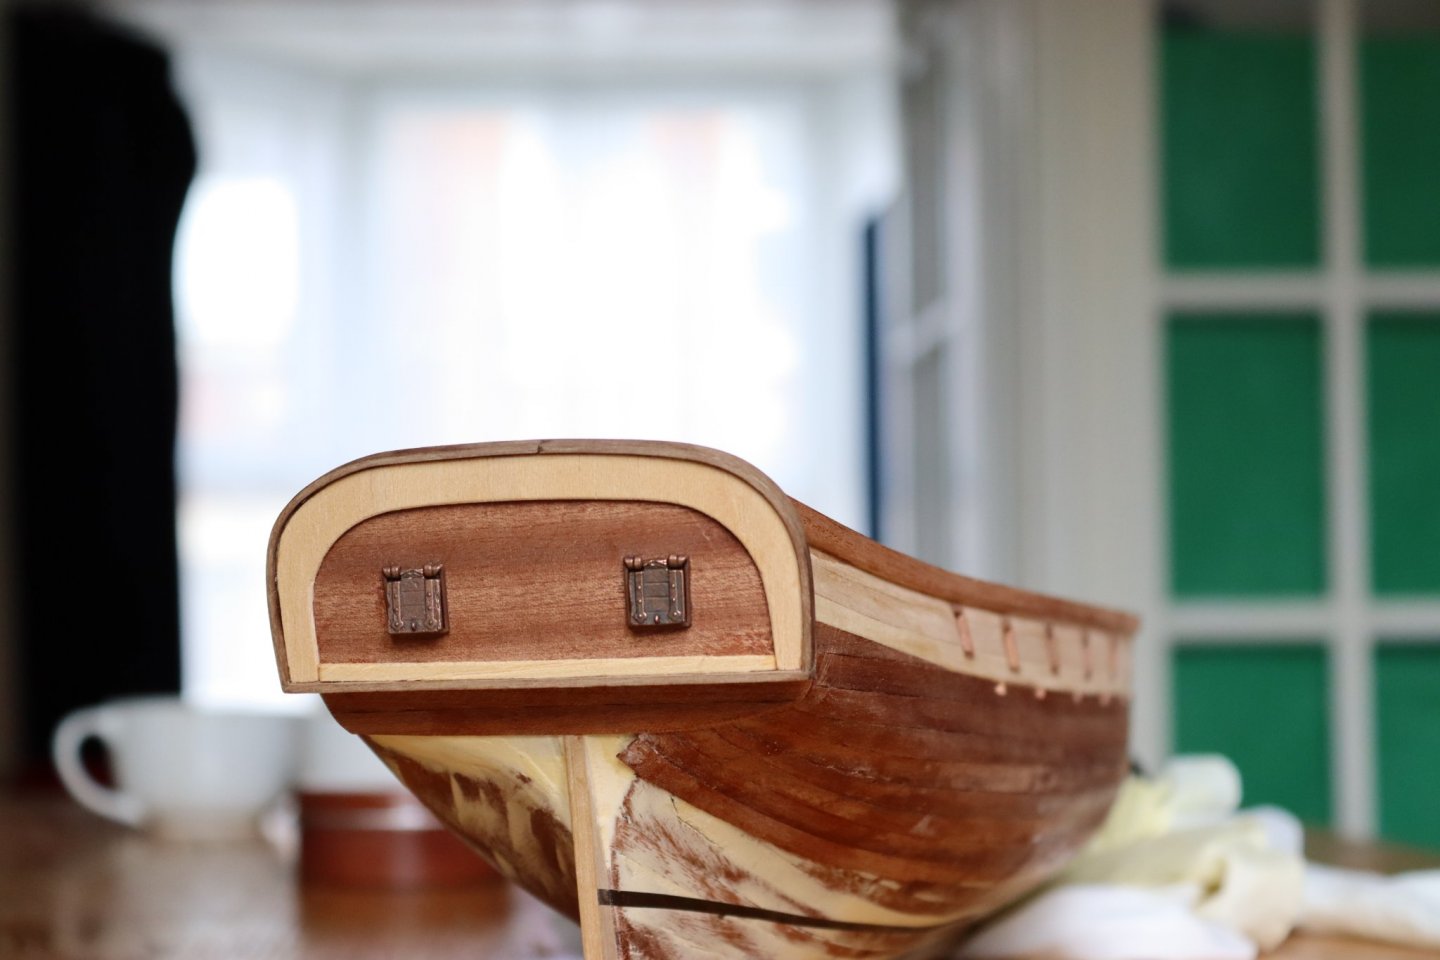
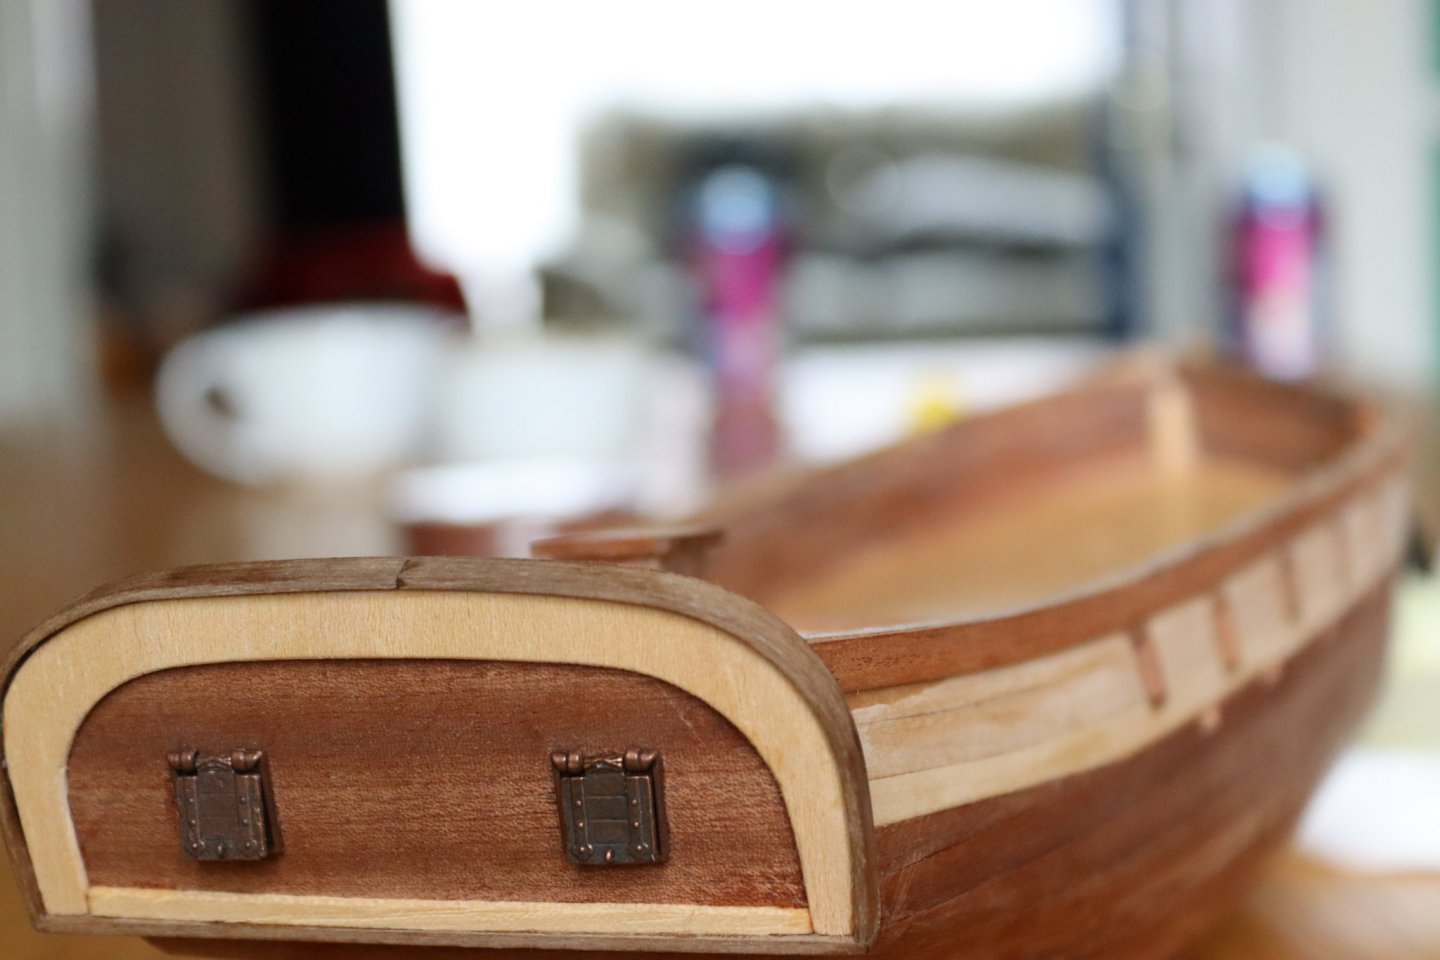
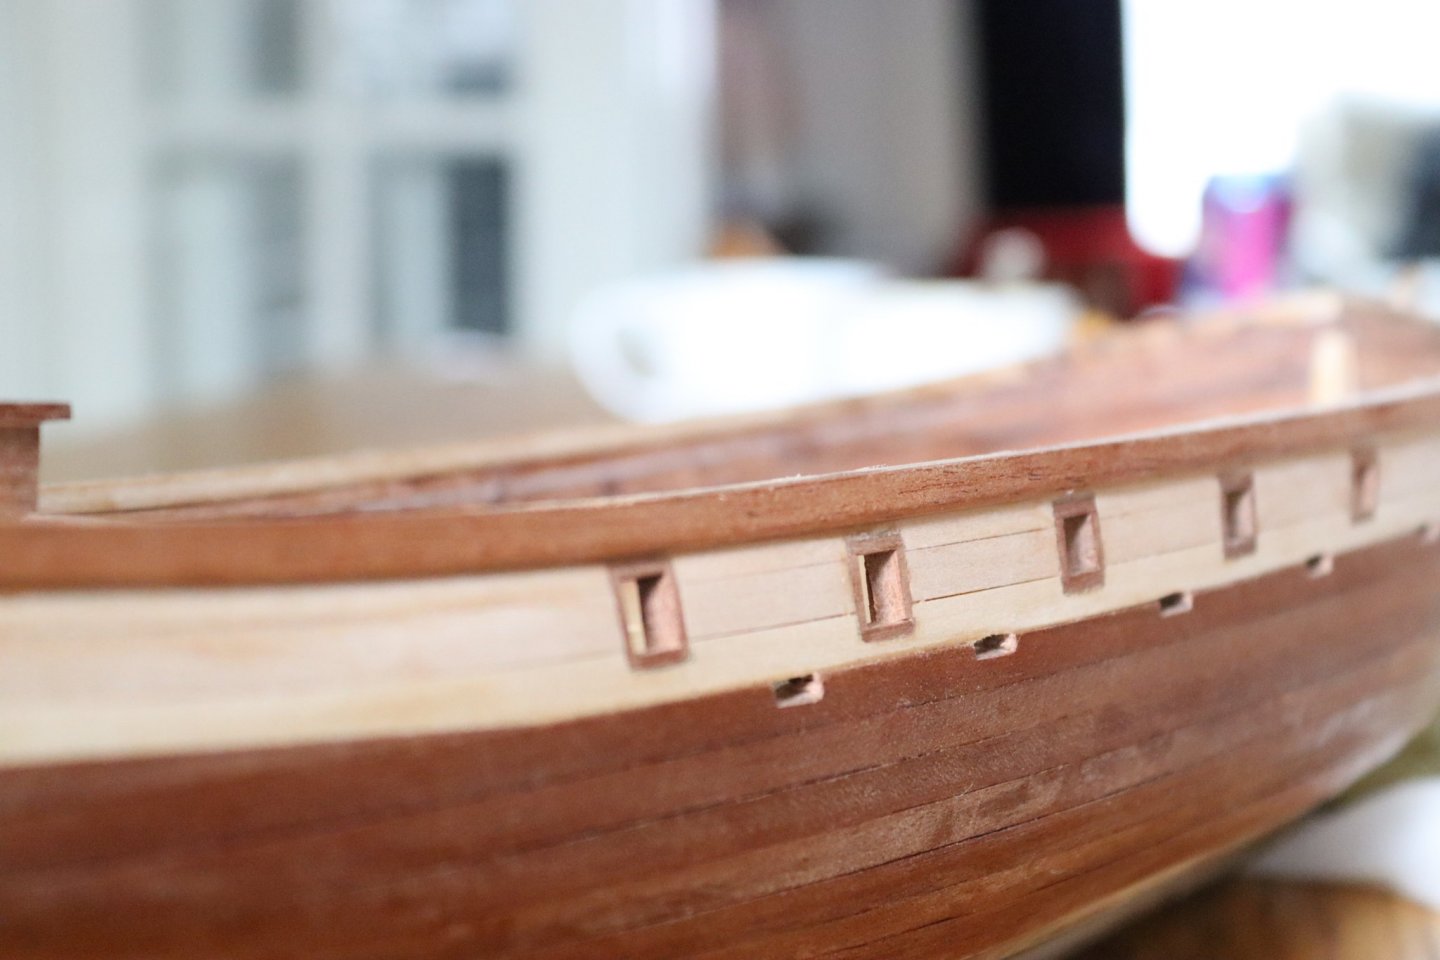
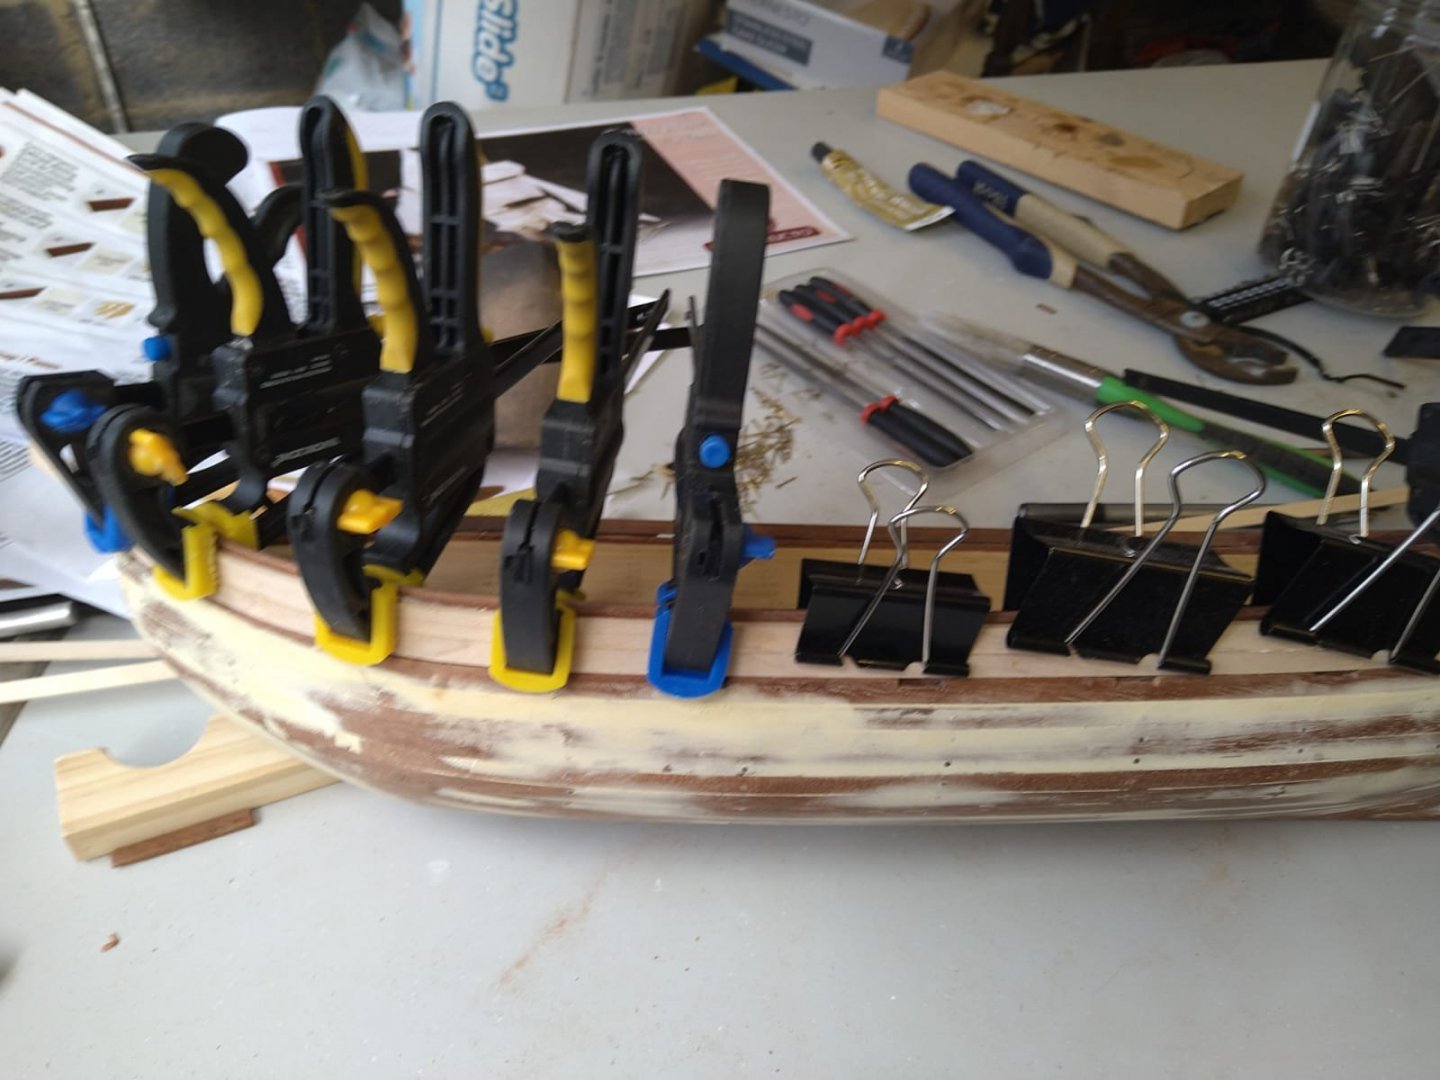
Although I still have some way to go on the second planking, I have been continuing on the gun ports. One side is now finished and looking good. I have also attached the Transom Stern. I am rather pleased with the look. I am still debating whether to attach dummy canons in the gun ports on the Stern. I still have the whole port side to do, but I am pleased with my progress so far. I know I should definitely have finished the second planking before progressing this far - I am hoping to get to a point where I cannot continue without finishing the planking, and therefore force myself to get it done!! Perhaps if I ban myself from anything else till the planking is done I will get on with it - but I recon I would just put the model down for a month instead - HAHA. I will finish it - I wont be able to stand it not being done to perfection! anyway, here she is so far. I plan to plank at least some of the port side next since I cannot really do the canon holes (windows) until it is done. hopefully I will have an update for you soon.


- 89 replies
-
- 2
-
-
- Enterprise
- first build
- (and 2 more)
-
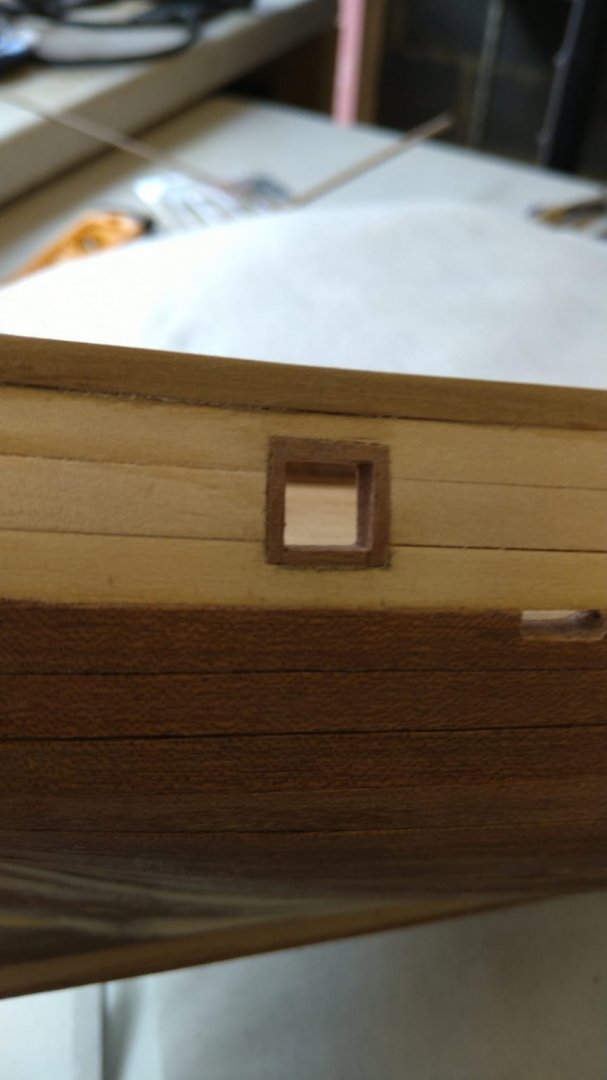
I have done so, much work on the ship since my last post and apologise for not having written anything in such a long time. Cathead: your advice was great. I finished the first layer of planking and then attached my newly made (with my newly acquired band saw - a steal from ebay). It fitted well and I am pleased with the final result. I am now about a third of the way through the second layer of planking which is going much better than the first, giving me hope that I wont need any filler and can varnish, or wax the hull keeping it natural. I have also made my first canon hole (or port). I couldn't resist. Again I am really happy with the finished look - especially the contrast between light and dark wood. I still have a long way to go, but it is exhilarating to have made it this far. what you said about treating each plank as its own mini project really helped me celebrate the achievement of each piece added, rather than despair that one piece had managed to take so long to do. it is a very encouraging way to approach the project as a whole. There is still a long way to go, and I now have about 3 separate mini projects on the go, but I am loving the experience and the journey.

- 89 replies
-
- 1
-
-
- Enterprise
- first build
- (and 2 more)
-
Thanks for the advice. I am afraid I didn't take any photos early on. I didn't realise how much help I would need, or how helpful progress photo's would turn out to be. I also didn't dry fit the stem before planking which also doesn't help. It is a lesson learned and certainly something I will take into any future build - as well as 'slow down', I jumped in head first and am now reaping the fruits of my impatience. I think the only real solution is for me to follow your advice and fashion a new stem. I will make a scrap stem first from off cuts and then, once happy with the shape, make the final piece. I have started the second planking - the planking strips are essentially a veneer, measuring less then 1mm thick, but it should hide my mistakes and make the hull look much nicer. I am also taking much more time on each strip trying to ensure tight 'seams', 'joins'...? Hopefully in a couple of weeks or so it will be done and I can put the stem on - so I have plenty of time to make one I am happy with and if need be order some nice wood to cut the final piece out of. I will show you some pics once I have done some more on the build.
-
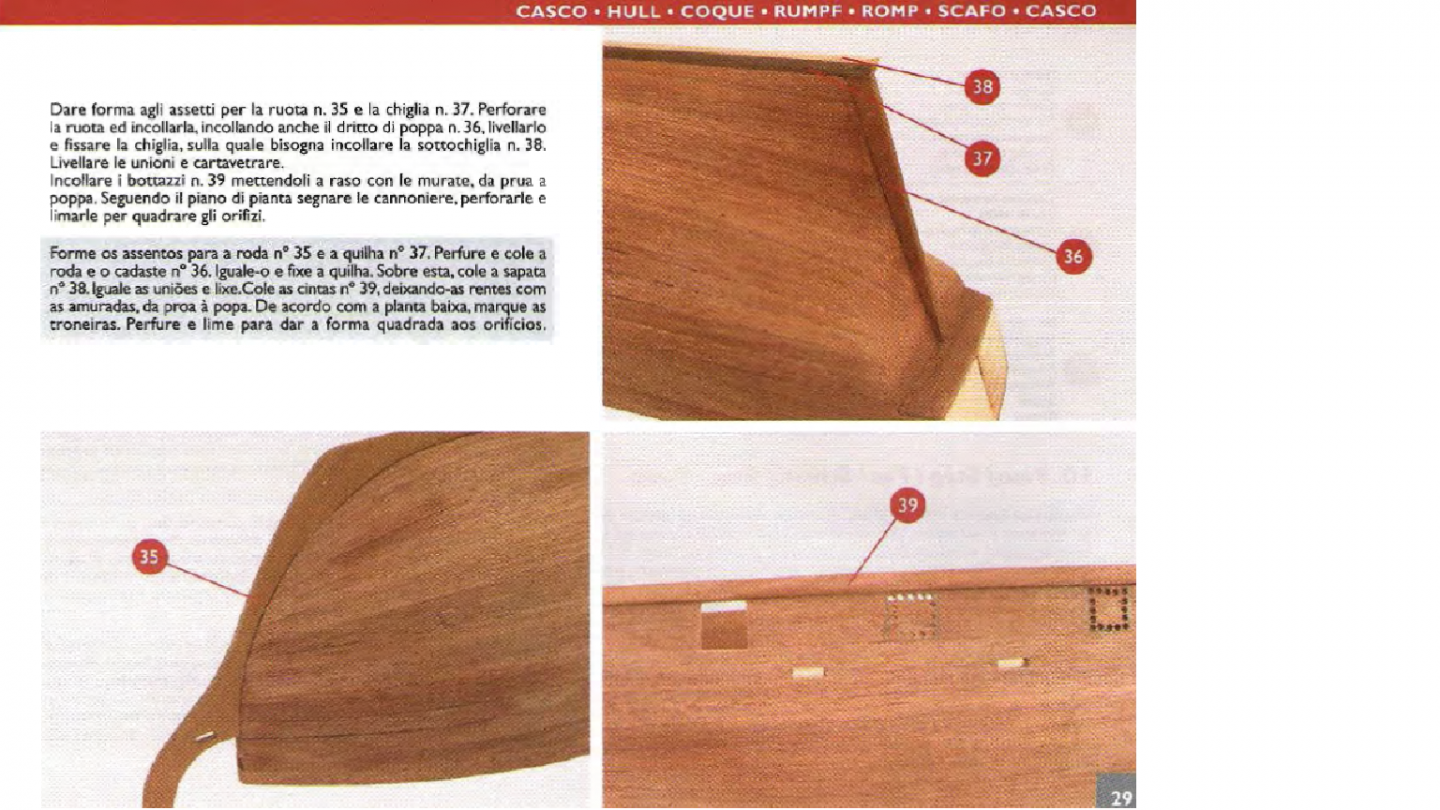
The plans do not seem to be that detailed .... It basically just say to glue it but doesn't address the fact that it wasn't ever going to fit since it is a different curve to the 'frame'. the picture on the next page is also a little useless. It shows the finished look, but no information on how to get there.

-
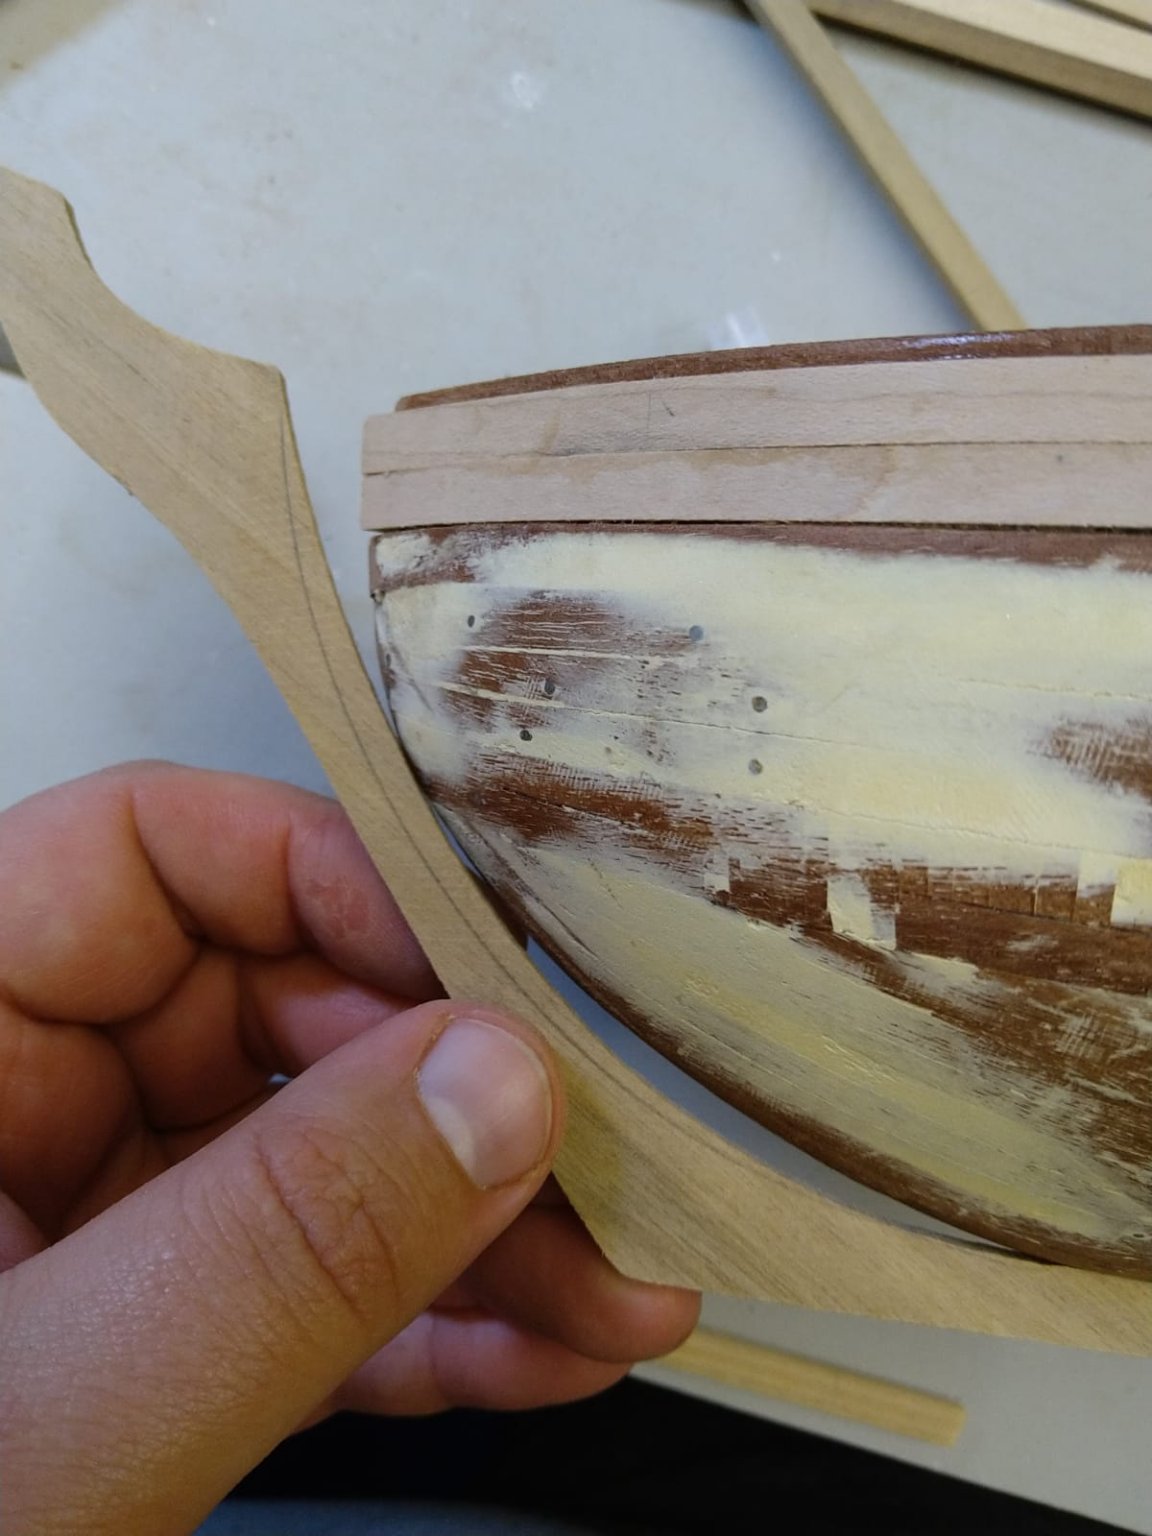
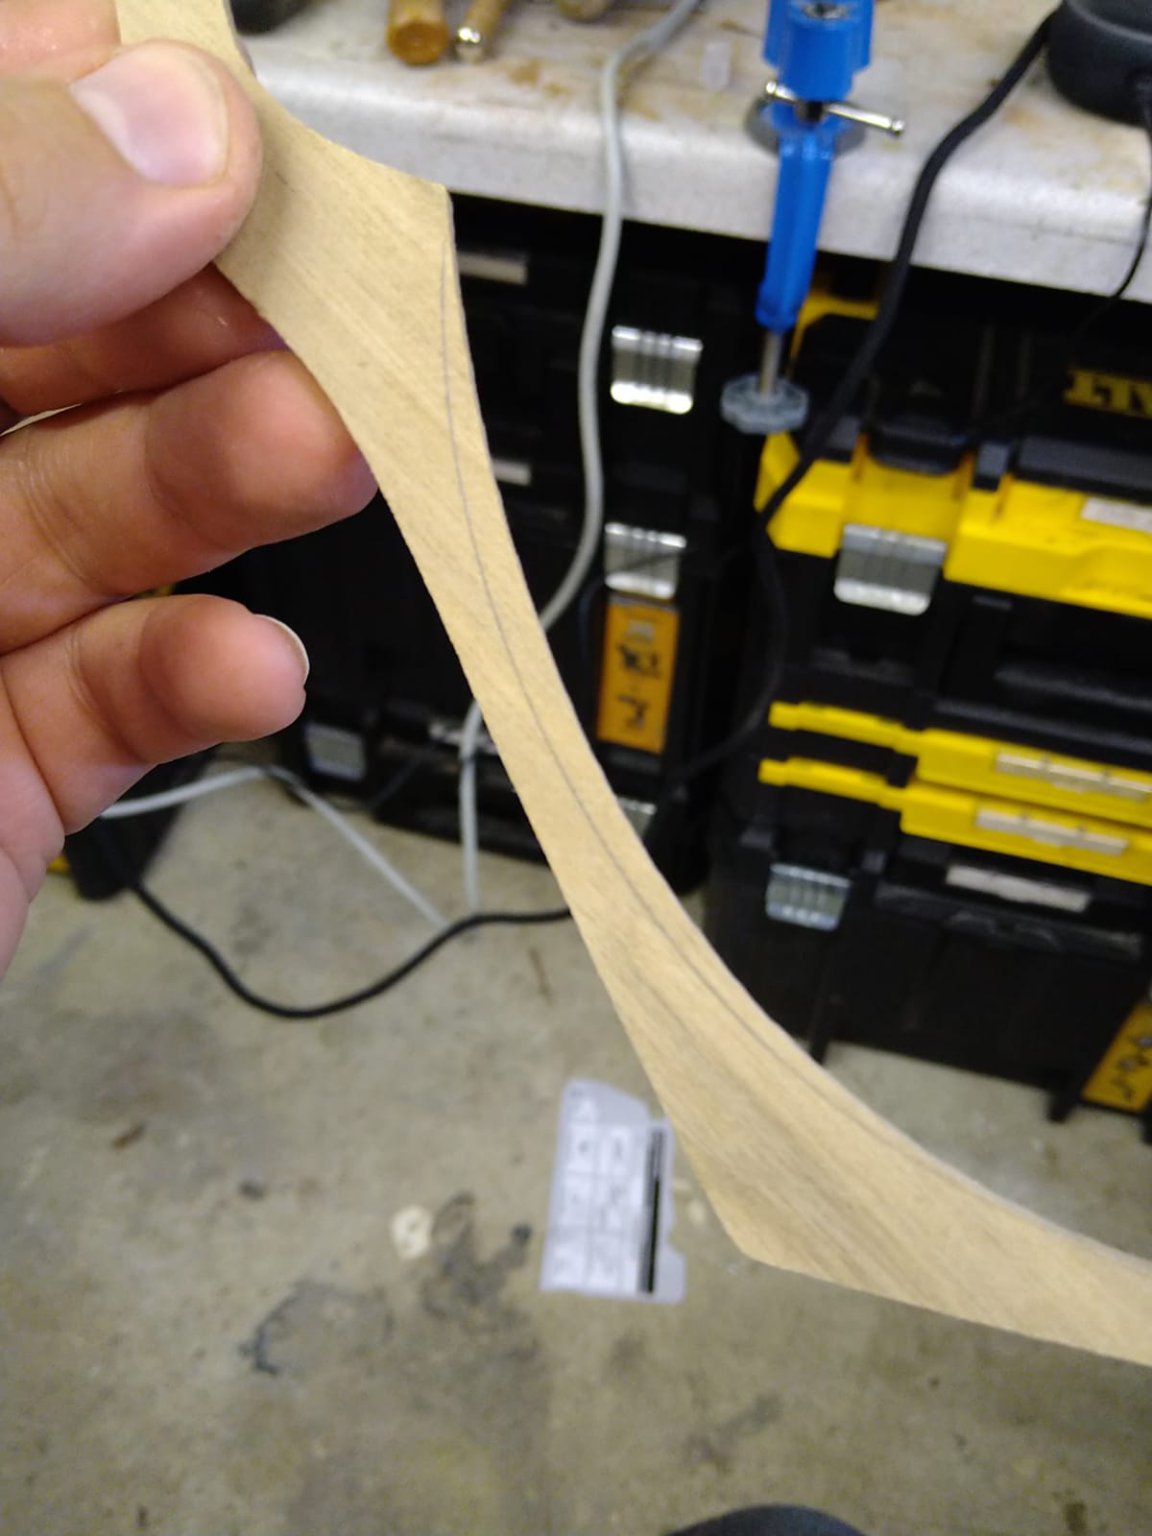
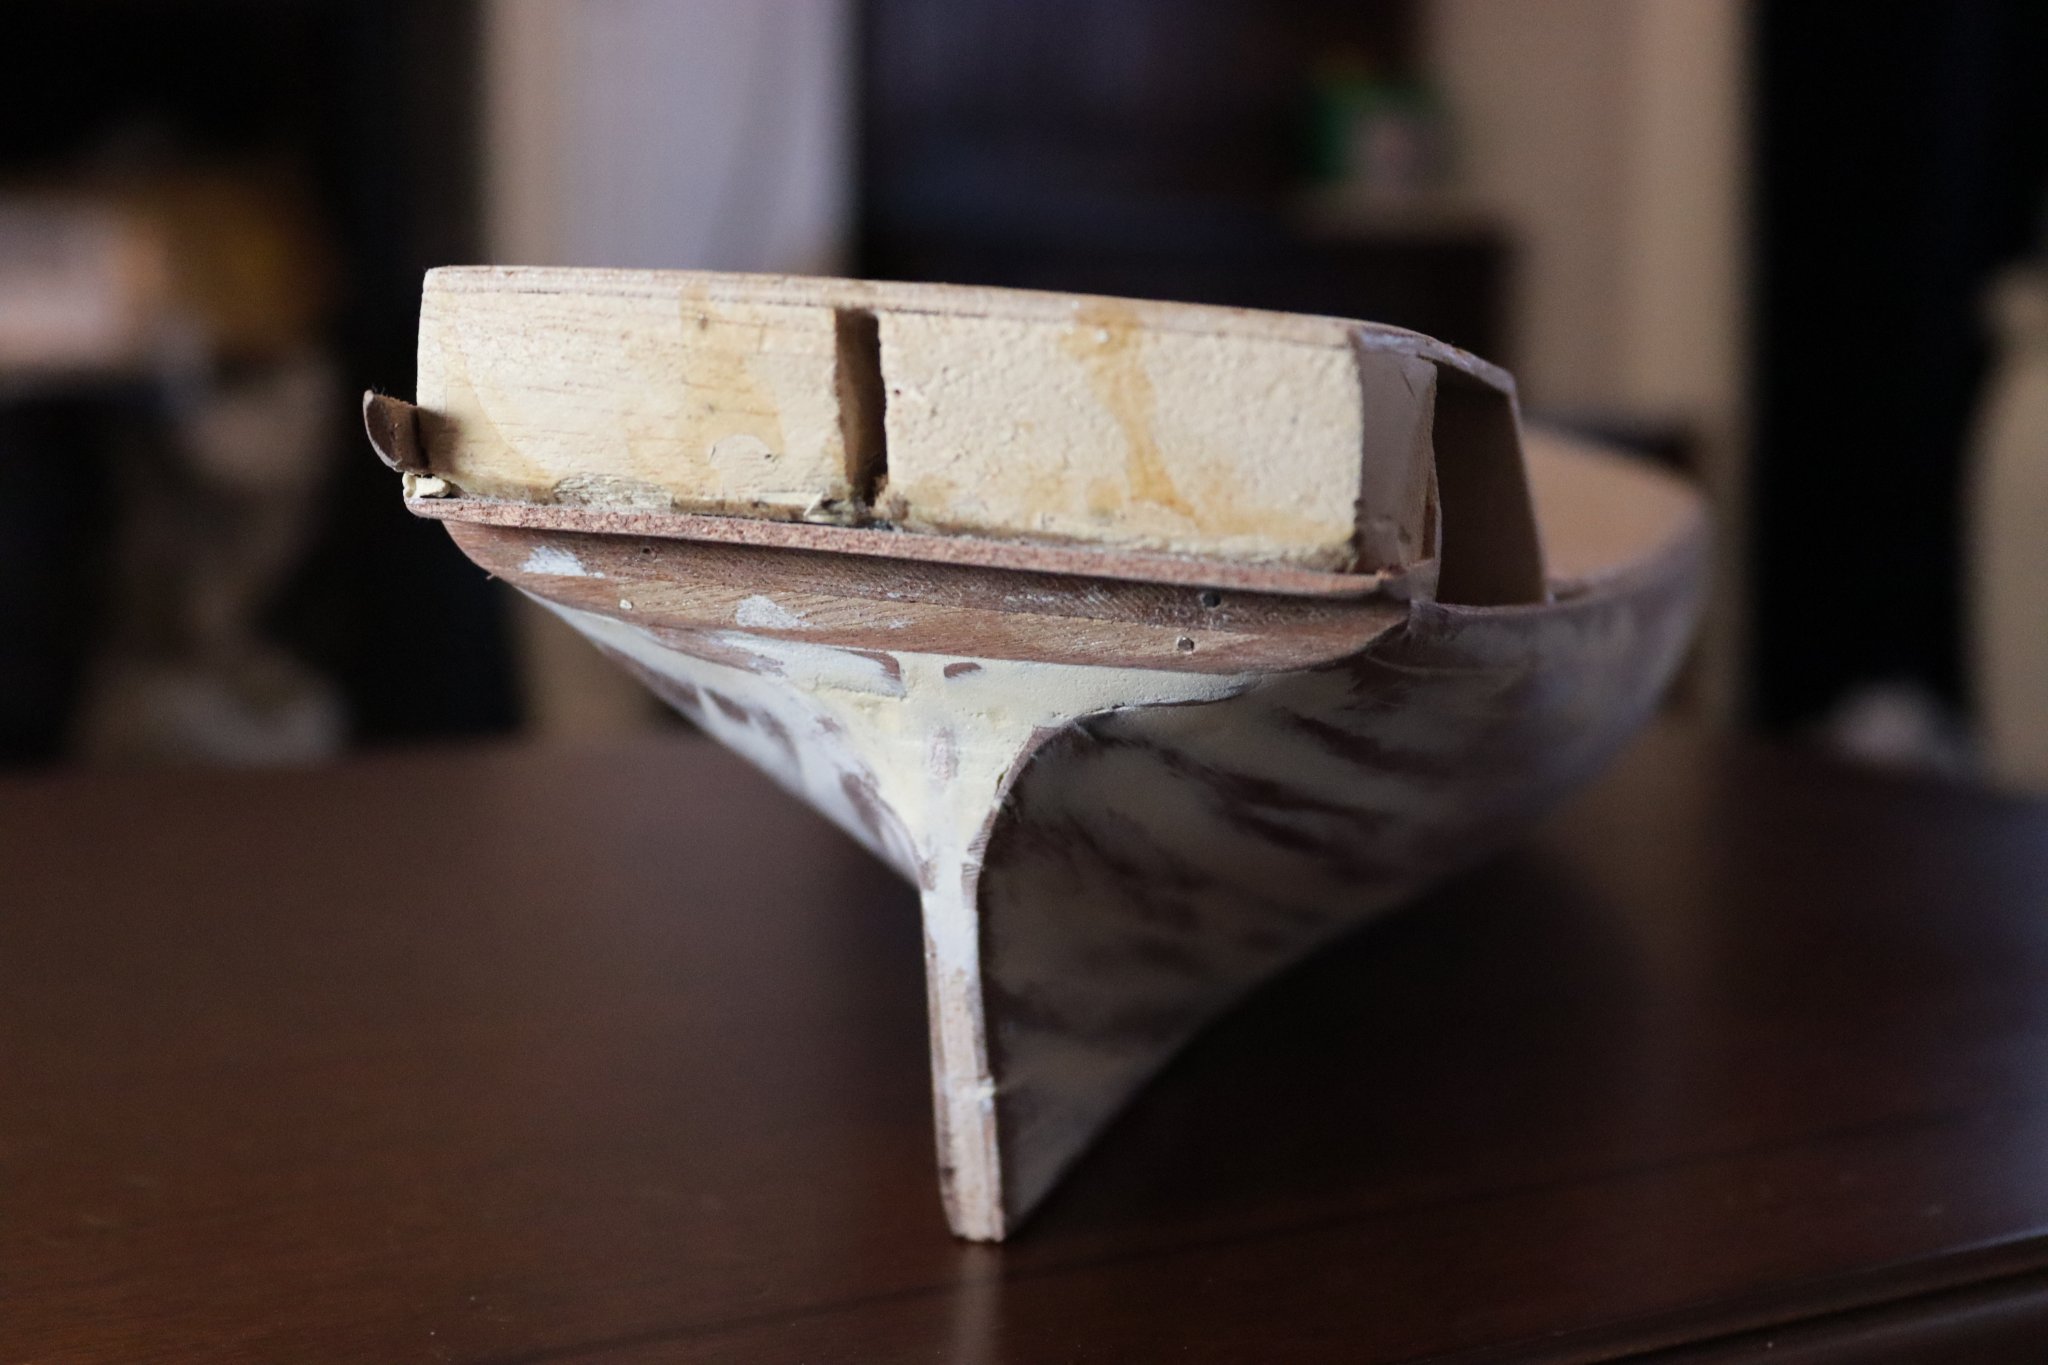
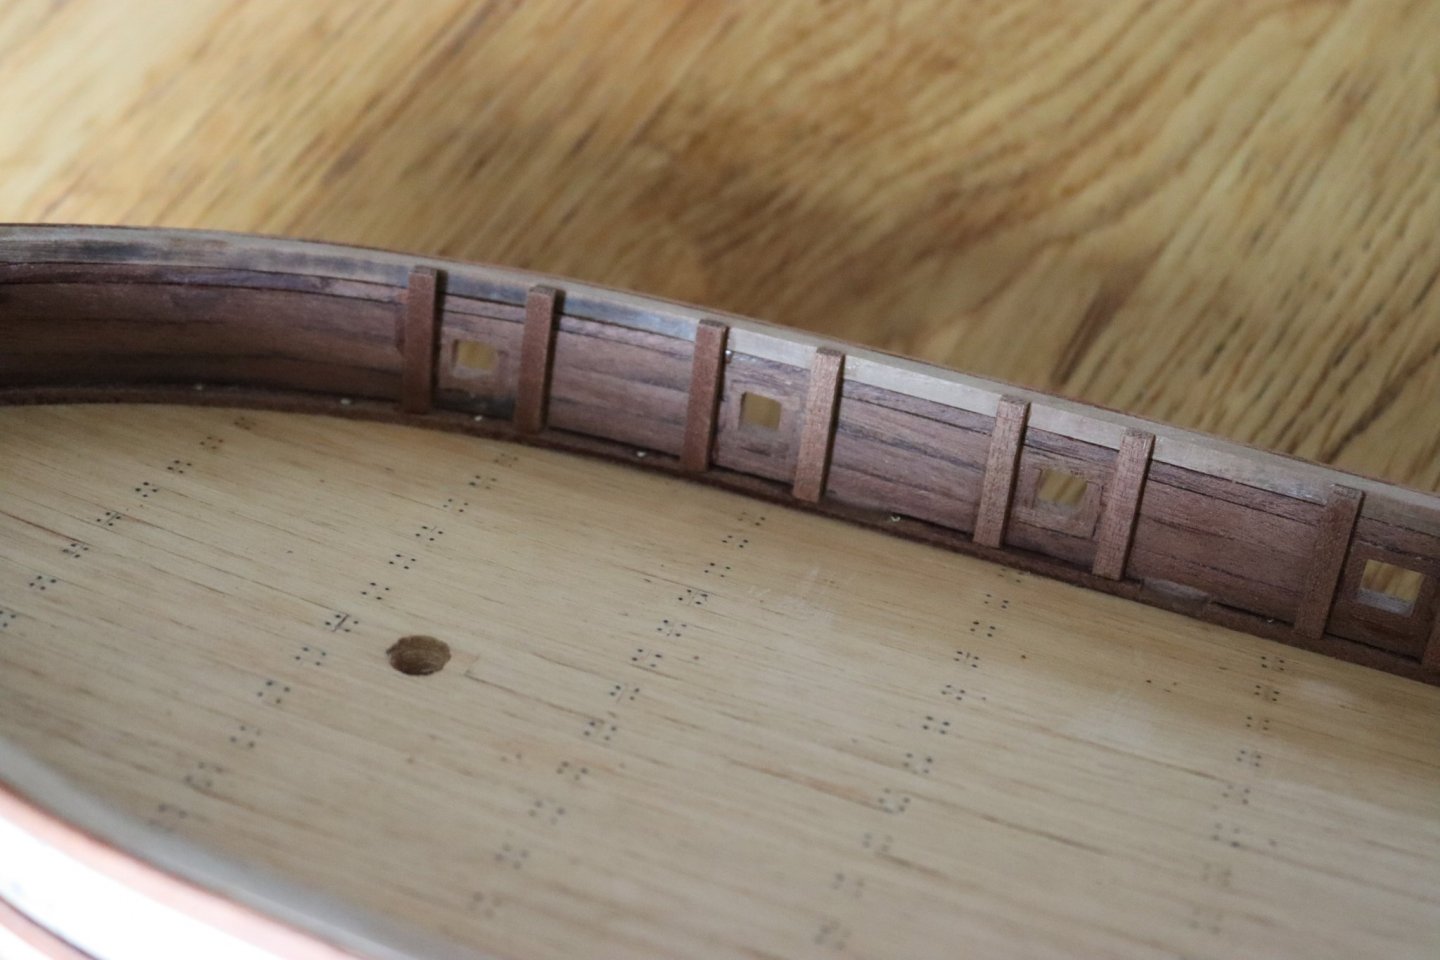
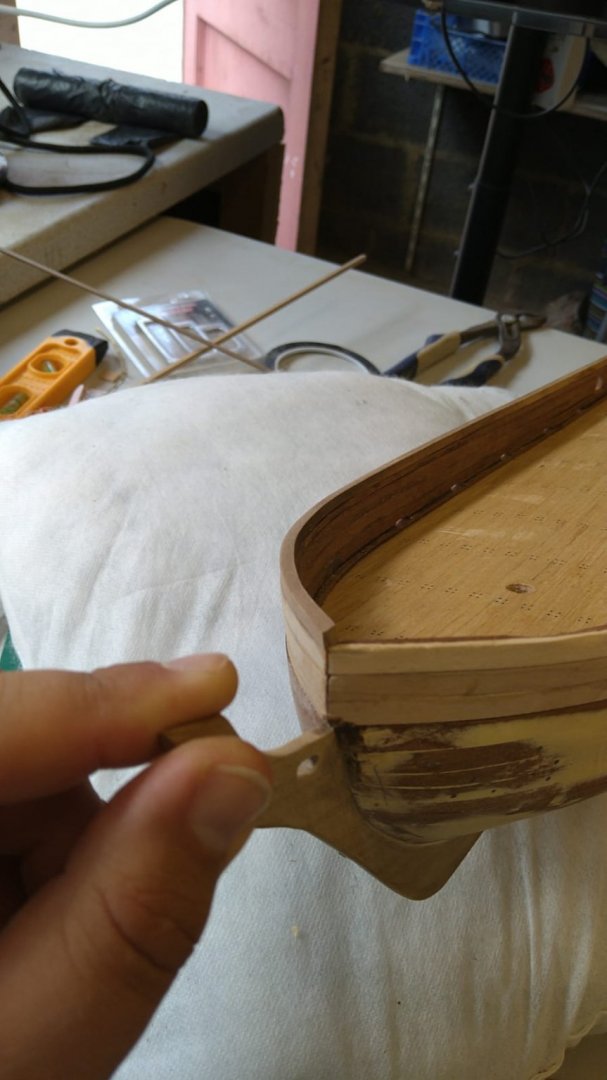
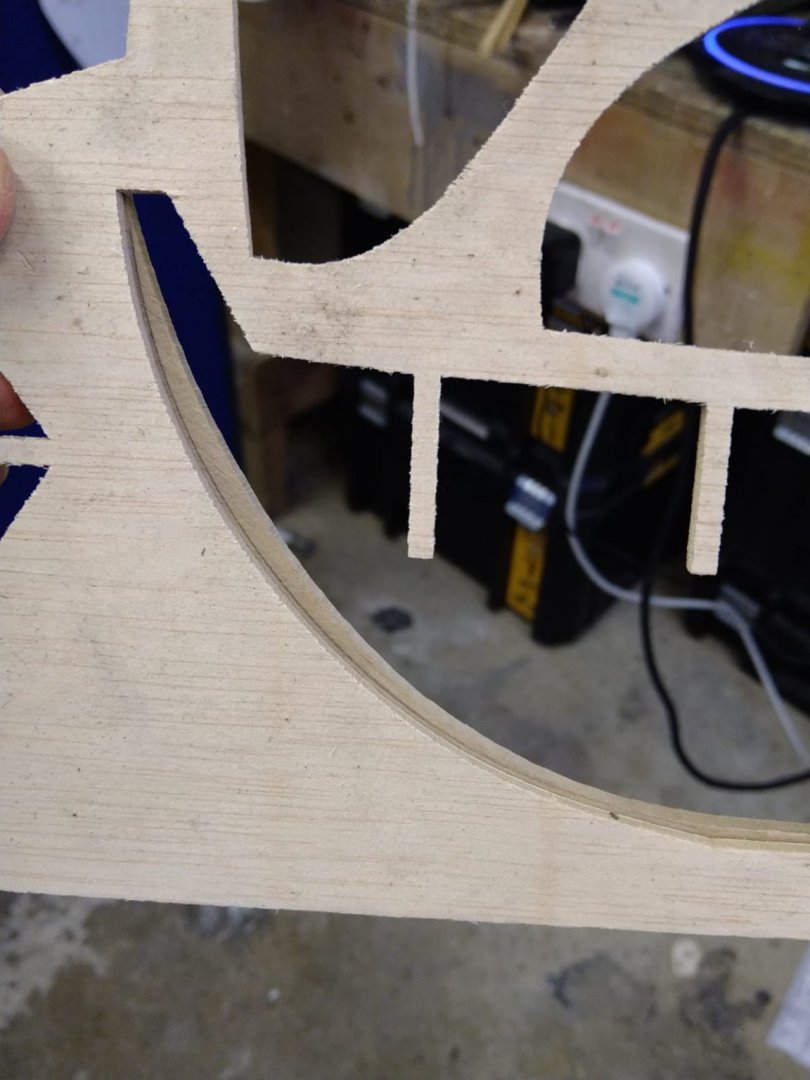
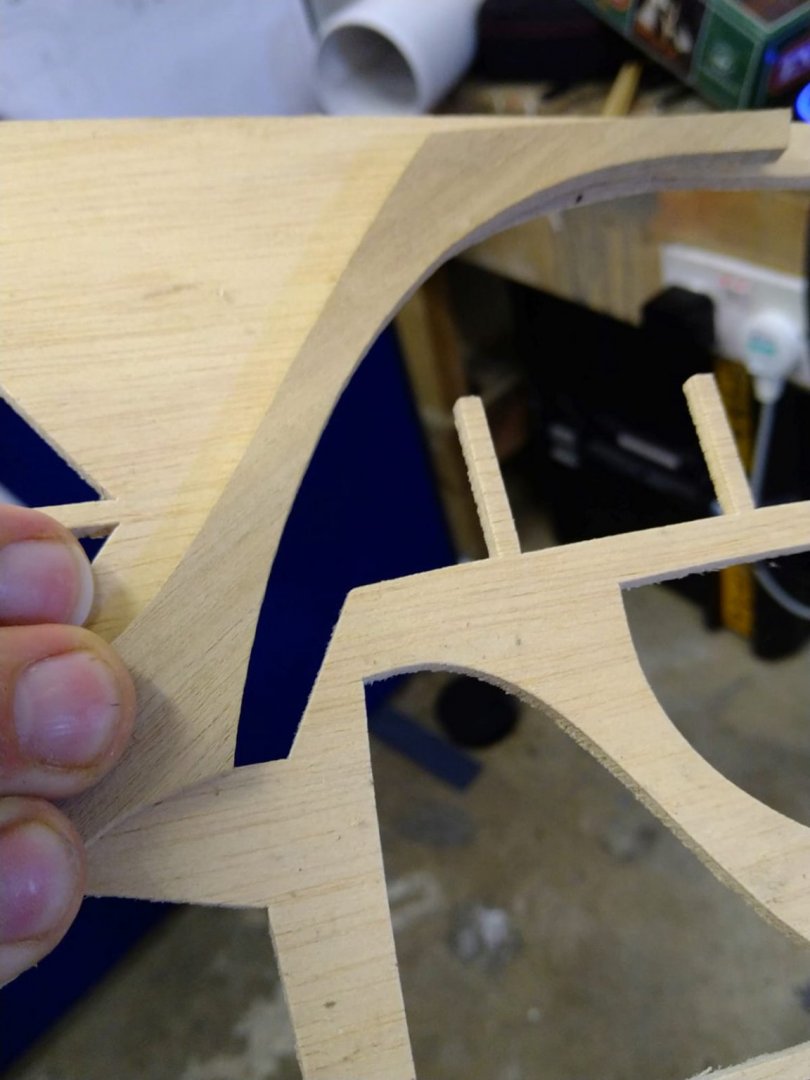
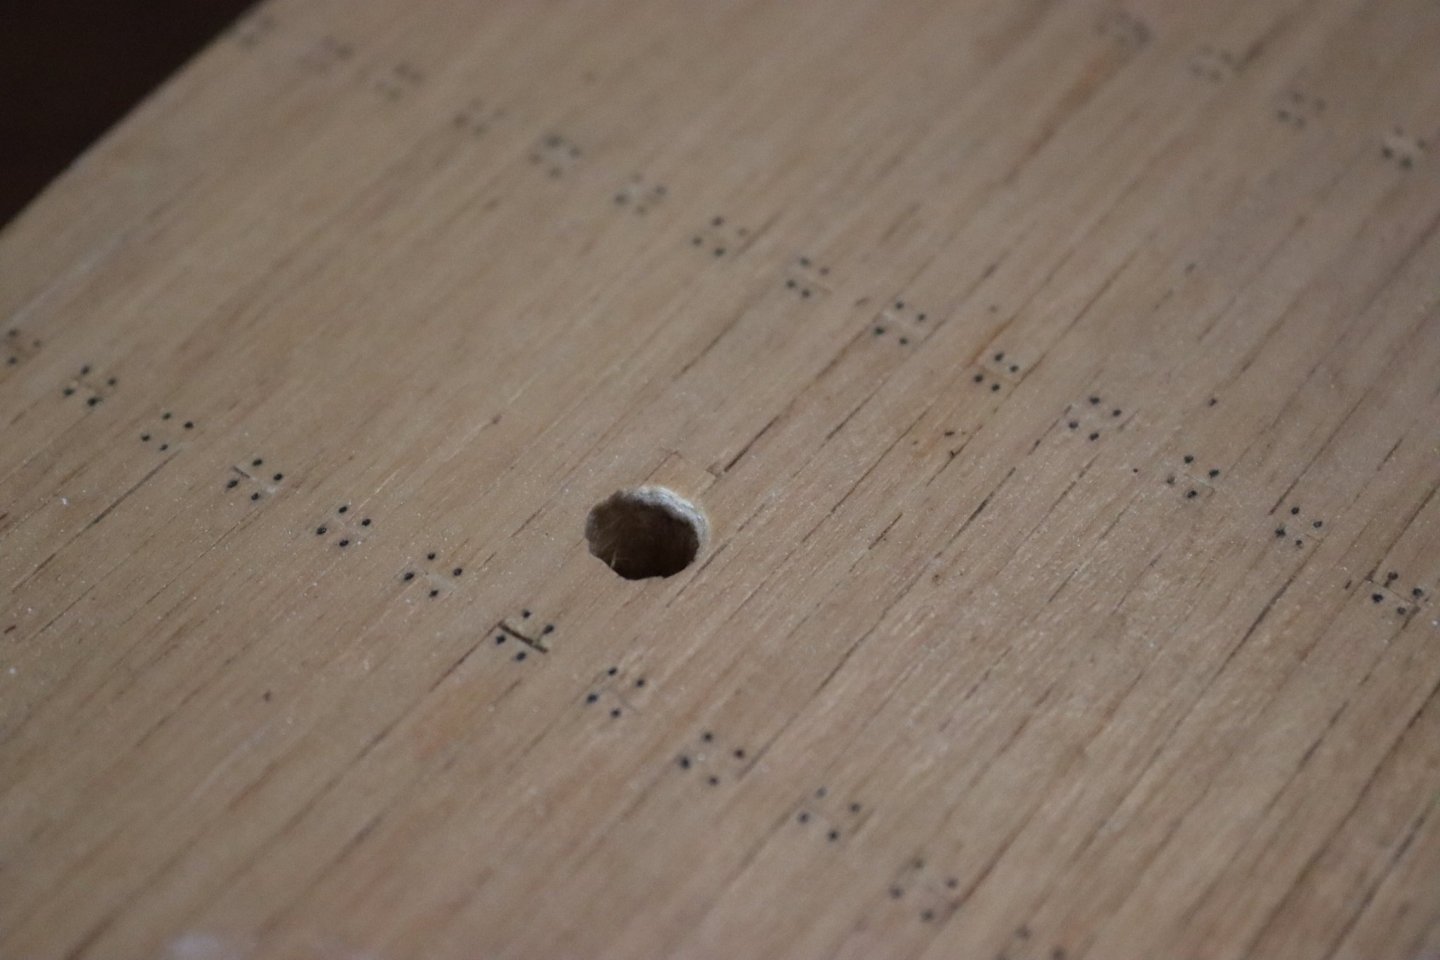
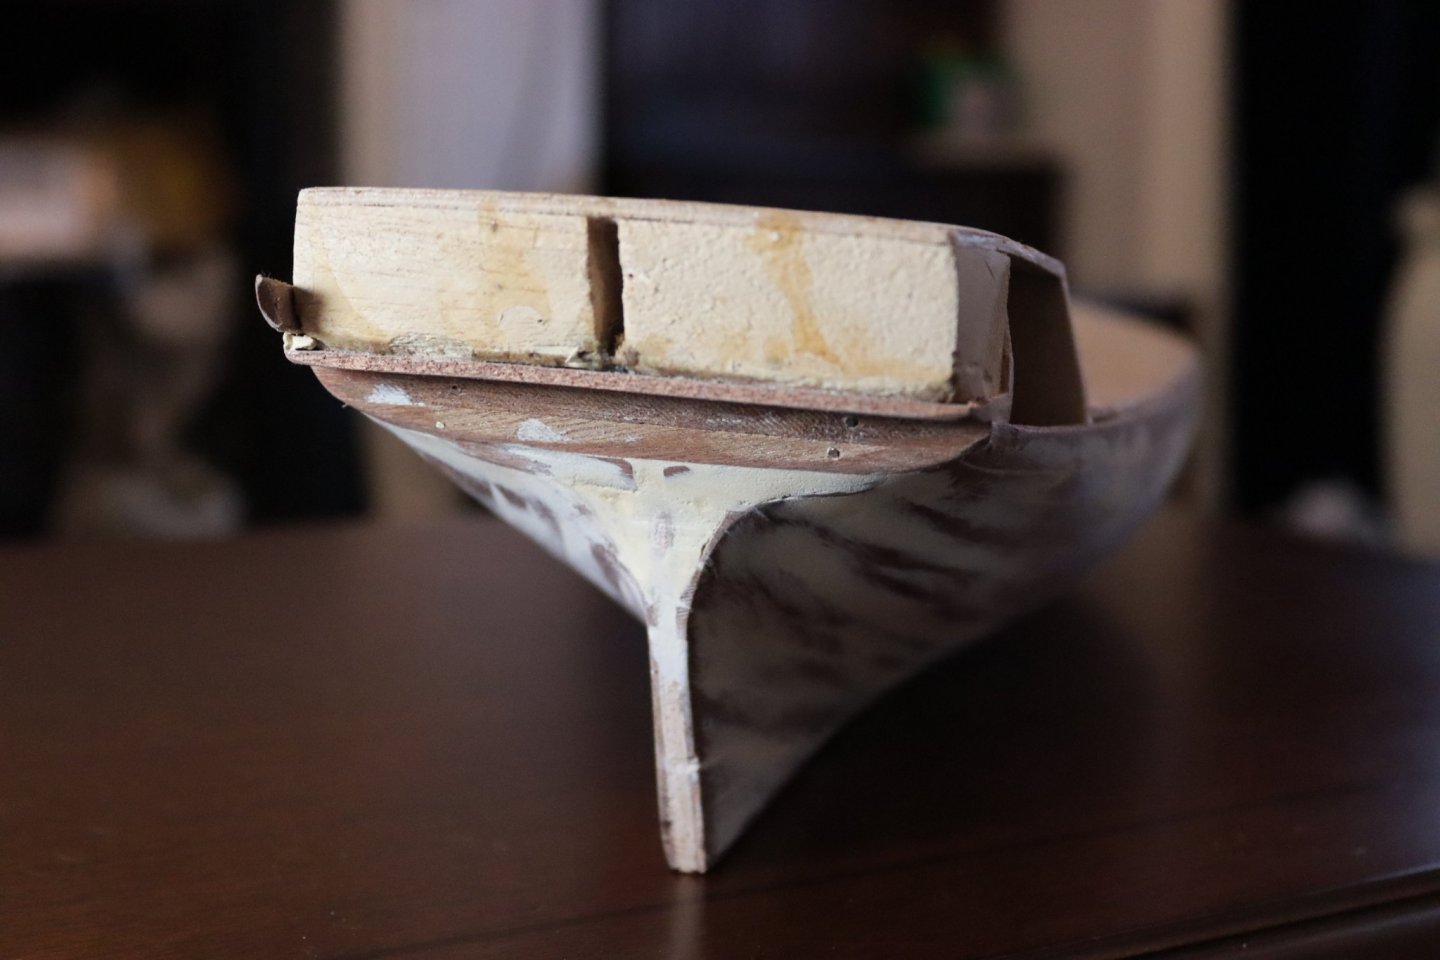
I have been trying to plan ahead so as not to make any dumb mistakes as I go along and I was looking at attaching the keel - I have been wondering whether to attach the keel before I do the second planking or after and I discovered that the keel doesn't seem to fit the shape of the hull. I assumed the fault was mine but as you can see in the picture below it was never going to fit. If I remove the excess wood along the line I drew below the keel will be too weak and flimsy I was wondering about cutting into the planking and insetting the keel - I wasn't sure id this was the way it was supposed to be done anyway or if this was just an ok fix? I have also been debating making a new one but cannot even begin to start that process until I figure out how I am going to install it. In the videos I have seen online the keel is already on the model when they start planking so I cannot get inspiration from them.


- 89 replies
-
- 1
-
-
- Enterprise
- first build
- (and 2 more)
-
Thank you for the advice 'Cathead' - I will certainly look into "spile"ing? the planks. It is a shame I didn't know to do this when I started. I guess I was so excited I just jumped straight in and then realised there is a lot of planning involved!
-
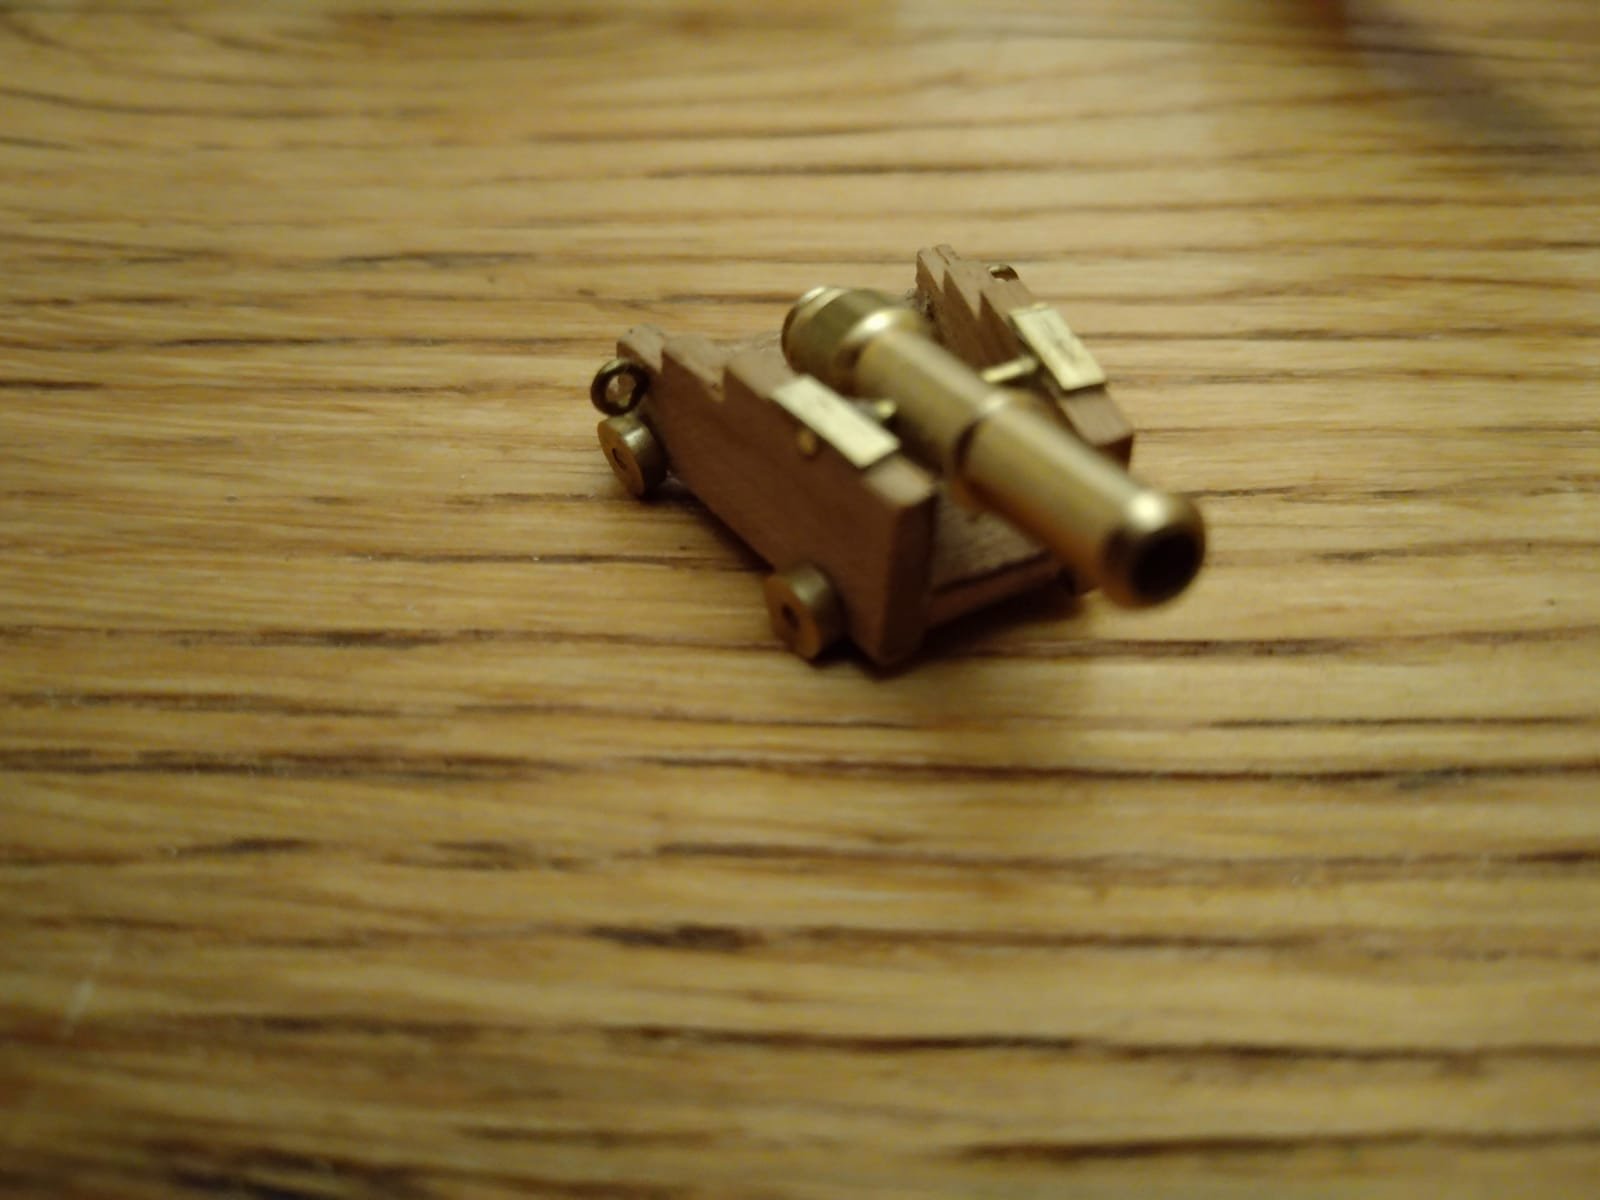
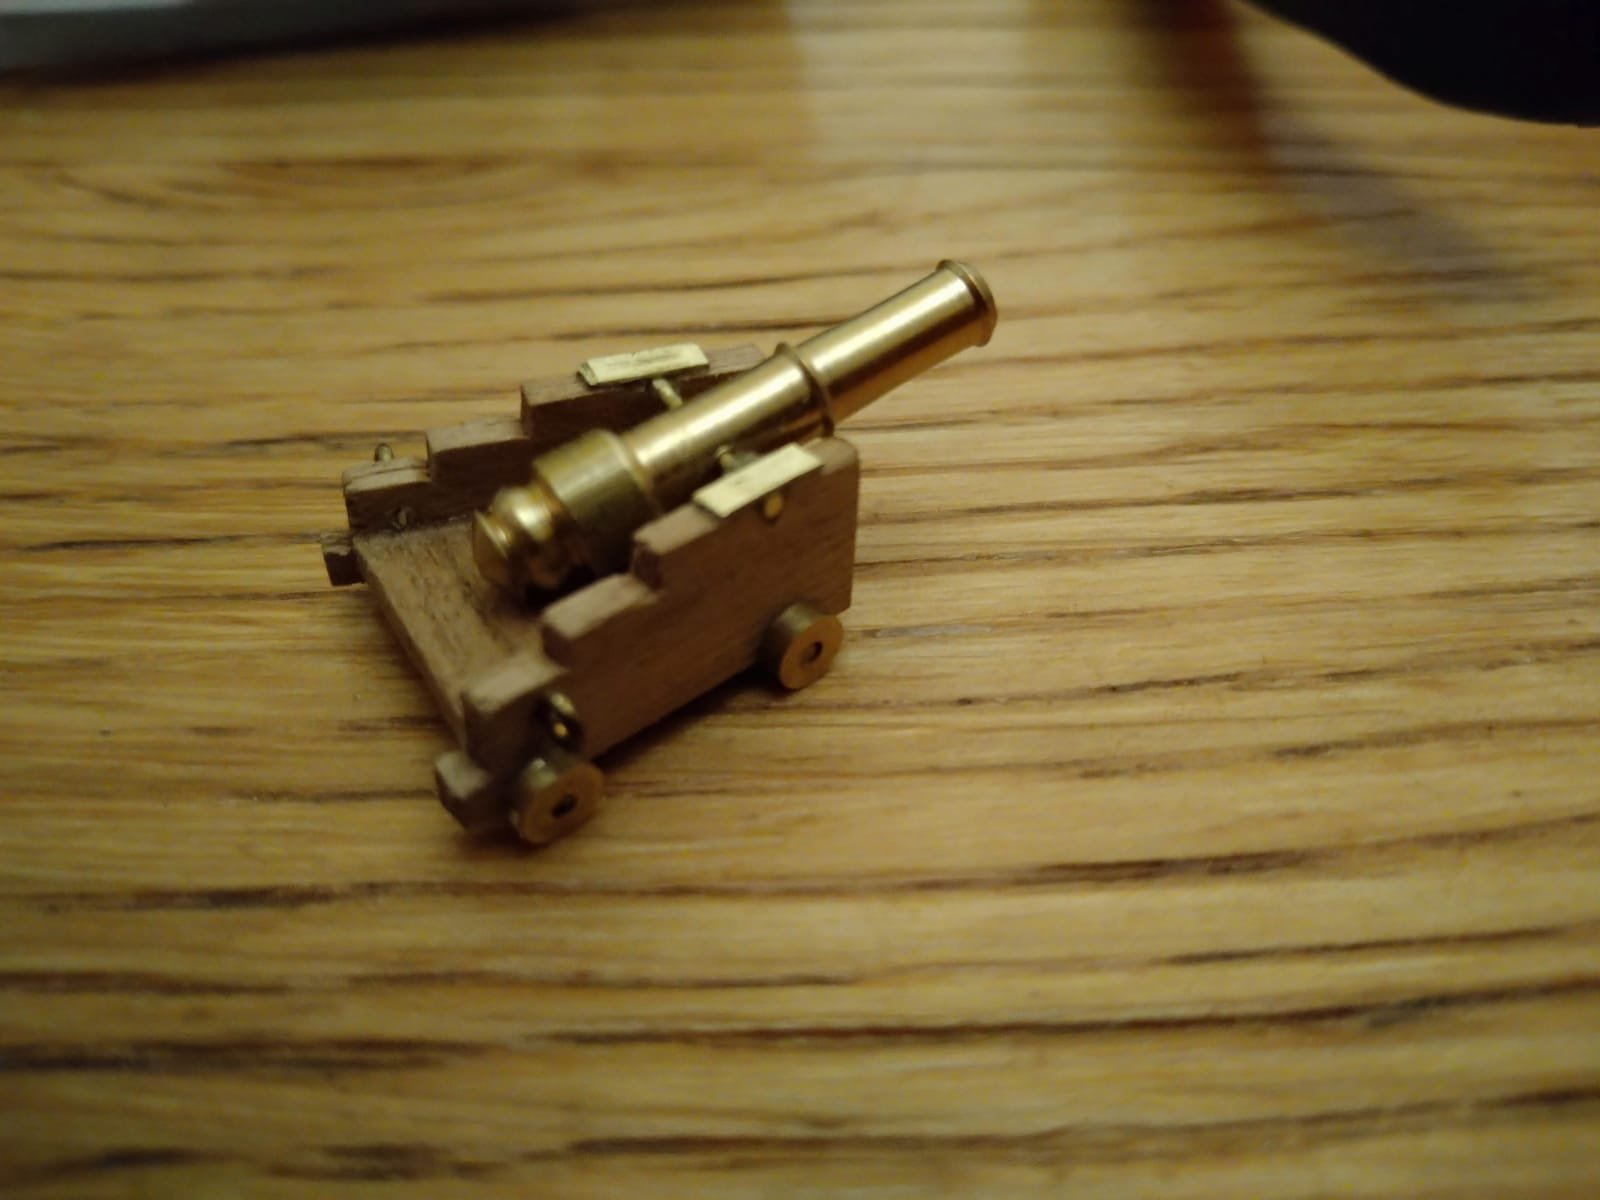
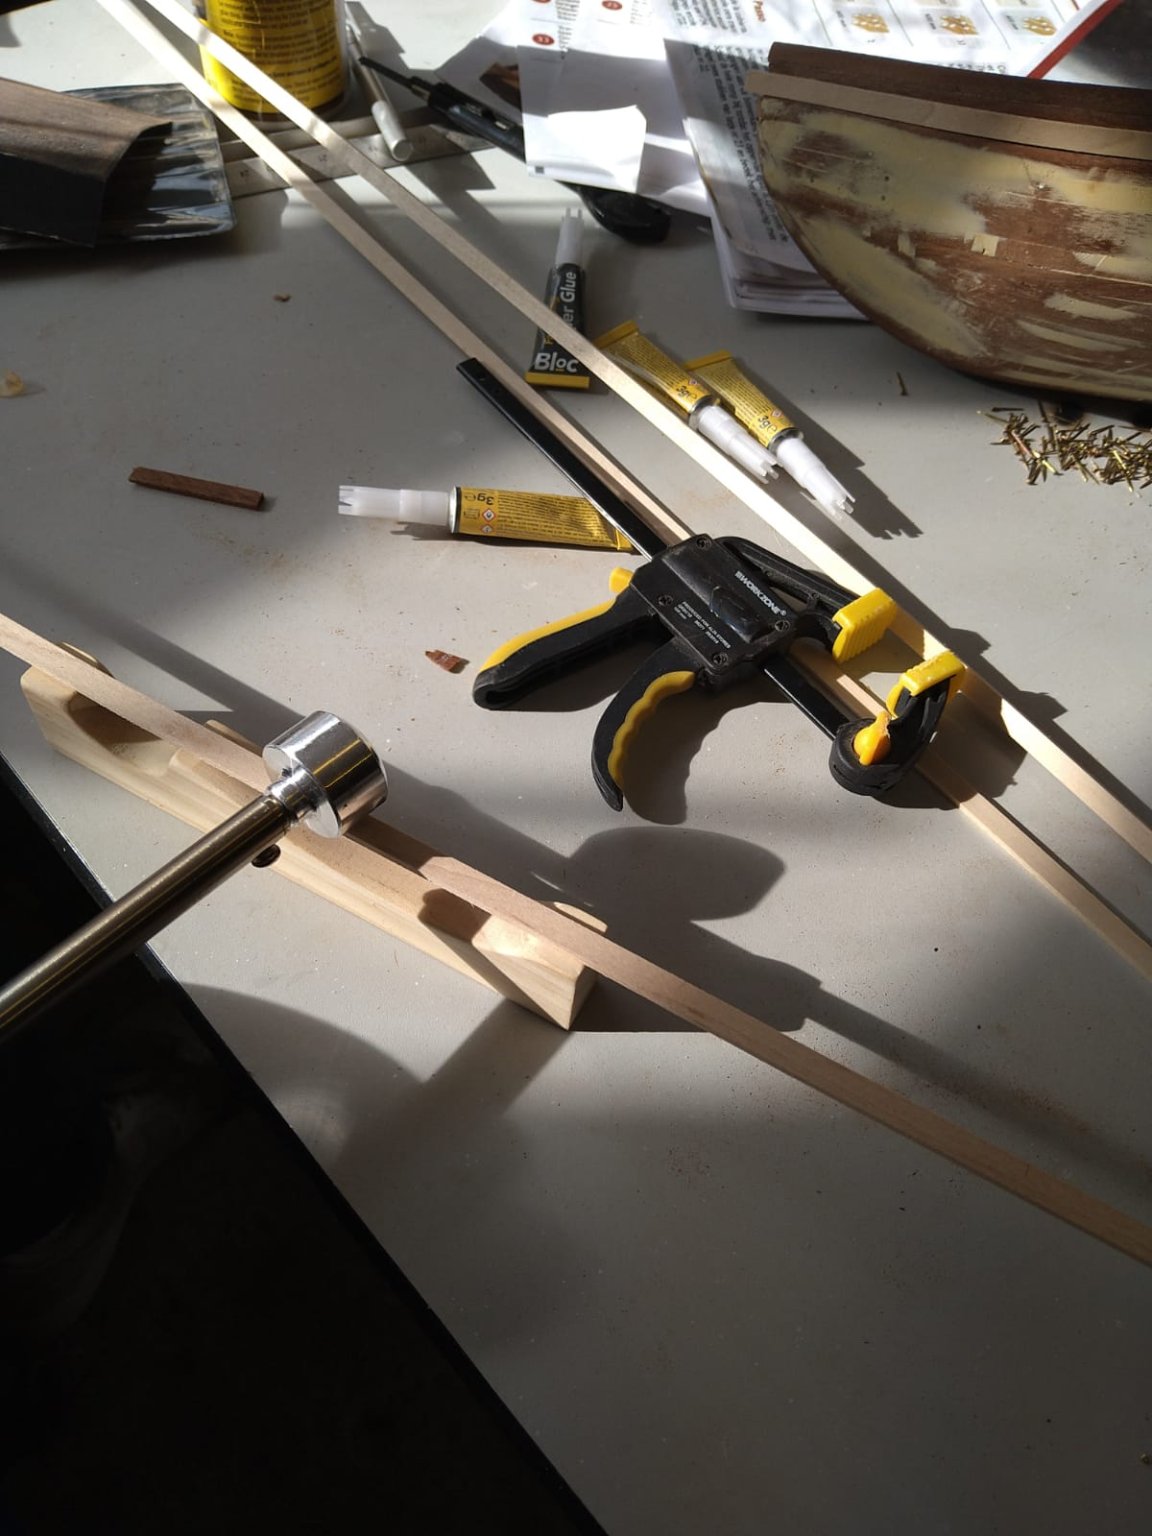
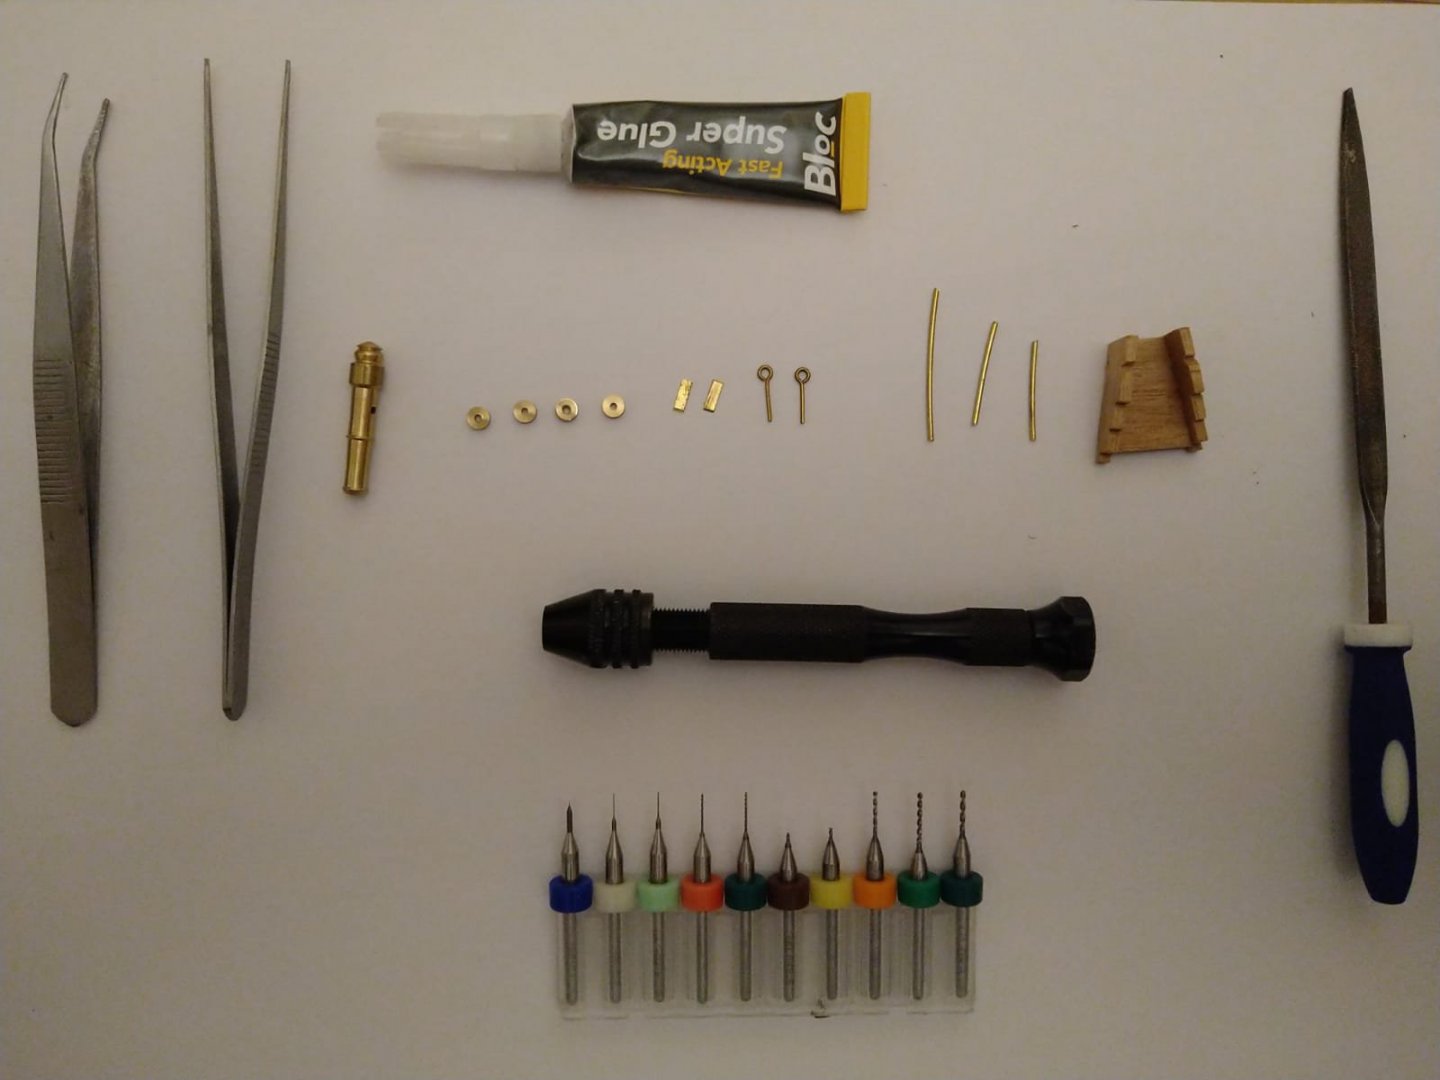
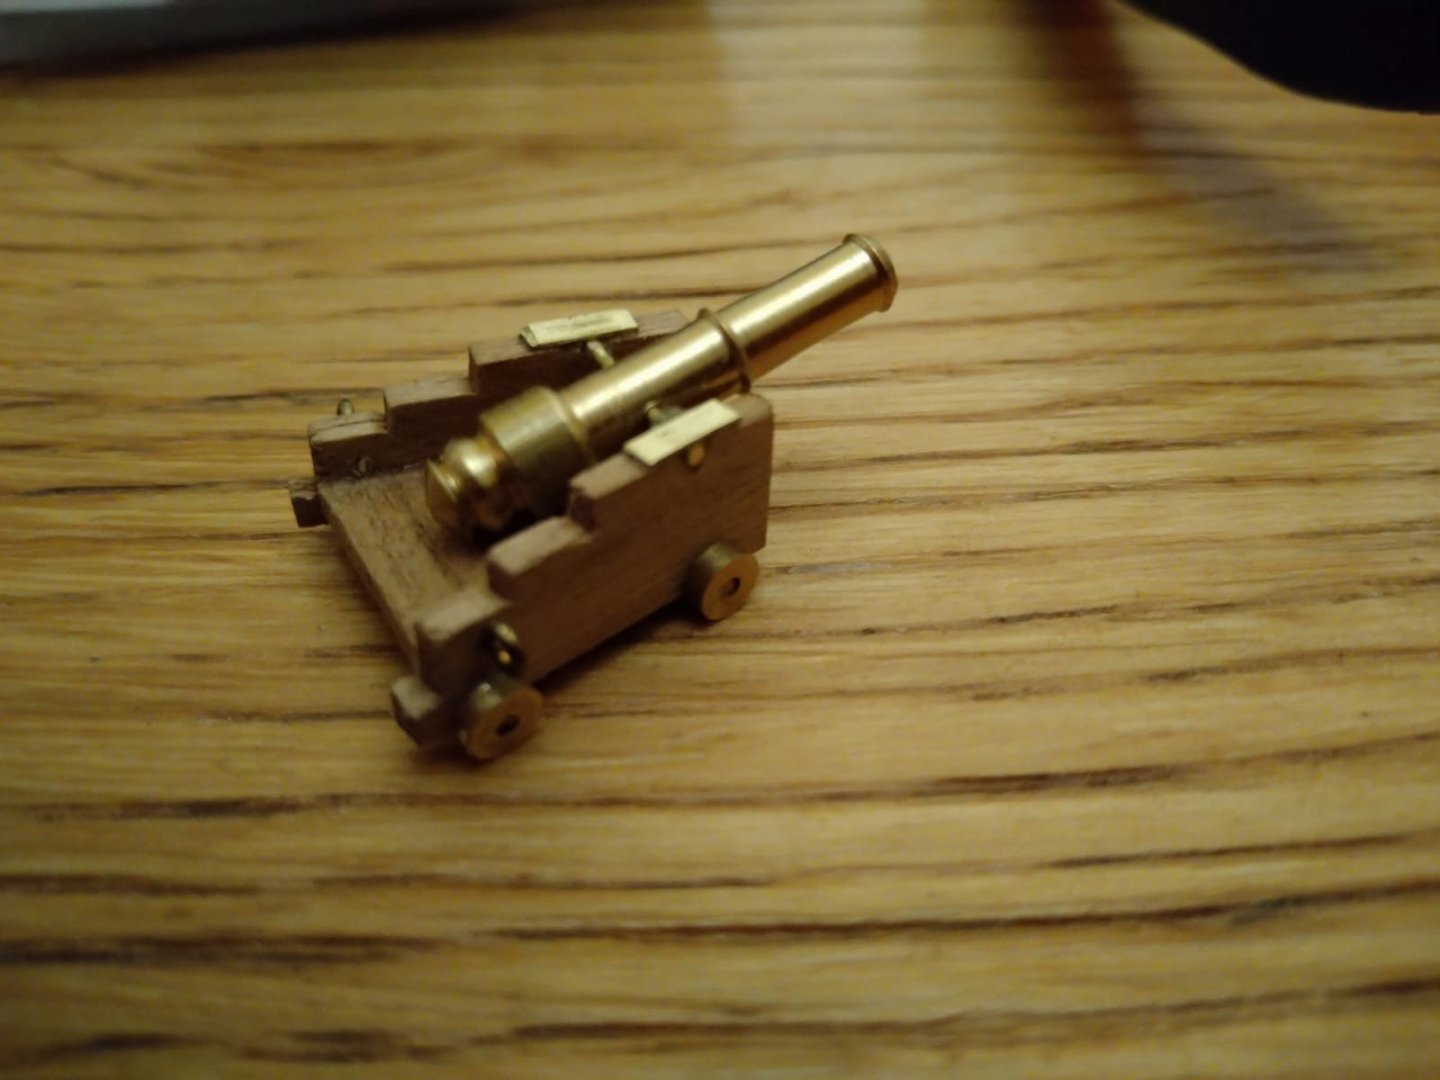
I have decided to take a little break from Planking. I have not even finished the first layer of planking, which makes it seem like the task will never finish - I have decided instead to switch to making the canons - ensuring that the task will not be finished anytime soon. A mini break form planking will be welcome break but I don't want to put off the rest of the planking for too long or I might never return to it. Here I am with my tools and bits all set up..... and here is the finished product... 1 down, 13 to go. I wont lie - it took much longer than I thought to make just one canon but I love the finished product. Hopefully with practice I will become more proficient at making them. I had been trying to decide whether to leave them as brass or whether to paint them. In the end I decided that since I am not painting the boat but am varnishing the natural wood, it would look somewhat out of place to paint the brass in the canons. I am already thinking ahead to my next build saying to myself that I will paint the canons in that ship to be period specific but for now the look I am going for is natural wood and 'natural' brass. I have tried to make sure the barrel remains movable so that I can adjust the height of the canons depending on the height of the canon ports. I was also wondering about buying 2 brass Dummy Barrels to place in the rear of the ship. There are 2 gun ports which I could keep open and have the dummy's coming out of. I haven't seen any photo's of modellers who have done this with this particular ship which could mean I do it and get an original and distinctive look - or it could mean that there is a reason this hasn't been done!


- 89 replies
-
- 1
-
-
- Enterprise
- first build
- (and 2 more)
-
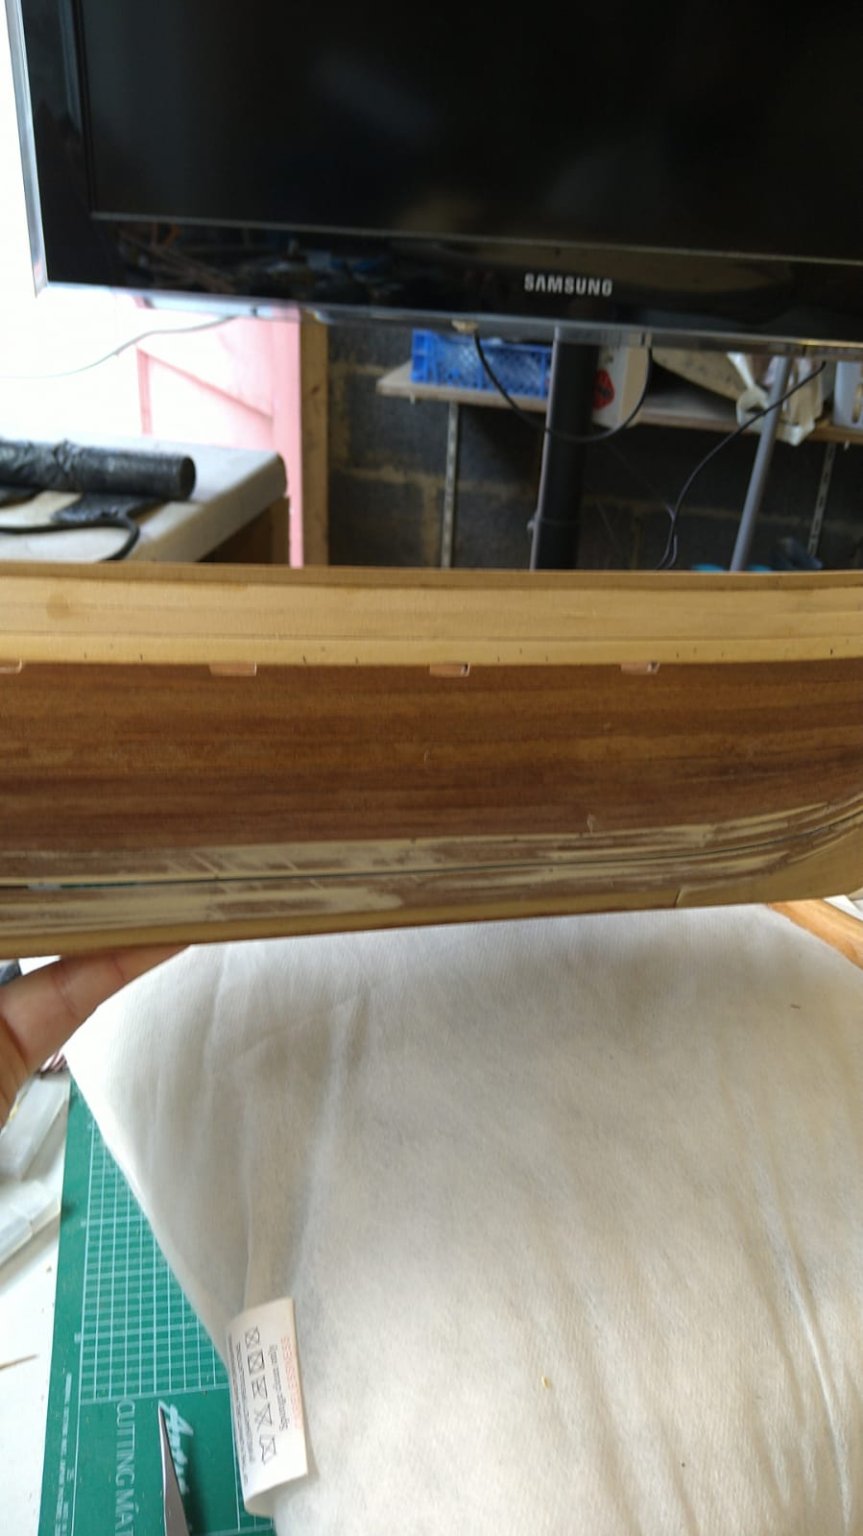
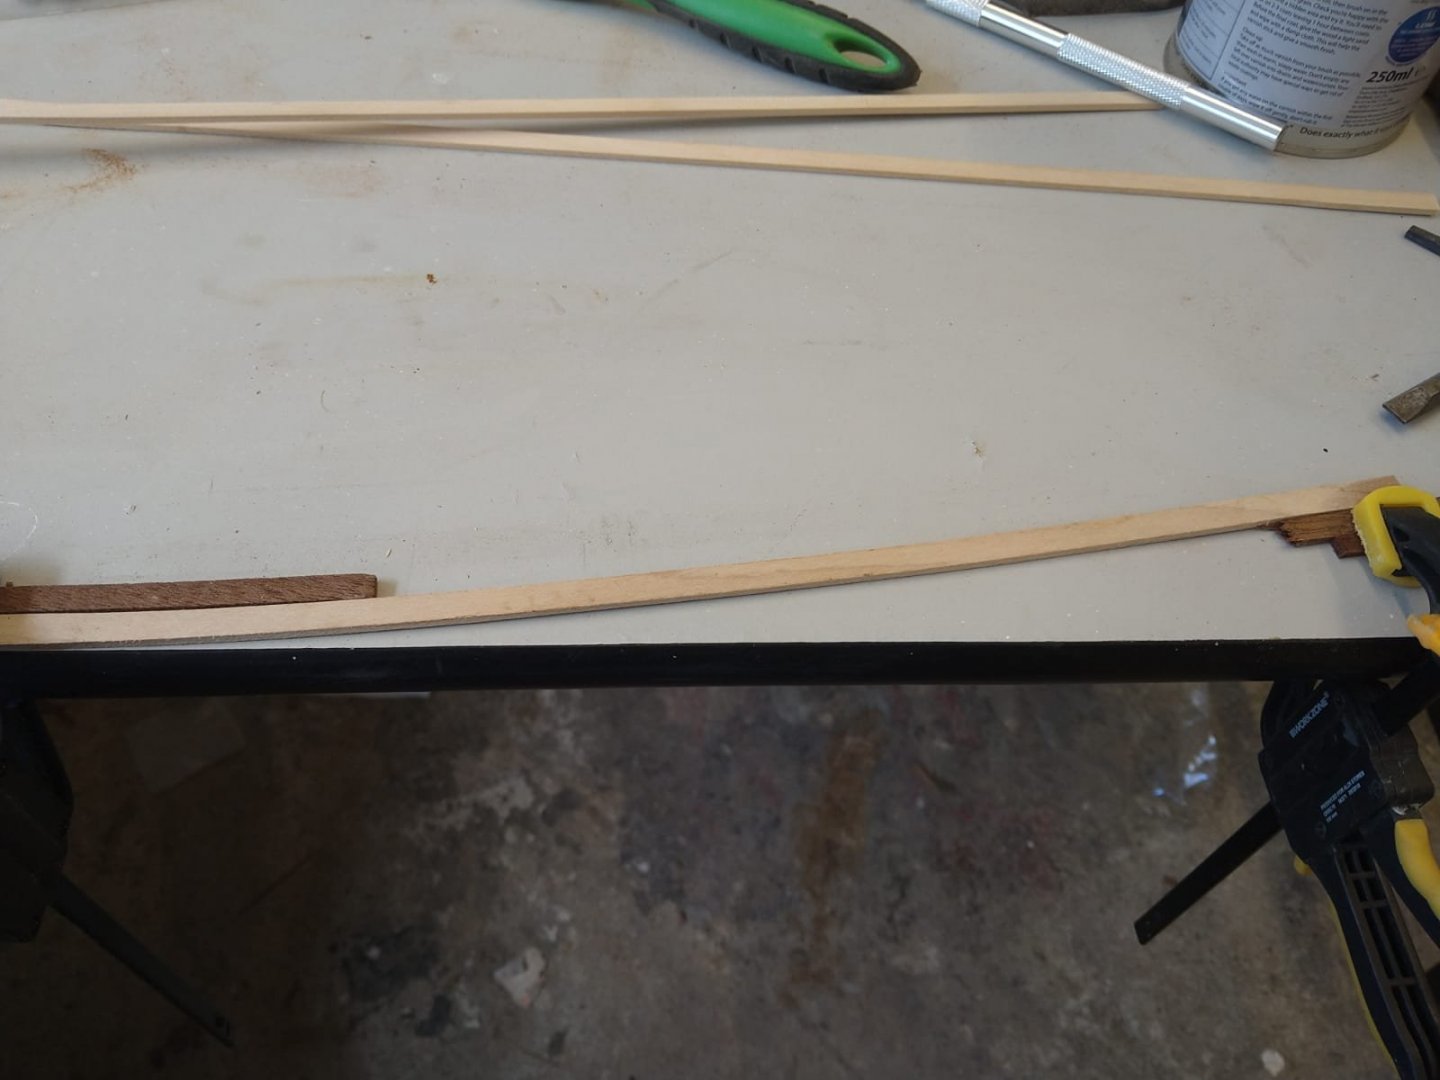
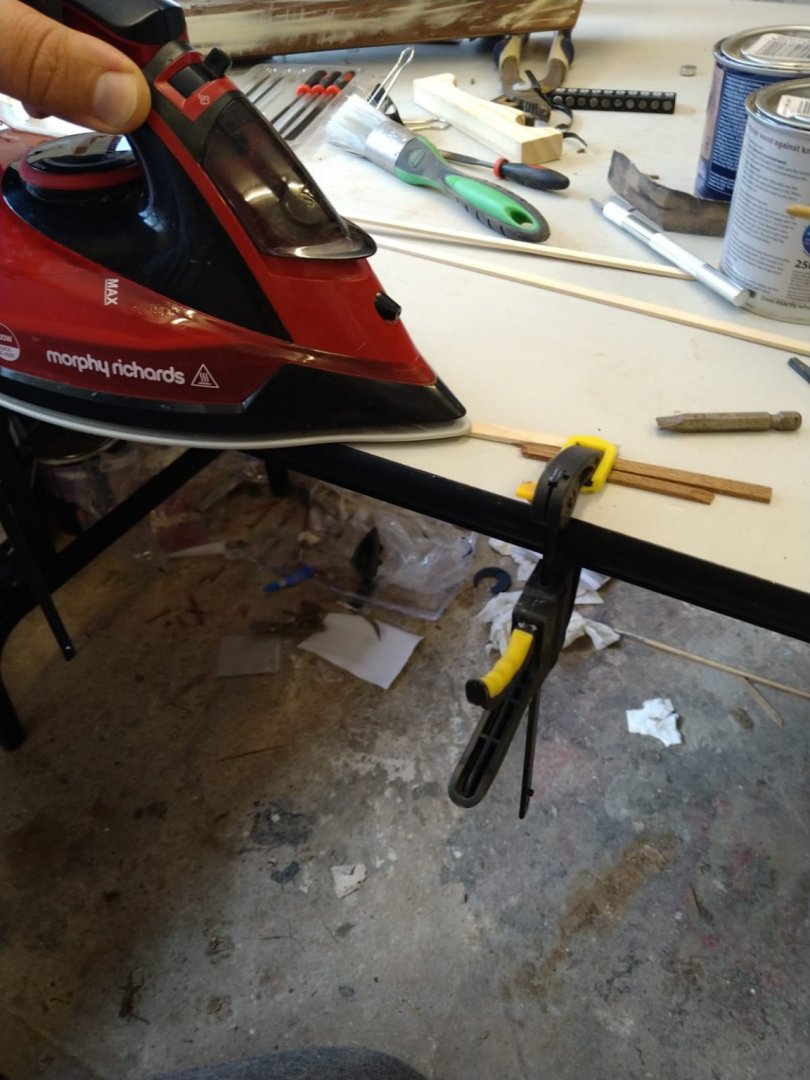
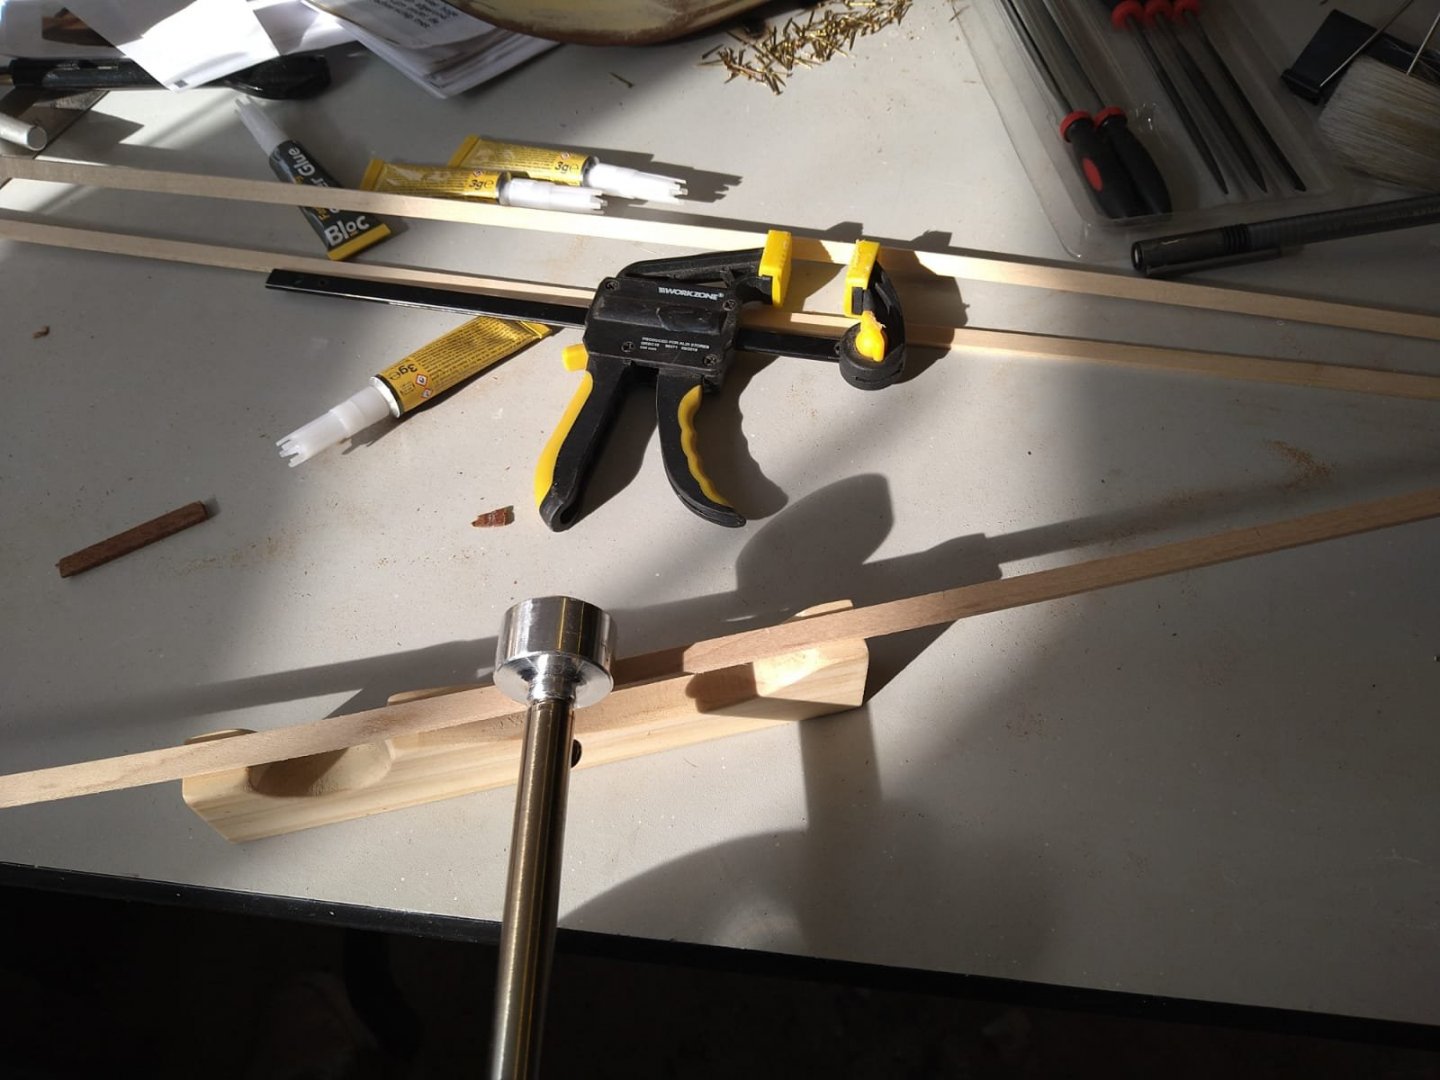
I have been trying different methods of bending the wooden planks. I have use an iron and clamps to try and get an upward bend/curve on the planks, and then the heating iron to curve it around the hull. Not sure it is the correct way but it seems to be getting the job done. I am also not sure the hull is supposed to bend upwards - not sure how that happened and looking at it, I am not sure whether there is any way I can fix it. This ship may end up looking really odd but it is a fun learning curve. I also discovered that the table melts a little when you leave an iron on it for too long...


- 89 replies
-
- 1
-
-
- Enterprise
- first build
- (and 2 more)
-
I was hoping to leave it as real wood and to varnish it - but that will depend heavily on the quality of the second planking. It is comforting to know that in the worst case scenario I can hide my mistakes under a layer of paint
-
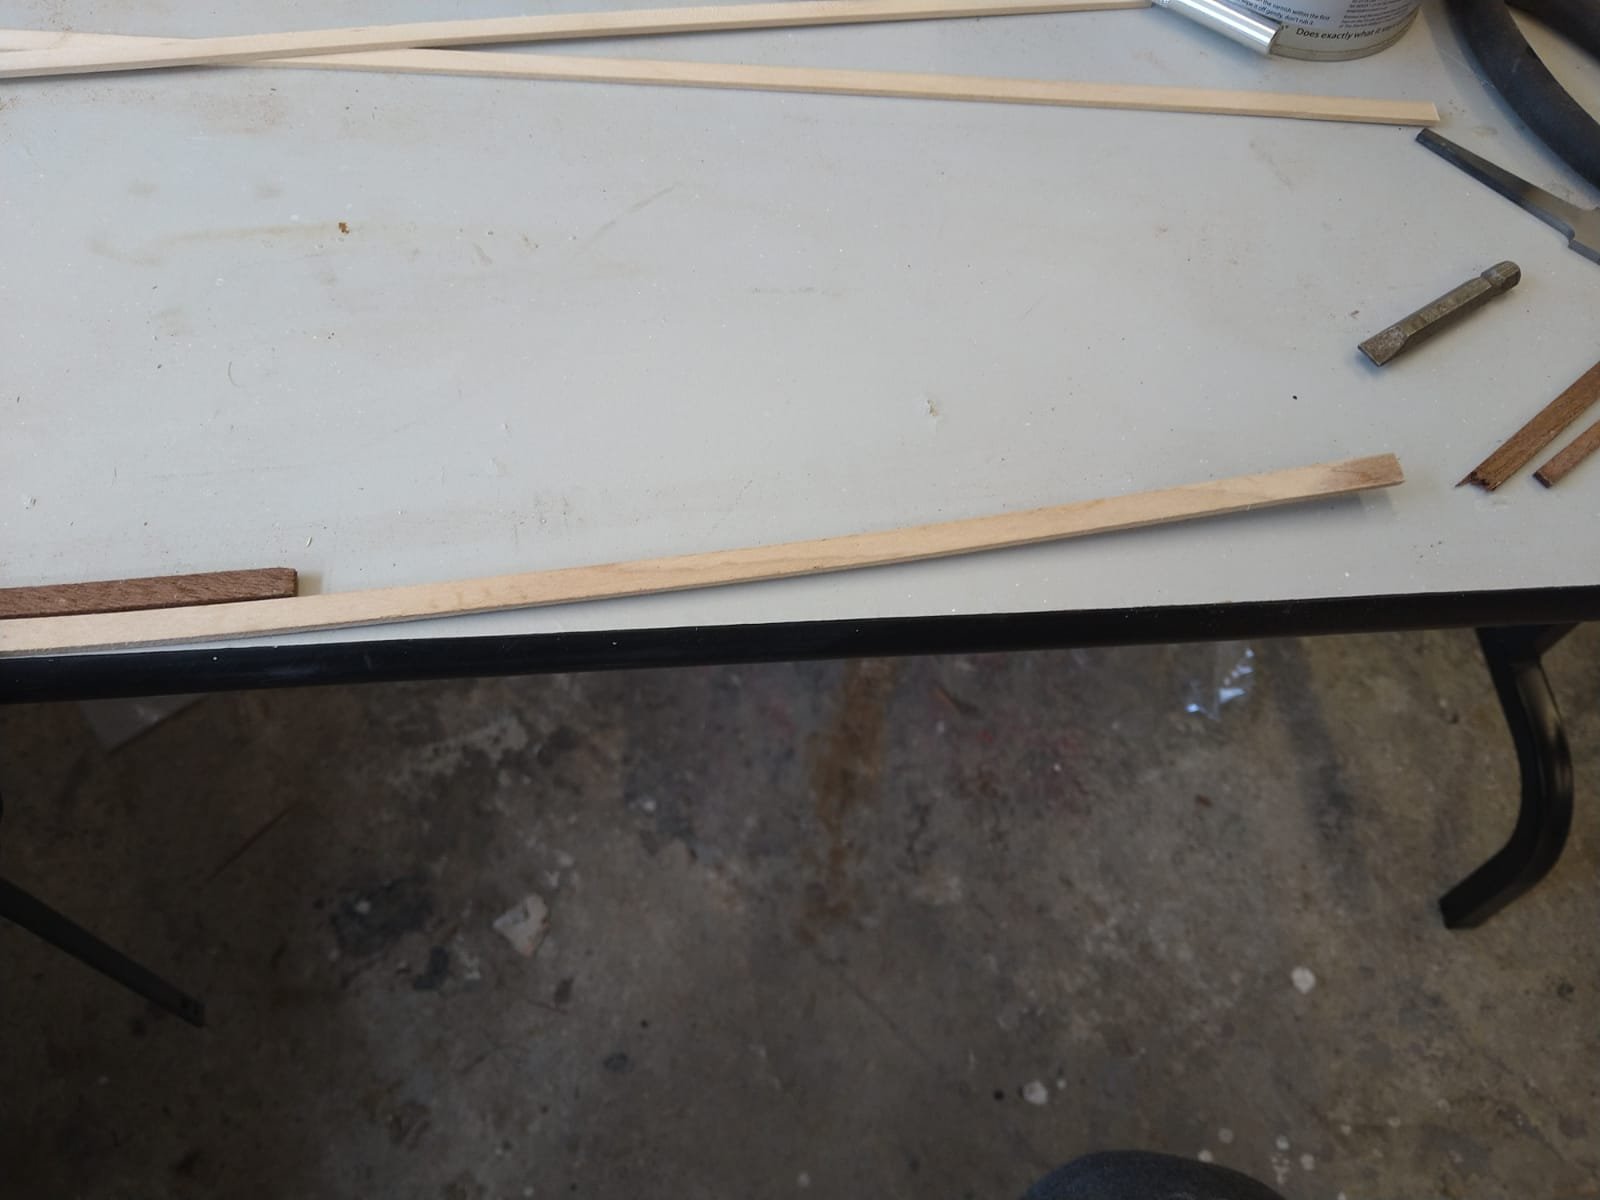
I went to the shed to do some work on the ship and have just realised I am a plank short of a picnic. One plank short 😔. I went to order some more but I cannot seem to buy Sapele anywhere in the UK. I did some research and Sapele is also known as "African Mahogany", would I be able to use a strip of mahogany instead??? Is this a reasonable substitute? Any advice would be greatly appreciated.
-
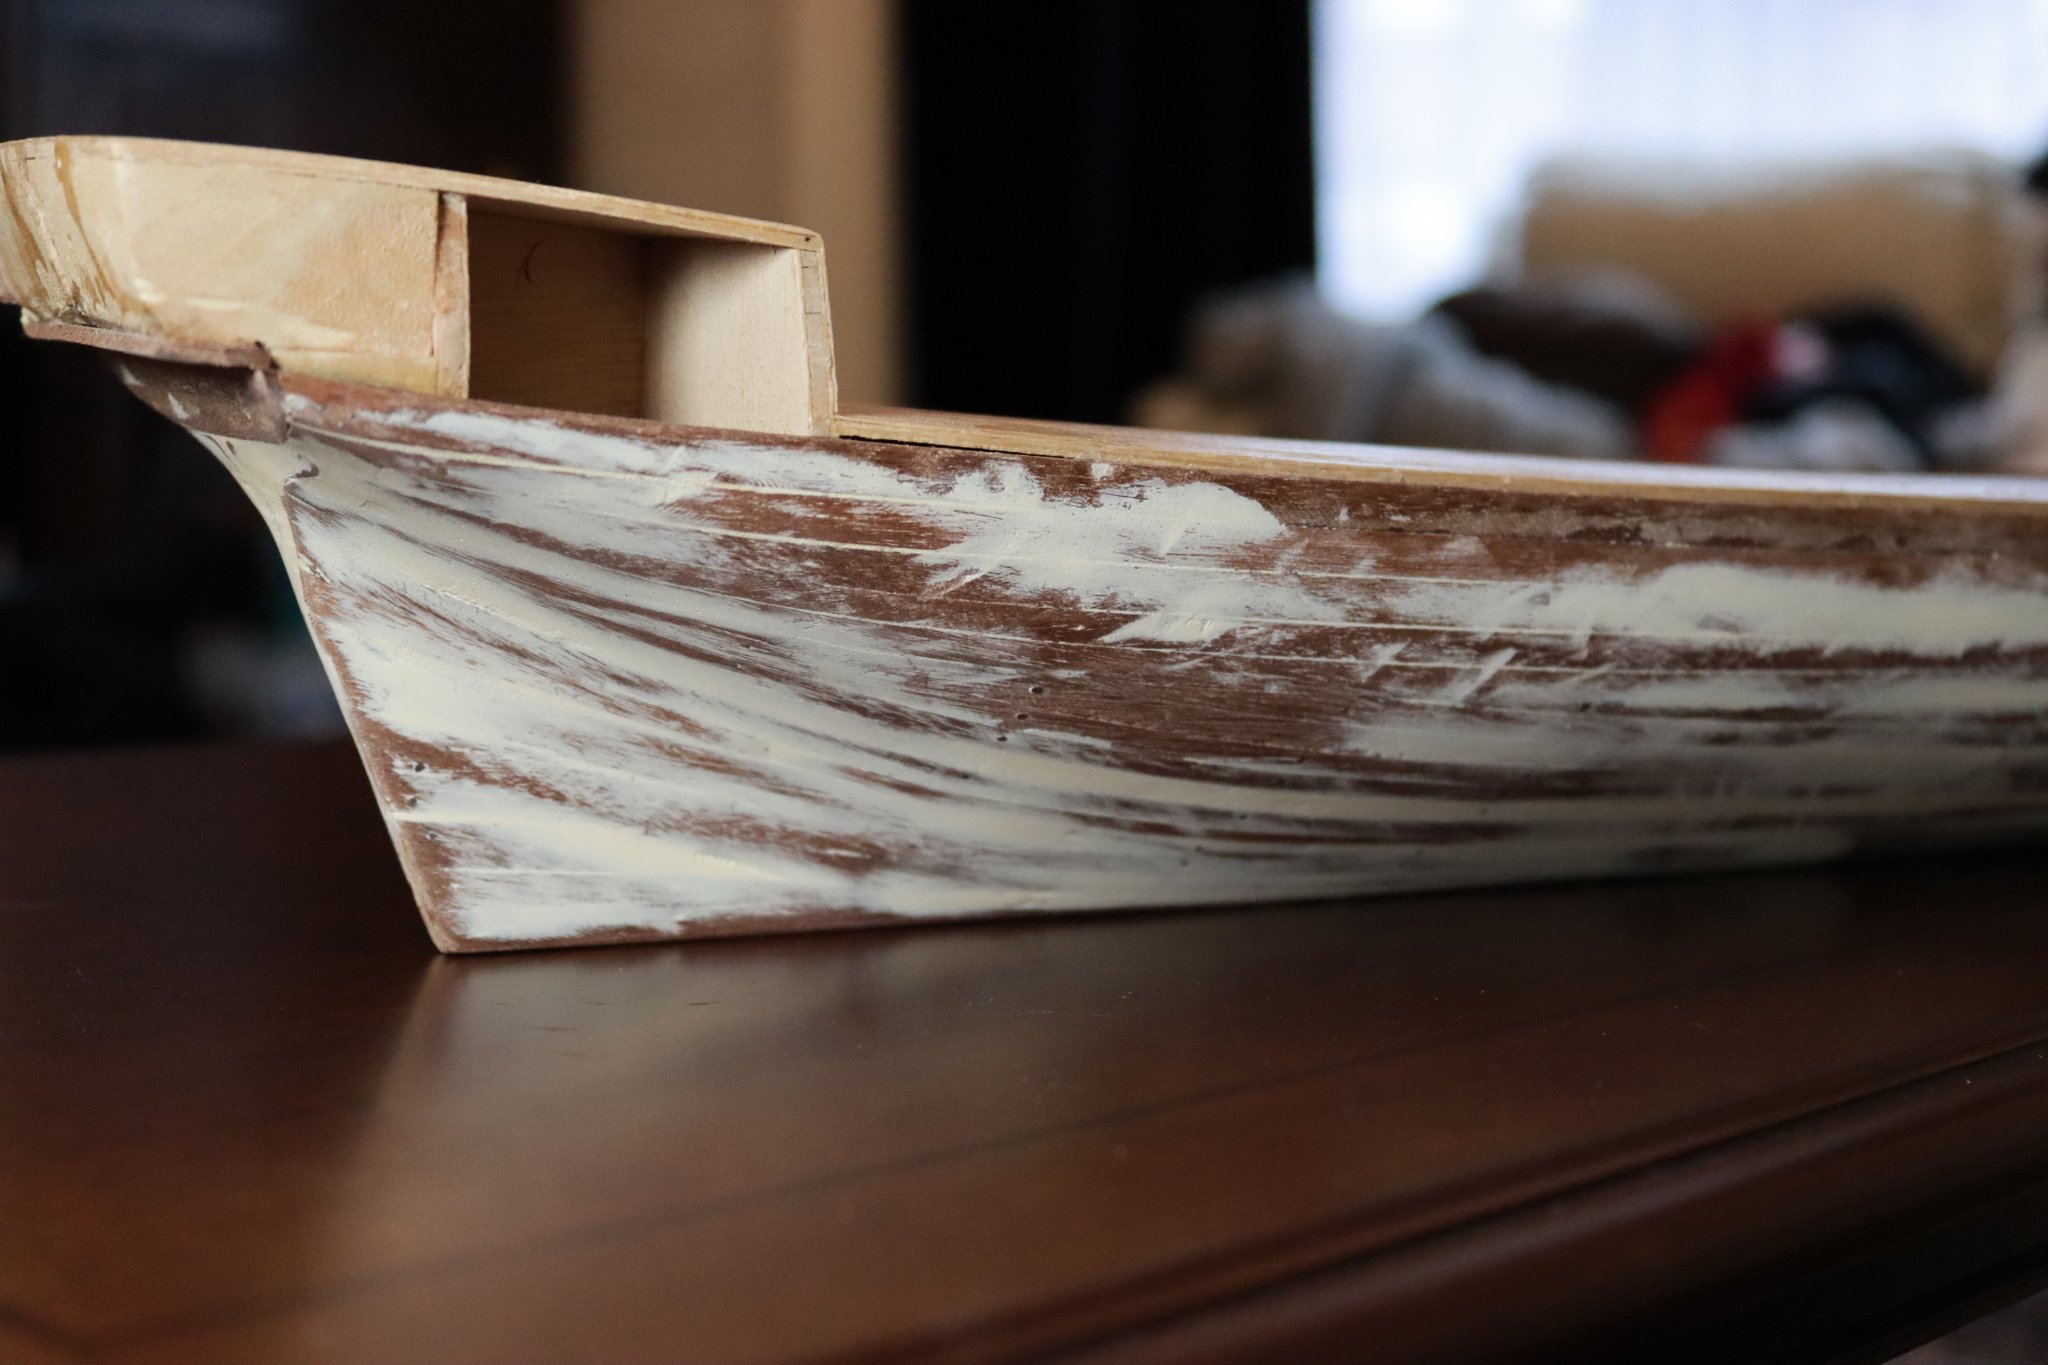
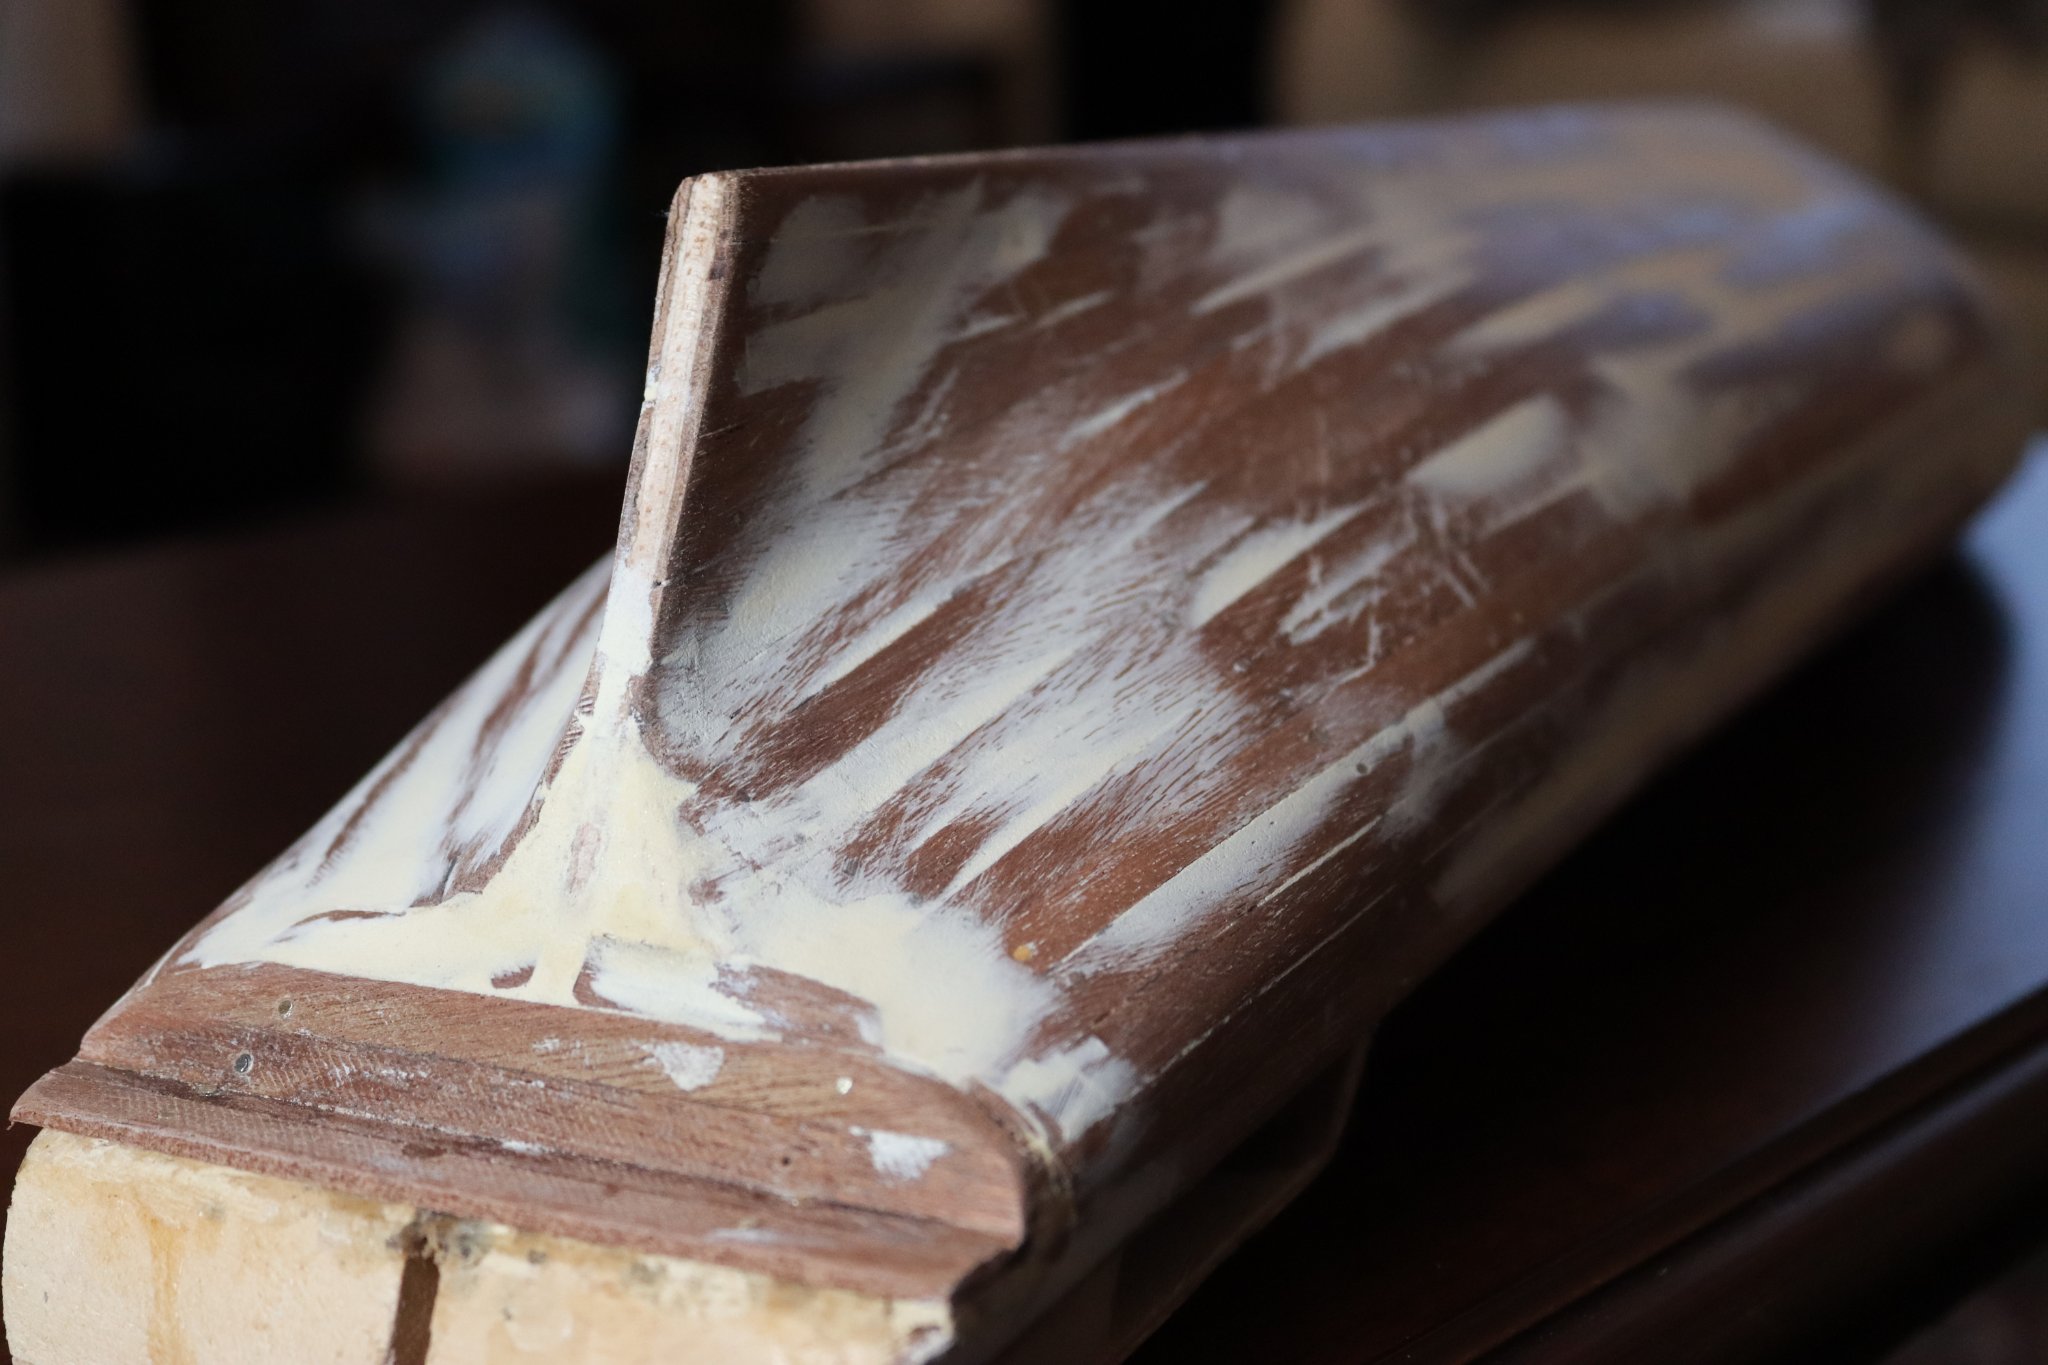
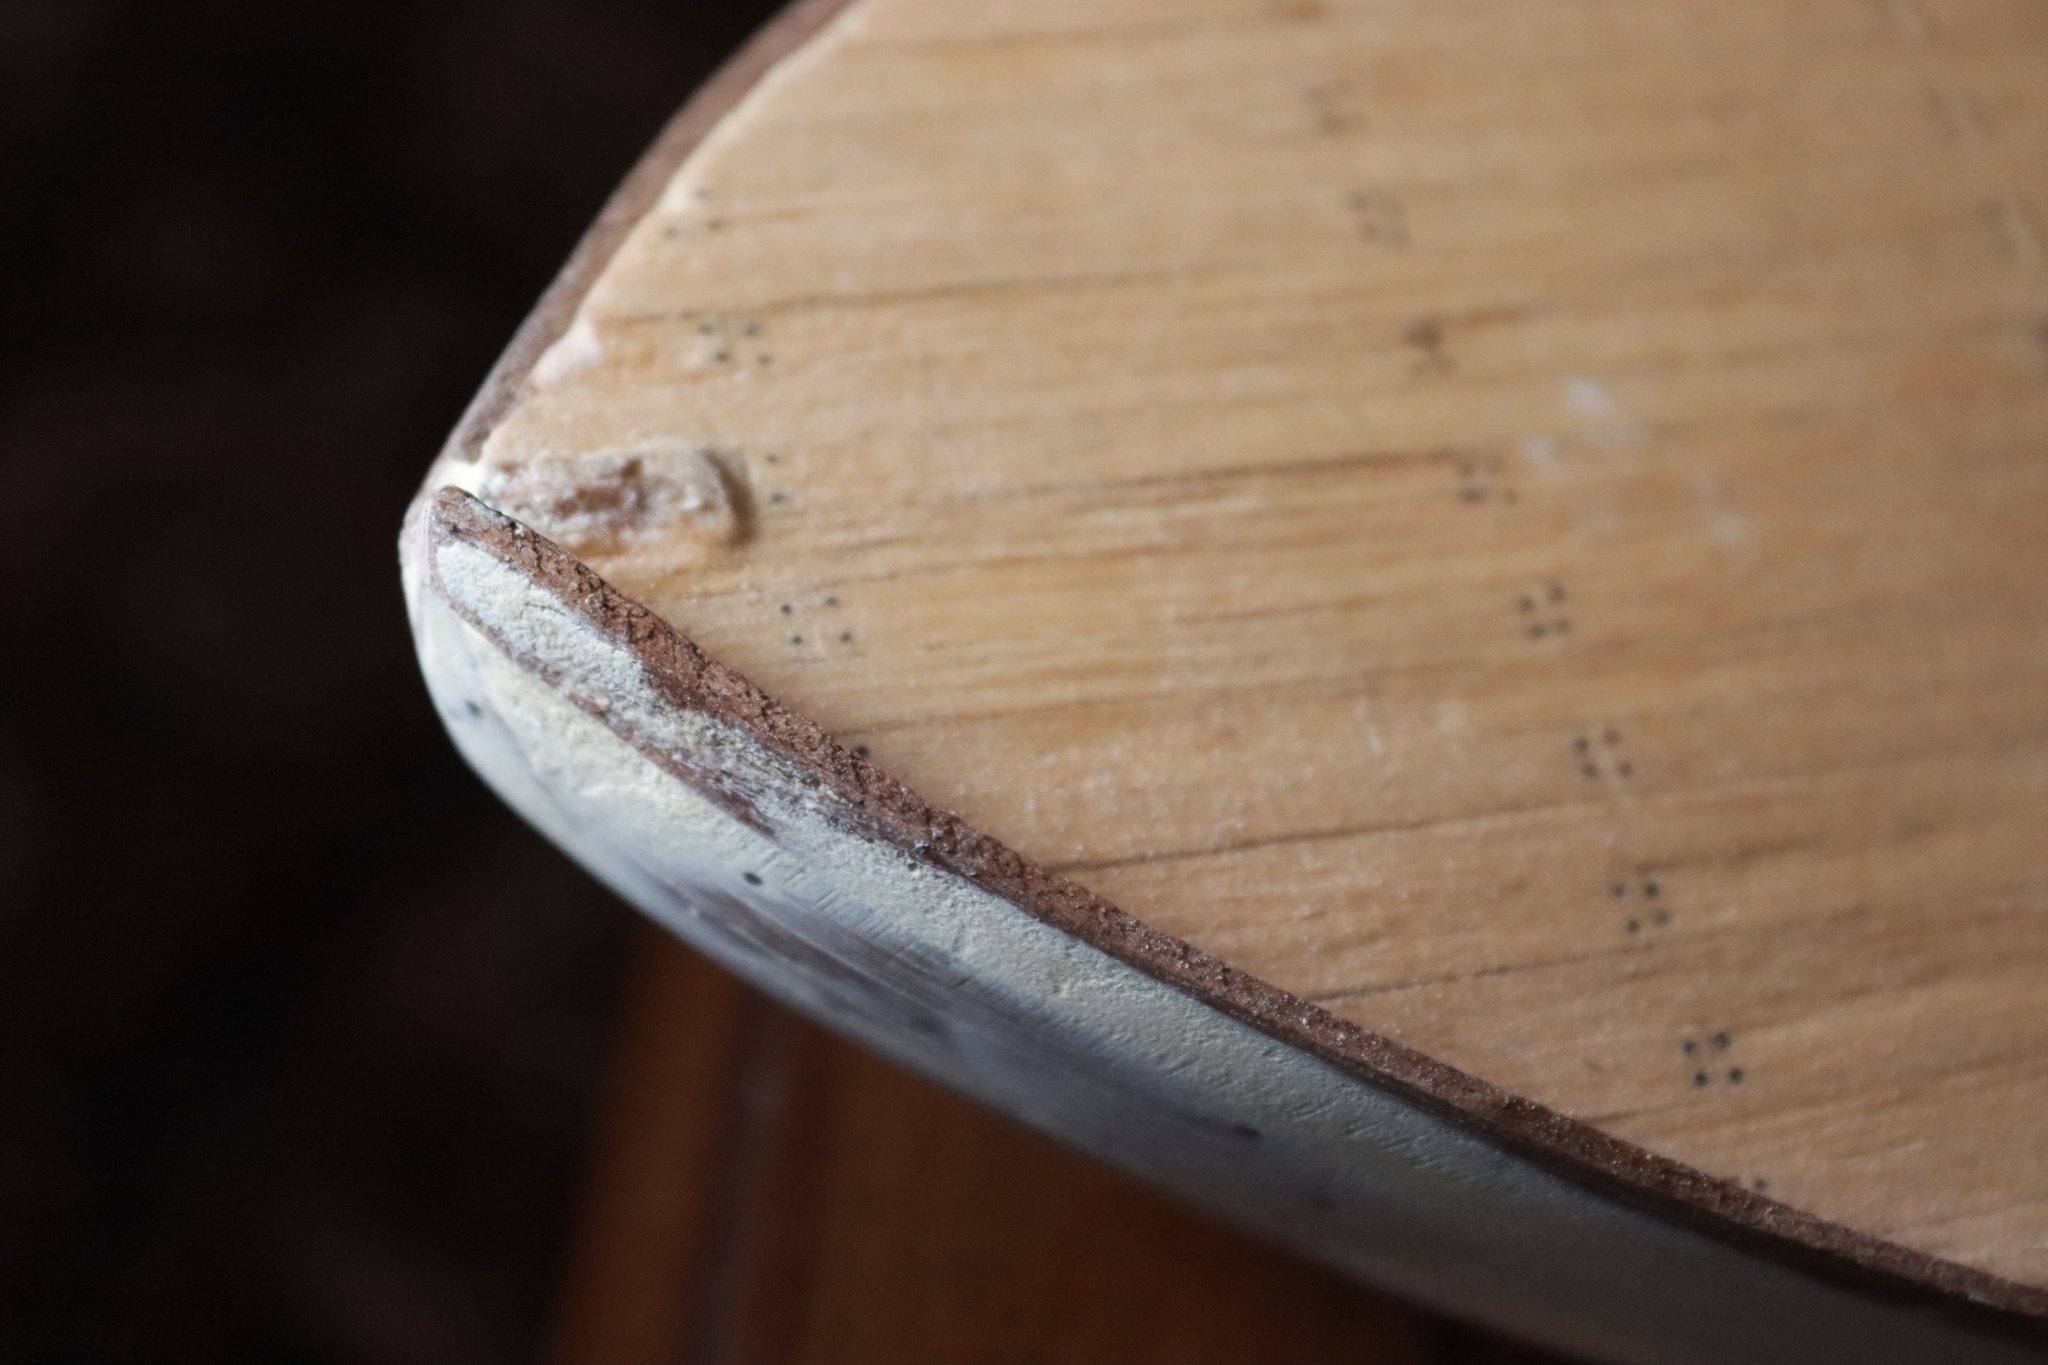
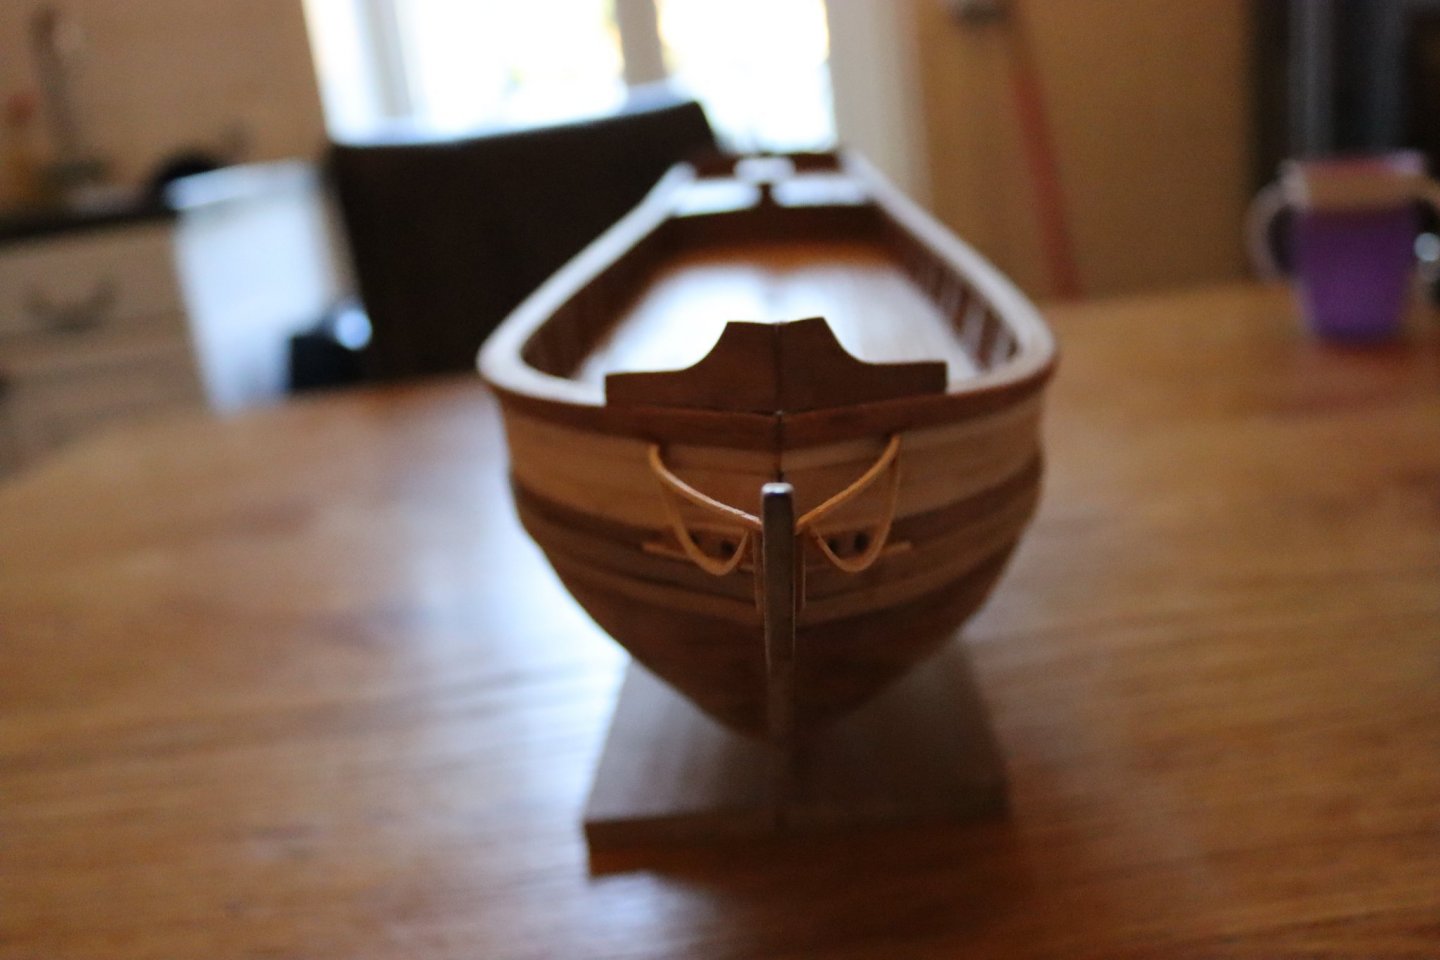
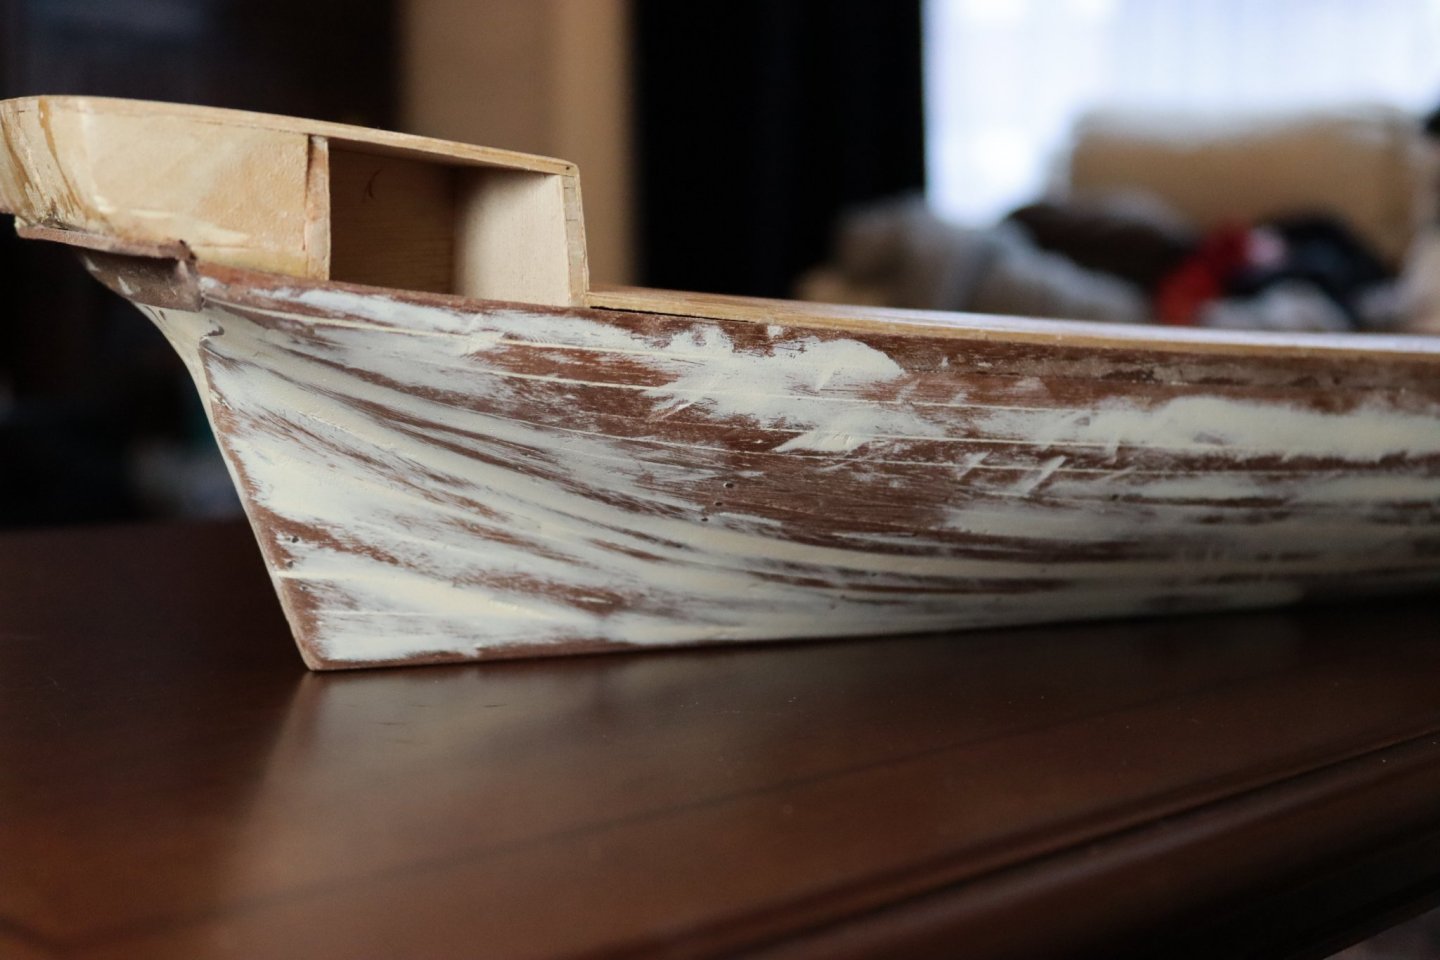
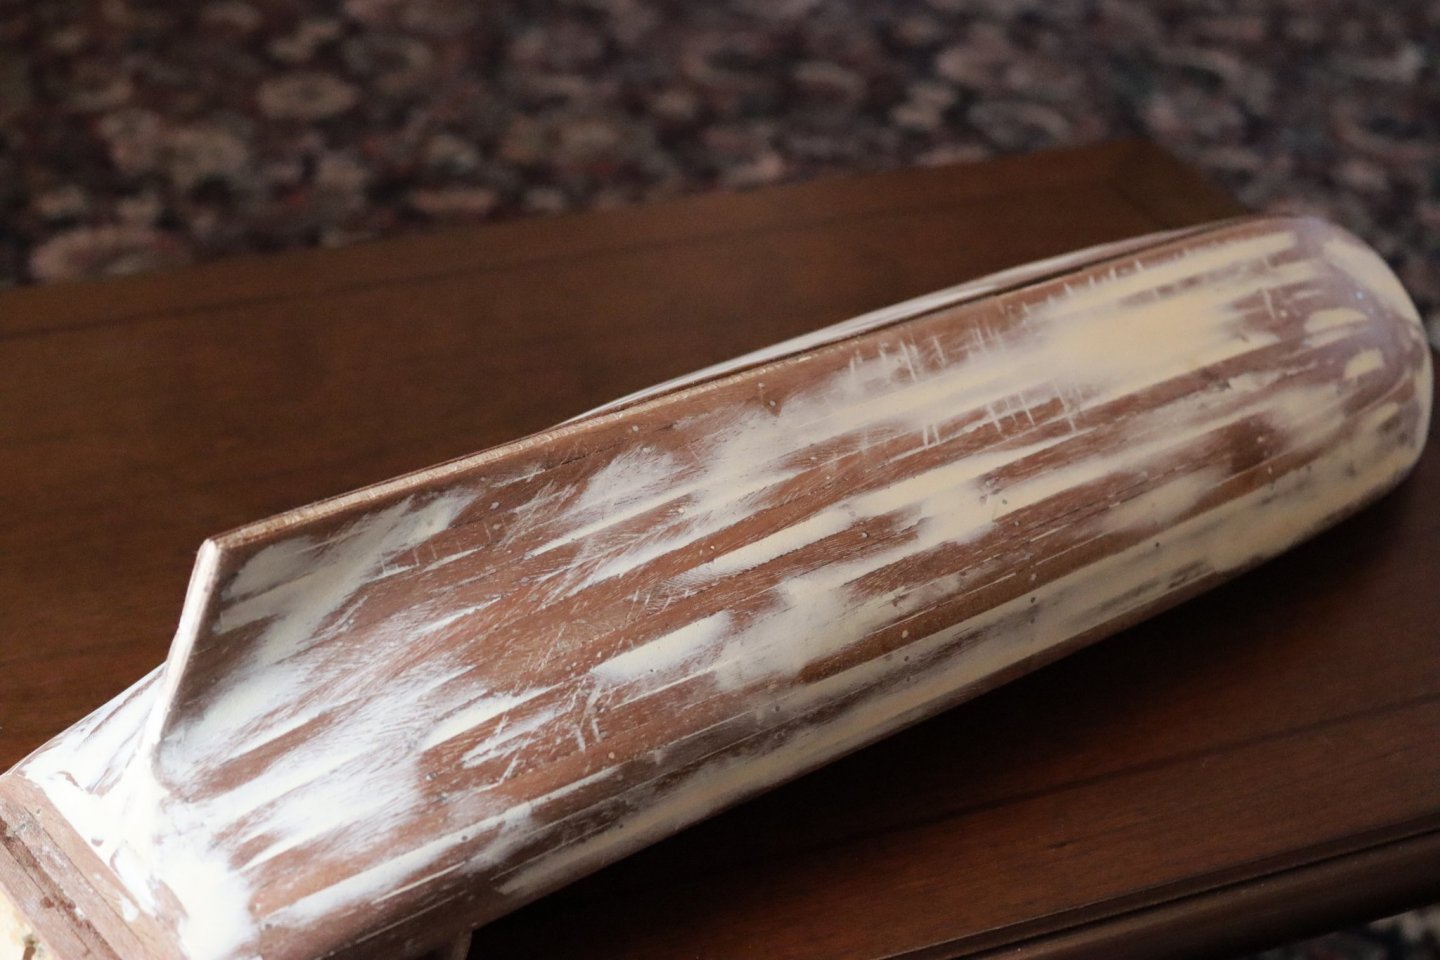
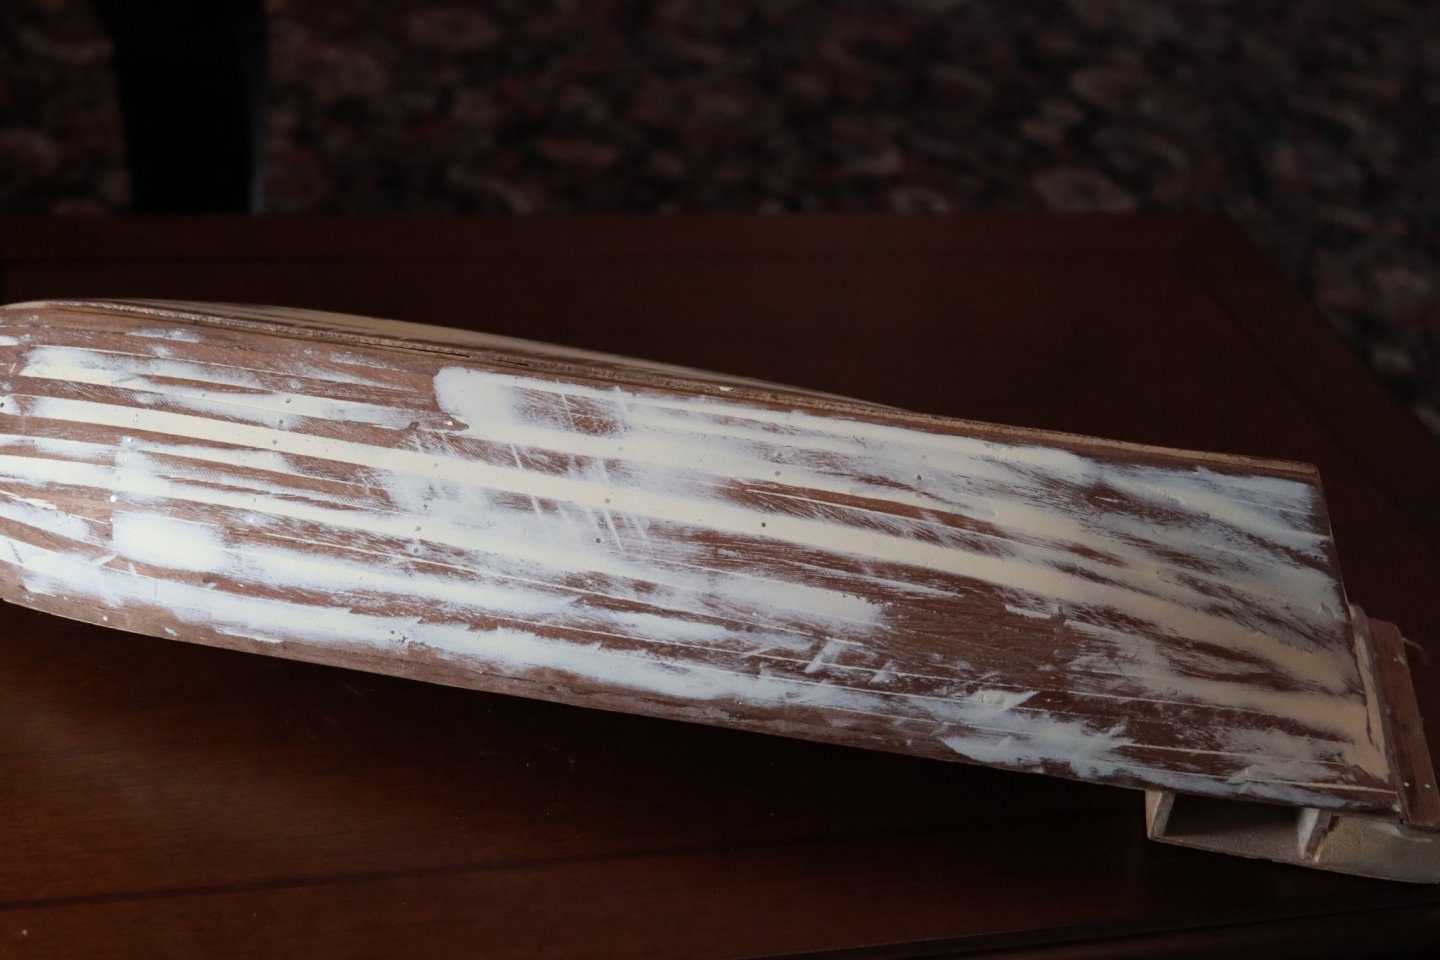
Hi guys, I was advised to create a build log and so here goes... I am kinda happy with the deck - although I kind of wish you could make out the individual planks more: I snapped the bit off the front which I will need to fix but that should be simple enough - i just hope the glue I use is strong enough to allow the planks to be attached to it without it snapping again. I have completed the first layer of planking and have sanded down - although I want to give it another good sanding before I move on. Then I will start building up the Bulwarks. I thought I would get away with only a very little filler but it seems more white than red. Non the less I am pleased and relieved to have done as well as I have....


- 89 replies
-
- 4
-
-
- Enterprise
- first build
- (and 2 more)
-
PietFriet - that is exactly the look I was hoping to achieve - thank you - Matt finish water based it is. Thank you