


ScottRC
-
Posts
559 -
Joined
-
Last visited
Content Type
Profiles
Forums
Gallery
Events
Posts posted by ScottRC
-
-
Very nice and interesting build. I look forward to seeing more.
-
Yes, thanks Pete for the visit and instructions.
-
You work has so much character and emotion in it.
-
-
If you cannot get the Microset or Microsol, then put a few tablespoon of white vinegar in your water and use distilled water if possible. The chlorine and sulfates in tap water can cause a reaction with the decals surface binder making it hard or causing it to delaminate. Testor's makes a Decal set solution but the two that Andy suggested work much better and I have used these with tap water.
I regards to the big red crosses, you may find them, as I found, easier to paint them than fiddle with the decals. In fact I think I used a red marker if I remember, been a long time. It would be much more realistic and was more fun, since the outlines are molded into the sail it was easy to stay in the lines. But paint the sails first

-
-
Ray,
Good job on tackling this kit, it is a bugger and I have seen many that were never finished, we are glad you are enjoying the build and sharing with us your work. You are an the prime example that we are here to build and have fun sharing each others work.
Cheers,
Scott
-
-
What is filler?
This is a putty that we use to fill in dents, small seams, and cracks. You spread it over the area that needs filled in thin layers, then when it is dry, sand it so the blemish is blended away.
There are several kinds and brands. Testor's white filler is common in hobby stores. Its is kinda thick and chunky and I never cared for it. There is also Squadron Green and White putty, green is thin and the white thicker. Some hobby stores carry it and its also obtained from Squadron.com.
Then there is my favorite, I use good old Glaze Spot Putty by Bondo that you get at the auto parts store. I like it because it comes out thin, but will thicken if you let it stand for a few minutes, and its easily available.
To apply it, I must caution and advise you get disposable gloves, because its not good for your skin and the best way to apply it is with your finger.
There is a book I like to suggest that is available through Amazon that explains just about everything you are asking. How to Build Plastic Model Ships by Les Wilken
-
I am still not quite sure how to use the Tamilya thin glue. Do I put the two halves together and then paint the glue along the seam? I am used to gluing them together with model glue.
Sorry Ulises. I already painted the two halves separate. I will do it right next time. What is filler?
Also, I can't use clamps to hold this together like I could with the USS Constitution. What do you use to hold things, such has the two hulls, together for the glue to dry when you can't use a clamp?
I personally do not like to use thin liquid cement for hull halves due to the stress the joint will be under when the deck is mounted. I use 5 minute epoxy along the inside of each halve. If you have the old plastic tube cement, use that!
If I remember, the instructions have the hull halves and deck all assemble as one. If this is the case, you can use rubber bands to hold the halves together against the deck. Then spread liquid cement along the whole joint between the deck and hull on each side. If the deck mounts later, get some tongue depressors or popsicle sticks cut to the width of the deck and put them in place to hold the hull halves in place of the deck with the rubber bands.
Don't worry about messing up you paint job. you can always touch up later. You have a really good, what I would call a base coat, for doing washes (layers of really thinned color to bring out highlights) that will give the model depth and balance.
One thing I have learned with using acrylics, they can scratch and flake easily. I always give my model a spray of Artist Matt Spray. This brand can be found at Walmart : Krylon #KR1303 - 11oz Crystal Clear Acrylic Coating. Artists use it extensively when using acrylics and inks. This stuff also hides glue marks and blends in brush streaks than tend to be shiny.
-
Now waiting for the cost of the materials to come down. 3D printing is still pretty pricey per square inch.
-
Woo Hoo, looks great

 any pirate would be proud to sail on her.
So, you disregarded the instructions to put the sails on and you have parts left over? Well, I must say you have past into the category of now seasoned ship modeler. Just wait, soon you will be measuring spars and masts with calipers and making your own because the one in the kit is too tall, too short, or you just want to do it for the fun of it.
Don't worry about the mizzen topmast being on backwards, I mounted all three masts on backwards on a Constitution, and this was after building this kit at least several times before. Its such a bad problem for me that I now turn the ship about when placing masts.
Again, thanks for posting and have fun with the Santa Maria.
Scott
-
Hi Bava, nice work.
I just started using Blender. So far not to bad. Do you import anything or is everything built in Blender. I ask because I am importing stl files out of Solid Edge and Solid Works.
Scott
-
Ditto on the acrylic. I use pretty much all water base now on my plastic models oils or stains on wood. Easy to clean, they seem to last forever if sealed, and no smell. One drawback is that some types, such as the arts and crafts brands, require a primer in order to adhere to the plastic. Humbrol is a great line of paint as J.Pett indicated, for brush painting. You are lucky you have a store nearby that stocks it. Tamiya and Gungze Sangyo are two other brands of acrylic that are high quality specific for plastic models.
One drawback I do have with acrylics is that I cannot get the effect I want with washes. Ulisis's Santa Maria is an excellent example of doing thin layers of color to shade over a base coat producing a deep, rich, 3 dimensional effect. This is where I do a base coat with an acrylic, spray it with a lacquer clear coat, then will paint washes using oilpaint thinned with turpentine.
I like what you said about remembering terms. I still get yard, spar, stay, brace, and shroud all confused. I started sailing lessons a few years ago and drove my instructor nuts.
I remember the Jolly Roger instructions well, insomuch that I put the main tops'l yards on the fore mast. This is the point where you model by sight, rule of thumb, and gut instinct. Makes it more fun. Life is full of rules and instructions, here is your chance to get a away from it all.

-
For what it's worth, the Mamoli Surprise is a re-box of their La Gloire. Considering that the Surprise was a captured French ship, it would seem Mamoli's heart is in the right place..

Much like Revell with their line of plastic ships ie: Bounty/Beagle, Thermopylae/Pedro Nunes/Cutty Sark, Constitution/United States etc... Anyway, I am still interested in this kit.
-
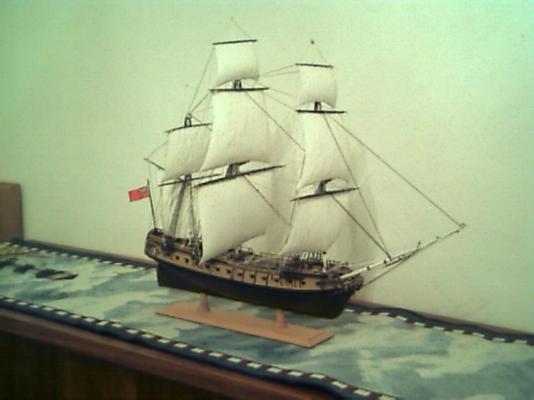
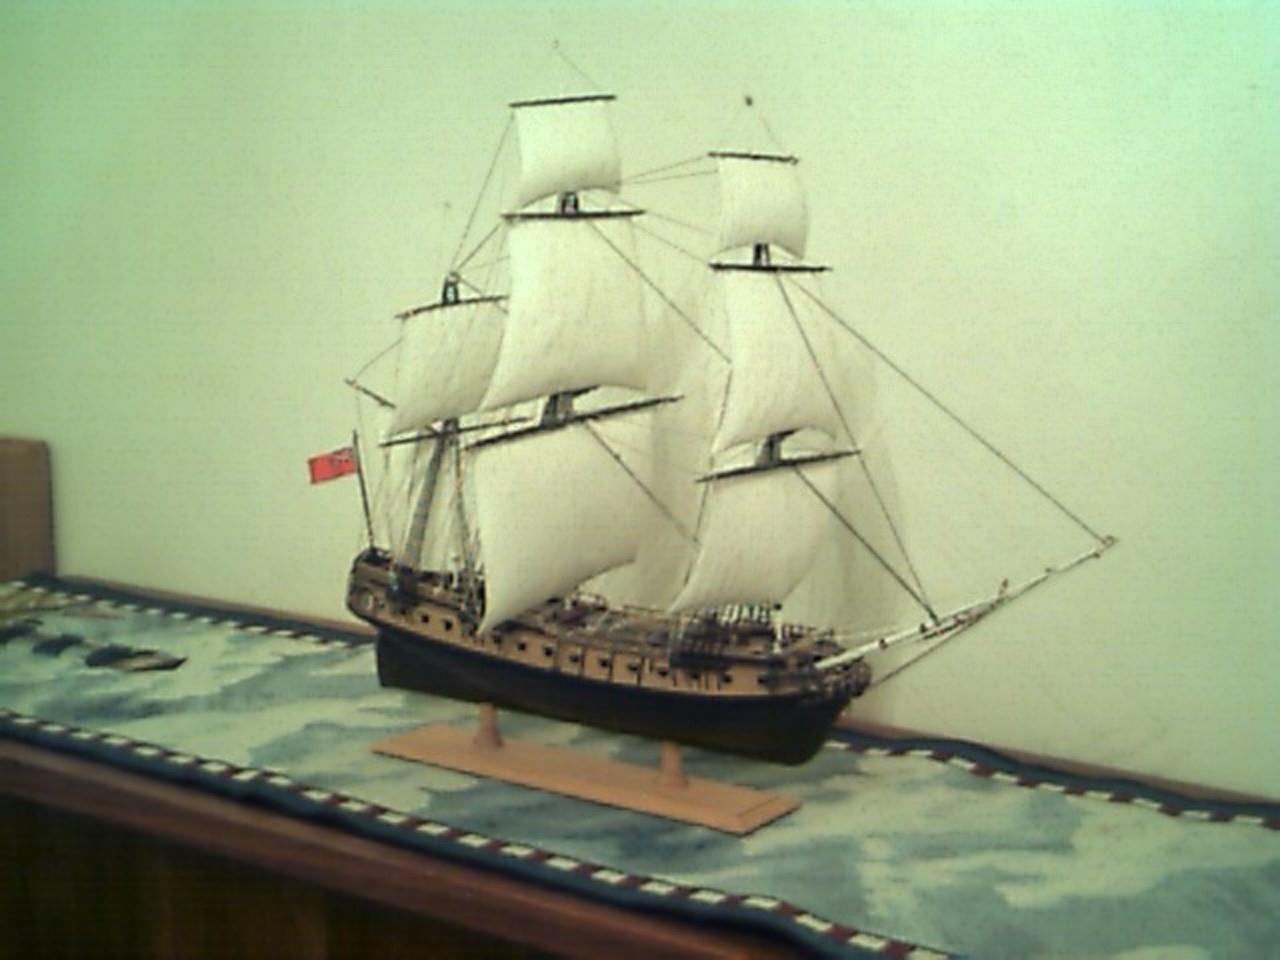
Forgot to add that that was the only picture I have of the Jolly Roger, it met its demise from the full broadside of a cat a few years ago.
-
A little word on cements. Be careful with the Testors, for it will attack or craze the plastic if put on too thick. Tamiya is a better cement but can still craze the plastic if put on too thick.
Plastic Strut, WeldX, or Weld On are brush on liquid cements that do not harm the plastic. I think Micheals and Hobby Lobby carry it.
I also prefer to use Lock Tite Gel superglue for applications that require a semifast and strong bond.
For knots, I use "Head Cement" that is used to secure thread for Fly tying. It is easy to use, dries clear and thin, and is indestructable.
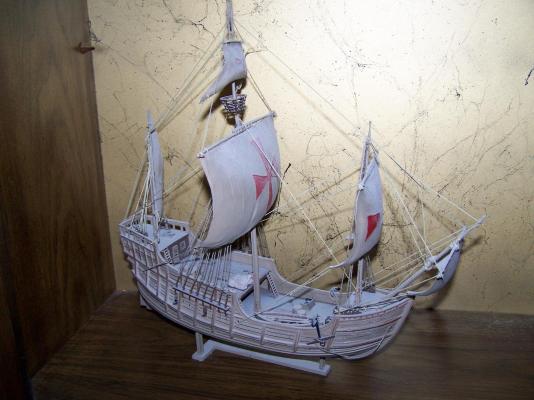
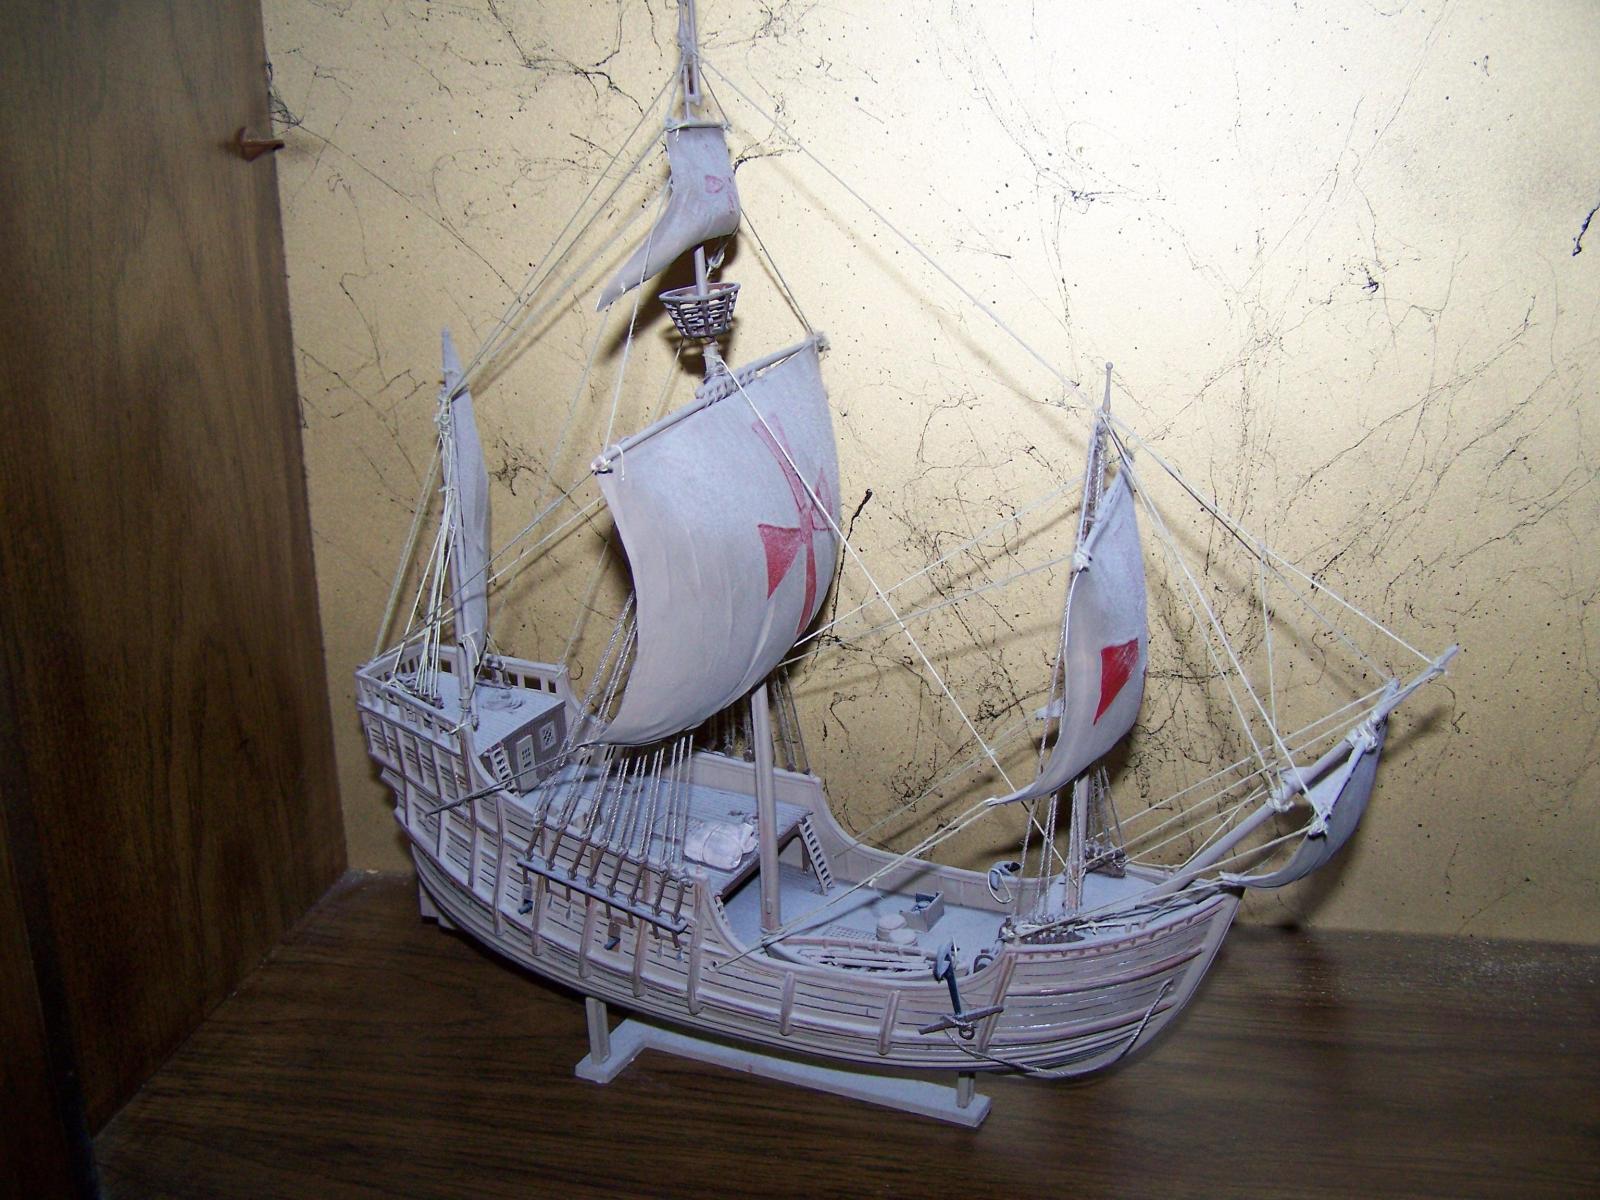
I attached pictures of both my Jolly Roger and Revell Santa Maria. The Santa Maria was built in my dorm while working up in Glacier Park using tempra paint, a red marker, and a pencile for coloring and detail.
-
Very interesting build, look forward to watching it progress.
-
That is one big model. A 1/200 HMS Hood would go nice with it.
-
Kimberley: Here are some photos of my Santa maria. I hope you can find something useful in them. This is the Heller kit in 1/75
Ulises,
Did you do a base coat then several "washes" of differnent shades of browns and black? Kimberly, this style of painting is a lot of fun.
-
your SF is at a great place to stop and take a break. Finsihed enough to look like a ship and very presentable.
-
Been catching up with your project and you by far have risen the bar in making this model a masterpiece. Great work, keep it up!
Scott
-
Woo Hoo, like the build. I'm about the same place you are on the Connie and you are giving me ideas.
Scott
-
Popeye, nope never took anything you said in a negative light, trust me I know you have never been anything but supportive.
Jay, Syren blocks are all too small, I did think about using them lol. If they had been on the large side I would have used them anyway, but no luck...and too small for the rope I have anyway.
Steve,I am not giving her up forever, just dry docked until life works out some other details (money), then I will finish her up. Yes, if I did not have the other builds to fall back on I would probably try to fashion my own blocks, but you kind of said it exactly as I am feeling it,I am just kind of "over it" I am pretty disgusted with the lack of foresight, in the plans and instructions, as well as my own, and need to walk away right and focus elsewhere.
Hi Robyn,
Many of us understand fully your dilema. Its is why an artist will have a studio full of unfinished paintings, a bodymen a garage full of cars in primer, and myself, a workshop with shelves full of projects in various forms of finish. Some may never get finished, at least by me.
To me, whom is very linear in his thinking, it drives me nuts to leave a project unfinished, but this hobby forces me to accept it. If the current model hits a snag, set it aside and move onto something else. I have three projects drydocked for the same reason you are docking yours. But I find other projects that do not require funds, or a lot of foresight, but just time. Kinda why I started carving and looking at starting a ship in the bottle. I have lots of scrap chunks of wood and wine bottles from the nights of working on the above said, unfinished, models.
Ahh, manufacturers drawings and instructions. If you look at most of us who have built for a time, our prints and instruction books end up covered in notes and redmarks, dogeared, and re-stapled with the pages out of order. Its part of the fun now, getting a new kit and then, as one put it, at least how I put a take on it, brings out our Frankenstein in us. We may spends months laying tracing paper over plans and redrafting lines, angles, and lofts. We may end up making photocopies of the instruction manual and putting the pages in a different order of build and cover the margins with notes. Hell, at times we just through the manual out and use our builders notes. You are learing a new phase in ship modeling, one that now uses your experience and combines it with trust and eptitude when starting a kit.
Scott

Santa Maria by Kimberley - FINISHED - Revell - PLASTIC - 1:90
in - Kit subjects built Up to and including 1500 AD
Posted
Hi Kimberly,
Tying shrouds can be like herding cats. Tighten one and the other loosens third down on the opposite side. After a while some are tight and some are all loose and goosey. I have found that it is easier to keep them all a little loose and secured with a single hitch and then start to taught each one little by little, from side to side, until they are all equally taunt and the mast is strait. Then I tie my knot and seal it.
Agree that the kit thread is probably poo, so go the craft store and pick out some thread that I would say "feels right". I mean find something that feels easy to handle and tie. I used thick "coat and button" thread when I was learning because is behaved well in my novice hands, didn't fray when cut, and was cheap.
Also pick up some Beeswax, usually at the craft store in the candle section. We run our line through it so that is keeps the line manageable when laying out the line and it seems to act as a lubricant with passing the line through blocks, holes ,and when tying hitches and knots.
Keep up the great work.