


ScottRC
-
Posts
559 -
Joined
-
Last visited
Content Type
Profiles
Forums
Gallery
Events
Posts posted by ScottRC
-
-
Love the work your doing on this build Vivian. I am fond of the desk and how you applied your stains. Very well balanced.
Scott
-
-
Yards and masts look great. Also those ratlines. Keep posting

-
Hi Kimberly,
You are struggling with two subjects I have the worst time with; painting something white and masking tape bleed.
You got the best advice for the masking tape bleed. I use the Tamiya tape and seal methode and have not had any trouble since learning about it.
For the white paint, this kit tought me that Krylon primer gray and primer white were my best friends. The last one I built, which was my fourth, I primed all the parts to be dark colrs with primer gray spray paint and all the white parts with primer white spriay paint. After that, brush painting the final coats went on easy with no doulbe coats. The primer also made painting tight areas easier because it gave the paint "grip" so it wouldn't run as easily.
Another technique I would like to add in regards to painting the "ginger bread" scroll work and window frame details would be to learn the "dry brush" technique. This is where you take a soft, flat brush, load it with paint, then stroke the brush over a flat piece of paper or cardboard until the brush seems it needs more paint, then take the brush and lightly stroke it across the details you want painted. the coats may seem very light at first, so you will need to repeat the method a few times to get the color to thicken on the detail your are painting.
-
-
I really enjoyed reading through the last 10 pages. Nils, you are a gifted craftsman.
-
Really looking good, the PE railings look clean and delicate and add a lot. Makes me want to start mine but I'm up to my armpits in a 64 I/2 Mustang and a rusted out 32 Ford for next weeks Club Challenge.
T
Thanks. I guess the PE is going ok, I am dealing with shaking hands and hainvg to use bi-focals for the first time. I understand about your ordeal with the Mustang, I have a few cars that need my attention. Right now, the shop has been too cold and damp for my liking.
-
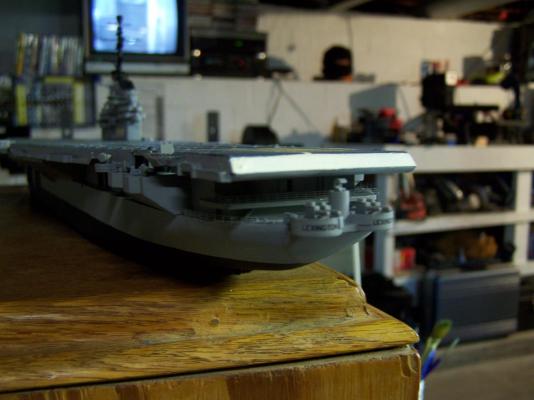
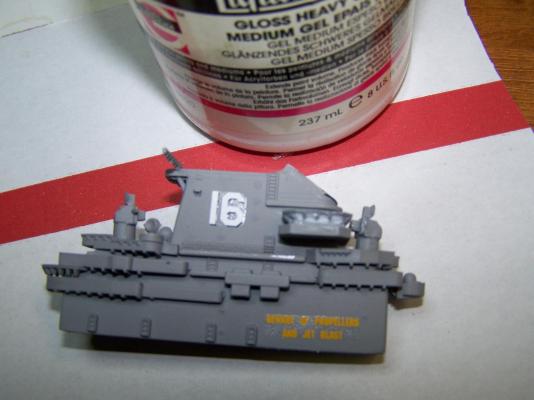
Here are some updates. Been having digital camera problems so the pics are not the greatest.

- zappto and GrandpaPhil
-
 2
2
-
-
Its been a busy couple of weeks so I hadn't had much time to work on the Lex. However, I do have the mast finished with a complete radar suite and added a bunch more details. I hope to add pictures tonight.
-
Sorry to see that your keel warped. Bloody ol plywood gremlins tend to do things like that when you are least expecting them. I kinda have a dislike and dis-trust for plywood because of these issues.
wq3296 might be correct, need to relived the stress. Maybe cut the dowels at the spots between the bulkheads in the ares of warp, then soak the keel so its pliable and re-clamp the bugger. You can always re-splice the dowels with some splice plates and heat shrink or copper tubing. I had this problem on an rc racing boat and ended up cutting small relief cuts in the keel to make it flex, then filling them with phenolic glue and clamping everything in a jig for a few days. Got it strait as an arrow and made setting the planks much more easier not to mention I needed a strait keel for performance.
-
Those pressed wood forms of the stern and bow drove me nuts getting them squared to match the center planking. They also caused a fair amount of twist to the bulkhead. If I had to do it again, I would do the balsa build up and fair method and plank like a traditional POB.
The pressed wood galleries are really nice and have potential. Maybe cut out the windows and re-frame and glaze?
I see you have a fair amount of time to spend on the jigsaw since these kits do not have pre-cut parts. One thing I liked about the printed plywood parts were that they made nice templates to make scratch parts out of hardwood. Hmm, I think I a feeling a bit of motivation to start back on my Endeavor. Thanks!
Scott
-
Gee Vivian, I doubt anyone here ever put the mizzen in place of the fore mast
 . Ok, so I once stepped my masts all the wrong direction.
Very impressive of an interesting topic. Almost makes me feel the need to get off my duff and get my Roman Grain ship project moving. BTW, be careful on getting to involved with your other kits too early whilst in another build, for they can become very addictive and will require or more and more attention, then you end up like some of us with a half dozen or so in-progress projects all screaming for equal time to be worked on. It starts with a fondle here, a sniff there, and woof, your truing a keel and setting bulkheads. Gad, it makes this hobby fun doesn't it?
-
A+ Work on the build. Ratlines are looking good. What exactly are you asking, is it the yard orientation? The pictures are rather dark.
-
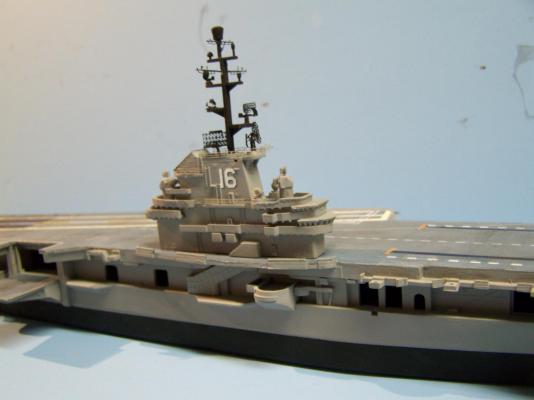
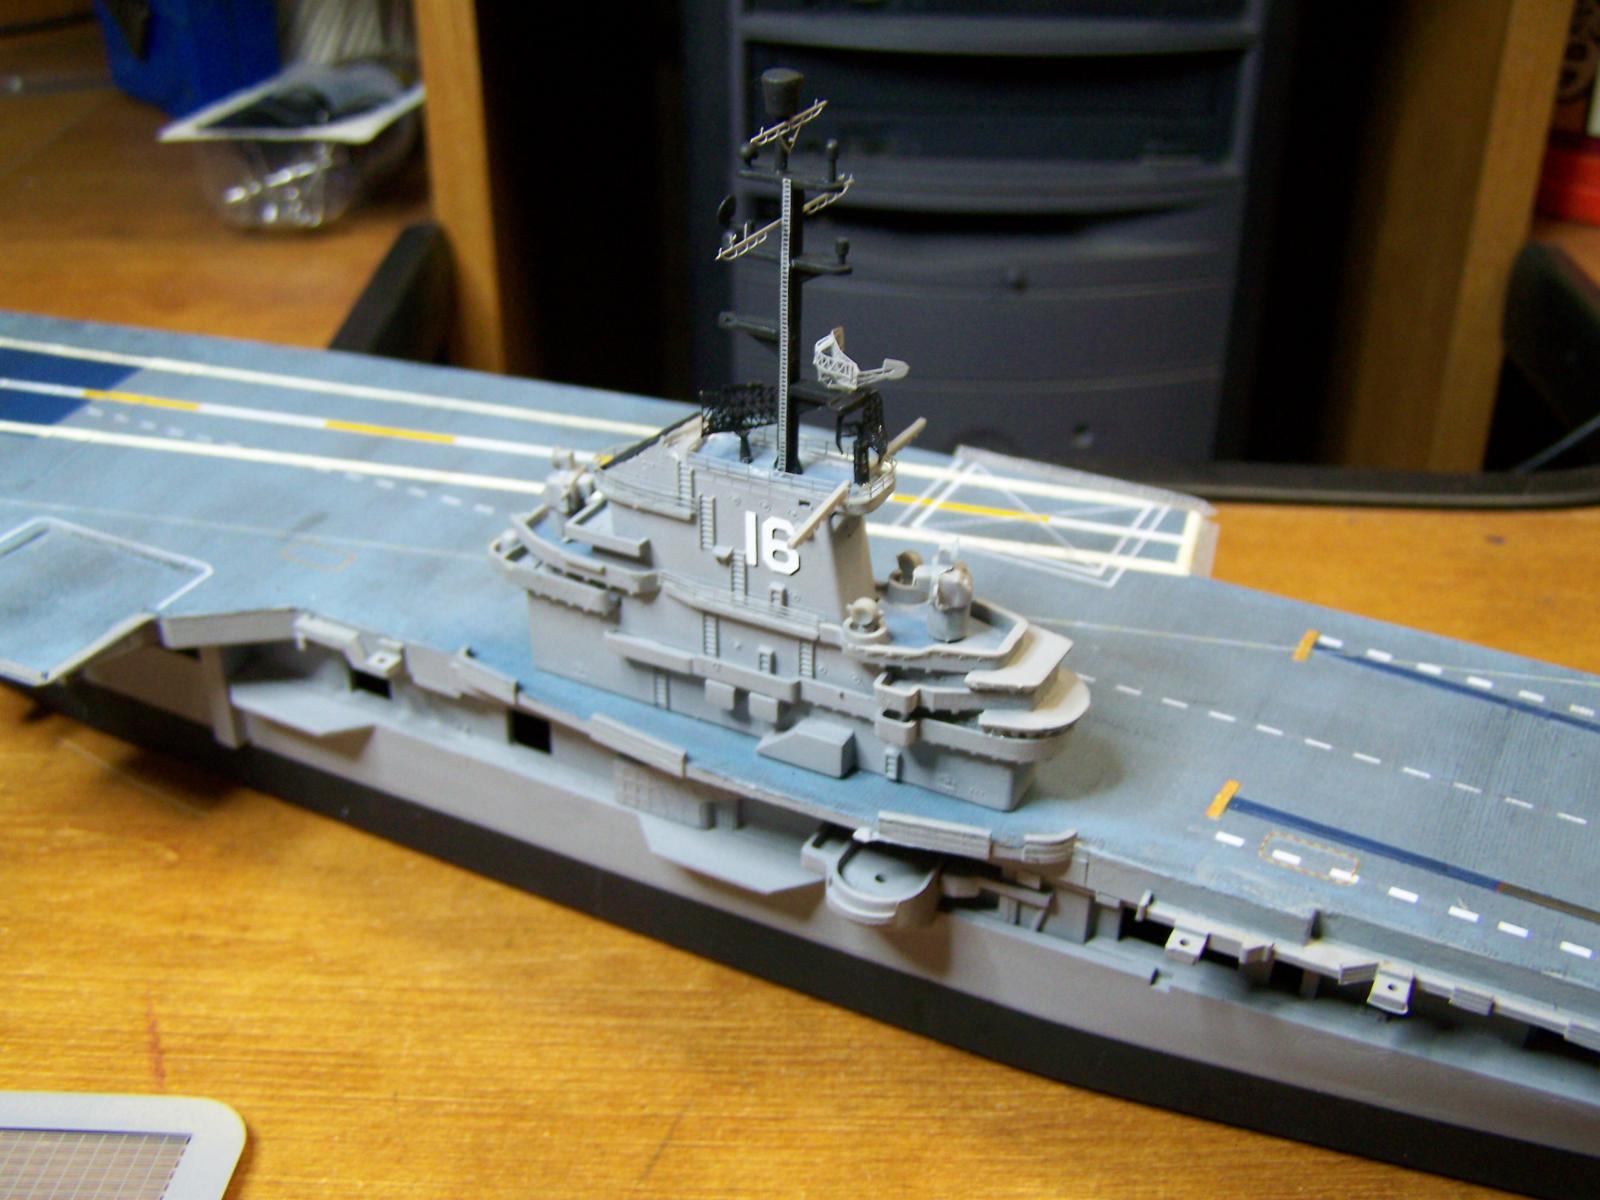
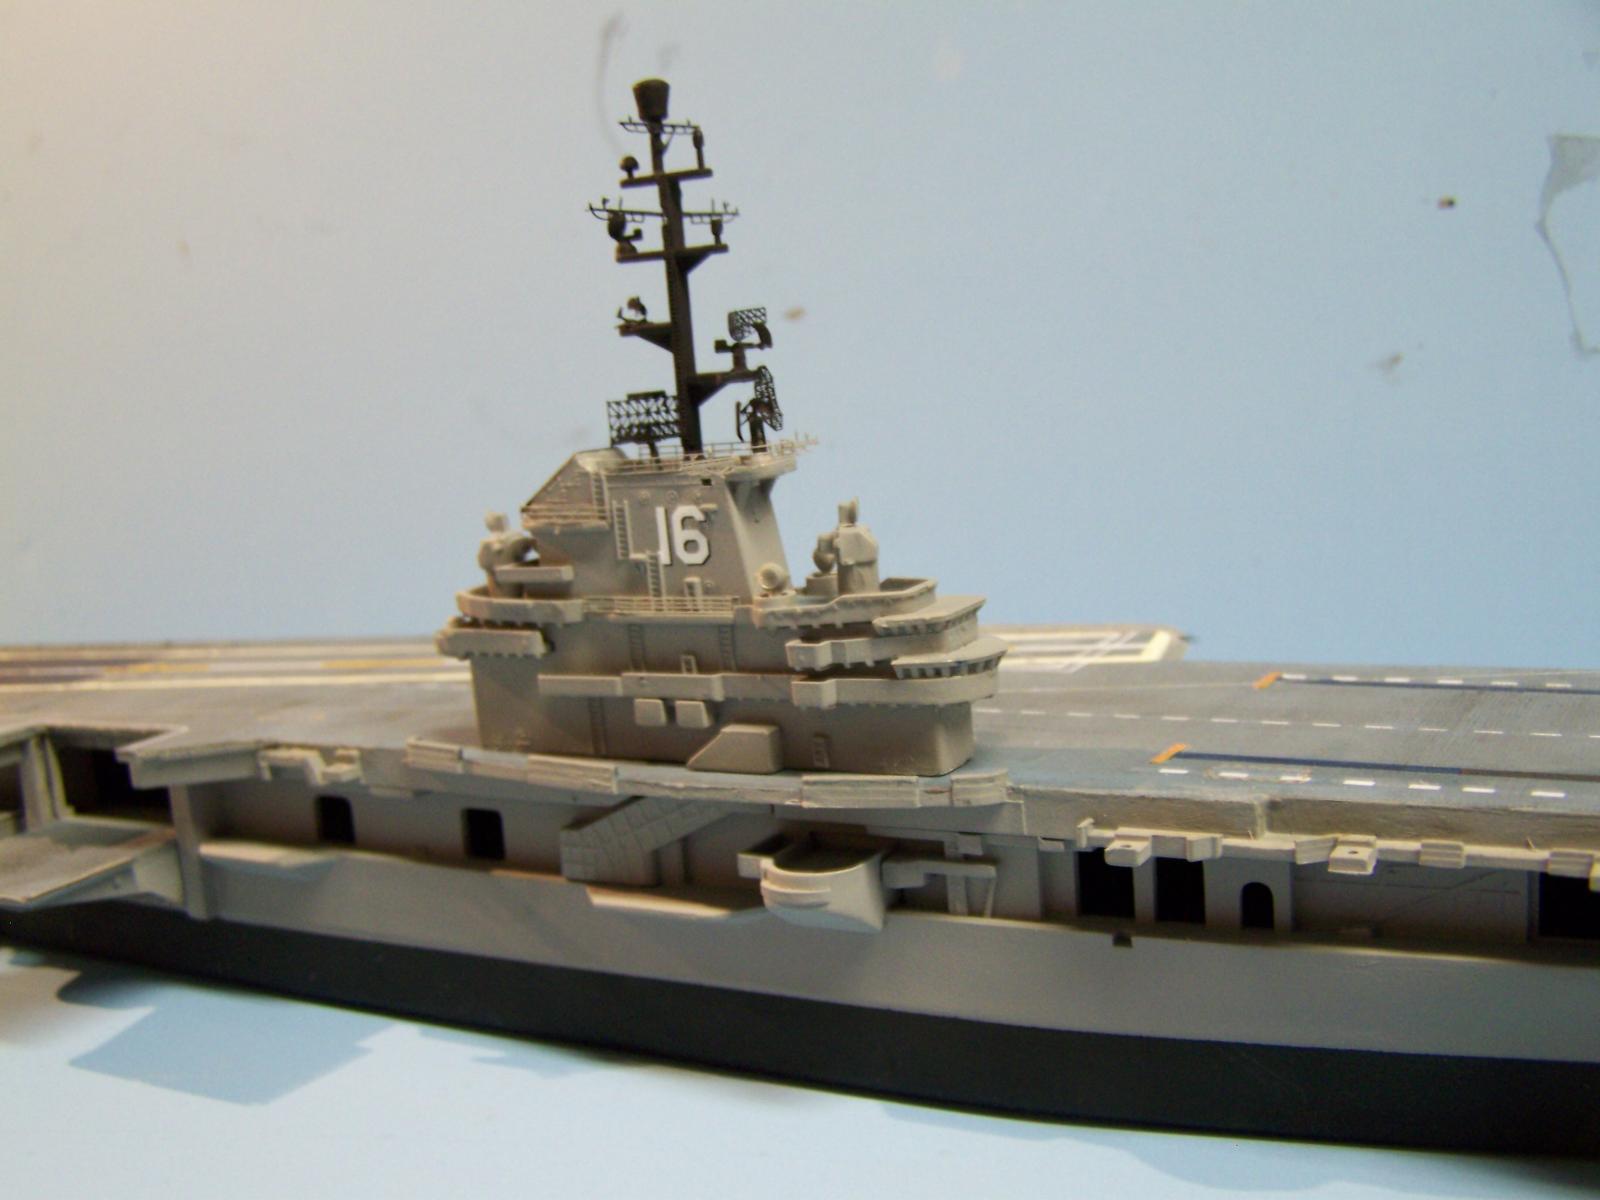
This mast is hard to do for this was where my dad claimed spent most of his time on the Lex. He was an ET and had a lot of stories of being up on the mast, in the island, or the excitment of servicing the arials that are off the side of the flight deck during air ops or during a typhoon. I wish he was here now to help me with the radar configuration. He could name everything off like it was yesterday as well as tell how each each radar and antenna worked and when it didn't work. Although he had 20 years in, all he talked about was his time on the Lex. The build is helping me with his loss.
-
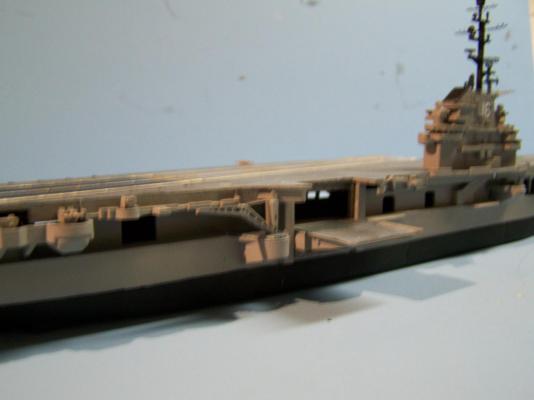
Well, I guess I did enough damage for tonight in that I got all the railings on the Island added. That was easy. The radars are where the meat will added to pot. I am taking the rest of the evening and maping out a plan of what order to build and install the radars and the details to the mast.

-
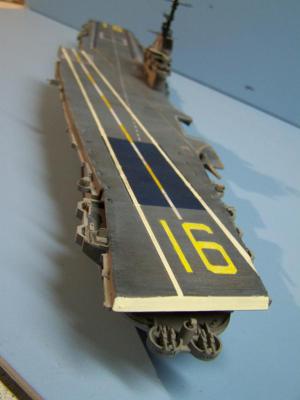
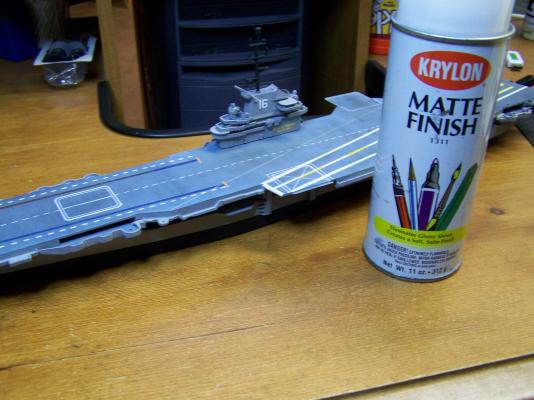
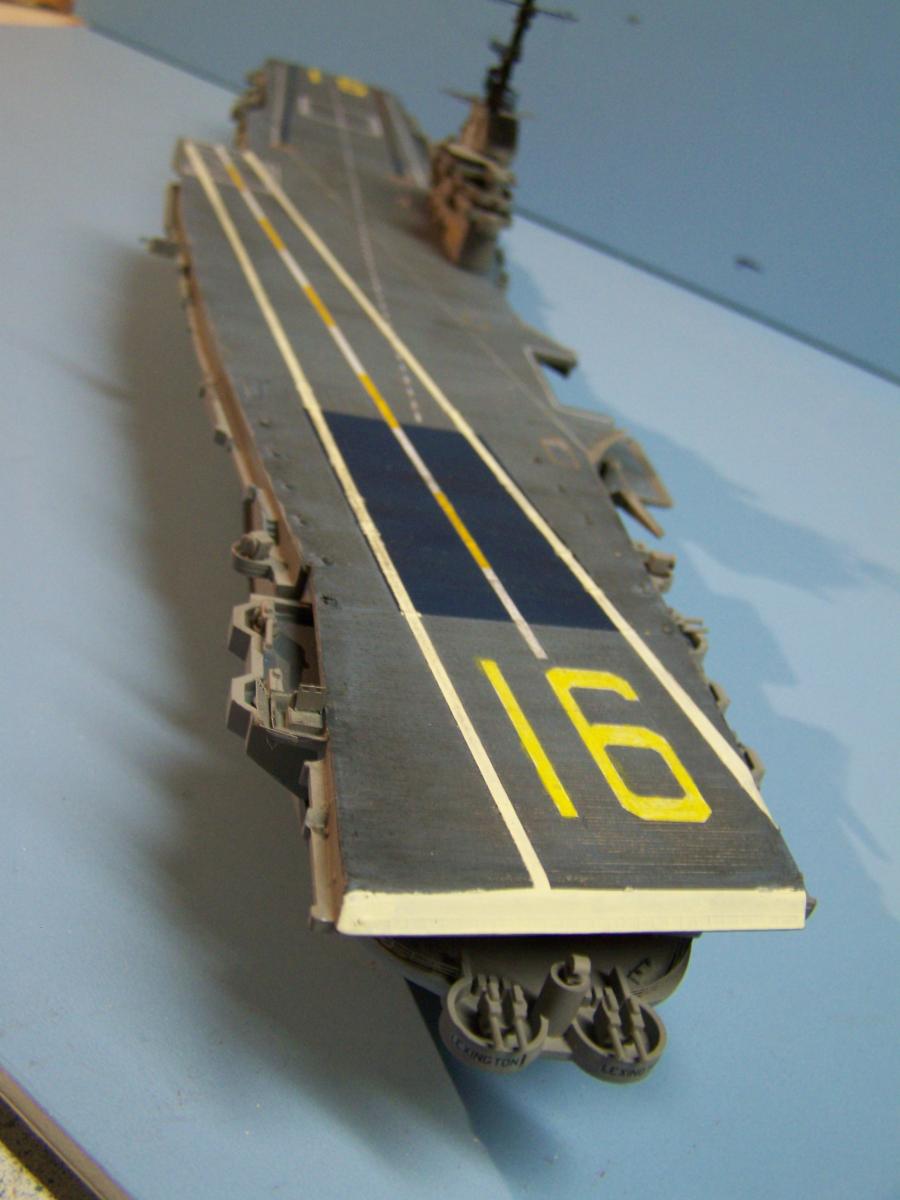
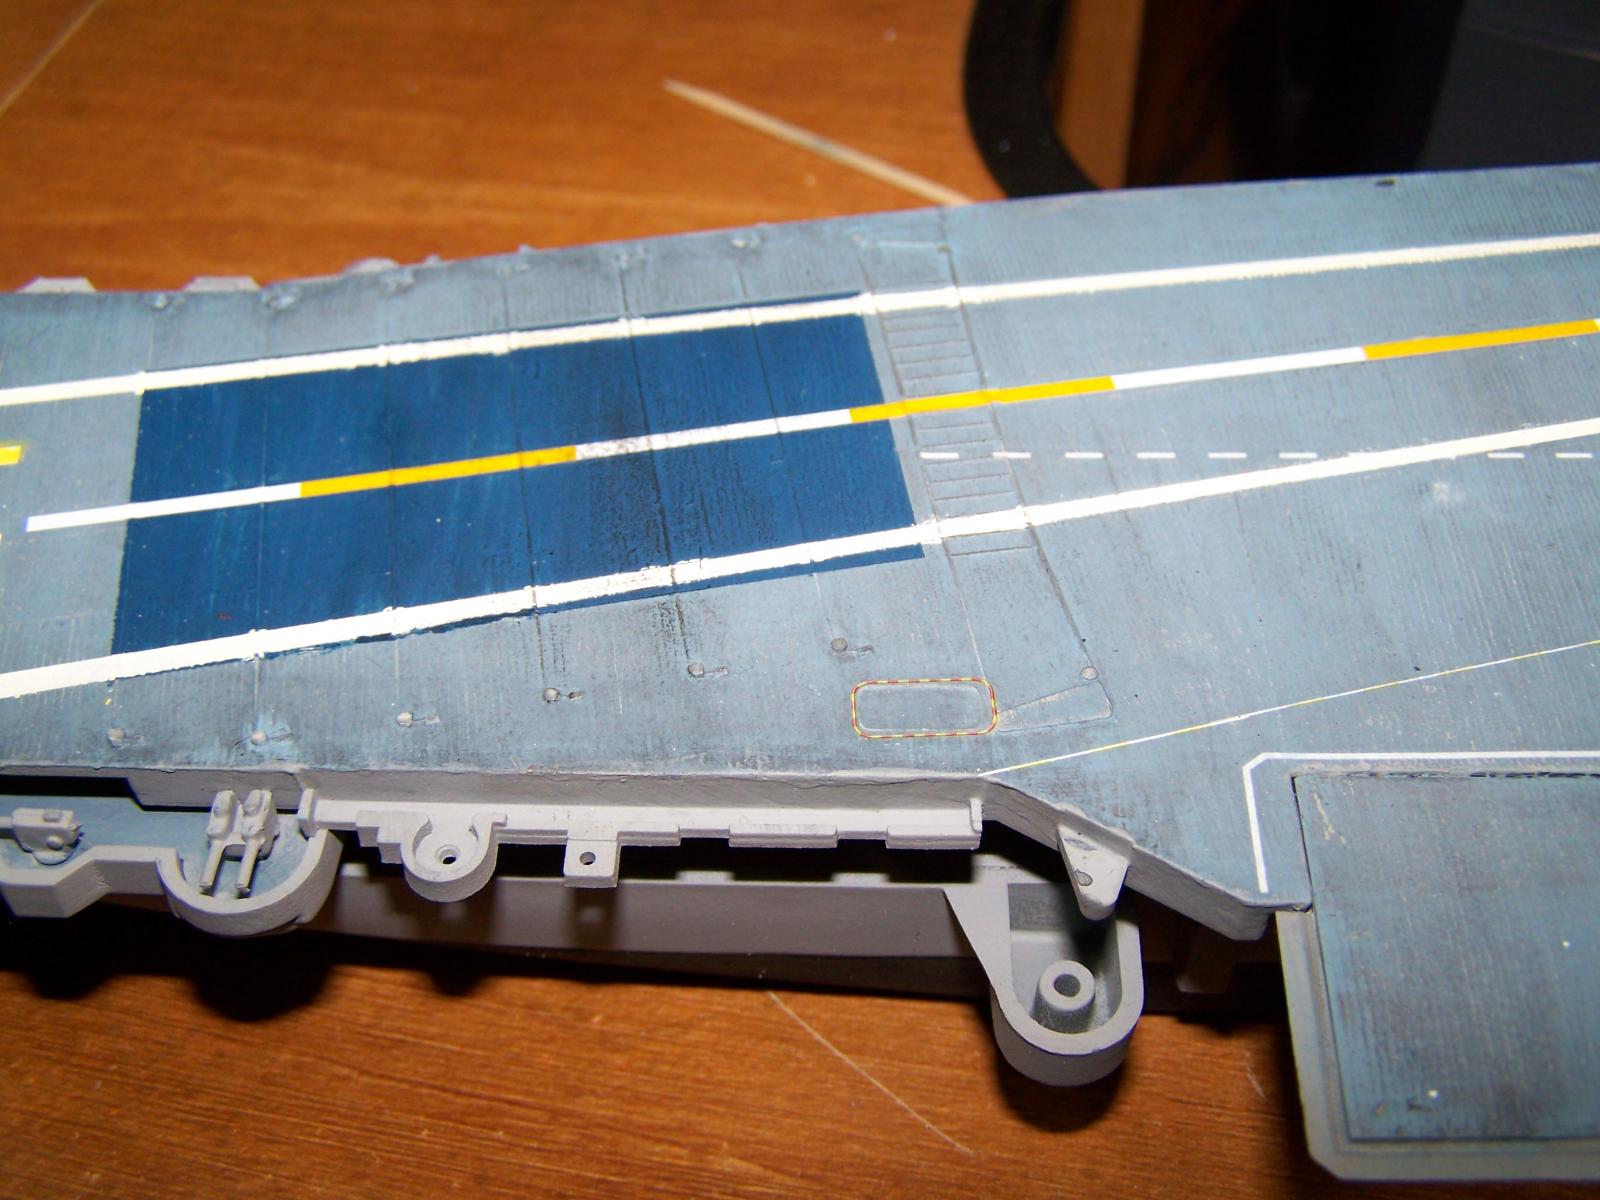
Now that I am done with the flight deck, and since I used acrylics and pastels, I need to seal it. To do this I used Krylon Artists Matte Finish. This stuff is great because not only it protects the finish, but it gives everything a nice, uniform, scale appearance and is super easy to use.
-
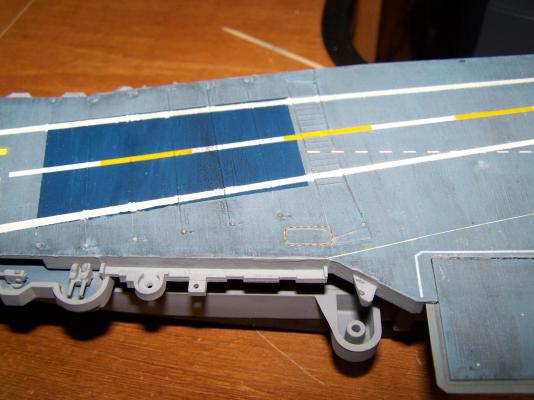
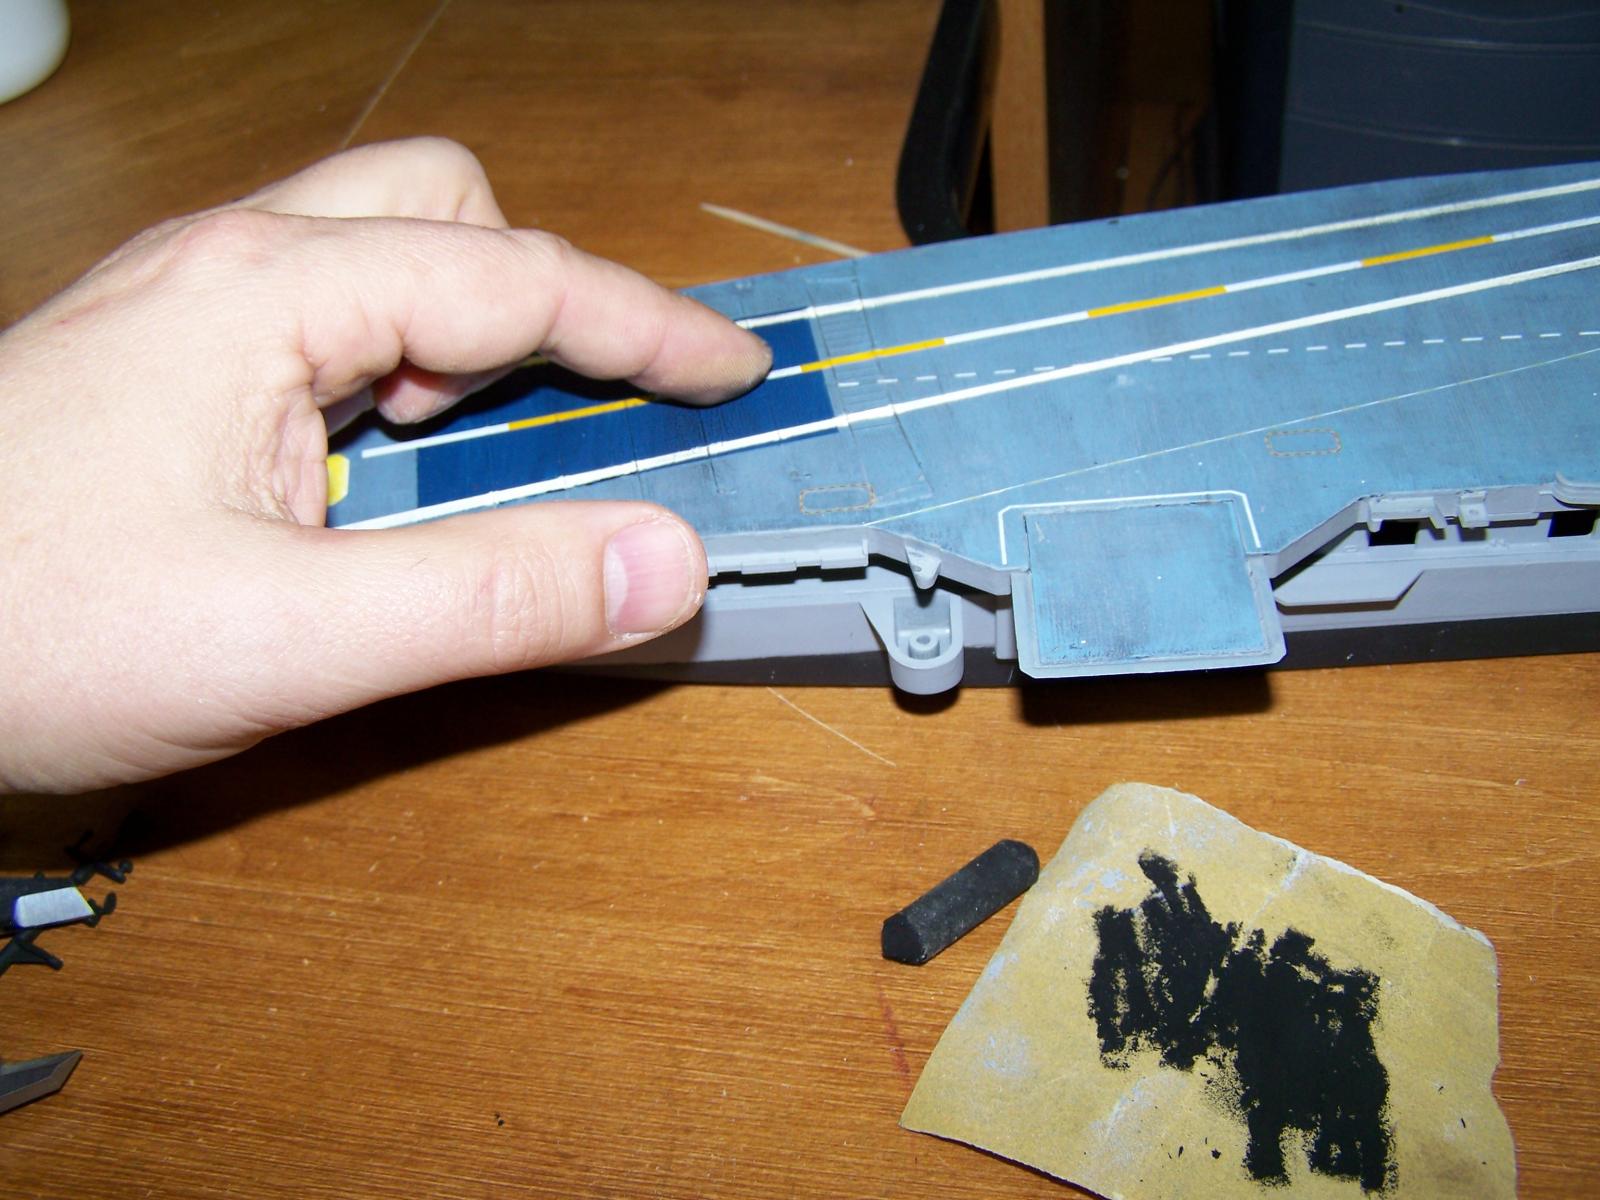
While waiting for my windows to dry, the flight deck needed some final weathering. So I crunched up some black pastels and rubbed it into the deck to enhance the wood texture and to give it the look of accumulation of soot, exhaust, oil, and rubber.

-
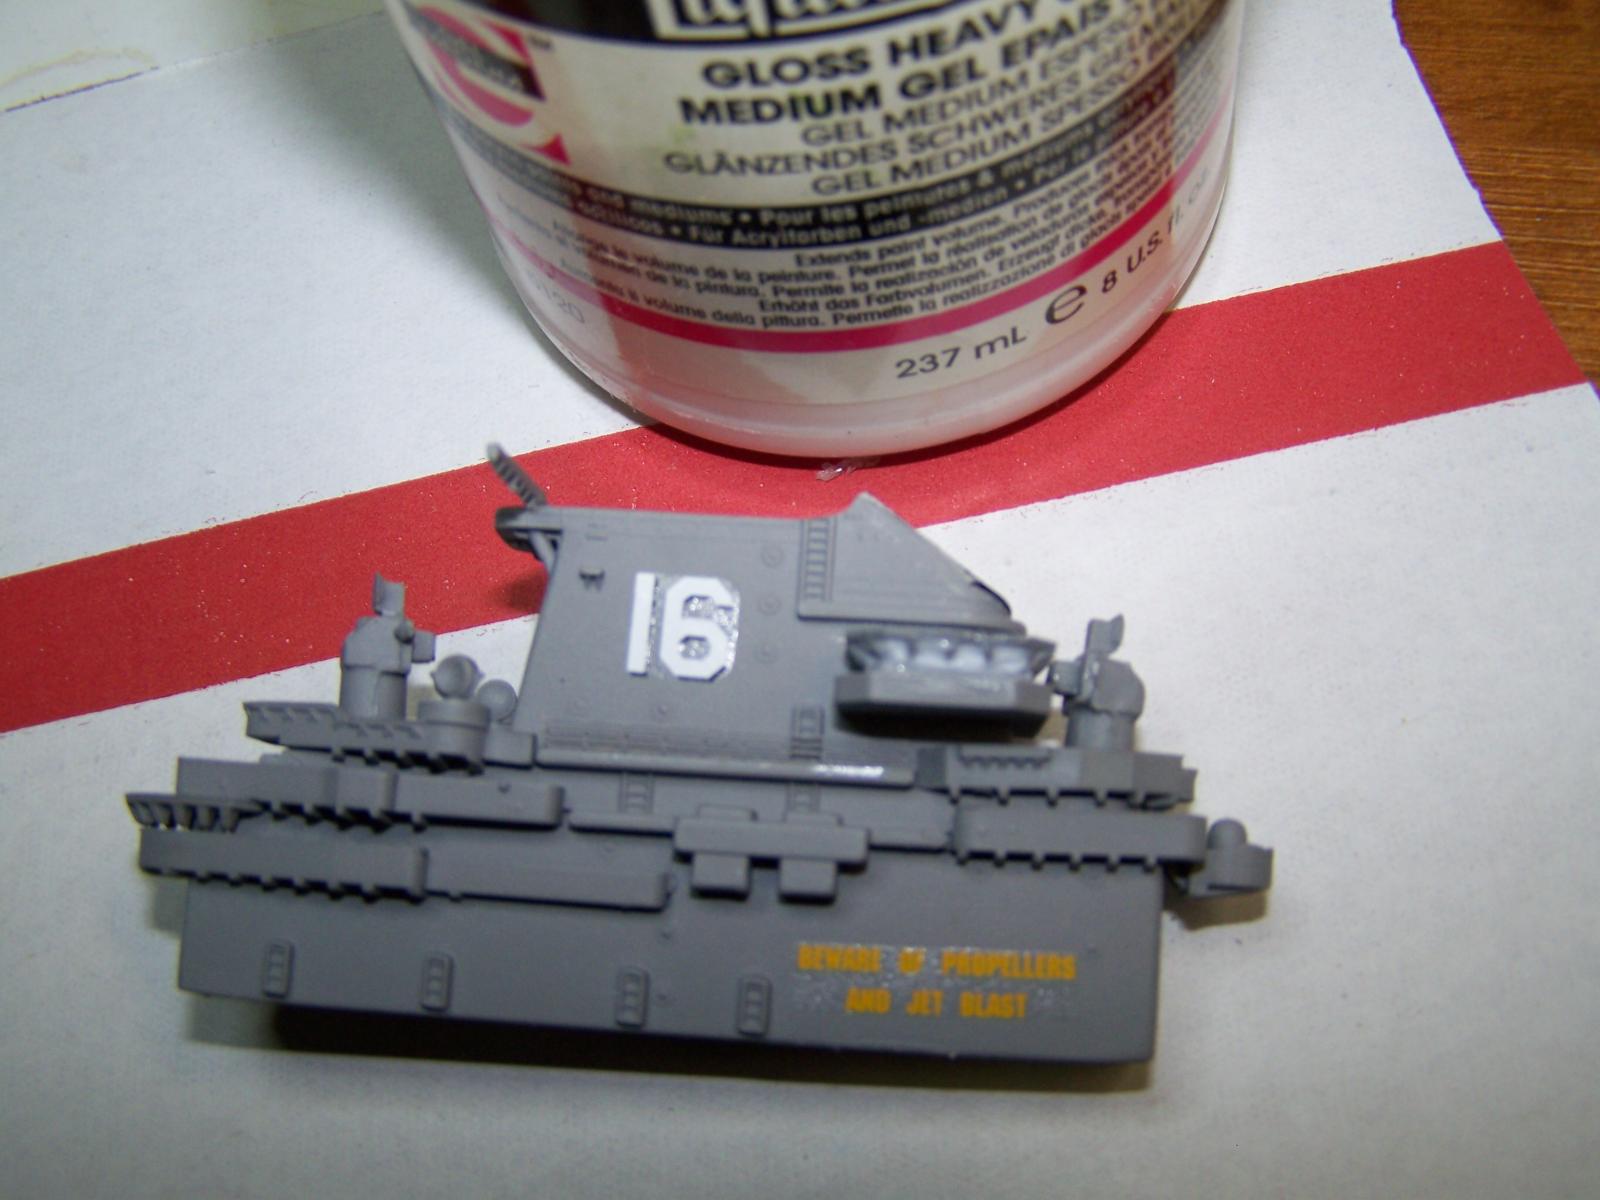
Its funny, when I started building this kit, I thought I was just going to slap it together over a weekend like I did when I was a kid and then put it on the shelf (no, really play with it
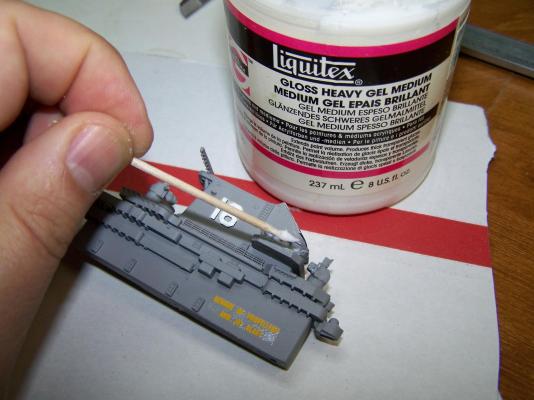
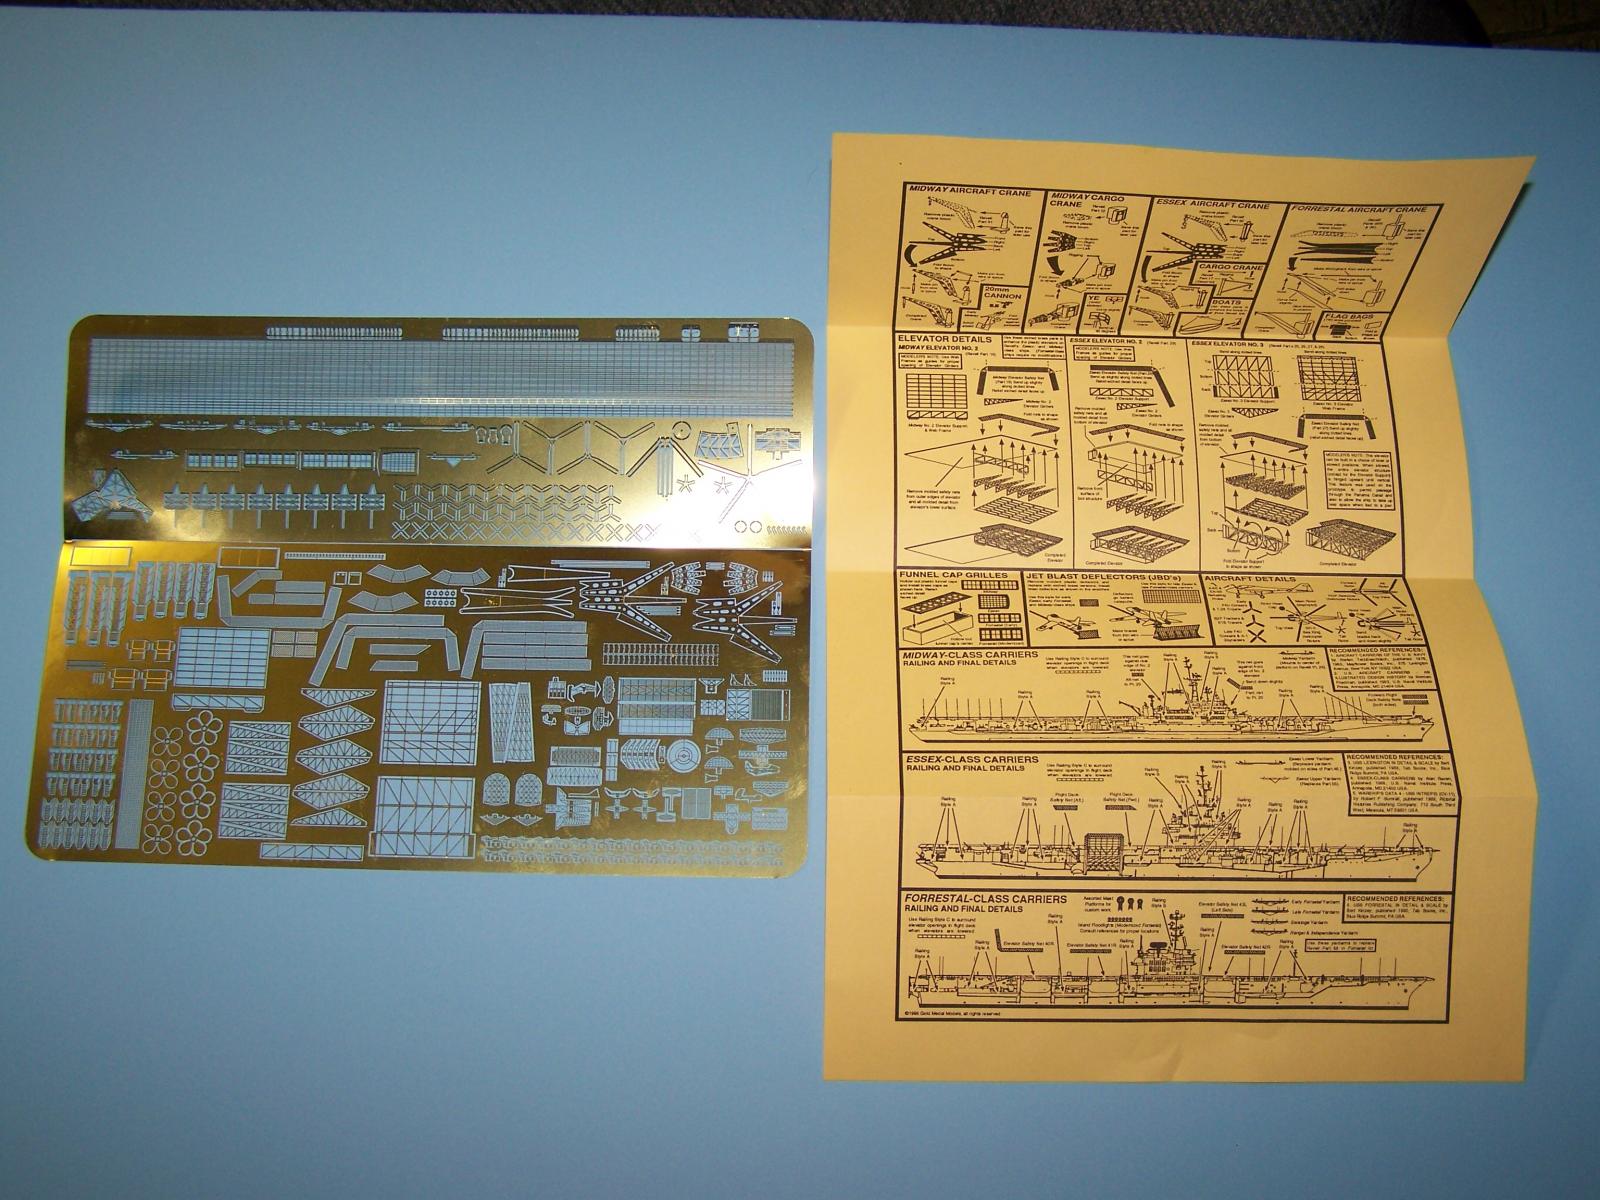
 But the more I build on it, the more I am having fun adding all the extra details. Many of these added details I wish I thought of before I glued the deck to the hull and glued the island together. But oh well, I'll try to do what I can. The Gold Medal photo etch has so many cool details.
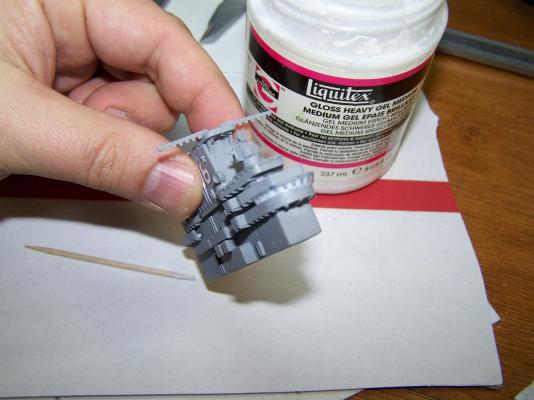
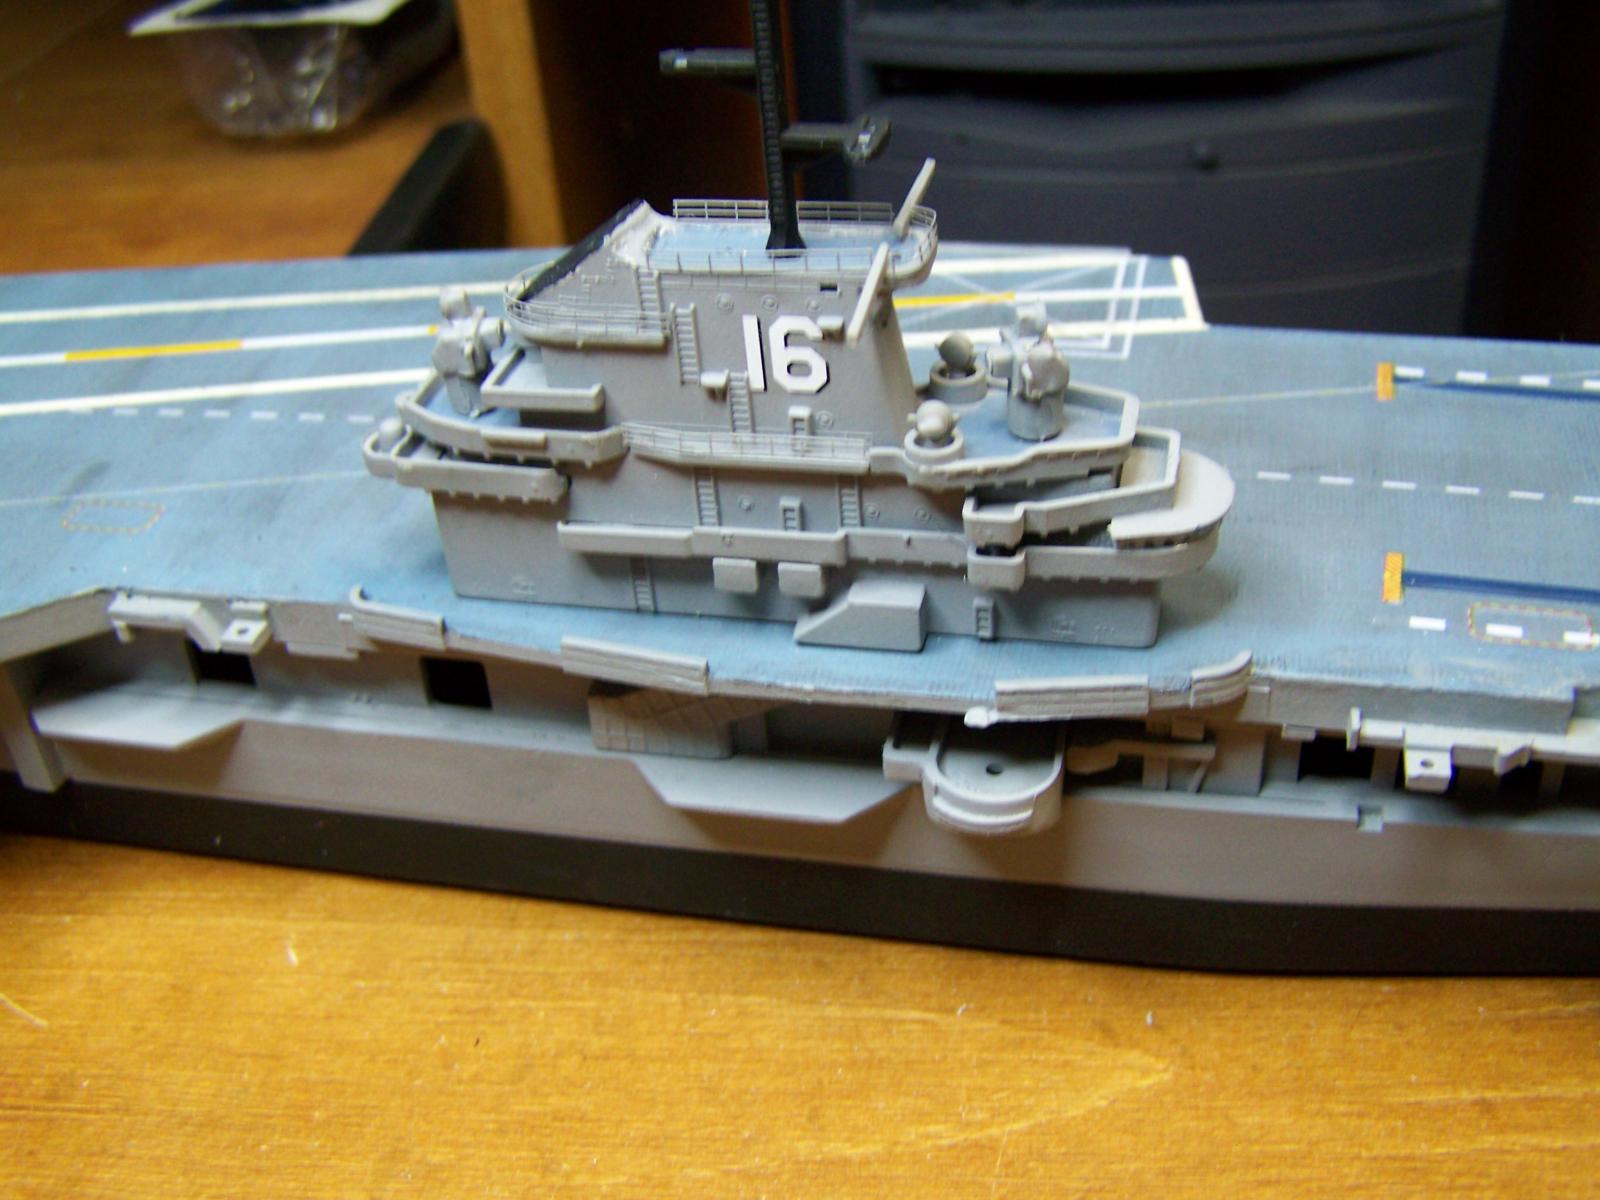
The pry fly and bridge windows looked really strange not having glass in them, so I filled them with Liquitex Gesso, the same stuff I make my water with. It dries clear and in a few hours I will have windows.
-
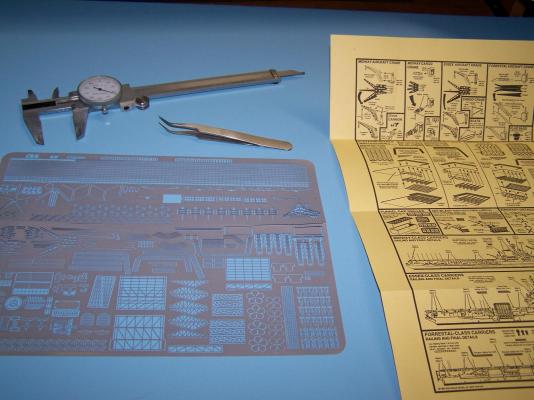
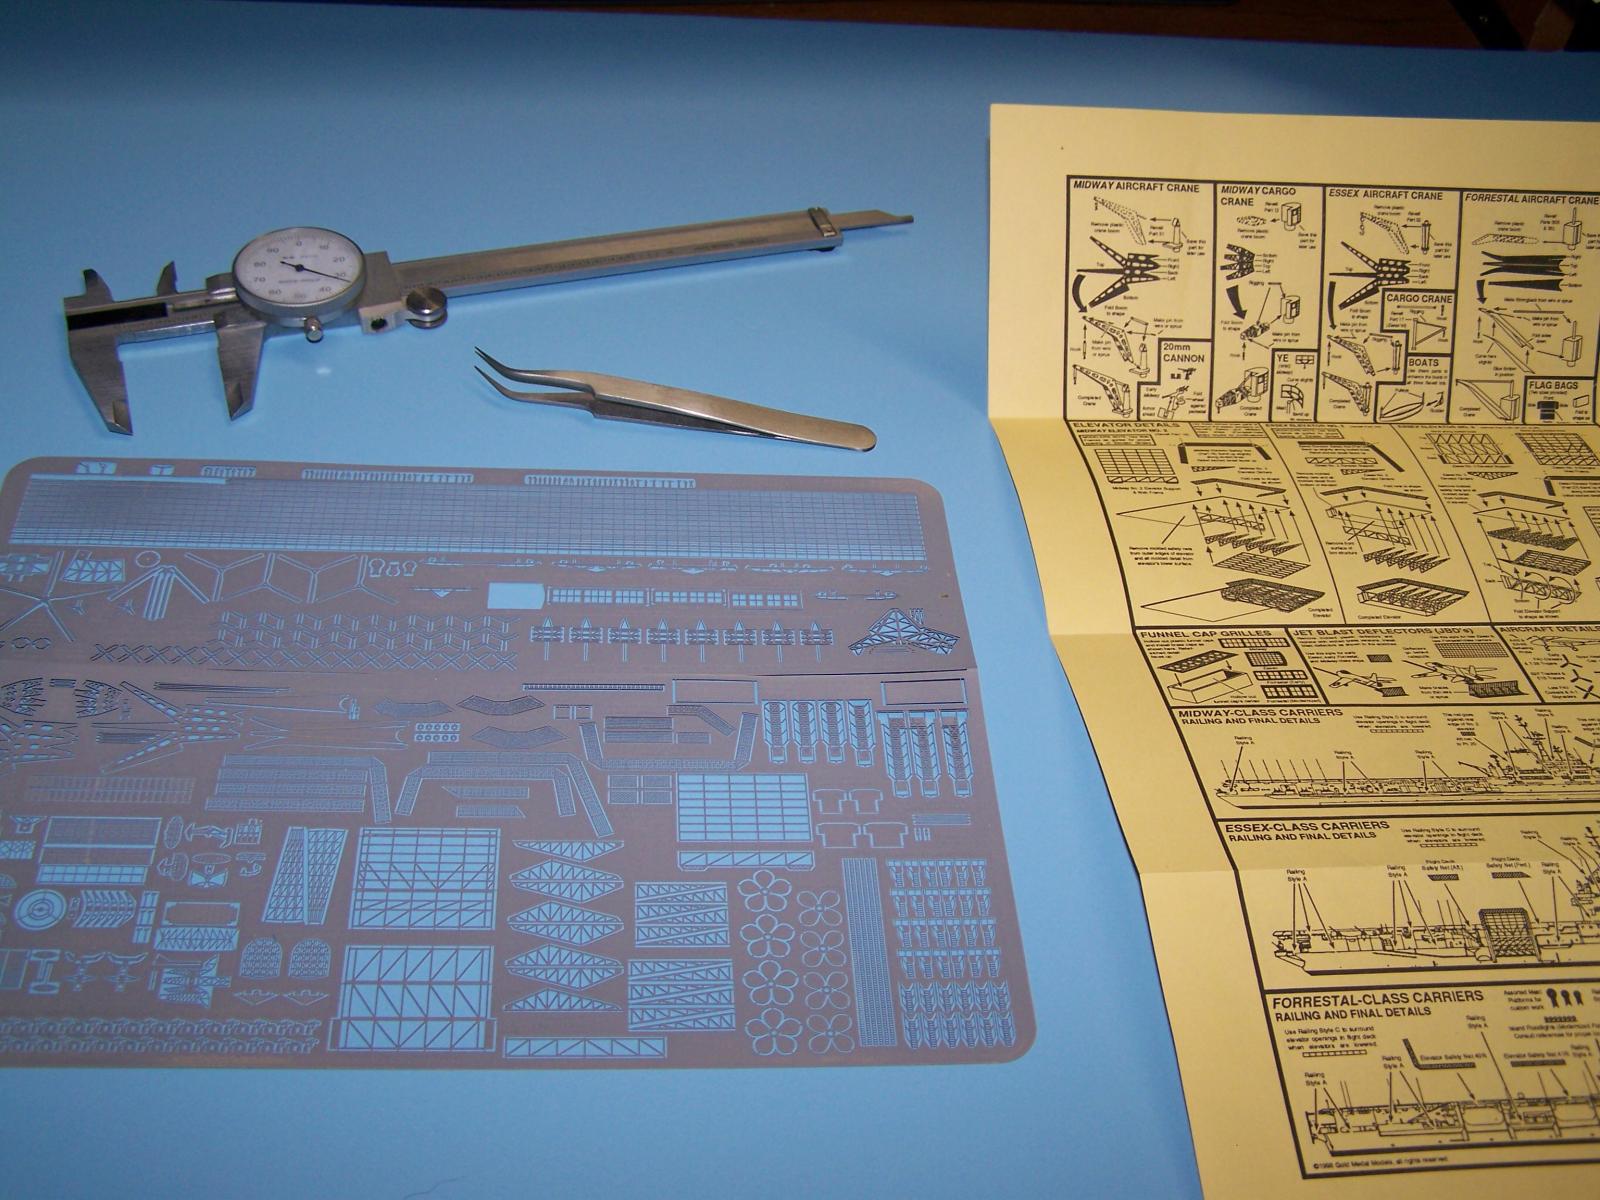
I like this cold spell we are having, for it is giving me time to work on this build. I received my photo etch yesterday and painted it last night. I prefer to apply it painted then trying to worry about covering all that shiney brass later.

-
Good looking kit. Hull looked good and strait for this scale. Looks like your going to have a fine model when your done.
Scott
-
-
-
My references vary. In addtion to the Squadron and Detail in Scale publications, I have a photo set from NAVSOURCE of the ships commissioning in 56 along with a number of photos my father took.


Cutty Sark by NenadM
in - Build logs for subjects built 1851 - 1900
Posted
Great work Nenad as usual. Don't let the political atmospher get you down. I too am going through some "issues" dealing with government, weather, and family health problems and it seems they all go away when I go into the shop and proceed to tie and seize hundreds of blocks and deadeyes I have been working on. To paraphrase Capt. Aubrey, the ship is its own wooden word and nothing matters outside its wooden walls. That is what ship modeling has been for me. Gee, can't wait till coppering, maybe do that during the next election time or when I get the next insurance "payment denied" notice comes it.
Scott