DONATION DRIVE - SUPPORT MSW - DO YOUR PART TO KEEP THIS GREAT FORUM GOING!
×

travis
-
Posts
176 -
Joined
-
Last visited
Content Type
Profiles
Forums
Gallery
Events
Everything posted by travis
-

Sail feedback request, Mondfeld method
travis replied to travis's topic in Masting, rigging and sails
Anyone have a recommended US vendor (besides SIG if their product is possibly not durable enough)? -
Sail feedback request, Mondfeld method
travis replied to travis's topic in Masting, rigging and sails
@Y.T. I was wondering about the durability. I wonder if it can be layered/laminated for strength? That batiste fabric sounds interesting though too. Going to look that up. -
Sail feedback request, Mondfeld method
travis replied to travis's topic in Masting, rigging and sails
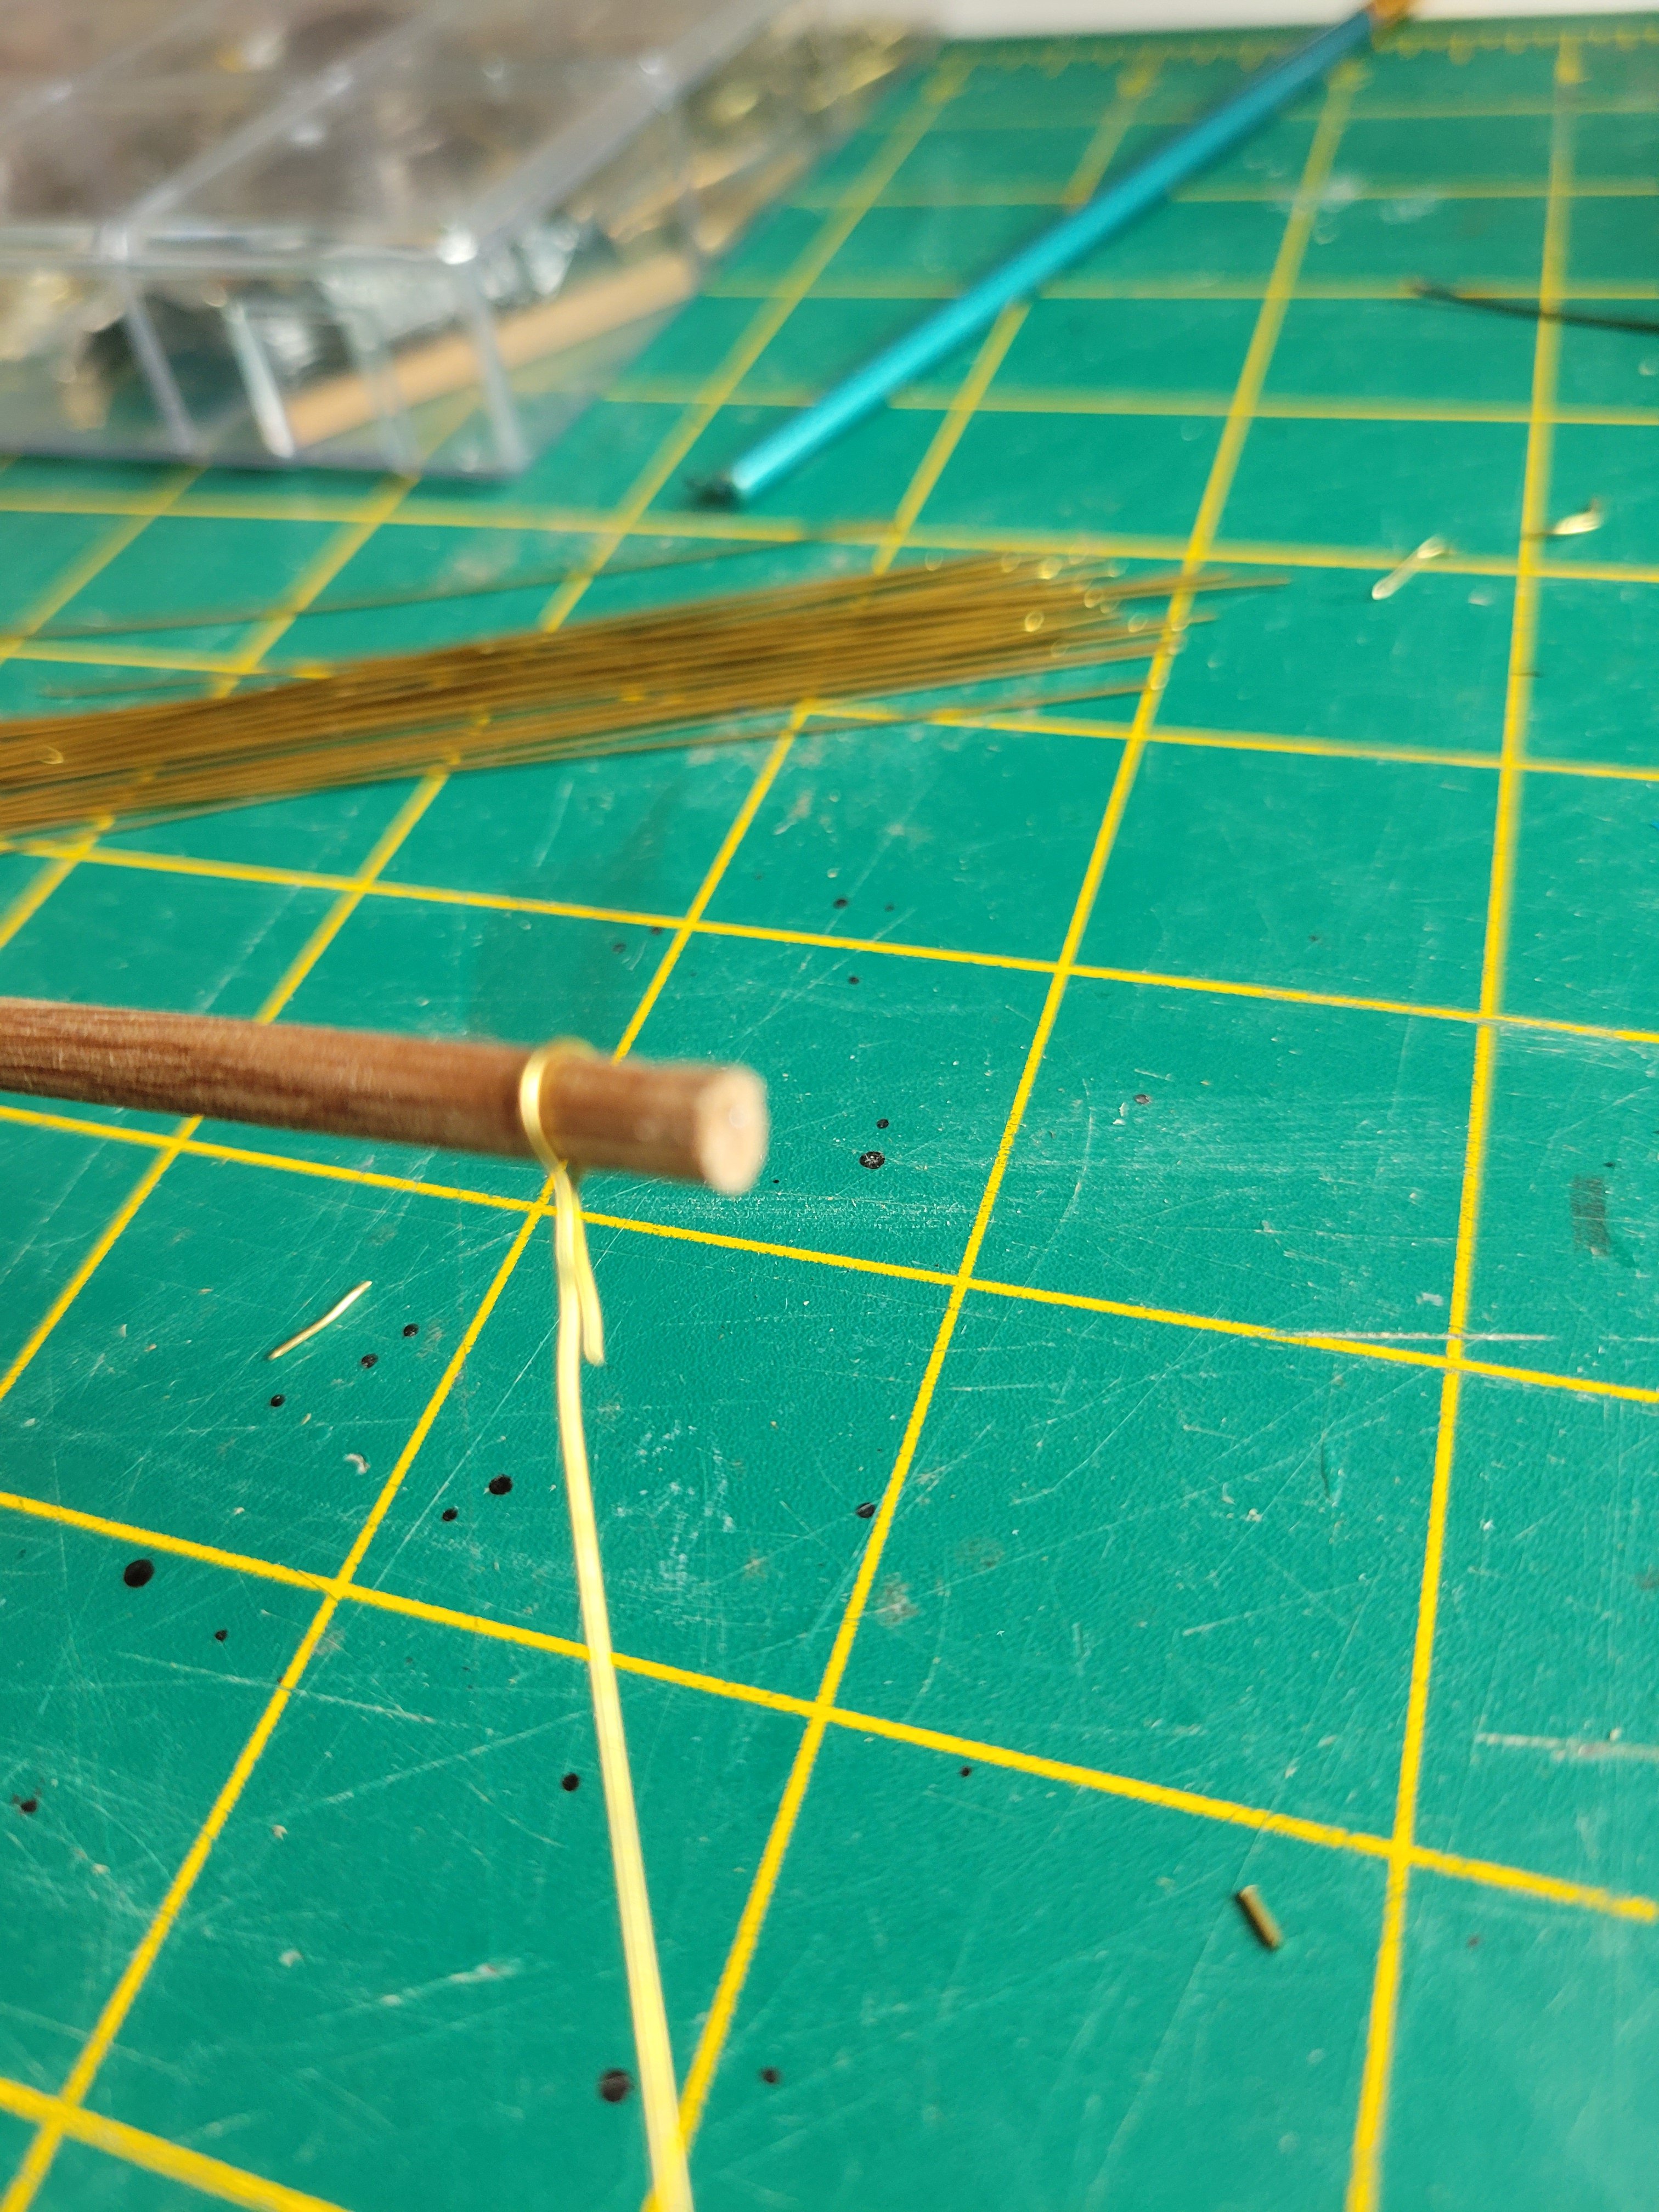
Thank all, I keep reading about silkspan but hadn't gotten the initiative to give it a try yet, in part becuase it's not a available at the local hobby shop and there seems to be a lot of "fake named" products online? Just trying to find a good supplier thats in the US (darn tarrifs!) thats not overcharging or excesive shipping. I did try an interesting aproach on my first build (a schooner). On that one i used a light fabric and carefully "pulled" a single thread out where each seam would be. Still of course out of scale but a pretty cool look for a larger scale build (1:40 I think?). Can't get it to work on a tighter weave fabric though. I think i will make a try for sourcing the silkspan/modelspan first and if that doesn't work out I'll go for the penciled fabric. -
Sail feedback request, Mondfeld method
travis replied to travis's topic in Masting, rigging and sails
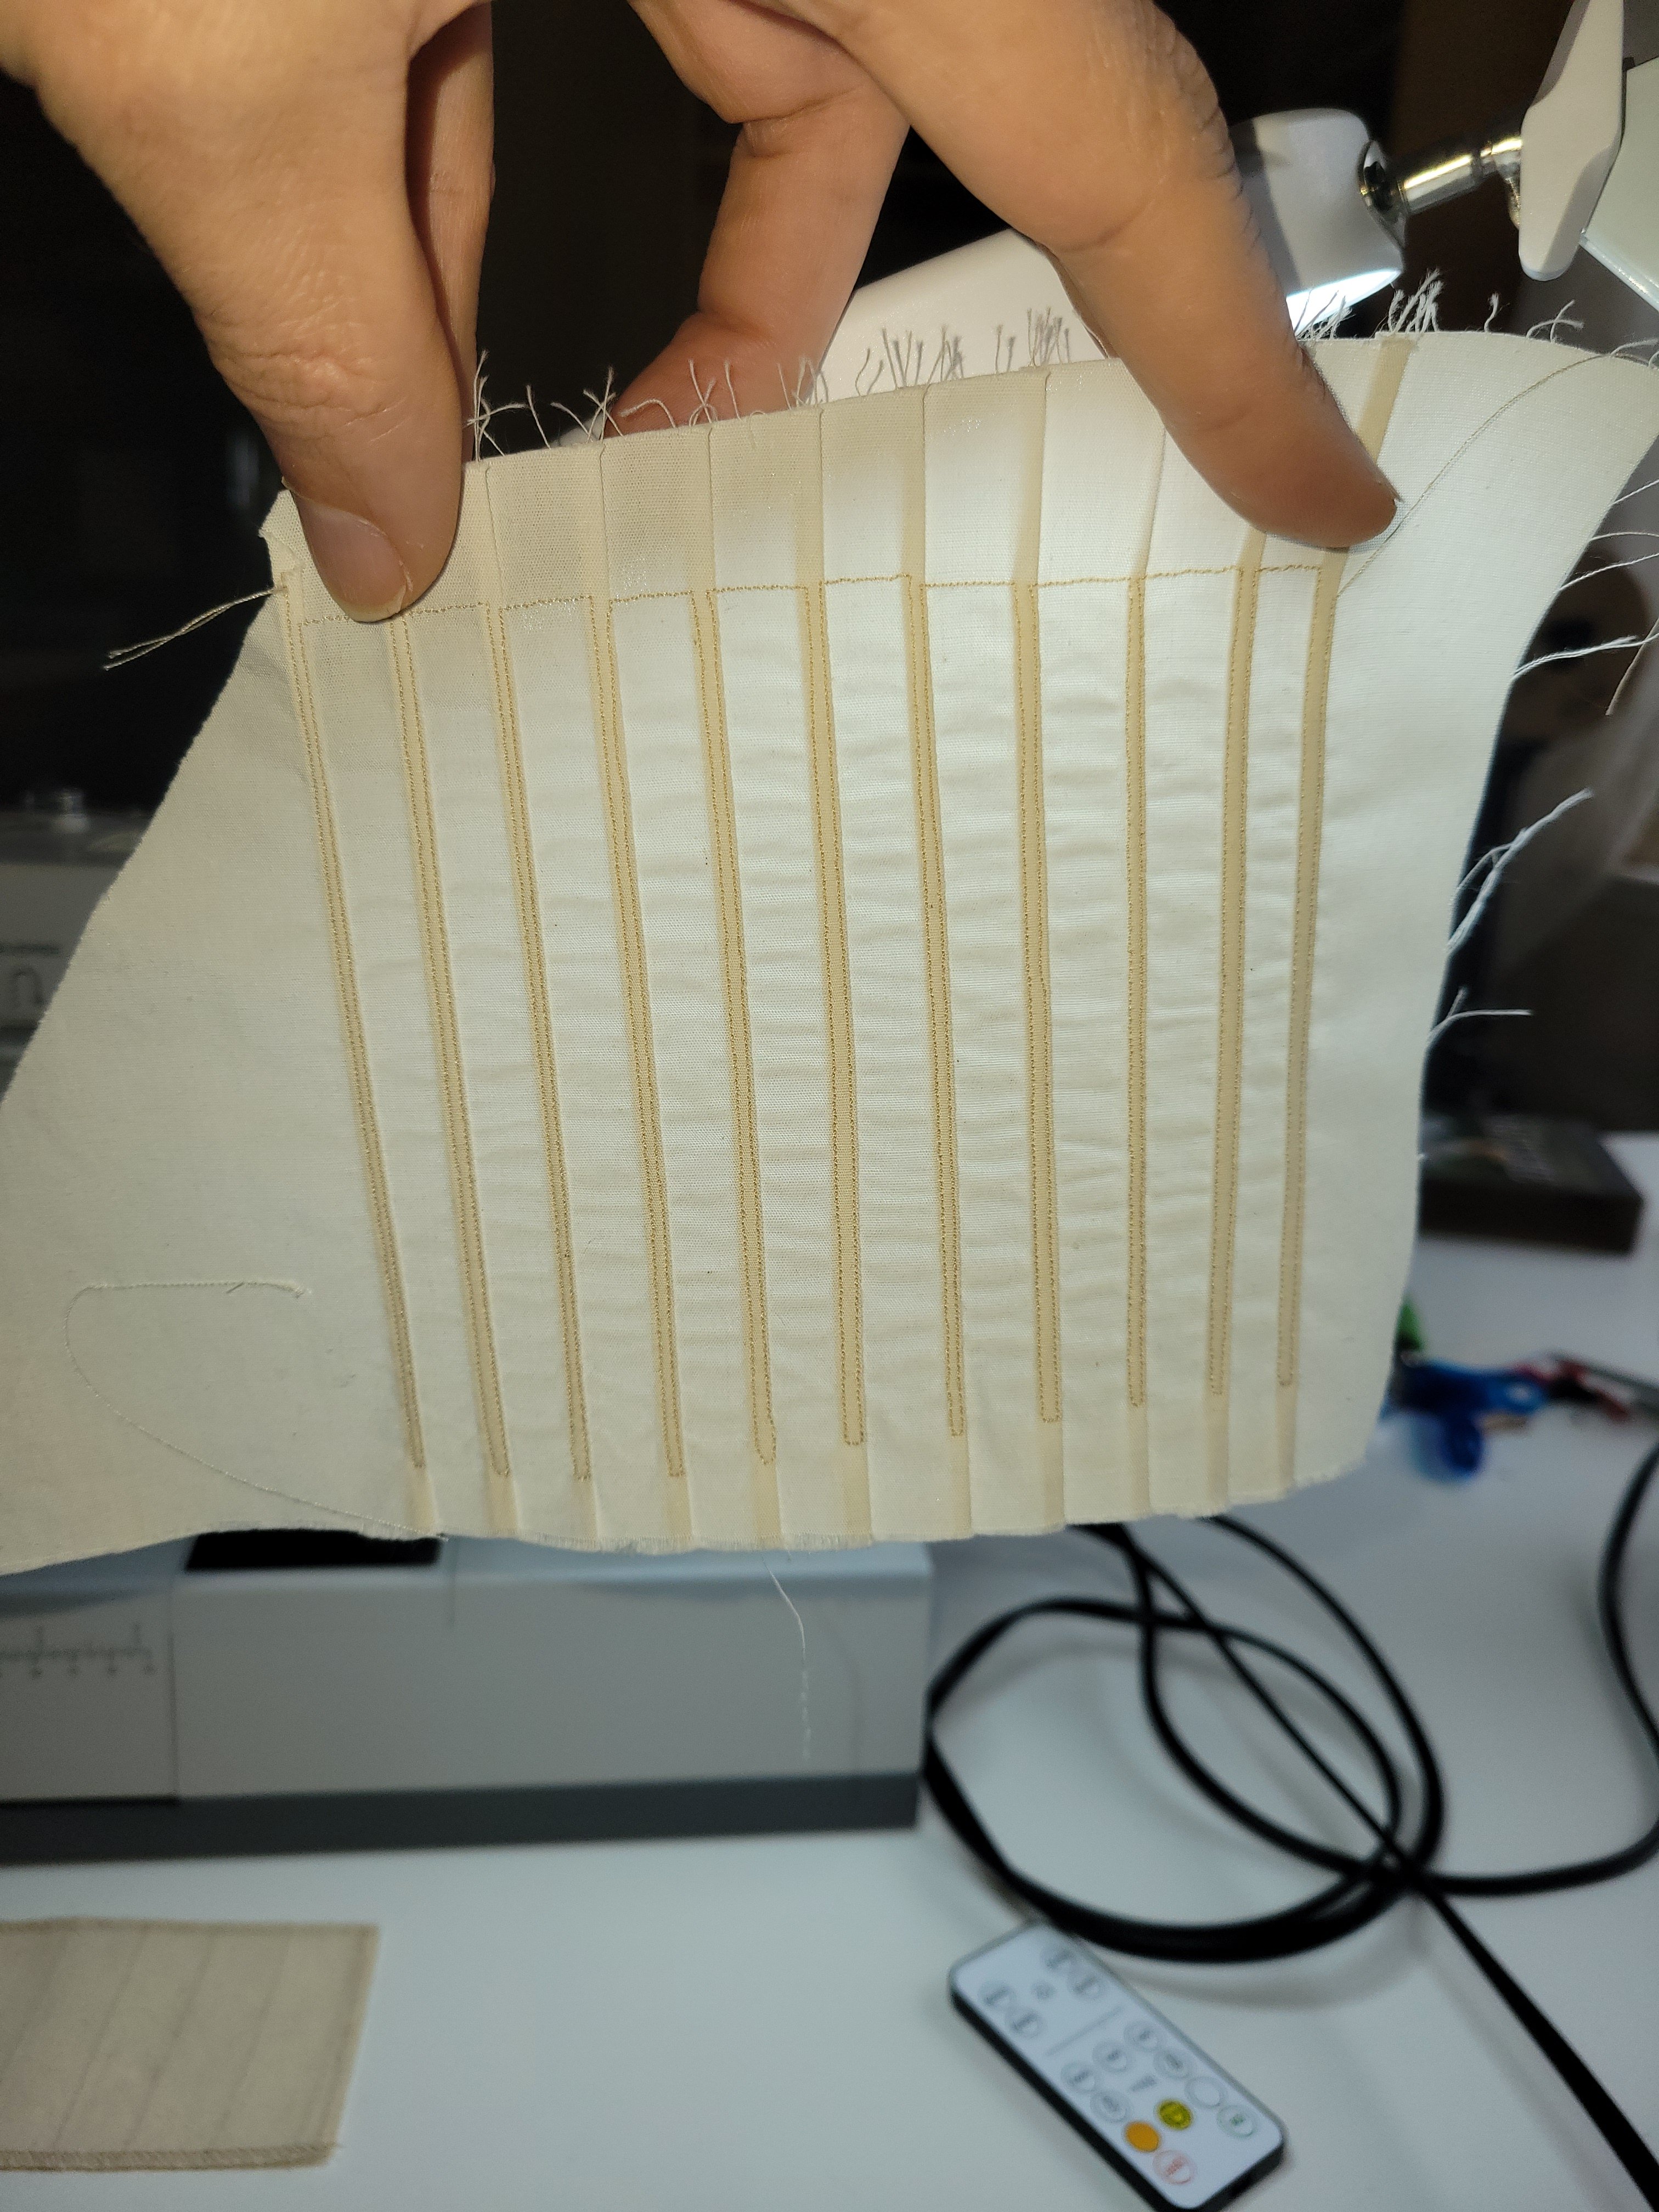
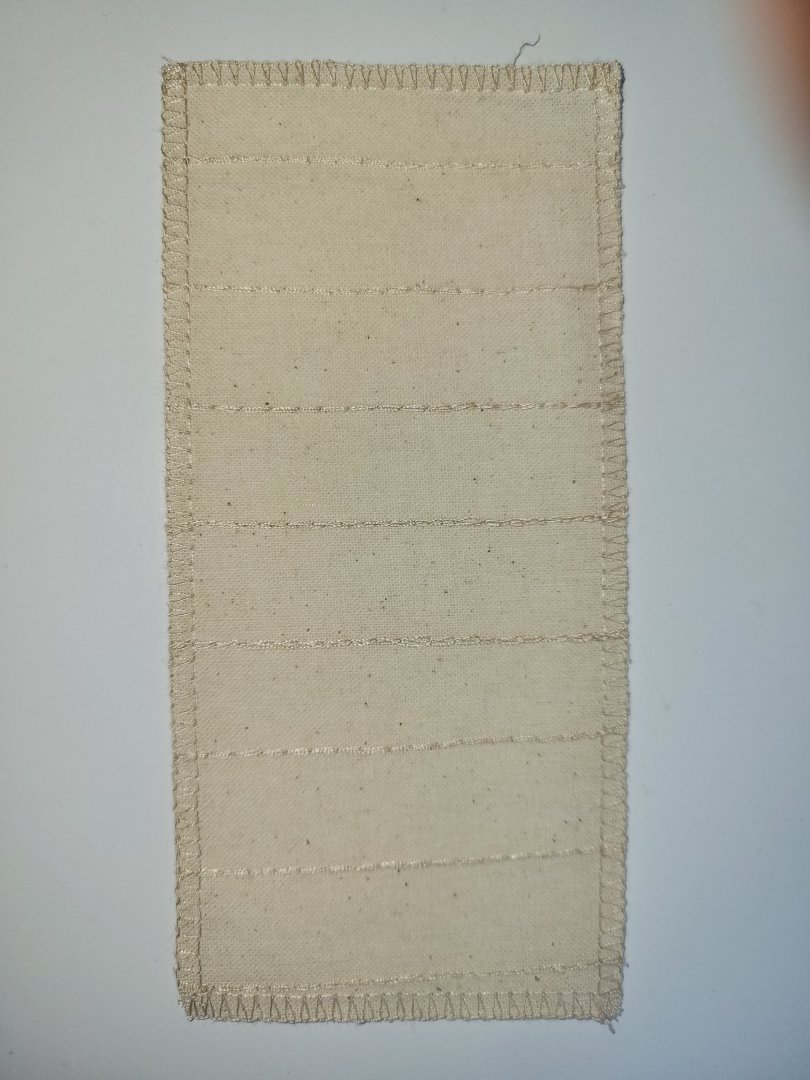
Here's holding to the light to see the overlapping hem better.
-
Looking for some community feedback. I'm starting sails for my third build, Occre Apostle Felipe. So approx 17th century spanish galleon from the silver fleet (mexico). Each build I've tried a different sail strategy. This time, I've used a lot of reference on this build from Wolfram Mondfeld's book, historic ship models. I noticed he has a unique sail making approach that i don't think I've seen on any posts here. His approach is press/steam a seam for each panel of the sail and then straight stich those seams. So a bit more than just using the stitch to create the panels but an actual hem. It's a lot of work. Also quite hard to steam the small seams at a consistent width and sew the seams. In my attempt, I have a 3mm overlap of fabric which results in about 12mm panels (model scale is 1:60). Interested in everyone's feedback before I commit to all the sails. This one is a spritsail. First image is the sample before hemming the edges. Second image is the sail supplied by occre which is of course to heavy a fabric. Constructive criticism acceptable!
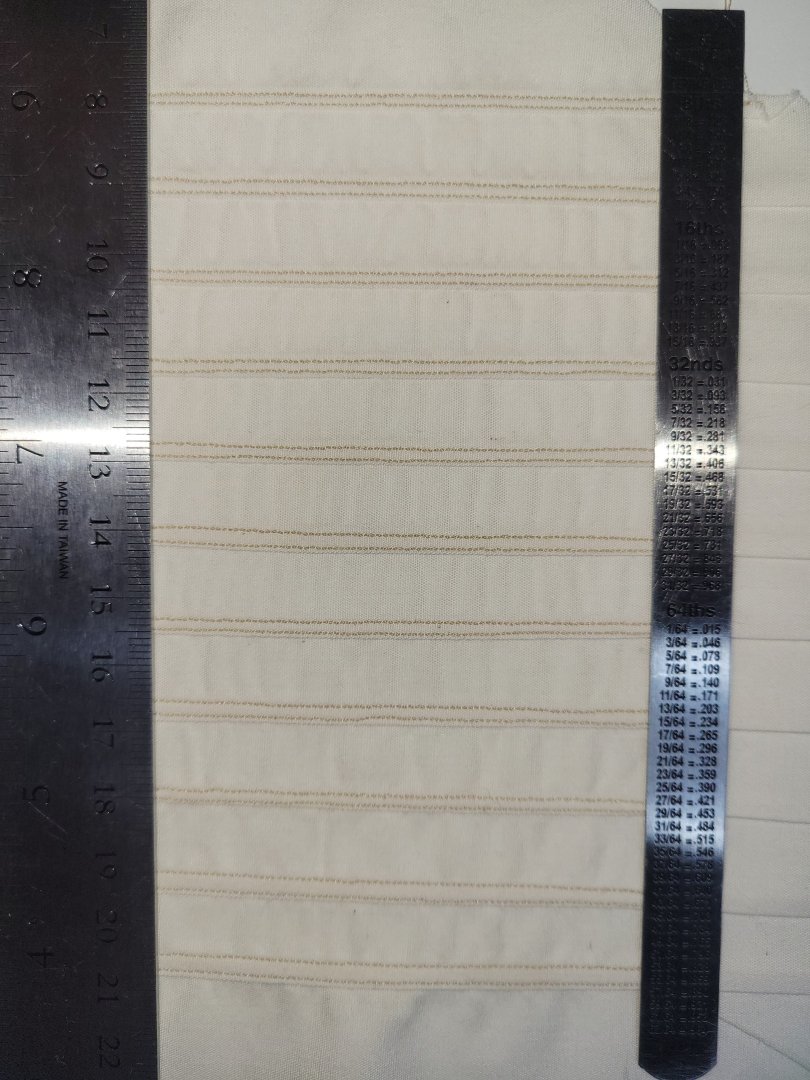
-
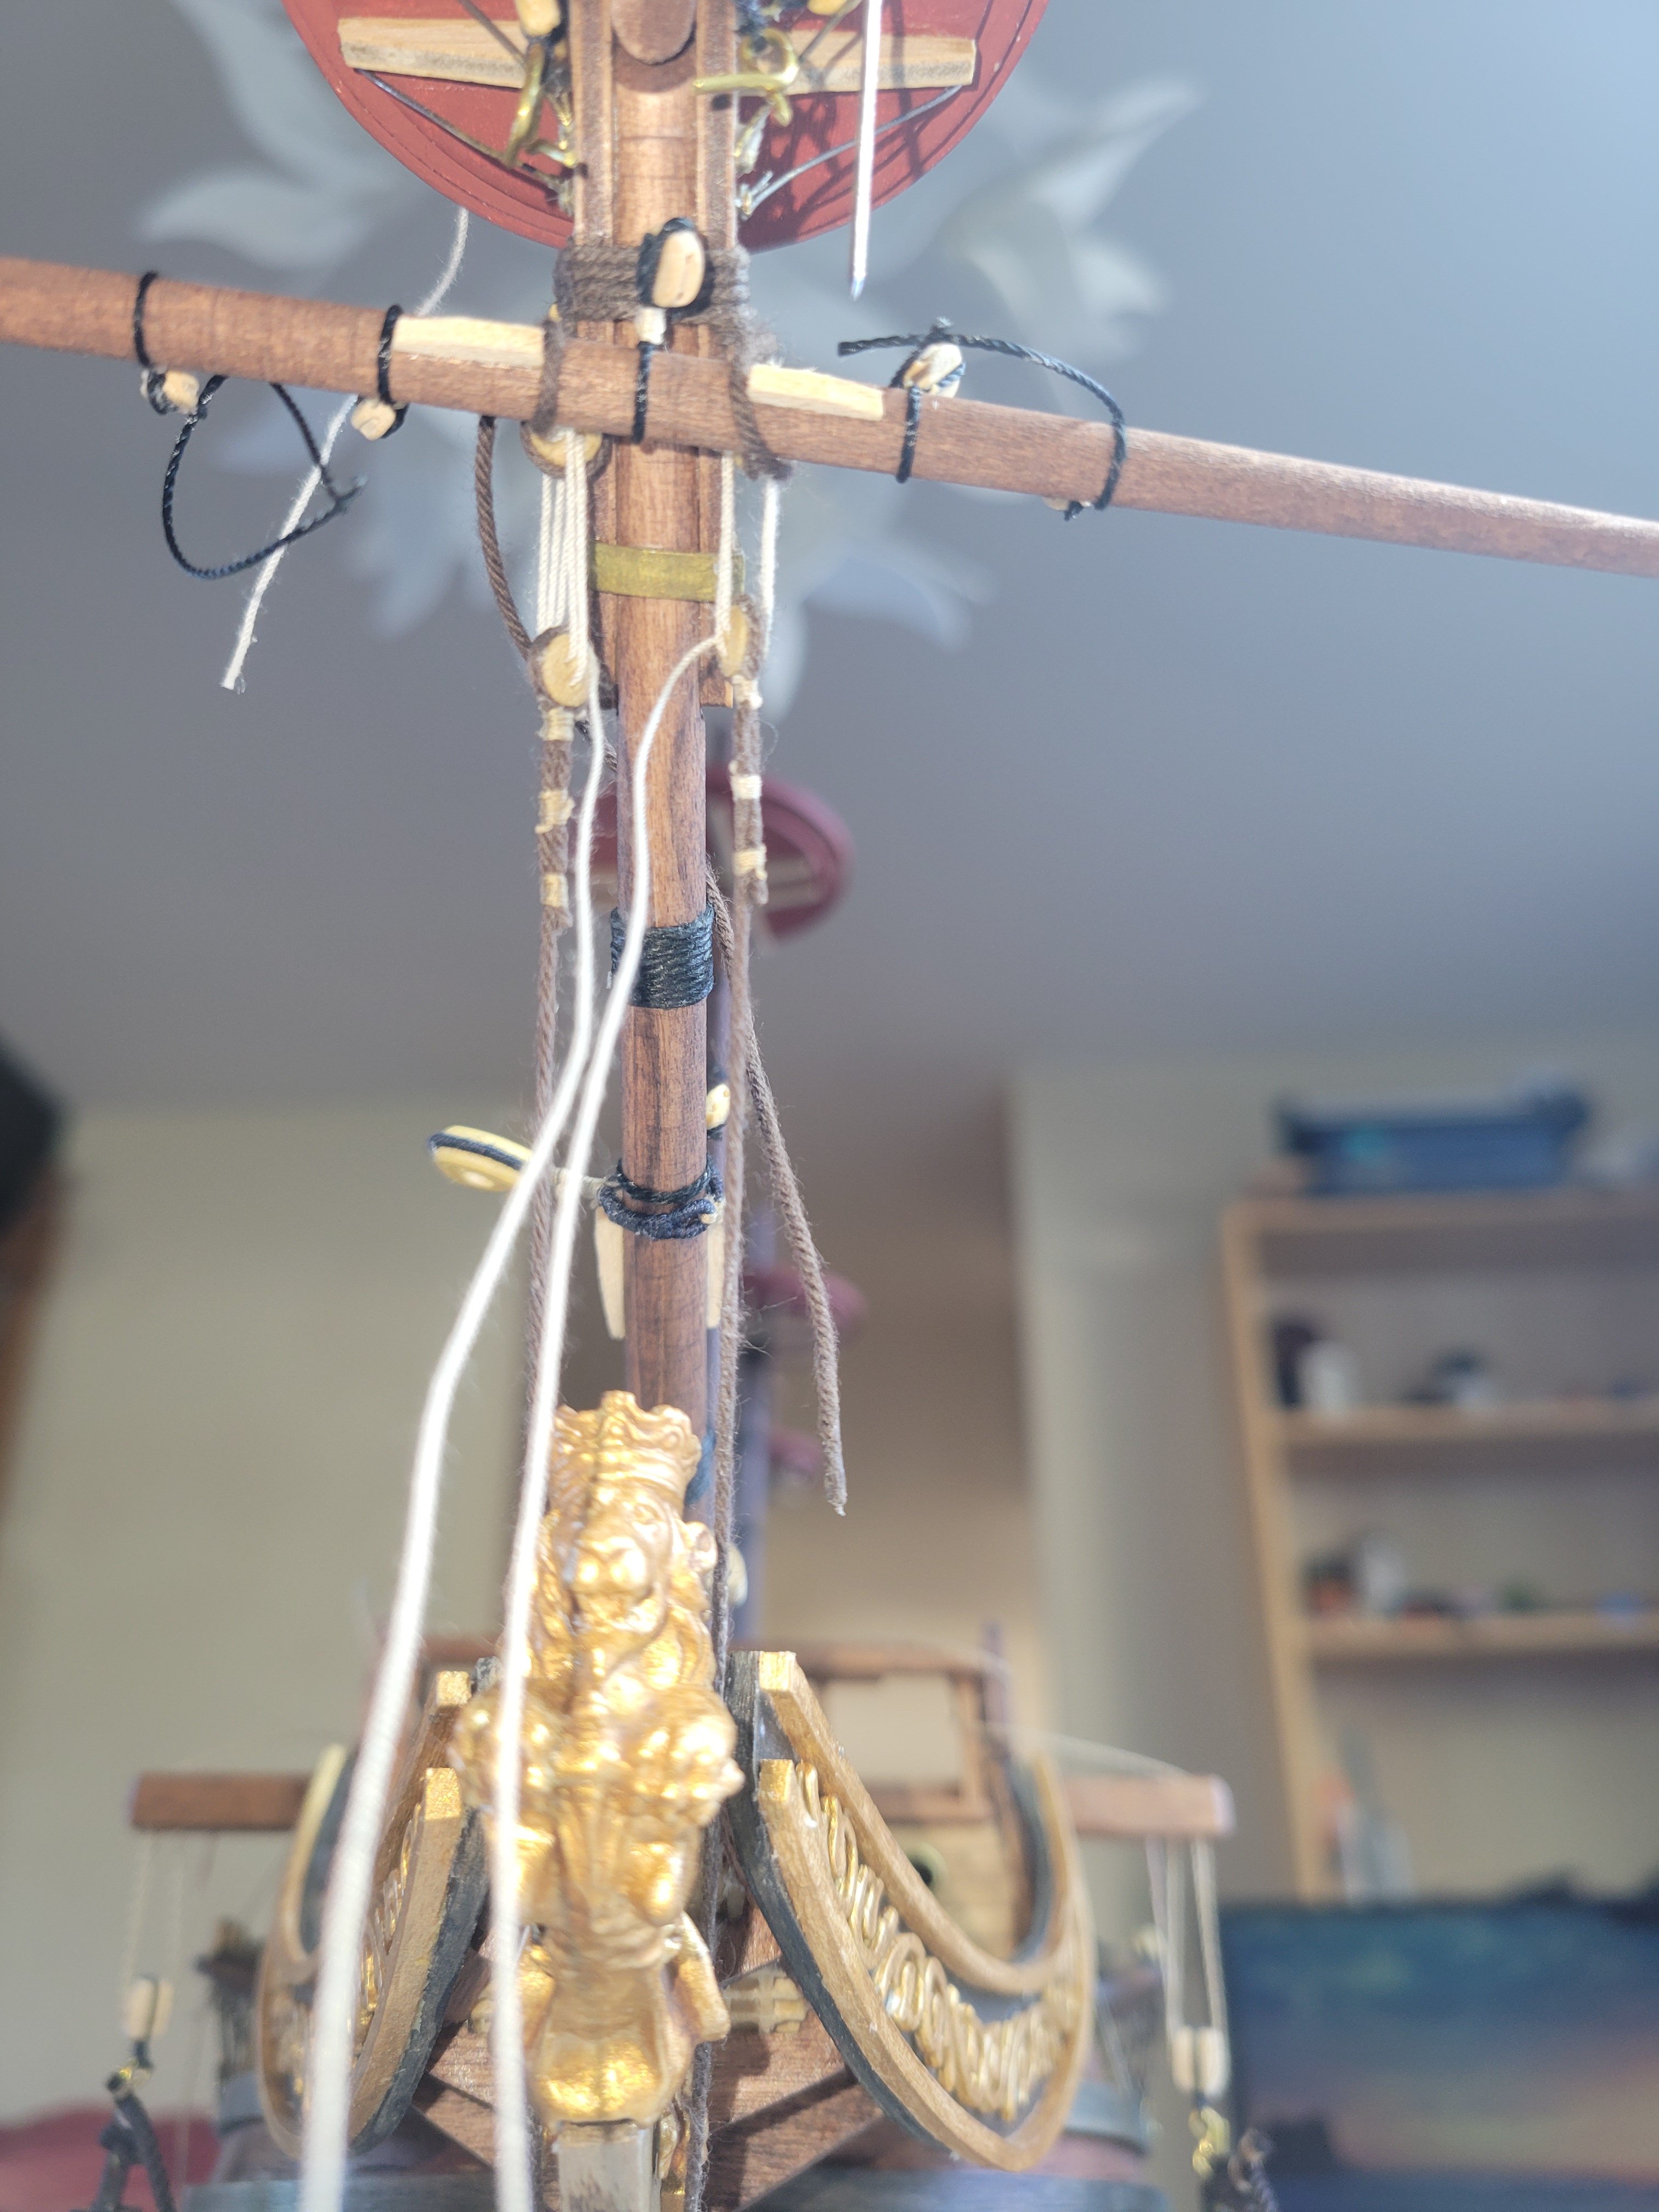
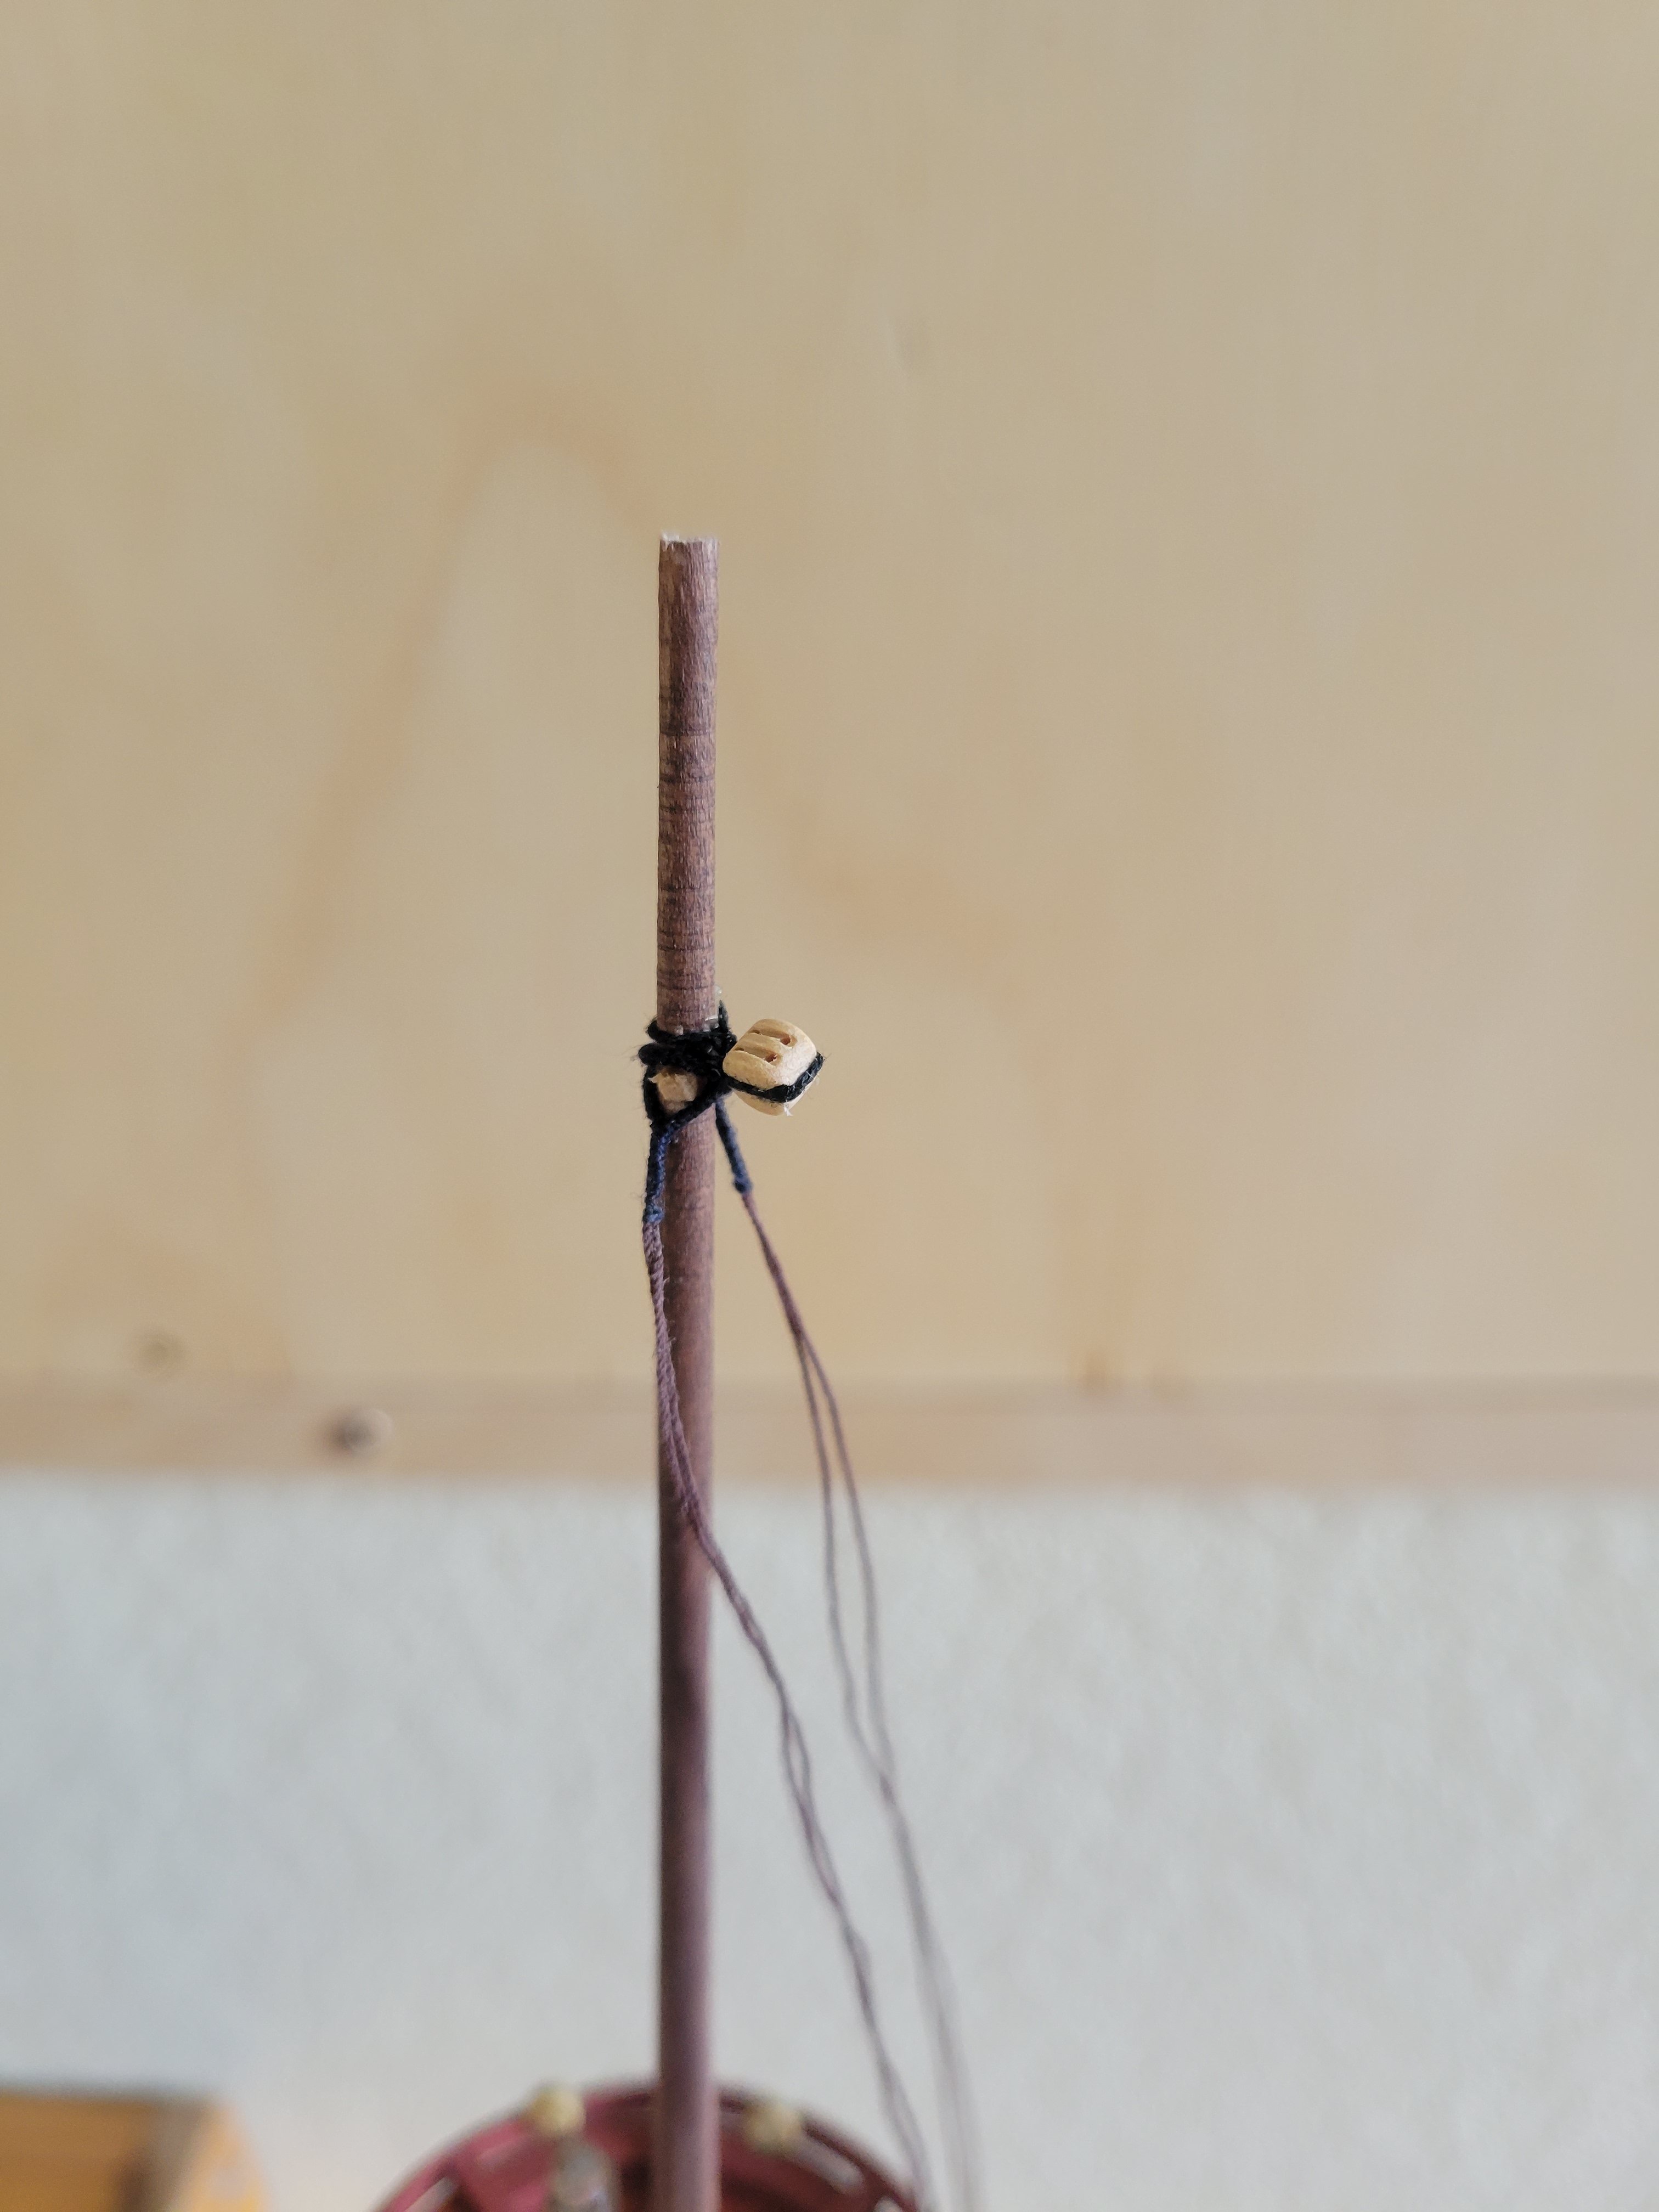
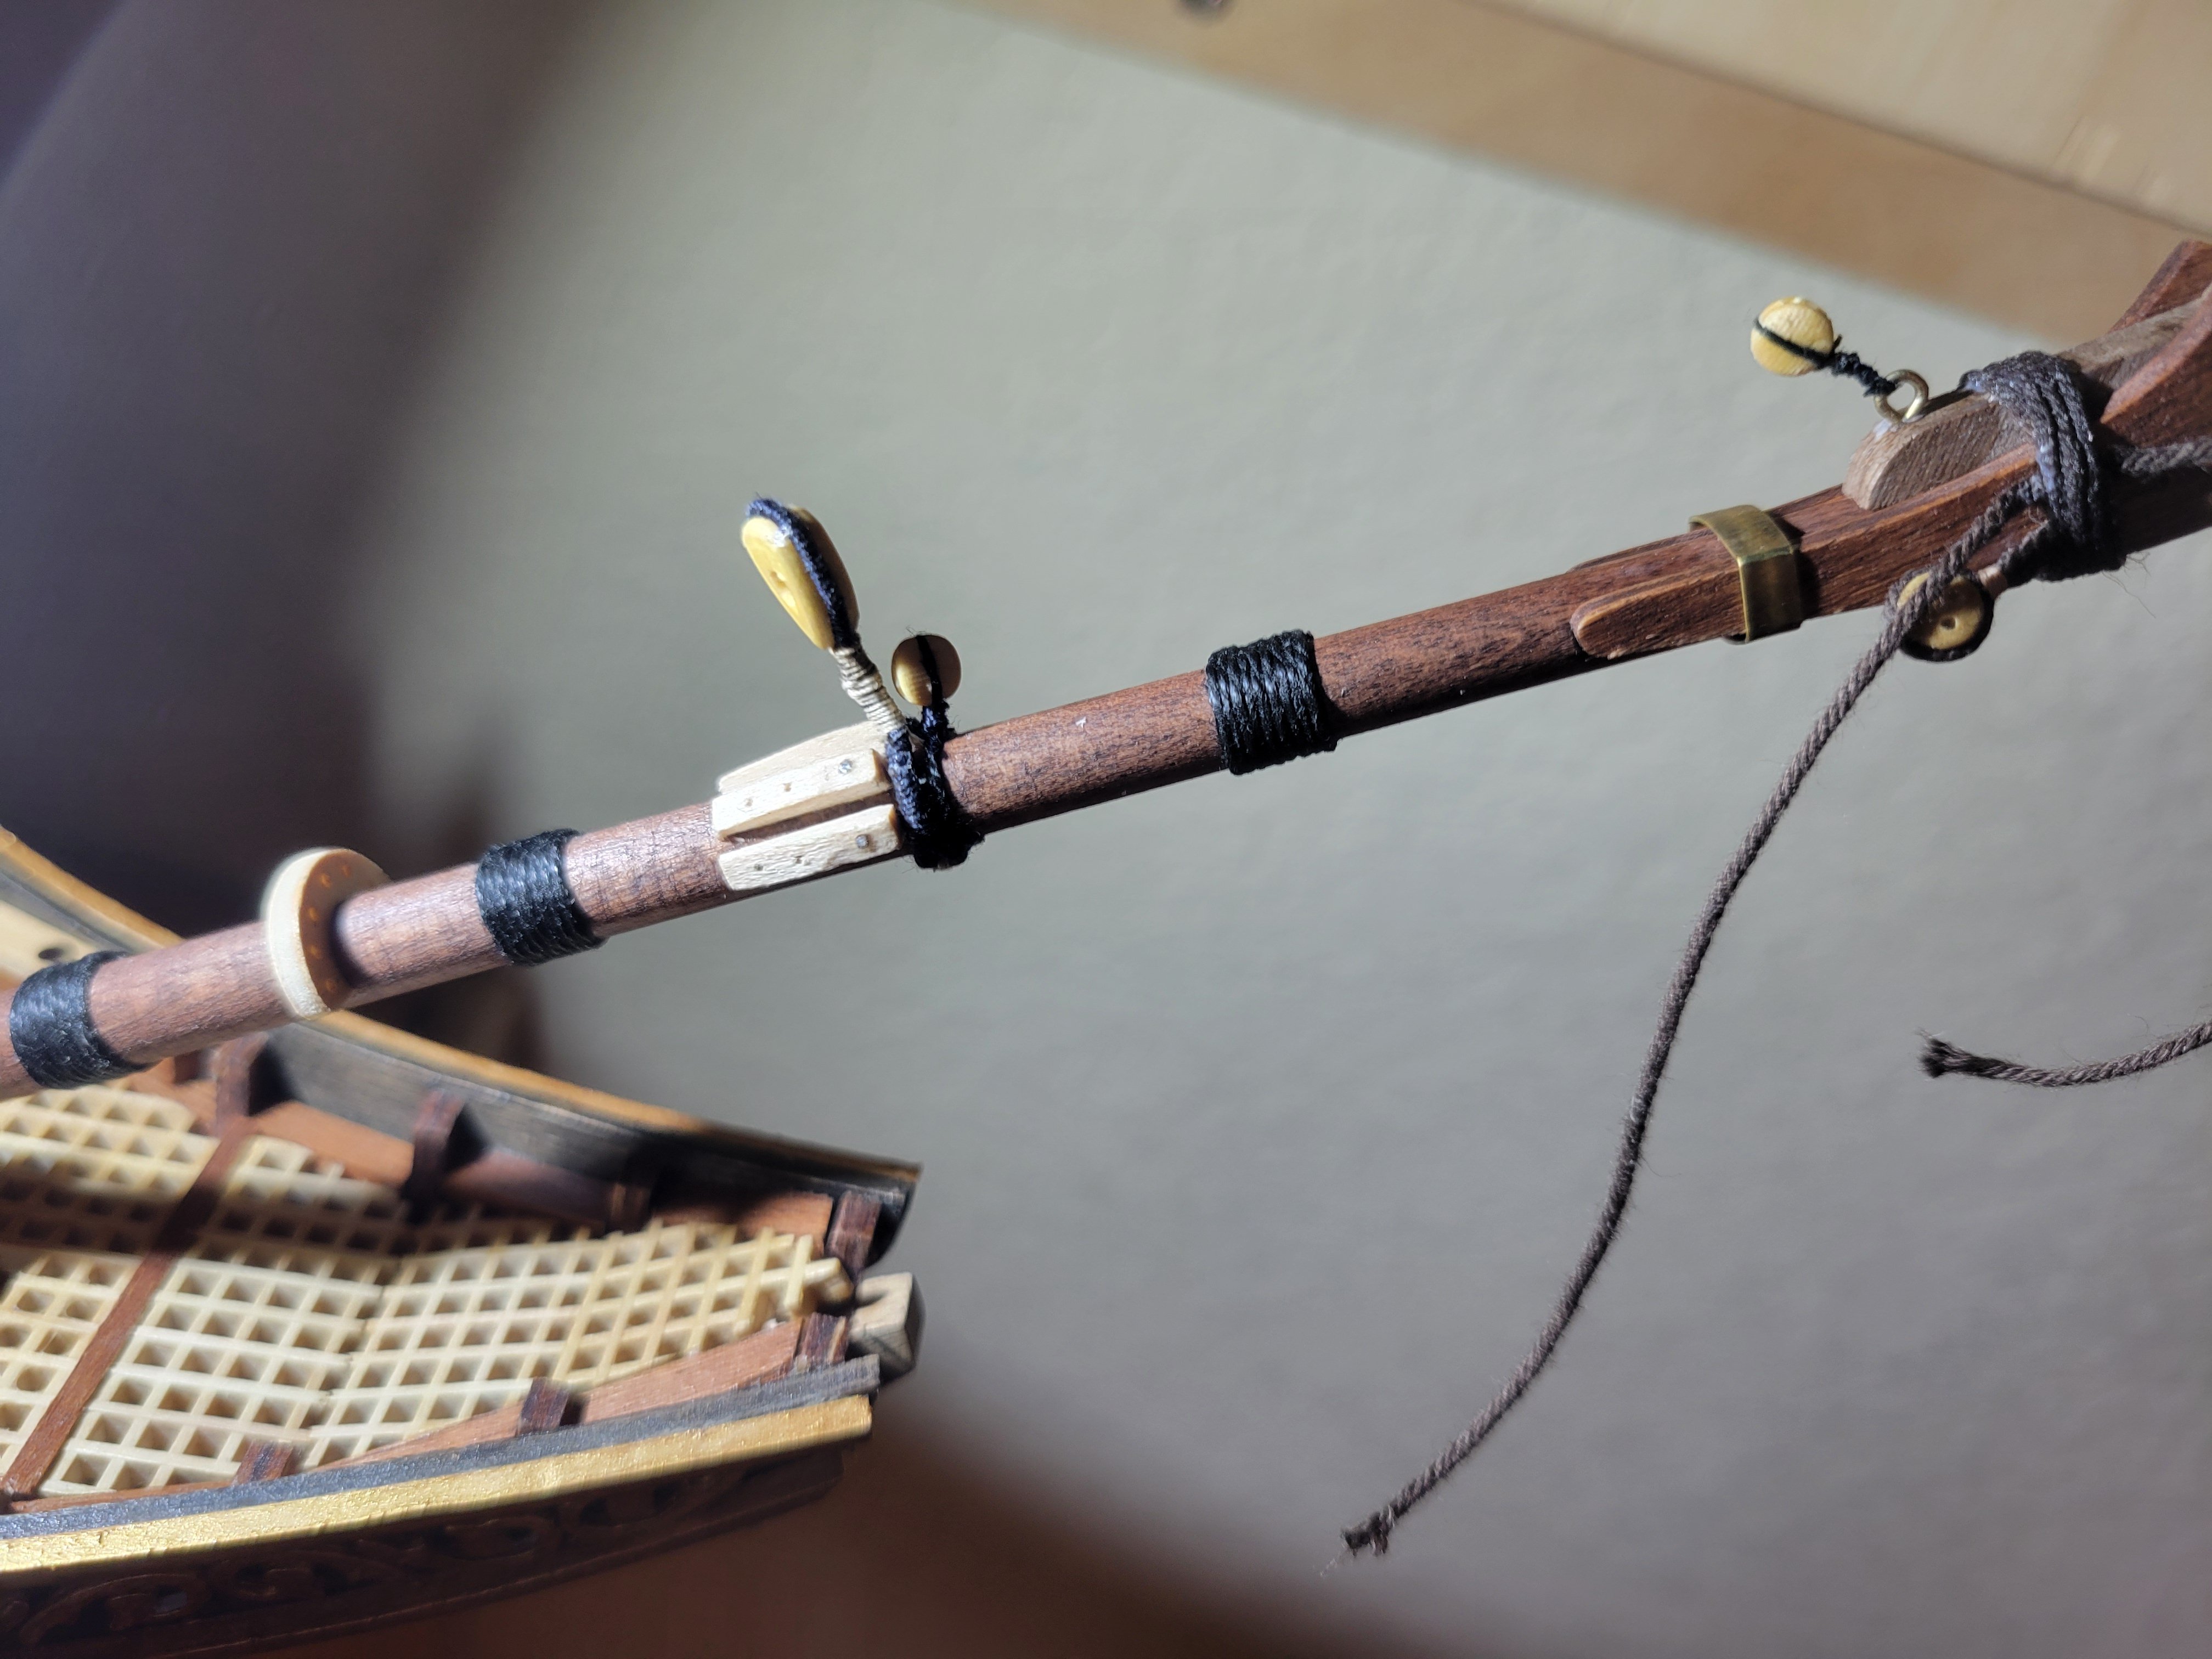
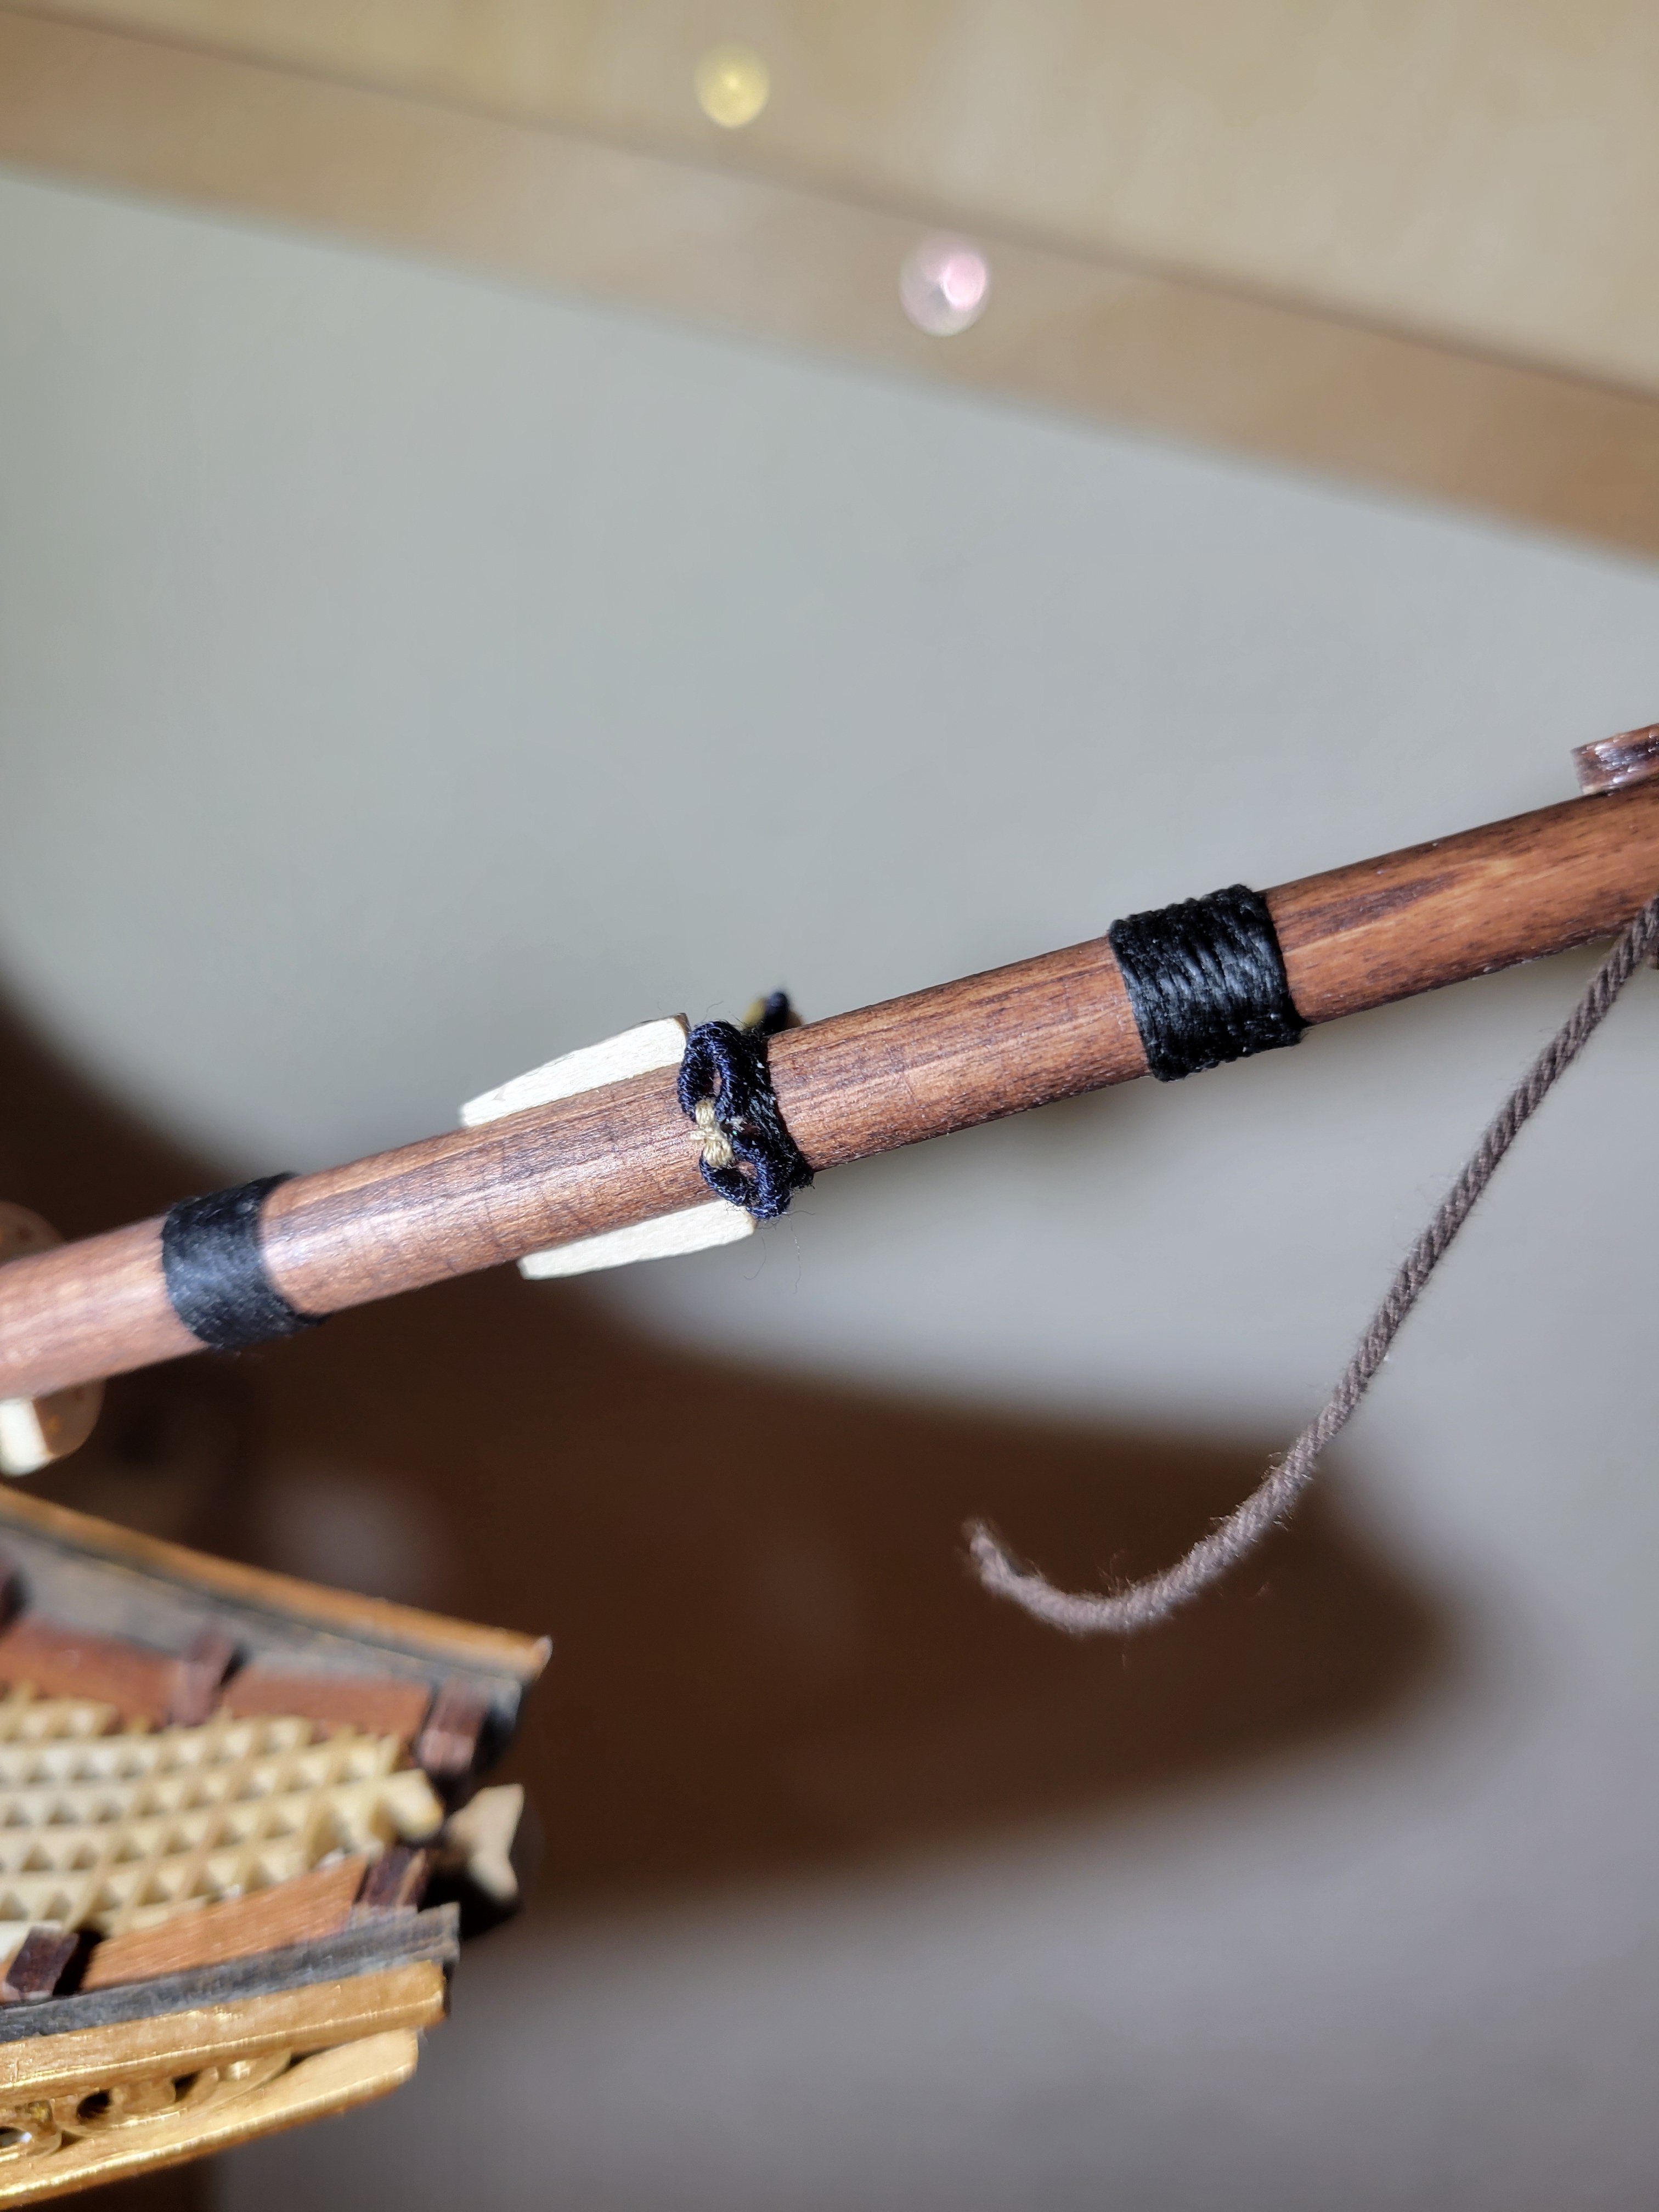
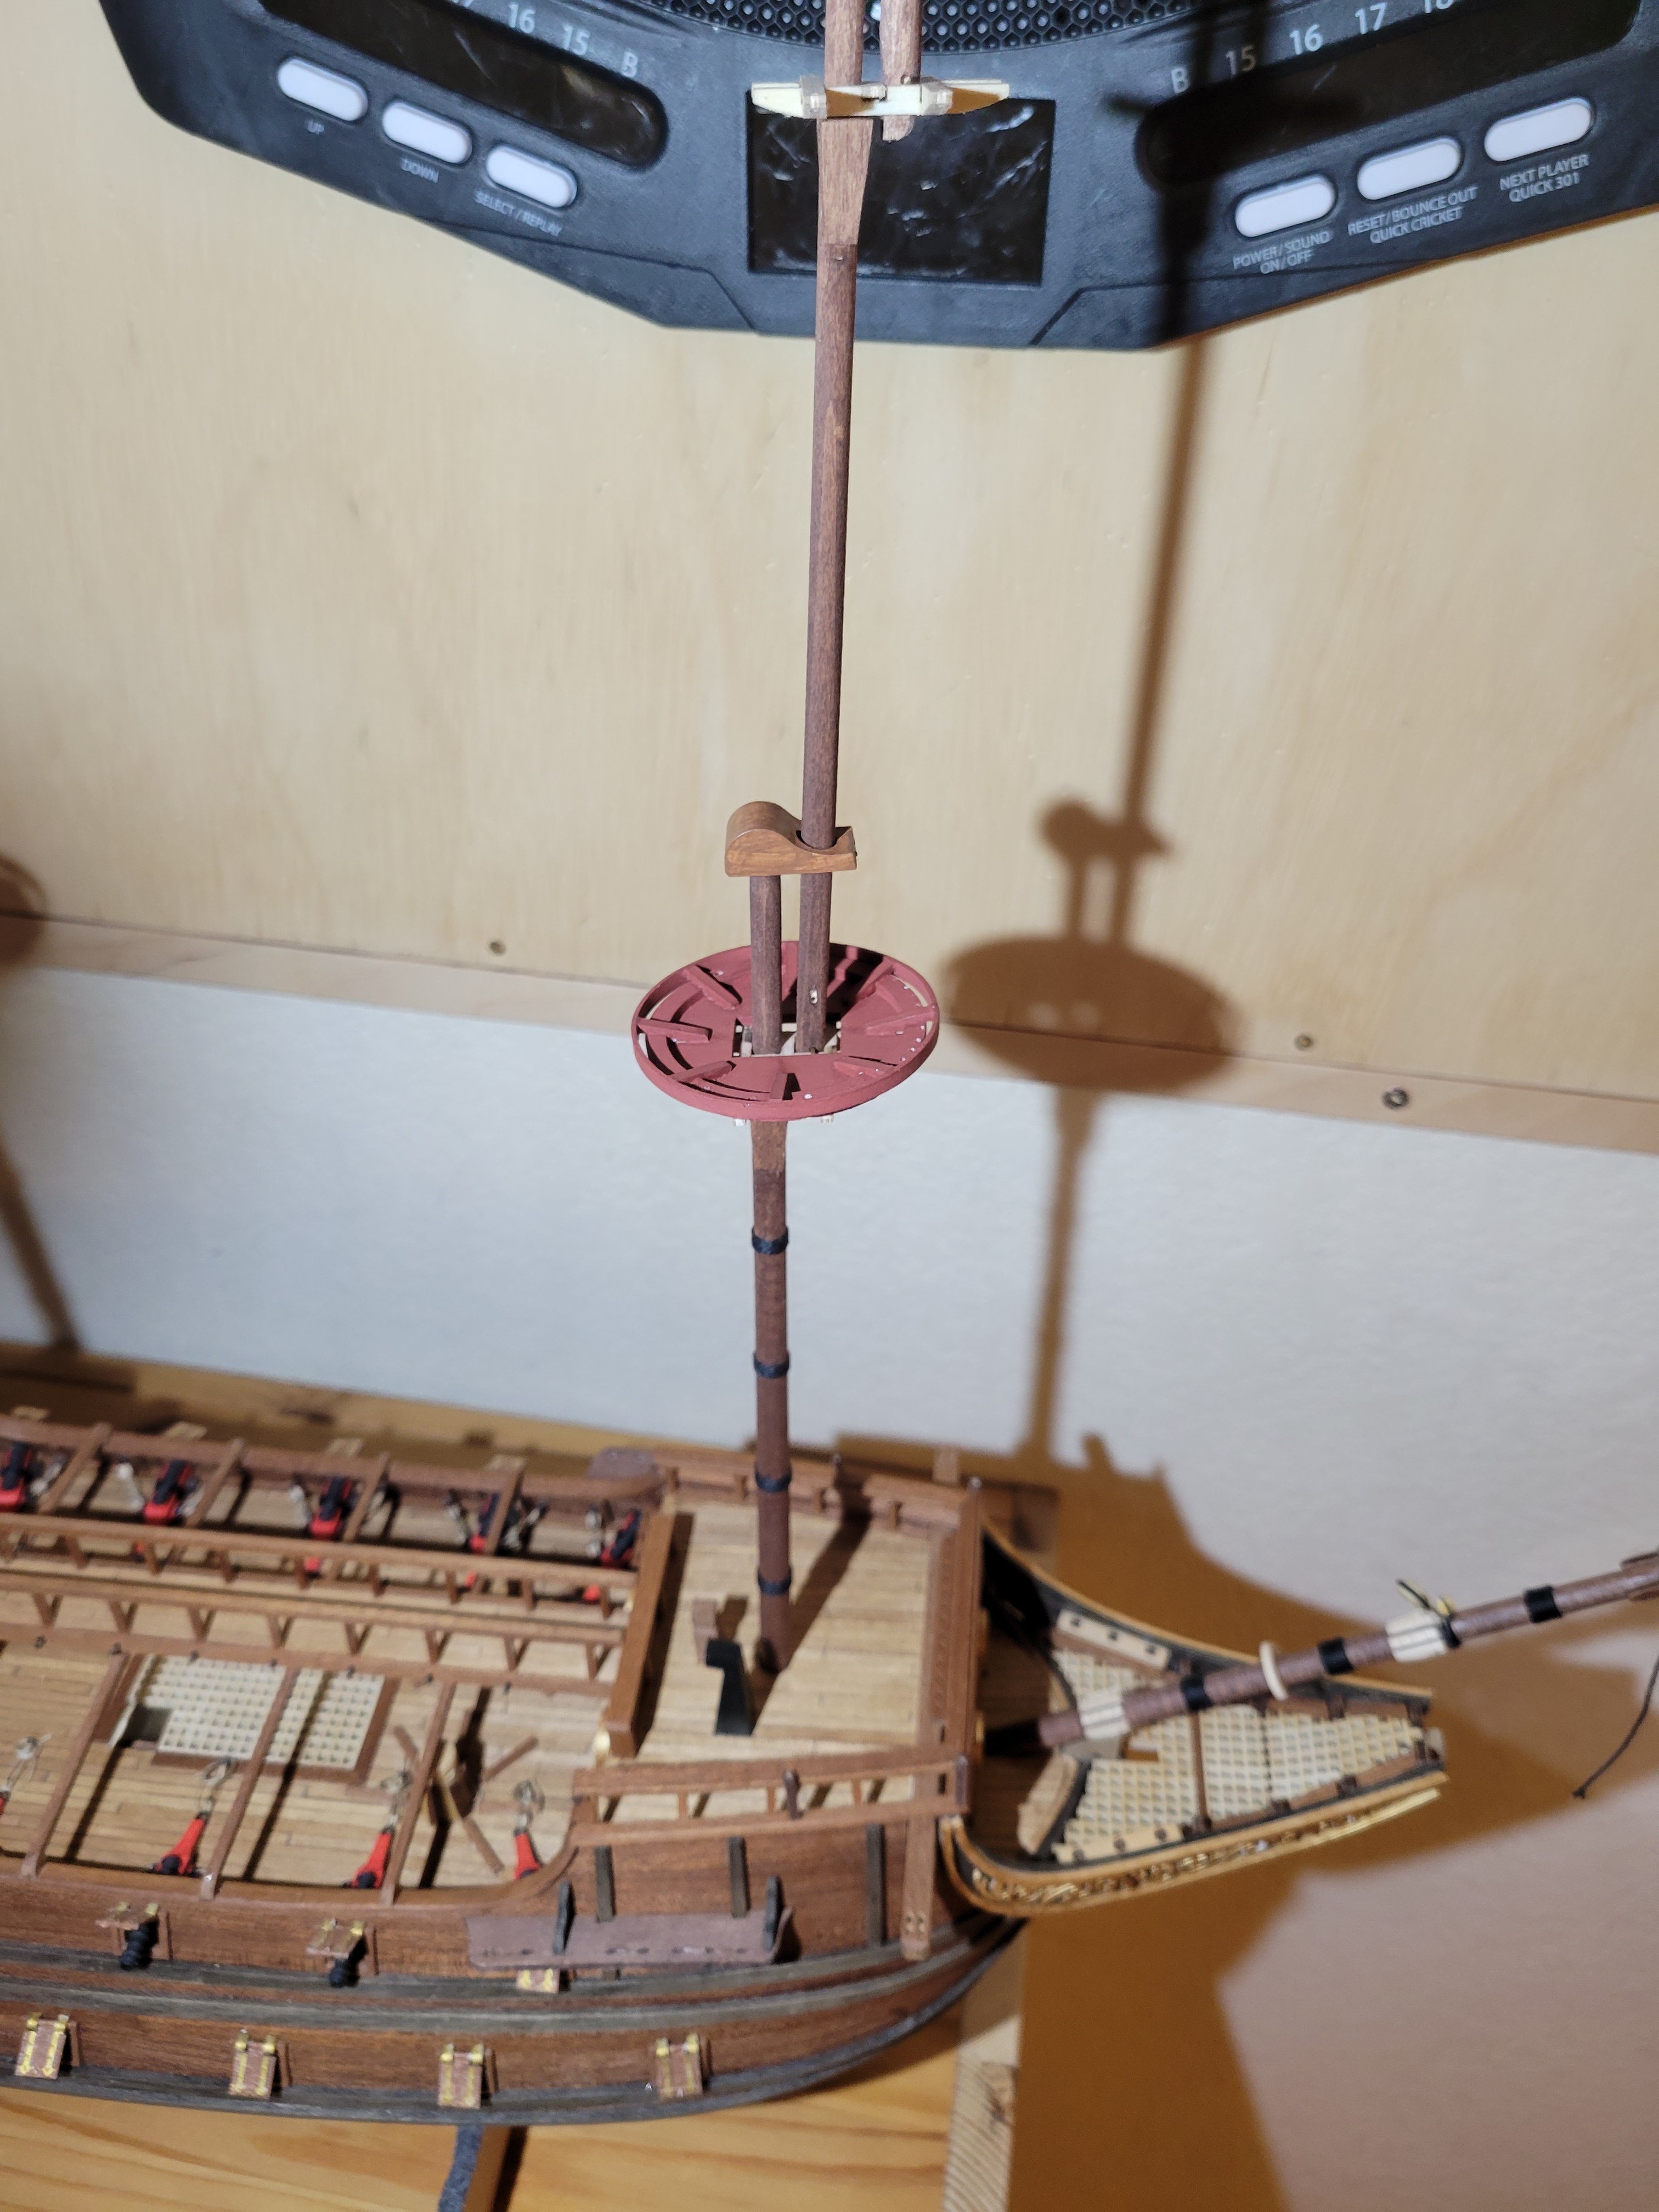
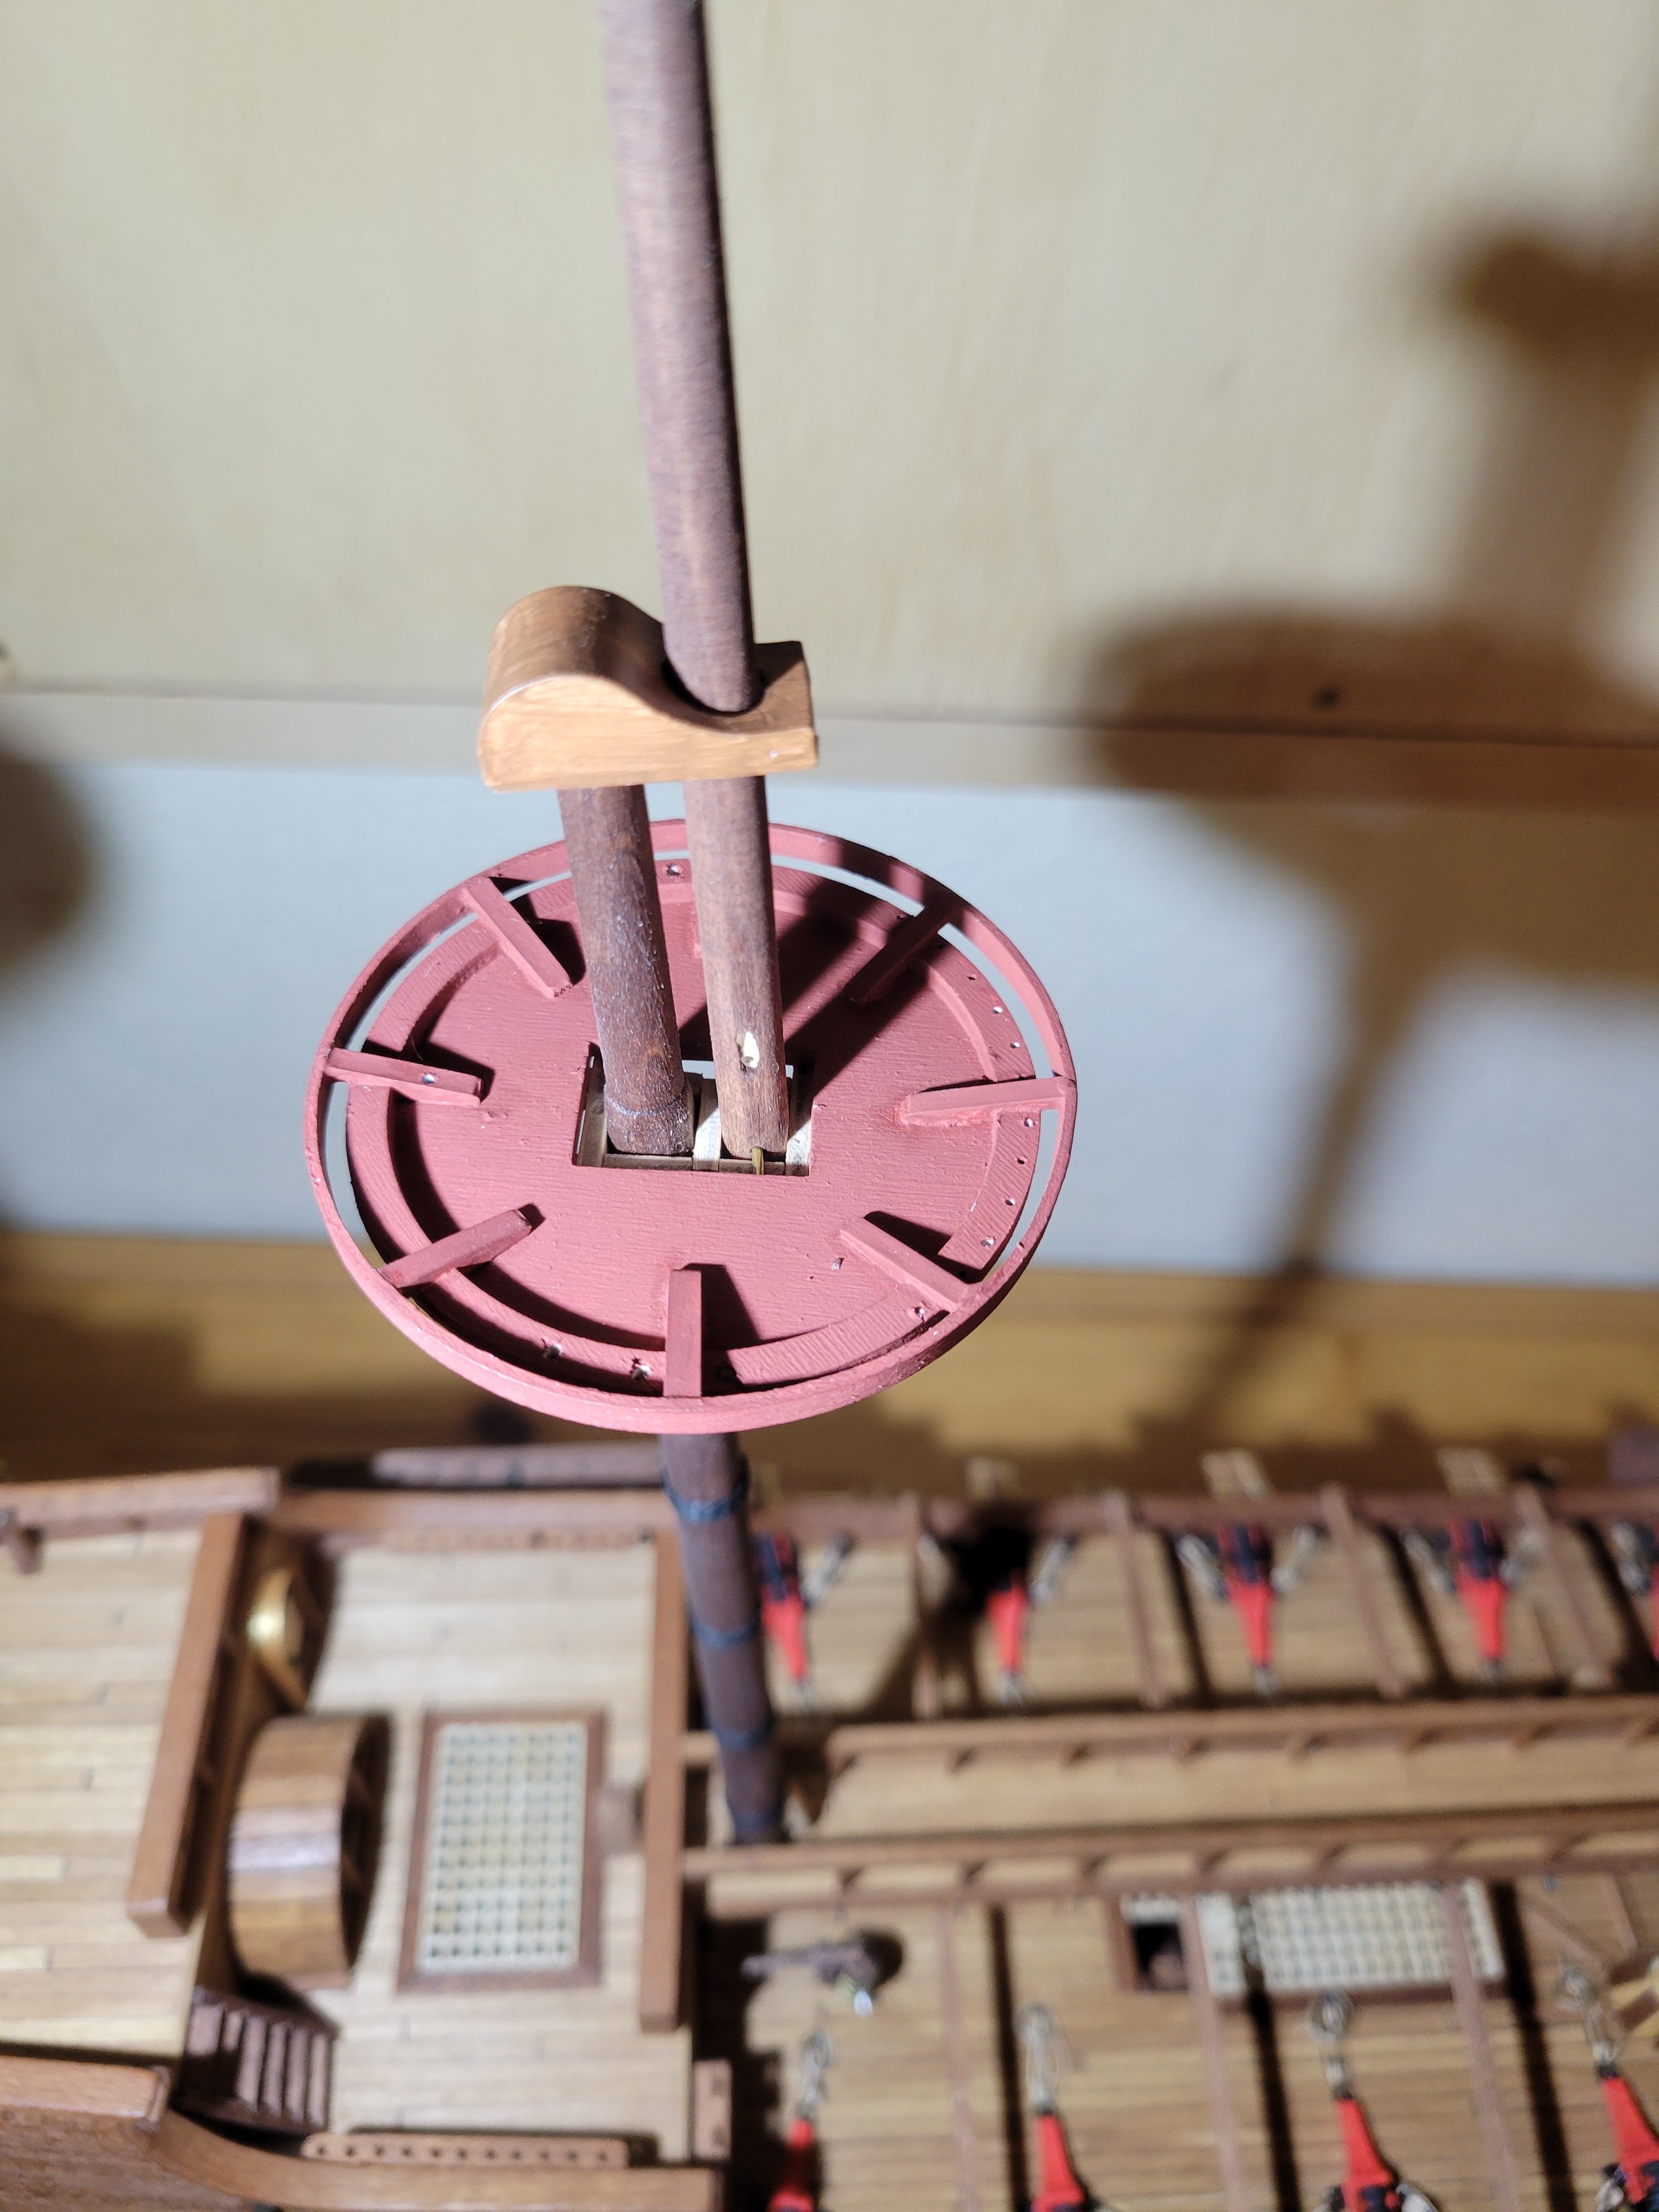
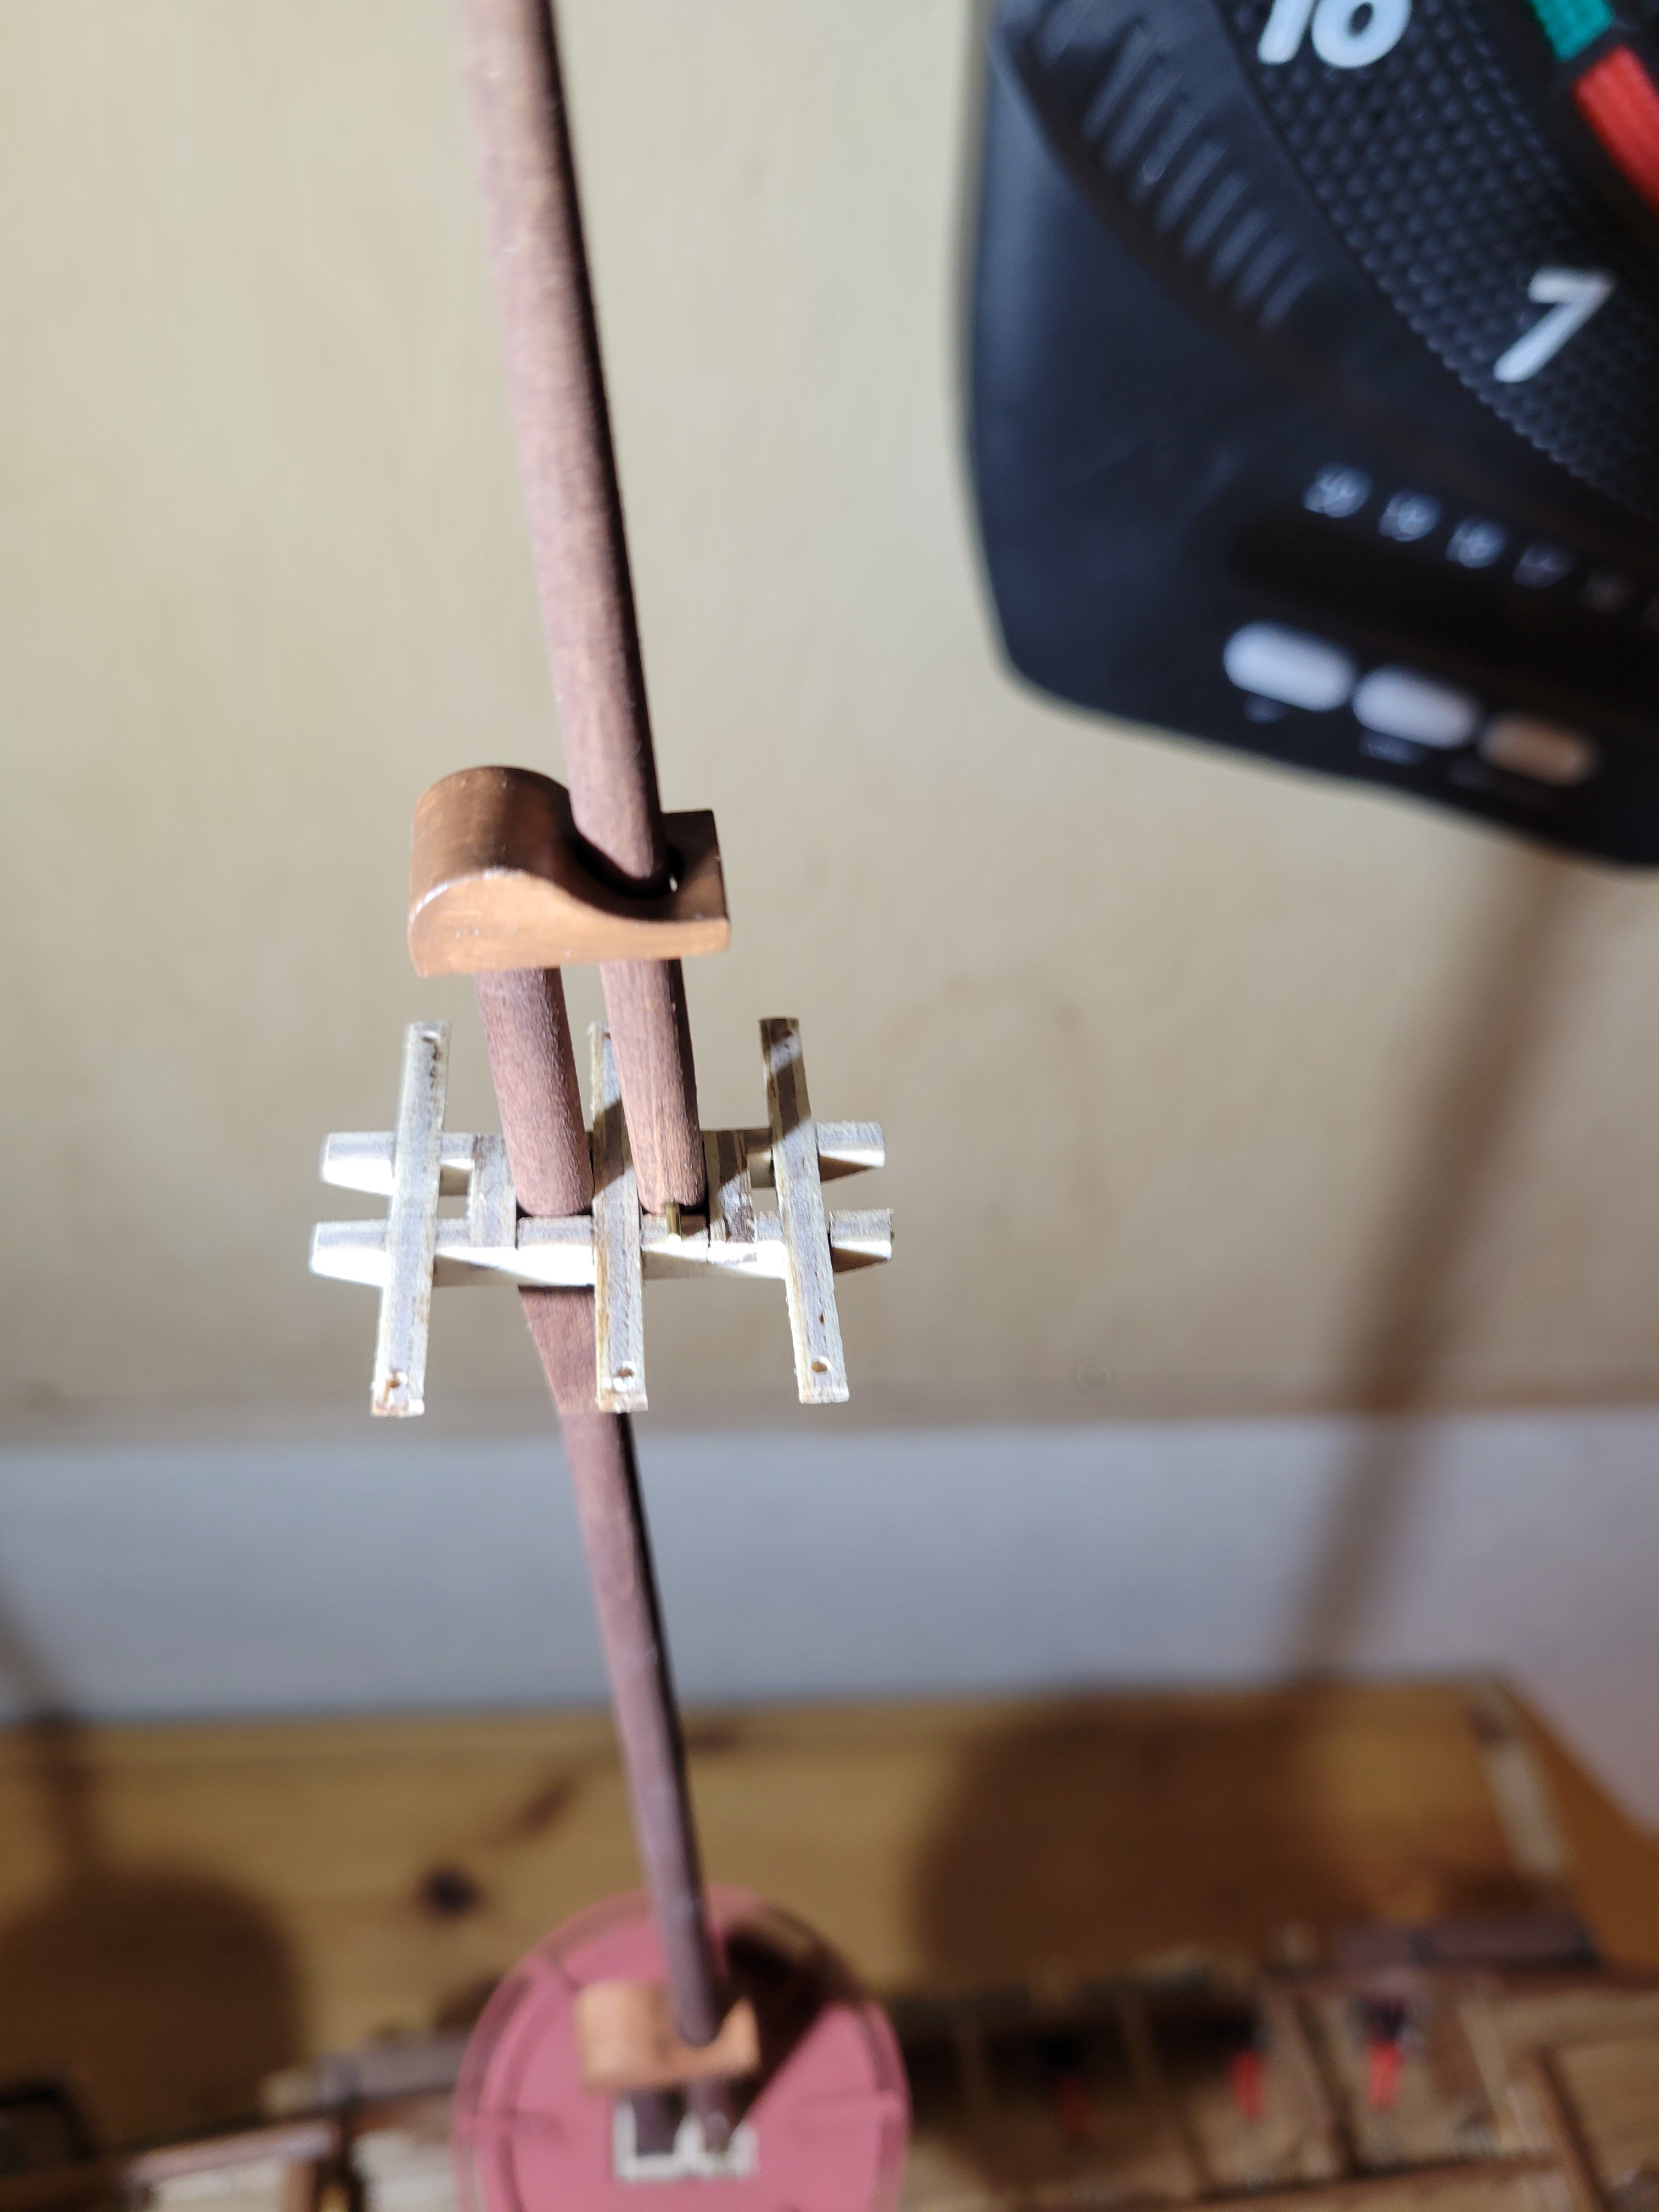
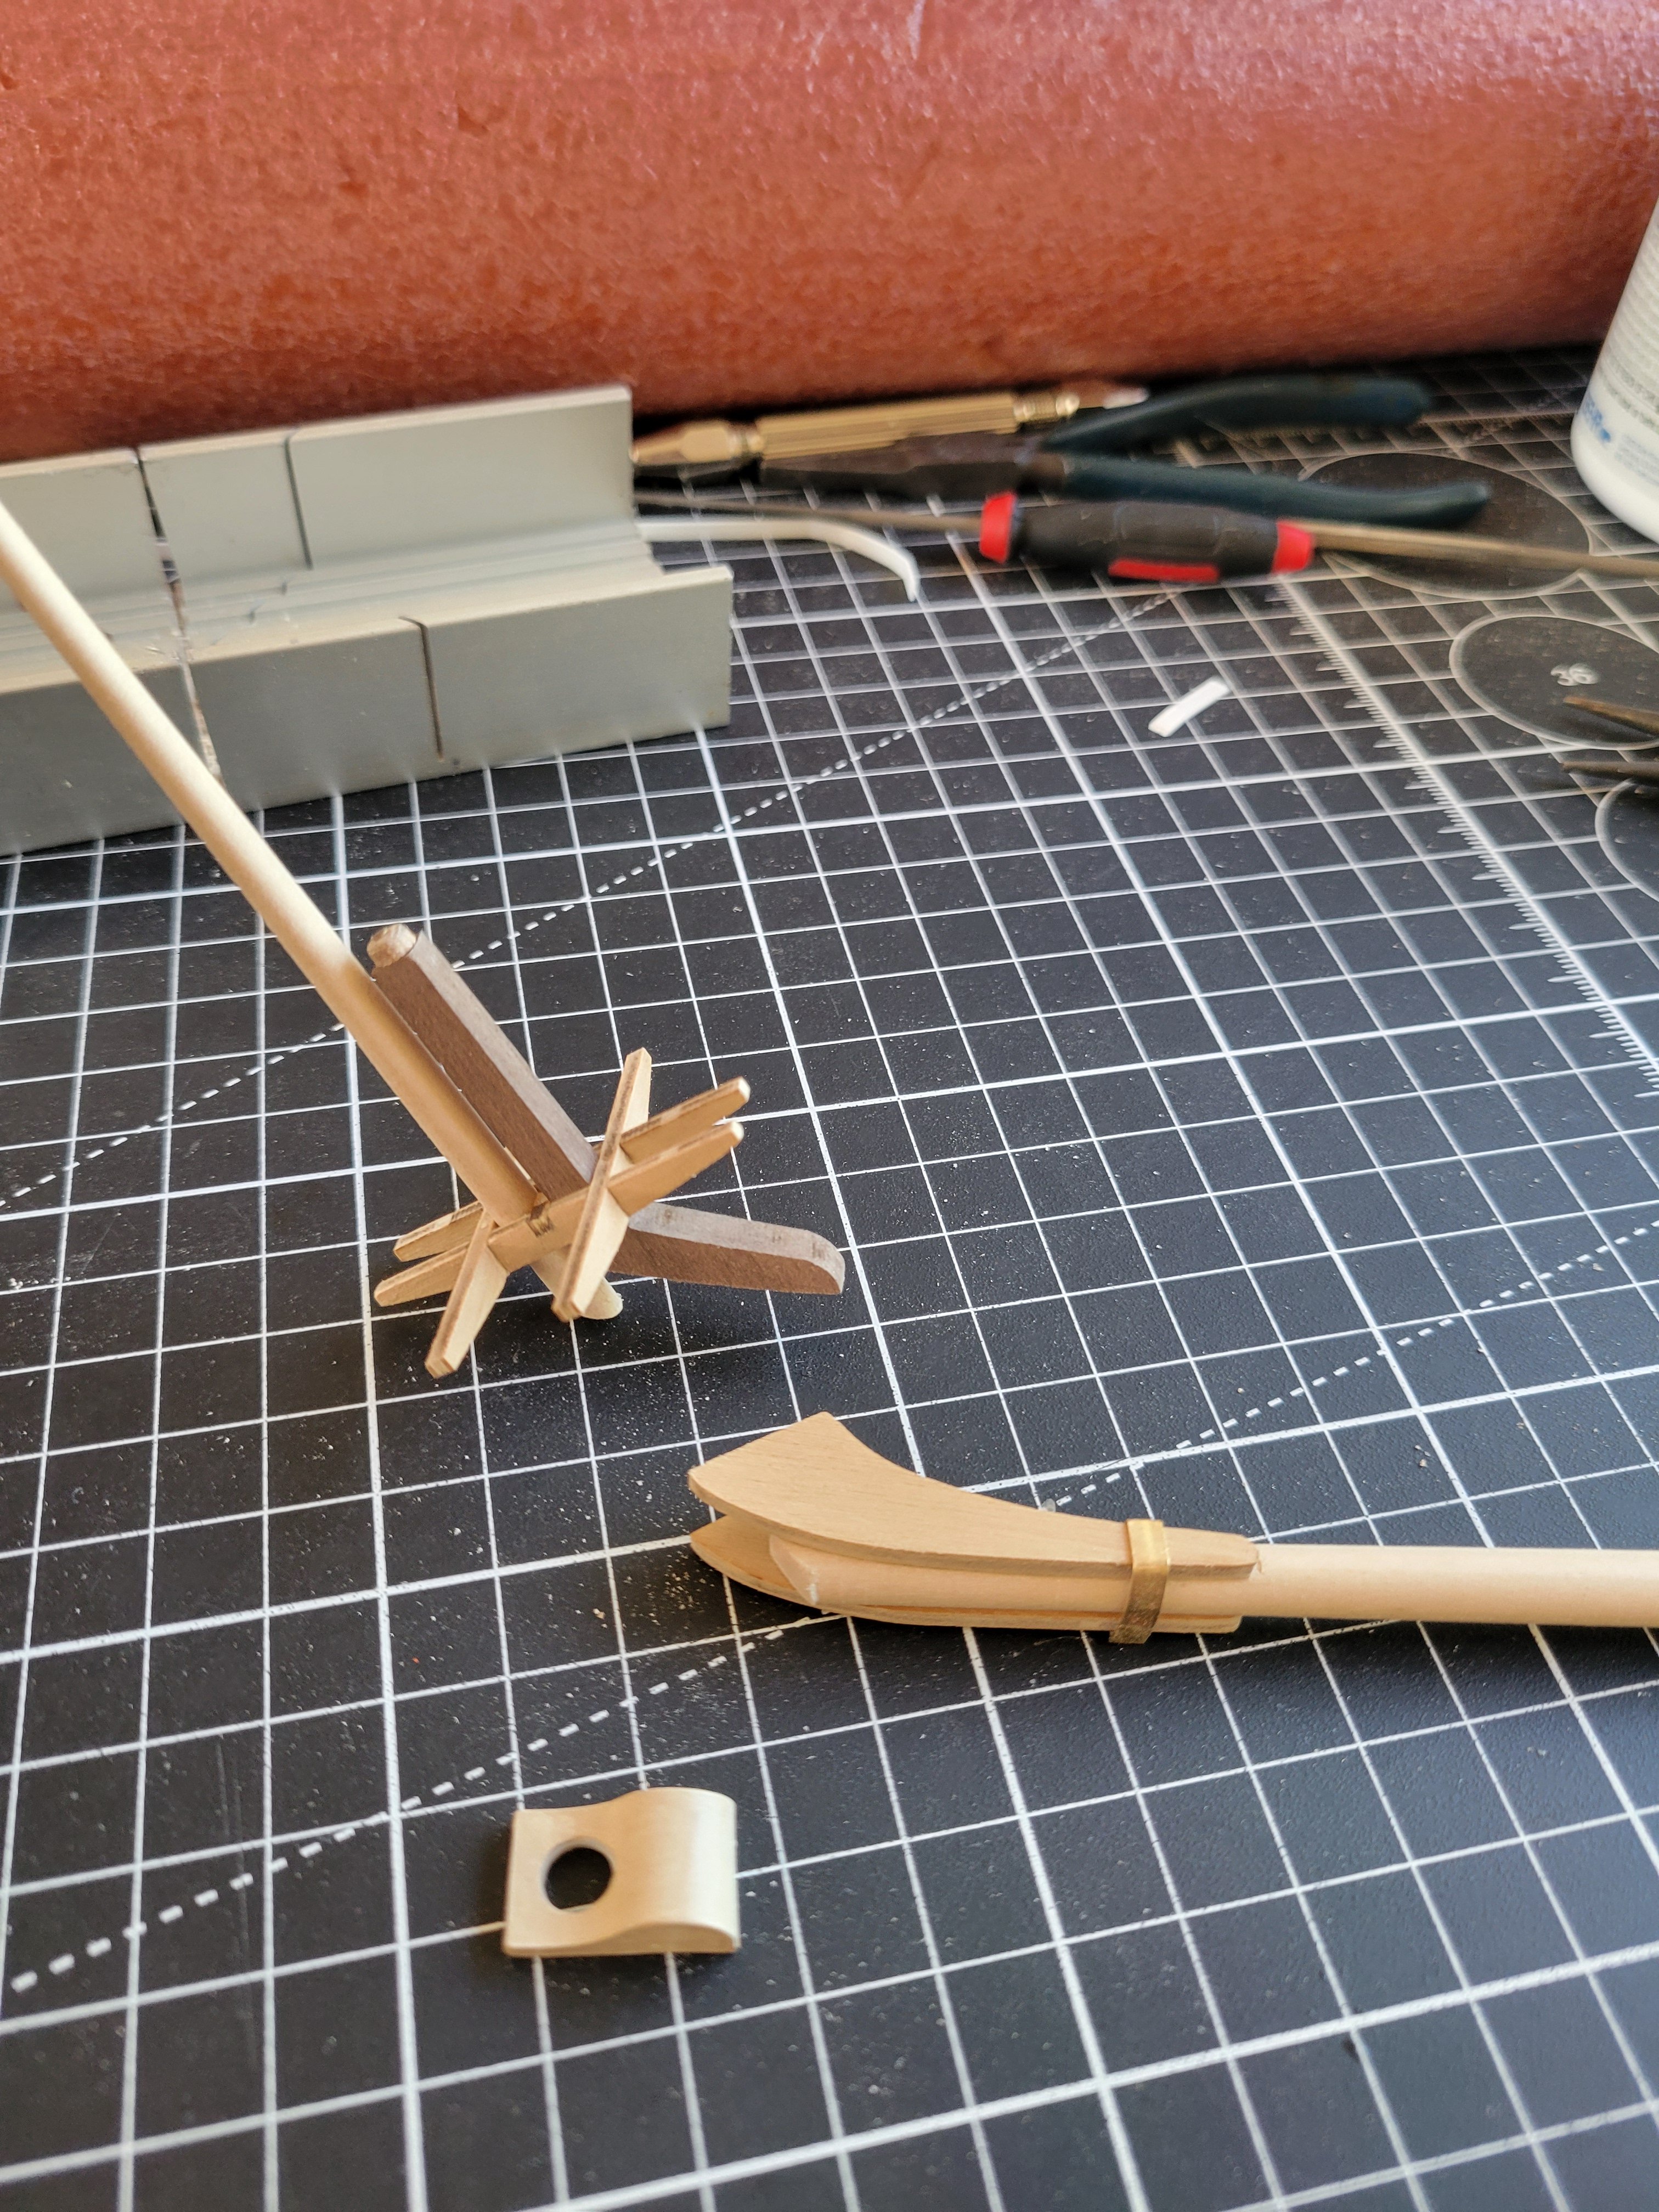
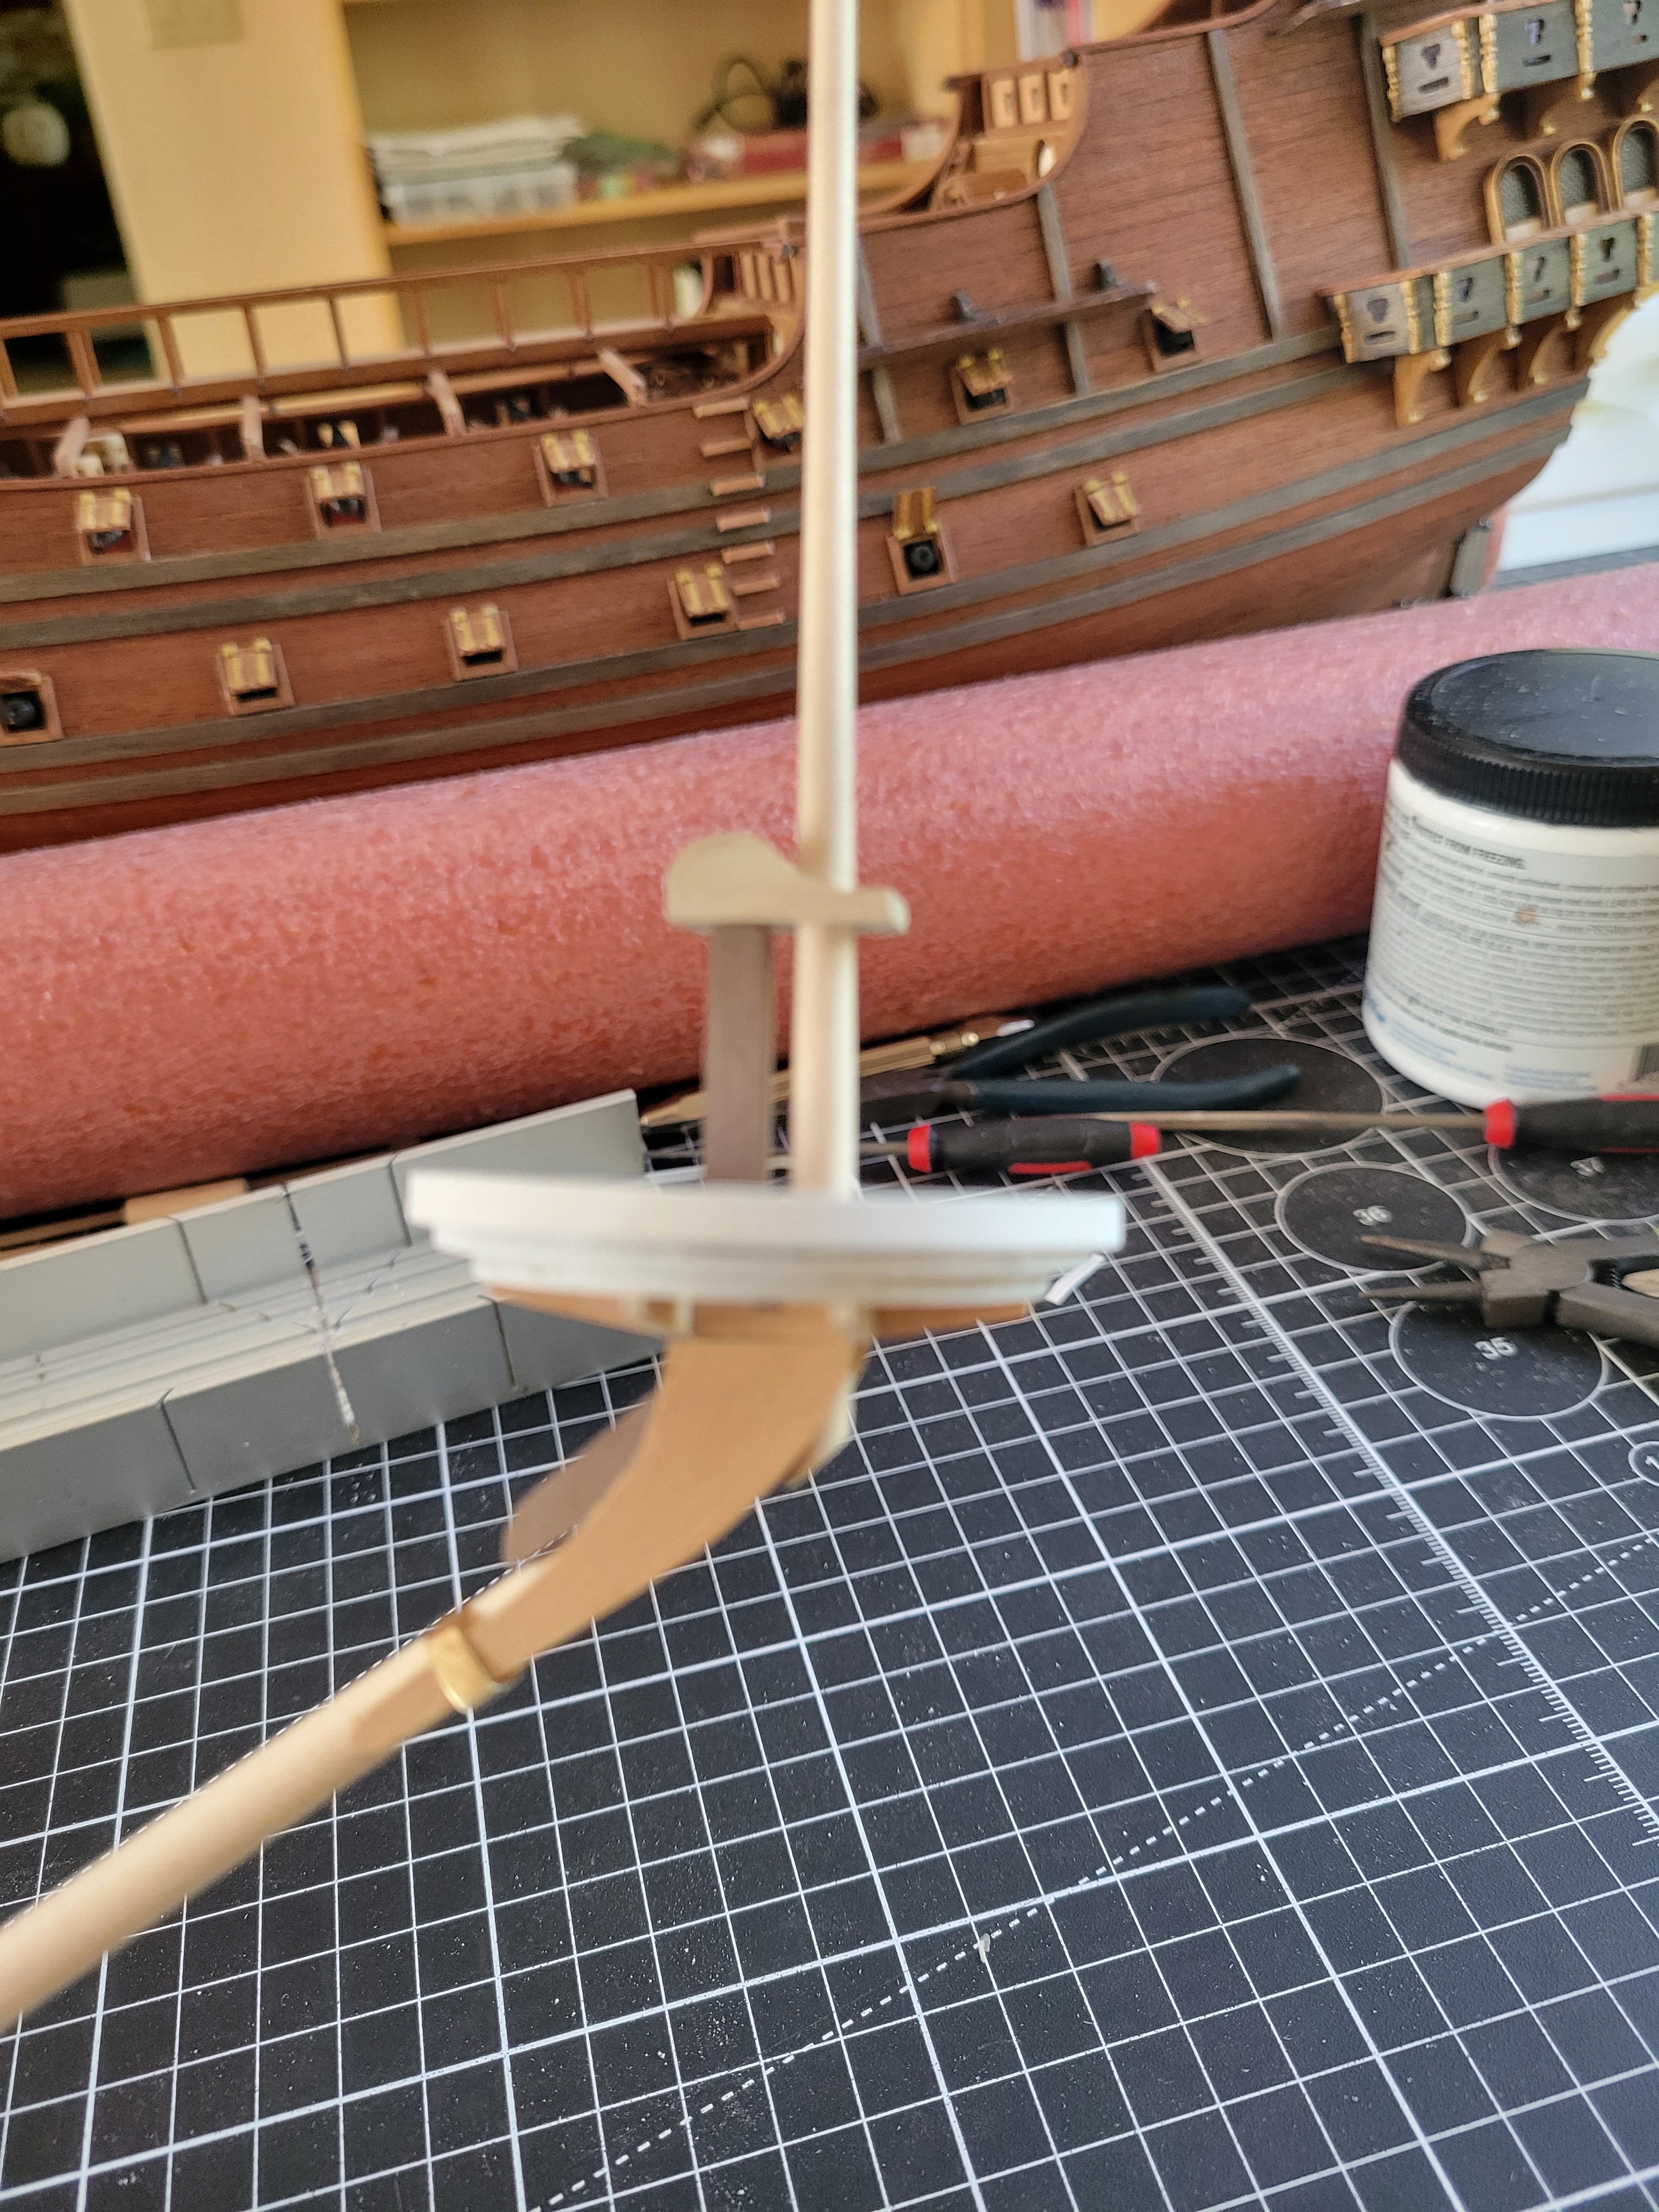
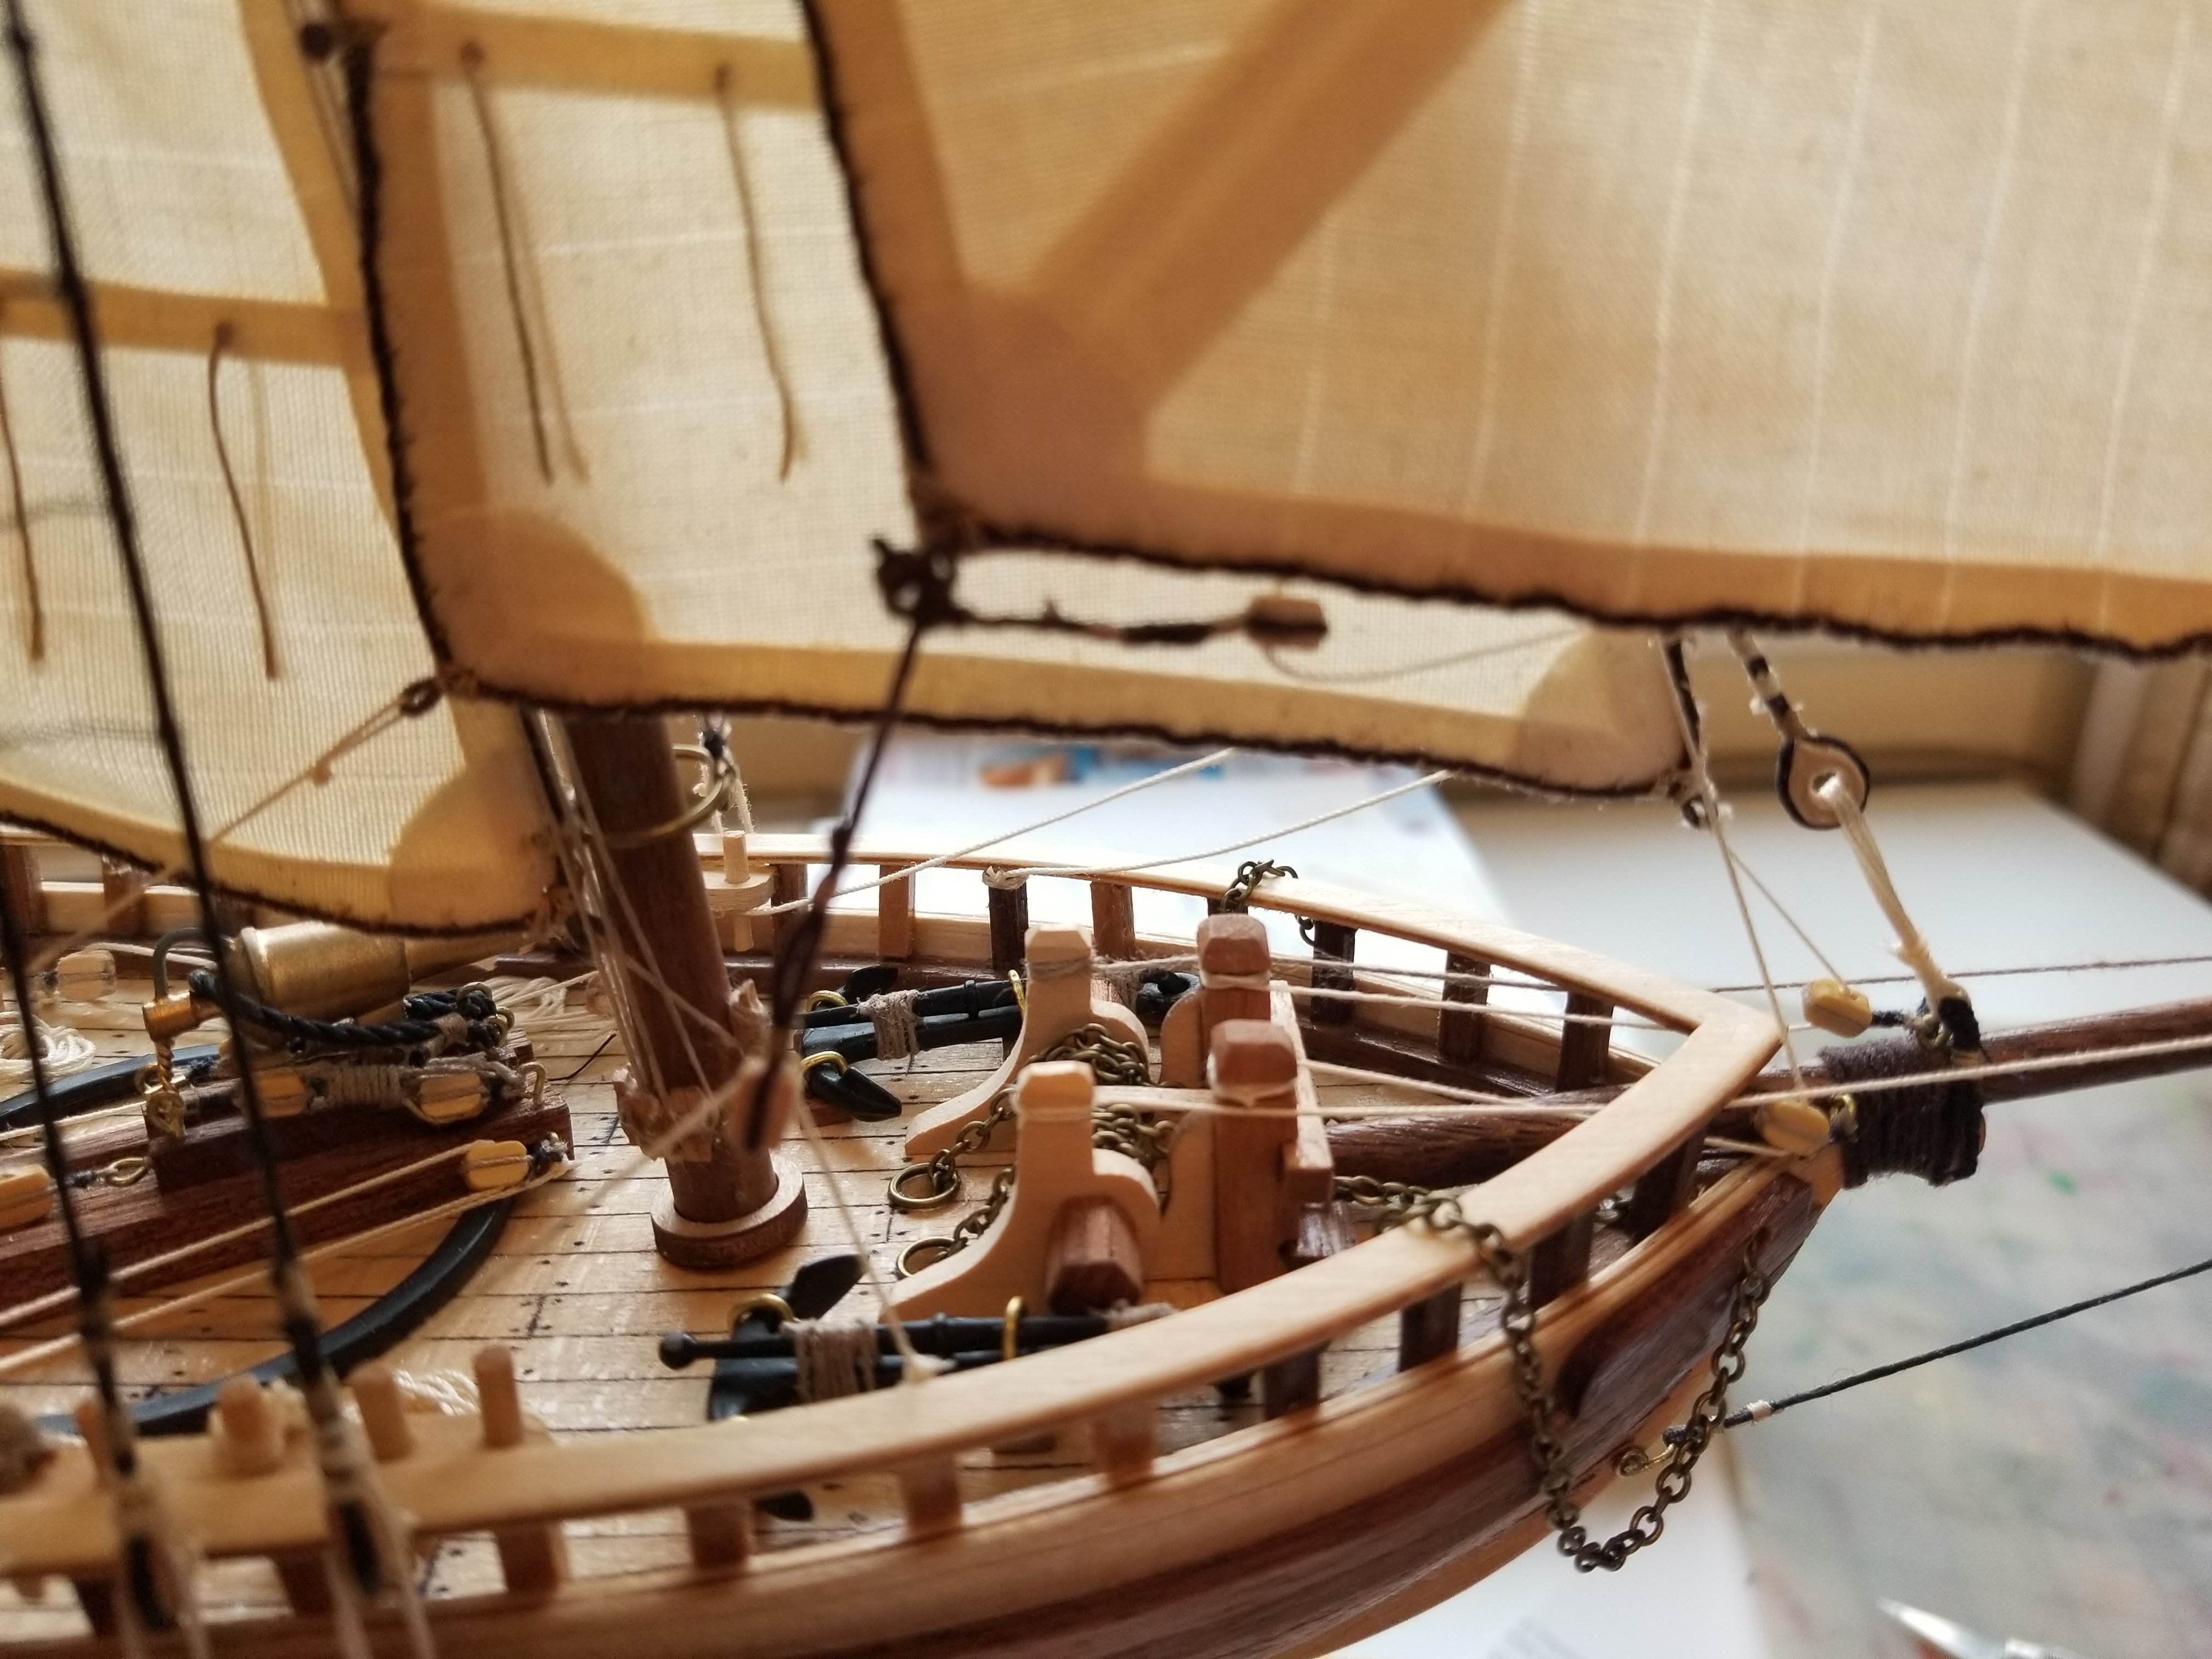
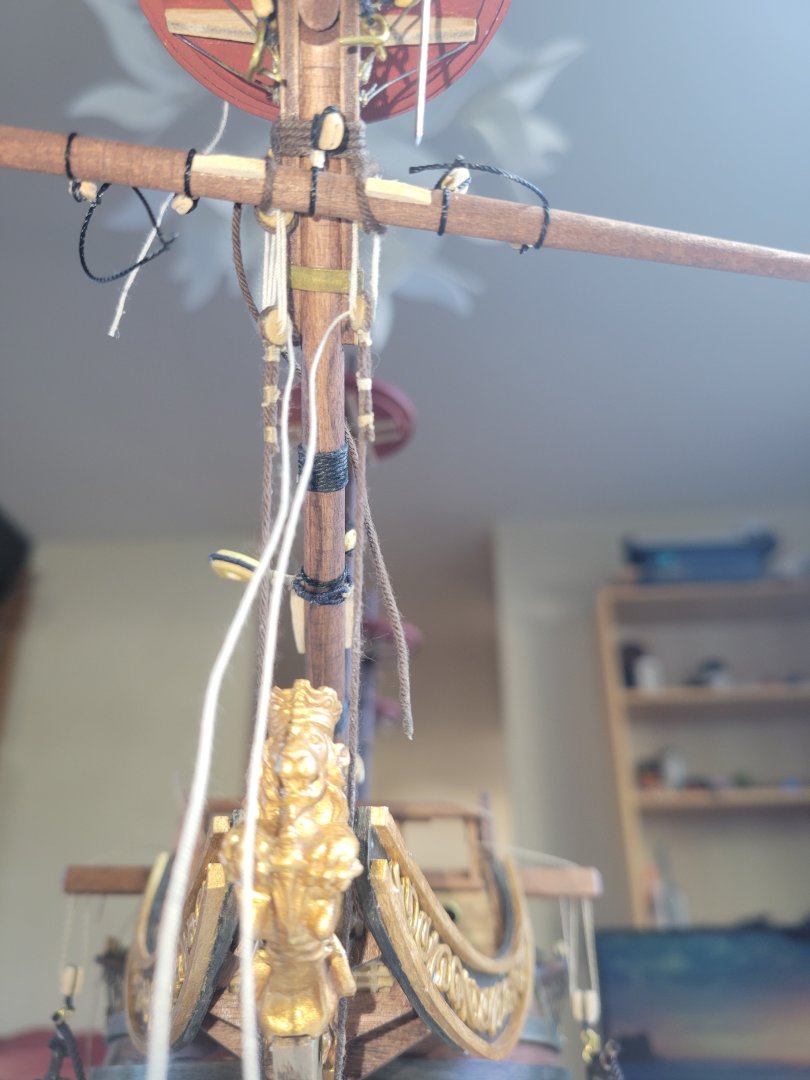
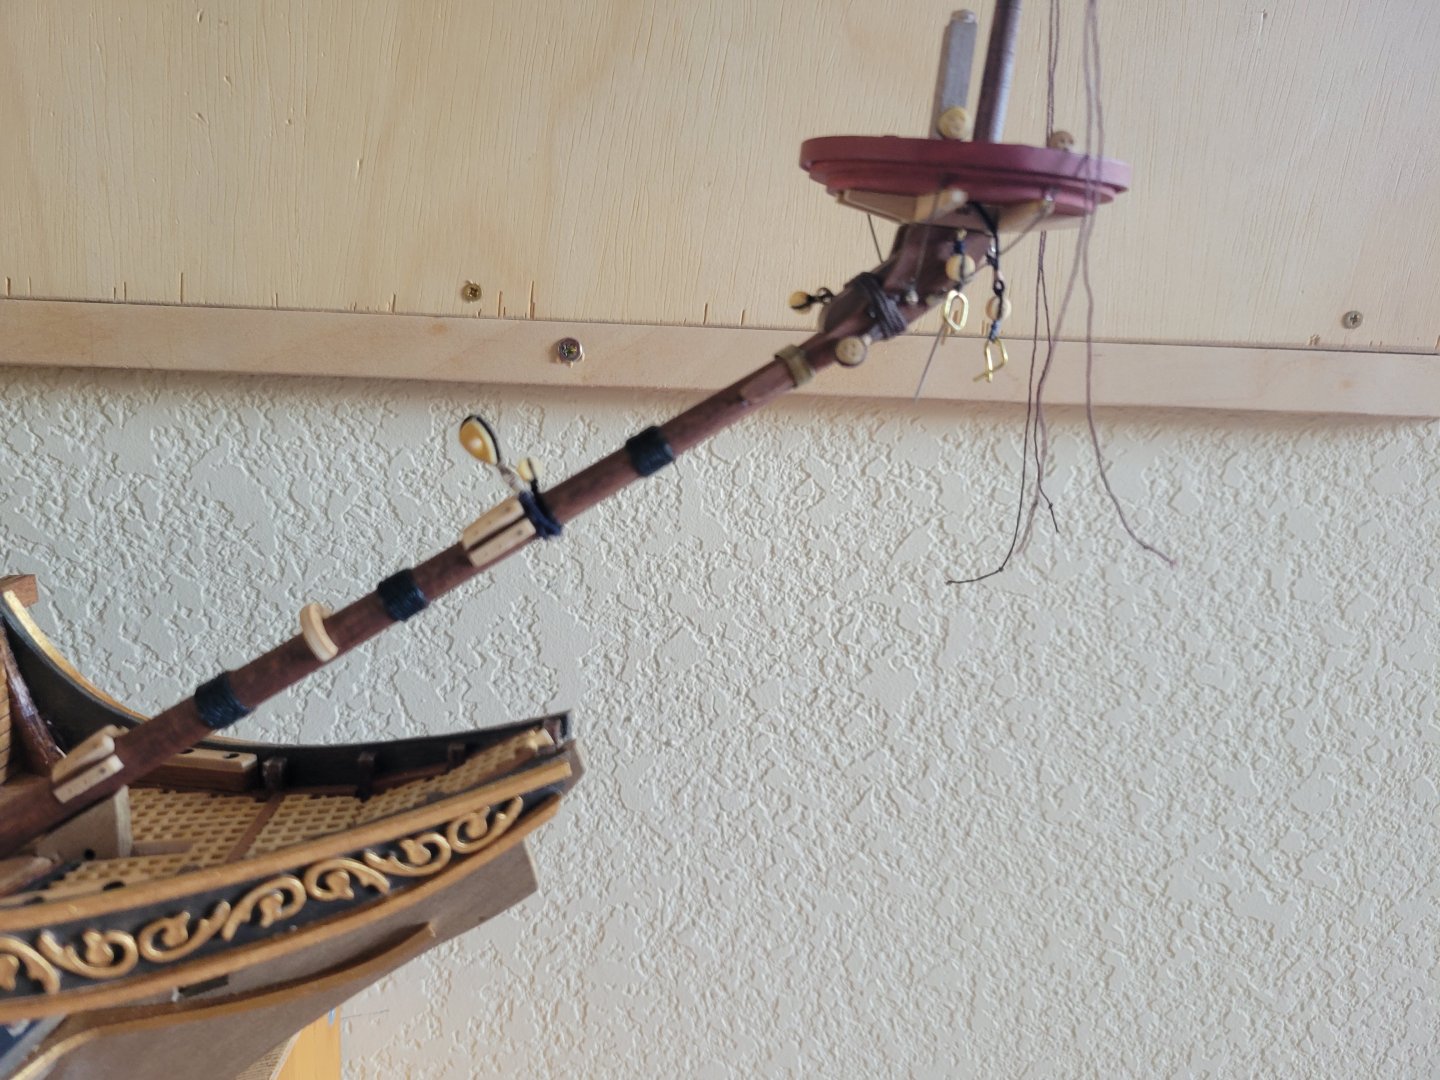
Time to finally set the bousprit with gammoning and bobstays. Also checking spritsail yard positioning.

-
Continuing progress. Sprit sail yard ready to bend sail. Spirit top mast rigging and yard in progress. Rigging the shrouds. Probably going to set the bowsprit next with the gammoning and bobsays when the shrouds and ratlines are done.

-
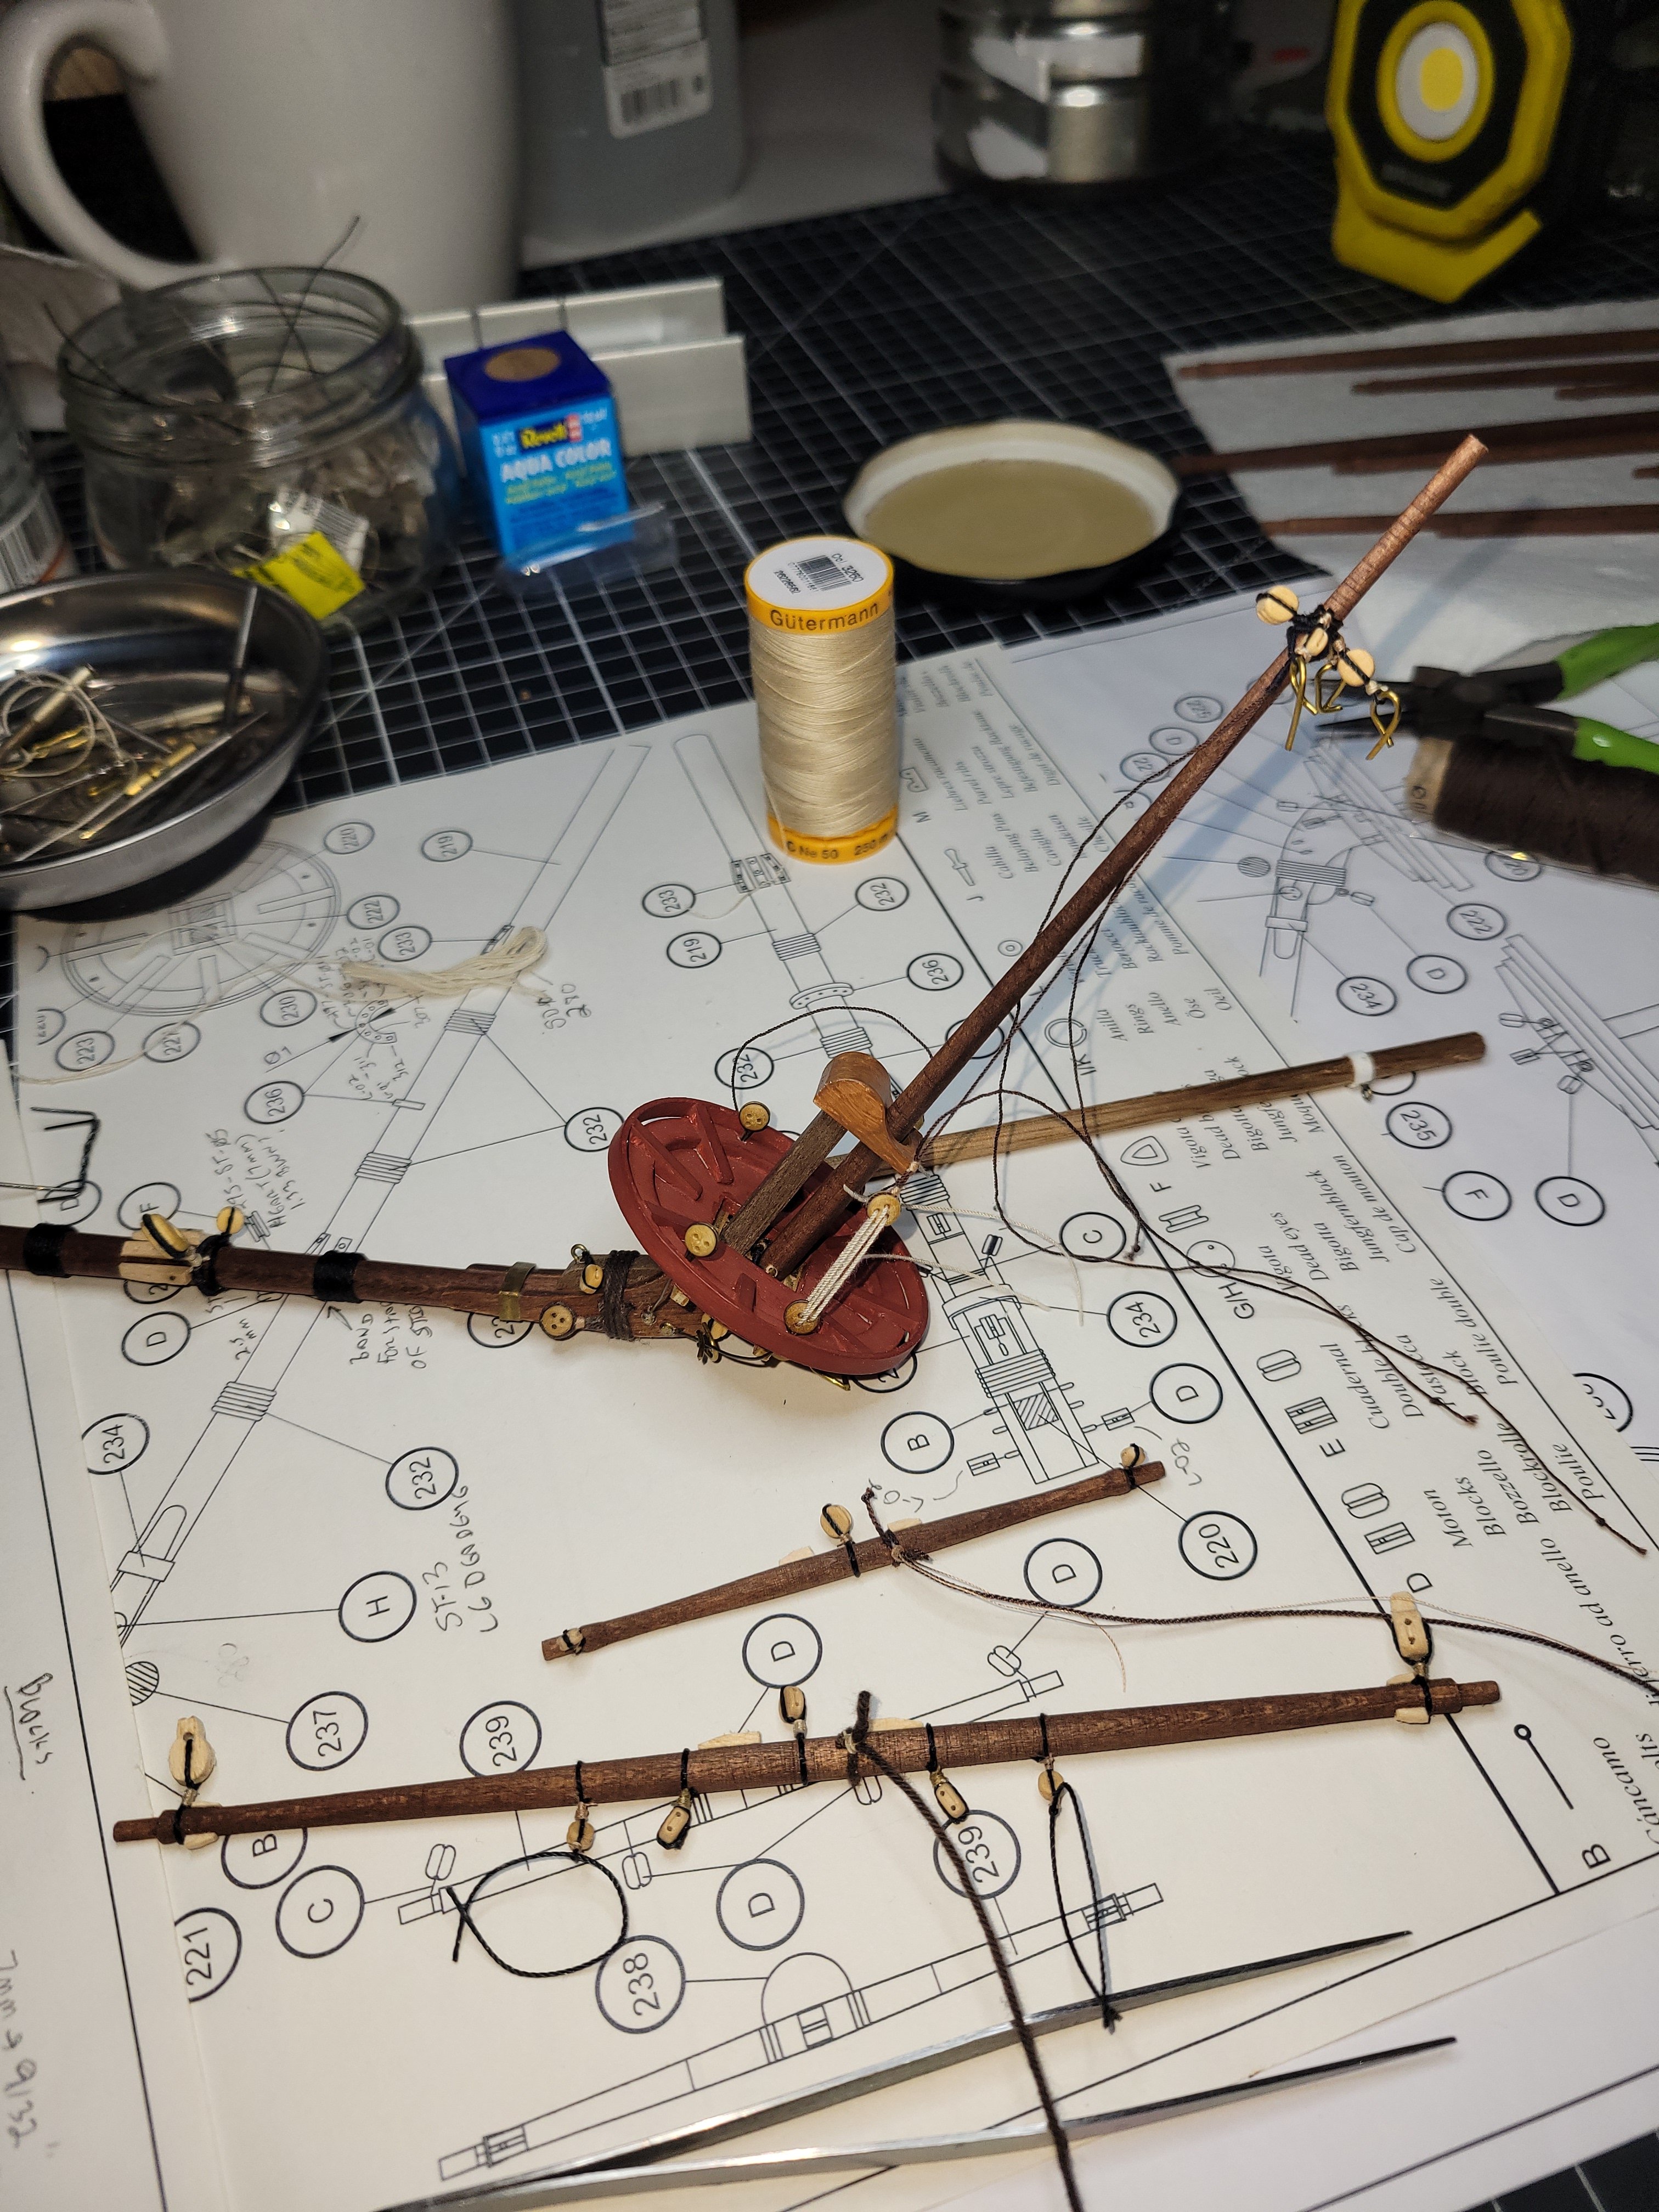
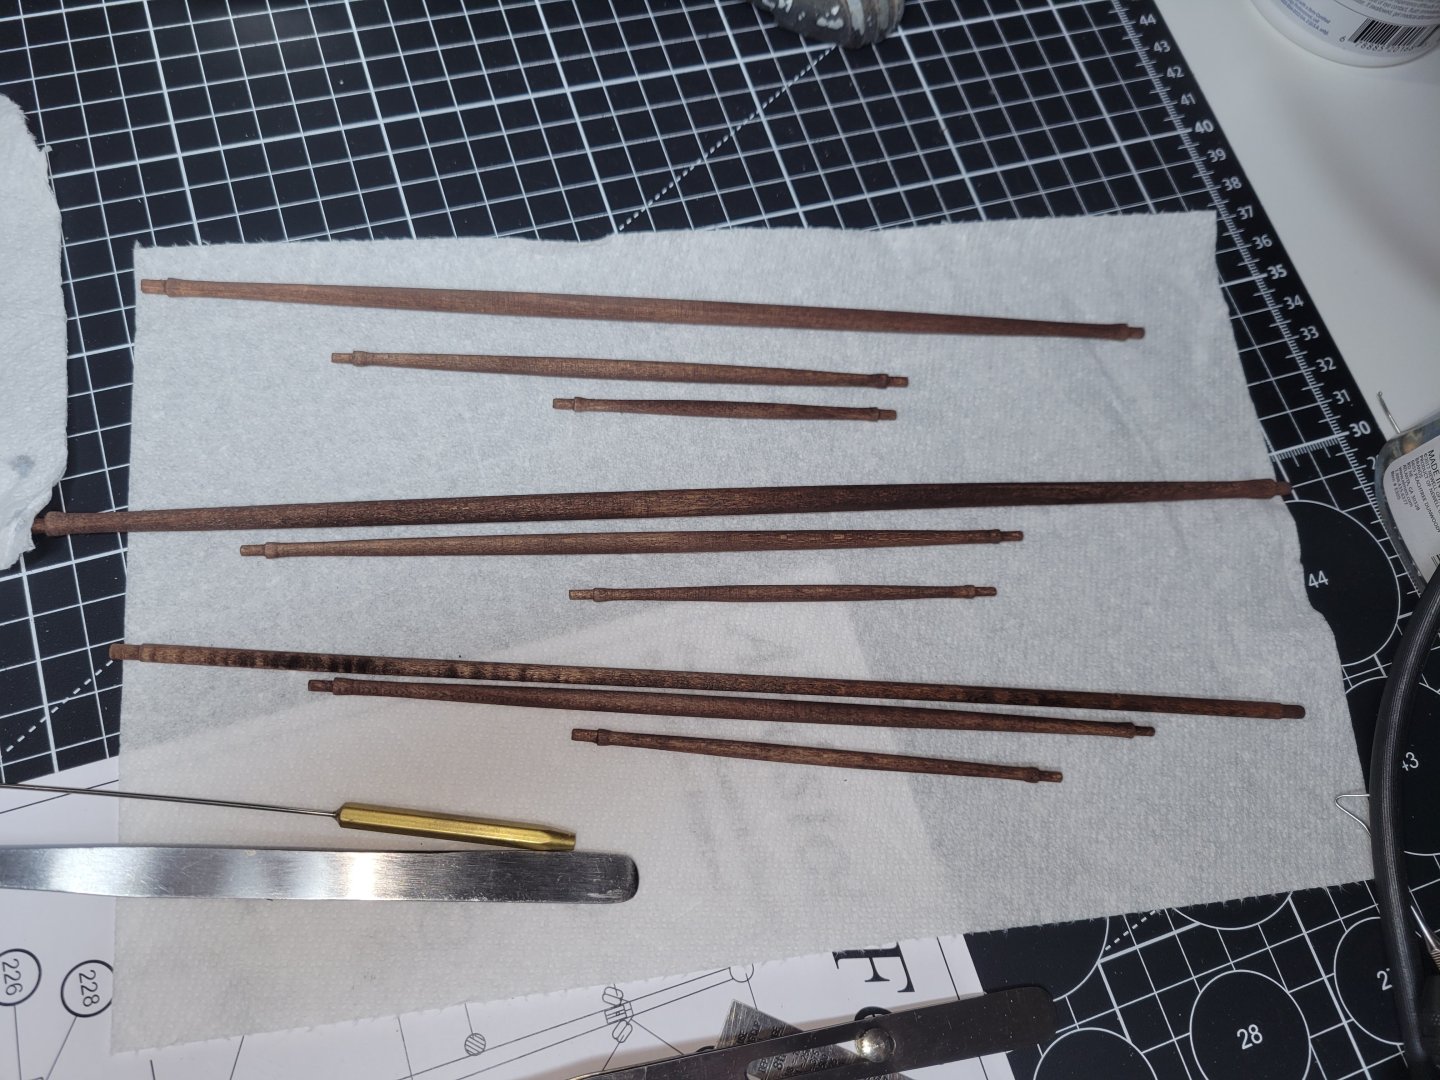
Making progress now shapping yards and associated blocks. Starting with sprit mast.

-
These are a great find! Well produced and fairly well detailed. Especially great resource for anyone new to the craft/
-
Port side set and coiled
-
Would love to work on a modern warship of that scale one day! That about doing one of the my first duty station, a frigate. Would look really cool to handmade those nets but thats probably more painstaking than even ratlines! Good luck with the braided line.
-
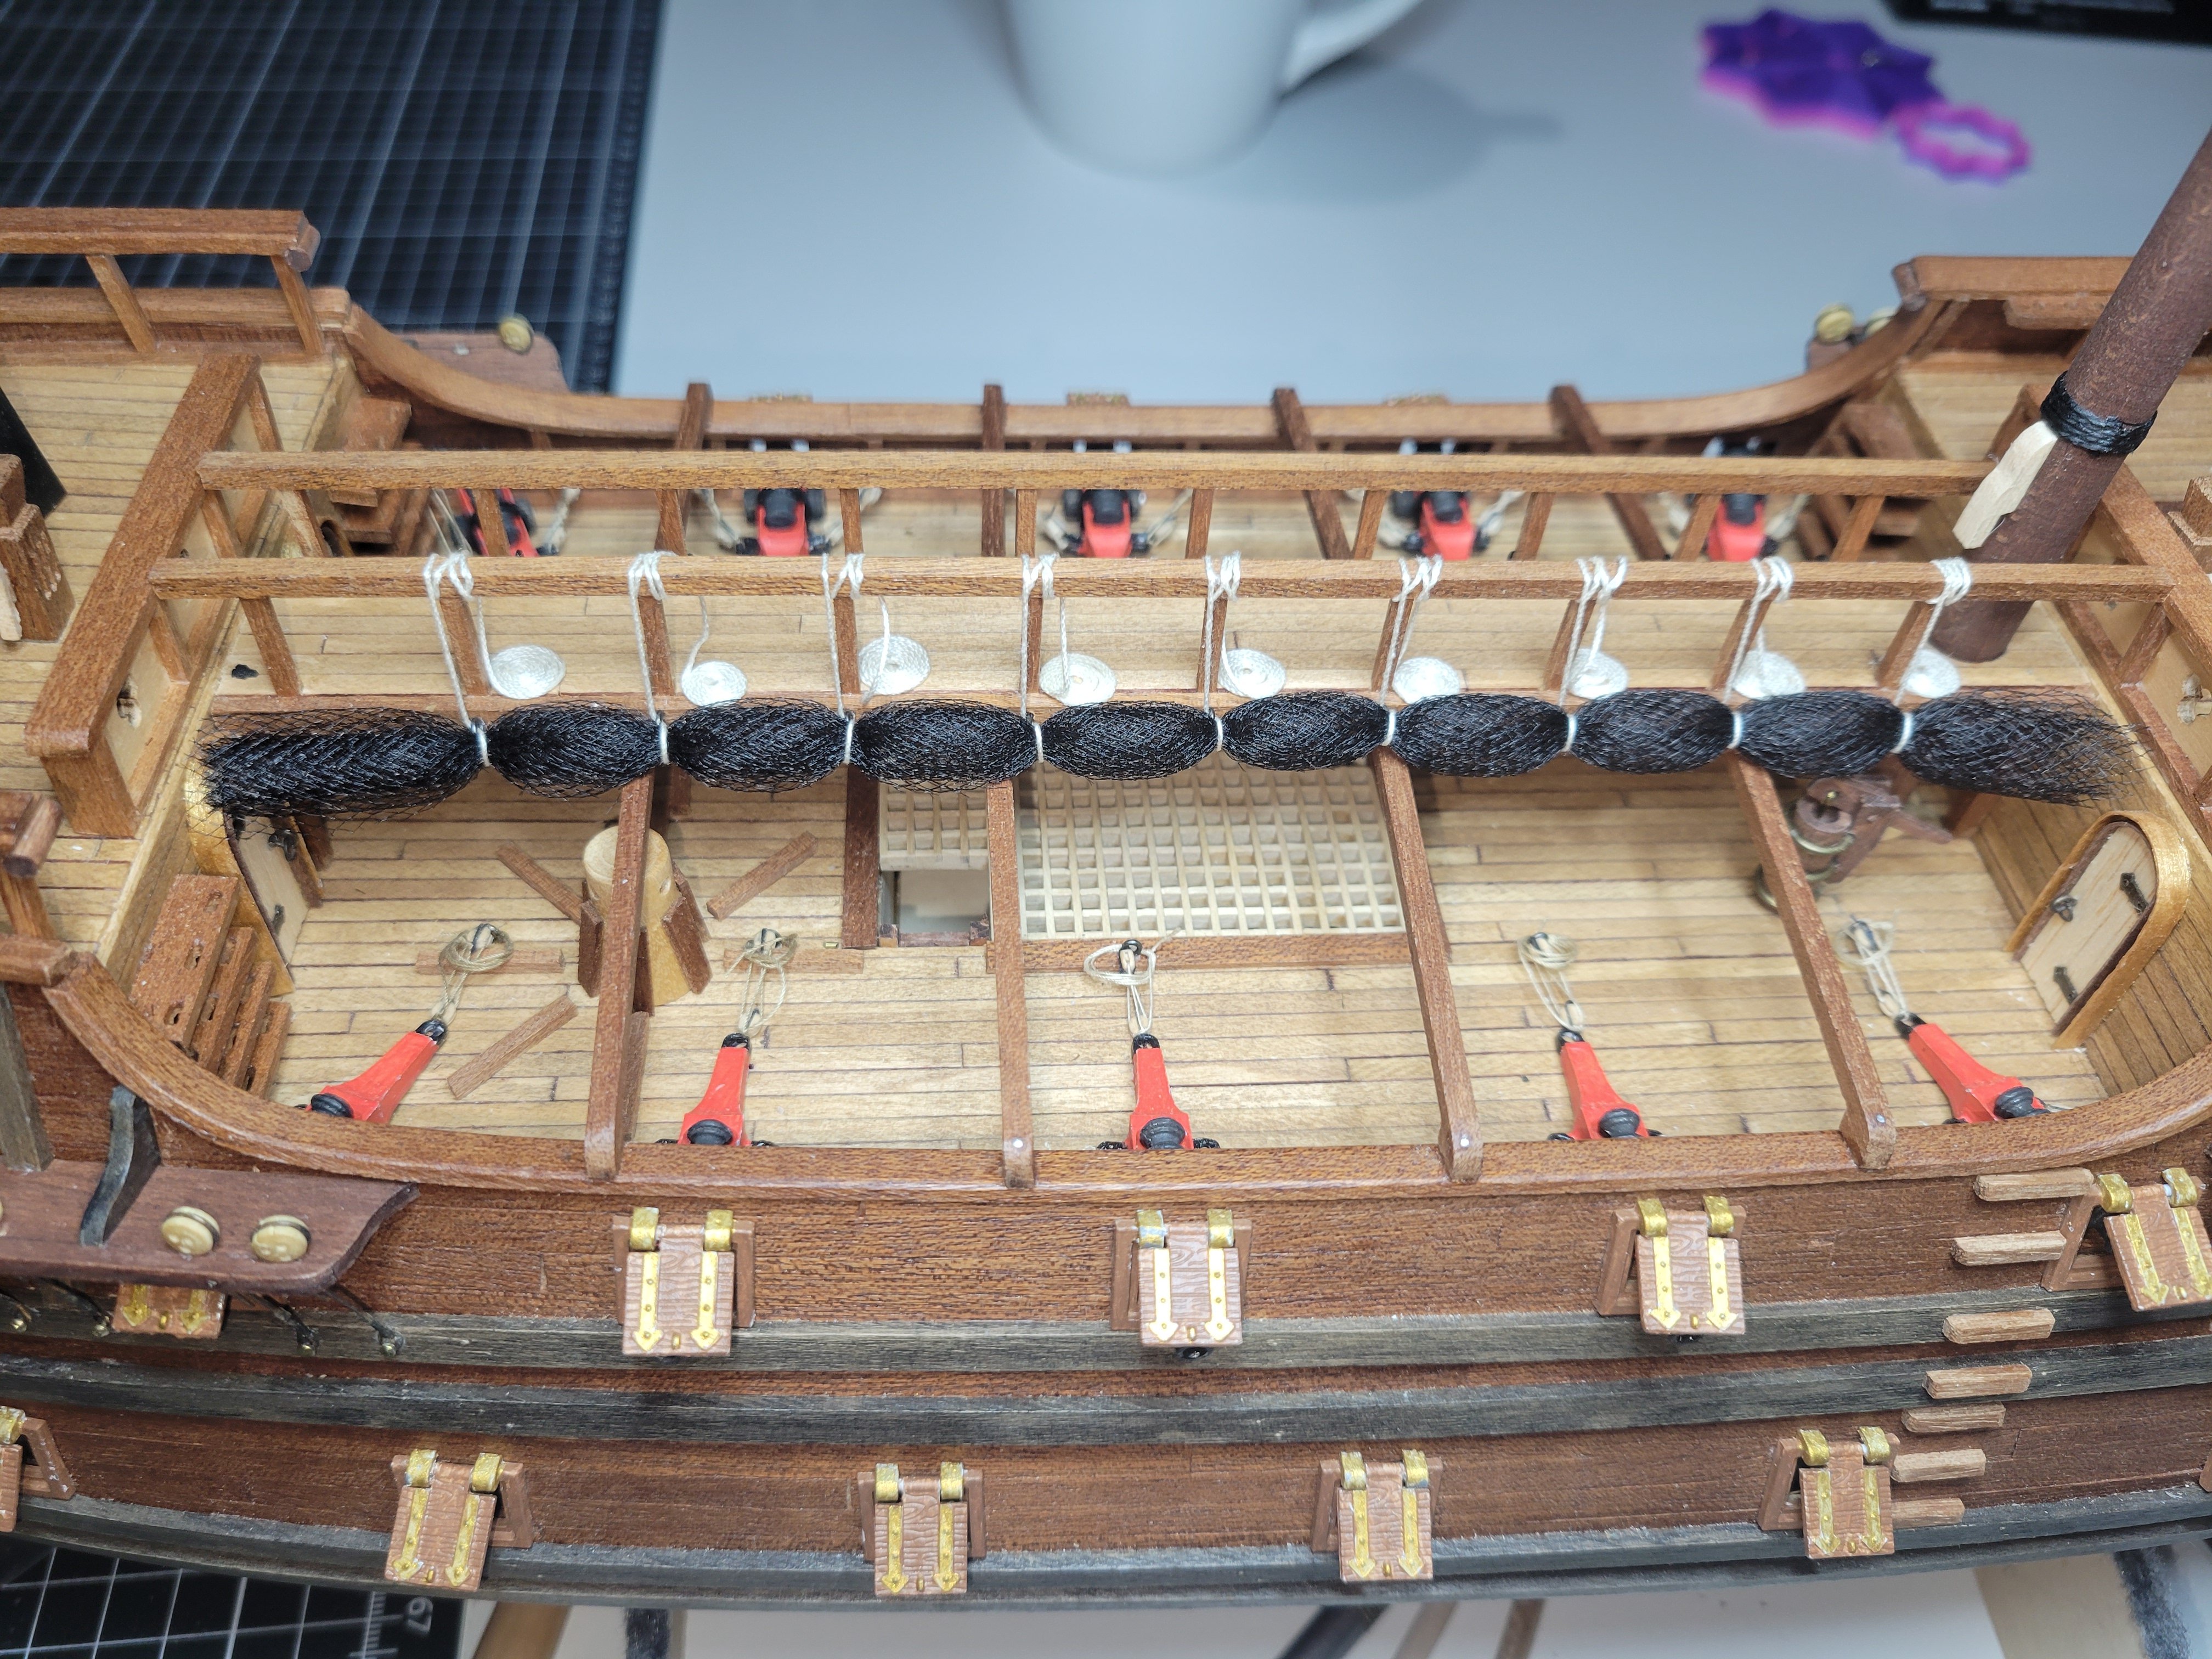
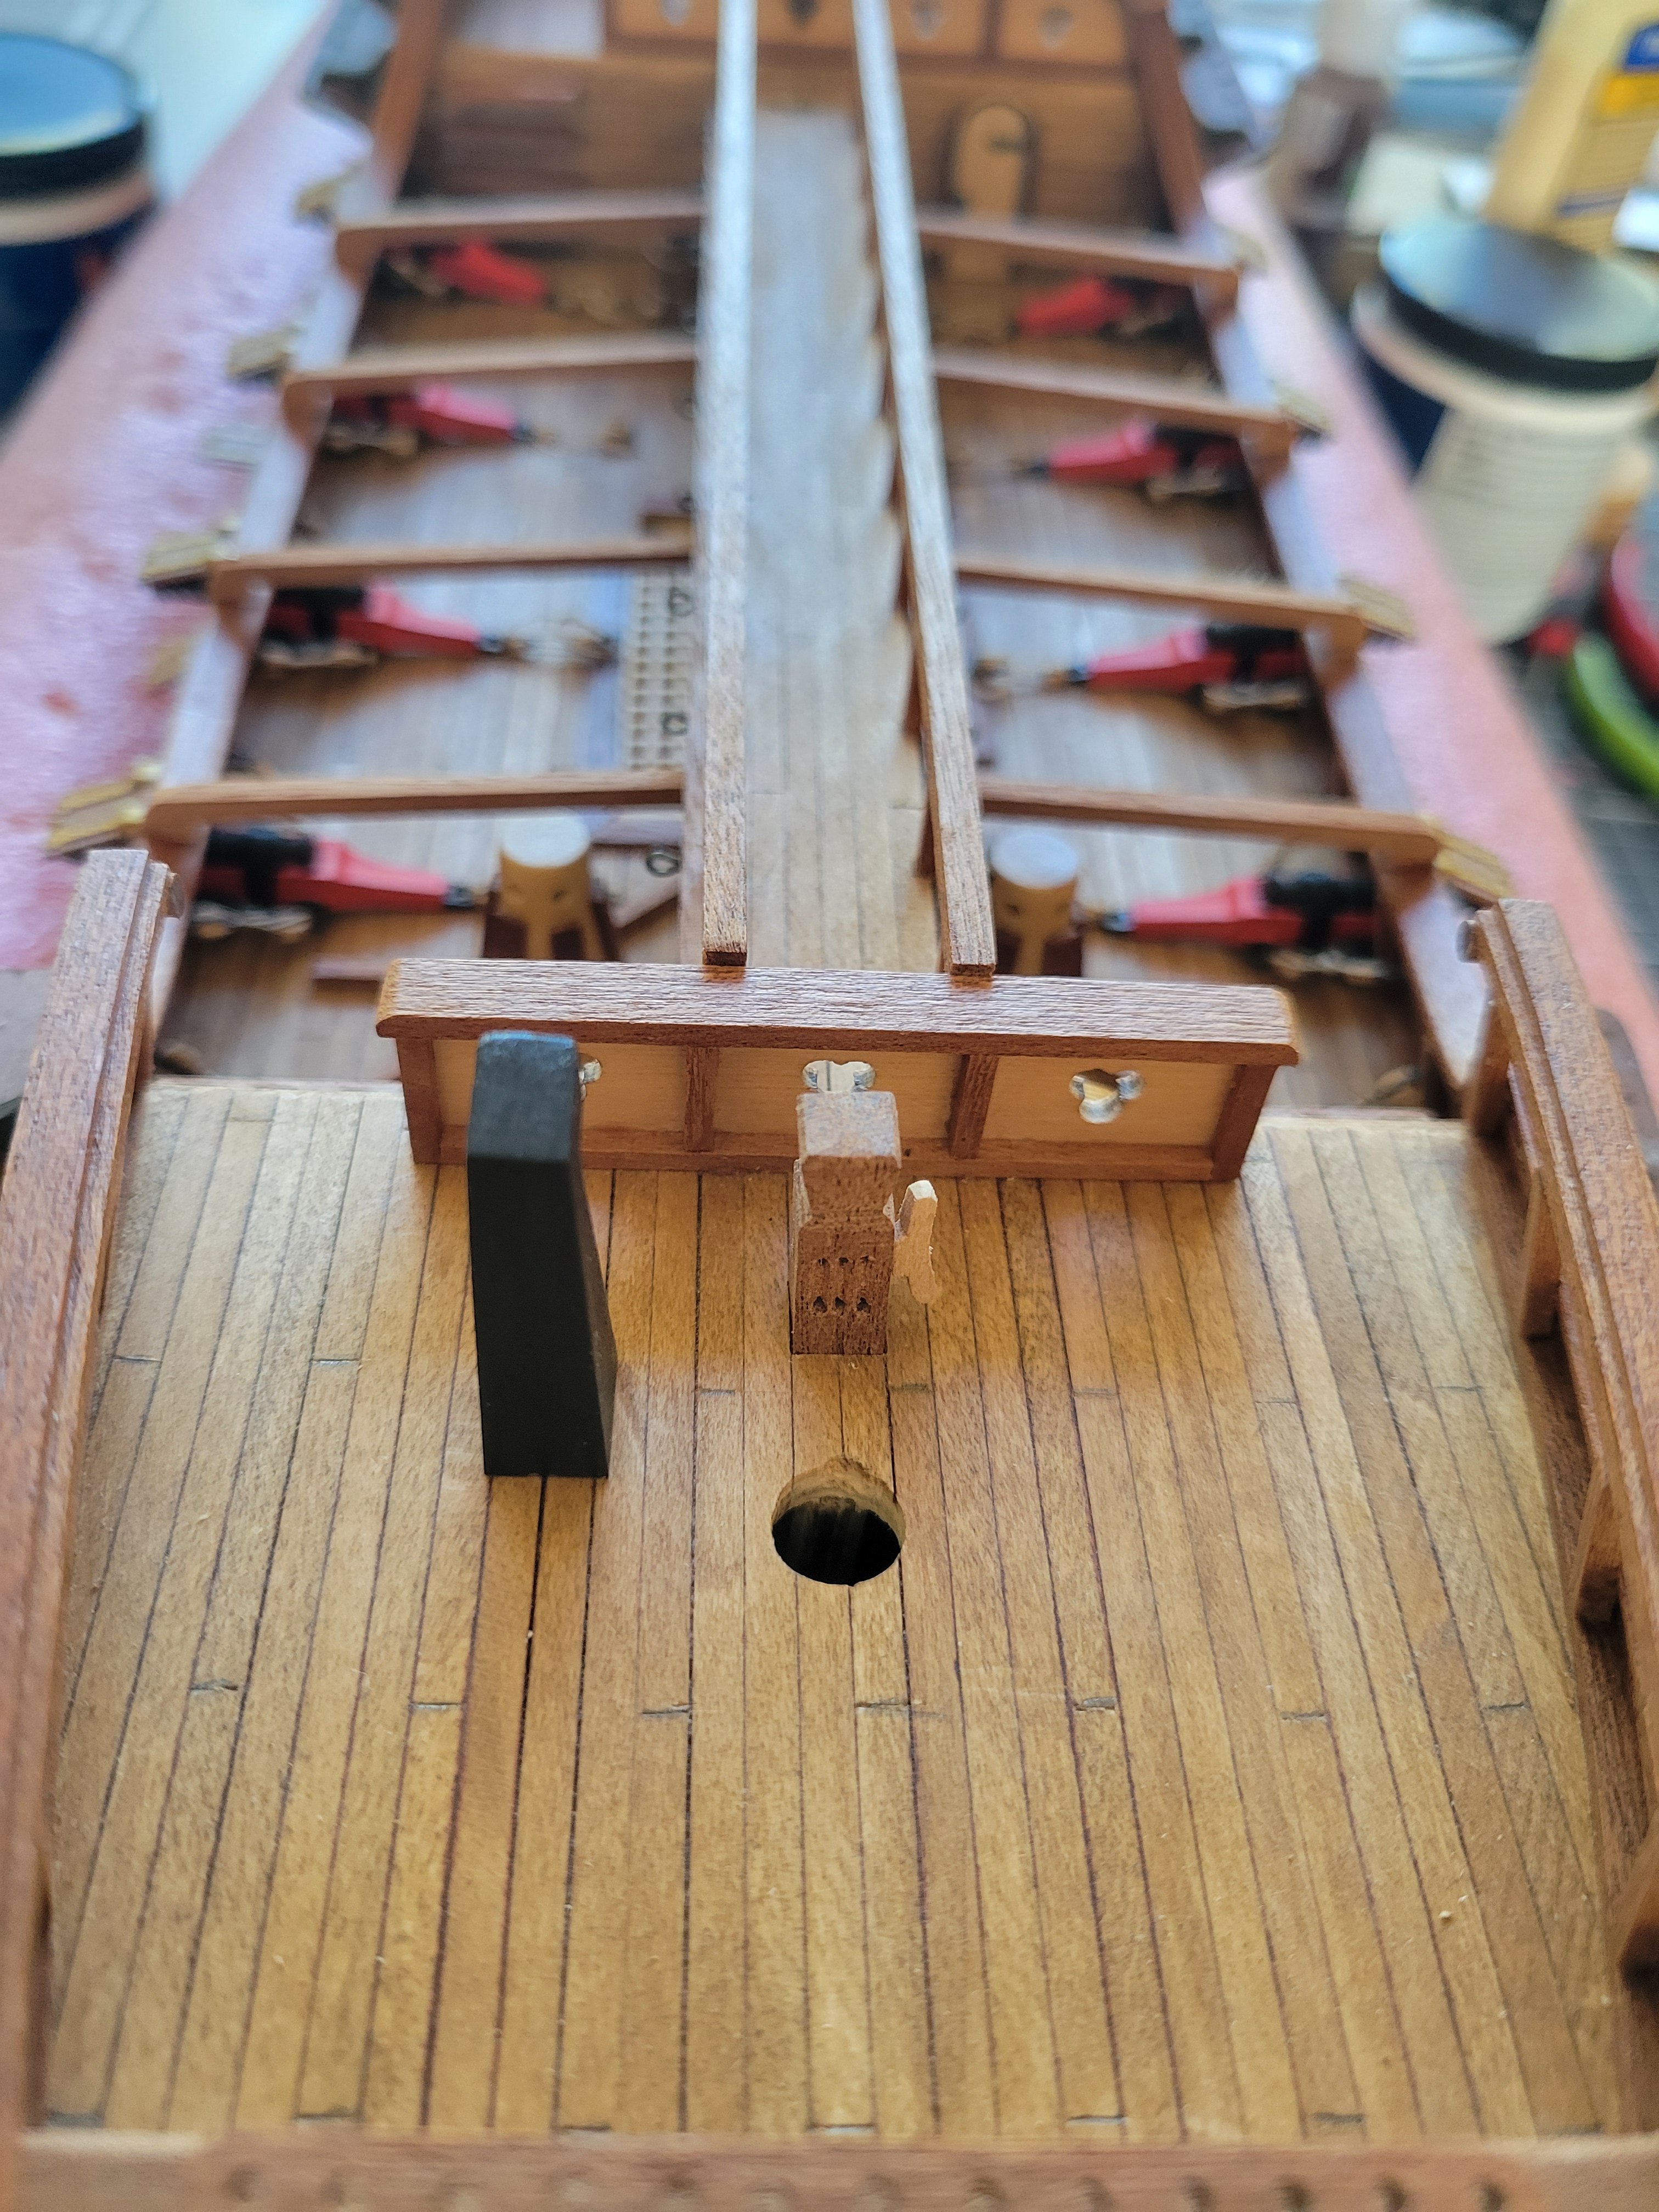
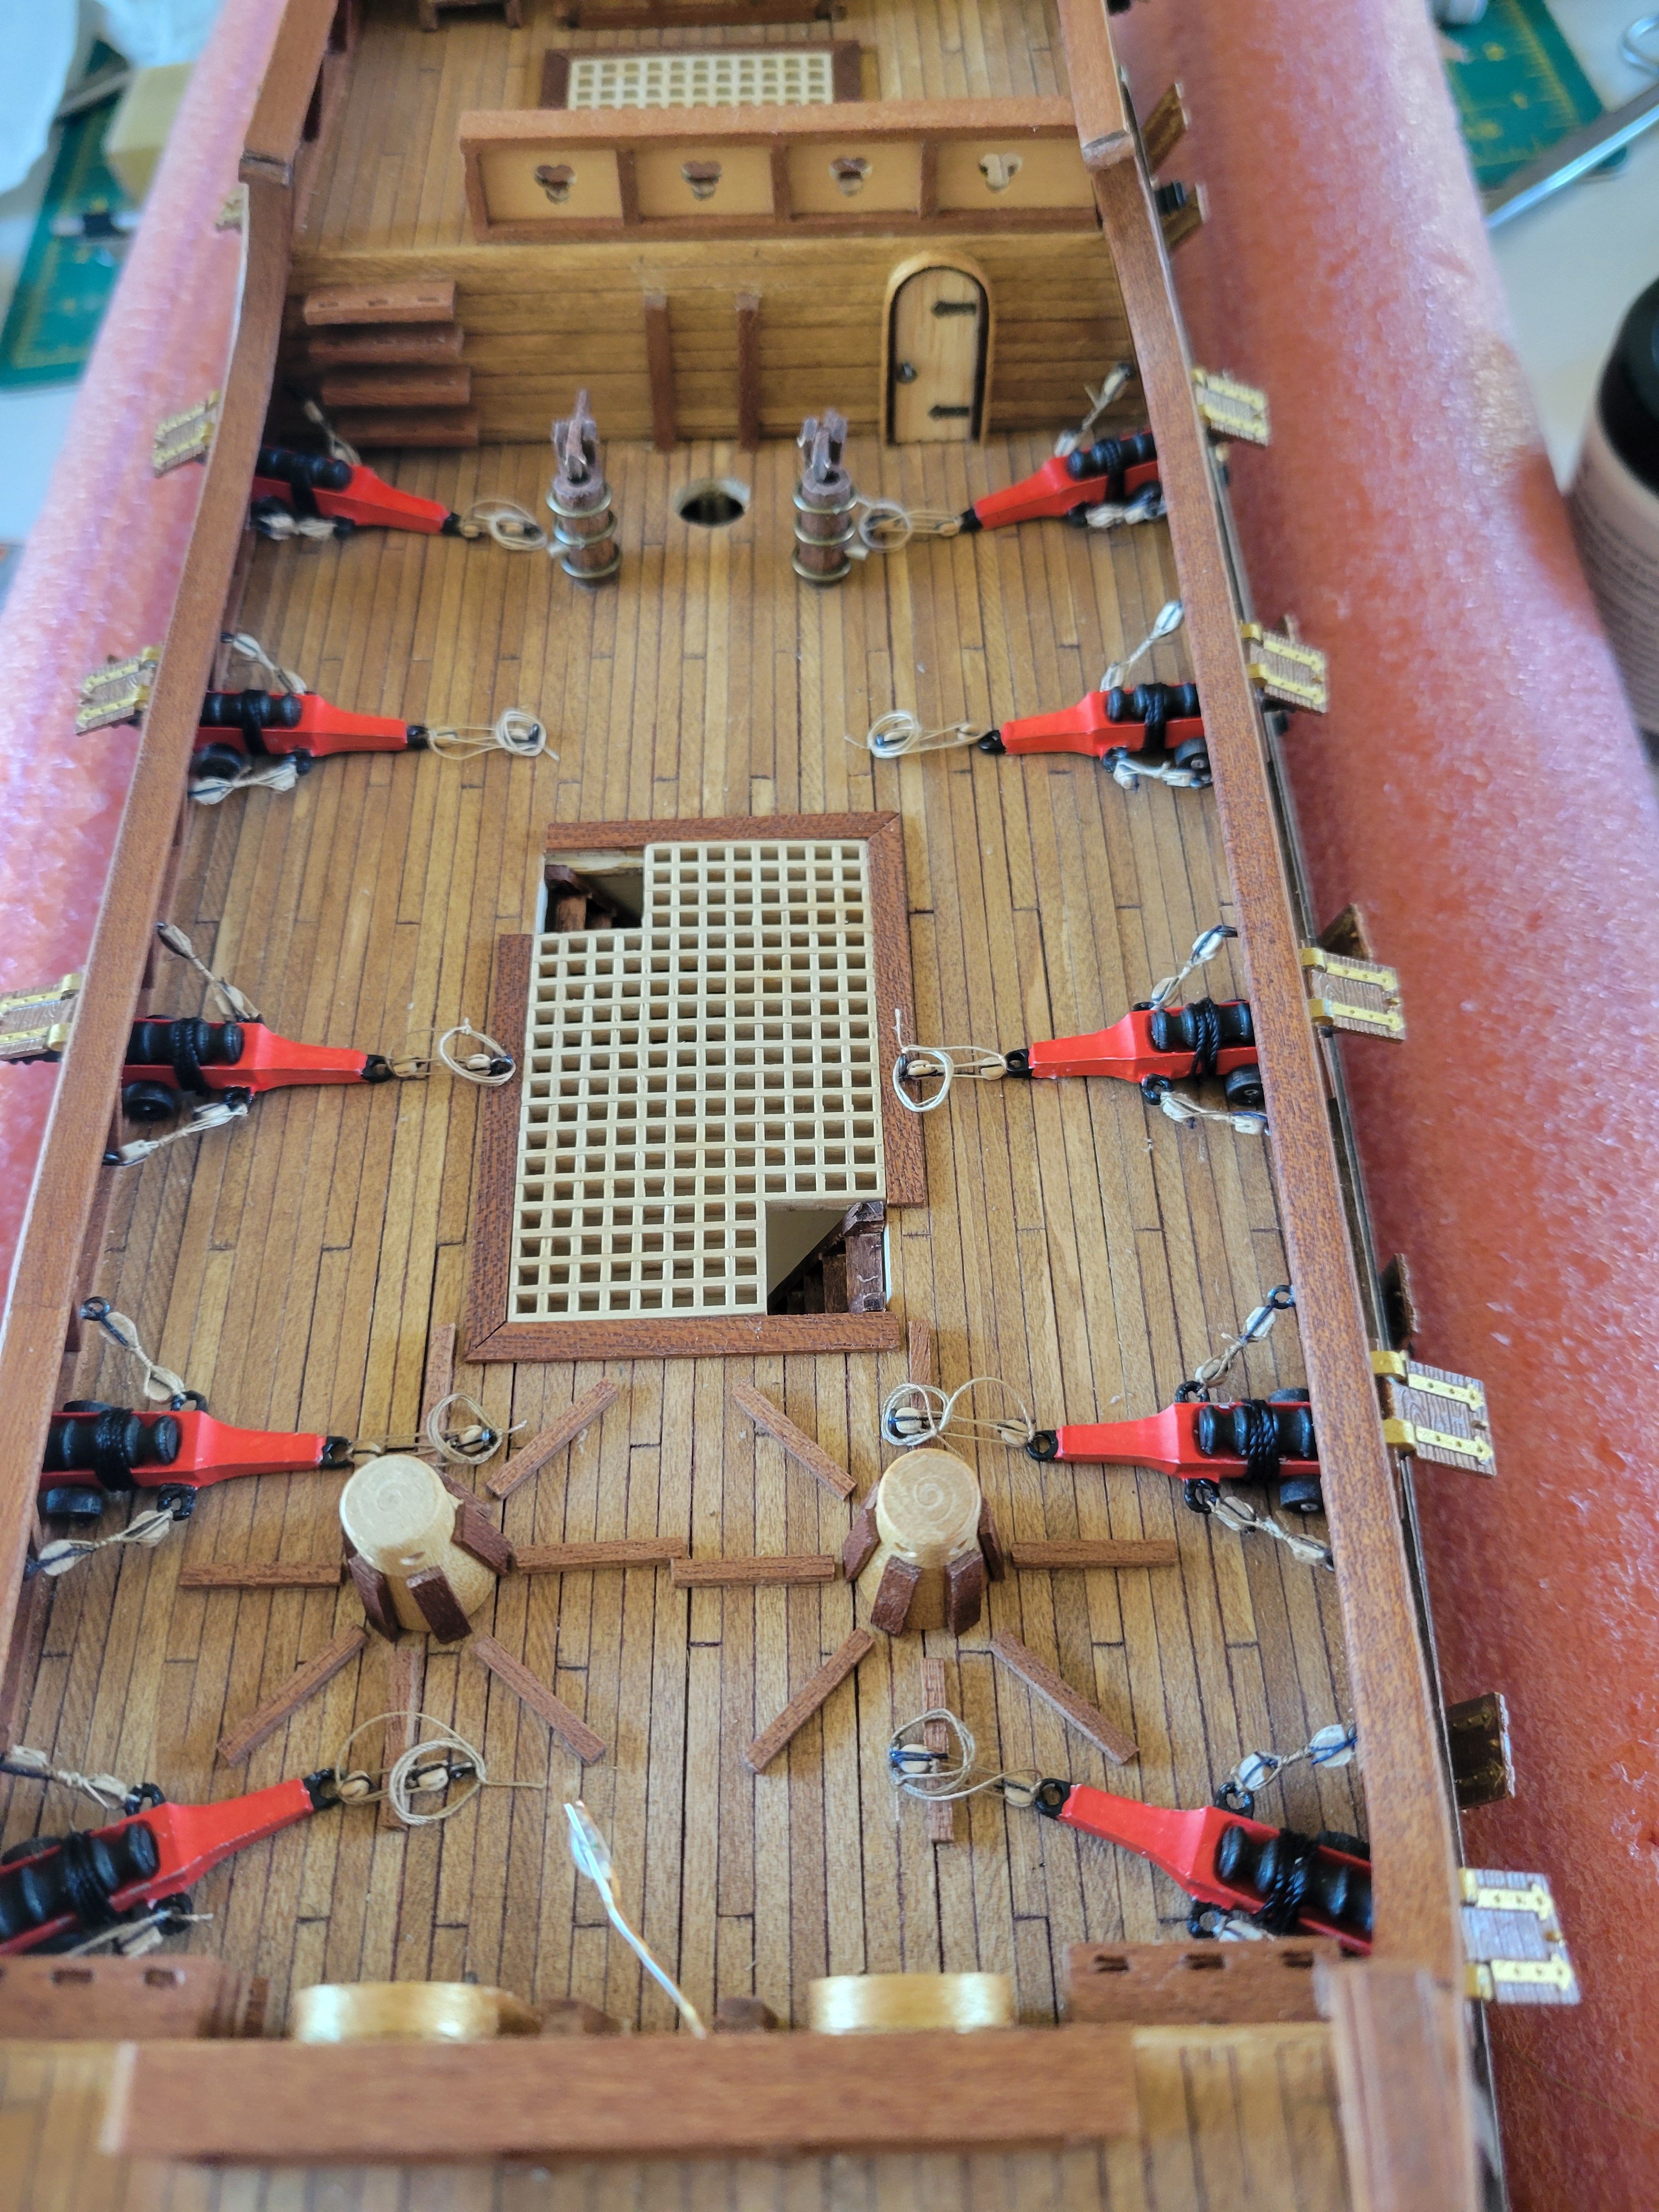
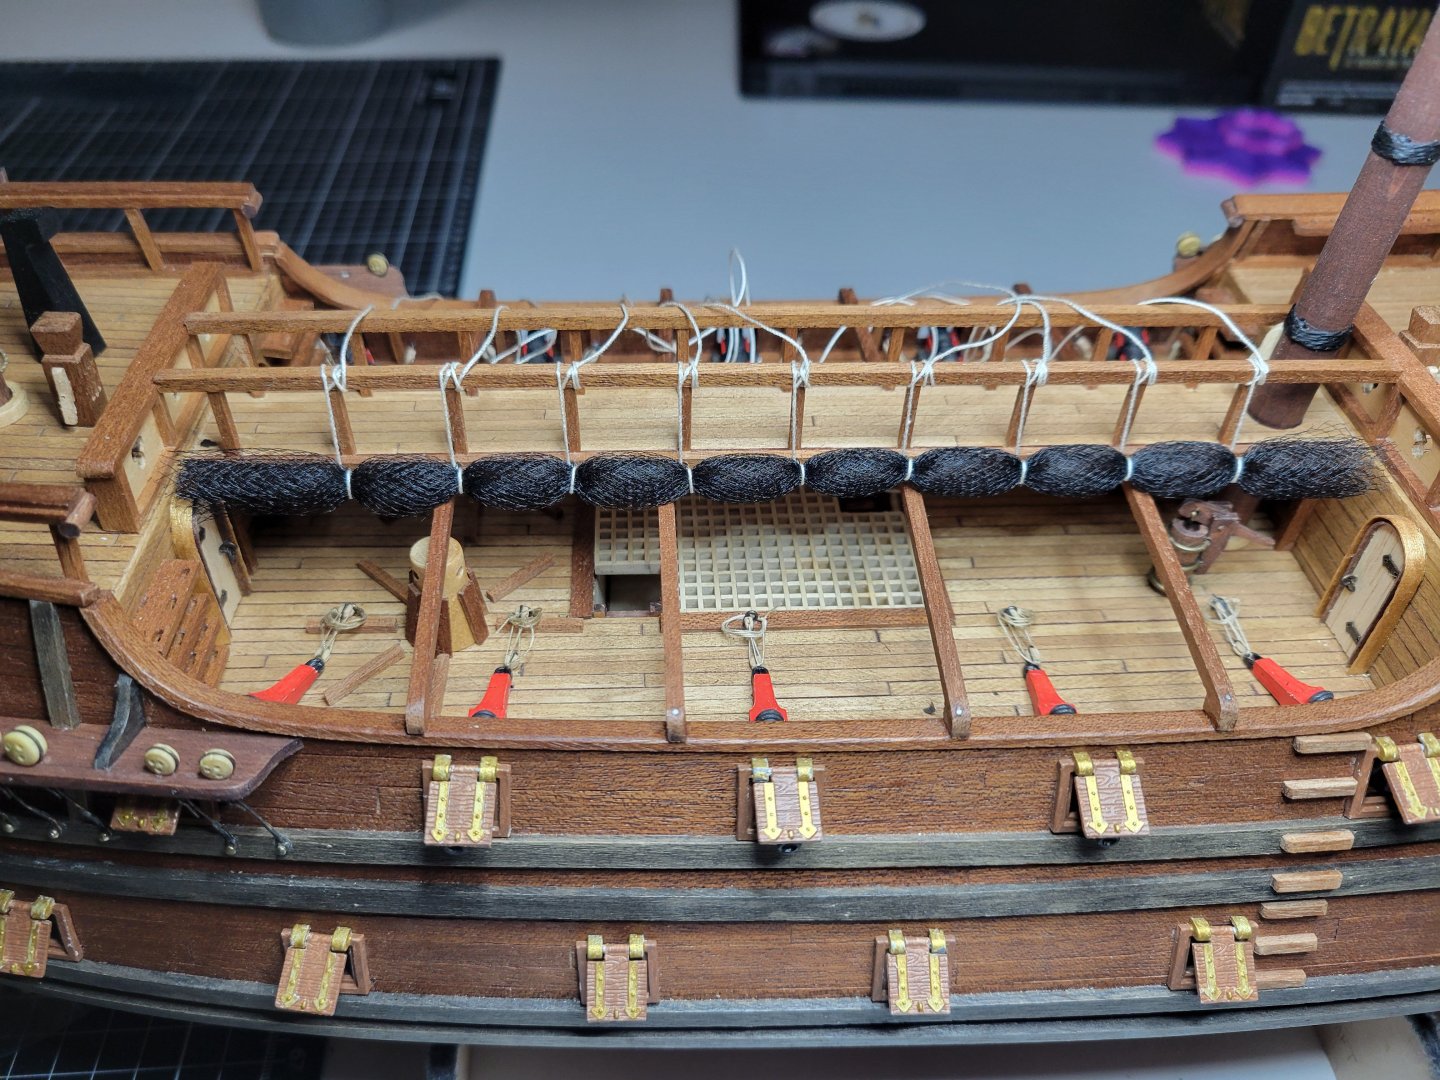
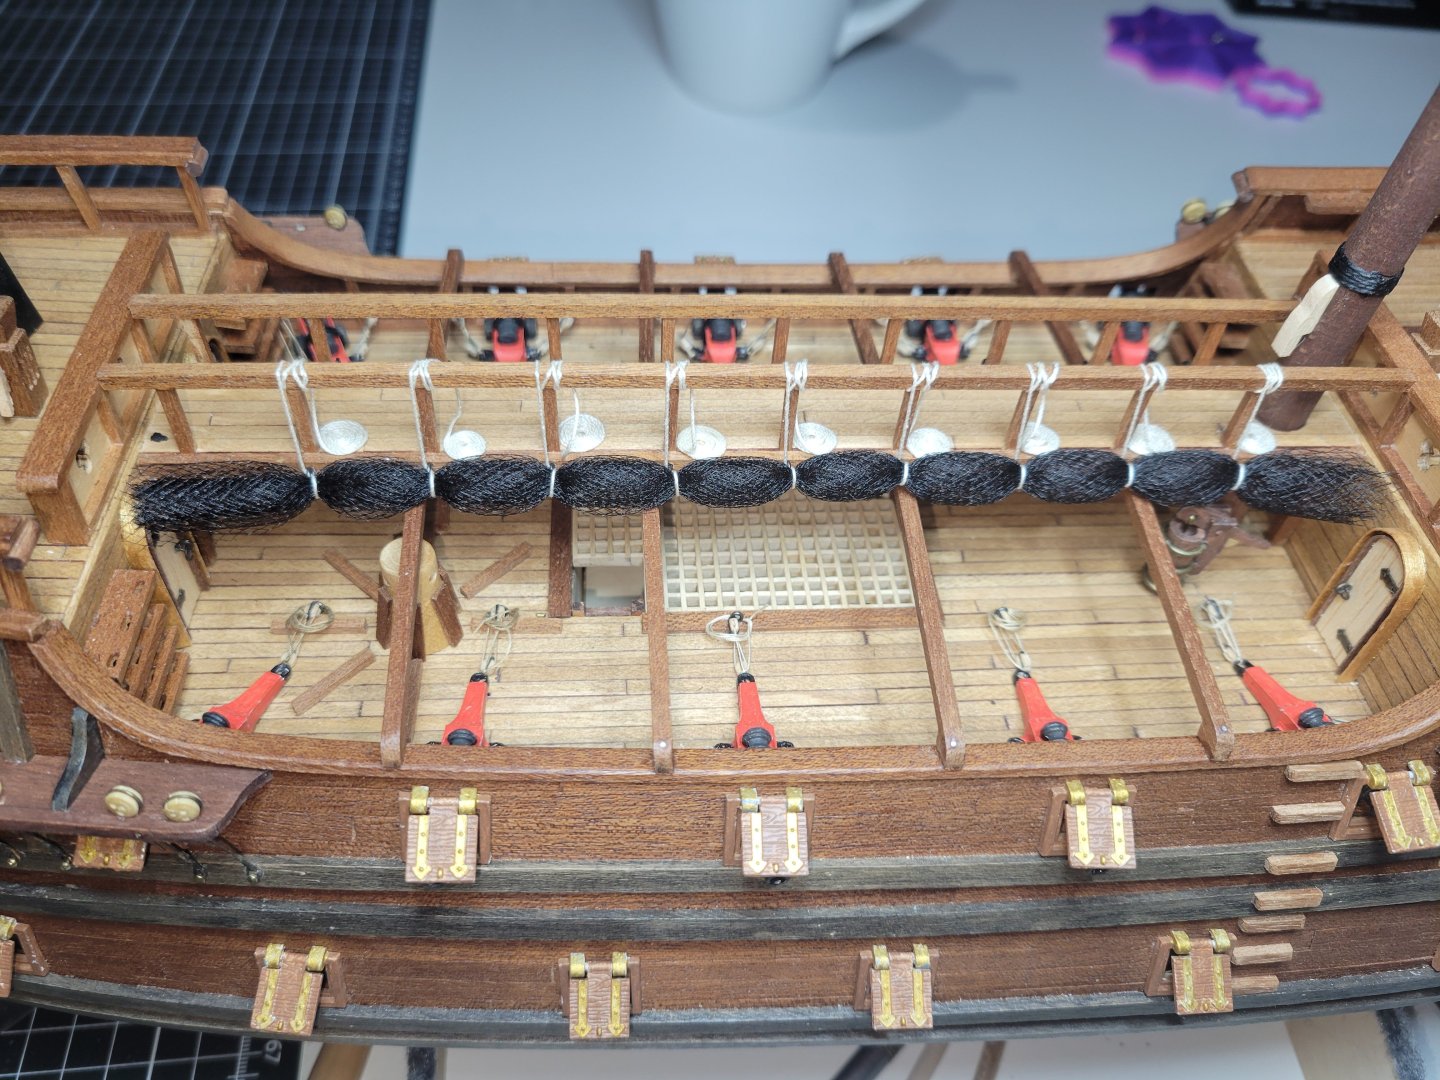
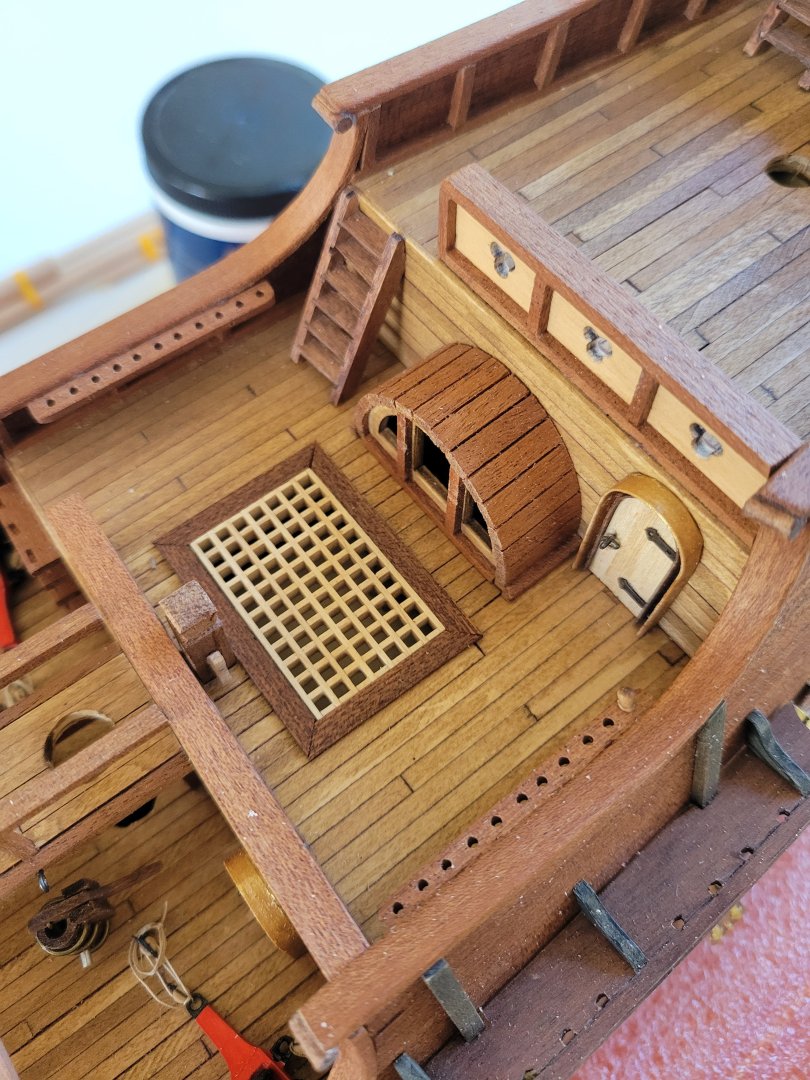
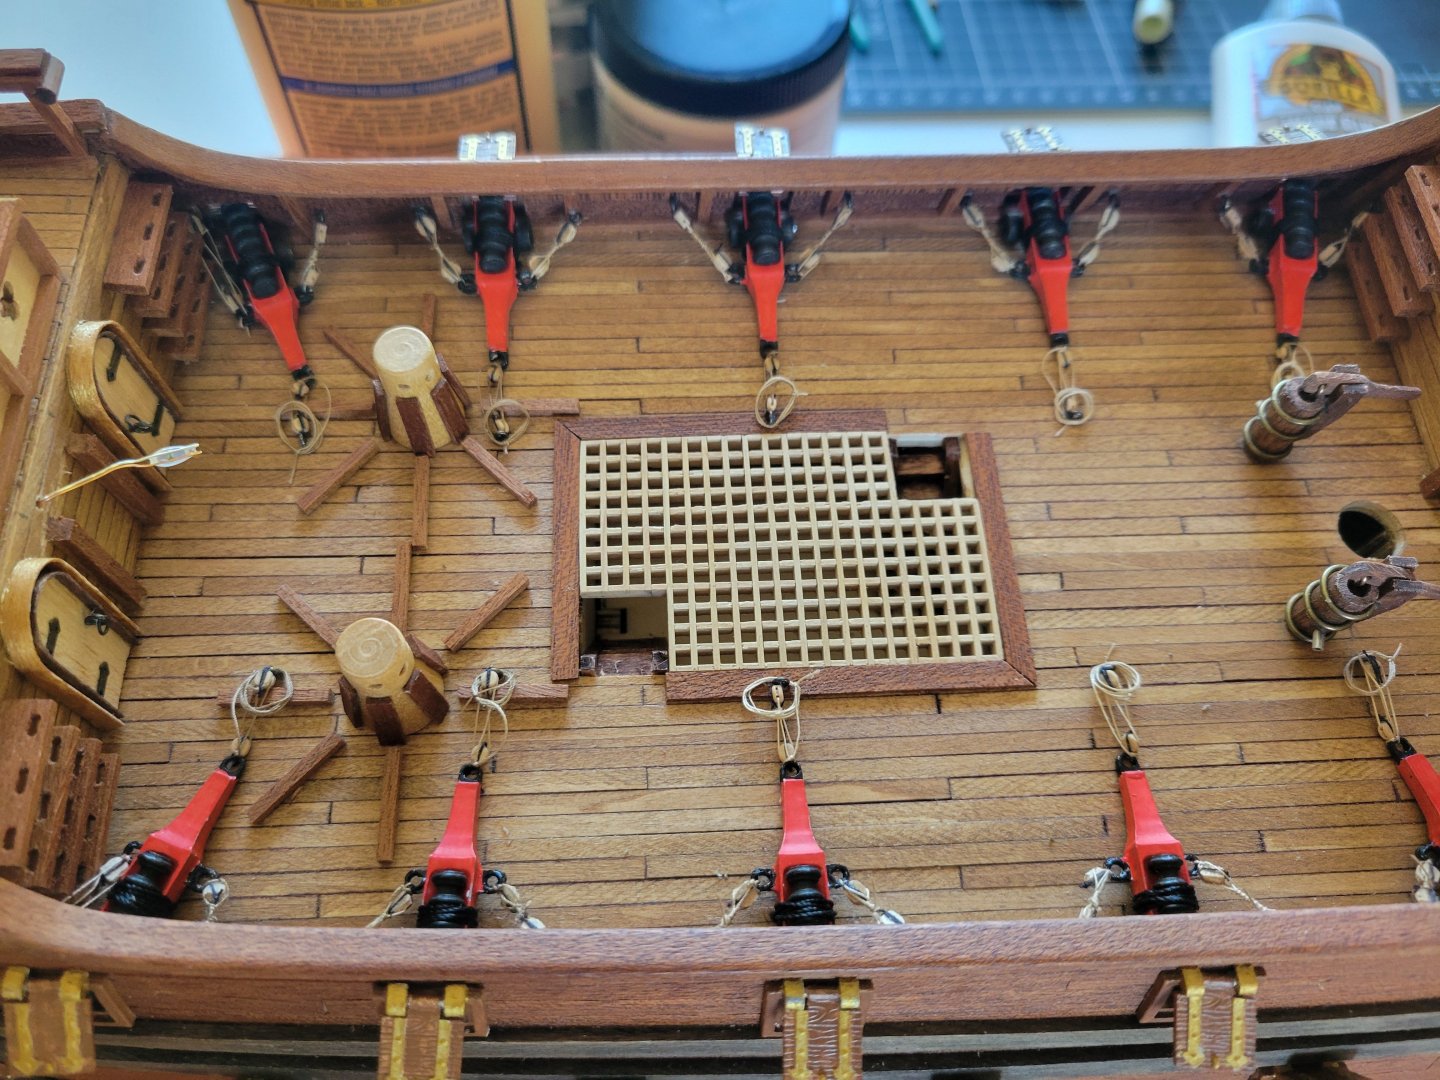
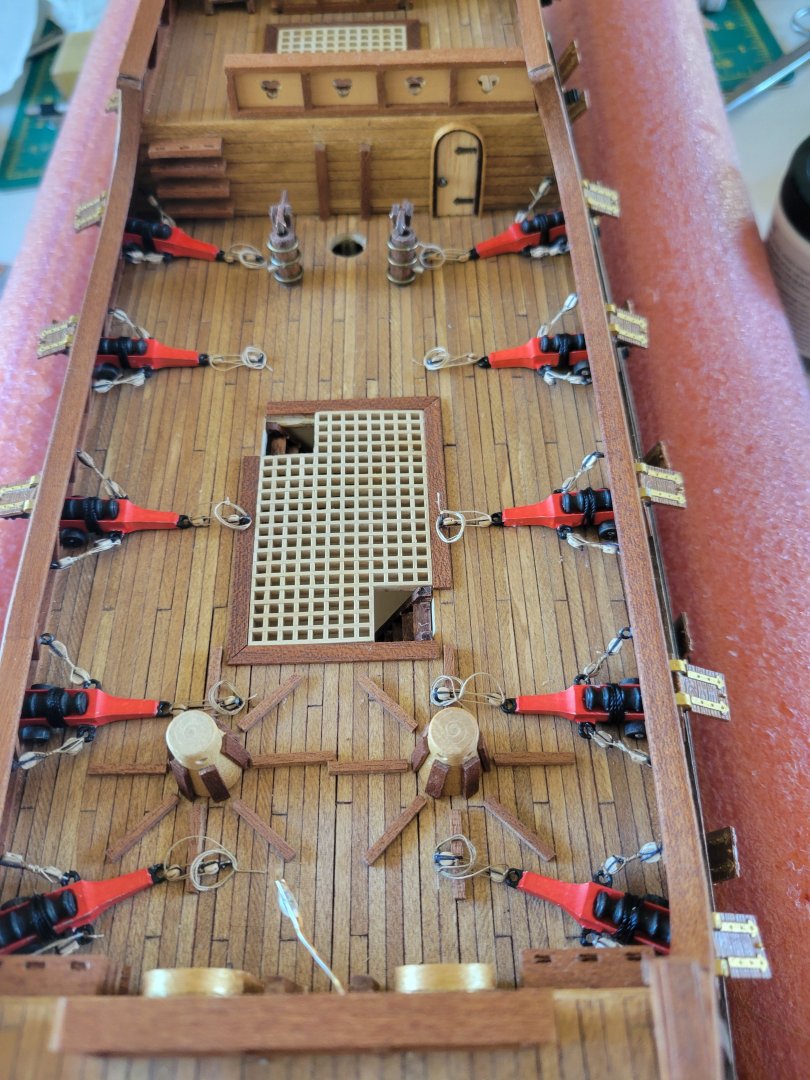
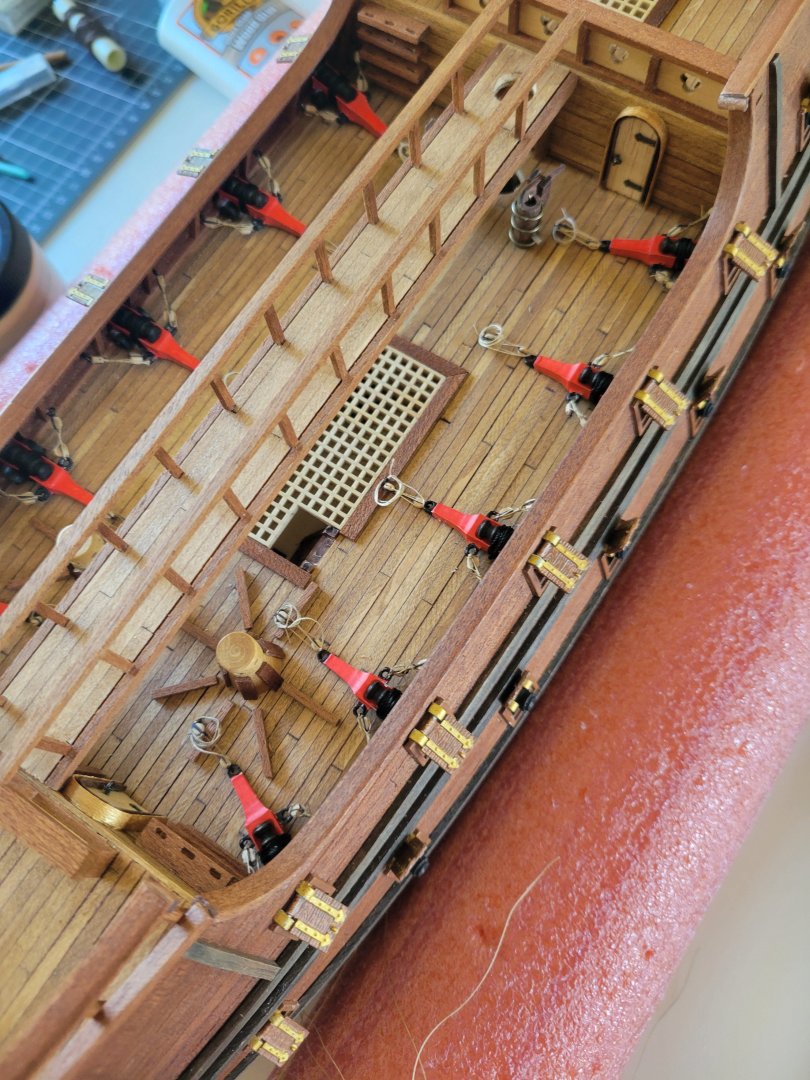
Ot much available on these nettings/grattings over the gun deck so I'm just going with what makes sense from my own time handling the lines in the navy (granted a modern destroyer is a bit different than a 17th century spanish galleon!). I figured there would be people "rolling/gathering" the netting from the gun deck and a second team on the walkway above hauling in on the lines. Once in place they would probably just lash those lines right to the rail with a good ole clove hitch and then coiled on/near the rail. The mesh netting from Occre was not properly sized (not long enough) and a bit rigid so I replaced with tule fabric which has a smaller grid which fits the scale better and just looks more natural.
-
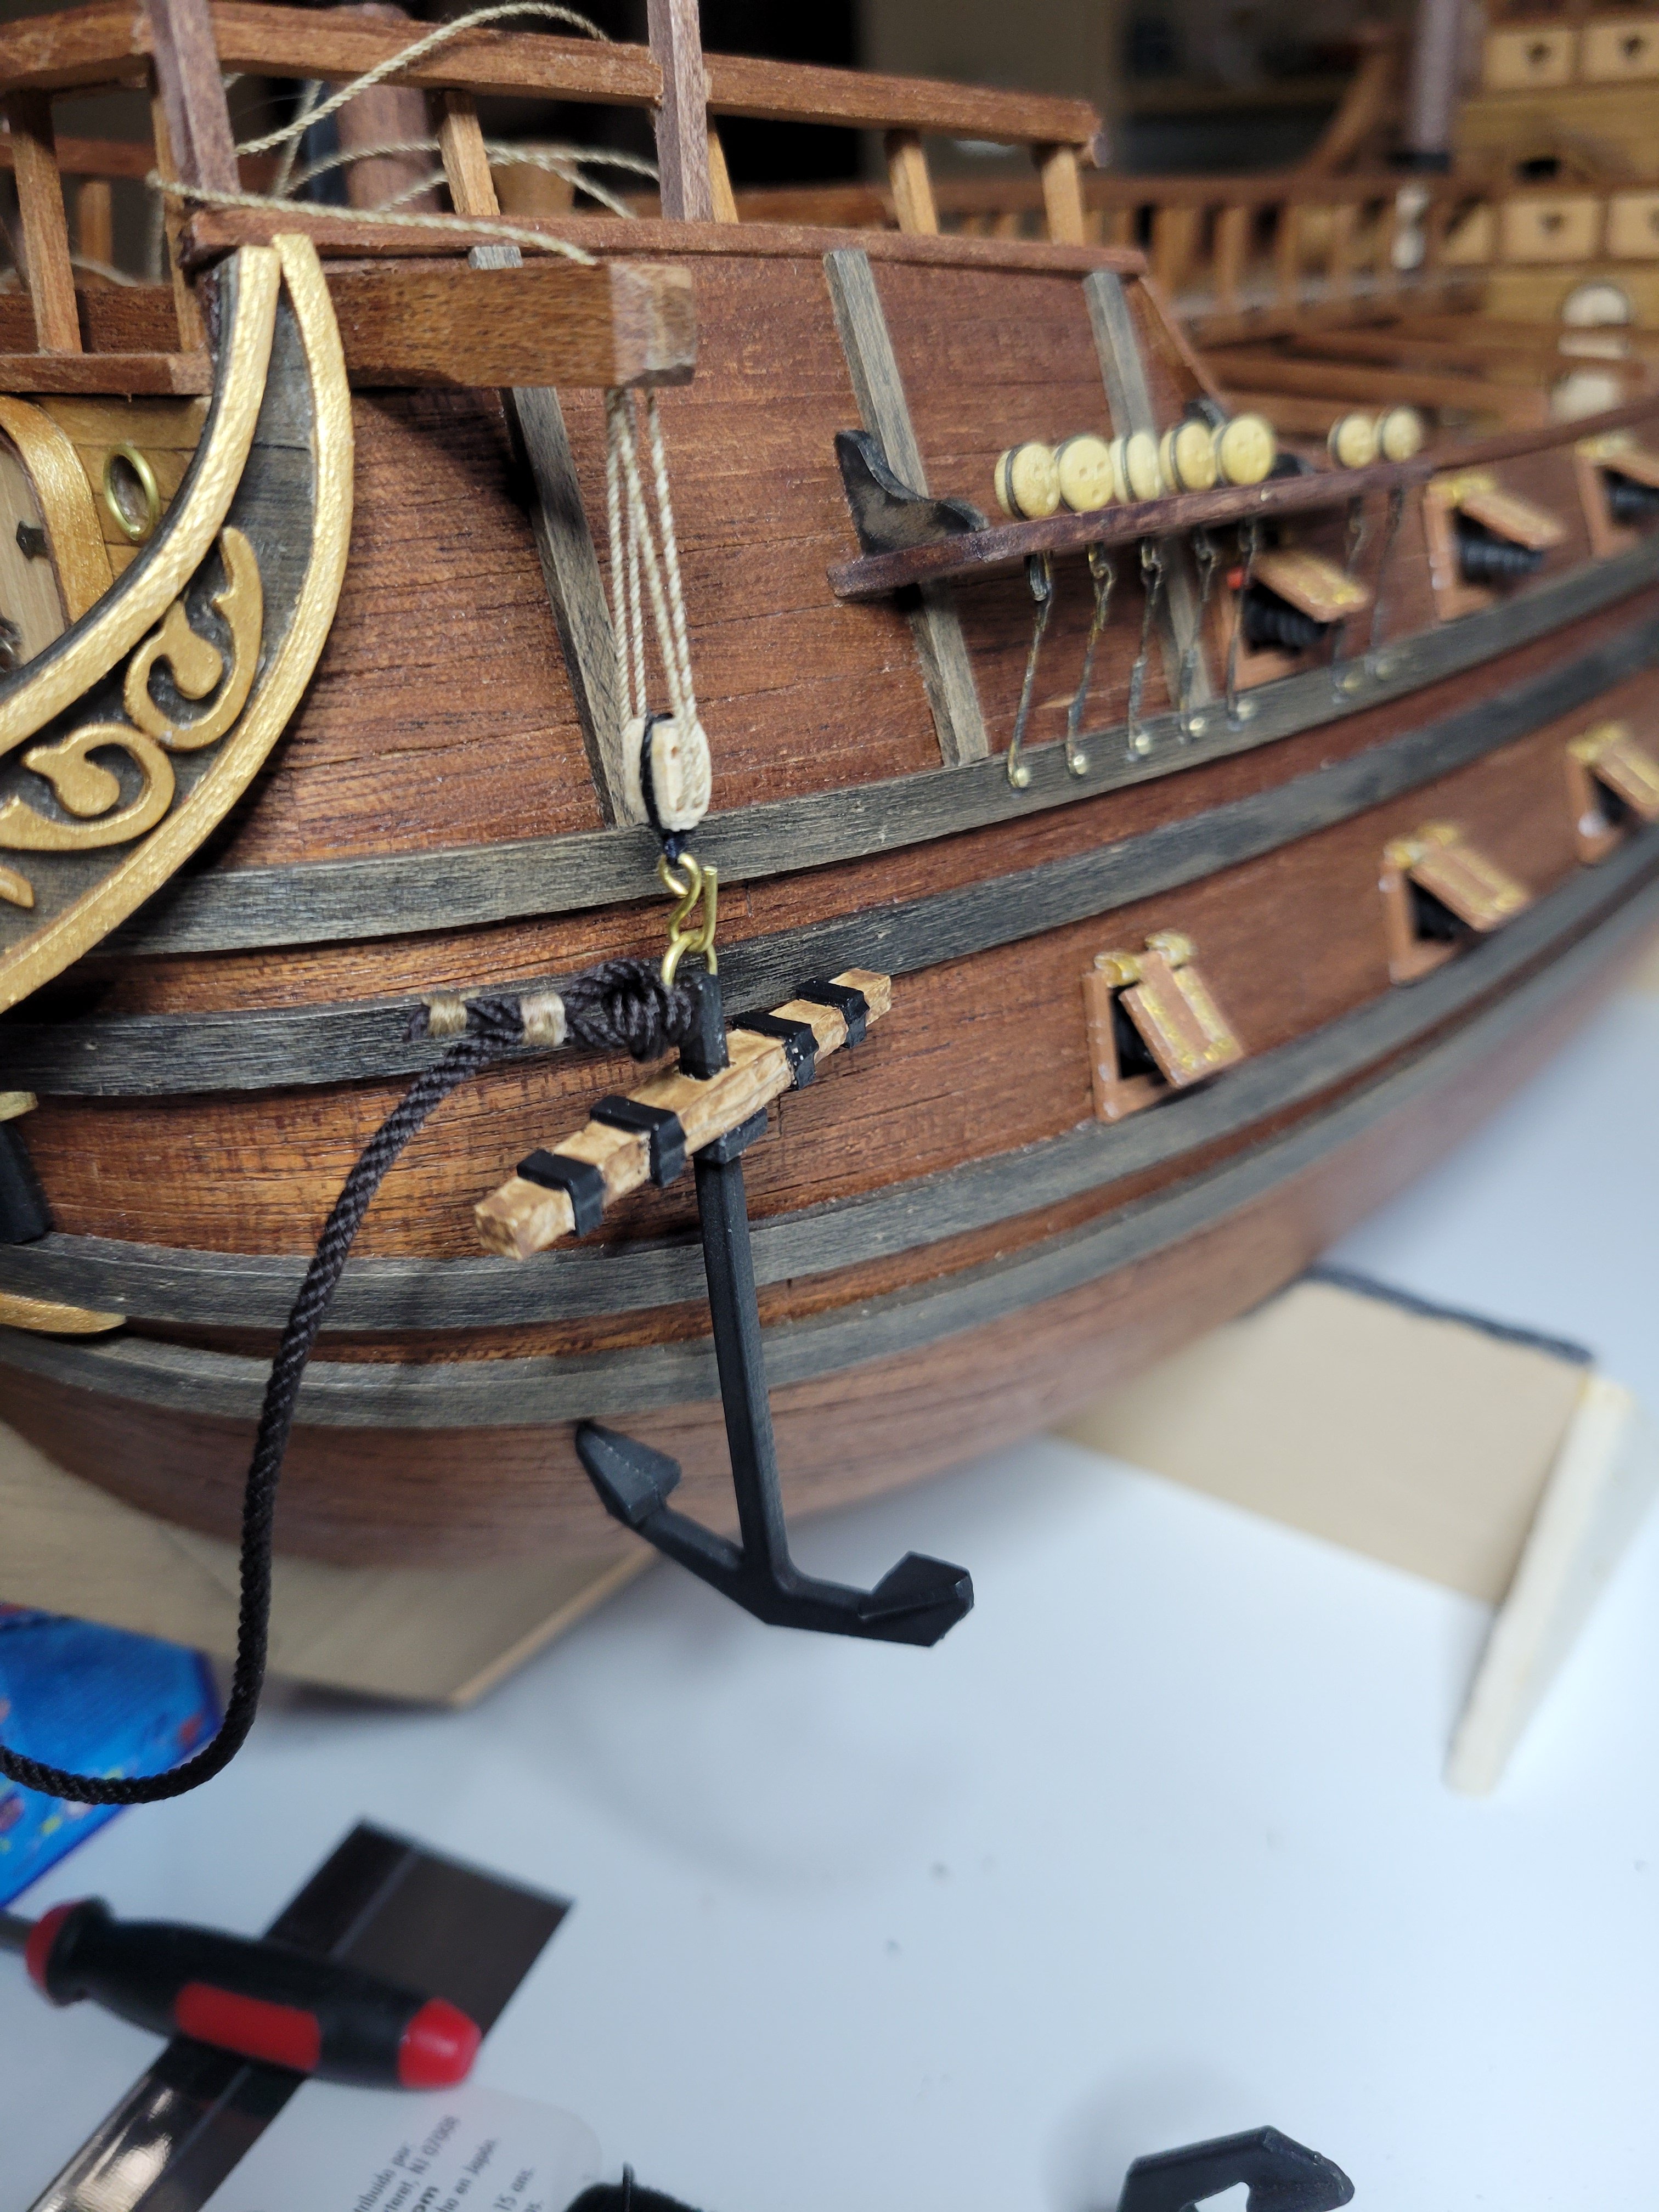
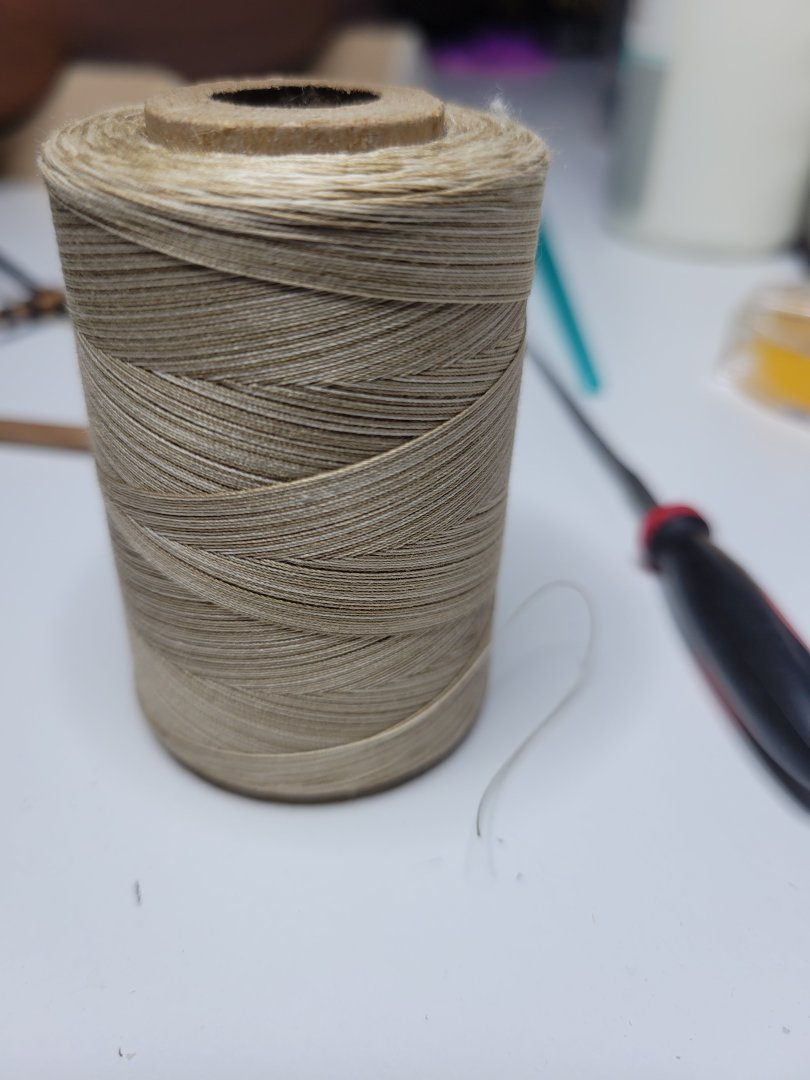
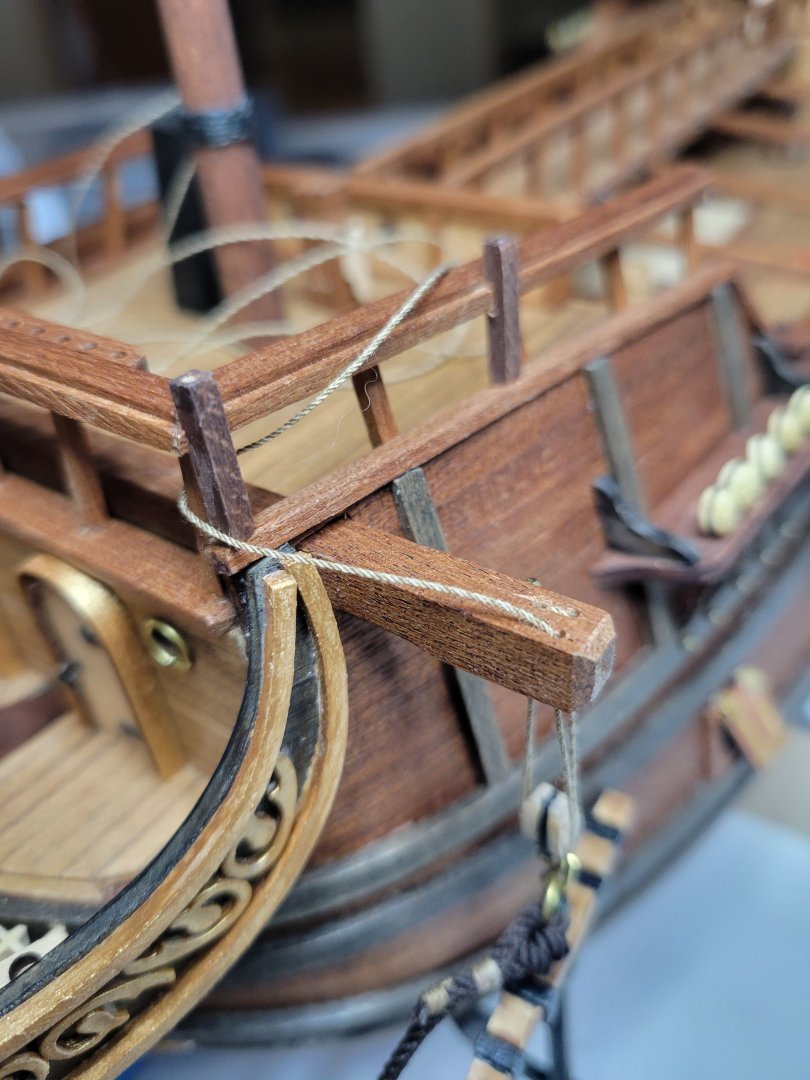
Just a note on ropemaking. I have a thread with some variation in its color. Made a small rope from it and at first figured i couldn't use it because of the variation. Realizes that this would actually perfect for any rigging lines that I want to "accentuate artistically" so that they stand out from others on purpose. For example, using it on the cathead/anchor tackle. I know thats not "accurate" but I like the look anyways so now I just need to think through anywhere else I want that done intentionally!
-
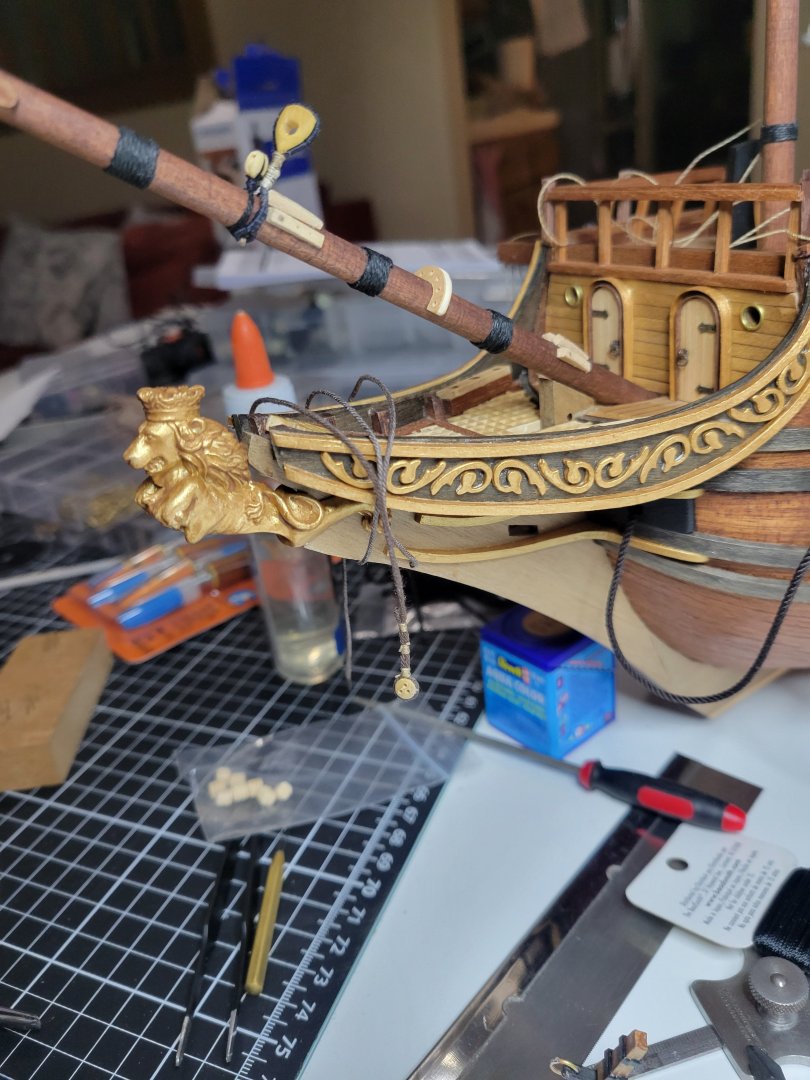
More progress during the holiday. - figure head in place and starting the bobstay. - Chainplates finally set. - Anchors rigged on catheads.

-
Thanks. I was worried about creating "perfect rope" but quickly realized, my simple lego machine paired with a couple practice runs and my so-so inexperienced rope is already so much better than kit rope. Certainly not at the quality and consistency of chuck's syren rope or ropes of scale (shout out to both for not only fantastic rope products bit lots of content to help the rest of us make our own!) but definately good enough for me. When I lay up the next rope I'll take more pics if anyone wants to see it in action to build their own. Next trip to a hobby shop I'll probably pick up gears and other parts to make a more permanent version.
-
More work on bowsprit. Also first attempt in rope making. Pocured supplies from the kids. Also finally working on chainplates. A little solder and blackening.

-
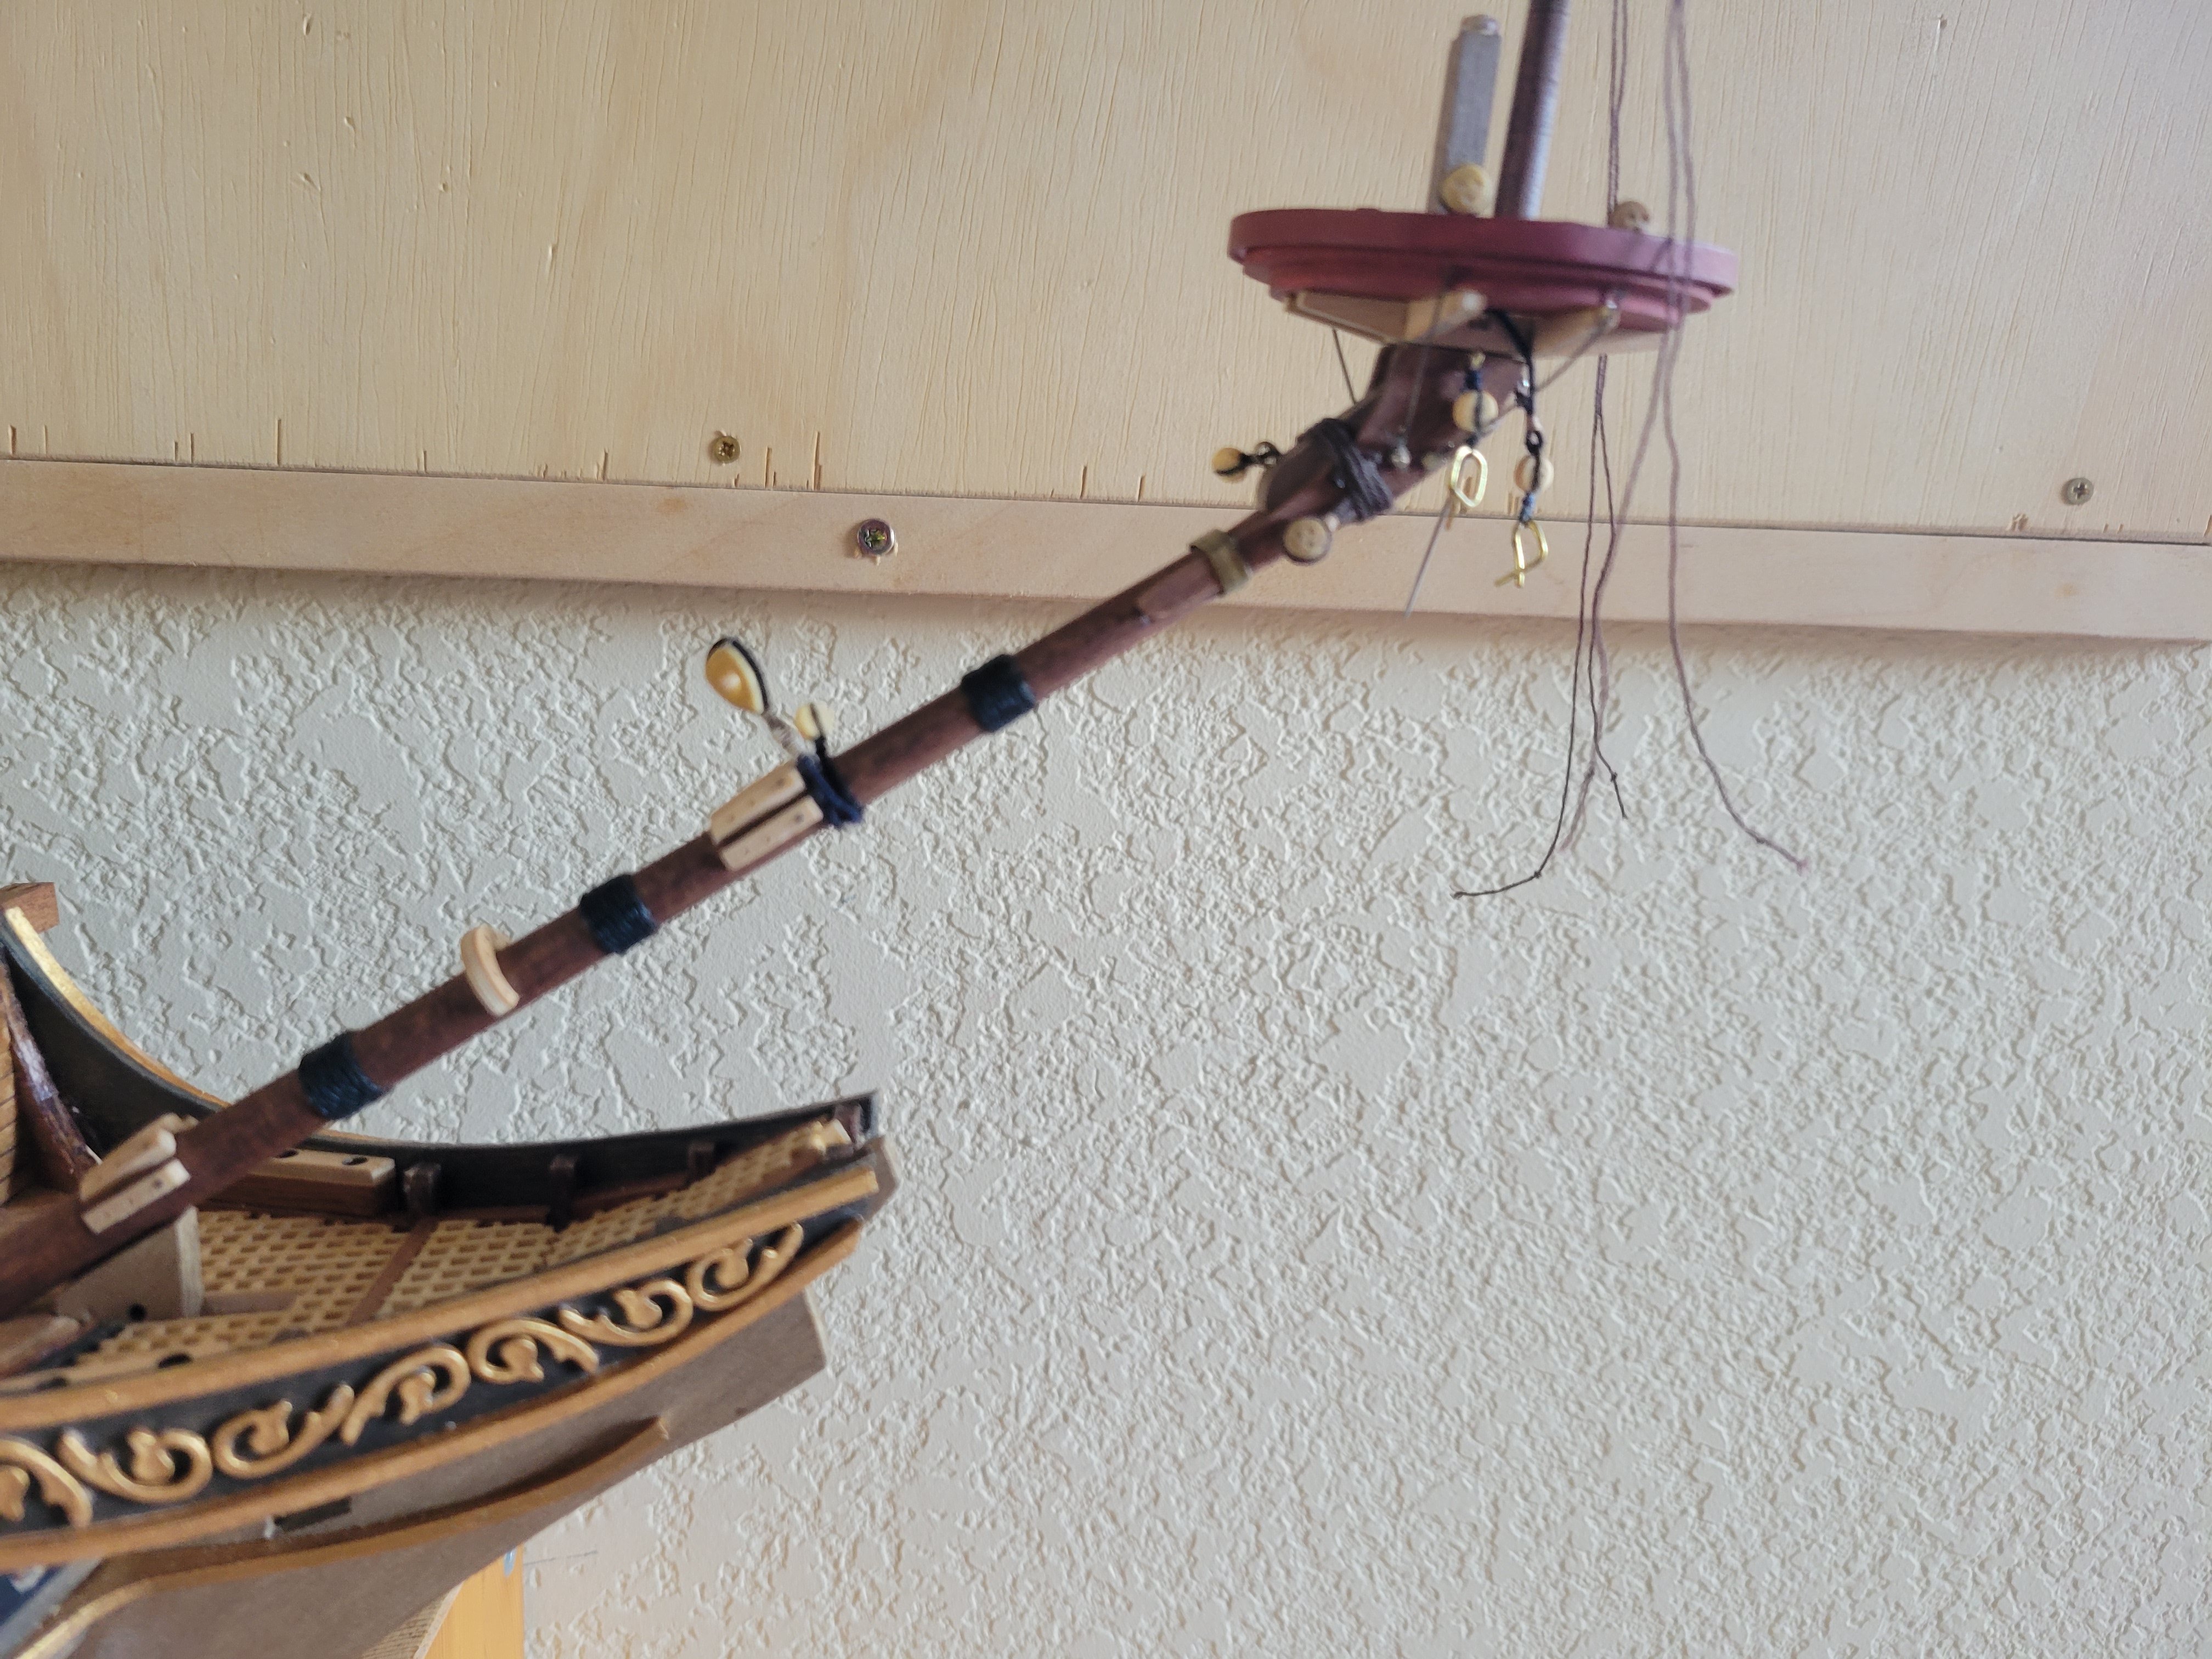
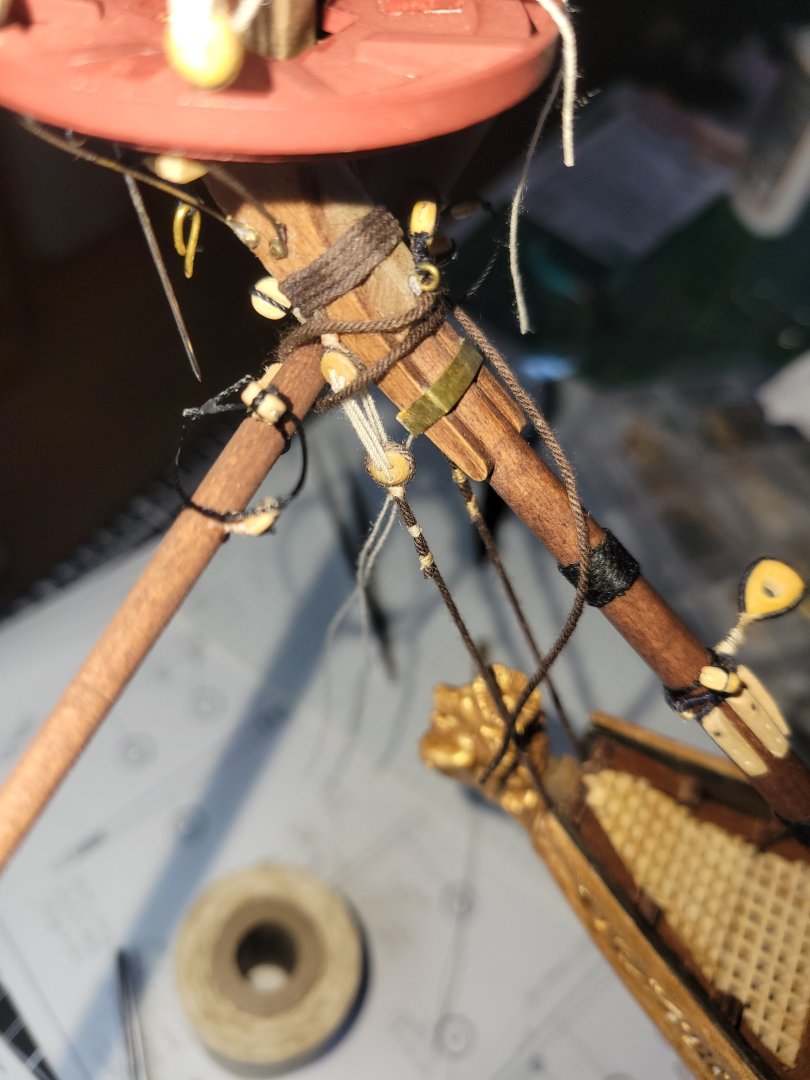
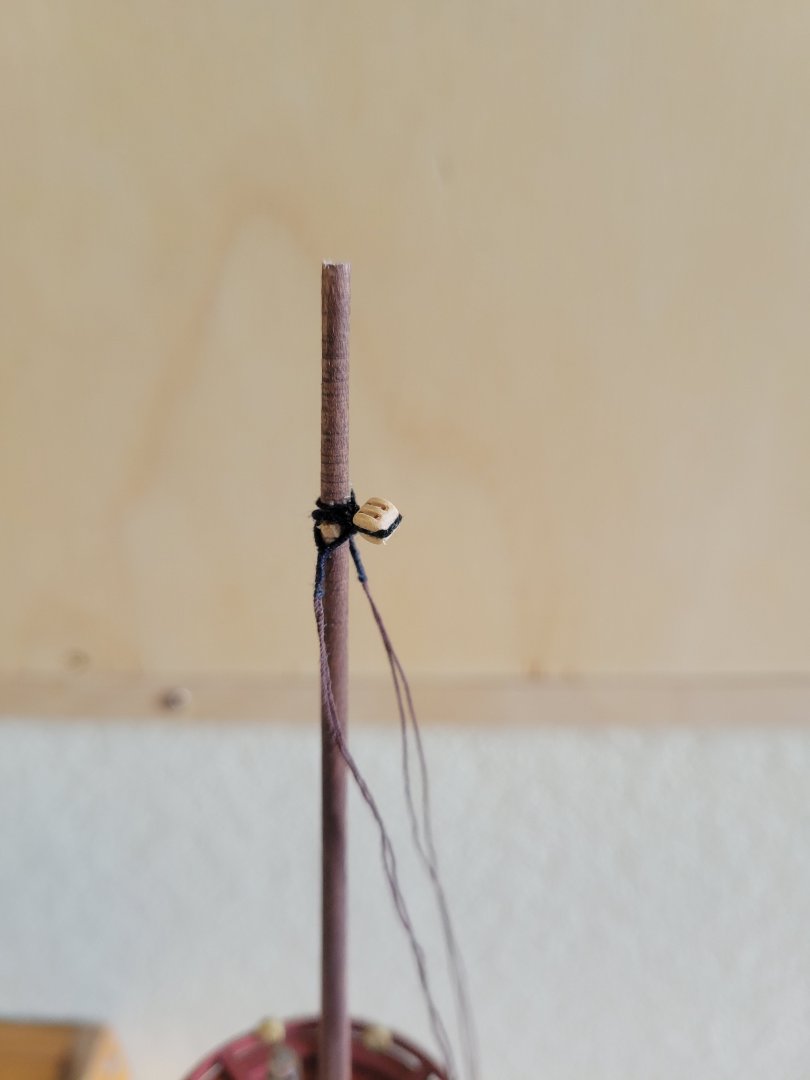
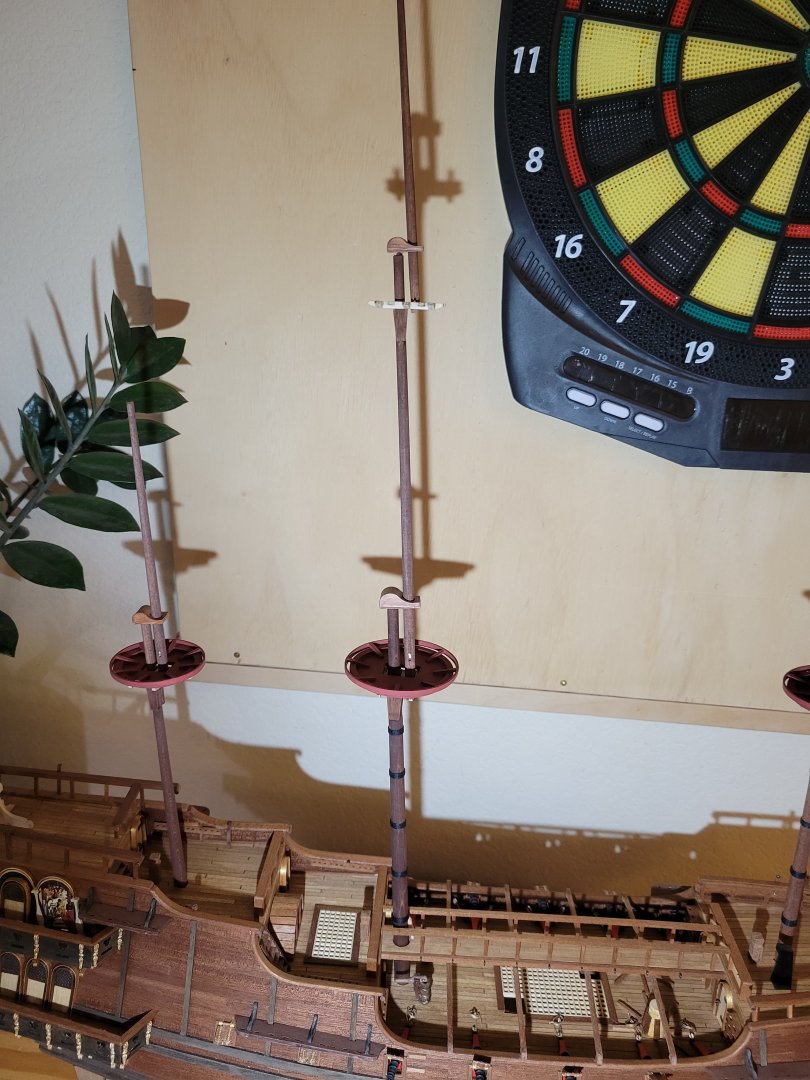
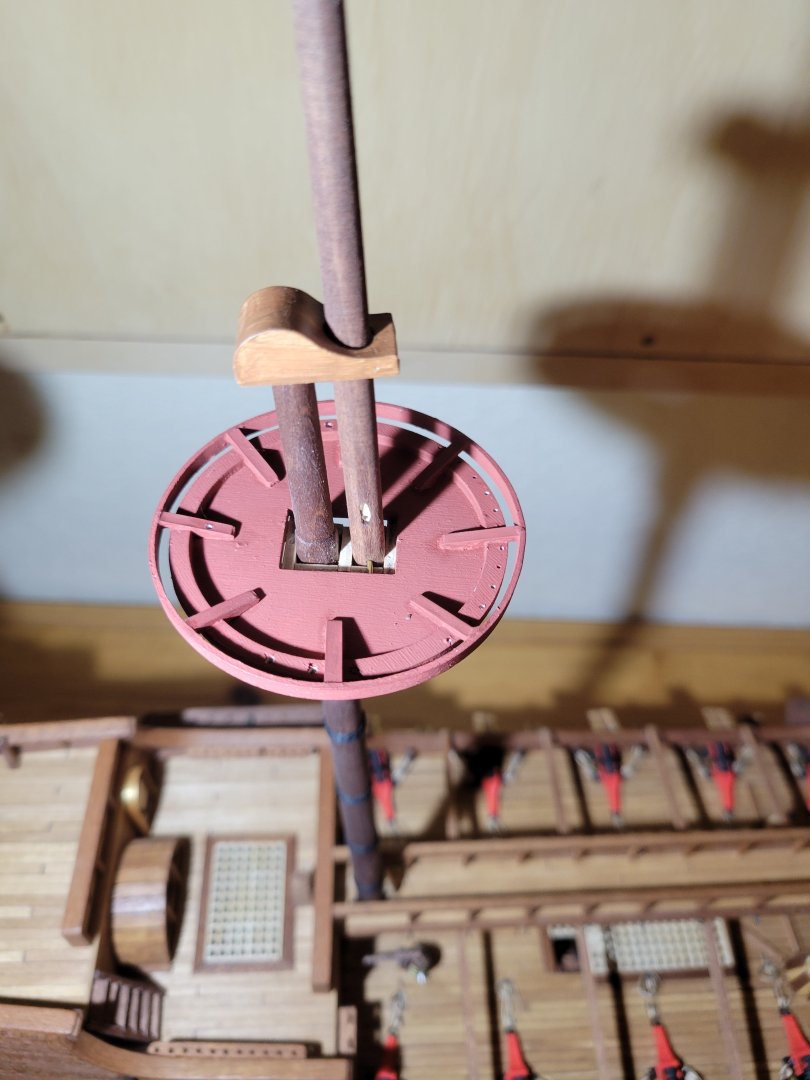
More updates. Continuing the bousprit. Stained, woldings, fairness color, bobstay deadeyes and topgalant stay blocks. Forestay collar is served with two eyes lashed to draw tight. All masts shaped (drill press on its side as a mini lathe) woldings. Cheeks, crows nest and trestle trees.


-
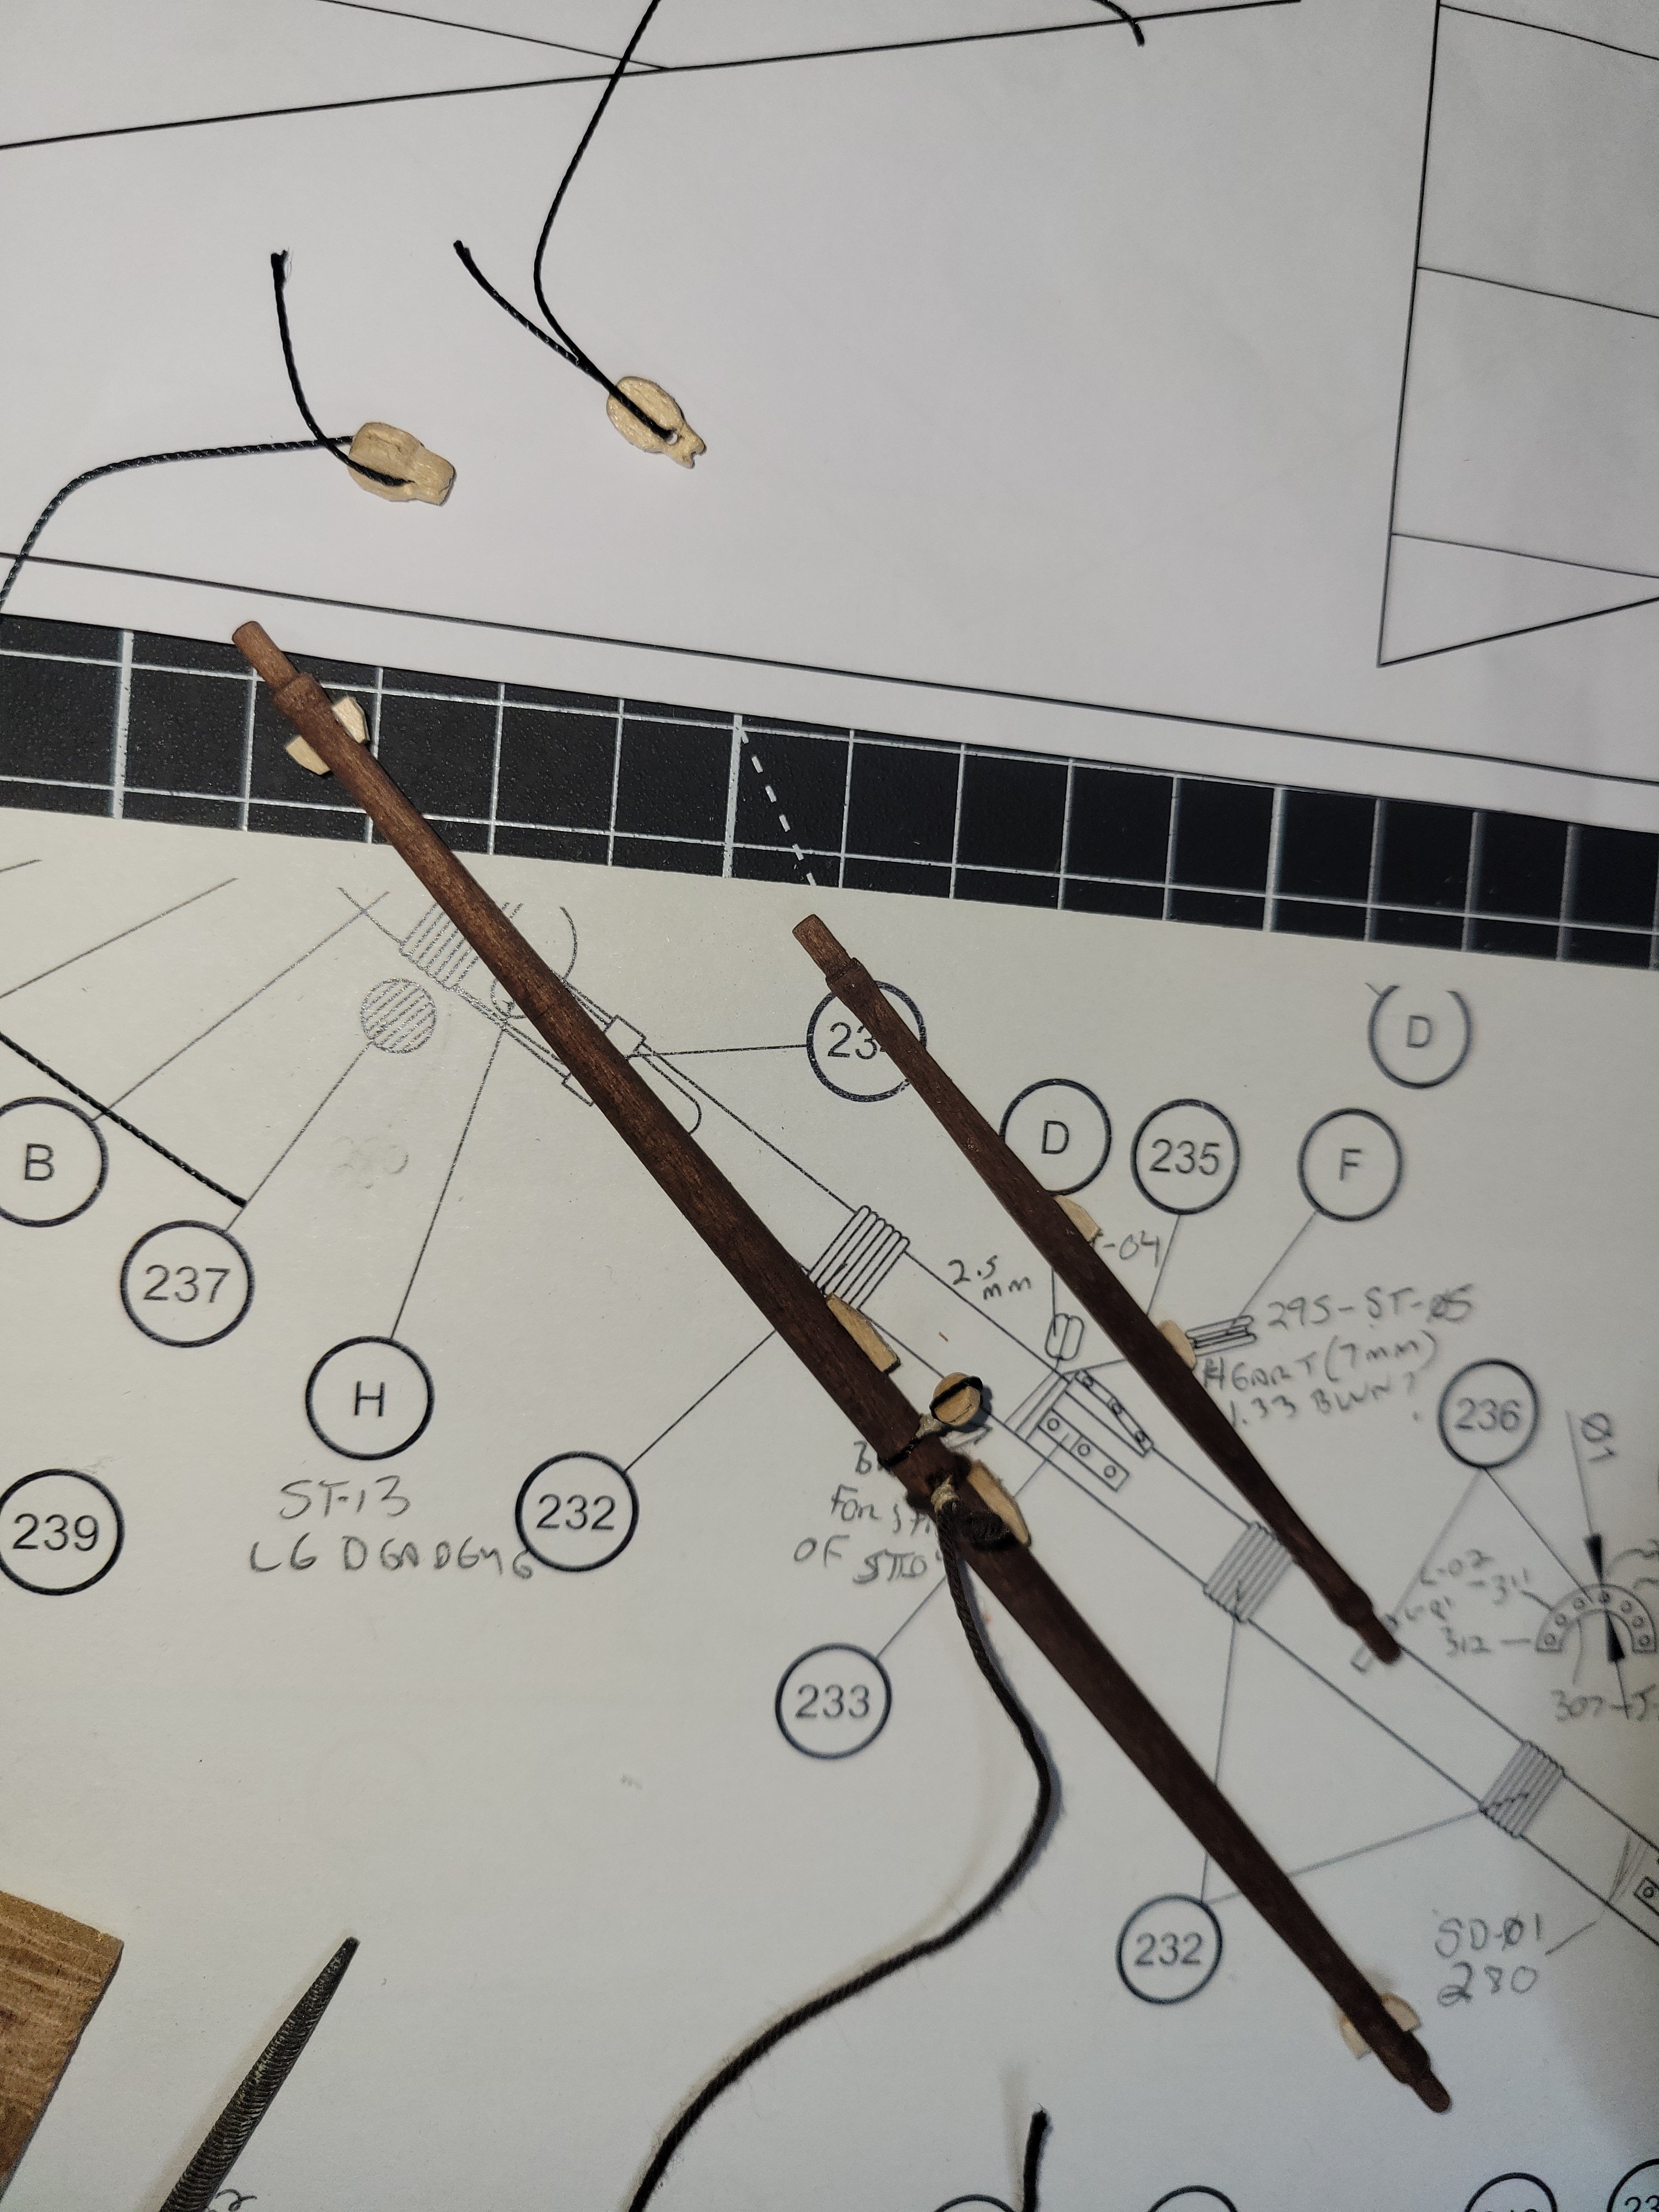
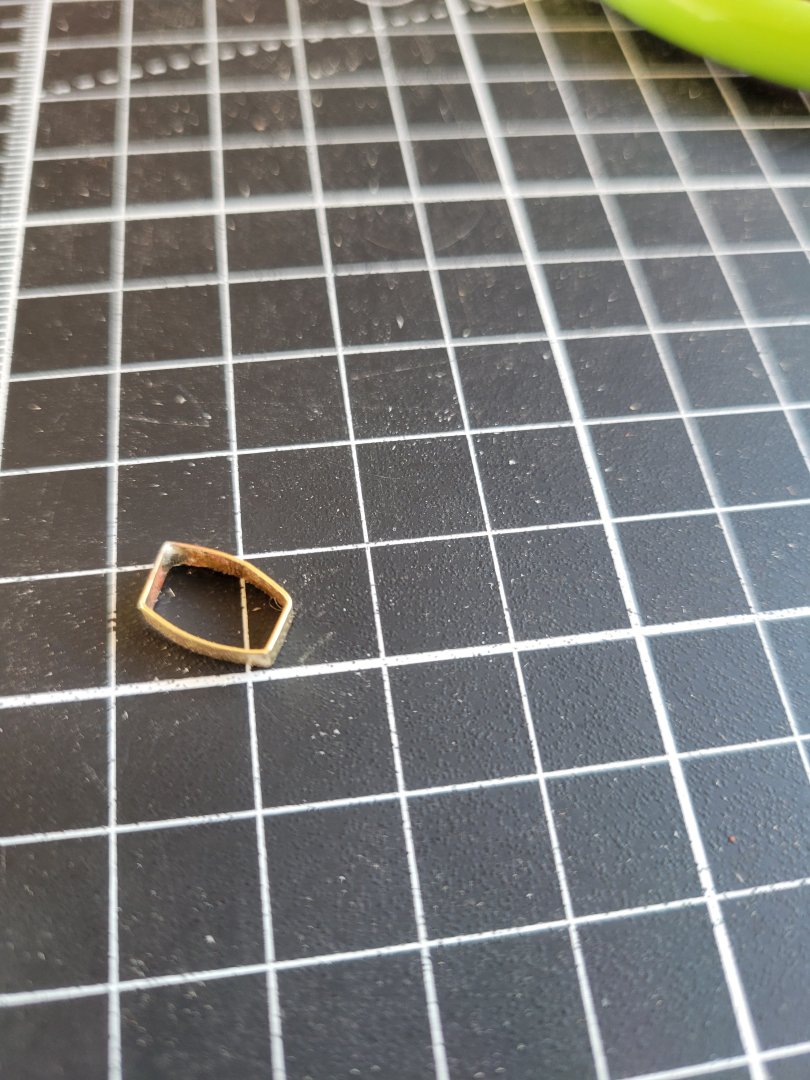
Soldered the brass band for the bowsprit. Dry fitting spritsail topmost to bousprit. Took some research to figure out right connection at the knee there. I think the spanish followed the Dutch in thar period so in that case, I've got the bousprit running up to the sprit mast. Later (and English) would put the sprit topmost on top of the bousprit and I think a lot of kits so that but I think it would be wrong for spanish treasure fleet or armada ships.

-
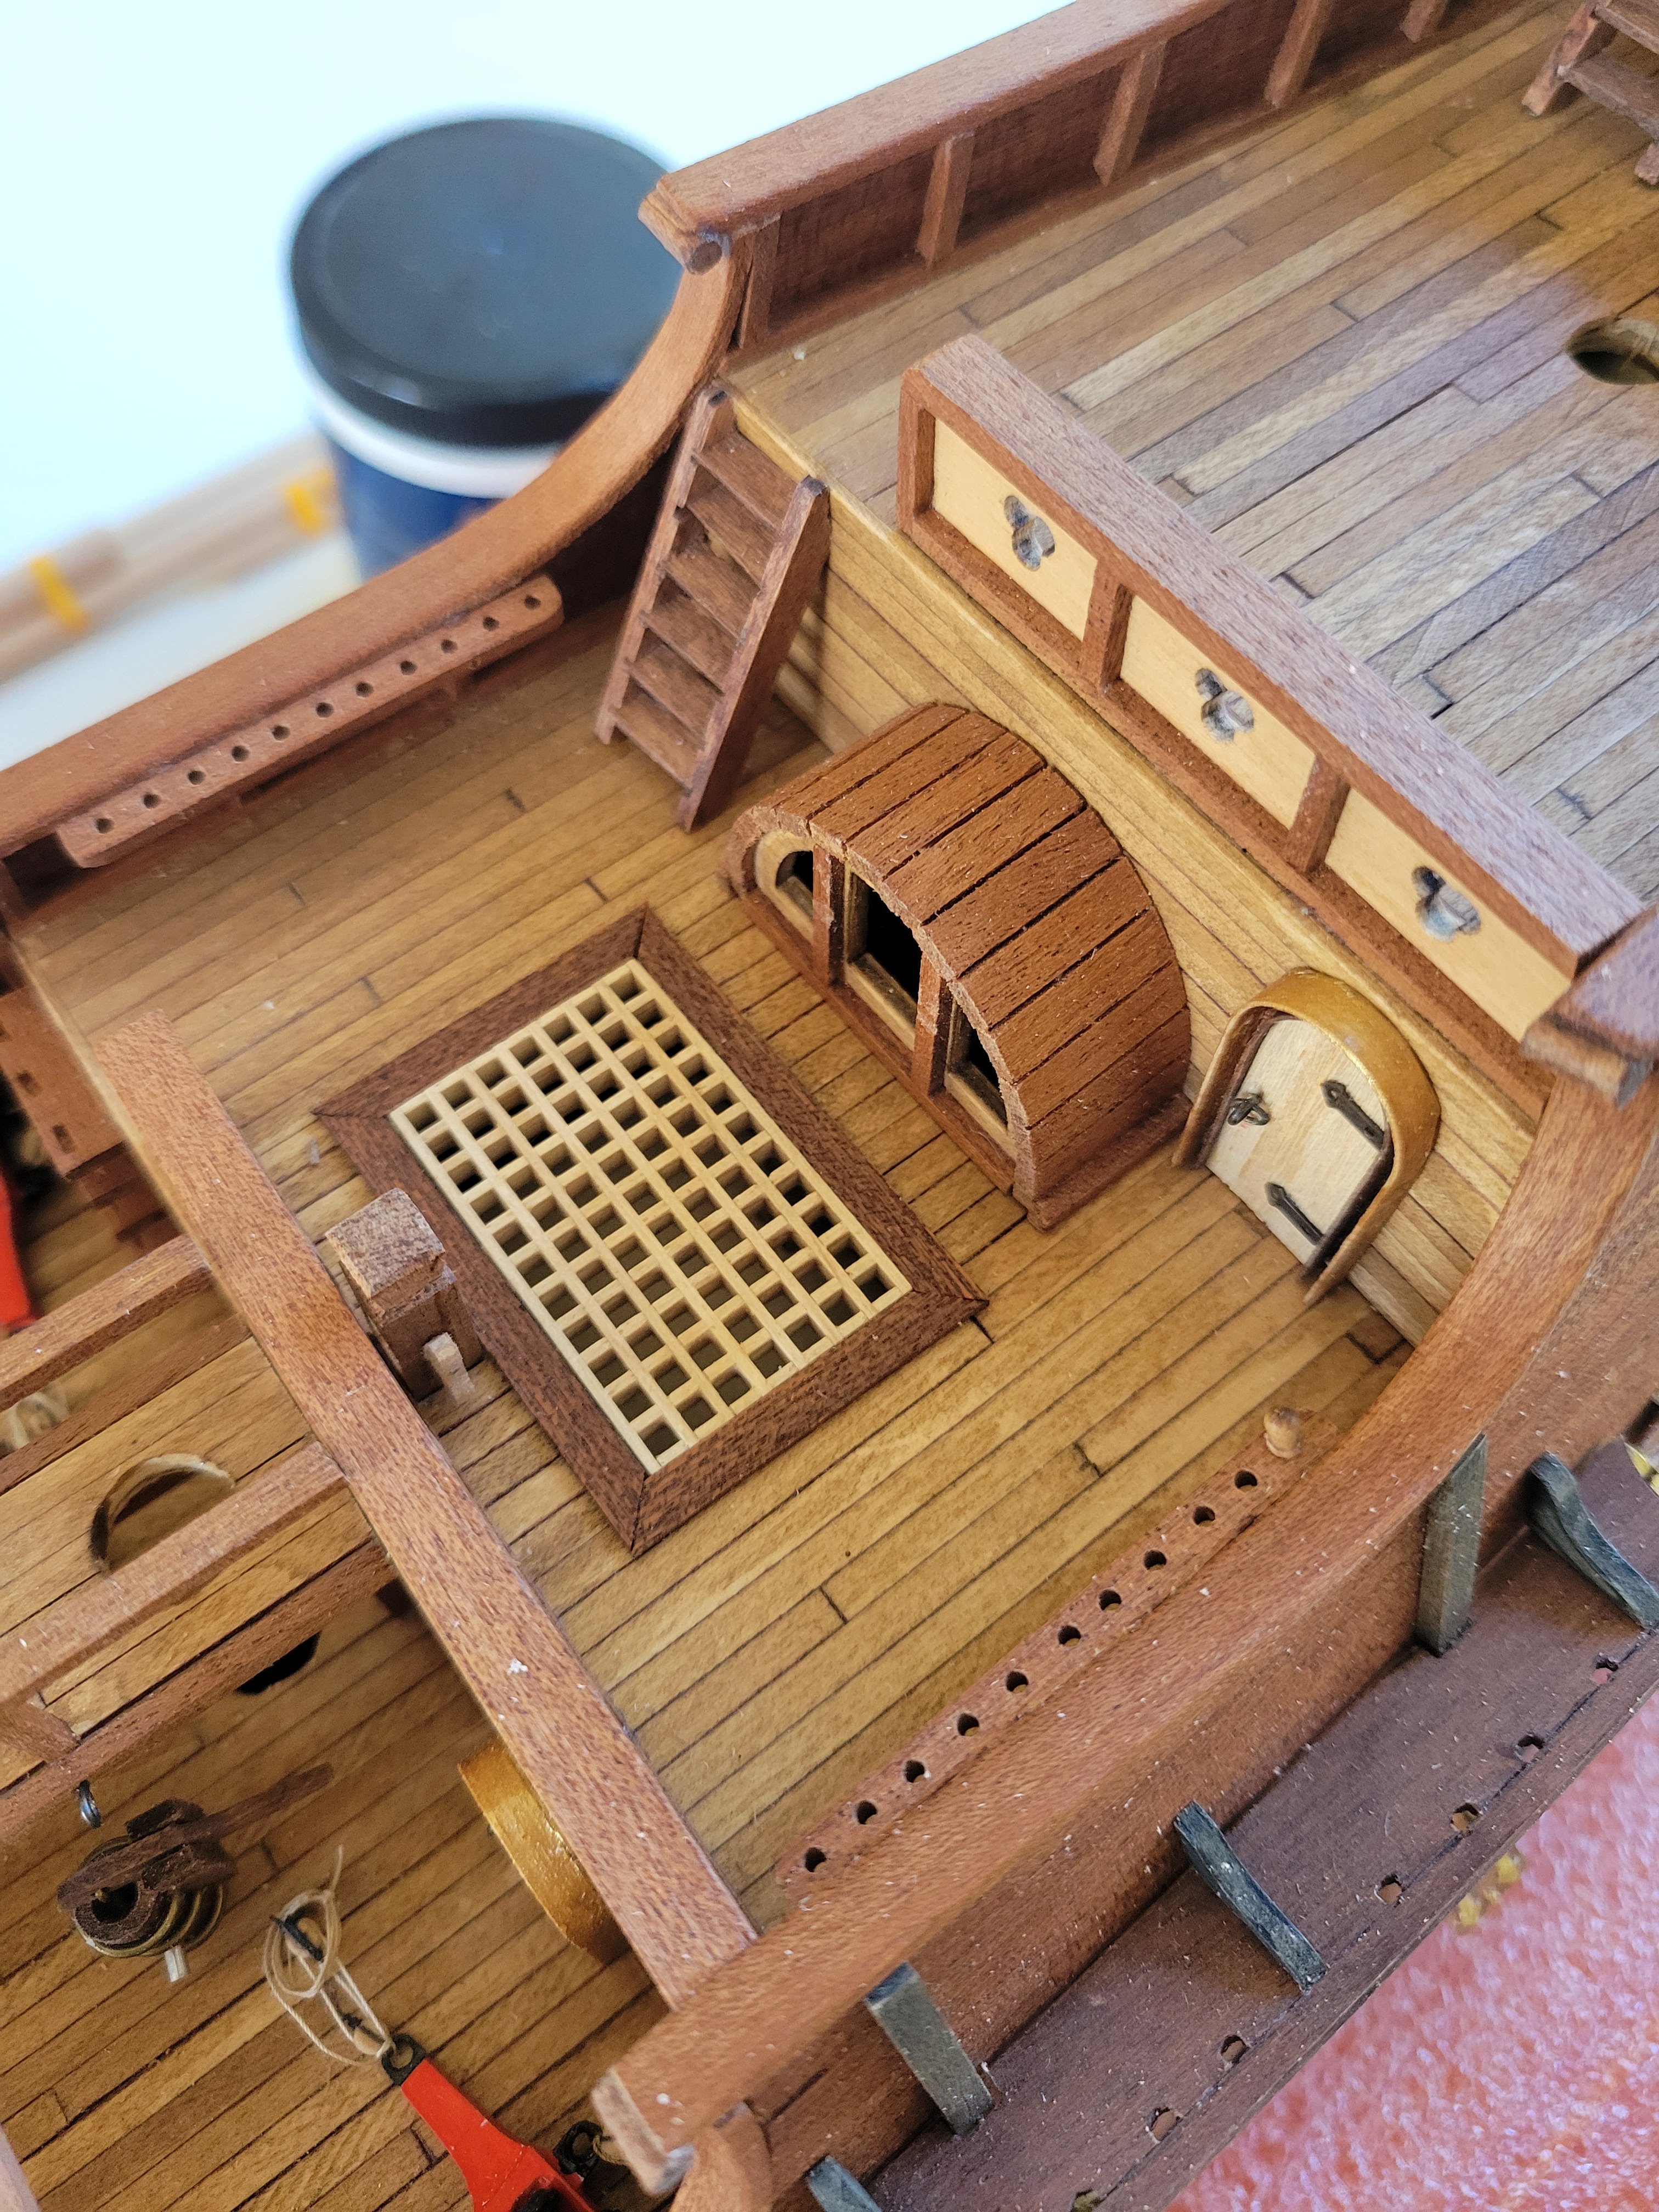
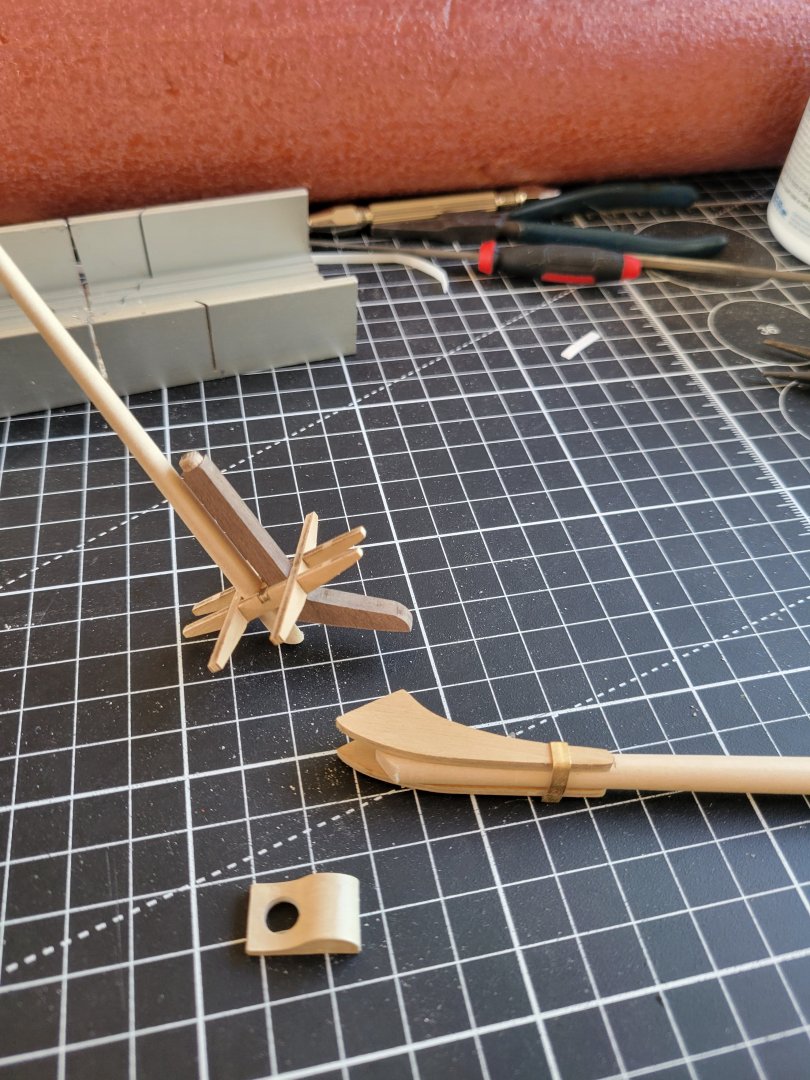
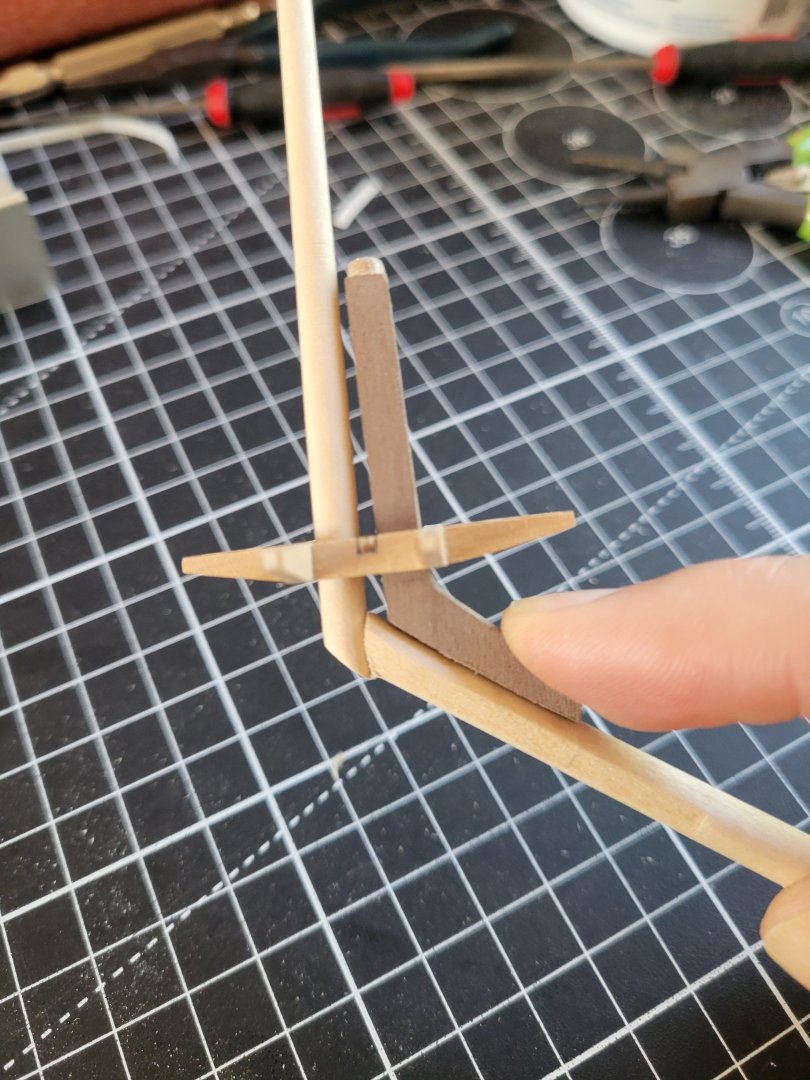
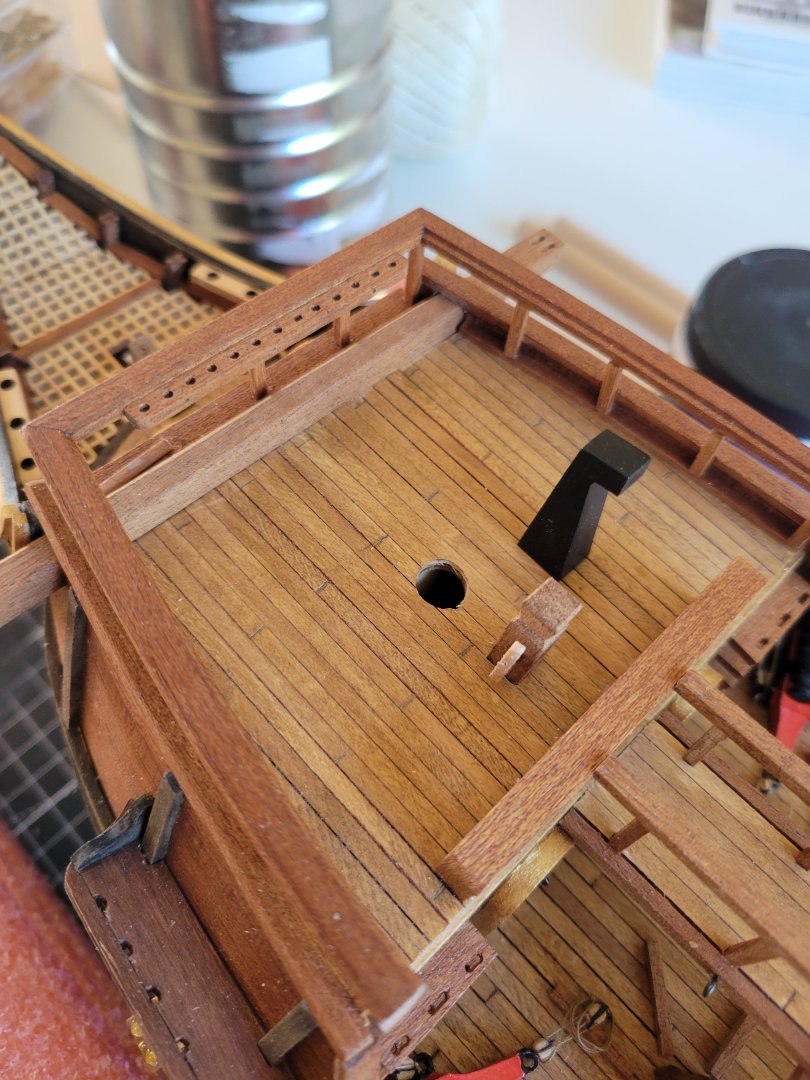
A little behind on post so here's a catch up: Jack staff stand assembled. Channels assembled and stained. Adding pin rails. Using a dremel press to allow brass pins to strengthen. Adding extra pins too and may add extra pin rails instead of the sad eyeballs in the deck these kits like to use. Knightheads ready


-
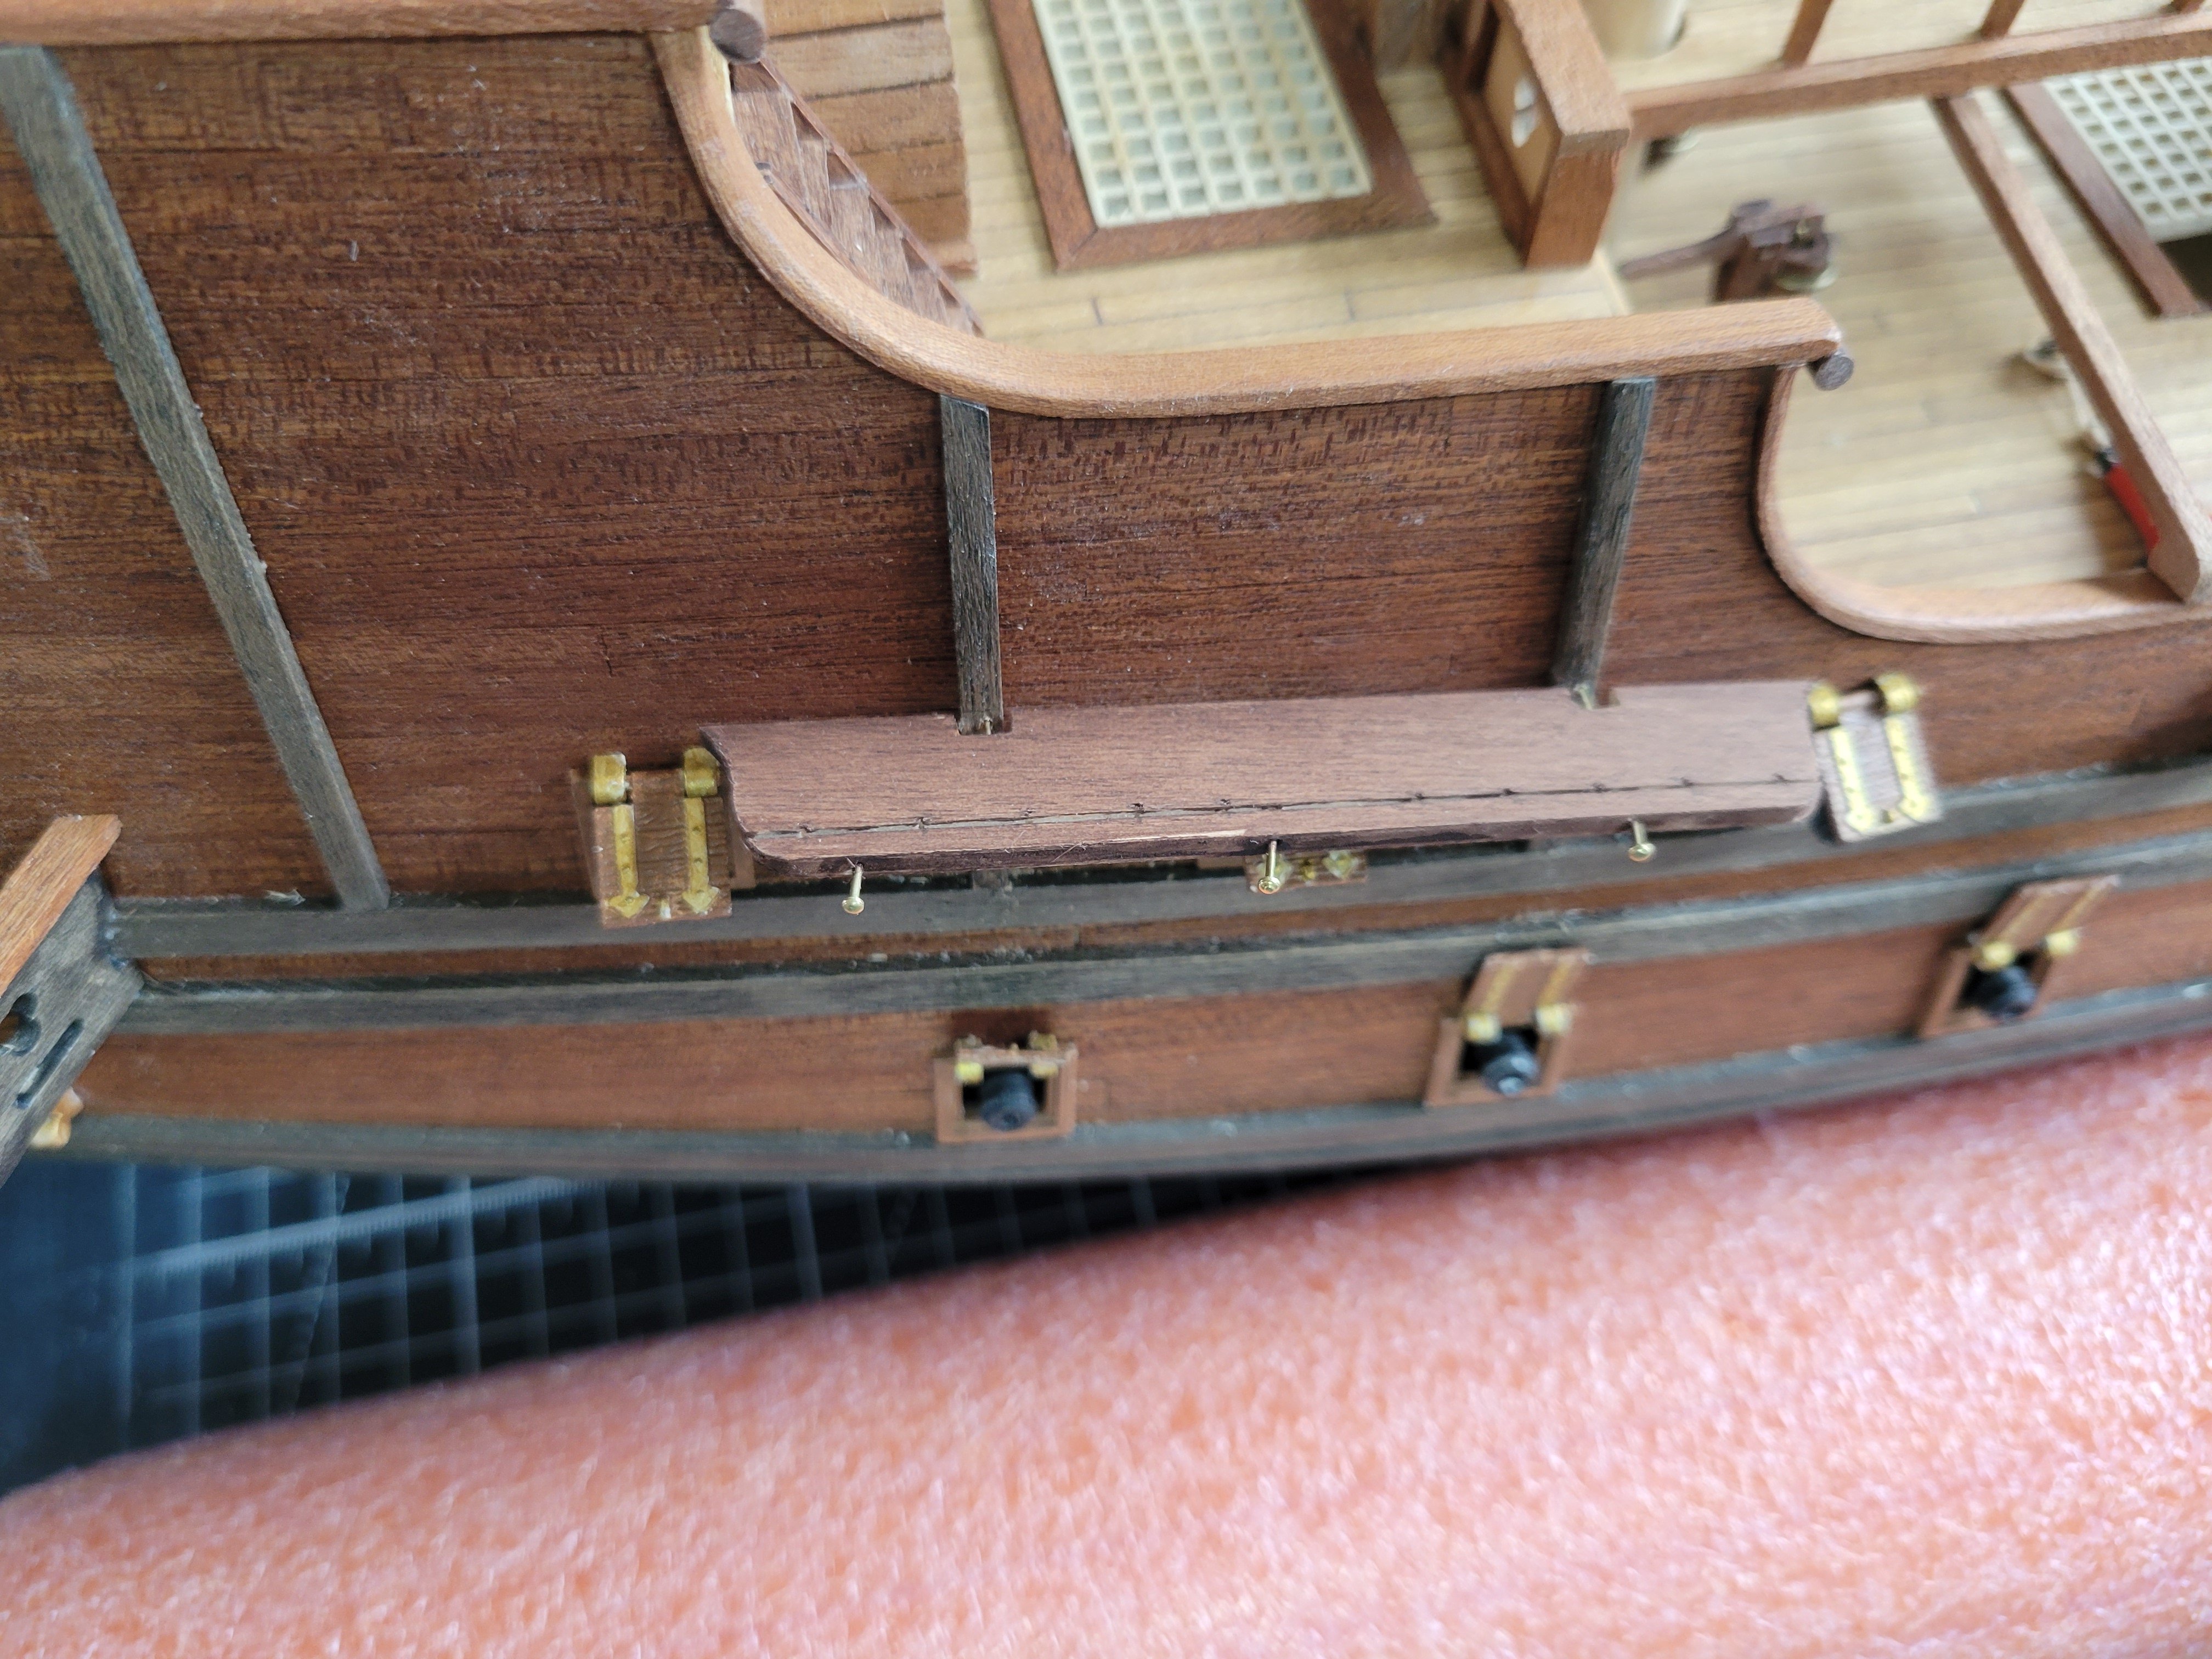
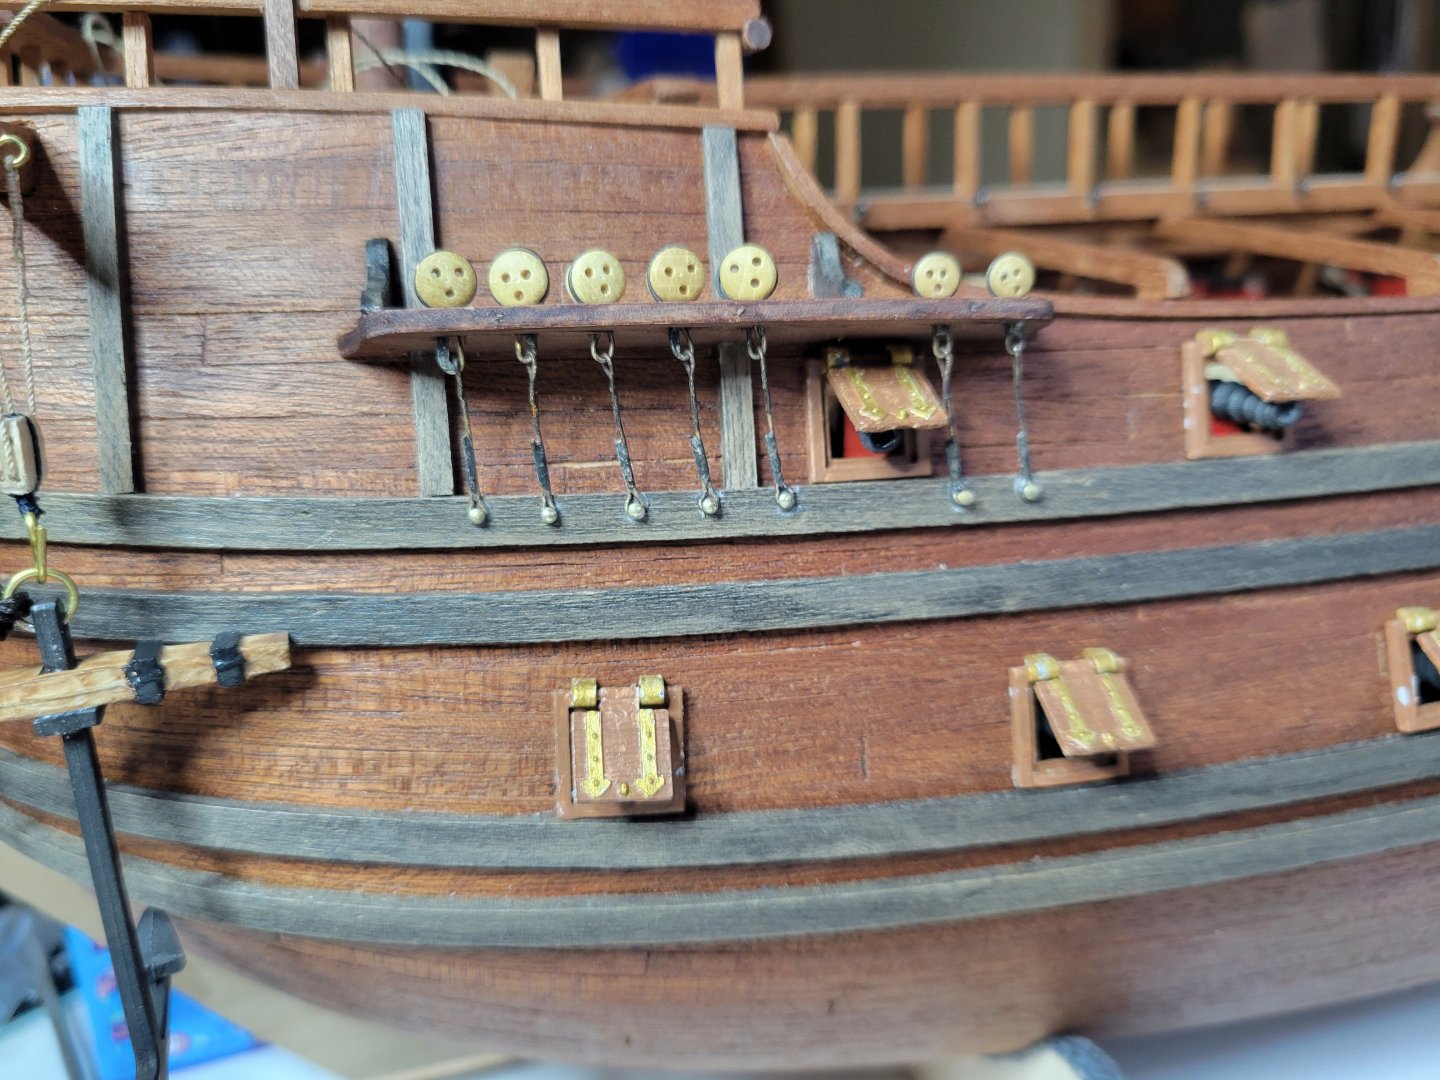
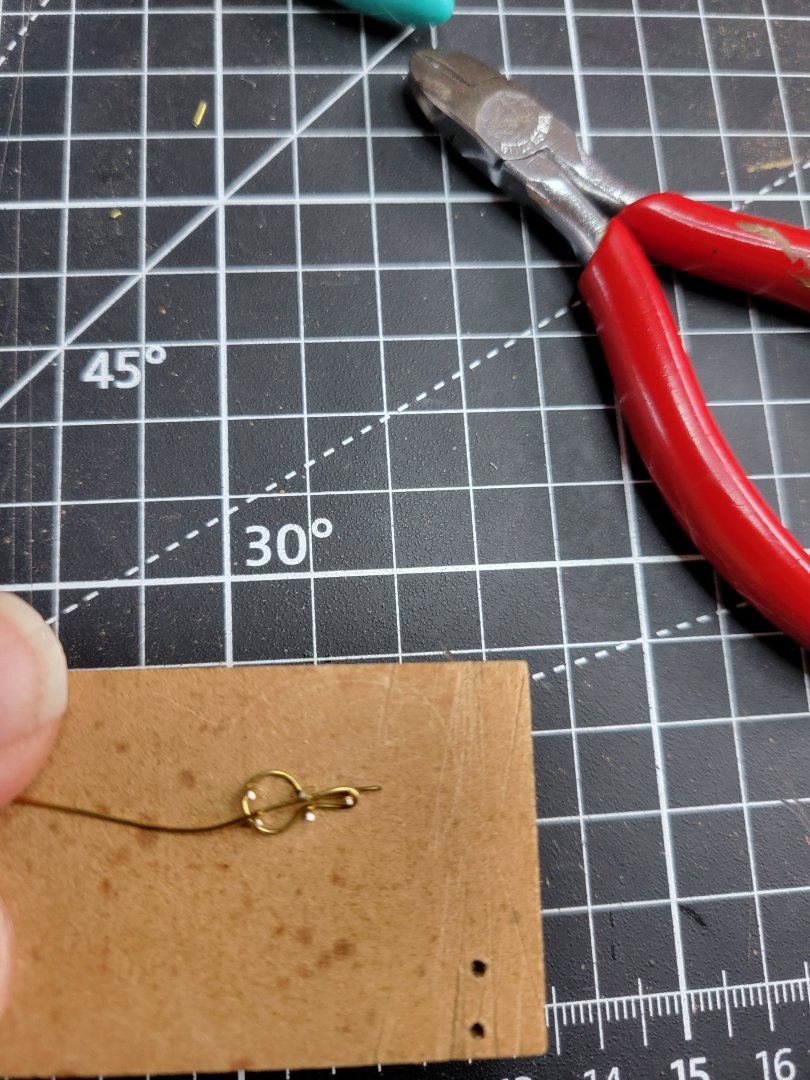
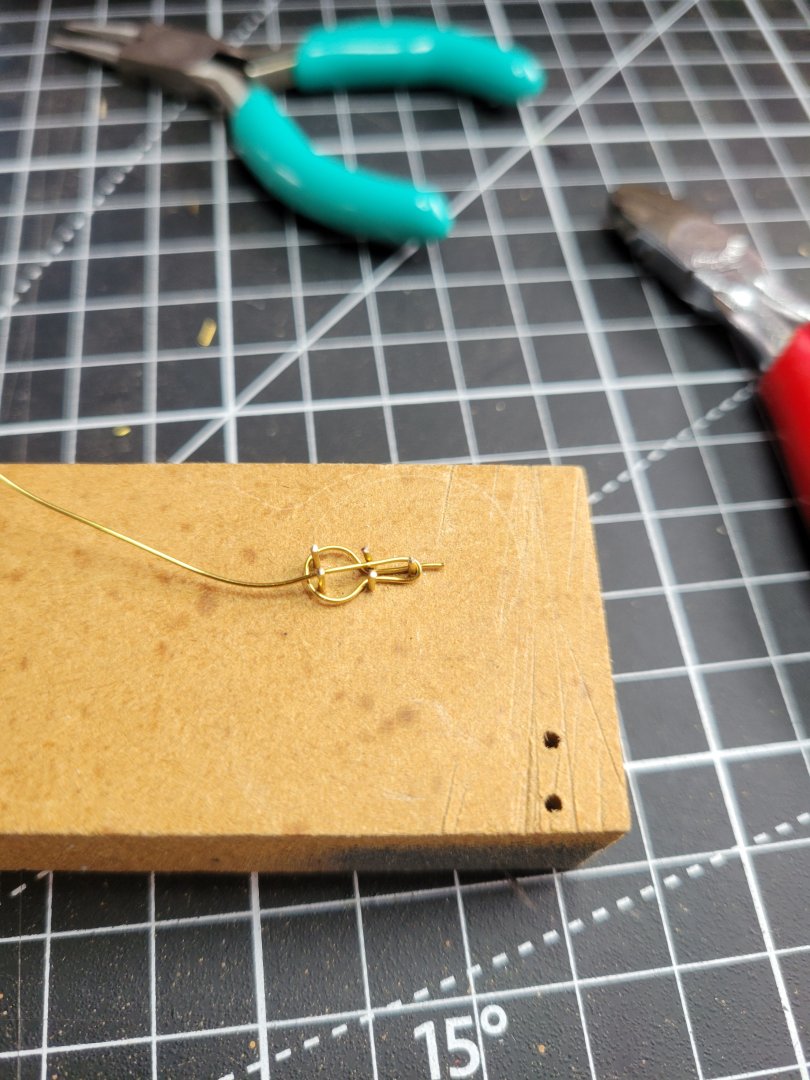
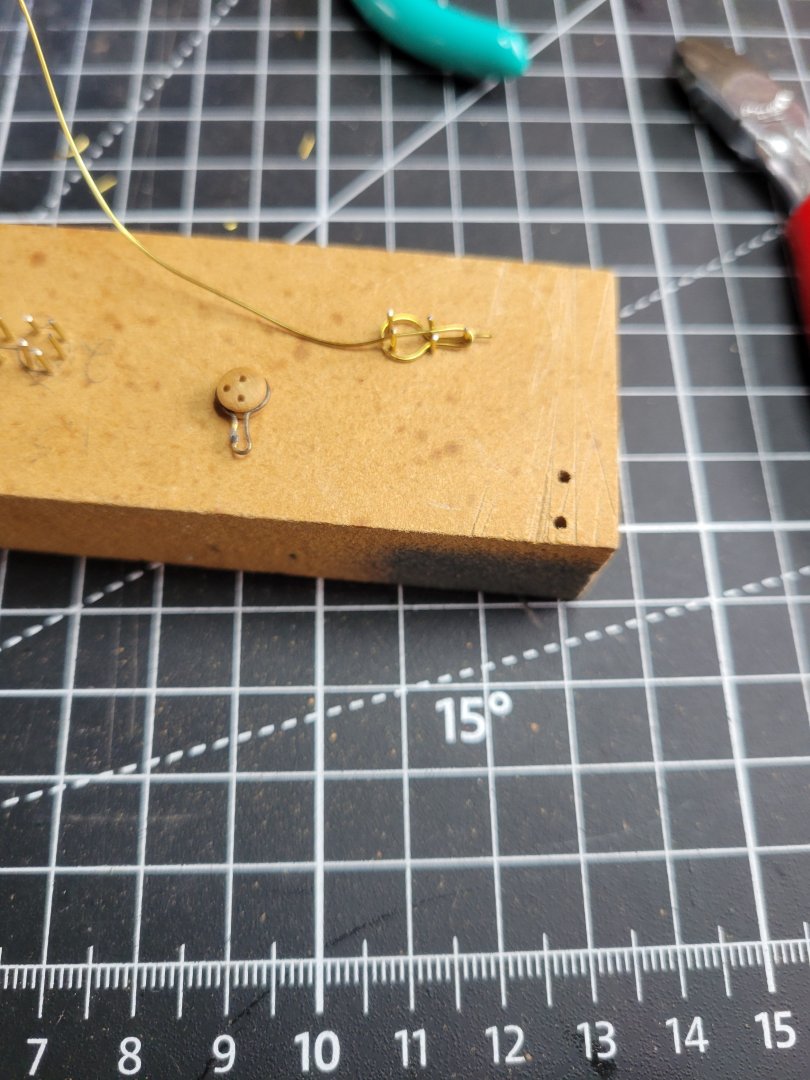
Channels and chainplates. Im just off the end of the channel to replicate a more classic approach of adding the strip to the end of the channel rather than just drilling holes. For the chainplates, trying this time to follow a proper approach with soldered chainplates. Found the right diameter dowel to match the deadeyes. Setup a jig and the solder, blacken, and set the deadyeye.


-
Thanks for the info. Im doing the cutaway bounty next so I'll be keeping an eye out for it!
-
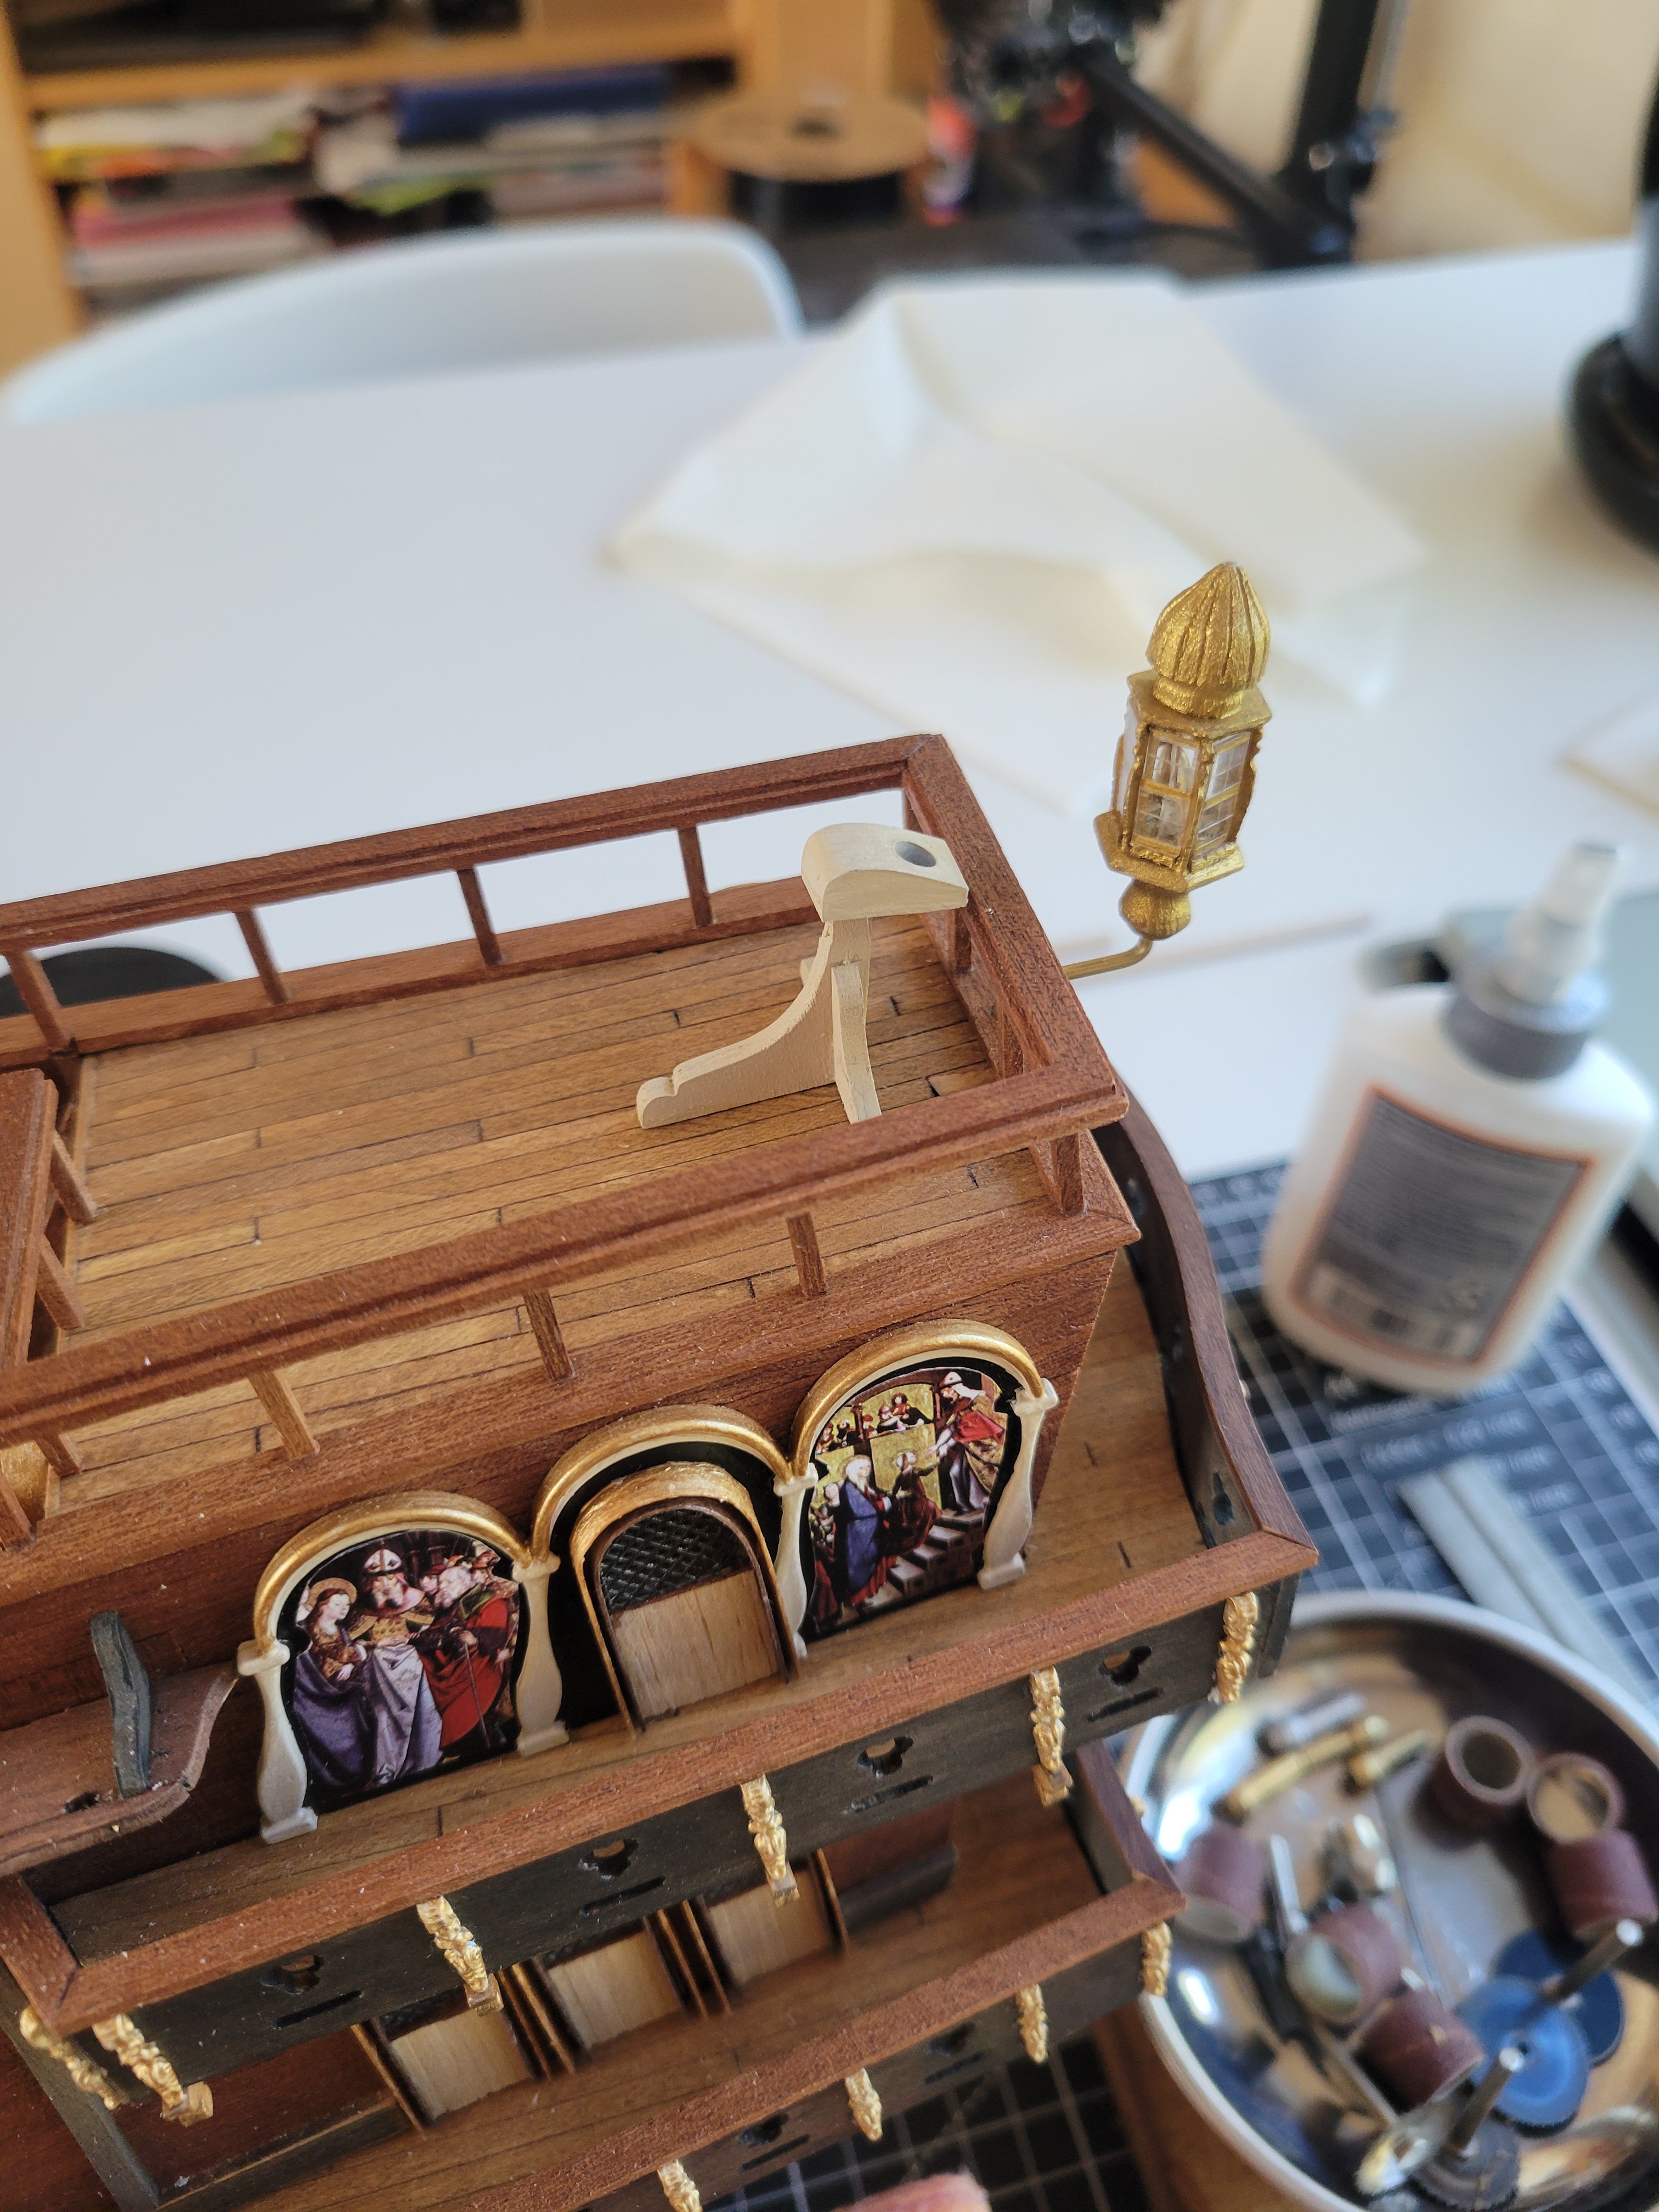
That is nice glazing. I need a better railway shop near me!! Doors are going to look good on the ship
-
No worries @Slowhand. I'll keep updating the spreadsheet as I go so hopefully you find it helpful. Or at least if something doesnt turn out well we can see which line or block!
-
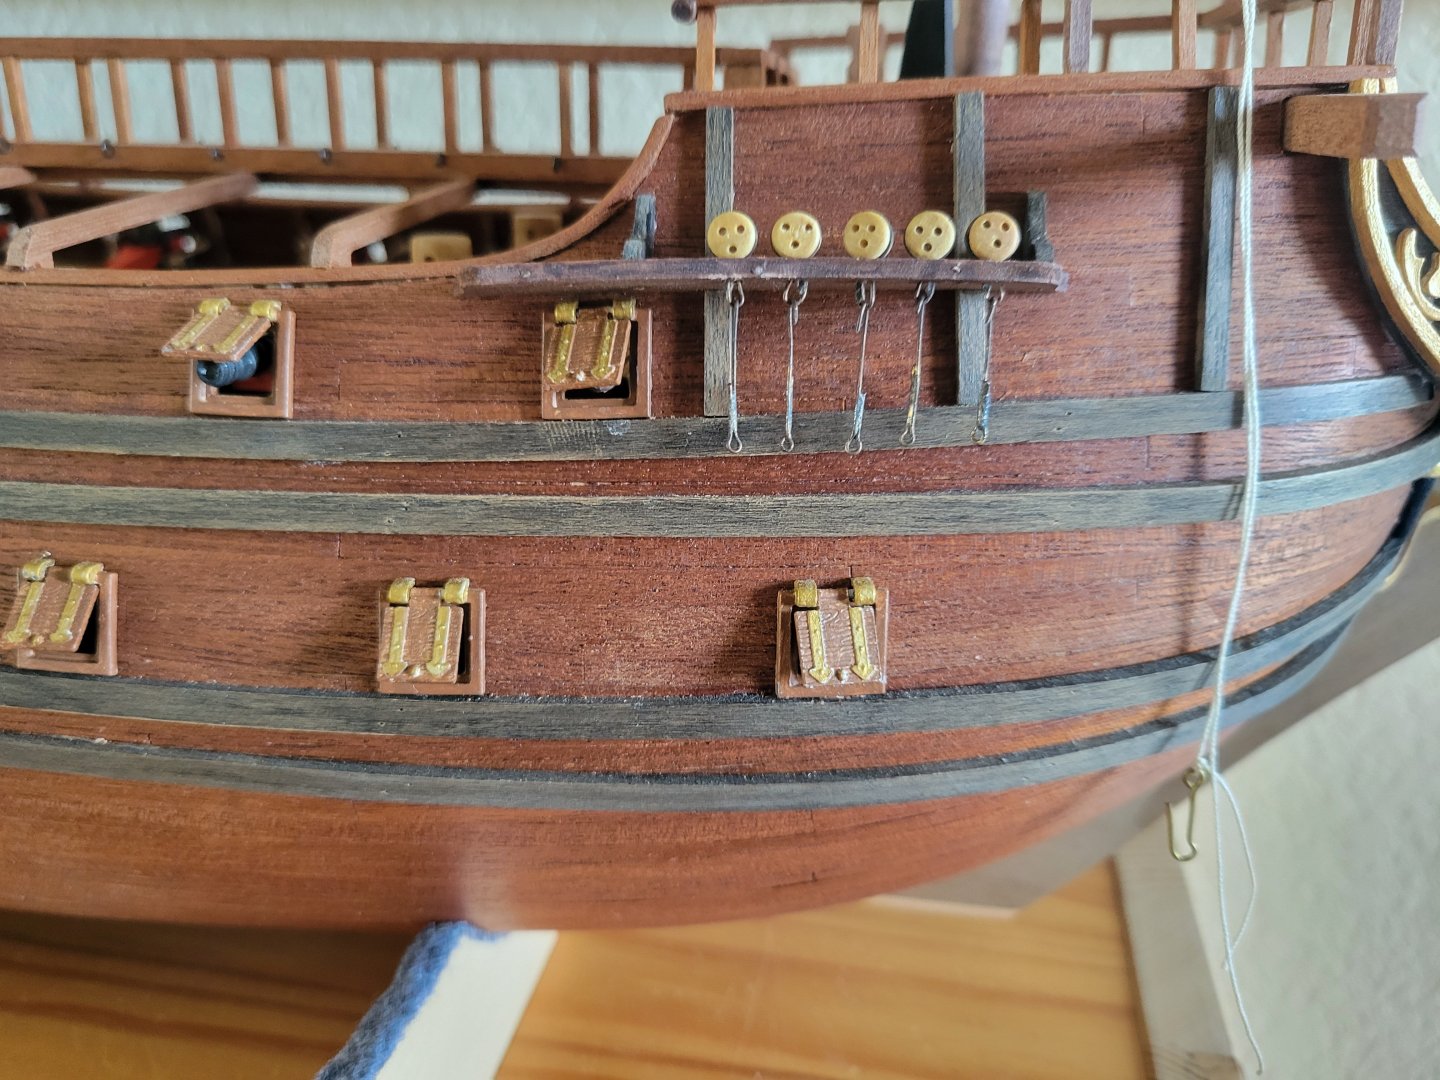
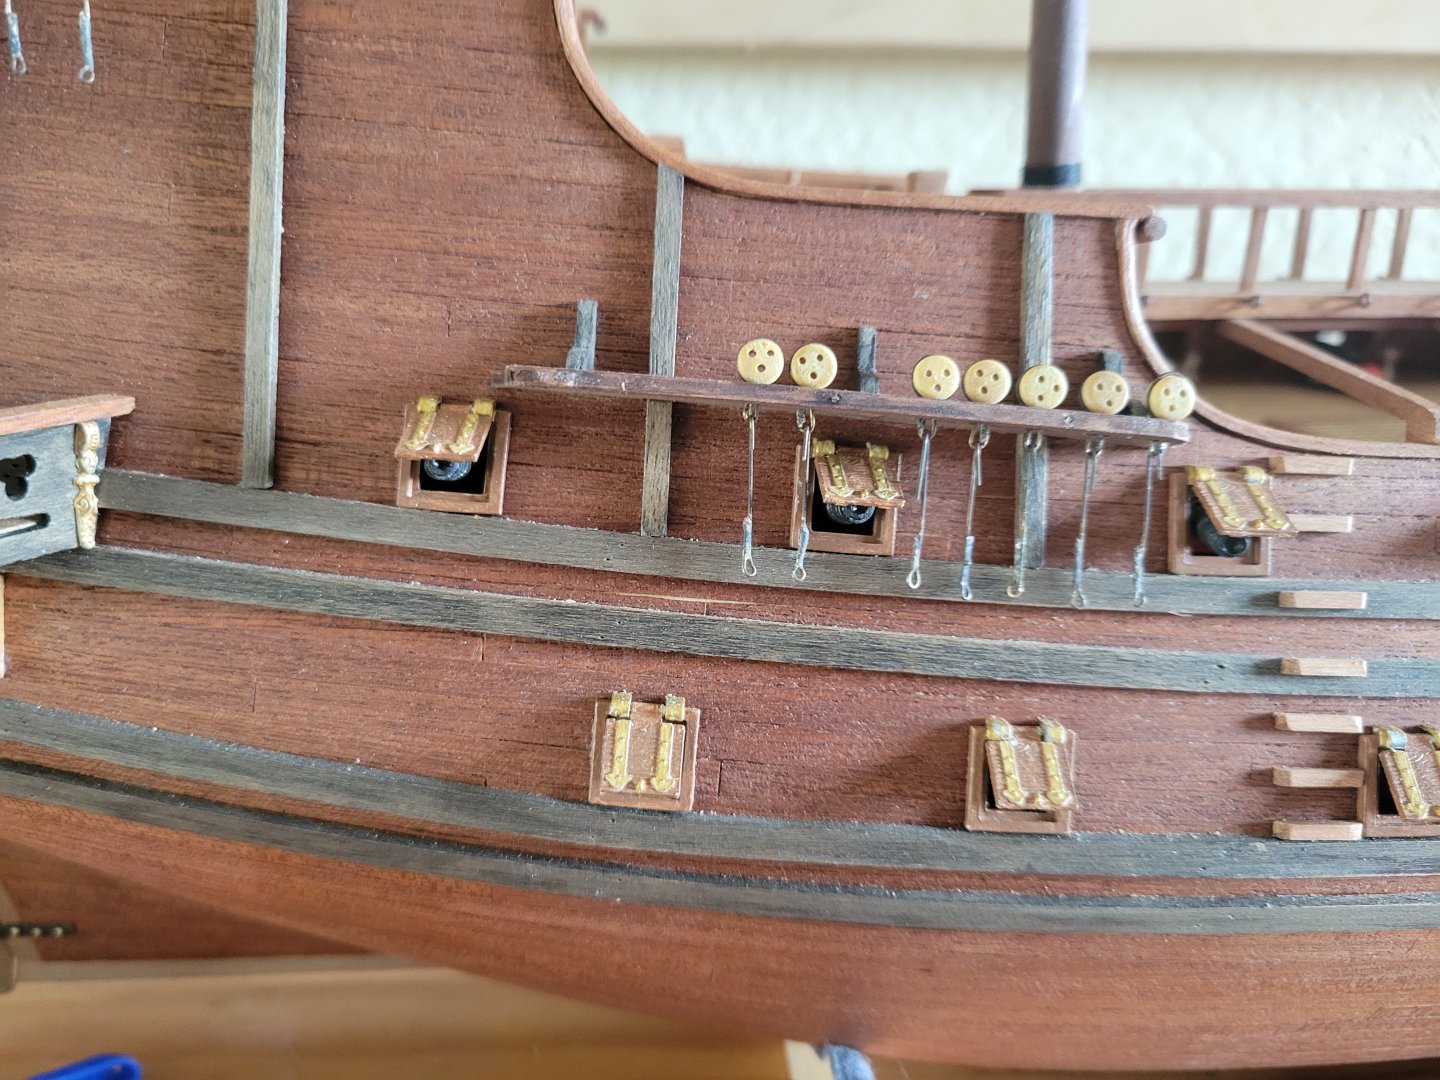
Carriage guns rigged
-
Working on the carriage guns and since I'm trying to actually replicate the rigging on the guns (kit has no rigging for this), I'm needing to order more blocks. Tried making by hand but they just don't come out very well compared to the ones we can get from Syren (love his blocks and rope by the way!). Don't want to get hit multiple times with shipping so I'm going to try for a single order which means I need to get all my rigging figured out!! I used an excel spreadsheet with my last build and I'm updating to a newer version for this one. I also used the rigging/block calculator spreadsheet from HiSModel and I'm liking the result. I may not use as many rigging sizes but it's a good starting point. I'm providing a link here to both files on goole drive if anyone wants to take a look (should be re-usable for other builds, just clear the values and fill it out!). I'm really interested in feedback from anyone who has already built the Apostol Felipe or in progress (call out to @Slowhand who's running at a similar pace to me!) Rigging Plan: https://docs.google.com/spreadsheets/d/1qdIoDKW4J_ew731MBVsXbNcc1gGYI1vB/edit?usp=sharing&ouid=105861869683818061516&rtpof=true&sd=true HiSModel Sizing Spreadsheet: https://docs.google.com/spreadsheets/d/1lAamZoHs4X4V92qfZpVcueICTyBd3p9-/edit?usp=sharing&ouid=105861869683818061516&rtpof=true&sd=true Also, if anyone has questions updating this to their own build, I'm happy to walk it through. It's my own "method to my madness" but I hope others might find it usefull. In the rigging plan, the first tab is seting up "picklists" Second tab it the primary work. Remaining tabs are just collections of screenshots I gathered to help figure out the specific rigging setups I will probably use.