
travis
-
Posts
162 -
Joined
-
Last visited
Content Type
Profiles
Forums
Gallery
Events
Everything posted by travis
-
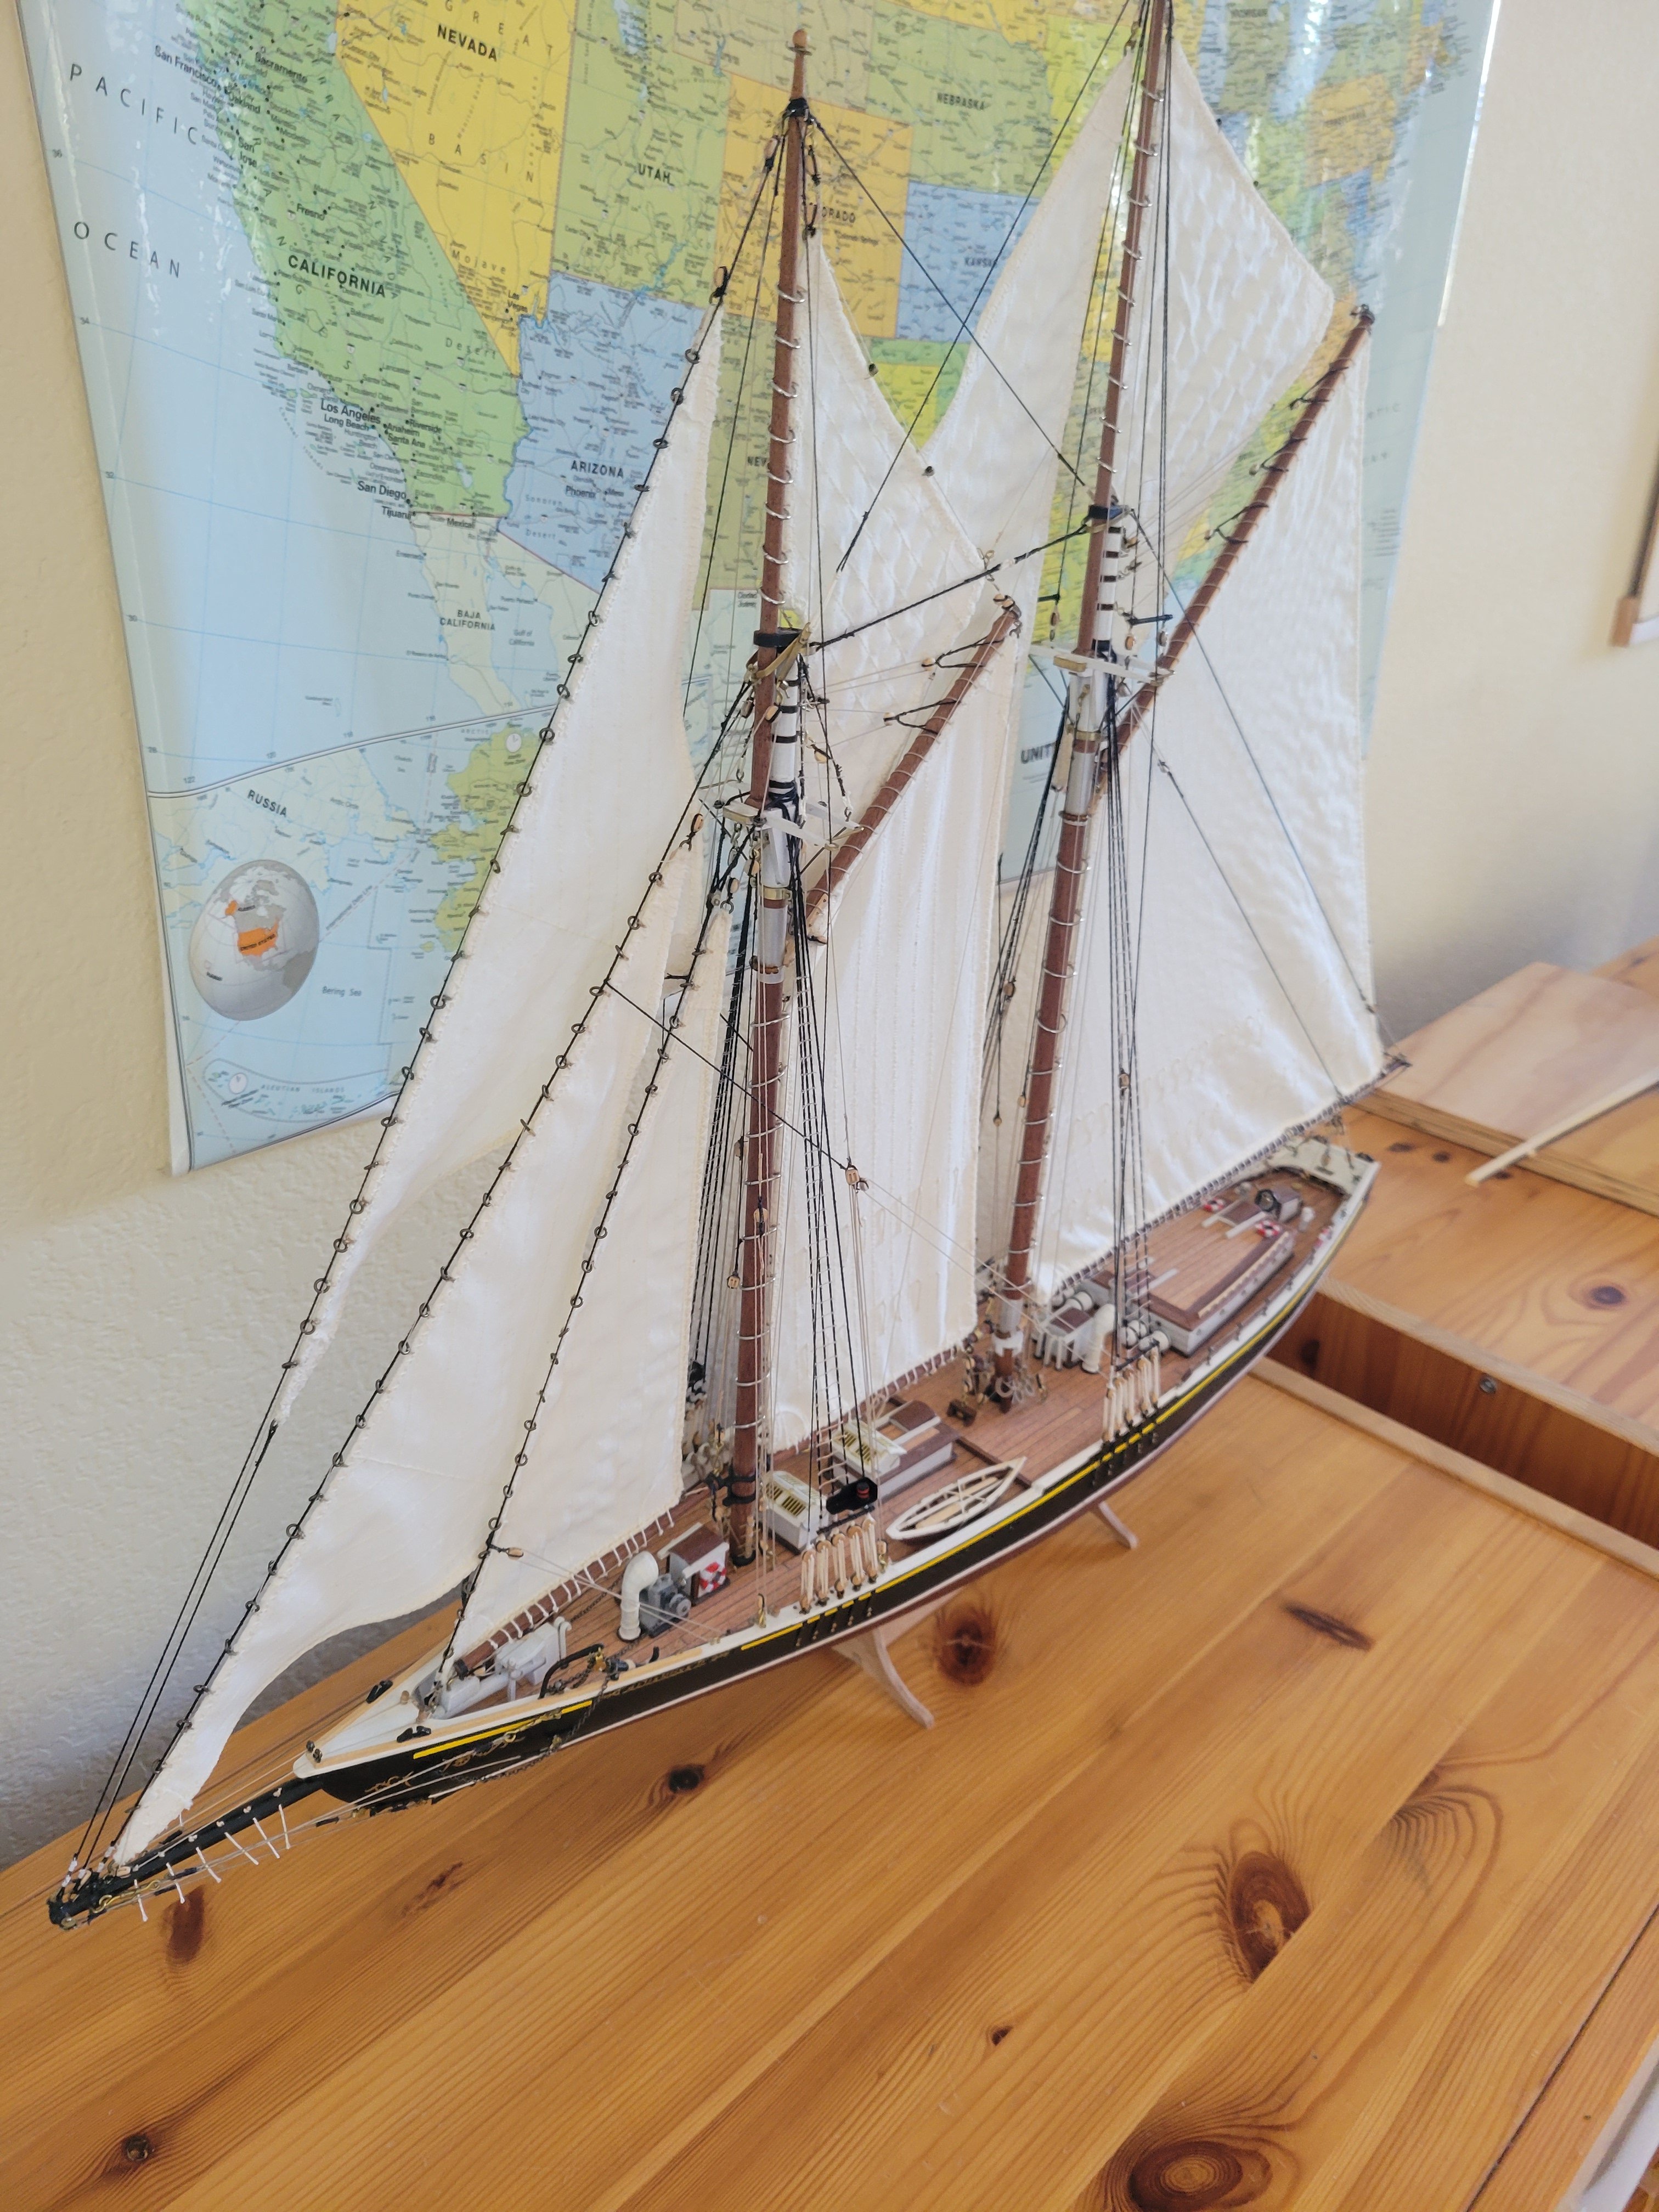
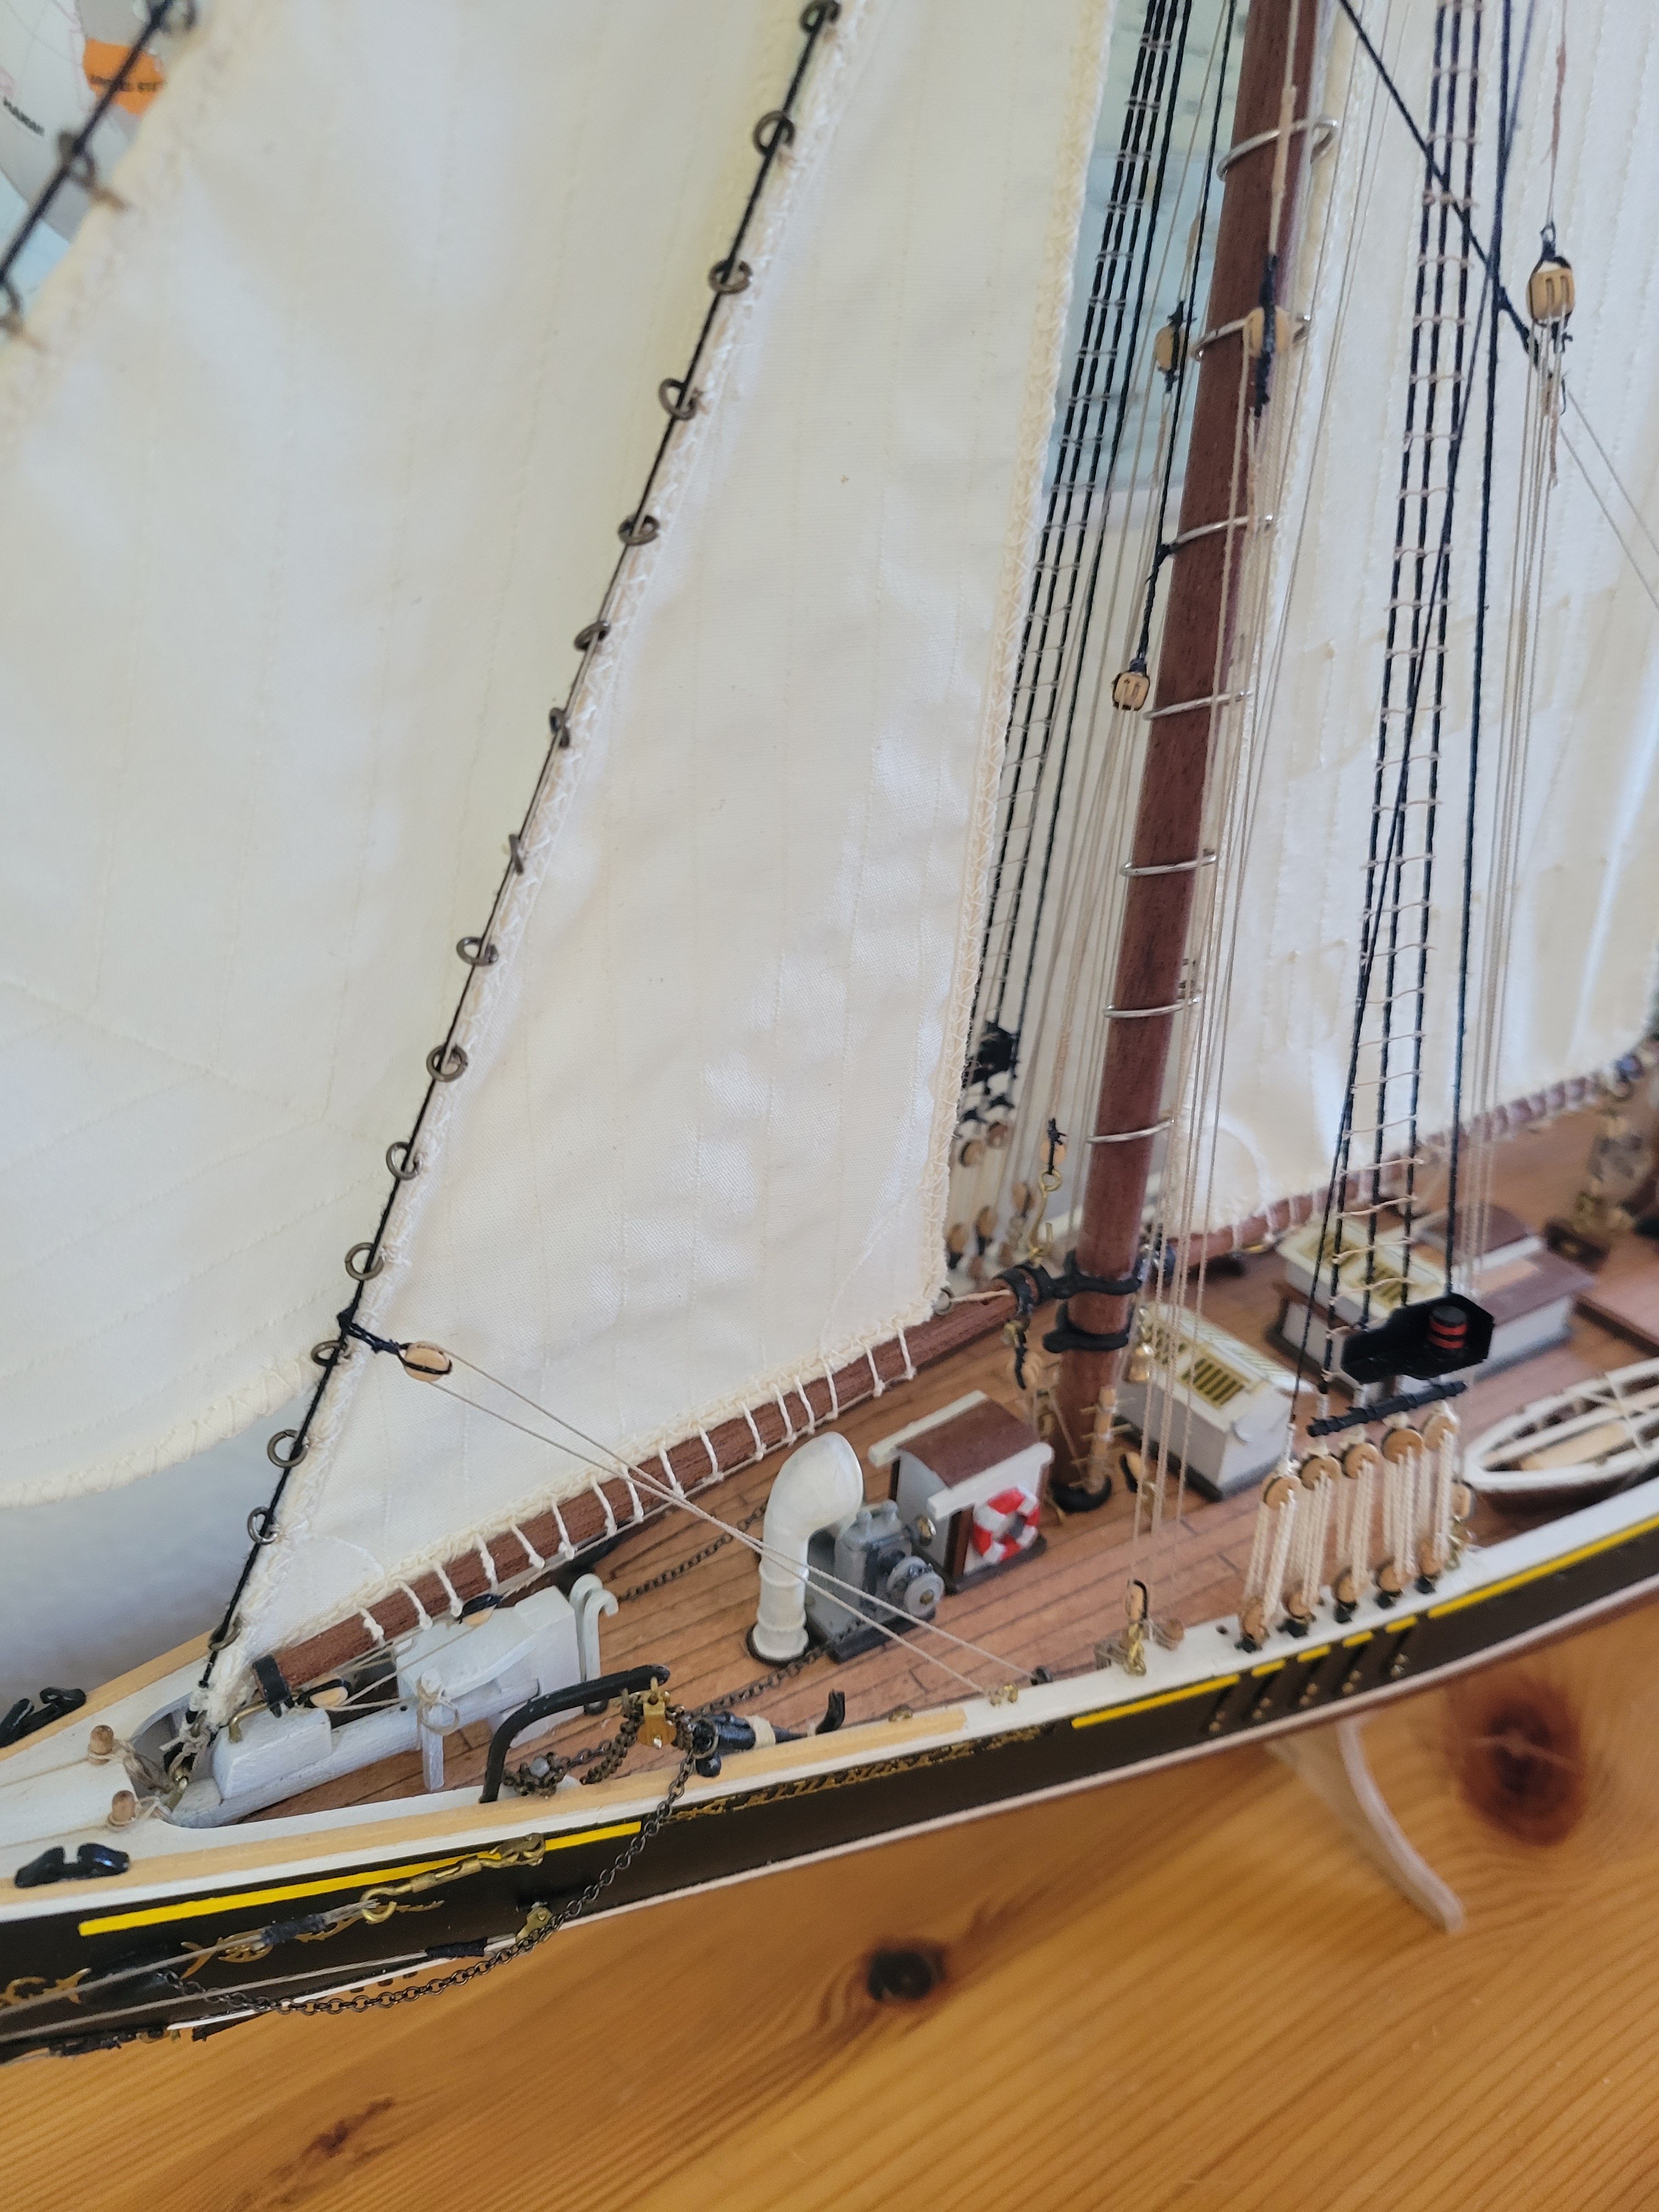
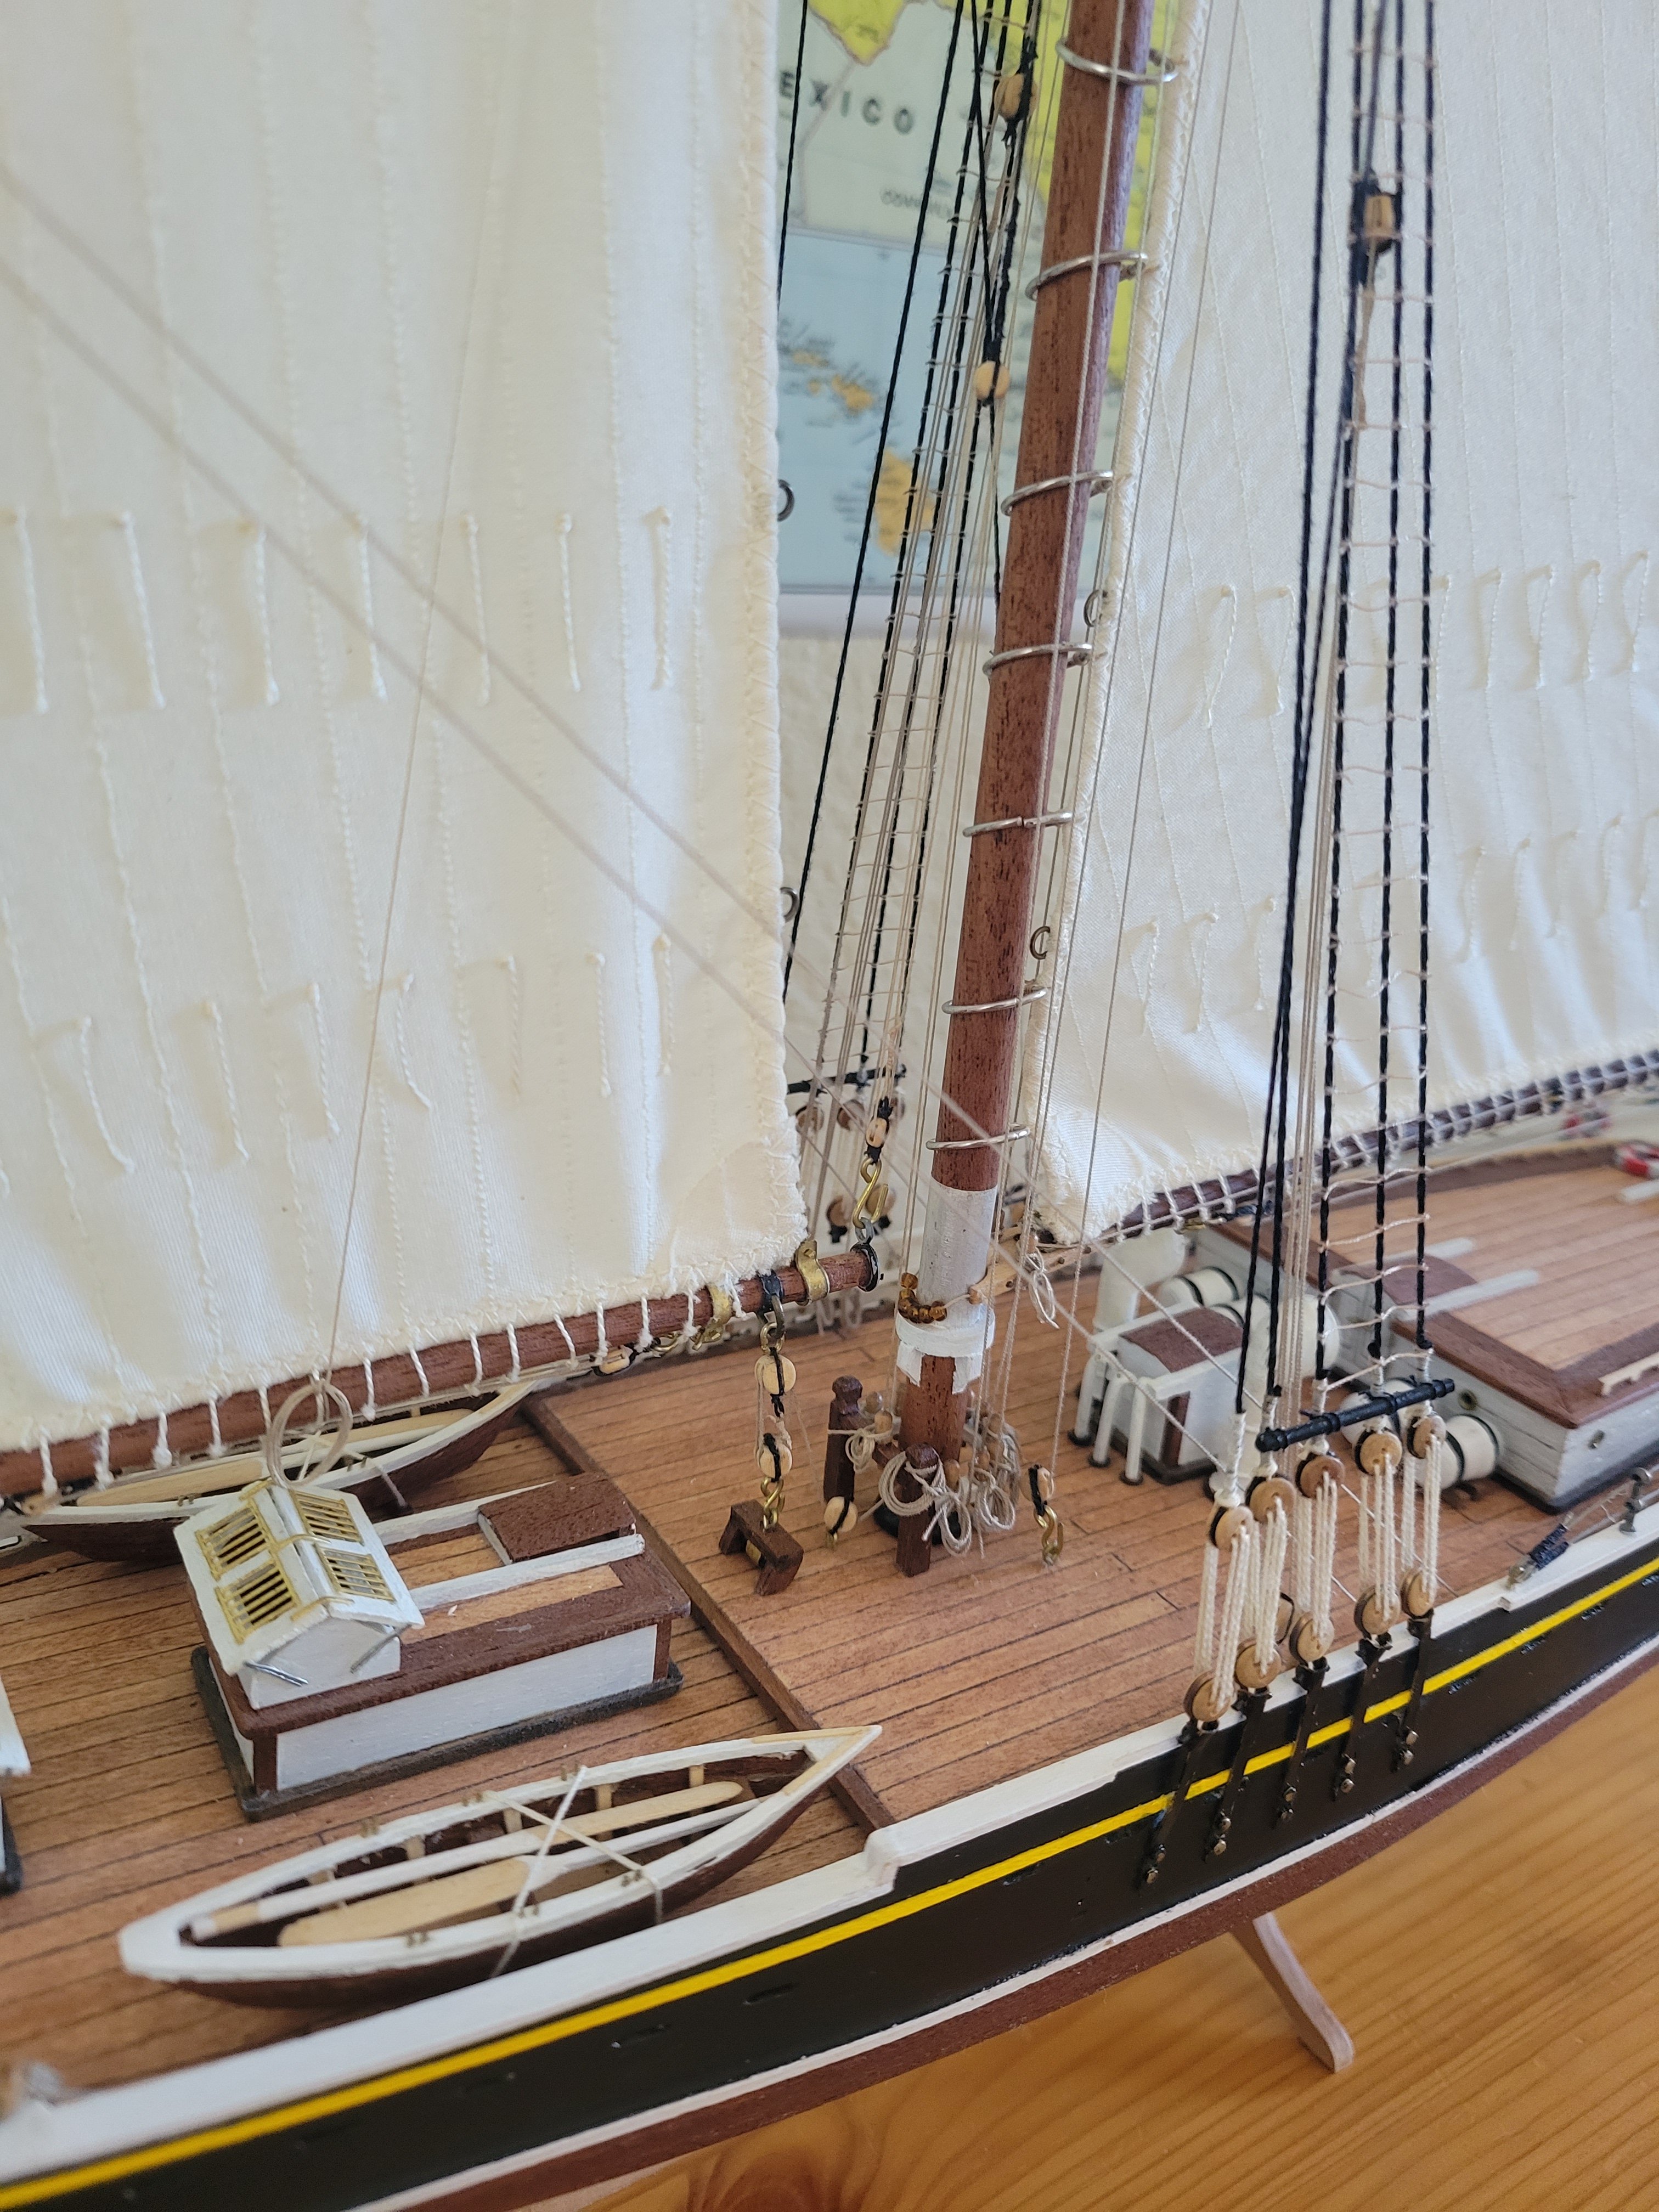
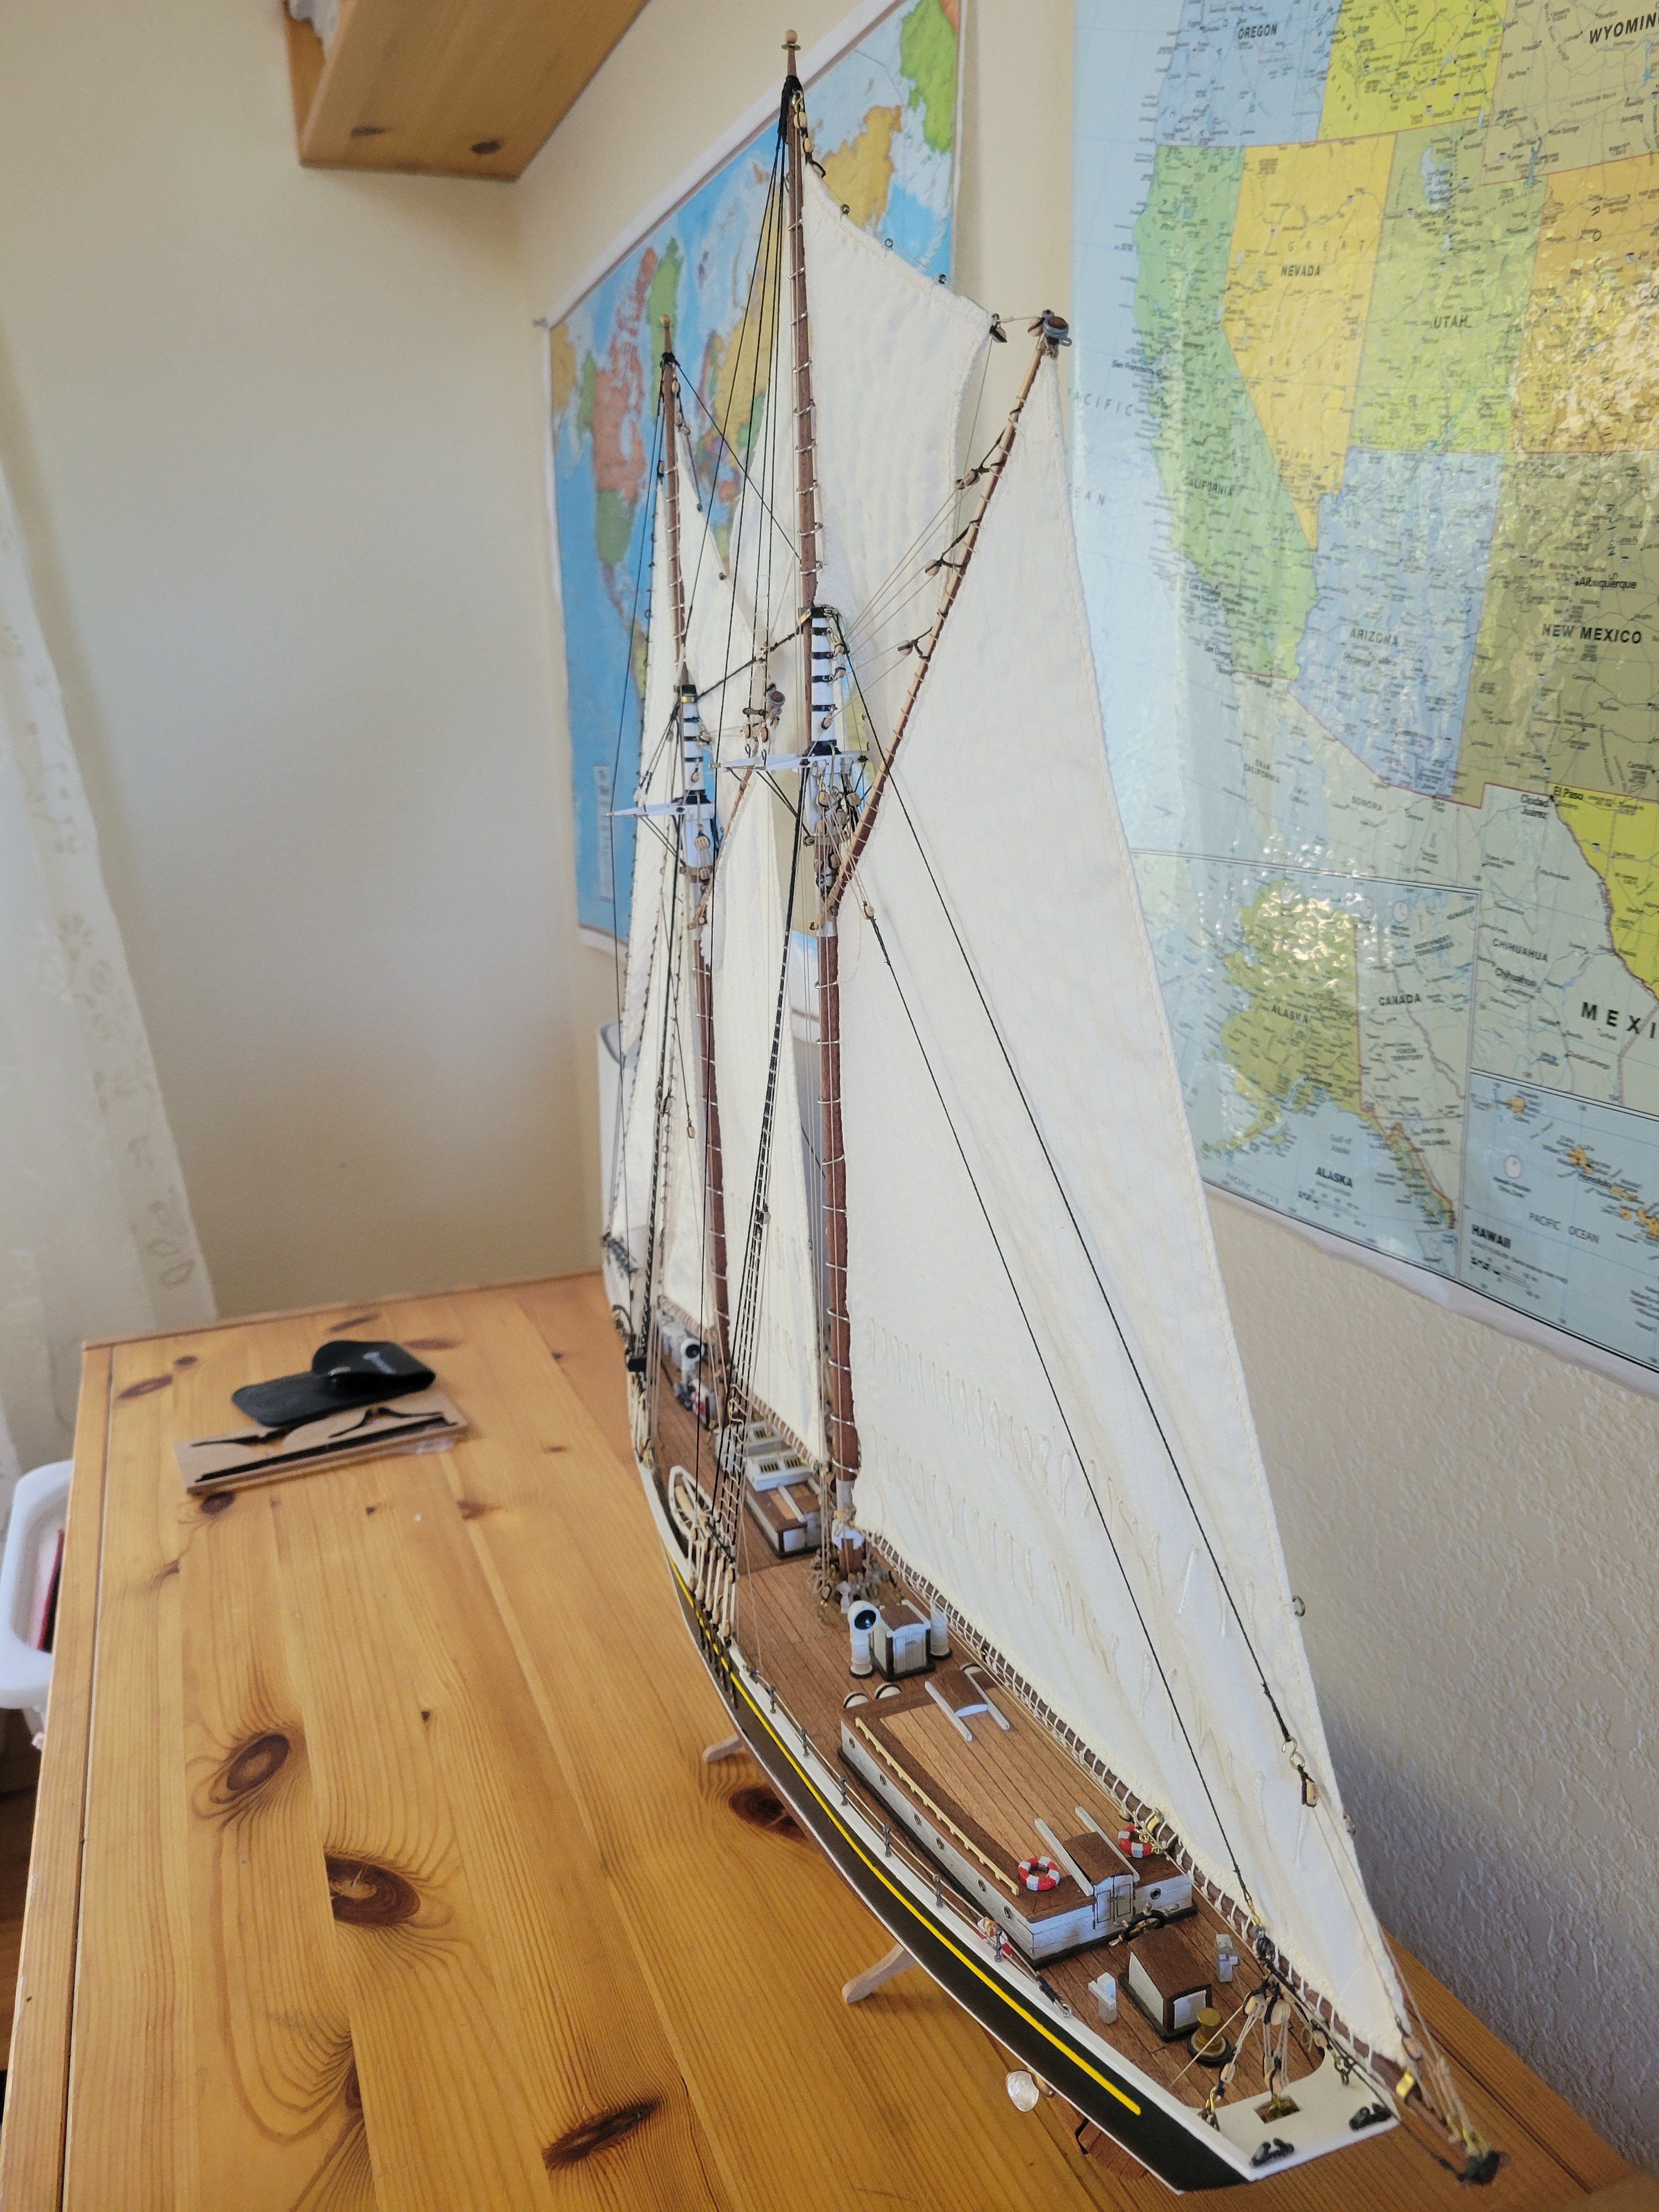
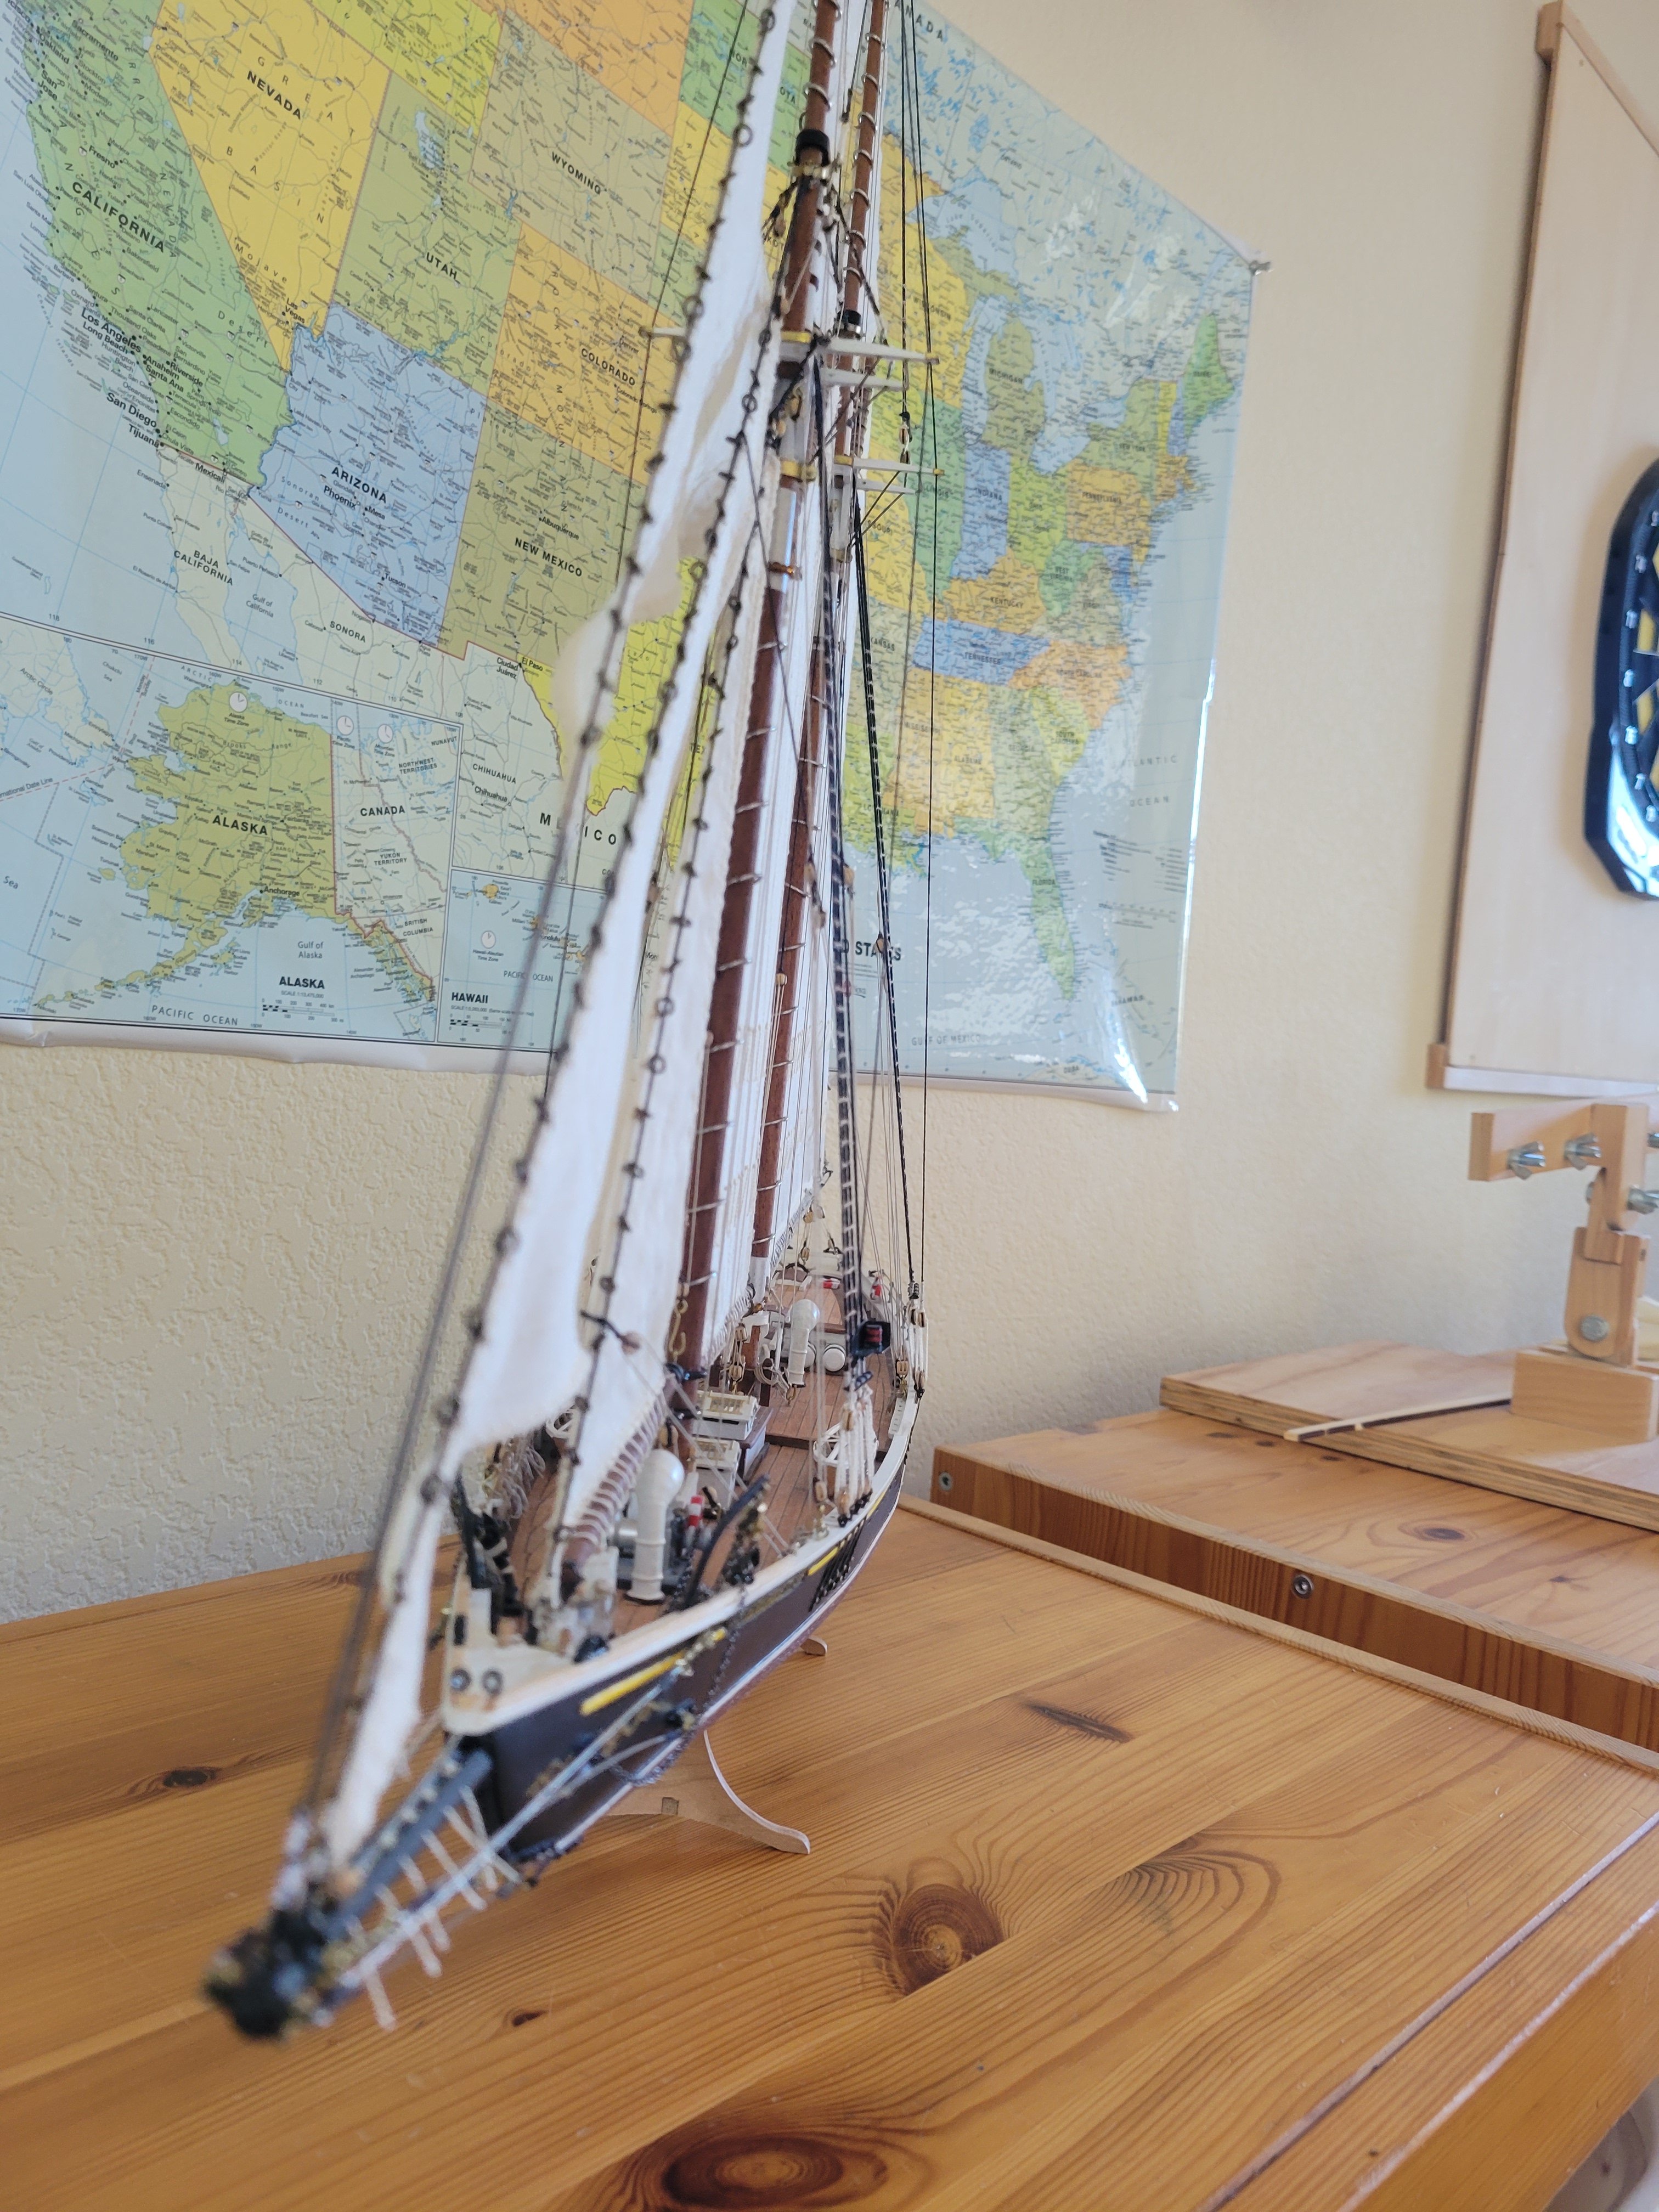
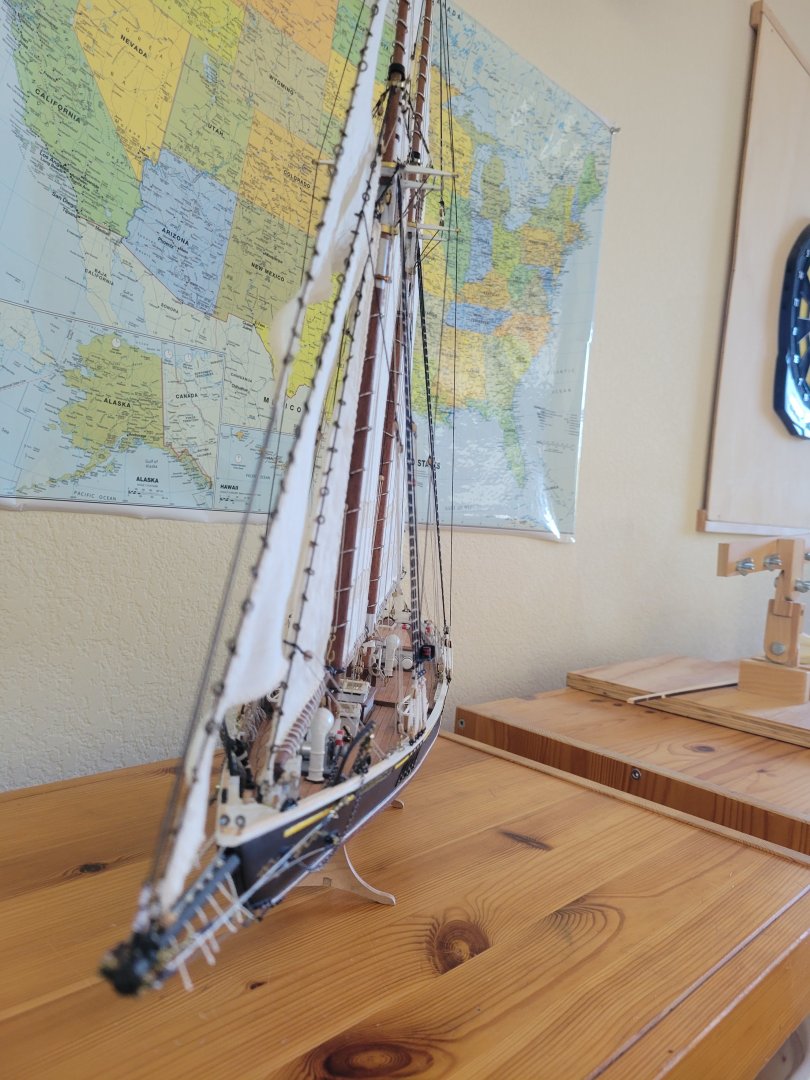
 Final pics (for now). Added rope hanks and cleaned everything up. I still need to run flag halyards but need laser transfer paper to make them and running low on rope. Also need more rope for dory tackle. AL stand is sub par but it will work for now until I get time to build a proper display stand.
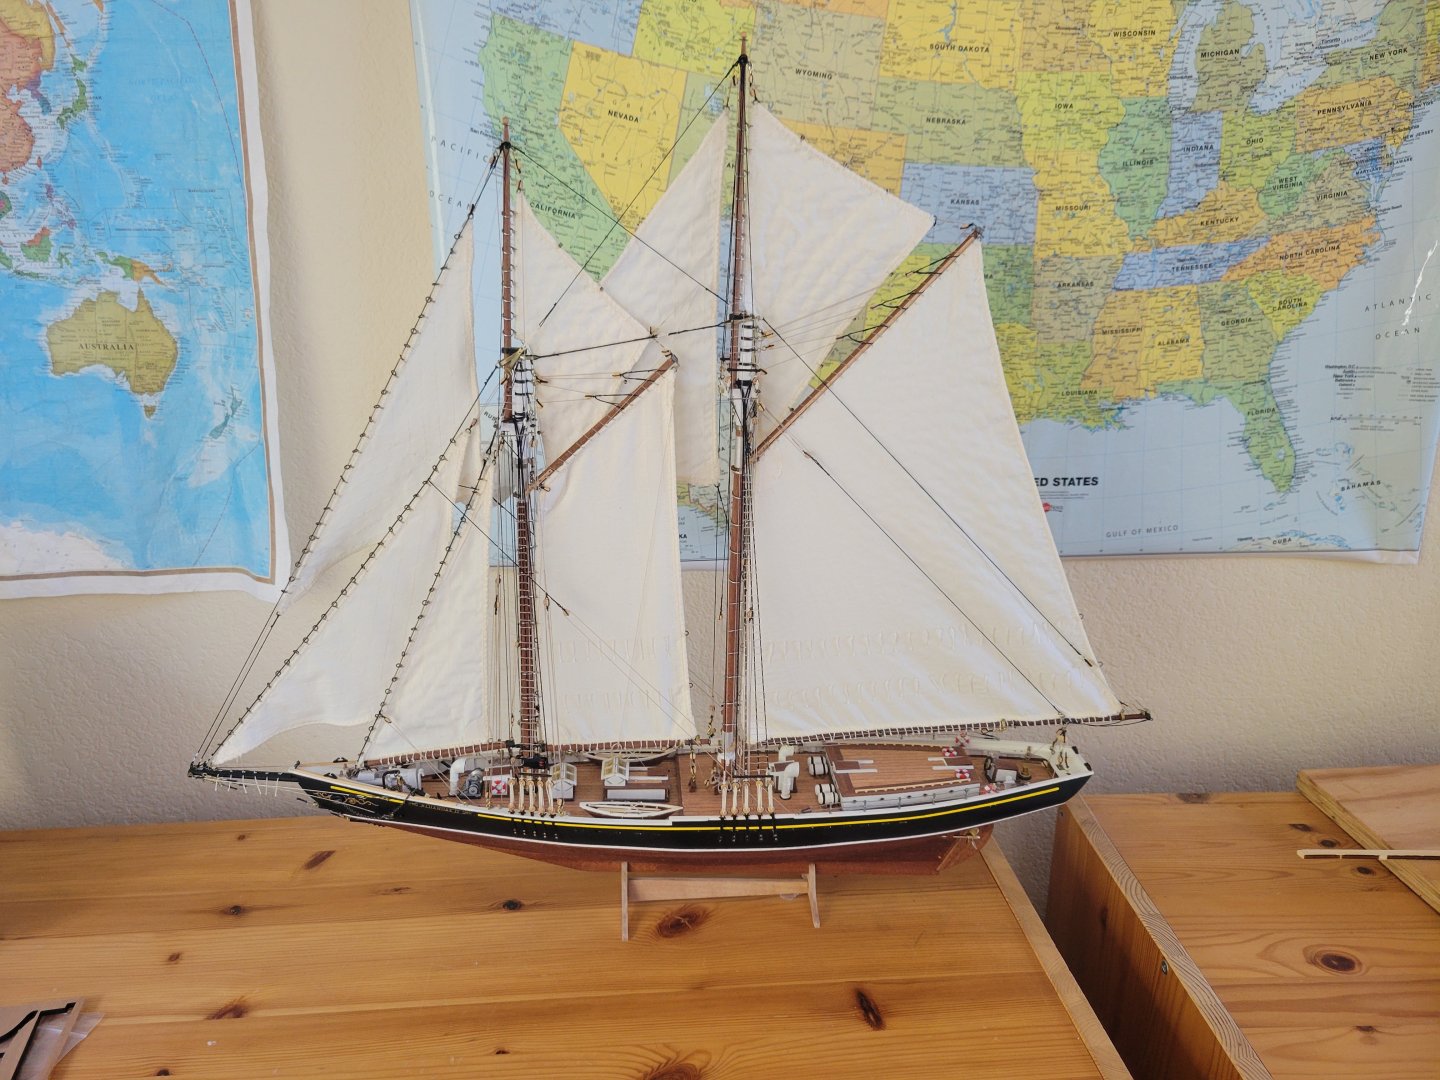


- 84 replies
-
- 3
-

-
- Artesania Latina
- Bluenose II
- (and 1 more)
-
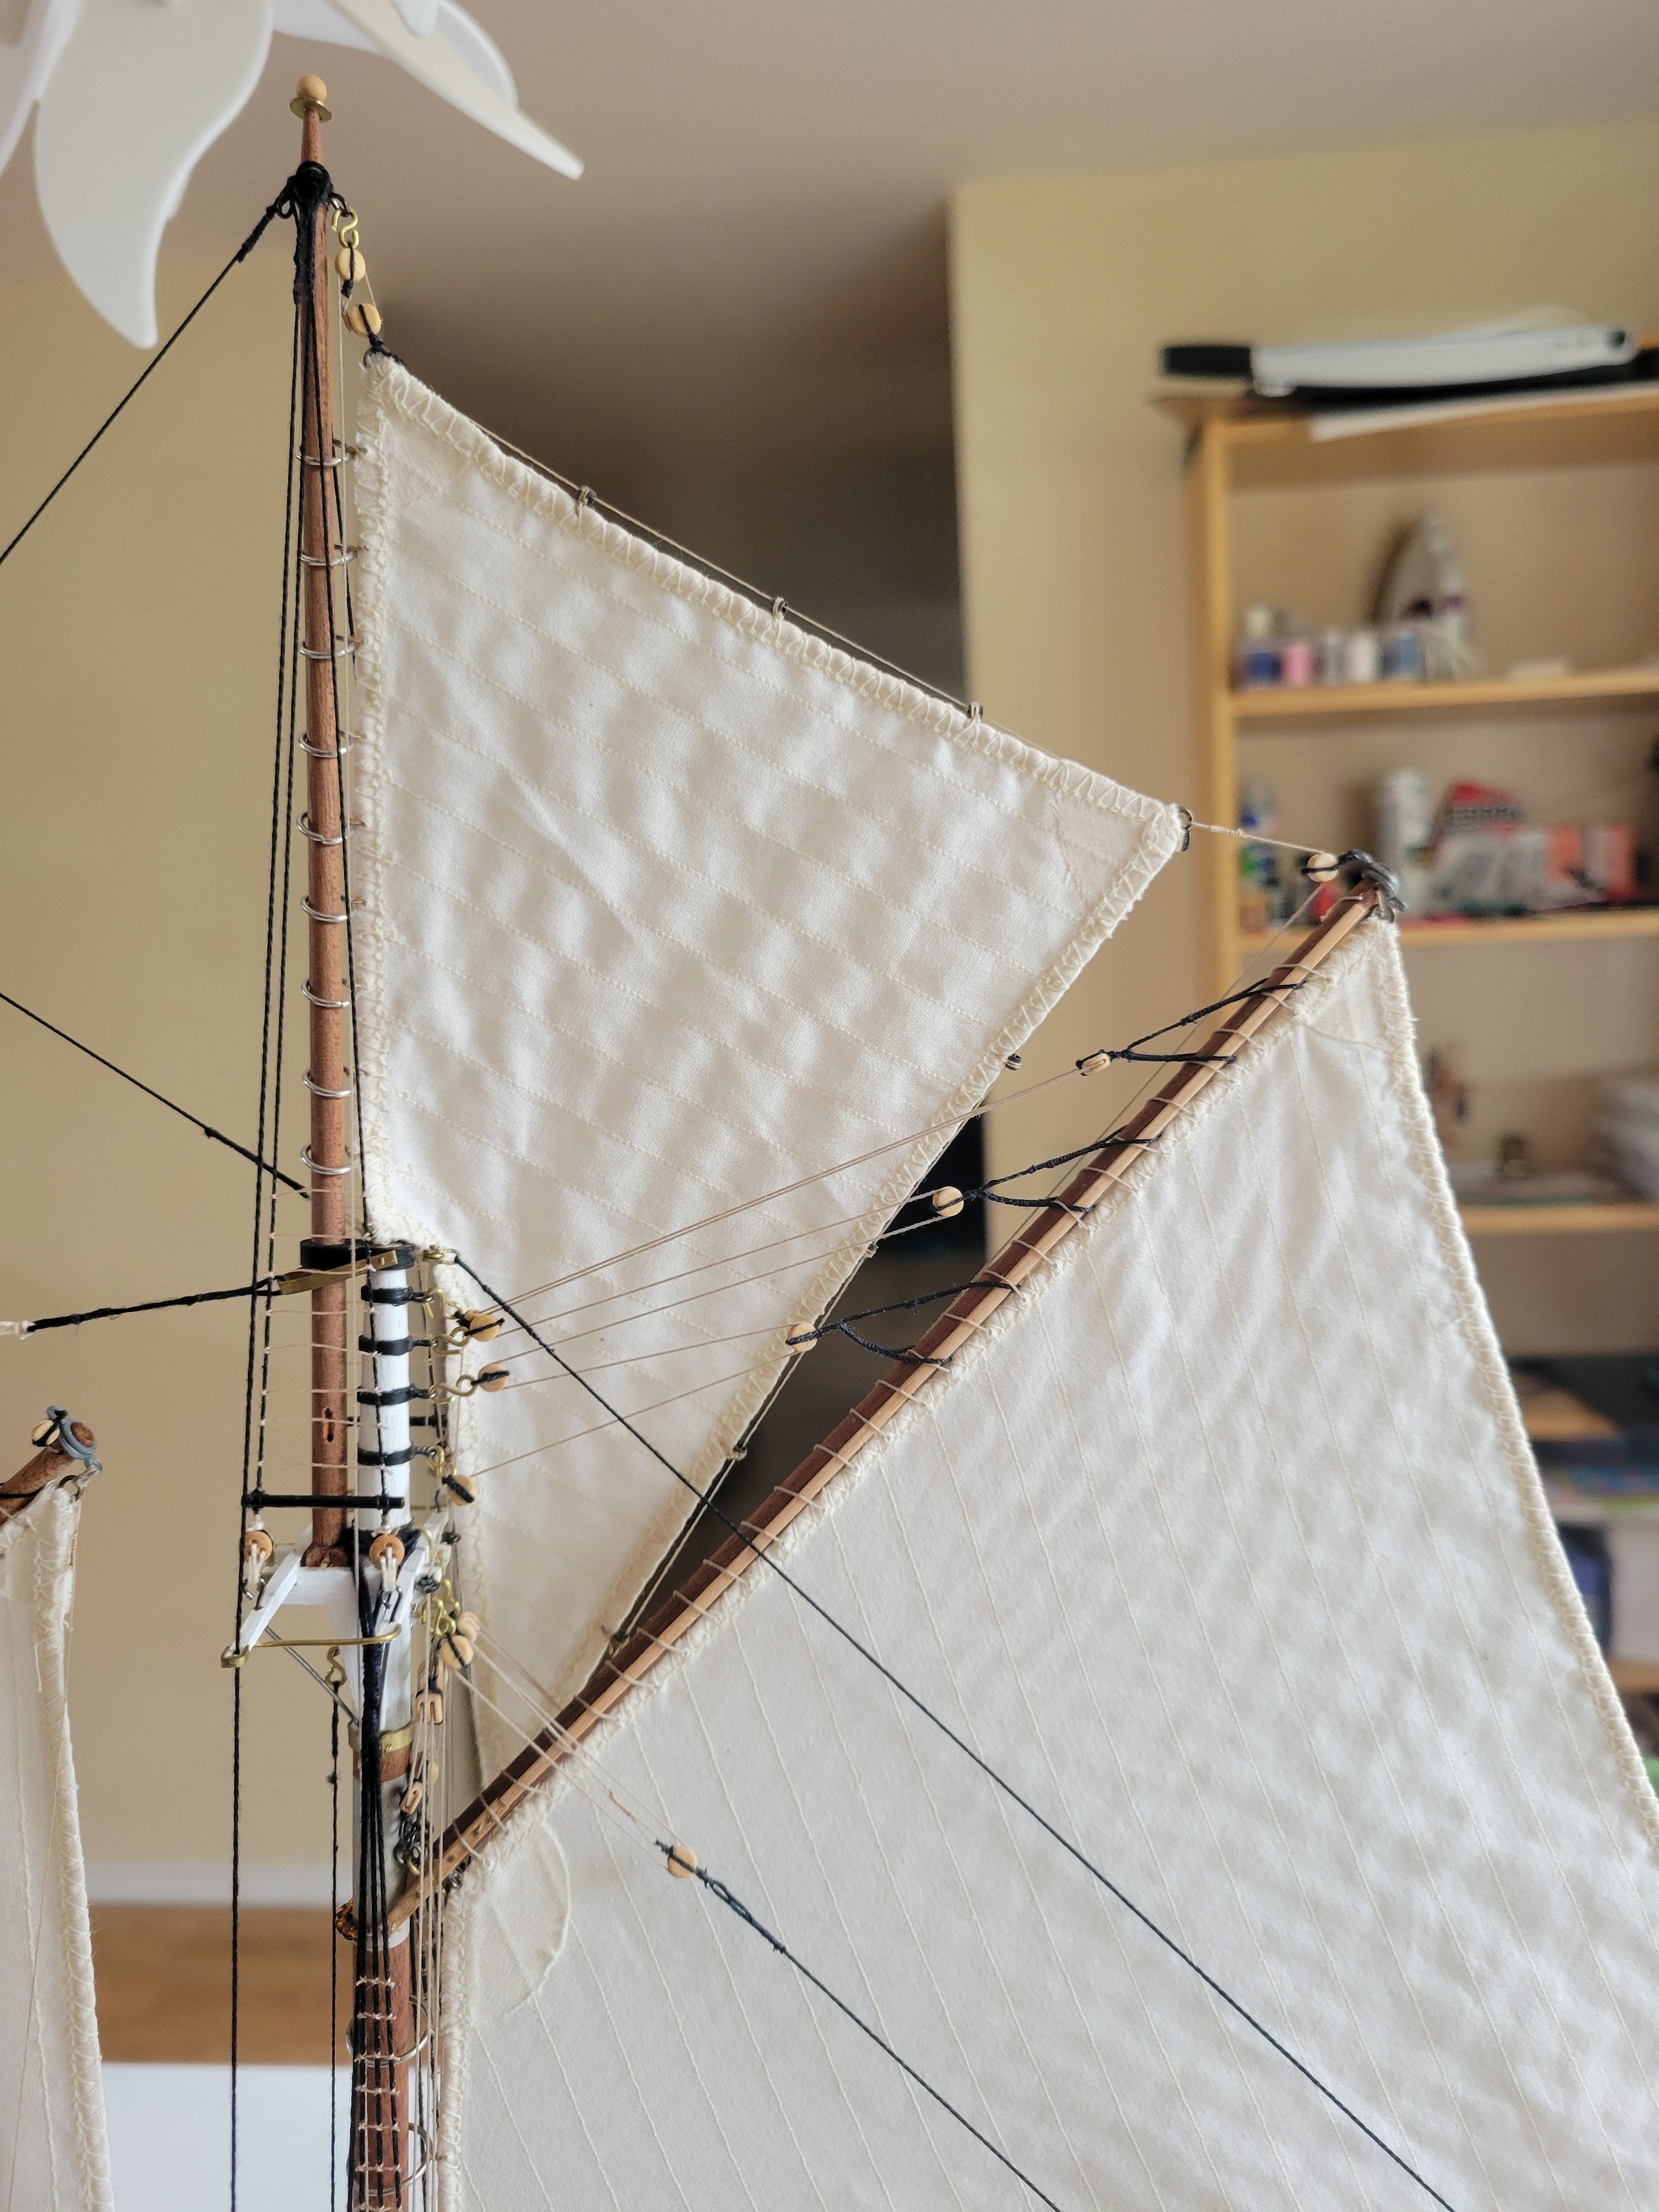
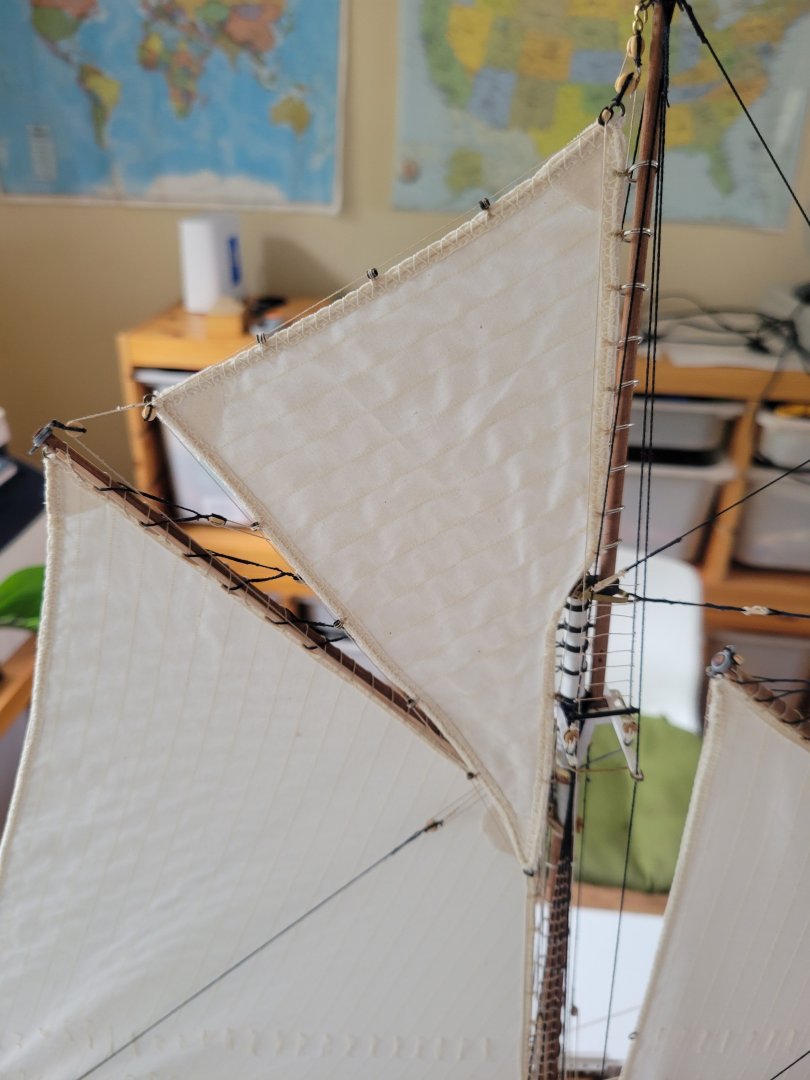
Staysail up bit need to get the fore top sail in first to tighten up.


- 84 replies
-
- 1
-
-
- Artesania Latina
- Bluenose II
- (and 1 more)
-
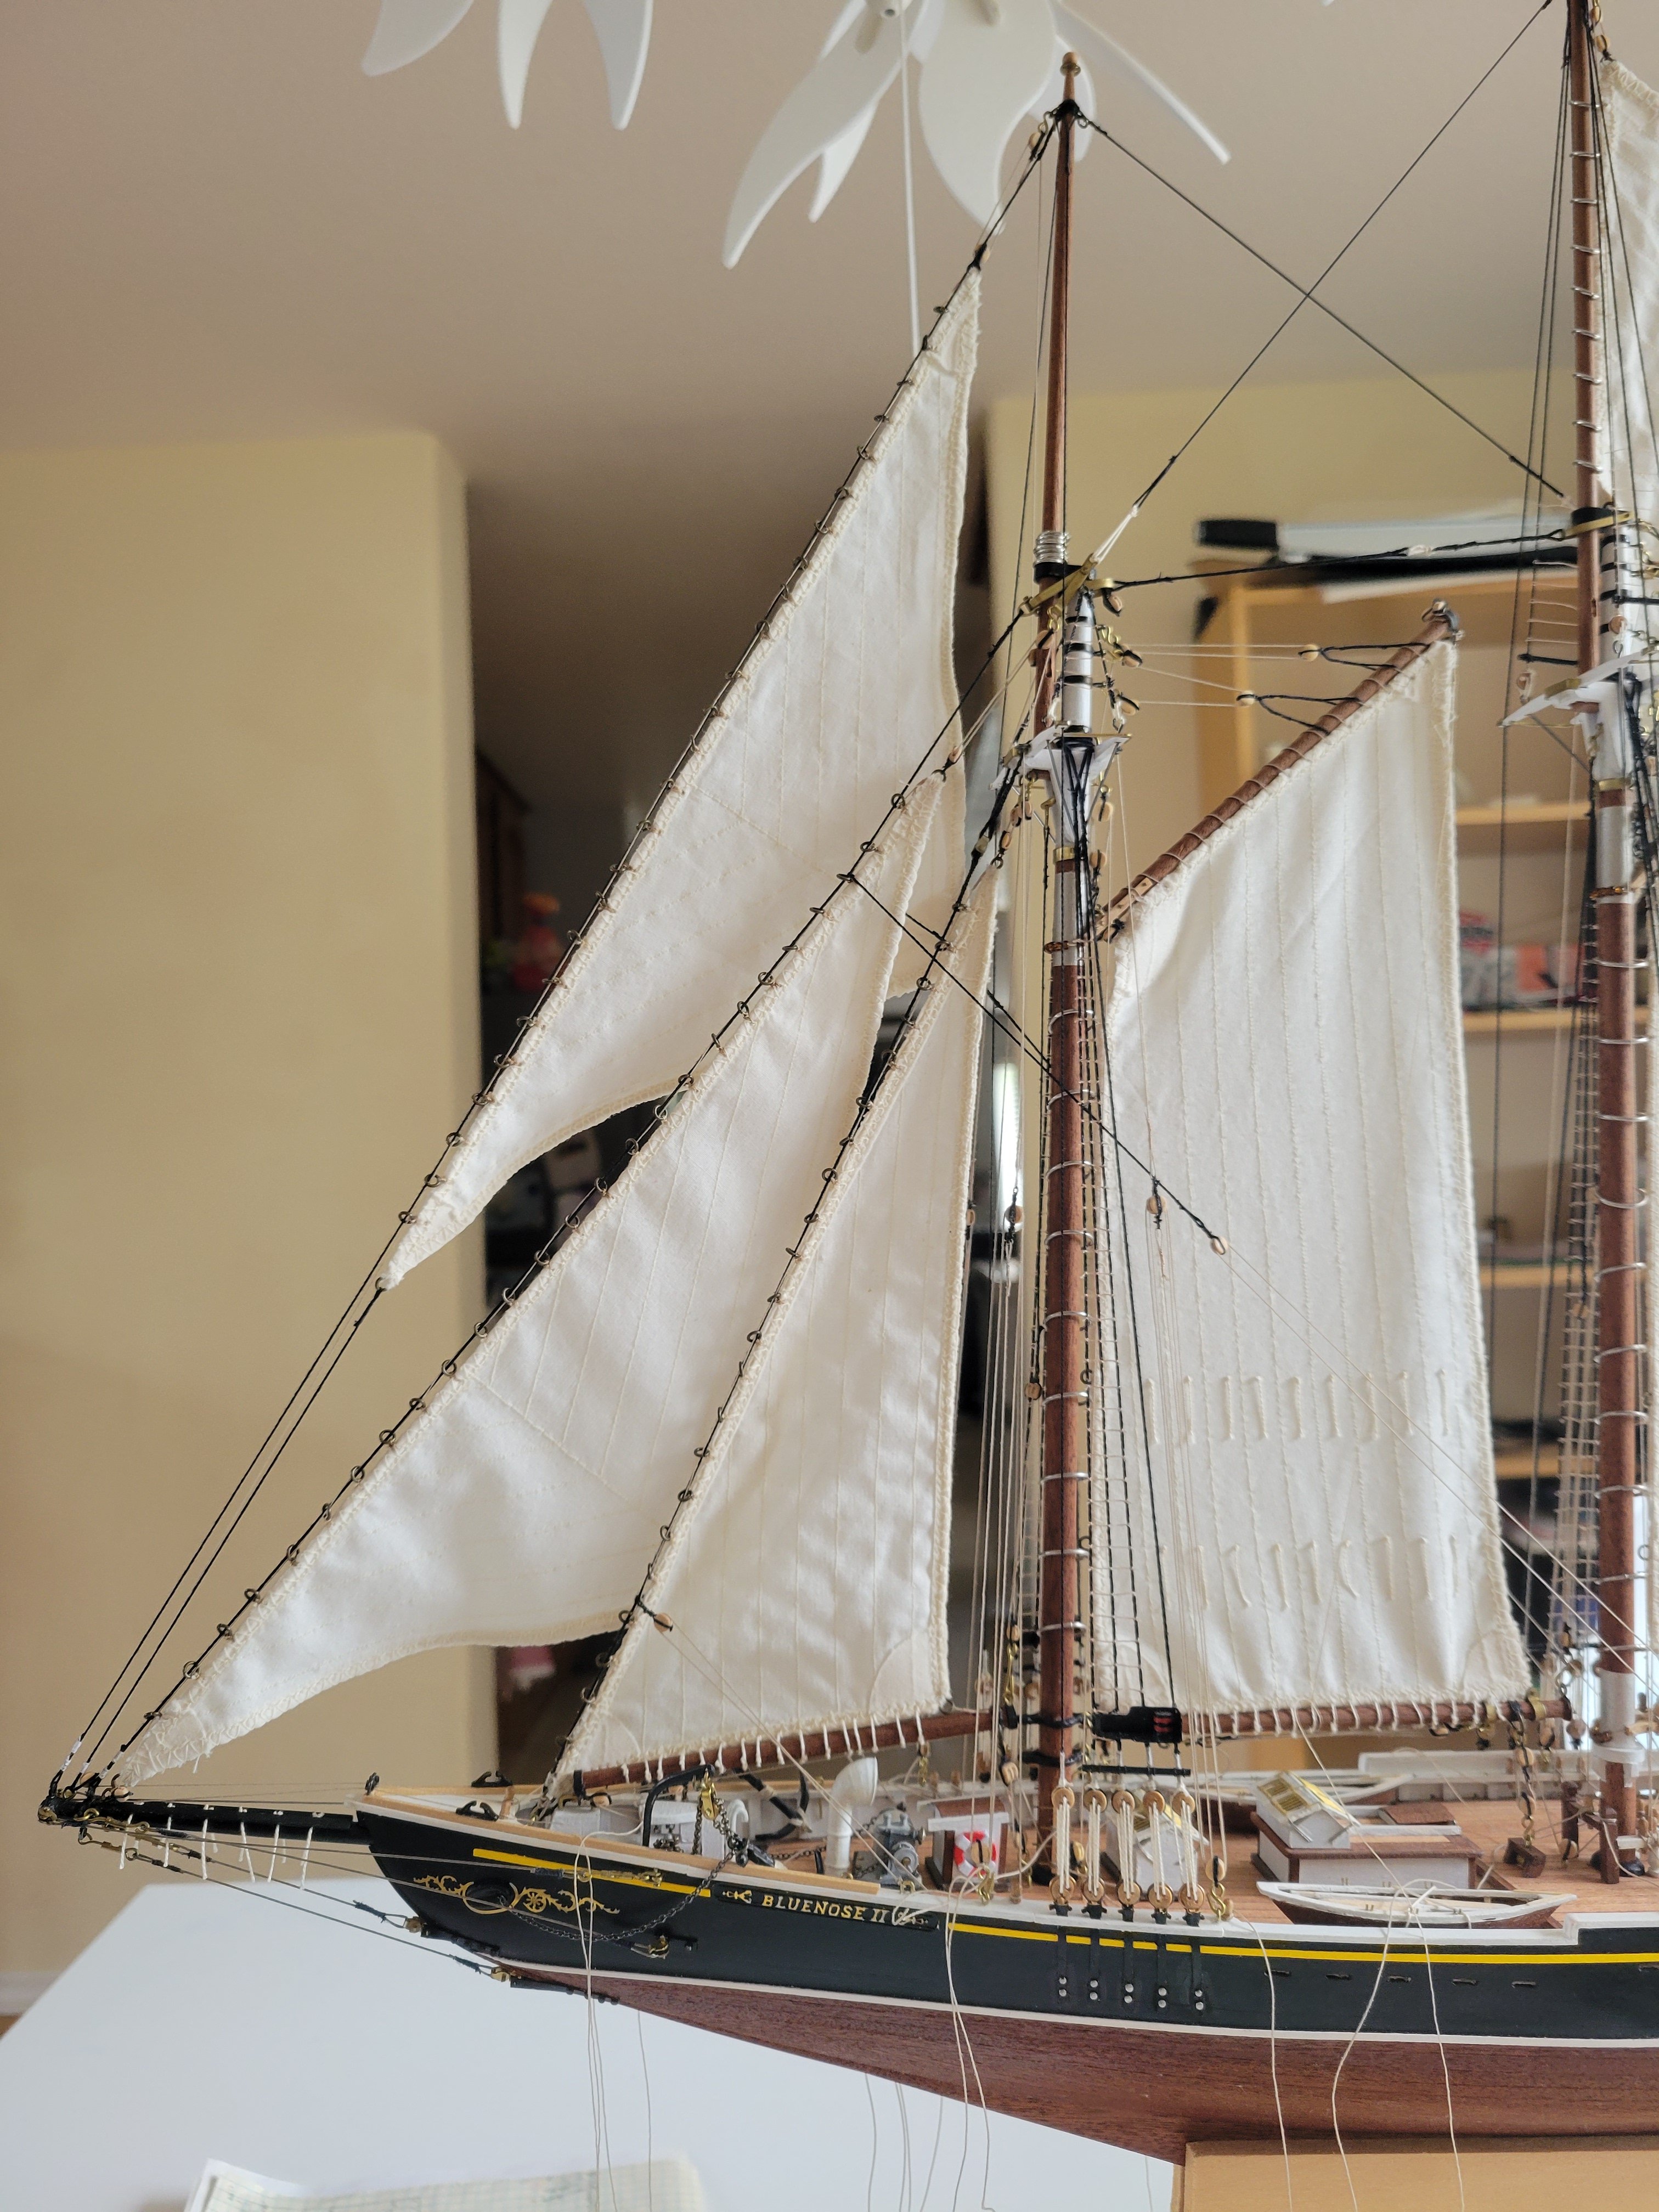
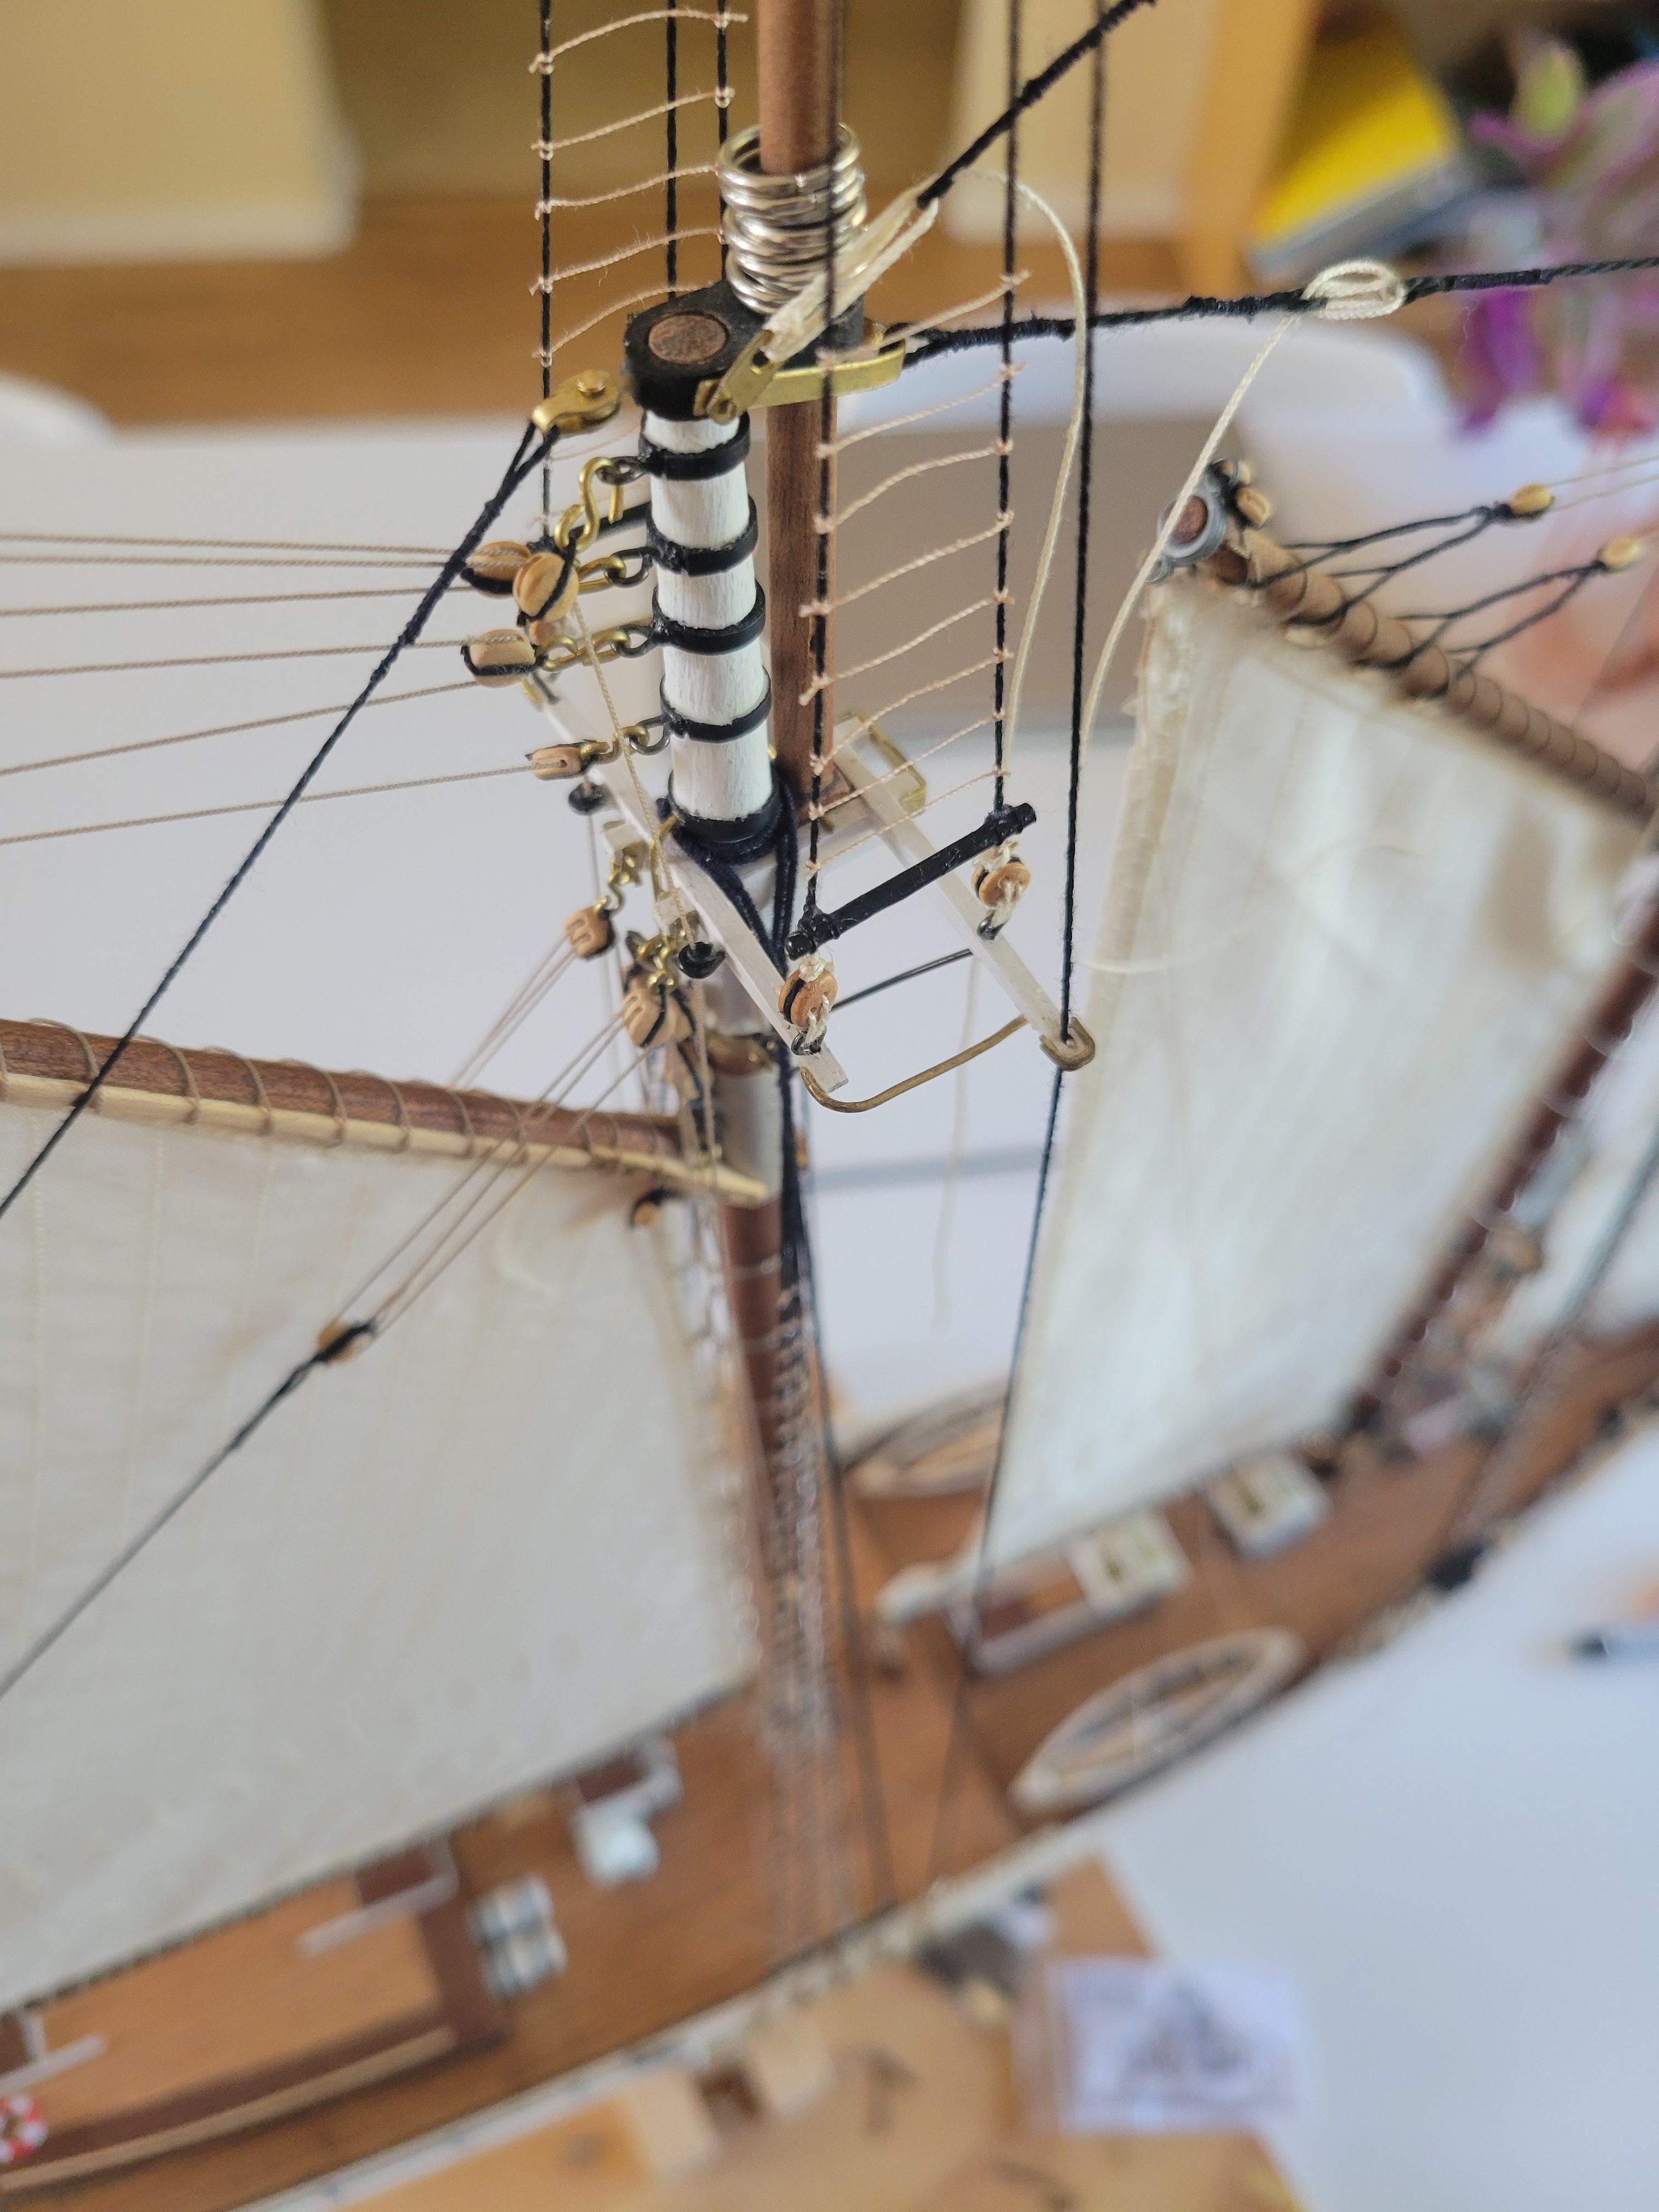
More progress and finishing up on some of the riggings.rigging. added last jib and the main top mast.


- 84 replies
-
- 2
-
-
- Artesania Latina
- Bluenose II
- (and 1 more)
-
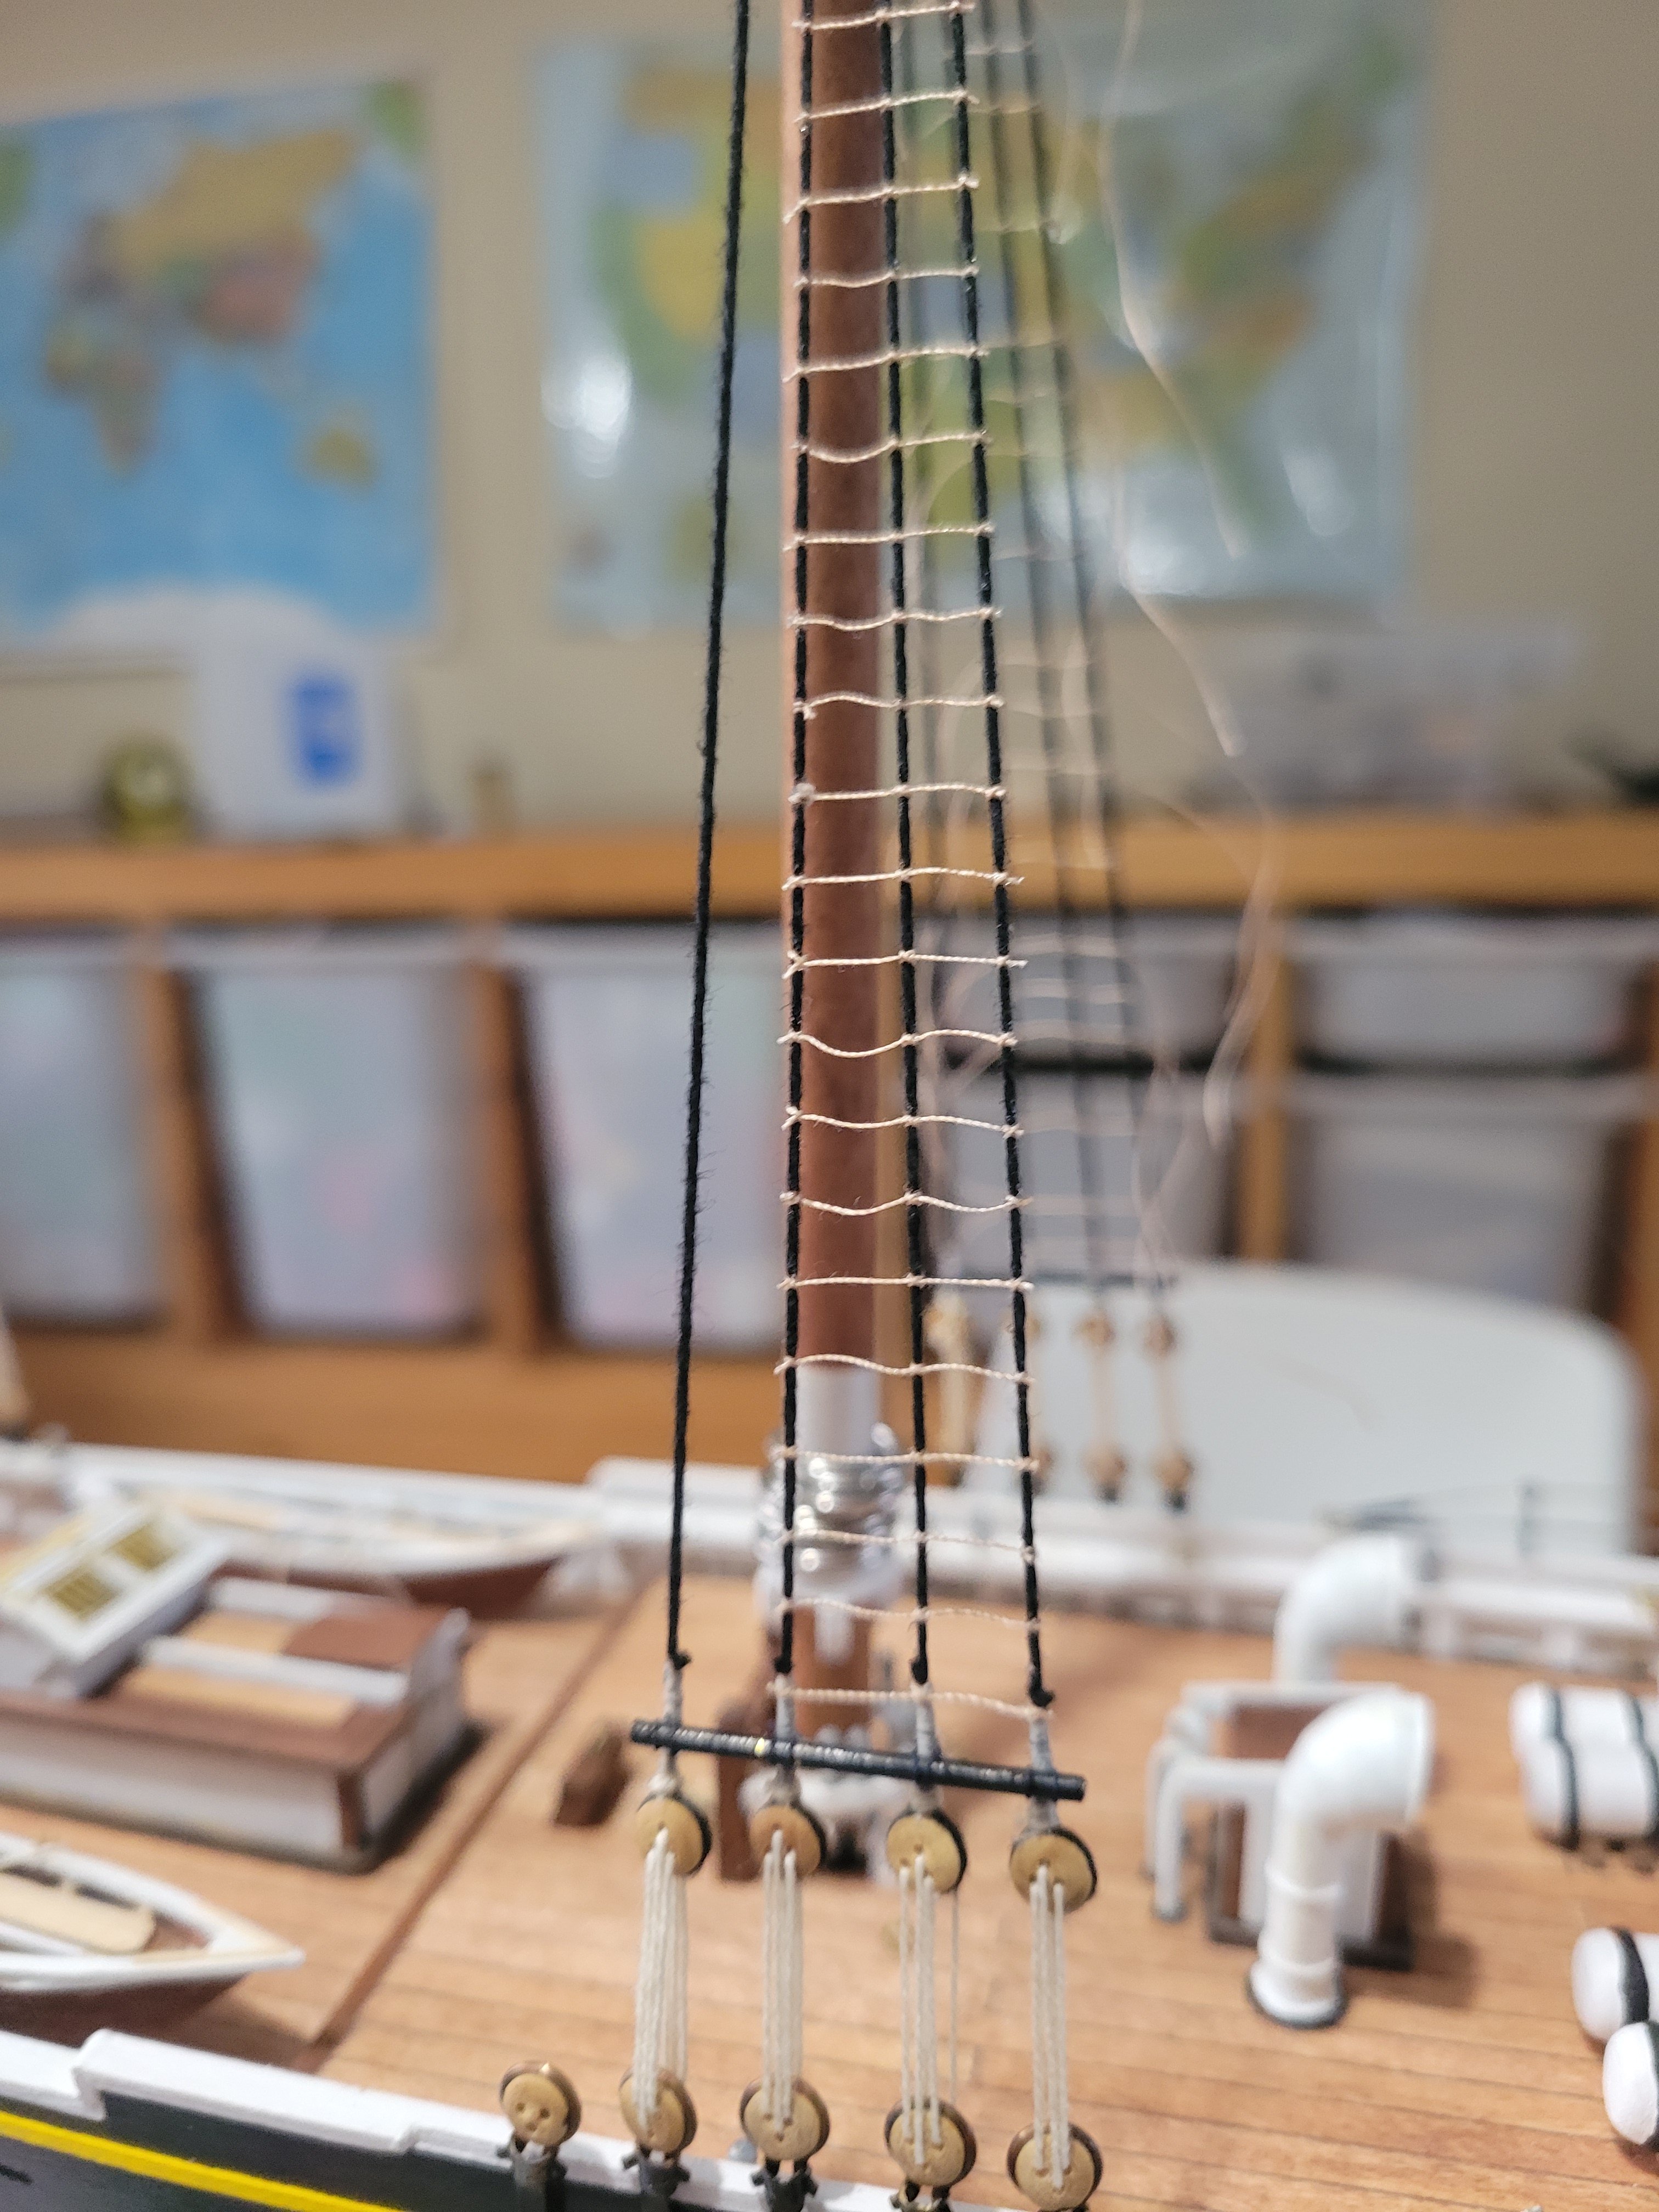
I like that approach for ratlines. Allows to verify each one looks "visually:level before tieing. Might also help keep them spaced evenly. I thing you could put a repositional sticky back on there so the shrouds would be lightly stuck at the interval while tieing off. I tied every knot on this build as a true clove hitch so positioning was painstaking to get right! For the Jensen book, I did almost purchase it as well but held off when I realized that the AL kit was not correct to any version of the bluenose. There is some mixing ov versions in their kit and some components that don't match any version! Classic for AL. They can keep their costs/prices slightly lower due to a lack of accuracy. I did do some of my own research to scratch modify some items to match the current day bluenose design. Some. I just left what AL provided as it wasn't worth moding. In the end, my building may not truly be accurate but it's only for.me anyways and I like how it's turning out for my own purpose!
-
Next sail in progress. Couple more lines to rig and then I can move to the main gaff


- 84 replies
-
- 1
-
-
- Artesania Latina
- Bluenose II
- (and 1 more)
-
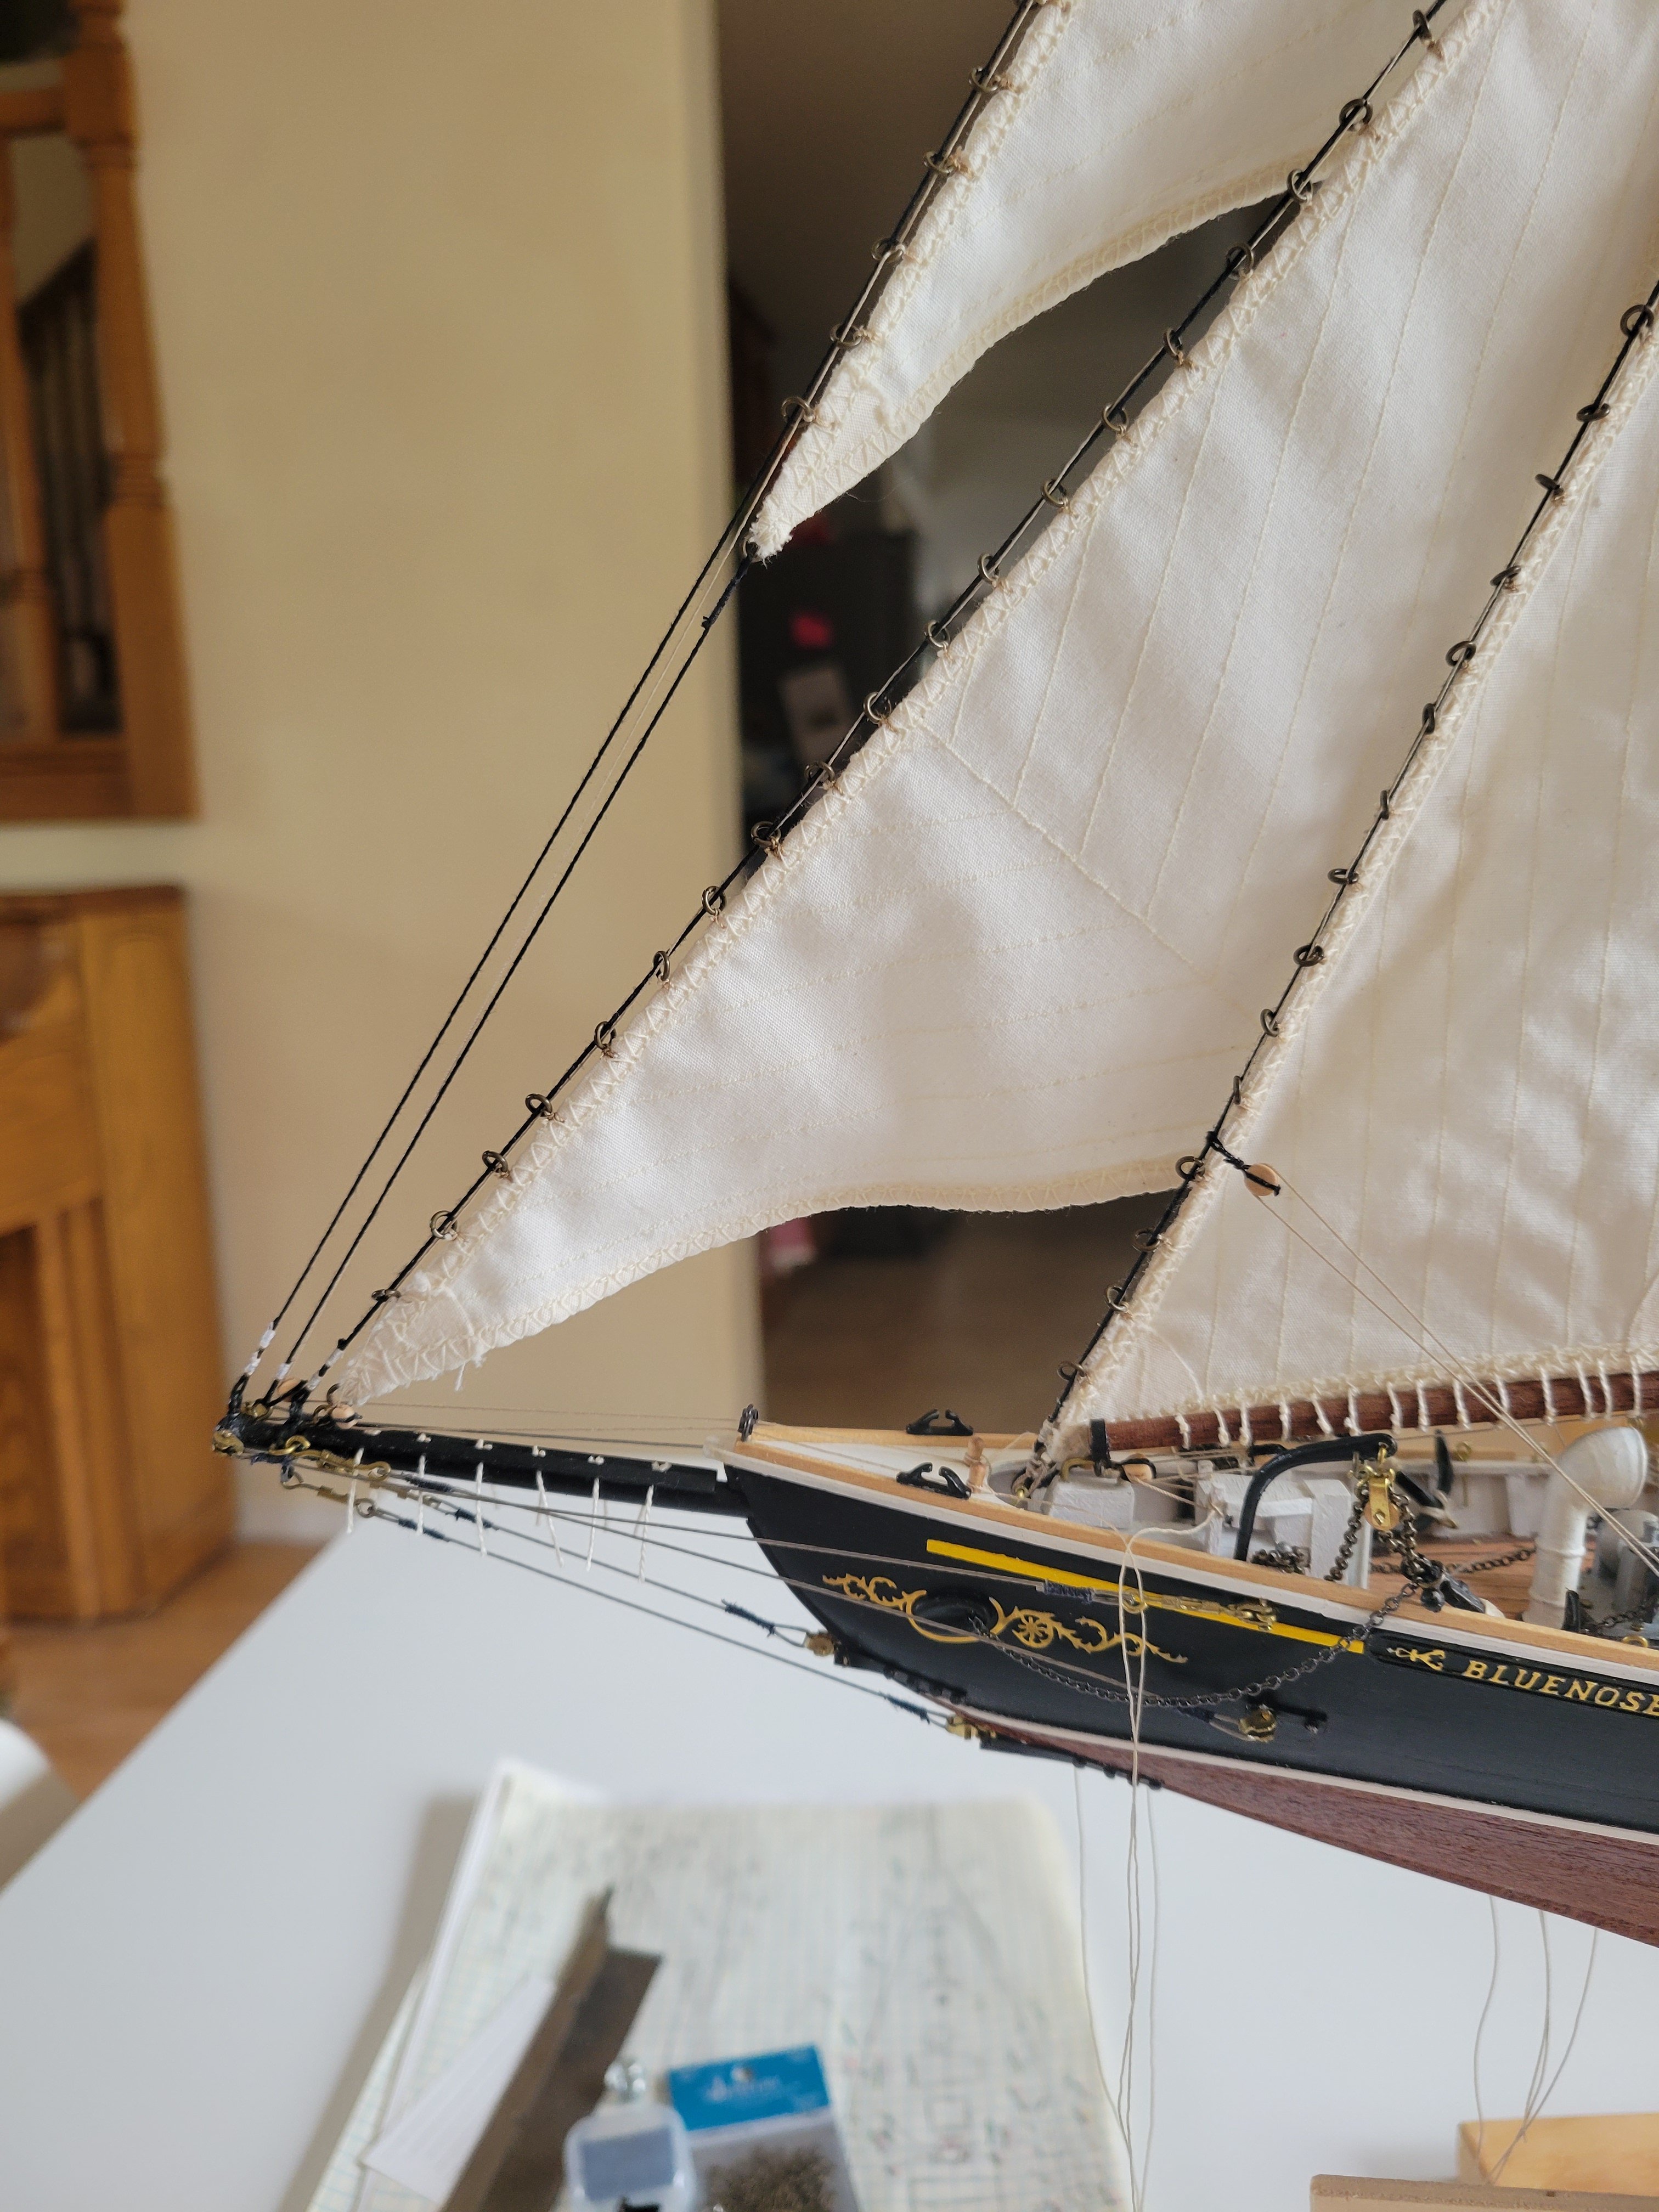
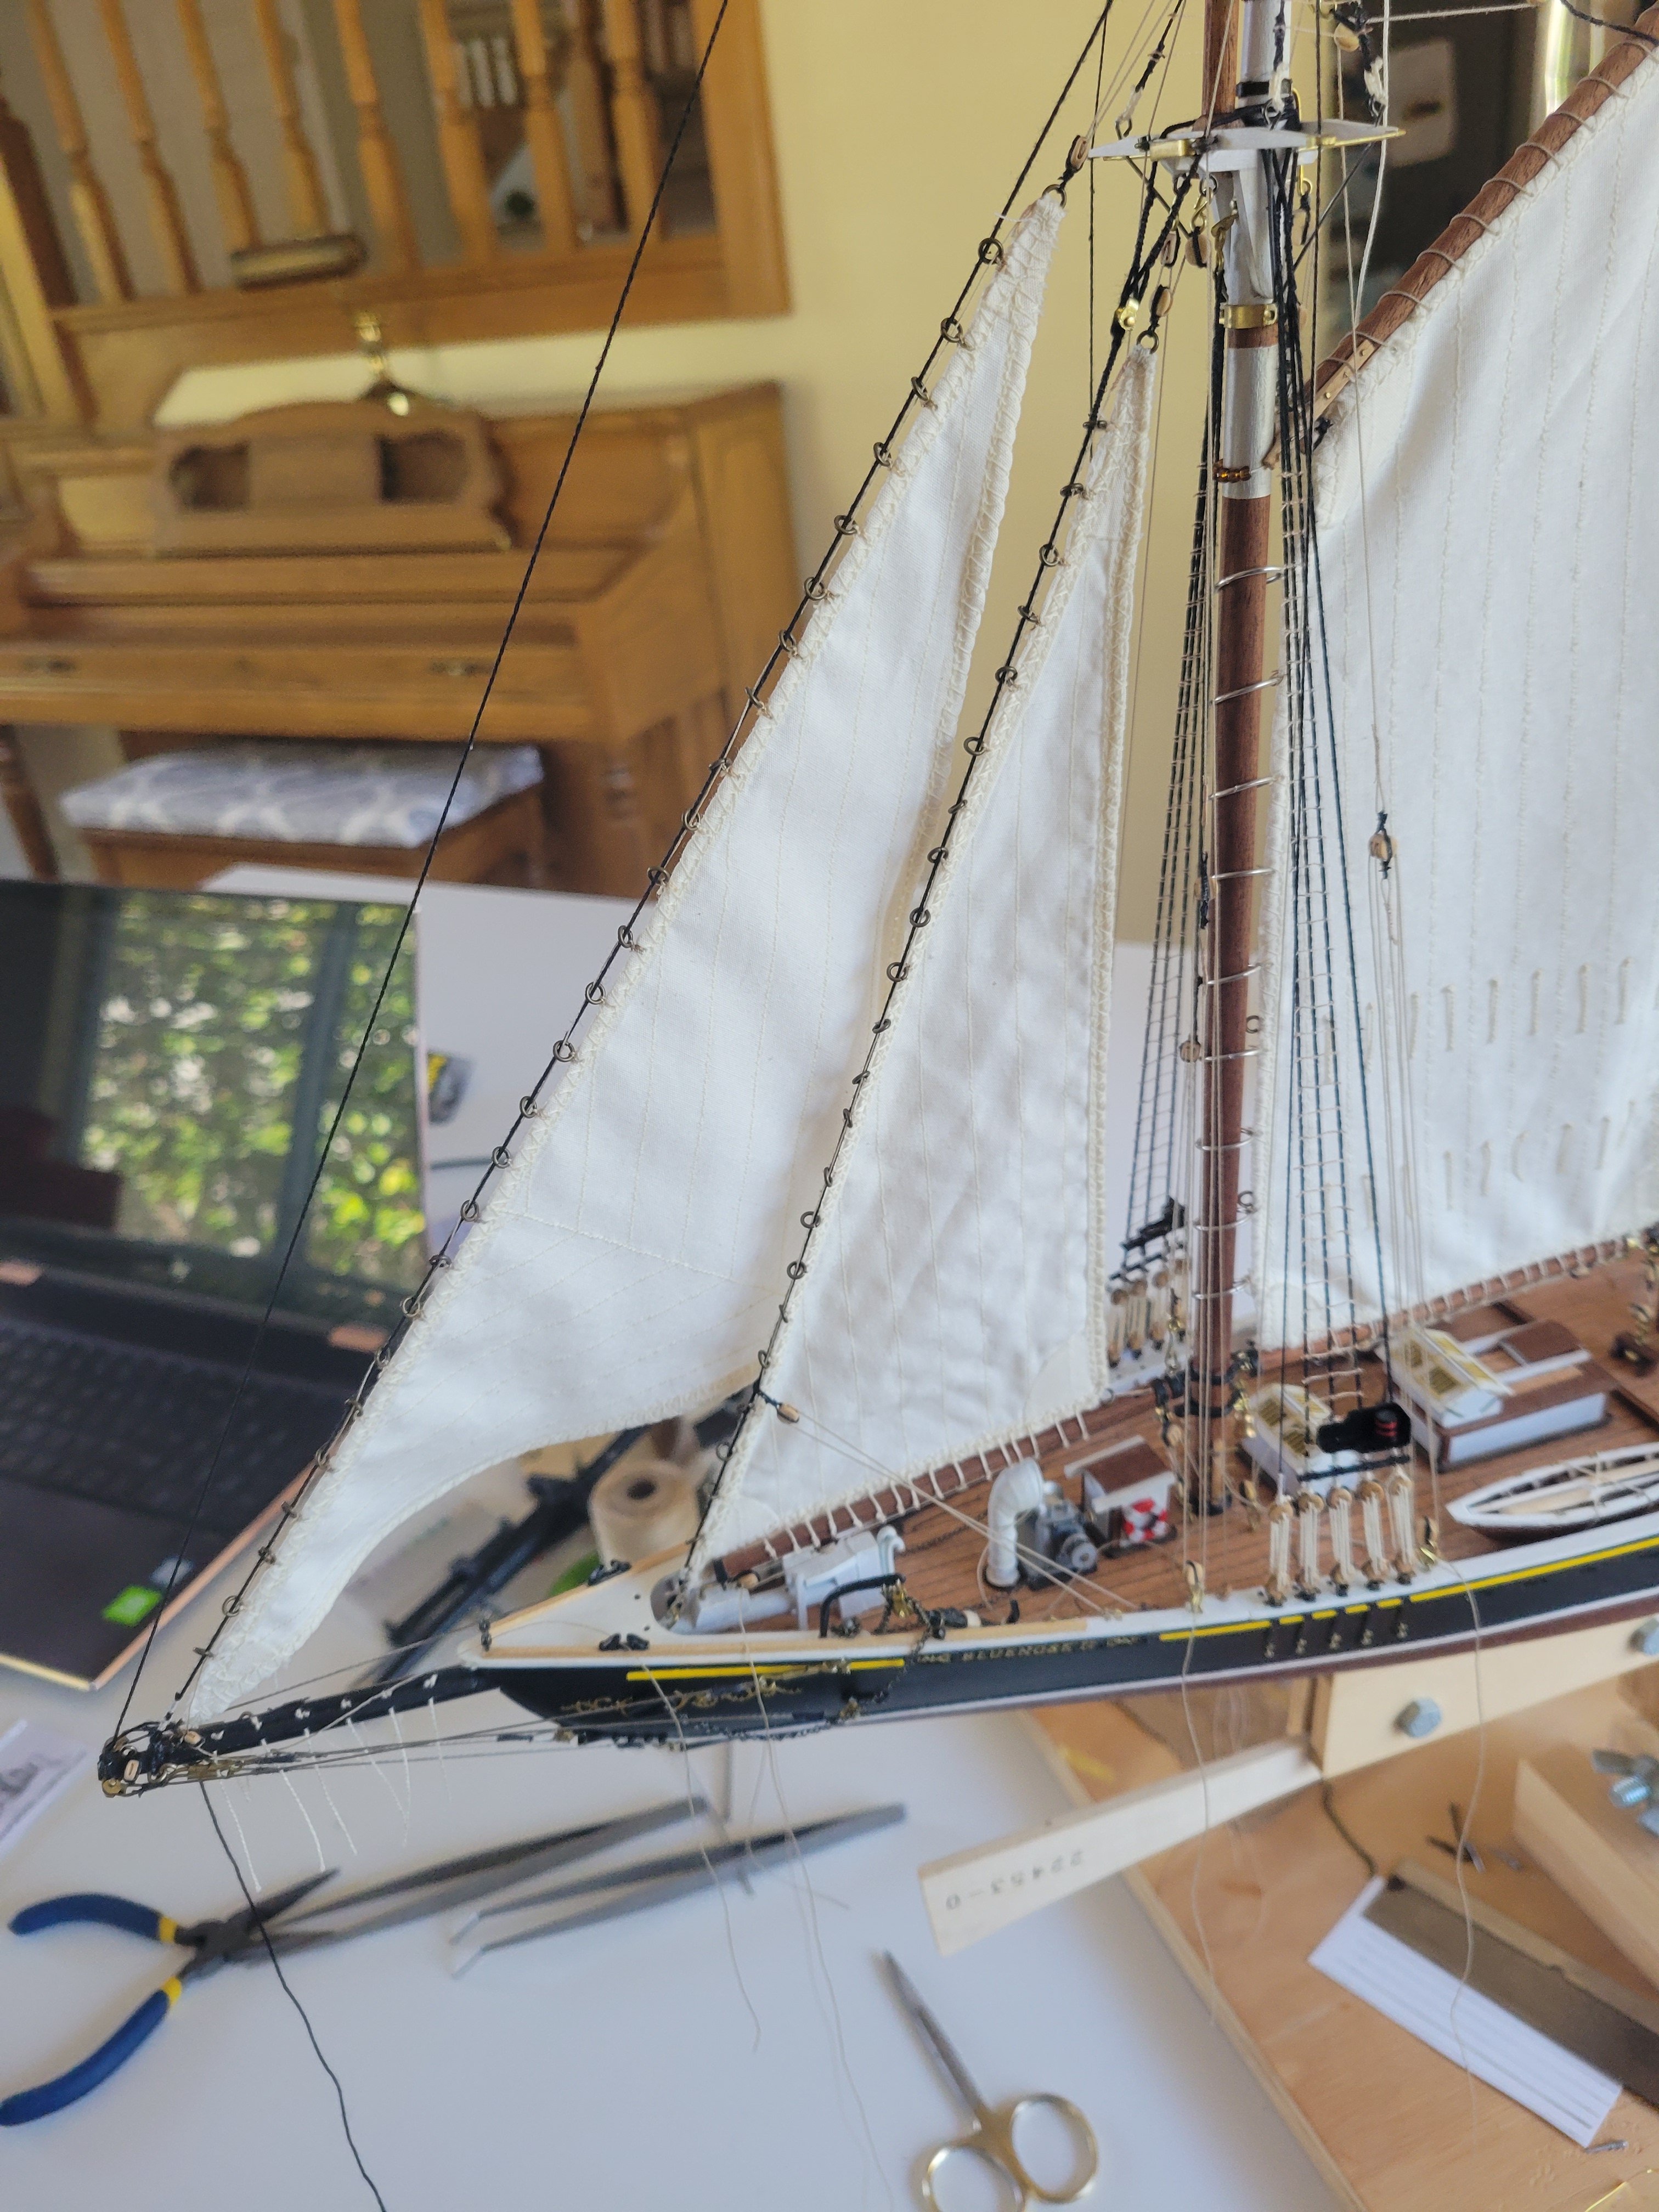
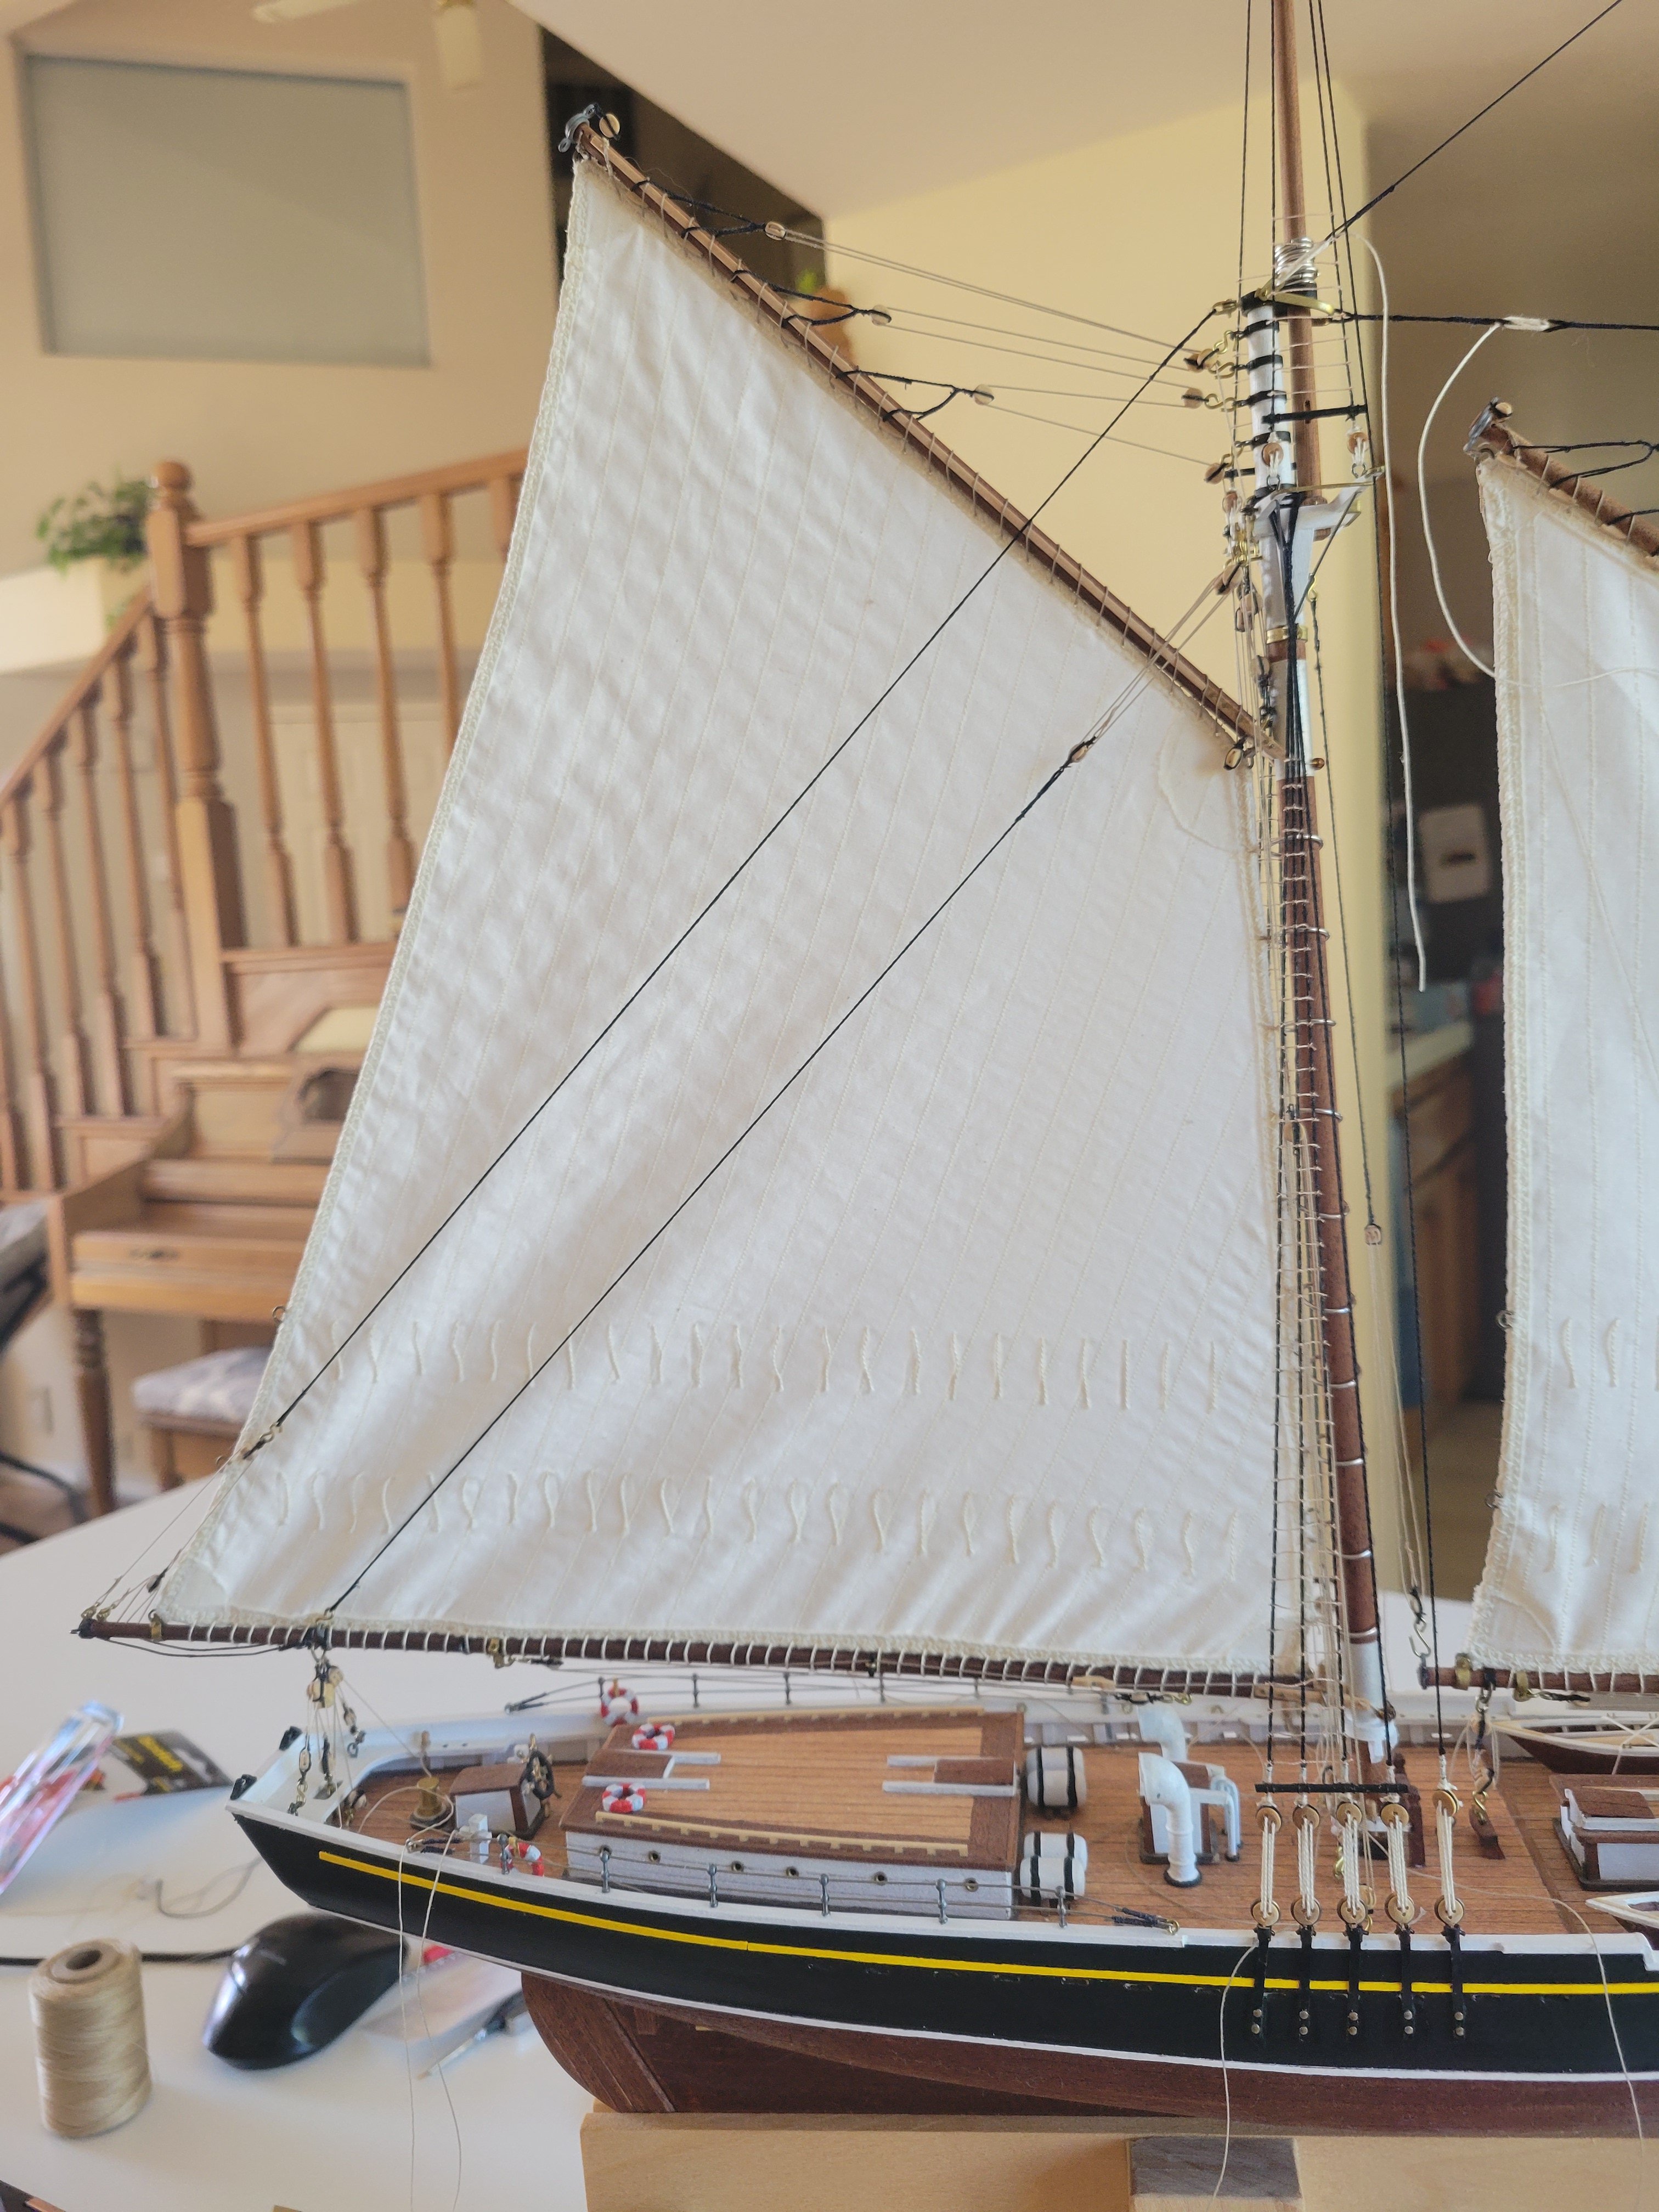
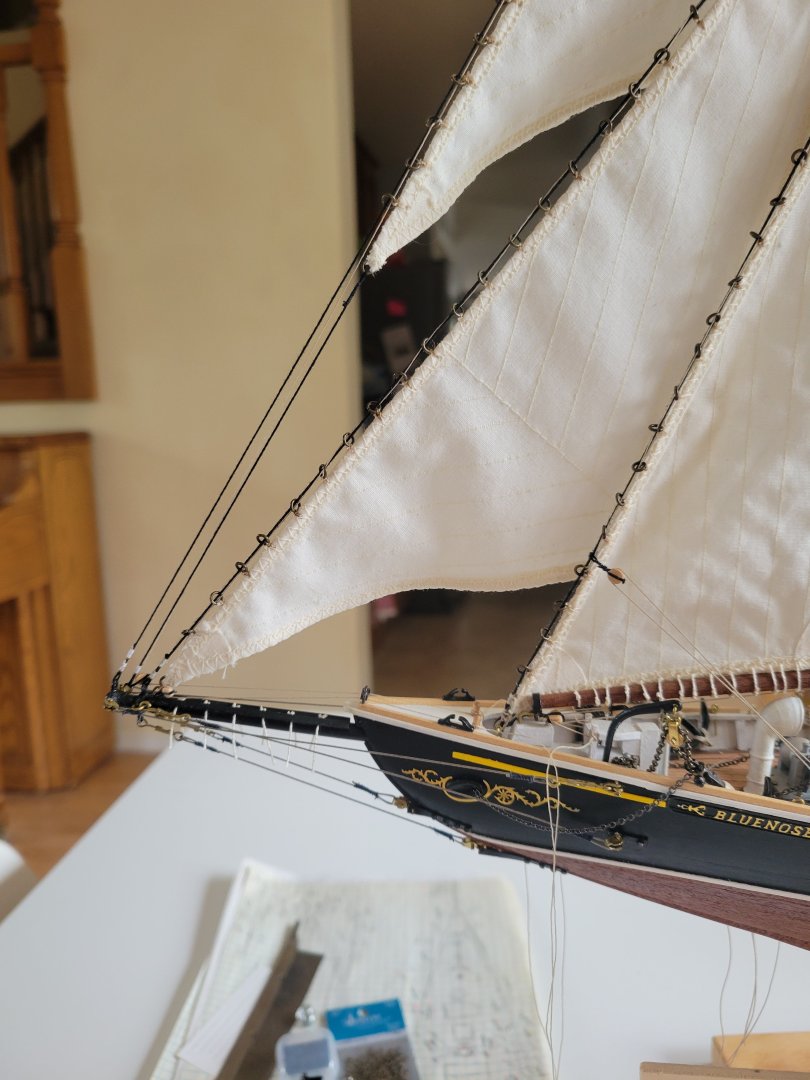
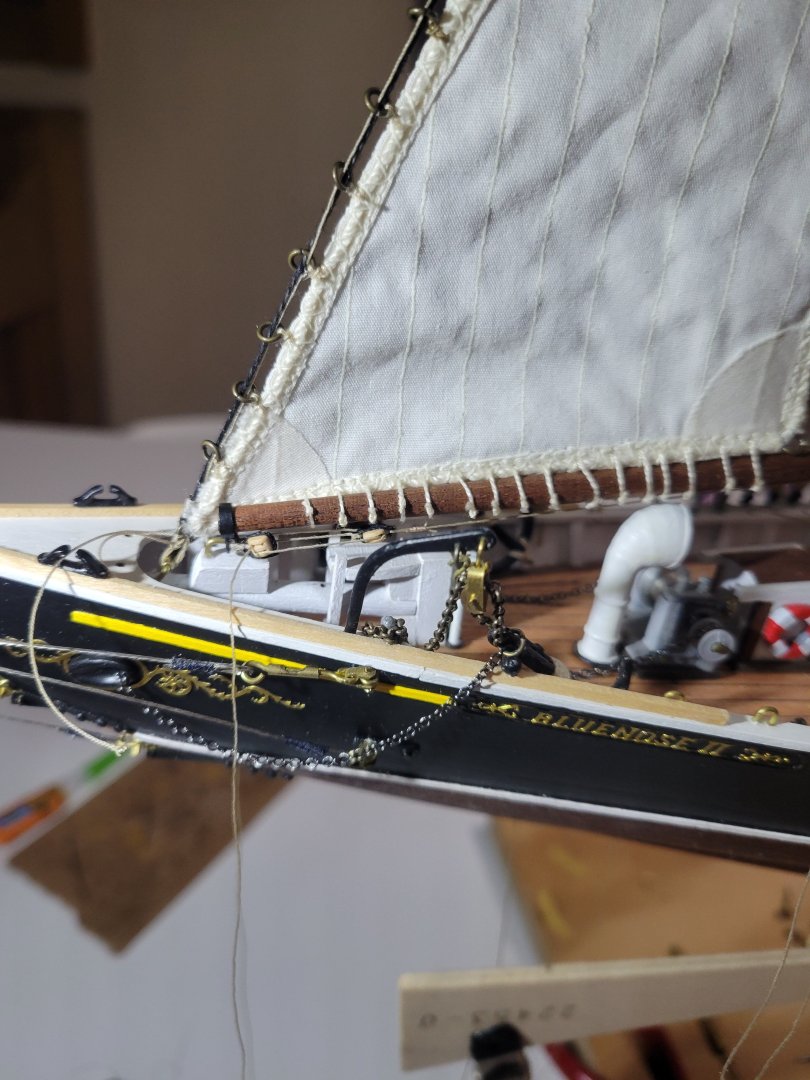
Jumbo jib set in place. Couple lines yet to tie off but first sail pretty much rigged.


- 84 replies
-
- 3
-
-
- Artesania Latina
- Bluenose II
- (and 1 more)
-
Here's what I went with. I'm using walnut belay pins everywhere else but kept the kit supplied metal here (they are slightly longer and thinner and maybe accentuate the metal chain?).
- 84 replies
-
- 2
-
-
- Artesania Latina
- Bluenose II
- (and 1 more)
-
That was perfect. I'm surprised I didn't stumble on his log before but got it bookmarked now. Not only did he have a good design for what I needed (and good pics!), he had close photos of the actual setup on the bluenose II. Perfect!
-
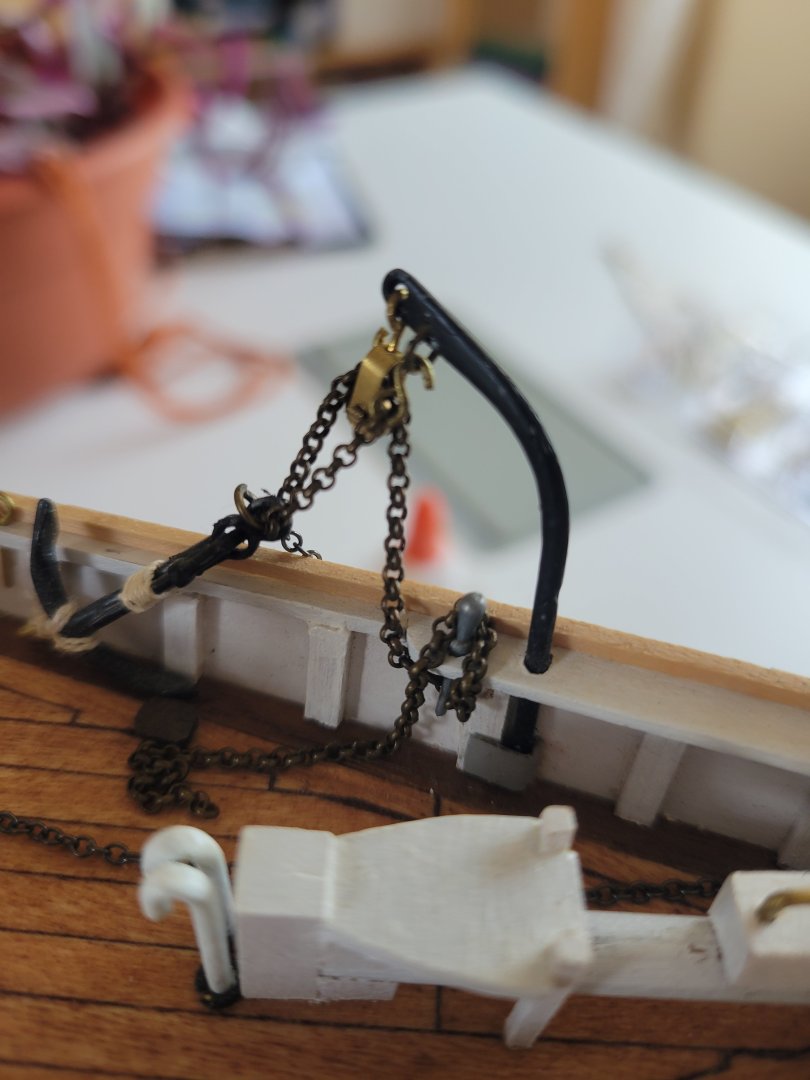
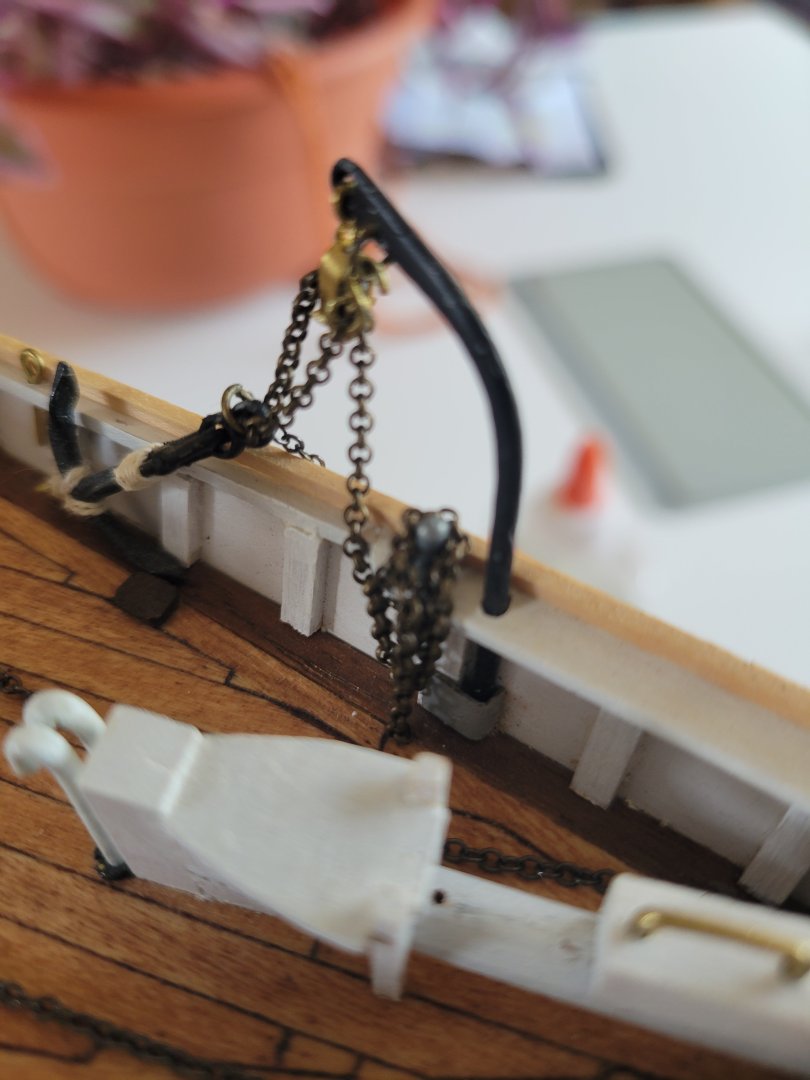
Davit is probably a more correct term than cathead!
-
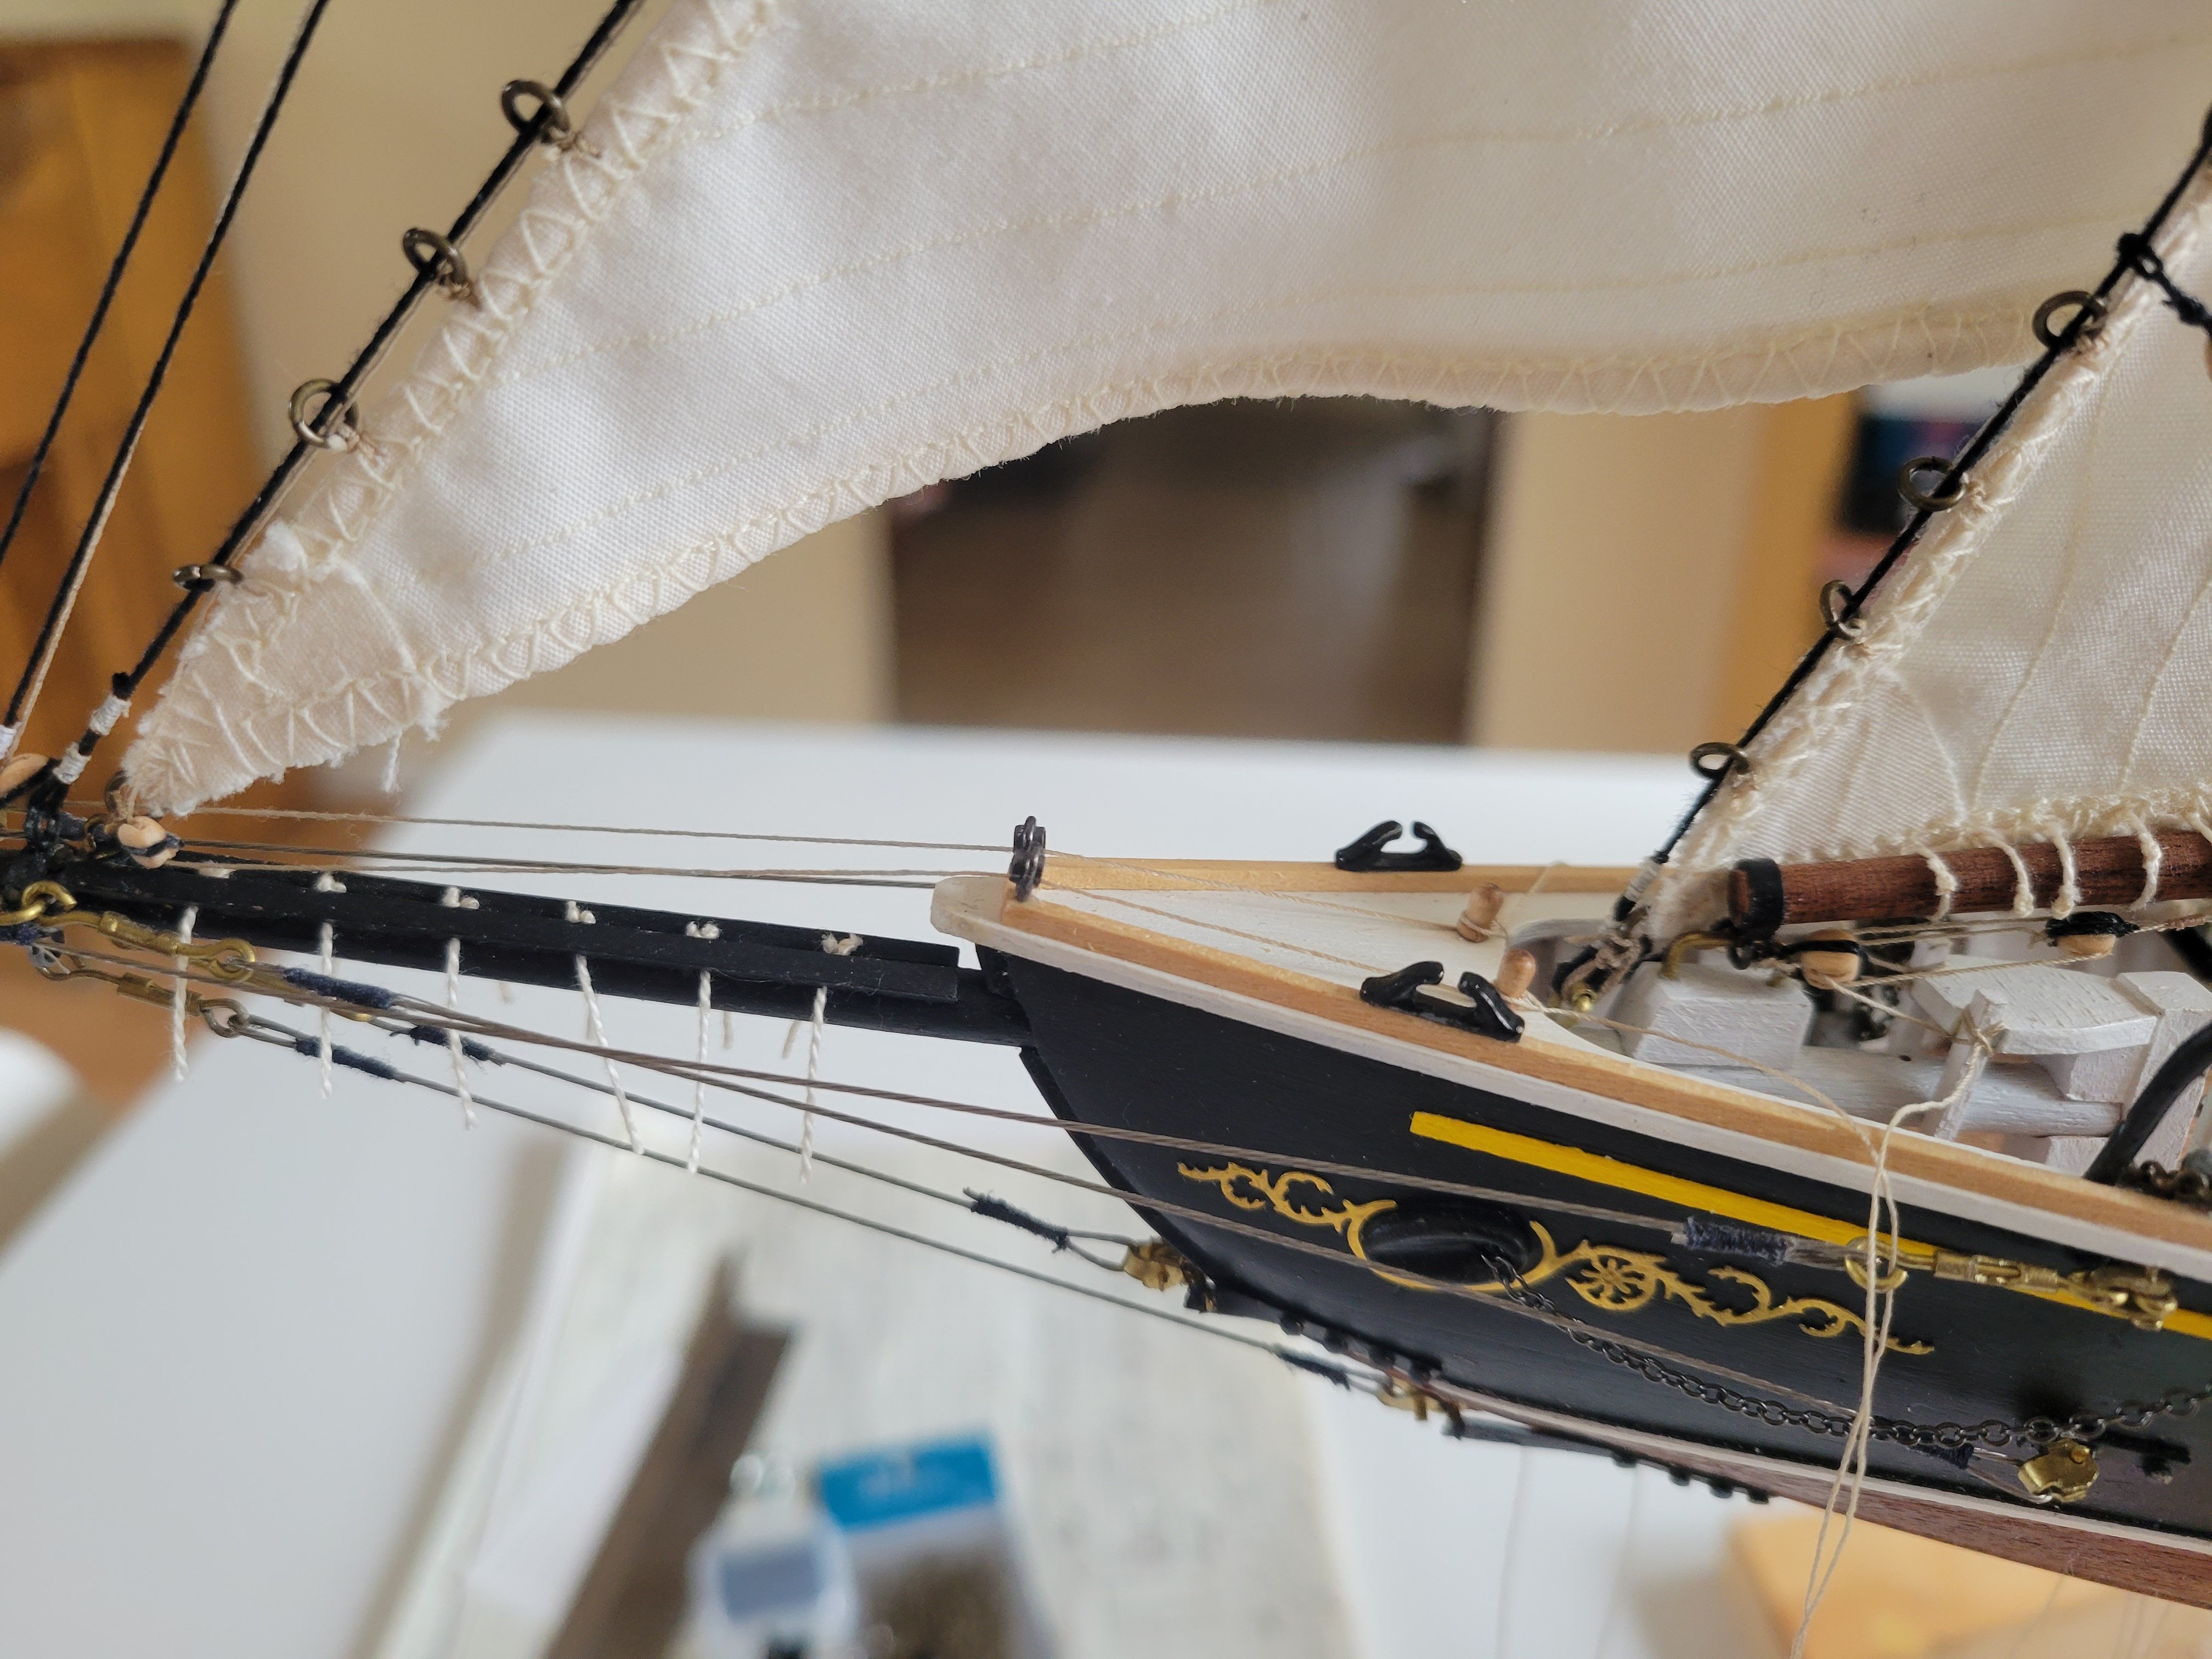
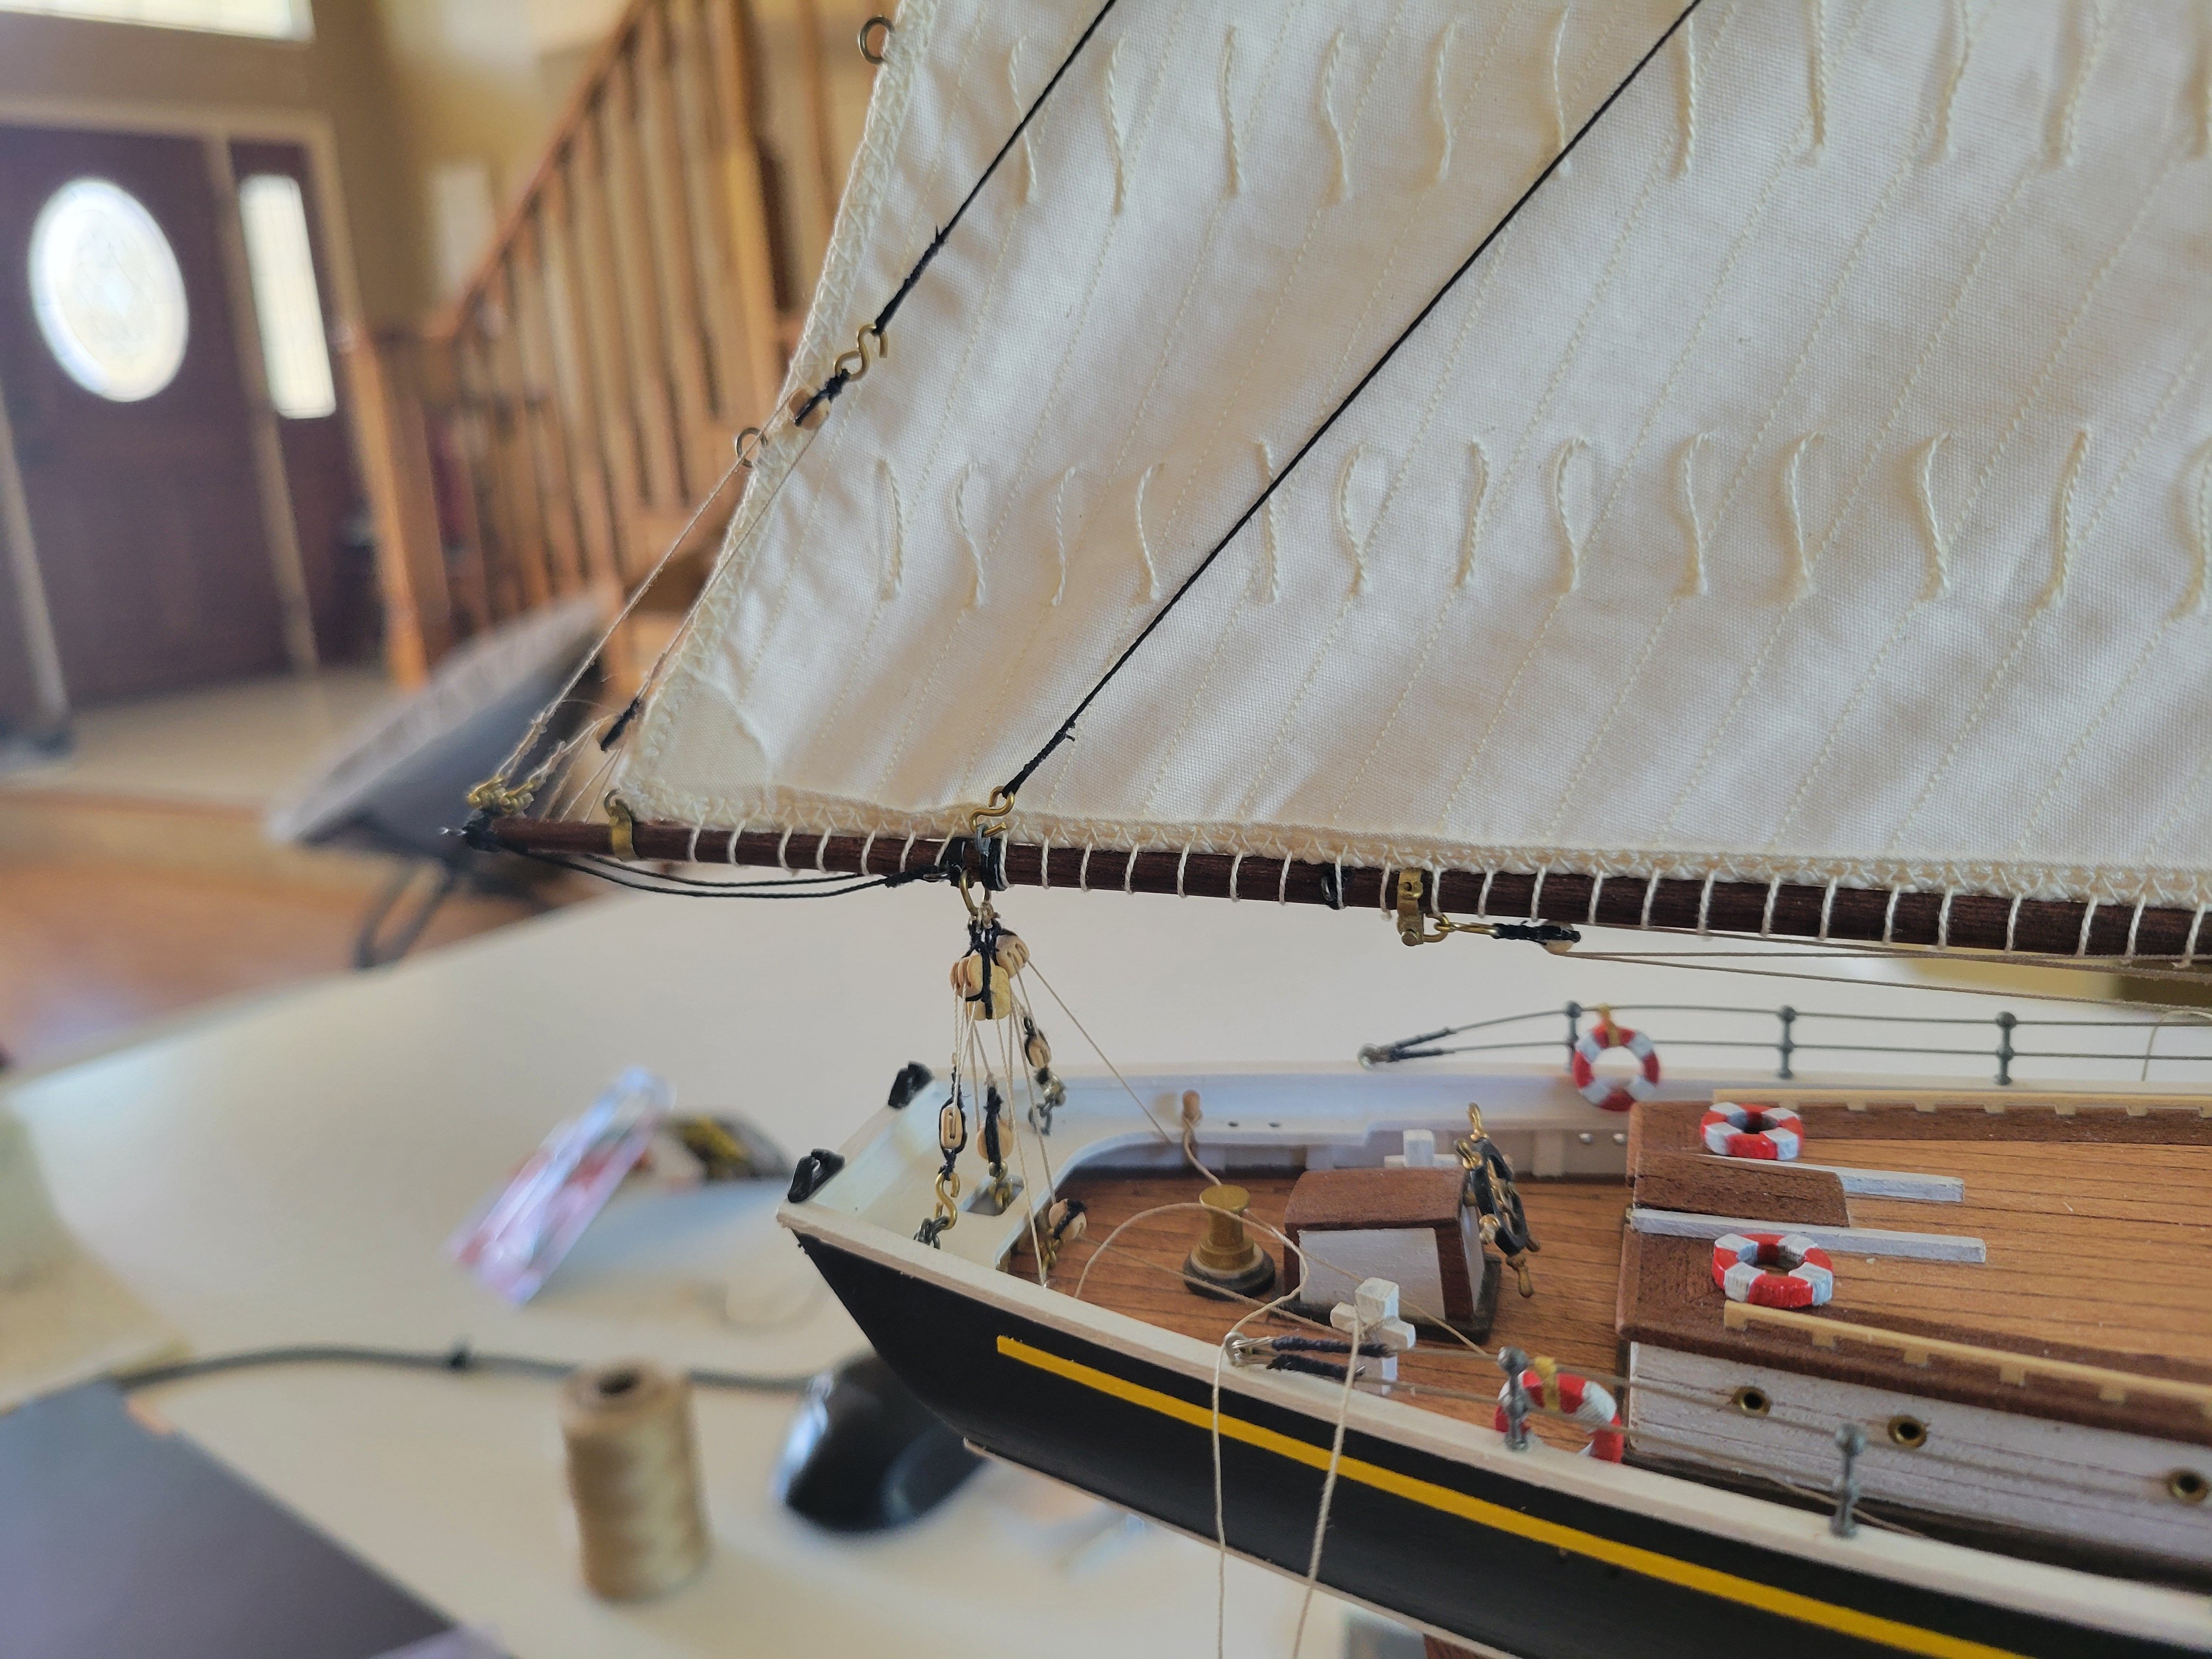
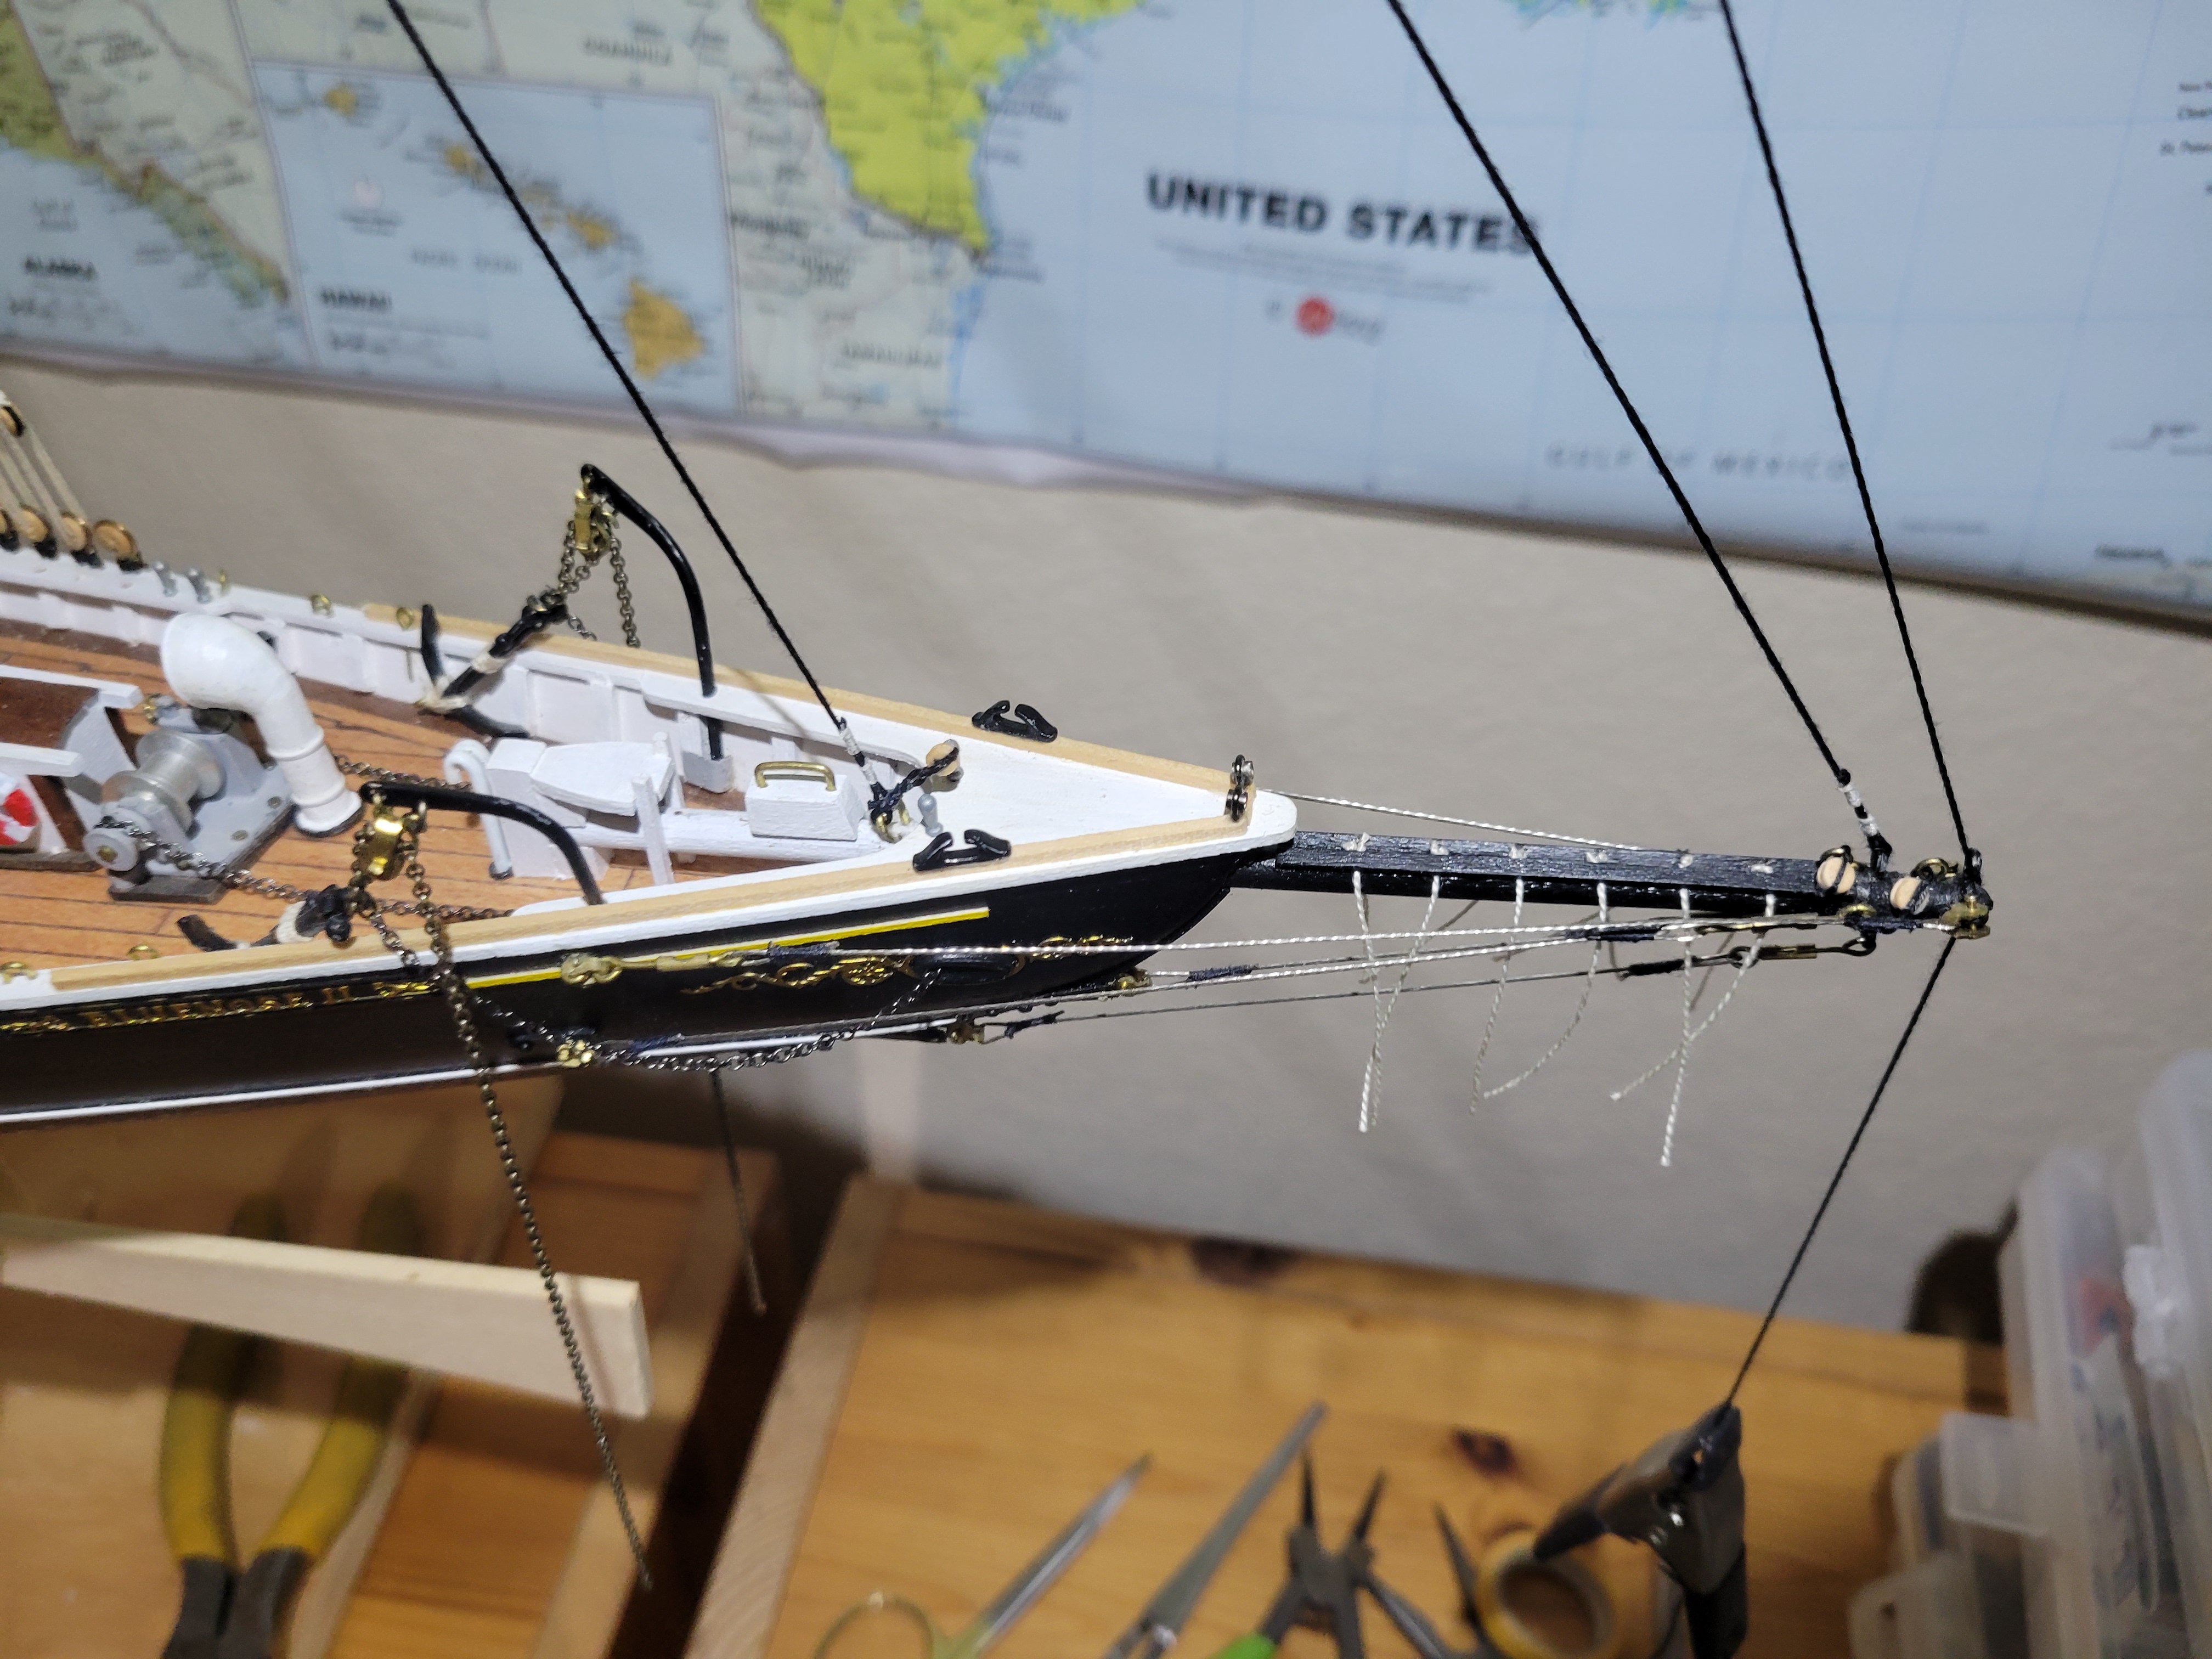
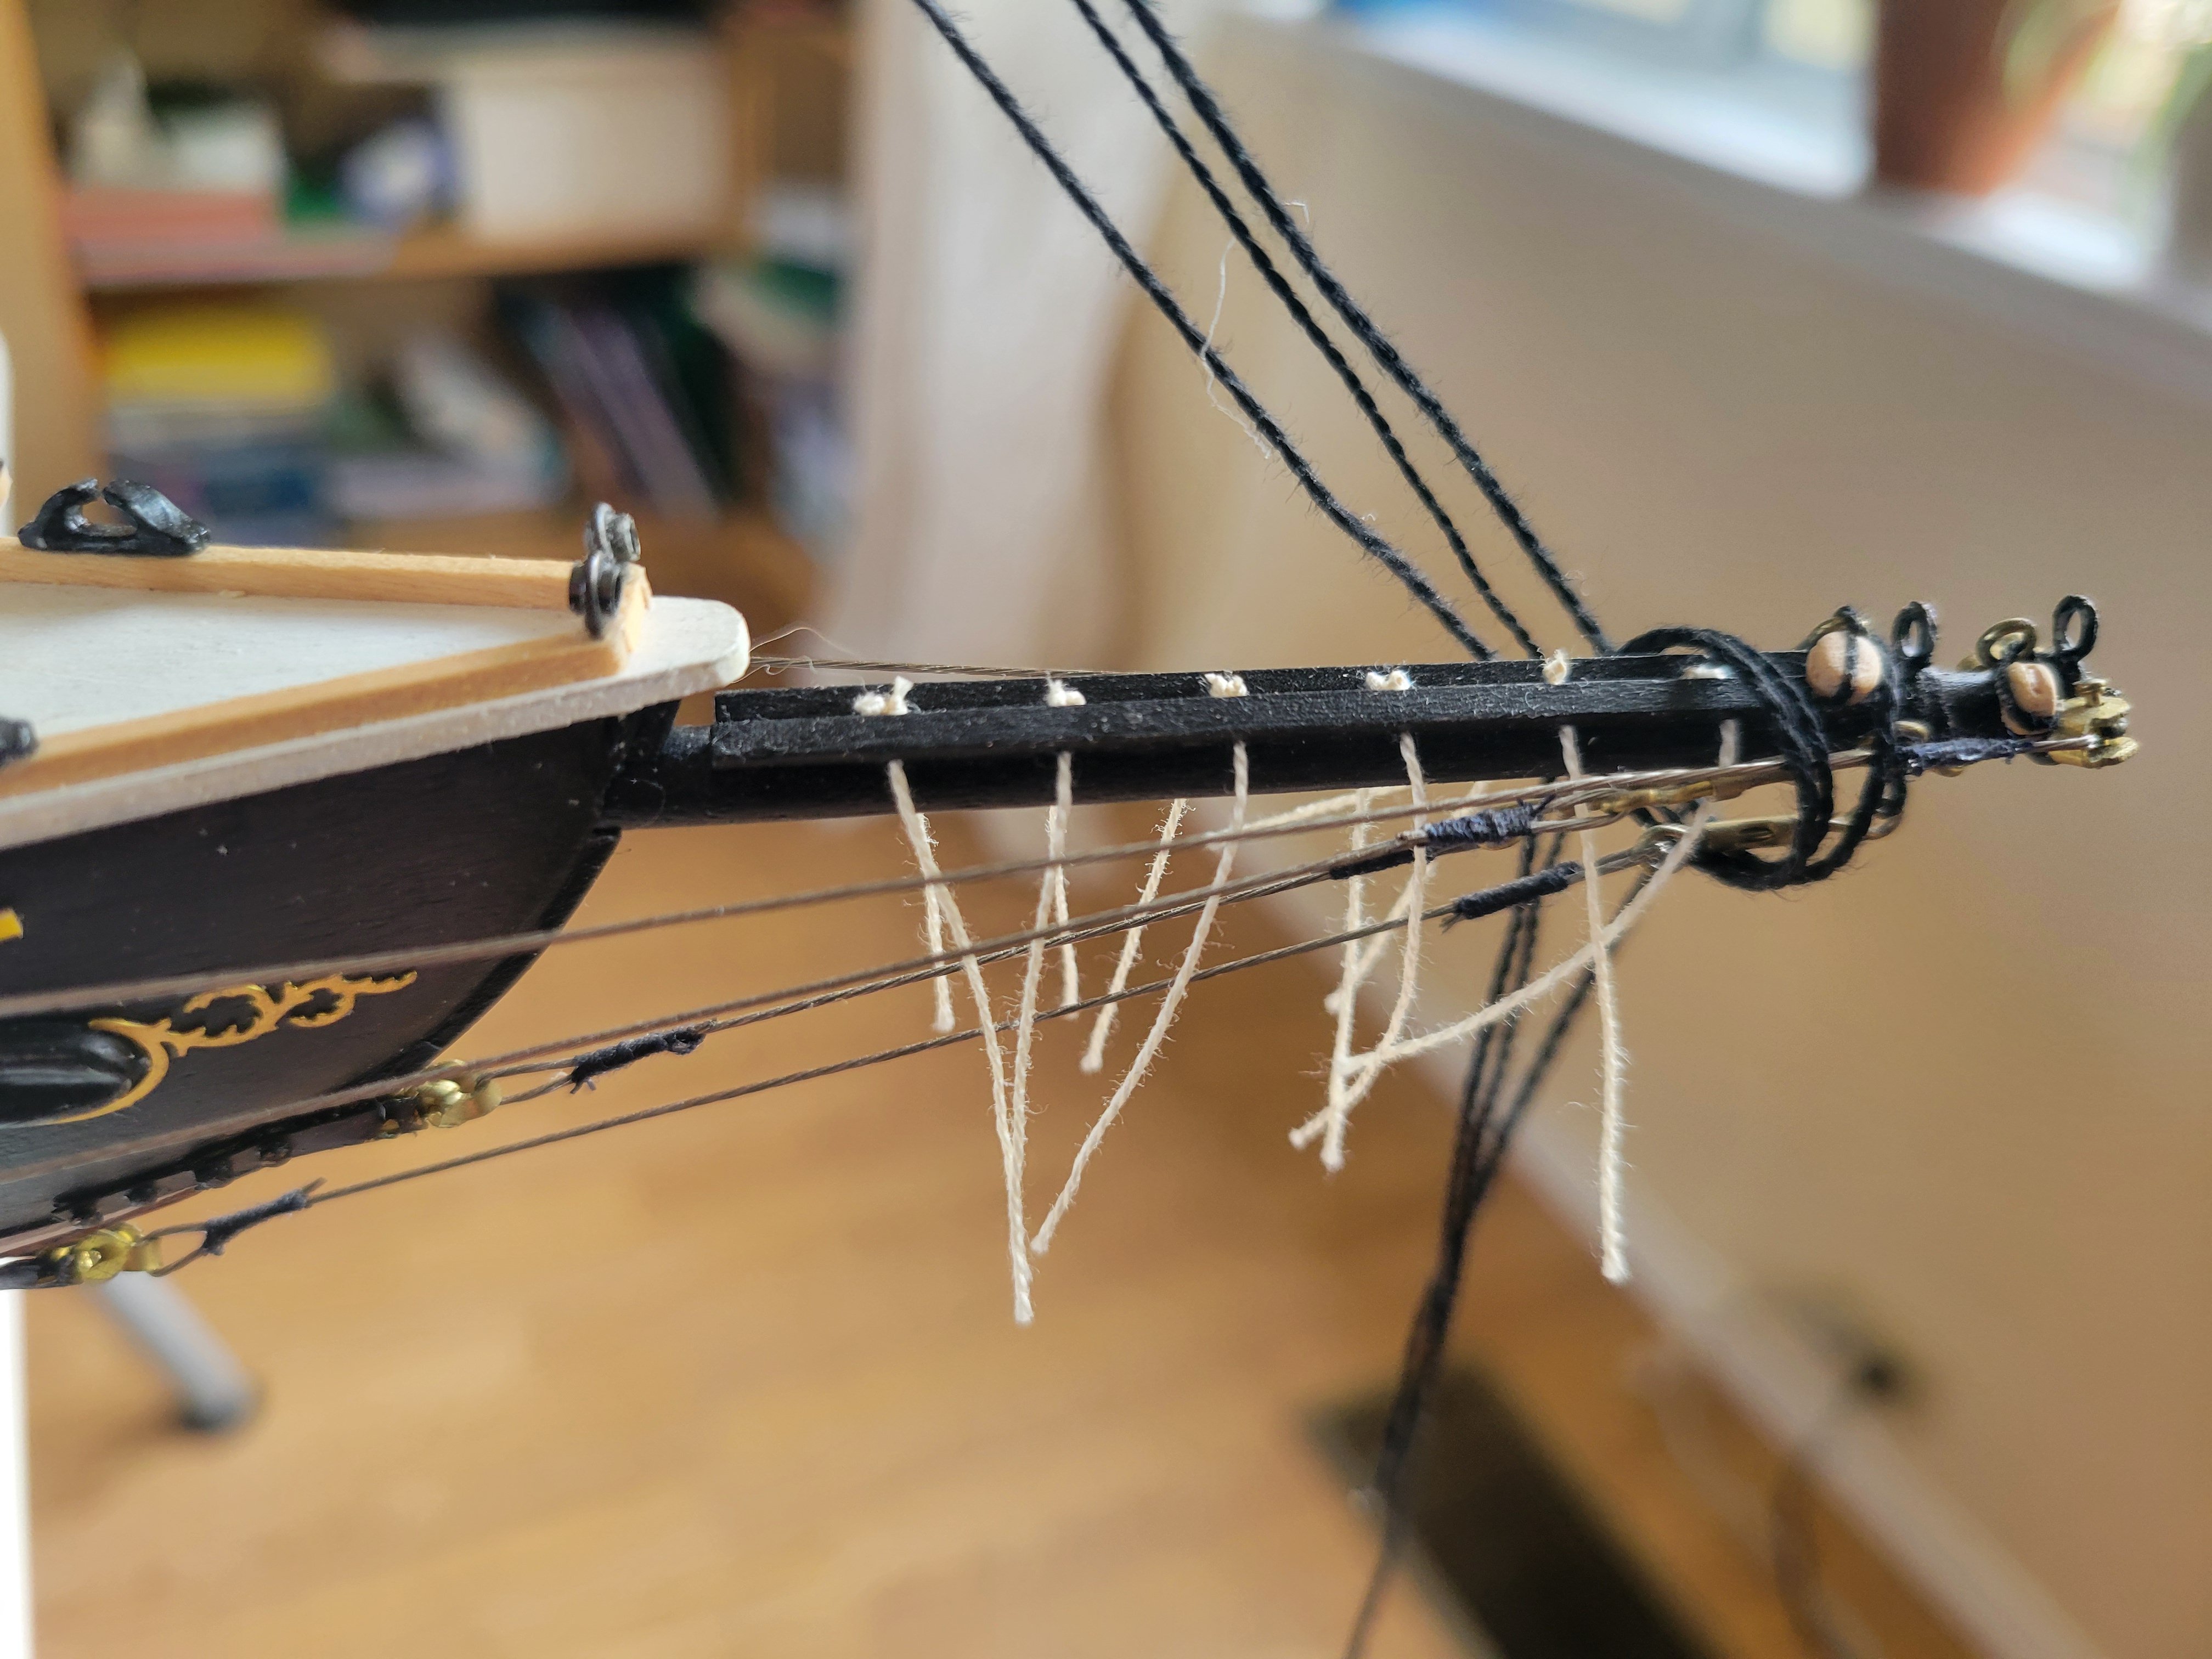
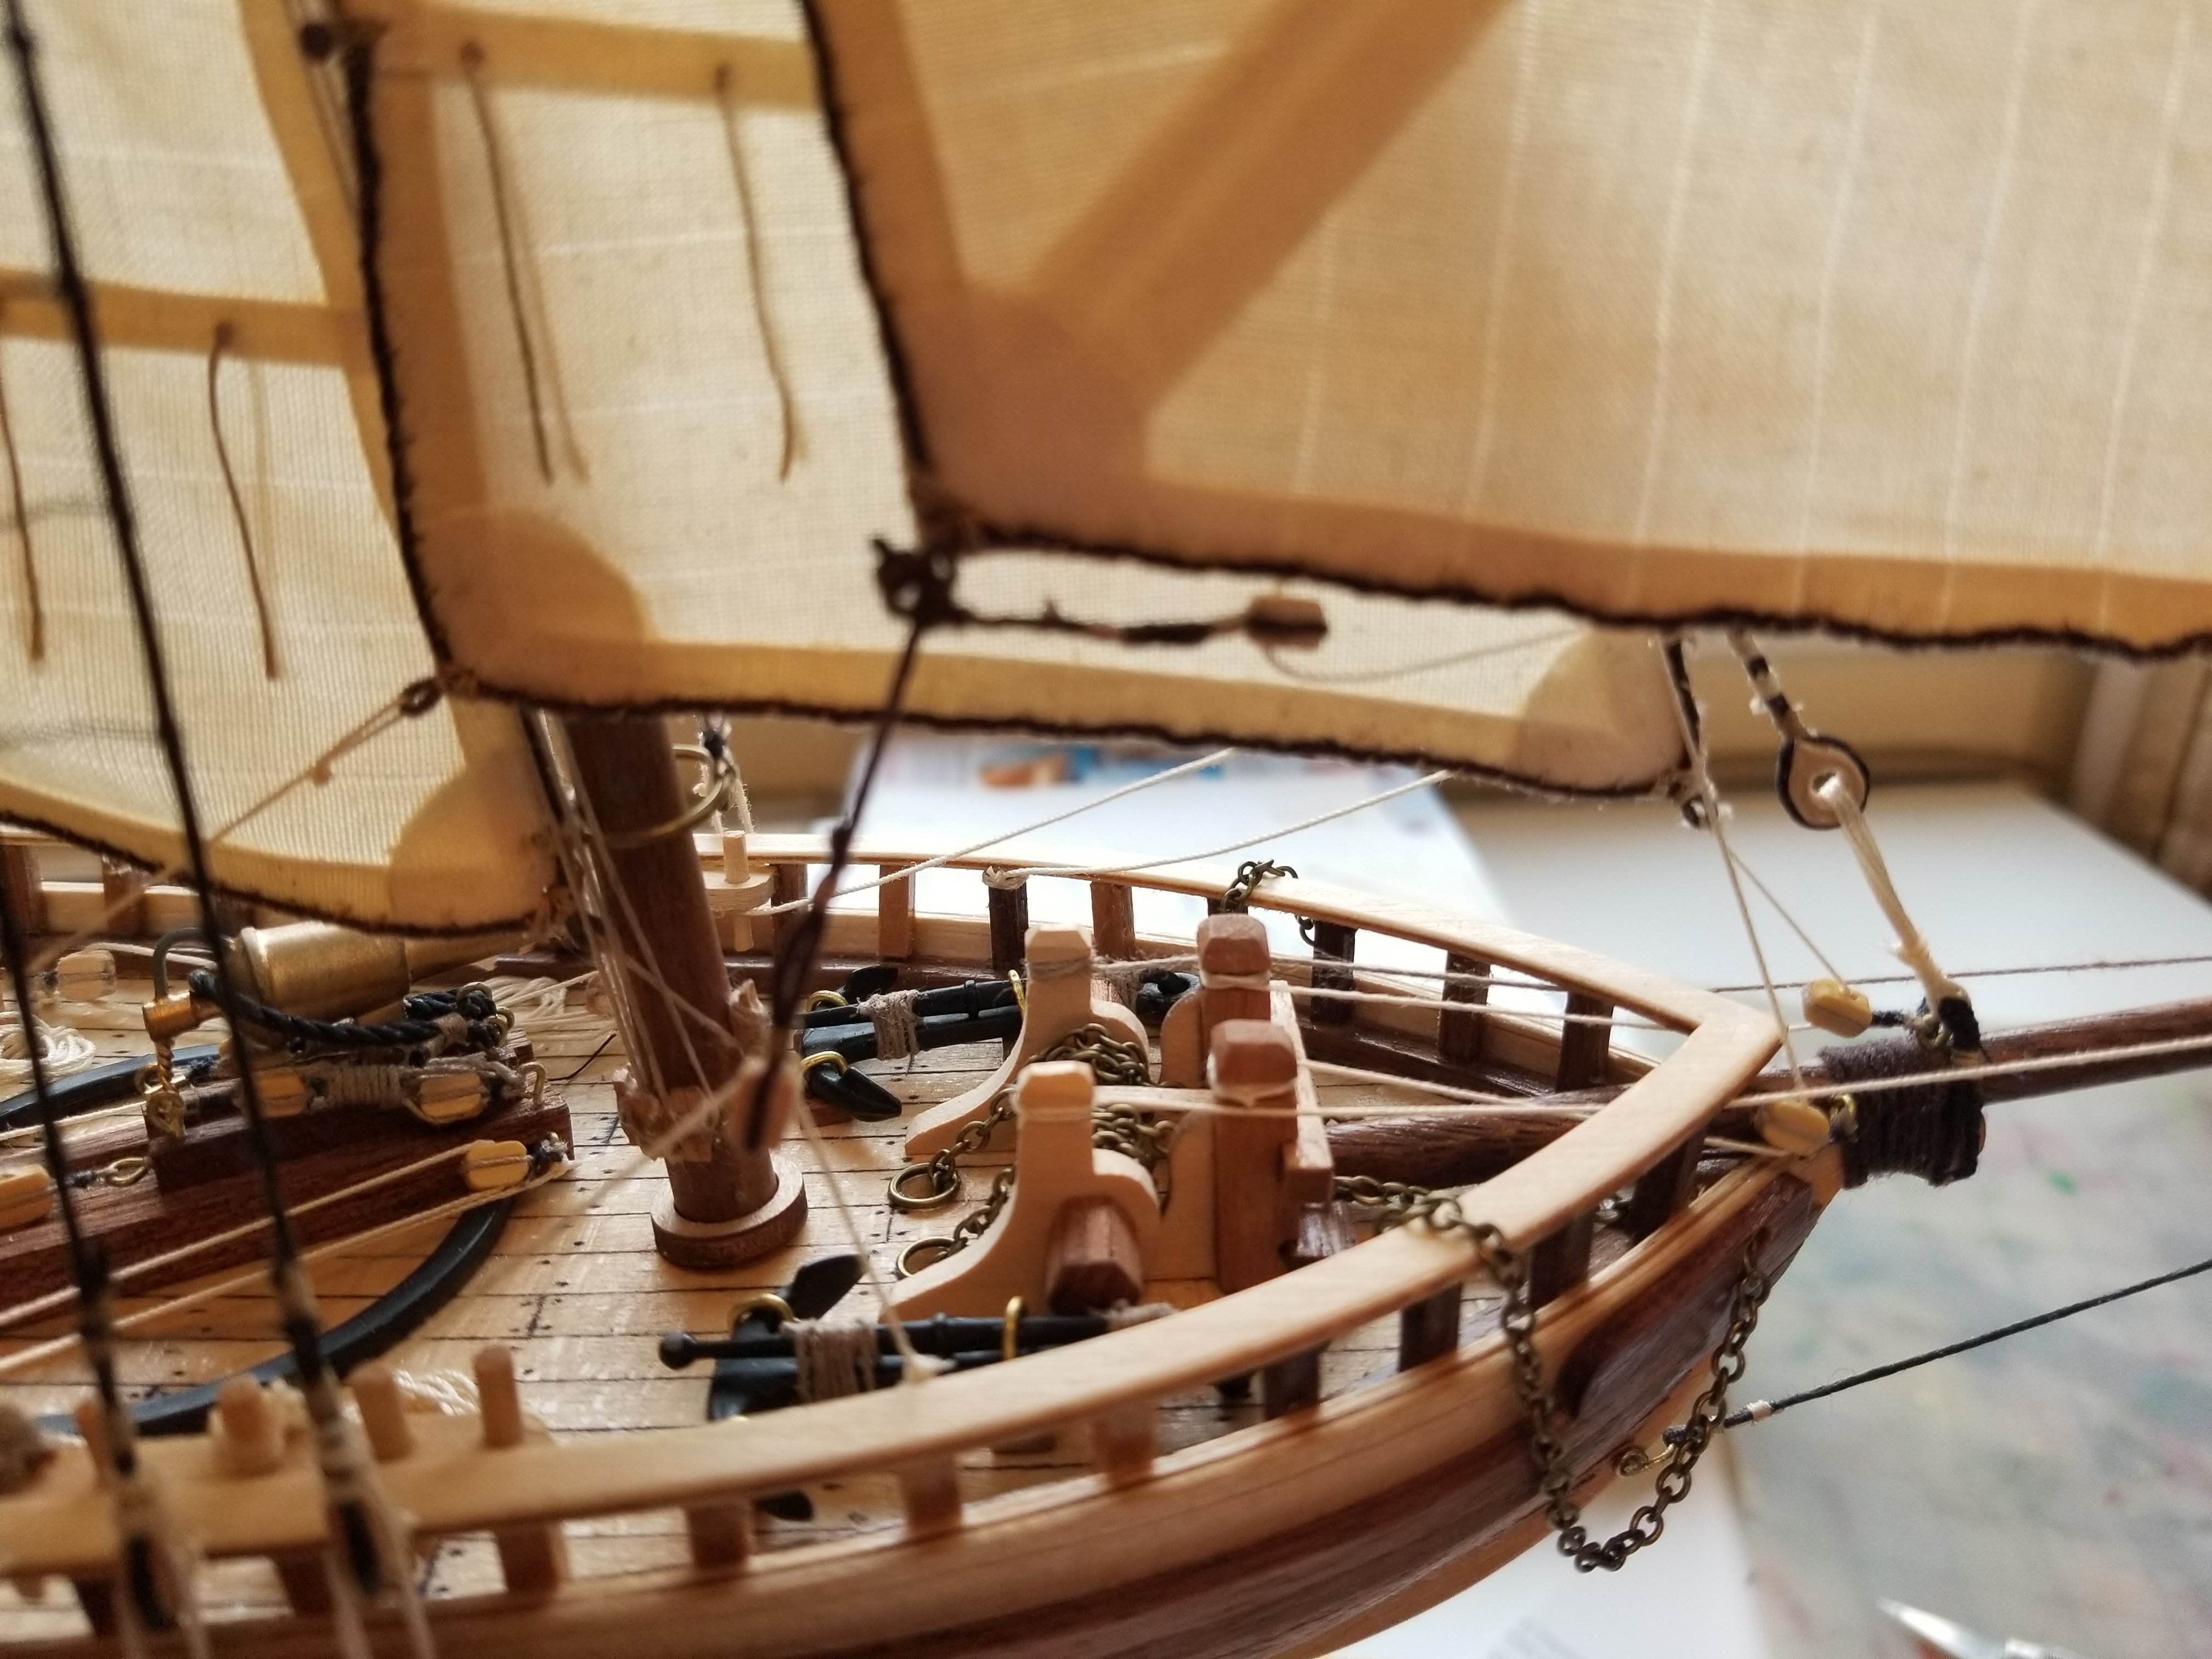
Looking for advise if anyone has details on catheads for this kind/era of schooner. Trying to figure out how the chain on the cathead to the anchors is attached (to the rail?). You can see in the Pic how I just have the two ends temporarily dropped crossed each other over the bowsprit. Just looking for the best approach to attach there near the catheads and how that would typically look. Haven't found that particular detail in my searches.
- 84 replies
-
- 1
-
-
- Artesania Latina
- Bluenose II
- (and 1 more)
-
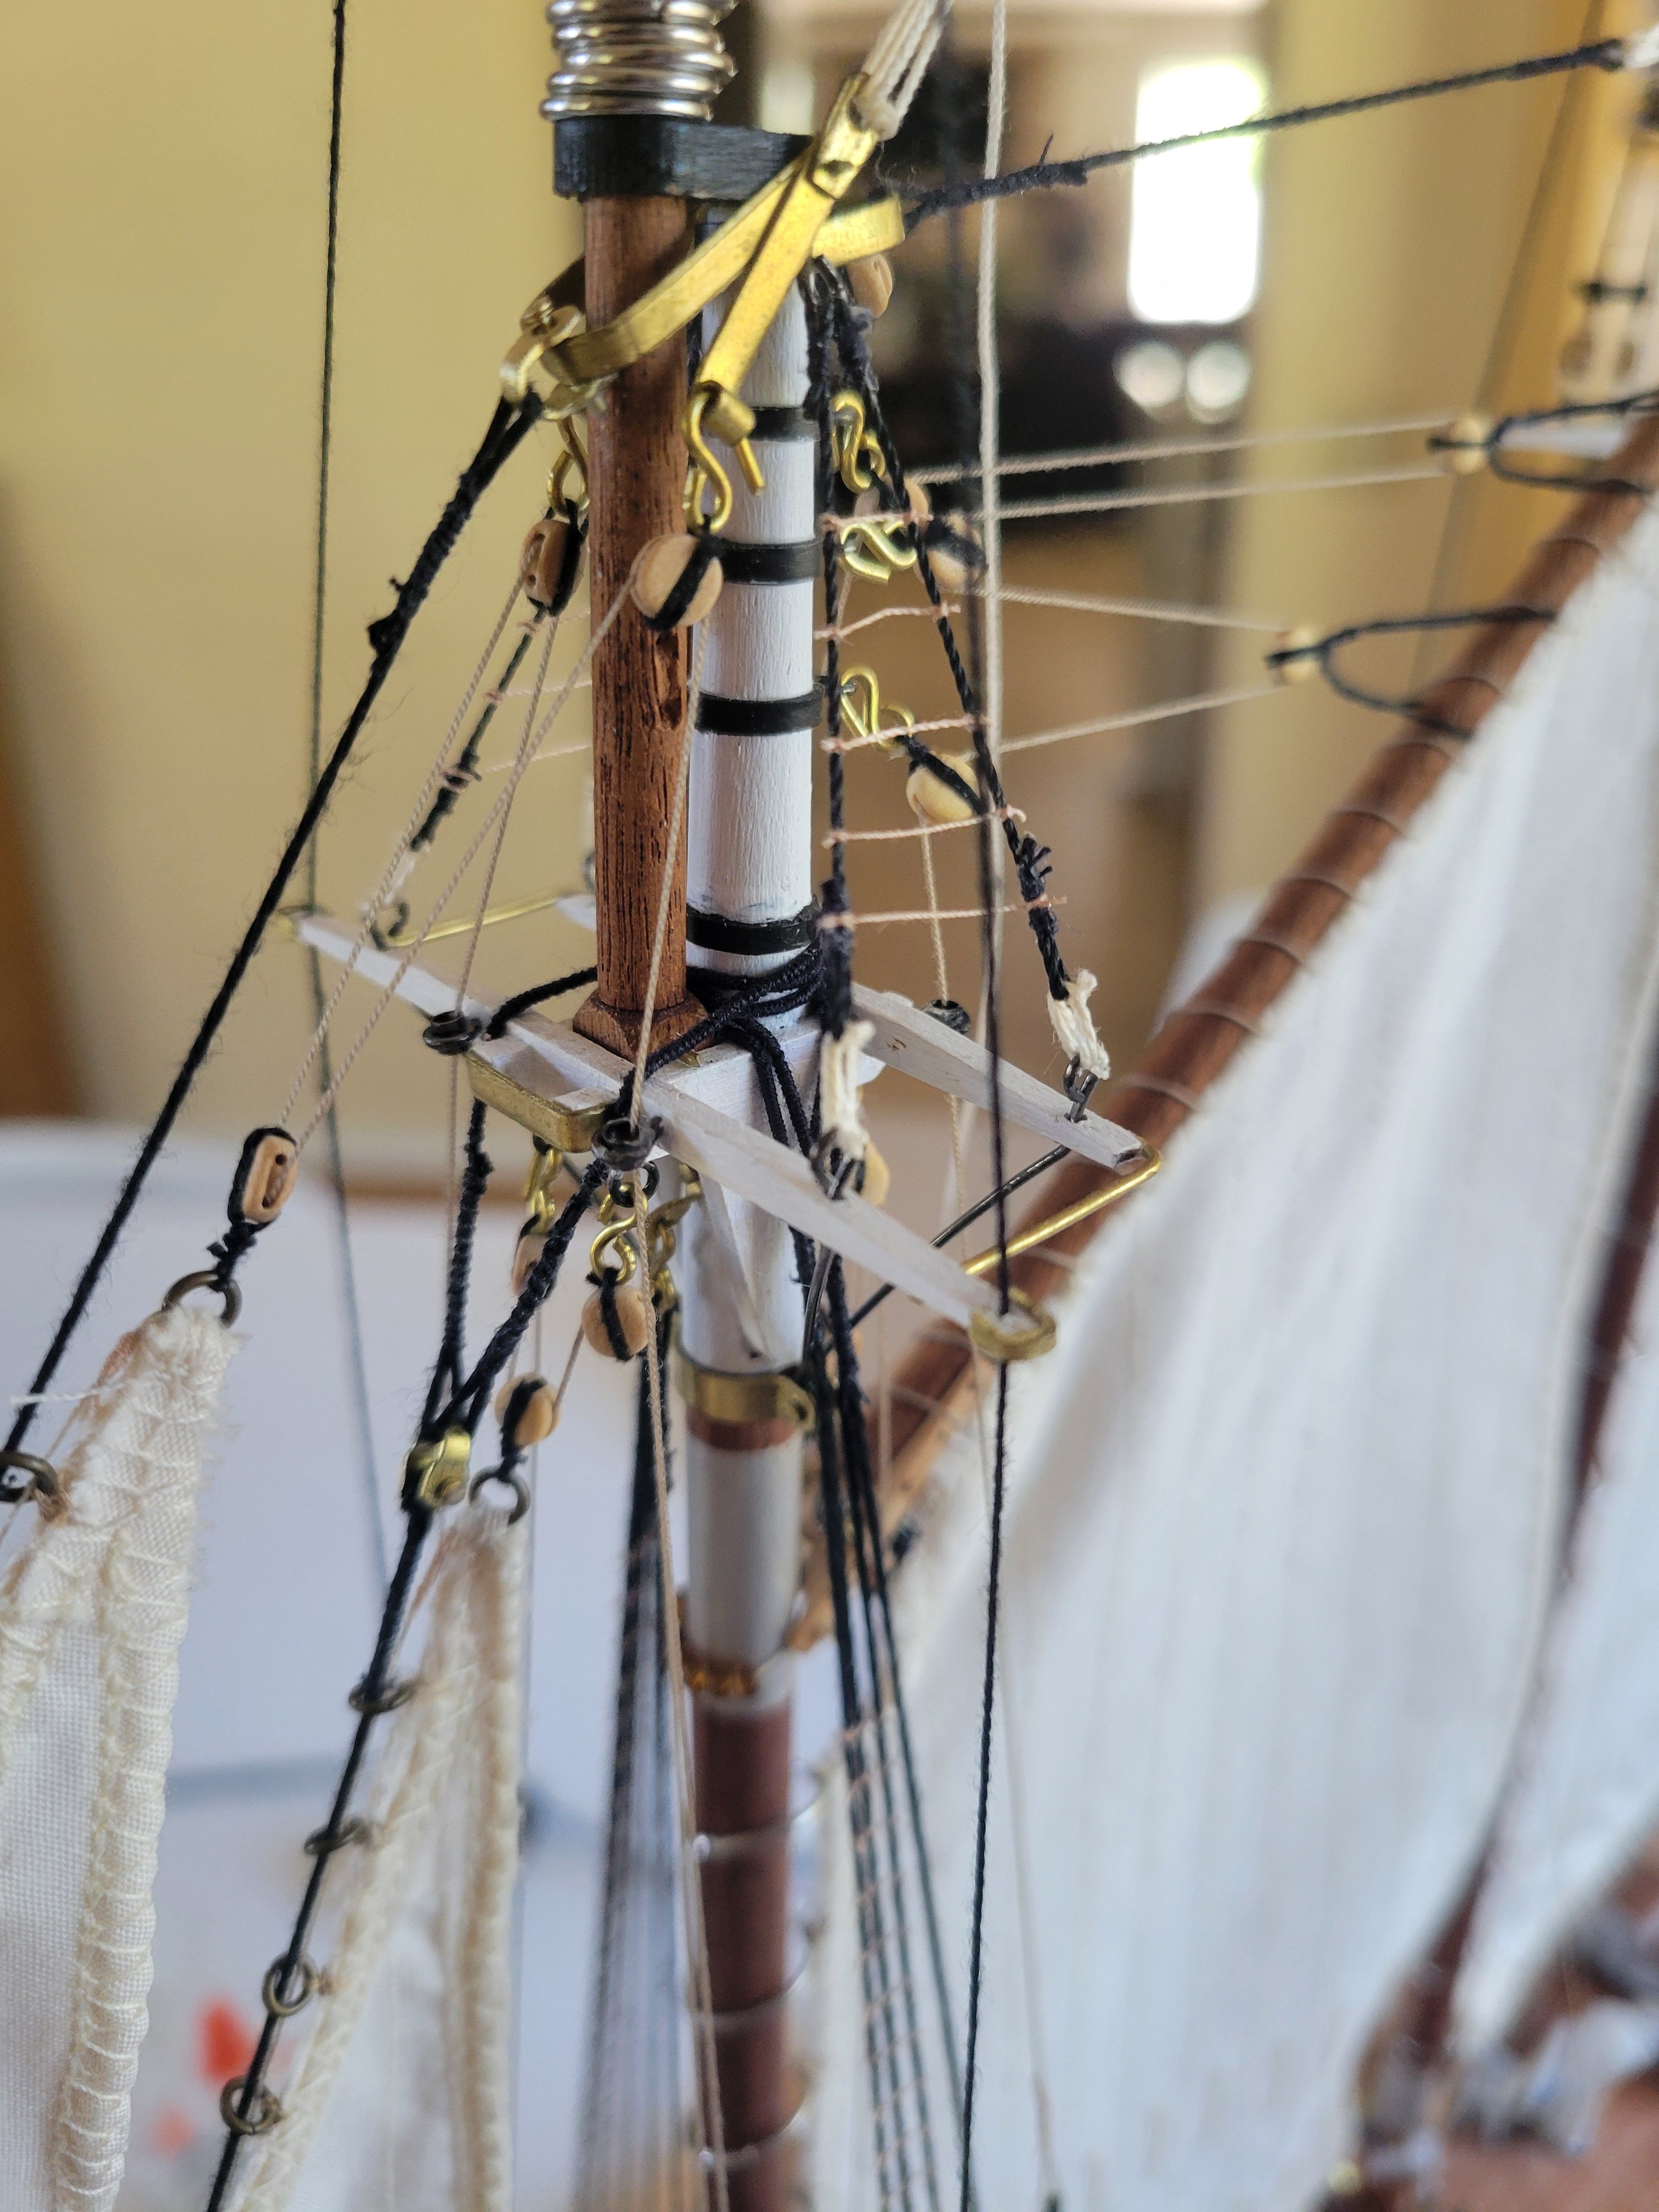
Final shrouds ready. Now it's robands for the main sail boom.
- 84 replies
-
- 1
-
-
- Artesania Latina
- Bluenose II
- (and 1 more)
-
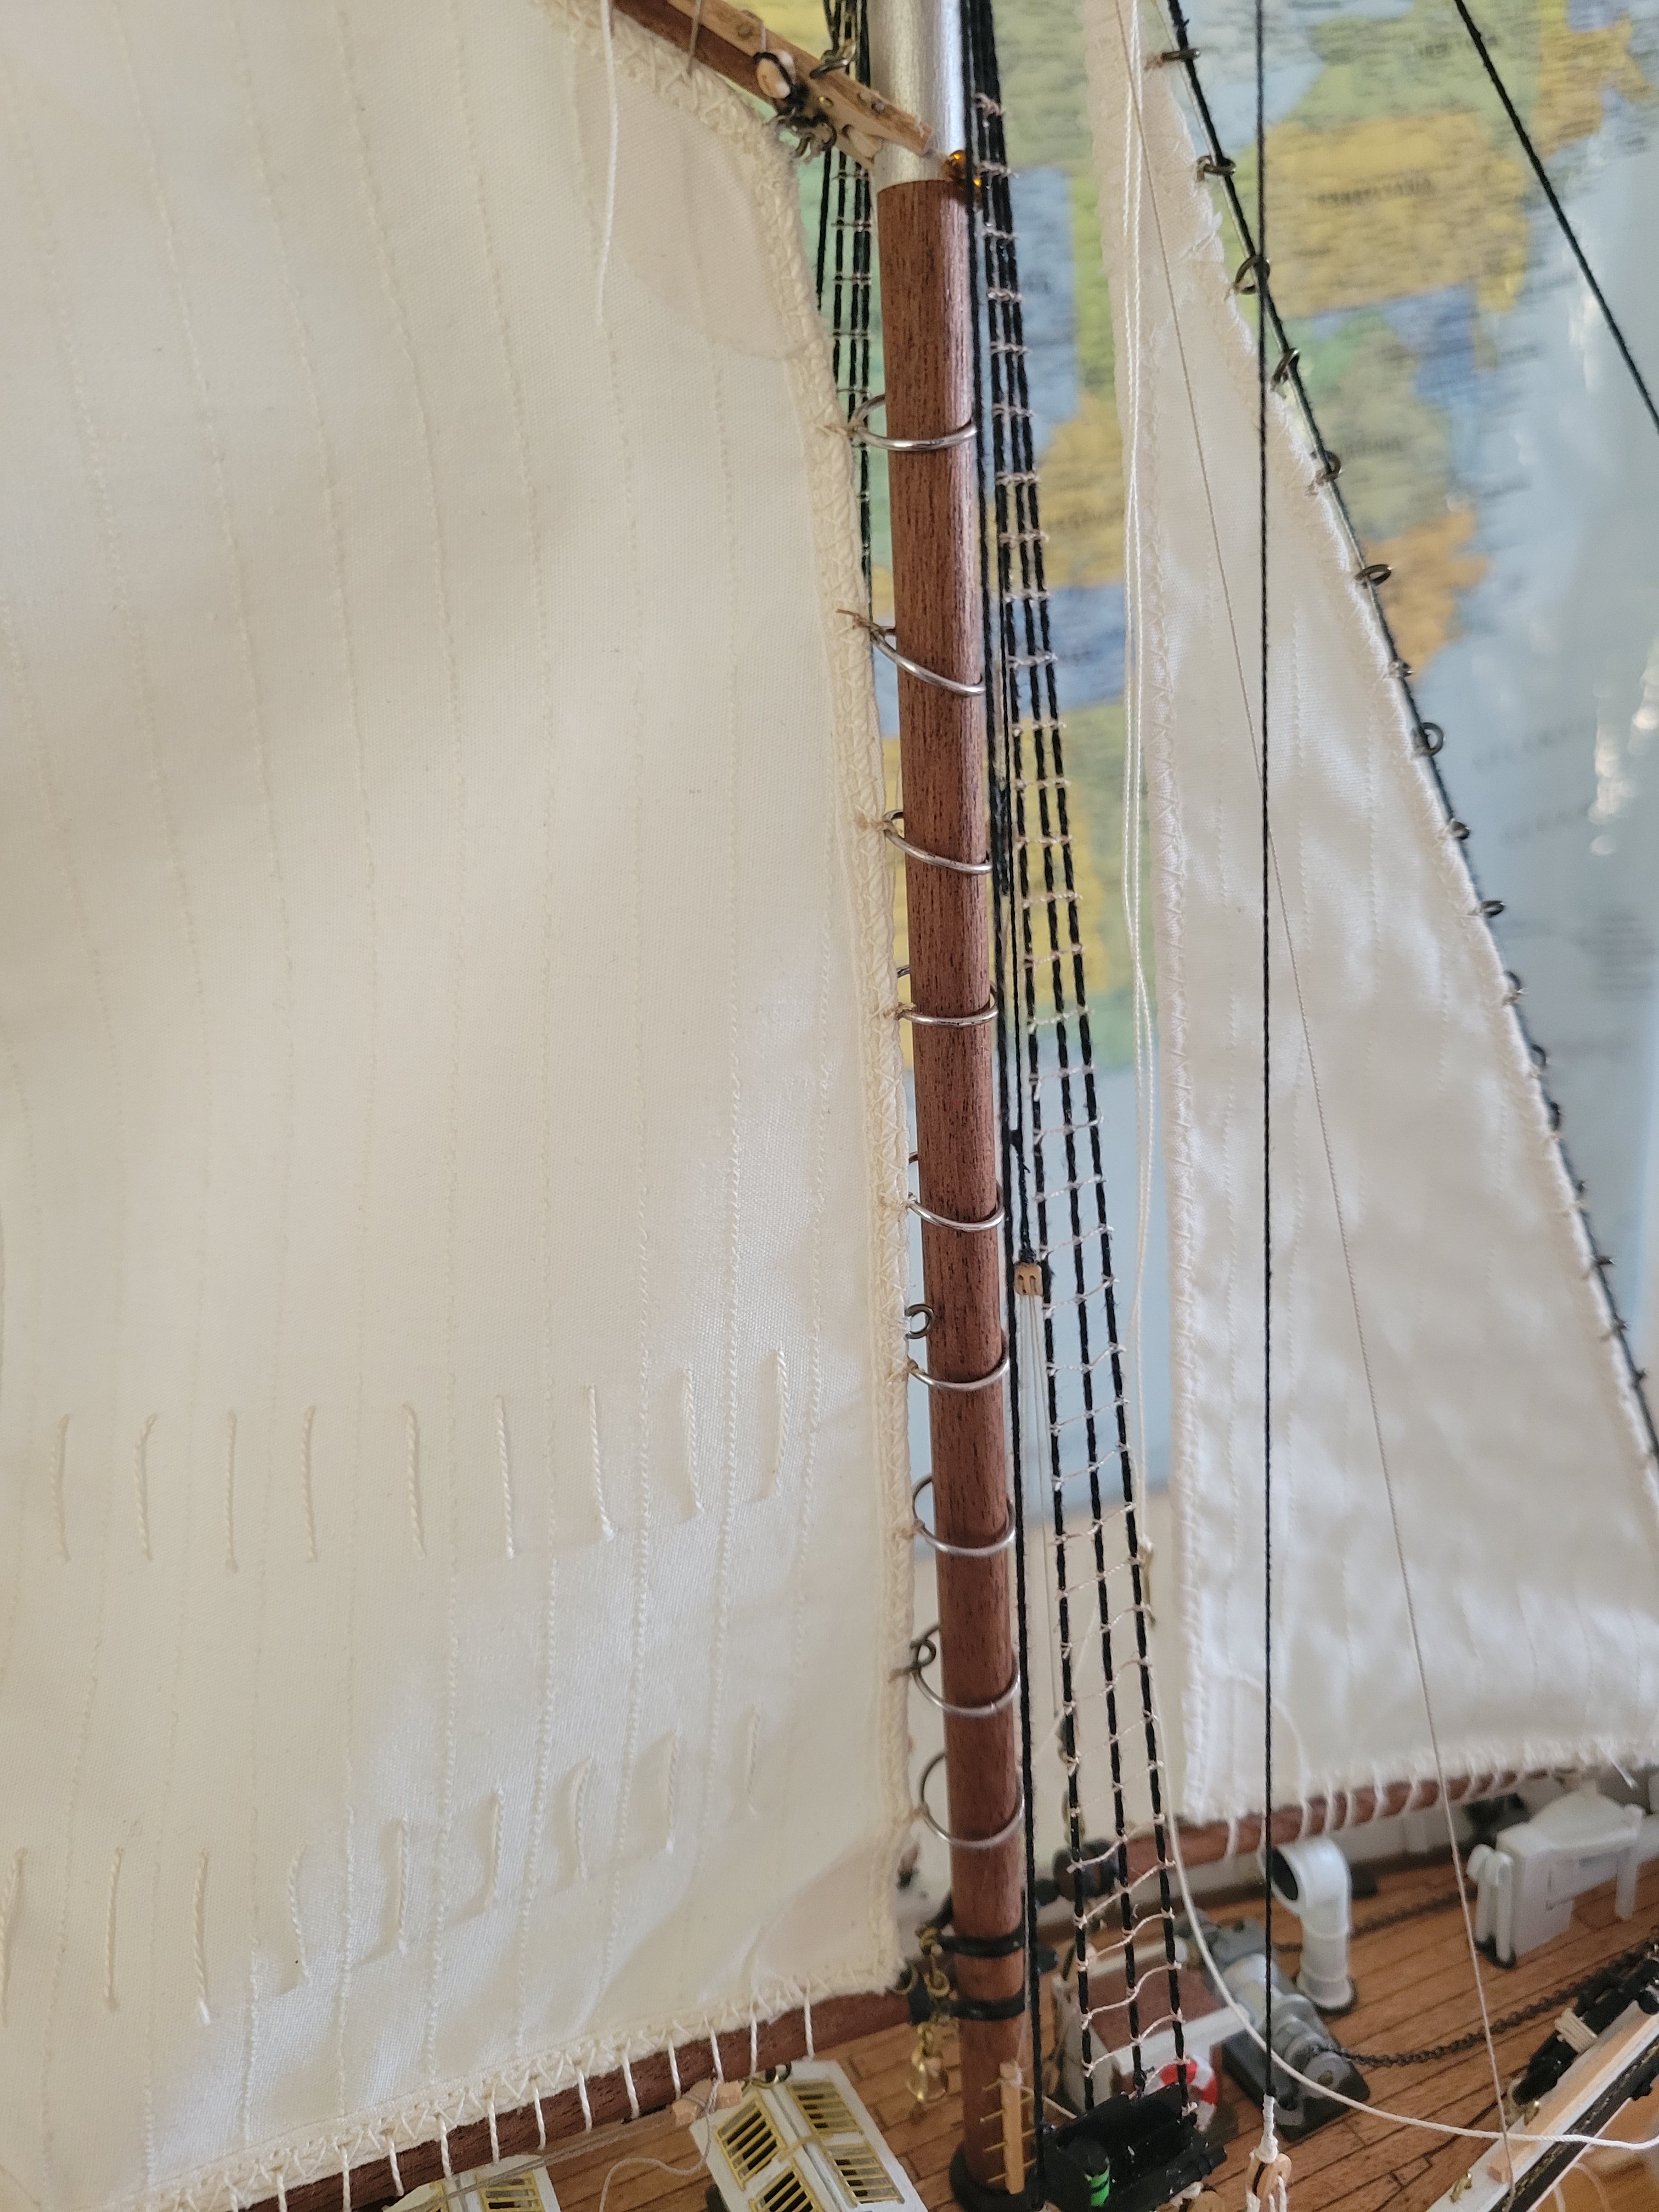
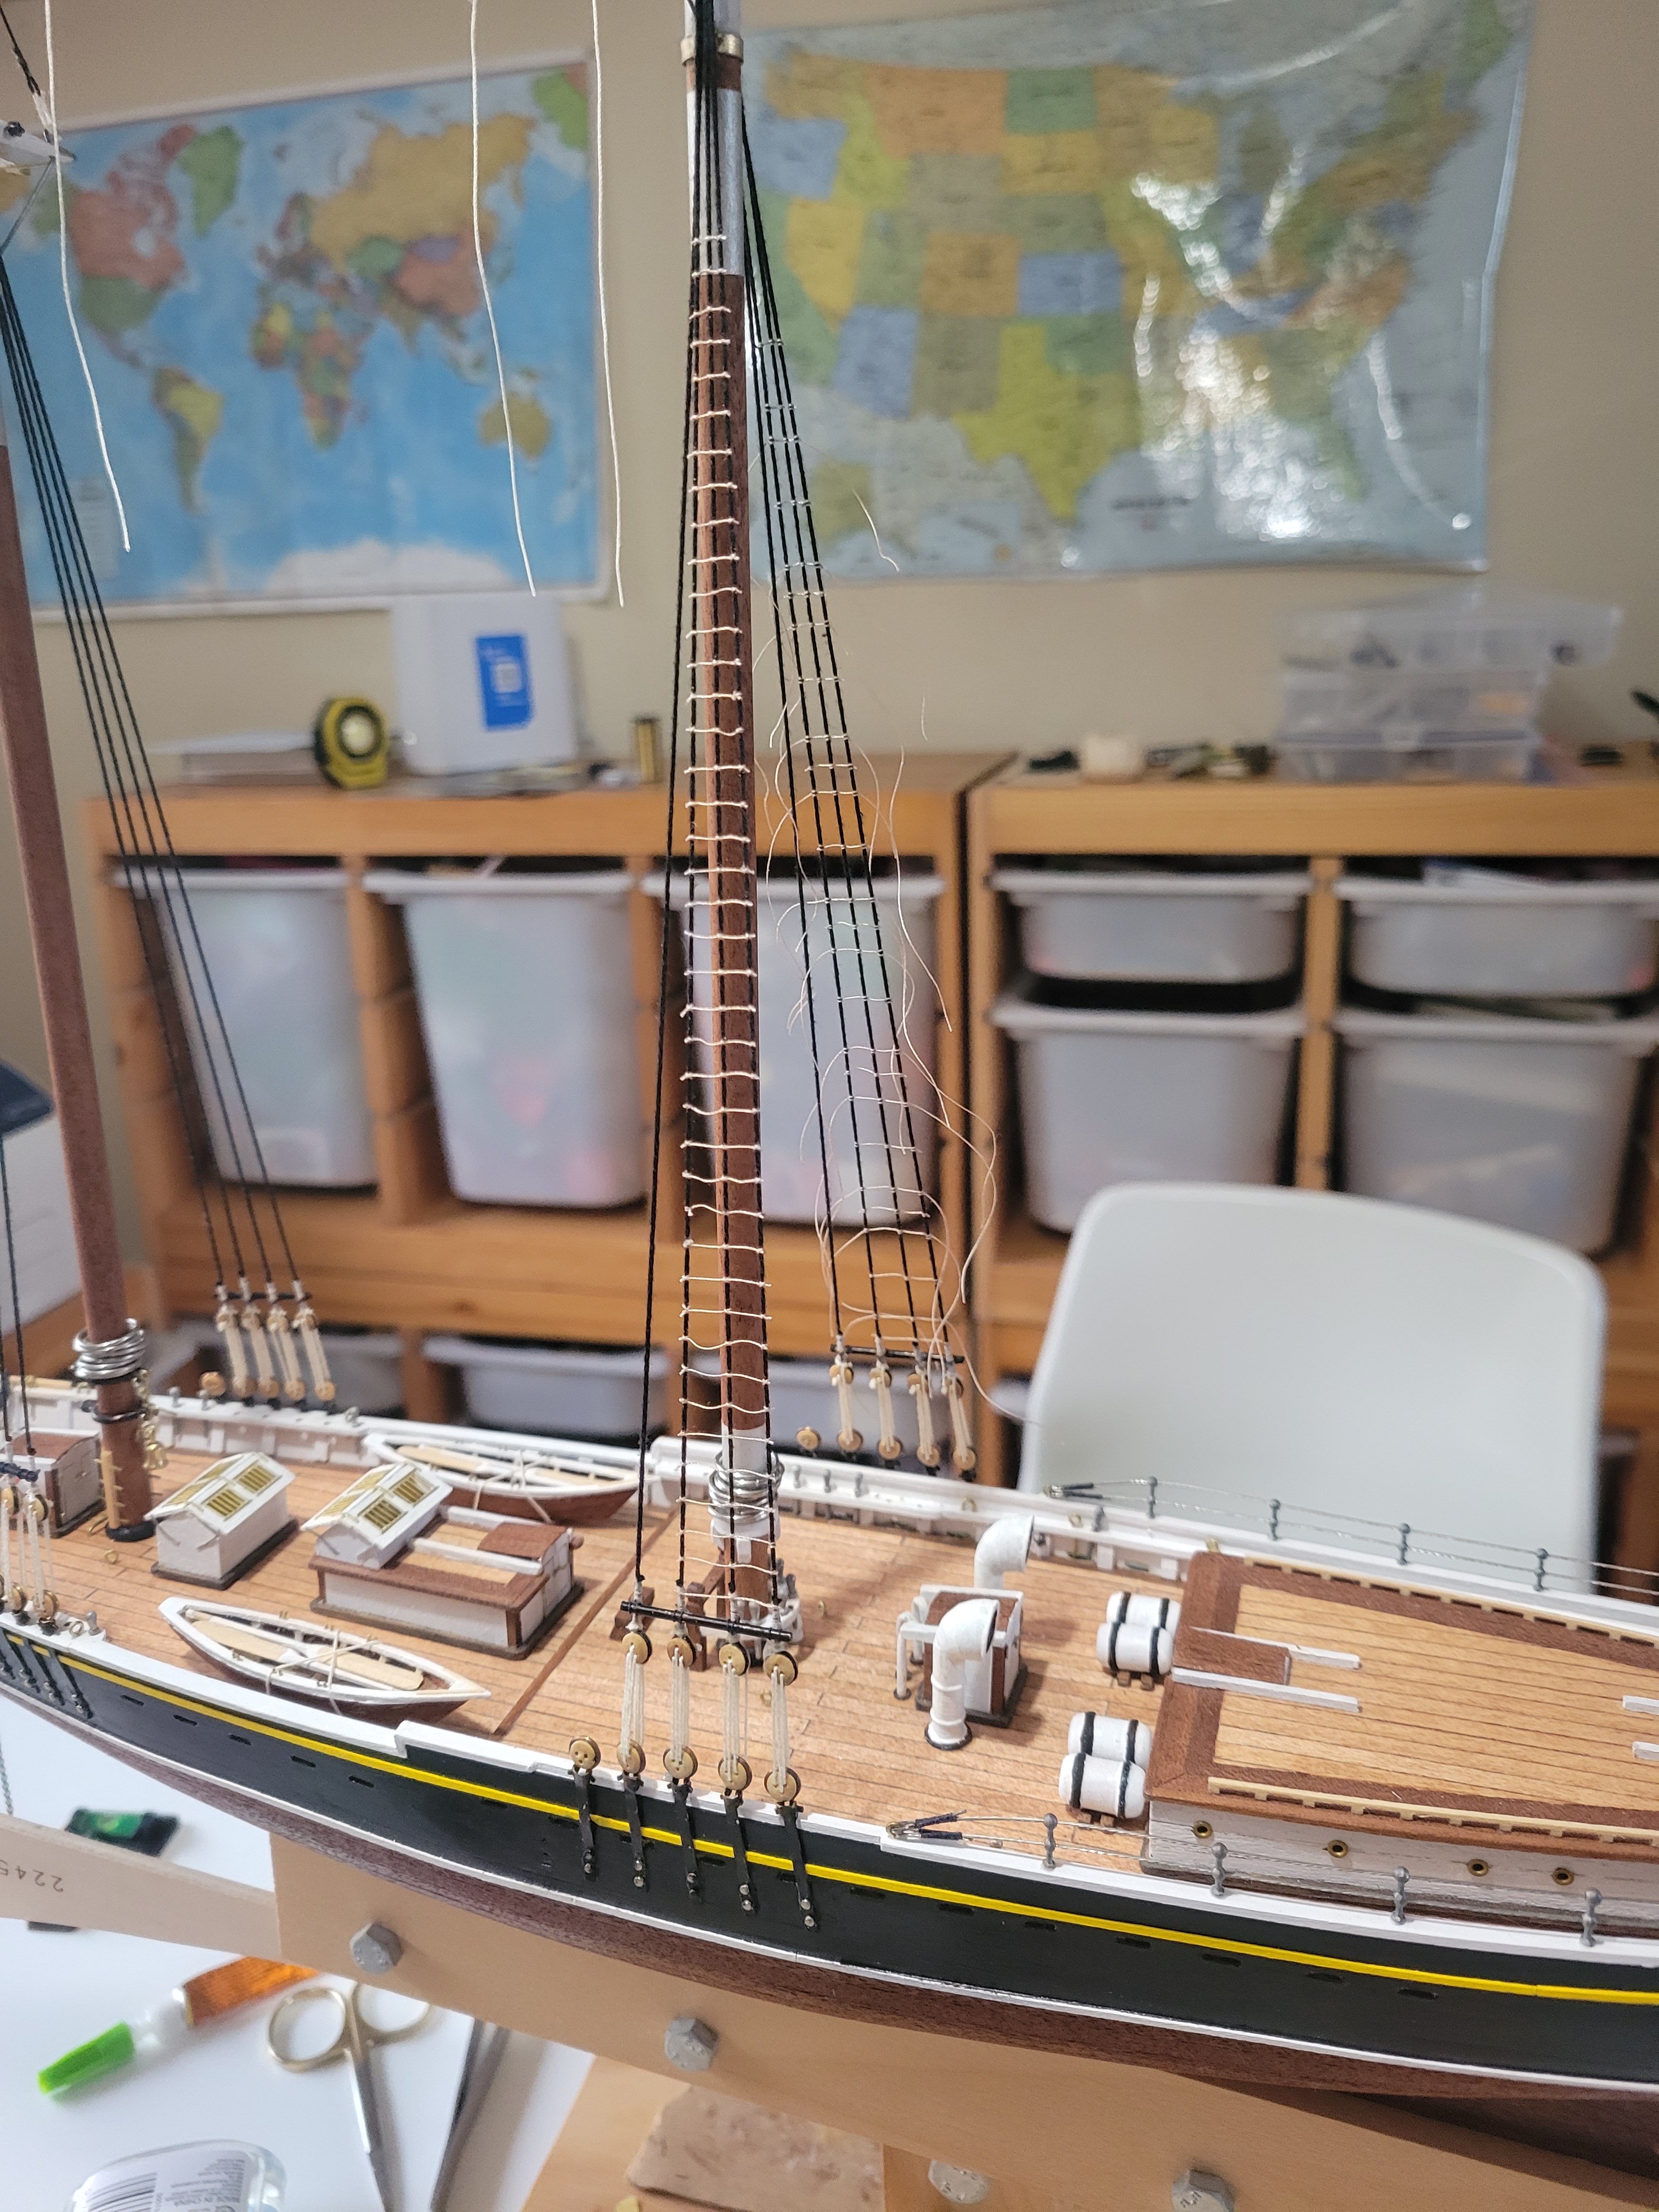
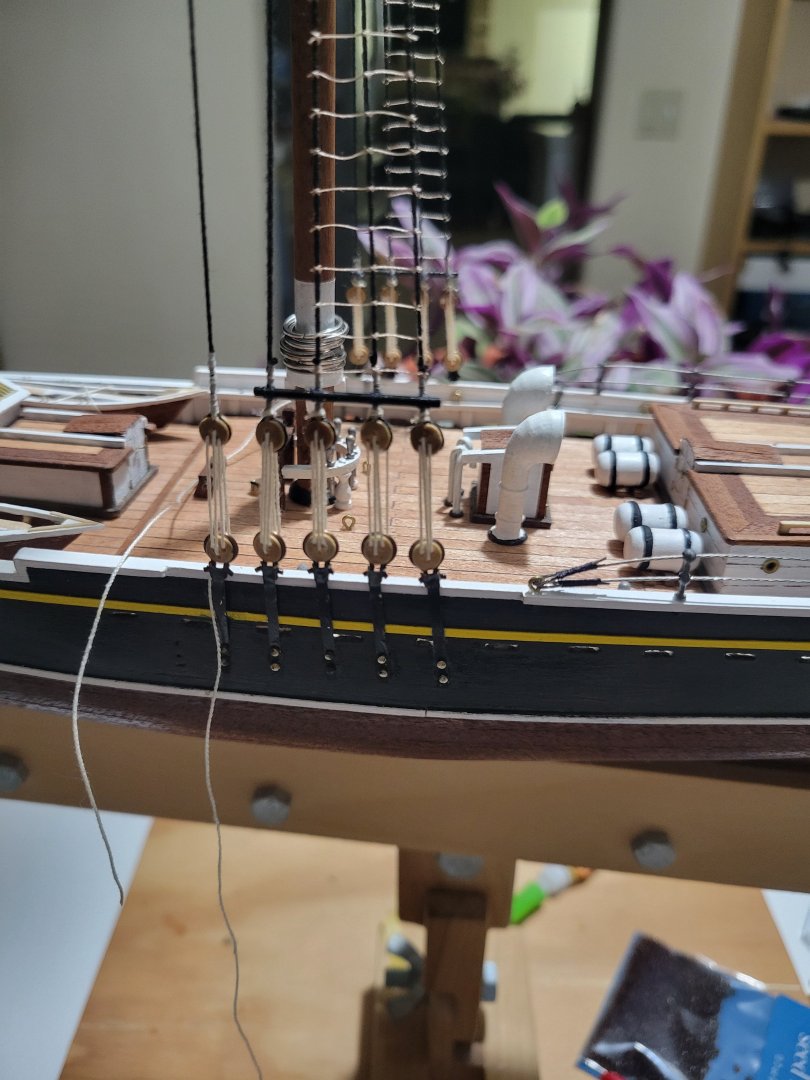
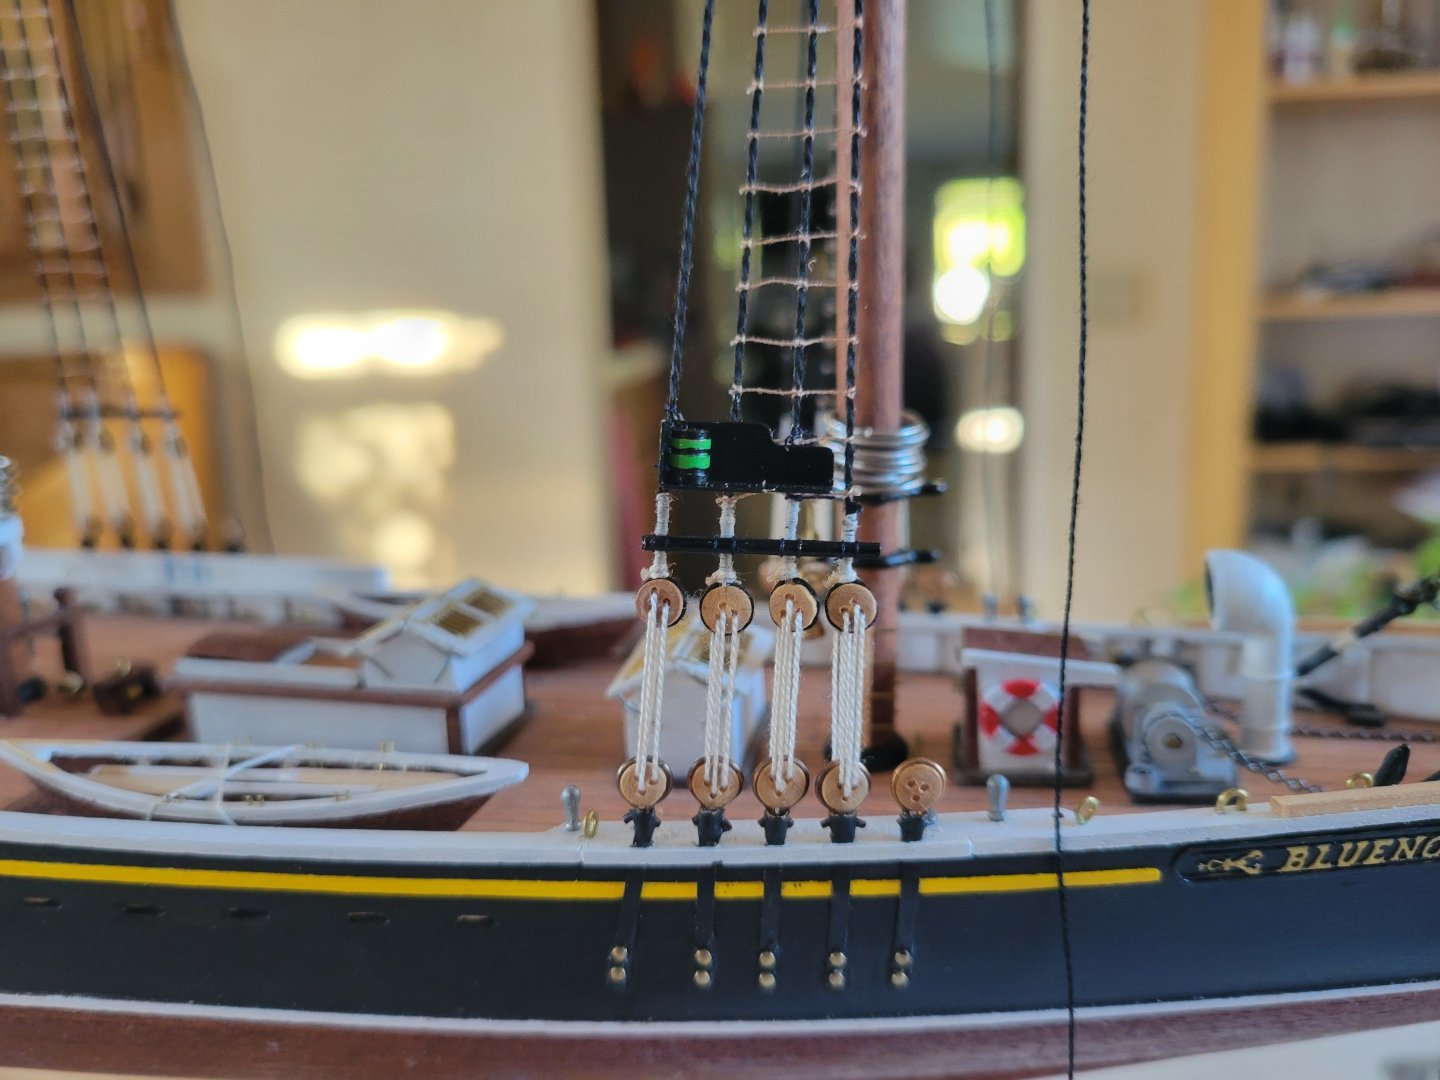
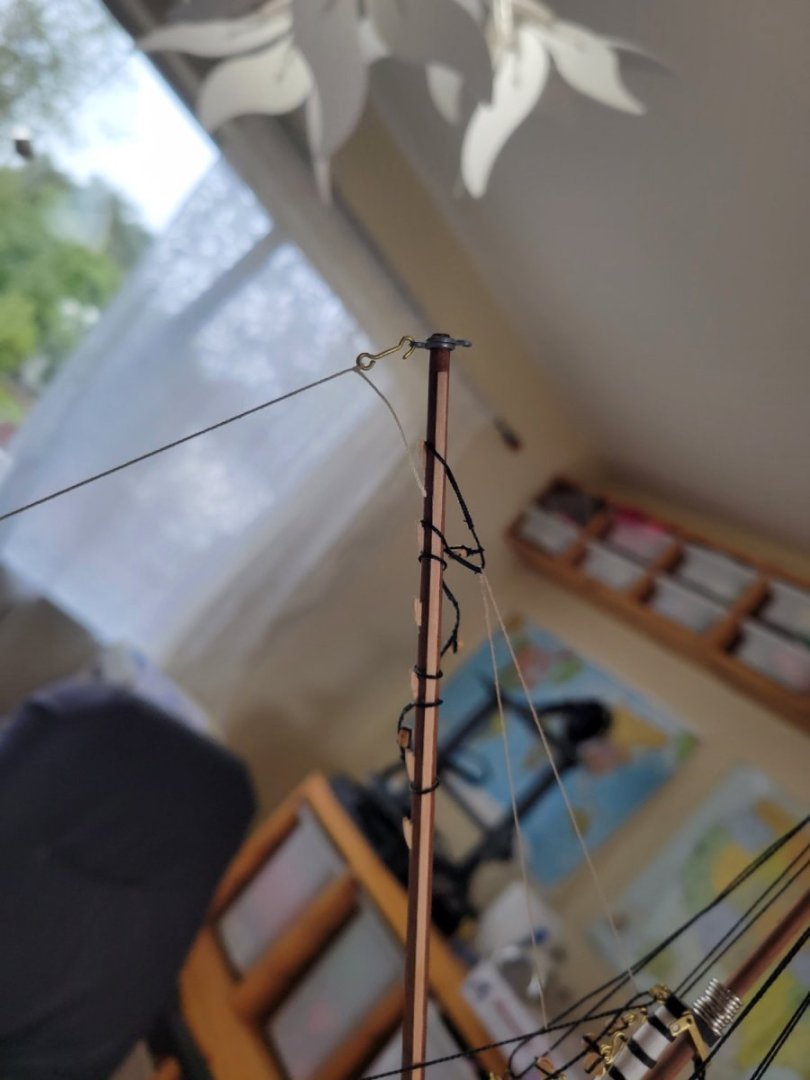
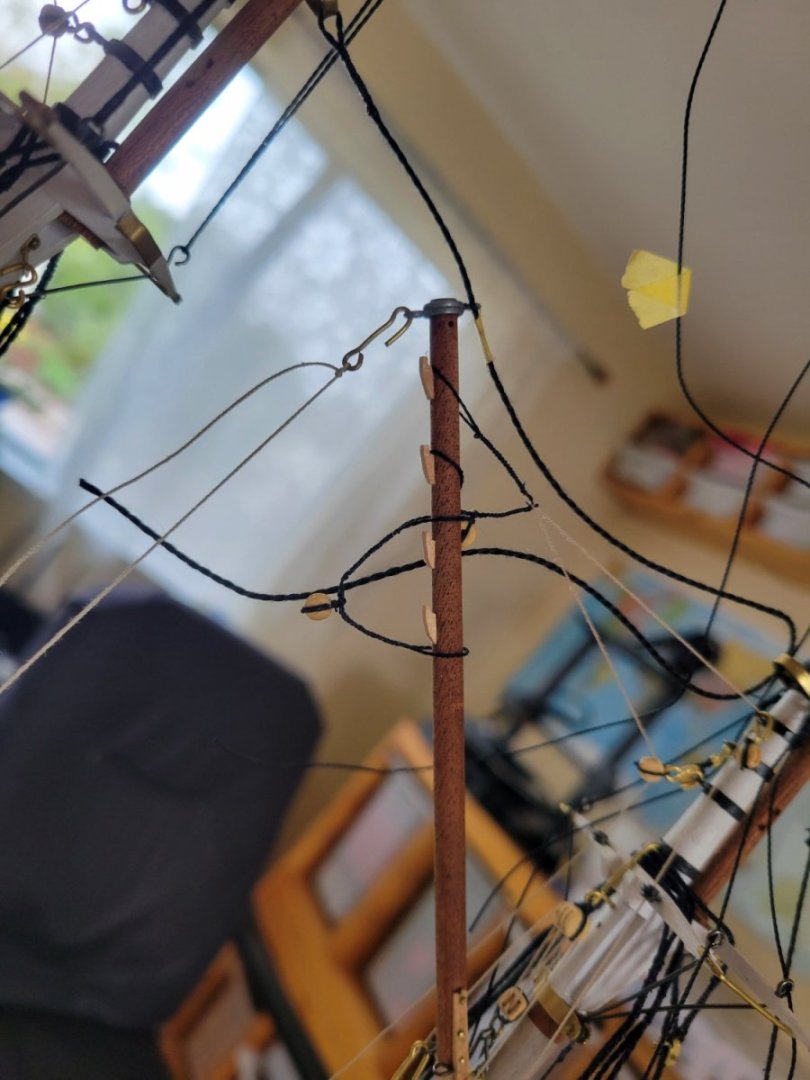
Ratlines set. Added running lights. Now the final shrouds that go from top mast to rail.

- 84 replies
-
- 2
-
-
- Artesania Latina
- Bluenose II
- (and 1 more)
-
Thanks for the feedback. One take away I have from this project is that you really just have to make it your own! For example, I found that a lot of items in the kit are oversized so shrinking where possible helps with realism but in some cases, I decided "how it looks on the model" was better than realism so so things I left overscale becuase I just liked it! For the blocks, I haven't looked at the revel blocks but anything mist be better than the many of the kit supplied! I really liked the scale (and variety) from Syren. I got some of his rope too although not all. For some of my rigging I am using various weight needlepoint thread (from hobby lobby!). I know that's not as realistic but I like the variety, availability, ease of use and price for some. Again, it's all about balance to get what you are going to enjoy doing and a look you will be able to appreciate at the end! In fact, I would say most of my mods are either becuase the kit supplied item sucks, the kit didn't supply an item, or most importantly I just felt like doing it (just seemed fun to do!).
- 84 replies
-
- 1
-
-
- Artesania Latina
- Bluenose II
- (and 1 more)
-
Next, ratlines. Getting pretty good at clove hitches after this!


- 84 replies
-
- 2
-
-
- Artesania Latina
- Bluenose II
- (and 1 more)
-
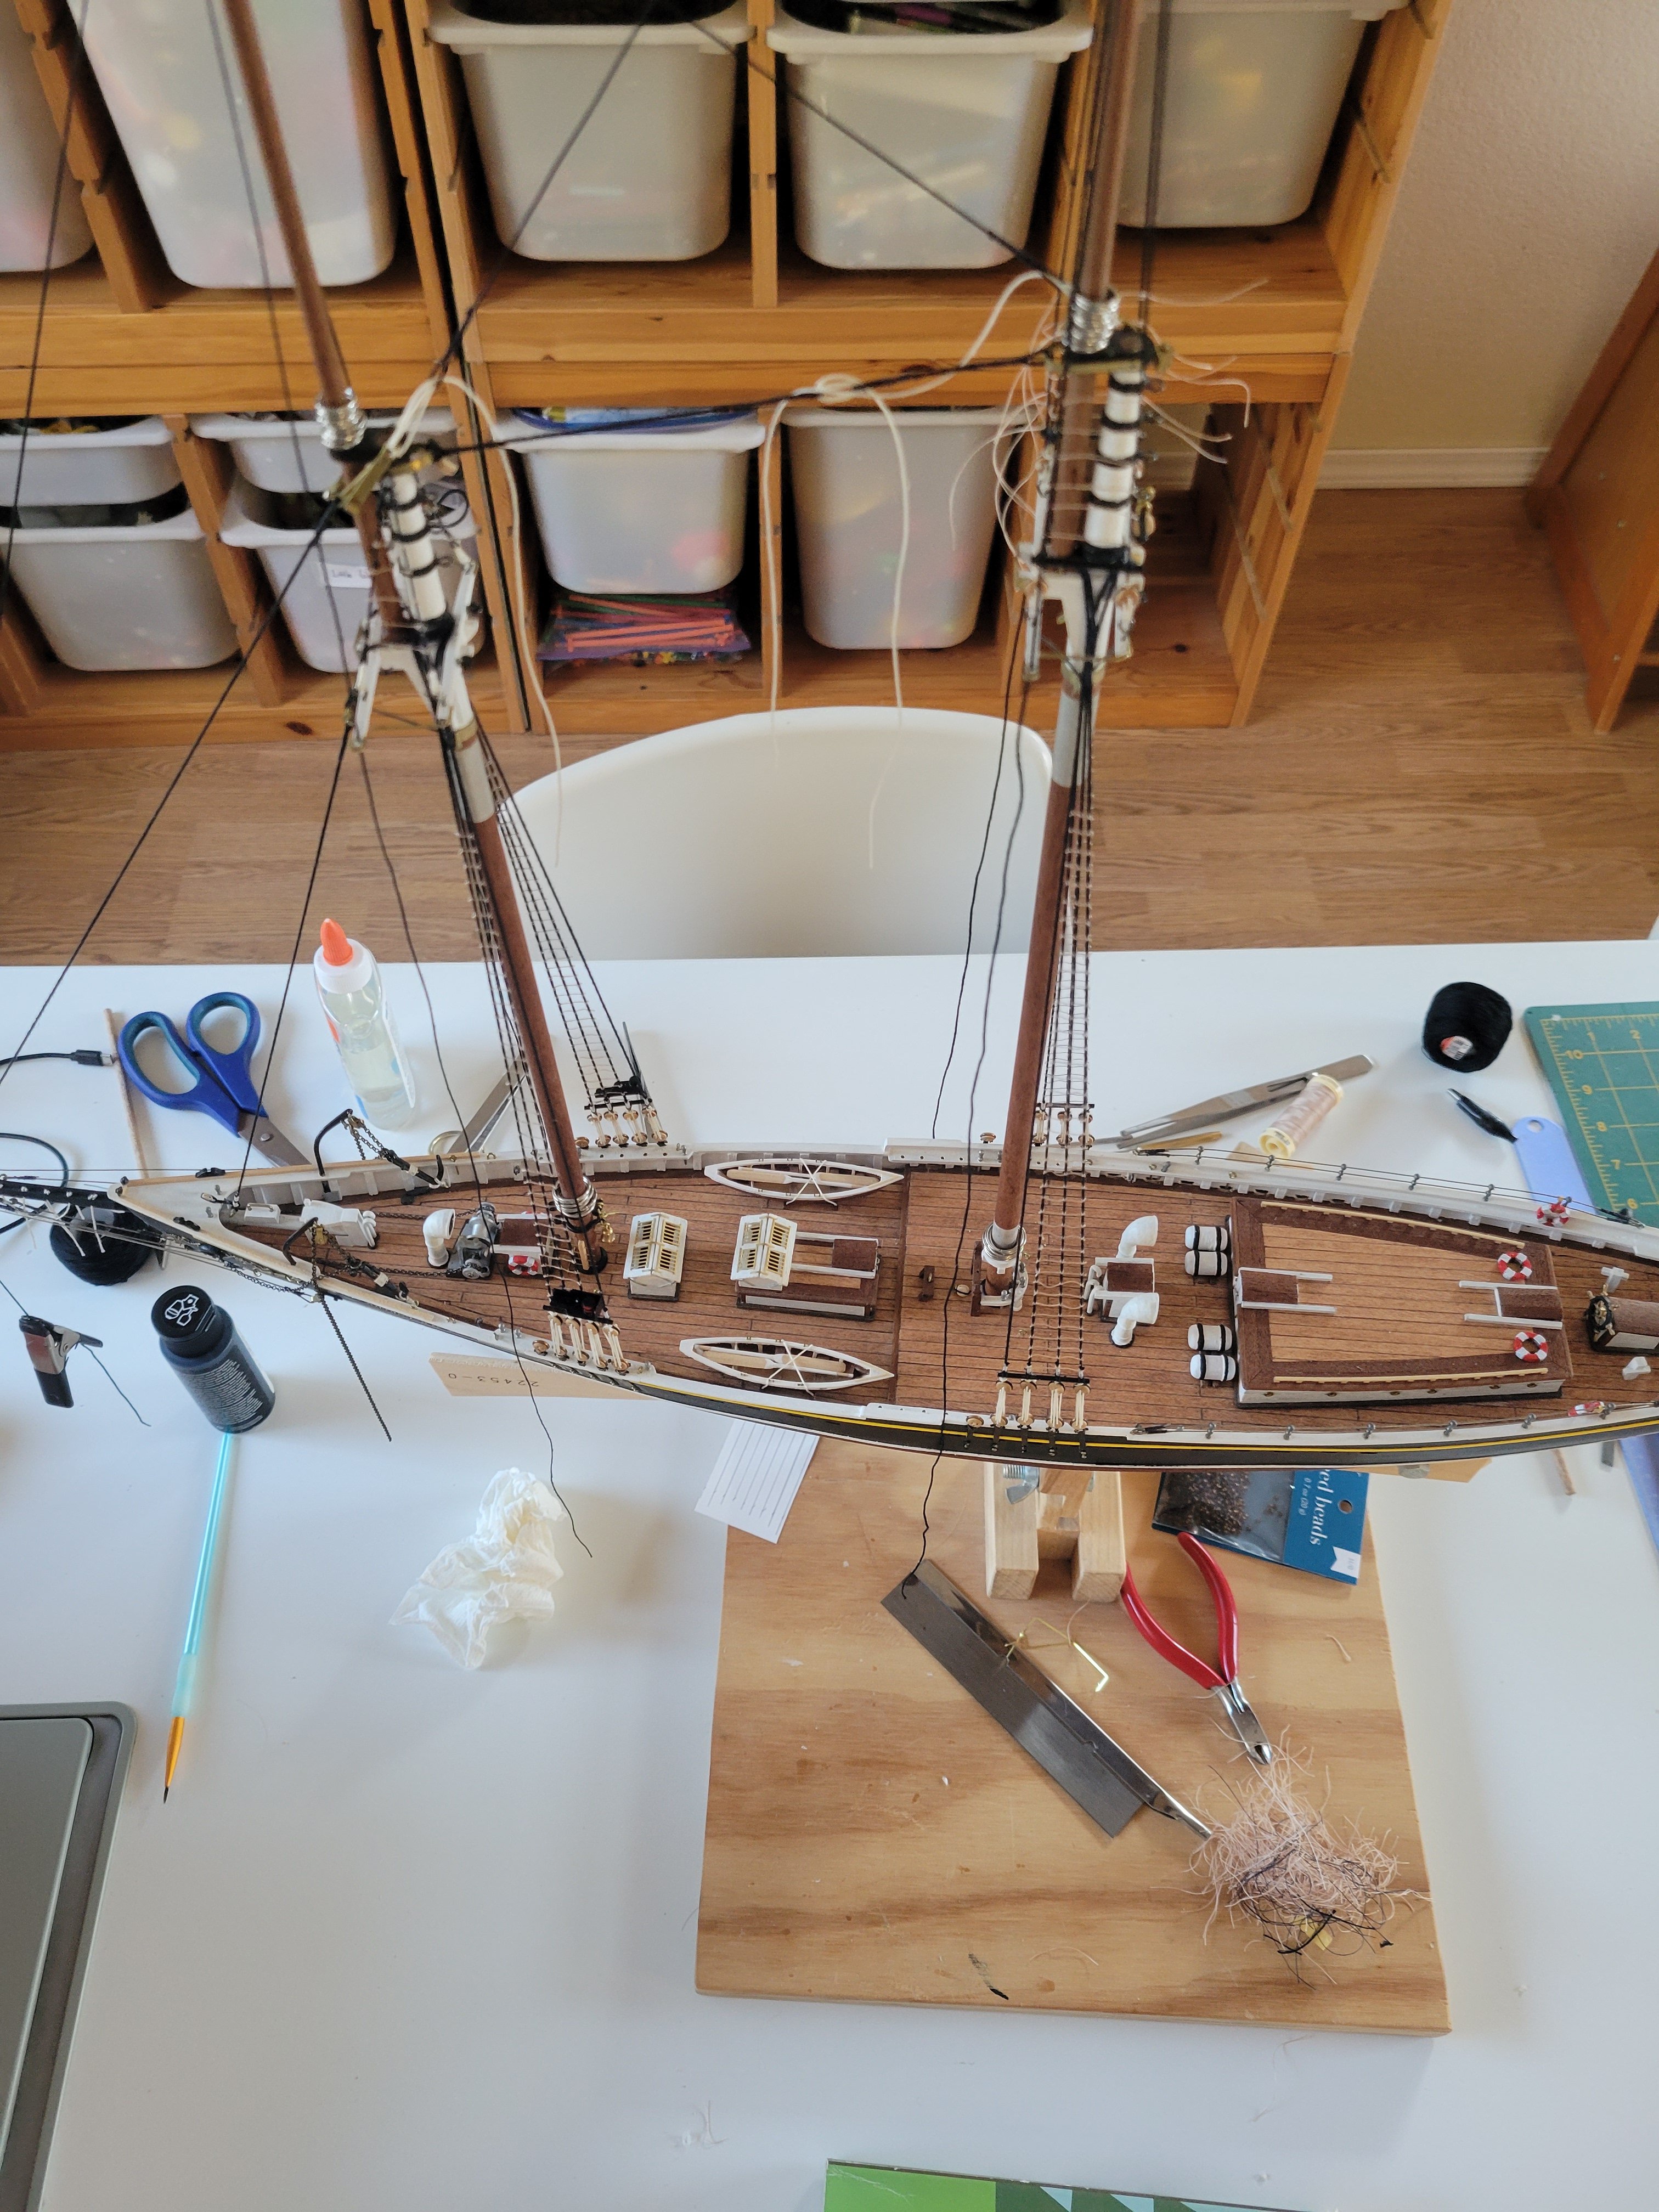
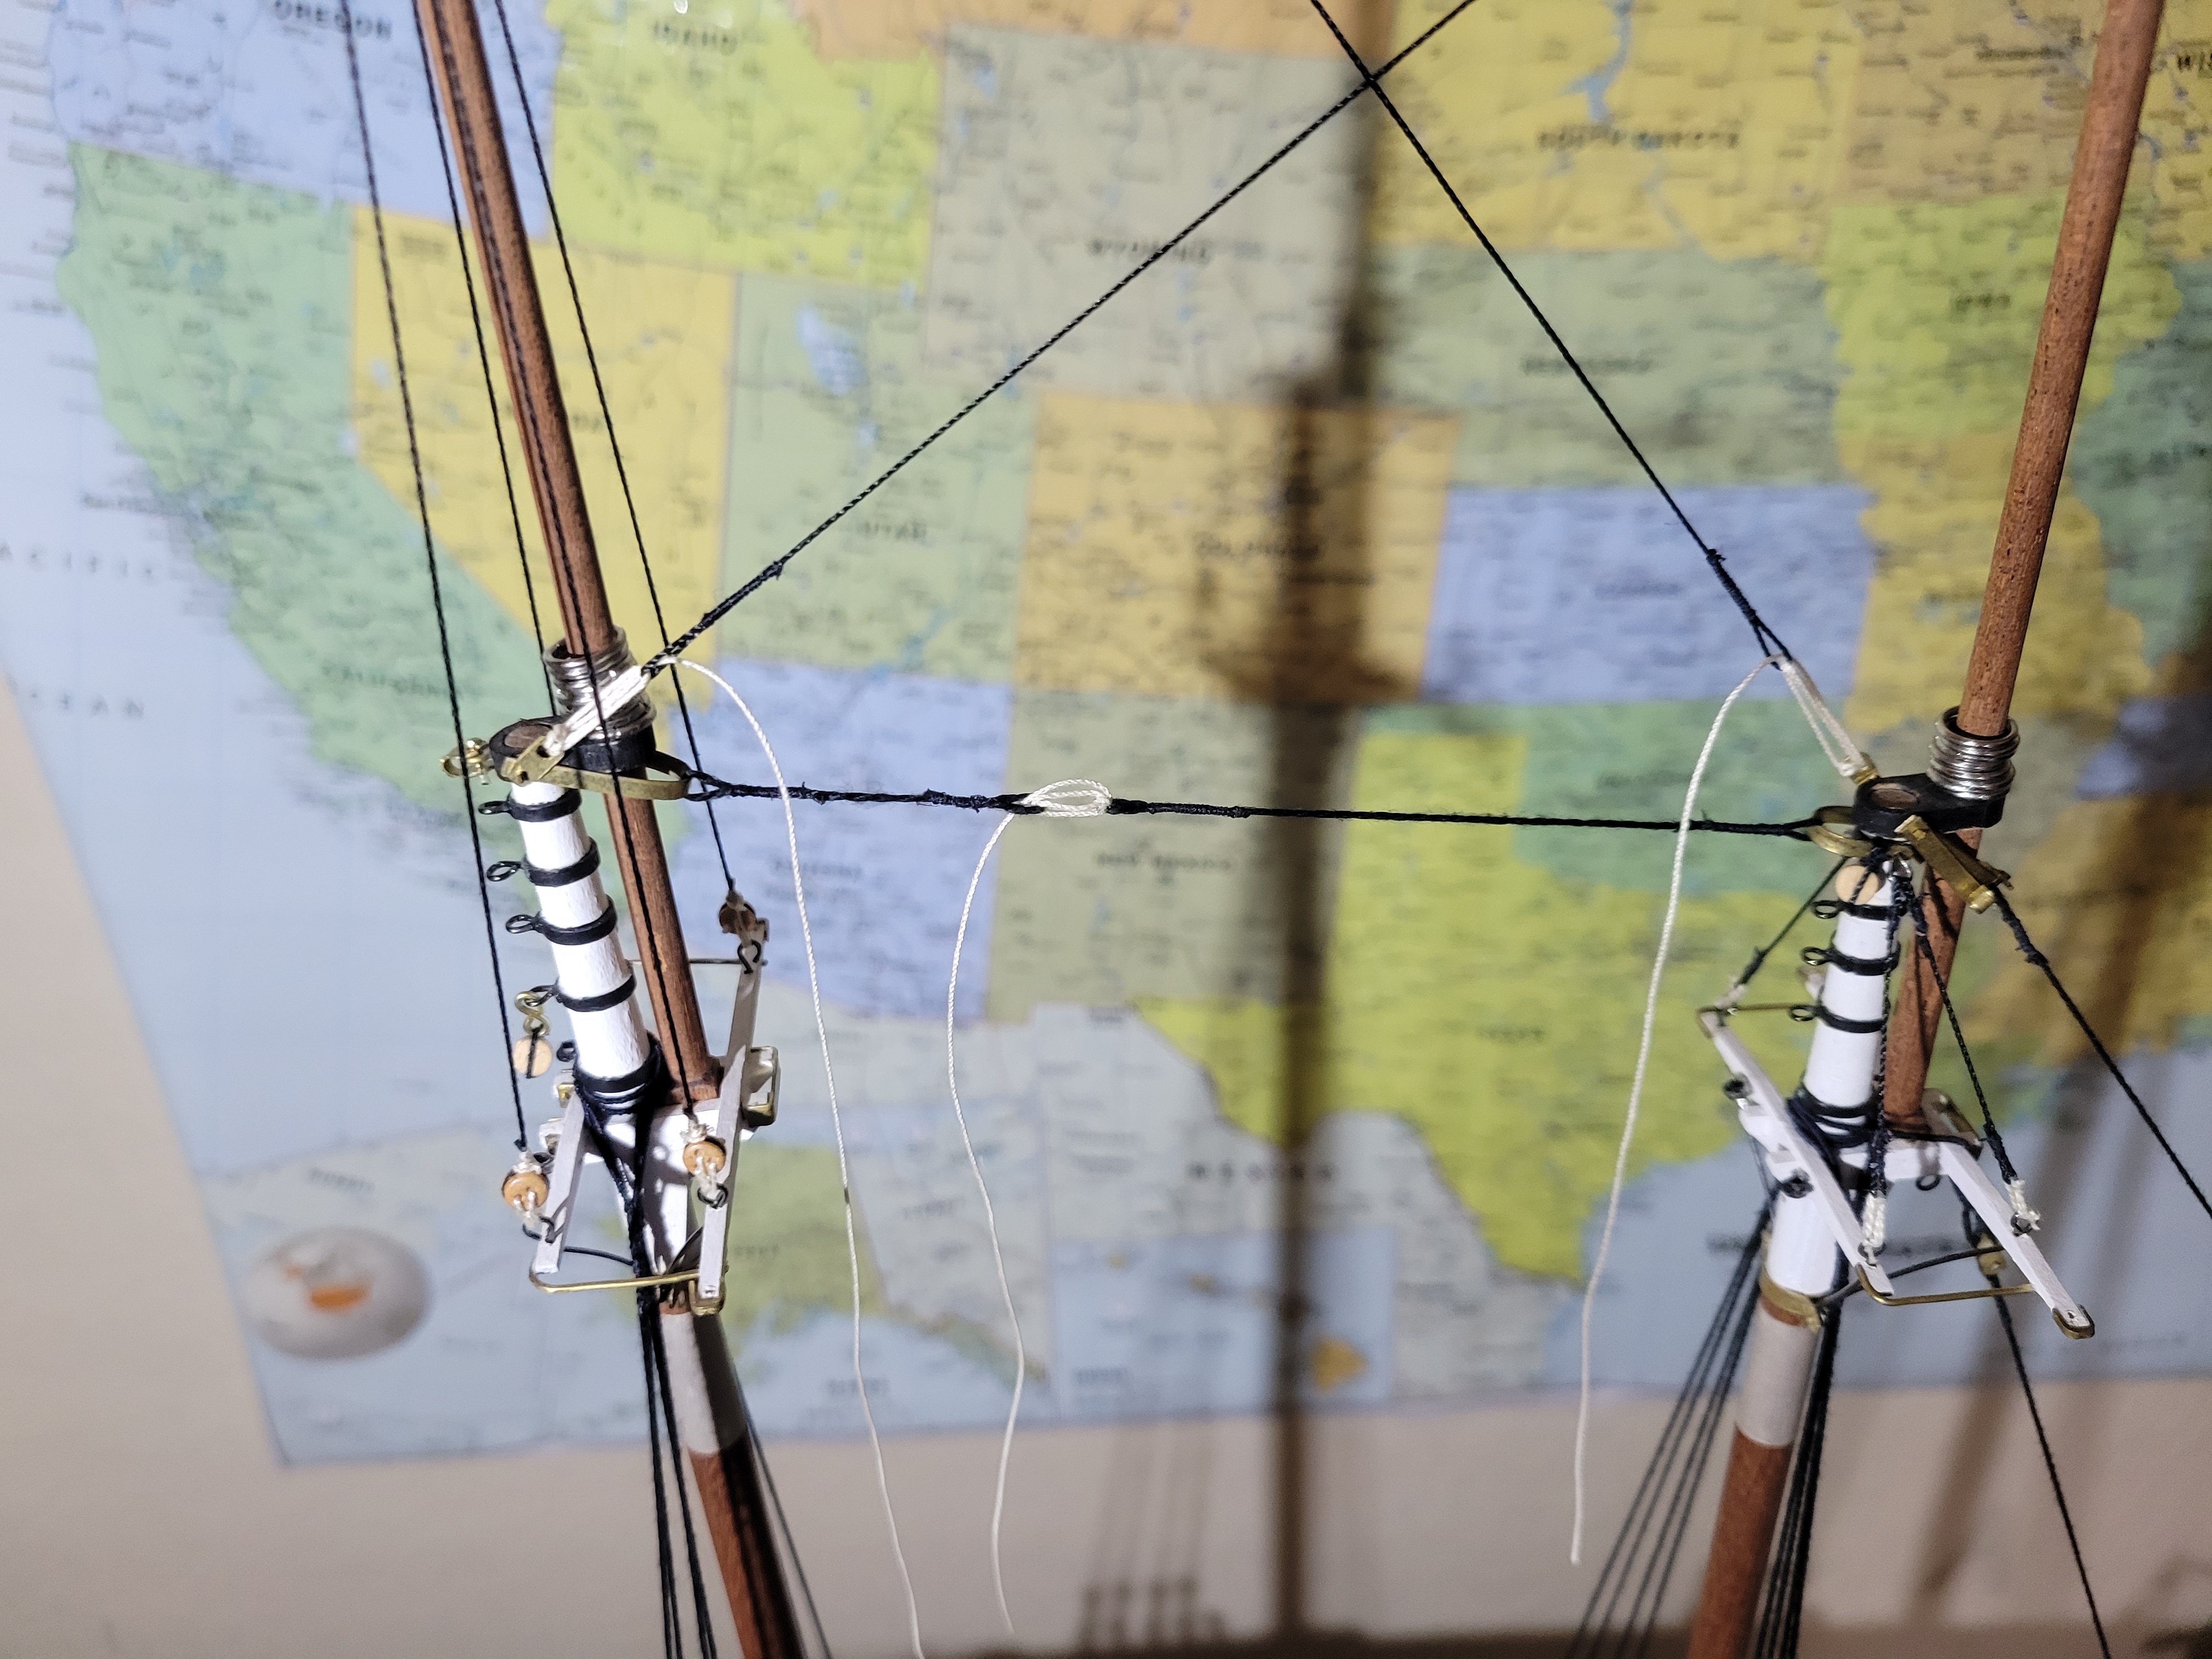
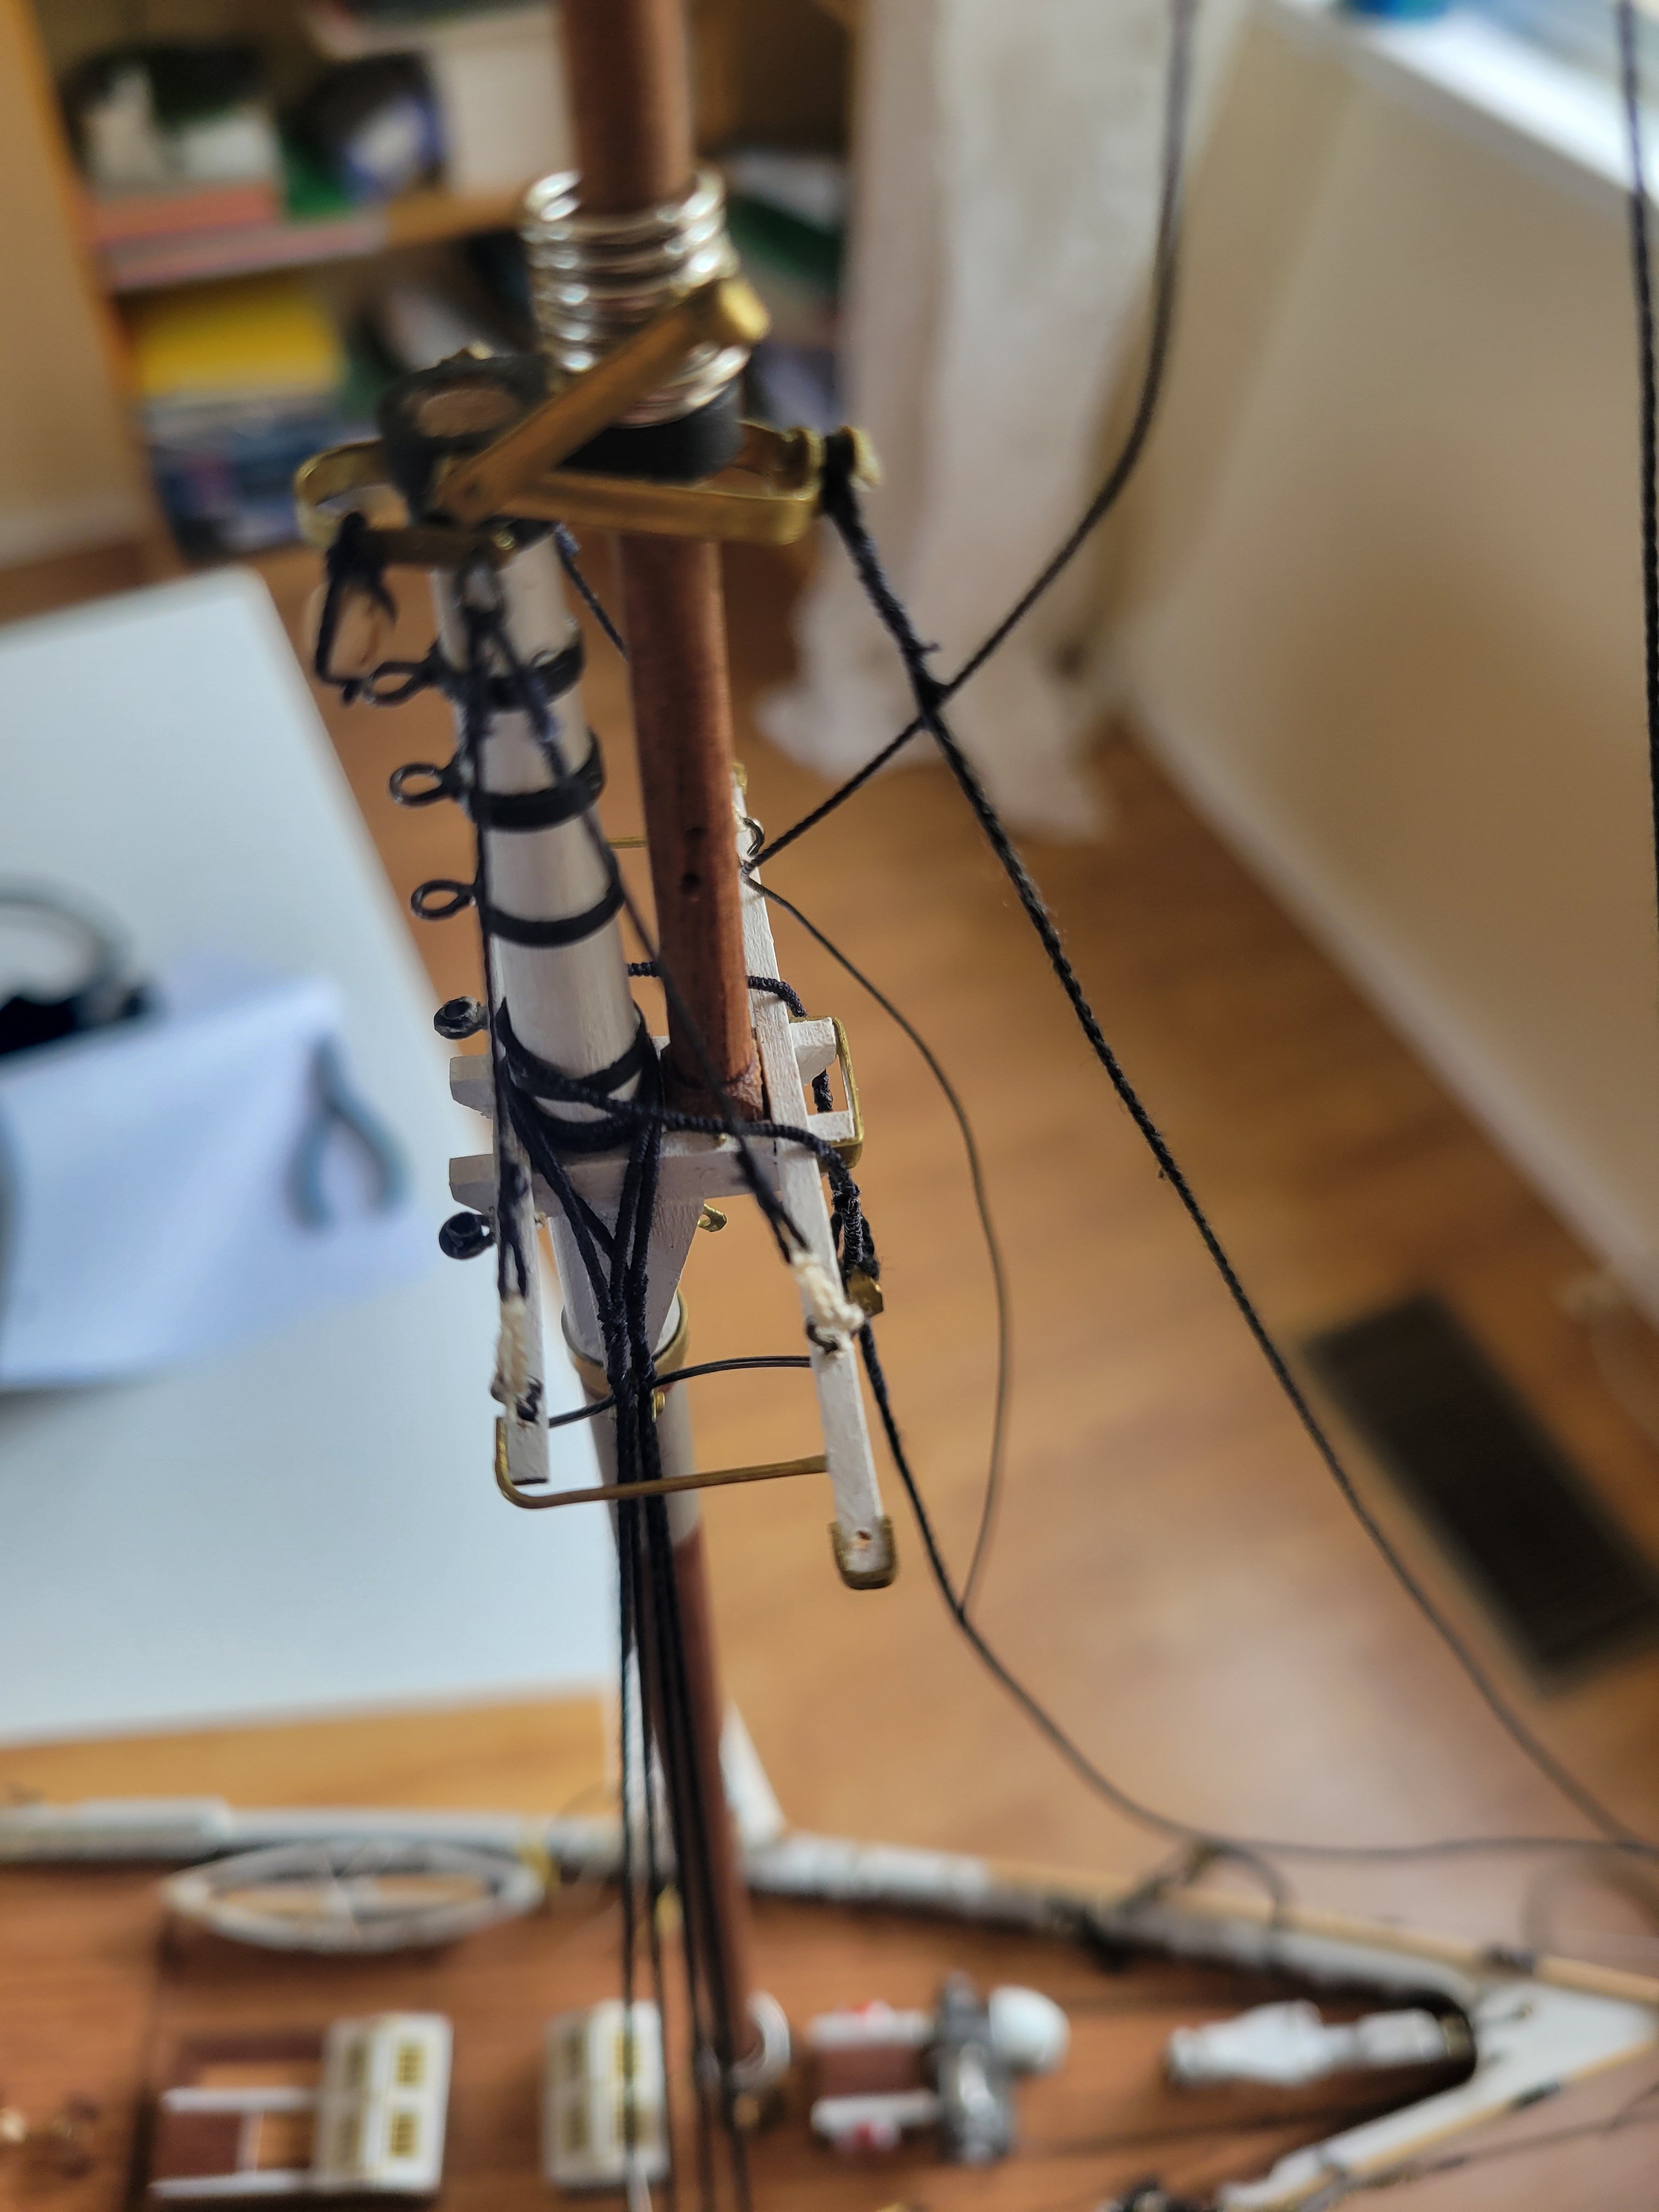
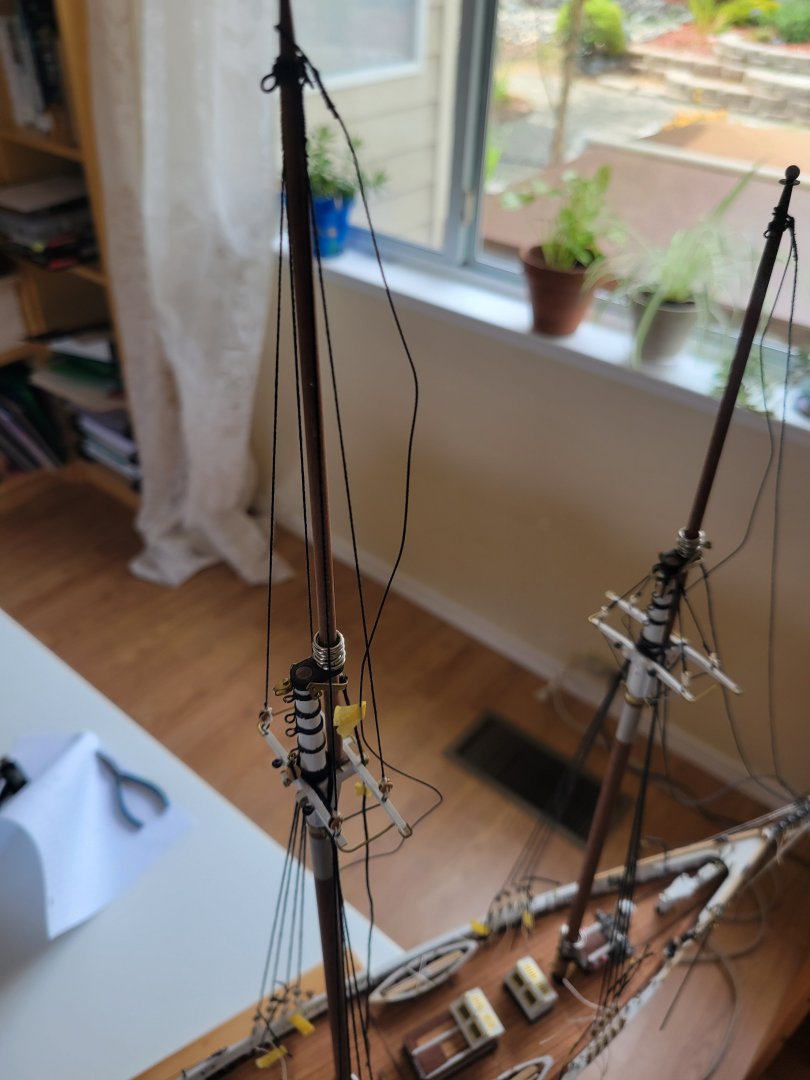
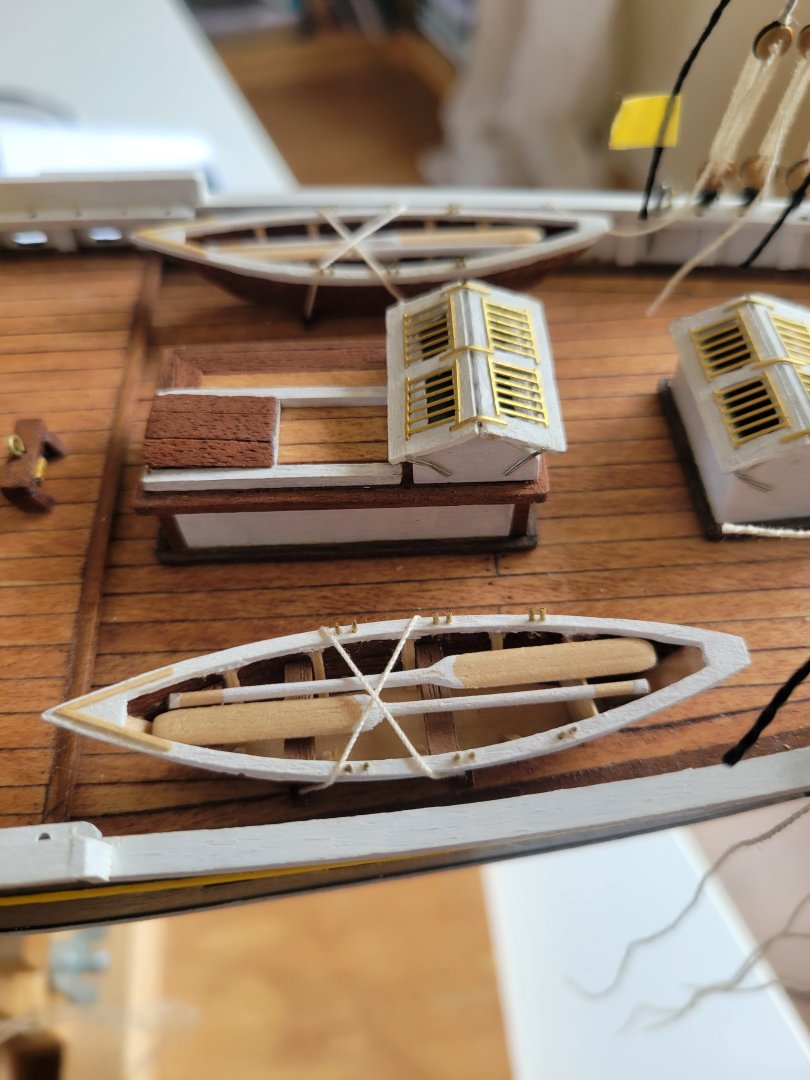
Now stepping the masts! Shrouds always give me pause. Lots get get right and plenty to go wrong. Dories too with some scratch oars.


- 84 replies
-
- 3
-
-
- Artesania Latina
- Bluenose II
- (and 1 more)
-
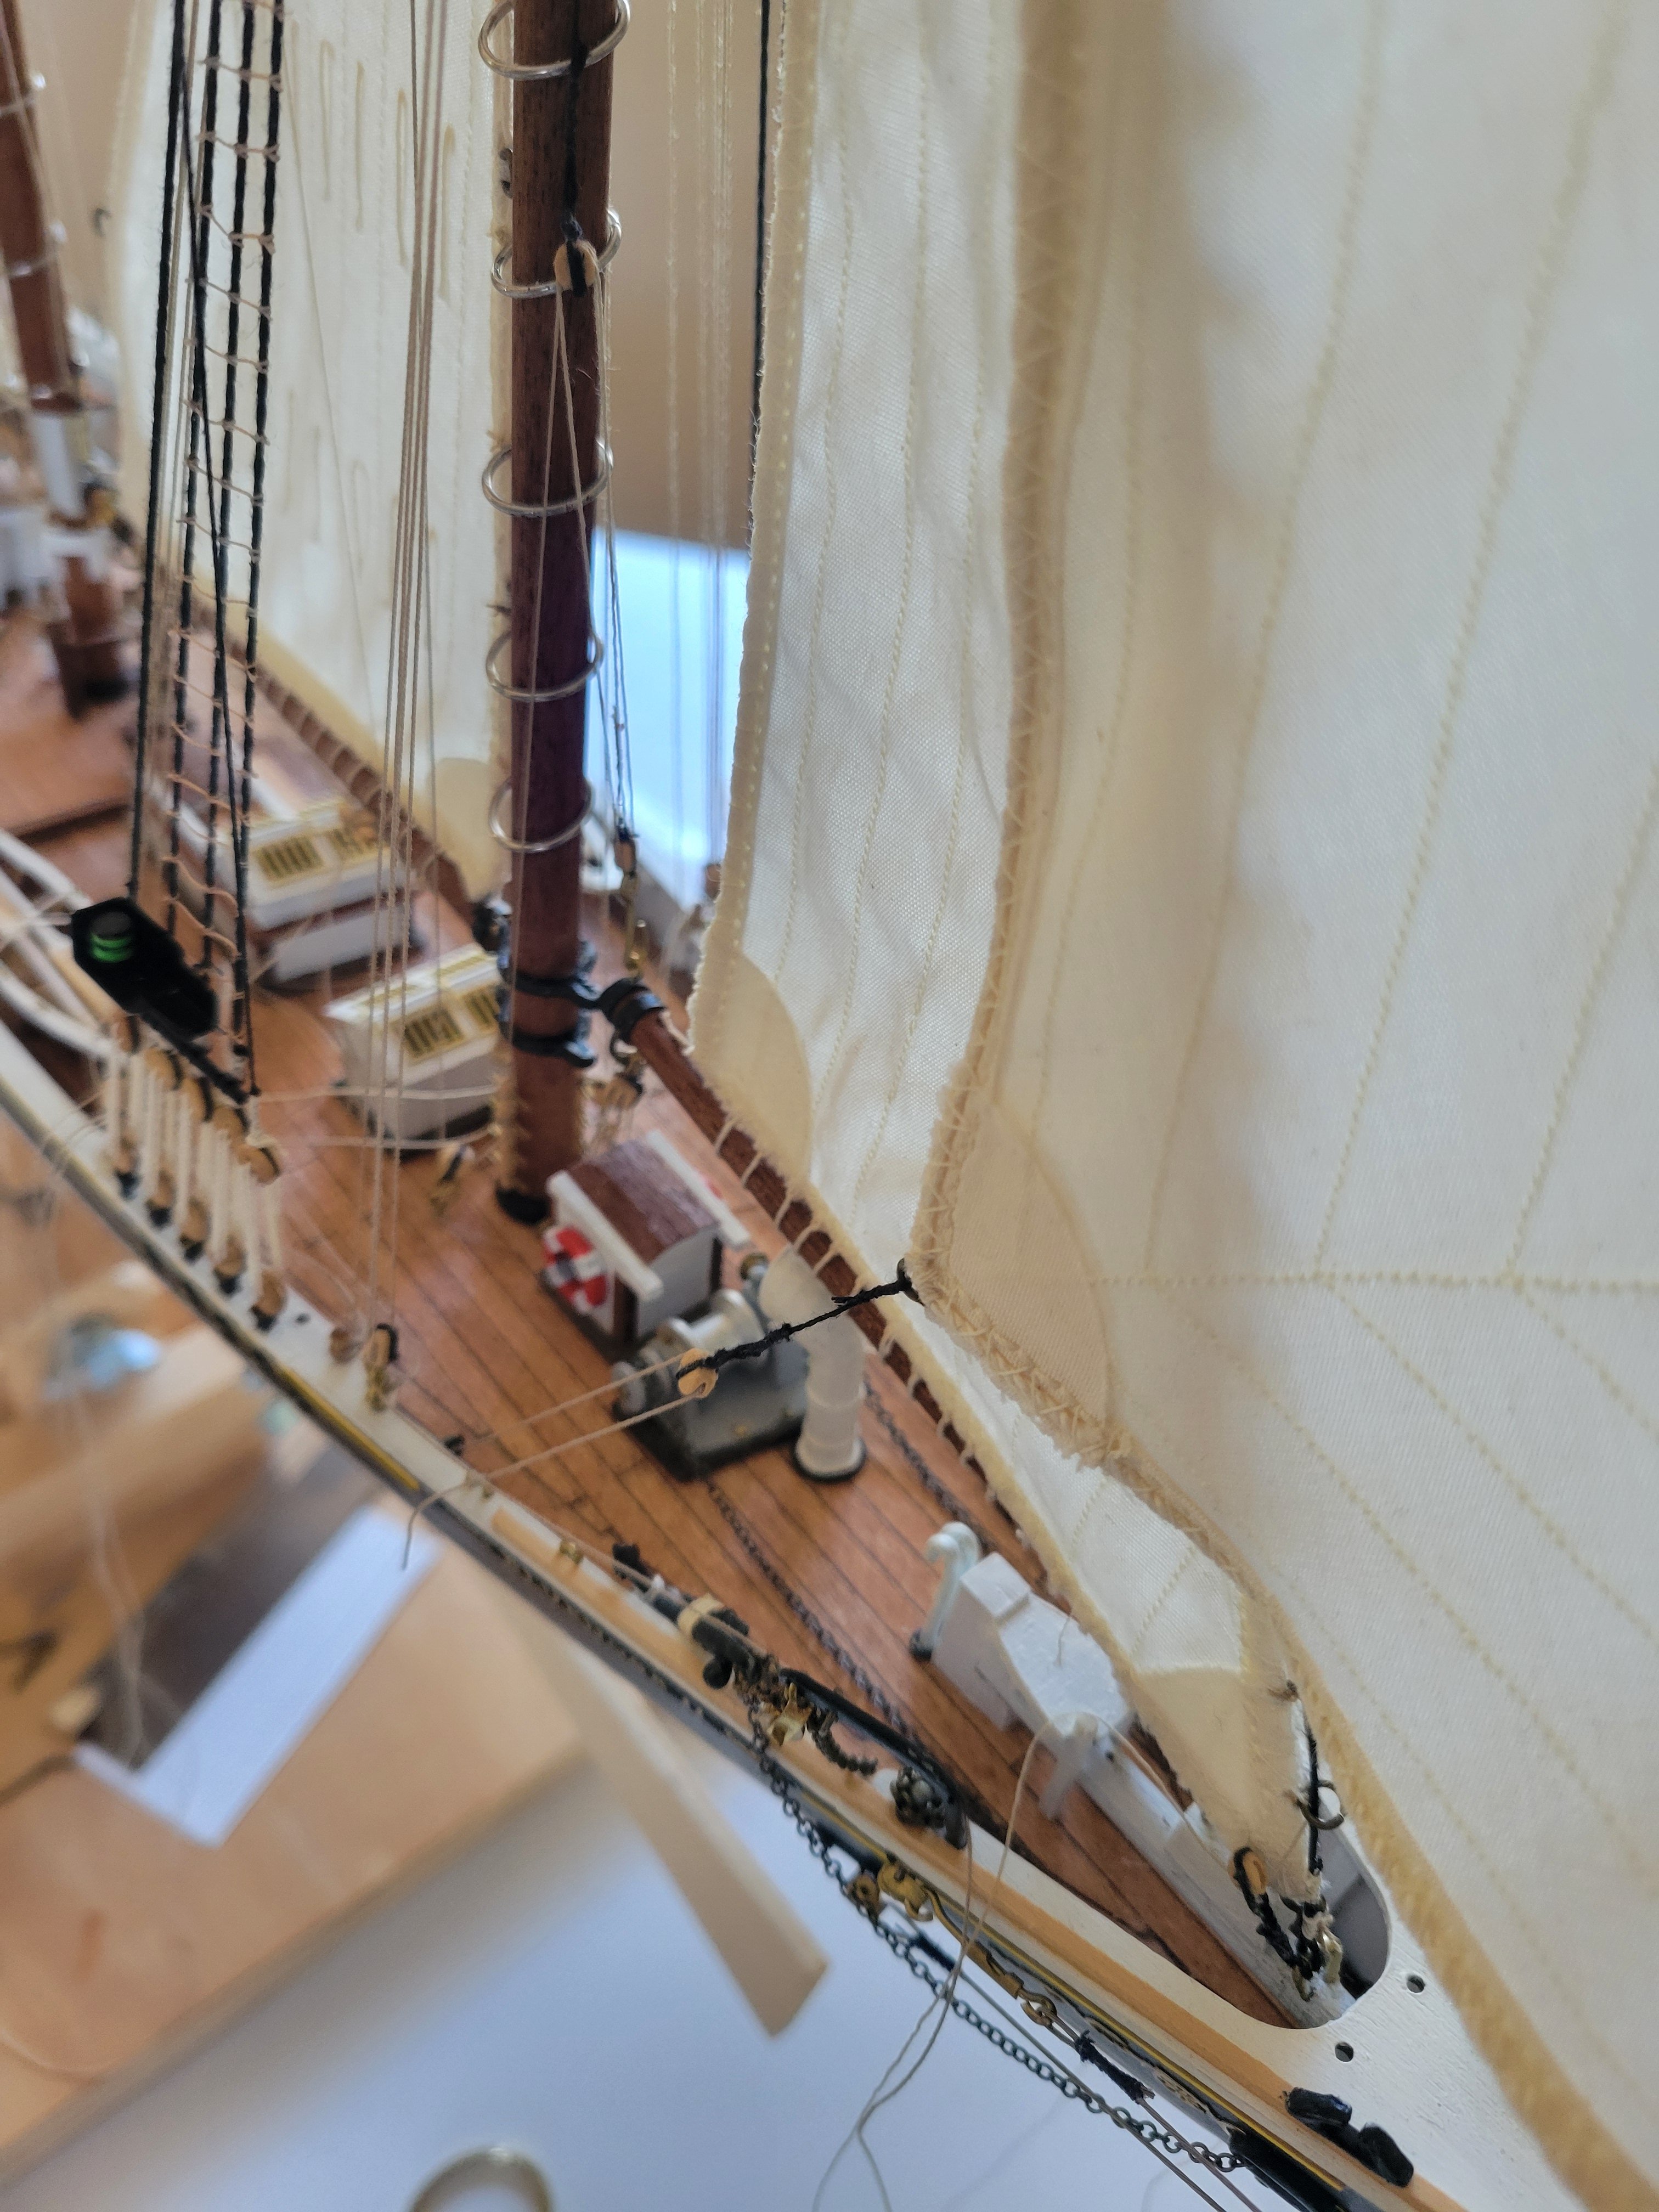
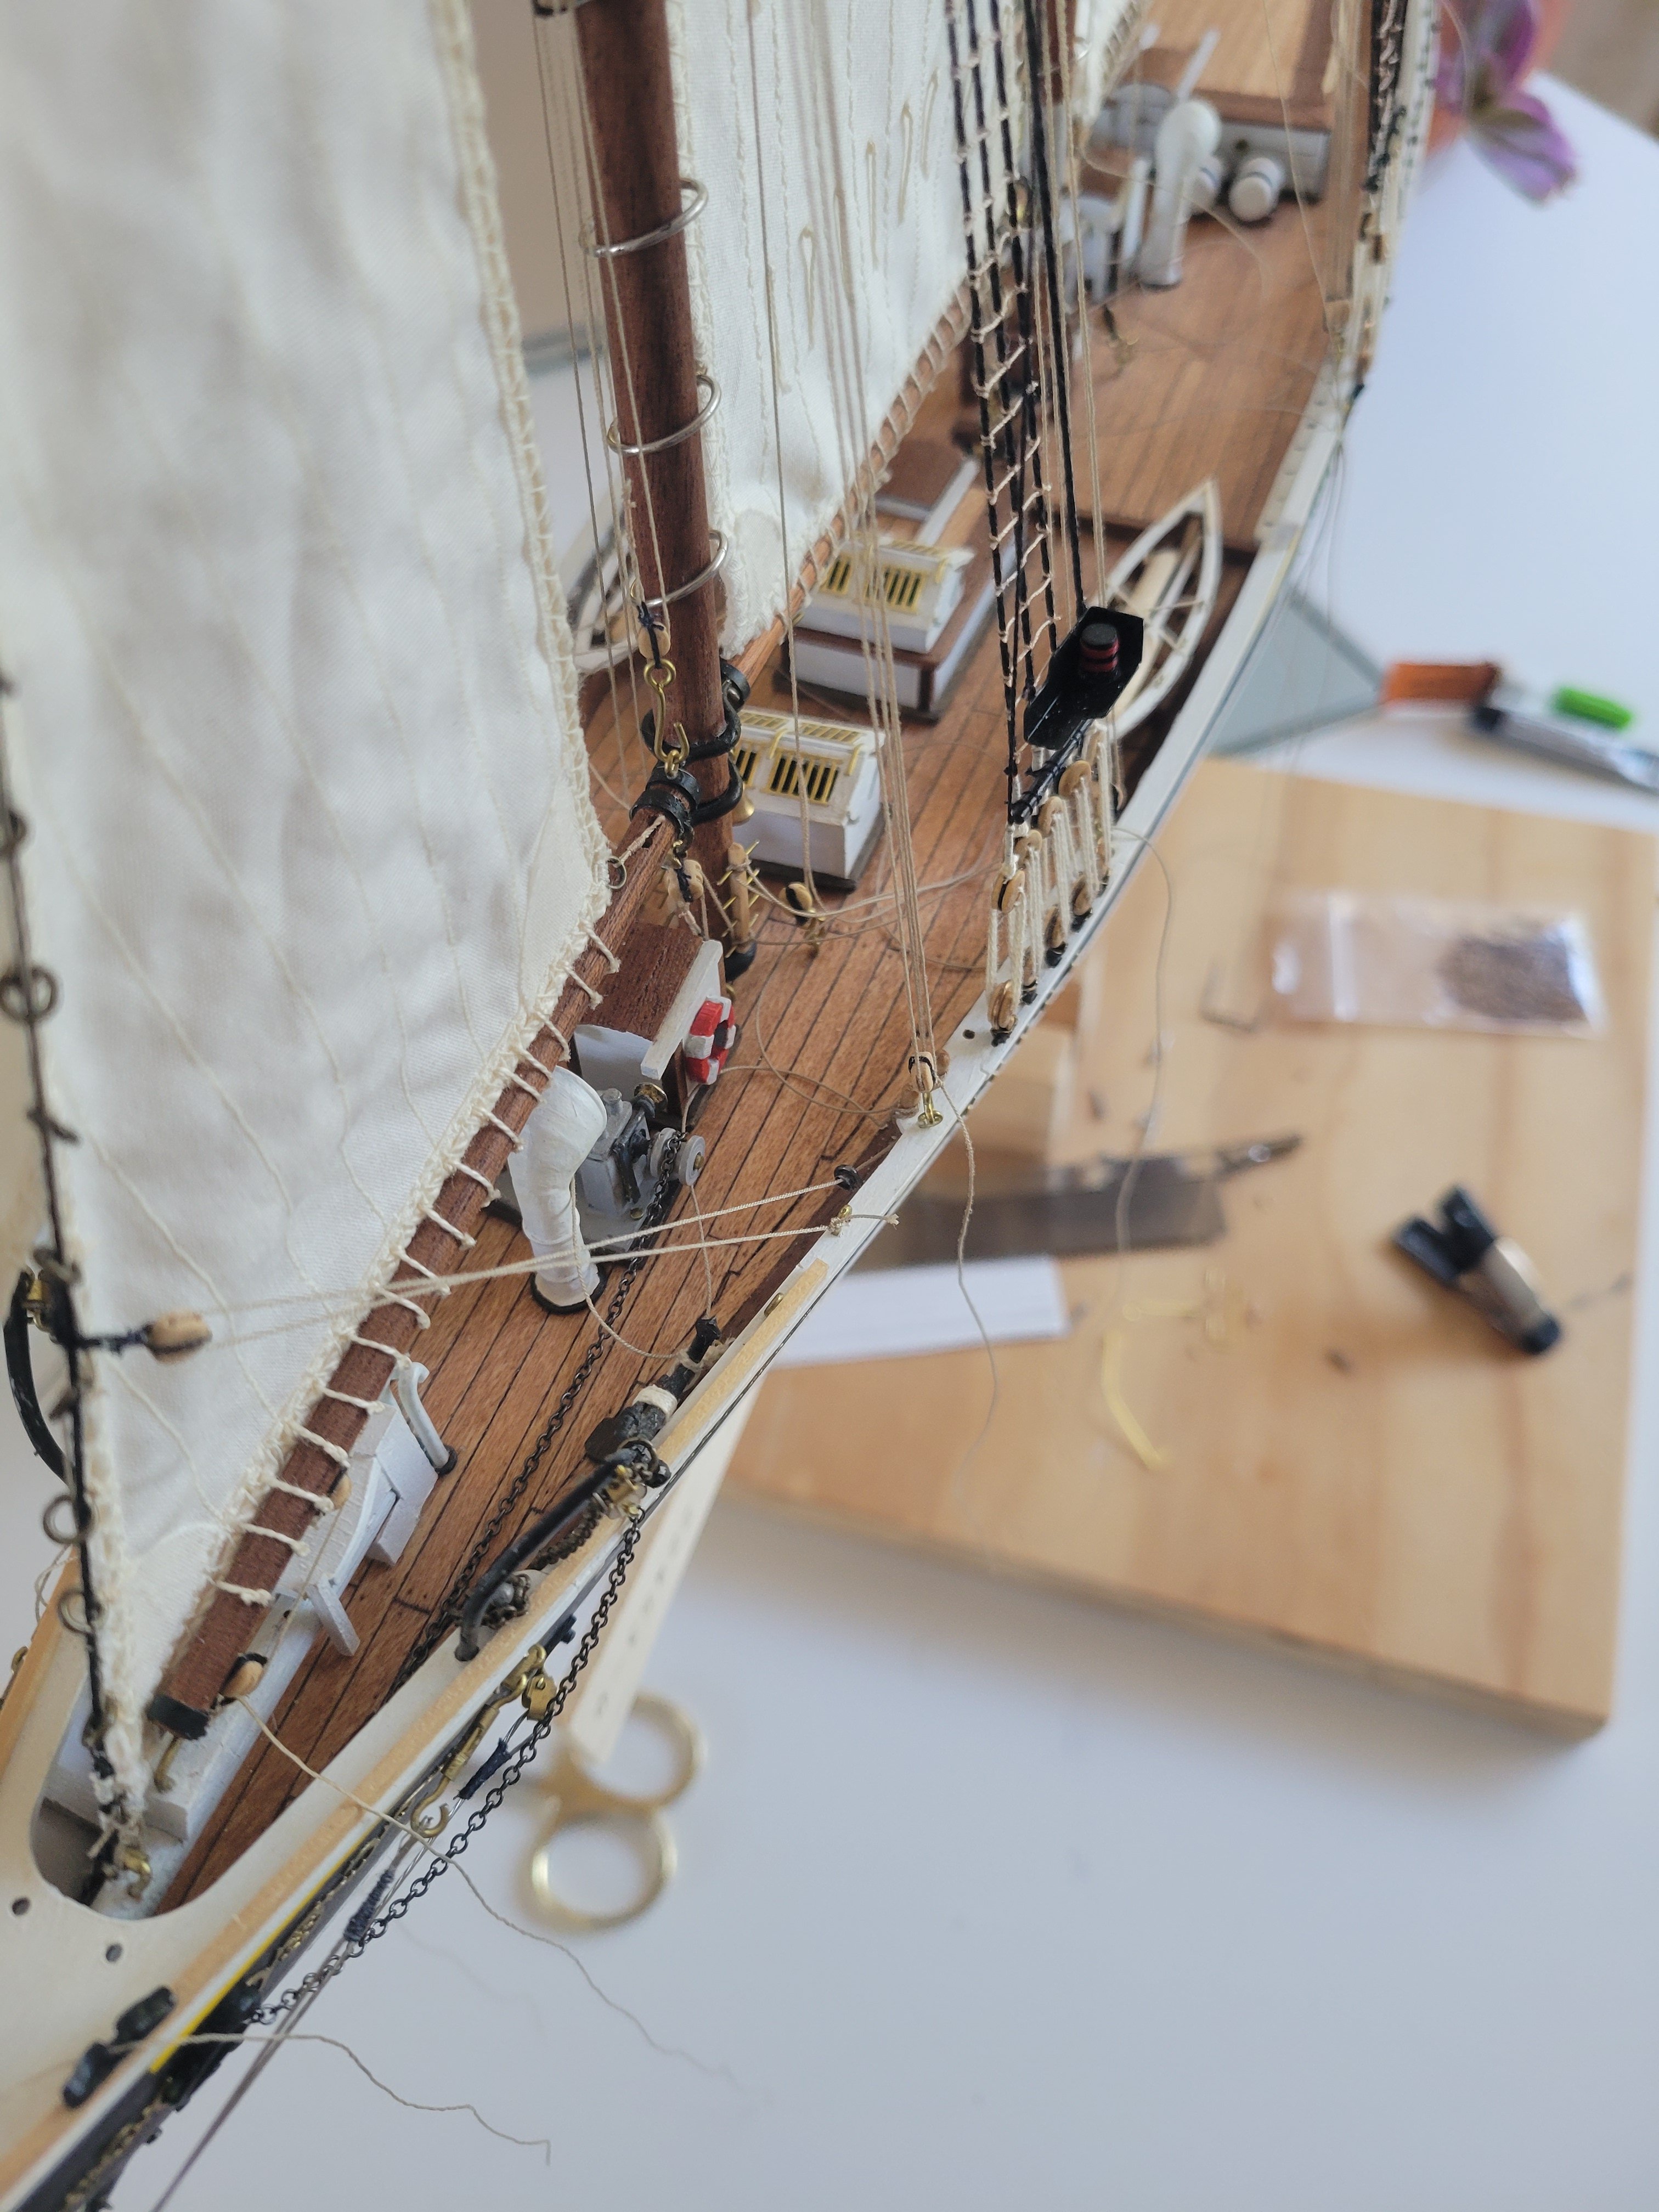
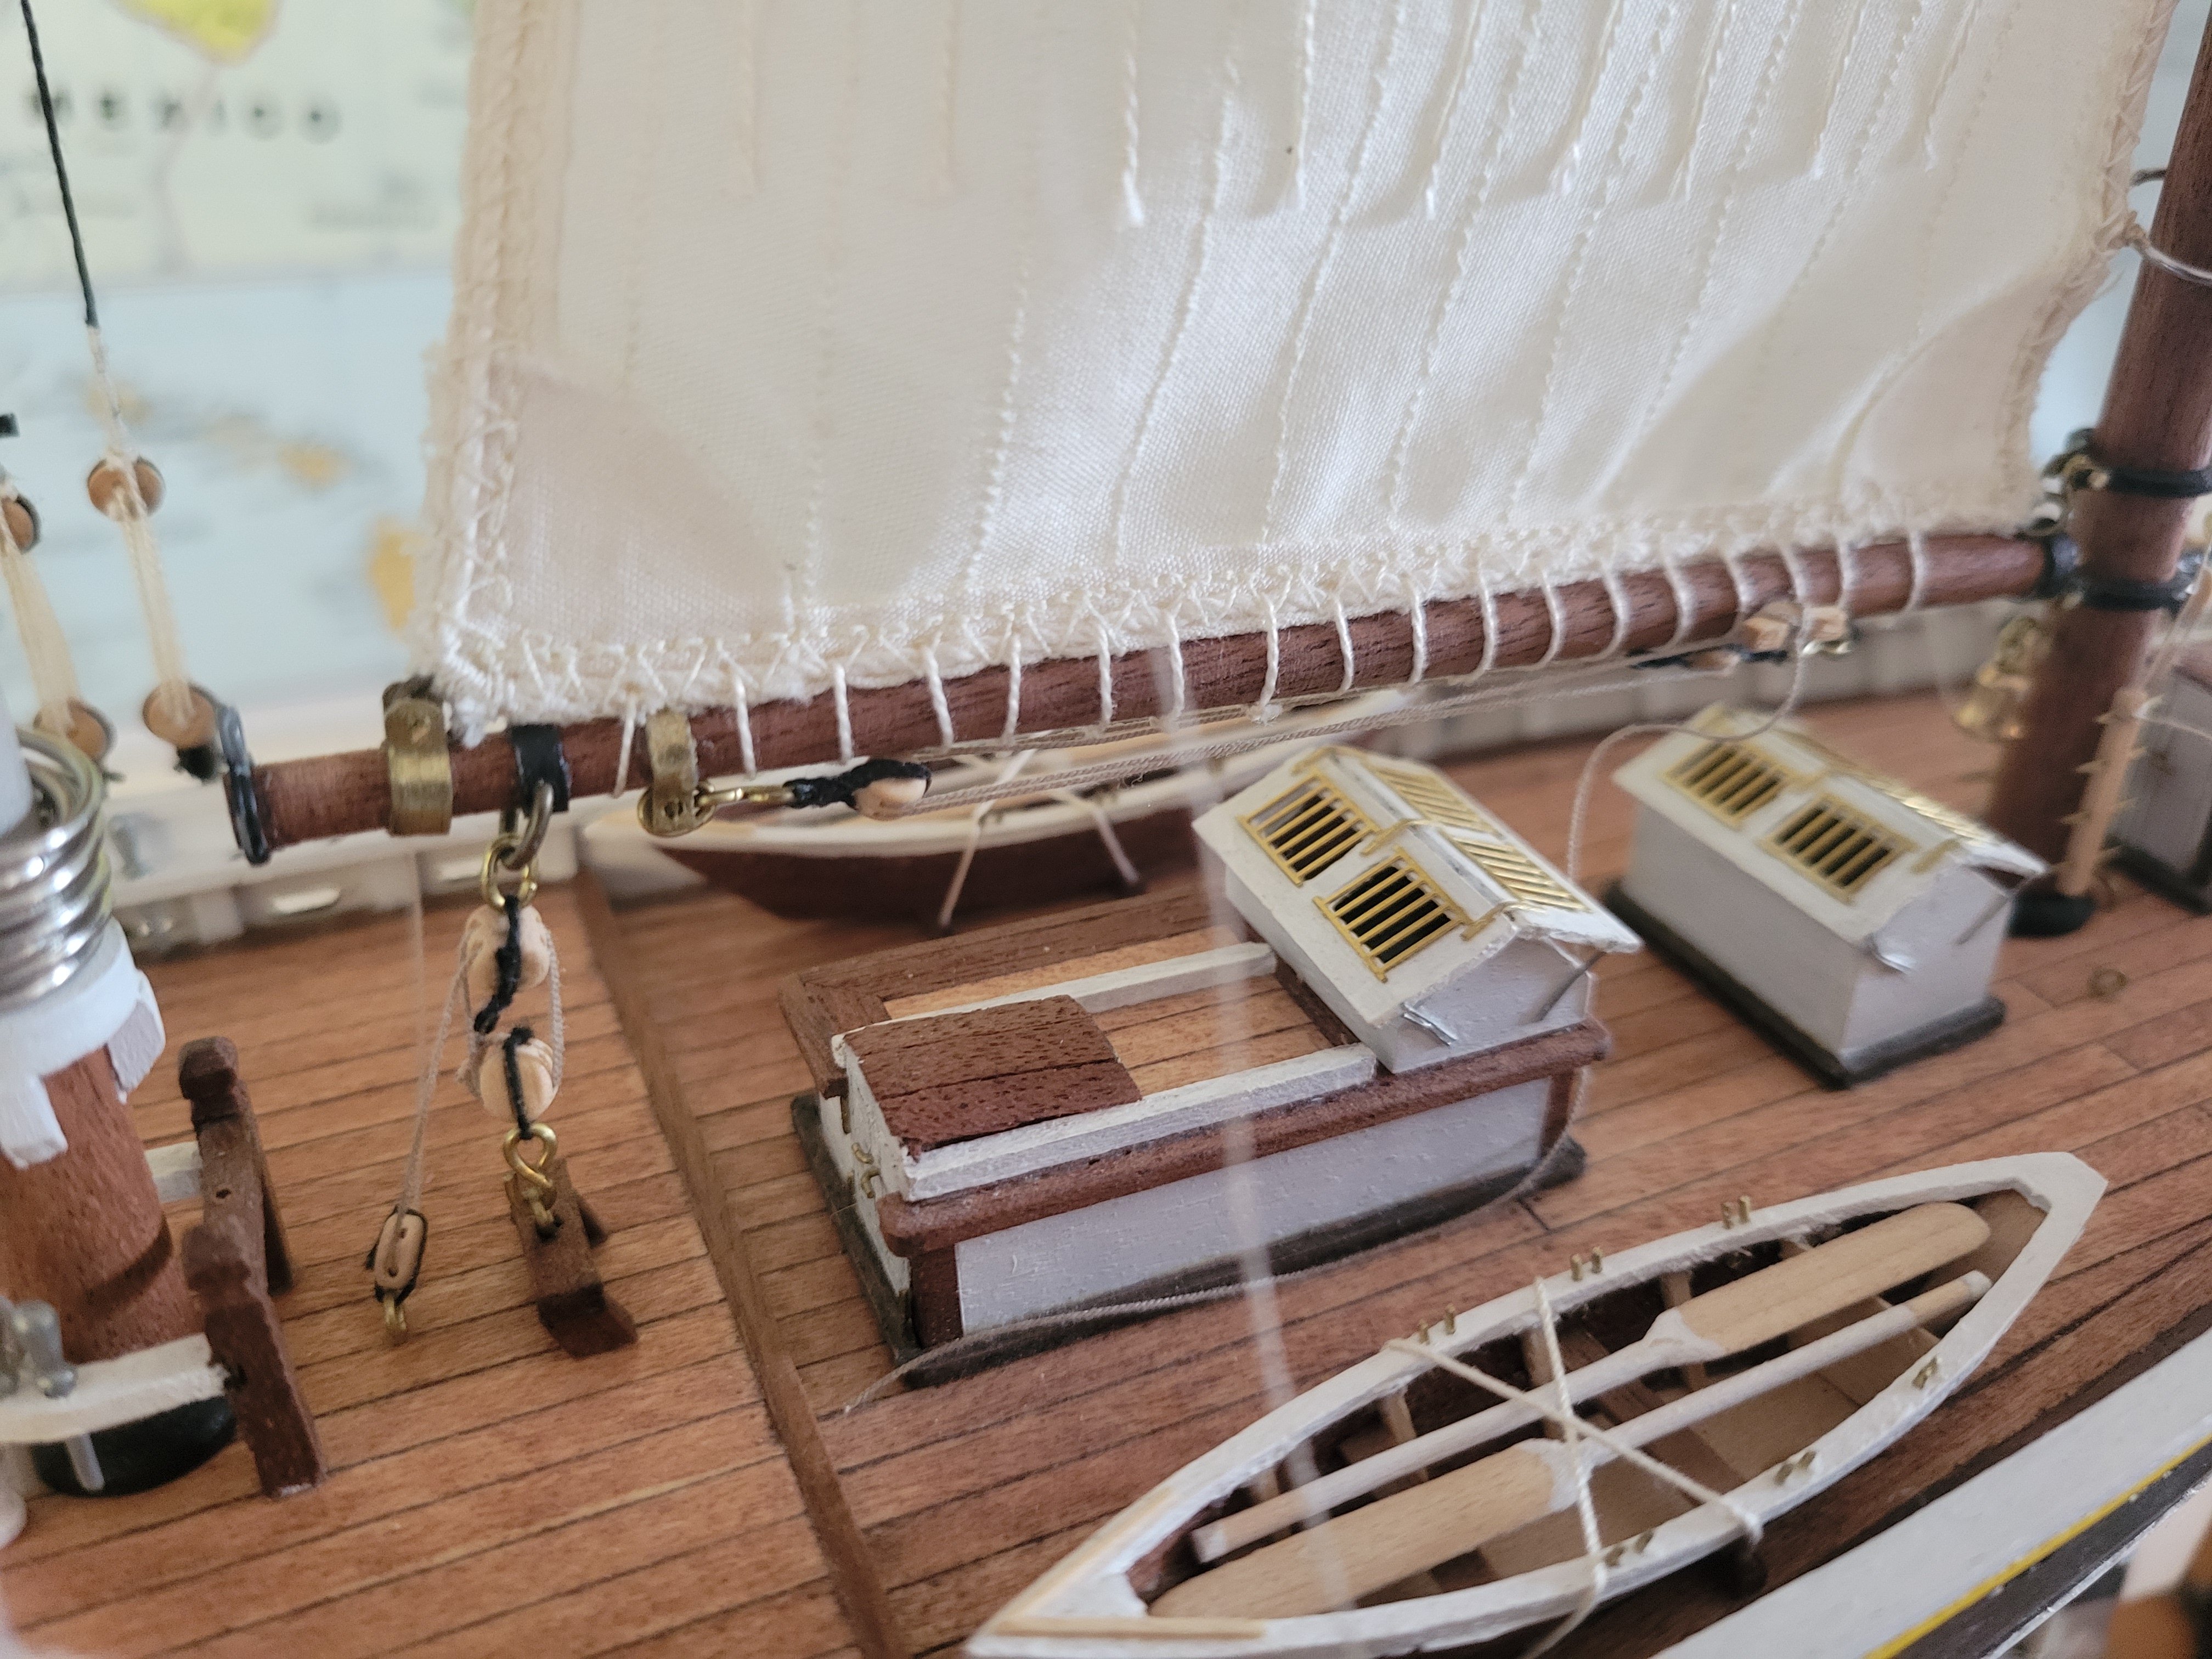
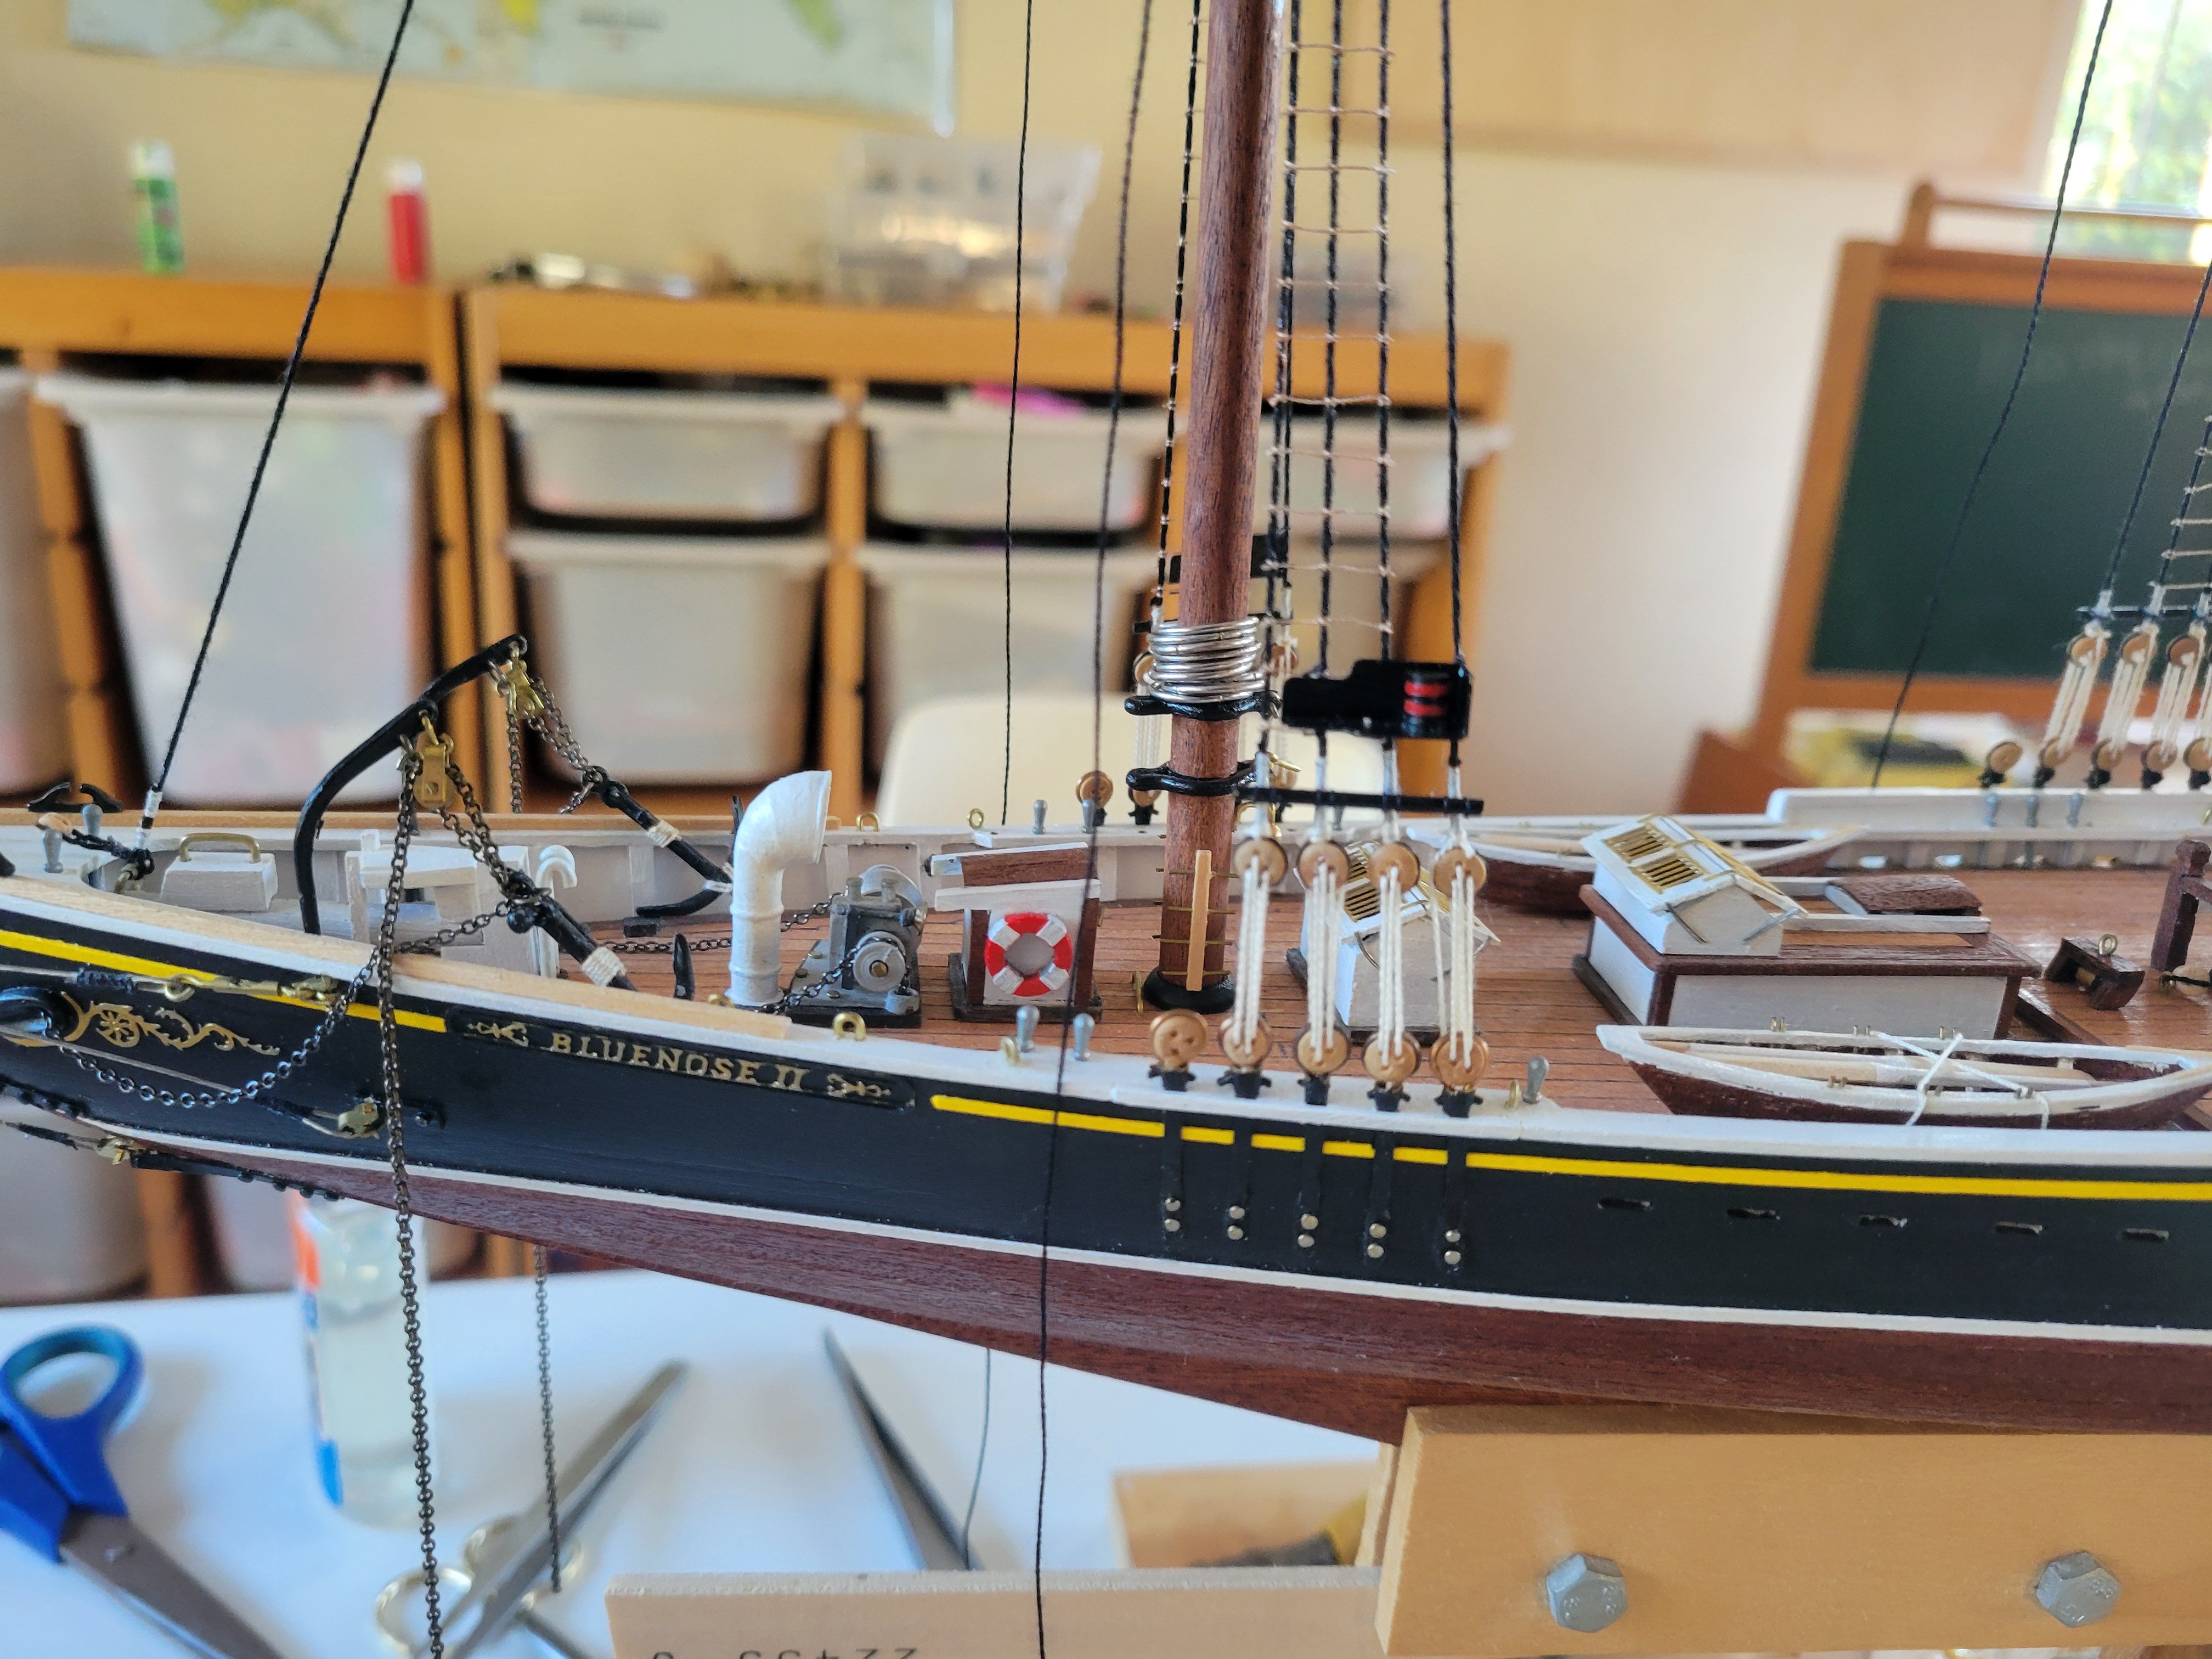
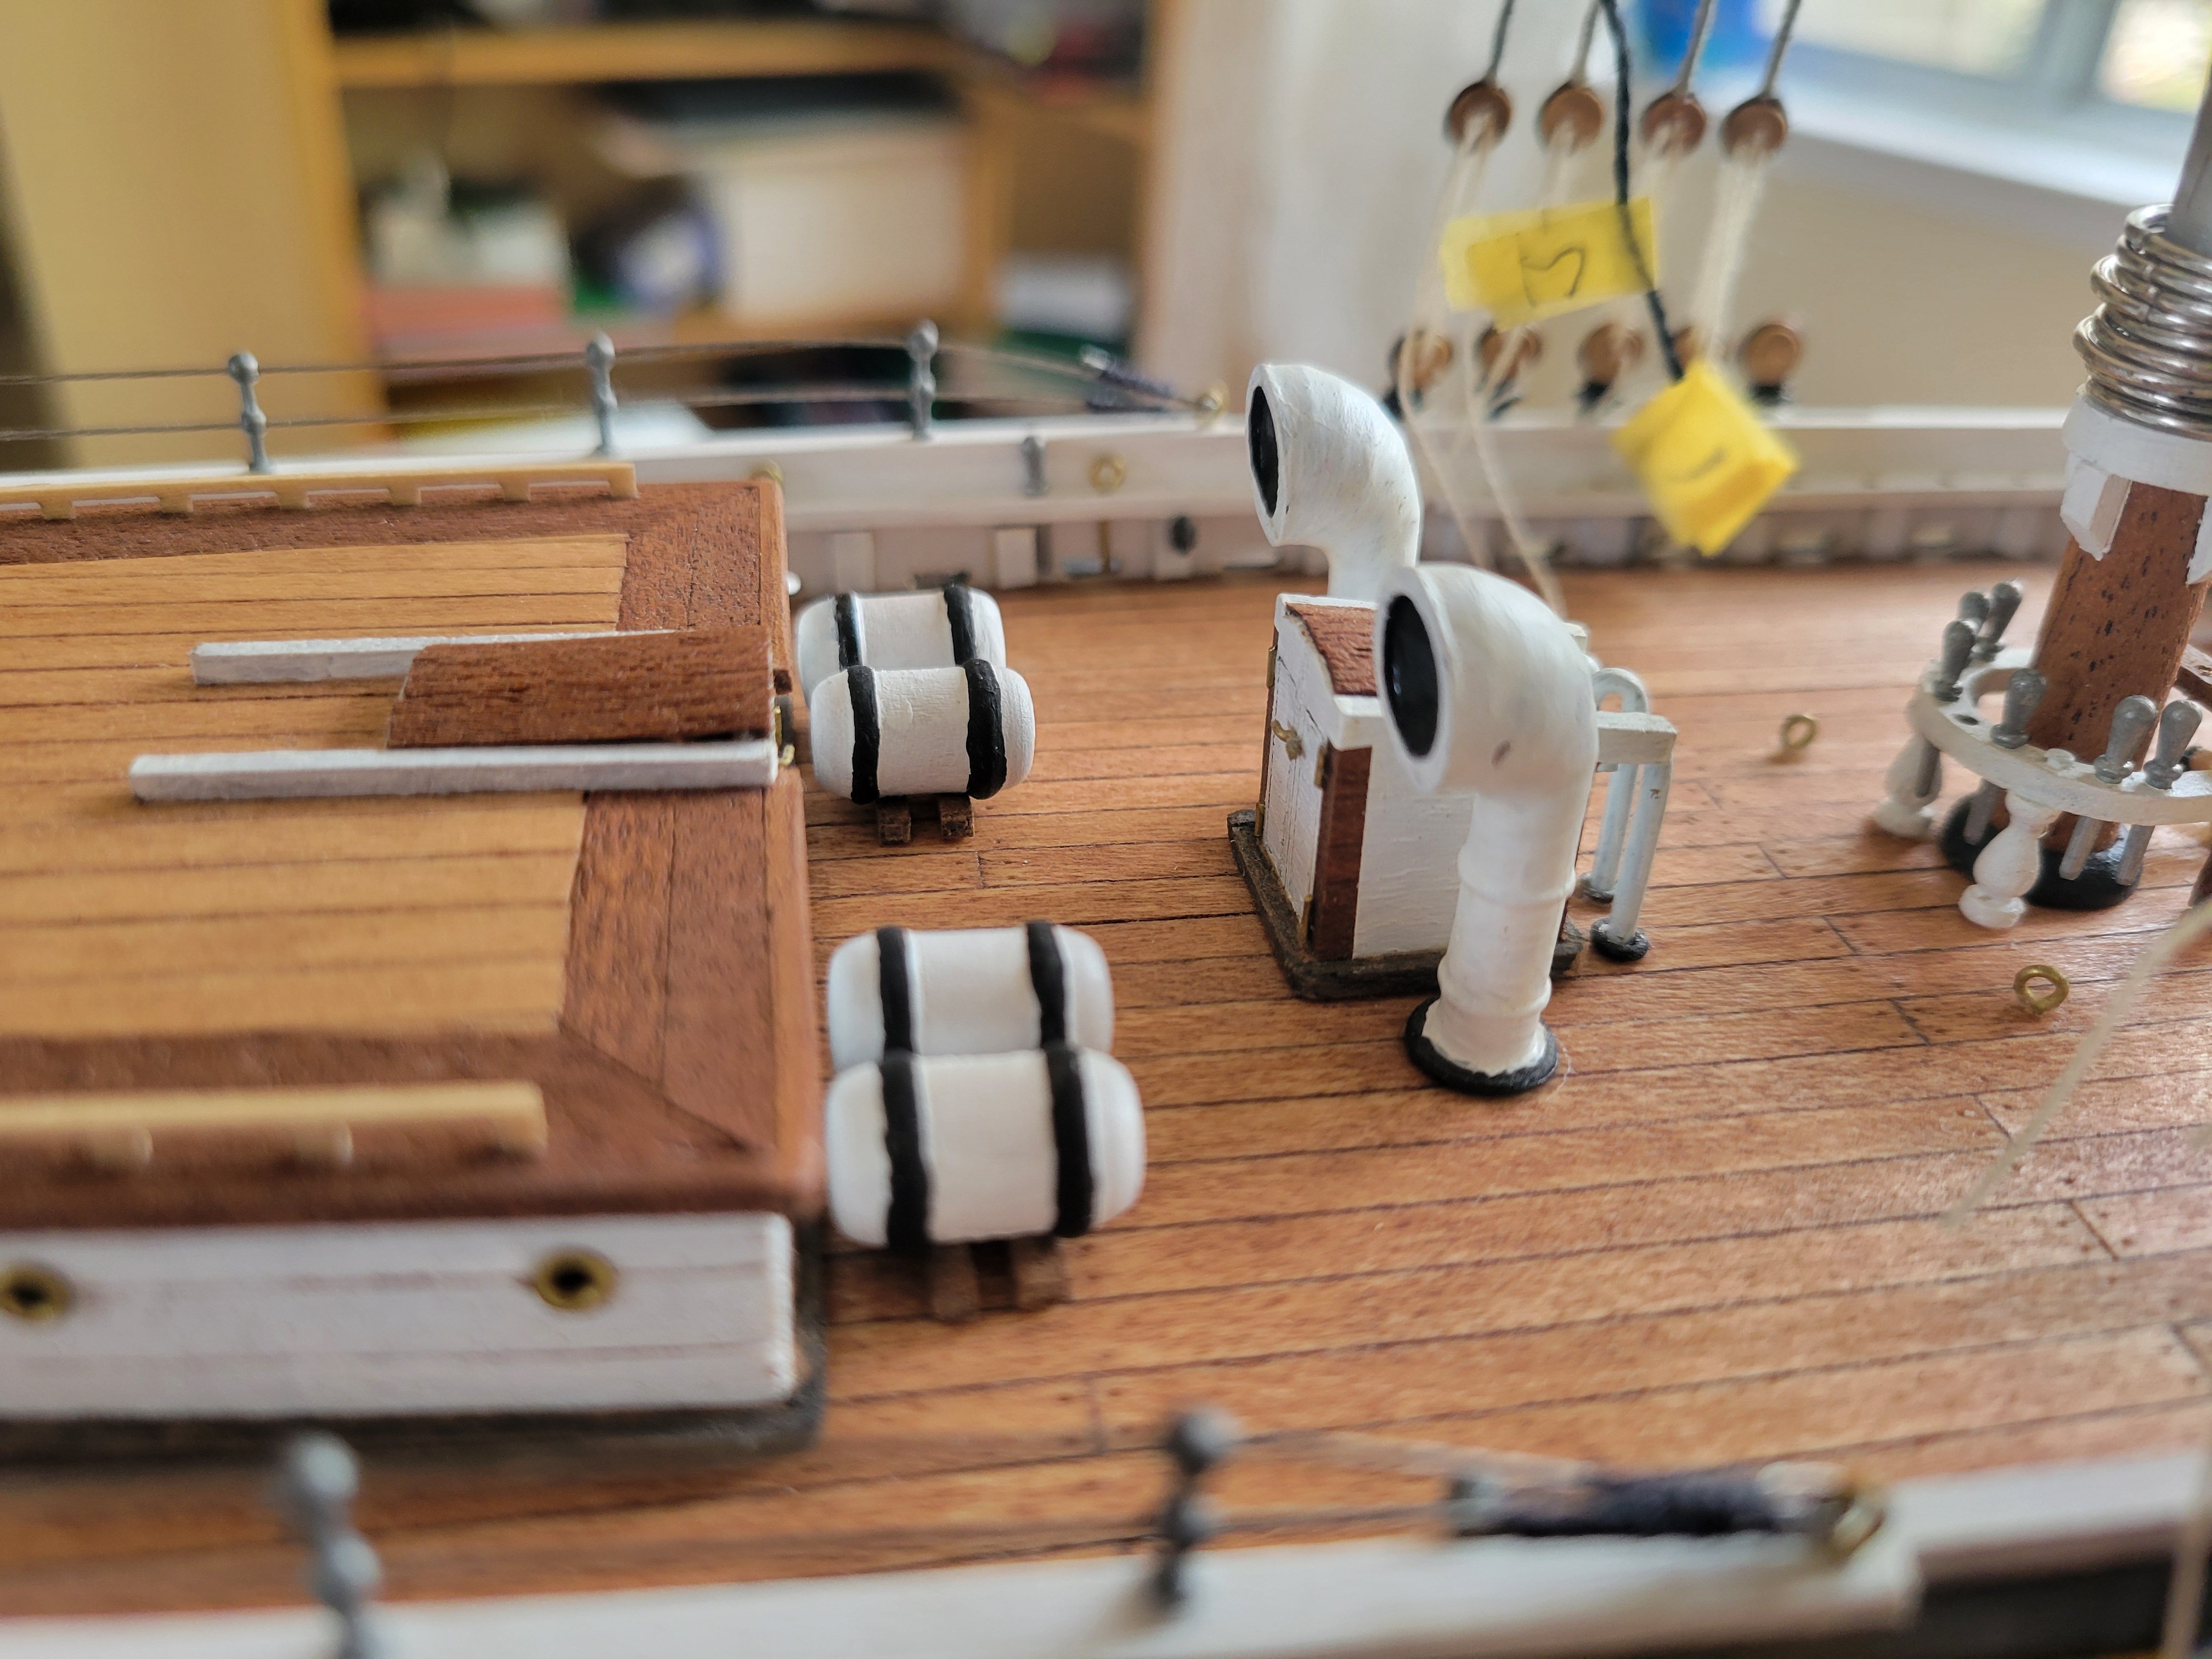
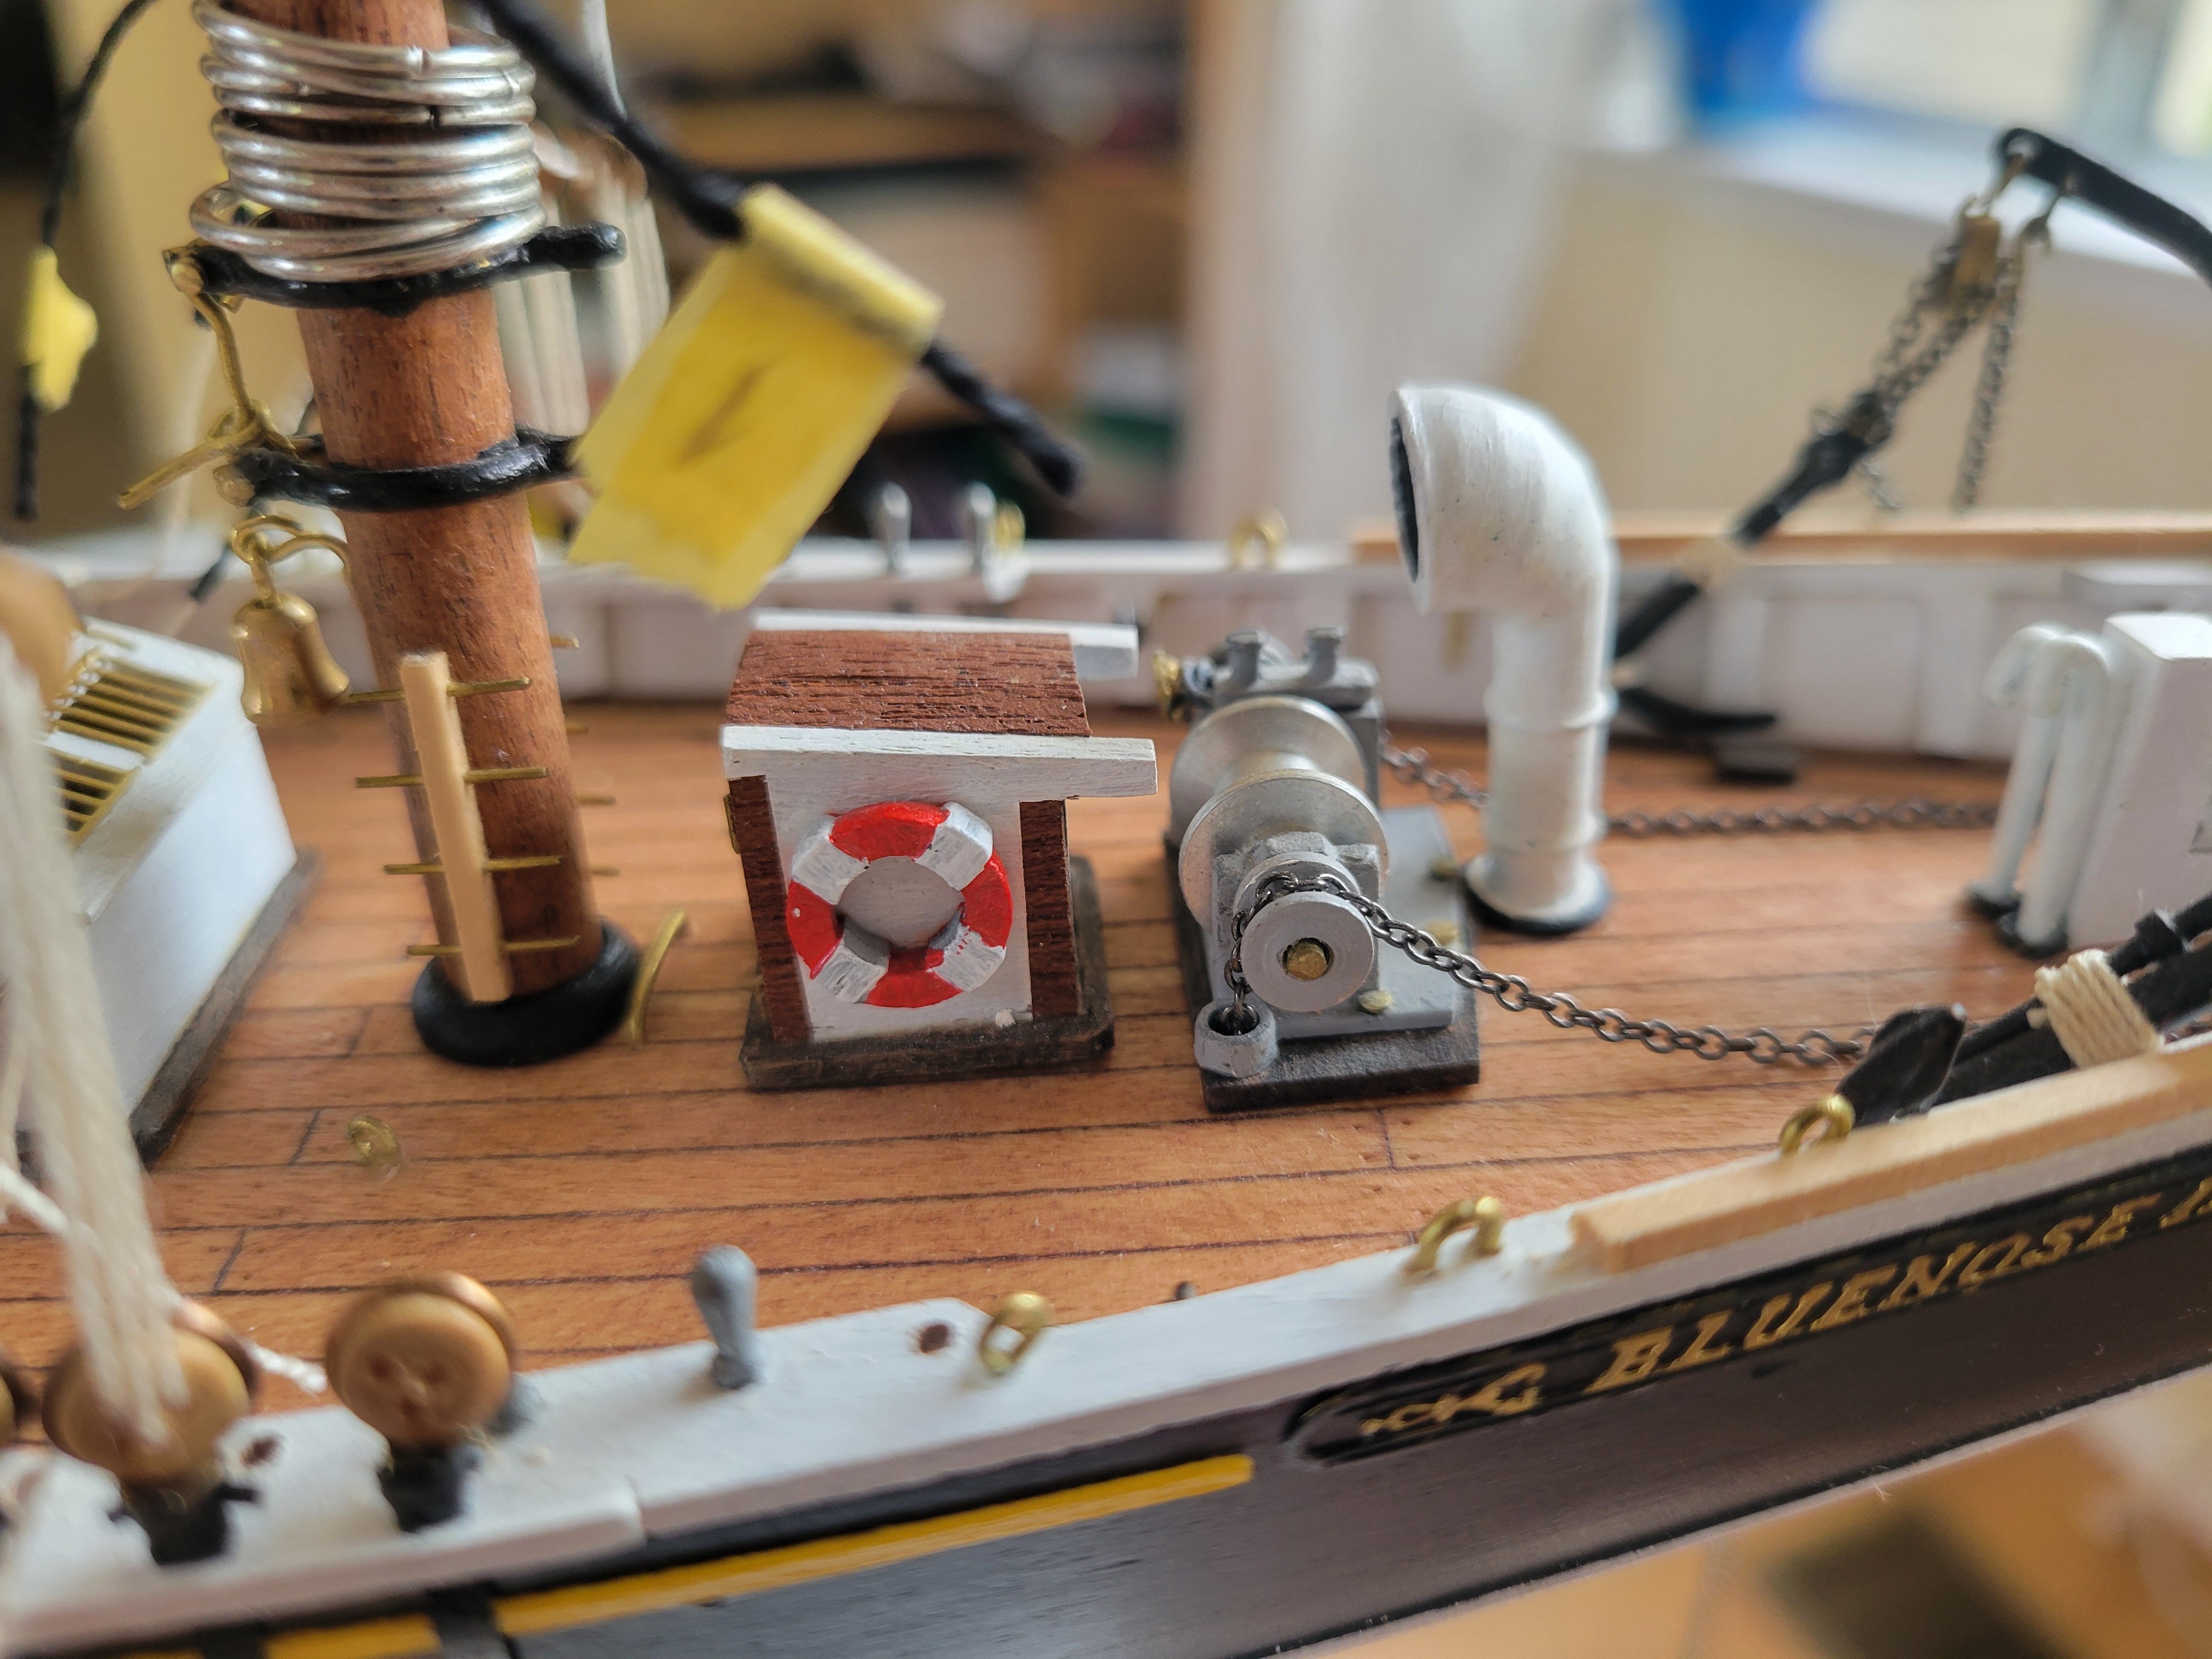
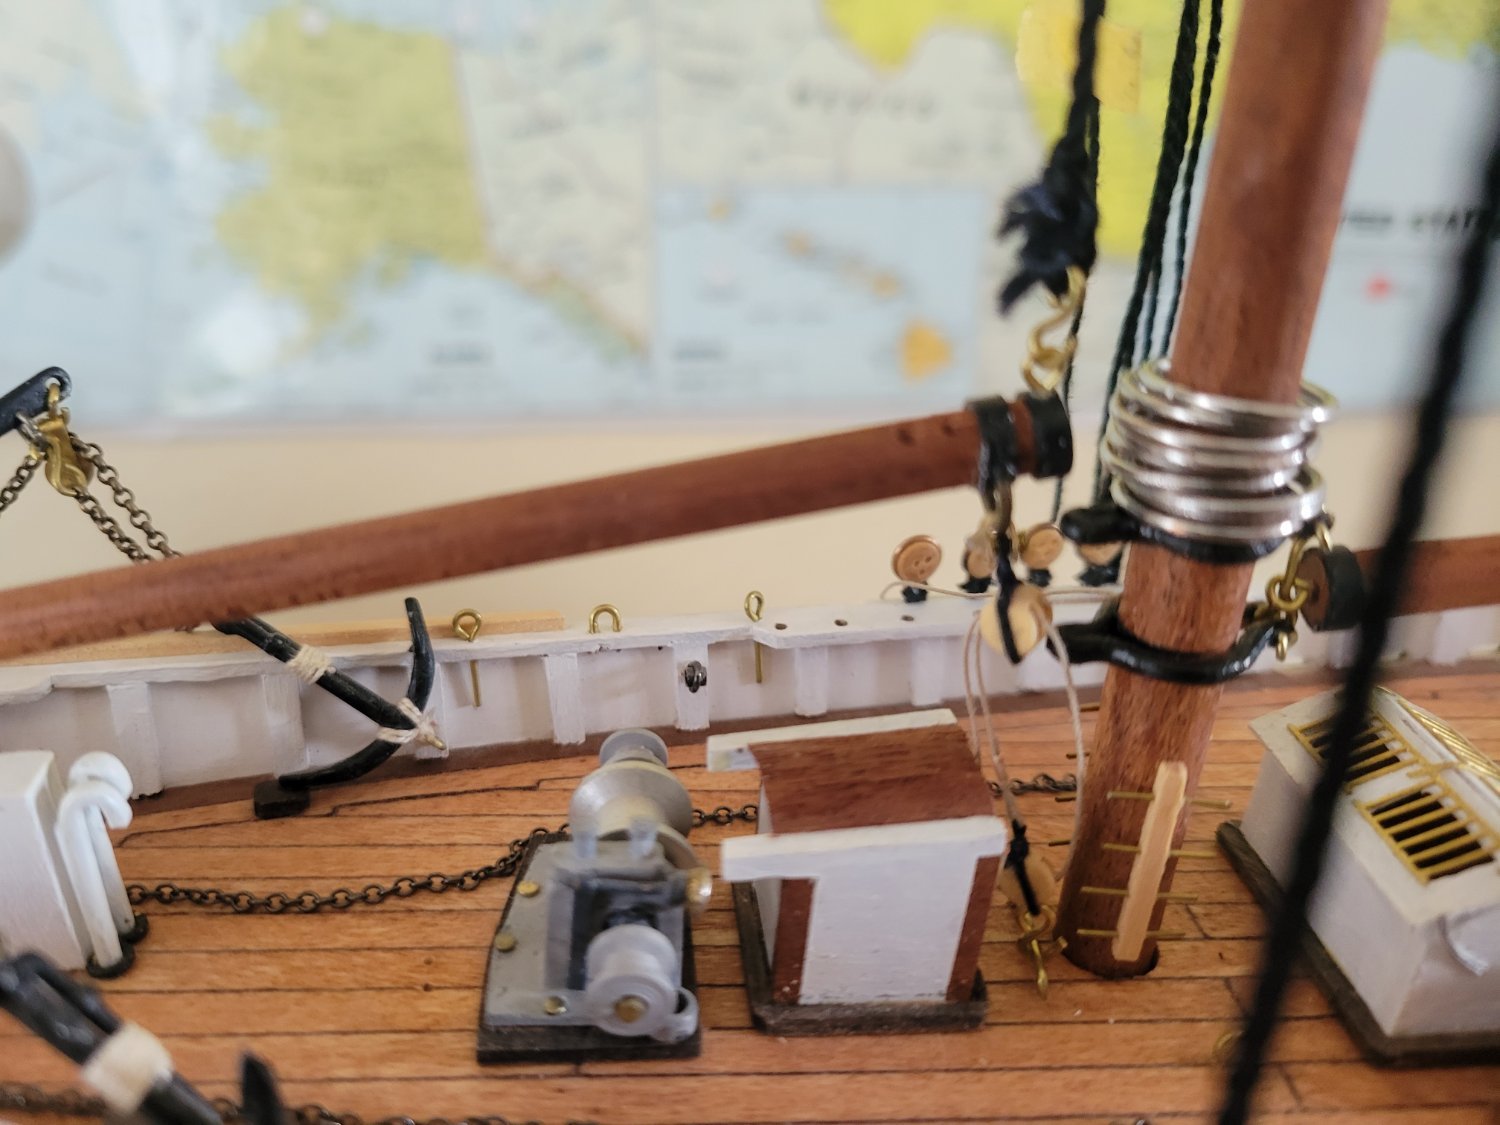
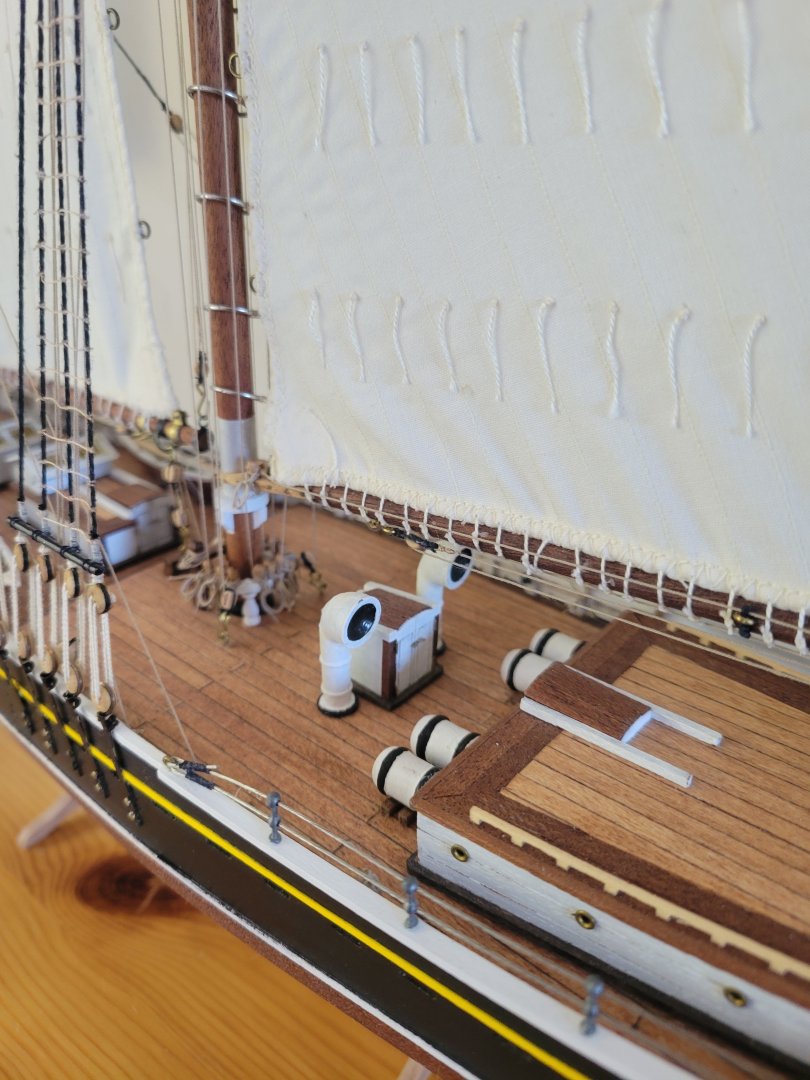
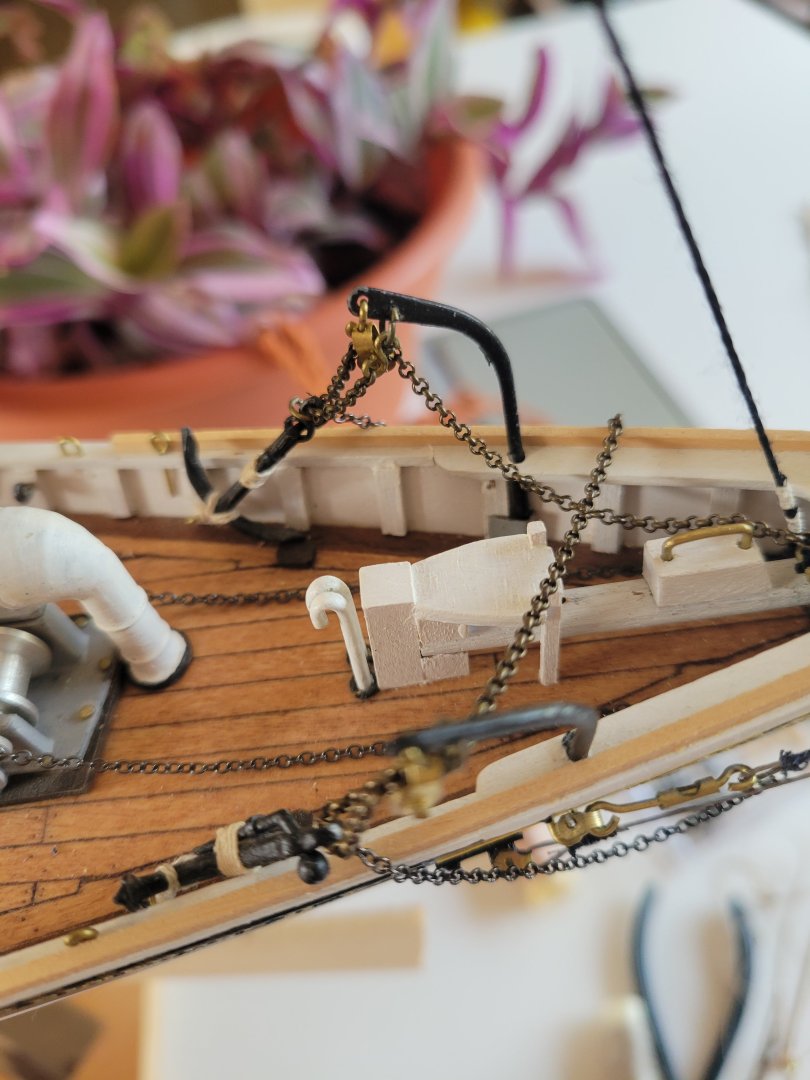
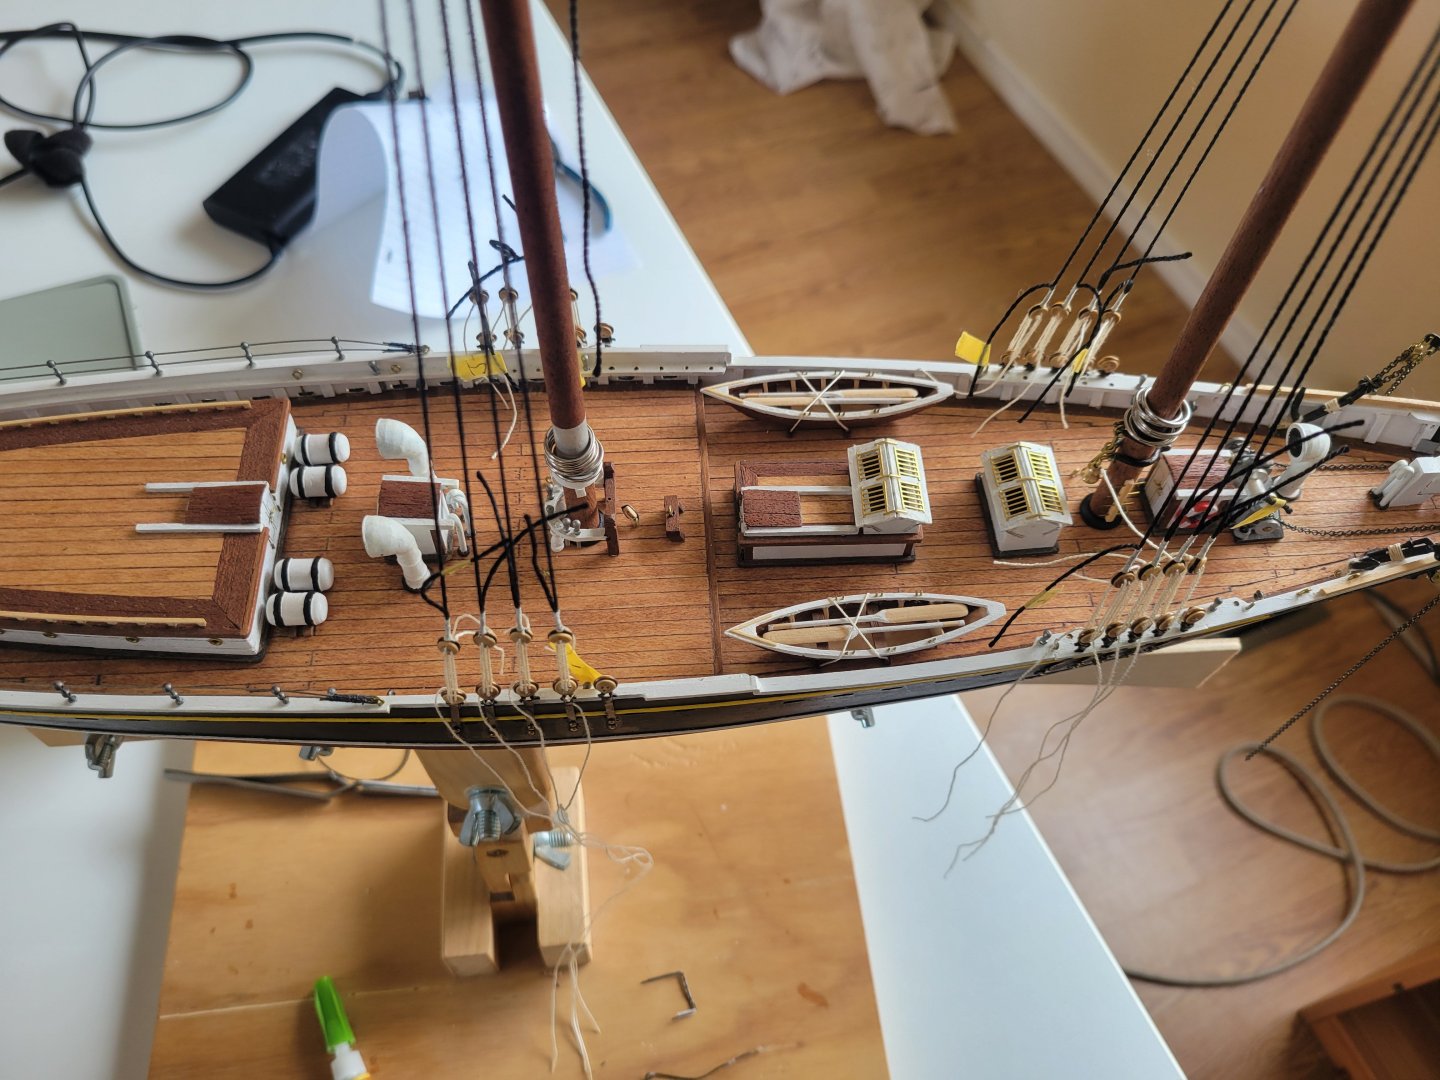
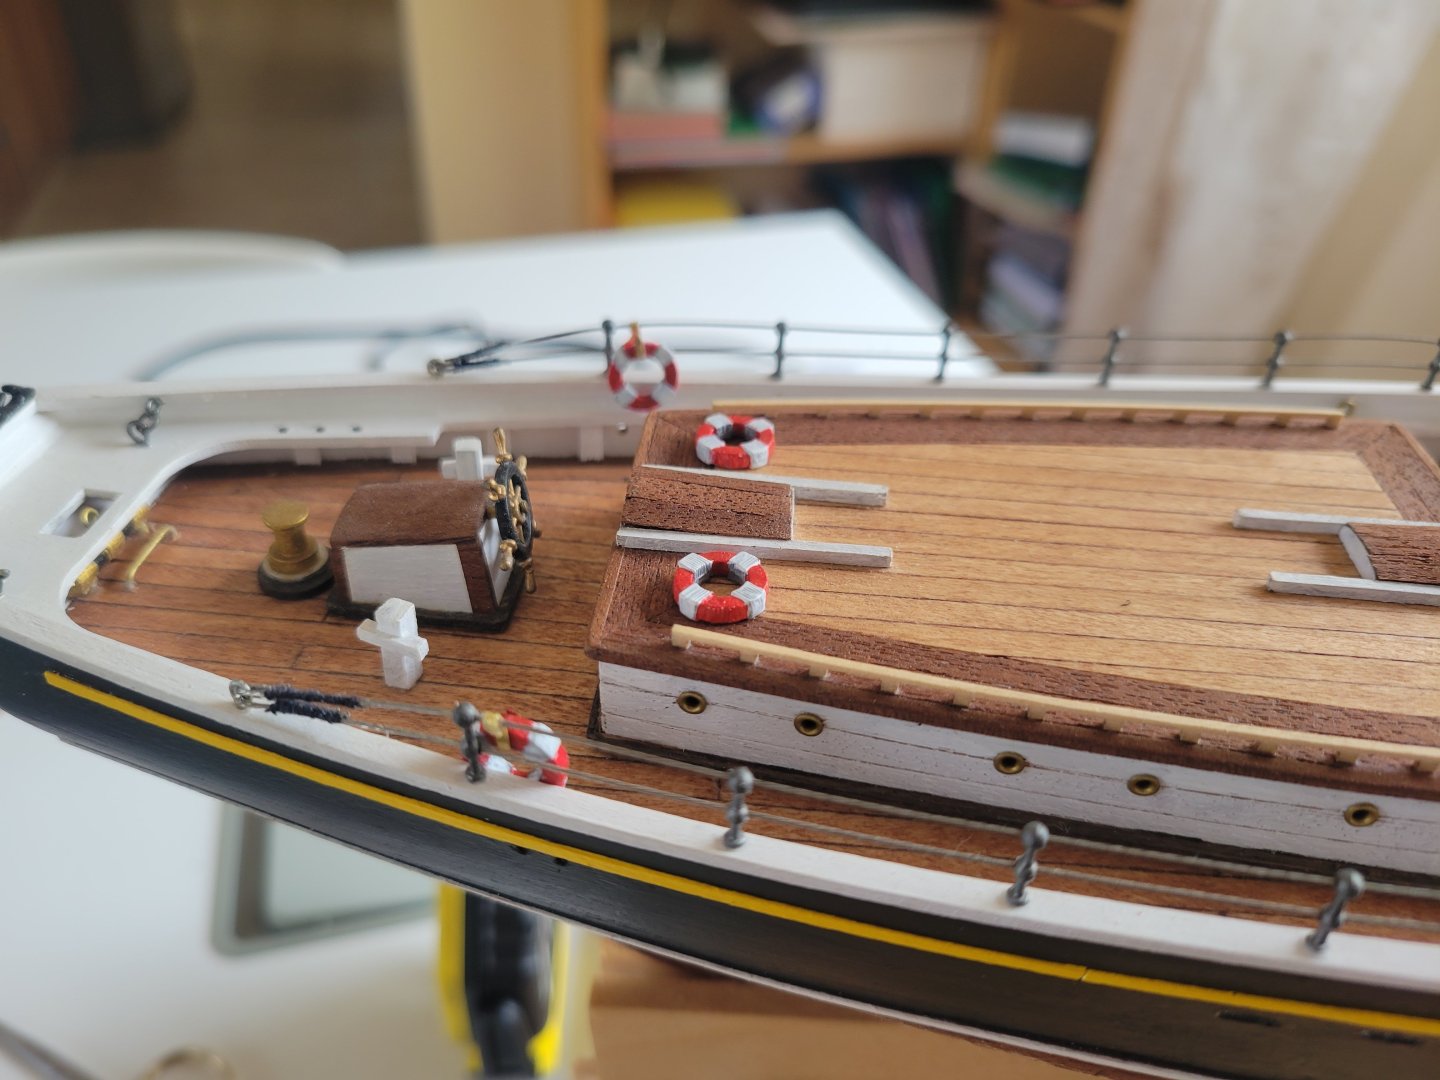
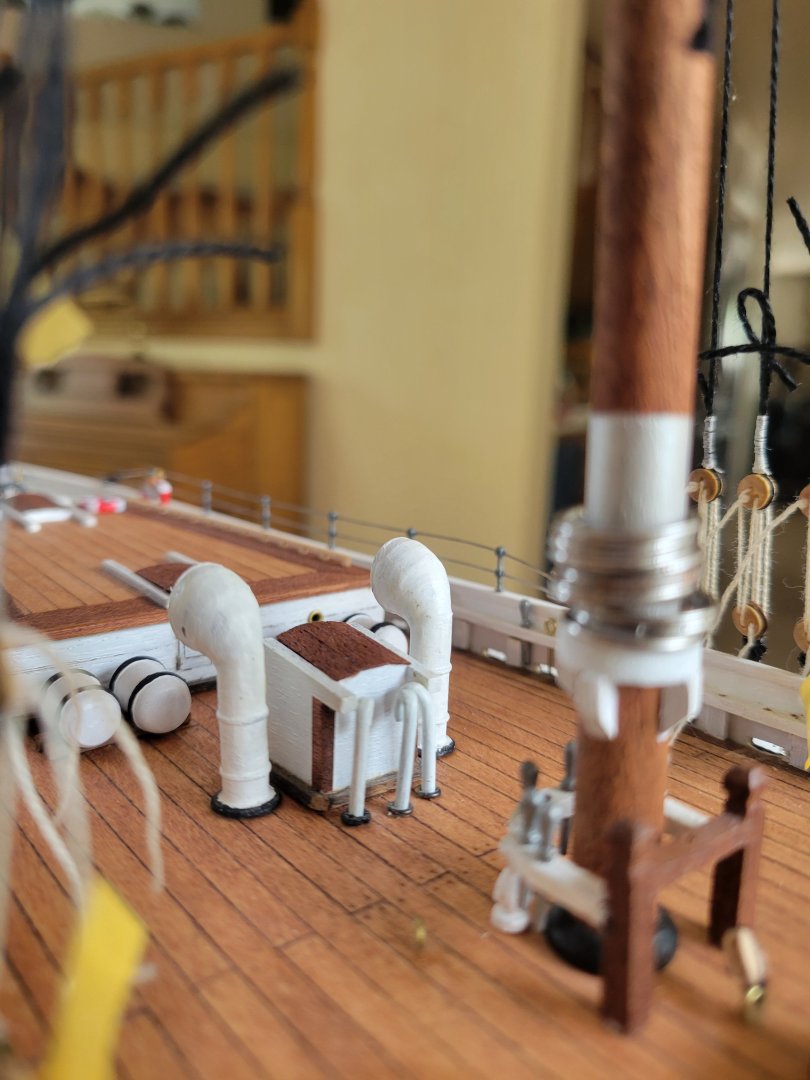
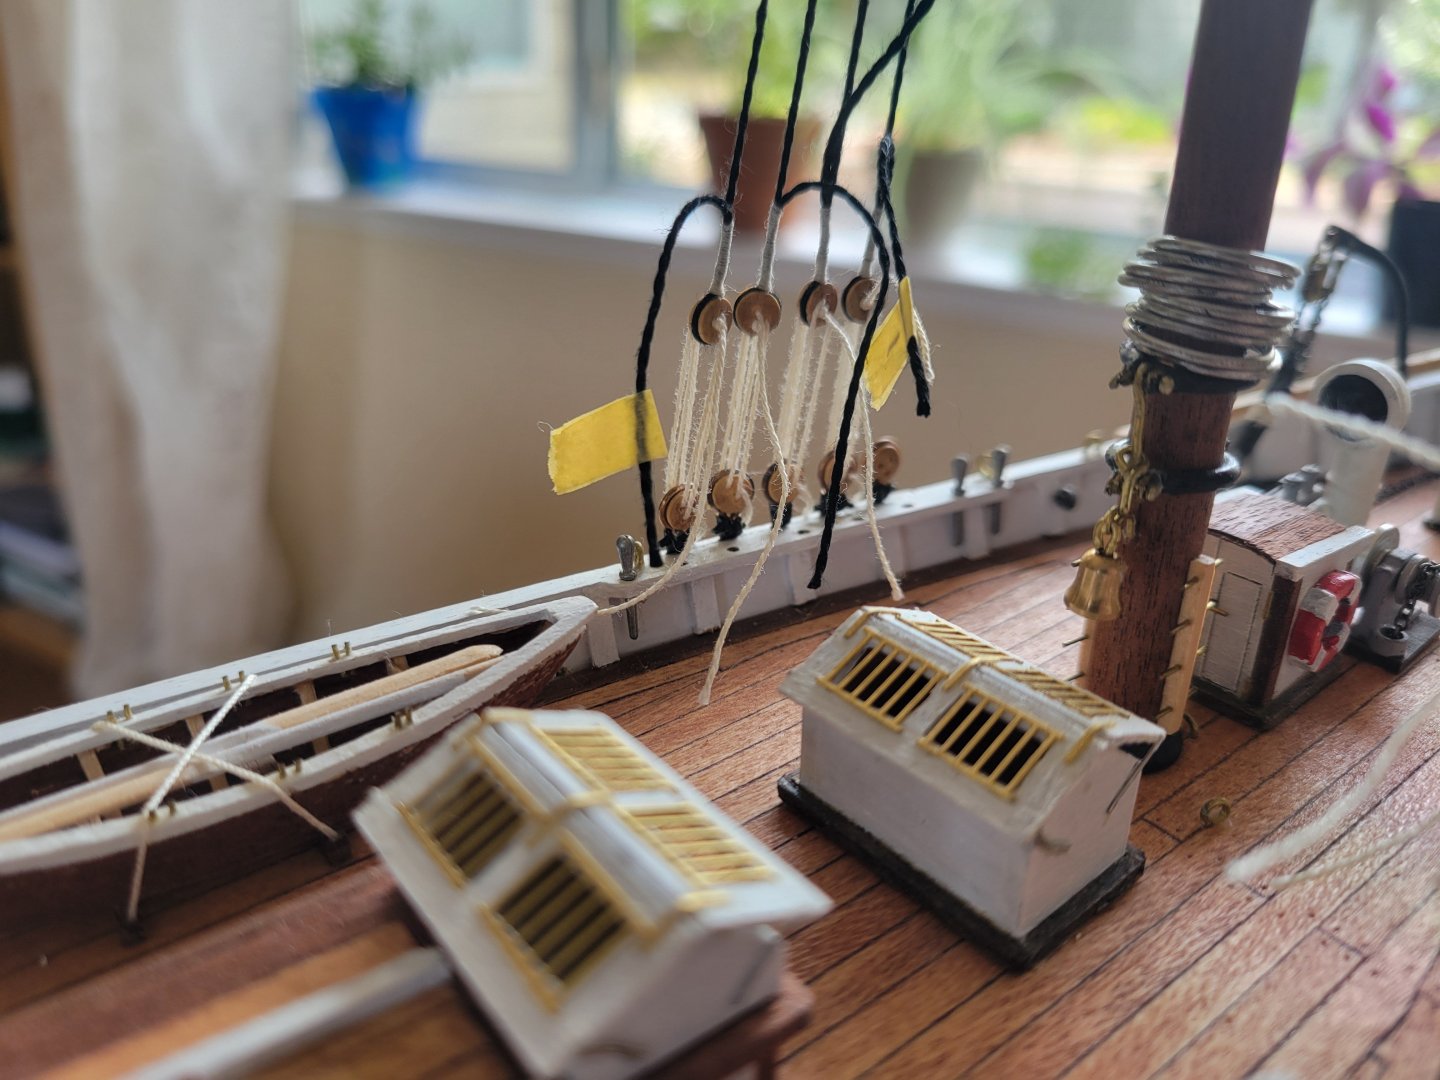
Finally getting back to it after a lot of long pauses. Lots finished on deck: life rafts, air vents, life preserves. Jib tie downs on bowsprite, ships bell,


- 84 replies
-
- 1
-
-
- Artesania Latina
- Bluenose II
- (and 1 more)
-
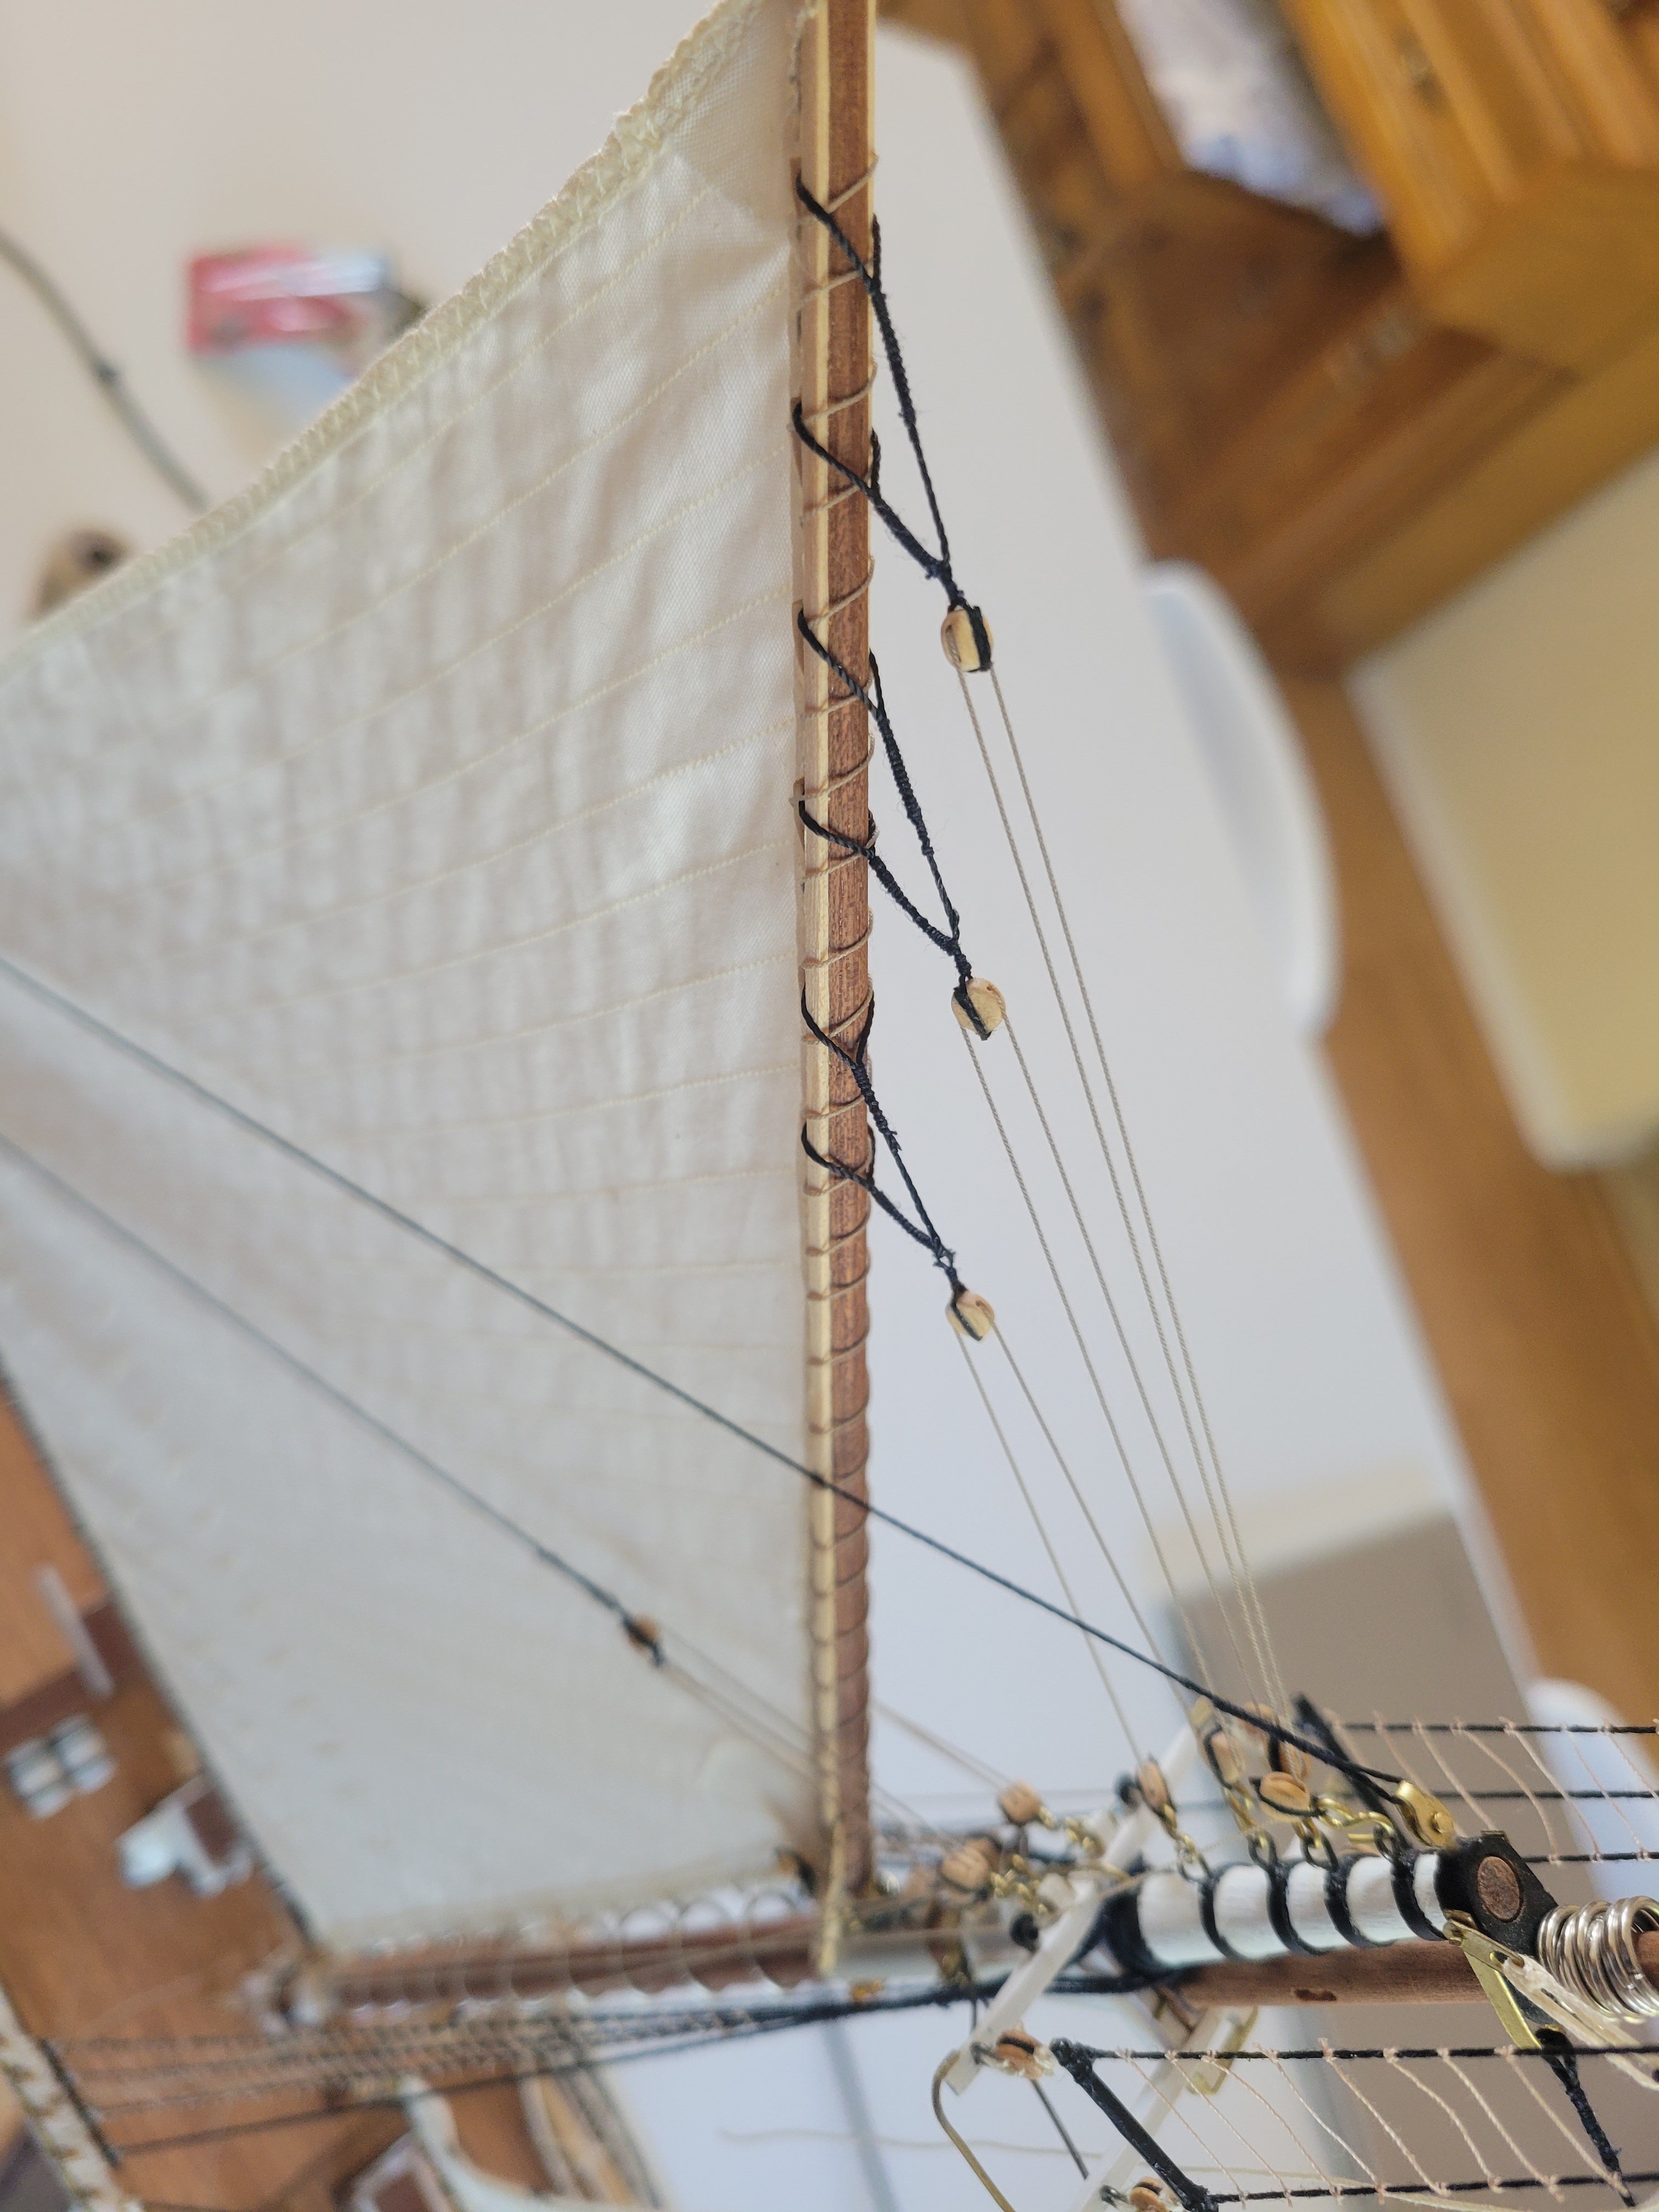
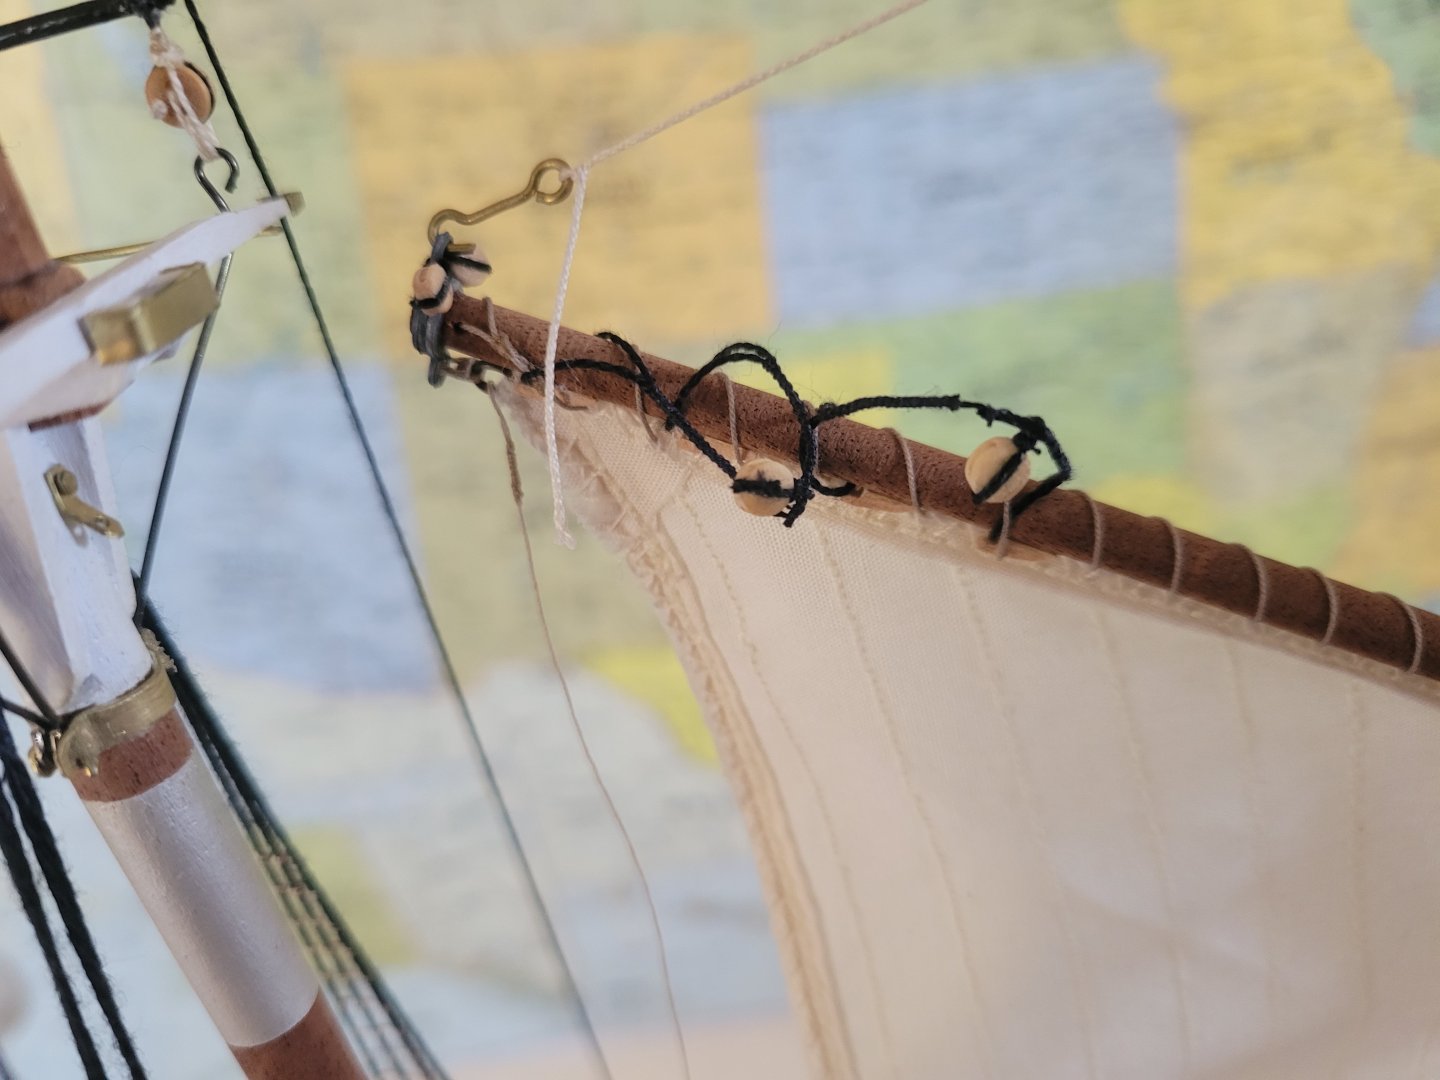
Jumbo jib sail complete. Lacing to boom with robands.

- 84 replies
-
- 2
-
-
- Artesania Latina
- Bluenose II
- (and 1 more)
-
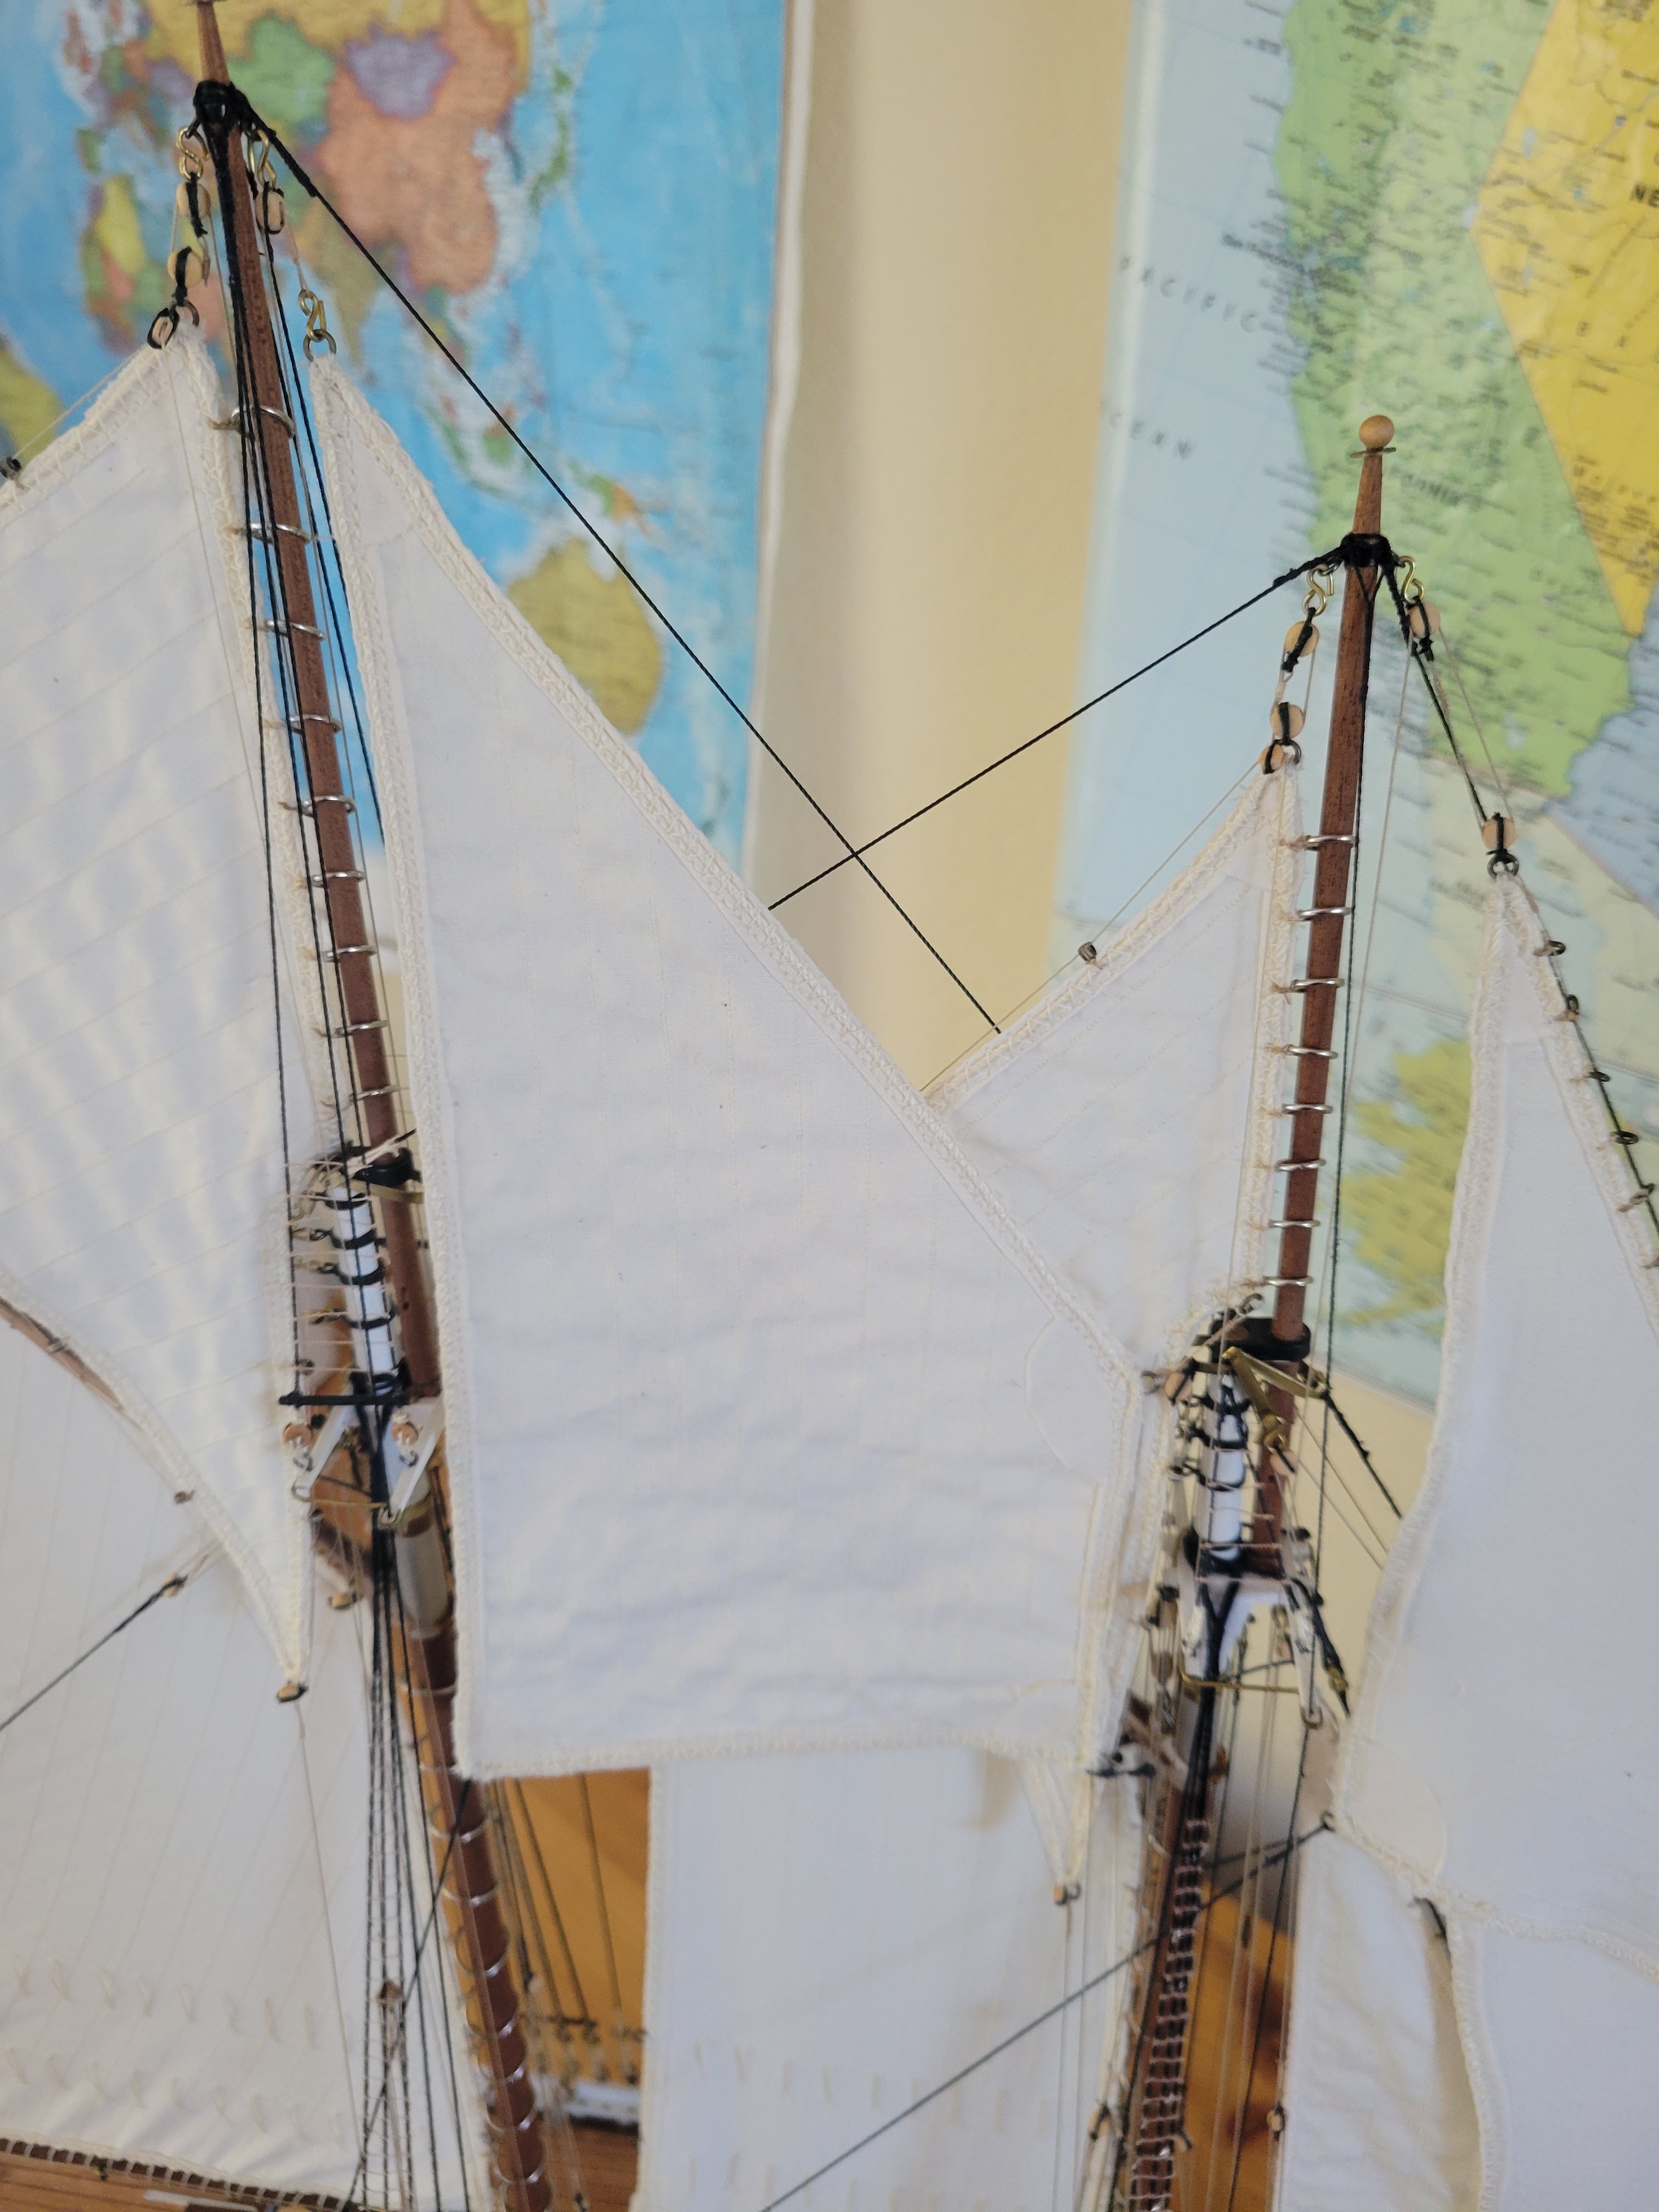
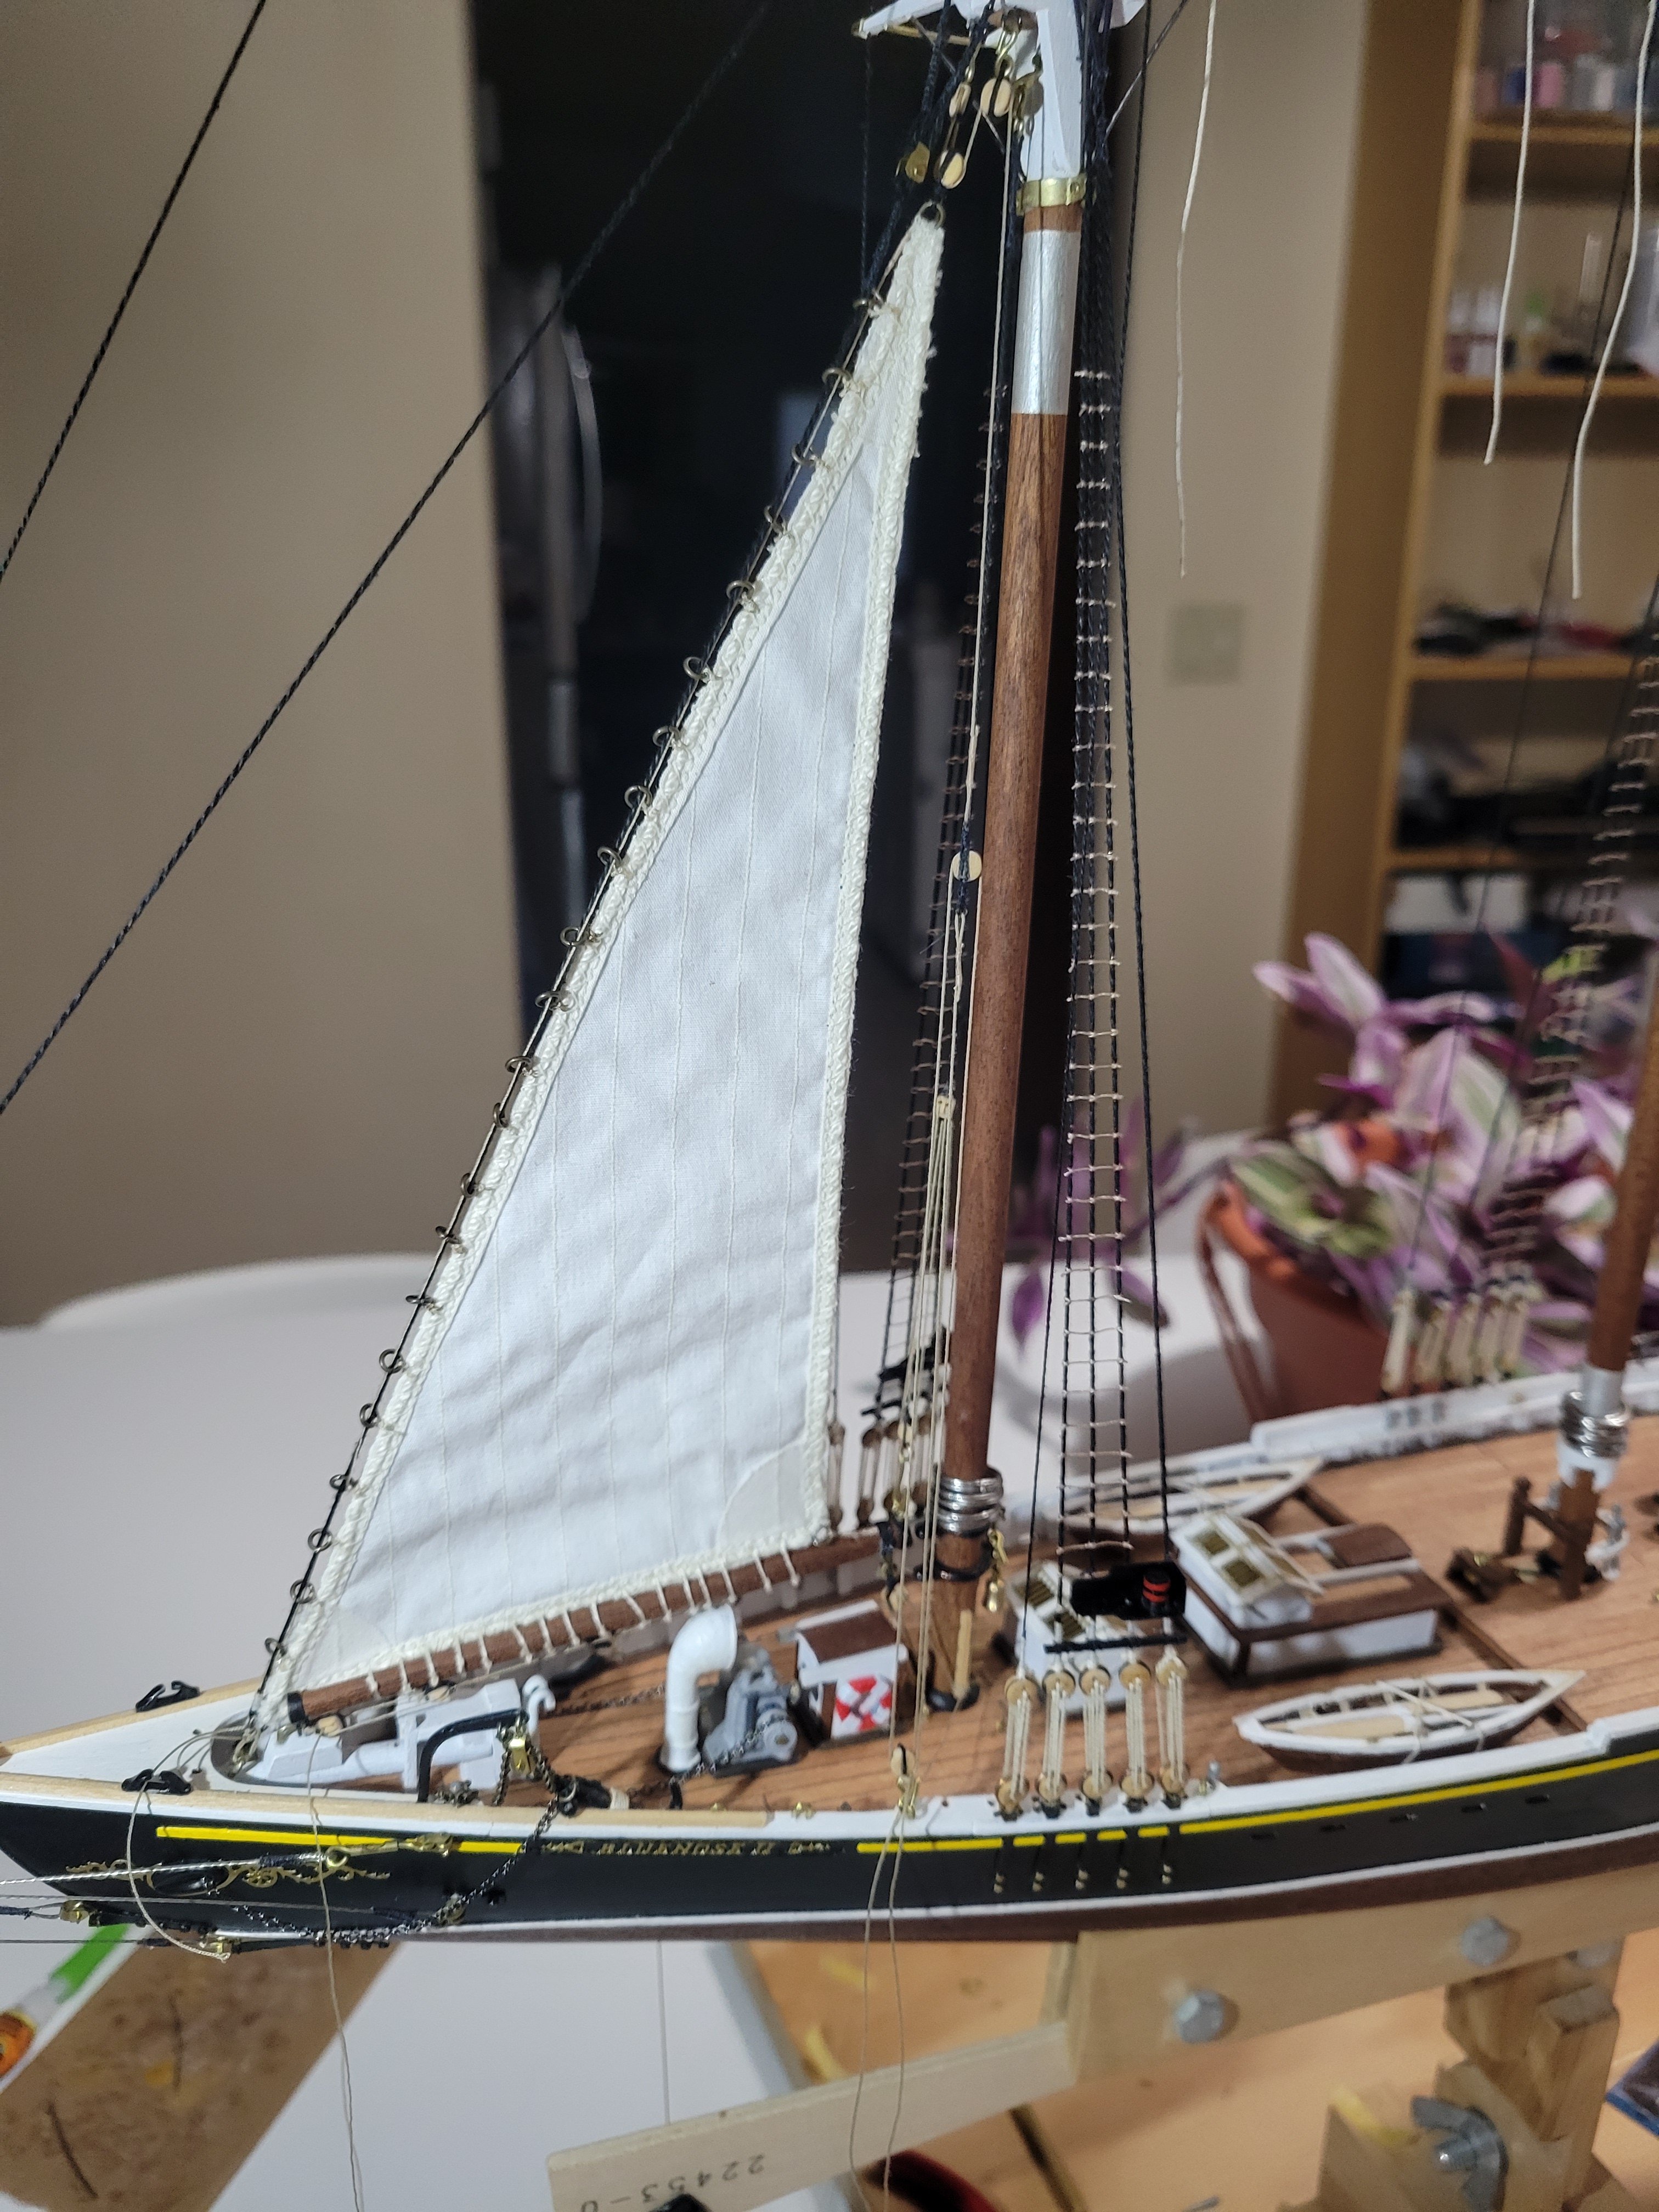
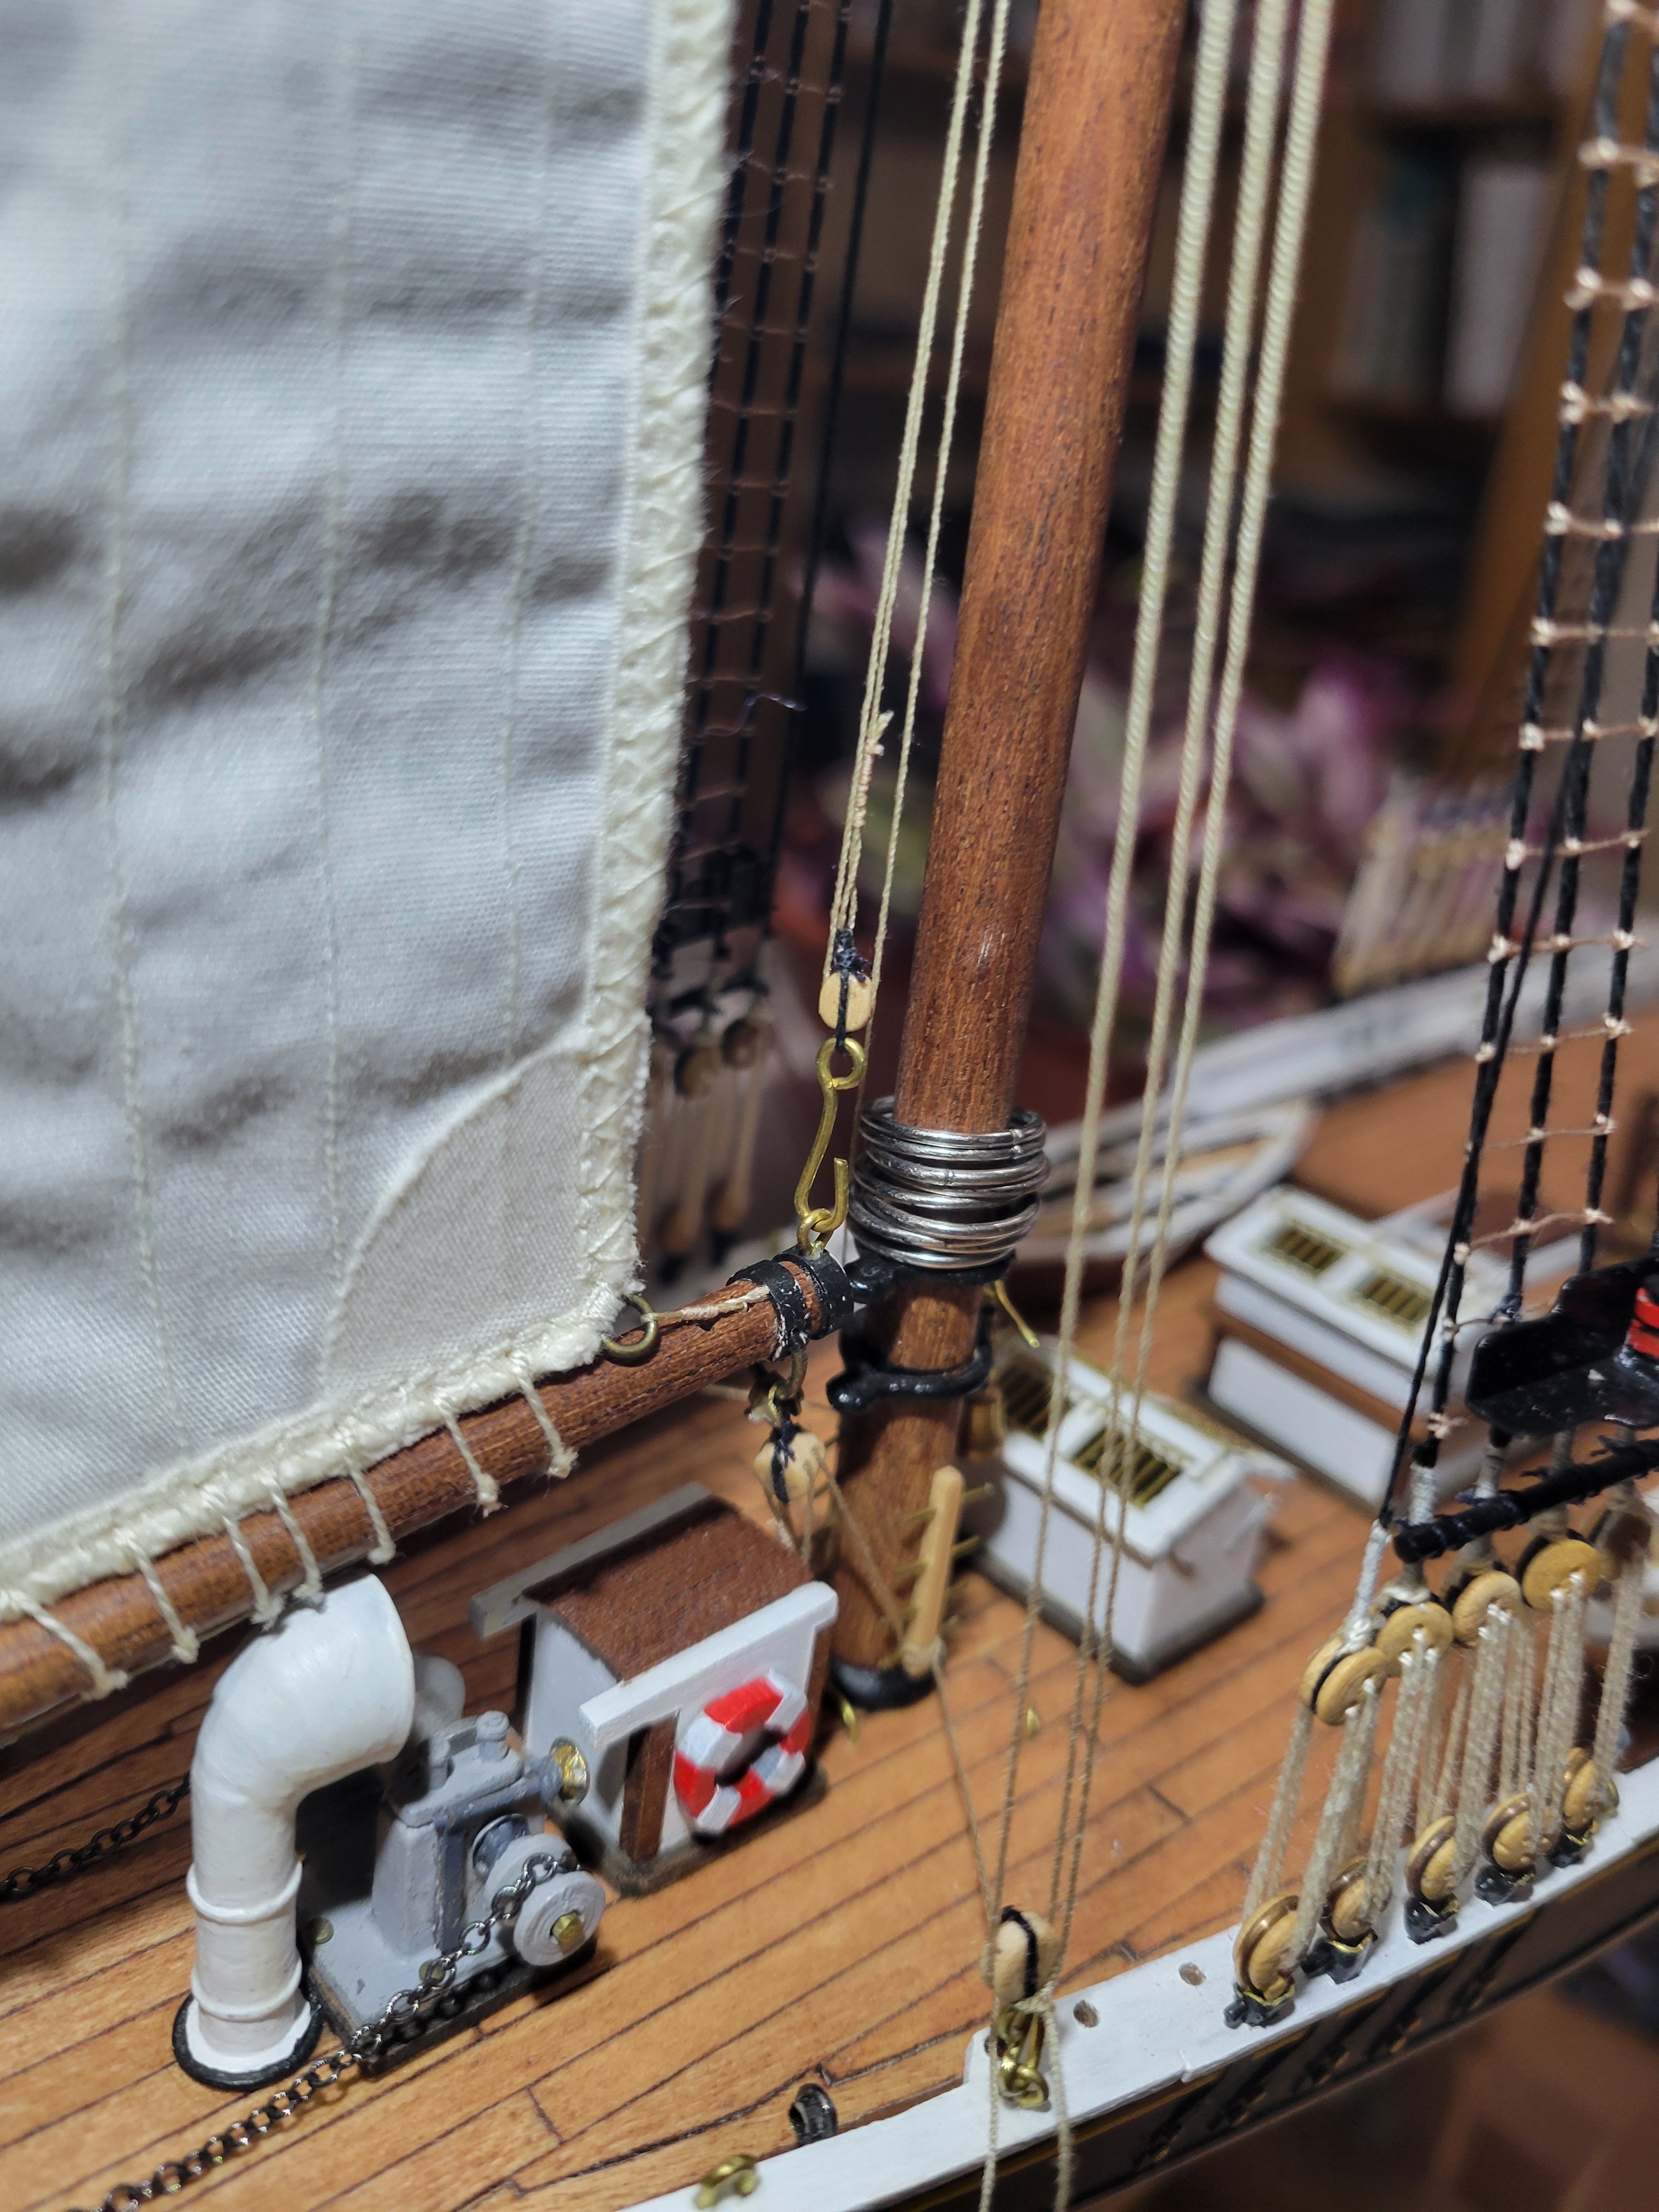
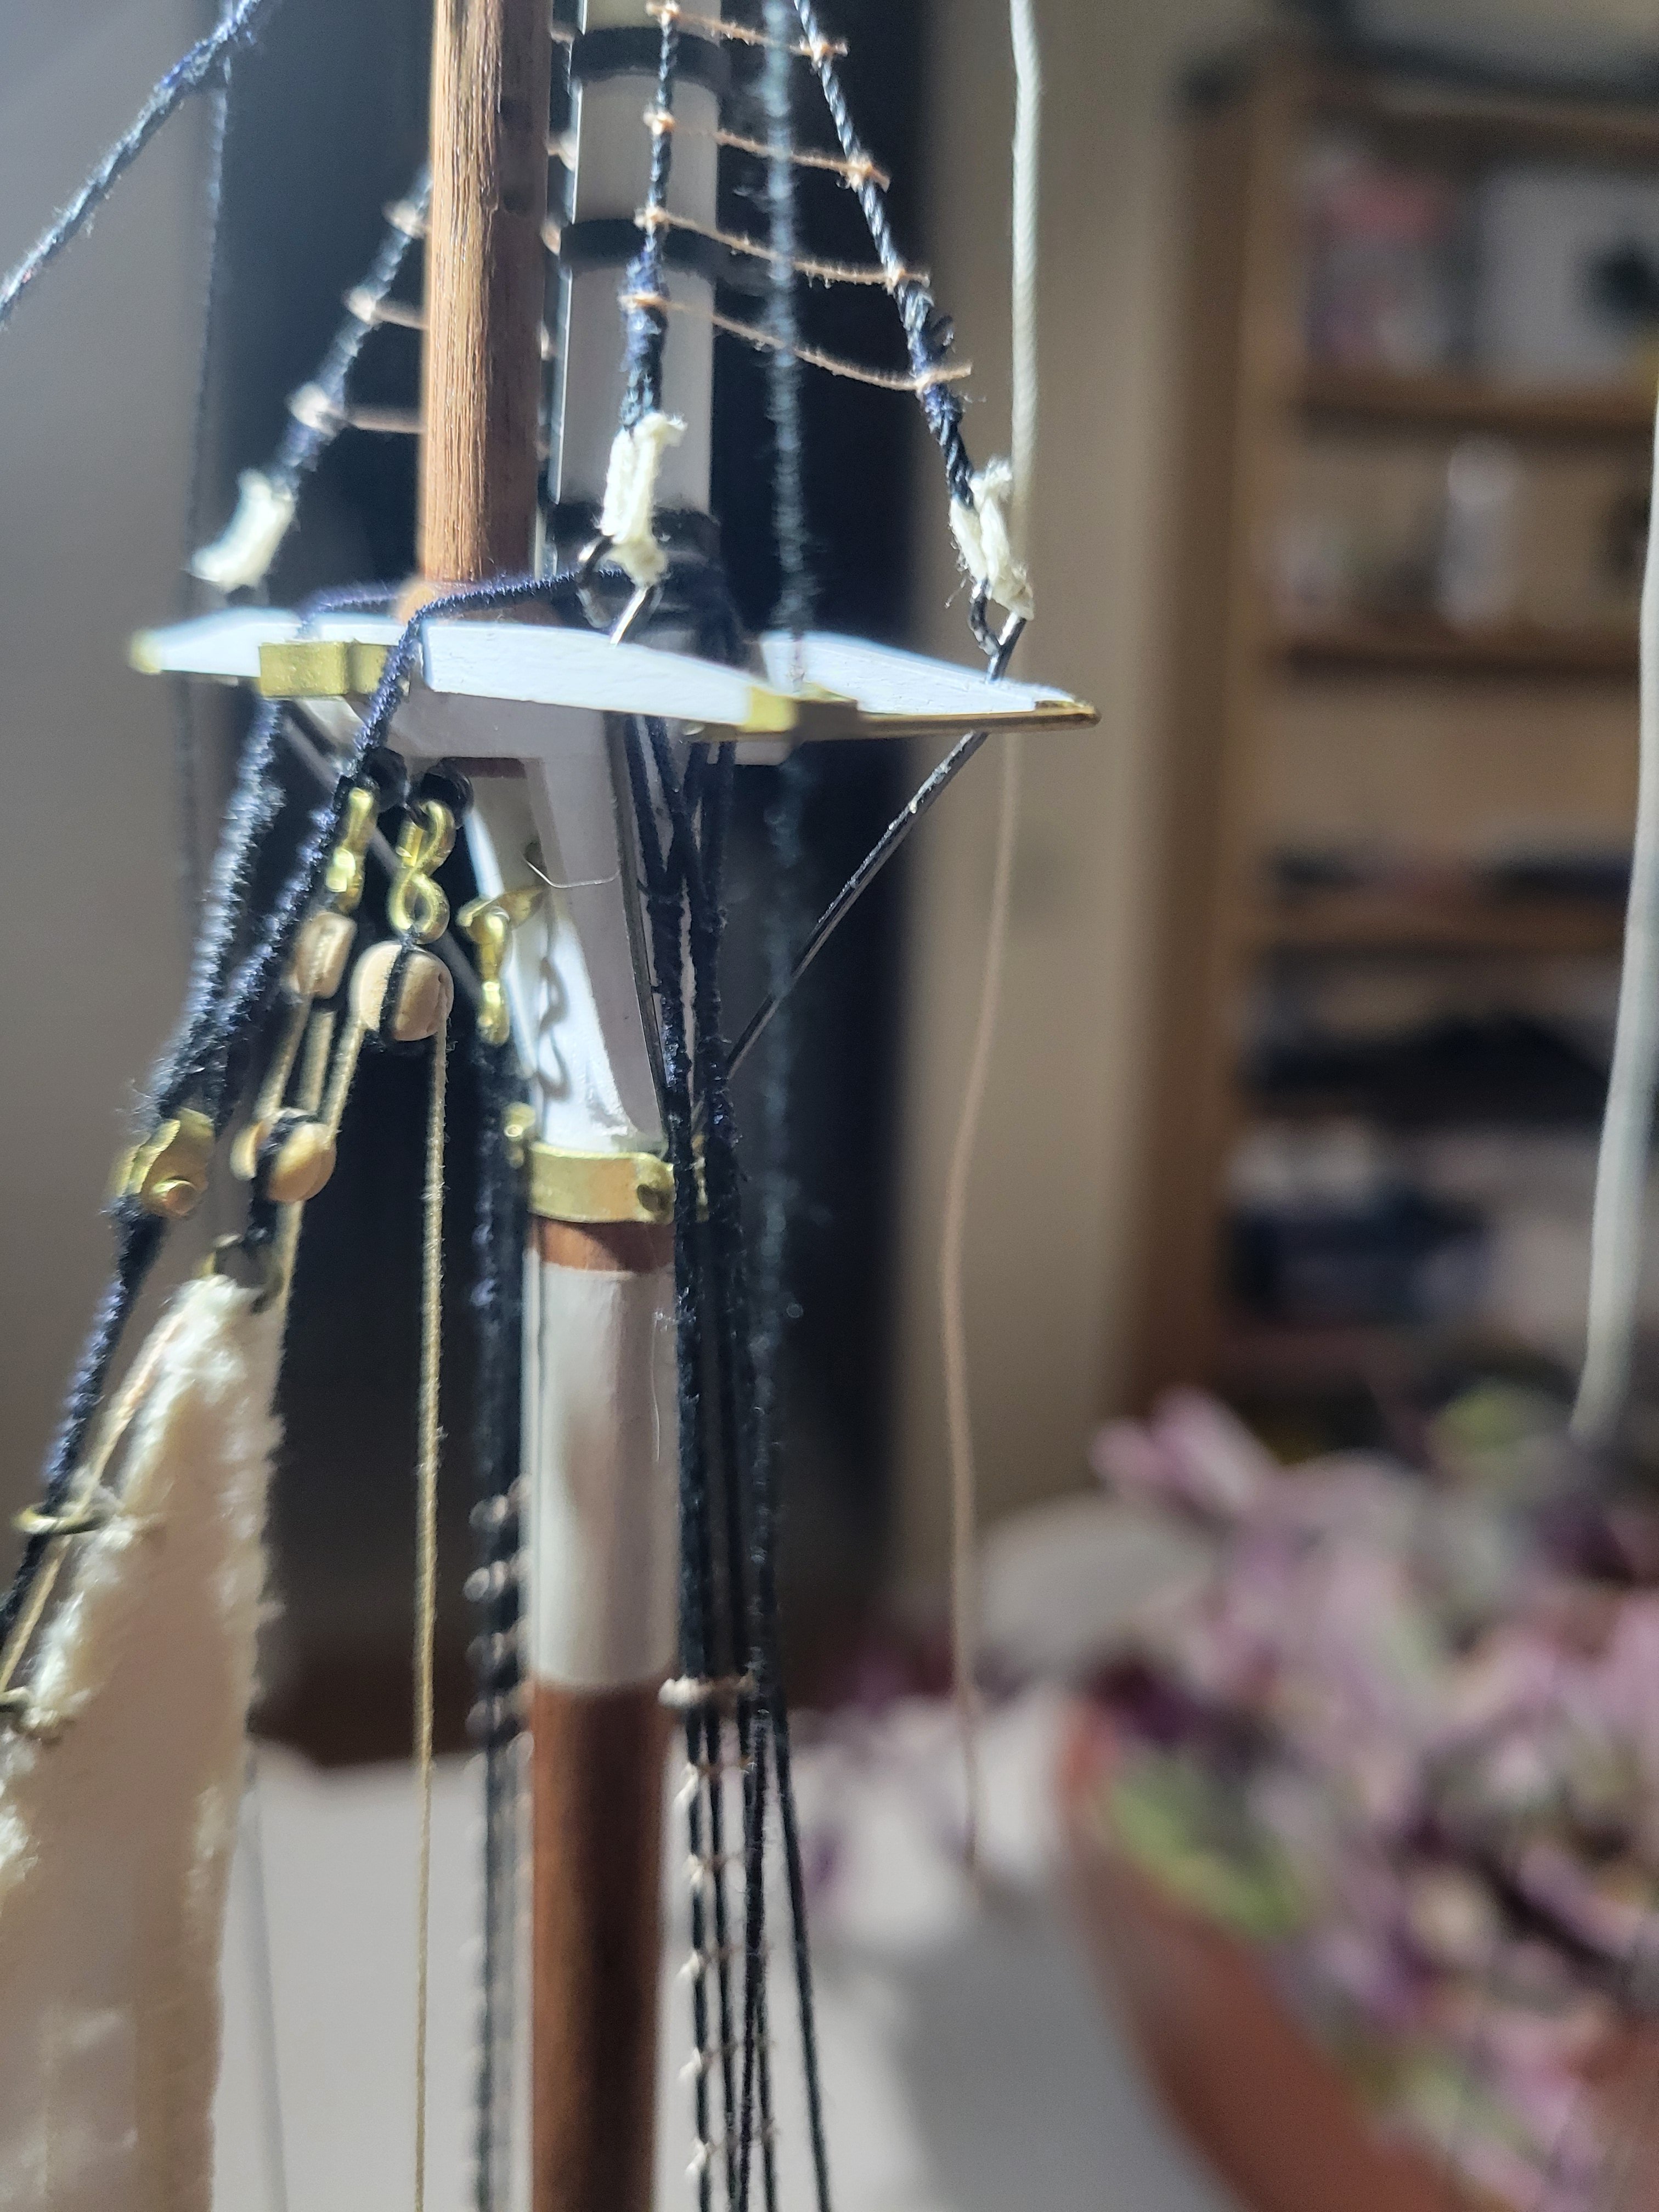
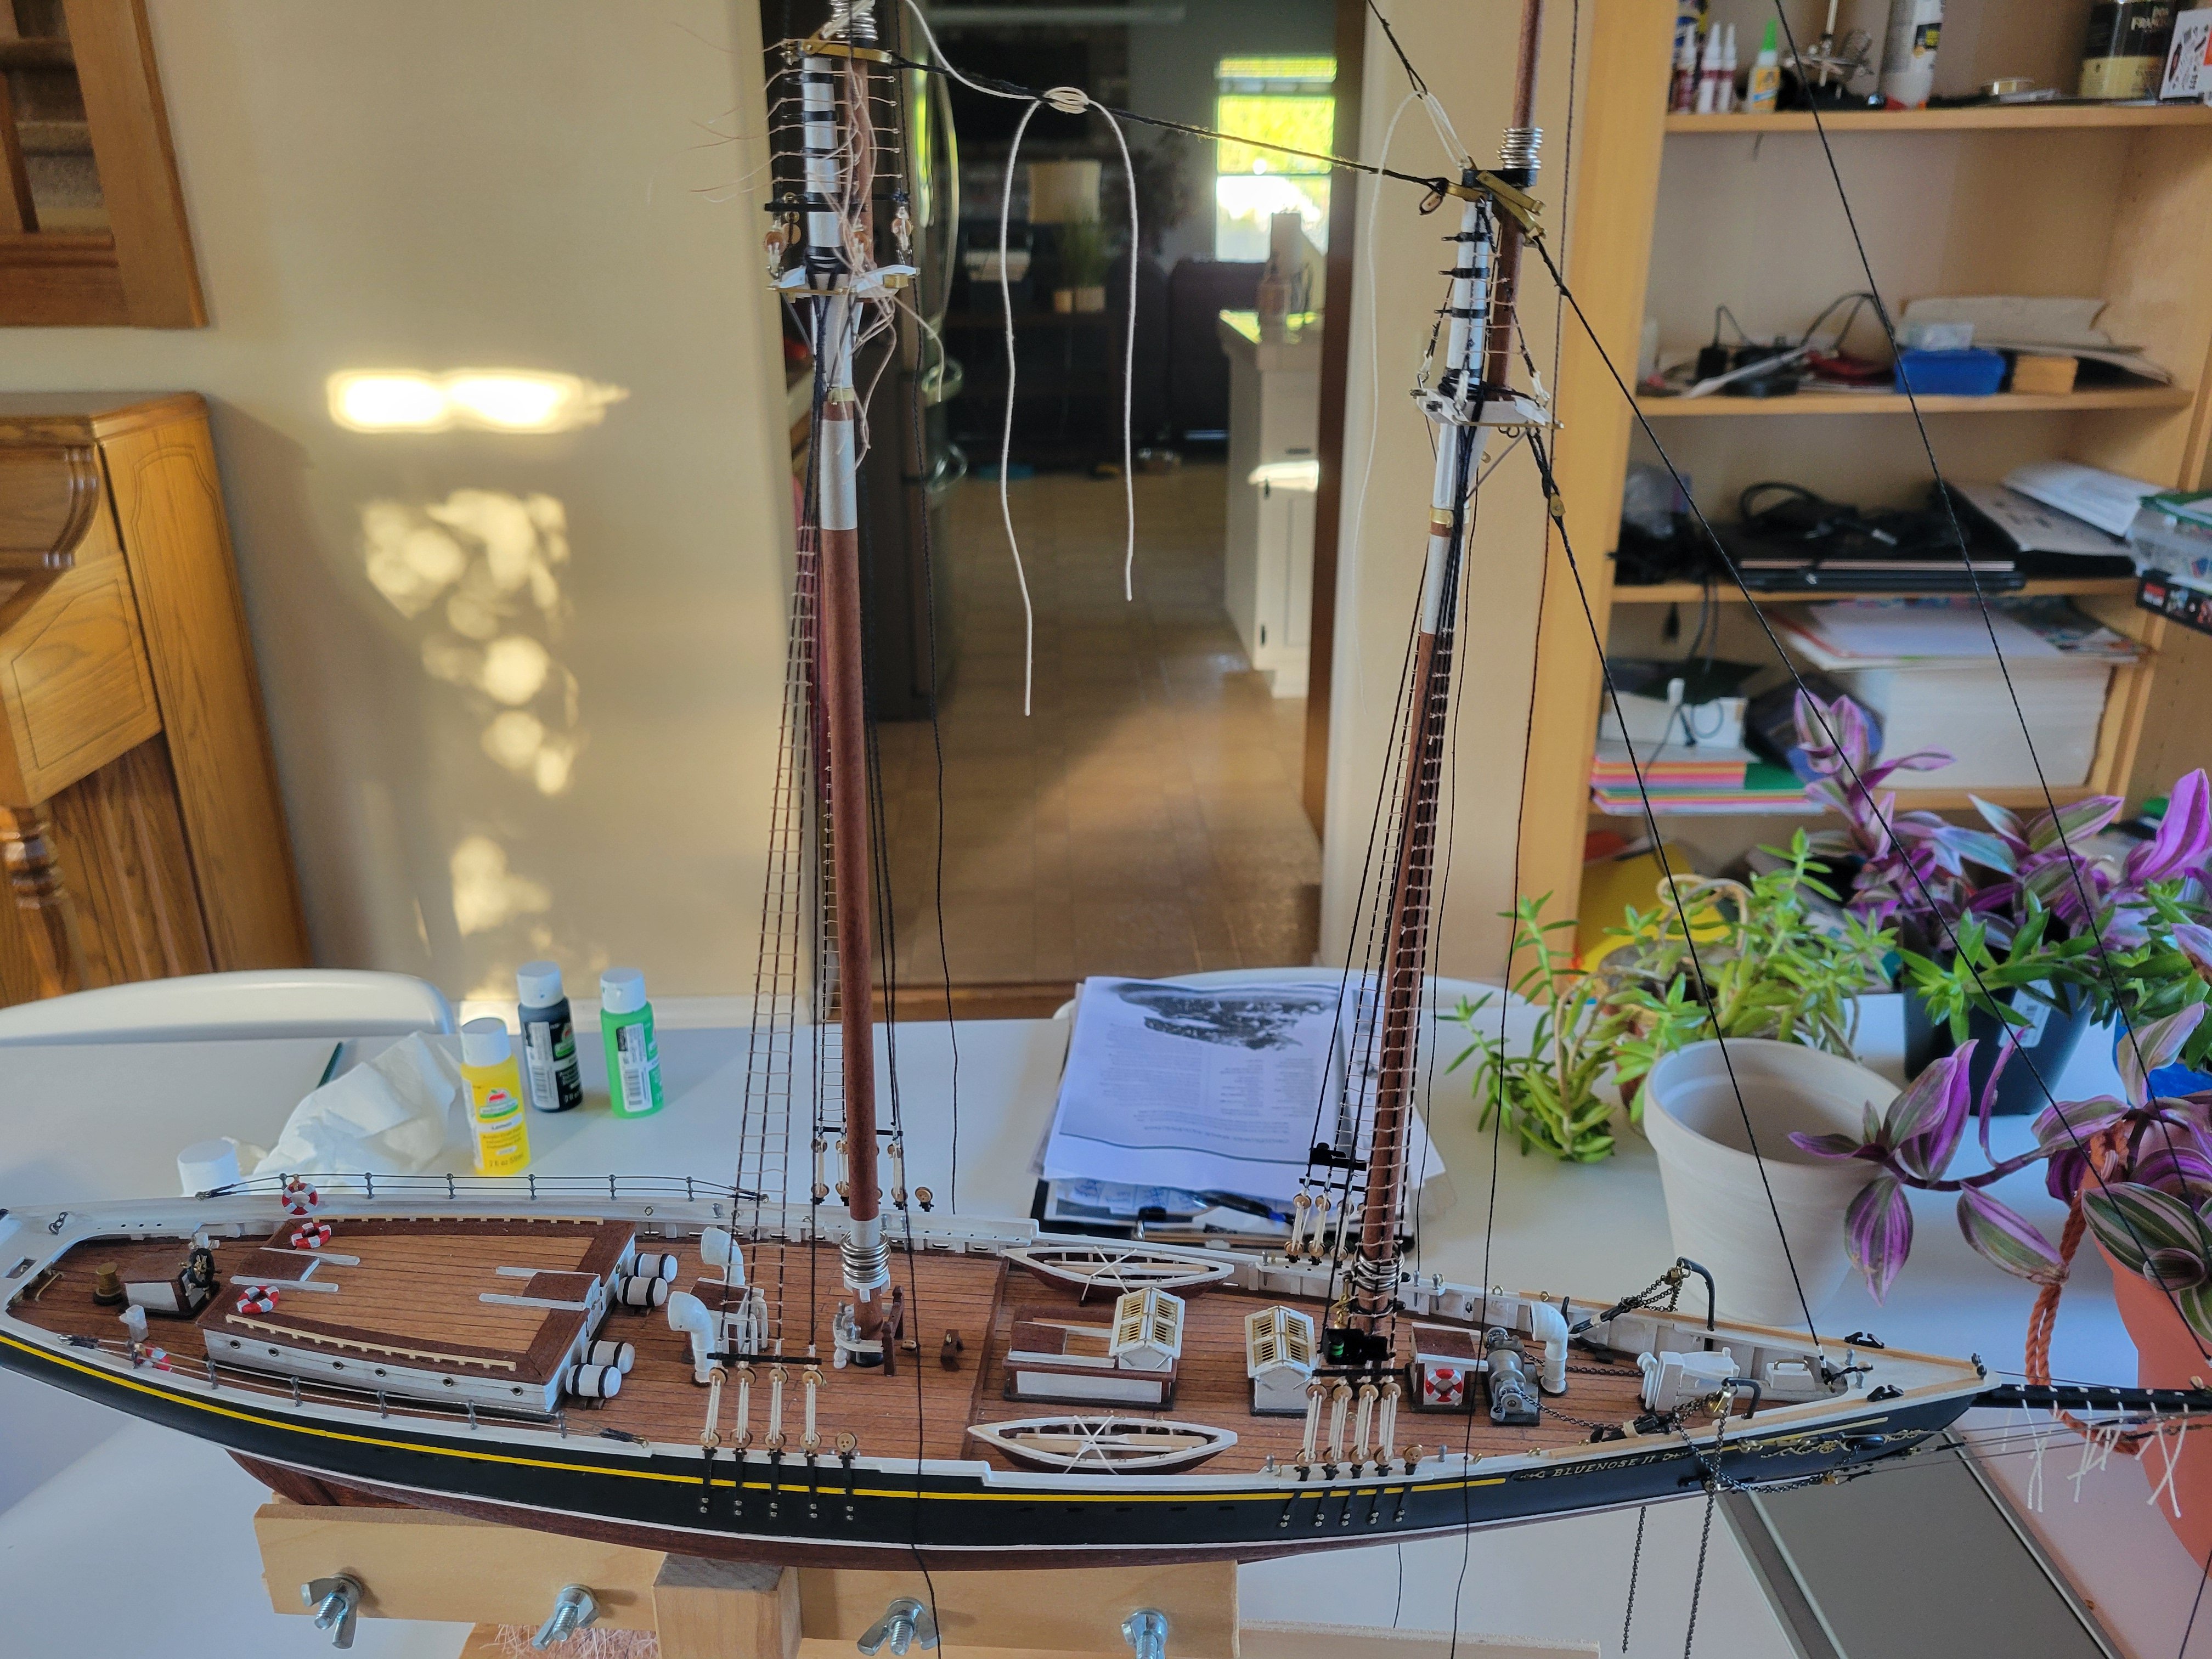
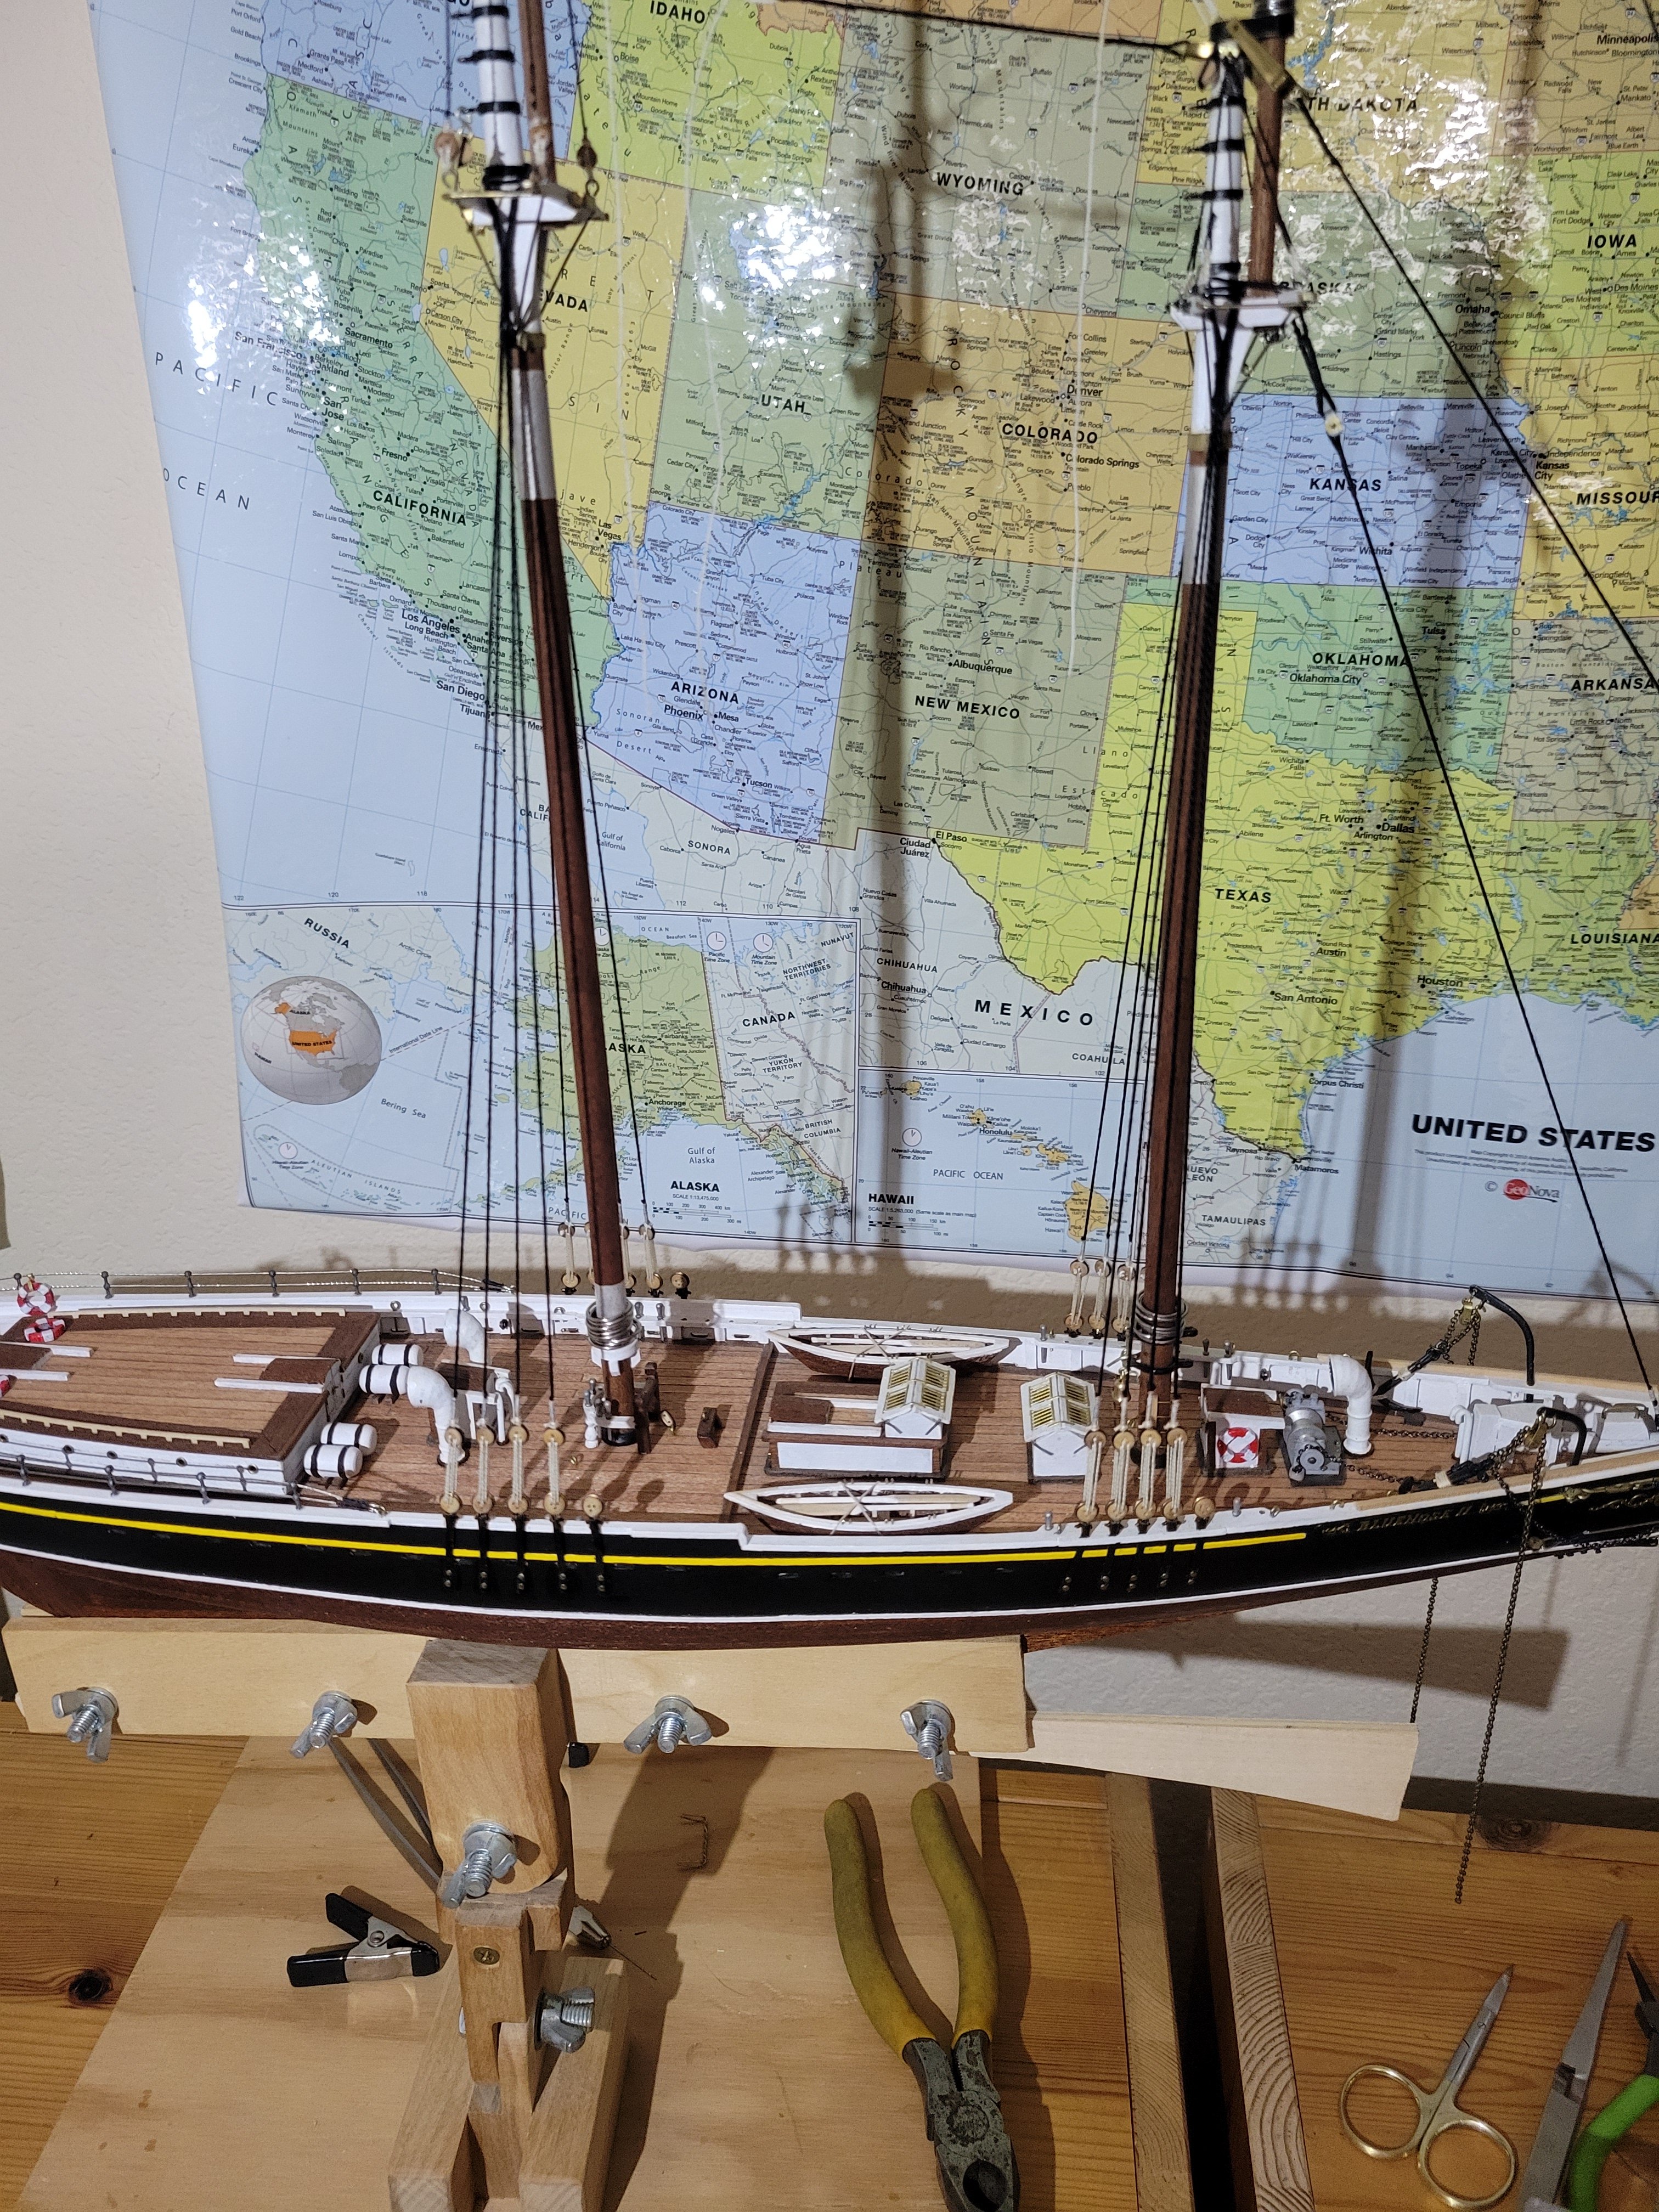
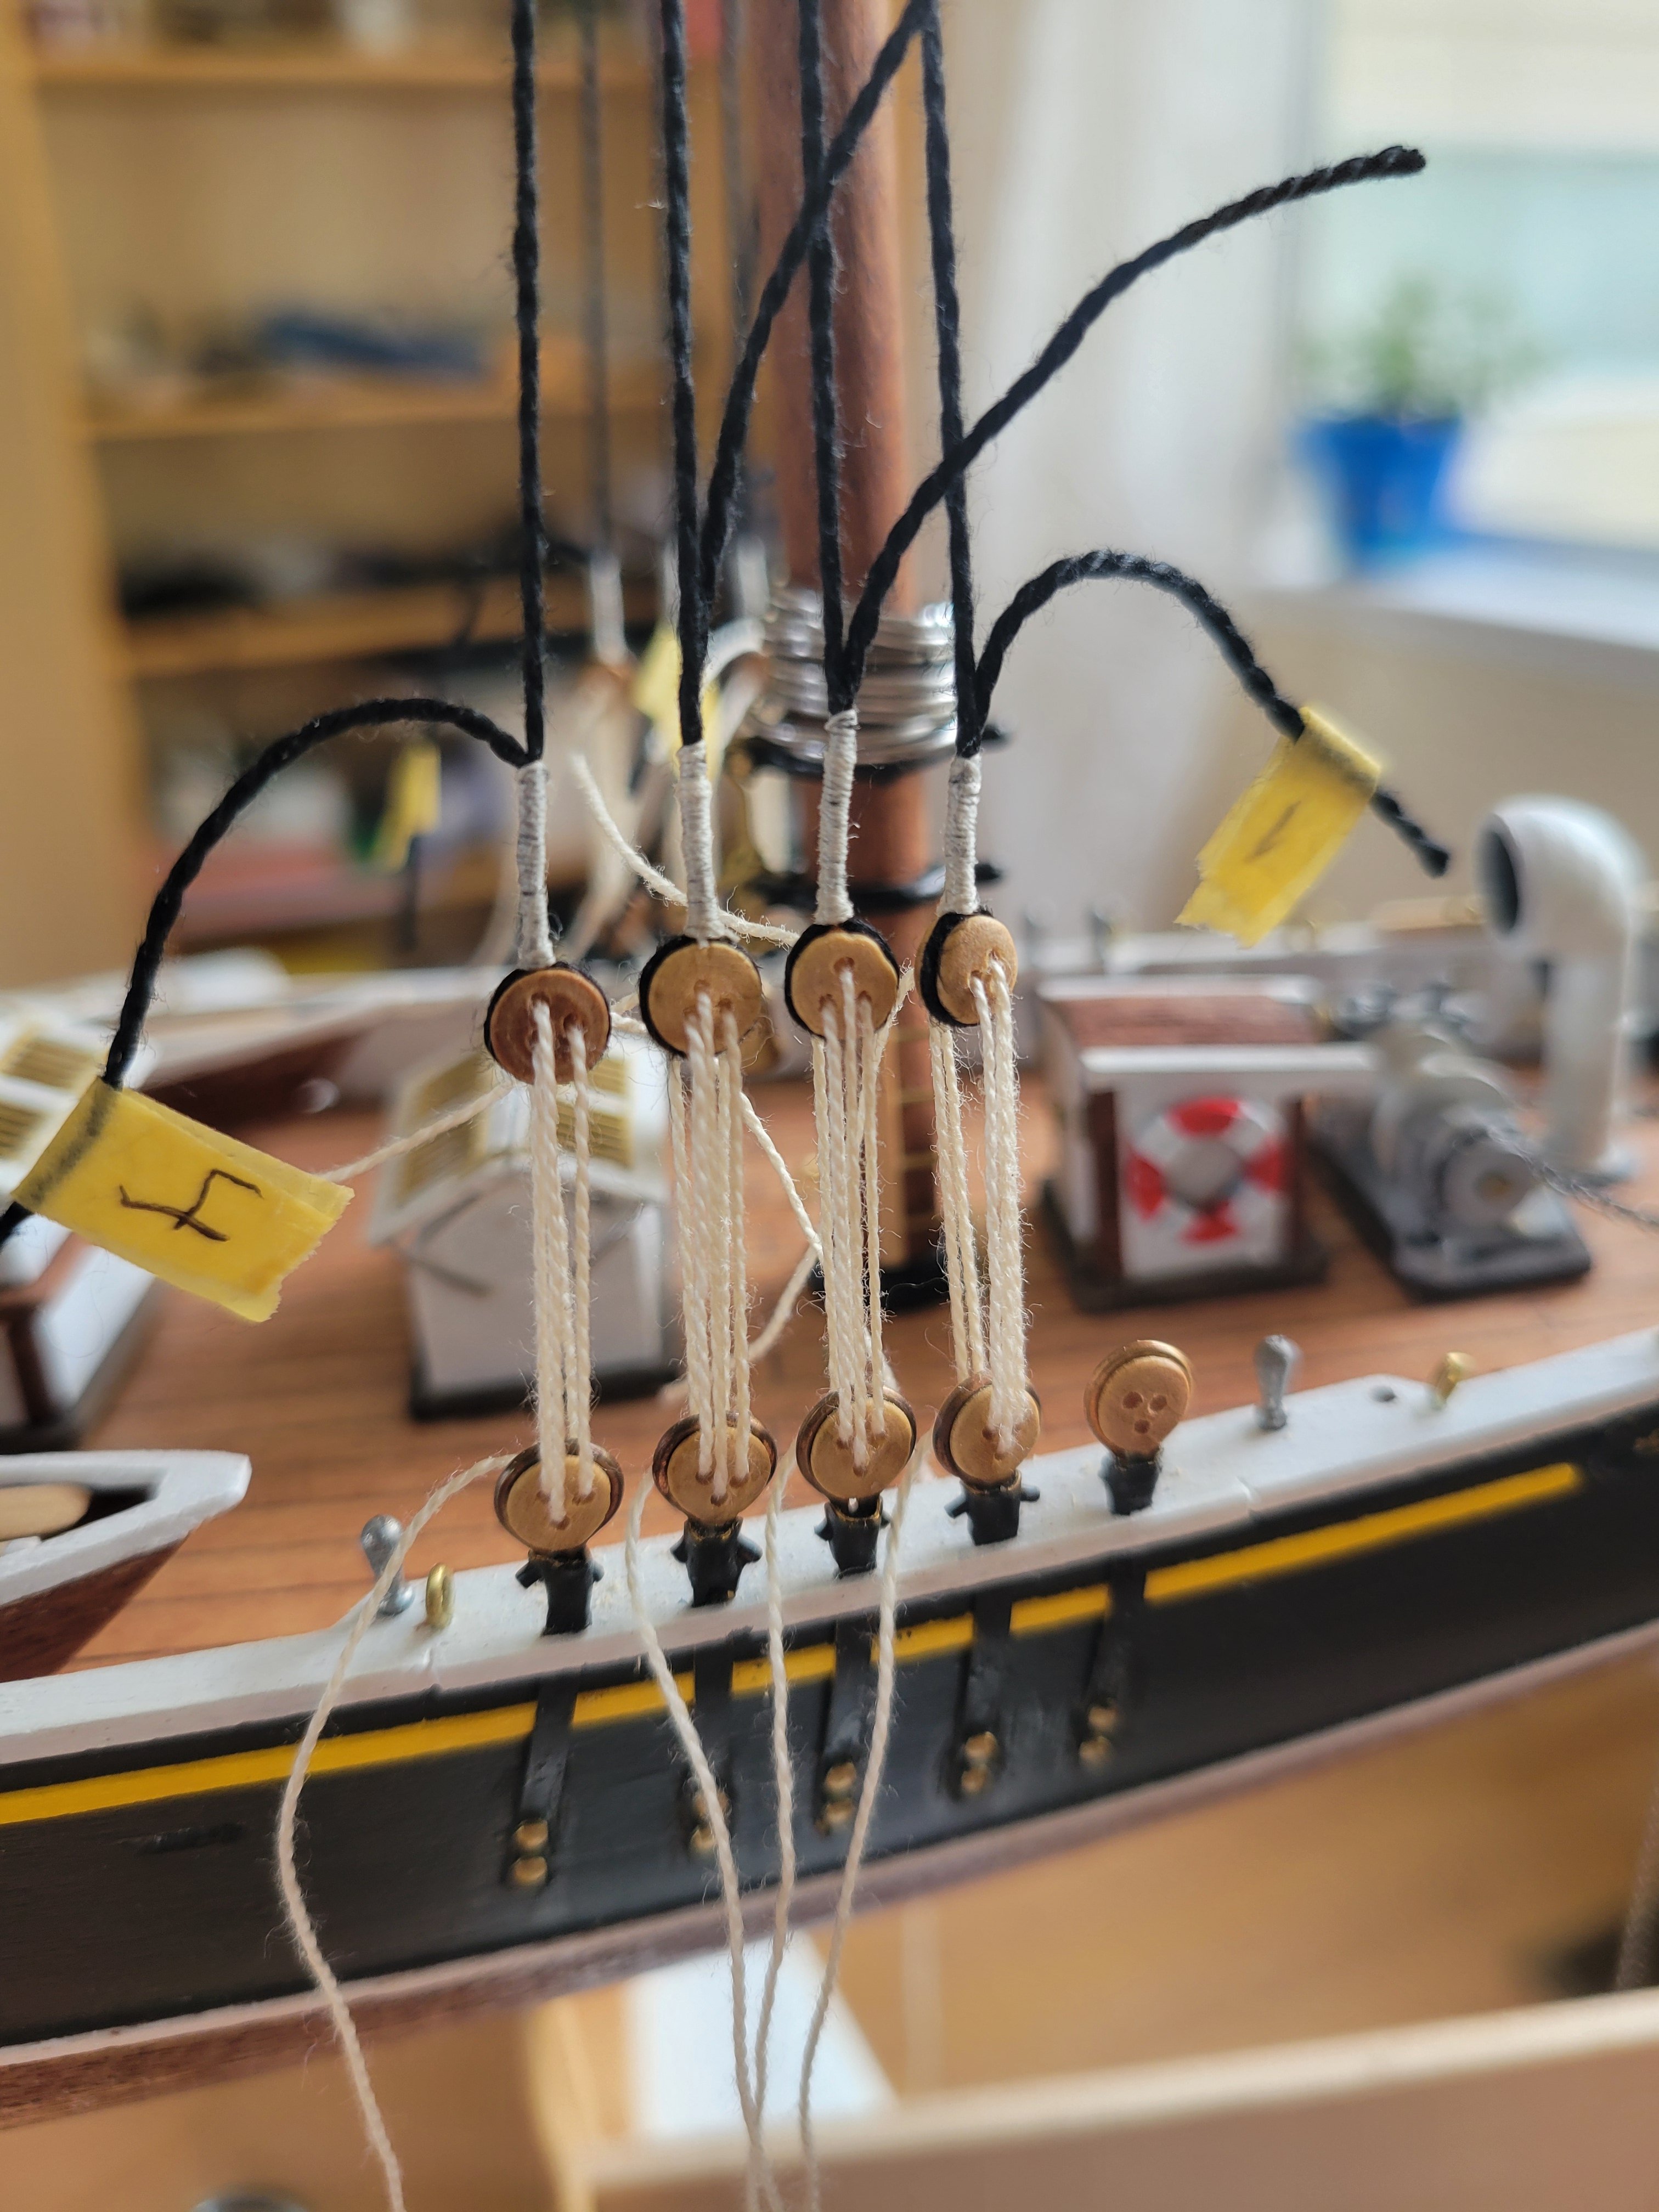
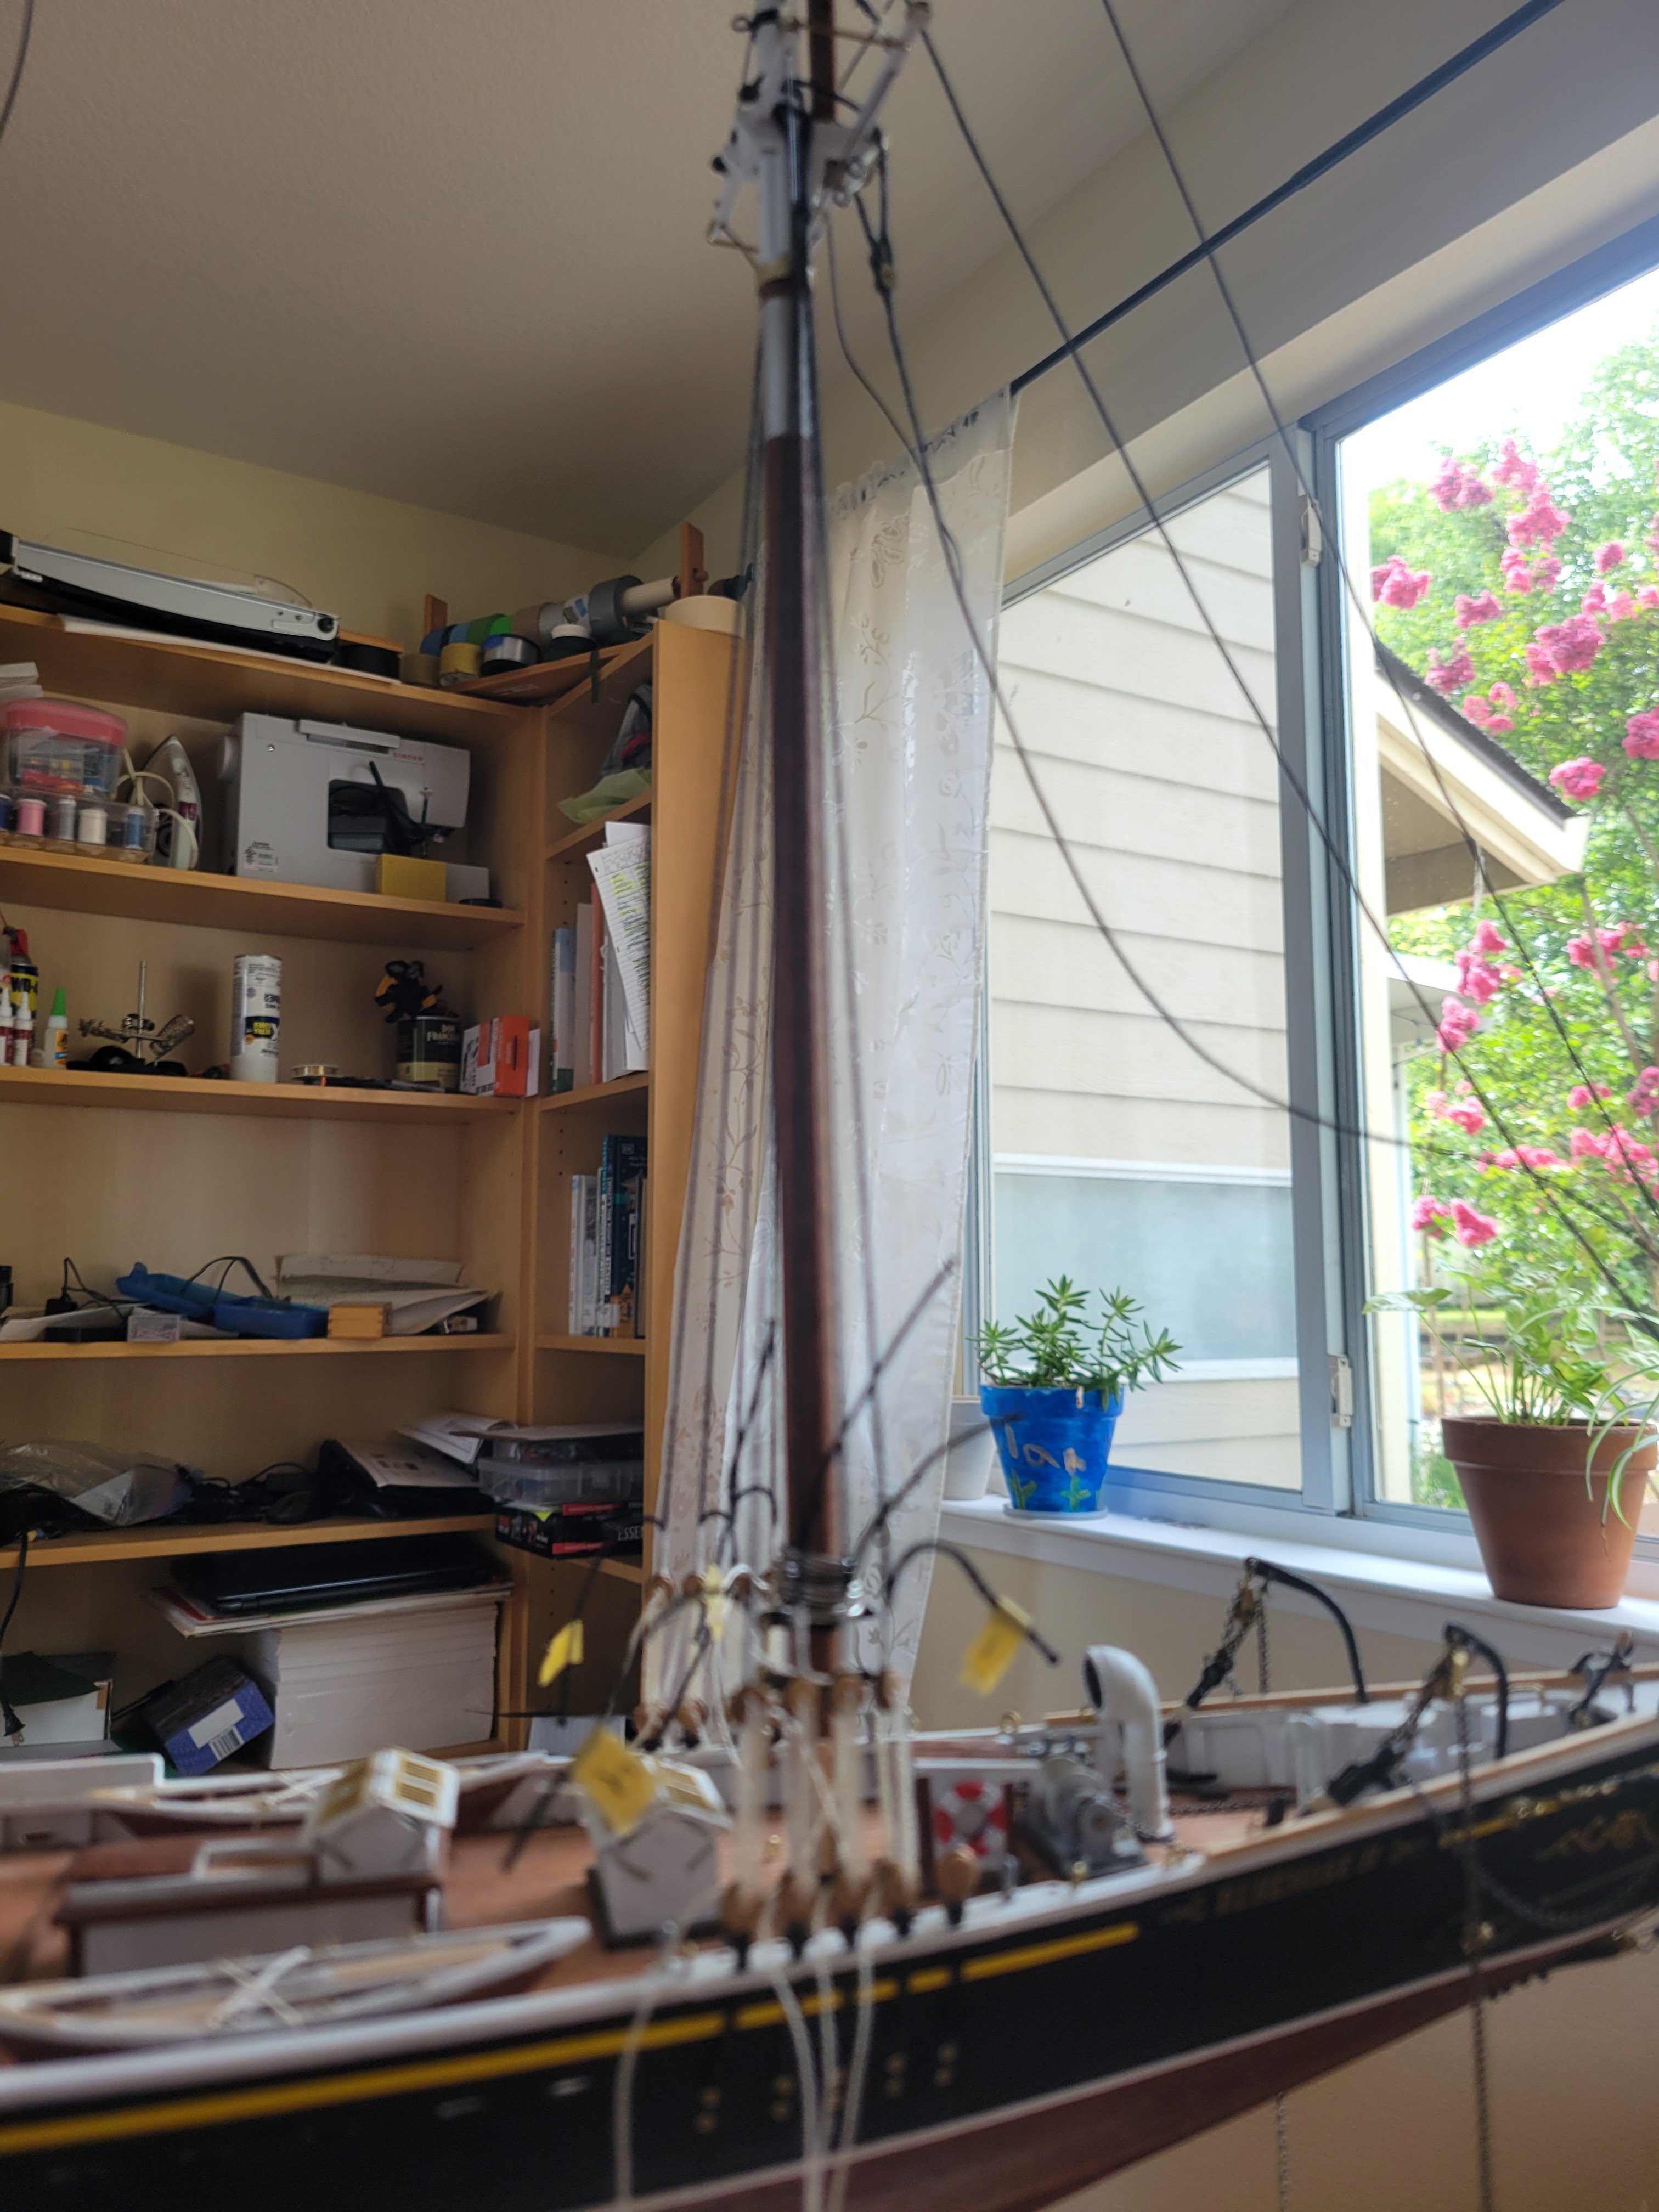
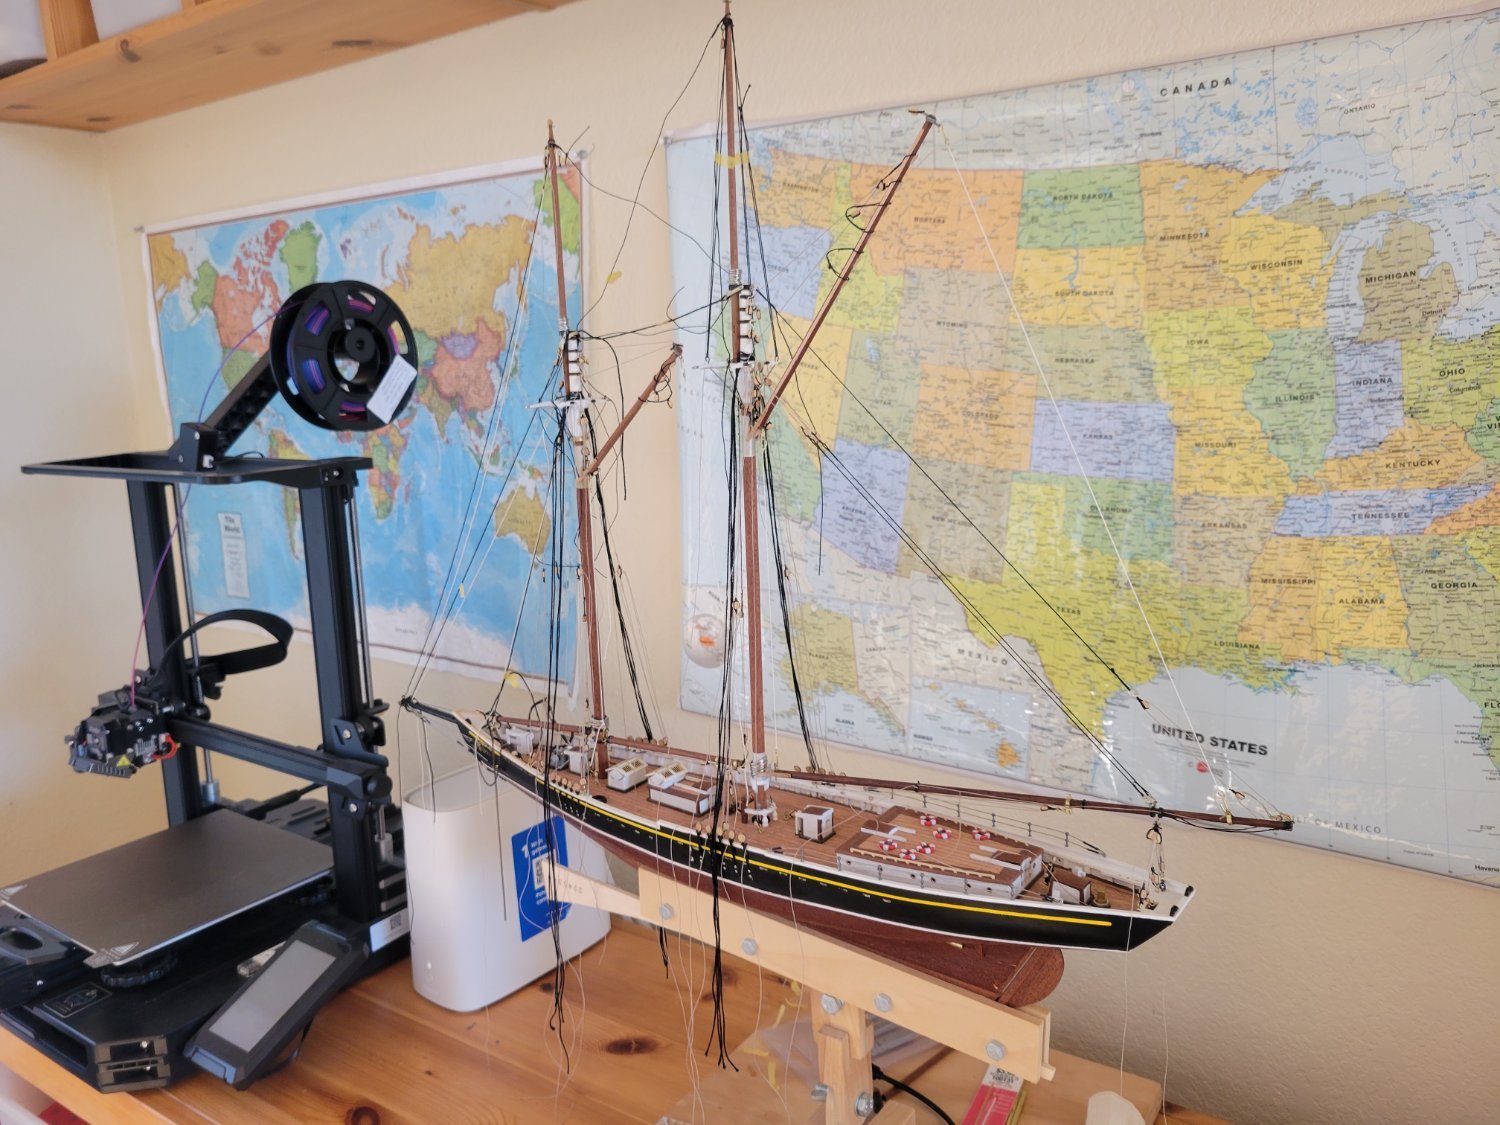
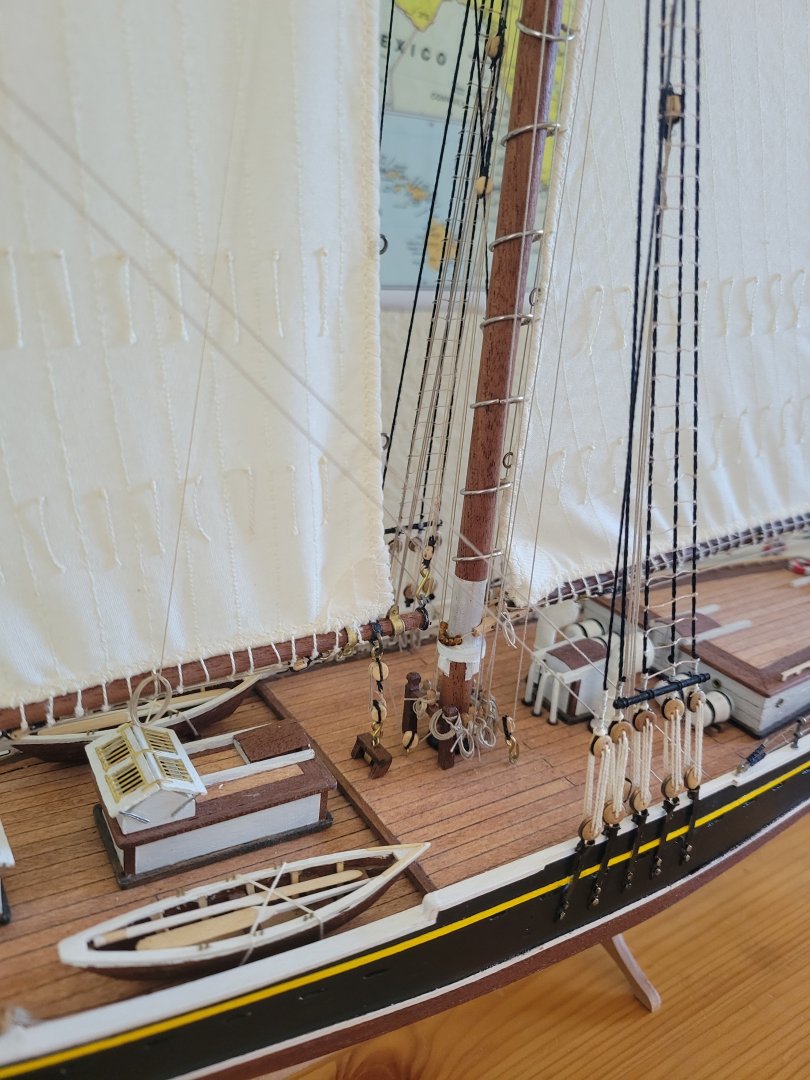
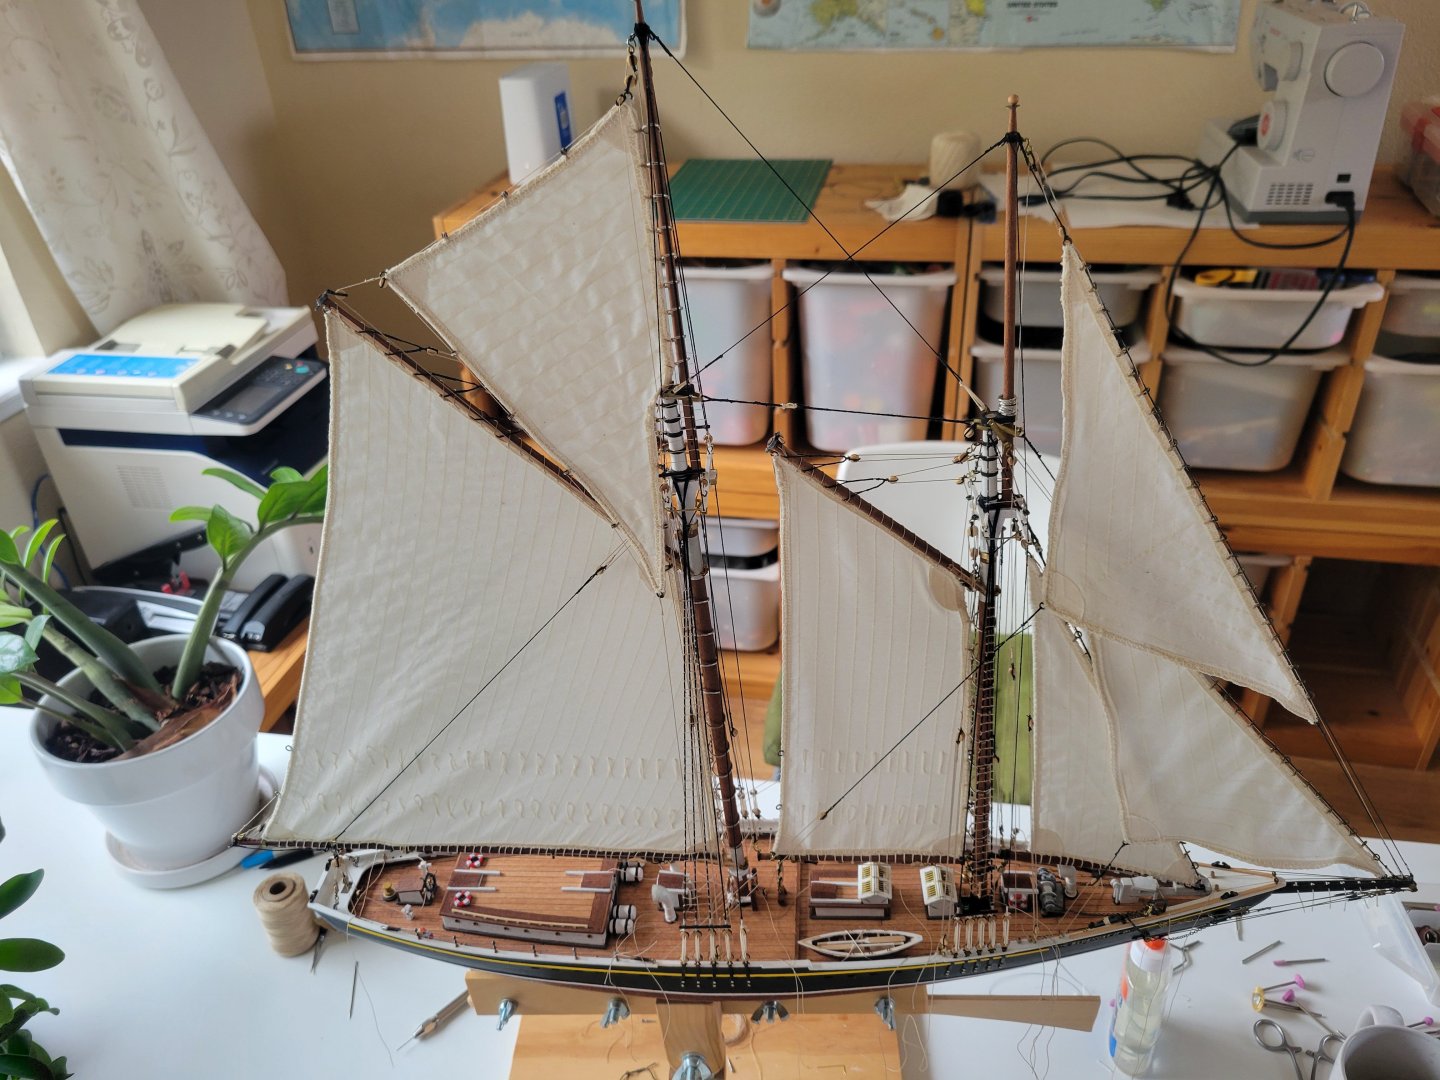
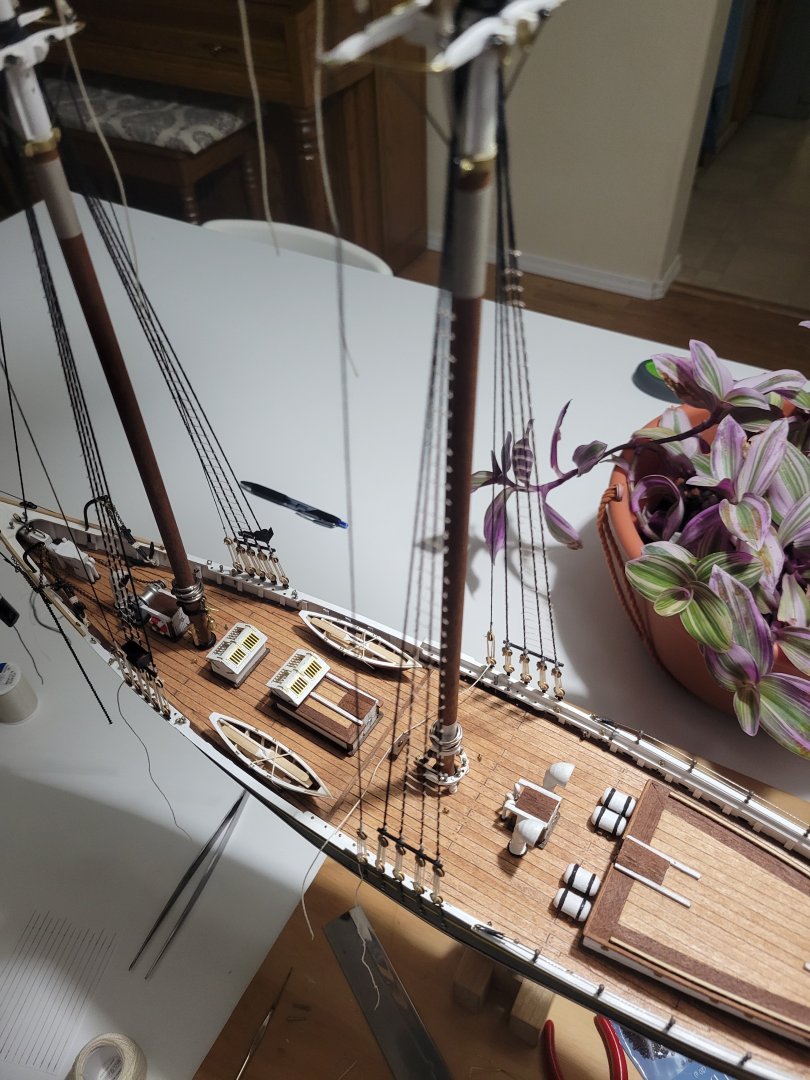
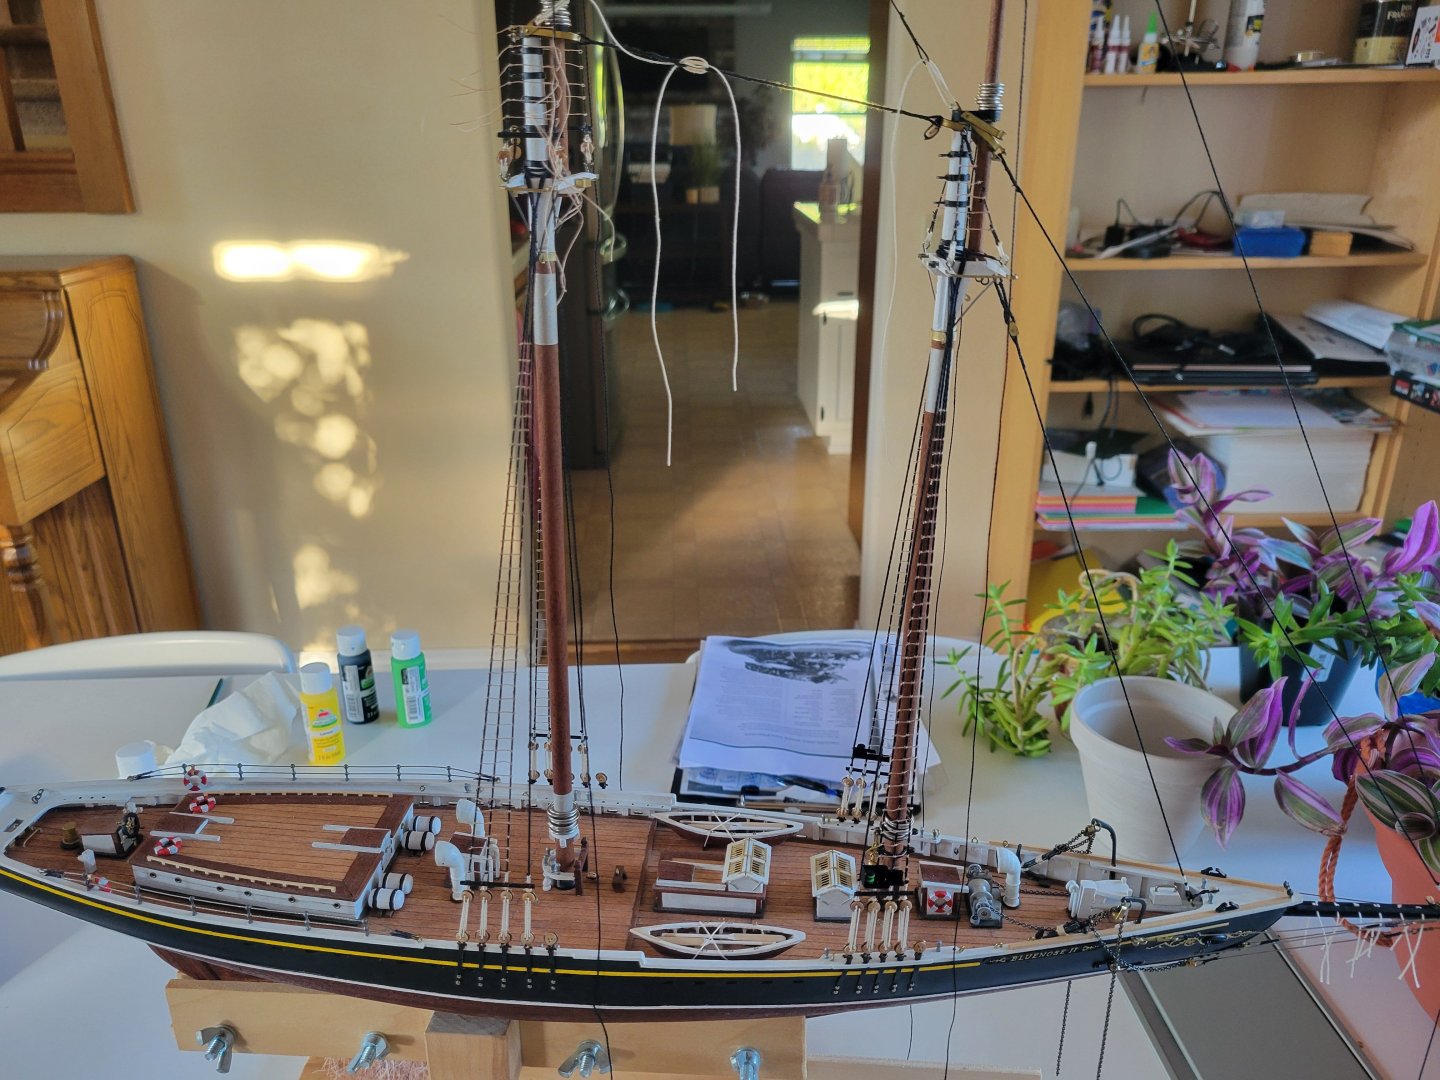
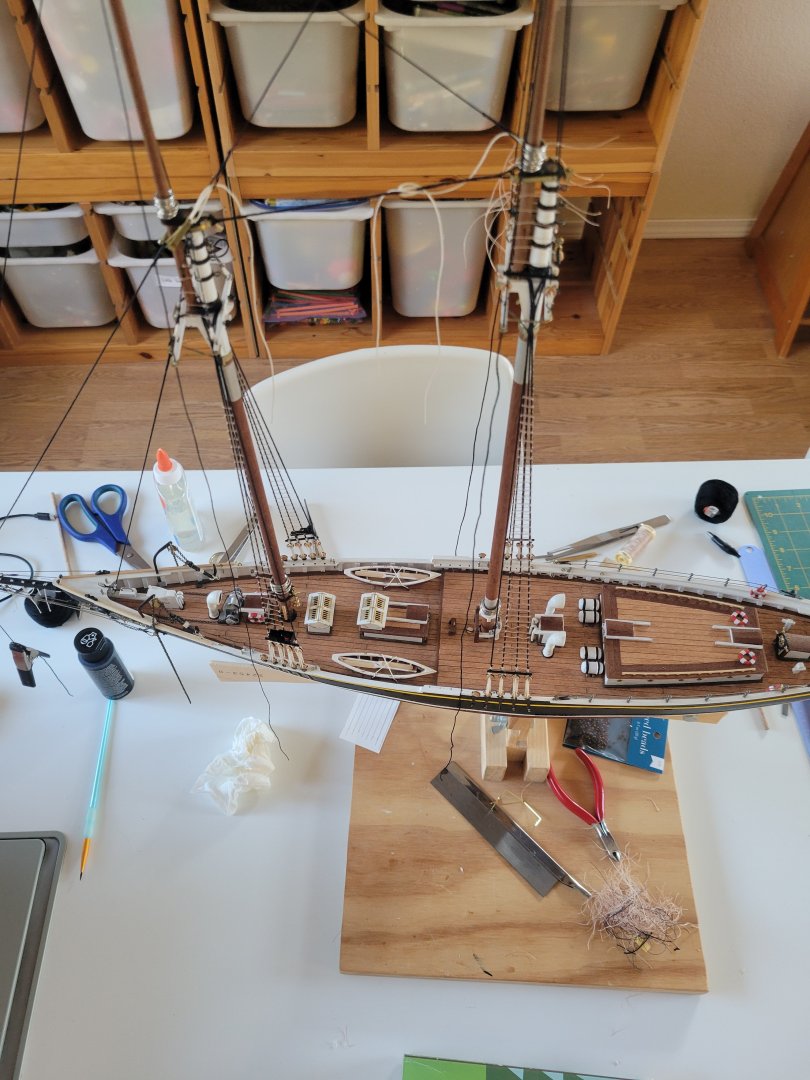
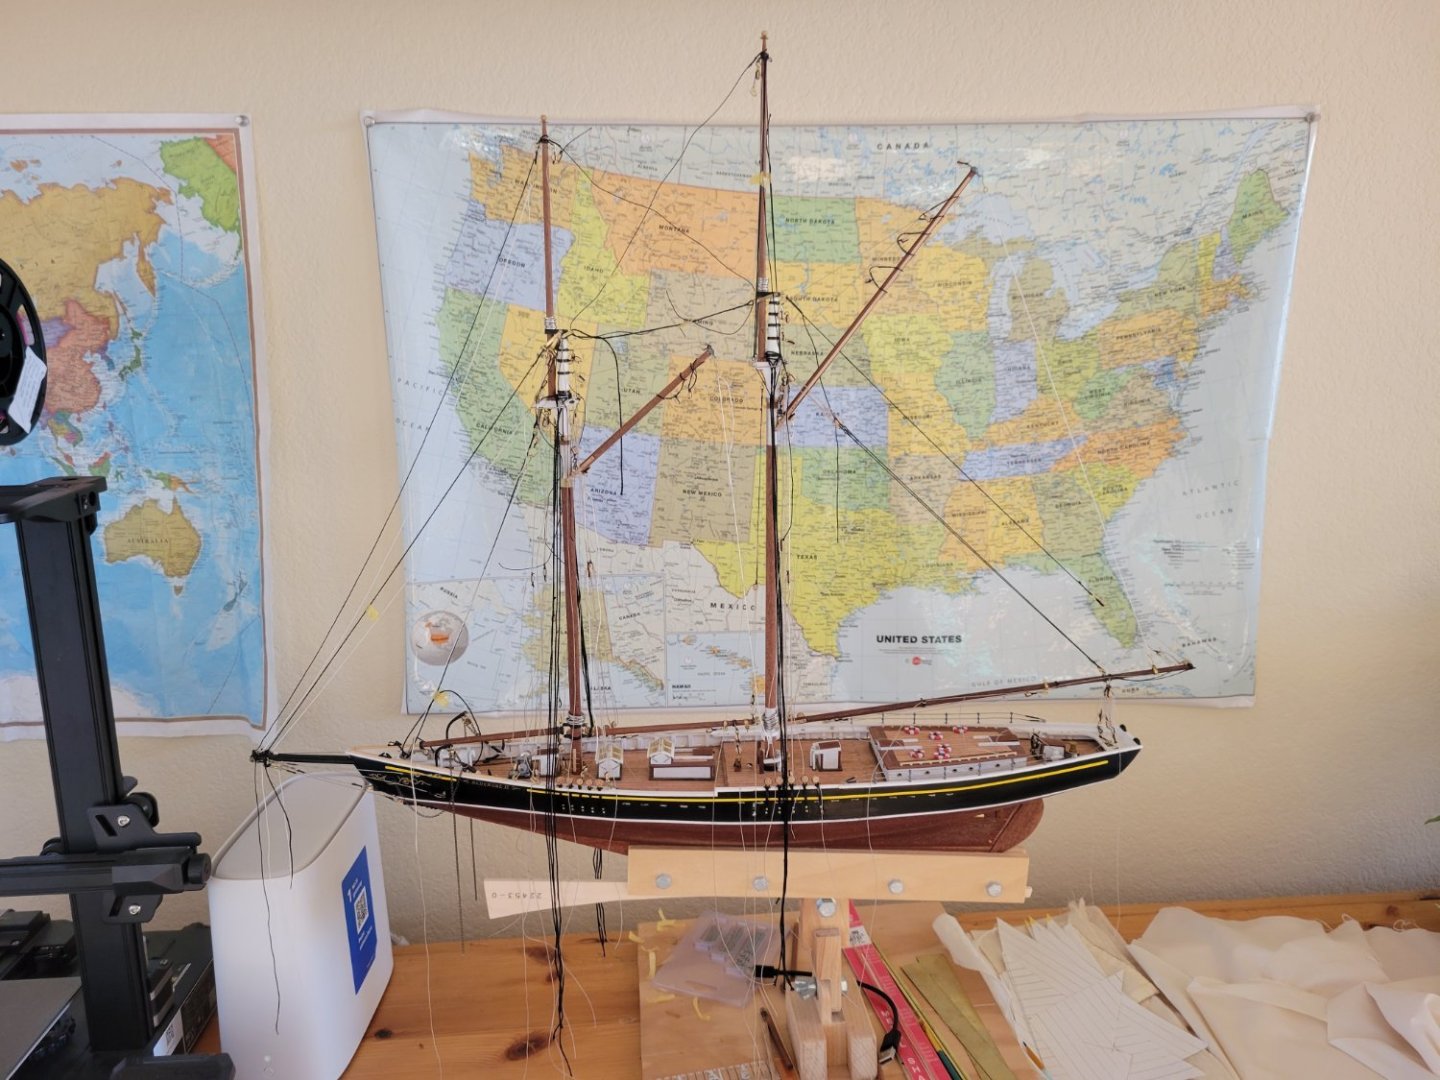
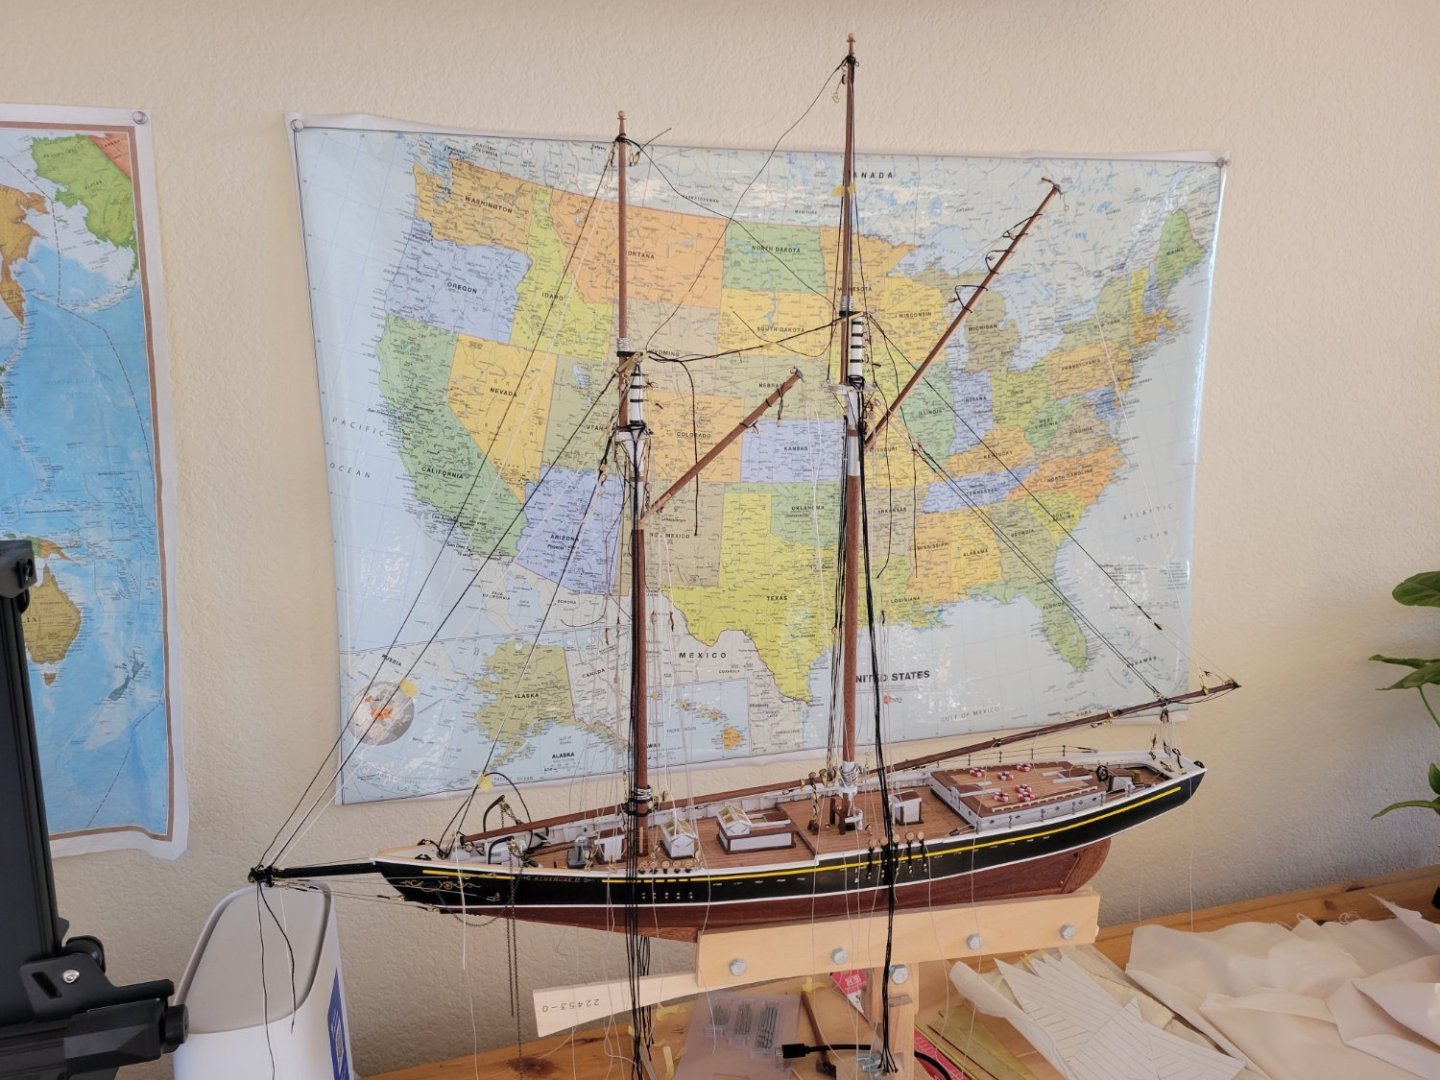
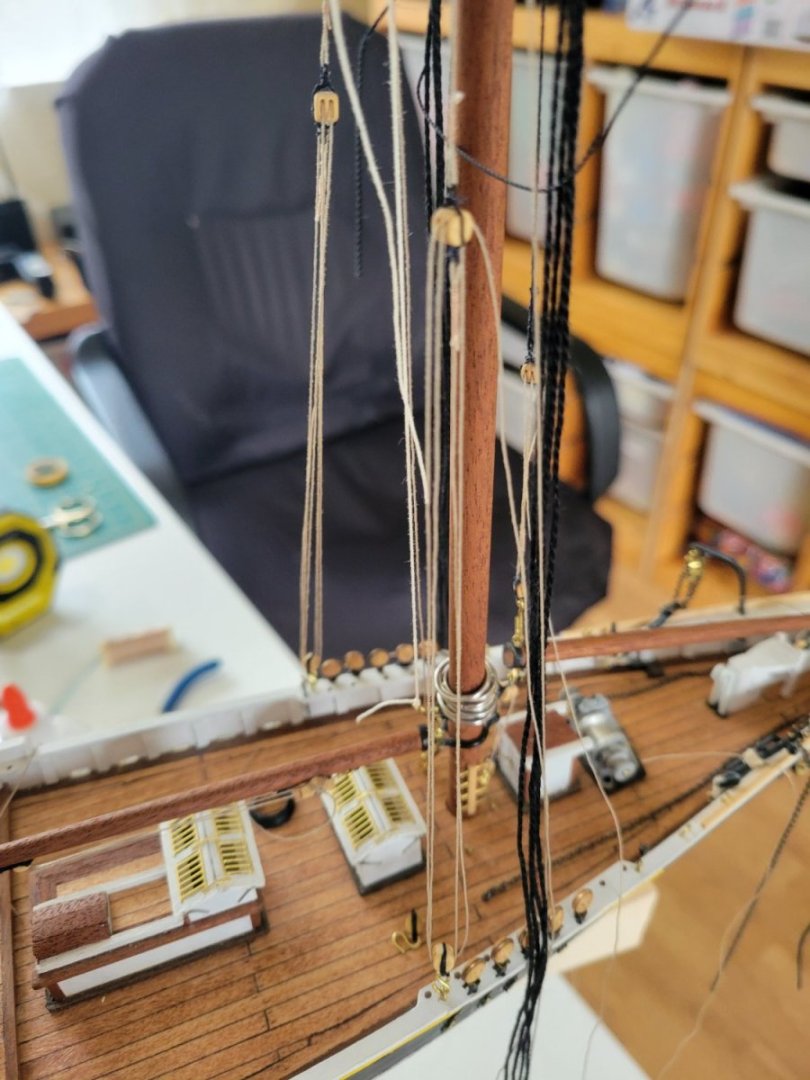
Some overall to capture current rigging progress.

- 84 replies
-
- 3
-
-
- Artesania Latina
- Bluenose II
- (and 1 more)
-
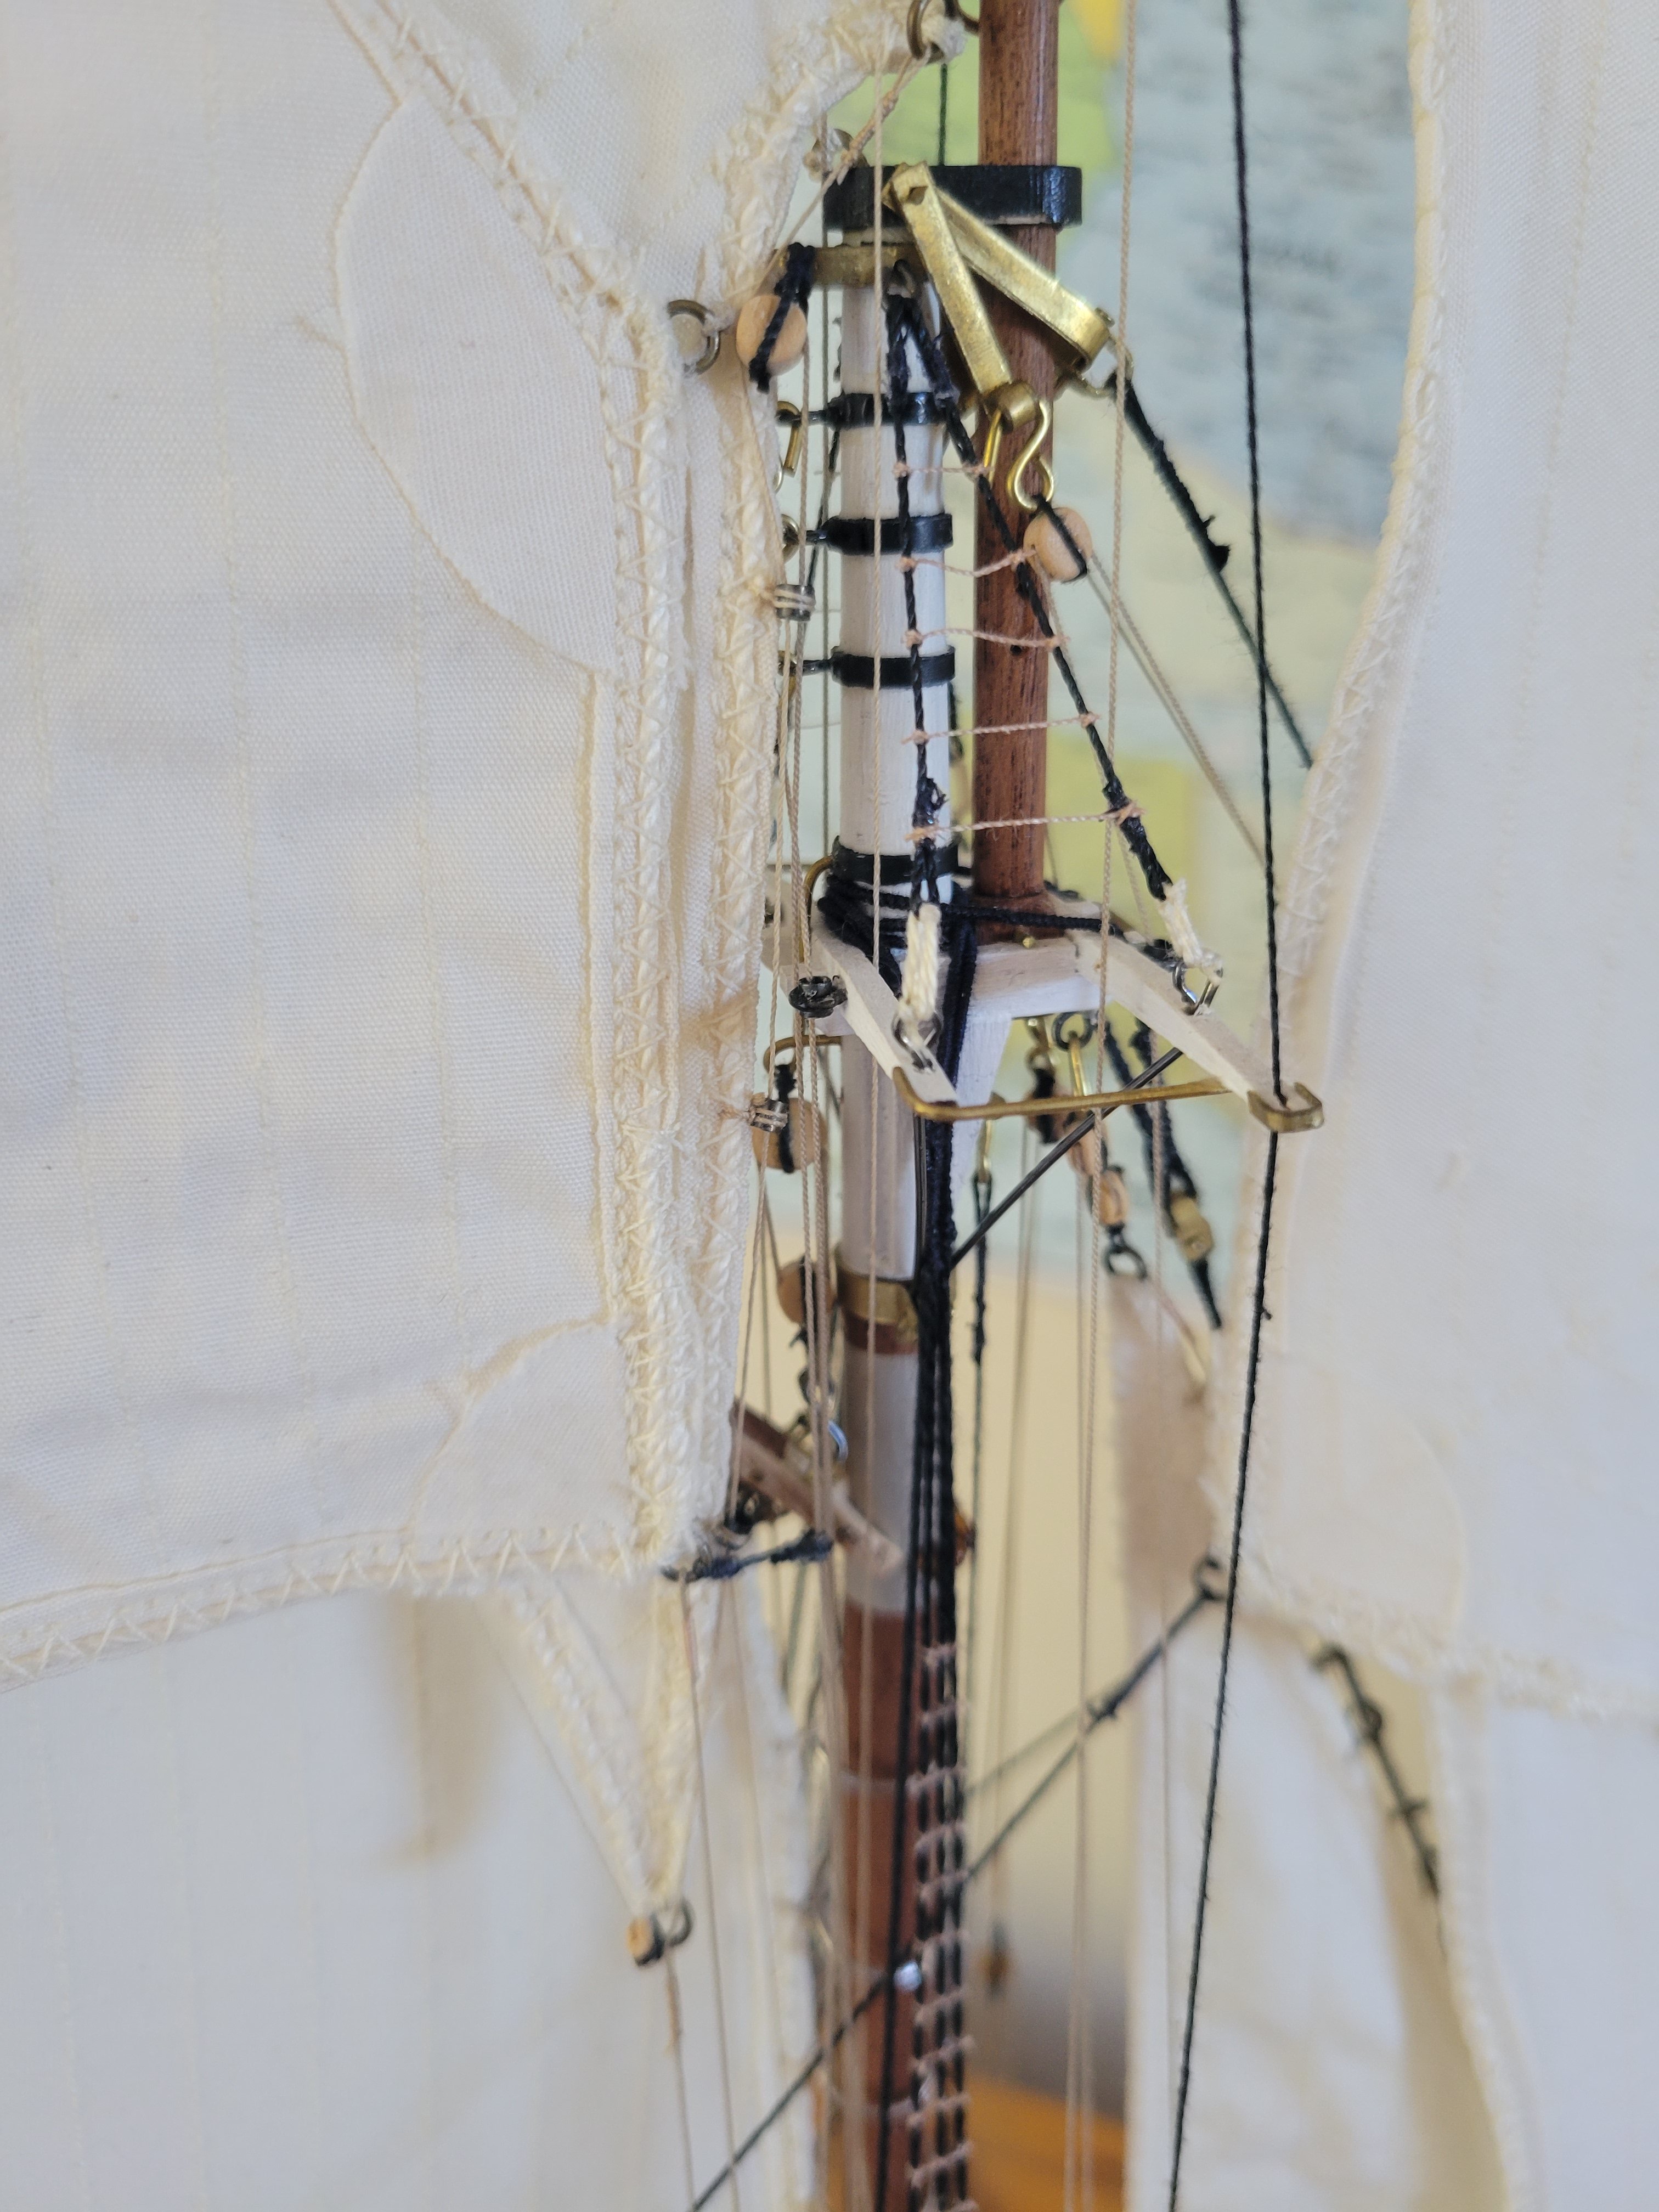
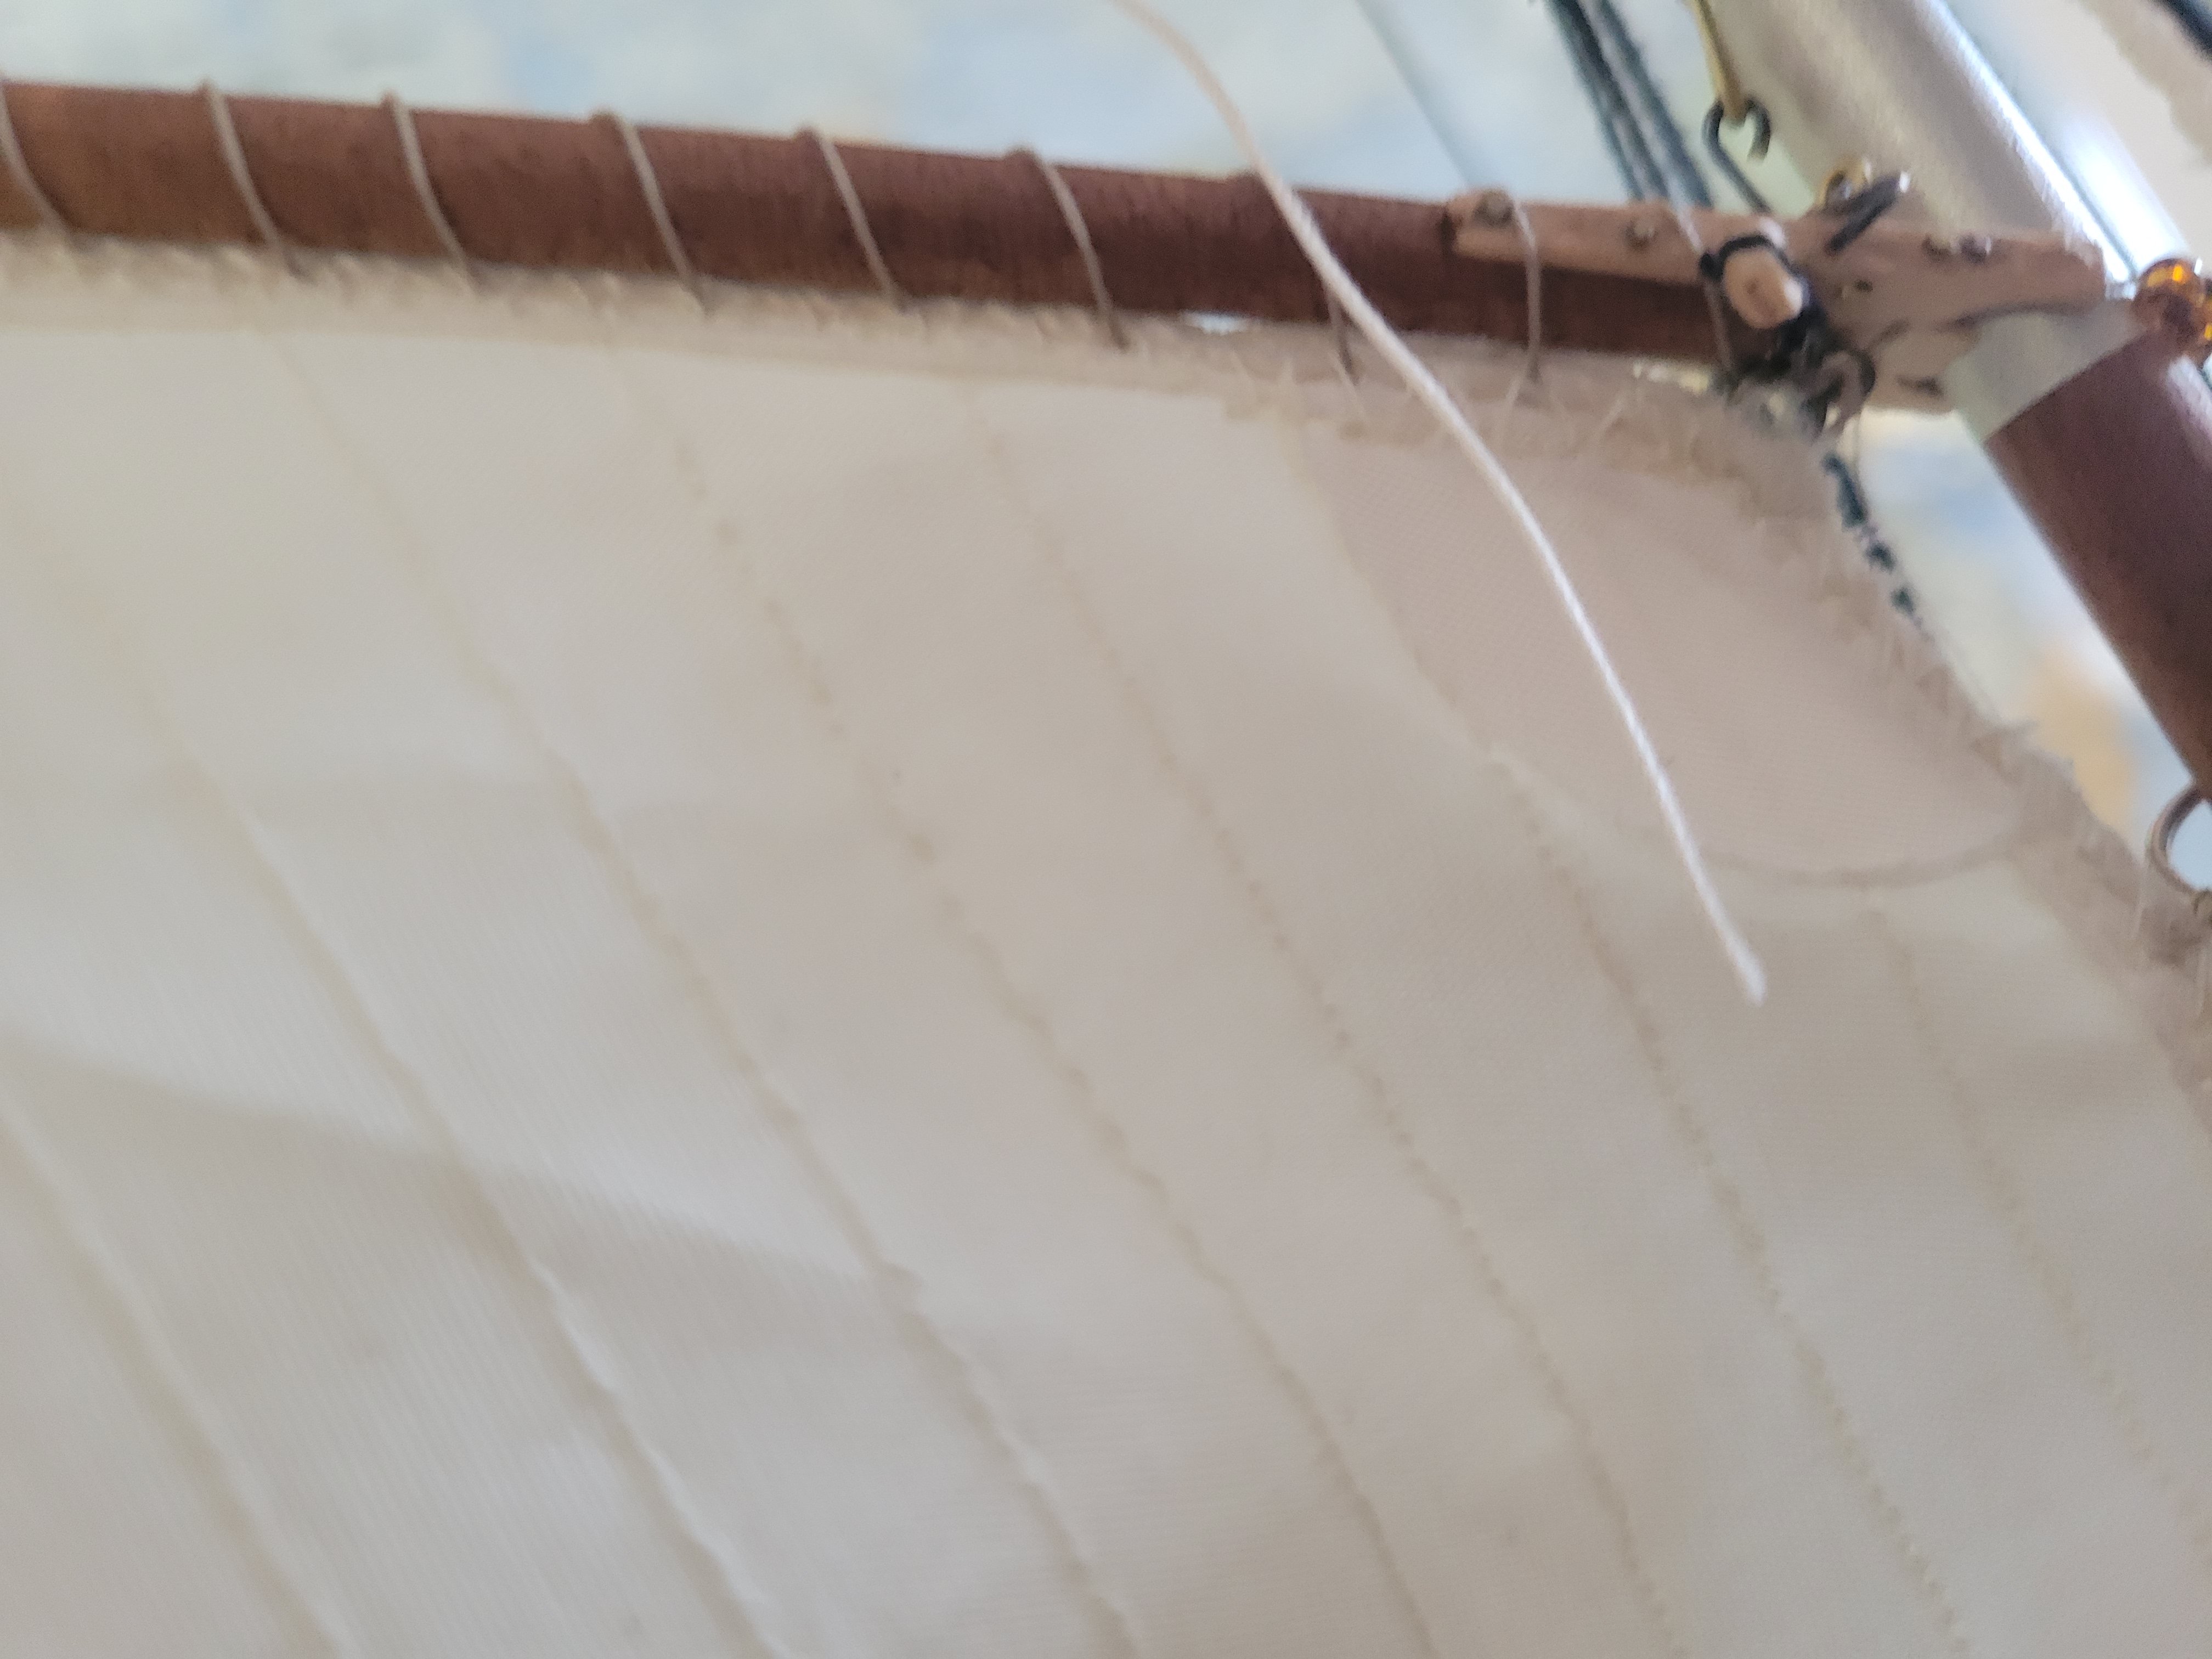
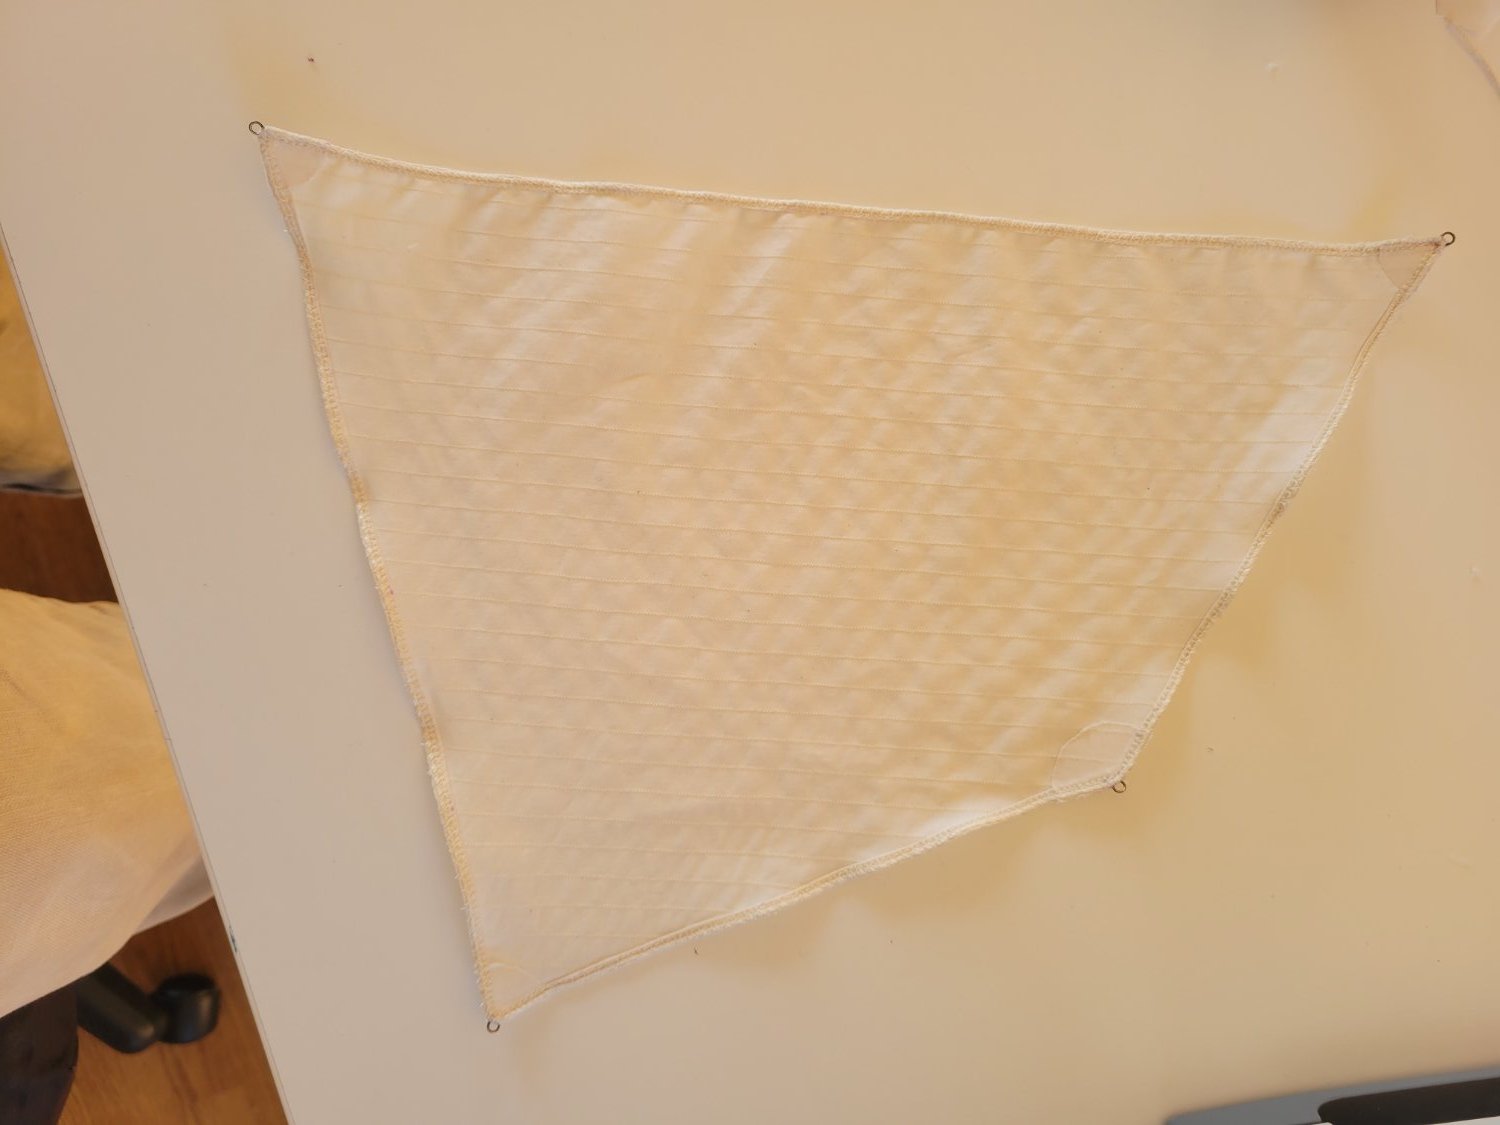
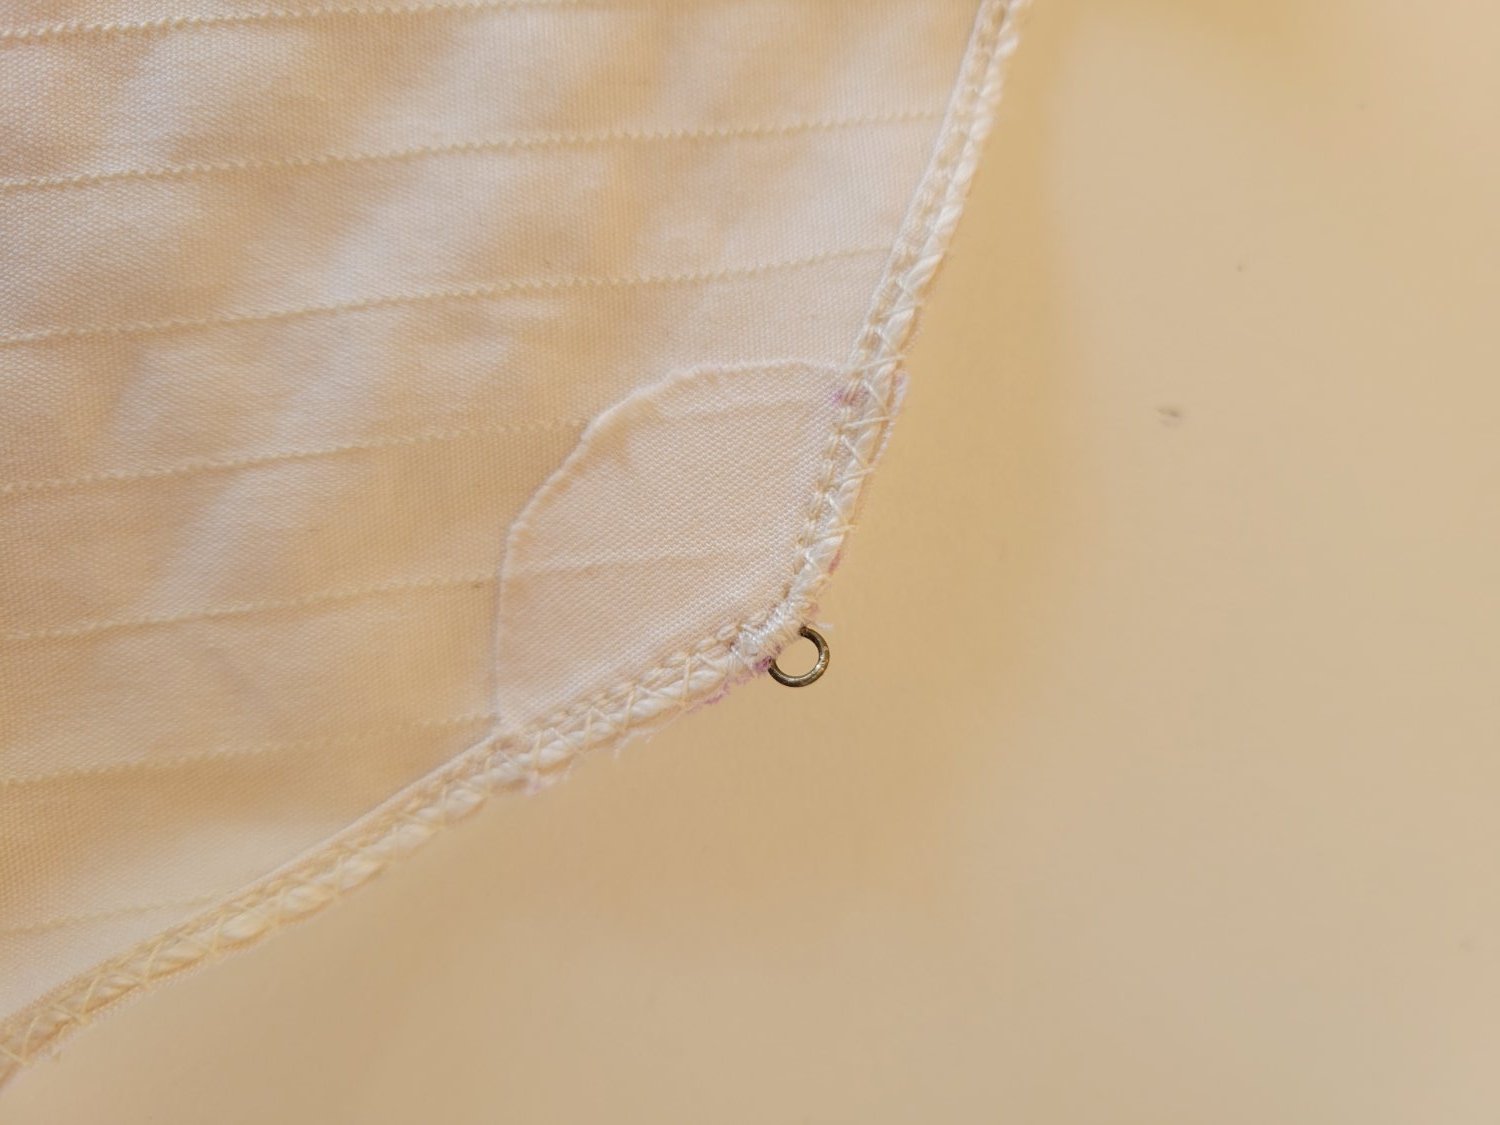
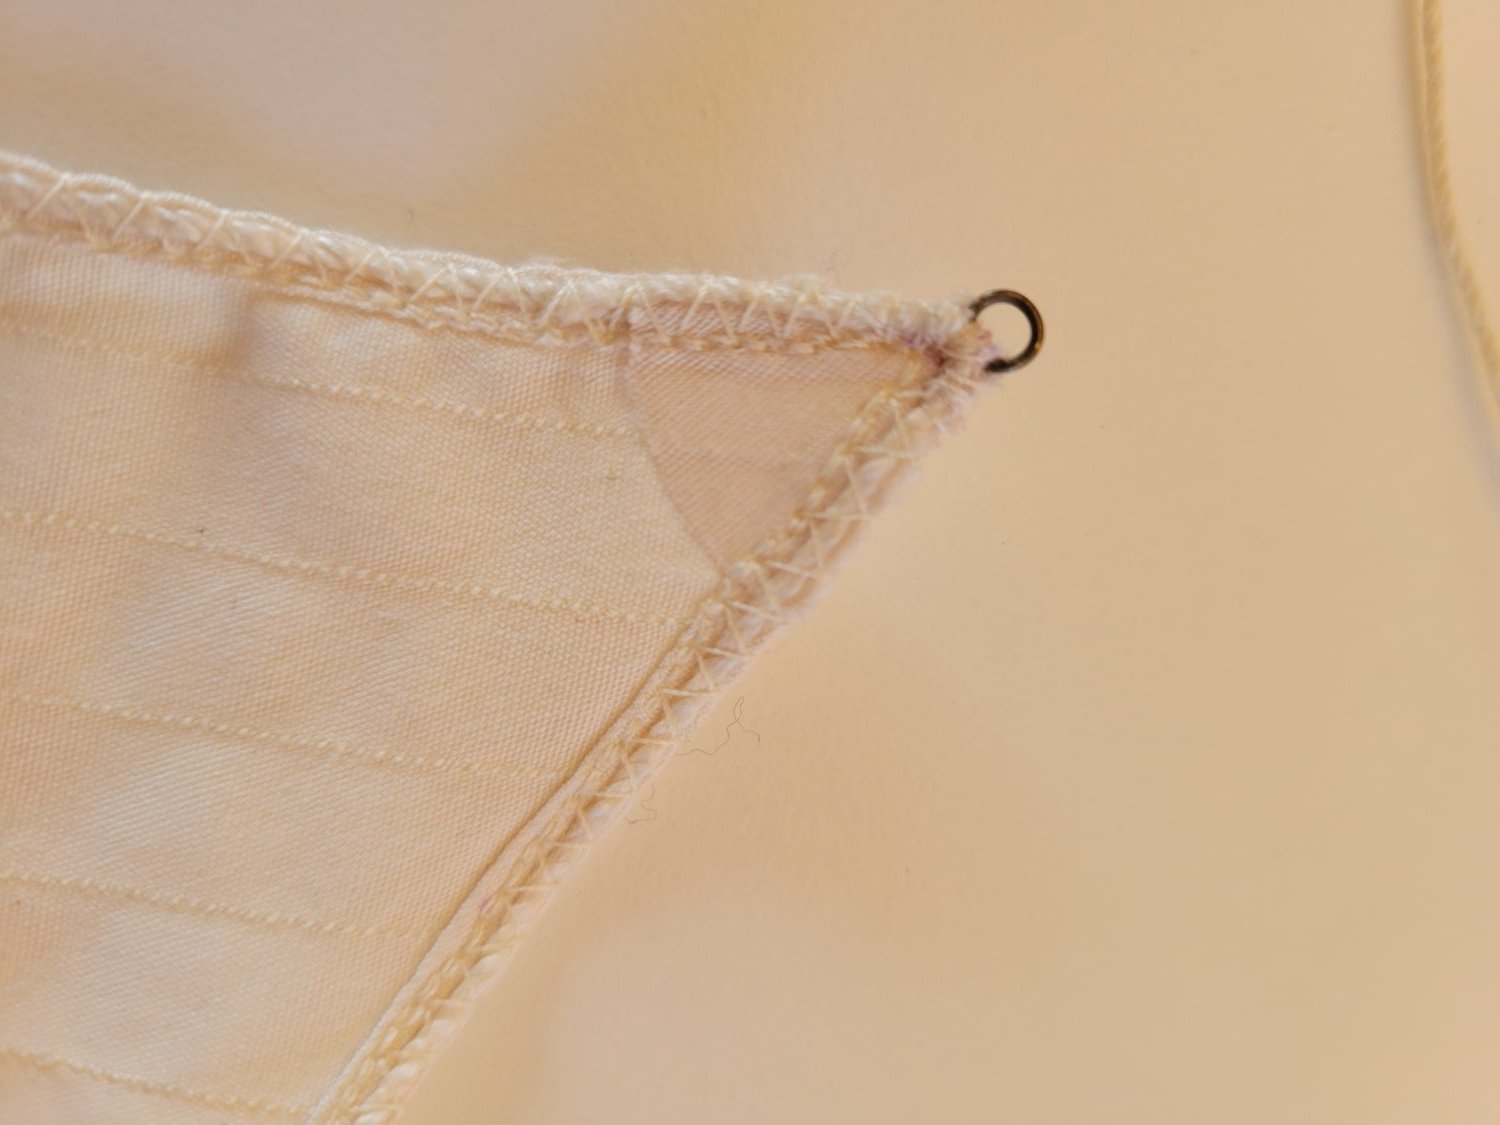
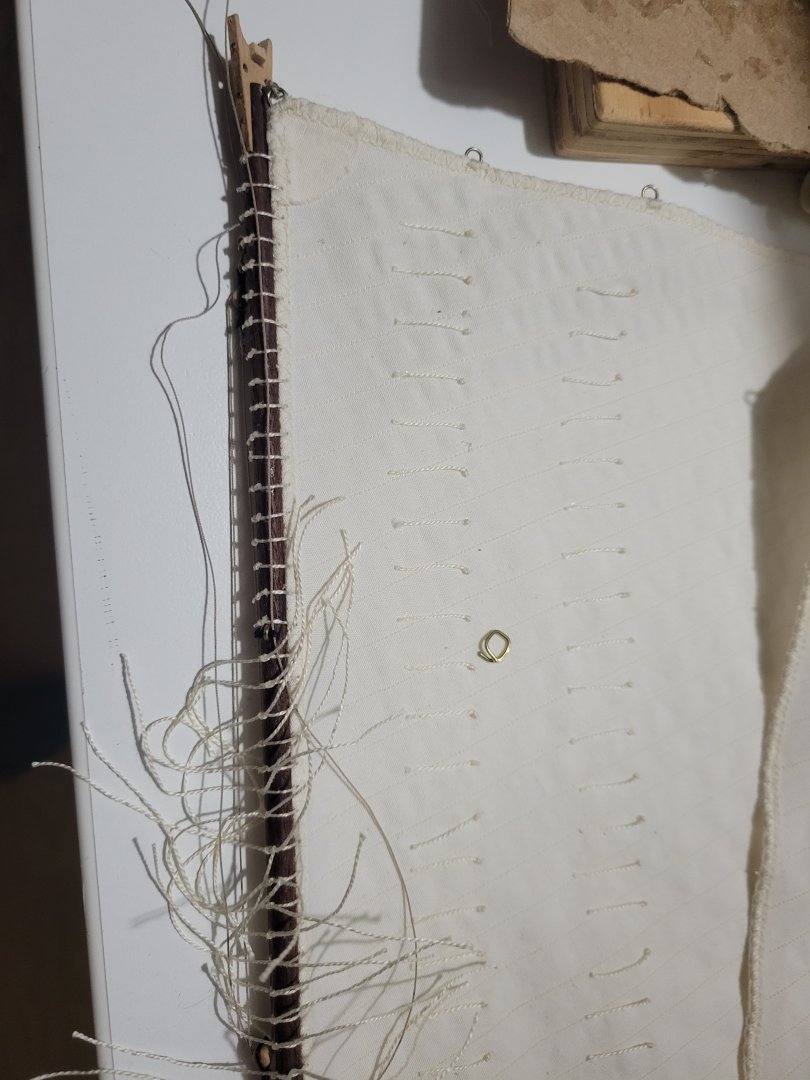
Took a while contemplating making sails. On my last build, I used the approach where a single thread was pulled from the cotton material at each seam which I do think looks better than sewing fake seams. But this time I'm using muslin and the material is just too light/thin to pull threads. So I experimented with various sewing approaches. Landed with a light color thread and small stich length. I also used a very light colored bolt rope (might not be very visible in picks). I'm using rings for all the clews and an extra hand sewing thread at the rings to bind them there (like done on many actual sails. Not sure on reefs yet. Actual bluenose 2 doesn't have an extra "band" for the reefs. The just sewed reinforcing at each reef point so still thinking there.


-
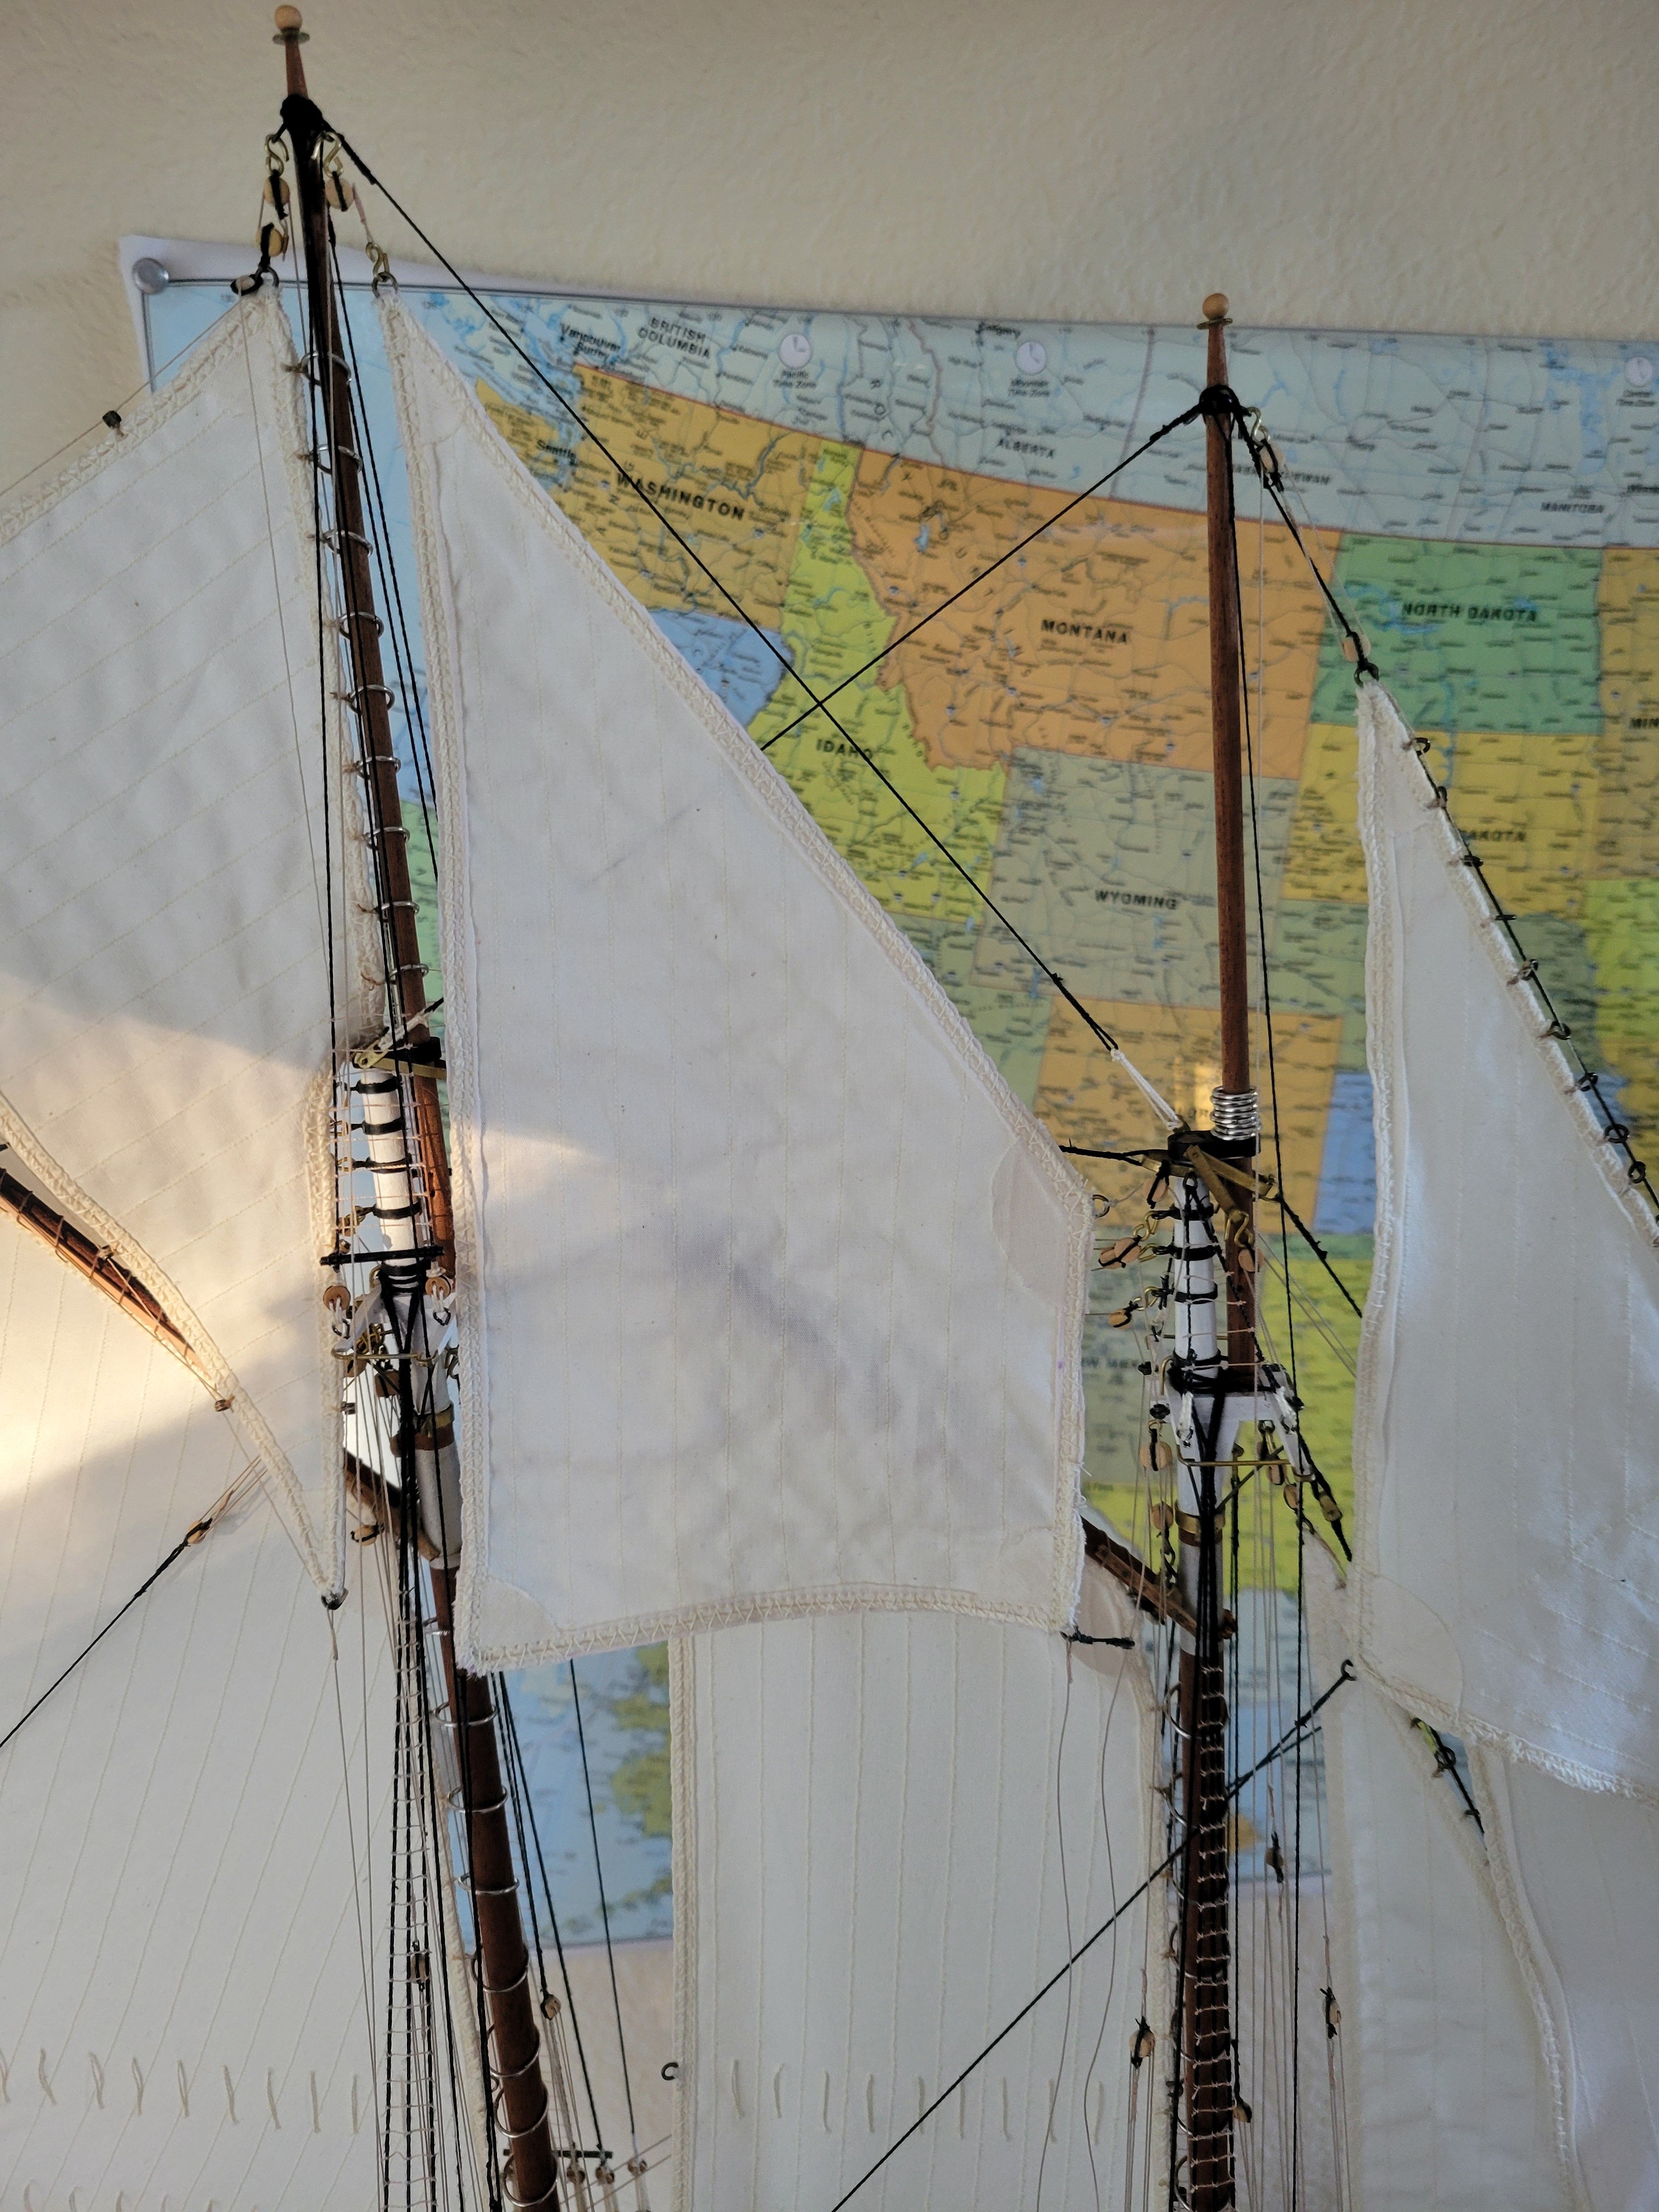
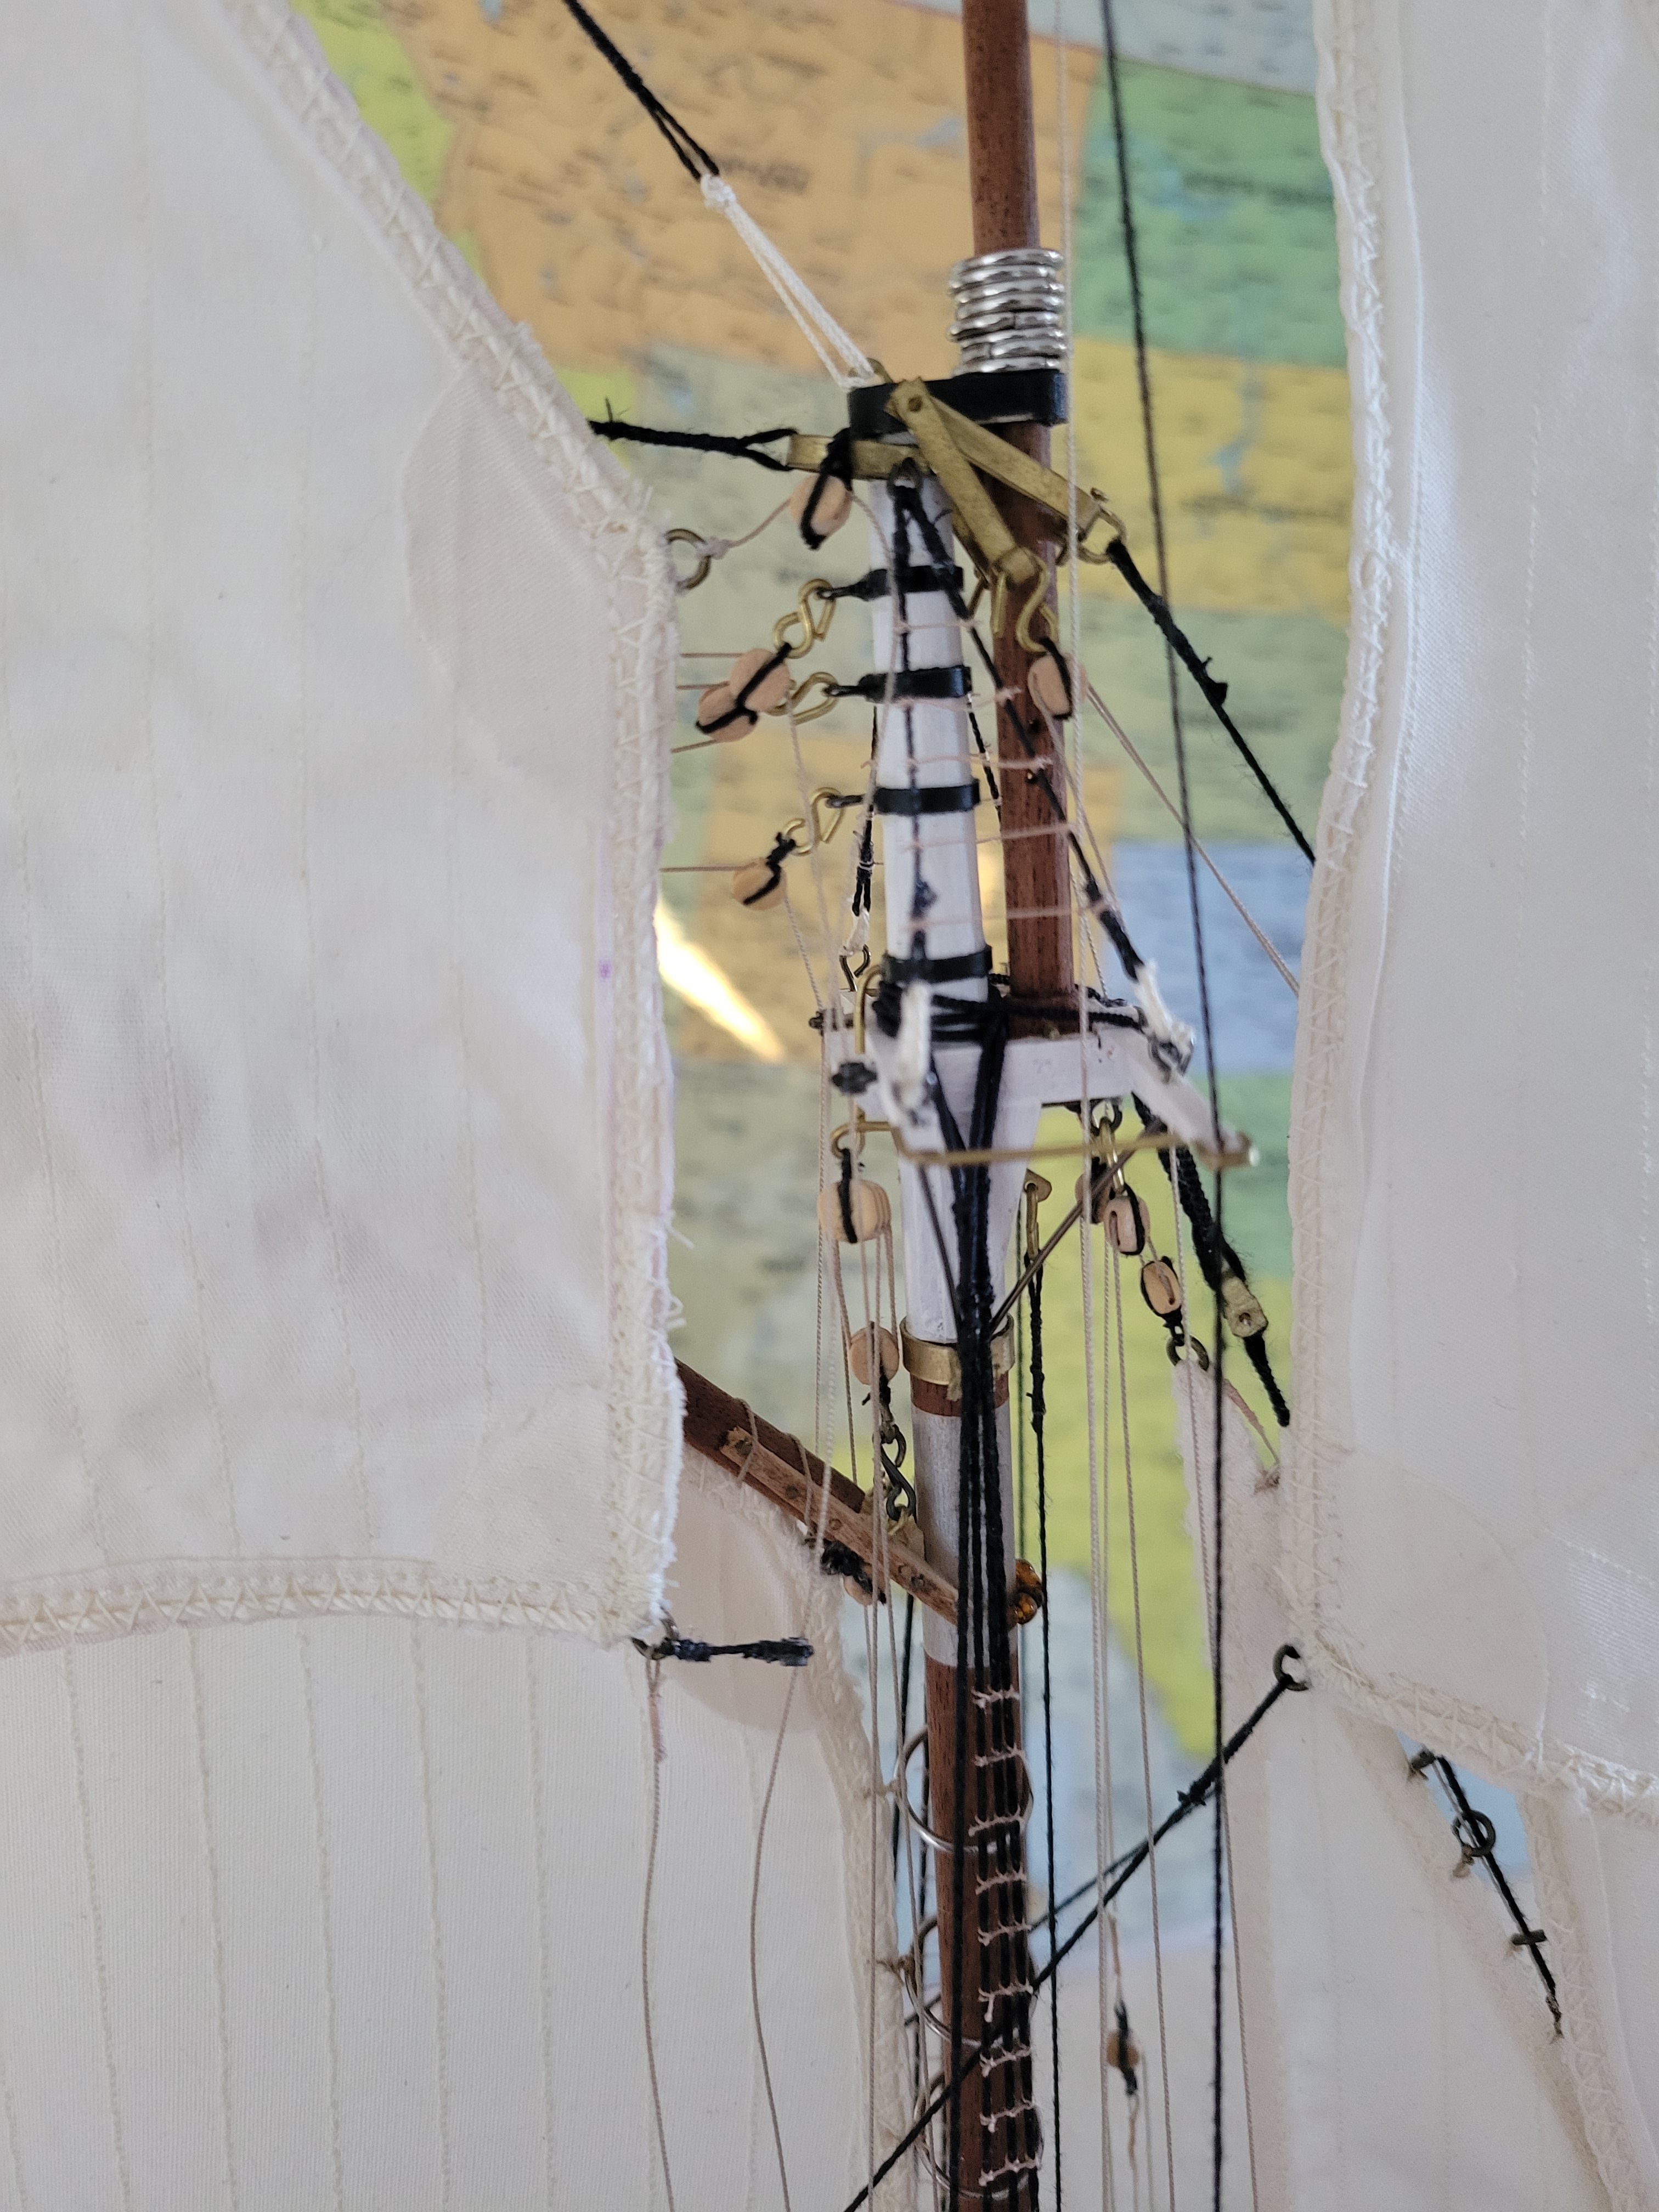
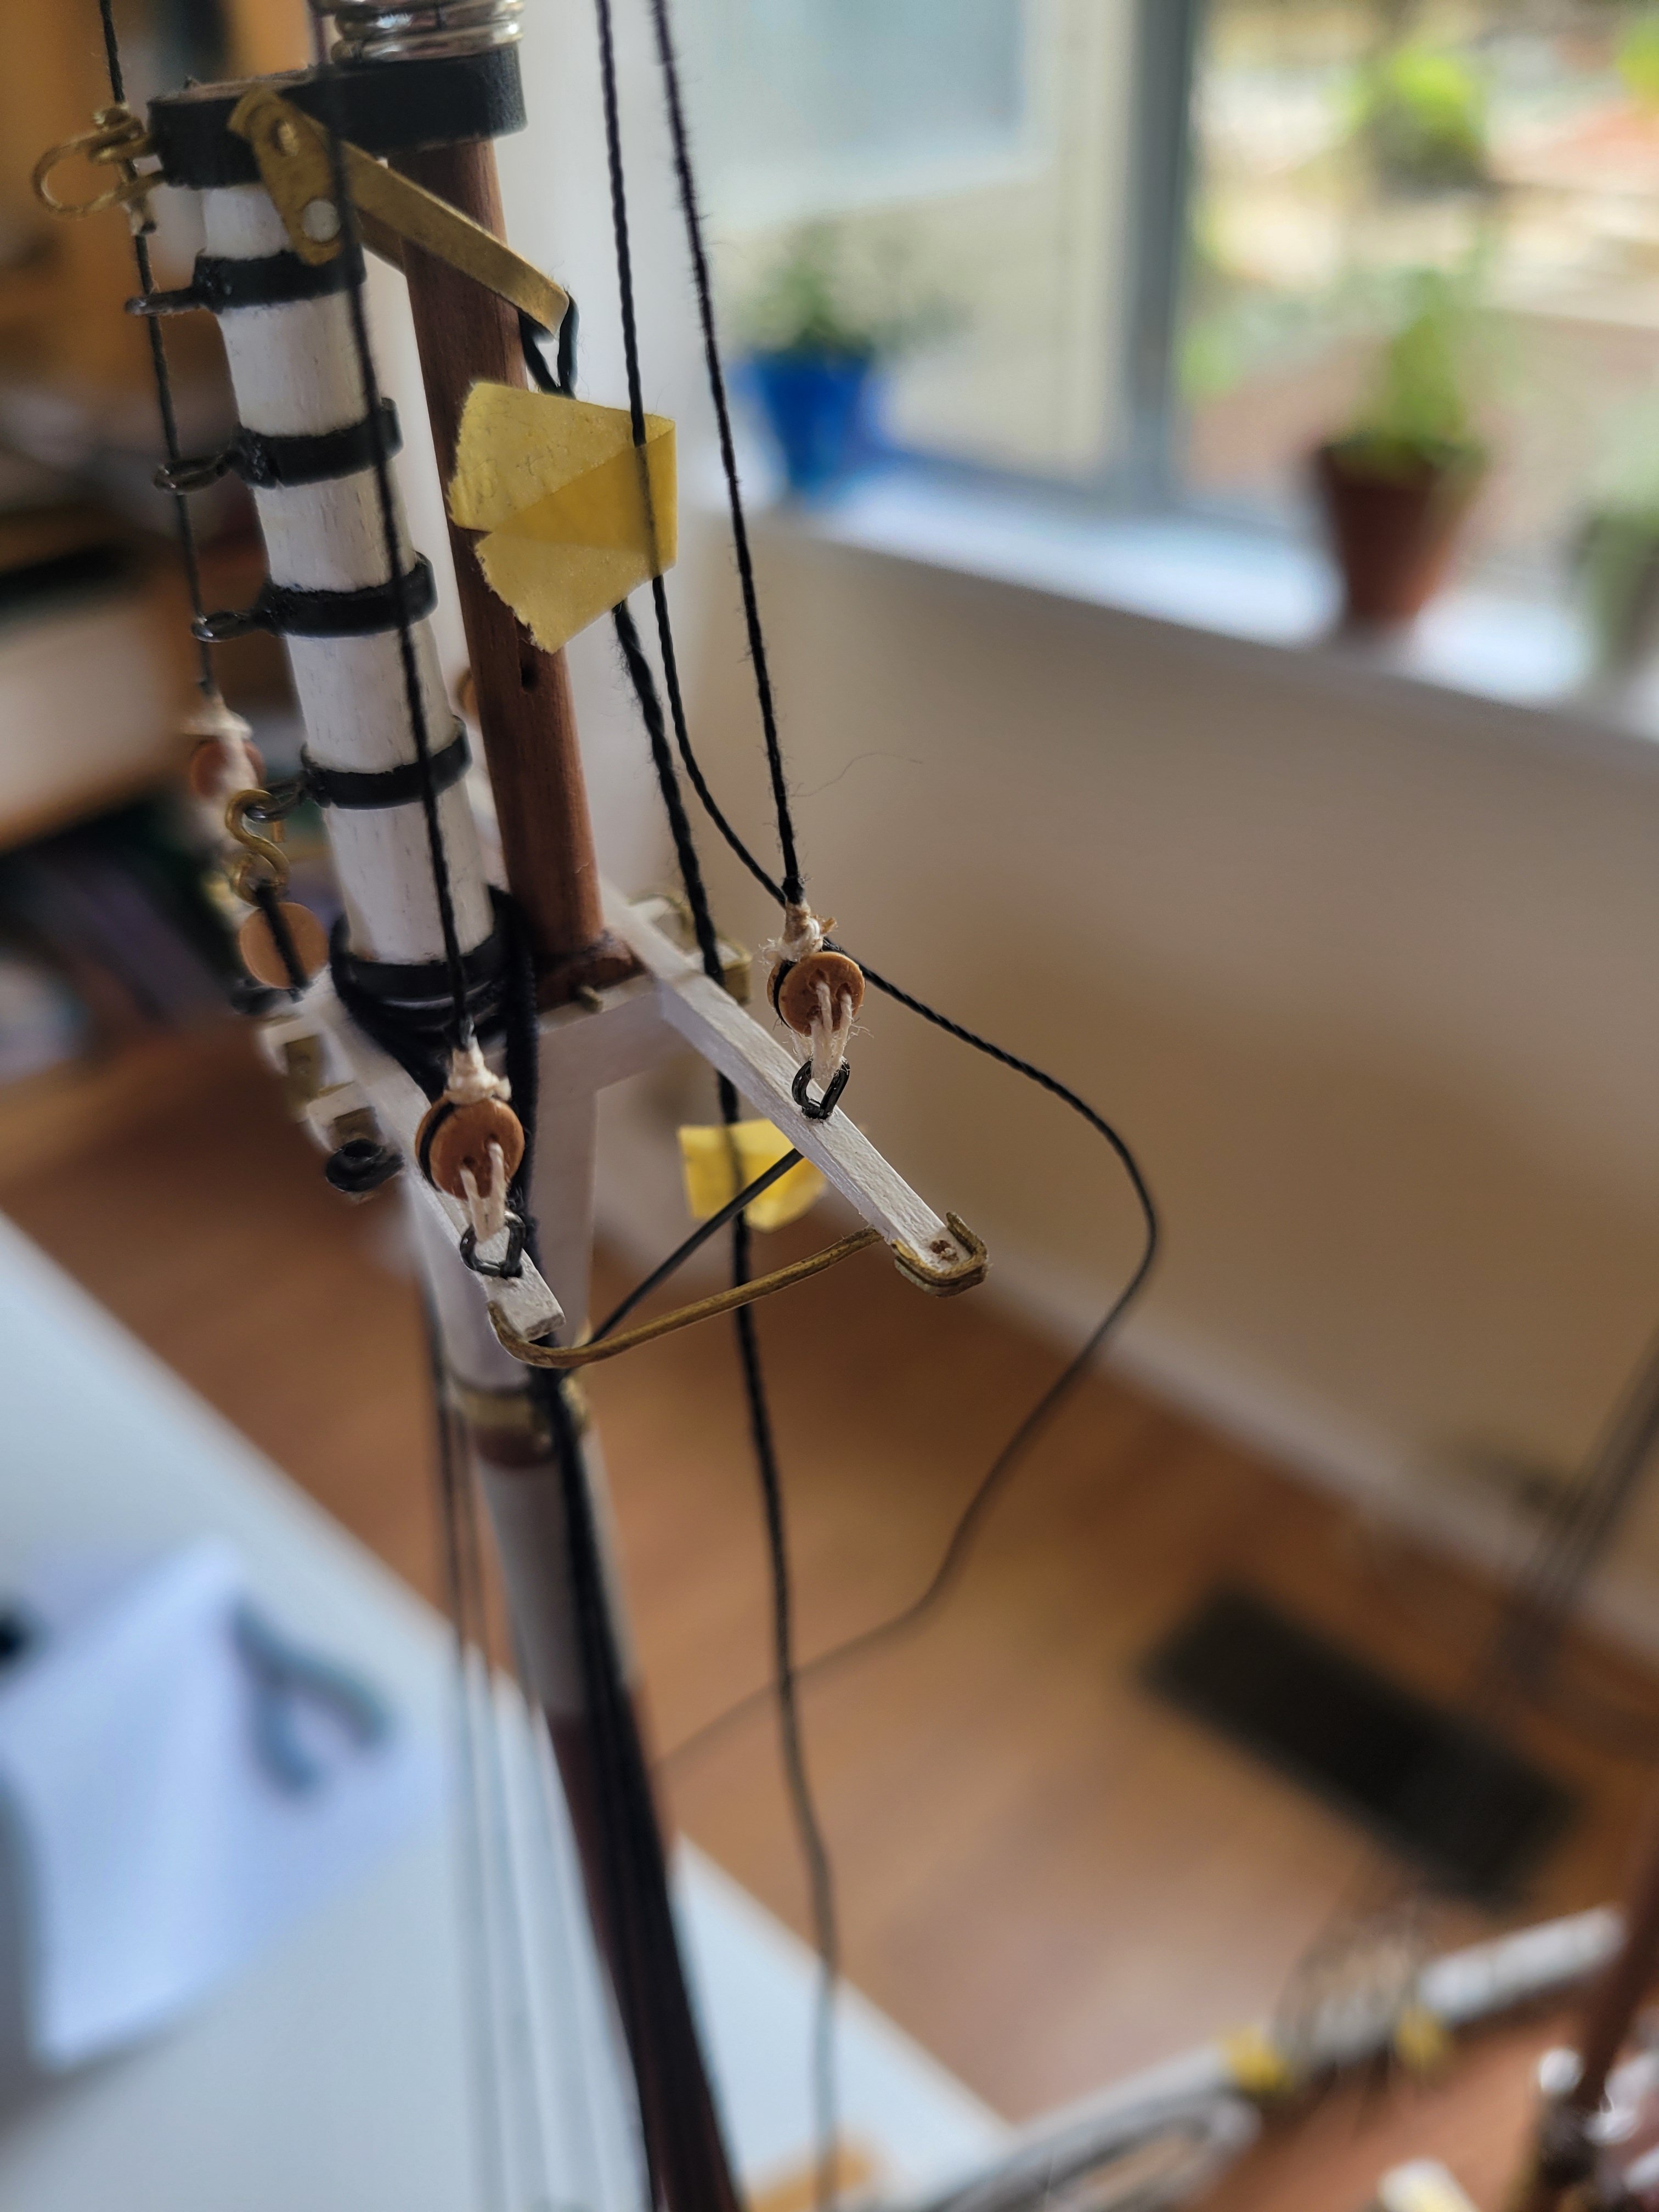
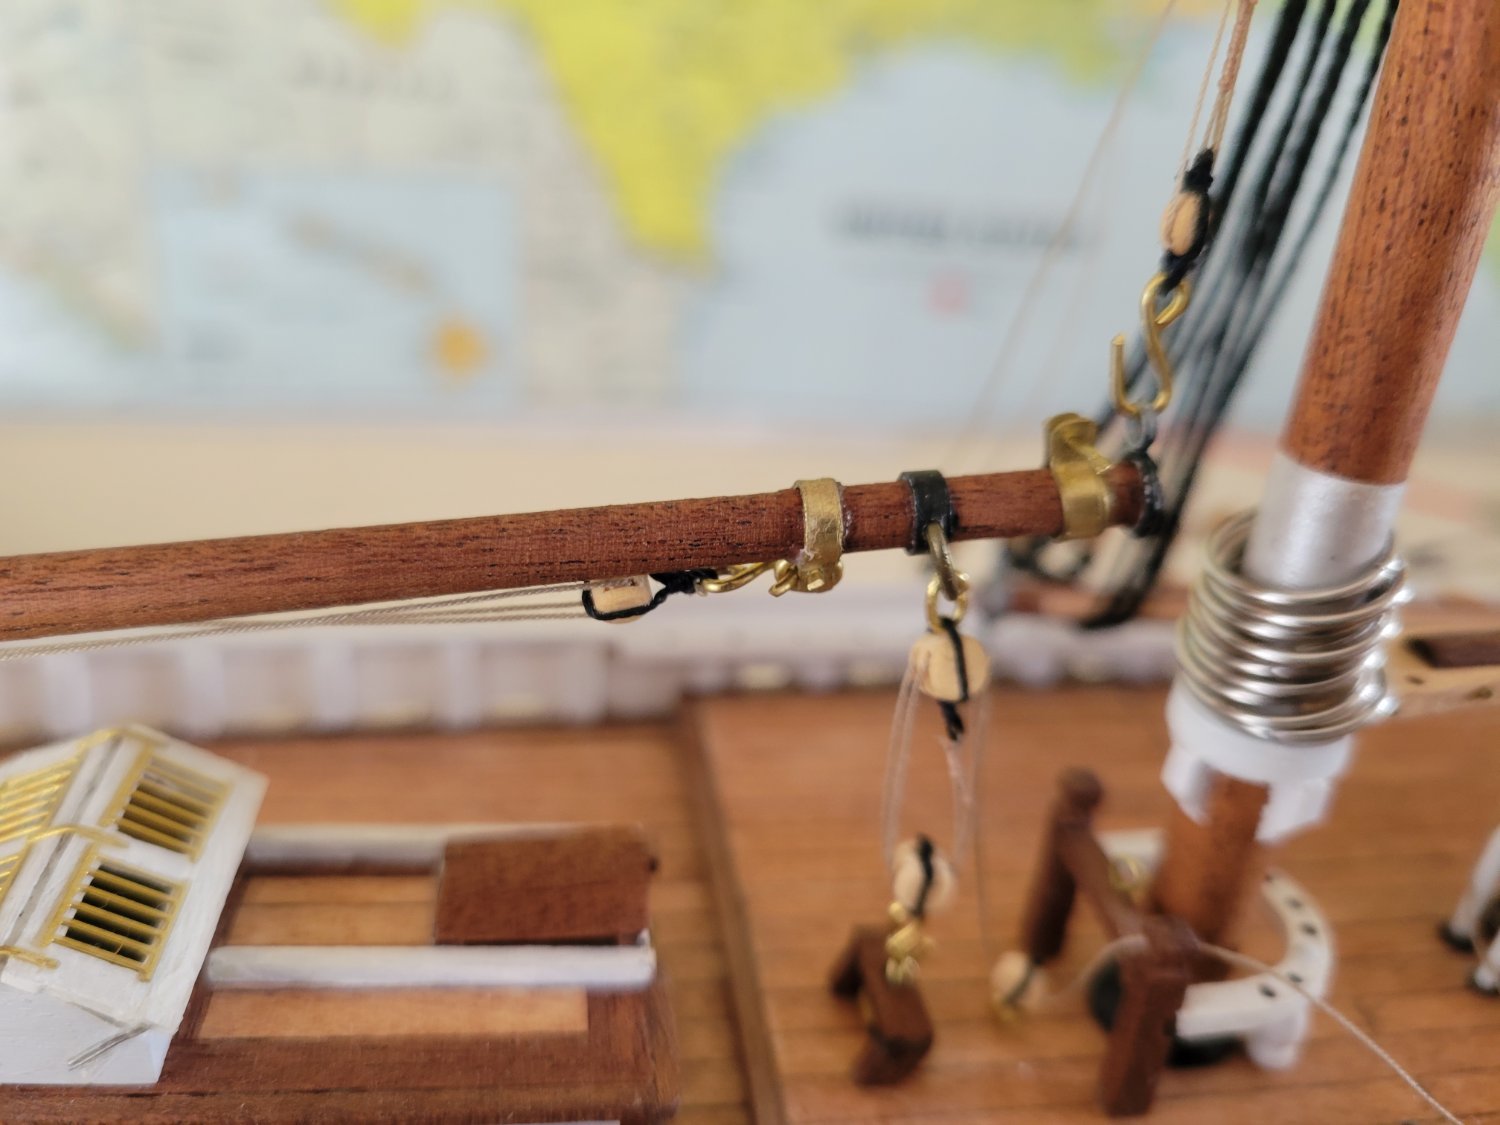
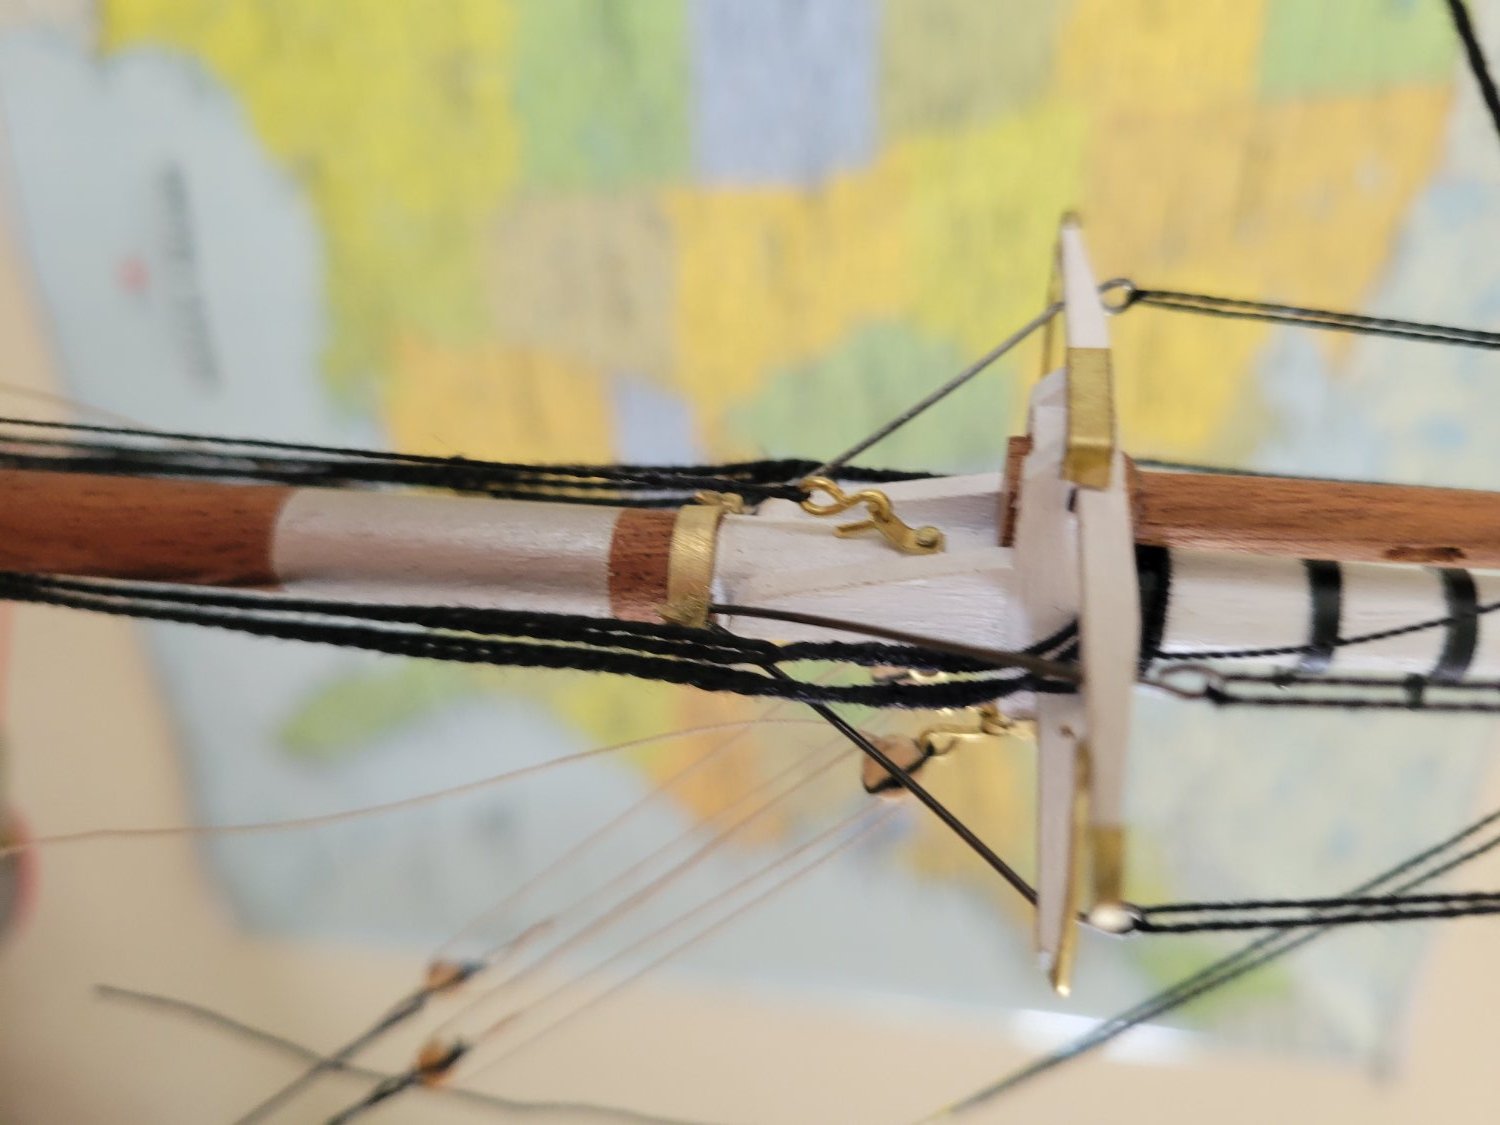
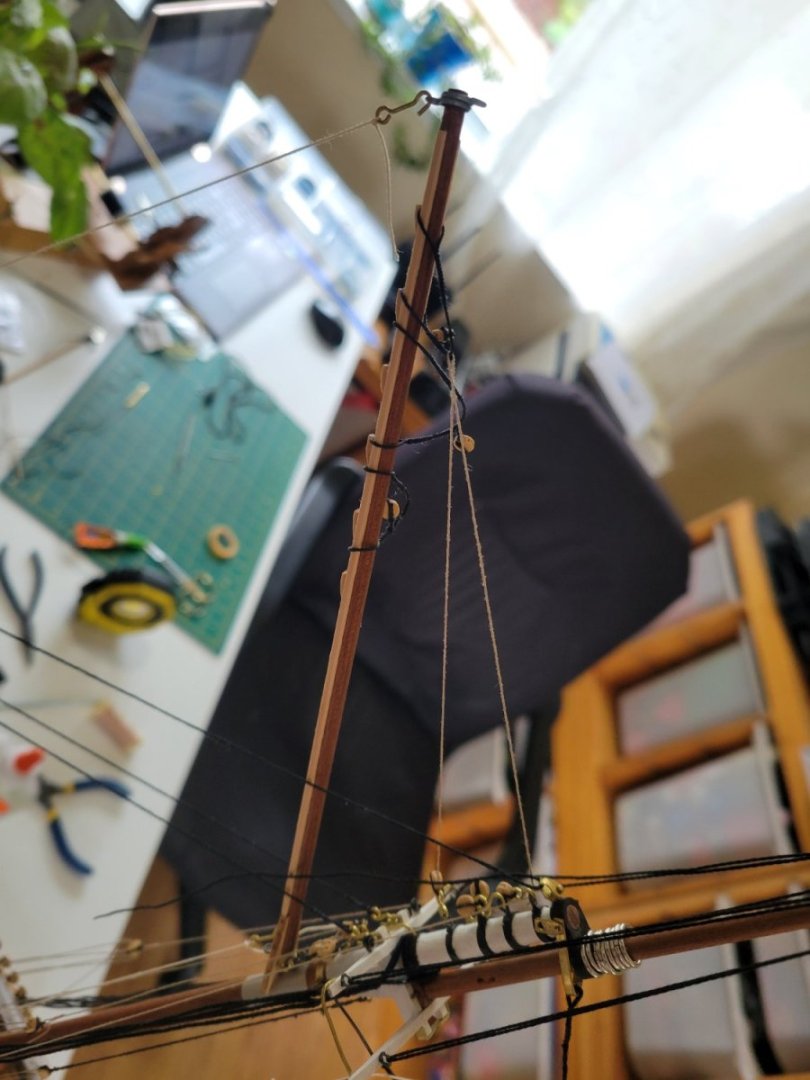
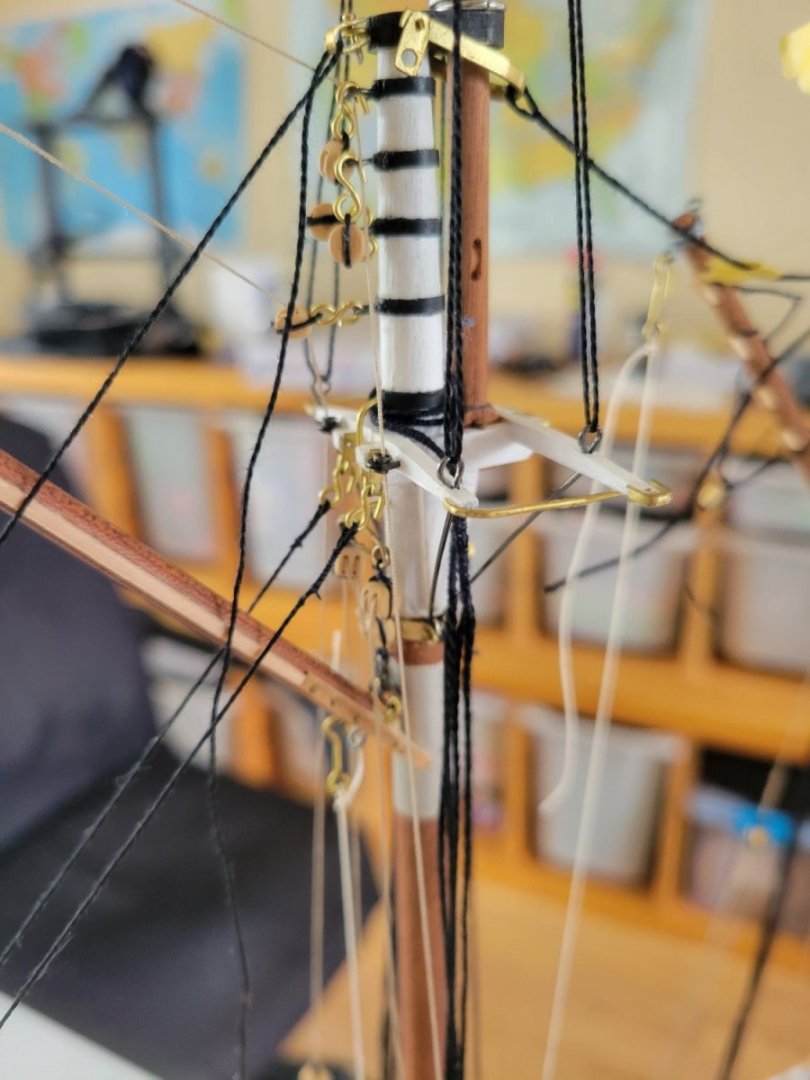
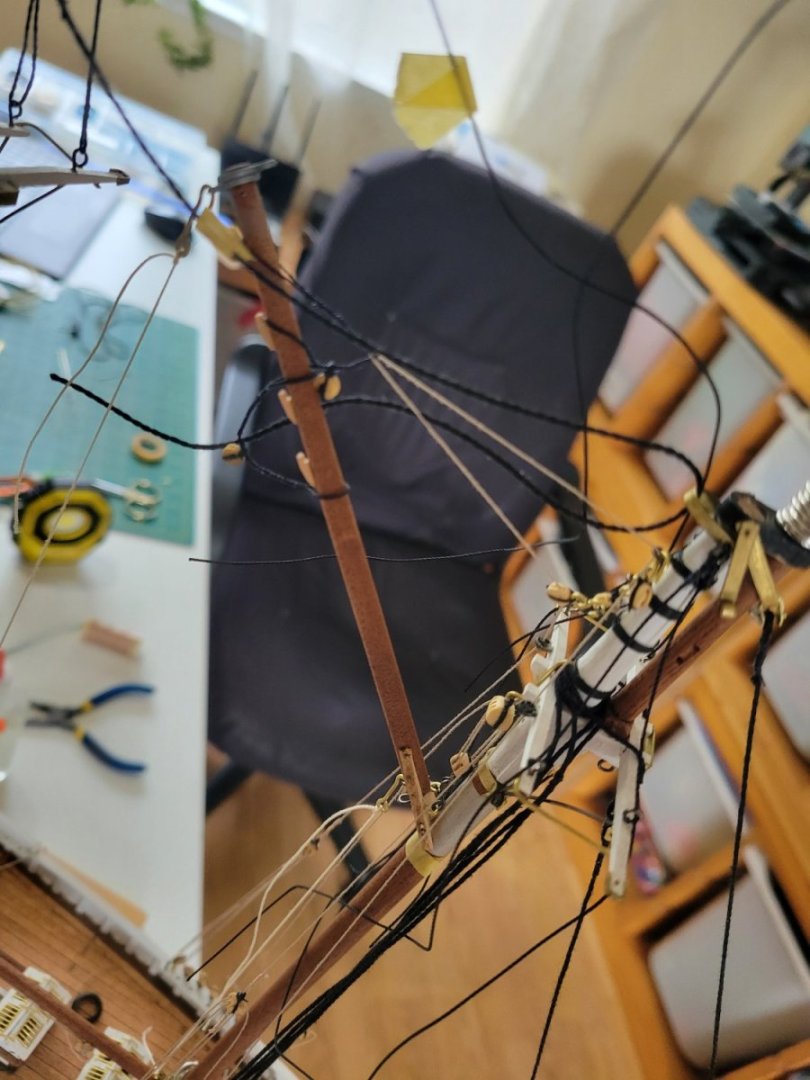
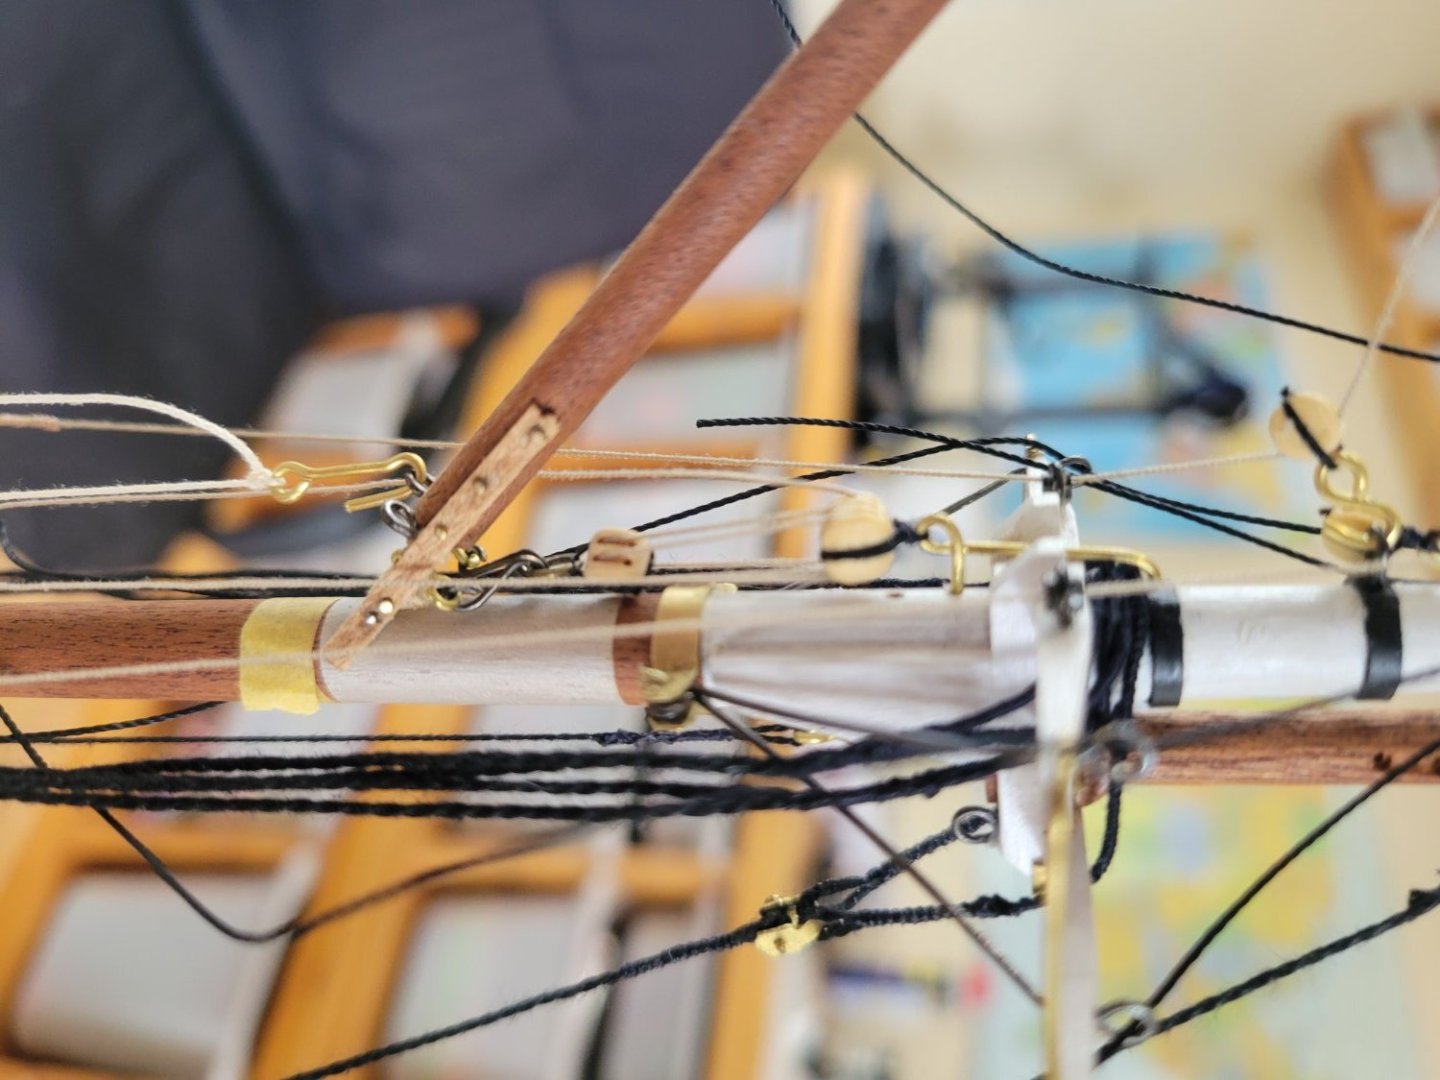
Further along after some travel. Both gaffs rigged up. Added temp lines to represent the sail tension since I haven't made sails yet. Halyards are set temporarily too so I can quickly remove when it's time for sails. Created chocks on the main gaff and the long strip on either side (for chaffing?) This wasn't ok any plans/examples but is on the actual bluenose. Also, all the plans out there show bands on the fore gaff for the single blocks of the peak halyard but looking at actual photos, these are supposed to be the rope bands with chocks too so added those as well.
- 84 replies
-
- 1
-
-
- Artesania Latina
- Bluenose II
- (and 1 more)