
travis
-
Posts
162 -
Joined
-
Last visited
Content Type
Profiles
Forums
Gallery
Events
Everything posted by travis
-
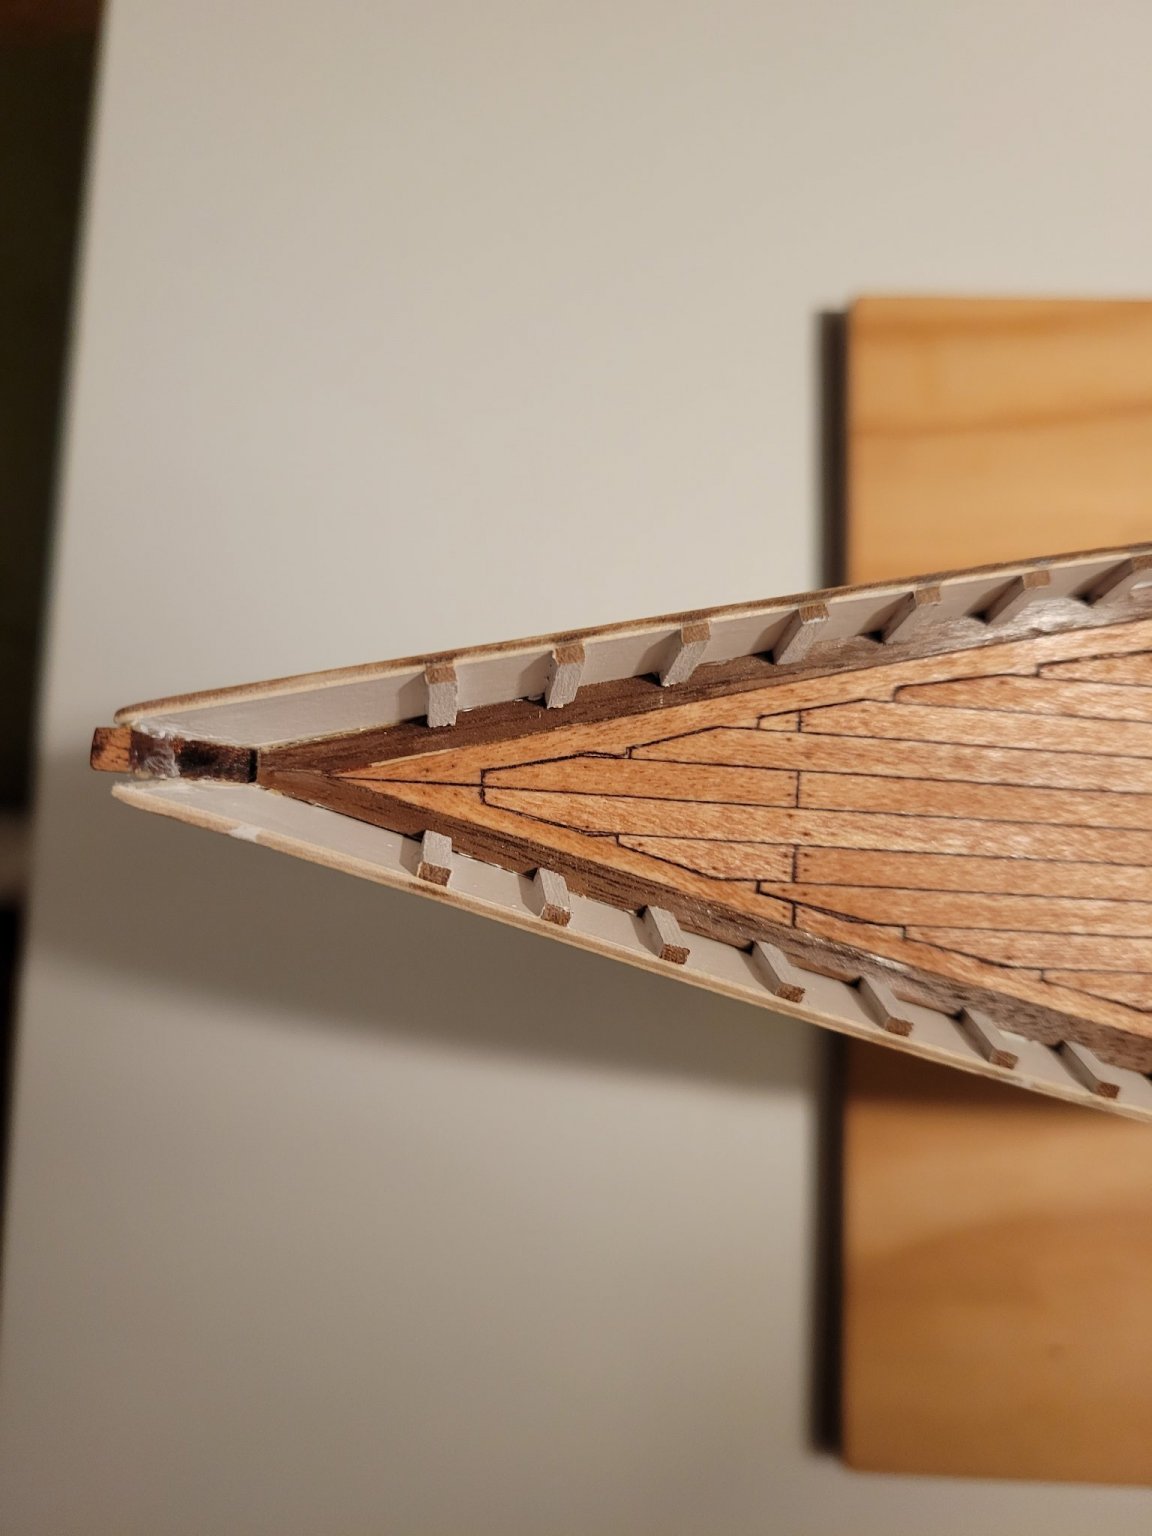
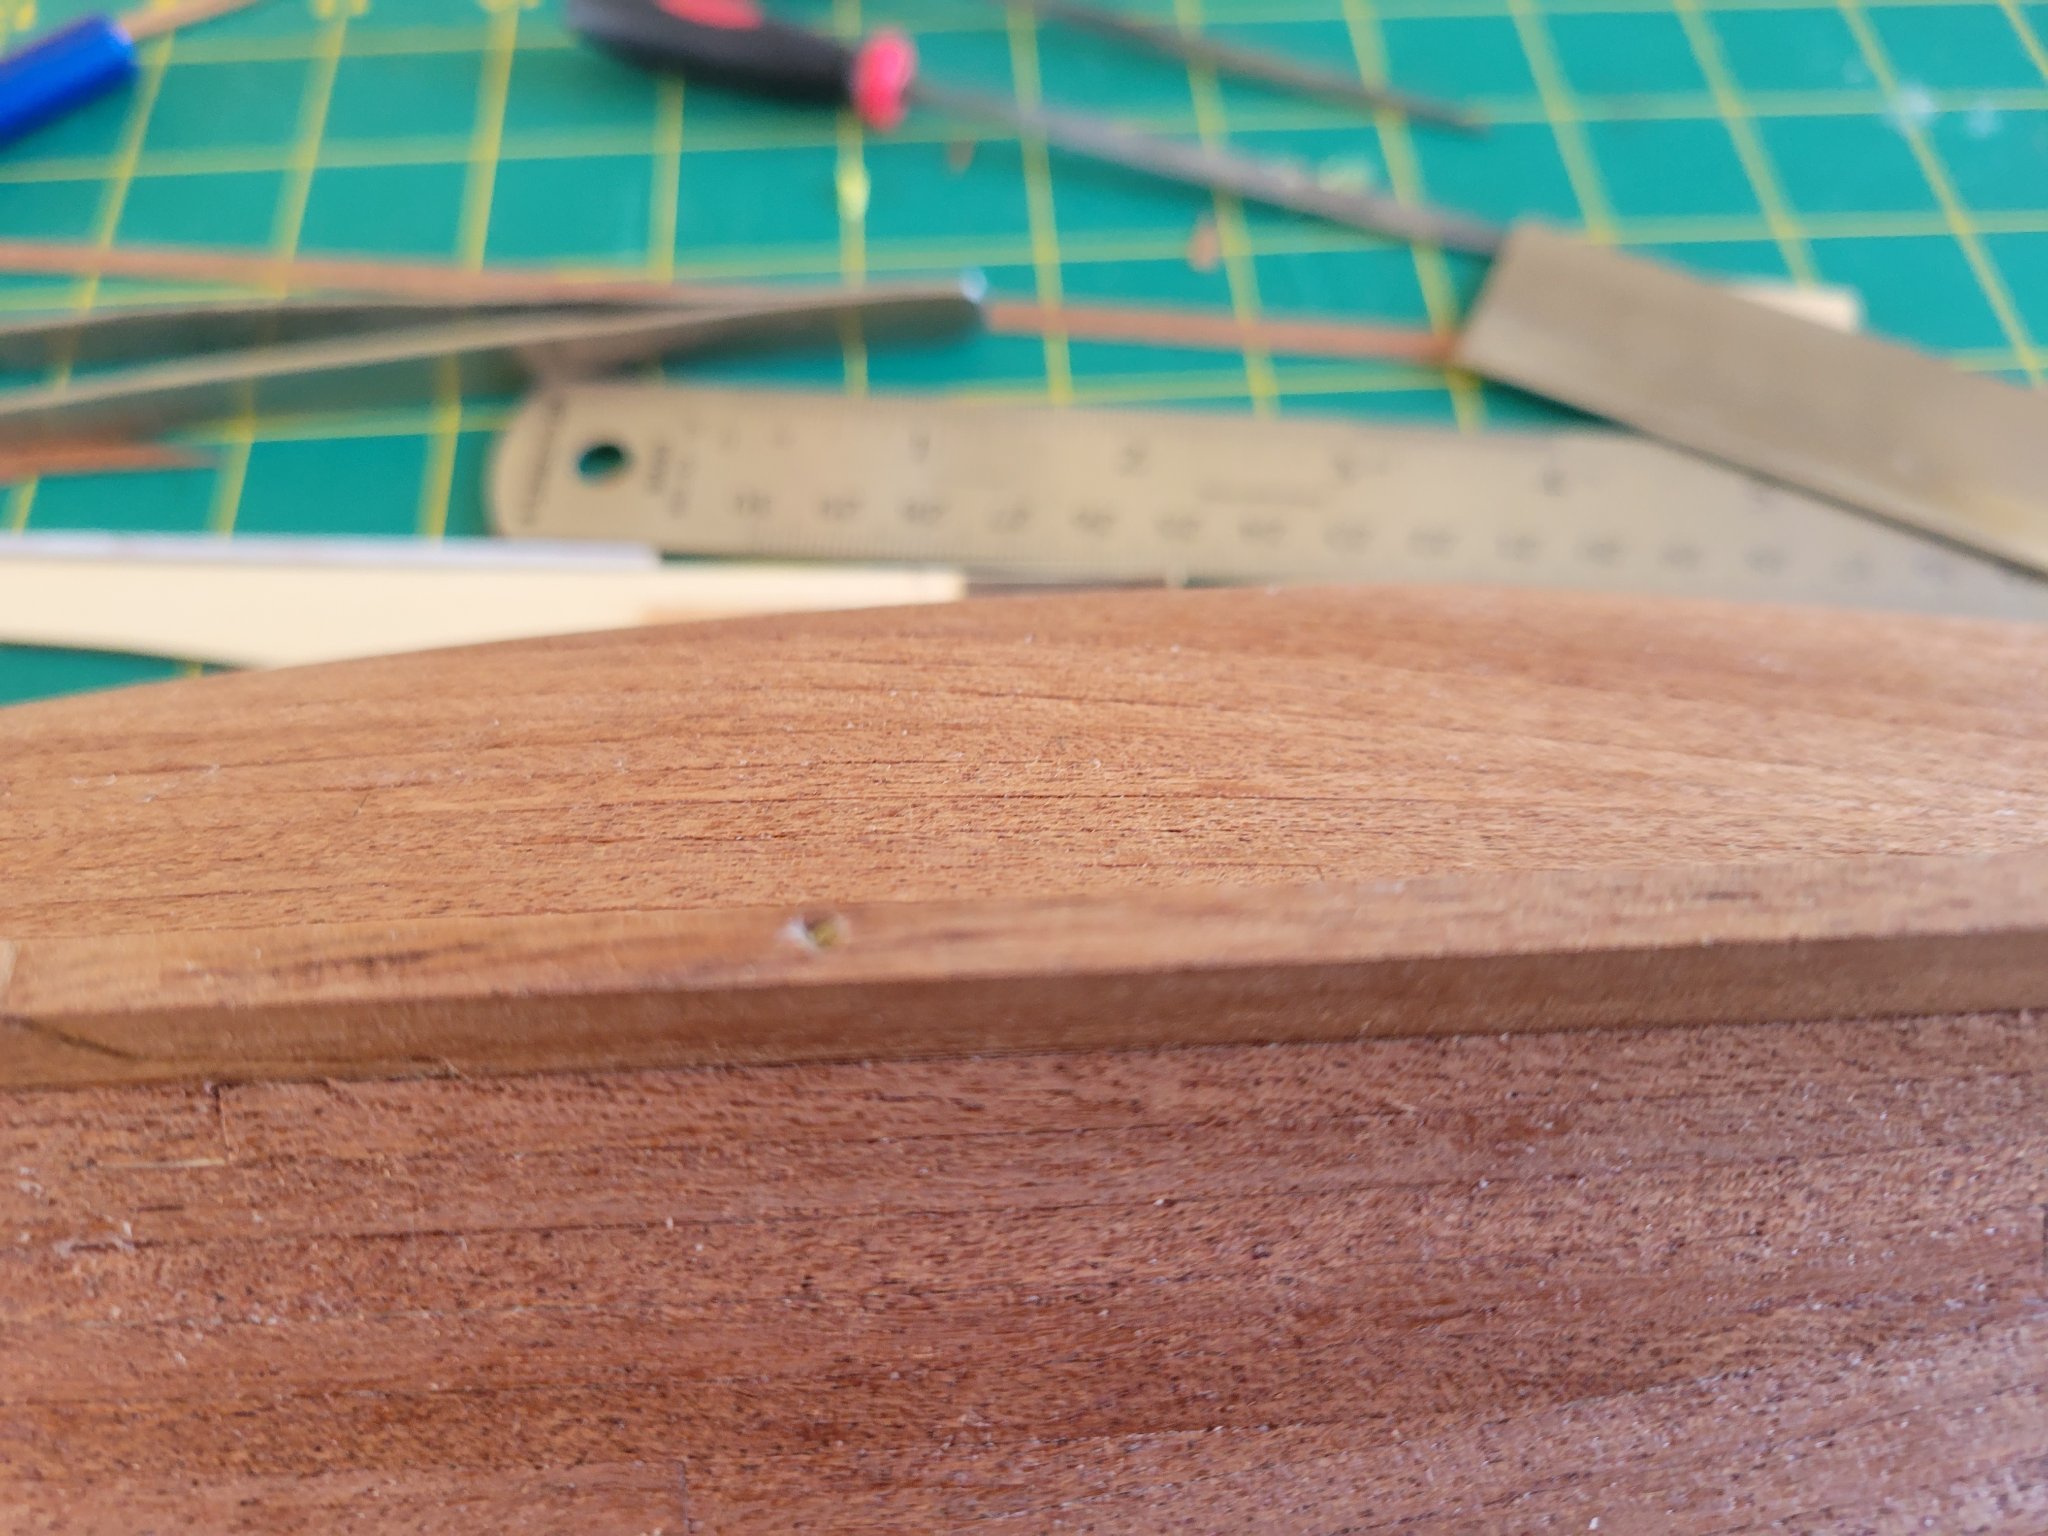
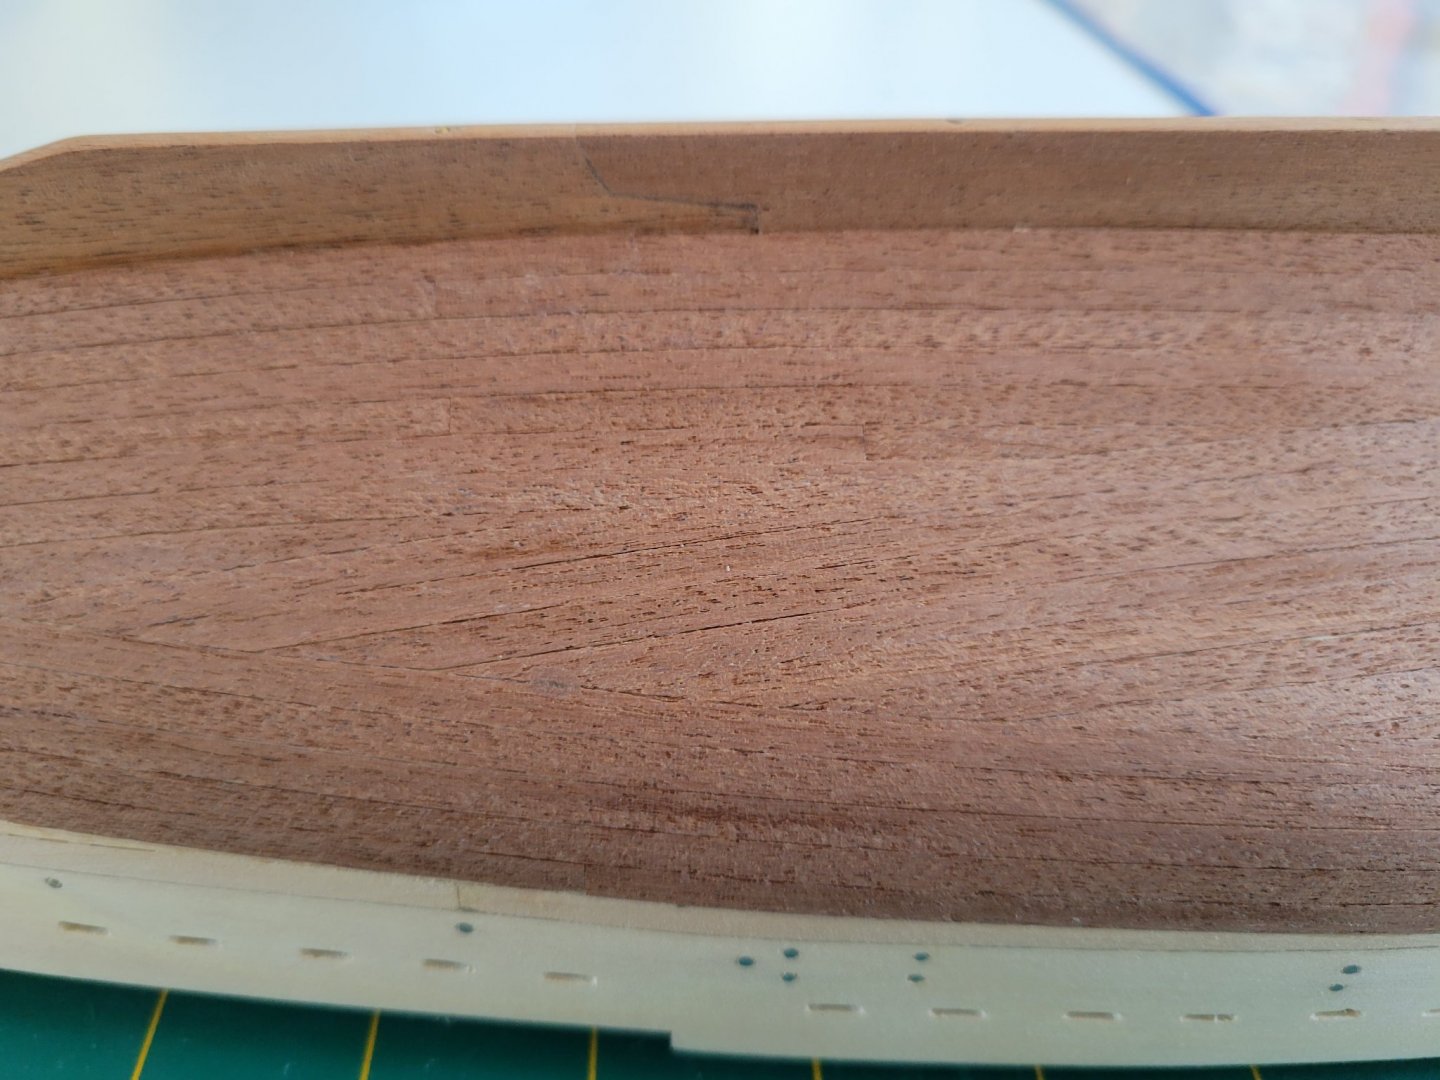
 Tried the "sawdust mixed with elmers" after rough sanding the hull to make filler. Came out a little darker than I had hoped so hopefully it will blend better after I put the final finish. Got the filler piece at the bow that holds the bulwark better now. Time the mask and paint the bulwark exterior.
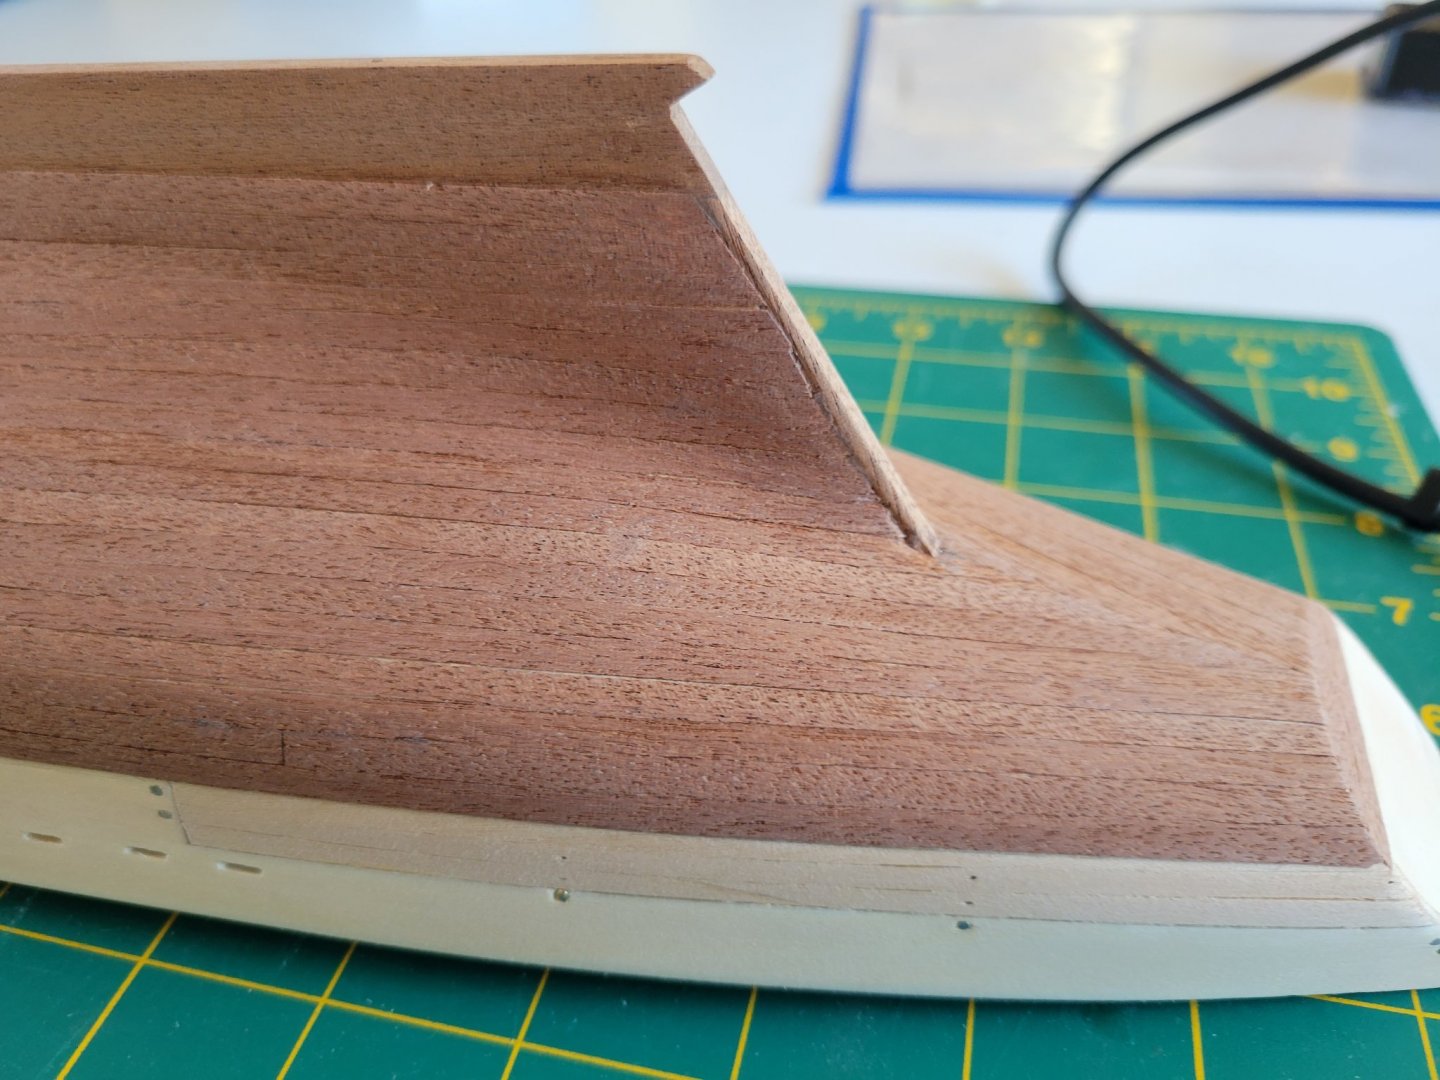
- 84 replies
-
- 4
-

-
- Artesania Latina
- Bluenose II
- (and 1 more)
-
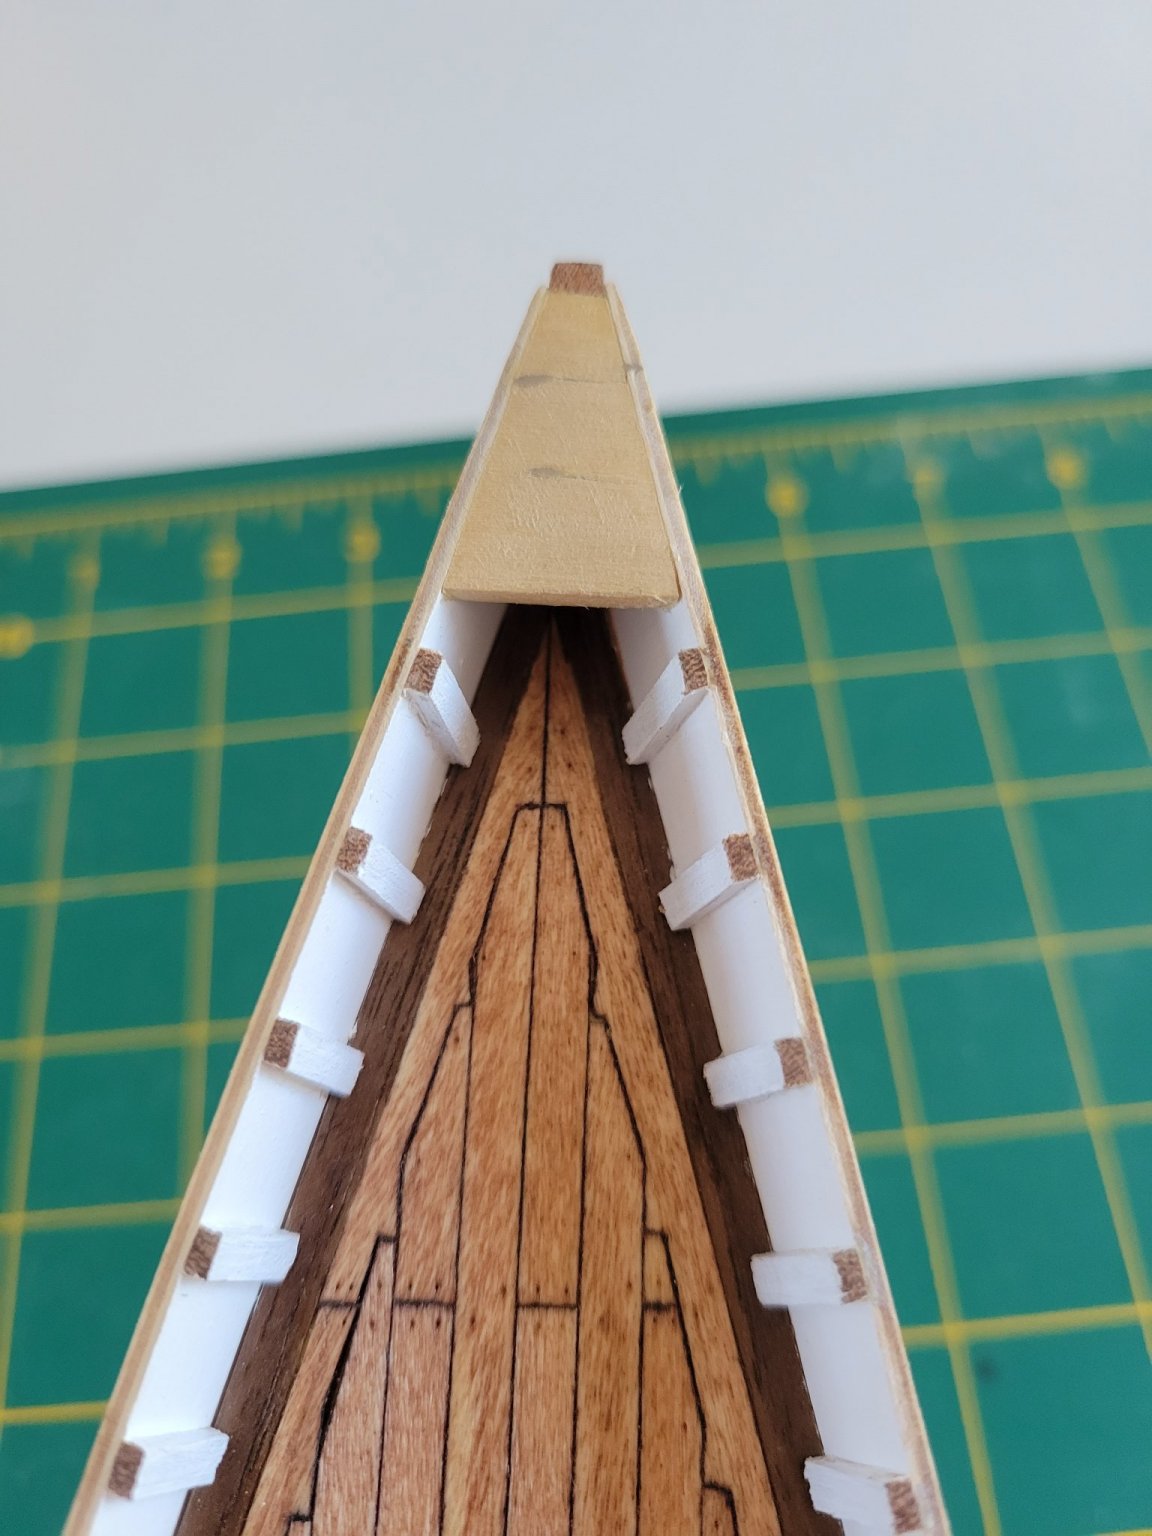
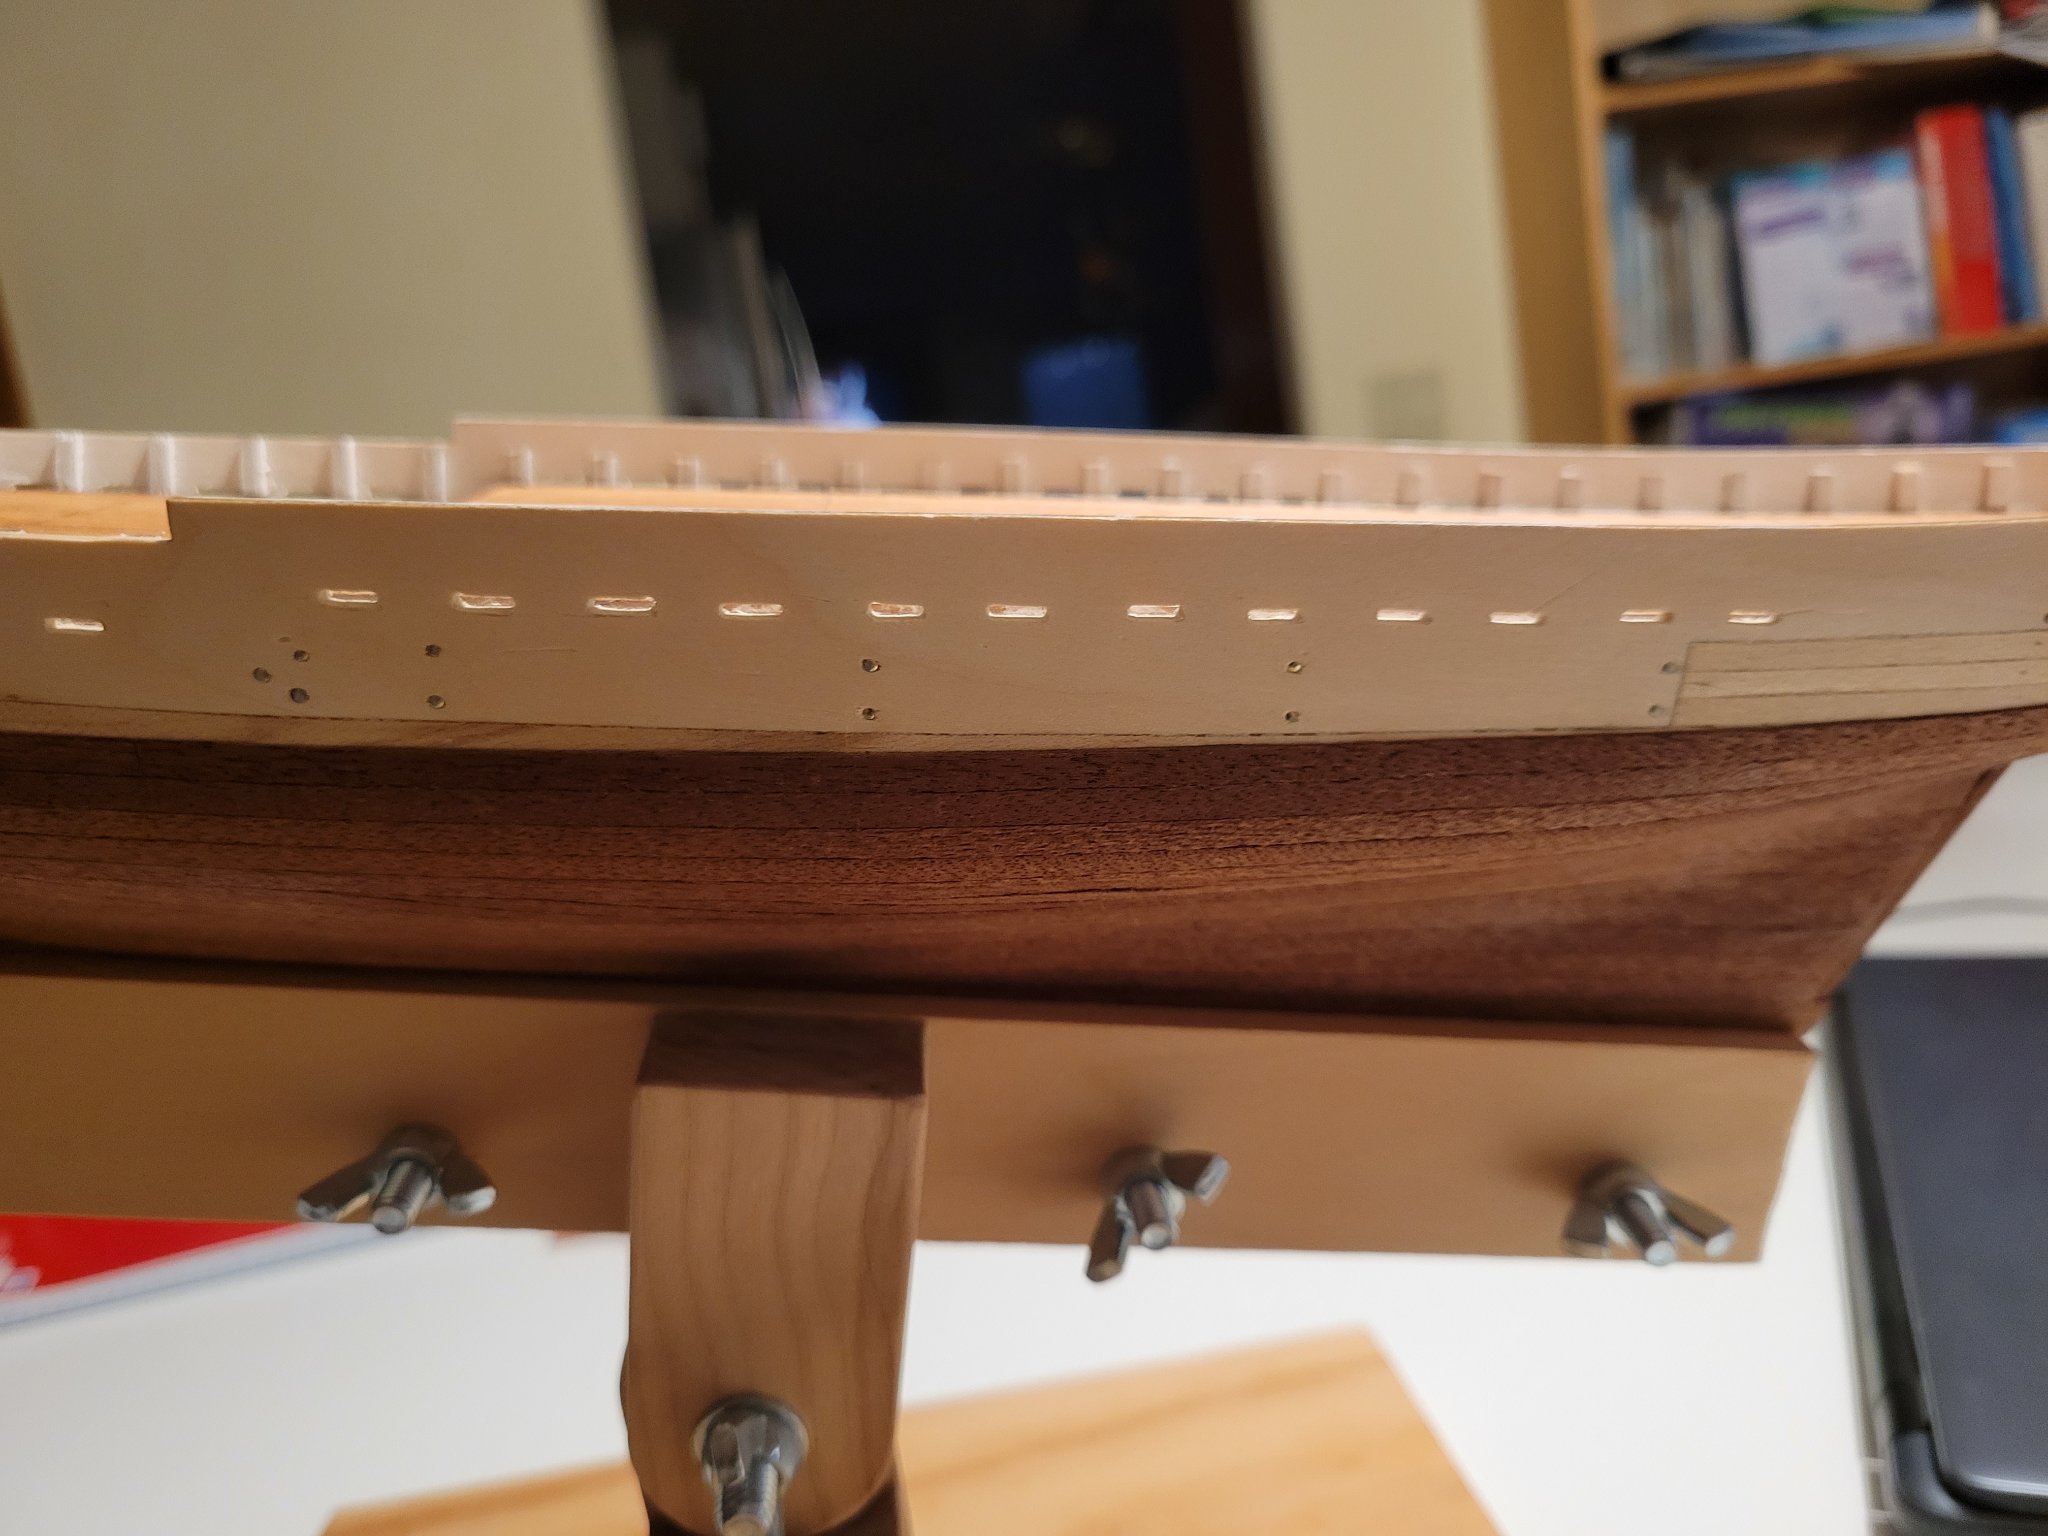
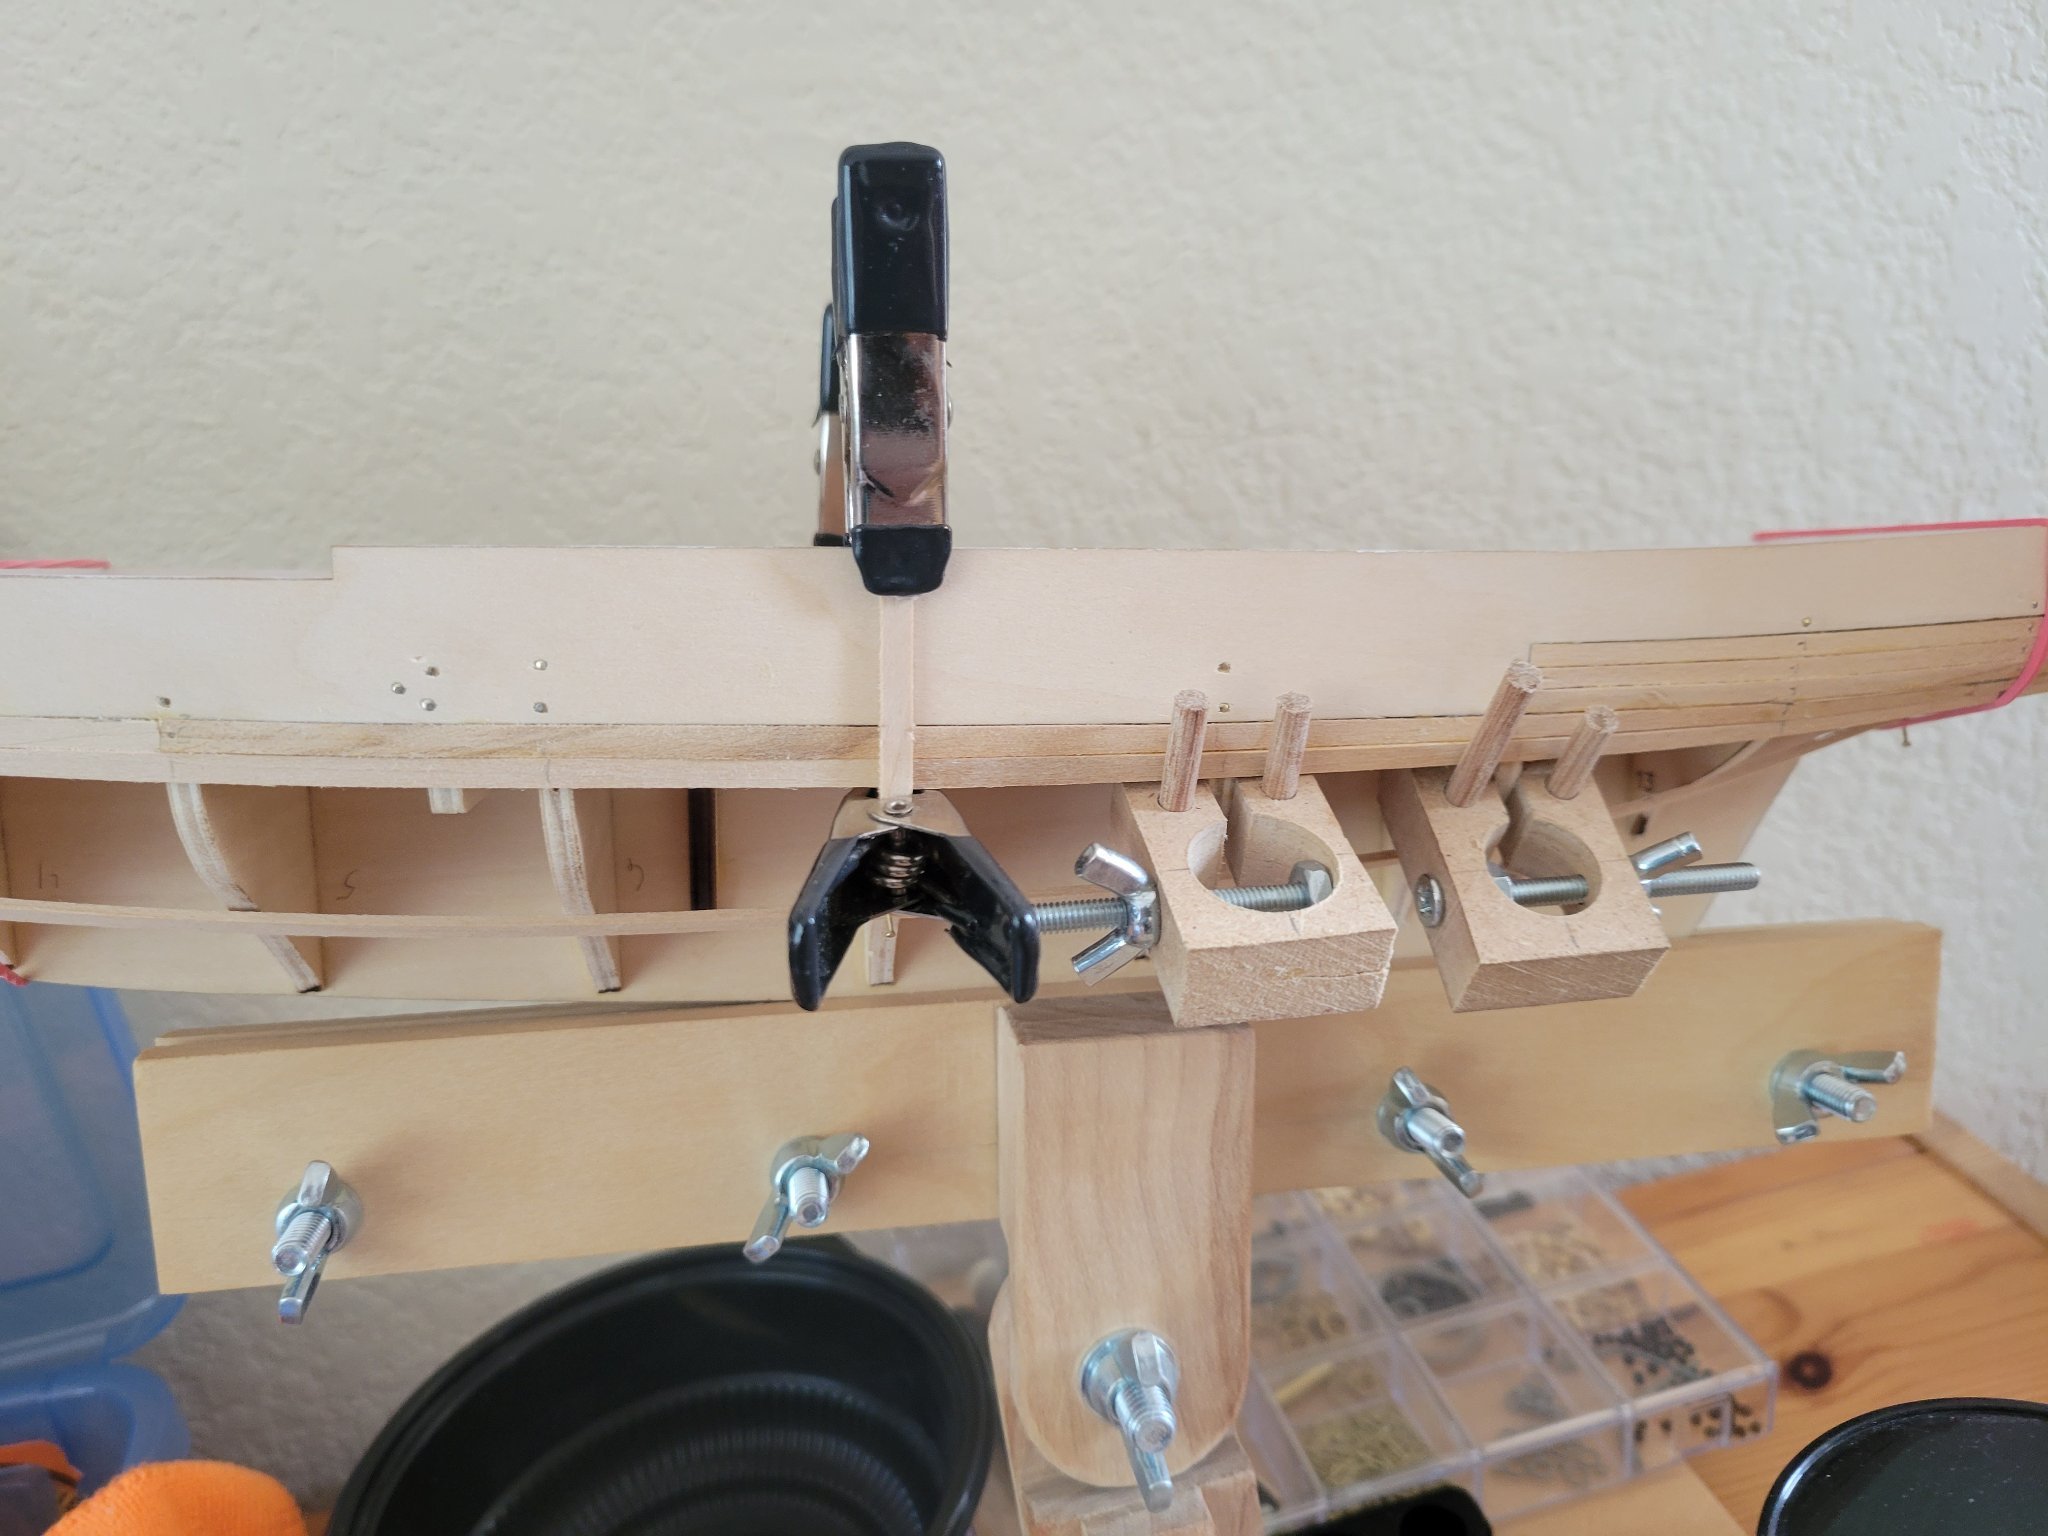
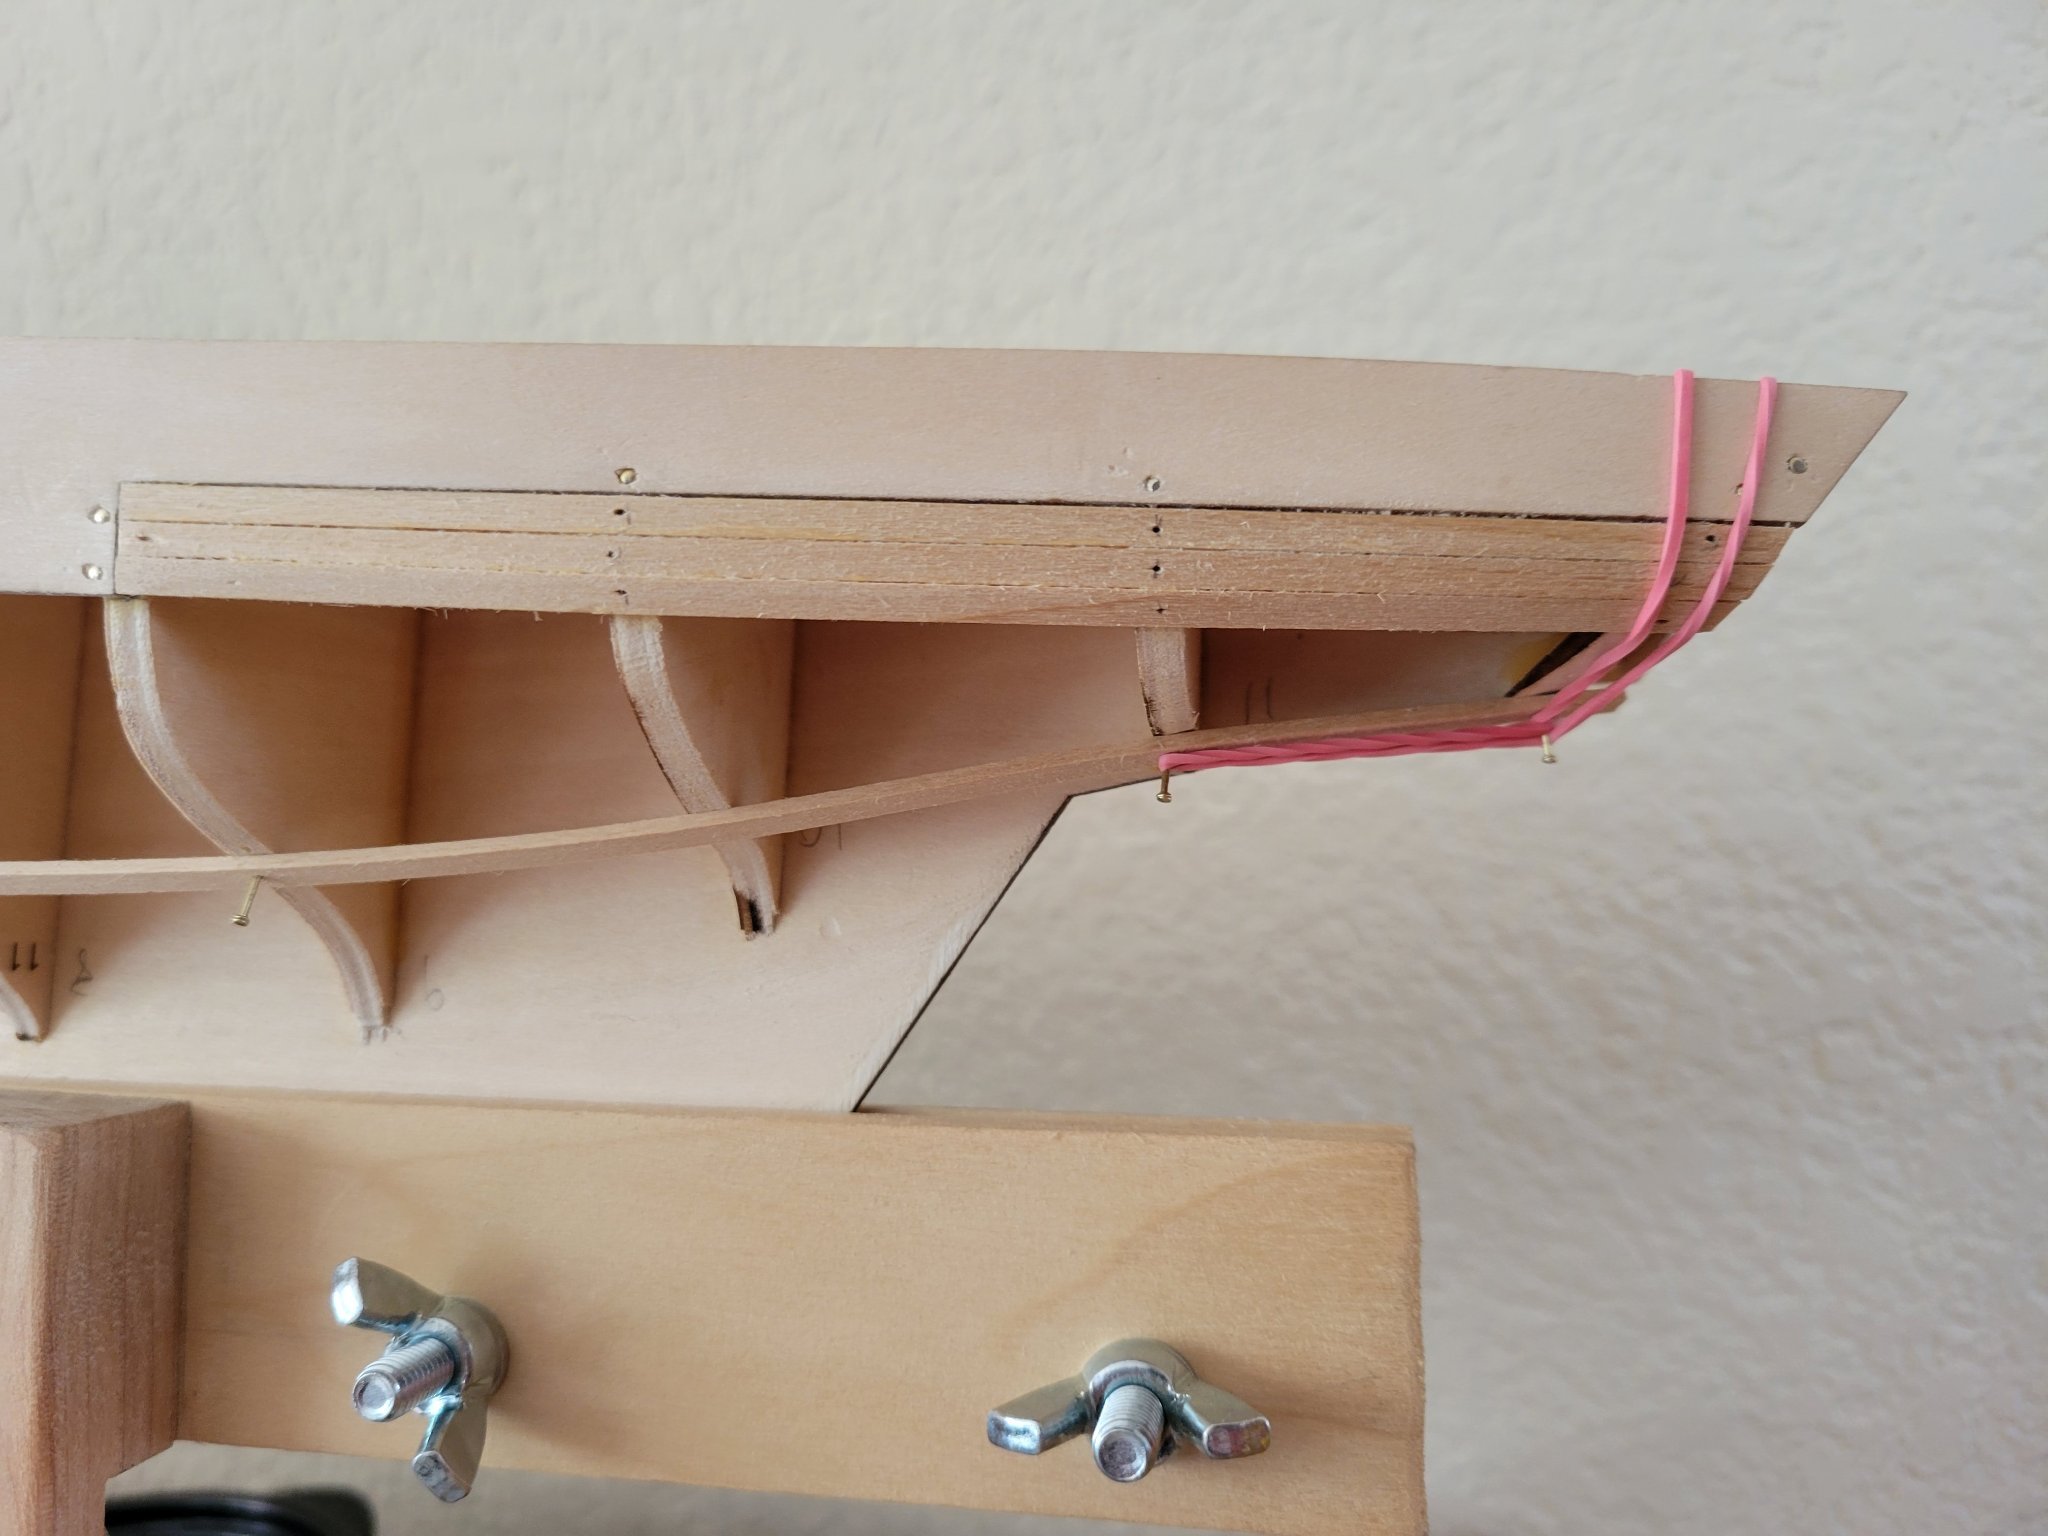
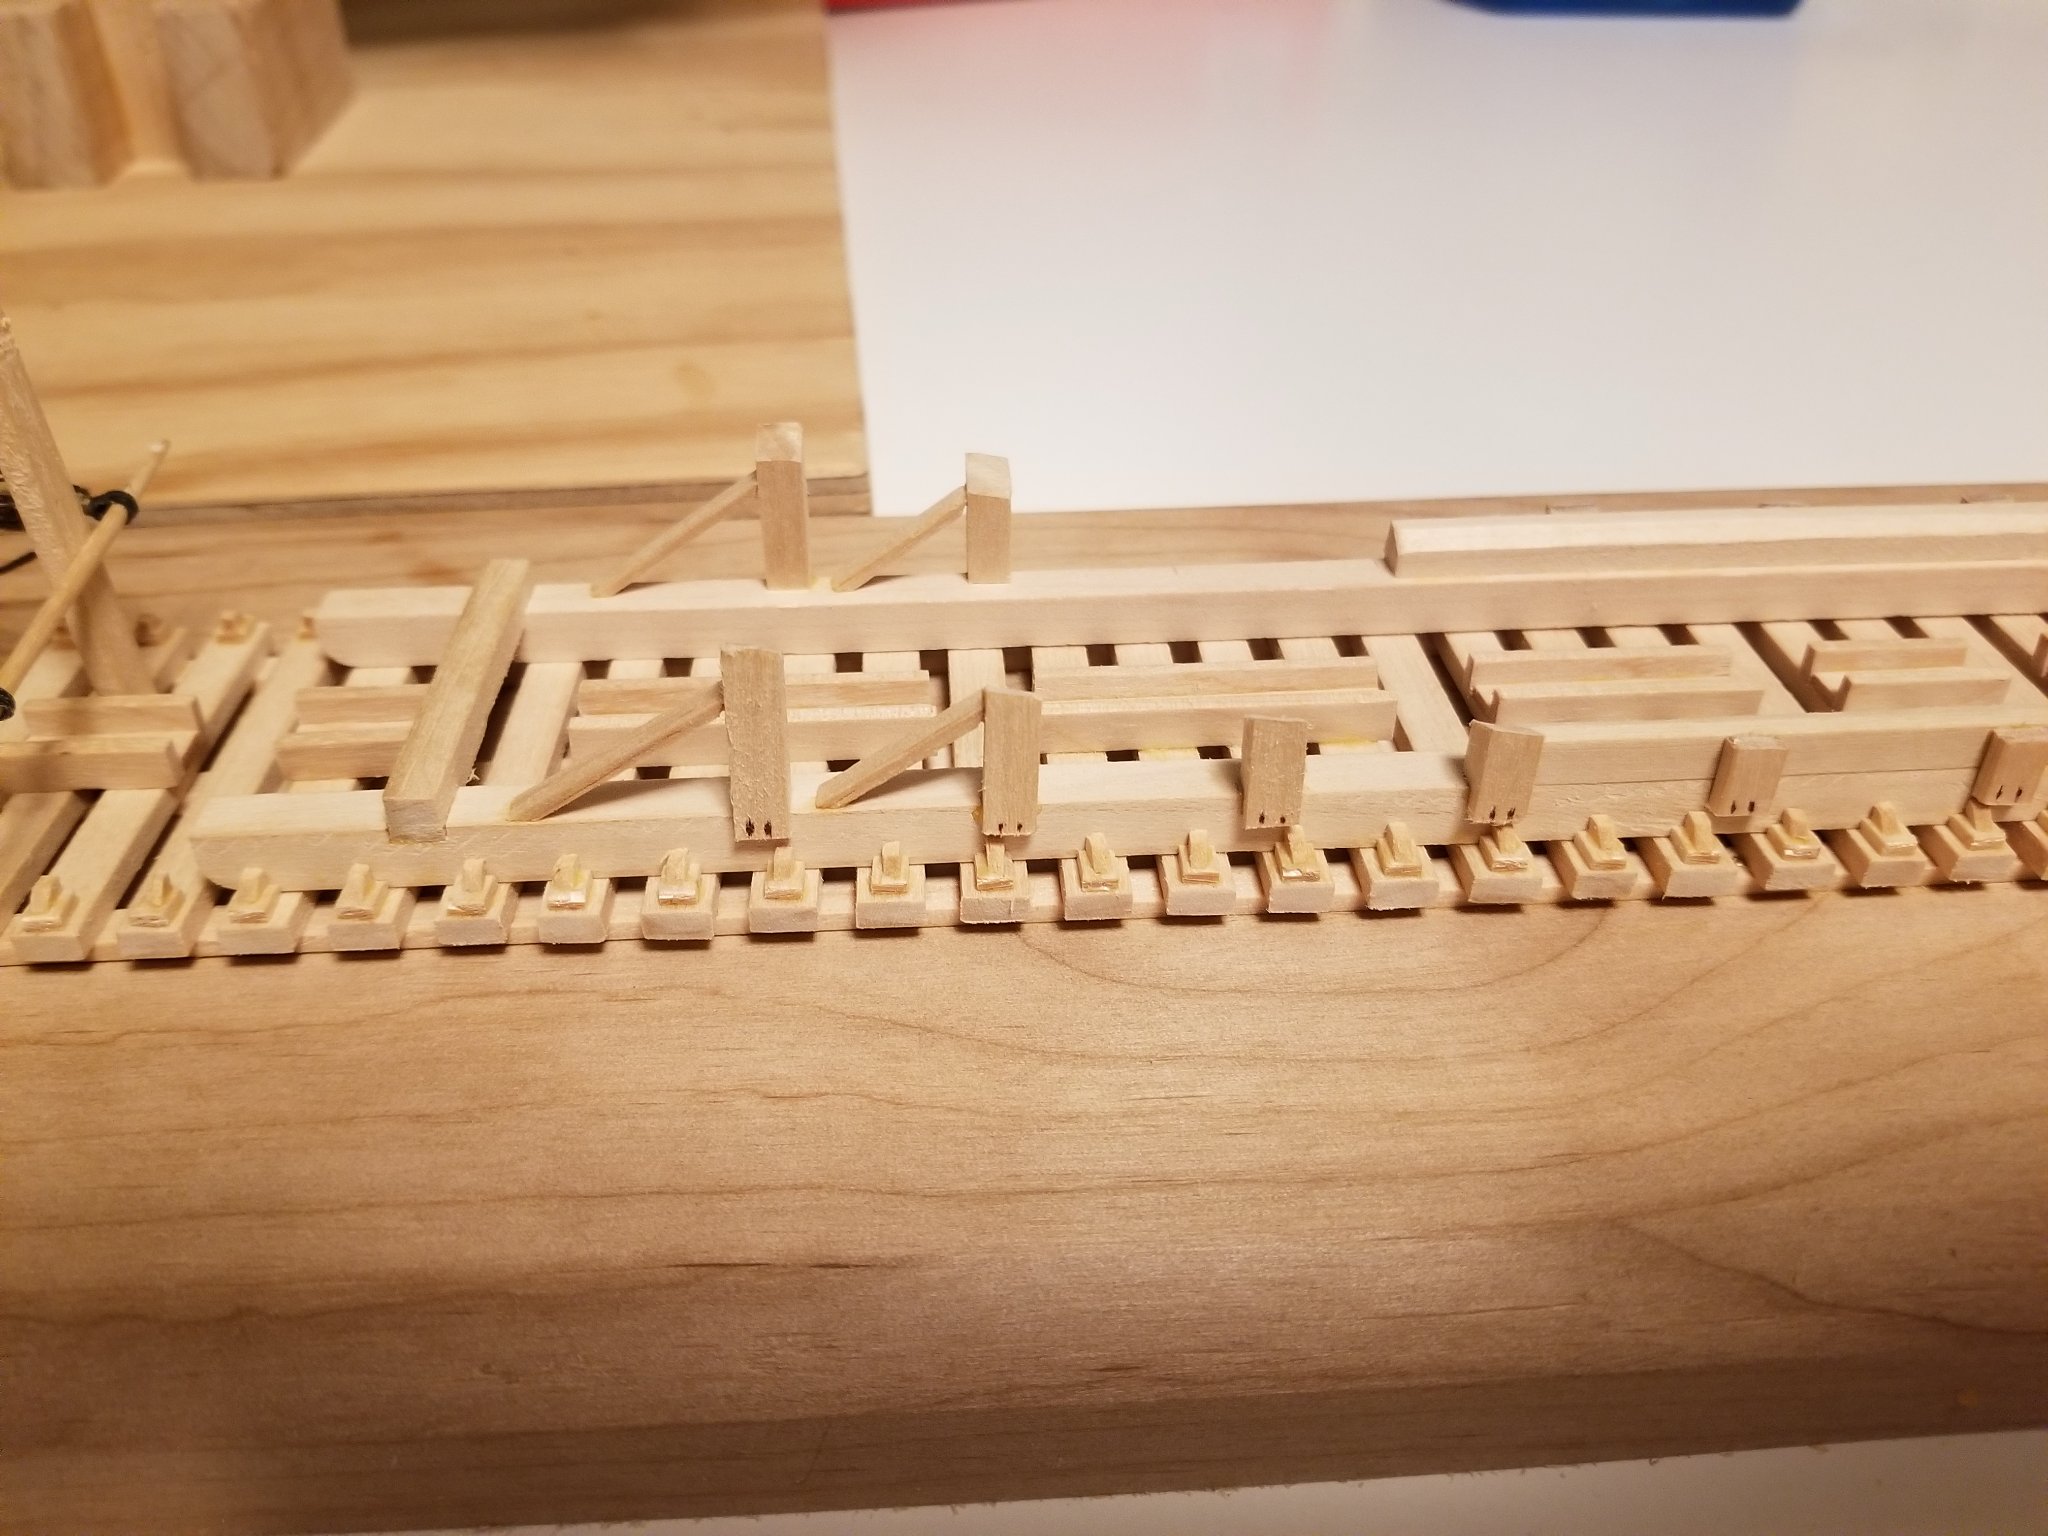
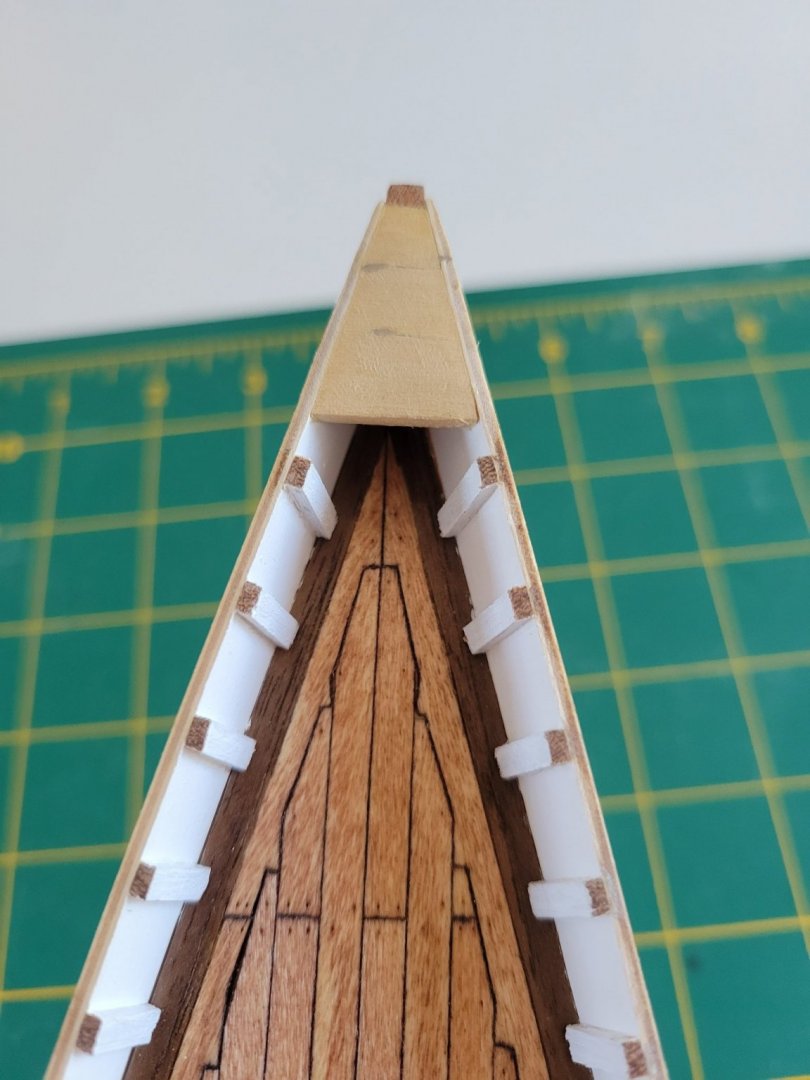
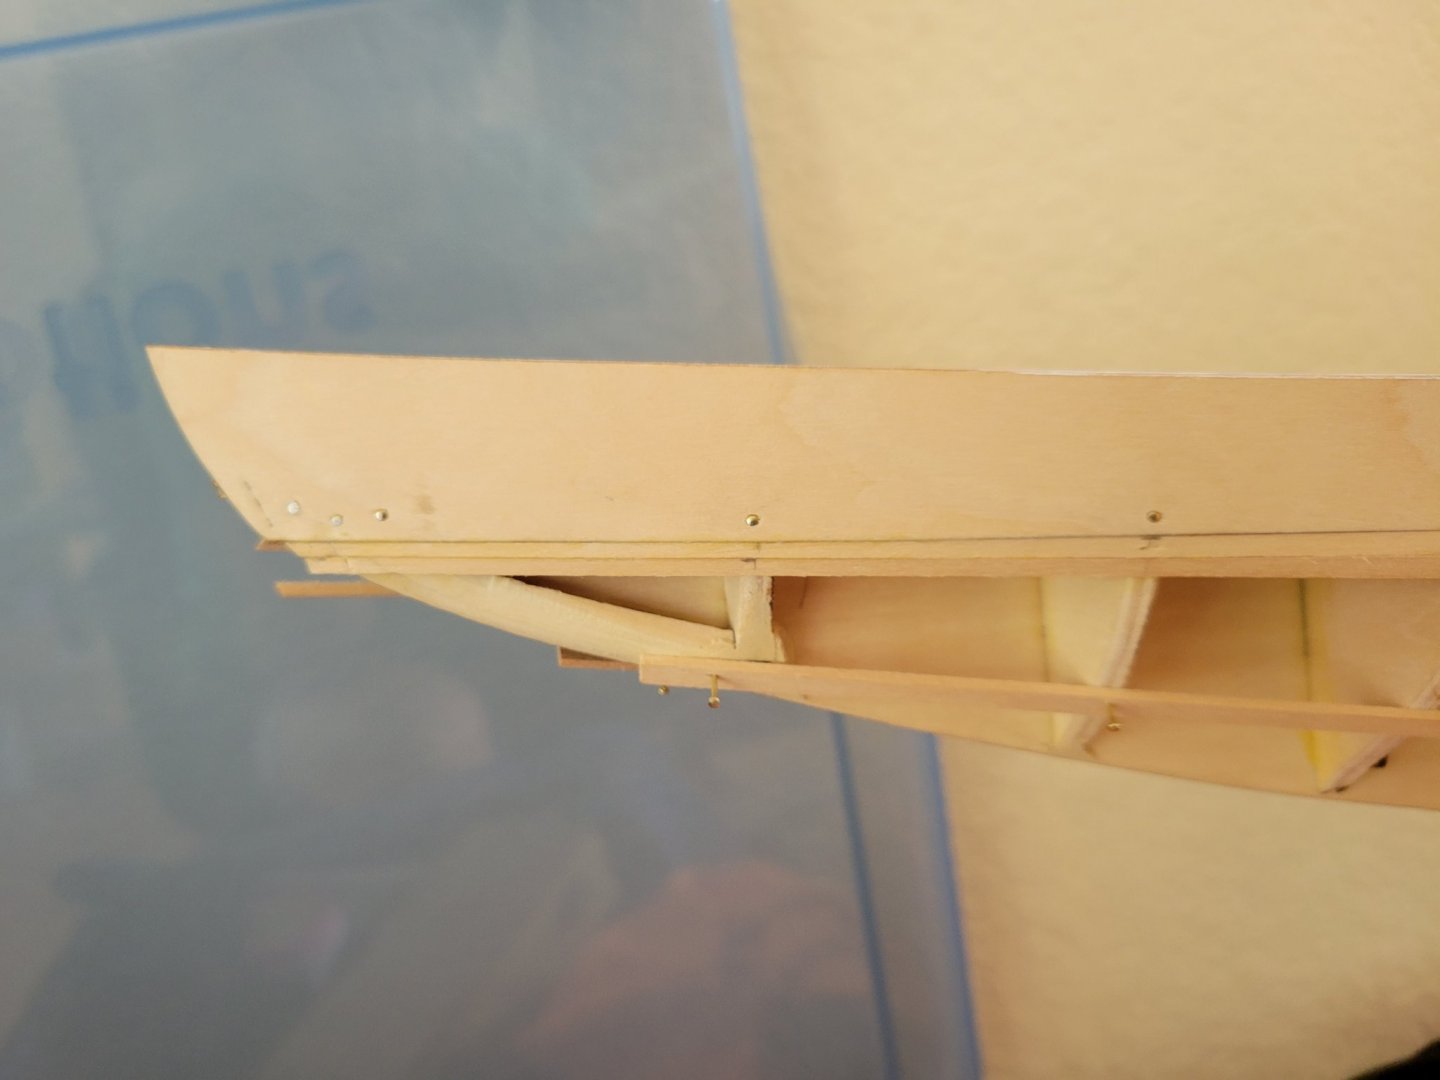
Stantions placed, suppers cut. I think sand and paint bulwark is next. But first I need to deal with bowsprite. The bulwark has come loose from the keel at the bow where I need to drill for the bowsprite. I original tried wood glue and then a little ca in the inside after clamping just to get a little extra hold. Didn't work. So little wood to wood contact here. U think I will create a small wedge to sit behind the keel post and flush with the top of the bulwark where it will be under the rail piece and monkey rail when I eventually add those. At least it will give something I can glue to and pin (I think the model shipways version does something similar). I'll send pics when I figure it out.


- 84 replies
-
- 5
-
-
- Artesania Latina
- Bluenose II
- (and 1 more)
-
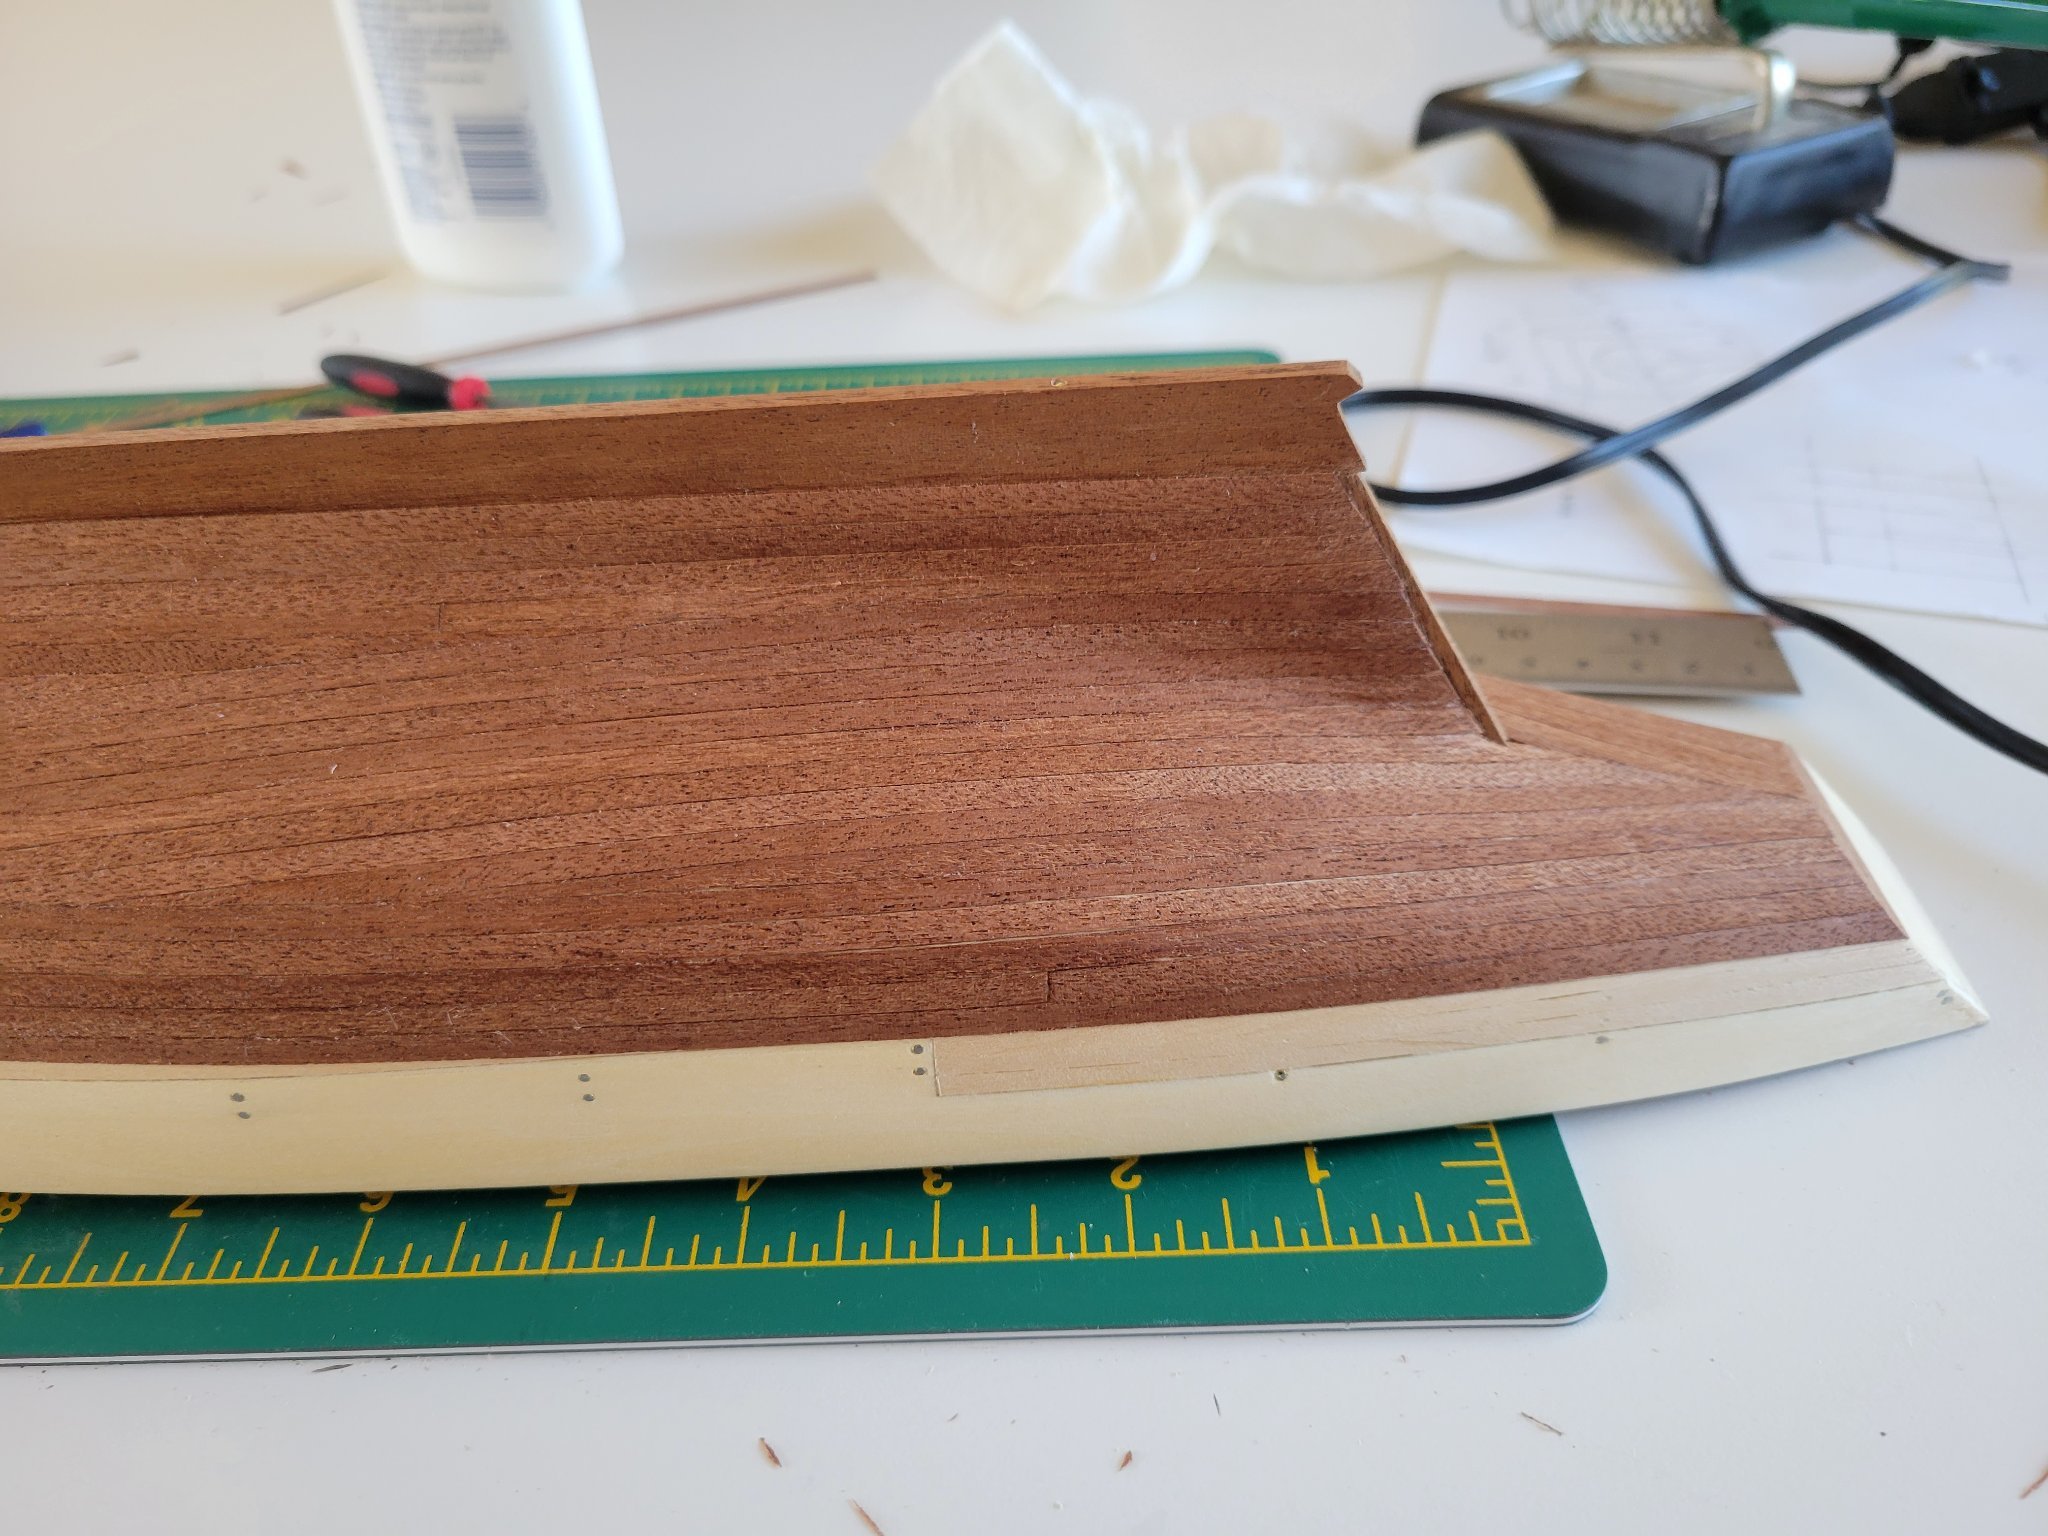
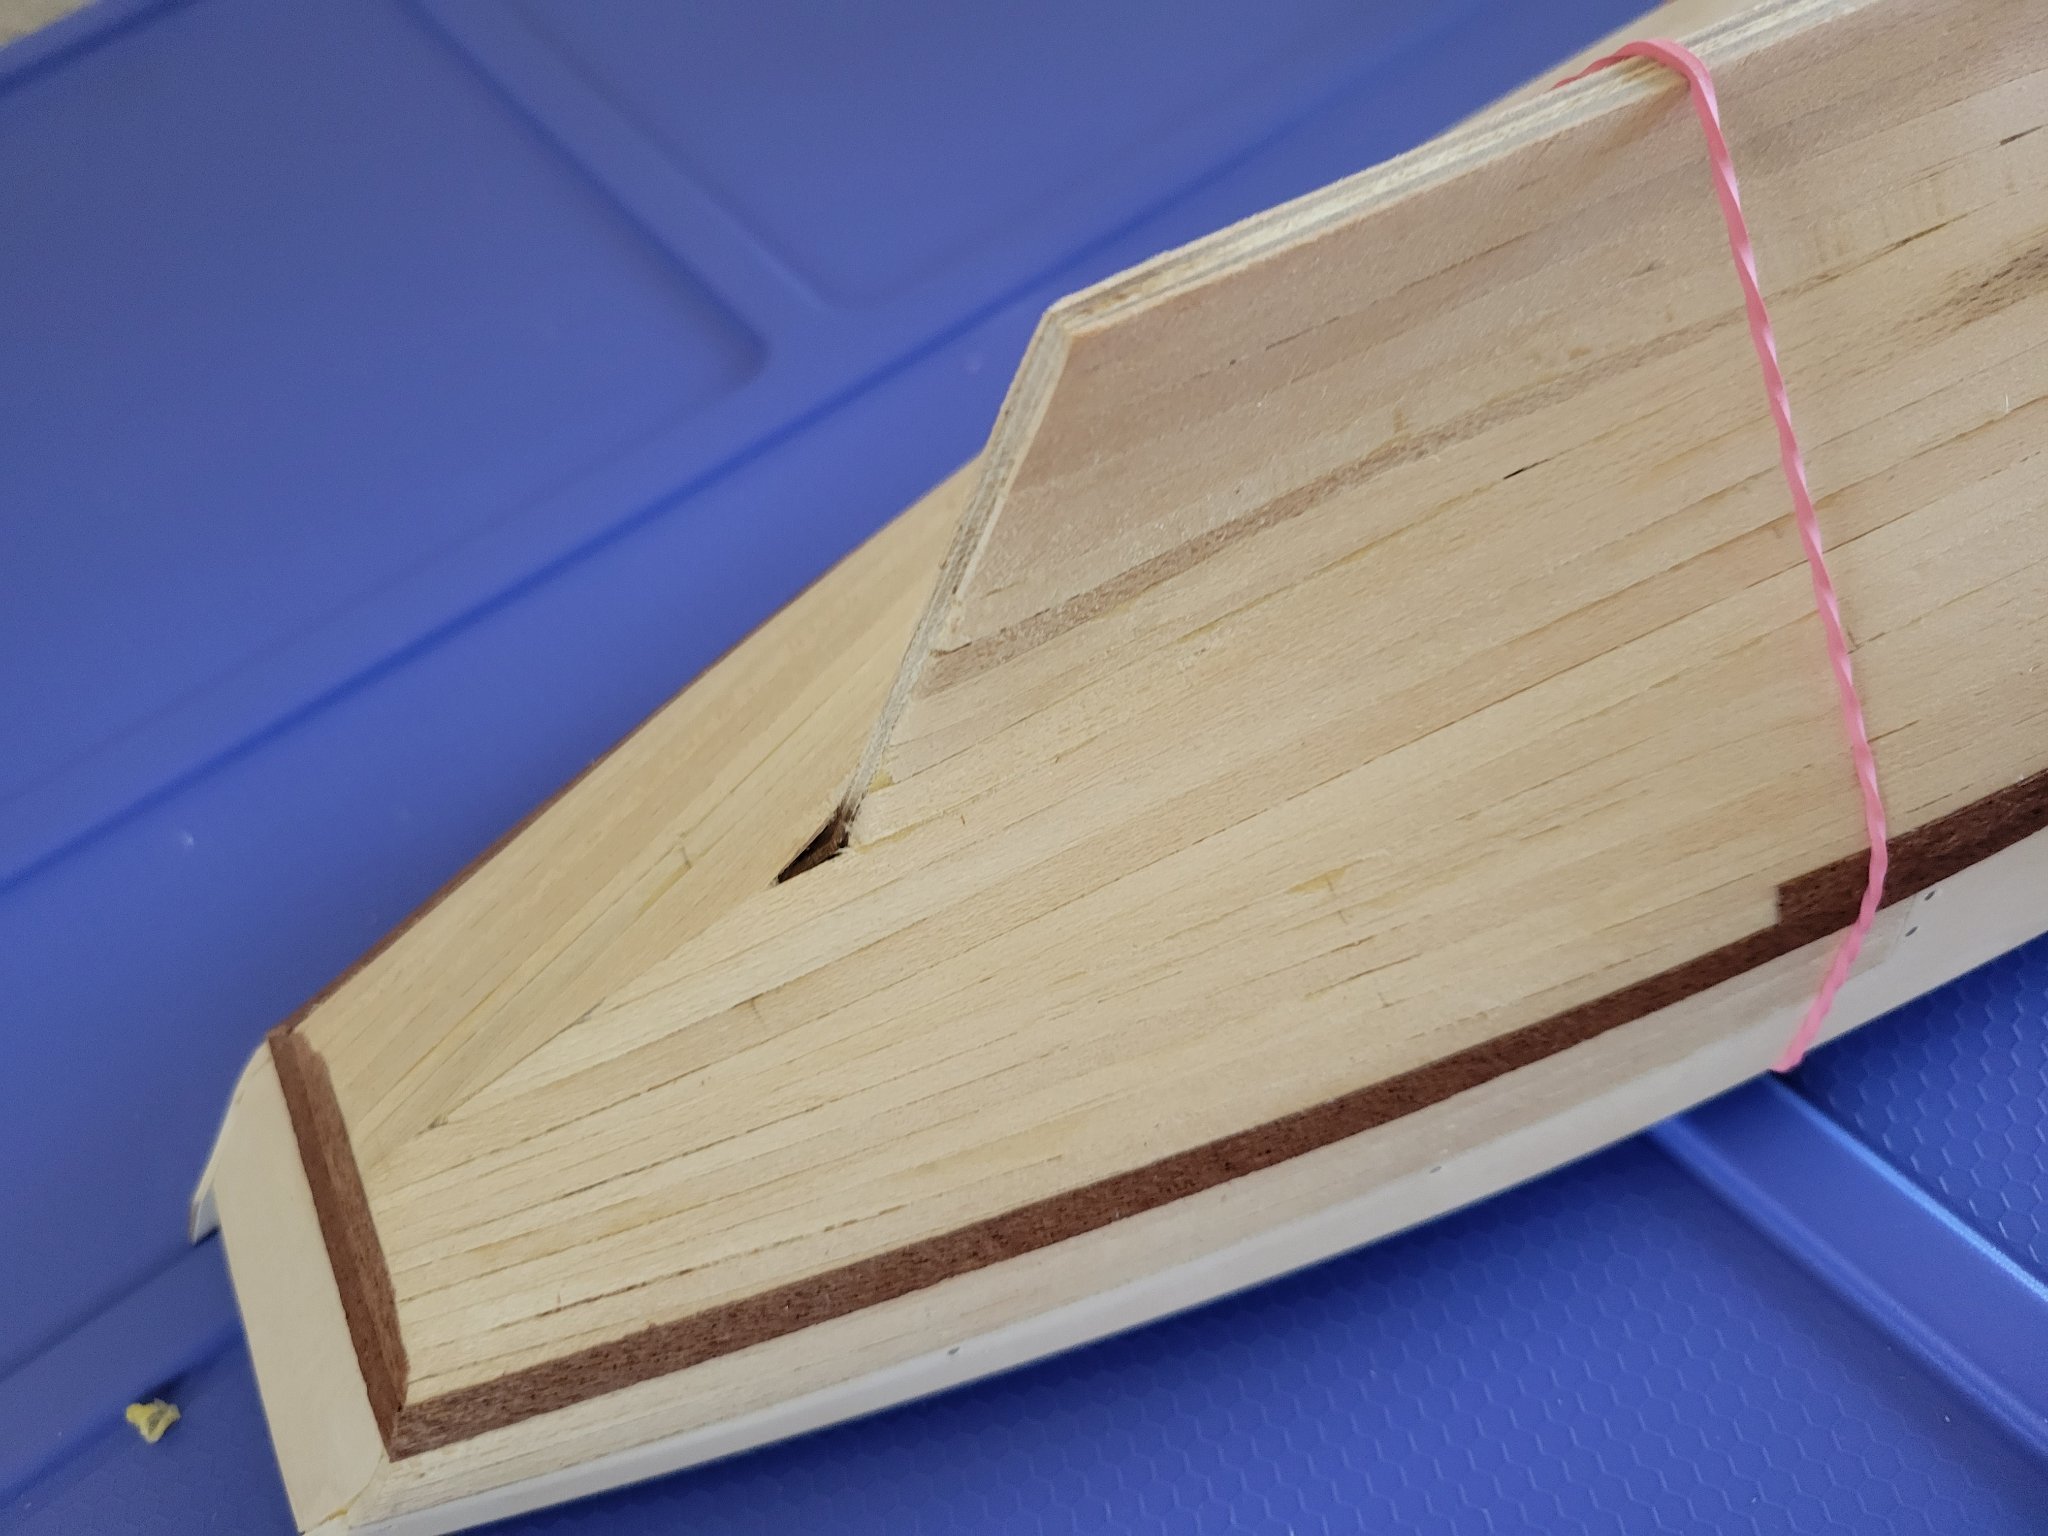
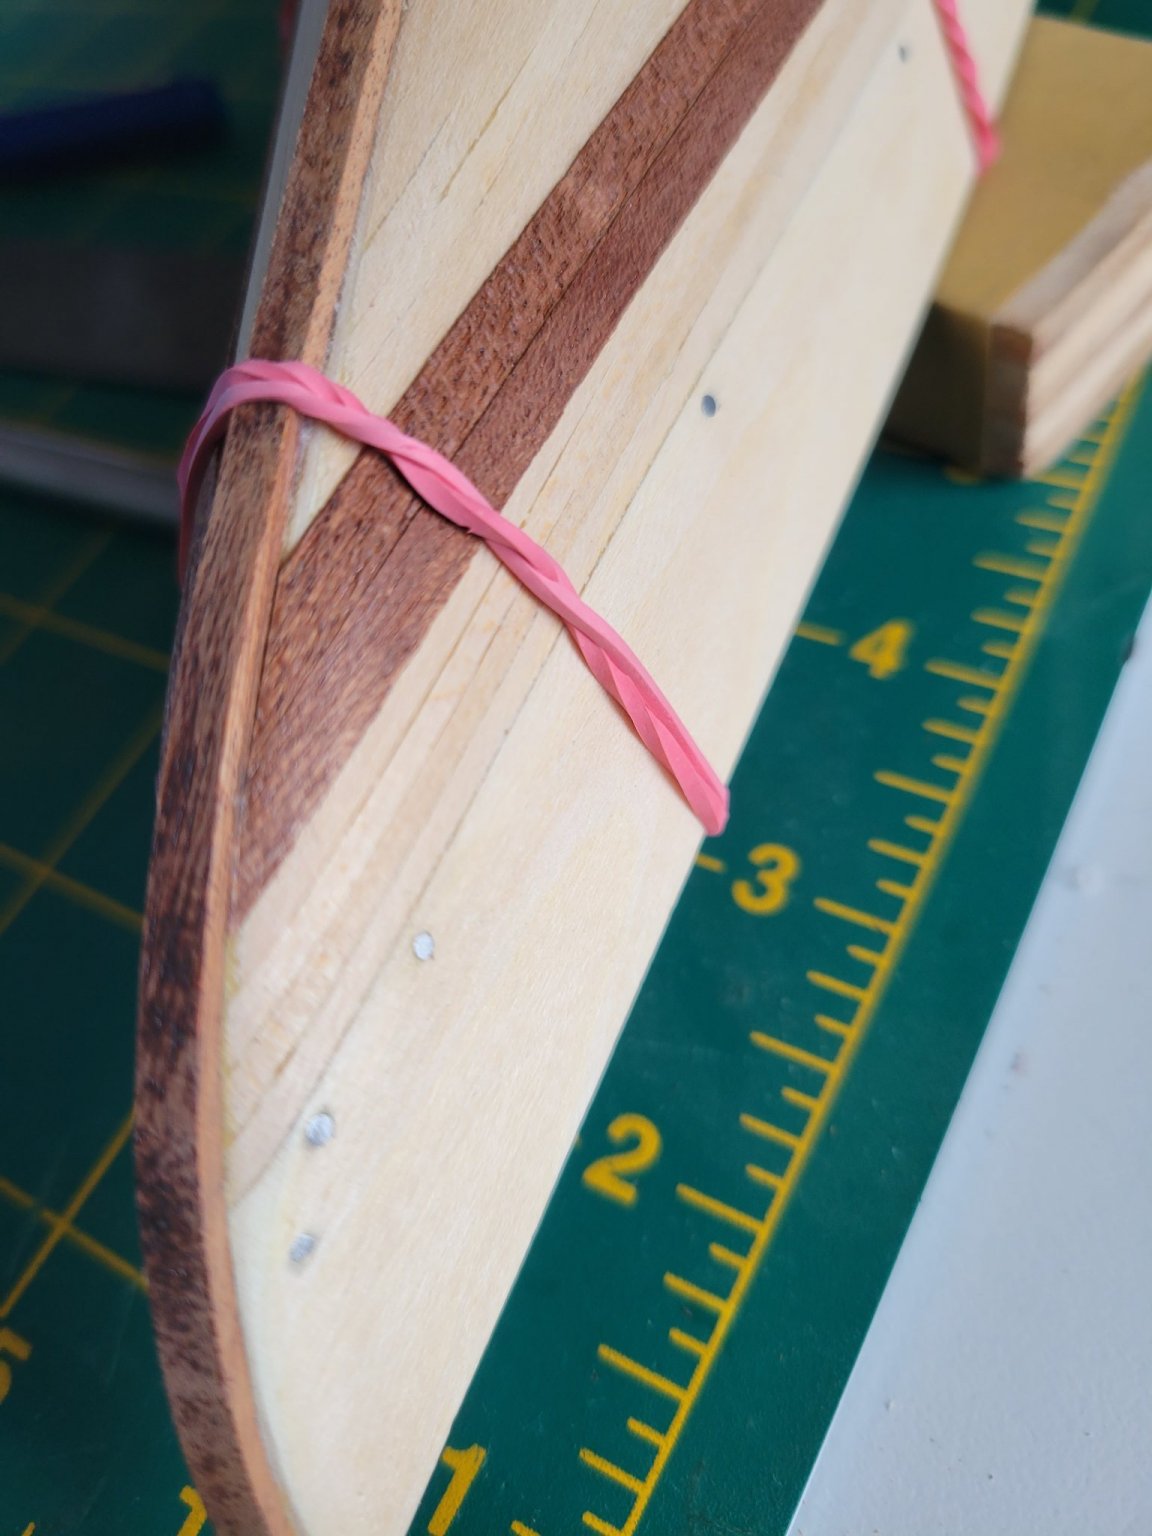
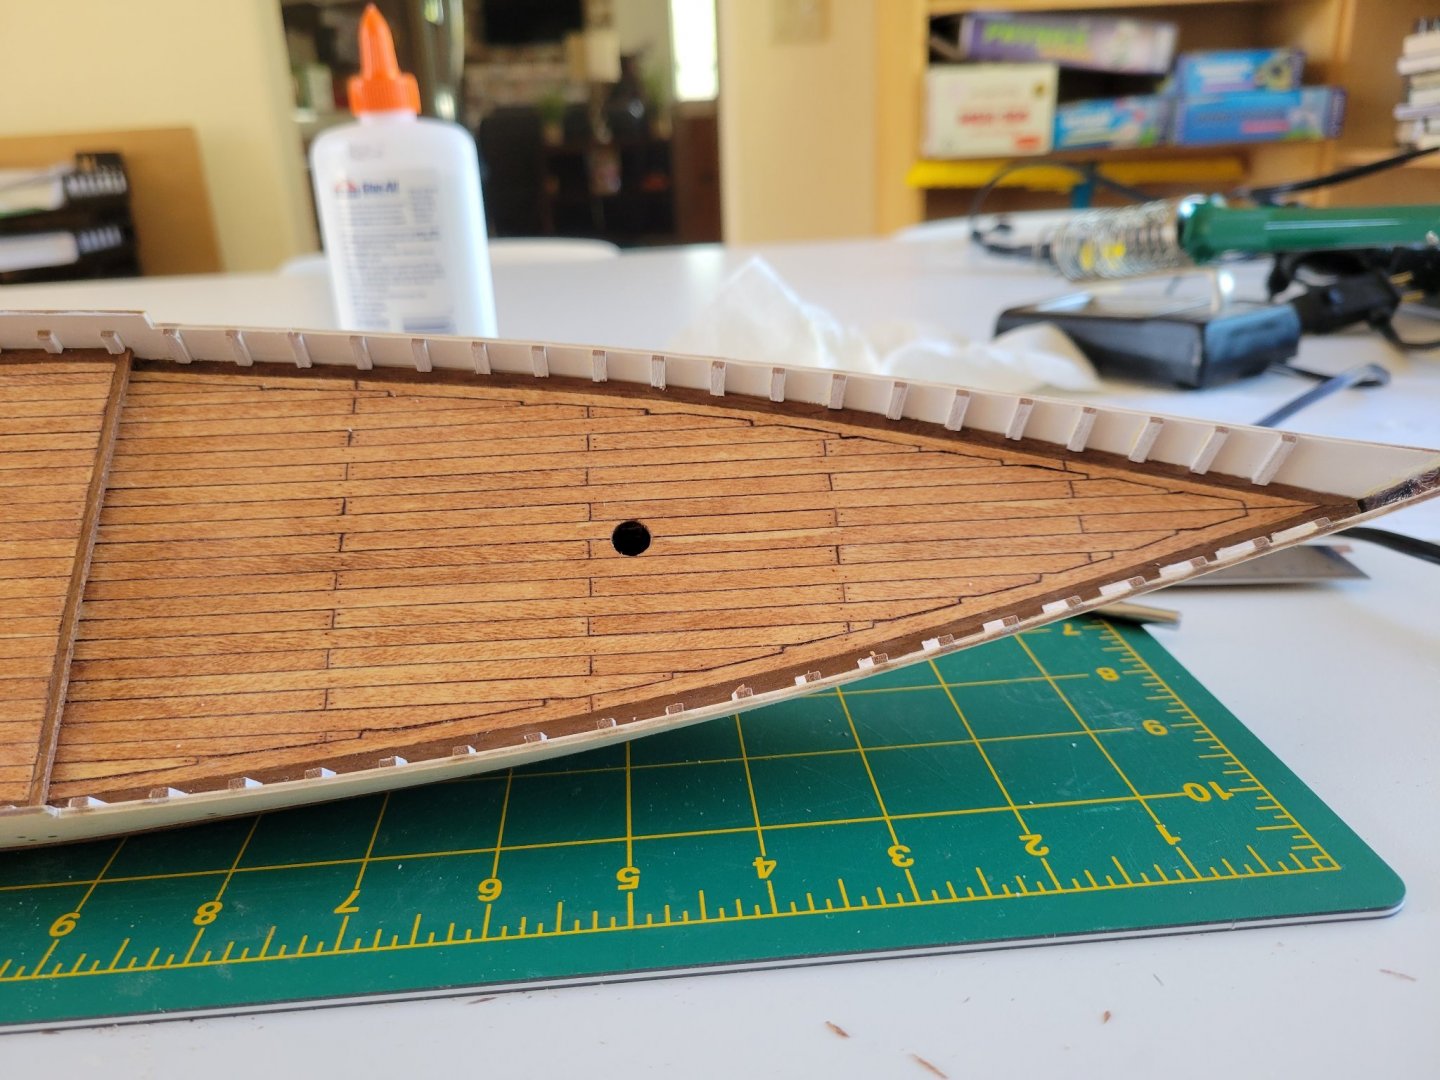
Second plank is on. Time for finish sanding on the hull. The wood burner on lowered heat work quite well to set the planks without clamps or mess. Working on the bulkhead stantions as well. Set the keel as I was planking. I followed on other by drilling a couple spots in the two primary/larger keel pieces so can insert a brass rod through the keel and into the false keel for extra strength. Feels ready for the keel clamp.


- 84 replies
-
- 4
-

-
-
- Artesania Latina
- Bluenose II
- (and 1 more)
-
Thanks Bob. I do find this process a bit cathartic, even if slow.
-
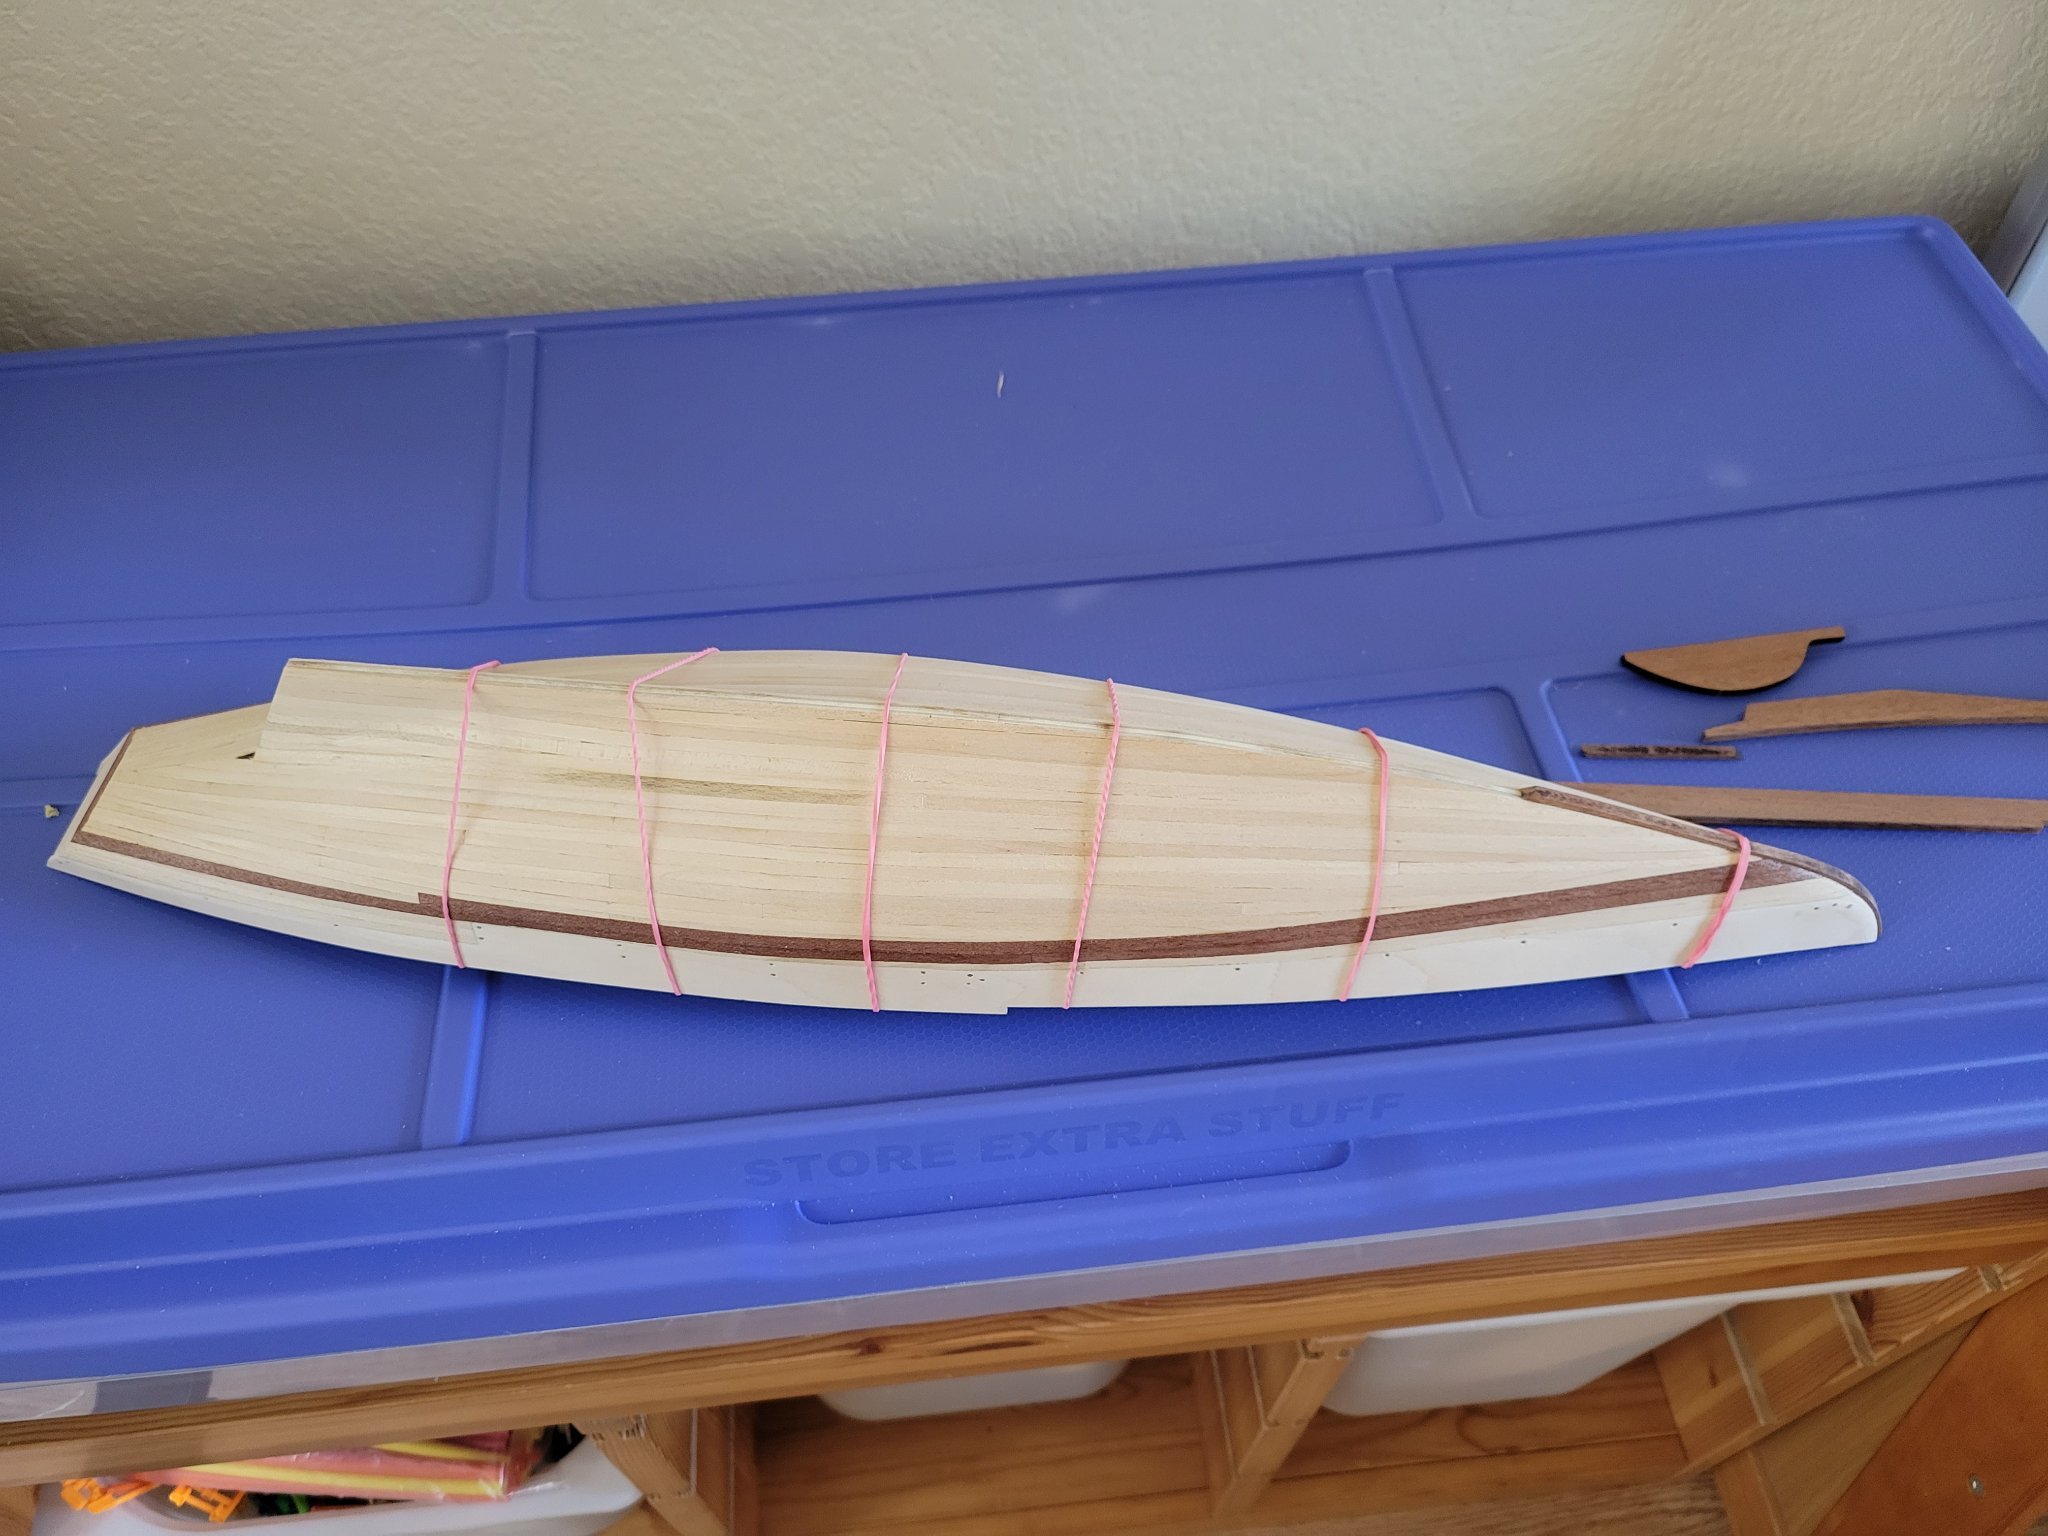
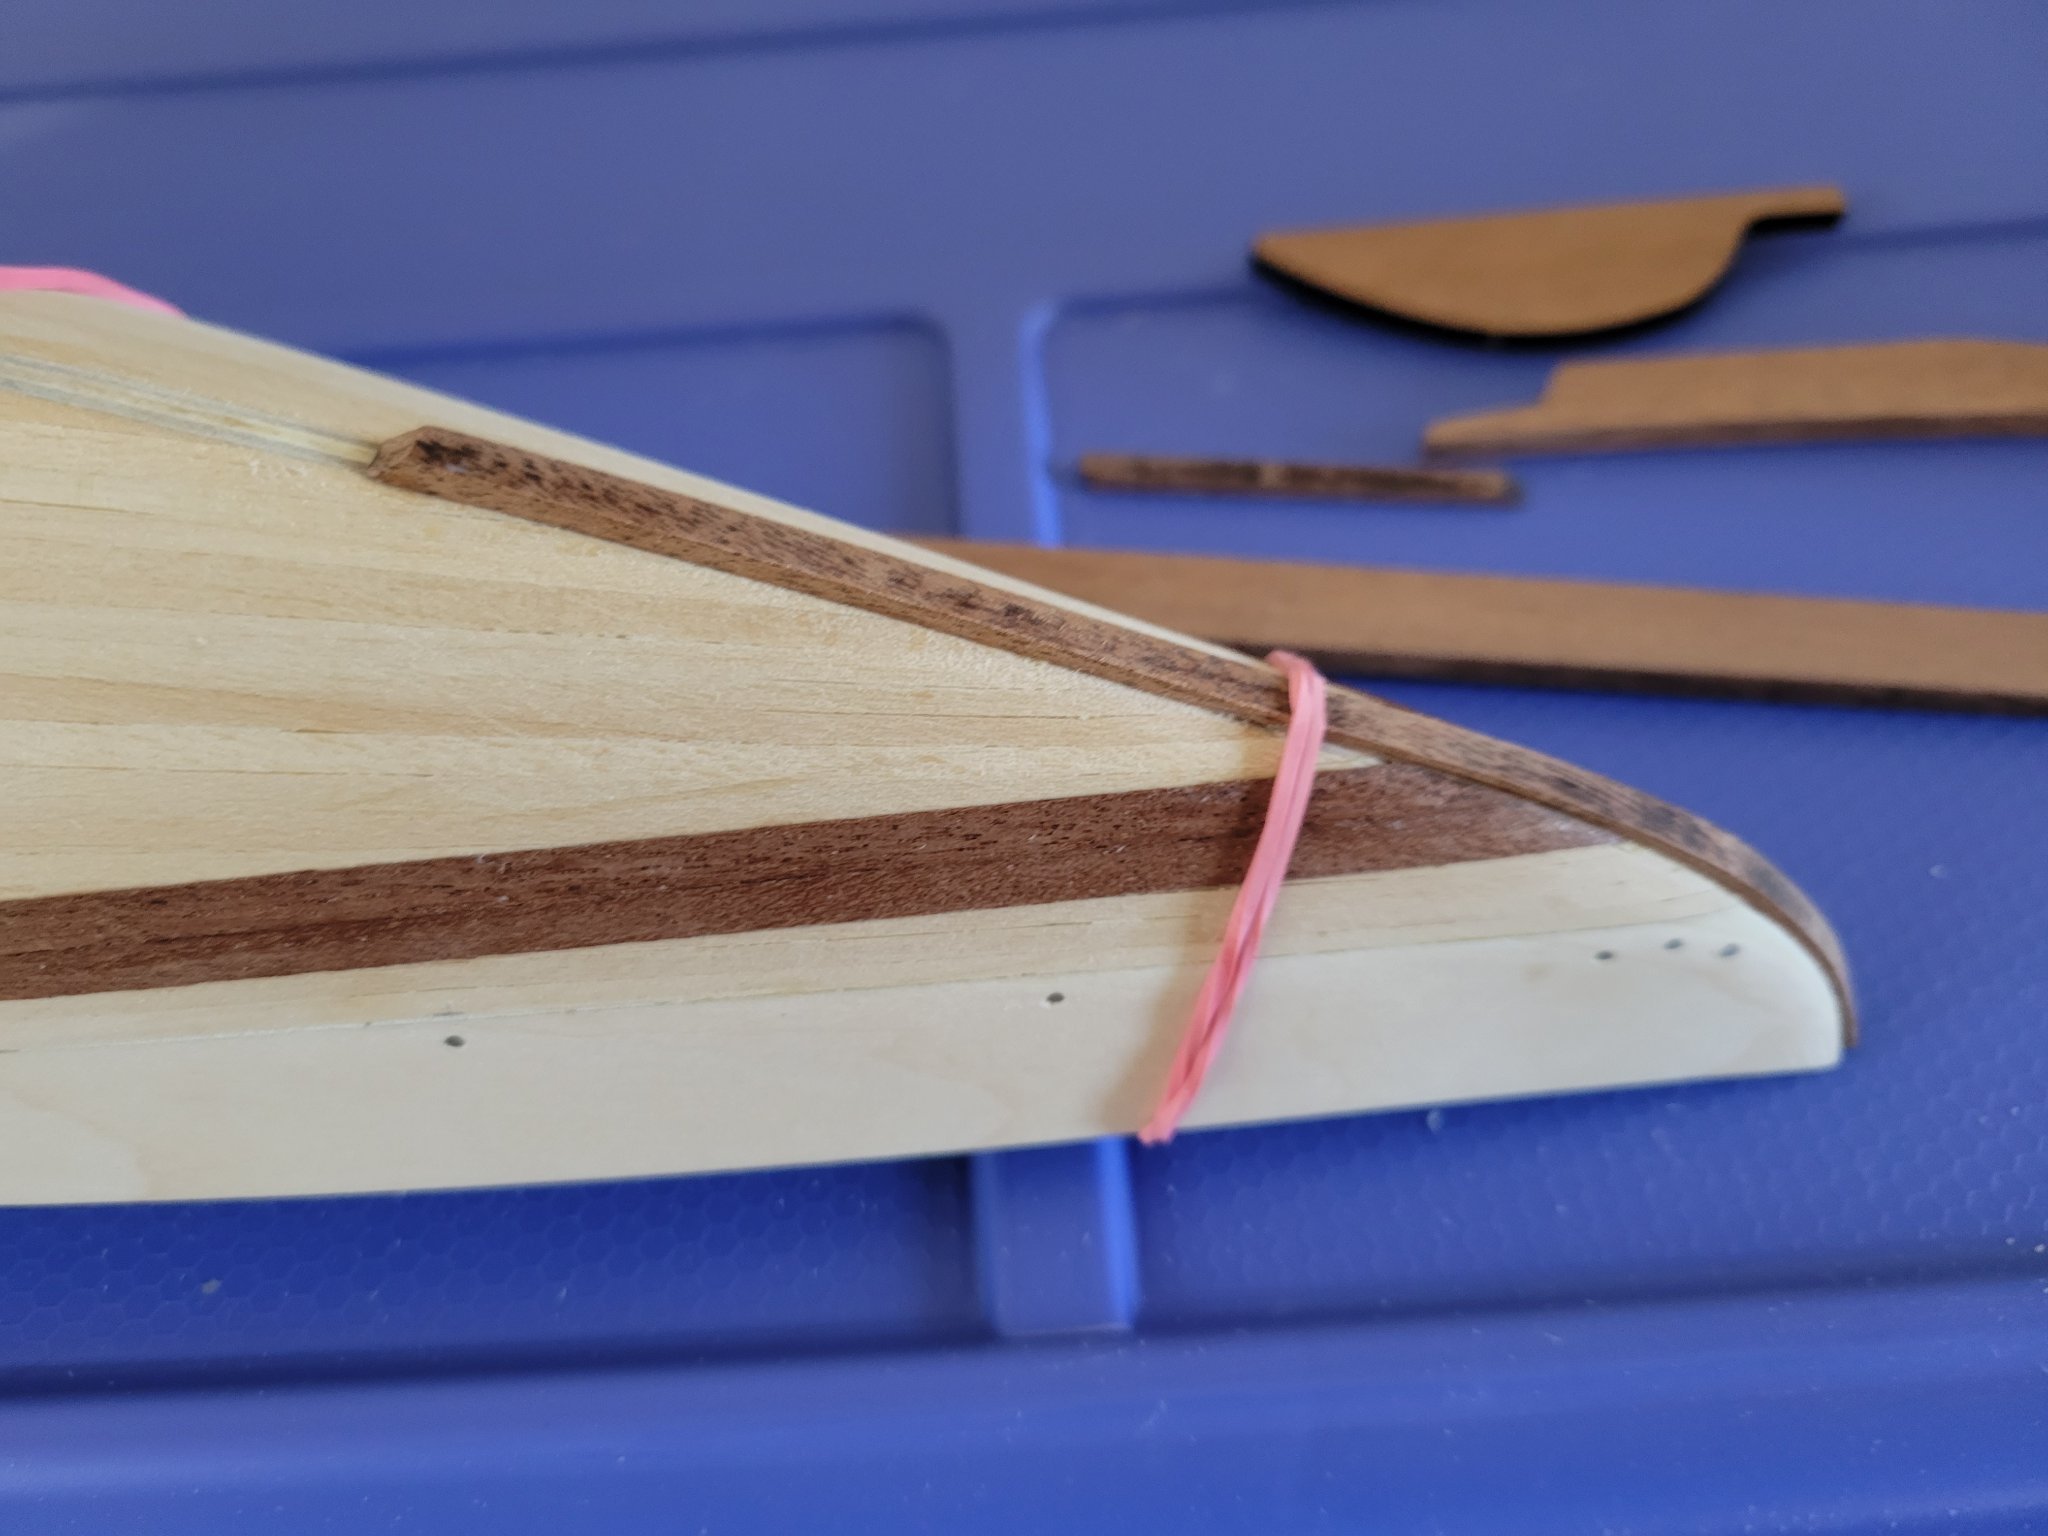
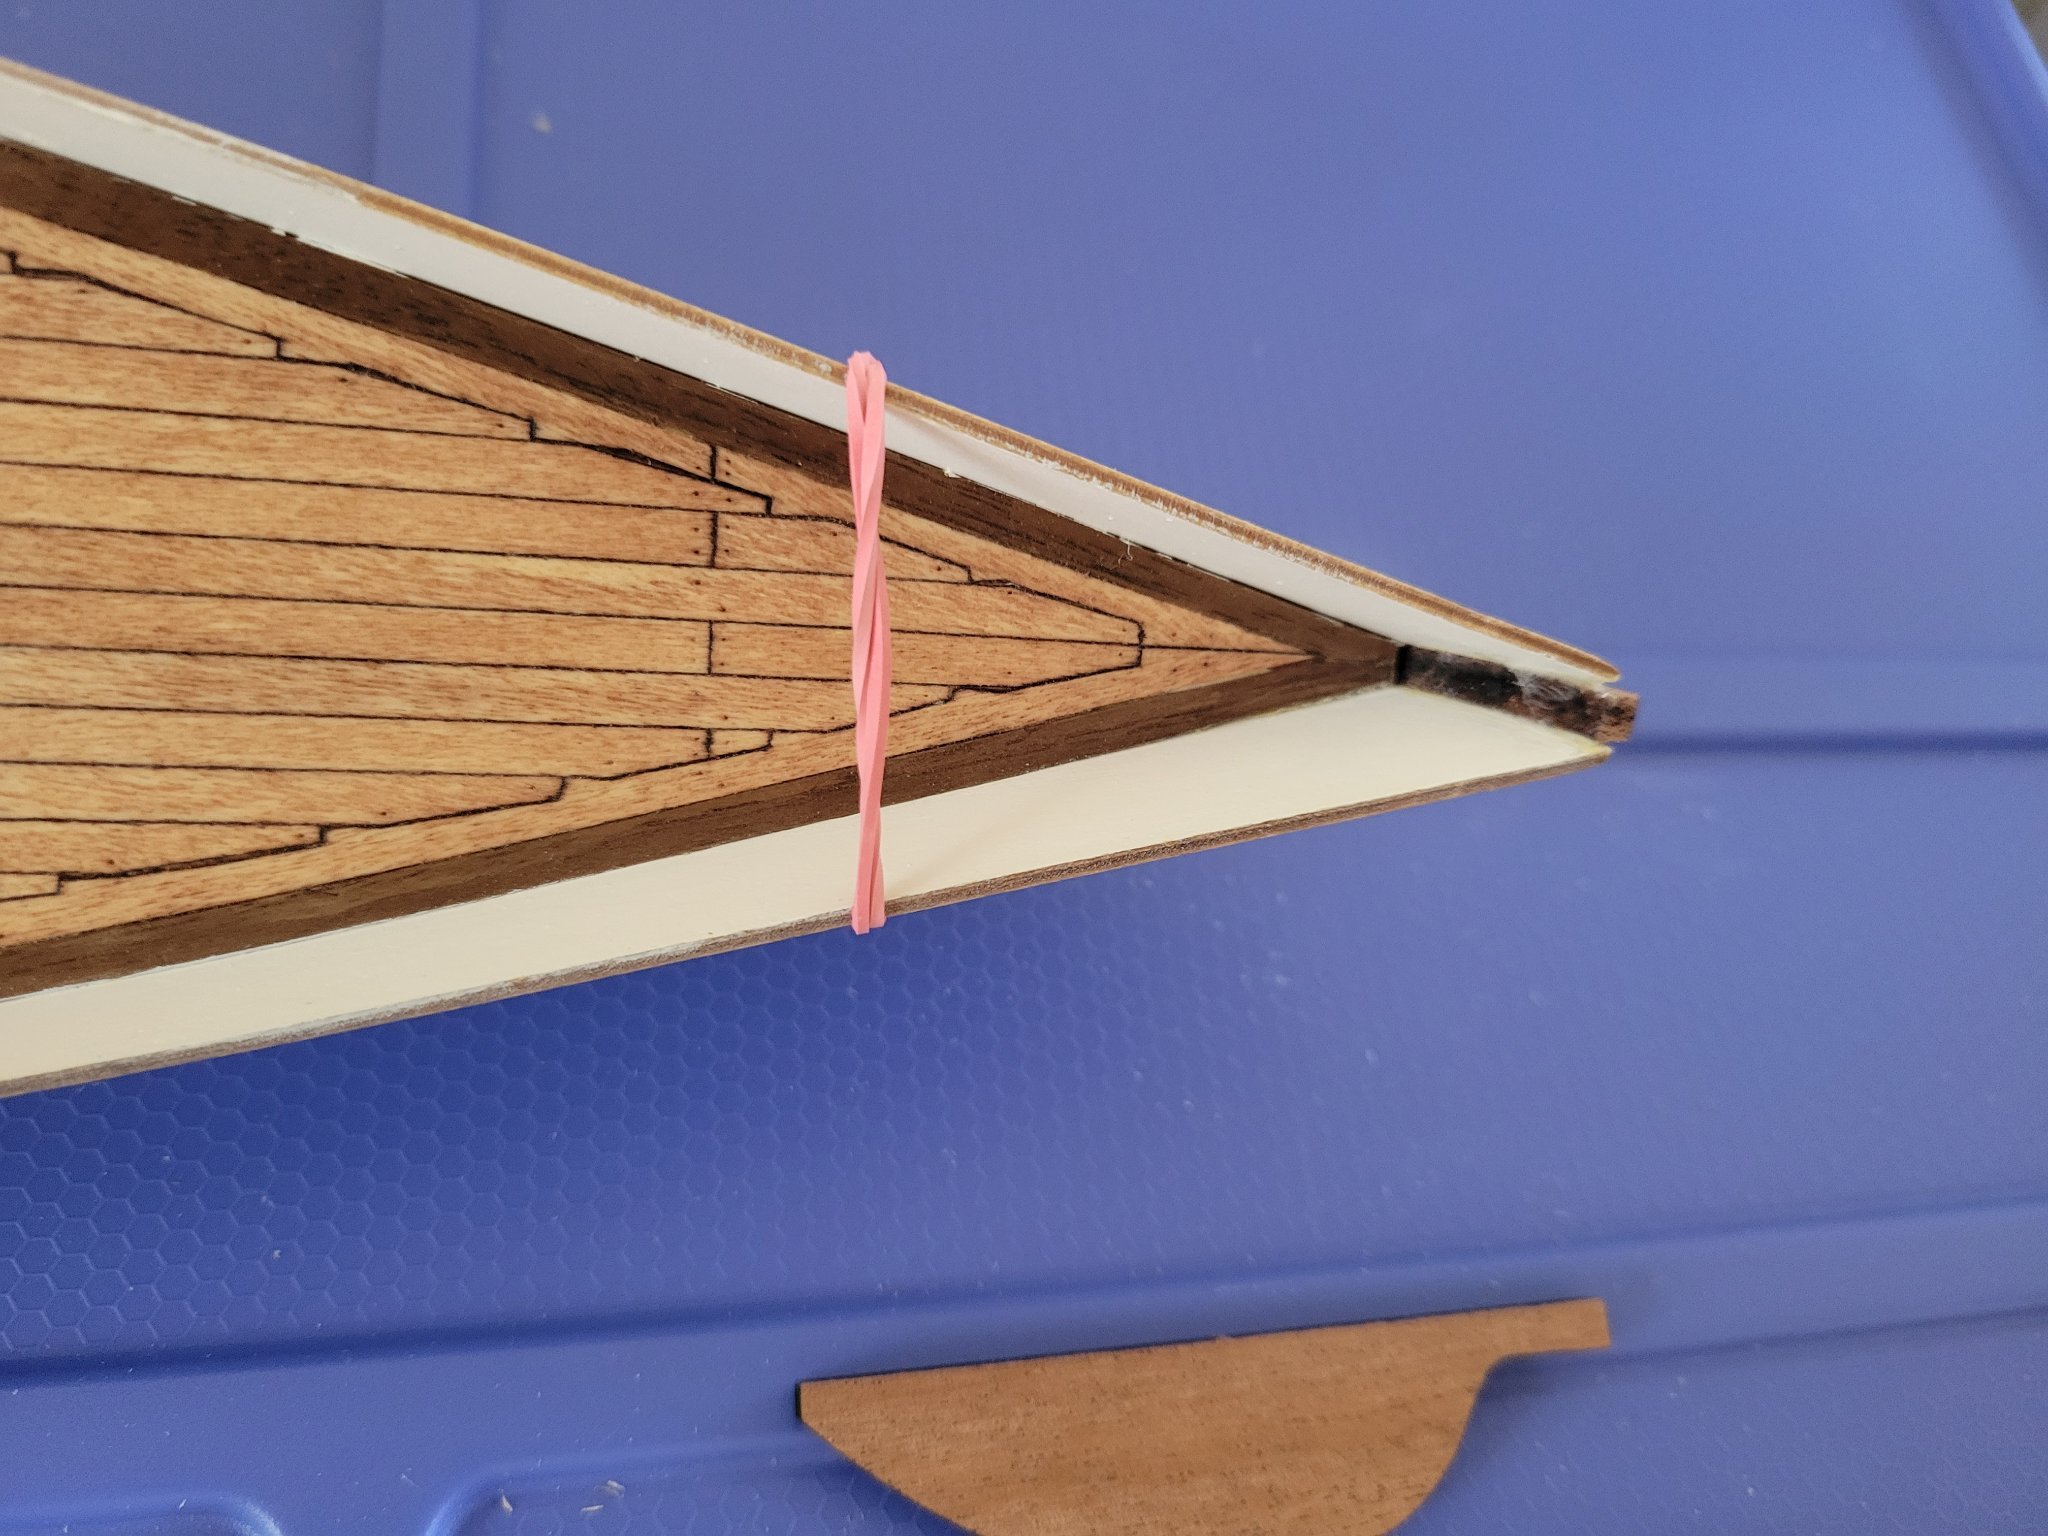
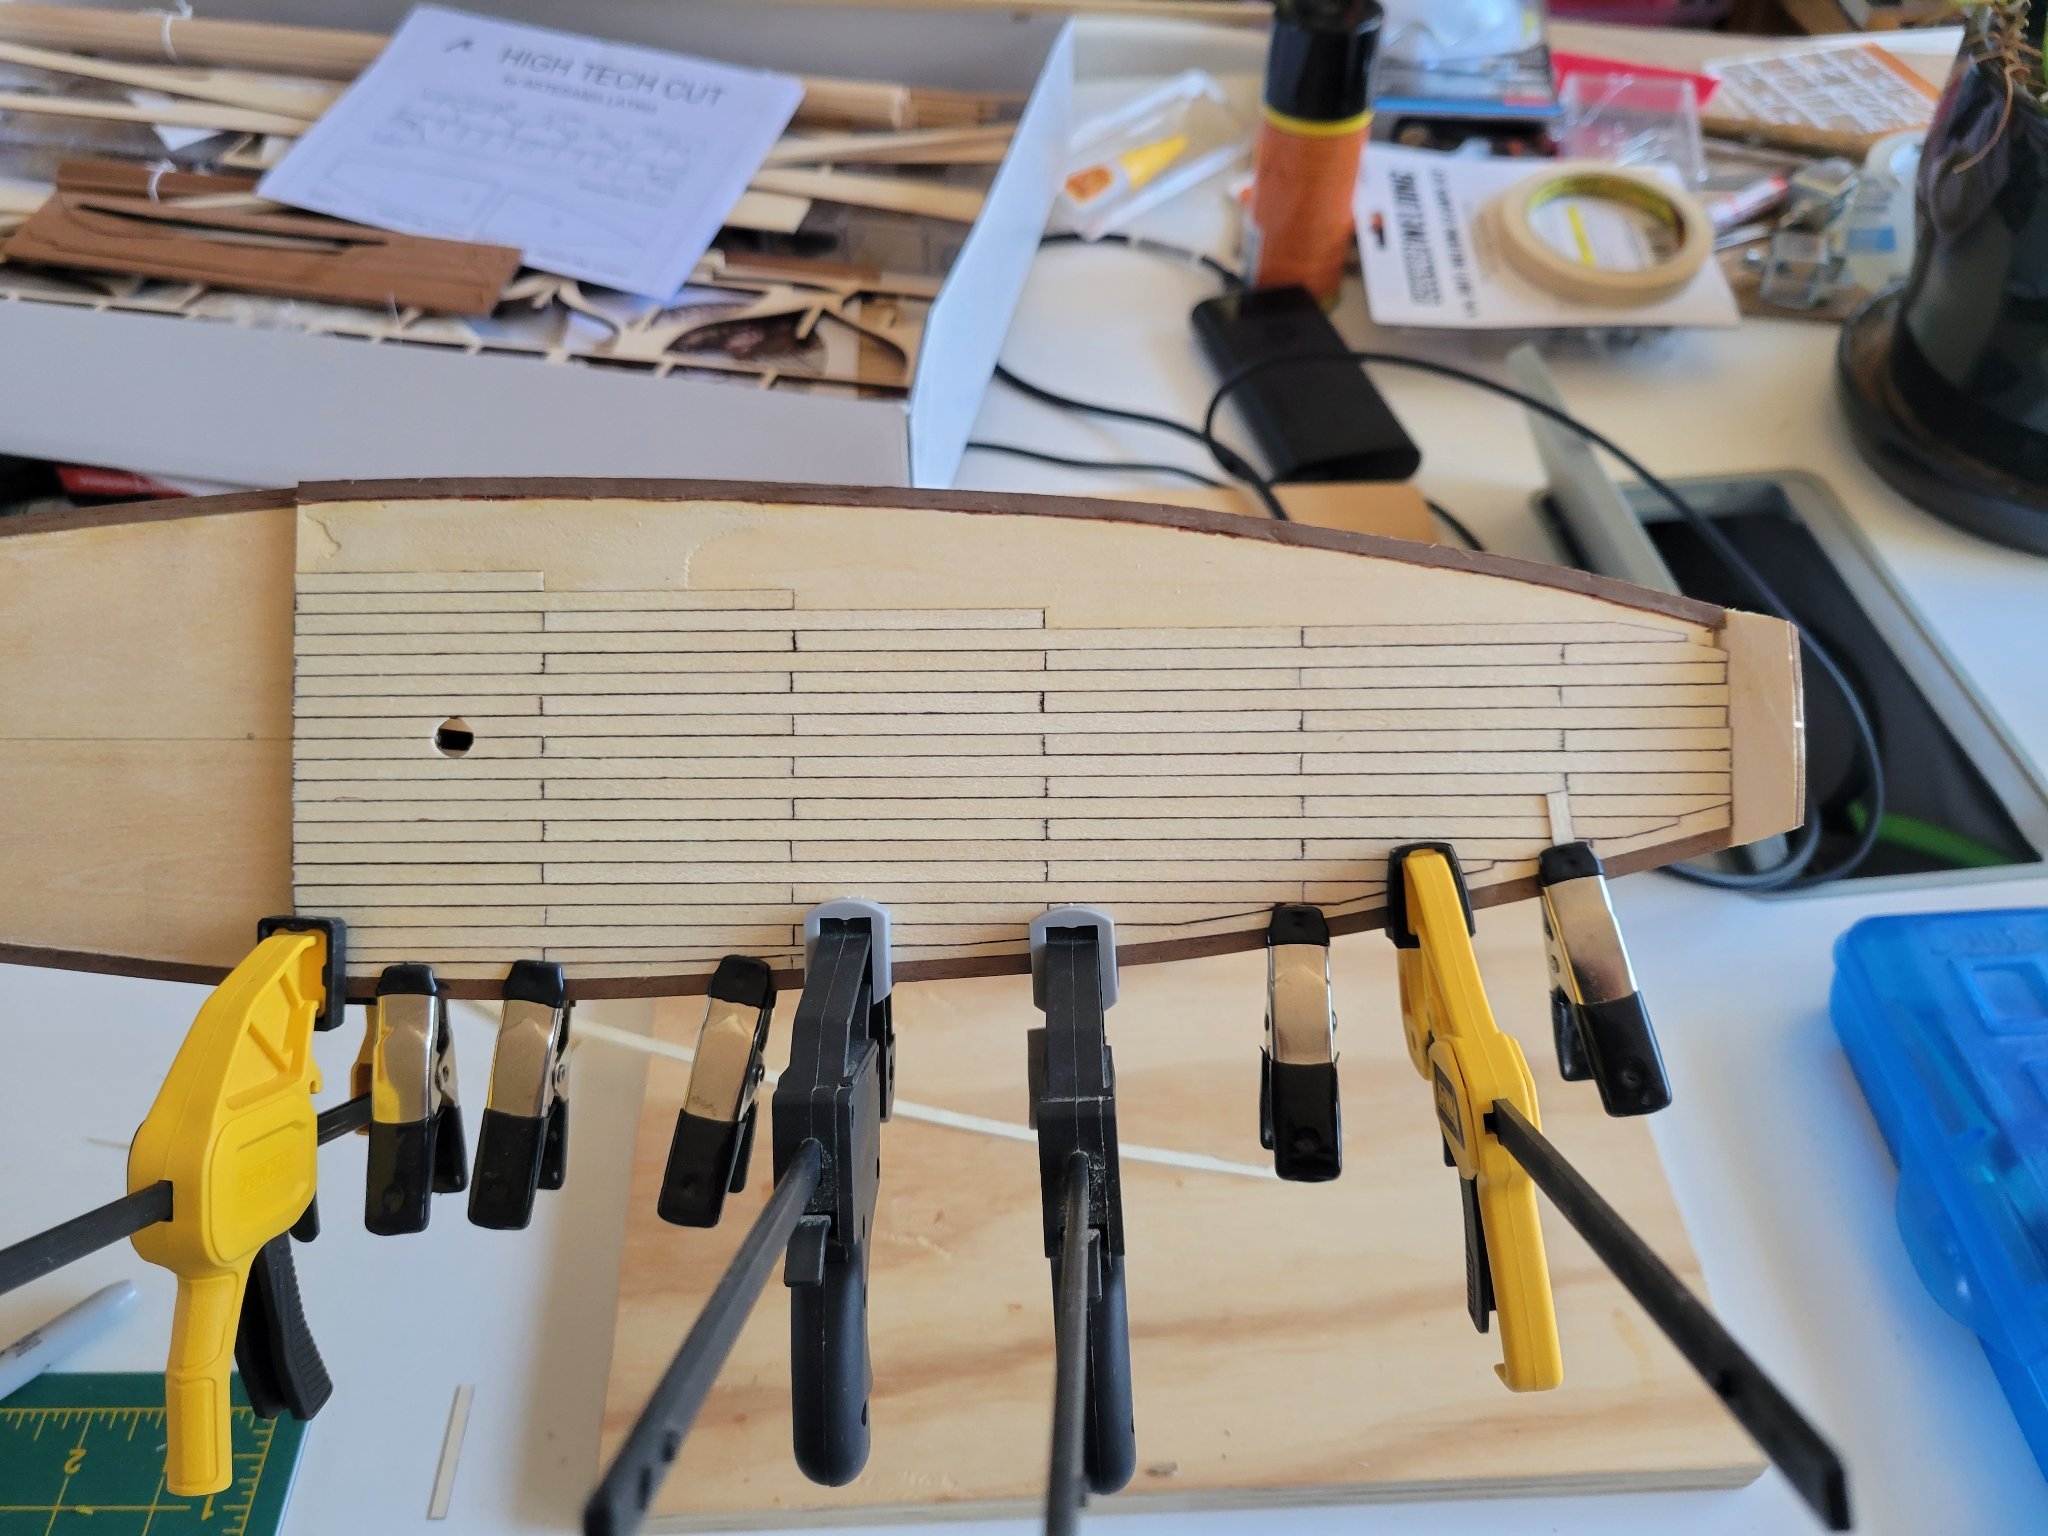
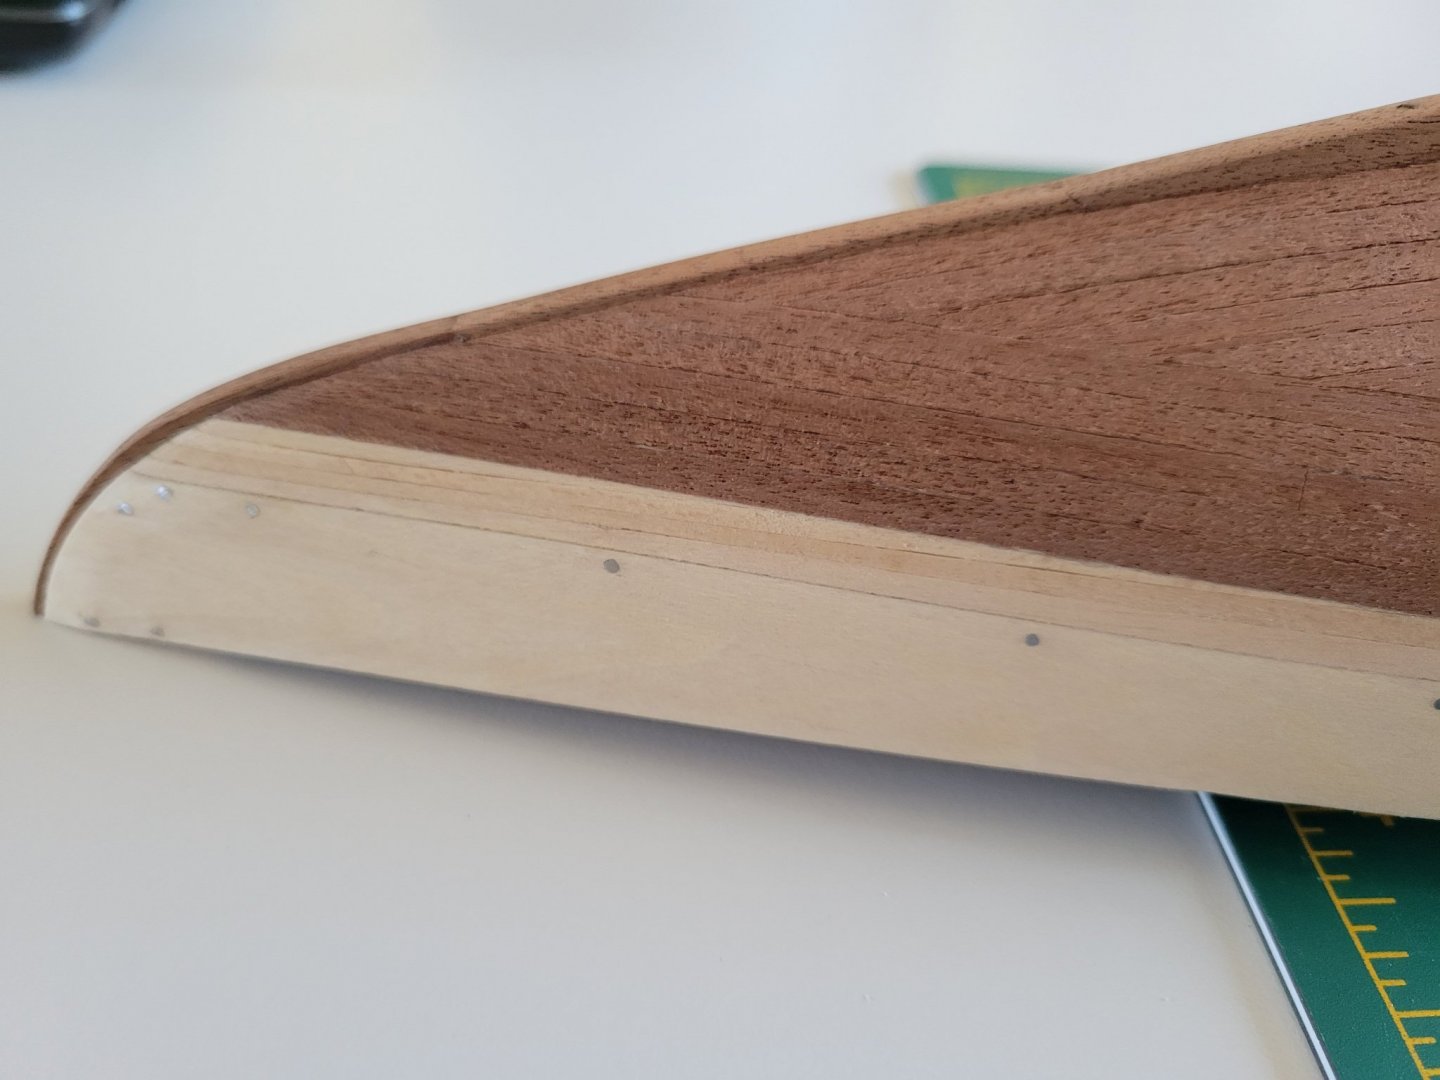
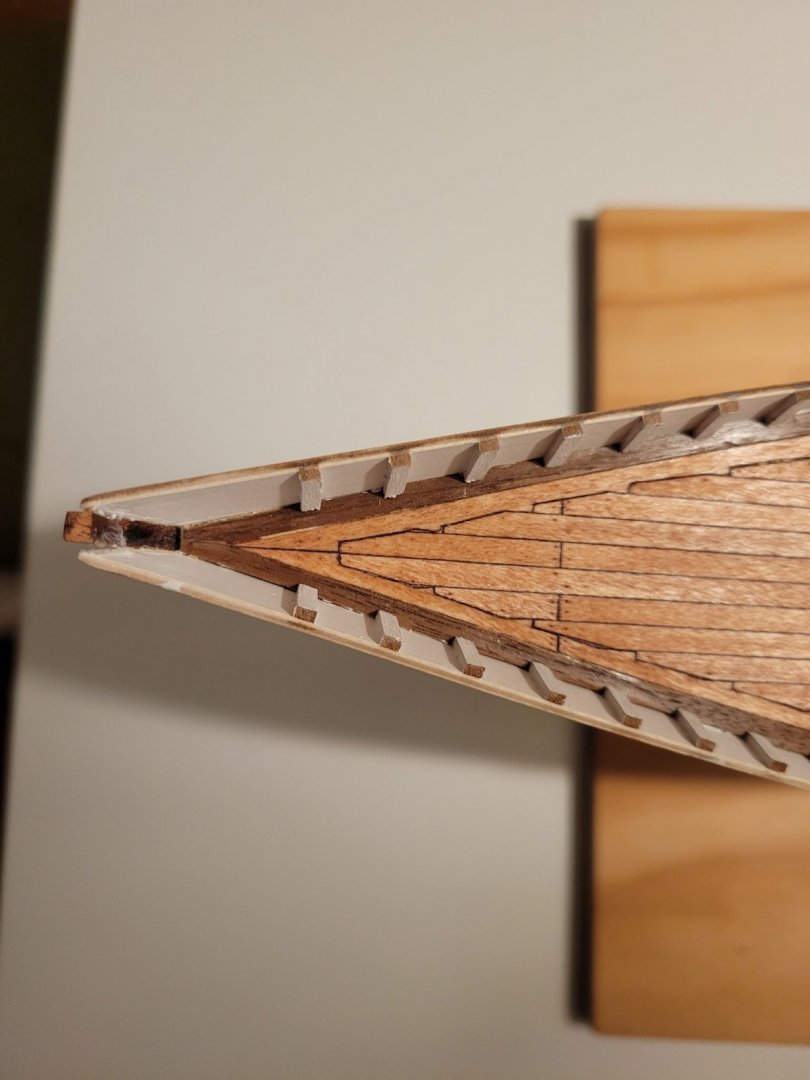
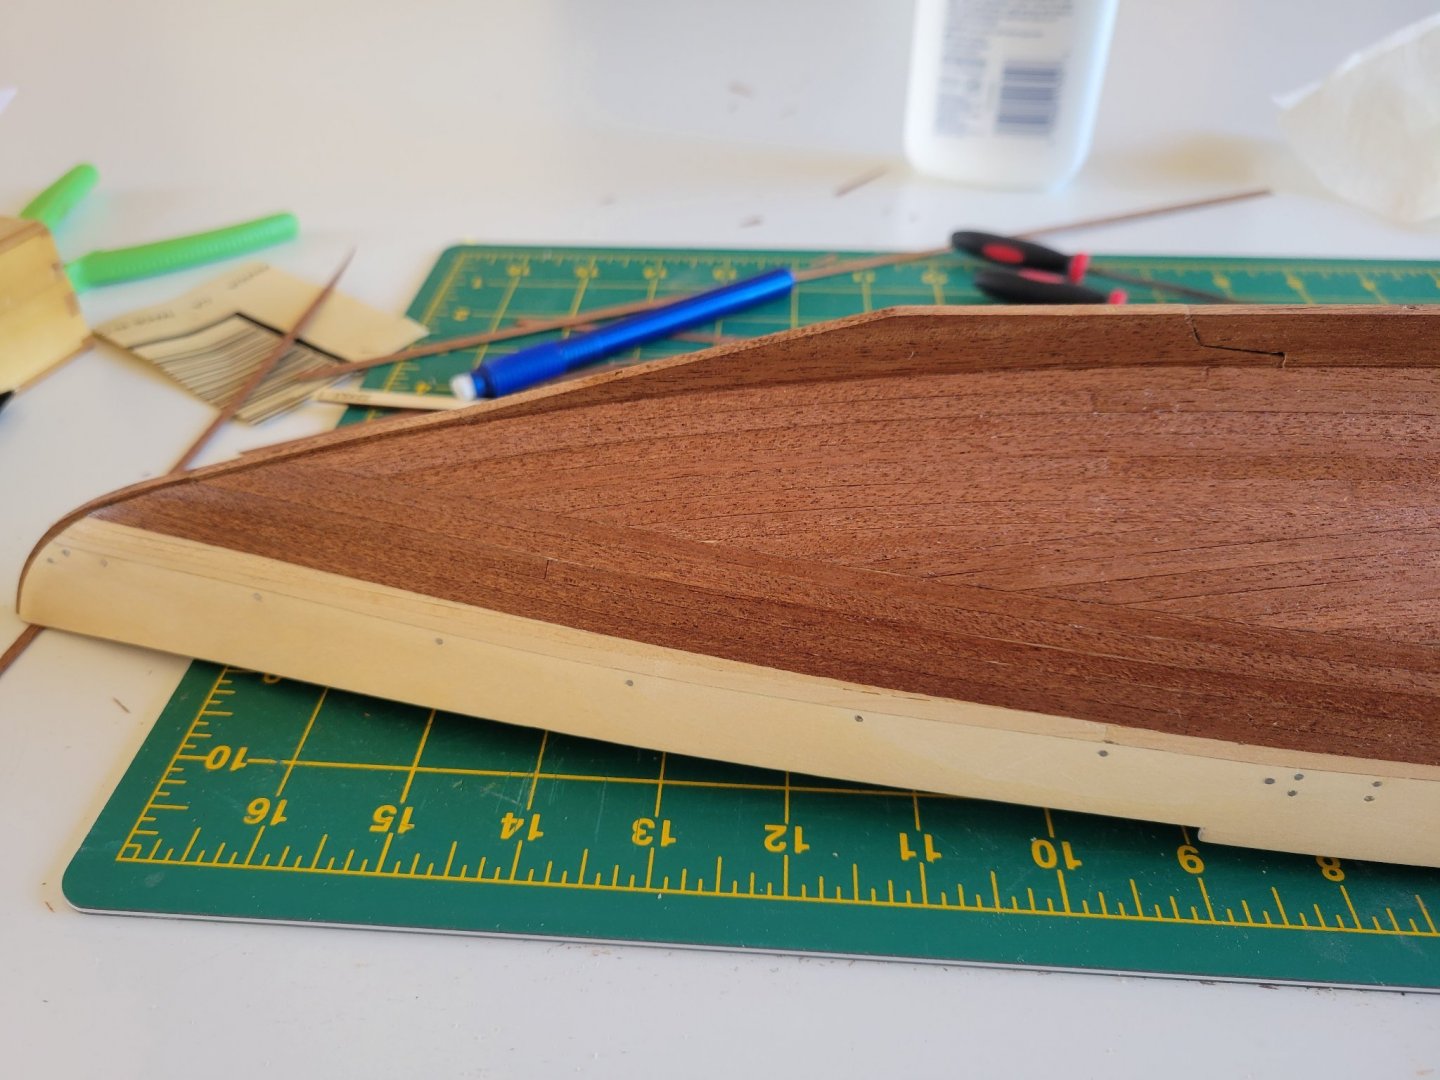
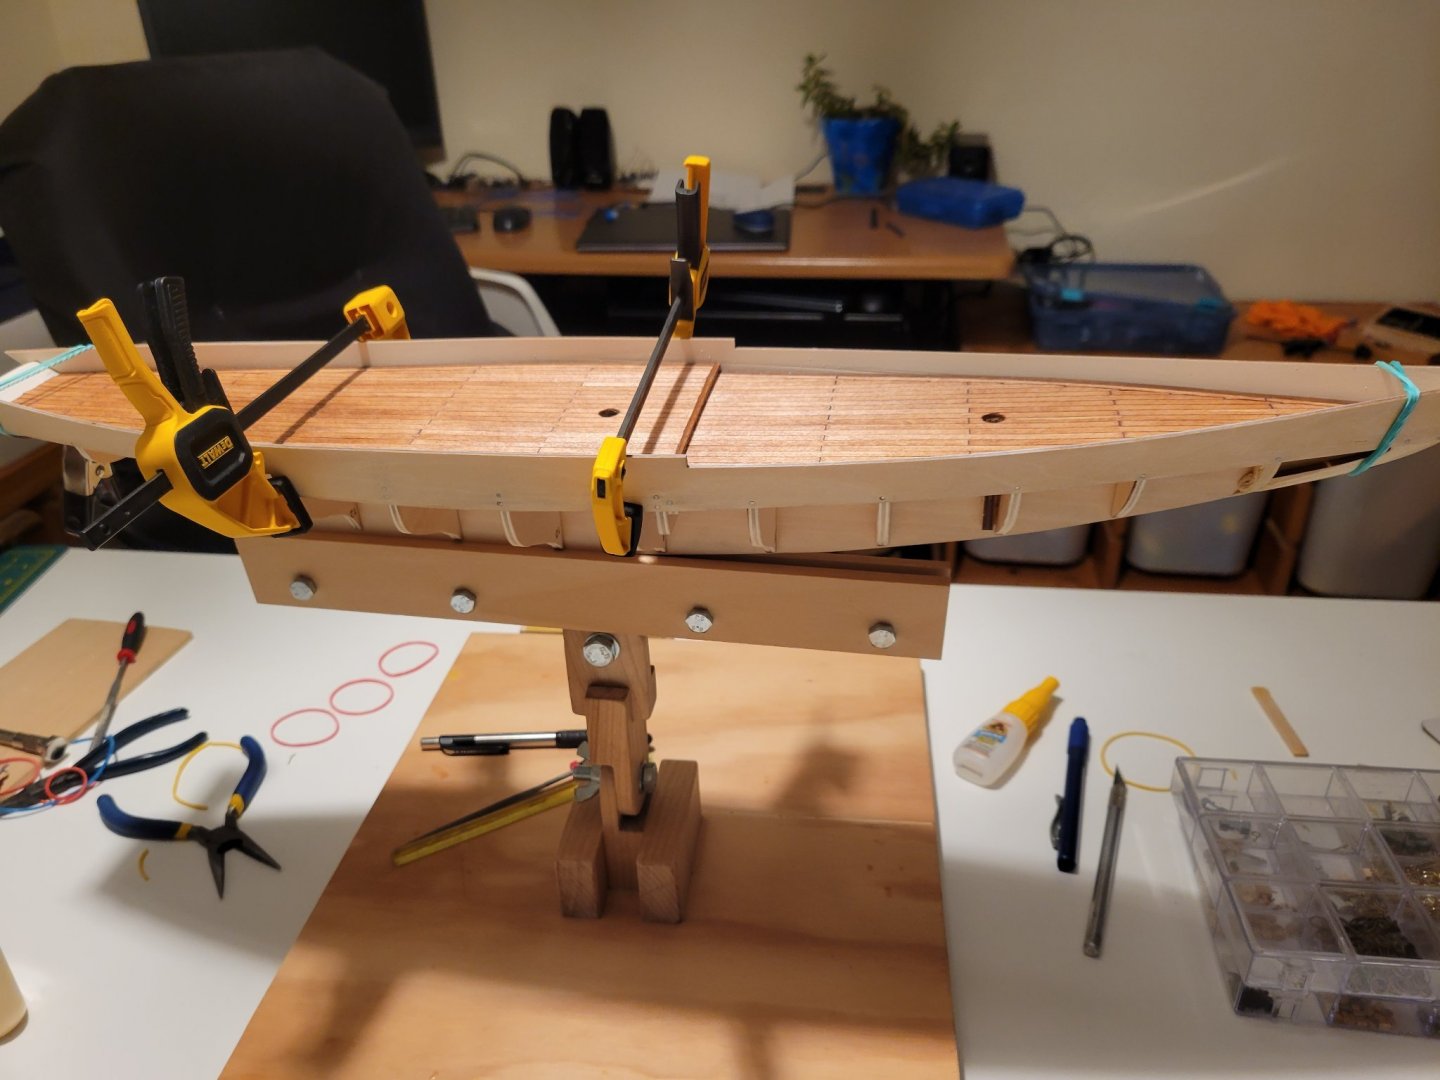
Getting back to the log. Finally finished planking. Almost good enough to single plank but I like the walnut look so going double. Lots of sanding/shaping on first plank layer. Decide I am going to place the keel before the second layer (or at least lay as I go. I like the look of the second plank layer slightly overlapping the keel. Gives a more finished look without the gaps. I also took an idea from someone elses log and am heat setting the second layer as I lay each plank. Don't need to buy anything special though. Just an old wood burner with a shading tip and then an extention cord with a pigtail/dimmer to reduce the wood burner to just enough heat without burning. It's working real well to get the last little bend/curve at the bow.


- 84 replies
-
- 5
-
-
- Artesania Latina
- Bluenose II
- (and 1 more)
-
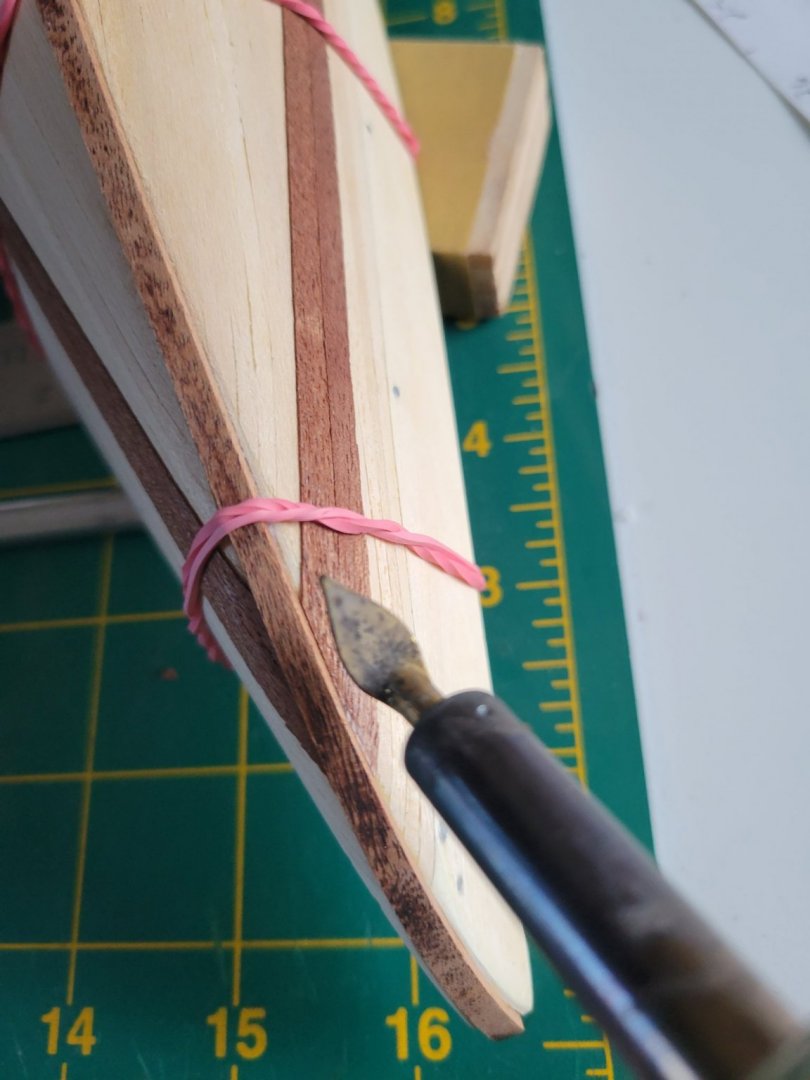
Bit by bit. A little more progress. I do like working with these smaller planks (don't even need a bender so far) but it will be a slow process.

- 84 replies
-
- 2
-
-
- Artesania Latina
- Bluenose II
- (and 1 more)
-
Thanks Bob. Nice to see another local on here (I'm just up north in Loomis/Rocklin). I'd love to find some time to spend on one of these classics, so far most of my experience has been the "gunmetal gray" of the navy. By the way, have you found any local model clubs yet (I've only seen the rc groups up here)?
-
Bulwark set. Staring the rear Bulwark planks.

- 84 replies
-
- 1
-
-
- Artesania Latina
- Bluenose II
- (and 1 more)
-
Thanks. Last kit I sped through the deck. Tried to take a little more time on this one.
-
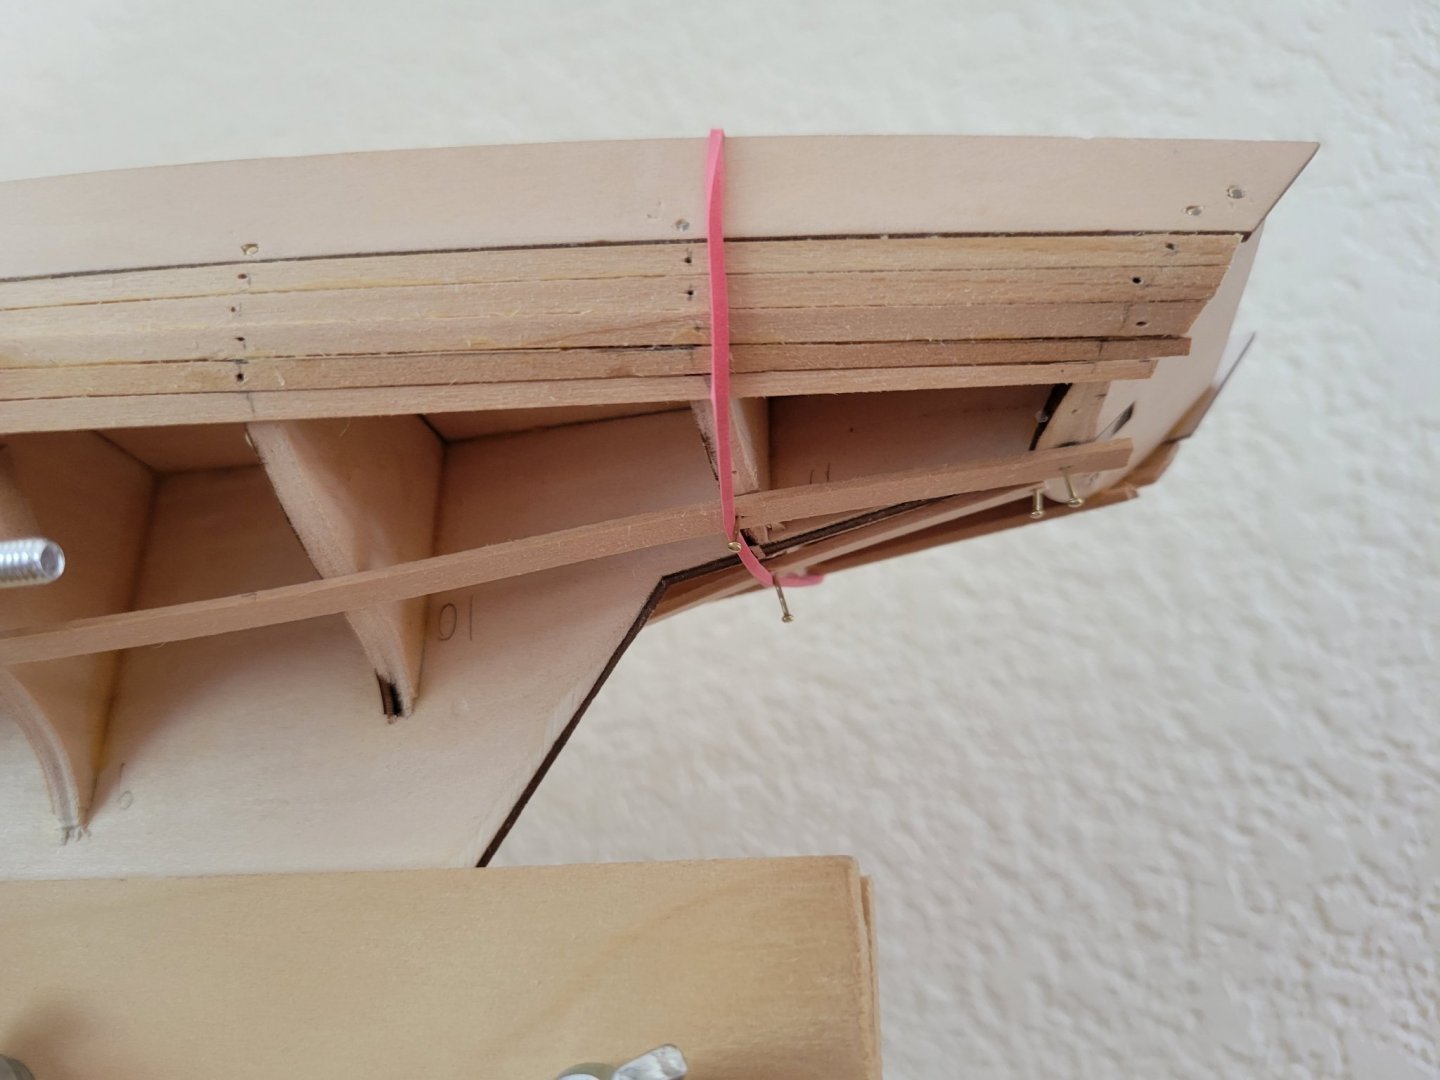
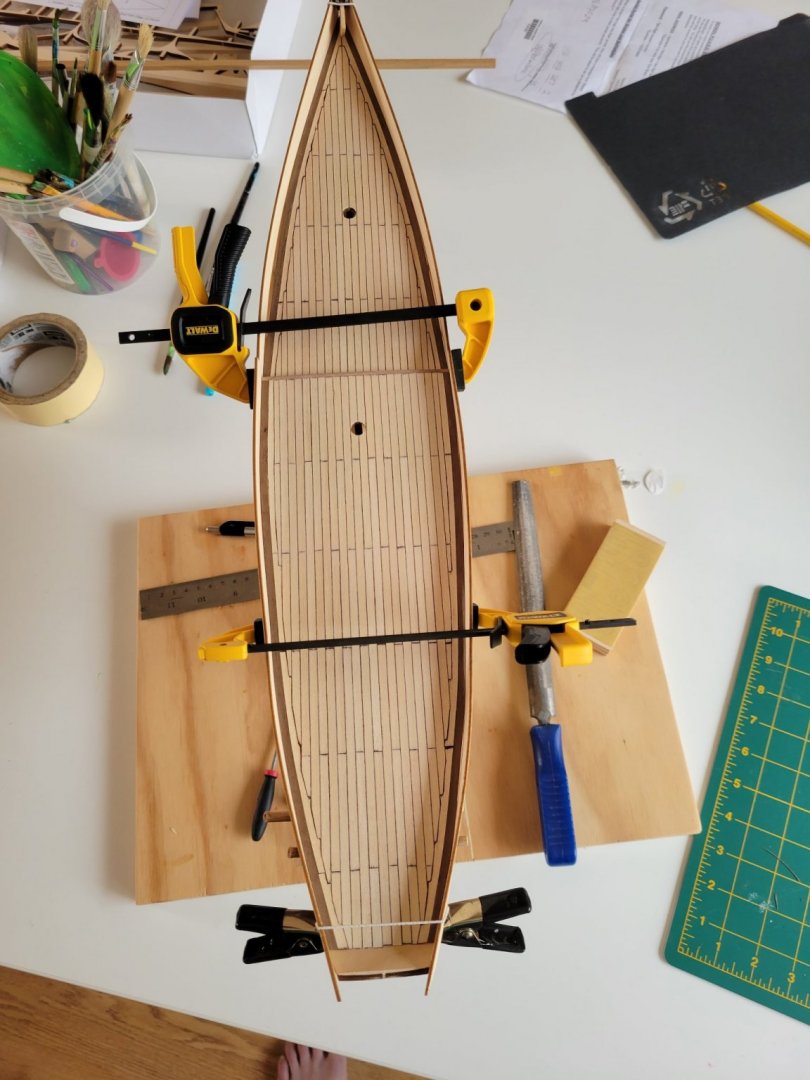
Deck stained. Adding bulwark. One side is glued and nailed. Other side naturally bending the wrong direction so letting it sit a while in clamps so less stress when gluing.
- 84 replies
-
- 2
-
-
- Artesania Latina
- Bluenose II
- (and 1 more)
-
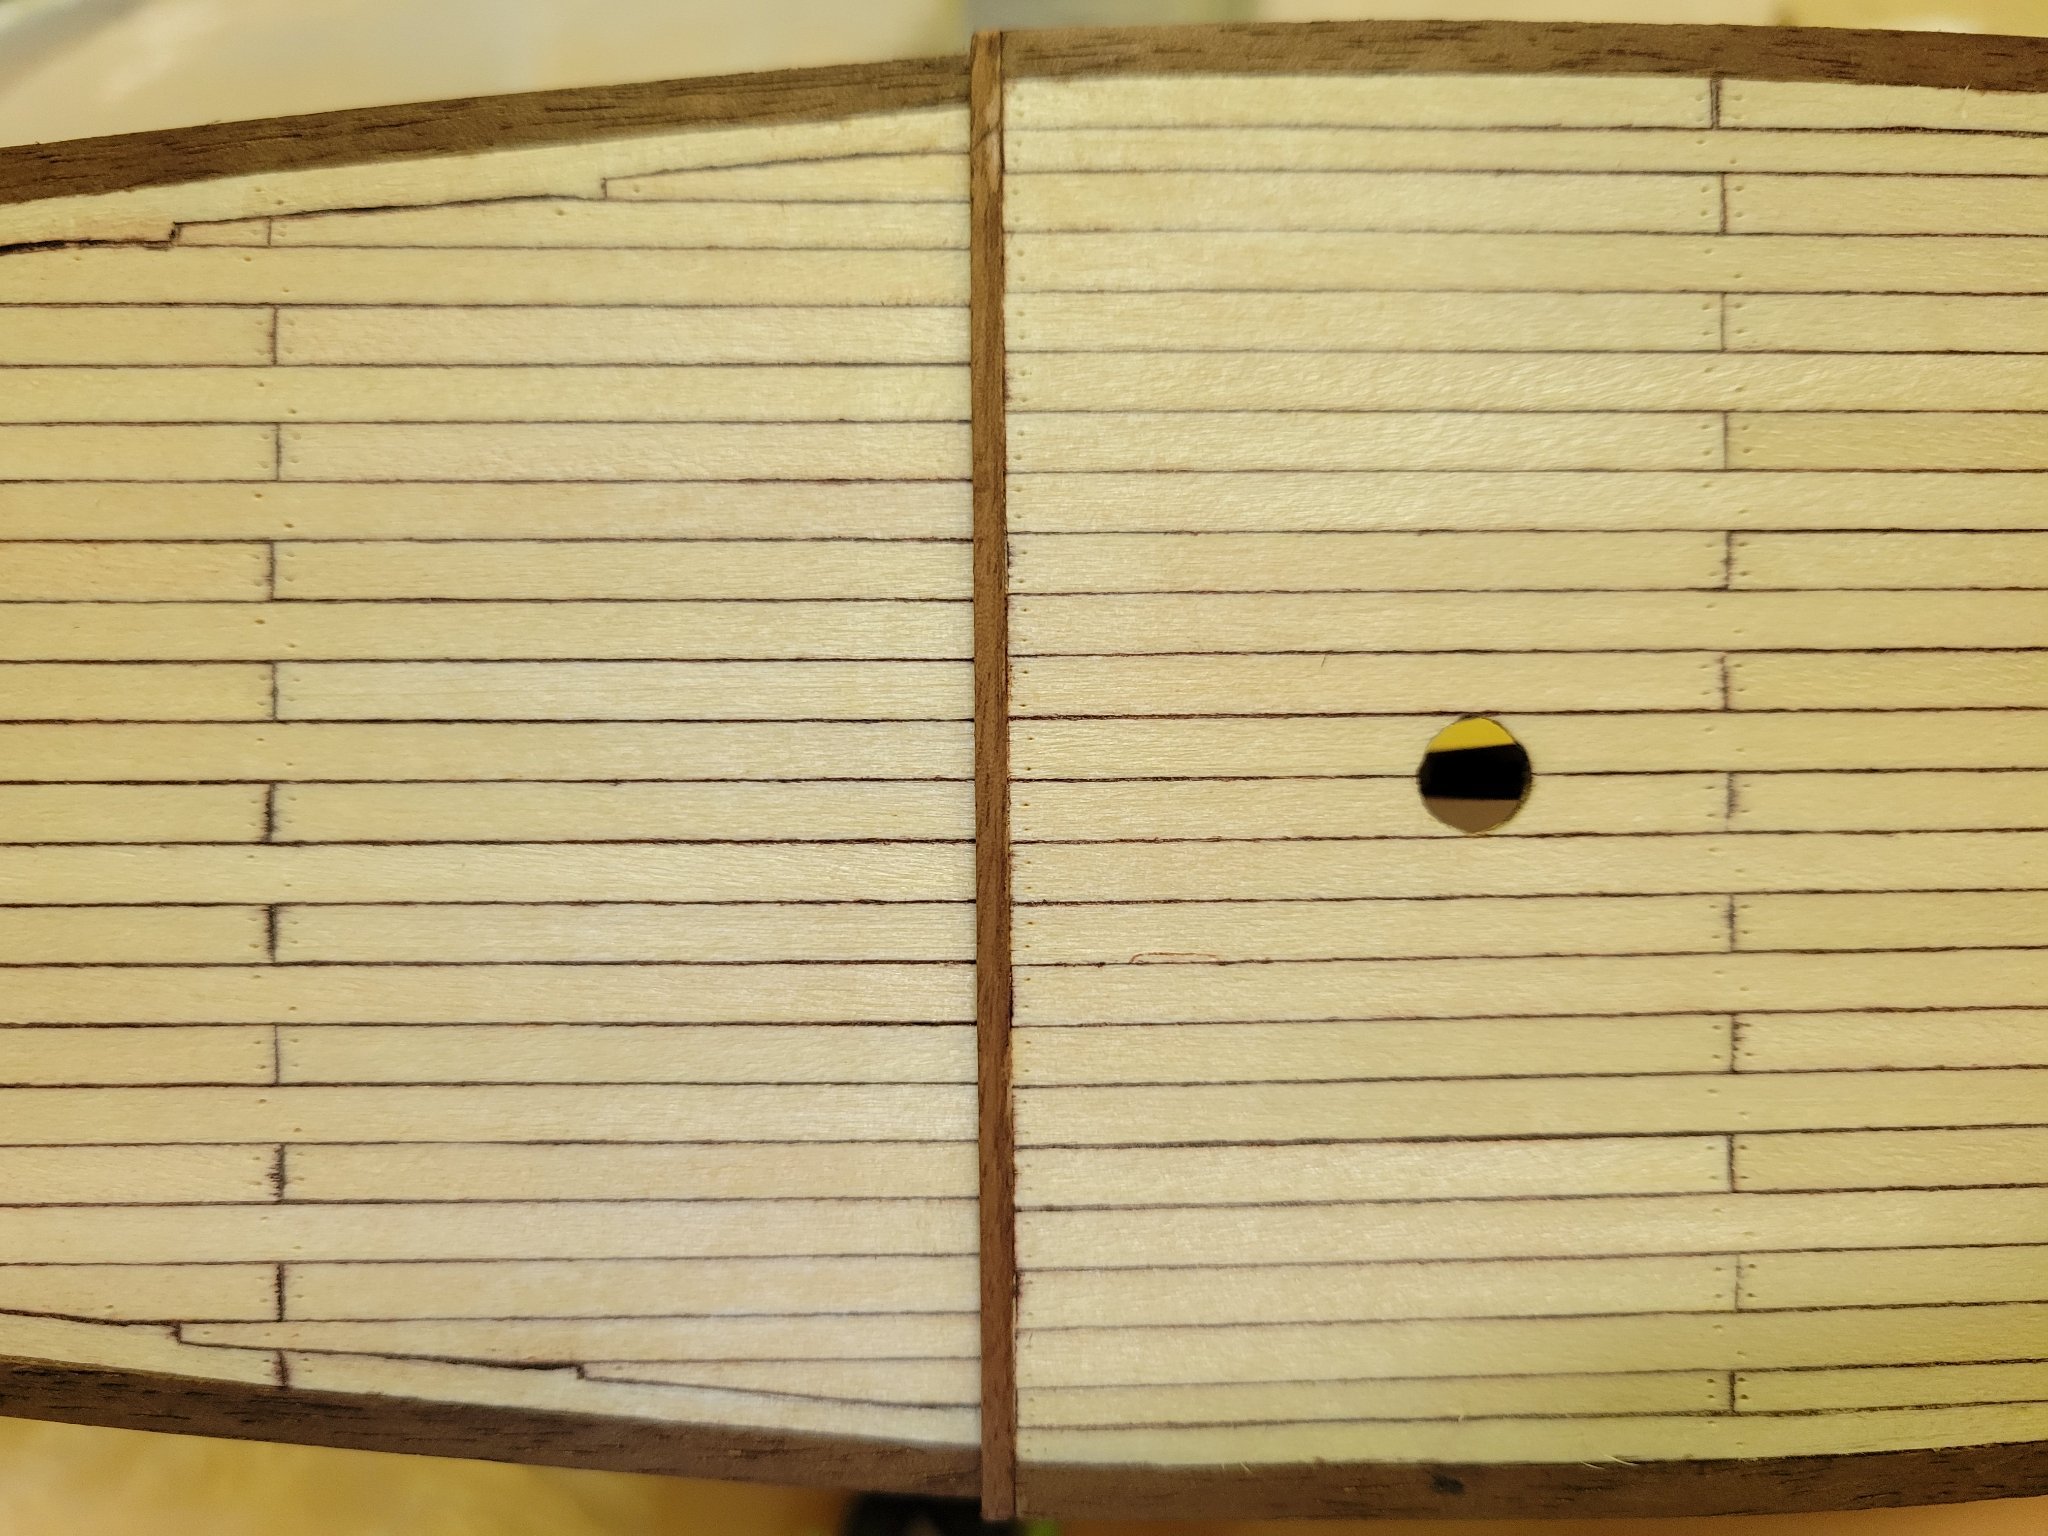
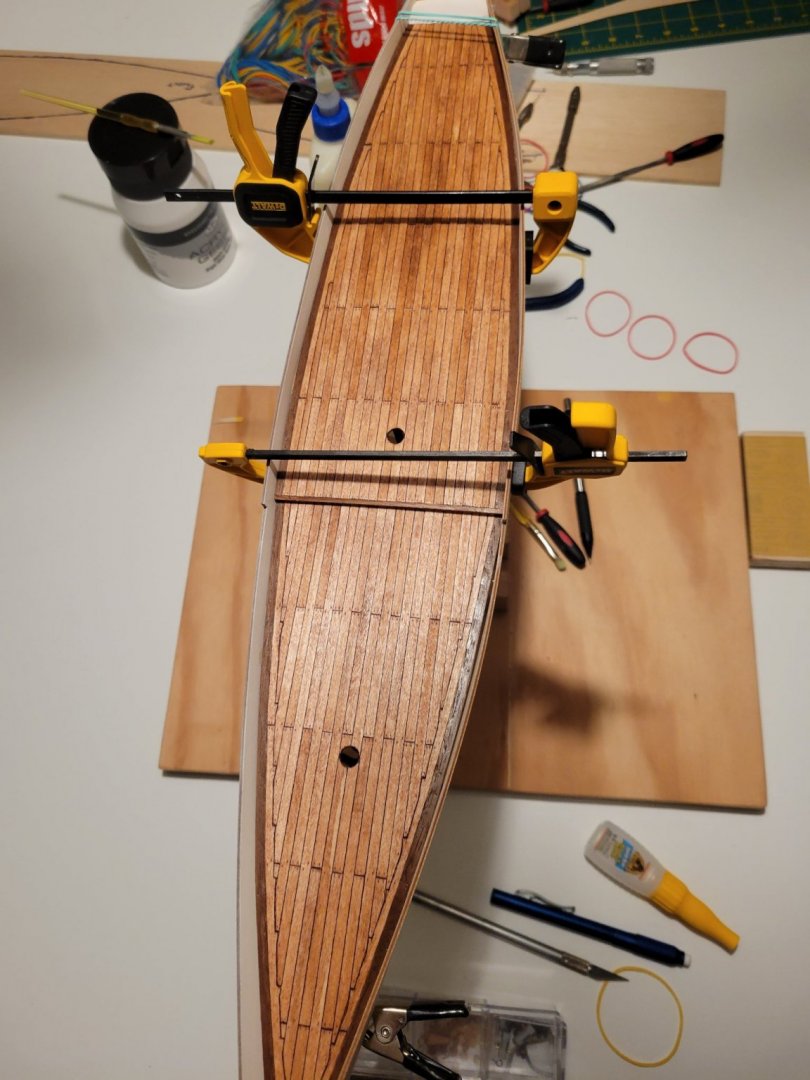
Decided to go with walnut stain on the walnut. Adds just a little darkness without over doing it. Using a sharp punch to create hole for treenails. Planningon a light stain of cherry on the deck. The stain should pool in the holes to create just enough emphasis on treenails.

-
Time to start thinking about paint. Don't have an airbrush anymore so trying to decide whether I should attempt brush paint or maybe something like the small Tamiya spray cans.
-
Soaked the bulwark and letting them sit a few days with light clamping in hopes of getting a more natural camber to the wood to hopefully make it easier when it's time to actually assemble. (Ine actually had an "outward bend" when I first opened the package so hoping this will fix that.
- 84 replies
-
- 1
-
-
- Artesania Latina
- Bluenose II
- (and 1 more)
-
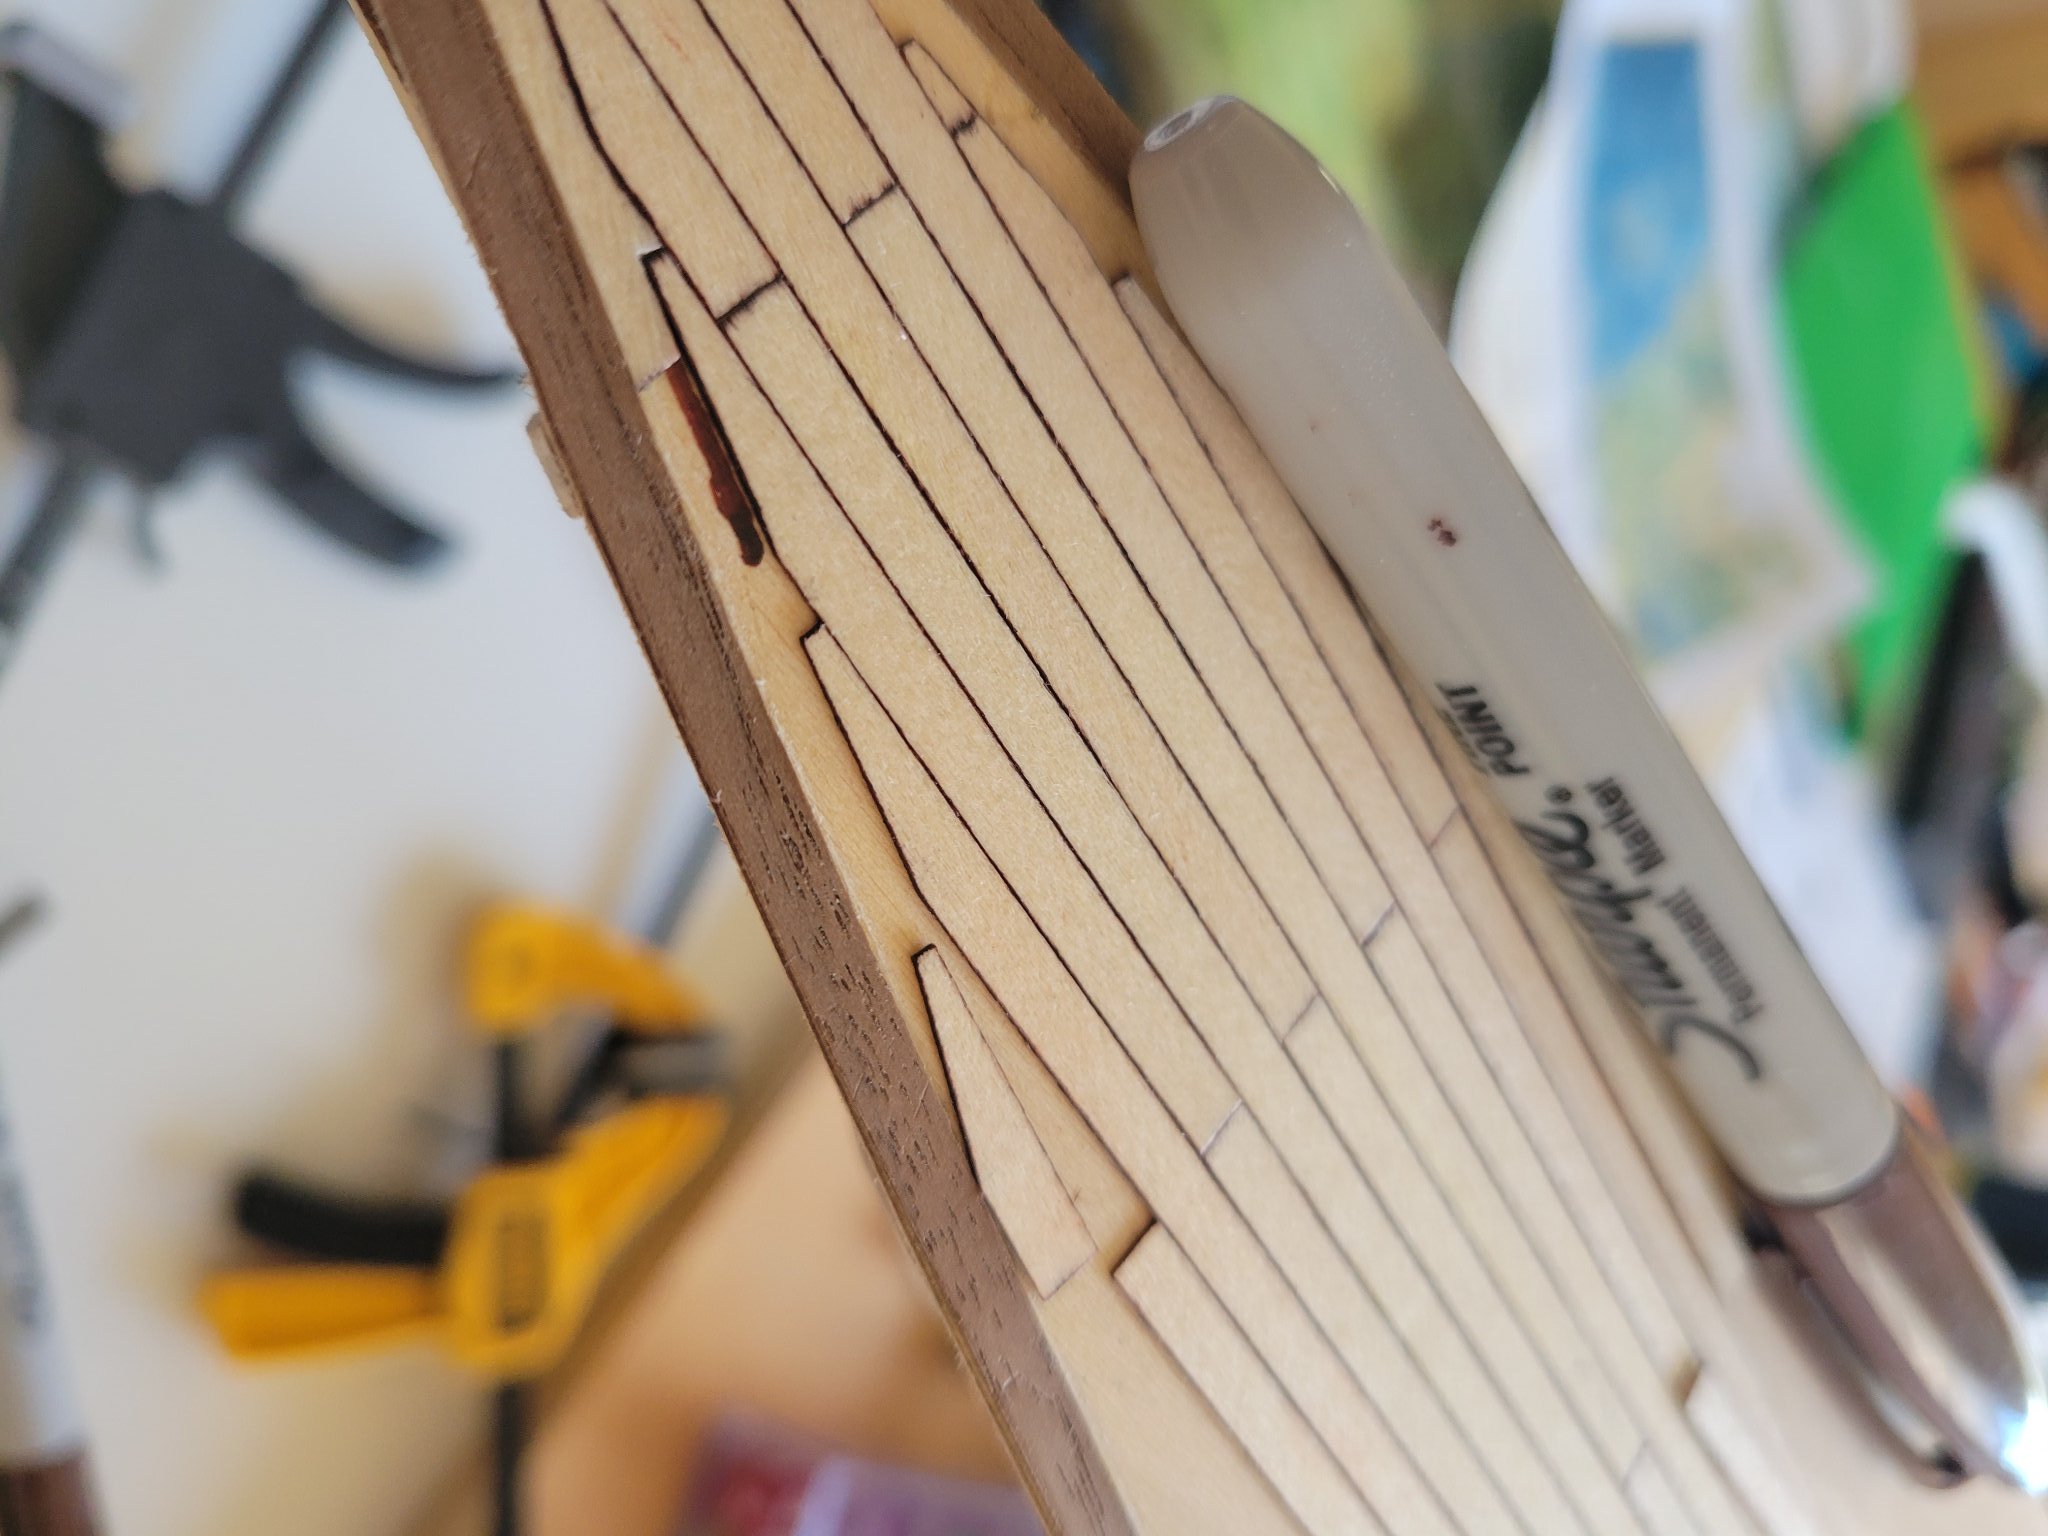
Brown sharpie along the edge of each piece. The Sharpe doesn't devolve when I put the finsh on and get the look that is crisp but not too crisp. Then anytime the I fubar and cut a cap a little large, I use the same marker on the plywood underneath before gluing and it blends pretty well. Hides my goofs!

-
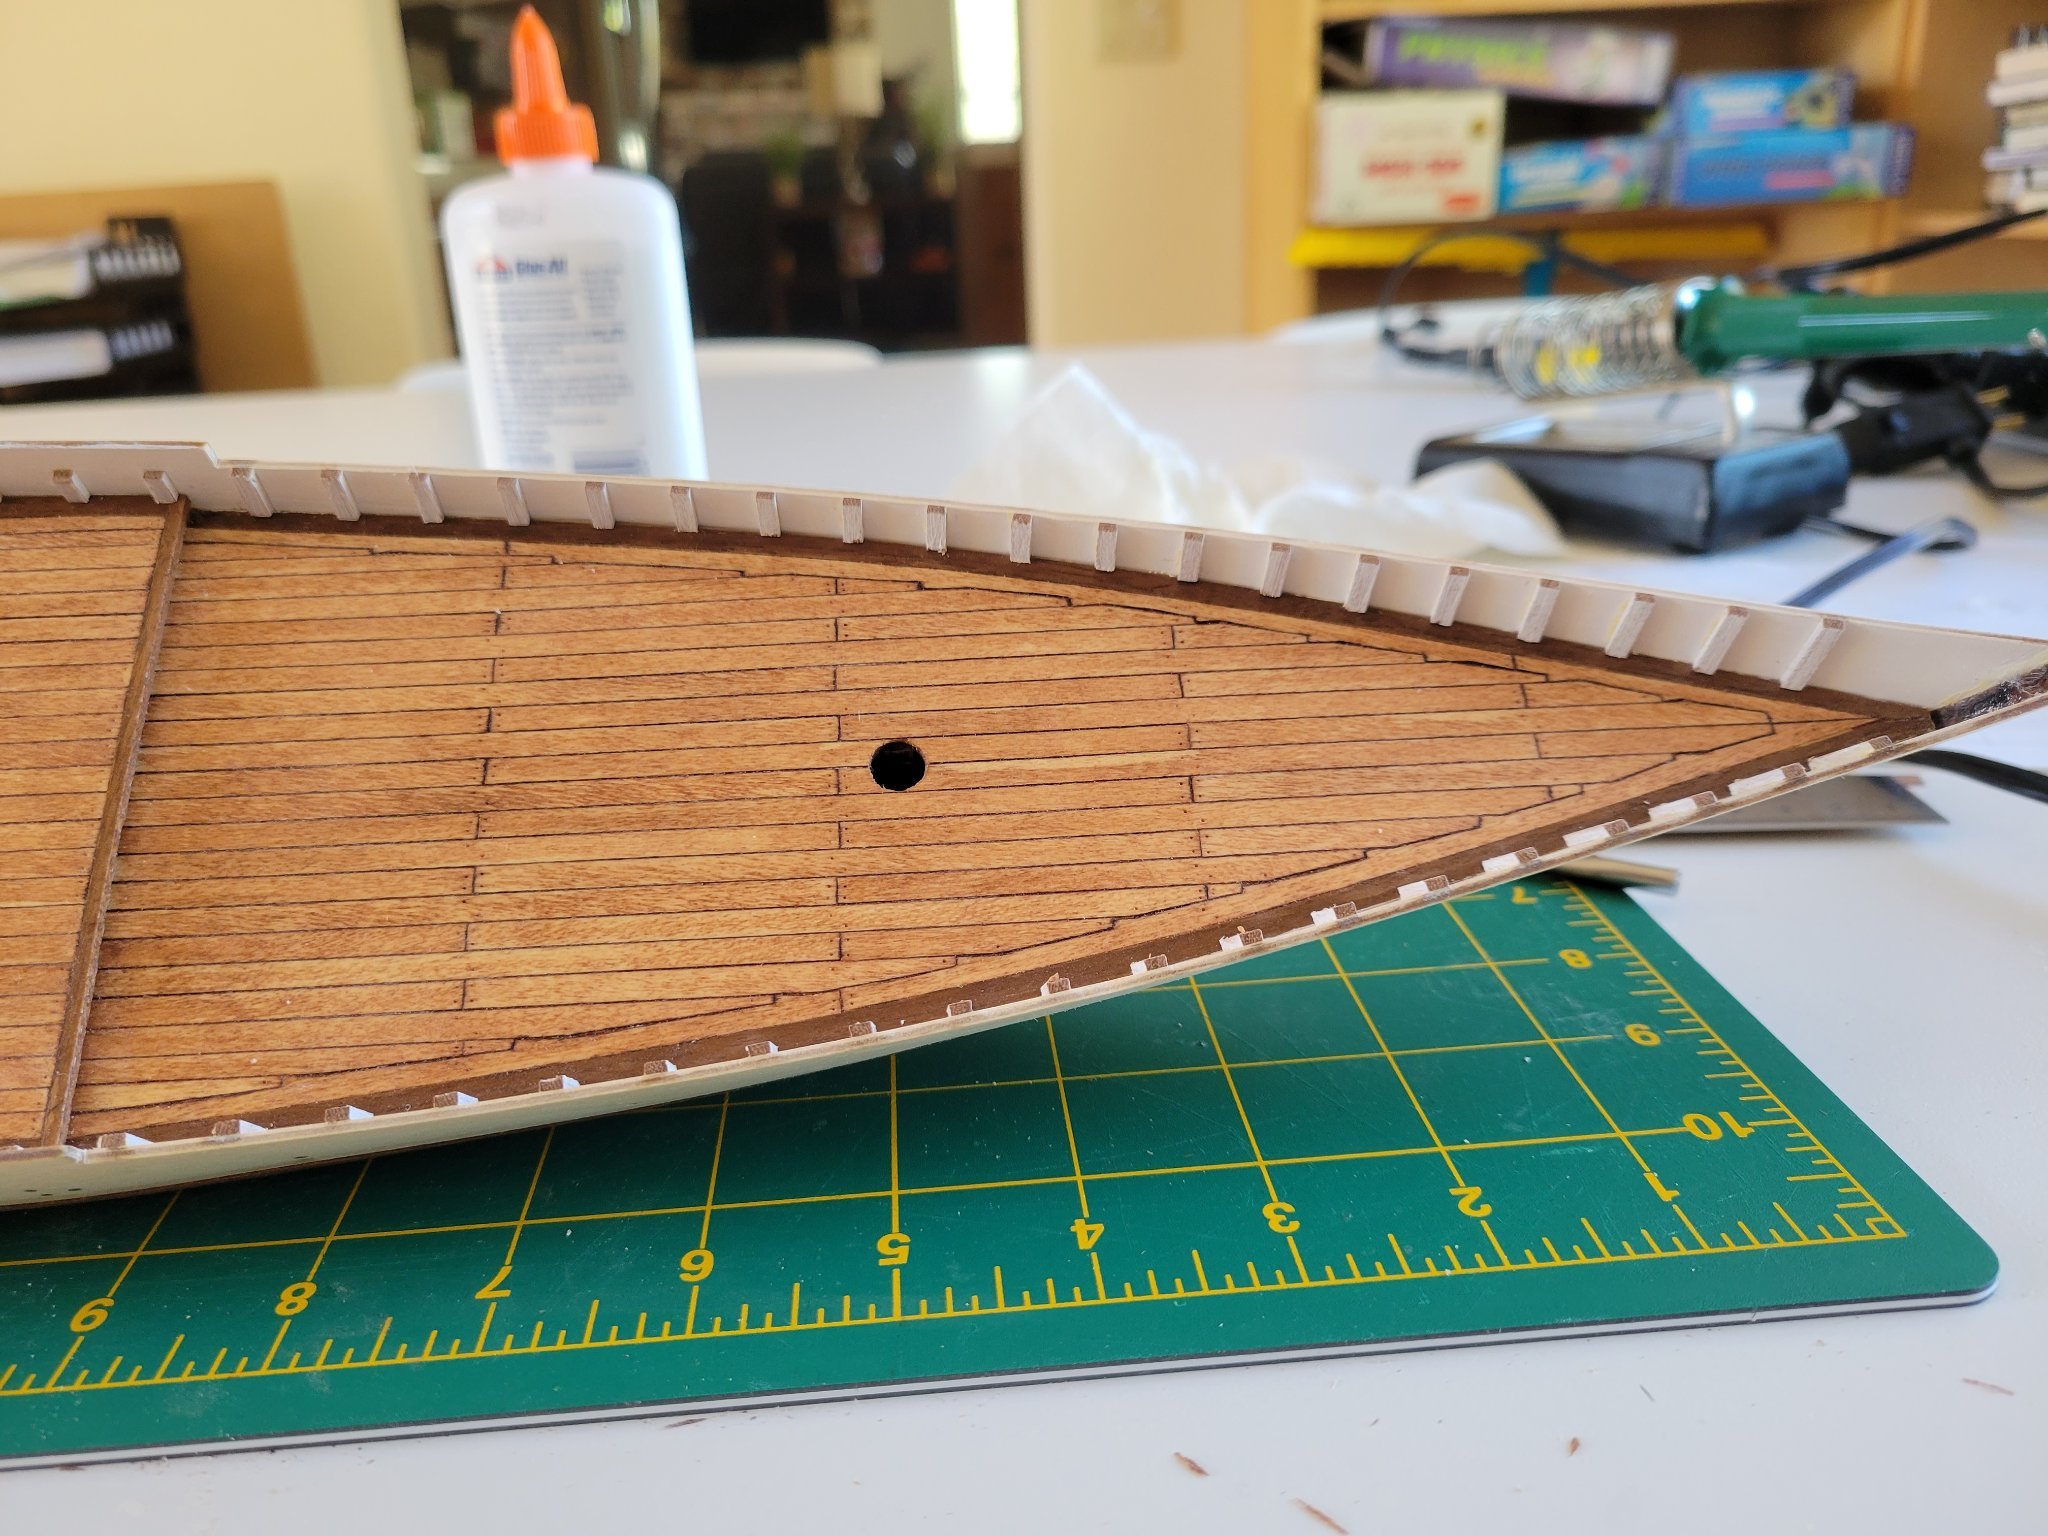
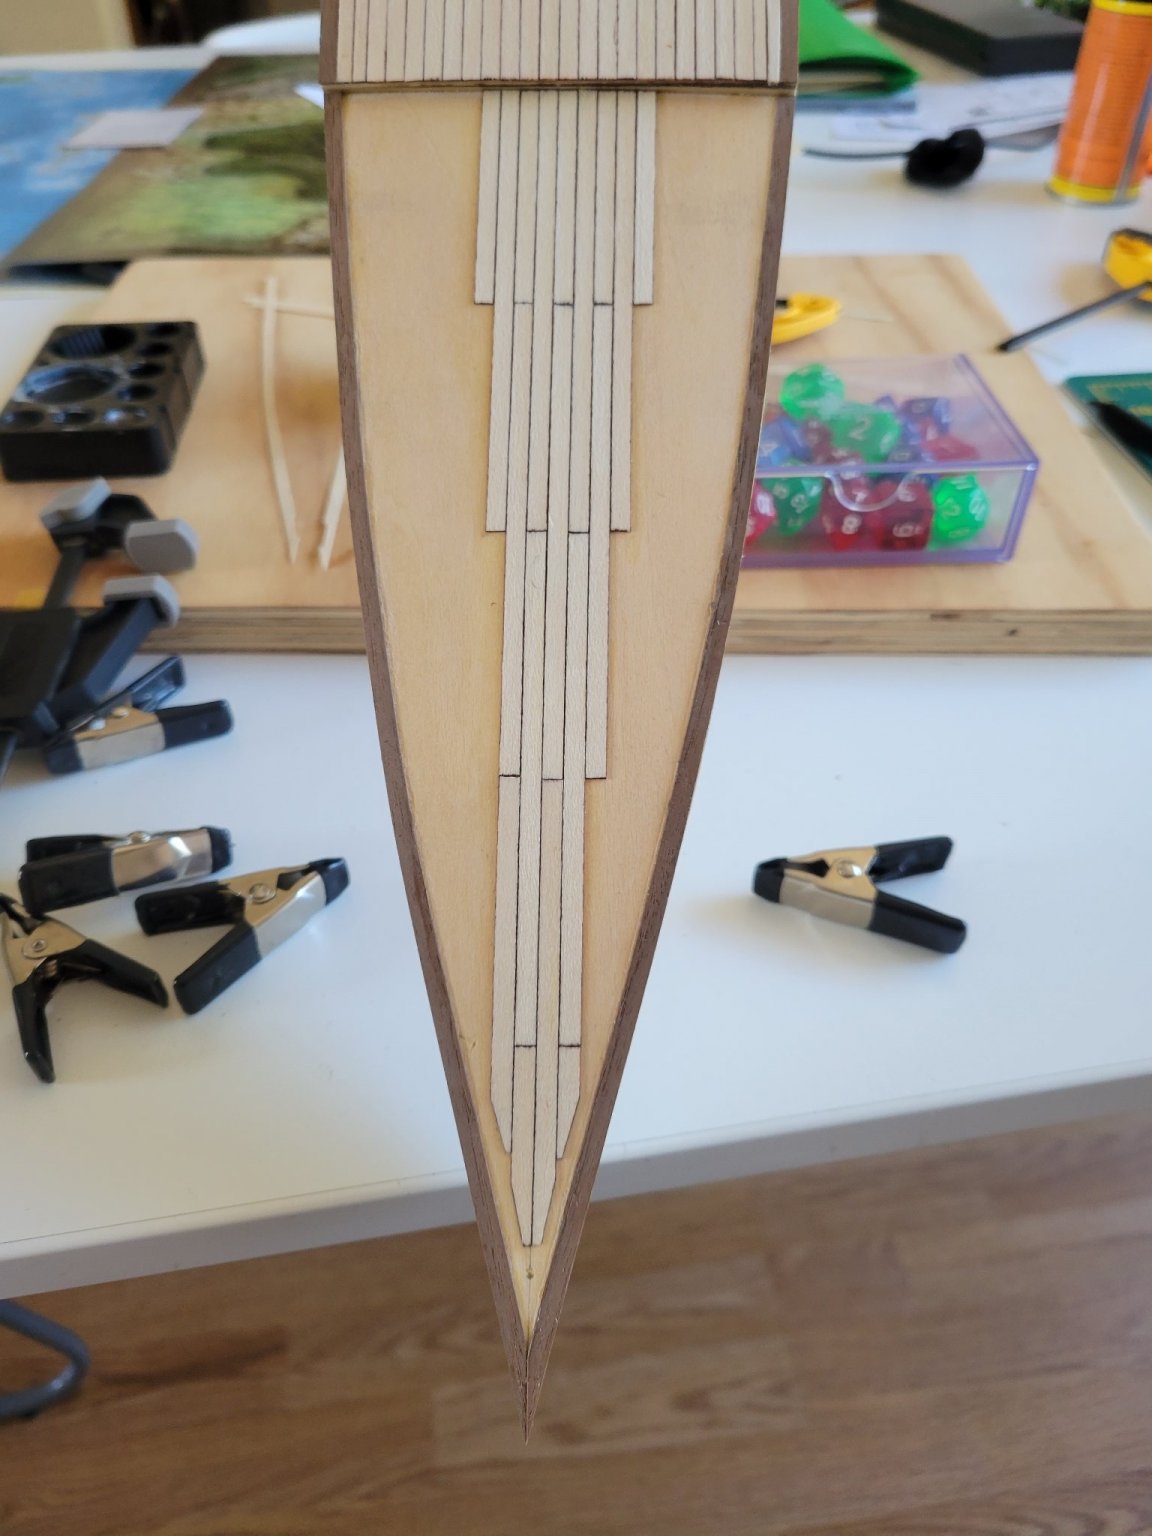
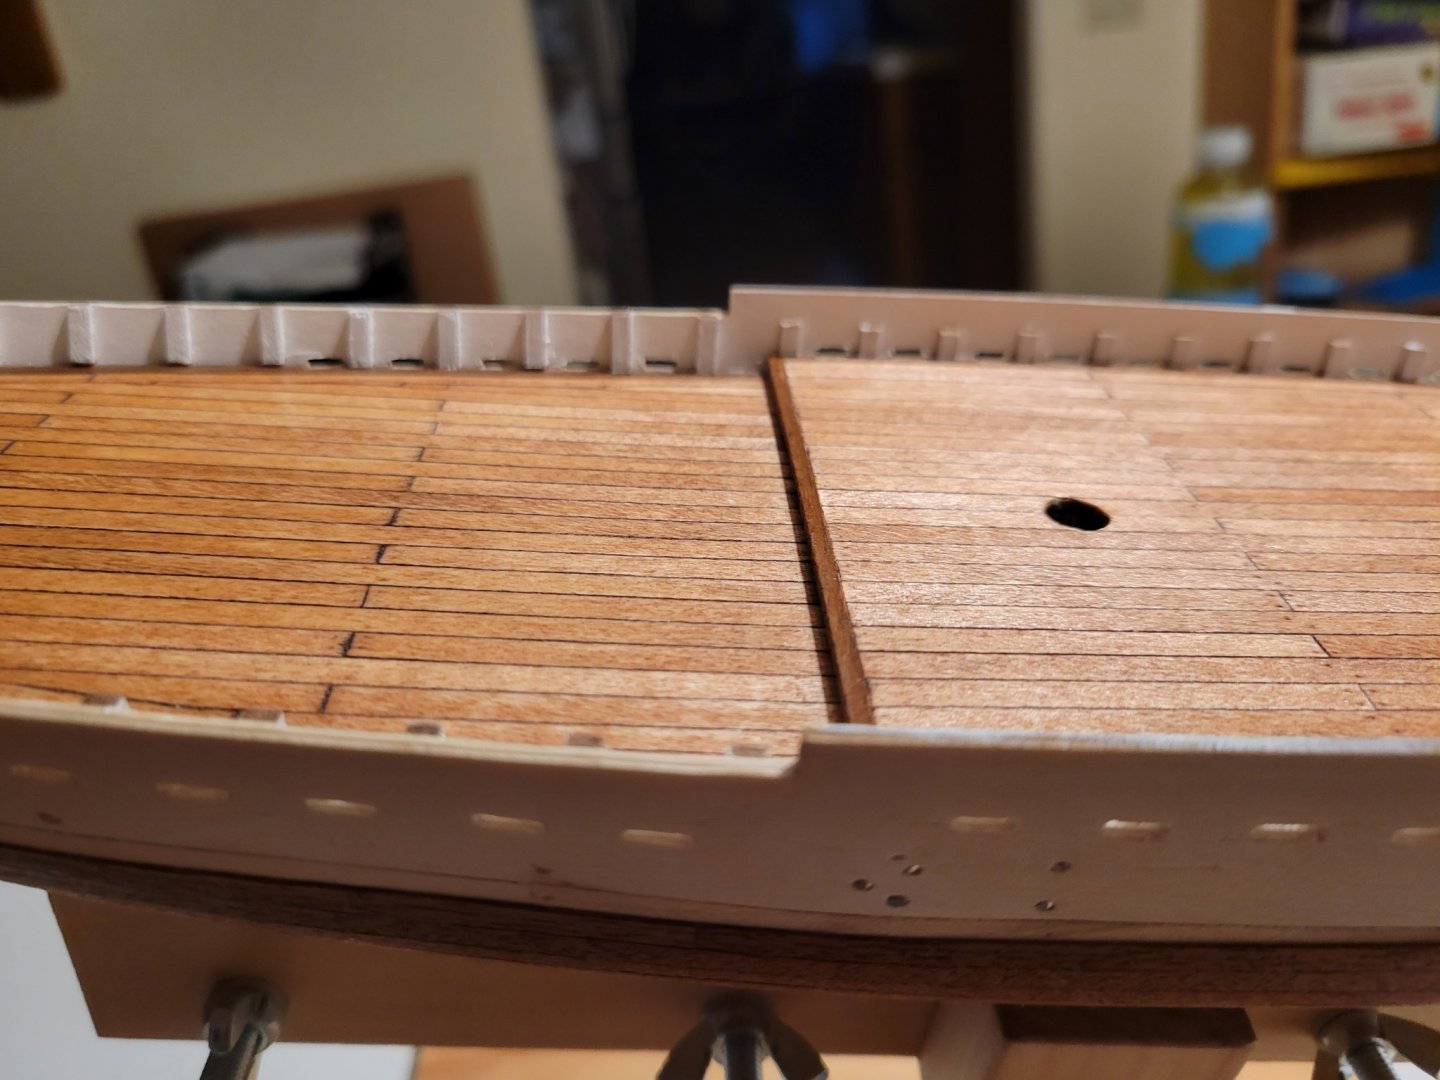
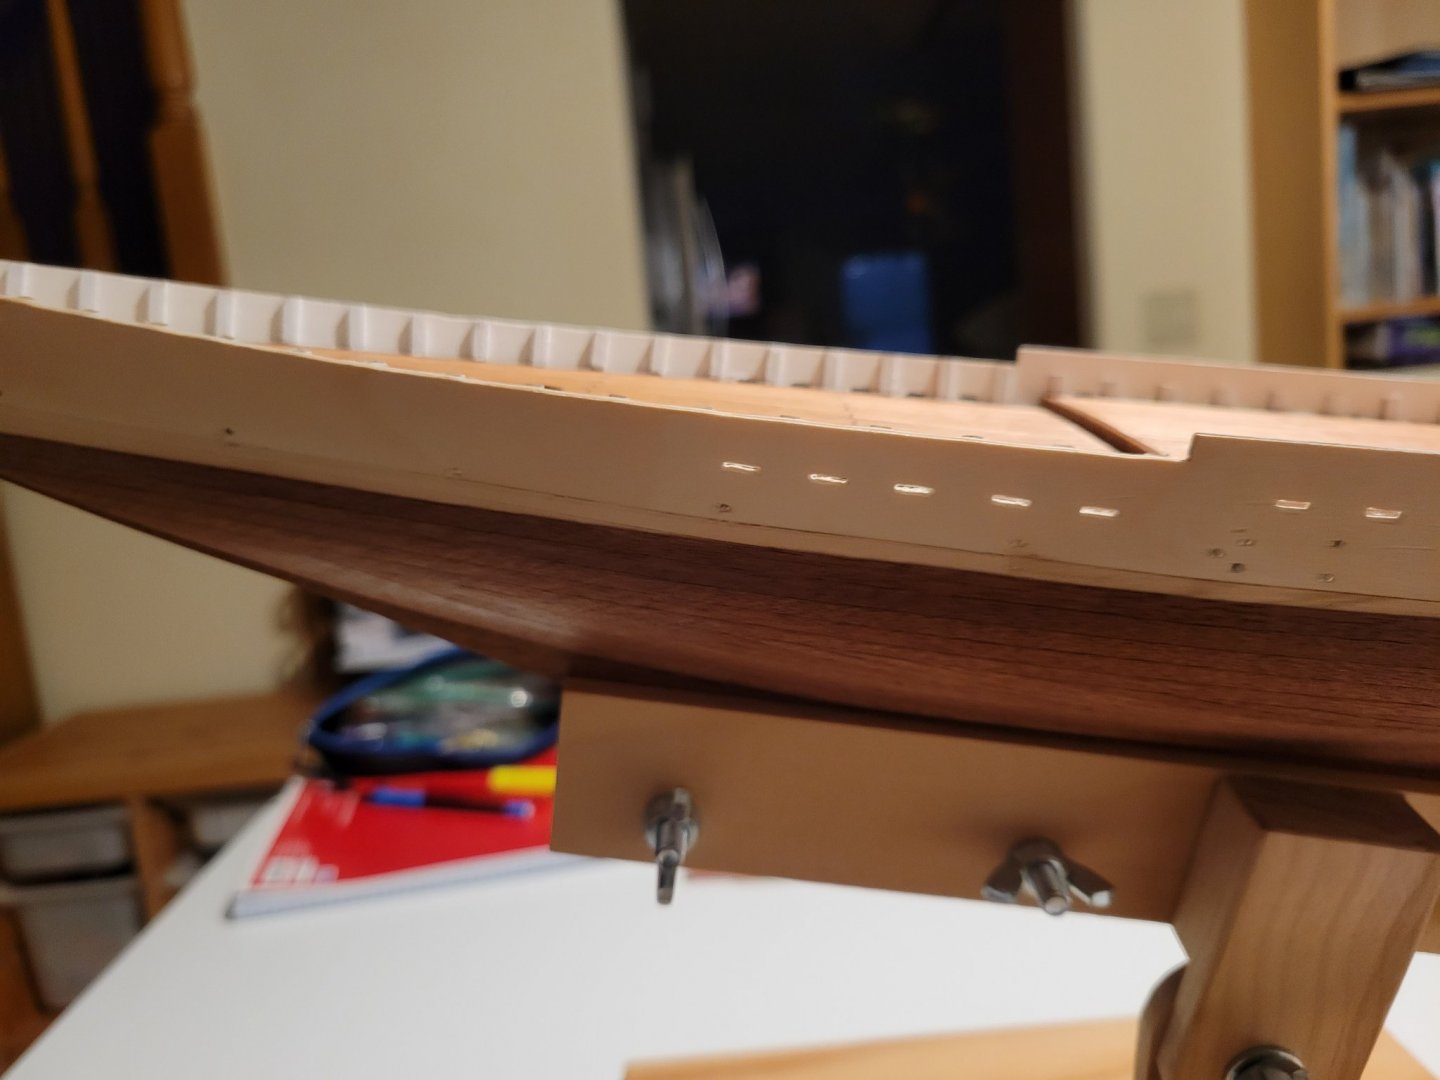
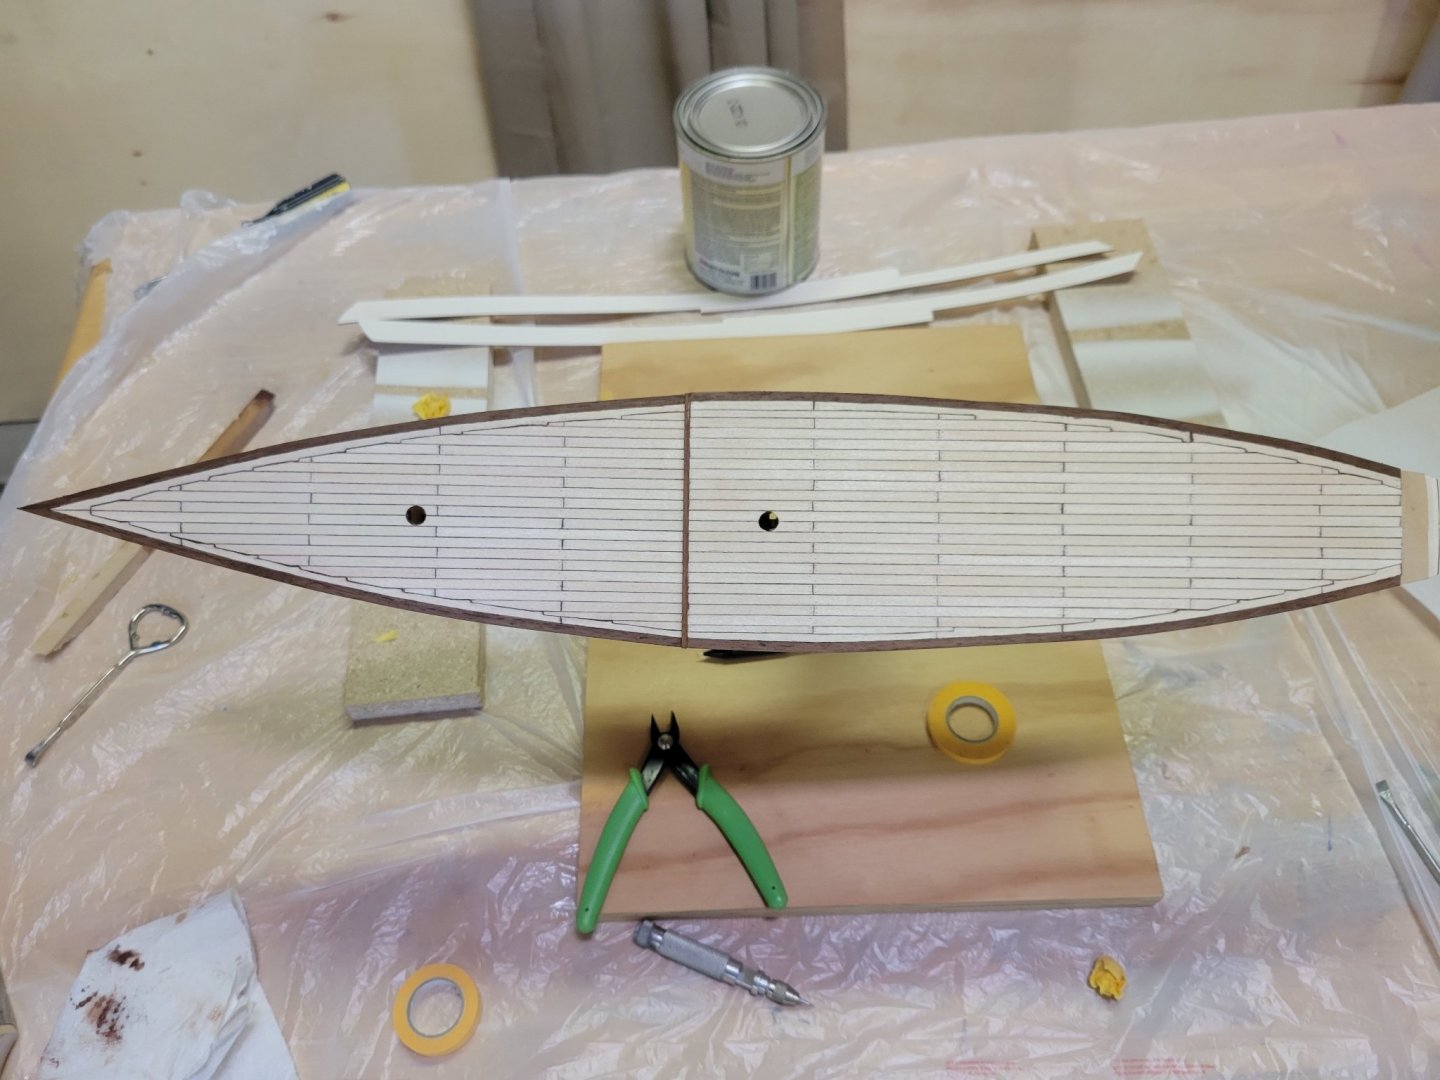
Initial waterways placed and staring to deck the stern. I'm trying the "individual board" approach this time to see how I like it. Going to take a bit more time thise way.

-
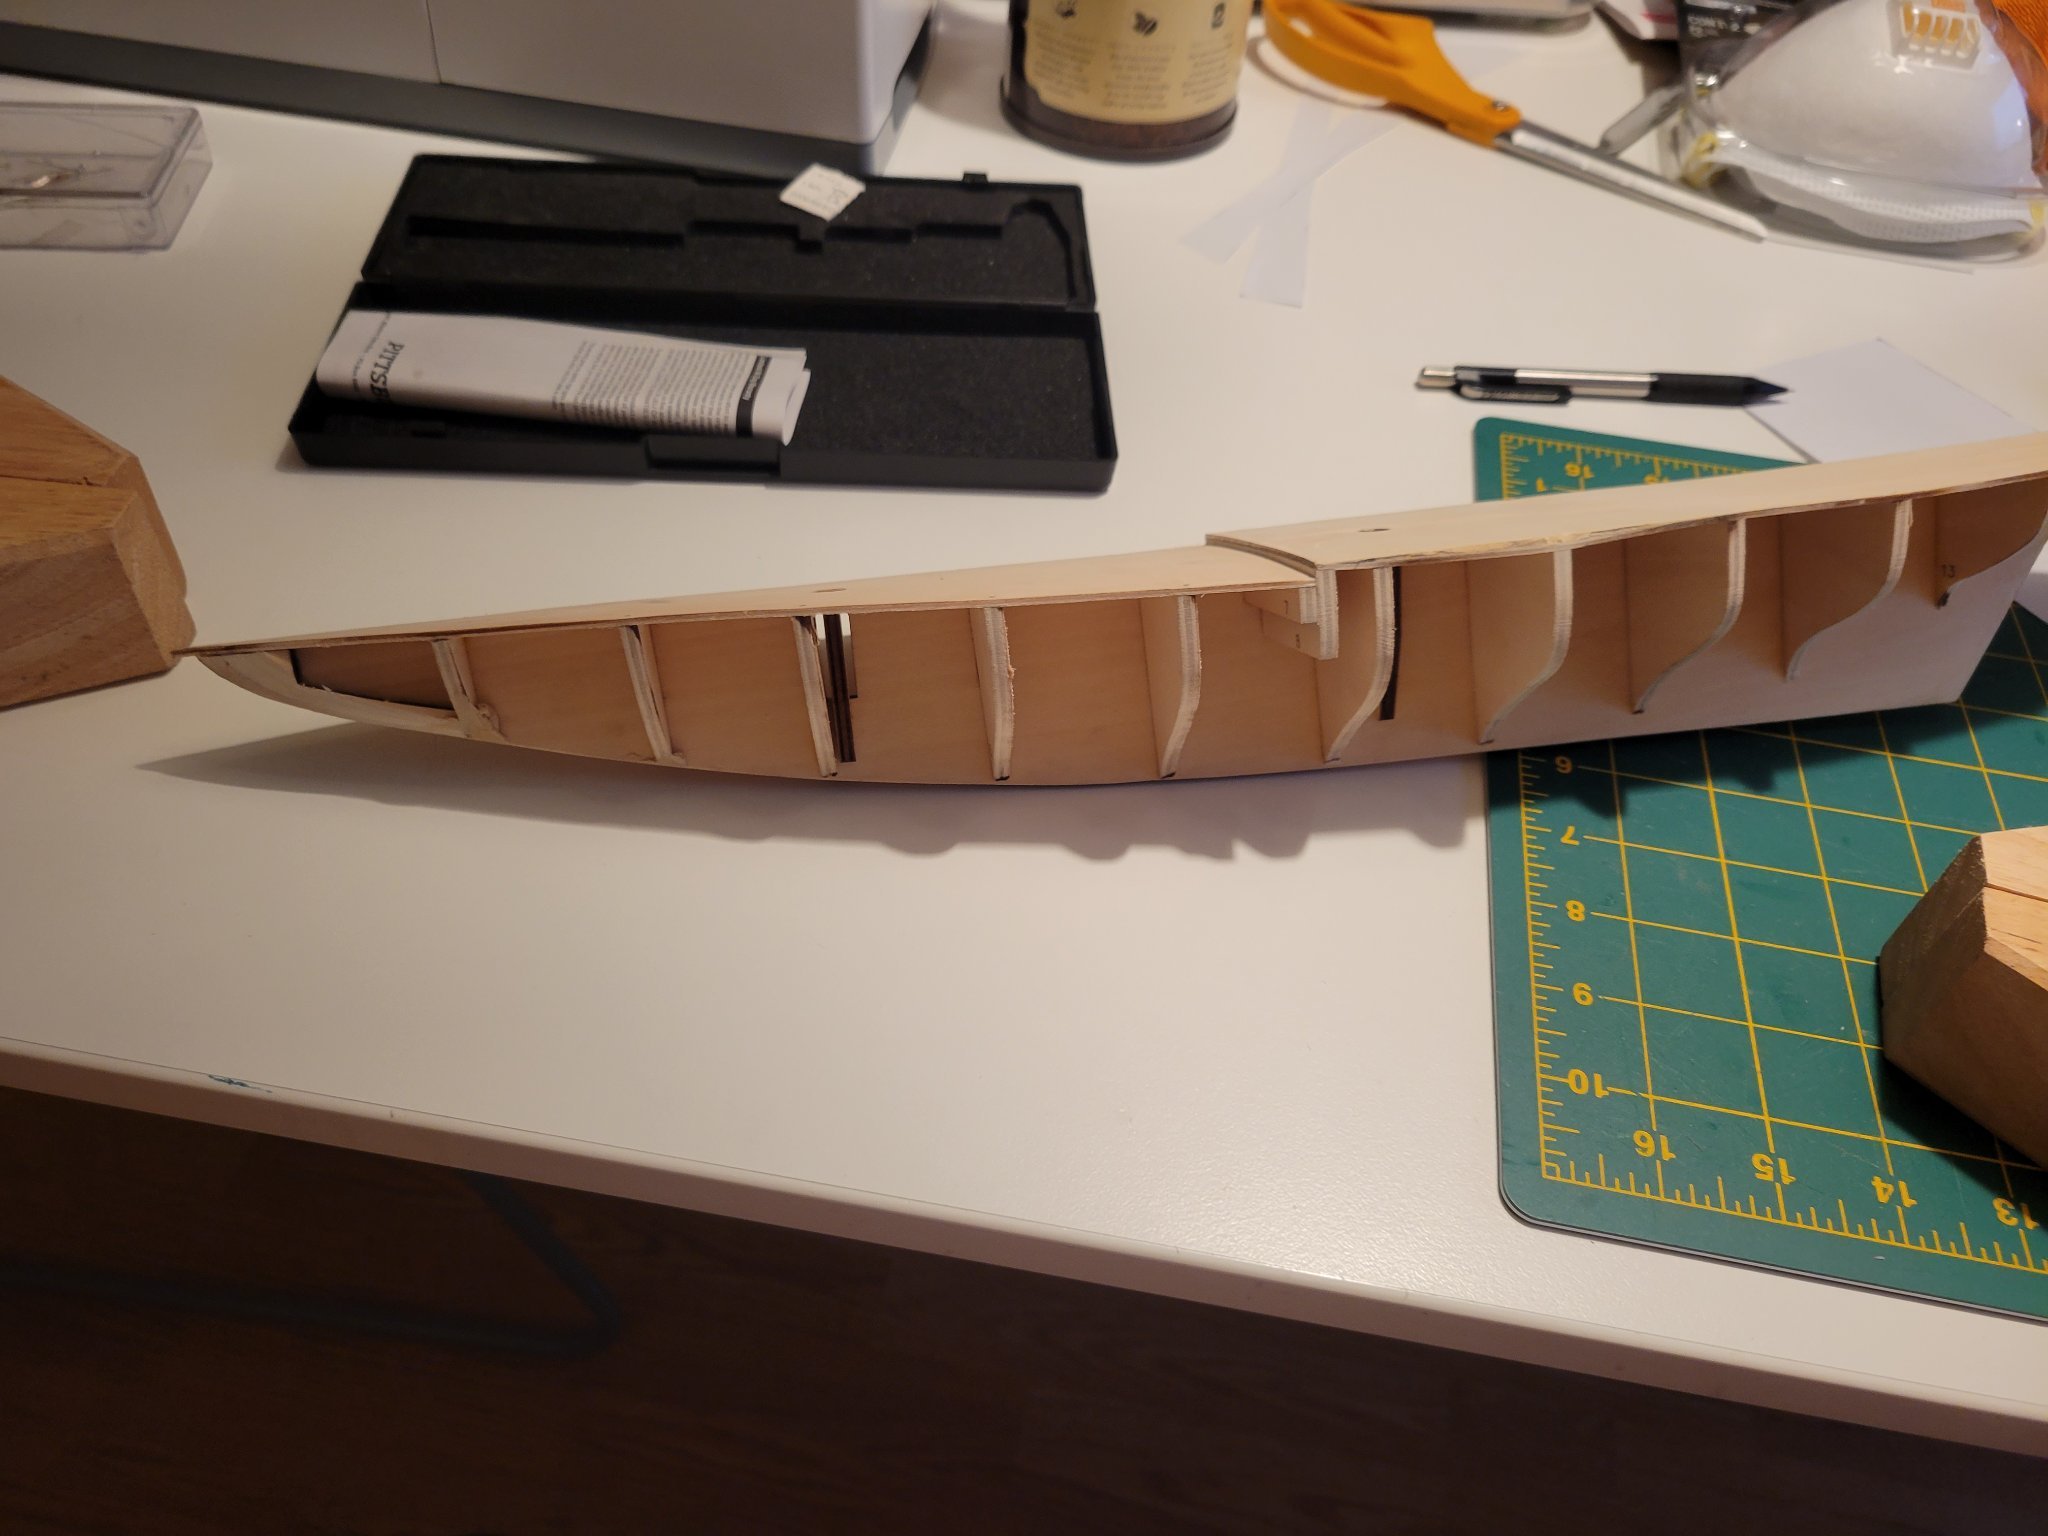
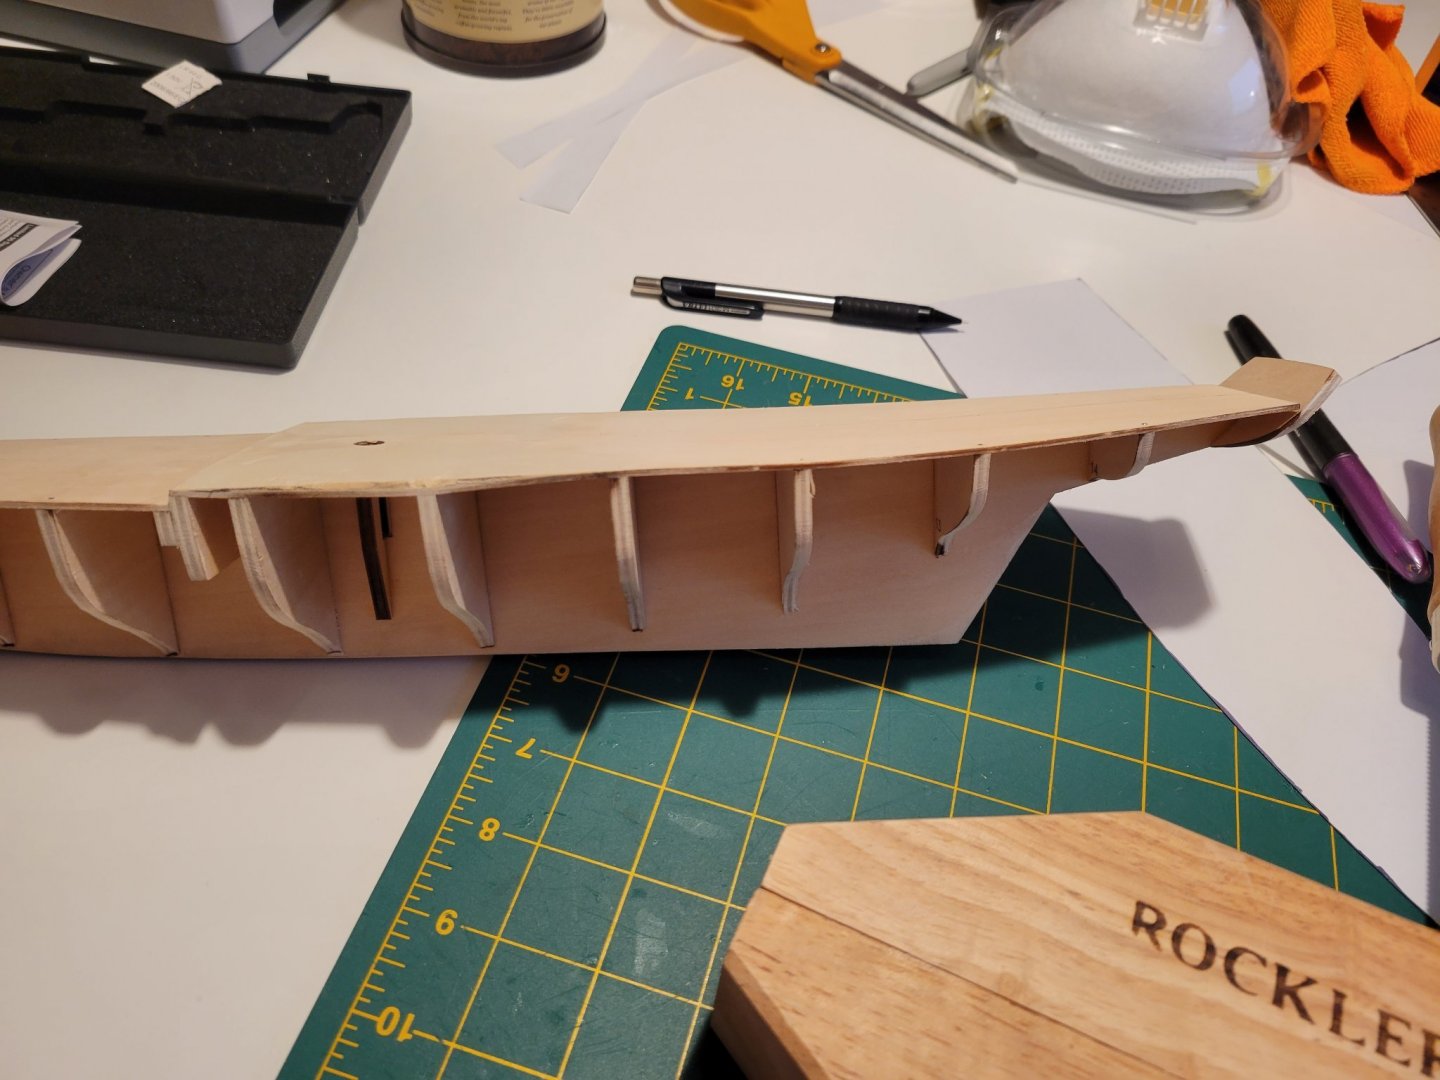
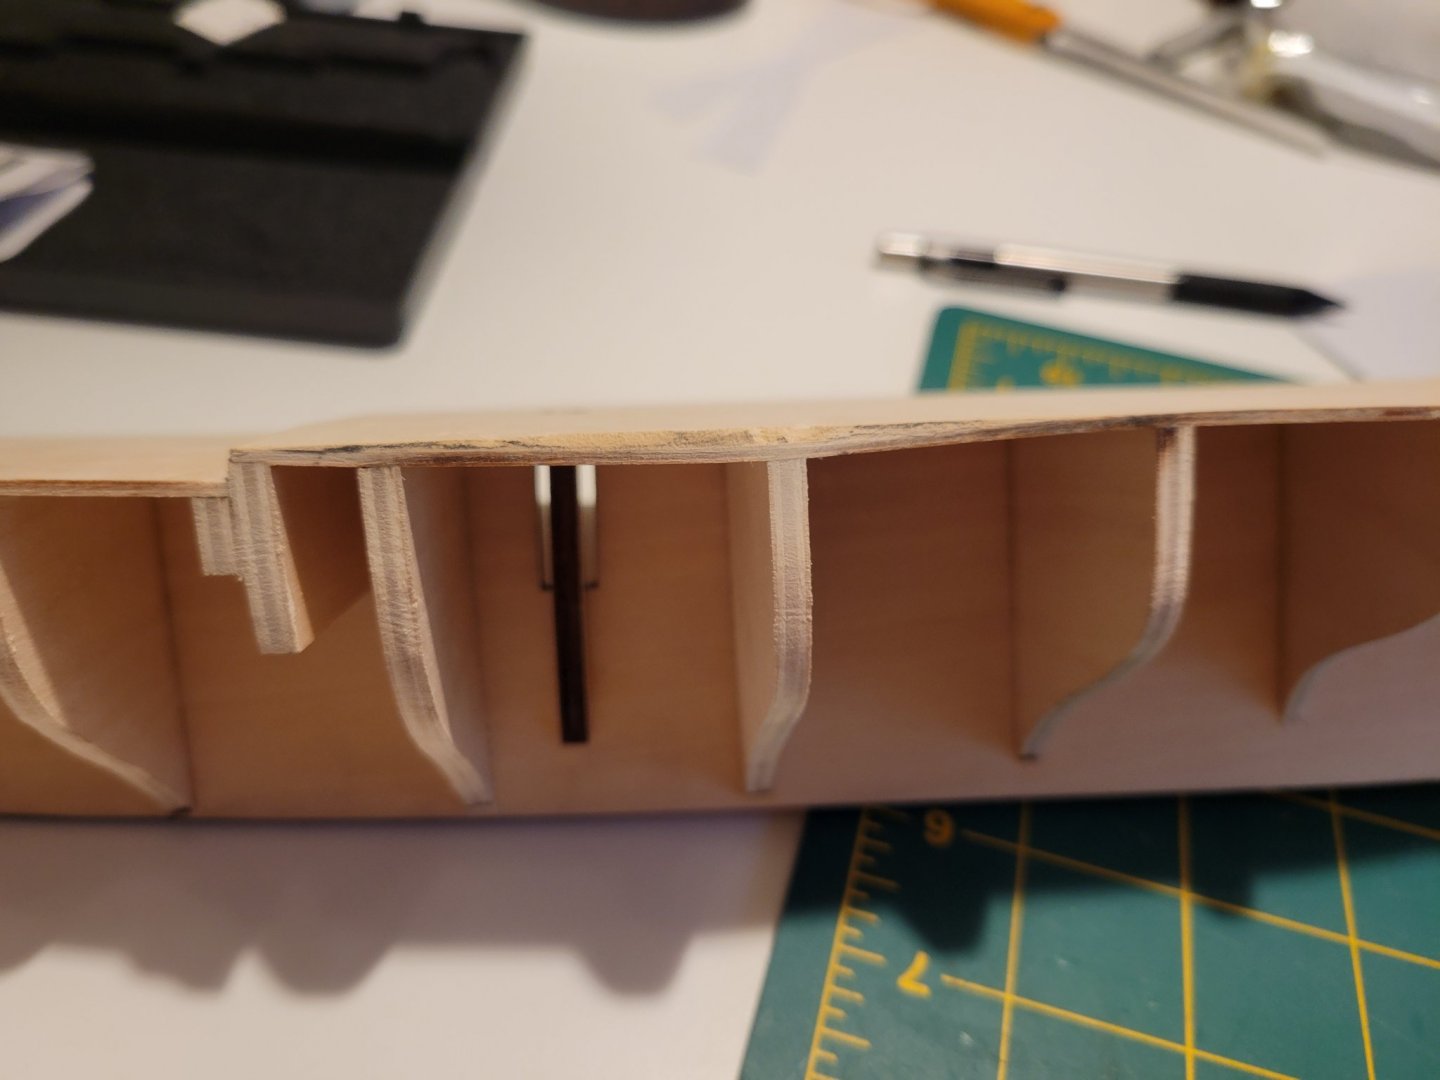
Keep going. Set the deck plate on fore and aft and furing the stations. As with most, this kit is off on stantions 10 and 11 and it creates a dip. Many people seem to try building up with shims. I found it a lot easier to just putty the dip because I could carefully sand the right curvature into the cured putty and it will have a solid surface to glue to. I've also setup my jig for the water ways once the walnut fries to shape it should lay well on the deck. I think I am going to overhangs the deck edge just a tiny bit to avoid a gap between the bulwark and the waterway. Well see how that works. Easier to sand down the edge than fill a gap.


- 84 replies
-
- 3
-
-
- Artesania Latina
- Bluenose II
- (and 1 more)
-
Warpage came back next day but it's just one section and the overall structure is fine so continuing forward.


- 84 replies
-
- 2
-
-
- Artesania Latina
- Bluenose II
- (and 1 more)
-
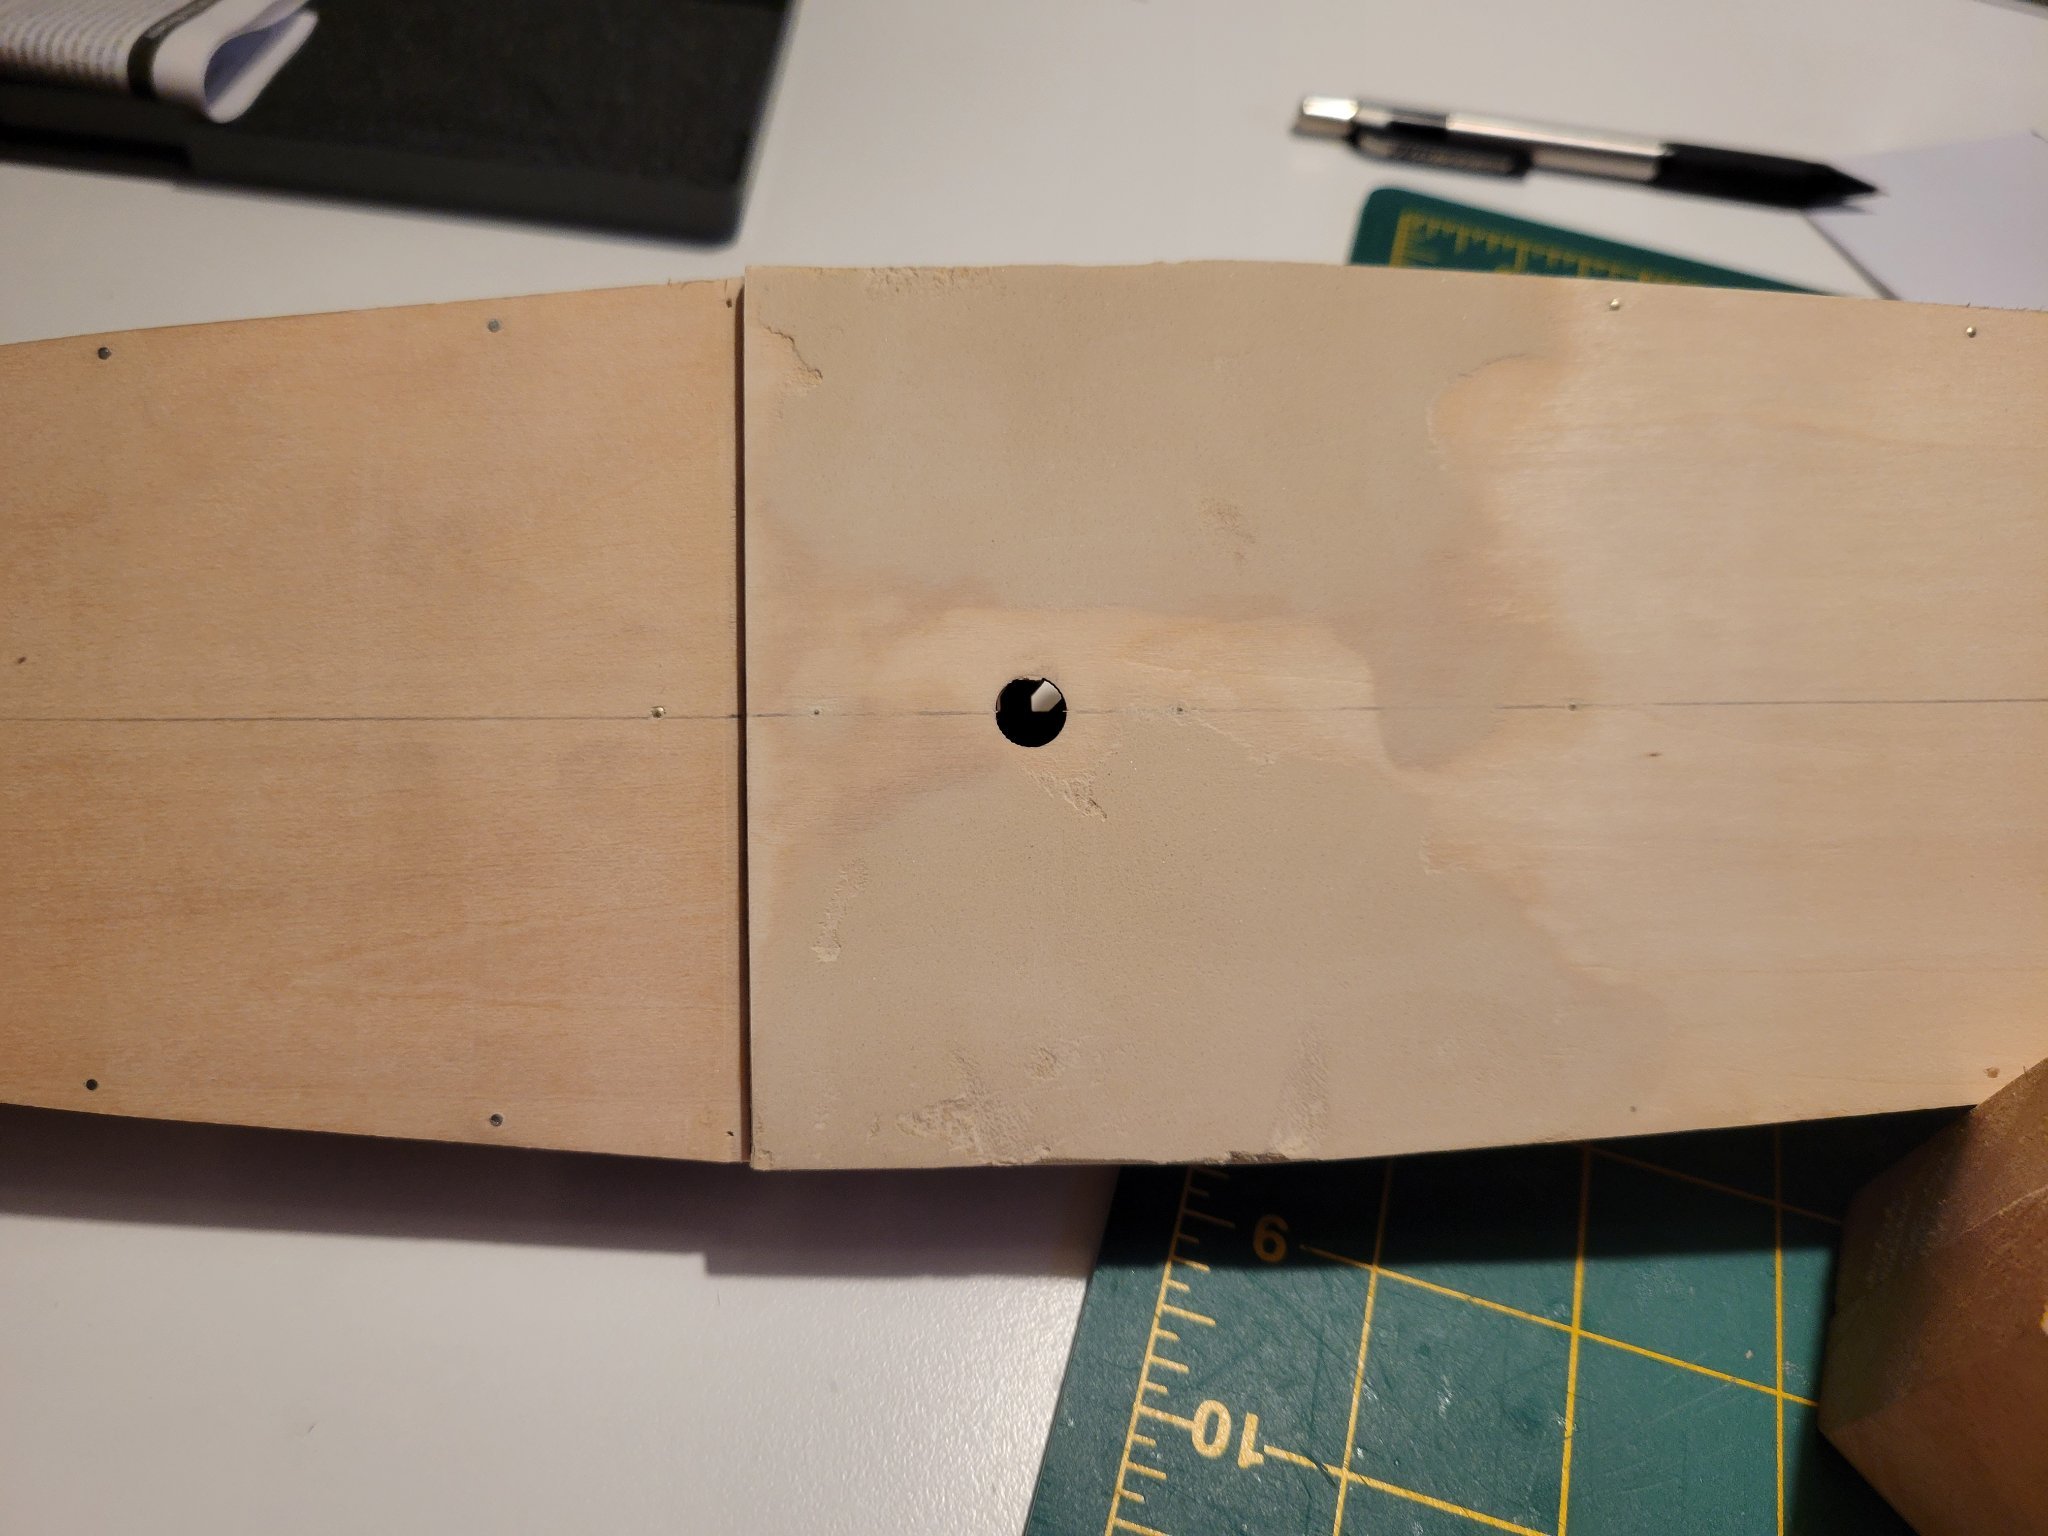
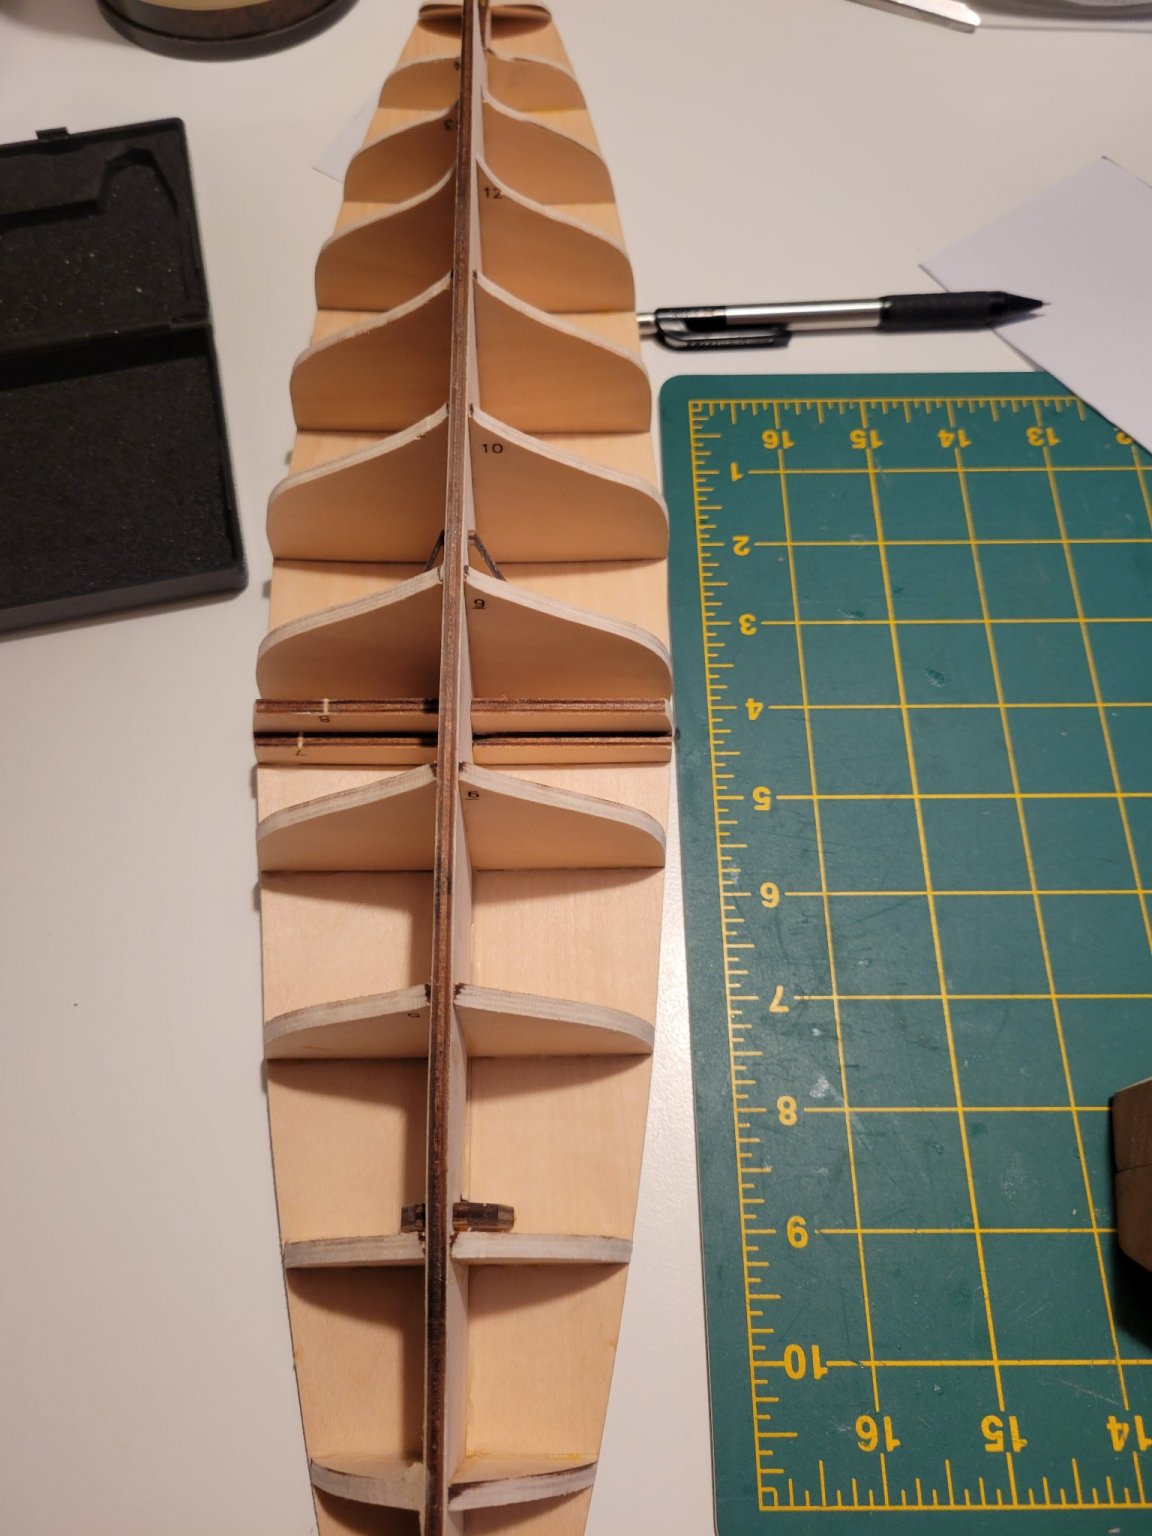
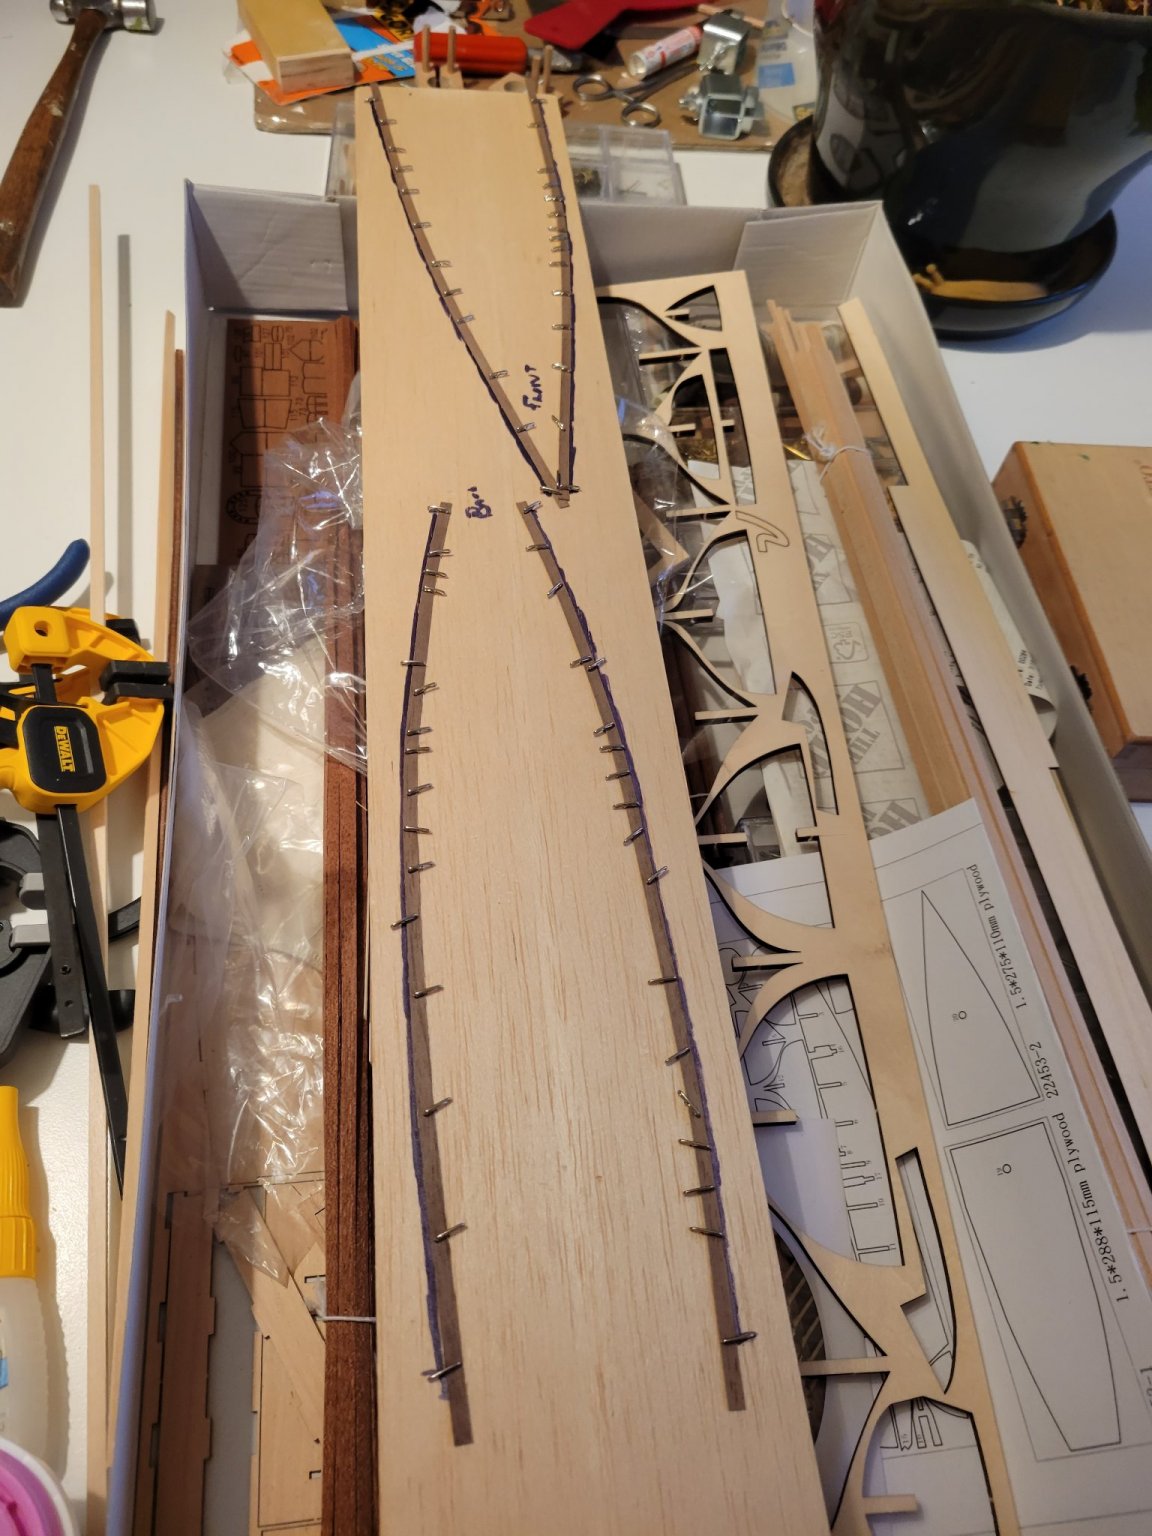
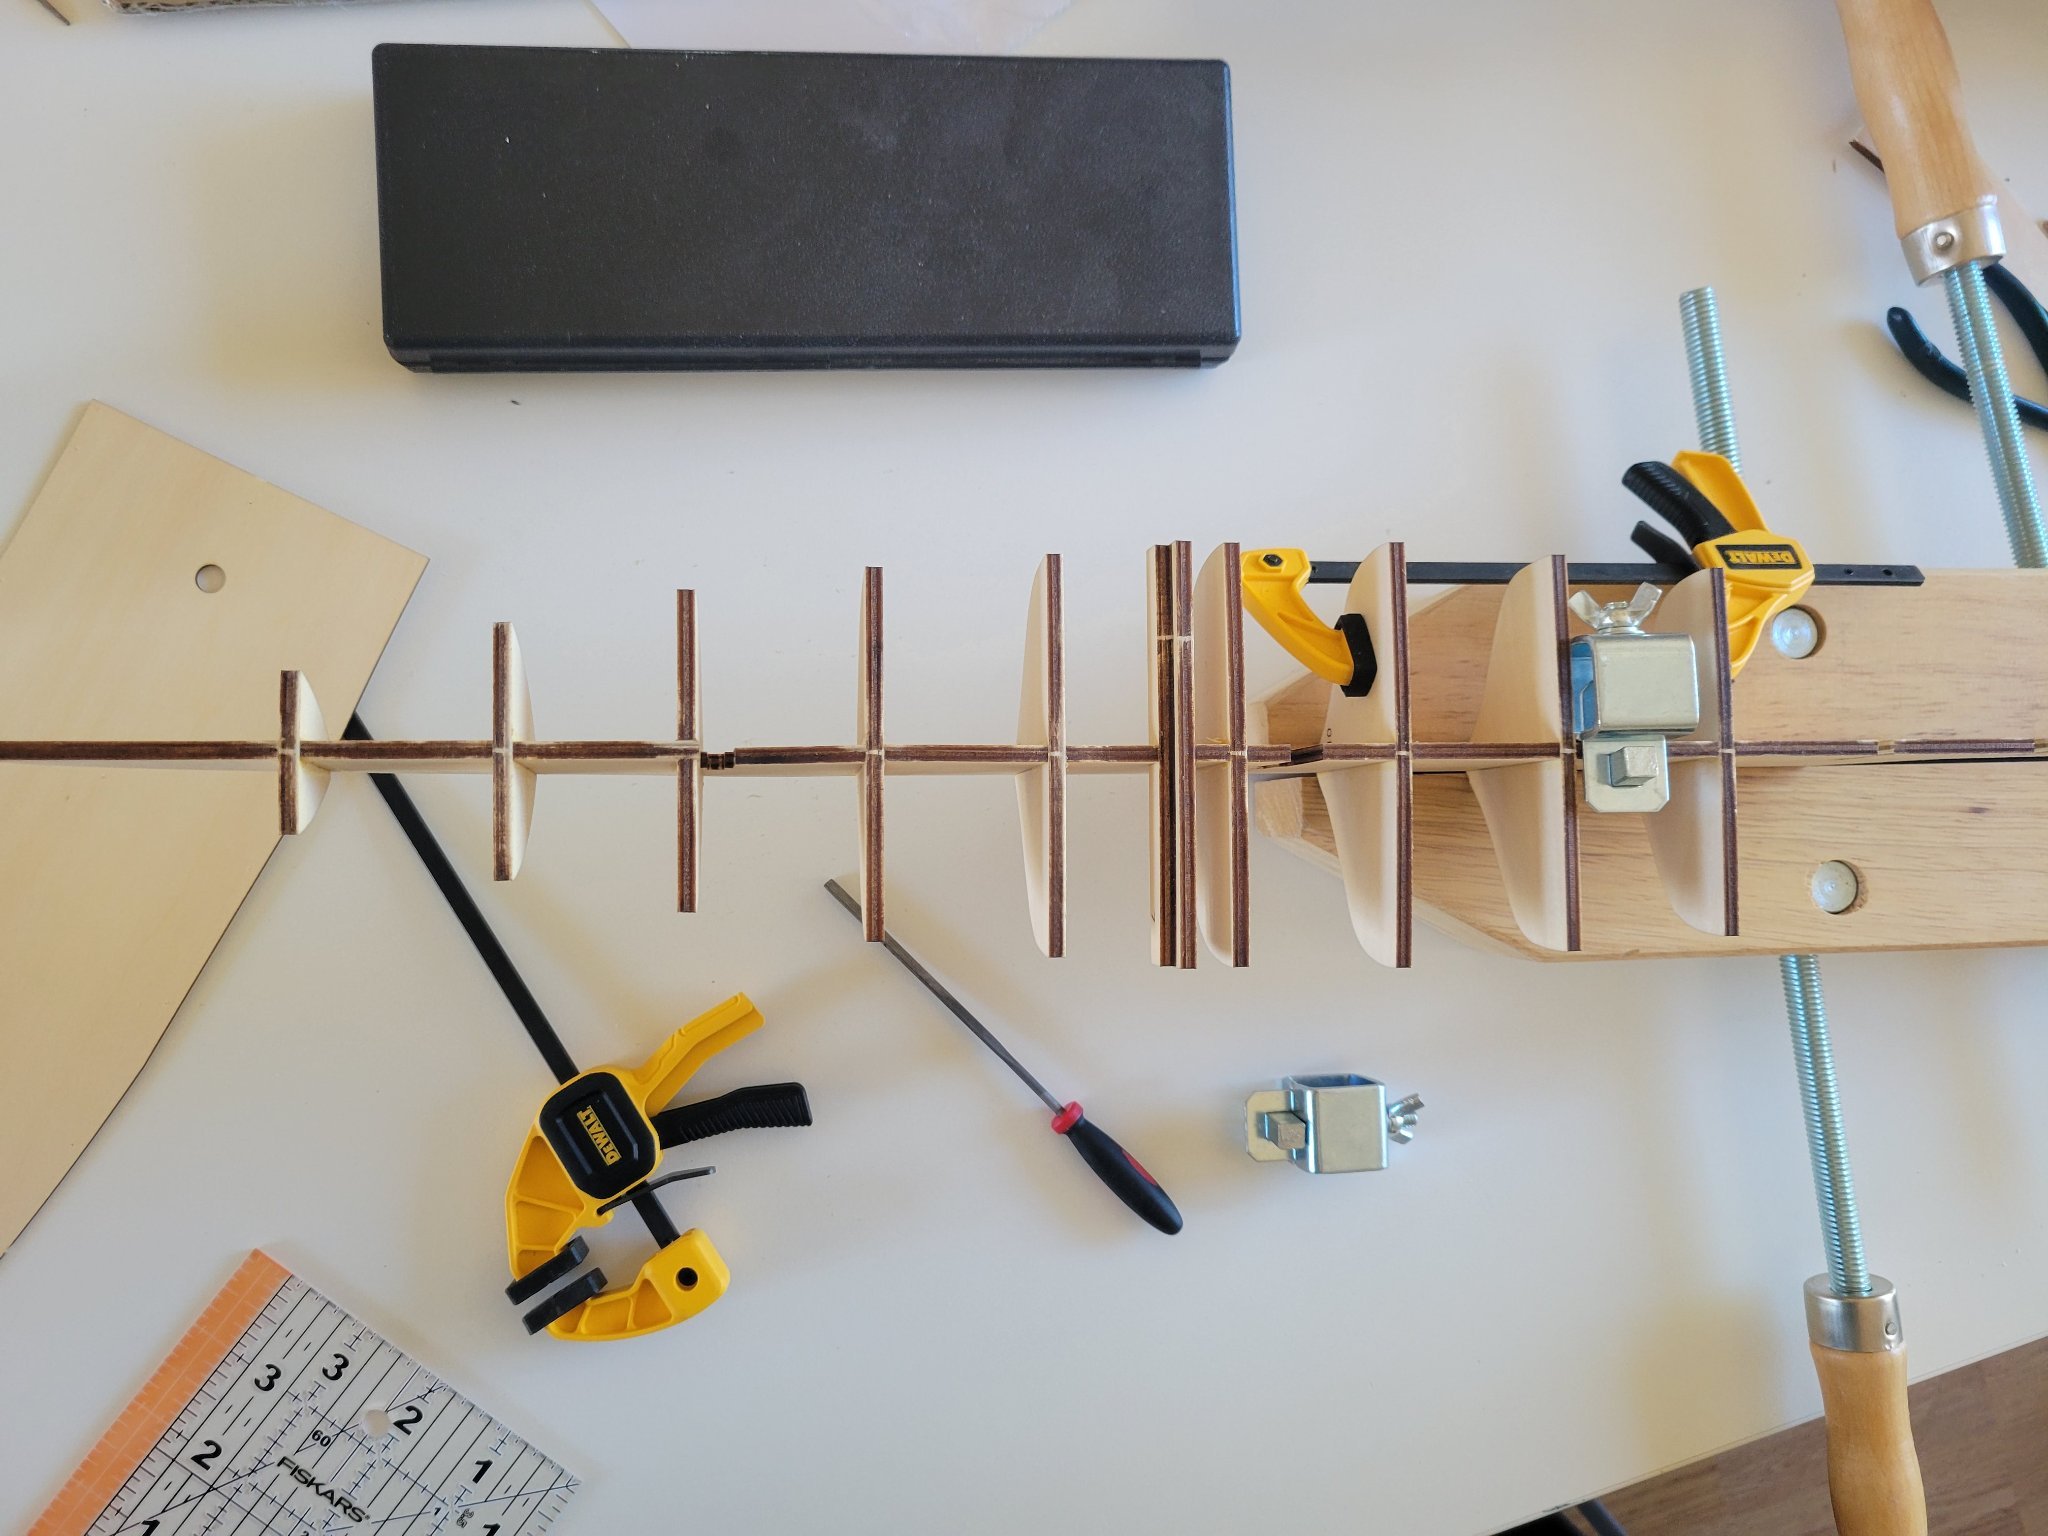
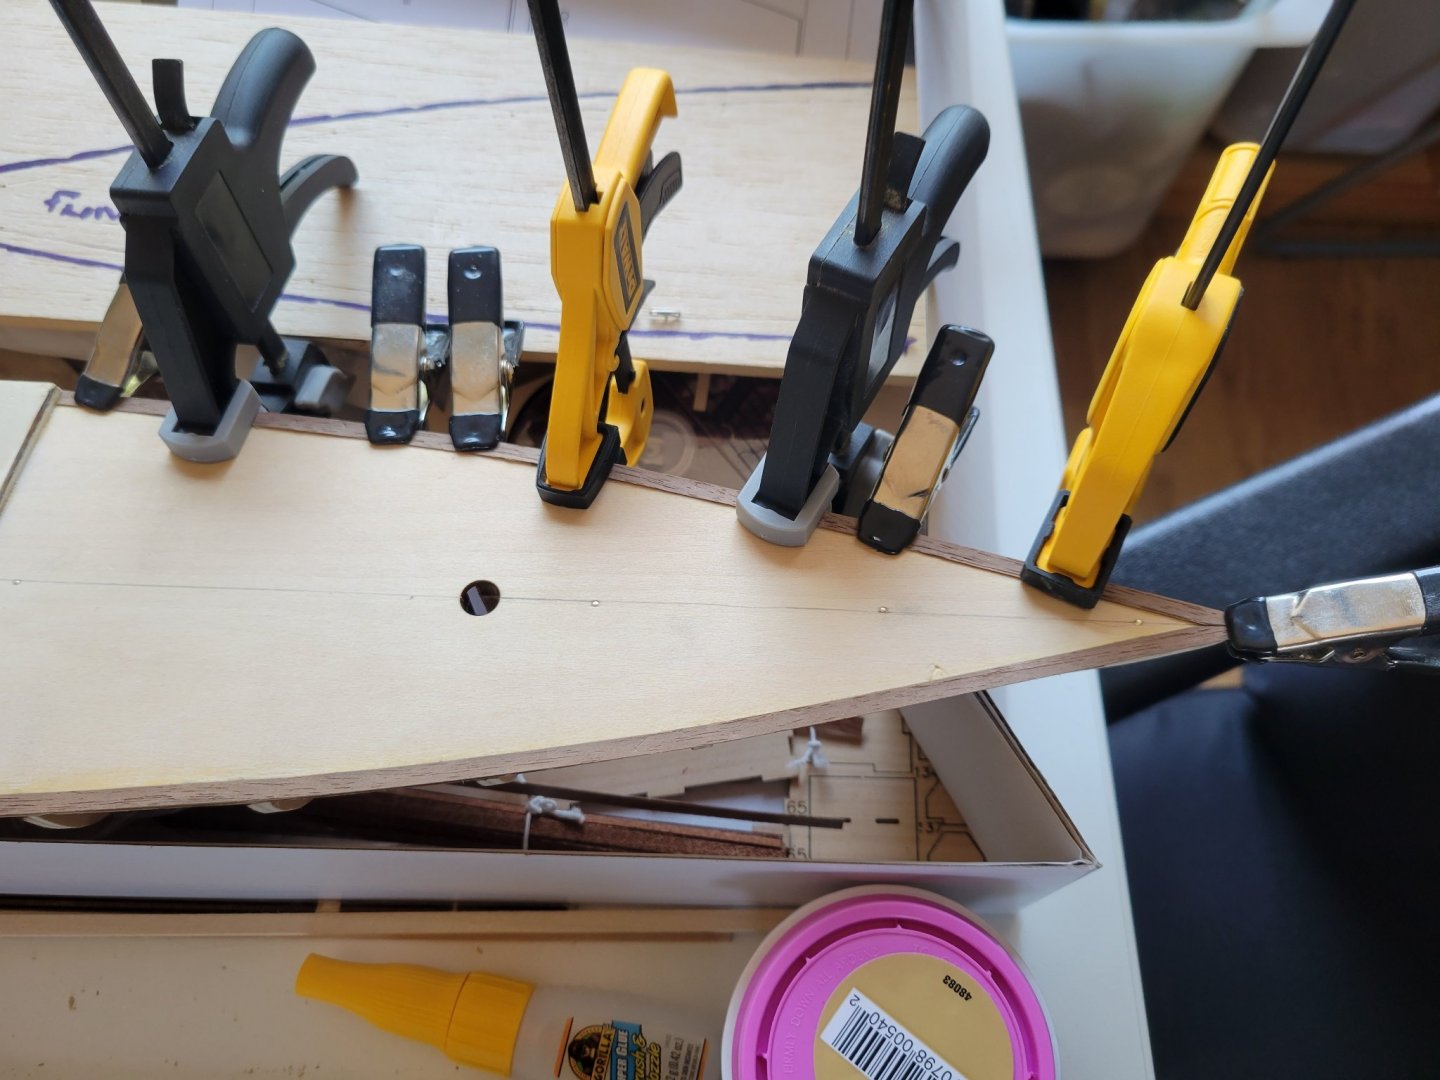
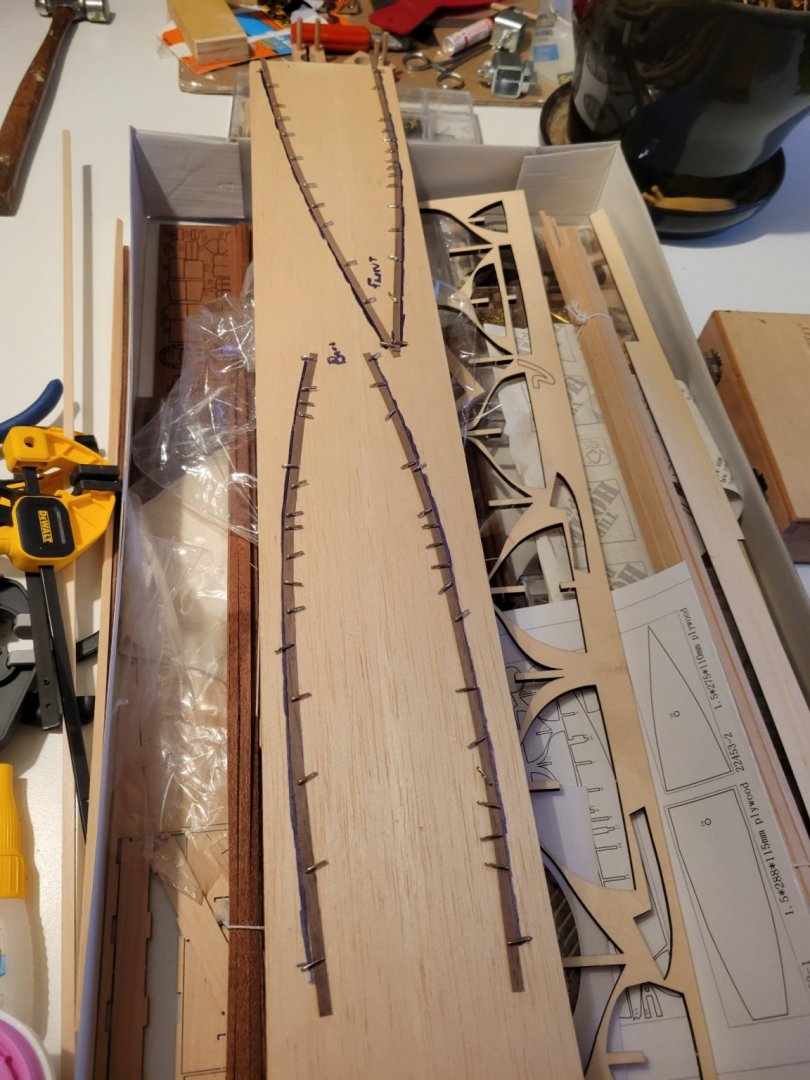
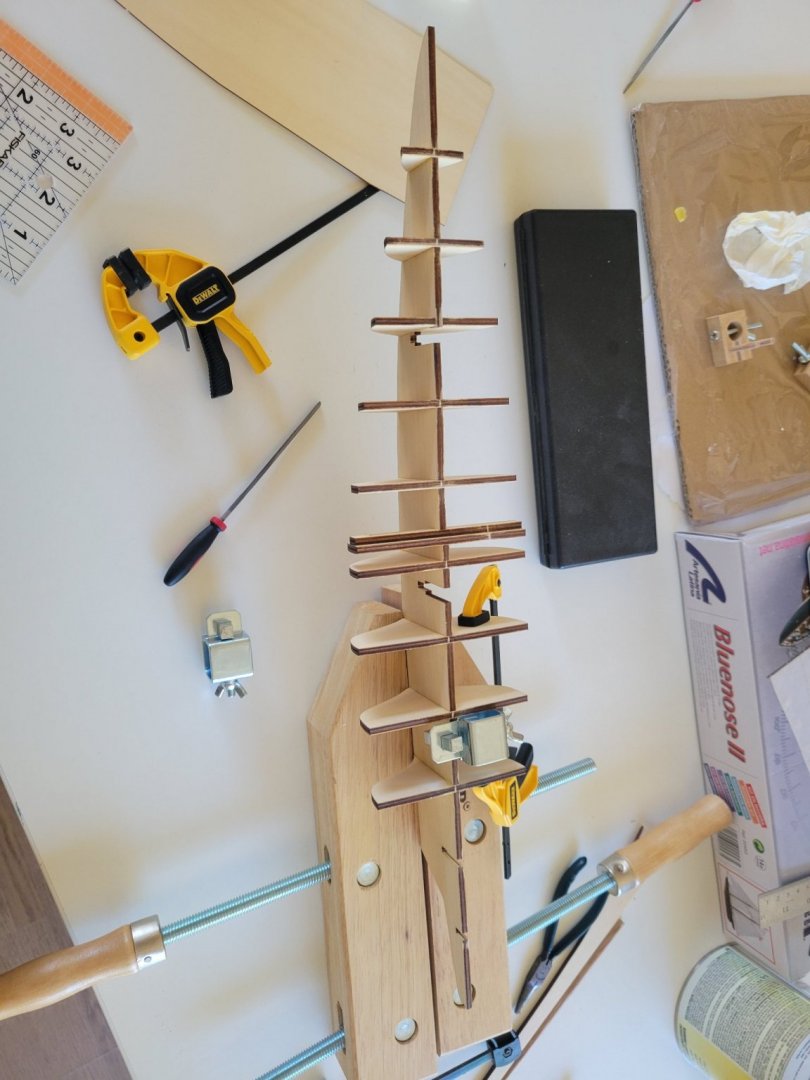
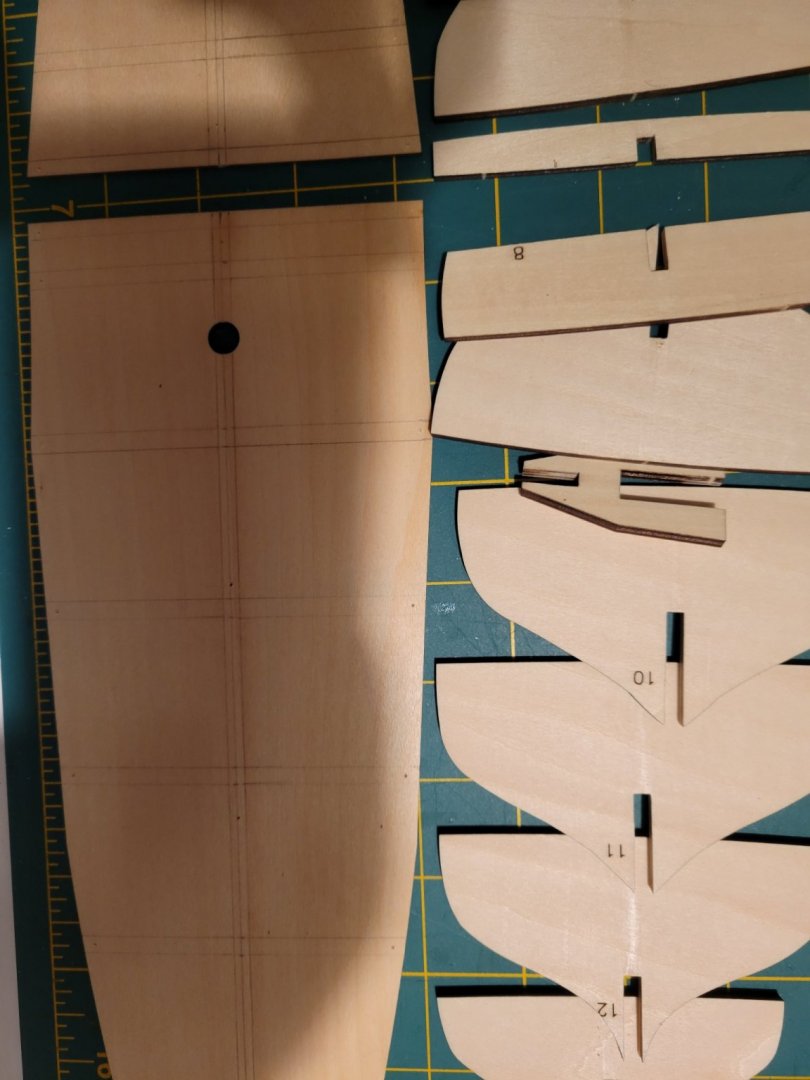
On my last build, I eyeballed my bulkheads. Went together pretty well by I did have some slight twist on a few bulkheads and the deck didn't end up exactly centered. Everything worked out just fine on that build but this time I'm going to see how it goes being extra detailed. I carefully measured the bulkheads and the ran a centerline on the deck pieces and lined out each bulkhead one the deck. Then drilled a couple centered pilot holes so that I can try to set the decks/bulkheads exact when I glue. May not show well in the picks but we'll see how this goes and whether the extra attention makes a difference.

- 84 replies
-
- 2
-
-
- Artesania Latina
- Bluenose II
- (and 1 more)
-
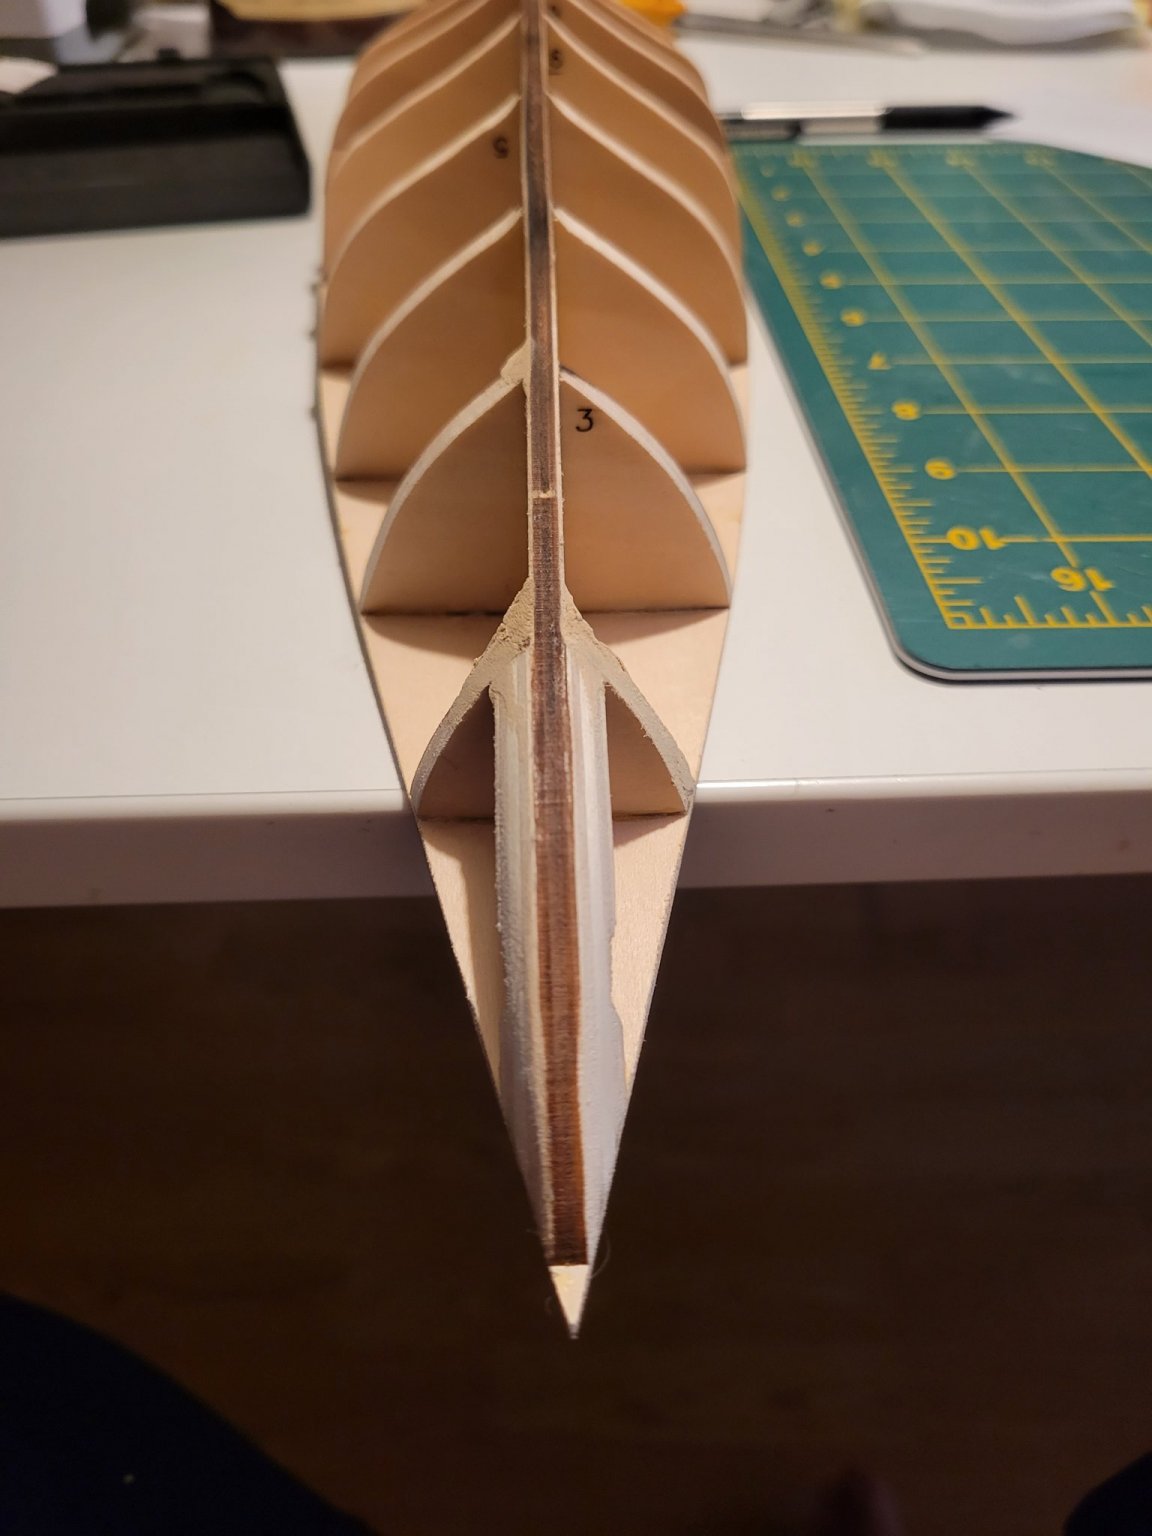
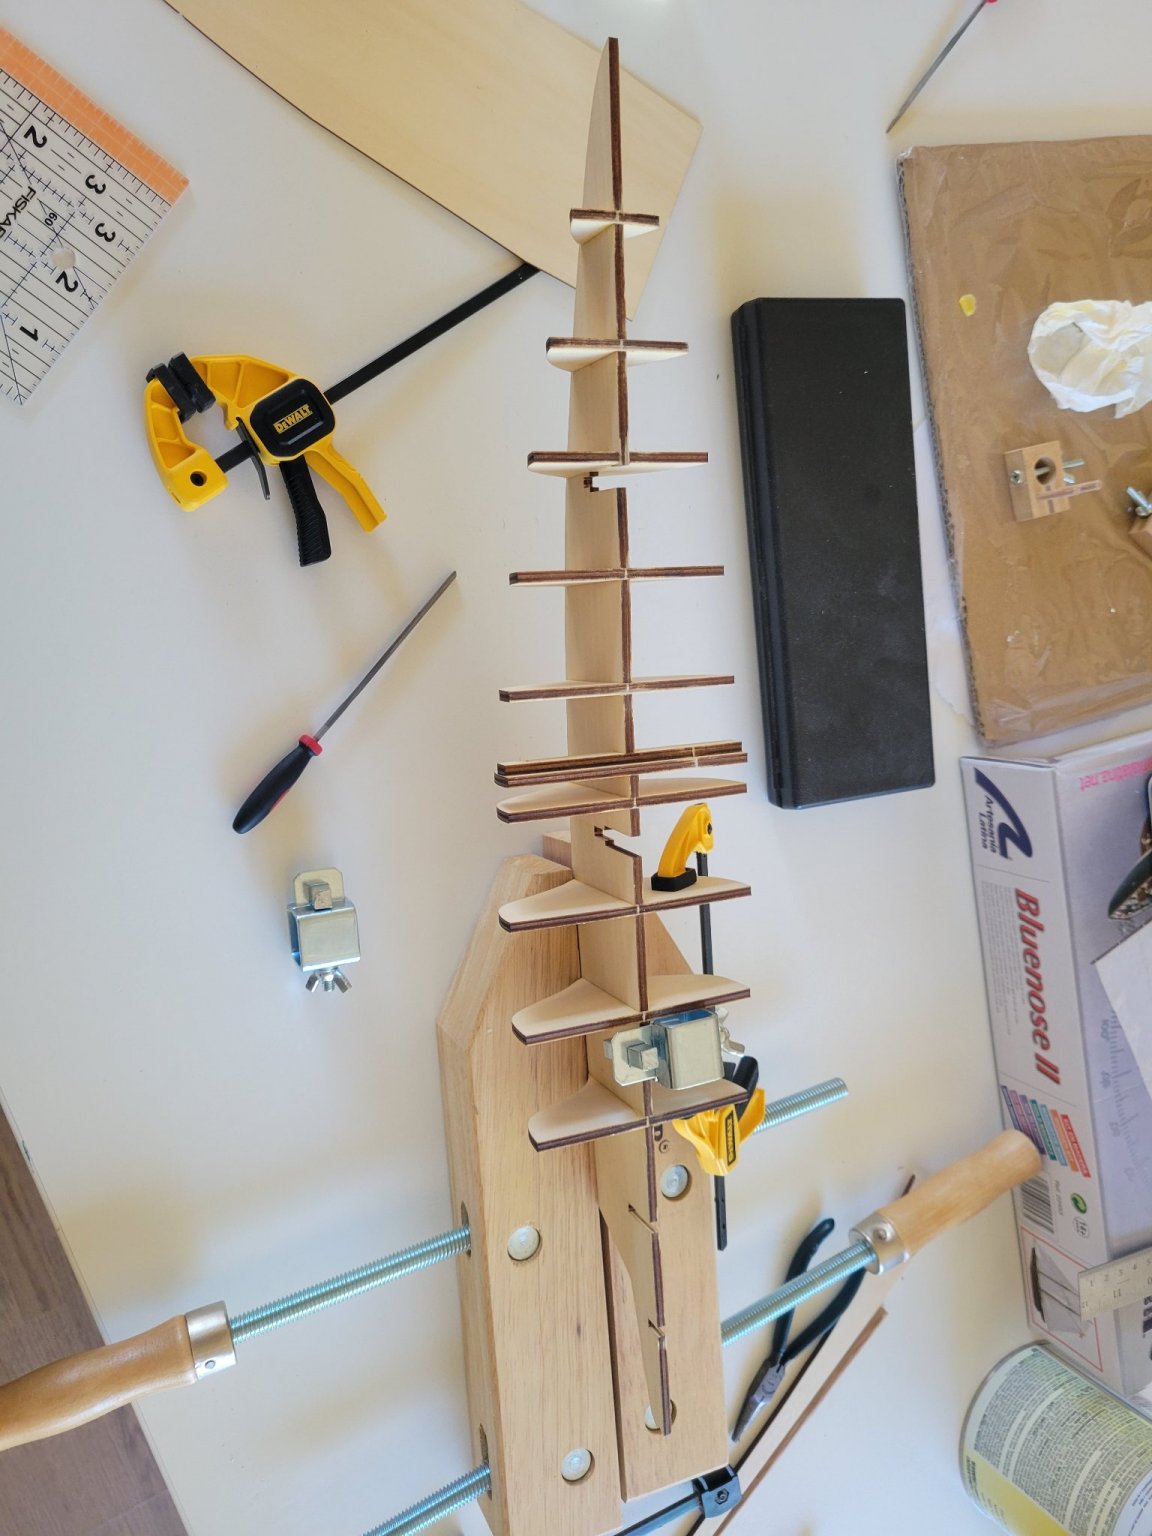
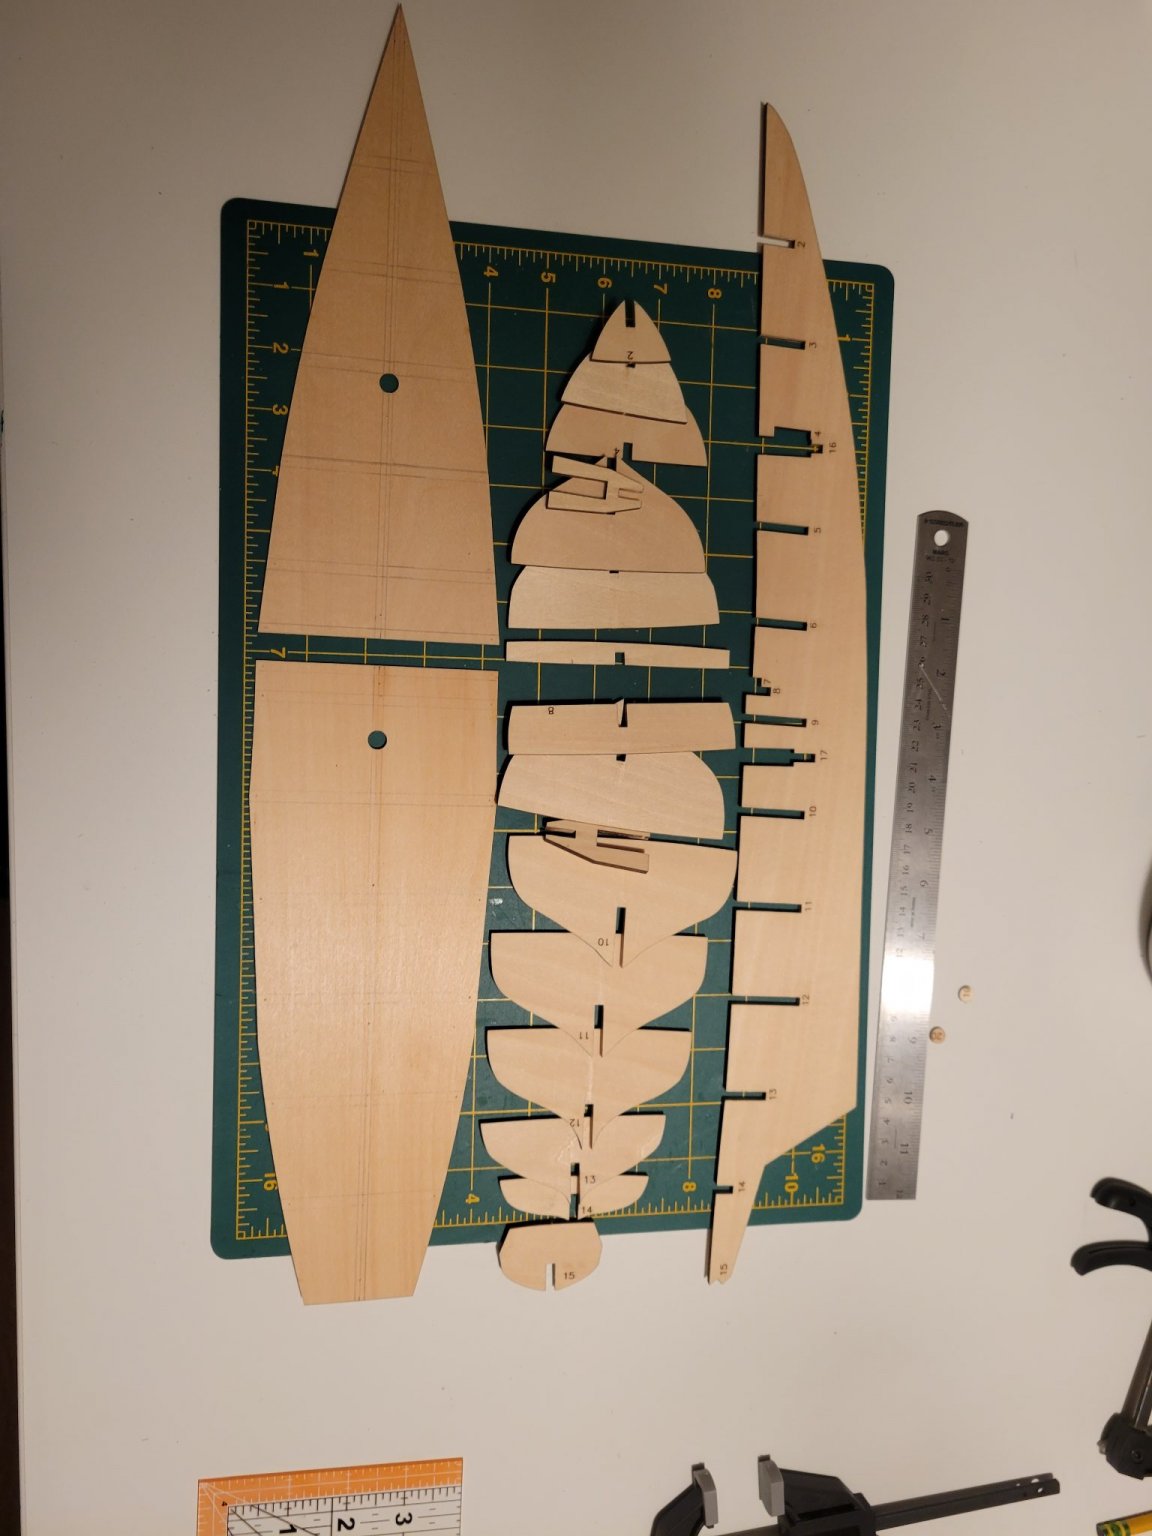
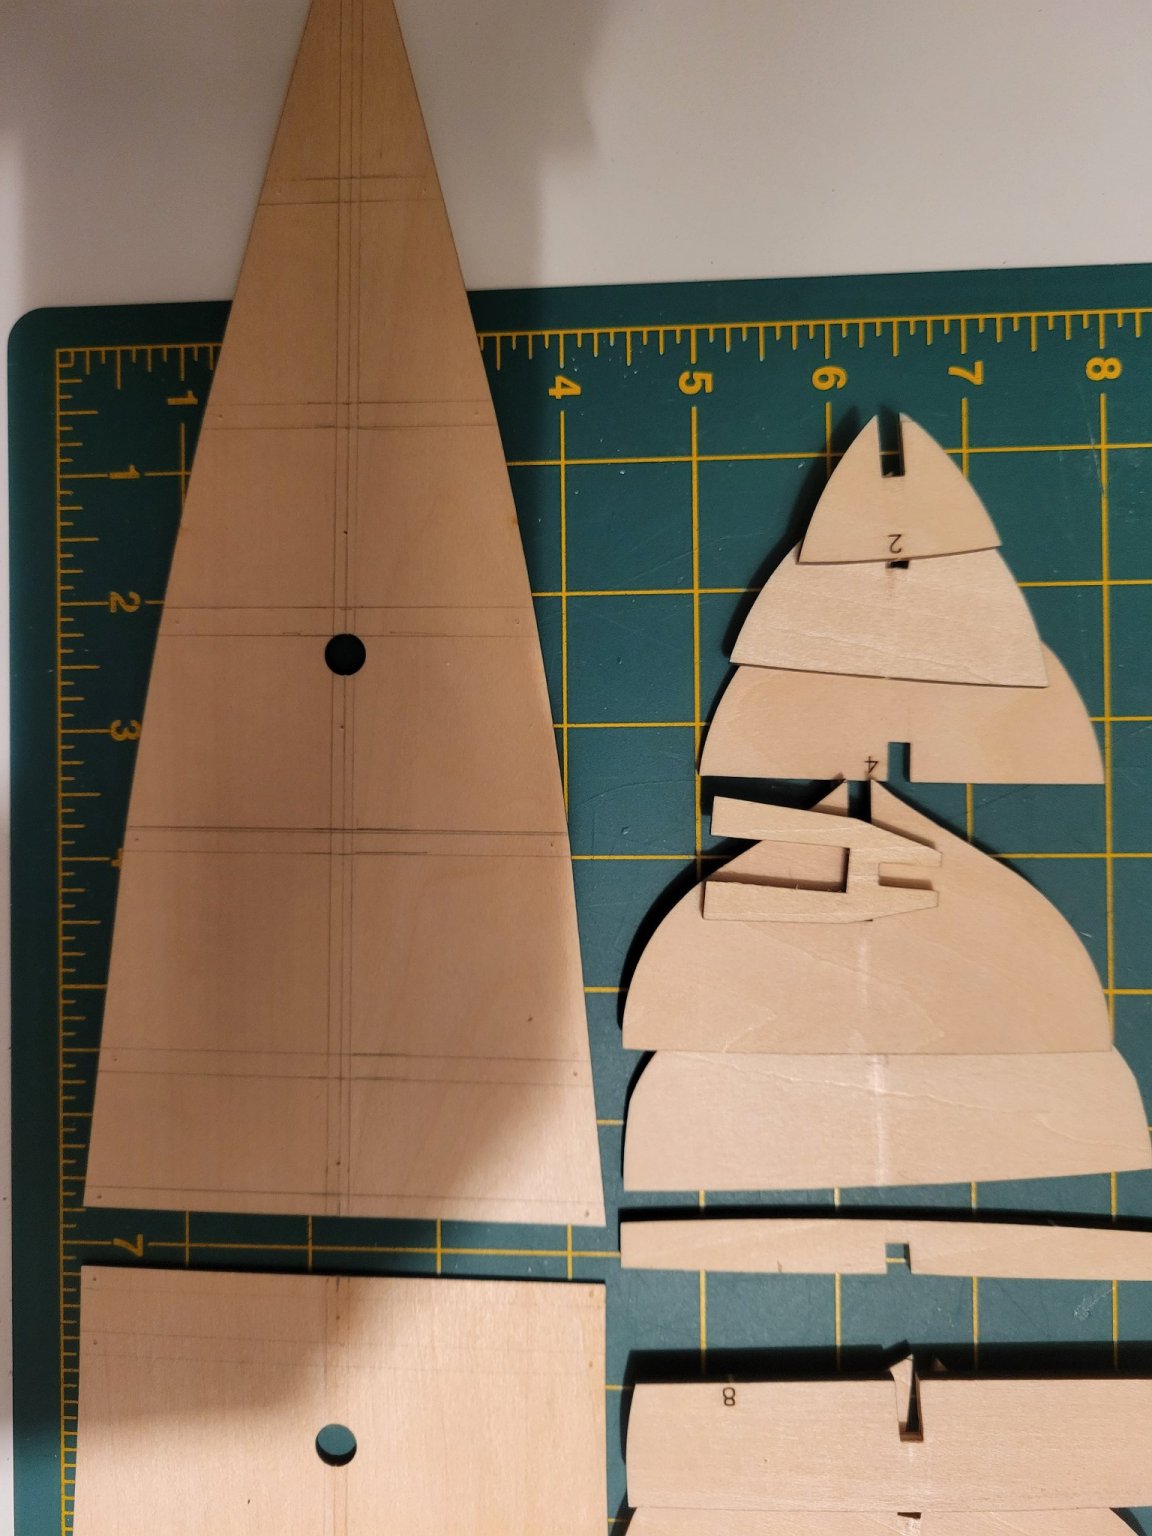
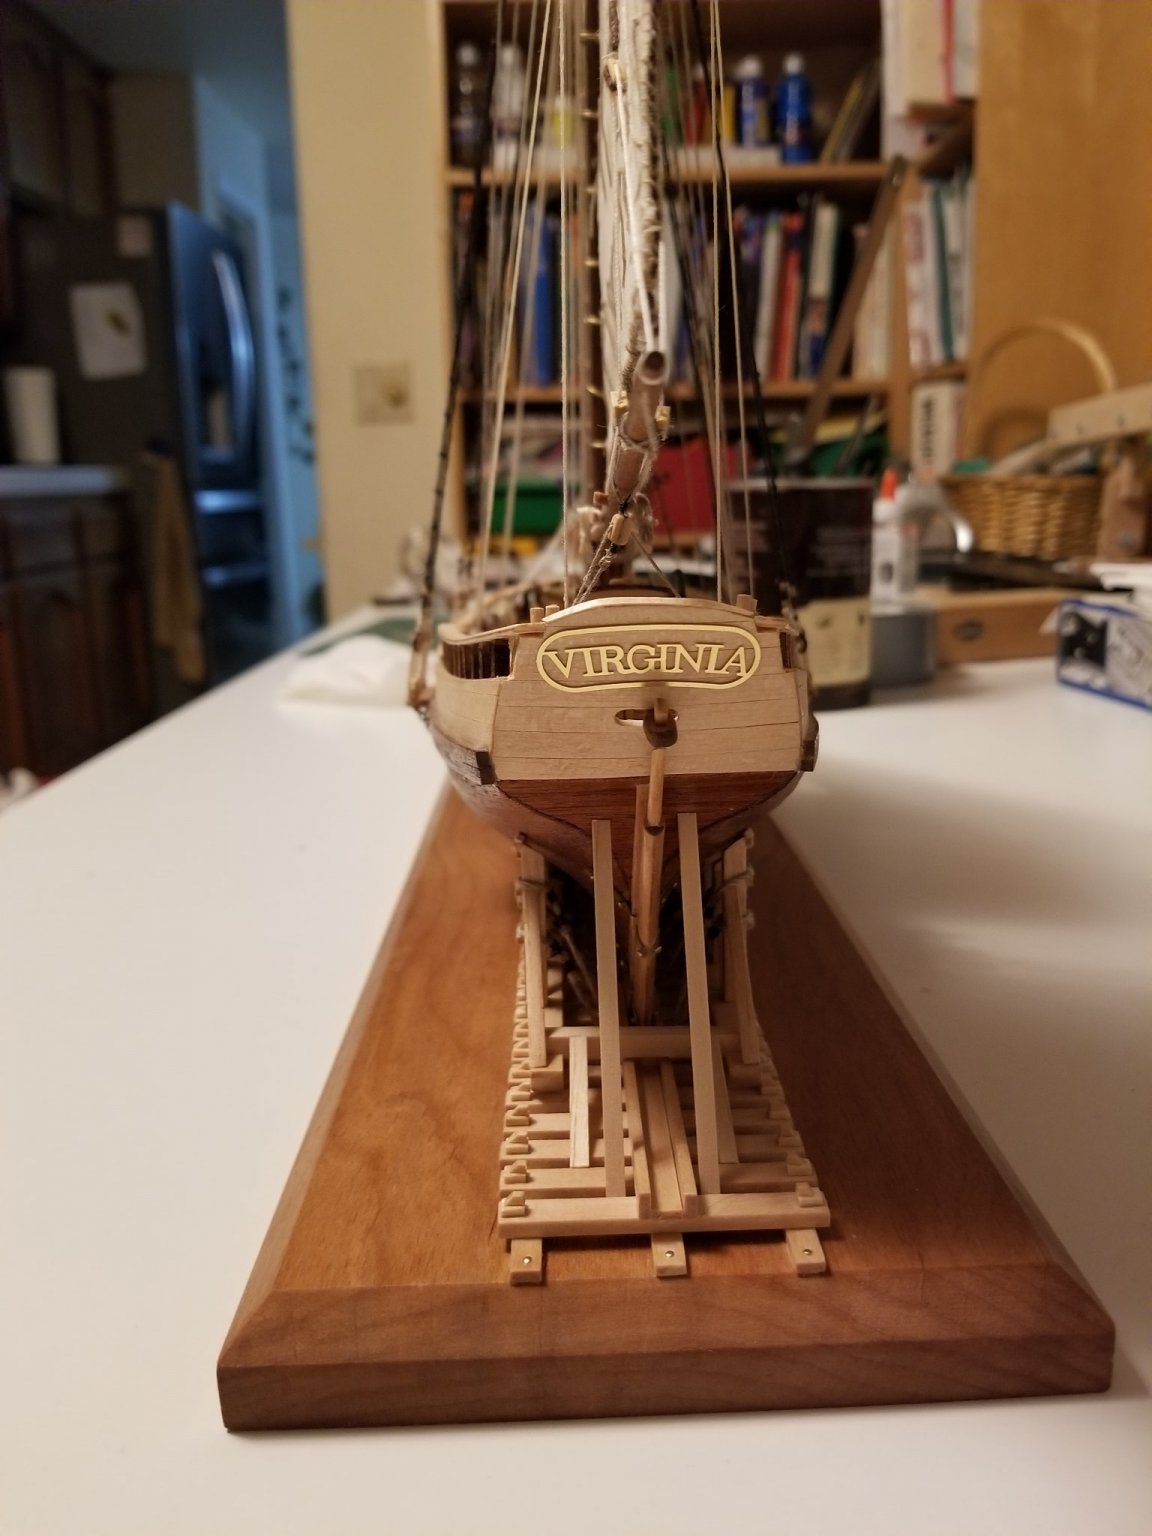
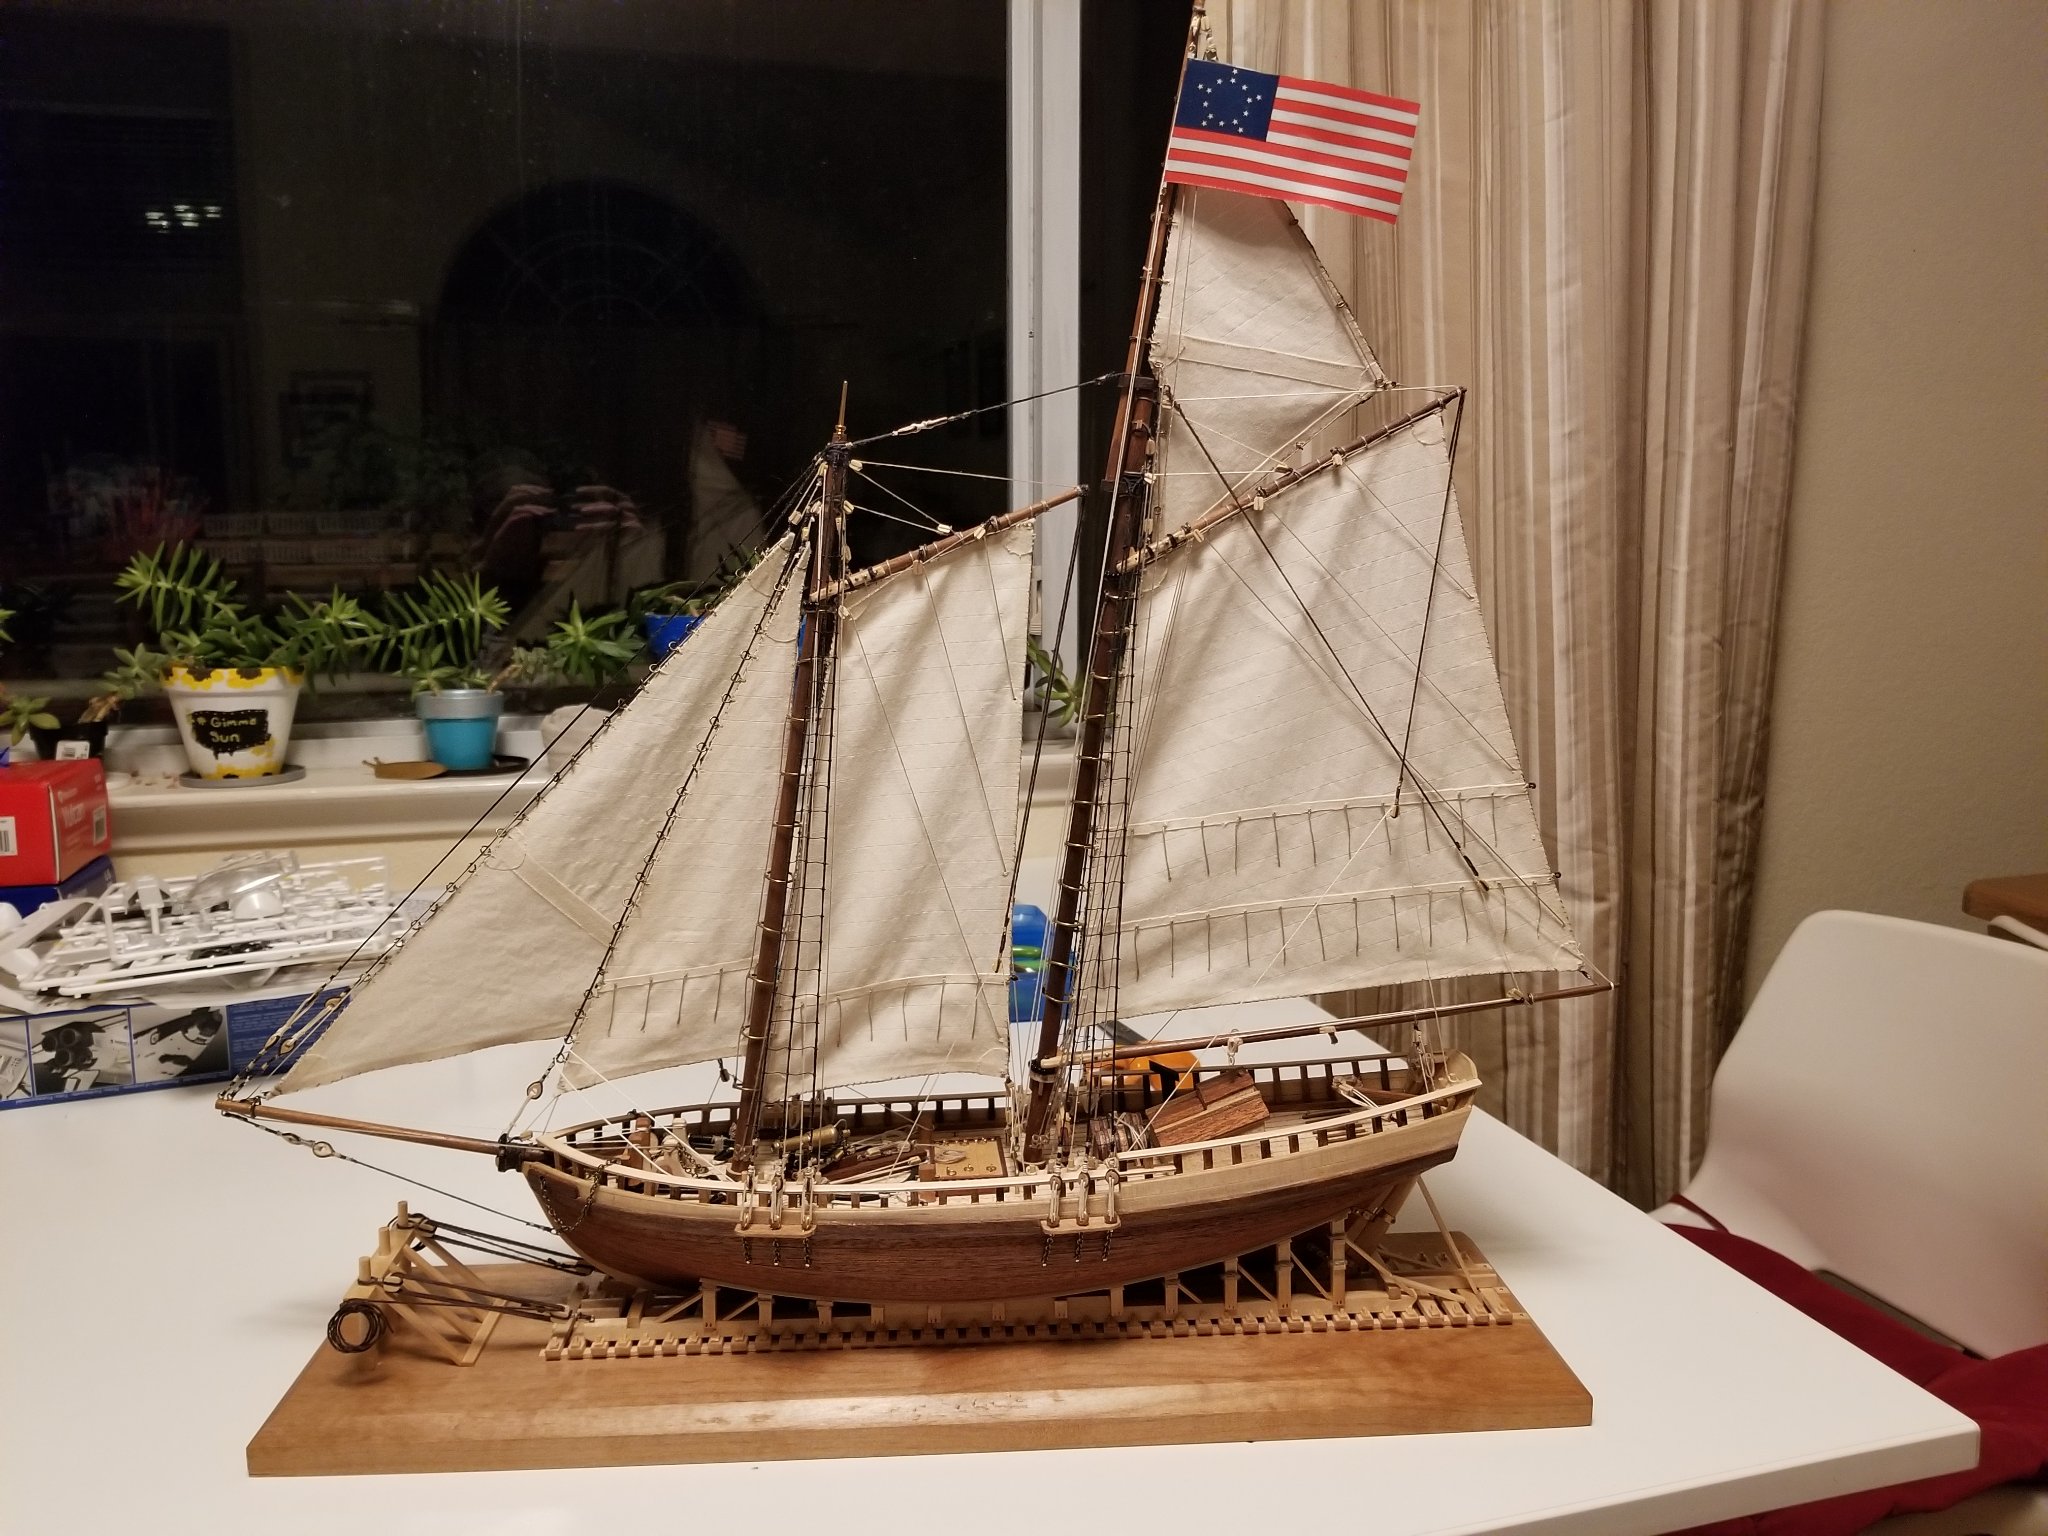
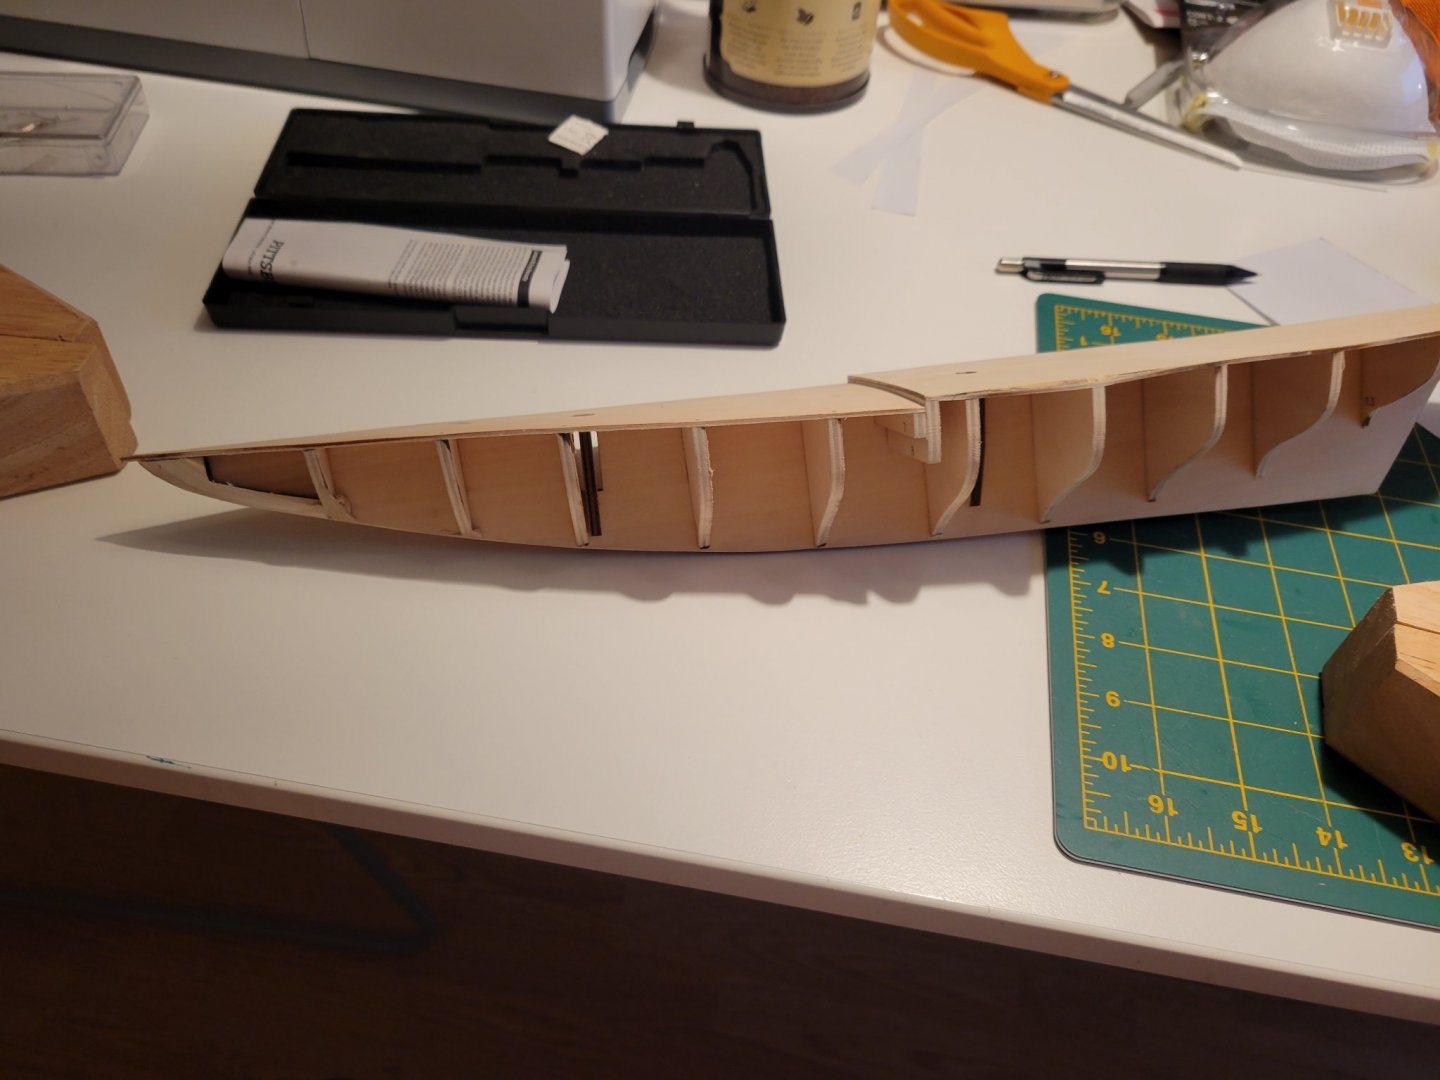
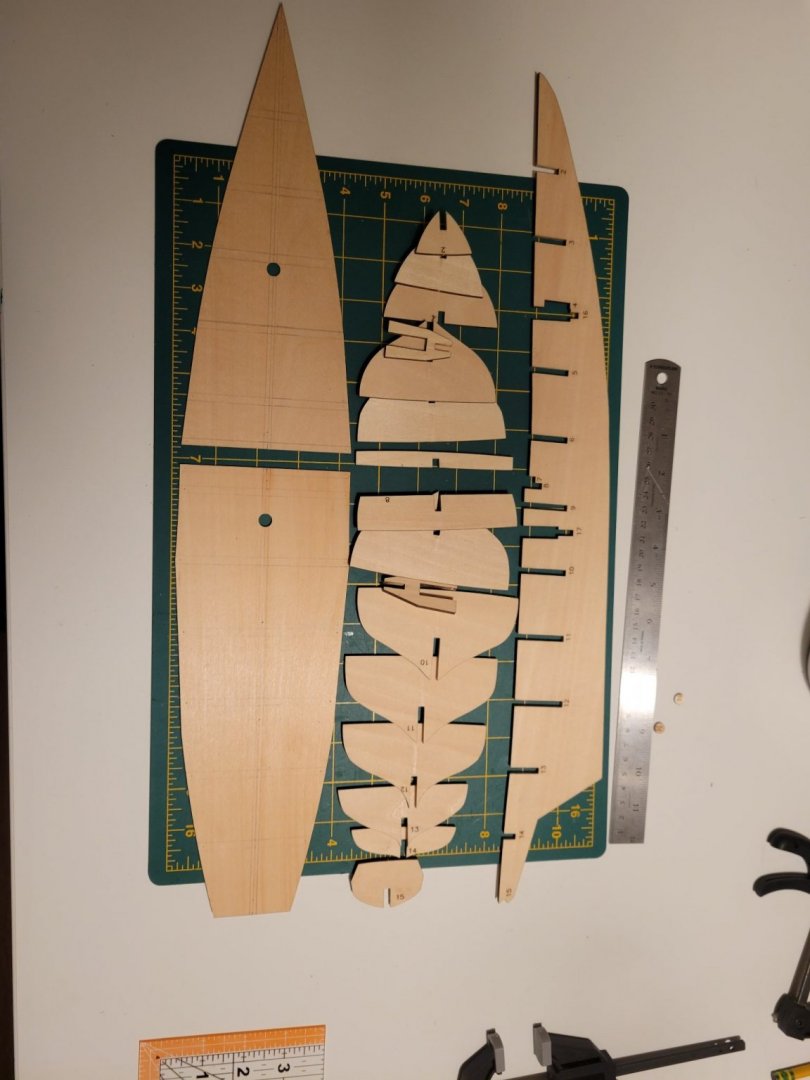
Starting build number 2. Staying with Artesania for this one but a bit more complex than the virginia schooner I started this journey on. Would like to do something like the Ocre Terror but this is my next step in that direction. Unboxed and everything looks good so far (oldest laptop in the house was the only one left with a cd drive which makes this interesting with no printed instructions but I put everything on onedrive to make it more accessible. If anyone is doing this same, I'd be happy to share the files.) Laying out the false keel and bulkheads. As mentioned by others the AL laser cuts are a bit tight so a little filling is needed but I'd rather have that than sloppy loose! I also found a slight bow in the false keel and a bit more warpage between two bulkheads. Soaked it in water for 20 min and sandwiched it between two mdf boards with pipe clamps. With this west coast heat wave, a half day in the clamps took the warpage right out of it. Flater than flat now!
-
Hello from Northern California Foothills
travis replied to bobandlucy's topic in New member Introductions
Nice to see there are a few of us here in the same area. I'm here in south placer area (rocklin/loomis). Just started here with Covid two and my first build starting with the Artesenia Latina - Virginia which I thought was a pretty good model for a beginner (but not too beginner). Haven't select a new one to start next yet. Would love to find if there is a local shop anyone has found to actually look at some of the kits. Found the Virginia at Fast Track Hobbies in Rocklin but they are very limited stock. -
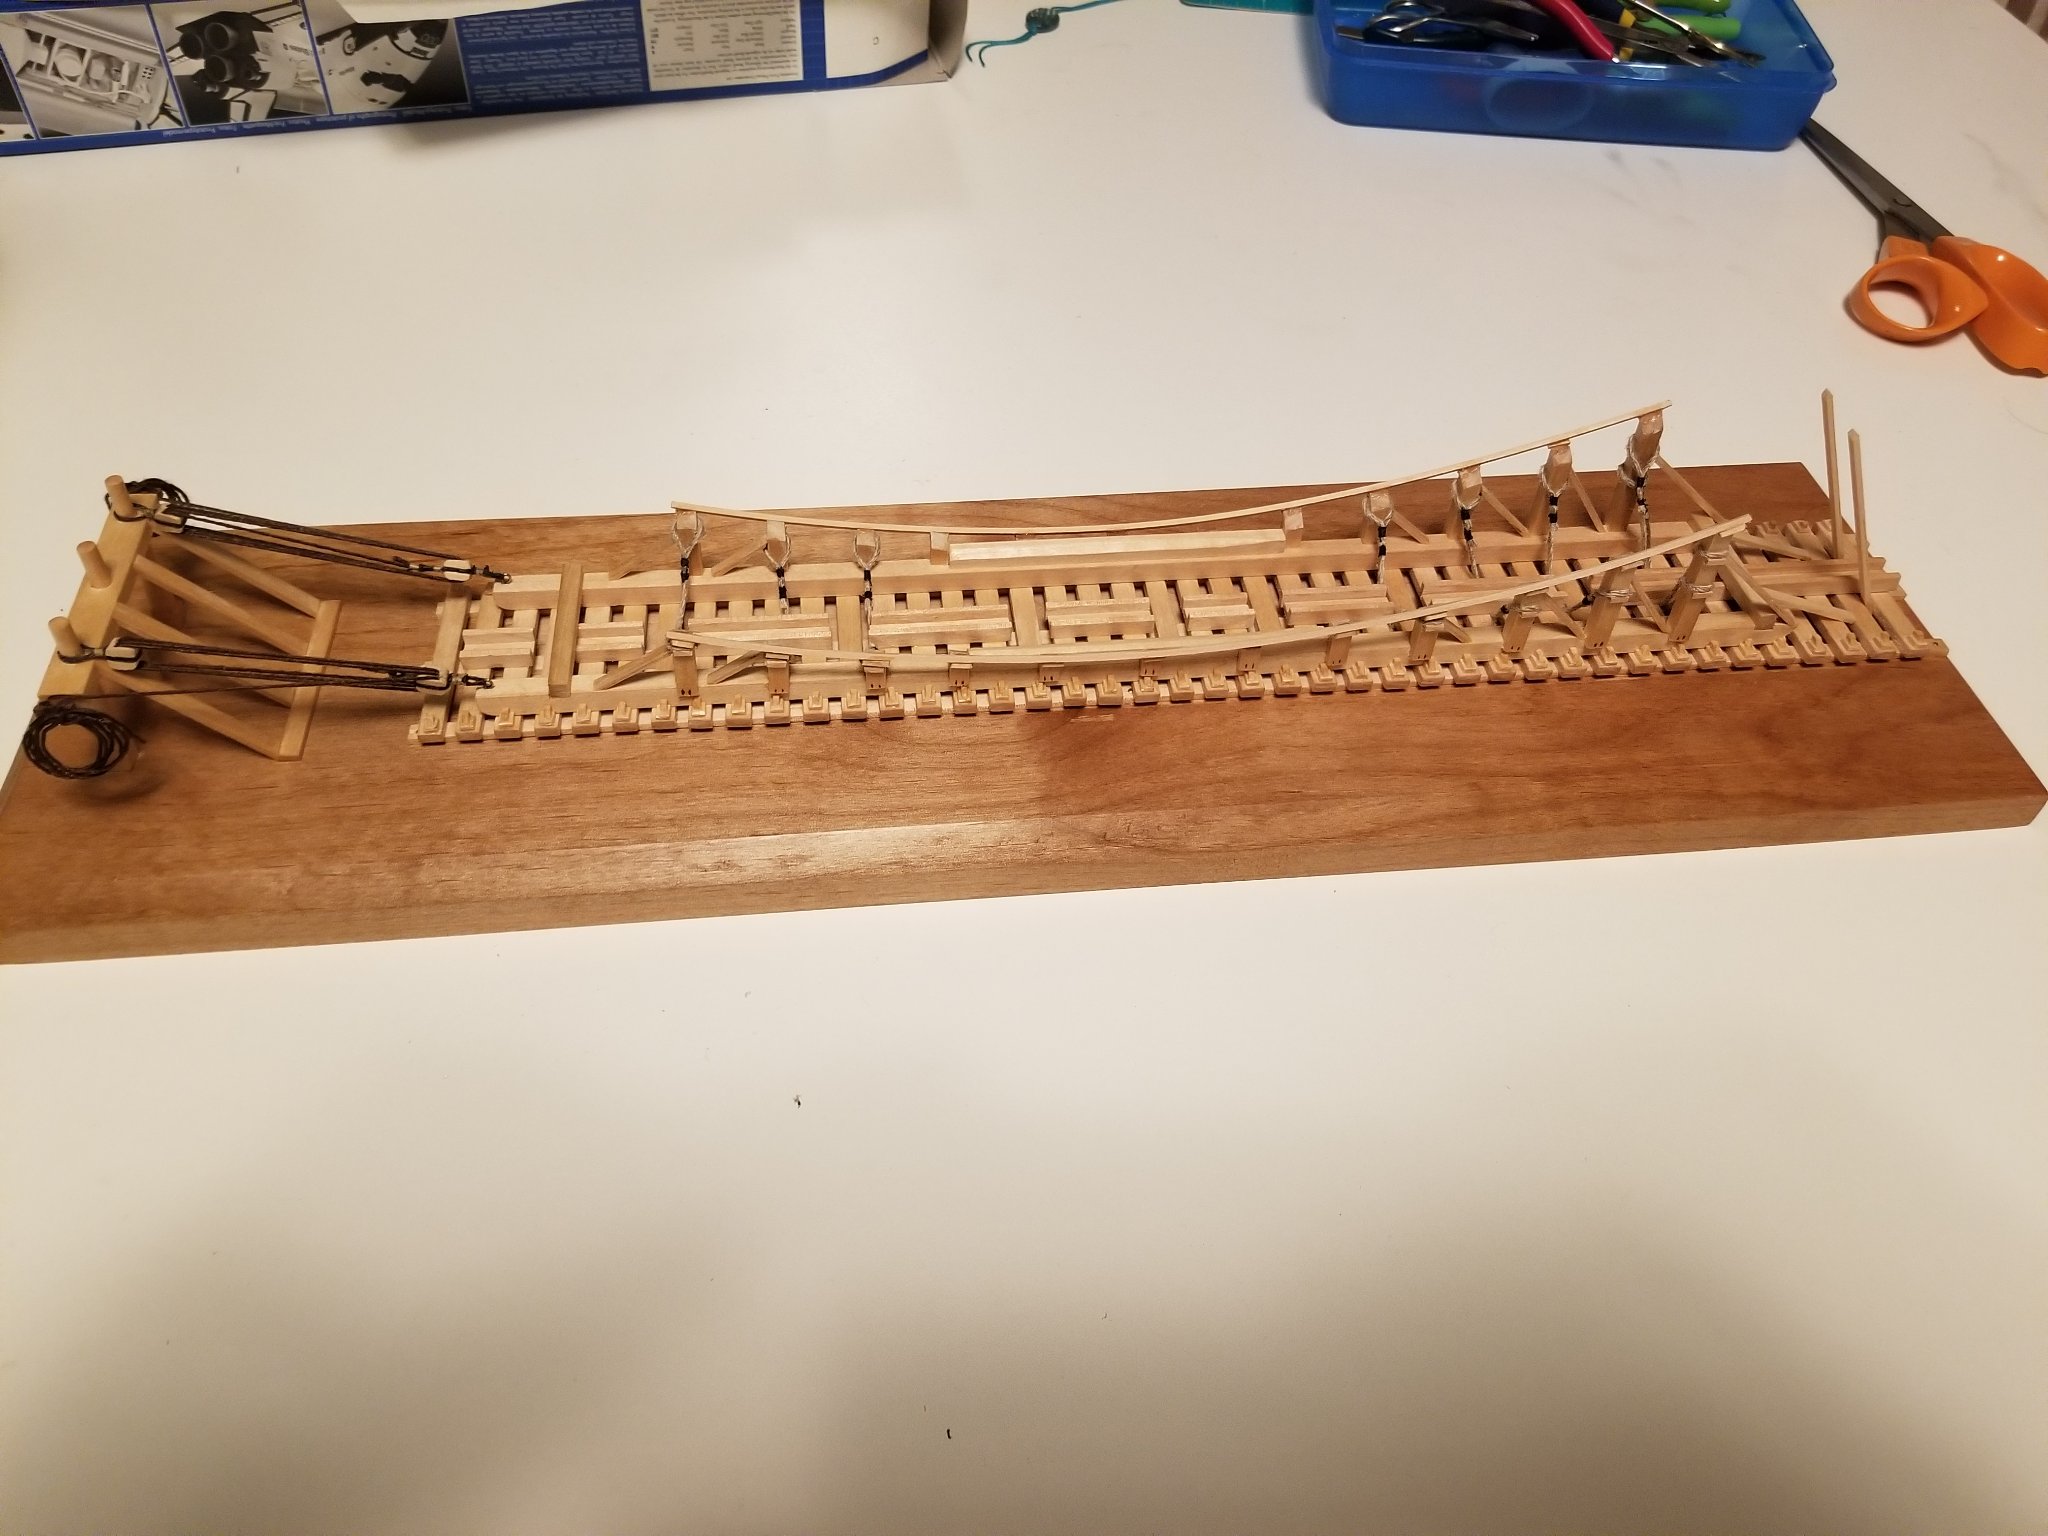
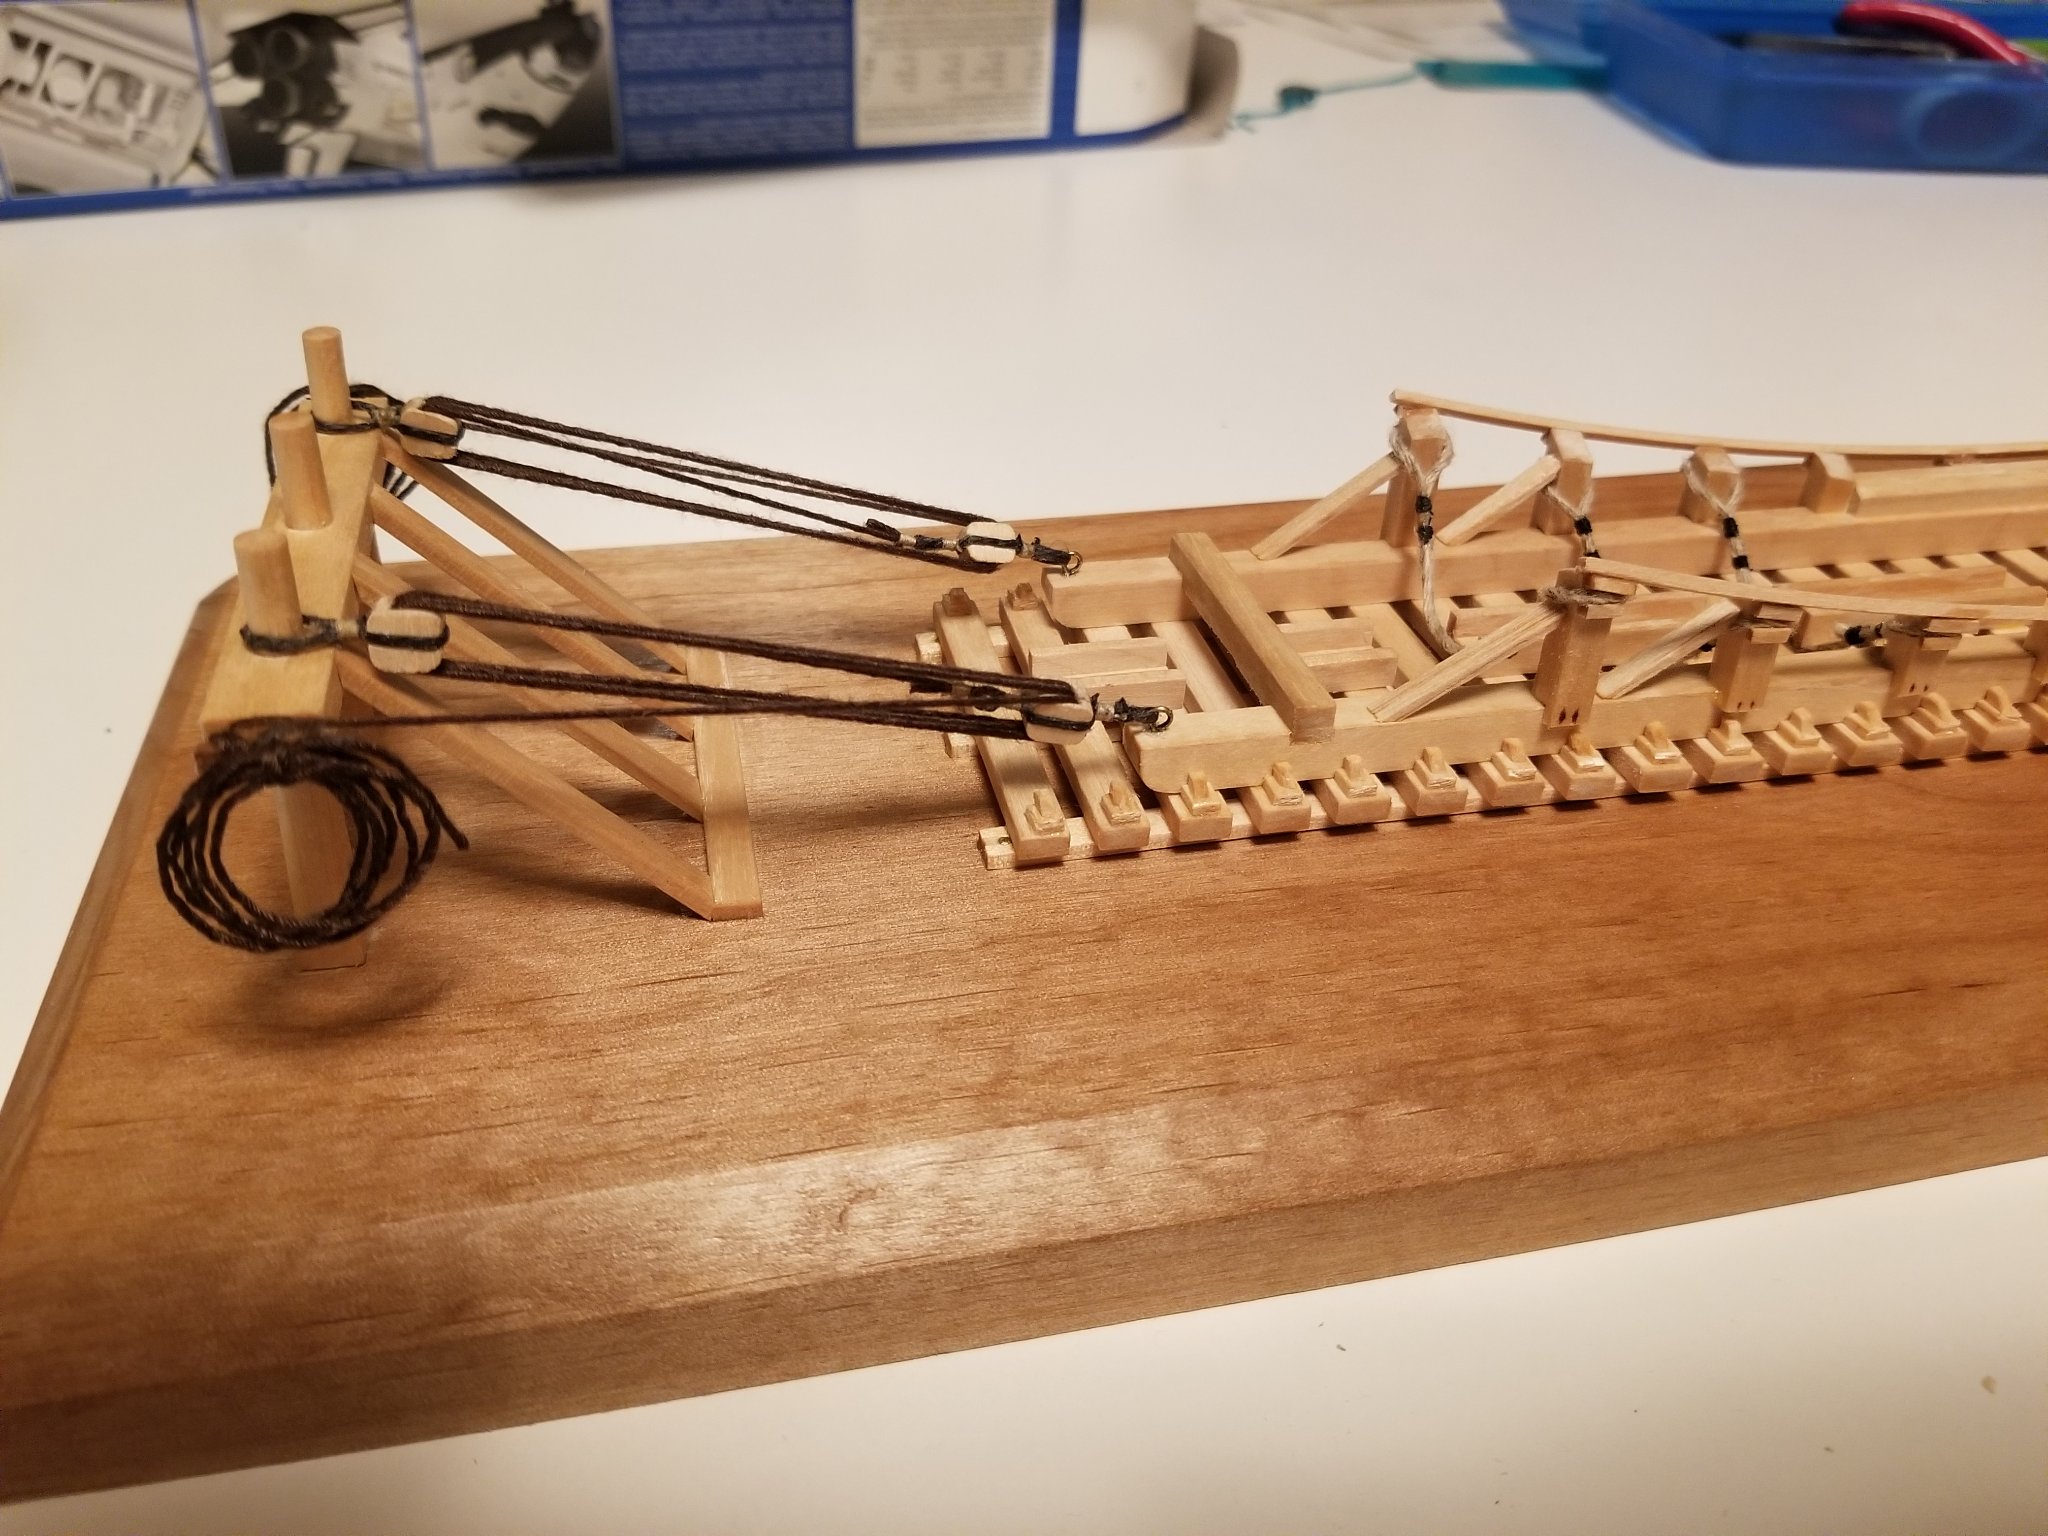
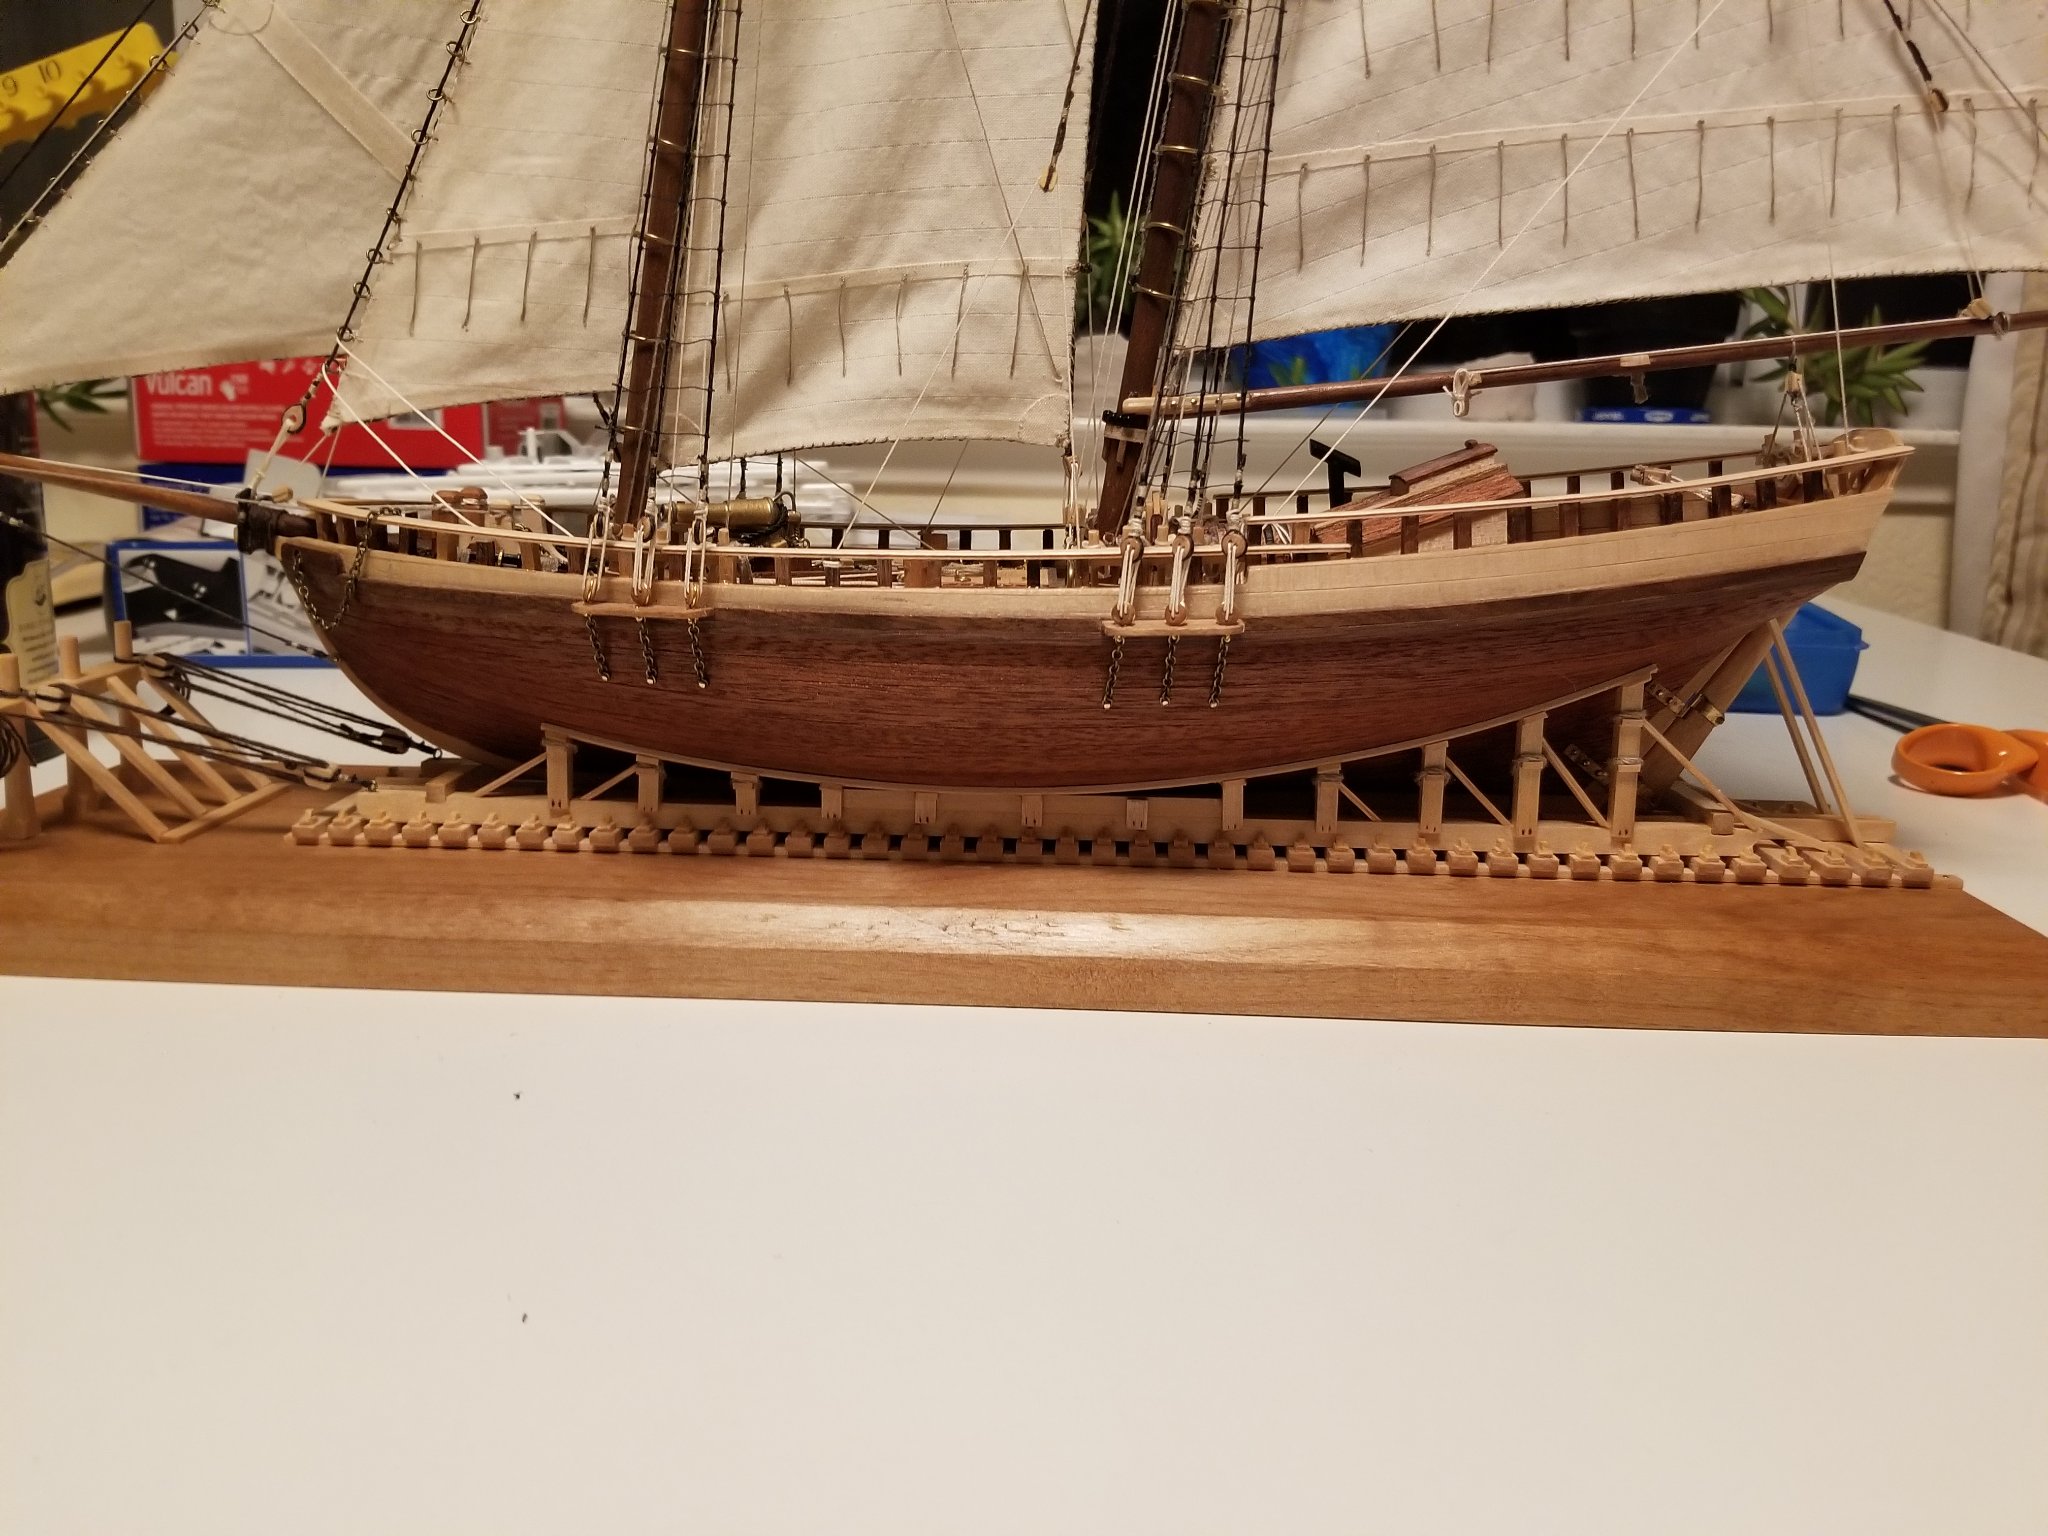
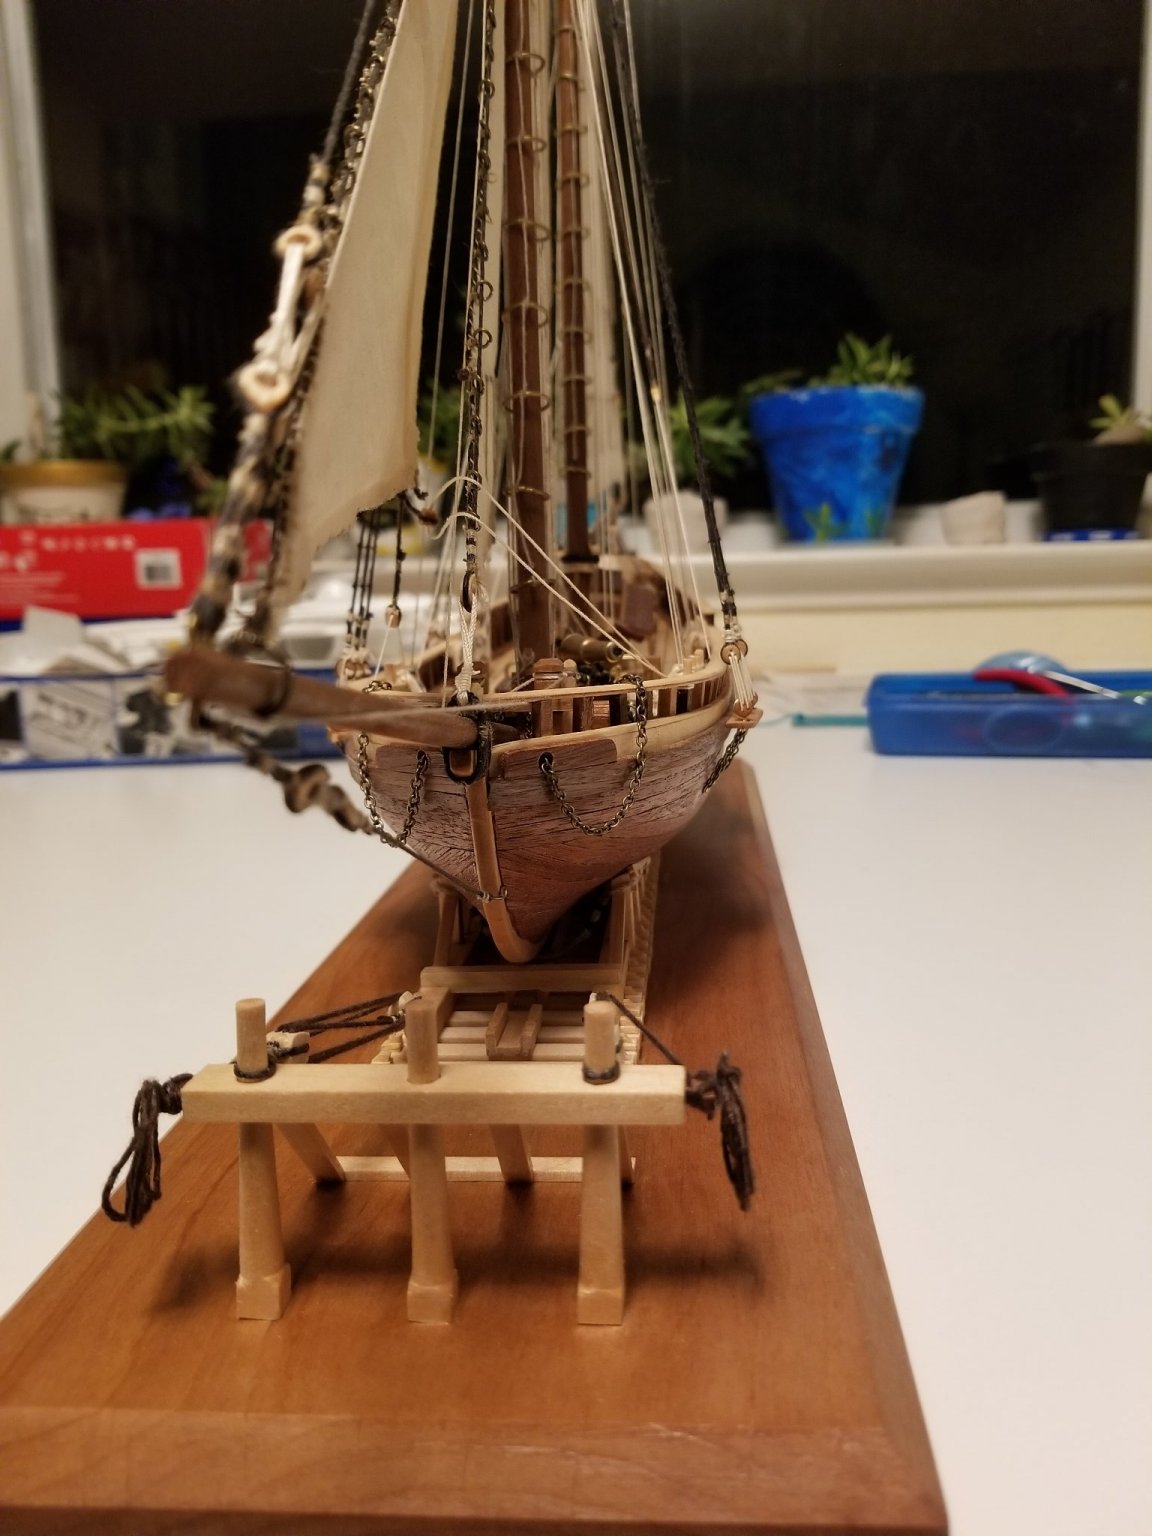
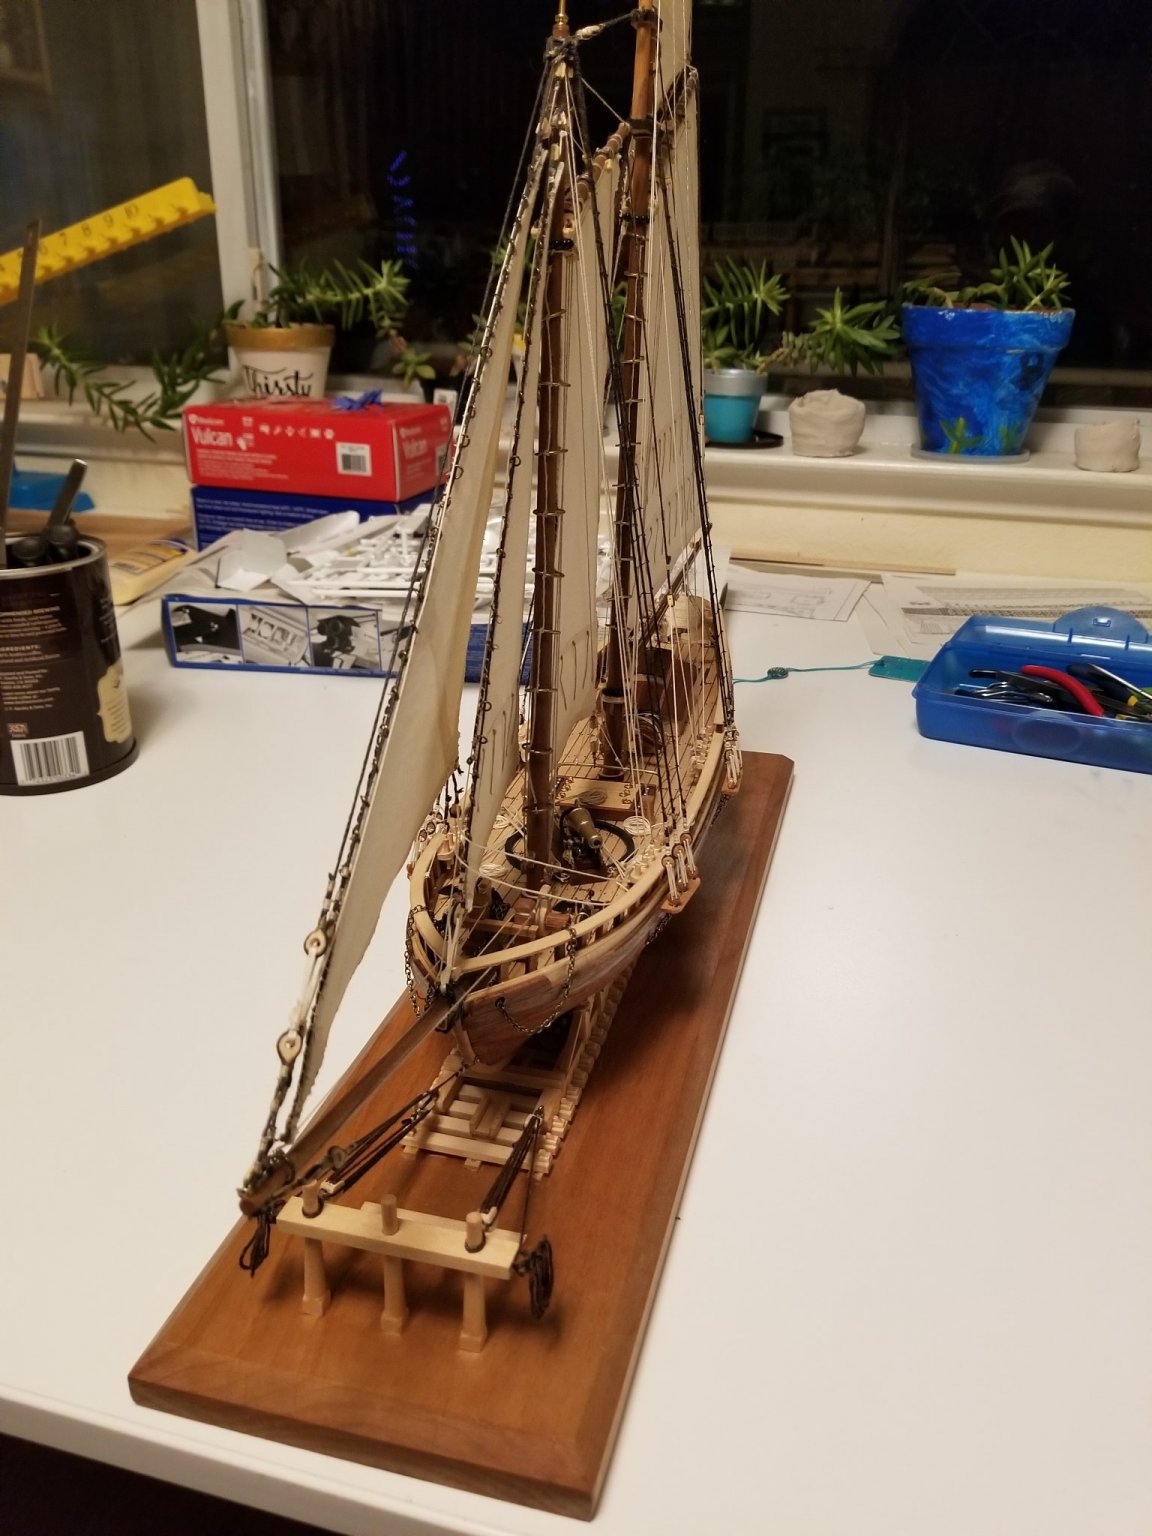
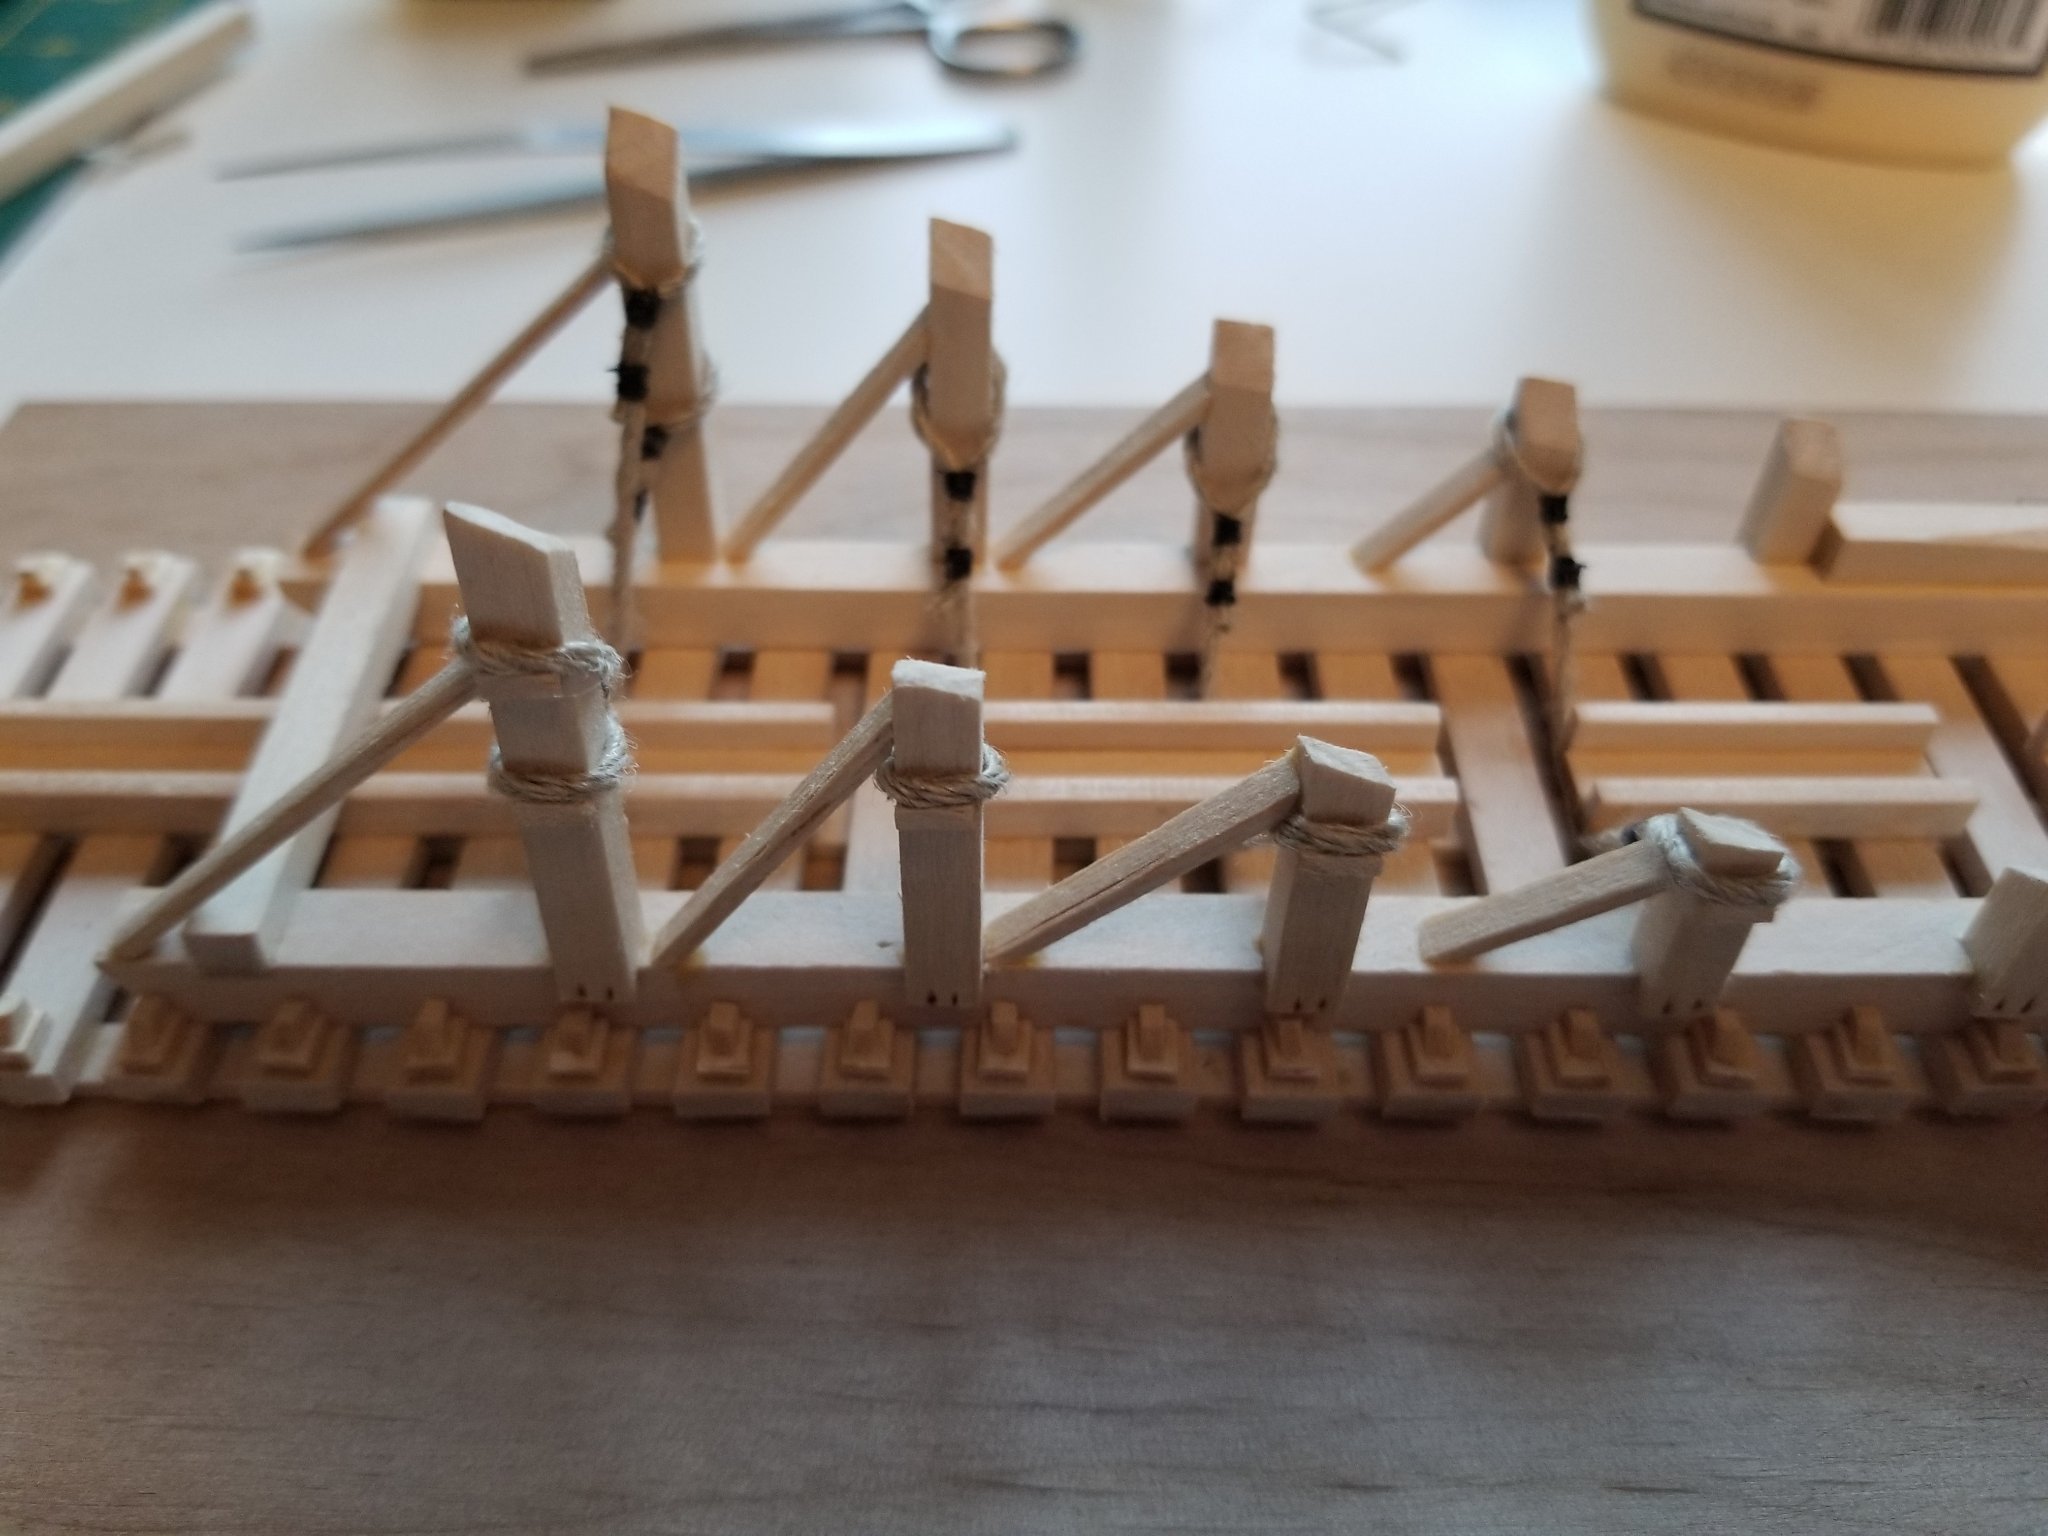
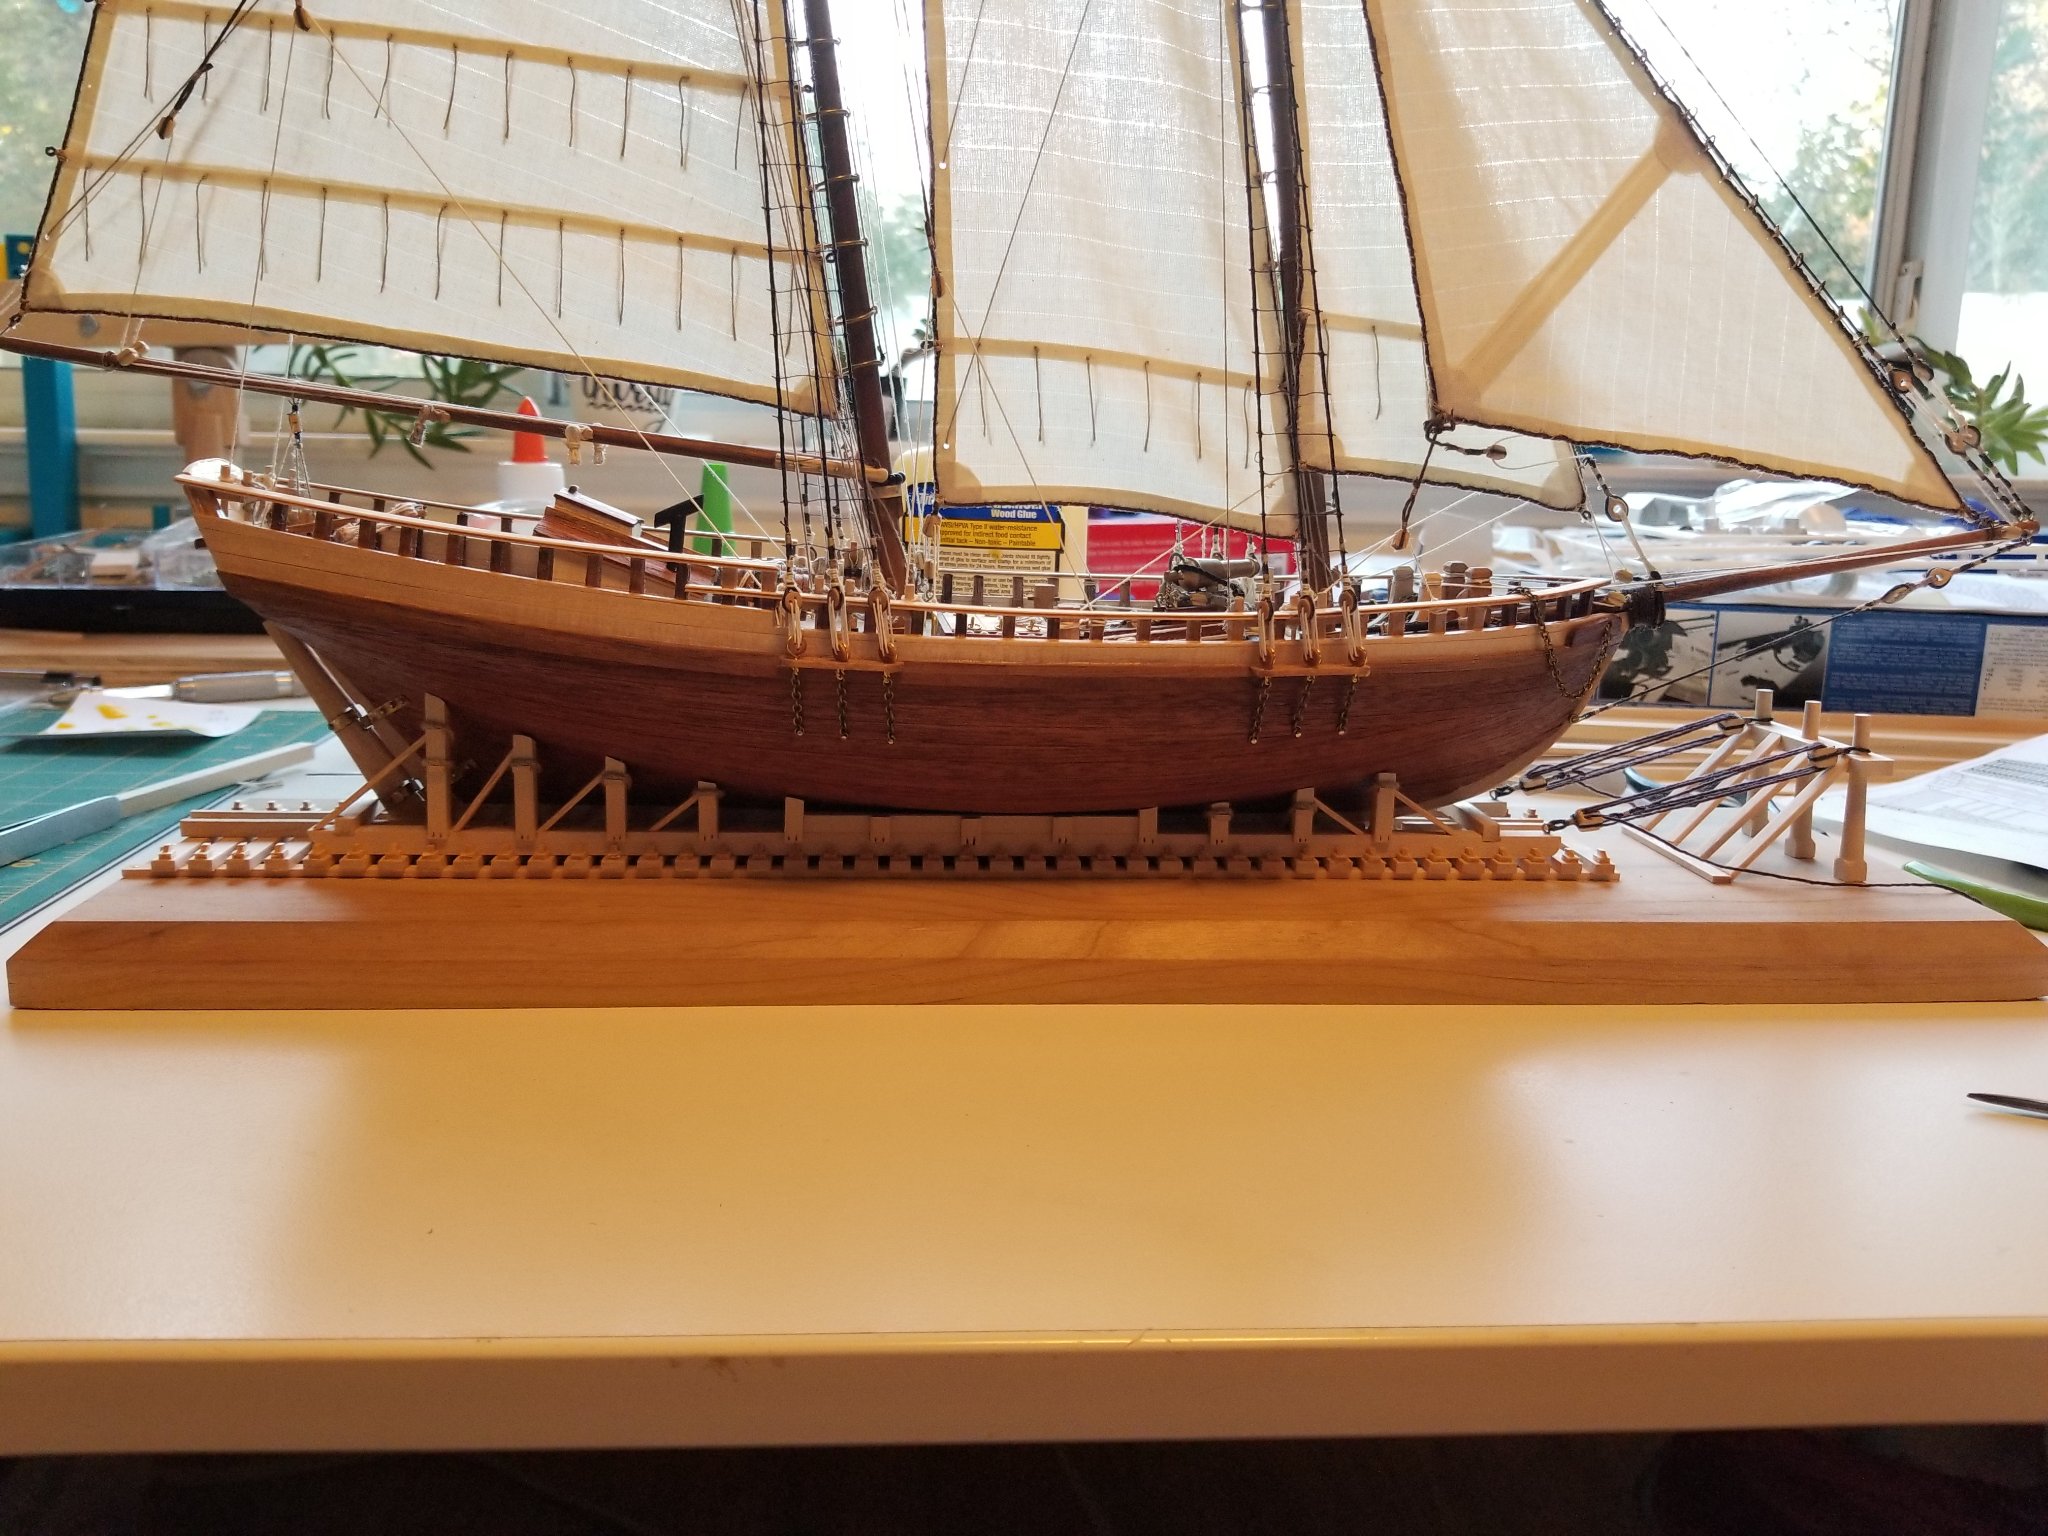
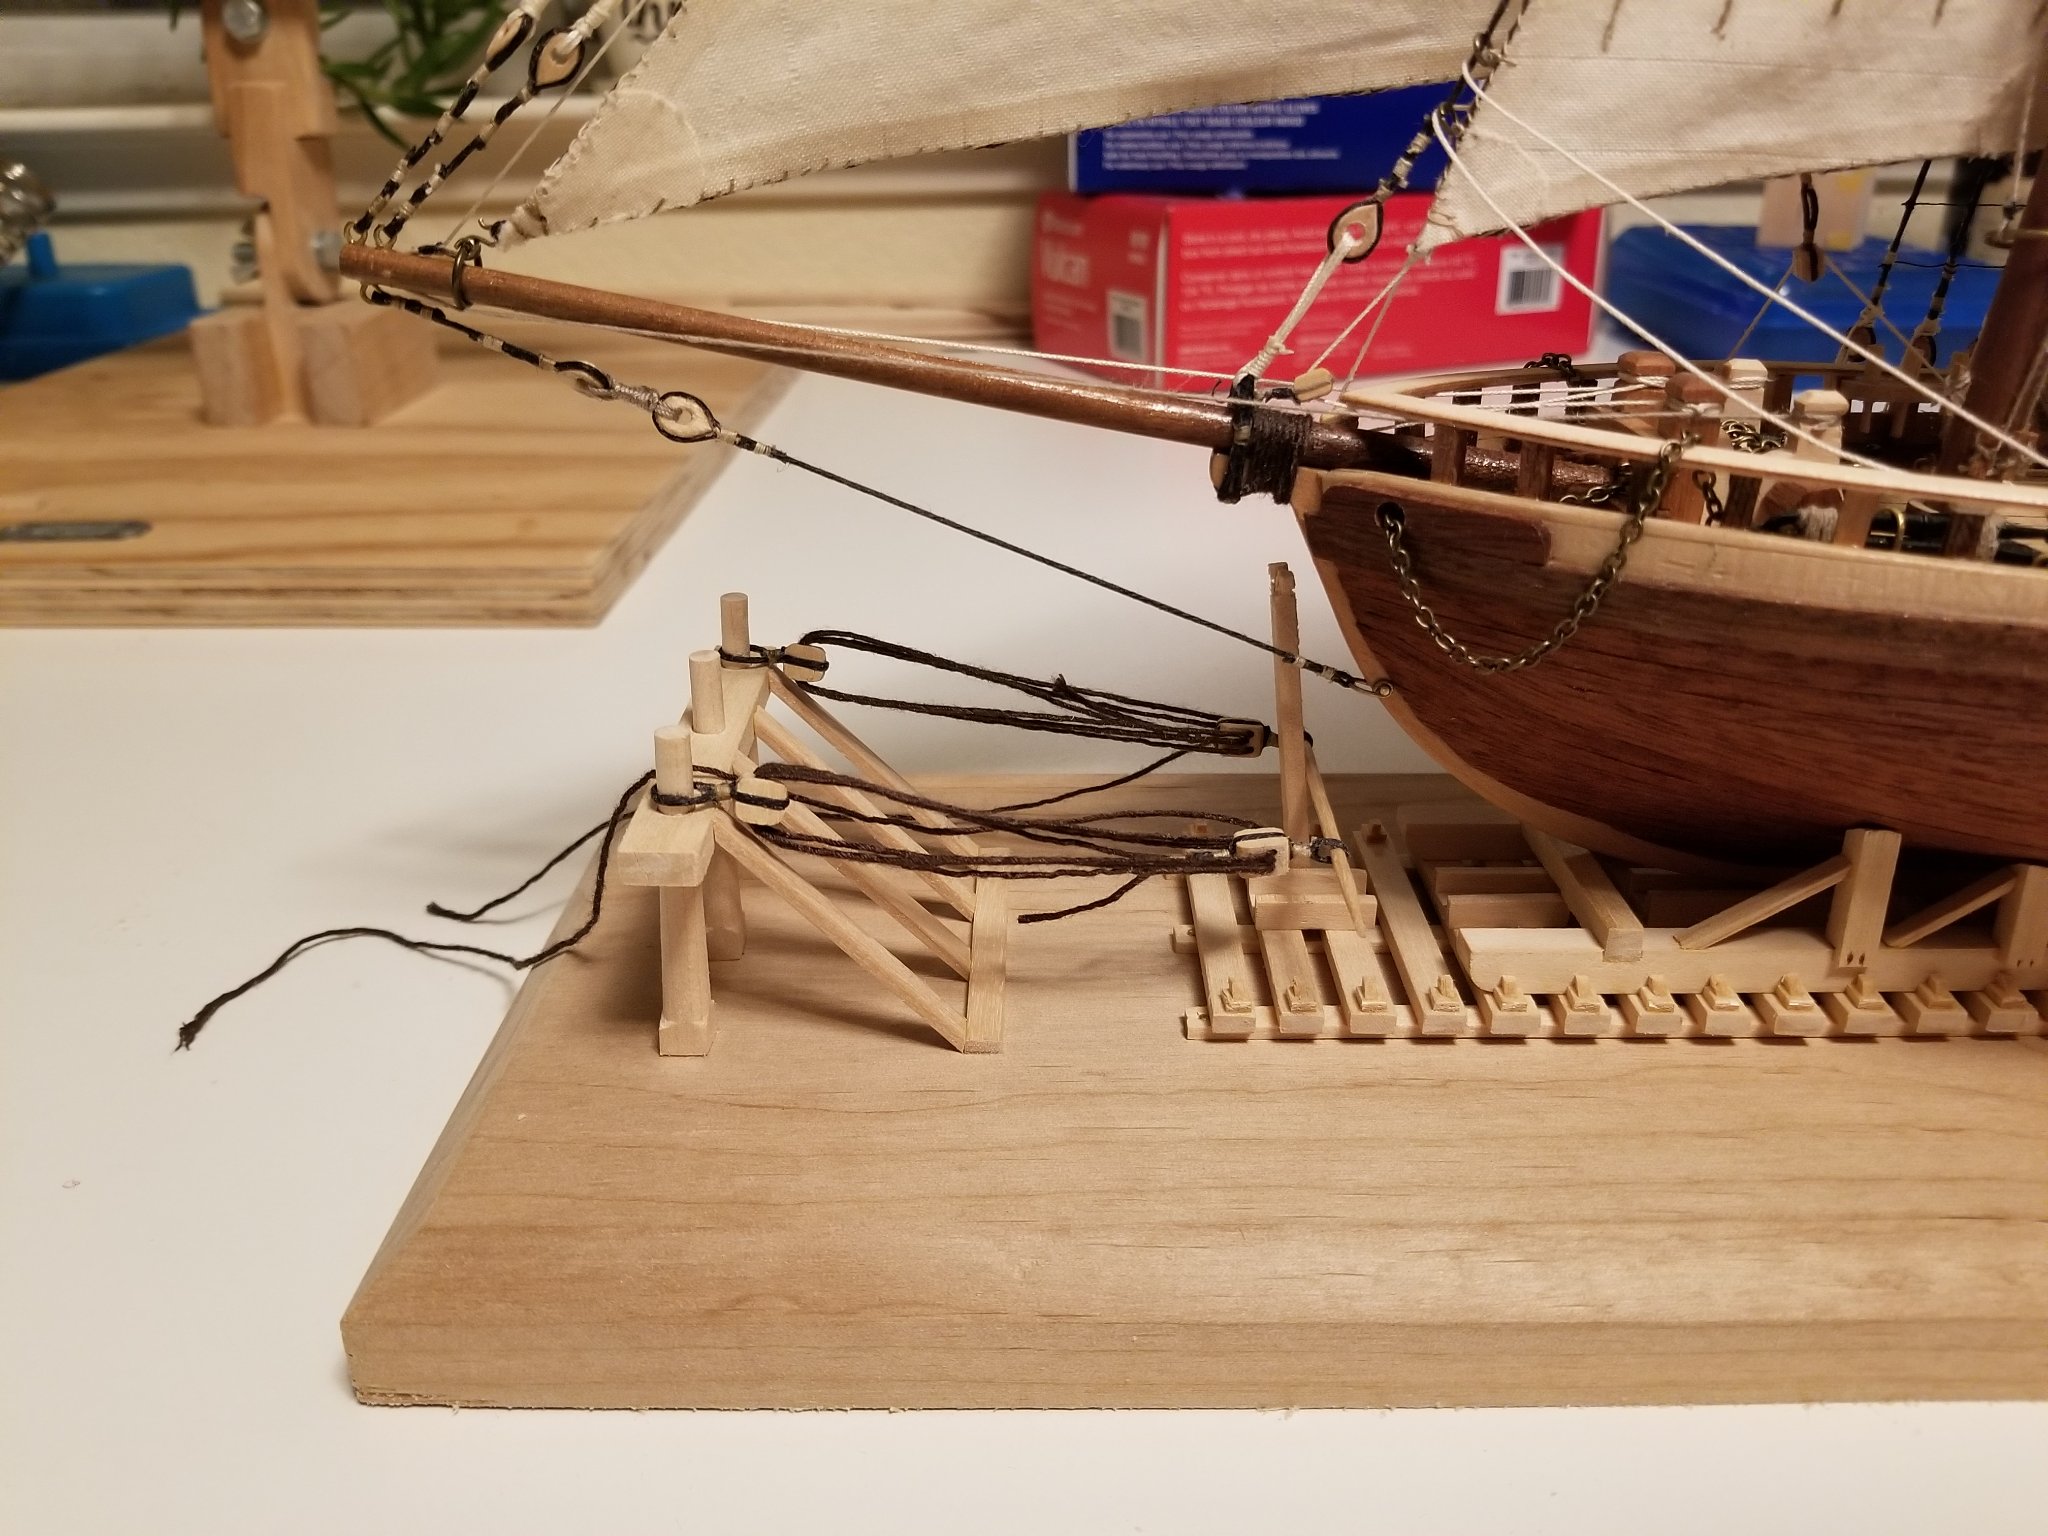
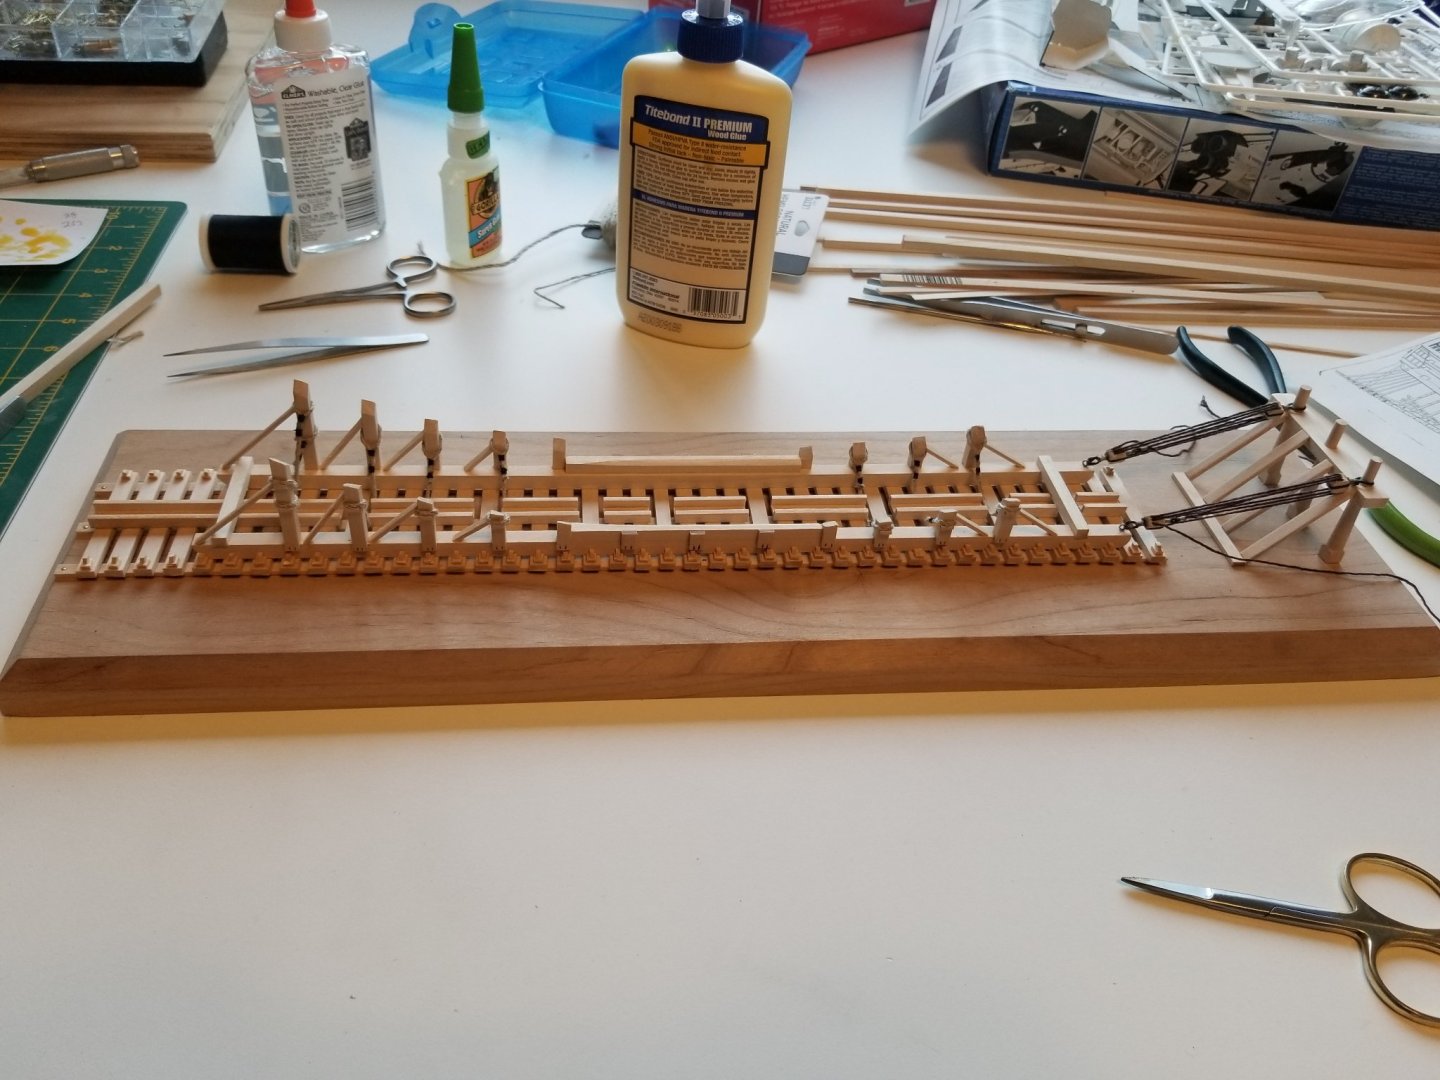
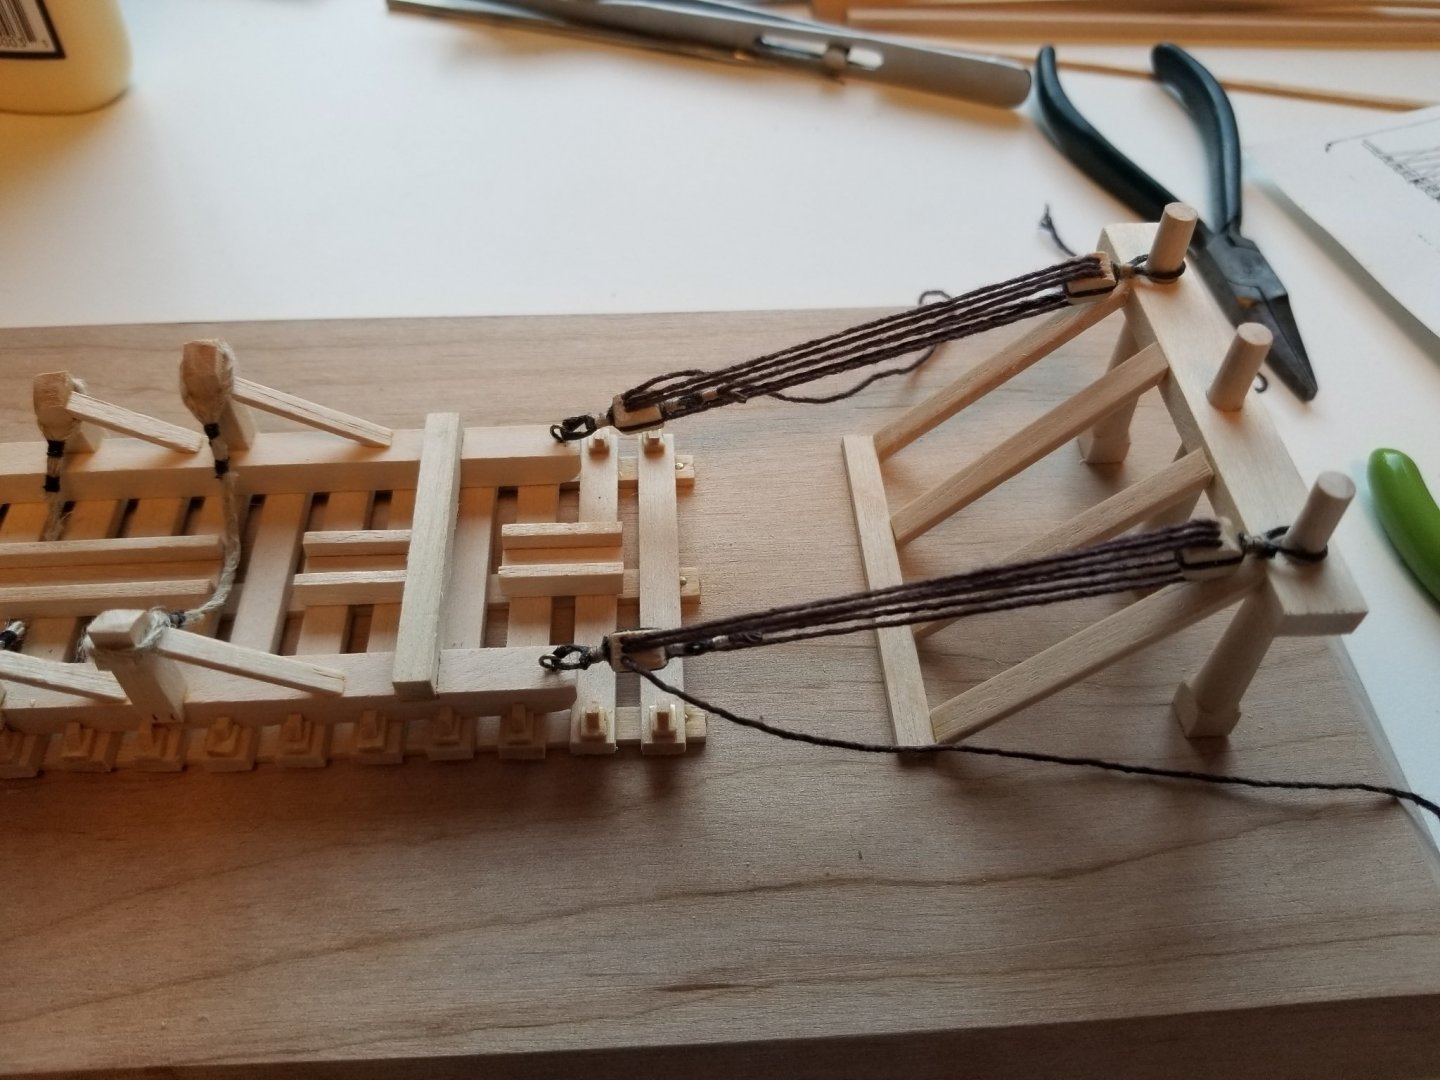
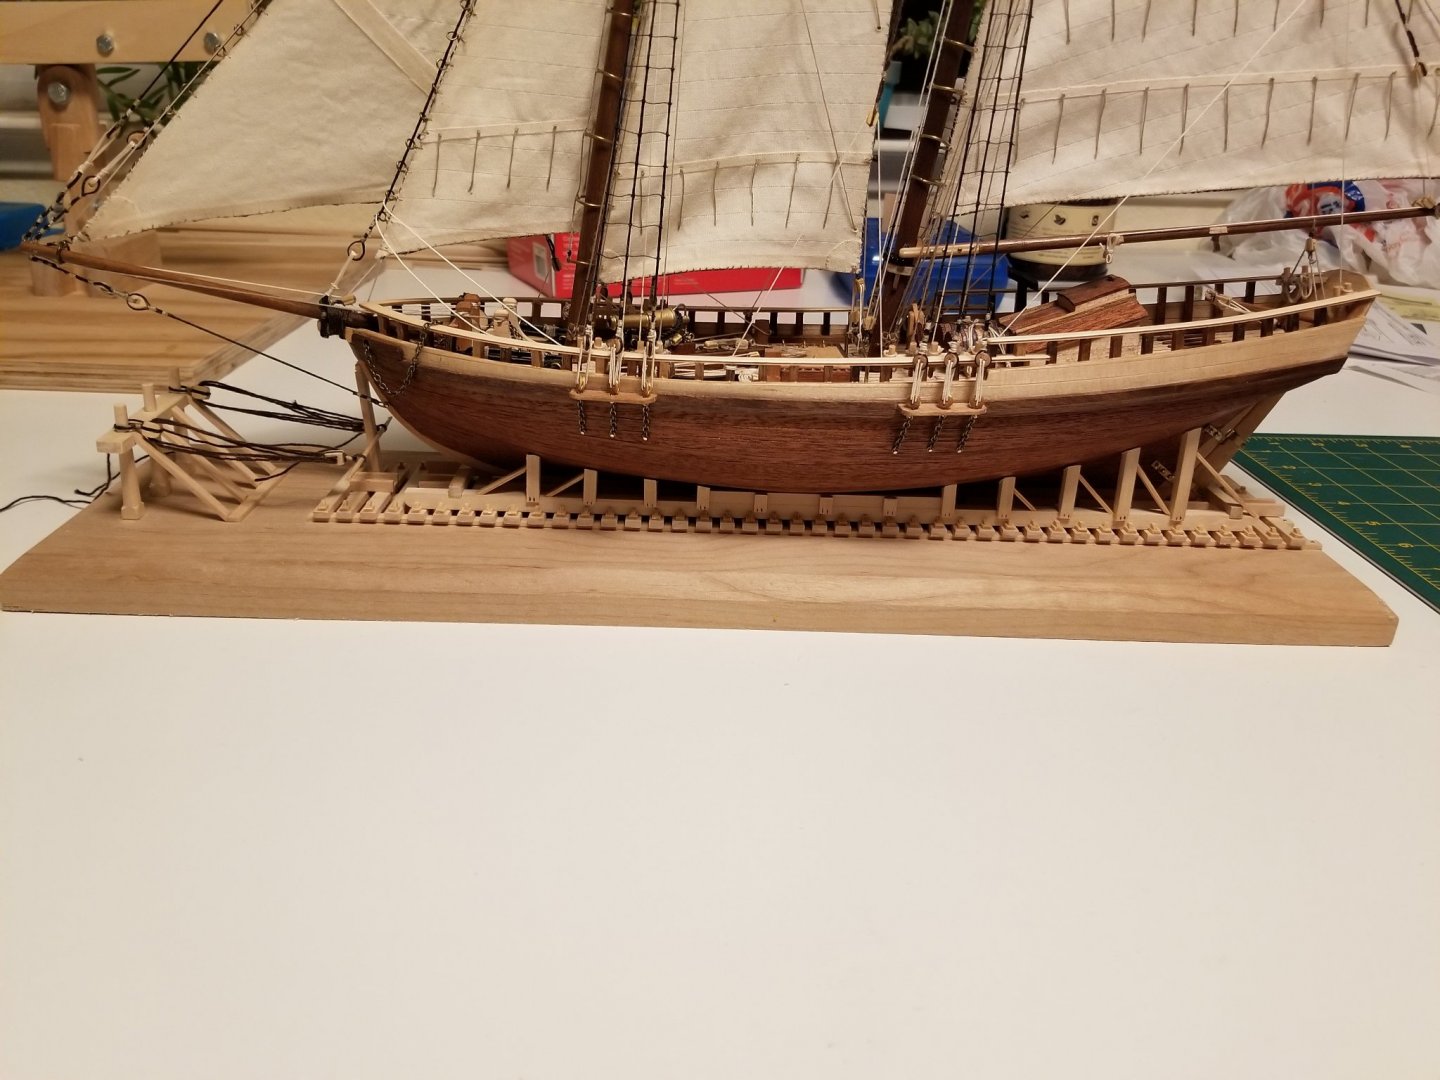
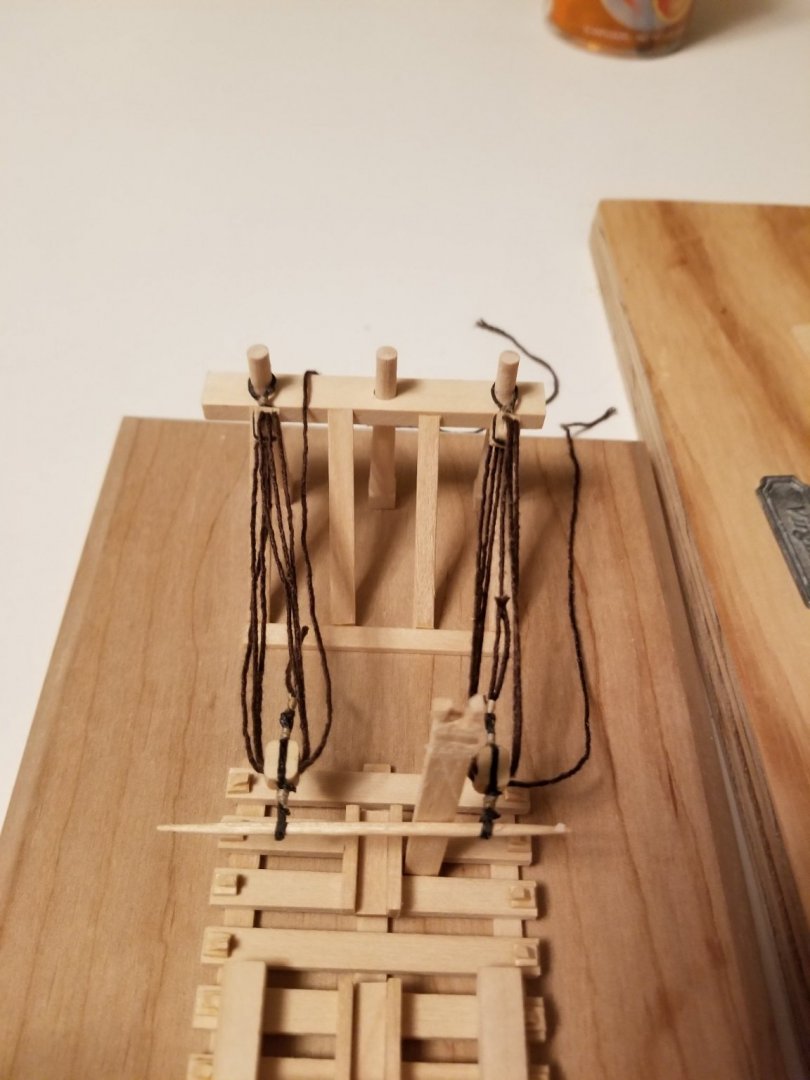
Slipway glued down. Rigging for hauling the sled set. Rigging on the sled to buttress the supports.


- 53 replies
-
- 4
-
-
- artesania latina
- virginia
- (and 1 more)
-
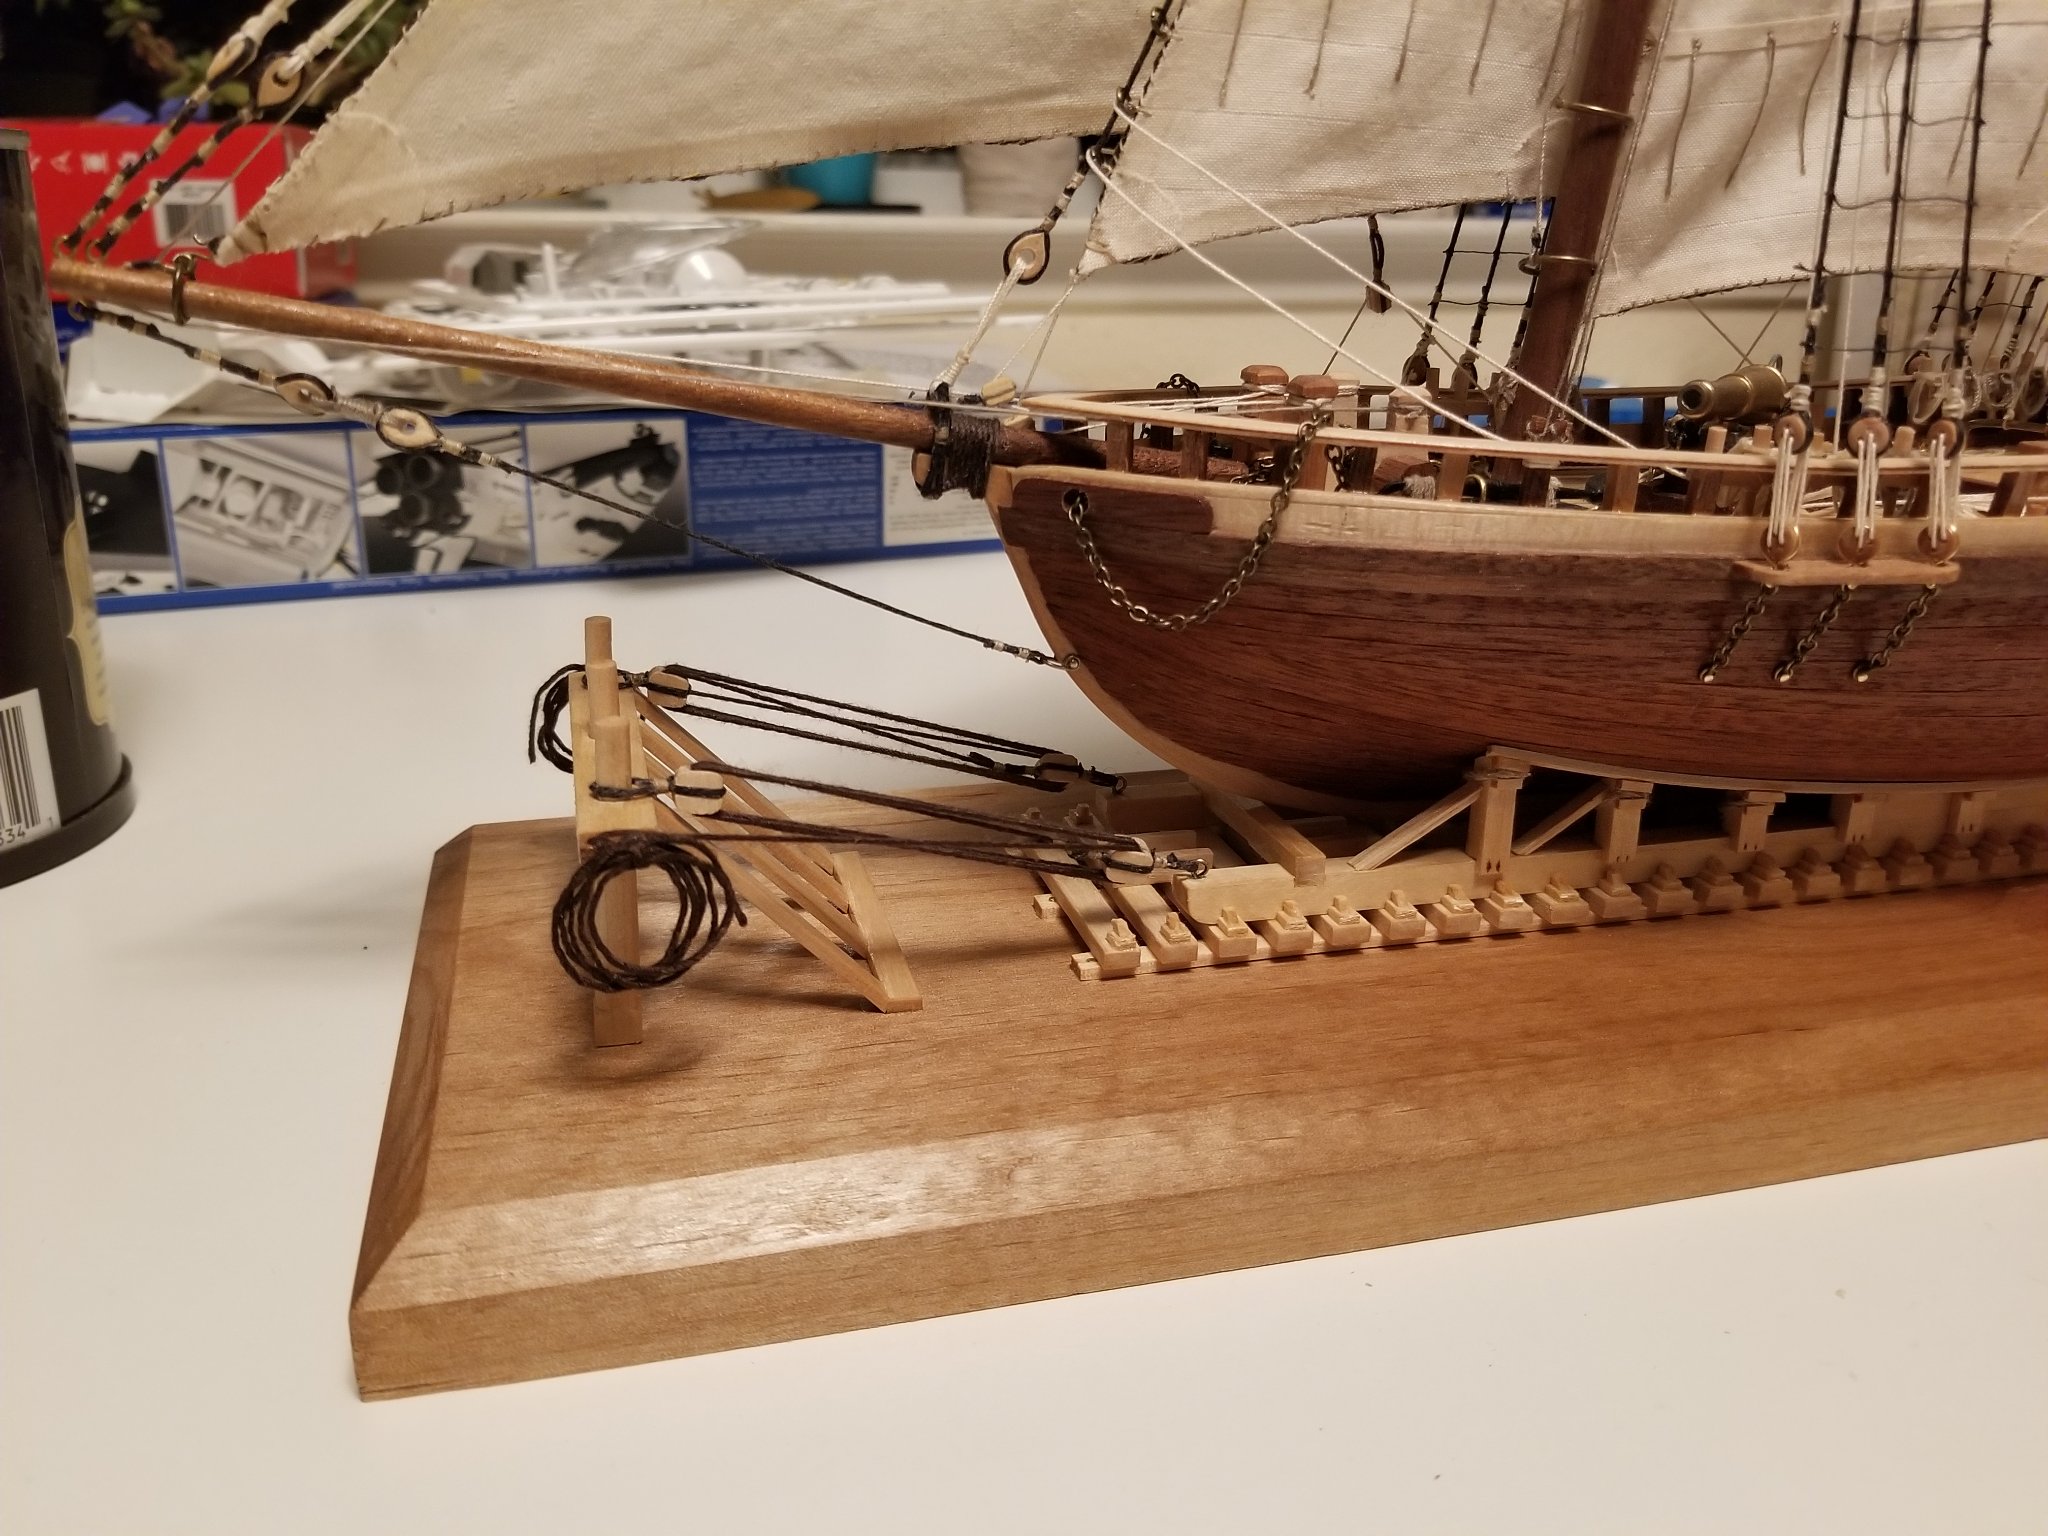
Not sure yet. Lost of other things I avoided to finish this project. We'll see.
- 53 replies
-
- 1
-
-
- artesania latina
- virginia
- (and 1 more)
-
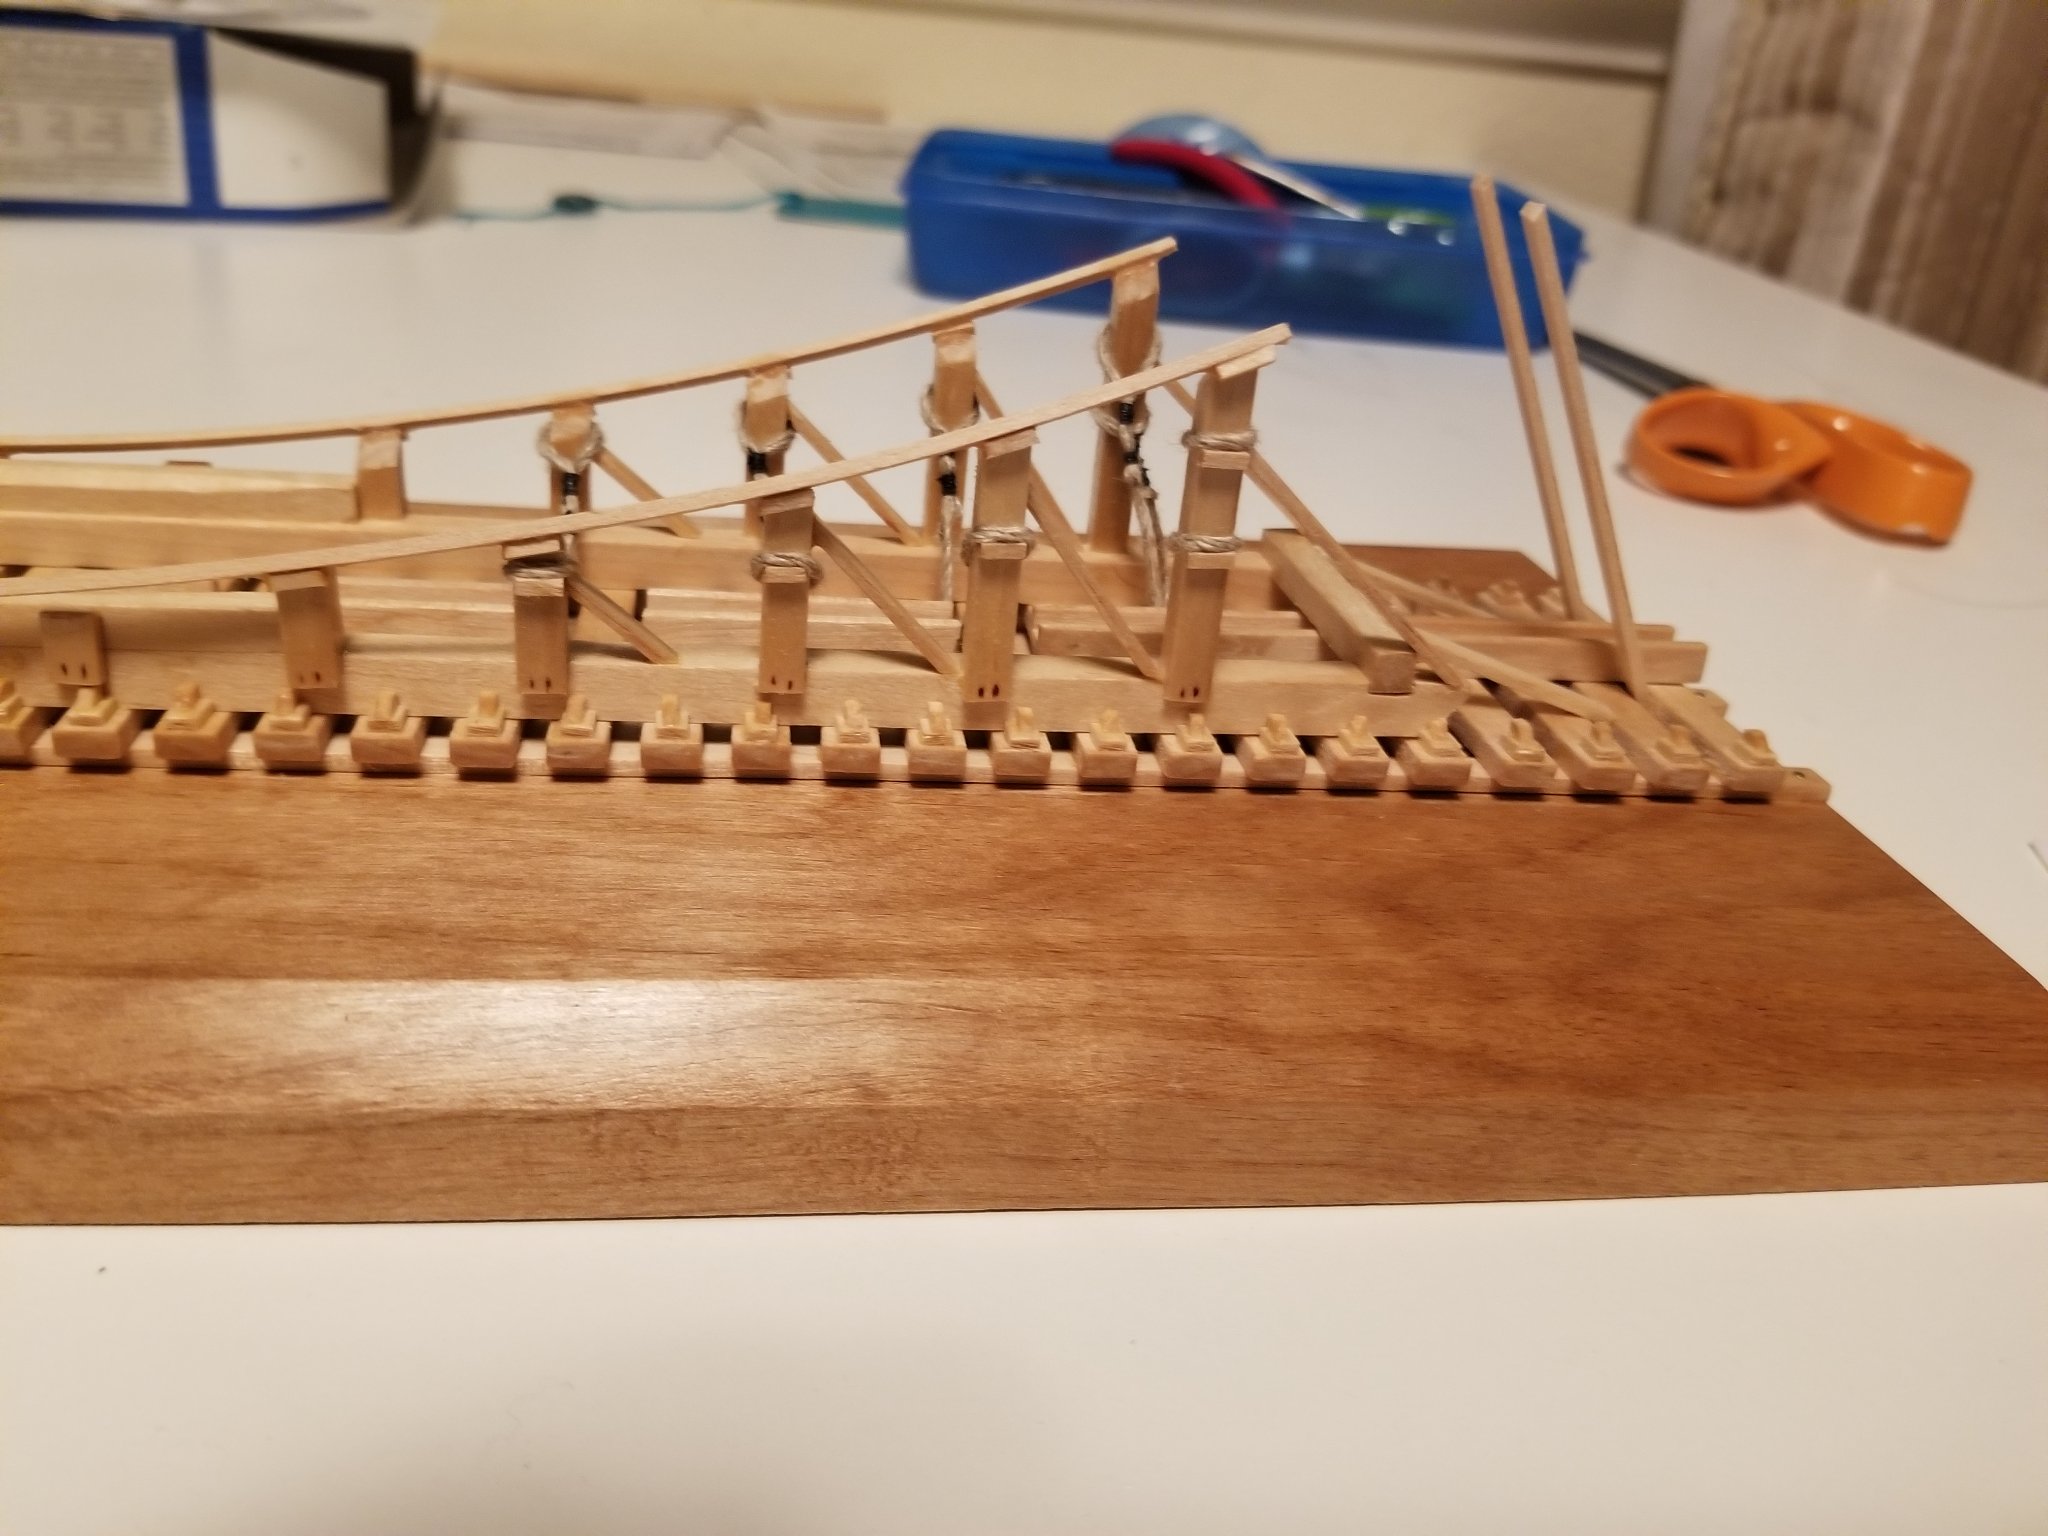
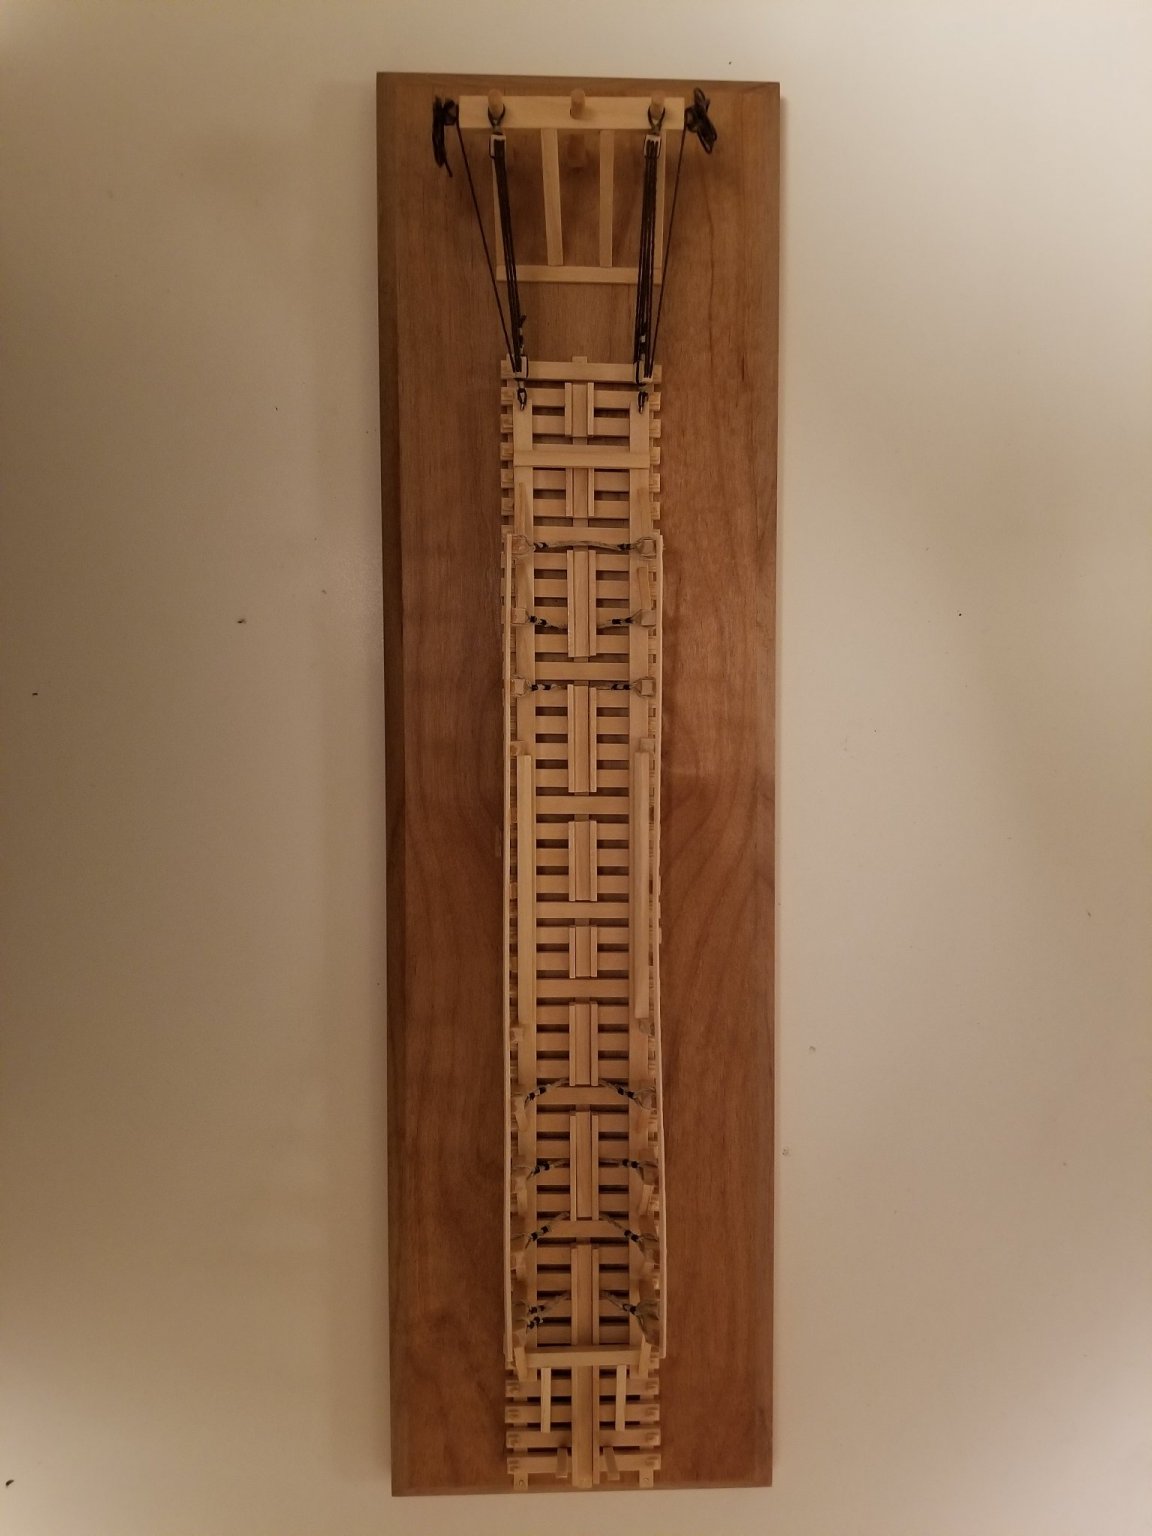
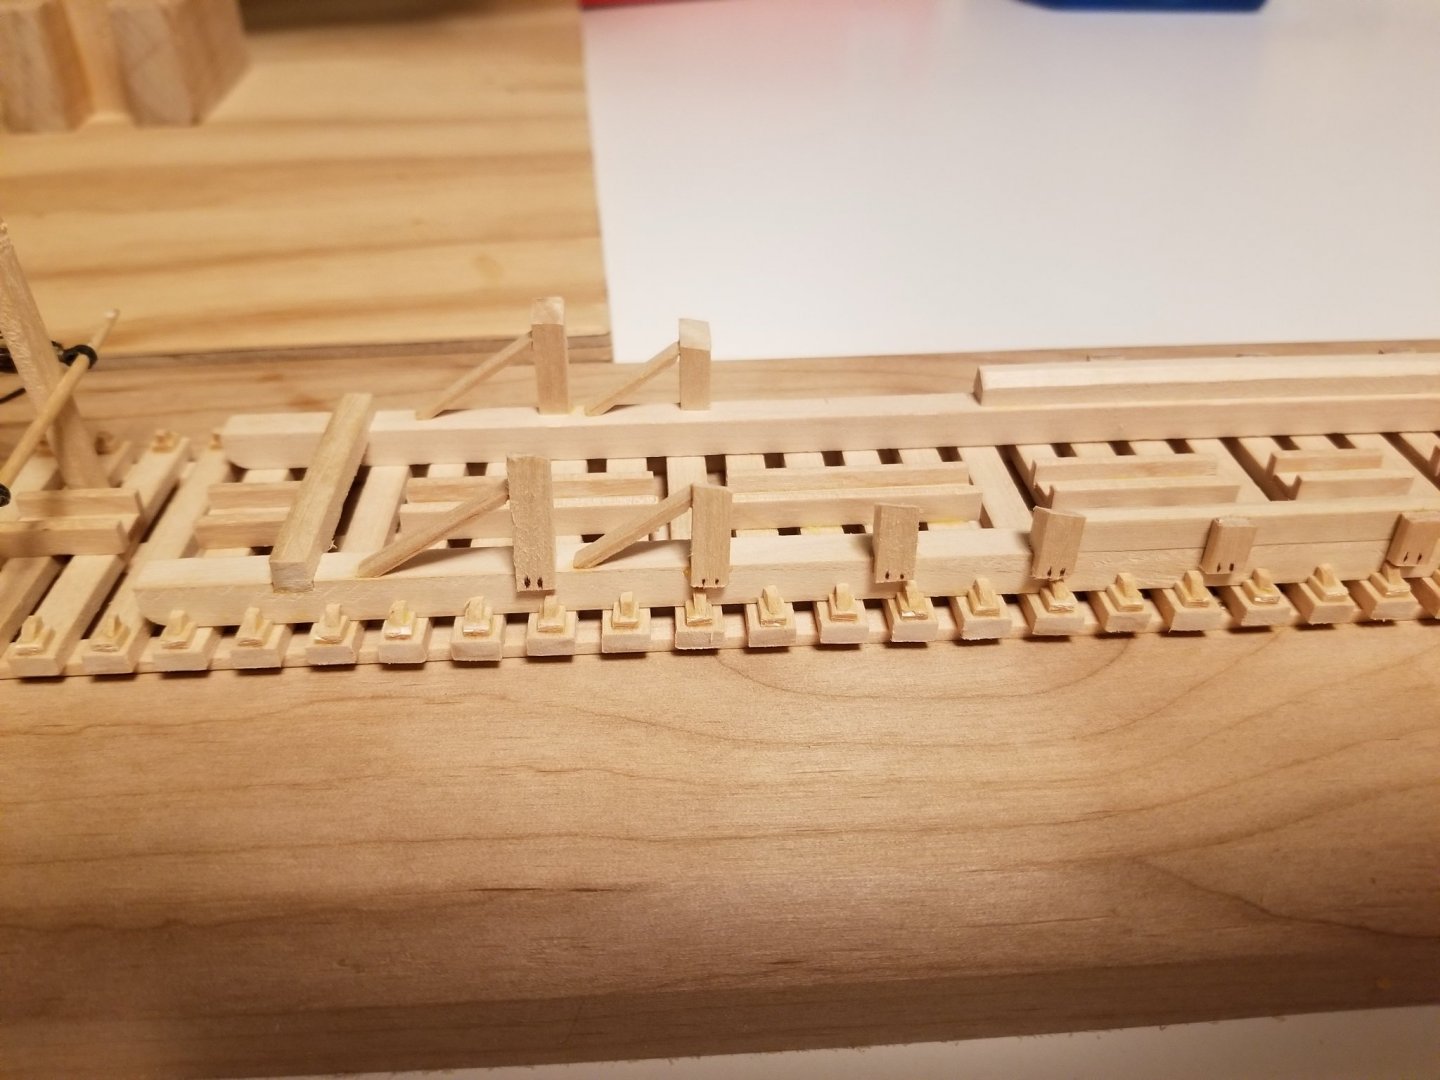
Almost time to look for the next project. Couple last supports to and connect the slipway stays


- 53 replies
-
- 3
-
-
- artesania latina
- virginia
- (and 1 more)