pnevrin
-
Posts
42 -
Joined
-
Last visited
Content Type
Profiles
Forums
Gallery
Events
Everything posted by pnevrin
-
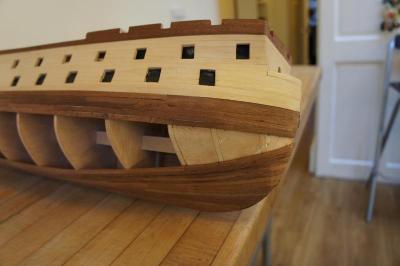
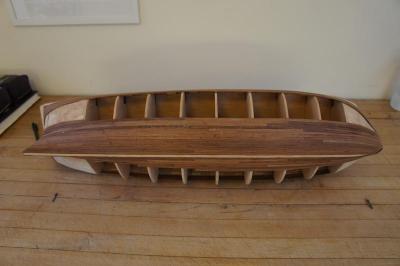
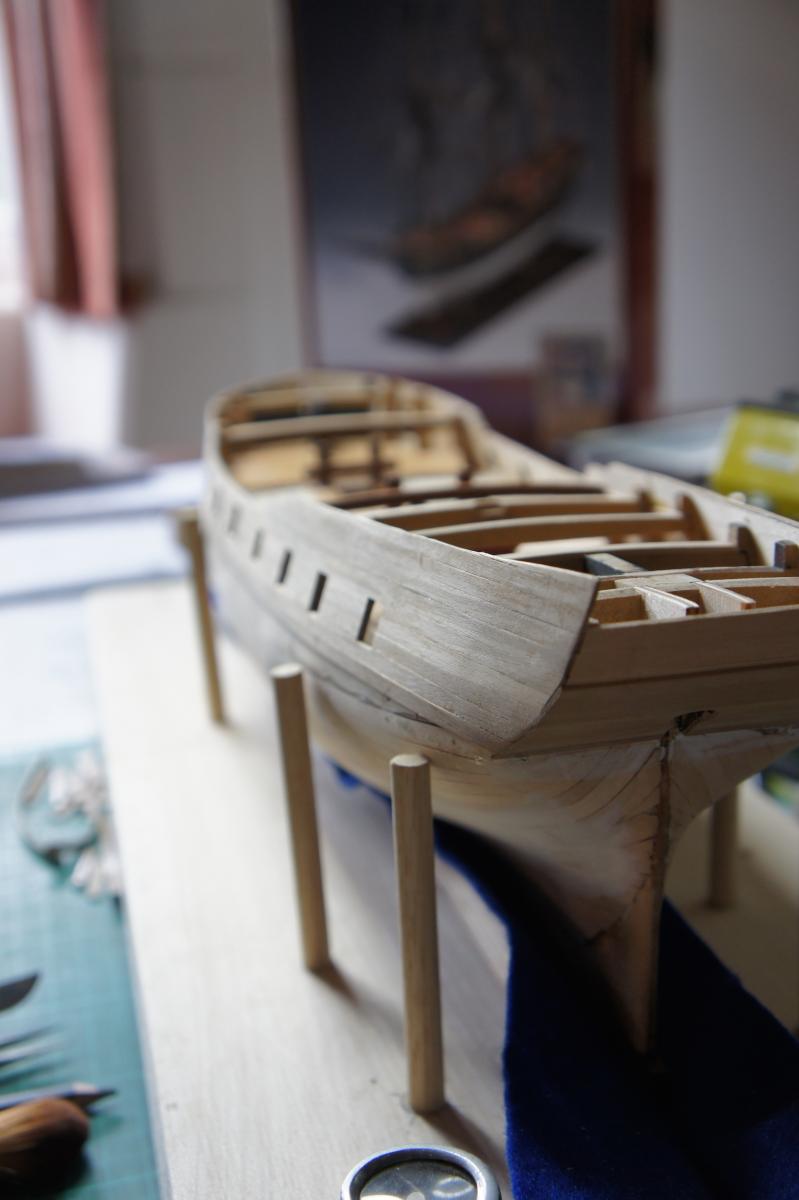
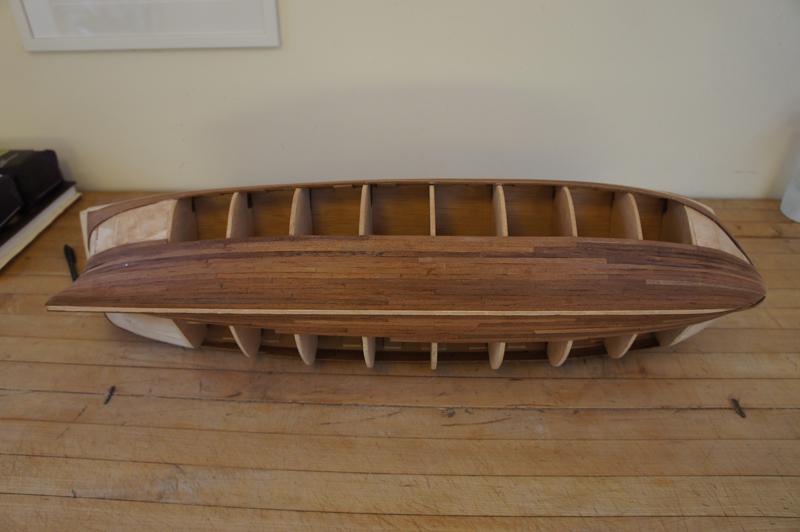
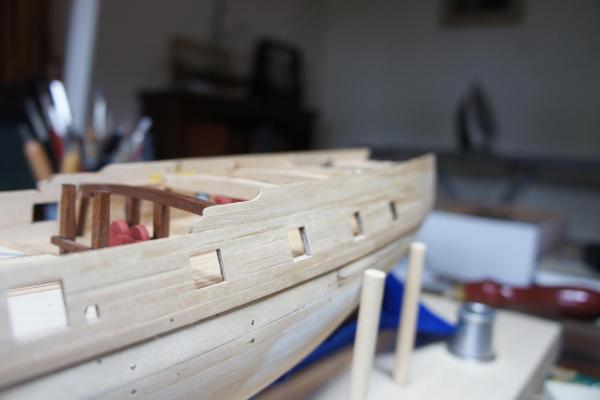
 Thanks Martin, much appreciated! I'm using kit timber throughout, basically. I've used cutoffs of the walnut planking to line the inside bulwarks. Gives the ship a nice weight as well. One thing I decided to change was the stern. The ply transom looked sad on it's own so I've planked the top part with the lime wood provided for the first hull planking - this to give it a layer to then plank over with walnut. - Per
 -
Thanks Nils, it's only my third build but things are starting to click Found a lot of great builds of this kit here to give me ideas for what needs to be done. Trying to find a reasonable price for the TFFM books vol 1 and 2. -Per
-
thanks Chris!
-
MONTANES by Garward - OcCre
pnevrin replied to Garward's topic in - Kit build logs for subjects built from 1751 - 1800
Garward - amazing to see the finished model and that you were awarded a medal for your effort! all the best, -Per -
Montanes by Fernando
pnevrin replied to Fernando's topic in - Build logs for subjects built 1751 - 1800
amazing build, very authentic colours. -Per -
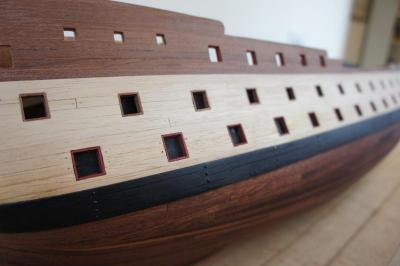
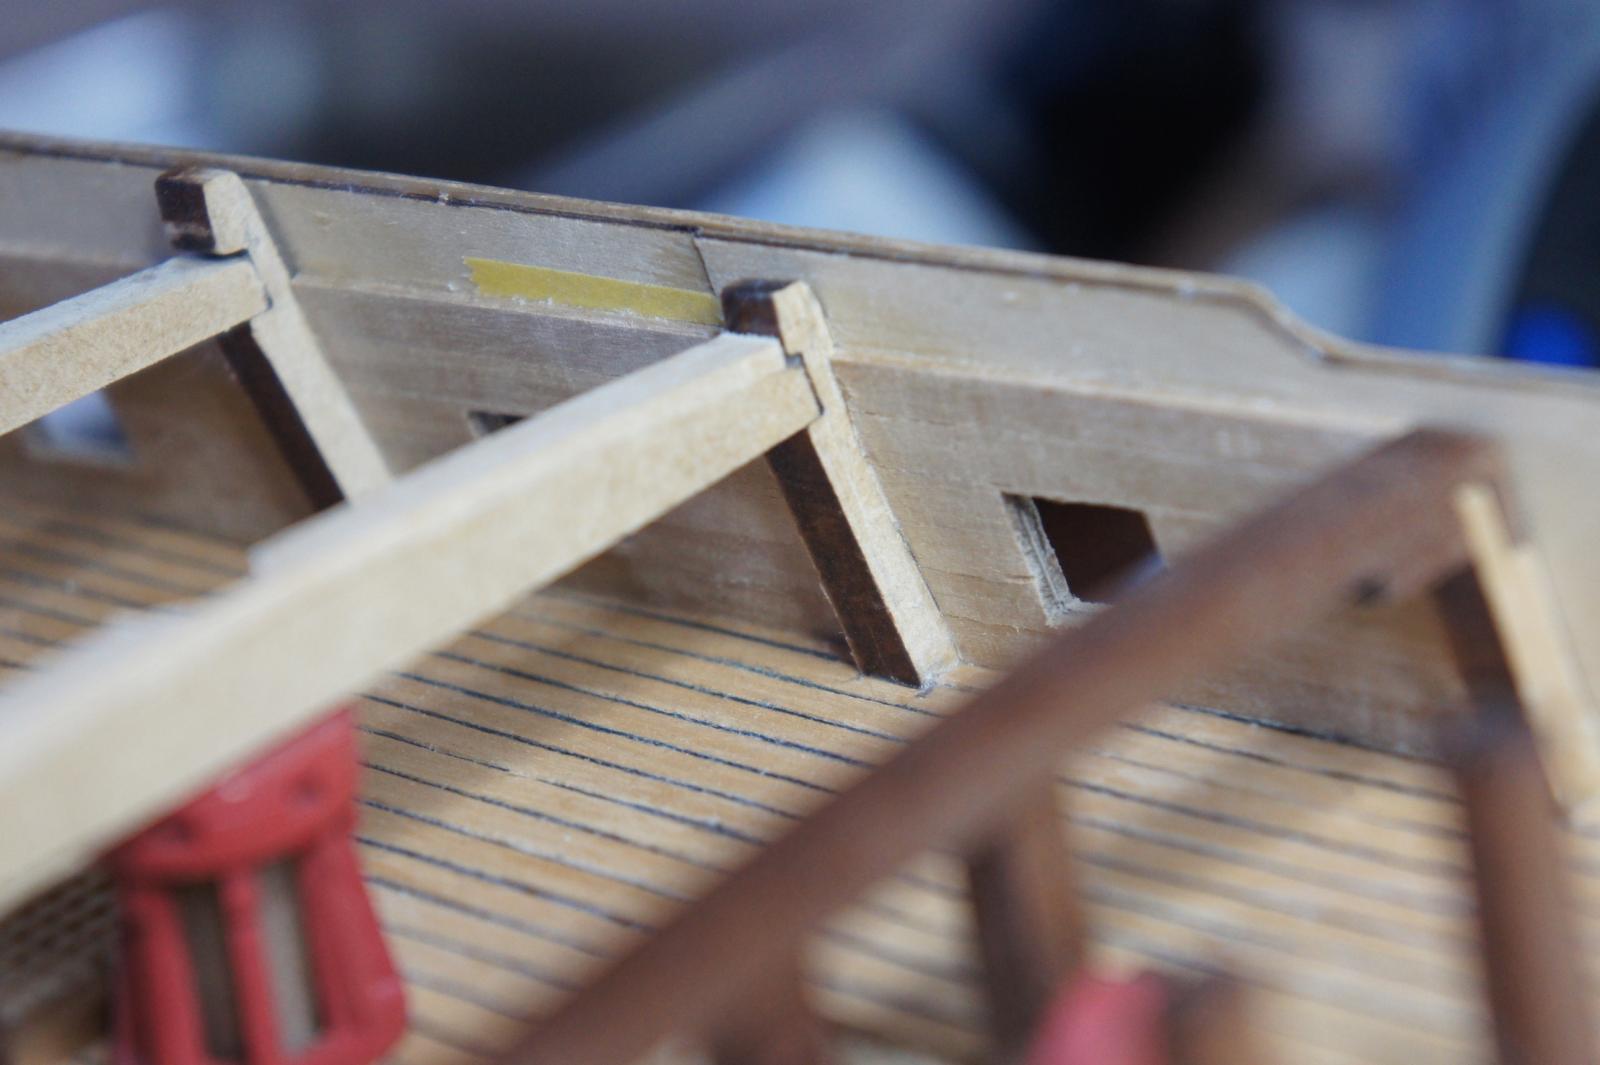
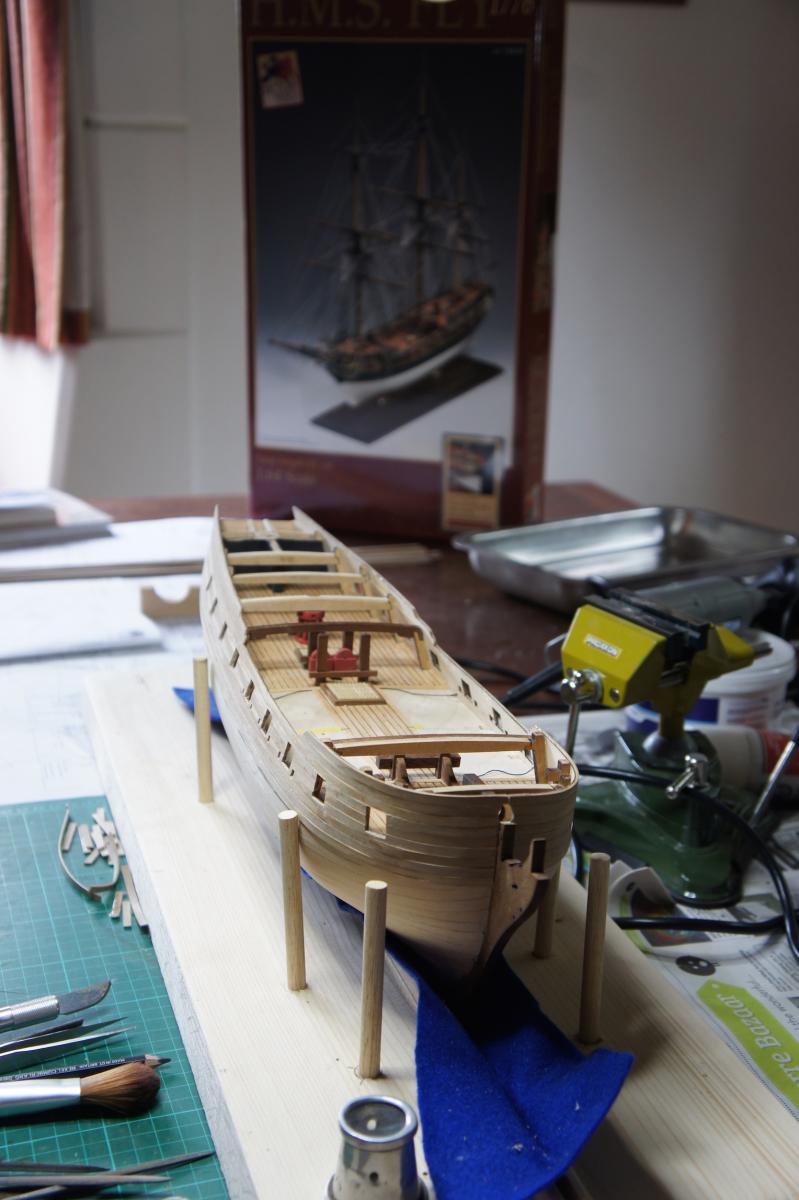
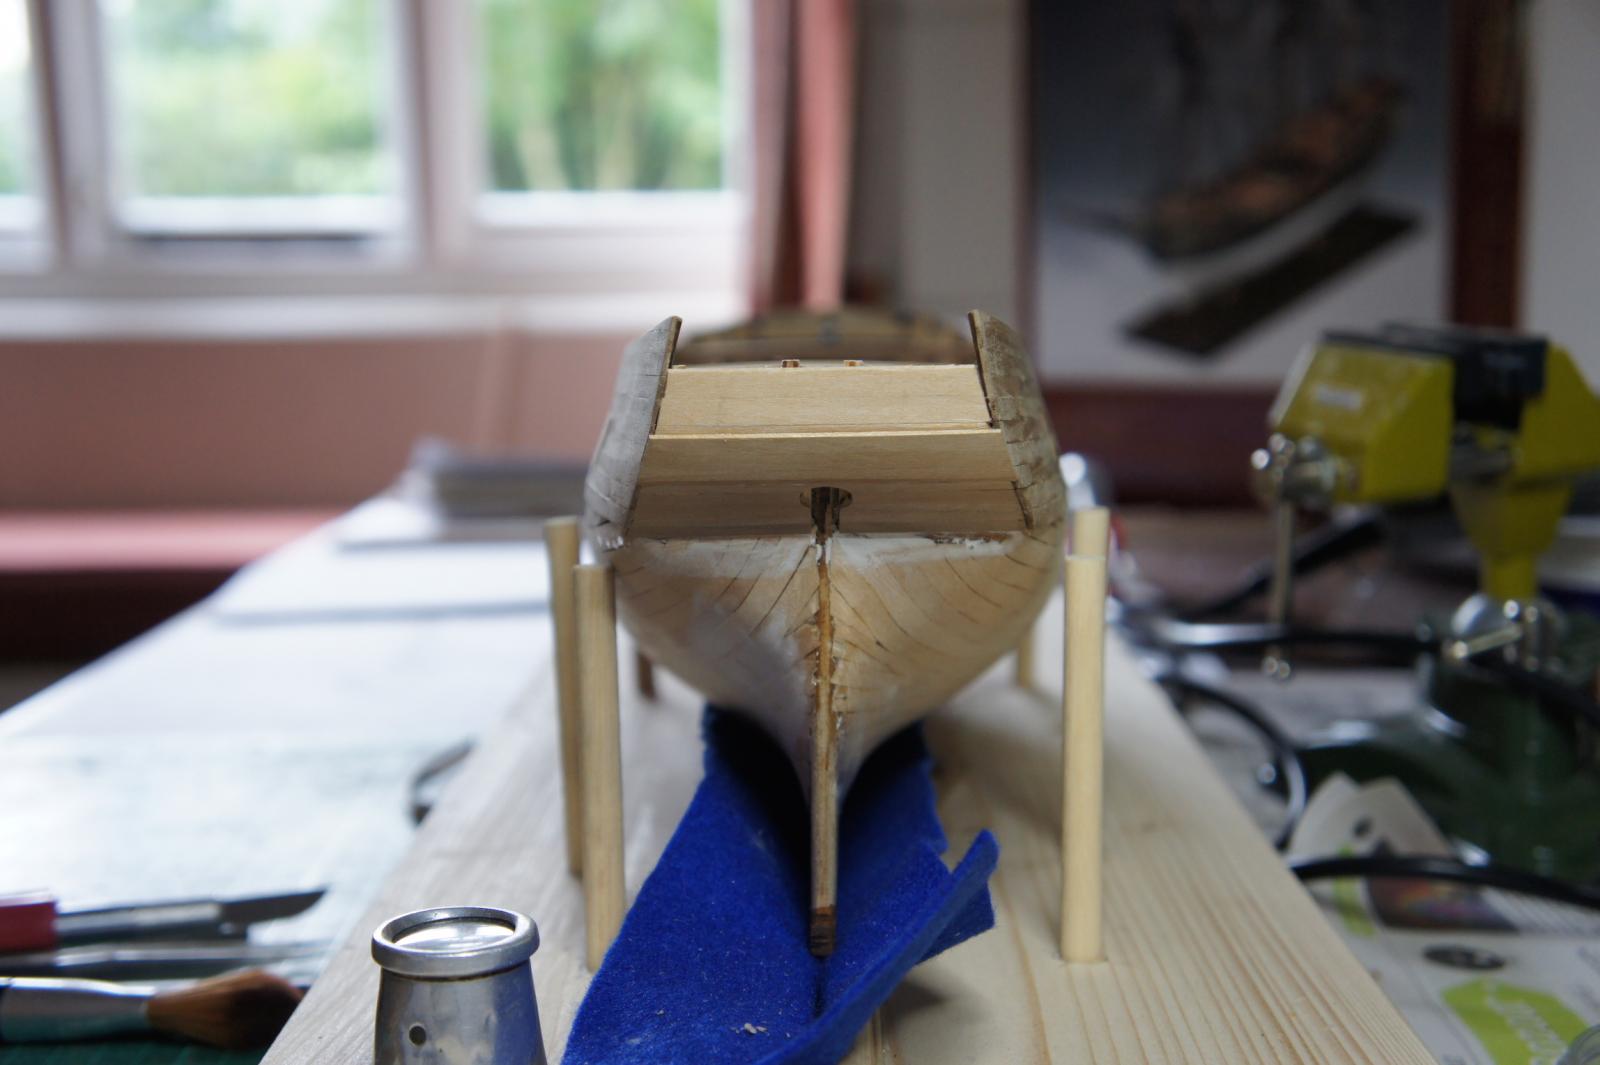
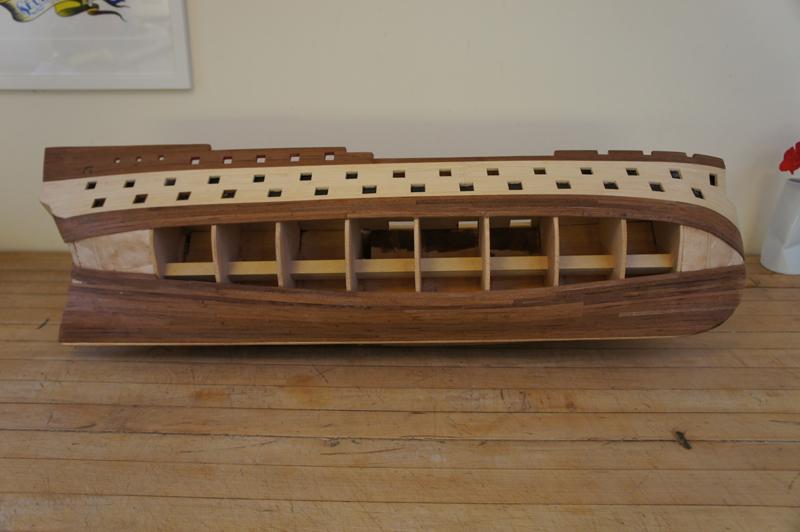
Hello all, So I've been following the other Fly builders for a while now (Blue Ensign, Spyglass, Landlubber Mike, Vitus, et al) and thought it was time to join the party. A bit daunting since everyone's Fly look so accomplished, especially for the scale. I picked up this kit a while back but moving house and switching careers made me shelf it for over a year after I had done the first planking and part of the main deck planking. This is where I am now: Started second planking and pretty much completed the exterior bulwarks and still lining the inside. I'm trying to pick each plank (outside planking) as carefully as possible to not get too much variation as I want to stain them a little darker and not paint as much. Not planning on coppering but have seen a few that look very good with the ageing applied. Purchased Chuck Passaro's brass 6-pounders and trucks (37mm version which may or may not be out of scale but I think they look the part). Really enjoying this kit. So far everything fits like a glove, good quality timber and a reasonably sized ship to work on. I've previously built the Lady Nelson by Amati (lost build log in the big MSW purge) and a shelved Montanes project that I took to finished hull minus stern and bow bits. It still looks very nice for now and I can't rig her in our house anyway. Looking forward to any comments, suggestions, criticism or ideas from this amazing community! - Per


-
Montanes by pnevrin - OcCre
pnevrin replied to pnevrin's topic in - Kit build logs for subjects built from 1751 - 1800
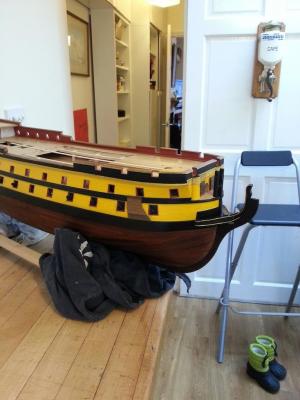
Hi everyone, sorry for the long, long absence. Life takes over sometimes and we are currently about to move house soon after a long hunt. Good news is that our new house will have a full garage that I intend to build a workshop in and will then resume my Montanes log. It's currently on a shelf in the living room and I very much plan to finish her! Sjors and Garward, thanks for the congratulations back in April! Holty: I do still have the images for Lady Nelson. The log was lost in the migration to the new site but I can PM or email you some of the images if you like? She has become a real favorite of mine, looking down from the other side of the living room. The rig is a beauty. -
WASA by Dennis Jones - Corel
pnevrin replied to dennis jones's topic in - Kit build logs for subjects built from 1751 - 1800
I have a piece of wood rattling around in my Montanes too. Annoying and impossible to get out! Your Wasa is looking very nice indeed, keep it going. Per -
Montanes by pnevrin - OcCre
pnevrin replied to pnevrin's topic in - Kit build logs for subjects built from 1751 - 1800
yes, the instructions and pics are terrible on this part of the build. I think Garward may have done his own solution (which looks very elegant). I also lost the smallest frame for the bow grating and have to recreate. I think my son threw it away Good luck and keep the pics coming. Per -
Montanes by pnevrin - OcCre
pnevrin replied to pnevrin's topic in - Kit build logs for subjects built from 1751 - 1800
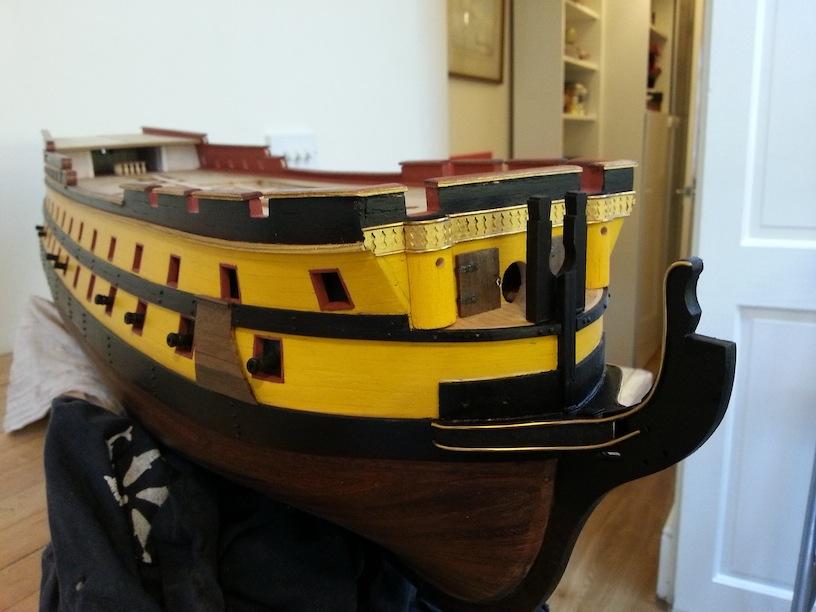
sorry, looking back at your log, I see you meant the decorative part on the hull, not on the bow post. I actually cut it up in parts, so the bent parts on their own, then a straight strip and so on. I bent it around a hammer handle the seemed to have a similar shape. It's not perfect but I like it. May redo one or two parts. USed CA throughout. Per -
Montanes by pnevrin - OcCre
pnevrin replied to pnevrin's topic in - Kit build logs for subjects built from 1751 - 1800
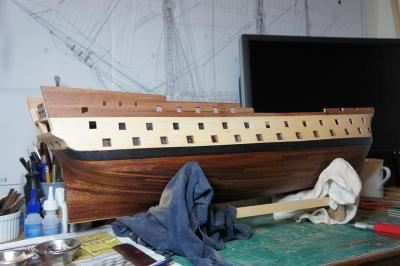
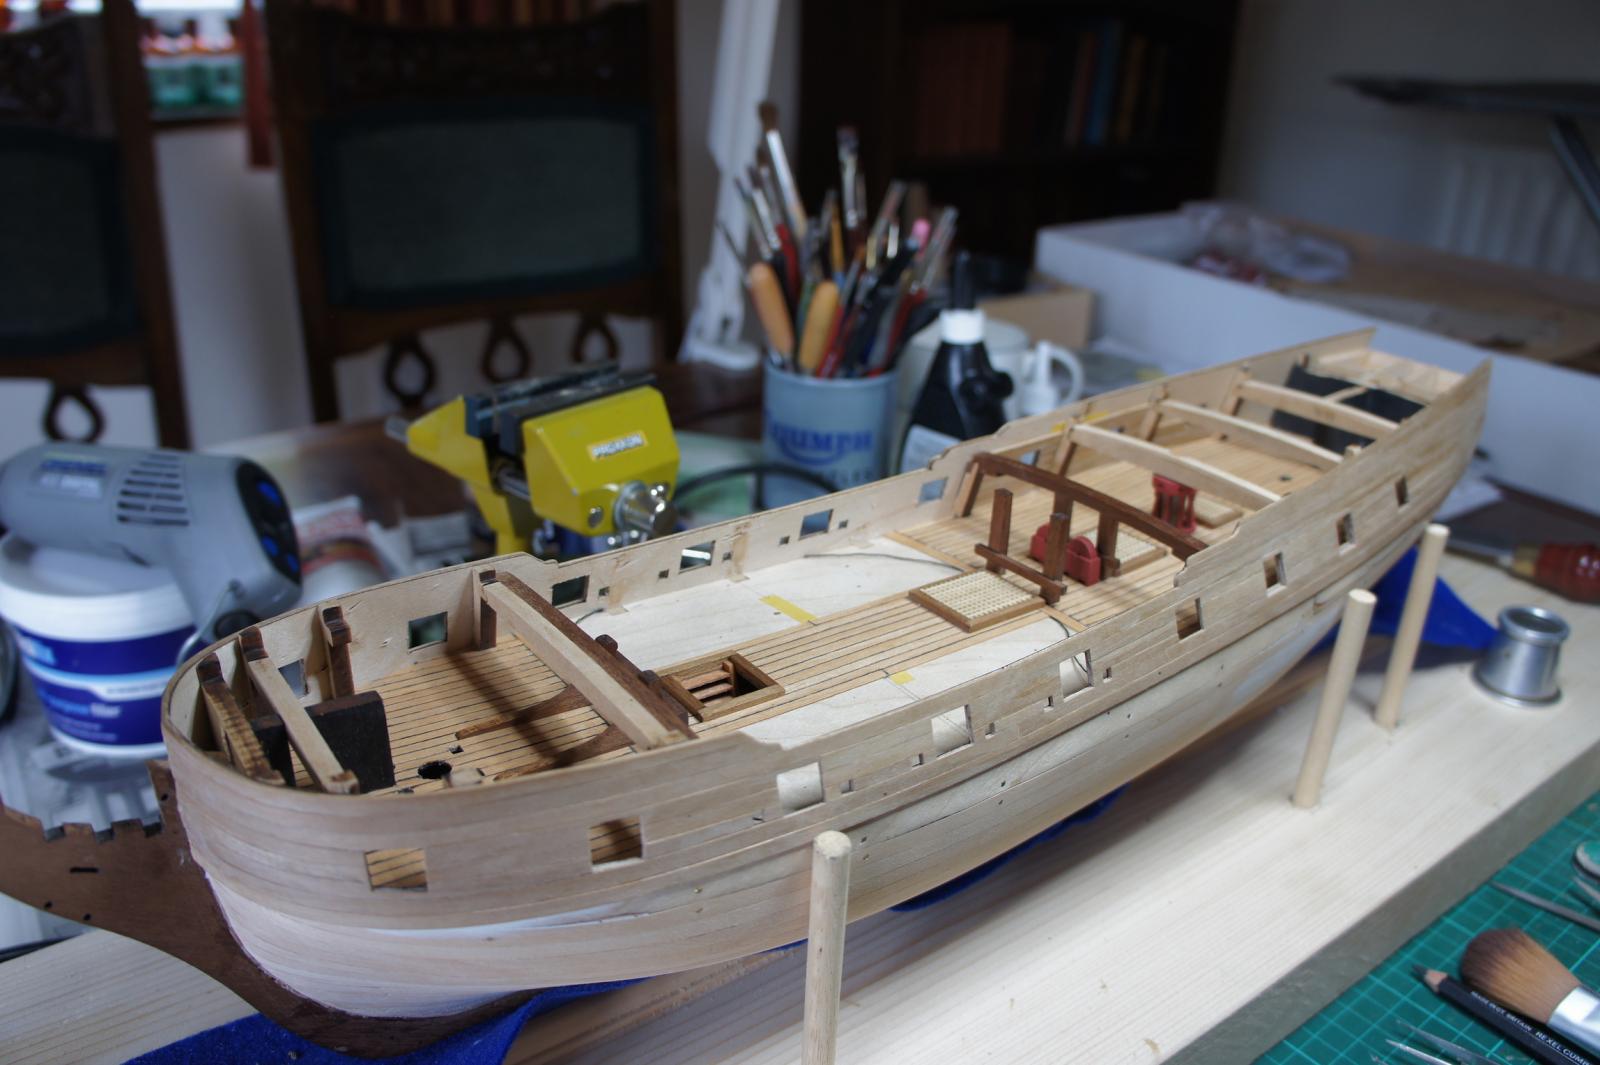
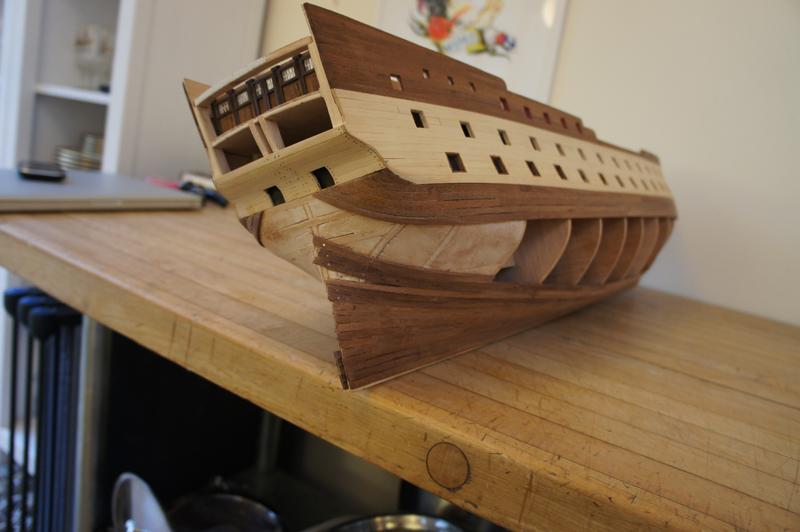
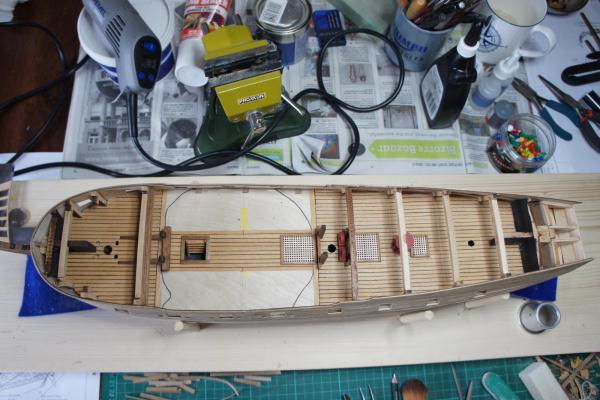
@Wintergreen - thanks, the table is an old butcher's block table from a restaurant in NY. I move out from the study sometimes to get some more space + it's higher. @Sjors - I didn't find it too tricky to be honest (although it is a little wobbly in places). I used CA to and started on the 'easy' end, clamping with the small Amati wooden clamps, the ones that look like laundry pins. after it dried I did the rest by hand and just held it in place. You're now officially ahead of me I guess! I need to start on the deck gratings and finish off the railings but there is always so much other stuff happening Per -
Montanes by pnevrin - OcCre
pnevrin replied to pnevrin's topic in - Kit build logs for subjects built from 1751 - 1800
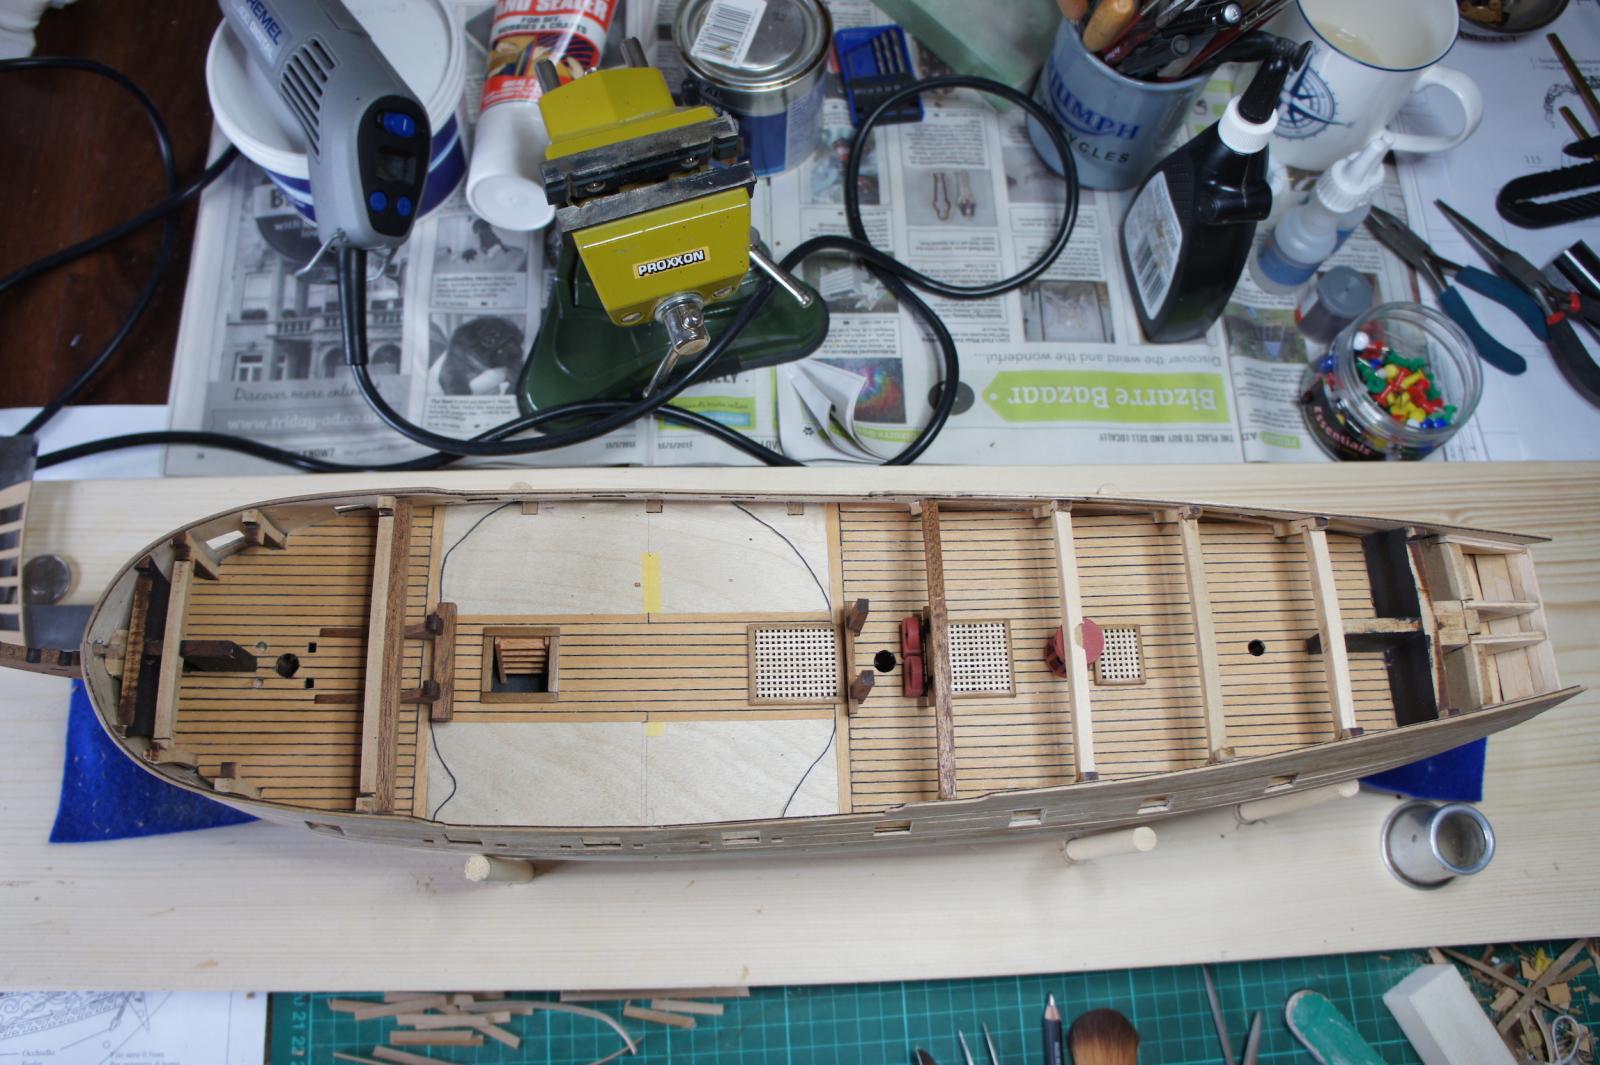
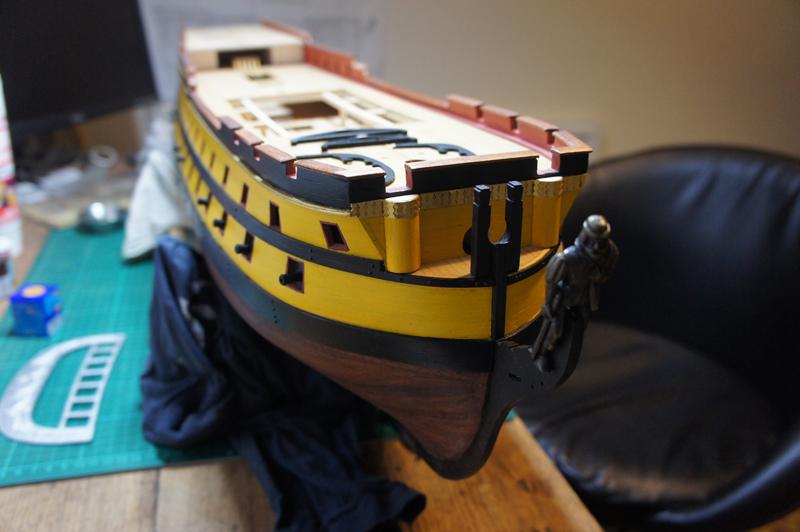
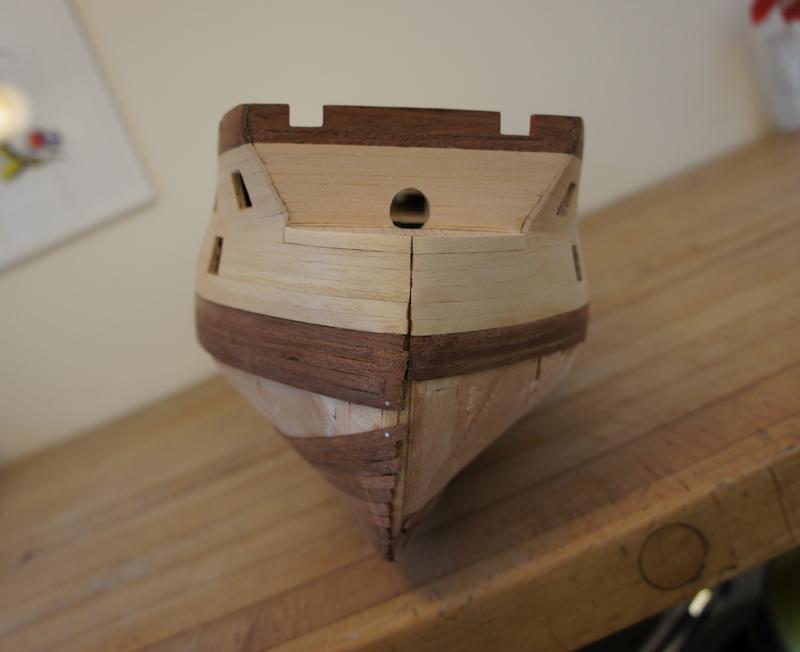
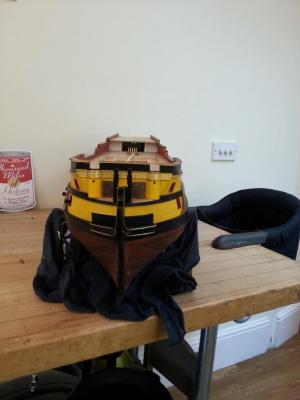
Here is a couple of pics from this morning. completing the bow area this week I think. Per
-
MONTANES by Garward - OcCre
pnevrin replied to Garward's topic in - Kit build logs for subjects built from 1751 - 1800
good to see you back mate. Followed. Per -
Montanes by pnevrin - OcCre
pnevrin replied to pnevrin's topic in - Kit build logs for subjects built from 1751 - 1800
almost where I am today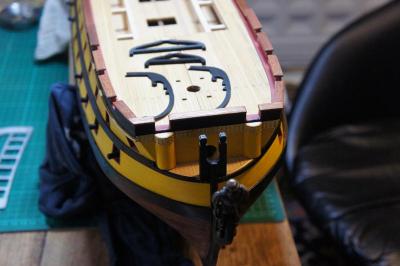

-
Restarting my log. Not sure how much of the old pictures I can be bothered to load back up again to be honest but will take it from where I am today and download a few from my Facebook albums for a quick recap. Anyway - there are a few of us here building the Spanish kit Montanes (74 or 80 gun ship-of-the-line depending on which version you are doing) from OcCre, based on a ship built in 1794. It's a great kit but will have you figure out a fair bit on your own since the instructions are limited and also some of the parts are best substituted for scratch built or, in case of the main armament, reordered from somewhere else if you want guns from the correct time period, not 16th century. Per