Paul Carswell
-
Posts
10 -
Joined
-
Last visited
-
 Harvey Golden reacted to a post in a topic:
Krabbenkutter by Paul Carswell - Billing Boats - 1/32?
Harvey Golden reacted to a post in a topic:
Krabbenkutter by Paul Carswell - Billing Boats - 1/32?
-
oneslim reacted to a post in a topic:
Krabbenkutter by Paul Carswell - Billing Boats - 1/32?
-
lmagna reacted to a post in a topic:
Krabbenkutter by Paul Carswell - Billing Boats - 1/32?
-
popeye the sailor reacted to a post in a topic:
Krabbenkutter by Paul Carswell - Billing Boats - 1/32?
-
popeye the sailor reacted to a post in a topic:
Krabbenkutter by Paul Carswell - Billing Boats - 1/32?
-
popeye the sailor reacted to a post in a topic:
Krabbenkutter by Paul Carswell - Billing Boats - 1/32?
-
popeye the sailor reacted to a post in a topic:
Krabbenkutter by Paul Carswell - Billing Boats - 1/32?
-
popeye the sailor reacted to a post in a topic:
Krabbenkutter by Paul Carswell - Billing Boats - 1/32?
-
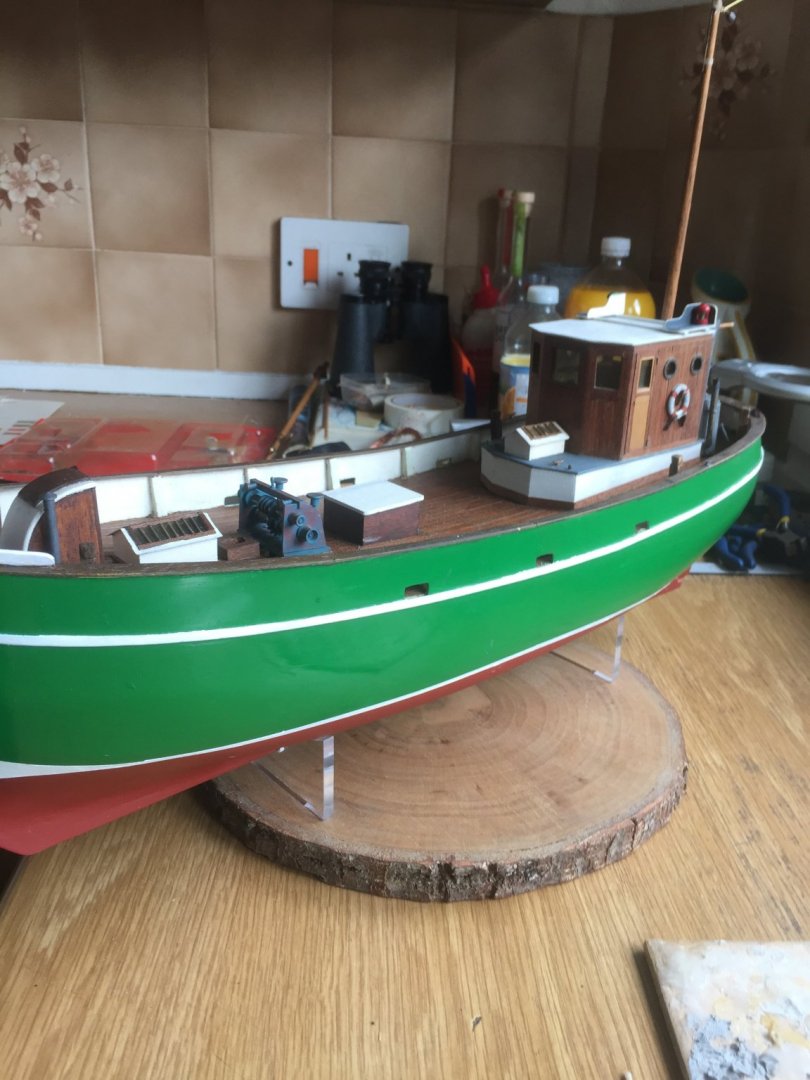
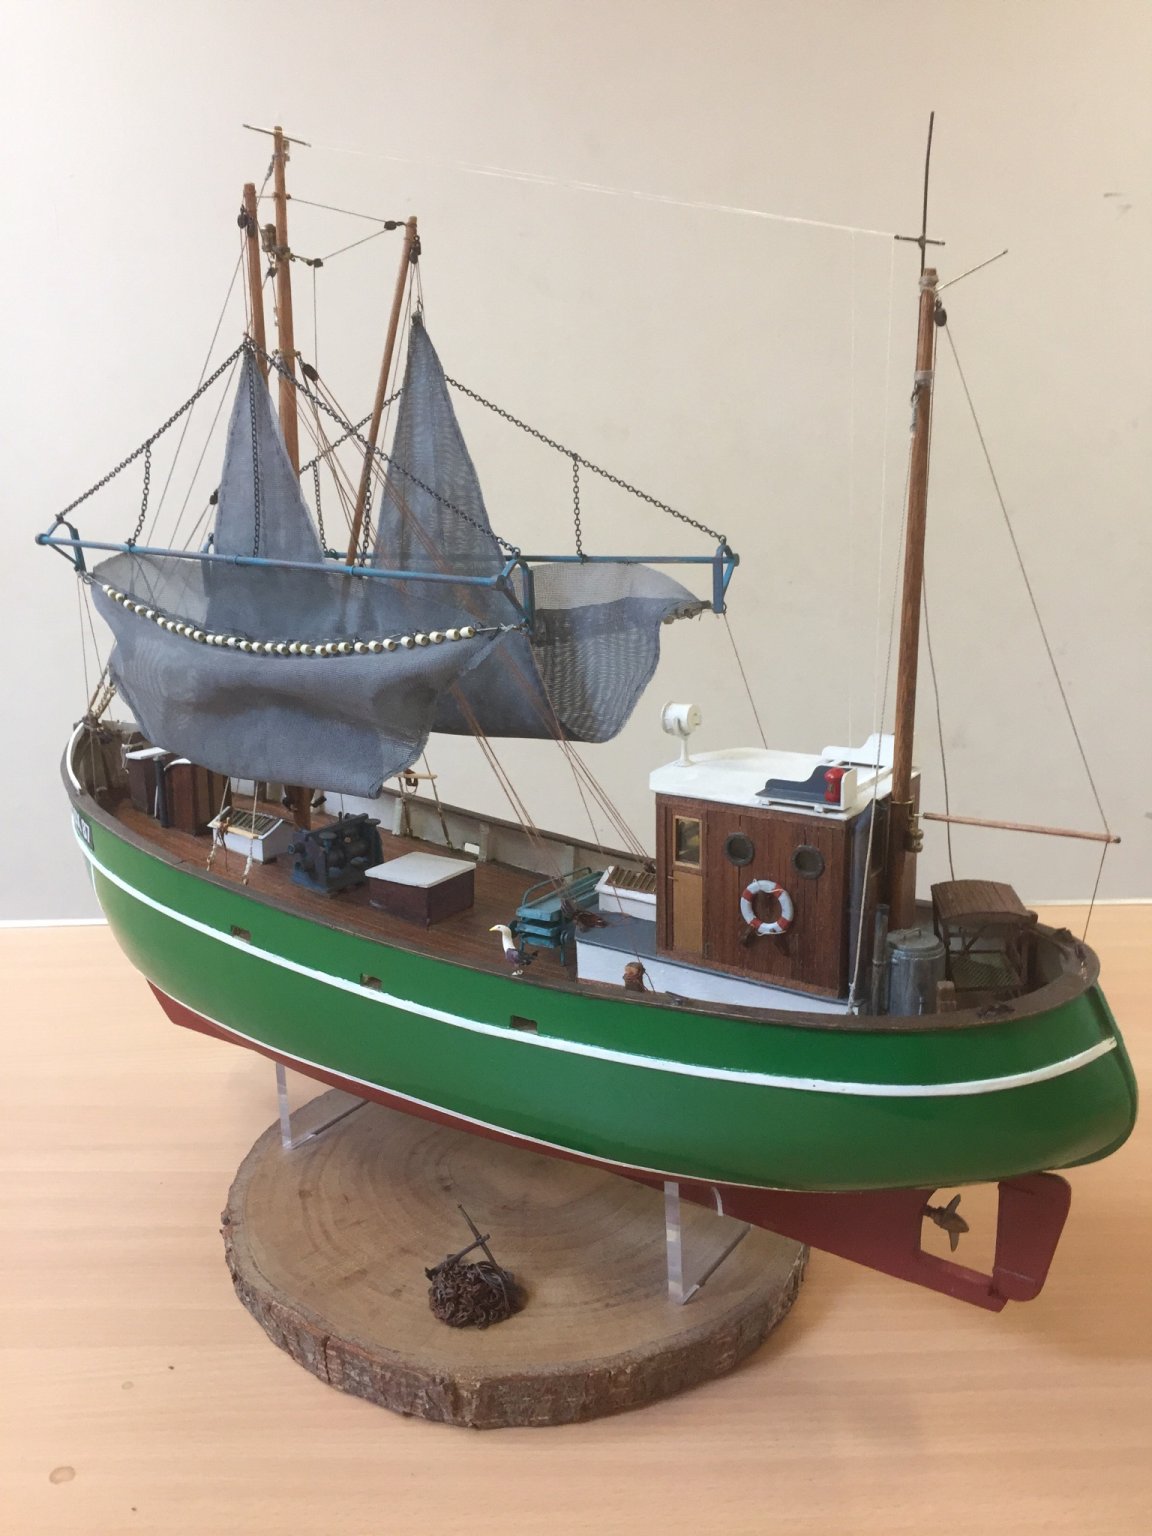
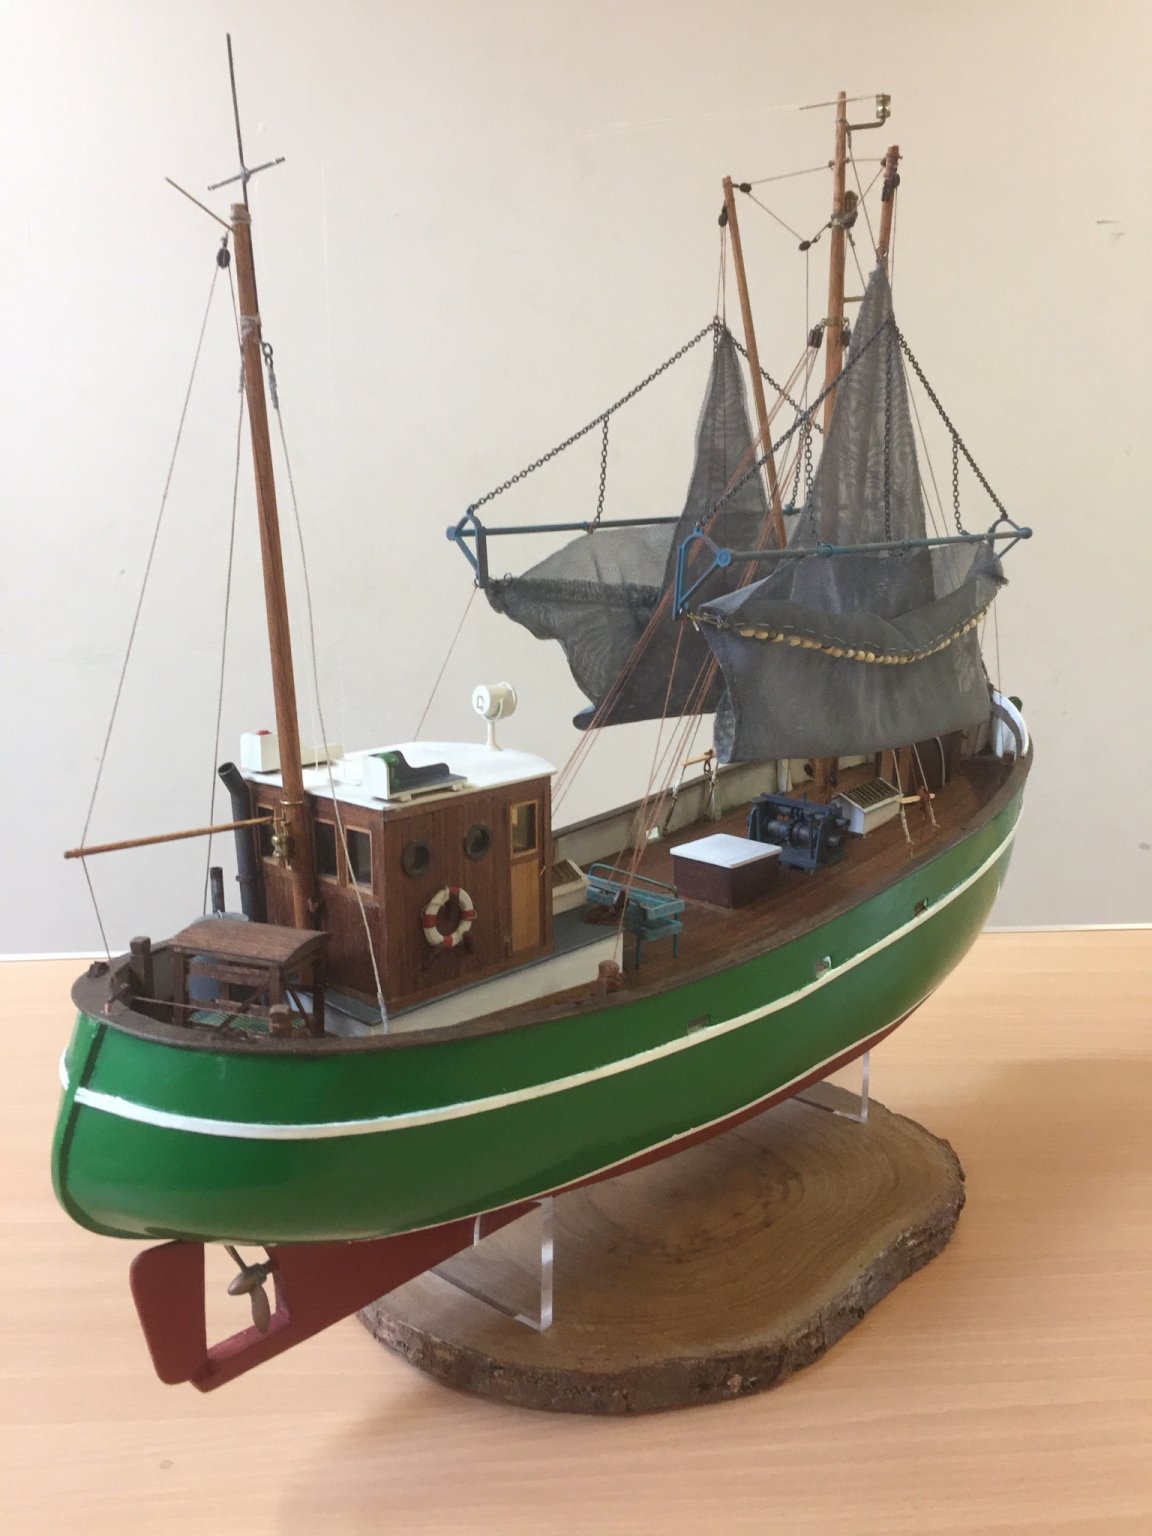
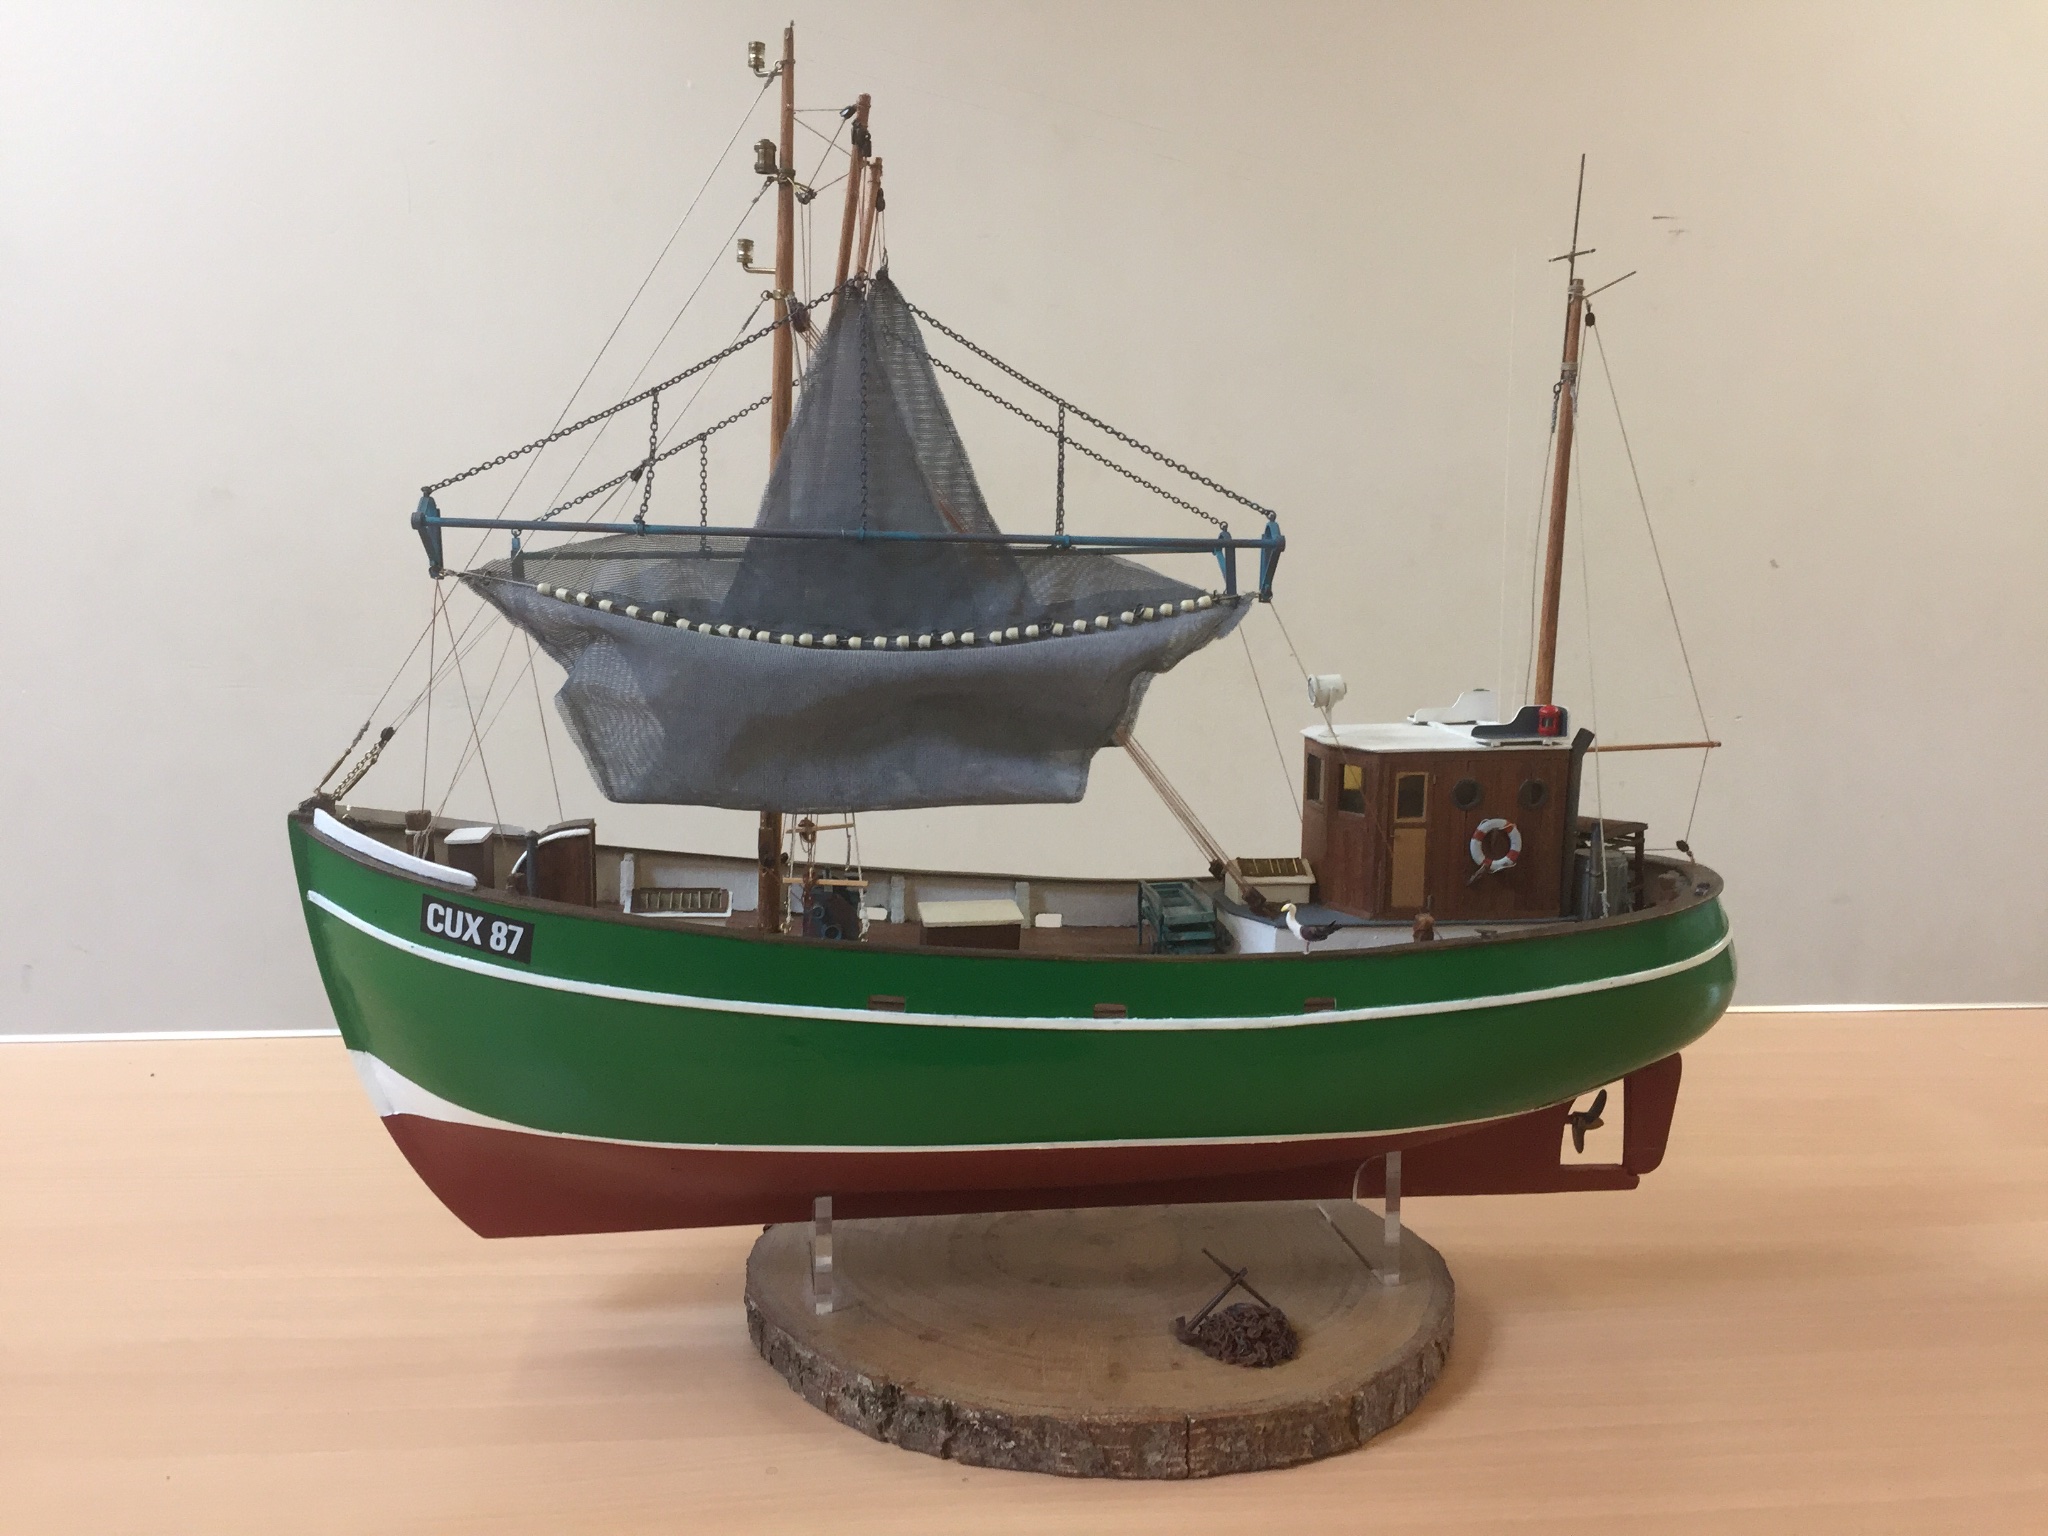
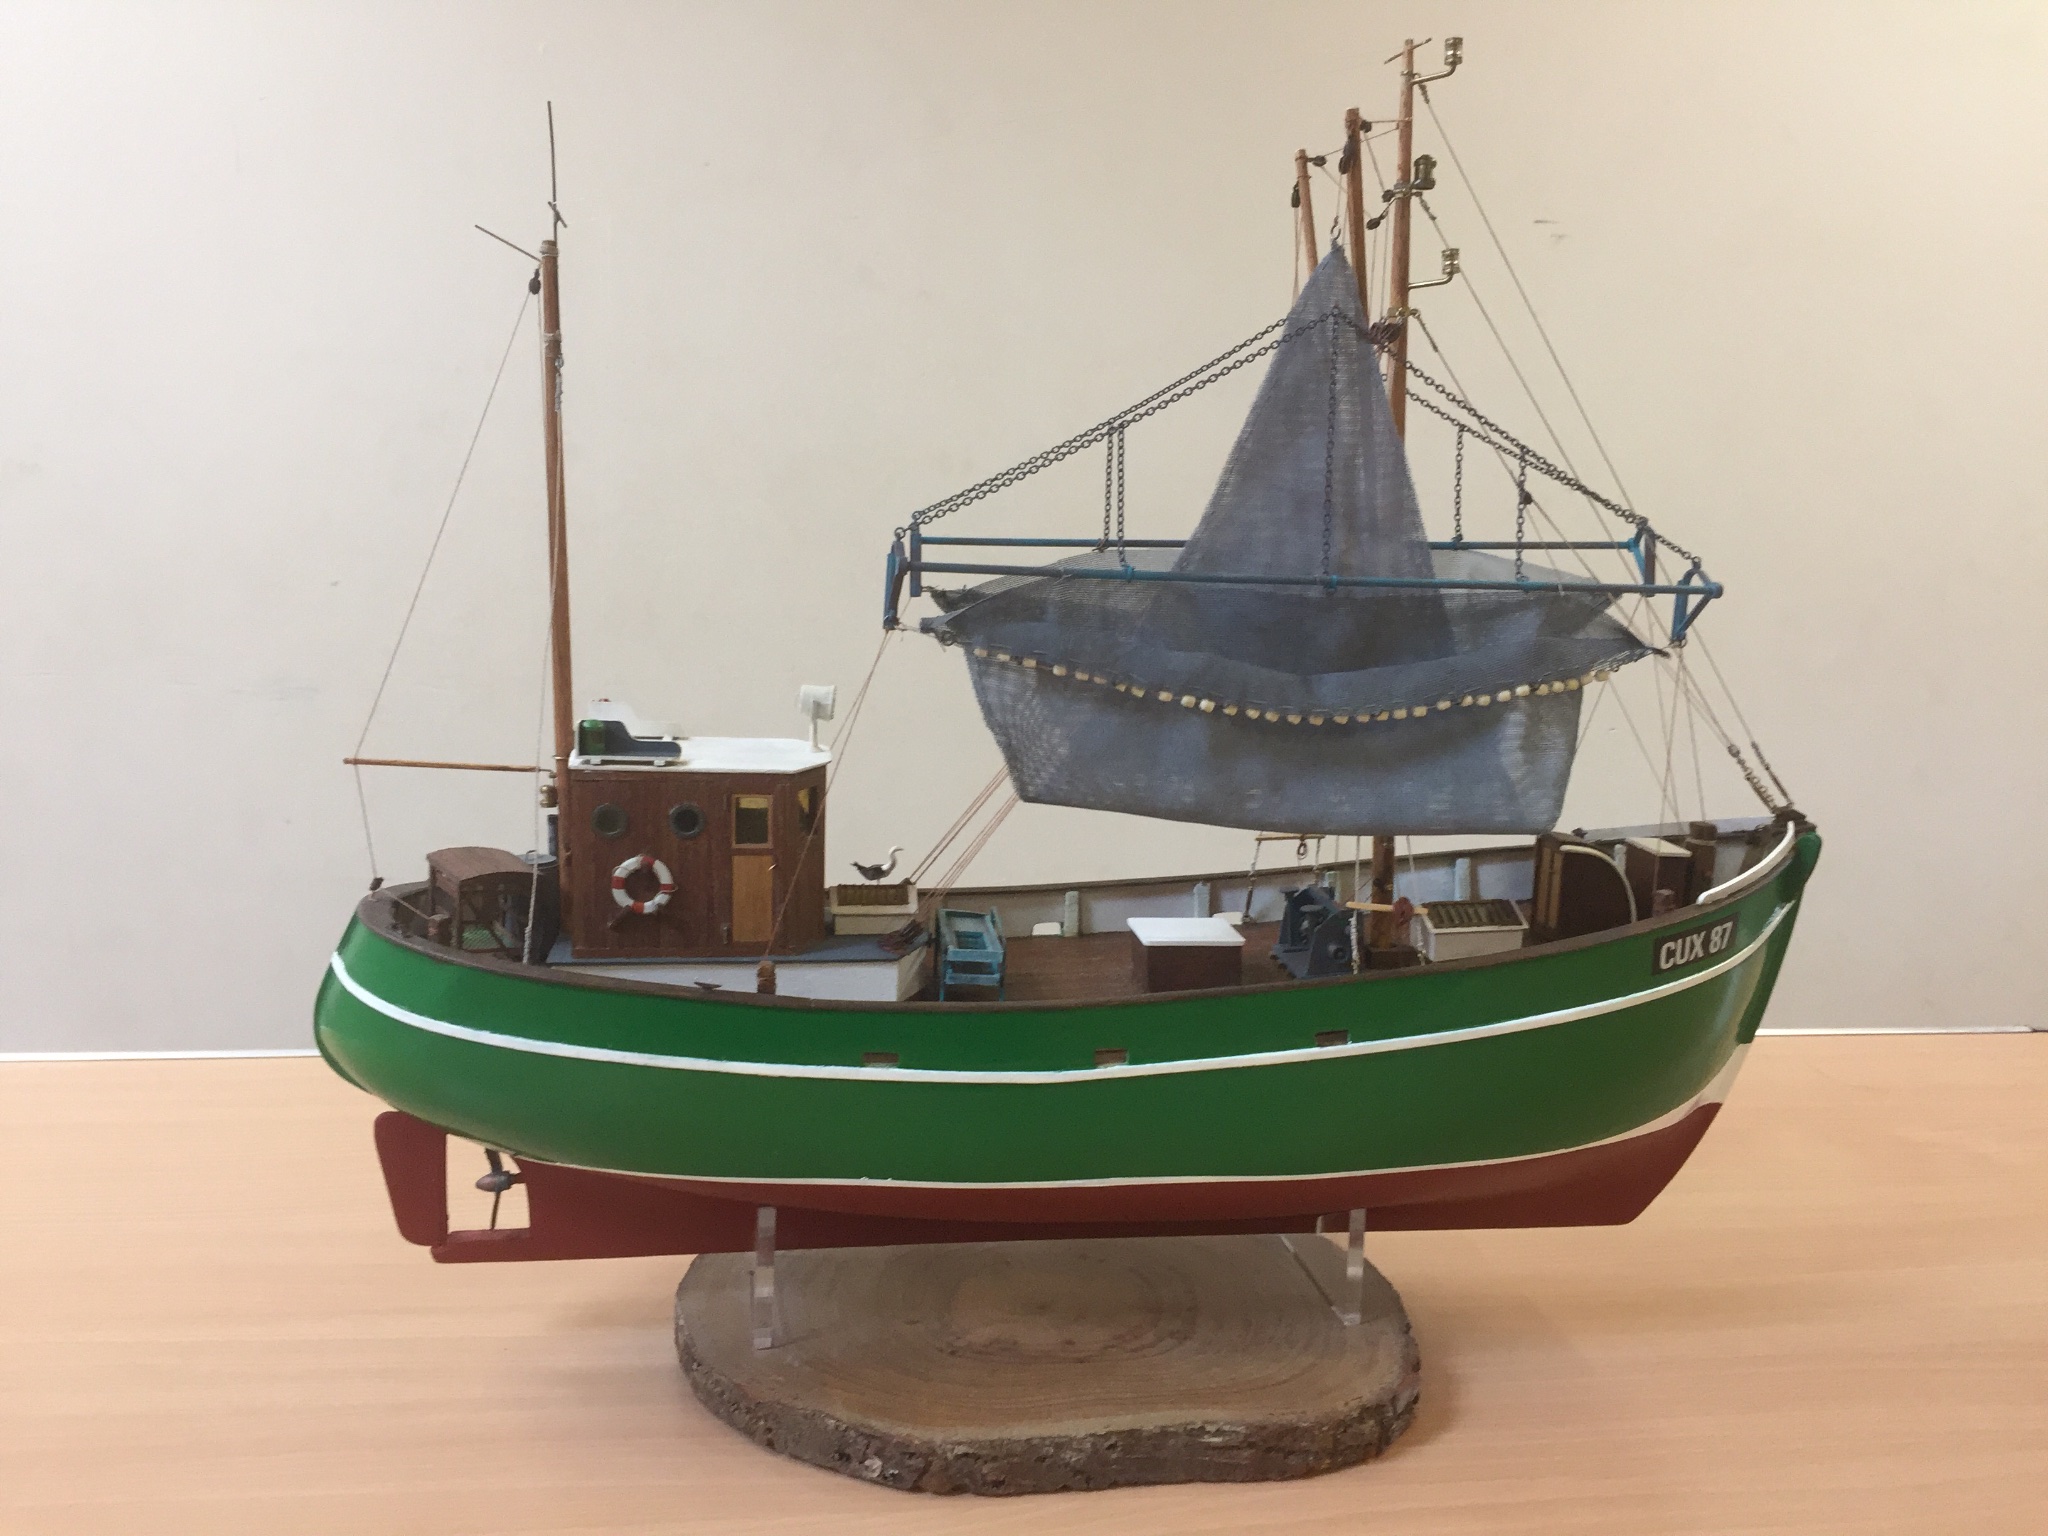
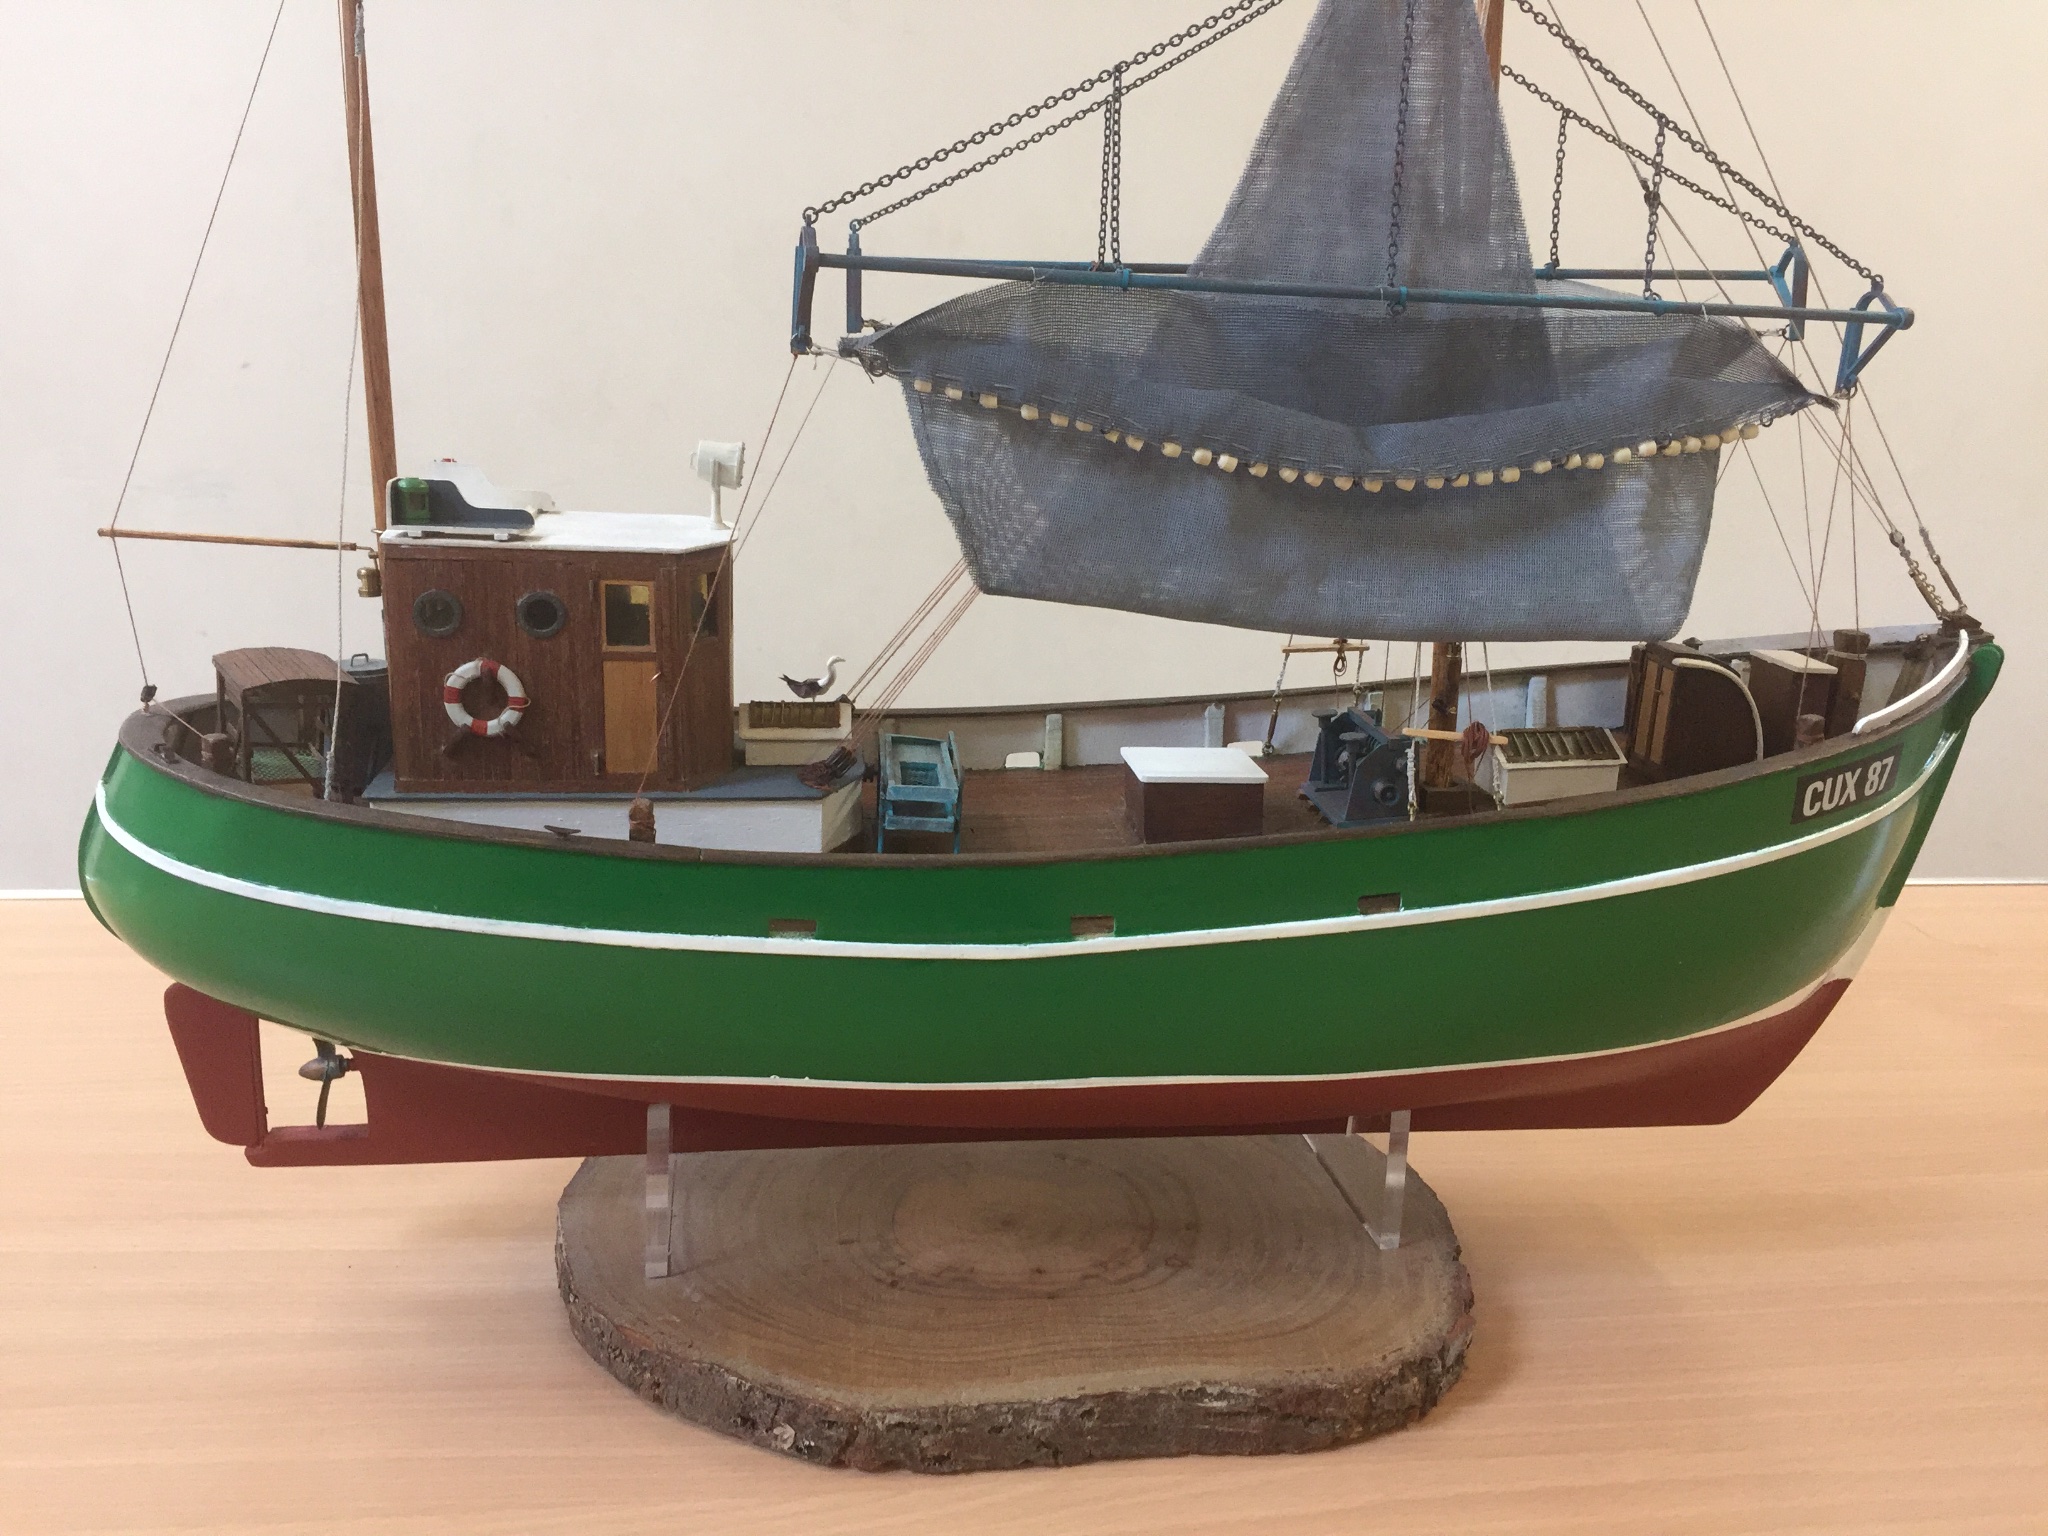
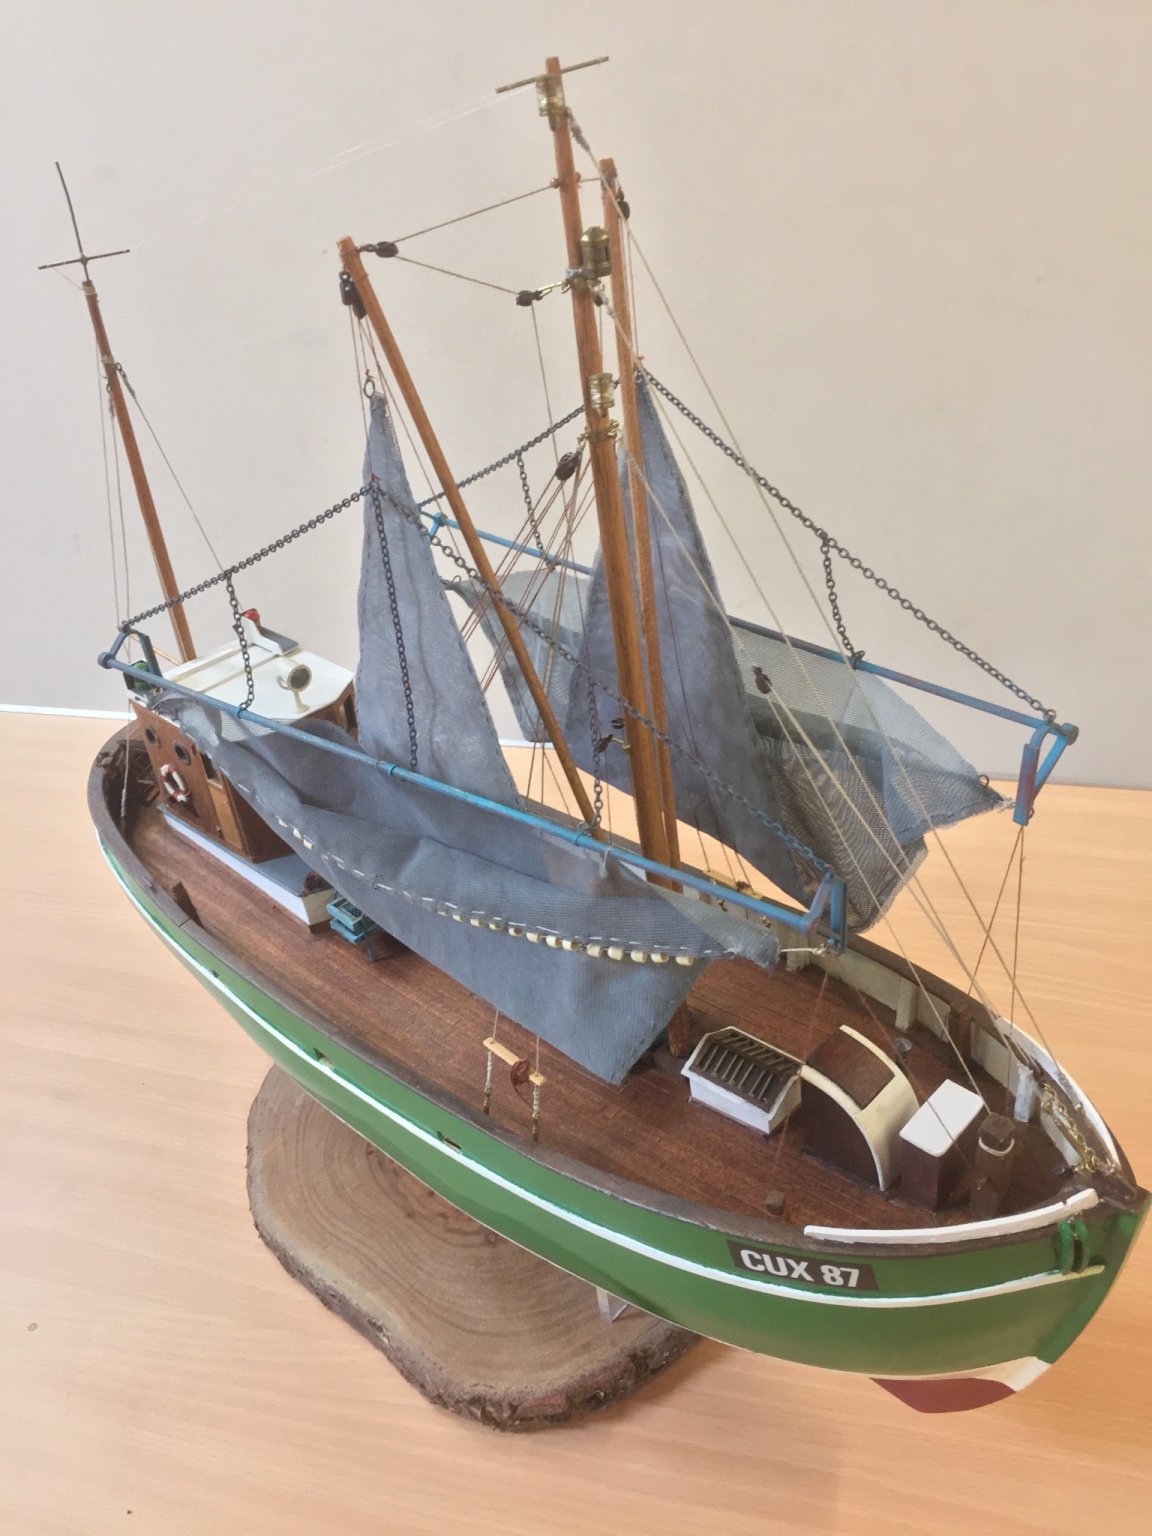
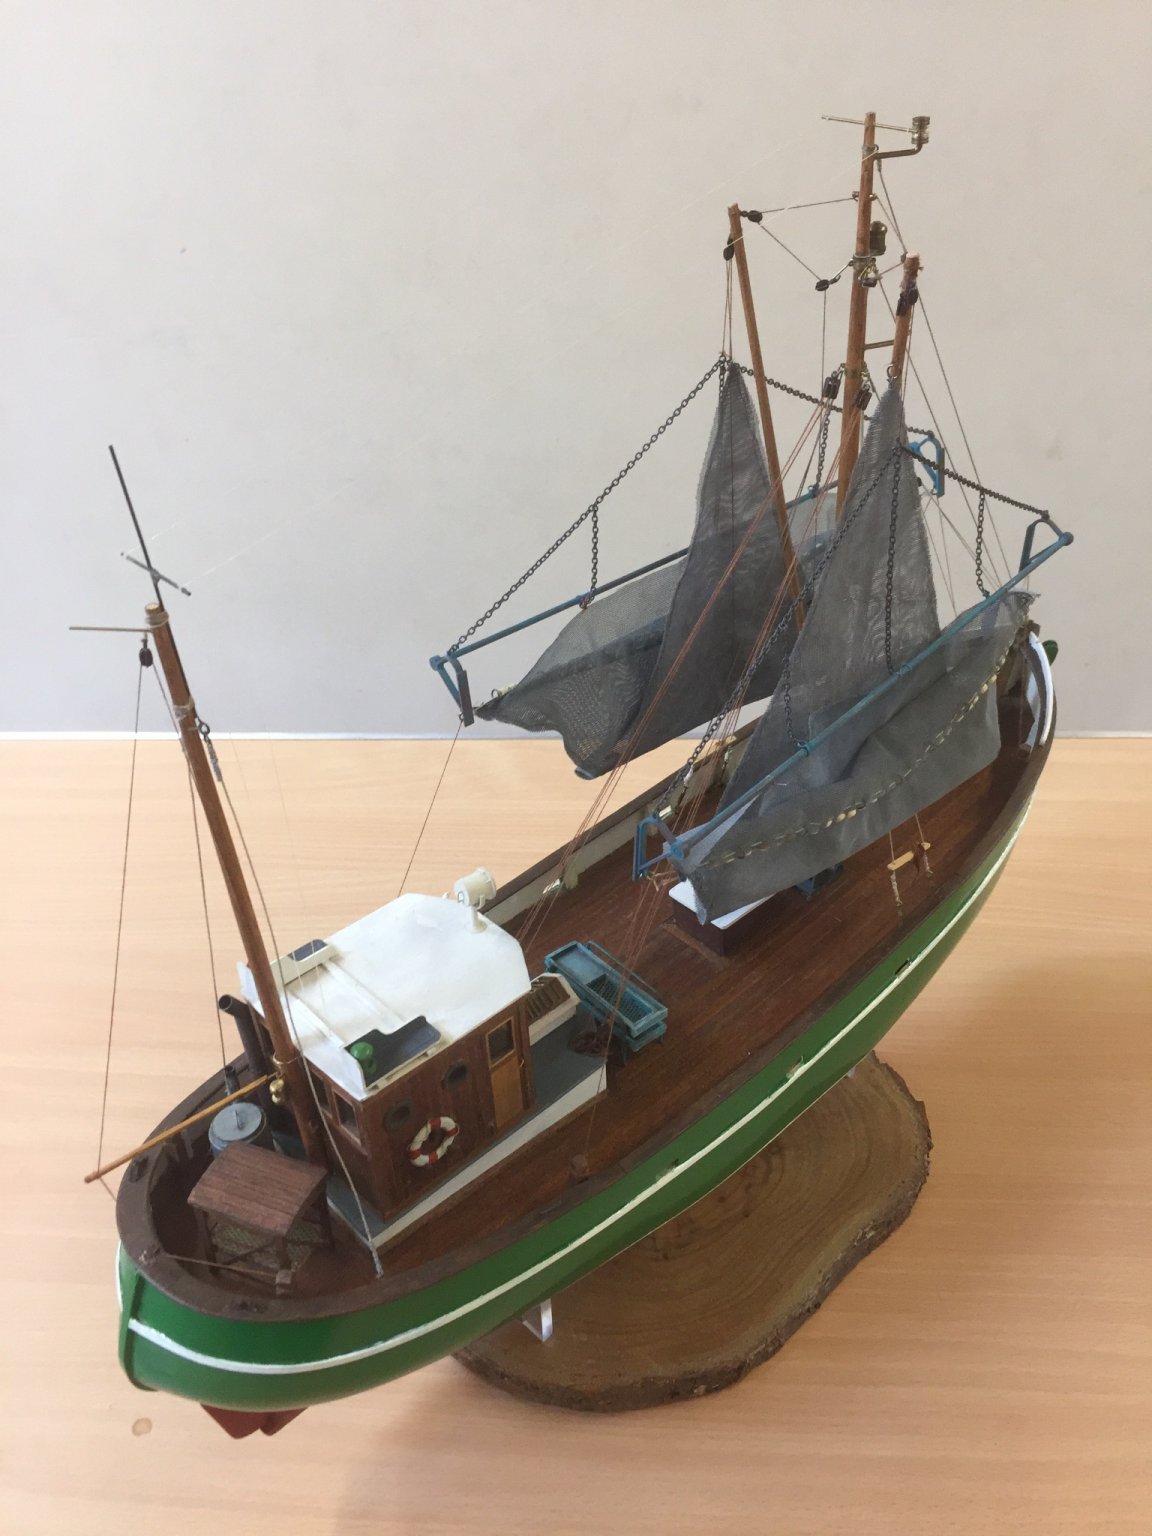
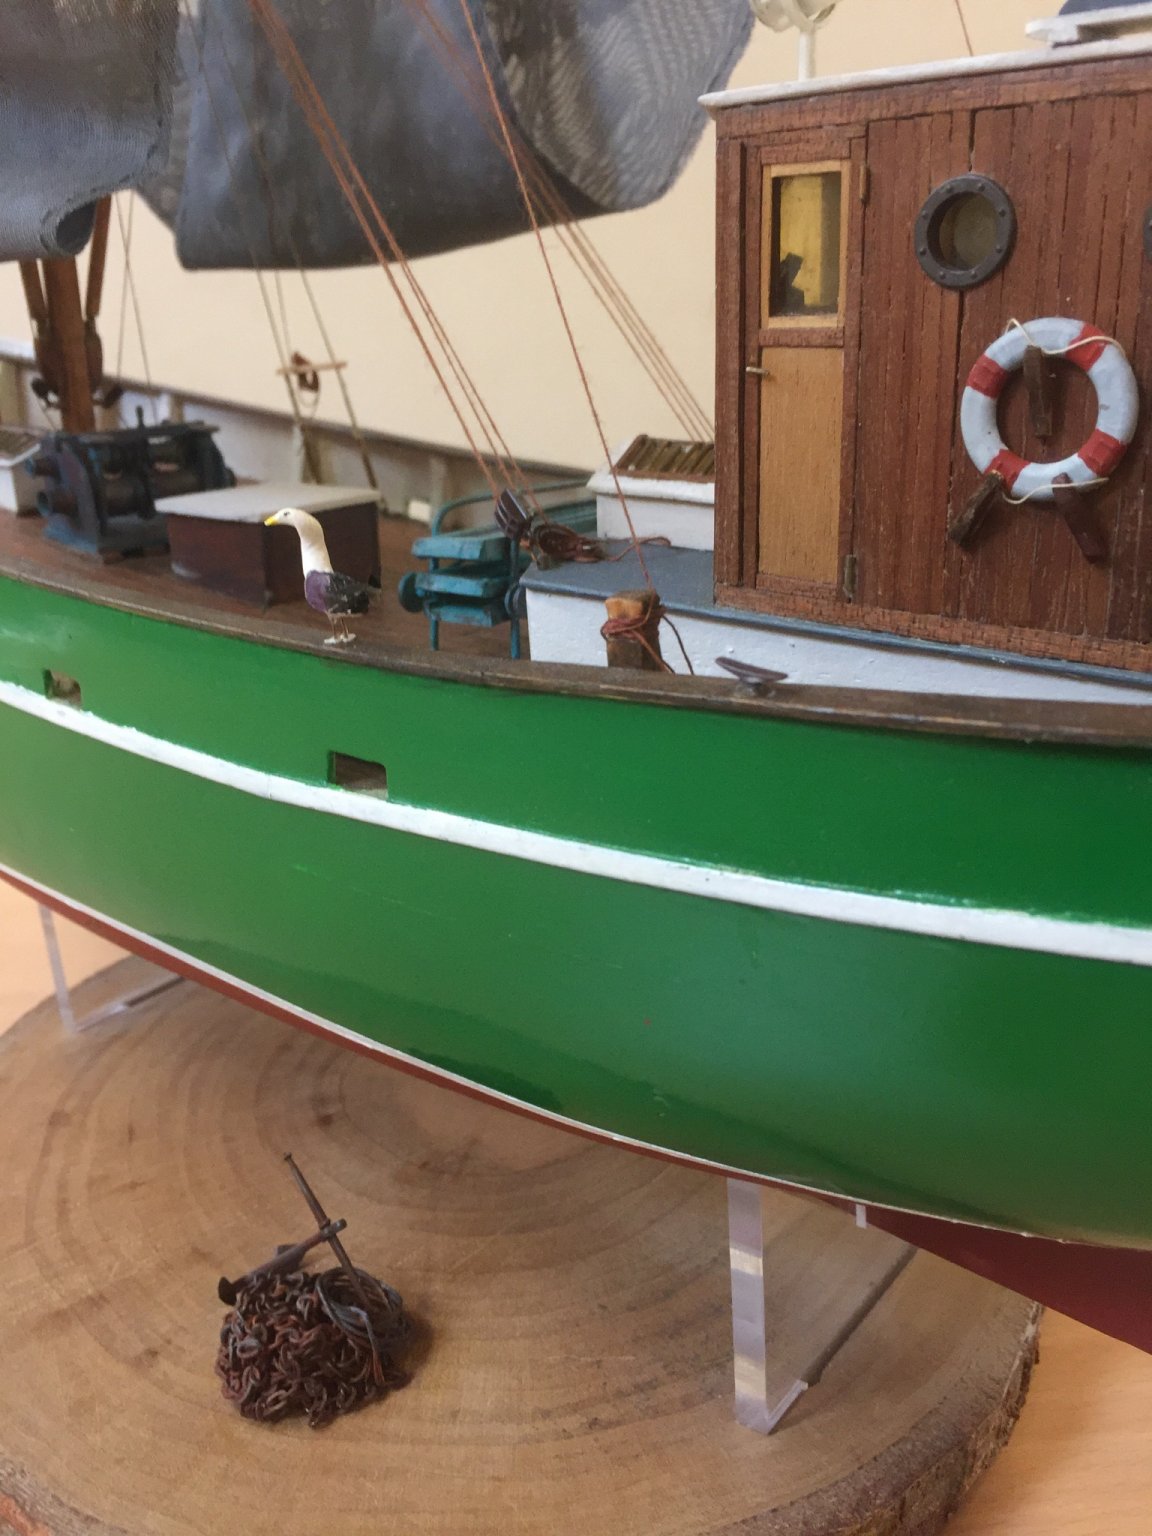
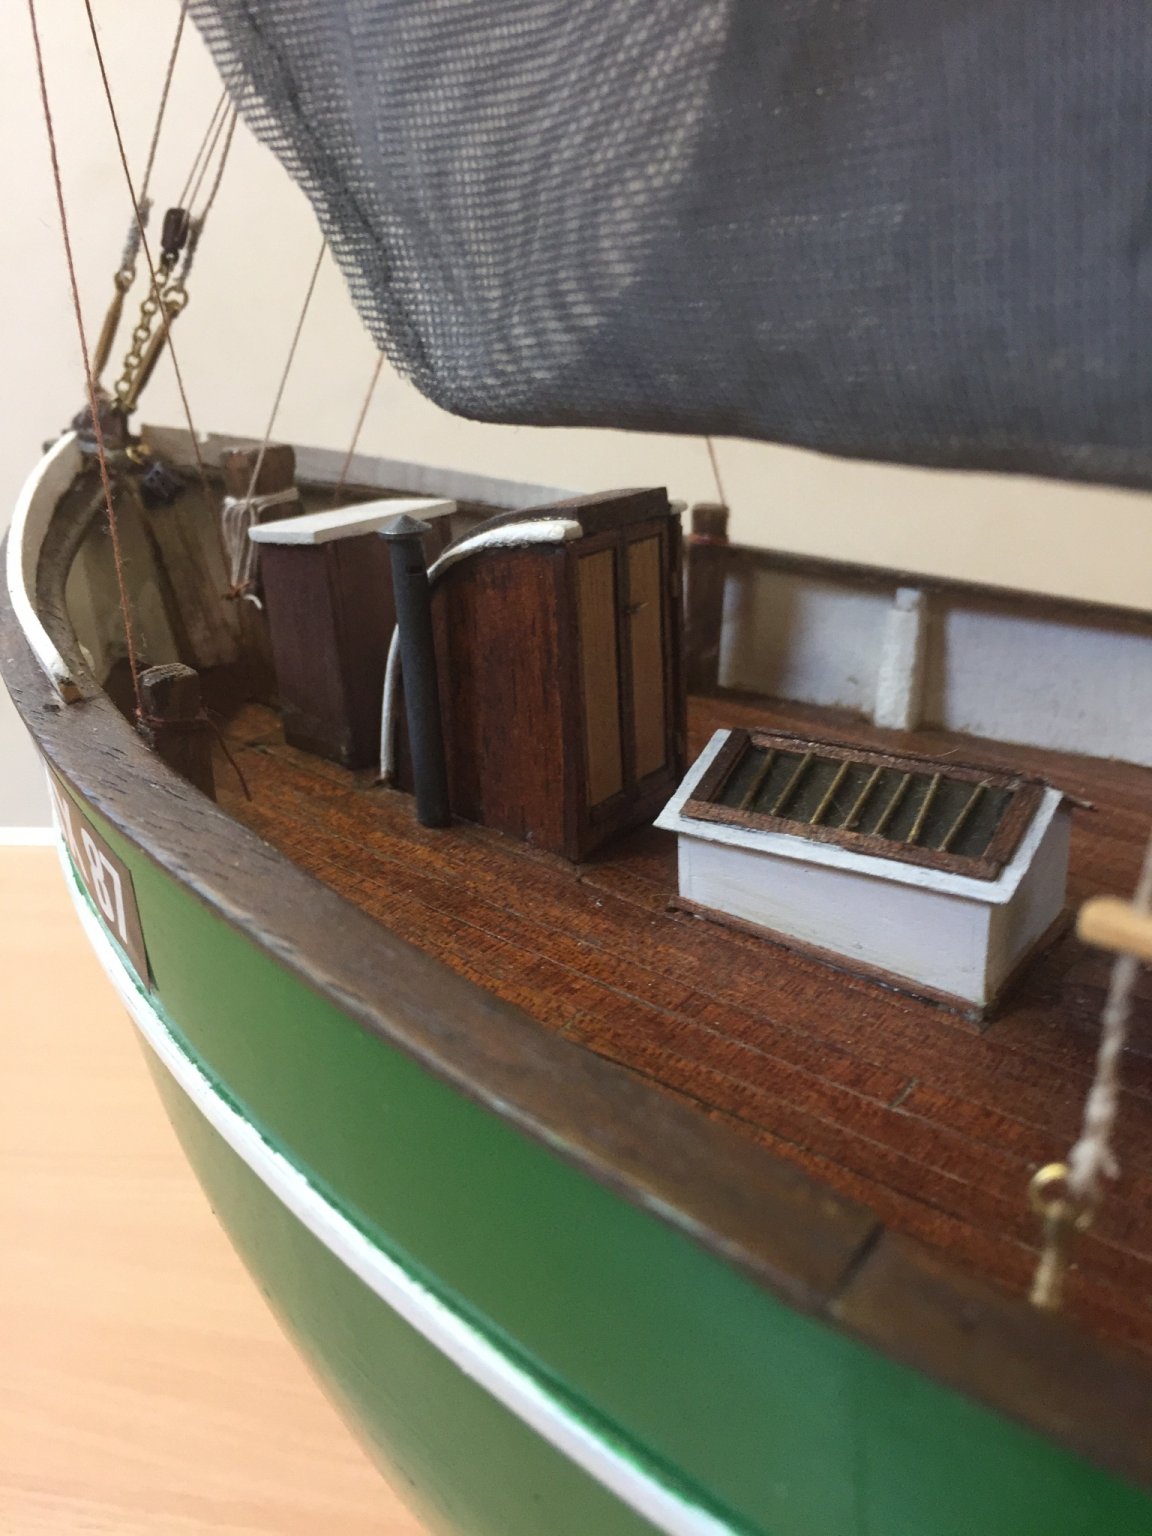
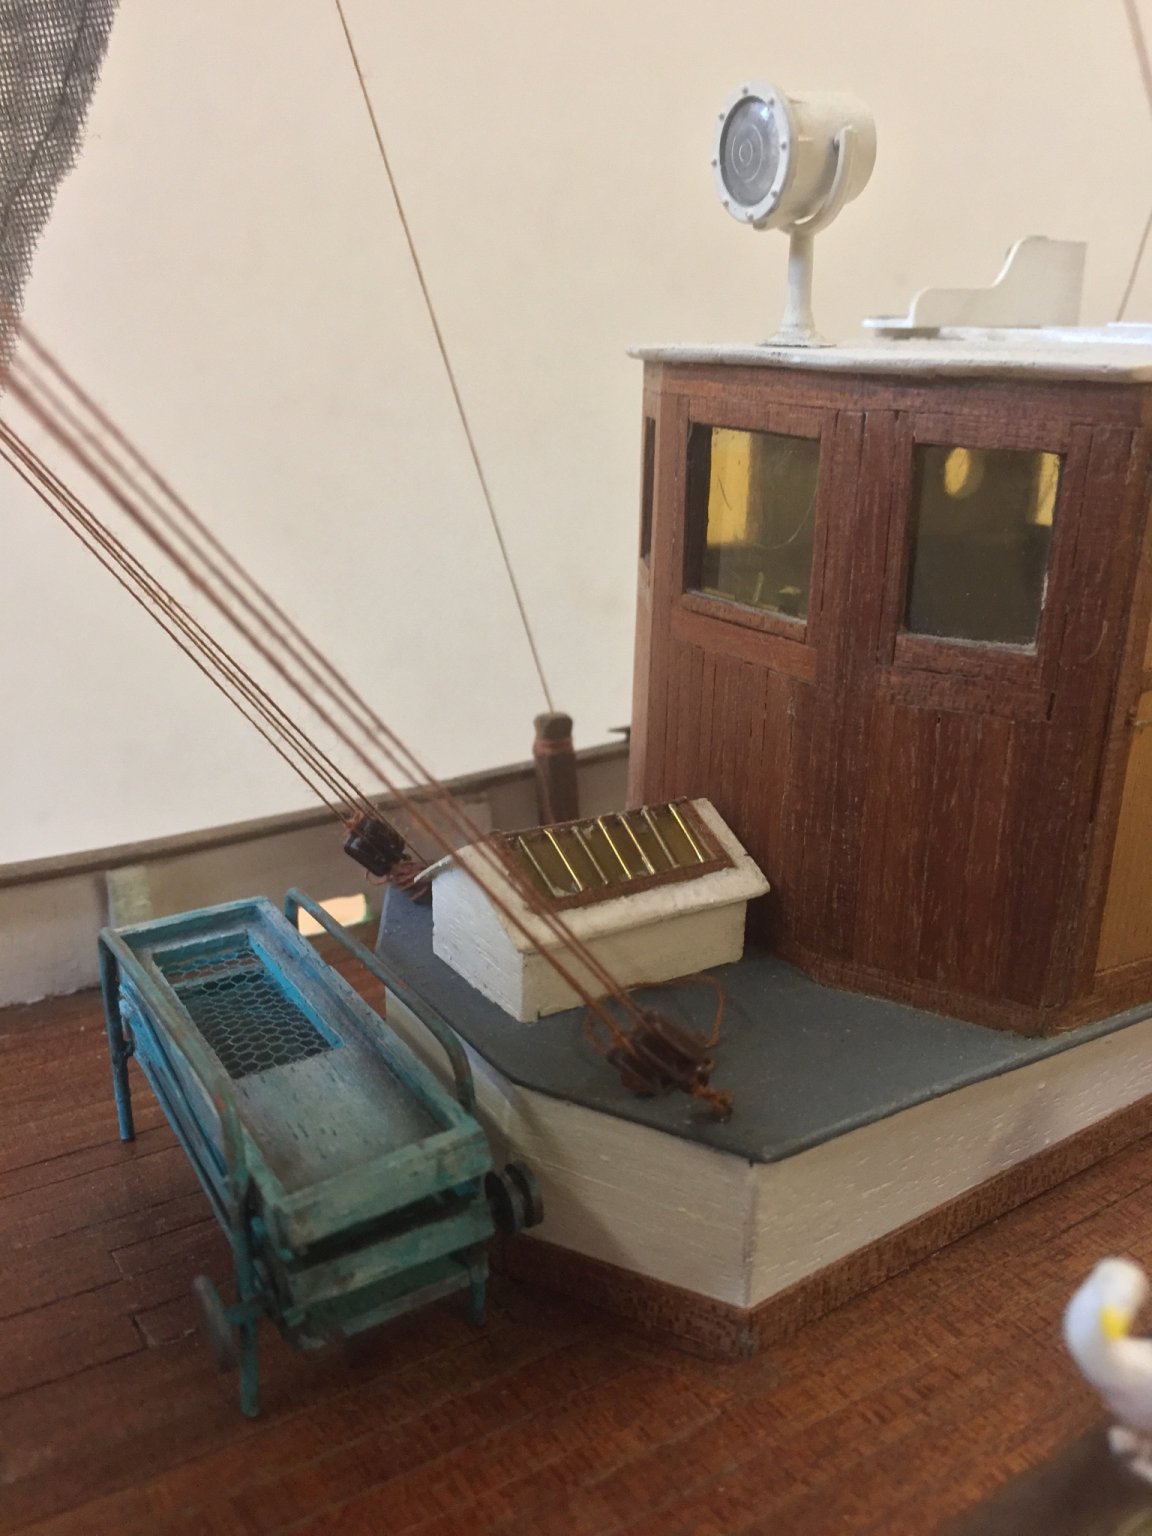
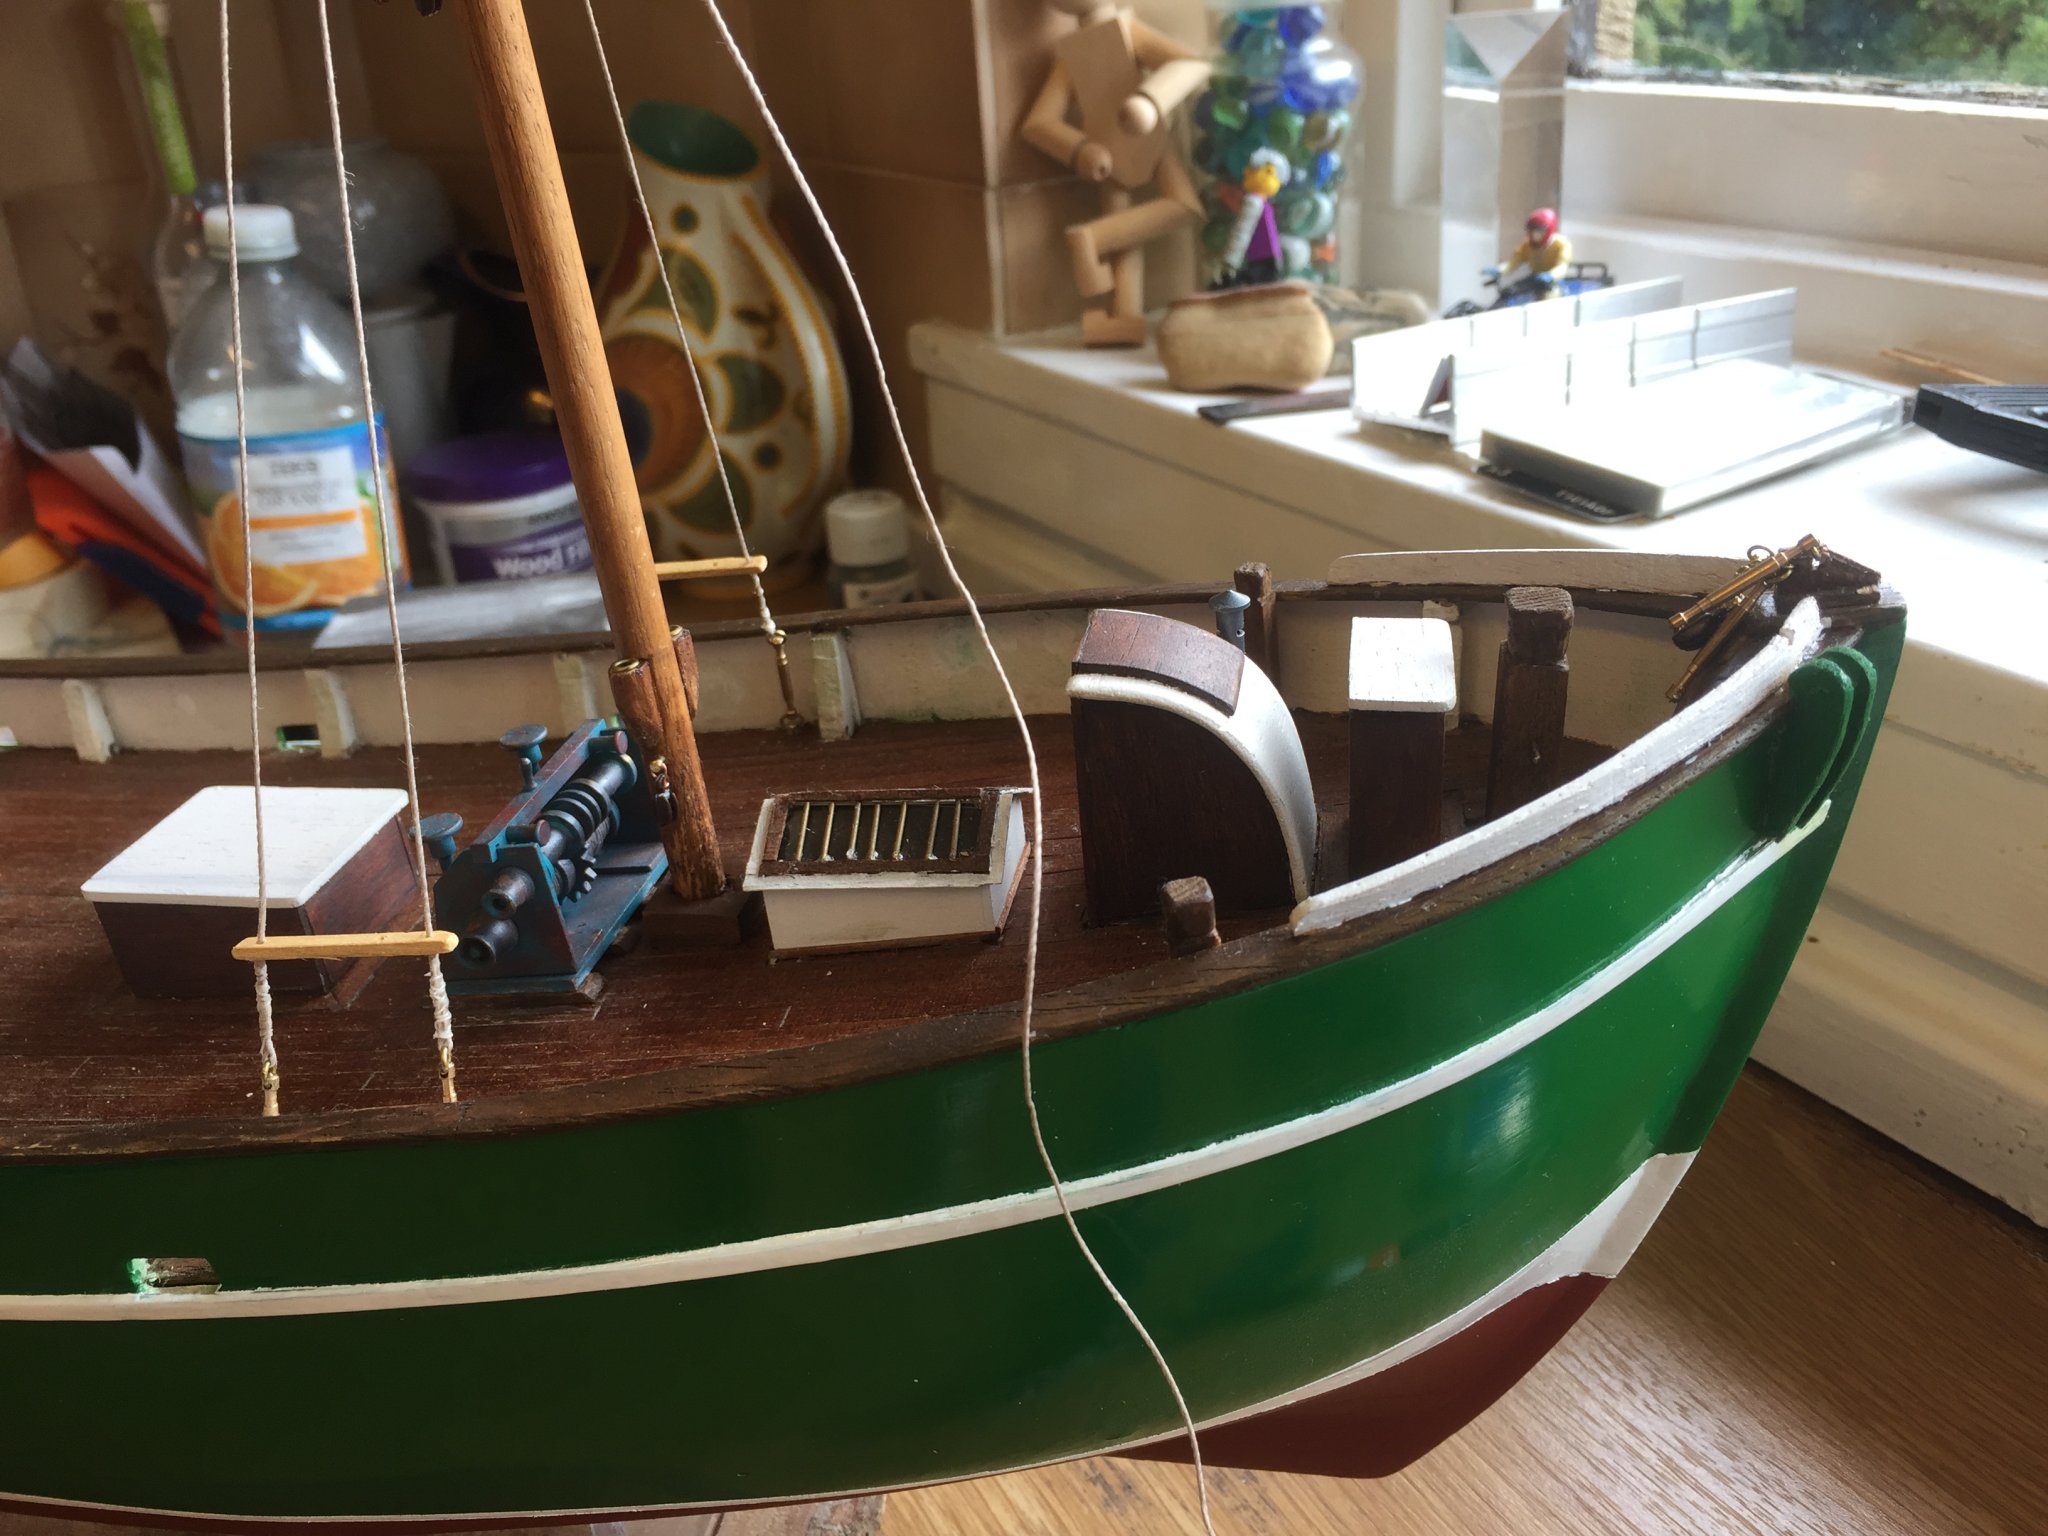
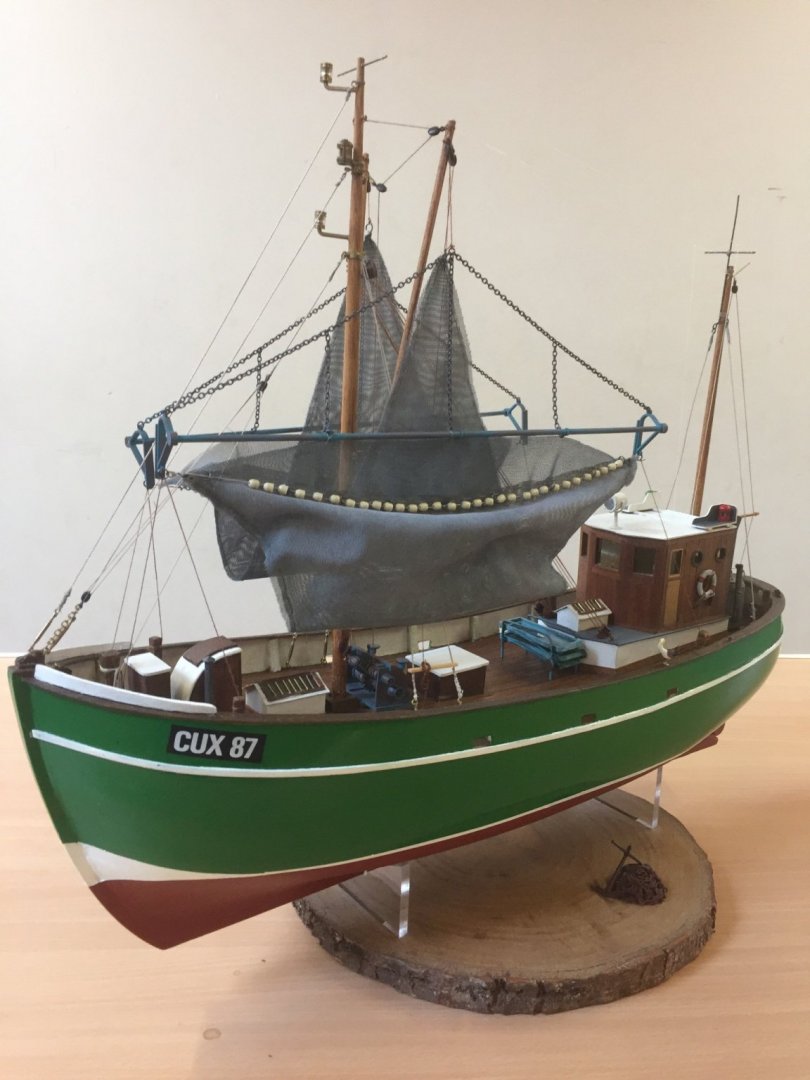
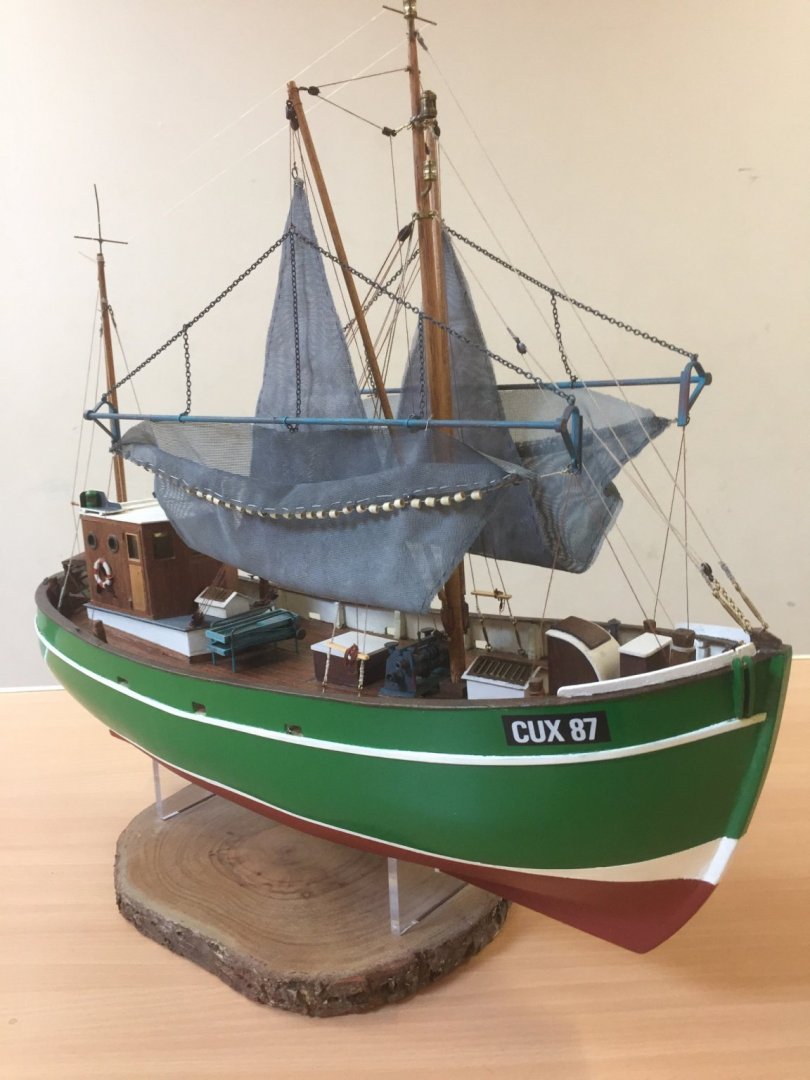
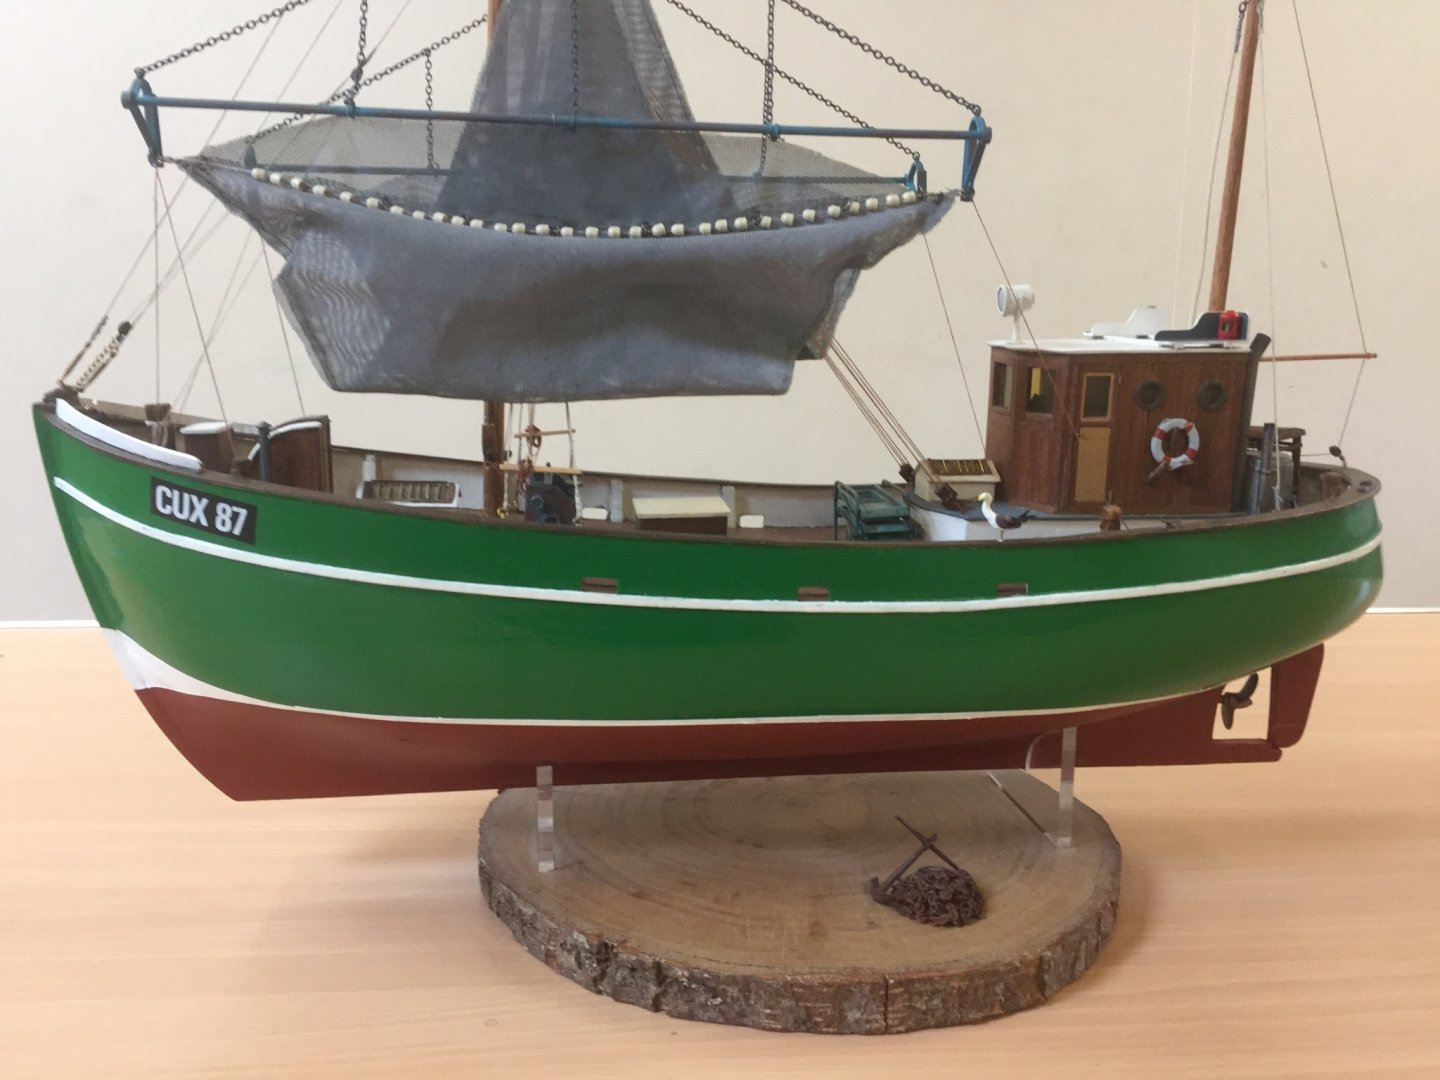
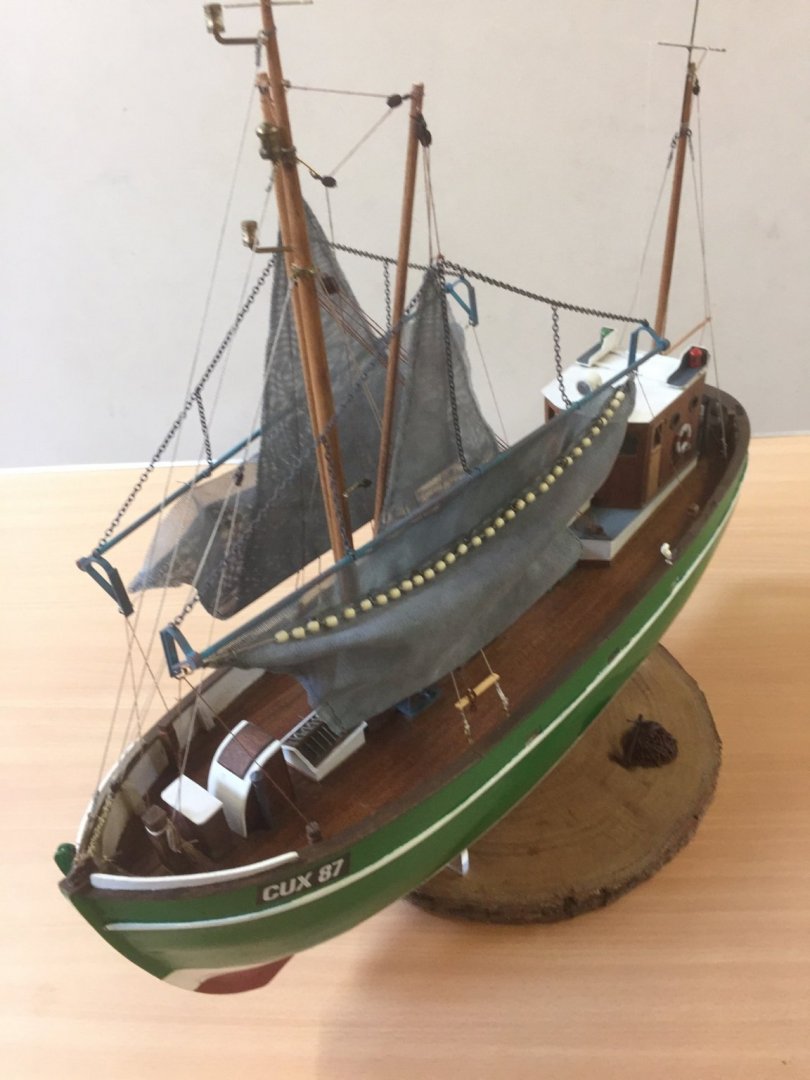
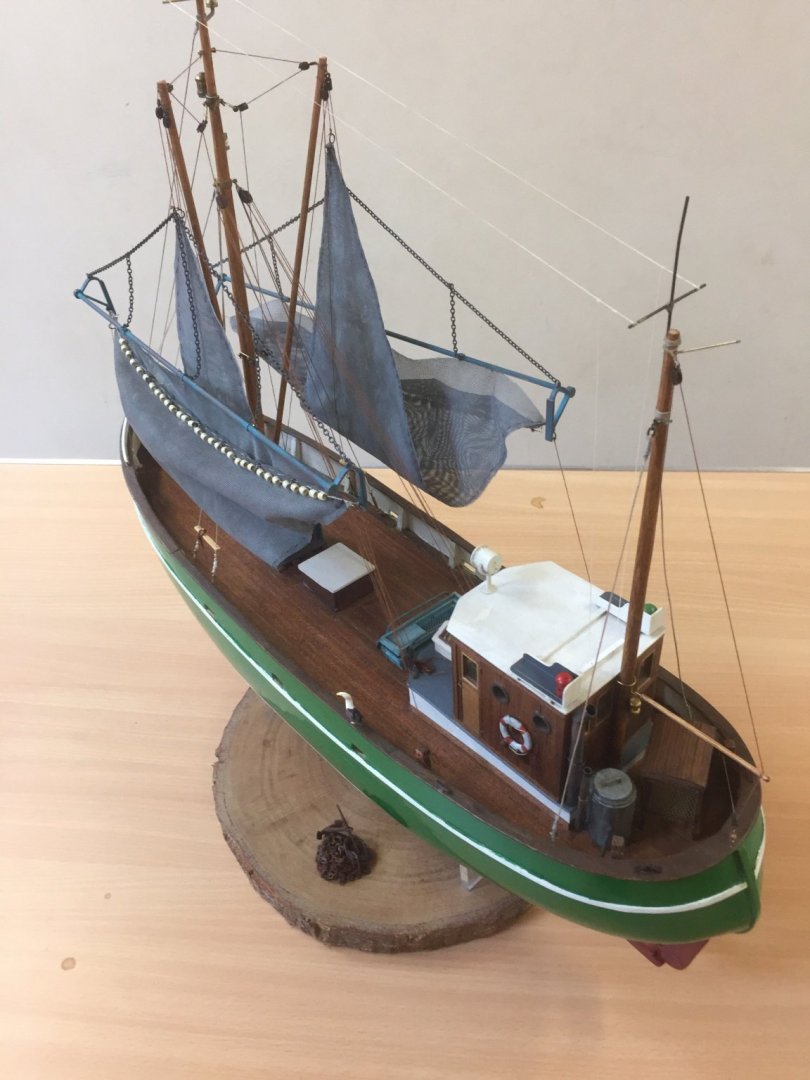
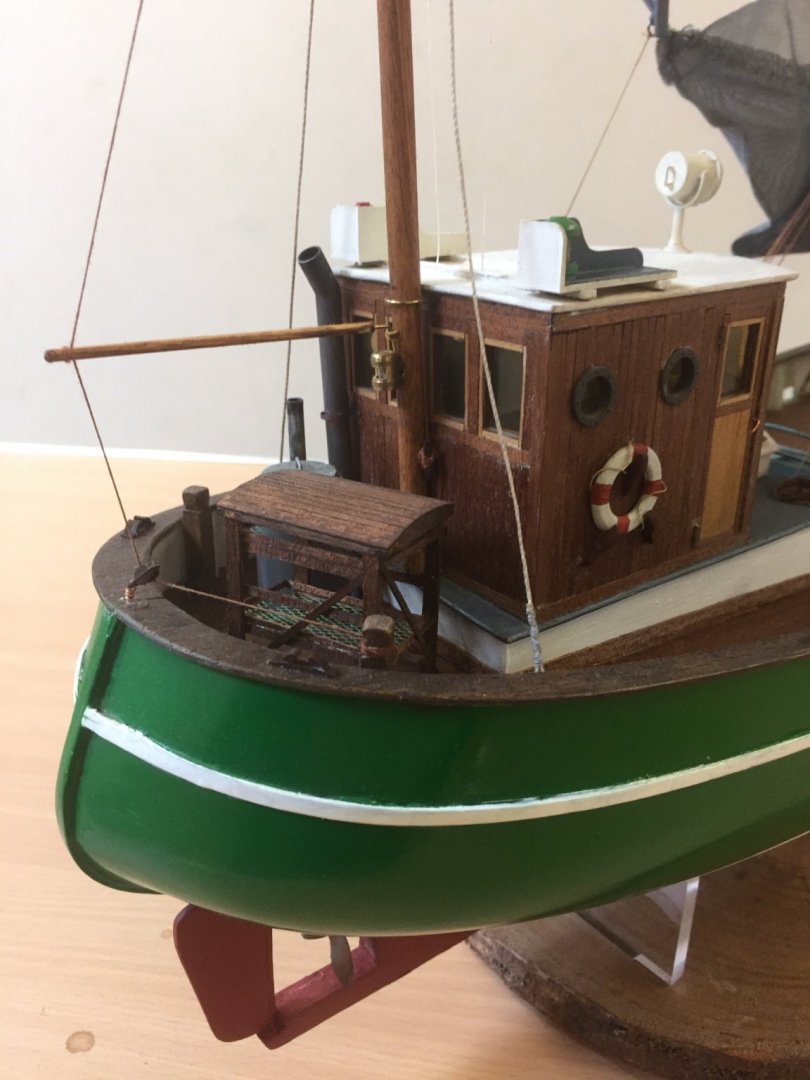
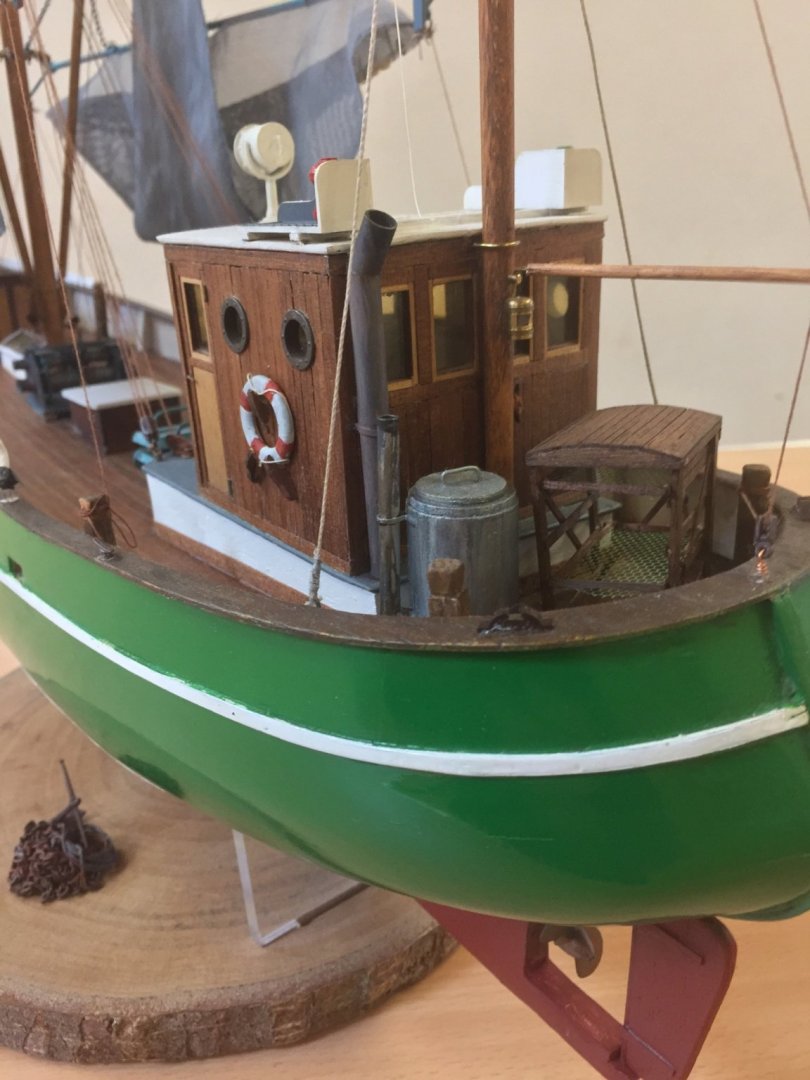
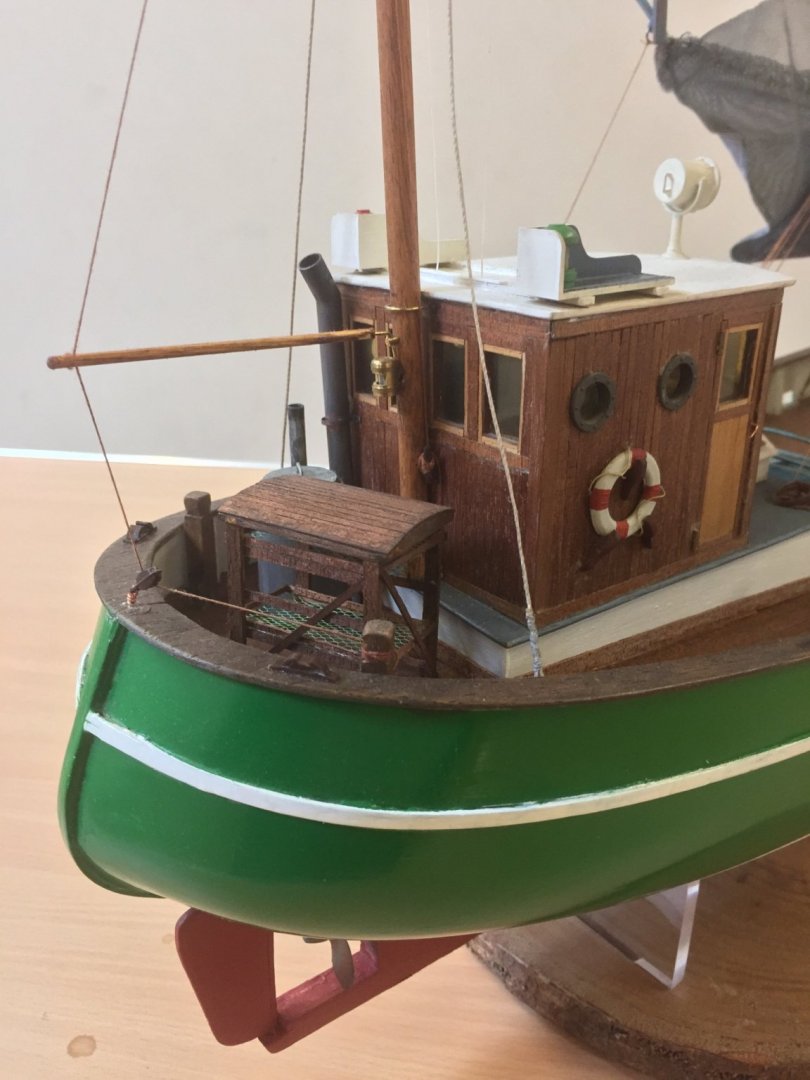
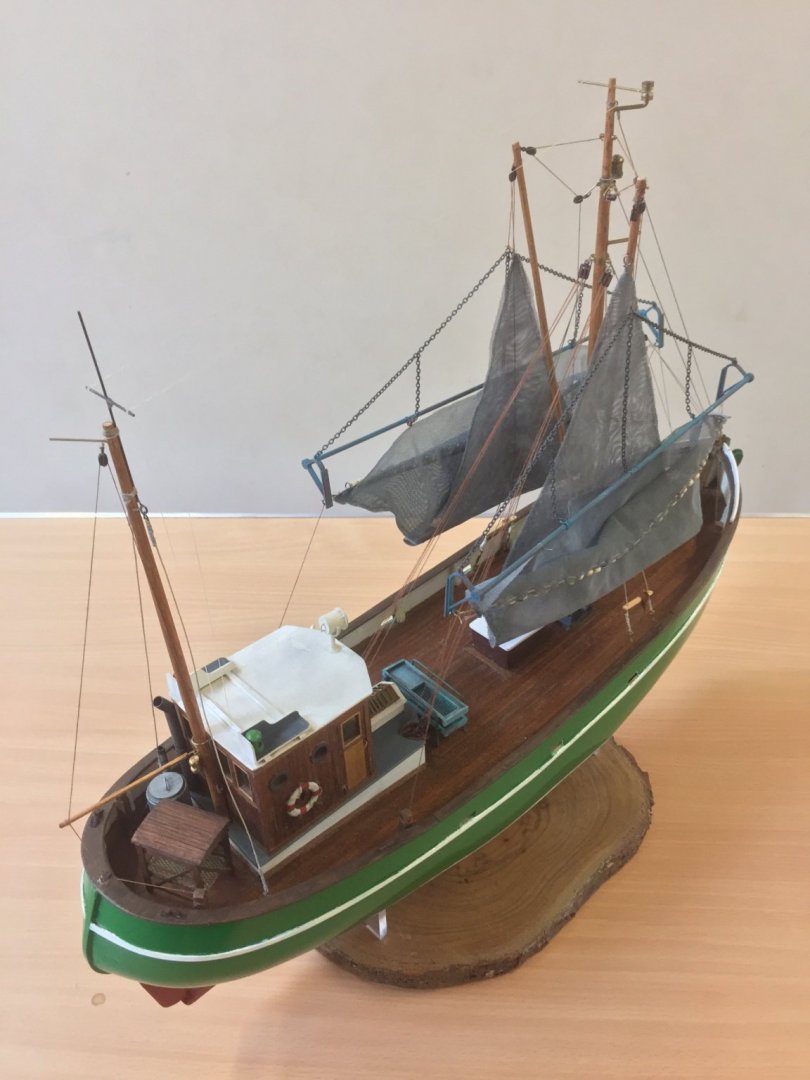
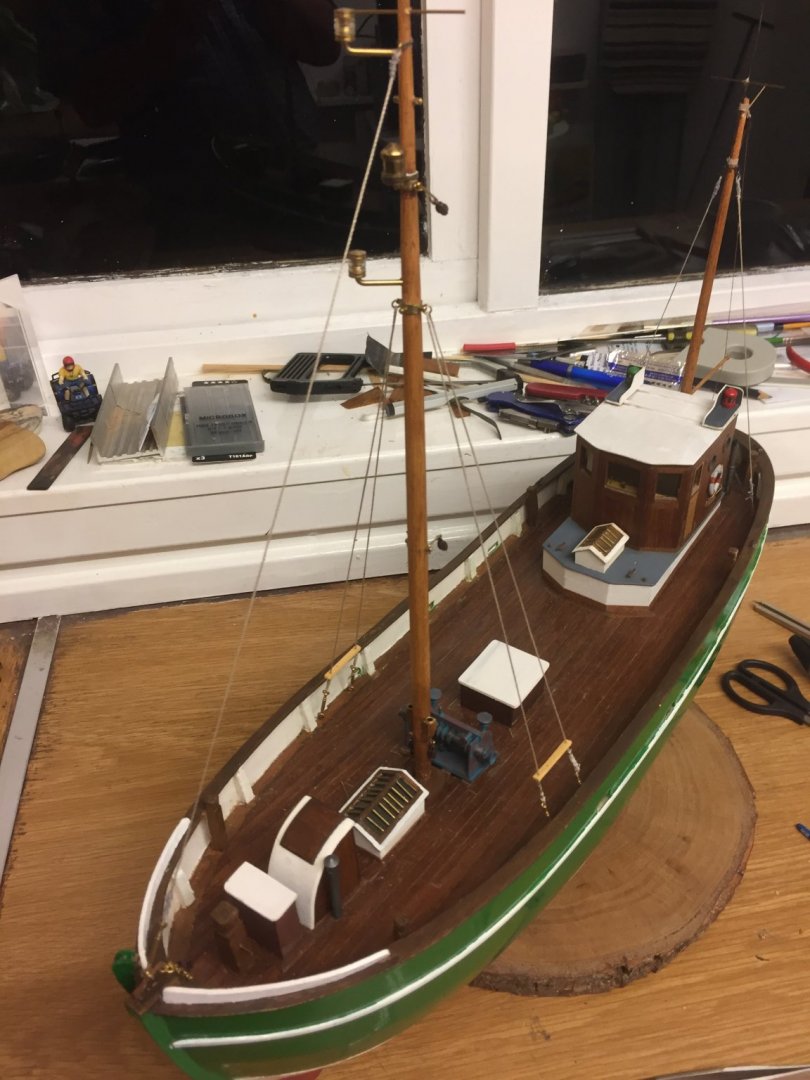
It’s been a while but I think I’m finally done with it, so here are some pics. The base was made from a slice of bird cherry wood with Perspex supports cut using a profile gauge, the idea was the hull would appear to be “floating” above the base. I have purposely left some of the brass fittings unpainted as I think it looks better. In my opinion it’s a model of a fishing boat and not a miniature replica accurate in every detail....... Thanks for looking


-
GrandpaPhil reacted to a post in a topic:
New member from Scotland, very old krabbencutter
-
Diver reacted to a post in a topic:
Krabbenkutter by Paul Carswell - Billing Boats - 1/32?
-
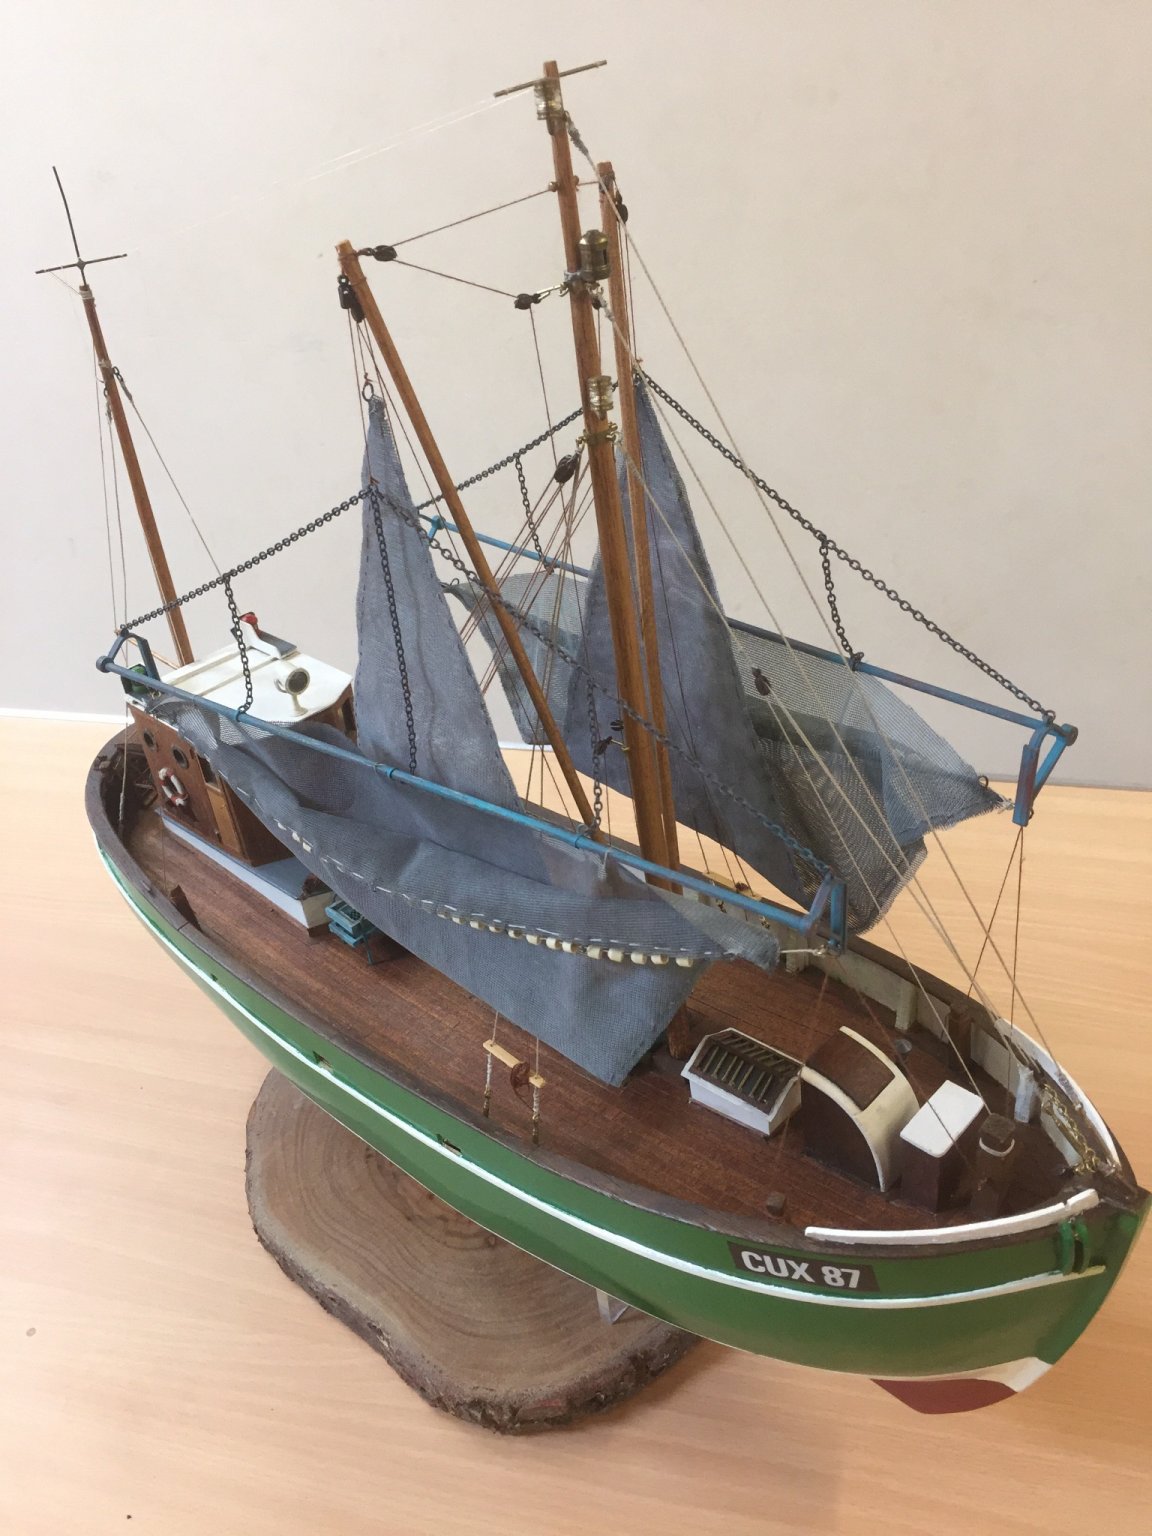
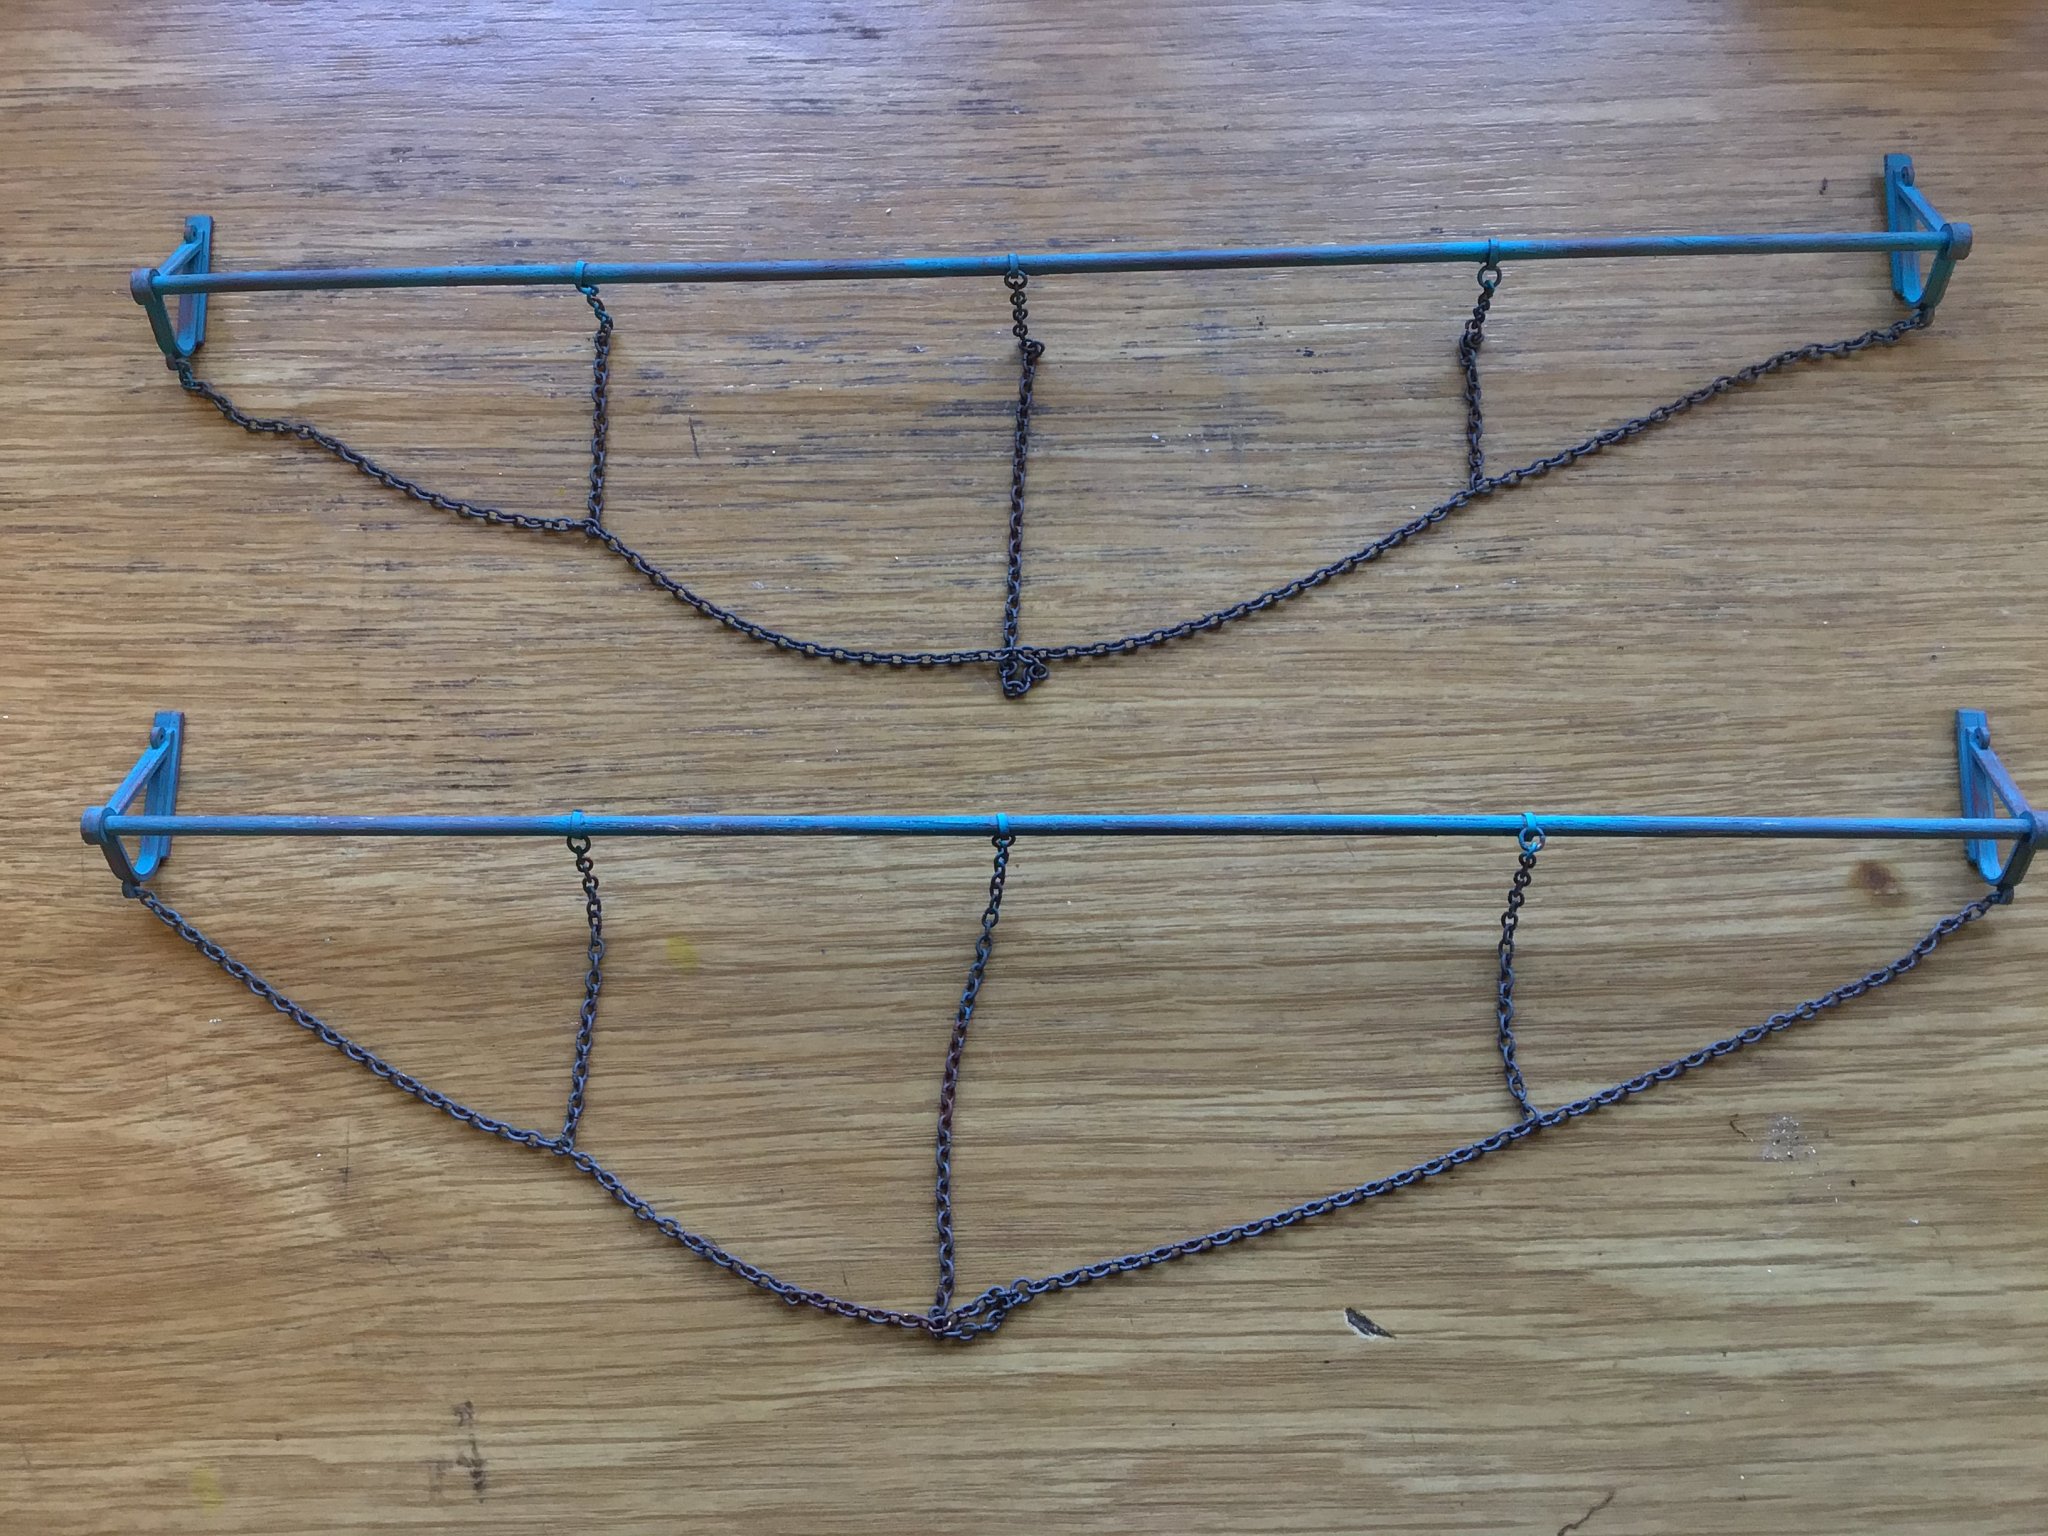
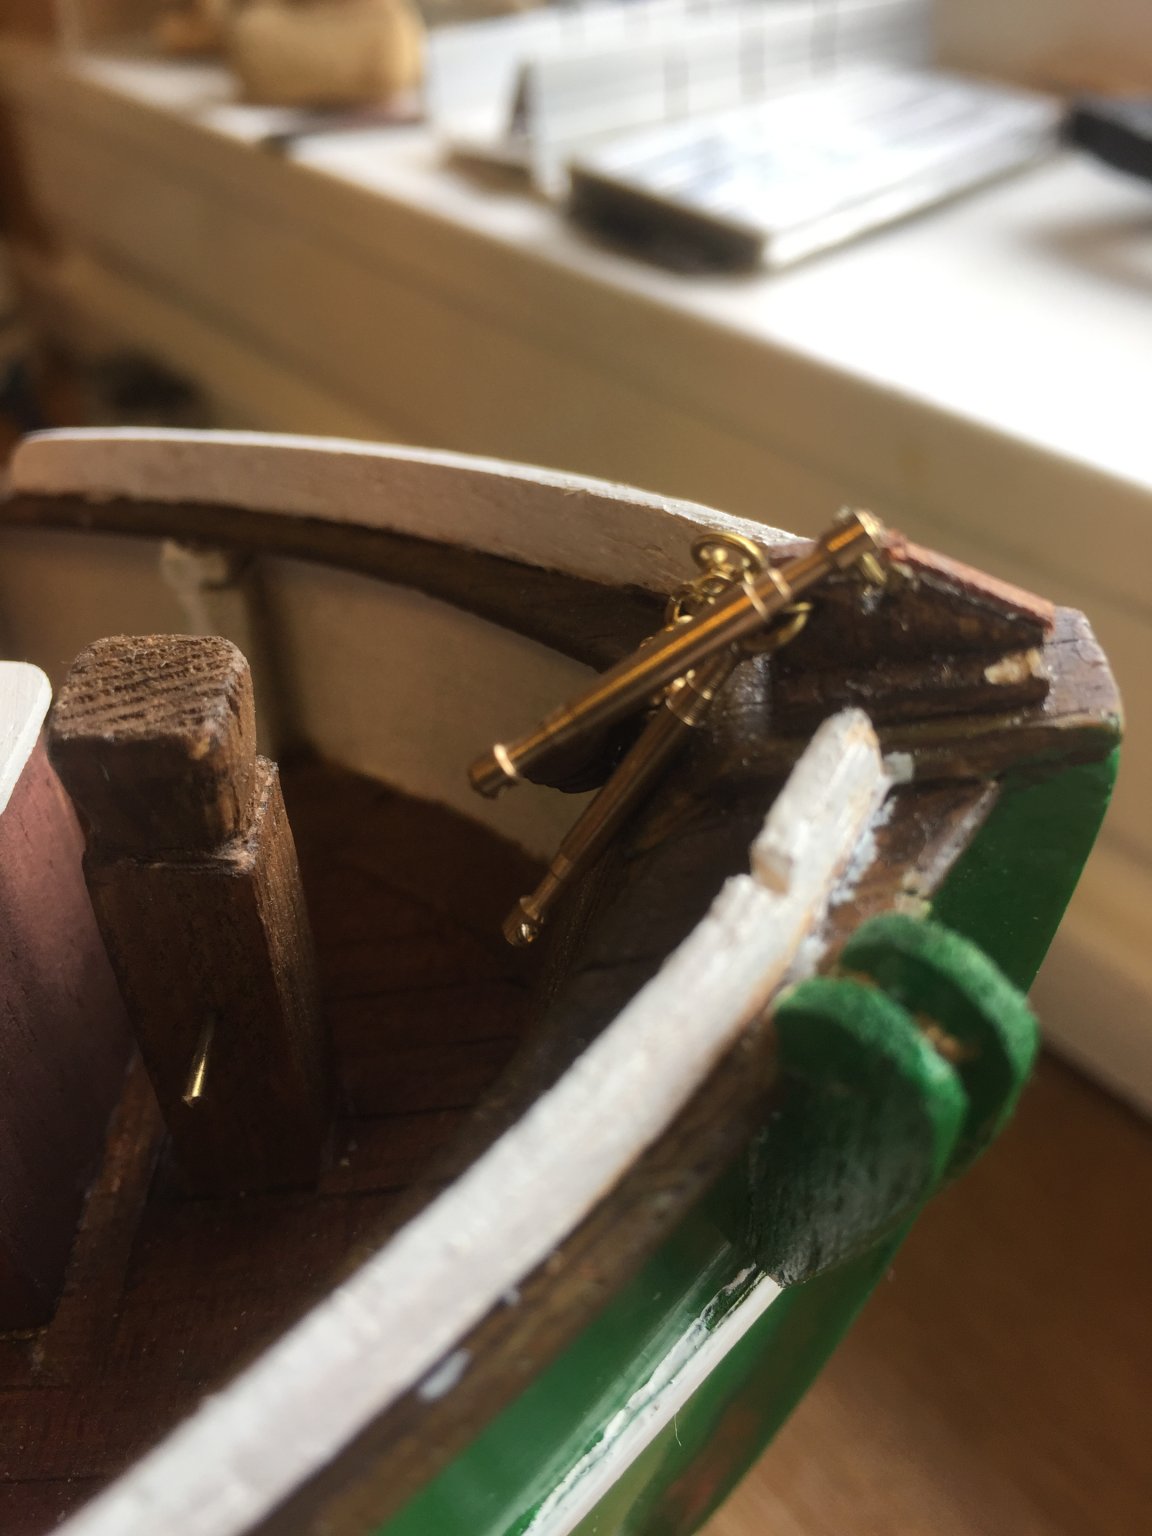
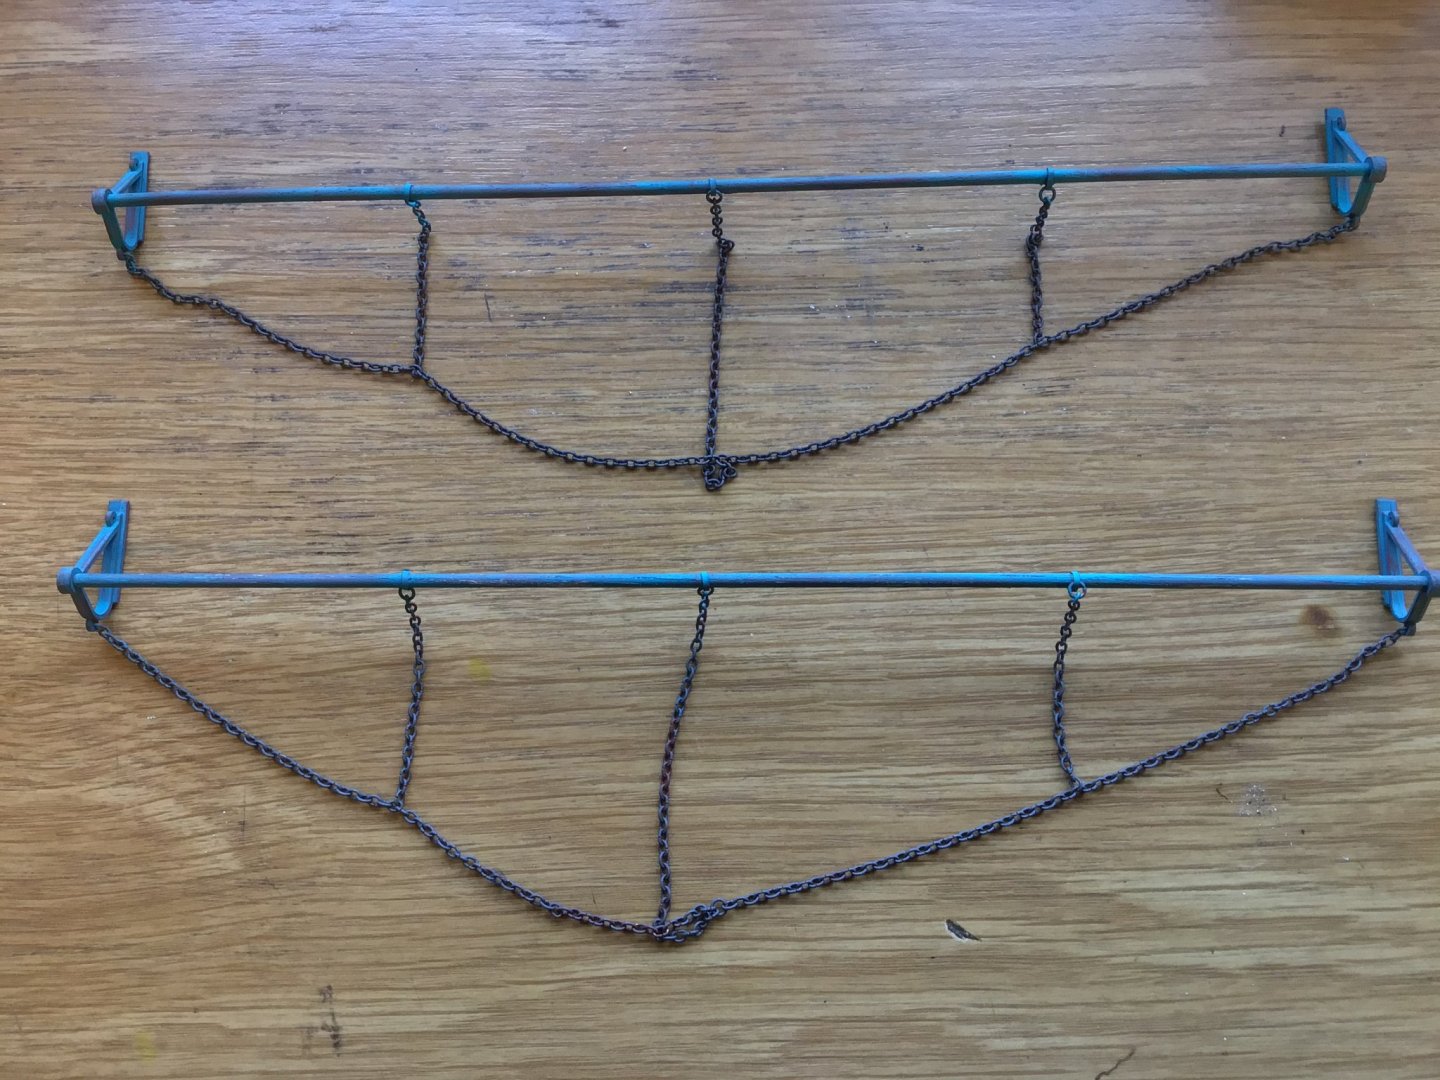
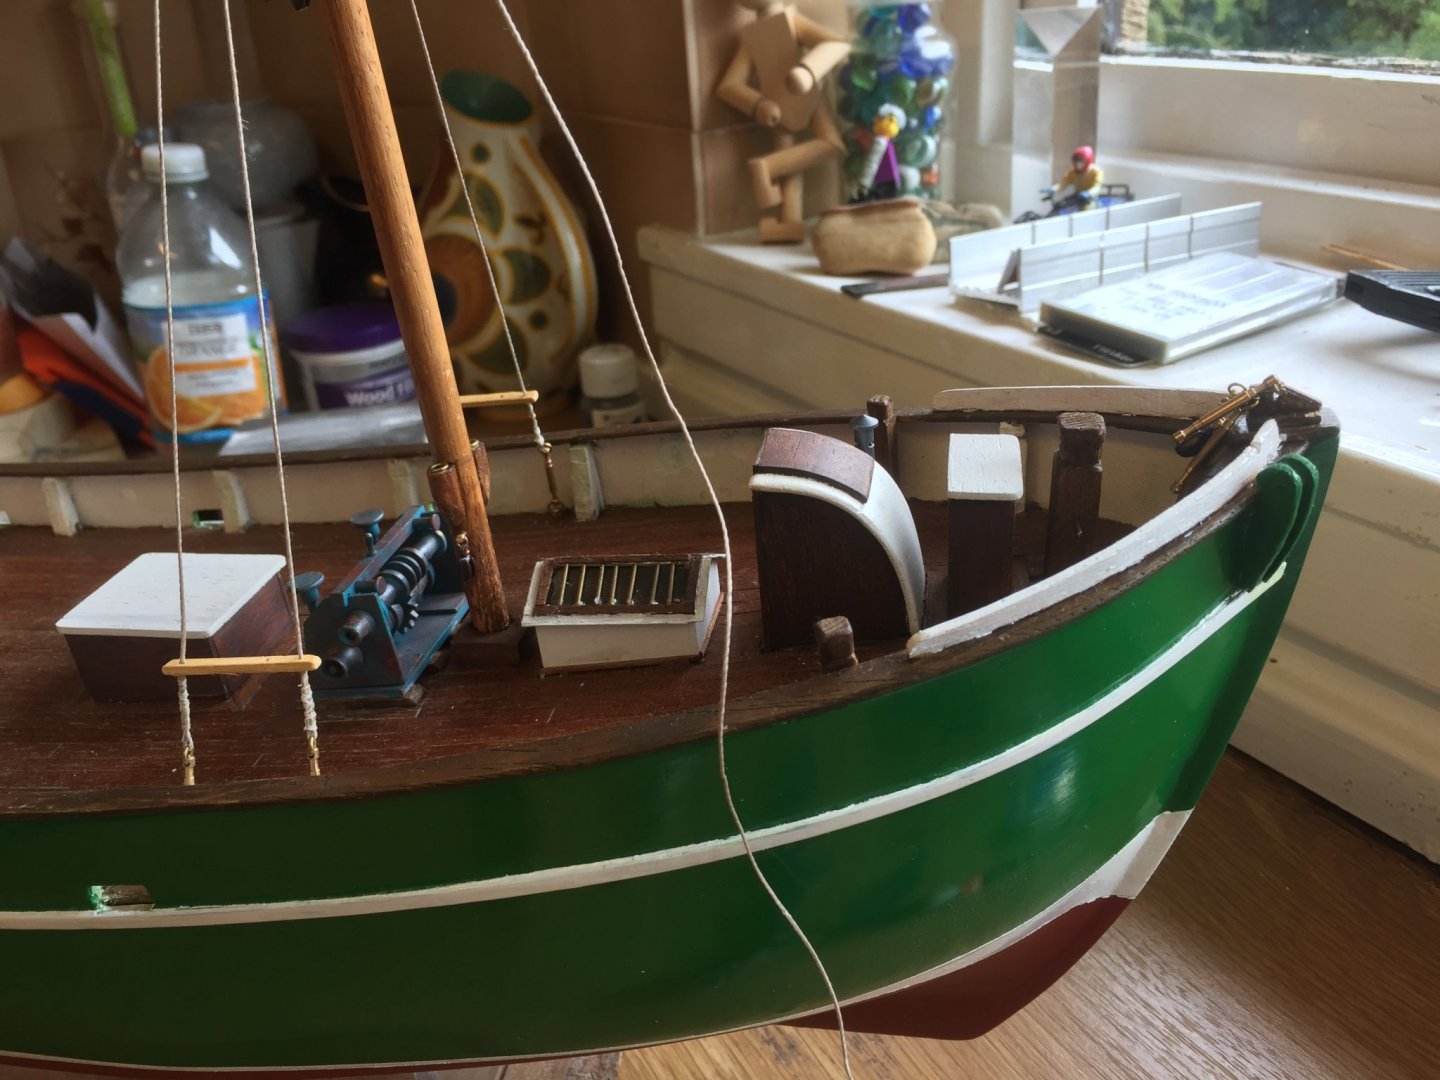
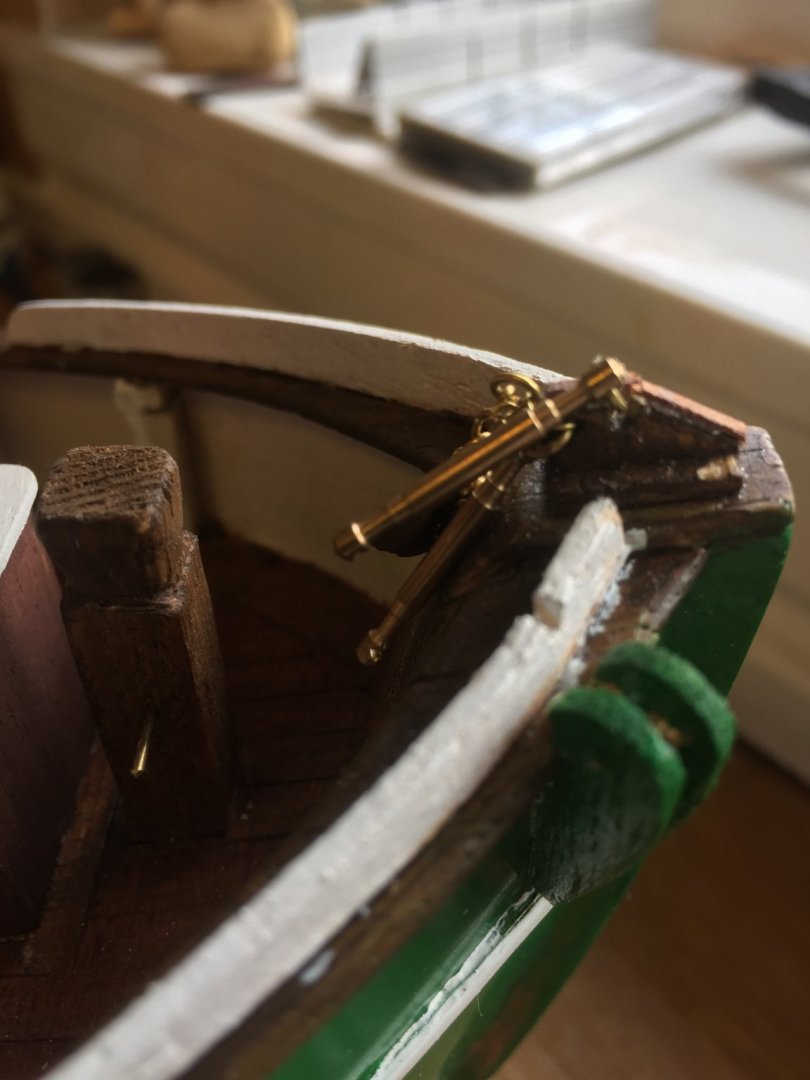
I haven’t had much time lately but have managed to get the booms for the nets built, definitely a bit fiddly splitting and closing the chain links. The fabric supplied for the nets is a kind of plastic mesh which doesn’t sit right, too stiff so I’m going to try using midge net and a piece of “voile” net used for curtains and see which looks best. The nets are to be sewn together from two half’s, so am going to have to call in the ladies here as this west of Scotland guy is ashamed to admit this skill has never been learnt. Can fix the brakes on the car though, “horses for courses“ I suppose.
-
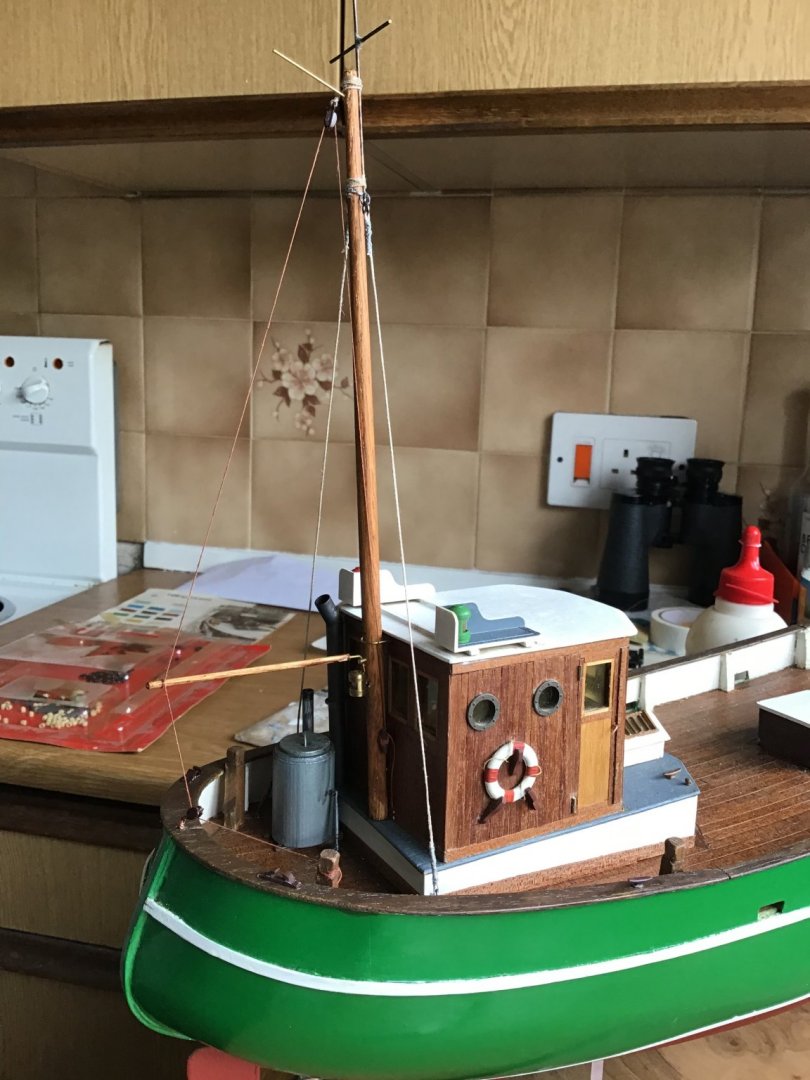
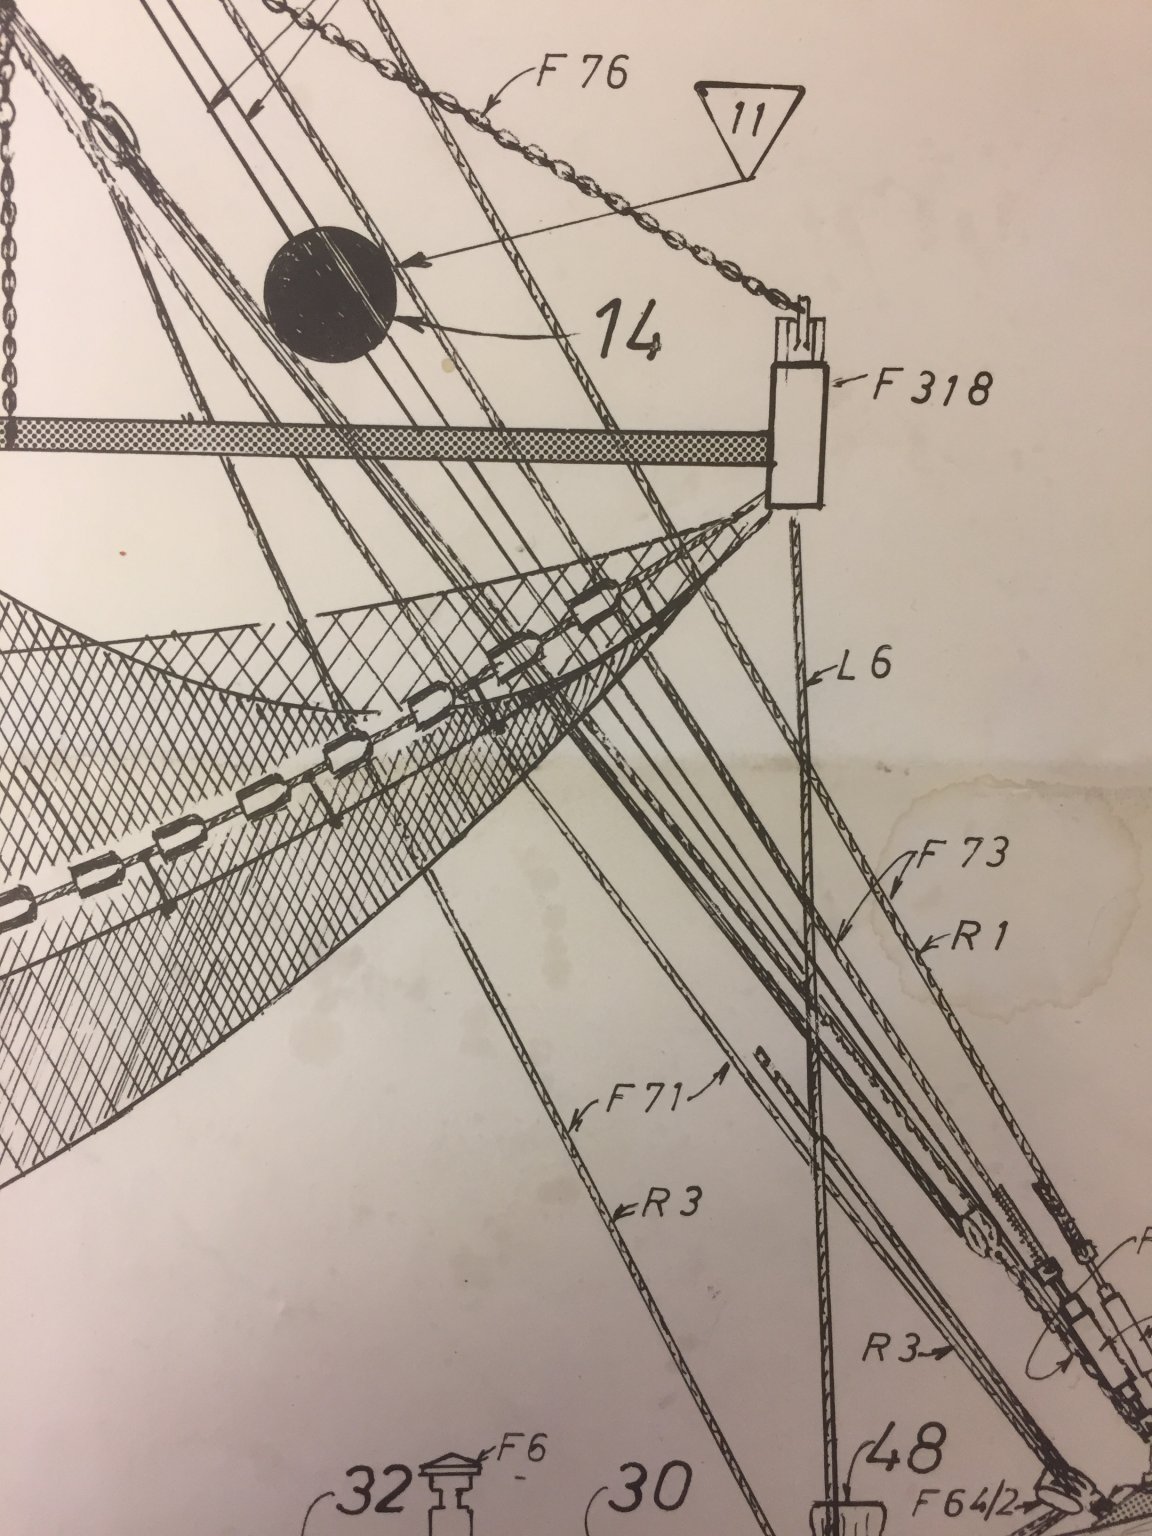
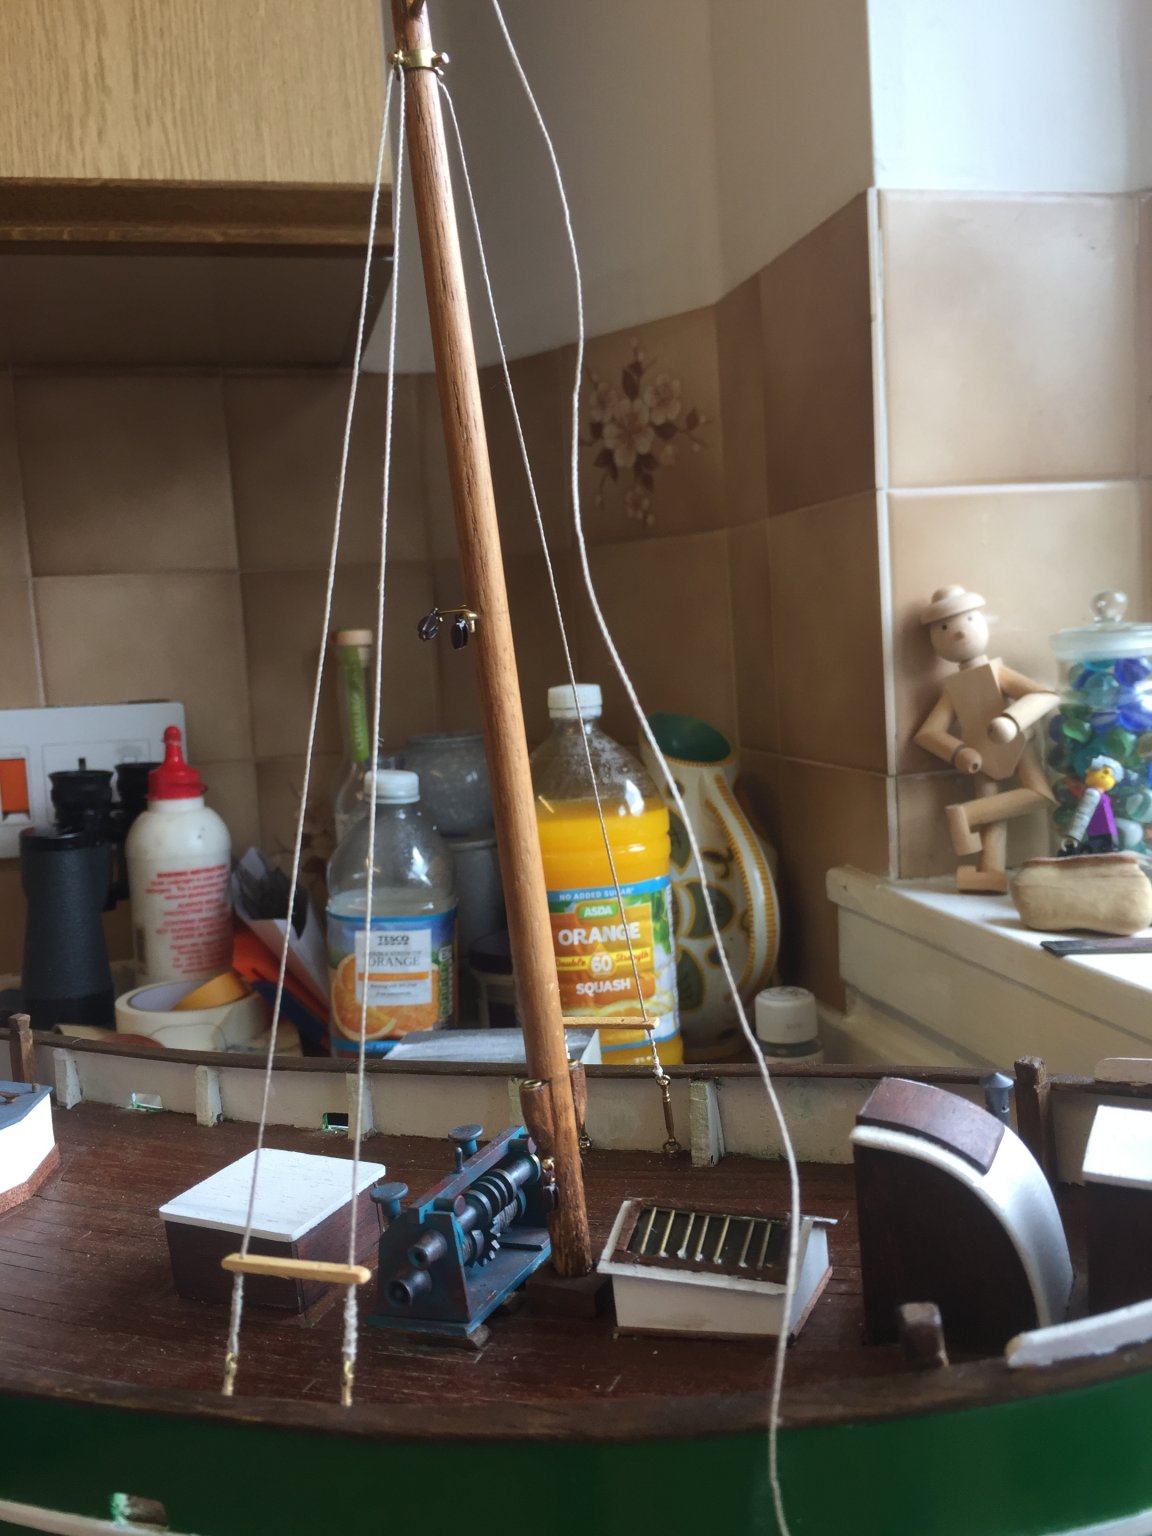
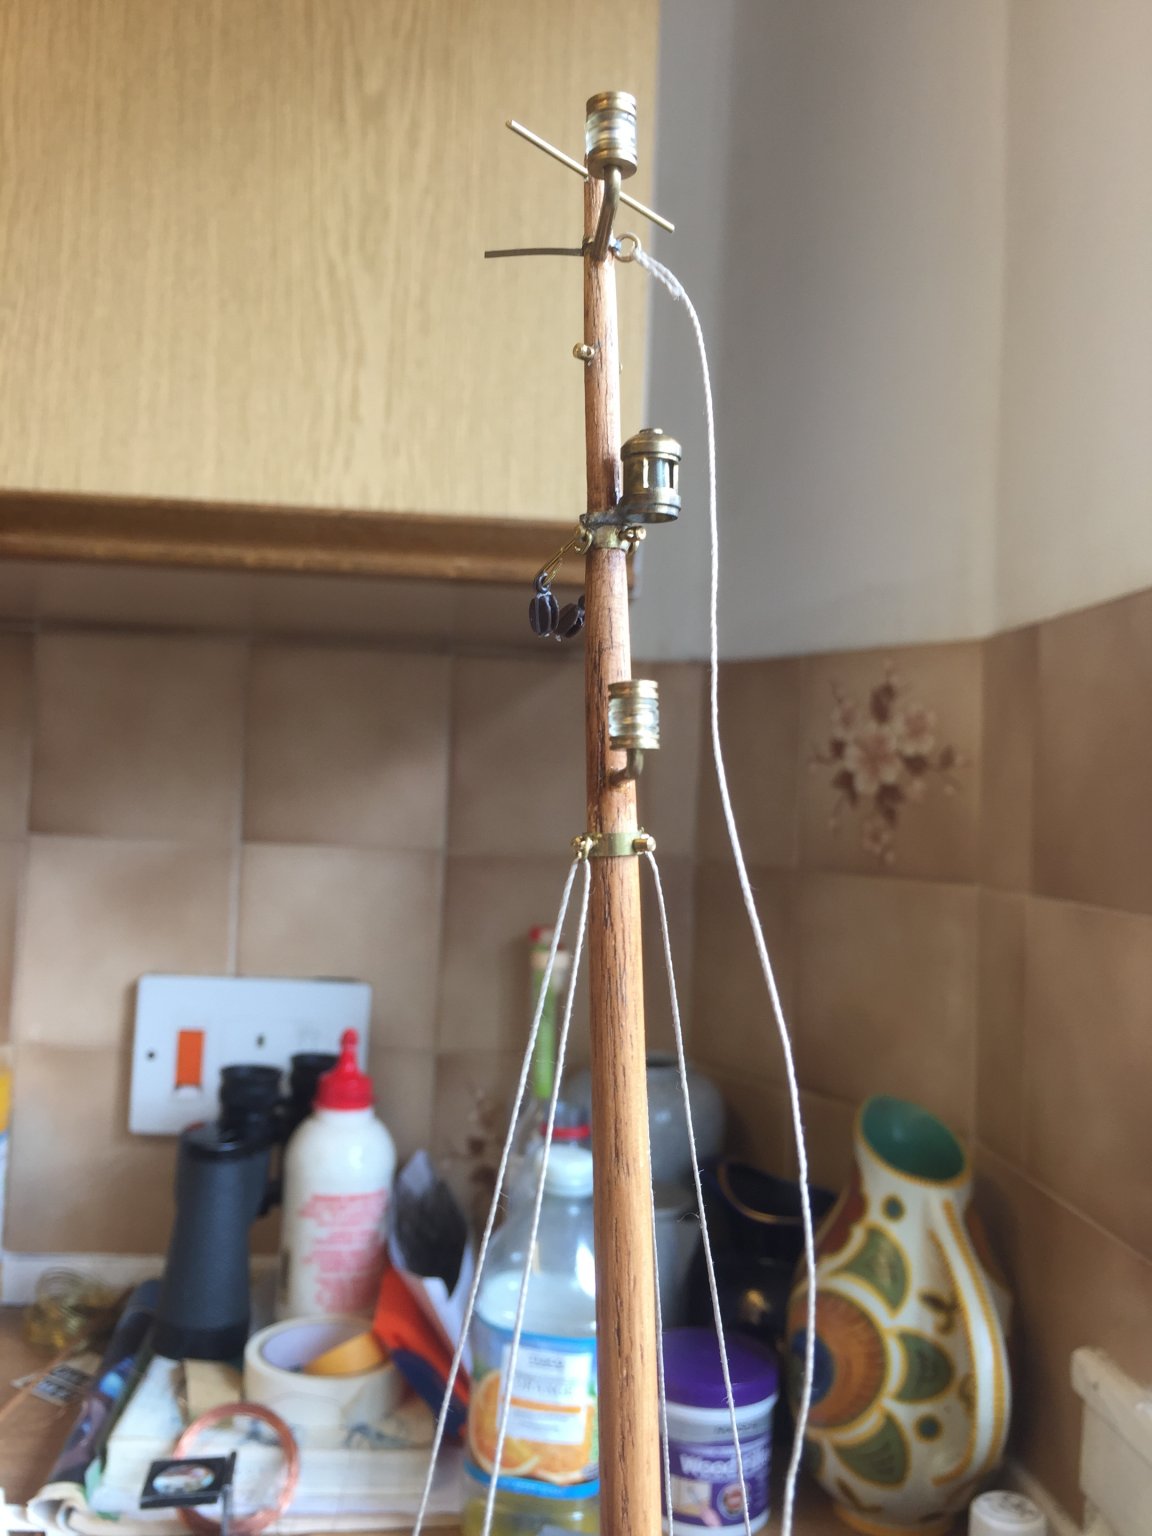
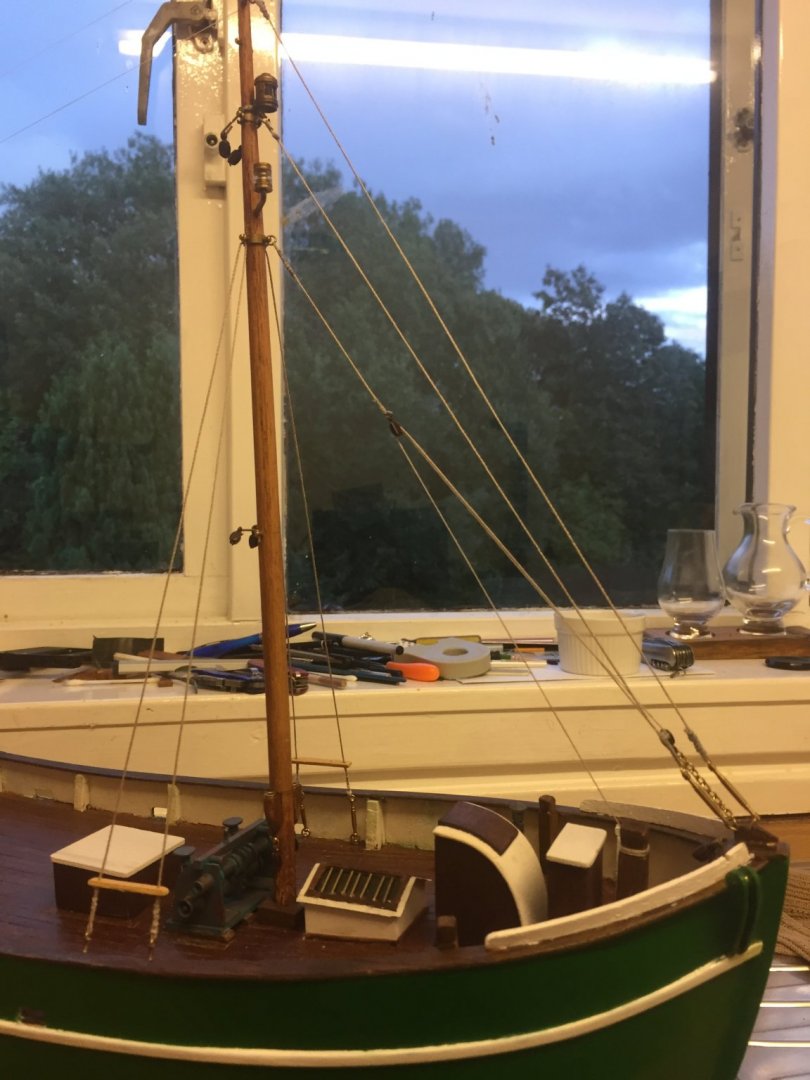
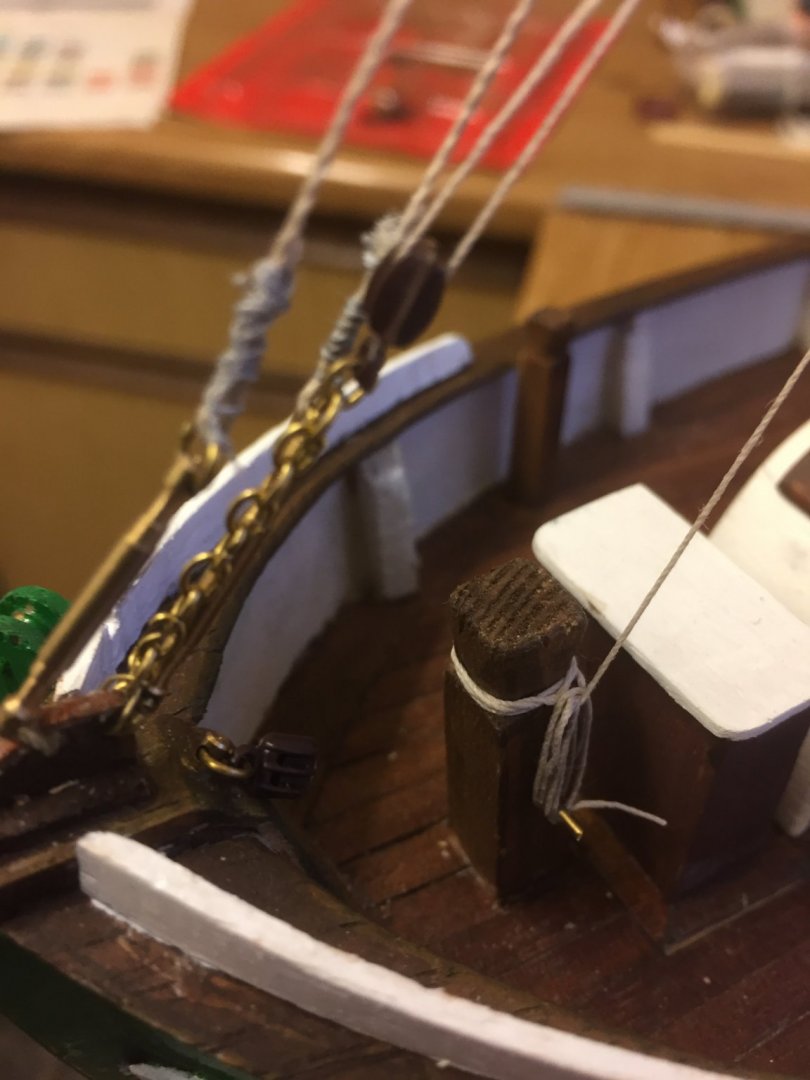
Here’s a couple of pics of a little progress; I couldn’t figure out the third line down from mast top to bow, it is a shorter line ending in a block with two lines down to another block attached to a length of chain to the bow. So I have rigged it by fixing one end of the moving line to the upper block then down to the lower one, back up round upper block and down to the post and tied off. No idea whether this is correct or not. If anyone knows what this arrangement is for, I’d love to know. I have also done the radio wires between the two masts using bait elastic (for securing bait for anglers) which has helped tension the bow lines which were sagging a little. Thanks for looking, cheers Paul

-
Hi Louie, yes come on in and share the pain! I have another question regarding the rigging, but I need to take some pics first. Stand by, PC
-
New member from Scotland, very old krabbencutter
Paul Carswell replied to Paul Carswell's topic in New member Introductions
Thanks, yes anstruther is well worth a visit, I went over with my son who was looking for design ideas for some work he was doing. Depending how the old tub turns out I could definitely be tempted to try another one. -
New member from Scotland, very old krabbencutter
Paul Carswell replied to Paul Carswell's topic in New member Introductions
Ok, have started build log, hopefully this will spur me on to completion. -
Ok , here we are, as will be noted from my introduction post this is a very old model that has been resurrected so the model was started long before digital cameras, home computers and the internet came to being. Therefor this log will only comprise of the rigging, nets and finish. This is the first wooden ship model I have attempted so there will be mistakes. The hull and deckhouse were already built, although not joined, and since restarting it the lower hull has been painted, the masts built up most deck fittings positioned and presently I am doing the standing rigging ( how do you guys/gals keep your temper and not “launch” the damned thing out the window ?) Yes I am finding this challenging but being a stubborn SOB I will not give in ! I am finding doing the whipping round the rope ends of the standing lines tricky and will need to have a look for some tips as I’m not convinced there isn’t a neater easier way. Here are a couple of pics so far. Cheers Paul


-
New member from Scotland, very old krabbencutter
Paul Carswell replied to Paul Carswell's topic in New member Introductions
Thanks for the reply’s, yes Scotland’s good for cycling, used to commute 13 miles hail,rain and snow, great for keeping the fat off. Great about the black ball answer, now I can sleep tonight! I might start a build log for the remaining work on the boat. Cheers Paul -
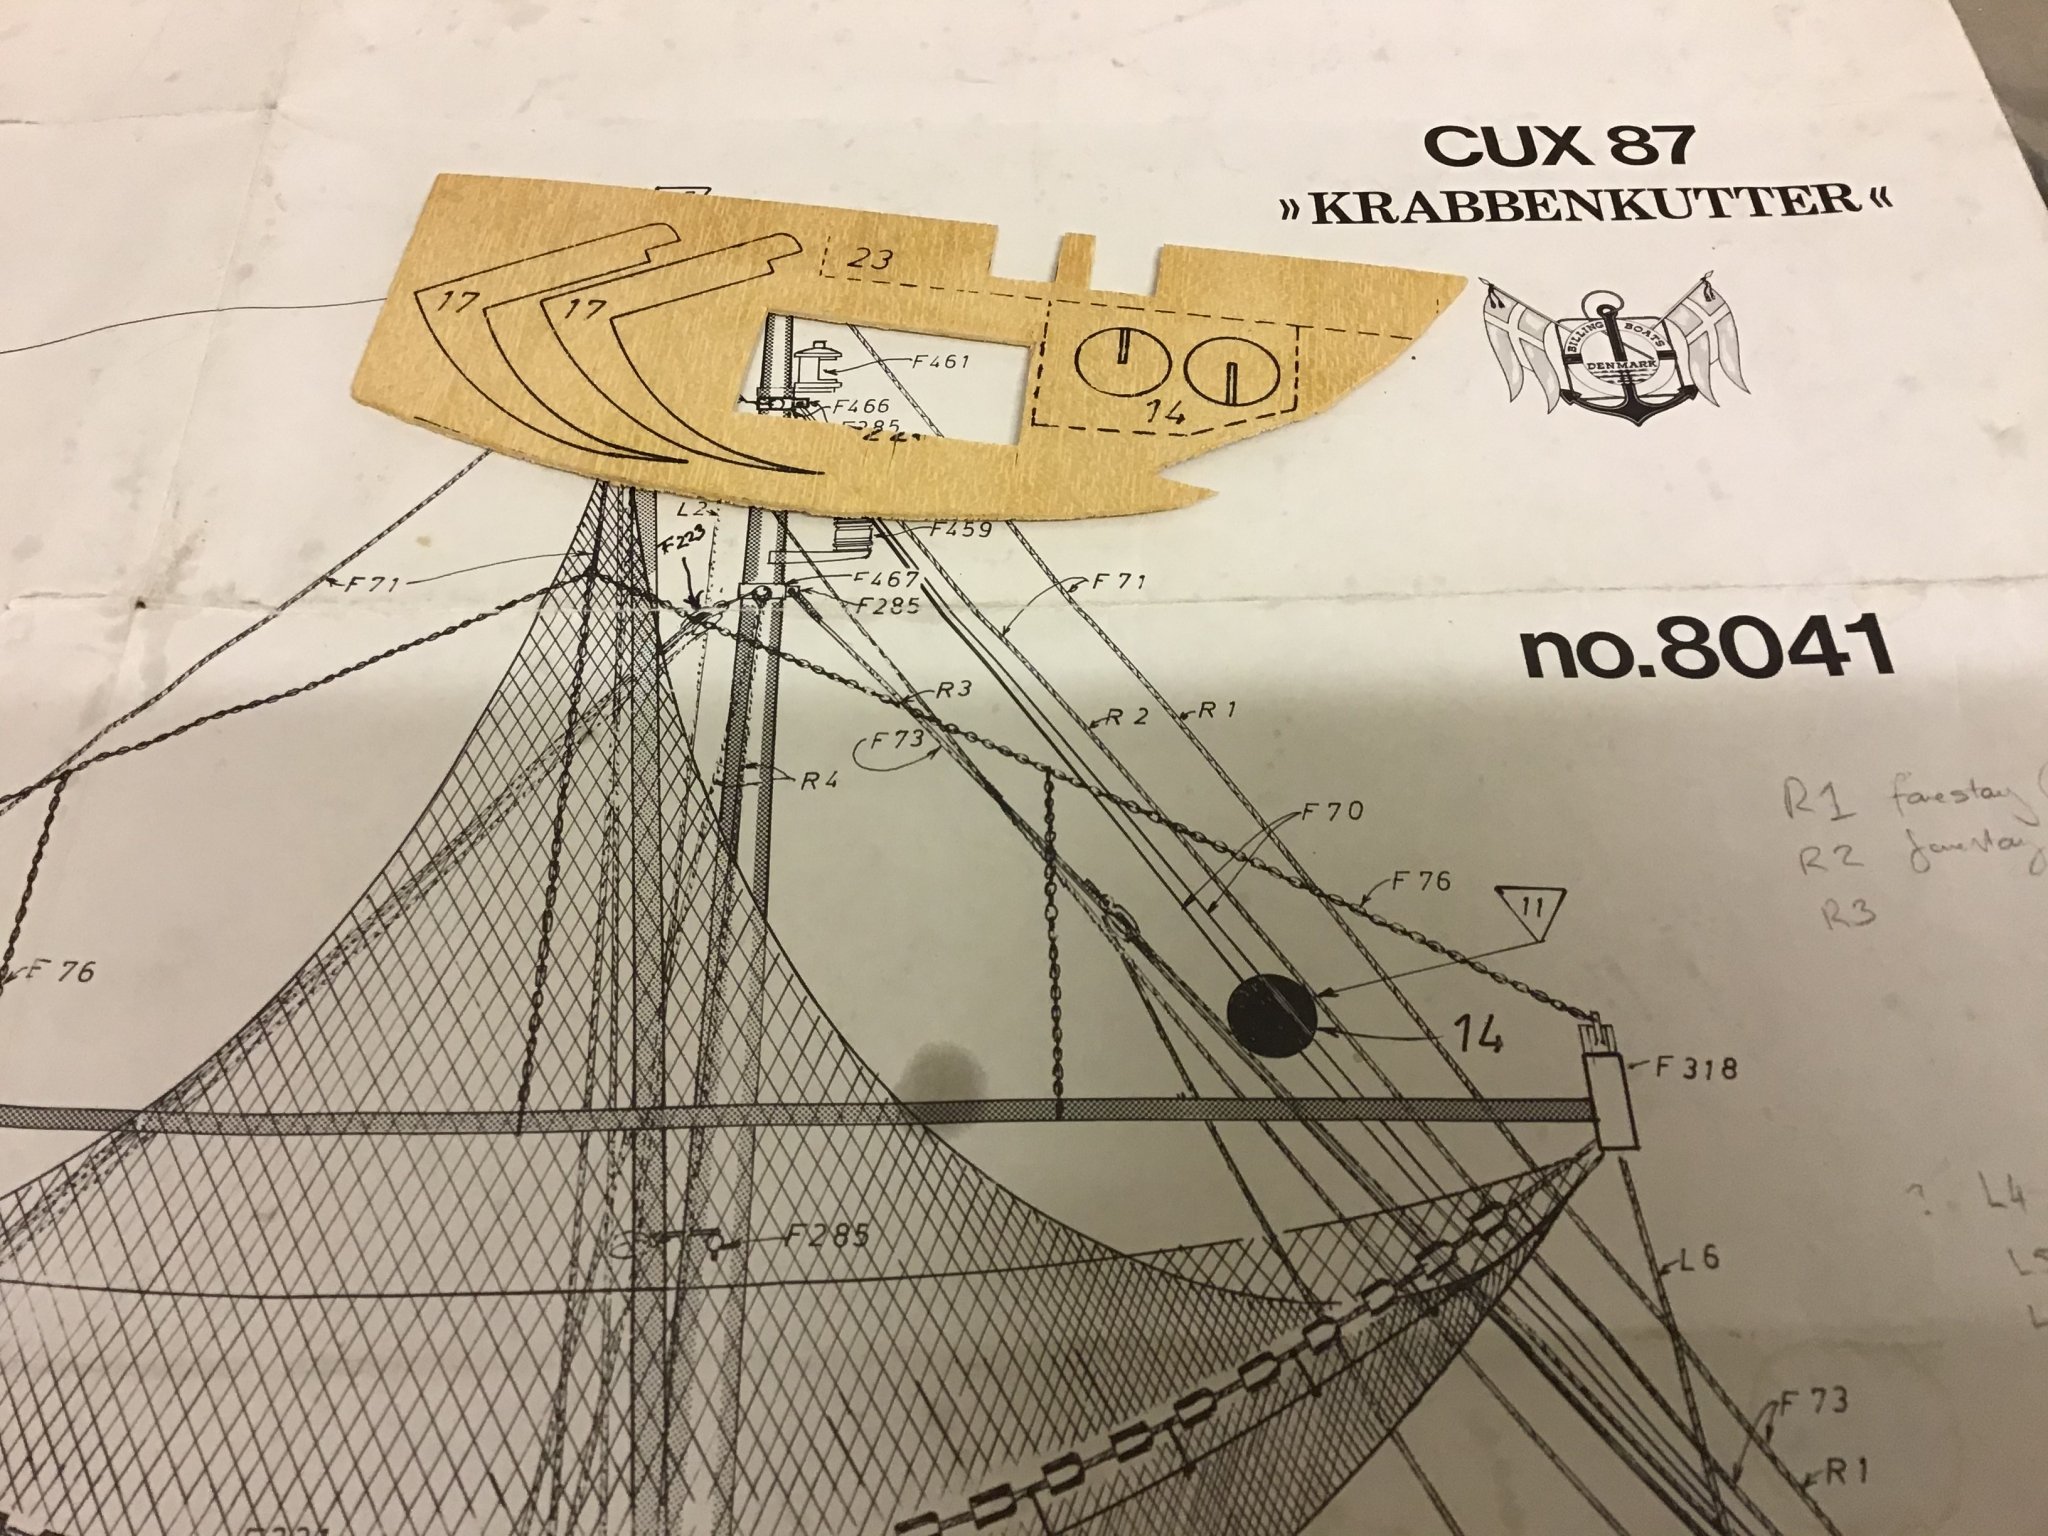
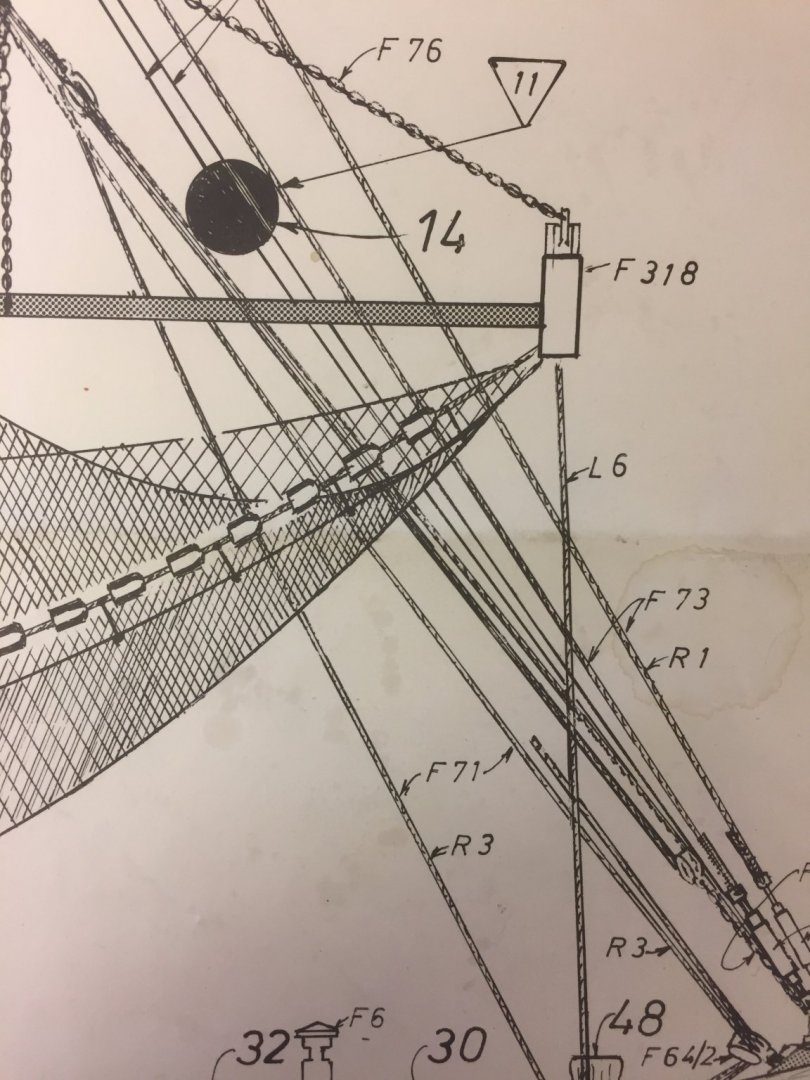
Hi fellow modellers. I normally build little plastic tanks, until the covid lockdown here in Scotland when not being able to buy anything to make, my attention moved onto the old krabencutter. A girlfriend bought me this model nearly 40 years ago, I started it and built up the keel and ribs (easy bits), then I drifted off, too many distractions, probably the said girlfriend. My father then “offered” to help out with it and he did the planking, it lay for many years until my divorce from the said girlfriend/wife when I found myself back home for a couple of months and picked it up again to fill, sand and paint the hull. It then went into hibernation for another long time till March of this year when I dusted it off and got back to work and am having great fun. Billings instructions, at least for me, are a little vague and for this novice the rigging is taking a bit figuring out, however I think I am nearly there. I suppose like many modellers I don’t like to just build something without understanding the functionality of the subject, which leads me to my question and the reason of joining this site....does anyone know what the large black disc that would appear to run up and down a line from the bow to to three quarters up the main mast is for? On some of the completed models I’ve seen this is in fact a sphere and not a disc? I think it may be some kind of visual display of the boats status for the benefit of other vessels ie nets deployed or not. This is really annoying me as I think I now understand what all the rest of the rigging lines do and would love to get a definitive answer. The said girlfriend is still around and my father and are taking much interest in the old thing and are looking forward to the day it will be finally complete. Thanks for looking Cheers Paul