-
Posts
29 -
Joined
-
Last visited
Content Type
Profiles
Forums
Gallery
Events
Everything posted by ThirdCoast
-
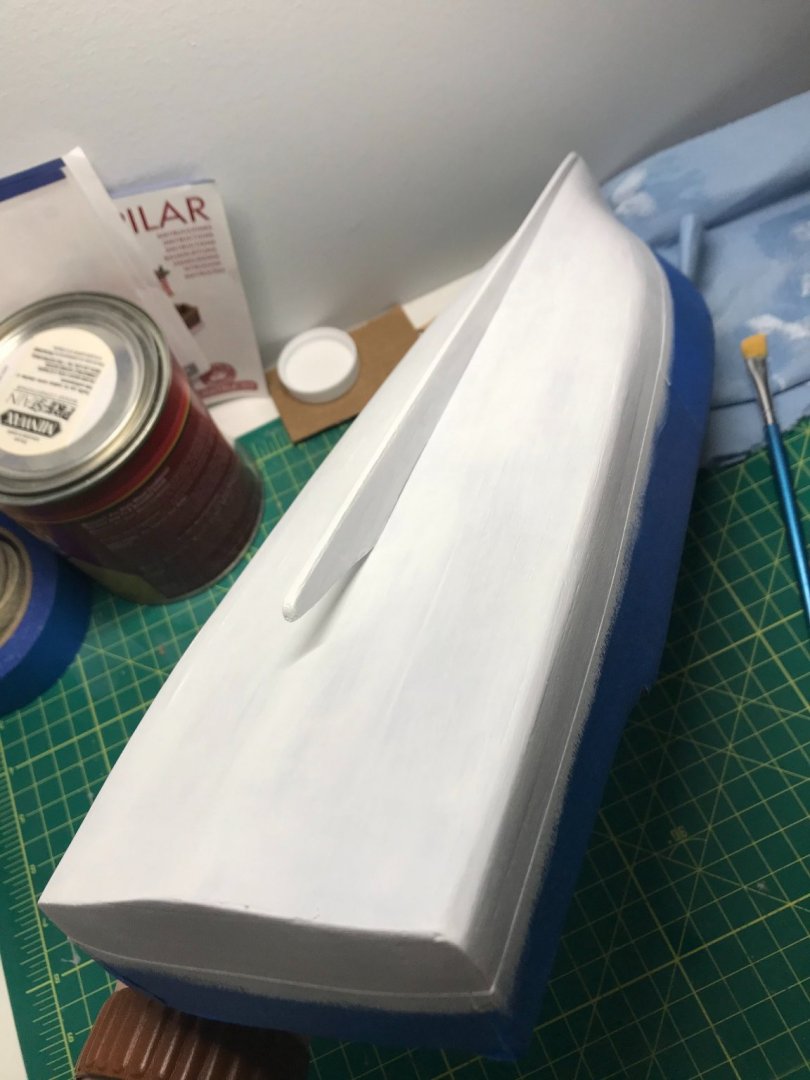
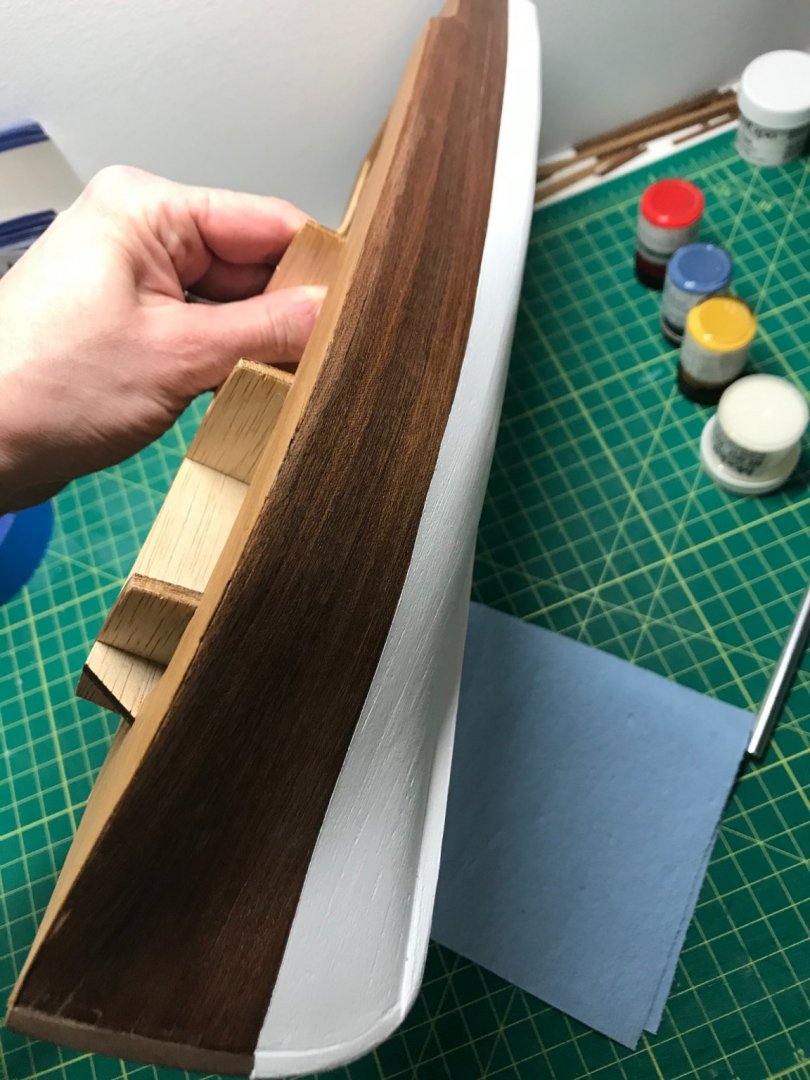
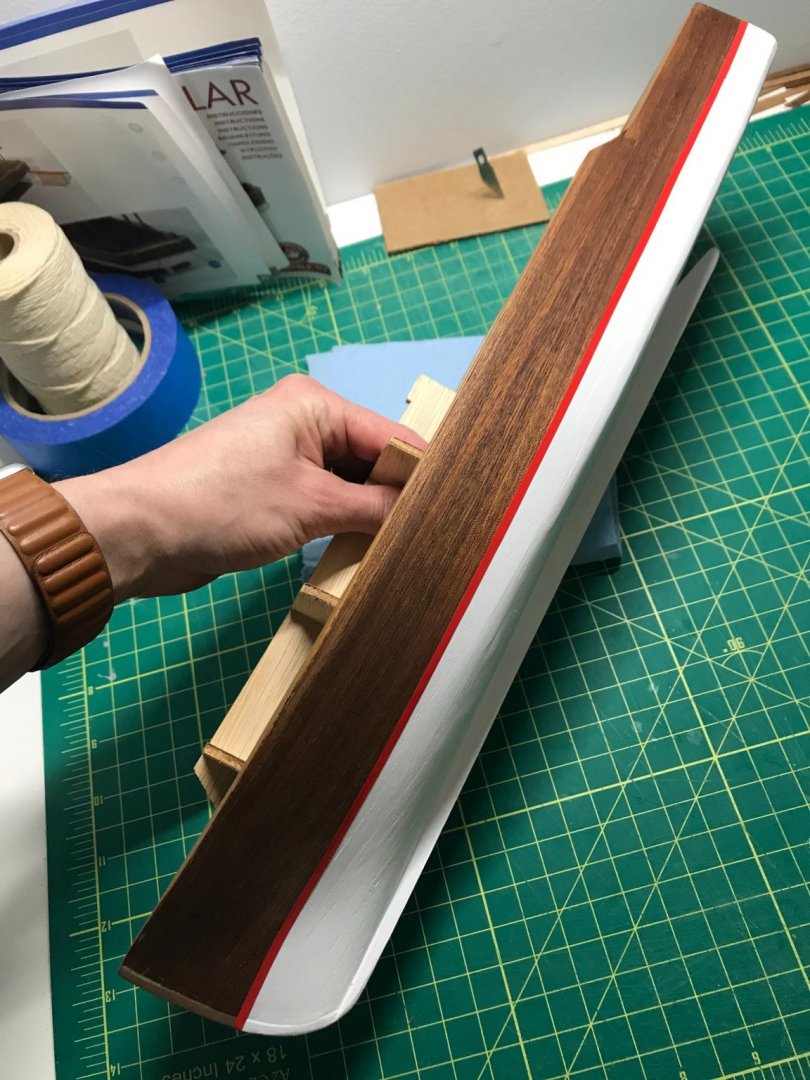
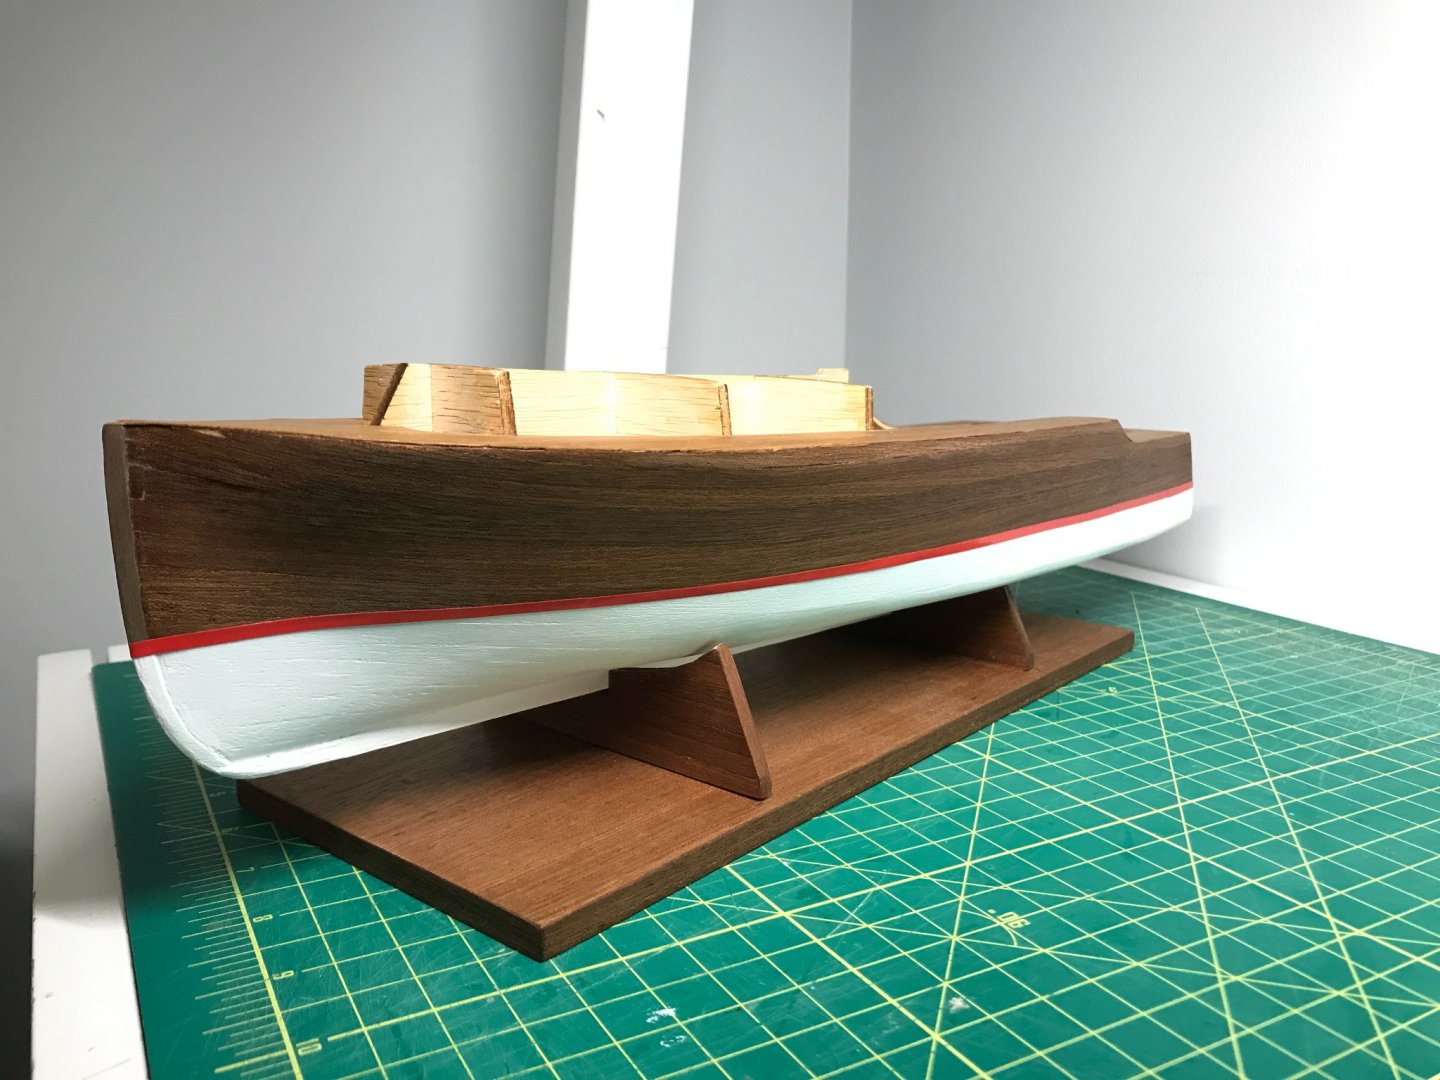
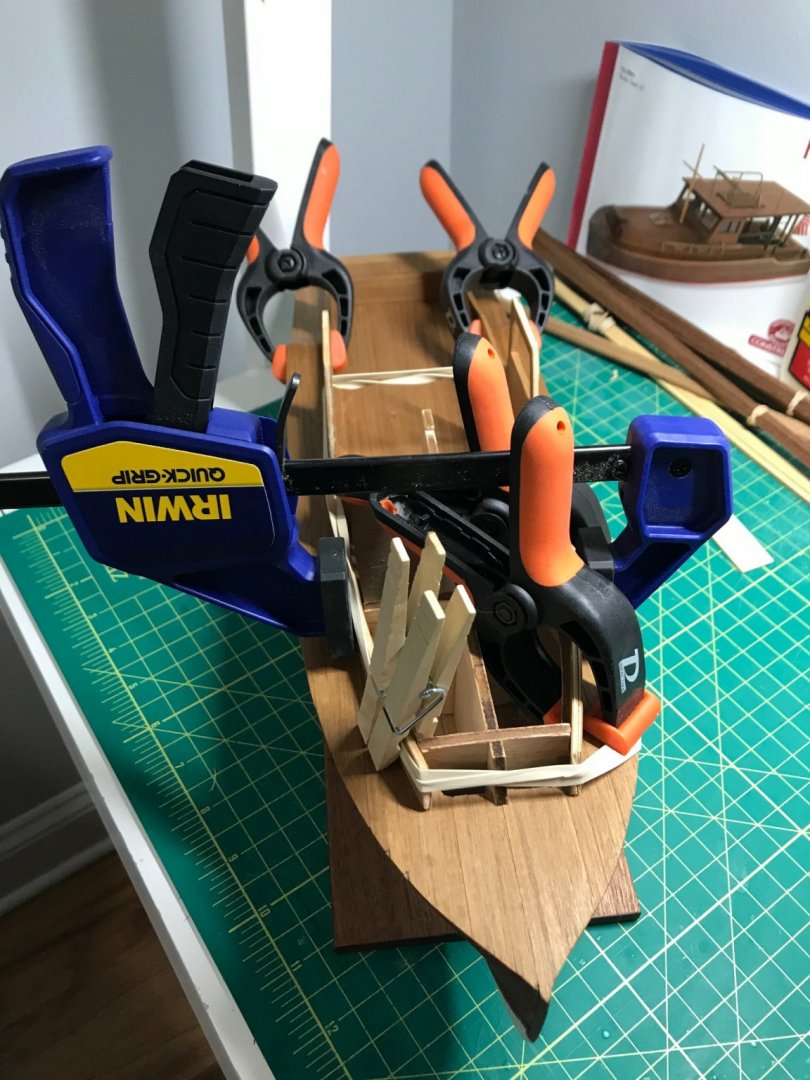
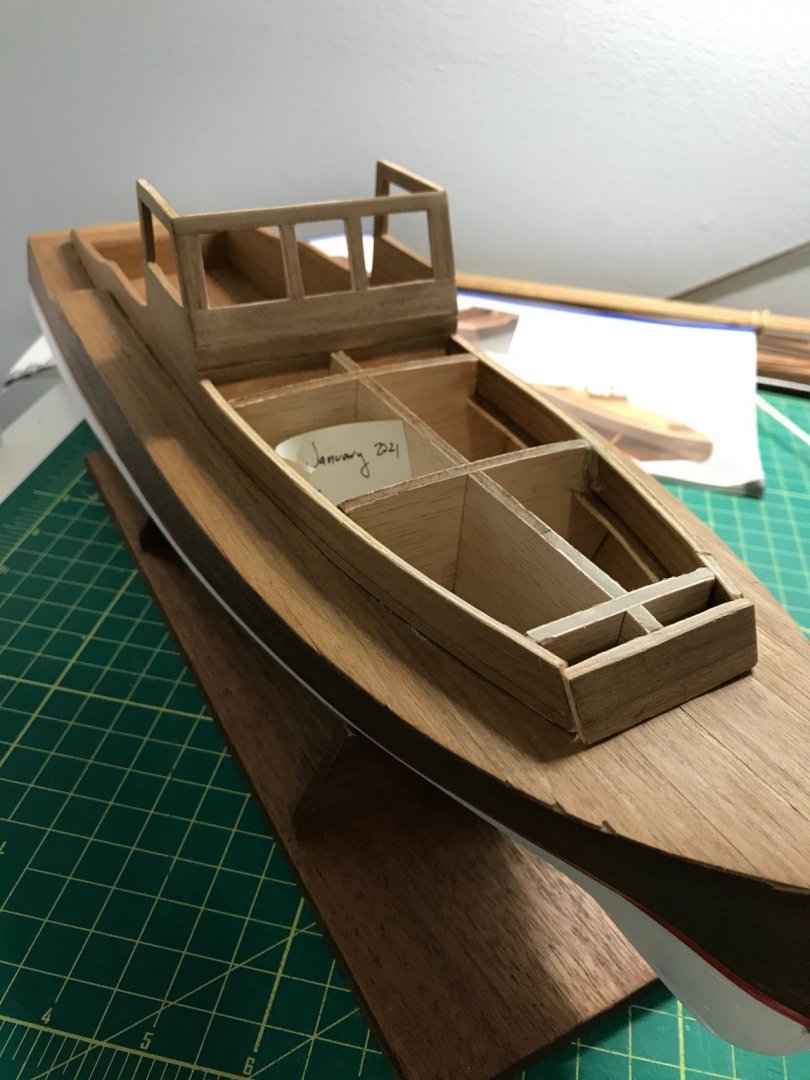
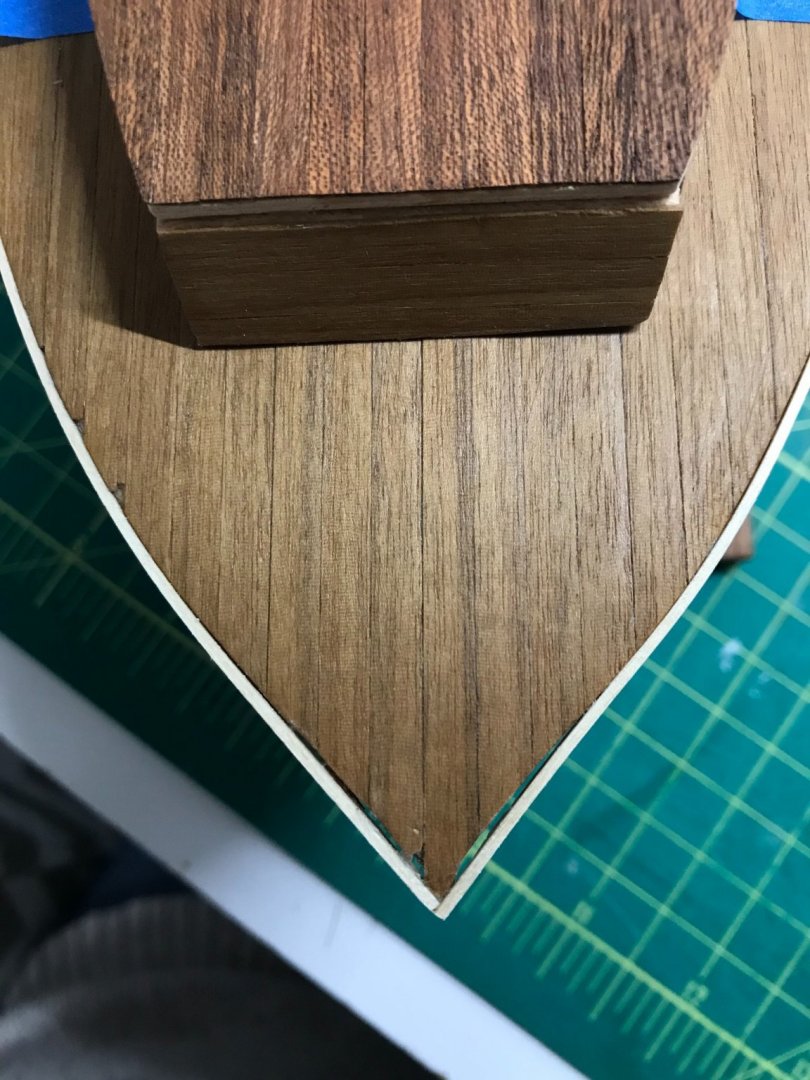
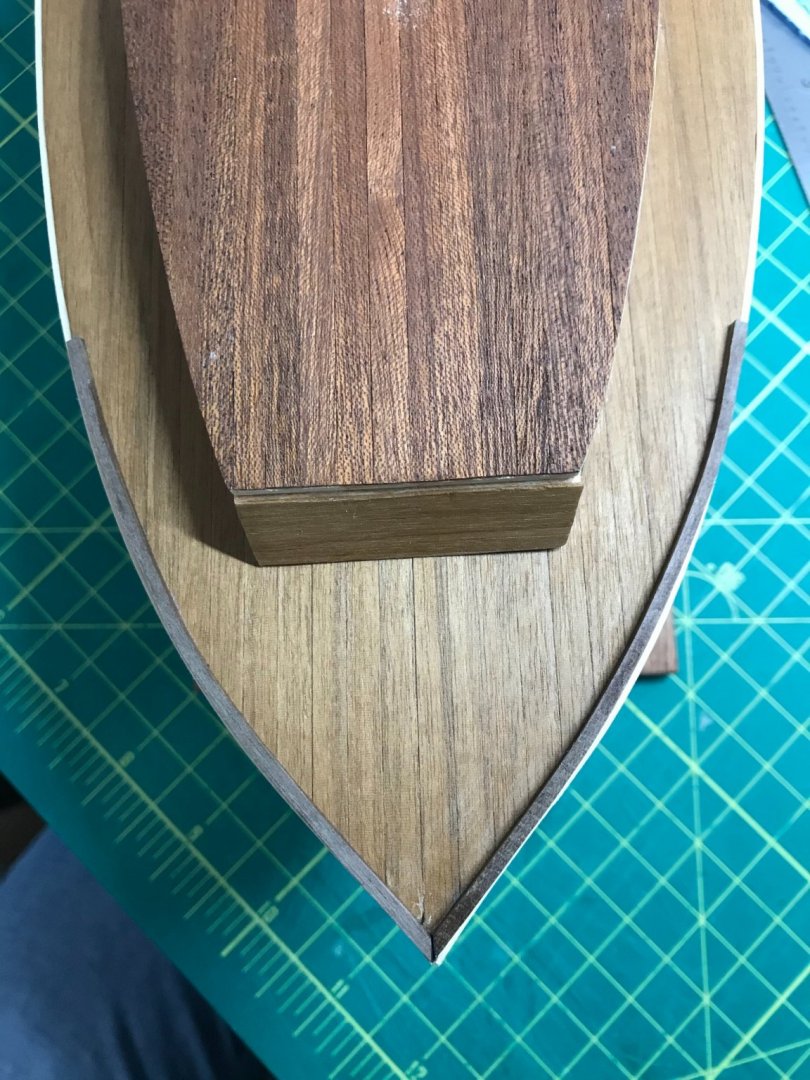
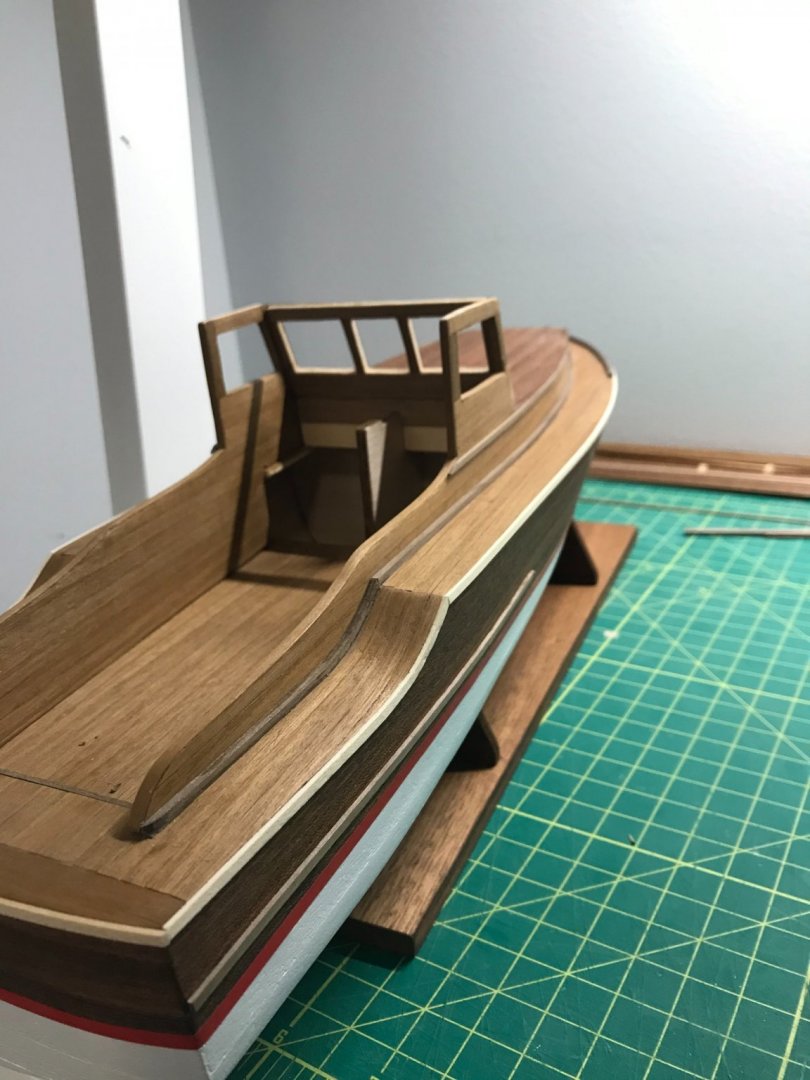
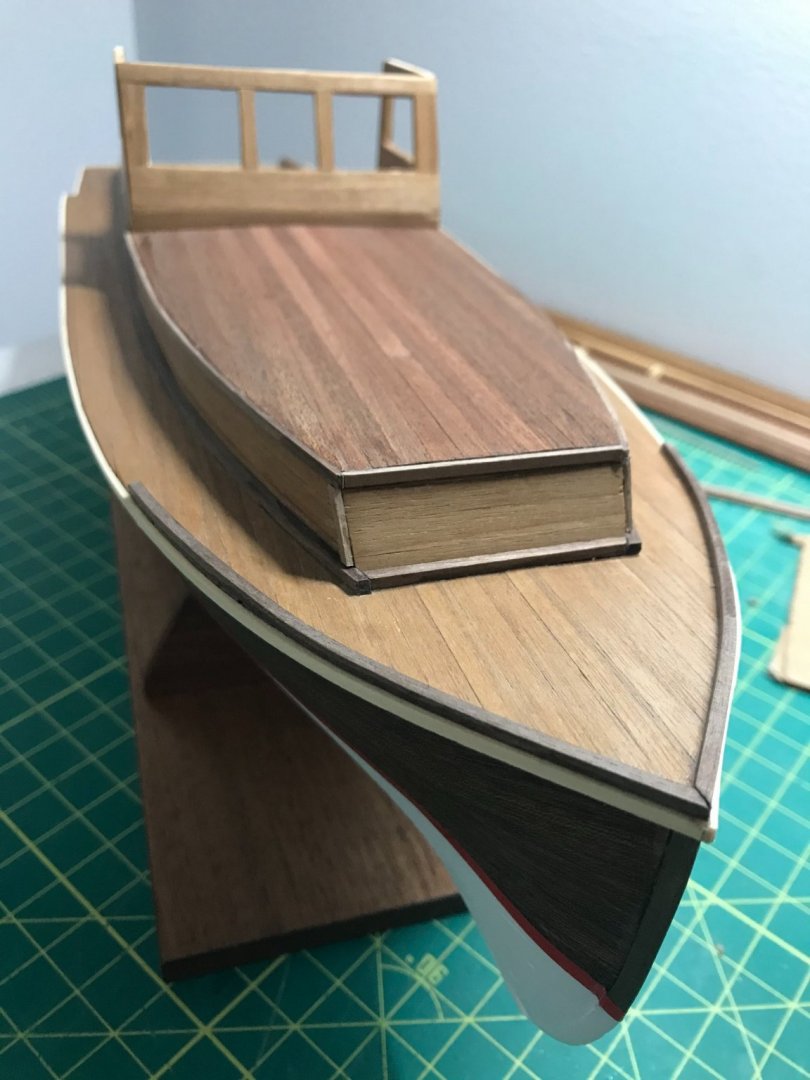
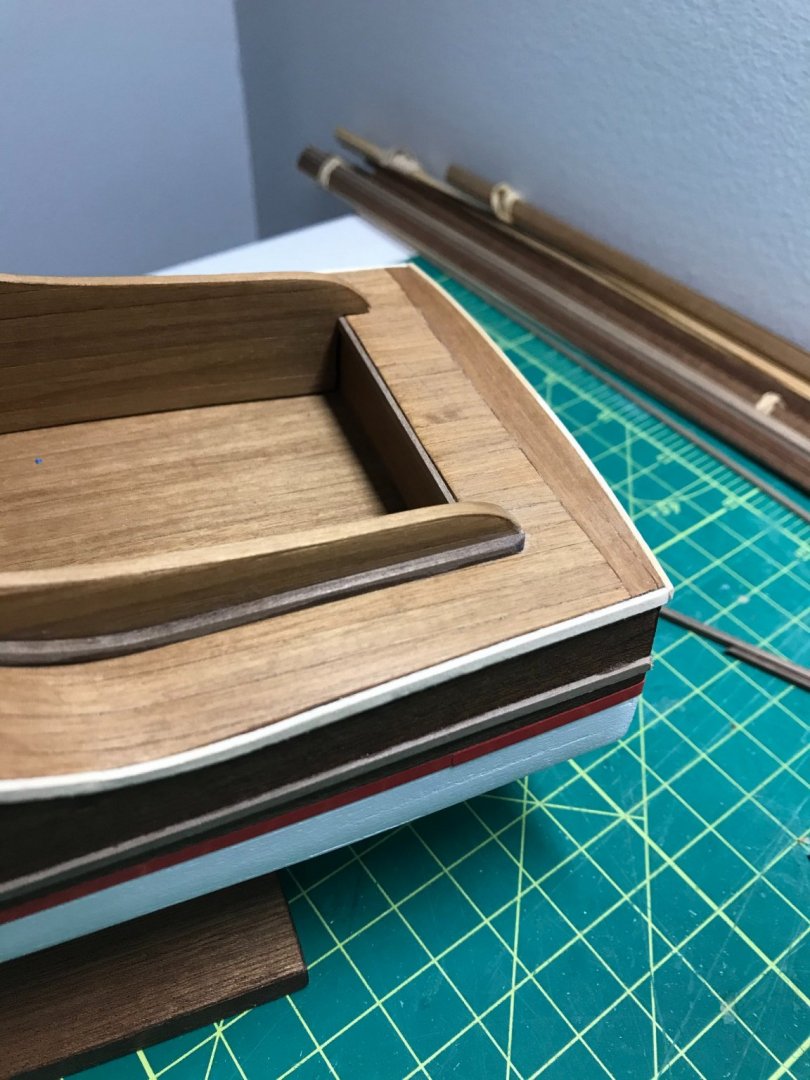
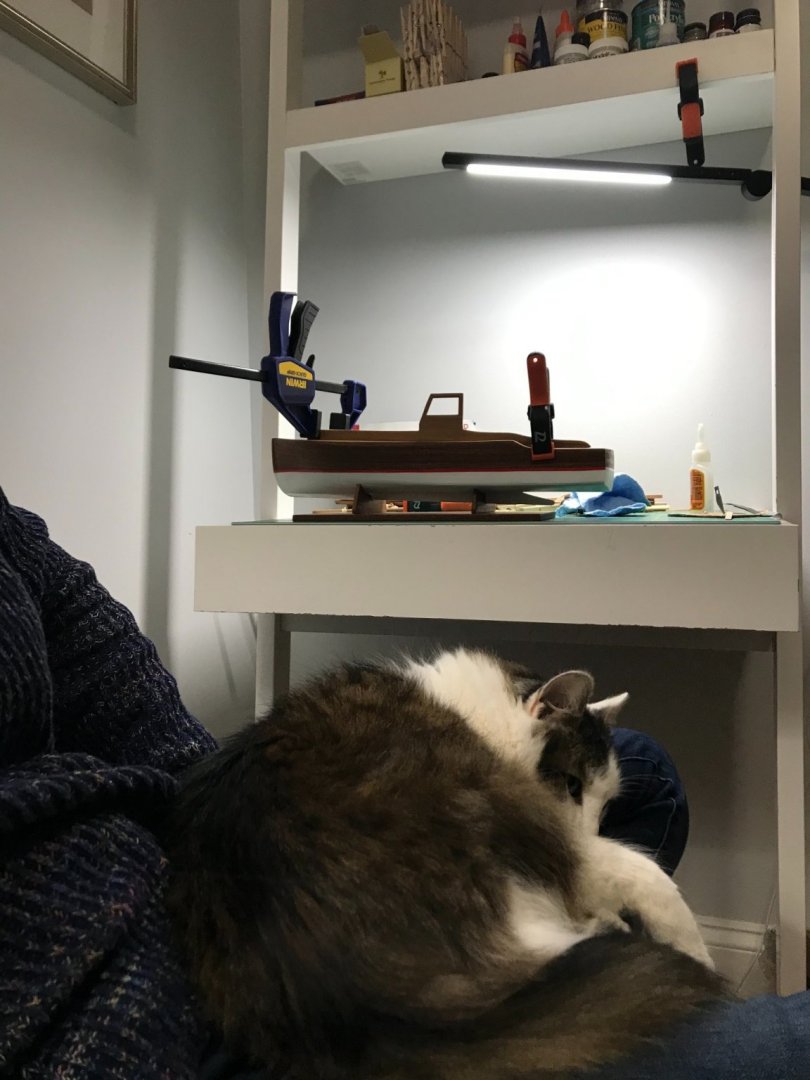
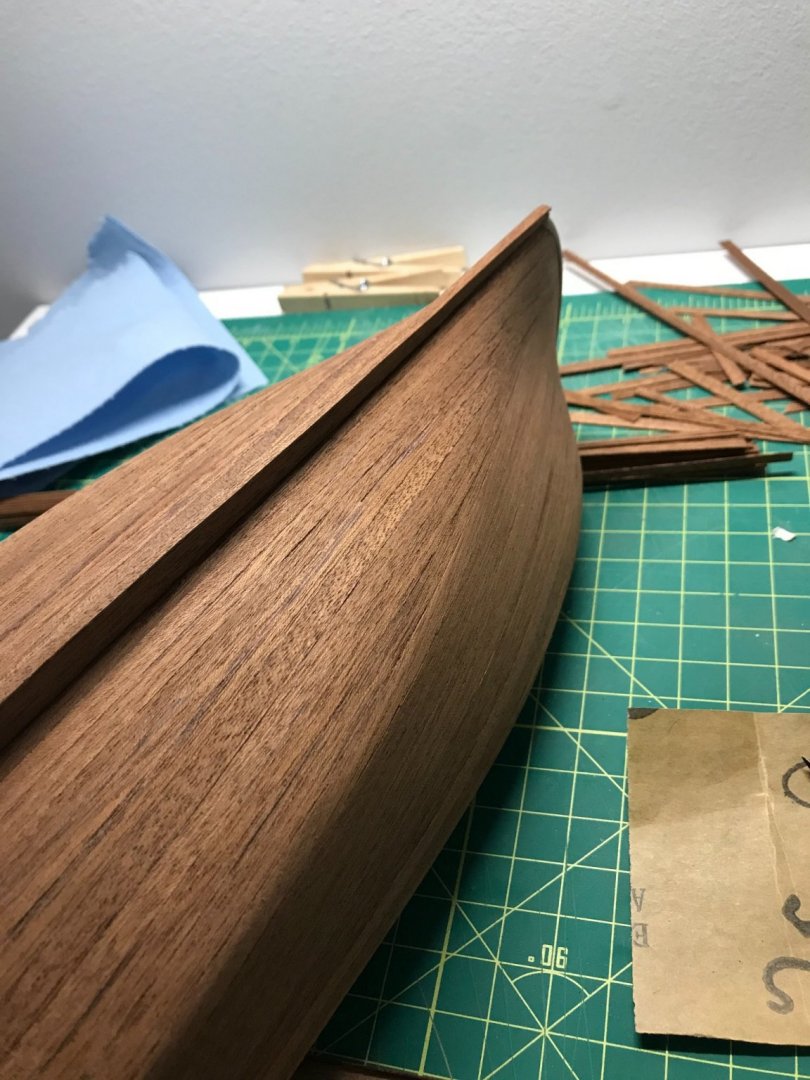
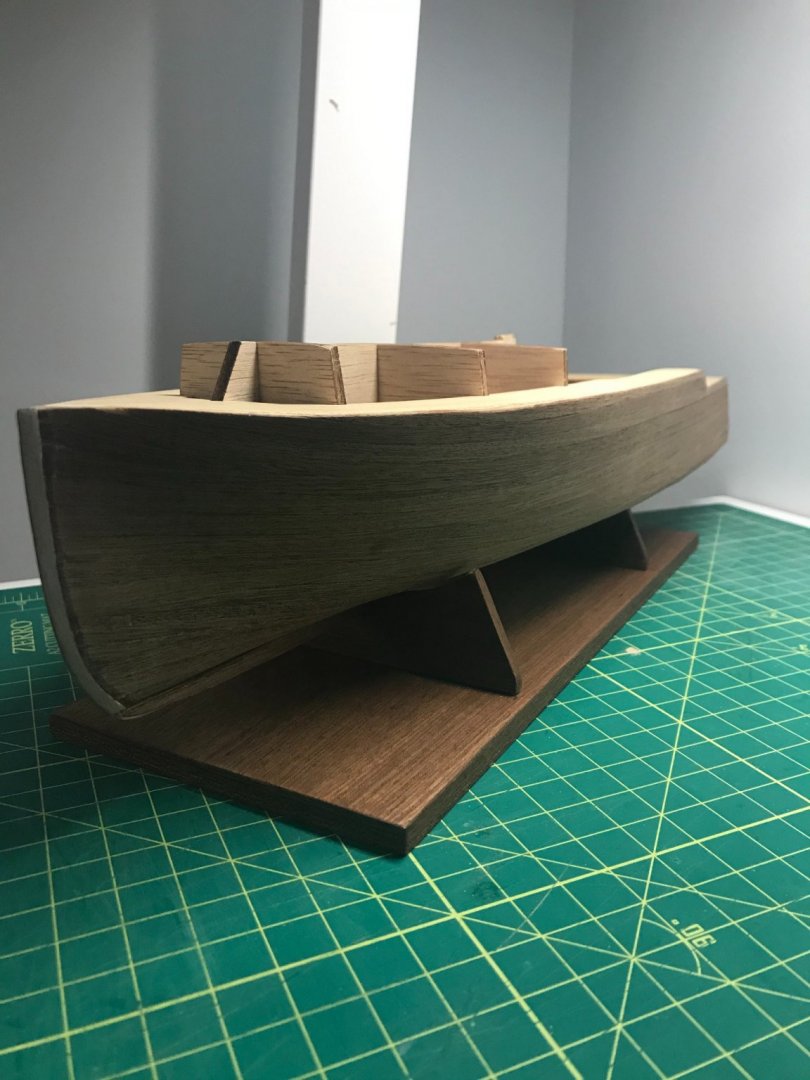
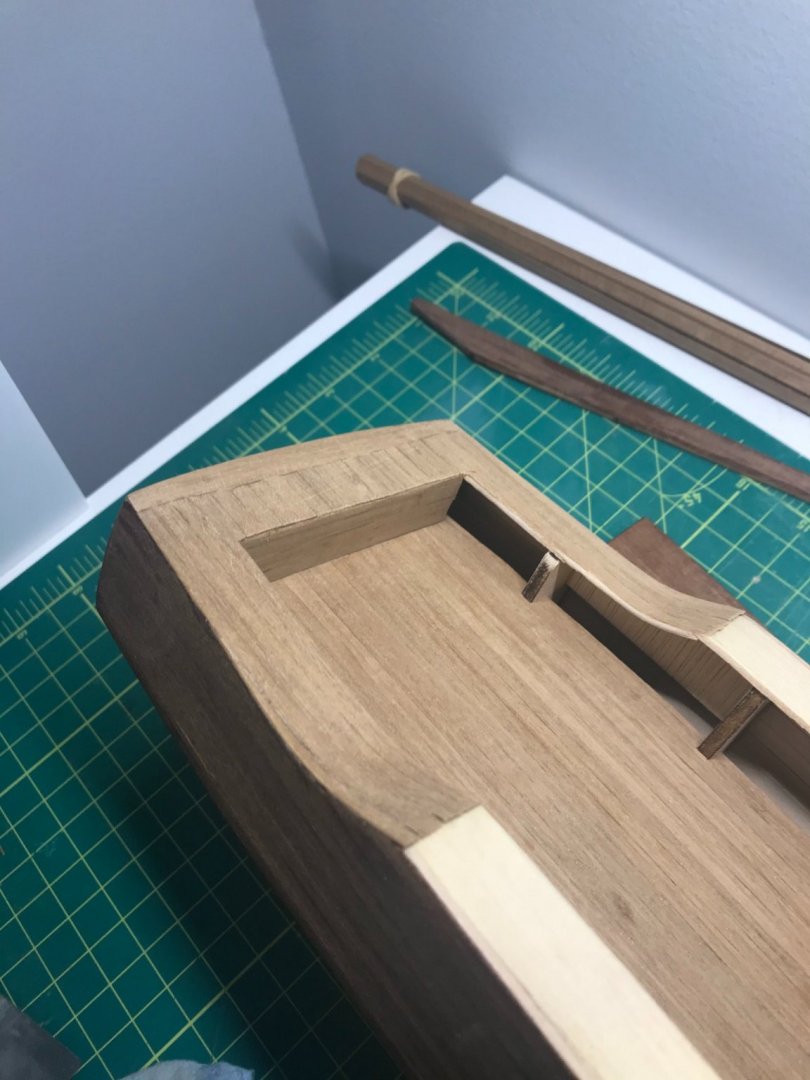
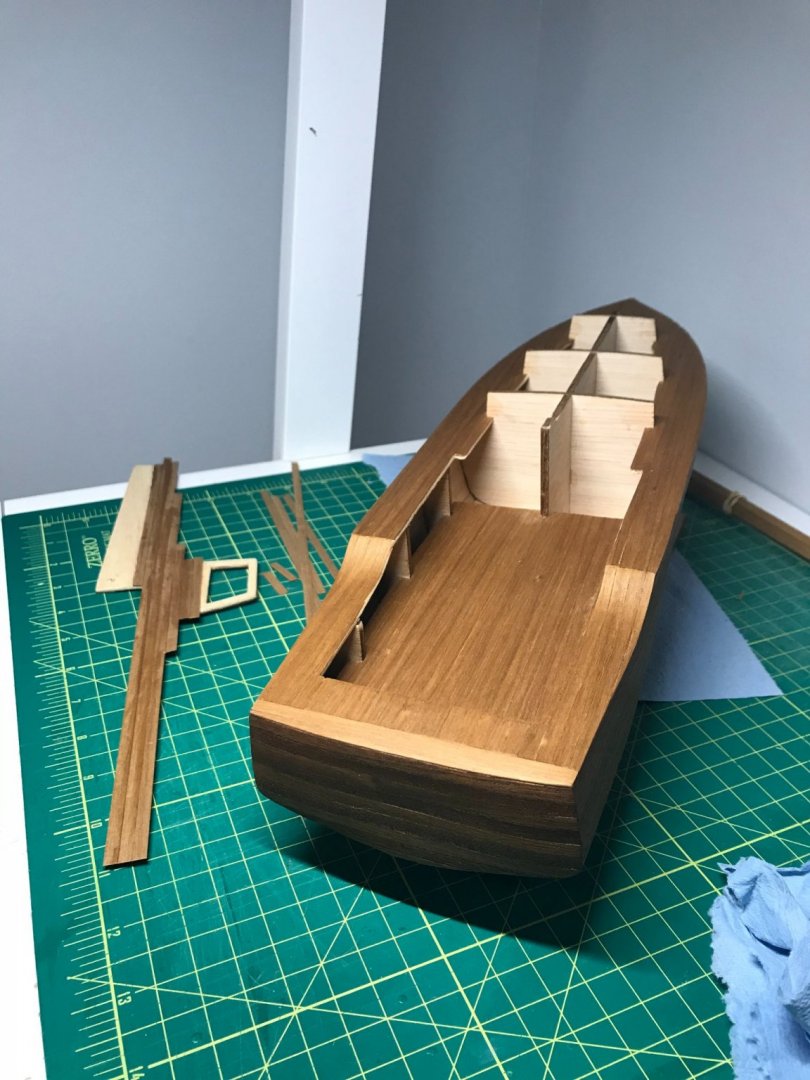
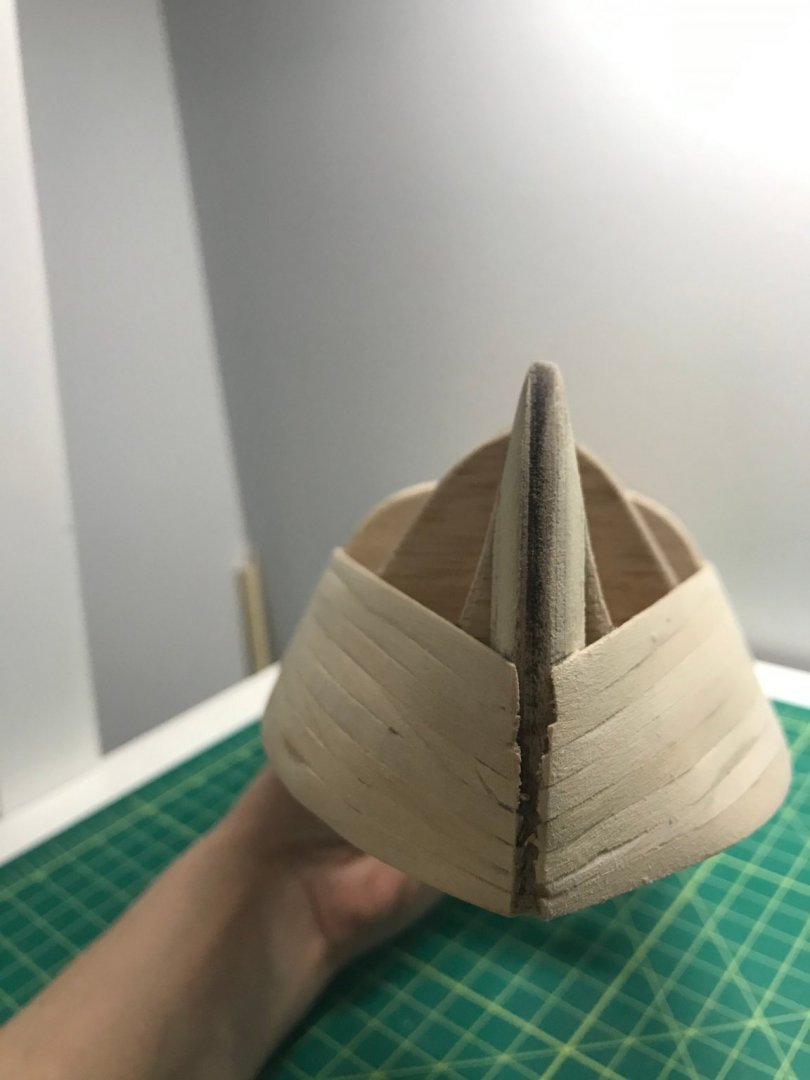
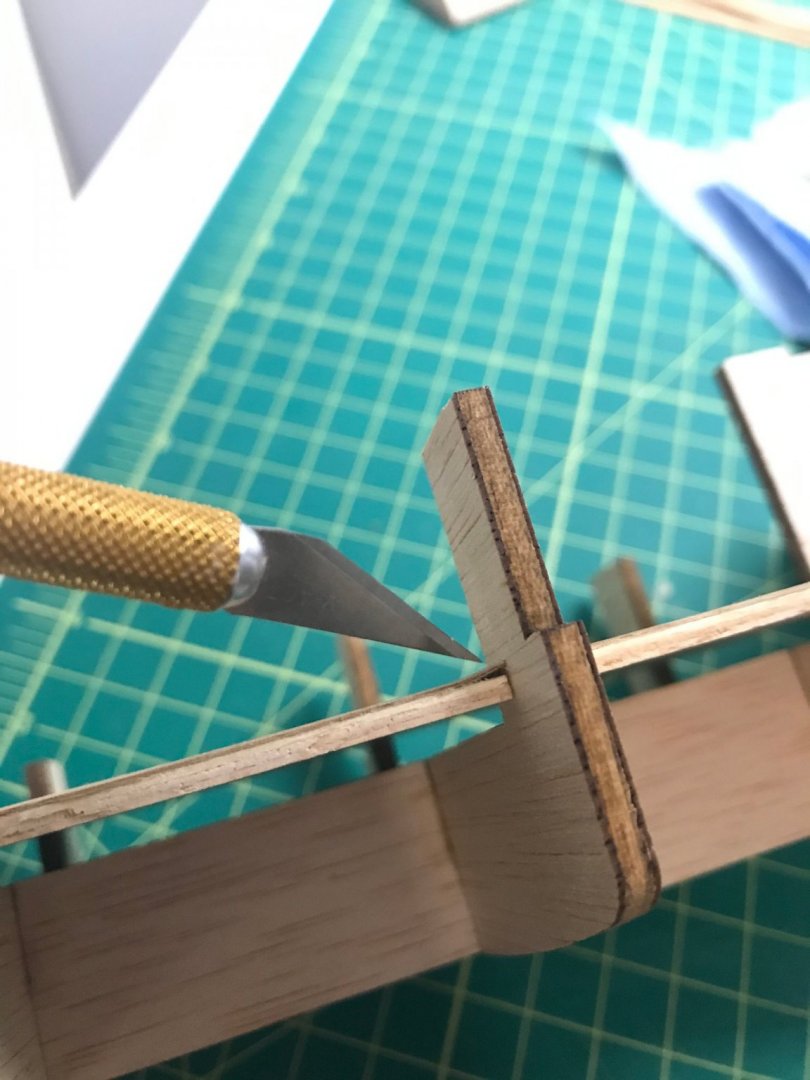
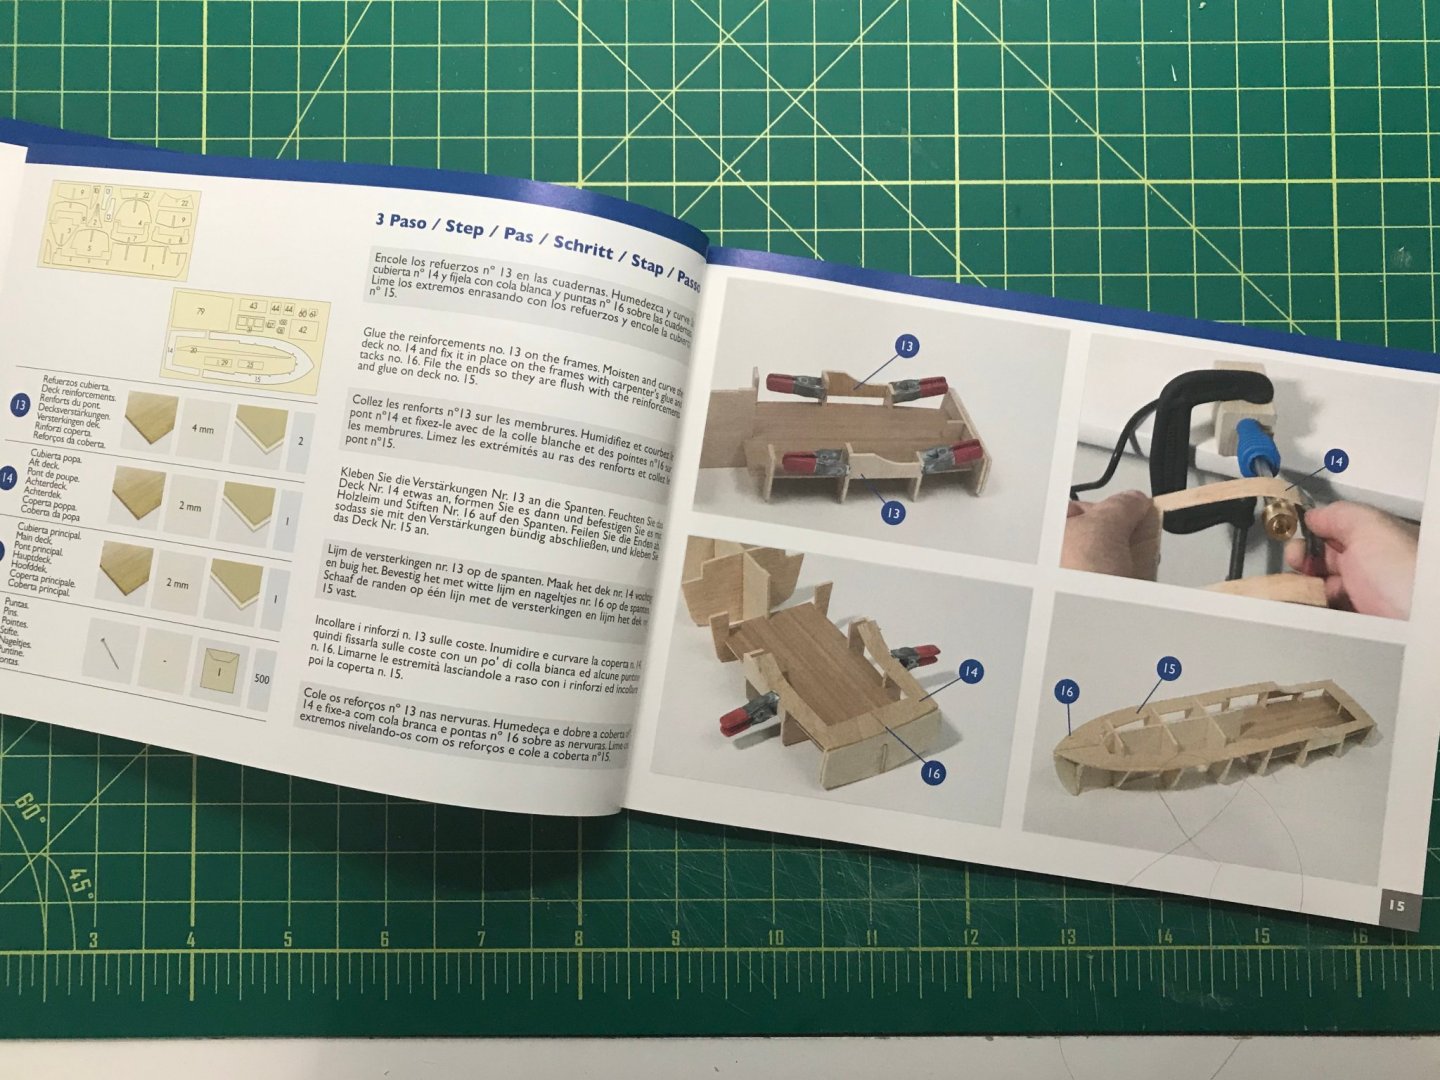
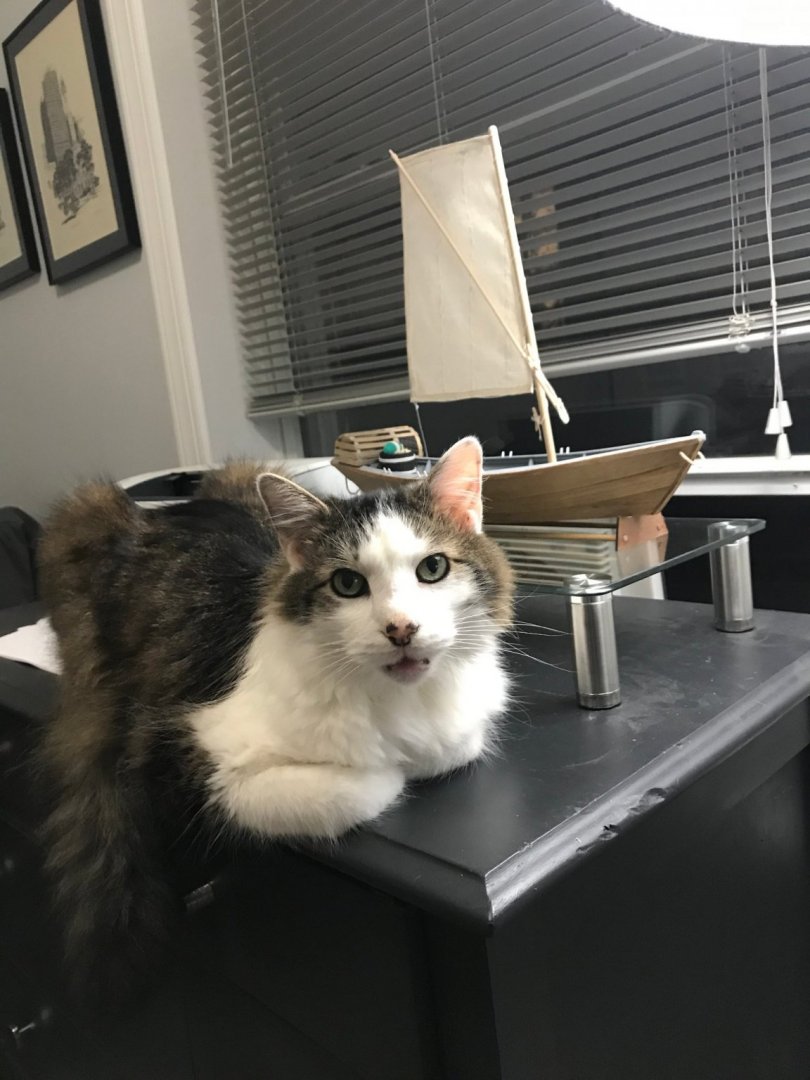
It's been some time since my last post but progress has been made. I apologize to anyone looking for an "authentic" paint job. I didn't have the motivation to make it an exact replica like I said that I wanted to do in the beginning (black and red) so I just went along with the kit (white). Not to mention, I put so much work into the 2nd planking veneer and I thought it looked nice so it would have been painful to see it painted over. Even though the instructions don't have you painting the hull until the end, I realized pretty quickly that it would be extremely difficult to do that after putting together the upper deck so I decided to do it now. They want you to mix white paint with red to make a weird pinkish color but I didn't like that. I just went with white and applied the red strip that came with the kit. Drawing the water line. A couple layers of primer. A couple layers of white over the primer with painters tape removed at the water line. Added the kit's red stripe along the water line. The kit provides some kind of a rubber or latex sticker material. It would look better painted with a stripe instead of a shiny latex like material but it'll do for now. Next glued the sides which also frame out the bridge windows. Cat tax! Bridge windows attached. If anyone smashes open the boat in the future, they'll find a message. I mentioned before that the veneer strips are really delicate and were a little frustrating to work with as you can see below where they have chipped away rather easily at the ends. It was hard to not wince every time I saw them but I knew eventually I would come to this step where I'd add the wales and they would magically disappear. Now you see them.... Now you don't. (mostly). From here I've just been adding all of the various wales and rubbing strakes with their bends and turns (using a quick soak in water and curling iron). This is the part where it's starting to look like a real boat and I've been pretty happy with how it's shaping up: I'll start building the bridge next with all its fun details like the cabin door, wheel, rudders, and furniture. Until next time! 👋
-
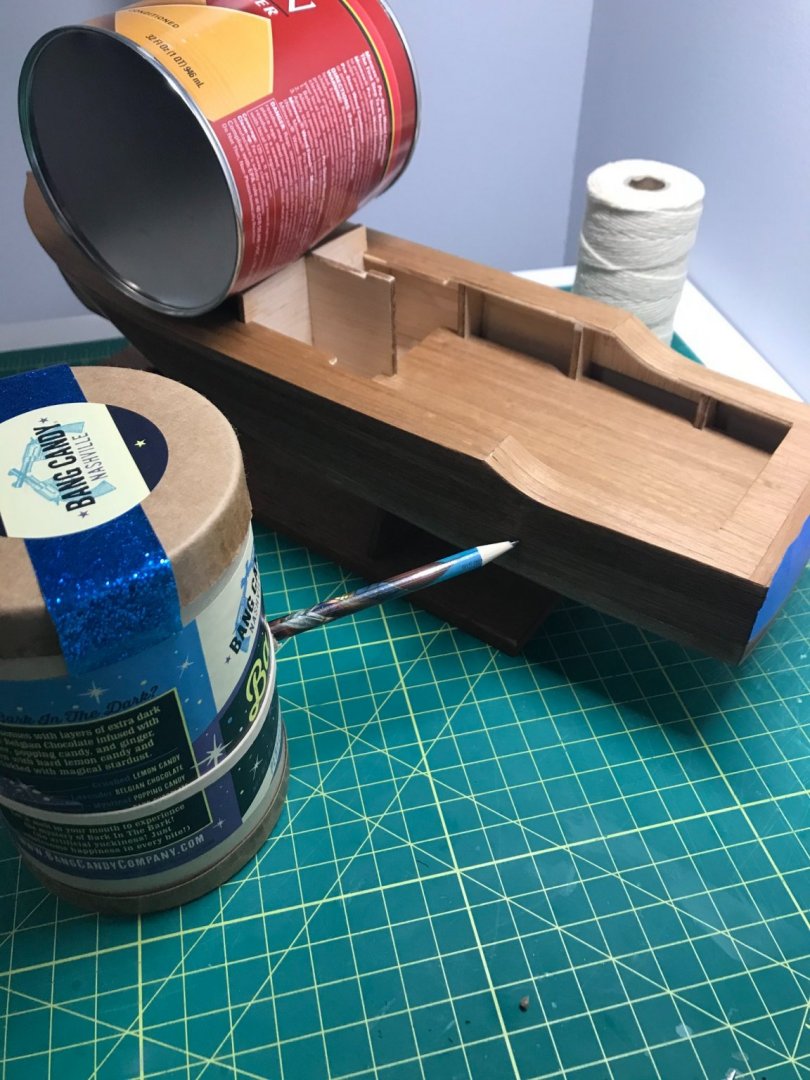
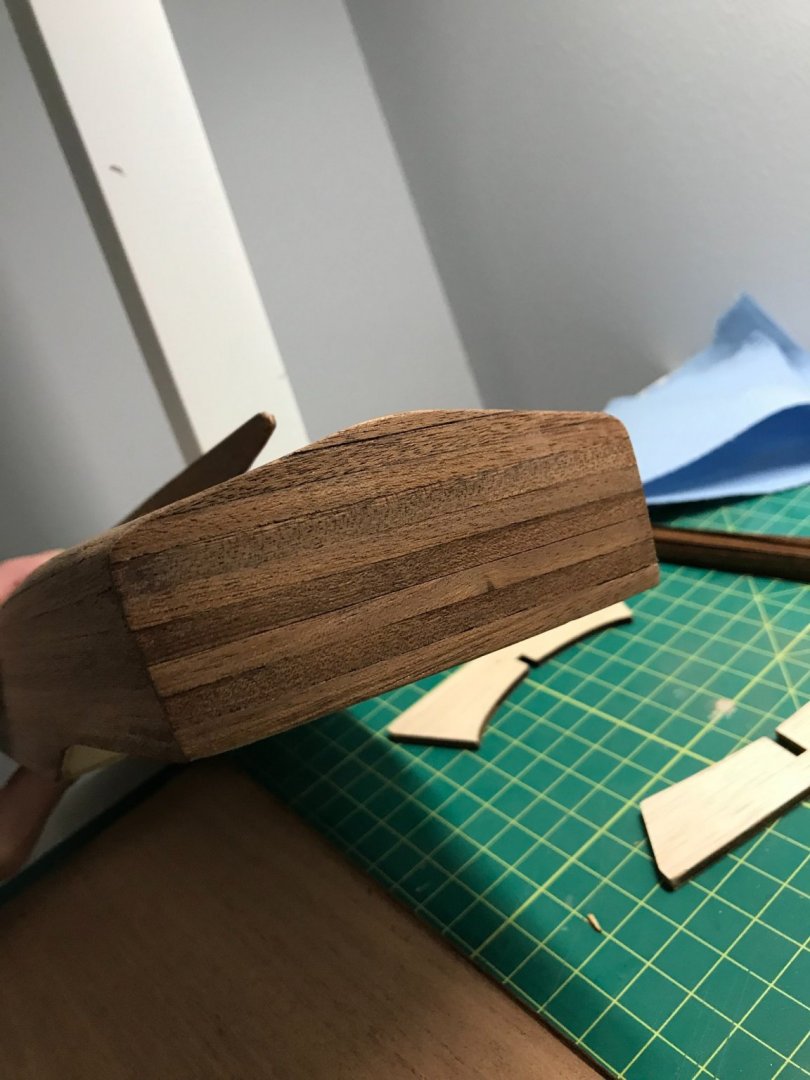
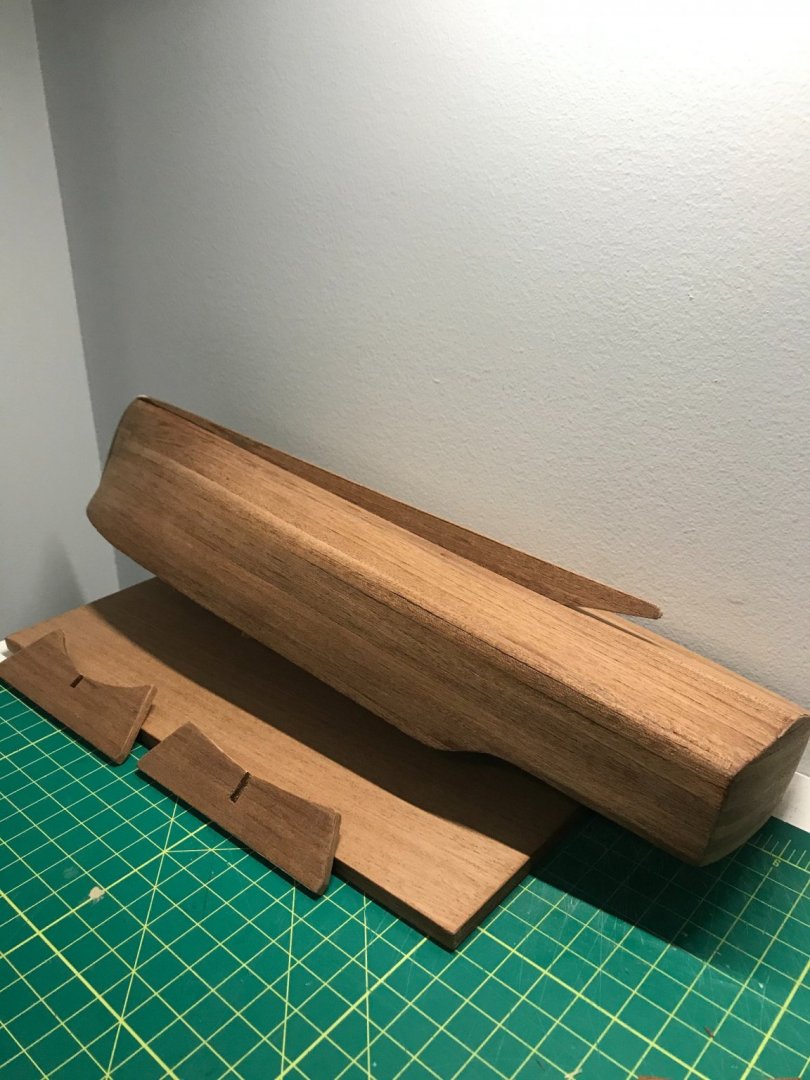
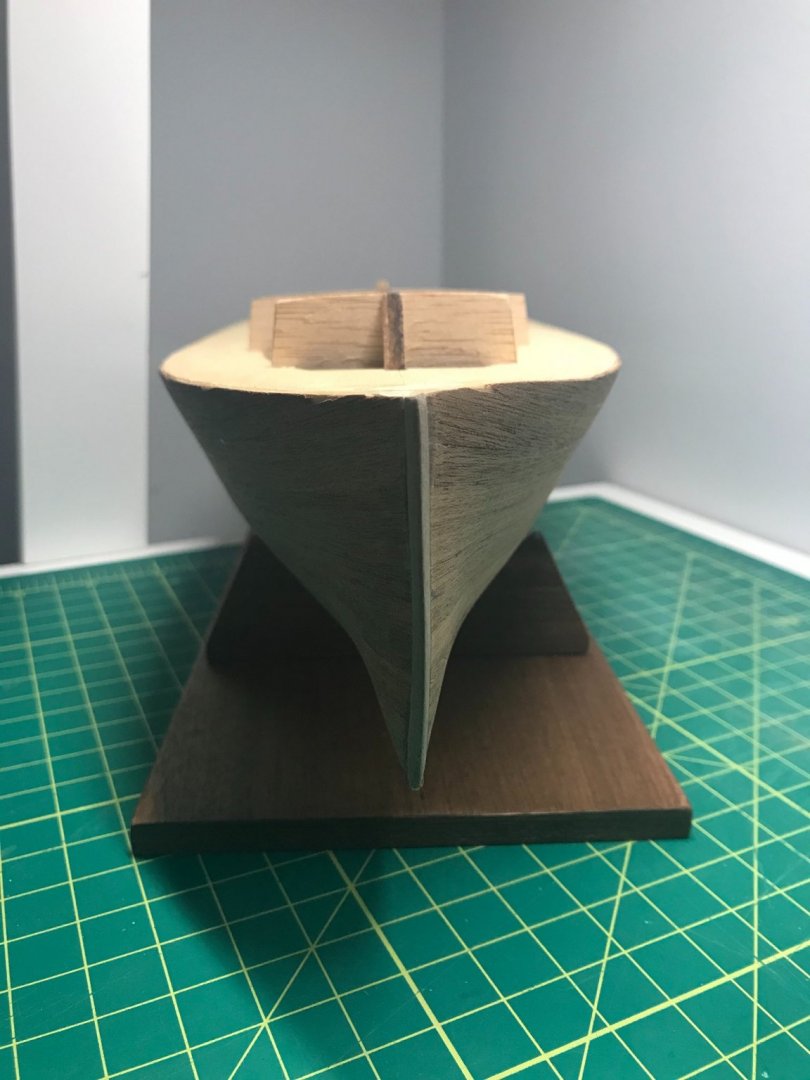
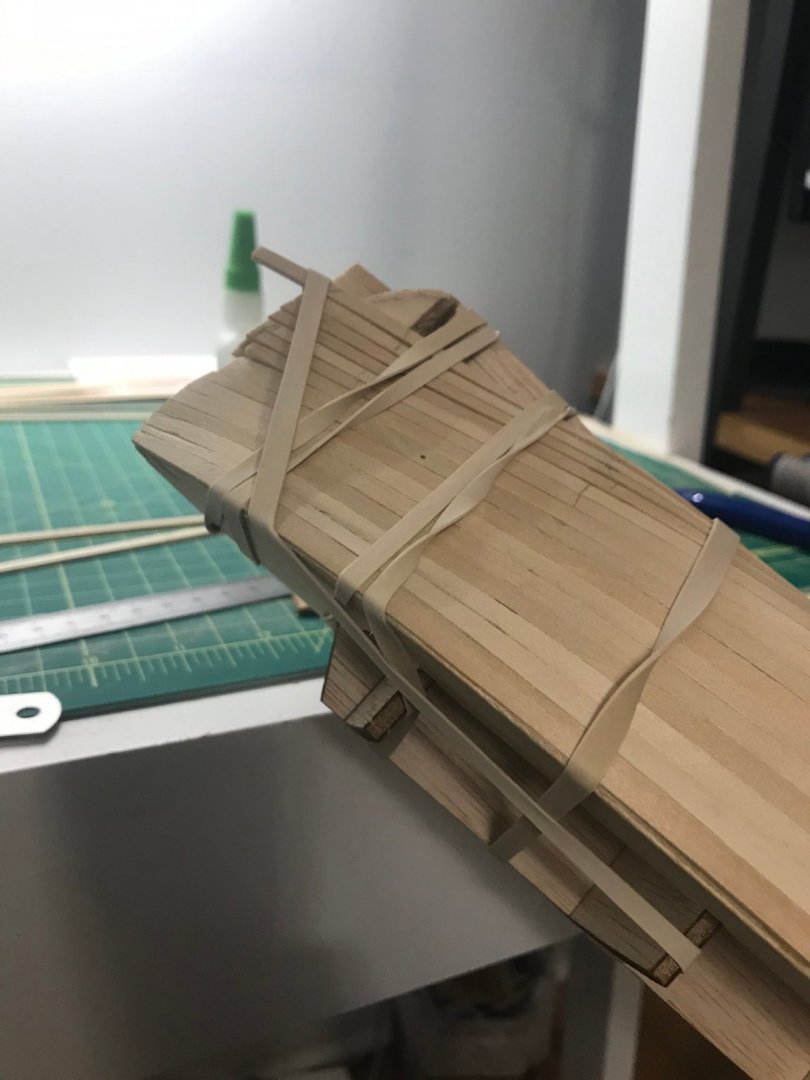
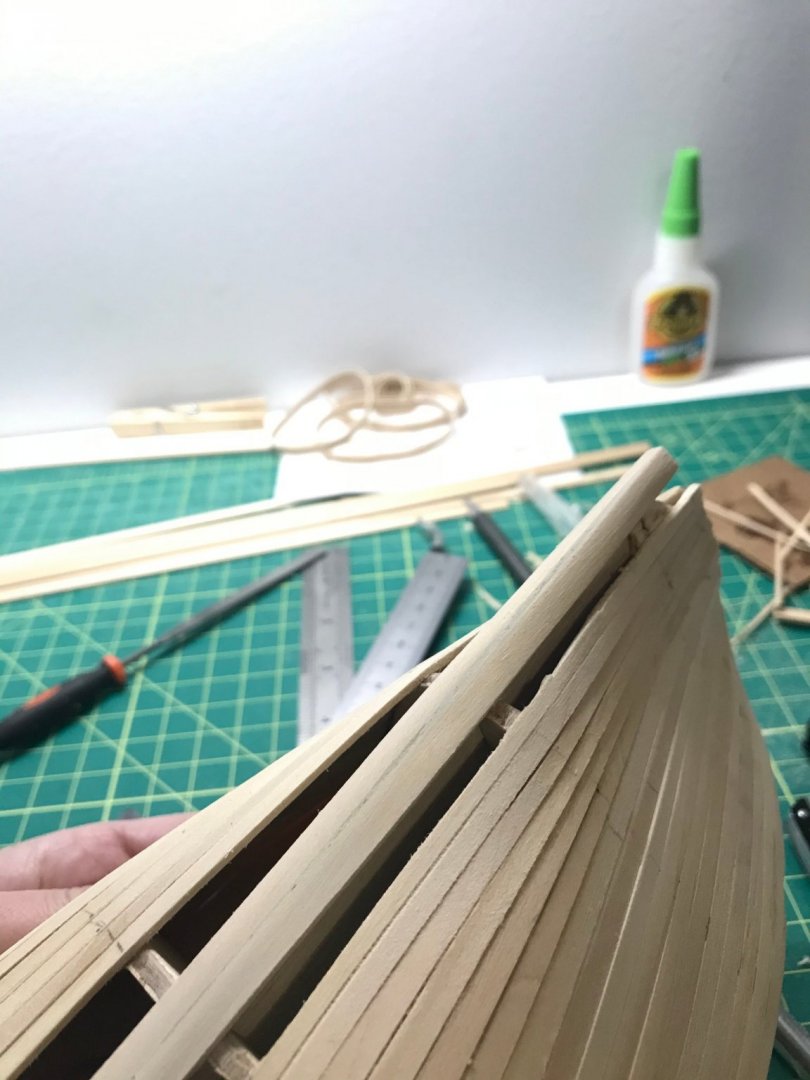
Some more progress with the second layer of planking. This veneer layer was a little difficult to work with because it was so thin and I clumsily nicked and cracked it on the edges more times than I'd like to admit. I had to replace some areas when that happened which was tedious. I have been following the instructions in order which meant putting the keel on during this final stage of planking but I learned quickly that it's a big pain to deal with it when trying to put on the decking layer. You will see it in these pictures but I took it off when I started the deck planking and will attach it again once I have painted. The plans say that painting the hull should come at the very end but I can already see that will be very difficult to do once all the decking works are assembled so I'm going to jump around a little and do that step next (once the paint comes in the mail) before I start assembling above deck. False keel planked and attached but I'll tear this off out of frustration from it getting knocked around while doing the upper deck planking. I had to add some cheaters on the 2nd layer of planks and you can see how the edges chip really easily near the stem. I'm confident that the gunwale strips and paint will cover up these imperfections though. A fun stem curve to have to fit here. Stand is planked and ready for assembly. Stand with a couple coats of poly and our model progressing. Planking the decks and transom. Added a couple layers of poly and starting to plank the sides. I'll hold off on attaching the sides or doing any other steps related to the deck until I can get the hull painted. It'll just be too much trouble working on anything else until that's done. This is my first time planking and I'm learning a lot about it. If there was ever a model to start planking, this one has plenty of it for you. Just about everything needs a layer and I'm certainly getting my fill of it.
-
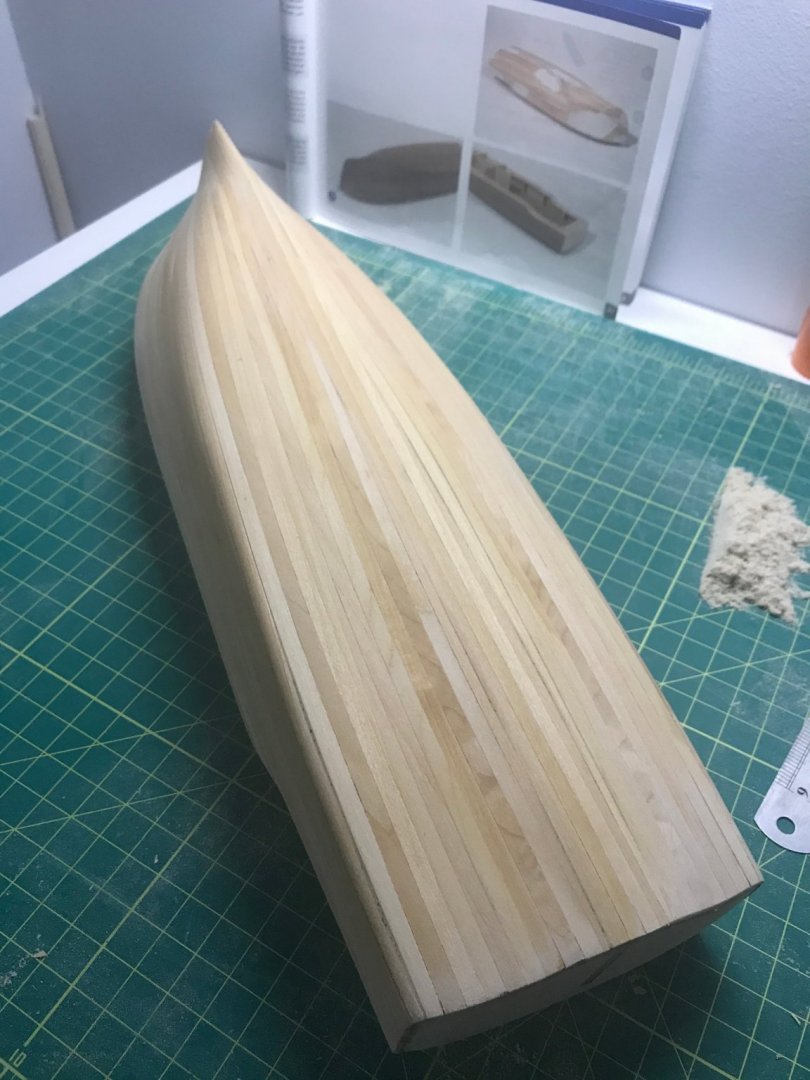
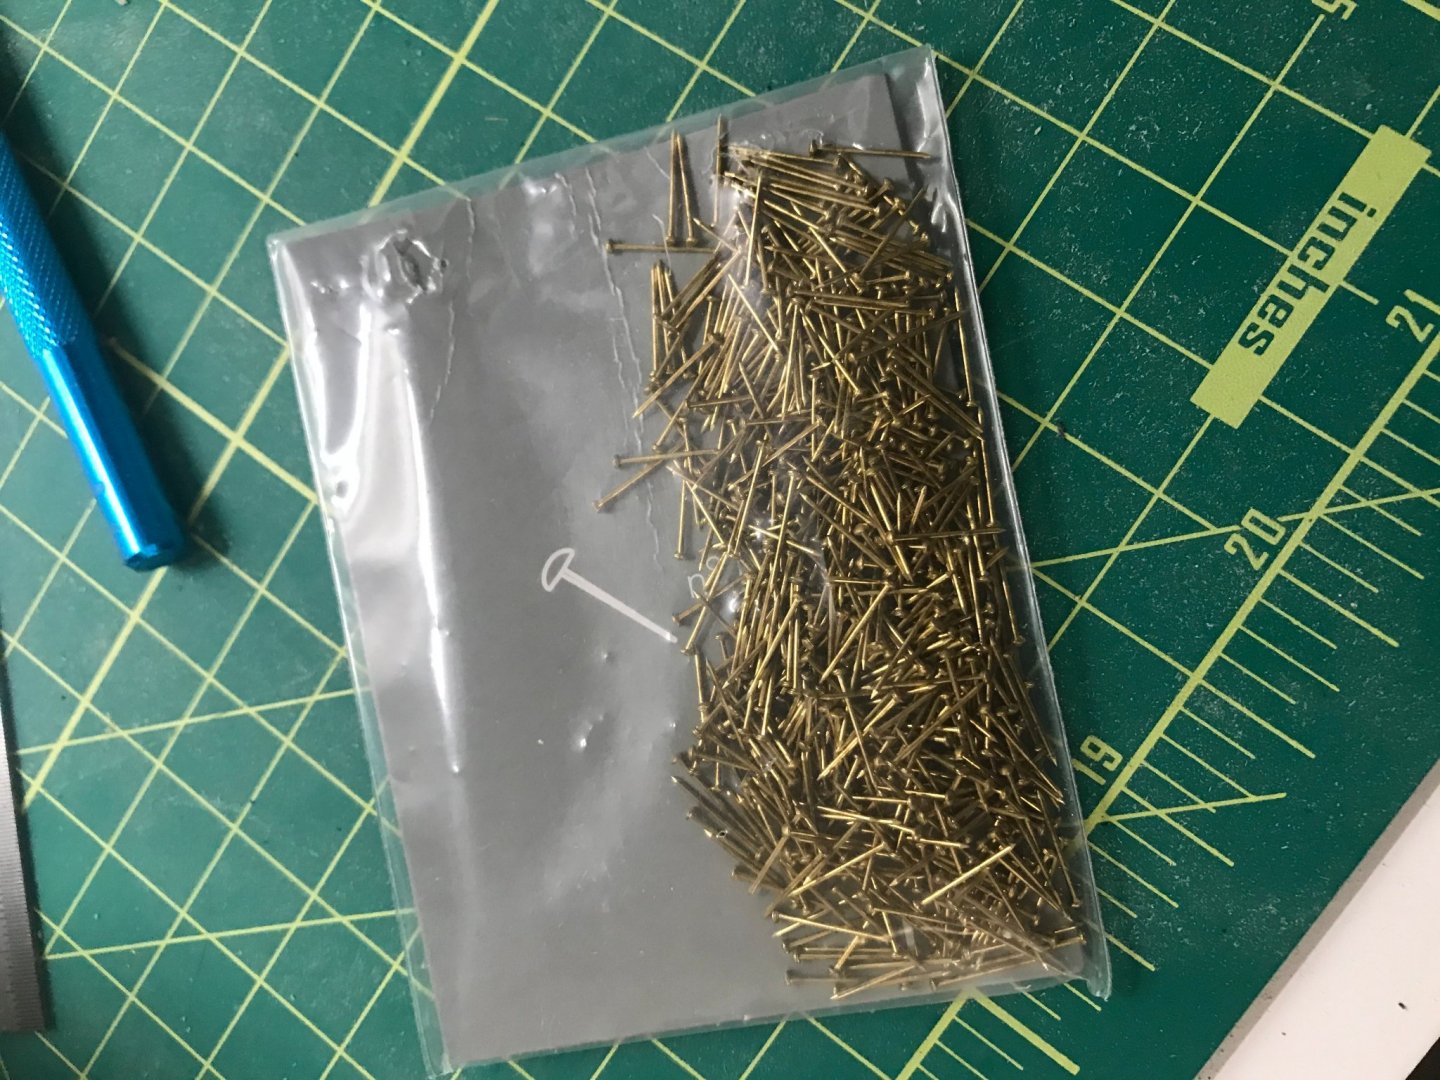
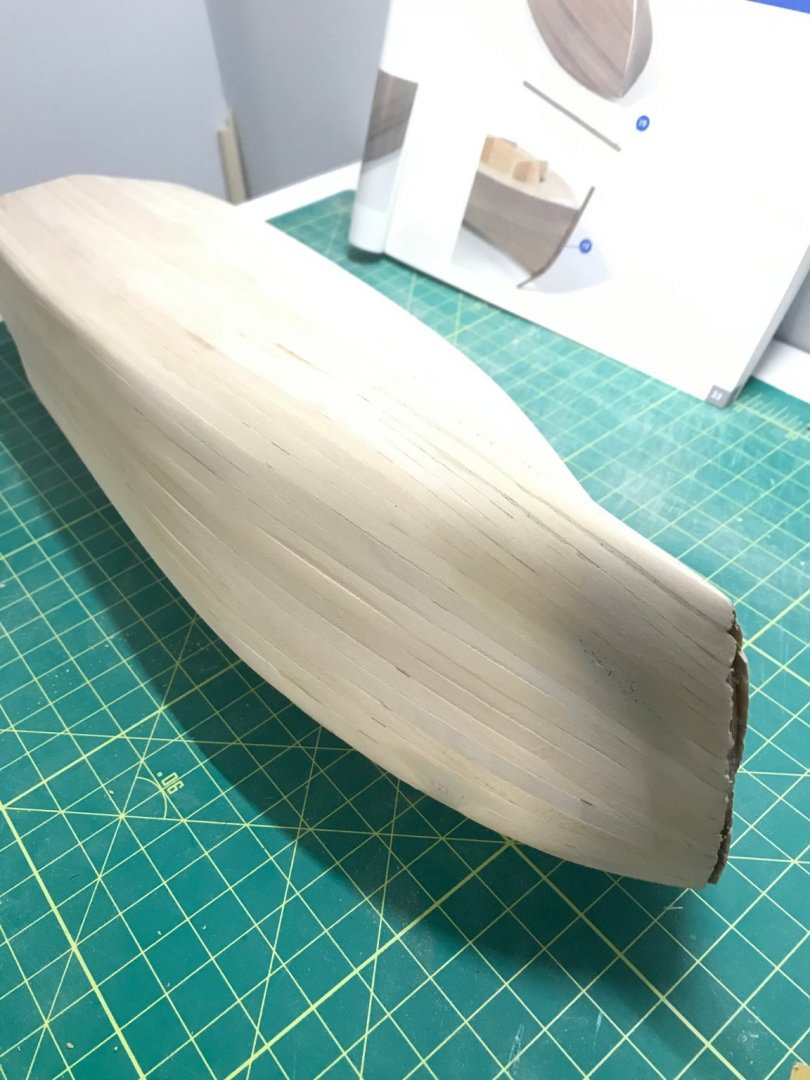
My first real hull planking is done. It was actually quite a bit more work than I expected. Granted there were a lot of days that I didn't have more time than to do a single plank but even so, it surprised me how much time it took to go through the process of dry fitting, measuring, gluing, fitting, sometimes refitting, sanding, etc. And this model is pretty simple compared to others so I'm thoroughly impressed by everyone who can create masterpieces much more complicated than this one. Maybe there is a smarter way to have done this but with little experience I just followed the instructions as closely as I could. I worked my way from fore to aft and planked on either side simultaneously to try and keep it as even as possible: \ I made calculations based on the numbers of planks against each bulkhead and did my best to cut the planks based on those calculations: The keel planks were a little tricky. I think I should have laid them down from the start instead of at the end because the planks coming up on each side weren't a perfect fit at this point. It probably would have looked nicer to have it perfectly even going down the center. I had to tear up a plank on the port side to make it fit a little nicer. Plus it was an awkward bend of the blank from its flat side to get it to turn around the front rabbet. Nothing in the instructions described how to do these planks so I just took a best guess. And finally got all the planks down and started to sand (which was another really time consuming step): One final note, the kit provided a bunch of little tacks or nails that the instructions said should hold down the planks before gluing (and then taken out after) but I found them to be pretty useless. I couldn't get them to actually drive into the wood efficiently and even when I could, the wood just kind of split a bit and they weren't strong enough to actually hold anything down. So I just went for some Gorilla Super Glue Gel XL and it worked really well. Next I guess I have a decision to make. The instructions say that there is another layer of planking (a veneer of dark mazonia or something). I know some folks skip this 2nd layer and just go straight to painting the hull black but I'm hesitating now. I kind of want to see how it looks with the dark wood planking on top now. I know that it's not true to the original Pilar but it might do me good to have the extra practice planking and I could end up liking how it looks that way without painting over it all. In the end, we're doing this for our own enjoyment, right? Maybe it won't be exactly as Hemingway would have liked it but it might be how I like it. 😄 Till next time!
-
@Patrick Matthews Your gallery of Pilar is awesome!! The details you've added are perfection. This will be a nice reference for me (and a good way to pick out the irregularities with the Constructo model). I am definitely planning to do the black hull too. I knew going into this model that the color on the box wasn't going to be how it ended up. Your gallery will be super helpful for me with part though. I was going to get a bottle of Minwax Wipe-On Poly. Is this even considered varnish? I've literally never done it before so I don't have a builder's choice yet. I really like how your model has a little bit of a shine but still looks natural. What did you use?
-
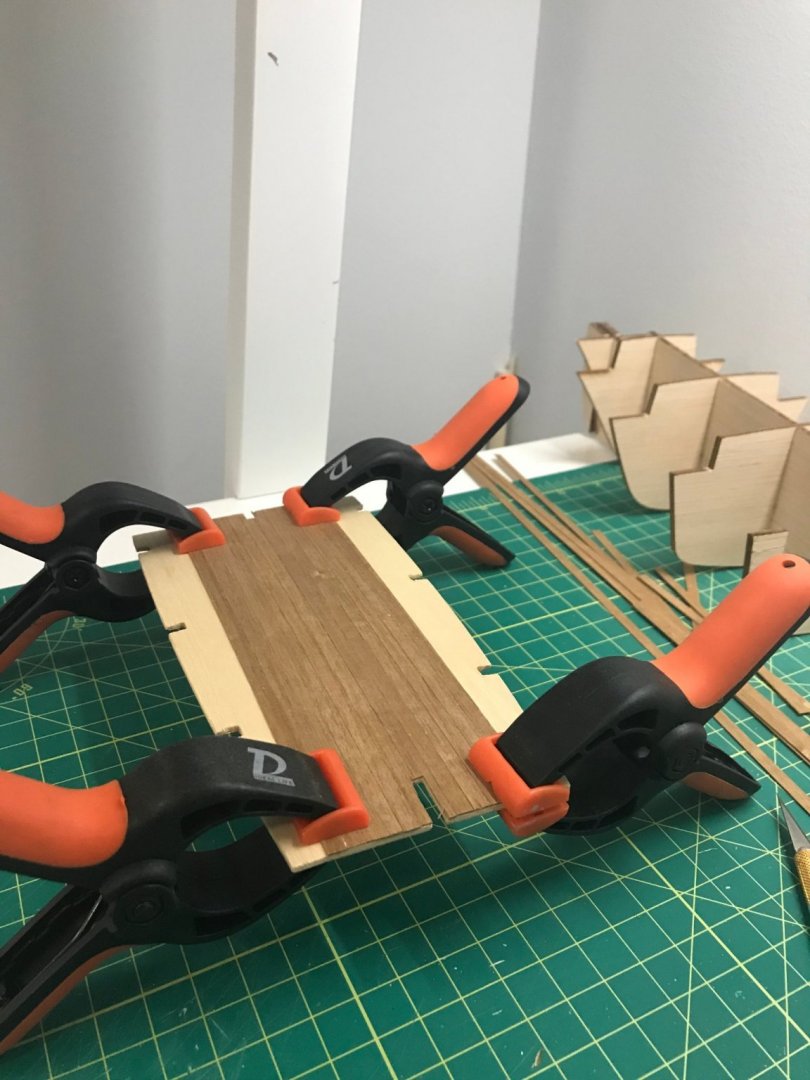
After assembling the keel and frames, I started planking the aft deck which, if we're being honest, is more like veneering. Nothing too complicated here except to be aware of the thin "planks" splintering pretty easily. They're pretty thin. And another word of warning is to make sure you're pushing the the deck into place carefully. It's a tight fit and the planks will buckle up pretty easily when they come into contact with the side walls. Or, just use a lot more glue than I did. And it's set in place. After that I formed, the sides of the deck with a quick soak and curling iron. I learned pretty quickly that it's better to keep the iron temperature relatively low otherwise the heat makes the wood a little bit warped and kind of cooked. Otherwise, it wasn't too much effort to get it glued down sanded/filed evenly with the reinforcements and then line it up with the main deck: Next I'll be venturing into real planking with the hull. In the mean time, I wonder if anyone can help me understand the process of finishing the wood. I've stained wood before but this model calls for varnish. The instructions say: Does anyone have link to a product for "satin-finish nitrocellulose varnish" or a recommendation of what they prefer to use? I searched for this online but it's a little bit confusing about which product to purchase.
-
@Ryland Craze I have a feeling I'm heading down a vast rabbit hole as well. But like you said, you never know when it'll come in handy! Now if I can only make the closest bigger. 😄
- 34 replies
-
- grand banks dory
- bluejacket shipcrafters
-
(and 1 more)
Tagged with:
-
@turangi Thank you! Labor not included because I'm sure my rate is pretty low anyway considering my inexperience.
- 34 replies
-
- grand banks dory
- bluejacket shipcrafters
-
(and 1 more)
Tagged with:
-
BONUS LOG POST Even though this build is finished and I've already started my second, I wanted to do a quick follow up. I started to think about how this was my first experience with building model ships and, even though there is a lot of great content on MSW about the tools and material you'll need to get started, I was still kind of fumbling around as I went along. A lot of things maybe aren't really needed at this level and there were also a few things along the way that I found that I needed to modify this specific kit (like adding buoys). I was also curious to see how much it truly cost to get started in general. With that said, I put together a spreadsheet listing all of the things that I ended up buying and a few things I already had on hand. This probably isn't exhaustive but it did give me a good idea of what I had gotten myself into to the tune of $268. 😅 Of course your mileage may vary if you already had these tools on hand or were a lot more thrifty than myself and of course I'll continue to use the things I've purchased on my future builds but it was a fun exercise none-the-less. Here is the spreadsheet I've put together listing everything I ended up using: https://docs.google.com/spreadsheets/d/1B-zNSLKuHEUt4c7CFK2Y5I9cFCGc4rRx3KkvFEBp1sA/edit#gid=0 Maybe it will help the next new model ship builder that comes along.
- 34 replies
-
- grand banks dory
- bluejacket shipcrafters
-
(and 1 more)
Tagged with:
-
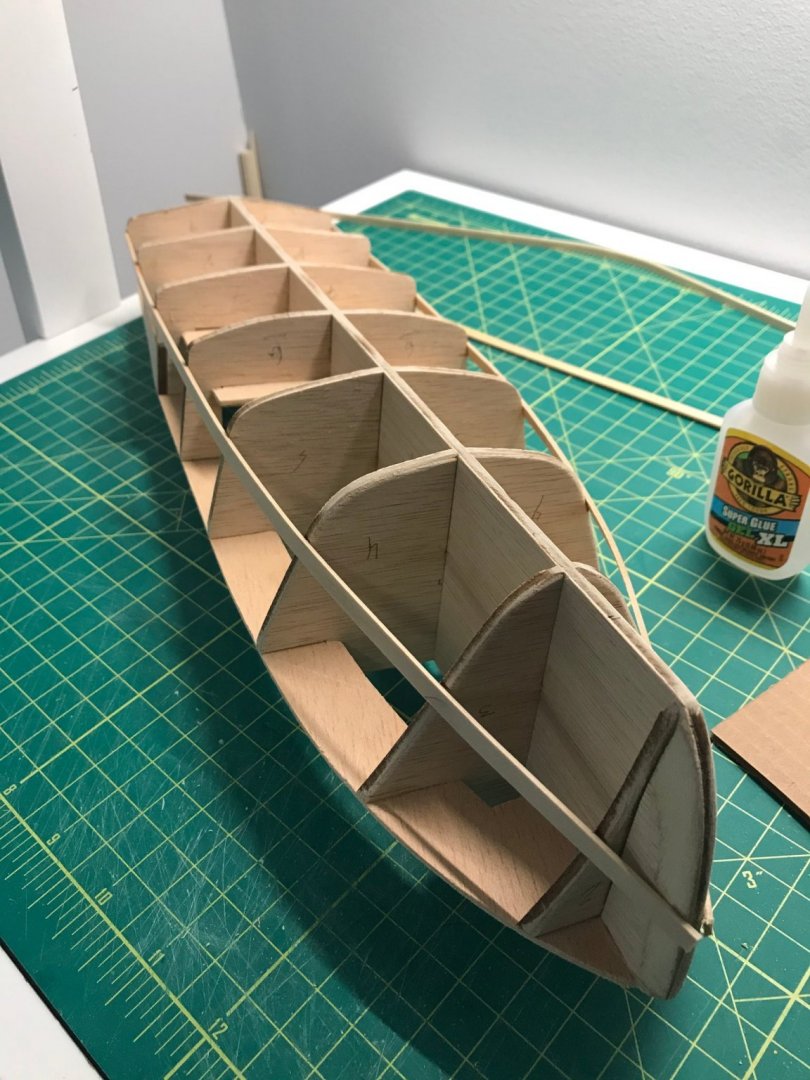
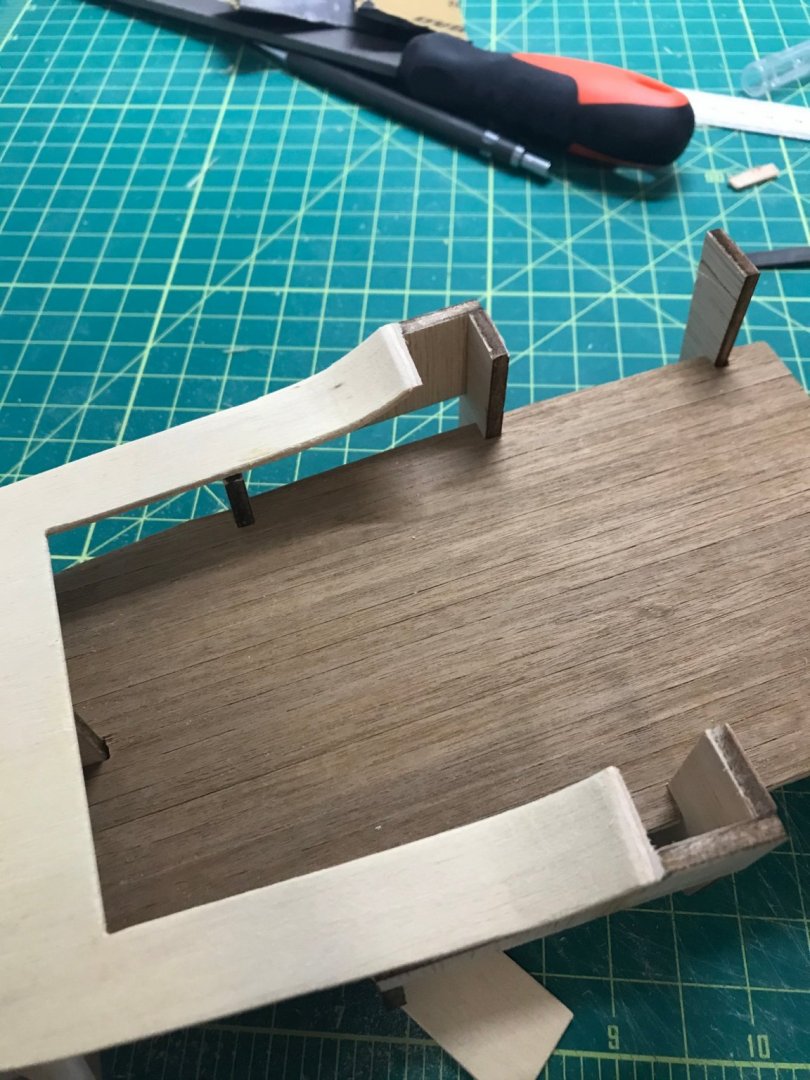
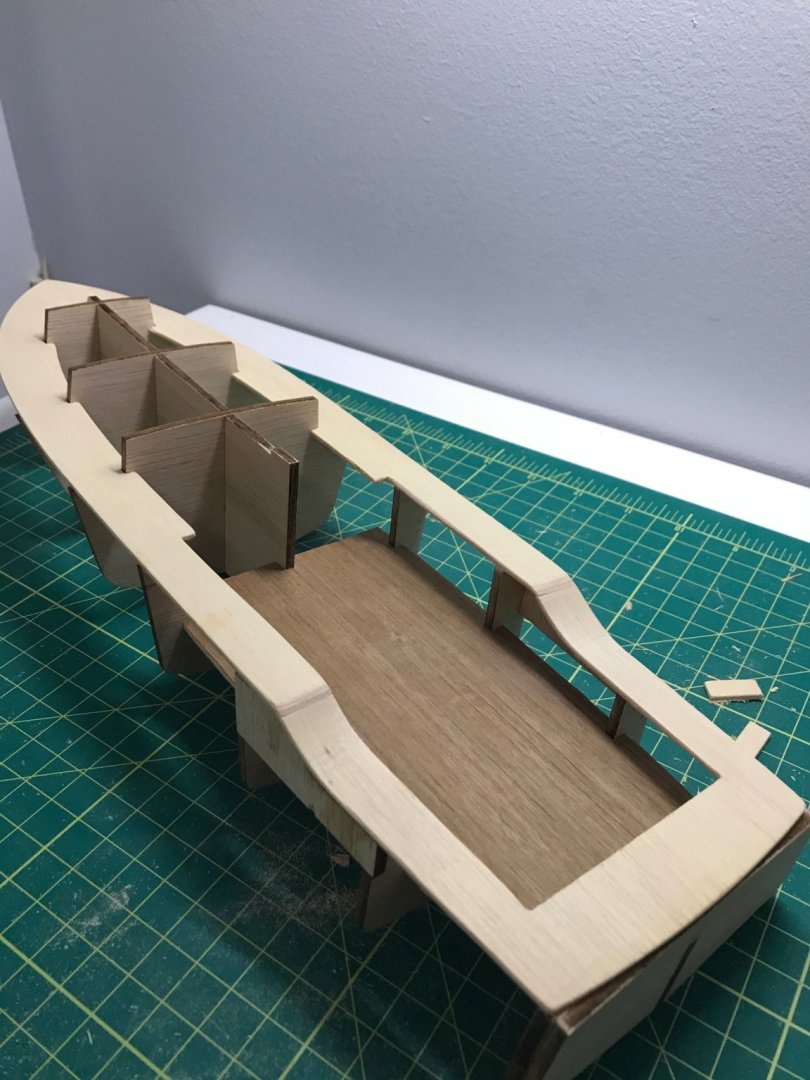
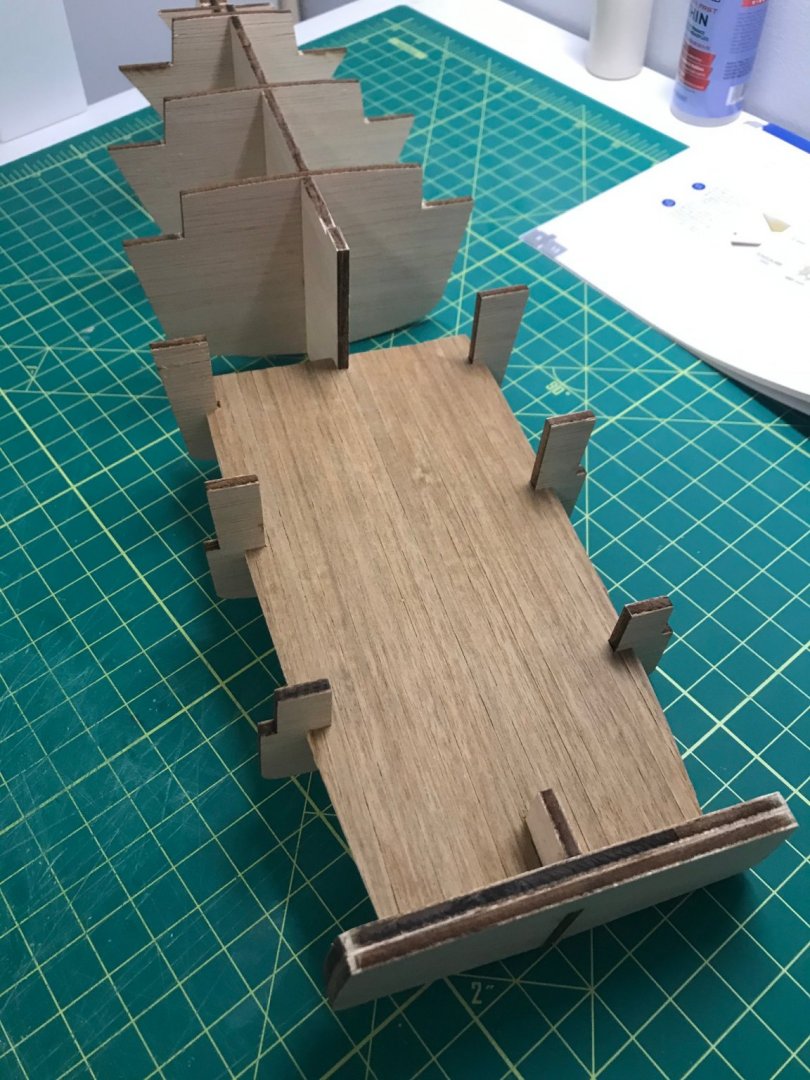
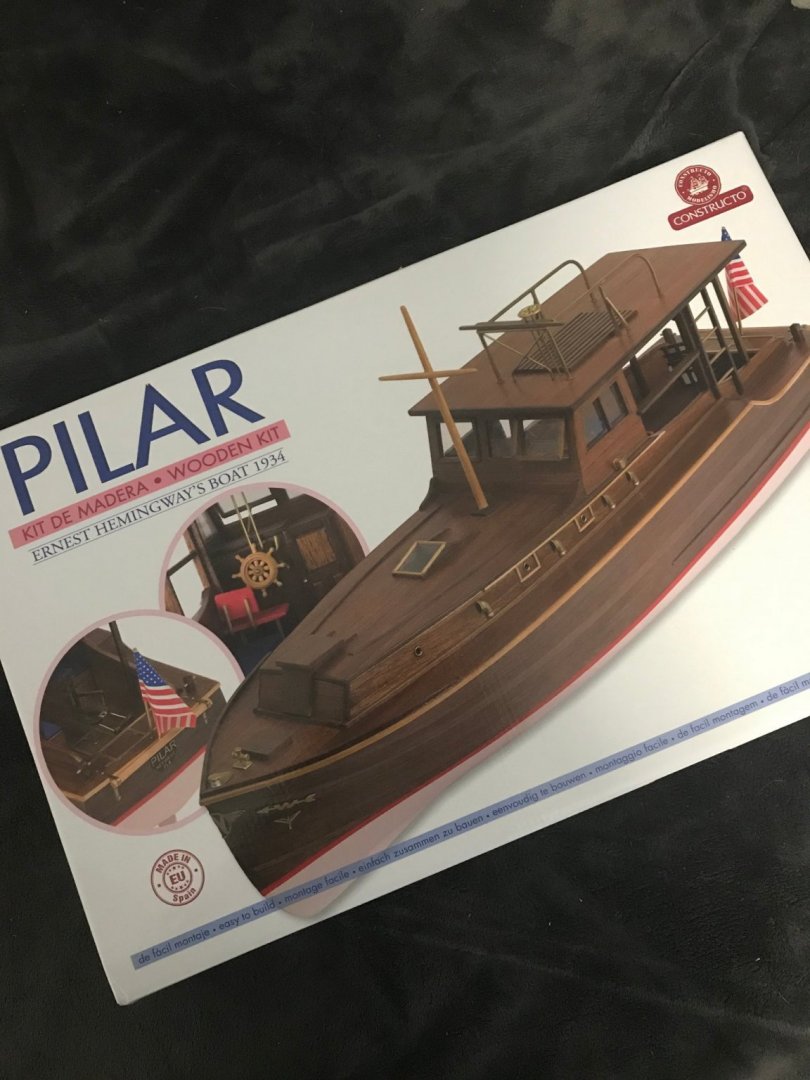
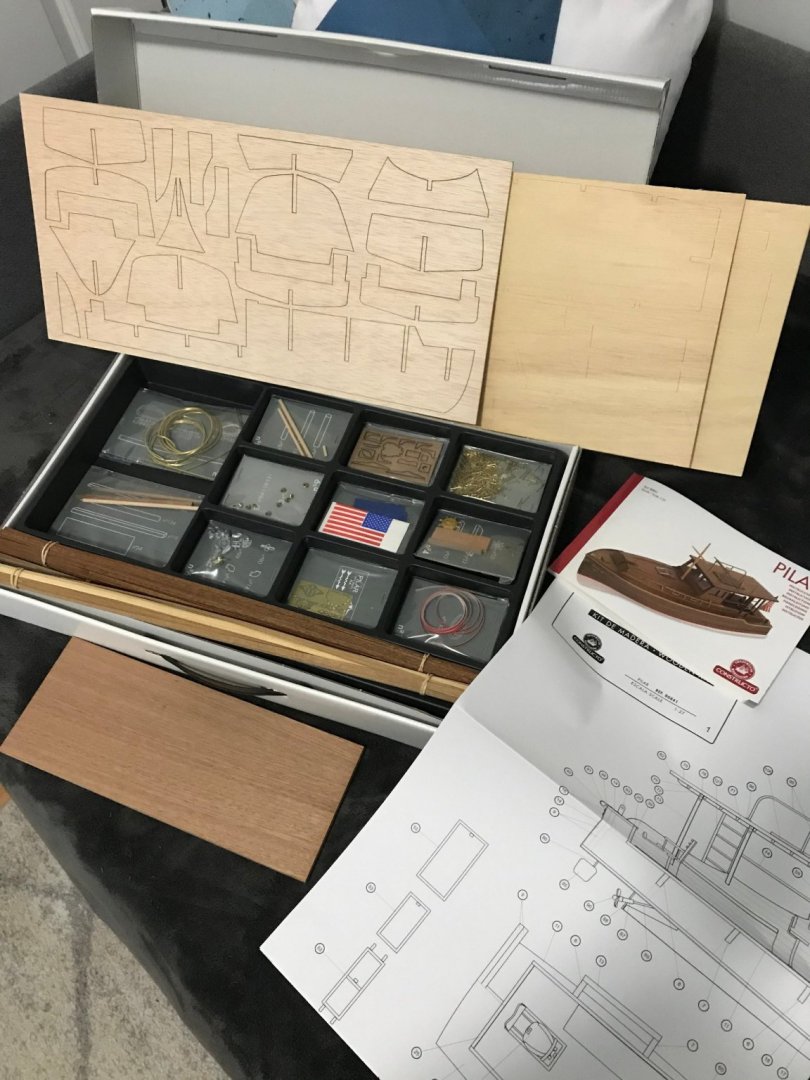
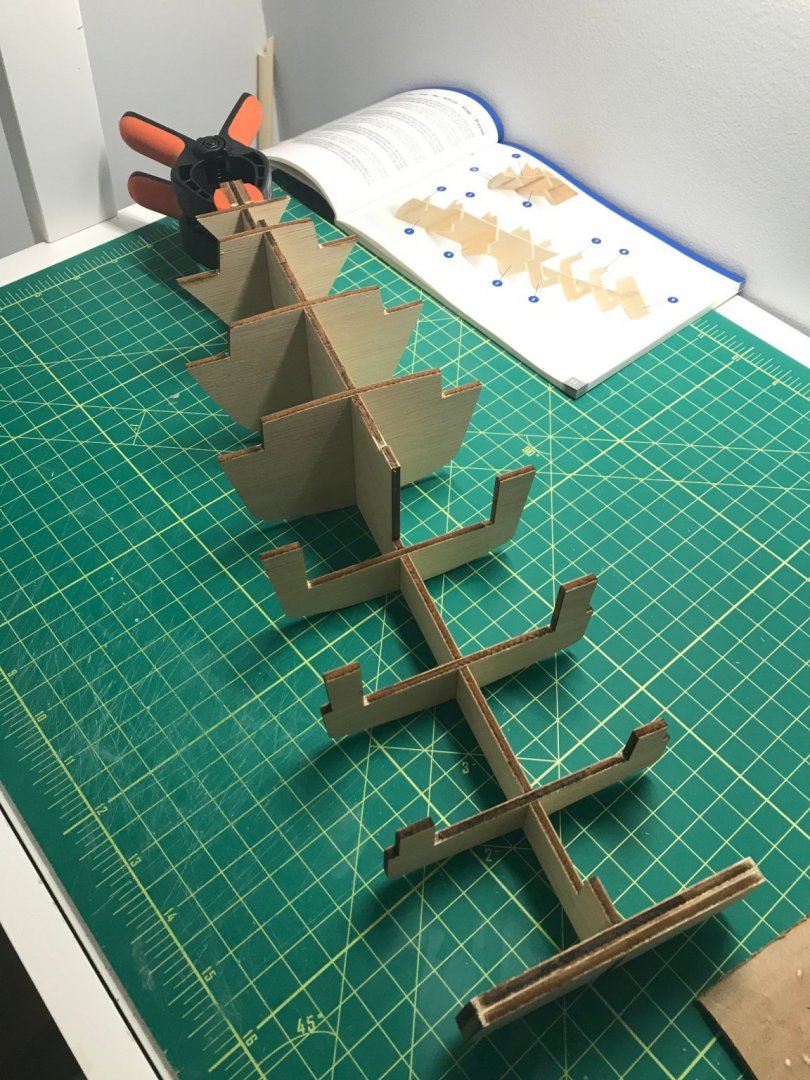
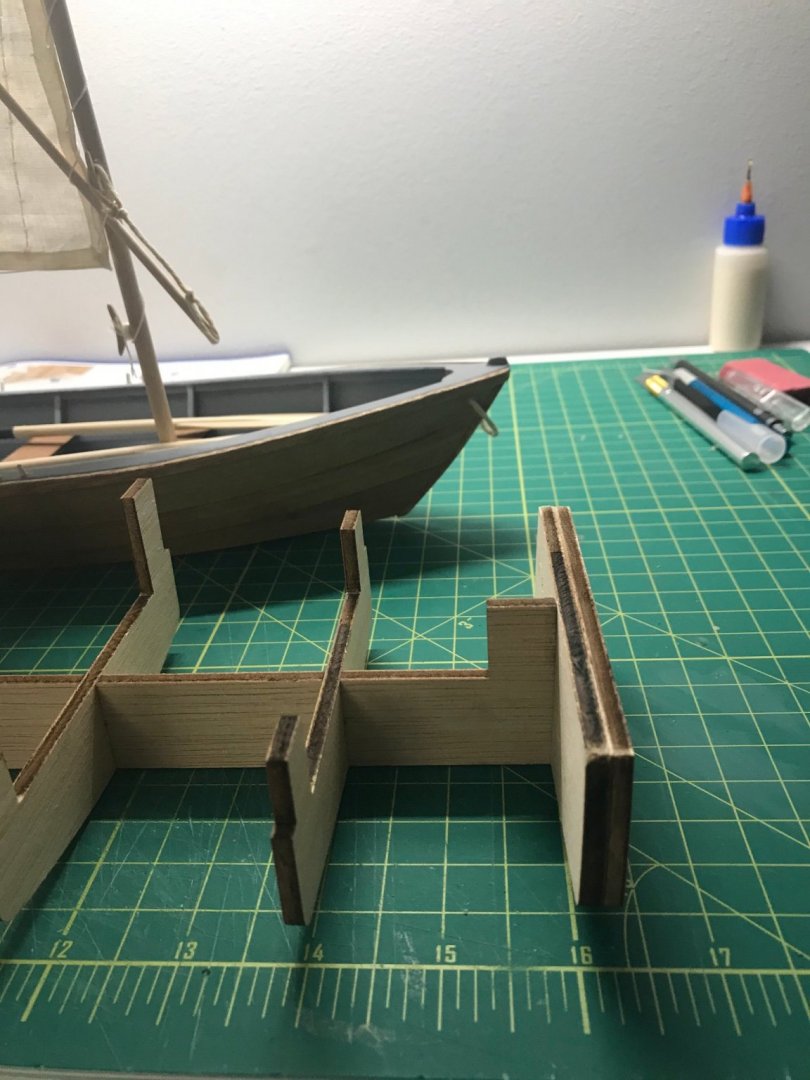
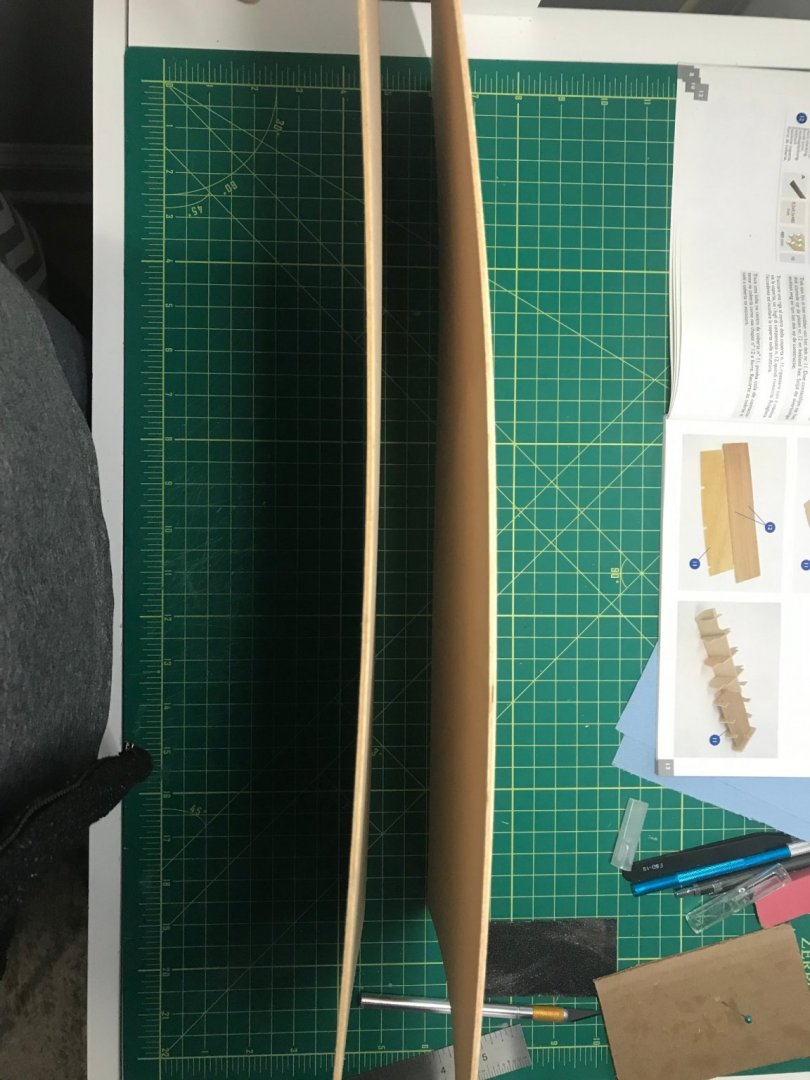
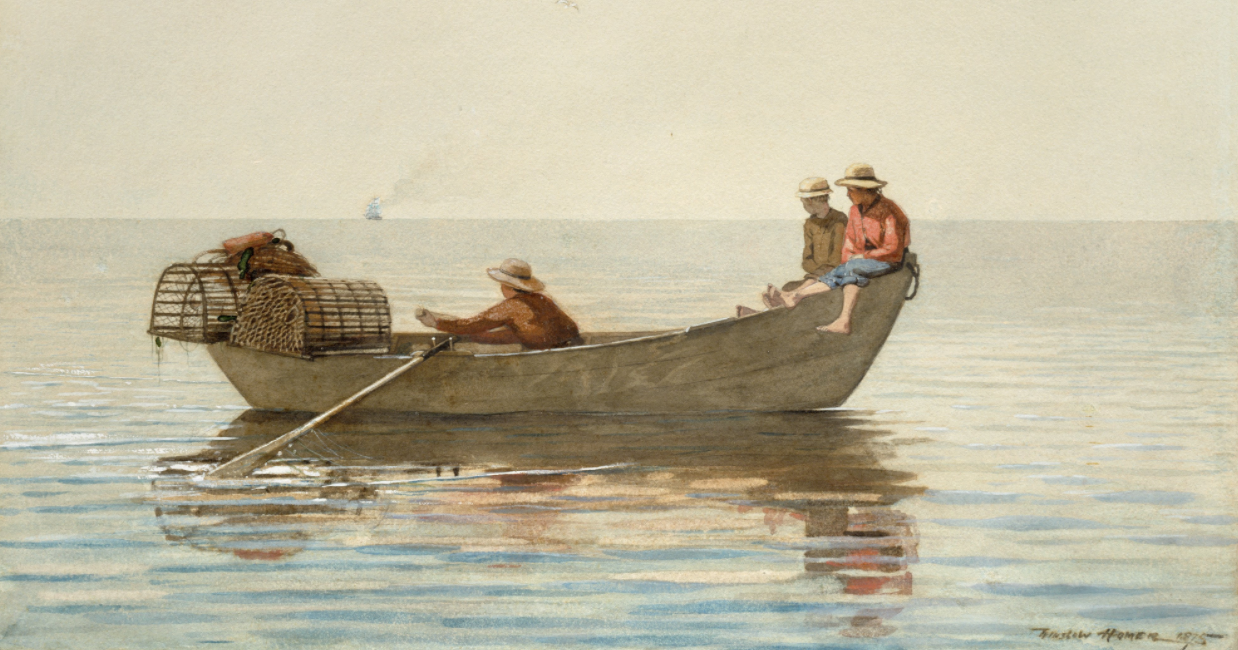
I recently finished my first build so next I've decided to start on the fishing yacht, Pilar. Why Pilar? For anyone that isn't familiar with this boat, Earnest Hemingway commissioned Pilar in 1934 and he had many adventures with it throughout his life. I studied literature in college (now completely unrelated to my current profession), which is why I think I became fascinated with his boat. I'm starting to see a pattern of the types of builds that interest me; Winslow Homer painted Grand Bank Dory's (my first build) and Earnest Hemingway's beloved fishing yacht draw a connection between art, literature, and the sea. On the technical side though, the reason I picked Pilar is because I'd like more experience with planking and metalwork both of which this build has a multitude of. In fact, it looks like every single mm of the Pilar is planked in some way so I expect to come out the other end having more than enough experience (and either loving it or hating it). Onto the build! Here is the Pilar on the cover of the Constructo box. It arrived packaged within another box for shipping so it was in great shape. No visible external damage: This model was quite a bit more expensive than my first one (nearly double) so I wasn't sure what to expect. I assumed the price was a reflection of all of the different wood for planking but I think that price also reflects a very organized kit with wonderful full color instructions: I quickly managed to assemble the false keel and was really happy with how straight everything was at this point. It was solid, true, and I could dry fit easily before gluing everything in place: I was also happy that this boat isn't massive. I have very limited working space right now and I was relieved to see that it's only about an inch longer than my first build. I have just enough working space! 😬 Moving onto the center deck, I'm finding that the provided board for various pieces (including the center deck that I need for the next step) are warped and I'm not really sure what to do about it: Should I stop, soak the panels, and try to flatten the entire thing out? Or would it be easier to do that for individual pieces as they're needed? I think the former but I would like to hear what others have done in this situation too. Thanks for following along! This should be a fun one.
-
Thanks Nic! I'm sure I will be seeing y'all again soon!
- 34 replies
-
- grand banks dory
- bluejacket shipcrafters
-
(and 1 more)
Tagged with:
-
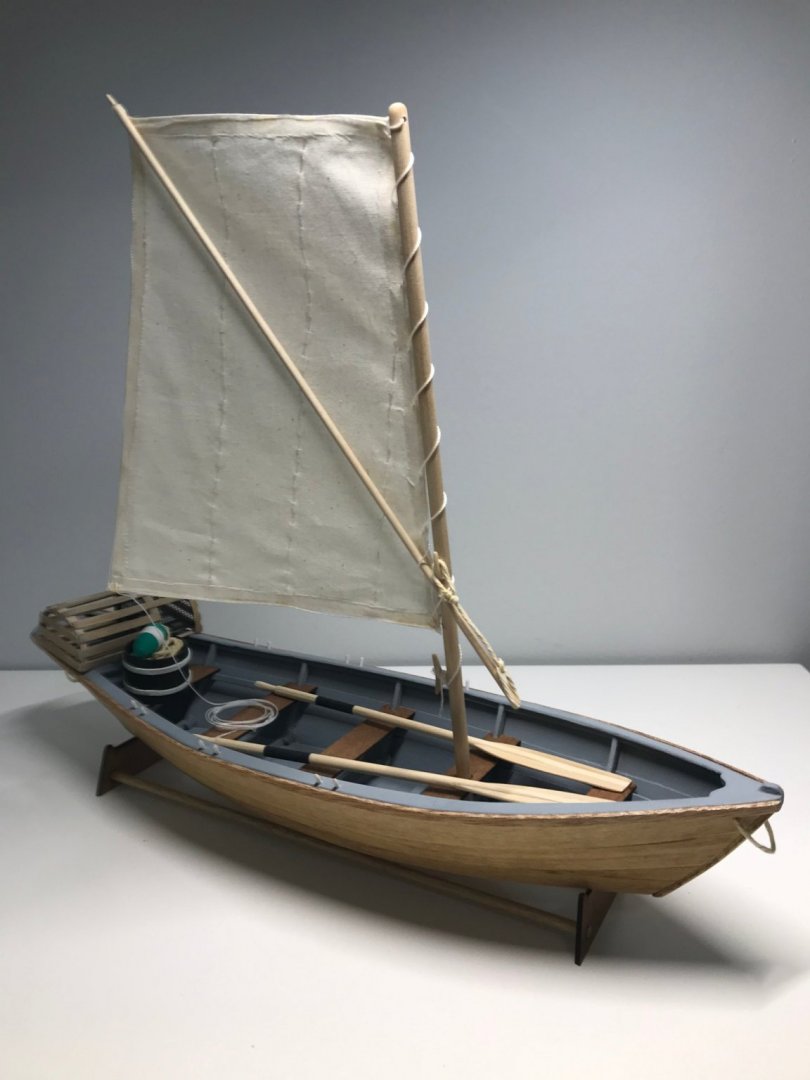
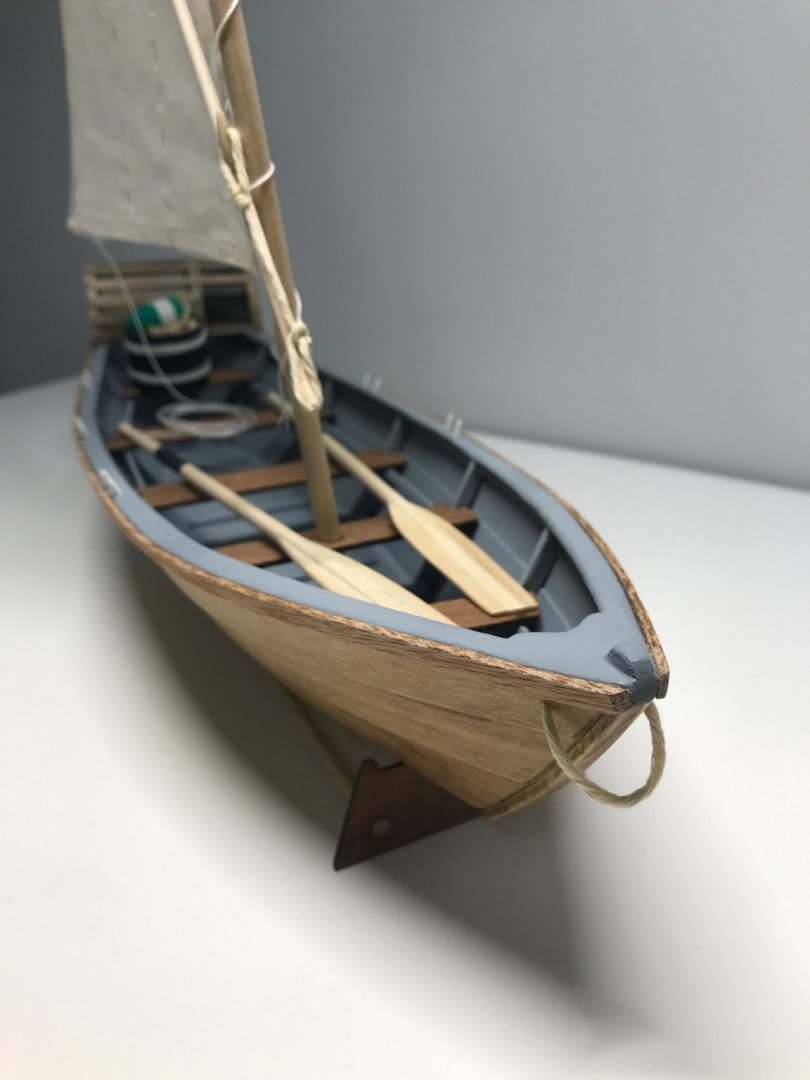
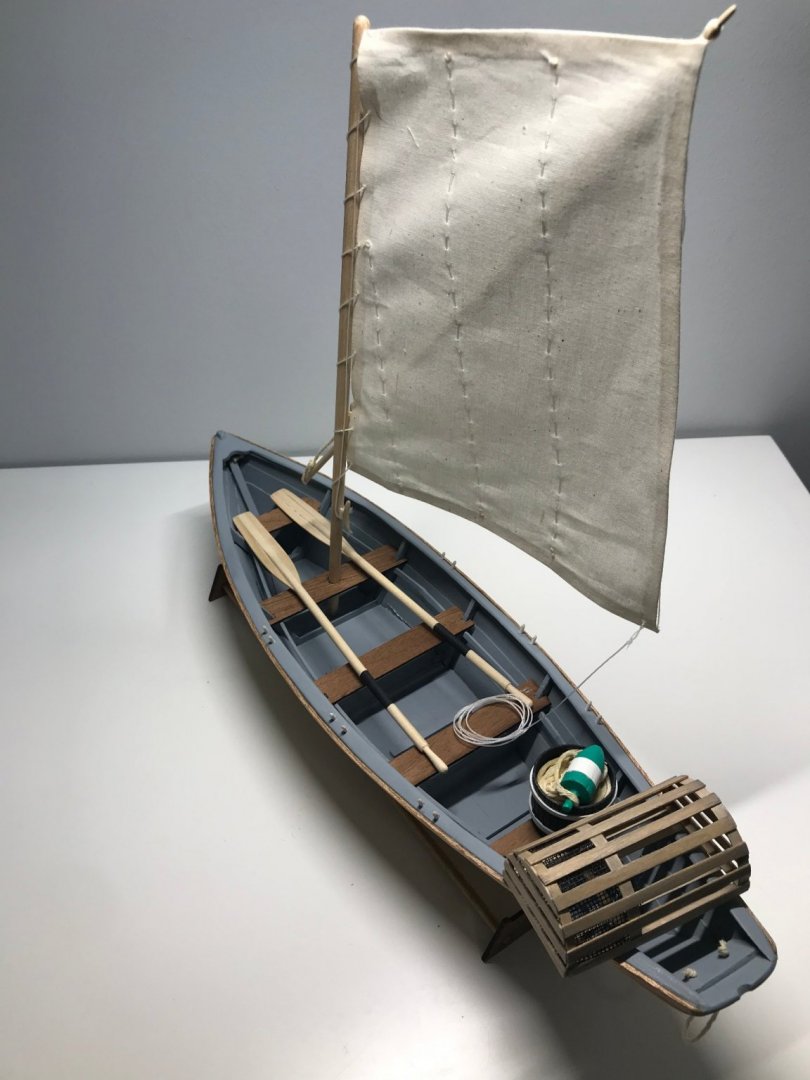
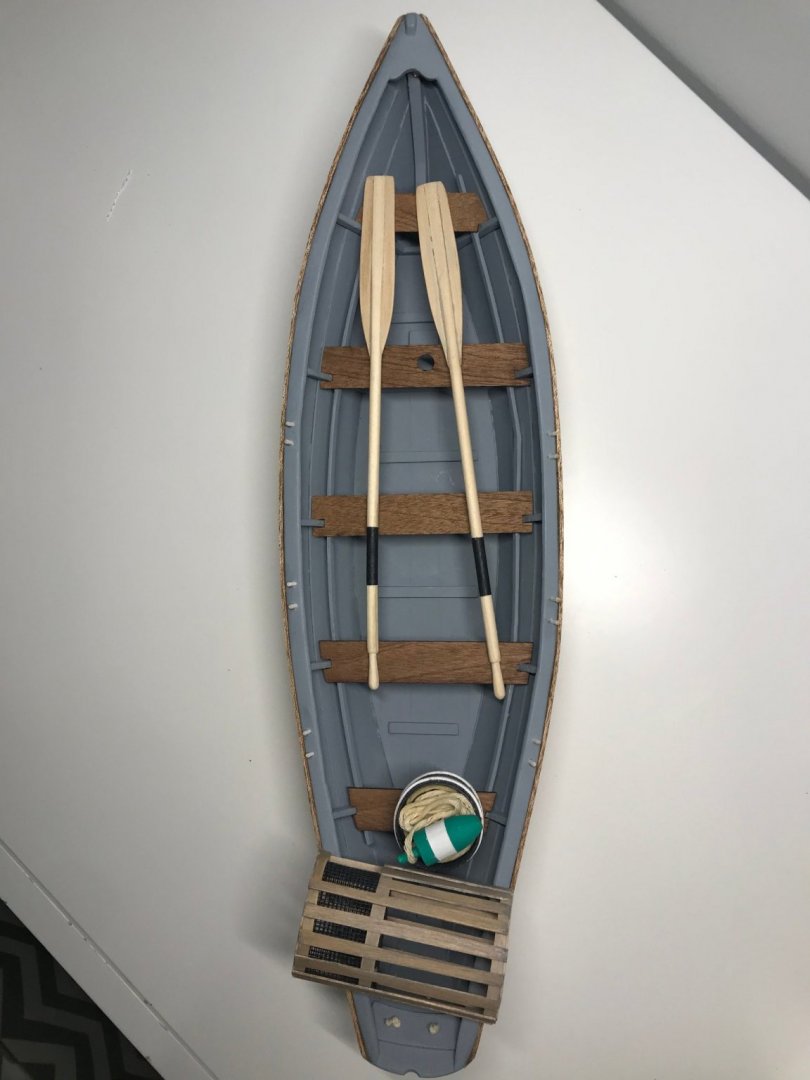
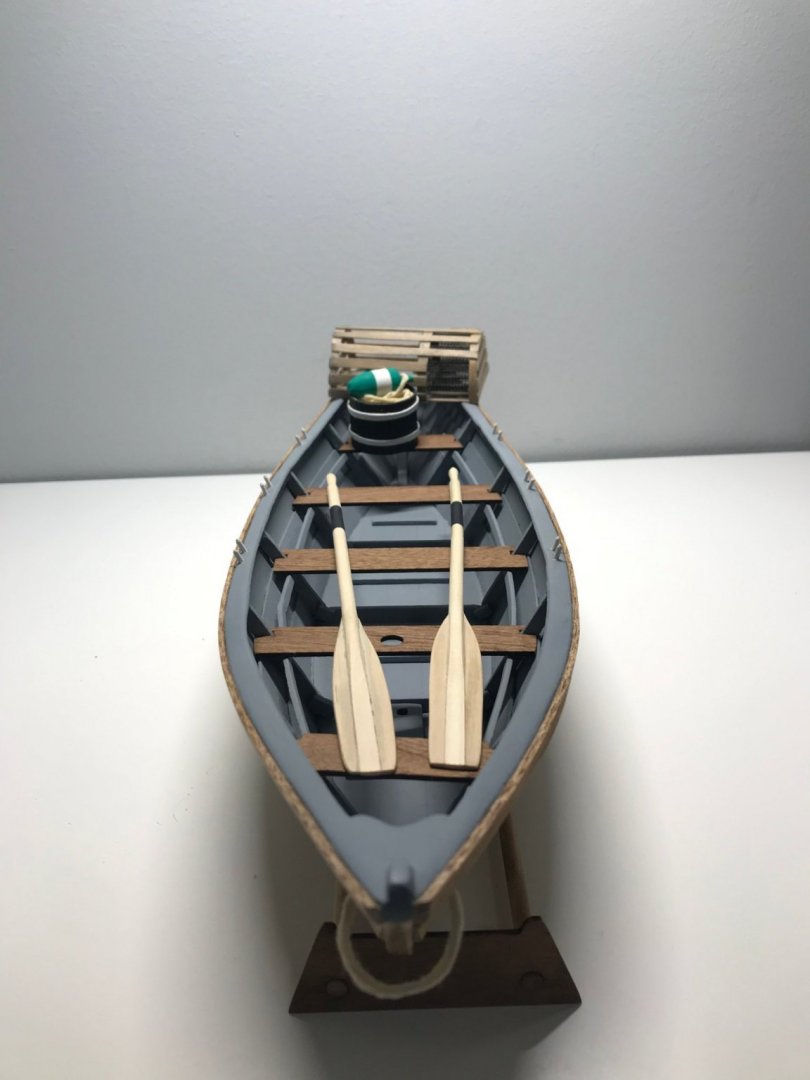
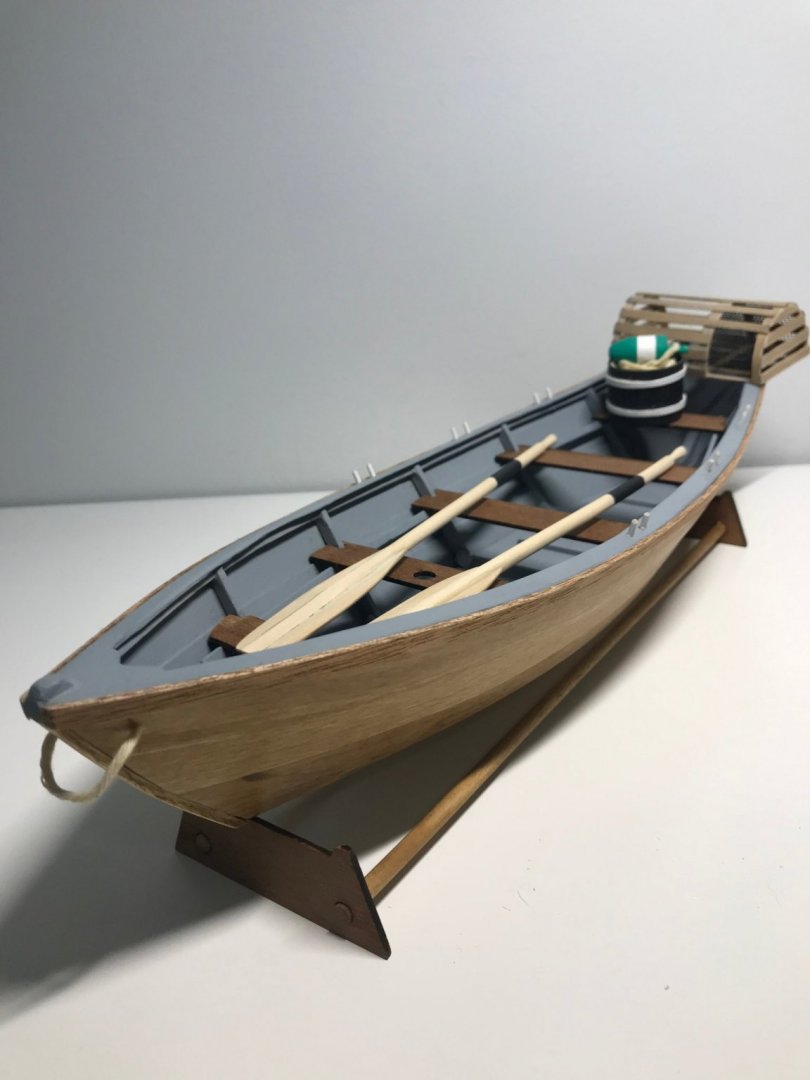
I'm officially declaring my first build complete! This has been a really interesting hobby and I'm glad that I allowed myself this experience. I don't think that I would have been able to complete it to any satisfaction level without all of the resources available here so I dedicate it to Model Ship World and everyone who has contributed to its depth of knowledge. I'm especially grateful for the various build logs (both for this Bluejacket model and also other variations of the Dory) to help guide me further where my inexperience was a blocker. Thanks everyone! Cat tax!! Thanks for reading! 👋
- 34 replies
-
- grand banks dory
- bluejacket shipcrafters
-
(and 1 more)
Tagged with:
-
Thanks Bradley! Yes, that's right. I have selected the Pilar by Constructo as my next build. I'm hoping I haven't bitten off more than I can chew with it but I'm up for a challenge. I'll make sure to start a build log once I start digging in. 👍
- 34 replies
-
- grand banks dory
- bluejacket shipcrafters
-
(and 1 more)
Tagged with:
-
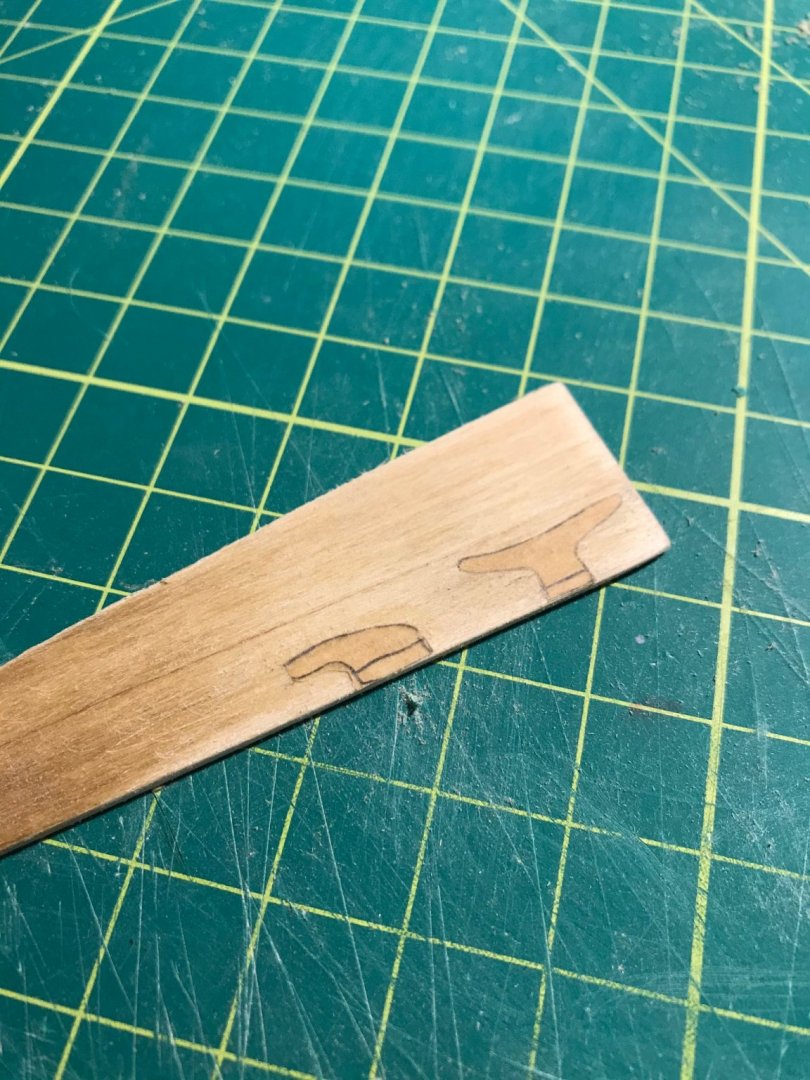
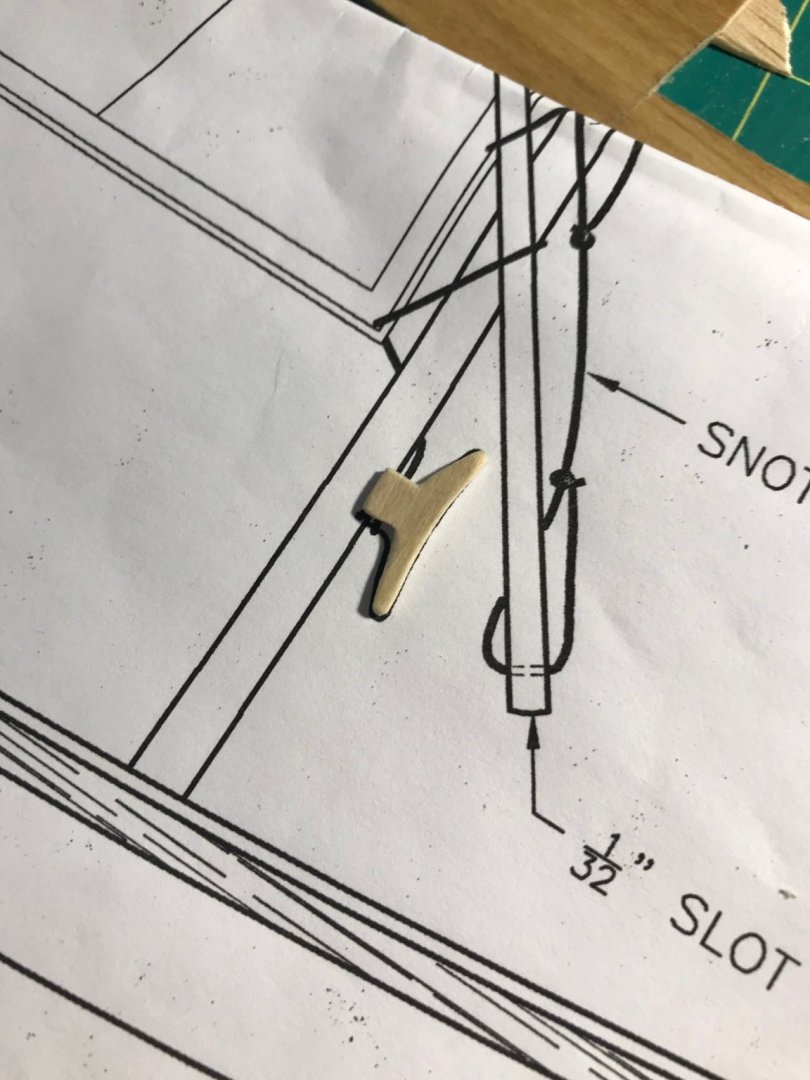
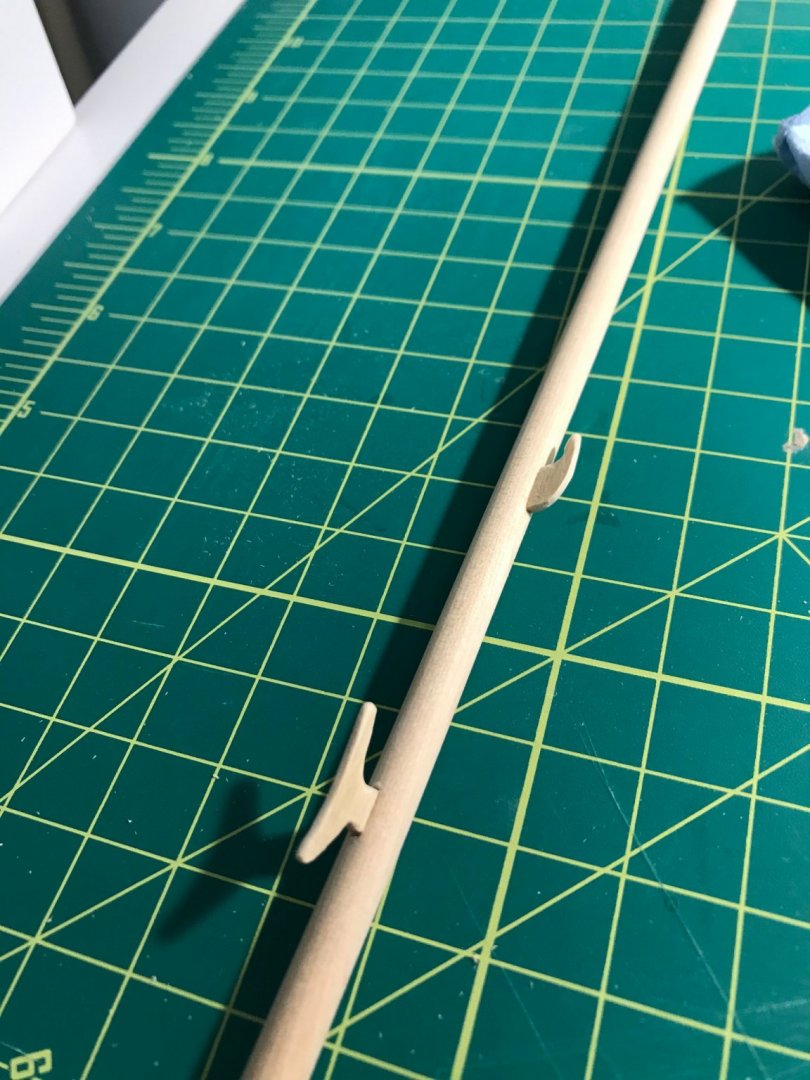
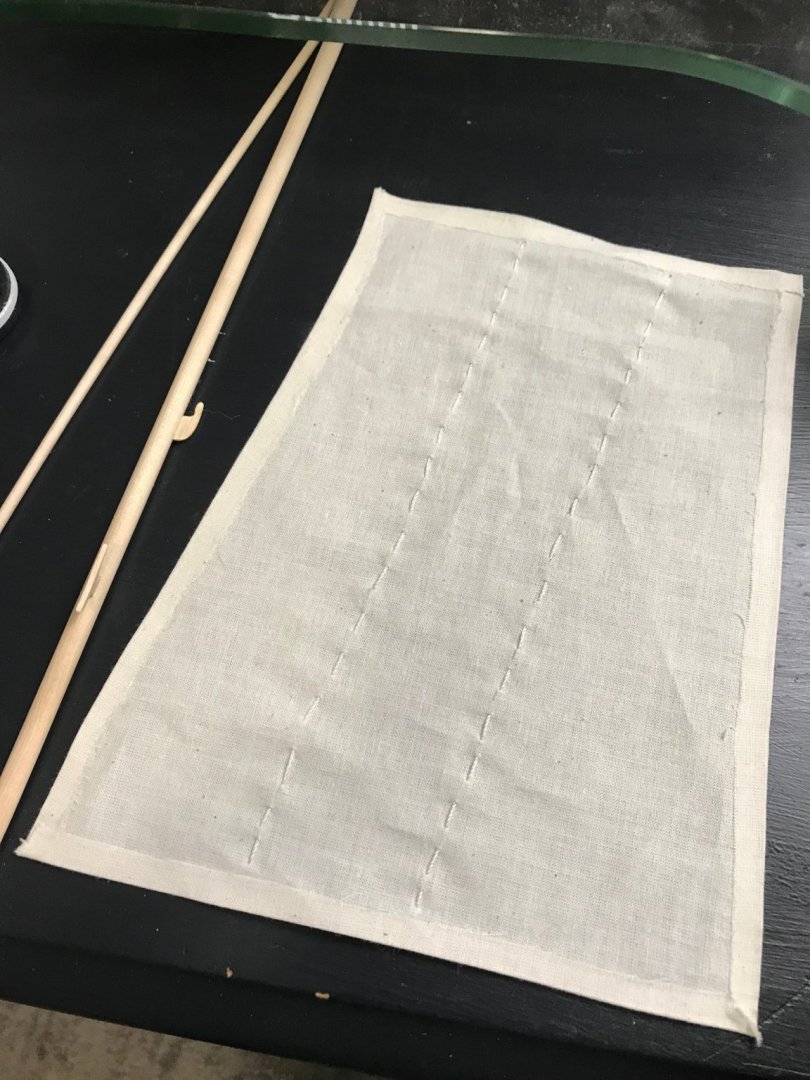
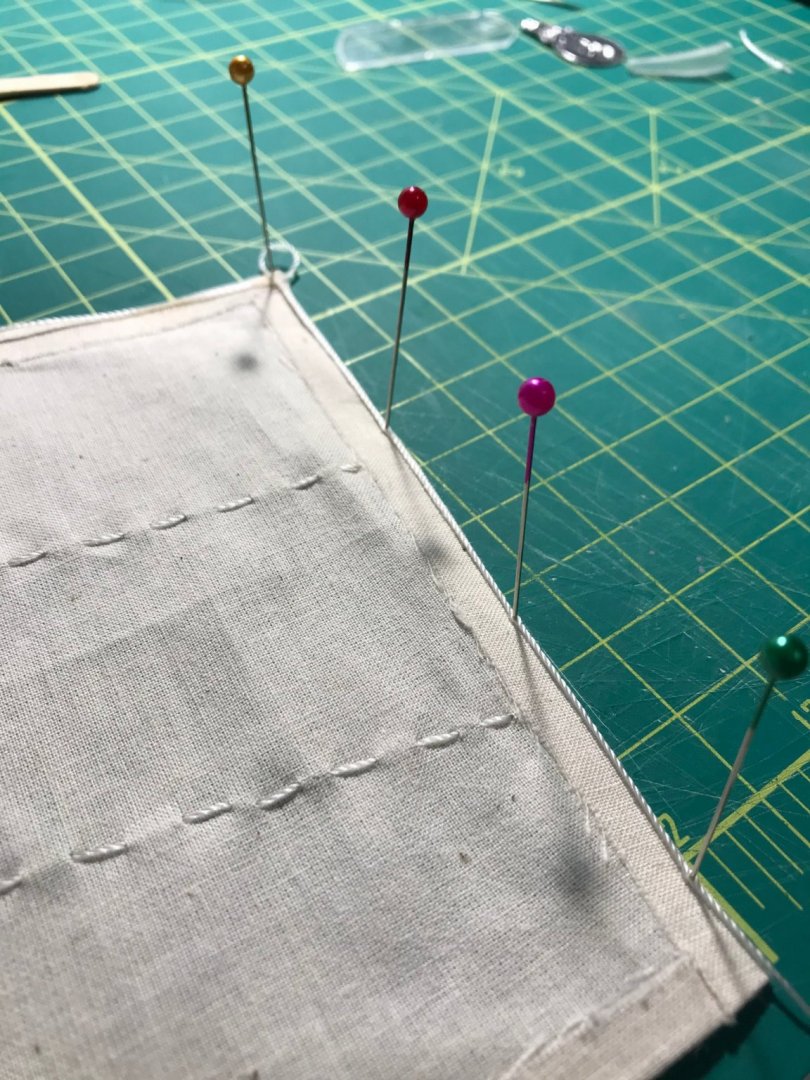
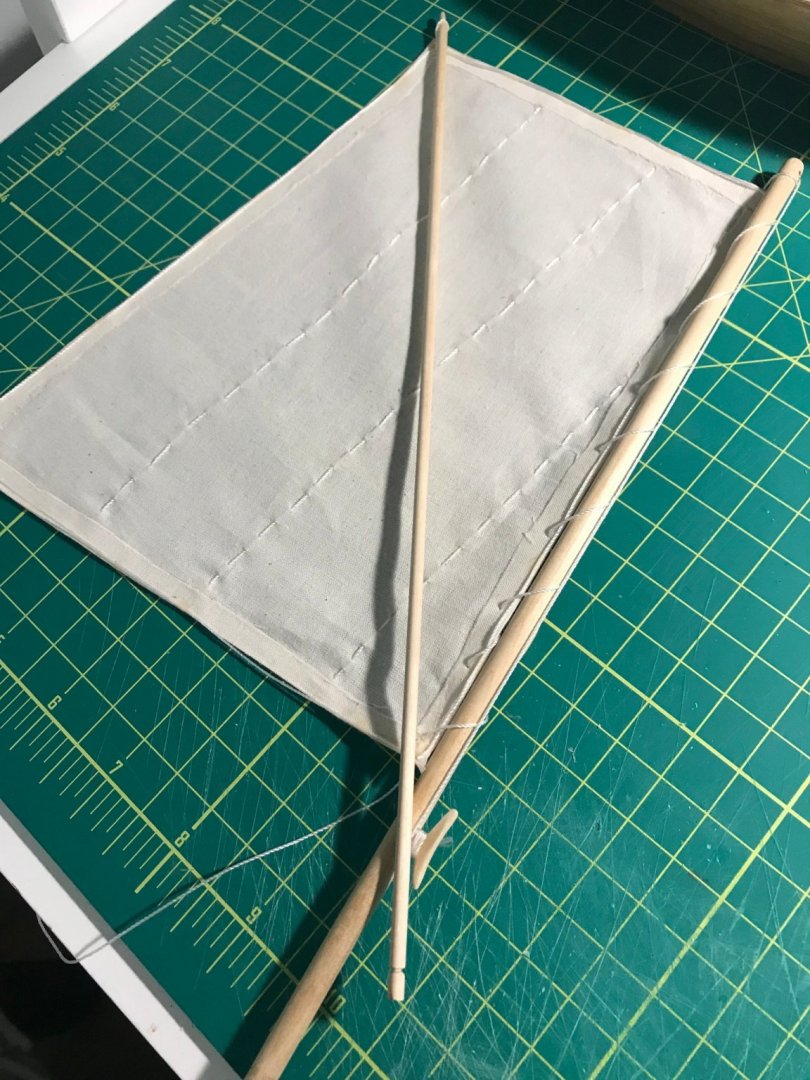
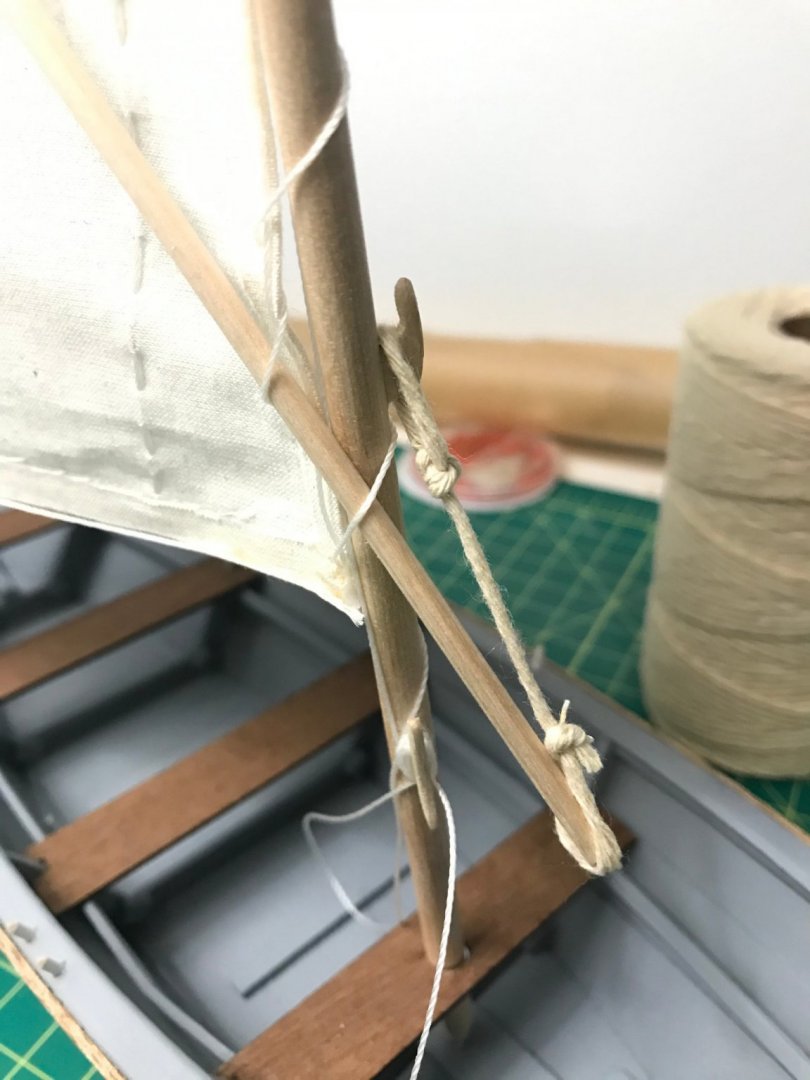
I thought I'd be able to finish earlier in the week but work picked up and the election was very distracting but I'm very close now. I cut the sail based on the specs, hemmed it, sewed the vertical stitches, and glued the line around it per plans: Sewing is a seriously difficult skill the master and one that I clearly have not. But that's ok. This was a great learning experience. The key take-away I learned is that I really don't like working with sailing and rigging. I think I know what my next build won't have. 😄 To create the two cleats in the plan, I copied their shapes onto wax paper and cut that out of a bit of scrap wood. These were pretty tiny and a little hard to shape as well as fit into the mast itself but I managed it in the end: Getting all of it tied up with the provided string material served to be one of the most frustrating parts of this entire build. It was very slippery and tiny and I admittedly did not know the proper knots so I was mostly doing a lot of guessing here. By far the most frustrating part was the snotter which I really struggled to get the precise length between the two ends. I ended up using some of my own line that was thicker and easier to tie off. I'm convinced that it's not possible to do this with the provided material but someone with more skill can probably prove me wrong: So I'm going to do a little but of touch-up and then take some proper photos with everything in the place next. Thanks all for your encouragement and knowledge along the way. I'm so excited about everything that I've learned in this first build and I can't wait to show off its final state next.
- 34 replies
-
- grand banks dory
- bluejacket shipcrafters
-
(and 1 more)
Tagged with:
-
I really like how the green paint and the lobster traps turned out! Nice work!! 👏
- 87 replies
-
- bluejacket shipcrafters
- red baron
-
(and 3 more)
Tagged with:
-
Thanks! I had a roll of window screen mesh left over from when we had to replace a bunch of screens in our place. It sets in there really well but it's too stiff to make the funnels like a real lobster trap would have. There's probably better material to use if someone really wanted to make it accurate. Thanks! And now I know what "kit bashing" means. I feel like I'm part of a secret club now. 🙂
- 34 replies
-
- grand banks dory
- bluejacket shipcrafters
-
(and 1 more)
Tagged with:
-
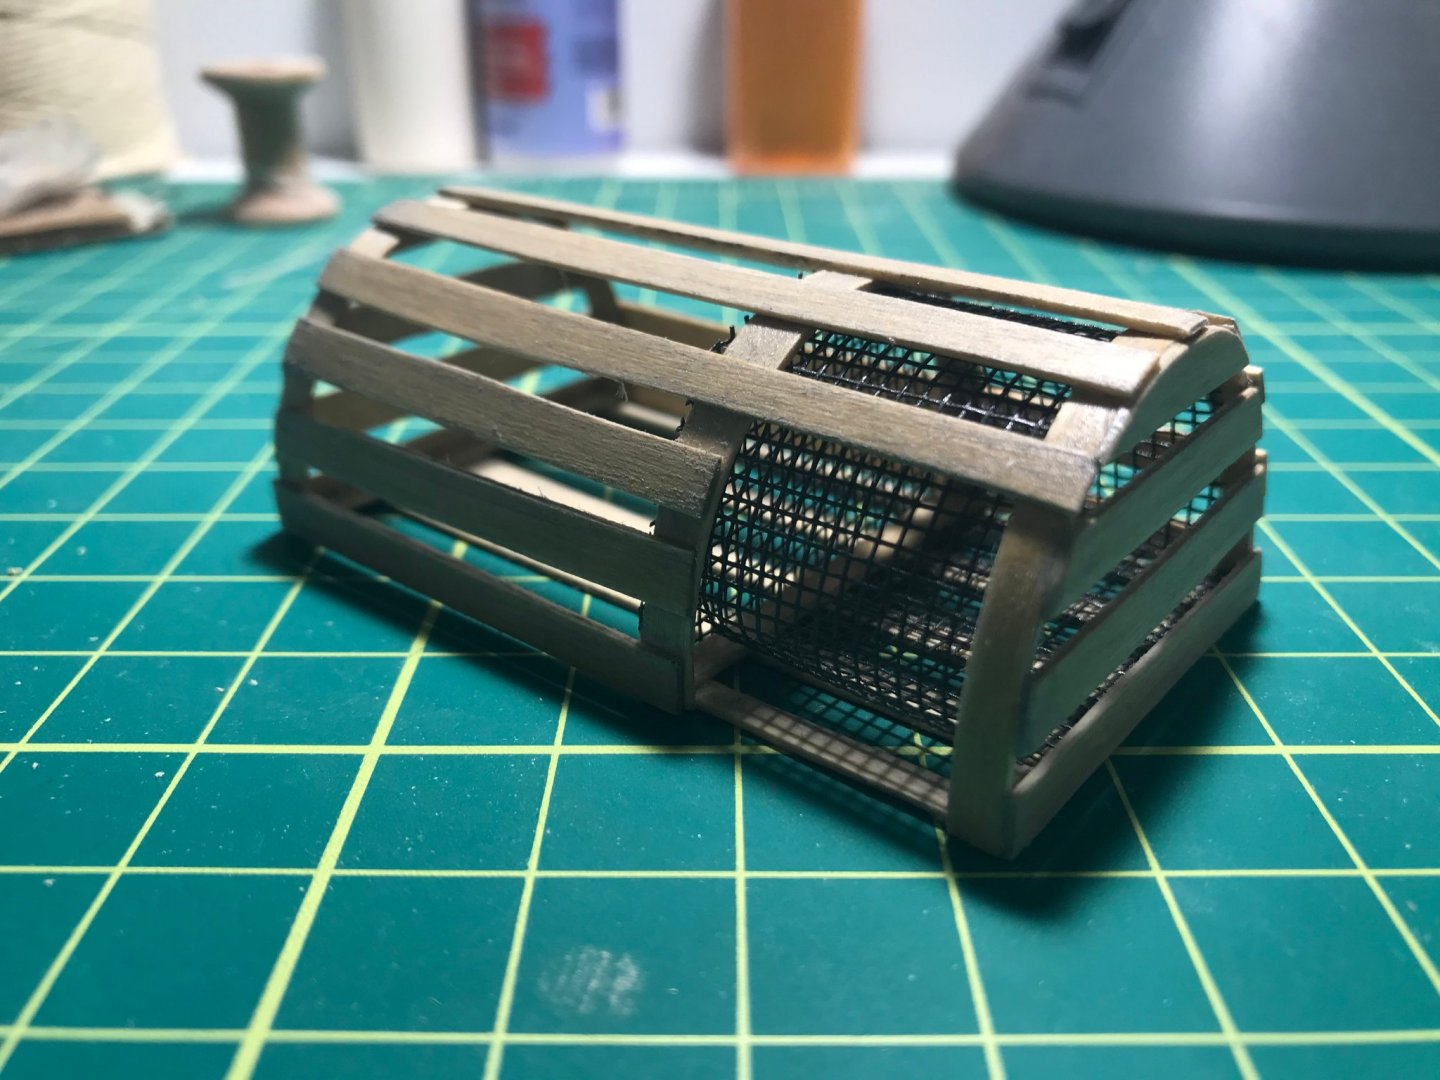
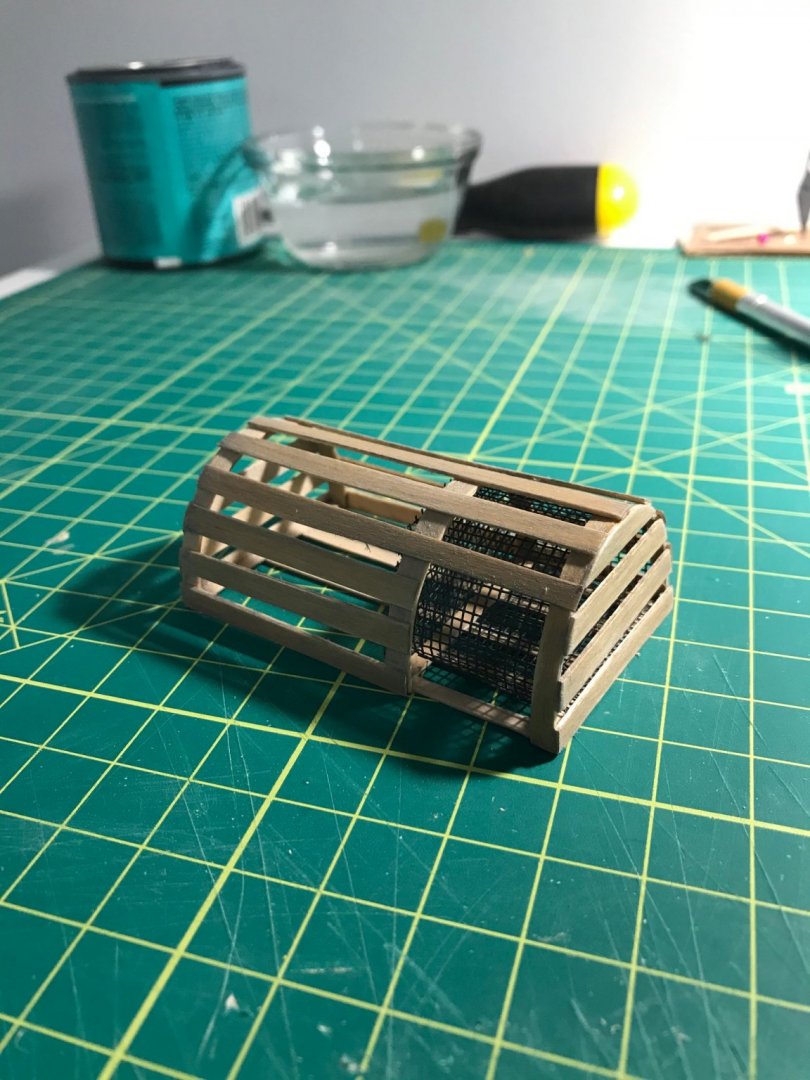
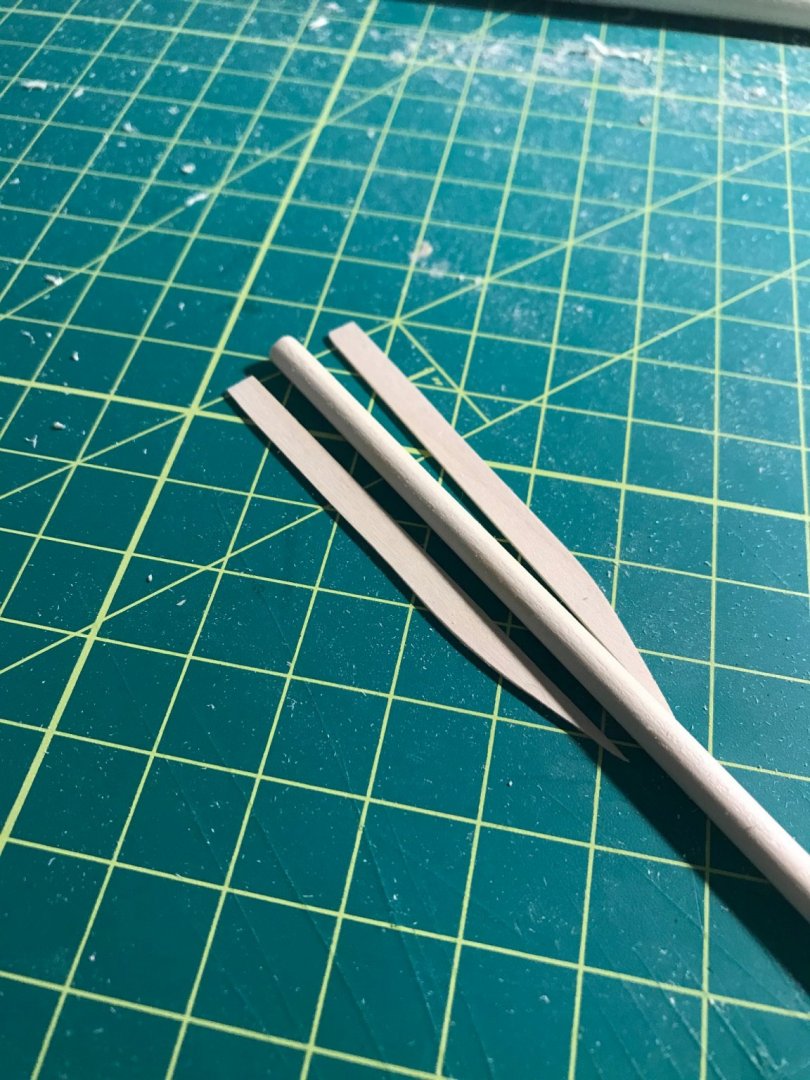
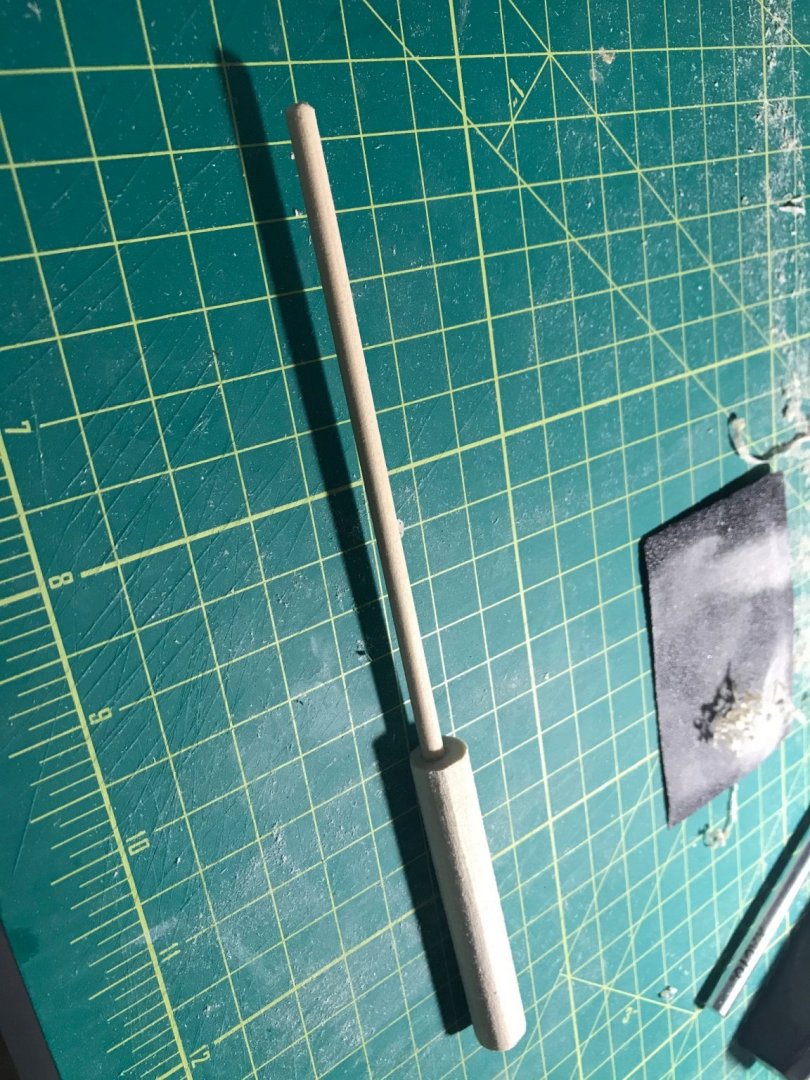
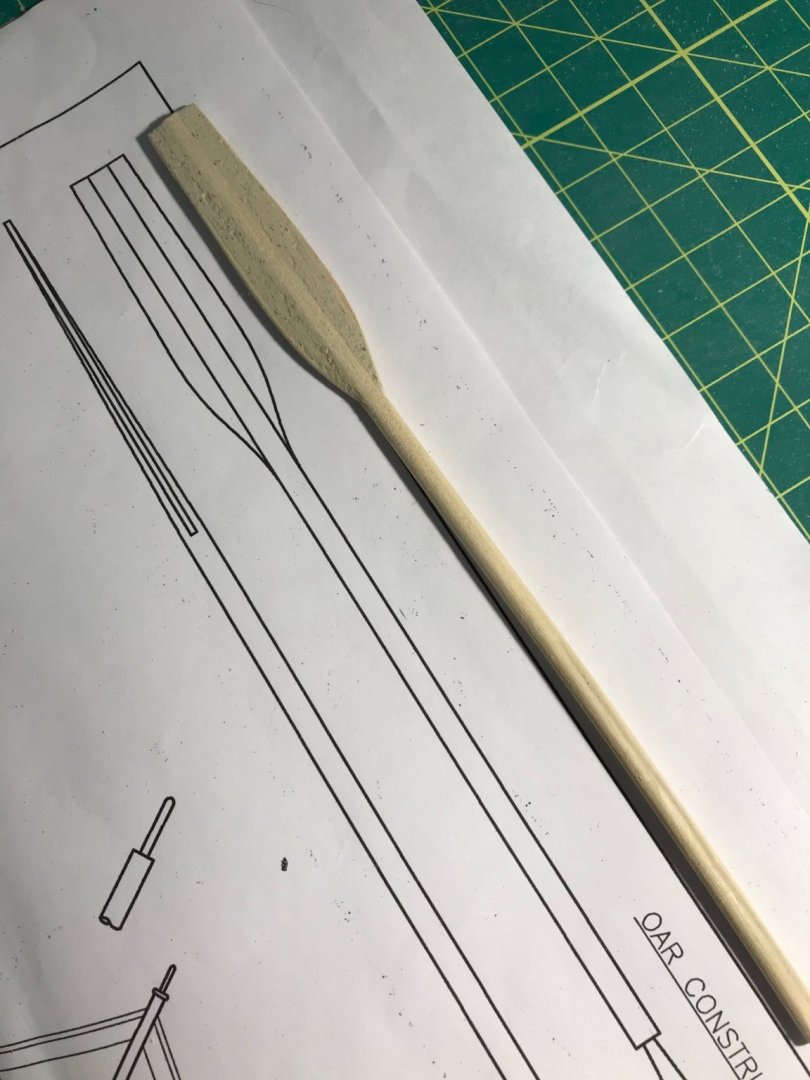
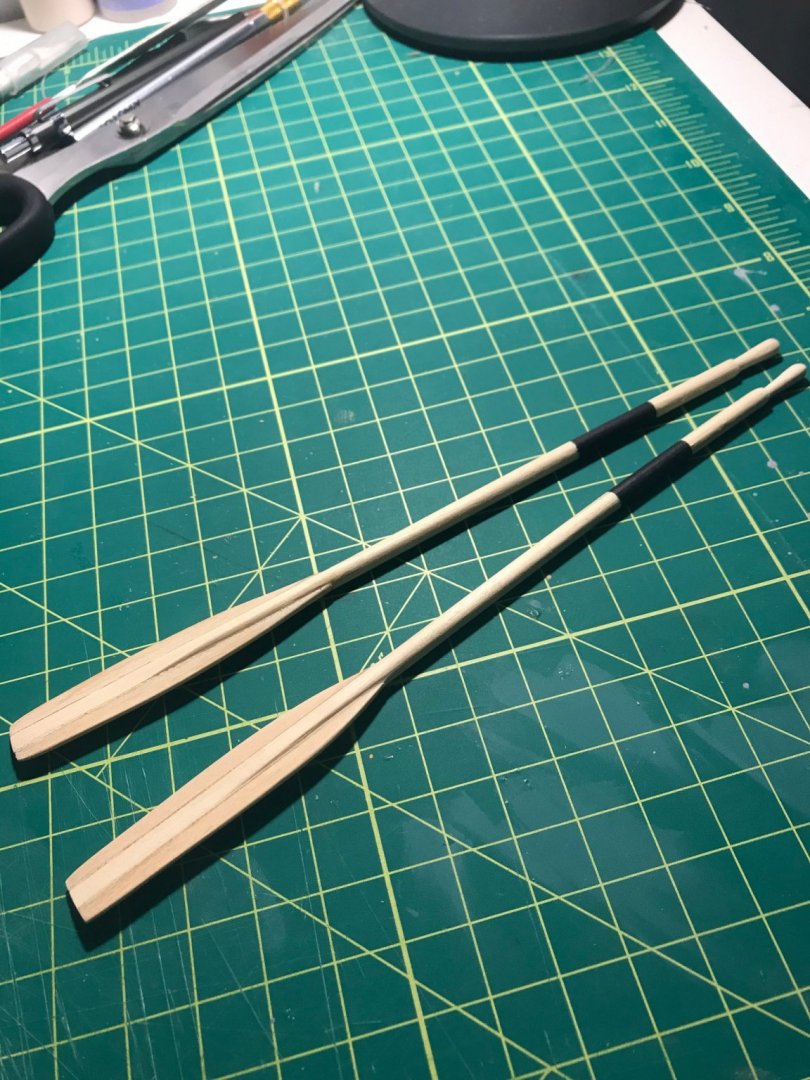
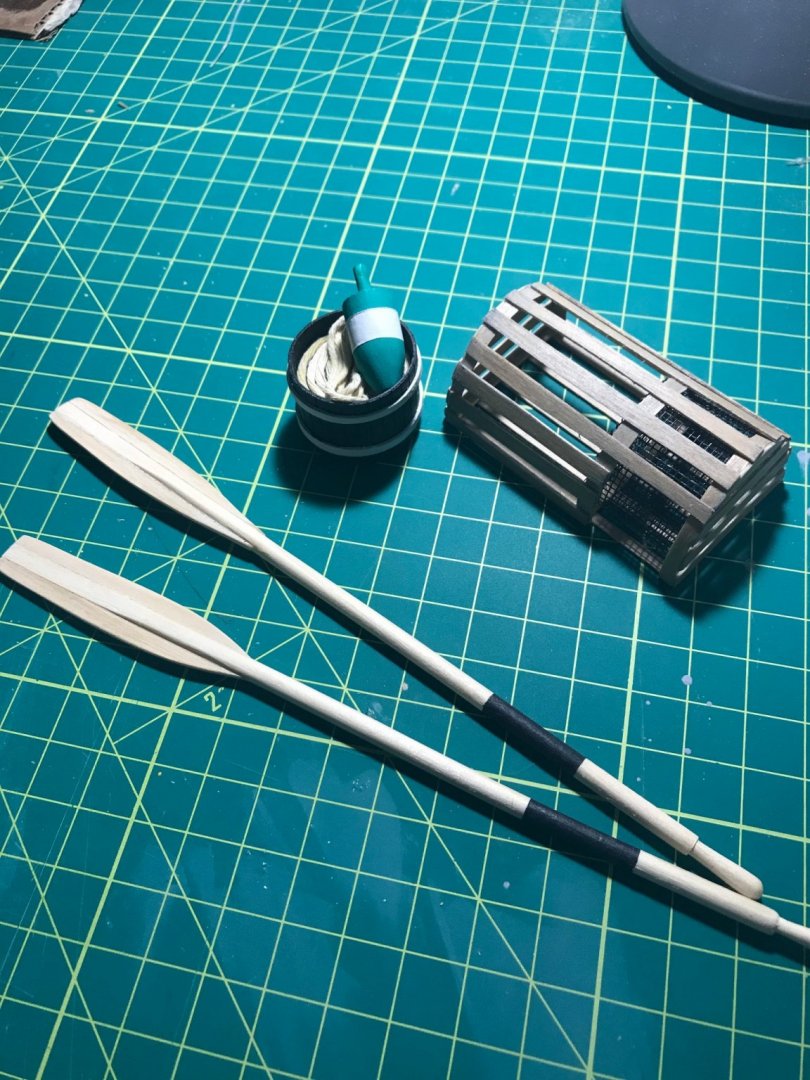
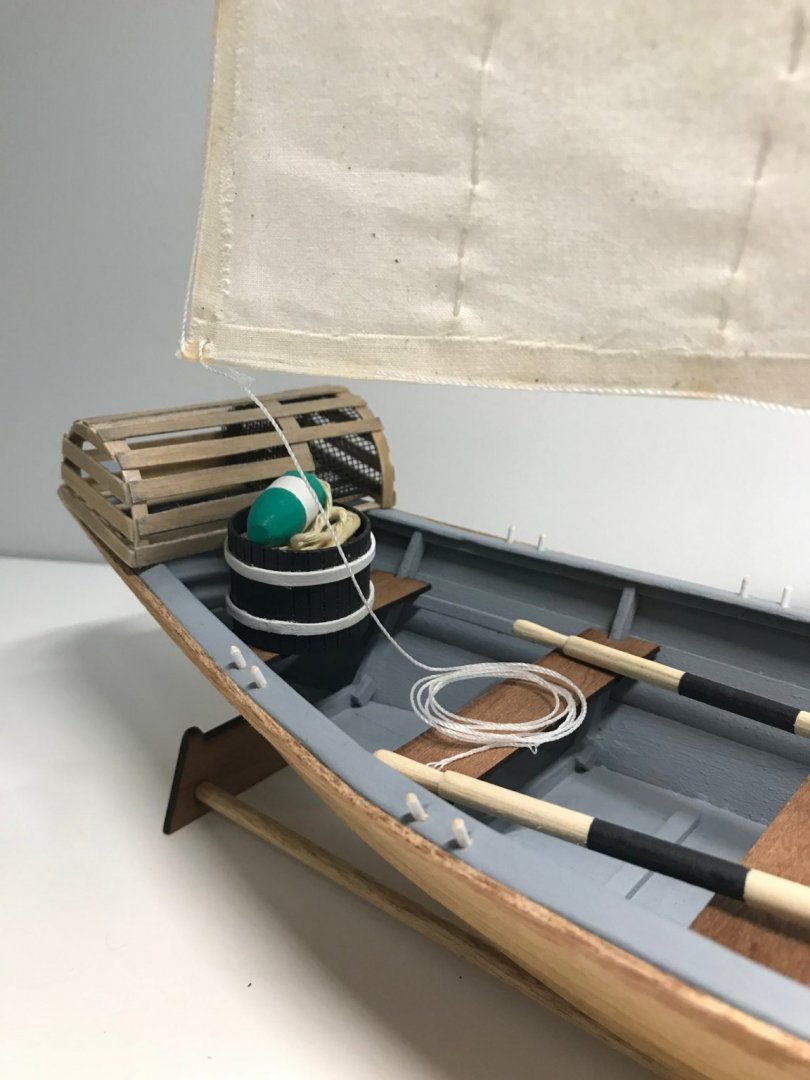
I completed the accessories for my Dory. I think this is where you can introduce a lot of variations depending on the style you're after. From the beginning I decided that I wanted to build a lobster trap so I was able to create one from wood scraps in the kit. There weren't any instructions on how to do it so I just looked at pictures online and did my best estimation. The size of the trap was something I wanted to make sure I got right though. A Google search told me that a trap is usually between 3'-4'. The conversion to match the Dory model would be simple then because it's 1" to 1' so that means that I should make mine 3 or 4 inches long. I opted for the smaller 3" size because it really is quite big compared to the model. In fact, I still doubted my dimensions so I went back and searched for examples of dorys with actual lobster traps and lo' and behold, those suckers do take up quite a bit of space in the boat: So I moved forward with completing my pot based on my 3" estimate. I had some trouble getting the lobster entrance and trap funnels fashioned with the material I had on hand so I just skipped that part and mocked up mesh with some extra screen window I had laying around. Next were the oars which gave me a whole lot of headaches (and hand aches). I wasn't sure the instructions were the best way to go with attaching scrap wood on the sides of the dole rod but I tried that first: It was very hard to get the ends to be even so I abandoned that (for now) and tried a hybrid solid wood piece method: But I didn't have proper tools to whittle it down flat. It was taking me forever and I just didn't have time to do it by just sanding. I had a small planer but even that just didn't work very well for the small piece. So I abandoned this method. I then went back to the original plans and slapped two pieces of wood on each side of the dowel rod. It wasn't perfectly straight but I wood filled and sanded to the best of my (newbie) abilities. It was a good first try and I think the next time I make oars, I'll have a lot more experience and patience to do them better. But in the mean time, here are my Dory oars: All together, I have all of the accessories complete: - Line tub - Buoy - Oars - Lobster trap The final step will be to finish the sail and place all of the accessories. Hoping to finish this one later today!
- 34 replies
-
- grand banks dory
- bluejacket shipcrafters
-
(and 1 more)
Tagged with:
-
Nice progress! I'm enjoying your build. Can you tell me which Stanley plane you used for the oars? The ones I've seen all look too big for this type of woodworking. I'm building similar oars and they are turning out to be quite a pain so any tips would be appreciated.
- 53 replies
-
- norwegian sailing pram
- model shipways
-
(and 1 more)
Tagged with:
-
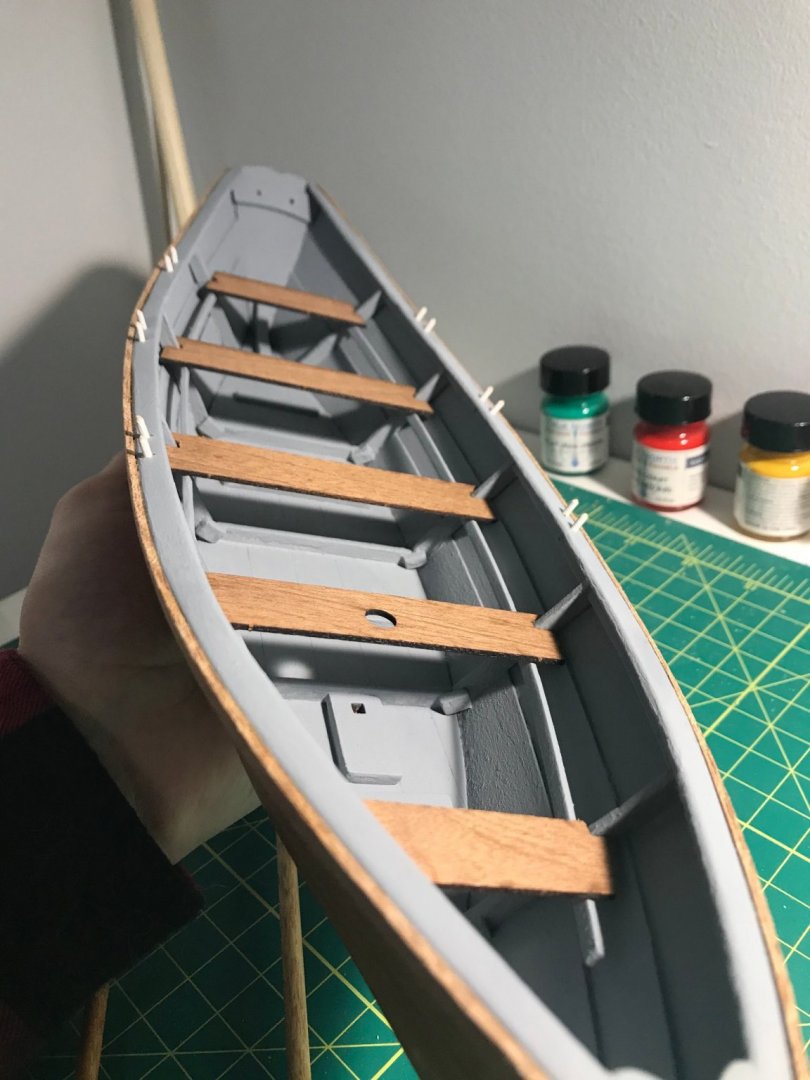
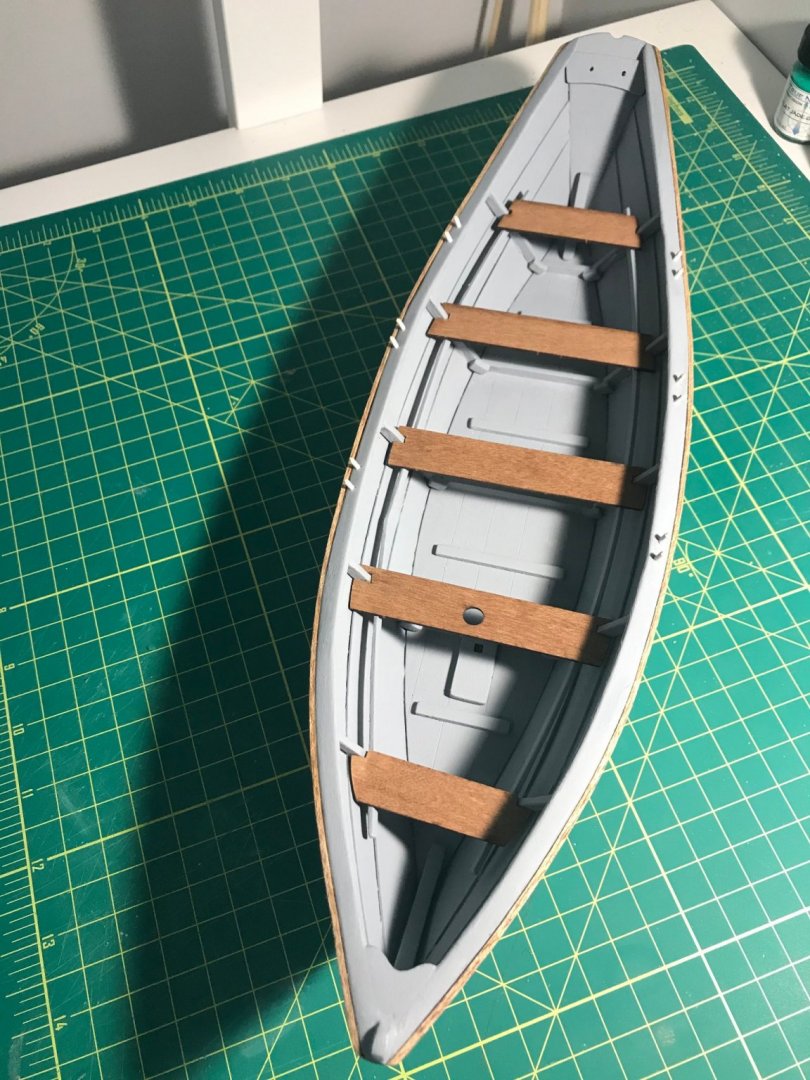
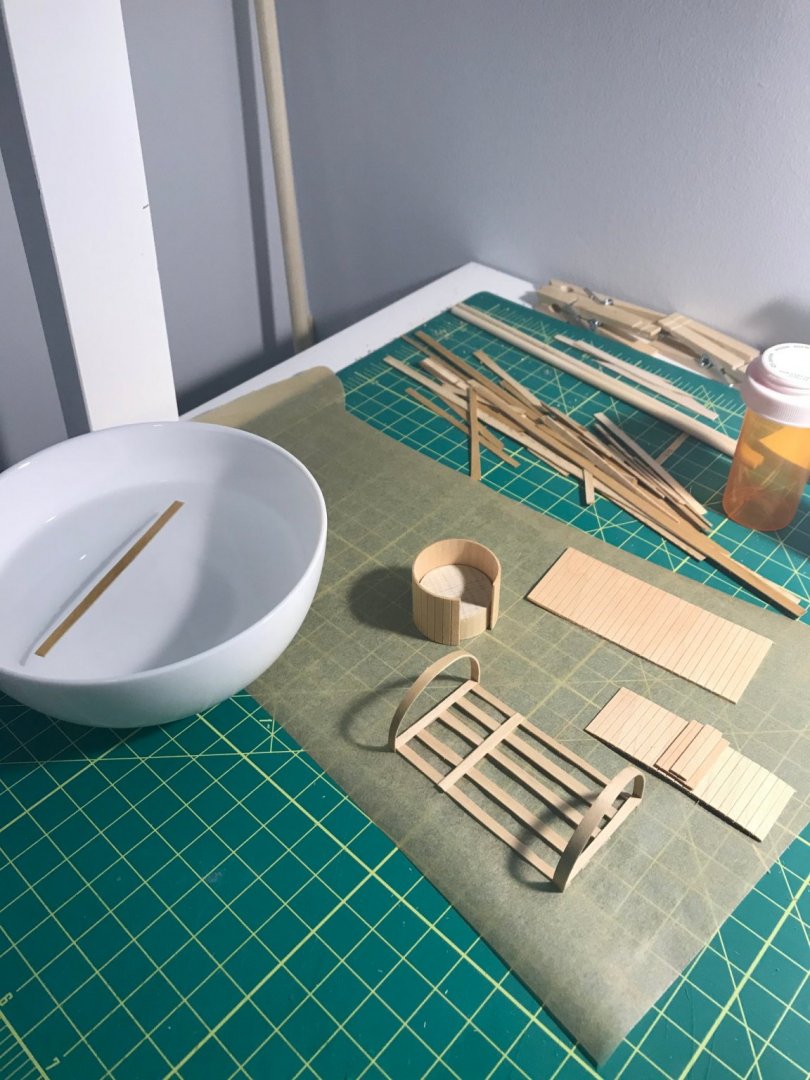
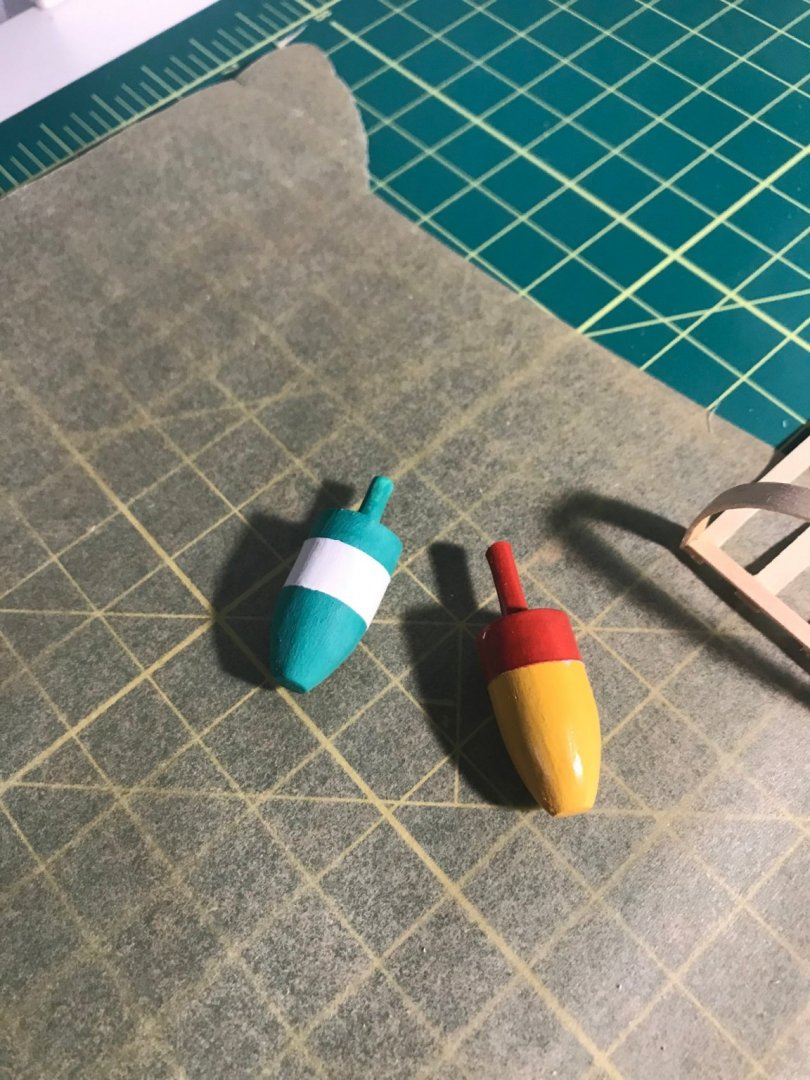
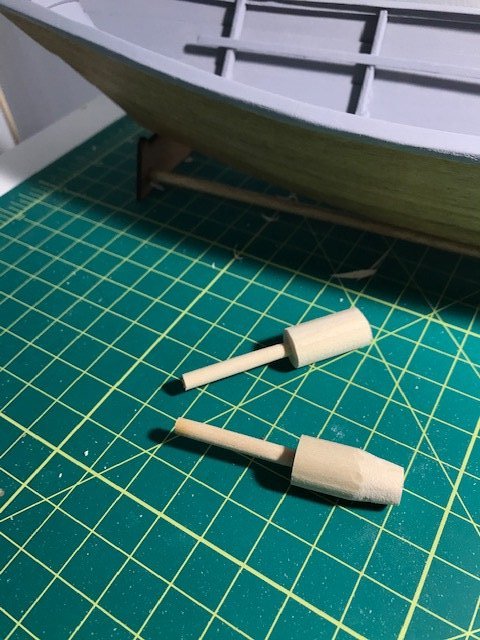
Since my last update, I added the interior paint over the primer which turned out being slightly darker than the primer itself although honestly not a whole lot different. I thinned it a little but I had more than enough to get me through with extra to spare. I also added the mahogany band: In the instructions it looked like where the band meets the stem and stern, it was kept blunt but I decided to sand them down so that they curved with the hull: After that I glued in the seats and installed the oar locks. I painted the oar lock wood white before cutting each one individually and rounded out the edges: Here's how she turned out with an overview shot: And a look at the plank stain against the grey interior: ] I do kind of wish I had not gone darker on the plank stain because two coats basically made the entire thing the same wood shade as the mahogany band. But not really a big deal. I think it came out pretty nice anyway. Now onto the final details and the sail. I'm not sure why but I'm not really looking forward to making the sail/rigging. I know this is a very entry level model and the most basic of riggings but it just doesn't excite me as much as working with all of the other parts. So I'm procrastinating a bit and made a couple of lobster buoys as well as started on the lobster cage and line bucket: An old pill bottle works perfectly for shaping the circular wood strips for the lobster cage. I forgot about the center brace in the cage so I'm soaking another wood strip above and about to form it on the pill bottle to shape and dry overnight before continuing. And here are my little buoys. I used the opportunity to try out a few different paint colors (as you can see one is matte and one is gloss). It was interesting to see how quickly some dried where others would take twice as long. And there was a big difference between thickness so it would take half a dozen coats for the red (for example) whereas the yellow only needed a couple.
- 34 replies
-
- grand banks dory
- bluejacket shipcrafters
-
(and 1 more)
Tagged with:
-
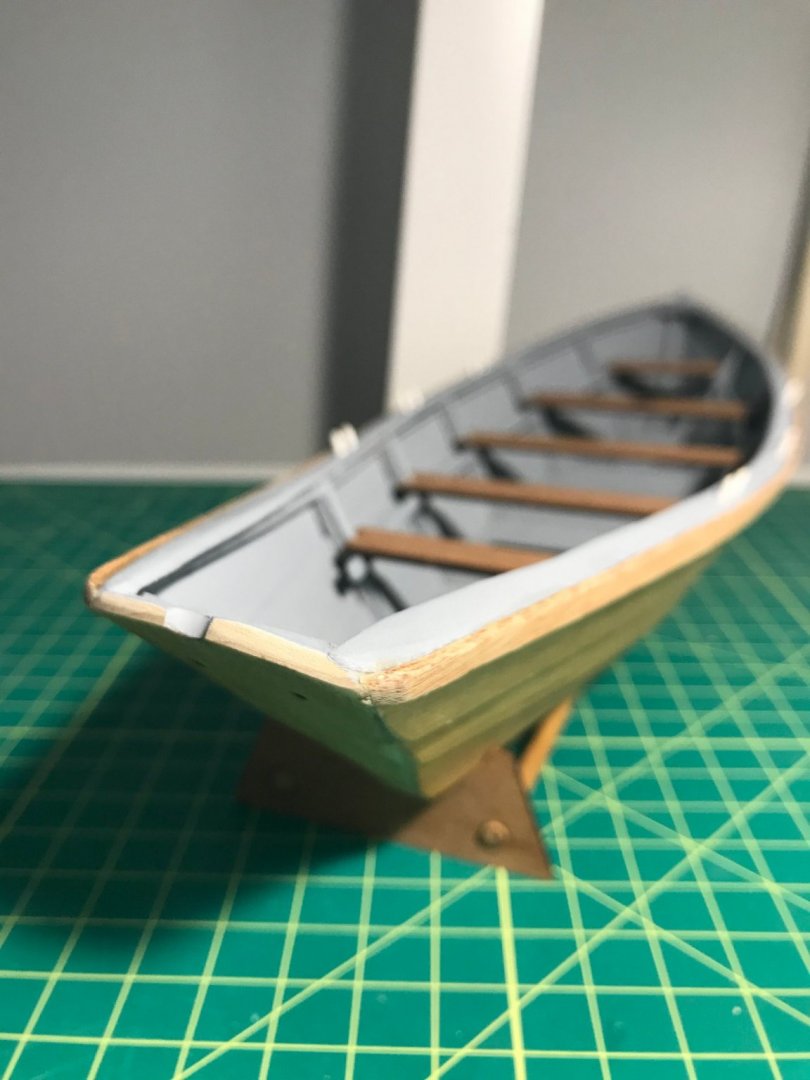
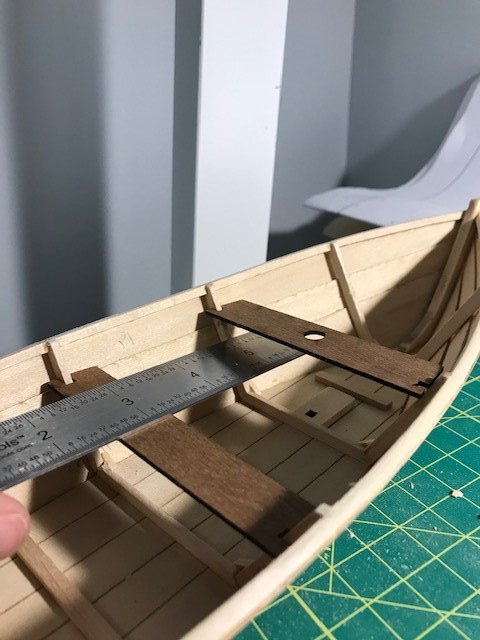
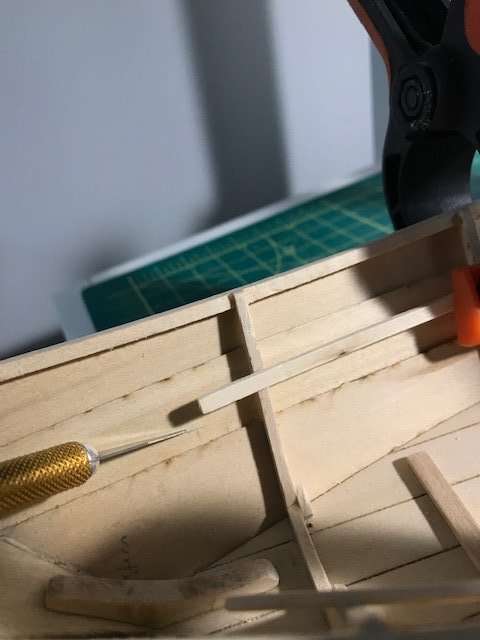
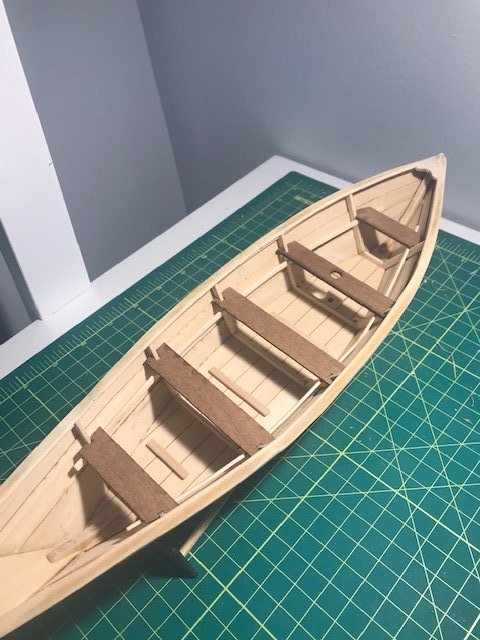
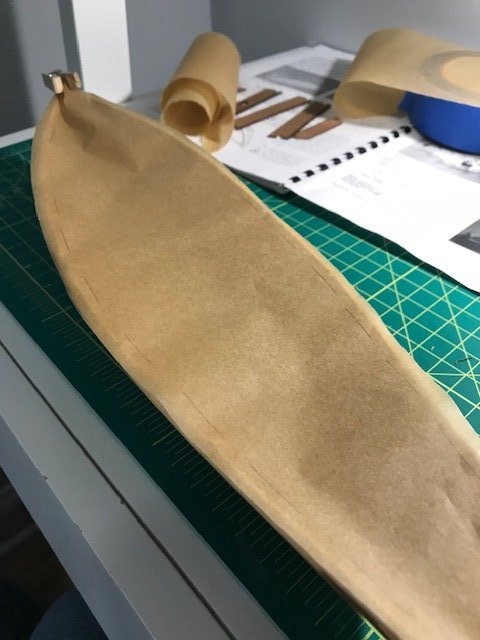
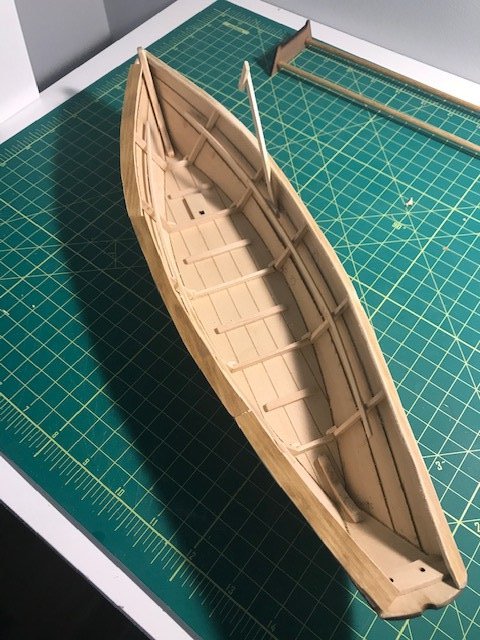
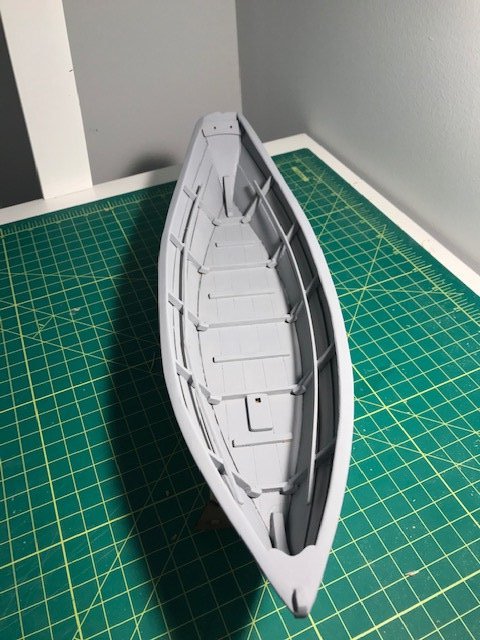
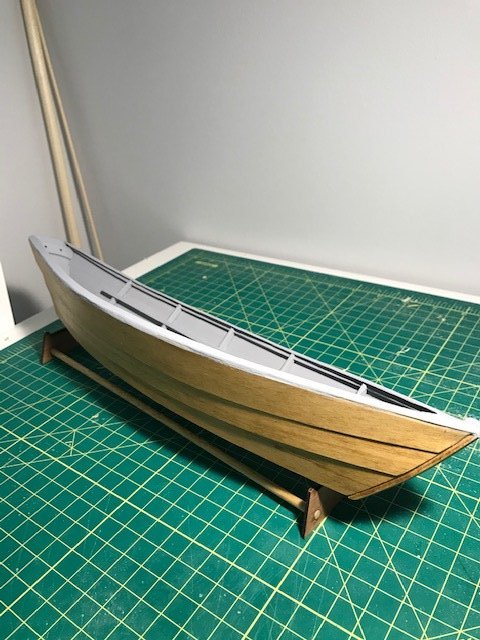
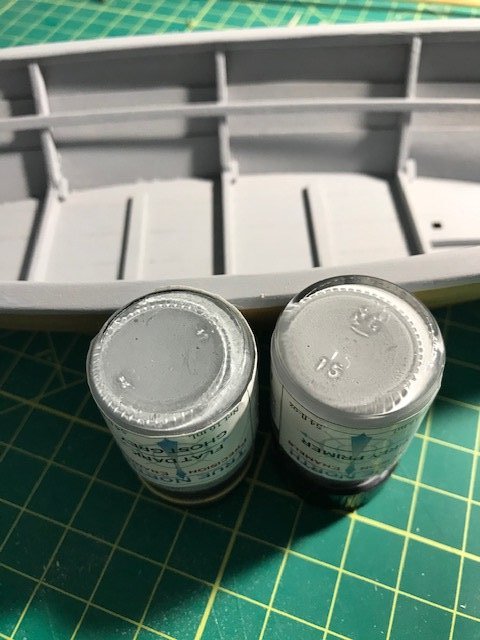
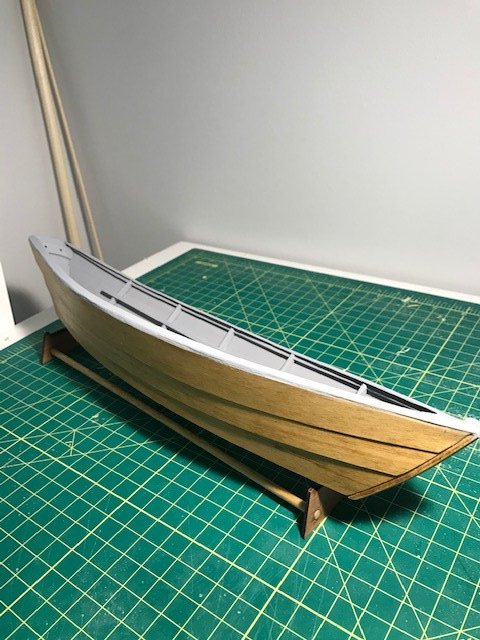
It's been a few weeks because I have not had any days off from work until today. I did manage to chip away at a few things whenever I had a little bit of time at night which I'll outline in this log entry. When I left off, I had finished attaching the stem to the stern and had cut off all the frames even with the gunwale. The next instructions for "The Upper Works" comes at you fast and furious; install seat risers, make cap rails, paint interior, attach mahogany band, and drill cap rail for oar lock pins. It's a lot of stuff crammed into just a few sentences. So I started out with the seat risers but I had quite a bit of trouble getting things to fit according to plan. Before I attached the seat riser band, I wanted to make sure the seats would actually fit on top of them. And as you can see, they absolutely wouldn't push down to where the plans say they should be glued. Also each seat was sitting in a significantly different level from one another as shown with my ruler line below: This was supposed to be the easiest part of the entire build but it was probably one of the most difficult to adjust when I realized none of them were lining up. I had to bring the seat rise strip up from where the plan outlines show them : And had to sand/cut the seat notches inward so that they would slip down onto the rise evenly. I have just done a dry fitting here but I'll still need to push them down a bit in order to glue them into place: Gluing them down at this point didn't make sense to me yet even though this is part of the first step in this section. Painting wouldn't be possible (or it would be really difficult) if I did. So I opted to not glue any of the seats down until I finished all of the other tasks in this section. Next would be the gunwale strips which was also pretty challenging. They show that you just cut out chunks of wood and lay them across the gunwale strakes to shape and form. I thought I'd be smart about it and overlay some wax paper to save myself from using too much wood. And then use this as a template against the actual wood to cut out pieces to form the edges: But I ended up not cutting enough wood so a lesson learned there. I had to add bits to the stem and stern as well as some wood filler here and there so take my method with a grain of salt. It's much easier to take wood away than to add it back. That stick jammed between the seat riser strip and hull is where I cracked the seat riser strip while I was trying to sand/cut/glue the gunwales and I was bracing it while I tried to glue it back together. Another lesson learned here is to NOT glue that seat rise strip until after you have completed the gunwales. They are too brittle and will crack with just a little pressure in the middle. I also finally got the "matte" finish I was waiting on to finalize the staining. I added a 2nd coat of stain (because I decided it was still a little too light for my taste) and then added the matte finish. I also built the stand that comes with the kit and stained that as well: After this, I started the painting process. Because I decided to stain the exterior, I only needed to paint the deck and inside walls (I don't really know boat terminology well yet) but I was a little nervous doing it. I'm not super confident in the color option that's listed with the kit (ghost grey) and I was starting to think that the natural wood was looking pretty nice but I dove in started with the primer to see how it went from there. So here is the entire inside painted with the primer: And contrasting it with the stain I started to feel better about going ahead with painting: After this drys, I'll do a couple more coats of the actual enamel they're calling "Ghost Grey". It's interesting though that the color that's recommended looks very similar to the primer itself. I could barely tell the difference between them (Ghost Grey on the left. Primer on the right): I'm guessing that the actual enamel paint will bring a higher quality to the finish and also make it a little darker? We'll find out in the next update I guess because I've only had time to do the primer so far. And while I'm waiting for paint to dry, I'll work on building the lobster cage and buoy that I wanted to build from scratch. I started roughing out a couple of buoys but have no idea if I'm doing this correctly. I looked up what the average size of one should be and converted that to the model size. I went over to Home Depot today and bought a couple of dowels that were close to the size (1/2" diameter for the buoy itself and 3/16" diameter for the handle). I looked up some pictures online of what the shape should be so I'll probably just kind of eye ball it as I go along. Obviously still have a lot of trimming and sanding to do still: So I guess some good progress all things considered. I'll finish up painting and then next add the mahogany strips, glue in the seats, and drill/set the oarlocks. Have a great week everyone! Till next time.
- 34 replies
-
- grand banks dory
- bluejacket shipcrafters
-
(and 1 more)
Tagged with:
-
@pwog Wow, it does sound like quite a process! Thank you very much for sharing your experience. Are you also cutting the paint with an enamel thinner? I'm guessing that the more thinner used, the quicker the paint could potentially dry? Either way it, sounds like I should just plan on 1 coat === 1 day.
-
There's some great information on this thread. Thanks to everyone for contributing! I'm wondering if anyone could give their experience with drying time. I realize the answer is probably "it depends" but I'm just trying to estimate what kind of time I should expect from a basic wood model that will take a primer coat and couple additional coats of enamel paint. Are we talking something like 8 hours for each coat (so like 3 days for primer, coat 1, and coat 2)?
-
@AON Yes that’s a really good point about them snapping off. It’s funny because I managed to do it for just about everything until the very last thing (the stem overlay piece). I was able to get it to glue overnight and about mid morning the next day (after I had posted my last update), I started to hear a slow creaking and then snap! Snap! Snap! Three of them came clean off. 😅 But my stem piece was already glued down and they snapped clean off exactly where I would need to trim them to anyway so win-win. It was a close call though!
- 34 replies
-
- grand banks dory
- bluejacket shipcrafters
-
(and 1 more)
Tagged with:
-
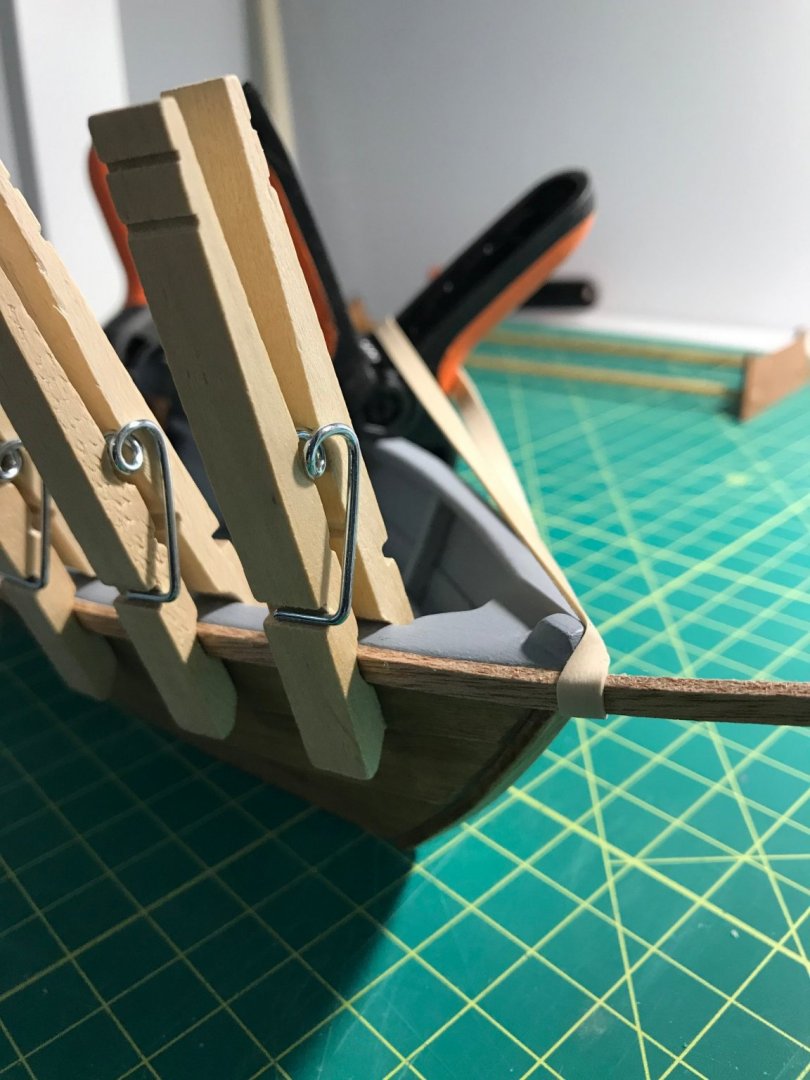
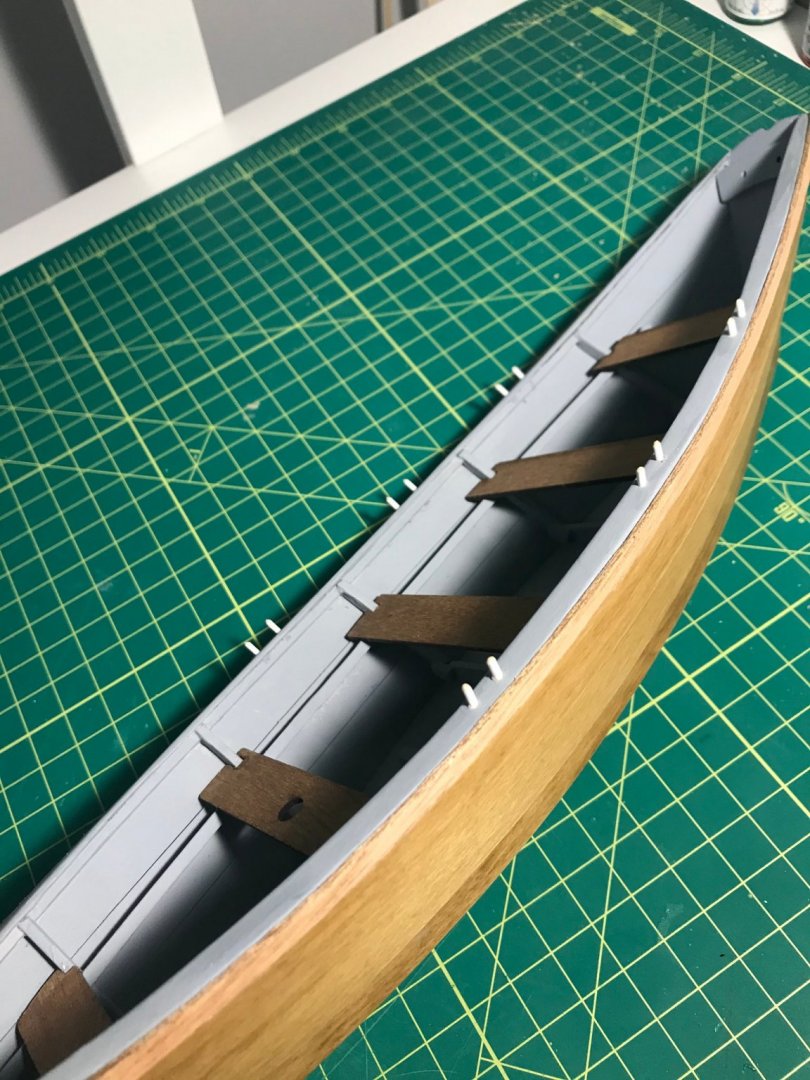
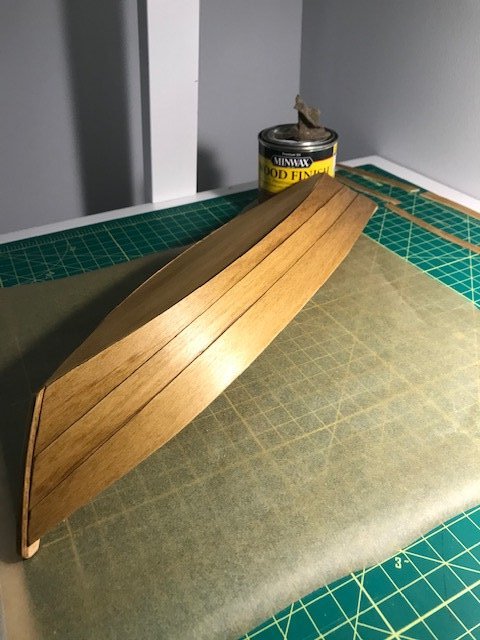
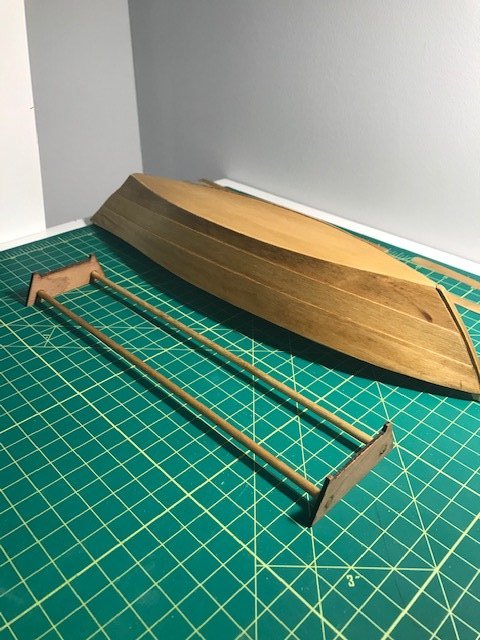
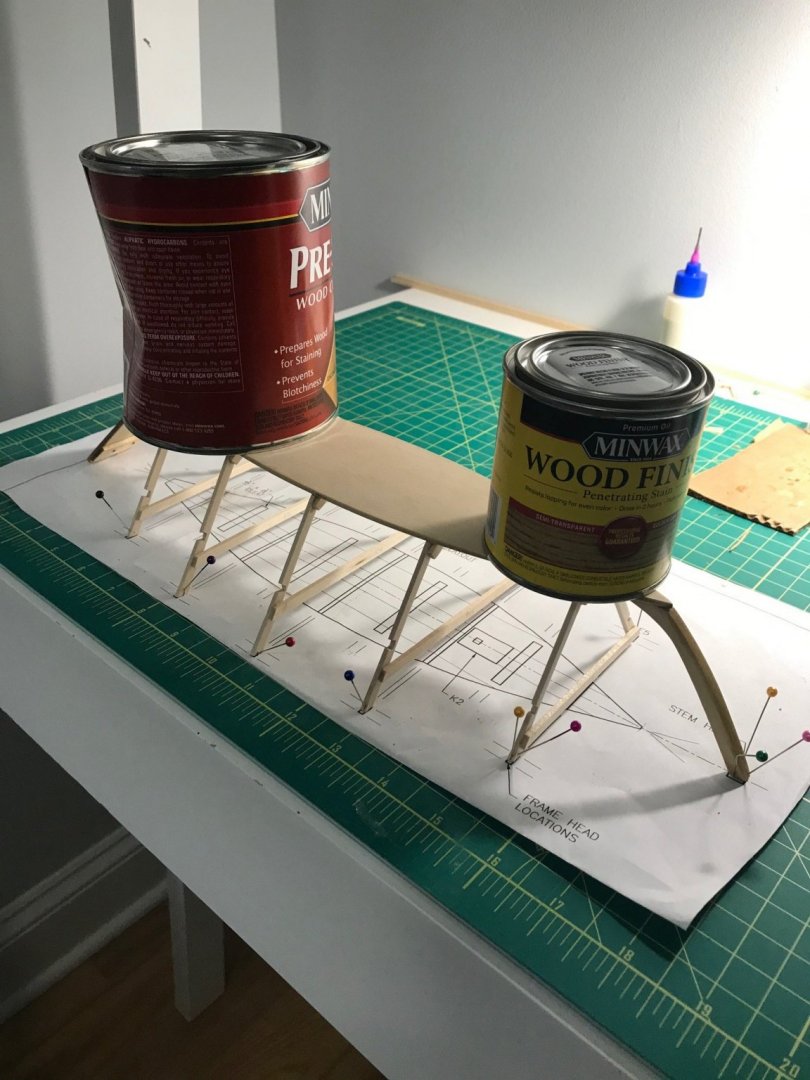
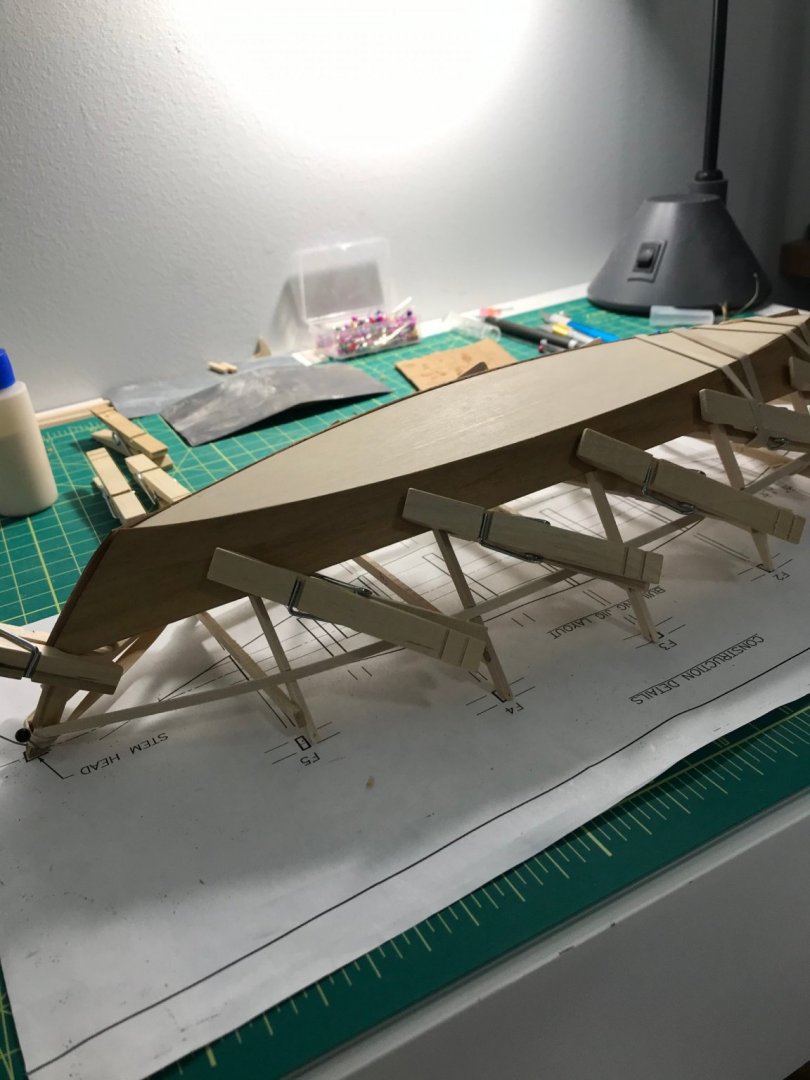
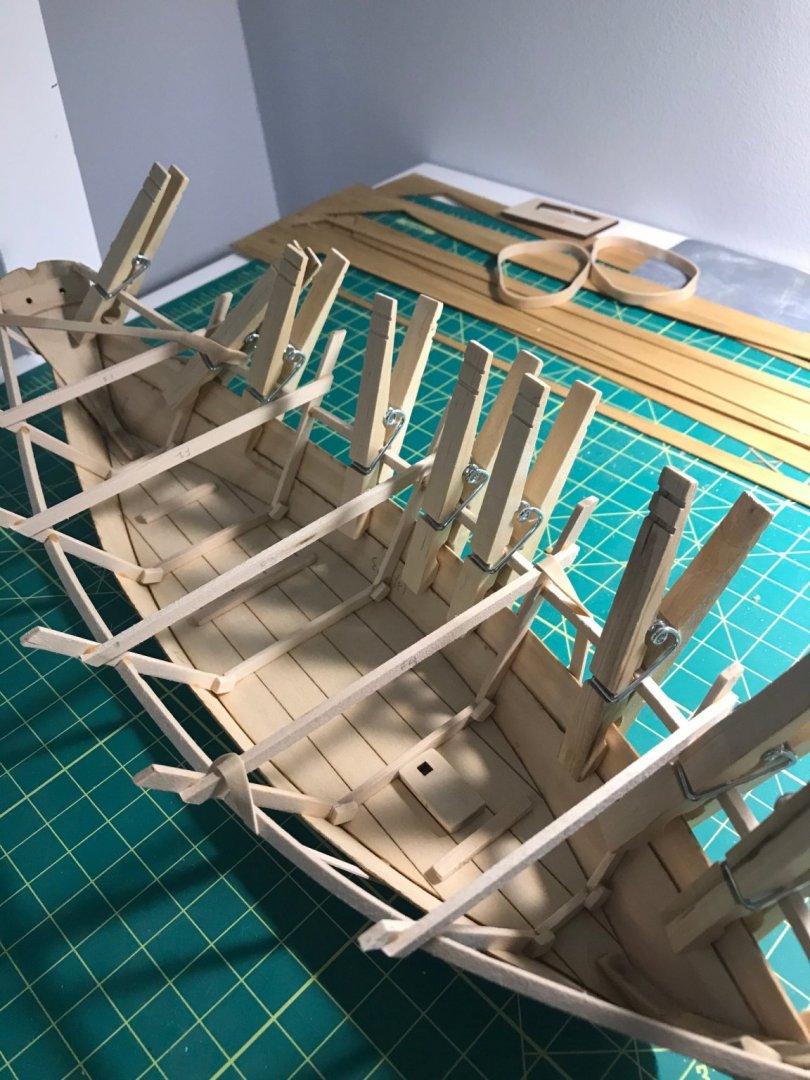
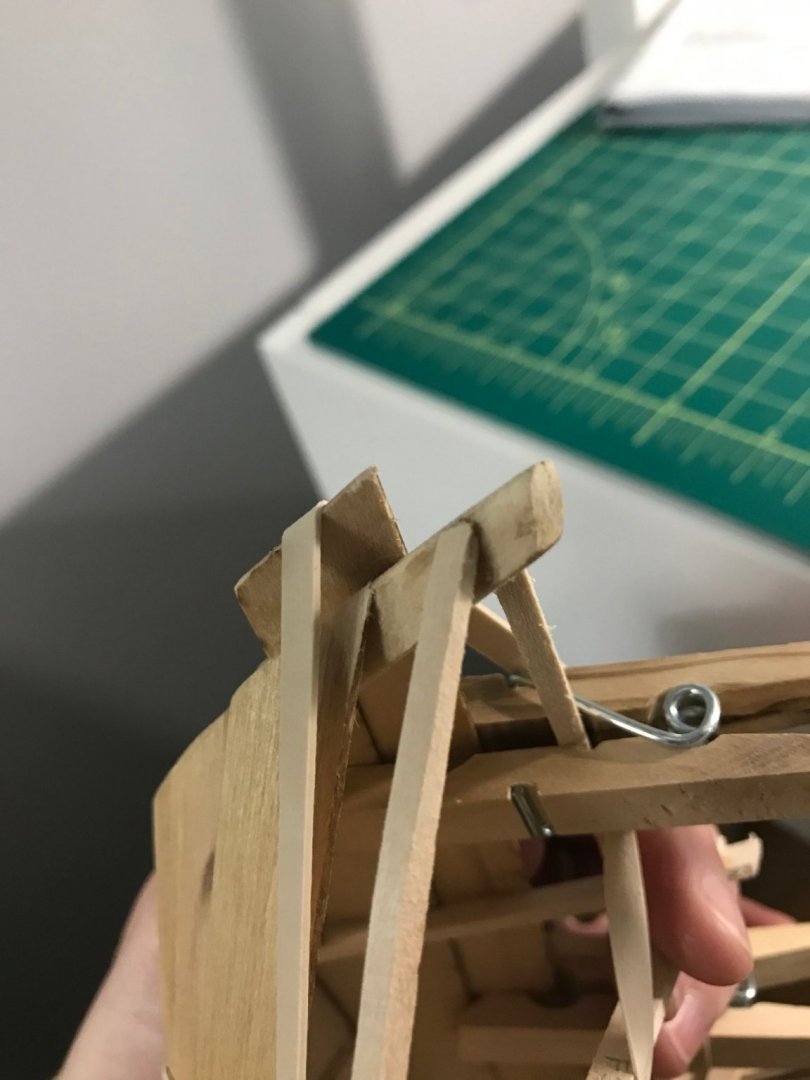
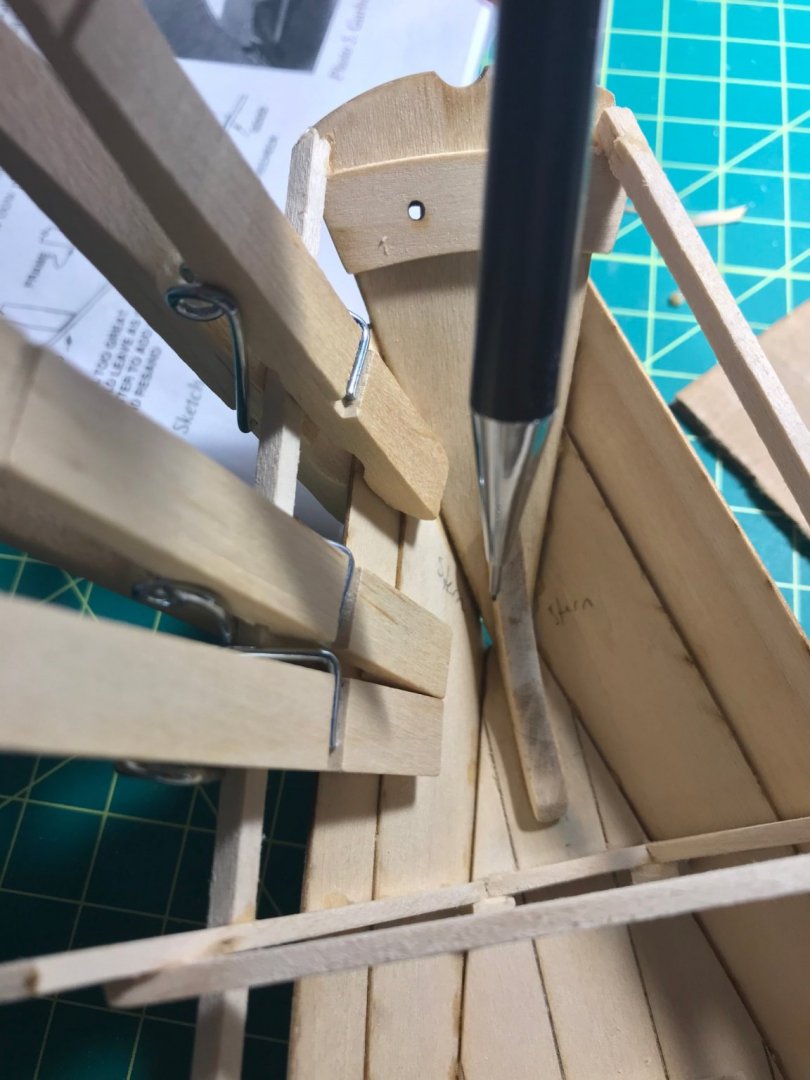
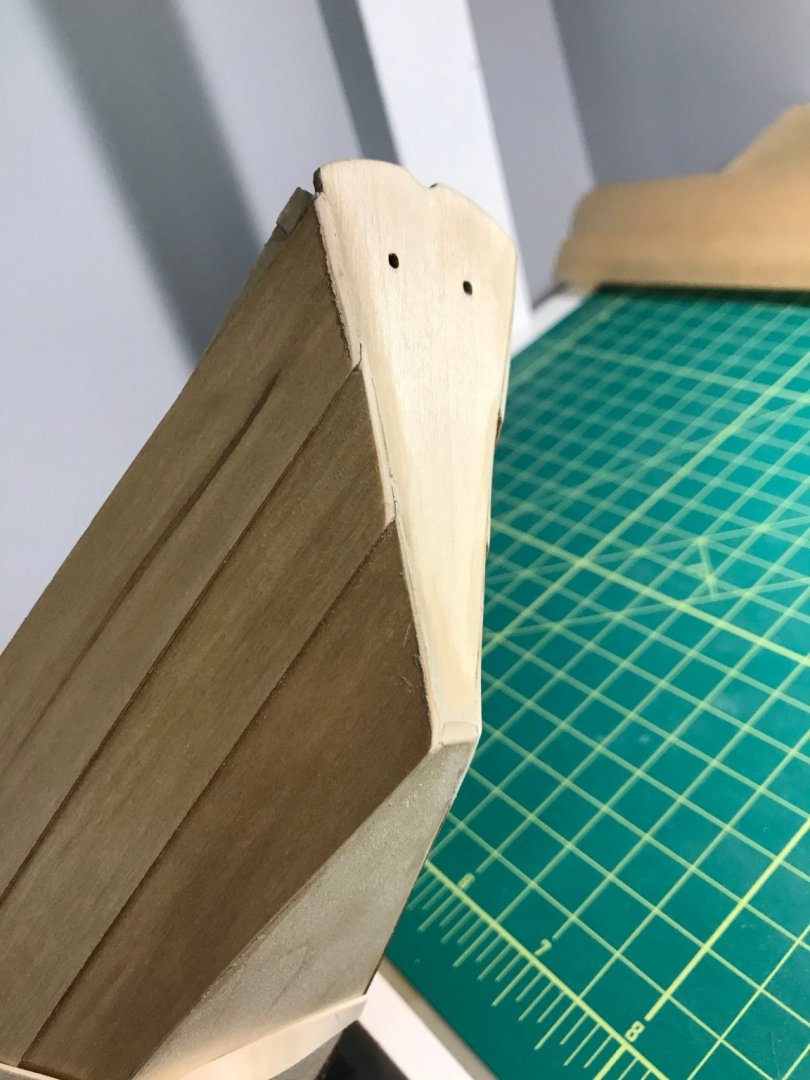
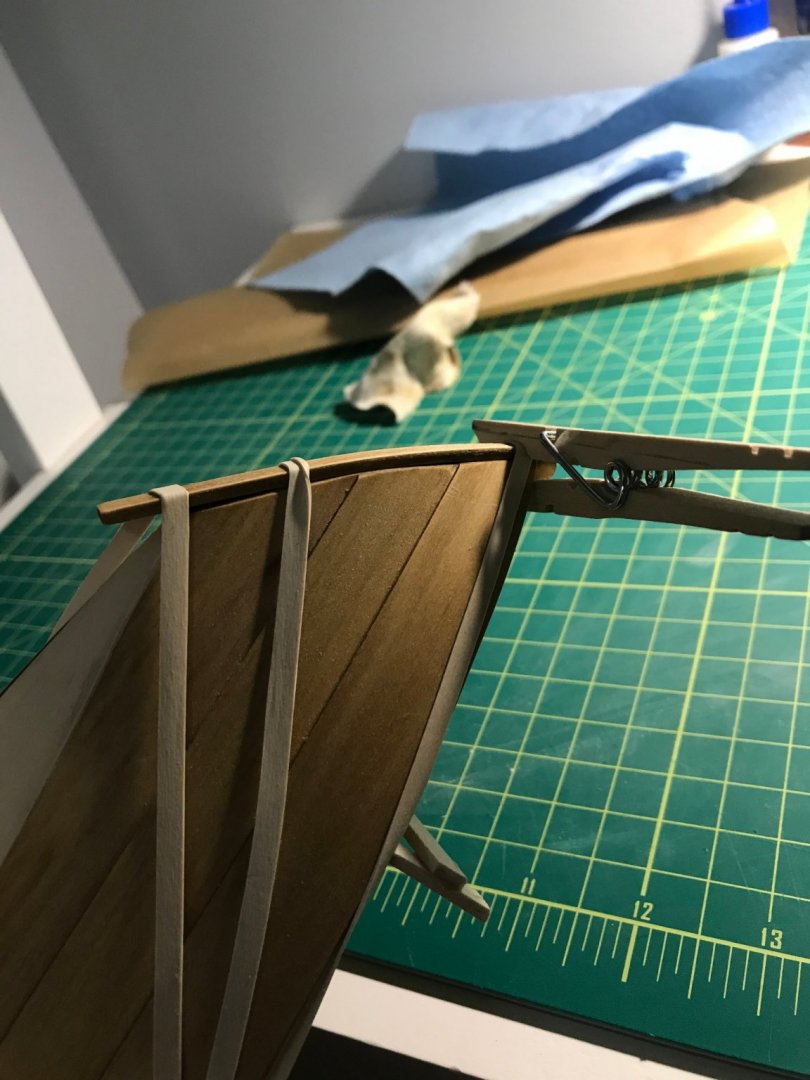
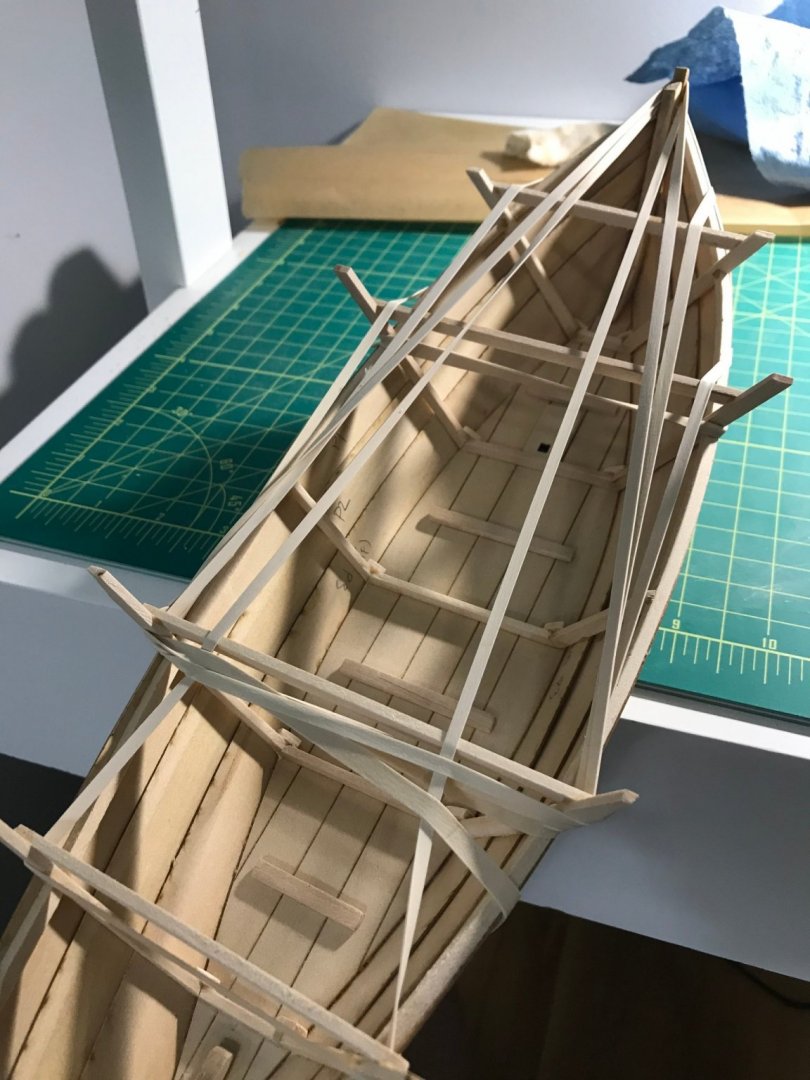
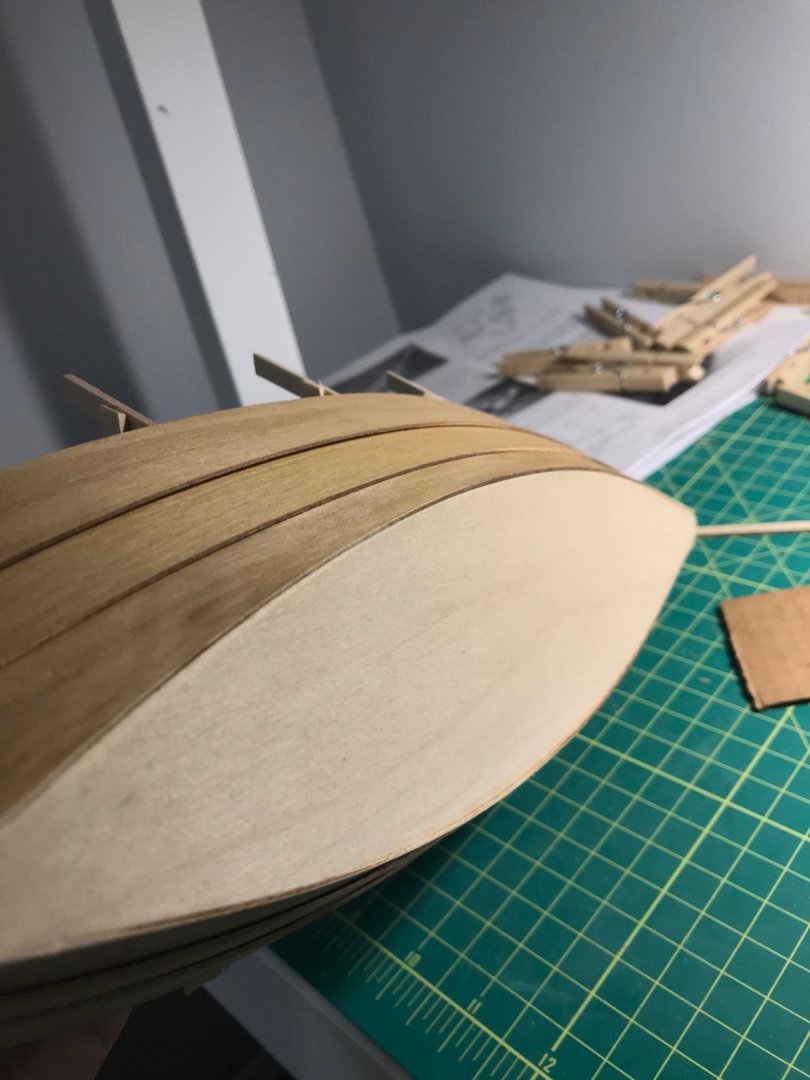
I've made some progress over the last week. When I last left off, I had added the frames and was about to start attaching the gunwale strips. The plan asks that you plank the boat up side down with pins stuck through the stem, stern, and frame ends to help shape it. I actually found this to be a little difficult to do because either my pins were too weak or my cutting mat was too tough. I could not get them to stay put. It was a constant source of frustration as I was trying to attach the gunwales. I ended up having to put weigh ton the top of it to keep it down: Even with my staining cans on it though, it was kind of a hassle. I thought about trying a board or something stiff underneath and then wrapping rubber bands around the entire thing to help form the shape but I didn't have the material to make a board. The gunwale strakes were pretty easy to soften up by just soaking them for 15 minutes or so (I just used the bath tub with a little hot water on the bottom). They bent into place without much issue. Here I've already added both garboard planks: More planking with so many clothespins and rubber bands. You literally can not have enough of them. I got my first real challenge when I realized that I wasn't properly beveling the planks as I was laying them down. And also I found that the gunwales needed to be formed at the ends as well even though it wasn't written in the instructions. If I didn't bevel or sand down the ends of the gunwales, then the planks would not sit flush against the stem. Here I'm showing a gunwale that I had to sand down at the end: Another big issue was the stern positioning that I mentioned in my previous post. I didn't know exactly how to position it and I took a guess. Well, I'm pretty sure now that I guessed wrong. It was positioned way too far out so there was a big gap at the bottom that even the planking wouldn't cover: And another big mistake is not starting with planking from the stern and going up to the stem. Because of this along with the position of the stern itself being too far out, I found myself with quite a mess back there. I had huge gaps at the bottom and my planks were not aligning along the edges of the stern piece correctly. I must have forgotten to take a picture of what it looked like after I put all the planks on but here's what it looked like after I had to "fix" my previous sins; a lot of sanding, filler, and more sanding (but at least it's all lined up now): I will still need to stain it to match the outer walls but trust me when I say that it looks a great deal better than what it started out as. I definitely created a lot more work for myself but it was a good lesson. After trimming the planks that were overlapping on the stem, I cut, stained, bent, and attached the gripe. I will trim it down after the glue has set: It took a ton of rubber bands to get it to stay down: After the gripe glue dries overnight and I've trimmed it down, I'll move onto the upper works (cutting down the frames, adding cap rails, etc.) throughout the week ahead. I've already decided to go forward with staining the outside instead of painting but I was thinking about doing another coat of stain because I wasn't sure if it was dark enough or not. I knew that it wasn't a super dark stain already but I kept looking at it wondering if it might be better to do another coat of stain. Here's a picture of the bottom which is still natural for comparison: I will say though if you're also considering staining instead of painting, you'll find that many of your sins will not be easily covered. Someone said earlier, "Putty and paint - makes it look like what it ain't"... and that's really true. Any holes, glue, scratches, gaps, or any other small deviations will be super obvious with natural wood and you won't be able to easily paint over those flaws. That's all for now! Thanks for checking out my log and I'll most likely see everyone again next weekend with another update.
- 34 replies
-
- grand banks dory
- bluejacket shipcrafters
-
(and 1 more)
Tagged with:
-
That's some great advice! 😄
- 34 replies
-
- grand banks dory
- bluejacket shipcrafters
-
(and 1 more)
Tagged with:
About us
Modelshipworld - Advancing Ship Modeling through Research
SSL Secured
Your security is important for us so this Website is SSL-Secured
NRG Mailing Address
Nautical Research Guild
237 South Lincoln Street
Westmont IL, 60559-1917
Model Ship World ® and the MSW logo are Registered Trademarks, and belong to the Nautical Research Guild (United States Patent and Trademark Office: No. 6,929,264 & No. 6,929,274, registered Dec. 20, 2022)
Helpful Links
About the NRG
If you enjoy building ship models that are historically accurate as well as beautiful, then The Nautical Research Guild (NRG) is just right for you.
The Guild is a non-profit educational organization whose mission is to “Advance Ship Modeling Through Research”. We provide support to our members in their efforts to raise the quality of their model ships.
The Nautical Research Guild has published our world-renowned quarterly magazine, The Nautical Research Journal, since 1955. The pages of the Journal are full of articles by accomplished ship modelers who show you how they create those exquisite details on their models, and by maritime historians who show you the correct details to build. The Journal is available in both print and digital editions. Go to the NRG web site (www.thenrg.org) to download a complimentary digital copy of the Journal. The NRG also publishes plan sets, books and compilations of back issues of the Journal and the former Ships in Scale and Model Ship Builder magazines.



DorywithLobsterPot.png.c610e41ad86ace1eee8553d7a6f409f8.png)
