ThirdCoast
-
Posts
29 -
Joined
-
Last visited
Recent Profile Visitors
720 profile views


-
 End Of The Line reacted to a post in a topic:
Pilar by ThirdCoast - Constructo - Scale 1:27 - Earnest Hemingway's Yacht
End Of The Line reacted to a post in a topic:
Pilar by ThirdCoast - Constructo - Scale 1:27 - Earnest Hemingway's Yacht
-
ThirdCoast reacted to a post in a topic:
Flying Fish by Keithbrad80 - Model Shipways - 1:96
-
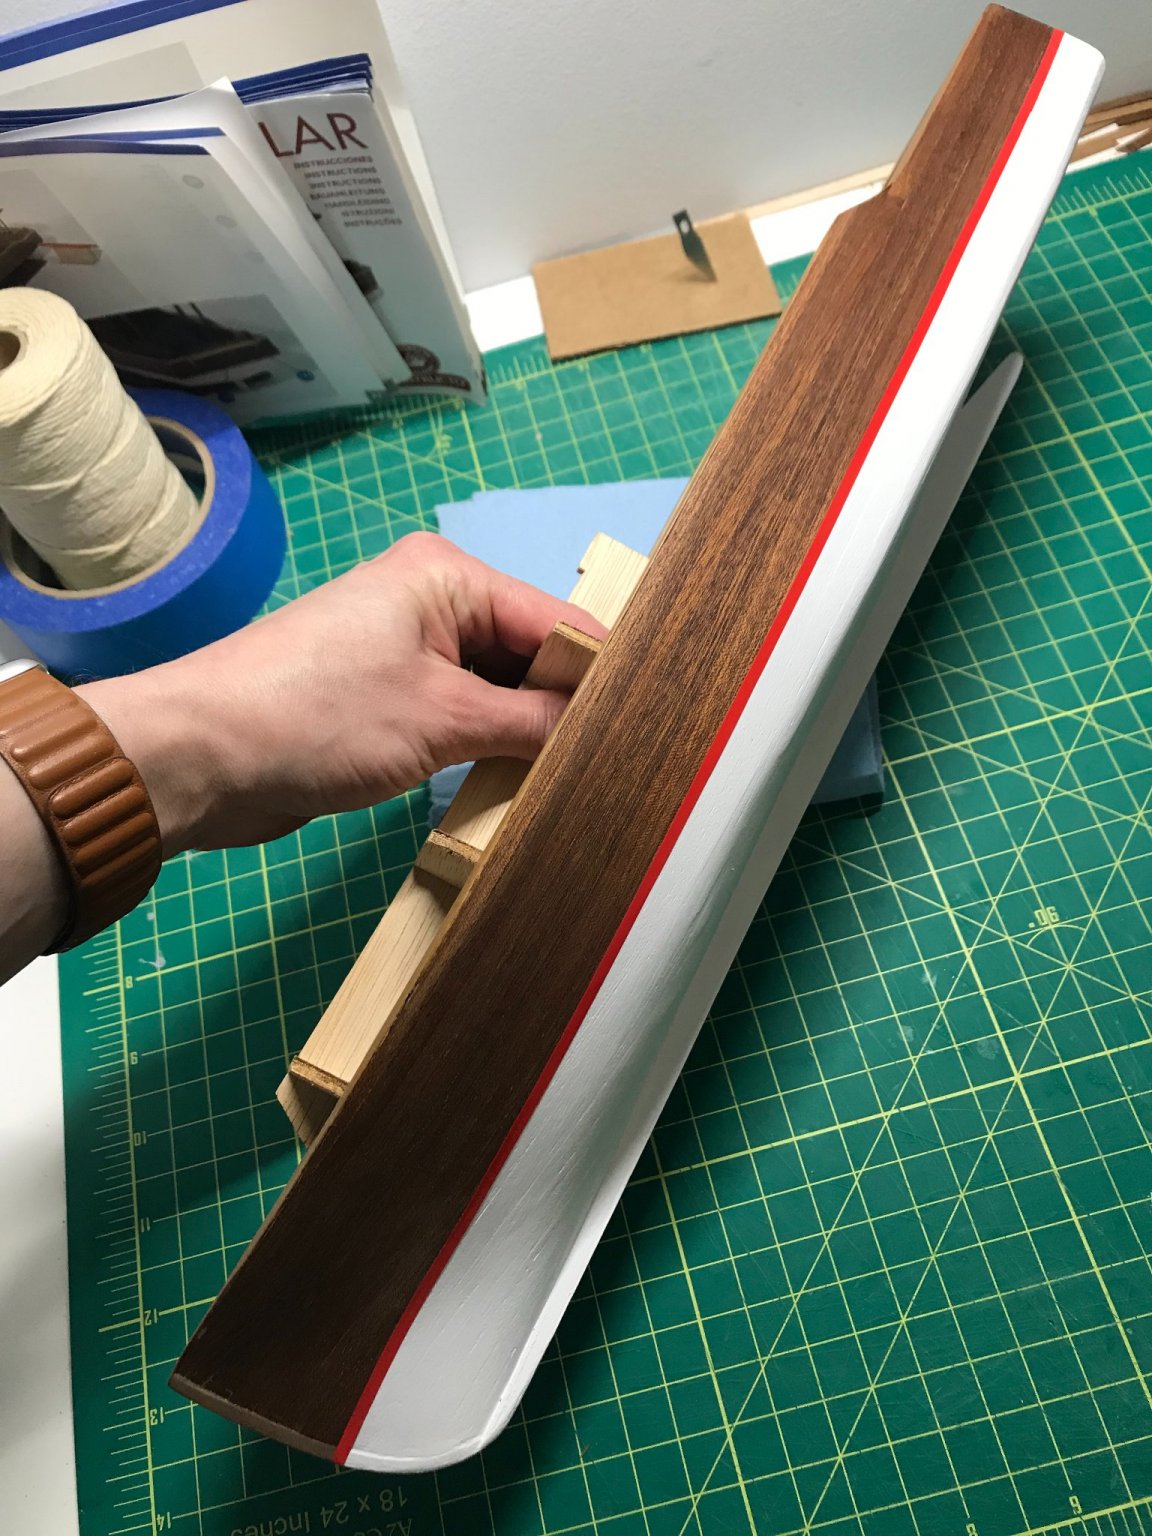
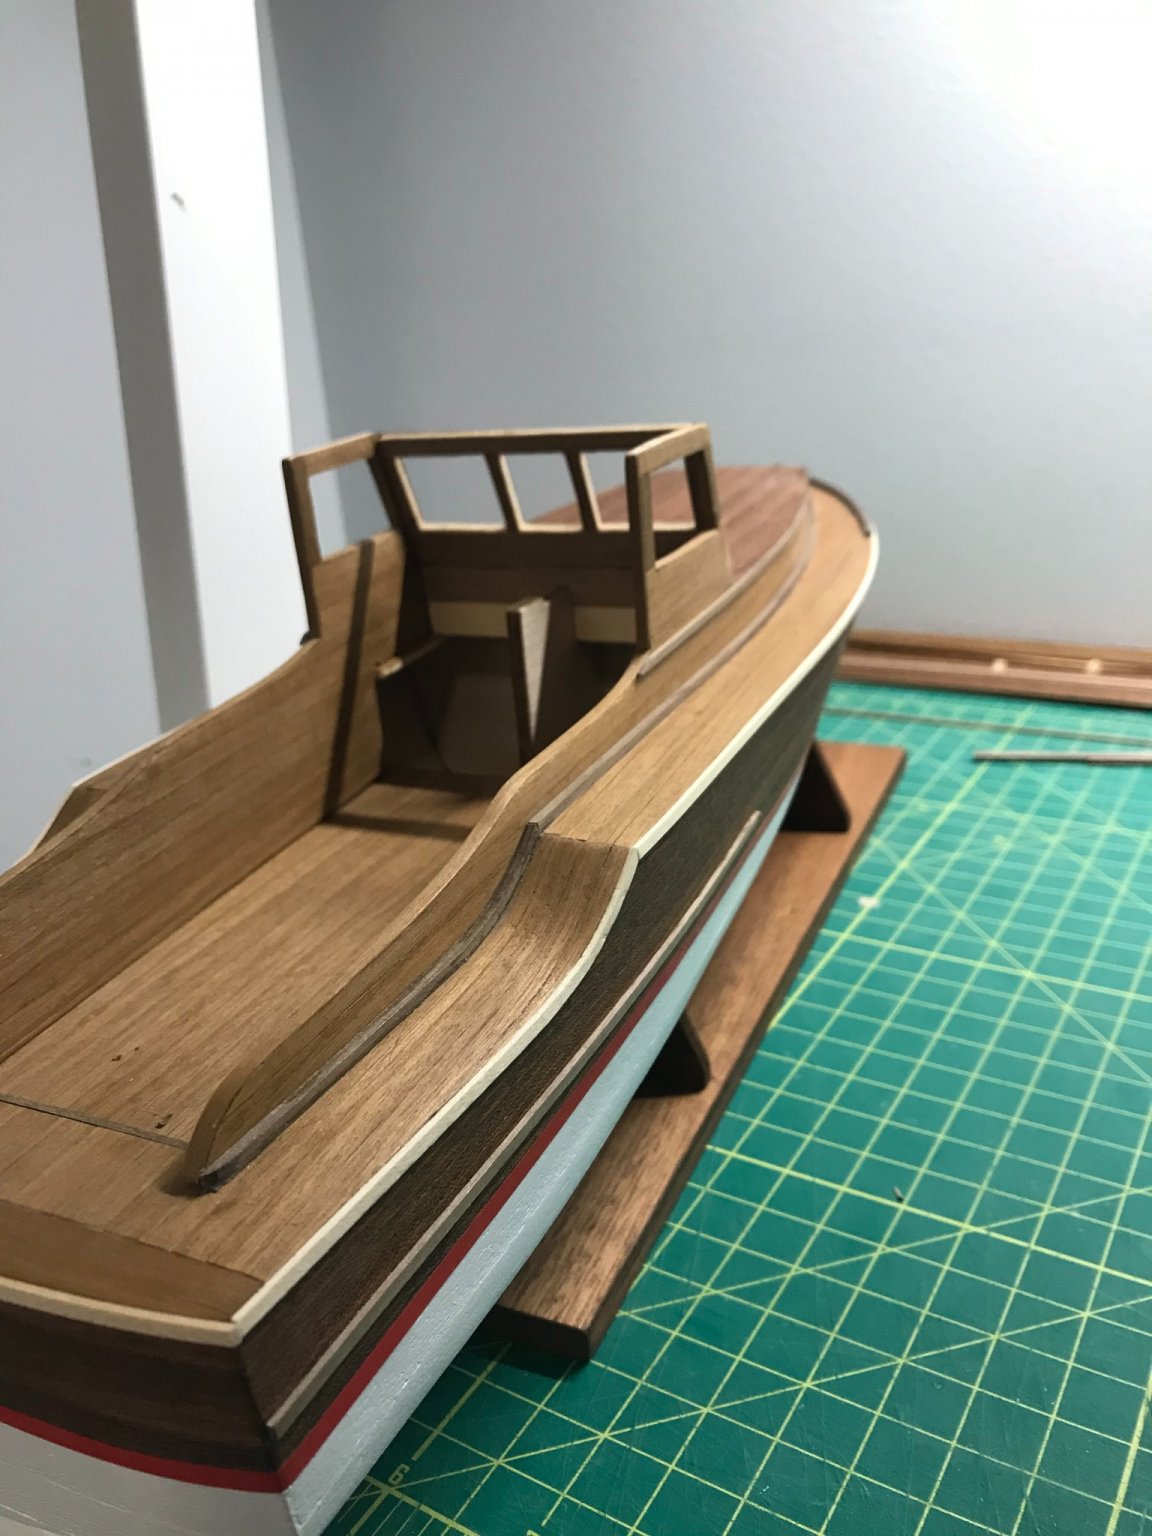
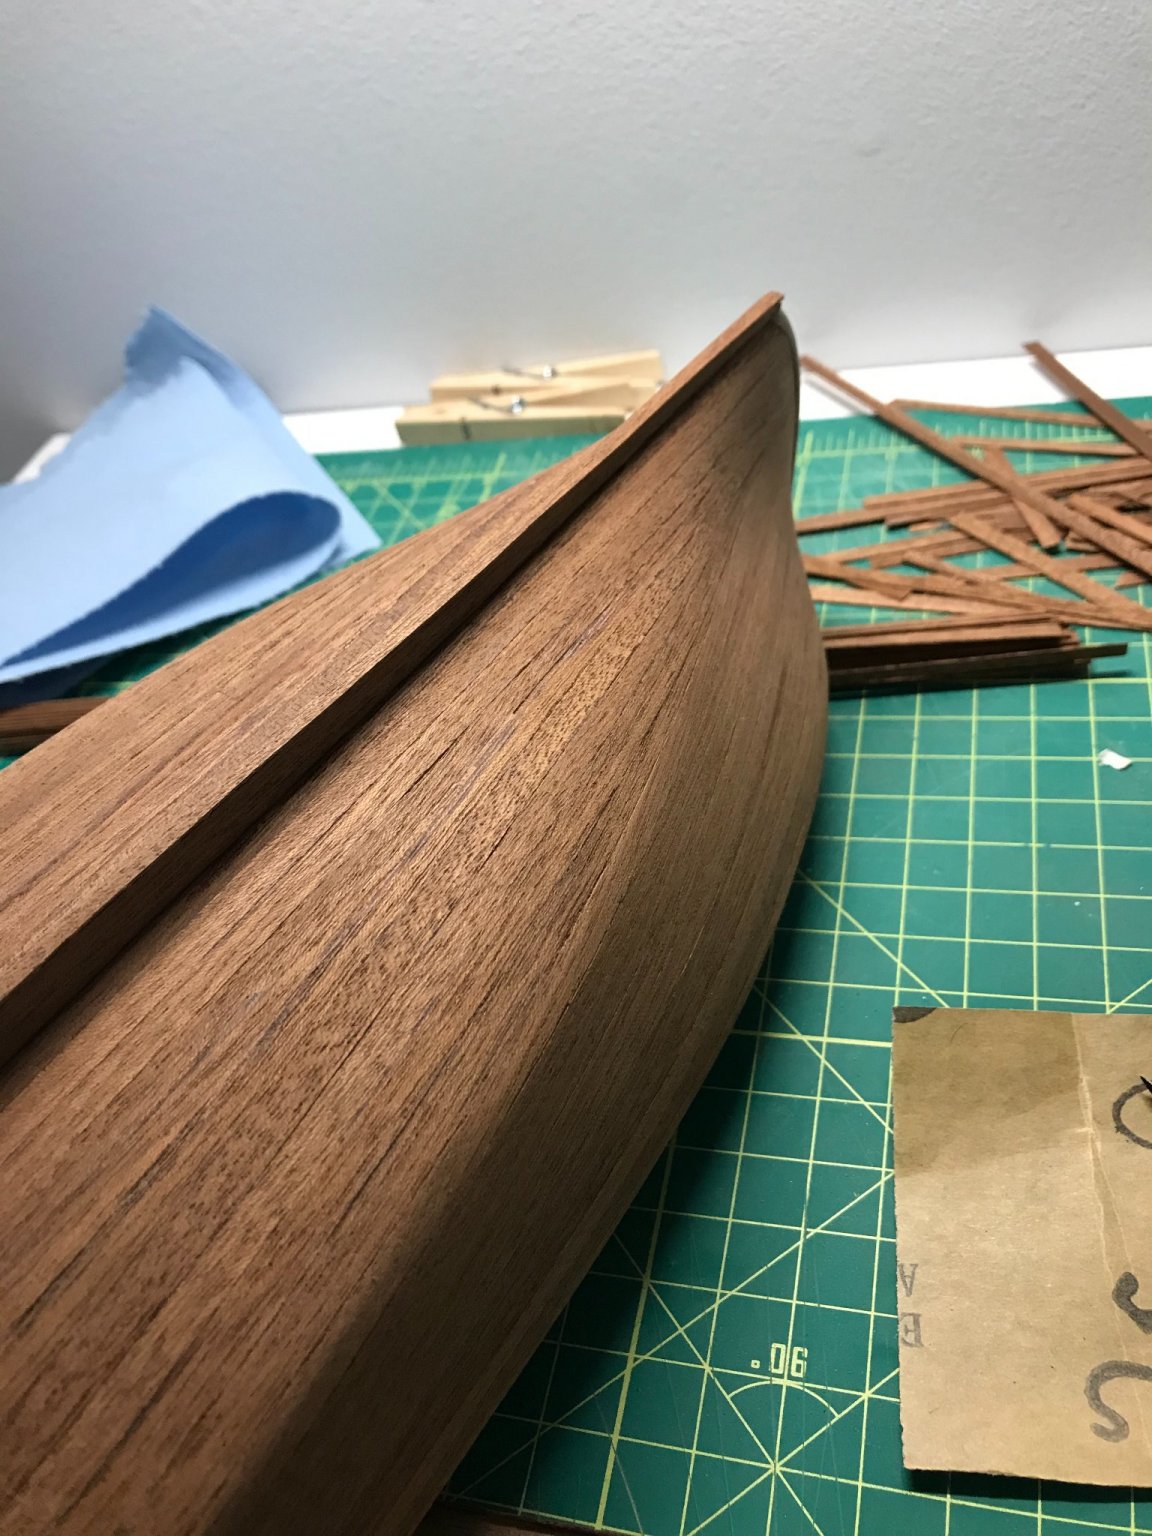
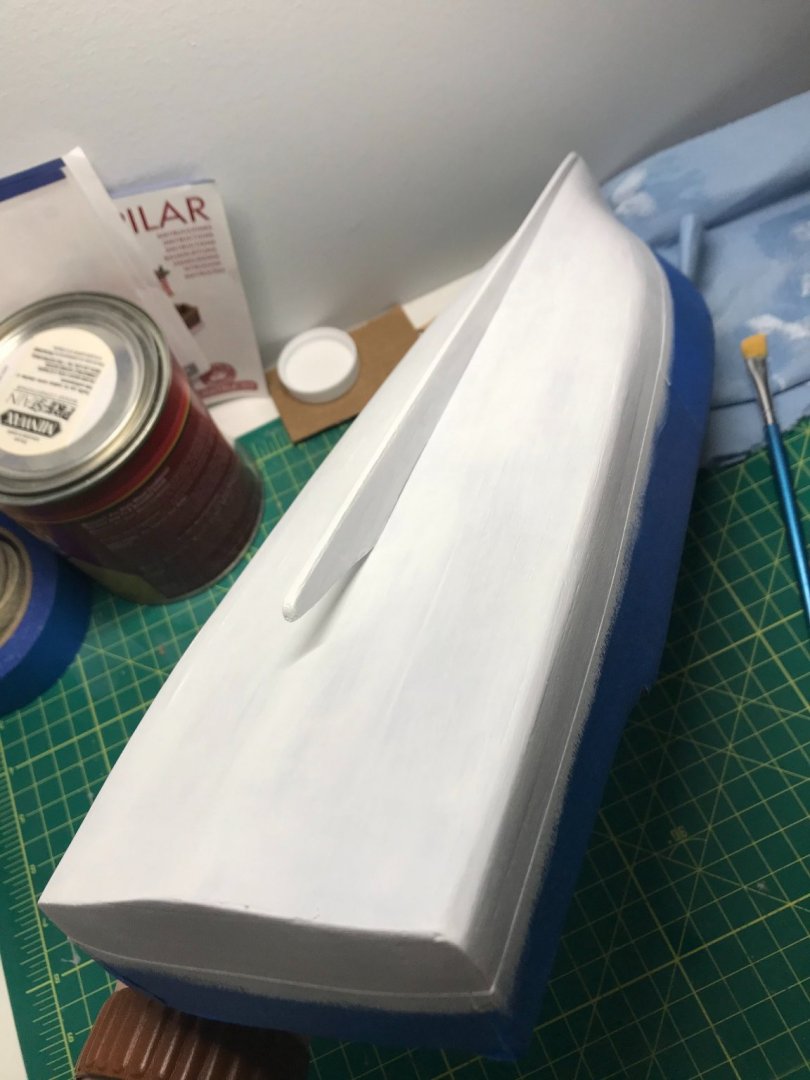
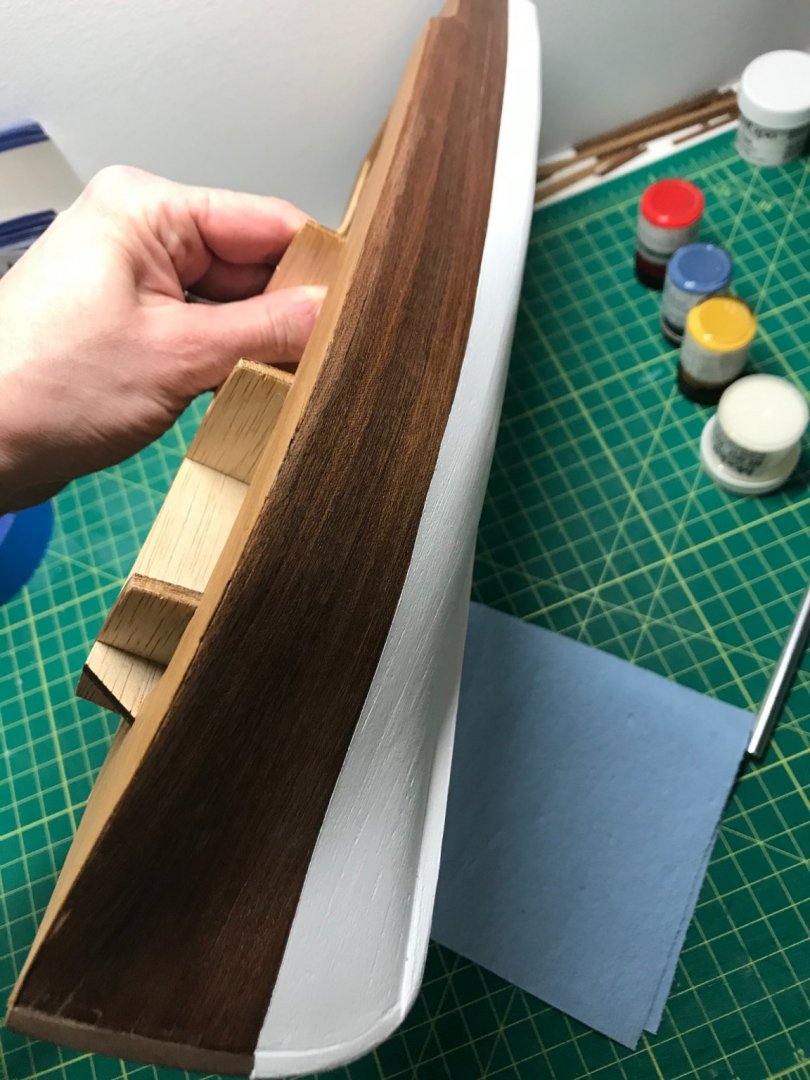
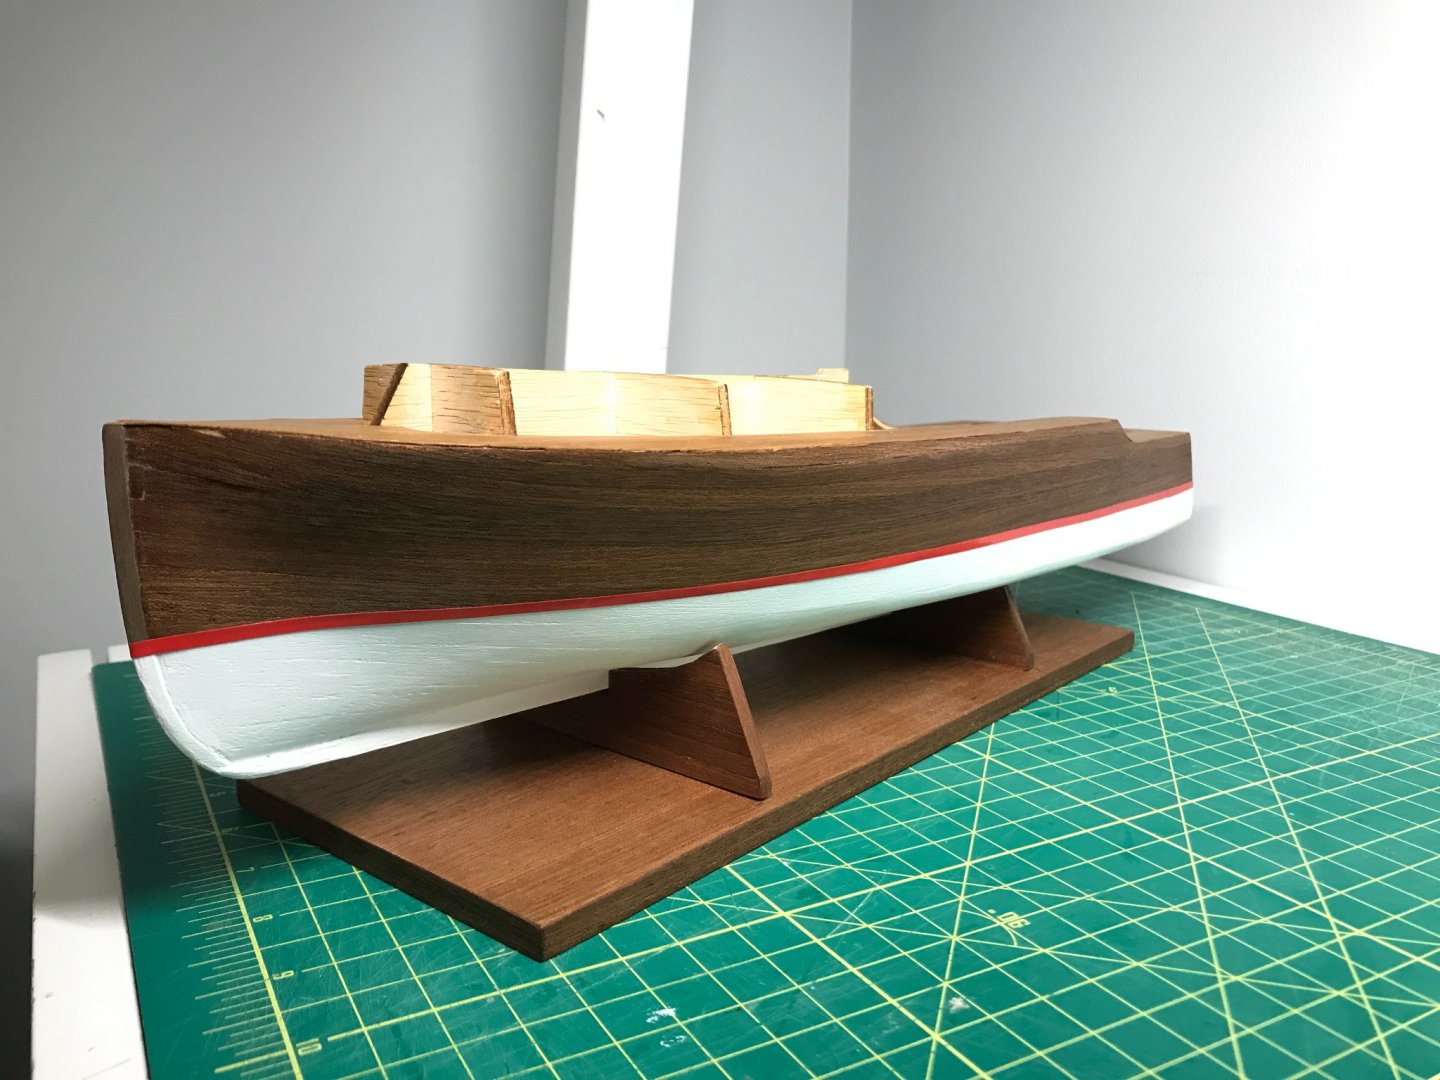
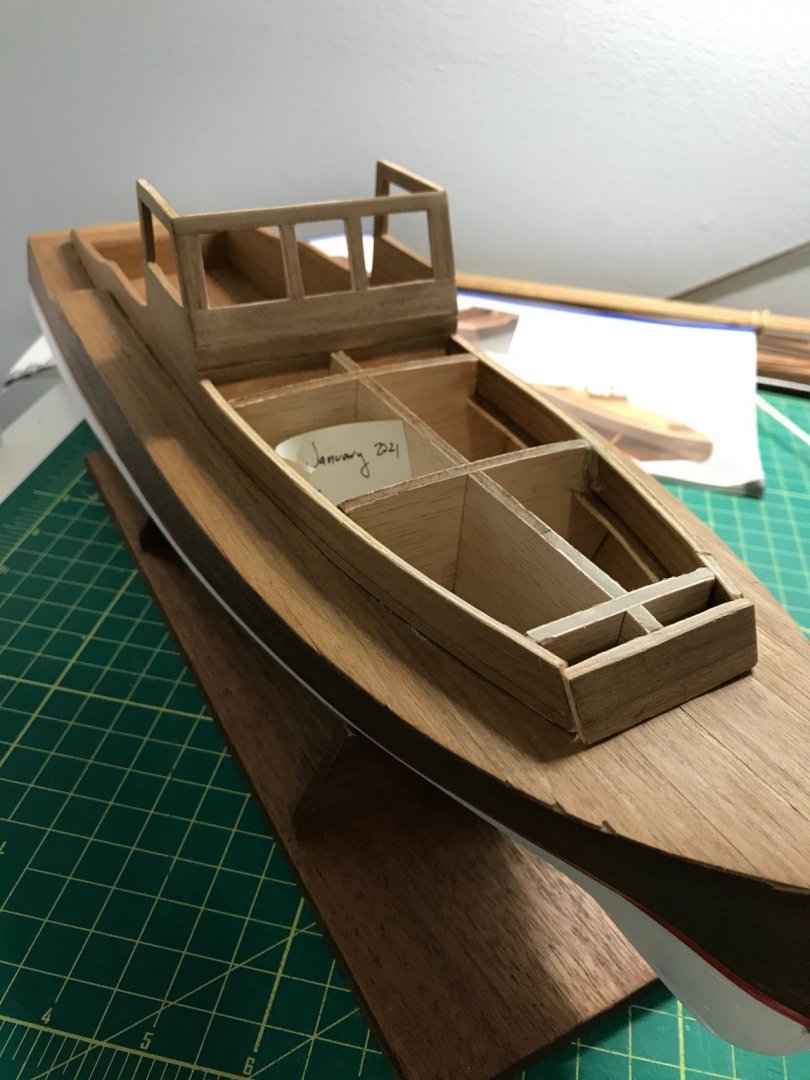
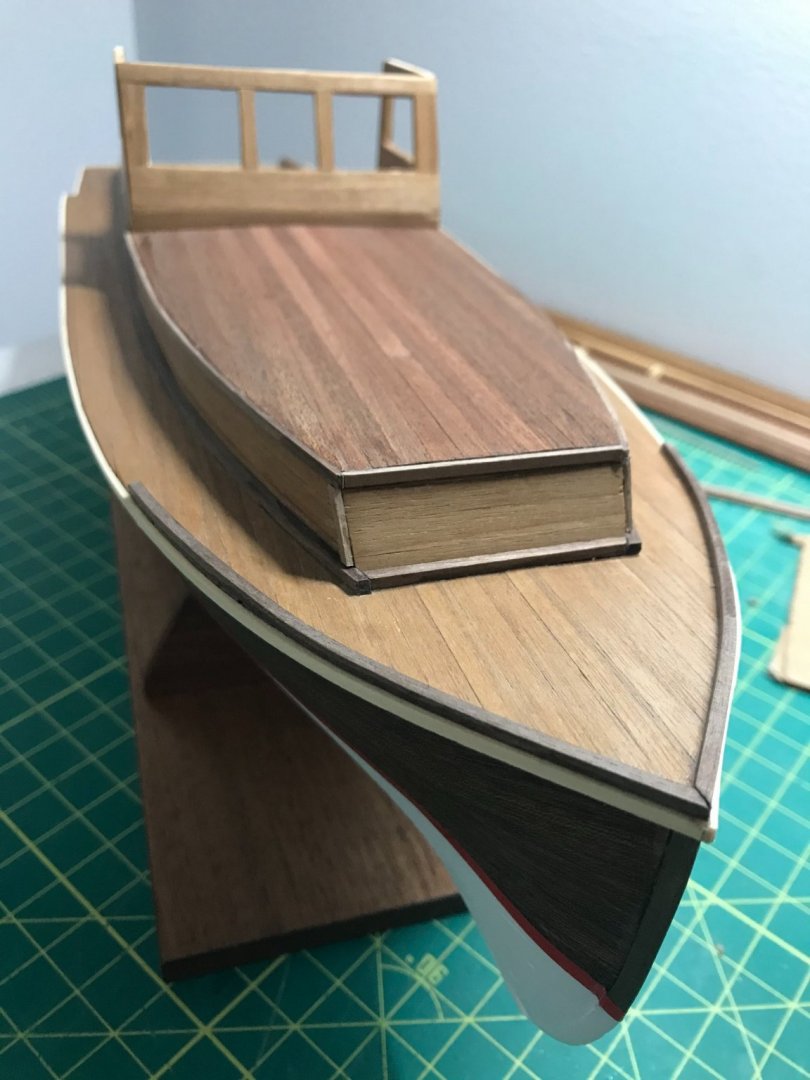
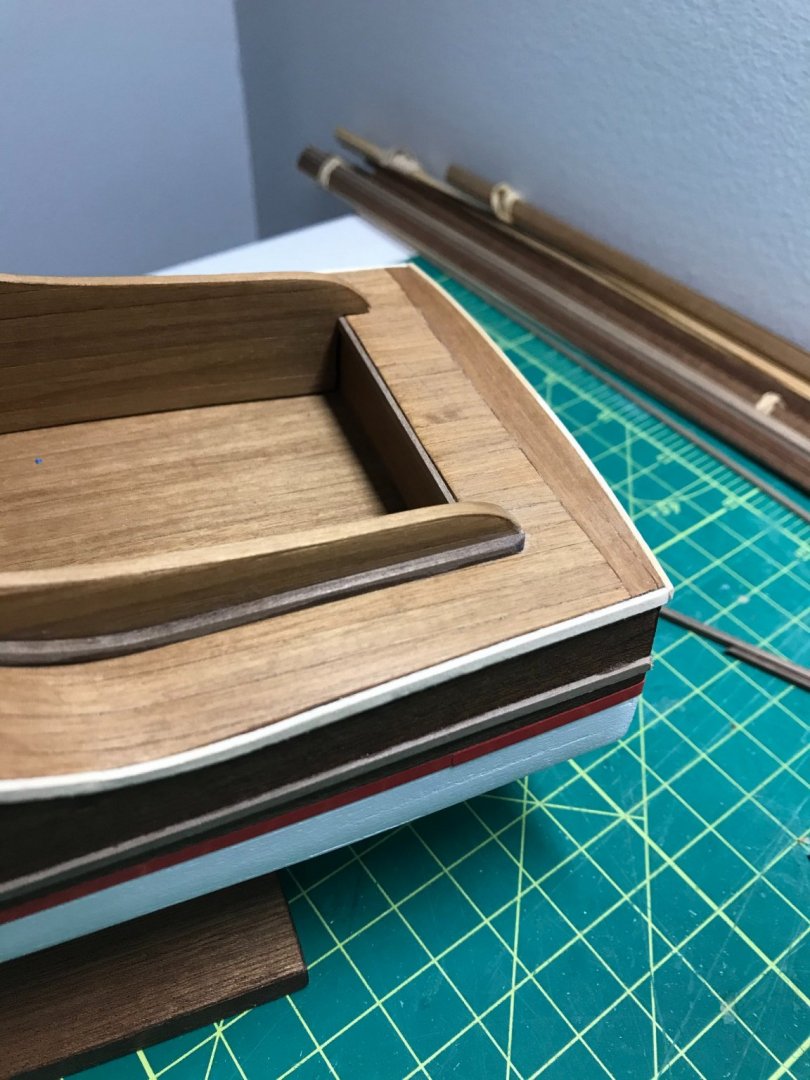
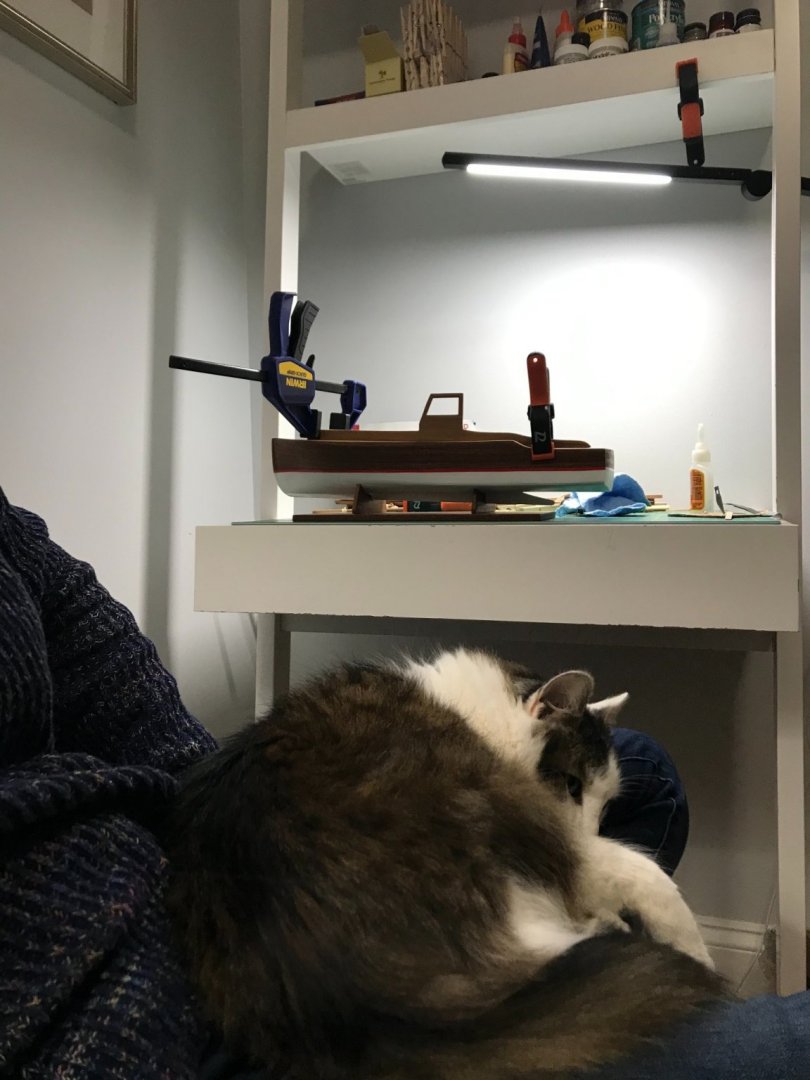
 It's been some time since my last post but progress has been made. I apologize to anyone looking for an "authentic" paint job. I didn't have the motivation to make it an exact replica like I said that I wanted to do in the beginning (black and red) so I just went along with the kit (white). Not to mention, I put so much work into the 2nd planking veneer and I thought it looked nice so it would have been painful to see it painted over. Even though the instructions don't have you painting the hull until the end, I realized pretty quickly that it would be extremely difficult to do that after putting together the upper deck so I decided to do it now. They want you to mix white paint with red to make a weird pinkish color but I didn't like that. I just went with white and applied the red strip that came with the kit. Drawing the water line. A couple layers of primer. A couple layers of white over the primer with painters tape removed at the water line. Added the kit's red stripe along the water line. The kit provides some kind of a rubber or latex sticker material. It would look better painted with a stripe instead of a shiny latex like material but it'll do for now. Next glued the sides which also frame out the bridge windows. Cat tax! Bridge windows attached. If anyone smashes open the boat in the future, they'll find a message. I mentioned before that the veneer strips are really delicate and were a little frustrating to work with as you can see below where they have chipped away rather easily at the ends. It was hard to not wince every time I saw them but I knew eventually I would come to this step where I'd add the wales and they would magically disappear. Now you see them.... Now you don't. (mostly). From here I've just been adding all of the various wales and rubbing strakes with their bends and turns (using a quick soak in water and curling iron). This is the part where it's starting to look like a real boat and I've been pretty happy with how it's shaping up: I'll start building the bridge next with all its fun details like the cabin door, wheel, rudders, and furniture. Until next time! 👋


-
Hi Harry, Thank you. I'm mostly using Gorilla Super Glue Gel XL. Because it's in some kind of a gel form, it gives me a few seconds fiddle with placement compared to a regular super glue.
-
Roger Pellett reacted to a post in a topic:
Pilar by ThirdCoast - Constructo - Scale 1:27 - Earnest Hemingway's Yacht
-
yvesvidal reacted to a post in a topic:
Pilar by ThirdCoast - Constructo - Scale 1:27 - Earnest Hemingway's Yacht
-
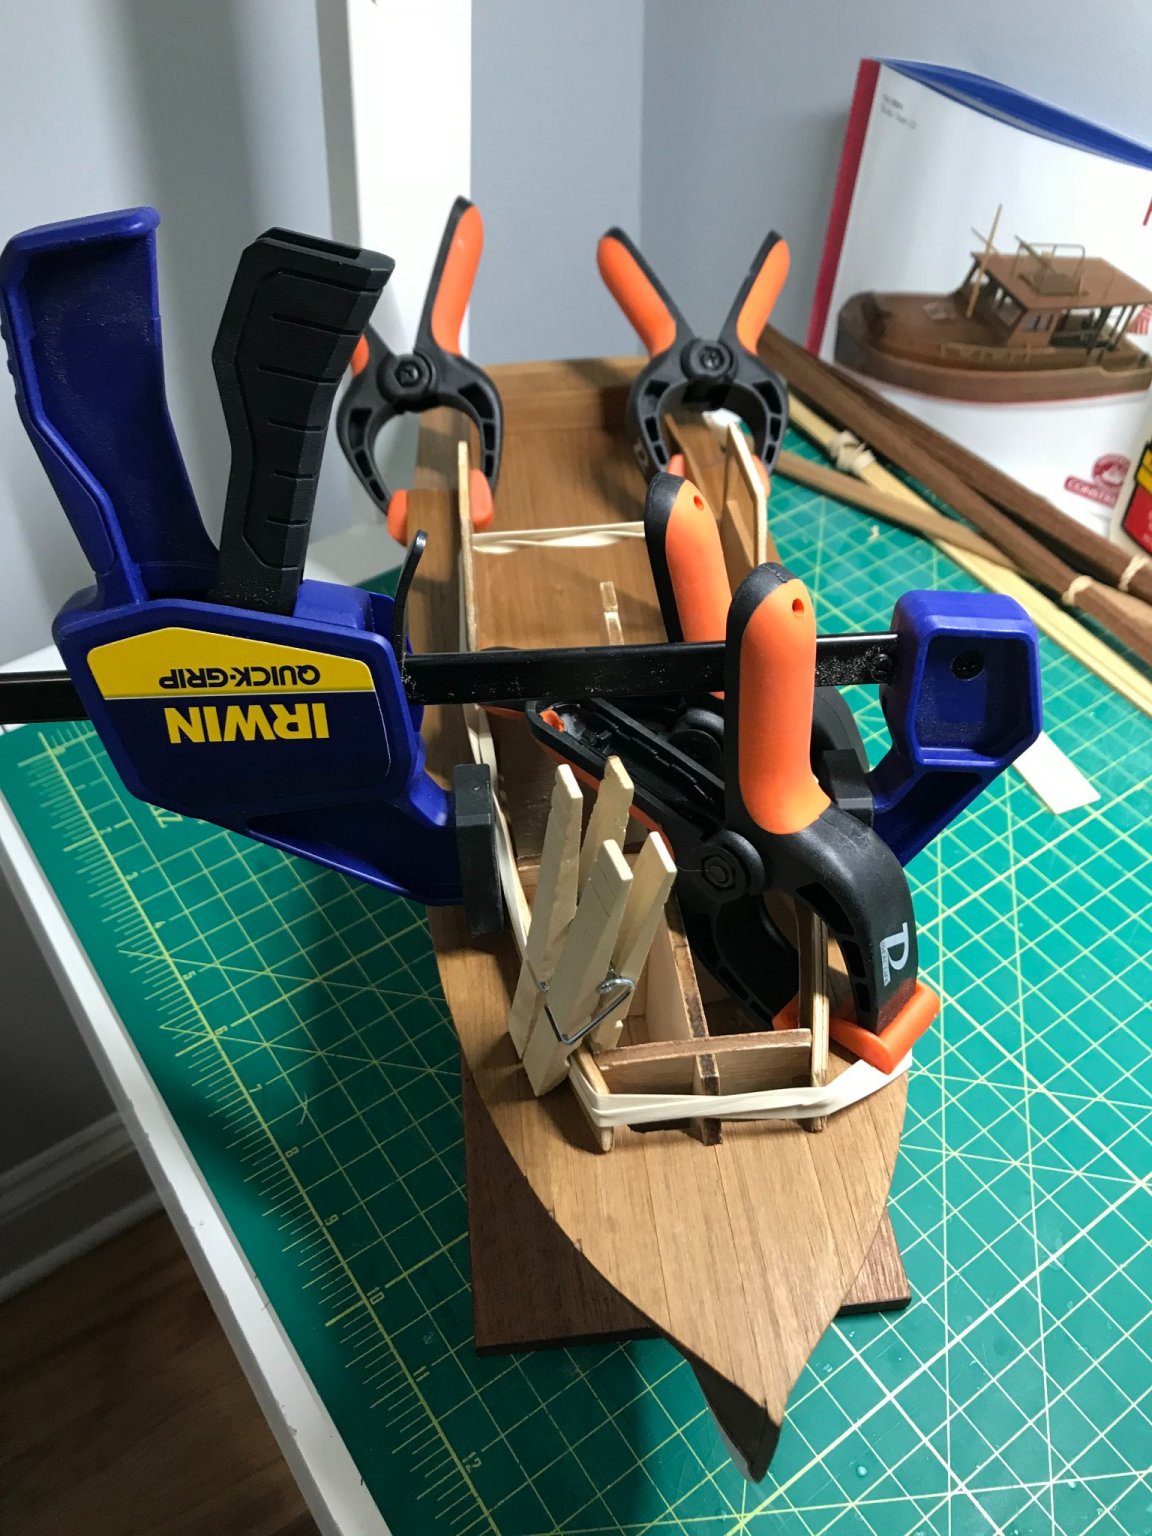
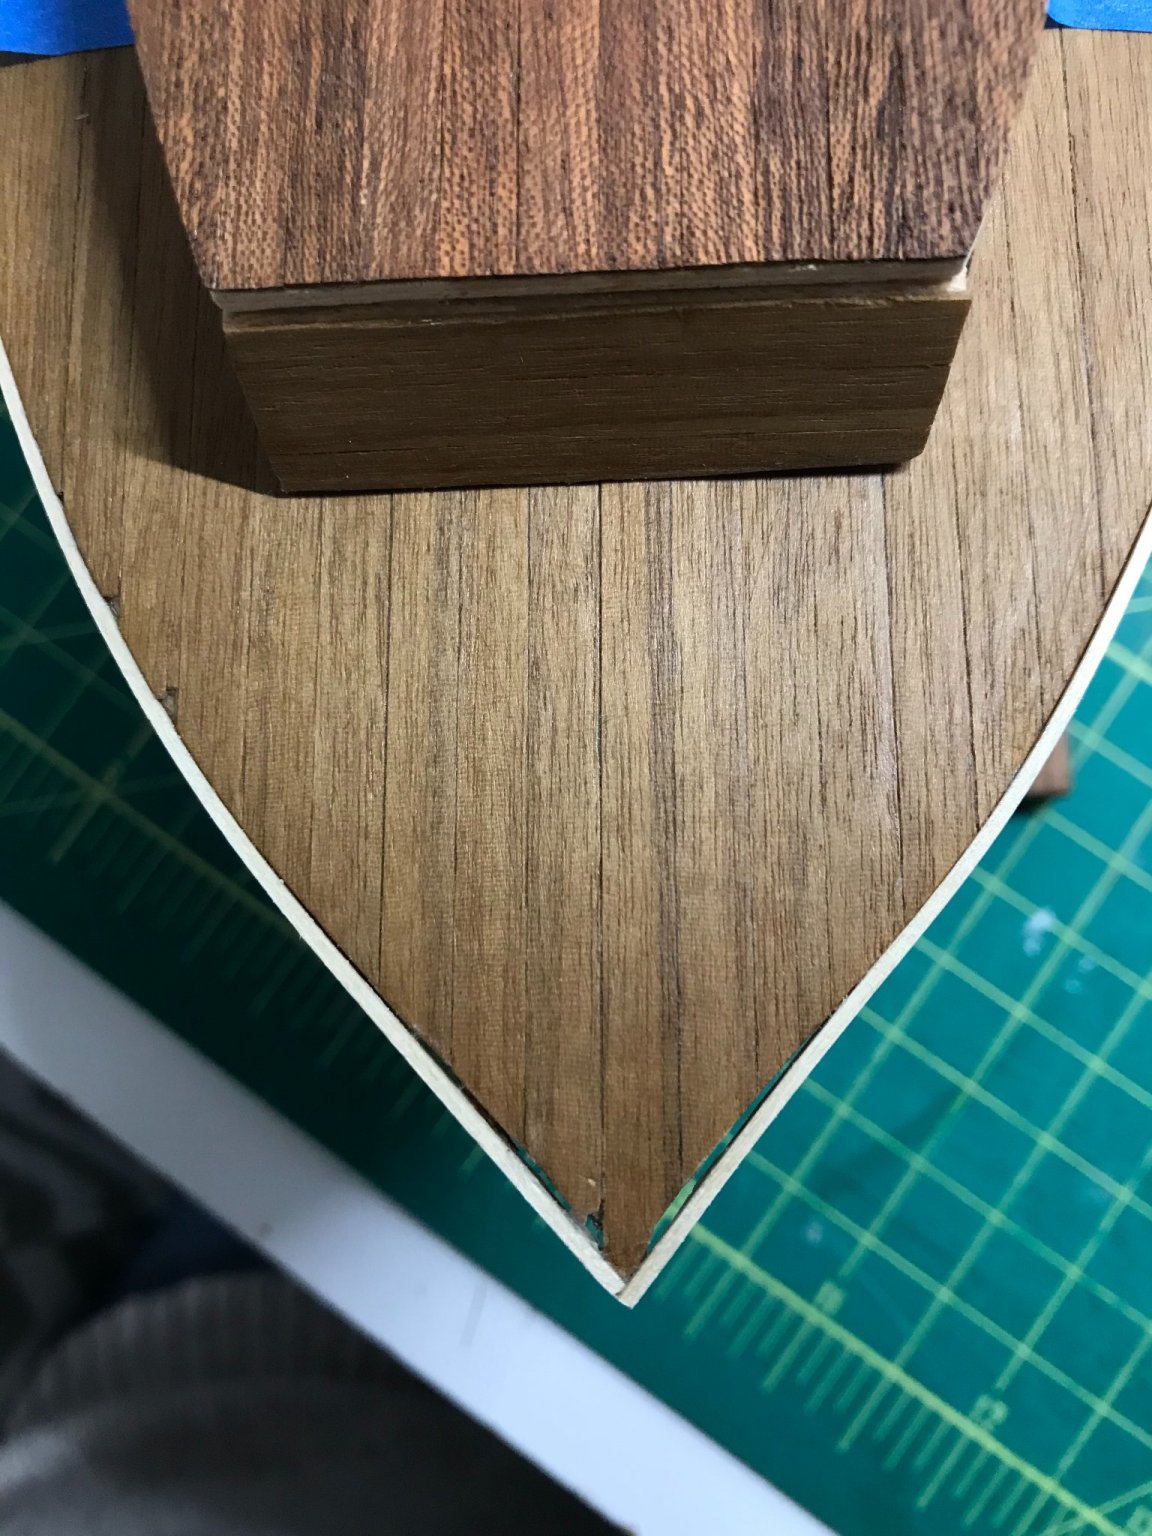
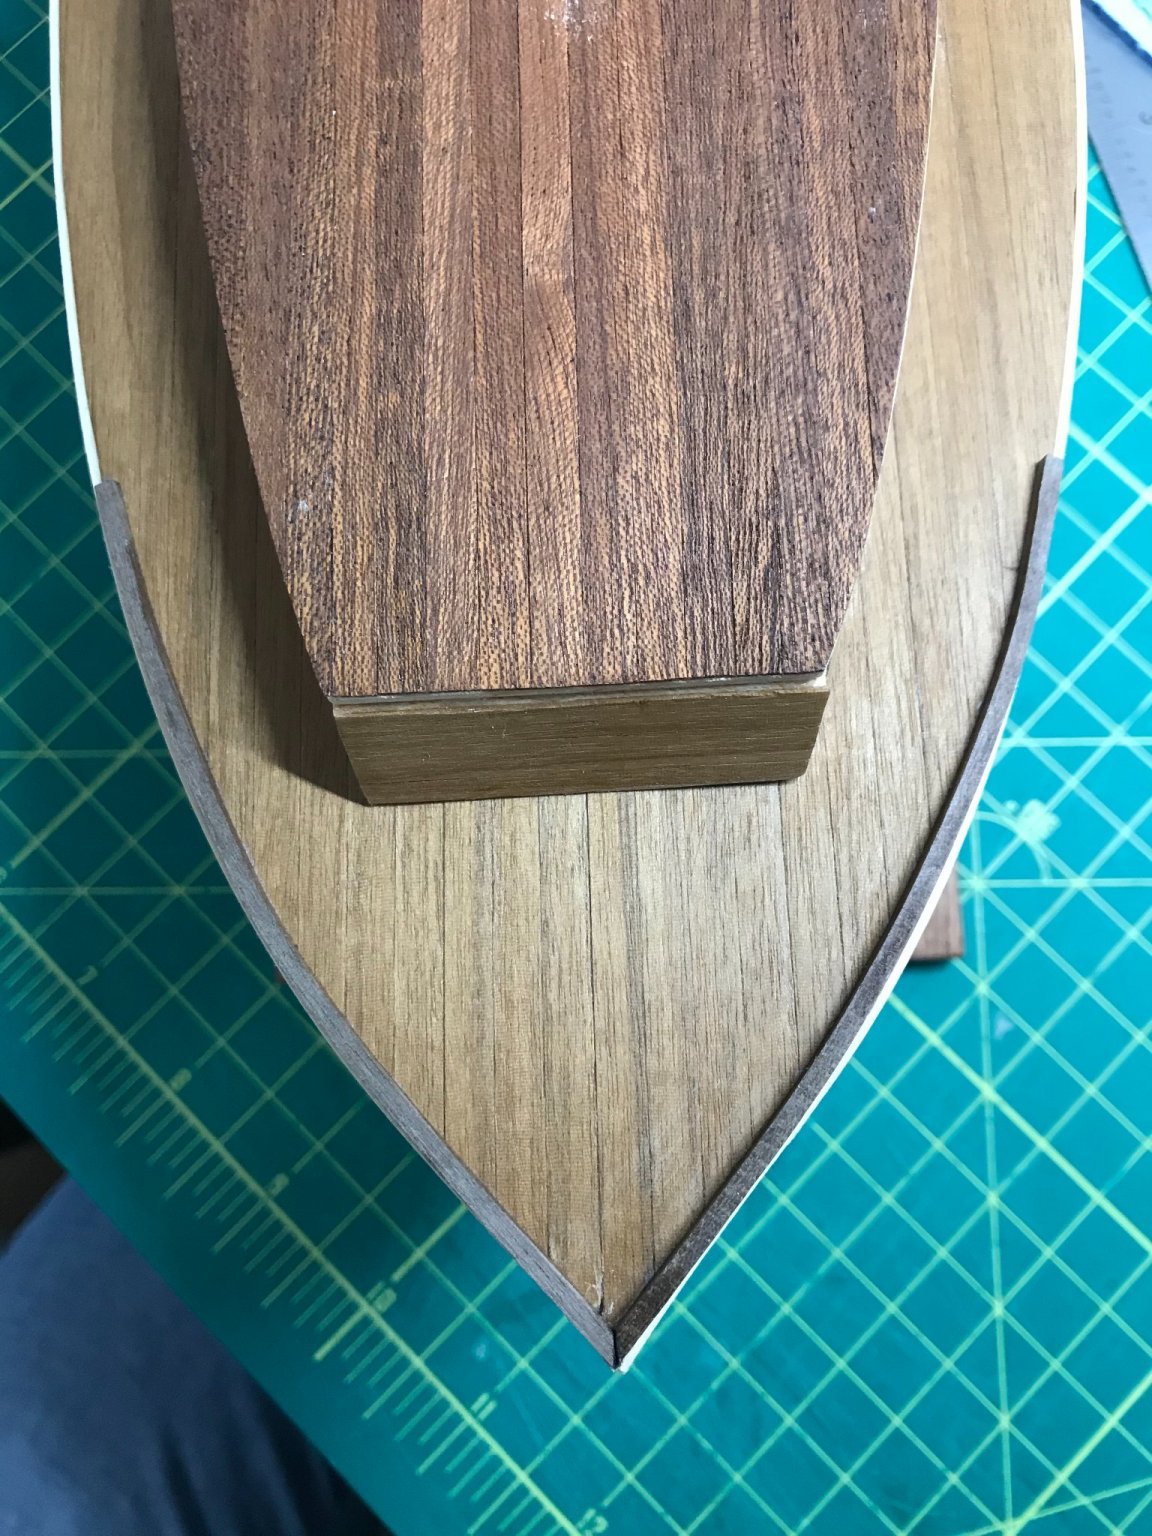
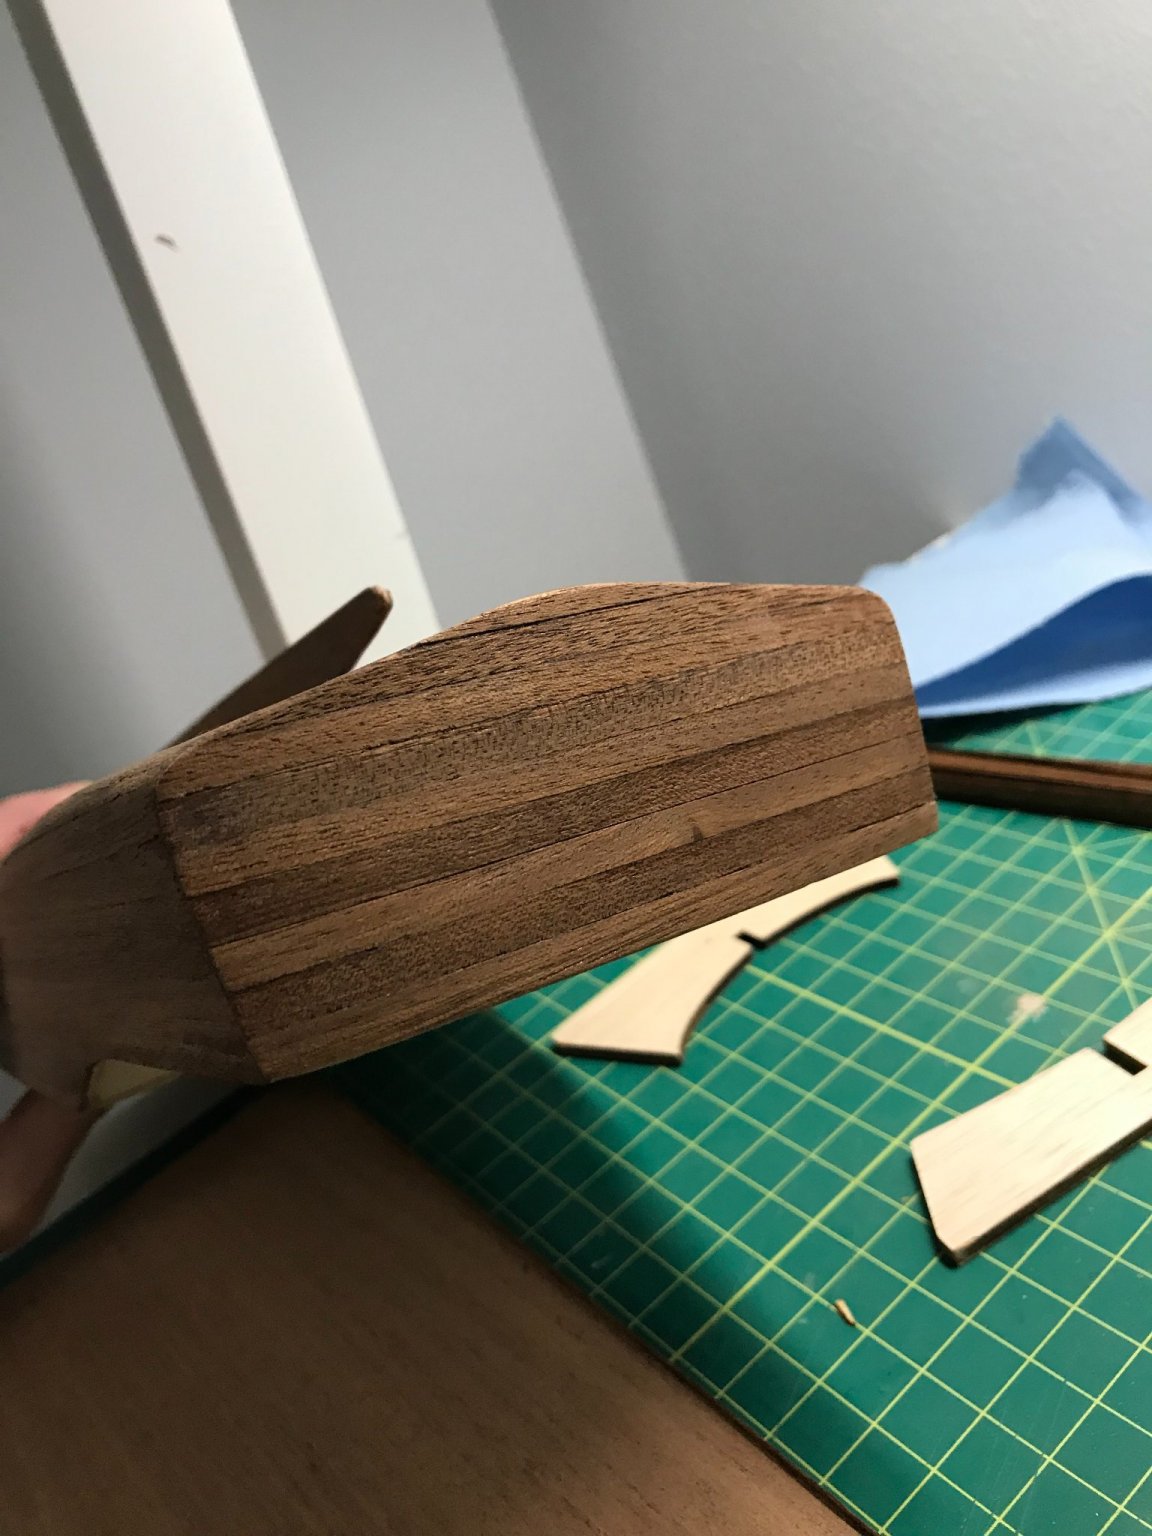
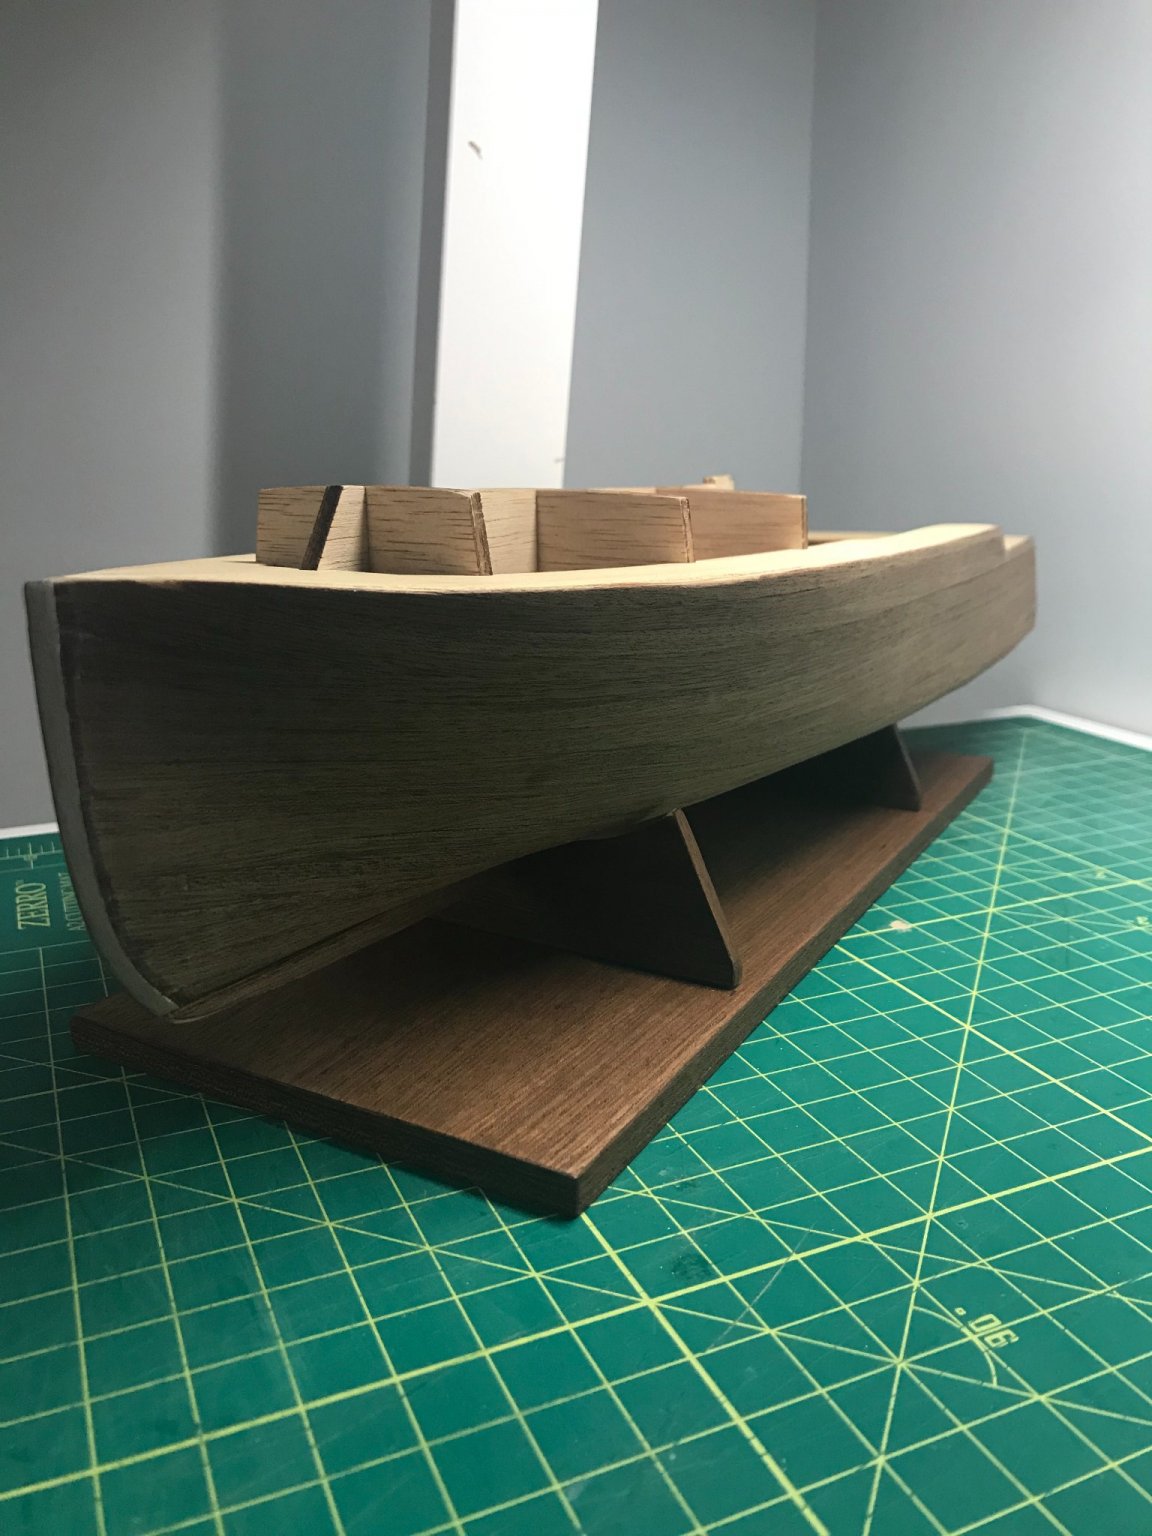
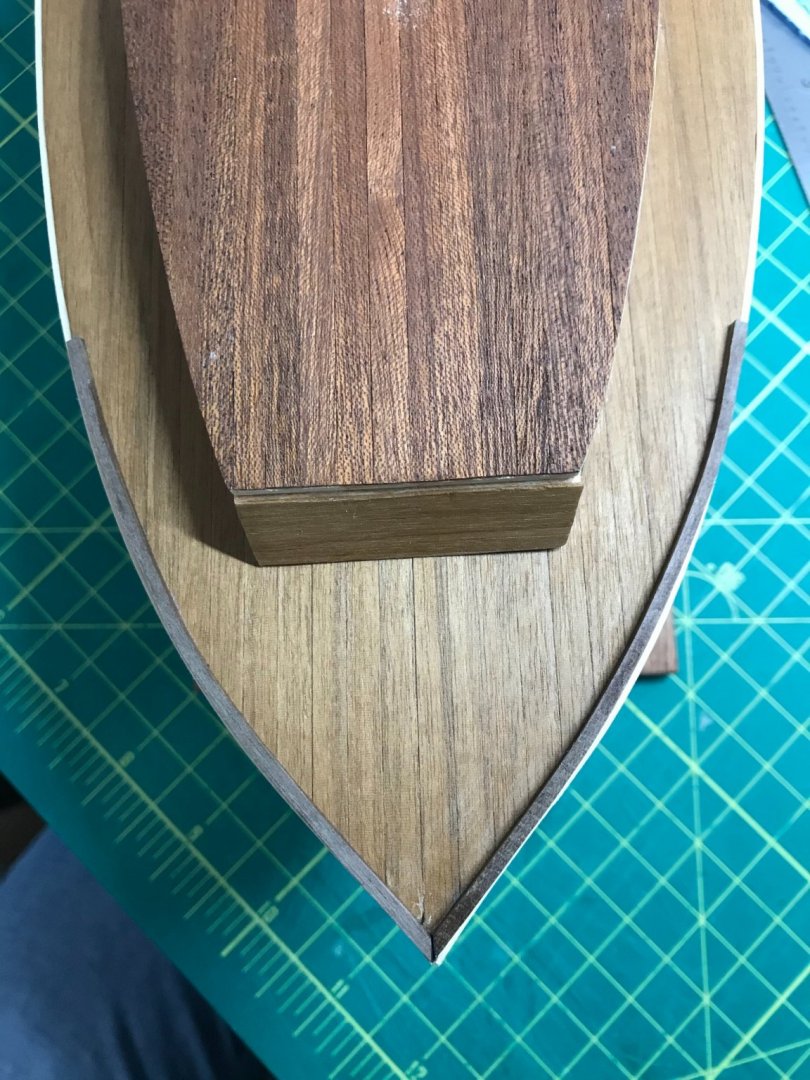
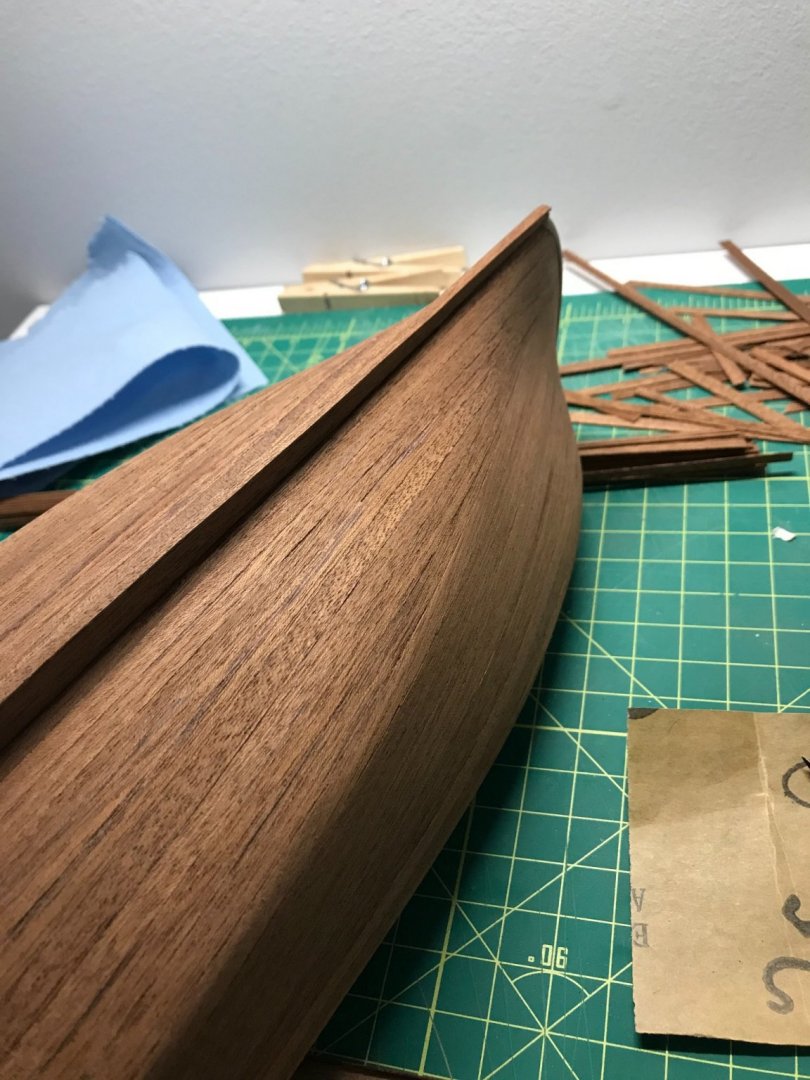
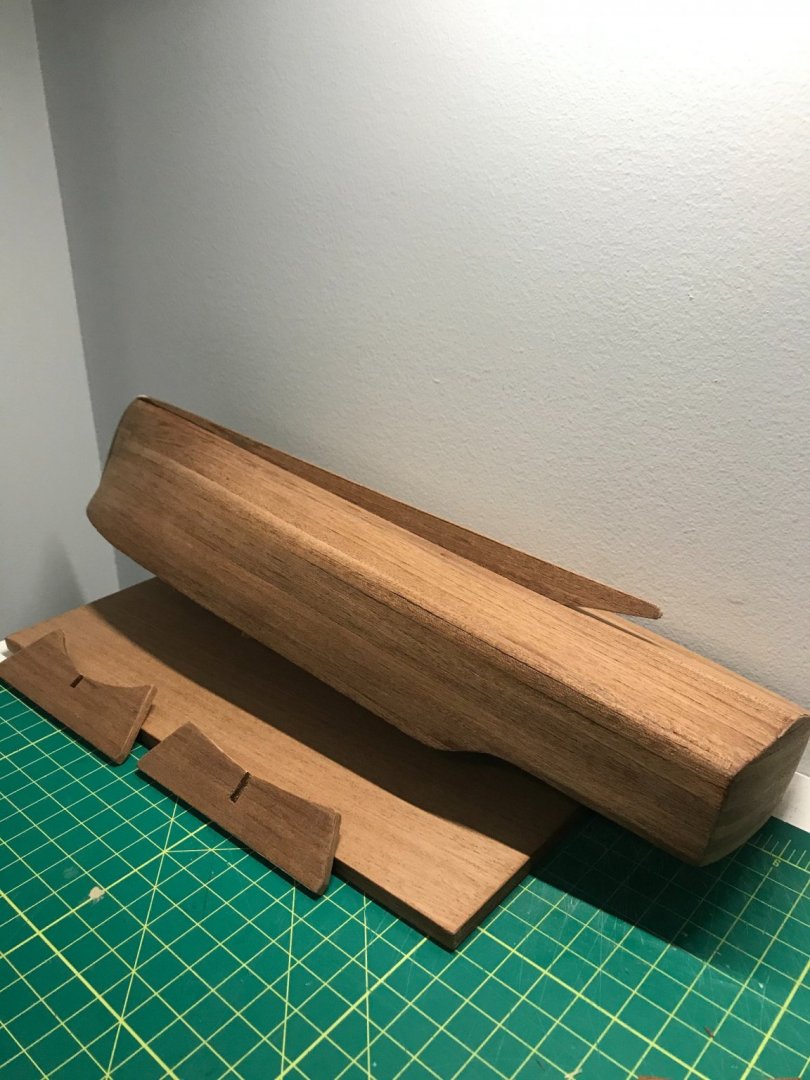
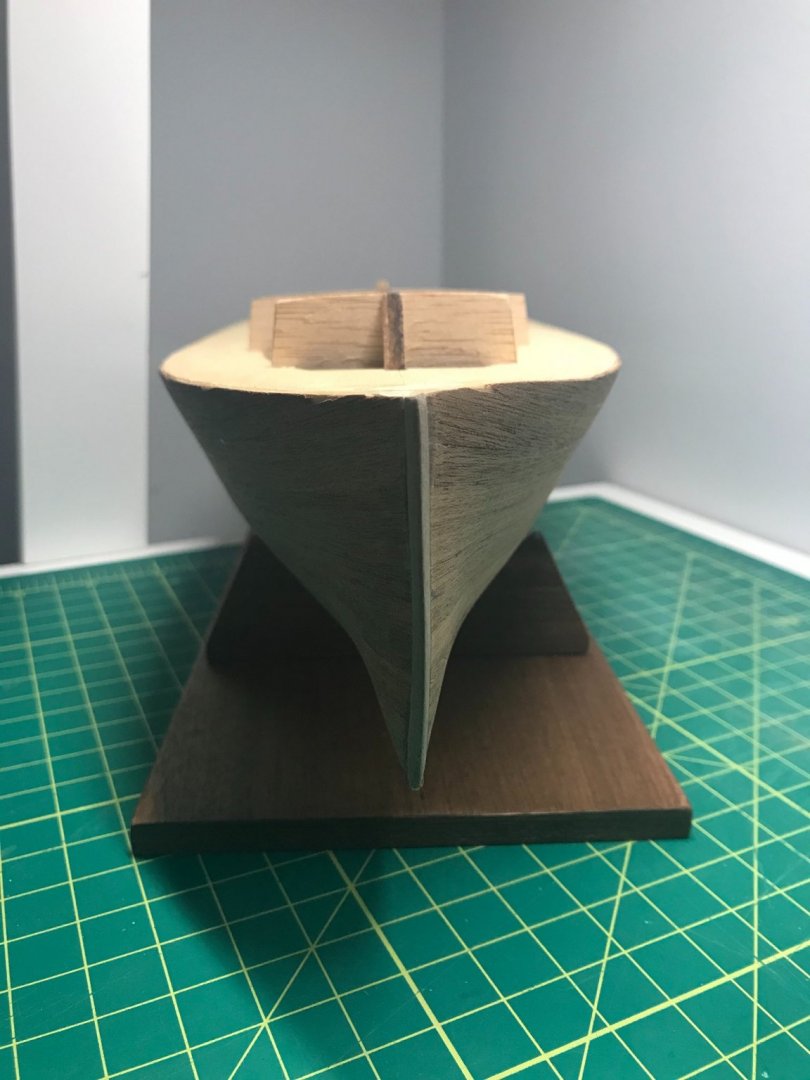
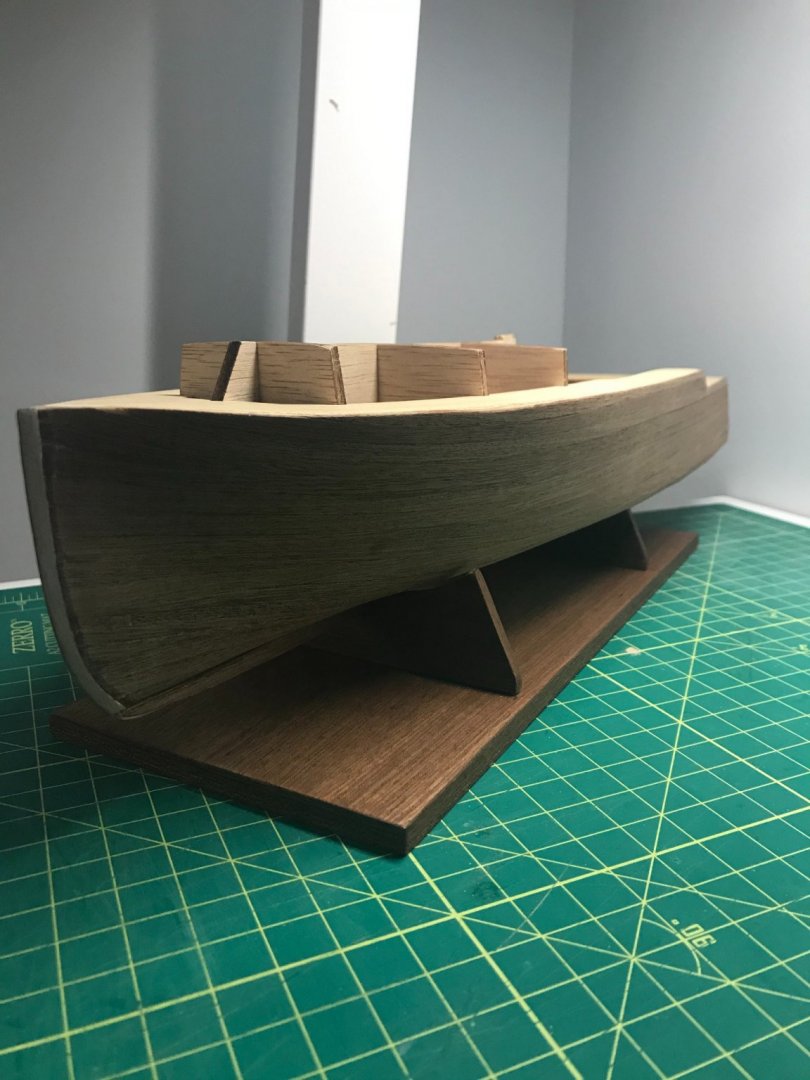
Some more progress with the second layer of planking. This veneer layer was a little difficult to work with because it was so thin and I clumsily nicked and cracked it on the edges more times than I'd like to admit. I had to replace some areas when that happened which was tedious. I have been following the instructions in order which meant putting the keel on during this final stage of planking but I learned quickly that it's a big pain to deal with it when trying to put on the decking layer. You will see it in these pictures but I took it off when I started the deck planking and will attach it again once I have painted. The plans say that painting the hull should come at the very end but I can already see that will be very difficult to do once all the decking works are assembled so I'm going to jump around a little and do that step next (once the paint comes in the mail) before I start assembling above deck. False keel planked and attached but I'll tear this off out of frustration from it getting knocked around while doing the upper deck planking. I had to add some cheaters on the 2nd layer of planks and you can see how the edges chip really easily near the stem. I'm confident that the gunwale strips and paint will cover up these imperfections though. A fun stem curve to have to fit here. Stand is planked and ready for assembly. Stand with a couple coats of poly and our model progressing. Planking the decks and transom. Added a couple layers of poly and starting to plank the sides. I'll hold off on attaching the sides or doing any other steps related to the deck until I can get the hull painted. It'll just be too much trouble working on anything else until that's done. This is my first time planking and I'm learning a lot about it. If there was ever a model to start planking, this one has plenty of it for you. Just about everything needs a layer and I'm certainly getting my fill of it.

-
 ThirdCoast reacted to a post in a topic:
HMS ROYAL KATHERINE 1664 by Doris - 1/55 - CARD
ThirdCoast reacted to a post in a topic:
HMS ROYAL KATHERINE 1664 by Doris - 1/55 - CARD
-
ThirdCoast reacted to a post in a topic:
Atlantic by closehaul - FINISHED - BlueJacket Shipcrafters - 1:96 Scale
-
yvesvidal reacted to a post in a topic:
Pilar by ThirdCoast - Constructo - Scale 1:27 - Earnest Hemingway's Yacht
-
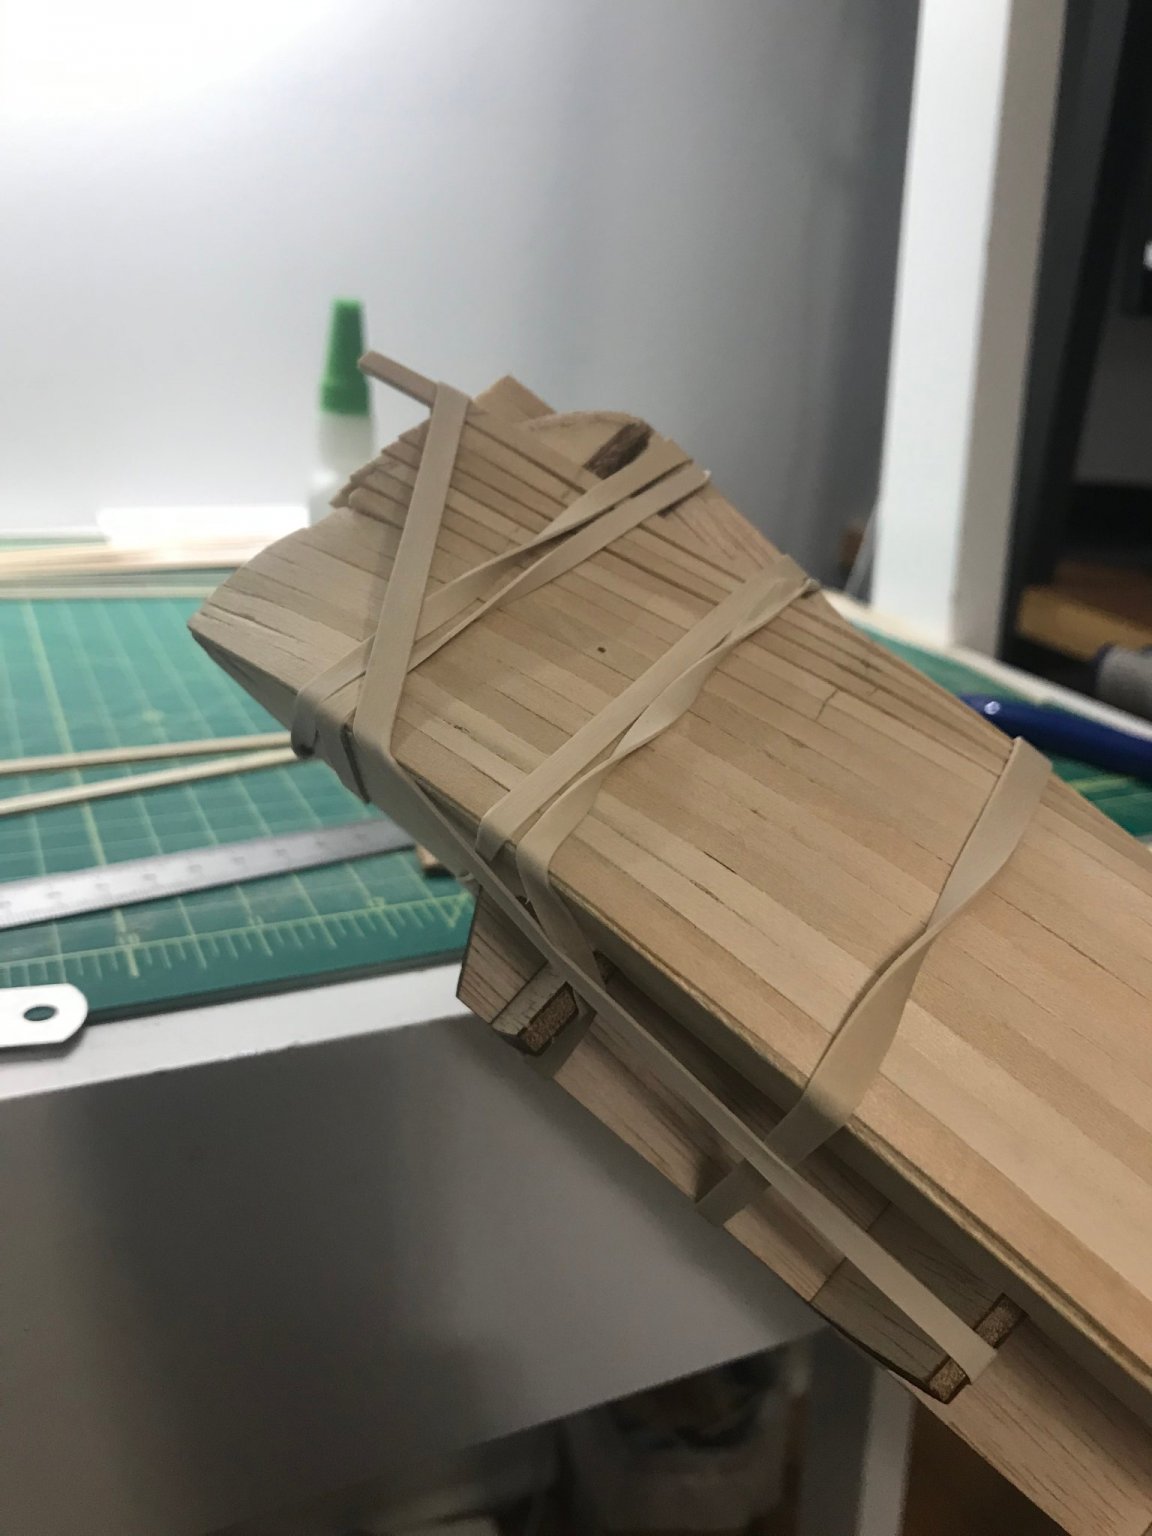
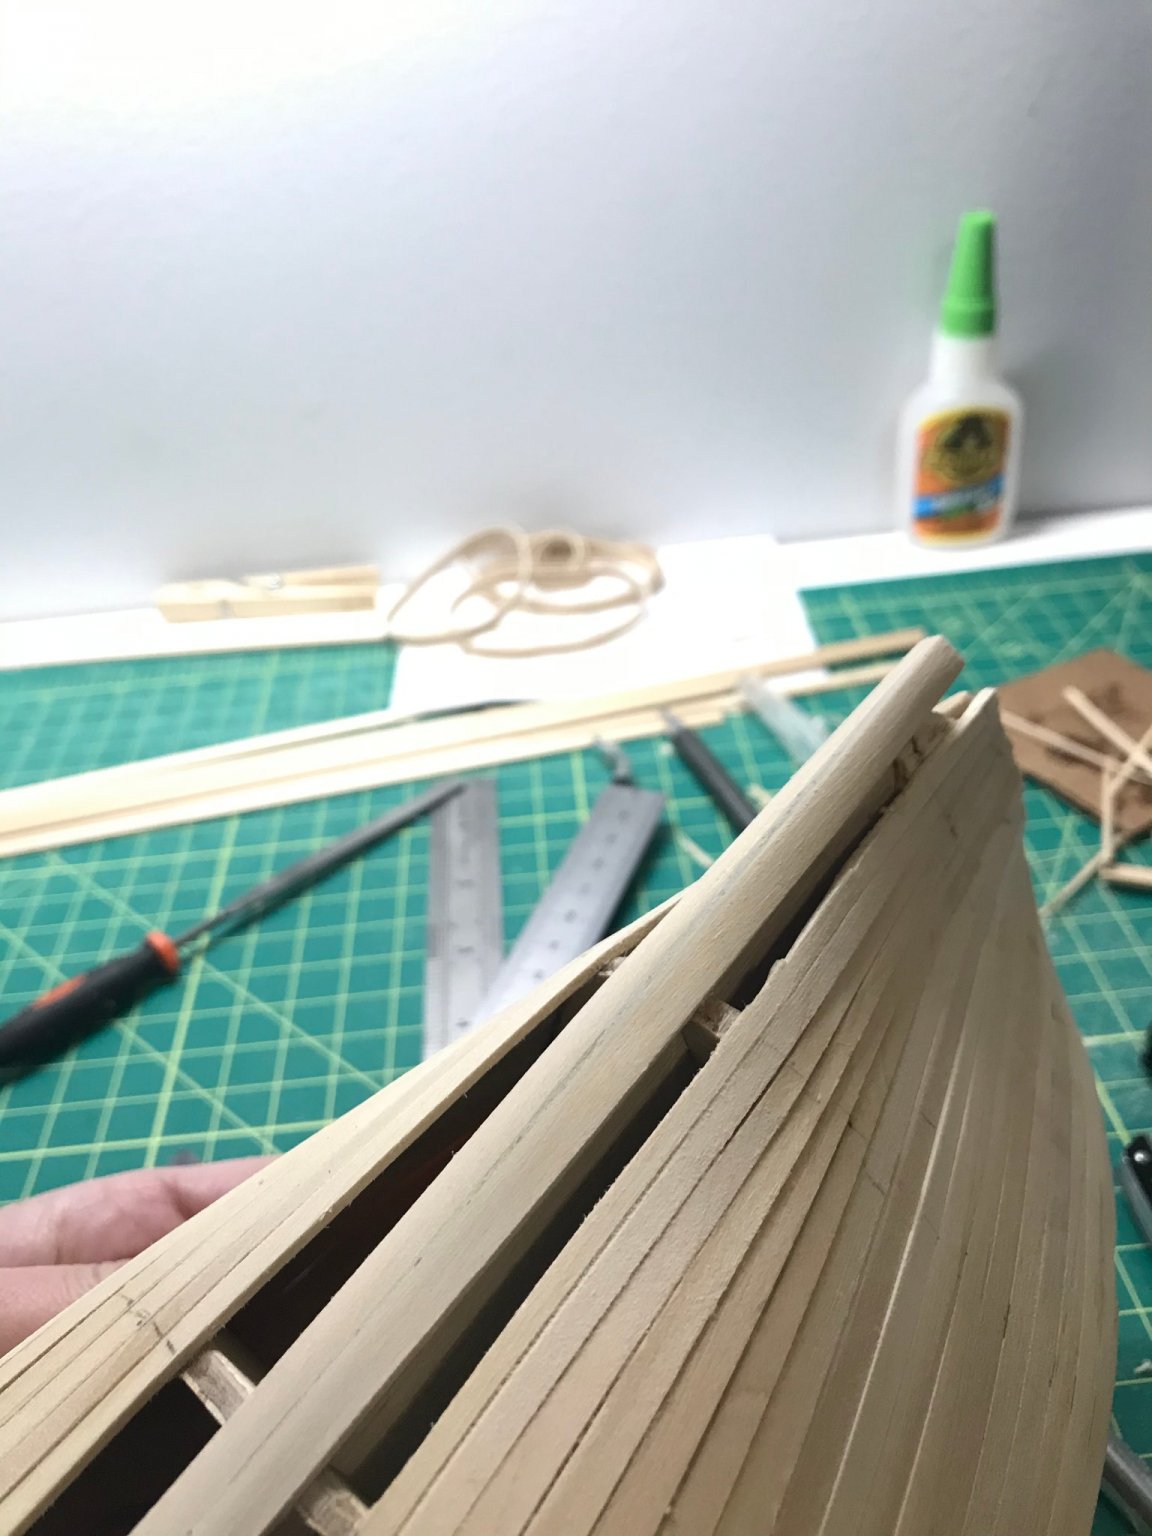
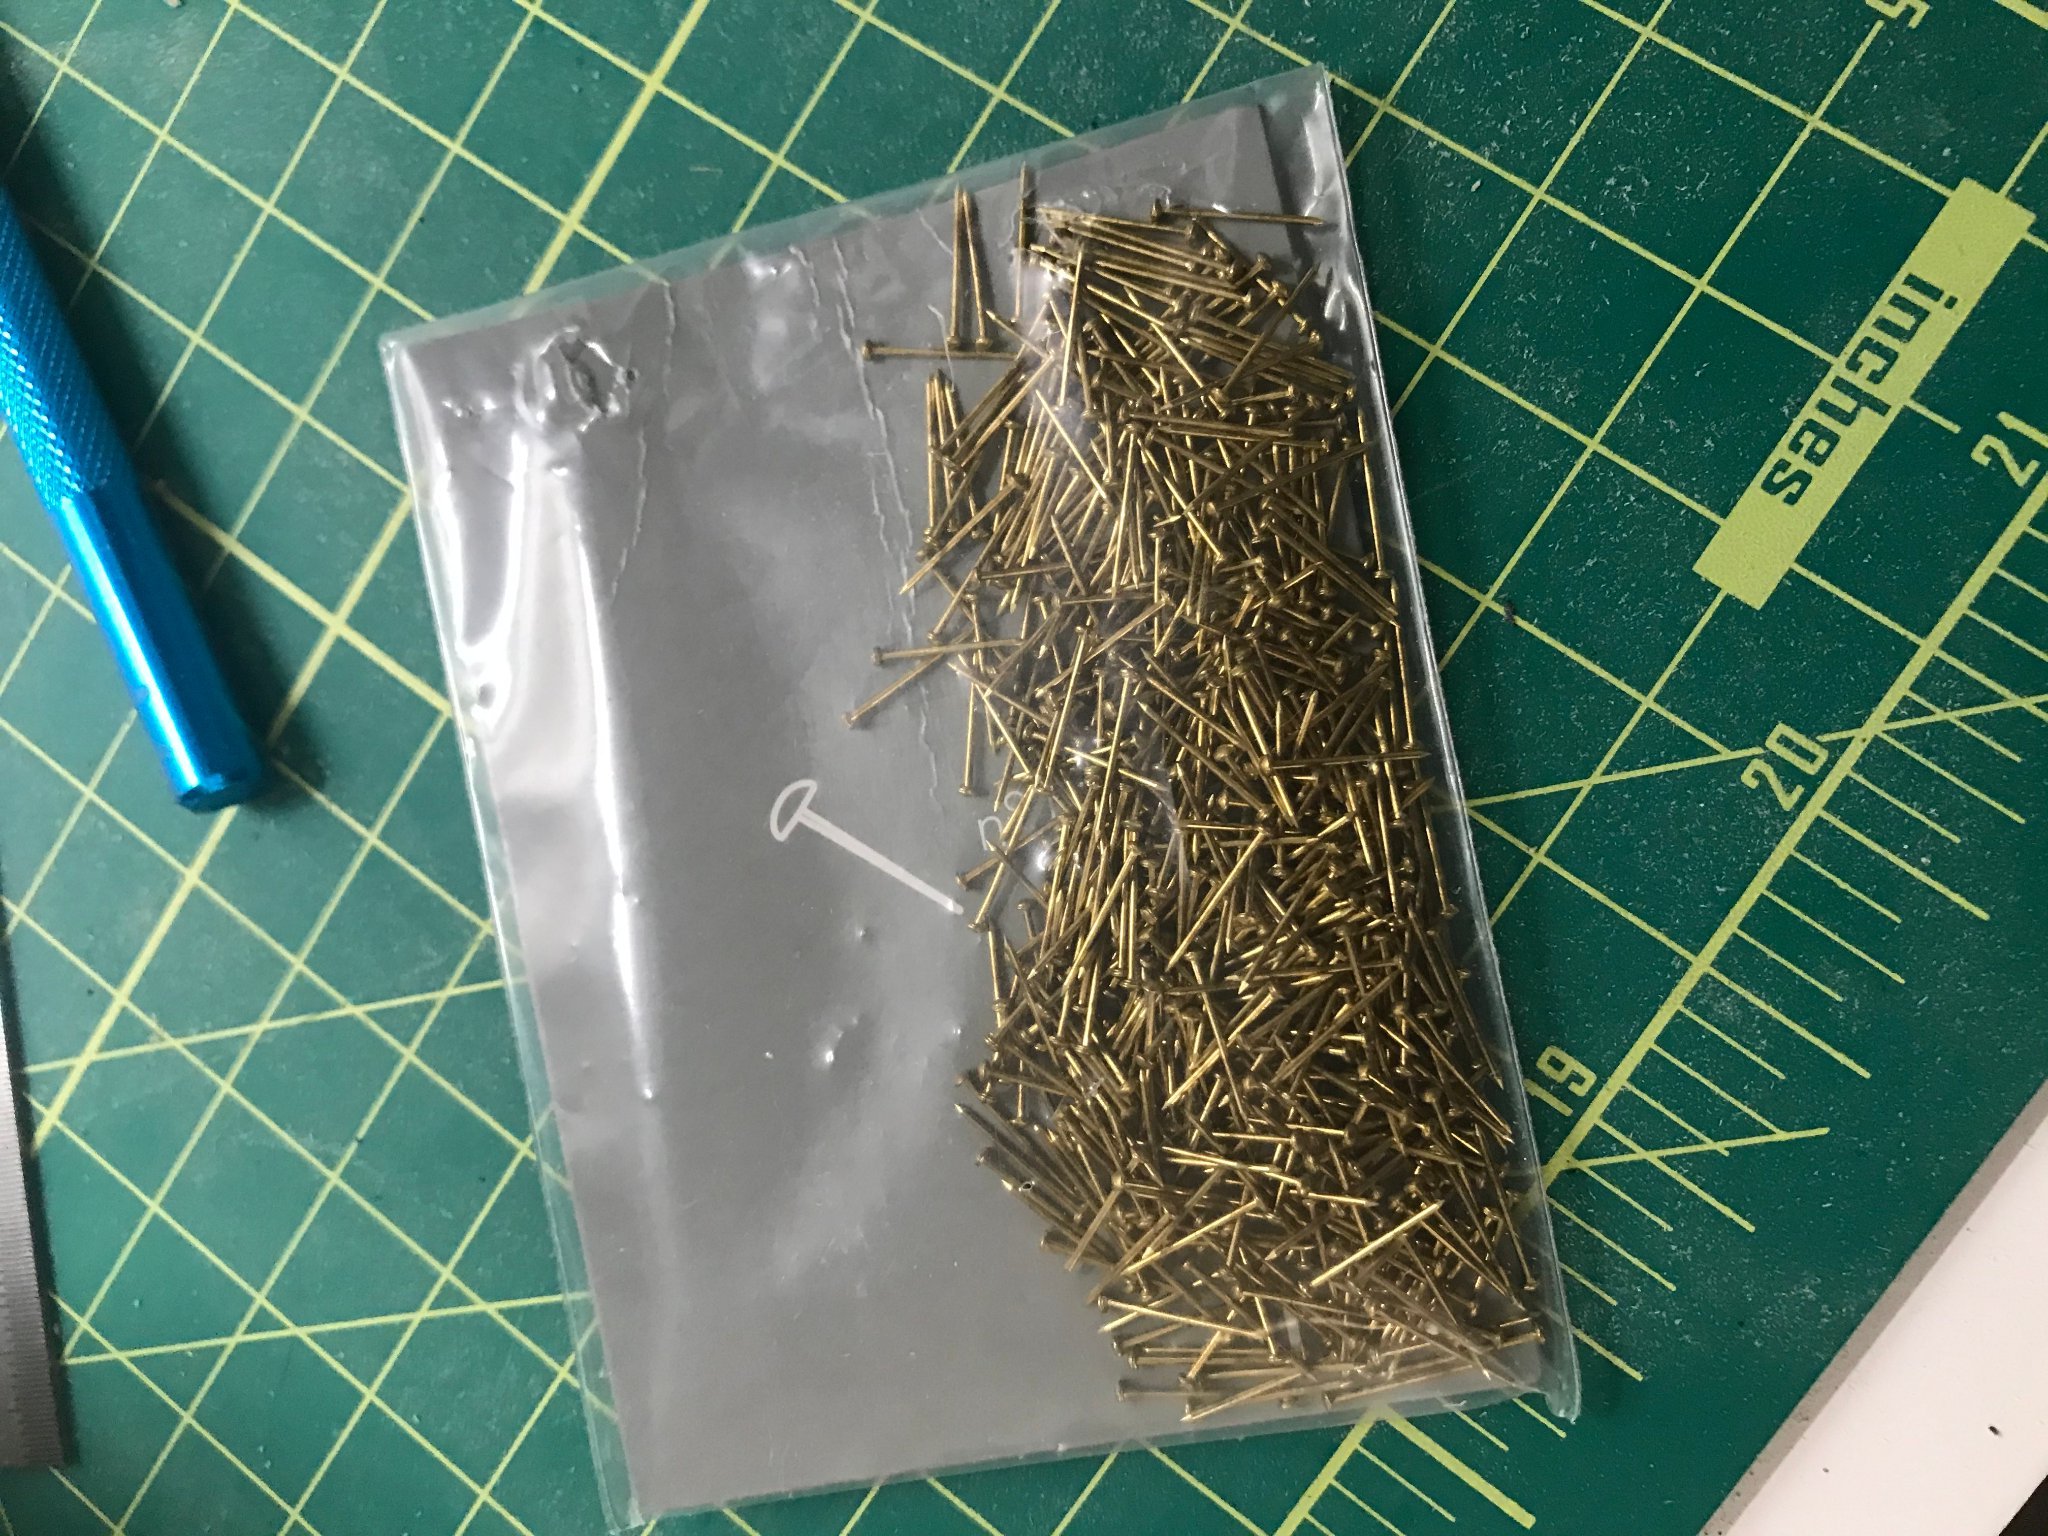
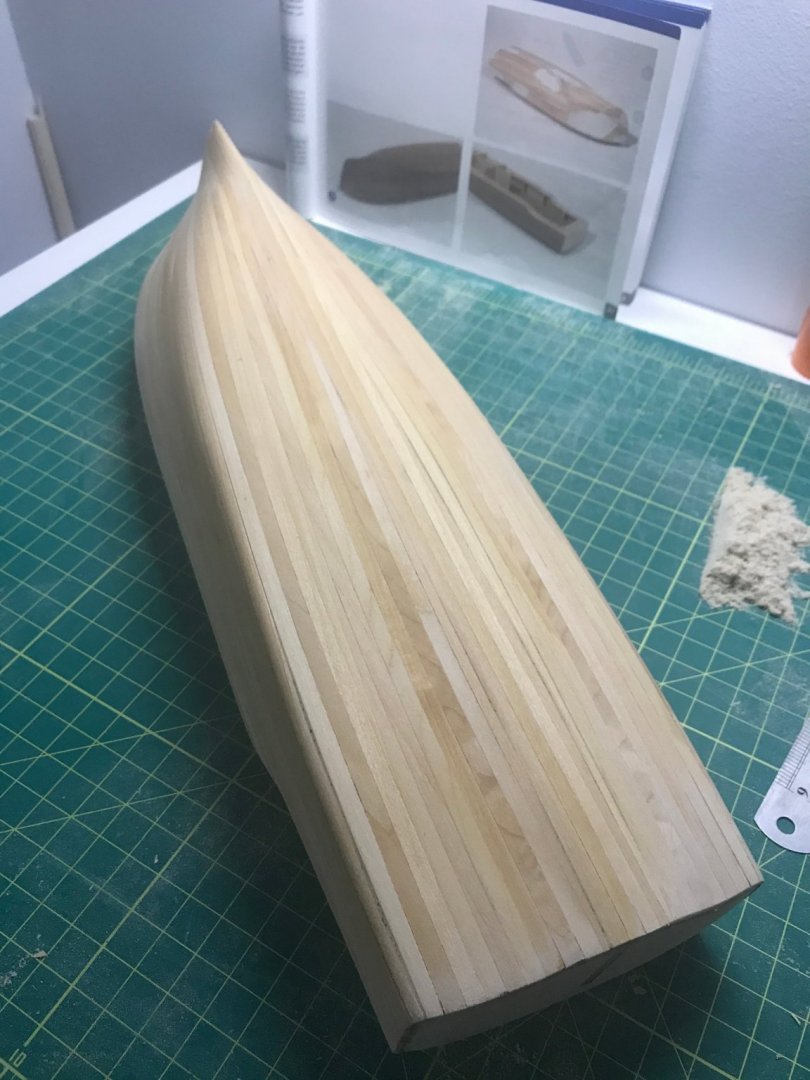
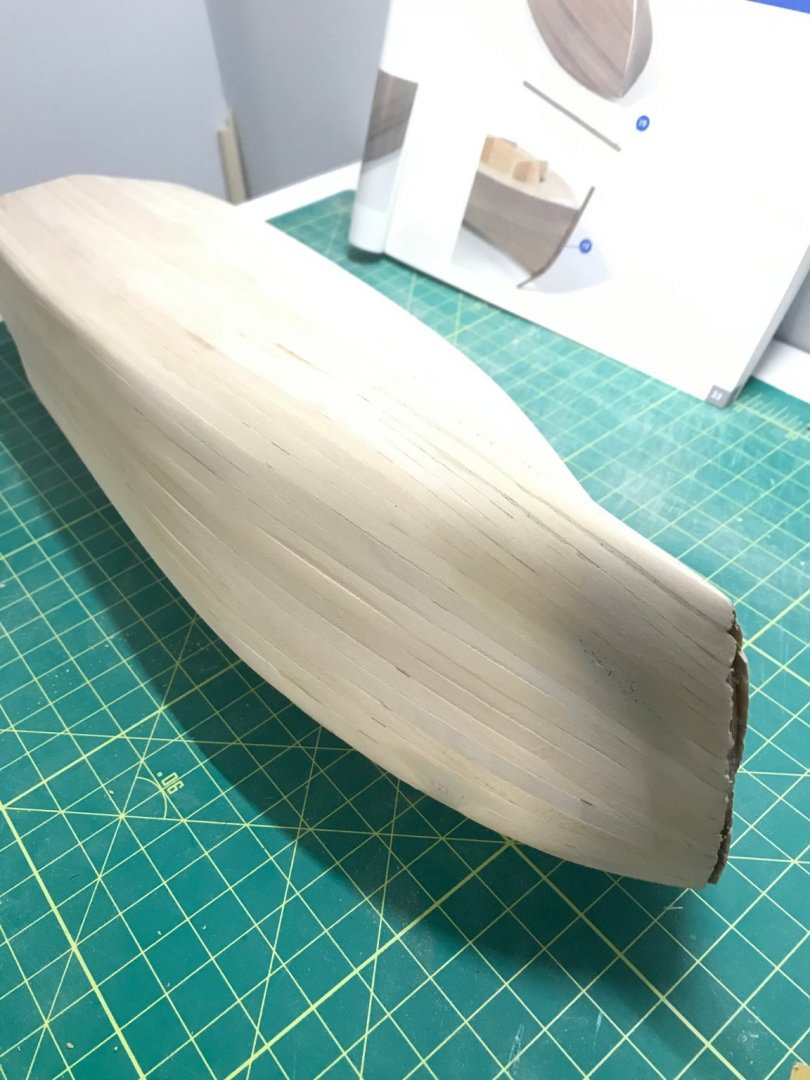
My first real hull planking is done. It was actually quite a bit more work than I expected. Granted there were a lot of days that I didn't have more time than to do a single plank but even so, it surprised me how much time it took to go through the process of dry fitting, measuring, gluing, fitting, sometimes refitting, sanding, etc. And this model is pretty simple compared to others so I'm thoroughly impressed by everyone who can create masterpieces much more complicated than this one. Maybe there is a smarter way to have done this but with little experience I just followed the instructions as closely as I could. I worked my way from fore to aft and planked on either side simultaneously to try and keep it as even as possible: \ I made calculations based on the numbers of planks against each bulkhead and did my best to cut the planks based on those calculations: The keel planks were a little tricky. I think I should have laid them down from the start instead of at the end because the planks coming up on each side weren't a perfect fit at this point. It probably would have looked nicer to have it perfectly even going down the center. I had to tear up a plank on the port side to make it fit a little nicer. Plus it was an awkward bend of the blank from its flat side to get it to turn around the front rabbet. Nothing in the instructions described how to do these planks so I just took a best guess. And finally got all the planks down and started to sand (which was another really time consuming step): One final note, the kit provided a bunch of little tacks or nails that the instructions said should hold down the planks before gluing (and then taken out after) but I found them to be pretty useless. I couldn't get them to actually drive into the wood efficiently and even when I could, the wood just kind of split a bit and they weren't strong enough to actually hold anything down. So I just went for some Gorilla Super Glue Gel XL and it worked really well. Next I guess I have a decision to make. The instructions say that there is another layer of planking (a veneer of dark mazonia or something). I know some folks skip this 2nd layer and just go straight to painting the hull black but I'm hesitating now. I kind of want to see how it looks with the dark wood planking on top now. I know that it's not true to the original Pilar but it might do me good to have the extra practice planking and I could end up liking how it looks that way without painting over it all. In the end, we're doing this for our own enjoyment, right? Maybe it won't be exactly as Hemingway would have liked it but it might be how I like it. 😄 Till next time!


-
popeye the sailor reacted to a post in a topic:
Red Baron by pwog - FINISHED - BlueJacket Shipcrafters - 3/8" - Lobster Boat
-
ThirdCoast reacted to a post in a topic:
Spray by Josh Williamson - FINISHED - BlueJacket Shipcrafters - 3/8" = 1' - Joshua Slocum's yawl
-
ThirdCoast reacted to a post in a topic:
Flying Fish by Keithbrad80 - Model Shipways - 1:96
-
GuntherMT reacted to a post in a topic:
Pilar by ThirdCoast - Constructo - Scale 1:27 - Earnest Hemingway's Yacht
-
GuntherMT reacted to a post in a topic:
Pilar by ThirdCoast - Constructo - Scale 1:27 - Earnest Hemingway's Yacht
-
ThirdCoast reacted to a post in a topic:
Pen Duick by BobG - Artesania Latina - 1:28
-
ThirdCoast reacted to a post in a topic:
Atlantic by closehaul - FINISHED - BlueJacket Shipcrafters - 1:96 Scale
-
ThirdCoast reacted to a post in a topic:
US Brig SYREN 1803 by Justin P. - Model Shipways - Scale 1:64
-
ThirdCoast reacted to a post in a topic:
Mare Nostrum by Neil10 - Artesania Latina
-
ThirdCoast reacted to a post in a topic:
Red Jacket by MrBlueJacket - FINISHED - BlueJacket Shipcrafters - Scale 1/8" = 1' (1:96)
-
@Patrick Matthews Your gallery of Pilar is awesome!! The details you've added are perfection. This will be a nice reference for me (and a good way to pick out the irregularities with the Constructo model). I am definitely planning to do the black hull too. I knew going into this model that the color on the box wasn't going to be how it ended up. Your gallery will be super helpful for me with part though. I was going to get a bottle of Minwax Wipe-On Poly. Is this even considered varnish? I've literally never done it before so I don't have a builder's choice yet. I really like how your model has a little bit of a shine but still looks natural. What did you use?
-
yvesvidal reacted to a post in a topic:
Pilar by ThirdCoast - Constructo - Scale 1:27 - Earnest Hemingway's Yacht
-
Ryland Craze reacted to a post in a topic:
Pilar by ThirdCoast - Constructo - Scale 1:27 - Earnest Hemingway's Yacht
-
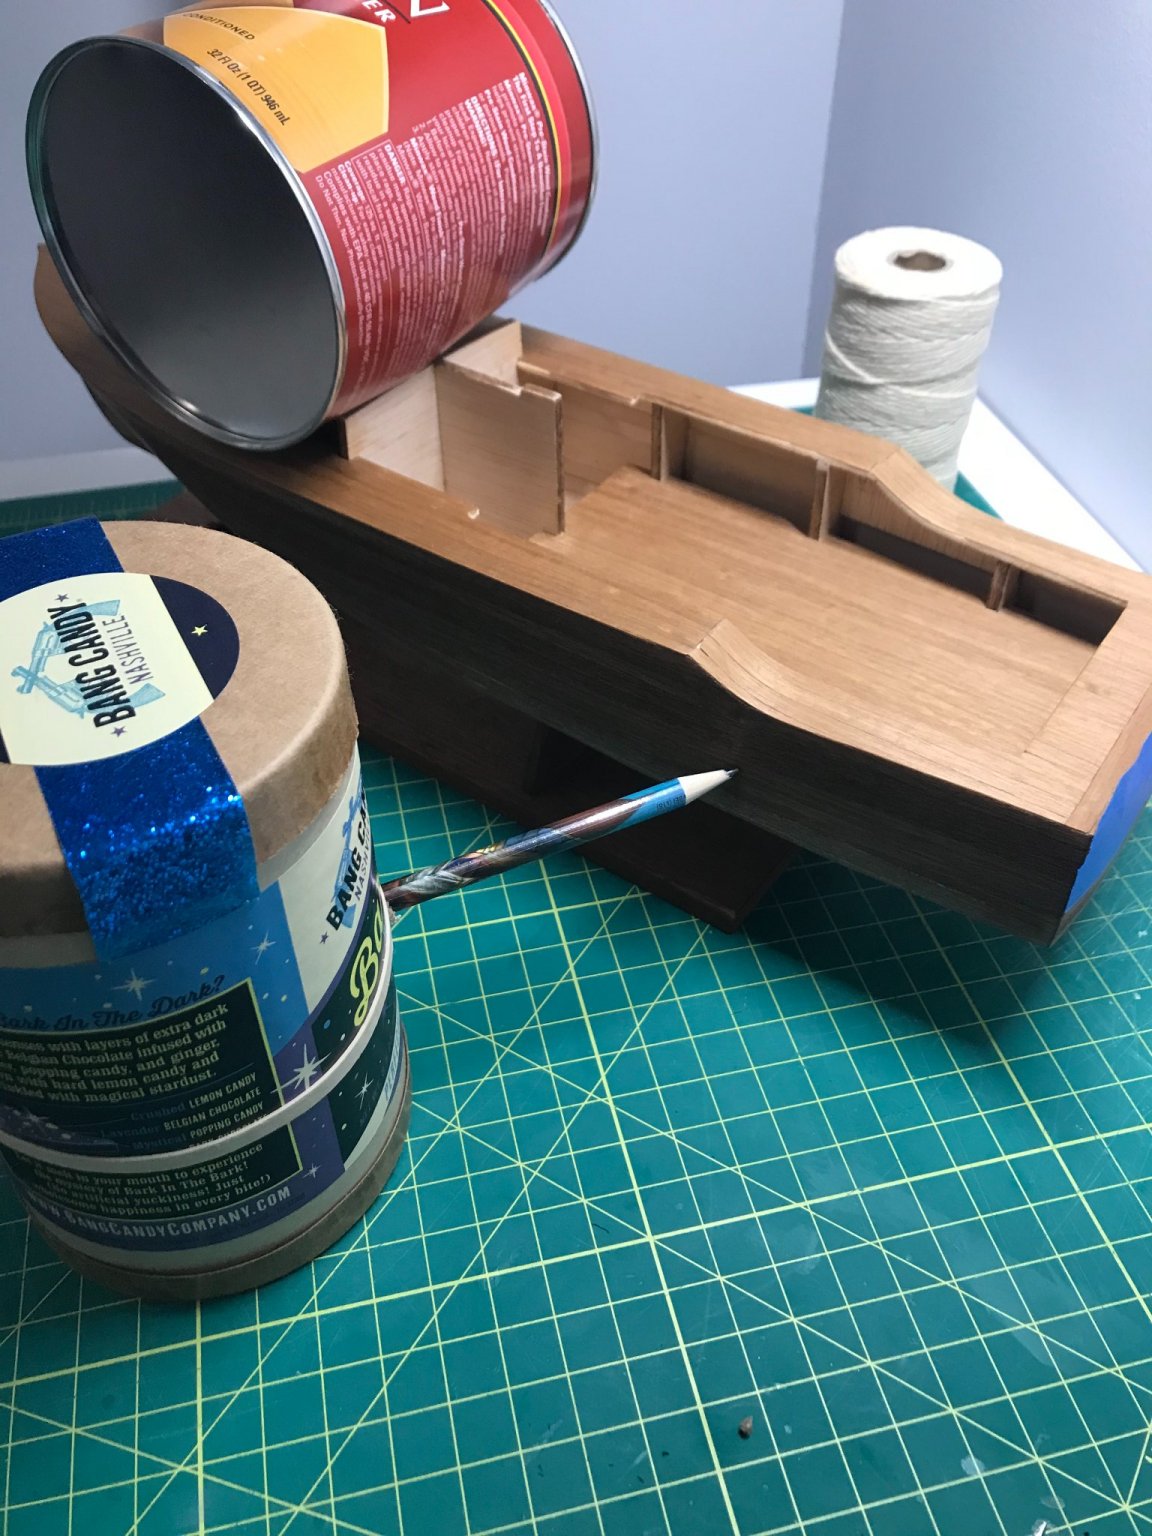
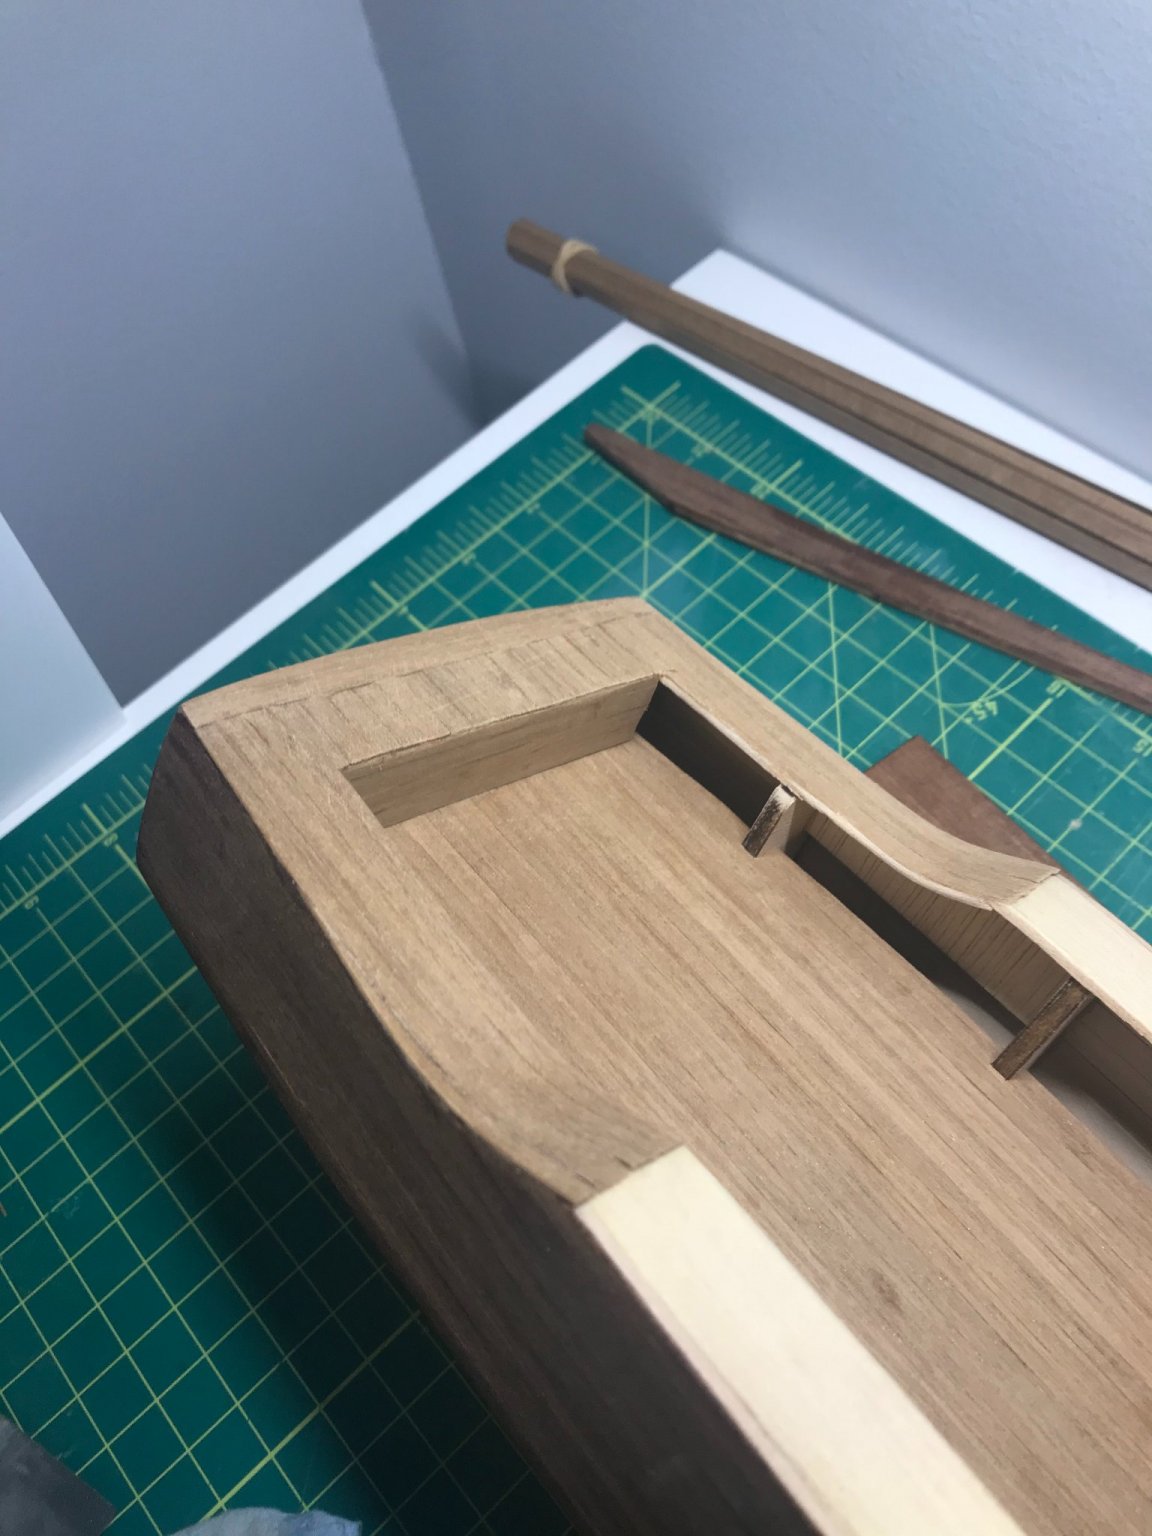
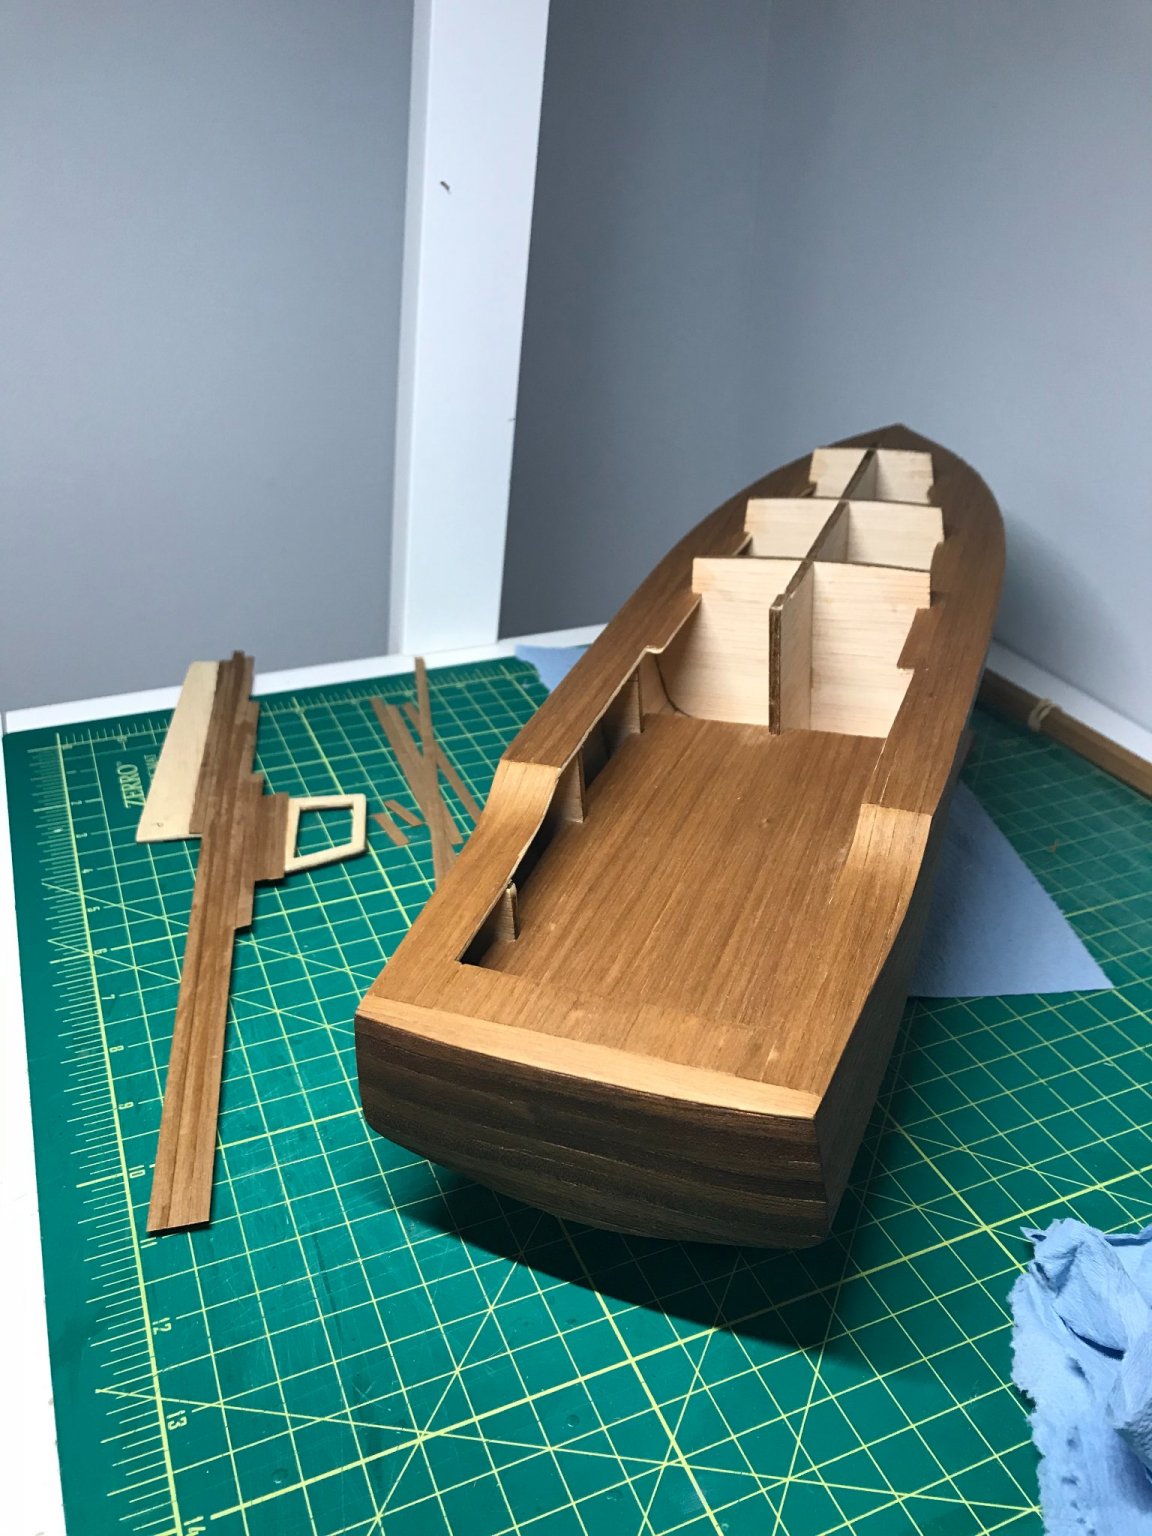
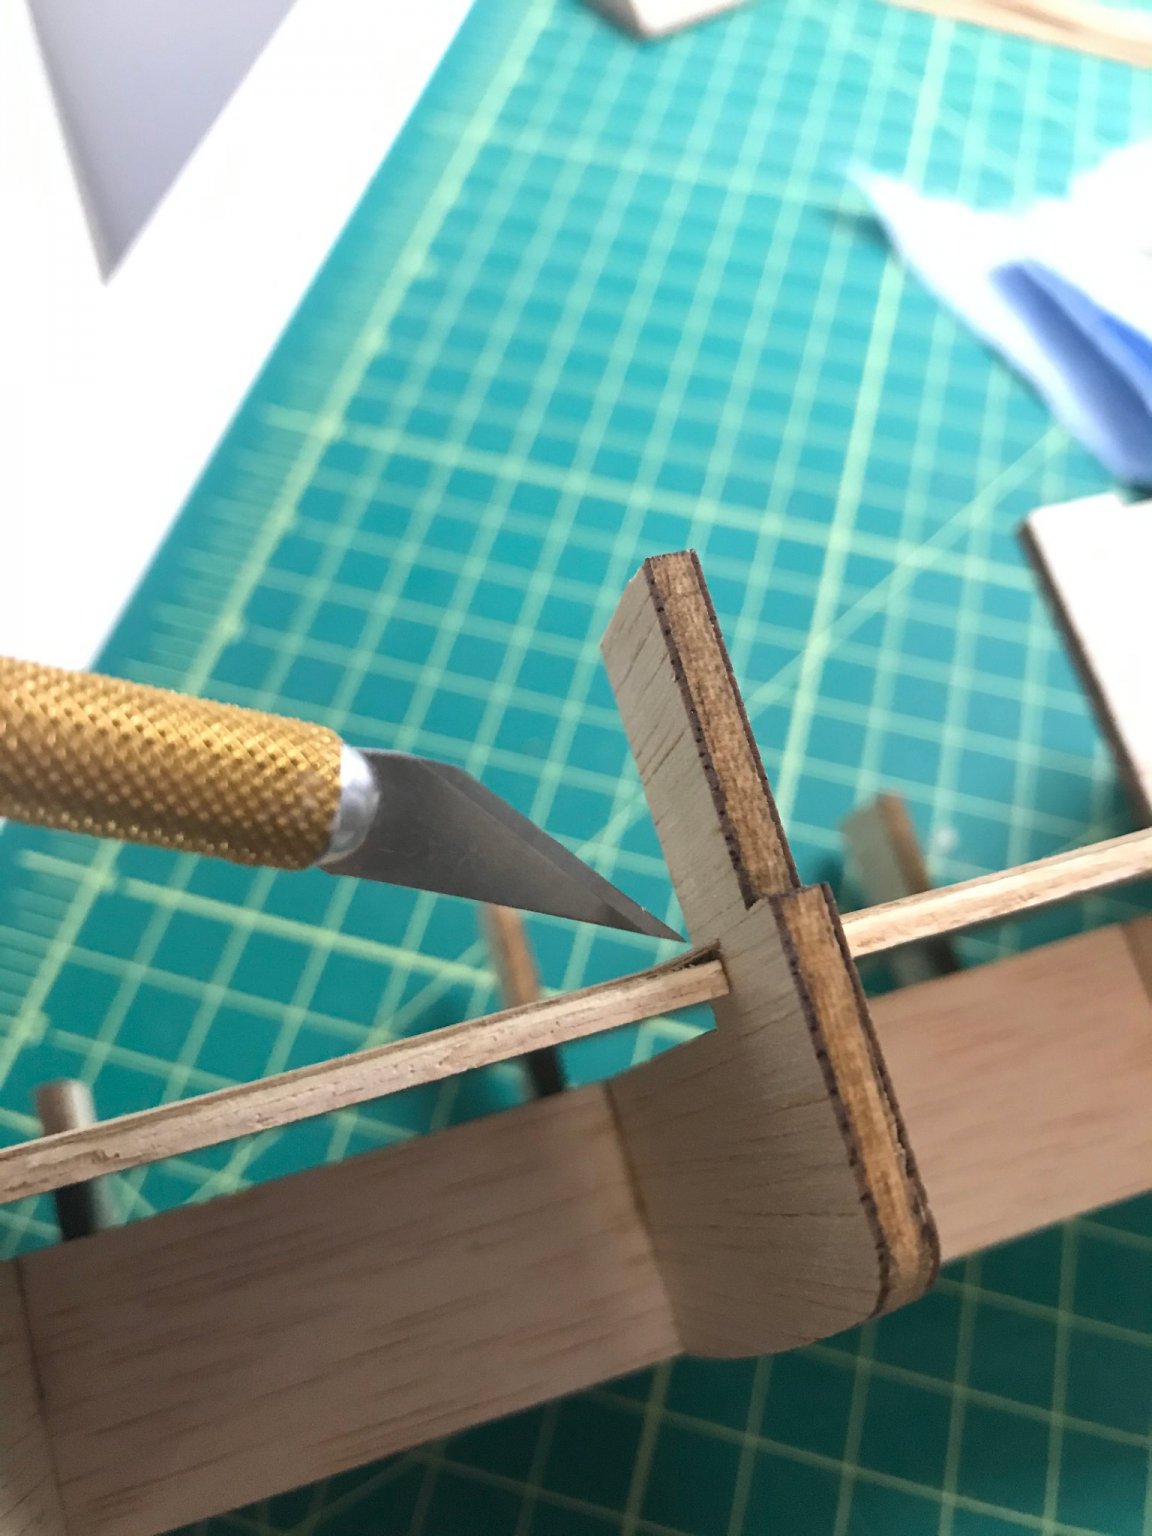
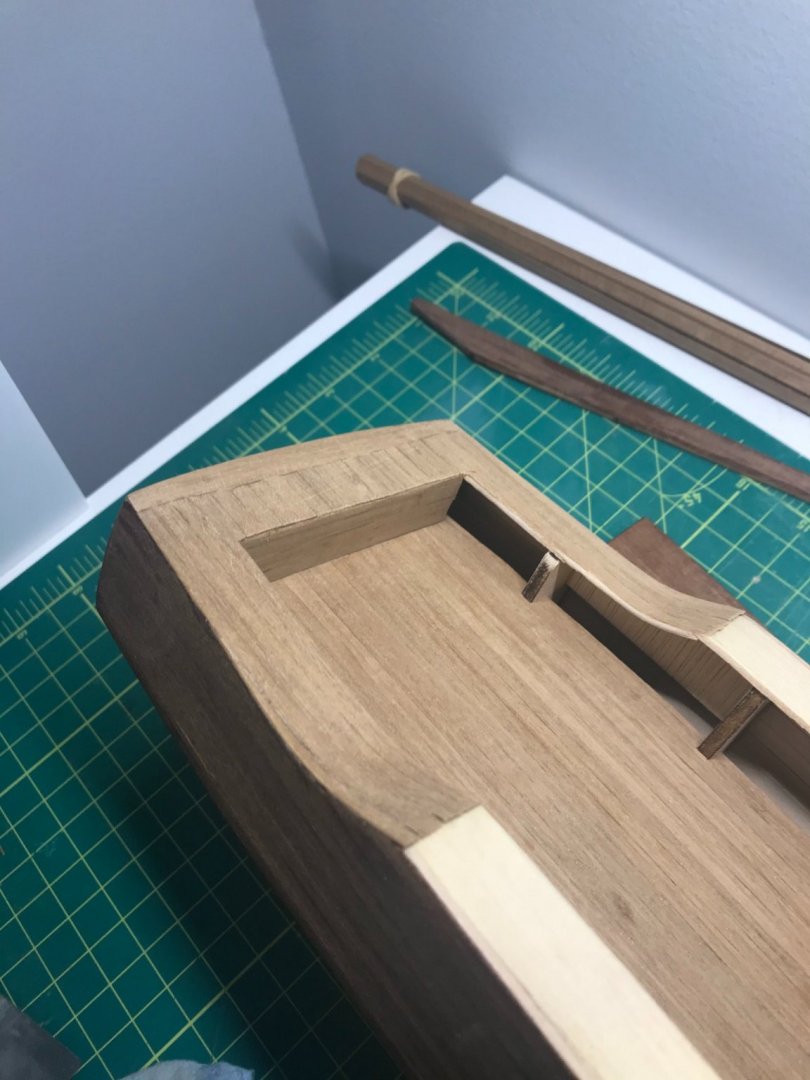
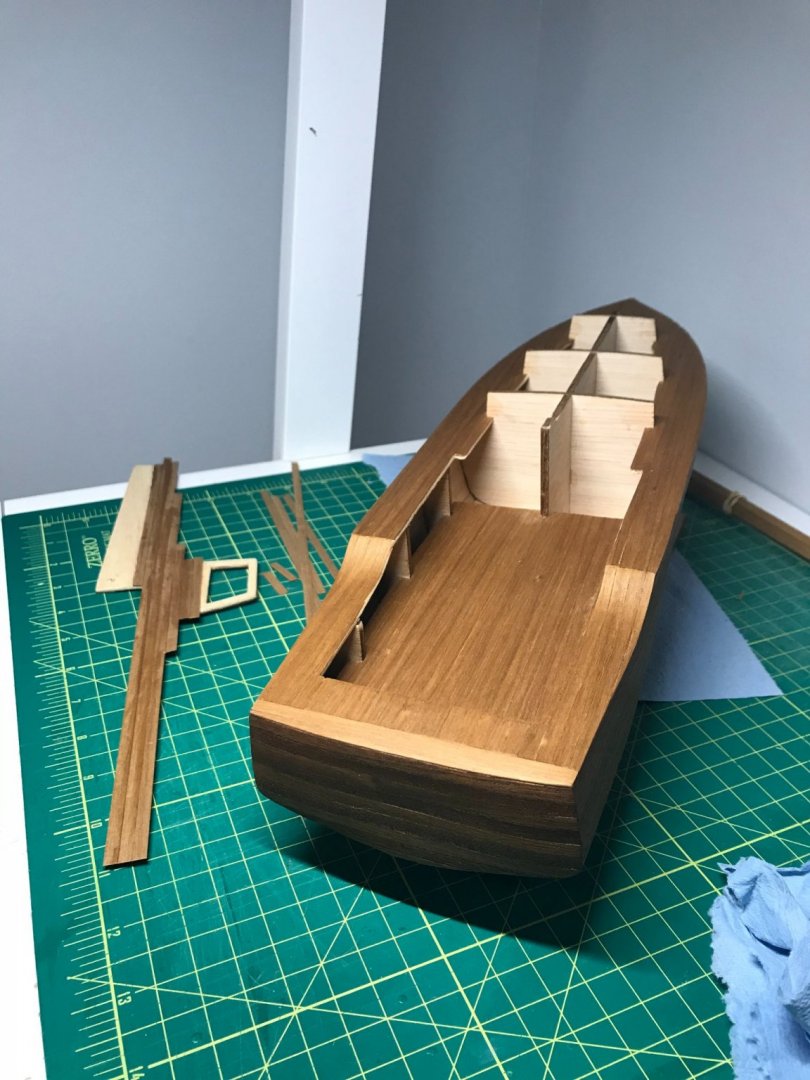
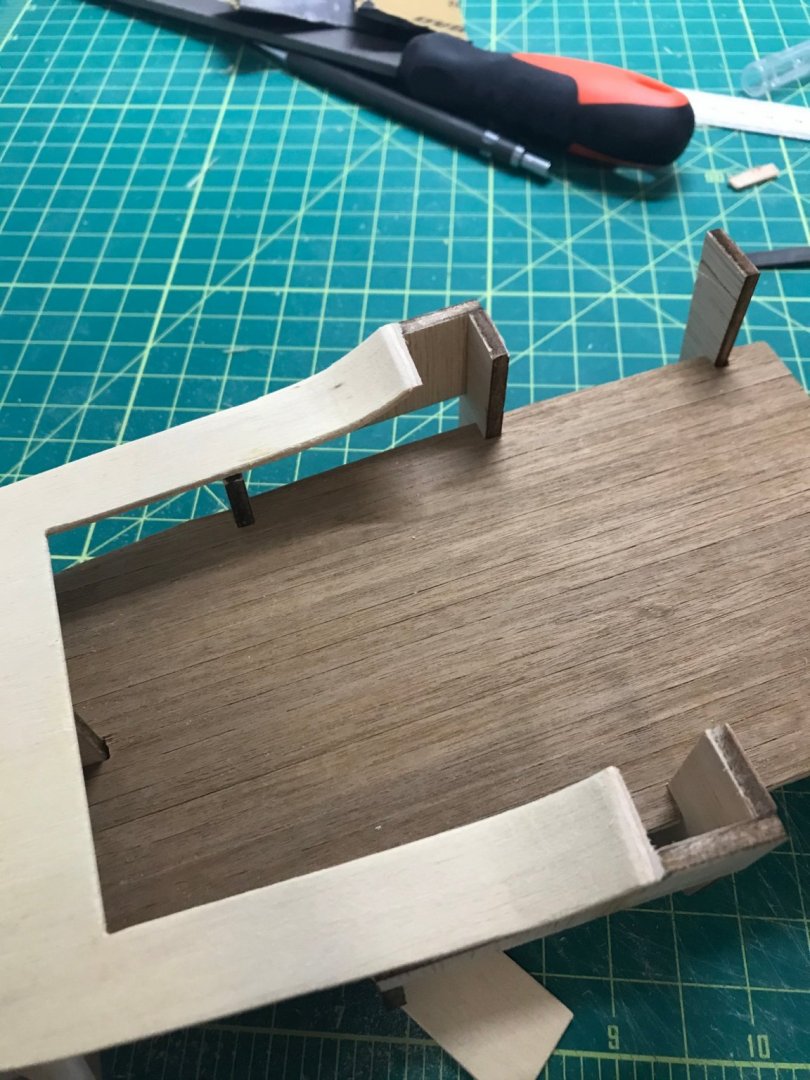
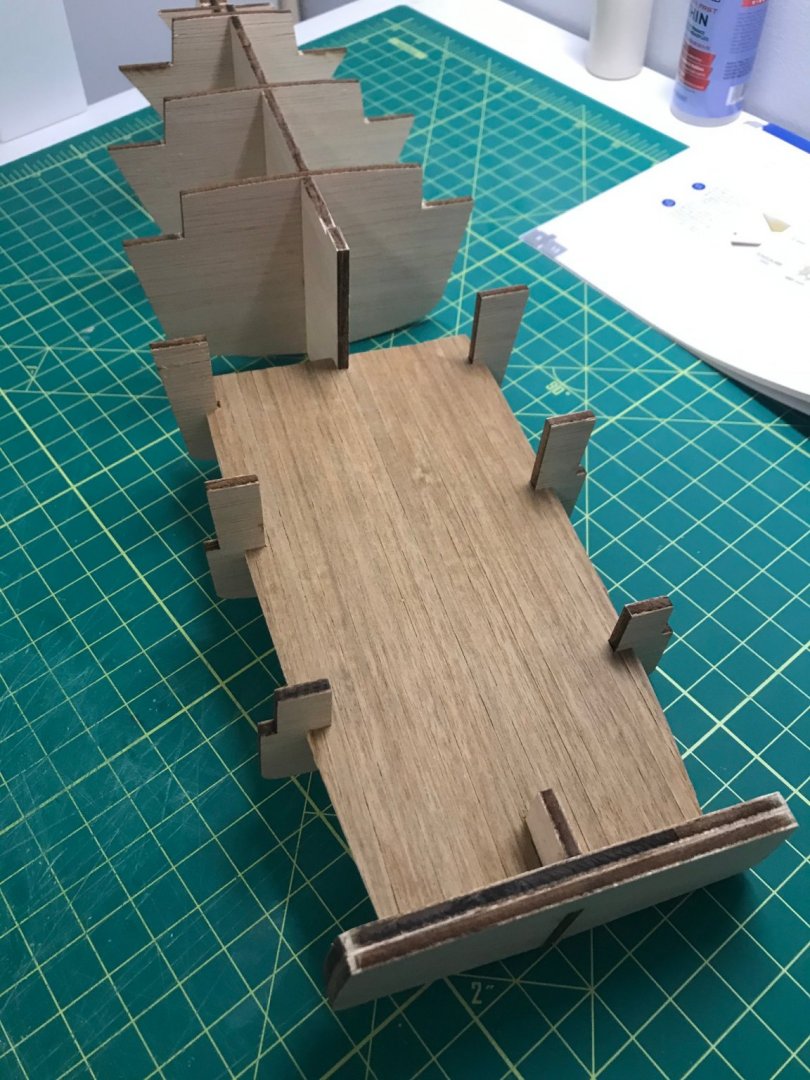
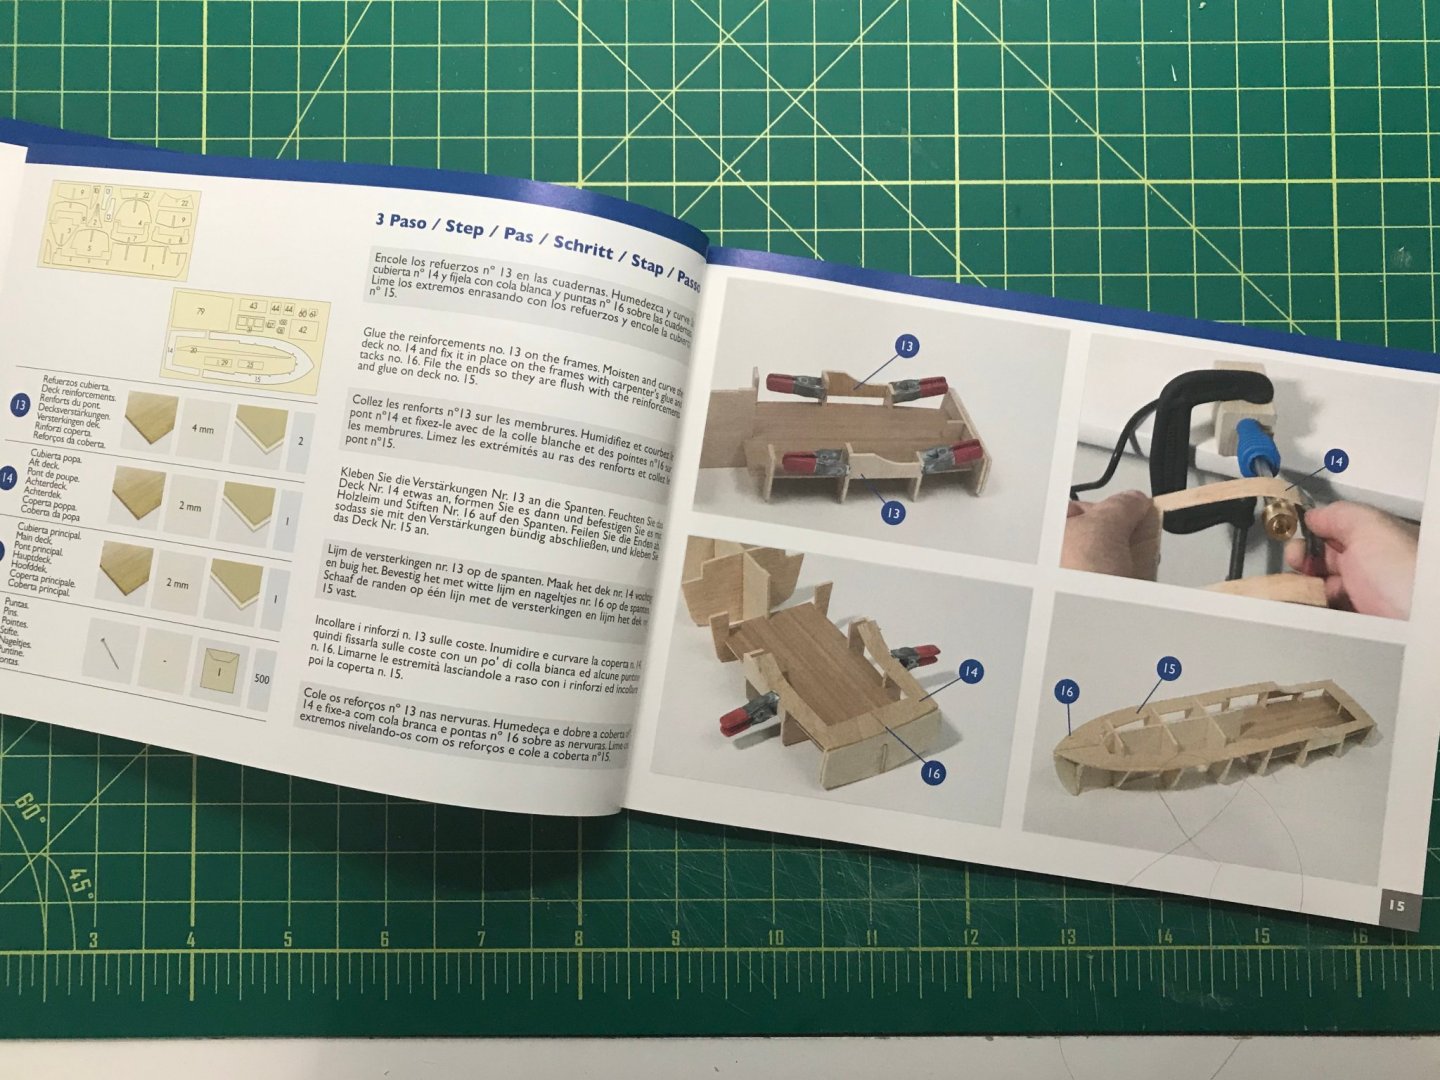
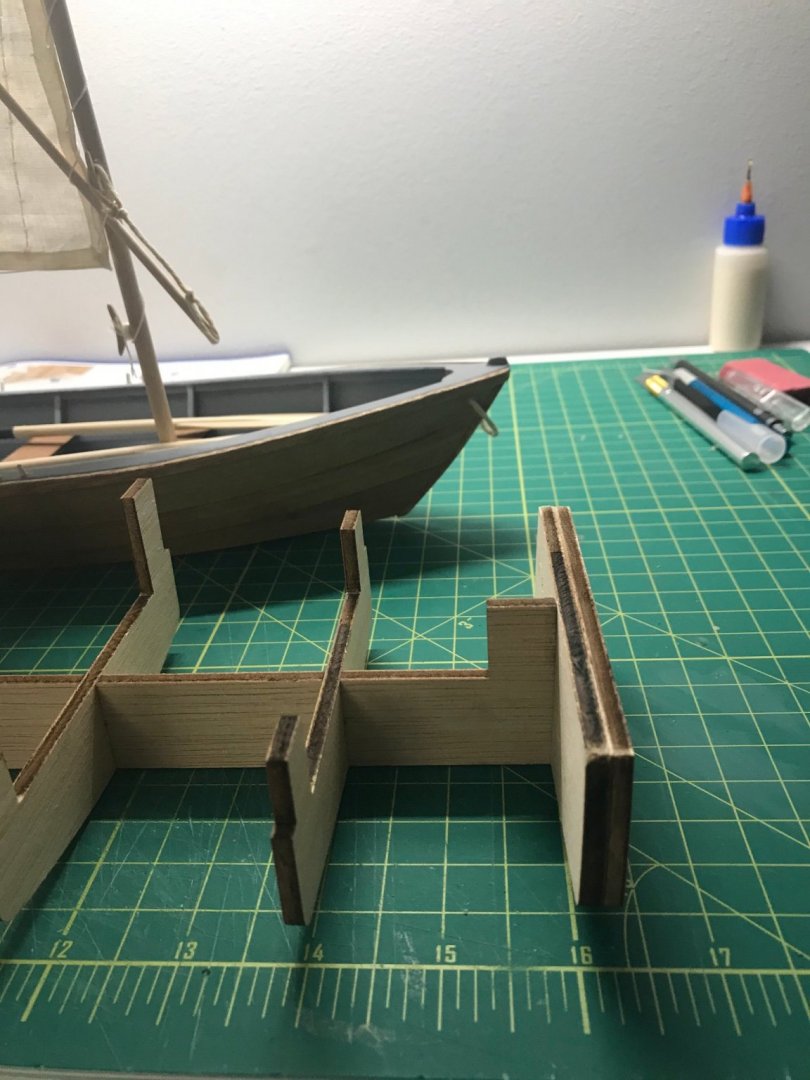
After assembling the keel and frames, I started planking the aft deck which, if we're being honest, is more like veneering. Nothing too complicated here except to be aware of the thin "planks" splintering pretty easily. They're pretty thin. And another word of warning is to make sure you're pushing the the deck into place carefully. It's a tight fit and the planks will buckle up pretty easily when they come into contact with the side walls. Or, just use a lot more glue than I did. And it's set in place. After that I formed, the sides of the deck with a quick soak and curling iron. I learned pretty quickly that it's better to keep the iron temperature relatively low otherwise the heat makes the wood a little bit warped and kind of cooked. Otherwise, it wasn't too much effort to get it glued down sanded/filed evenly with the reinforcements and then line it up with the main deck: Next I'll be venturing into real planking with the hull. In the mean time, I wonder if anyone can help me understand the process of finishing the wood. I've stained wood before but this model calls for varnish. The instructions say: Does anyone have link to a product for "satin-finish nitrocellulose varnish" or a recommendation of what they prefer to use? I searched for this online but it's a little bit confusing about which product to purchase.


-
@Ryland Craze I have a feeling I'm heading down a vast rabbit hole as well. But like you said, you never know when it'll come in handy! Now if I can only make the closest bigger. 😄
-
@turangi Thank you! Labor not included because I'm sure my rate is pretty low anyway considering my inexperience.
-
Keithbrad80 reacted to a post in a topic:
Grand Banks Dory by ThirdCoast - FINISHED - BlueJacket Shipcrafters - 1:16
-
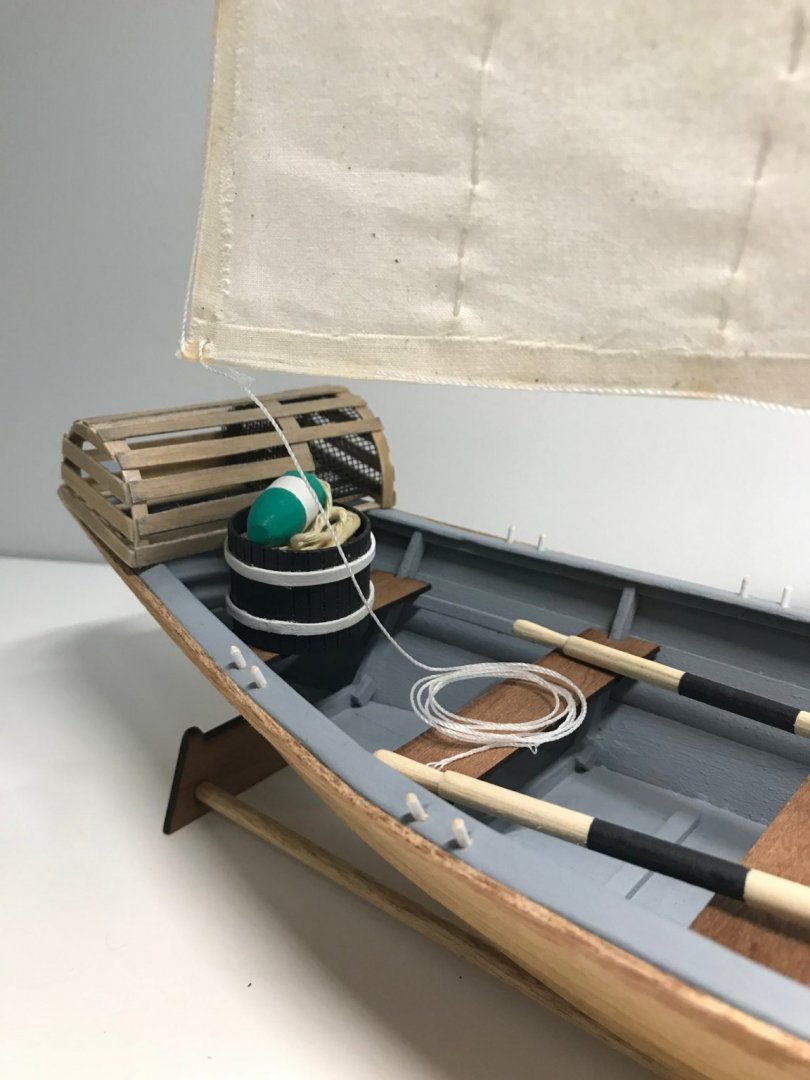
BONUS LOG POST Even though this build is finished and I've already started my second, I wanted to do a quick follow up. I started to think about how this was my first experience with building model ships and, even though there is a lot of great content on MSW about the tools and material you'll need to get started, I was still kind of fumbling around as I went along. A lot of things maybe aren't really needed at this level and there were also a few things along the way that I found that I needed to modify this specific kit (like adding buoys). I was also curious to see how much it truly cost to get started in general. With that said, I put together a spreadsheet listing all of the things that I ended up buying and a few things I already had on hand. This probably isn't exhaustive but it did give me a good idea of what I had gotten myself into to the tune of $268. 😅 Of course your mileage may vary if you already had these tools on hand or were a lot more thrifty than myself and of course I'll continue to use the things I've purchased on my future builds but it was a fun exercise none-the-less. Here is the spreadsheet I've put together listing everything I ended up using: https://docs.google.com/spreadsheets/d/1B-zNSLKuHEUt4c7CFK2Y5I9cFCGc4rRx3KkvFEBp1sA/edit#gid=0 Maybe it will help the next new model ship builder that comes along.
- 34 replies
-
- 3
-
-
- grand banks dory
- bluejacket shipcrafters
- (and 1 more)
-
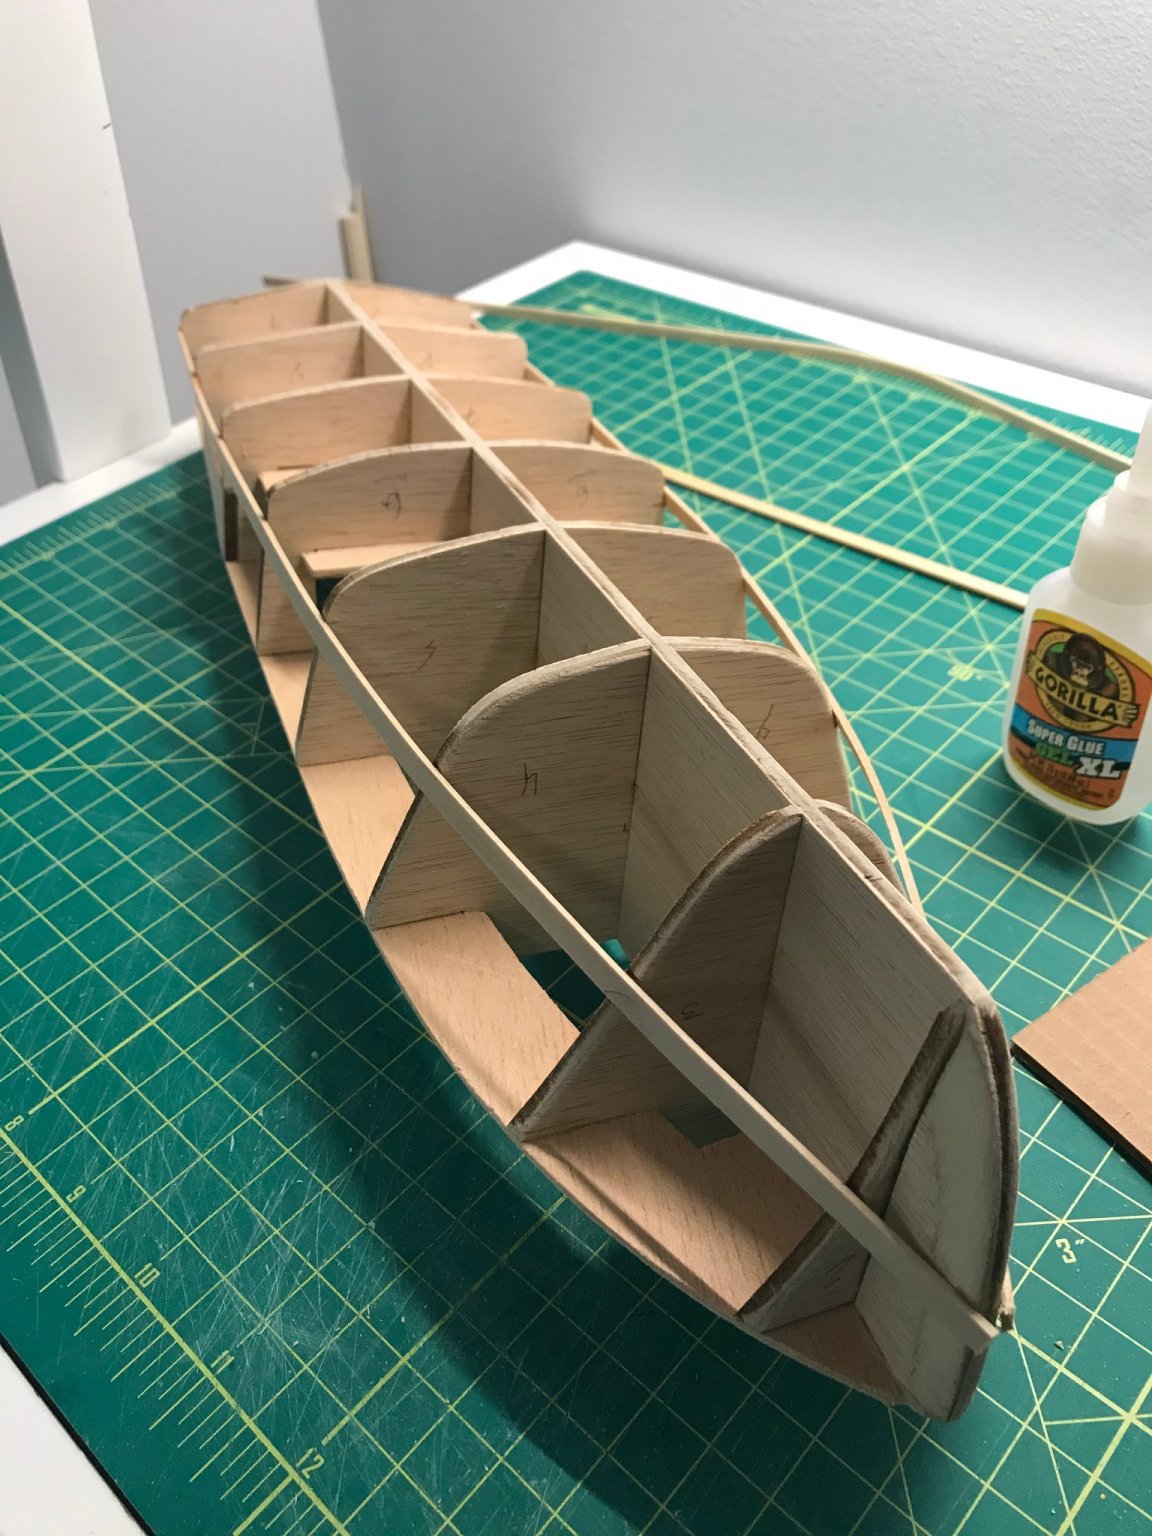
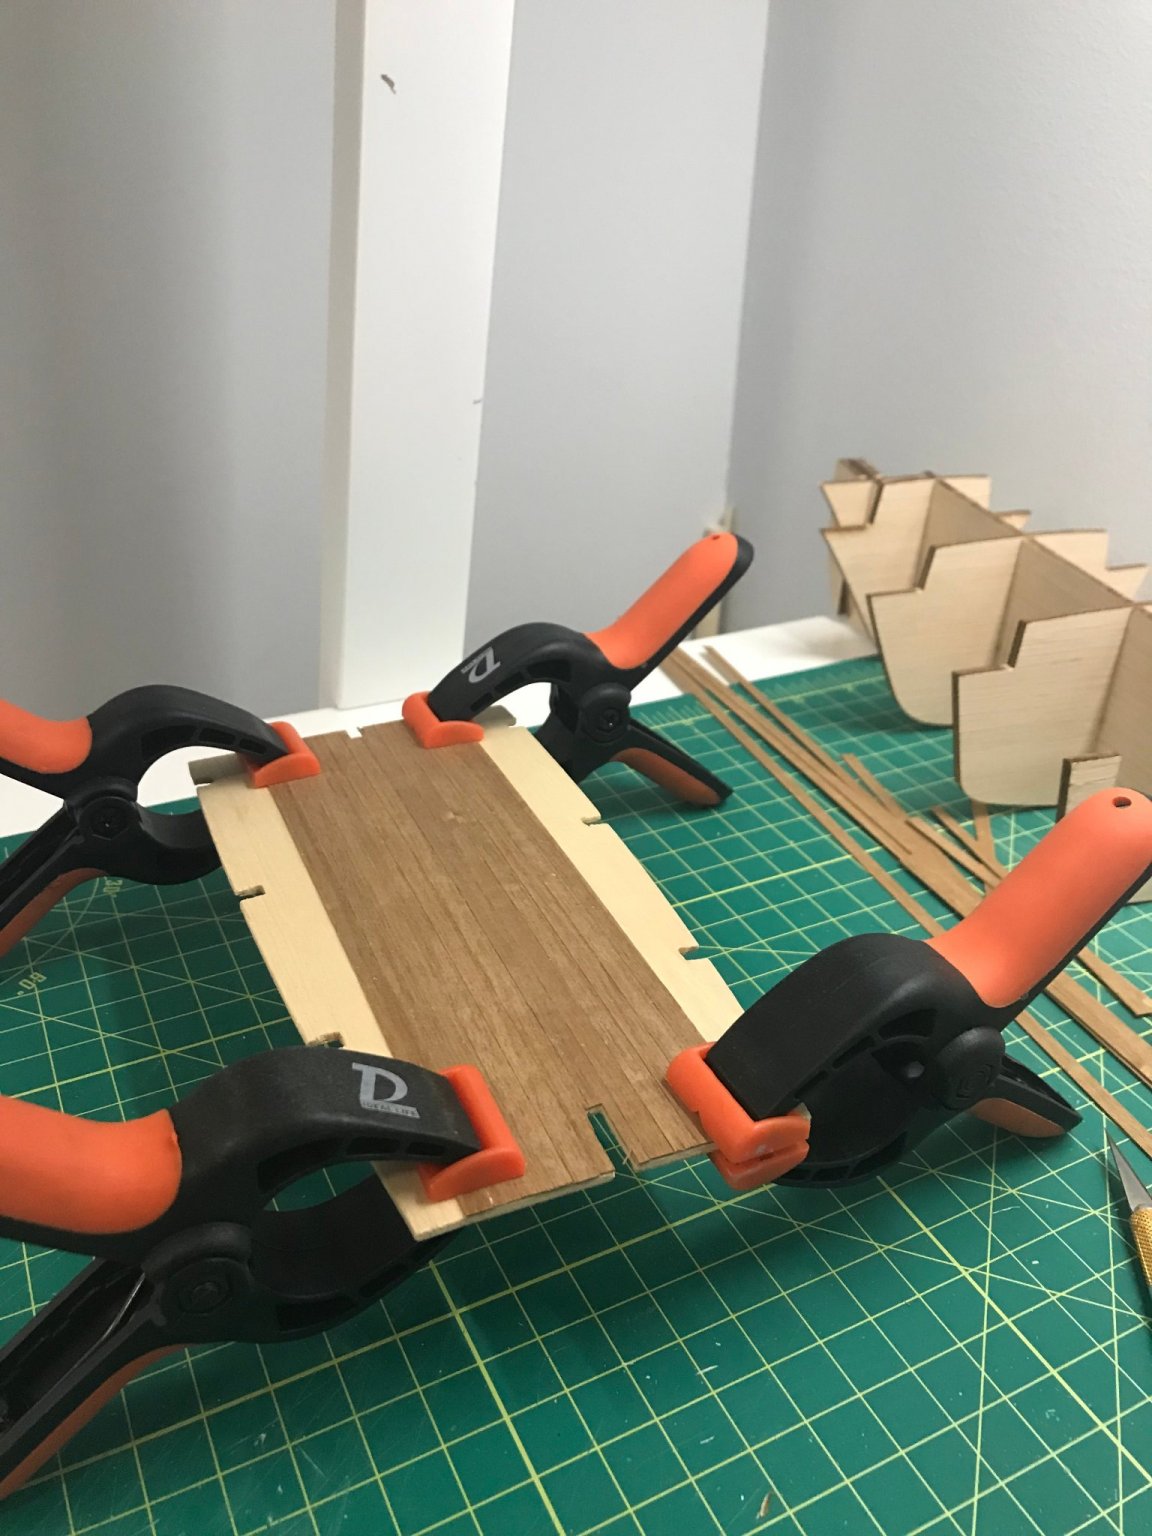
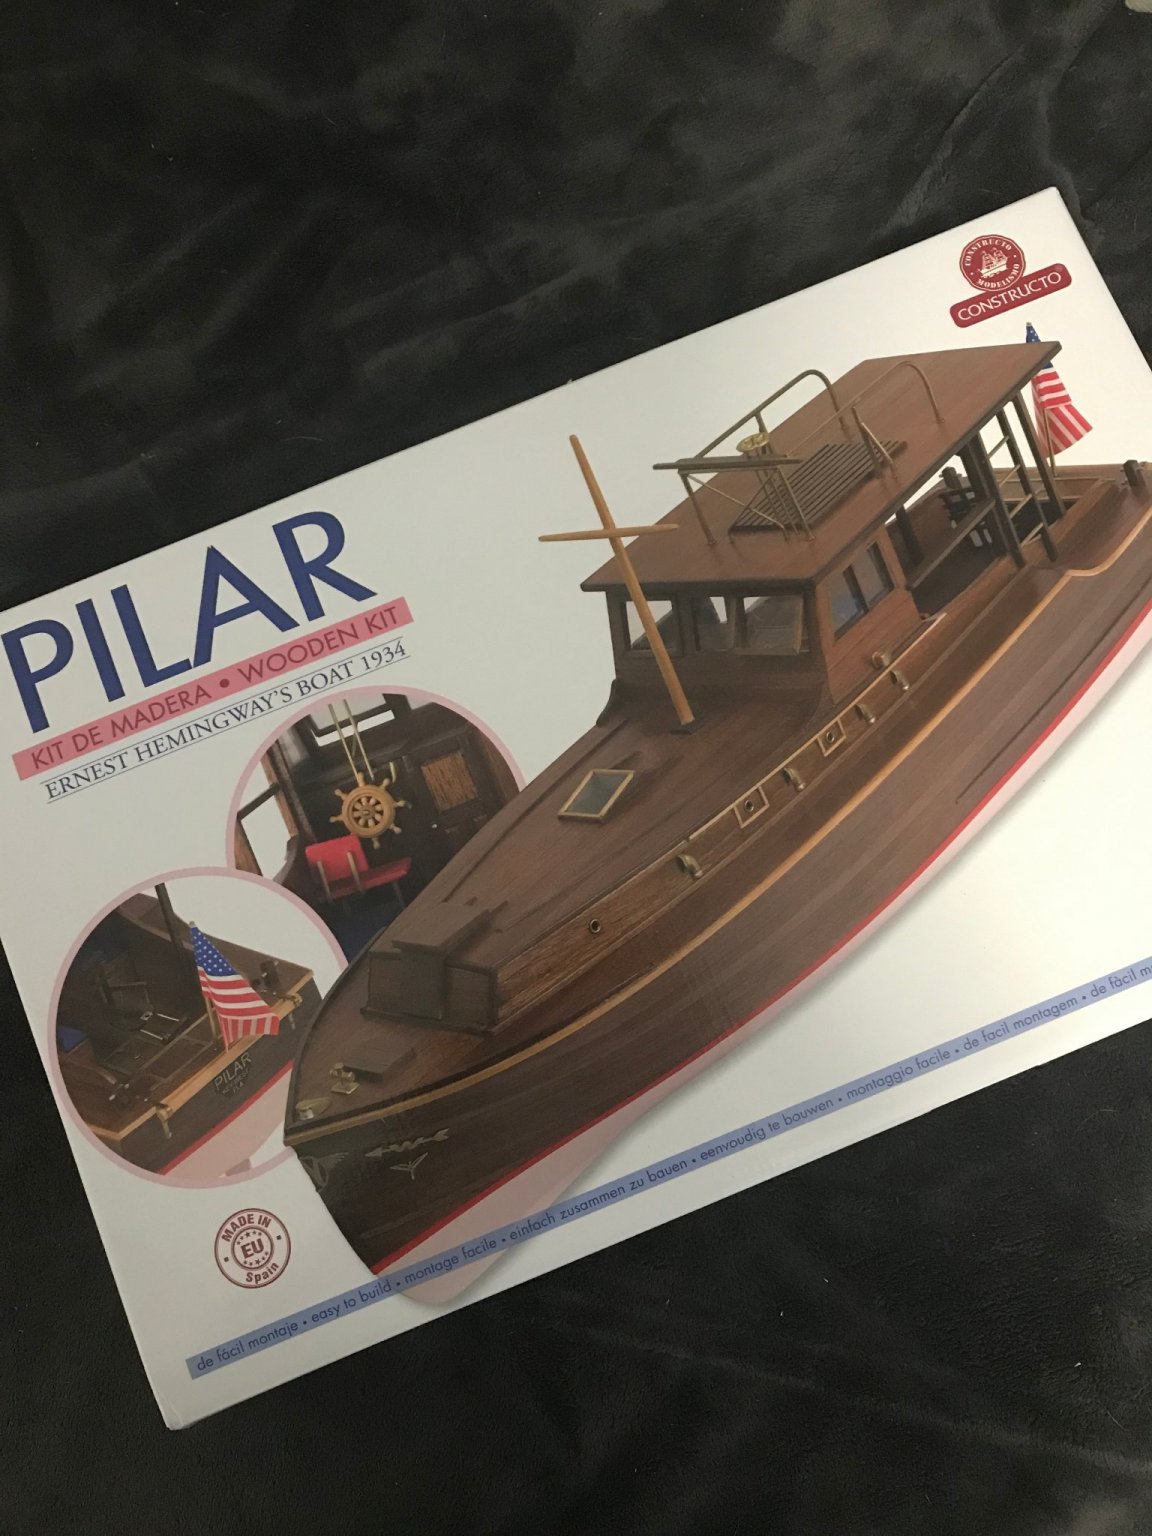
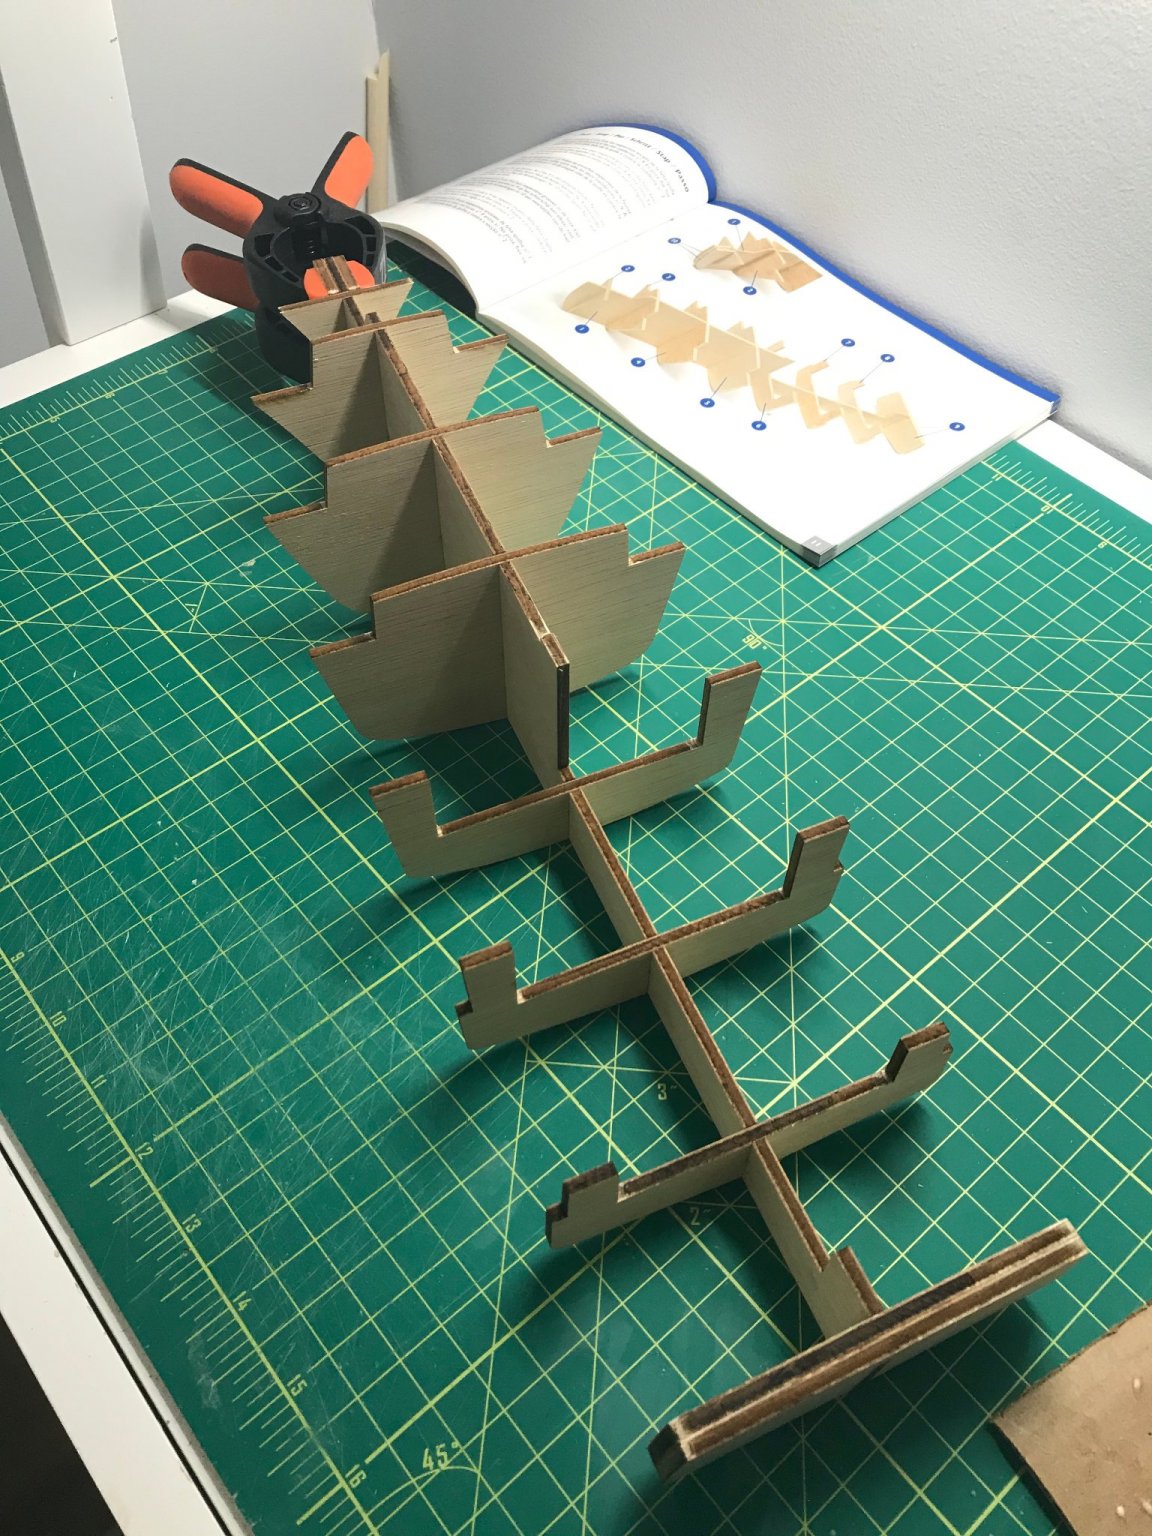
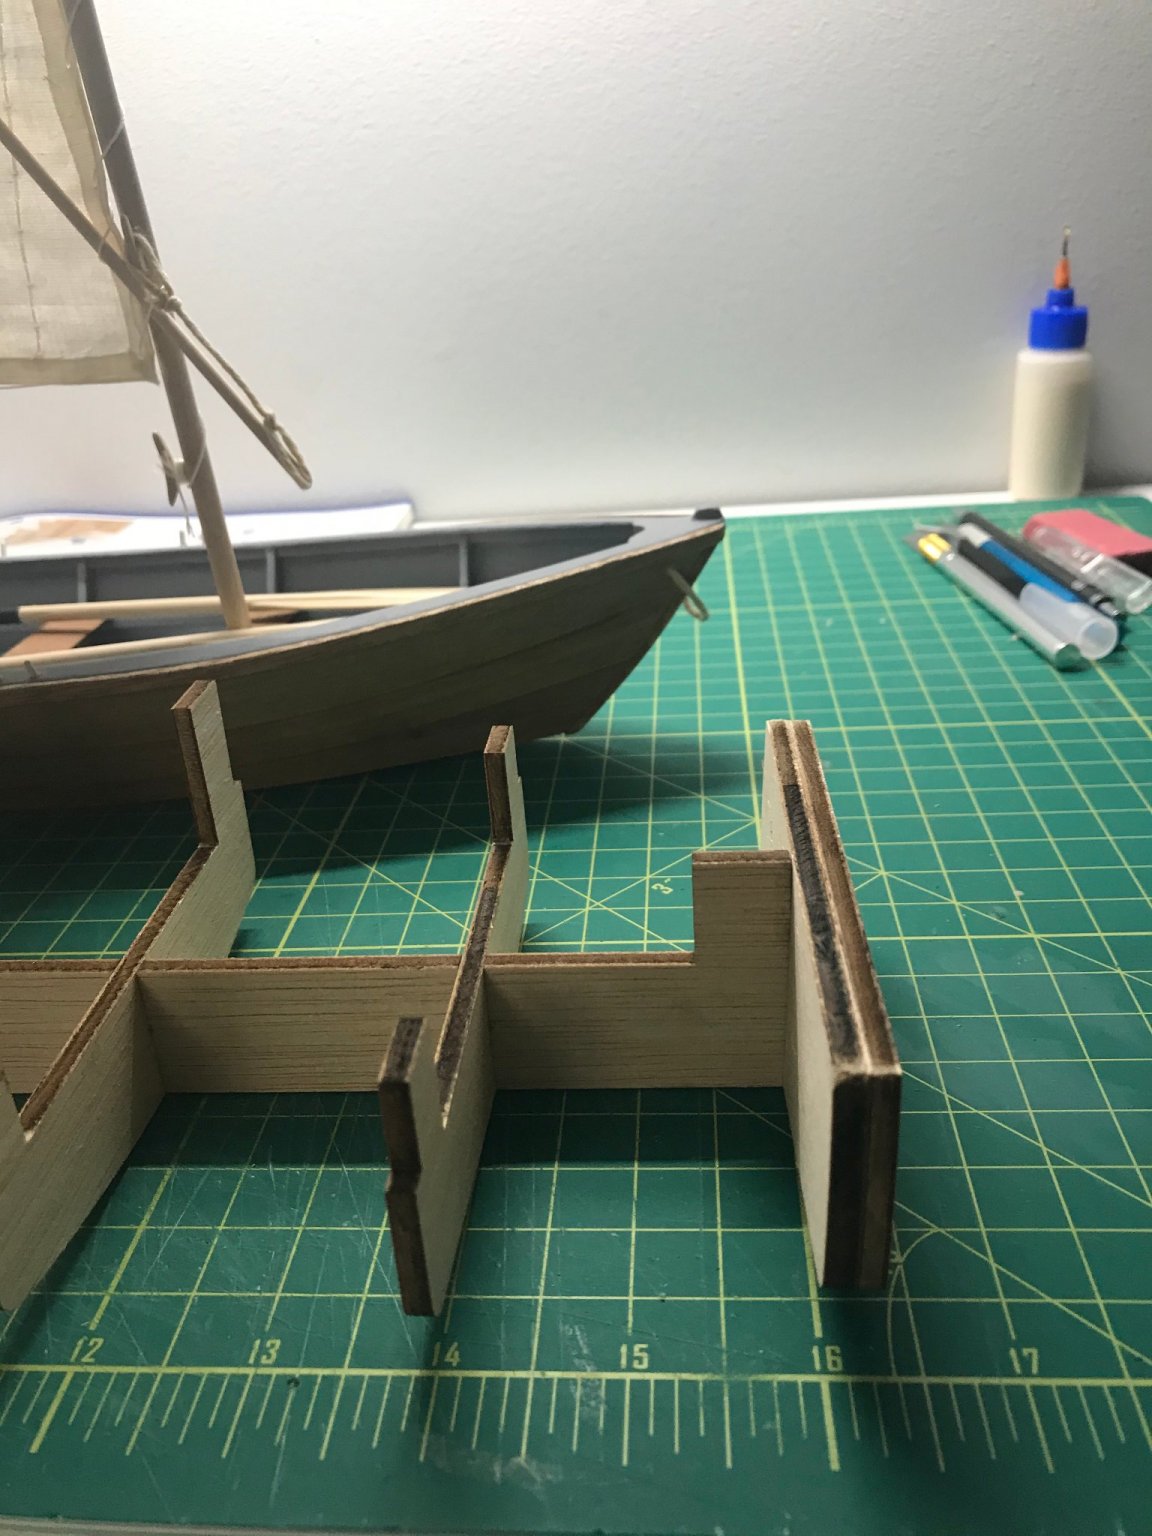
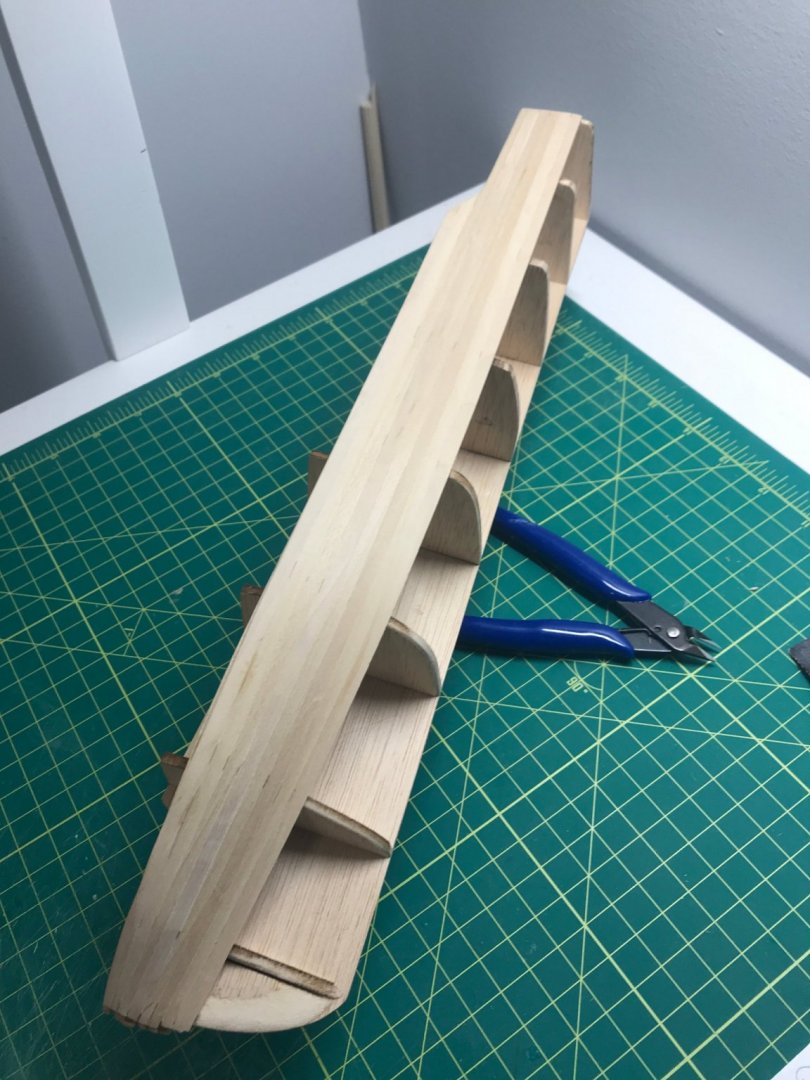
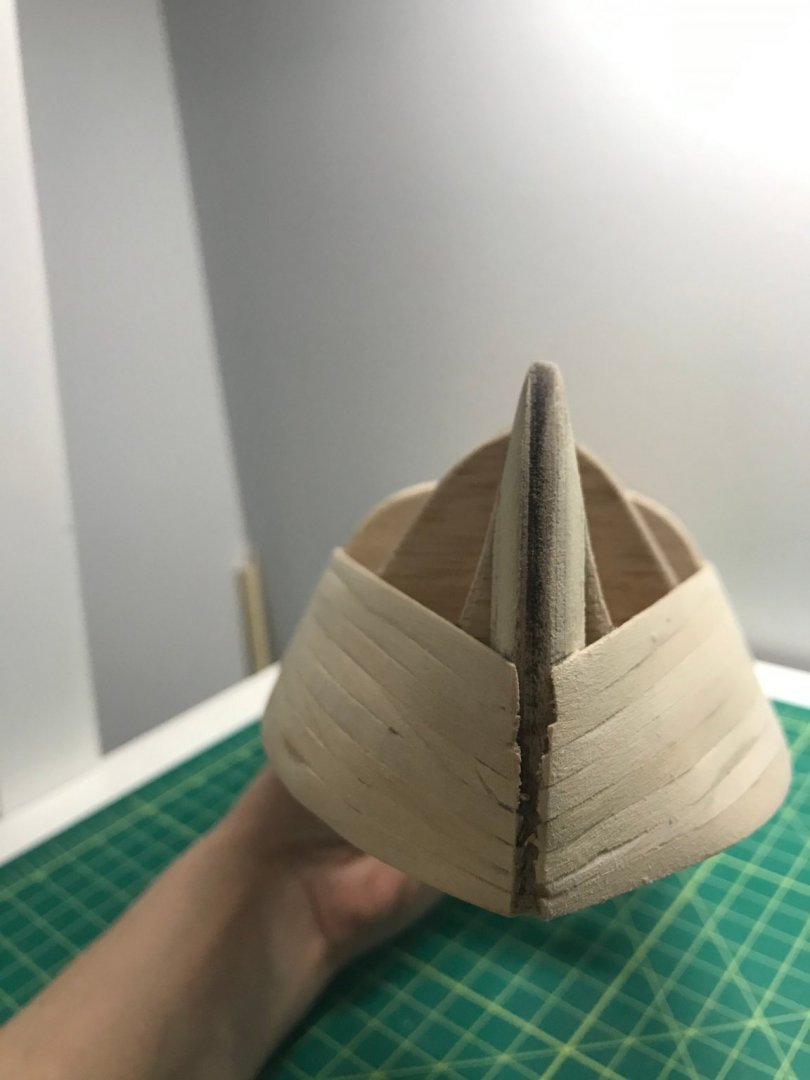
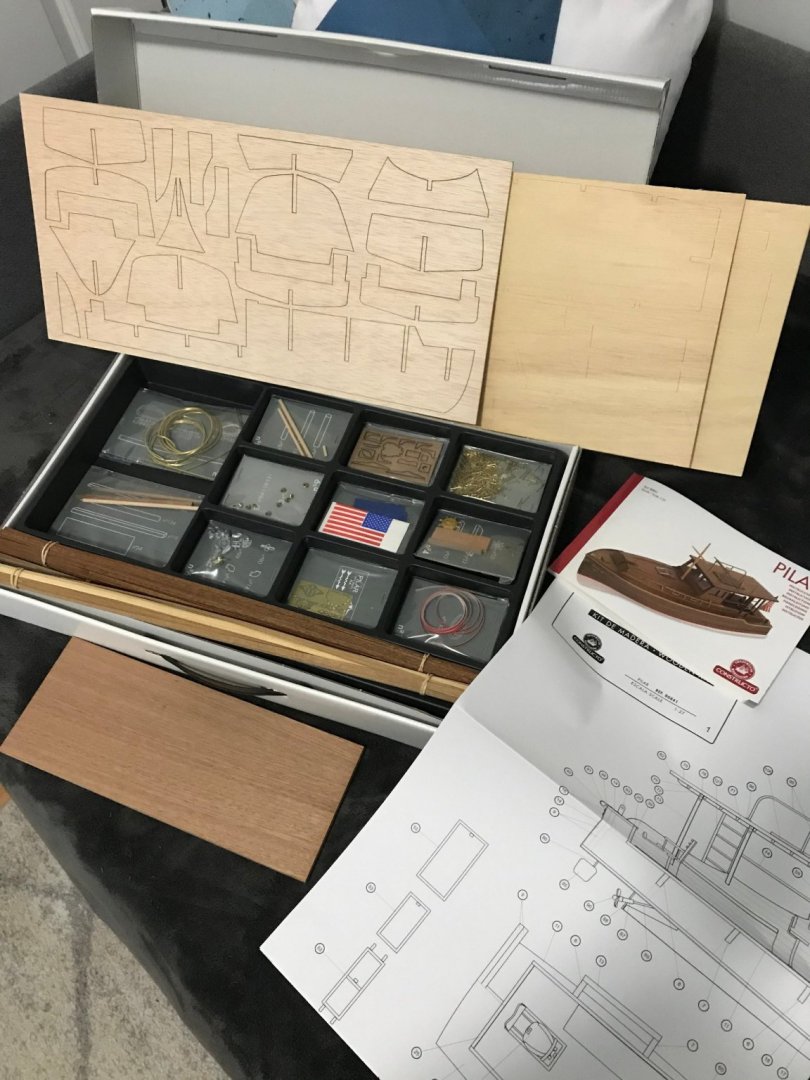
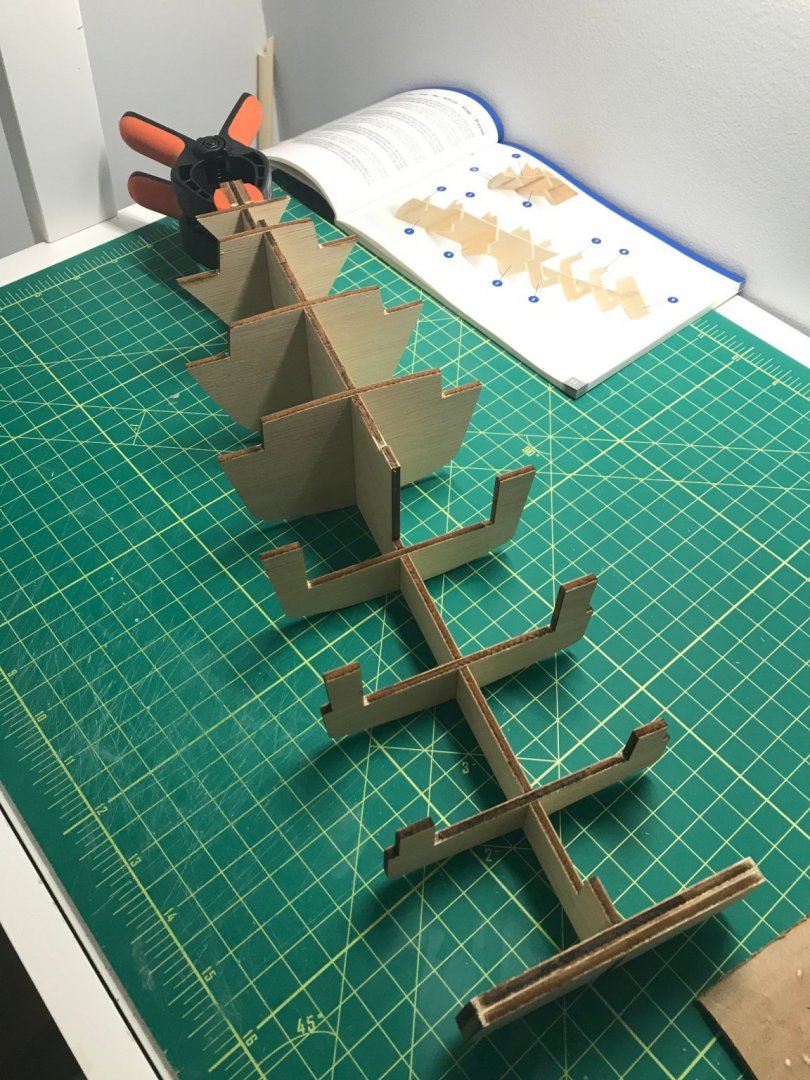
I recently finished my first build so next I've decided to start on the fishing yacht, Pilar. Why Pilar? For anyone that isn't familiar with this boat, Earnest Hemingway commissioned Pilar in 1934 and he had many adventures with it throughout his life. I studied literature in college (now completely unrelated to my current profession), which is why I think I became fascinated with his boat. I'm starting to see a pattern of the types of builds that interest me; Winslow Homer painted Grand Bank Dory's (my first build) and Earnest Hemingway's beloved fishing yacht draw a connection between art, literature, and the sea. On the technical side though, the reason I picked Pilar is because I'd like more experience with planking and metalwork both of which this build has a multitude of. In fact, it looks like every single mm of the Pilar is planked in some way so I expect to come out the other end having more than enough experience (and either loving it or hating it). Onto the build! Here is the Pilar on the cover of the Constructo box. It arrived packaged within another box for shipping so it was in great shape. No visible external damage: This model was quite a bit more expensive than my first one (nearly double) so I wasn't sure what to expect. I assumed the price was a reflection of all of the different wood for planking but I think that price also reflects a very organized kit with wonderful full color instructions: I quickly managed to assemble the false keel and was really happy with how straight everything was at this point. It was solid, true, and I could dry fit easily before gluing everything in place: I was also happy that this boat isn't massive. I have very limited working space right now and I was relieved to see that it's only about an inch longer than my first build. I have just enough working space! 😬 Moving onto the center deck, I'm finding that the provided board for various pieces (including the center deck that I need for the next step) are warped and I'm not really sure what to do about it: Should I stop, soak the panels, and try to flatten the entire thing out? Or would it be easier to do that for individual pieces as they're needed? I think the former but I would like to hear what others have done in this situation too. Thanks for following along! This should be a fun one.


-
Thanks Nic! I'm sure I will be seeing y'all again soon!
-
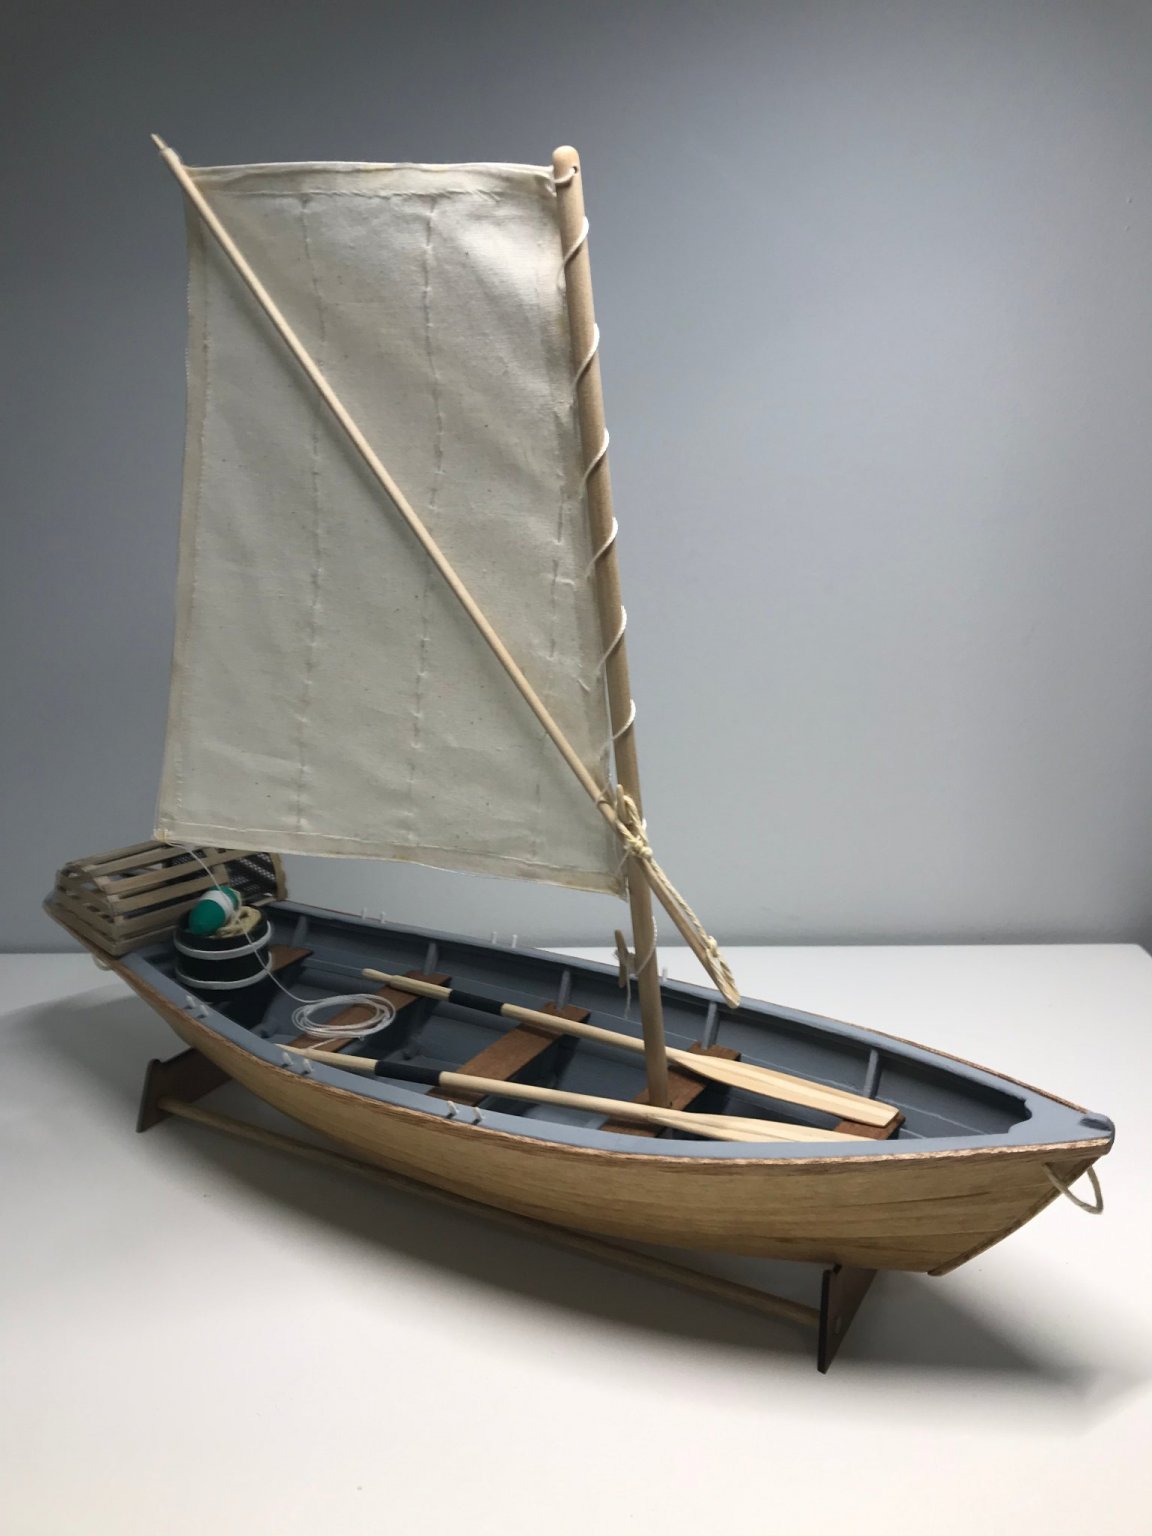
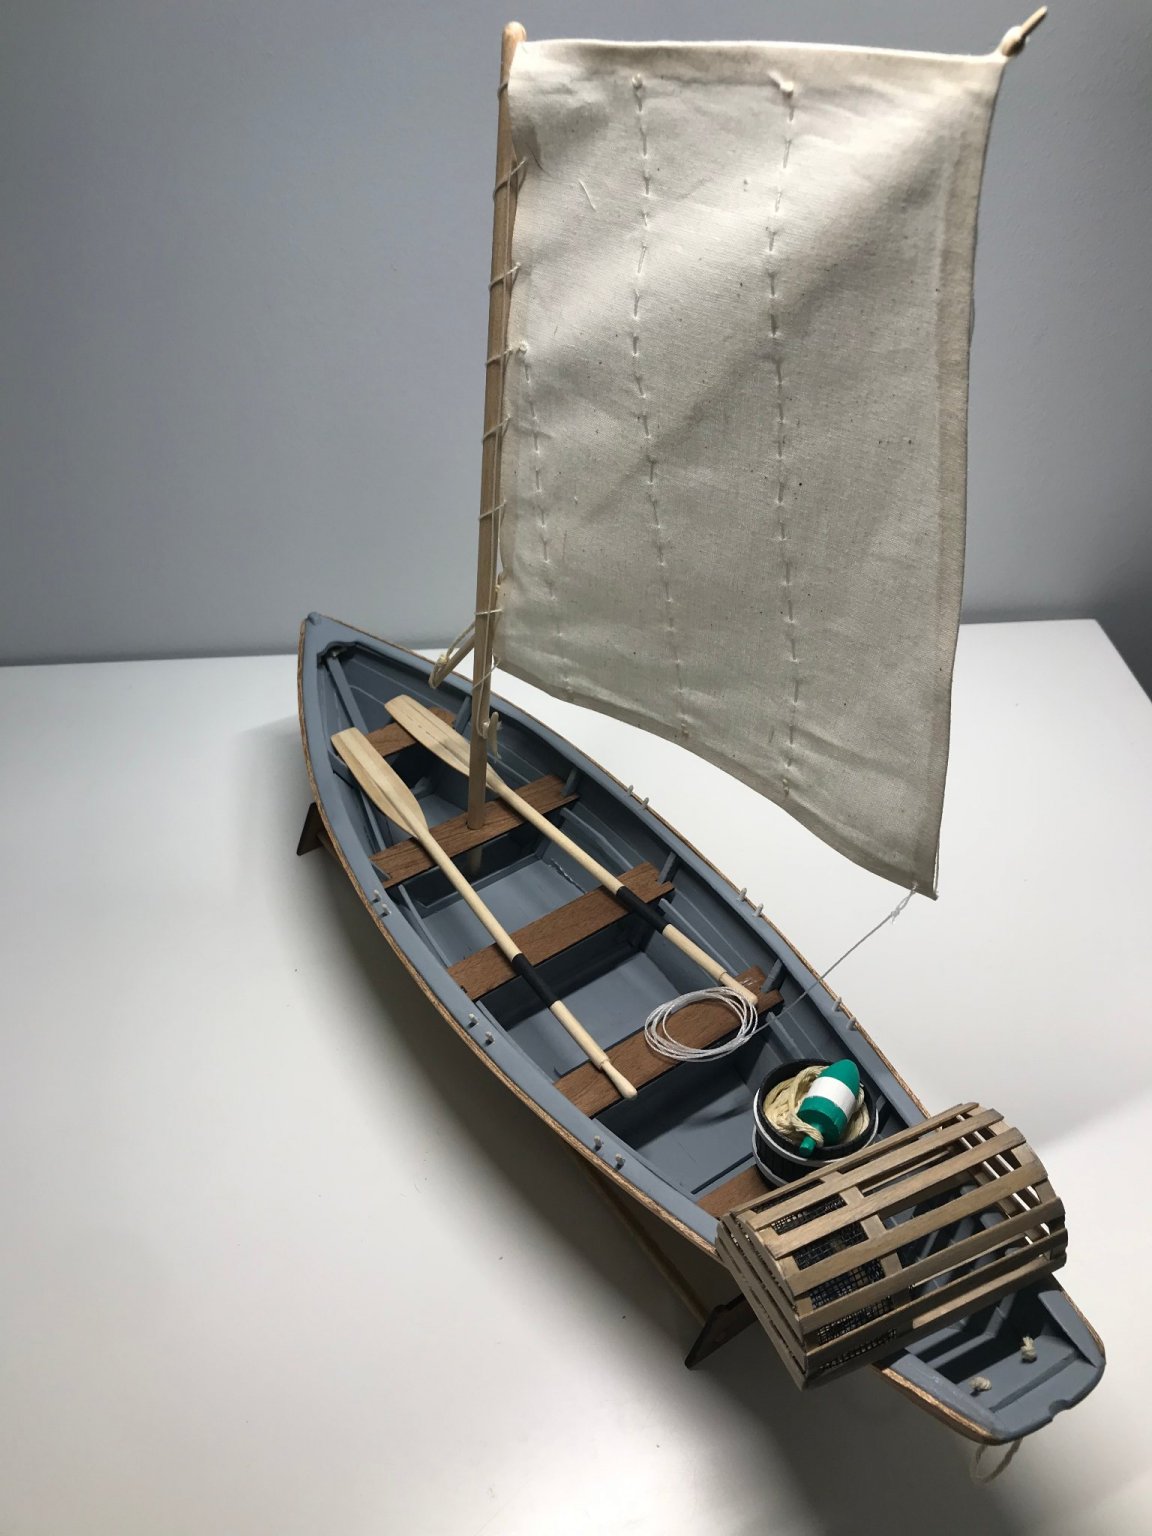
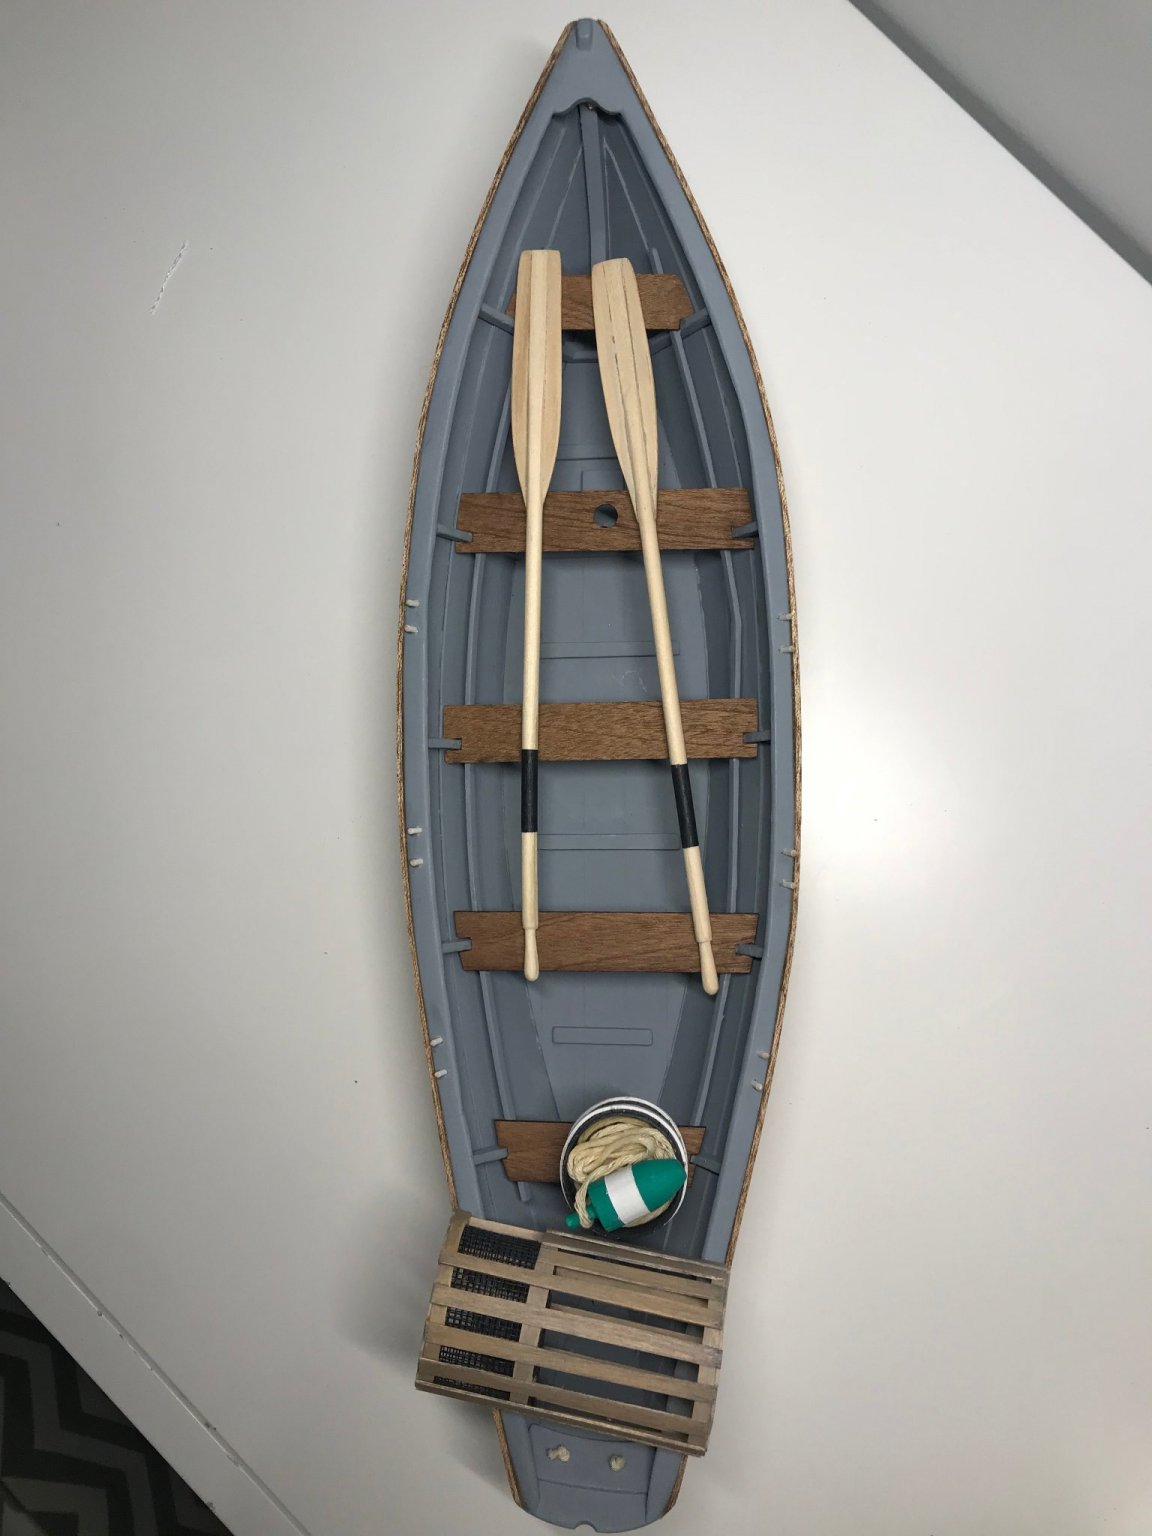
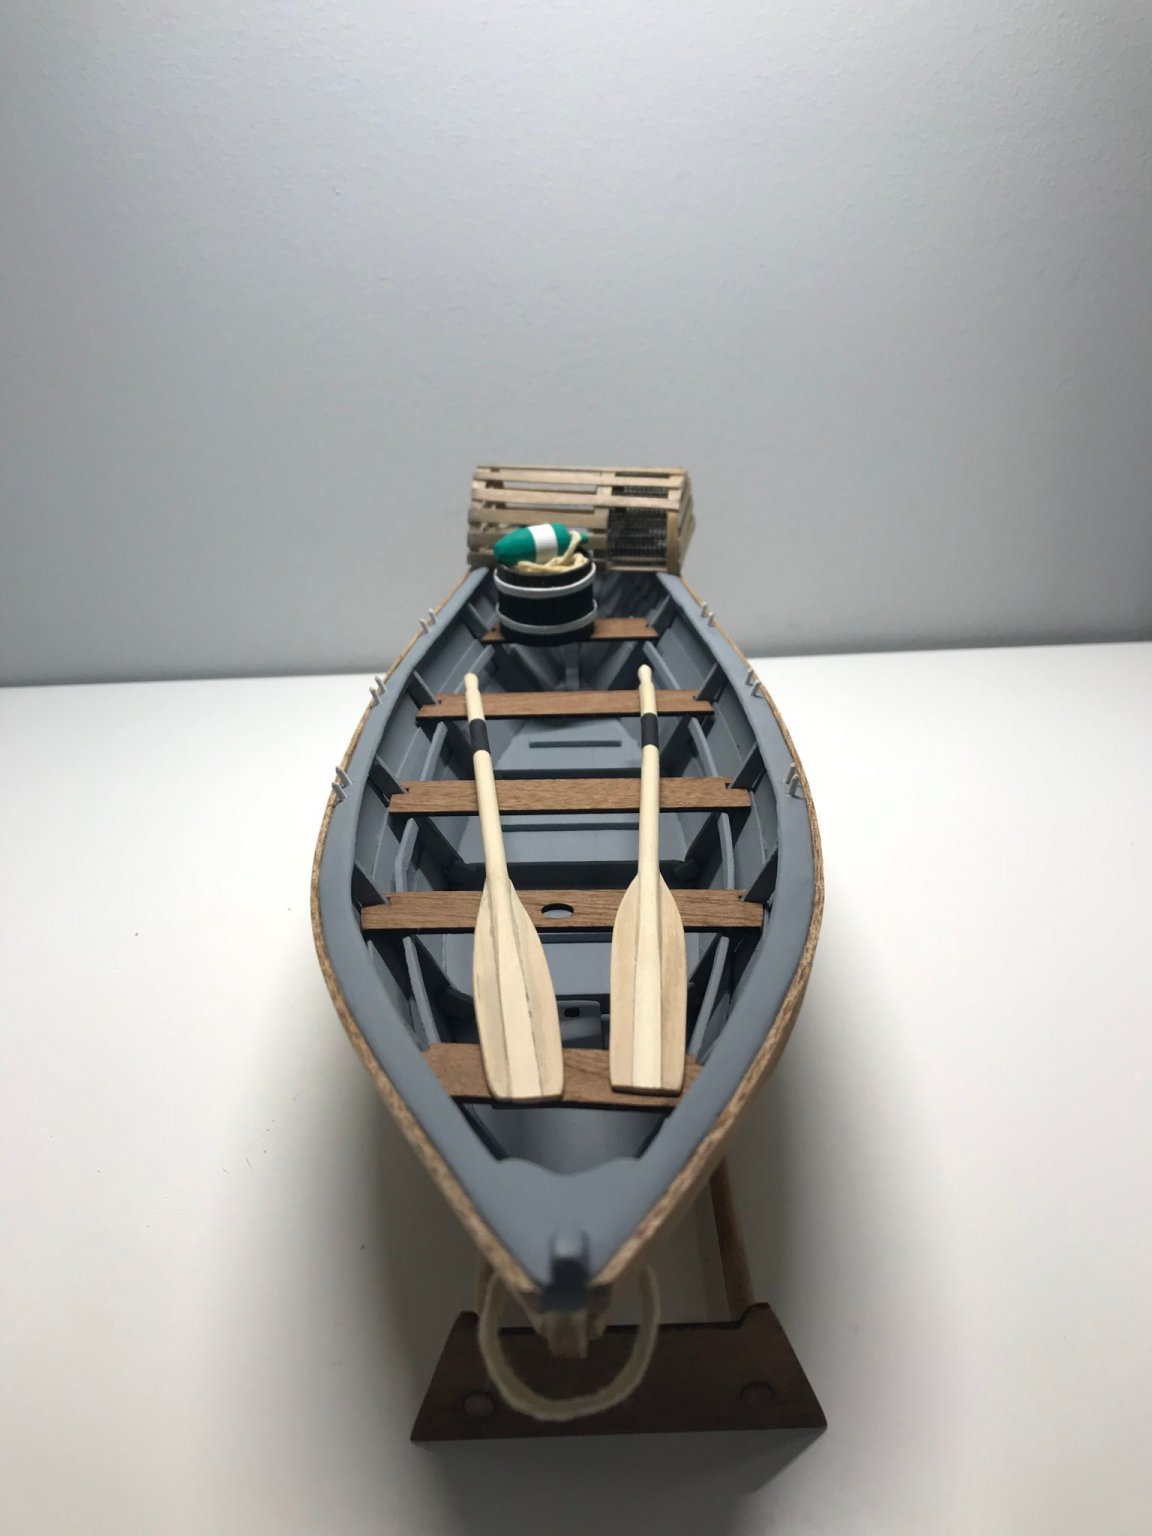
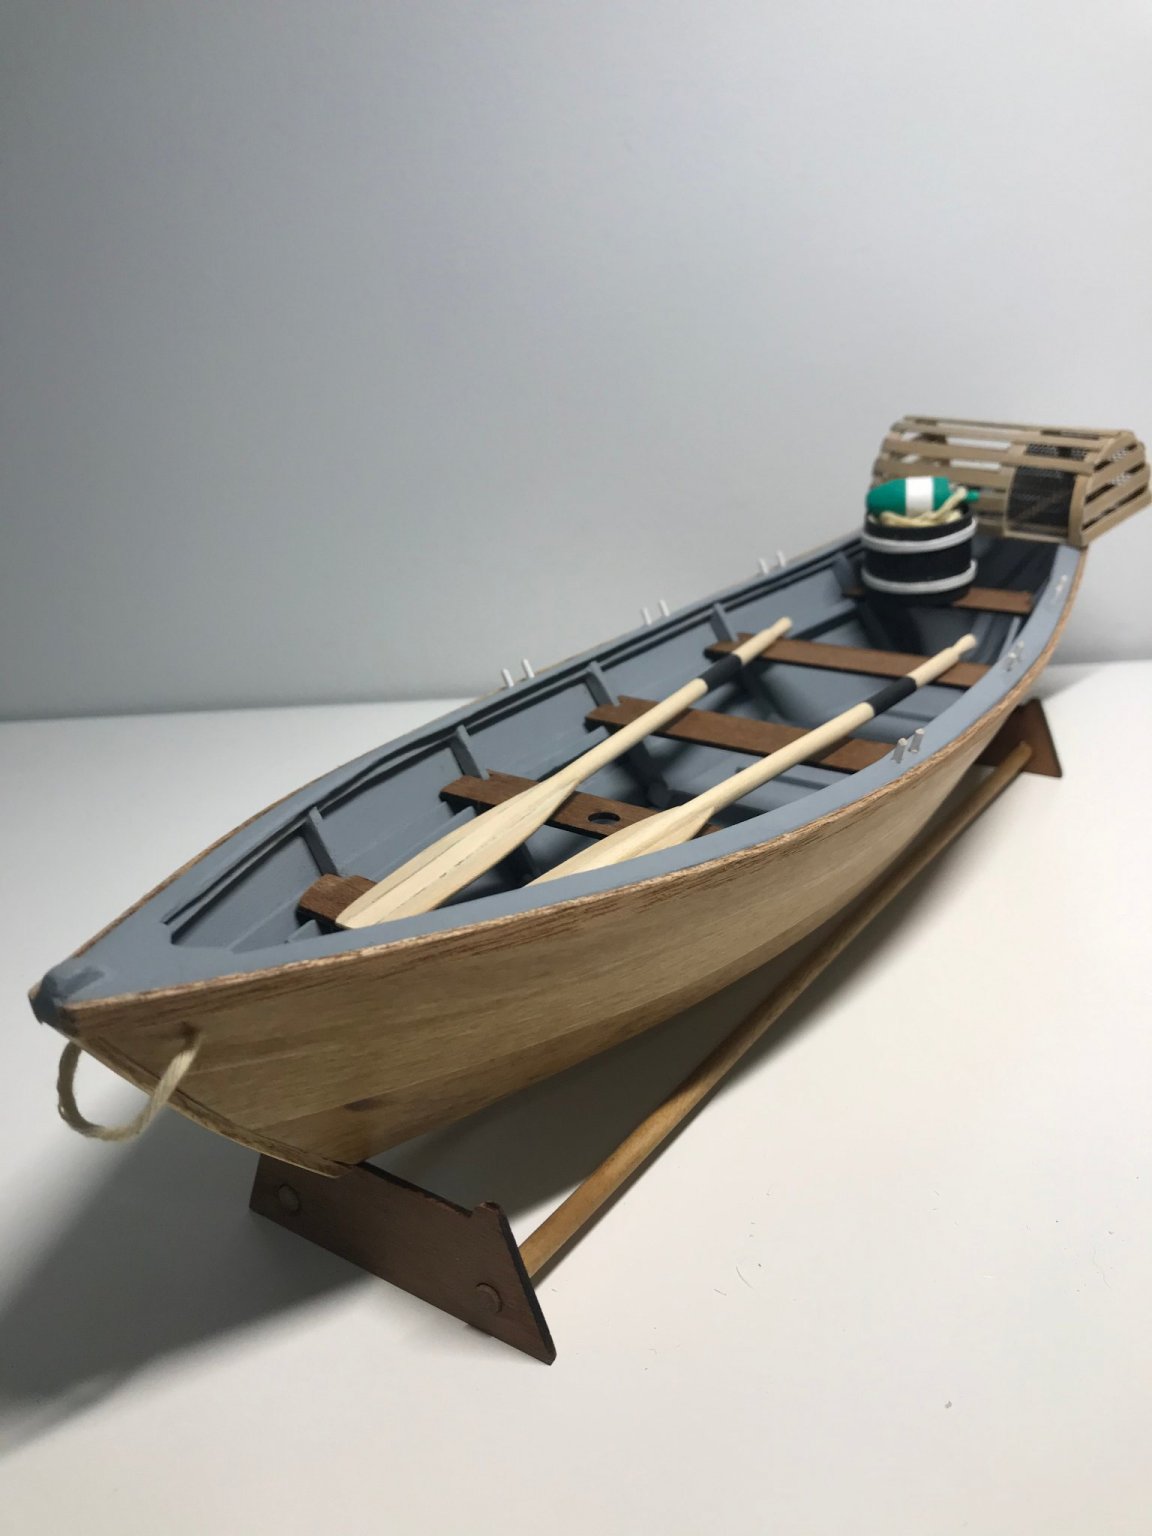
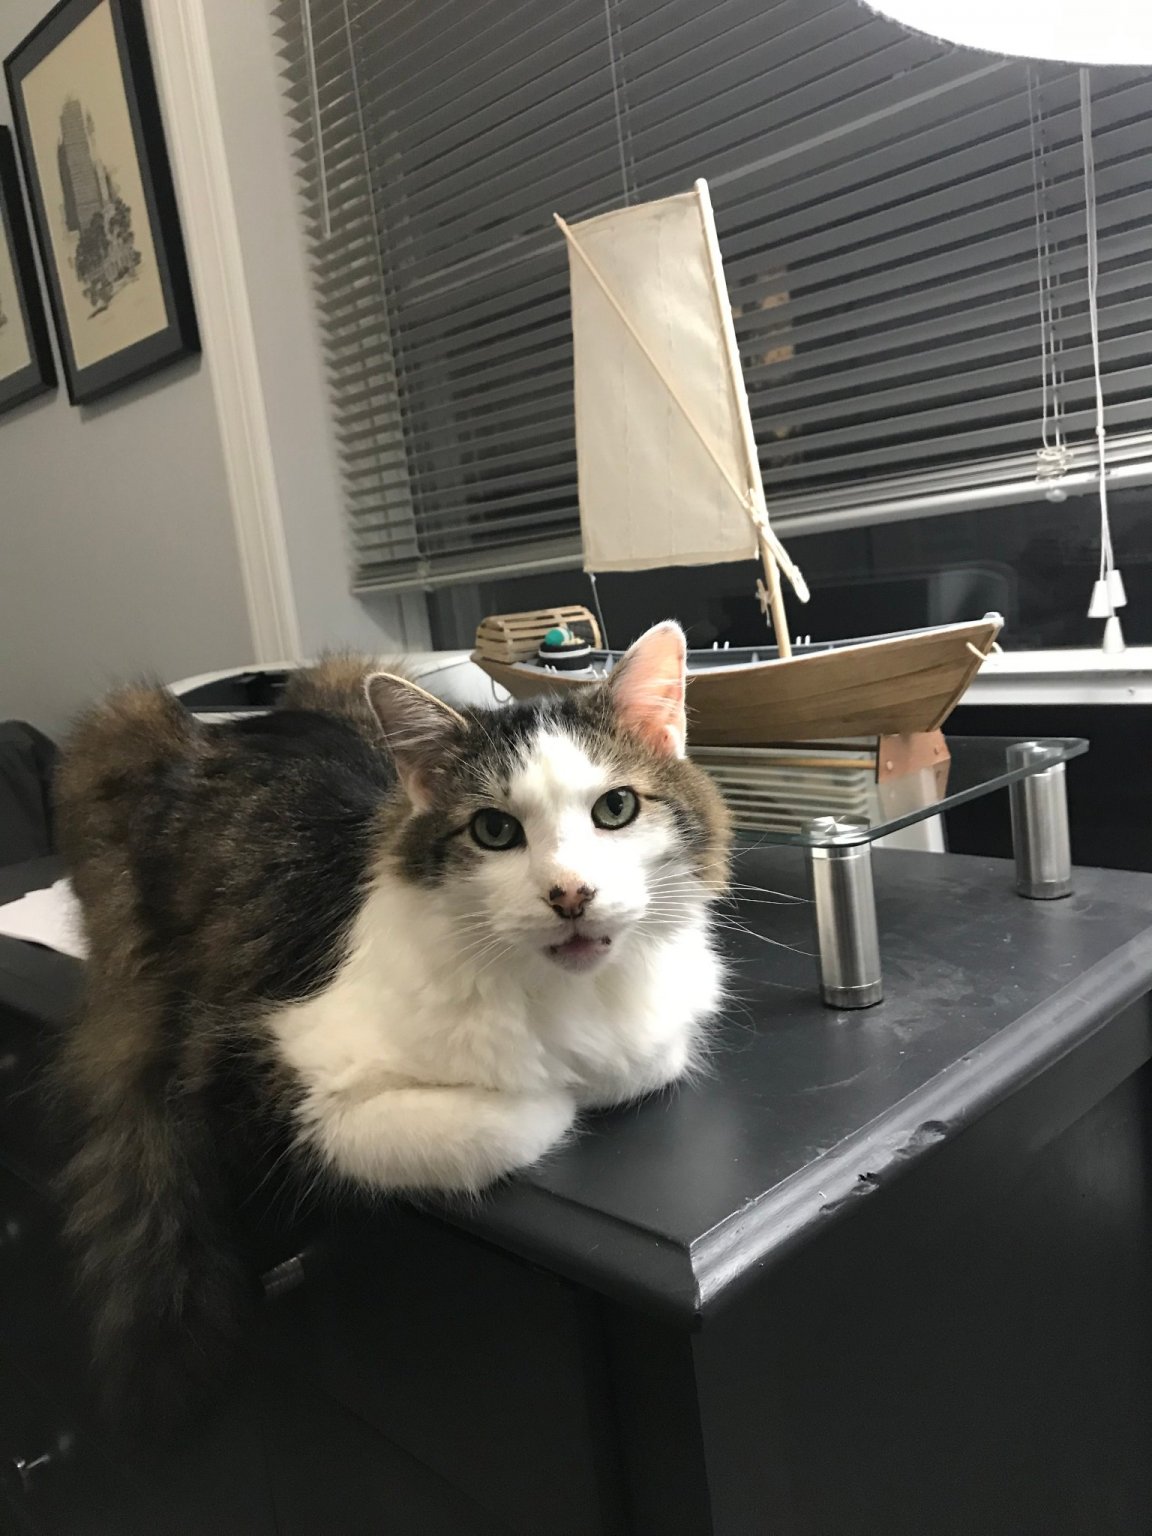
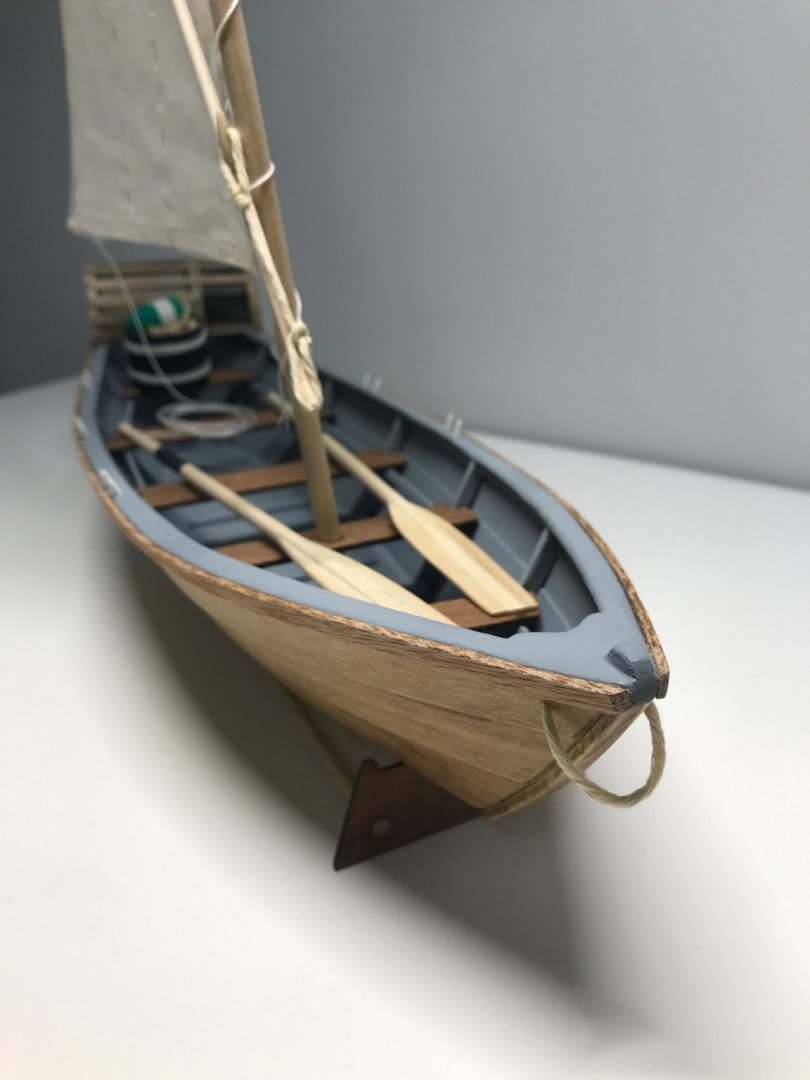
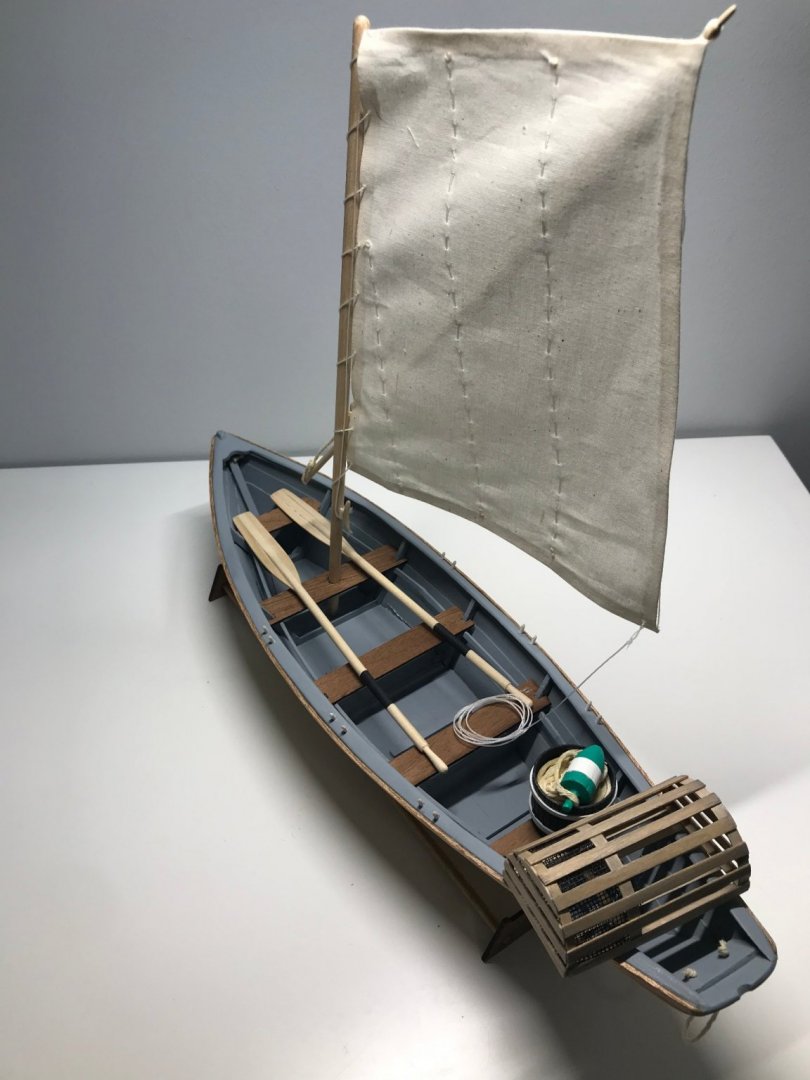
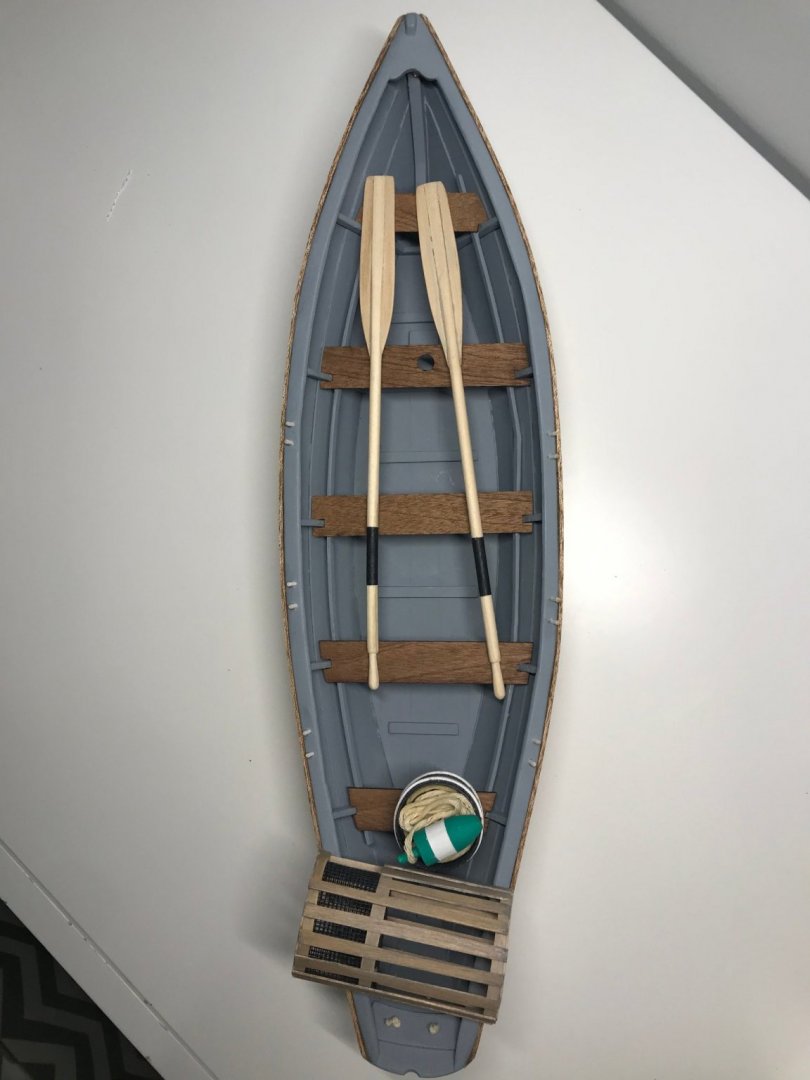
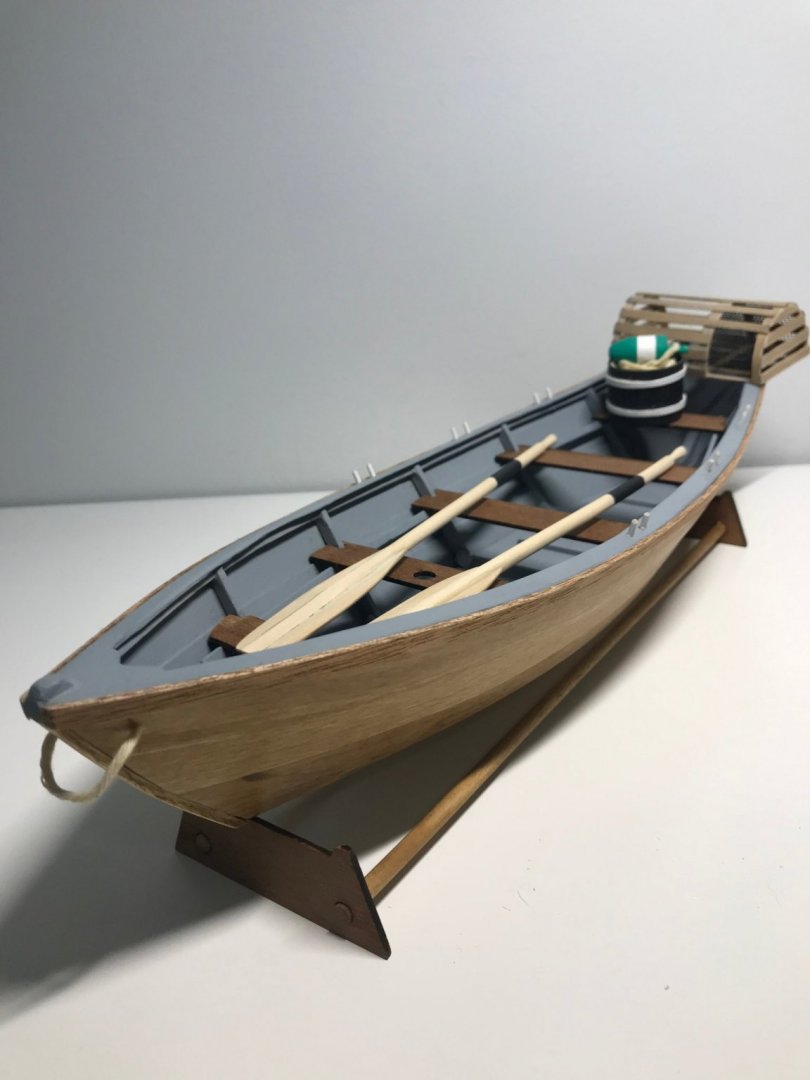
I'm officially declaring my first build complete! This has been a really interesting hobby and I'm glad that I allowed myself this experience. I don't think that I would have been able to complete it to any satisfaction level without all of the resources available here so I dedicate it to Model Ship World and everyone who has contributed to its depth of knowledge. I'm especially grateful for the various build logs (both for this Bluejacket model and also other variations of the Dory) to help guide me further where my inexperience was a blocker. Thanks everyone! Cat tax!! Thanks for reading! 👋


- 34 replies
-
- 8
-
-
- grand banks dory
- bluejacket shipcrafters
- (and 1 more)
-
Thanks Bradley! Yes, that's right. I have selected the Pilar by Constructo as my next build. I'm hoping I haven't bitten off more than I can chew with it but I'm up for a challenge. I'll make sure to start a build log once I start digging in. 👍
-
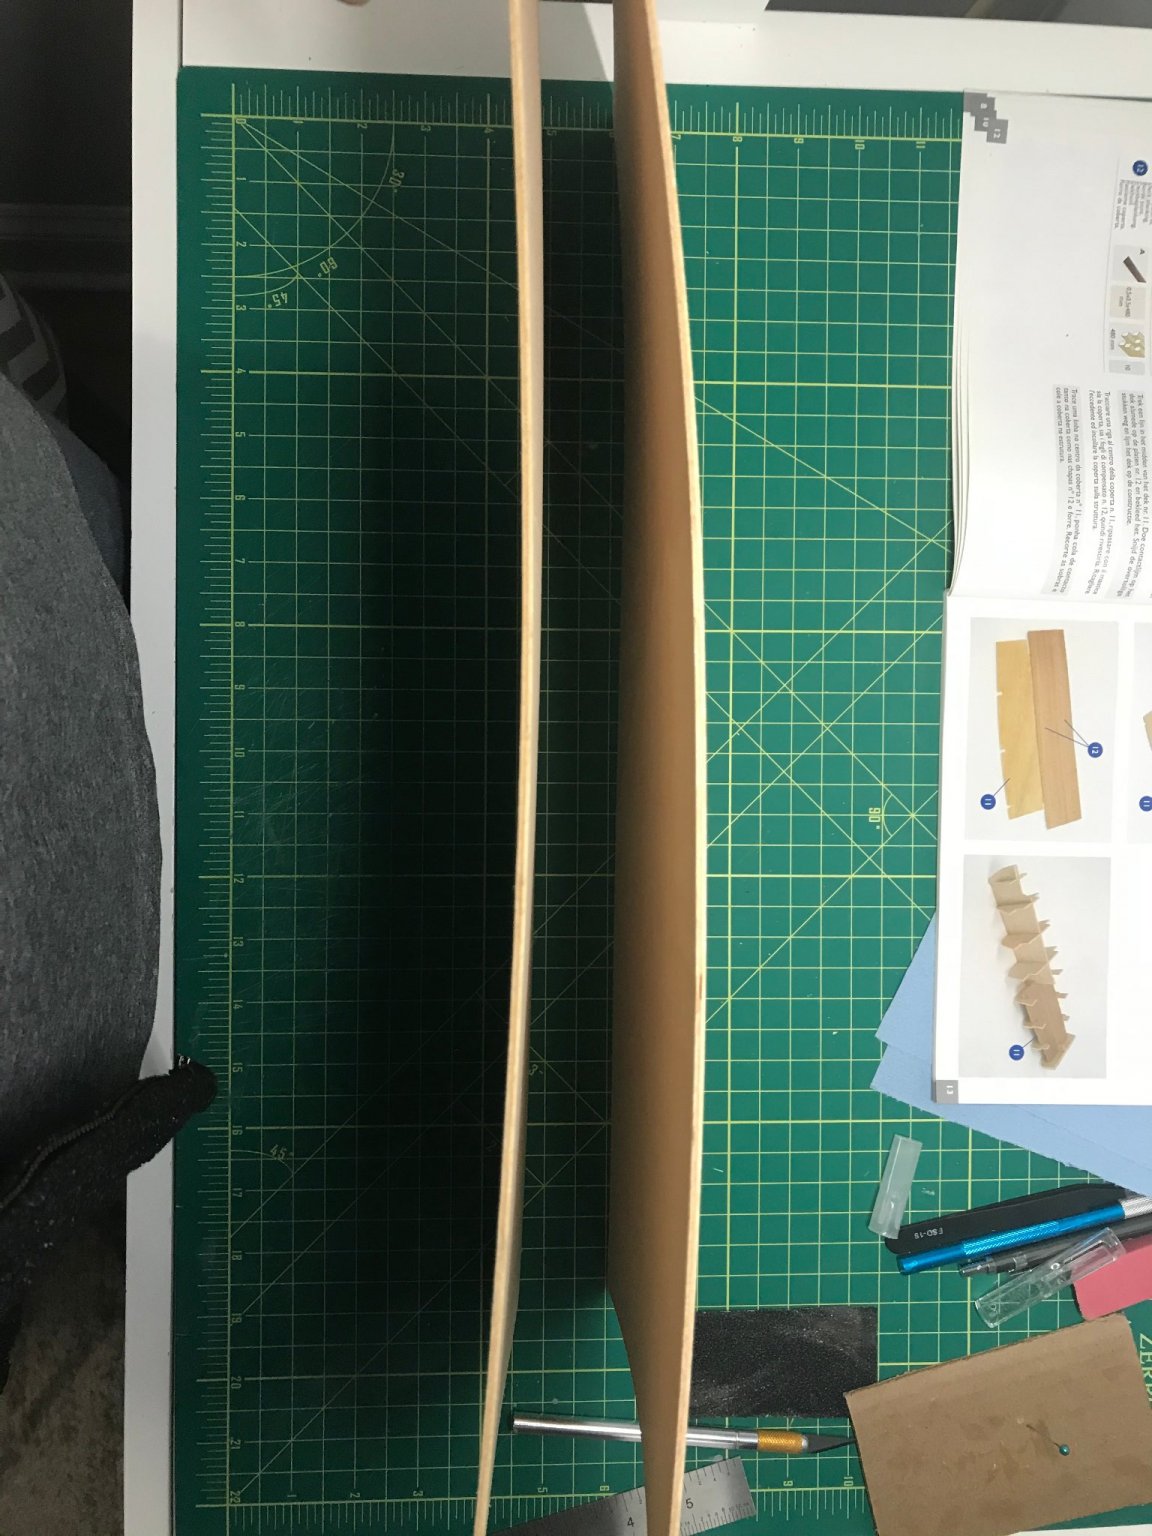
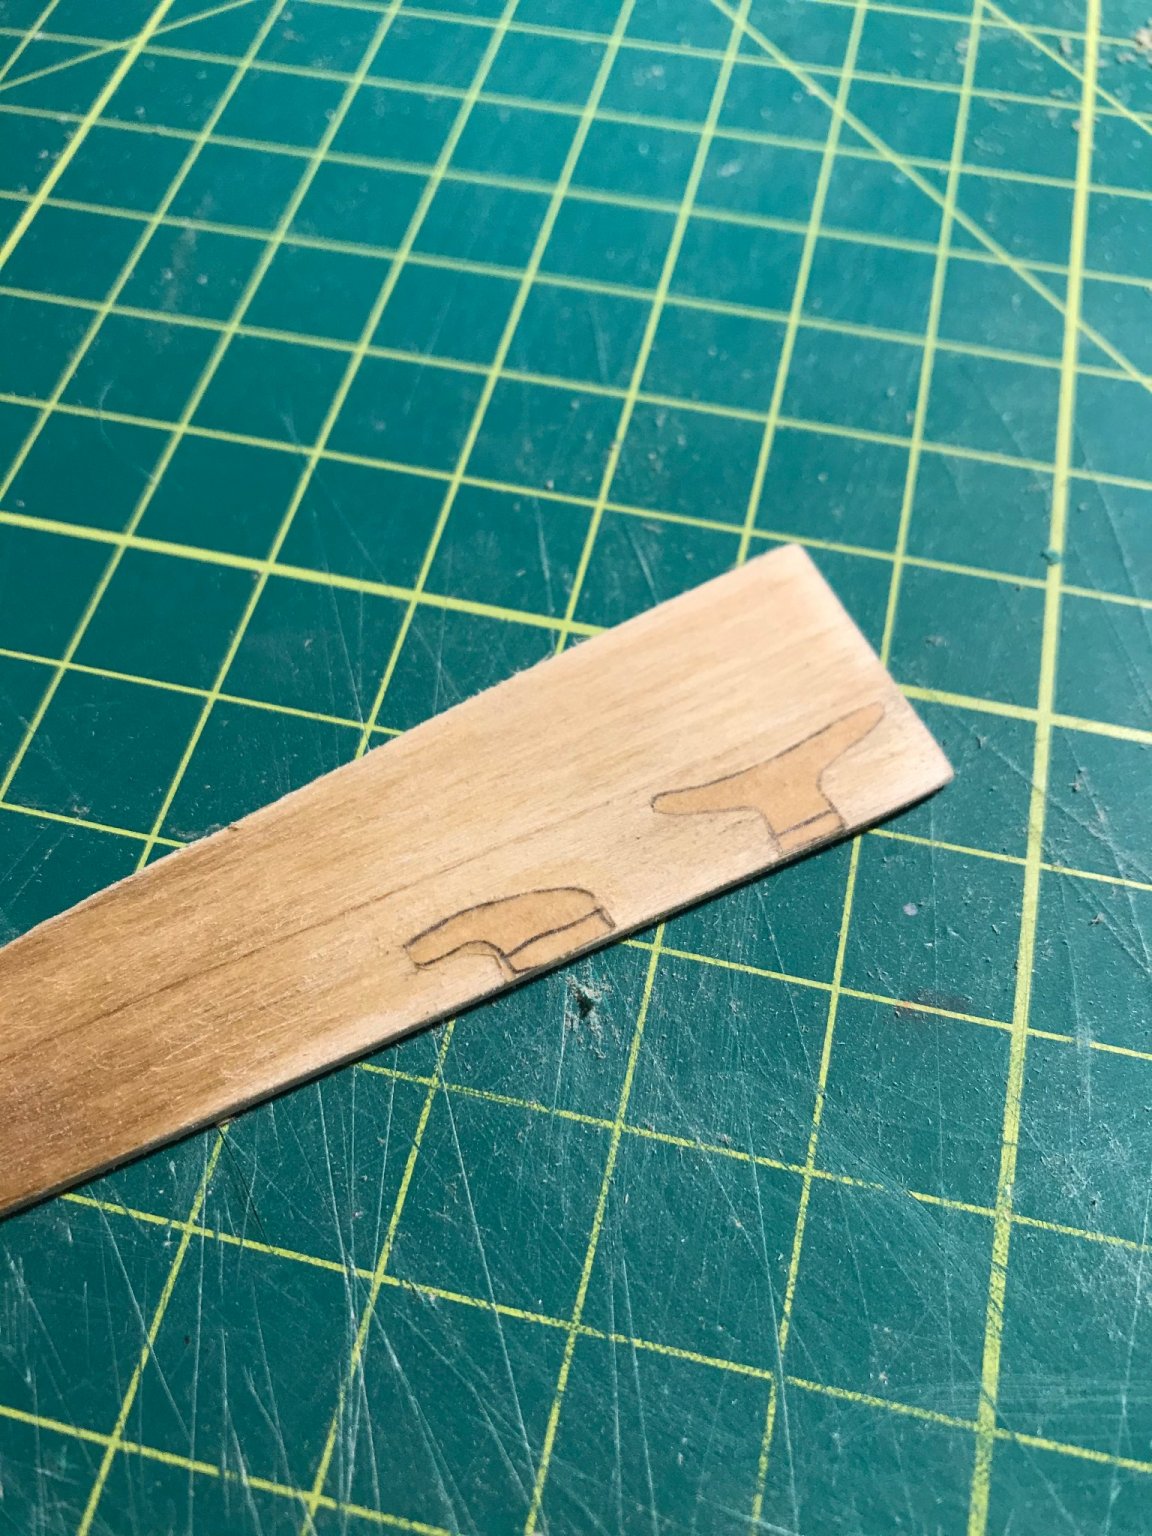
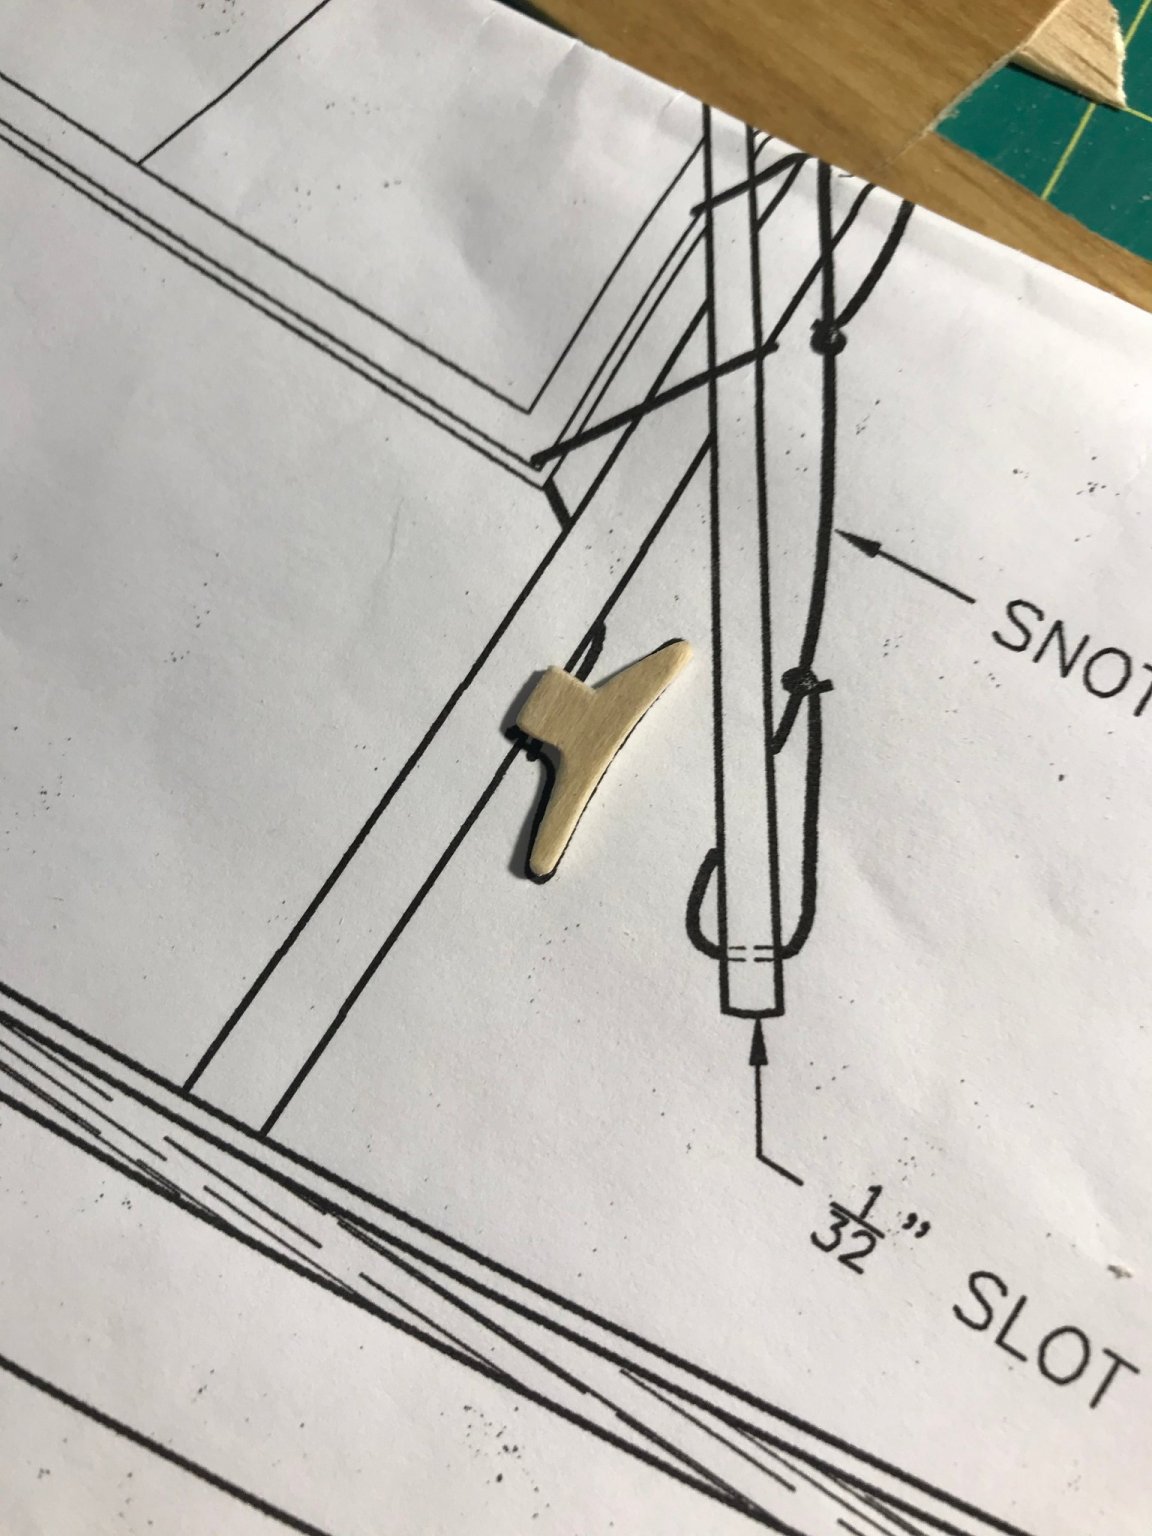
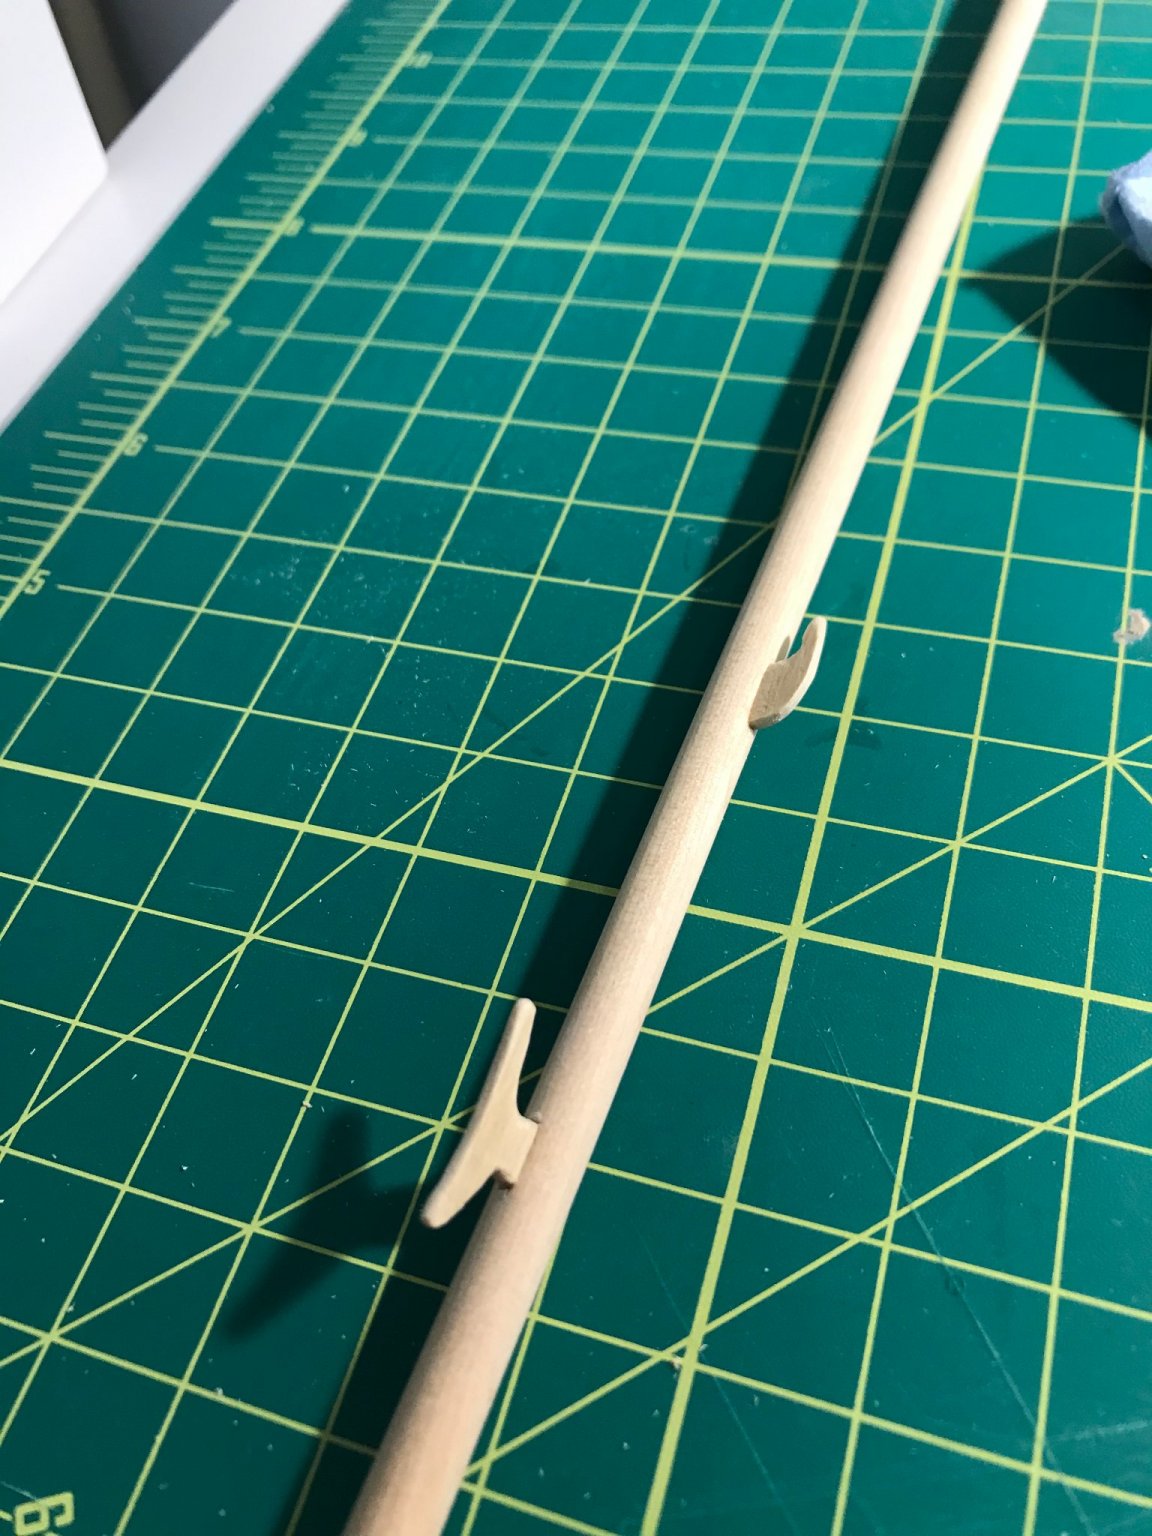
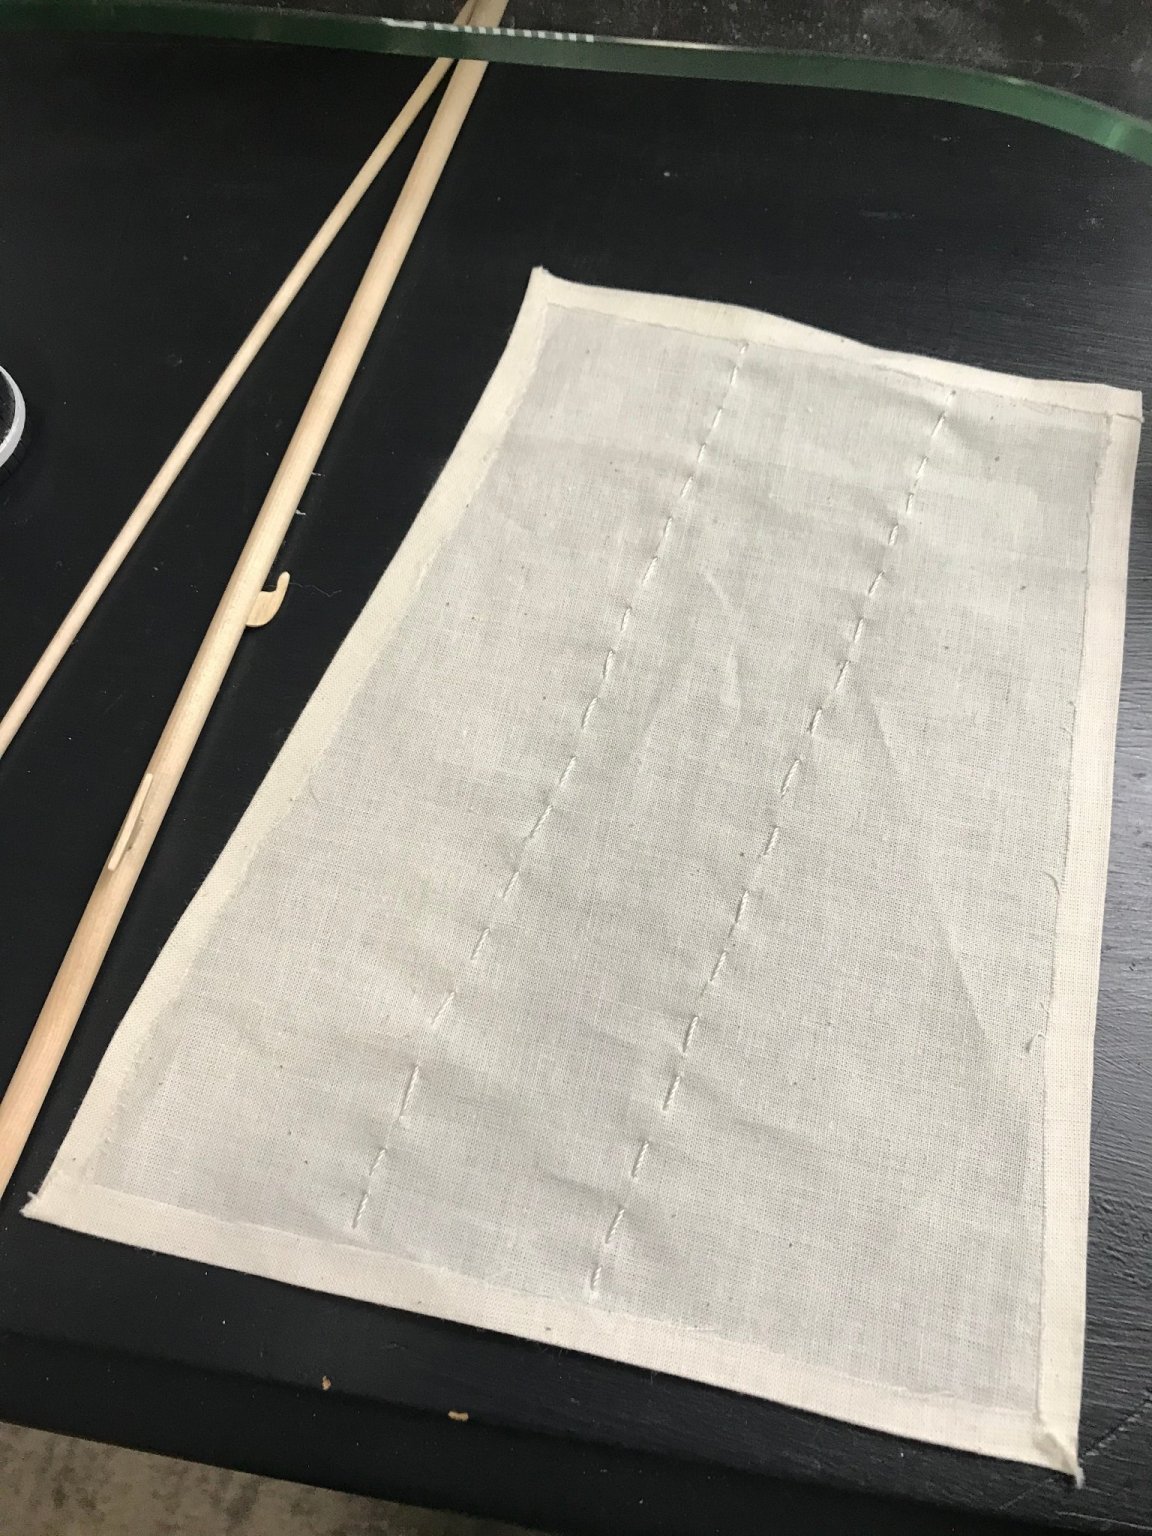
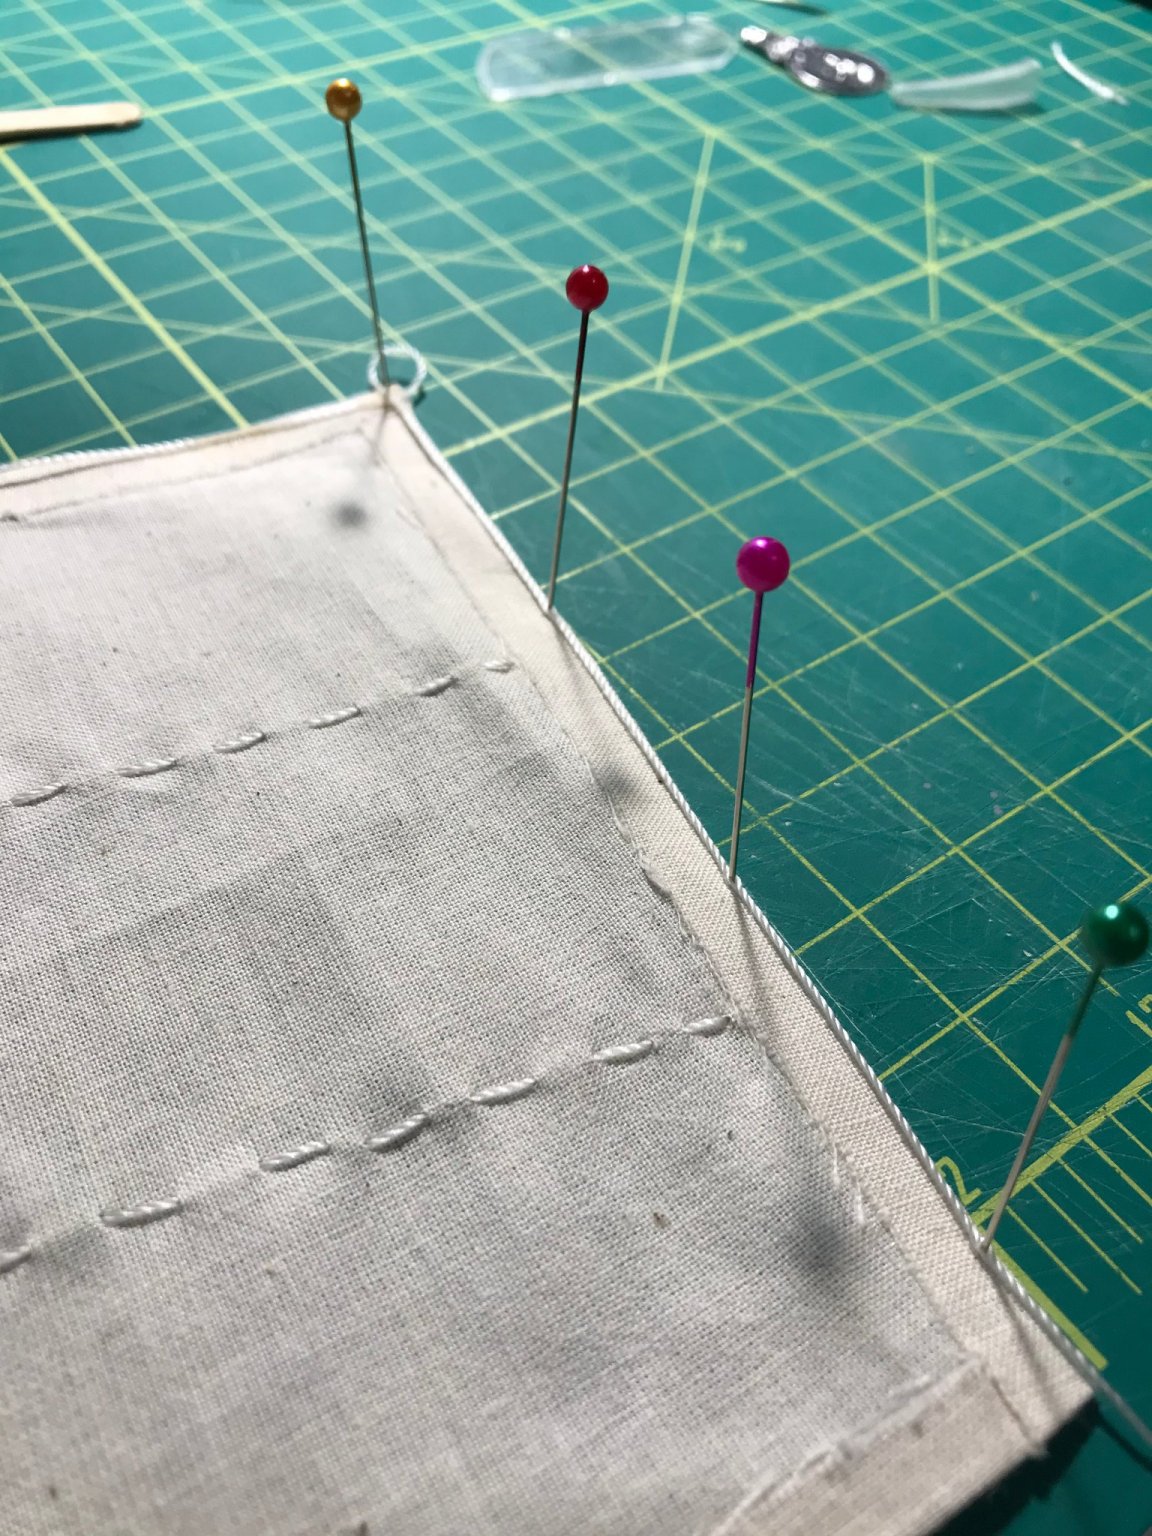
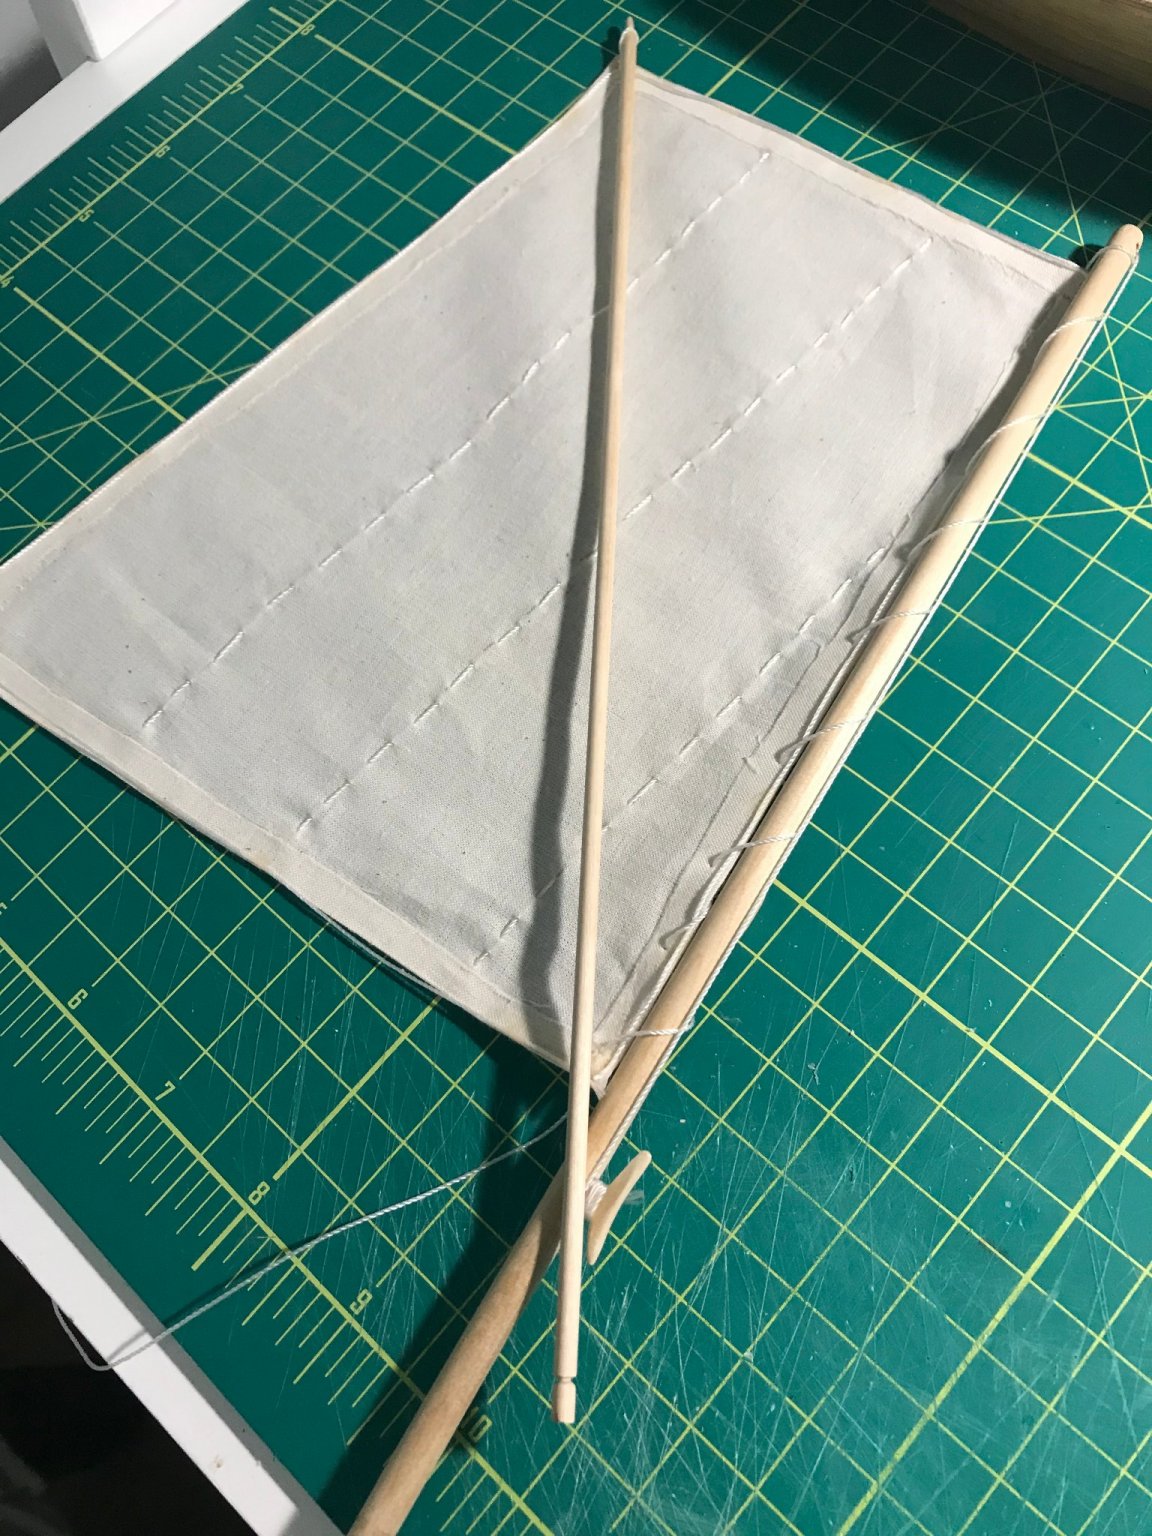
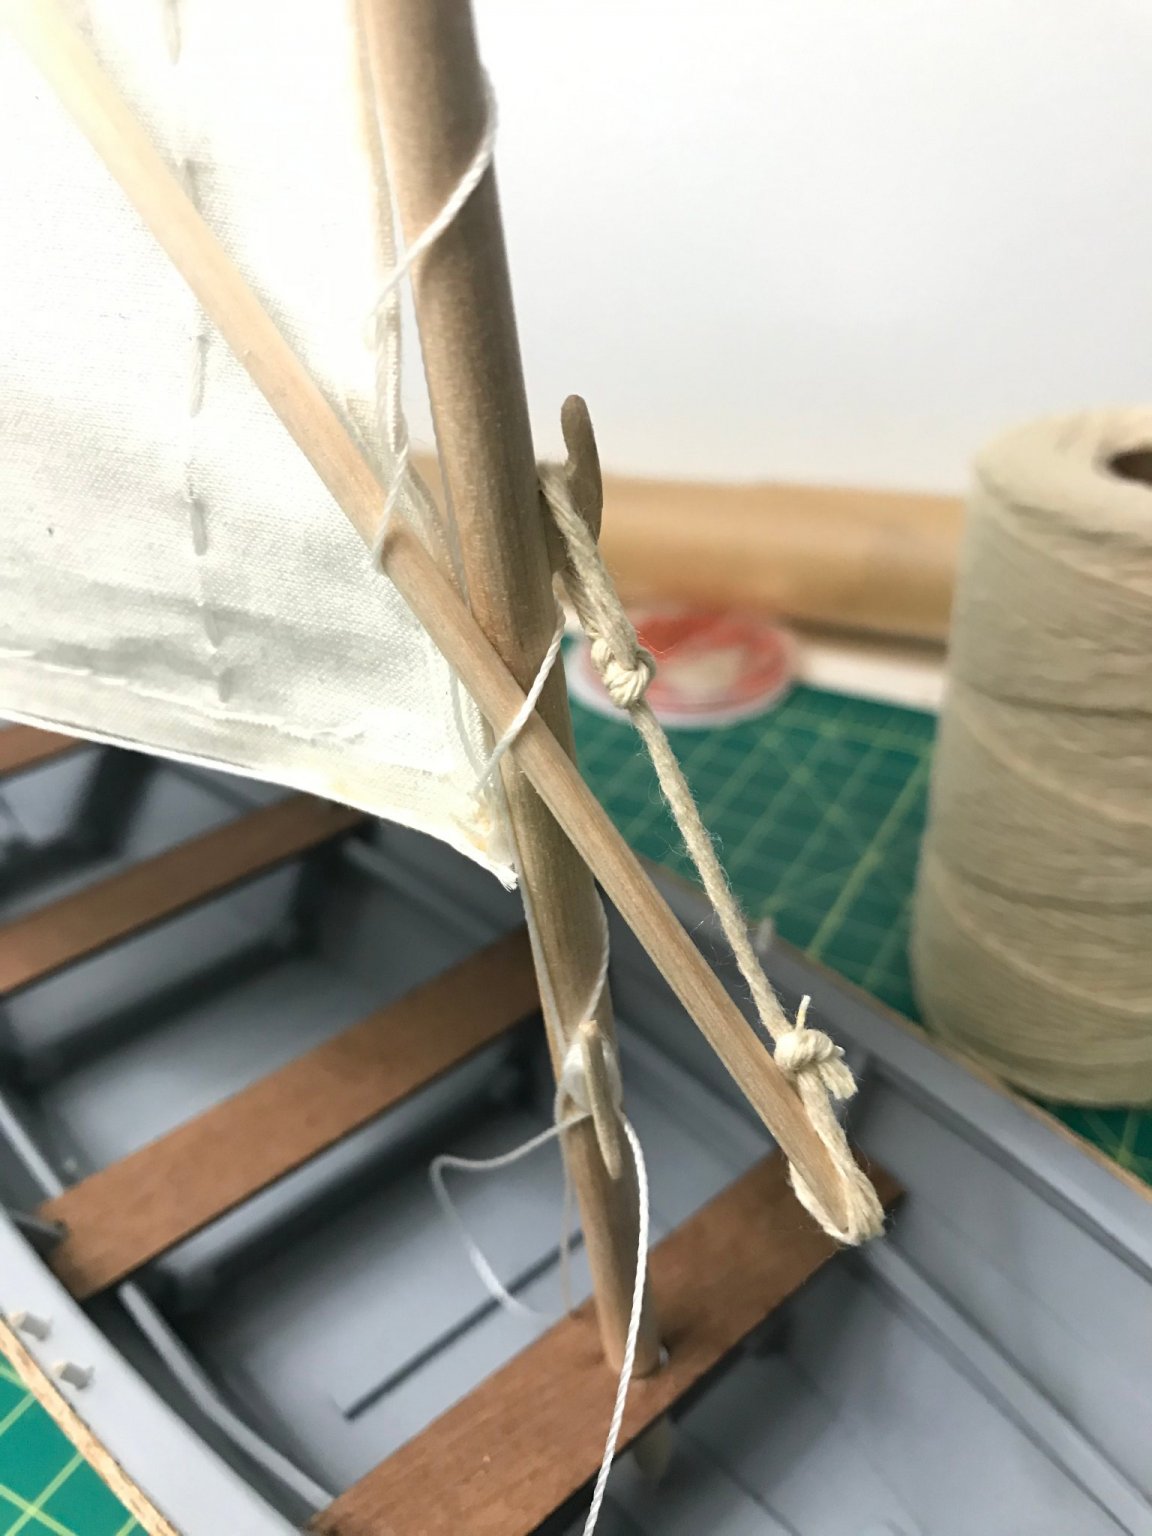
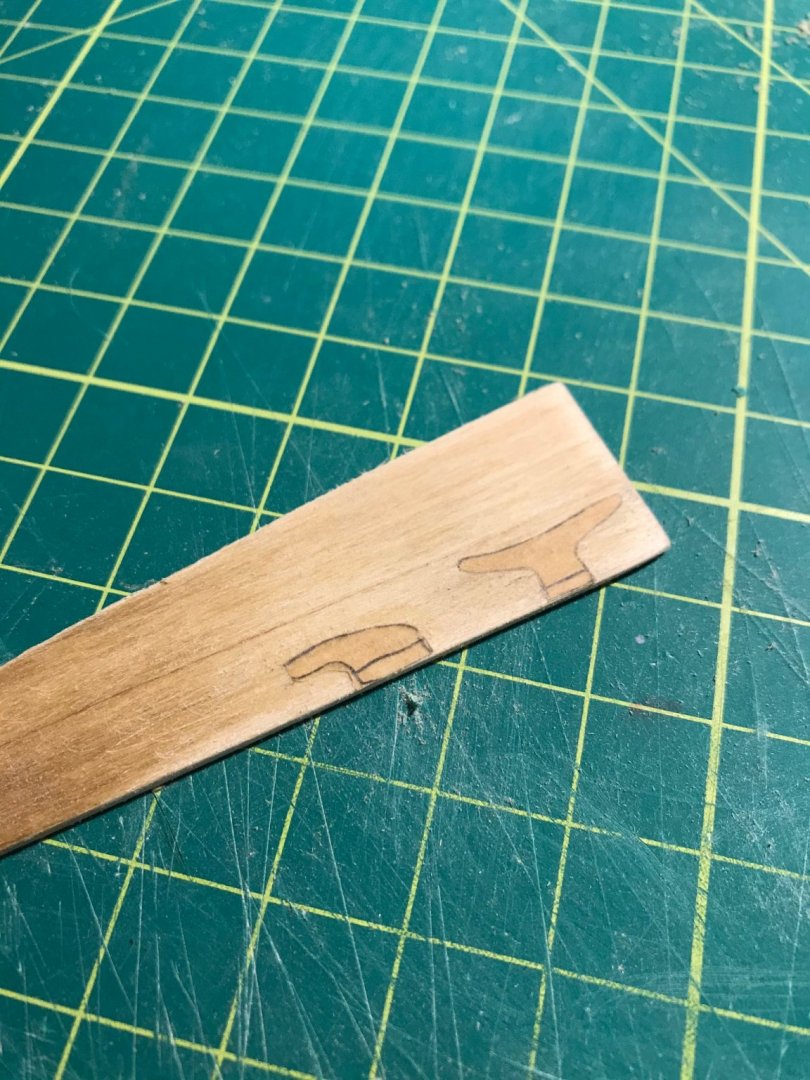
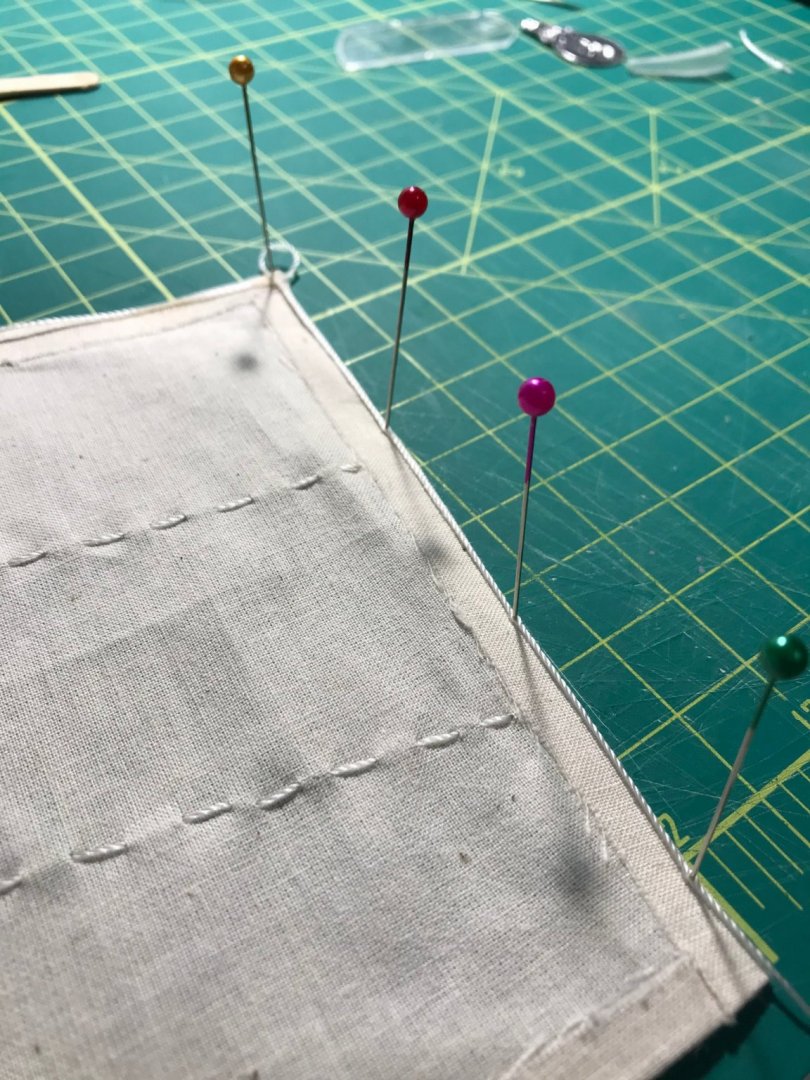
I thought I'd be able to finish earlier in the week but work picked up and the election was very distracting but I'm very close now. I cut the sail based on the specs, hemmed it, sewed the vertical stitches, and glued the line around it per plans: Sewing is a seriously difficult skill the master and one that I clearly have not. But that's ok. This was a great learning experience. The key take-away I learned is that I really don't like working with sailing and rigging. I think I know what my next build won't have. 😄 To create the two cleats in the plan, I copied their shapes onto wax paper and cut that out of a bit of scrap wood. These were pretty tiny and a little hard to shape as well as fit into the mast itself but I managed it in the end: Getting all of it tied up with the provided string material served to be one of the most frustrating parts of this entire build. It was very slippery and tiny and I admittedly did not know the proper knots so I was mostly doing a lot of guessing here. By far the most frustrating part was the snotter which I really struggled to get the precise length between the two ends. I ended up using some of my own line that was thicker and easier to tie off. I'm convinced that it's not possible to do this with the provided material but someone with more skill can probably prove me wrong: So I'm going to do a little but of touch-up and then take some proper photos with everything in the place next. Thanks all for your encouragement and knowledge along the way. I'm so excited about everything that I've learned in this first build and I can't wait to show off its final state next.


- 34 replies
-
- 1
-
-
- grand banks dory
- bluejacket shipcrafters
- (and 1 more)
-
I really like how the green paint and the lobster traps turned out! Nice work!! 👏
- 87 replies
-
- 4
-
-
- bluejacket shipcrafters
- red baron
- (and 3 more)