
CW_Tom
-
Posts
71 -
Joined
-
Last visited
Content Type
Profiles
Forums
Gallery
Events
Everything posted by CW_Tom
-
 I enjoyed looking through this log, seeing your experience as you revisited the Dallas. Its an impressive looking ship. I really like the highlighting you did with the danish oil.
- 41 replies
-
- 1
-

-
- artesania latina
- dallas
- (and 1 more)
-
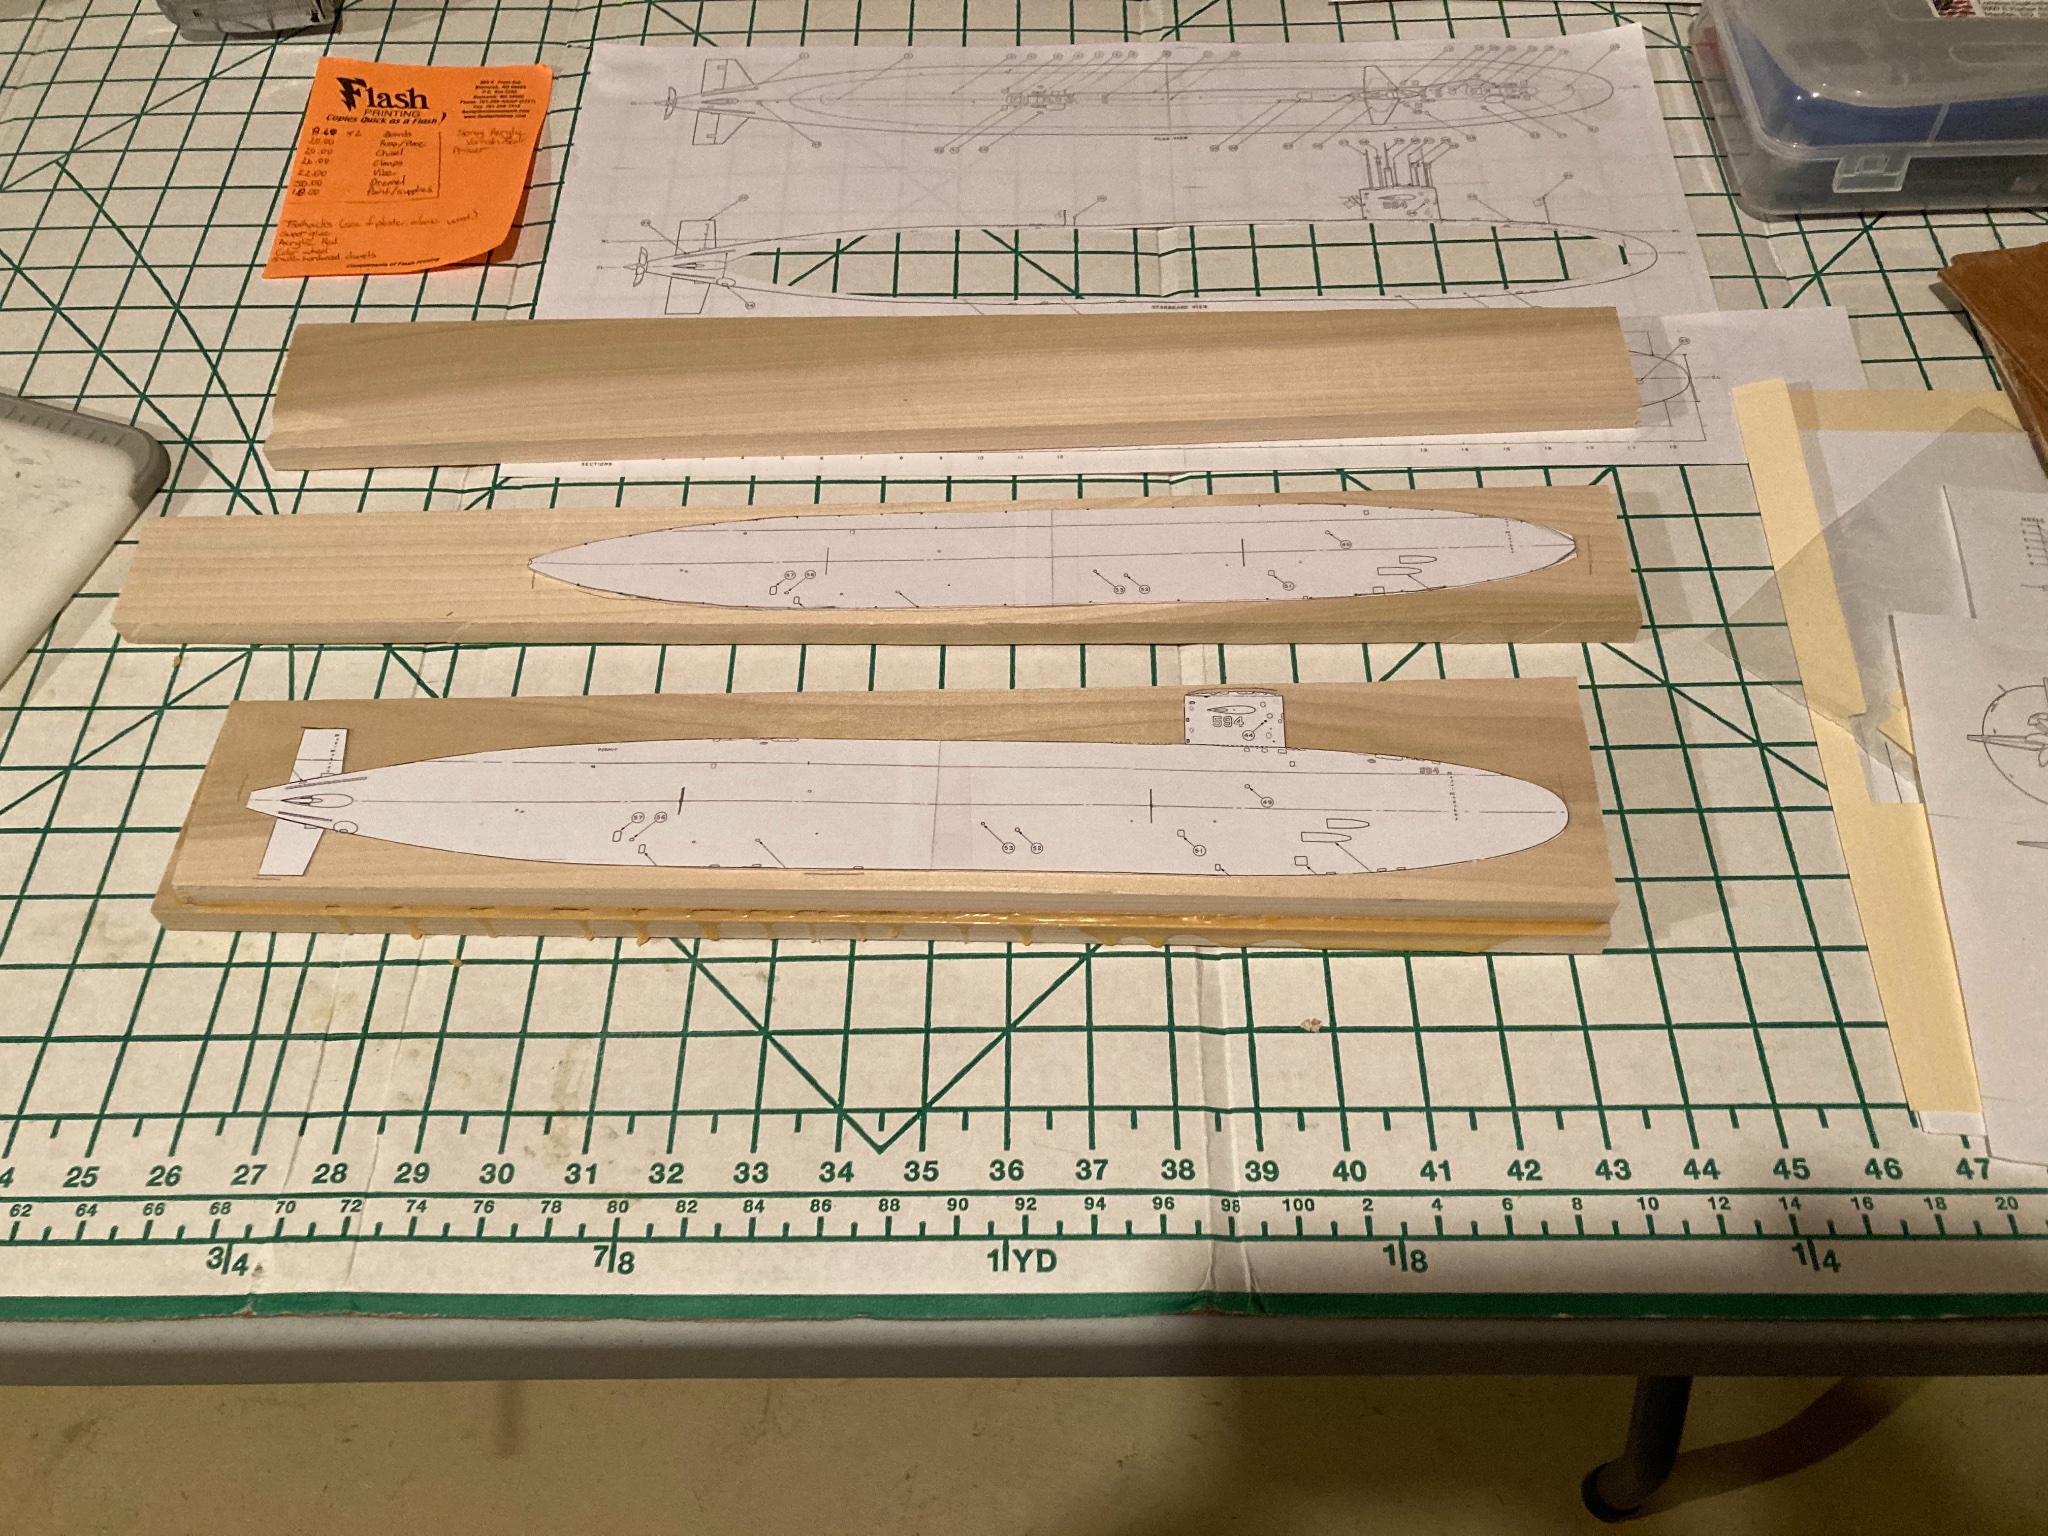
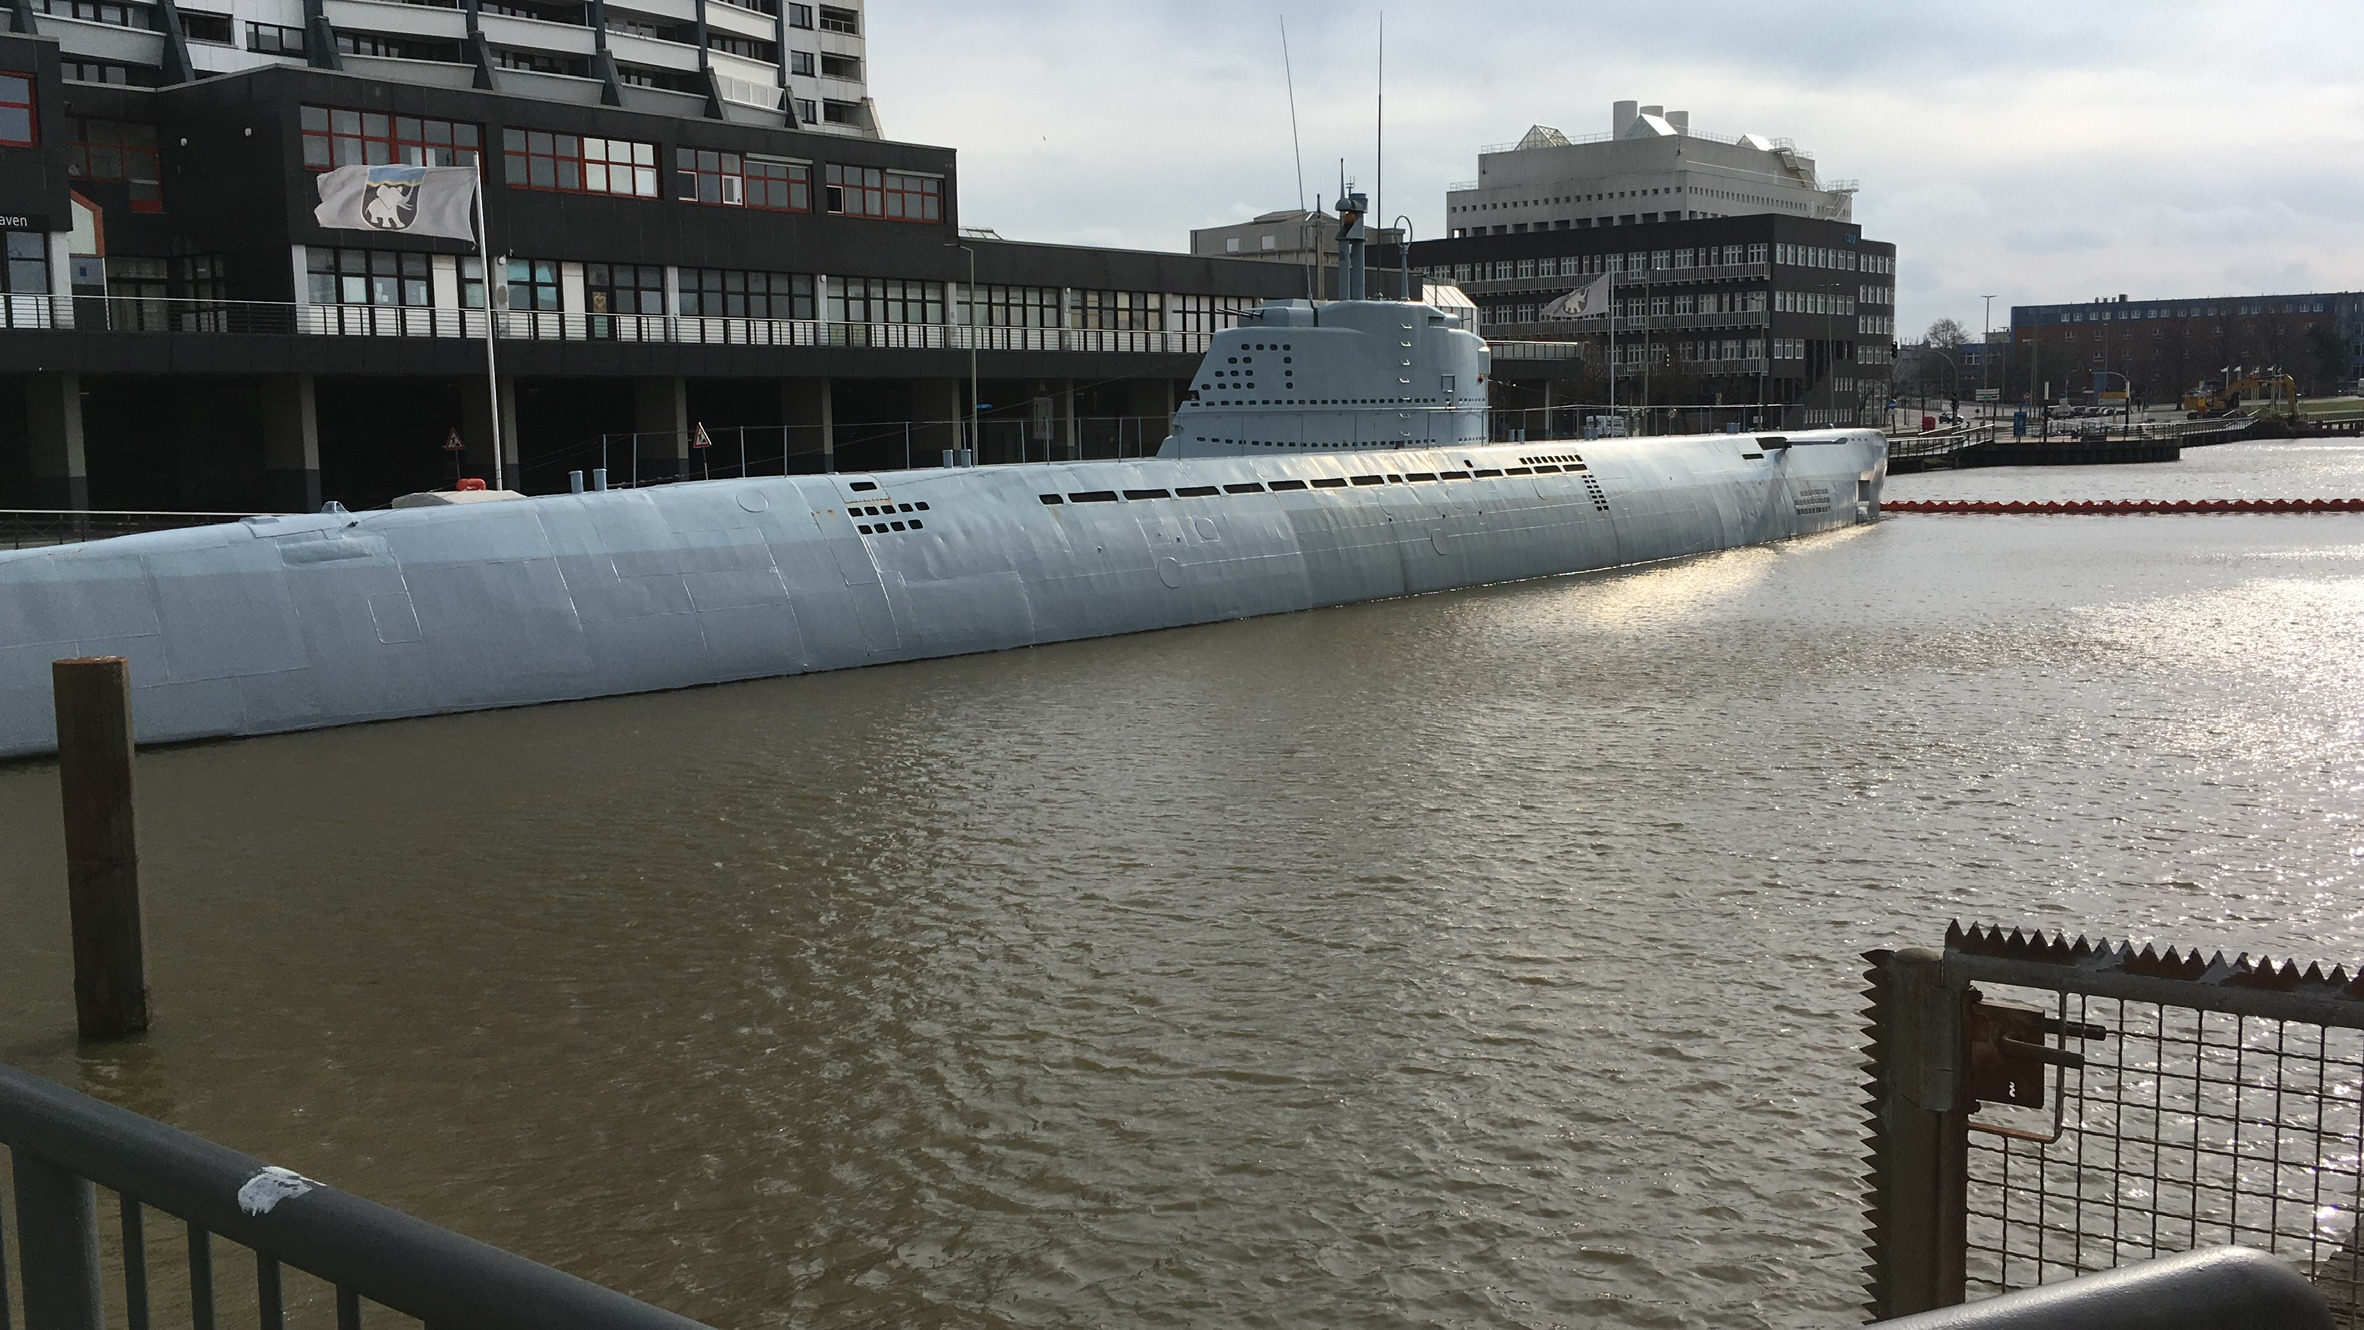
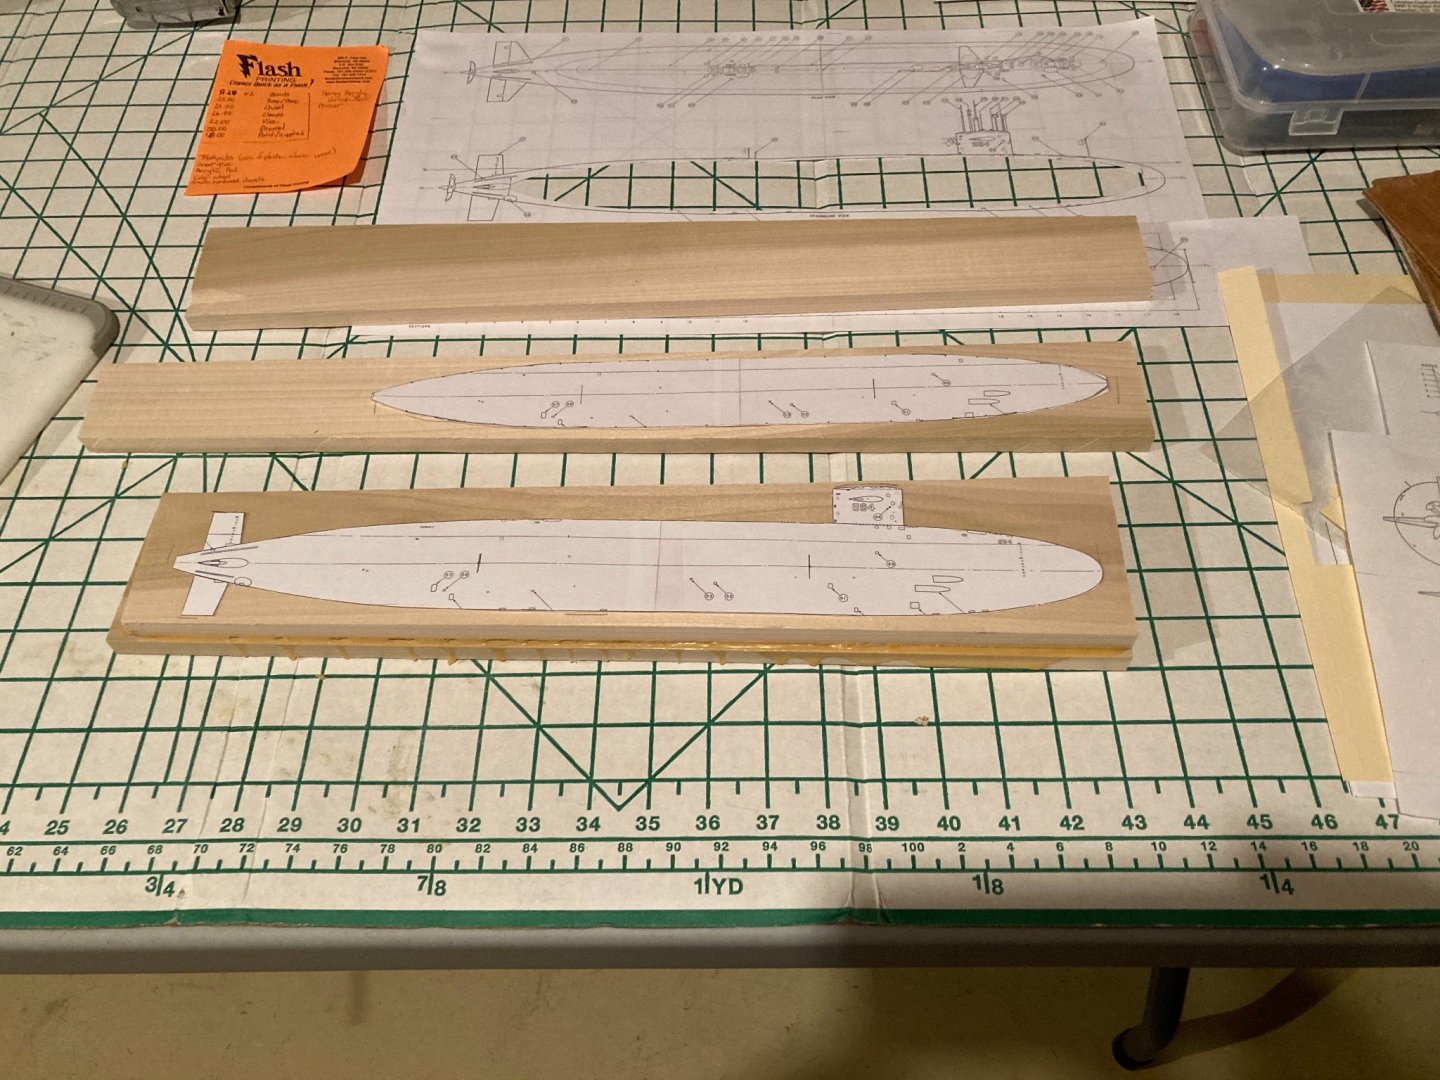
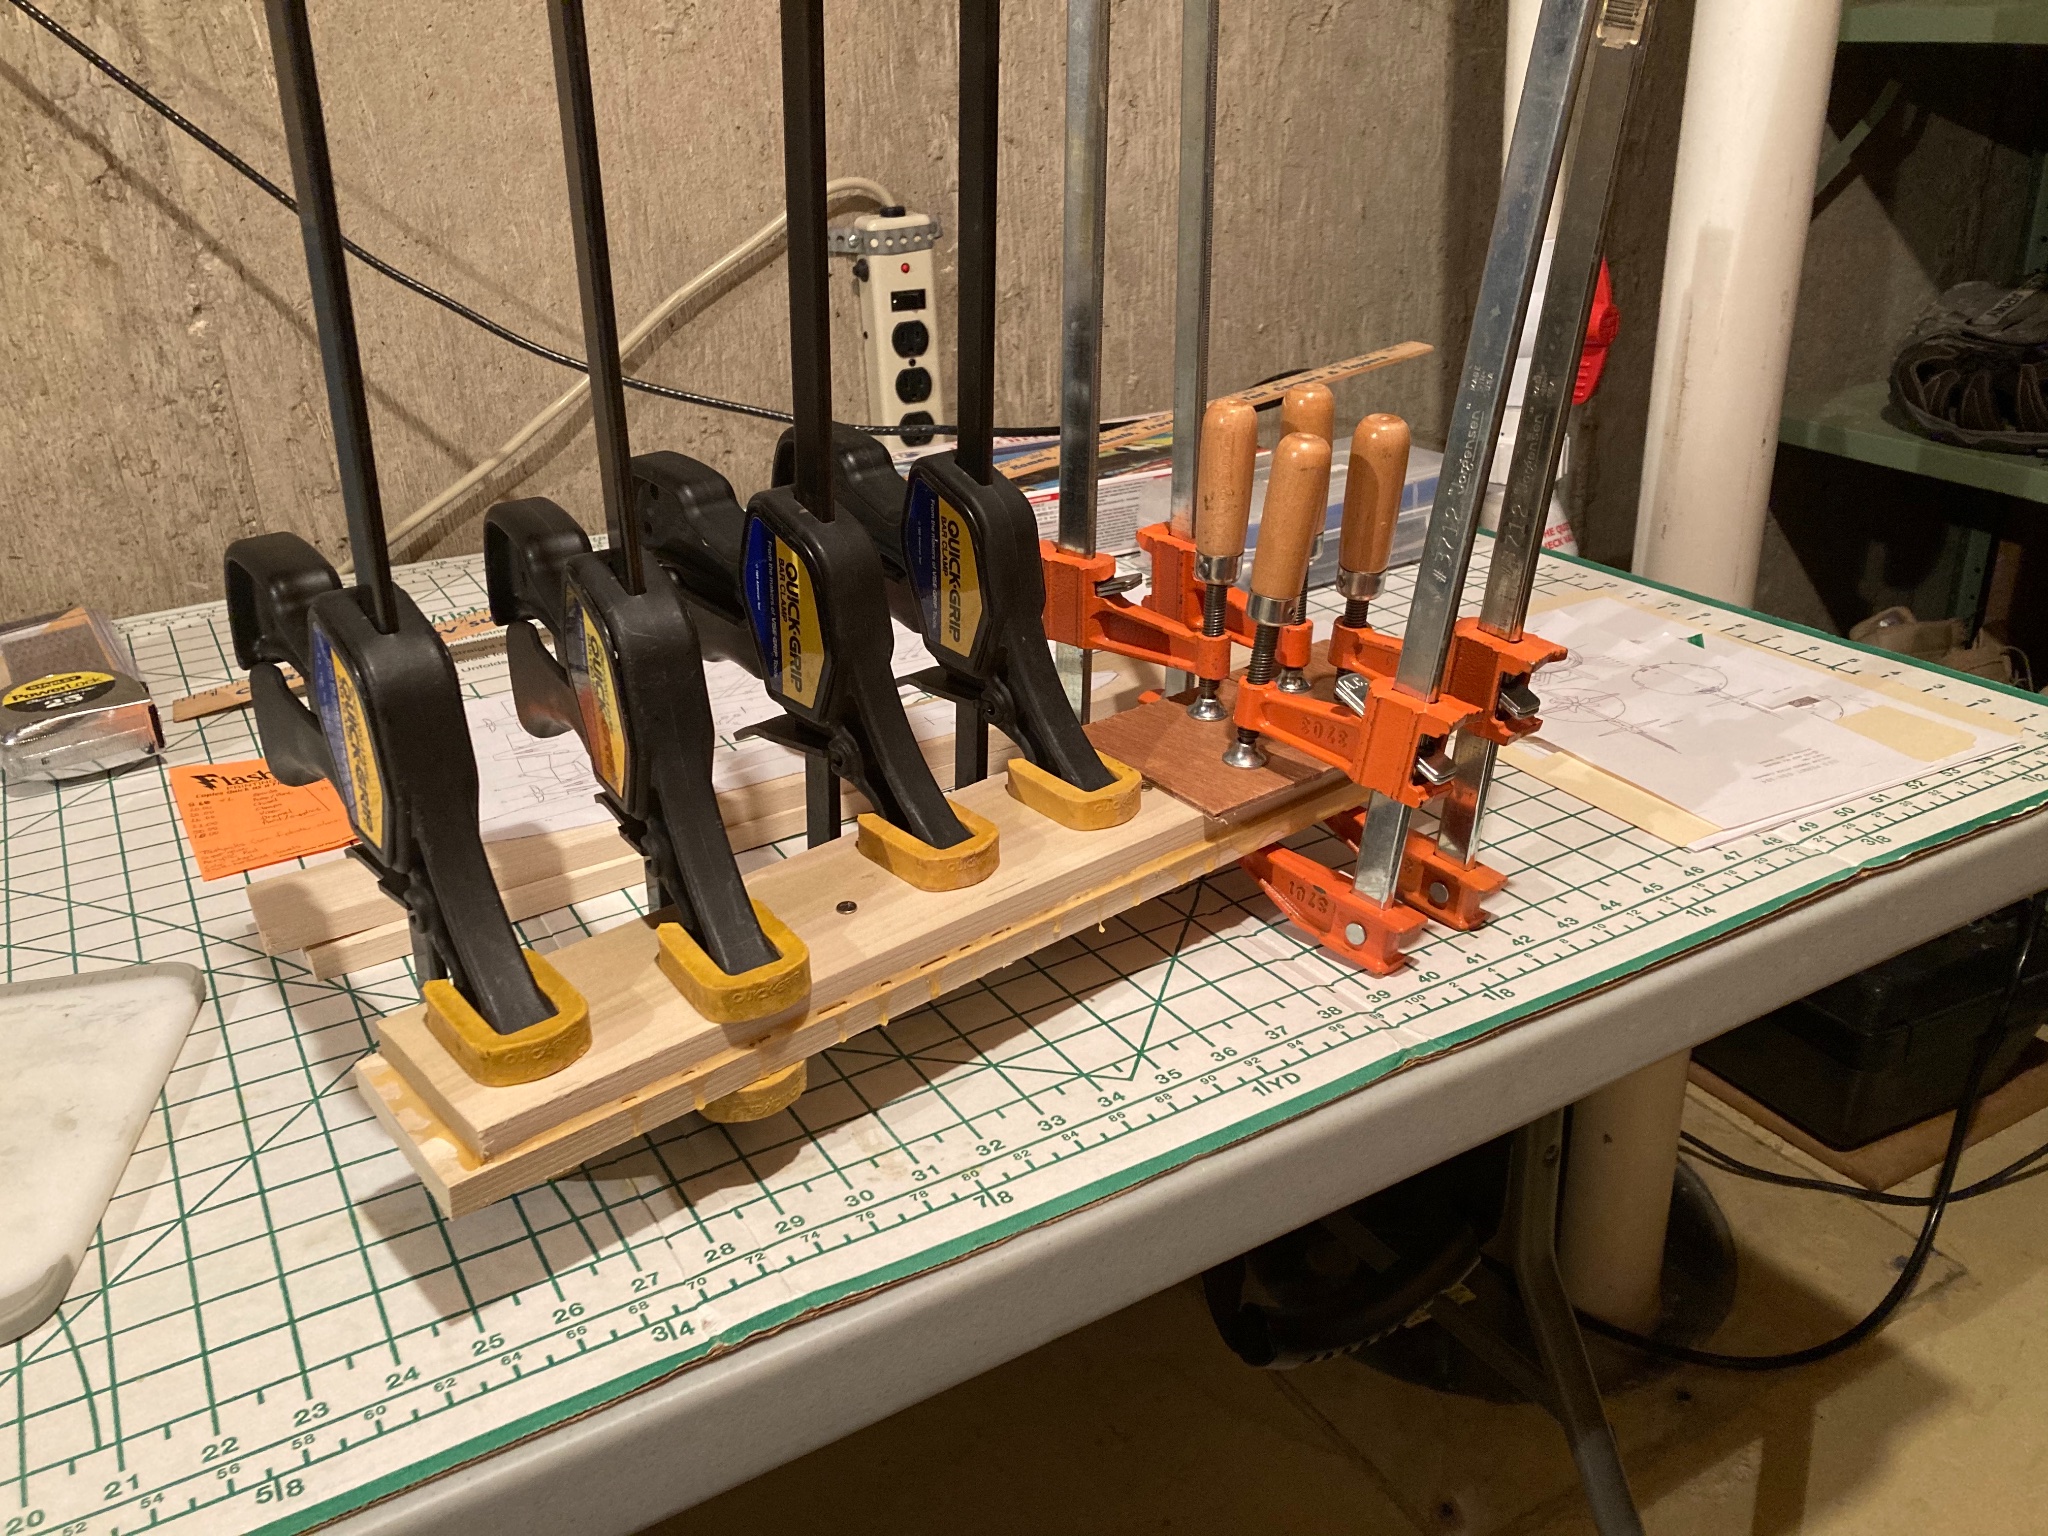
This is my first model ship build, my first scratch build, and my first wooden model build. I have done plastic model aircraft in the past, but have been looking to move into something different. I have been reading a lot about sailing ships lately, Patrick O'Brien's Master and Commander, Forrester's Hornblower series, as well as some non-fiction books on the subject. I initially wanted to get into rigged model shipbuilding, but I realized that required skills I hadn't even come close to being acquainted. Then the idea of scratch building a model submarine presented itself, especially after having read about how to bread-and-butter build a hull. It seemed doable, with my modest woodworking skills. Plus, my interest in submarines runs deep. My dad served in the US Navy in the early to mid 70's as a sonar man aboard the USS Francis Scott Key - SSBN 657 and USS Tinosa. I was able to find some designs for the Thresher/Permit class in general so the Tinosa is what I've gone with. Now, for the ship rundown, I'll keep it brief. USS Tinosa - wikipedia http://www.navsource.org/archives/08/08606.htm Commissioned October 1964 Decommissioned January 1992 278 ft. long and 31' 8" wide, at a 1:200 scale brings it to 16 3/4 in. long and just under 2 in. wide. For the model, I chose poplar boards. From my research, poplar seemed a decent wood to use, plus it is relatively inexpensive and easy to find here in the US. I picked up a 1/2" x 6" x 4' board and positioned my templates. I realize with a 2" wide hull and 1/2" boards, the bread-and-butter method is giving me only four 'lifts' on the model. I think this will still be doable though its making it more like building from a solid block than I originally thought. I am positioning the lifts according to buttock lines, versus doing them off the waterline. This way, I can attempt to cut the sail and rudders out with the hull, keeping them together. I'll have to individually manufacture the sail and stern planes, however. In this picture below, I've already begun laminating the two center boards, which straddle the submarines vertical centerline. Here, I've removed the clamps from the centerboards, with the hull template on top. Above I've got the two outer lifts with the template for those on one. The next step will be cutting them out. Finally, here is a picture of my hull templates at the various stations, cut to the diameter of the hull, from stern to bow. Hopefully that was explained clearly. I'm always open to helpful comments/critiques. Tom


better.thumb.jpg.31d951ebb748c9a13eb91946377c3c87.jpg)
- 46 replies
-
- 11
-
-
I too enjoyed the Hornblower series. An additional book I really enjoyed by Forrester was The Good Shepherd, one of his non-Hornblower novels. The recent movie “Greyhound” is based off of this, and while the movie does a decent job, the book is by far the better story.
-
Looks great! I’m looking forward to seeing more. Did you have any knowledge of this particular ship before you bought it on eBay?
-
Welcome JC! I’m a newbie here as well. I’m excited to see your progress on your yacht.
-
Greetings! My name is Tom and I hail from central North Dakota, USA. As seems to be common among this thread, I too am a beginner ship modeler. I will be starting a build log on my new/current project, scratch building the nuclear fast attack submarine USS Tinosa, SSN 606. My dad served on her as a sonarman in the mid 70’s. I’m a 35 year old family man, helicopter aviator, and currently reading through a couple books, Patrick O’Brians “Master and Commander” and “The Line Upon a Wind: The Great War at Sea 1793-1815” by Noel Mostert. I found my way here by trying to self educate on terminology and construction of sail powered men-of-war. Im looking forward to getting to know you all and am eager to learn and broaden my understanding of sailing ships and modeling through conversations here. (One of these days, I plan to get into something that involves rigging😉). Best Regards, Tom
-
Welcome Jon! I’m new here myself. I had my first sailing experience with a friend of mine on Pelican Lake in Minnesota. I’m from North Dakota myself. Zorbas was right across the street from where he had his dock. I just started O’Brians works after having made it through all the C.S. Forrester Hornblower books. Also really enjoyed “The Good Shepherd” which, if you enjoyed its motion picture equivalent, “Greyhound”, which came out recently, the books better (as usual). I hope all is well in Cali. Wish you the best. Tom

better.jpg.0f18ab28621b340ae5a31c67f115b2b8.jpg)