HOLIDAY DONATION DRIVE - SUPPORT MSW - DO YOUR PART TO KEEP THIS GREAT FORUM GOING! (Only 75 donations so far out of 49,000 members - C'mon guys!)
×


SteveL
-
Posts
36 -
Joined
-
Last visited
Content Type
Profiles
Forums
Gallery
Events
Everything posted by SteveL
-
I’m taking much more of your time than intended and I apologize but please let me clarify.
- 840 replies
-
- 2
-

-
- winchelsea
- Syren Ship Model Company
- (and 1 more)
-
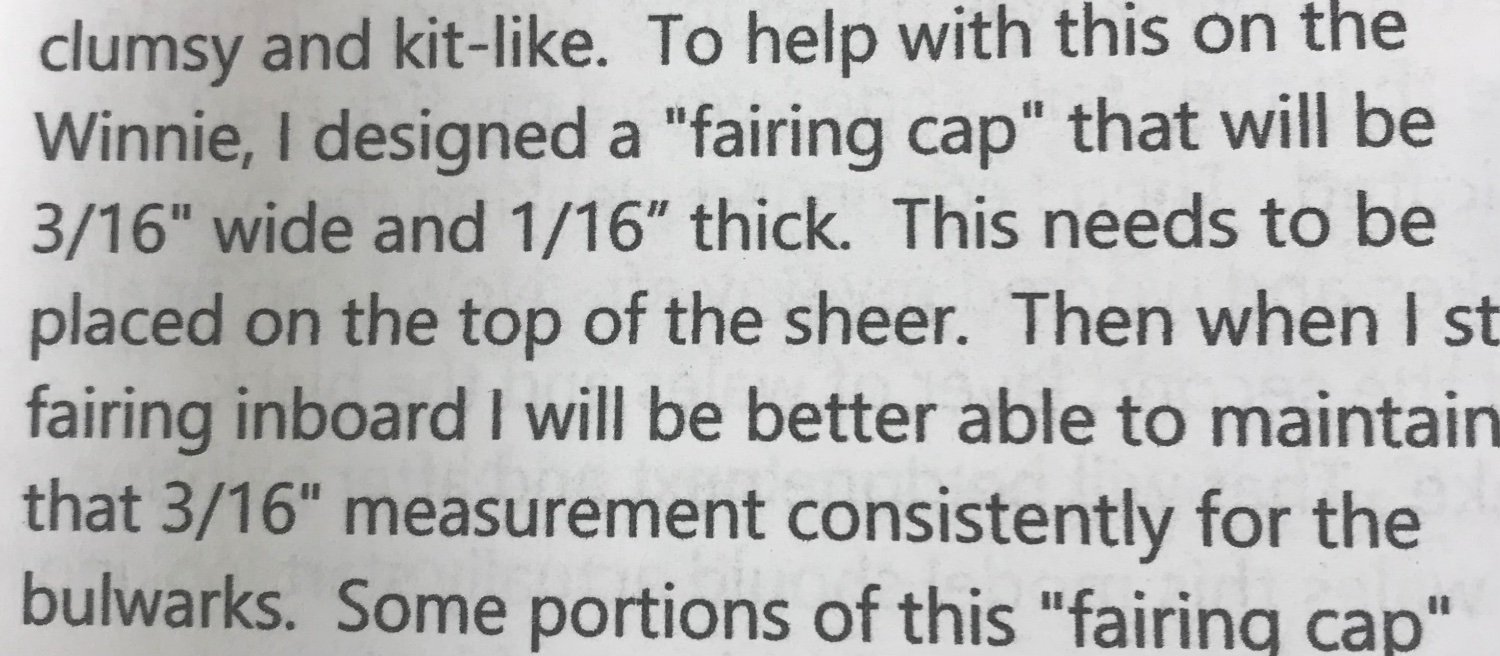
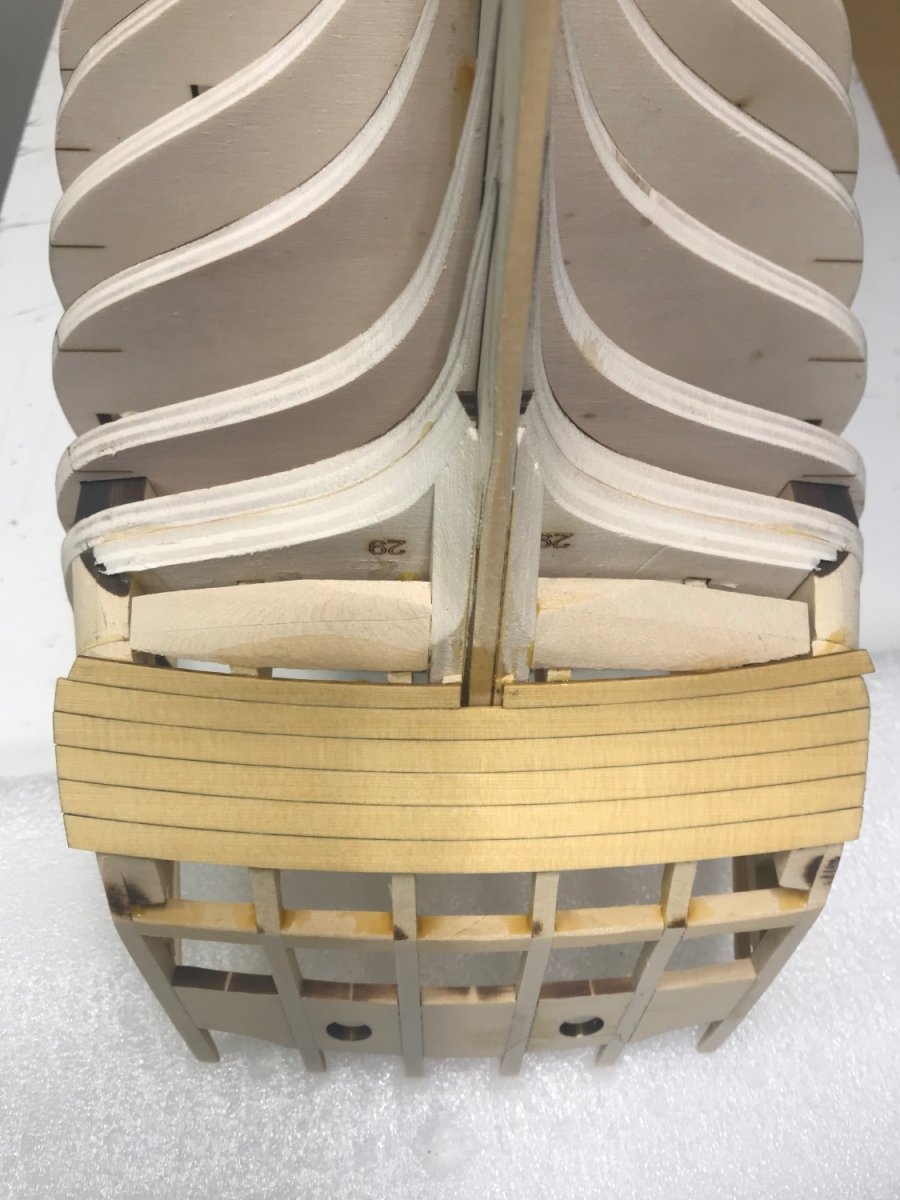
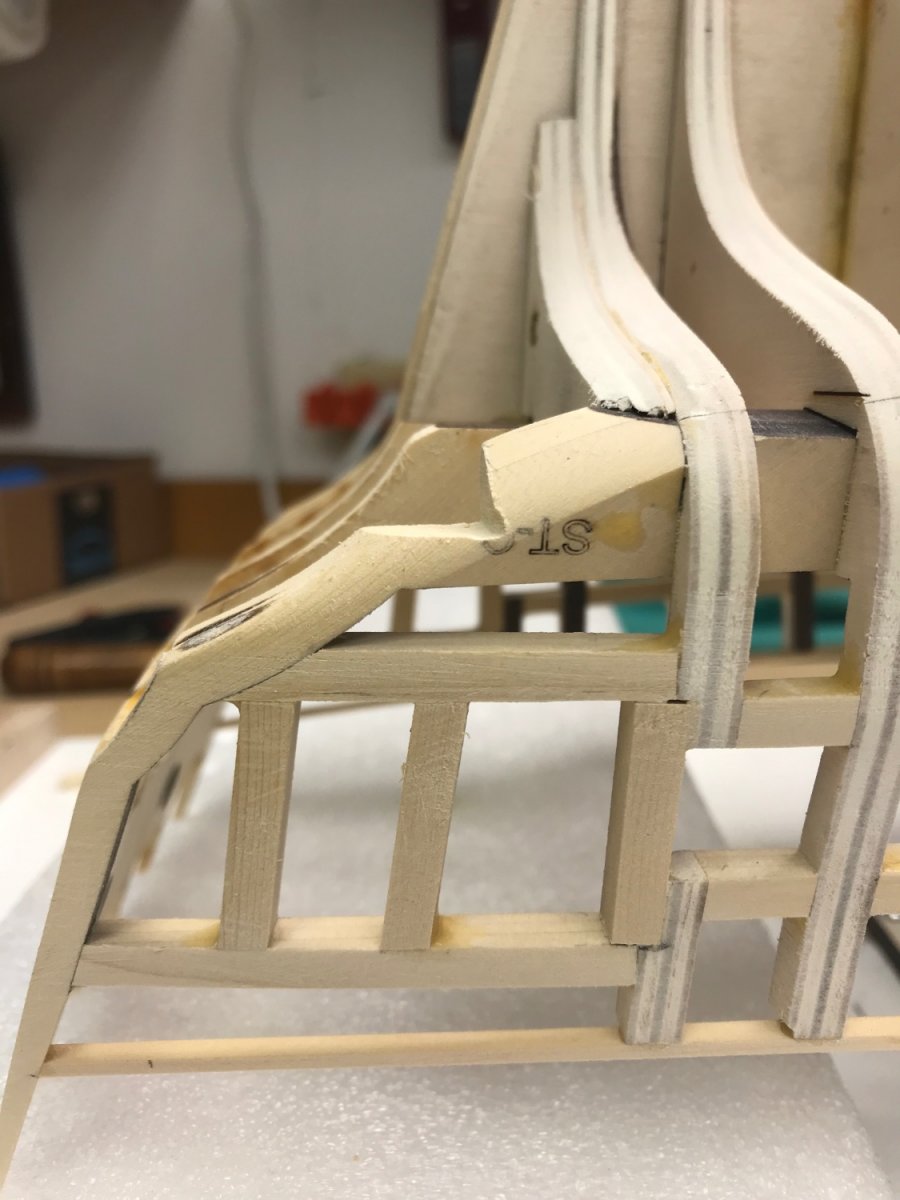
When preparing to do inboard fairing (down to 3/16), you use 1/16 x 3/16 strips at the quarter deck and waist. The bow, of course has a significant curve and it would be difficult to bend the 1/16 x 3/16 strips. I could fabricate these pieces but I thought maybe I had overlooked laser cut pieces. I guess I’m just surprised, considering all the excellent parts Chuck has provided.
- 840 replies
-
- 2
-
-
- winchelsea
- Syren Ship Model Company
- (and 1 more)
-
Glenn Backing up a bit, I don’t see laser cut pieces for the bow fairing caps. Just wanted to make sure I am not overlooking something. Thanks Steve
- 840 replies
-
- 1
-
-
- winchelsea
- Syren Ship Model Company
- (and 1 more)
-
Hey Glenn You are doing some fine work on the Winnie. In your post #75 you mention “ The little port jigs came in handy to determine the 1/32 rabbet.“ what are those? Thanks Steve
- 840 replies
-
- 2
-
-
- winchelsea
- Syren Ship Model Company
- (and 1 more)
-
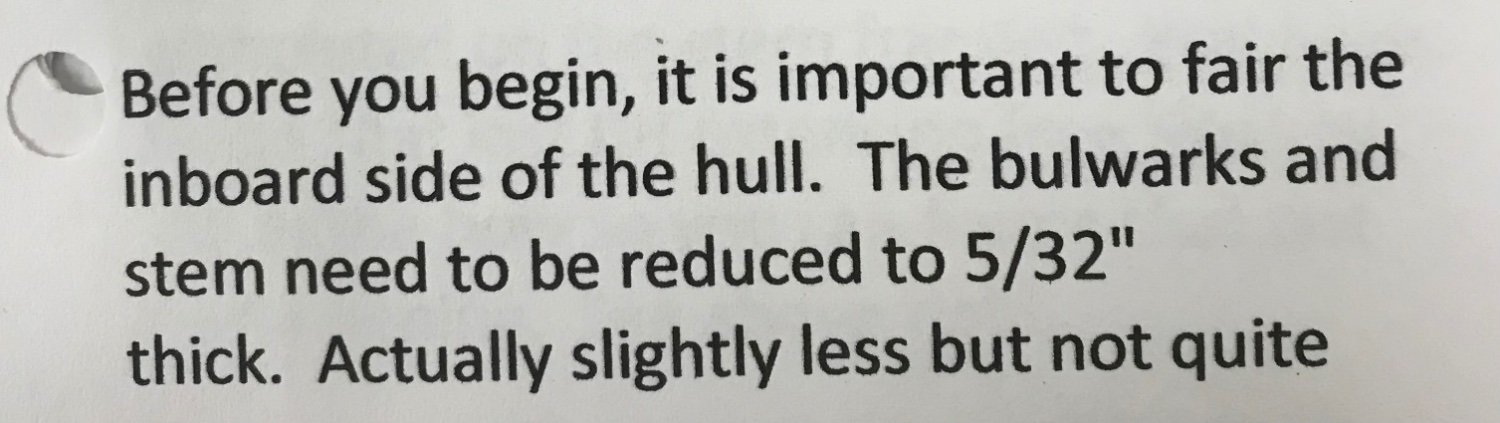
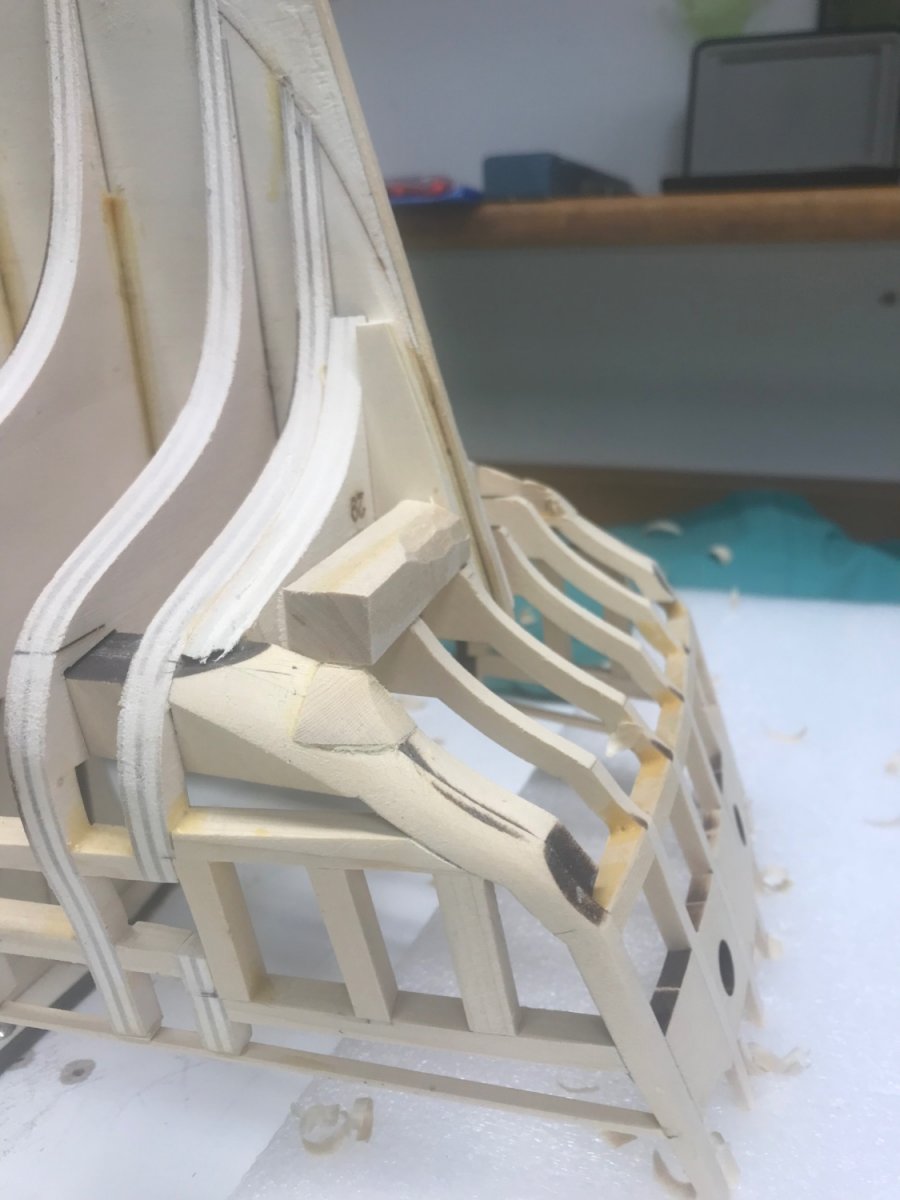
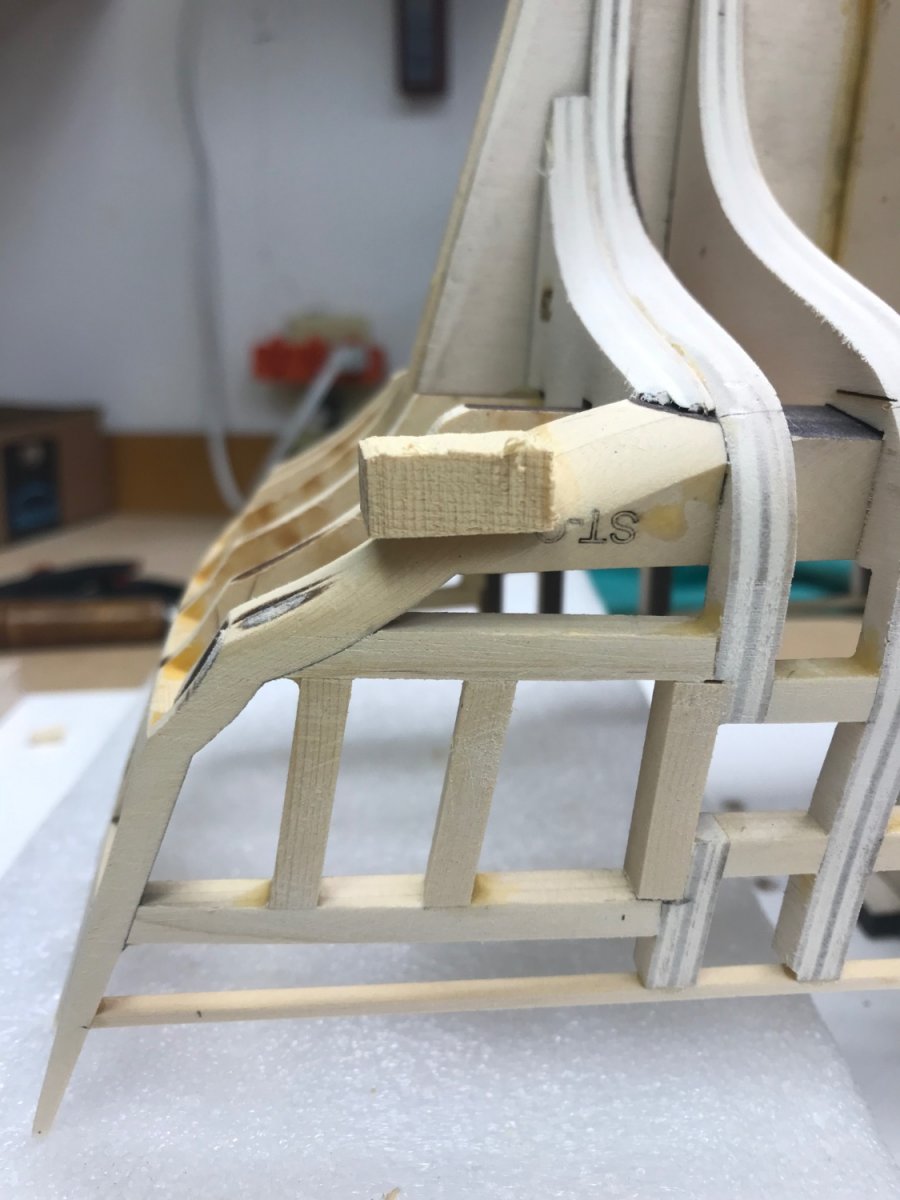
Chuck Thanks for all the good info. The instructions recommend fairing inboard to 5/32 in the bow area when fitting the bollard timbers. I somehow ended up with 3/32 in my head which made things extremely delicate. During this process I started checking on eventual bulkhead thickness in other areas and somehow not considering outer planking thickness. Major stupid attack 🤪. Your patience is appreciated. Steve
- 1,784 replies
-
- 1
-
-
- winchelsea
- Syren Ship Model Company
- (and 1 more)
-
I understand, thank you for taking the time to explain.
- 1,784 replies
-
- 1
-
-
- winchelsea
- Syren Ship Model Company
- (and 1 more)
-
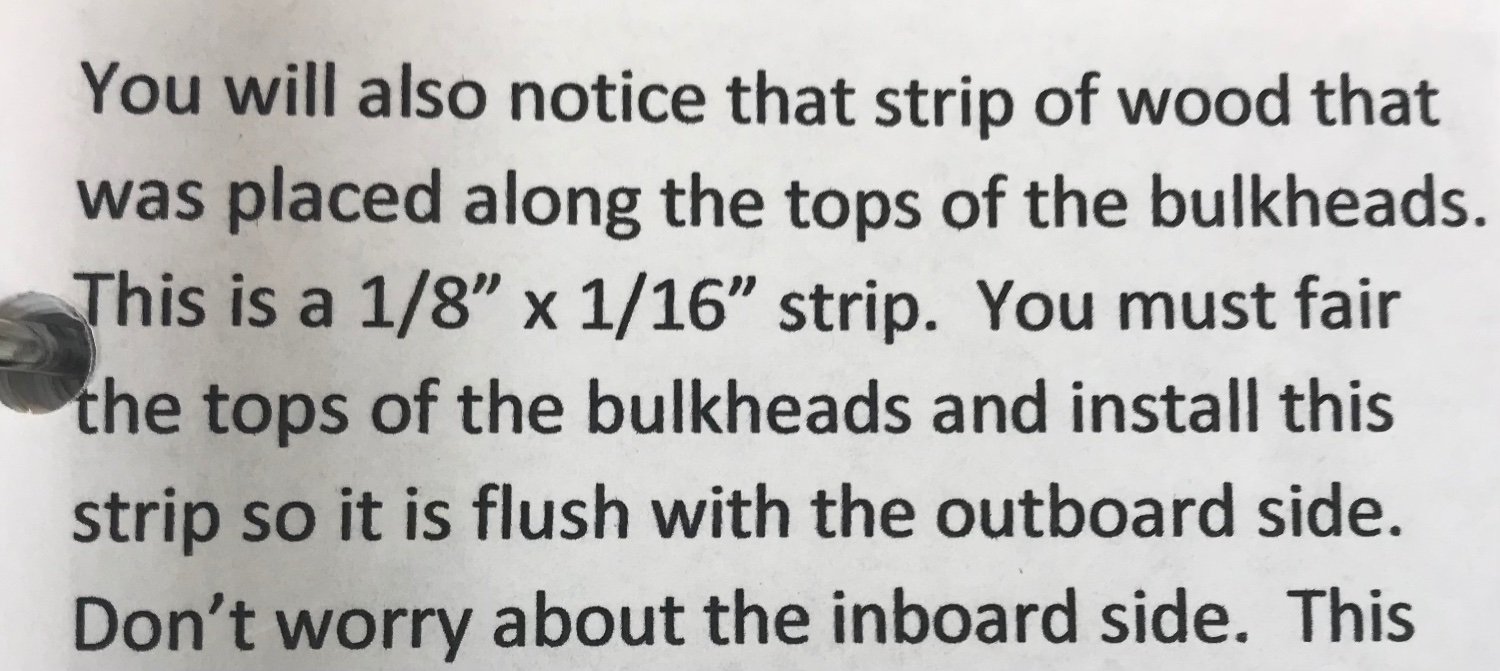
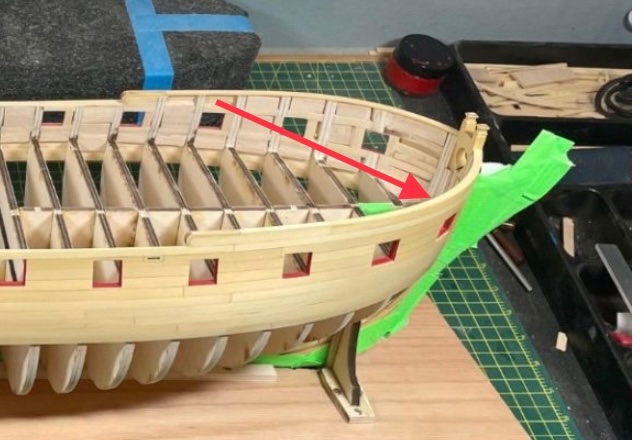
There is an 1/8” wide strip atop the quarterdeck bulkheads, 5/32” bulkhead thickness at the bow and eventually 3/16” wide strips to guide fairing on all three sections. Clearly, the waist bulkheads are faired to the 3/16 wide guide strip, but is a 3/16 wide guide strip placed atop the 1/8 wide strip on the quarterdeck and is the bow section 5/32 only where it intersects the bollard? Your instructions are excellent but for some reason the sections dealing with final bulkhead thickness in the three areas is confusing my tiny brain.
- 1,784 replies
-
- 2
-
-
- winchelsea
- Syren Ship Model Company
- (and 1 more)
-
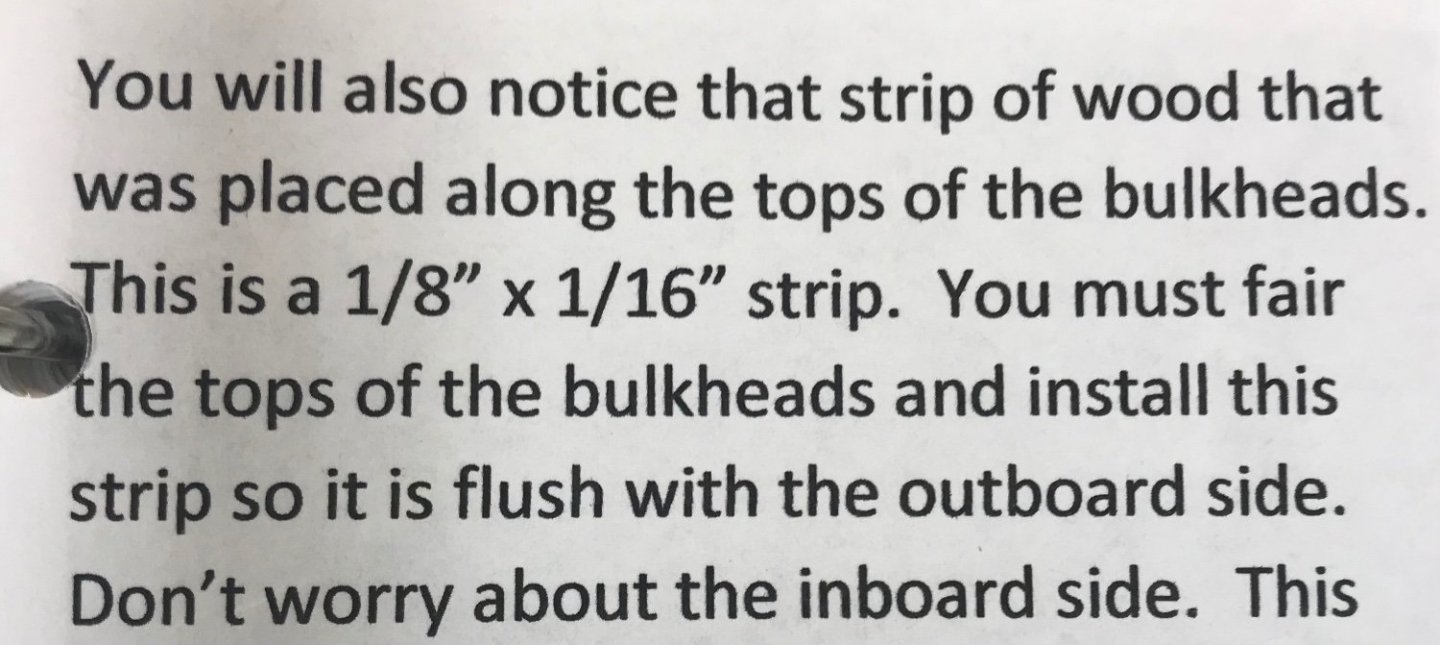
Chuck I’m a bit confused concerning bulkhead fairing in three areas. These 3 statements are in the instructions:
- 1,784 replies
-
- 2
-
-
- winchelsea
- Syren Ship Model Company
- (and 1 more)
-
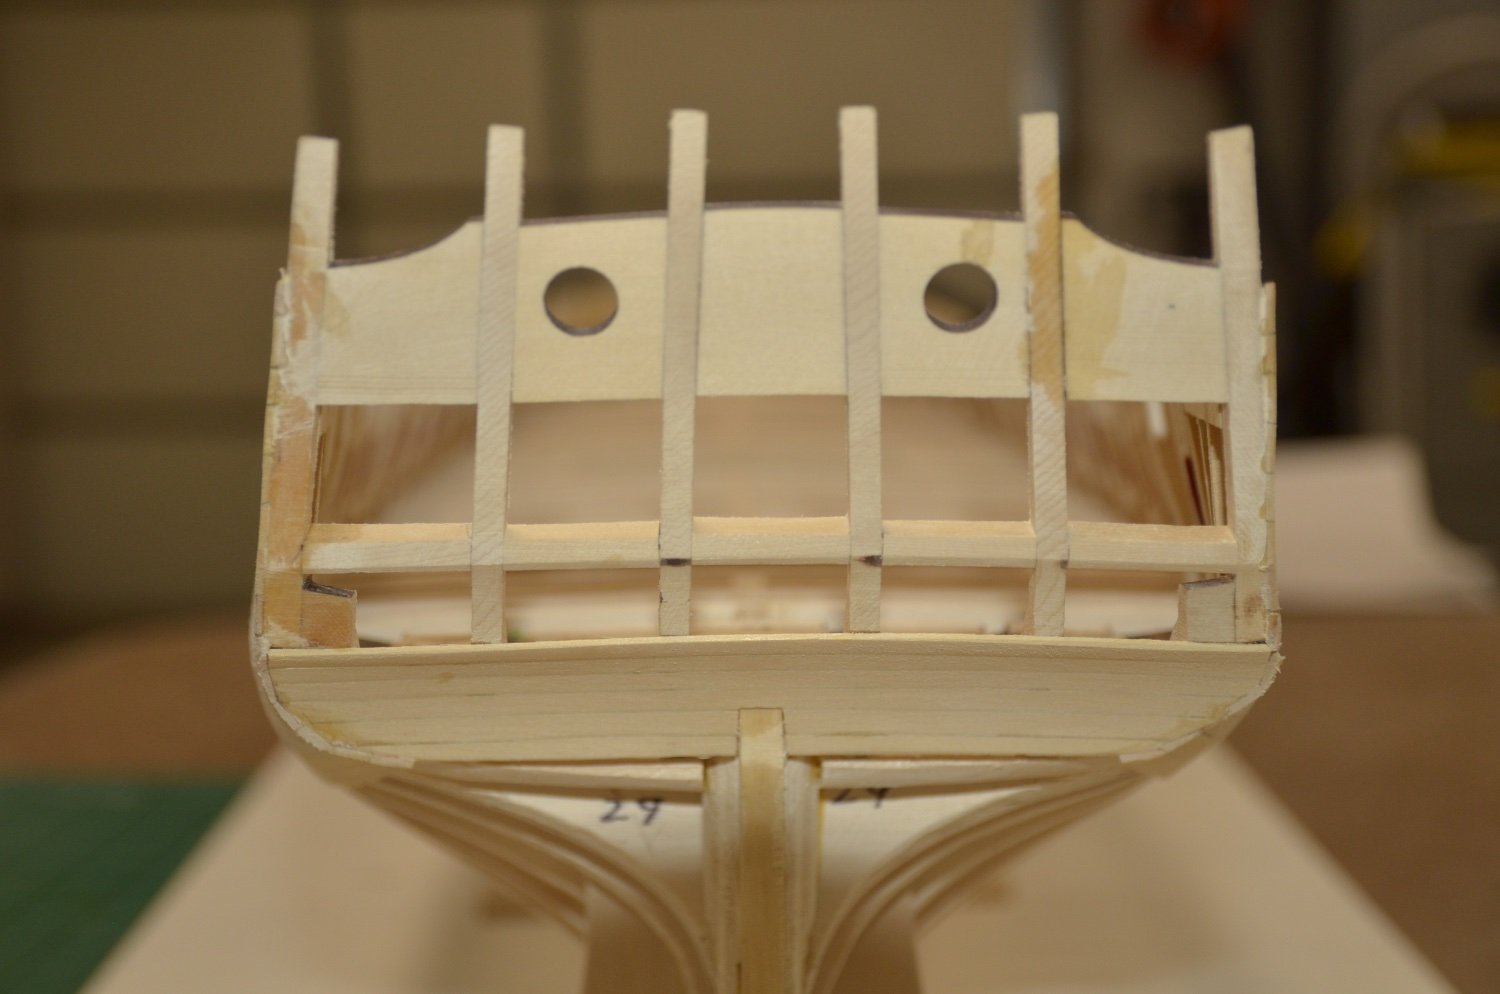
Well, the adventure continues. After re-reading the instructions I realized that bulwarks are faired to 5/32” and not 3/32” 🙄. Fortunately I faired a small section of the bow only and am now building the thickness back with 1/16 ply. I have no idea how all this will turn out.
-
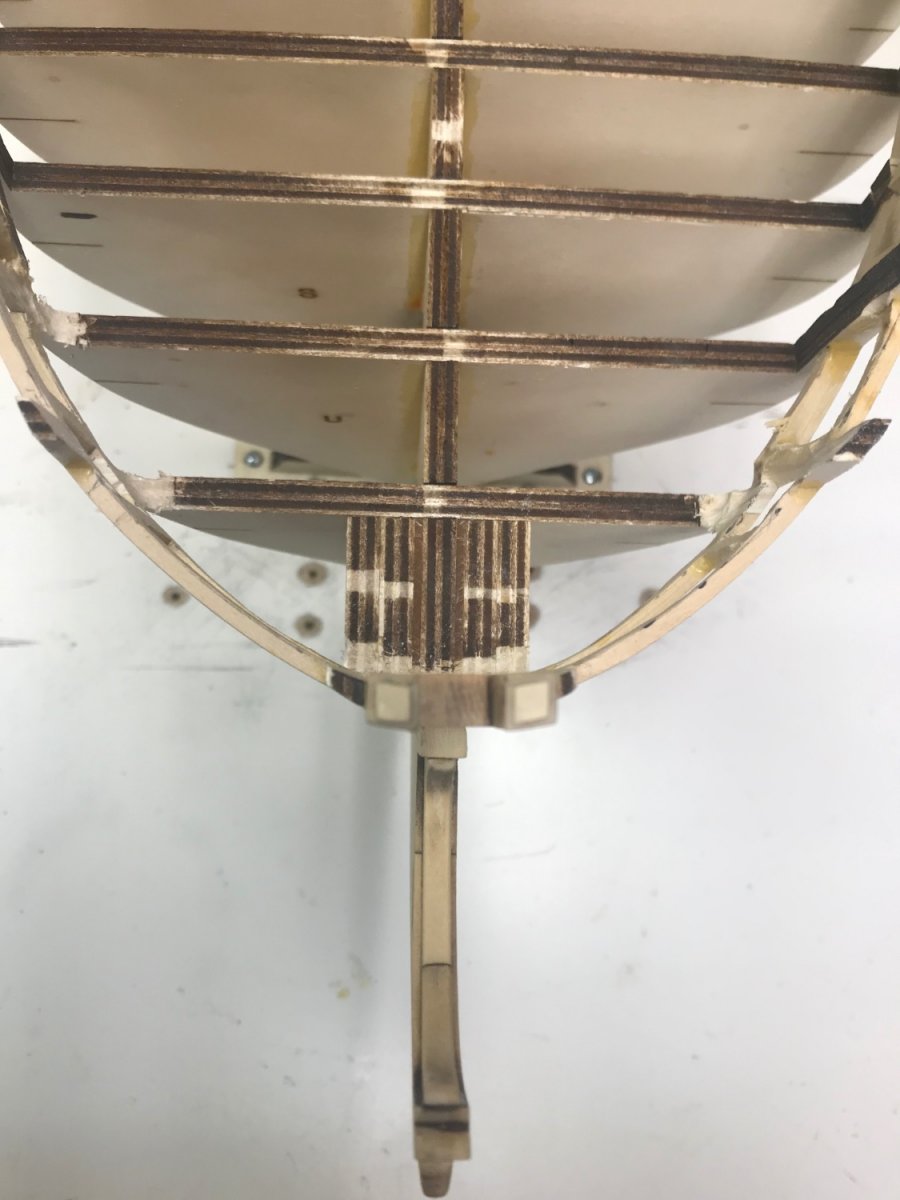
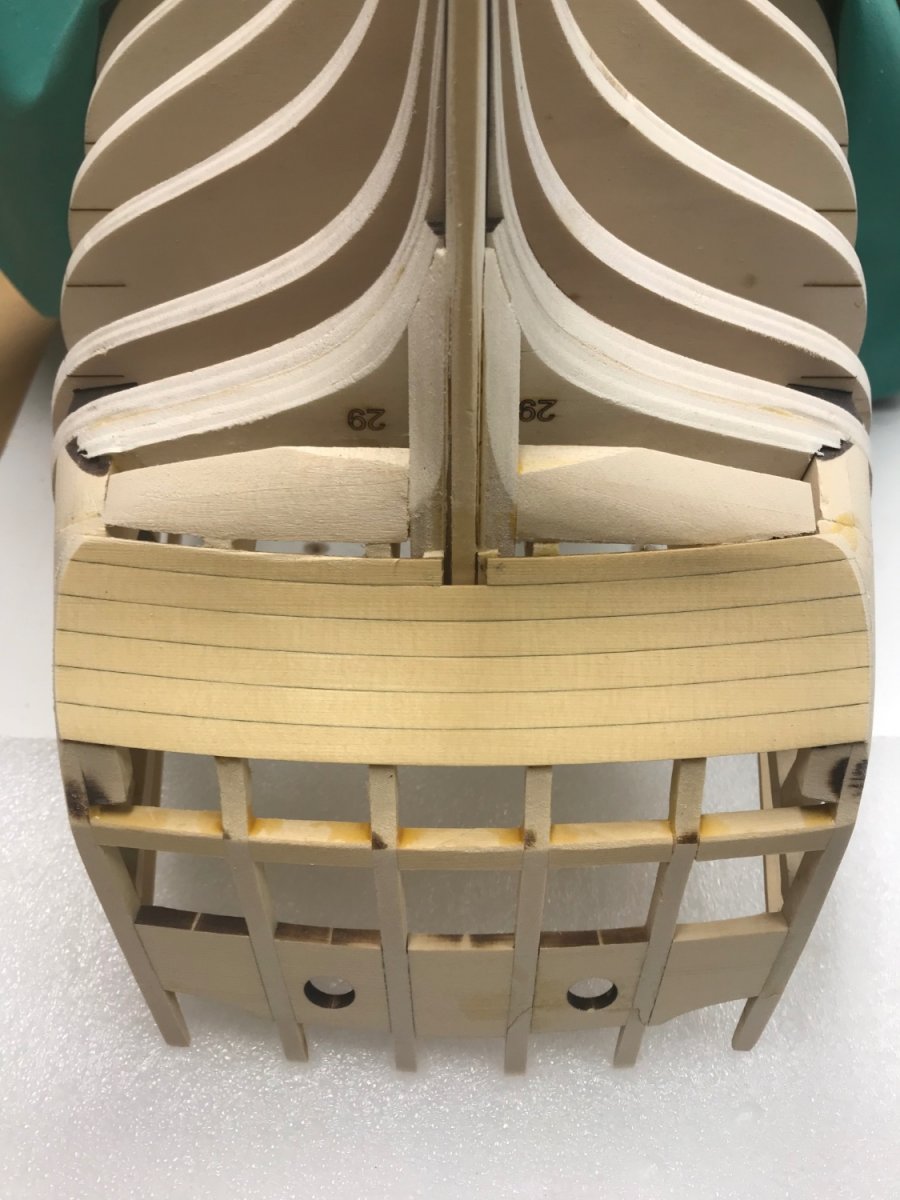
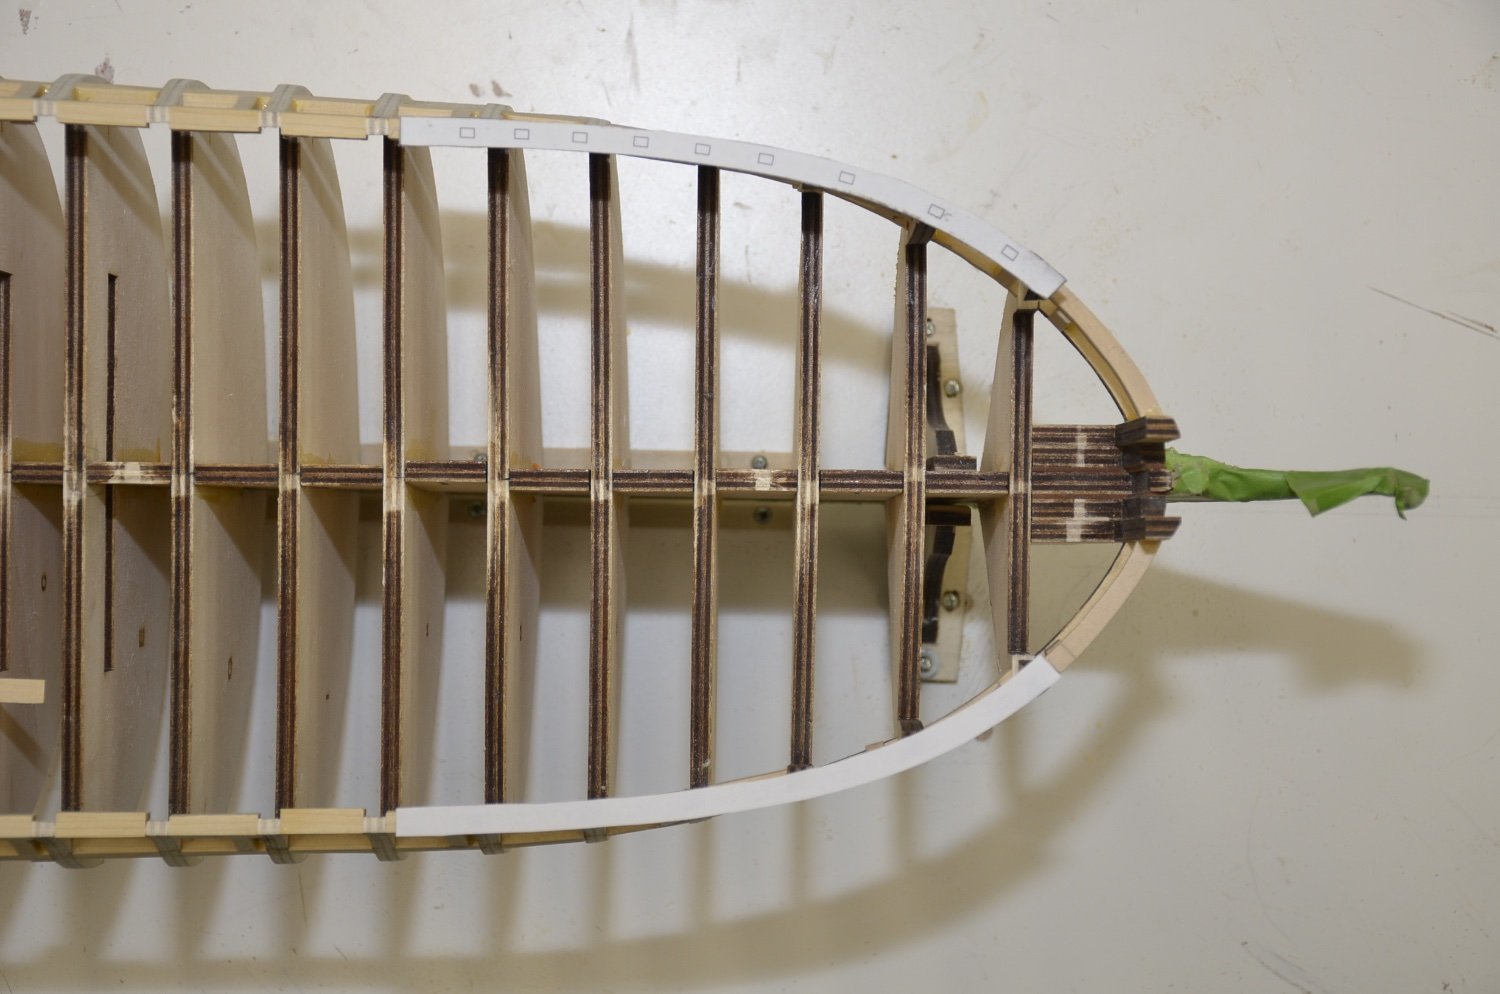
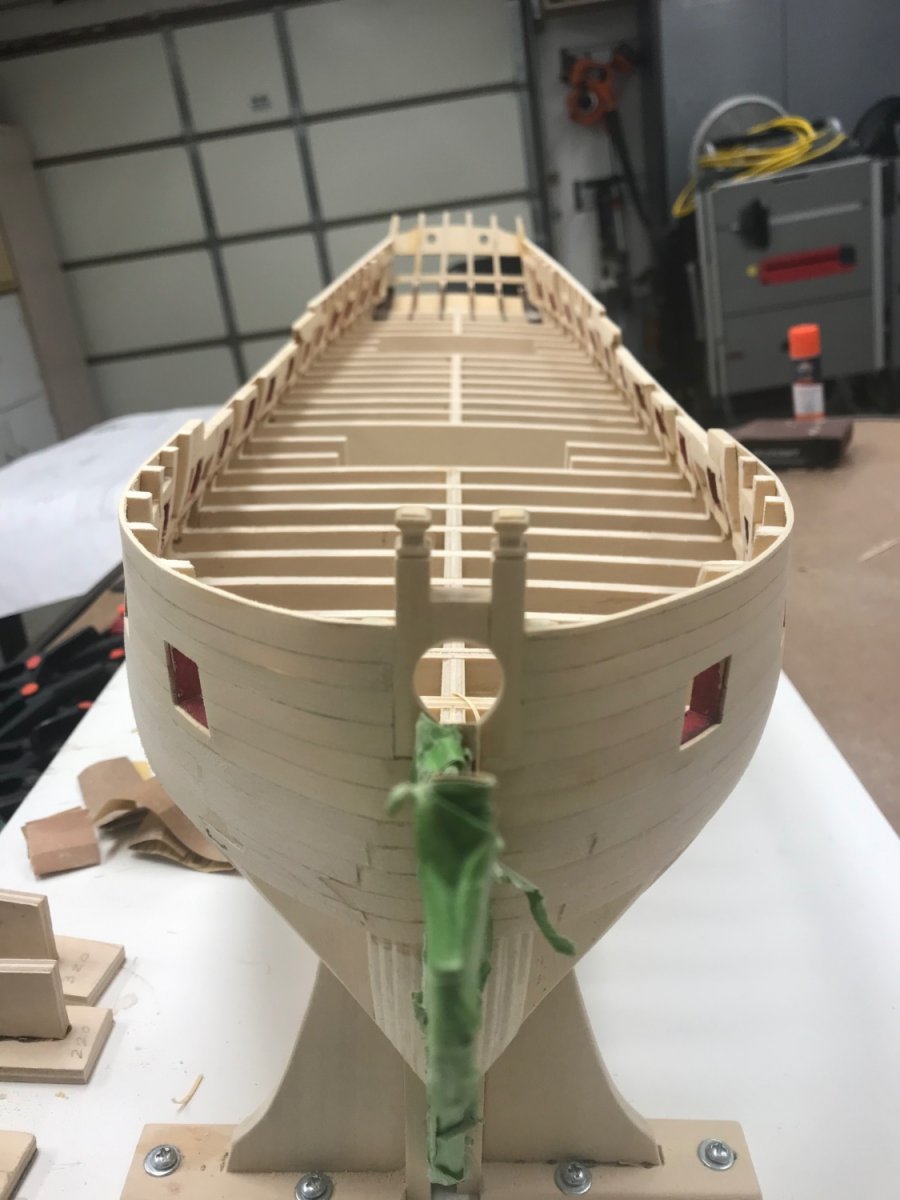
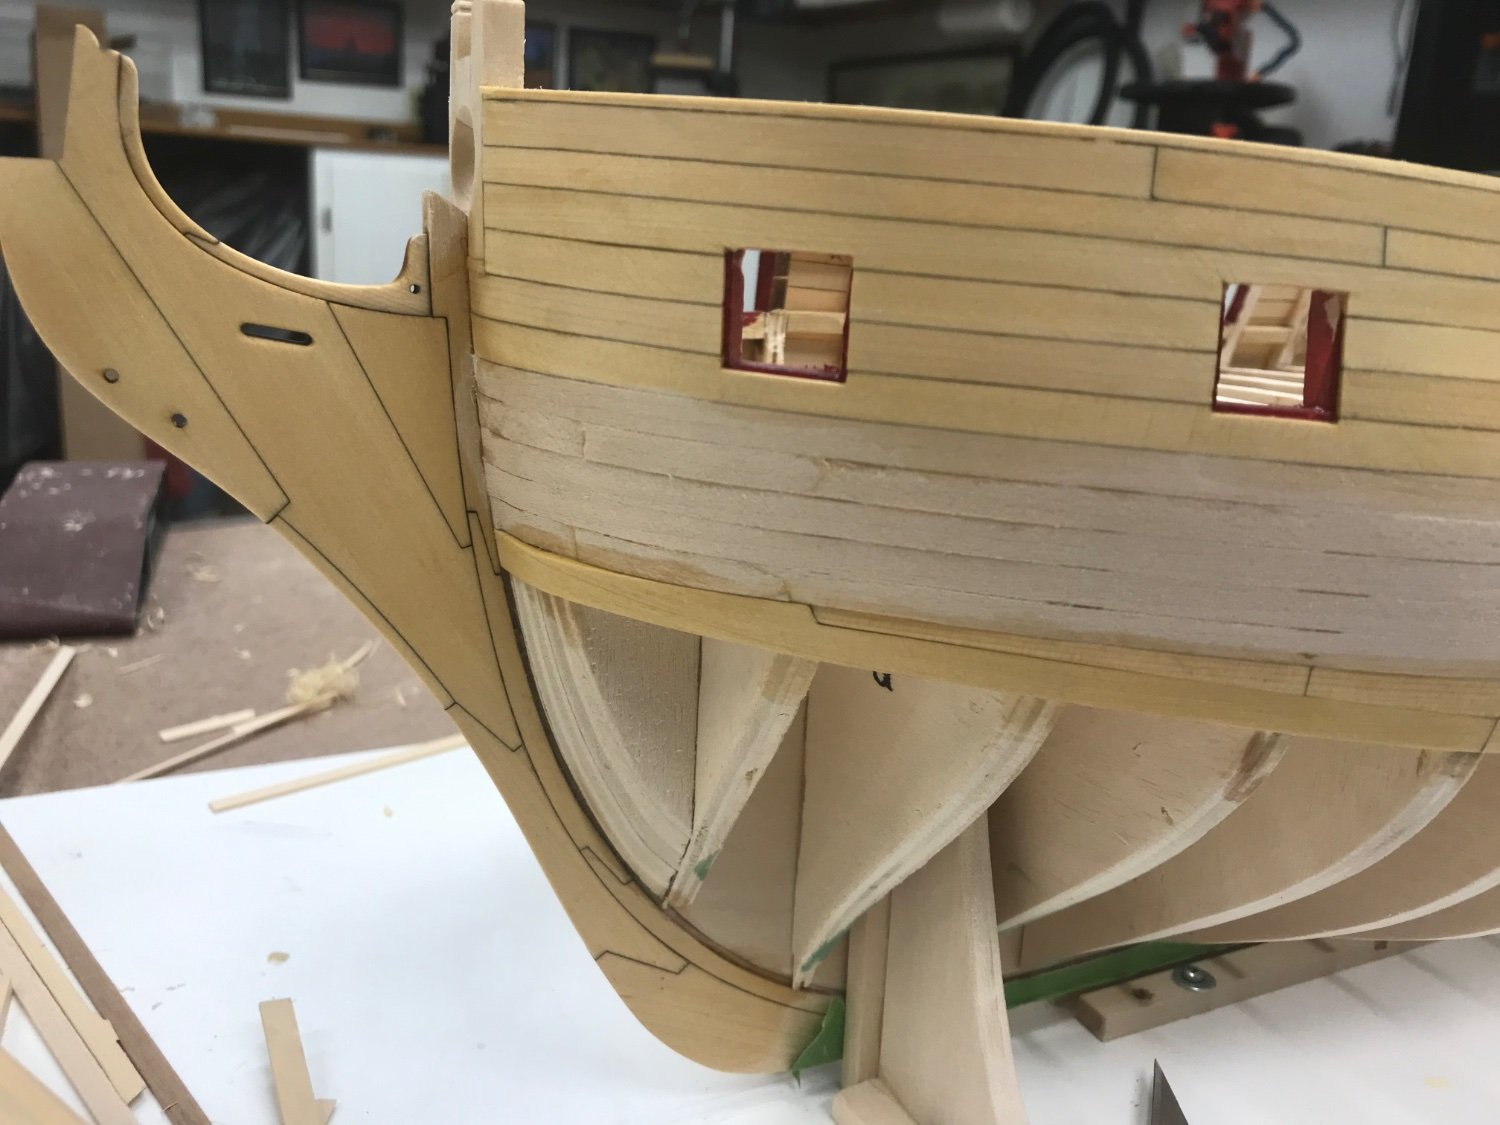
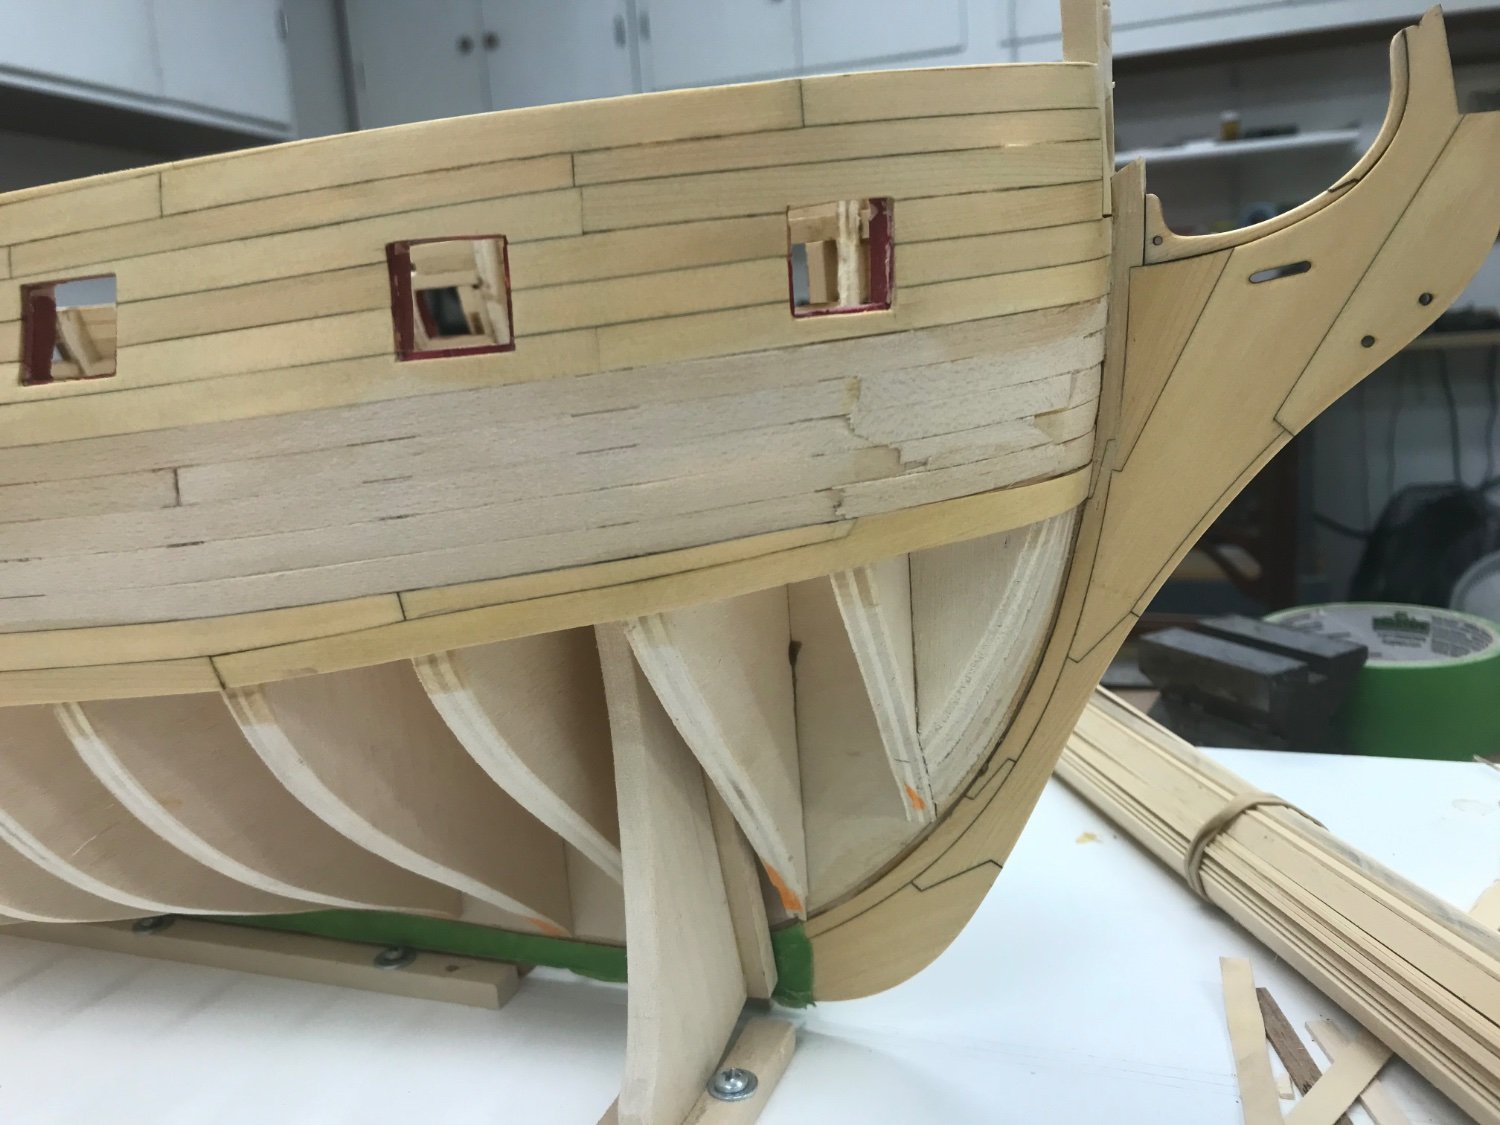
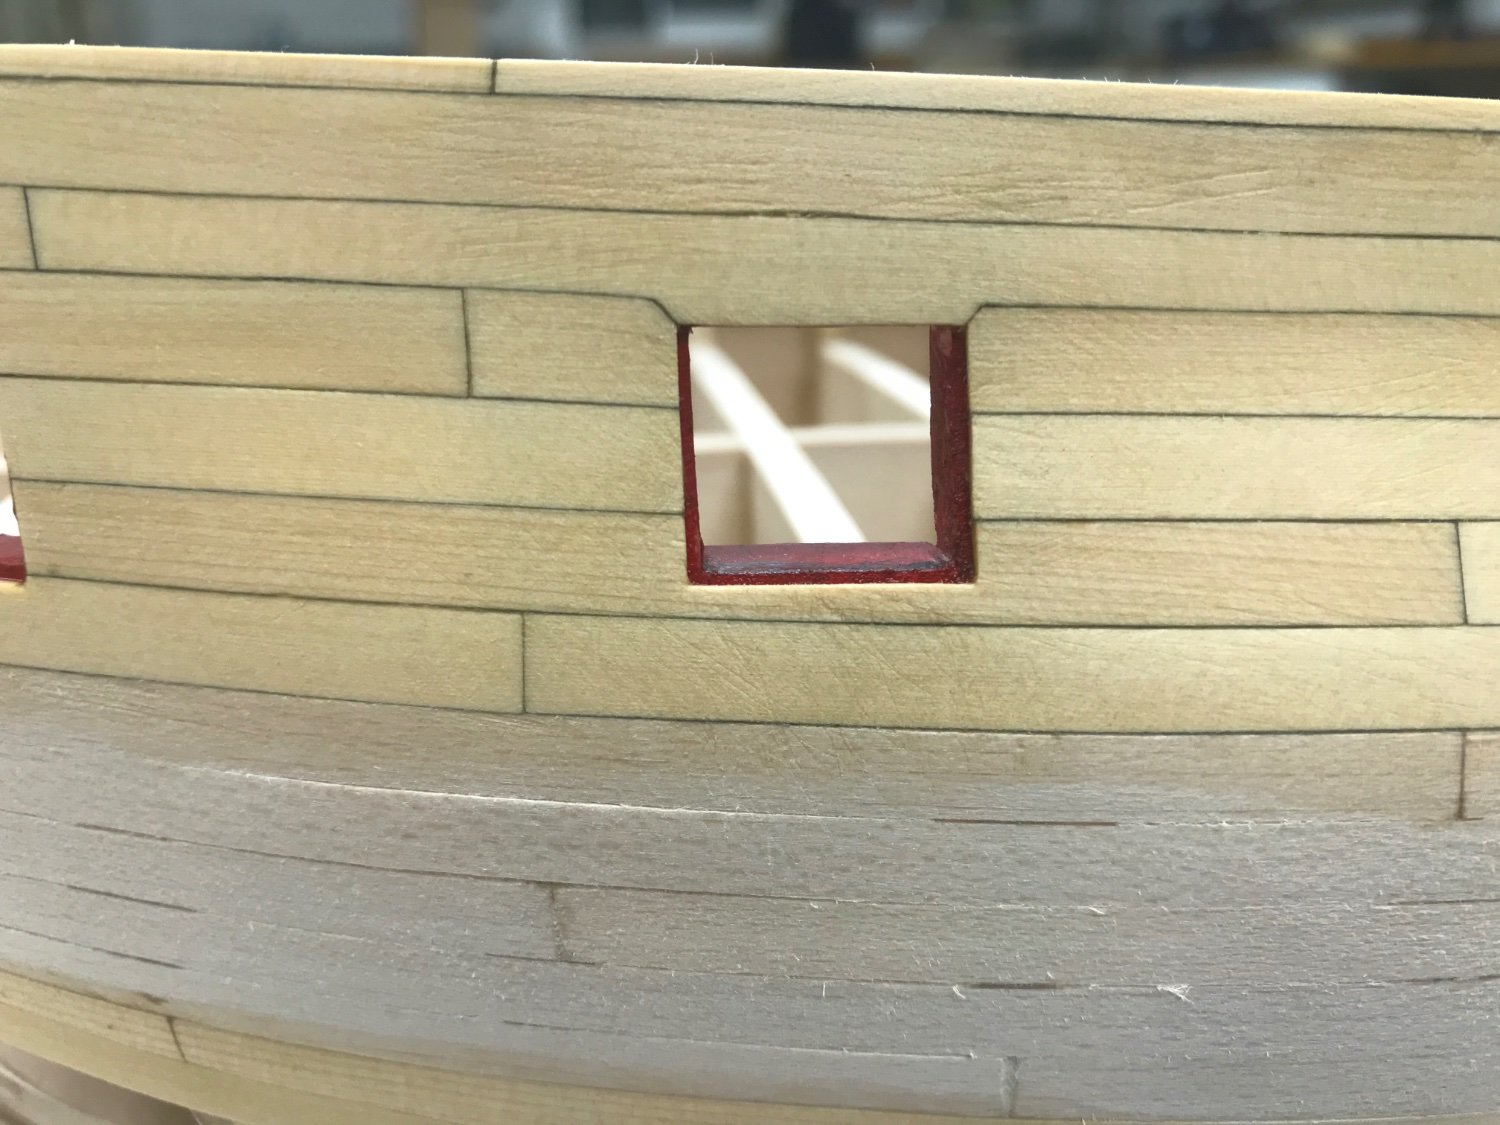
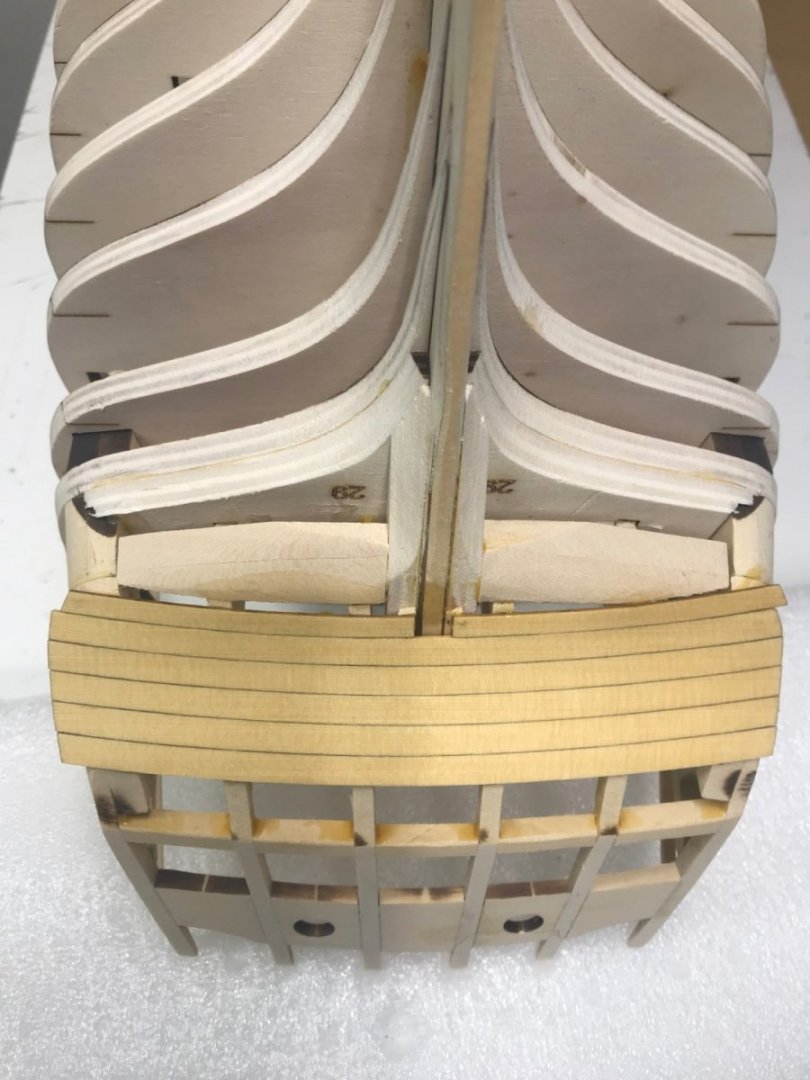
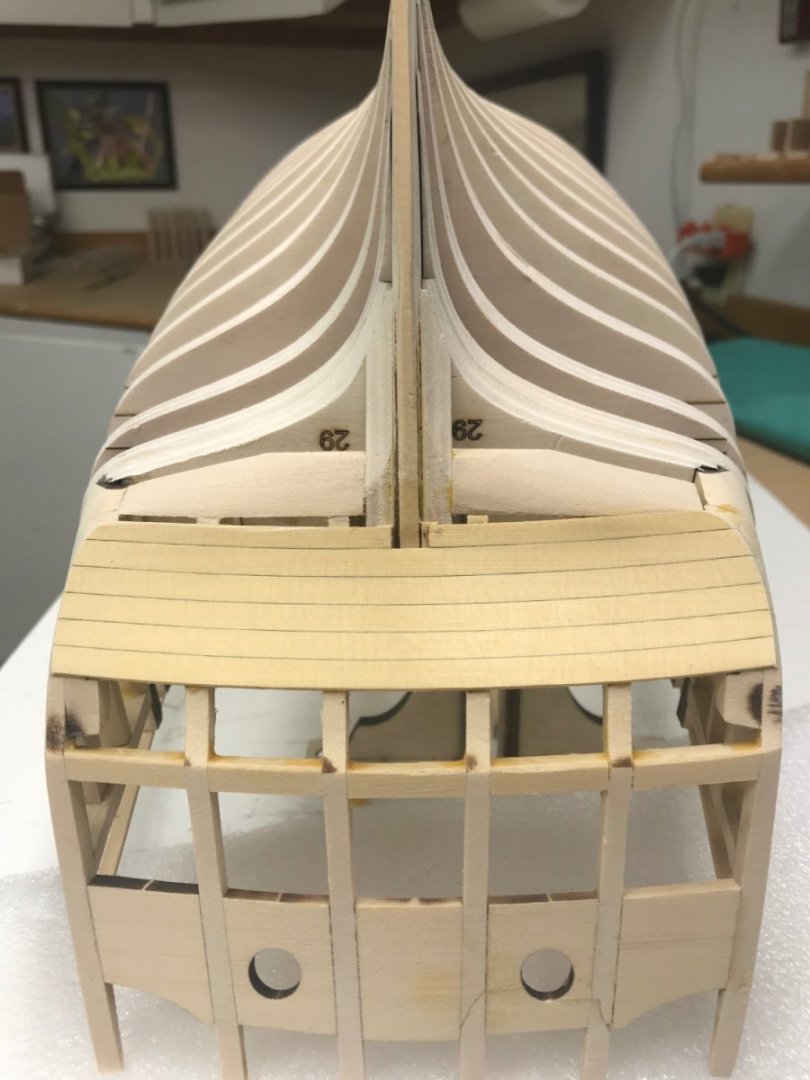
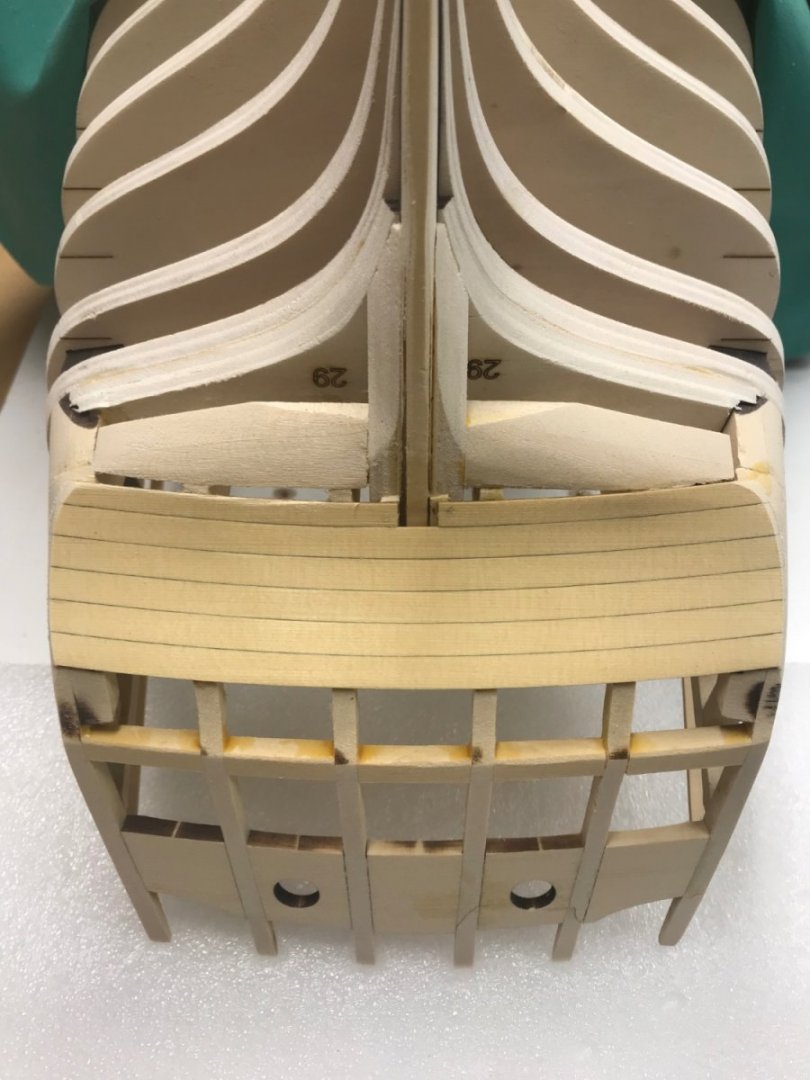
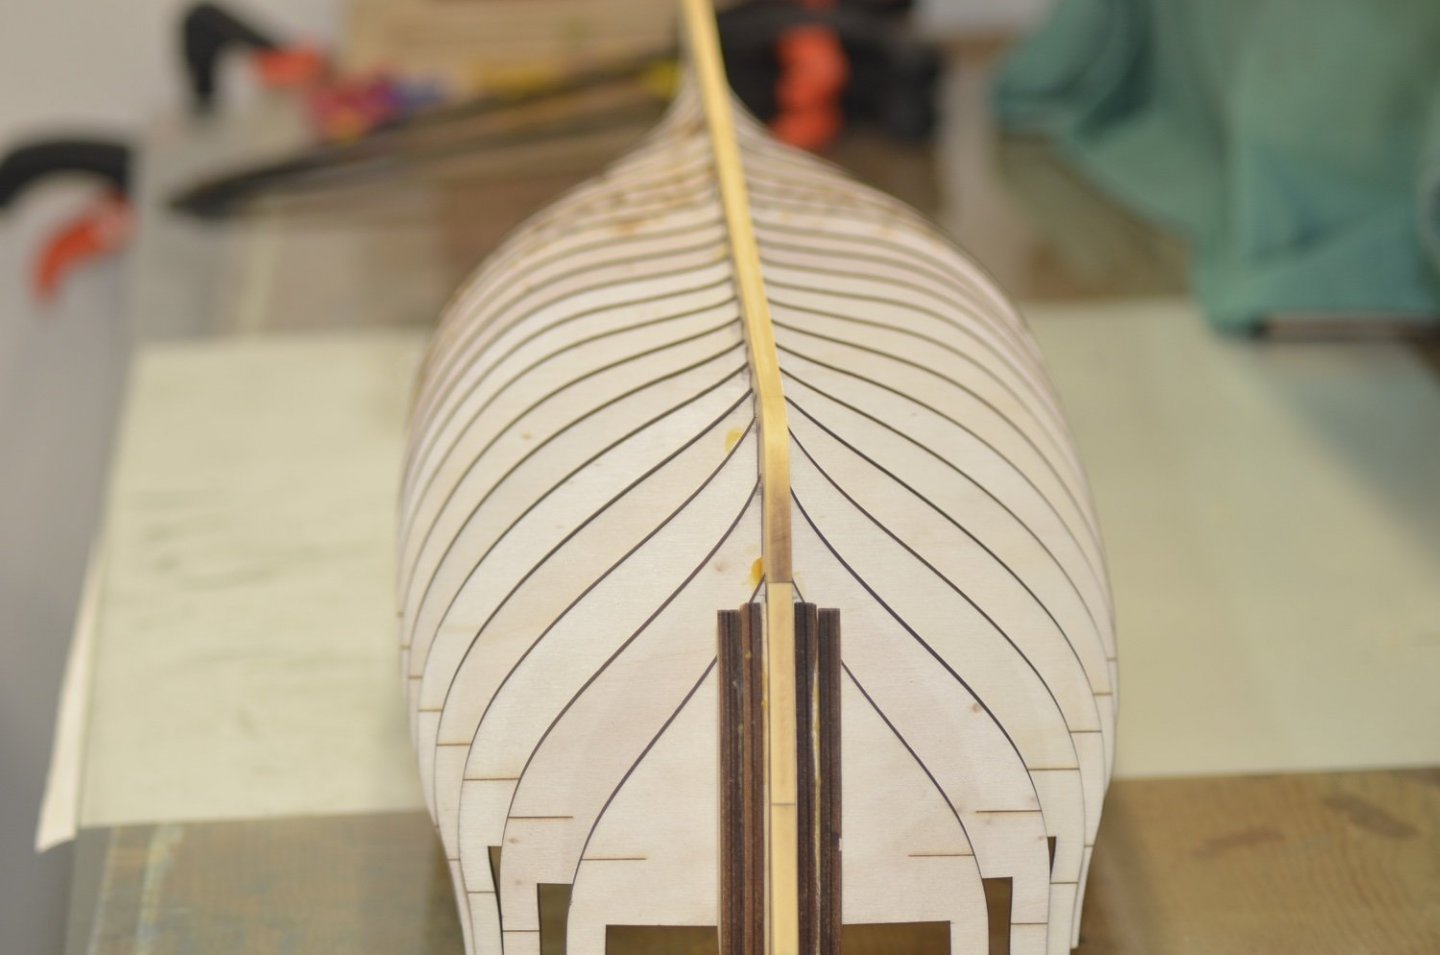
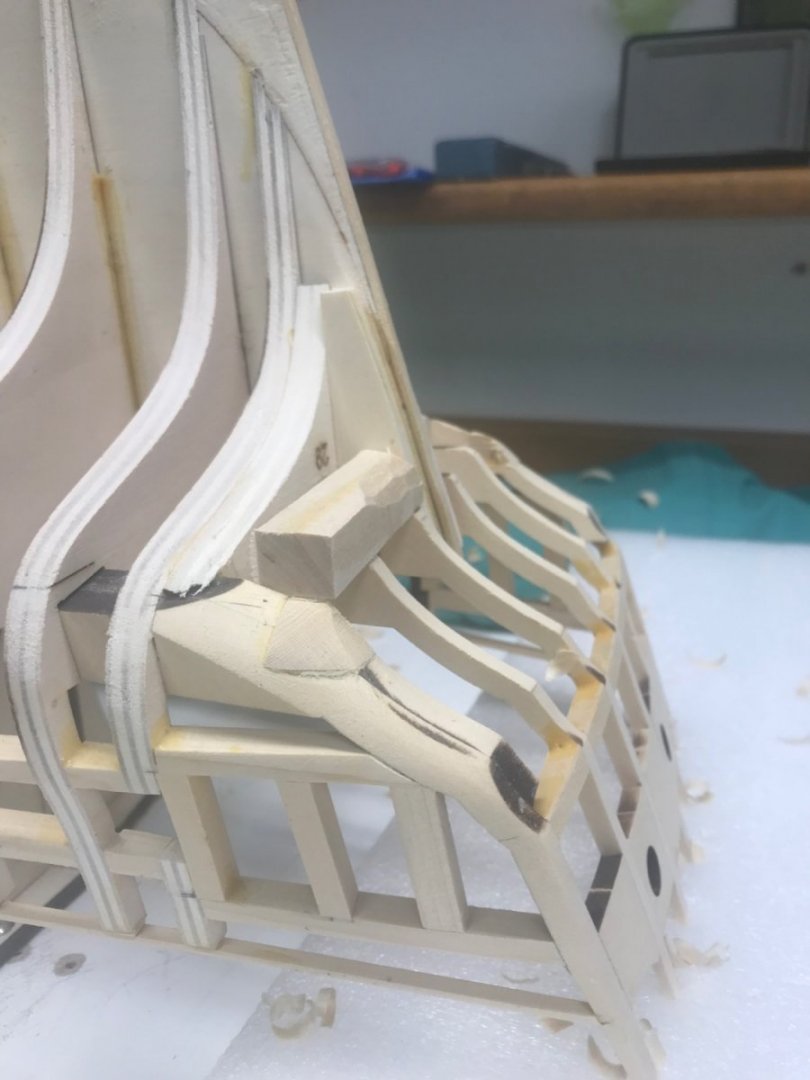
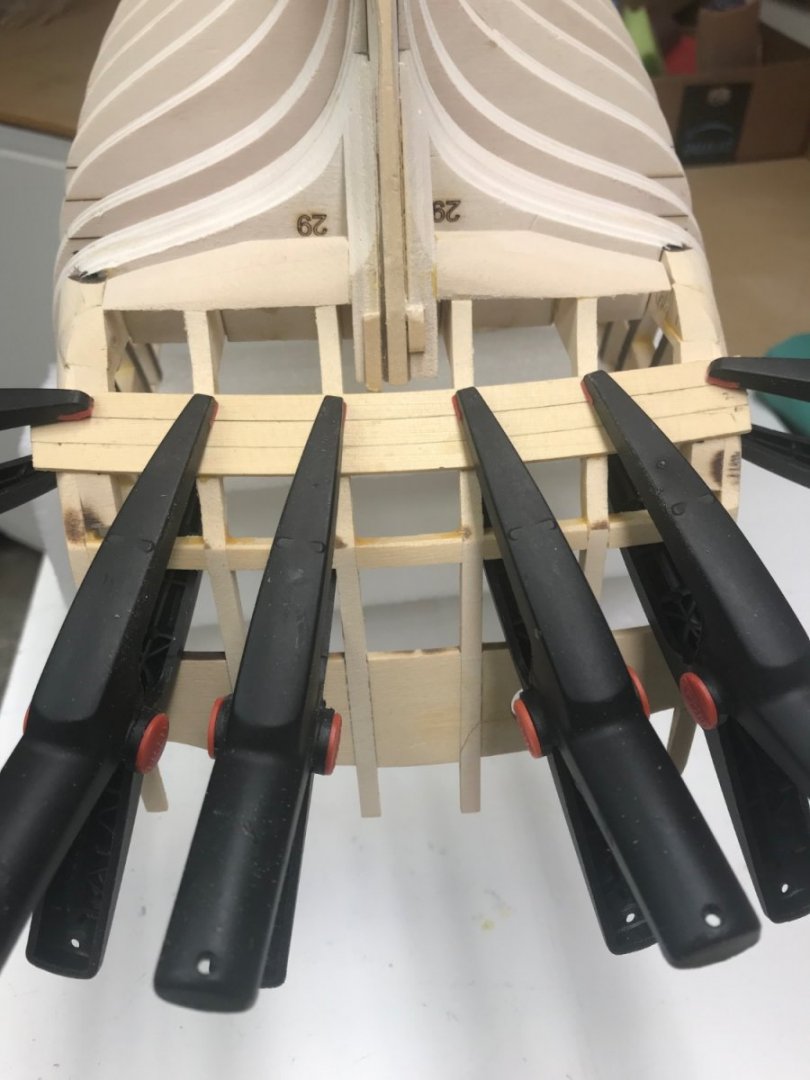
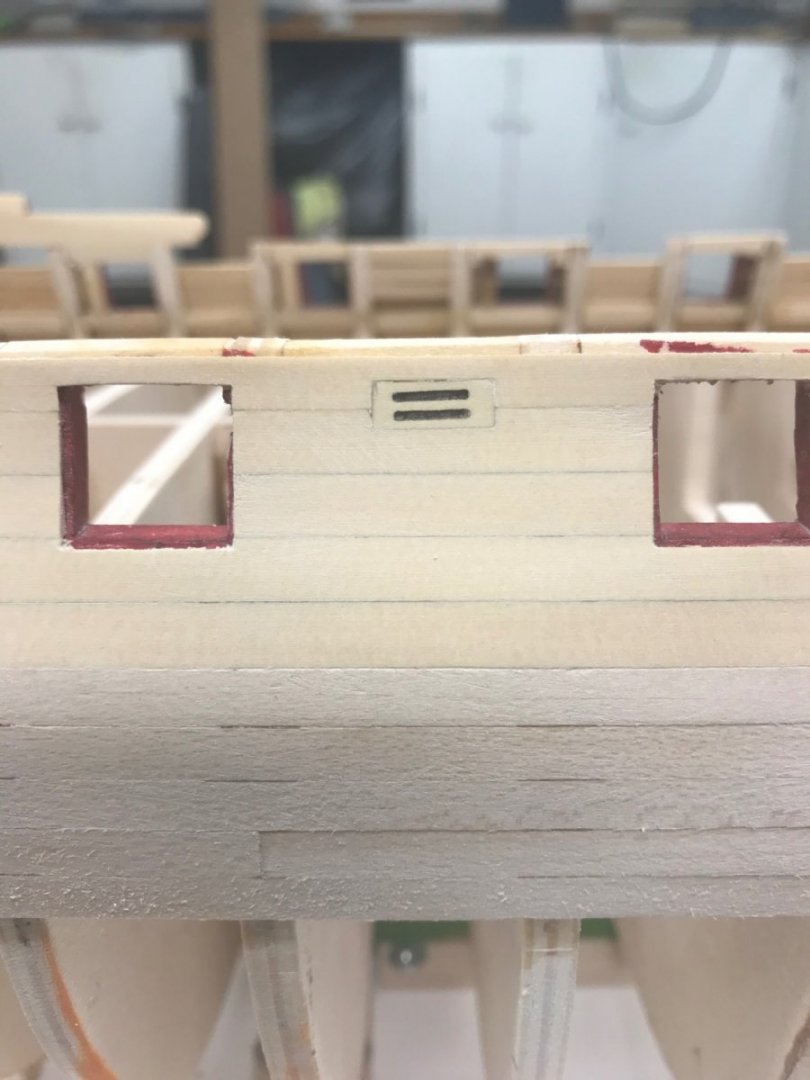
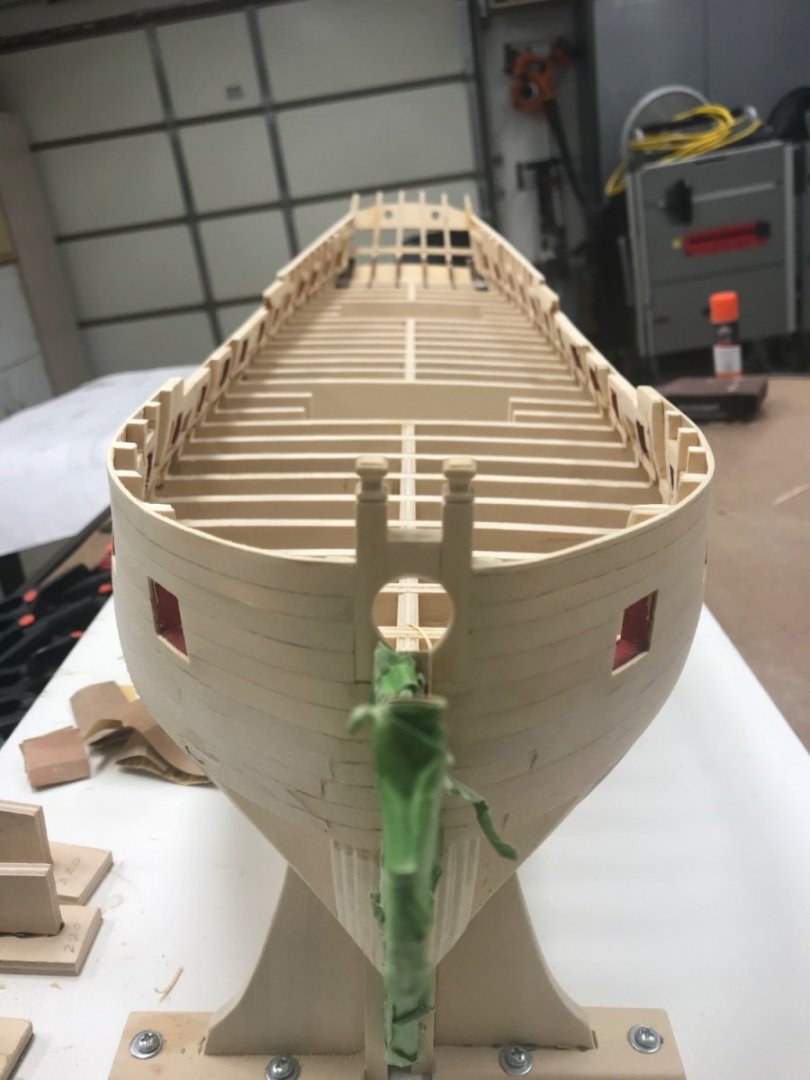
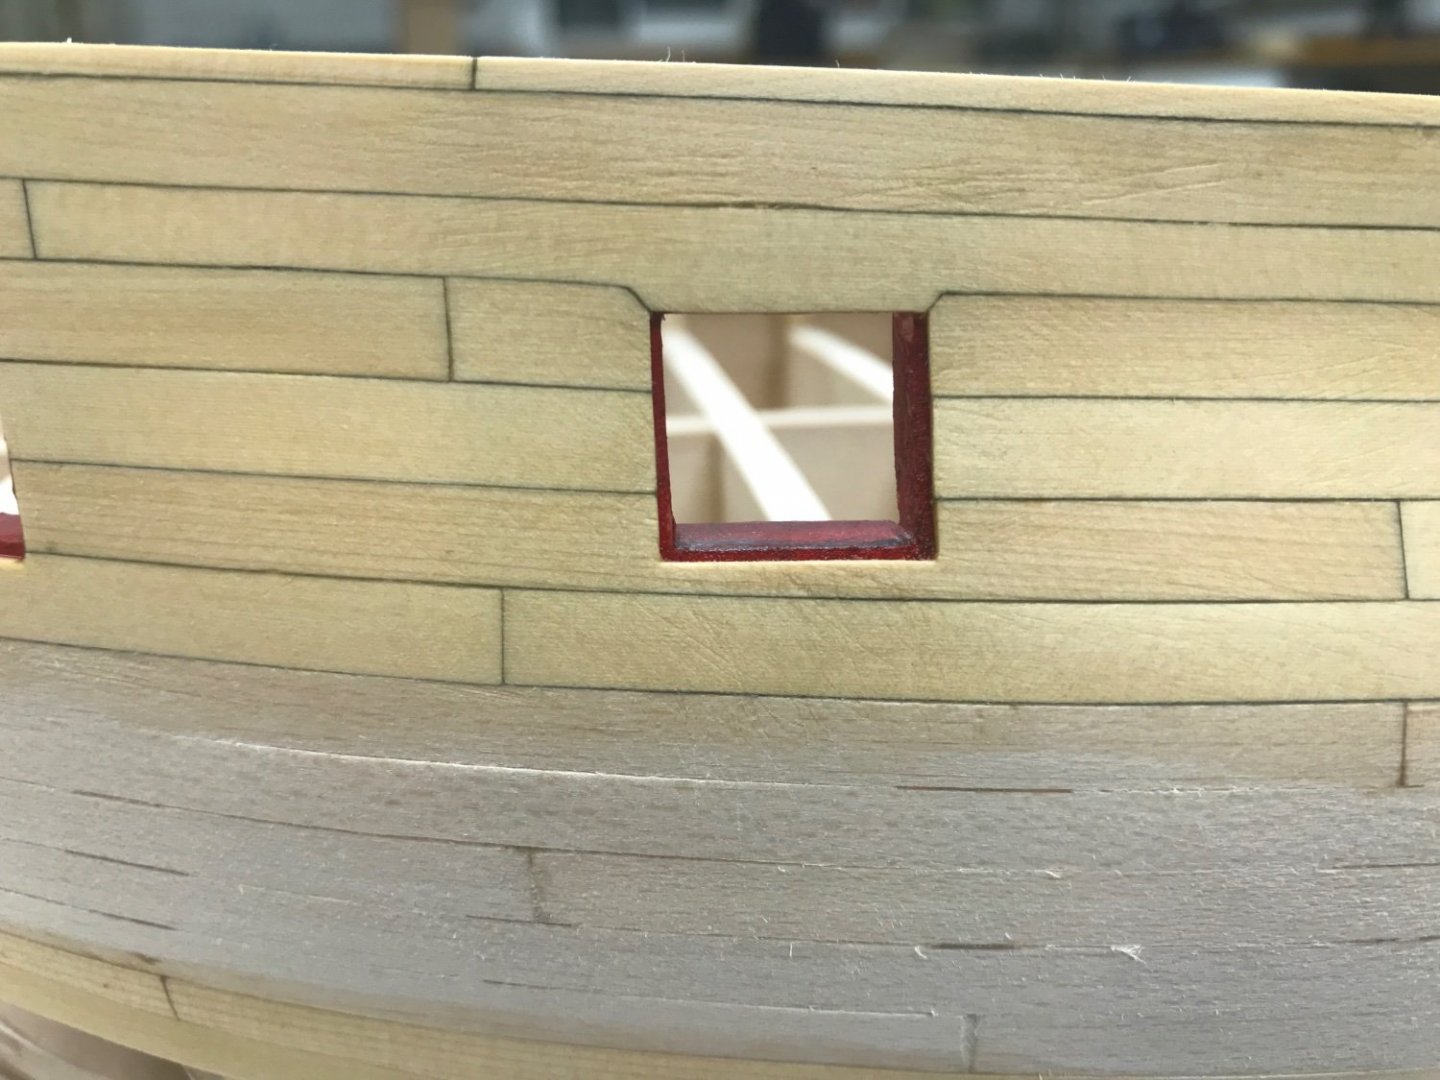
Finishing the counter planking. Using it to test the tarring method between planks since my method on Winnie 1 was too dark. This time I once again just darkened one side of a joint but with a much lighter pressure on the no.2 pencil. I believe this did the trick. After applying some WOP After sanding to shape. Hopefully this is about right. The bow section after fairing inside to 3/32. Looks really thin, I can see now why some people provide extra wood in this area for stability.


-
Frank I believe it is ok per the template but I will certainly double check that area. Thanks so much for your attention. Steve

-
Glenn I am really trying to be meticulous and moving slowly. You have given me a reminder to pay attention to the pace of my work. Thanks for looking in! Steve
-
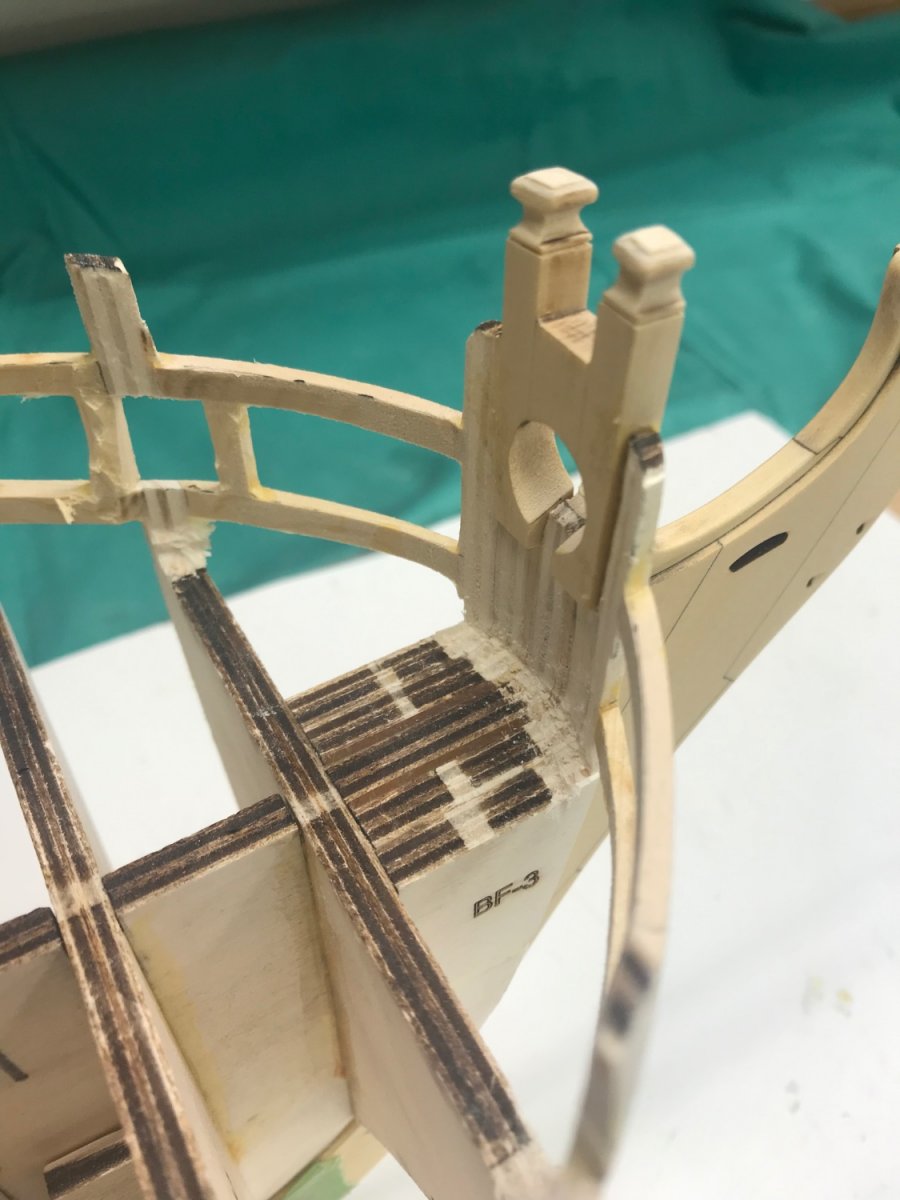
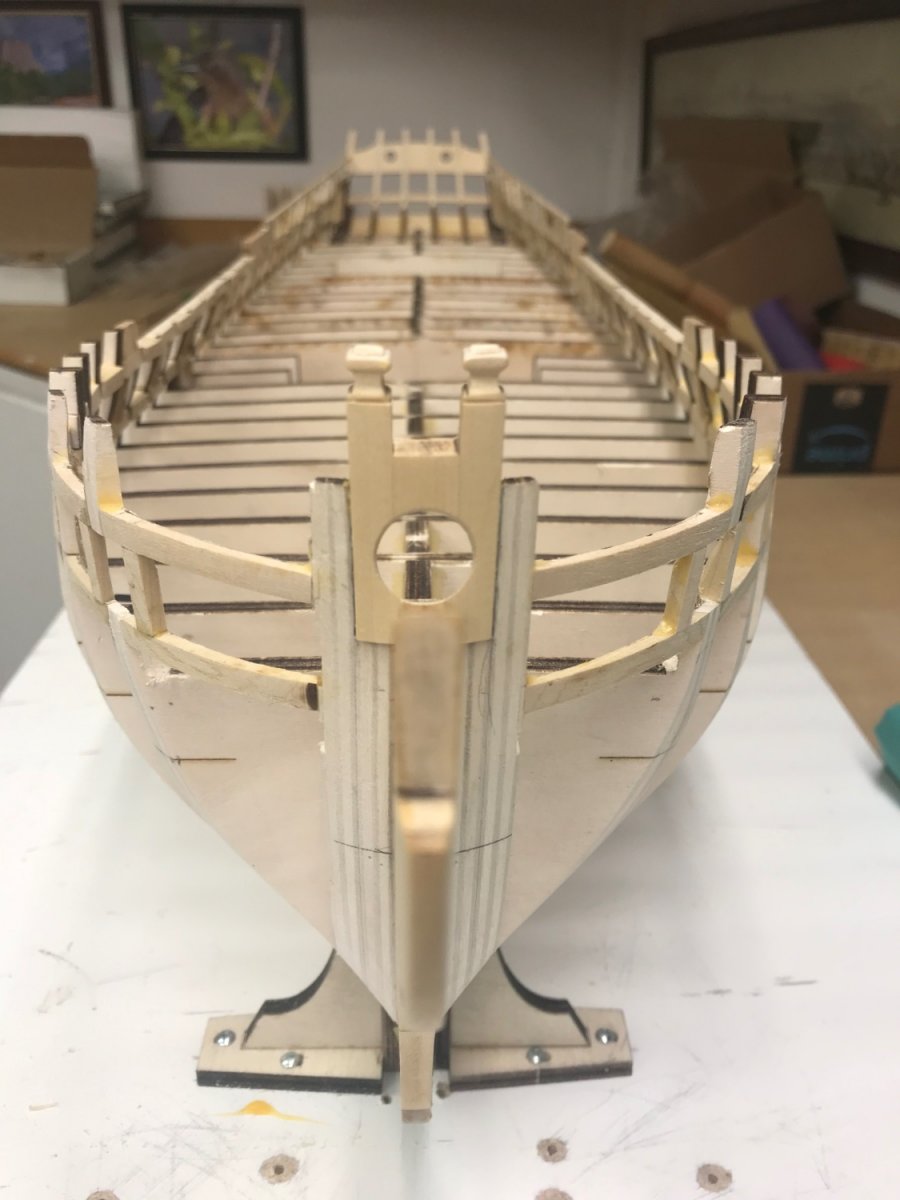
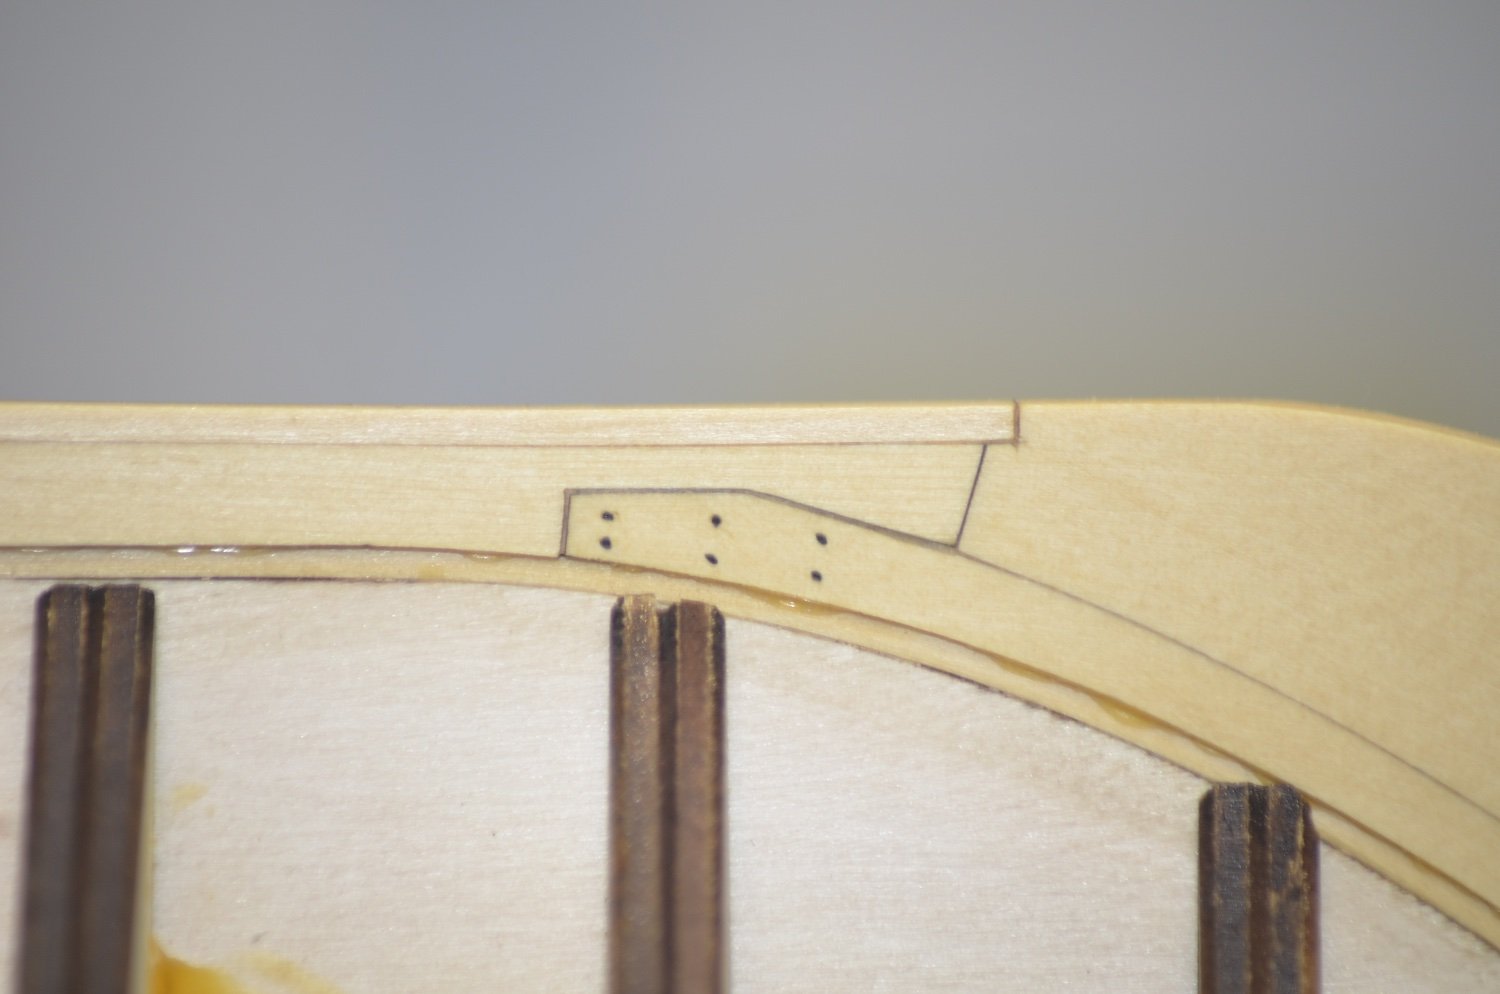
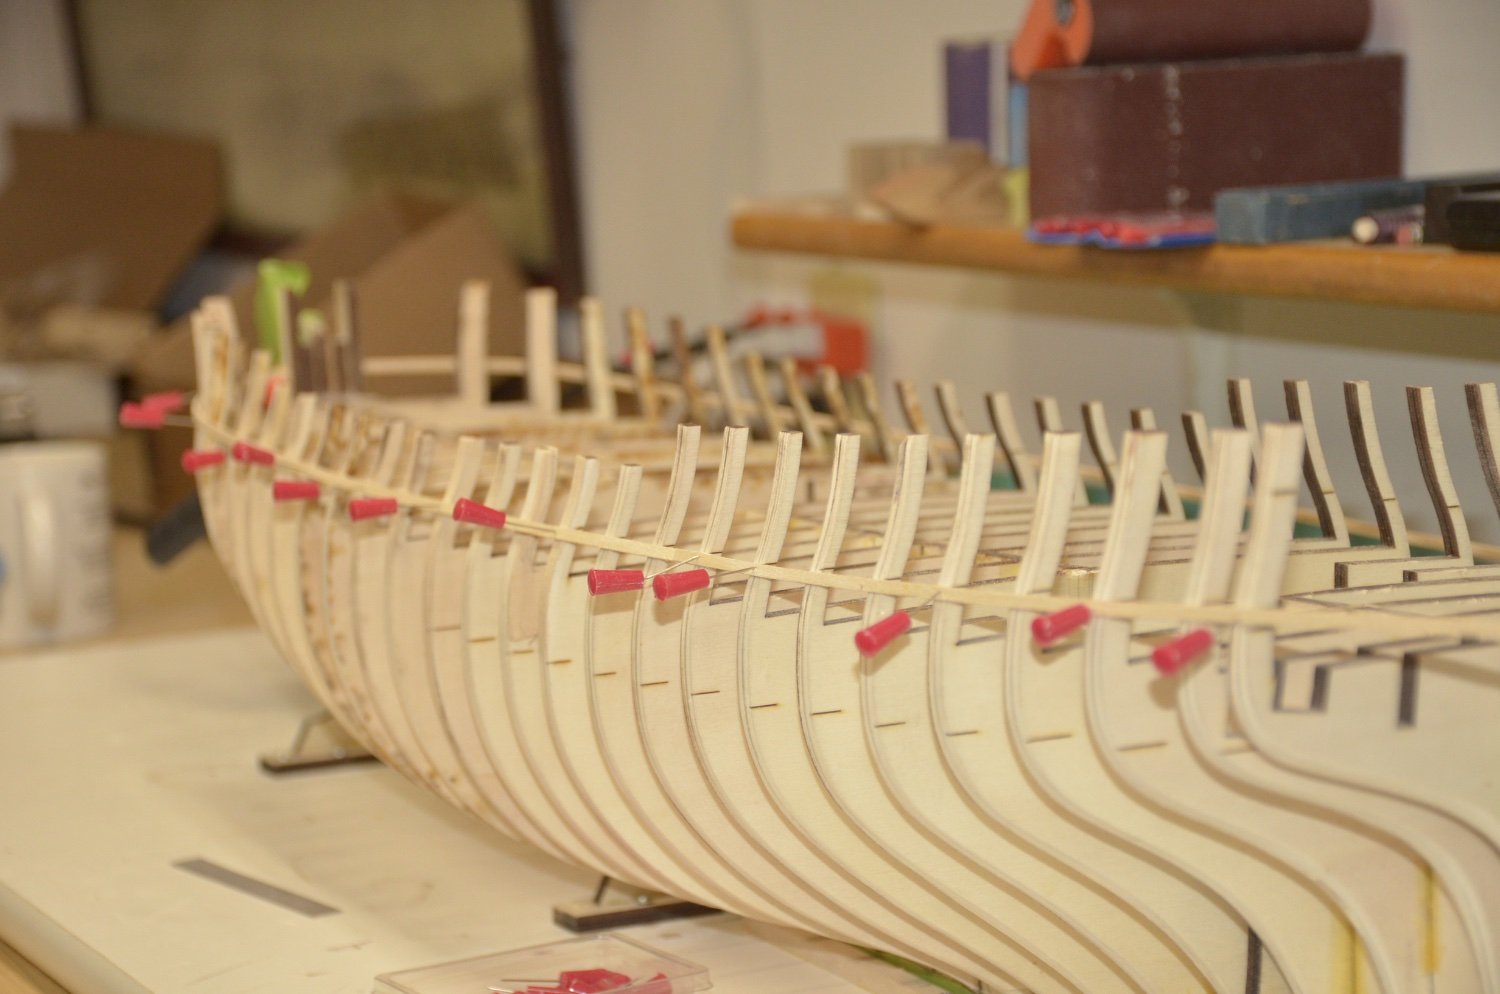
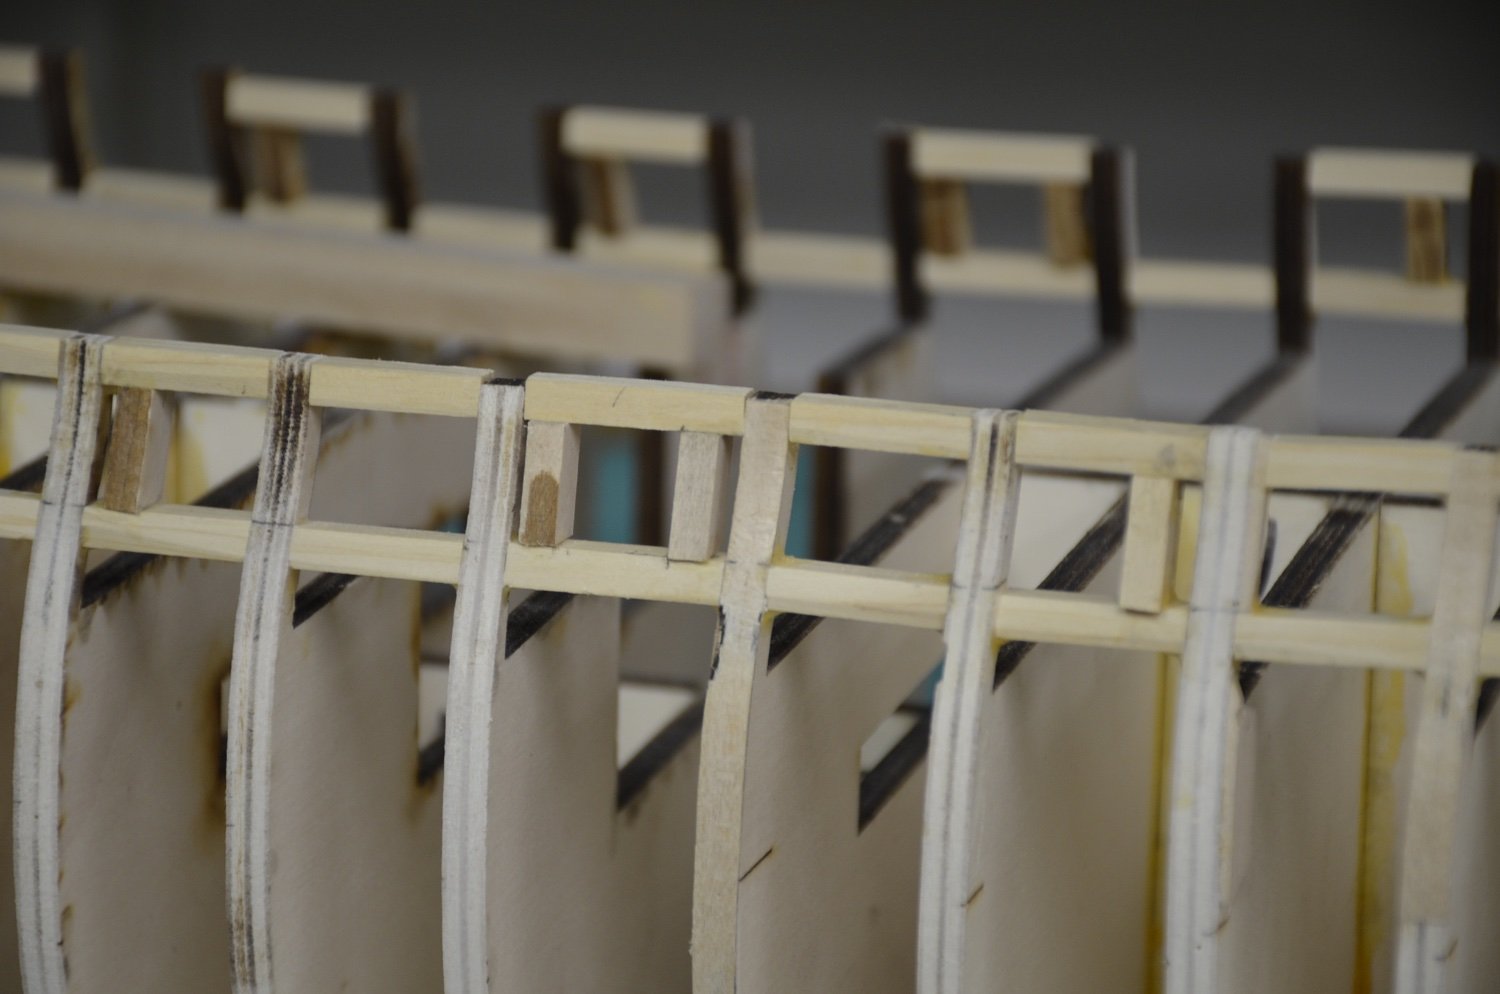
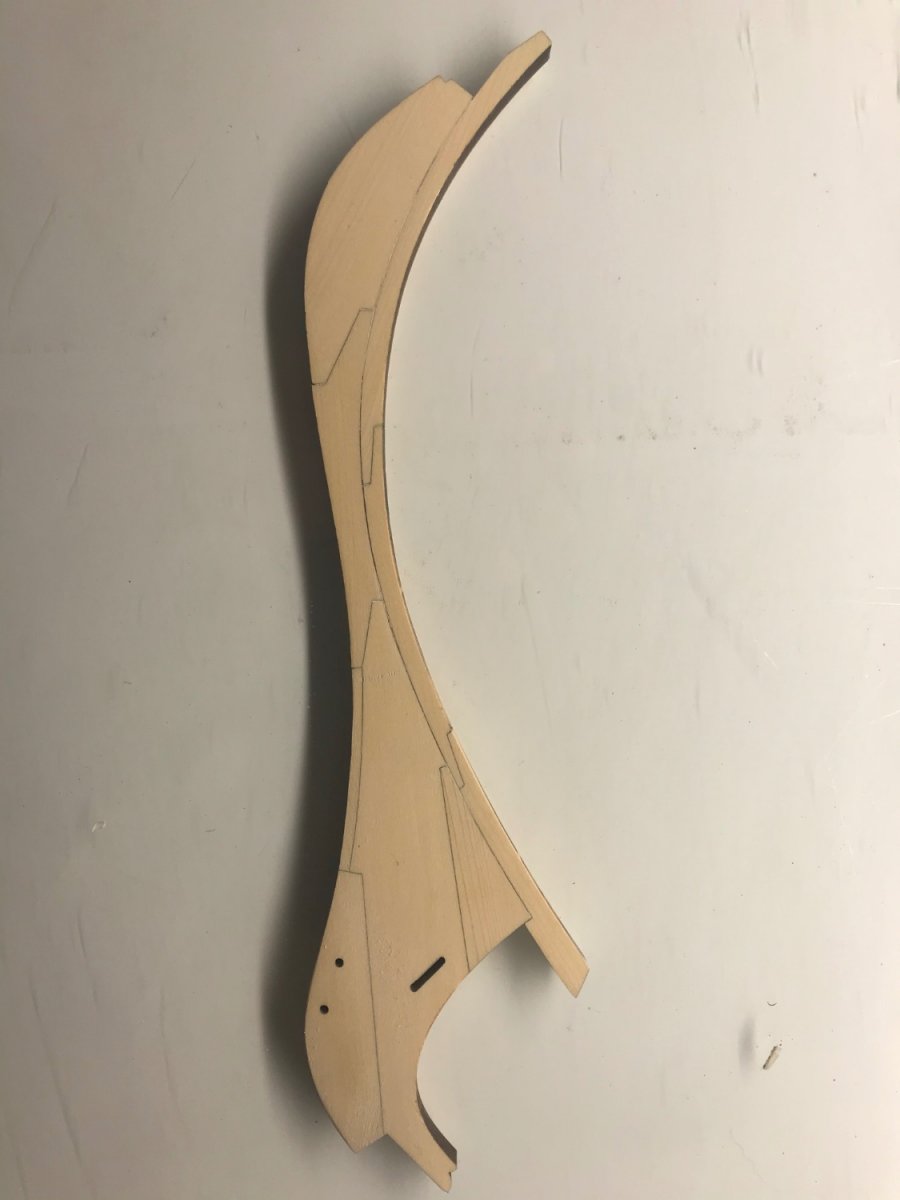
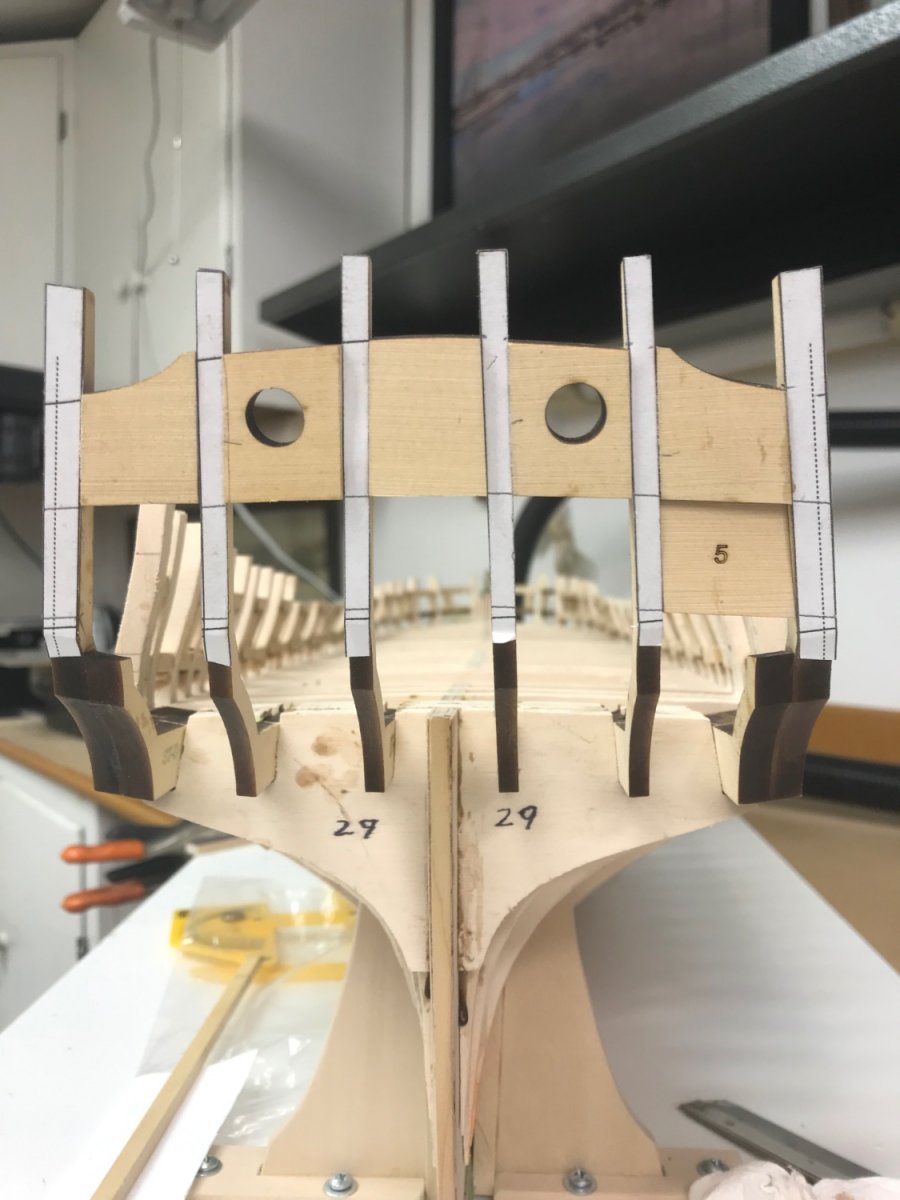
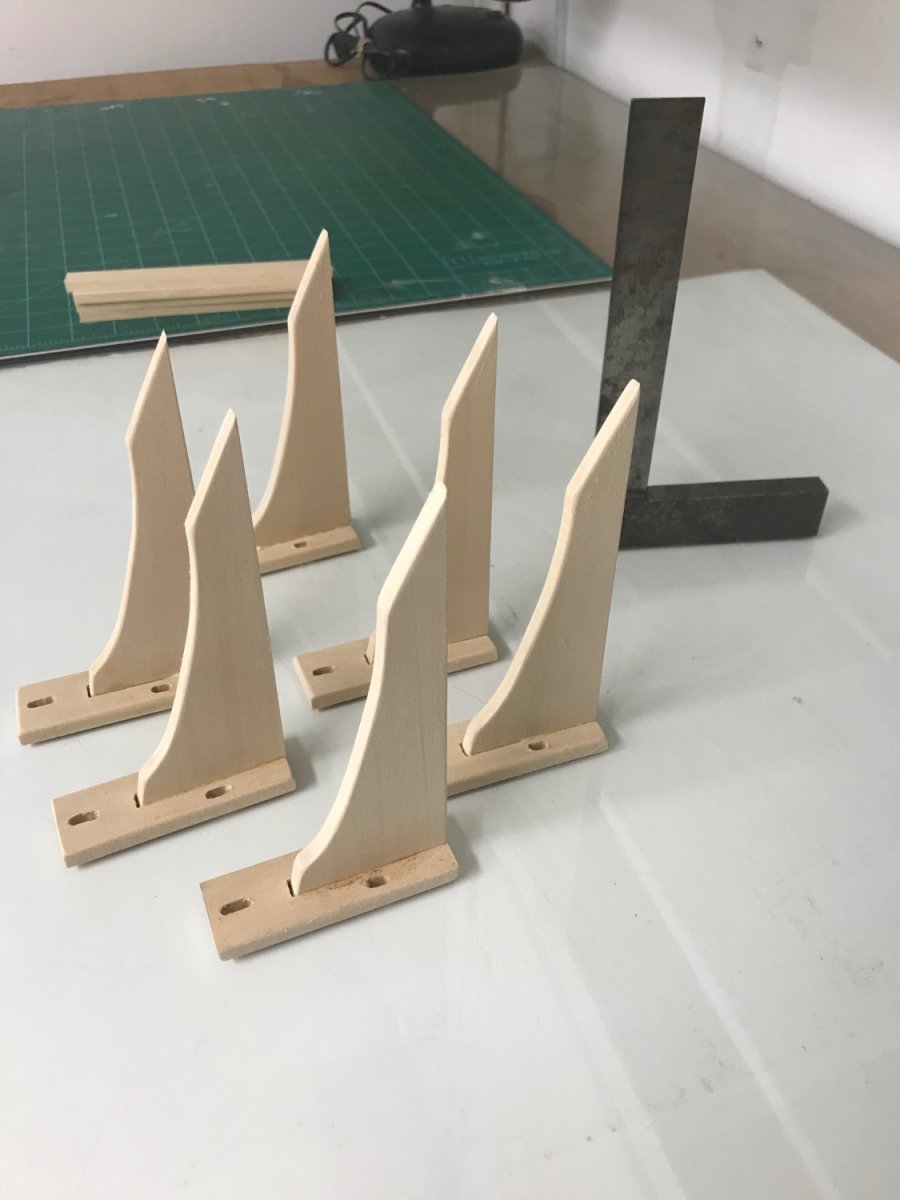
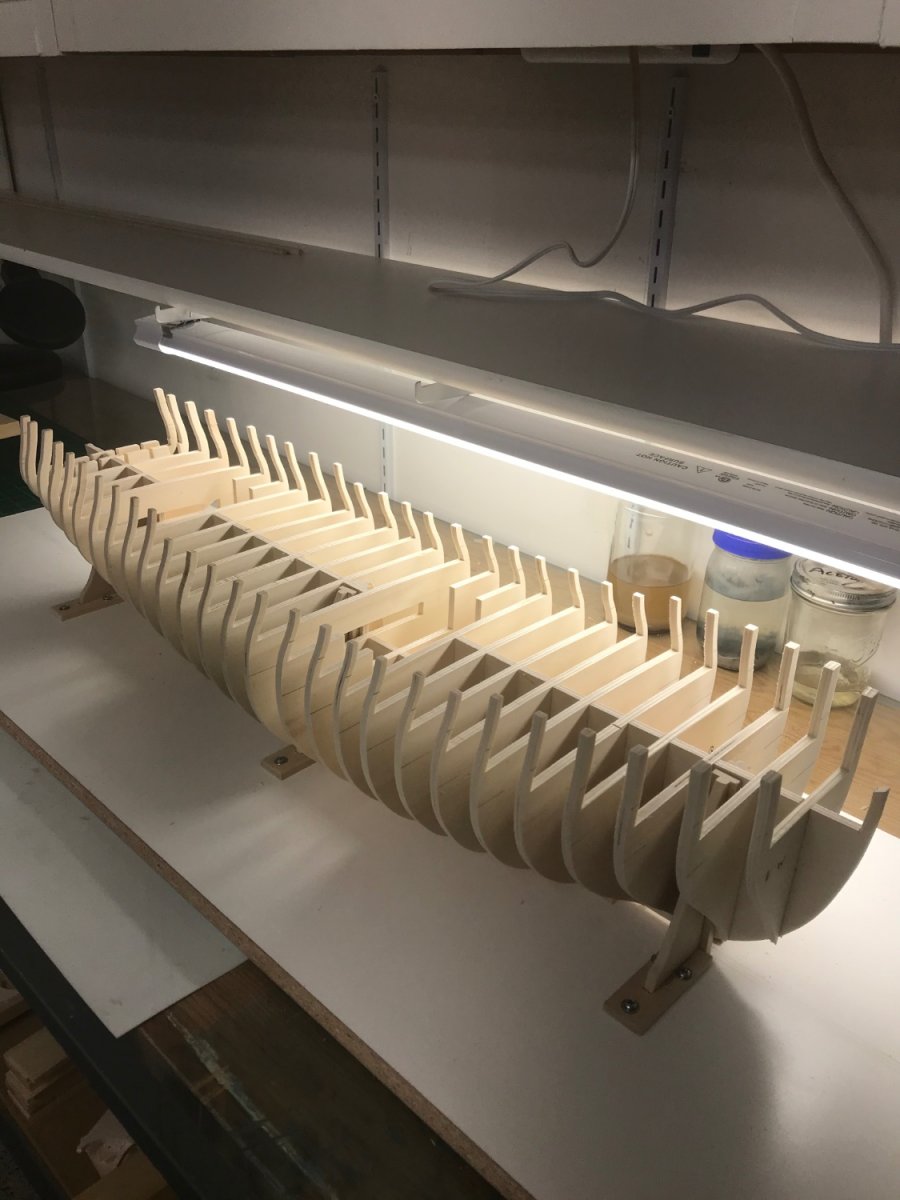
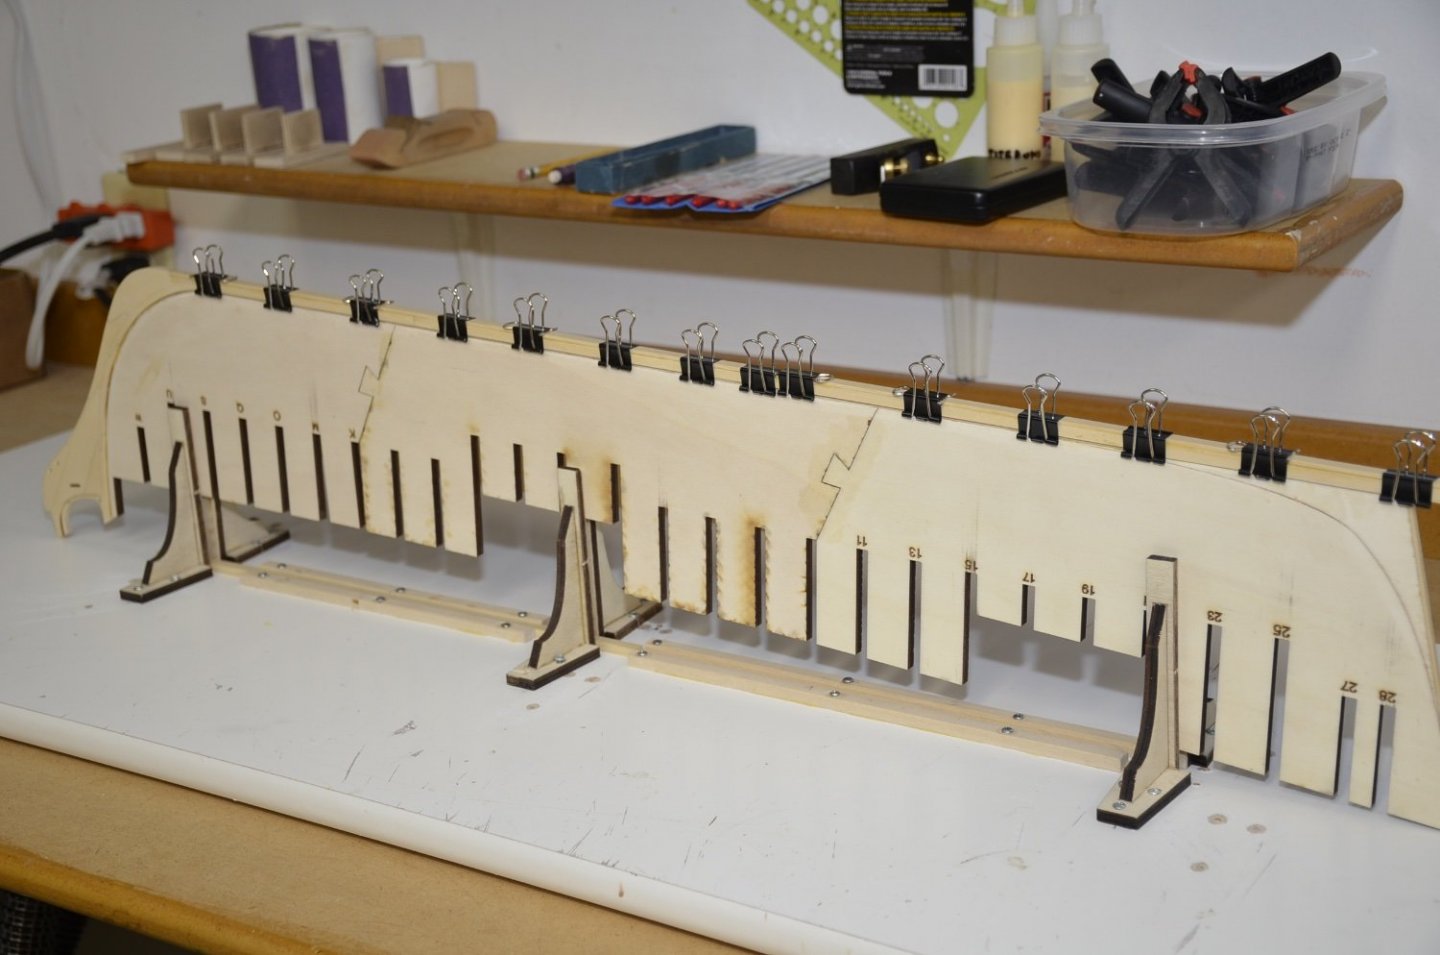
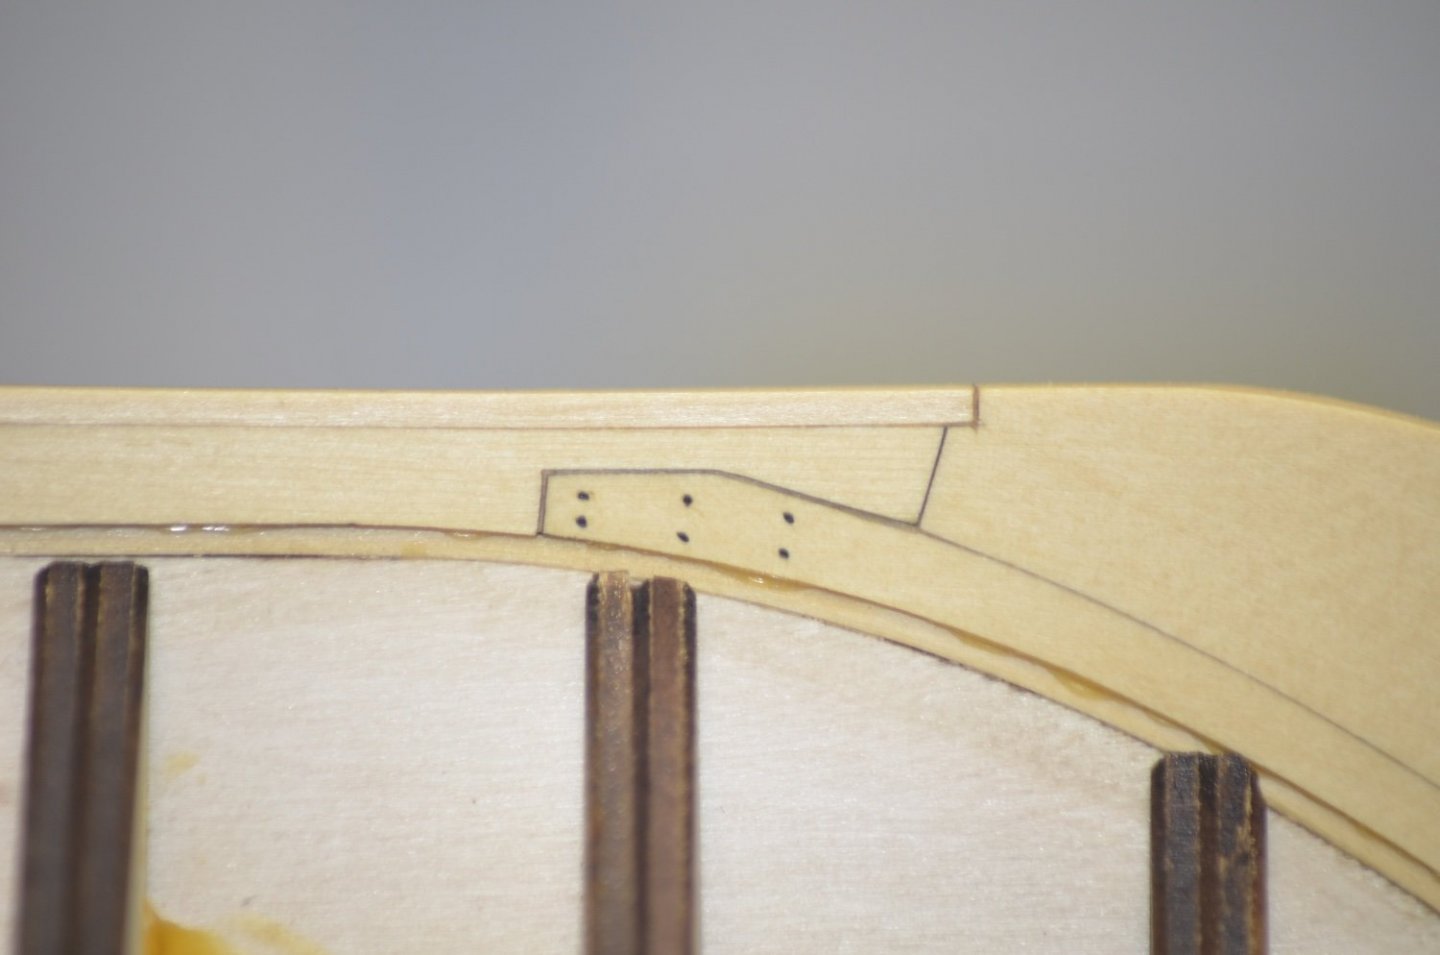
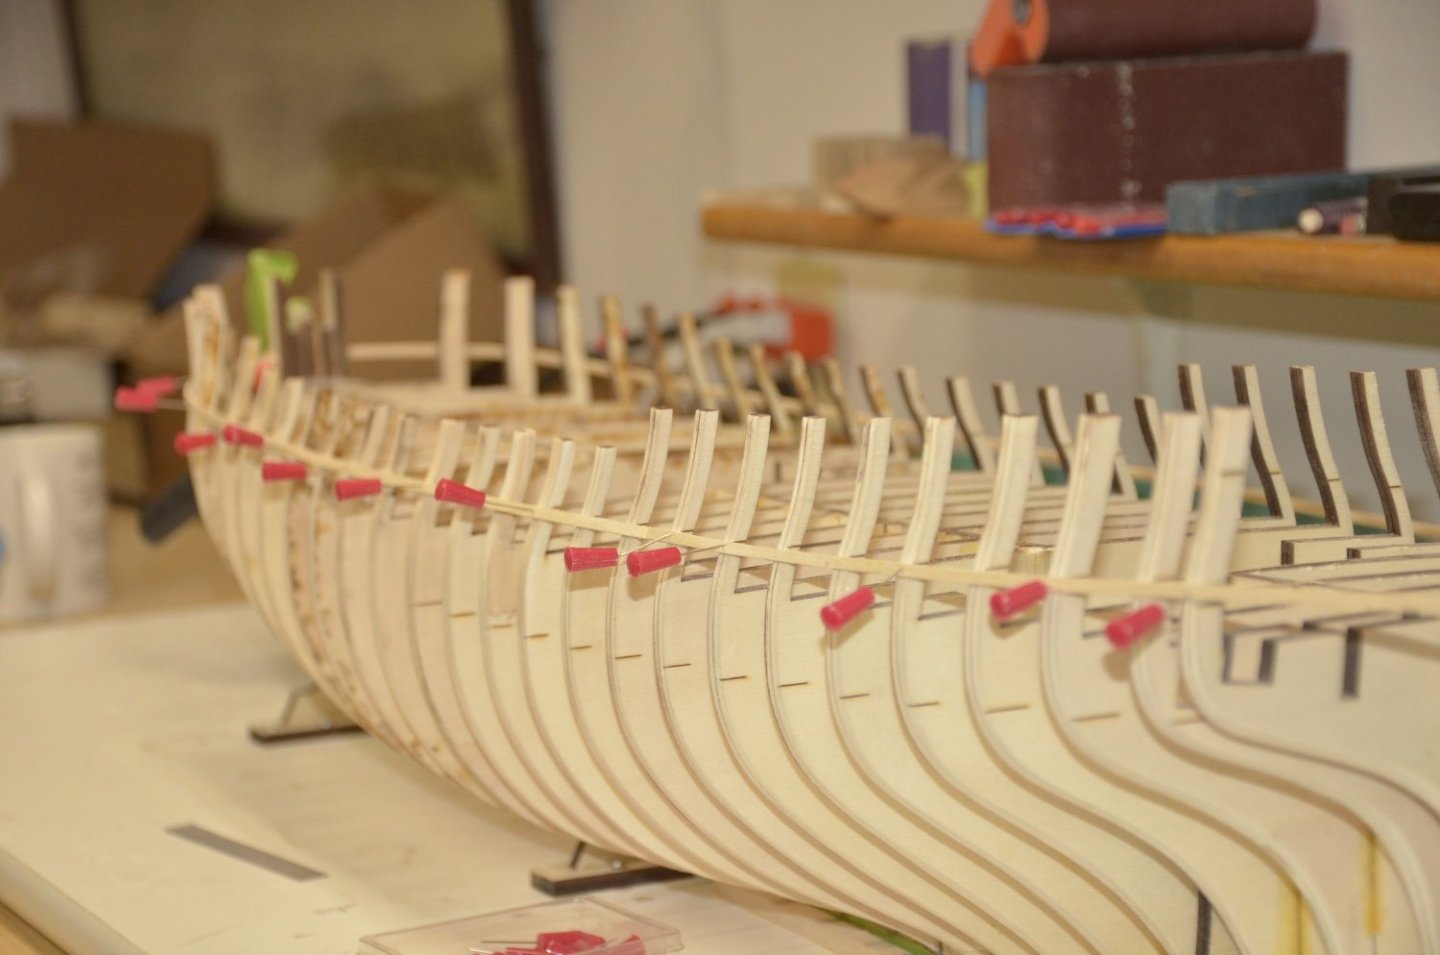
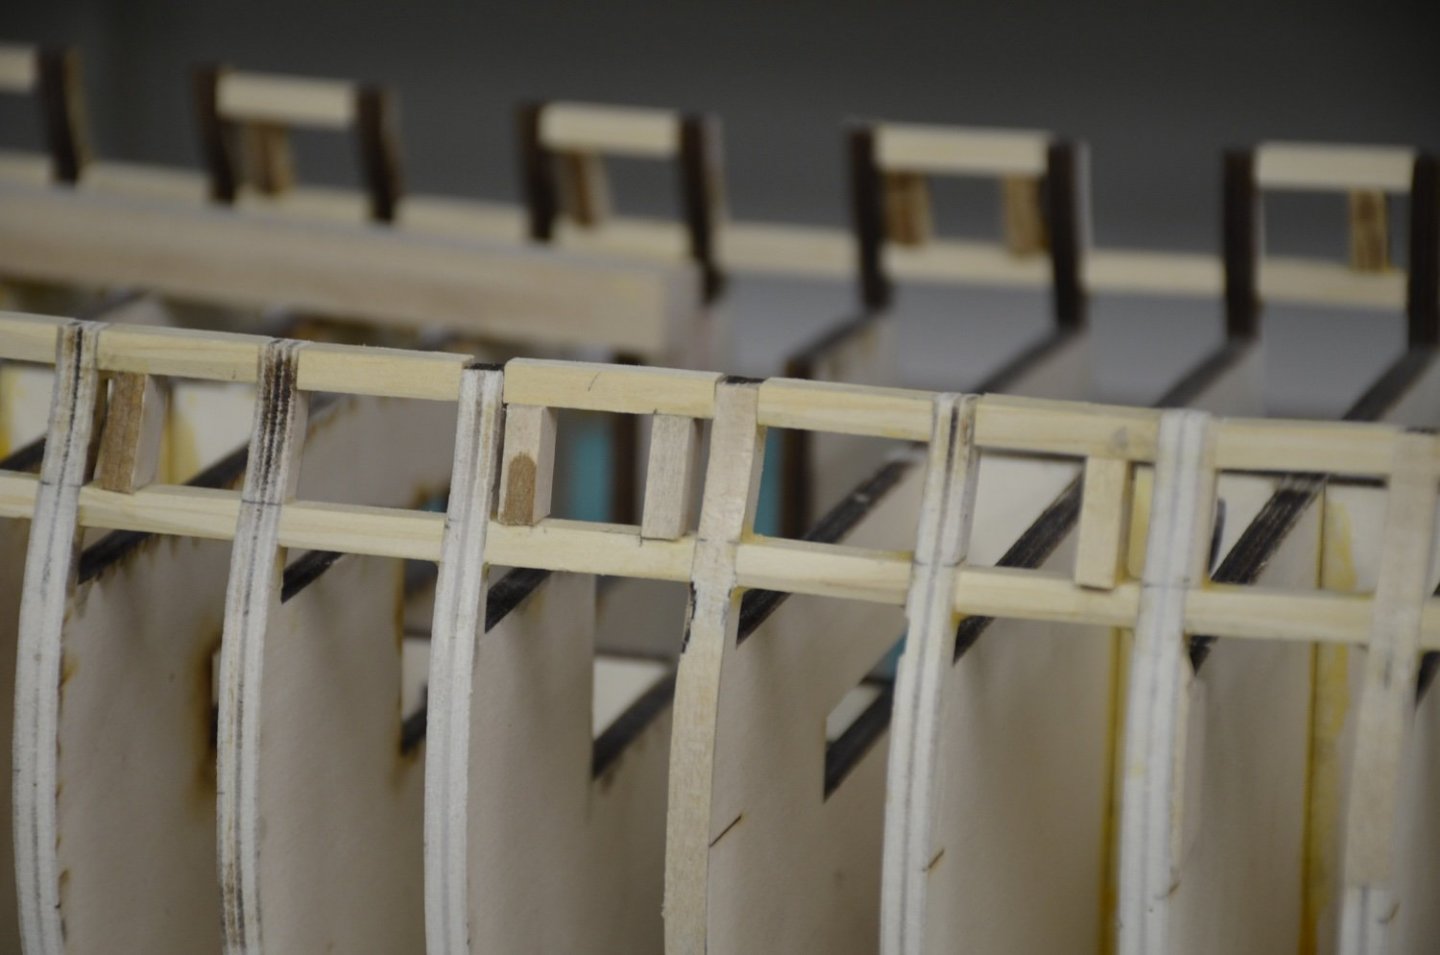
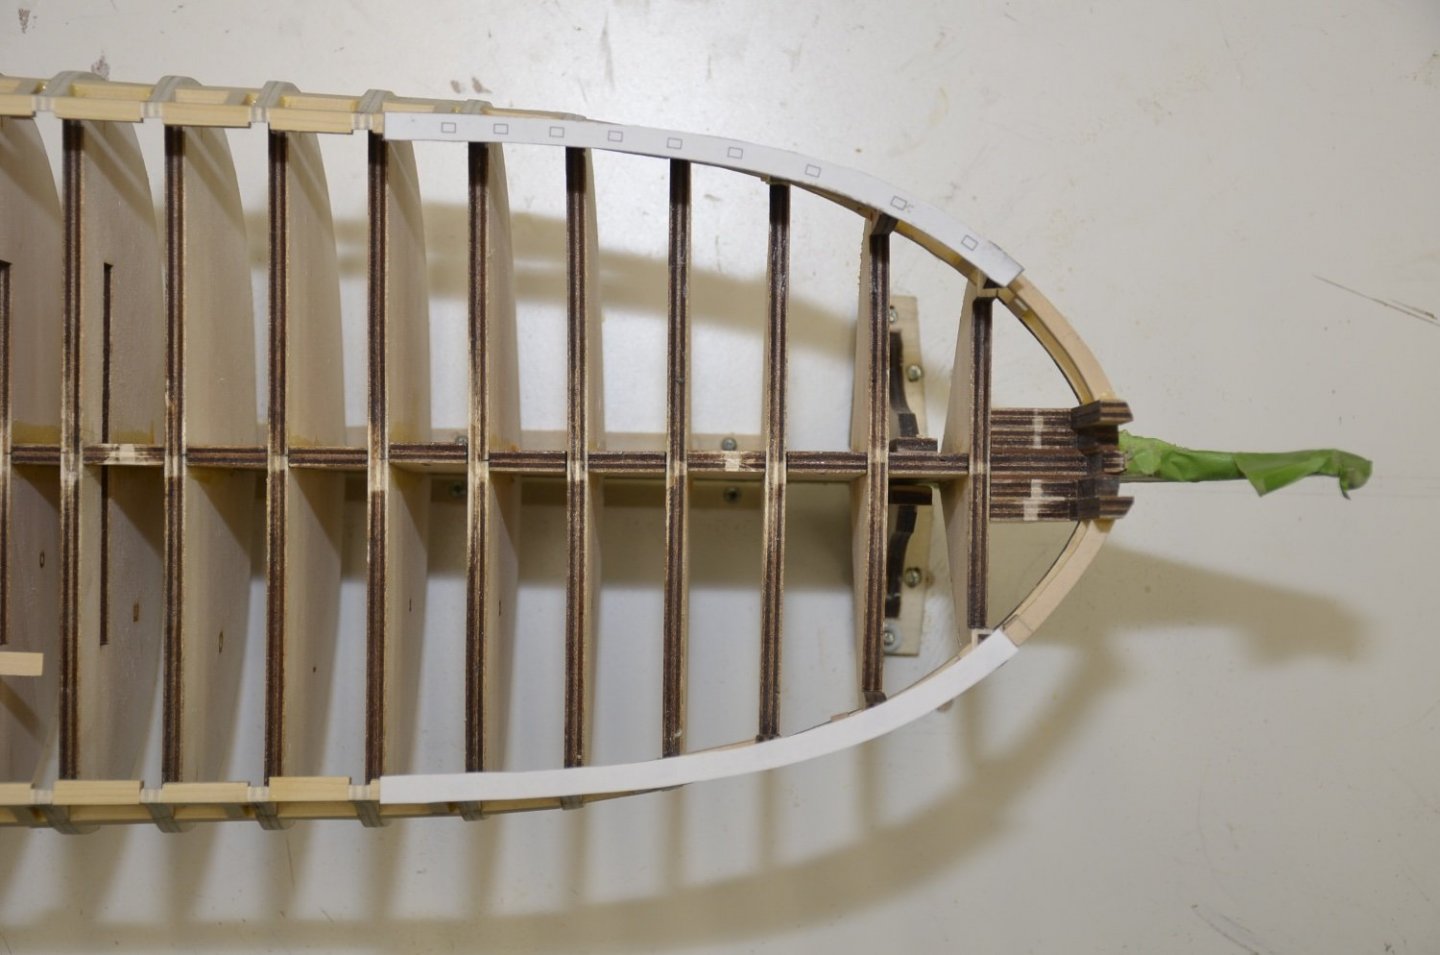
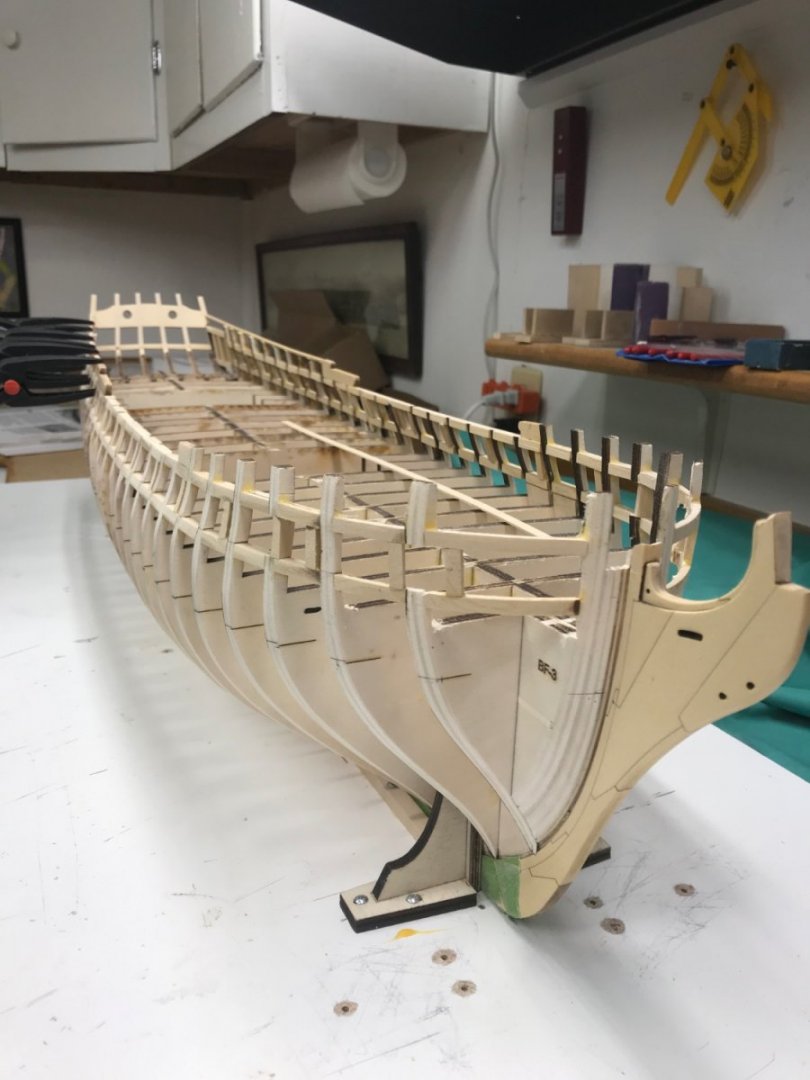
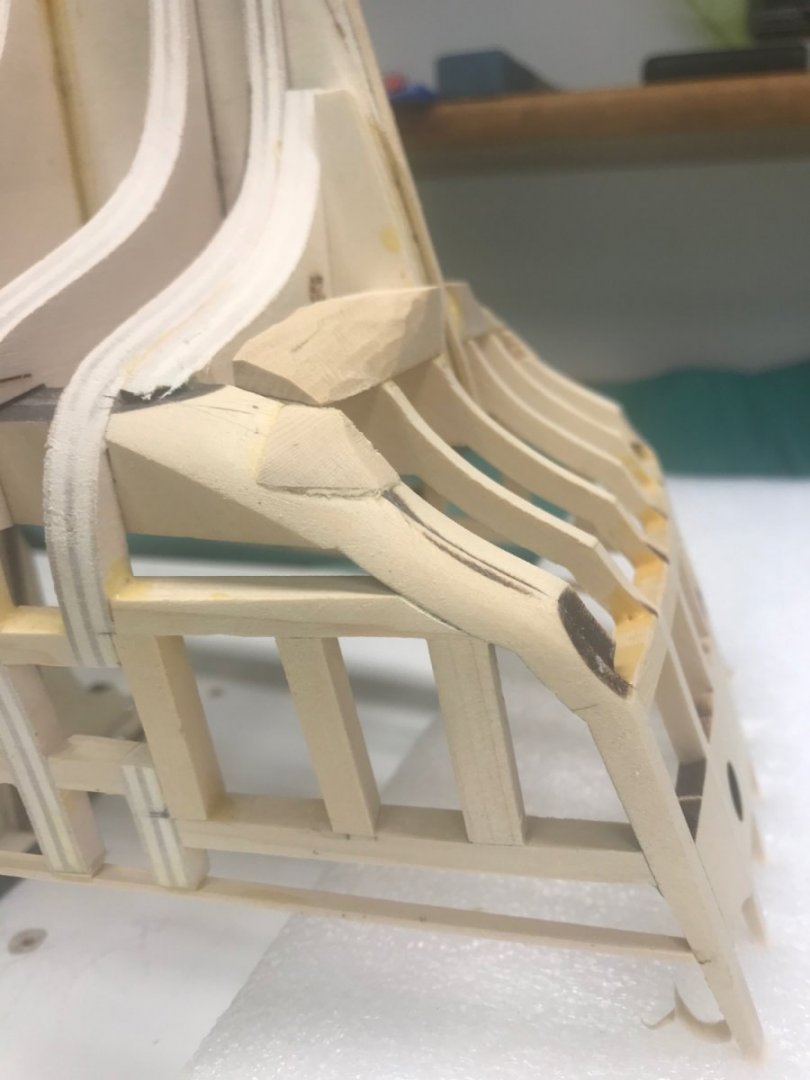
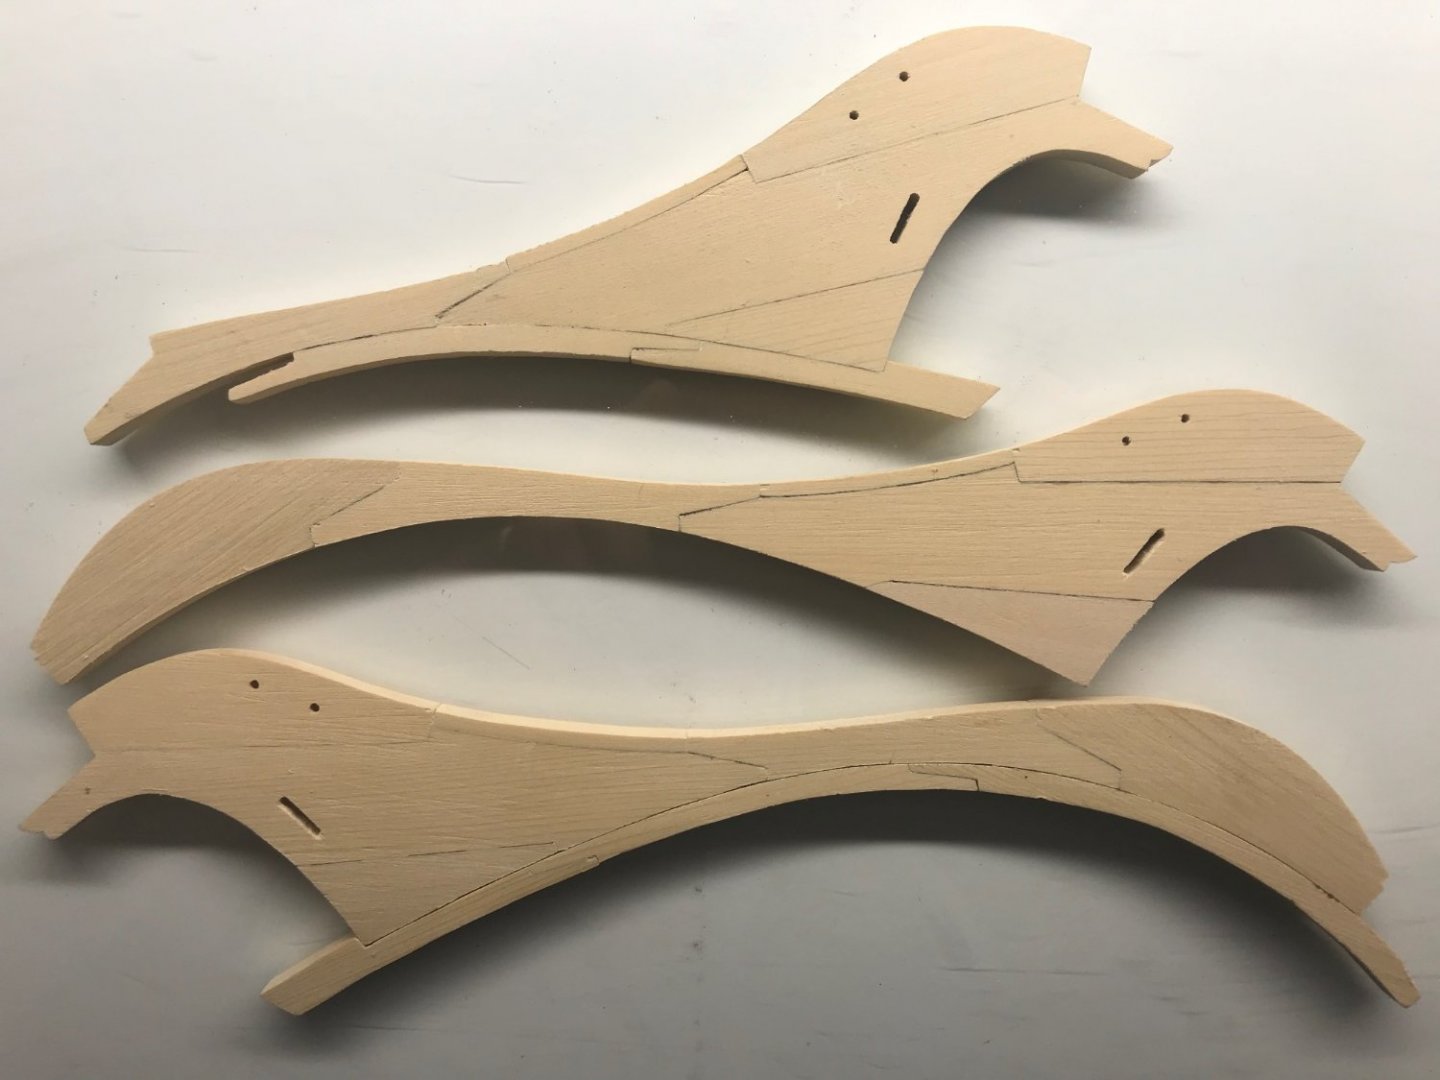
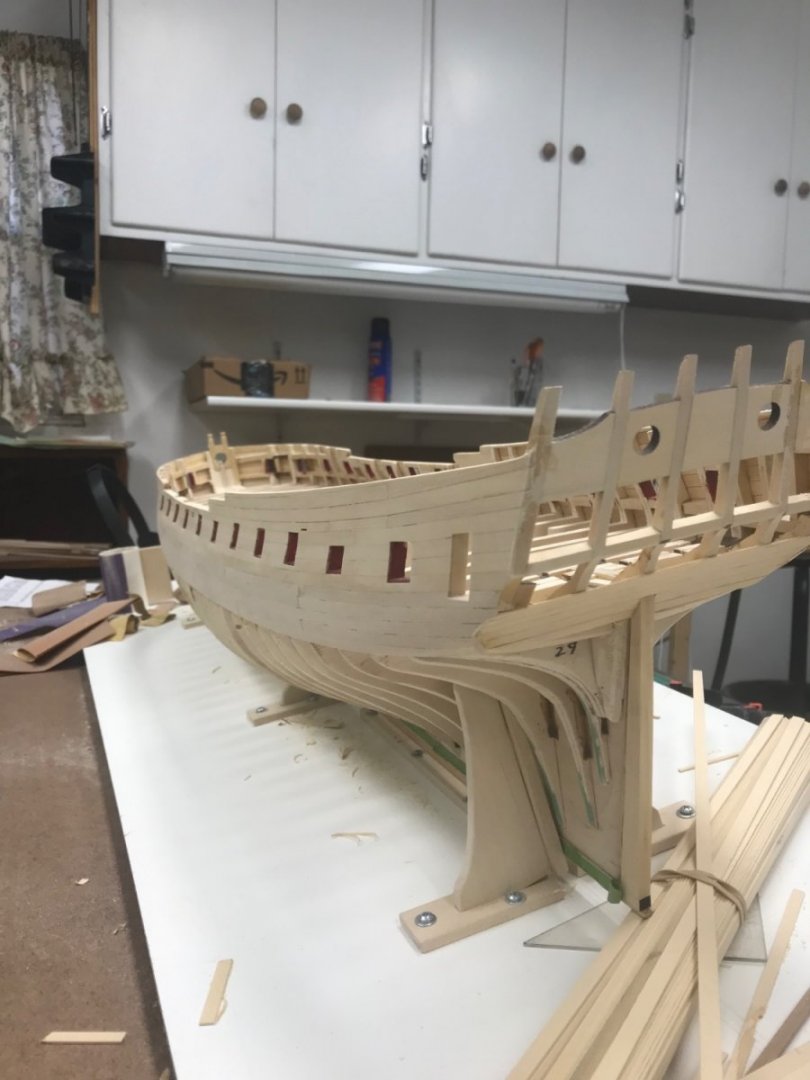
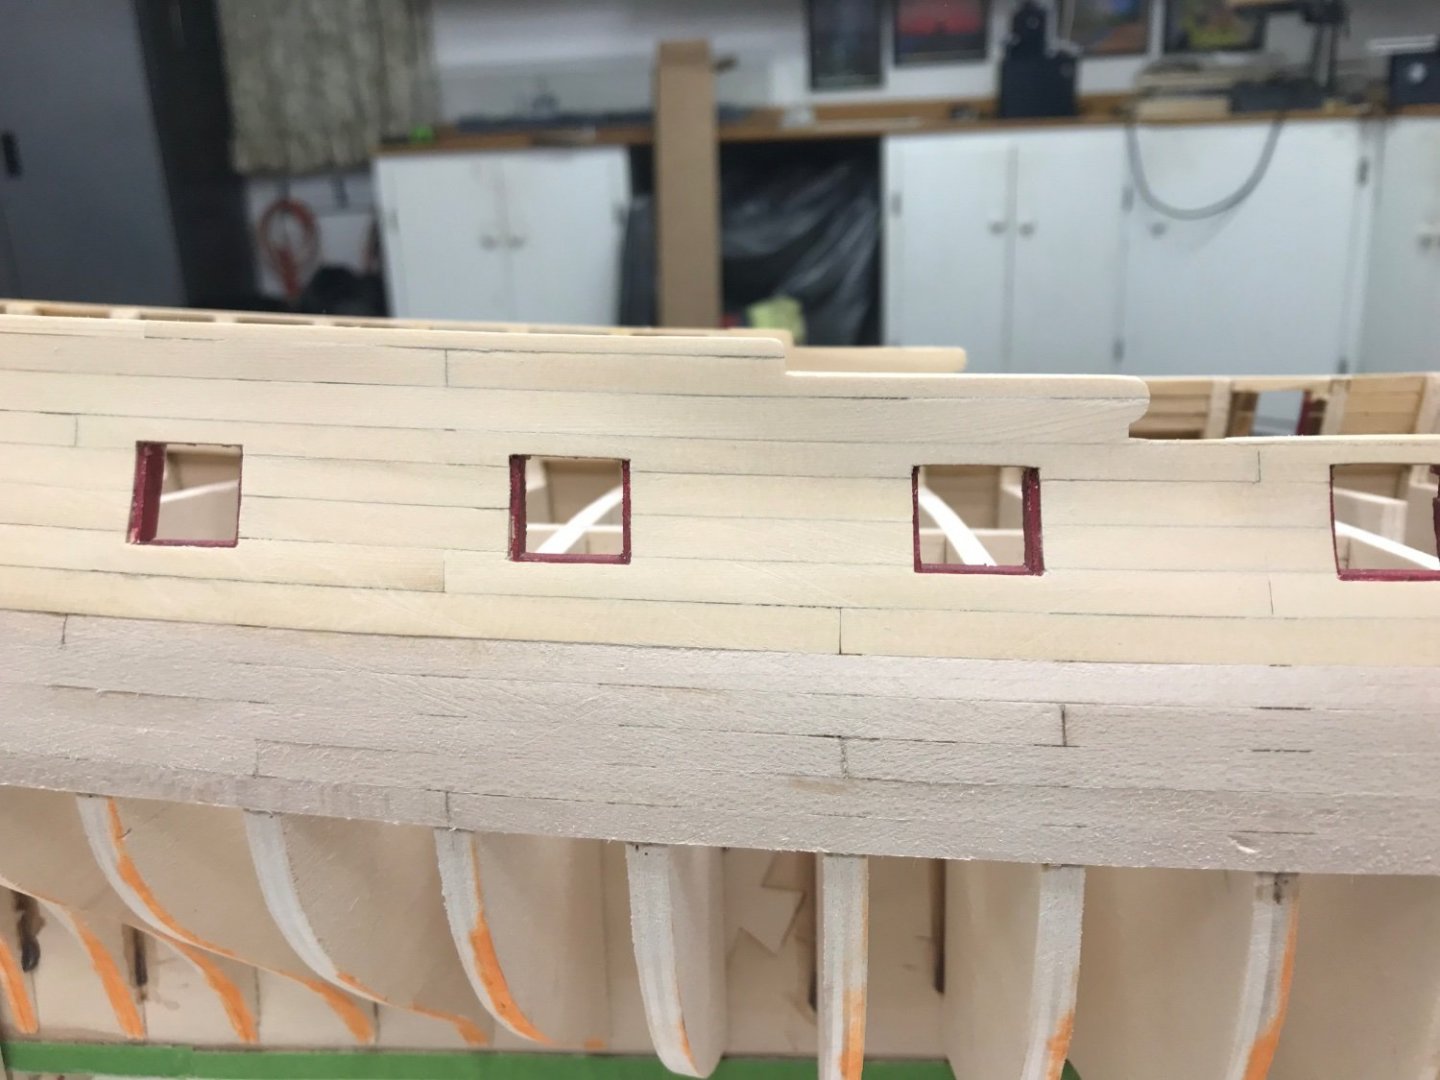
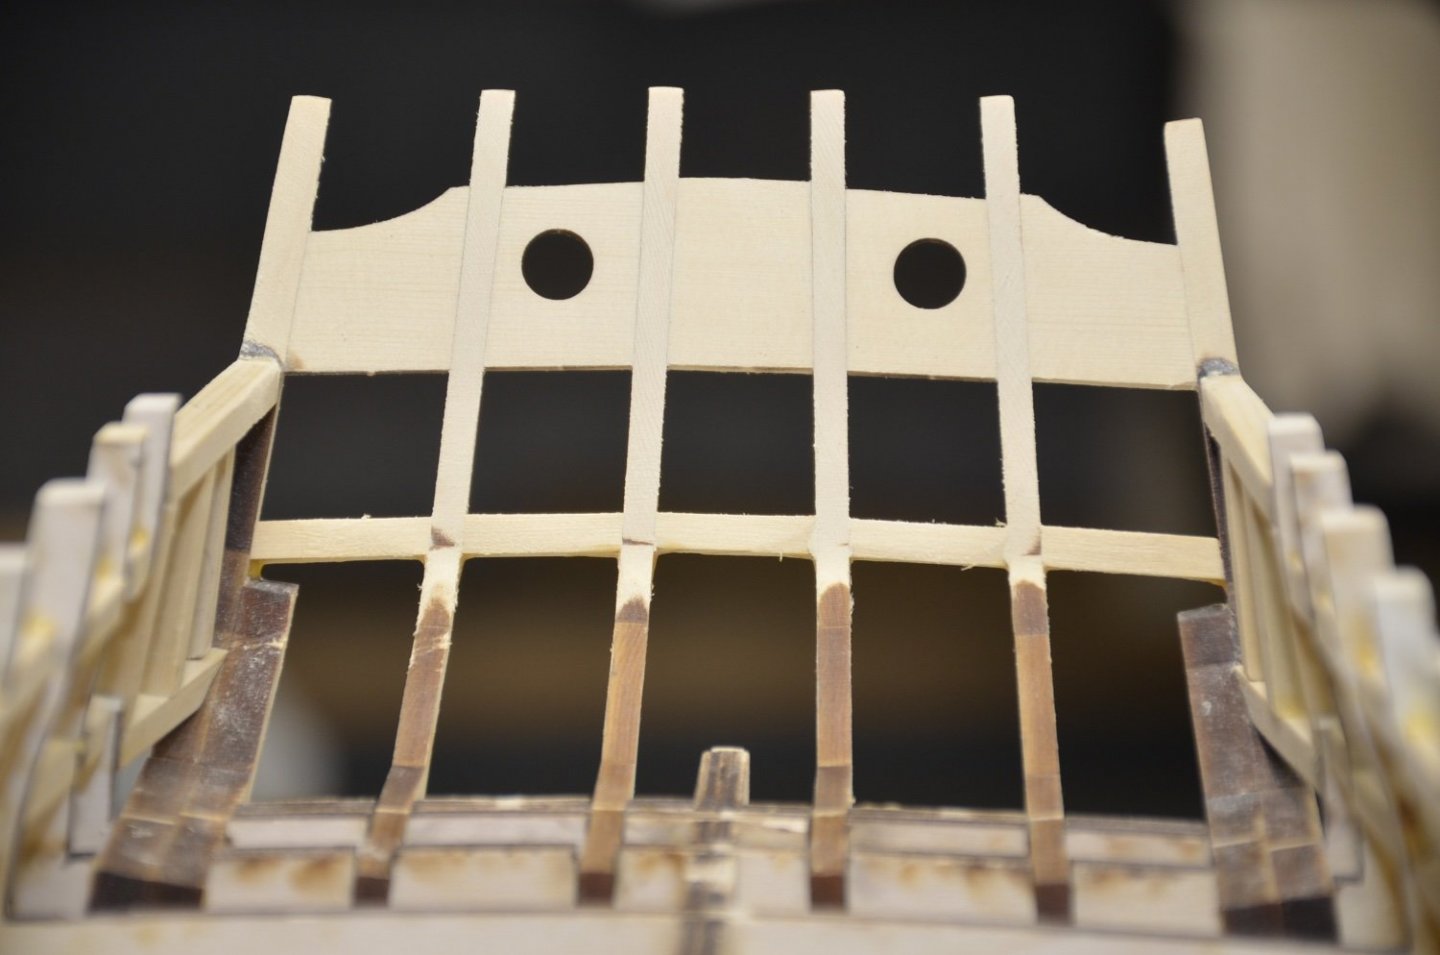
Work has started on Winnie 2. Never get tired of looking at the lines on these beautiful ships! Laying out lines for the gun port framing gun port framing completed Hopefully I am close enough on the curve of the bow railing The stern framing went well but following the dotted lines on the stern framing guide, I obviously over sanded so had to add wood and re-shape. I should have checked out some of the guys stern pics before sanding. Hopefully I have shaped it correctly and am proceeding with counter planking


-
Frank I used basswood on the first layer of wales and of course it is somewhat white as compared with the yellow cedar Steve
-
Beautiful work Frank! Steve
-
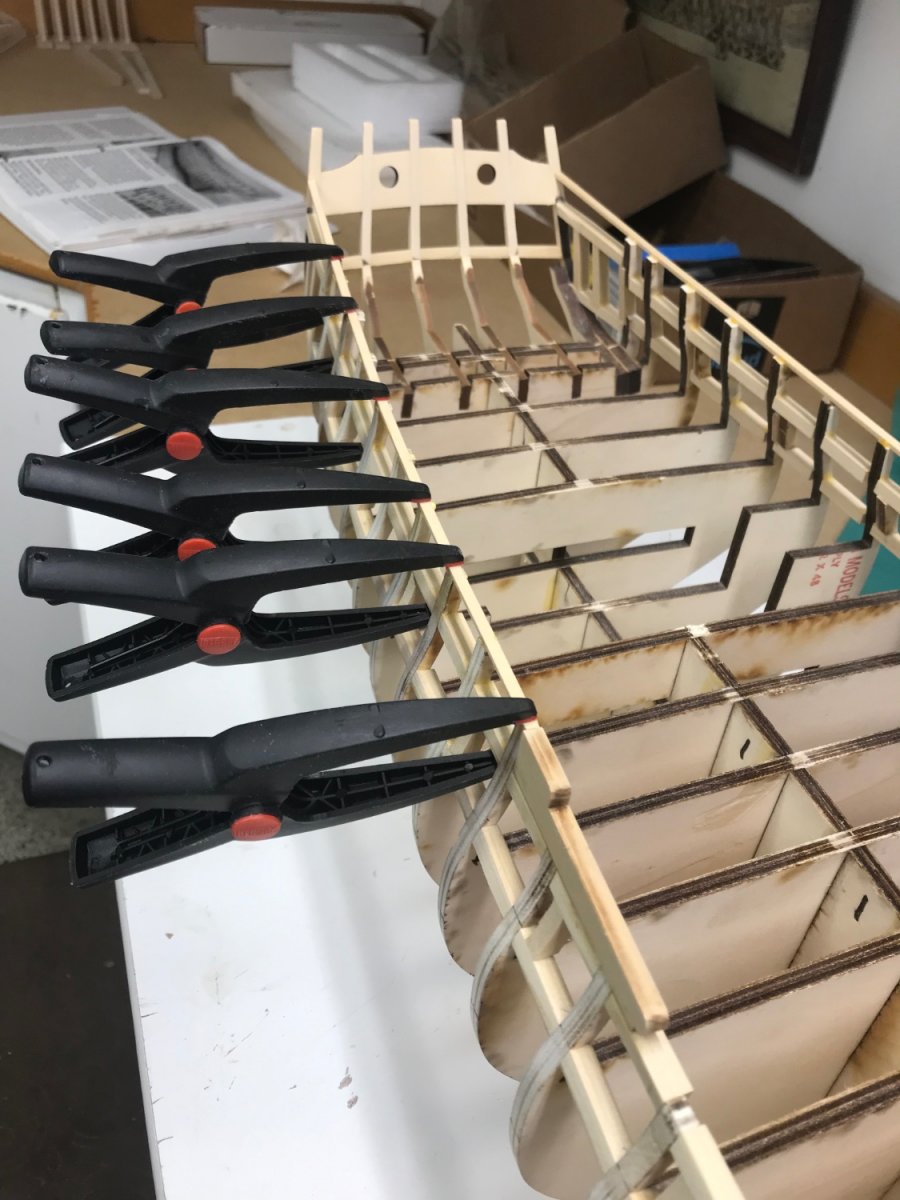
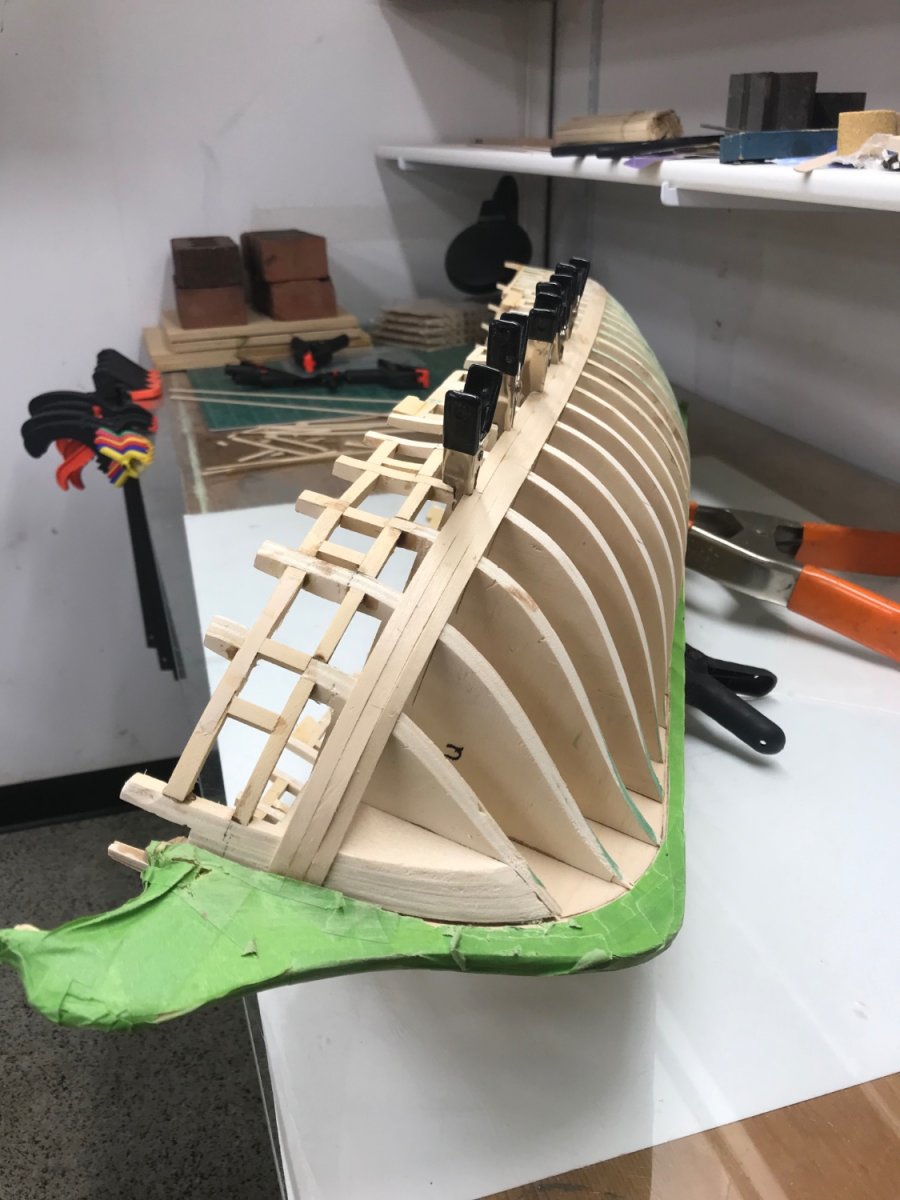
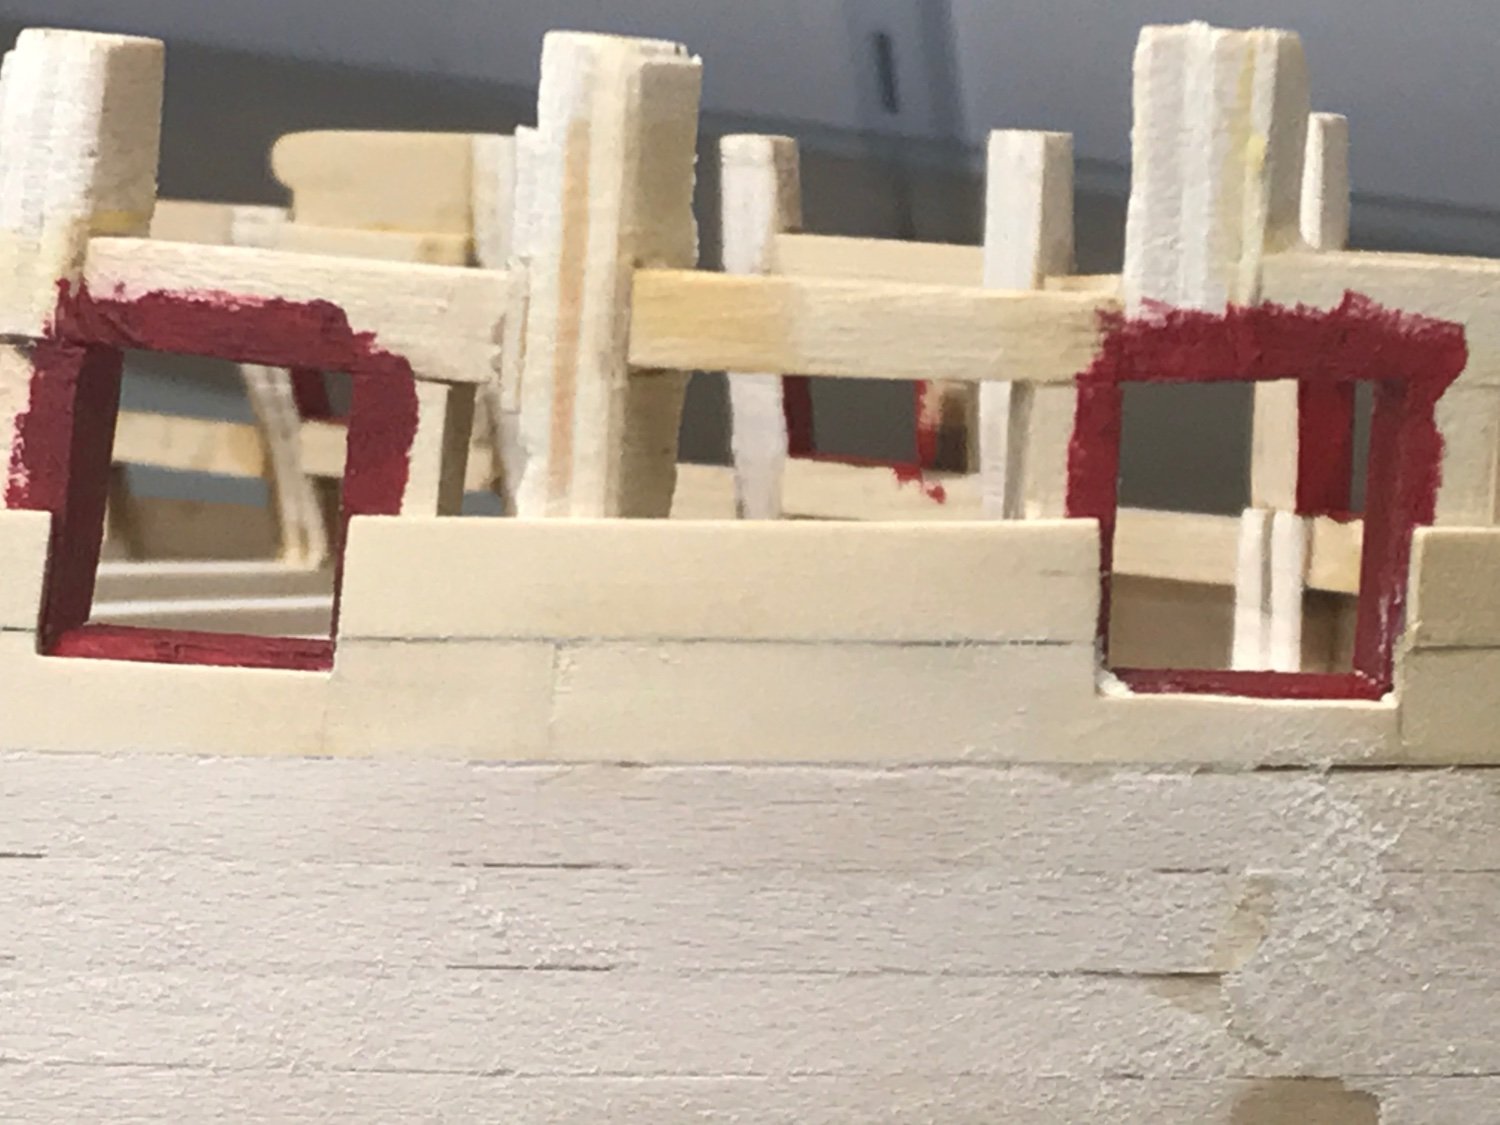
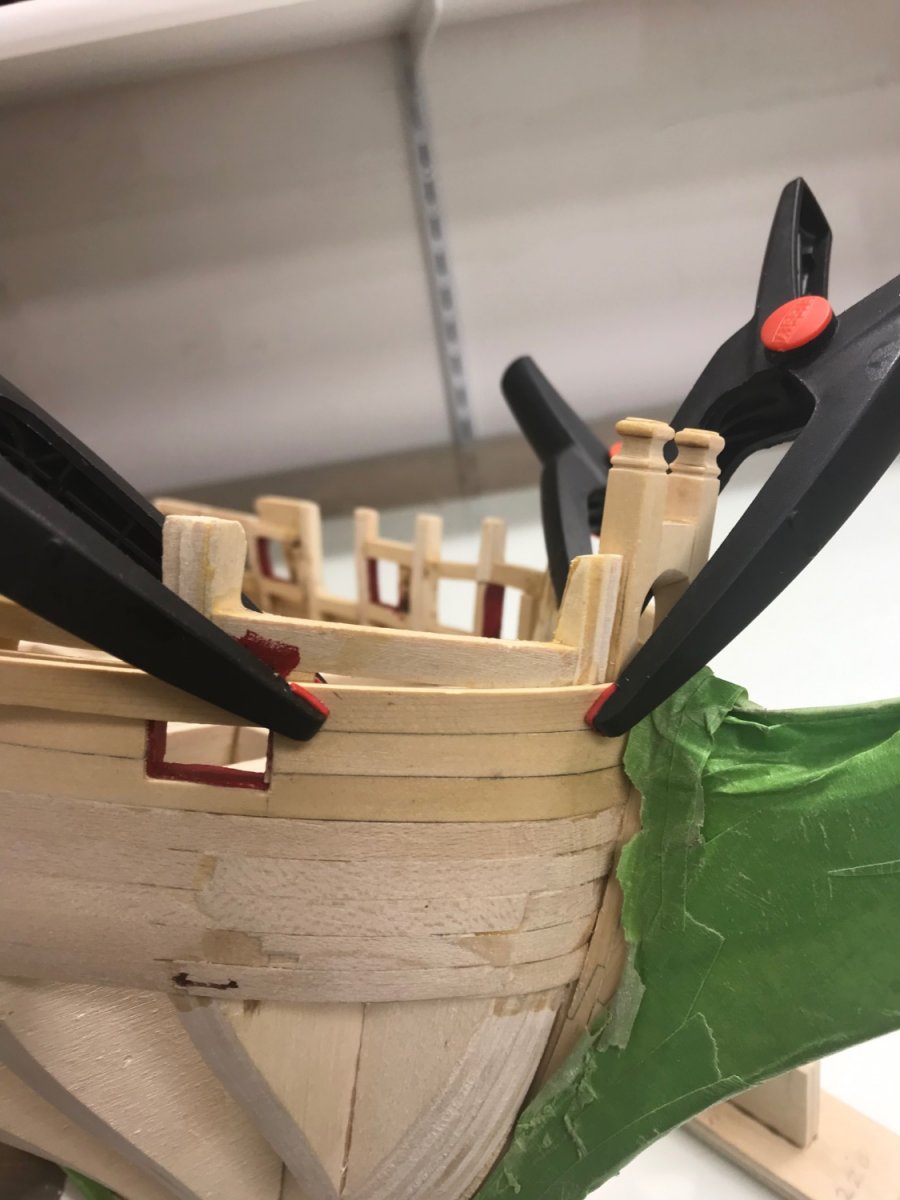
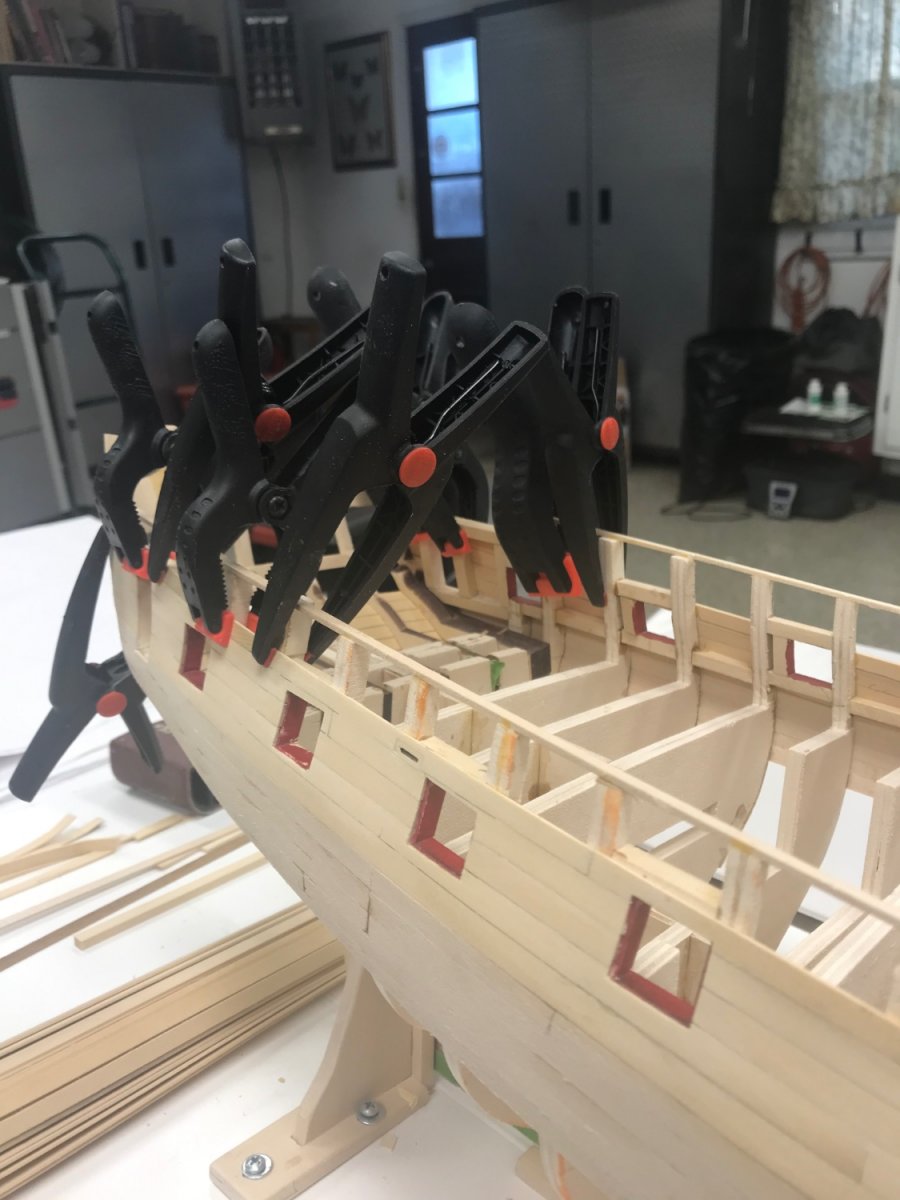
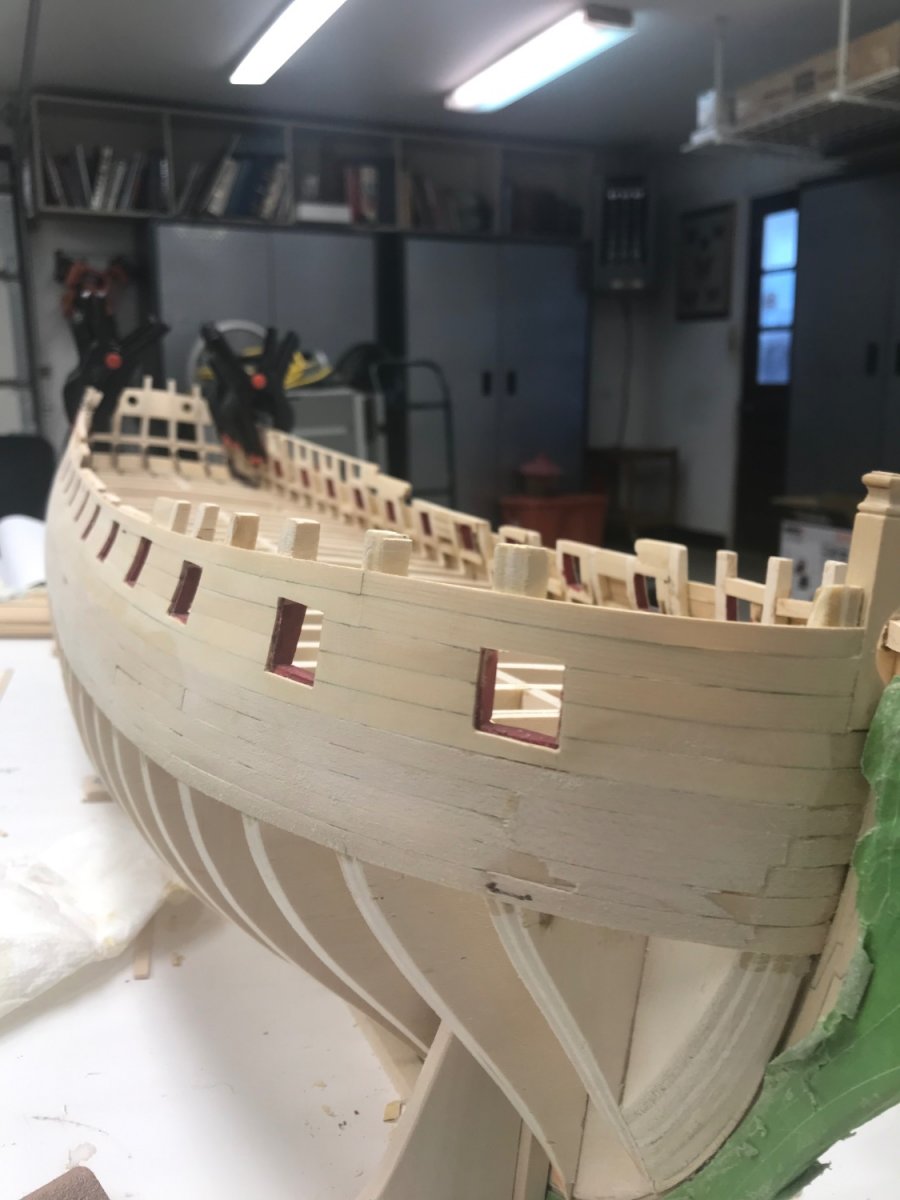
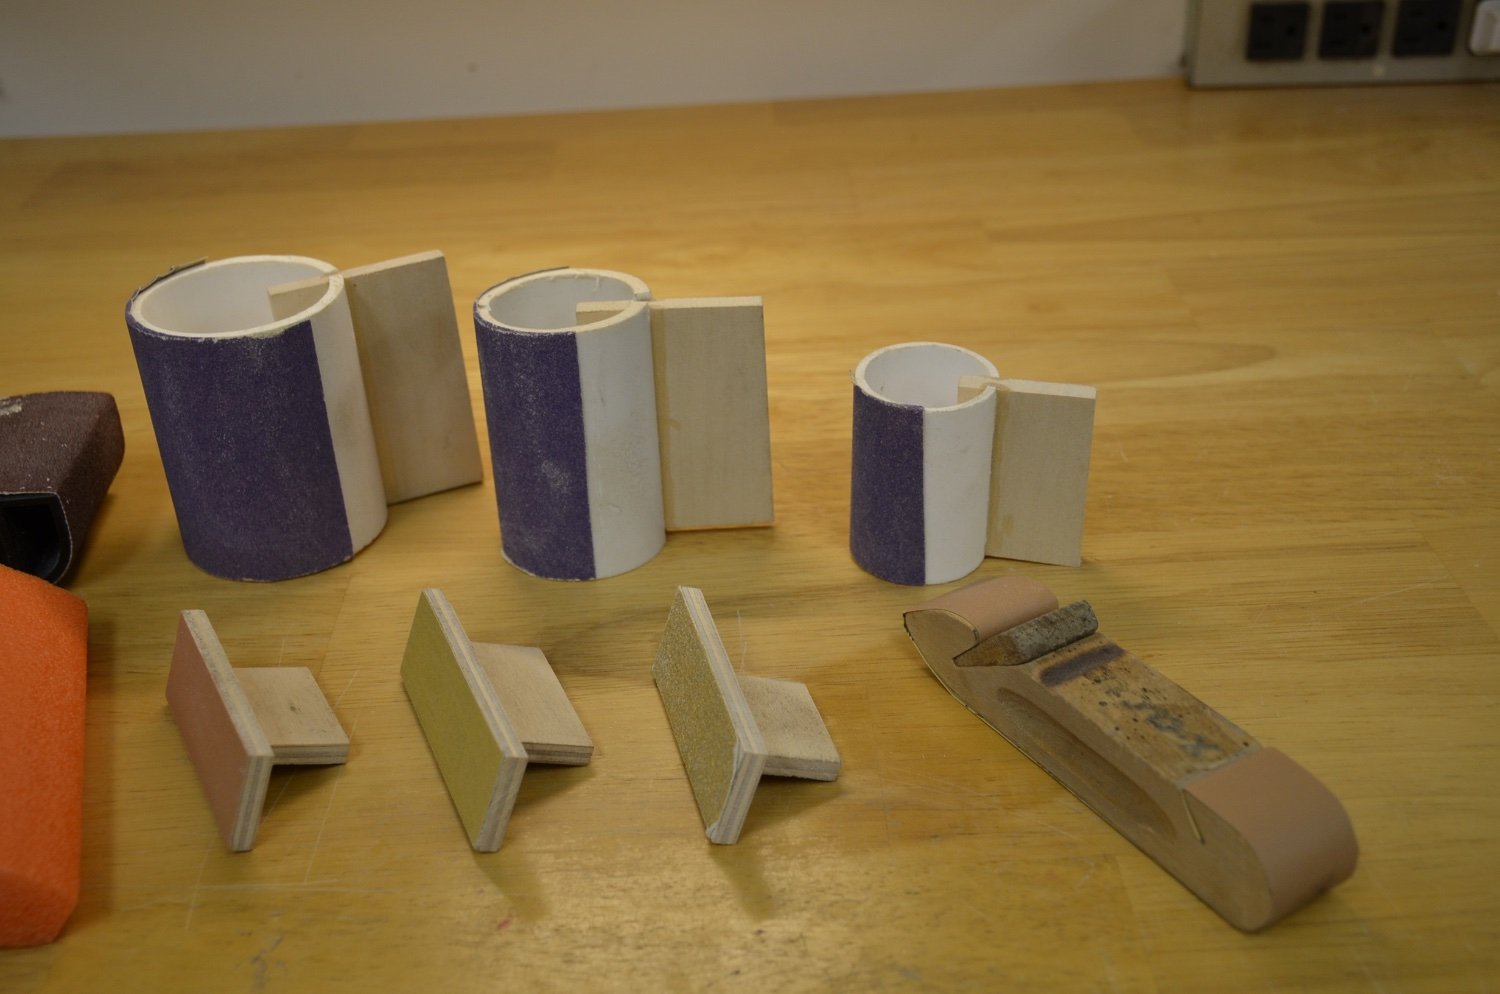
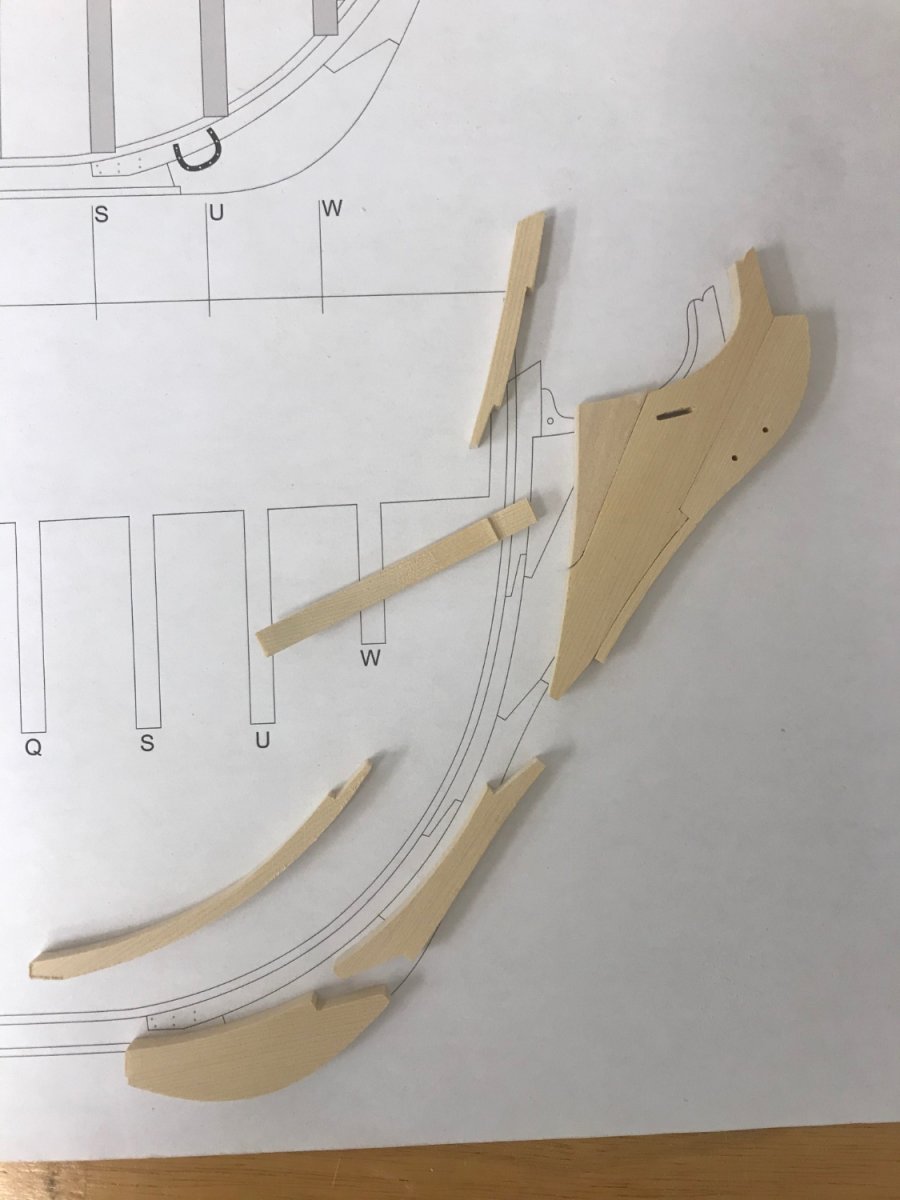
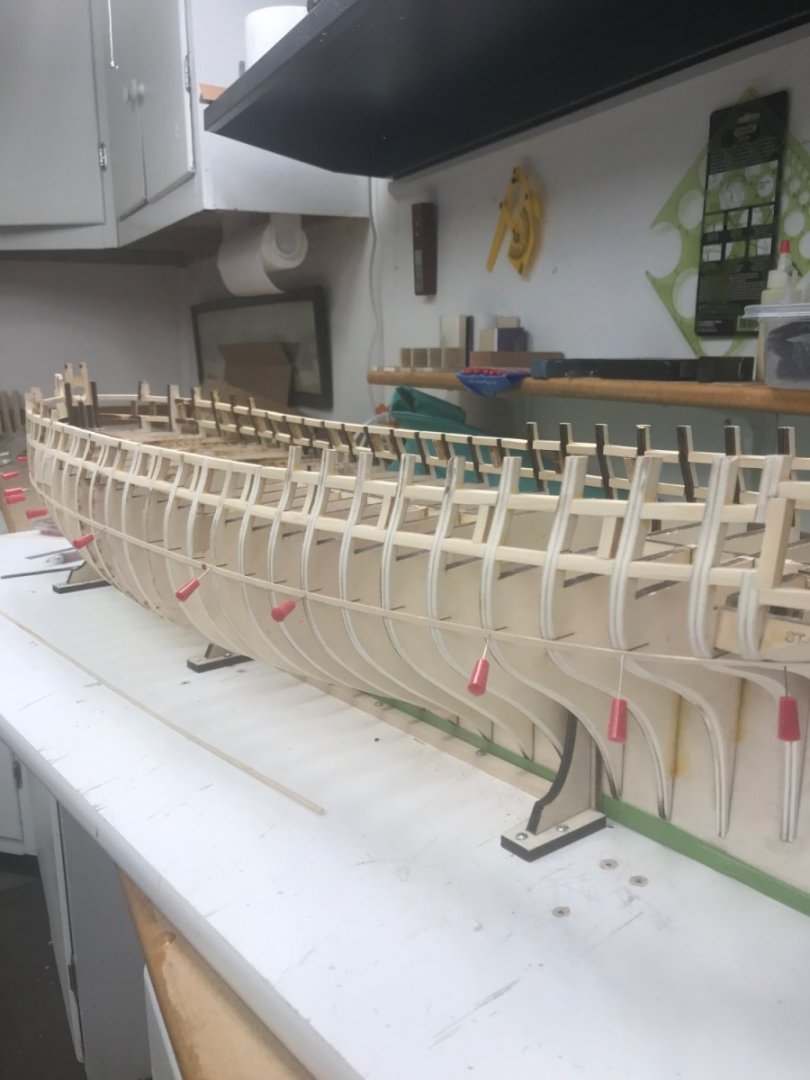
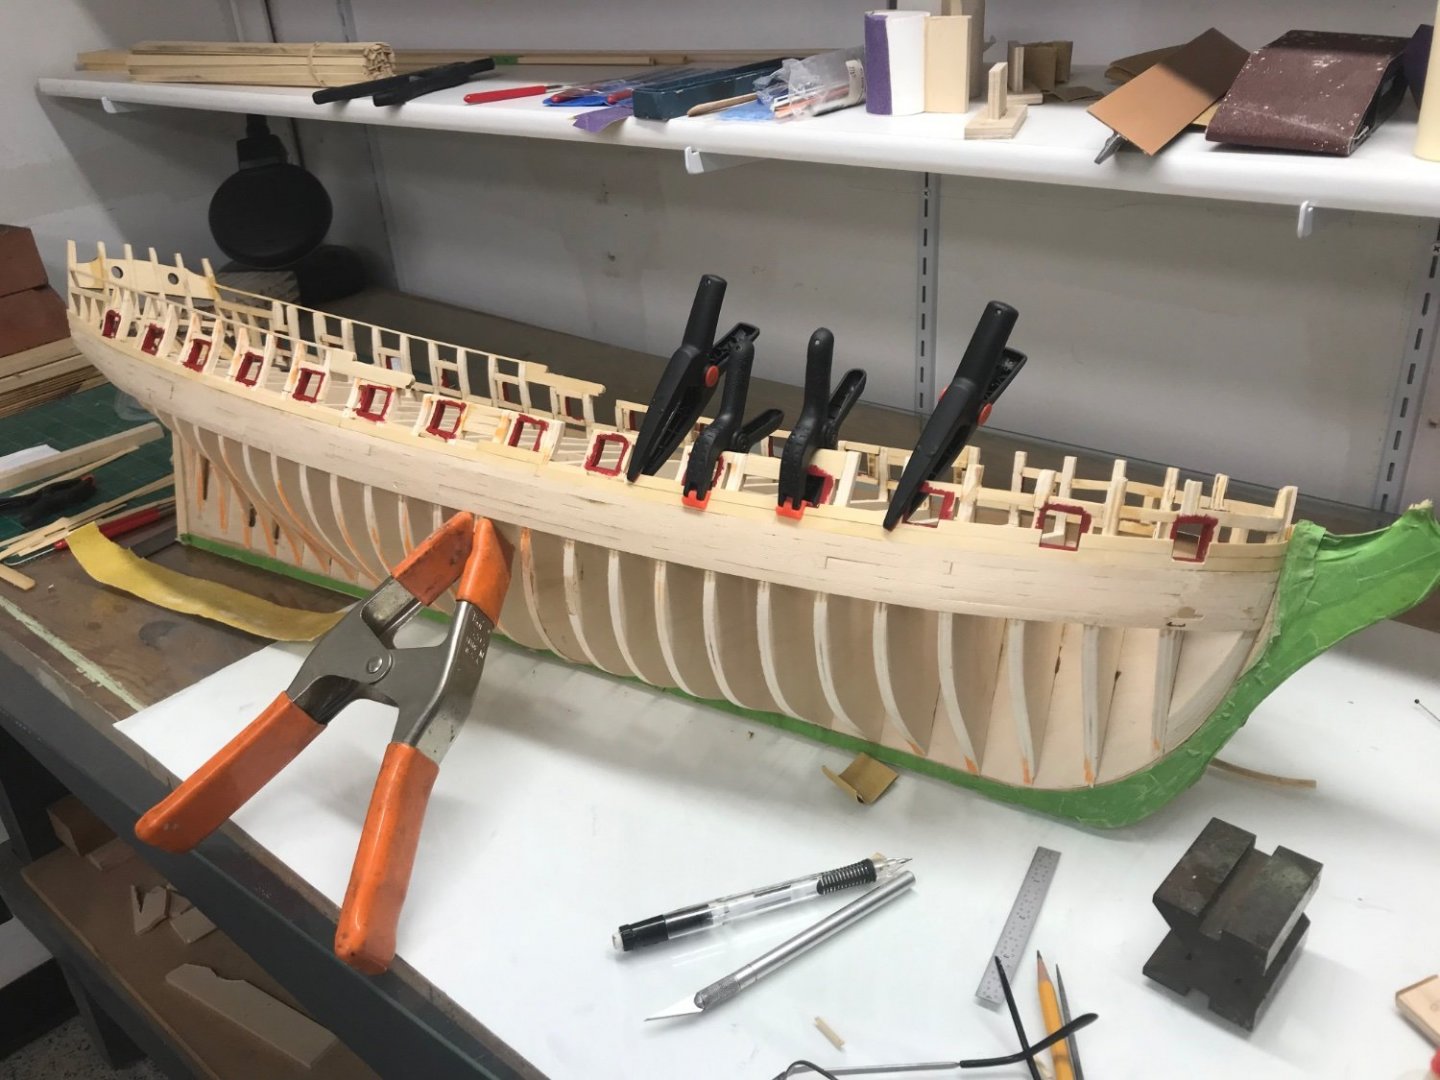
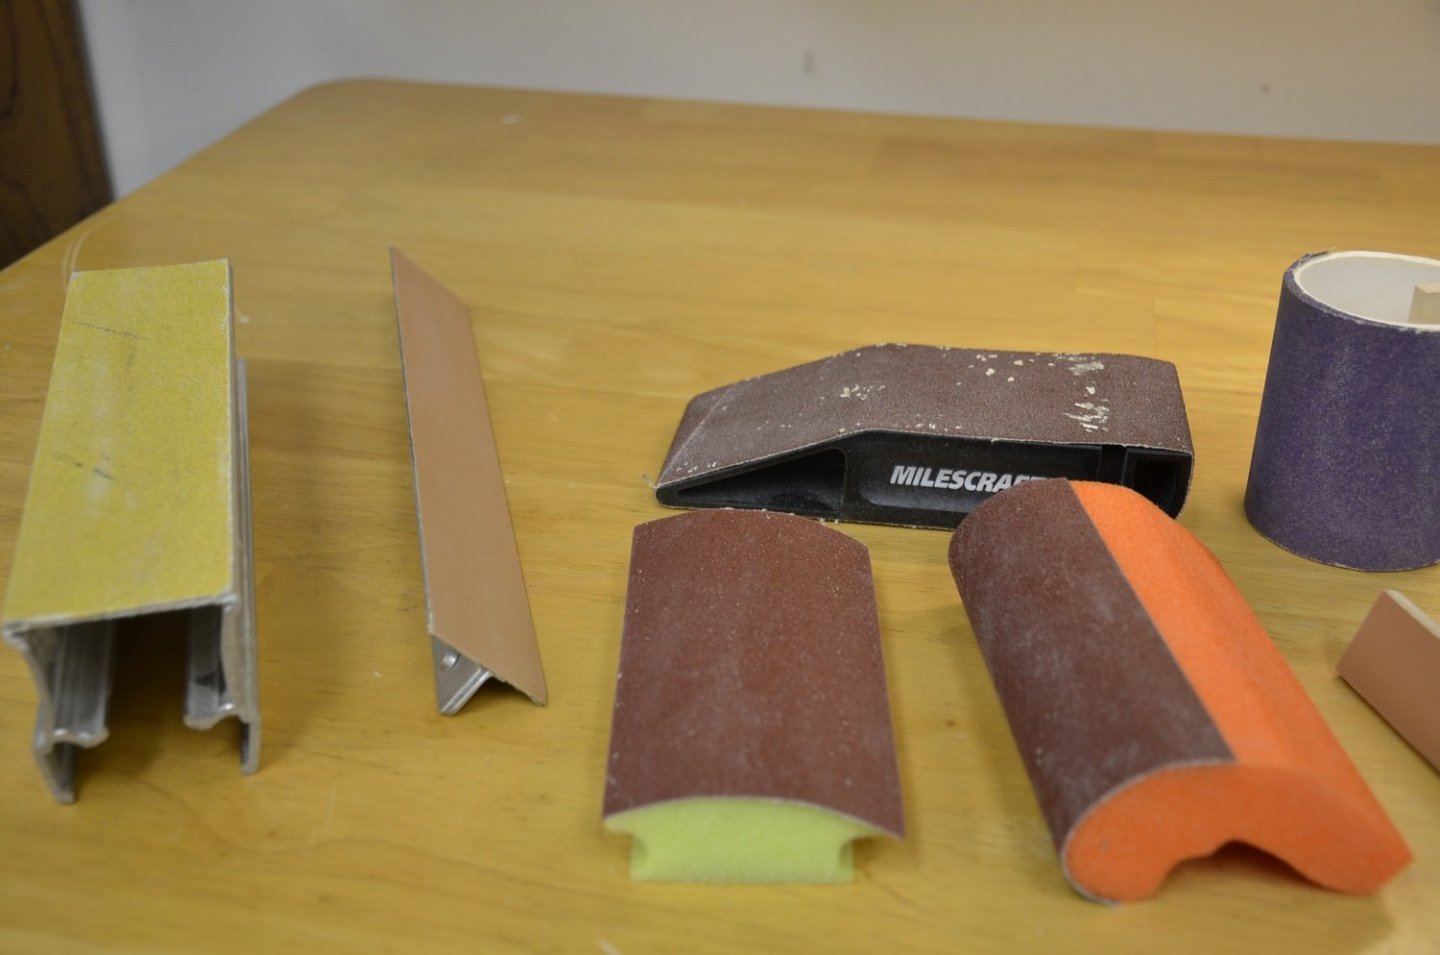
To continue on Winnie 1: After a few attempts at cutting and assembling the stem pieces with disappointing results I ordered the laser cut package - so much for cutting all my own parts As you know, there is a bunch of sanding involved on a wood ship, these are some of the tools, home made and store bought. They all come in handy but the small wooden rectangles of various grits and the SoftSanders are used constantly. Proceeded with stern and gun port framing with a bunch of redos on many of the ports. I was unsure about the resulting shape of the counter planks. Ran the first layer of wales using basswood About halfway up to the shear I decided that this would be a practice hull on which to improve my planking skills. I believe there was improved comfort and confidence as I proceeded. I started planking using Titebond but eventually switched to CA medium and really like it much better. Can’t ever have too many clamps Continued with a couple of planks below the wales and stopped construction on Winnie 1. My main concerns going forward are maintaining the 1/32” spacing around gun ports and the dark lines between planks. I used a no.2 pencil on one side of each plank but still they appear to be darker than I prefer. Also the planks look good on a test fit but some have gaps after some sanding and WOP. I bevel the back side bottom before gluing so possibly the bevel is too sharp in places and the sanding goes through. Will watch that on Winnie 2. The most important lessons learned so far are to proceed slowly, as Chuck preaches, measure and measure again while all the time looking ahead and checking instructions and plan sheets. Also to gradually sneak up on the desired size and/or shape of a part, sand and check then sand and check again. It will save a lot of wood and time. Well, bulkheads and parts for chapters 1,2 and 3 have been purchased from Chuck and Winnie 2 is under construction. Thanks for looking in and hopefully my attempt to catch up on posting wasn’t too long and boring.


-
Thanks Glenn!
-
Test Test Thanks Paul, I just realized that there is the word “insert” below the uploaded pic - just needed to open my eyes - you helped me do that!
-
Thanks Matt, I’ll check that out.
-
I am not sure how to post text with pics and then more text and pics. I will type text and select photos from the library and then I see no way to move pics up below text and then proceed with more of the same. Any help would be greatly appreciated. I am working from an IPad.
-
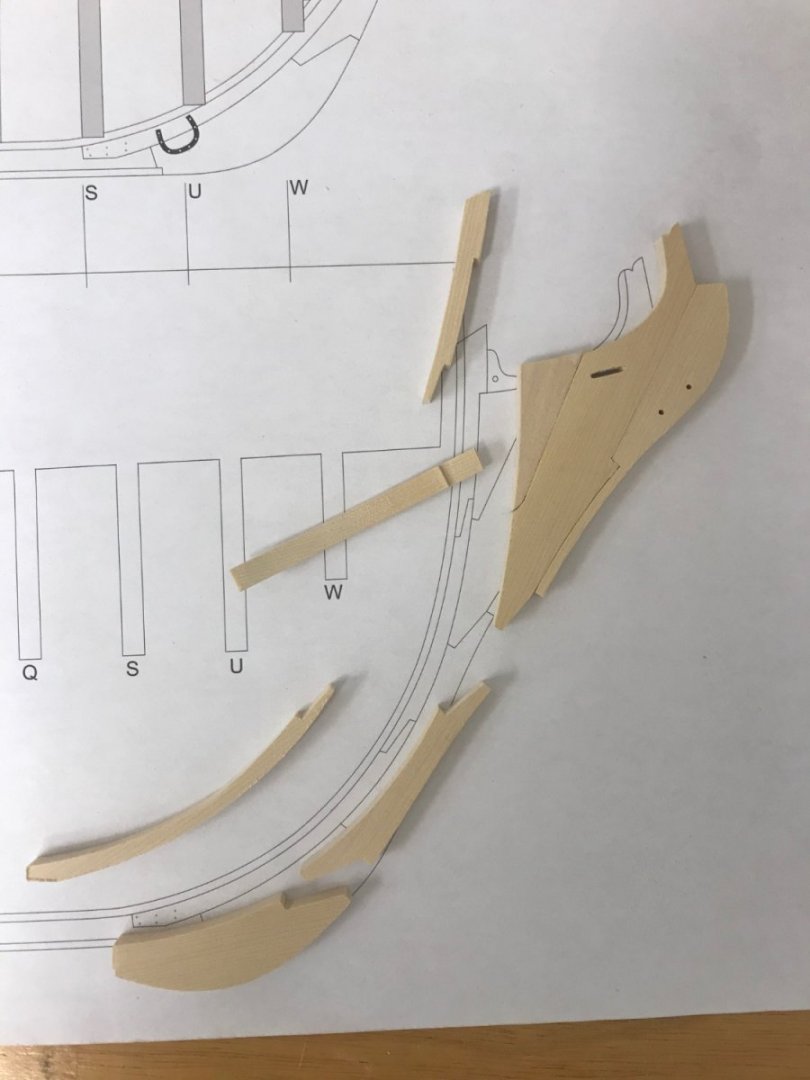
You are all familiar with all of these steps but I will include a few pics of the progress: these are parts cut on the bandsaw/scroll saw


-
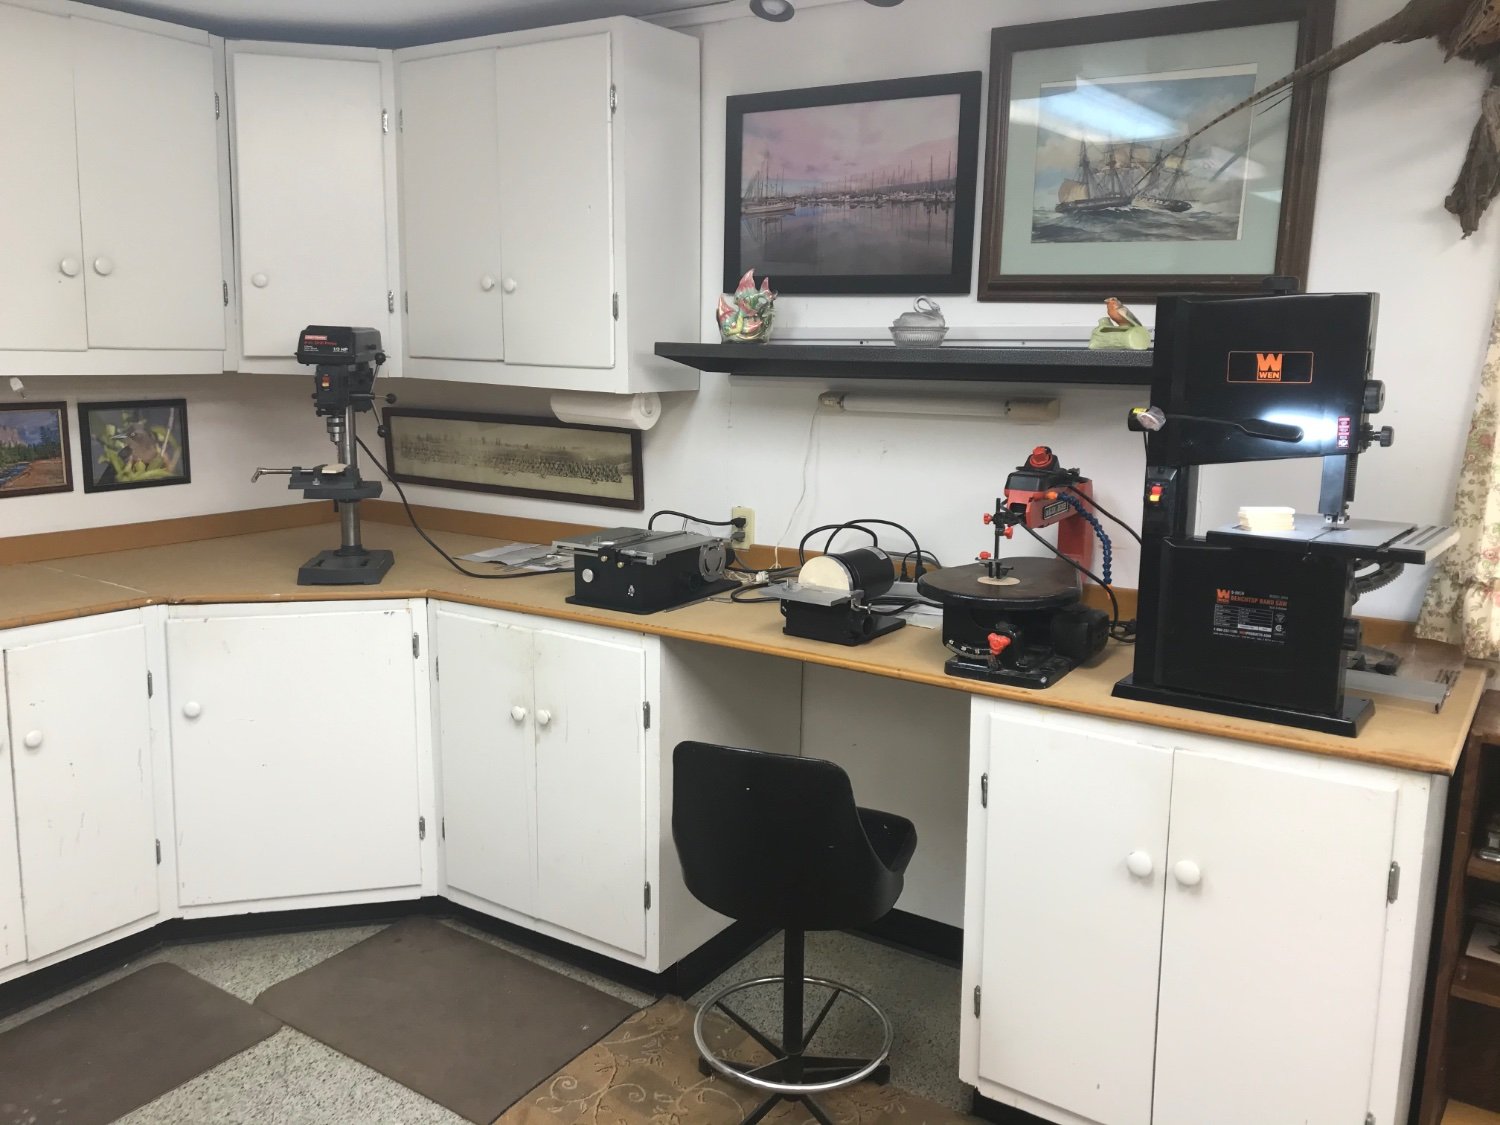
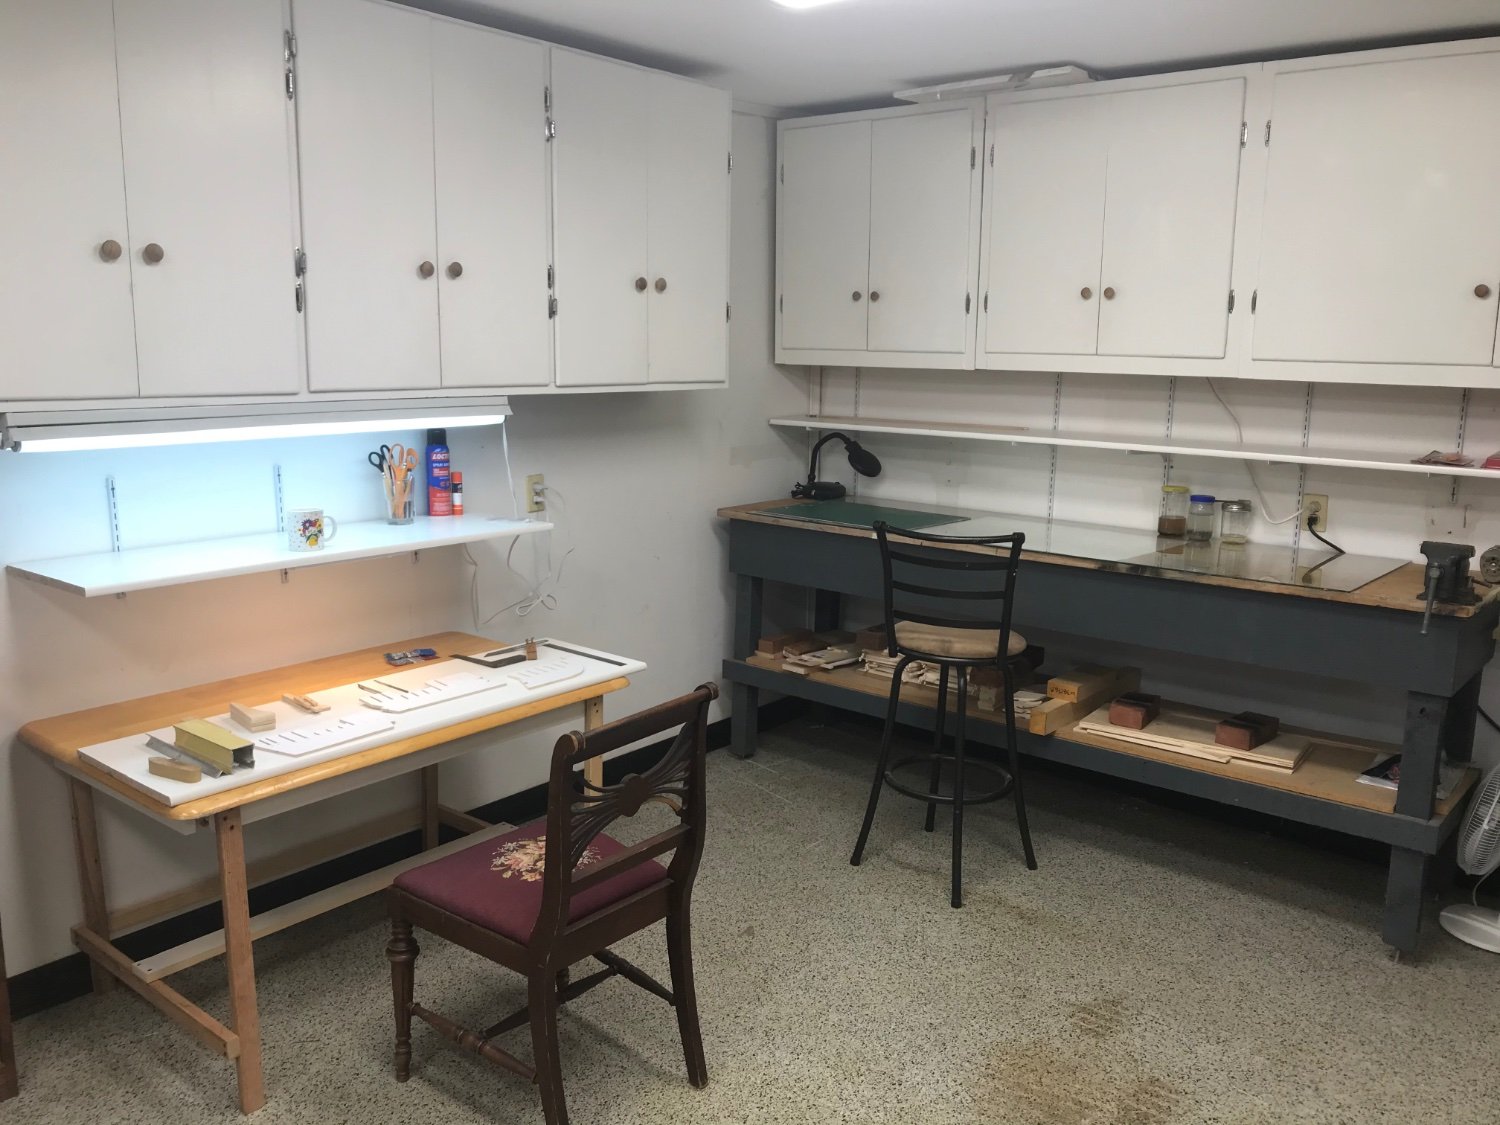
The following is a overview of my journey with Winnie no. 1: The shop


-
Glenn, thanks for the encouraging words. I will be posting an update soon. Steve
-
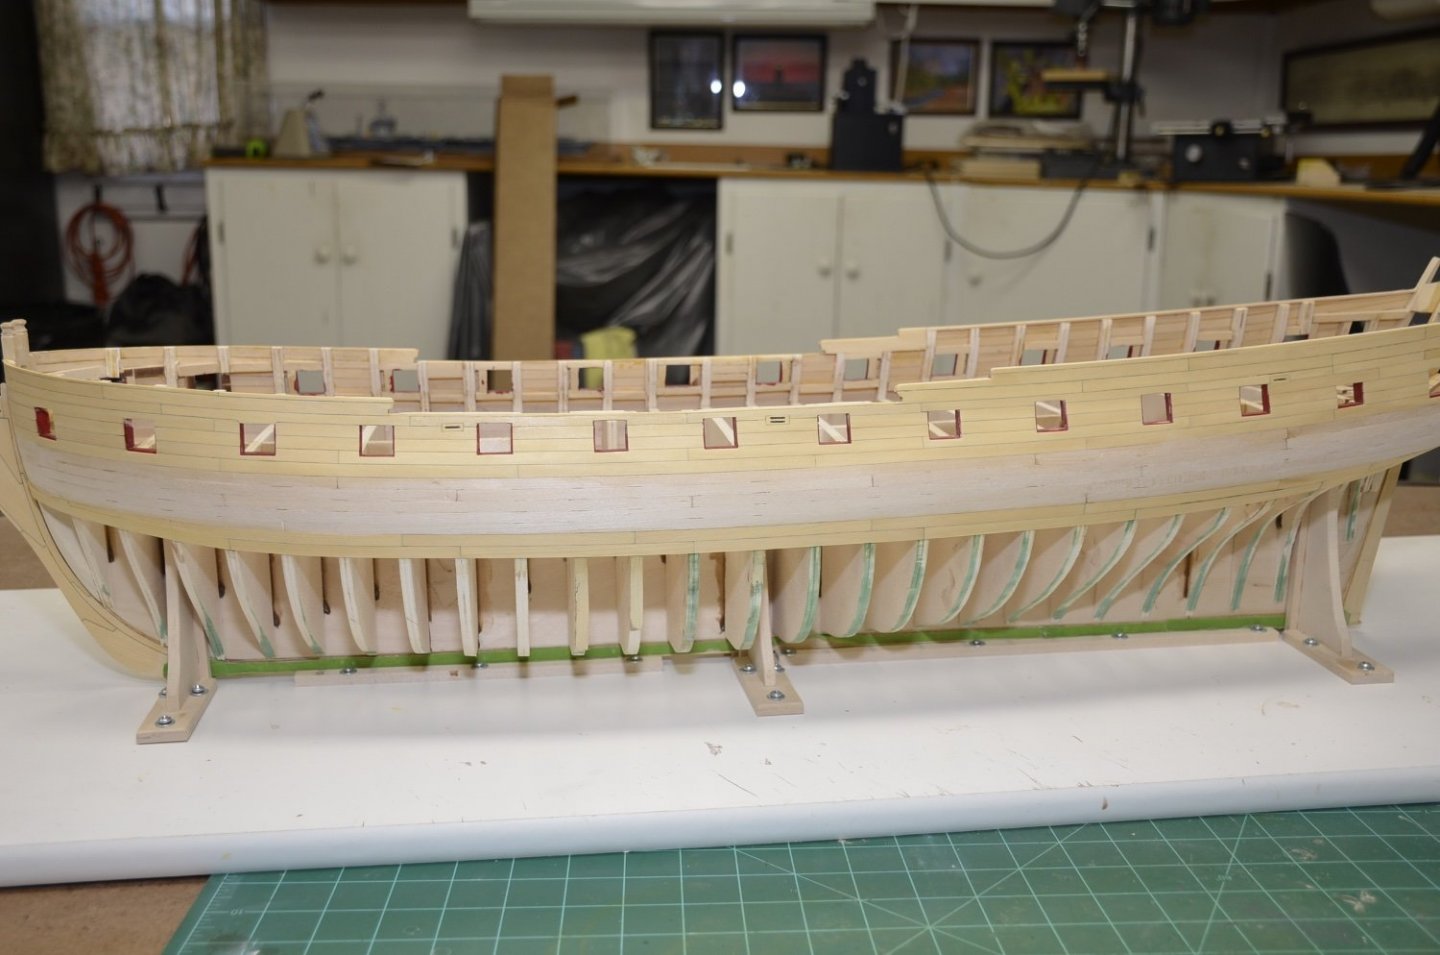
Hey Chuck, thanks for asking. Winnie no. 1 turned into a practice ship, trying to hone the skills required for this level of the hobby. Although I don’t have much experience, I had a ton of confidence ( cut parts myself, etc.). Well, I was quickly humbled by my efforts to even approach the beautiful precision displayed by you and the other folks working on this build. My determination is still strong although Winnie no. 2 is started using all purchased parts. Last year was interrupted by golf season ( I know I should get my priorities straight ) but plan on steady progress this year. I realize it is important, for several reasons, to post pics of my work but have been hesitant to display my lack of skill. It will be a lengthy post to catch up but I plan to post it soon. The time taken by you and others to teach and ask questions is greatly appreciated. For now I will include a pic of Winnie no. 1 which was stopped at this stage.
-
Thanks Jim, I will put my order in today.