fineoaks
-
Posts
4 -
Joined
-
Last visited
-
 fineoaks reacted to a post in a topic:
L’Hermione LaFayette by fineoaks - Artesania Latina - 1/89 - first build
fineoaks reacted to a post in a topic:
L’Hermione LaFayette by fineoaks - Artesania Latina - 1/89 - first build
-
Hi Bill, thanks for your reply and corrections. I am well aware of Marquis La Fayette, the French military officer, it is however not my mistake, Artesania Latina (and the replica attraction of the ship at times. Most of the research I have of this ship they always refer to it as LaFayette’s frigate, never Hermione this is especially in promotional articles and merchandise) have attached his name to the ship which I suspect is to piggy back from his status as a “celebrity”, it is like calling HMS Victory Lord Nelson’s Victory, even though he was only in charge of it after they fixed it up. I agree that it misinforms those who do not dwell so deep into the details like you and I would. I decided to name it as such for the sake of staying true to the “title” of this kit. I have seen many kits that use the name of celebrities attributed to it as a “prefix”. It is kind of funny to me actually as what I understand, La Fayette was only a passenger on this ship, it was used to ferry him to the states. Also on a side note, I think the replica is called L’Hermione and the original only Hermione, from the old books i have found on it they never refer to it as L’Hermione, please correct me if I am wrong… thanks for your kind words, I really don’t know how I came up with the false keel wood supports, but it worked perfectly. last thing on Rome, I referred to the fall of Rome, more specifically the fall of the Roman Empire. Rome still exists in stone and shape, but the Rome of old is something of the past now… I always understood the saying as Rome = the city, Empire, conquered countries and rome as a political power. You make interesting points, I myself am very fascinated by cities and city planning and its history, the Romans have in my opinion probably had the biggest role in developing the models for western civilisation. Do you maybe have any good reading material for me to dive into?
-
fineoaks reacted to a post in a topic:
L’Hermione LaFayette by fineoaks - Artesania Latina - 1/89 - first build
-
Thank you for your message and kind words. I hope you will enjoy your wine but I regret to inform you that you will need more than a bottle of wine, this will be a long process. Firstly, apologies for I have been AFK for the past 2 months due to exams and then the December holidays. I have not built much since my last post, I finished the lower deck and started the planking. I will share what I built to bend the planks, once I have the time to go back to my progress images. I also started with painting the the inside of the ship. As for the the deck, I used a needle to poke a hole into the correct places then I filled the said hole with wood filler mixed with greyish paint, this also fills the adjacent pieces and simulates caulking to some success, however "finishing it to scale" is a tough task. After varnishing the deck I think it does look very good, one tip I can give on varnishing is make sure the surface of the deck is clean from dirt, grime, and glue, otherwise the varnish won't adhere to the wood. Pictures will follow, I just need to build up the confidence to build again after a two month sabbatical. My last tip... Measure twice, cut once! Patience is a virtue, I think I need to learn to take it slow. Rome wasn't built in a day (however Rome fell in almost a day). I have run out of glue again, which means I will need to make another costly trip to my local hobby store. Cheers!
-
 fineoaks reacted to a post in a topic:
L’Hermione LaFayette by fineoaks - Artesania Latina - 1/89 - first build
fineoaks reacted to a post in a topic:
L’Hermione LaFayette by fineoaks - Artesania Latina - 1/89 - first build
-
fineoaks reacted to a post in a topic:
L’Hermione LaFayette by fineoaks - Artesania Latina - 1/89 - first build
-
jks1981 reacted to a post in a topic:
L’Hermione LaFayette by fineoaks - Artesania Latina - 1/89 - first build
-
jks1981 reacted to a post in a topic:
L’Hermione LaFayette by fineoaks - Artesania Latina - 1/89 - first build
-
GrandpaPhil reacted to a post in a topic:
L’Hermione LaFayette by fineoaks - Artesania Latina - 1/89 - first build
-
GrandpaPhil reacted to a post in a topic:
L’Hermione LaFayette by fineoaks - Artesania Latina - 1/89 - first build
-
fineoaks reacted to a post in a topic:
Hermione La Fayette by jks1981 - Artesania Latina - 1:89 Scale
-
ccoyle reacted to a post in a topic:
L’Hermione LaFayette by fineoaks - Artesania Latina - 1/89 - first build
-
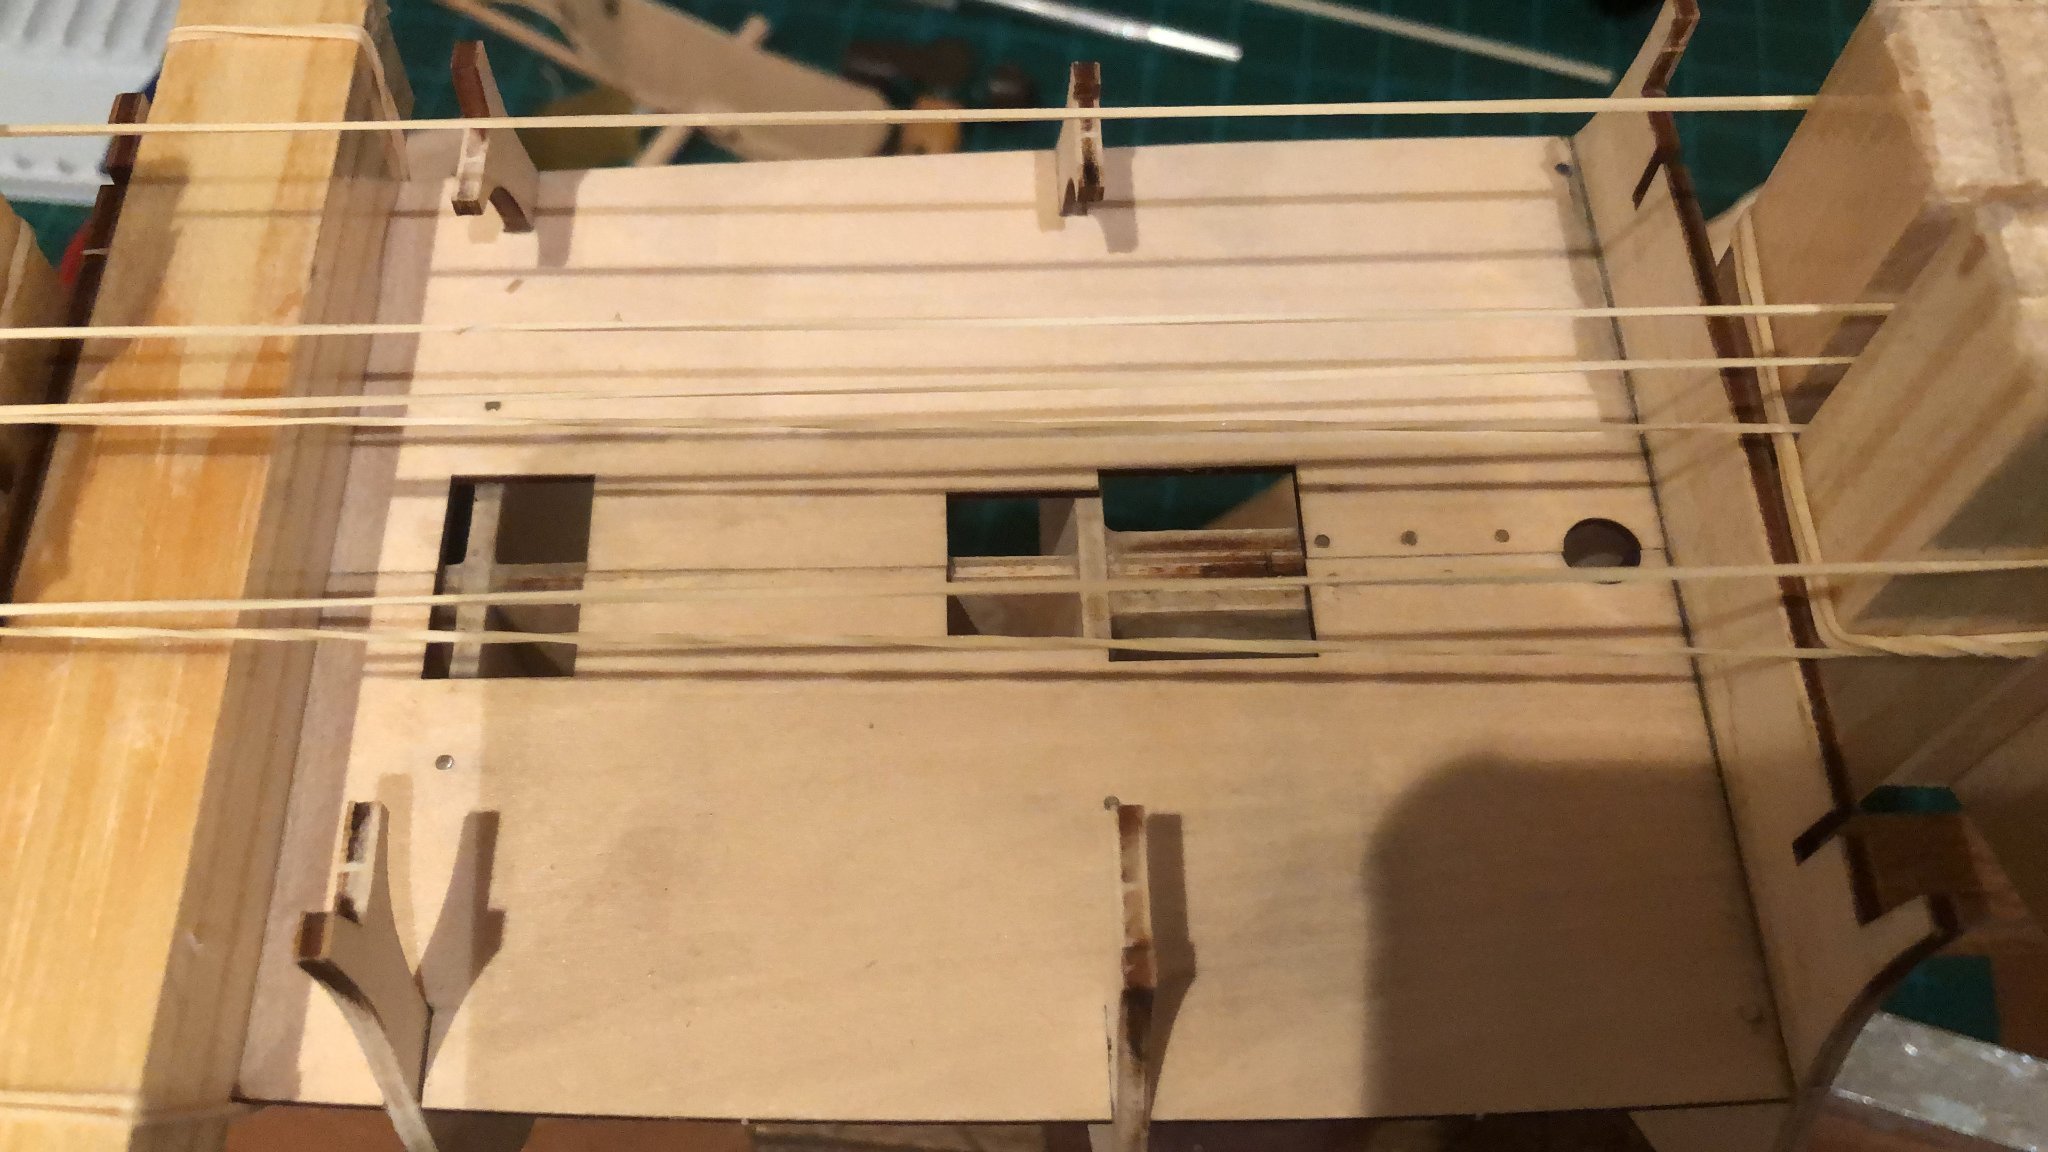
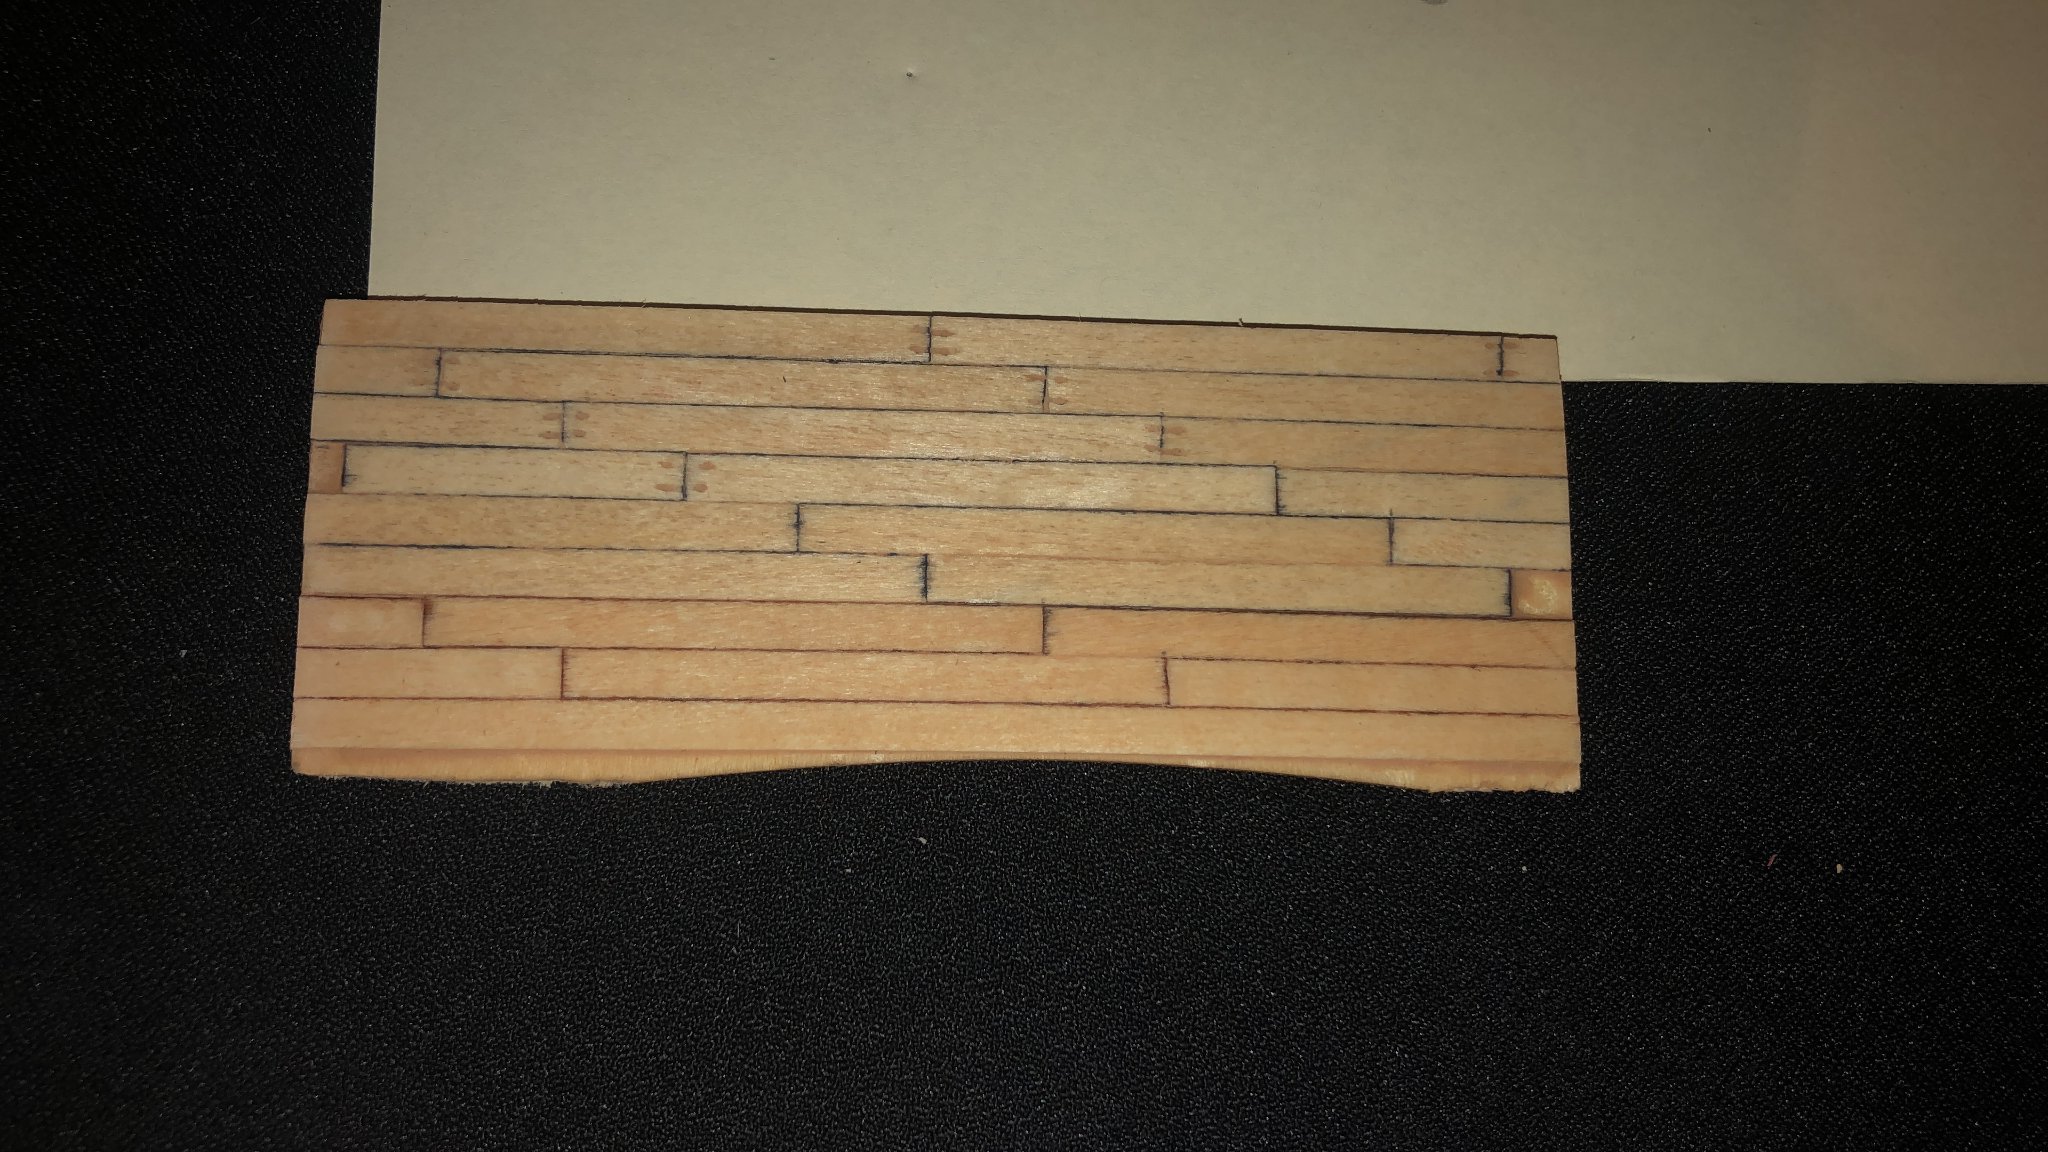
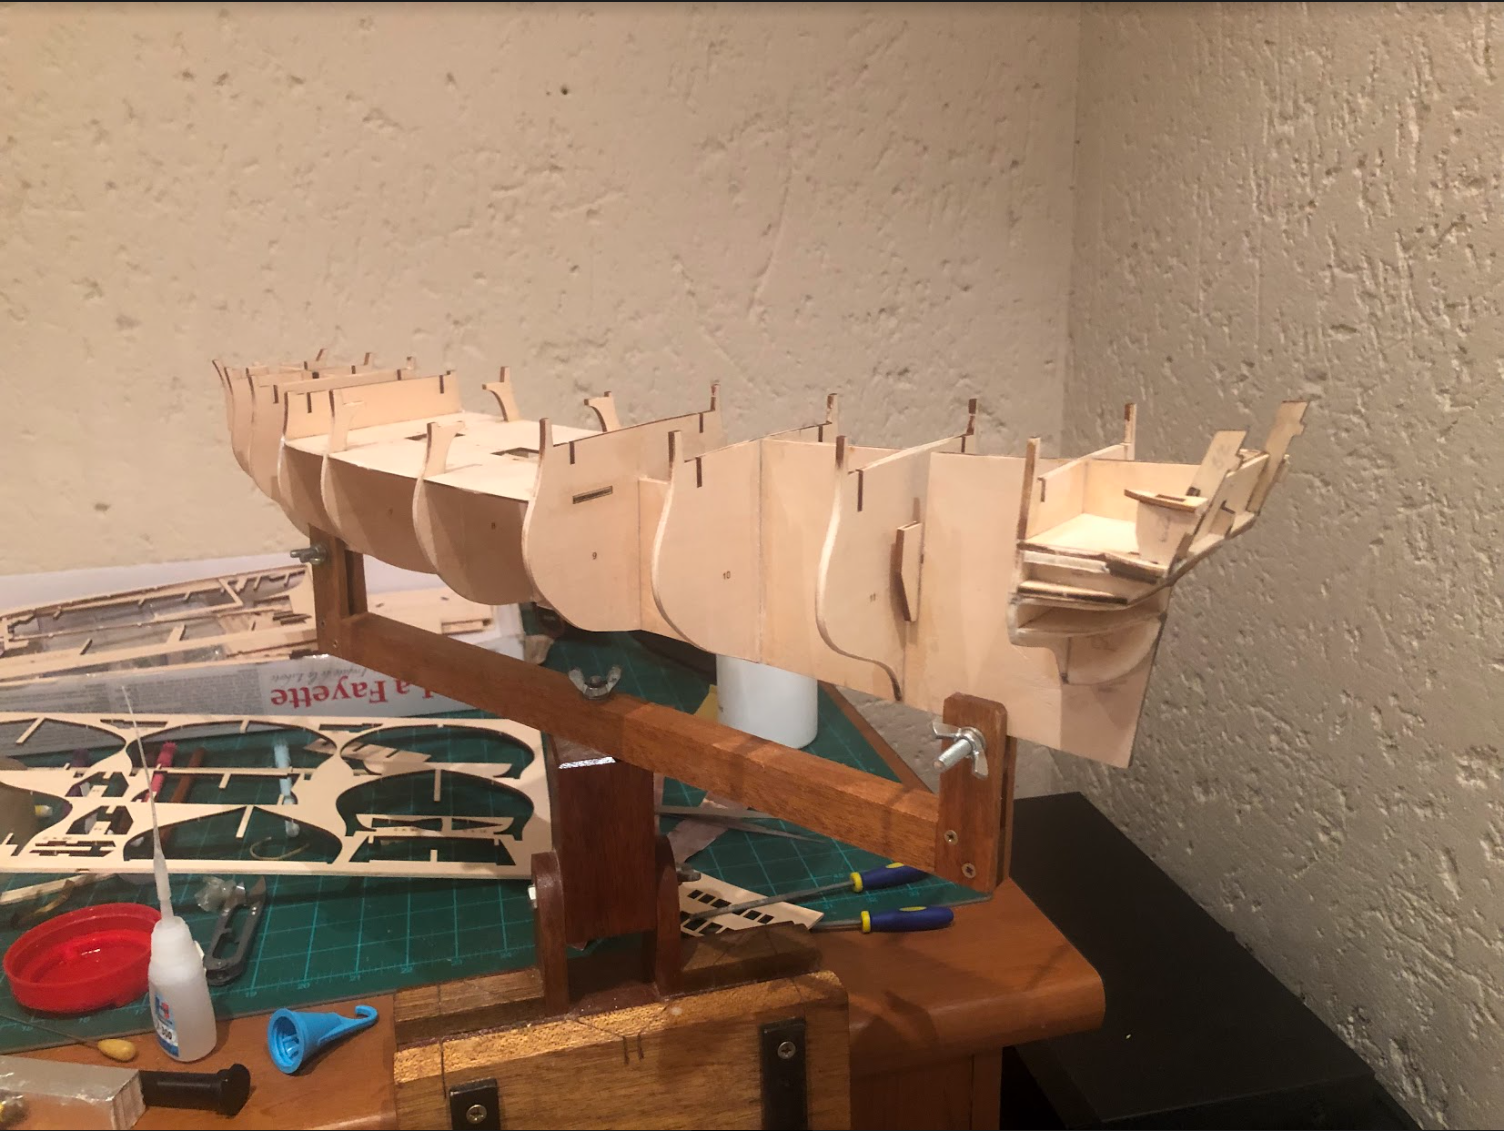
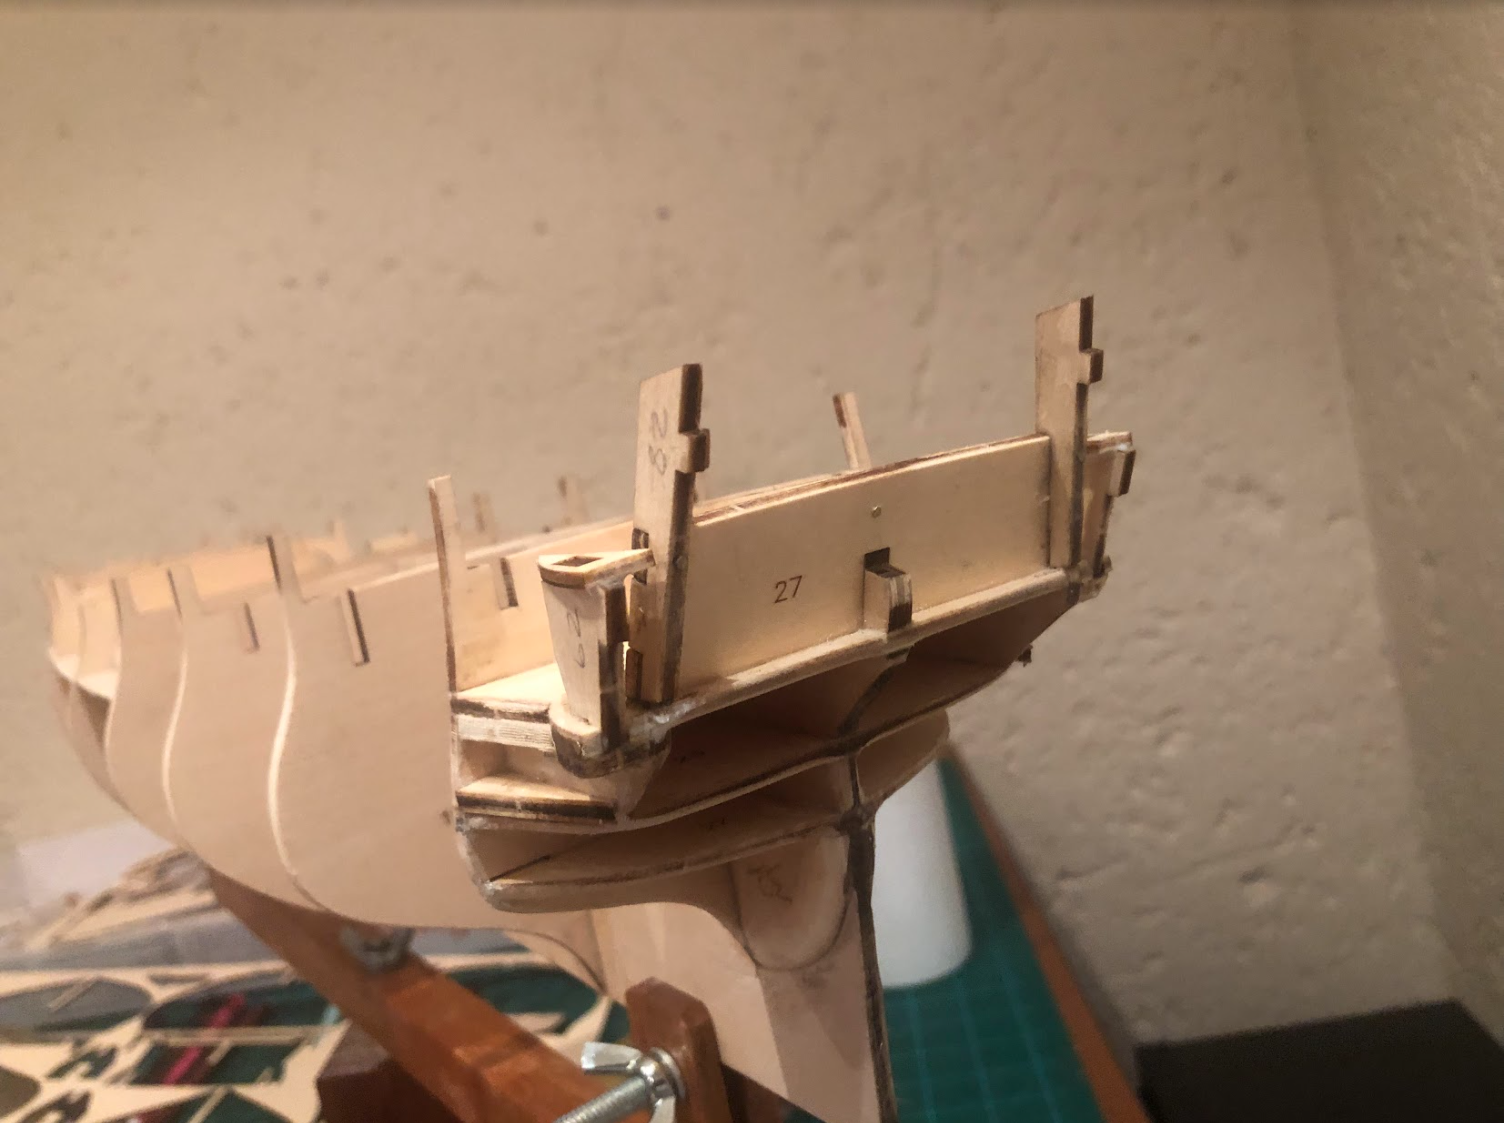
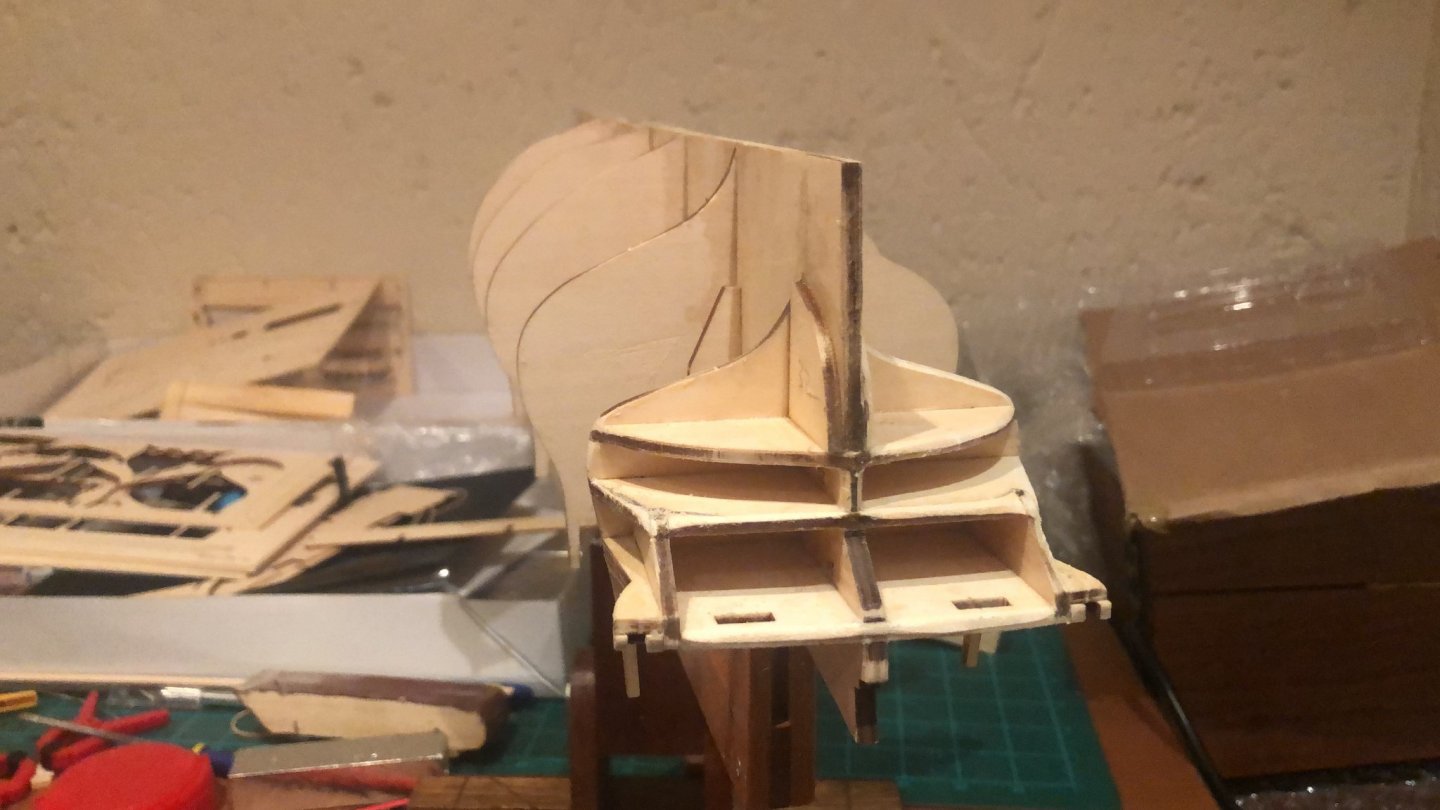
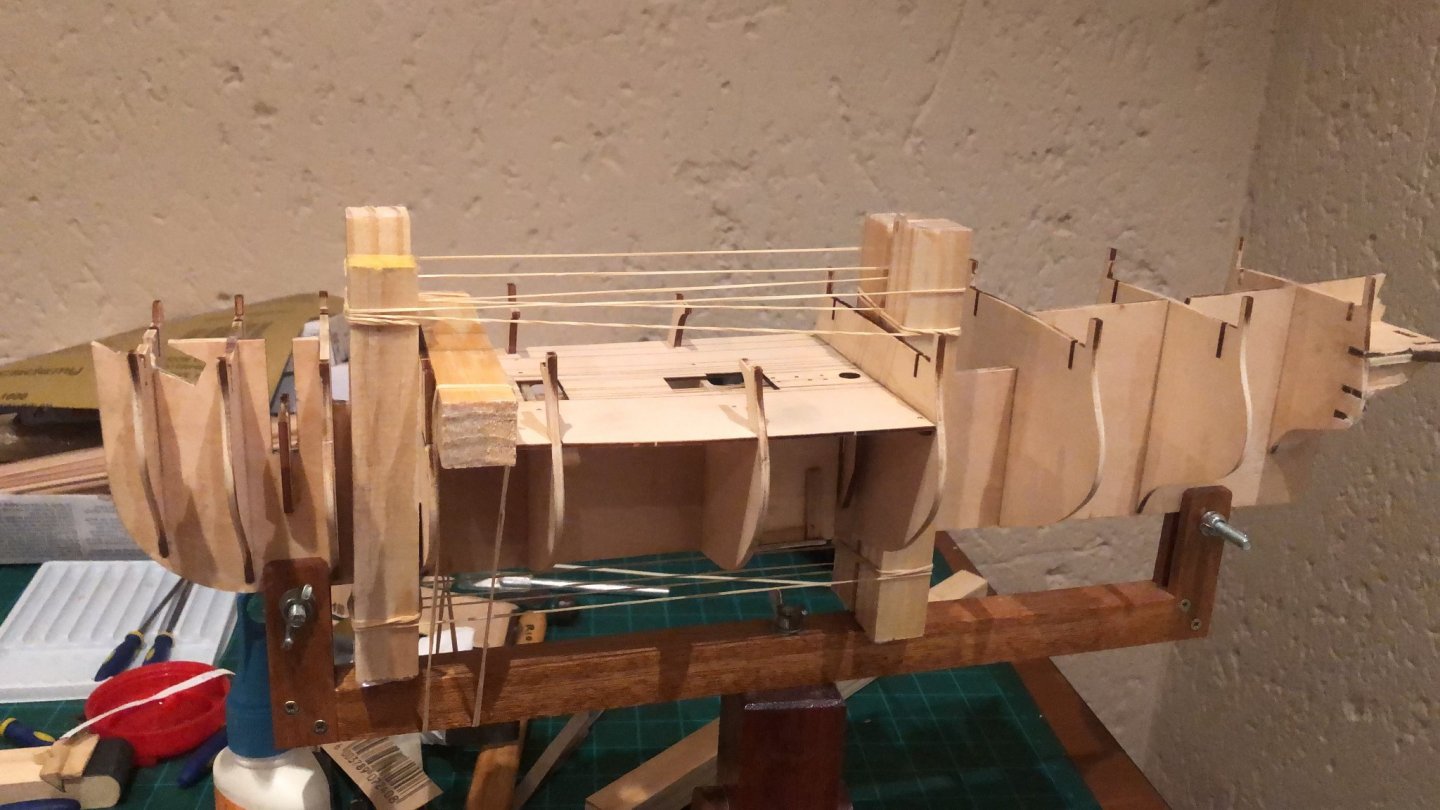
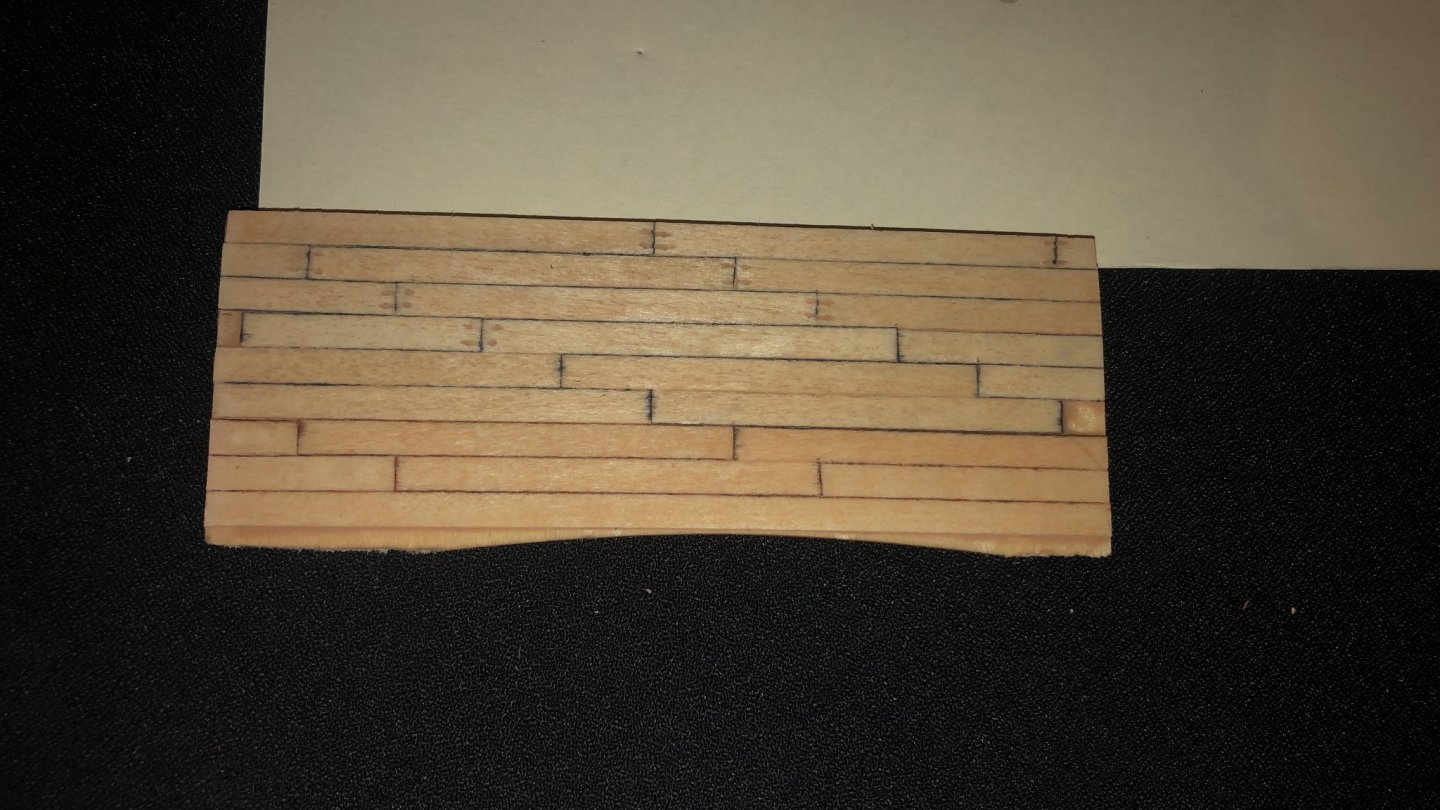
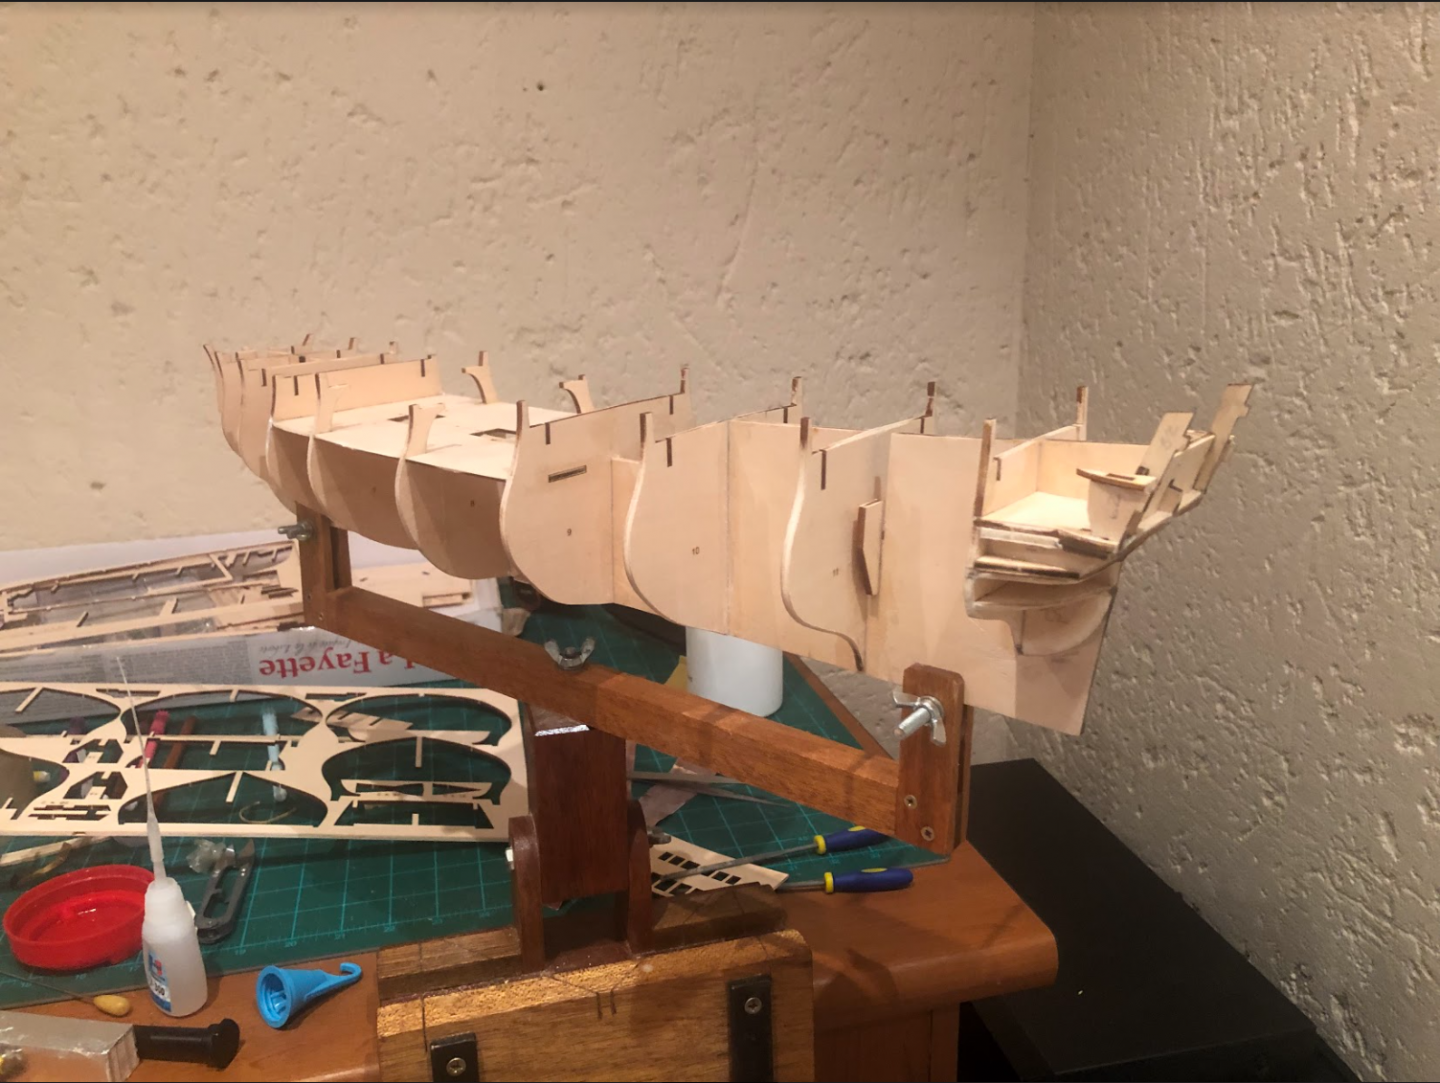
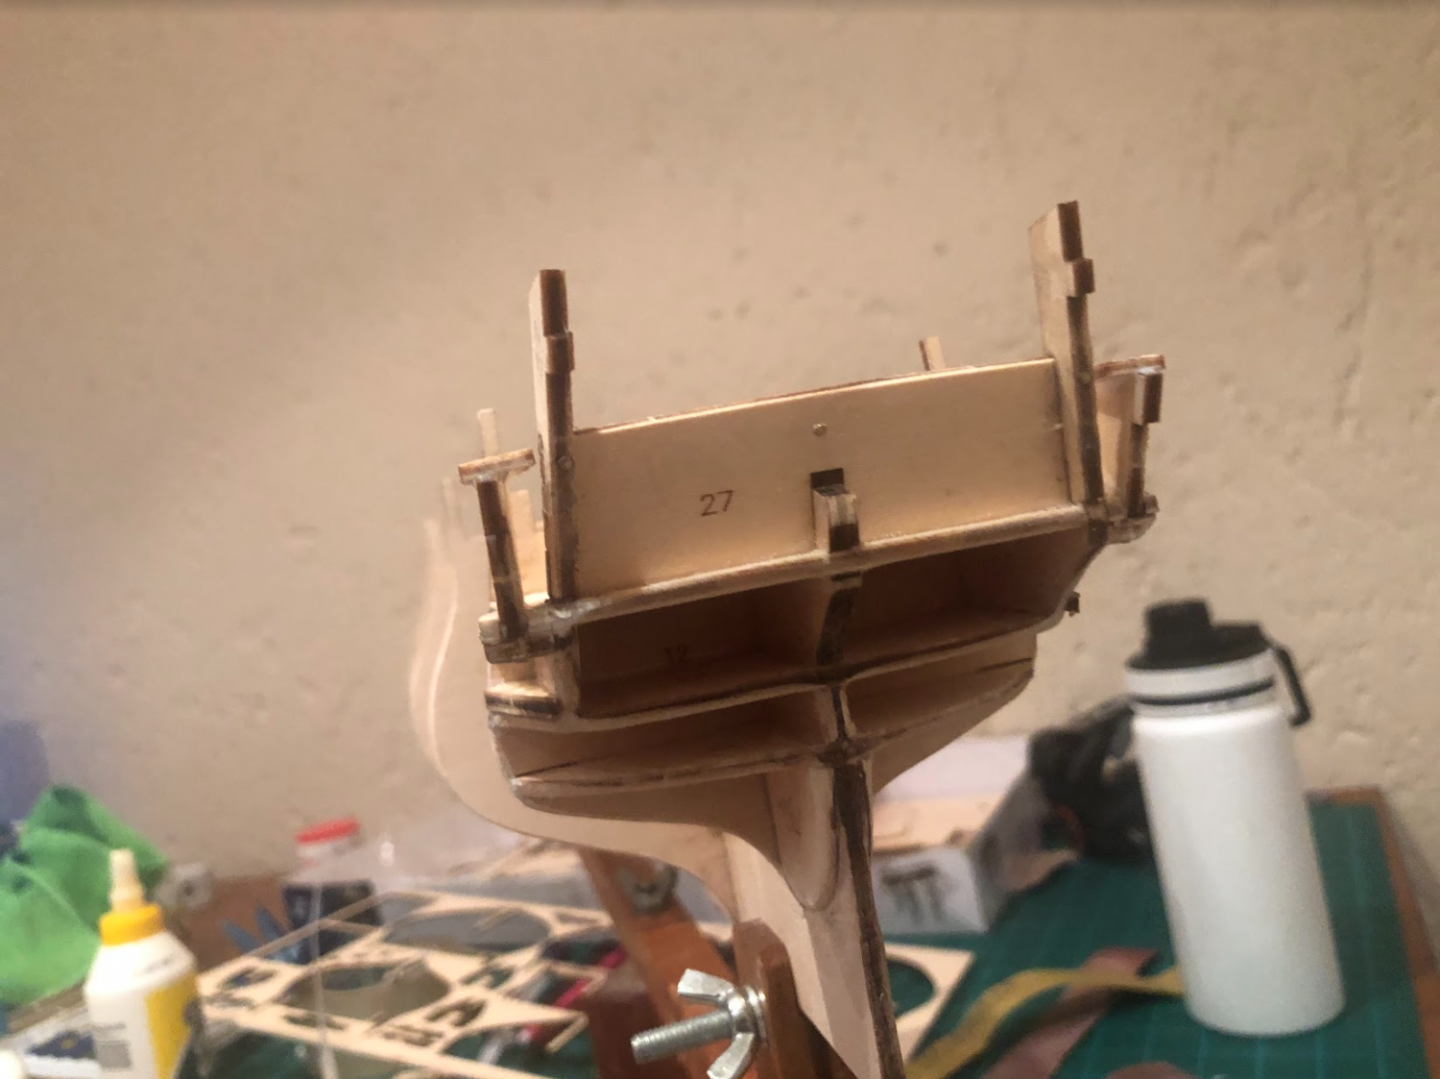
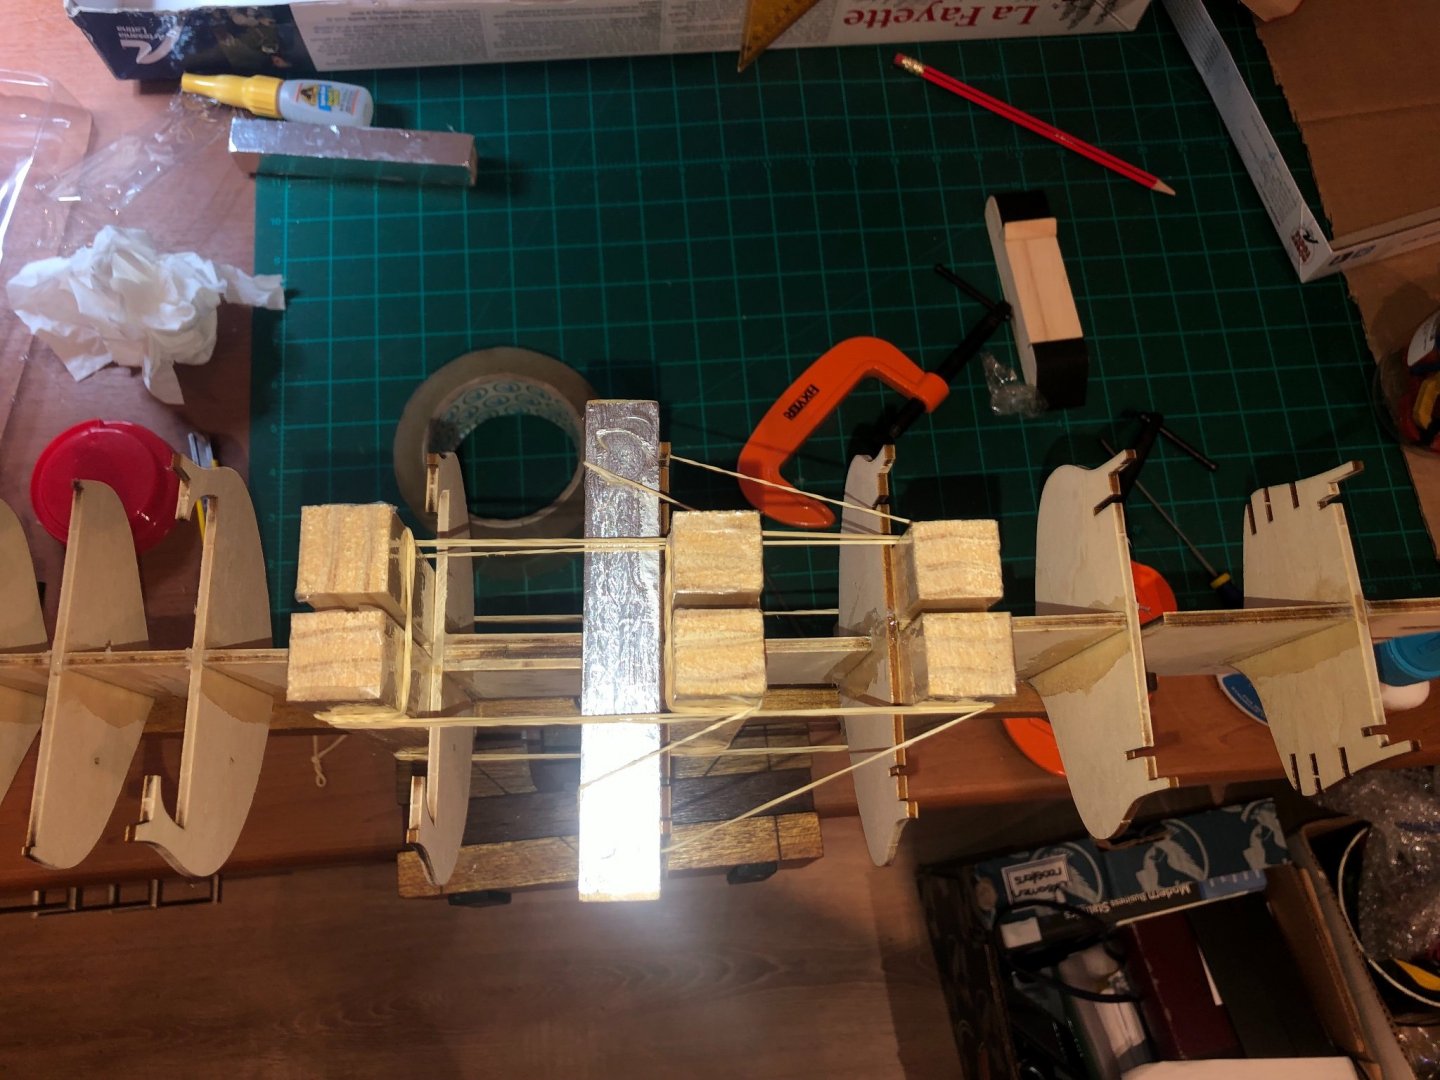
The process so far... After securing the ribs to the frame, I started with the braces/supports (or whatever you would call them) for the stern. I did some sanding, filed a bit - and also cleaned up some of the excess white glue. After fitting the upright supports of the stern, I felt like I was working too hastily. Thus, I then decided to take a break as I did not work as neatly as I wanted to. I then cleaned up some of the excess glue with a damp cloth. After this was completed, I secured the deck into its correct position. It was a tight fit, some sanding was required. I used some nails to ensure that it won't come loose. It was quite nerve wrecking to fit the deck, as I was scared I might break it. I also made some micro adjustments to fit it properly. Next, I glued the upper part of rib 6 into place, using my square wood pieces to ensure it is glued at a right angle. At this moment I realized how boring it should be to watch paint dry, as for a long time I had nothing to do - and nothing happened, nothing continued to happen until I decided to test some planking on an offcut. Here is the test decking, I do not think I will go with this one, as it looks too complicated. The pattern repeats itself every 5 planks, I still need to decide on how I will do the nails. I think that the pencil "Nails" looks a tad bit tacky - in my opinion. I still need to varnish this test deck to see how the pencil as well as the black and brown marker would react to it. I do not want a smudge. That's all for now, I have decided to post whenever I have finished a major step - I will then write small essays on the experience etc. Cheers


- 7 replies
-
- 3
-
-
- artesania Latina
- First build
- (and 1 more)
-
oneslim reacted to a post in a topic:
L’Hermione LaFayette by fineoaks - Artesania Latina - 1/89 - first build
-
VTHokiEE reacted to a post in a topic:
L’Hermione LaFayette by fineoaks - Artesania Latina - 1/89 - first build
-
Matt D reacted to a post in a topic:
L’Hermione LaFayette by fineoaks - Artesania Latina - 1/89 - first build
-
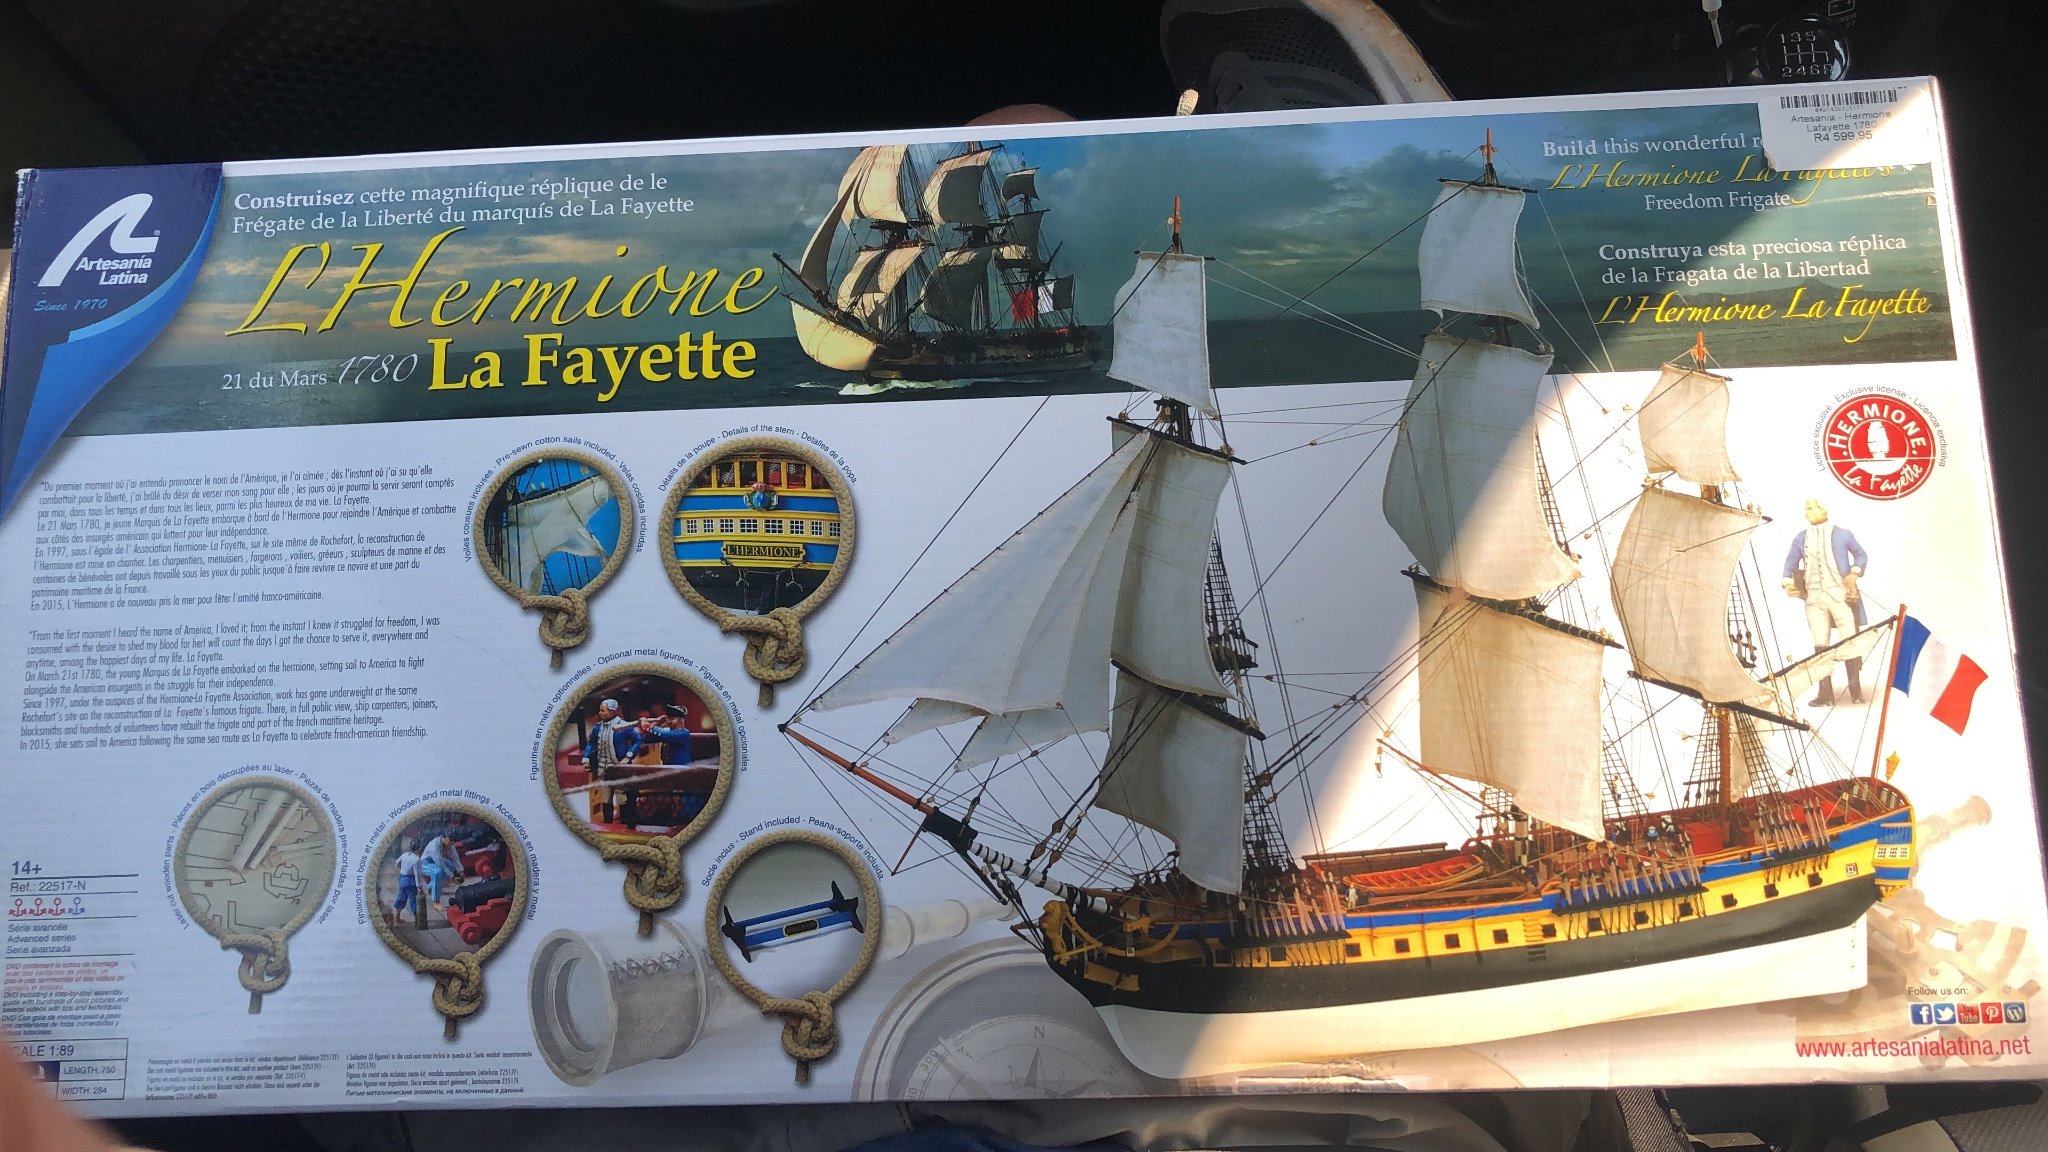
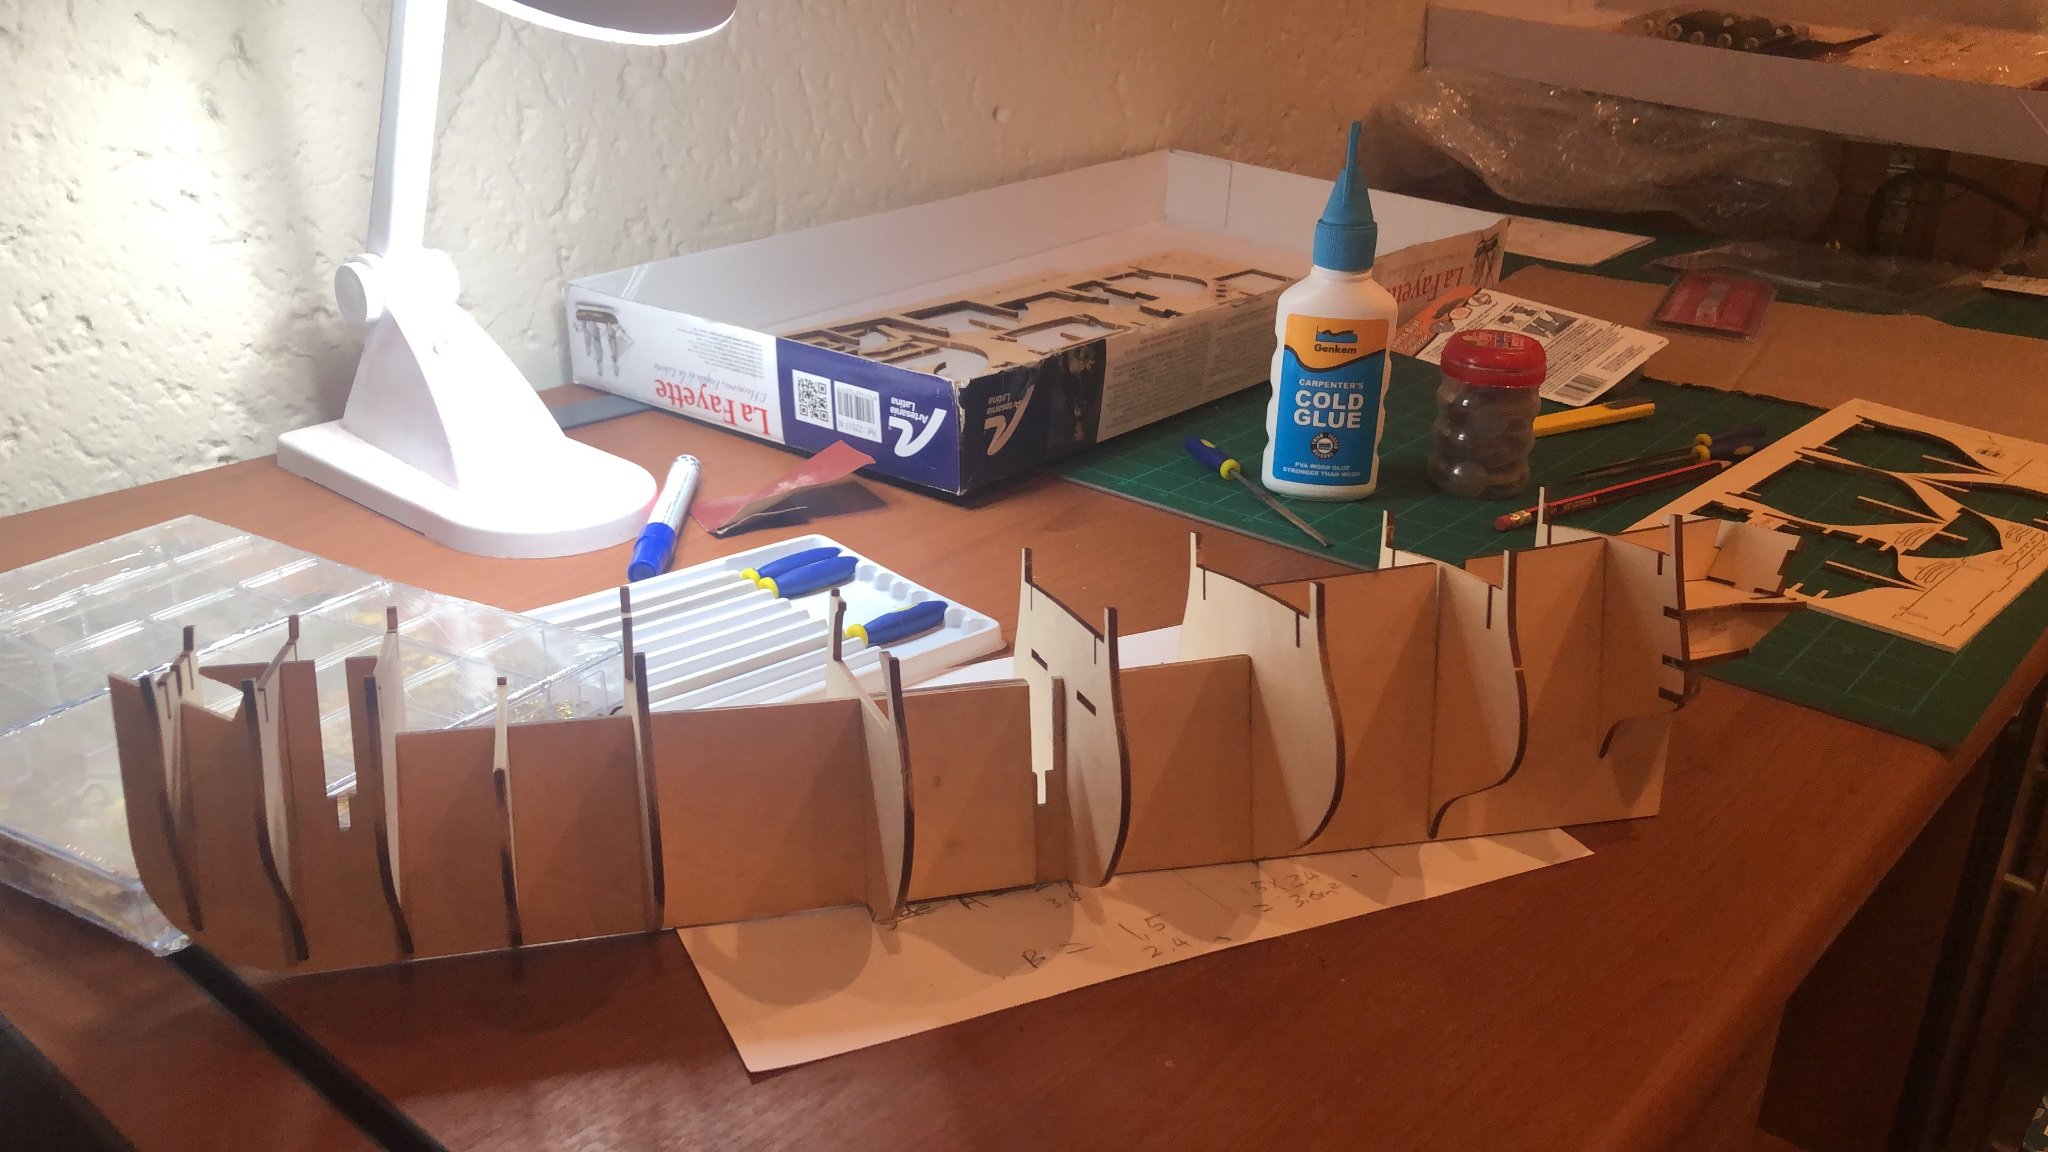
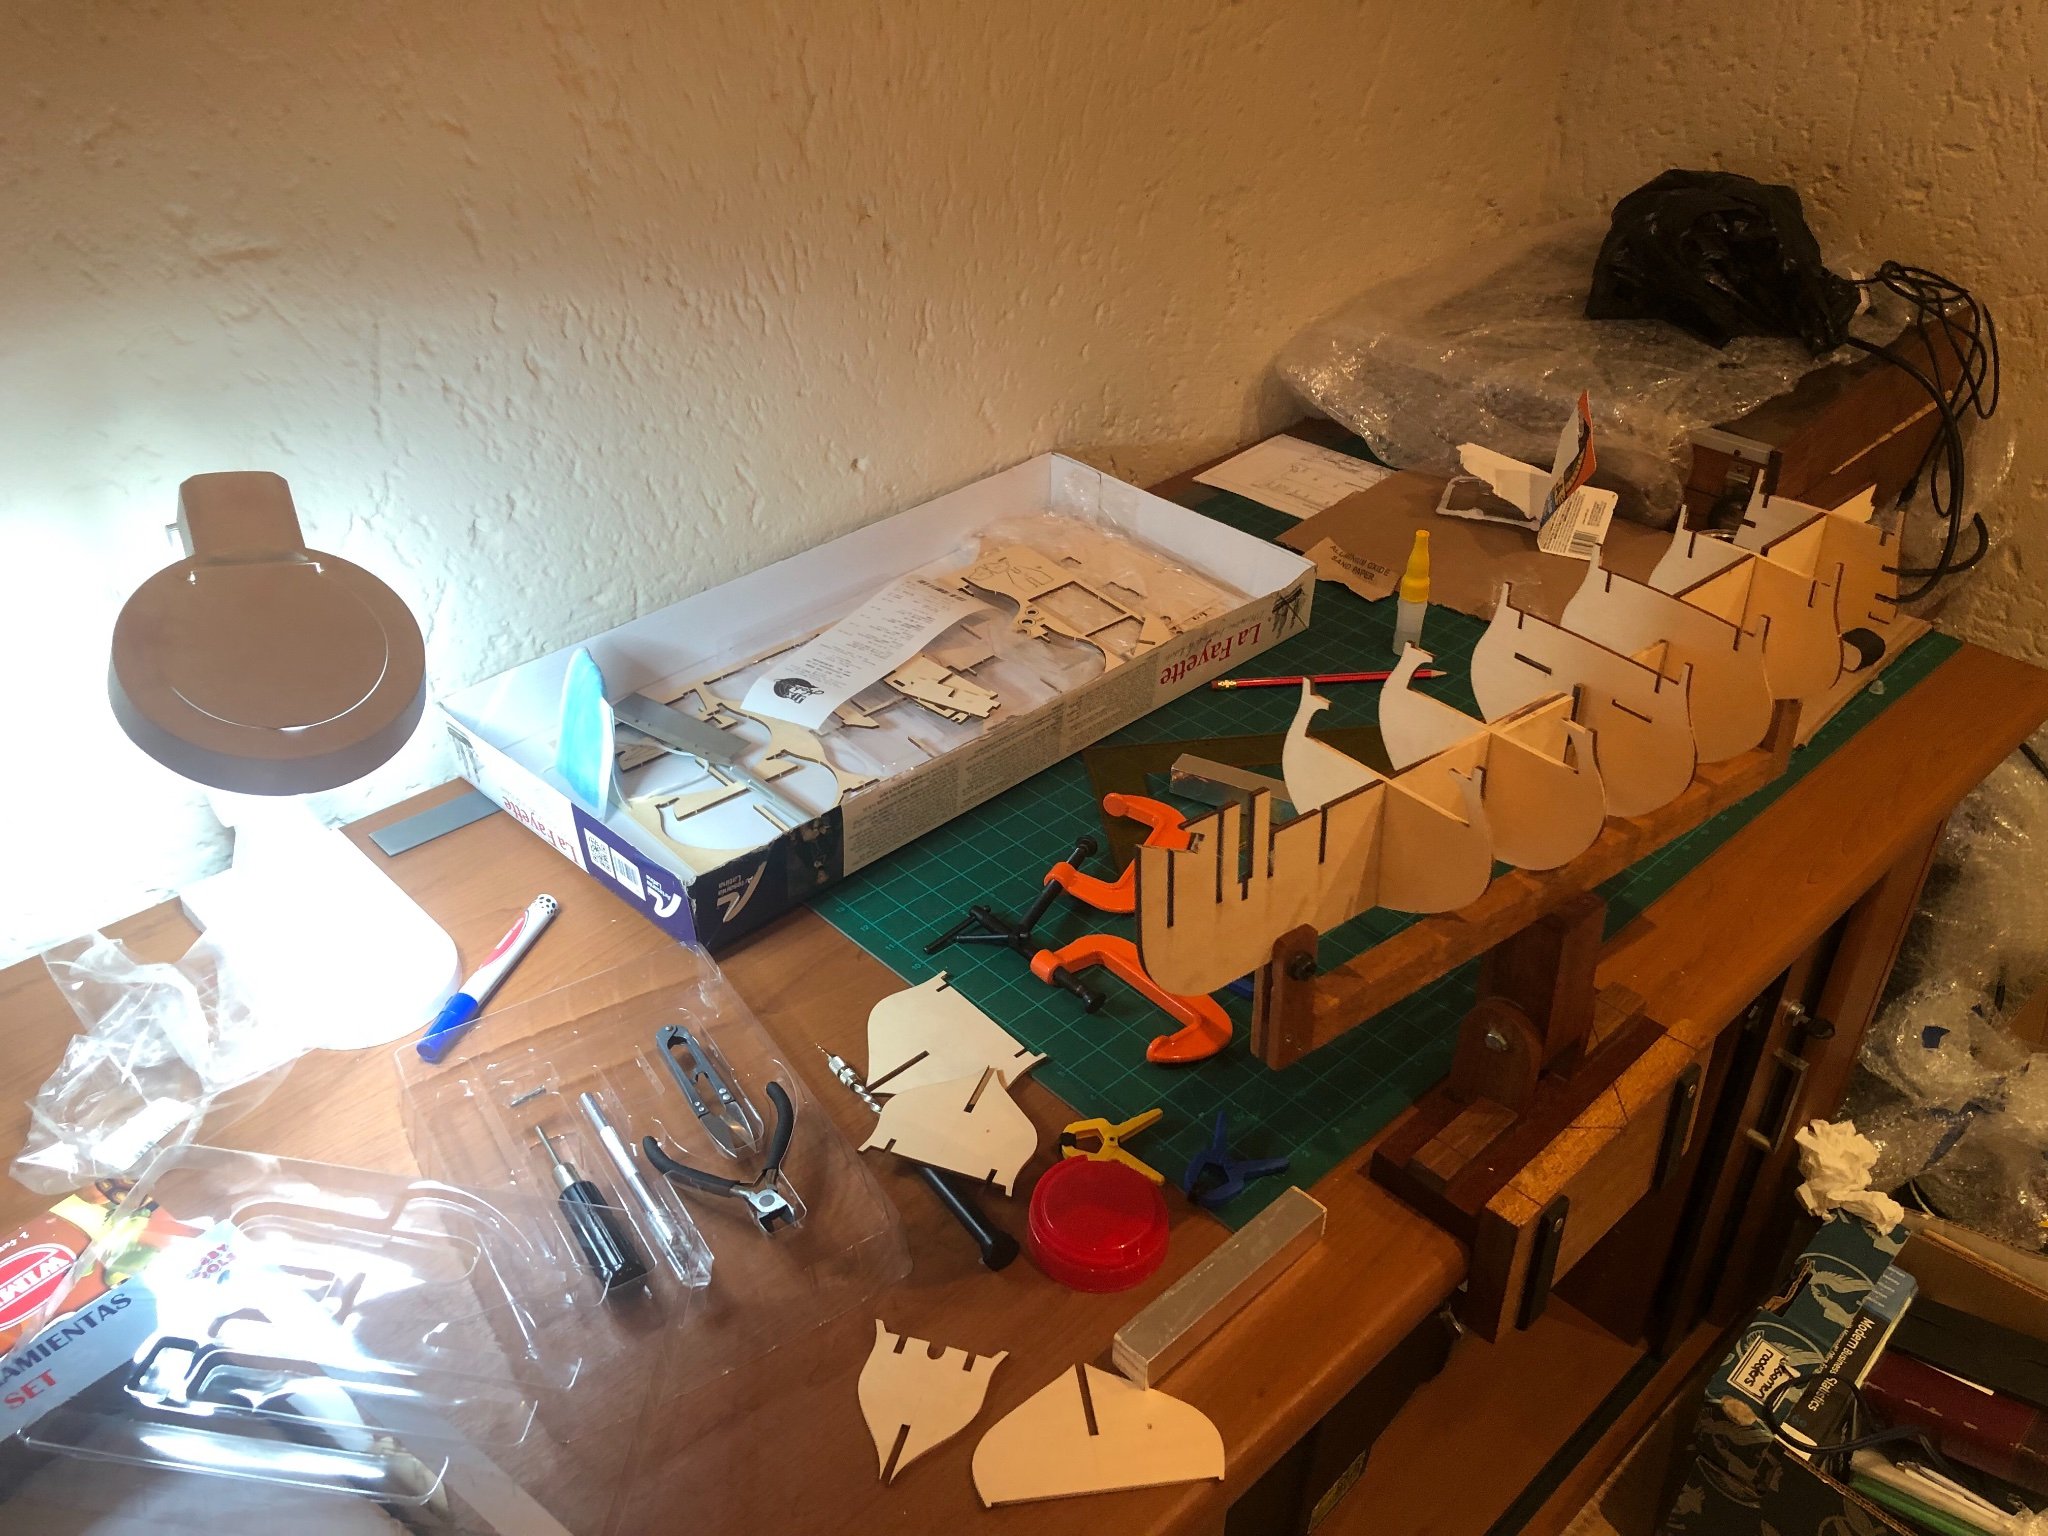
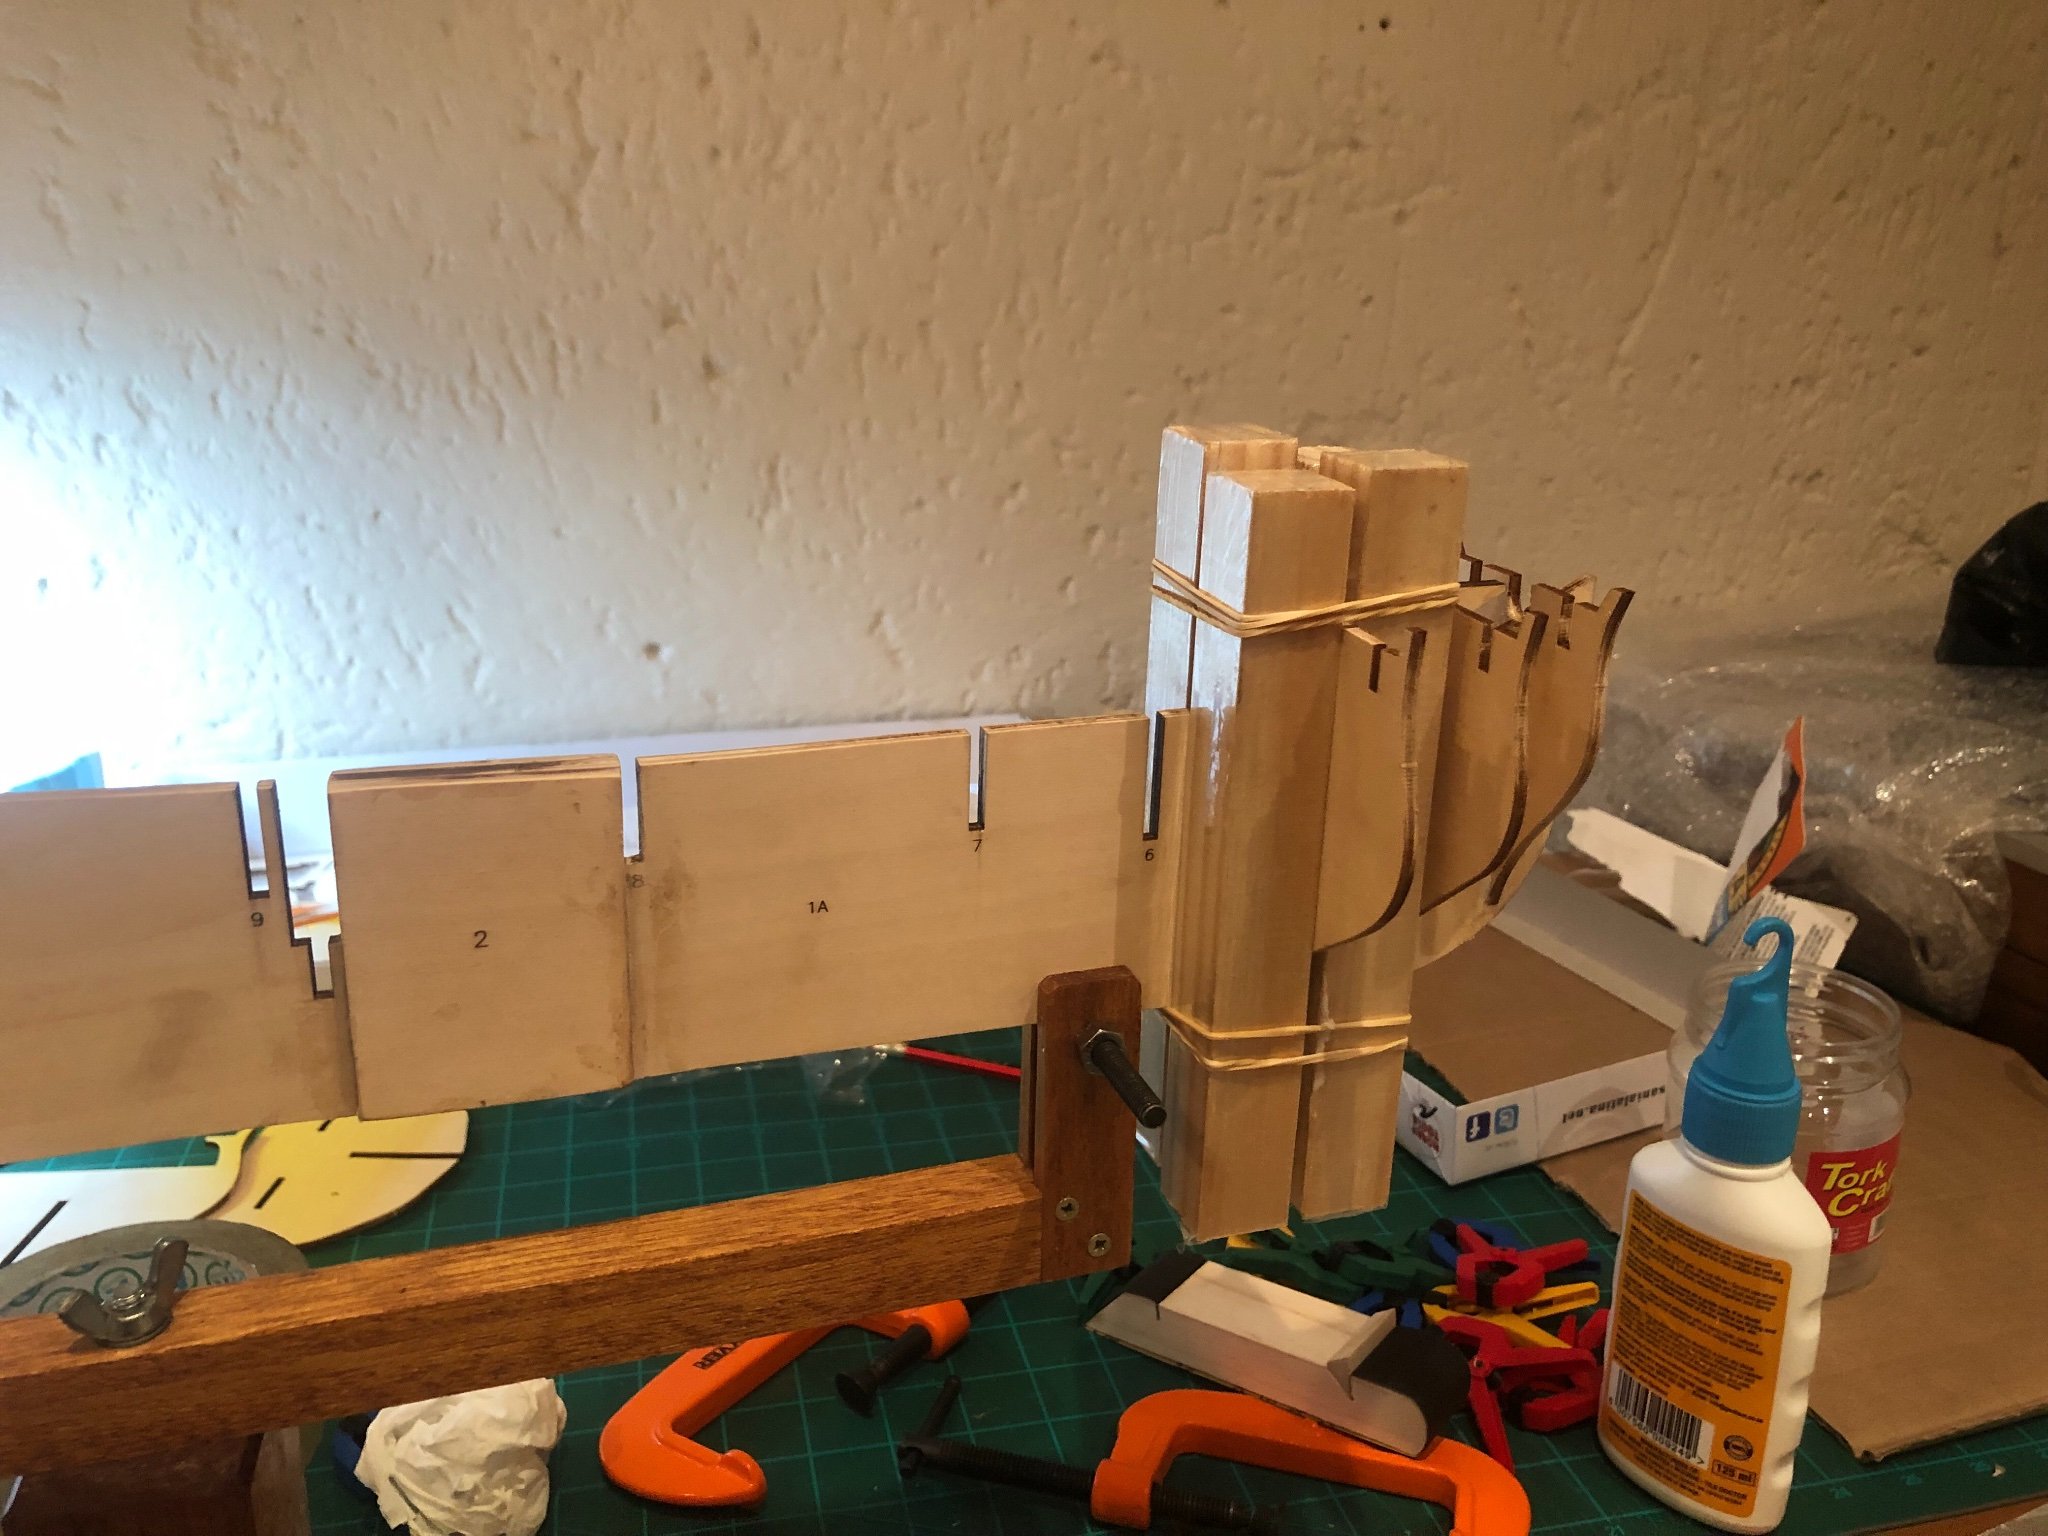
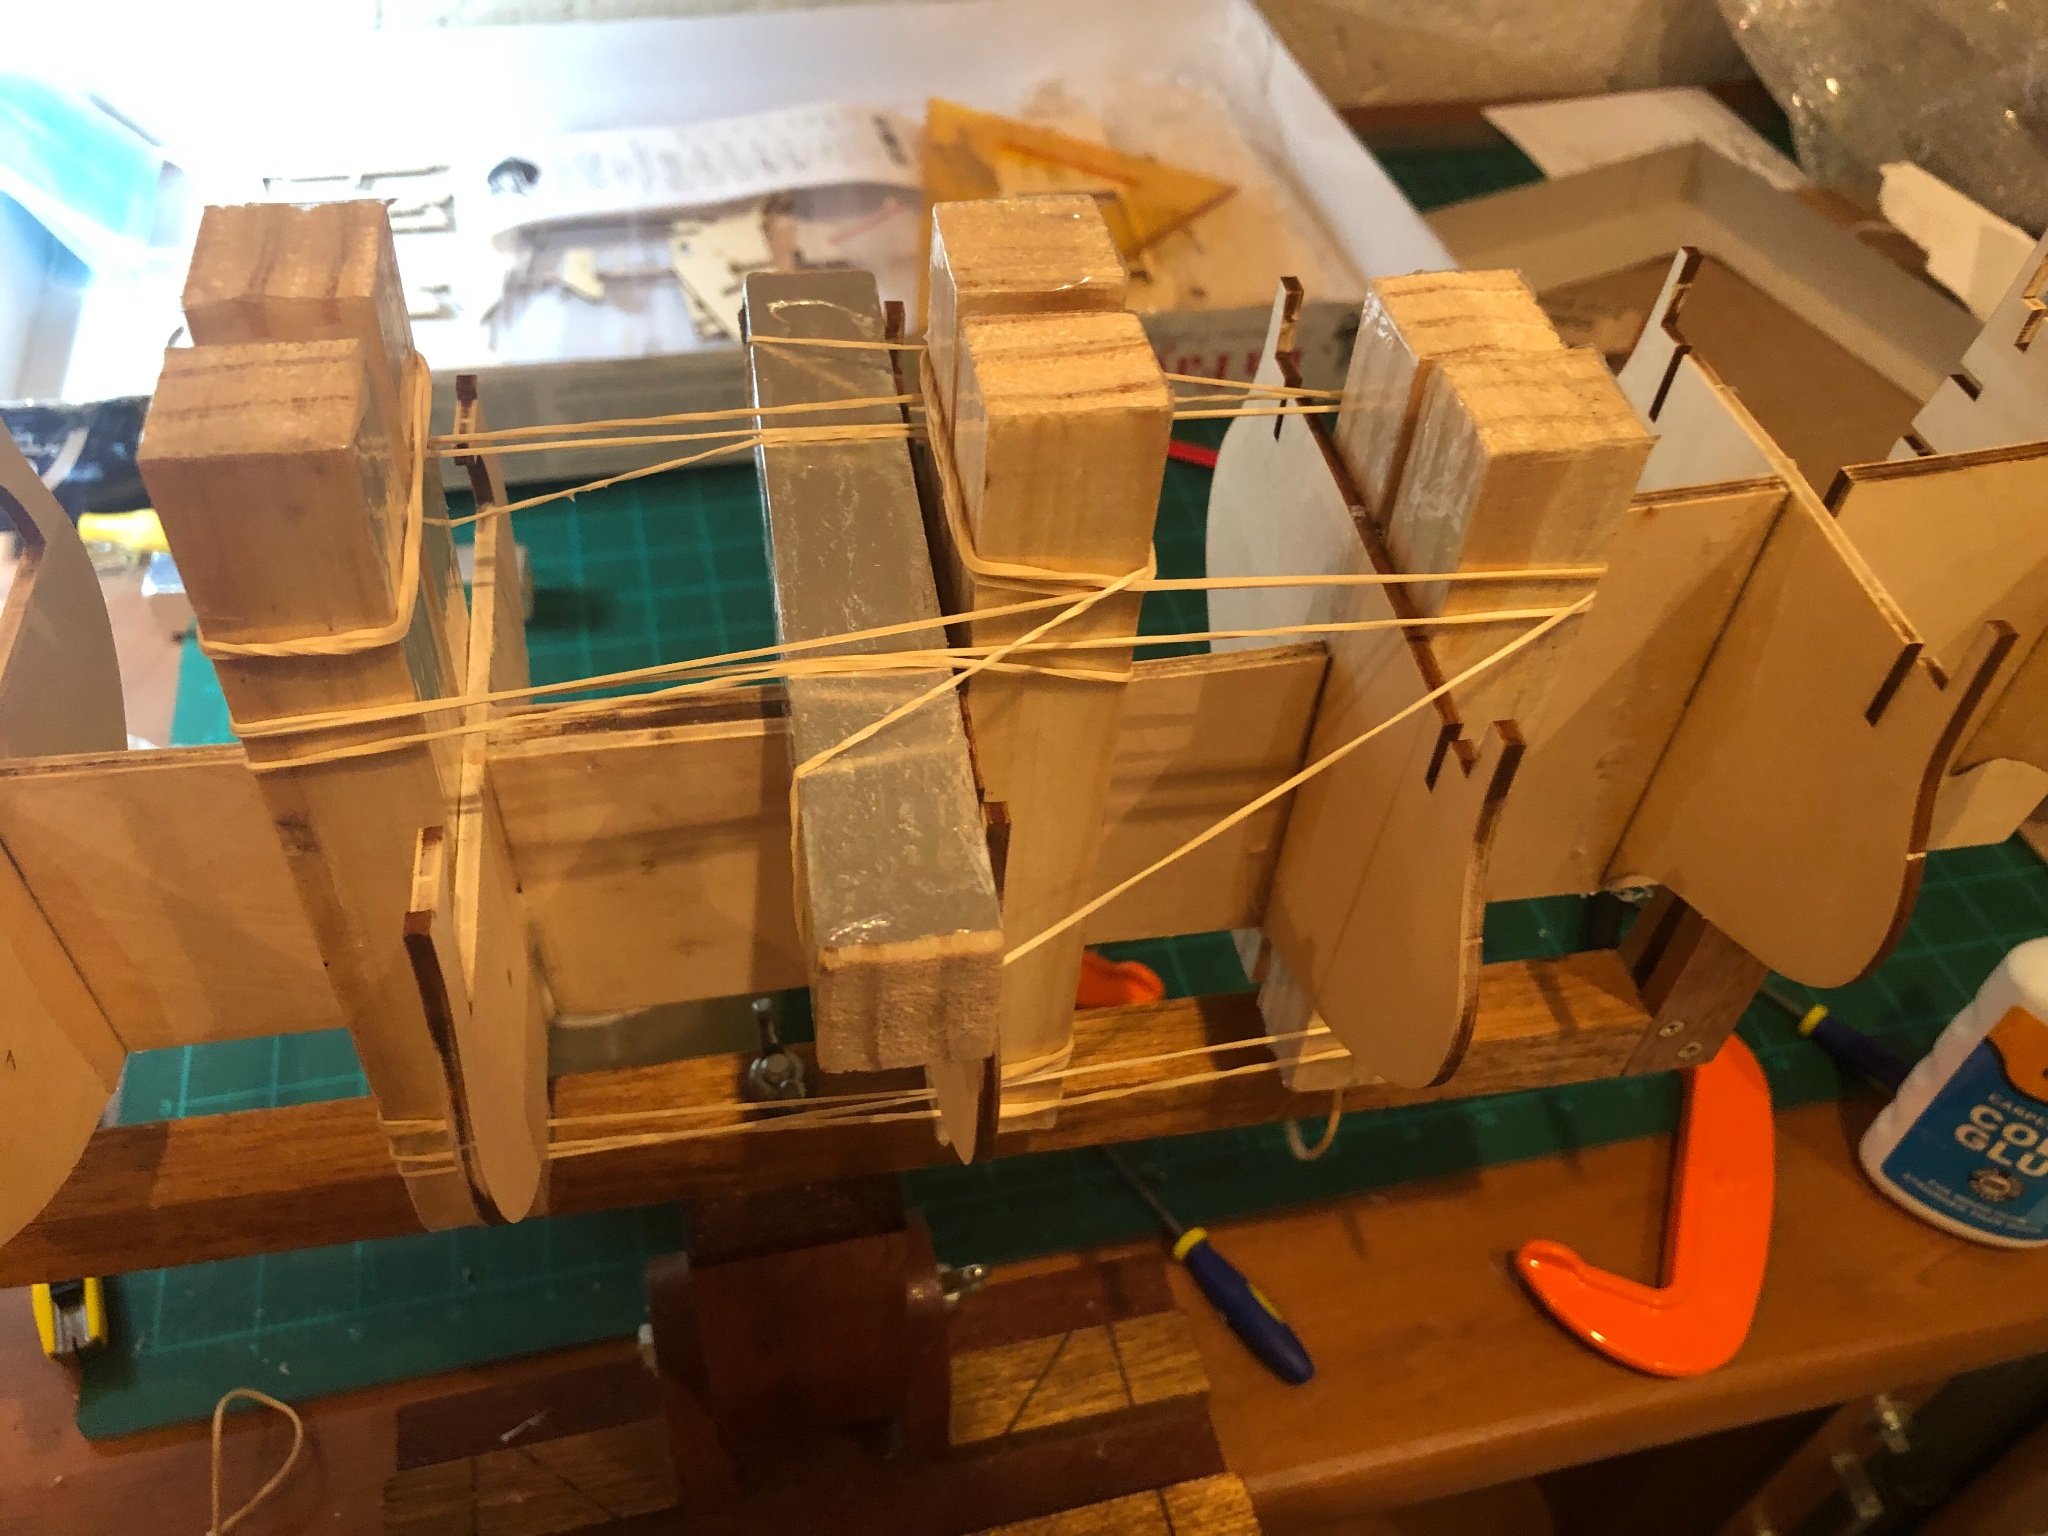
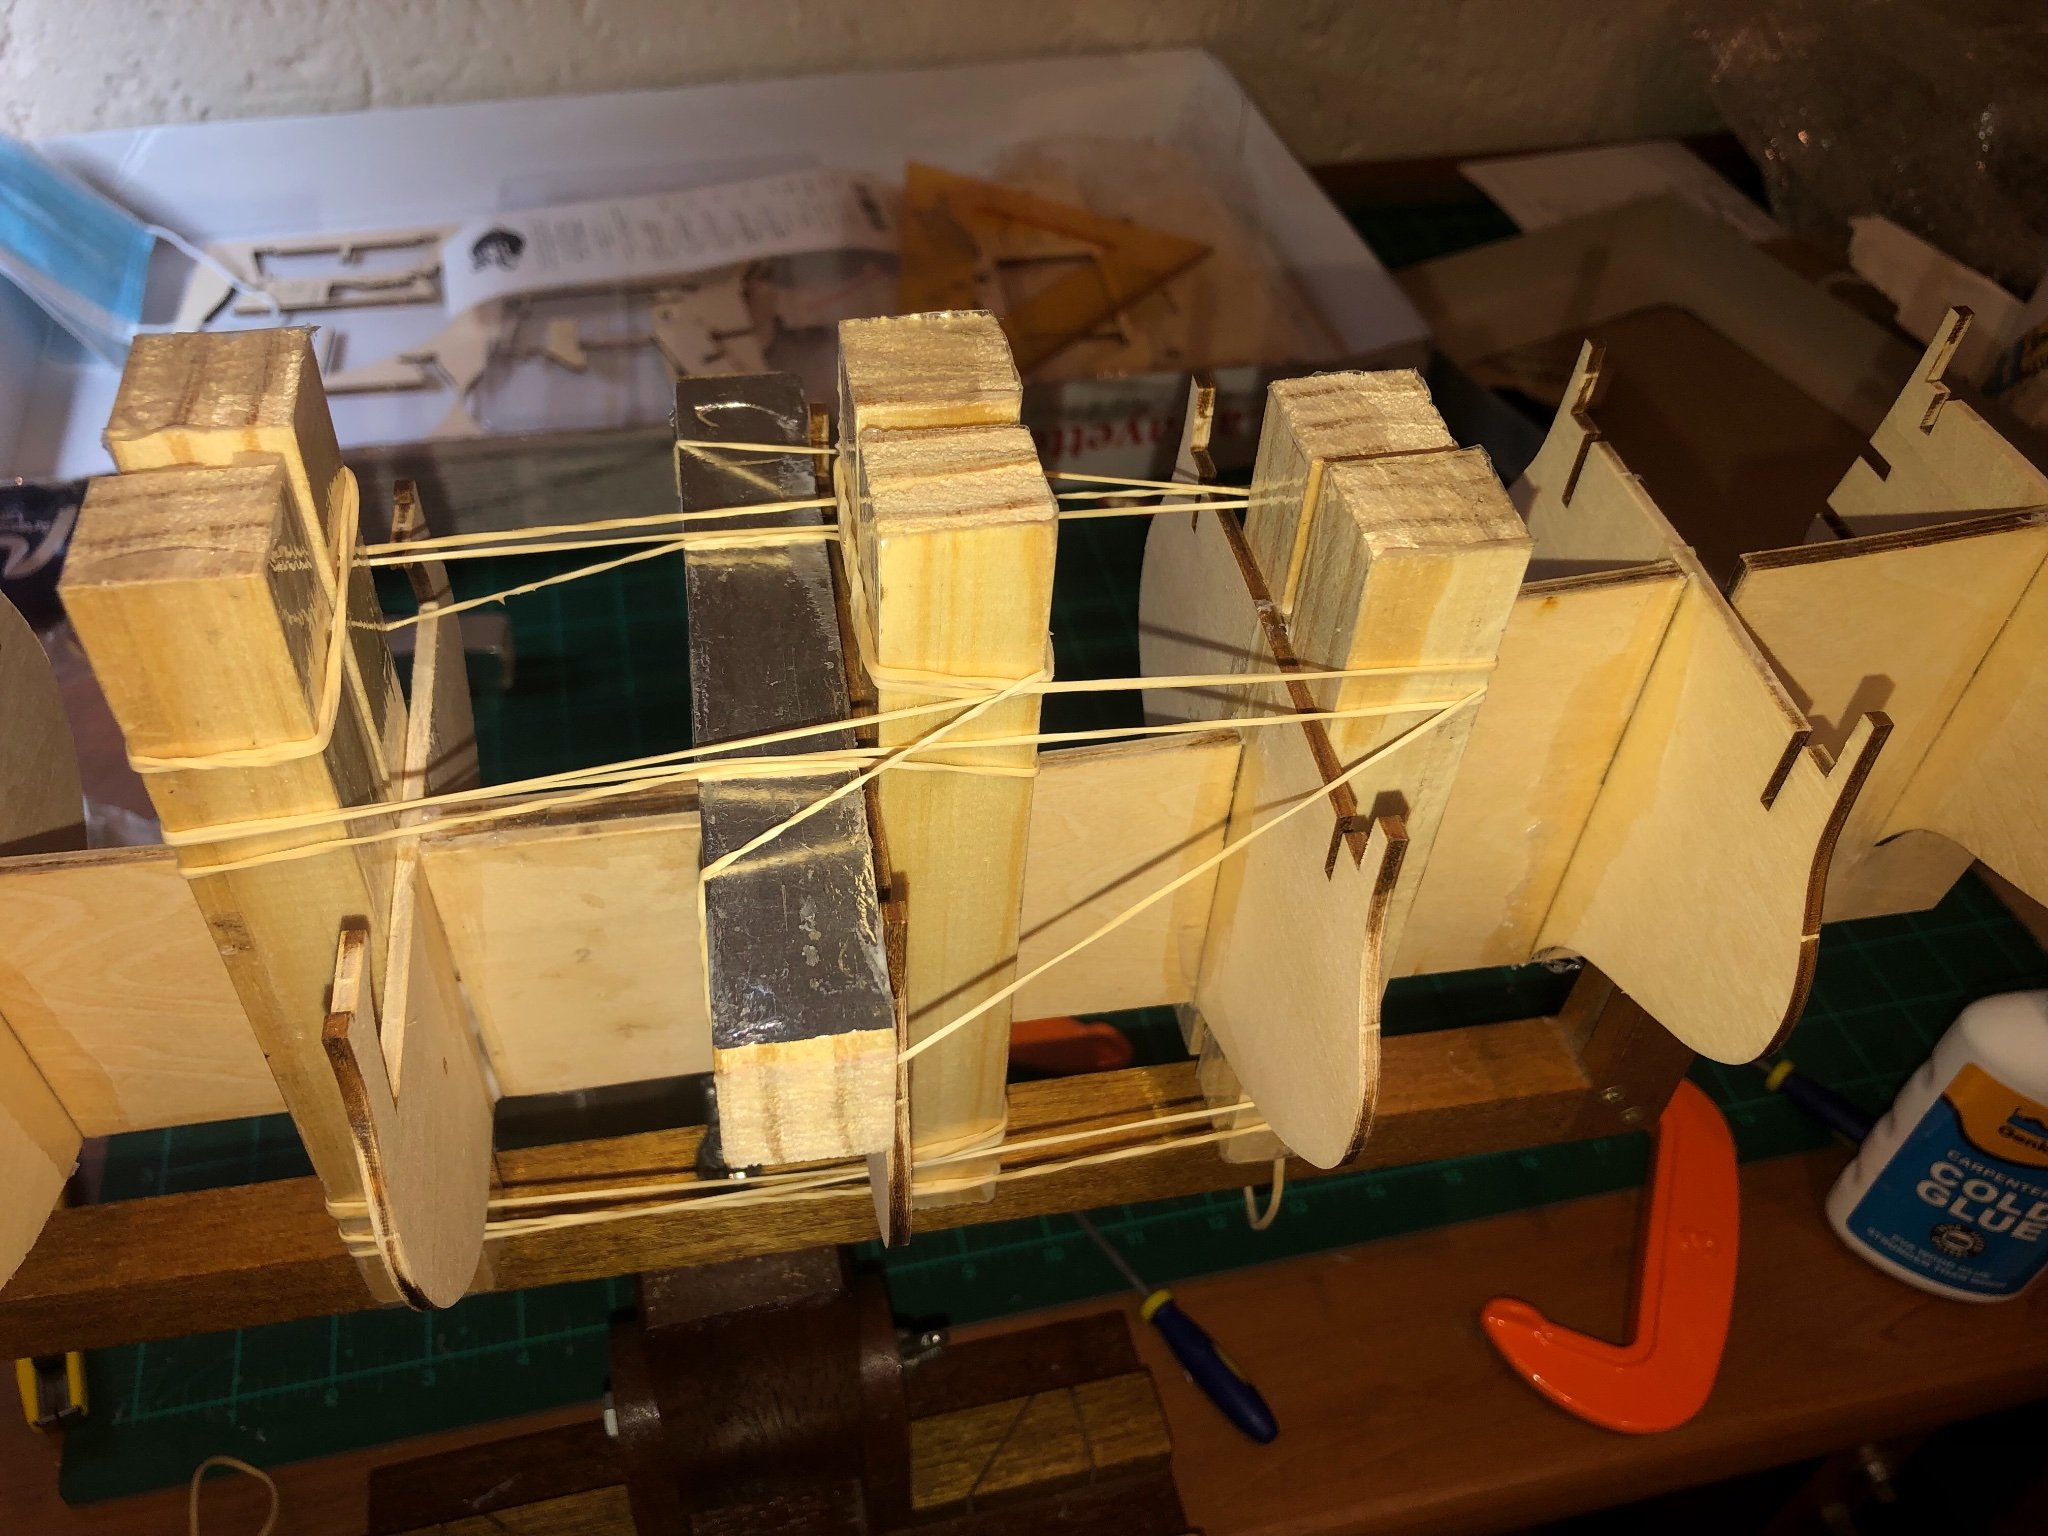
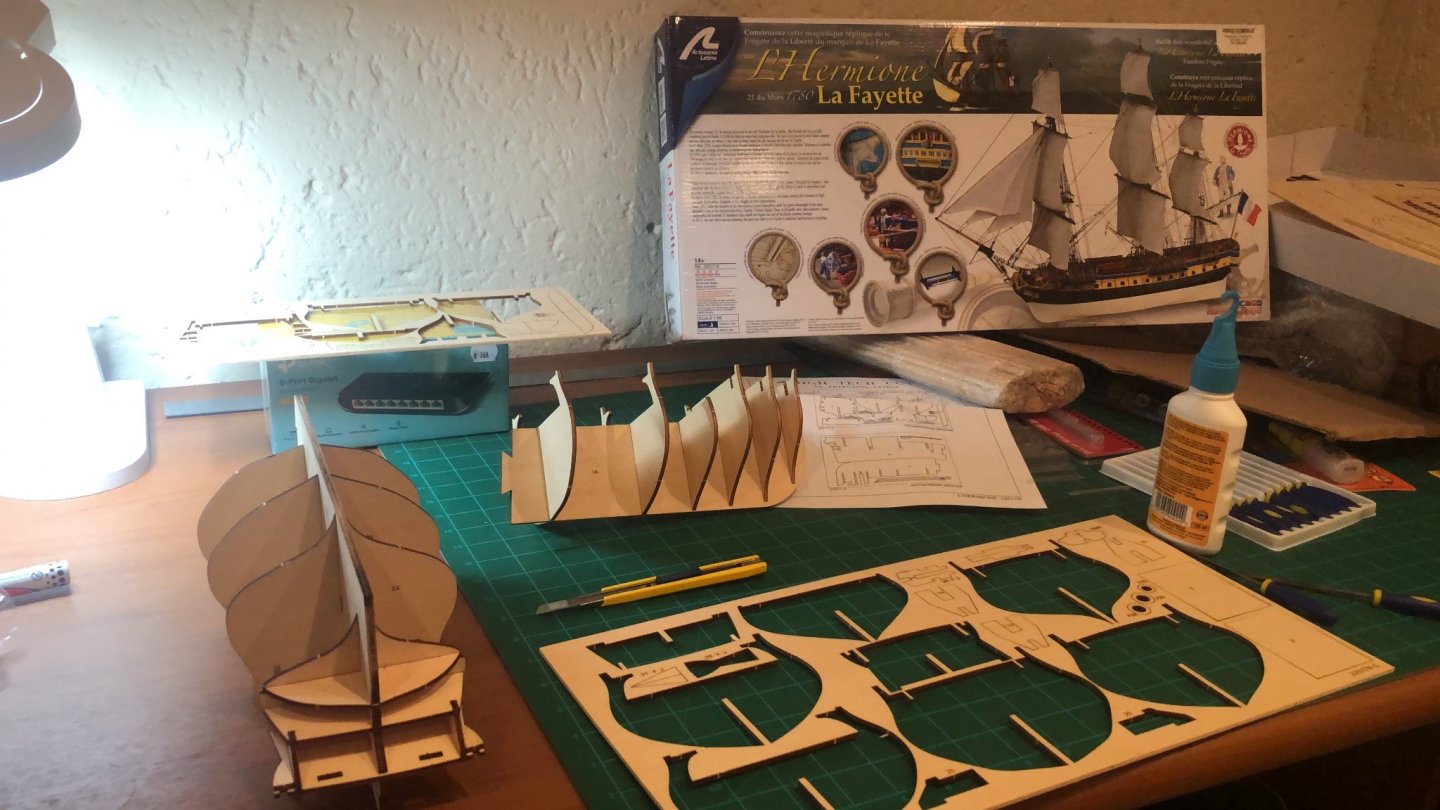
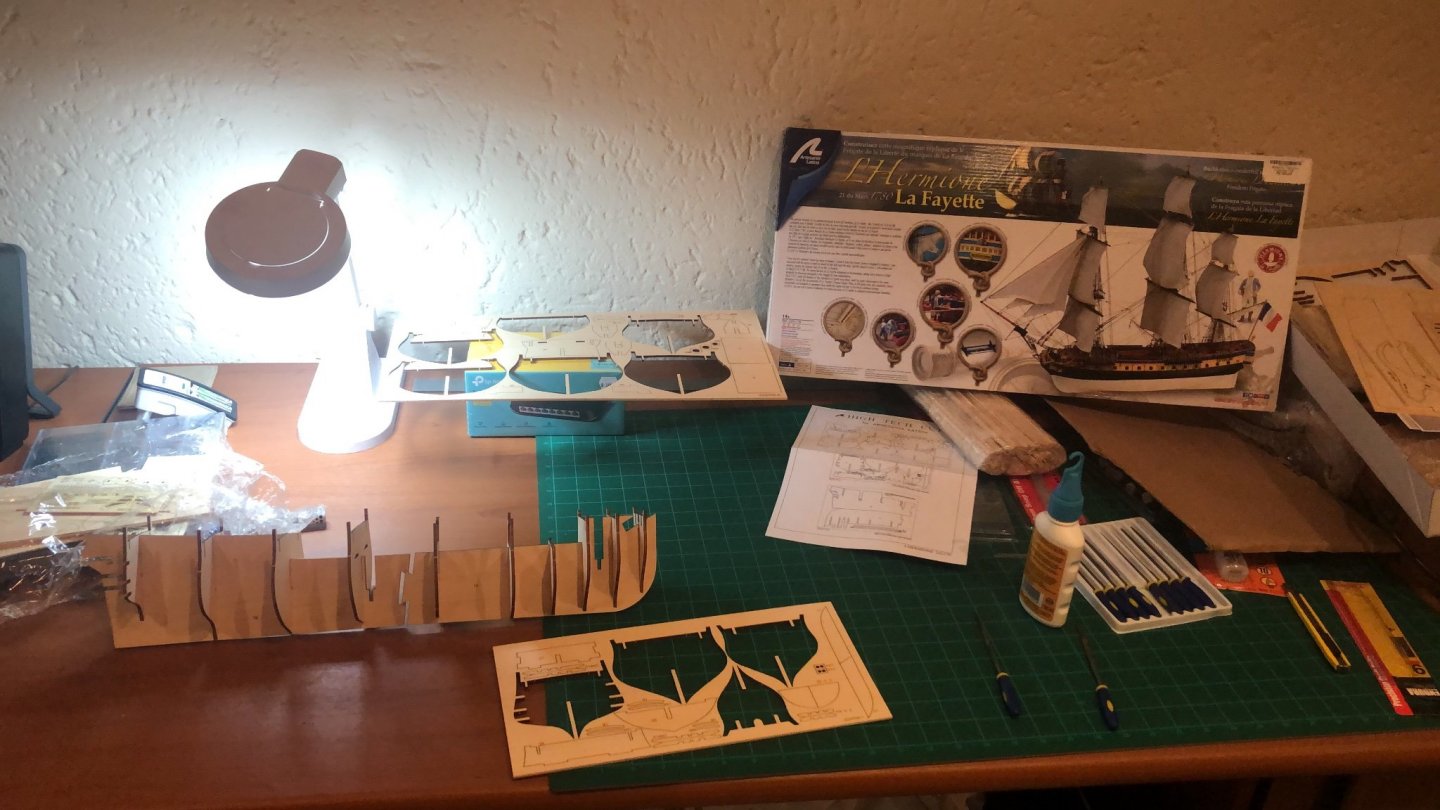
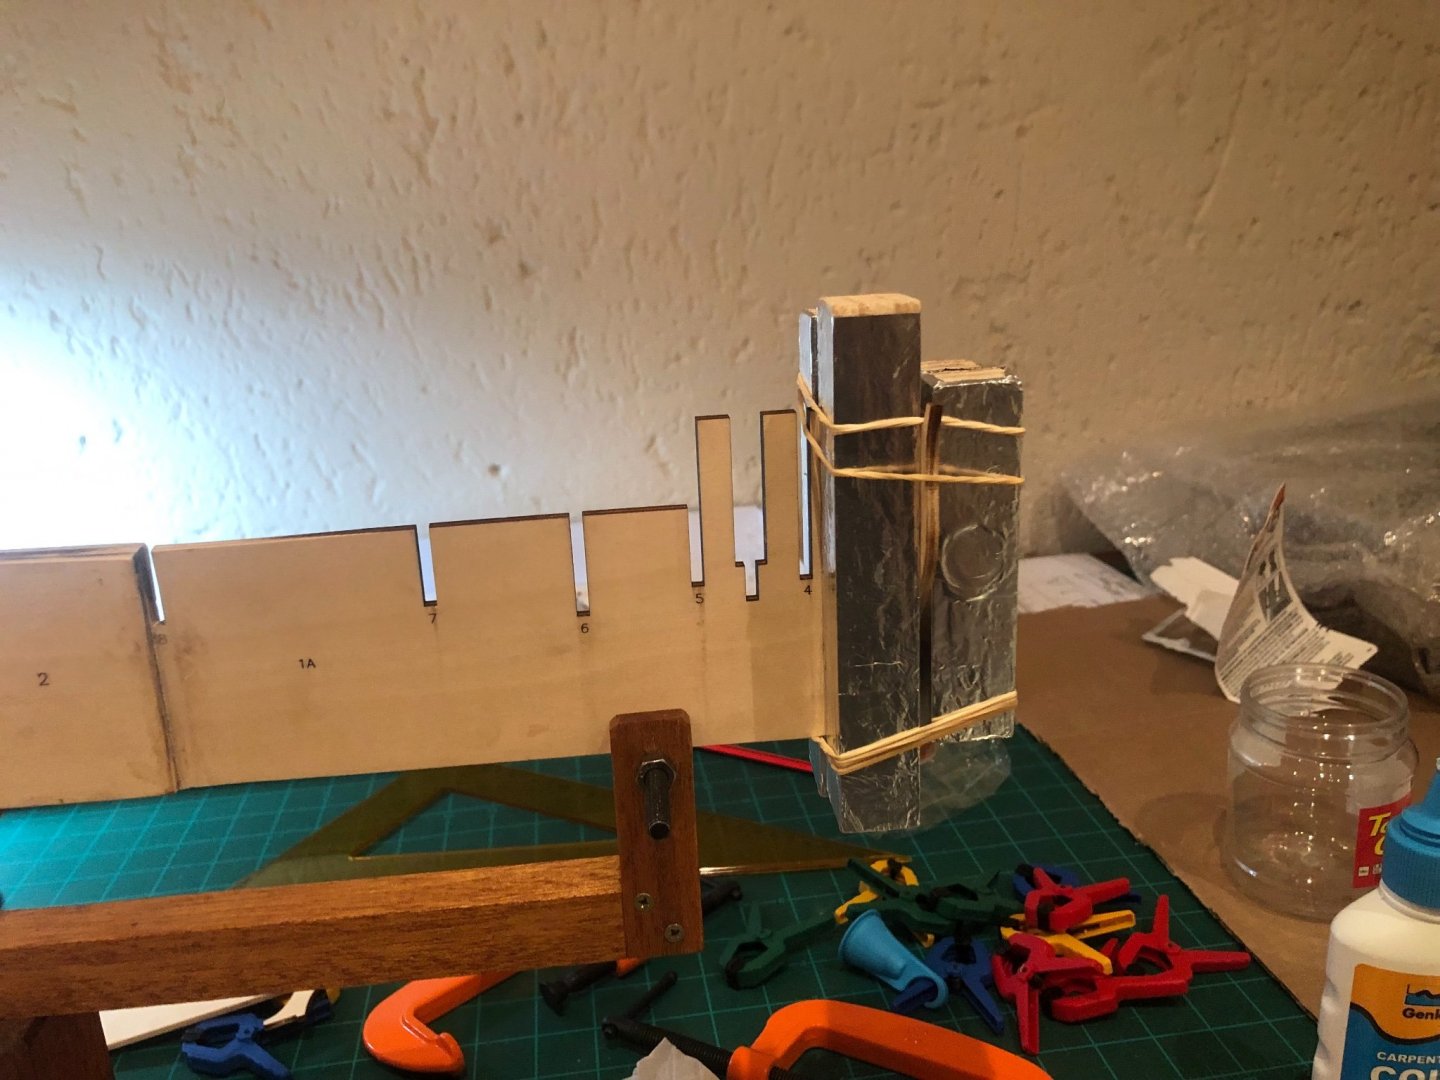
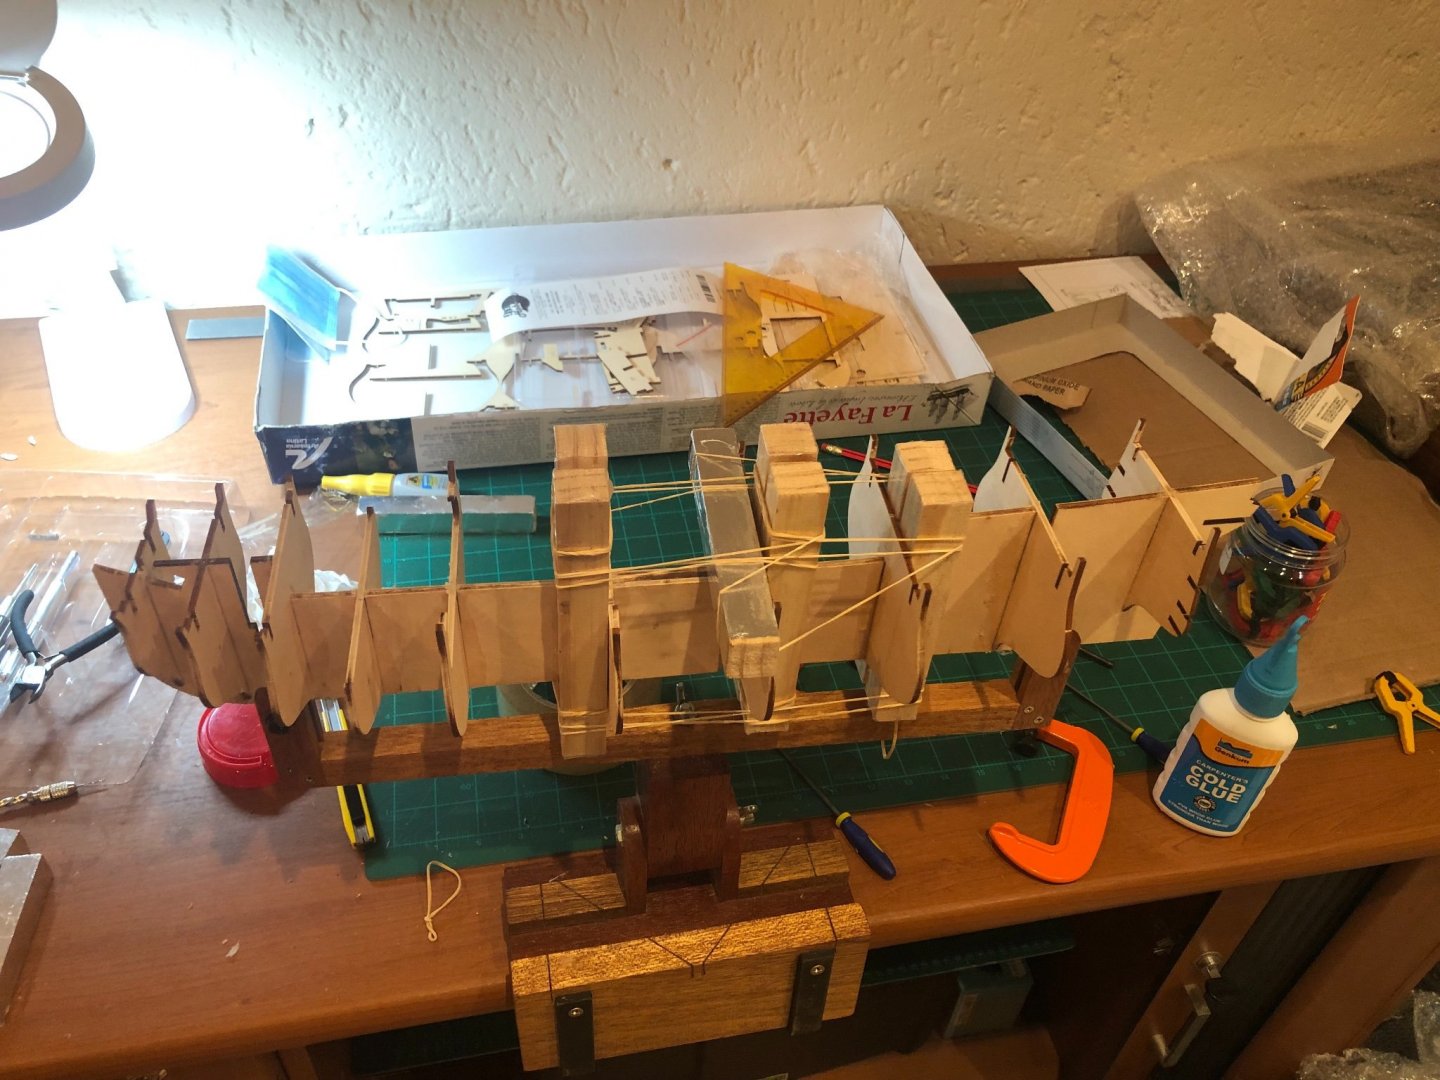
Greetings all, My name is Barend. I have been a lurker of this forum for quite some time now and I have always had the ambition and desire to try and build a model ship, it is an art I have always admired, and seeing many of the posts here on this forum has inspired me to attempt my very first ship model, the LaFayette Hermione Frigate 1/89 by Artesania Latina. This is a very daunting, exciting and new experience for me. So I am looking forward to sharing my progress and to gather knowledge from experienced modellers from all walks of life. I am open for tips and tricks and criticism, even if it may seem cruel; I want to learn, but more importantly I want to learn the right way and to improve. Lastly, some history on this build experience so far. I bought this kit on the 4th of September 2021, and I kept it in its box since then, until last week. This was a very anxious and exciting time for me as I anxiously wanted to build it, but space and time was a constraint (University student). I picked this ship not only because it looked very beautiful on the box, but also I found the history fascinating. Additionally, the fact that a life size replica of this ship exists is a big advantage for reference images. Some of my previous/lifelong hobbies are: super complex origami, speed cubing, record collecting, classic and antique cars enthusiast, and many, many more! My goals and expectations for this build: 1. I need to remember that this will not be perfect and it is a learning experience. 2. This will take time. 3. I want to first finish this model, I have a habit of not finishing what I started, especially large projects like this. 4. I want to learn the history of the ship as well as how it was built back in the day. 5. I want my planking to be perfect. 6. I know Rigging will be a struggle, and that is Okay. 7. I want to learn patience and persistence through perseverance. 8. Most importantly, I want to have fun. And try to balance studying with ship building. 9. Finish it within 6-7 months, maybe, maybe not? Time will tell… (This list will probably expand as I go along) I expect this to be difficult but also doable. My motto for this build will be: “Smooth seas never made a worthy sailor” Note: there are two versions of this ship, I am building the newer one. Alas! Without further ado, I present you my ship (well progress, but soon she shall set sail). Here is the box, the box is very nice. The Keel was laid down on 13 October, 2021. This was when I officially started with my build. Excuse the mess! I am still space limited, I am in need of a table in my hobby/spare room. (The keel clamp was gifted to my by a close friend, he also gifted me a display case) This was the first day of building, pieces cut out and dry fitted, save for the keel as the two halves were joined prior to the dry fit. Glueing the ribs onto the from/start of skeleton. Here is my very rudimentary and admittedly wonky way of glueing the ribs squared to the frame. I stuck some tape on the “wood clamps” to prevent the wood glue from sticking to it. I have never seen anyone do it this way before. All pieces are perfectly square except one of the pieces was warped from the get go, however its only out by 0.5mm. Glueing contraption and rubber bands contraption continues… Can’t have enough rubber band right? The goal is just to get it as tight as possible, to try and negate any tolerance issues, because it can get wobbly. This process took me about 2 days with 3h work per session. But thanks, that’s all for now. I hope you enjoyed my first post, and feel free to drop comments and share some thoughts and criticisms. Also feel free to ask questions, in the unlikely event that I should have the knowledge to answer. Soon my hobby room will be properly kitted out…. P.S. Apologies if there are any formatting and other issues here, this is my first post, moderators feel free to do your job. But for now, all hands on deck and happy building to you all! Cheers, Barend


- 7 replies
-
- 5
-
-
- artesania Latina
- First build
- (and 1 more)