HOLIDAY DONATION DRIVE - SUPPORT MSW - DO YOUR PART TO KEEP THIS GREAT FORUM GOING! (83 donations so far out of 49,000 members - C'mon guys!)
×


Spaceman Spiff
-
Posts
205 -
Joined
-
Last visited
Content Type
Profiles
Forums
Gallery
Events
Everything posted by Spaceman Spiff
-
 I saw that. I had gotten these years ago. Don’t know the Mark for the ones I saw in Dad’s book, but they had were radar directed and had a small antenna/dish on them
- 176 replies
-
- 1
-

-
- new orleans
- iron shipwrights
- (and 2 more)
-
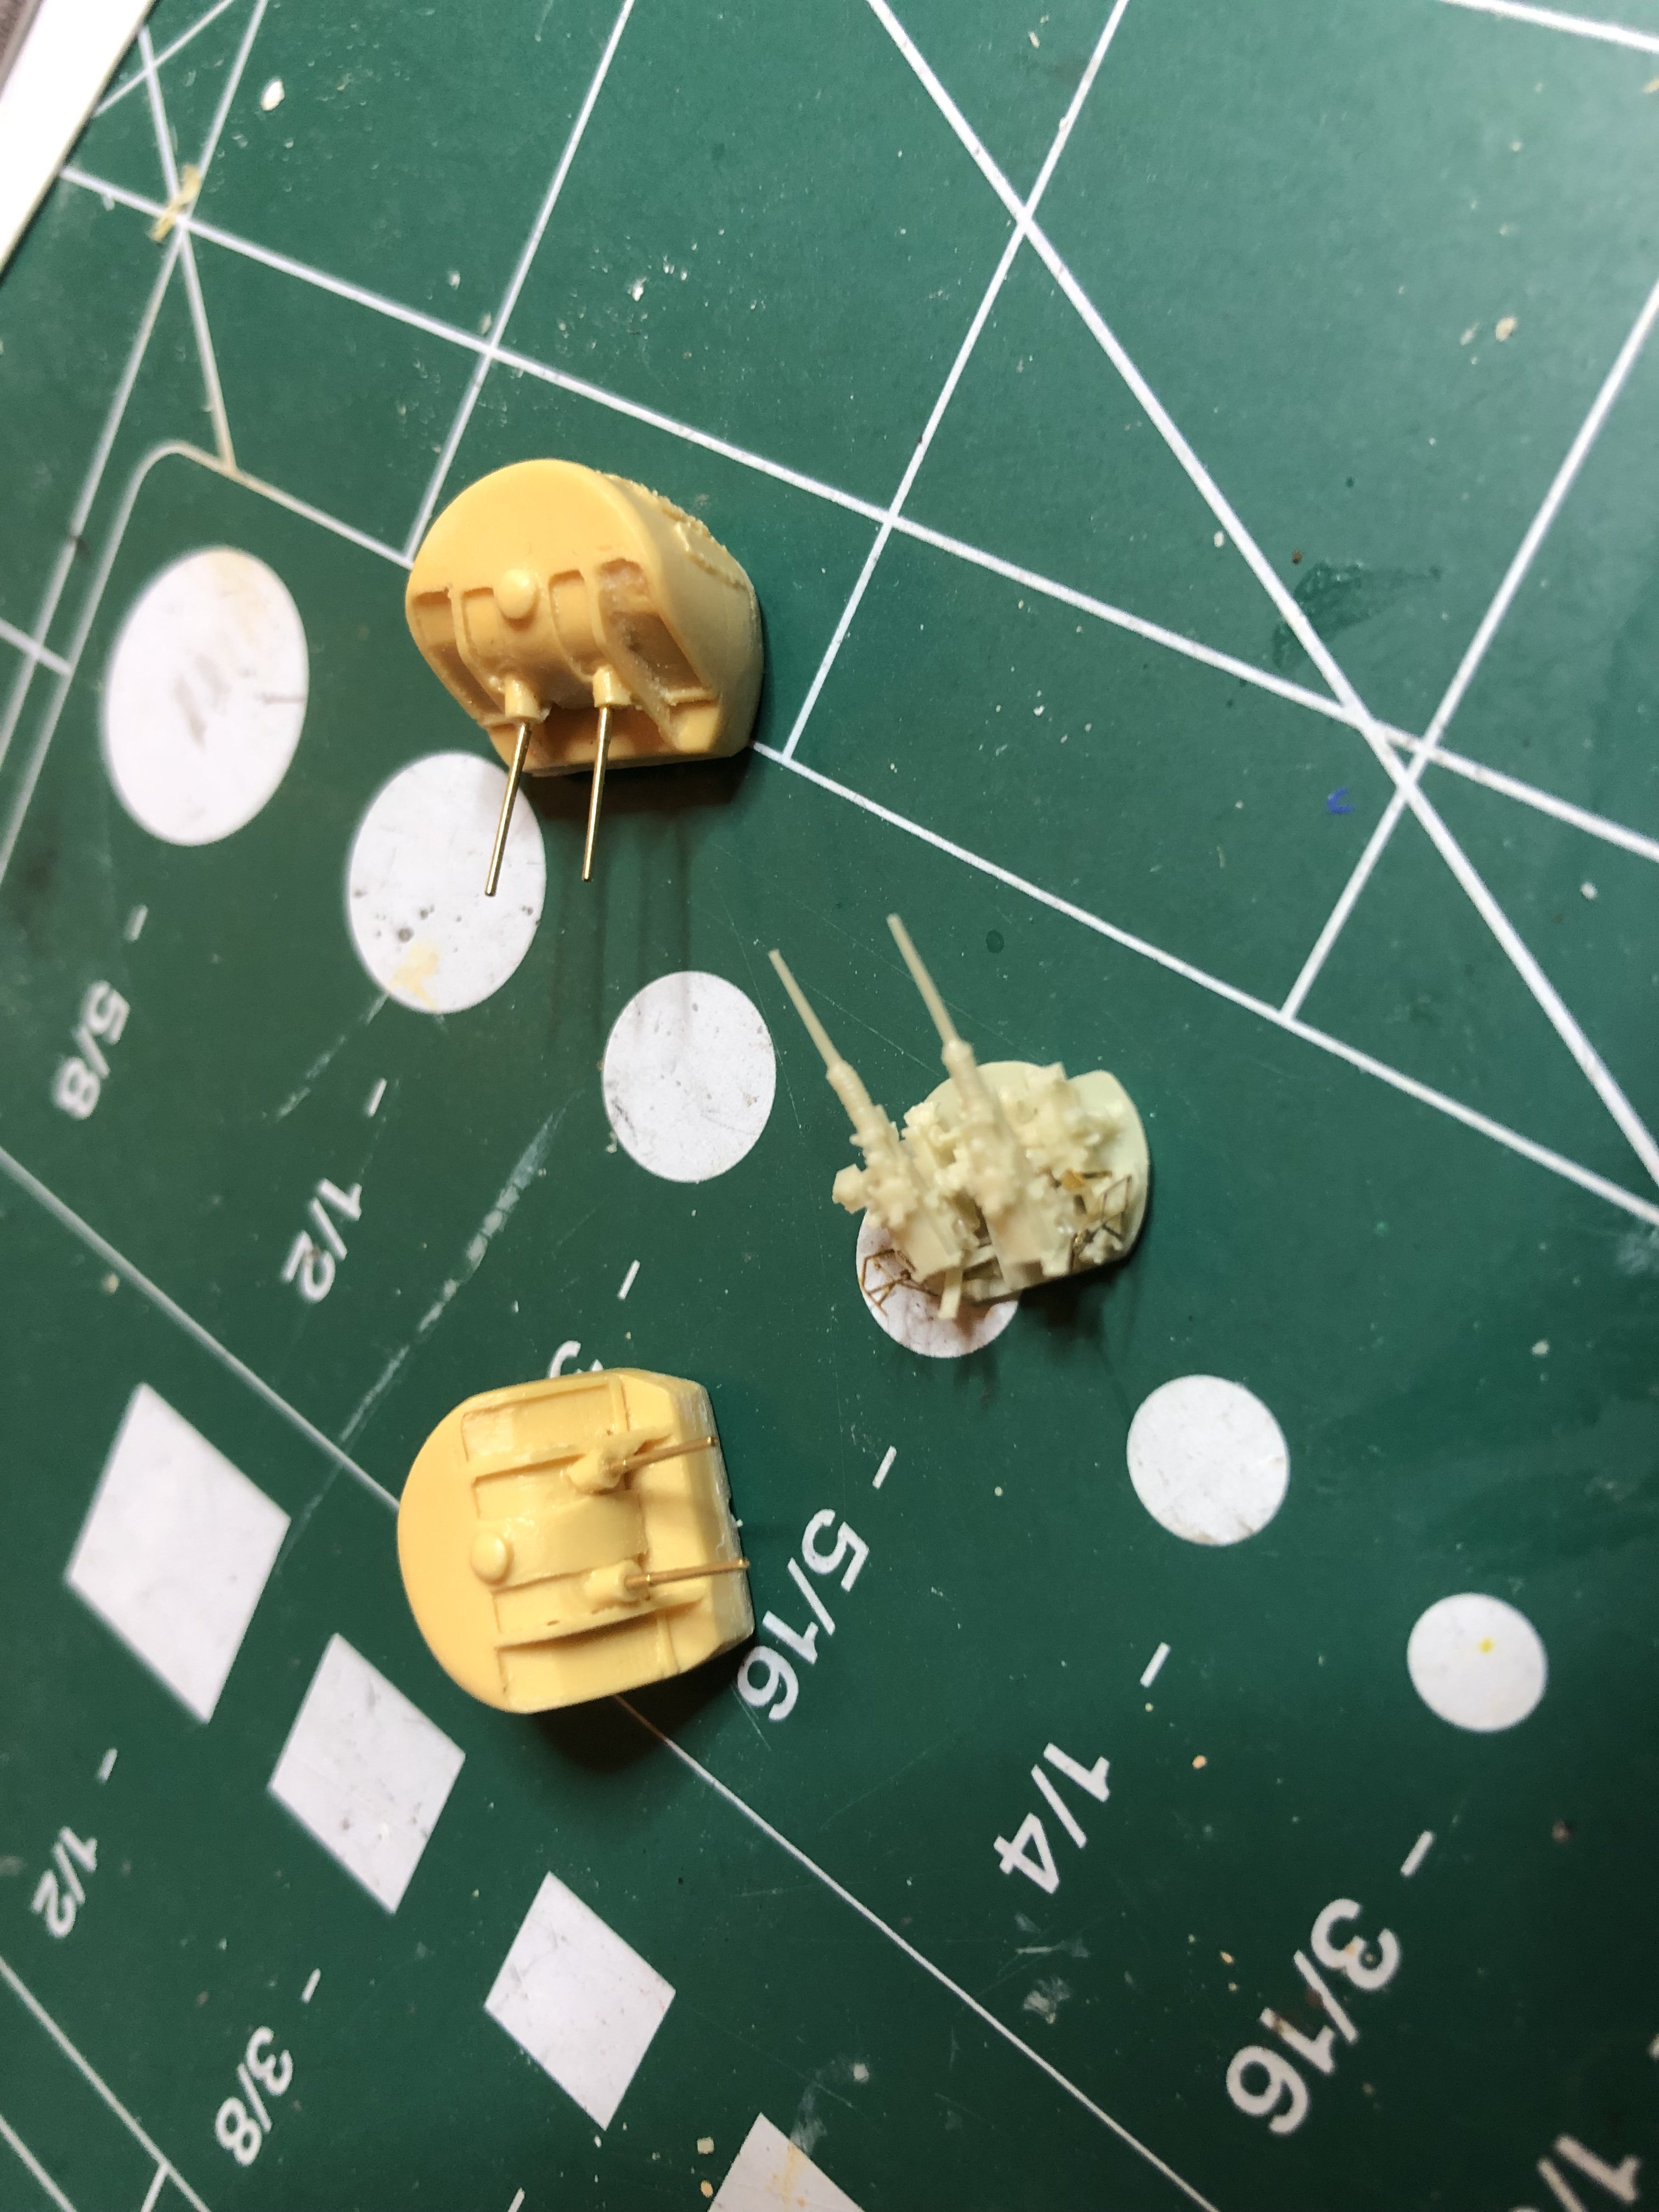
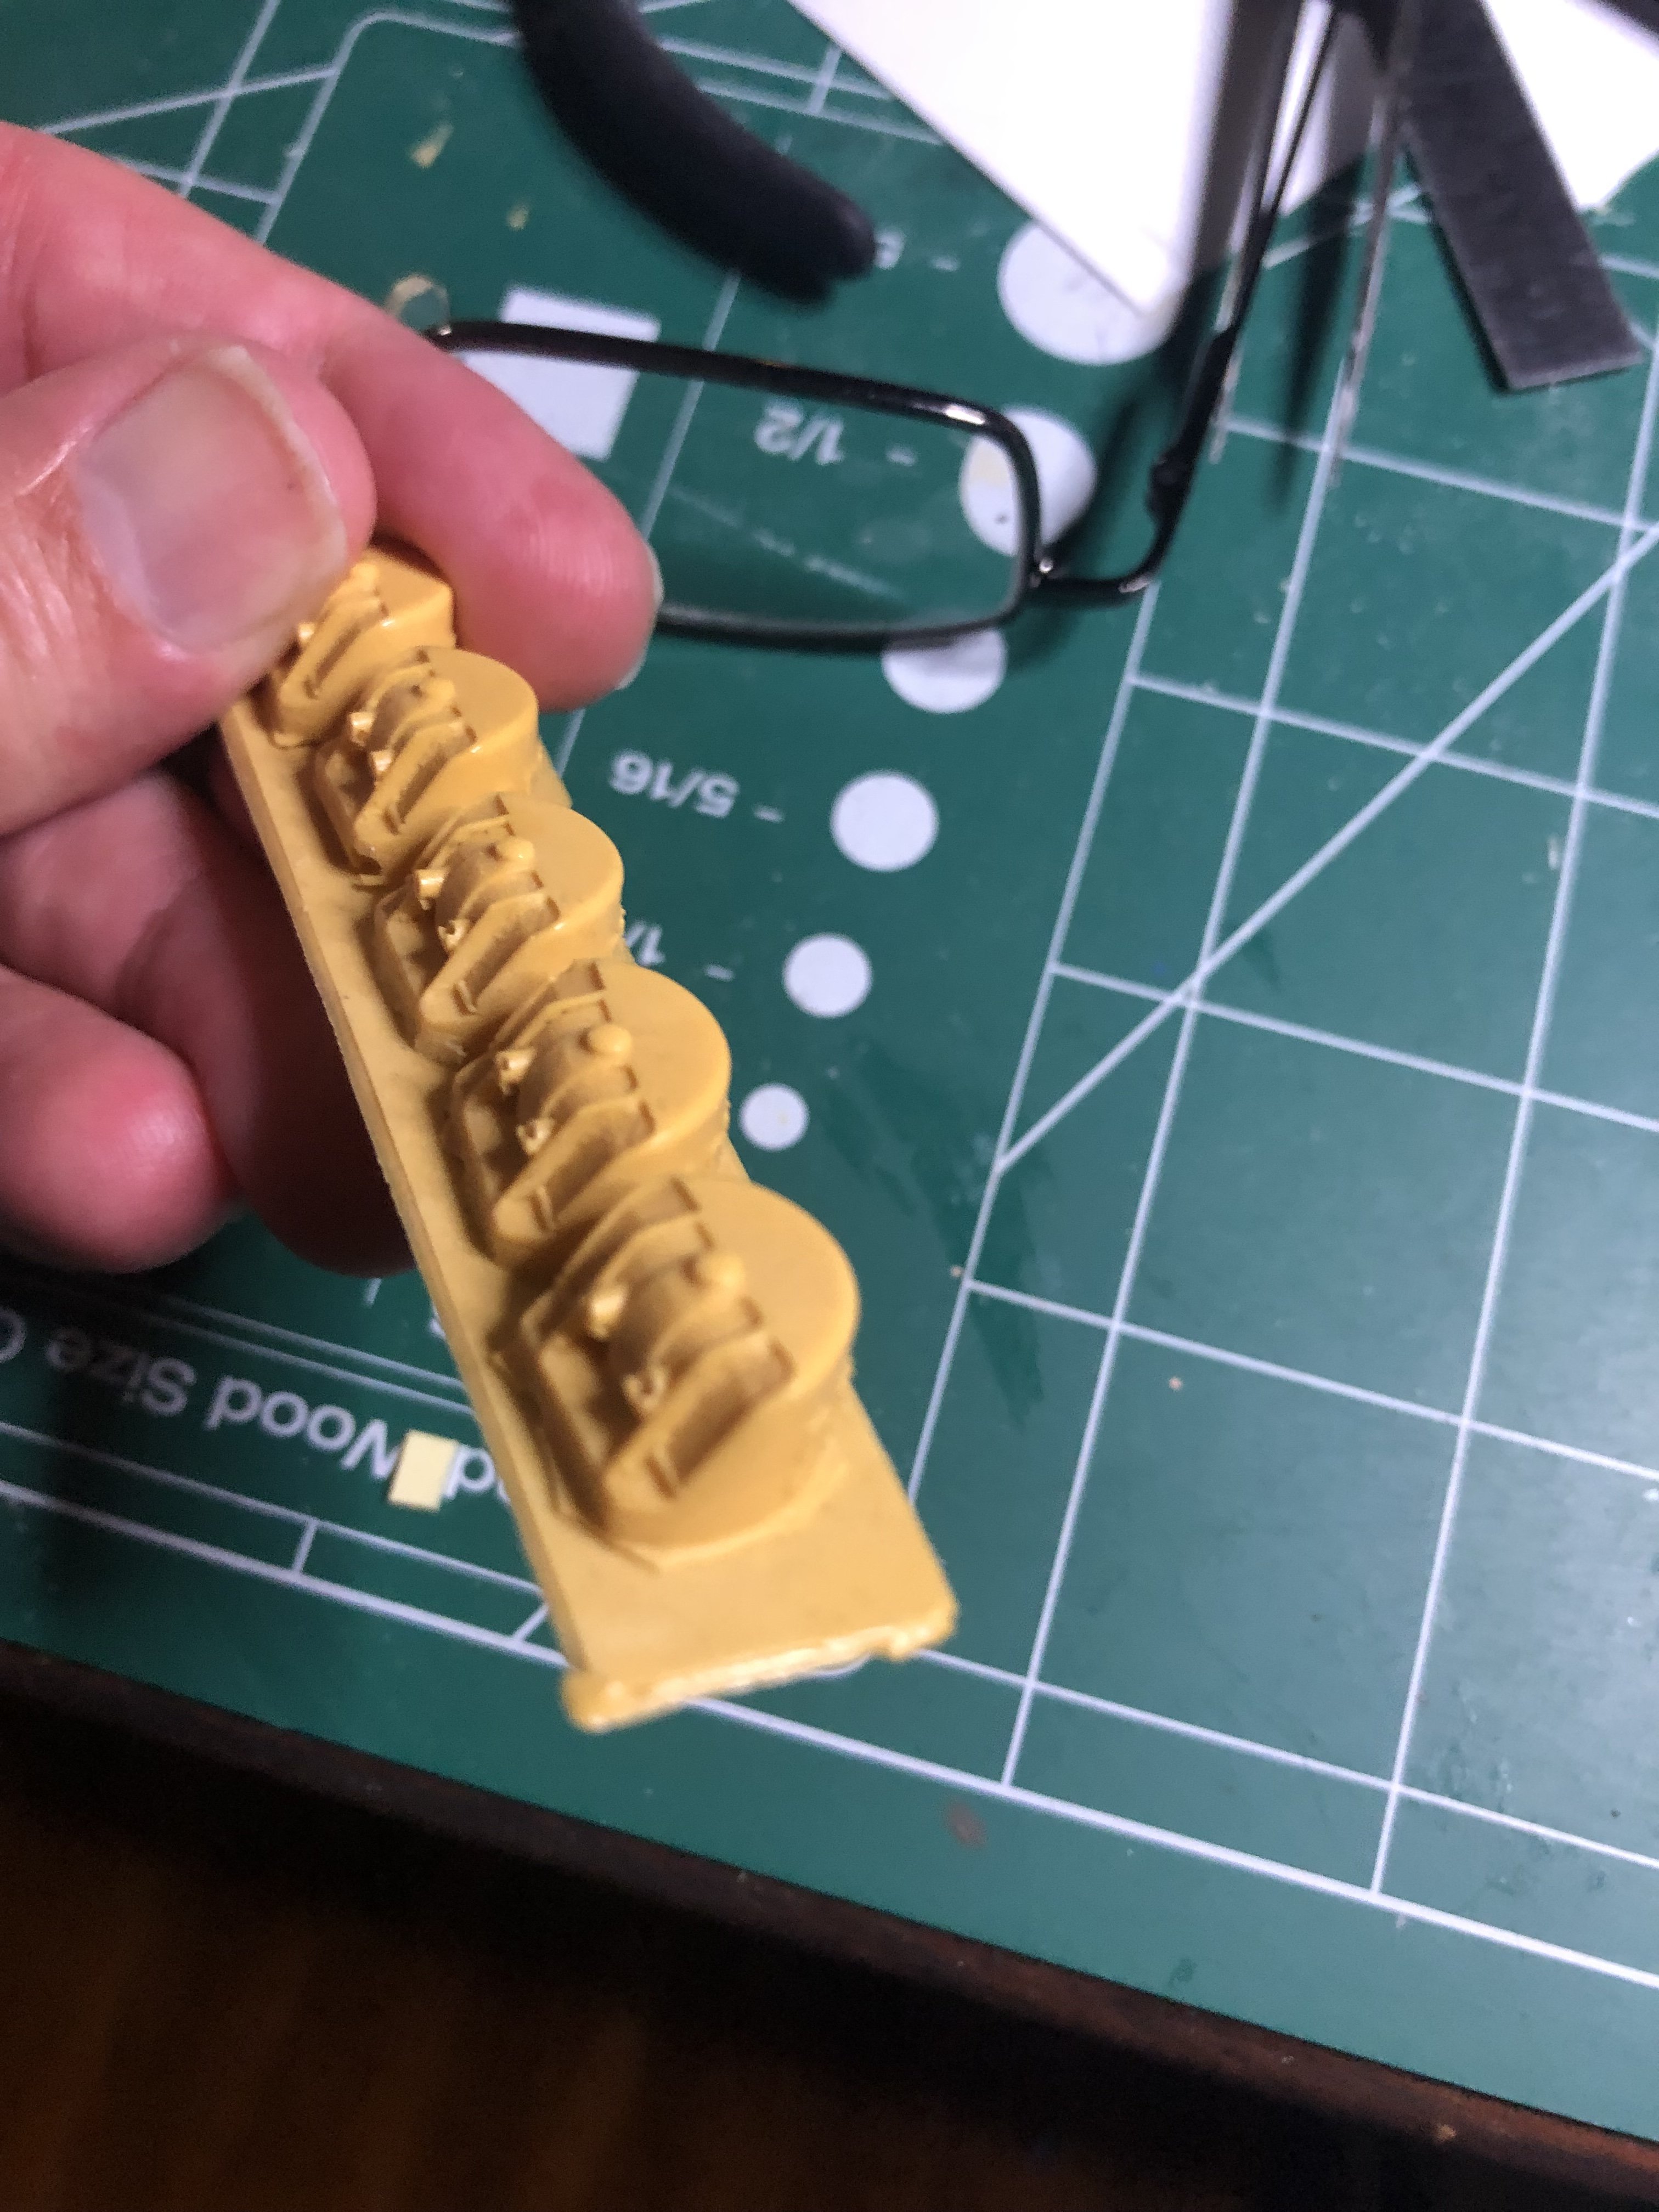
Work on the armament continues. The open 3”/50 mounts are a beast. They are a Veteran Models kit. Not quite the right version, but like the enclosed dual mounts, no one makes those - hint, Mr Model Monkey! Also ordered some 1/350 Black Cat USN sailors and USN lockers, another hint… So here it is so far. I’ll do the other one tomorrow. Here is what I have so far. Thanks for looking!

- 176 replies
-
- 6
-
-
- new orleans
- iron shipwrights
- (and 2 more)
-
Ok, sorry to keep on this subject, but I'm thoroughly confused about the flight deck markings. It's a shame that there aren't many photographs of the deck at that time. The few I found that give a date show more than just the dashed line. Now, after asking Dad again, he says he doesn't remember - after all, it's been 50+ years since he was on her. I'll look at that book one last time, then maybe I will paint them. Just in case.
- 176 replies
-
- 1
-
-
- new orleans
- iron shipwrights
- (and 2 more)
-
Ok, so I talked to Dad. Only a dashed line going down the starboard side and not all the extra “parking” markings going down the deck. Also noted is the black shading on the “11” at both ends…an interesting thing about that is that the shading is different fore and aft. For the aft numbers the shading is made to to look as looking from the rear and throwing shadow forward. The forward numbers look as if it’s throwing shadows to the rear. Oh, and there was no white outline of the deck as in the other “later pic.” Interesting. Easy enough to do. Painting will begin when this humidity drops a bit. I have started on the armament, the dual 3”/50 enclosed mounts are ready for paint. Working on the last two mounts positioned aft. Pics coming soon. I will do an in-process pics of each stage of painting and post them when I finish that part. Thank you so for following along!
- 176 replies
-
- 4
-
-
- new orleans
- iron shipwrights
- (and 2 more)
-
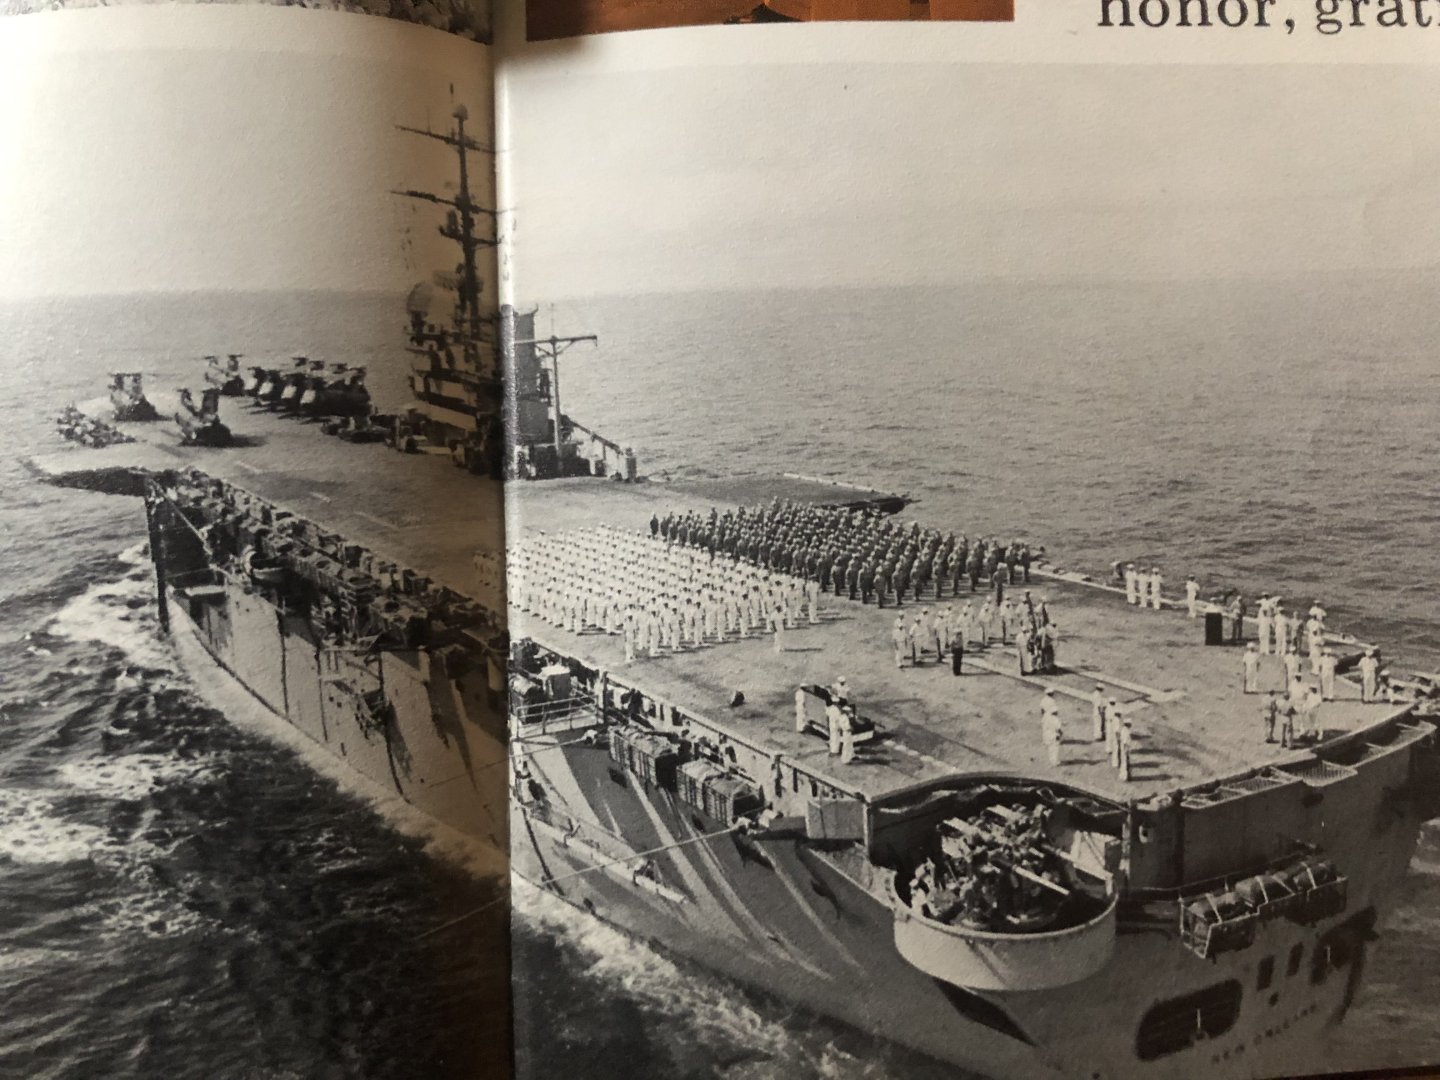
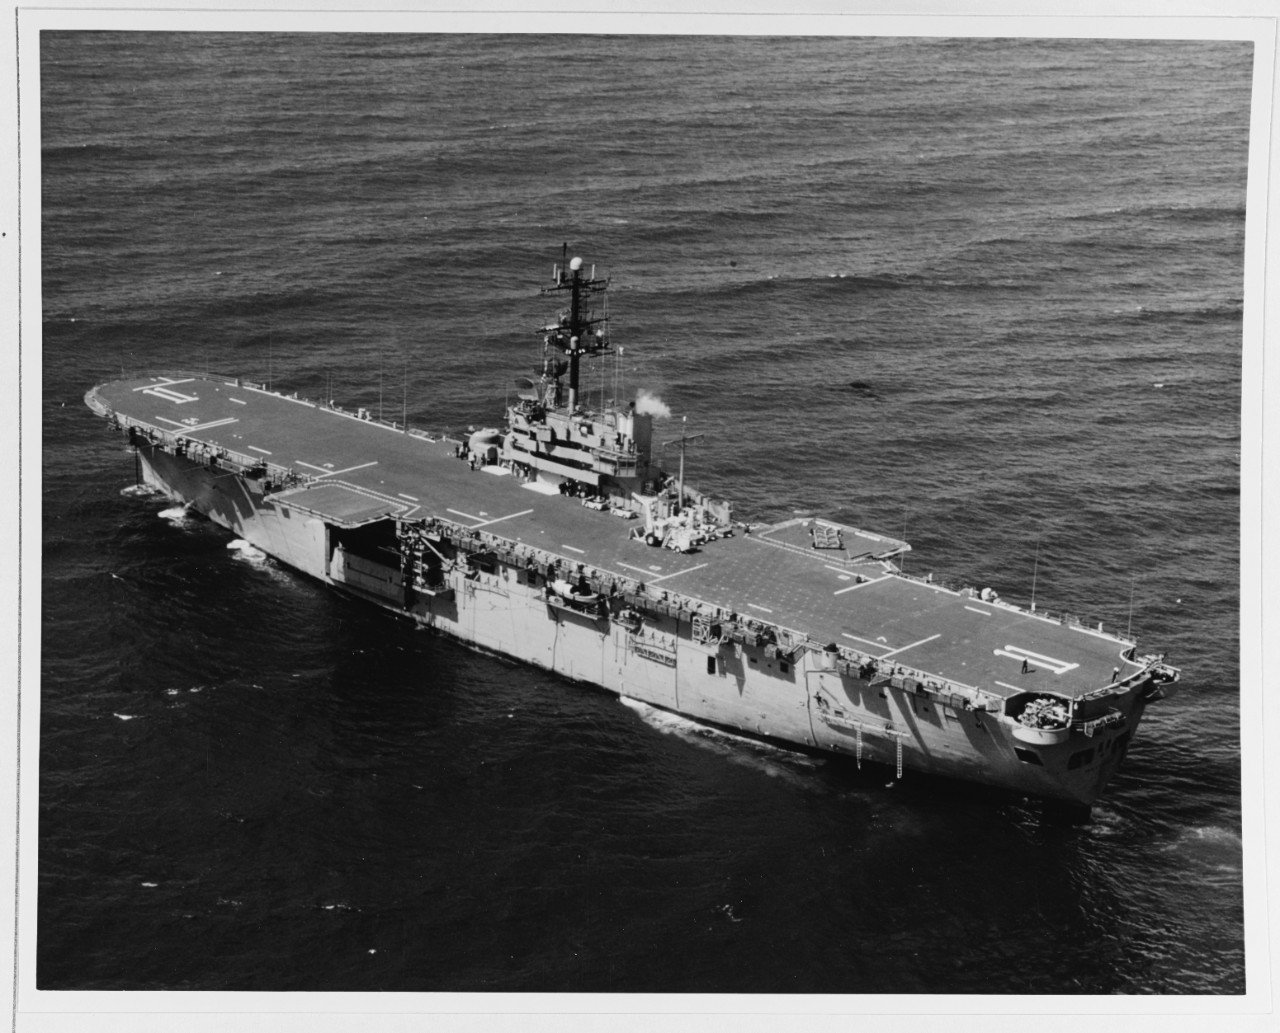
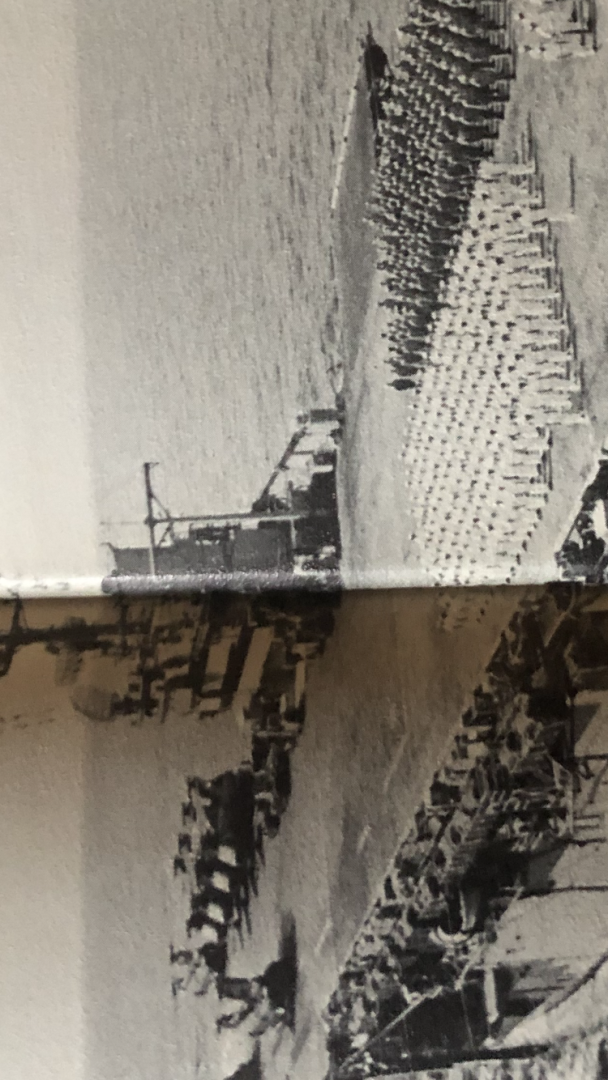
Found another view from Dad's cruise book. 1969-1970 WestPac cruise. Best image of the flight deck except other bits and pieces. Note the black shading on the deck numbers, the single white dashed line down the starboard side. Seems as if the other deck markings are missing. Not sure. Also not sure of correct scale for the number size in 1/350
- 176 replies
-
- 4
-
-
- new orleans
- iron shipwrights
- (and 2 more)
-
Thank you! The plastic rod I was going to use is a bit thick, however I have a bit smaller gauge brass rod or maybe even a hypodermic needle I can use in its place. I may not have to carve it out but build around it as in the pic. That’s the USS Guam in your last pic, but the masts look the same. Here is something I found a bit interesting in studying the photos last night - the deck markings appear to be different in Dad’s cruise book vs other period pics. It appears that the “11” has a black shadow effect and also there is only one dashed white line on the left side of the deck. While the markings may be hidden by the people in the ceremony, it certainly looks different. Are my eyes deceiving me?


- 176 replies
-
- 2
-
-
- new orleans
- iron shipwrights
- (and 2 more)
-
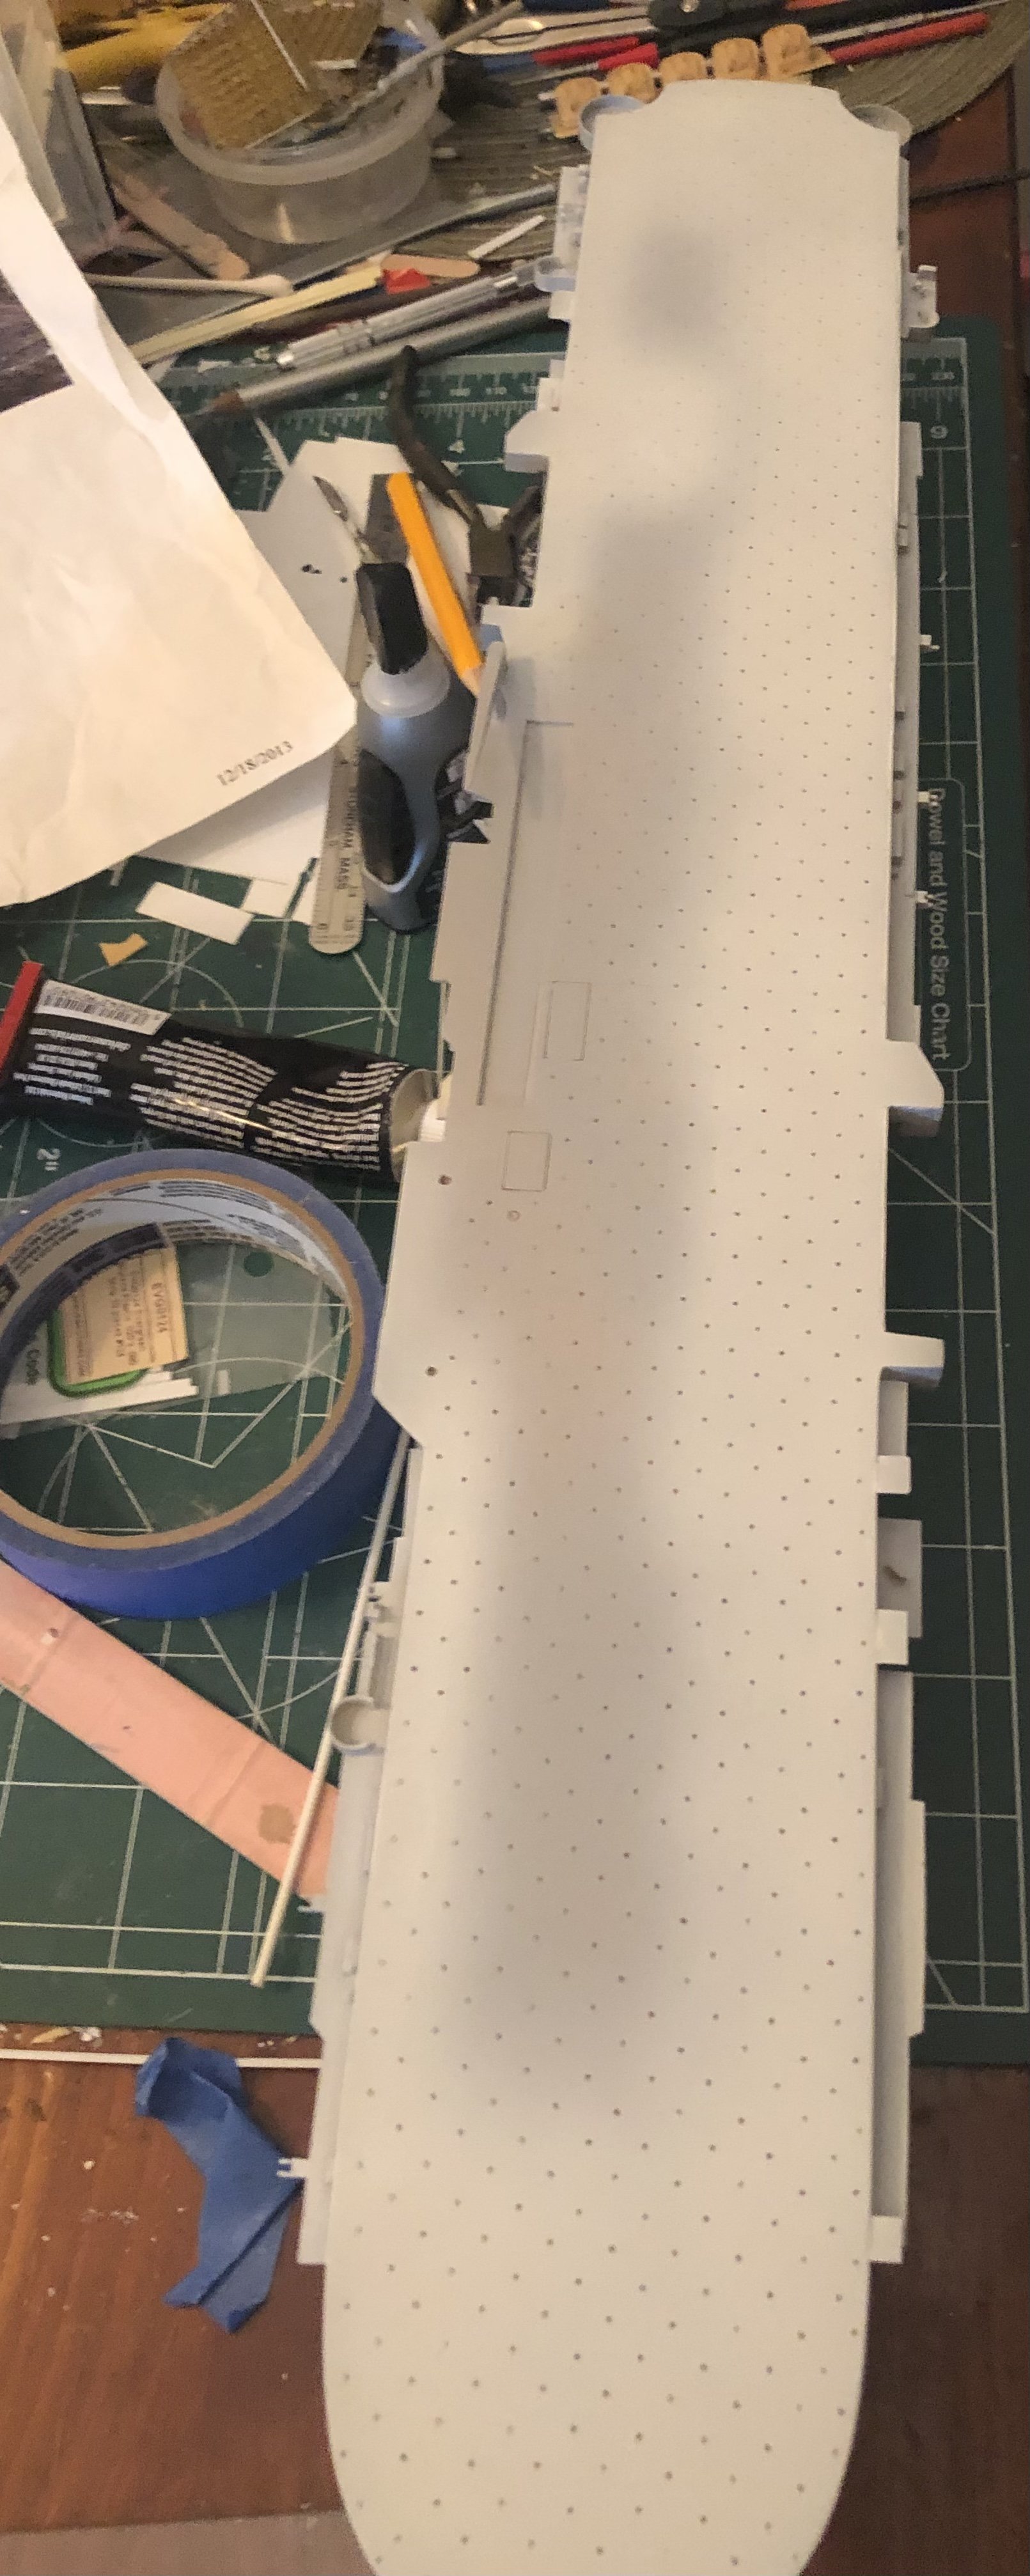
Not much accomplished tonight. I did put the white down, although I may need another coat. Doesn’t look as good in the pic. After that dries for a day or two, I’ll mask the markings and numbers. Then I’ll start with the basing colors before painting. As you can tell from a previous pic of the ship with all the people, there flight deck is heavily weathered and definitely not one uniform color. That pic was taken off the coast of Vietnam, 1970. That’s what I’m going to try to go for. BTW, painting is my favorite part of modeling.
- 176 replies
-
- 4
-
-
- new orleans
- iron shipwrights
- (and 2 more)
-
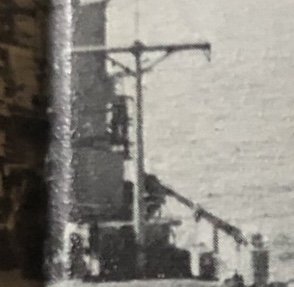
Yep, that’s my plan. Here is the whatever that thing is, zoomed in. Shouldn’t be too difficult. Appears to hull grey with some soot staining at top. Lookimg at the flight deck, is that a thin white border around the deck? If so, that’s an easy thing but just some tedious masking. The white lines and “11” will all be painted, with the exception of the 1 -7 which I’ll use the kit decals. I’ll paint the deck a very dark grey but will use the black basing method and then mixtures for tonal differences. That’s a trick I learned with my planes.
- 176 replies
-
- 1
-
-
- new orleans
- iron shipwrights
- (and 2 more)
-
Zero 😂 i have some plastic rod that will work - I was thinking of cutting a notch in it where the other will sit. And then attempt to build the rest around it
- 176 replies
-
- 1
-
-
- new orleans
- iron shipwrights
- (and 2 more)
-
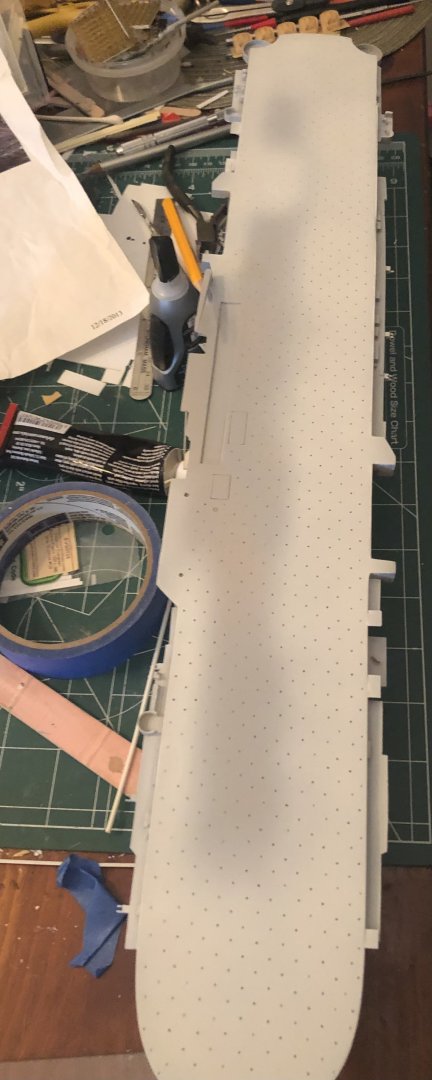
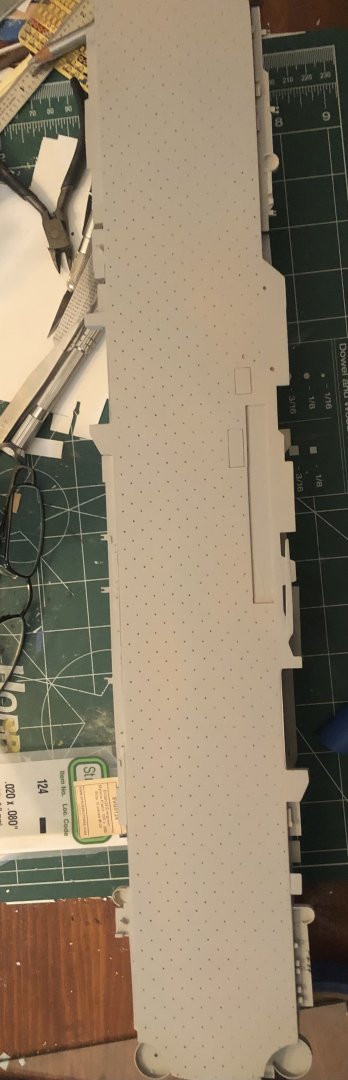
I wasn’t able to to do very much to it over the weekend asides from spraying primer on the flight deck (Tamiya fine grey). A tape test shows it adheres well, so that’s good. I’ll try to spray white on it tonight where the markings will go. While that dries, I’ll turn my attention to the smaller mast-thing found behind the island and shown in the pic from Dad’s cruise book. Have no idea how that will be made.
- 176 replies
-
- 2
-
-
- new orleans
- iron shipwrights
- (and 2 more)
-
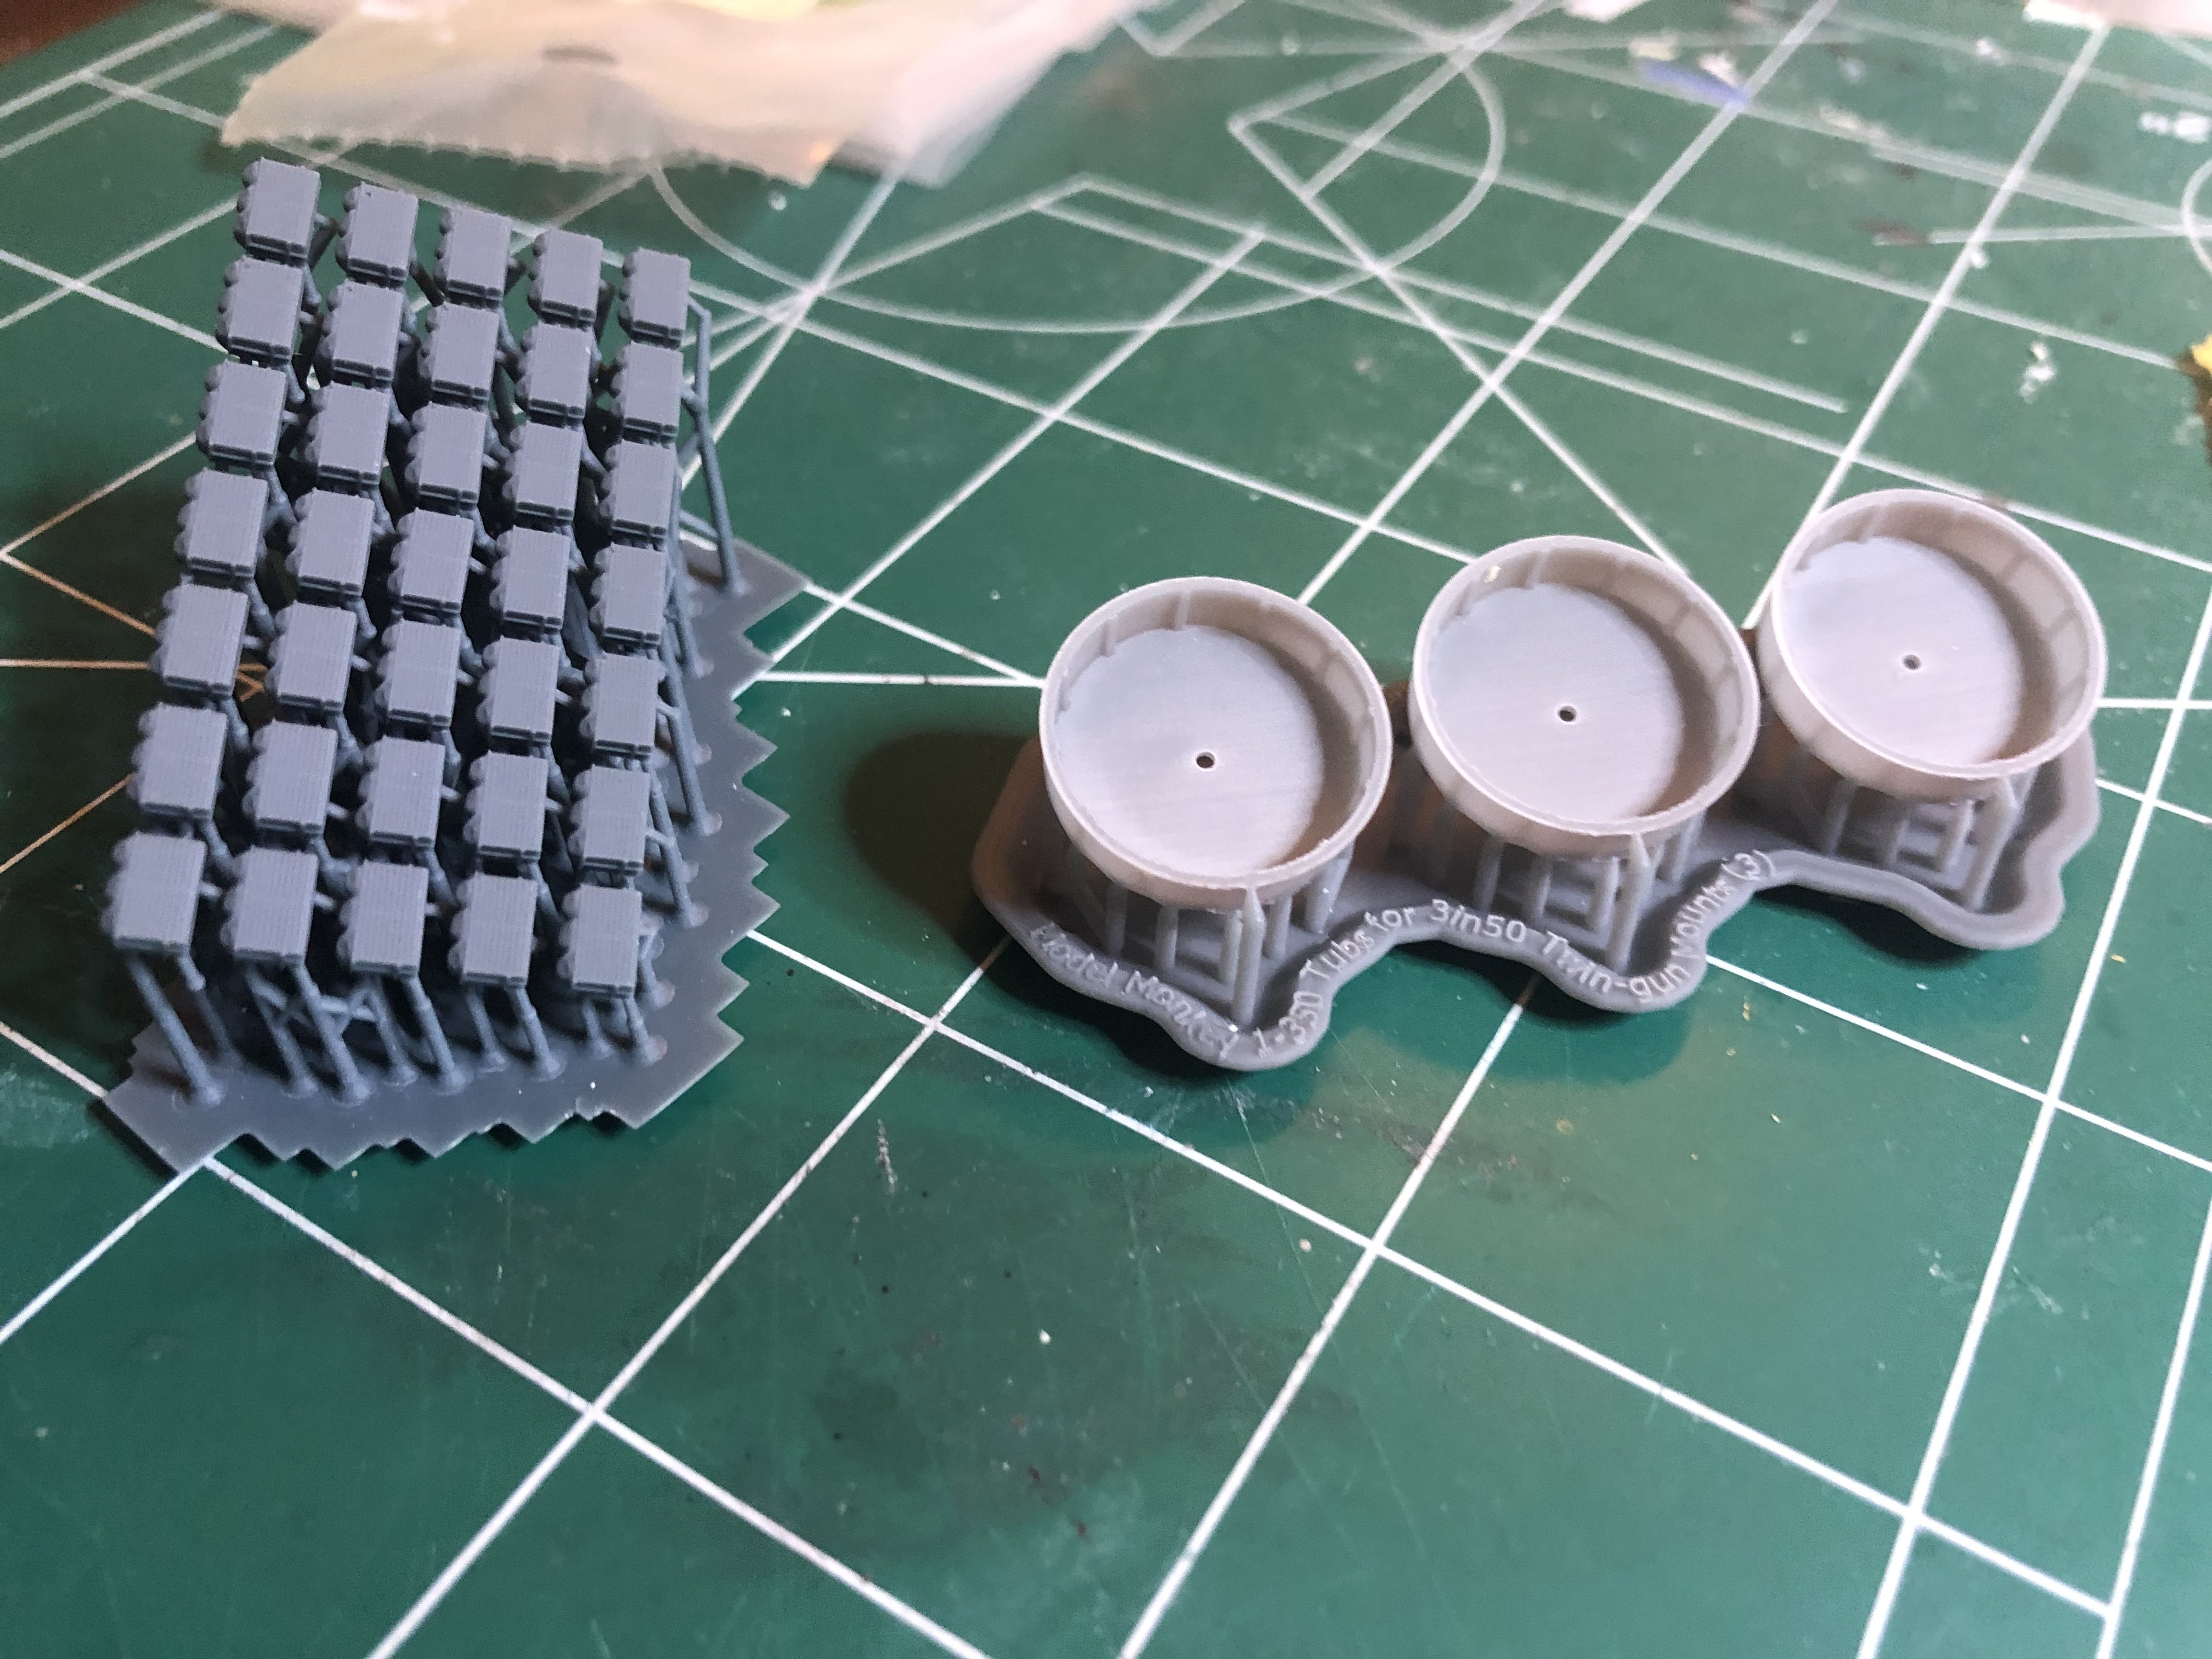
Time for a most deserved shout out to Mr Steve Larsen, aka Model Monkey, for service and products above and beyond! Not only are the parts of exceptional quality, but they fit perfectly, as shown. The parts were packaged perfectly and arrived much faster than expected! Thank you, sir!!!! Highly recommended!


- 176 replies
-
- 4
-
-
- new orleans
- iron shipwrights
- (and 2 more)
-
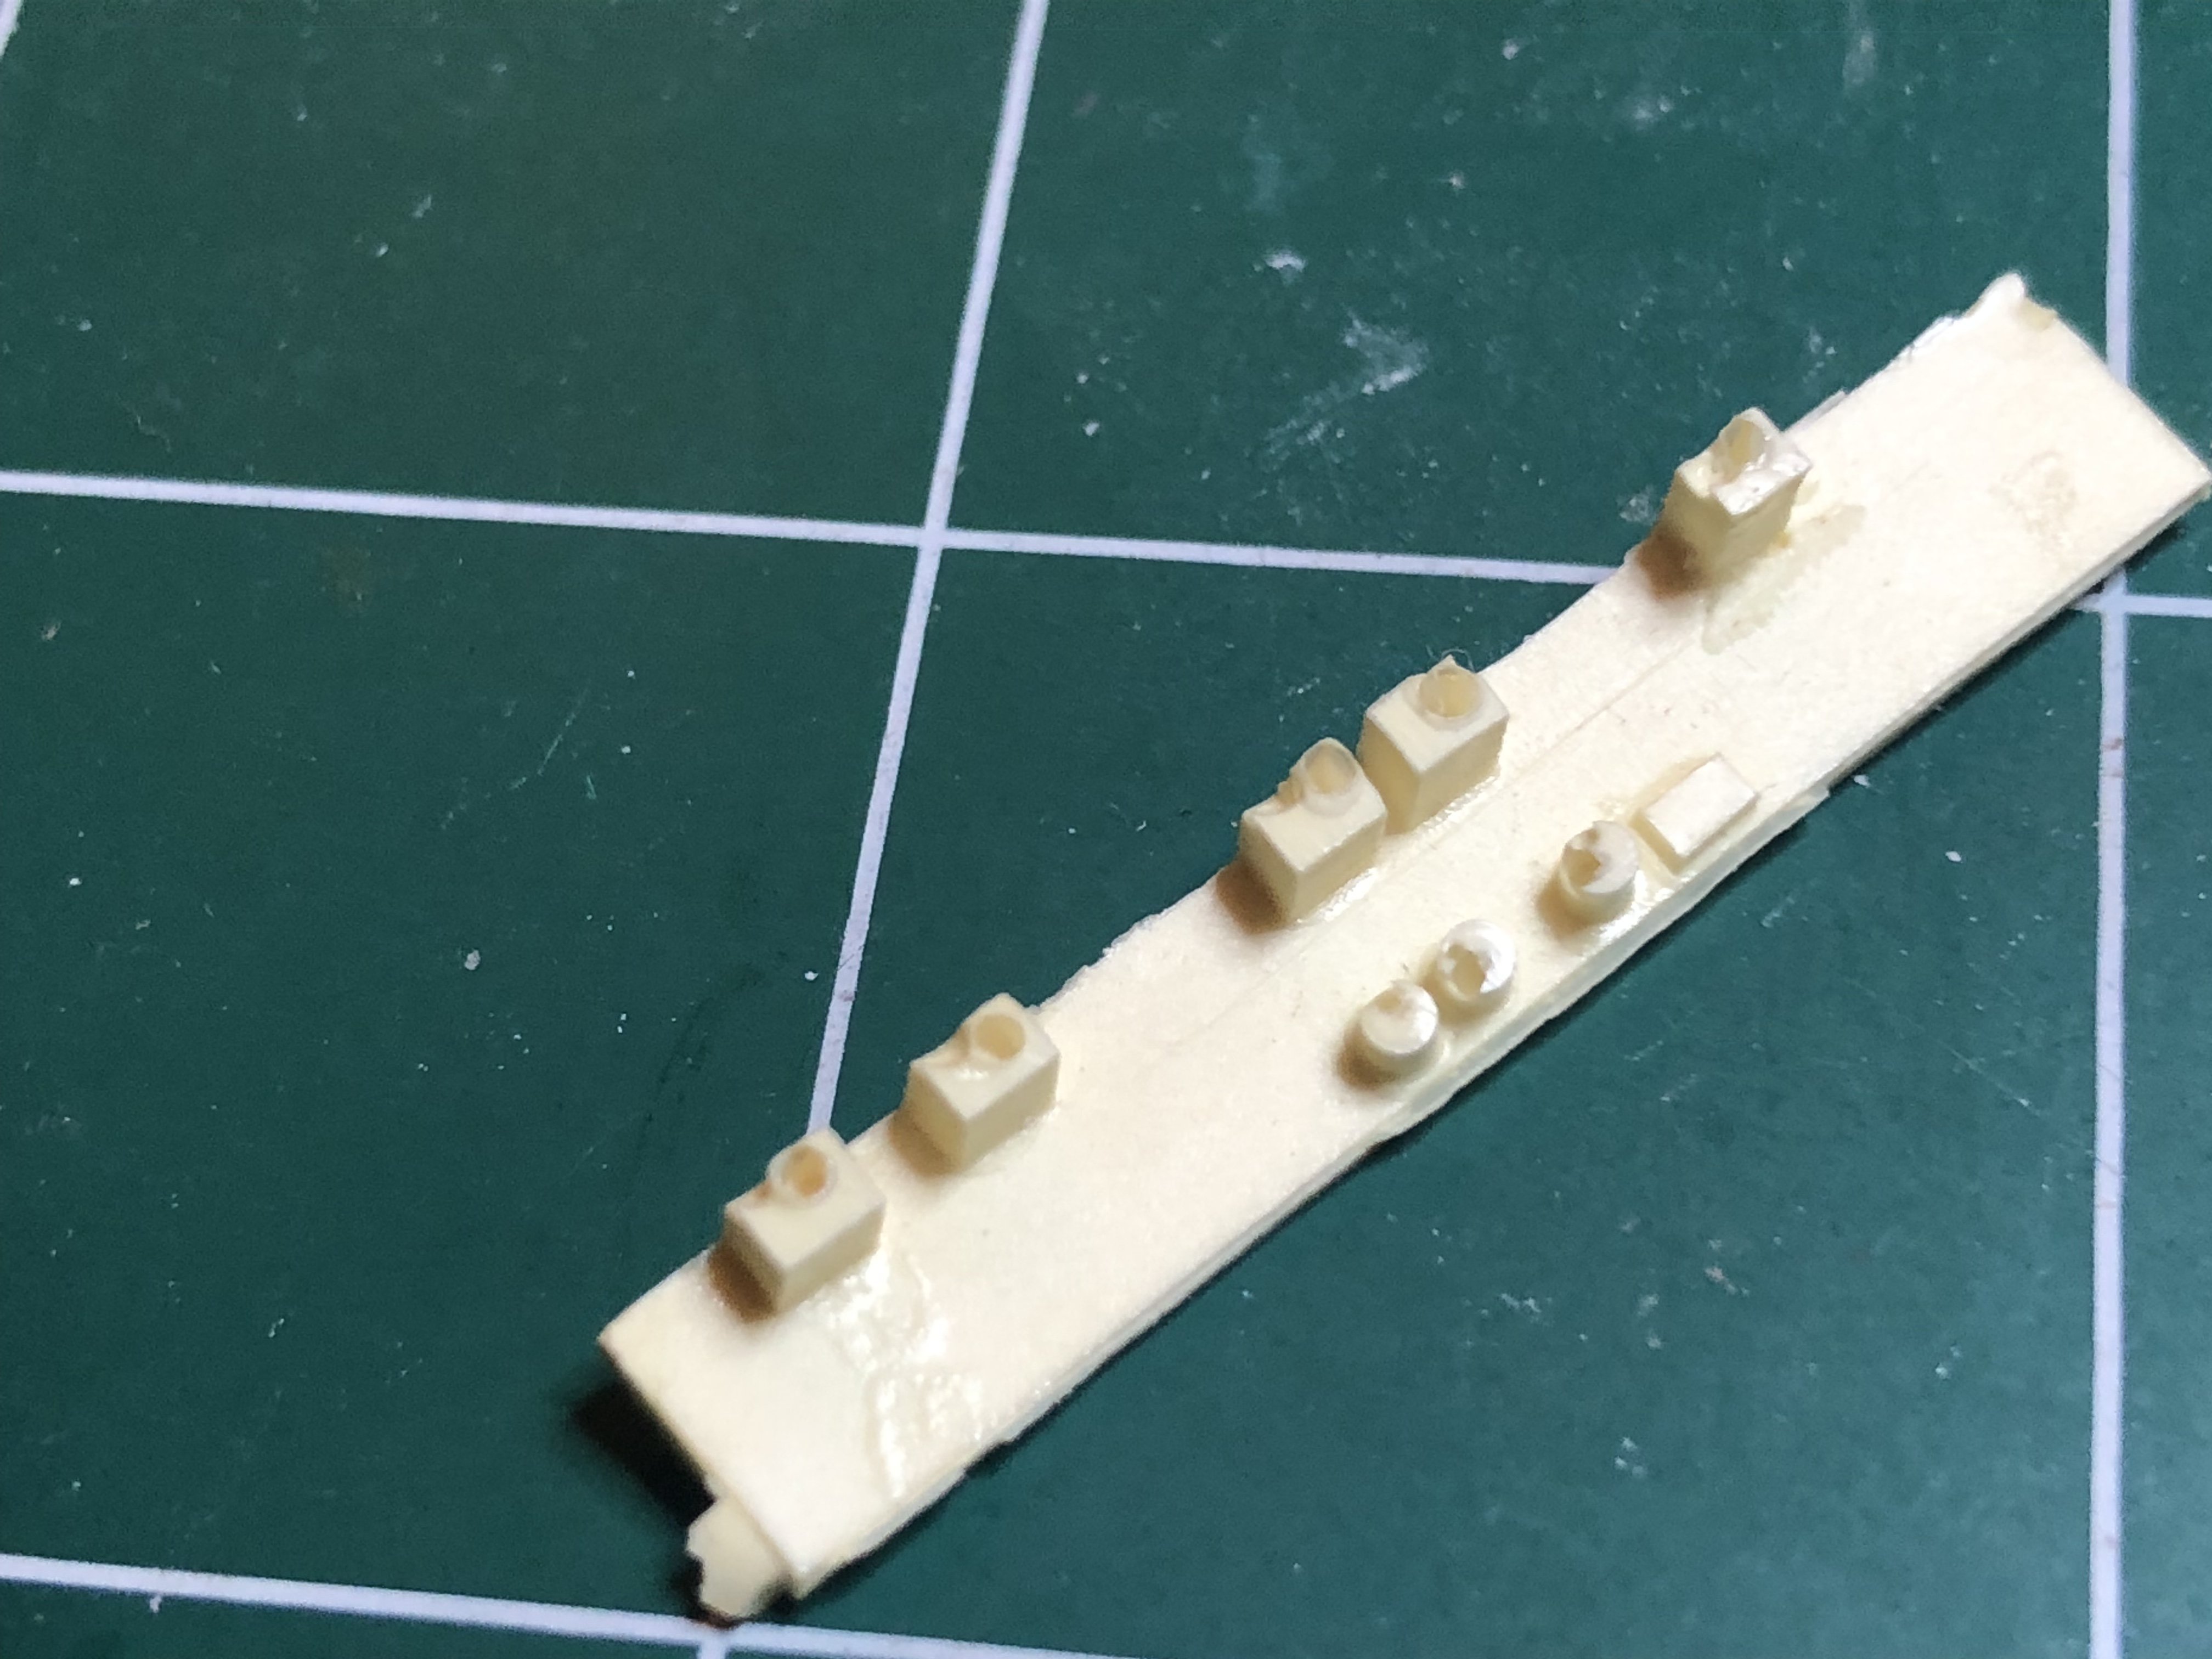
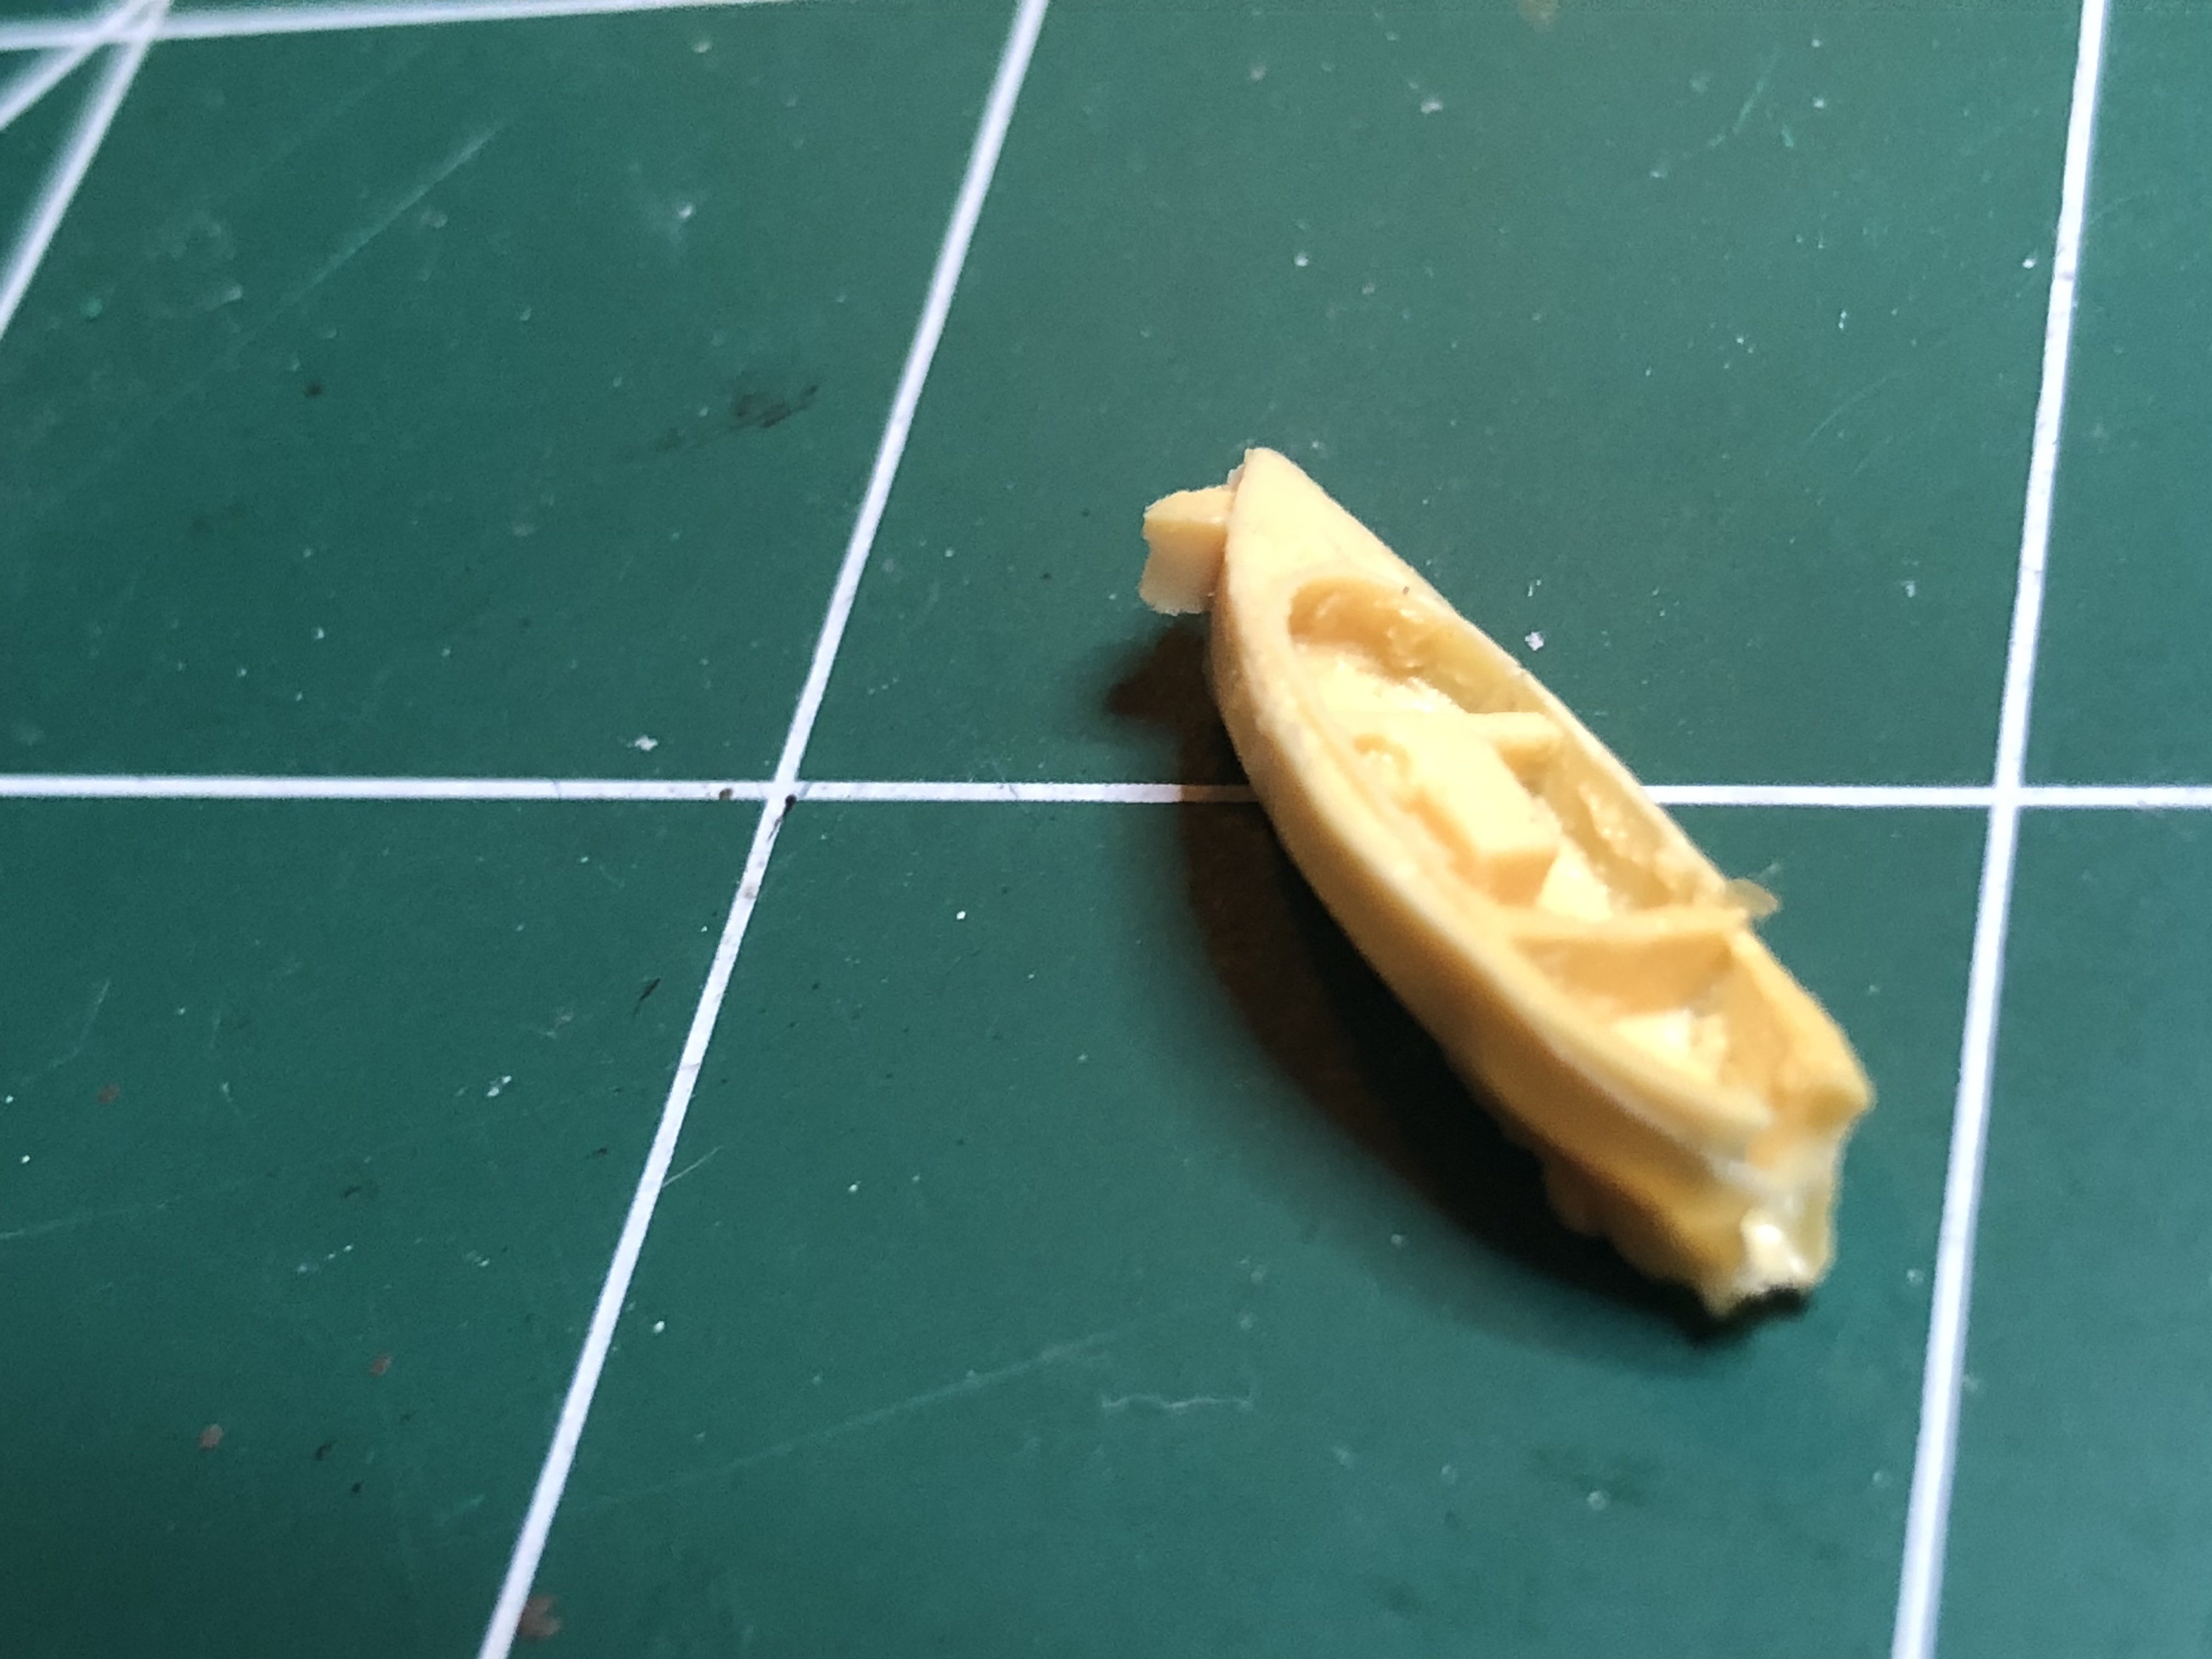
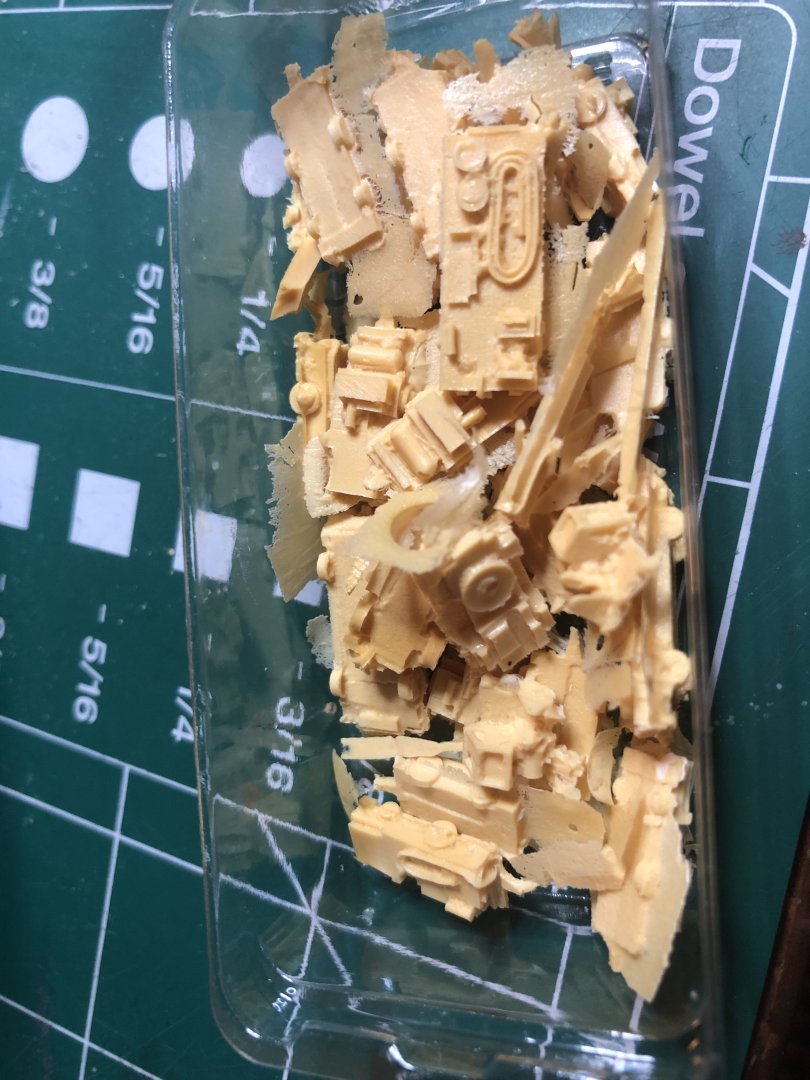
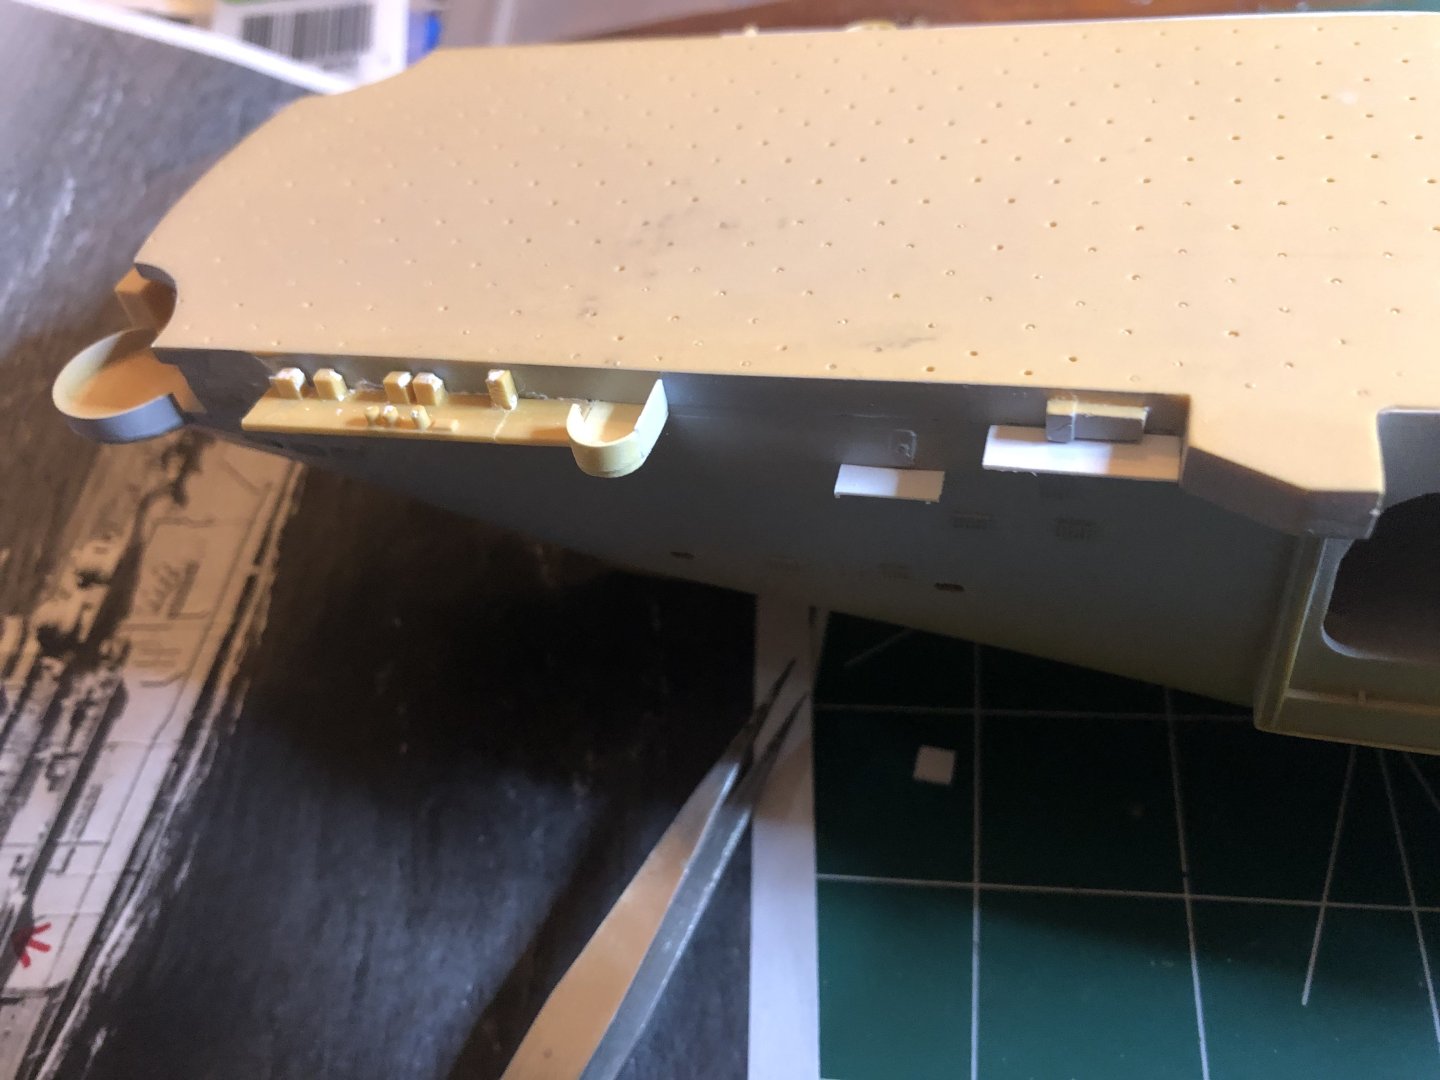
Here are some of poor quality control. Note bubbles, holes. Misshapen. You’ve seen the original flight deck fit. This is a small, small sample amount


- 176 replies
-
- 2
-
-
- new orleans
- iron shipwrights
- (and 2 more)
-
Thanks again for the kind words. The walkways are on. Have to build antenna mounts for the forward port walkways, add PE, assemble weapons, etc. The end is in sight. Although I will add PE after I paint the flight deck. attached are the latest.

- 176 replies
-
- 3
-
-
- new orleans
- iron shipwrights
- (and 2 more)
-
I primarily build aircraft(1/48) but wanted to do Dad’s ship. While there may be decent resin models, have yet to see one that surpasses plastic. And they are generally much, much more expensive with twice the work. Yet, it’s about skill, etc. This one taught me a lot and I’m in the home stretch of building. Just a bit of PE to add, prime, and paint. I do need to check Dads cruise book again to make sure it had the little mini mast behind the island - some pics show it and some have it removed (not refitted but old with same armament, etc). Also purchased PE hose reels as found on the walkways. Need to also add cabinets, etc, because walkways were cluttered for most part. All walkways have been installed and are ready for PE. I’ll try to post pics tonight.
- 176 replies
-
- 1
-
-
- new orleans
- iron shipwrights
- (and 2 more)
-
Just one. In reality, all I need is one tub. Thanks!!! Check your DMs
- 176 replies
-
- 2
-
-
- new orleans
- iron shipwrights
- (and 2 more)
-
Thanks for the kind words. Resin is a whole different ball game. Far more difficult. You’ve seen my issues, and those are the ones I’ve posted. I’d have thrown it away, but it’s the only game in town for Dad’s ship. Would I buy another kit from them? Not only no, but hell no. Edit: So many parts have holes/bubbles, misshapen, bent, etc. very poor quality control. Several of the walkways were not included, so I’ve had to remake them out of sheet styrene.
- 176 replies
-
- 7
-
-
- new orleans
- iron shipwrights
- (and 2 more)
-
The gun mount is 13mm across so should fit. How do I go about adding it to my existing order? Too bad you don’t make those gun mounts, as the kit ones are crap.
- 176 replies
-
- 3
-
-
- new orleans
- iron shipwrights
- (and 2 more)
-
I will check when I get home - if they fit, could I include them with my current order to save shipping? Also, do you make that version Gun mount?
- 176 replies
-
- 3
-
-
- new orleans
- iron shipwrights
- (and 2 more)
-
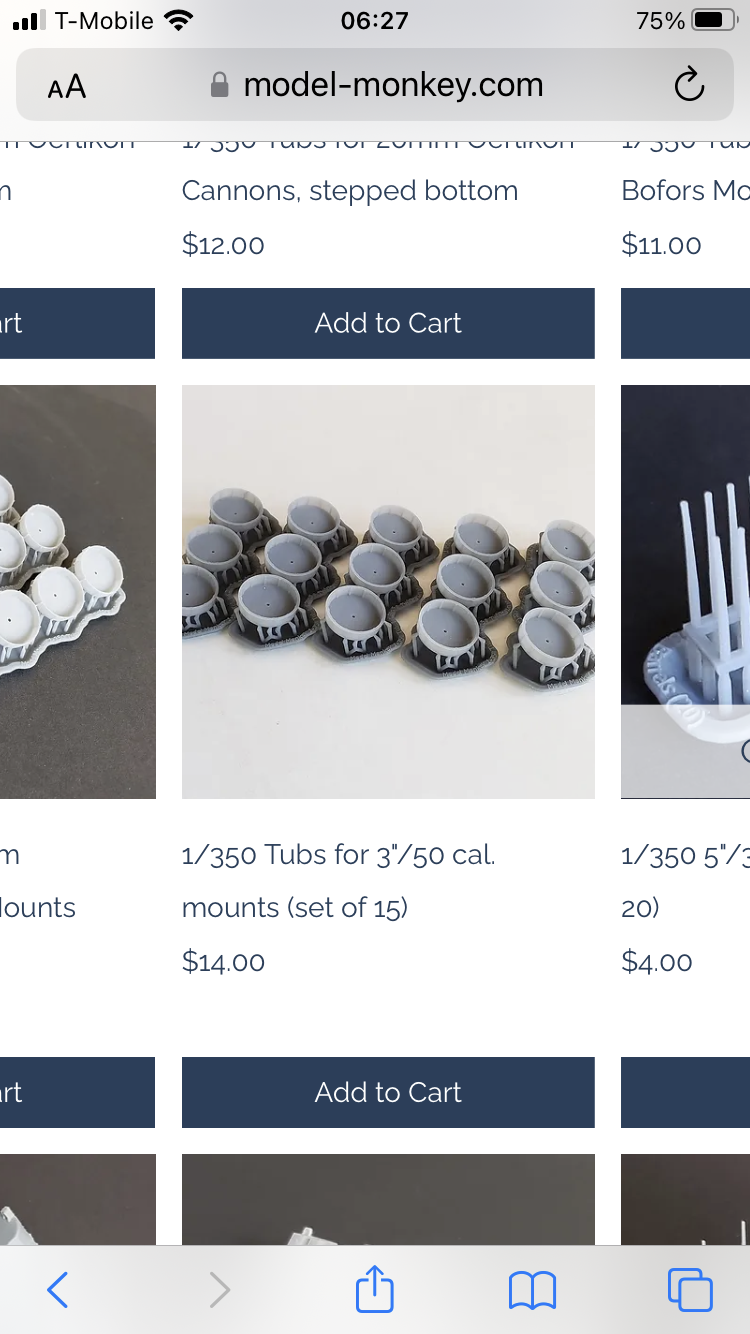
Thank you, Mr Larsen! Looking at your catalog I noticed 1/350 gun tubs for 3”/50 mounts (included pic from your catalog) - would they fit 3”/50 dual mount? If so, I only need one.


- 176 replies
-
- 3
-
-
- new orleans
- iron shipwrights
- (and 2 more)
-
Thanks for that. The newer refits look much darker than the older ones and all are heavily weathered. Almost impossible to get a color, much less a near FS match. Fresh out the factory newer ones would be a black non-skid, so I may go with a dark grey (fs36076) lightened/toned with different colors. One thing for sure, all images show multi tones. Also, looking at the decals for the deck markings, there is so much carrier film I’d spent far too much time trimming, so decided to paint them. The decals are 2mm wide and I happen to have 2mm Tamiya tape. Will do the same for the # 11, as there are no decals for that. From the images they appear to be the same width as the markings, so 2mm they are. The older version of the ship had the numbers at both ends of the flight deck. But I’m not there yet, just planning ahead. Now, something I’ve ran into is that kit supplied life raft cases aren’t square shaped as in the old photos (mounted on walkway railings), but rather a pill shape. Haven’t been able to source any of those, so I may have to go out of era on that. Edit: found some by Model Monkey (1/350 early Cold War era life raft cases). Not sure if they are legit.
- 176 replies
-
- 2
-
-
- new orleans
- iron shipwrights
- (and 2 more)
-
What is the best color to paint the flight deck? I’ve spent many hours on one but not sure if the 60s era decks were same color. I plane on doing an underway dio. The deck won’t be a solid/single color as they heavily weathered. Just looking for the base color. Something like black-grey?
- 176 replies
-
- 2
-
-
- new orleans
- iron shipwrights
- (and 2 more)
-
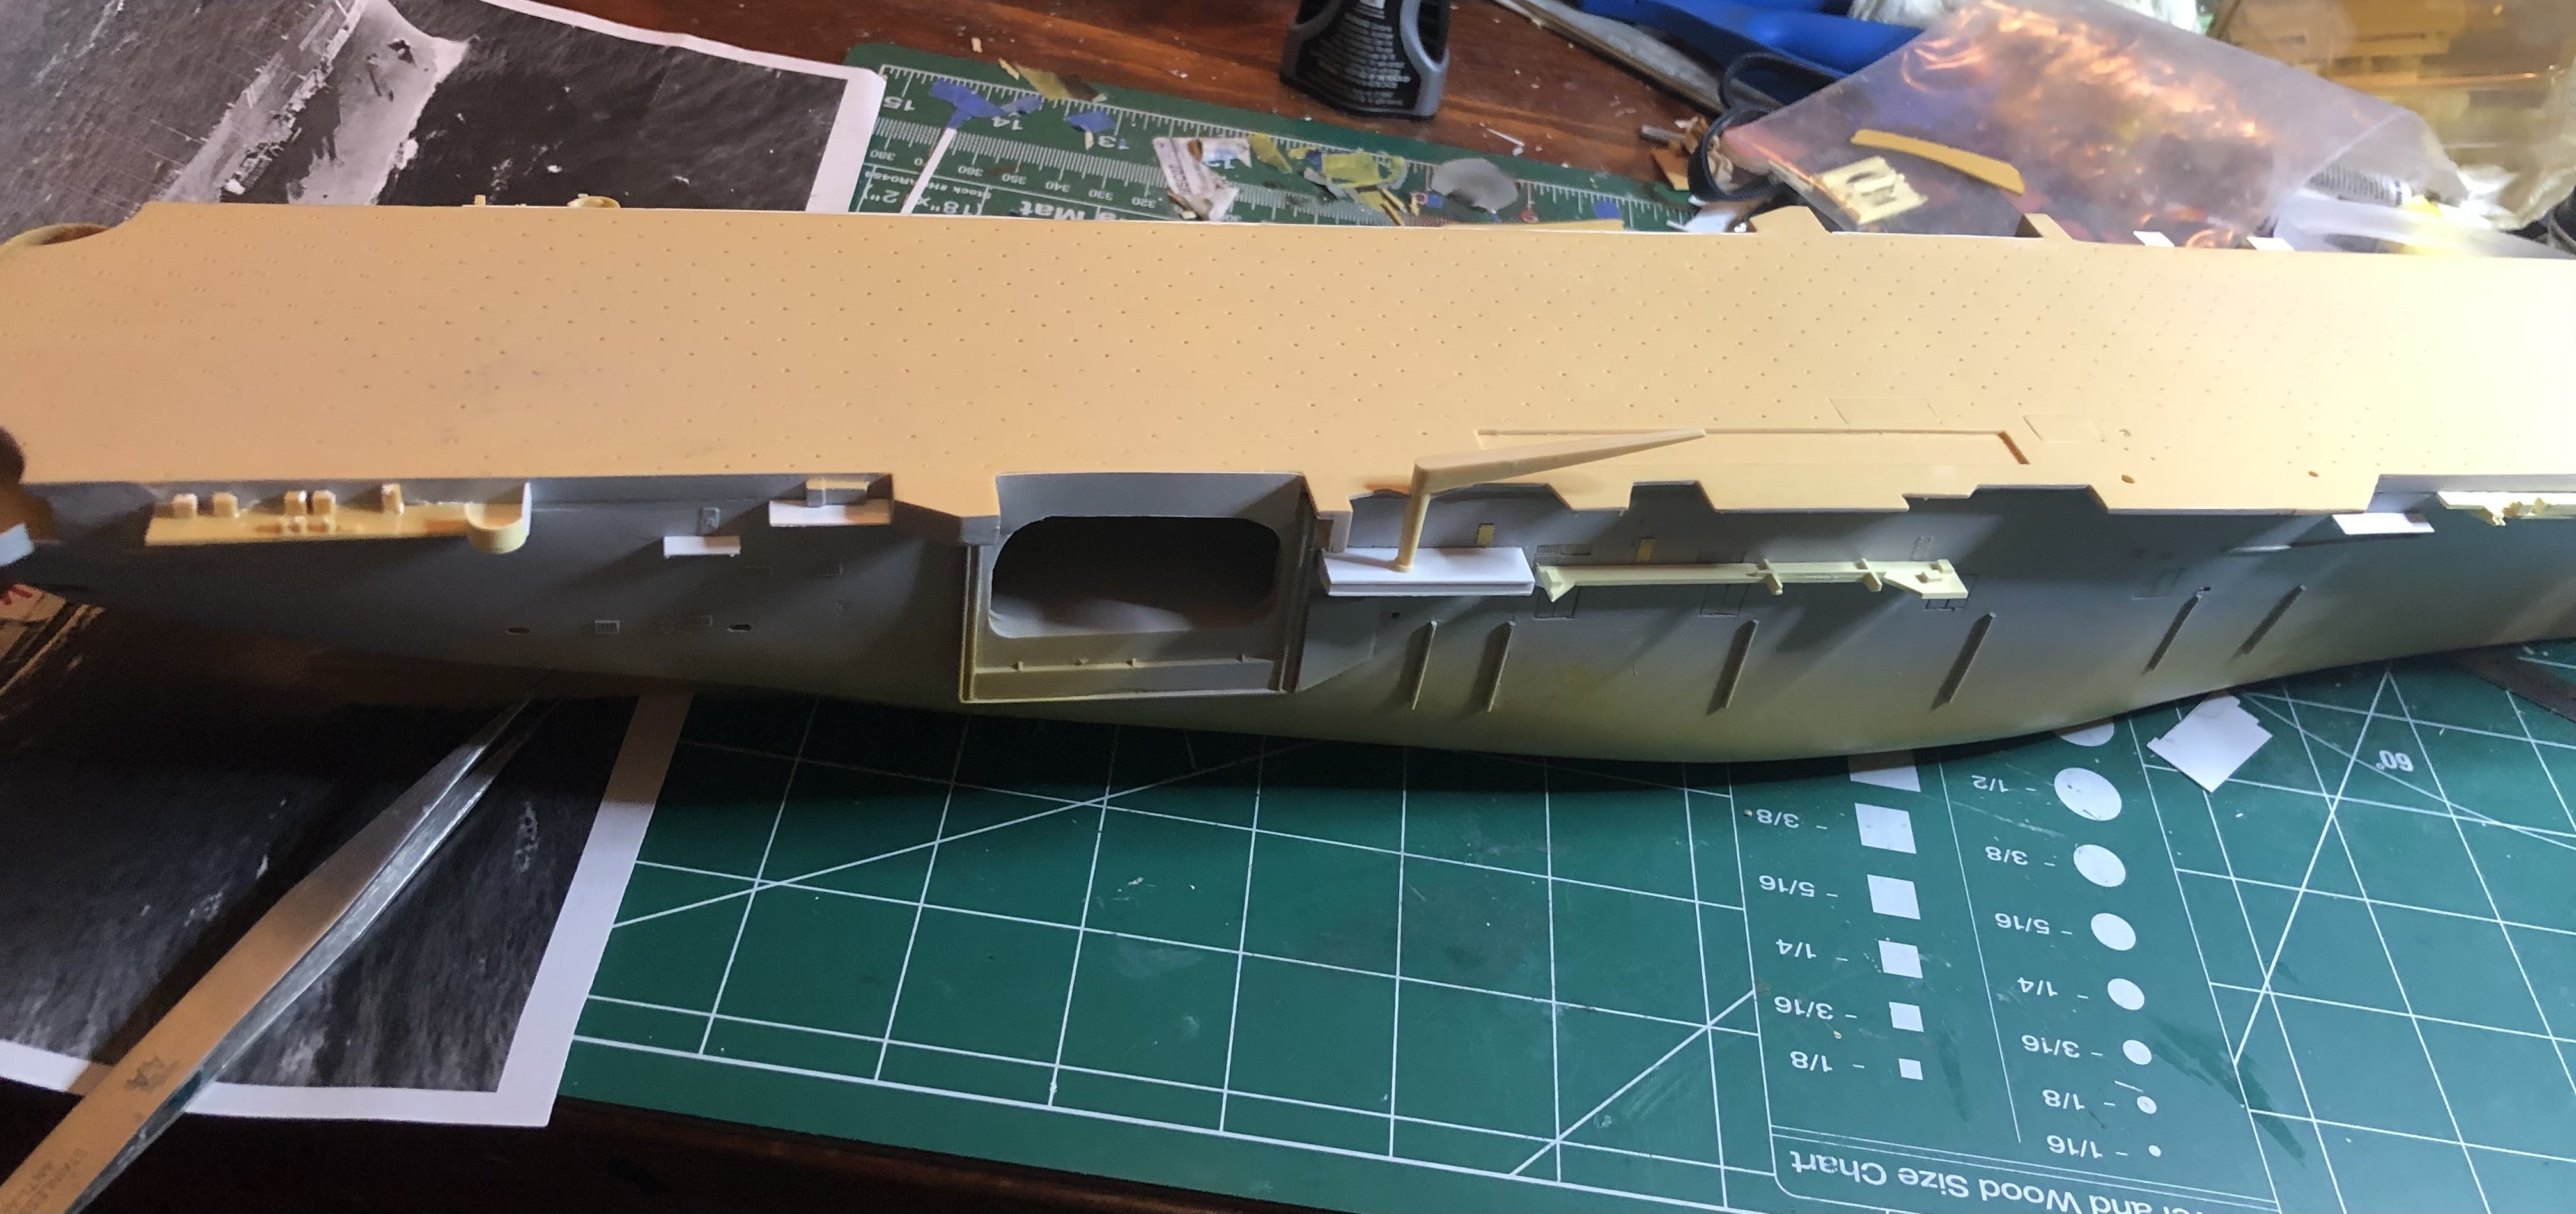
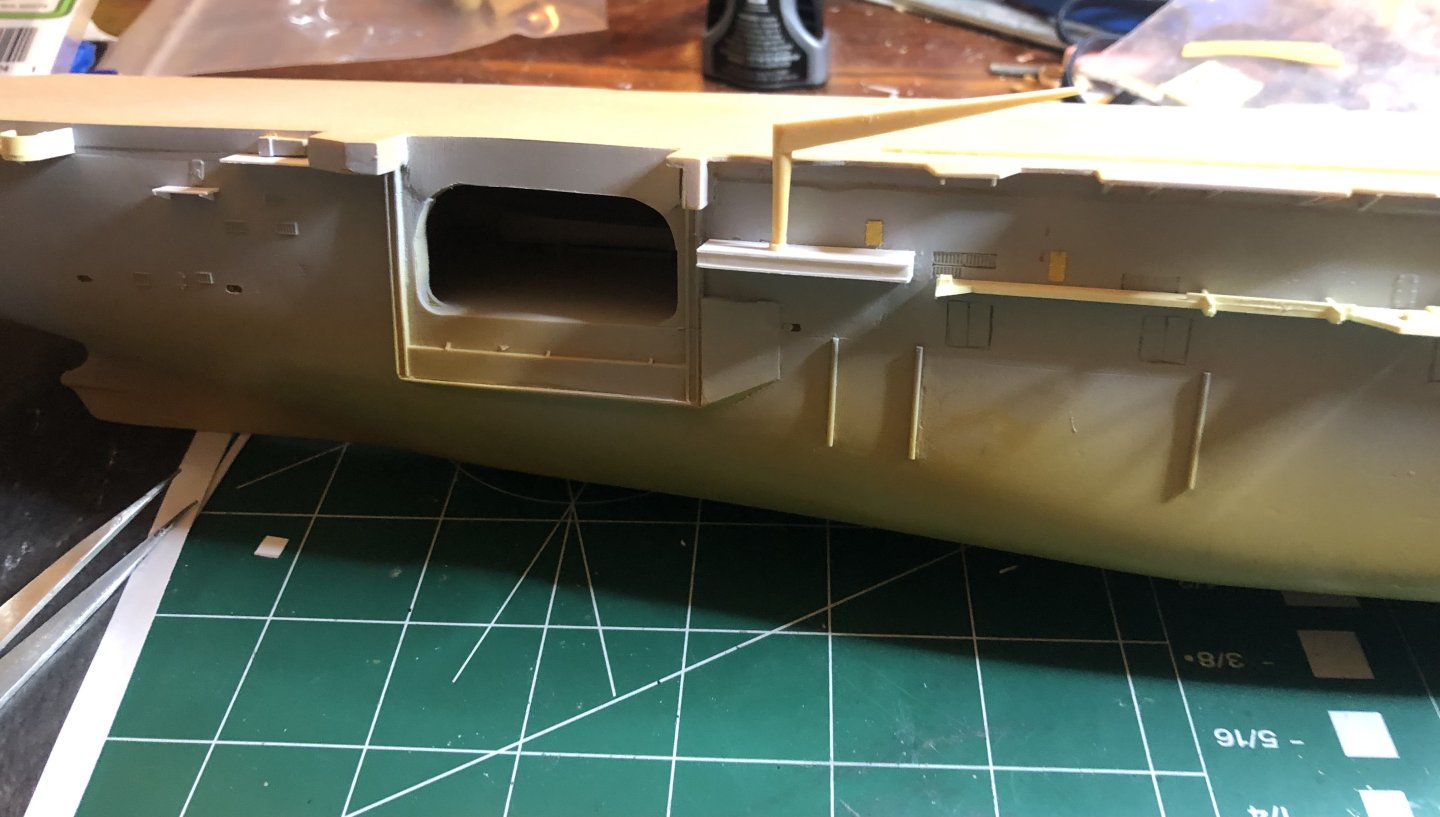
Thanks for the reply! The top of the opening will by be cleaned up. The elevator will be in the up position. The crane isn’t glued in as I will glue in the overhang, too. The older version I’m modeling differed a bit from that of the kit, so I’m having to build extra stuff. Thanks for all you’ve done!
- 176 replies
-
- 2
-
-
- new orleans
- iron shipwrights
- (and 2 more)