HOLIDAY DONATION DRIVE - SUPPORT MSW - DO YOUR PART TO KEEP THIS GREAT FORUM GOING! (83 donations so far out of 49,000 members - C'mon guys!)
×


Spaceman Spiff
-
Posts
205 -
Joined
-
Last visited
Content Type
Profiles
Forums
Gallery
Events
Everything posted by Spaceman Spiff
-
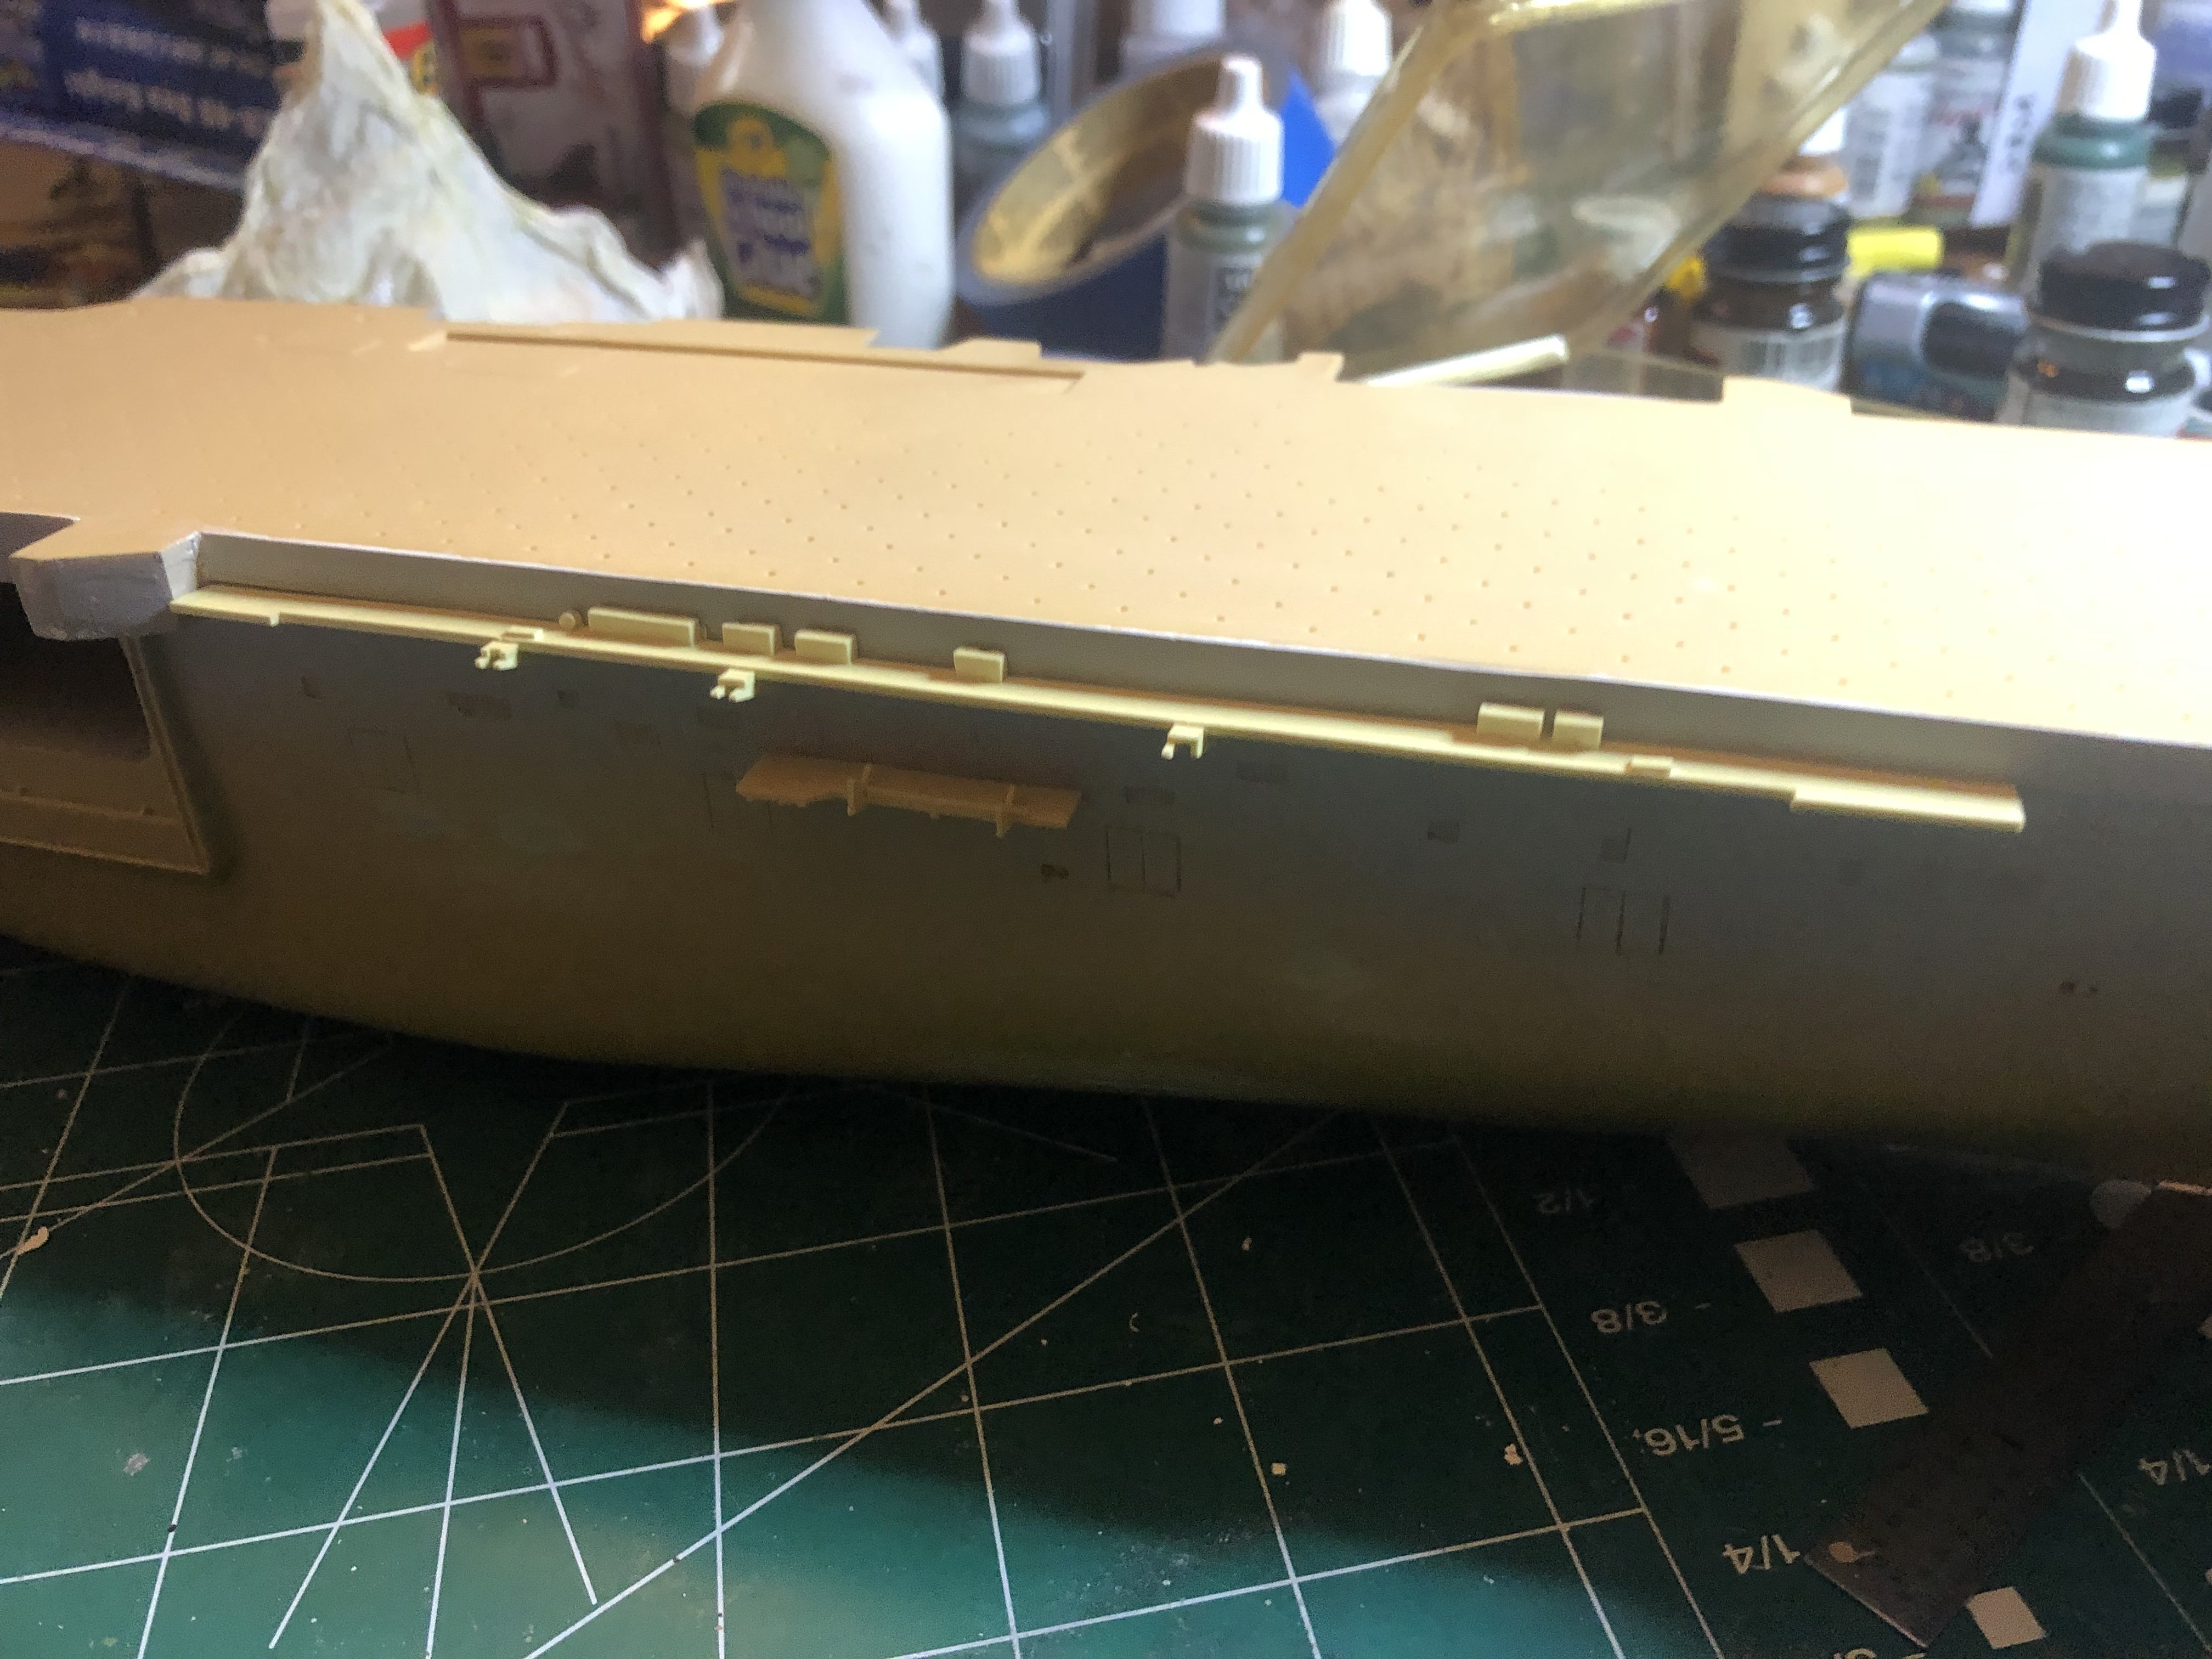
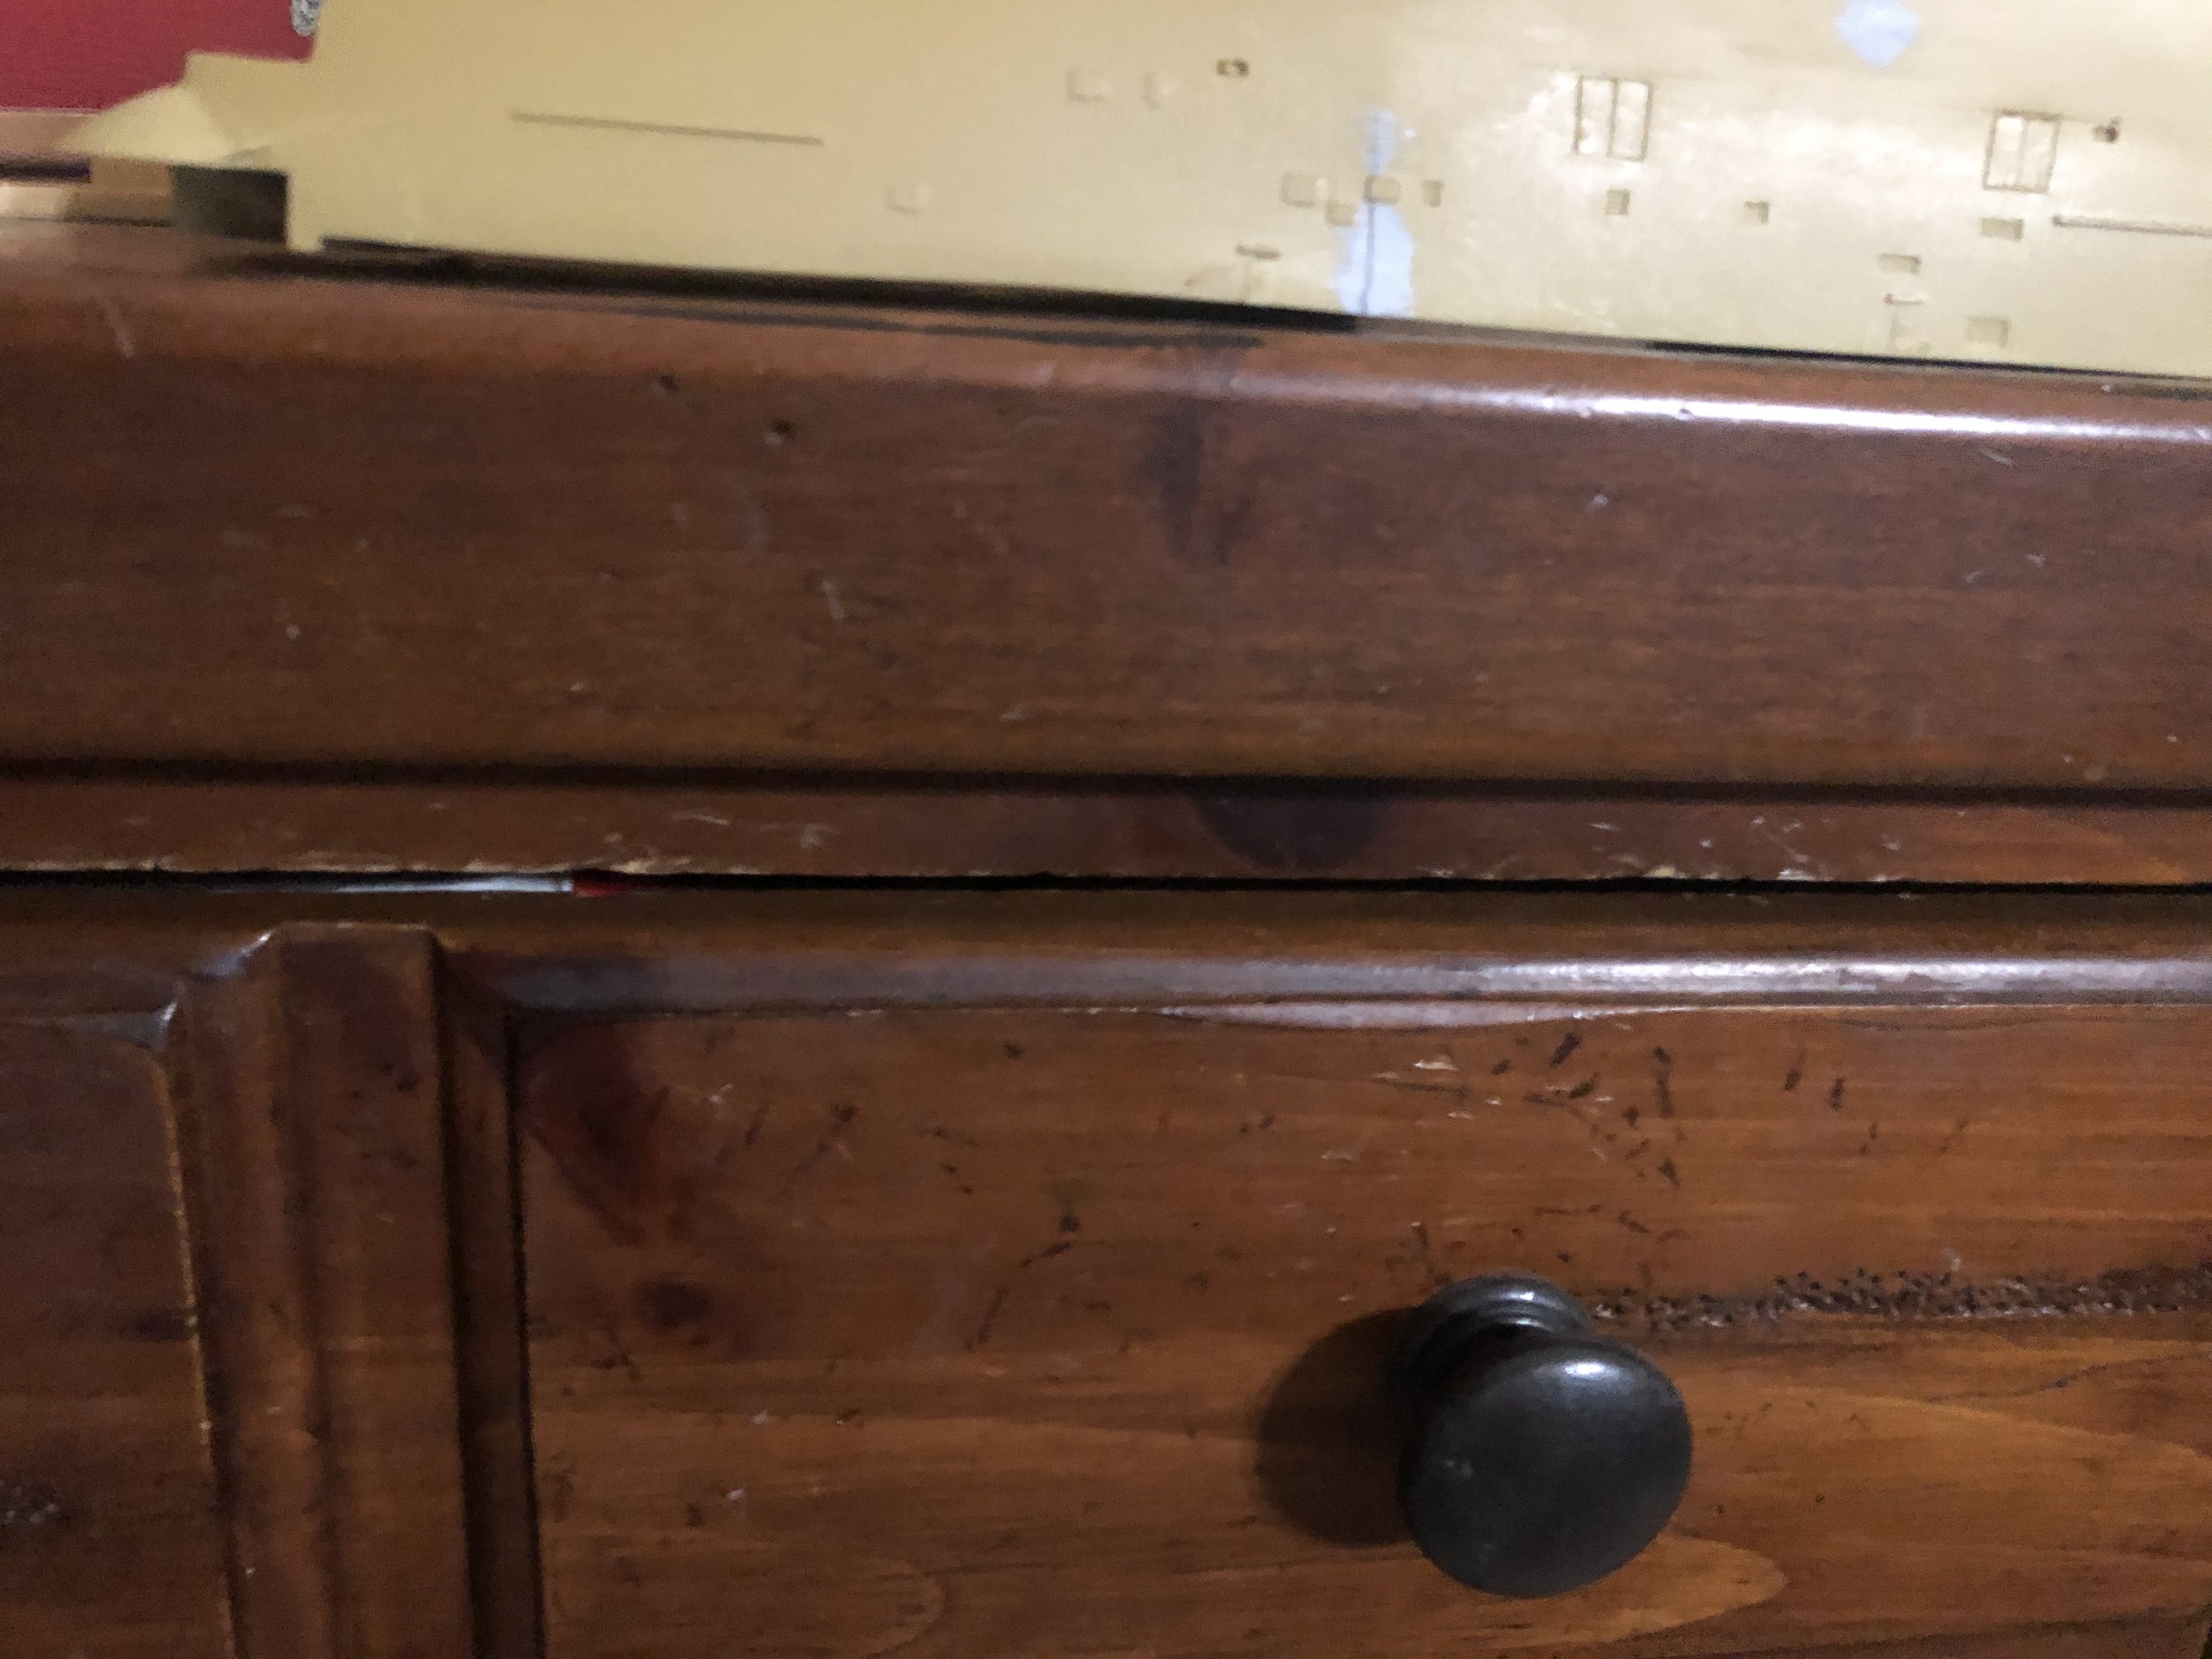
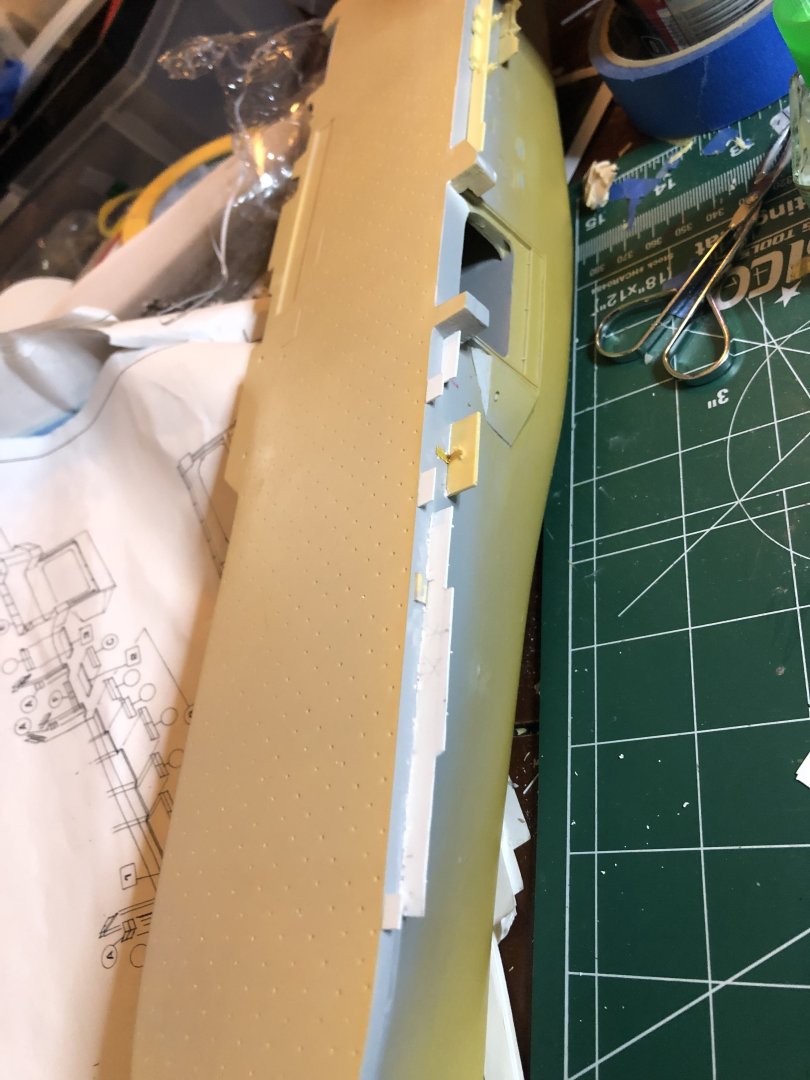
 Work on the starboard walks and platforms. Based on old pictures, I had to splice the rear walk and add the curved section, hence the different colored resin. The white walks/platforms were built using sheet styrene. There was no kit part for the crane base, so I made it out of styrene. The included pic shows what I built (red arrows). Hopefully it turned out ok. Just a few more walkways/platforms to add, piping, etc, and she will be ready for the next step. Thoughts?

- 176 replies
-
- 5
-

-
- new orleans
- iron shipwrights
- (and 2 more)
-
Small update. All port walkways are on. Have a lot of PE and small items which will be added later and make it look the part. Hopefully it will look good under paint.
- 176 replies
-
- 5
-
-
- new orleans
- iron shipwrights
- (and 2 more)
-
Minor, minor update. After much filling, sanding, priming, filling, etc, and a hurricane, I managed to get a small amount done last night. The walks are starting to be put on. With the exception of one I will have to make from scratch, all walks are there. Starting to take life!

- 176 replies
-
- 6
-
-
- new orleans
- iron shipwrights
- (and 2 more)
-
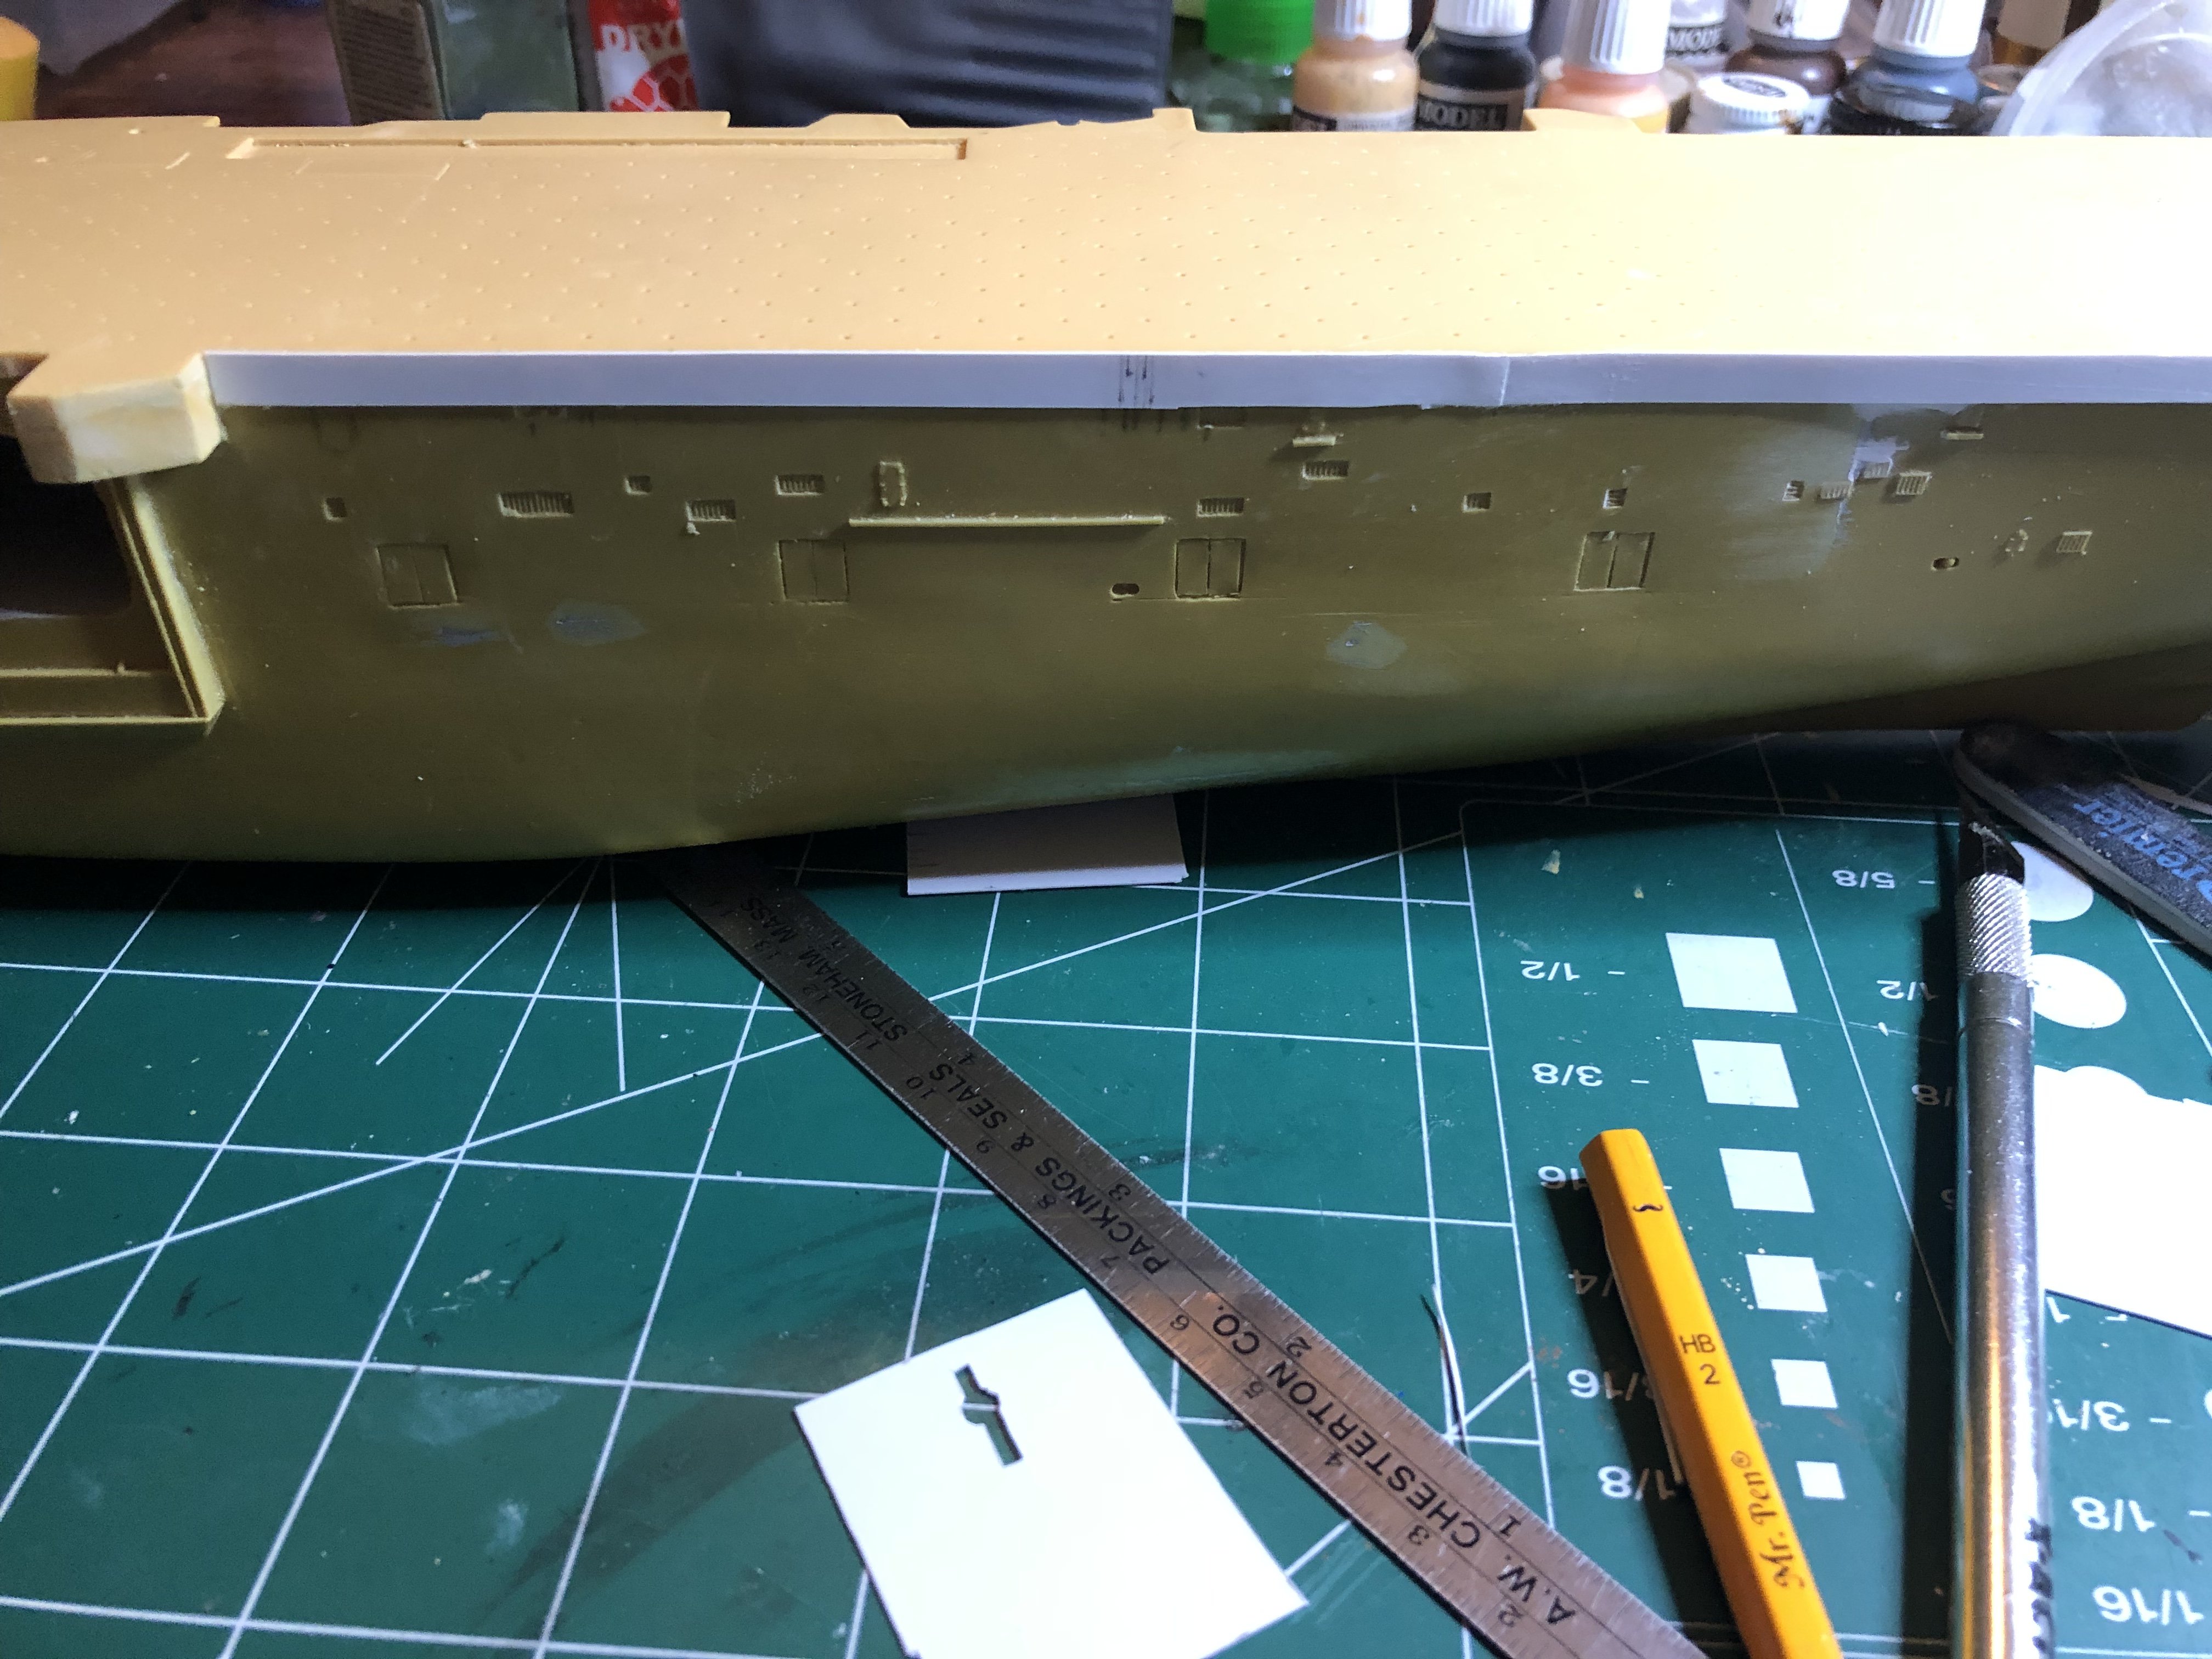
I got it the downloads to work - thank you! A little progress here and there. Slowly coming along. The white is sheet styrene cut to shape. The catwalks down the flight deck will blend the bottom in. There is a glimmer of light at the end of the tunnel!

- 176 replies
-
- 5
-
-
- new orleans
- iron shipwrights
- (and 2 more)
-
Not sure but it won’t download that. I’d love to get those drawings.
- 176 replies
-
- 2
-
-
- new orleans
- iron shipwrights
- (and 2 more)
-
I don’t have a pc/laptop at home and can’t do it at work, so it’s my iPhone lol
- 176 replies
-
- 2
-
-

-
- new orleans
- iron shipwrights
- (and 2 more)
-
I’ll measure it when I get back to my table. I can’t open the drawings you sent as the file is too large.
- 176 replies
-
- 2
-
-
- new orleans
- iron shipwrights
- (and 2 more)
-
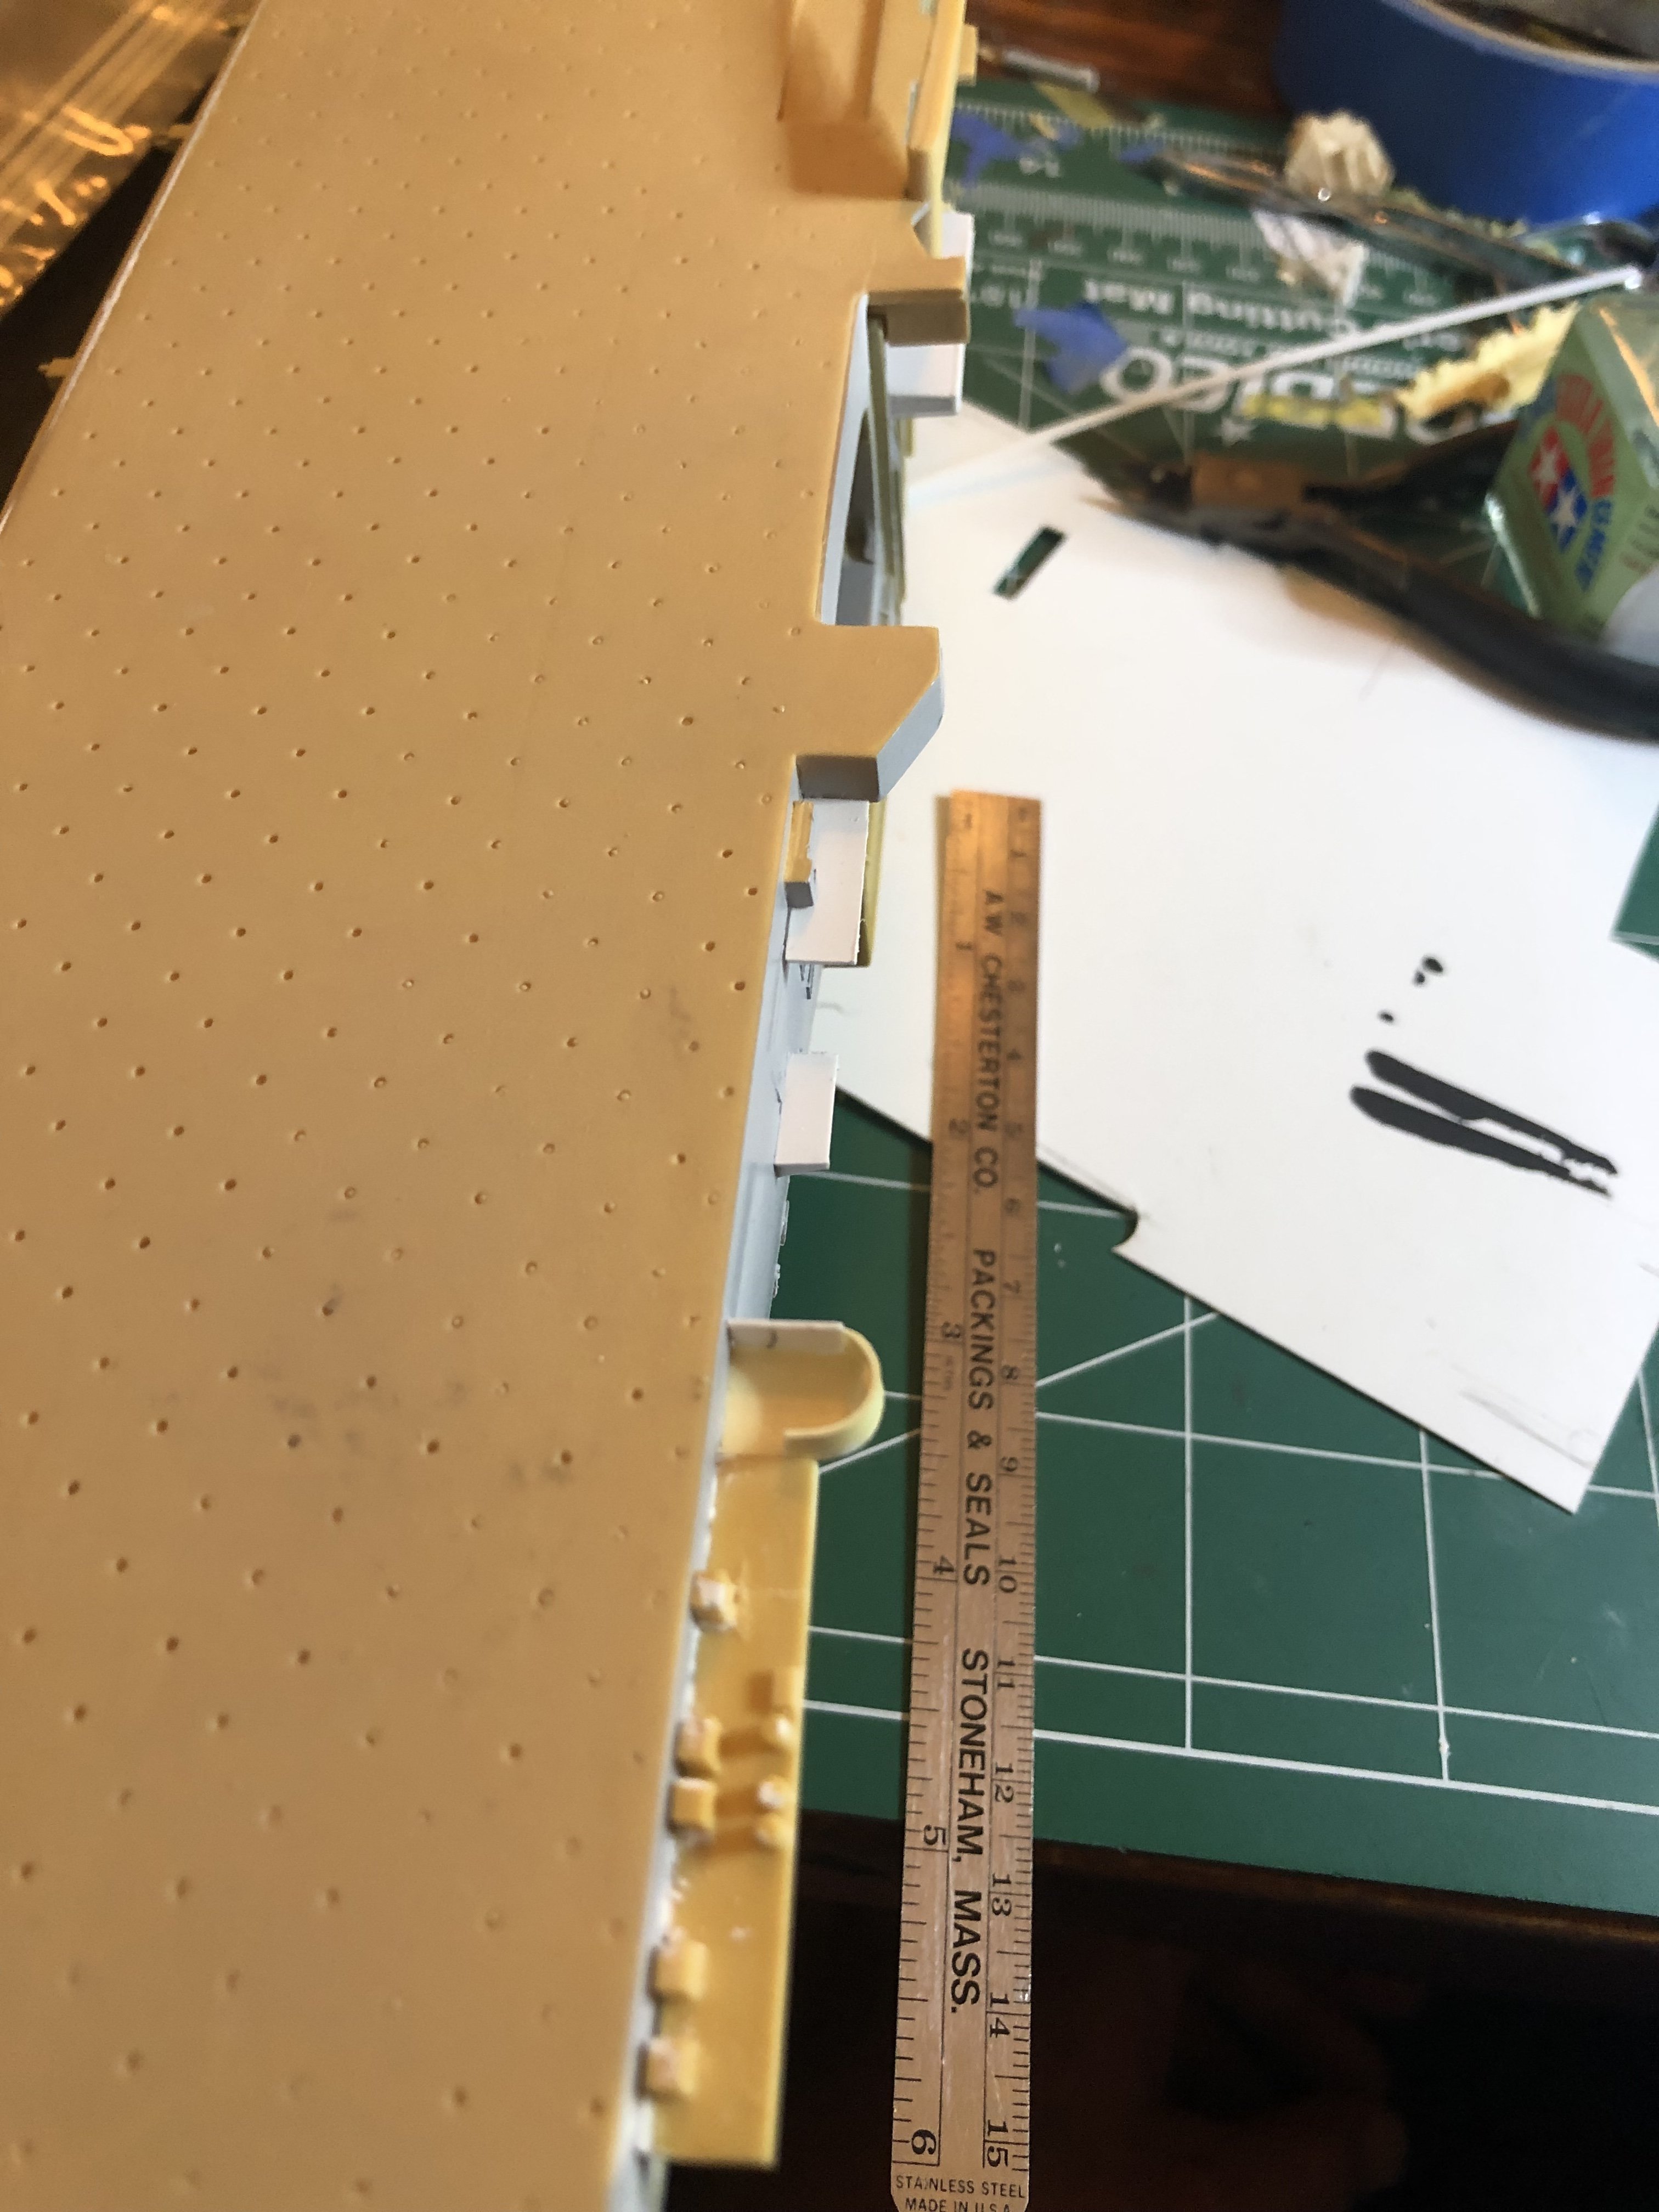
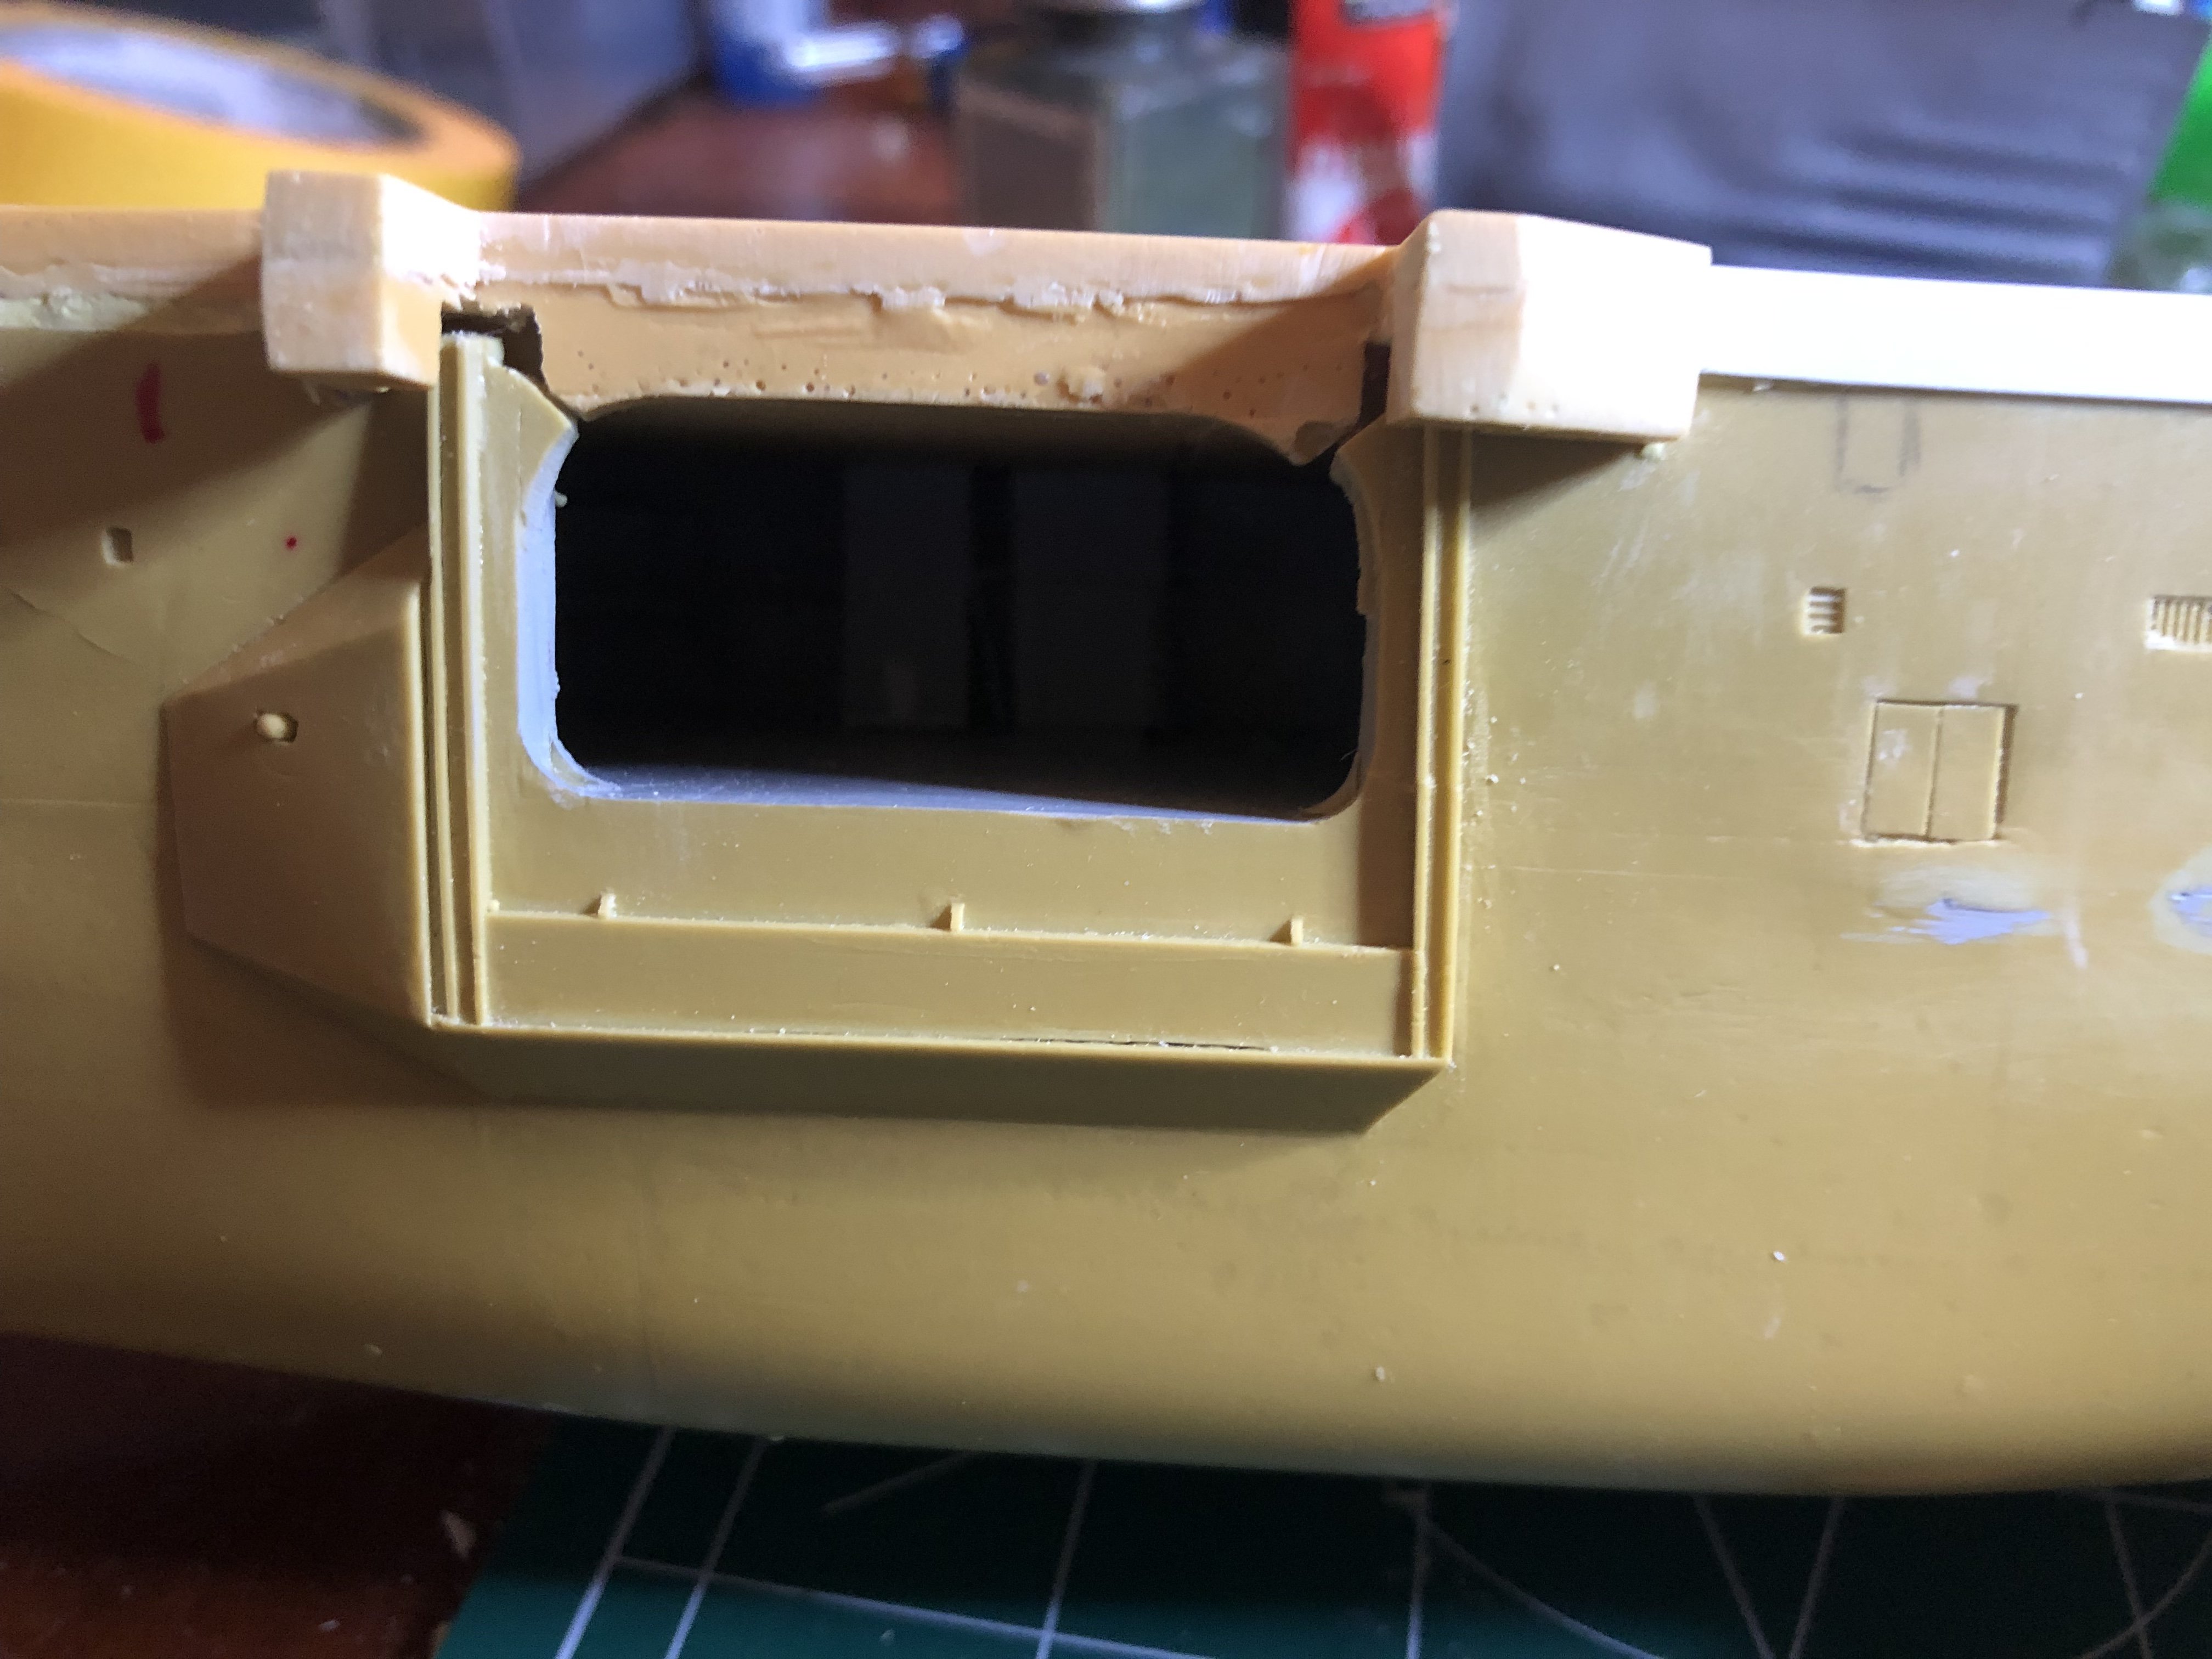
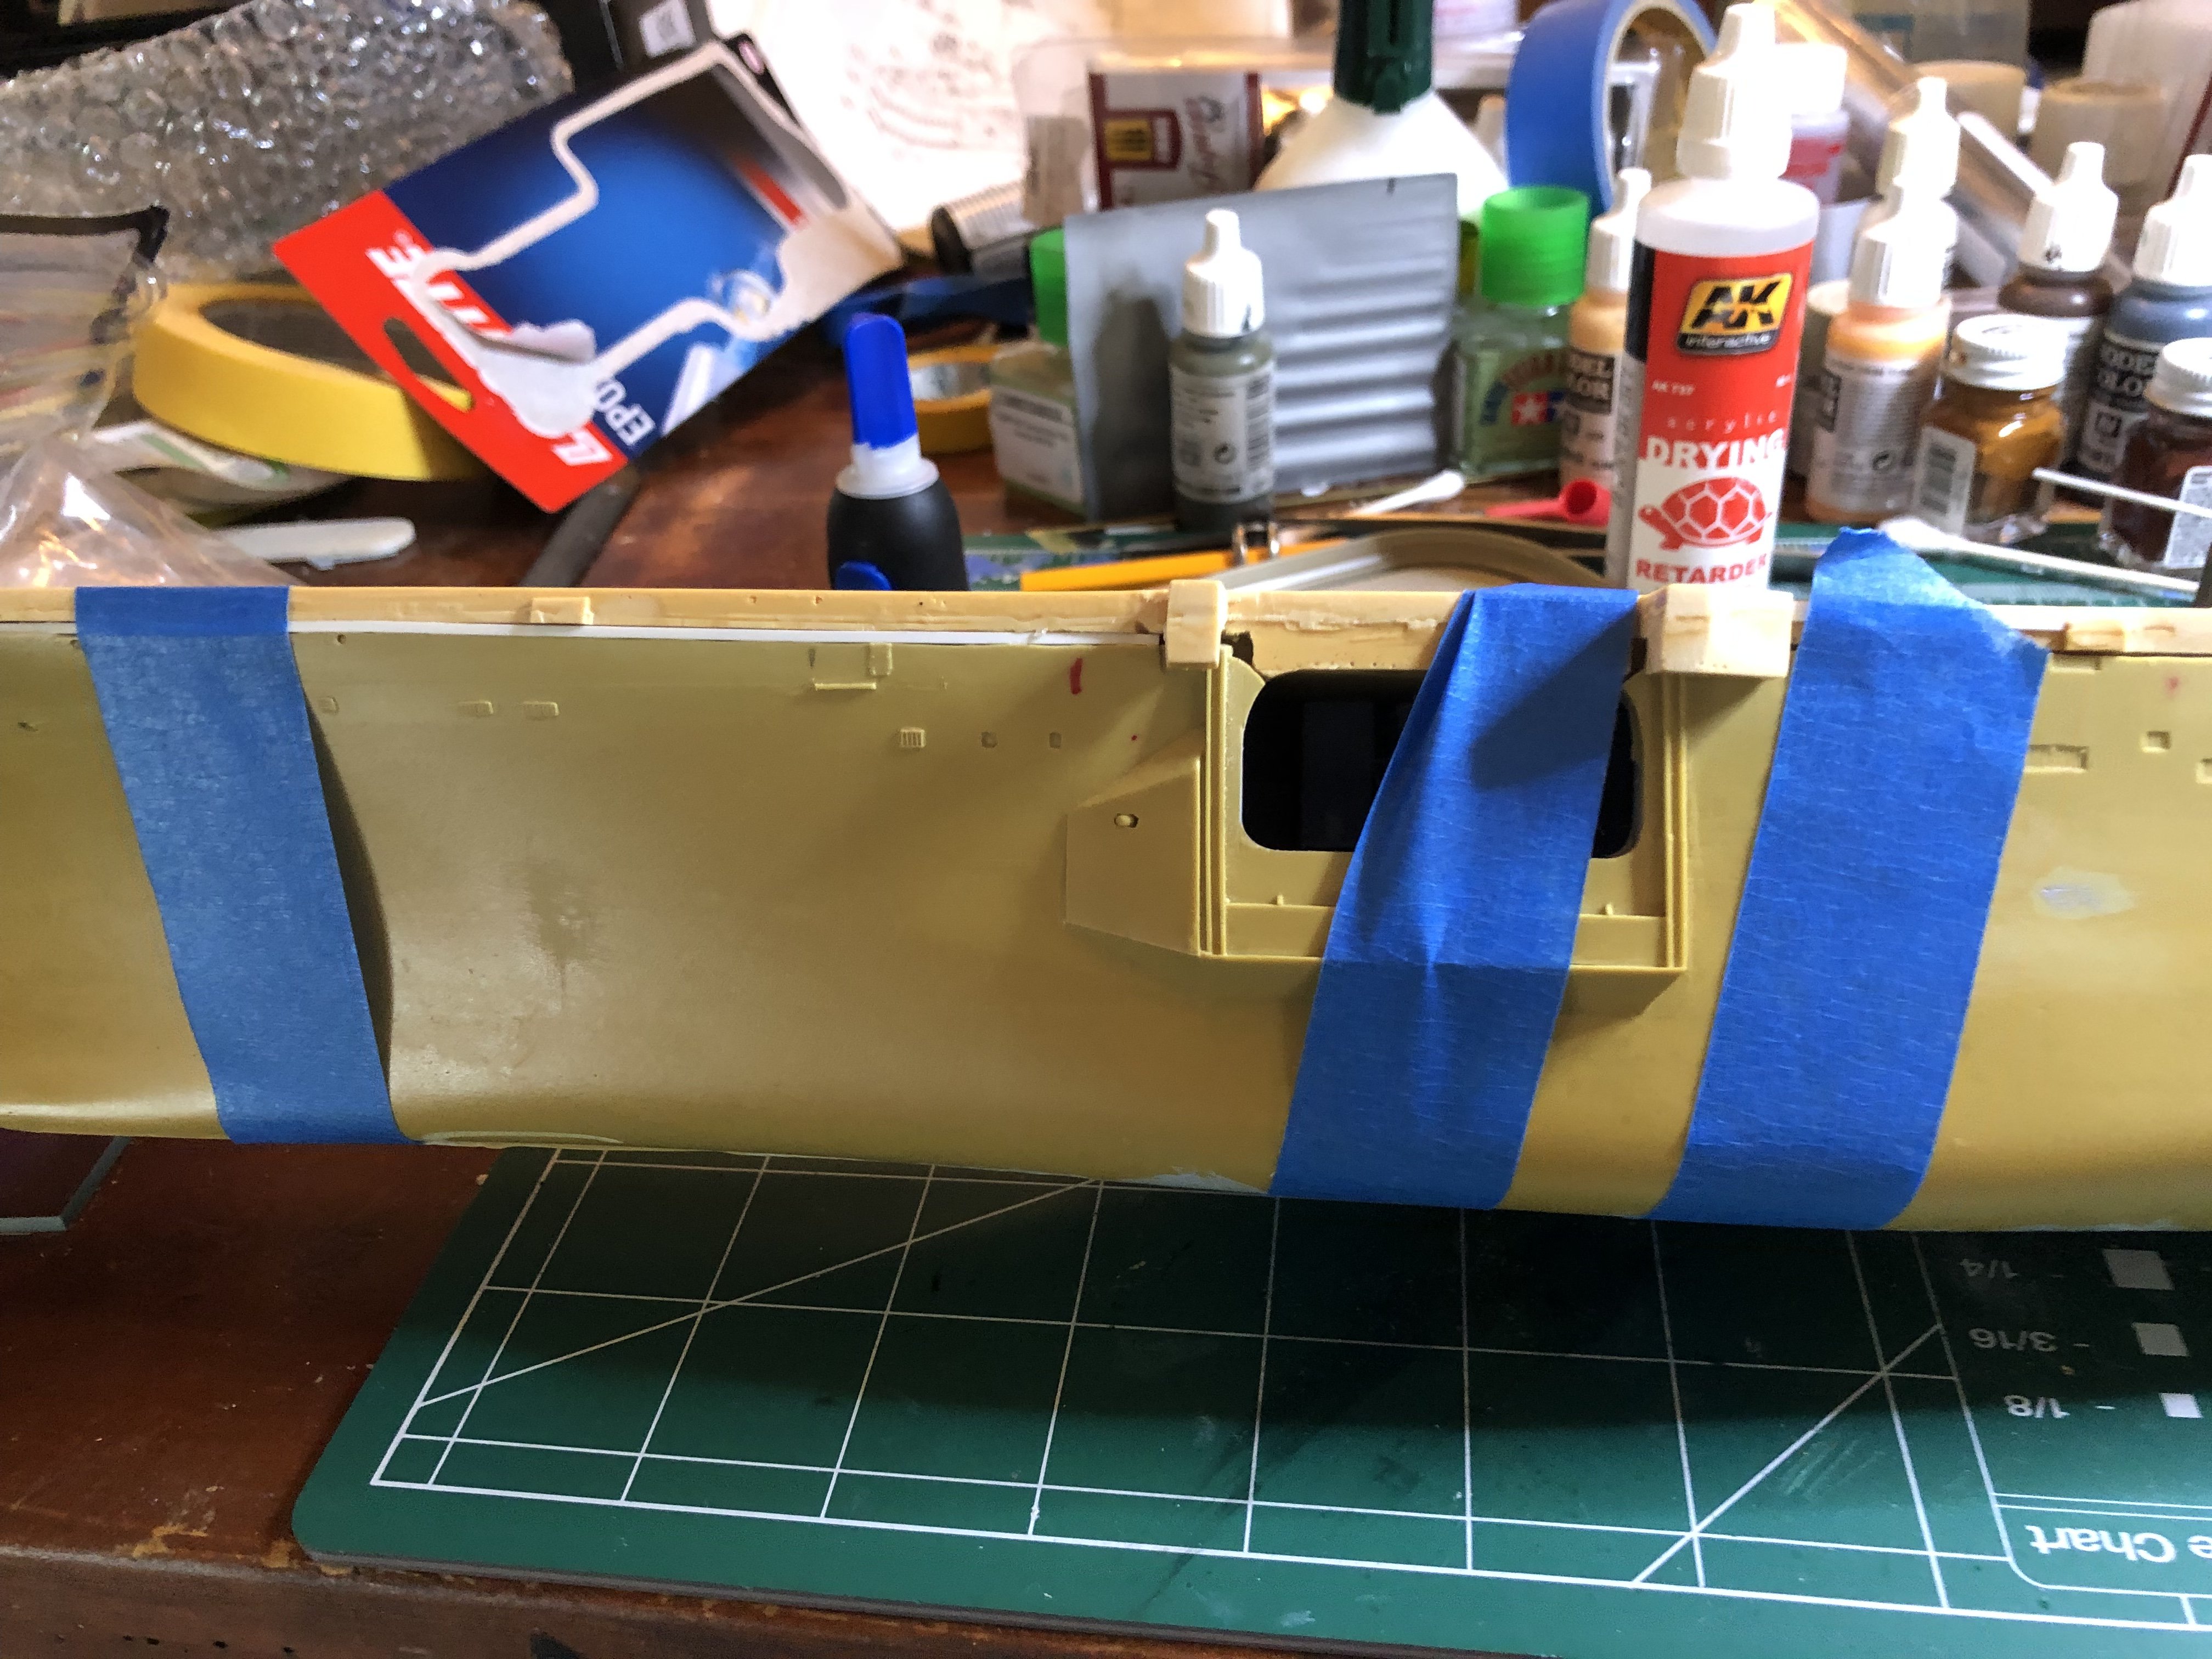
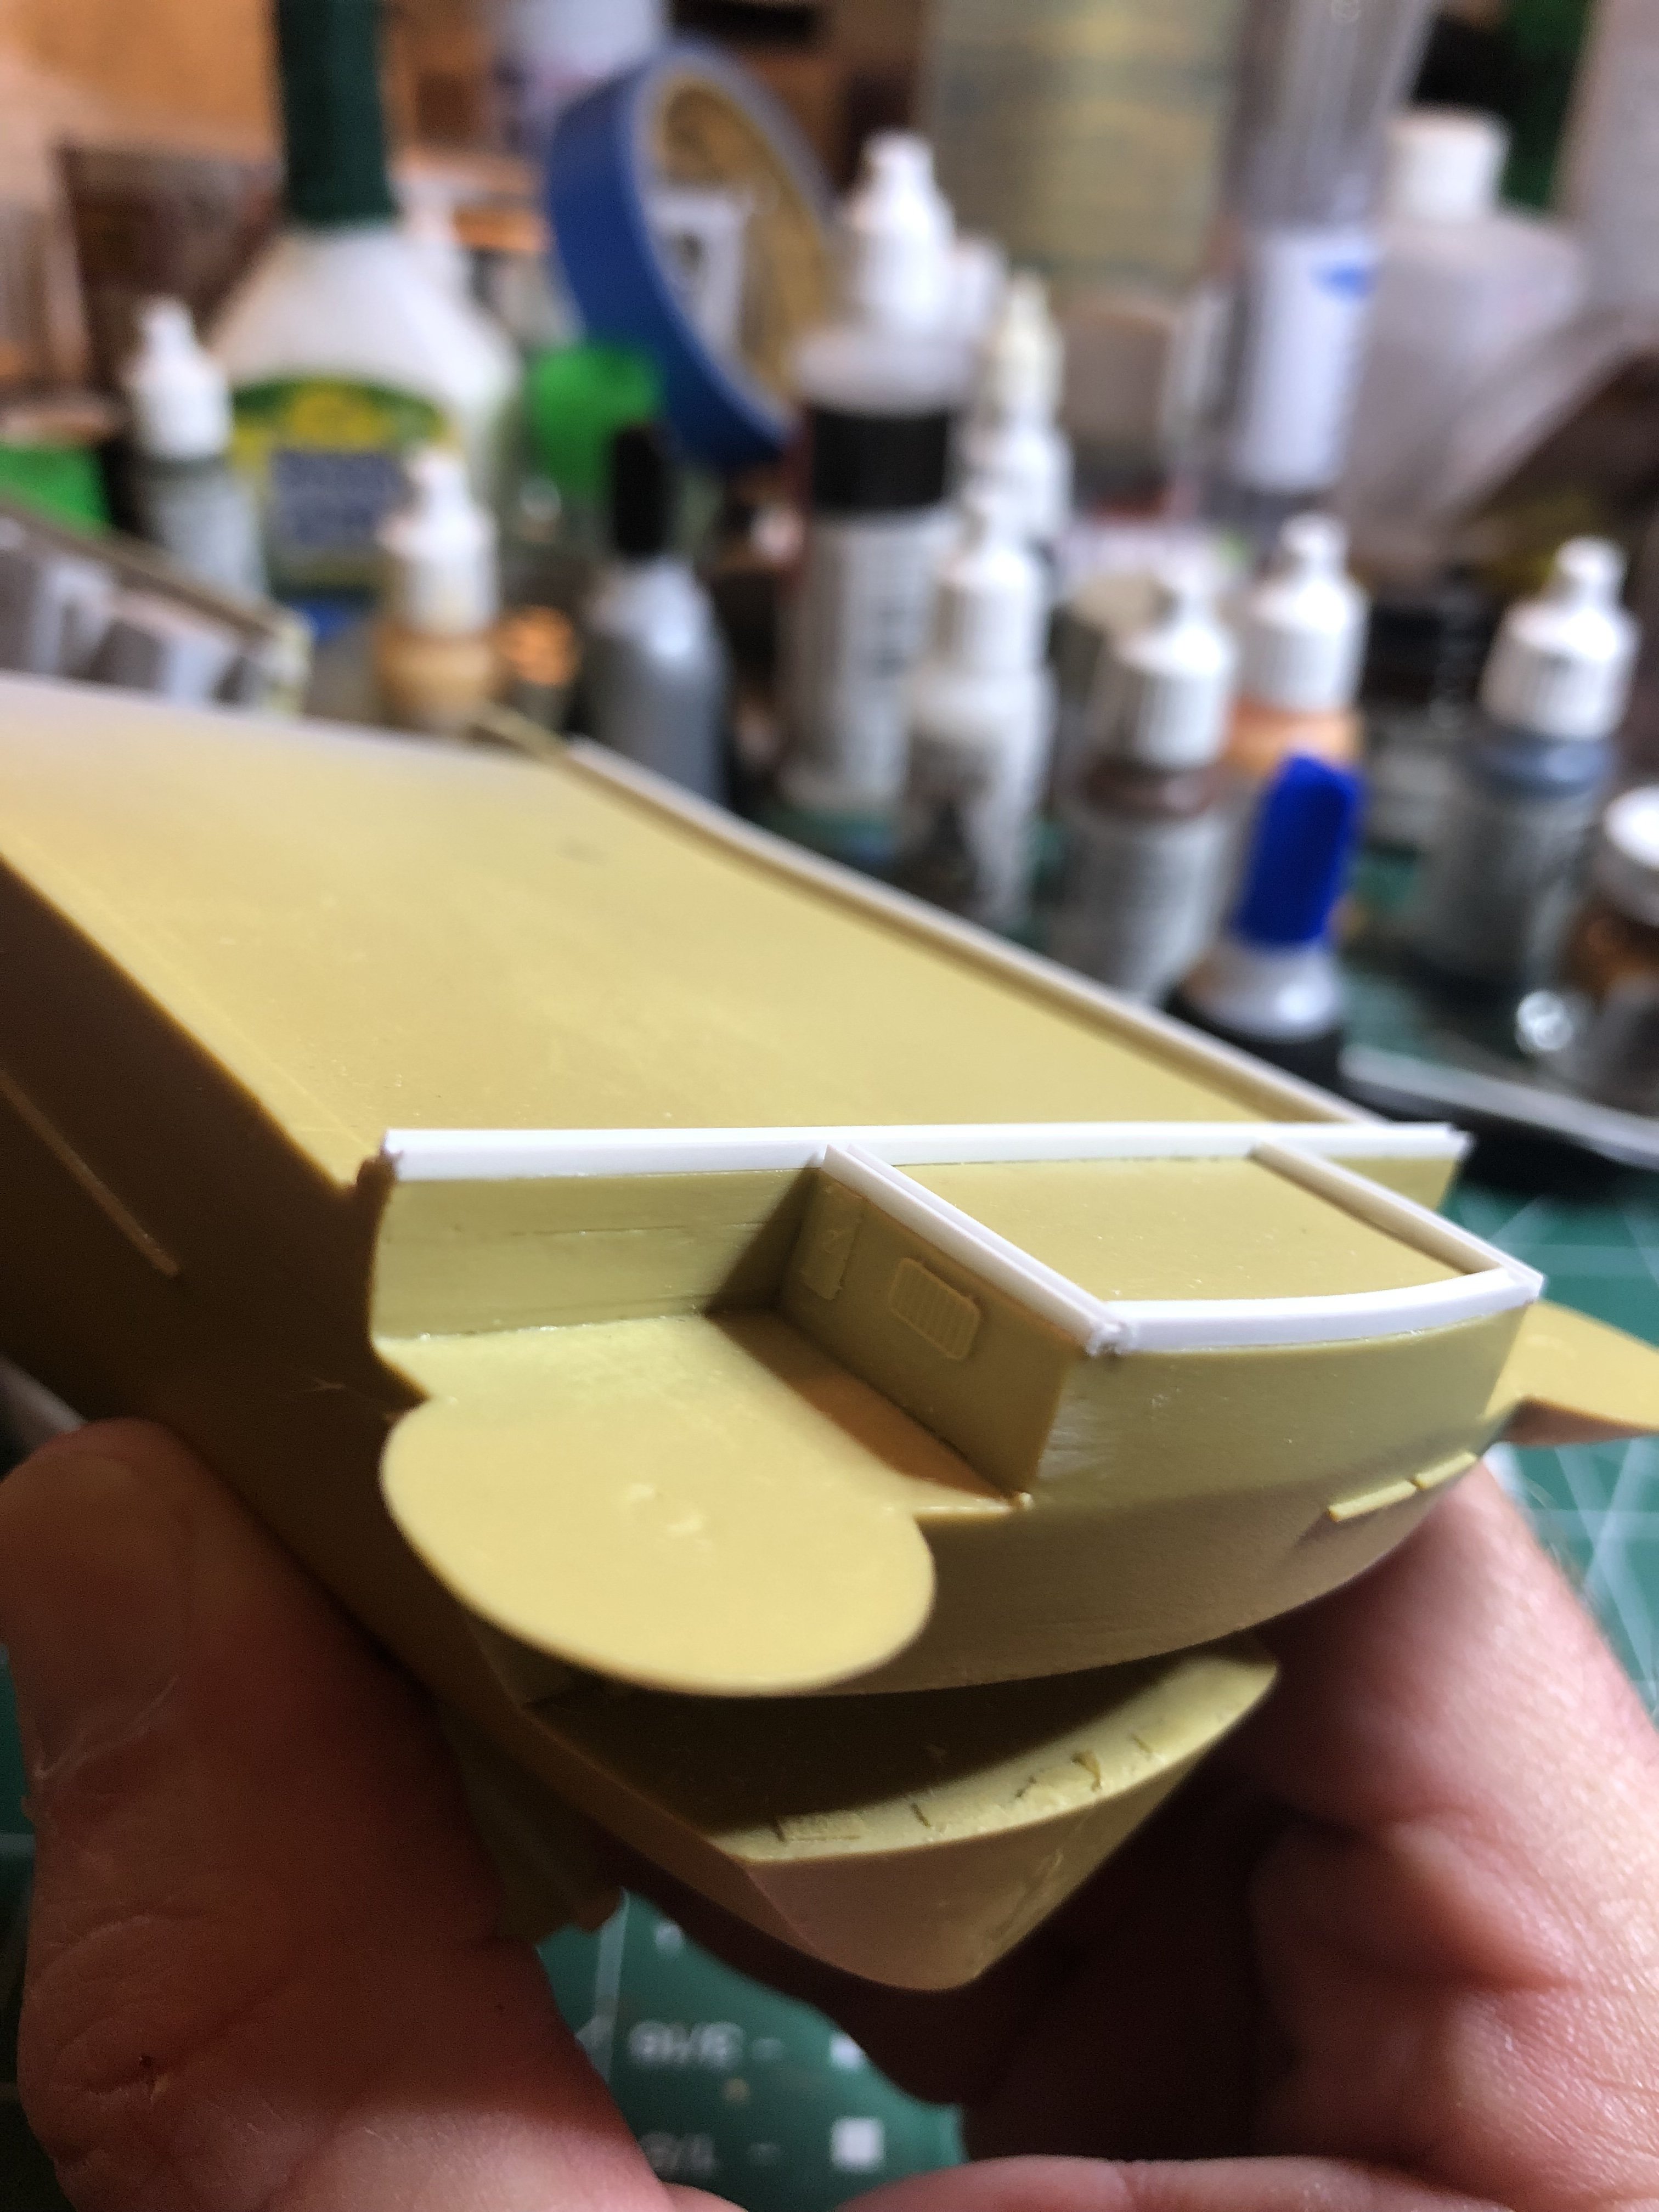
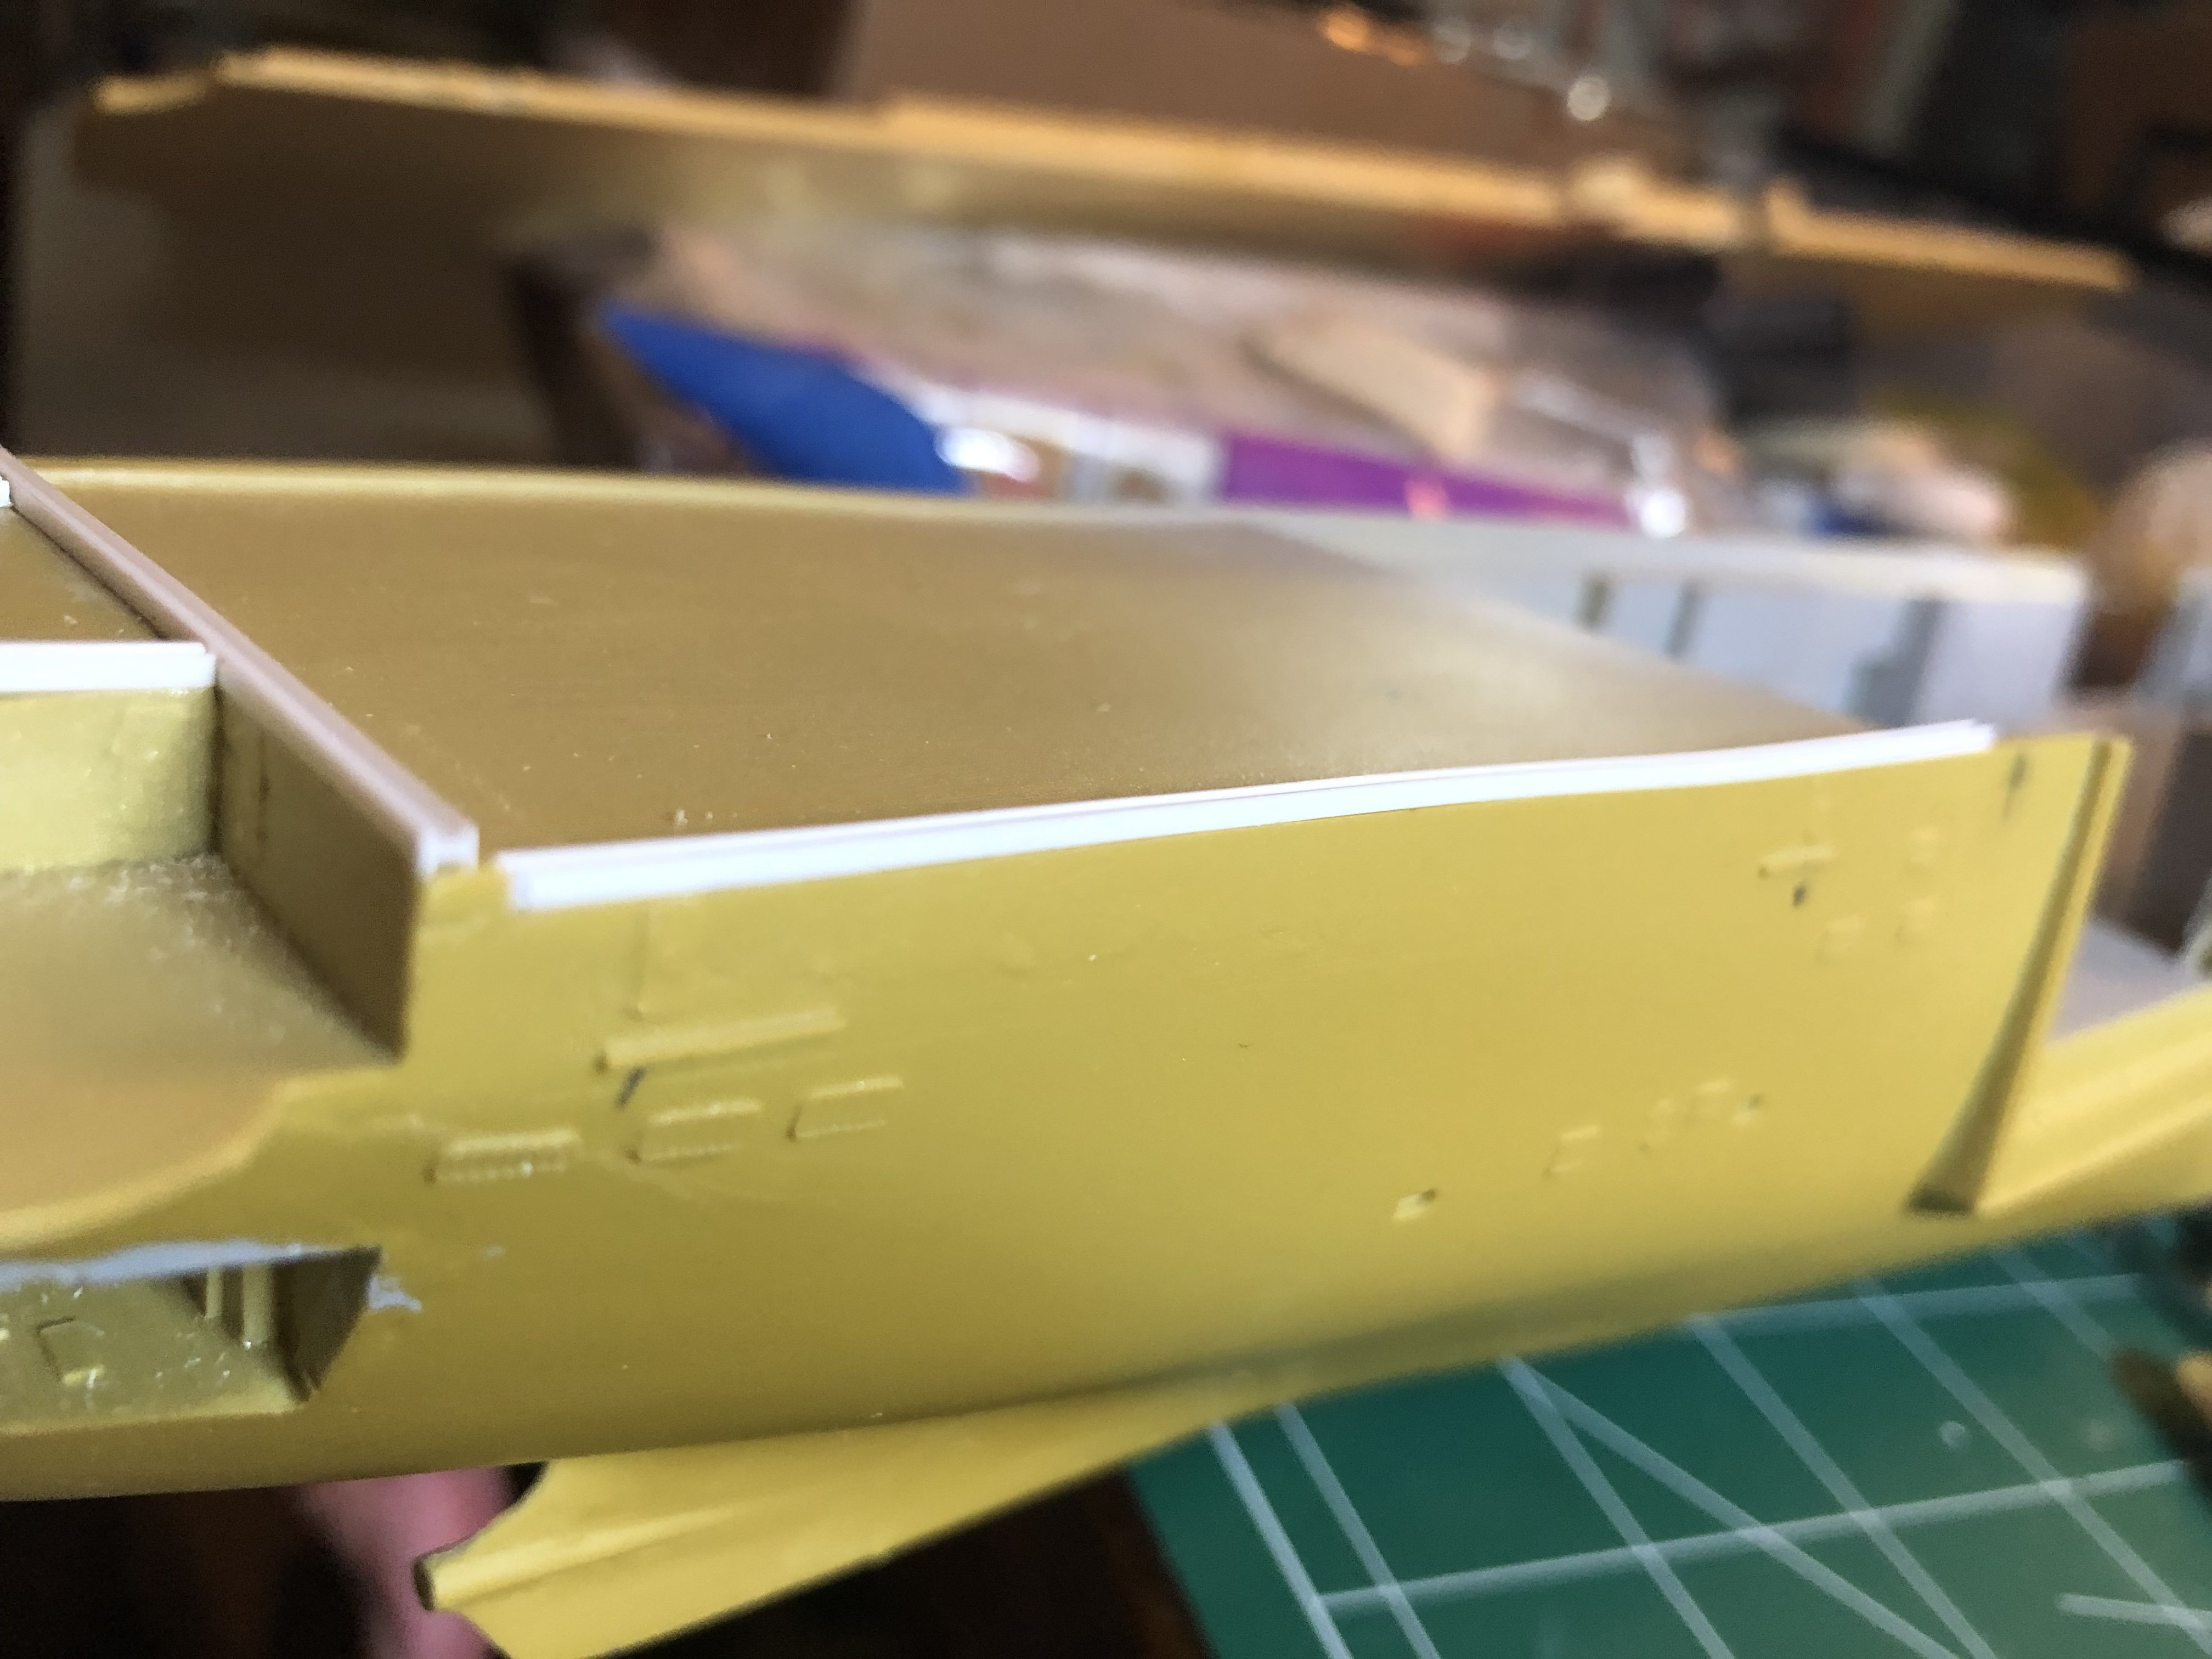
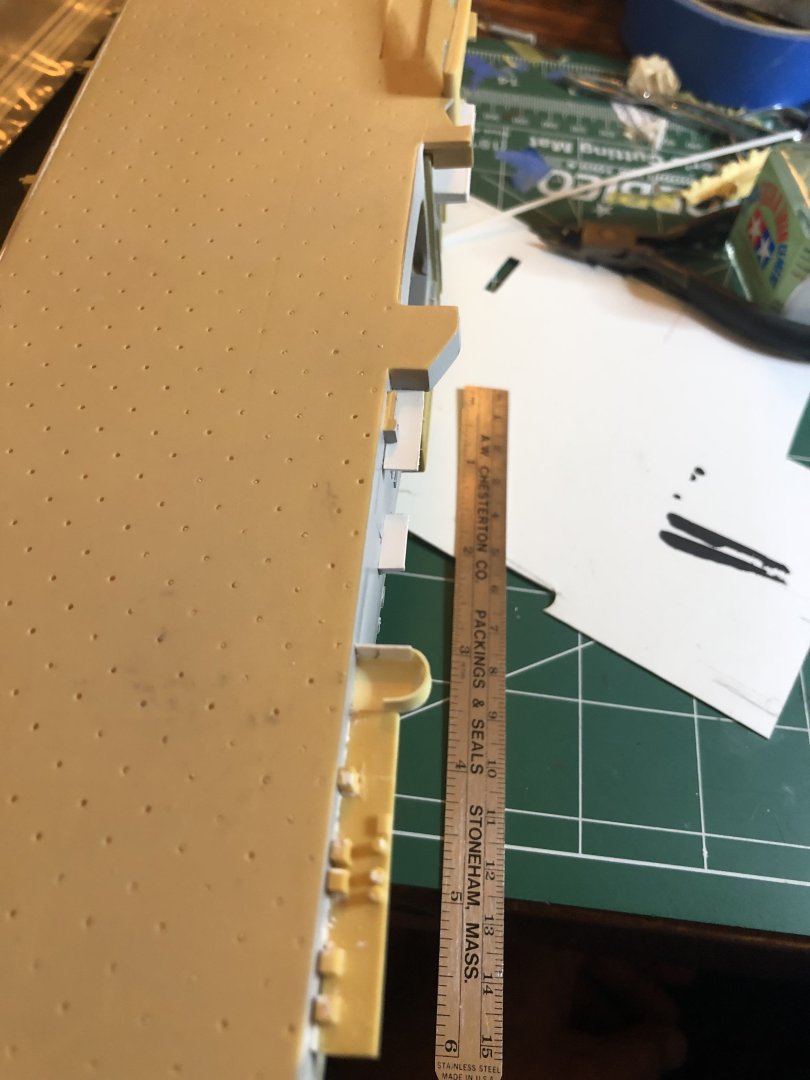
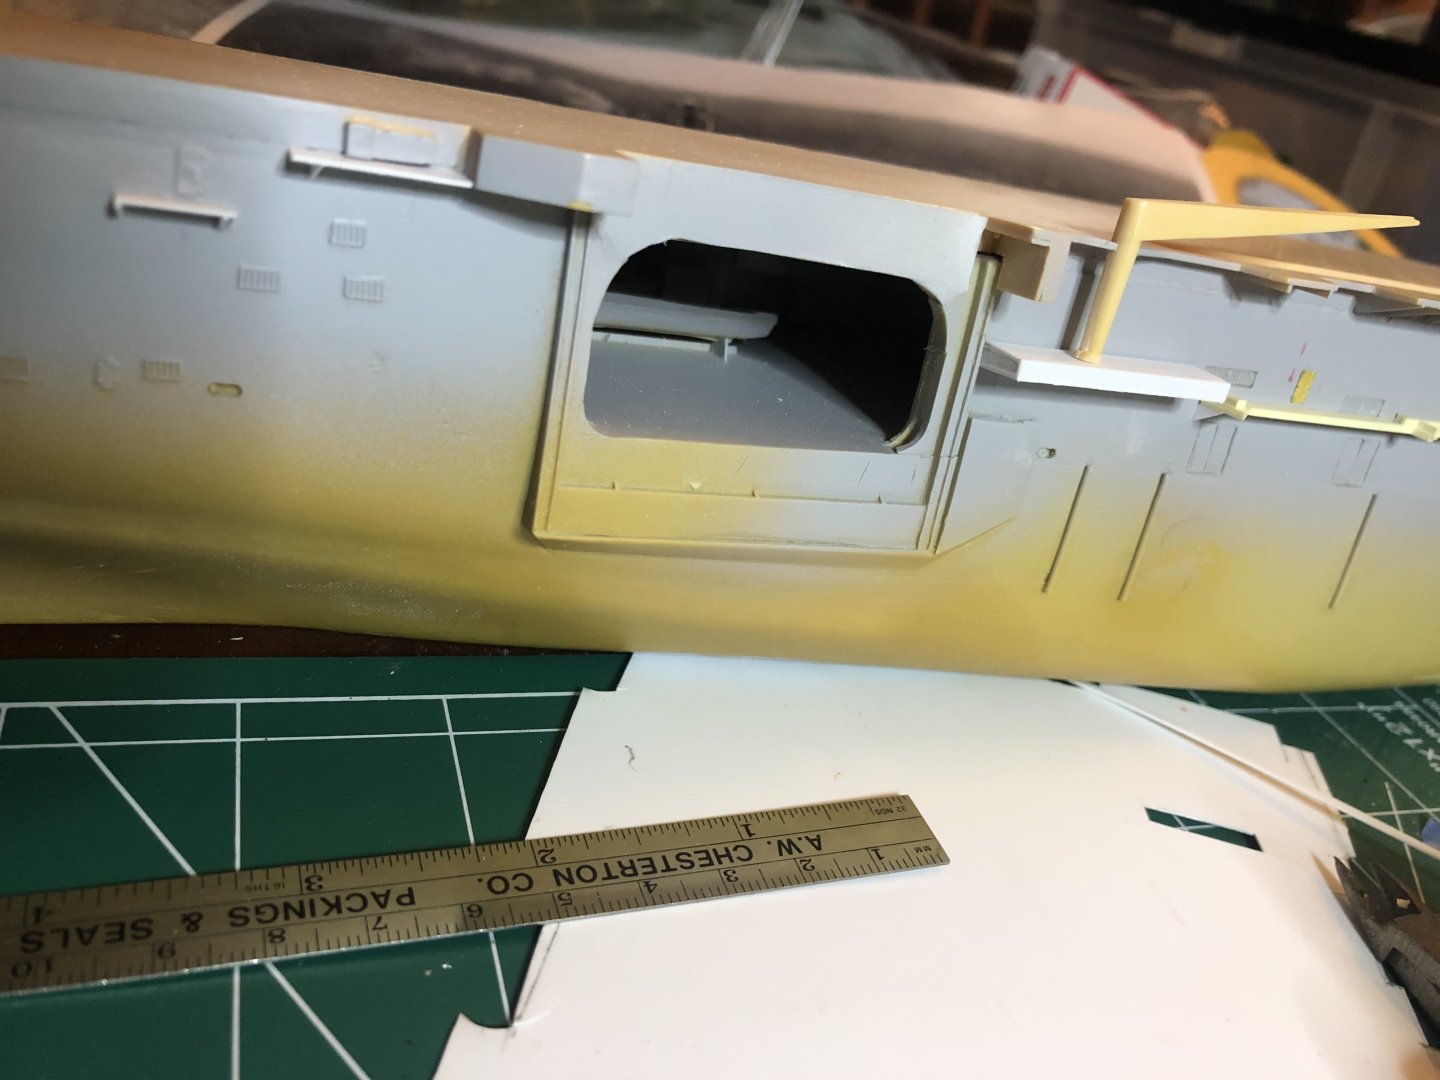
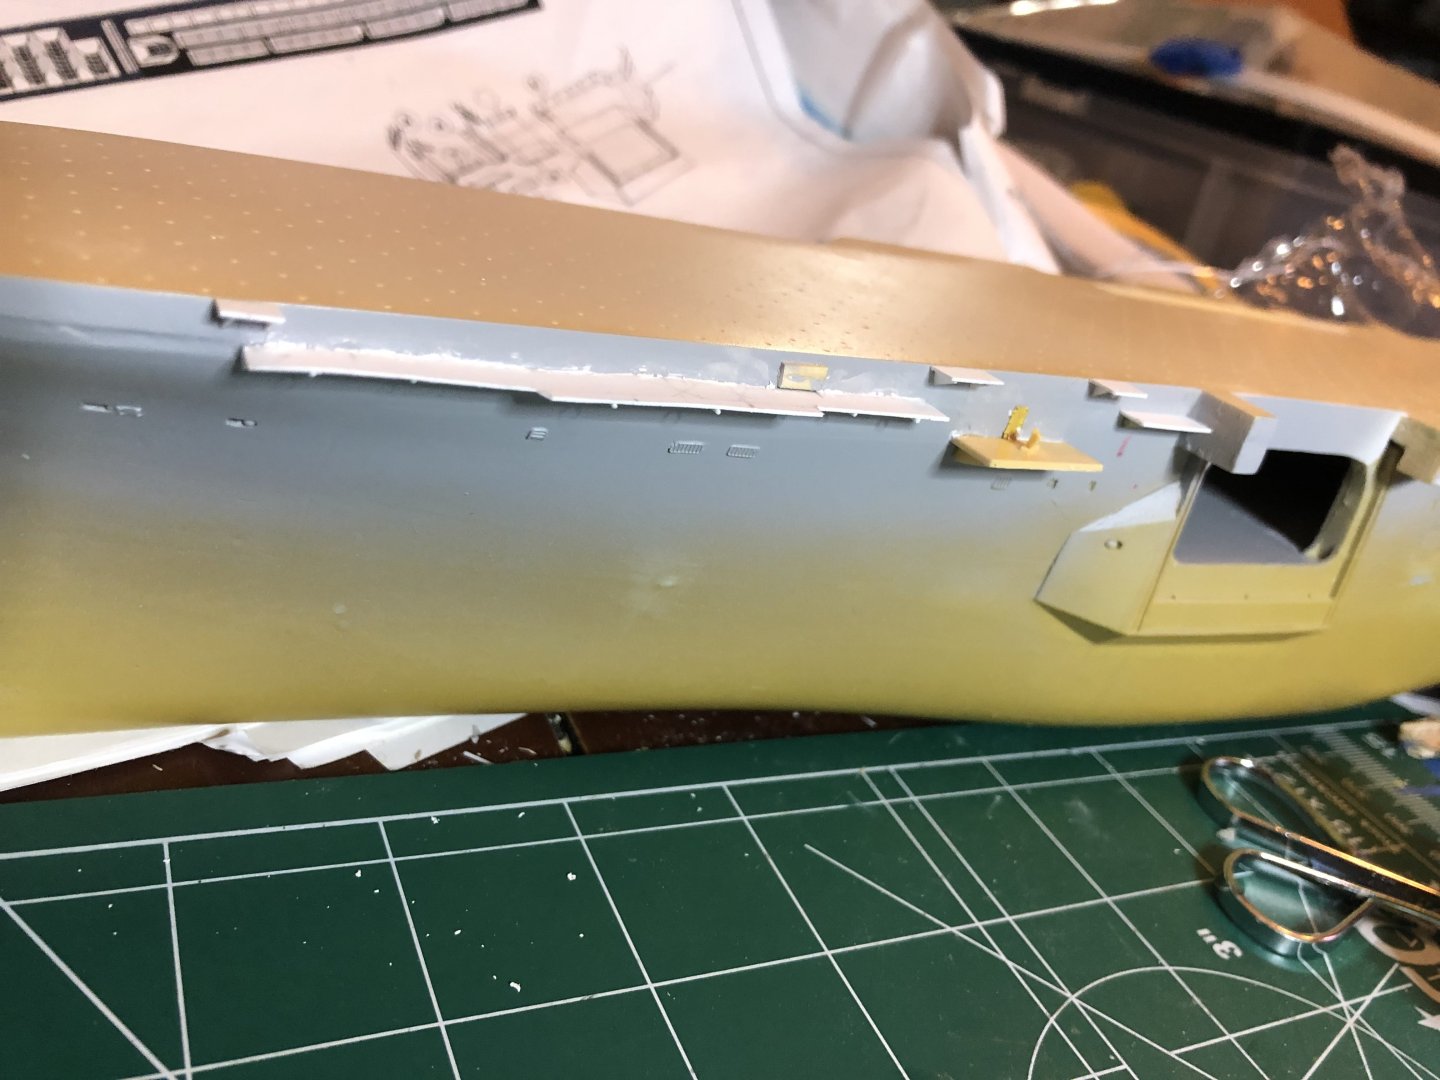
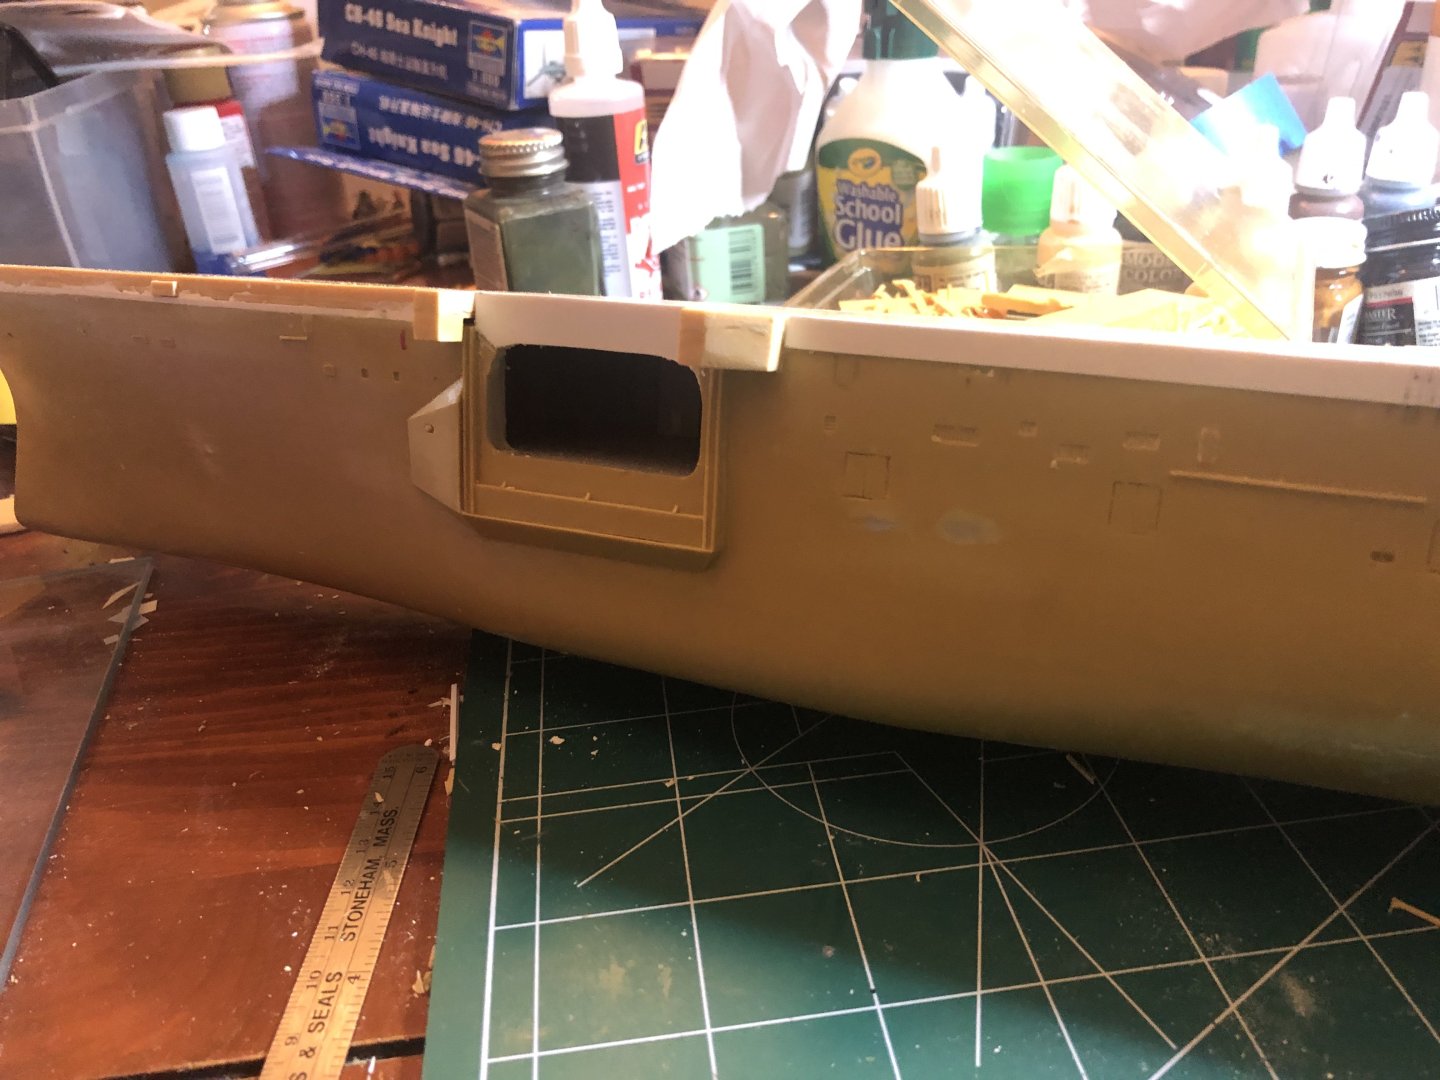
It seems like my modeling time is limited…teens will do that lol. Small update. I cut strips of thin styrene sheets and glued them to the edge of the flight deck. Once I put the catwalks on along with all the odds and ends, it will look halfway decent. Hopefully. Now, the next big issue is the elevator area. Not only is it jacked, but the guide rails are off. See photo. My plan is cover the area with sheet styrene and cut the opening to shape. I wasn’t kidding when I said this kit was a real piece of work.

- 176 replies
-
- 4
-
-
- new orleans
- iron shipwrights
- (and 2 more)
-
Quick updates with no pic, however. My idea of milliput/putty sucked for the most part. I do have very thin sheet styrene that I’ll cut in strips and glue to the edge of the flight deck. Since I have to relocate the catwalks to their appropriate places, it should fit perfectly and look a lot better. Stay tuned.
- 176 replies
-
- 3
-
-
- new orleans
- iron shipwrights
- (and 2 more)
-
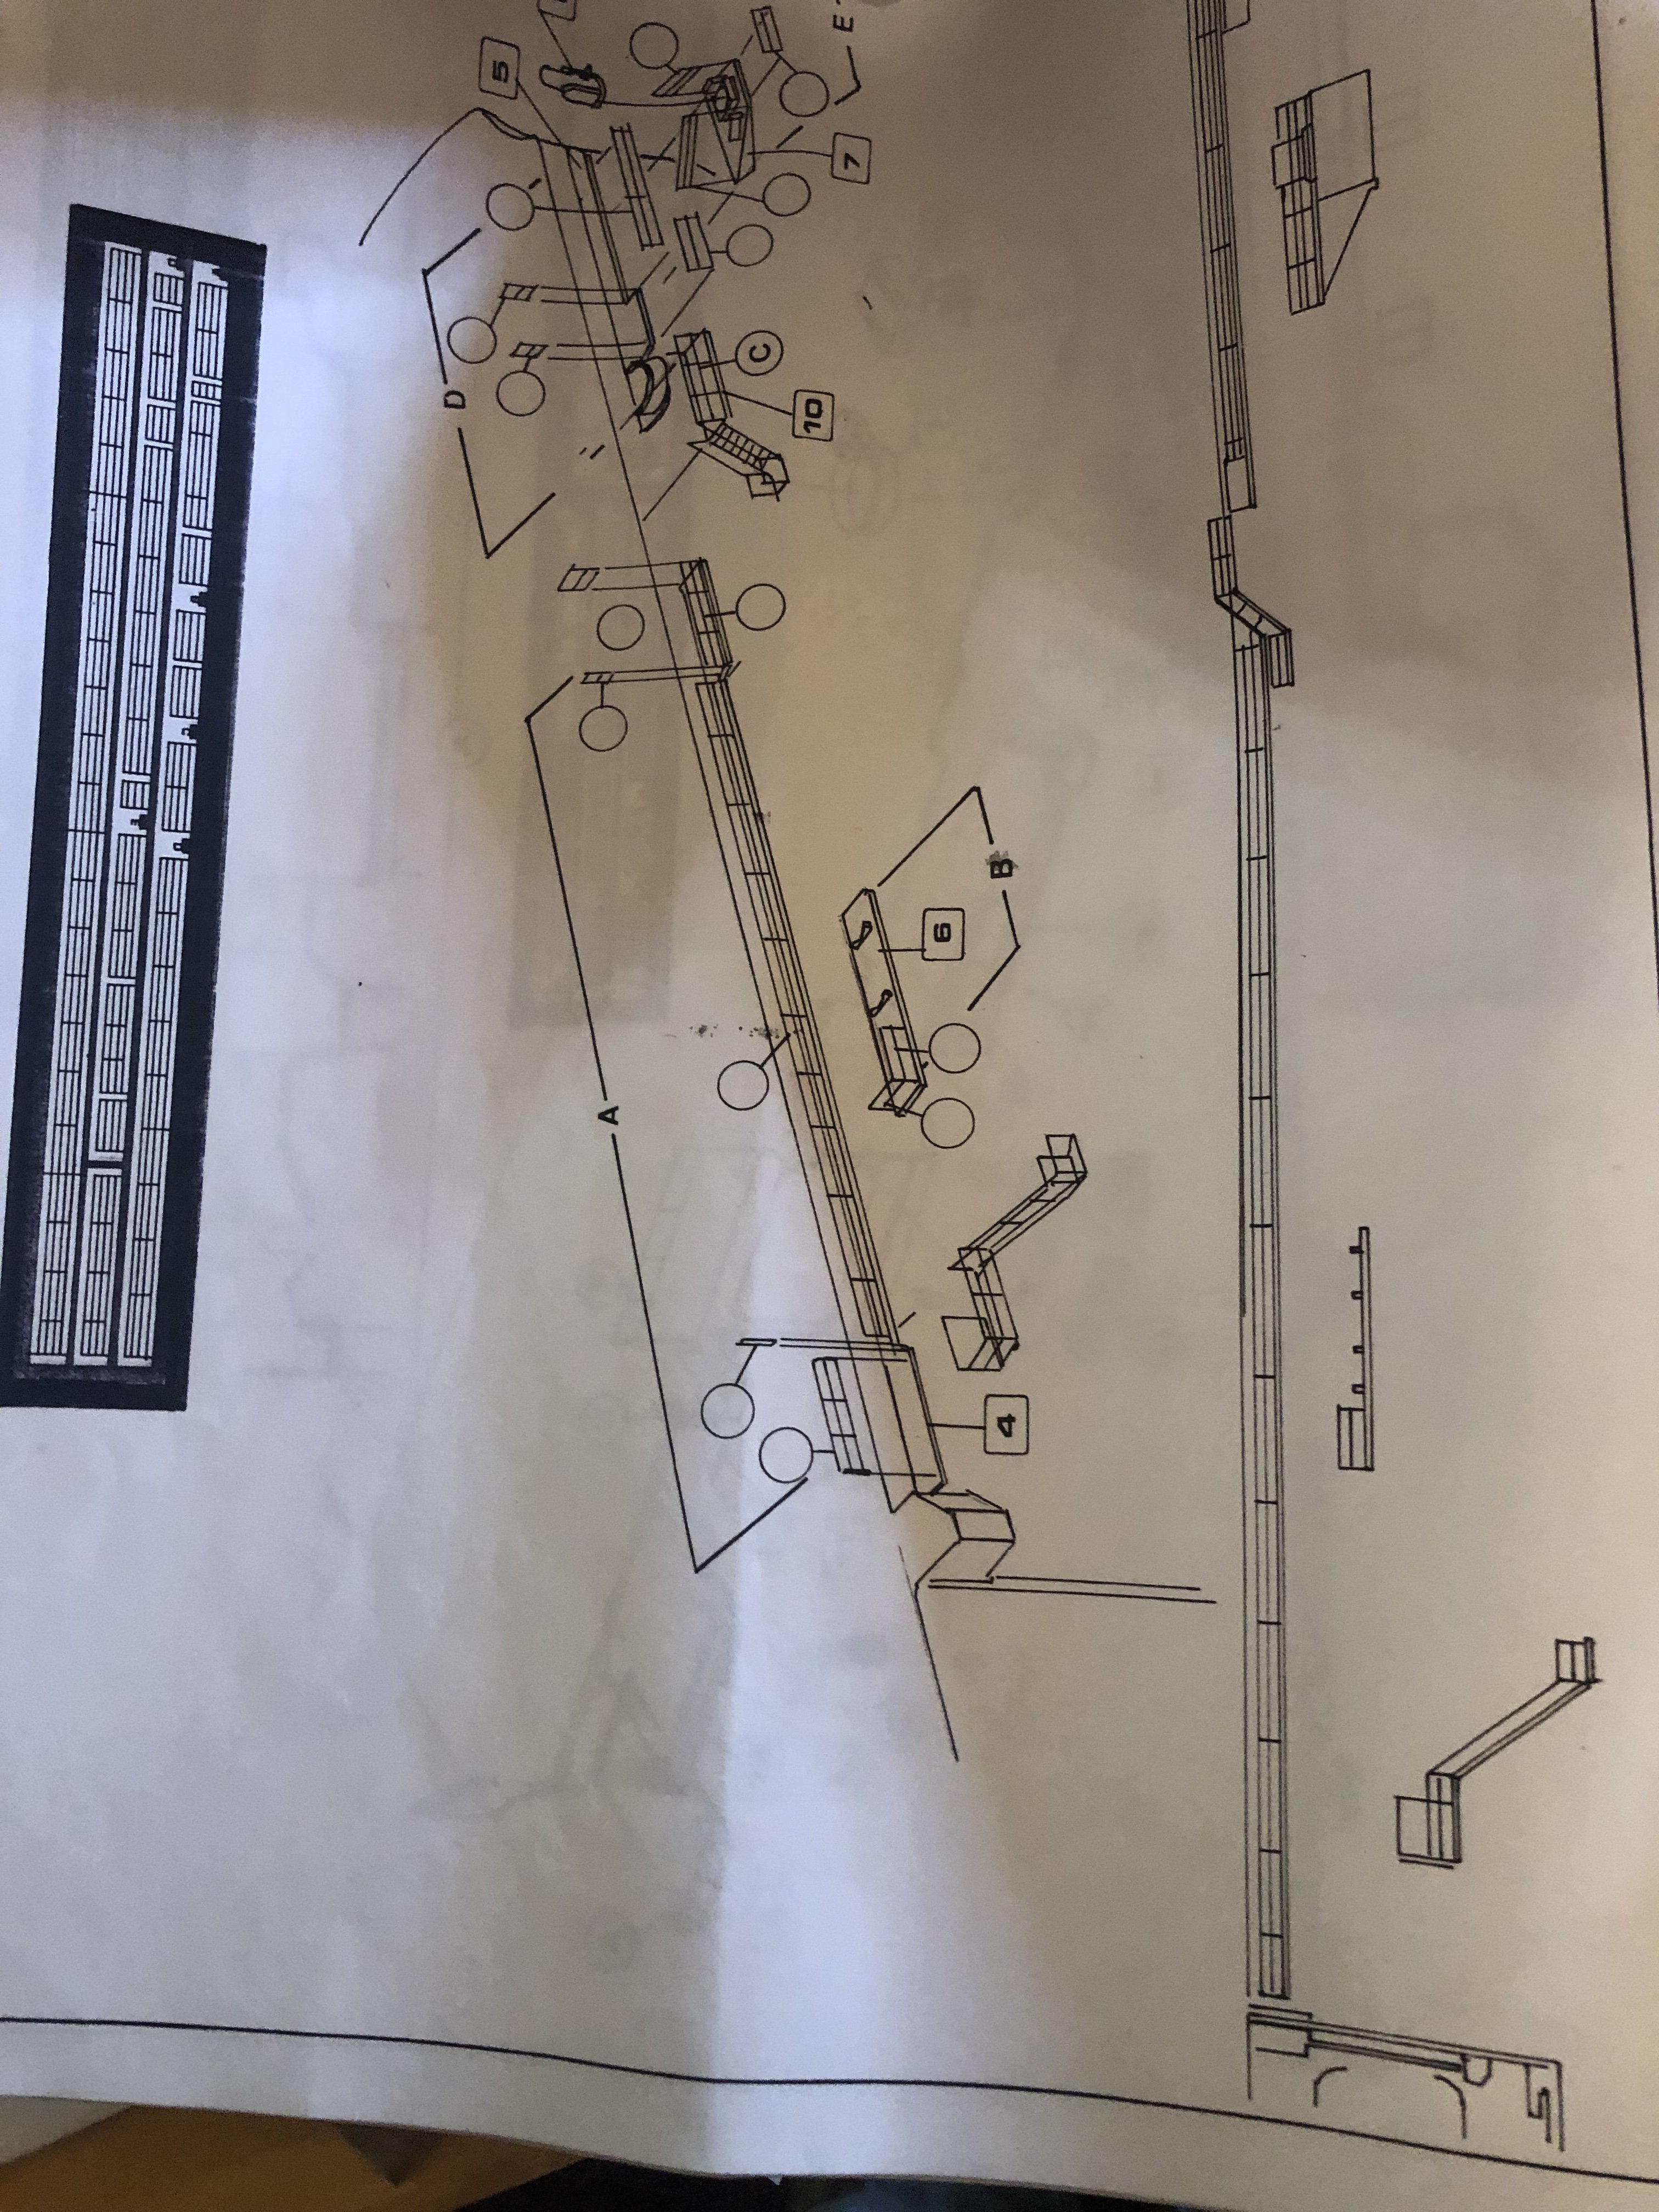
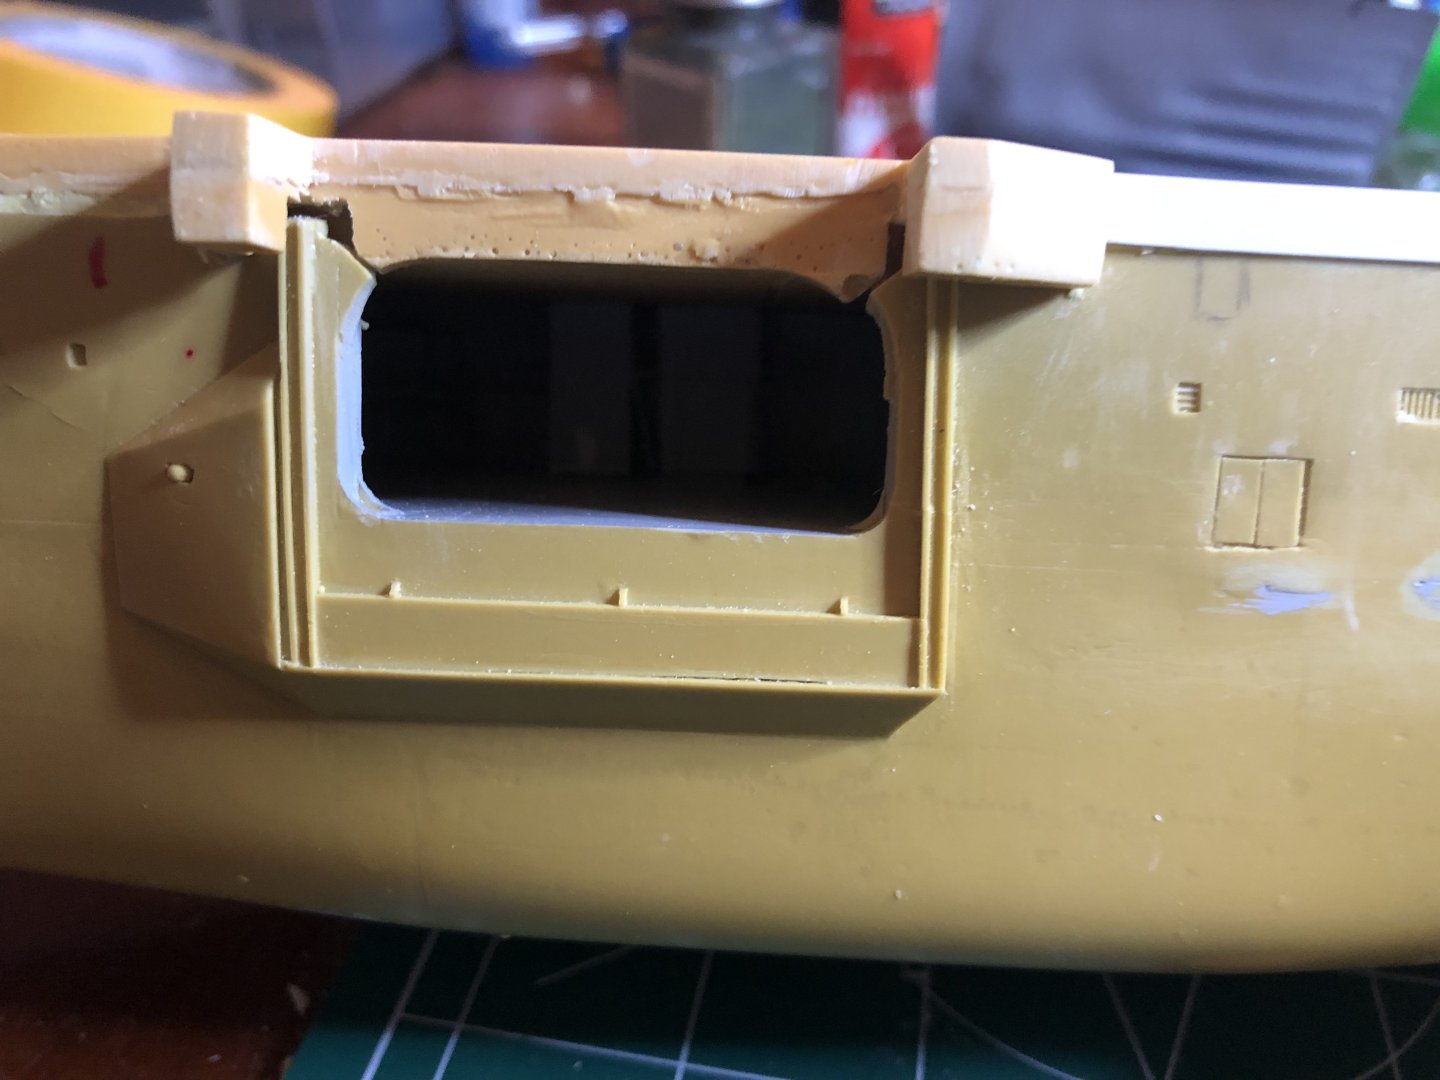
A little more progress. I have gone the route of milliput and Perfect Plastic Putty. As you can see, one part is sanded, and the other isn’t yet. I’m happy with it so far. Attached are pics of the real ship and the instructions. You can see the poor instructions - bad kit and worse instructions which don’t even show every piece included with the kit. The instructions would have you put the walkways lower than they actually were, so I will relocate them up near the deck. Which, with all the odds and ends, would hide a bit of my rework. Light at the end of the tunnel.


- 176 replies
-
- 3
-
-
- new orleans
- iron shipwrights
- (and 2 more)
-
Thanks! Experimented with a bit of milliput for the gap filling last night- a bit of a learning curve but I think it will work just fine.
- 176 replies
-
- 3
-
-
- new orleans
- iron shipwrights
- (and 2 more)
-
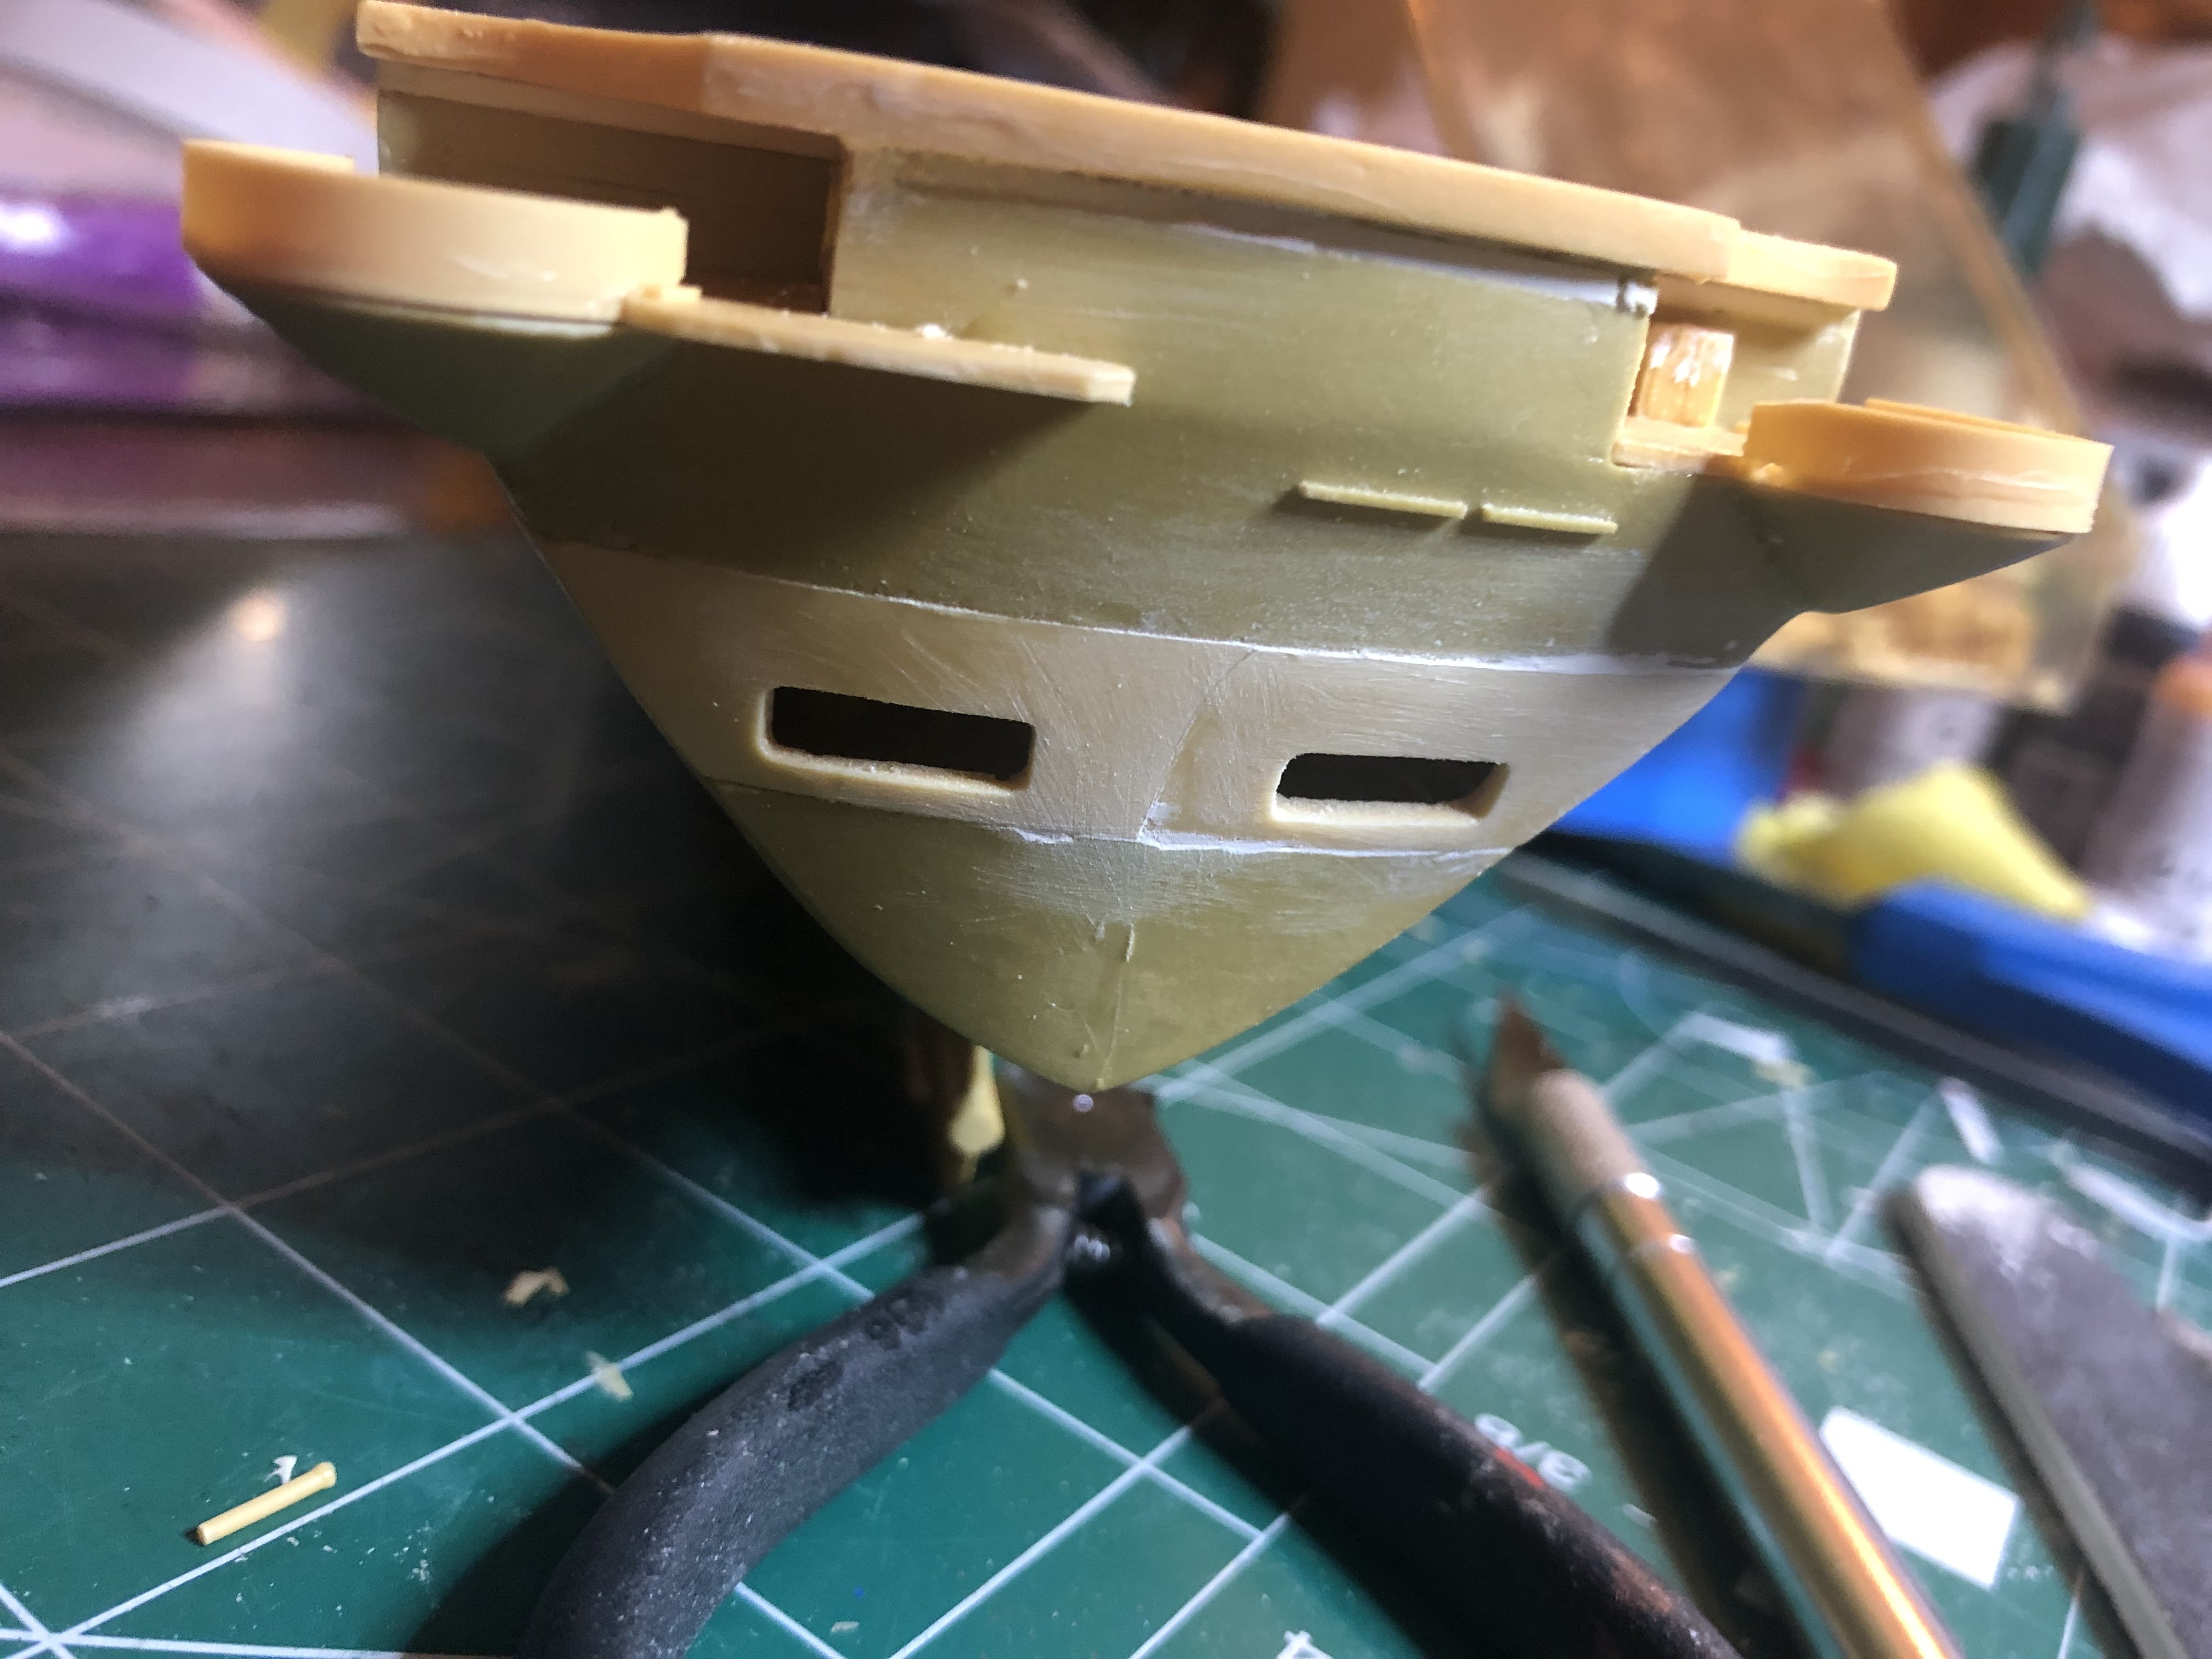
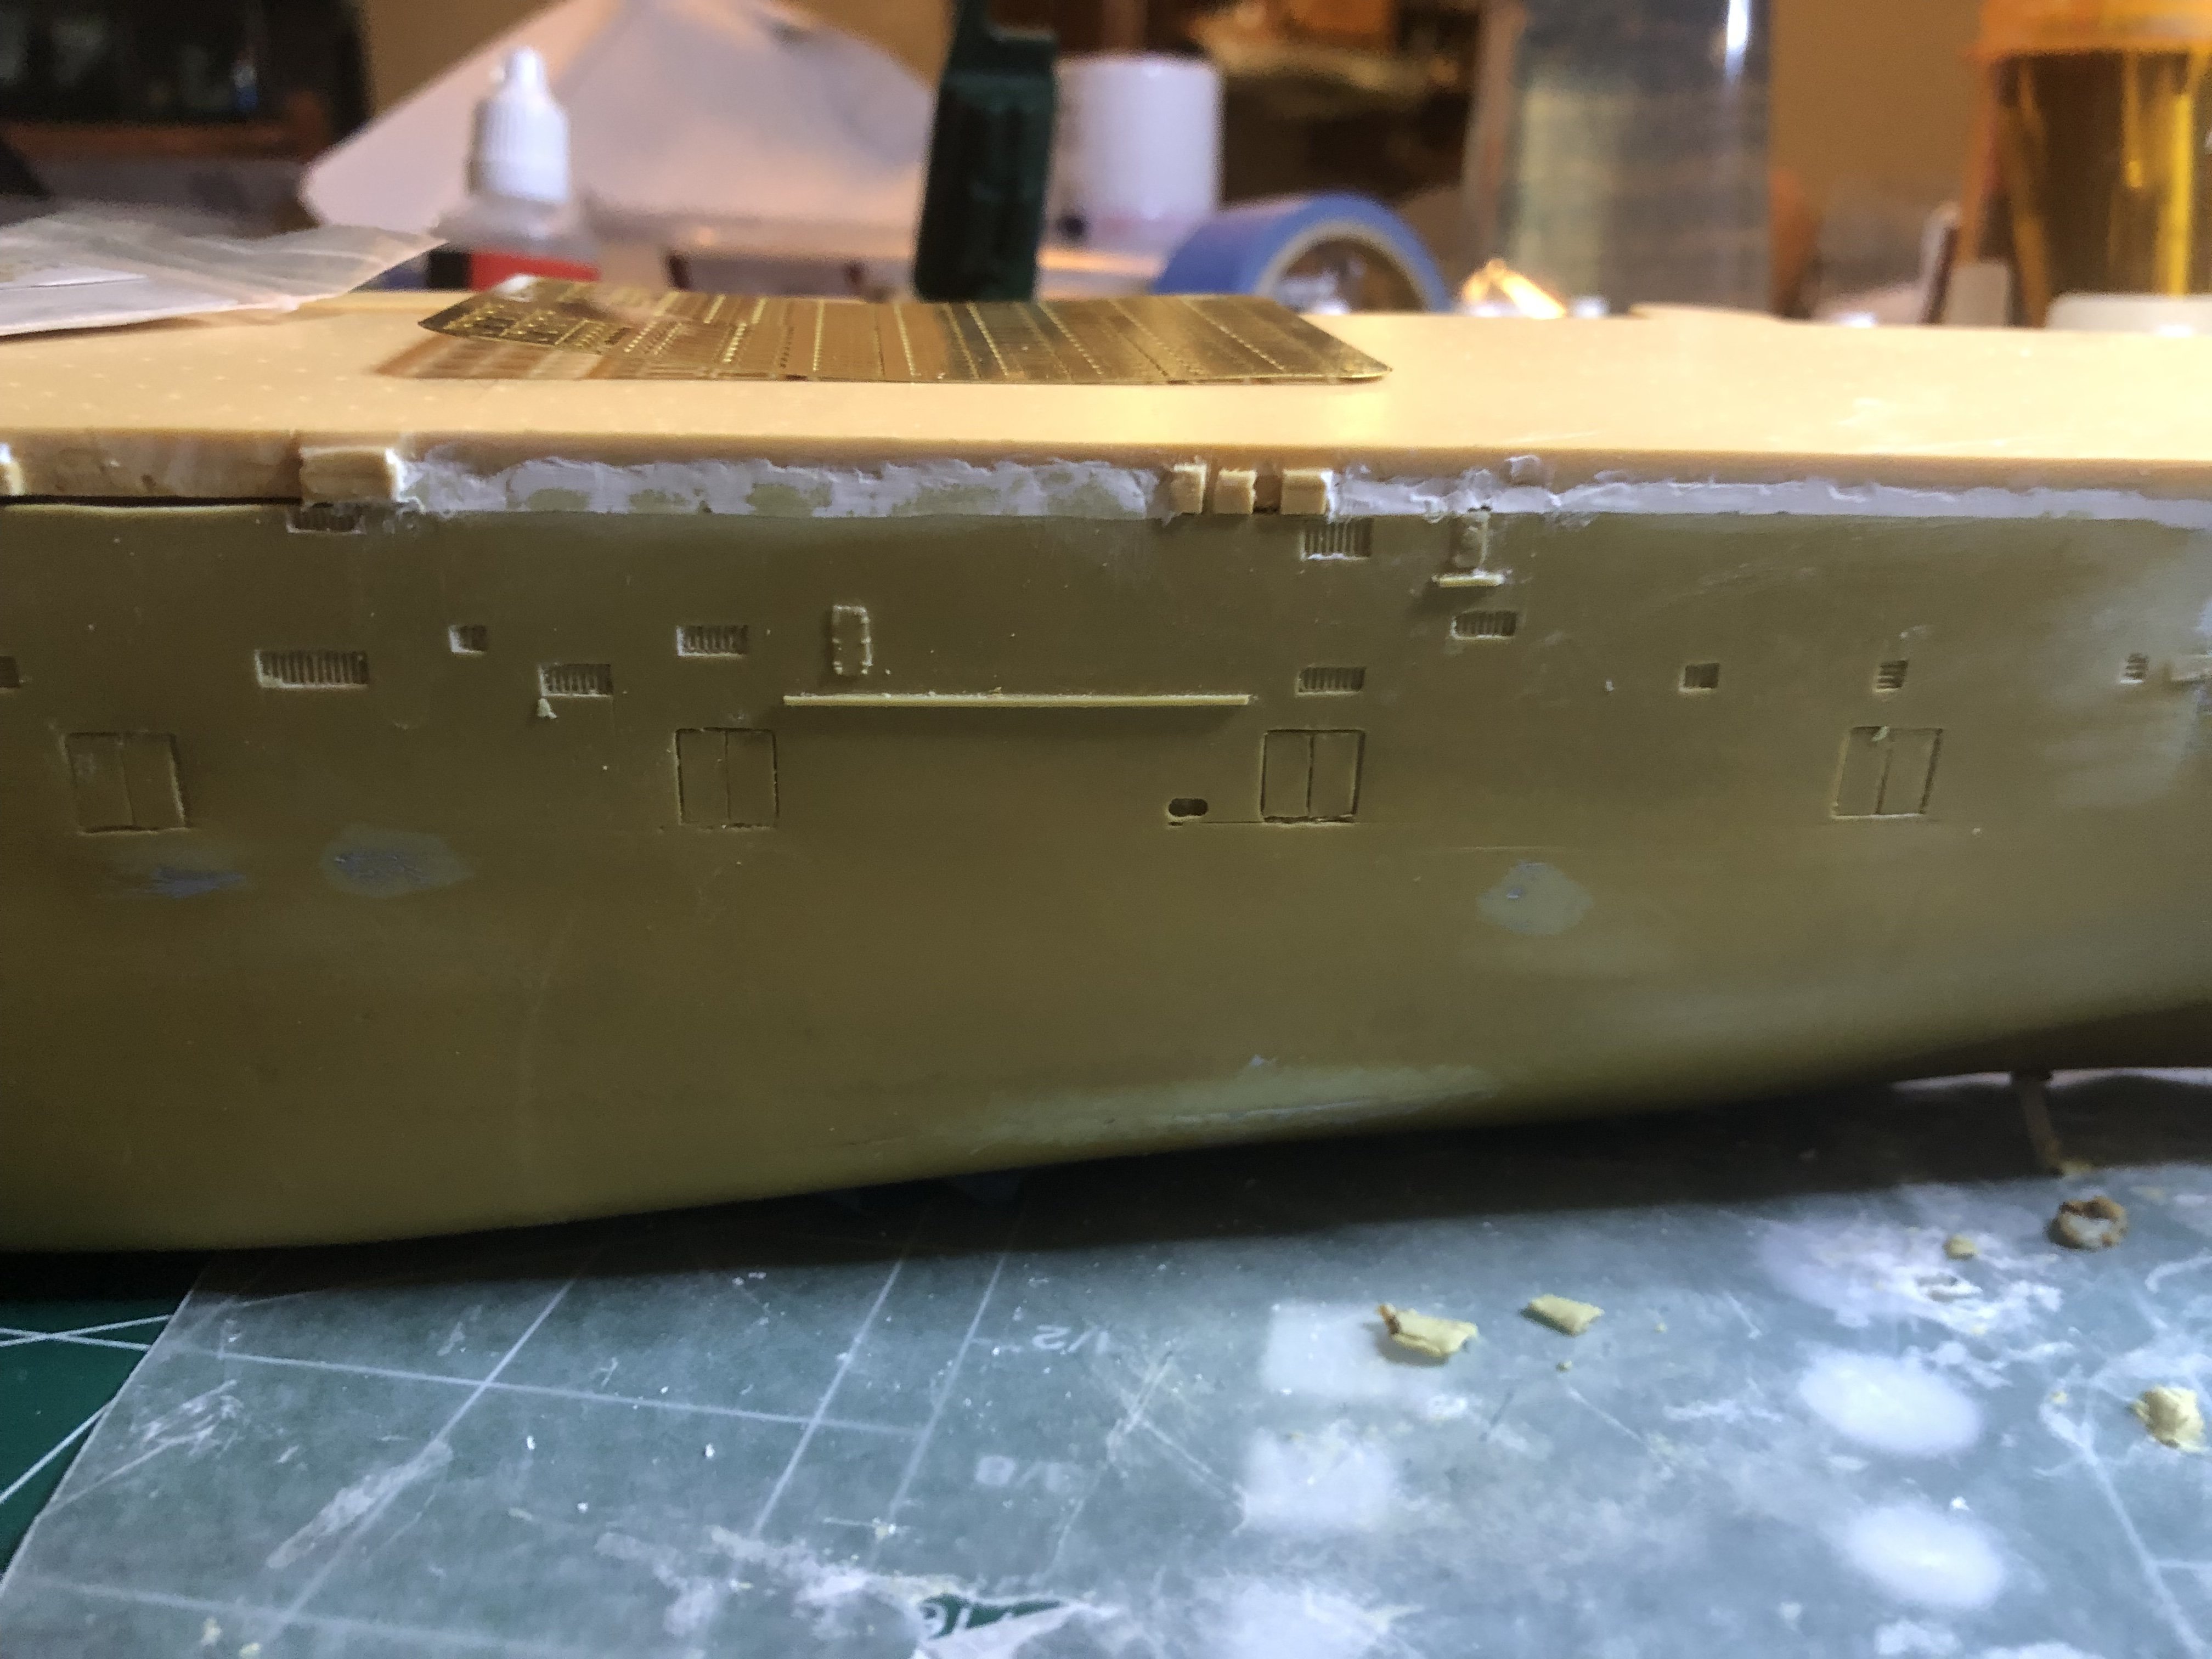
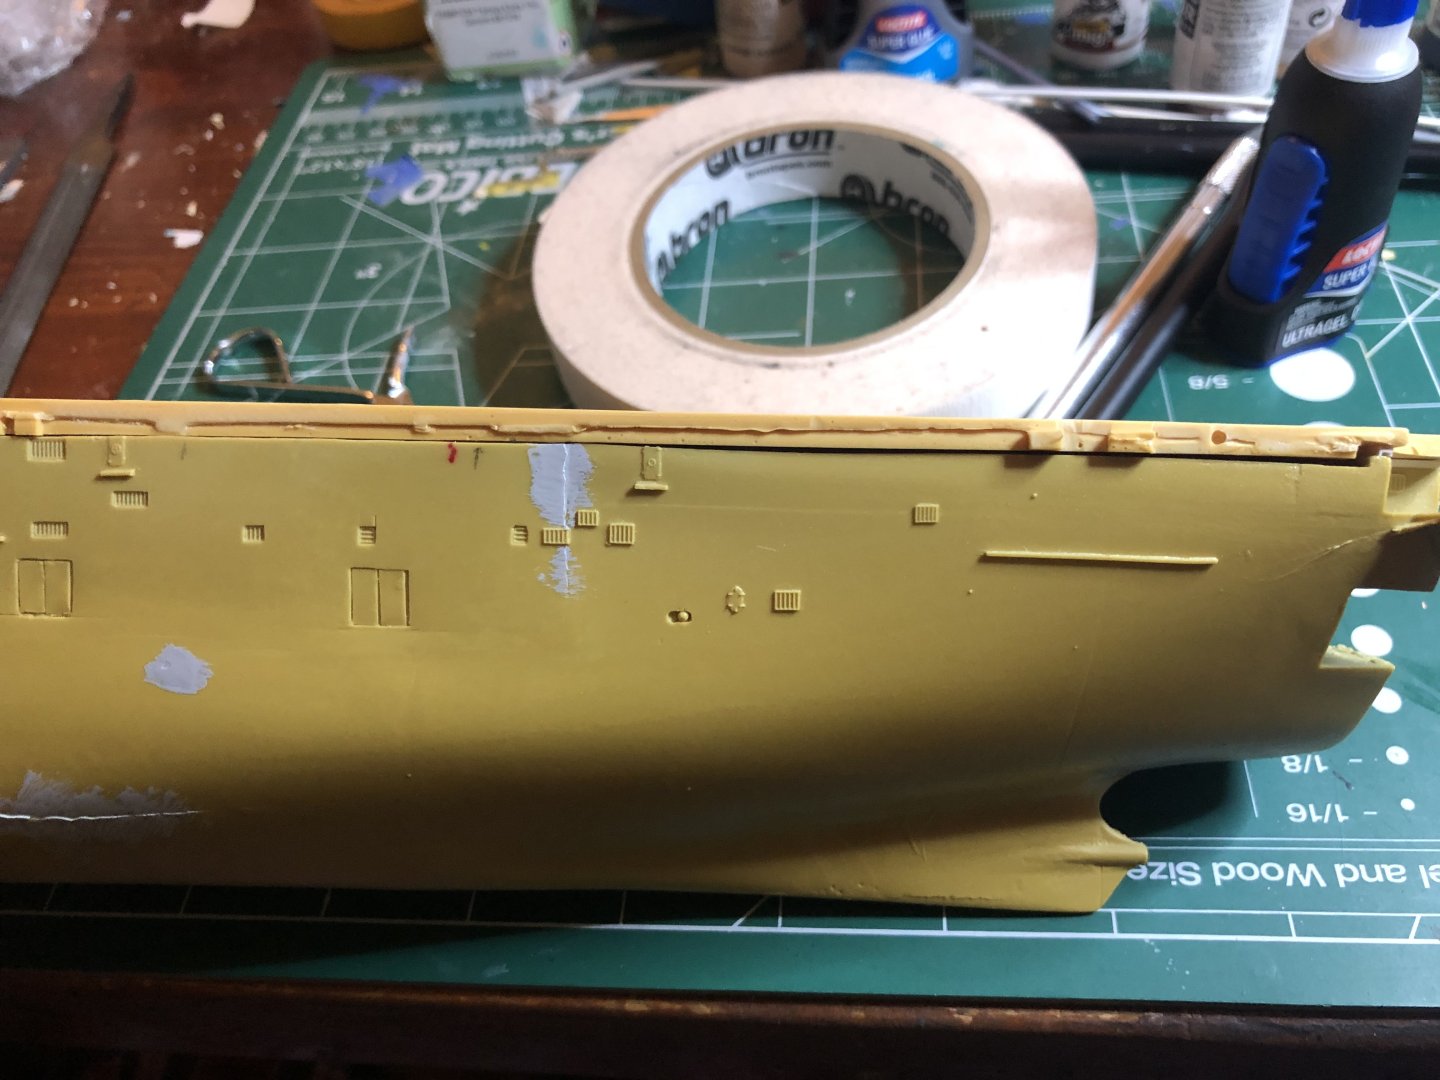
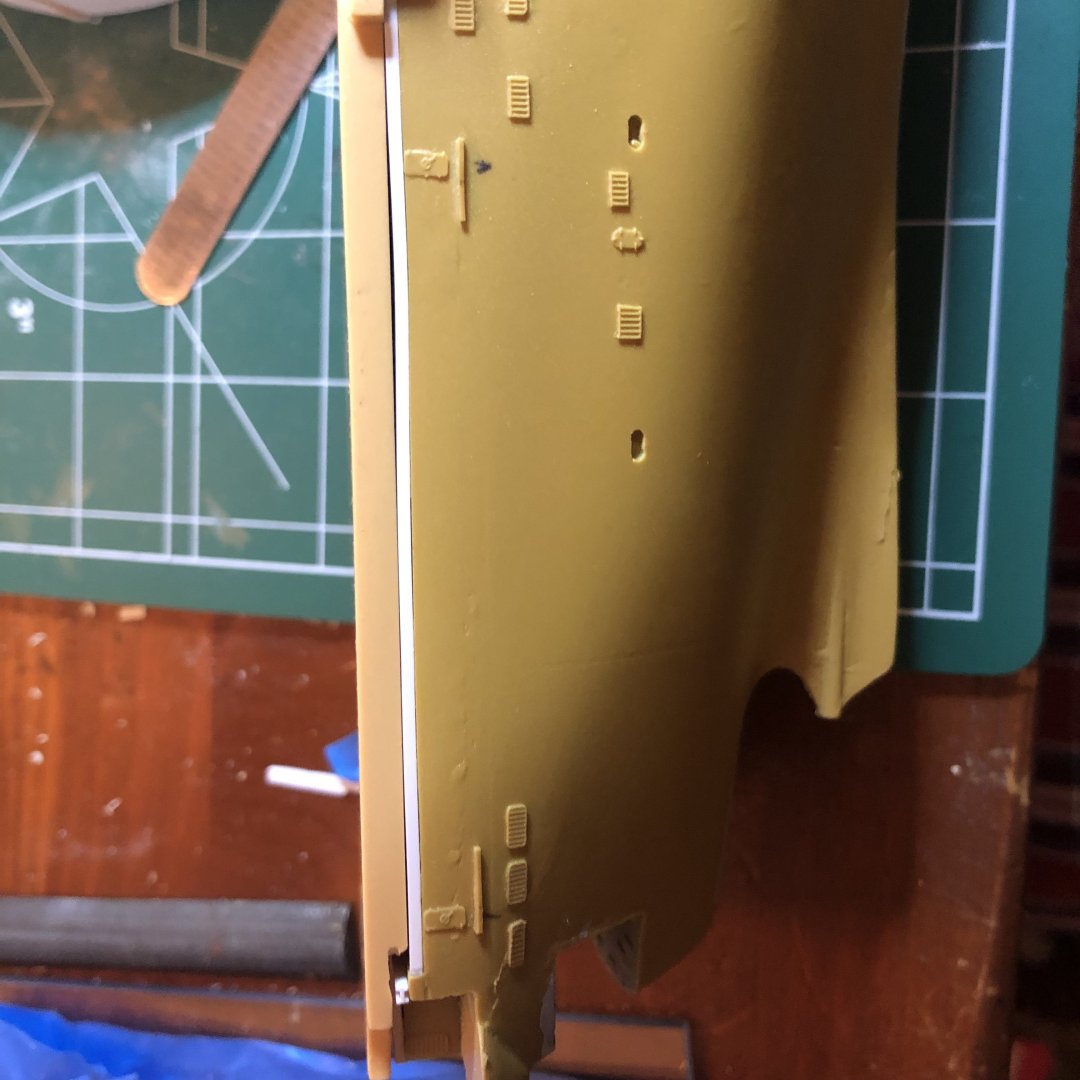
Small update. The flight deck is on. Normally I wouldn’t do it this early, but so much has to be done at gap filling, etc, I felt I had no choice. Will replace all molded doors/hatches and relocate walkways, etc. While the shims helped some, as one can see there are so many gaps. And, of course and being on par with this piece of crap, the display side is beyond terrible. Plastic sheet will cover areas around elevator/hangar deck - will just have to cut it to shape. Still too much work on something that shouldn’t take this long.


- 176 replies
-
- 7
-
-
- new orleans
- iron shipwrights
- (and 2 more)
-
That is a step. I’ll need to sand it down. One mountain at a time lol
- 176 replies
-
- 6
-
-
- new orleans
- iron shipwrights
- (and 2 more)
-
Thank you! I was just messing around with it and said why not…the right side only (aft) gets the shims and both sides forward get it. Not perfect, but once I get it all set in it should be just fine! i work on the soldiers in between just to keep me from throwing the ship against the wall…
- 176 replies
-
- 3
-
-
- new orleans
- iron shipwrights
- (and 2 more)
-
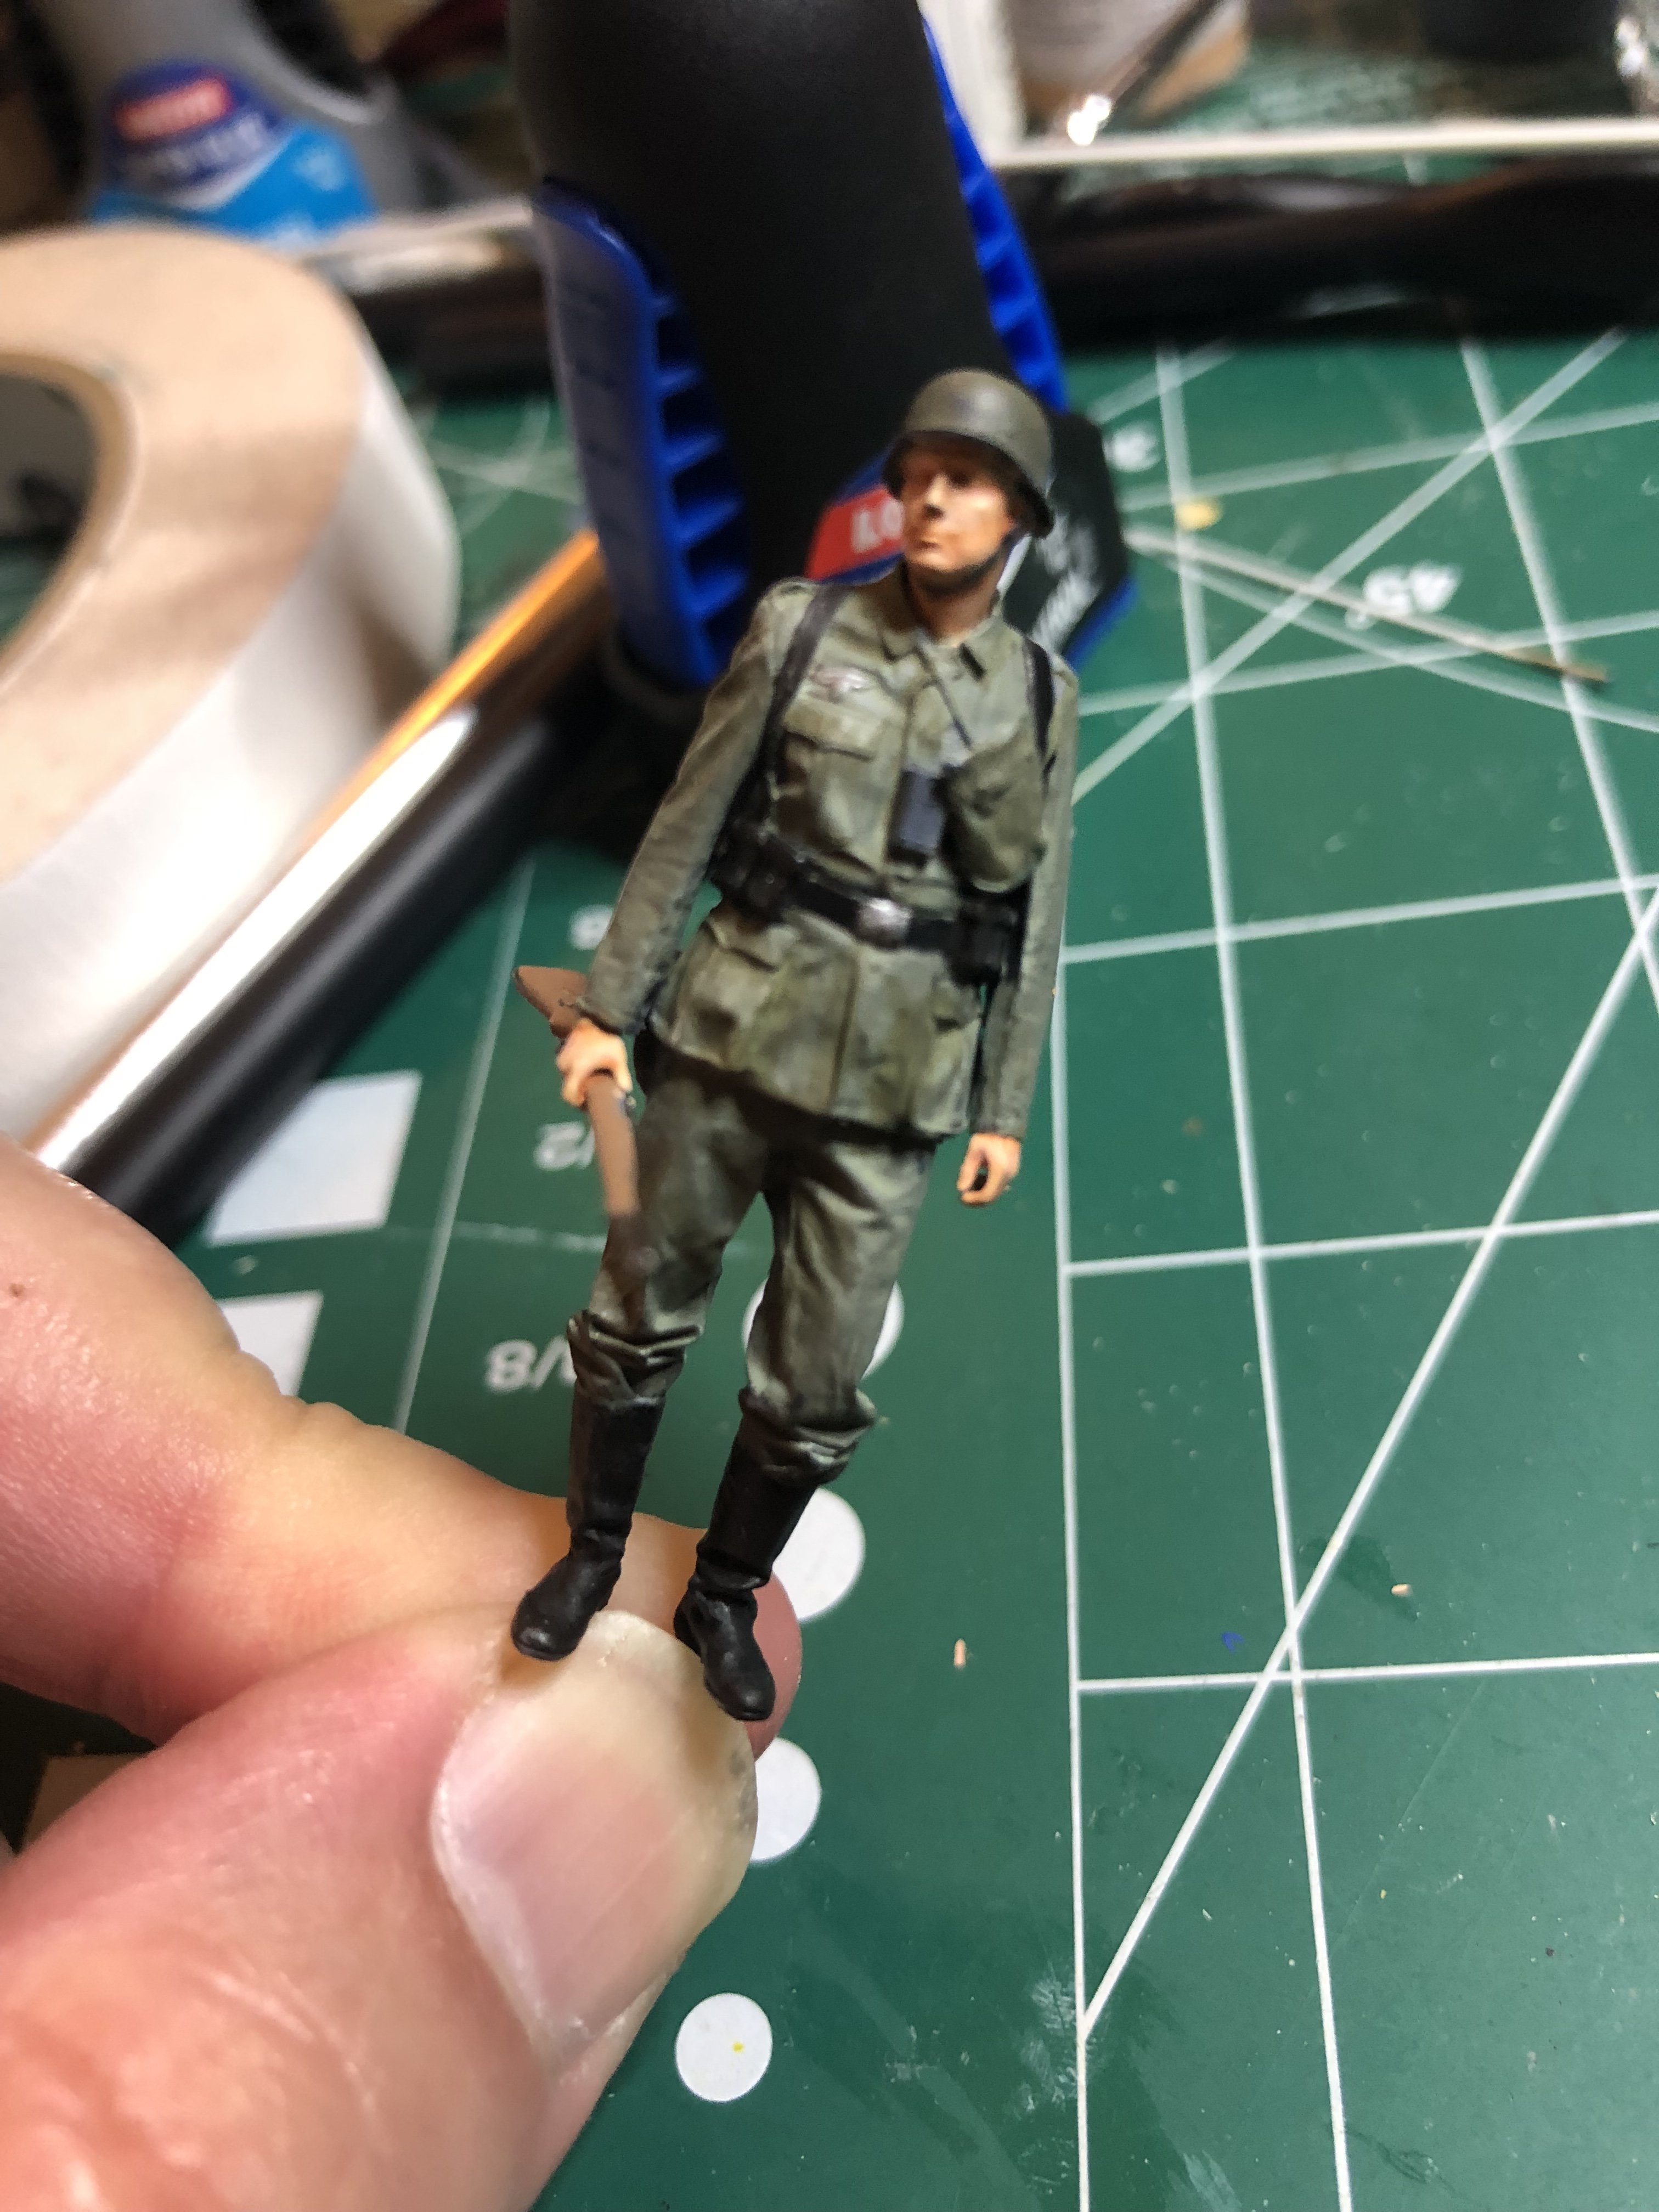
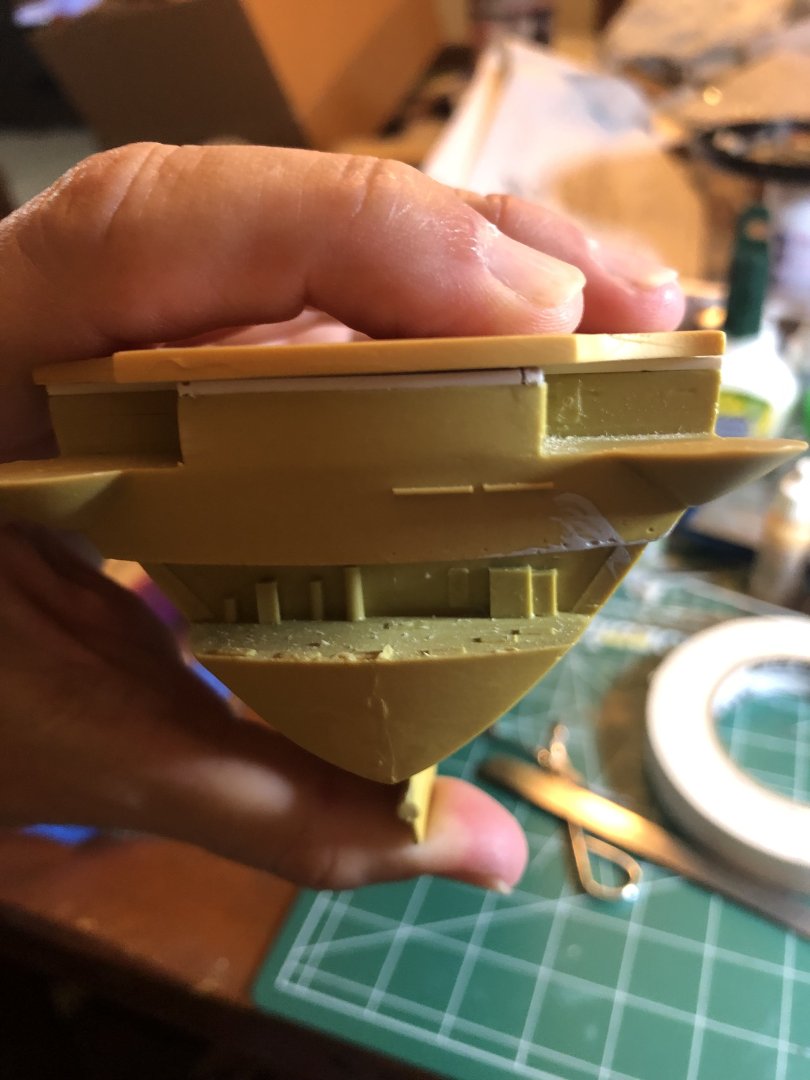
Minor update time. After a bit of head scratching it came to try shims and milliput. I thought about the belt sander idea but far too much of the built-in things would have been removed to get it even. I happened to have some evergreen styrene I-beans and they turned out to be the perfect size to get the deck to sit even. So far, the “shims” have been glued in, as shown in the photos. Still gaps to work with but milliput is super easy to work and shape. Oh, and to keep my sanity, I am also working on 1/35 figures for a diorama, as in this WWII German soldier. Enjoy.


- 176 replies
-
- 6
-
-
- new orleans
- iron shipwrights
- (and 2 more)
-
Thanks for the input! The flight deck of the LPH’s were flat. The hull definitely is the issue, so it looks like sheet styrene and milliput is the way to go. Will have to relocate doors etc to match new height
- 176 replies
-
- 2
-
-
- new orleans
- iron shipwrights
- (and 2 more)
-
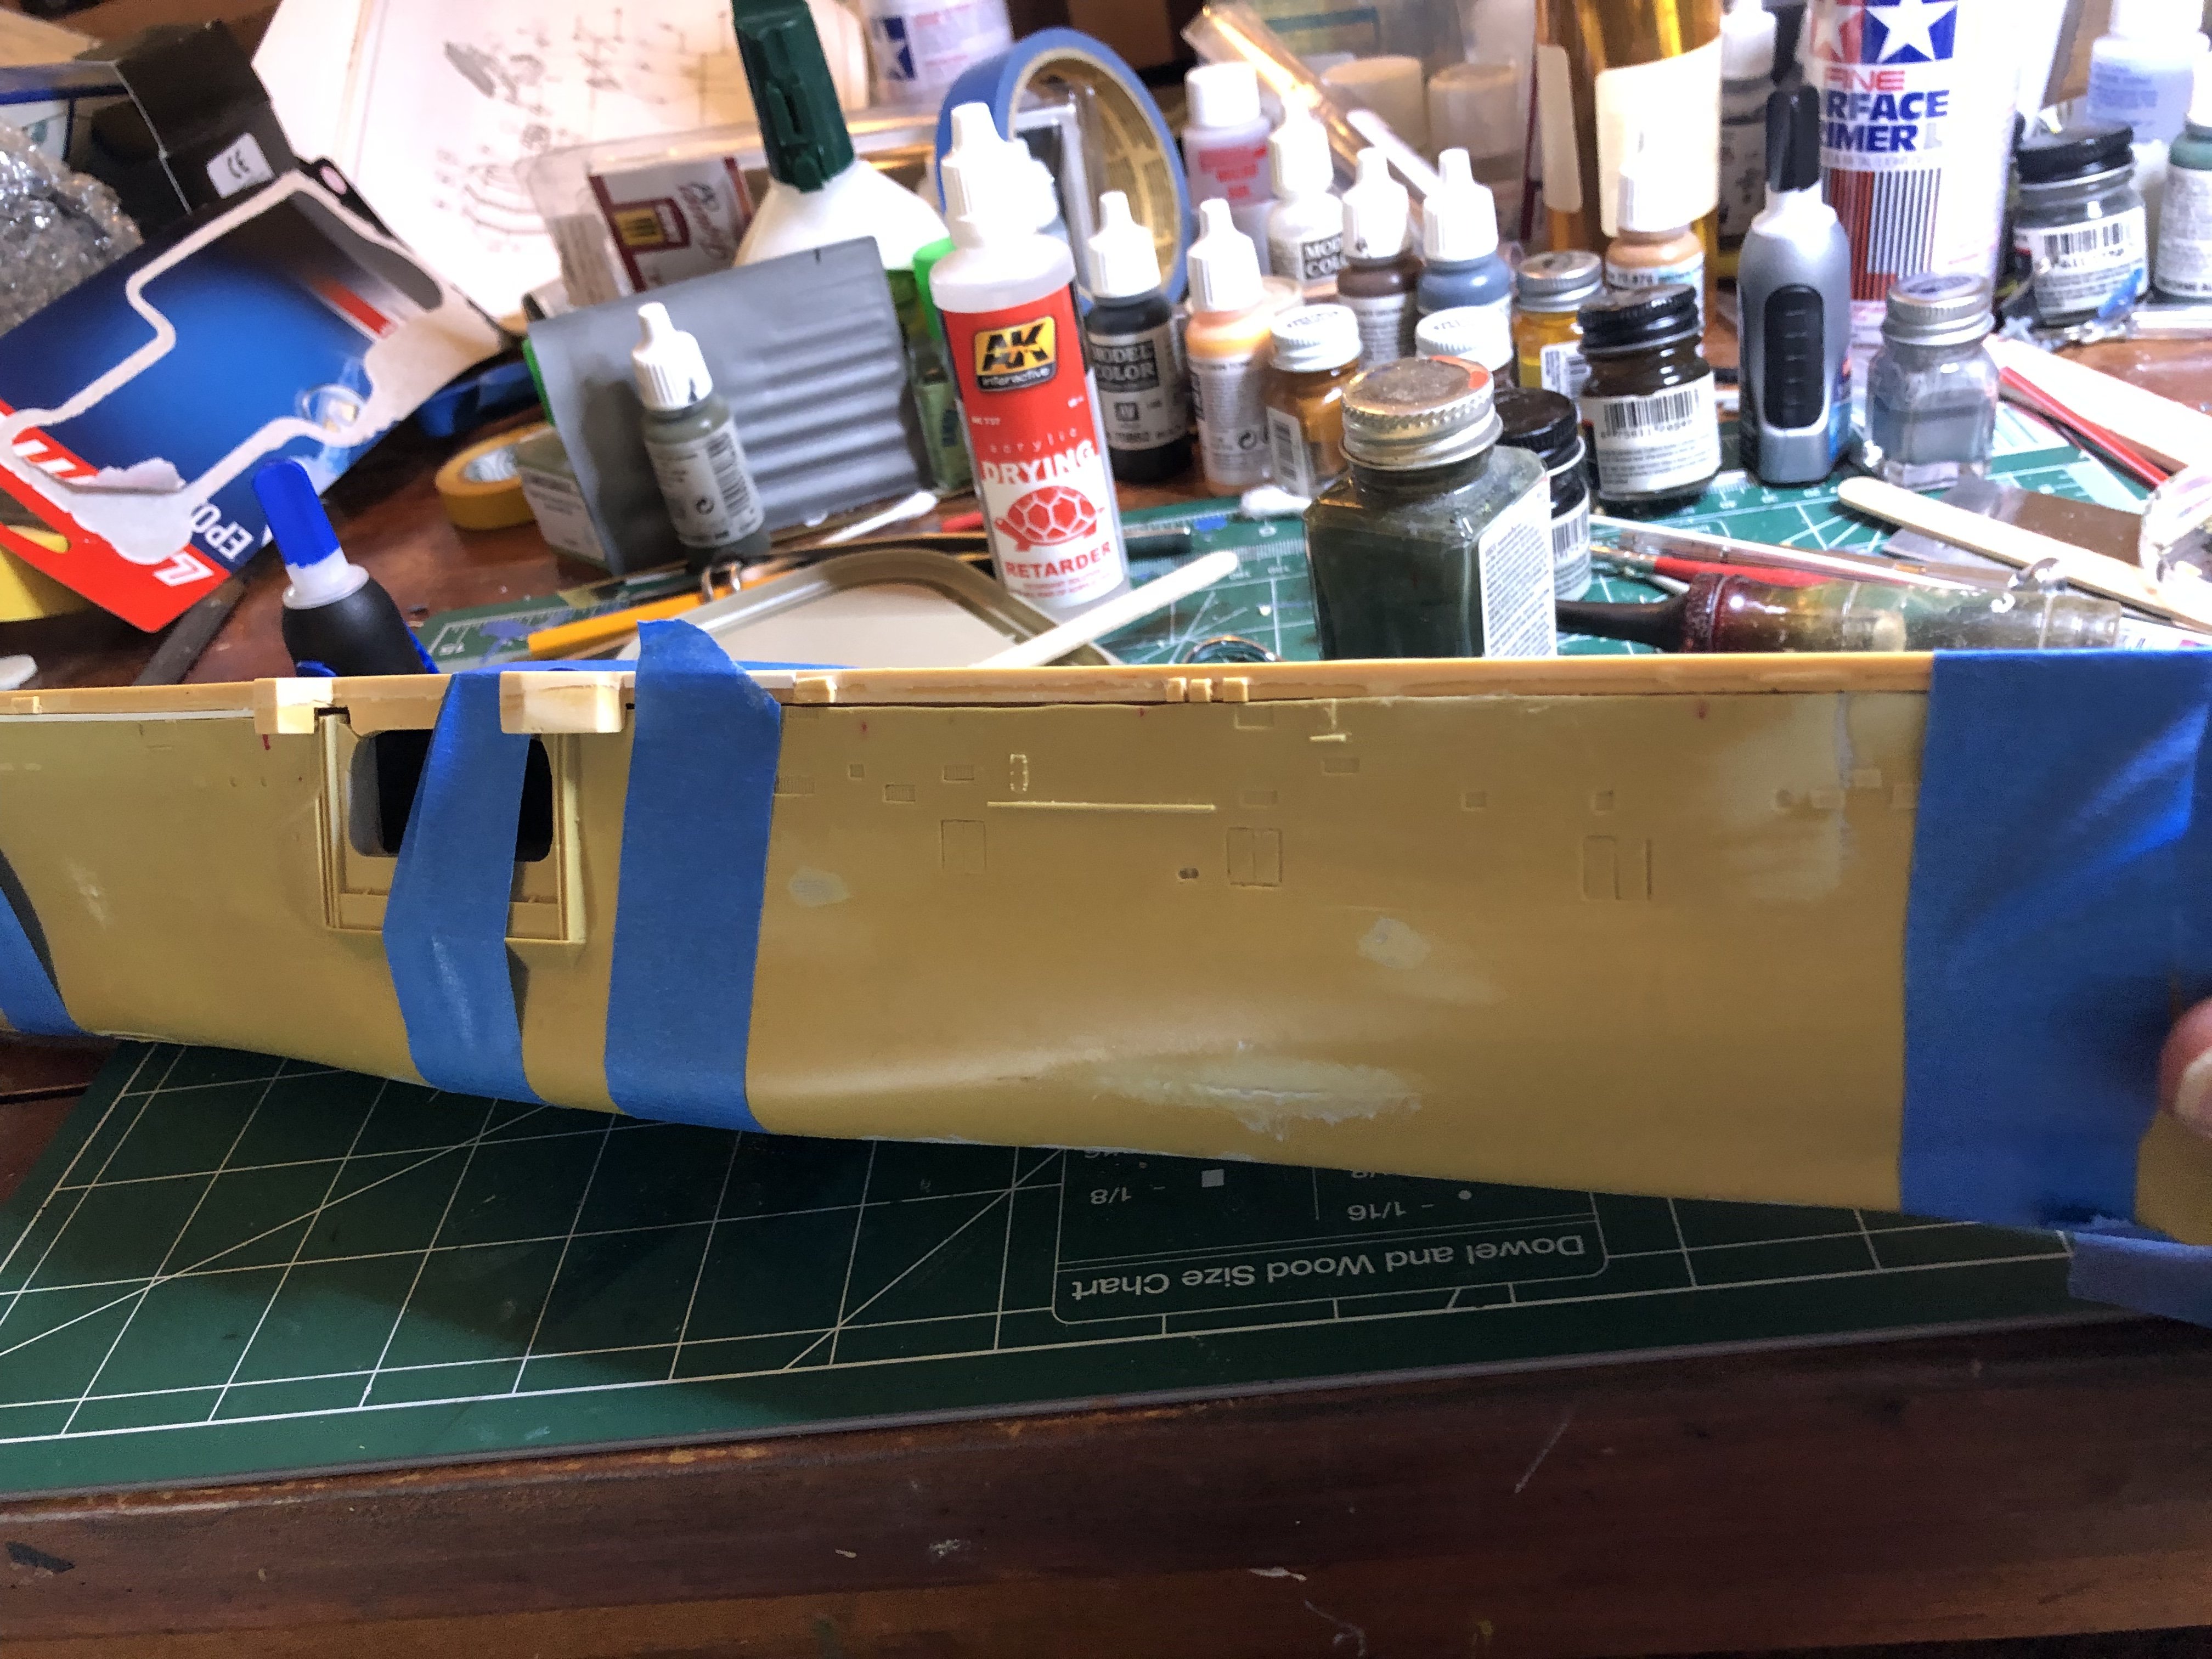
Not sure - I’ll measure when I get home and show pics. All of that will be hidden under the water/waves. I’ve made an at-sea dio before using celluclay - forming/shaping and covering with diluted white glue. Painted/dry brushed and covered with future. Looked pretty good. Tonight I’ll tape down flight deck and start that process. Once it’s built to shape, then I will relocate doors, platforms, etc. i really like that idea you gave me.
- 176 replies
-
- 2
-
-
- new orleans
- iron shipwrights
- (and 2 more)
-
I removed the pour stubs last night just to see how it sat - fine in the middle and both ends raised off the table…so both ends droop at the top and at the bottom, raised. Almost as if each end shrank. As I said, I’ll make an at sea dio so the bottom parts are covered.
- 176 replies
-
- 2
-
-
- new orleans
- iron shipwrights
- (and 2 more)
-
Now that is an awesome idea! Thank you. Think I should glue the deck at the points it fits and then use that method? I really like that. I’ll also measure the door/platform attachment points/ etc are on hull and then remake them in their proper place. You’ve given me some hope, man
- 176 replies
-
- 2
-
-
- new orleans
- iron shipwrights
- (and 2 more)
-
Glue: epoxy or gel super glue. Thought I’ll take plasticard, etc, and make what I can. On the sides, I was thinking of making little braces so to speak and then use the plastic sheet to sort of wall it off. Up at the bow where it curves I was thinking of making more braces it whatever and then using miliput and shape it (if I can). Yes I have a compass
- 176 replies
-
- 2
-
-
- new orleans
- iron shipwrights
- (and 2 more)
-
I think I may just go the shim/fill route. Then measure/relocate any door, etc to their proper place up higher. I think that would be a bit easier, although I can see the bow area giving me a fit
- 176 replies
-
- 2
-
-
- new orleans
- iron shipwrights
- (and 2 more)
-
Thank you - I may try that. Would the curves and all change shape?
- 176 replies
-
- 2
-
-
- new orleans
- iron shipwrights
- (and 2 more)
-
Thank you. If I were remove the installed interior fittings, how would you recommend the hot water treatment? That’s one solid - and heavy - piece of resin. i also contacted the manufacturer for advice, even though that kit is out of production.
- 176 replies
-
- 2
-
-
- new orleans
- iron shipwrights
- (and 2 more)
-
I’ll give that a try. Not sure exactly how to do that one, though, as I built up the interior and primed it. Think that would be easier than shims and milliput?
- 176 replies
-
- 2
-
-
- new orleans
- iron shipwrights
- (and 2 more)
-
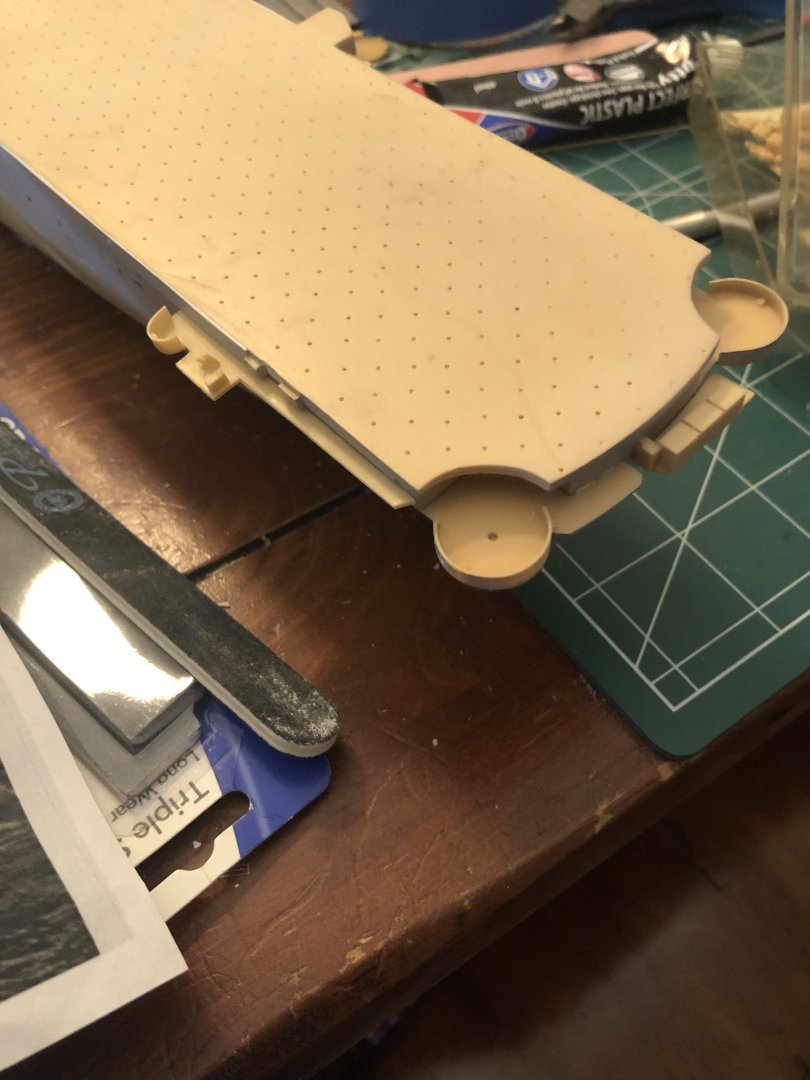
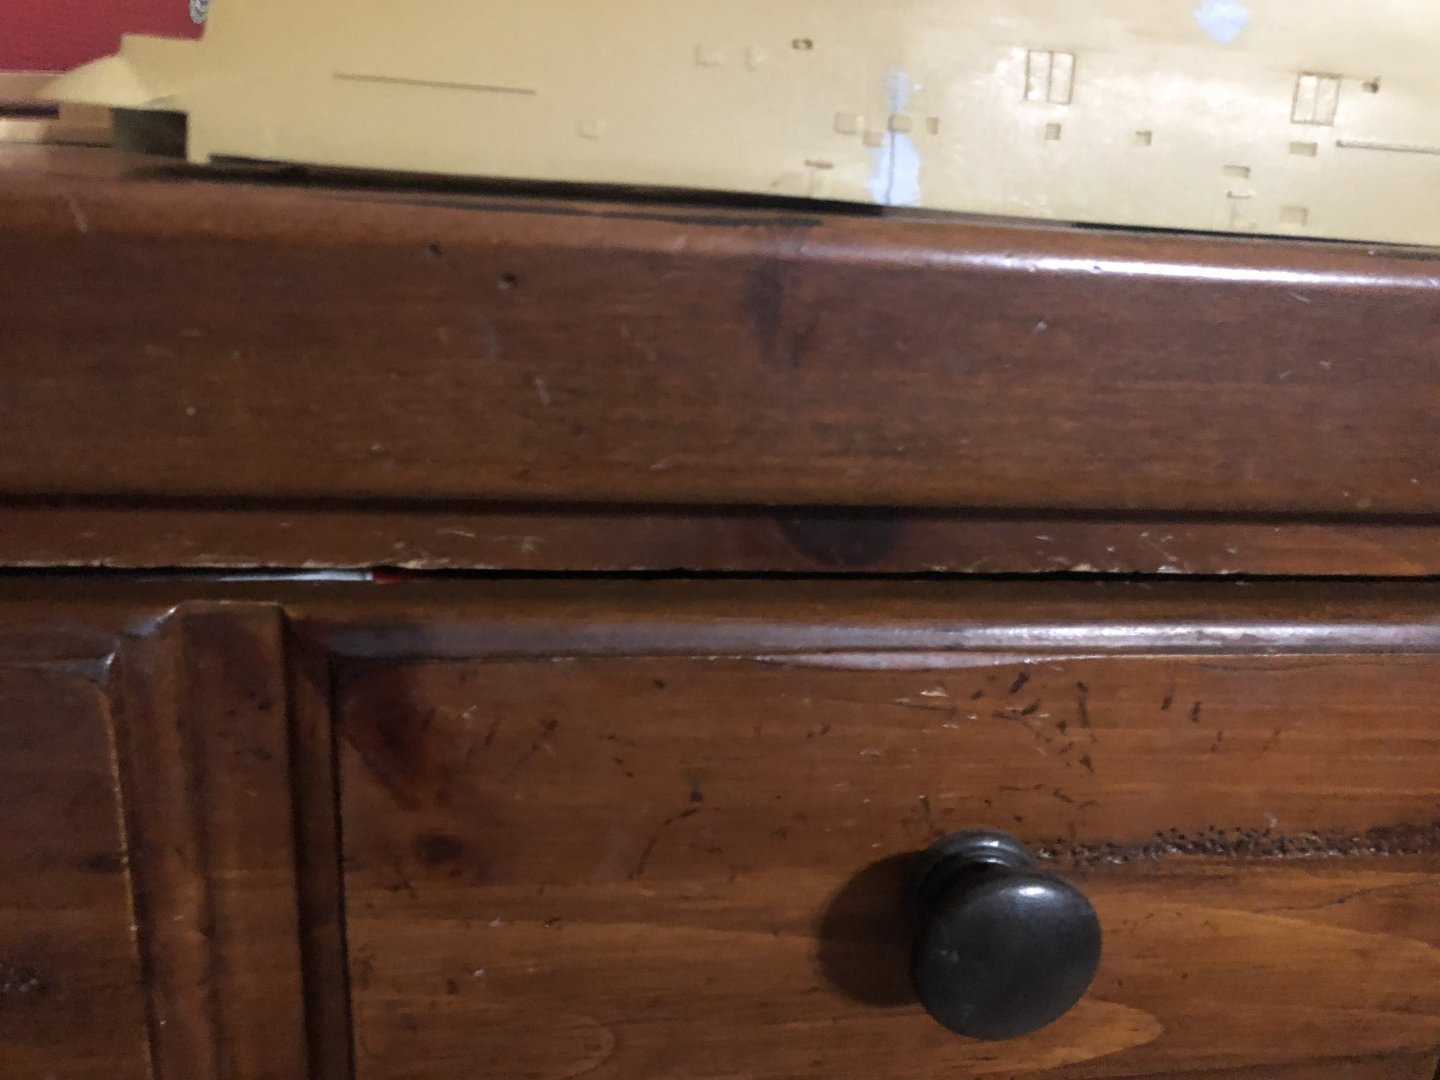
Not sure as there are two fairly large pour stubs on the bottom. I plan on putting it in a little dio like it is underway upside down on the table:
- 176 replies
-
- 3
-
-
-
- new orleans
- iron shipwrights
- (and 2 more)