JimmyK
Members-
Posts
25 -
Joined
-
Last visited
Recent Profile Visitors
The recent visitors block is disabled and is not being shown to other users.
-
 maddog33 reacted to a post in a topic:
Flying Fish 1860 by JimmyK – FINISHED - Corel - 1:50 - Market Schooner from Essex, Massachusetts 1860
-
 maddog33 reacted to a post in a topic:
Flying Fish 1860 by JimmyK – FINISHED - Corel - 1:50 - Market Schooner from Essex, Massachusetts 1860
-
 Keith Black reacted to a post in a topic:
Flying Fish 1860 by JimmyK – FINISHED - Corel - 1:50 - Market Schooner from Essex, Massachusetts 1860
-
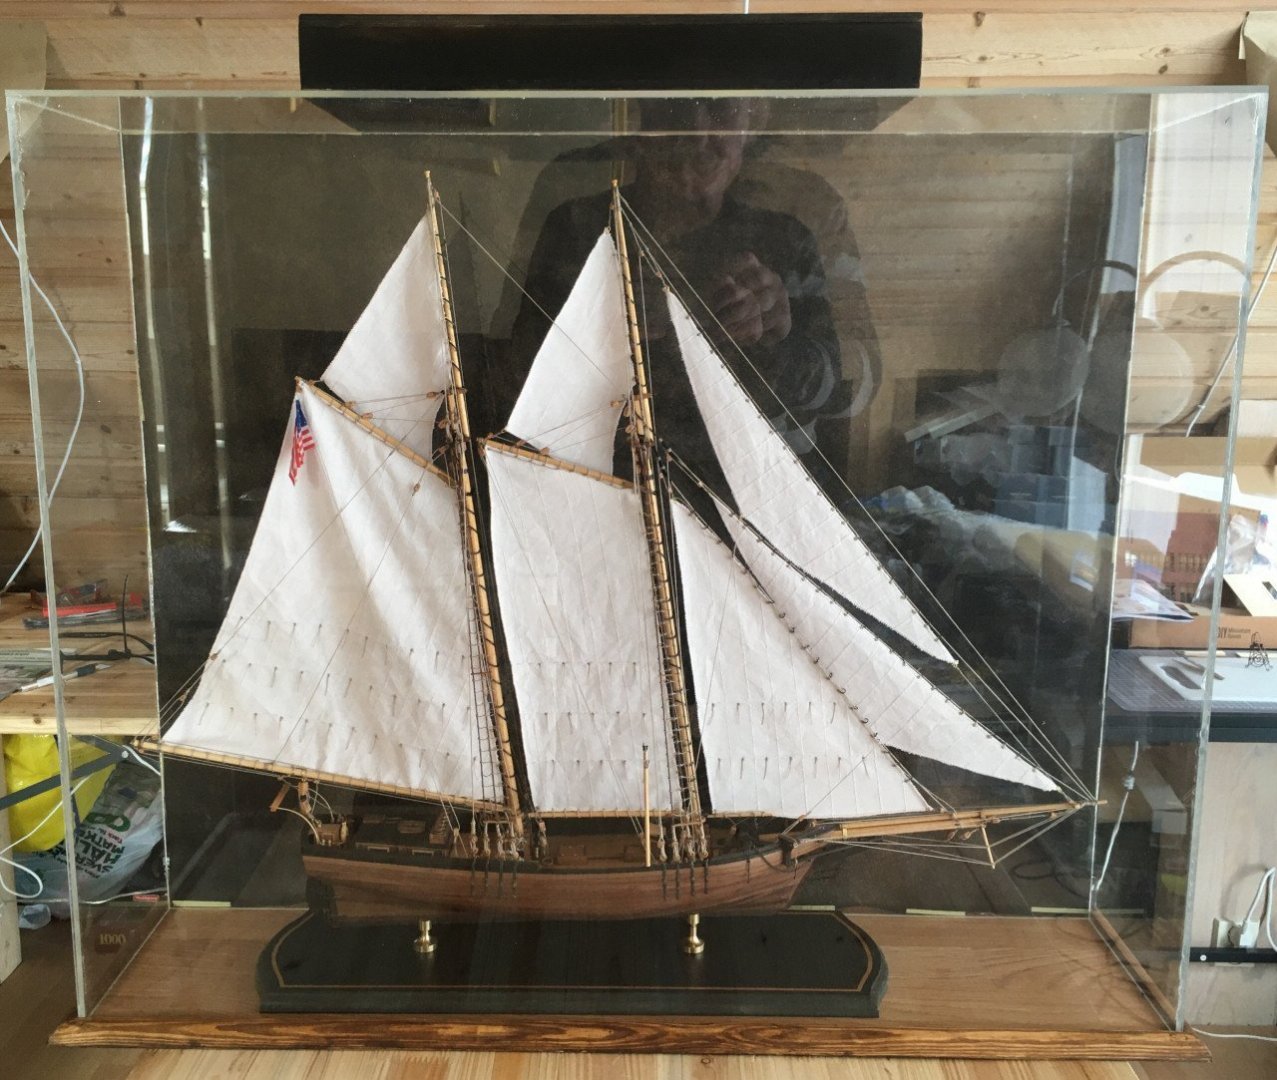
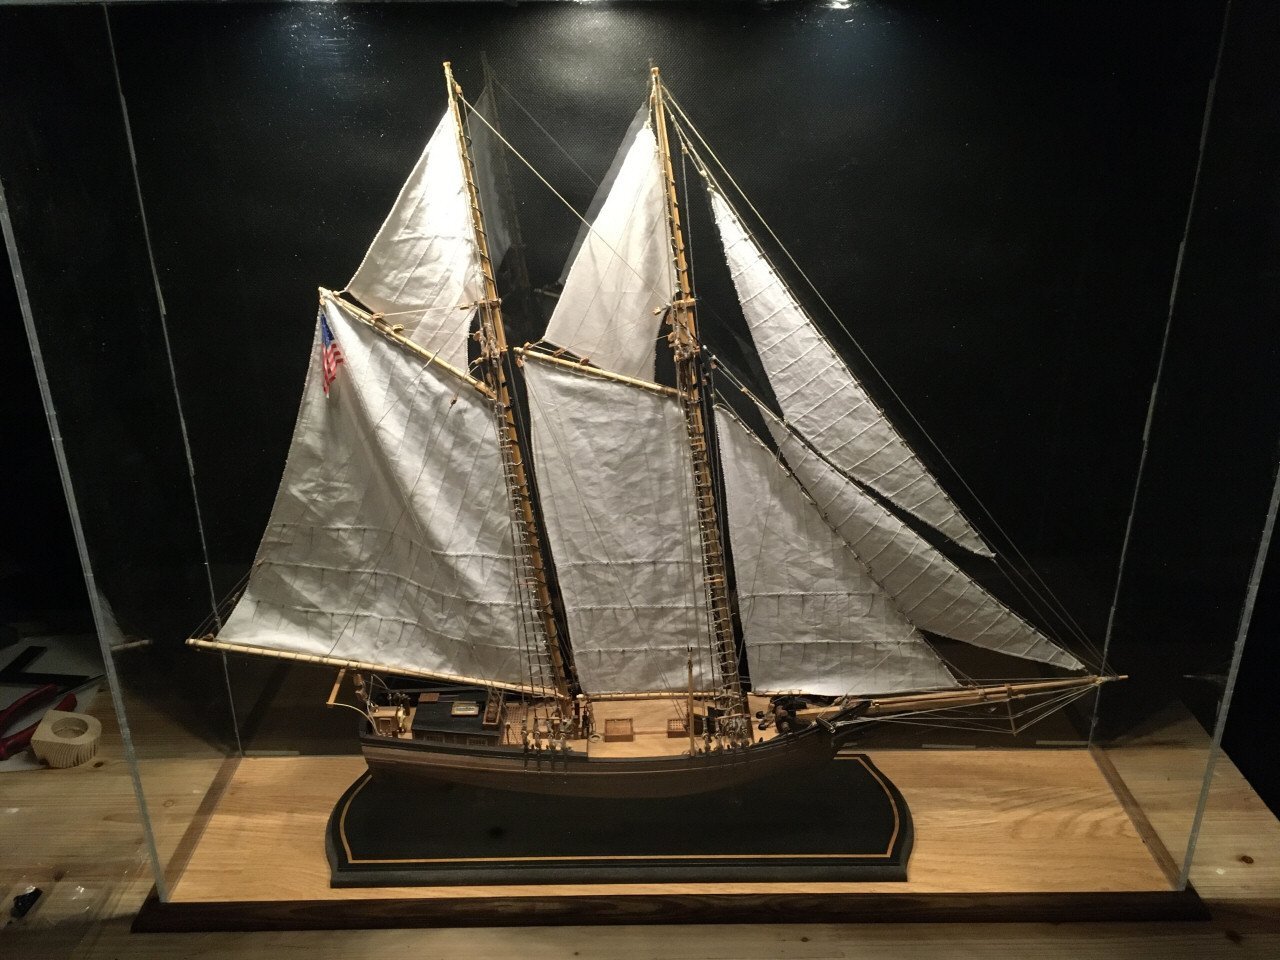
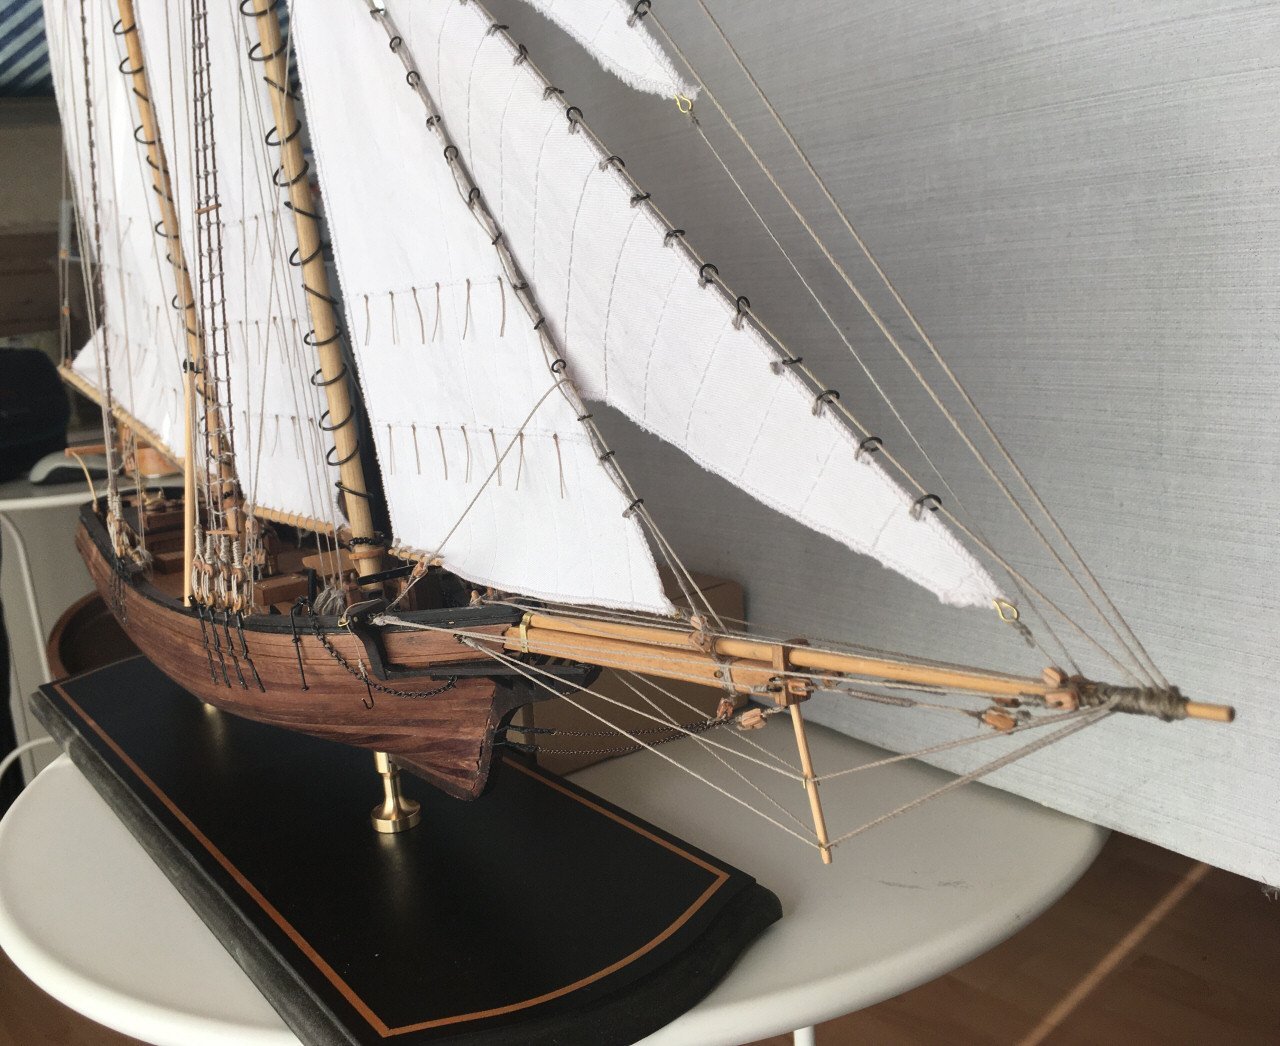
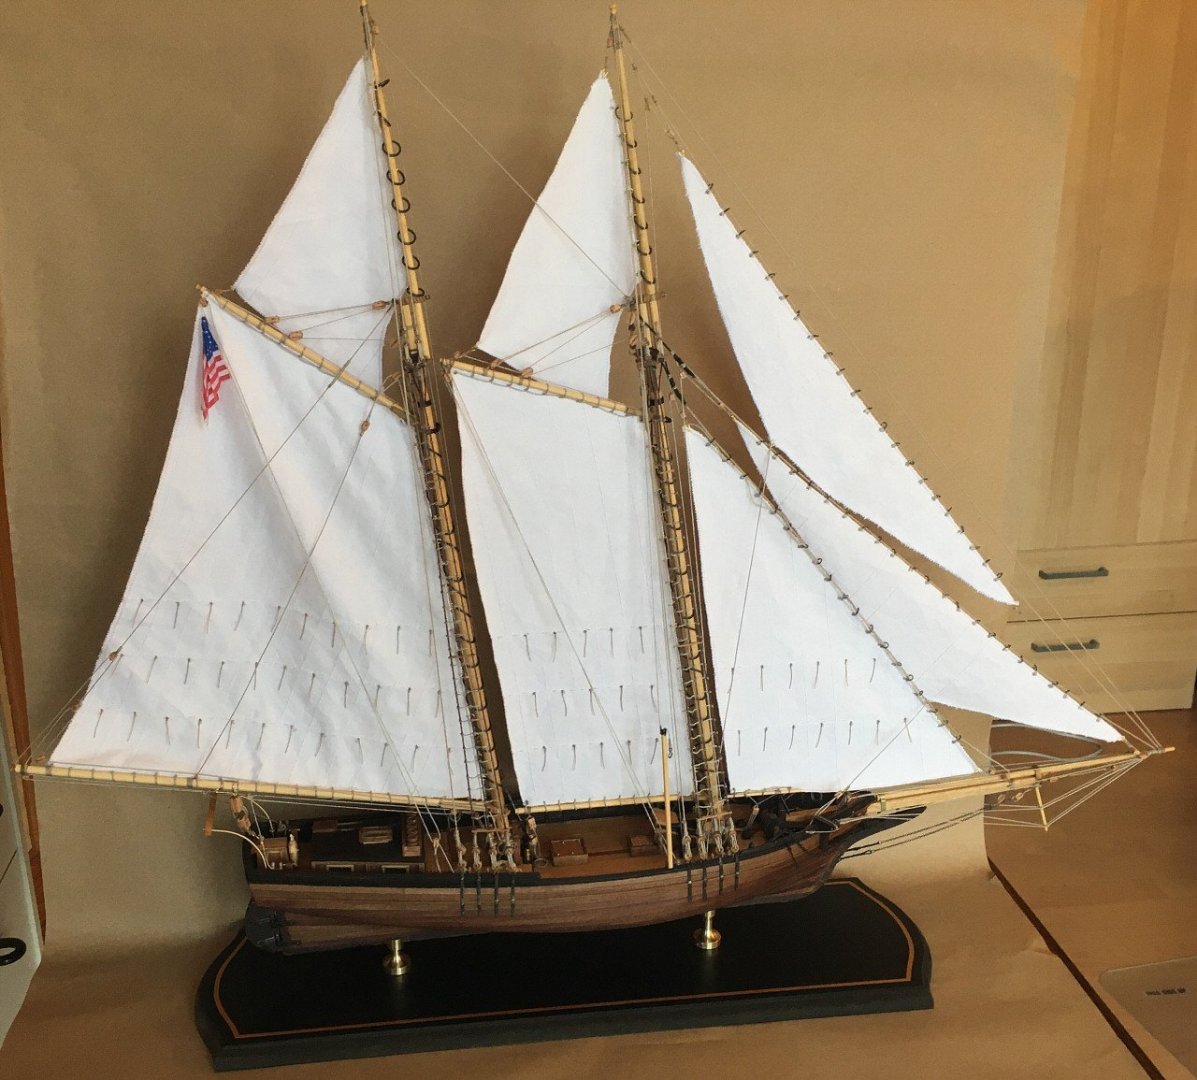
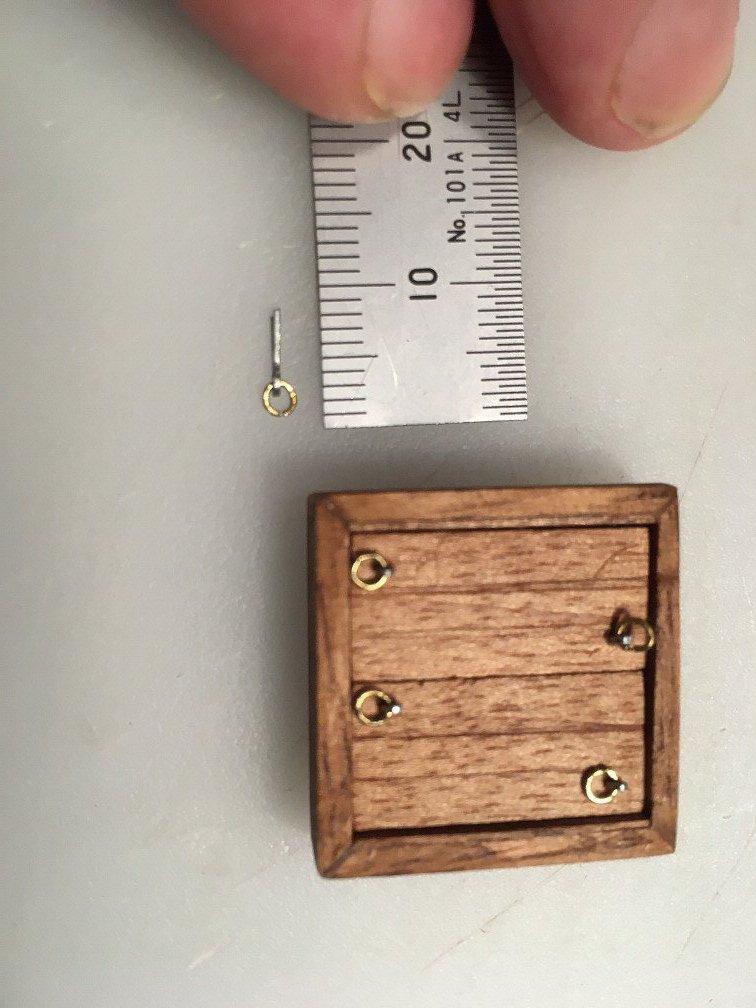
So the protection box is done, maybe I will add some wood in the corners later, but will leave it as is for now. Added 3 LED lights 12V to it. Job done. Thanks for watching. / Jimmy
- 10 replies
-
- Corel
- Flying Fish
-
(and 2 more)
Tagged with:
-
 Keith Black reacted to a post in a topic:
Flying Fish 1860 by JimmyK – FINISHED - Corel - 1:50 - Market Schooner from Essex, Massachusetts 1860
-
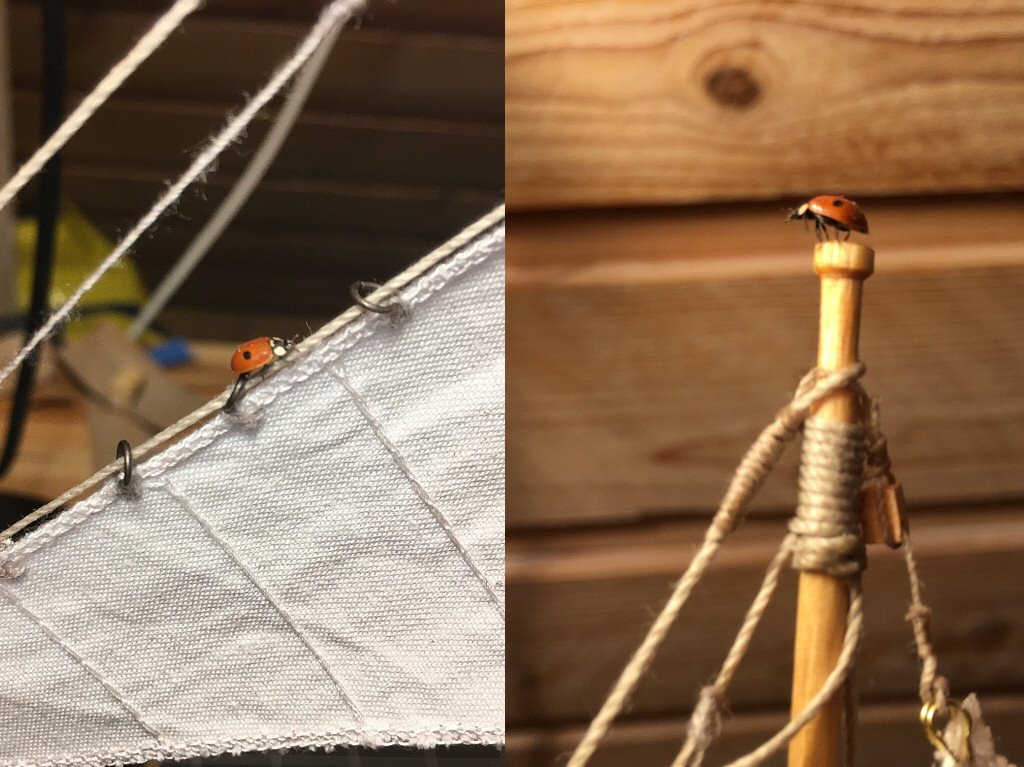
Thanks ccoyle Yes I saw your build earlier, it looked nice, when seing yours I knew that my chocie of the dark brown color maybe was not the right one. I have a few more kits waiting as I inspite of all had a good time building this kit and that made me look for more and of course is waiting for less problems as this kit has given me. I am my way to build a display box to protect the Flying Fish from dust and flies or whatever to complete the build, which reminds me that there was a crewmember under cover a week ago already doing an inspection round on the entire ship, this guy was not shy, turned up a few cm from my nose . The Lady Bug did wake a couple of months to early for its own best, but if you are a born sailor... /Jimmy
- 10 replies
-
- Corel
- Flying Fish
-
(and 2 more)
Tagged with:
-
 JimmyK reacted to a post in a topic:
Flying Fish 1860 by JimmyK – FINISHED - Corel - 1:50 - Market Schooner from Essex, Massachusetts 1860
-
 JimmyK reacted to a post in a topic:
Flying Fish 1860 by JimmyK – FINISHED - Corel - 1:50 - Market Schooner from Essex, Massachusetts 1860
-
Thank you. Yes I have learned a lot with this kit and not only with the building itself. First time I saw the word "Dead eye" I wondered what it was as, never heard of it, well English is not my native language and after a short while I understood what it was when watching a video clip, but I never looked it up in a dictionary. 14 days ago I saw that 8 pcs of the 5mm Dead eyes in this kit was also missing, not surpirised by now. Went online and found a model shop 60 km from me, where I could buy this Dead eyes, only now I also learned the Swedish name for them that made me smile, Actually I have never heard this either. In Swedish they are named "Jungfru" directly translated it means "Virgin/Maiden". Wonder which brainac invented that name , but it is not hard to see how it got its Swedish name. So there are lot of terms as well to learn. I have purchased a couple of kits to improve myself (I hope) maybe one day I will do my own build, time will tell. My next project is "San Fransisco II" from Artesania. /Jimmy
- 10 replies
-
- Corel
- Flying Fish
-
(and 2 more)
Tagged with:
-
 ccoyle reacted to a post in a topic:
Flying Fish 1860 by JimmyK – FINISHED - Corel - 1:50 - Market Schooner from Essex, Massachusetts 1860
-
 ccoyle reacted to a post in a topic:
Flying Fish 1860 by JimmyK – FINISHED - Corel - 1:50 - Market Schooner from Essex, Massachusetts 1860
-
 Keith Black reacted to a post in a topic:
Flying Fish 1860 by JimmyK – FINISHED - Corel - 1:50 - Market Schooner from Essex, Massachusetts 1860
-
 JimmyK reacted to a post in a topic:
Flying Fish 1860 by JimmyK – FINISHED - Corel - 1:50 - Market Schooner from Essex, Massachusetts 1860
-
Thanks Keith. It turned out better then I hoped for, but then there are things that I could have done in a different way, well still learning so I am happy with the outcome as my first model. However after missing cruicial parts, parts out of scale, not enough materials like missing rope, round wood 5mm some planking and more, errors in drawings and no instructions, self made solutions that should not be on the Flying Fish 1860. All this forced me to buy and buy to be able to complete the kit. Of course as it was my first kit I still had to get a lot of things to build the kit, but all this extra was not what I expected when started a "complete kit". For me it was my first and last kit from Corel. What I did like was building deckhouses and items from scratch from planks and wood, learning about rigging (still much to learn), so the kit had a lot of hands on which I enjoyed. I have seen that this kit is still on the market from Corel but as mine was bought 13 years ago I have no idea on how the box looks inside today. /Jimmy
- 10 replies
-
- Corel
- Flying Fish
-
(and 2 more)
Tagged with:
-
 Keith Black reacted to a post in a topic:
Flying Fish 1860 by JimmyK – FINISHED - Corel - 1:50 - Market Schooner from Essex, Massachusetts 1860
-
- 10 replies
-
- Corel
- Flying Fish
-
(and 2 more)
Tagged with:
-
 fmodajr reacted to a post in a topic:
Wasa 1628 by JanV - Corel - scale 1:75 - Vasa
-
I ordered my sample of Vasa now (the name is changed to Vasa) from Artesania today, this ship has been a life long desire to build. Jan you are doing a very nice job on one of Swedens biggest failures that changed into a very big success, only it took 300 years. The Swedish king meant this ship to be the most frightening vessel on the sea that is why all this figures exist just to scare the enemies. Though he was a little too keen on seing it to set sail. This ship did not even pass the "Rocking test" when it was set at sea in the harbour, the test was aborted as the ship was on its way to turn upside down. The ship was not correctly constructed from the very start, when it sunk there was a trial, whom ended up in no one was to blame. That depended on the King himself had approved all the drawings. Incompetent King <> Incompetent shipbuilder whos to blame? There are many stories, but I know for sure that it must have been very hard to convince a war mongering king about reality for any shipbuilder. I will follow your build Jan with interest keep up the good work.
-
 Keith Black reacted to a post in a topic:
Flying Fish 1860 by JimmyK – FINISHED - Corel - 1:50 - Market Schooner from Essex, Massachusetts 1860
-
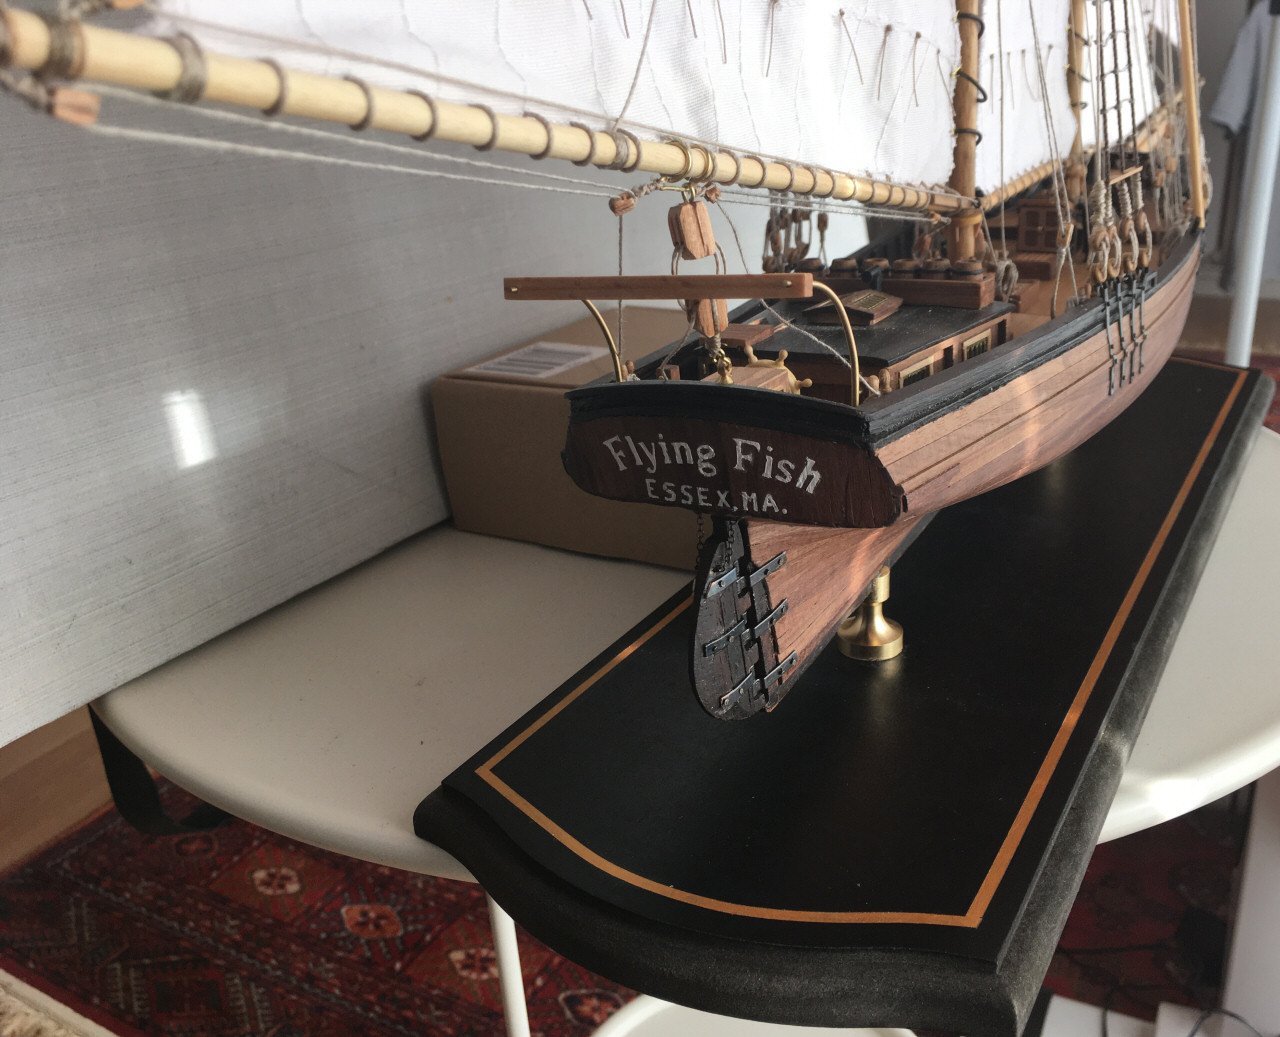
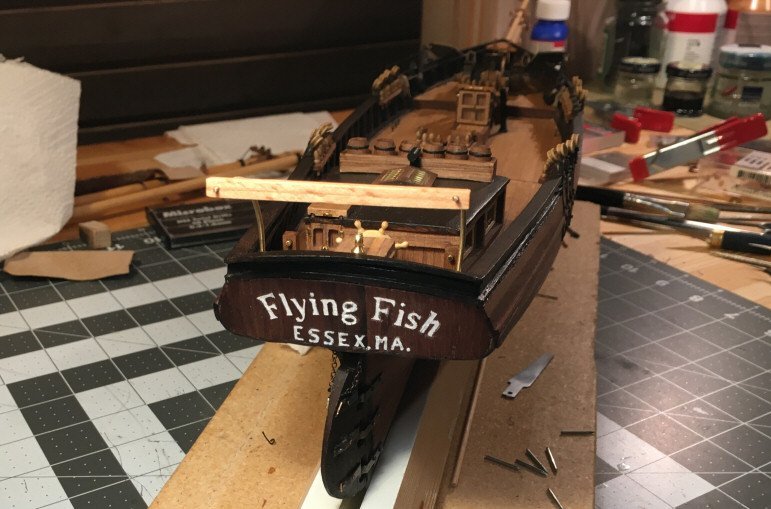
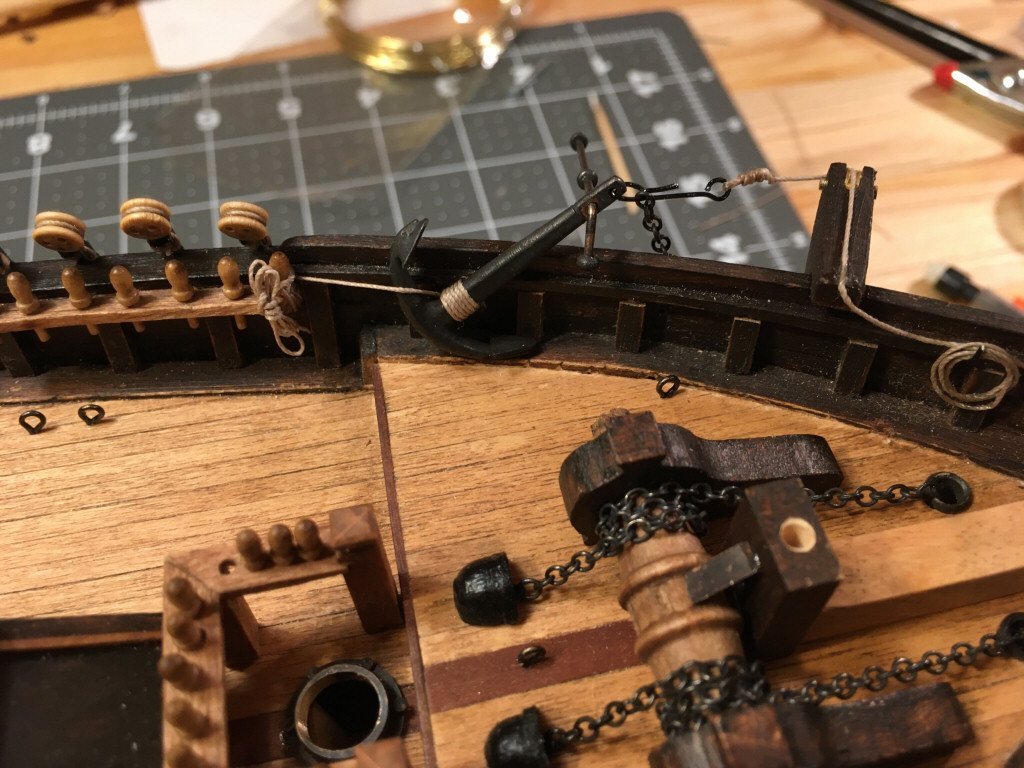
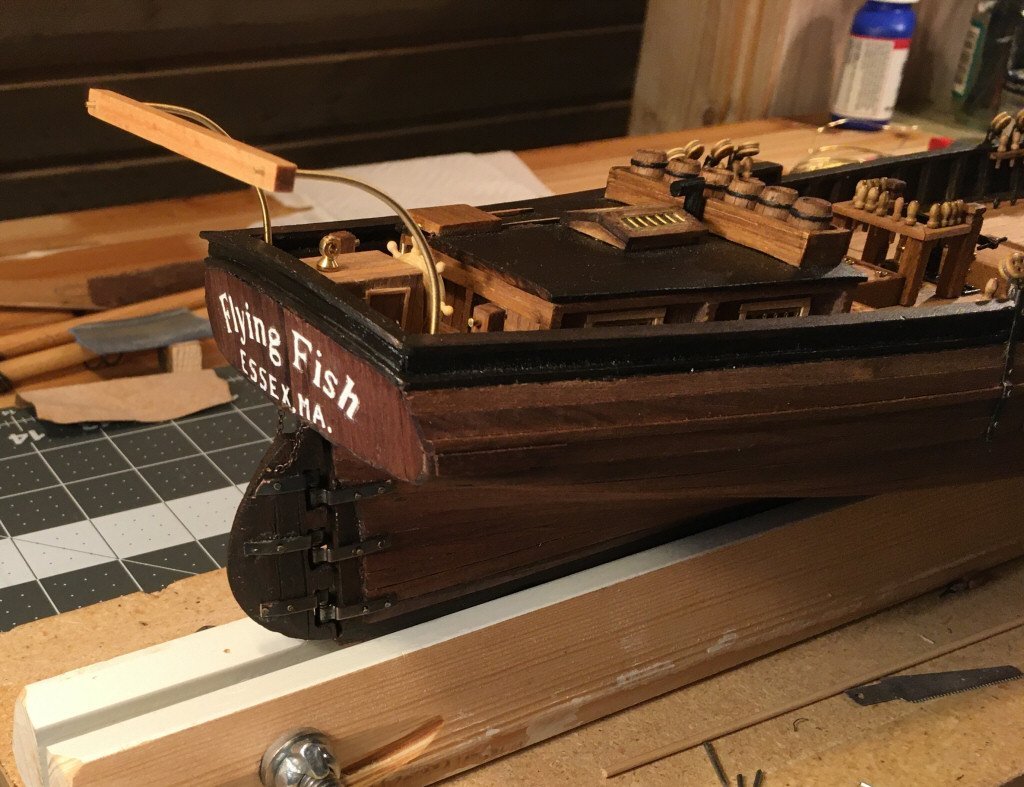
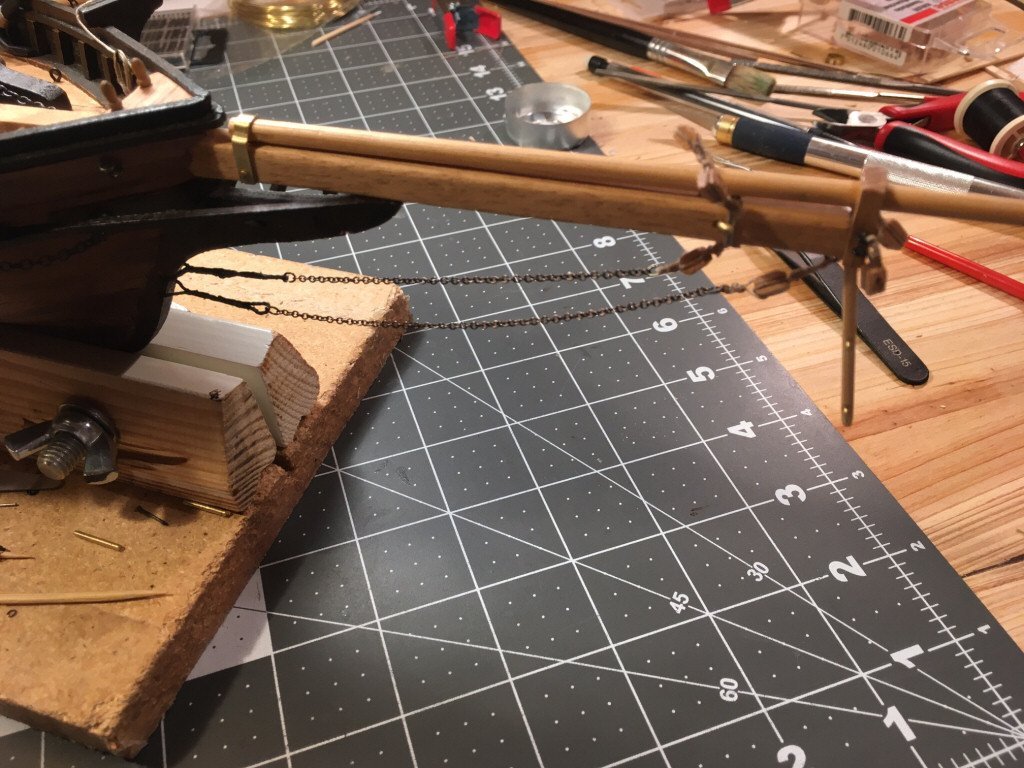
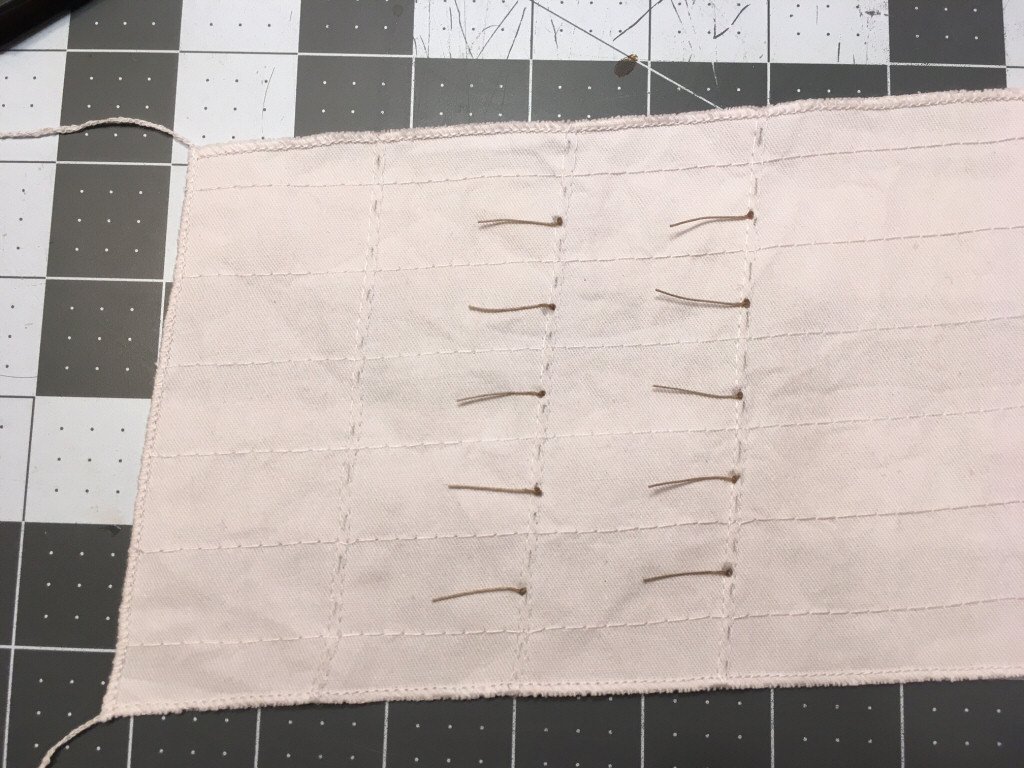
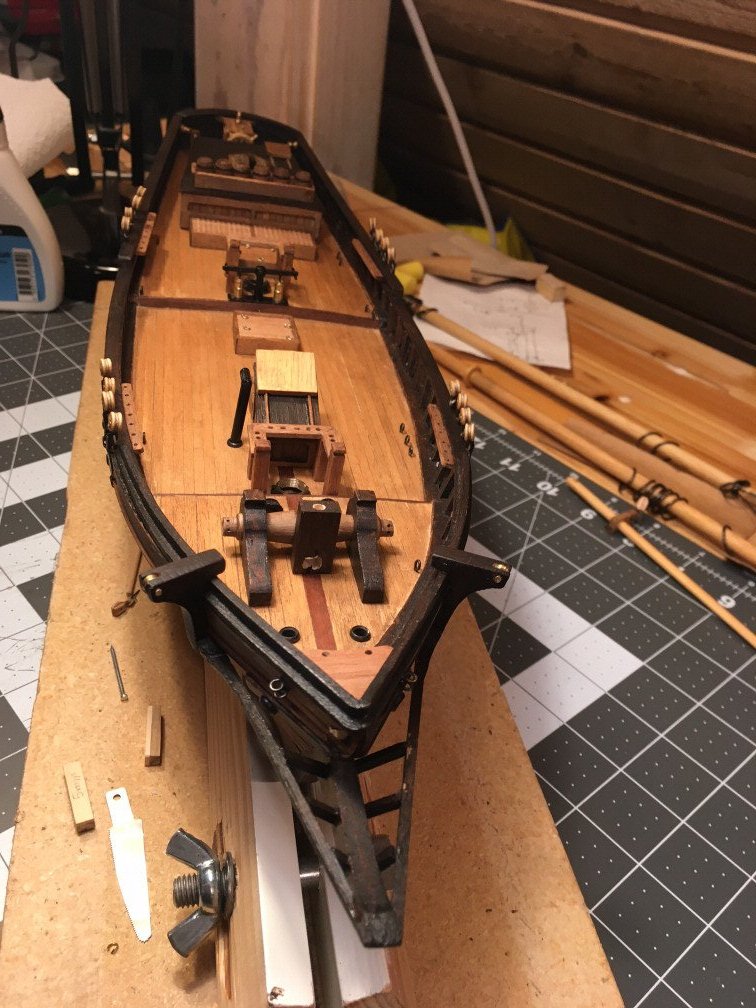
Painting the name is done, used acrylic colour. Finishing up the last items attached to the deck I have just now realized that here is another part that you should not follow Corels drawing, the fore deckhouse is too close to the mast. I think I will get problems when attaching the ropes. 10 mm backwards on the deckhouse would not harm. As I saw on the picture from catopower the anchor is placed something like this, but the anchors themself do not seem to be correct Placed the rudder, Today I saw from another build that the rudder chains should go through a brass ring in the hull, as they are not present I just glued the chains onto the hull. Not good but it will hardly be noticed. I purchased Lennarth Peterssons book Rigging fore and aft craft as advised. Found that the Bowsprit/Bobstay should probably look very different then the Corel drawings. Corel had 2 blackened brass pieces on the fore for attaching the chains. According Lennarth there should be 2 drilled holes, I did a middle path. Drilled two holes and made 2 rope pieces for attaching Corels chains. This ropes should probably go all the way and be attached to dead eyes, no chains at all and no blocks. Started to work with the sails this weekend.
- 10 replies
-
- Corel
- Flying Fish
-
(and 2 more)
Tagged with:
-
 JimmyK reacted to a post in a topic:
Smuggler by juhu - FINISHED - BlueJacket Shipcrafters- 1:48
-
 JimmyK reacted to a post in a topic:
Erycina 1882 by niwotwill - FINISHED - Vanguard Models - scale 1/64 - Plymouth Fishing Trawler
-
 JimmyK reacted to a post in a topic:
Flying Fish by gak1965 - FINISHED - Model Shipways - 1:96
-
 JimmyK reacted to a post in a topic:
Flying Fish by Jared - Model Shipways - 1:96
-
 JimmyK reacted to a post in a topic:
Flying Fish by gak1965 - FINISHED - Model Shipways - 1:96
-
 JimmyK reacted to a post in a topic:
Flying Fish by gak1965 - FINISHED - Model Shipways - 1:96
-
 JimmyK reacted to a post in a topic:
Flying Fish by gak1965 - FINISHED - Model Shipways - 1:96
-
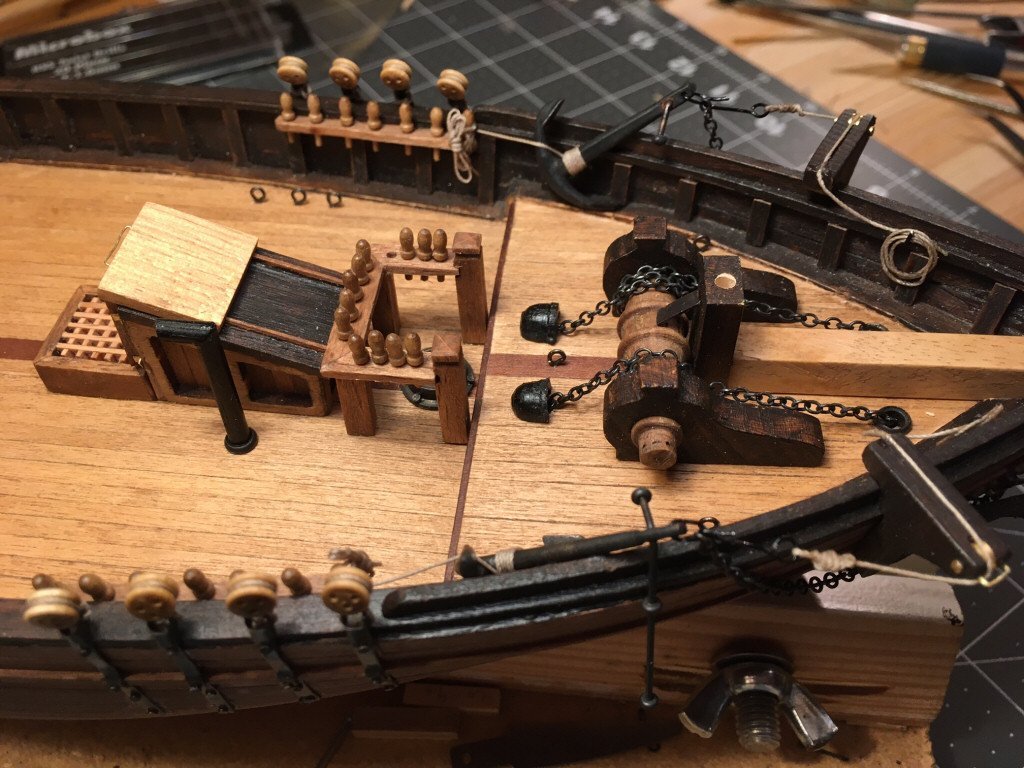
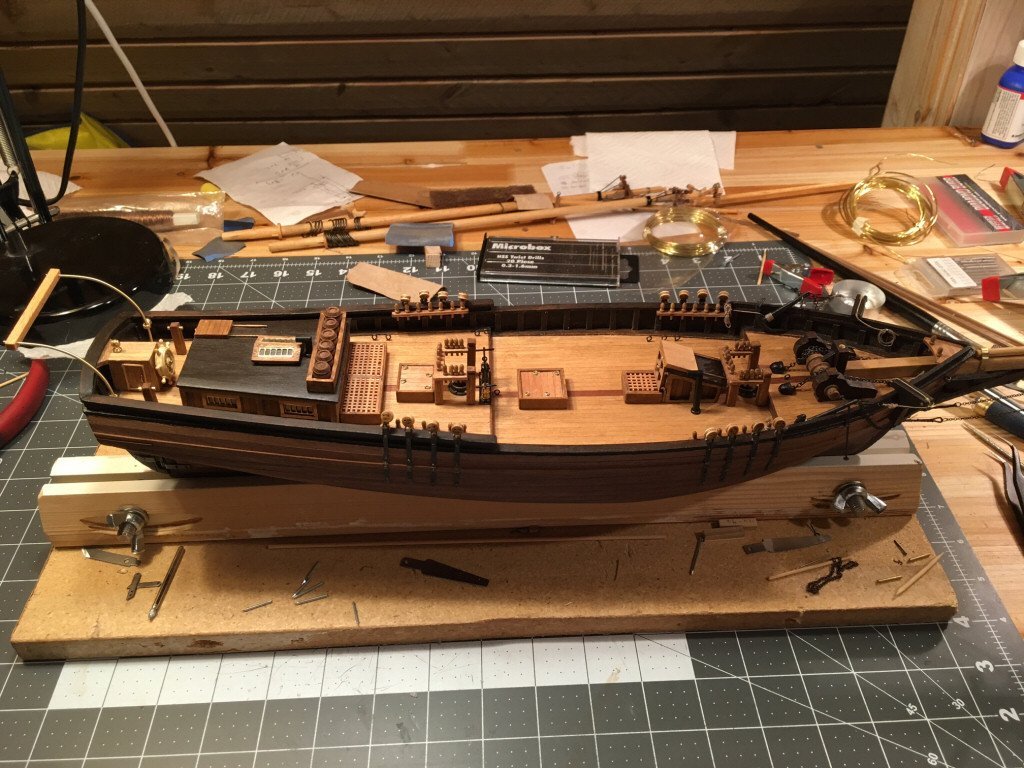
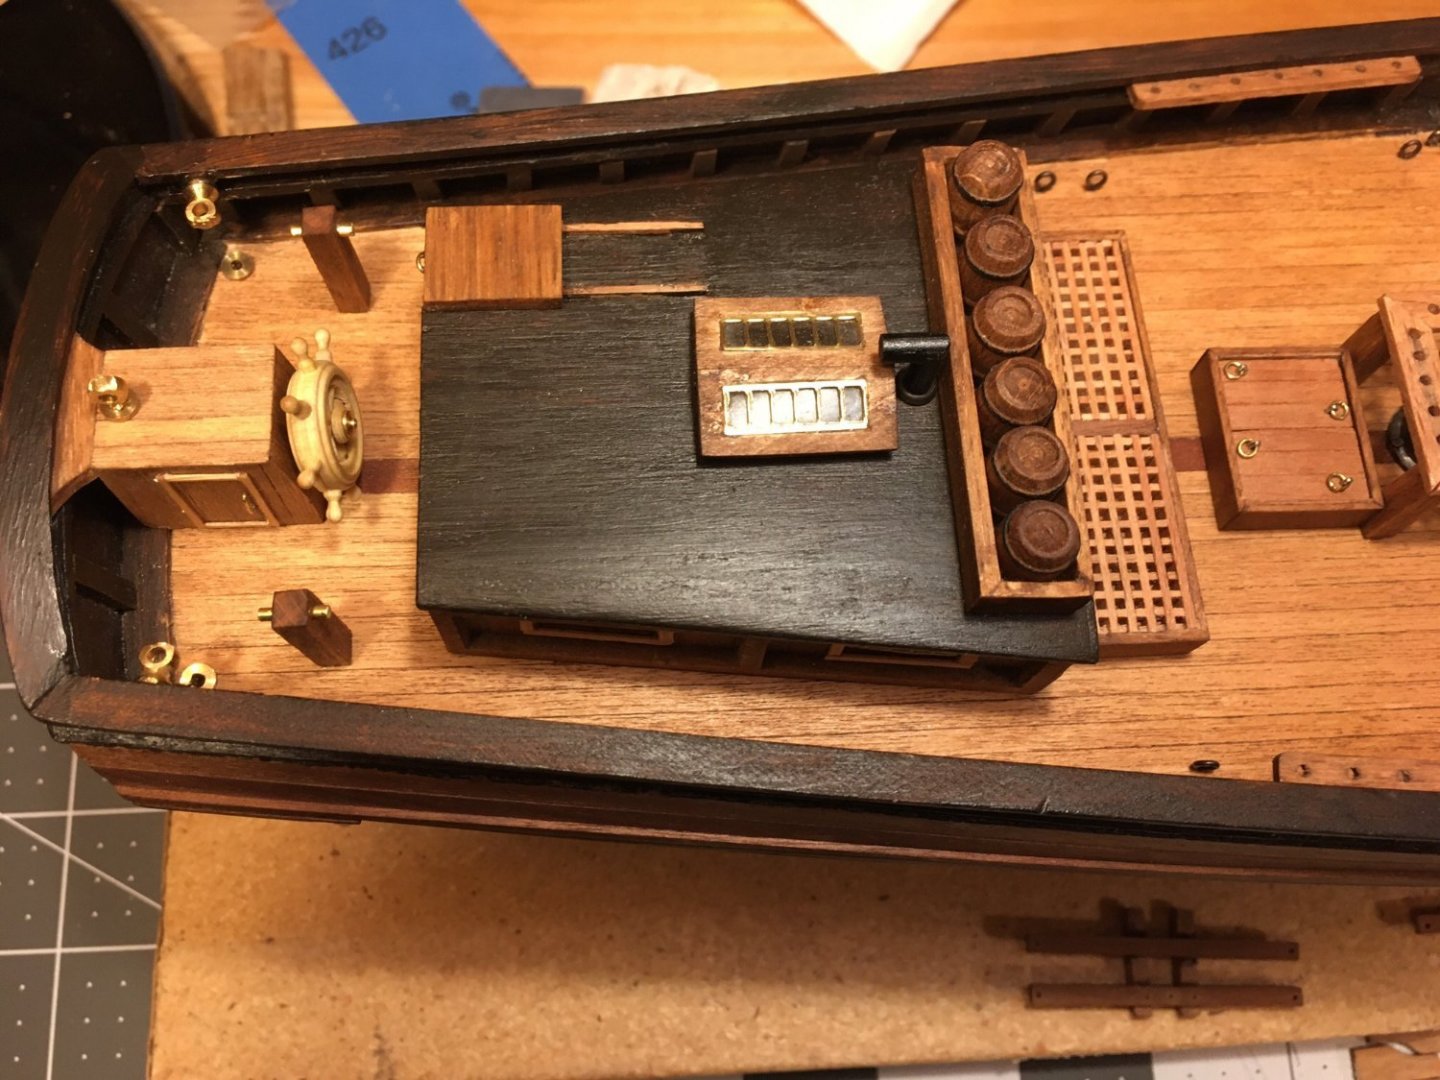
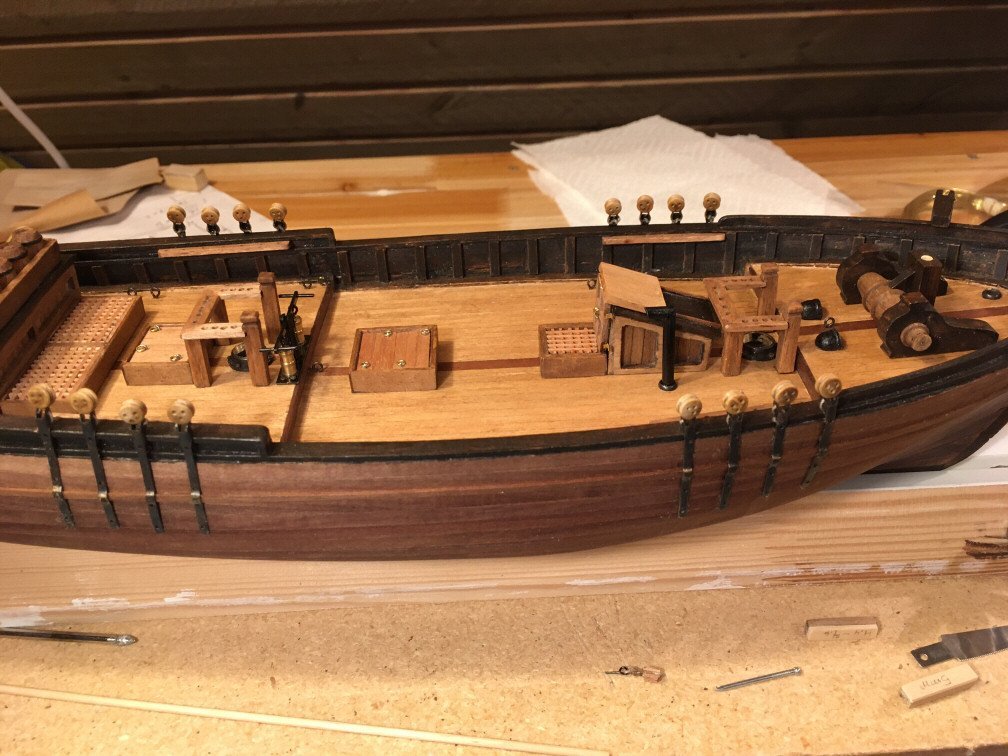
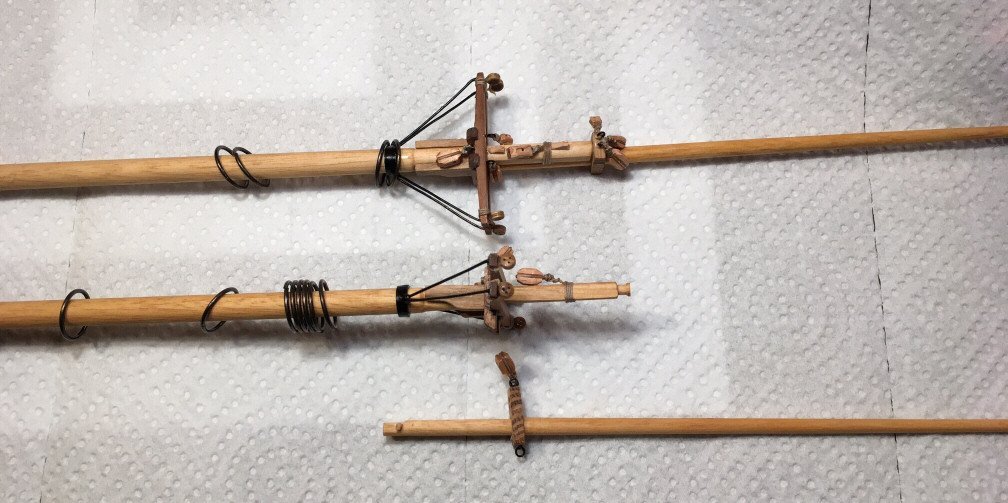
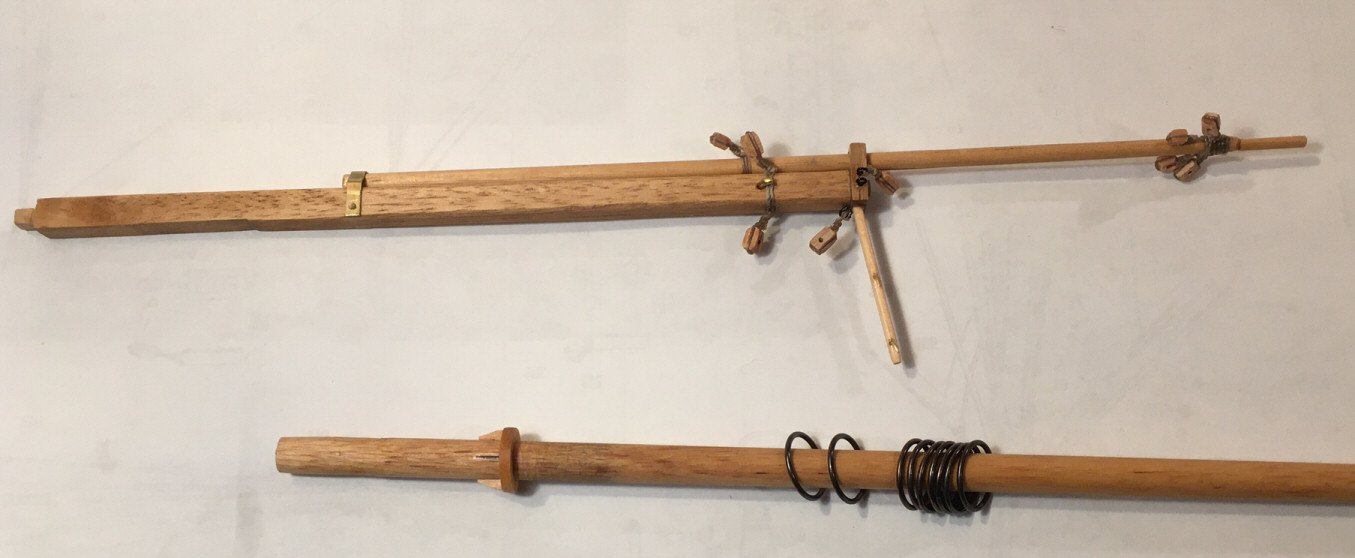
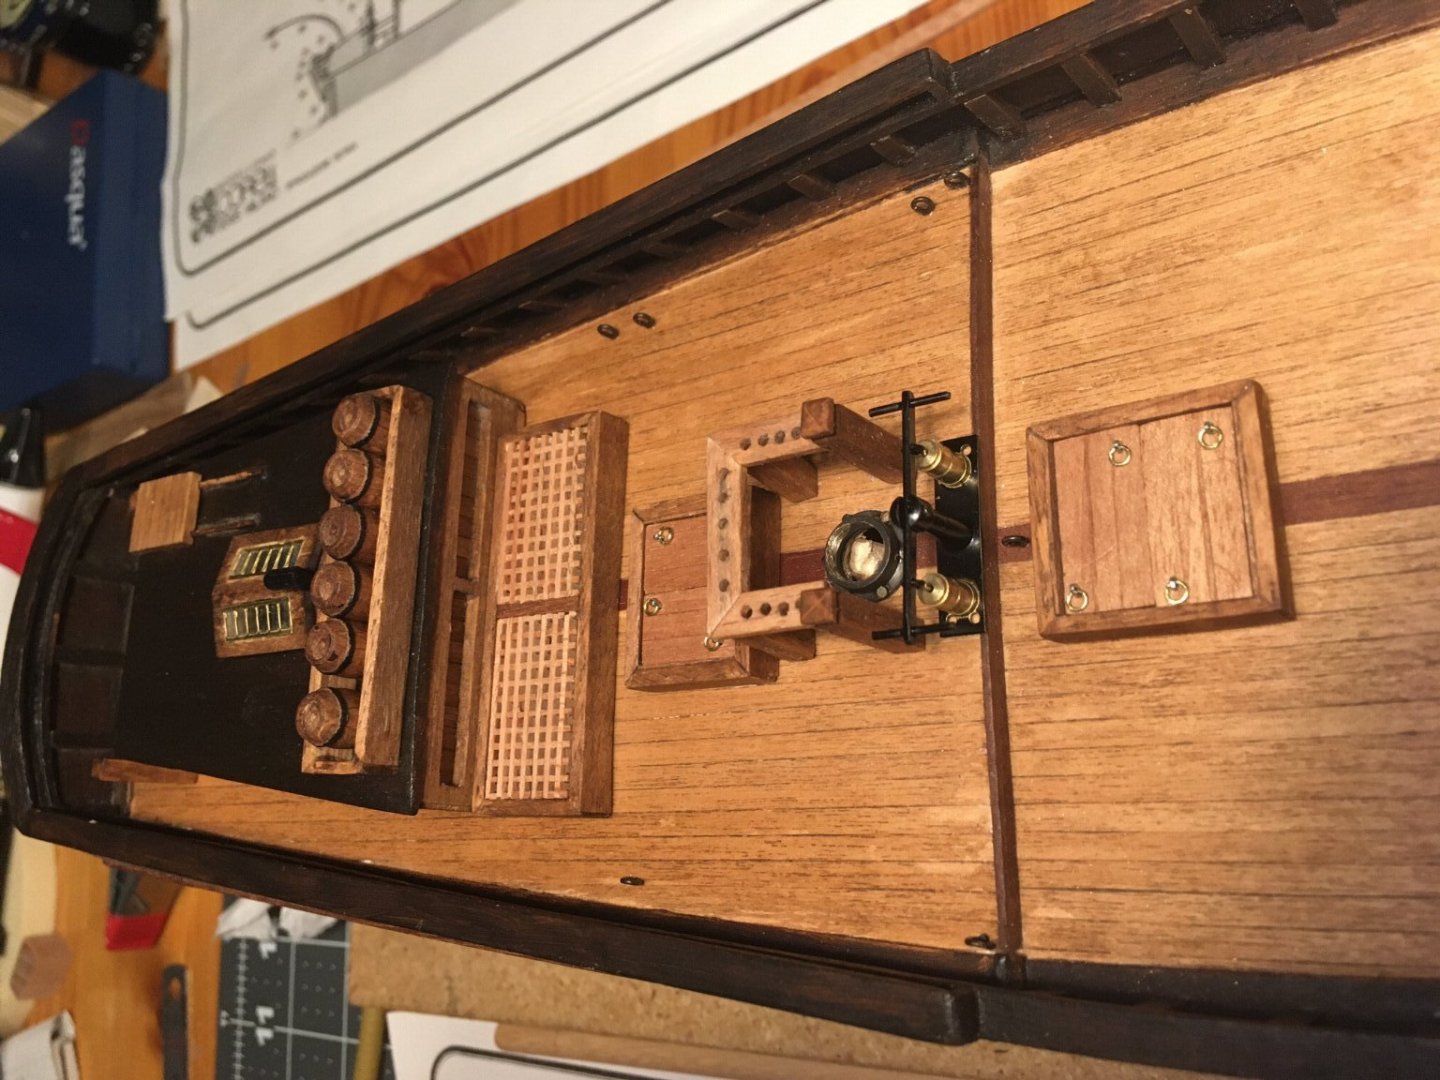
Deck houses and most items on deck are now in place. I increased the height of the galley stack/pipe thanks to catopowers picture The masts are now in their right shape ( I hope ) Also thanks to catopower the ring at the bottom of the masts are added, though it should have holes for the "Pirate clubs" according to the picture but as they already are present I had to compromise by just adding the complete ring, in the Corel drawing it was more like 1/3 of a ring
- 10 replies
-
- Corel
- Flying Fish
-
(and 2 more)
Tagged with:
-
Thanks Andrew. I looked into your build log on Emma C. Berry, very nice . Hopefully I can create something worth a place on the shelf
-
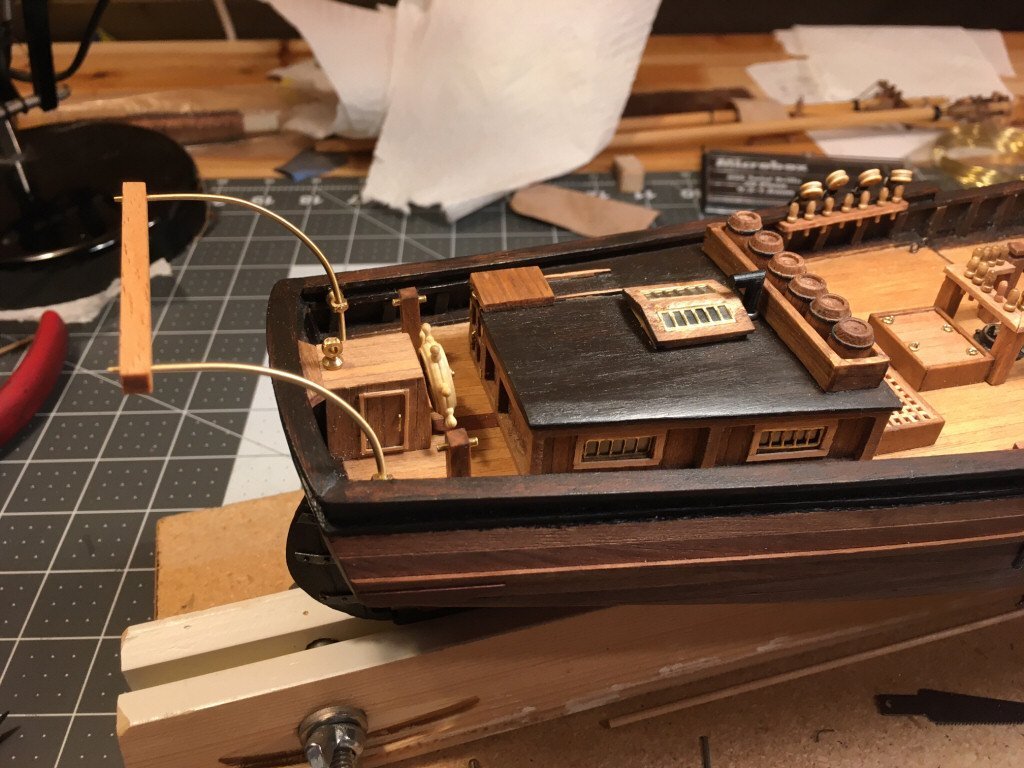
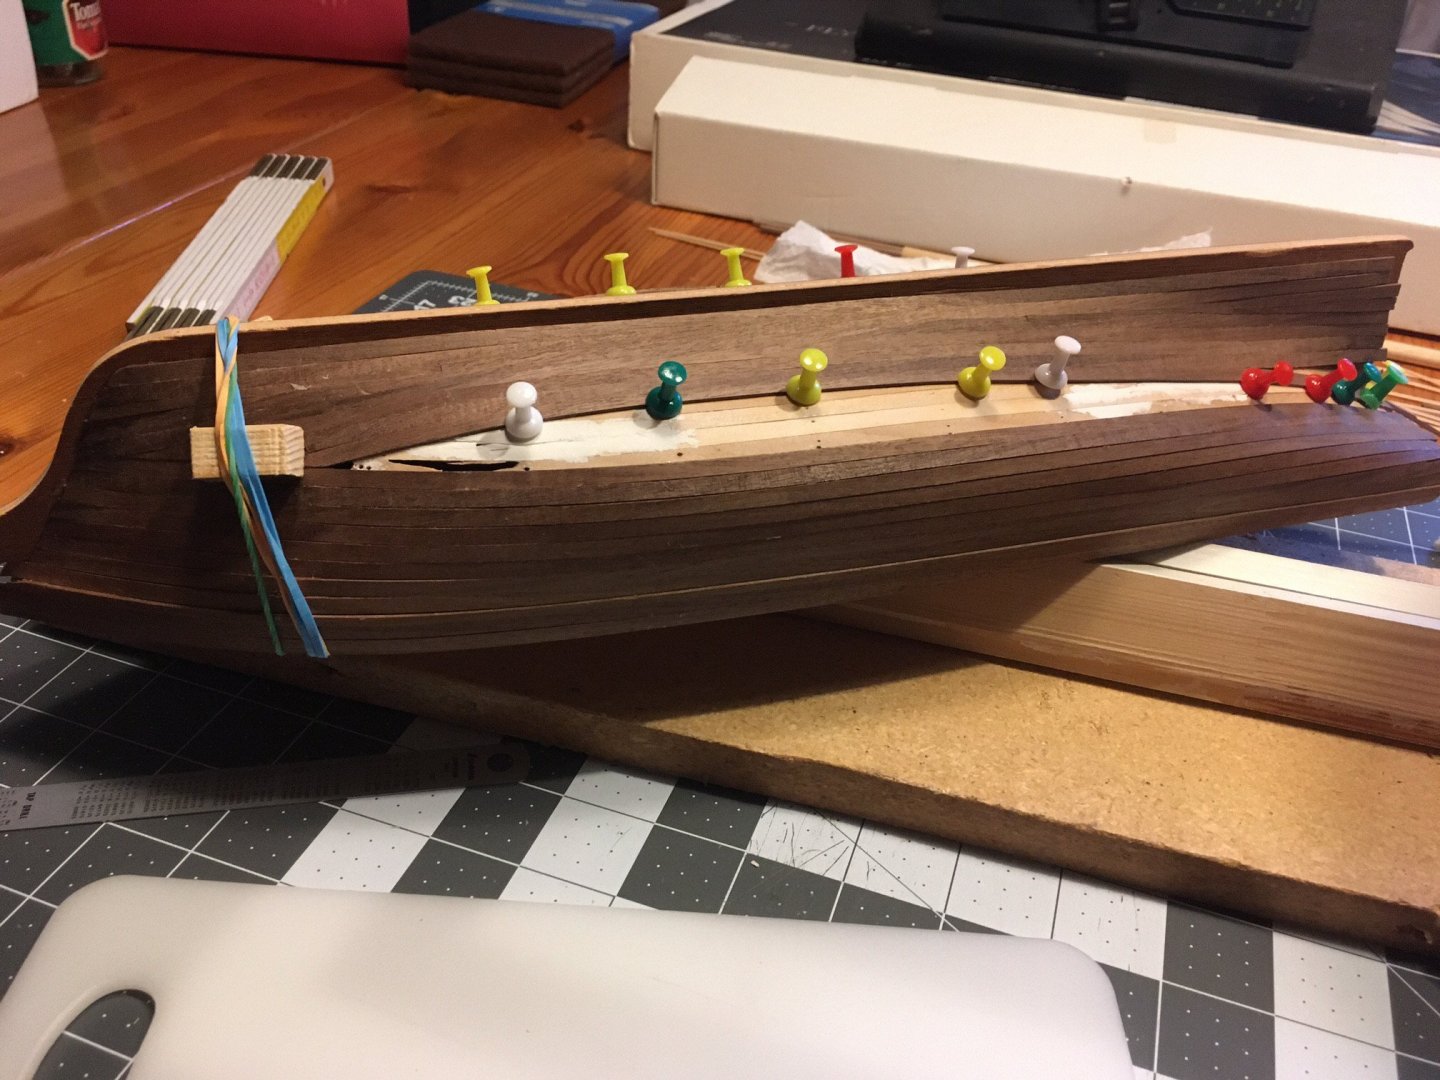
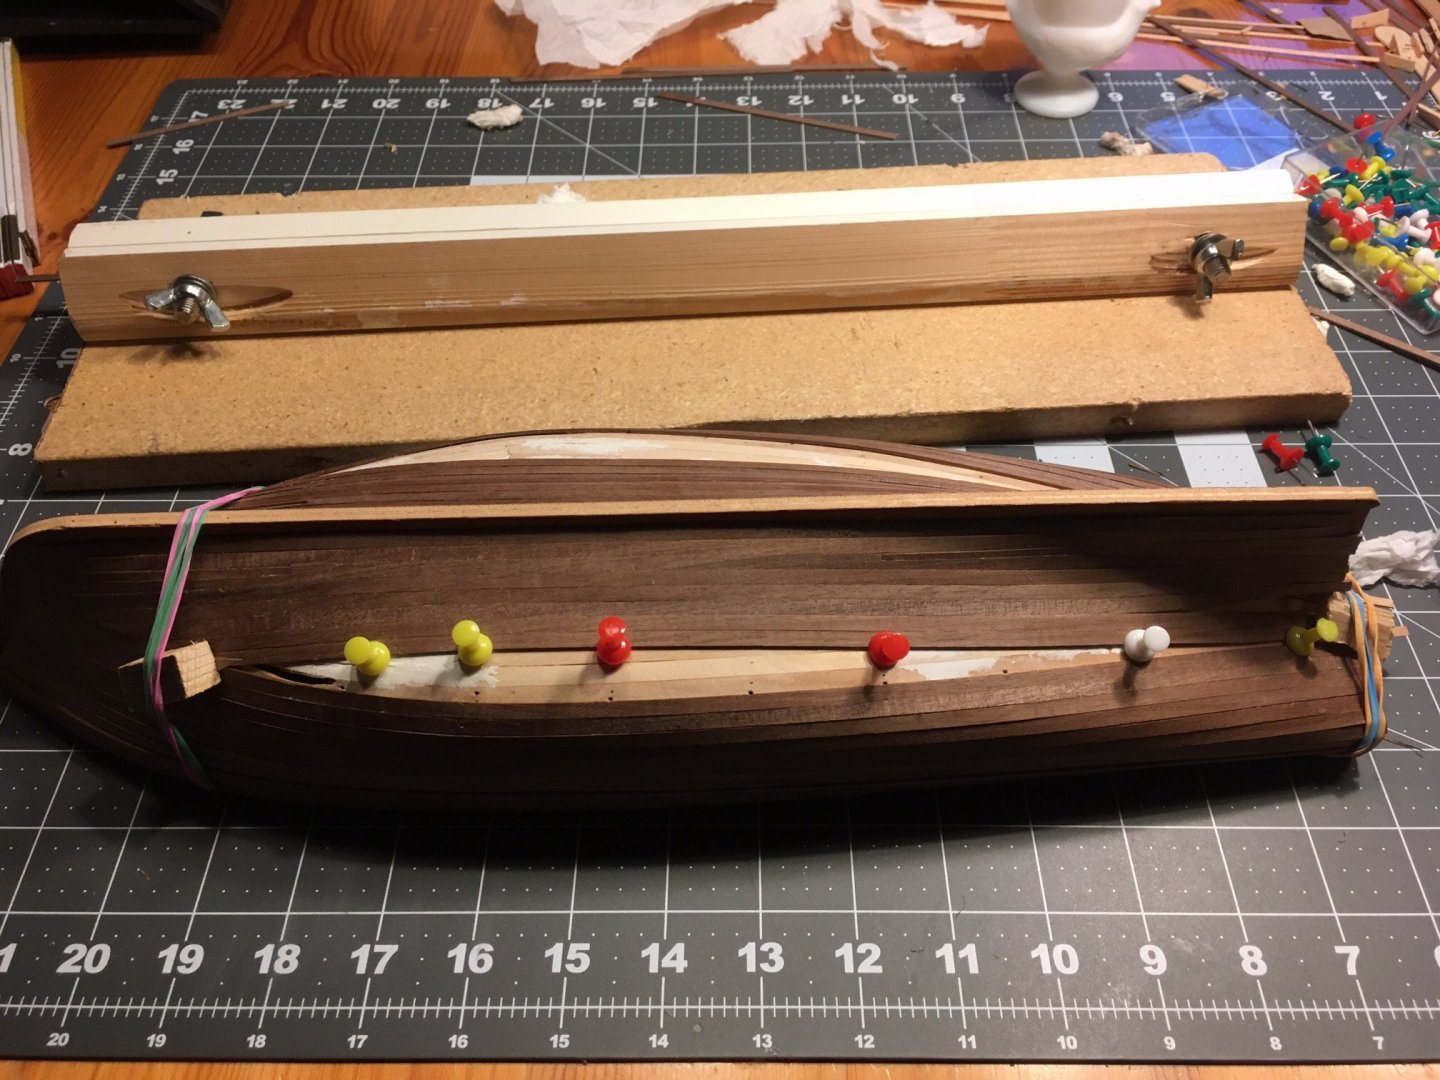
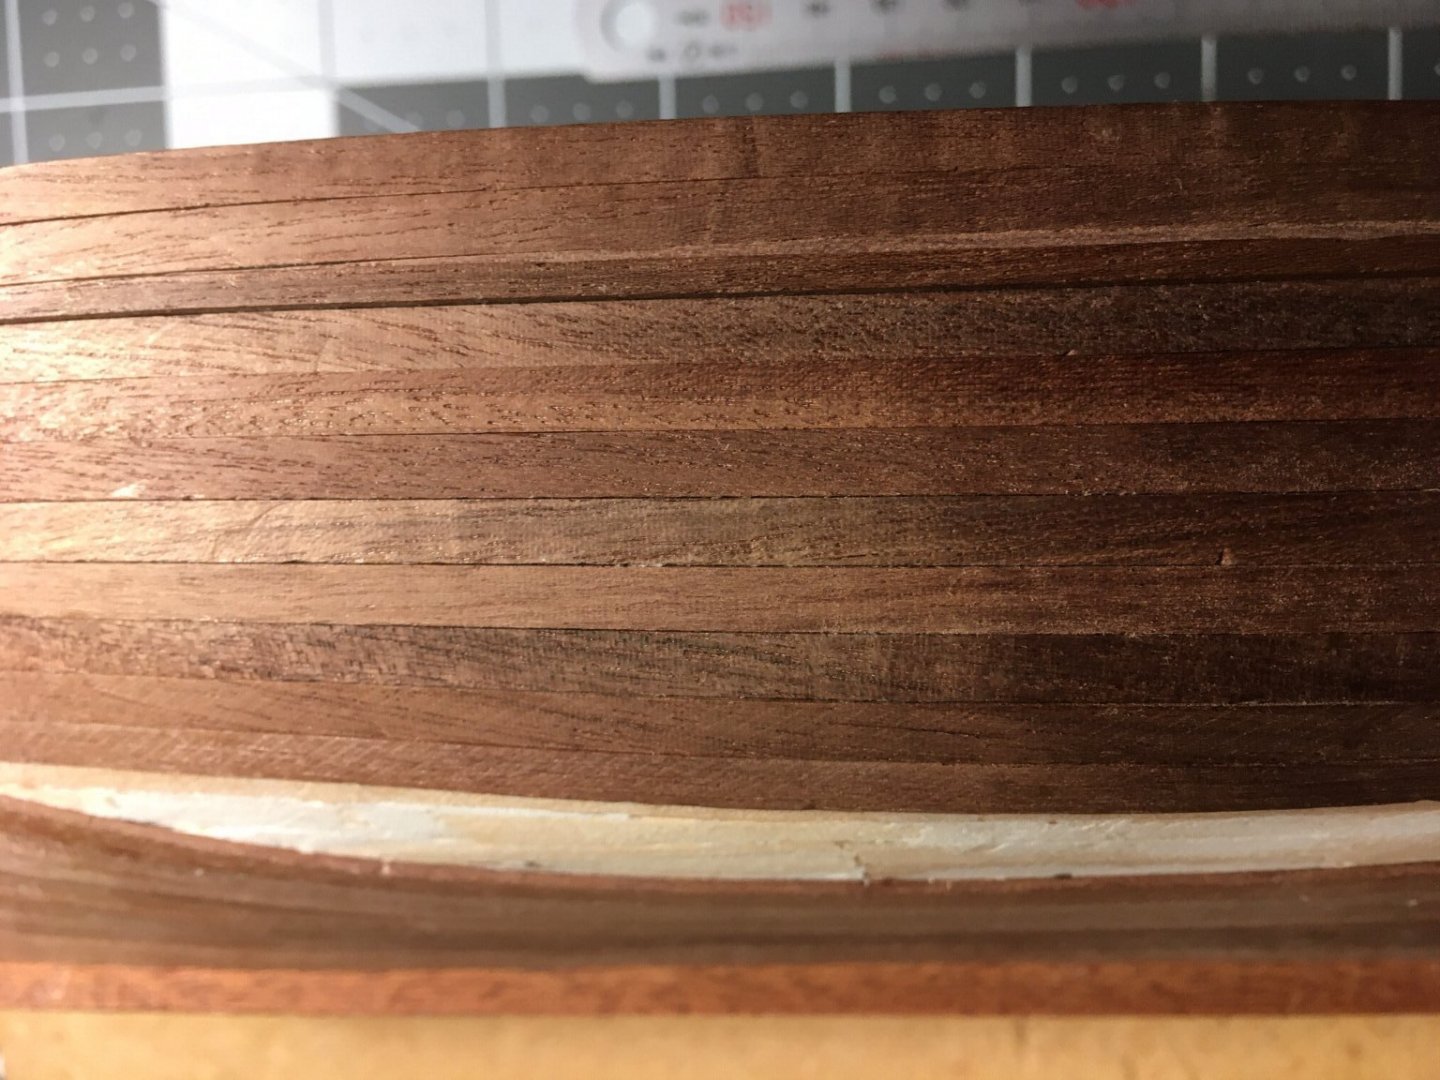
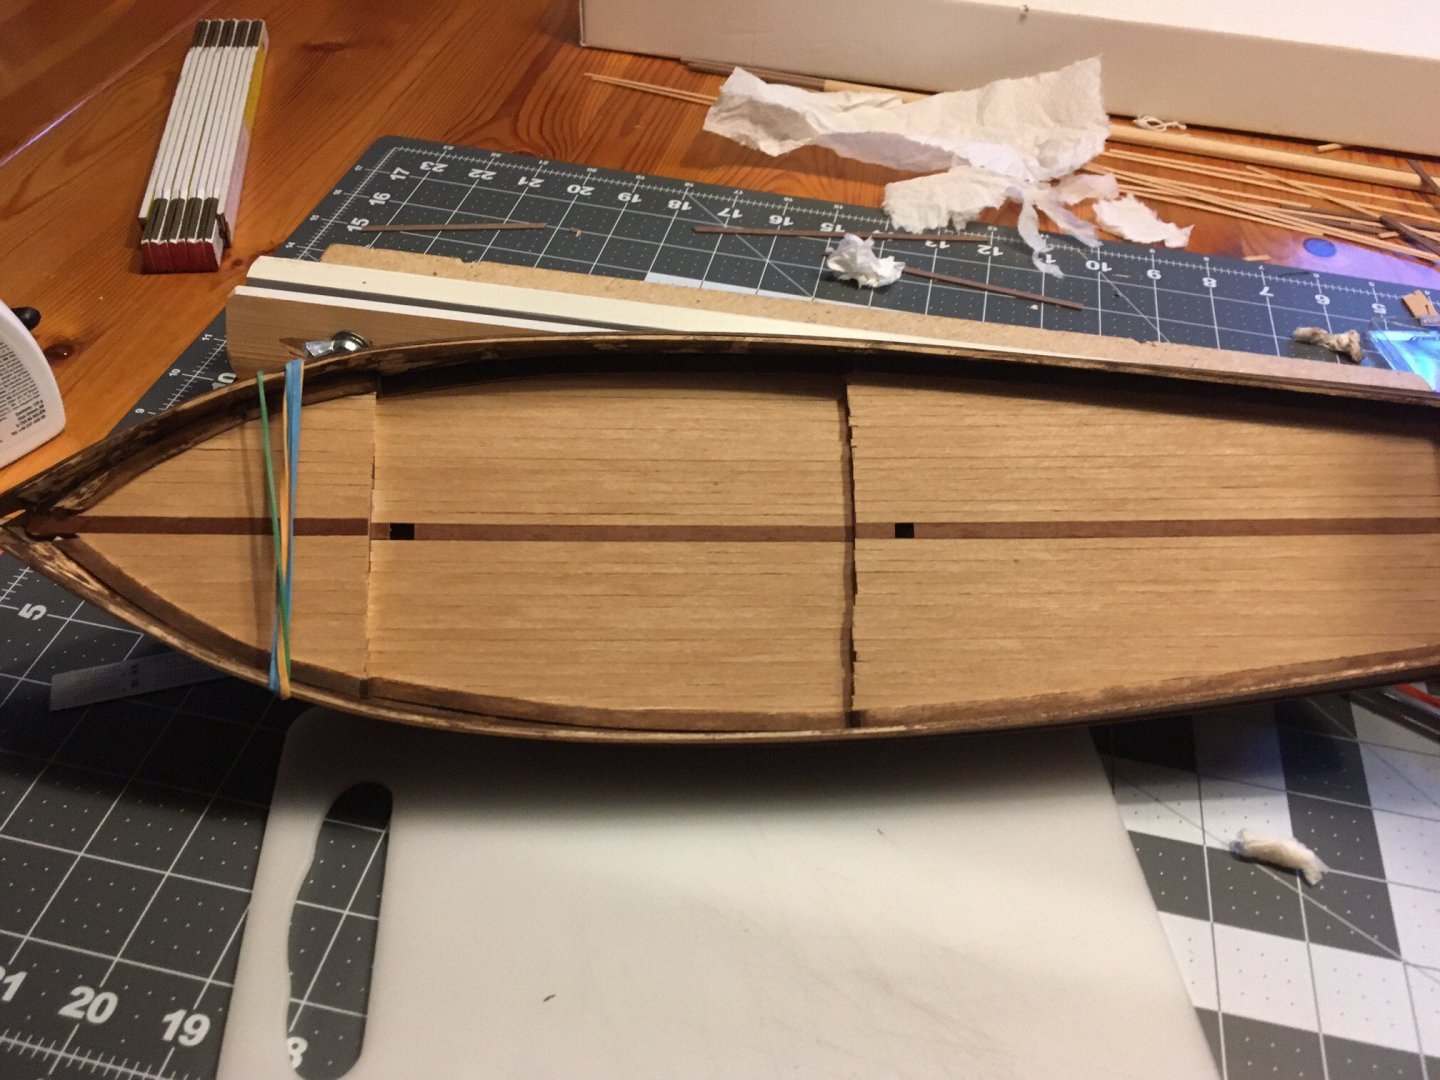
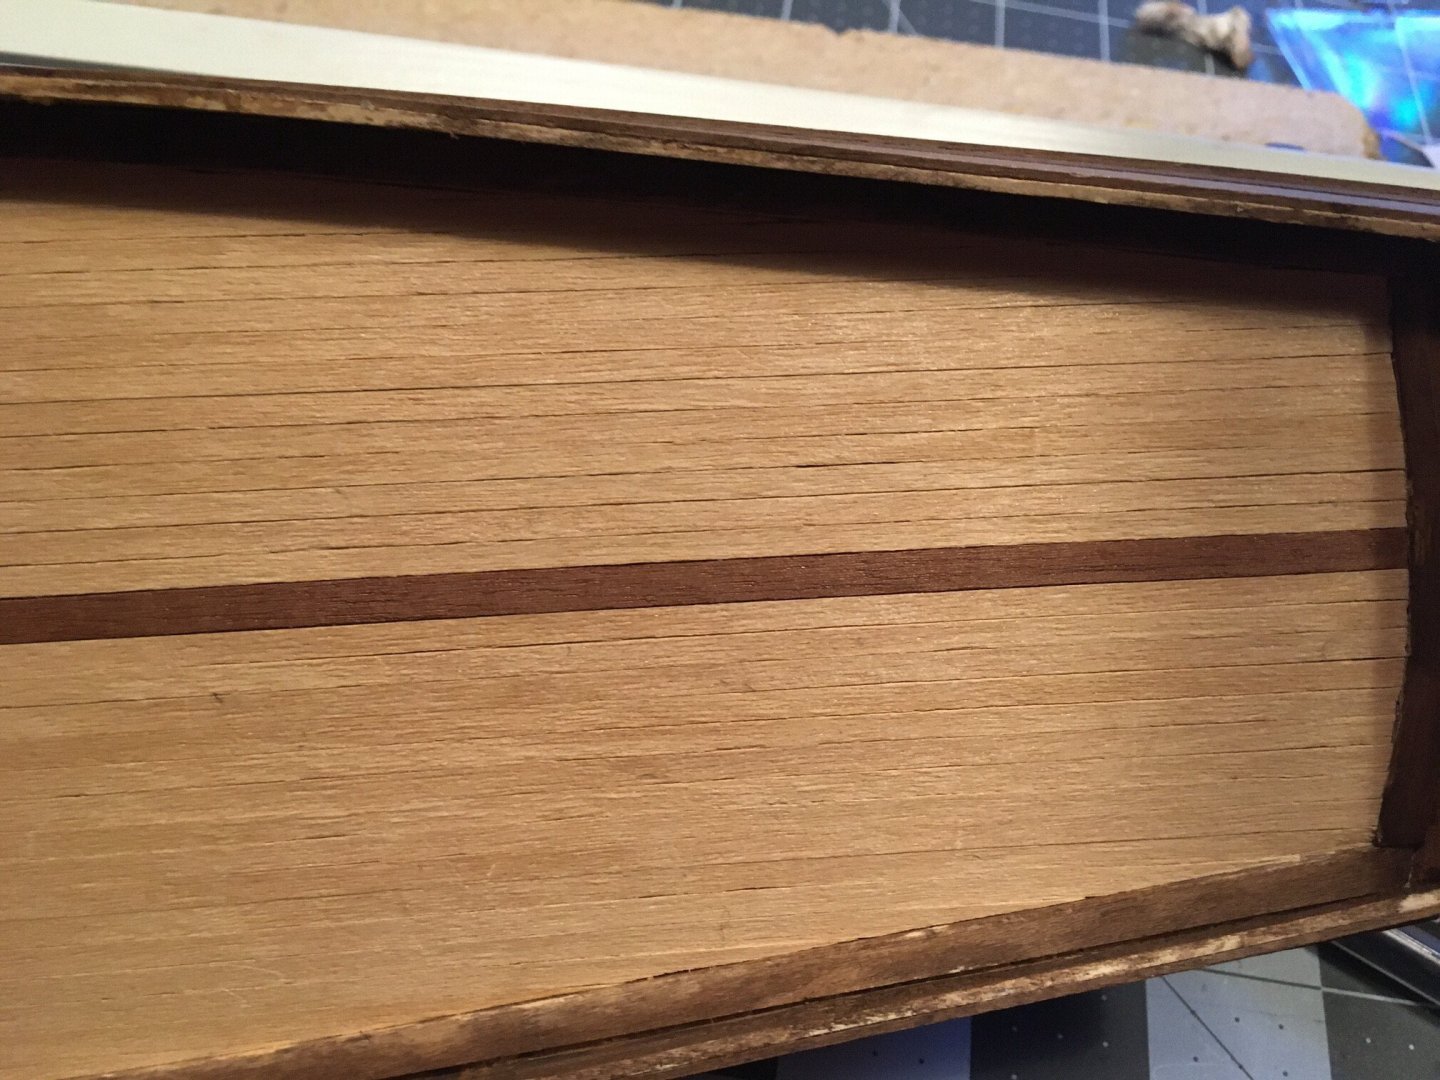
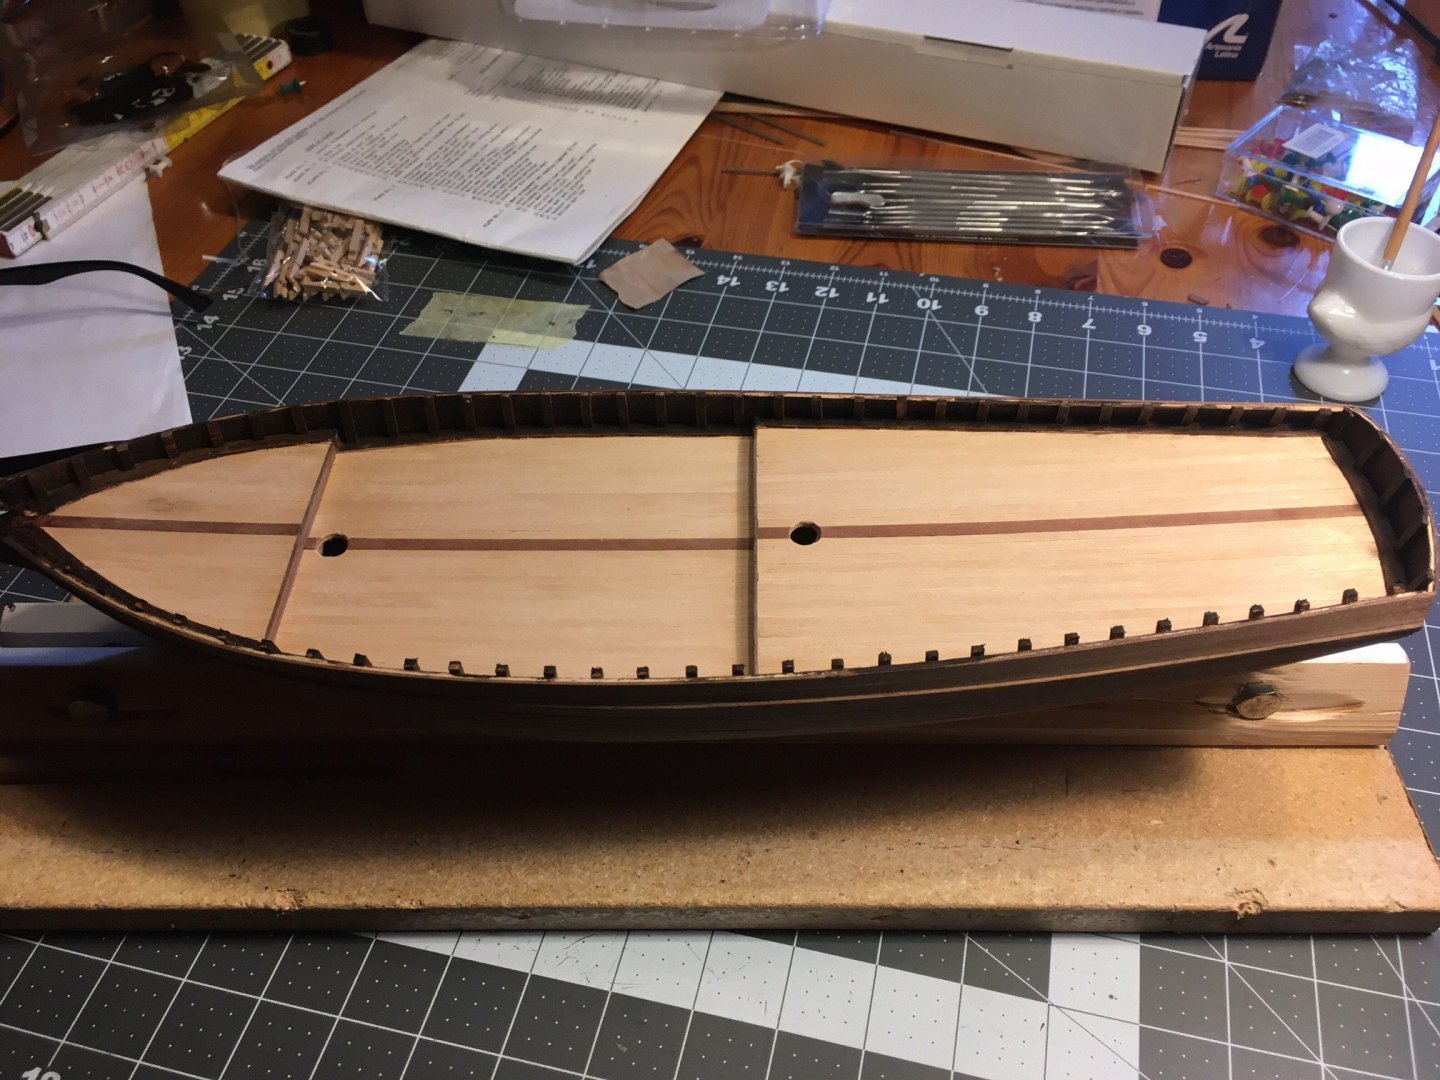
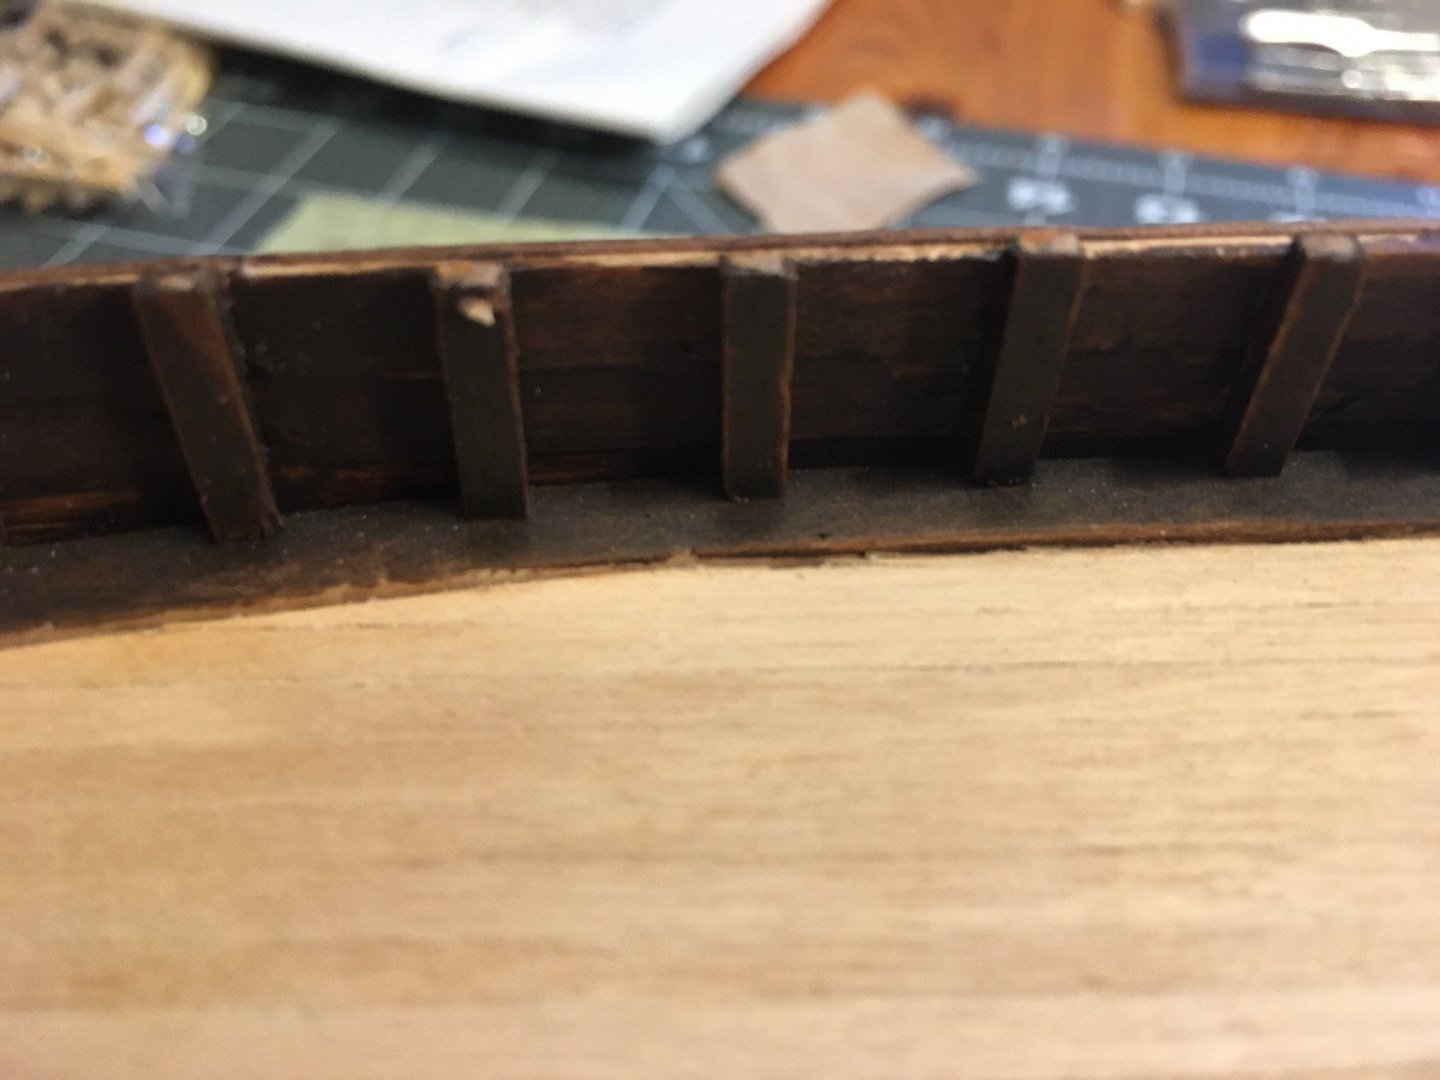
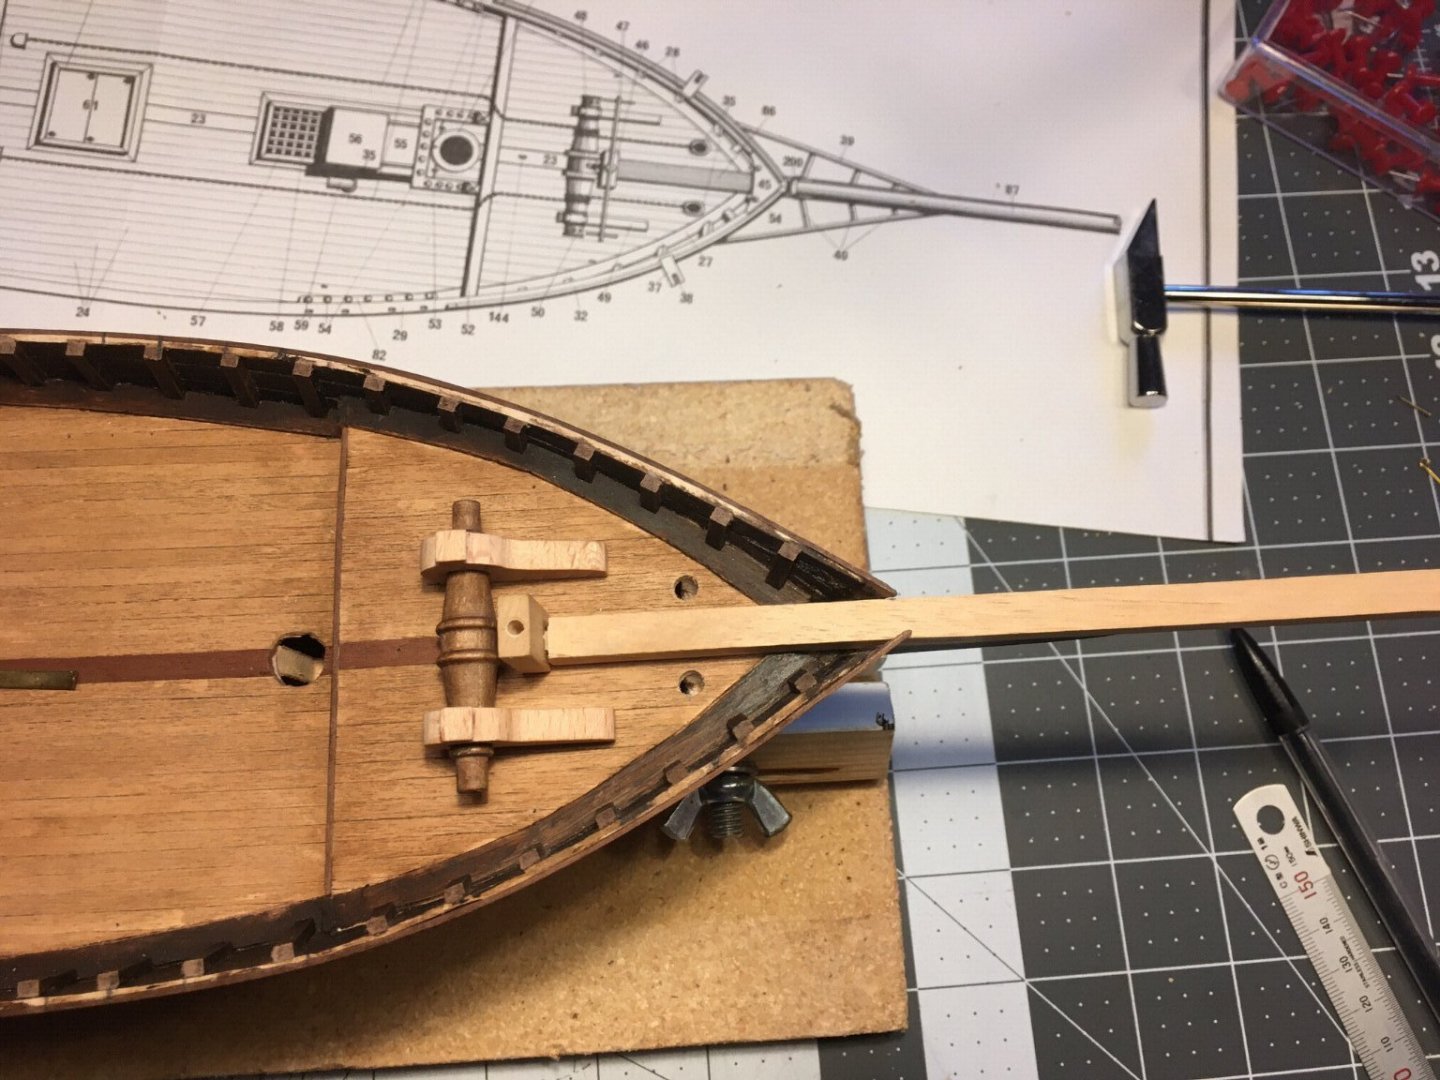
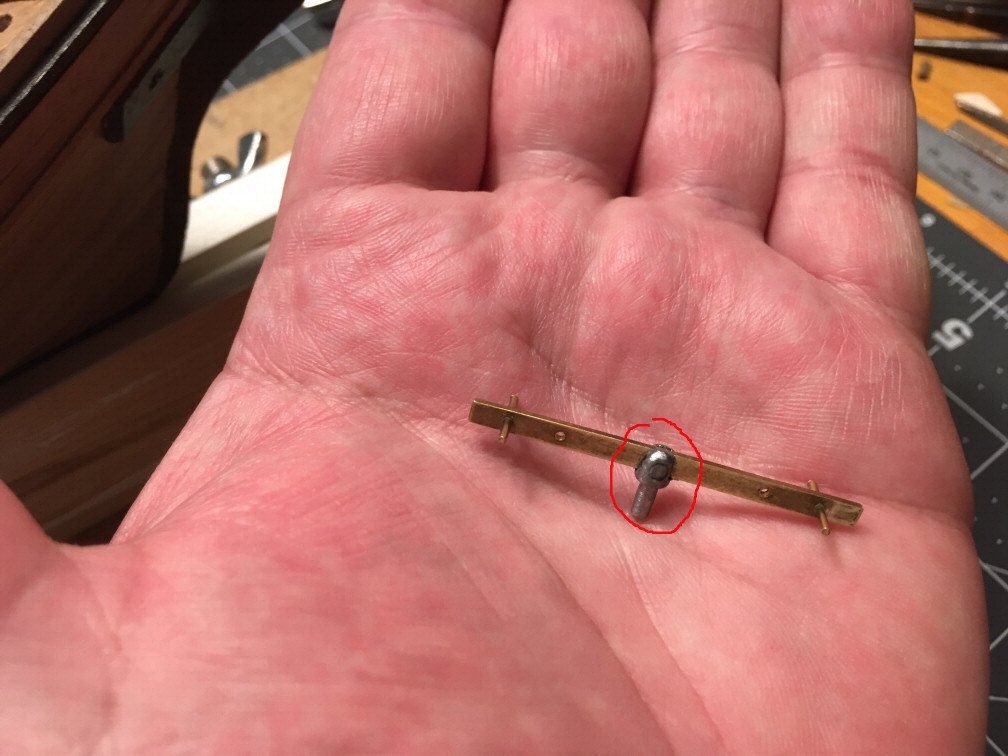
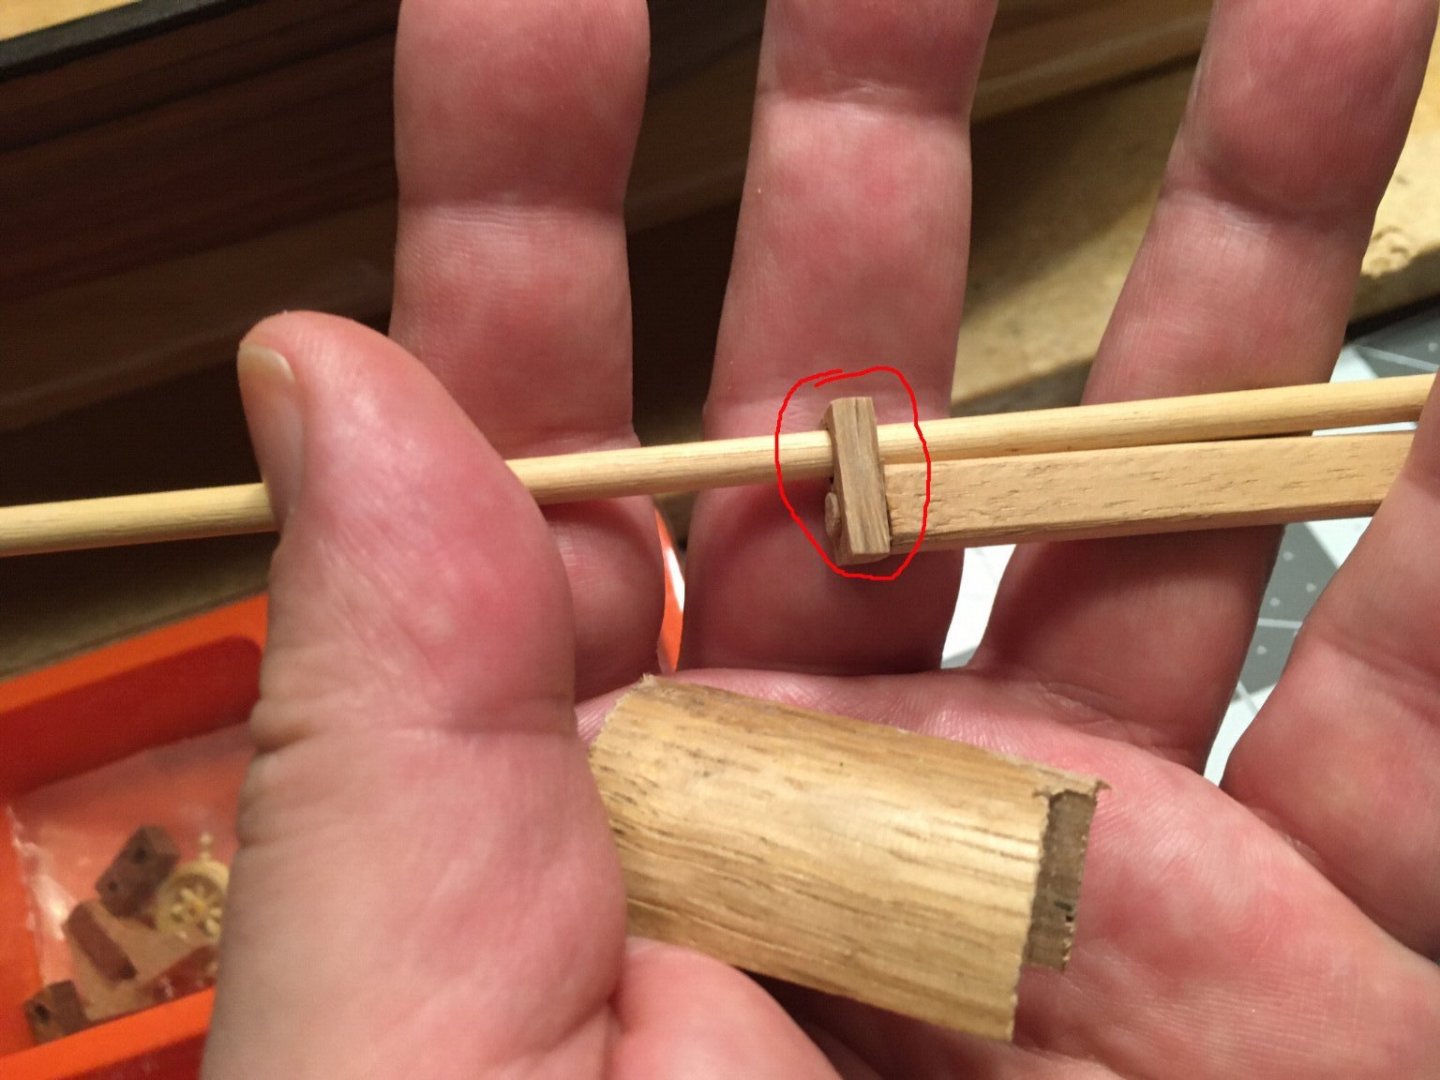
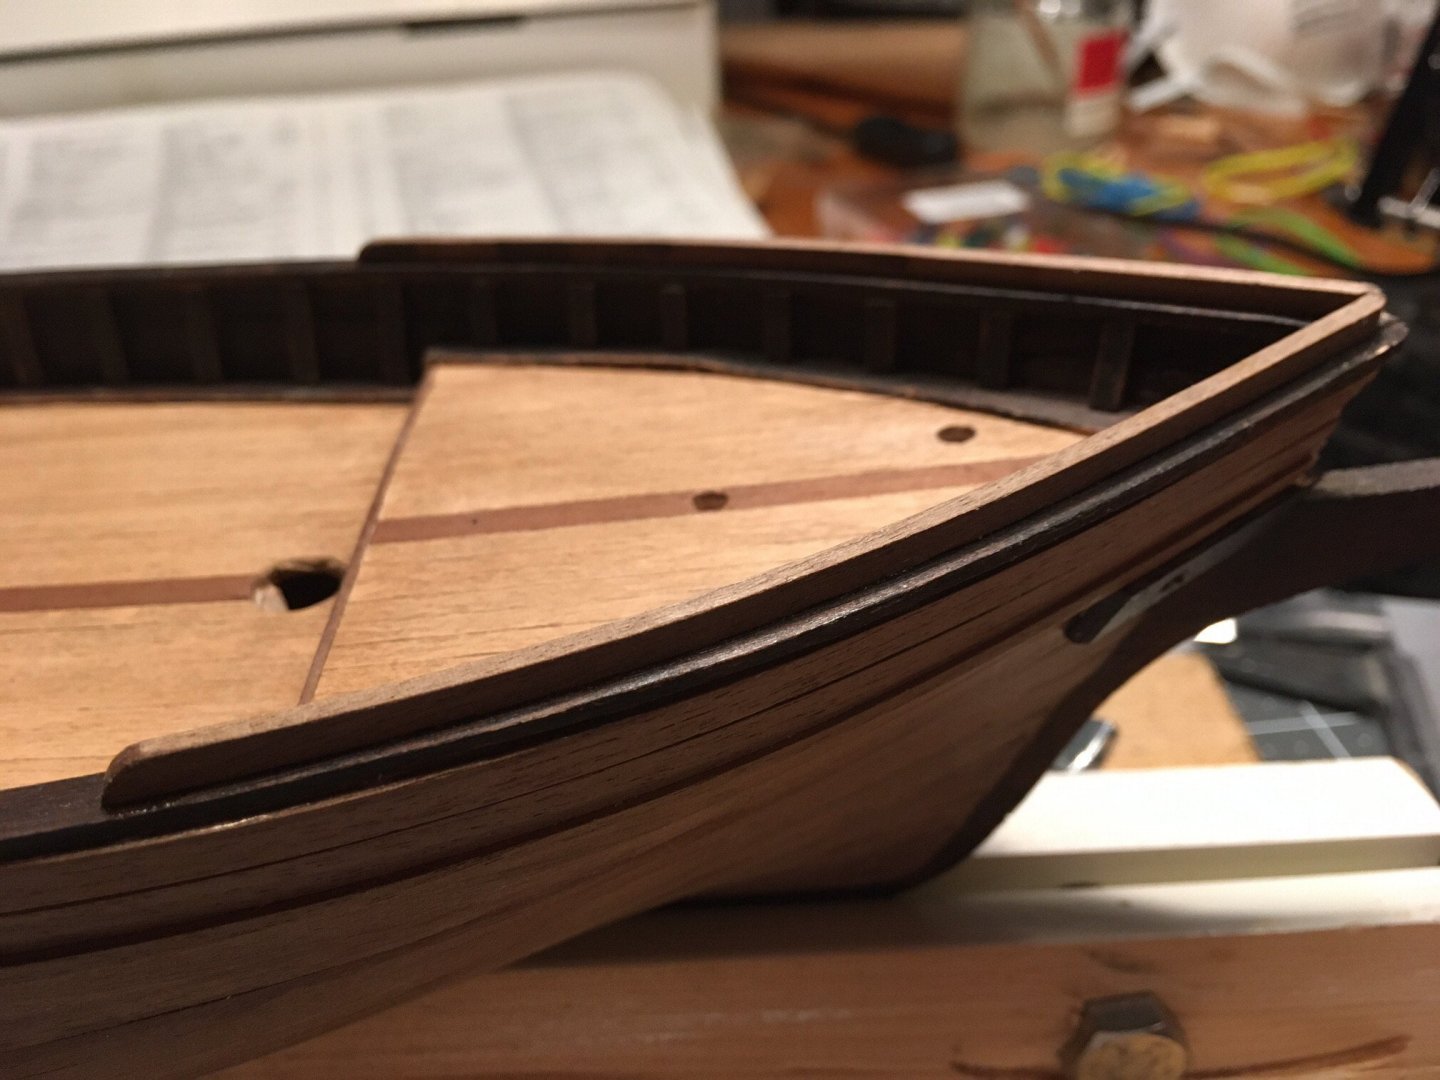
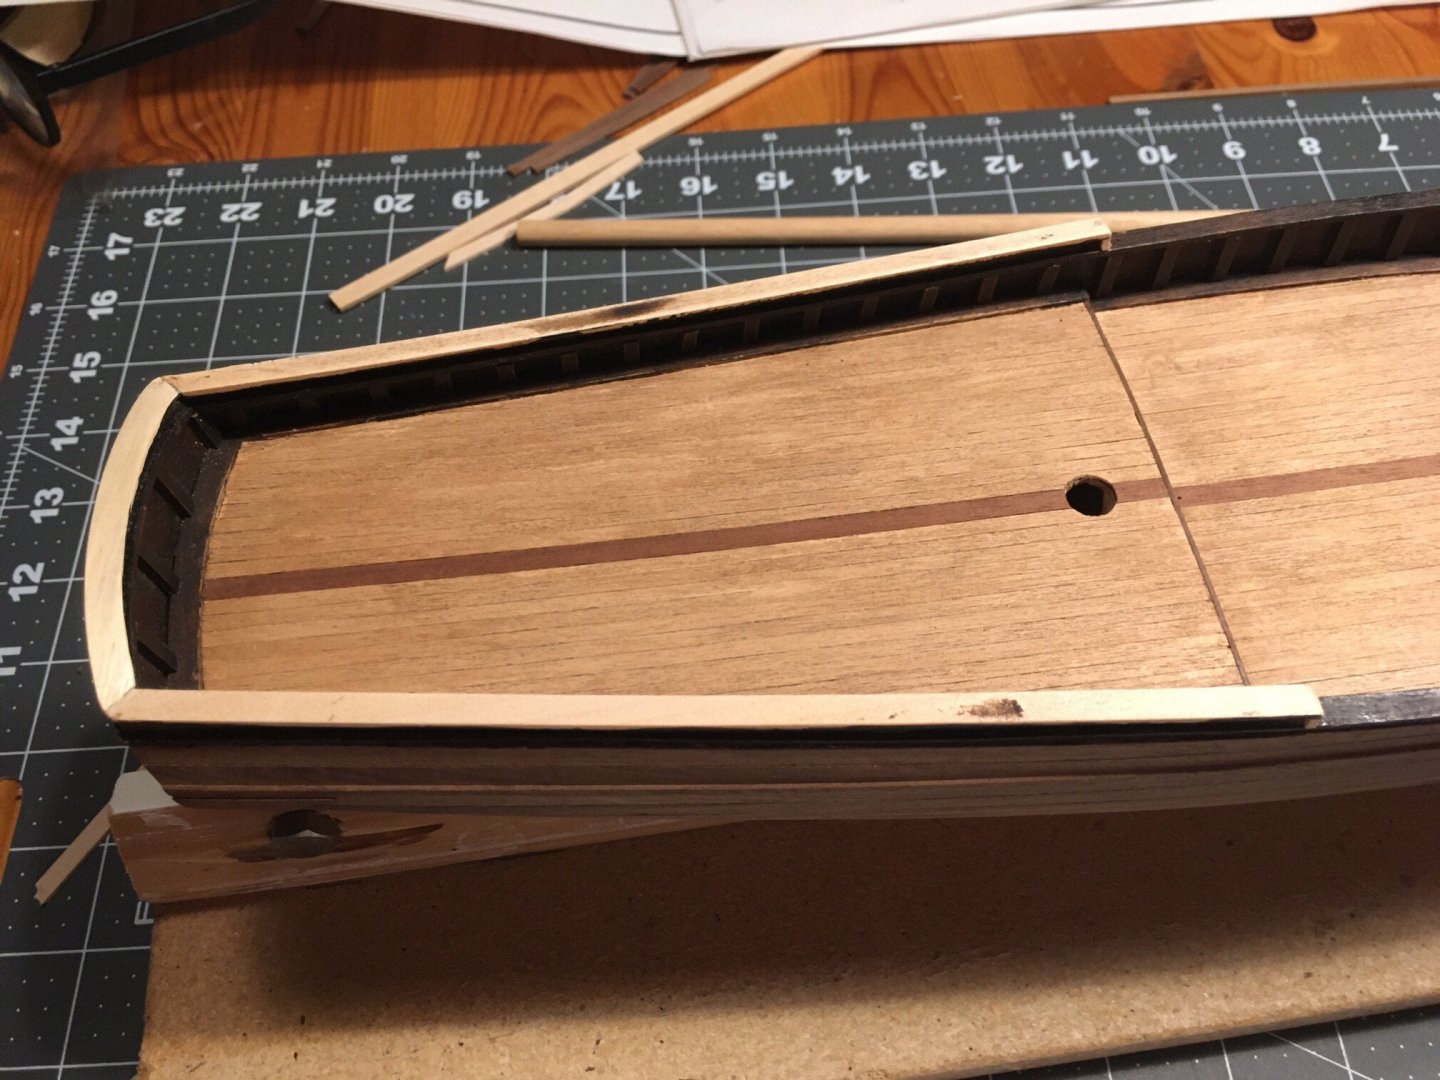
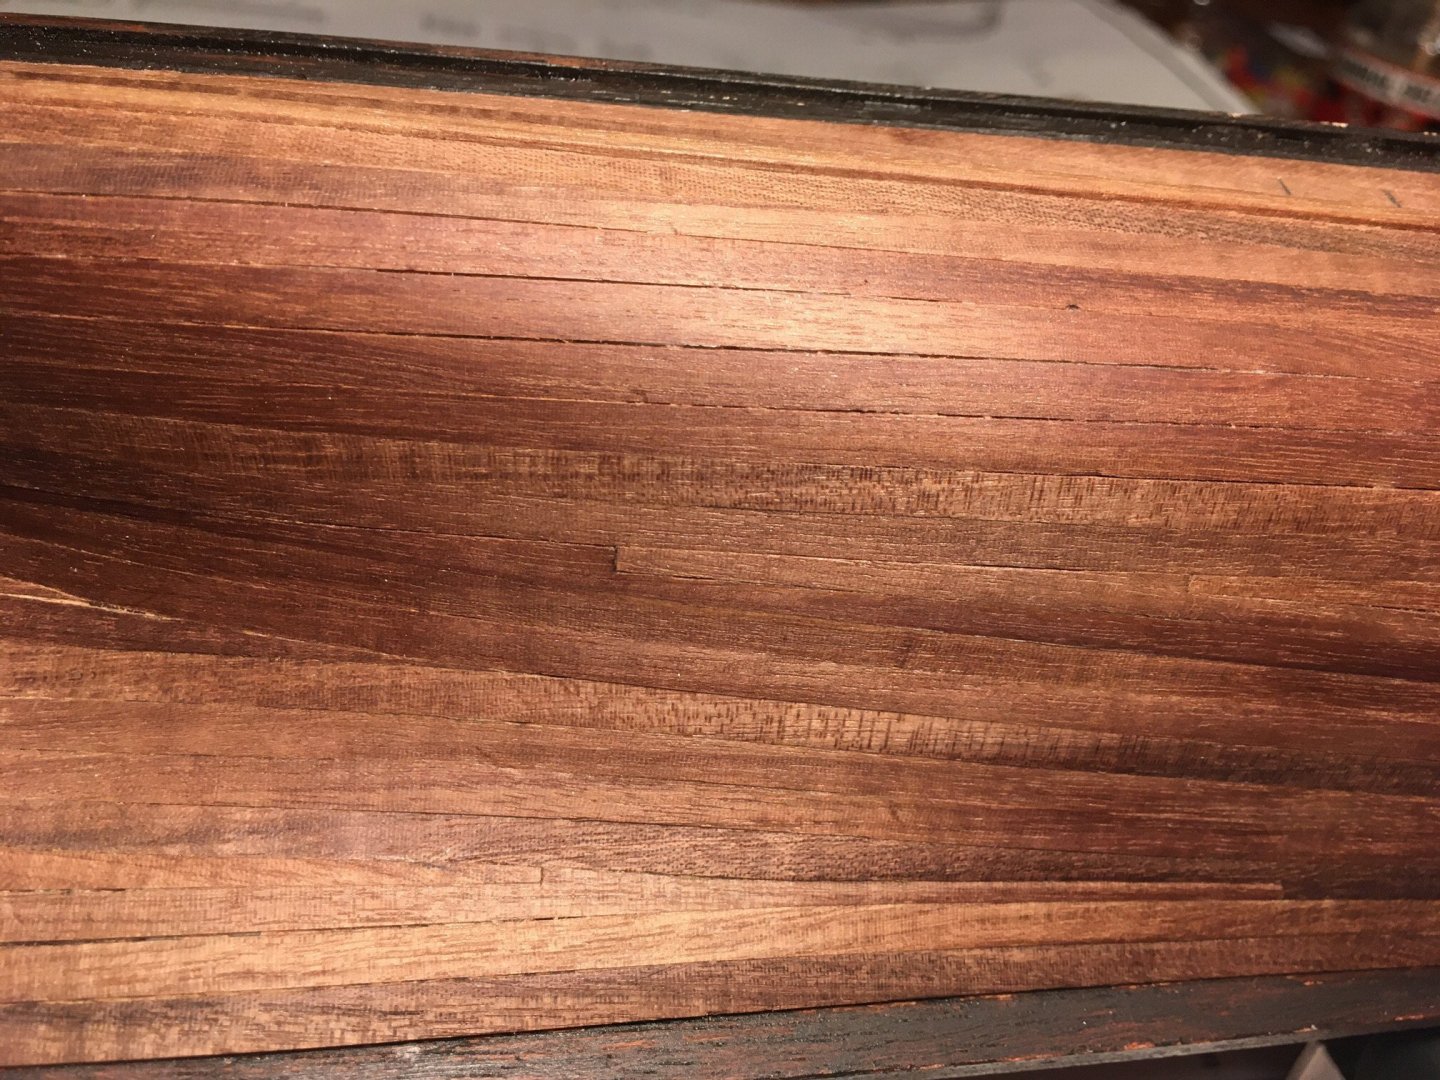
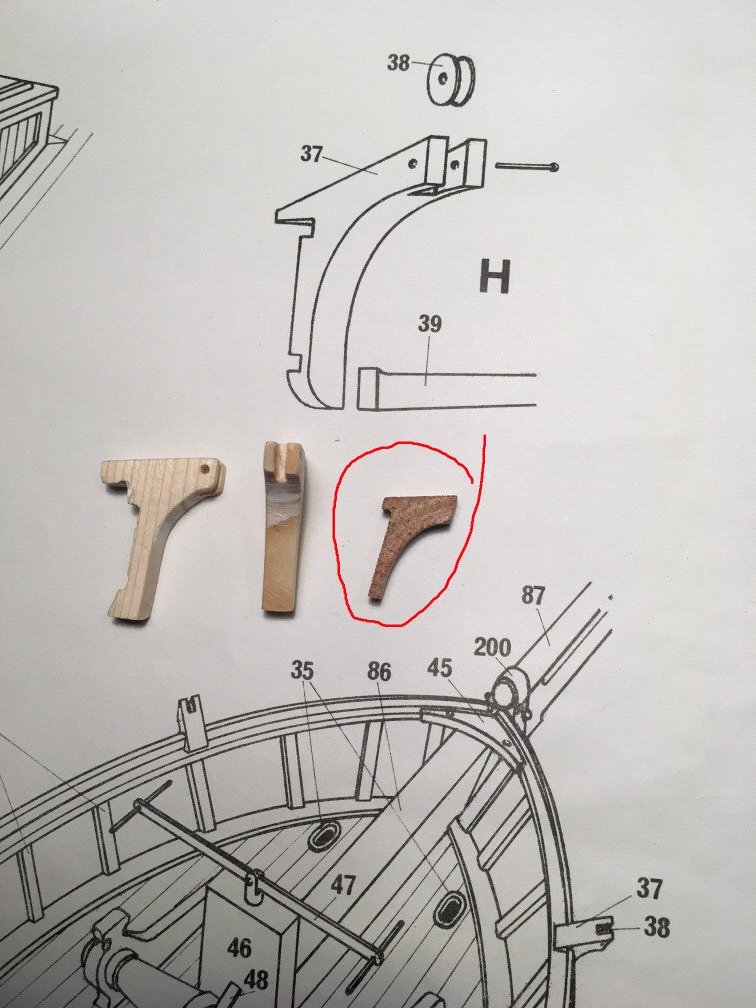
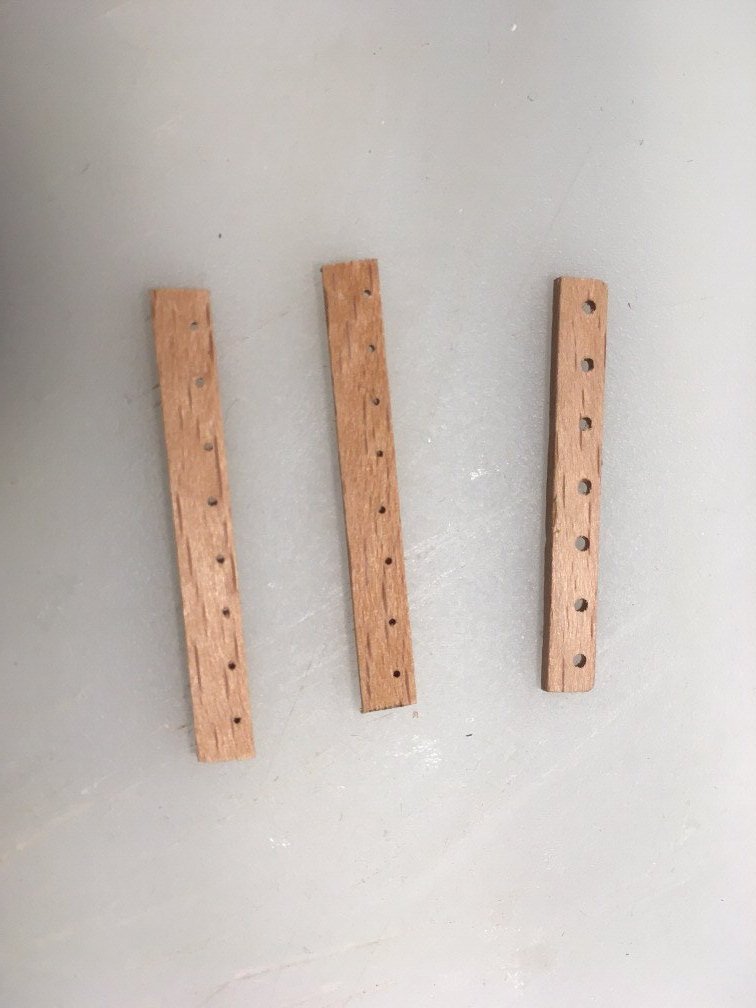
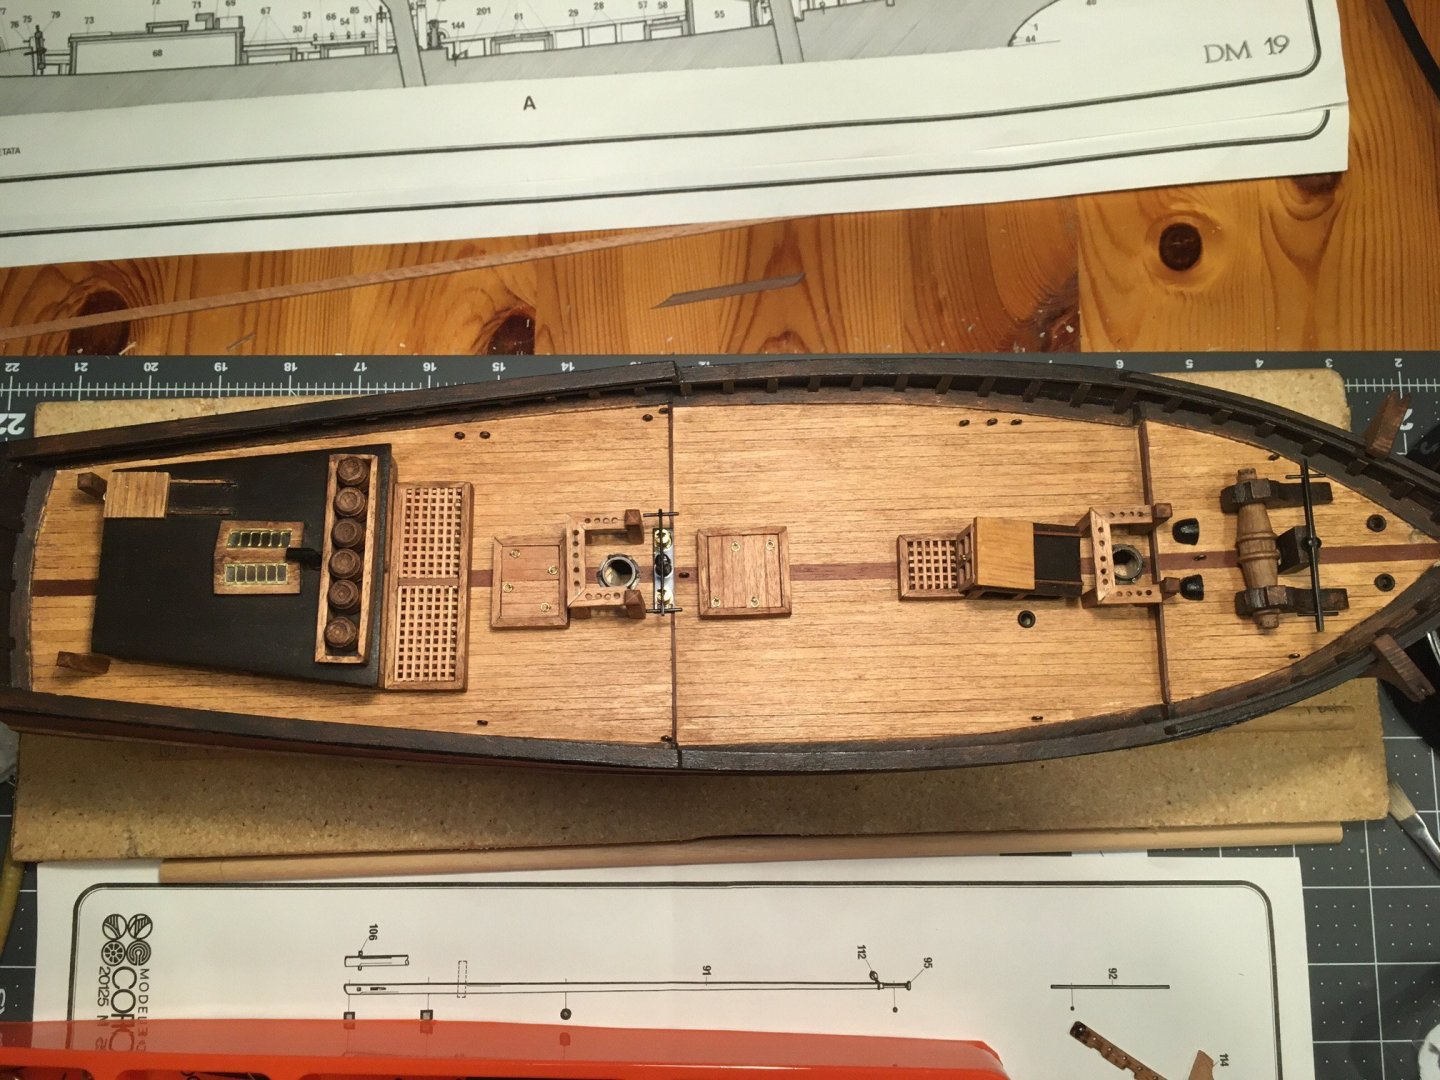
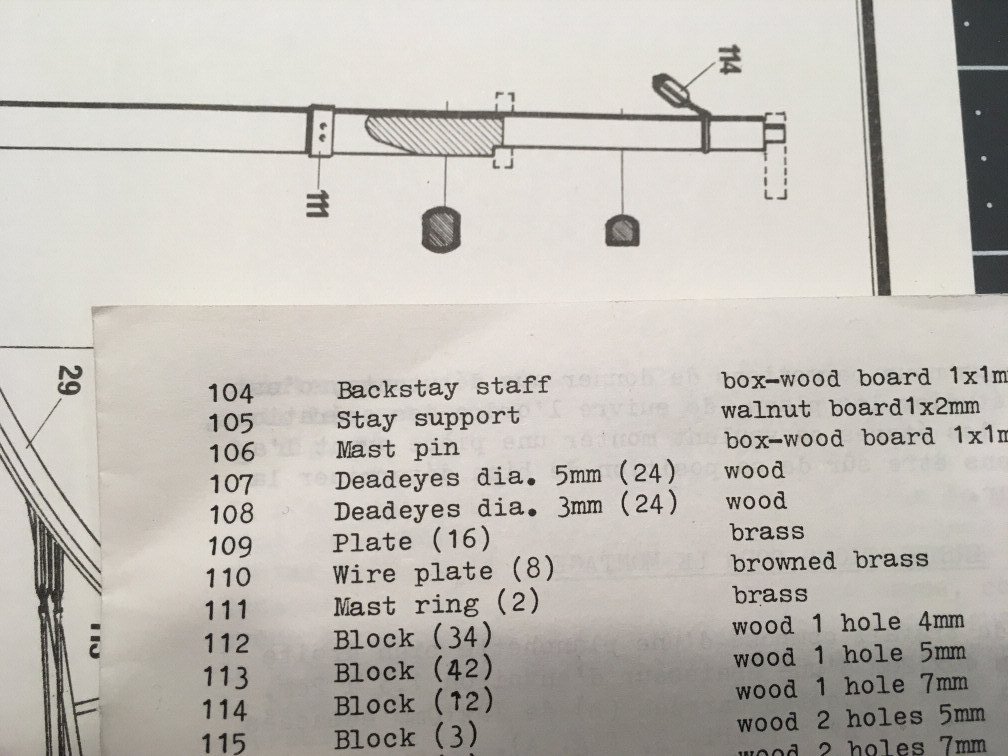
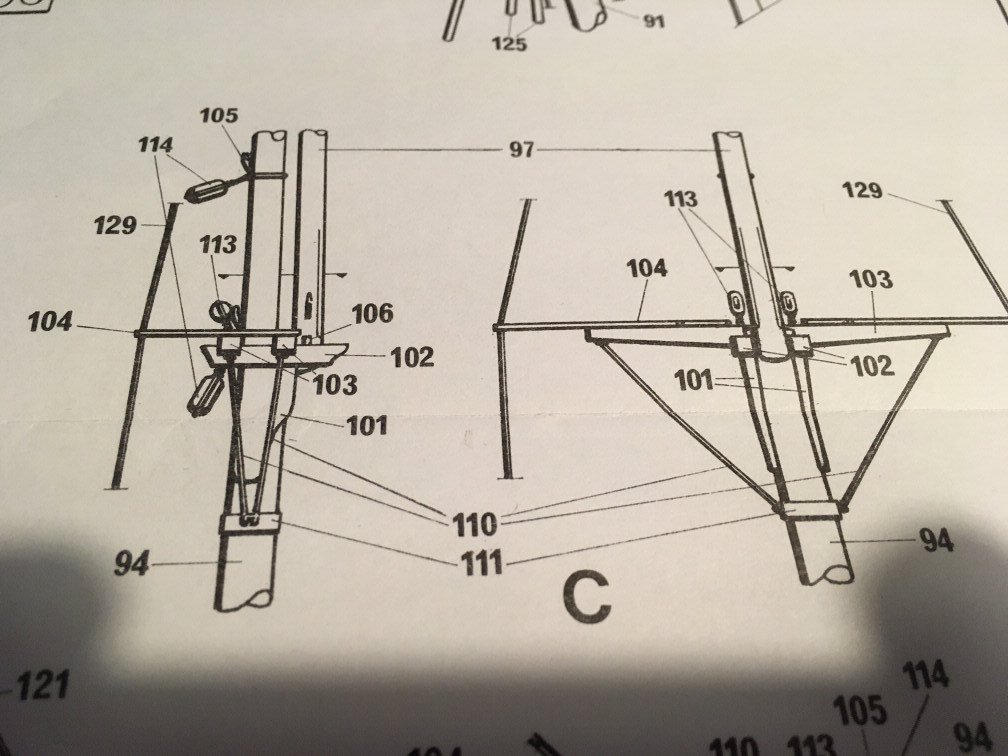
Have been building on this for a couple of months now, this is my very first wooden model kit I am building and there are a lot of things to learn here and there. Thankfully youtube exist where lots of tips and tricks can be found. However as this kit do not provide any building instructions at all, only a parts list which does not describe all numbers, items can be out of scale, missing parts, items in the package is not for this model, lacking some wood and the drawings are not the best to follow and as it turns out in some cases should not be followed. All this gave me more problems then I needed and I proceeded as best as I could. I have in mind to finish it, hopefully it will be a nice looking ship after all. Second planking and deck planking on the way, a hole emerged in the hull but it could be fixed nicely with the second layer. Second planking was done with 1x4mm Walnut Deck planking Tanganika 0.6x3mm In center there are a Mahogany board 0,6x5mm Starting to place the Capstan and Jibbom This part was missing, I started making a new, found a brass screw and I thought "This will do just fine" after a while the grinding revealed that it was a fake brass screw, steel under the yellow skin. It was Ok as I was going to paint it anyway, just a little tougher to work with 😊 This part was also missing, made a new one from what I could find at home, oak. Placed the railing in the fore Placing the railing in the stern, yet another setback, according the part list and number on the drawing it was supposed to be made from flexible birch, I was missing around 4-500mm of that so I had to use hull planks from layer 1. Also this flexible birch was not wide enough 5mm. It should have been 6mm to ensure that it was a little bit wider then the hull, now it is just as wide. Here is another piece that was impossible to use, out of scale, made new ones. This pin rack should have seven drilled holes, did my math and started drilling, I really must have enjoyed the drilling itself as when I was finished I had eight holes. Did the math once more and now I got seven holes Building the fore deckhouse More deck items Note: The Items are not fixed yet Then I started to look closer on the two masts, I needed to have some kind of grinding station so I can make them conical. This is build now and soon I will start with this job, but when I was looking at one drawings I found that 2 brass ring to be placed on both the mast also in the part list (pos 111), they are both missing. I have ordered two brass pipes 9 and 10 mm so I can make both this rings. Then there is something attached on the mast-rings, (pos 110 Wire plate, browned brass), also is missing. I cant make out what they are, could a round brass piece work? If so, which diameter should it have approx. or how should it look?
- 10 replies
-
- Corel
- Flying Fish
-
(and 2 more)
Tagged with:
-
Glad to be here Dave. Thanks
-
Thanks Allan. The digital world really shrinks the earth, so far away but so close
-
Thank you Patrick, made a quick visit on at your Wasa build, looks nice. One day maybe
-
Thank you Ron
-
Thanks Mark
About us
Modelshipworld - Advancing Ship Modeling through Research
SSL Secured
Your security is important for us so this Website is SSL-Secured
NRG Mailing Address
Nautical Research Guild
237 South Lincoln Street
Westmont IL, 60559-1917
Model Ship World ® and the MSW logo are Registered Trademarks, and belong to the Nautical Research Guild (United States Patent and Trademark Office: No. 6,929,264 & No. 6,929,274, registered Dec. 20, 2022)
Helpful Links
About the NRG
If you enjoy building ship models that are historically accurate as well as beautiful, then The Nautical Research Guild (NRG) is just right for you.
The Guild is a non-profit educational organization whose mission is to “Advance Ship Modeling Through Research”. We provide support to our members in their efforts to raise the quality of their model ships.
The Nautical Research Guild has published our world-renowned quarterly magazine, The Nautical Research Journal, since 1955. The pages of the Journal are full of articles by accomplished ship modelers who show you how they create those exquisite details on their models, and by maritime historians who show you the correct details to build. The Journal is available in both print and digital editions. Go to the NRG web site (www.thenrg.org) to download a complimentary digital copy of the Journal. The NRG also publishes plan sets, books and compilations of back issues of the Journal and the former Ships in Scale and Model Ship Builder magazines.

