


munst3r
-
Posts
7 -
Joined
-
Last visited
Content Type
Profiles
Forums
Gallery
Events
Posts posted by munst3r
-
-
On 10/25/2021 at 3:59 PM, MrBlueJacket said:
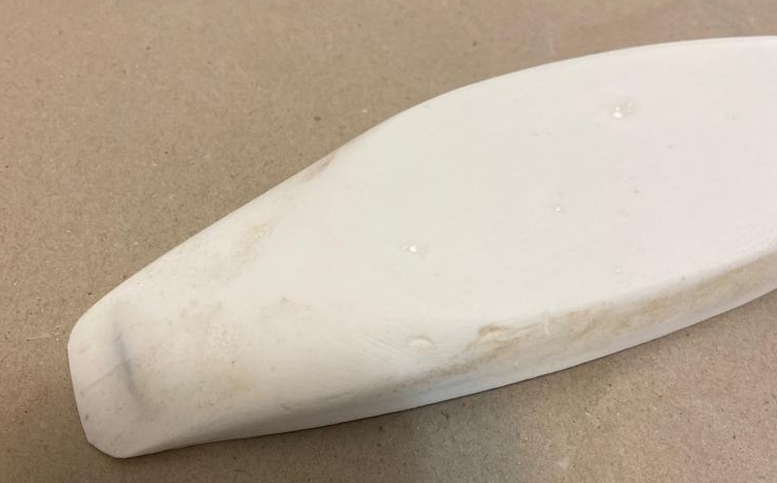
First item is to fill some tiny holes in the hull casting. Most of what you see will be sanded off.

Hello @MrBlueJacket, I'm also working this model. Question. The instructions state:
Is that accurate? Drill a hole all the way through? Looking at your photos, it seems you did the same.
-
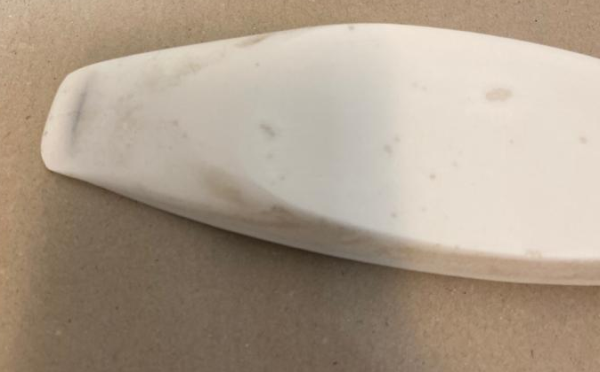
Added the Bulwark Cap and Rail Cap. Sanded down excess glue, and am priming it again. (Shouldn't have primed it earlier. Rookie mistake).
The instructions recommend sanding inside the railcap. I assume to bring both the railing and boat in-sync. After reviewing, I felt this was overkill for a railing inside the boat. I left it as is.


- king derelict, GrandpaPhil, gsdpic and 2 others
-
 5
5
-
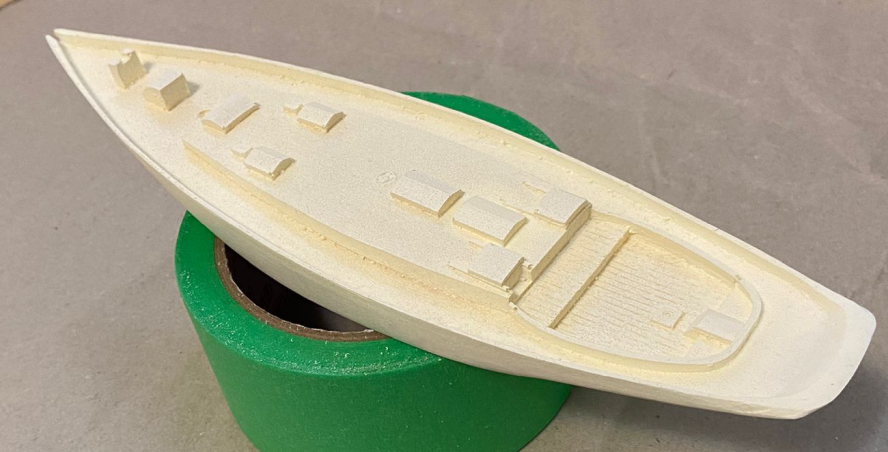
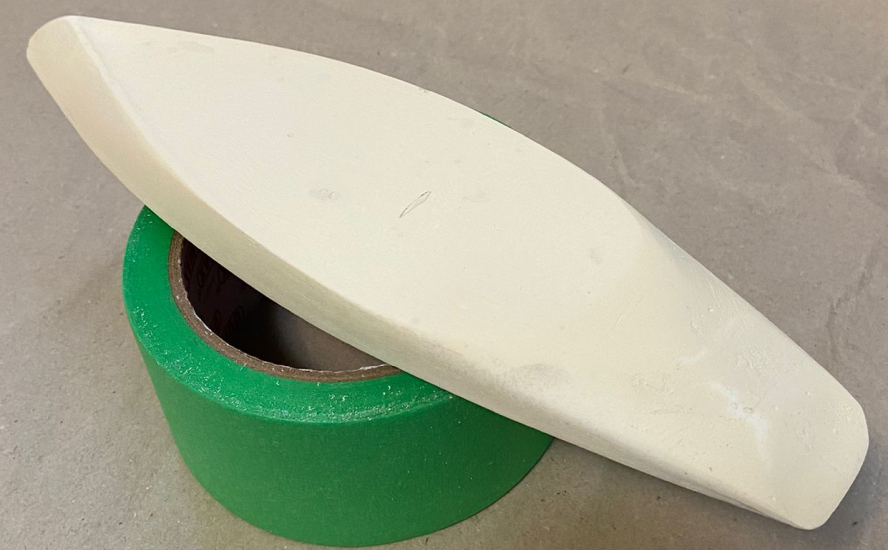
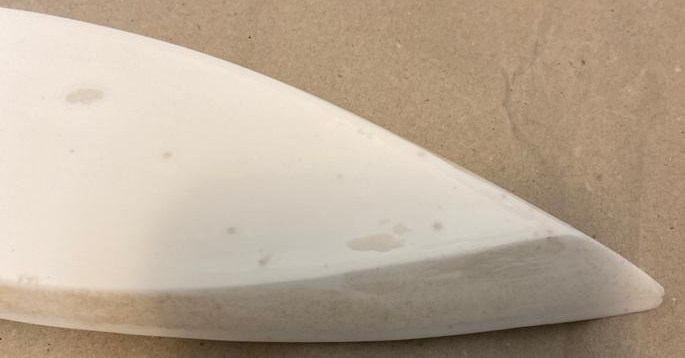
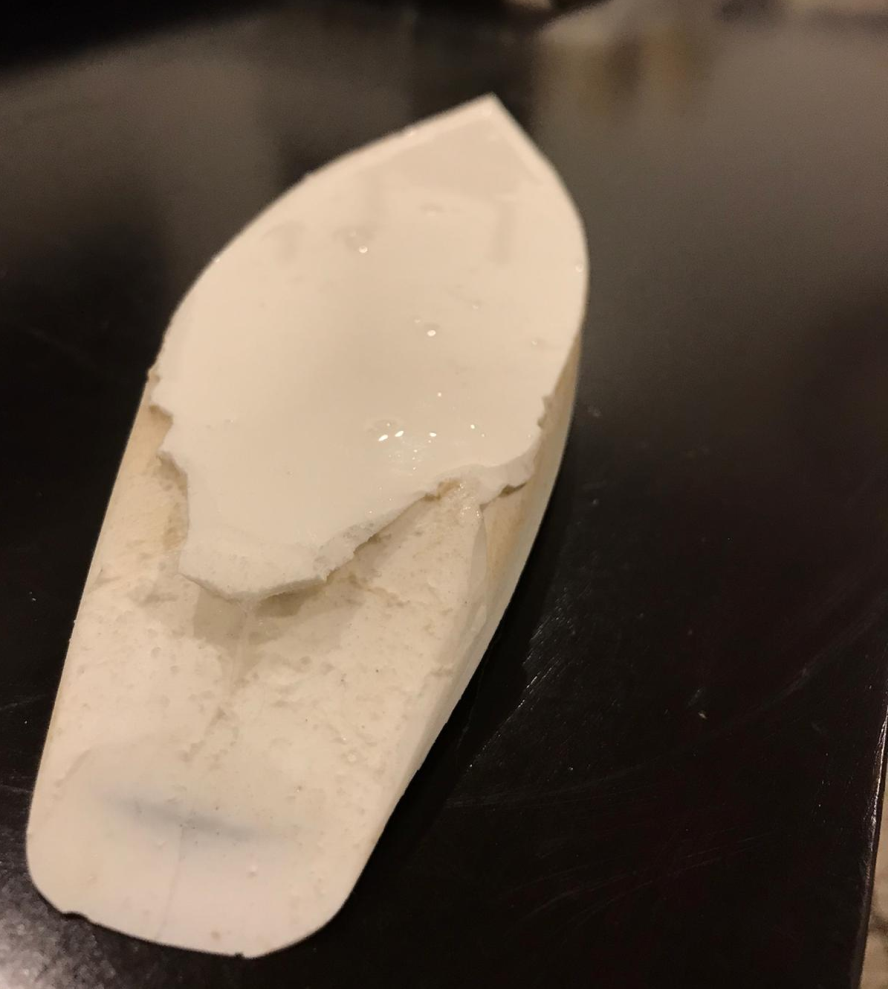
Then I applied a coat of offwhite primer spray paint:
-
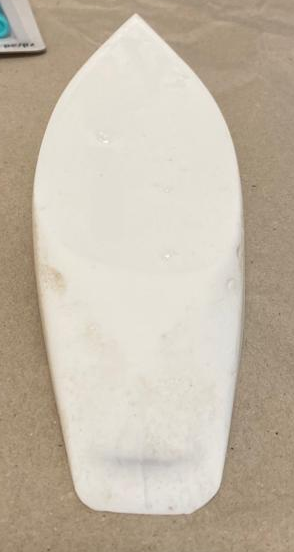
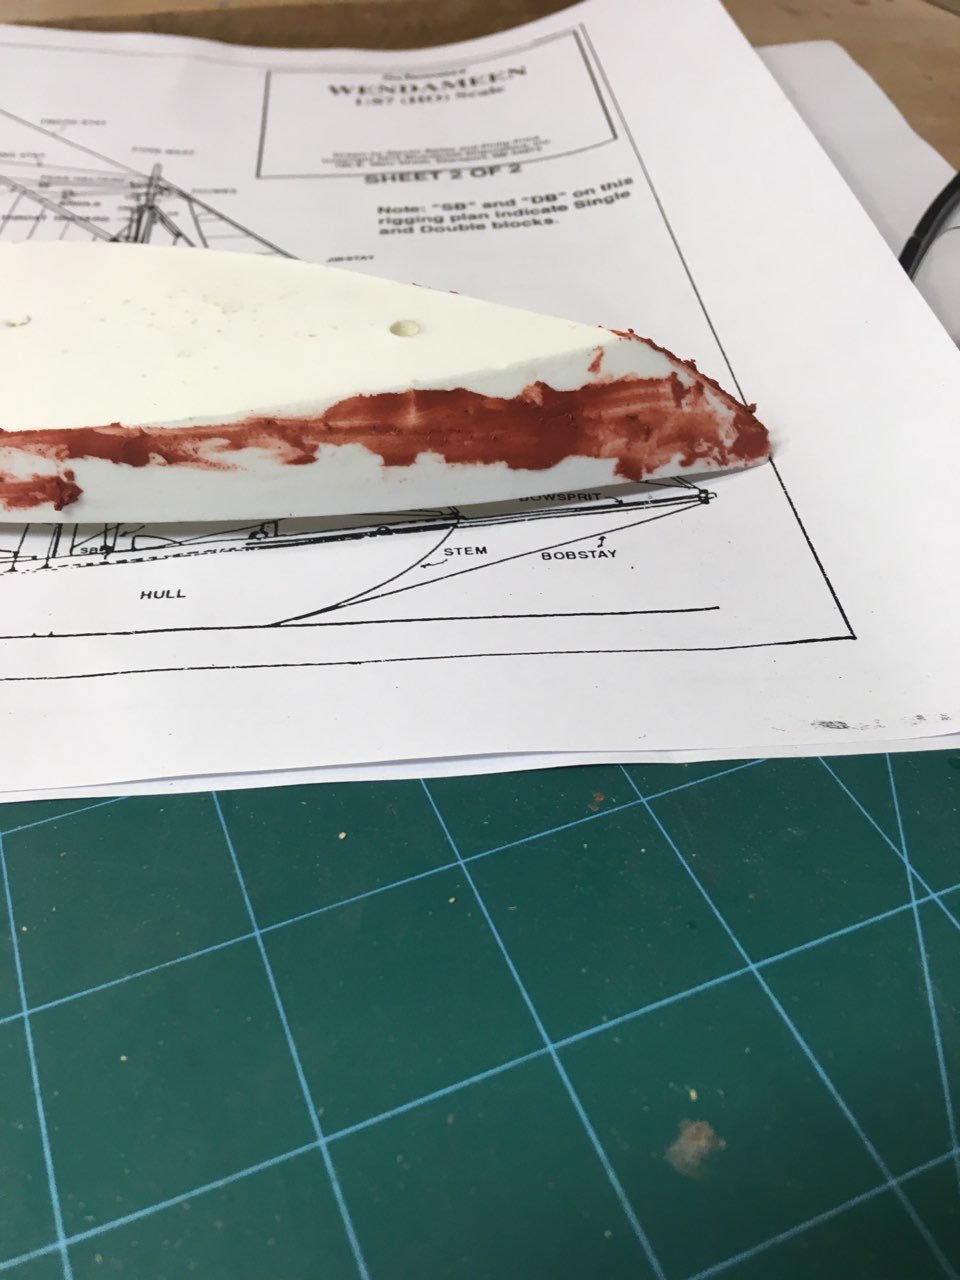
After sanding, I filled holes and gaps with standard drywall filler.
I accept that this shoddy work, but I'm not ready to move into precision work. Its my first model, and I want to keep this moving, and not stop for want of proper equipment. I will probably take other shortcuts to complete this model.Post Sanding:
Then I applied the filler to even out the holes
-
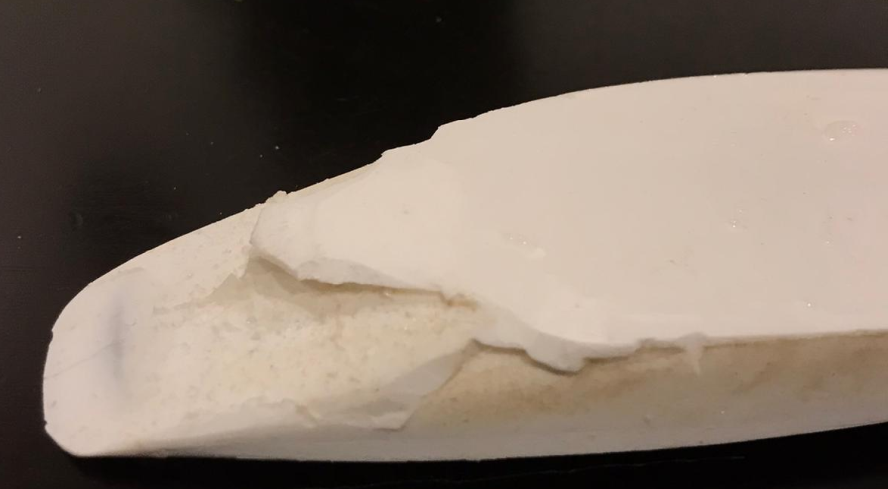
The ship hull had excessive molding on it, not sure why. Maybe this is normal. I had to sand all this down, 15 min job.
-
Hi Everyone,
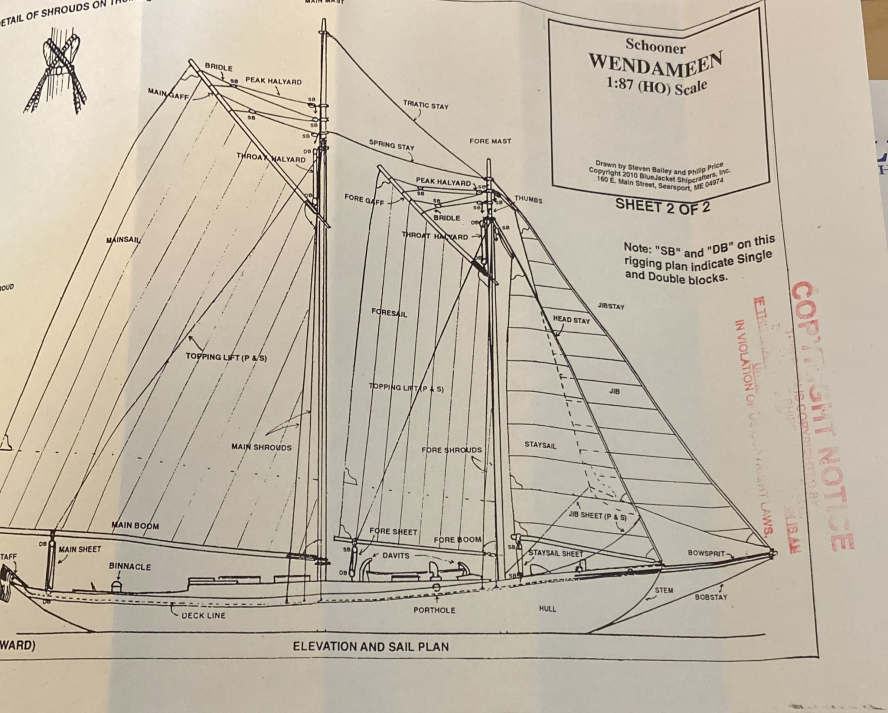
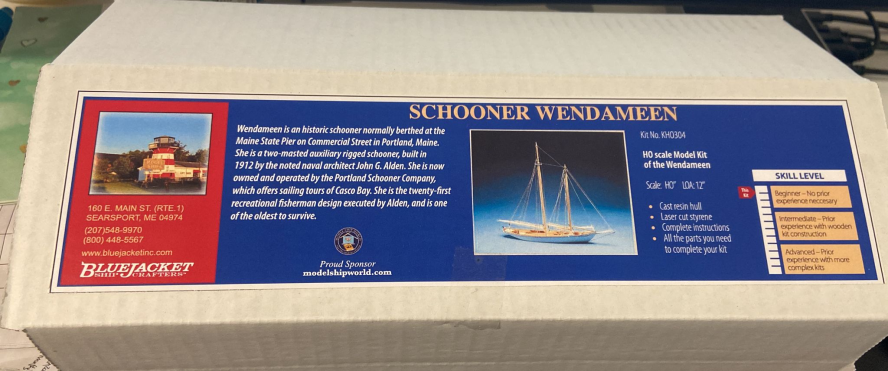
New to ship building, and started with the Schooner Wendameen by BlueJacket Shipcrafters.
Hopefully a useful blog as I only see one other user building this boat at the moment.
Simple unboxing pics:

- Duanelaker, ccoyle and GrandpaPhil
-
3
Wendameen by munst3r - BlueJacket Shipcrafters - 1:87 - RESIN - schooner
in - Kit build logs for subjects built from 1901 - Present Day
Posted
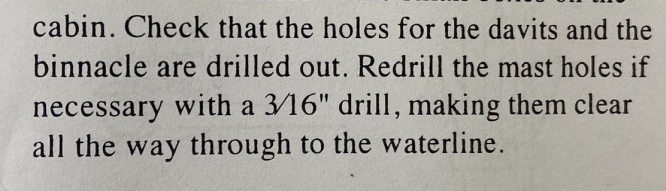
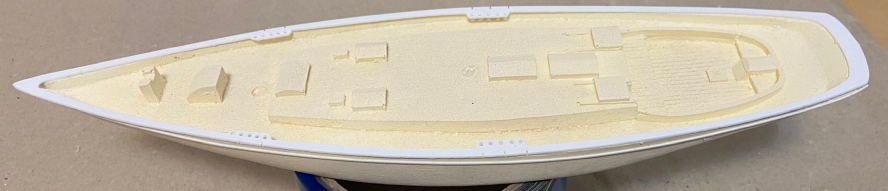
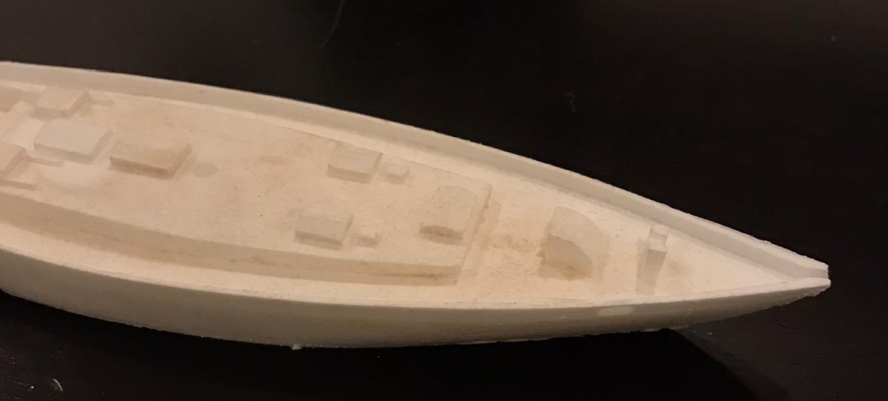
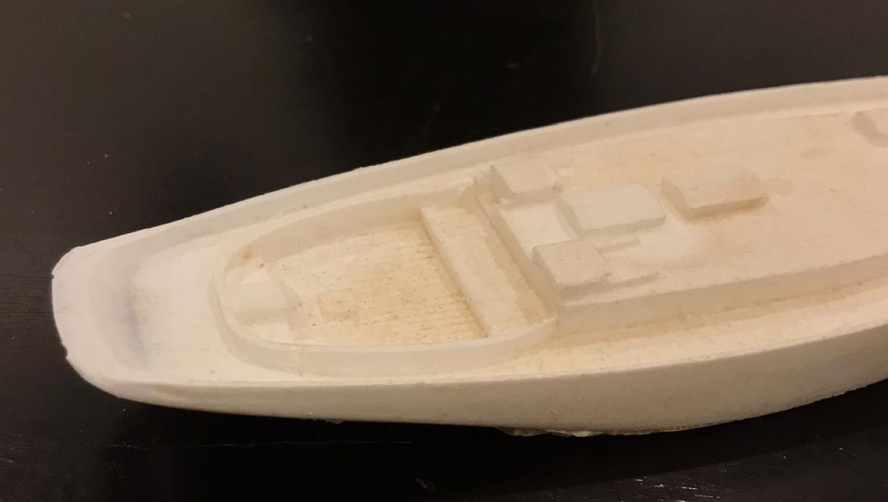
Bunch of work completed:
Drilling out holes
LongBoat
Next steps: Painting the hull. I'm awaiting the arrival of the paints.