moreplovac
-
Posts
794 -
Joined
-
Last visited
Content Type
Profiles
Forums
Gallery
Events
Everything posted by moreplovac
-
 Yes, everyone has to make for a living but if I compare their monthly charge with an average fast-food meal, I think it is worth paying..
 -
Thank you Chuck.. Here is my Meshy work so far... hardly can wait to see the resin printouts.. Cheers


-
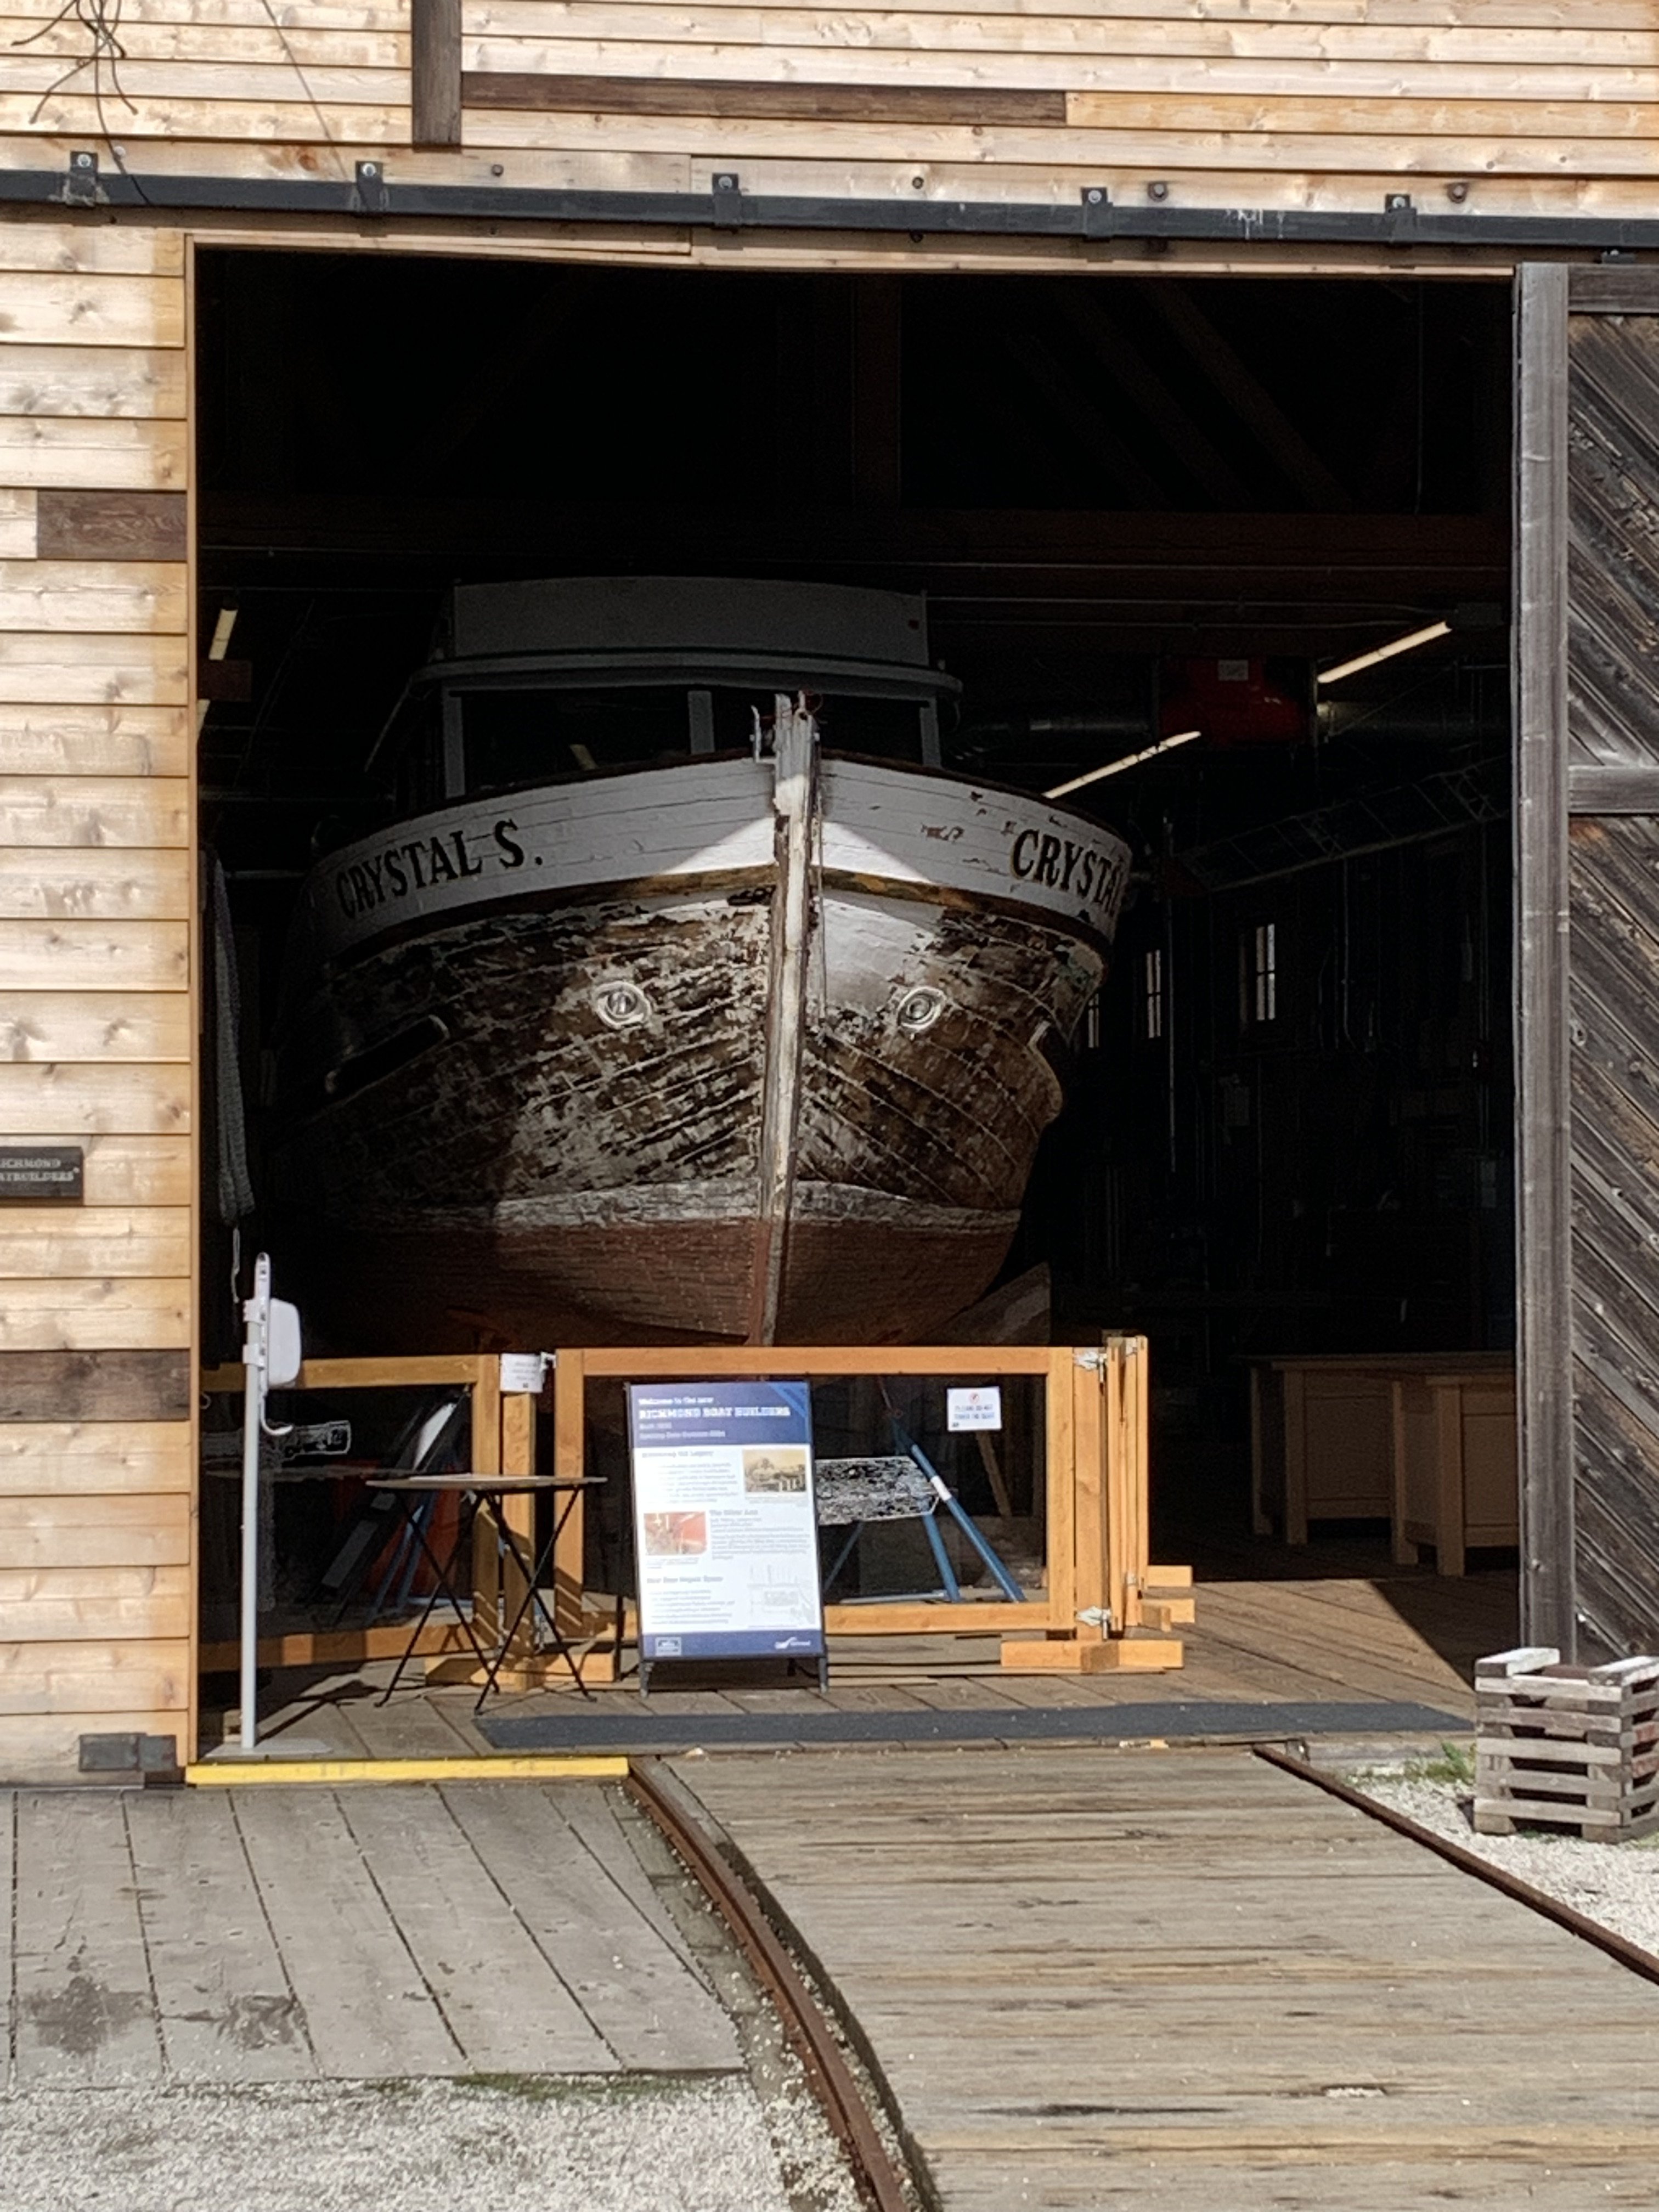
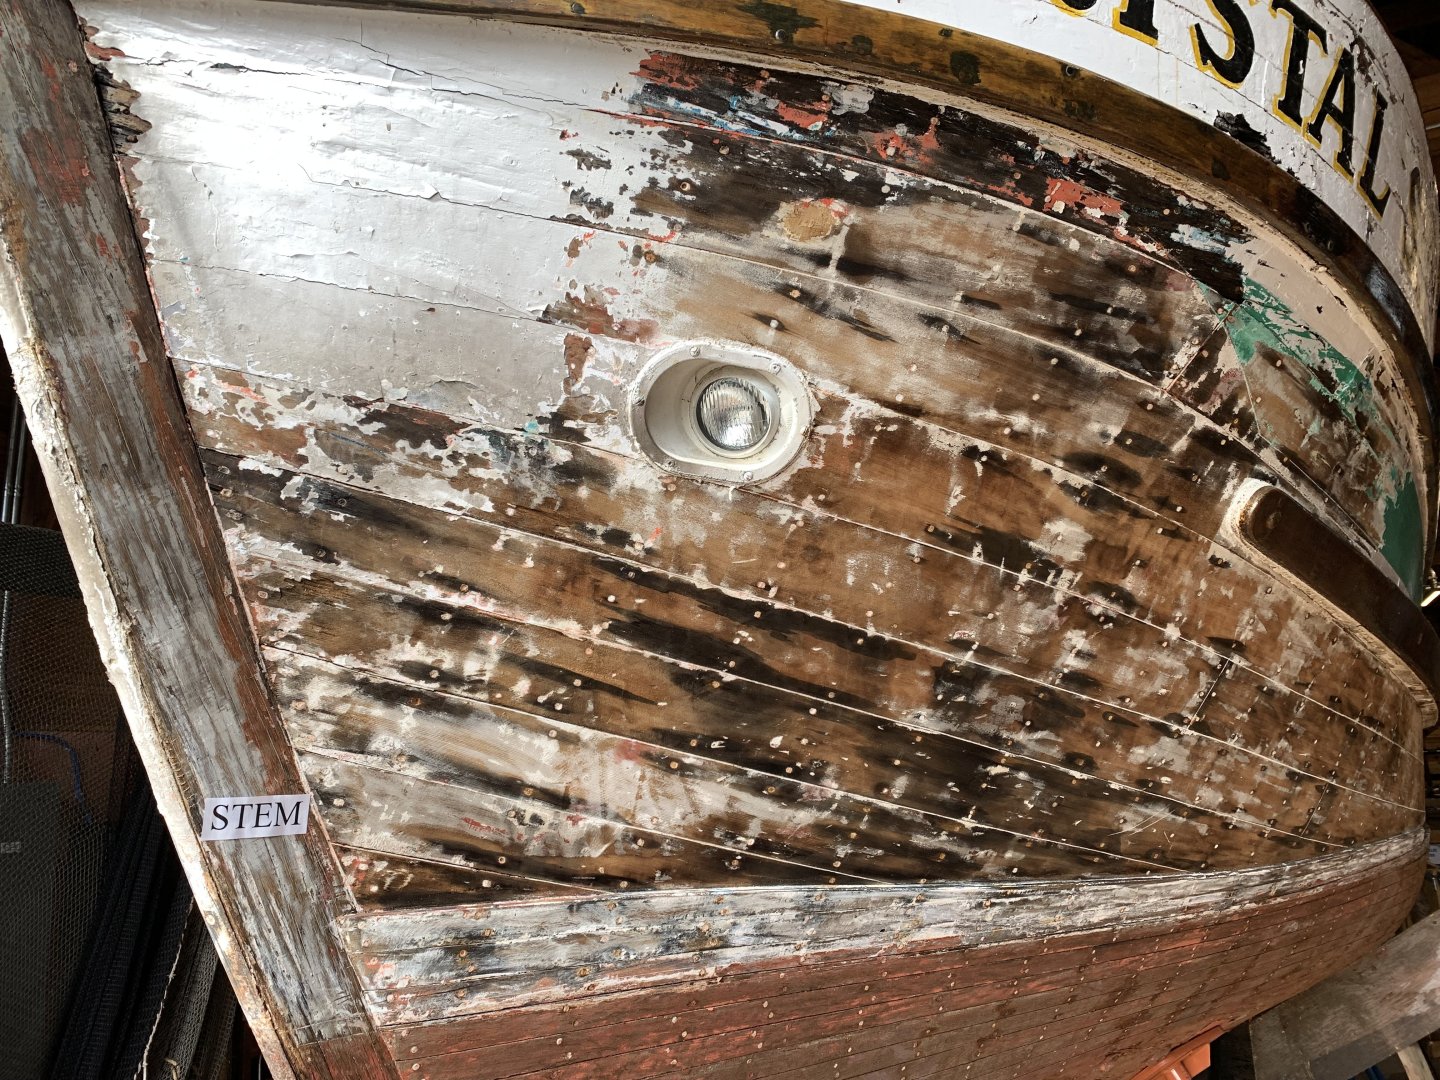
While taking some nice walk close to the old fish processing plant in Richmond BC, came across this little beauty, there were closing so I got an opportunity just to take few shots while they are still open. Next time... it is fishing boat in restoration phases... Happy modelling.

-
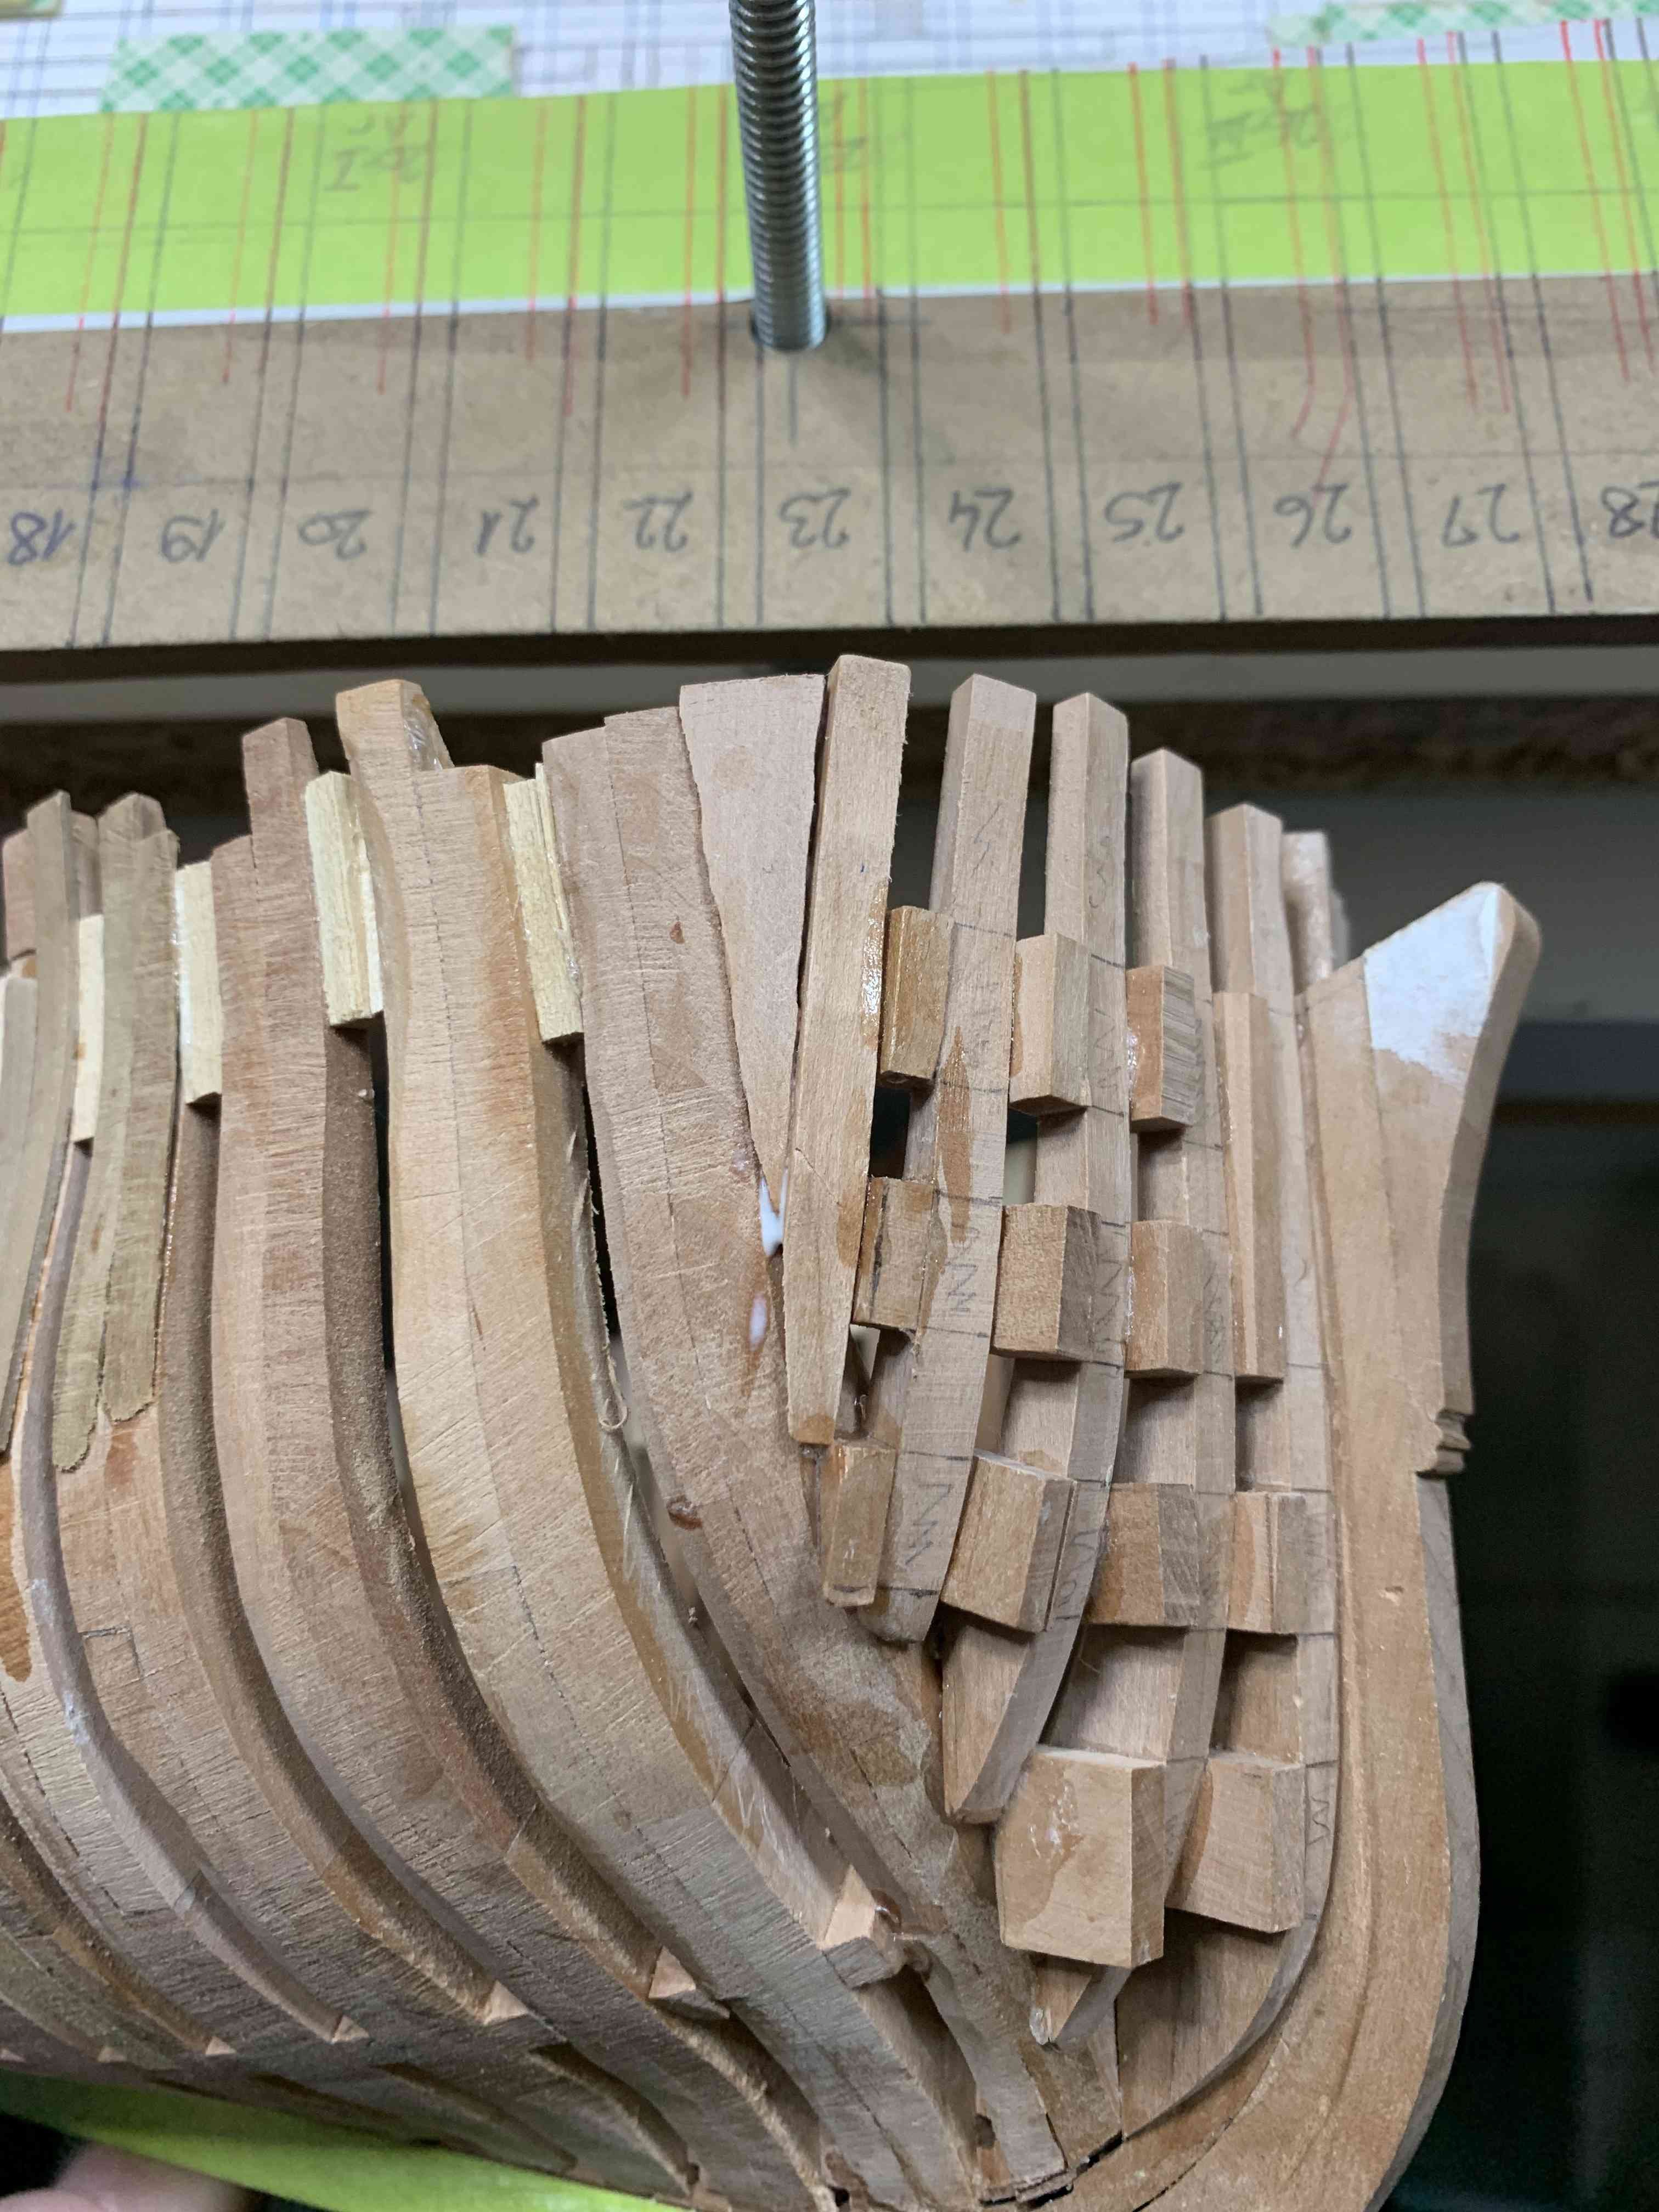
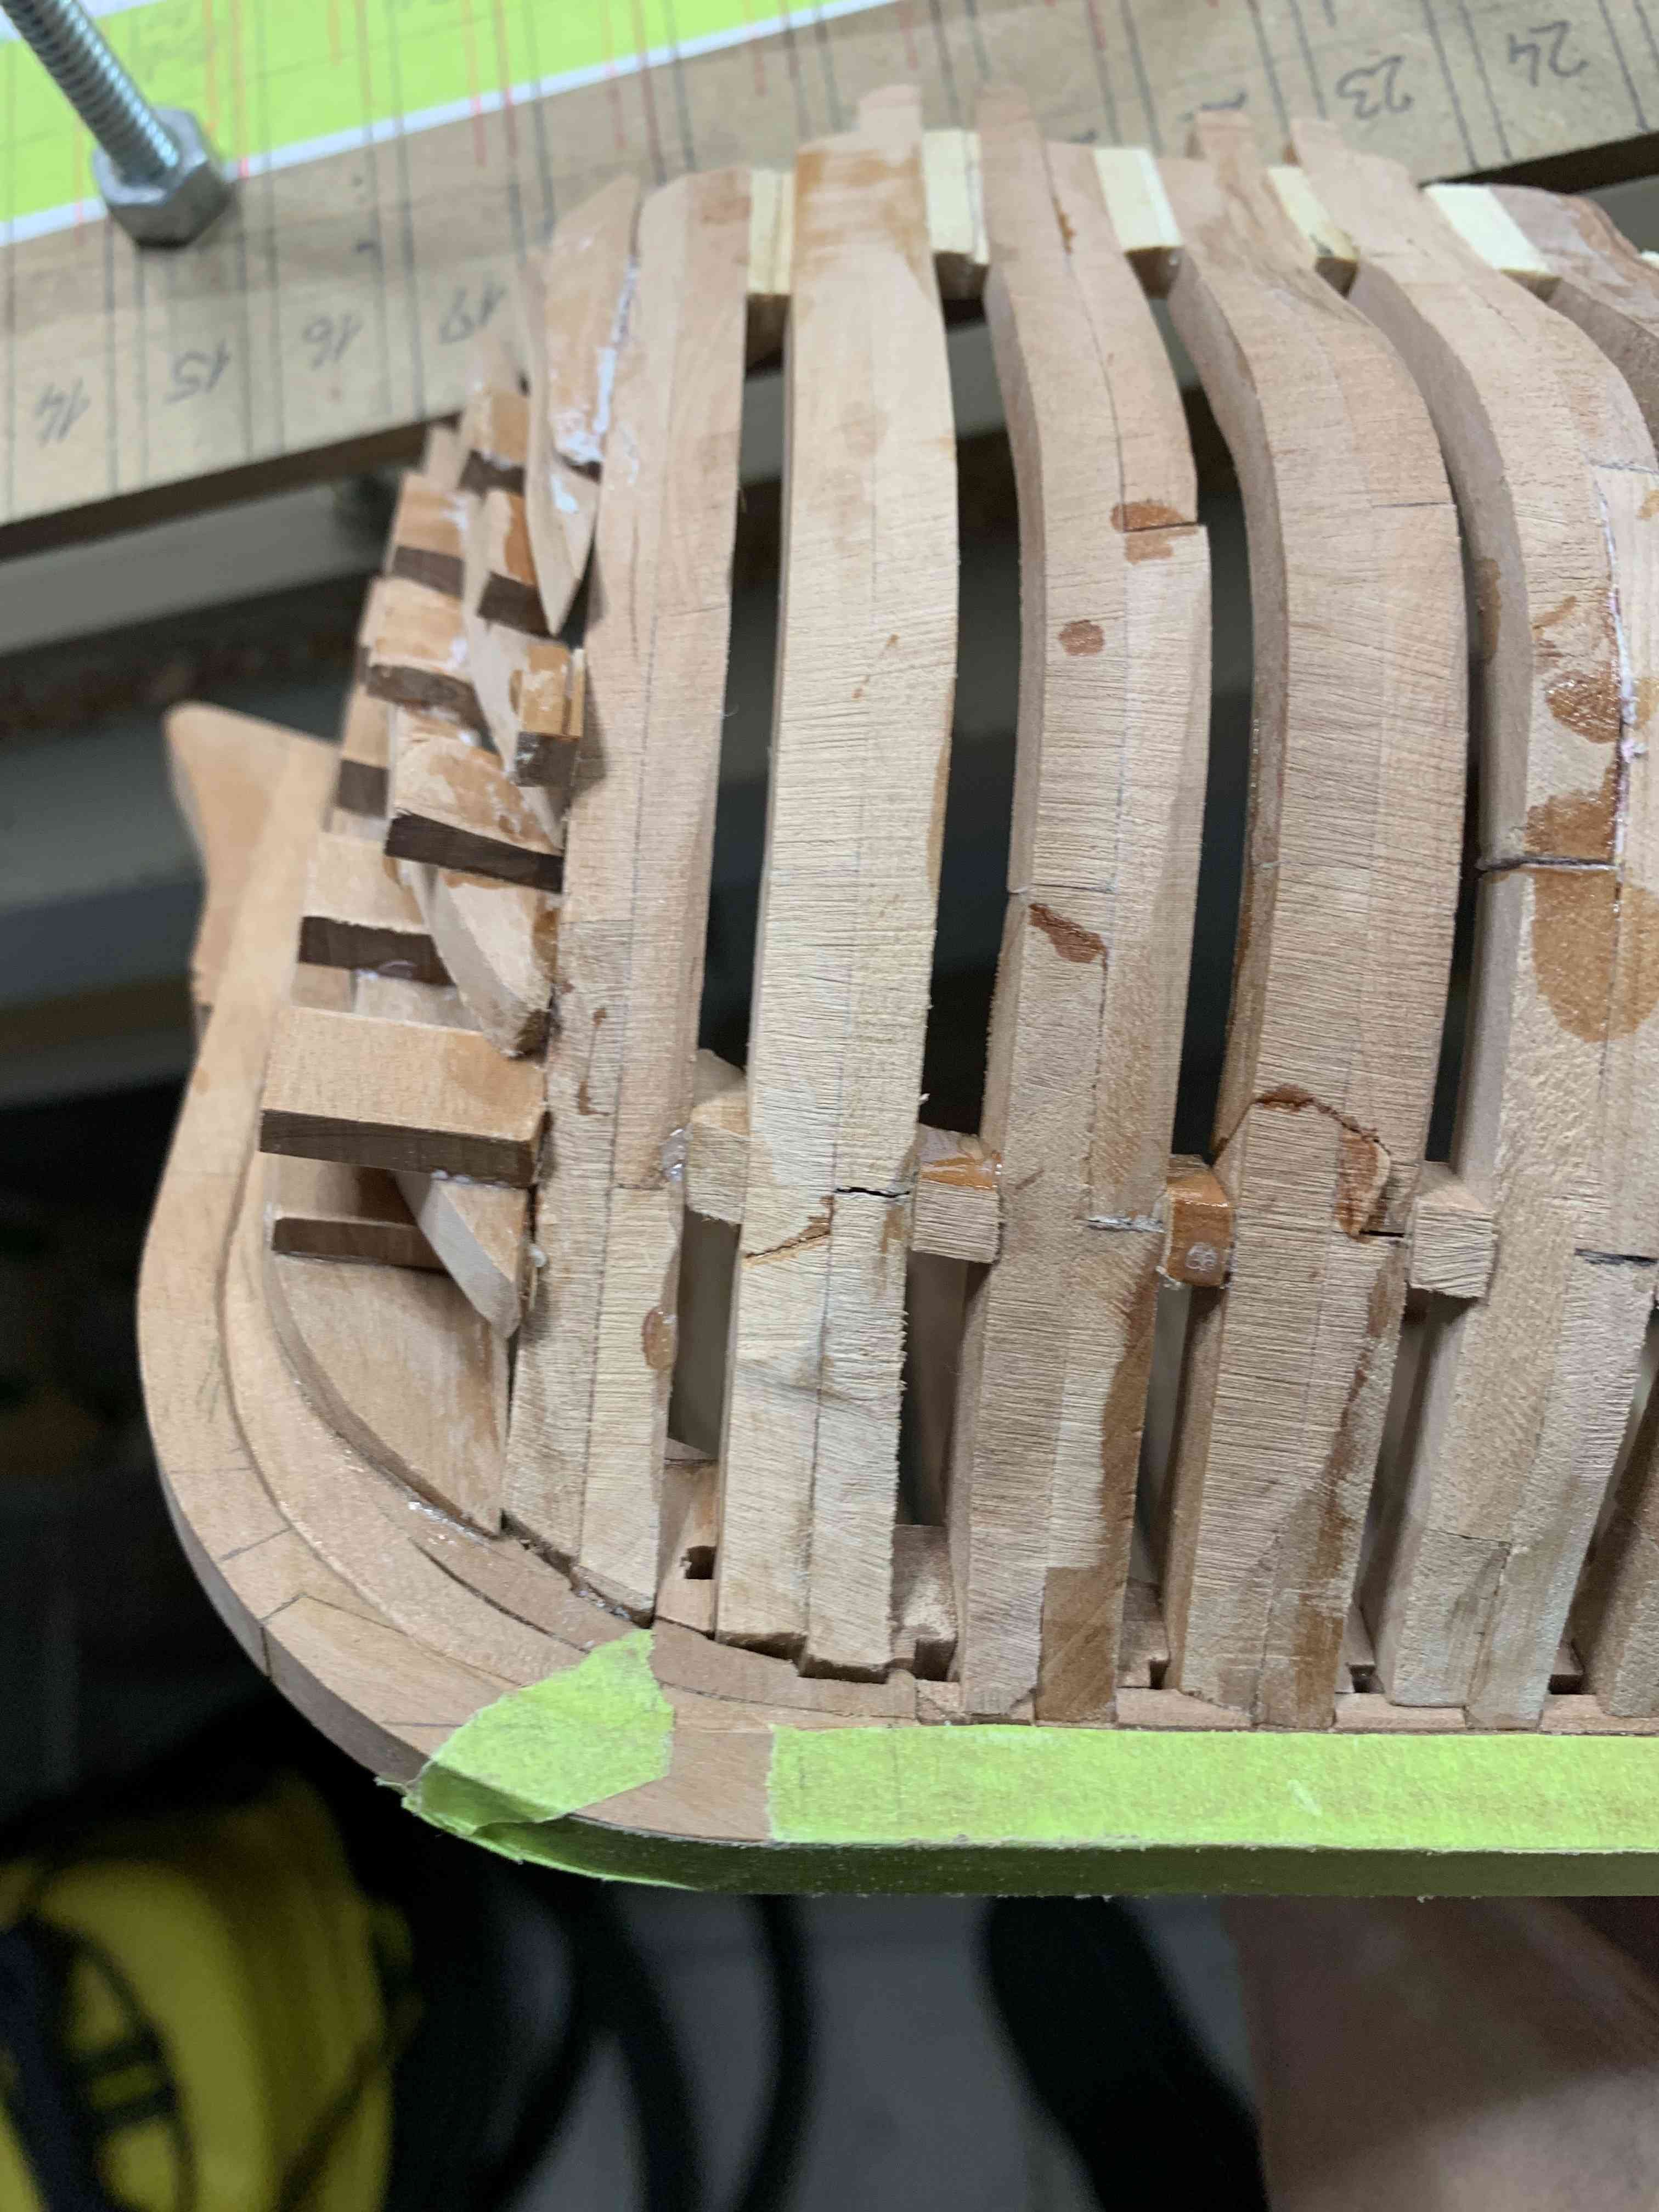
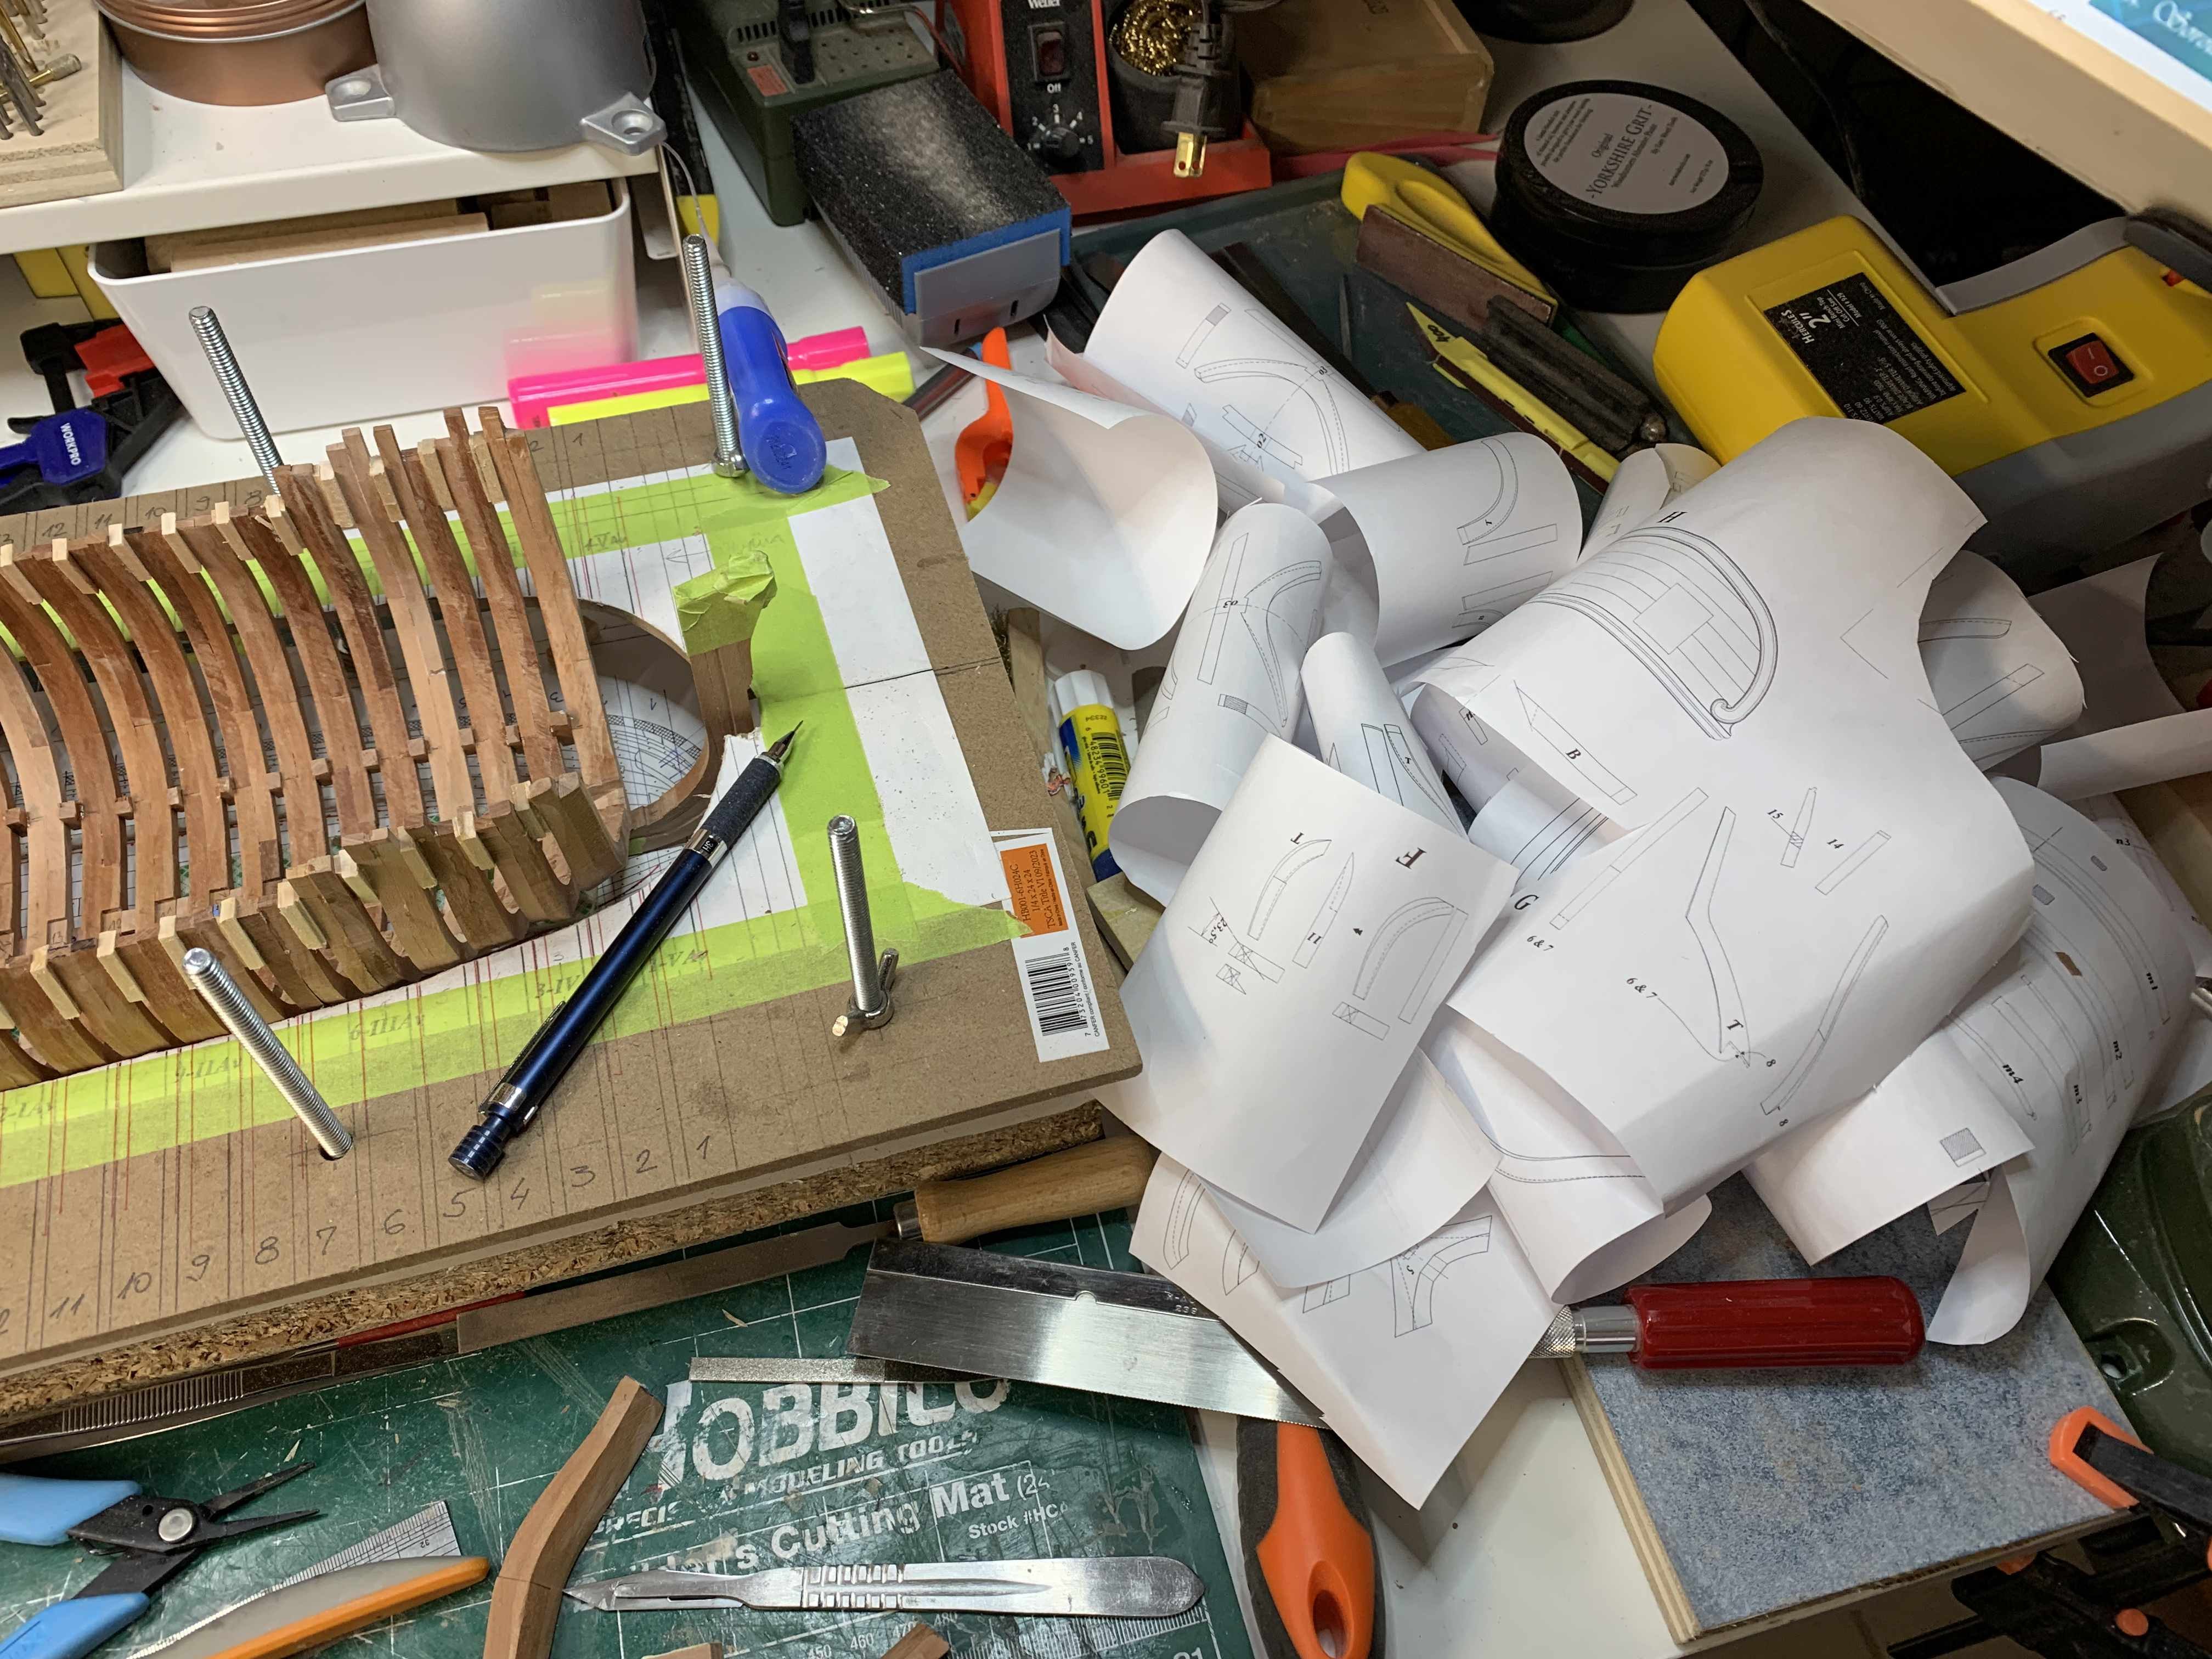
Little bit of sanding was done on my model… Need more clean up (scraping, sanding) since sanding with a tool does provide a bit extra removed wood, so need to clean up, flatten and shape the frames. Still have enough wood so not a problem there. Also, will continue with hand sanding to fill out cracks more carefully.. Happy modelling..


-
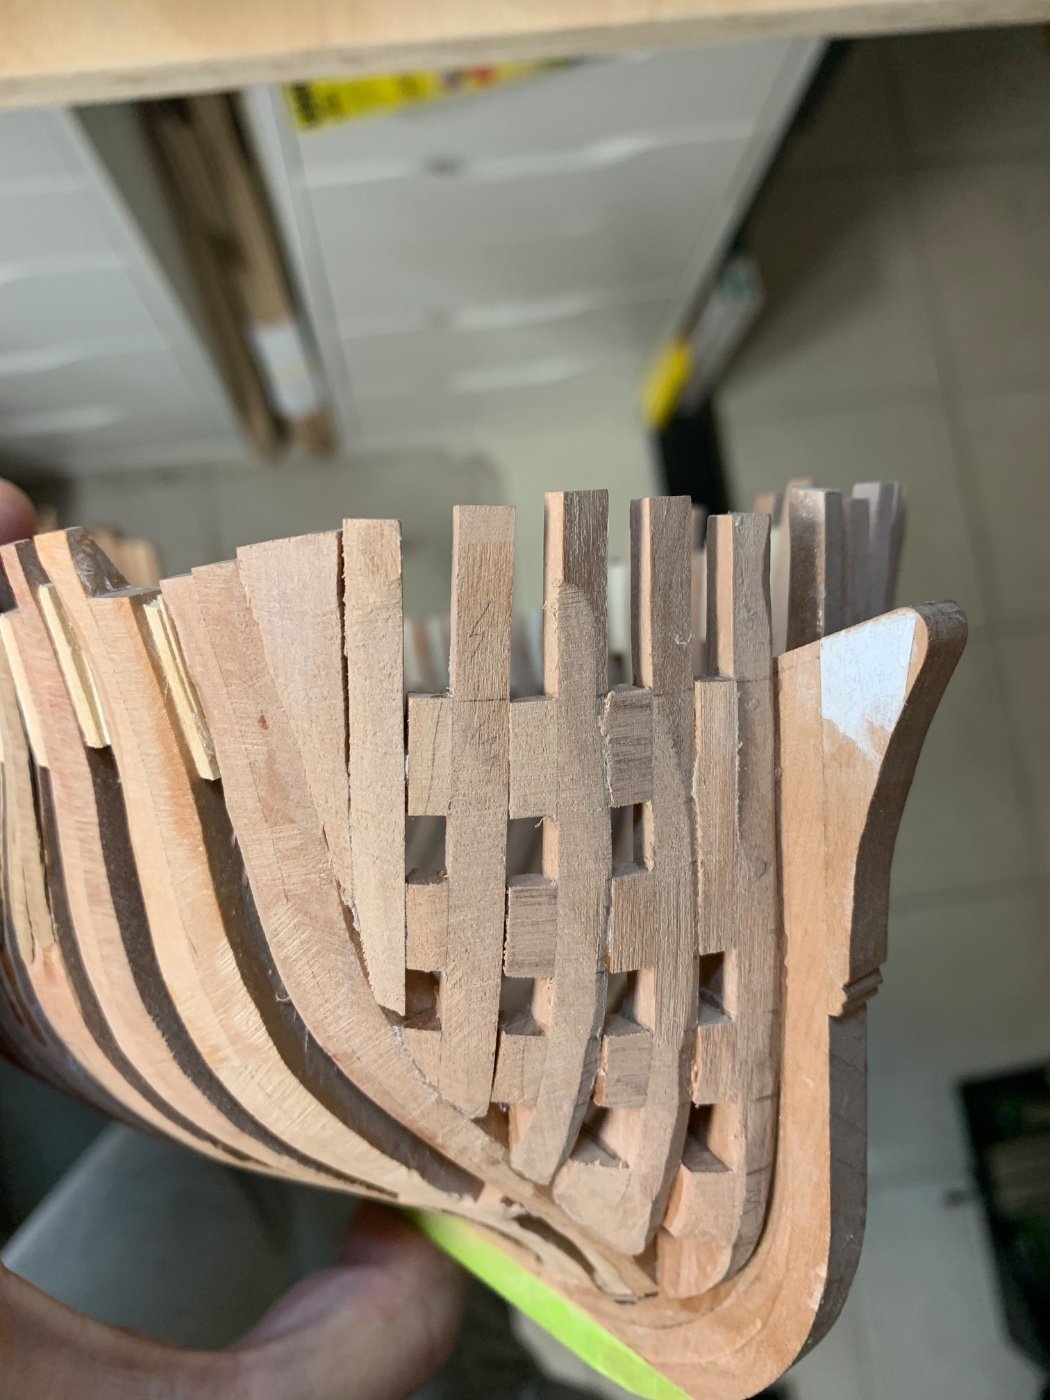
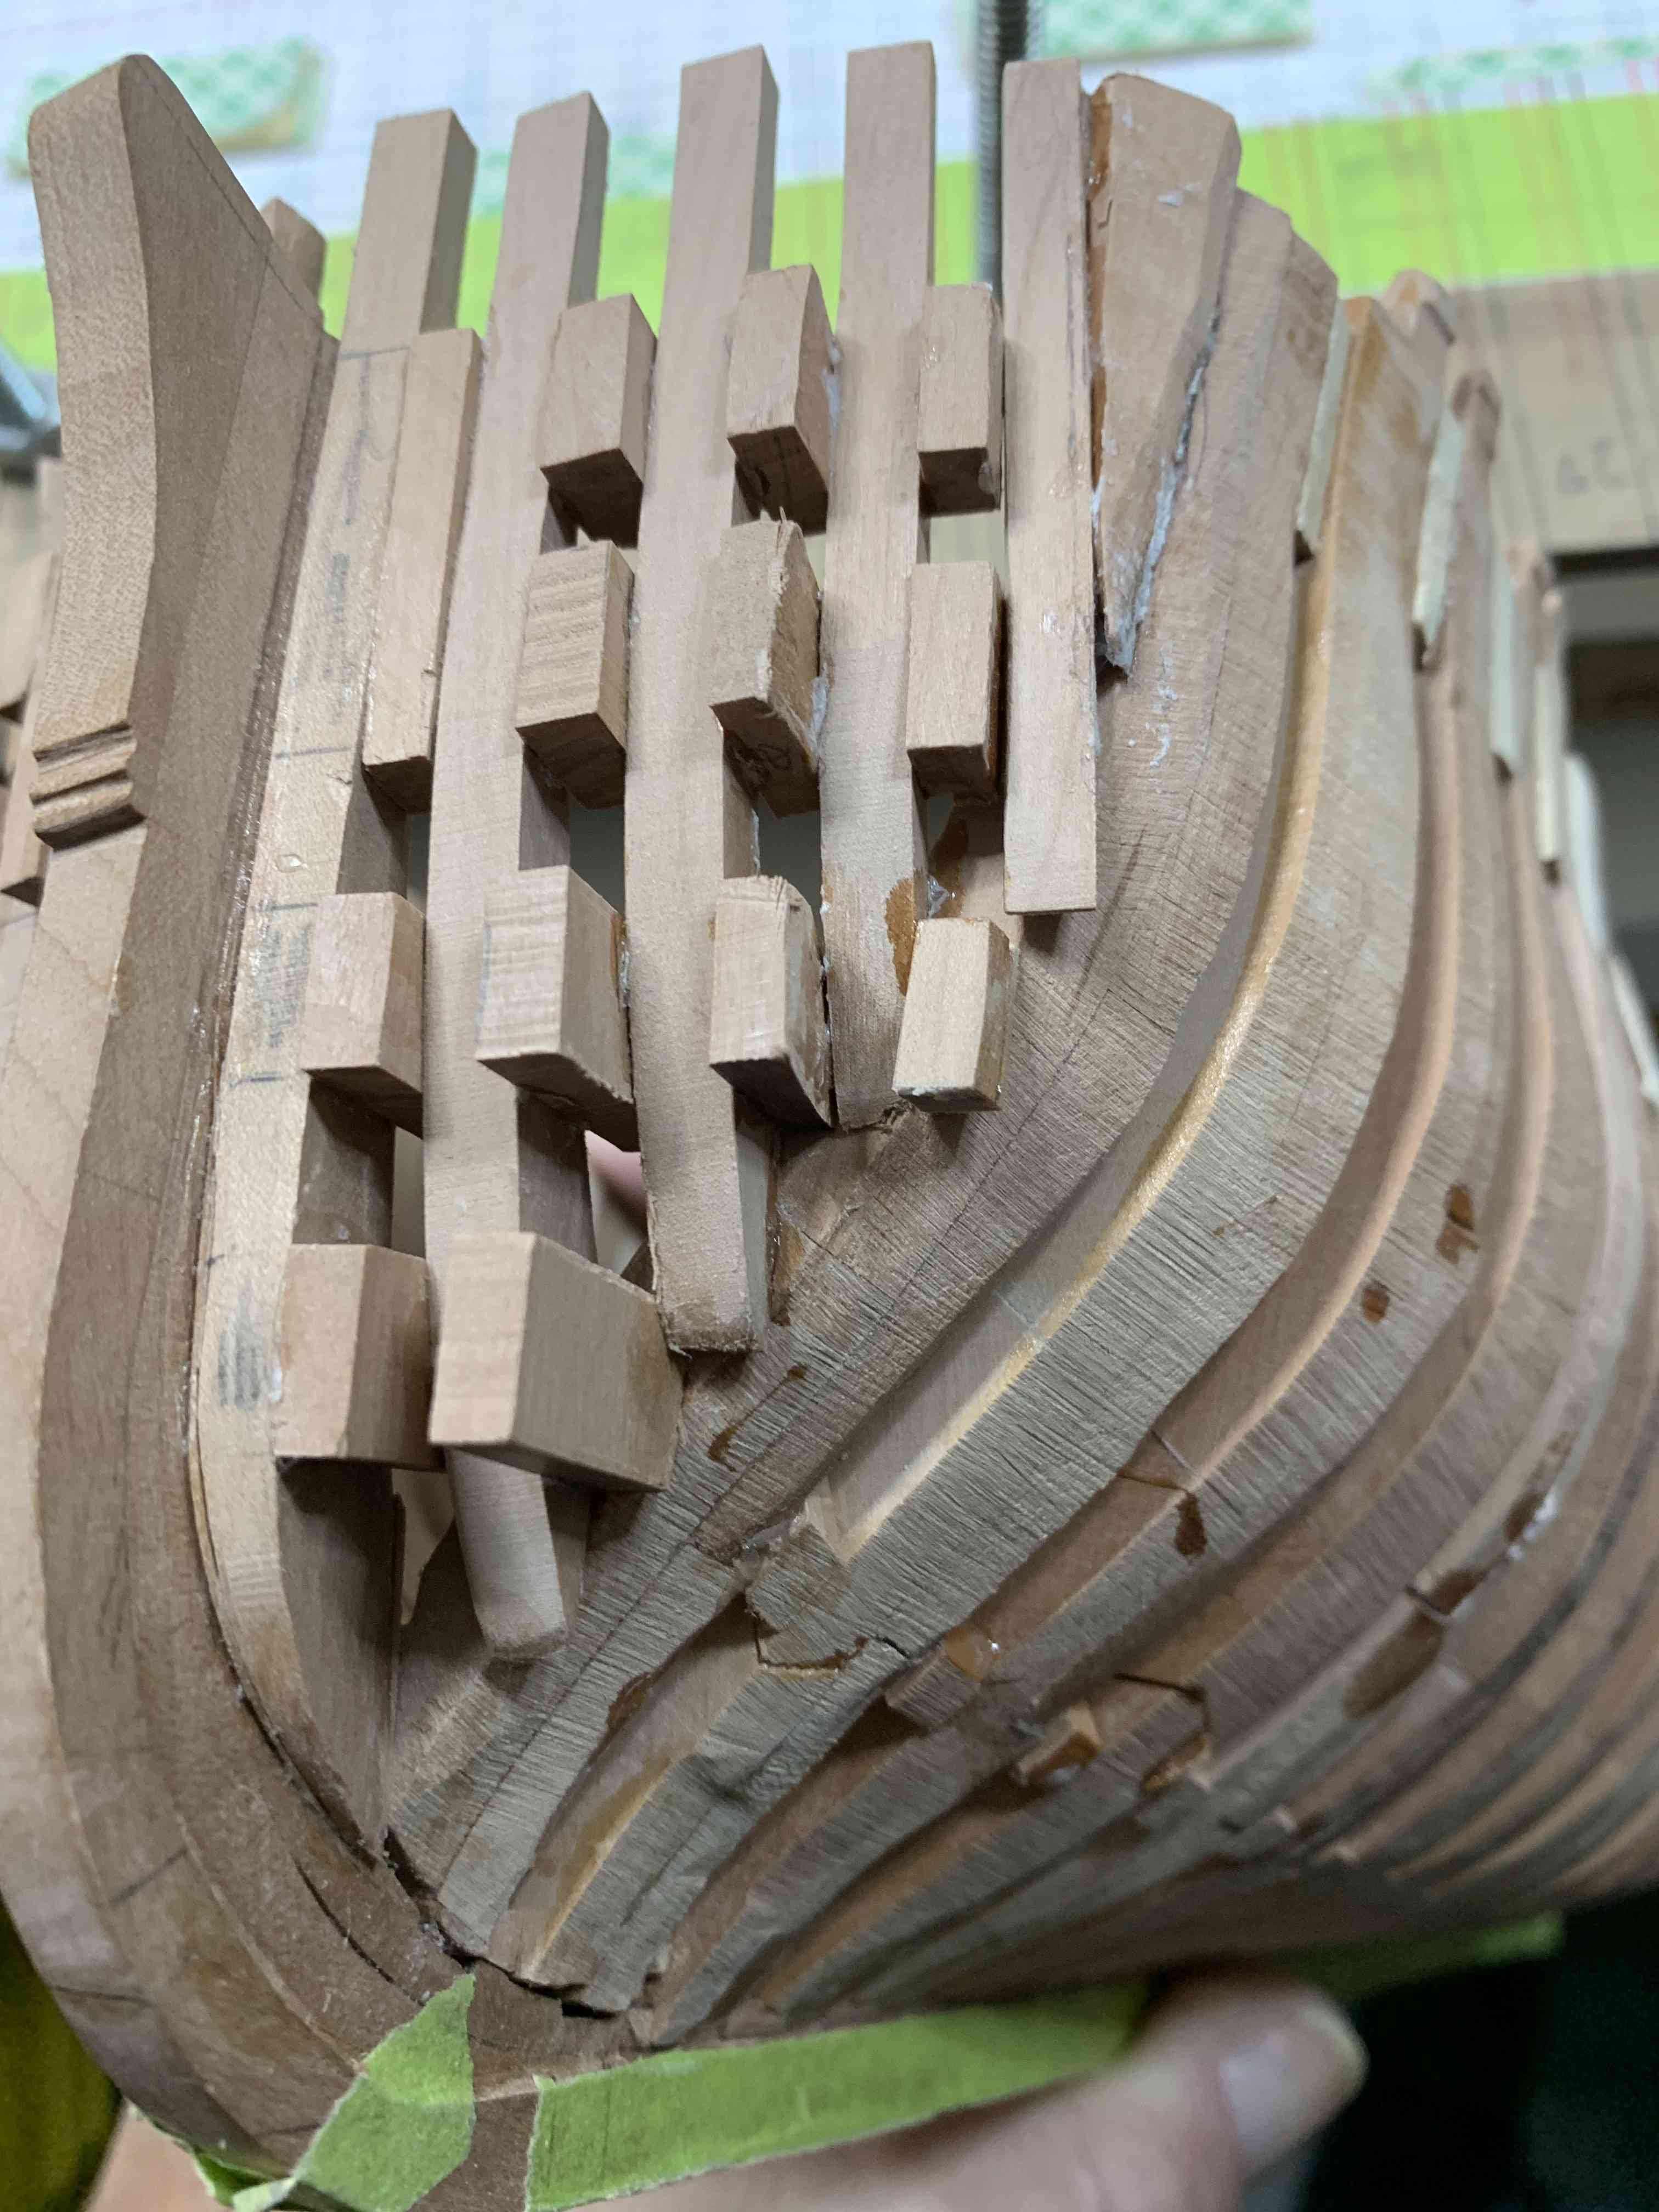
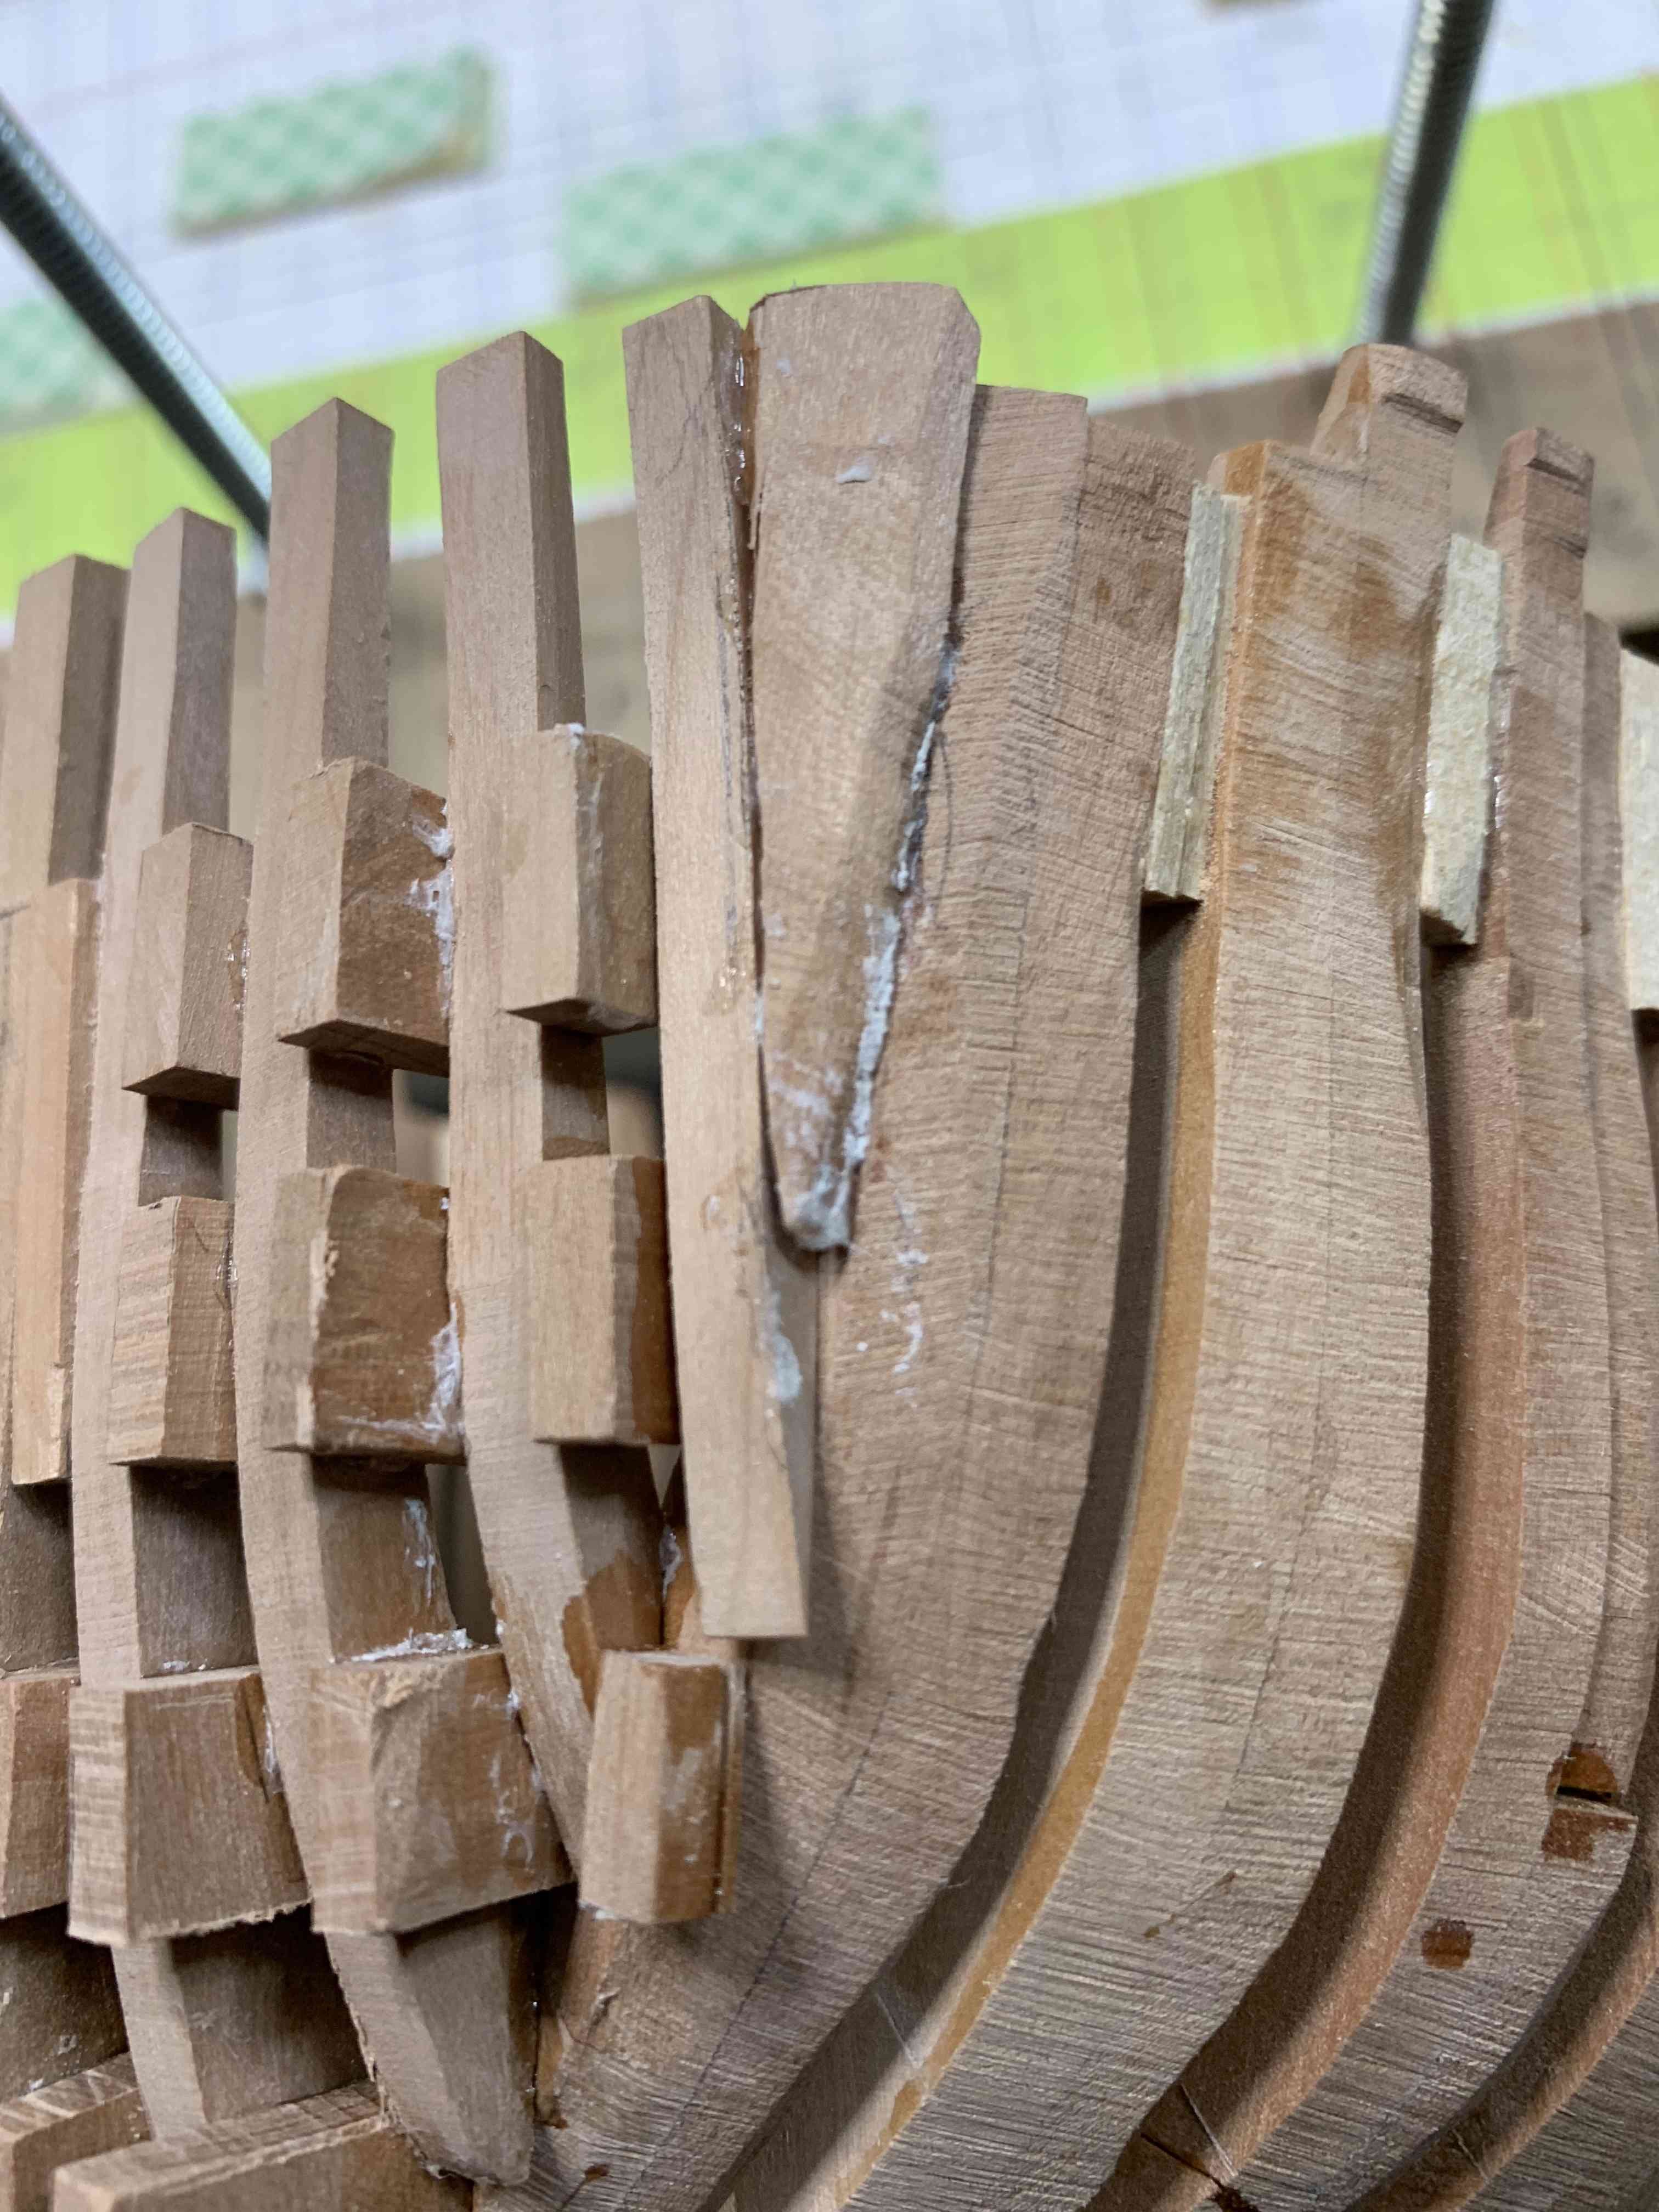
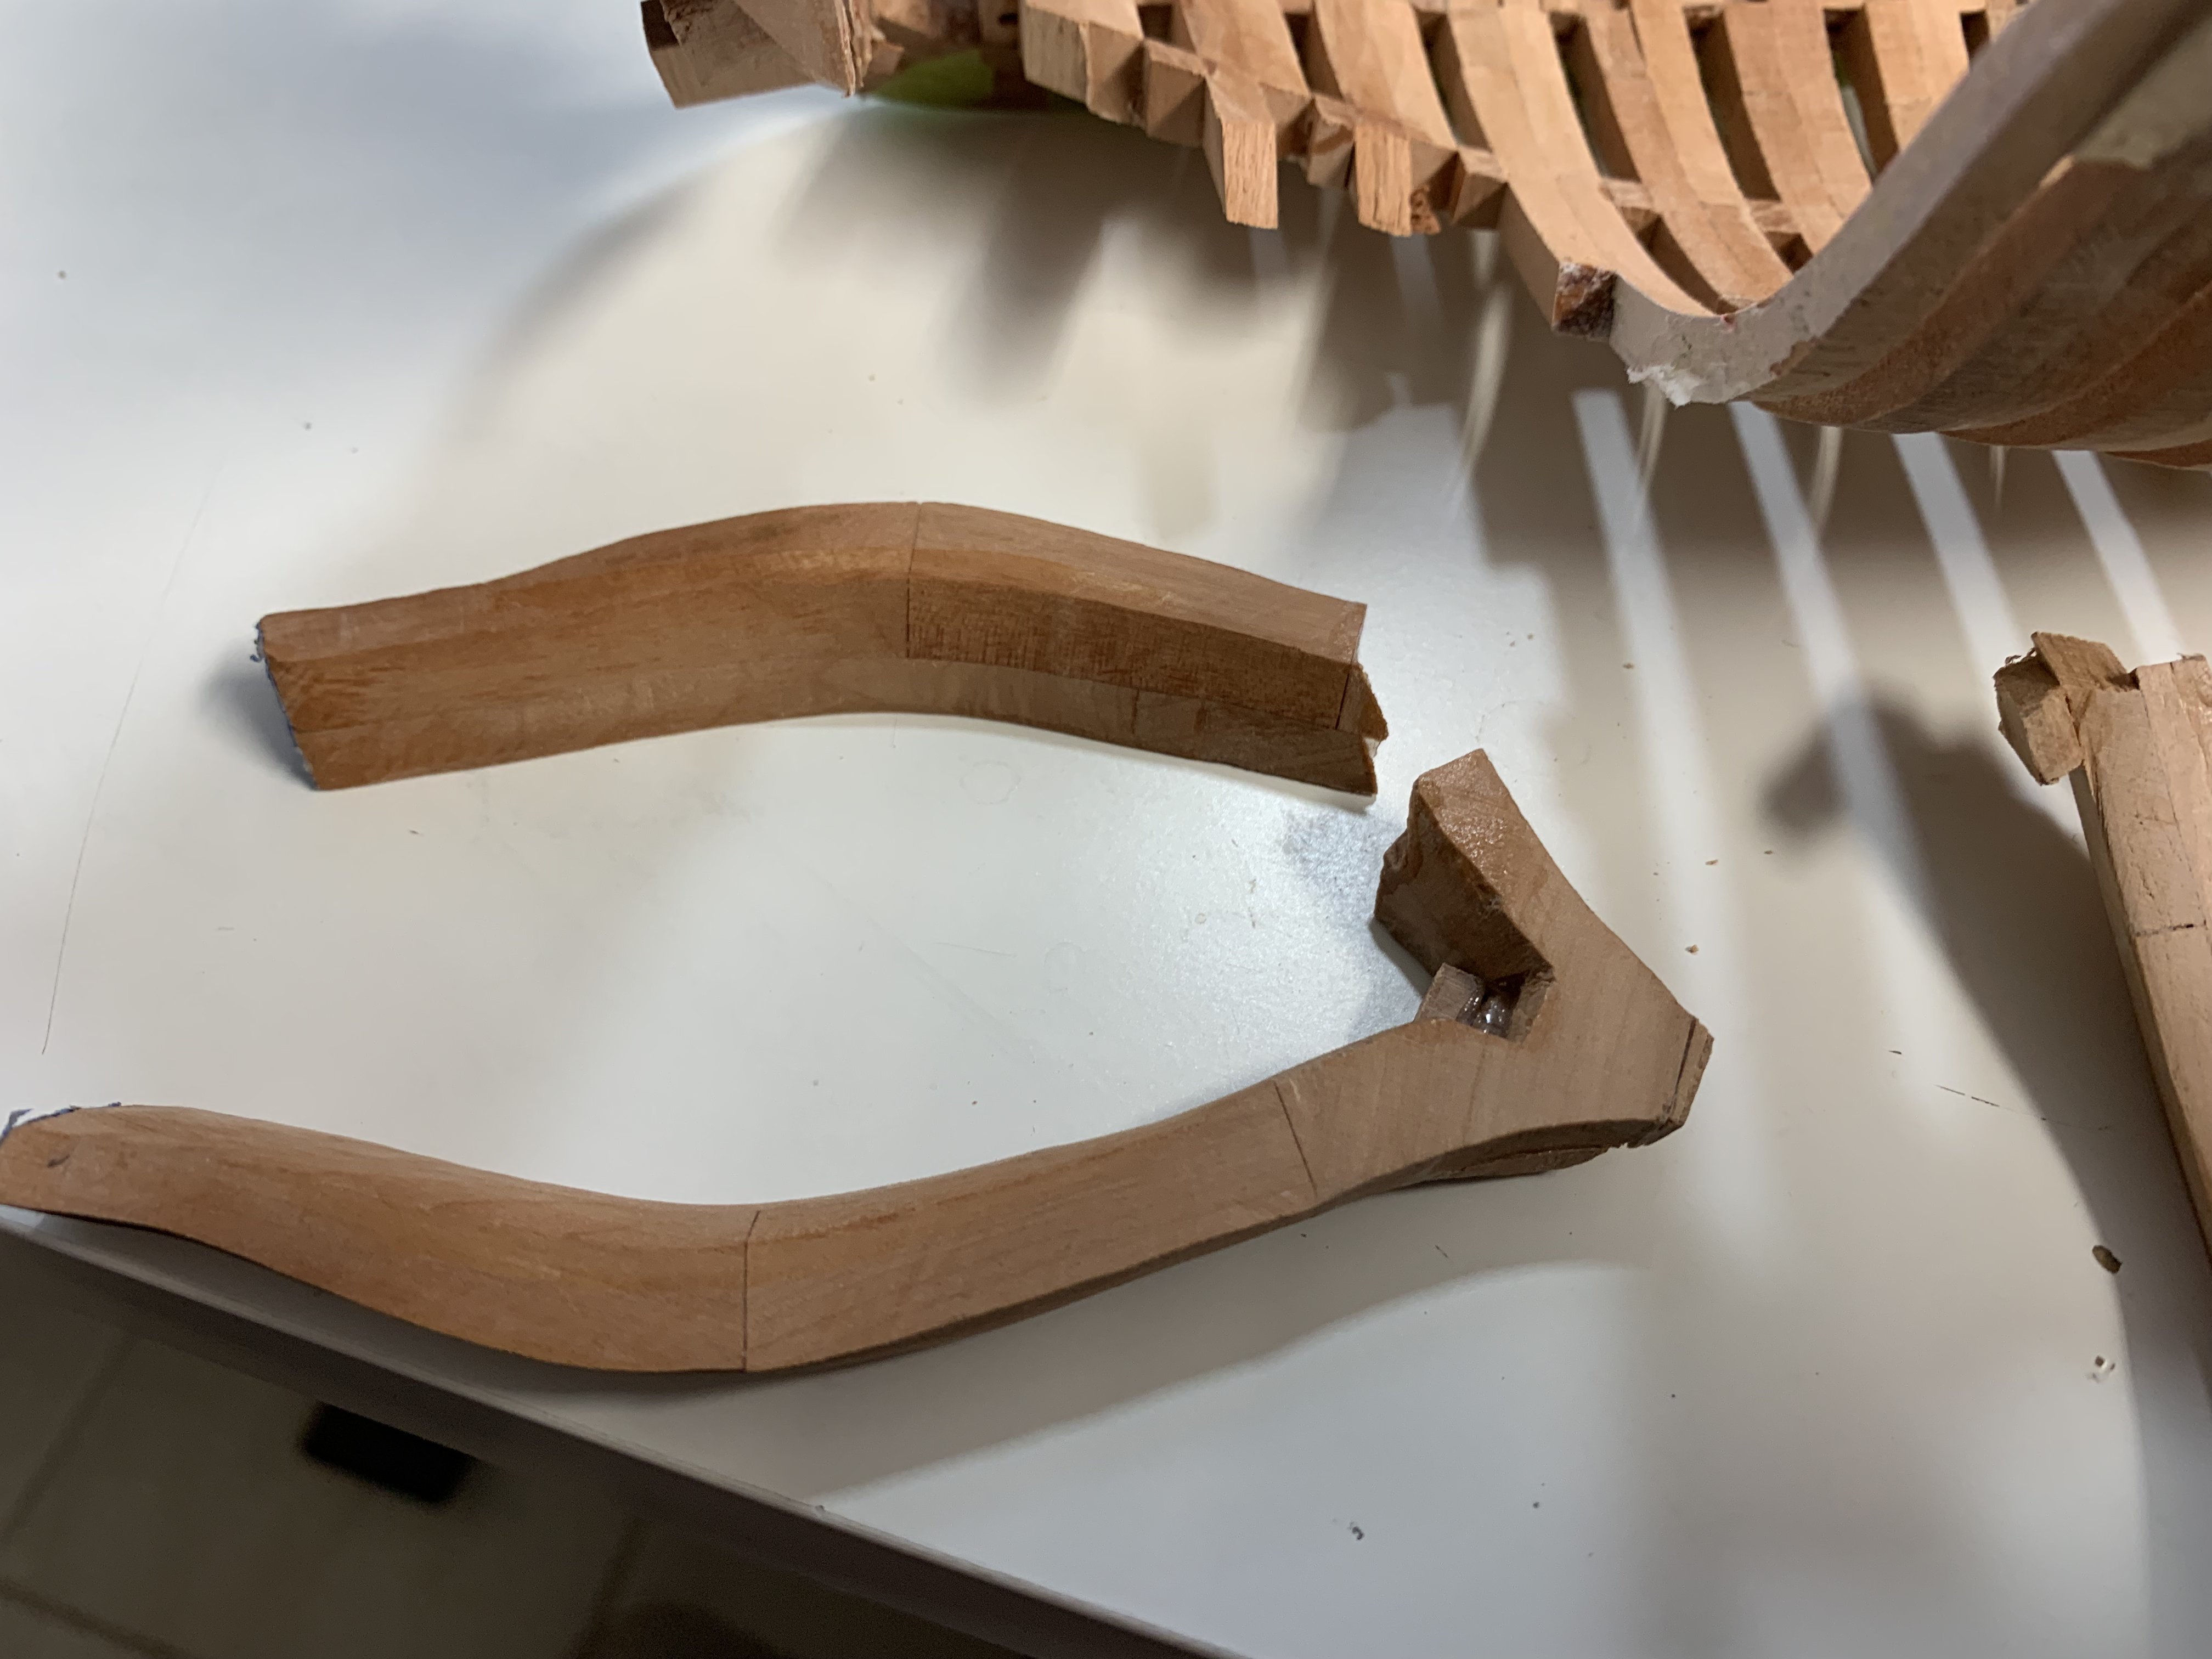
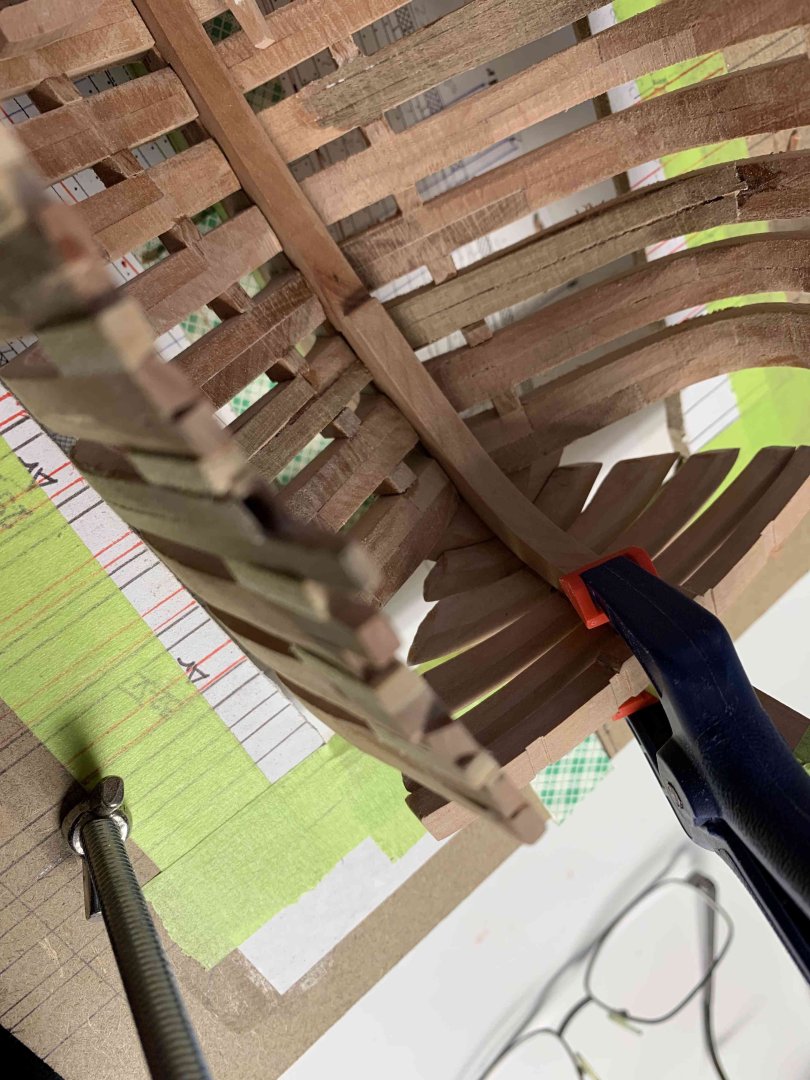
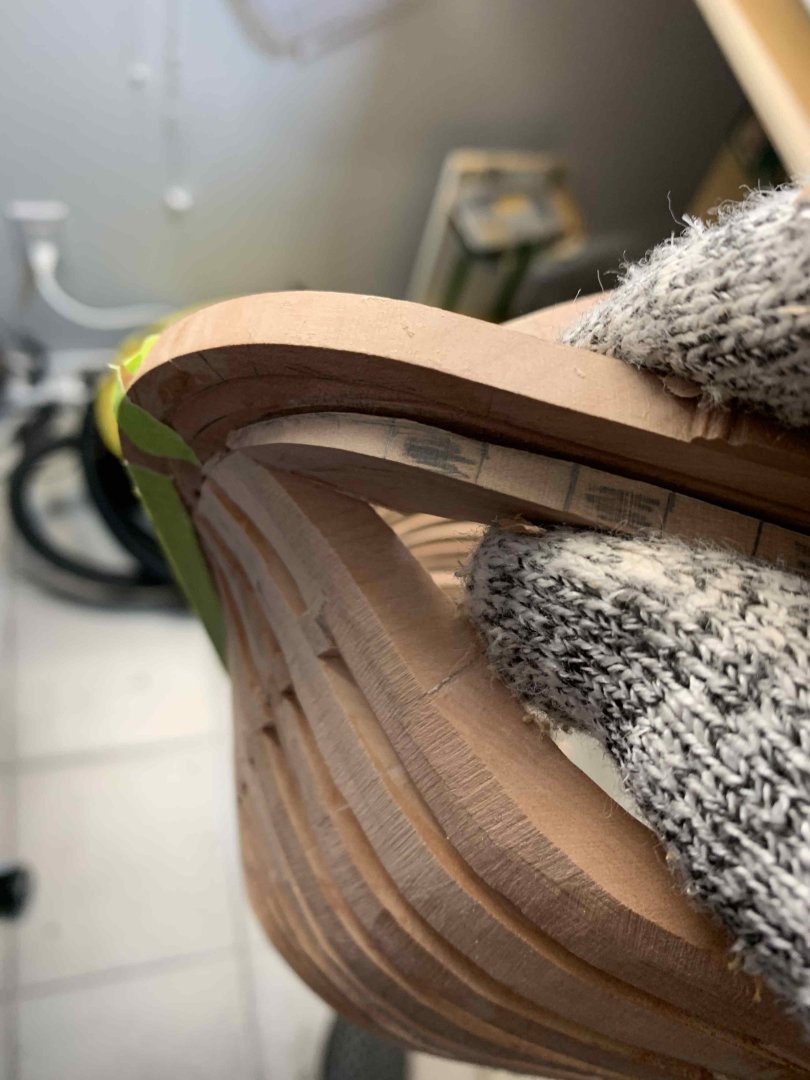
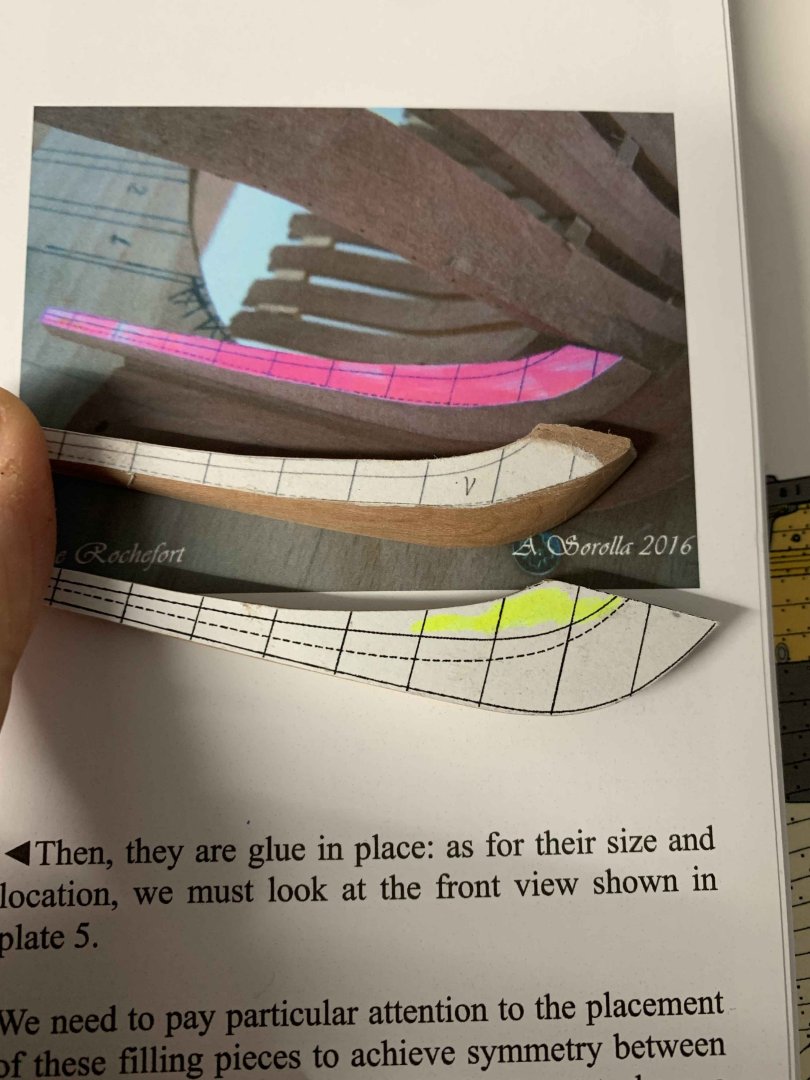
Ok, some surgical time was put in LR and results are, ah, well, so-so but at this moment not able to do better without scraping it in wood-burning pizza oven, which I don't want to do. I was able to glue back broken pieces and now, need some sanding and special techniques to hide those spots where extra glue and cracks are visible at this moment. Also, I finished adding filler pieces at the bow, feeling like a dentist when you go for a crown work: put crown on, bite, not good? Sand, bite, not good? Sand... since I was able too use plan template for filling pieces only up to certain point; after that was all test fitting/sanding... but I got it decently installed. Aslo, working on installing stern parts which will have a hull ready for more sanding. I am running out of wood so need to place an order for more woods which will put LR on short hold until wood arrives. Happy modelling.


-
Yes, I will try to repair it, or even replace few ribs, that is doable as well. No giving up, but need to order some woods which will take some time to arrive.. In the meantime will finish up my working area... La Rochefort will be completed, in this scale or bigger.. Cheers
-
Thank you No Idea, not giving up Rochefort at all, you wont get rid of me that easy…😁, . made book/plan/monograph investment so will not give up easily. Need to break a bit from model and more wood since i used all i ordered before, with my two attempts…. I have purchased a larger scale plans so will continue with it in the near future. Need more woods and some tools (for example mini disk sander) and will be back on it. For now will clean my desk, reorganize storage, replace working bench and enjoy my Golf R over the summer.
-
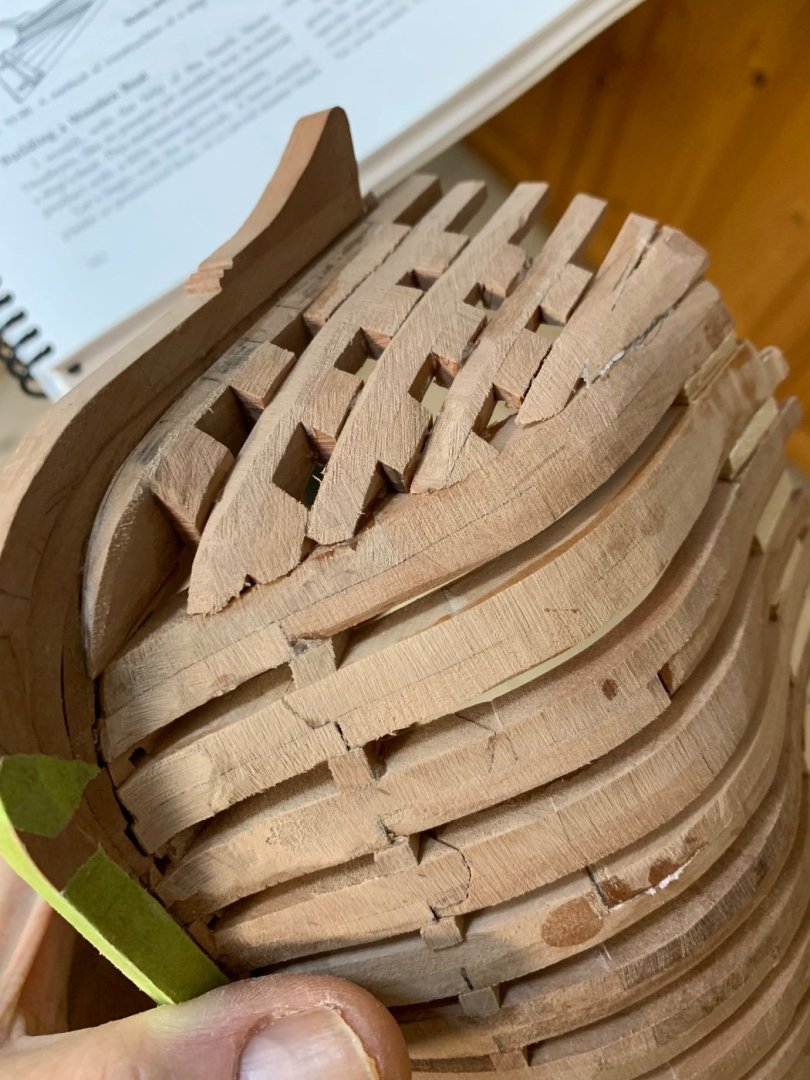
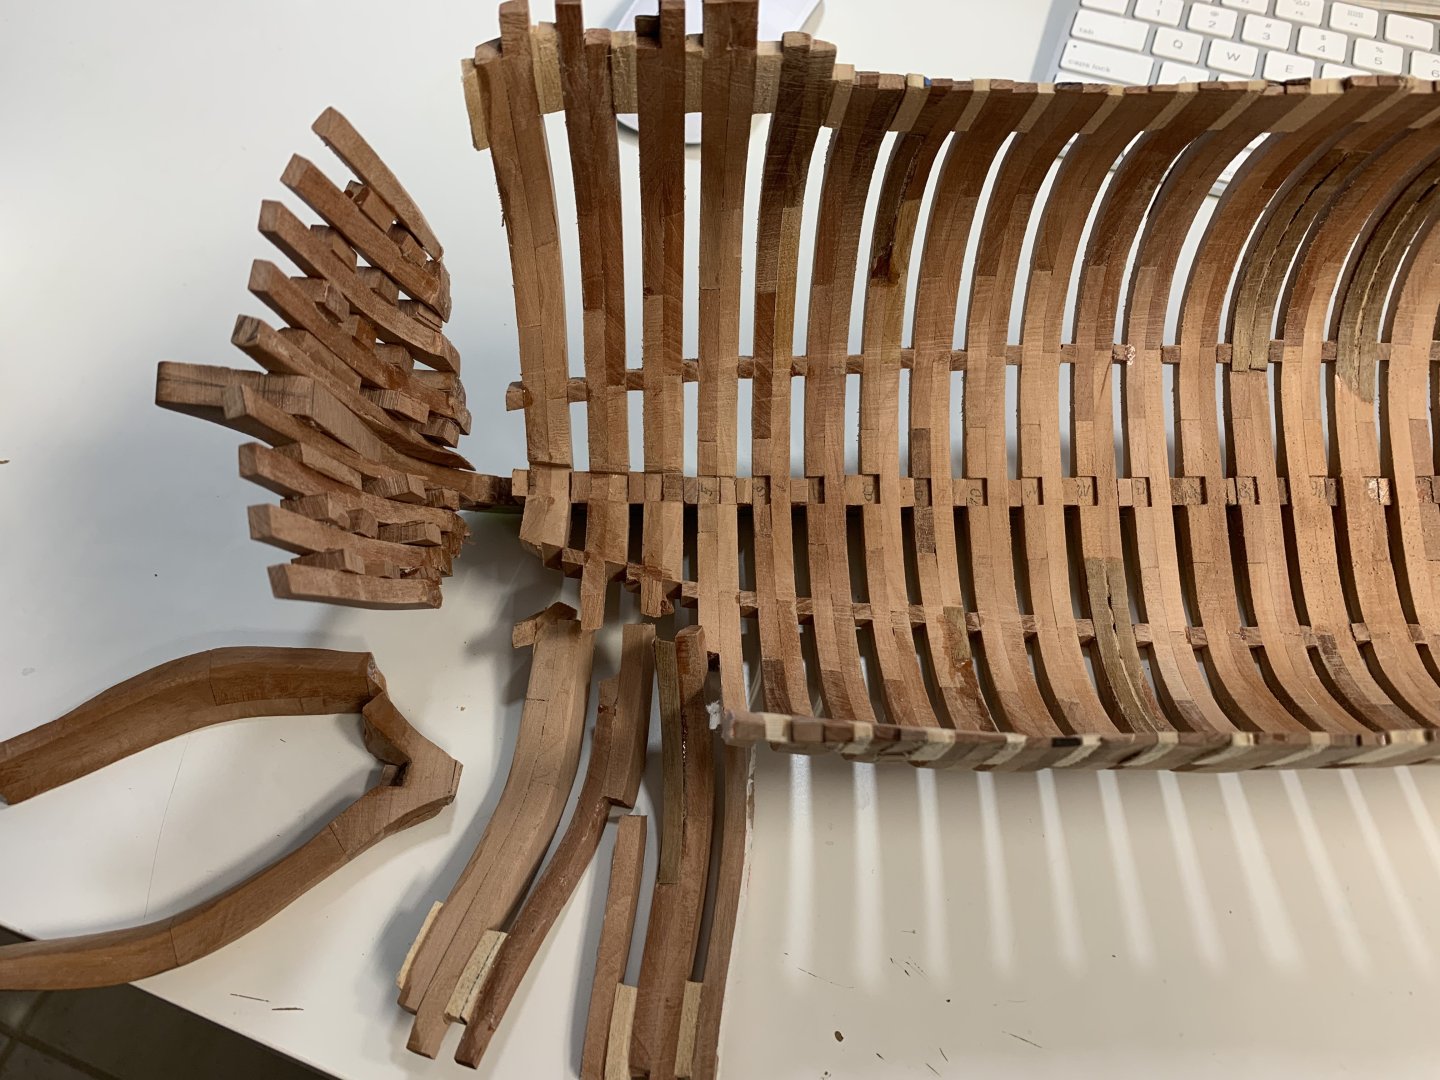
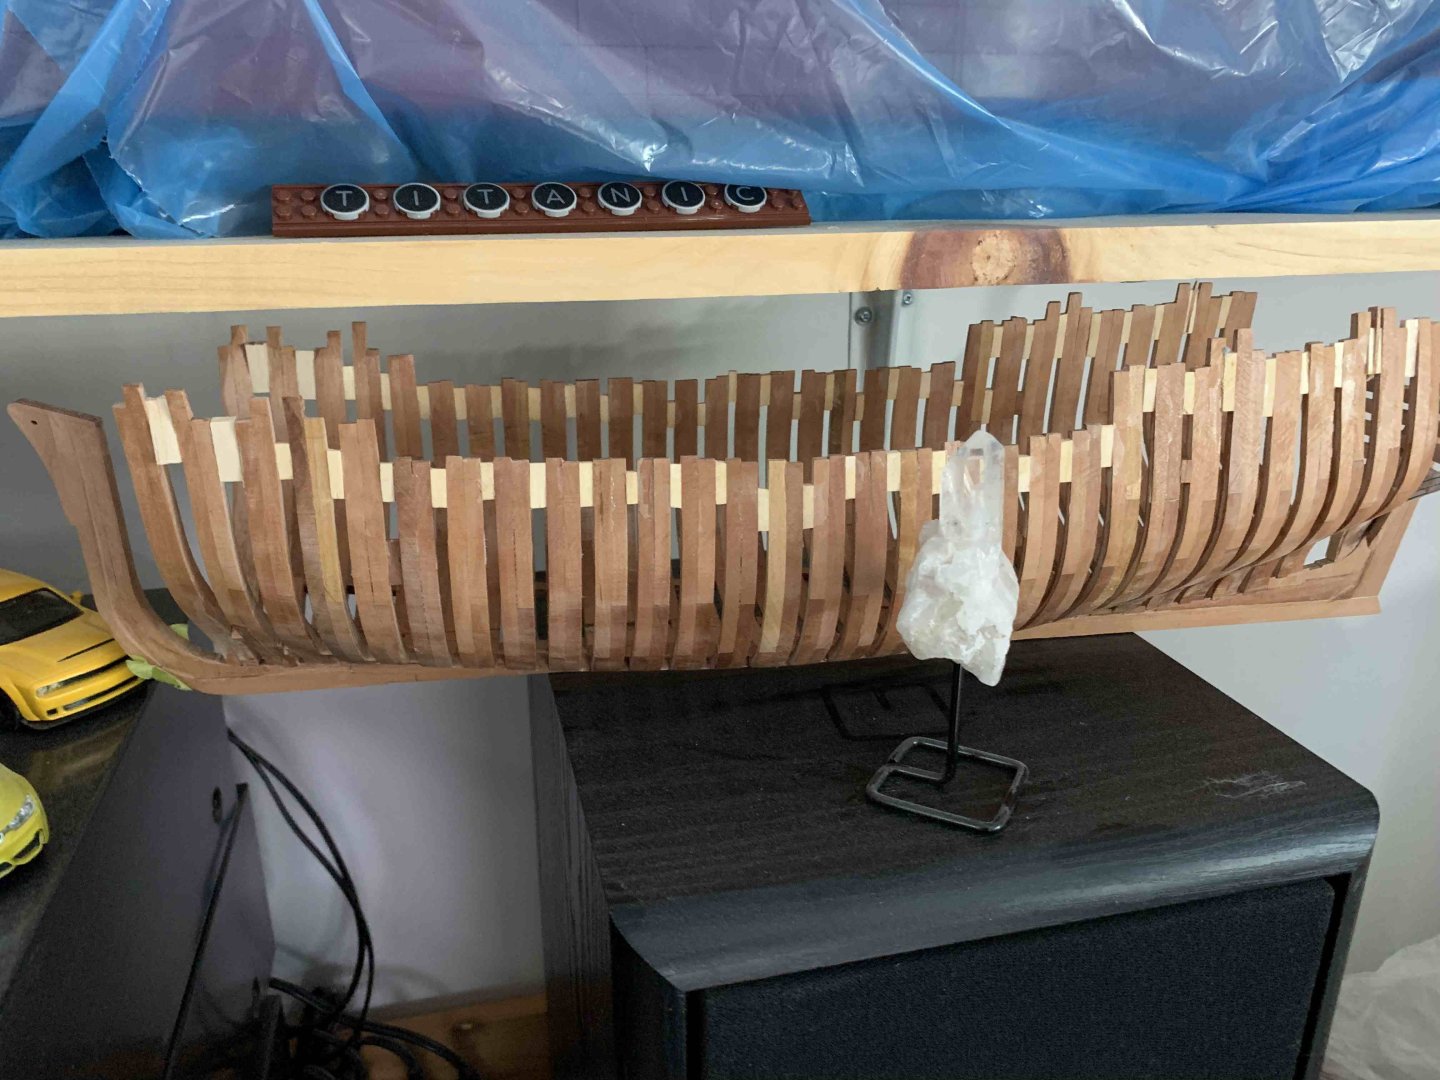
So.... very sad news for me.... during my work today the Rochefort slipped from the work area and three frames broke beyond repair... I have tried to glue them back again but the broken areas are too visible for my liking; I might be able to hide it with all planking but that was the area I planned to have opened so .... hmm, hard for me to say but after all these hours spent, I will need to abandon this built...Too bad for lost wood but will try to reuse parts in some other project... What to say, thank you all for following me and will see you in the next project very shortly, need to clean my head from this disaster with a new building process.. Learned a lot with this first scratch build and will definitely get back to Rochefort but this time in bigger scale (purchased plan already) and after some time... Now, need to clean my working area and try to obtain few more tools I found necessary for successful scratch build. Thank you again and as always Happy modelling..


-
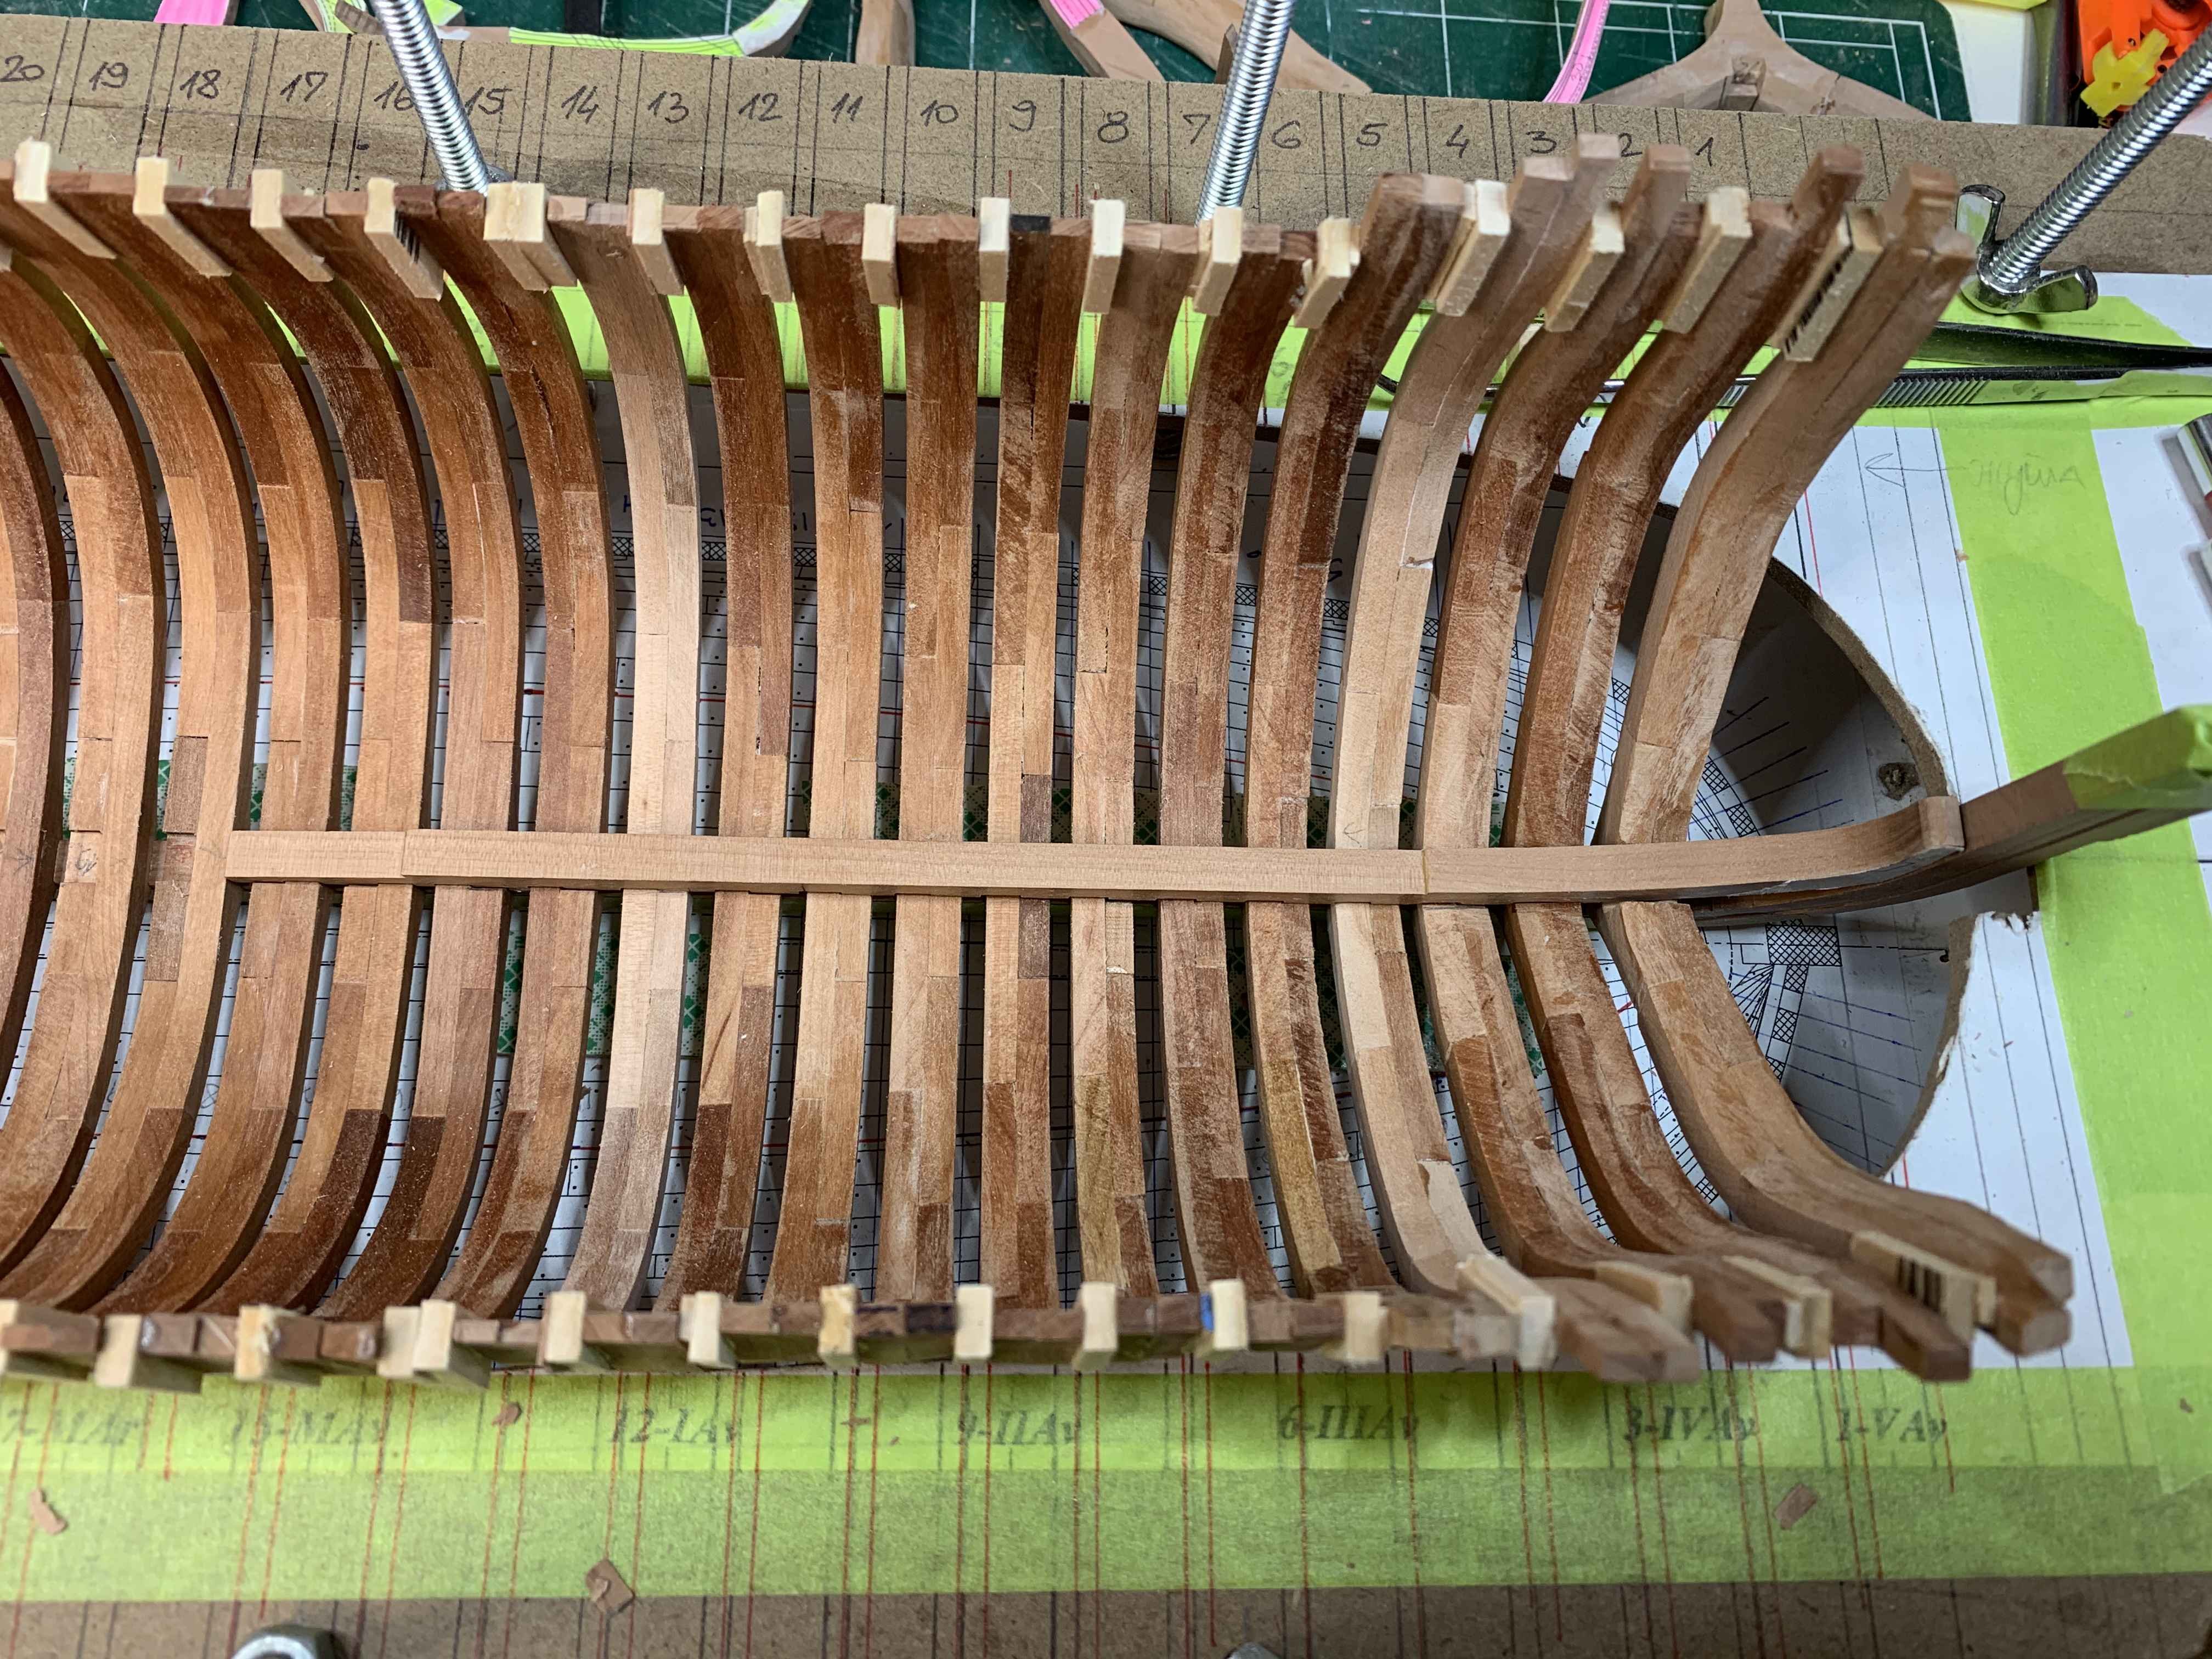
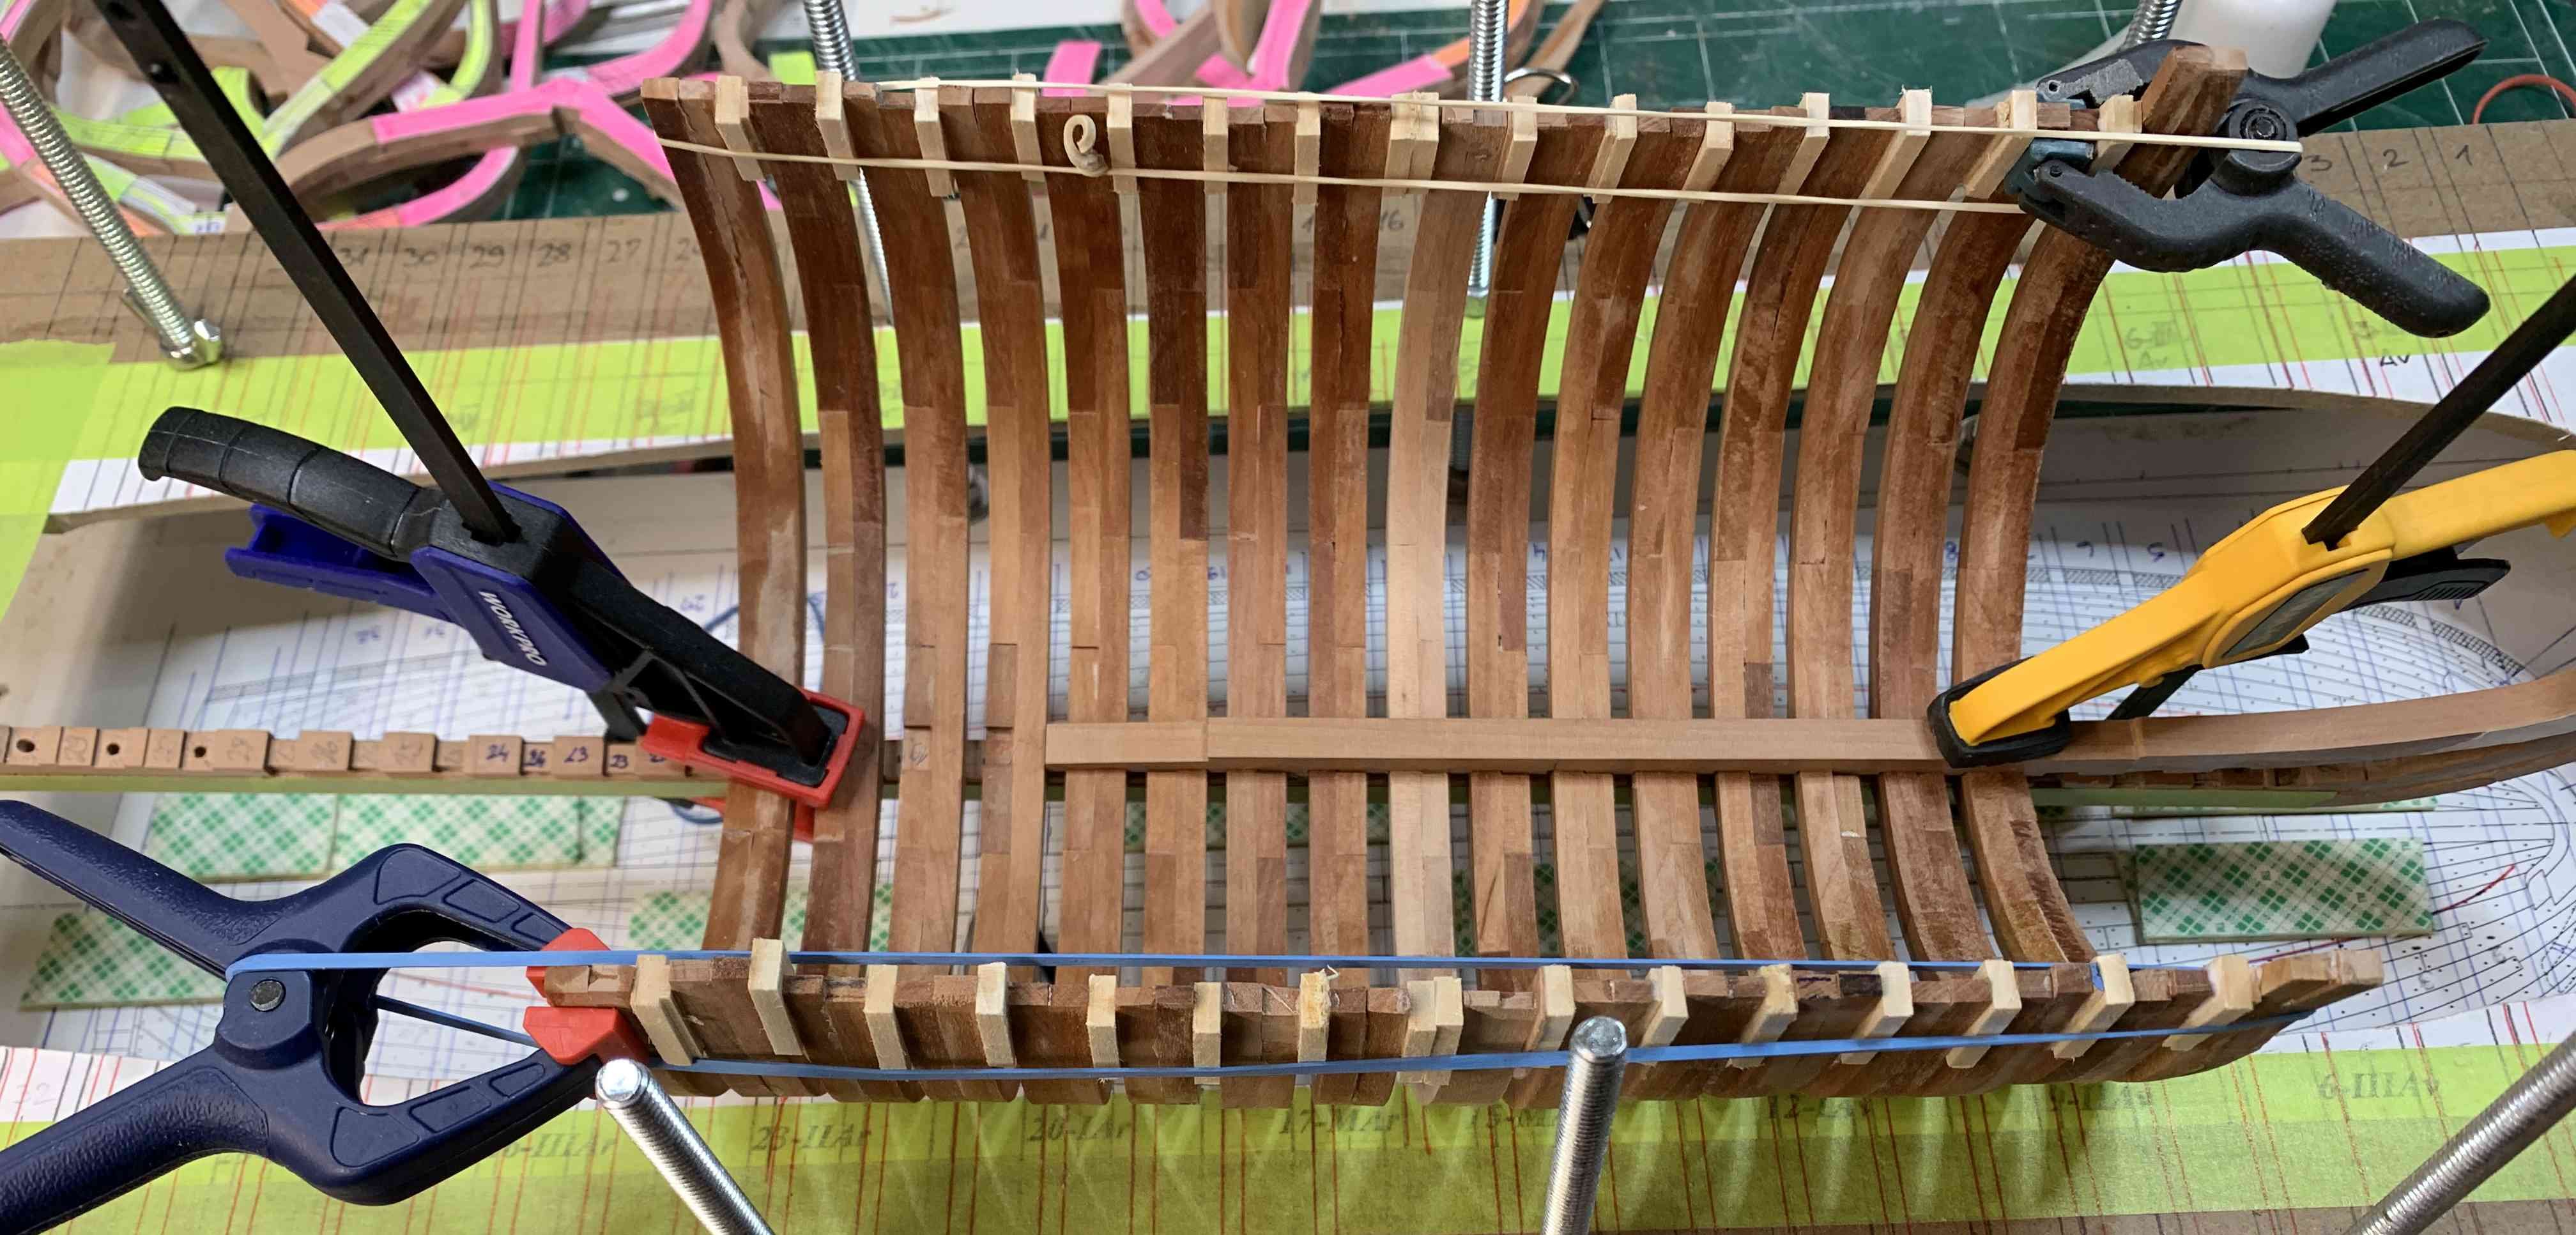
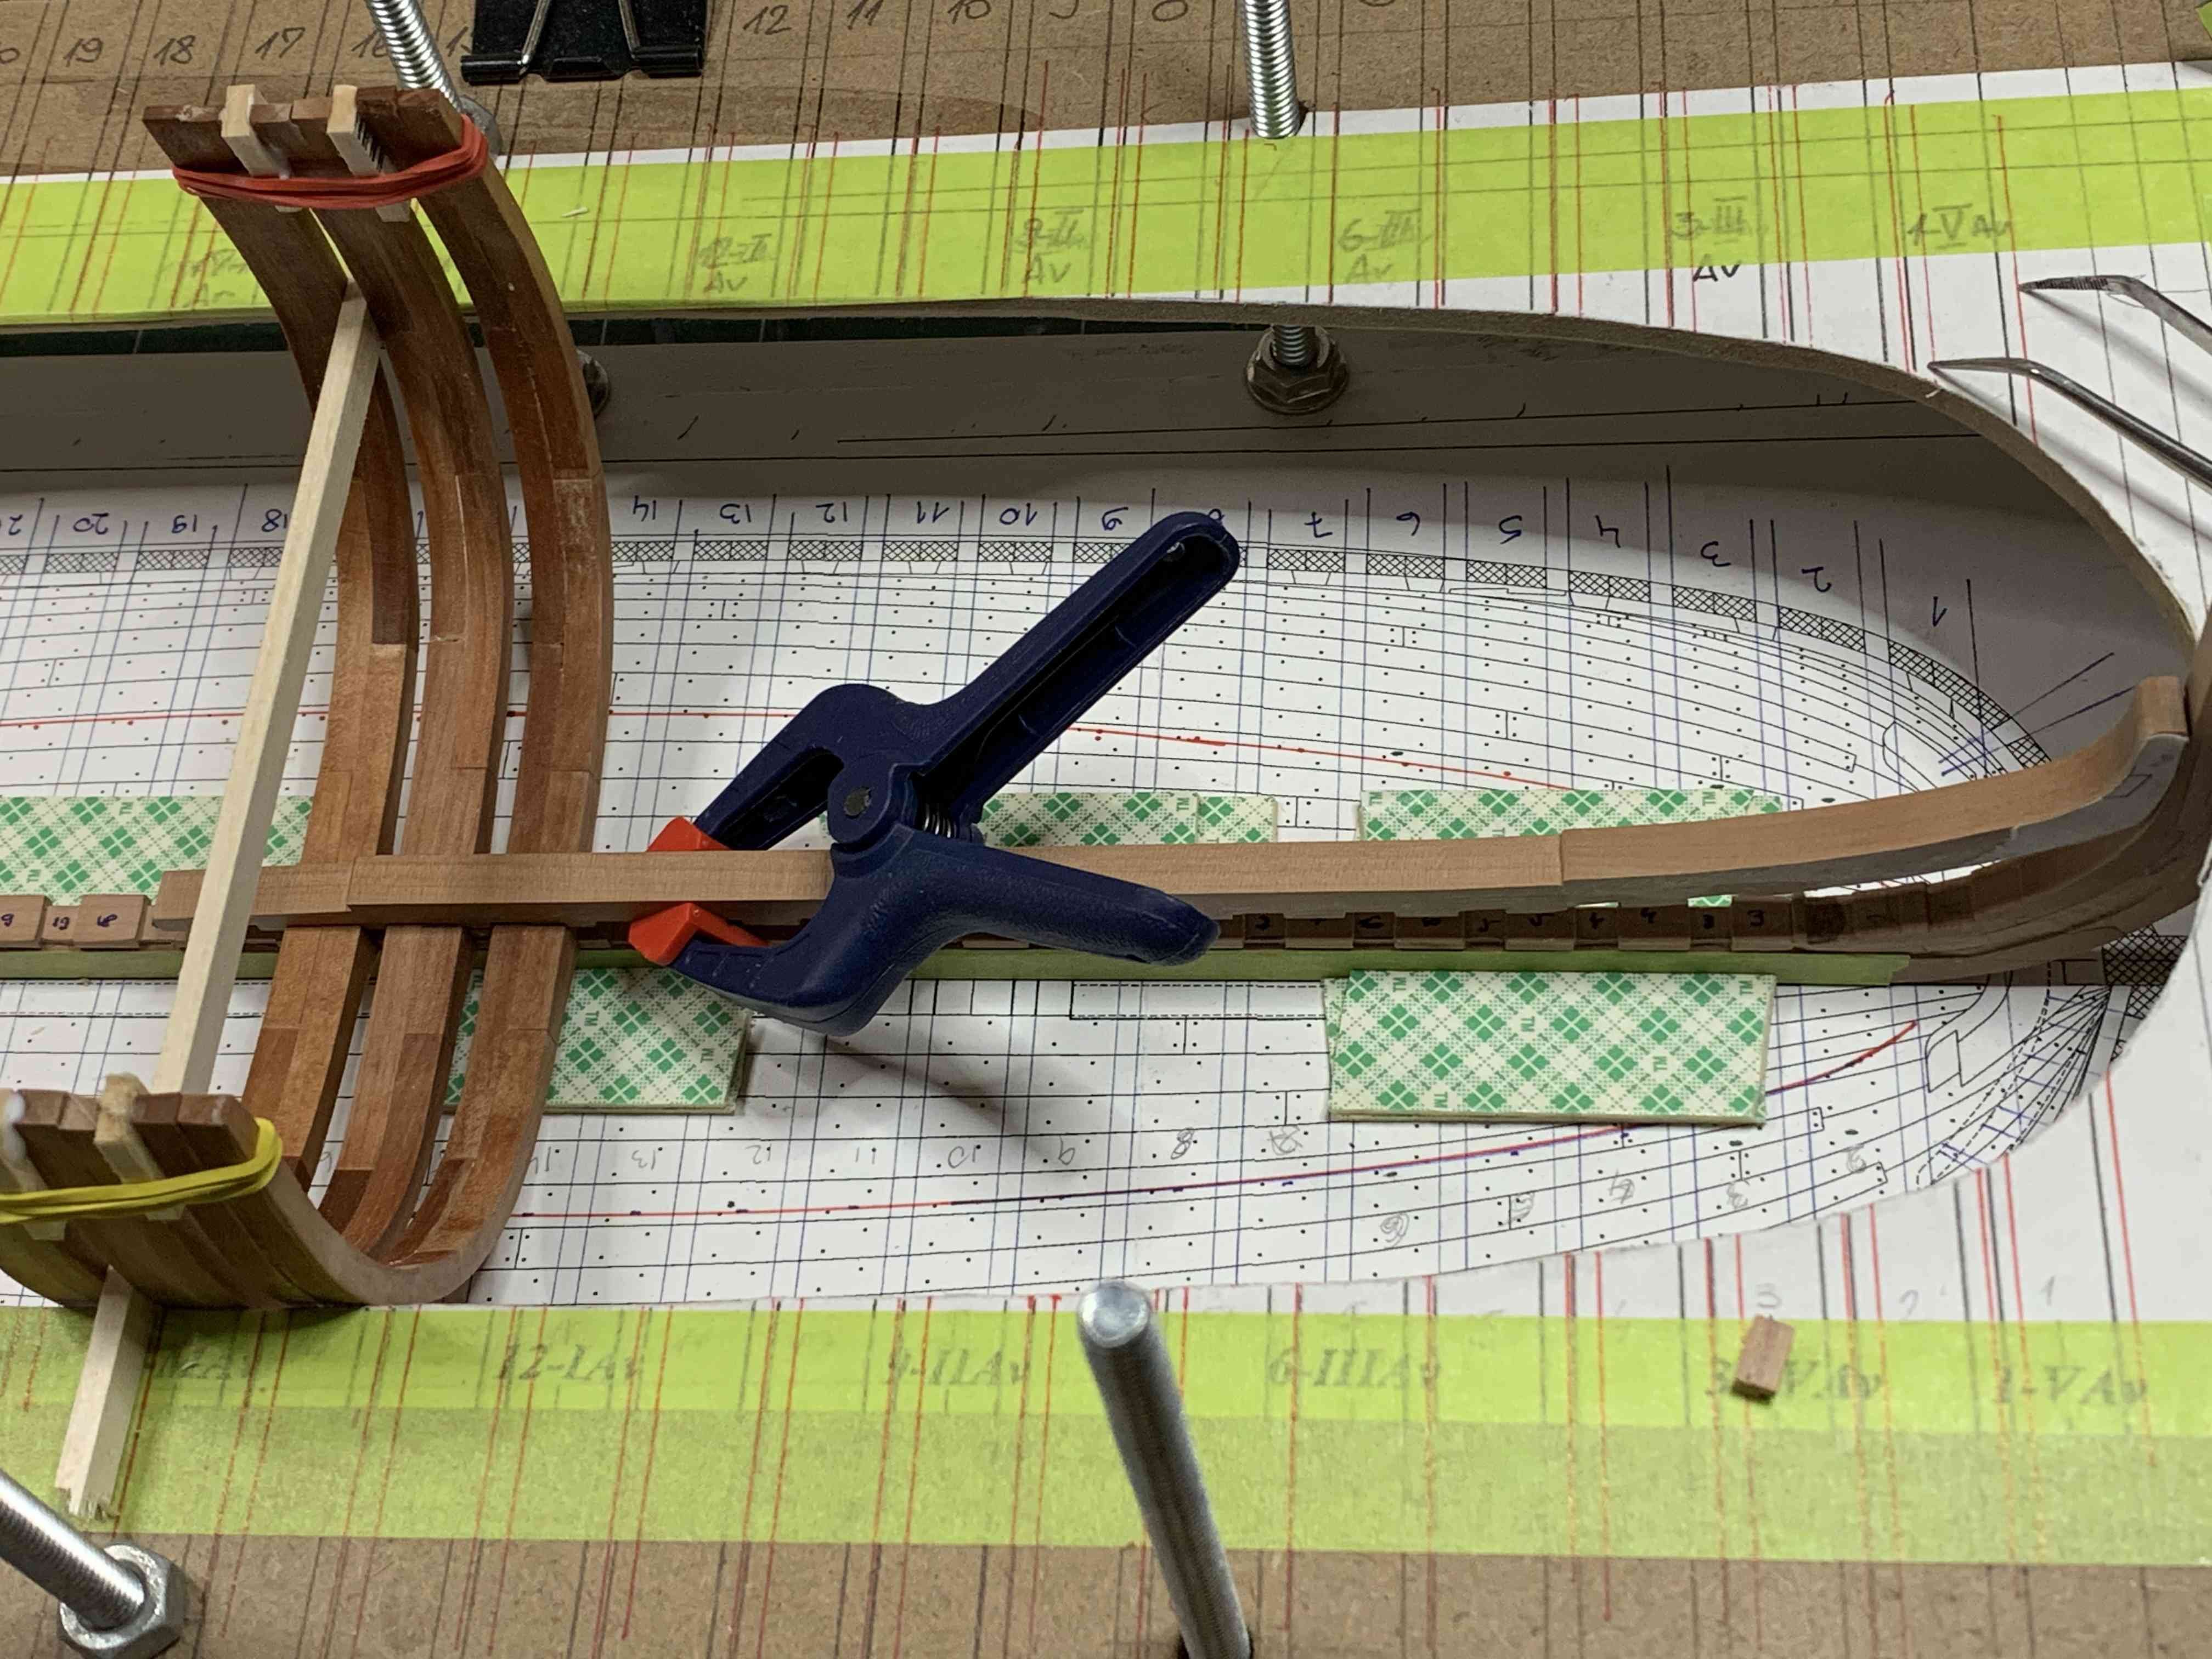
Work on timbers continue.... just cut, sand, glue, test.... Happy modeling.


-
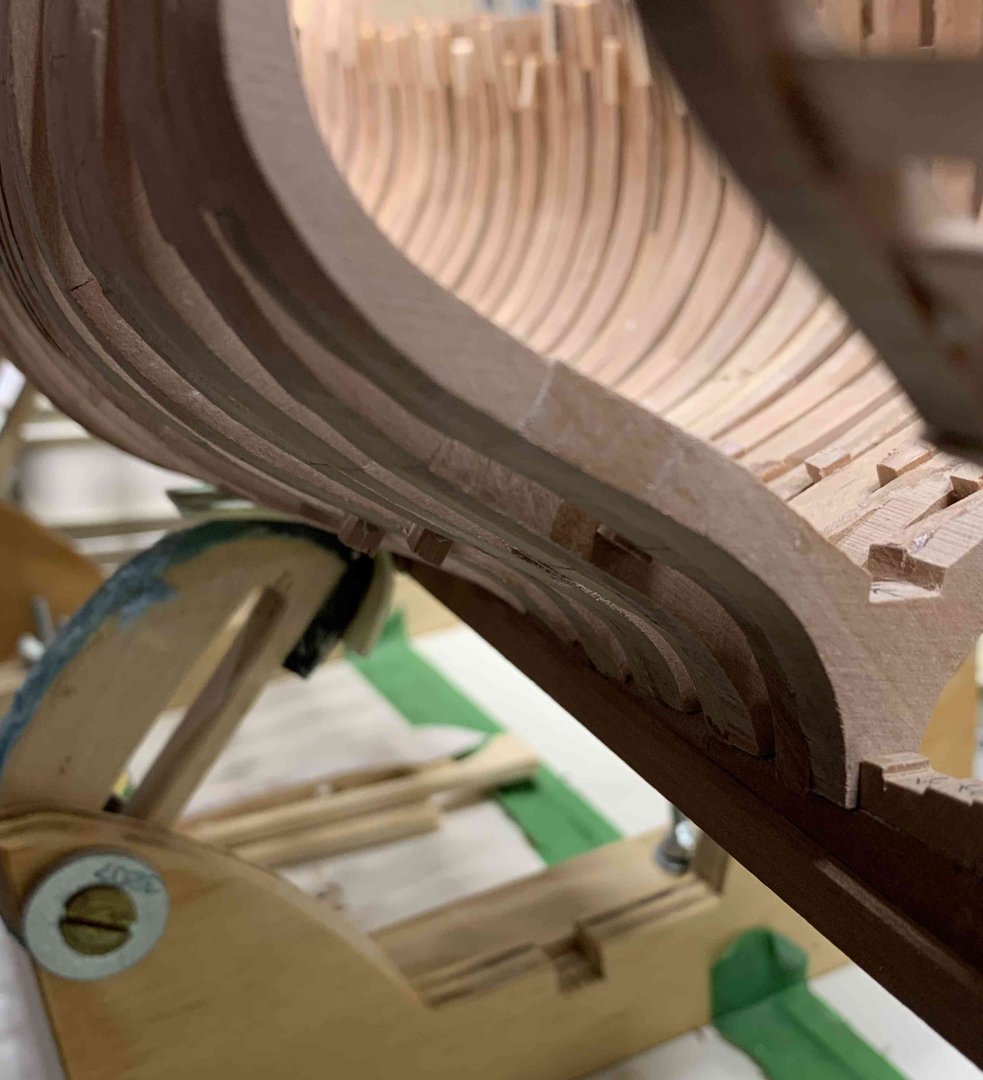
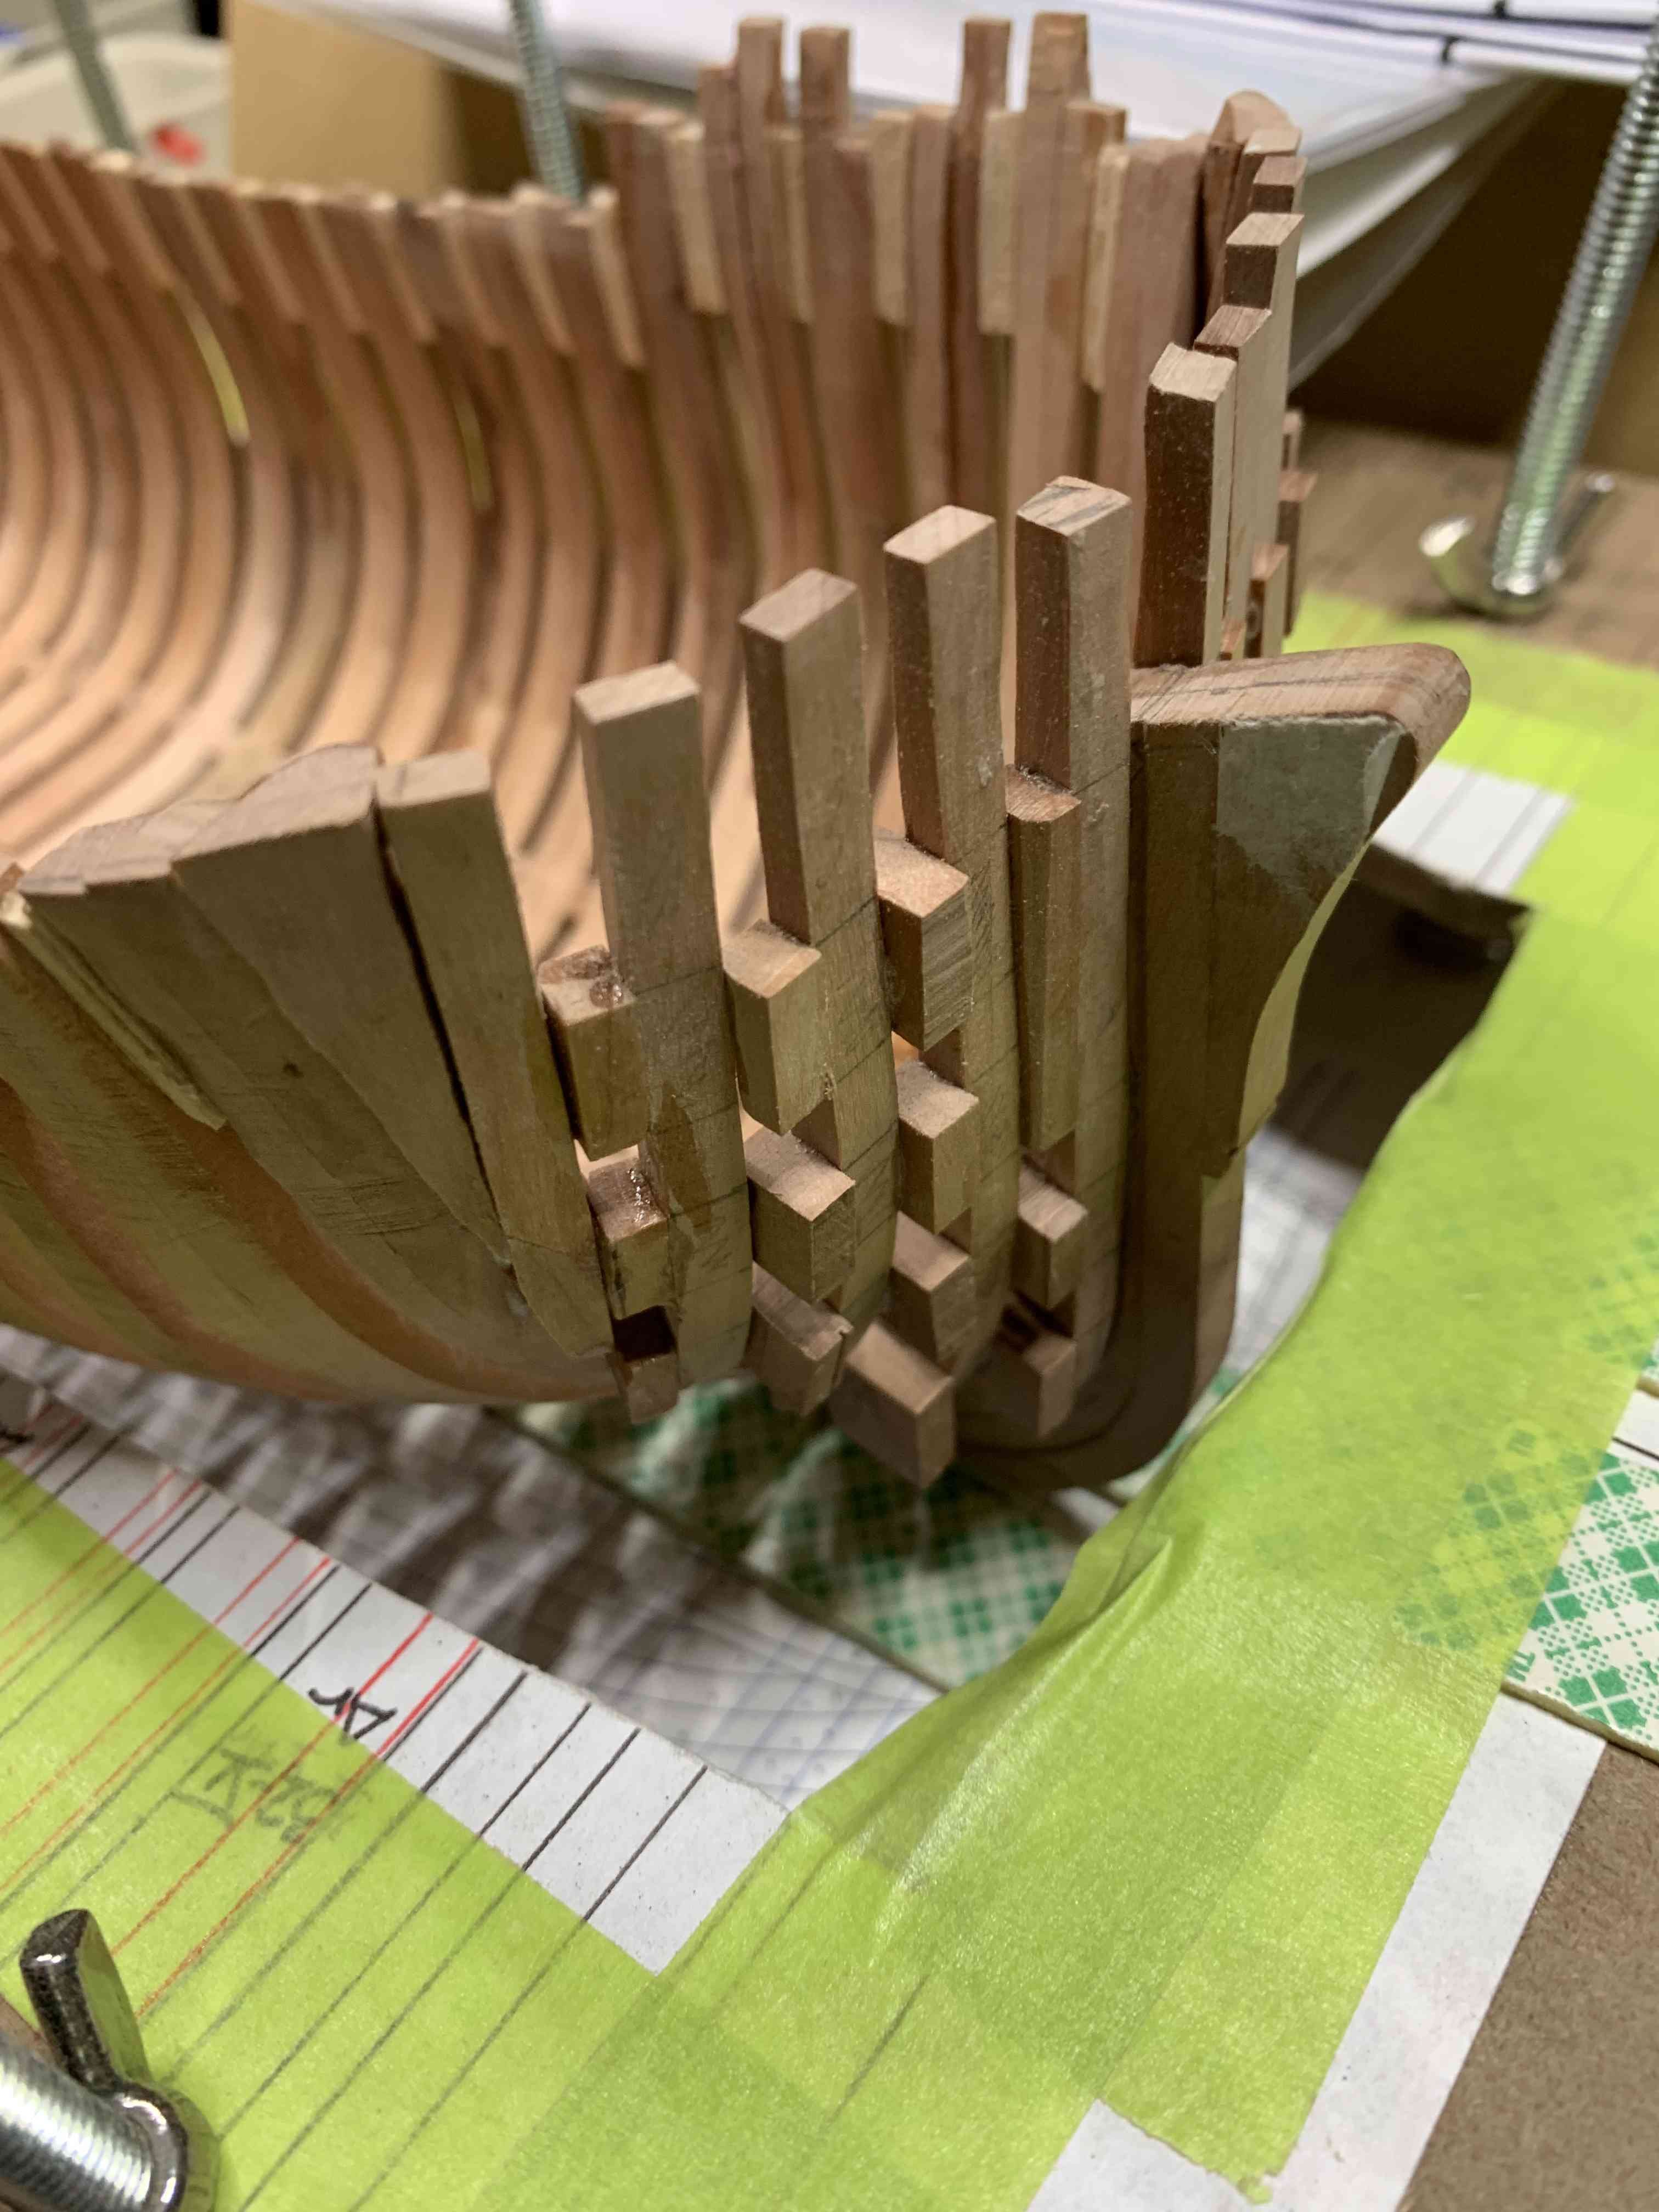
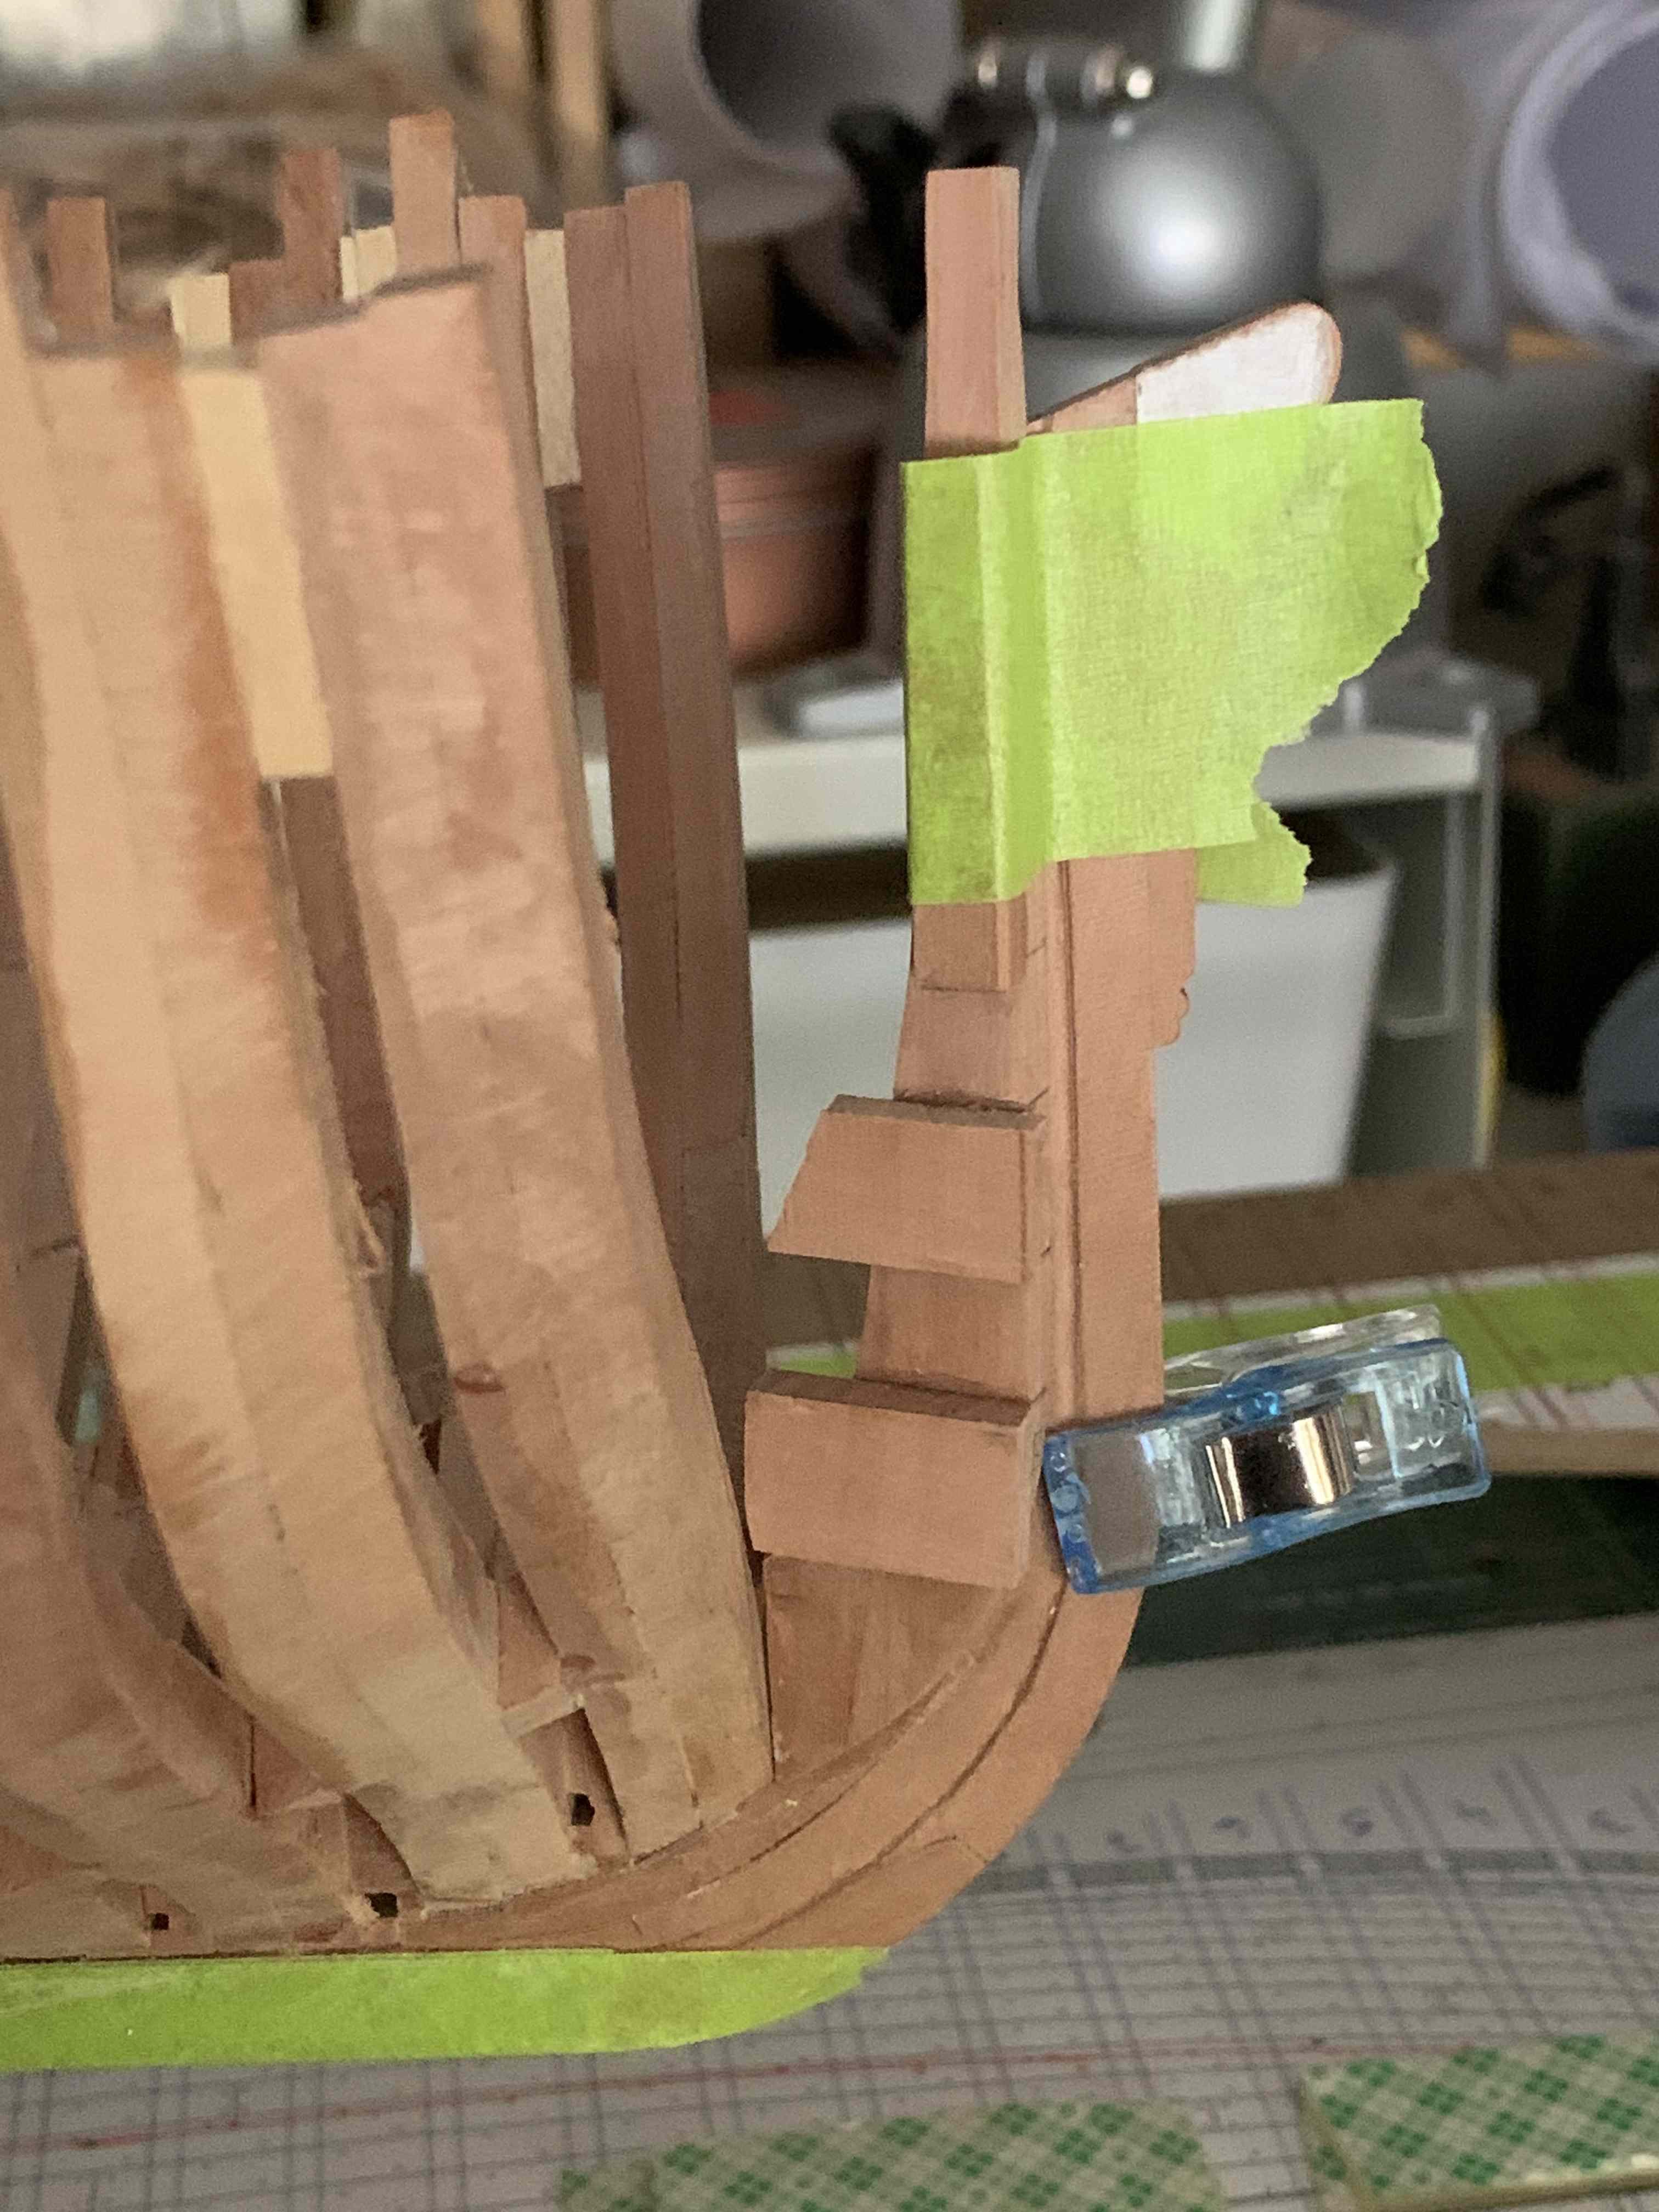
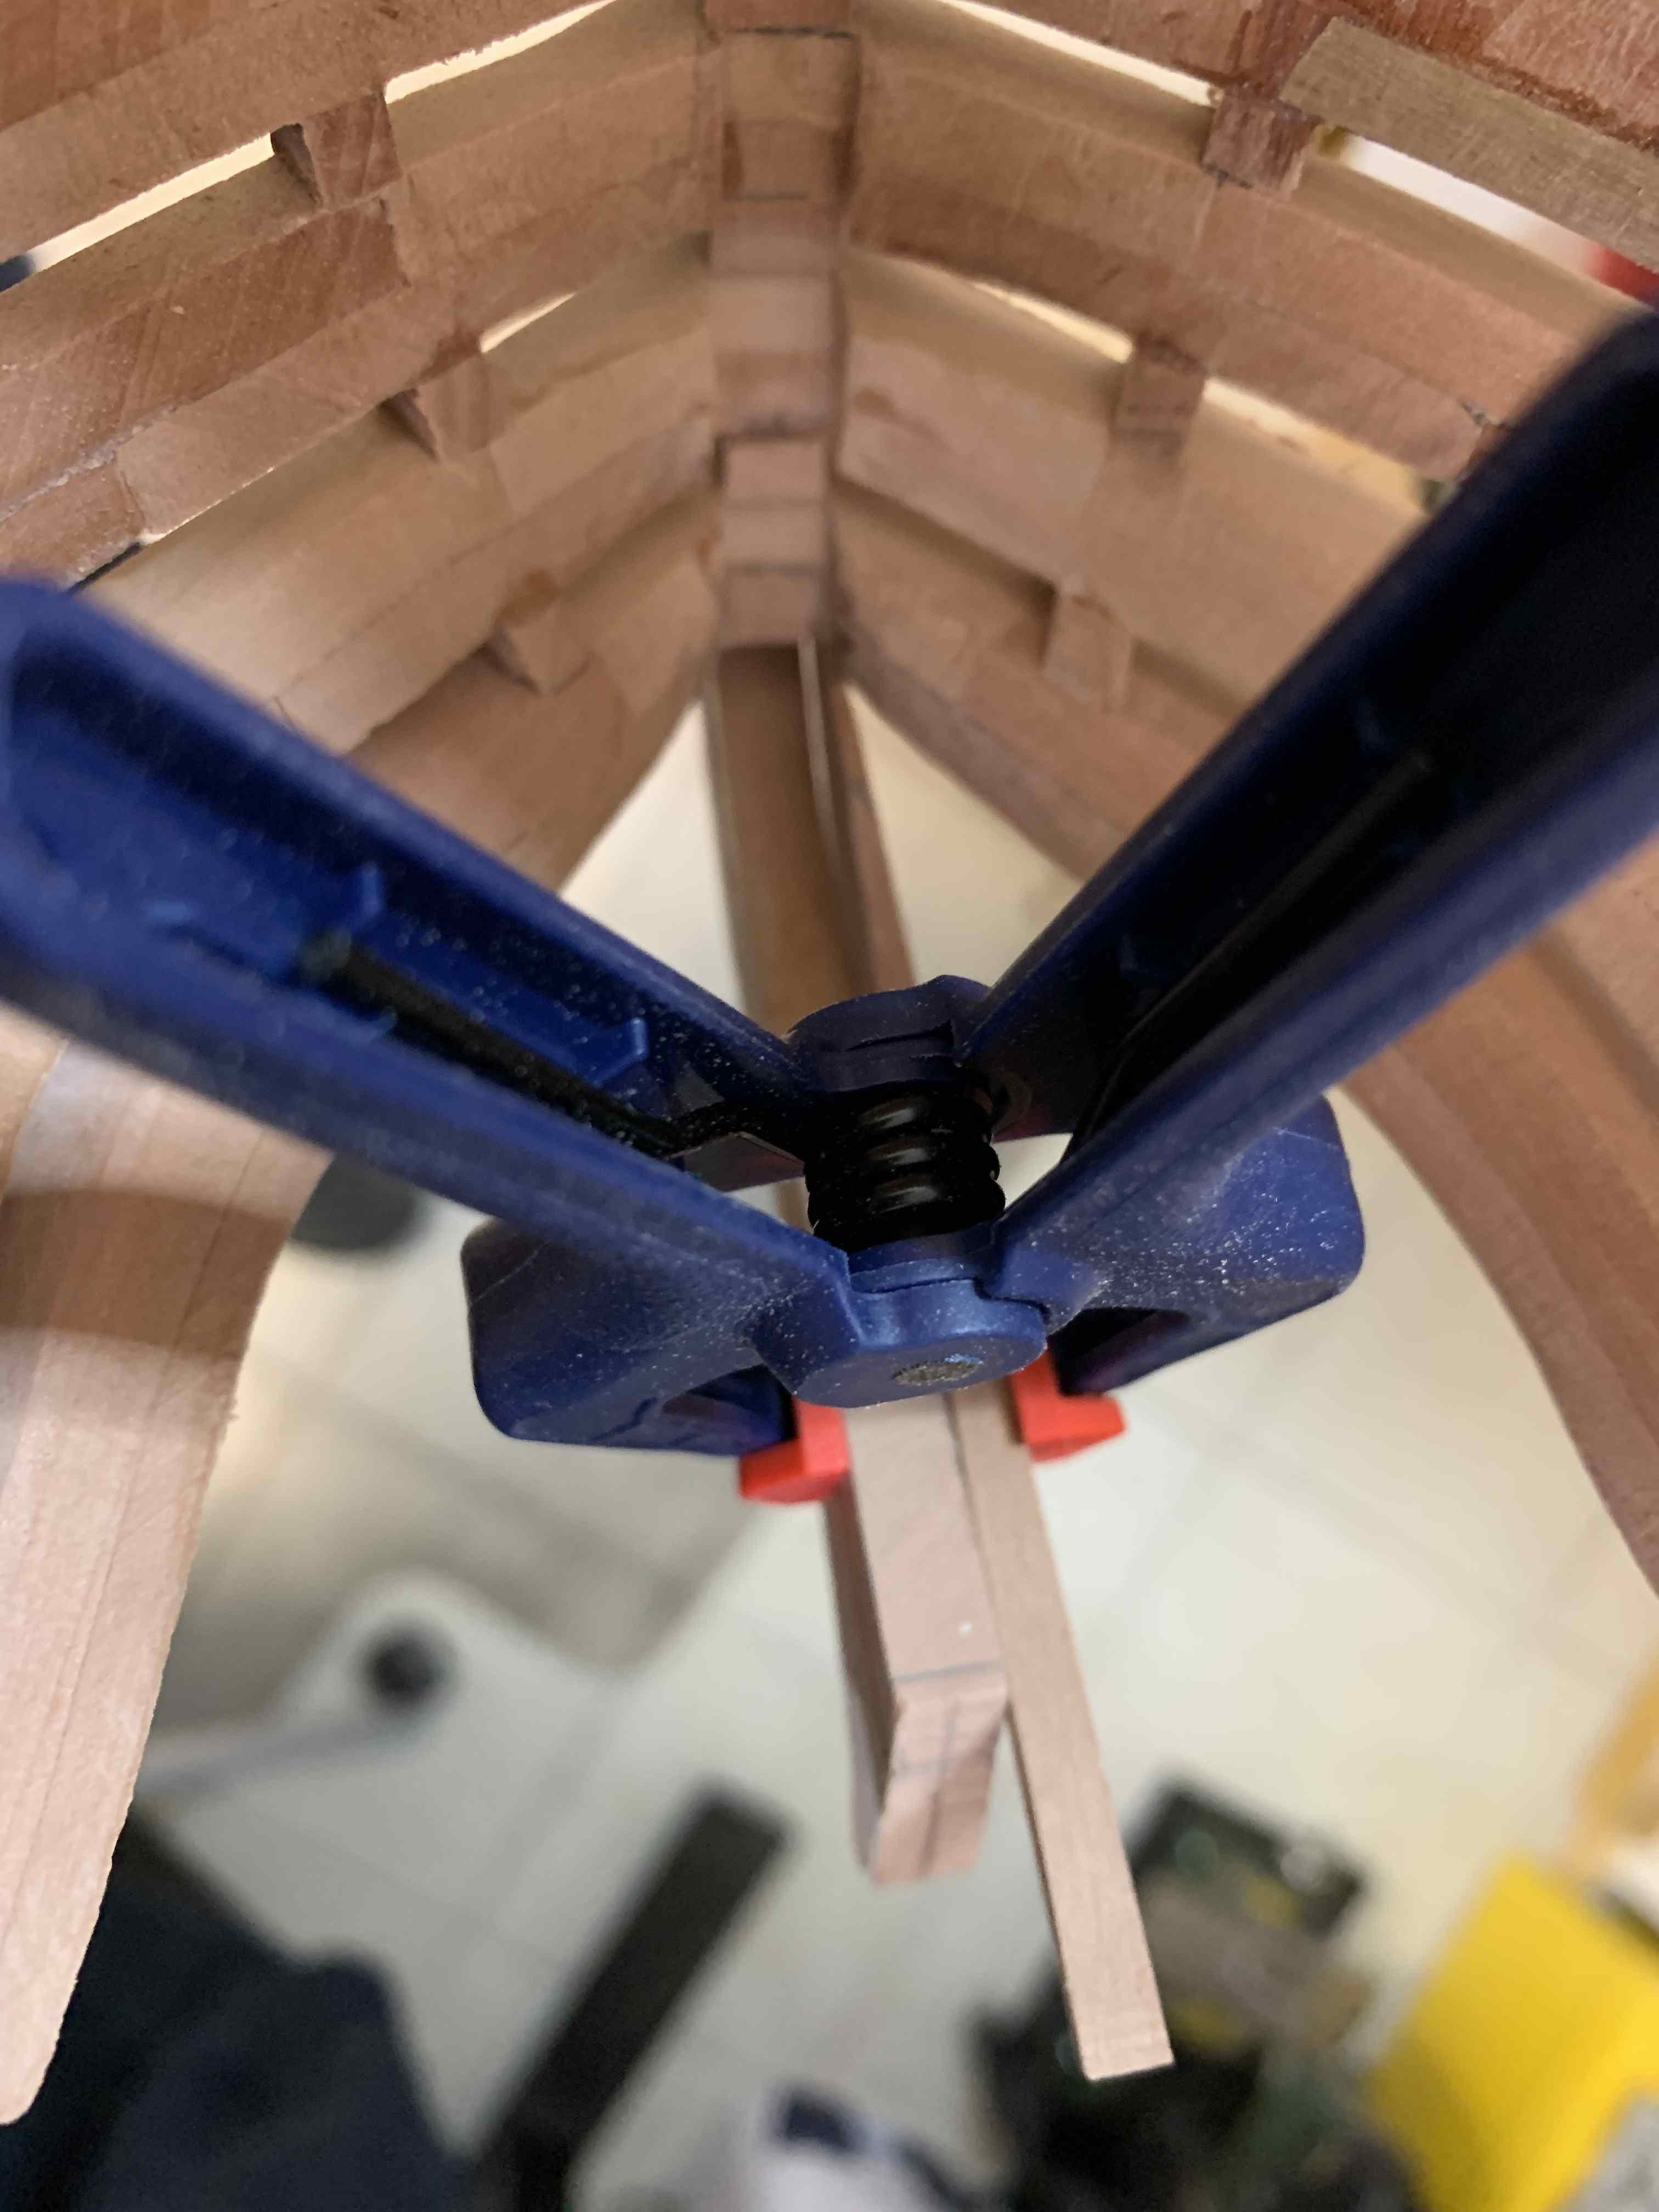
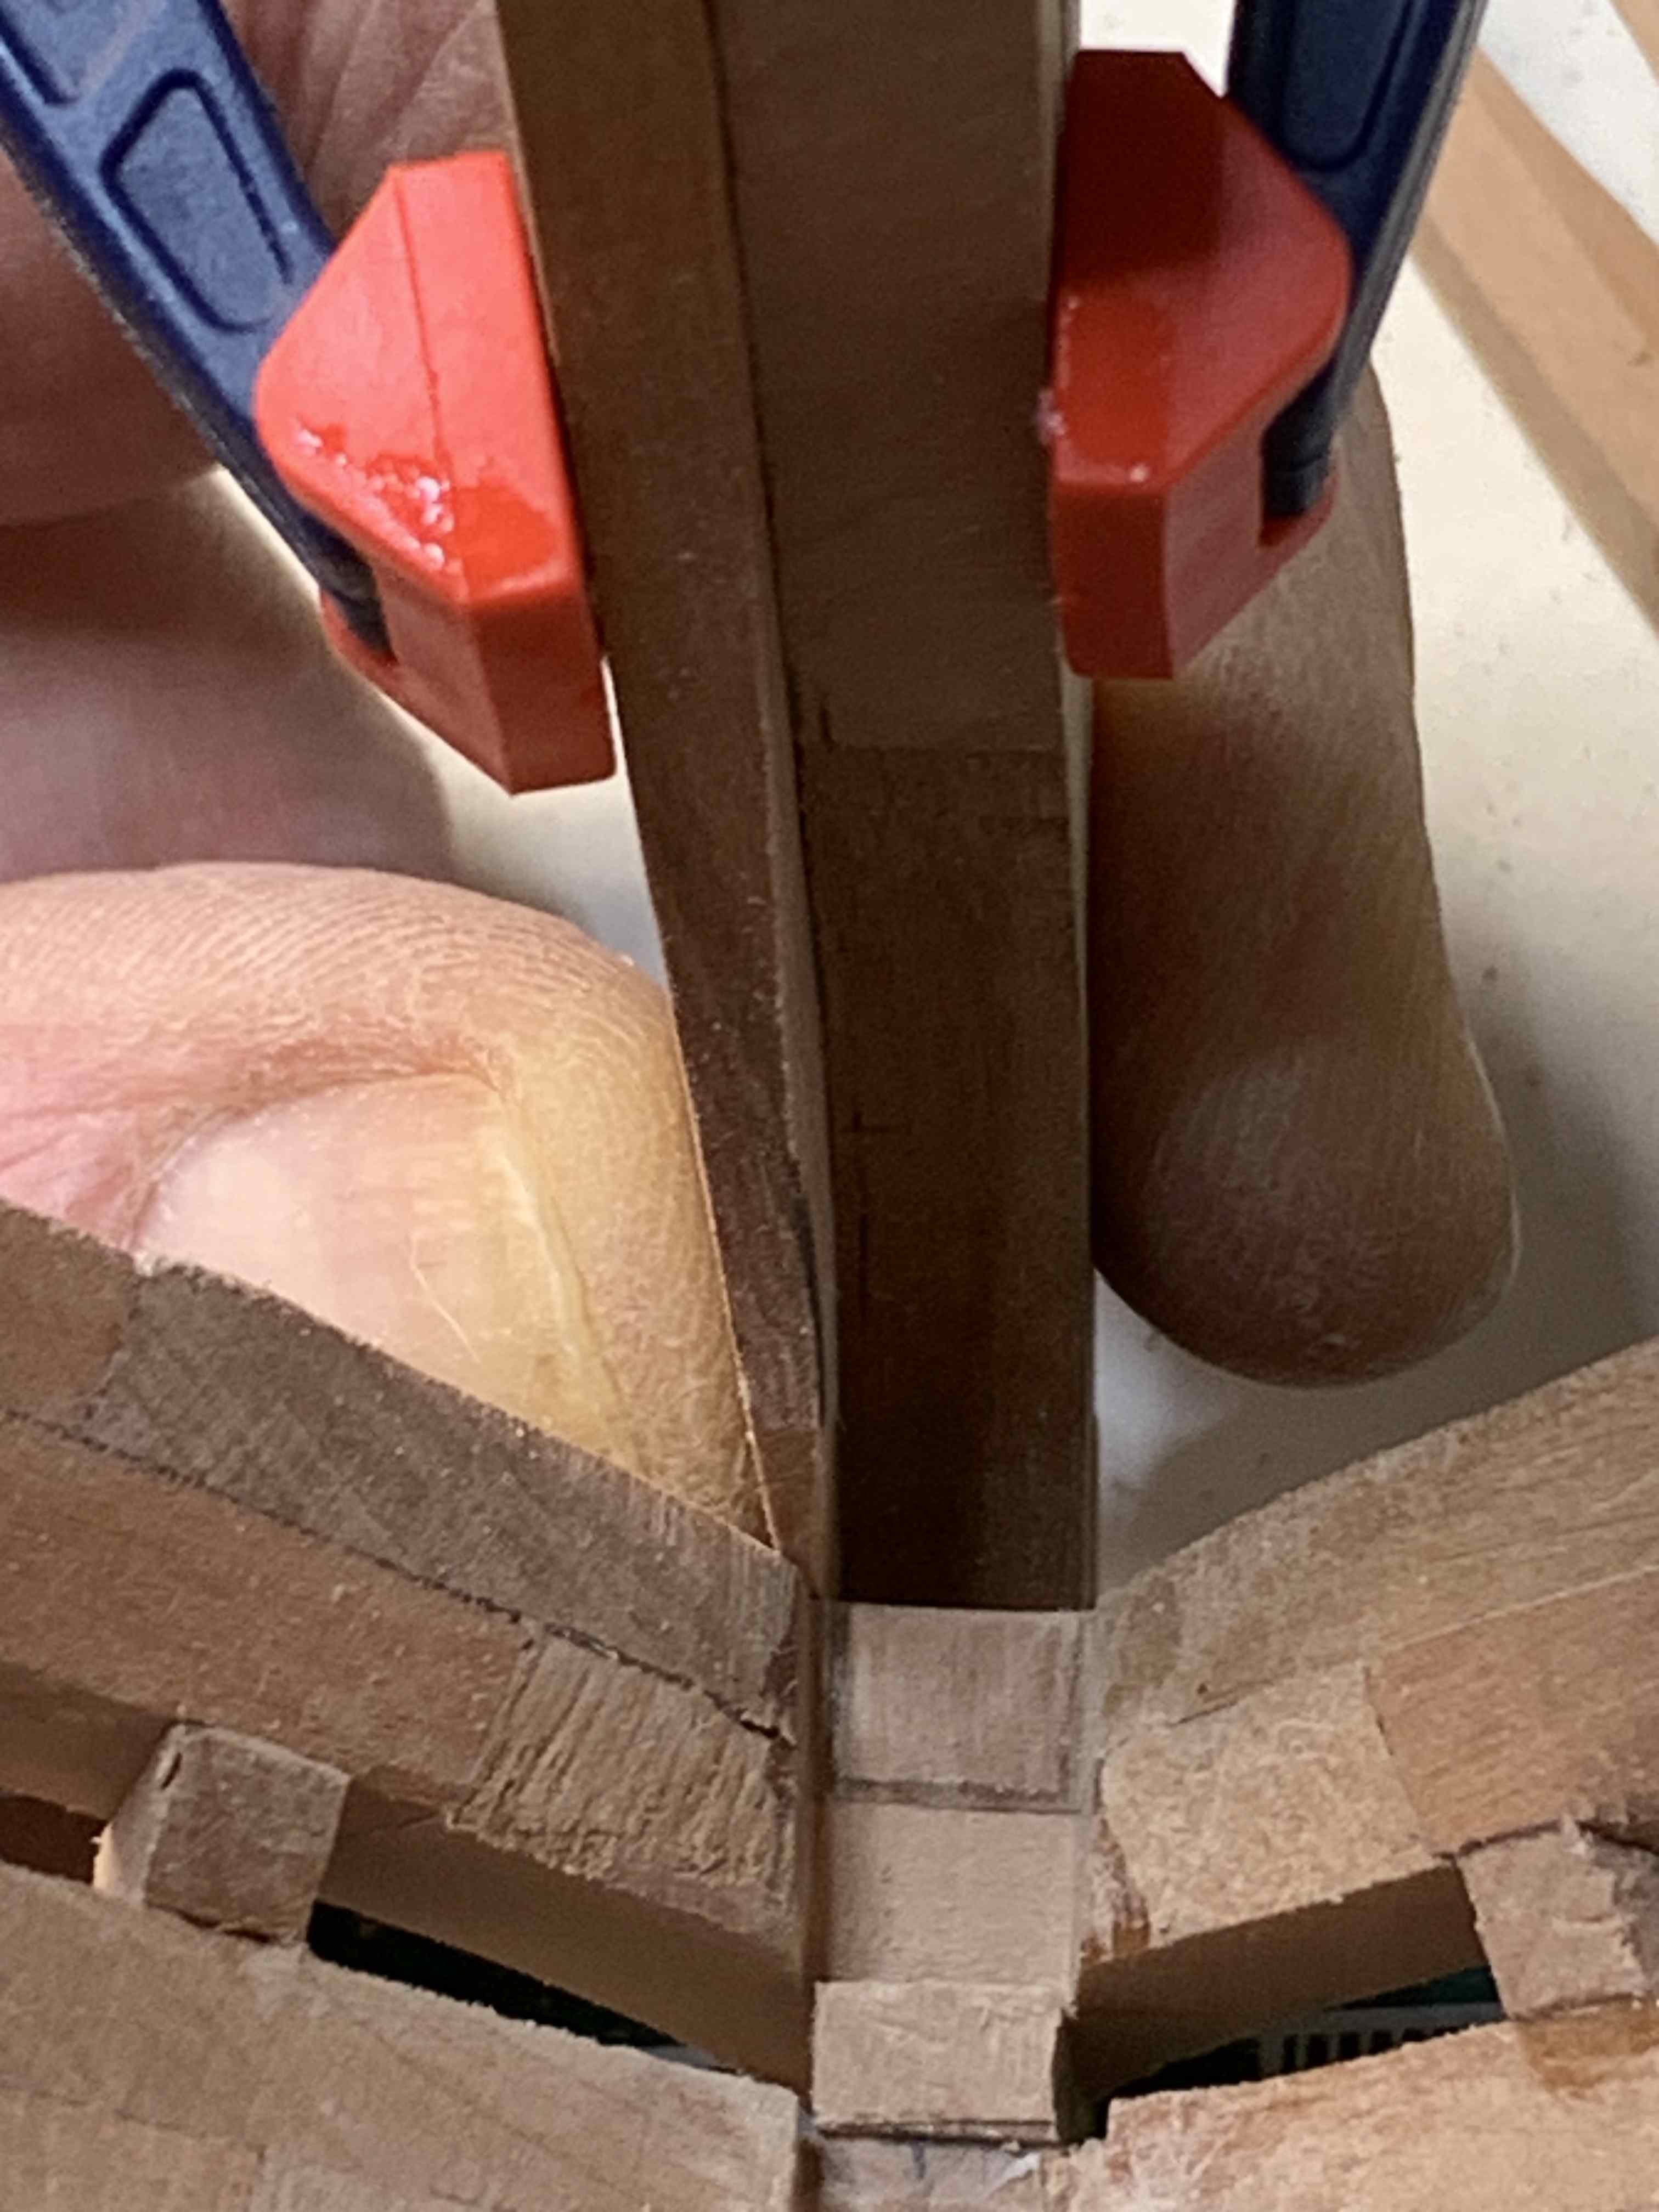
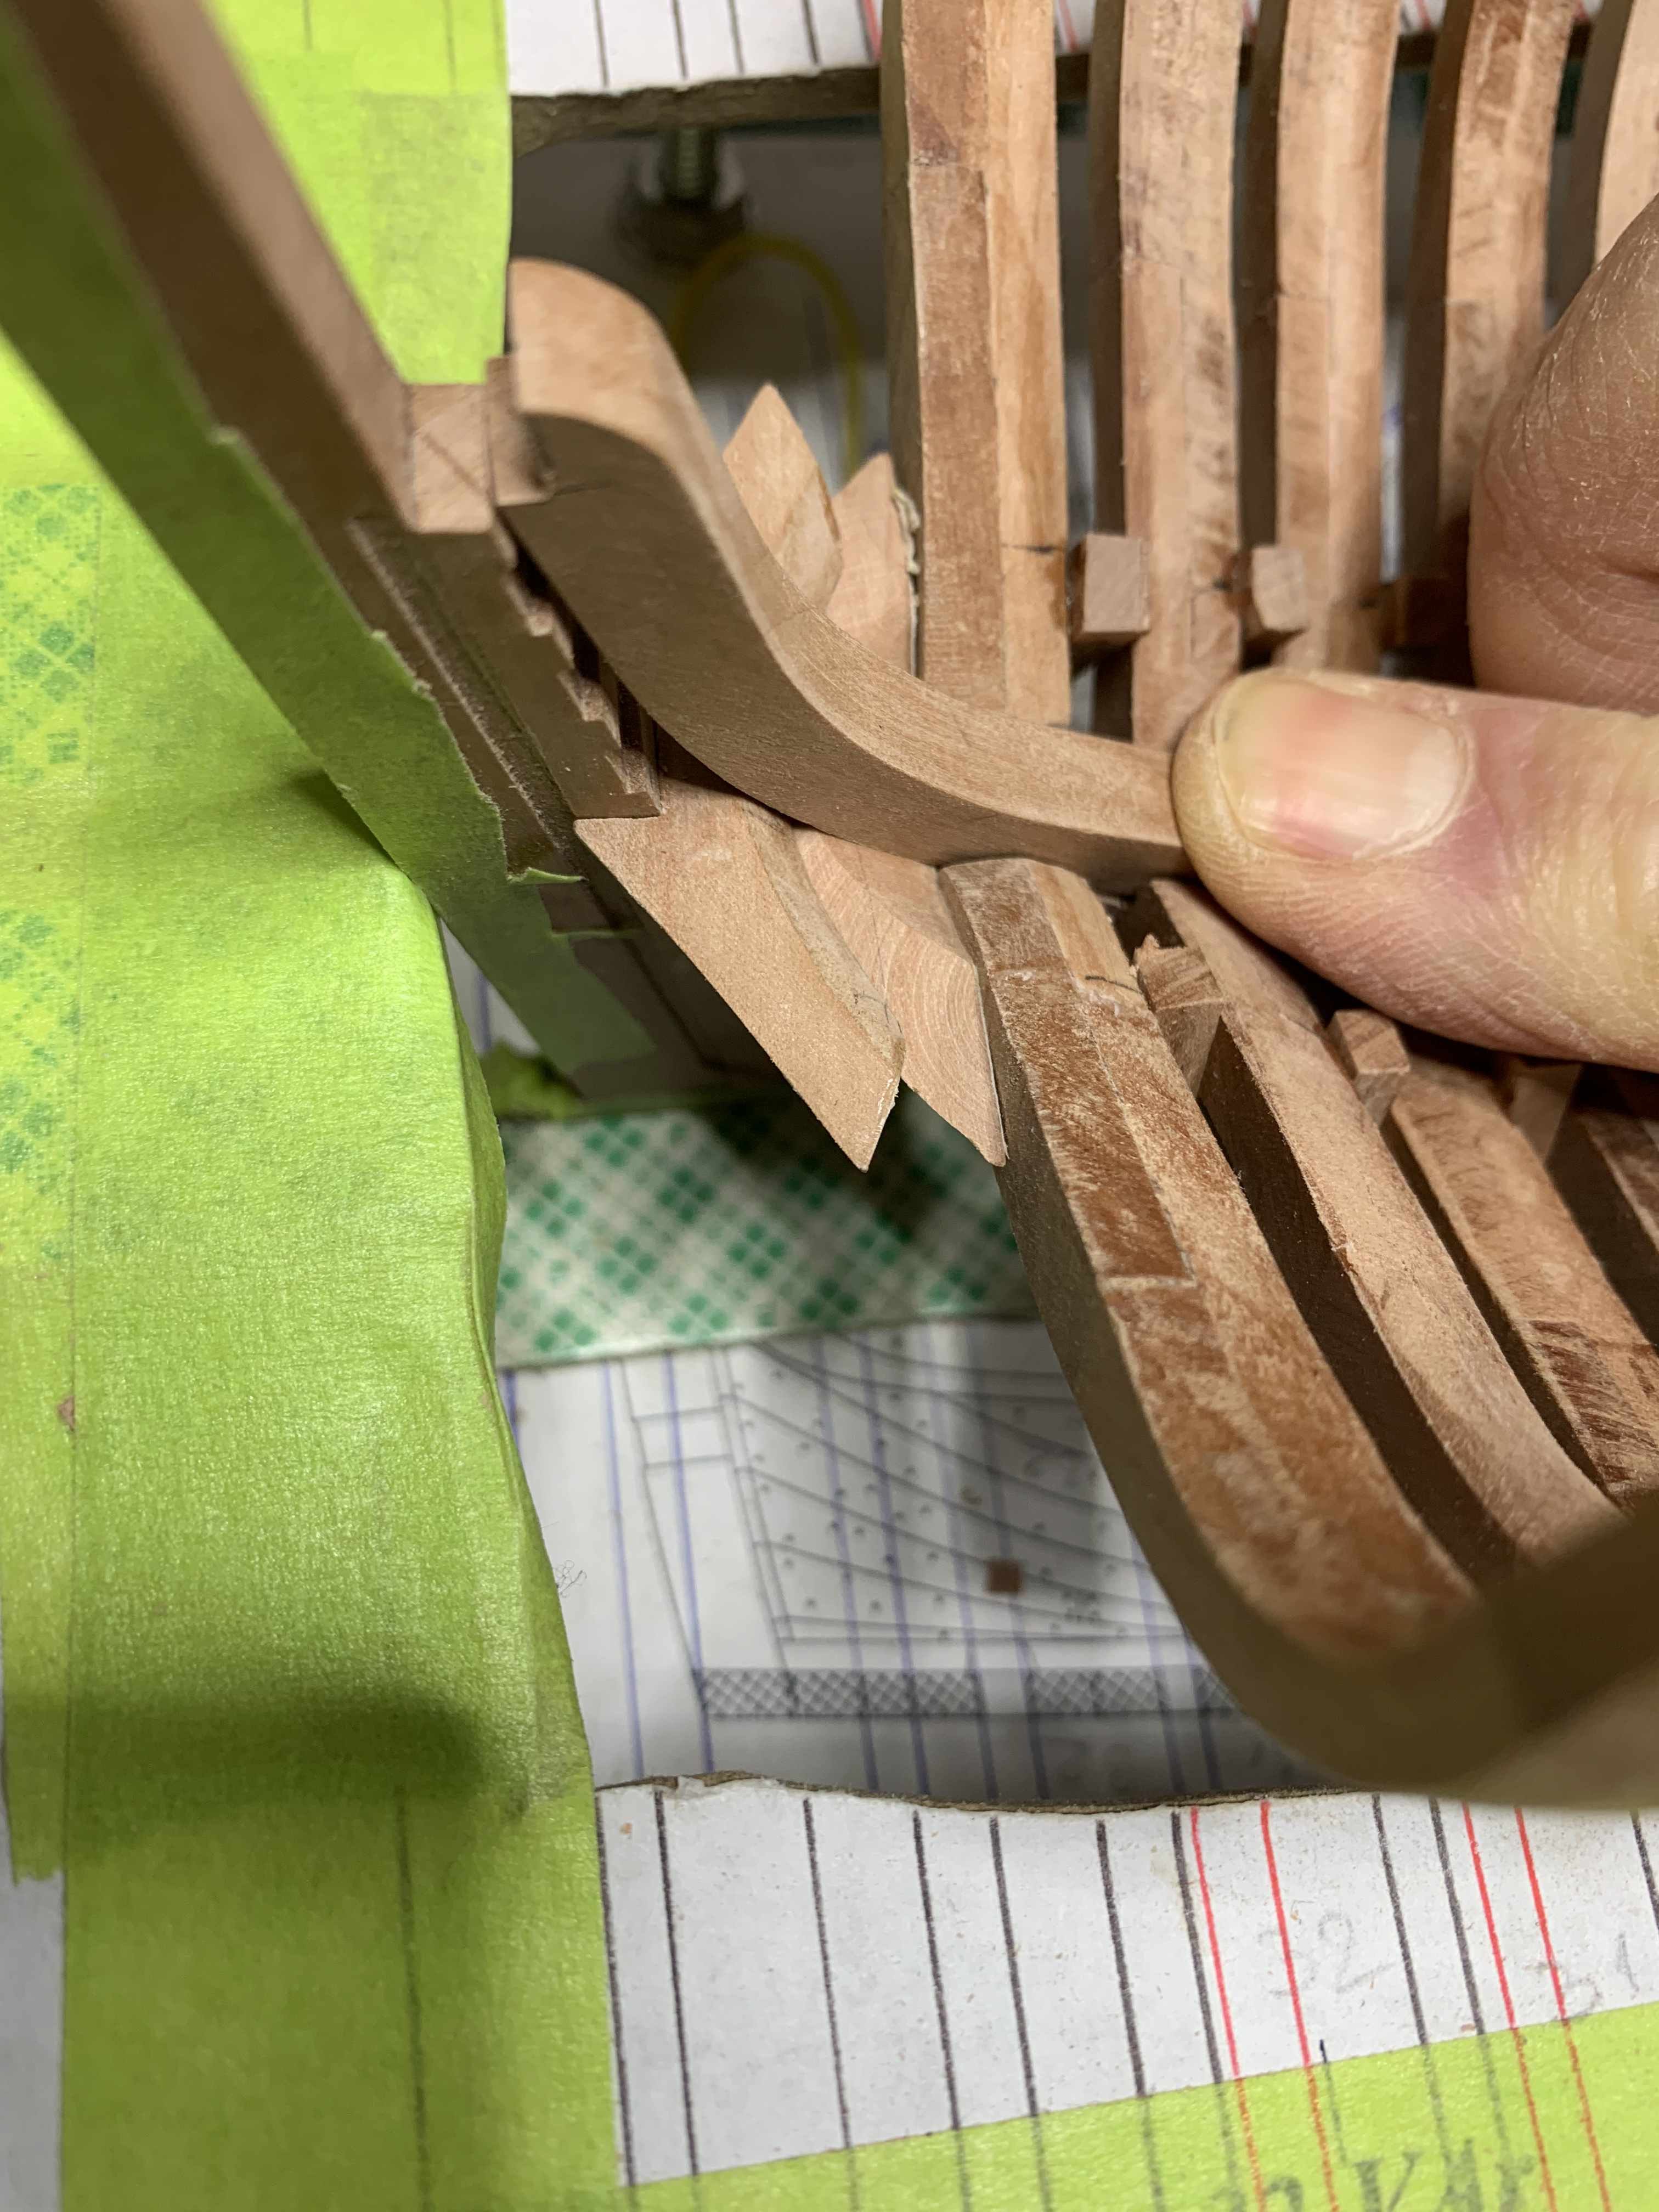
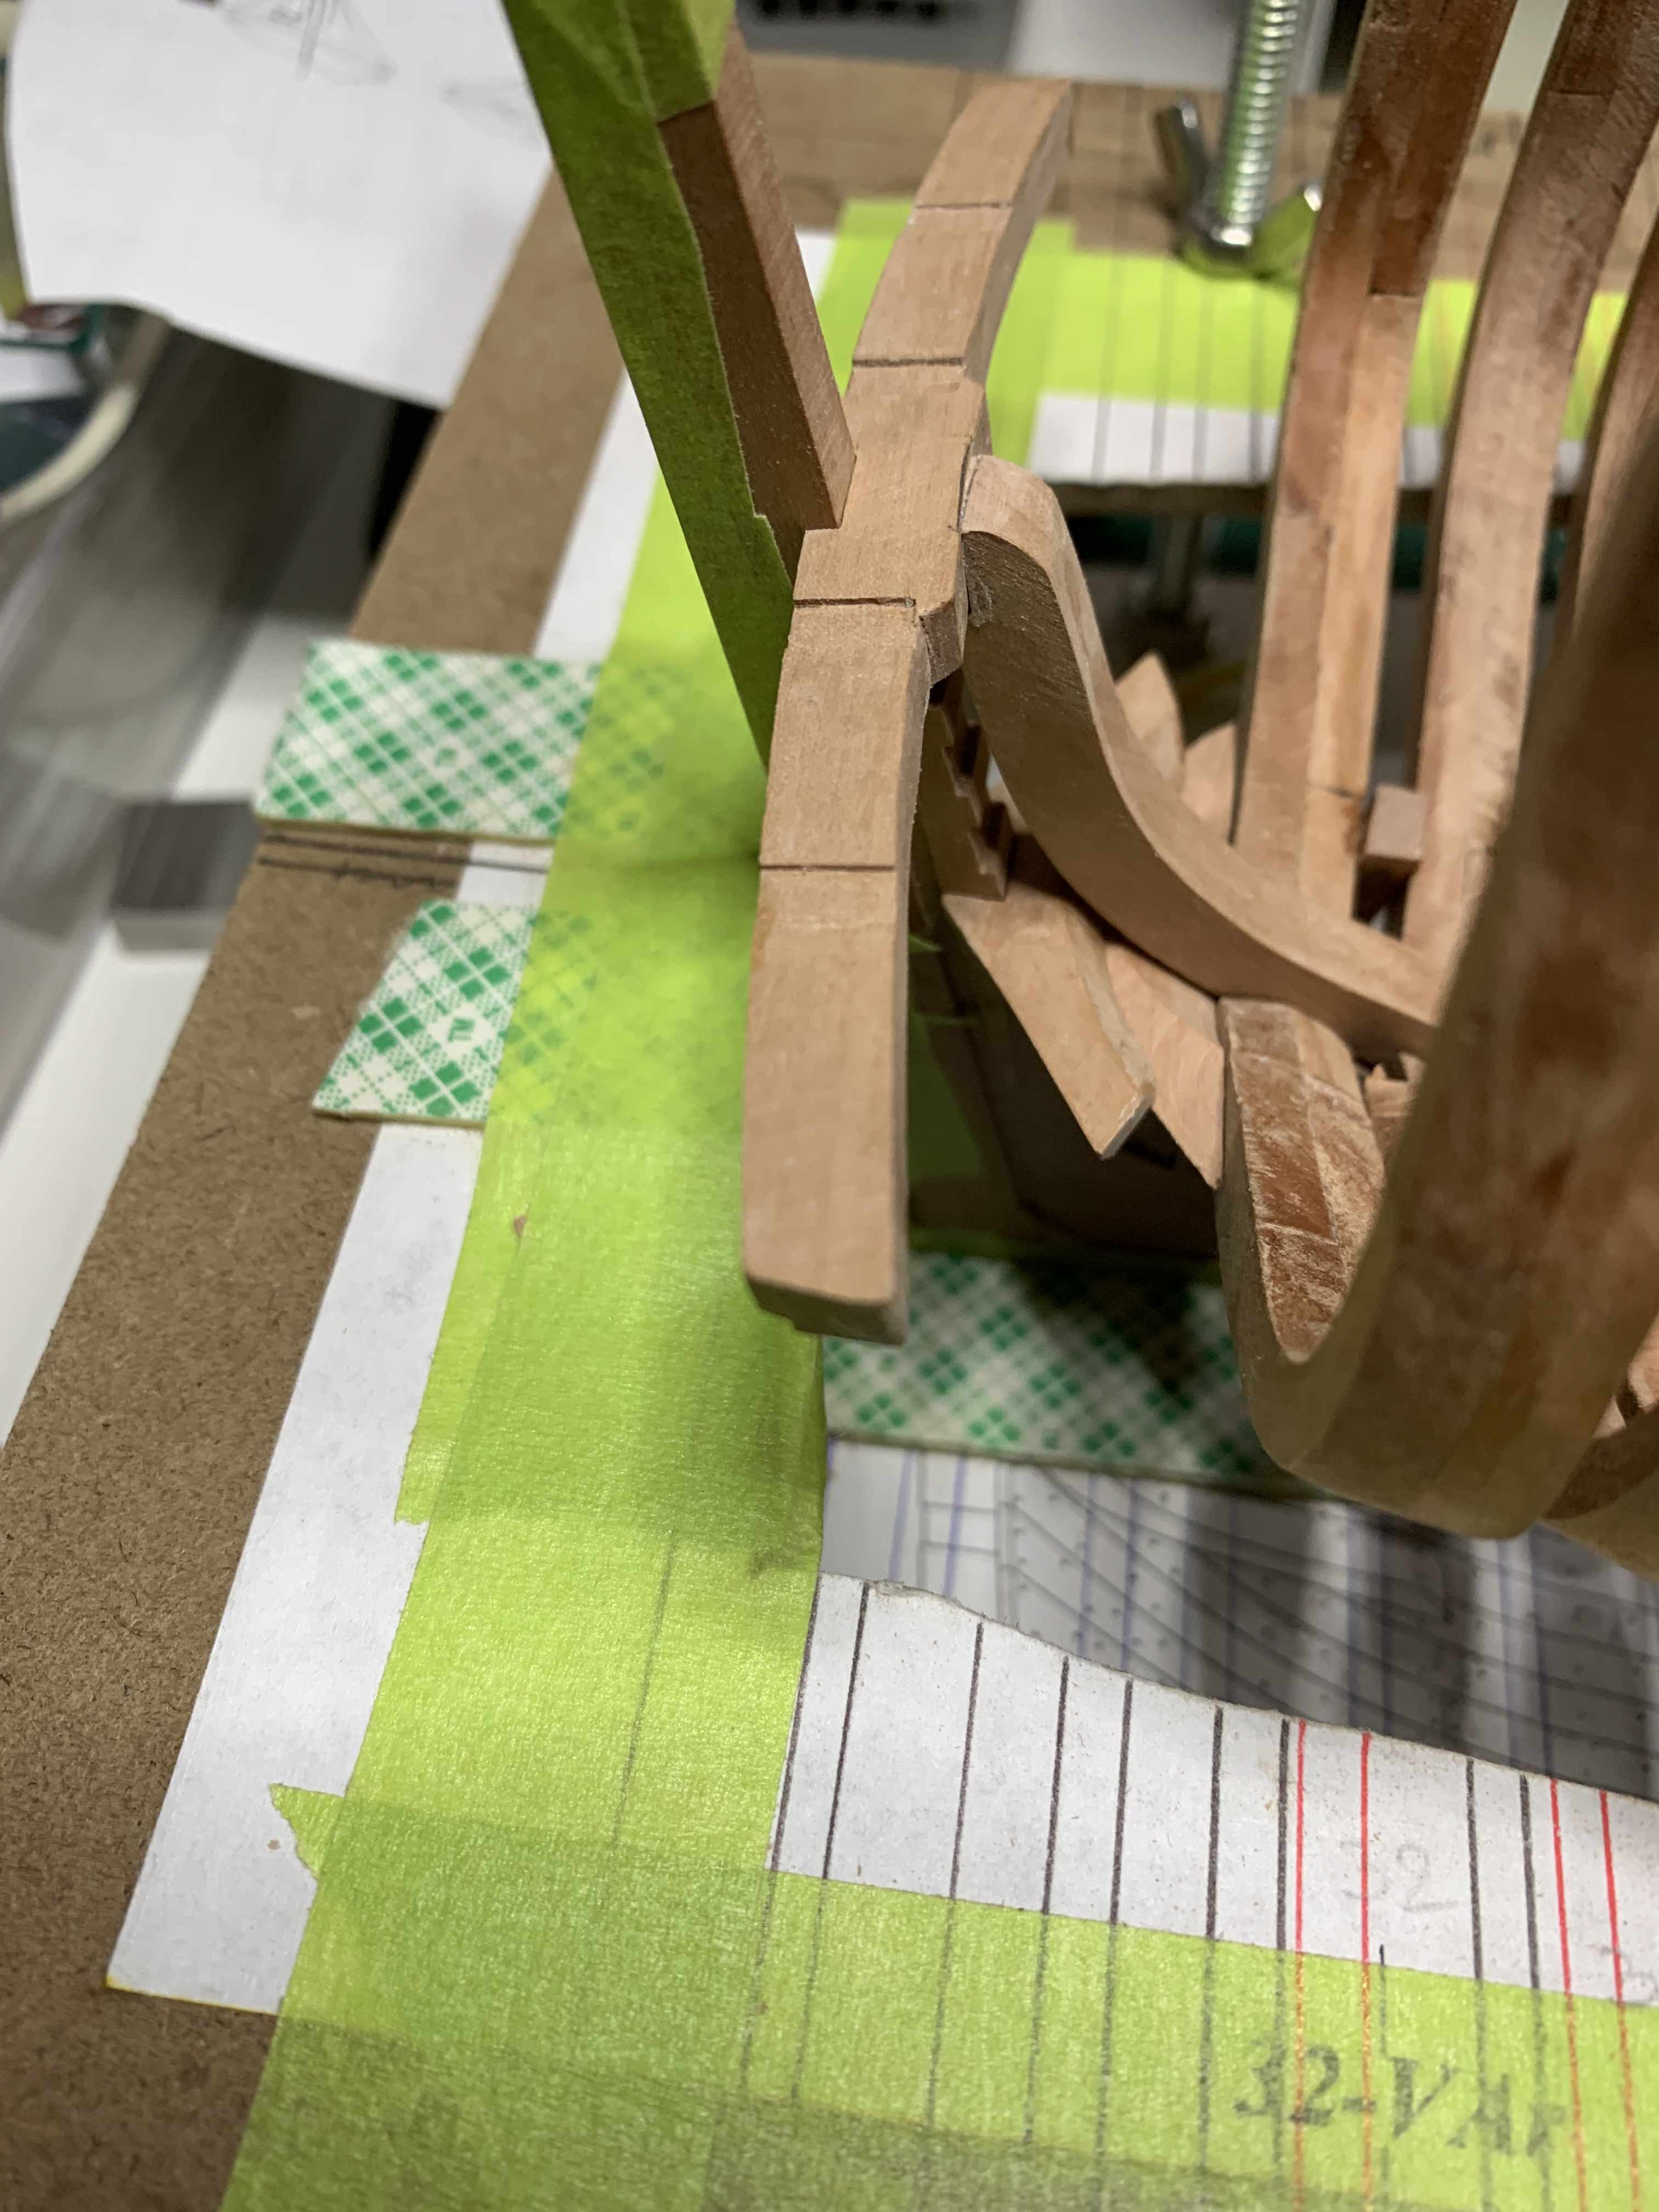
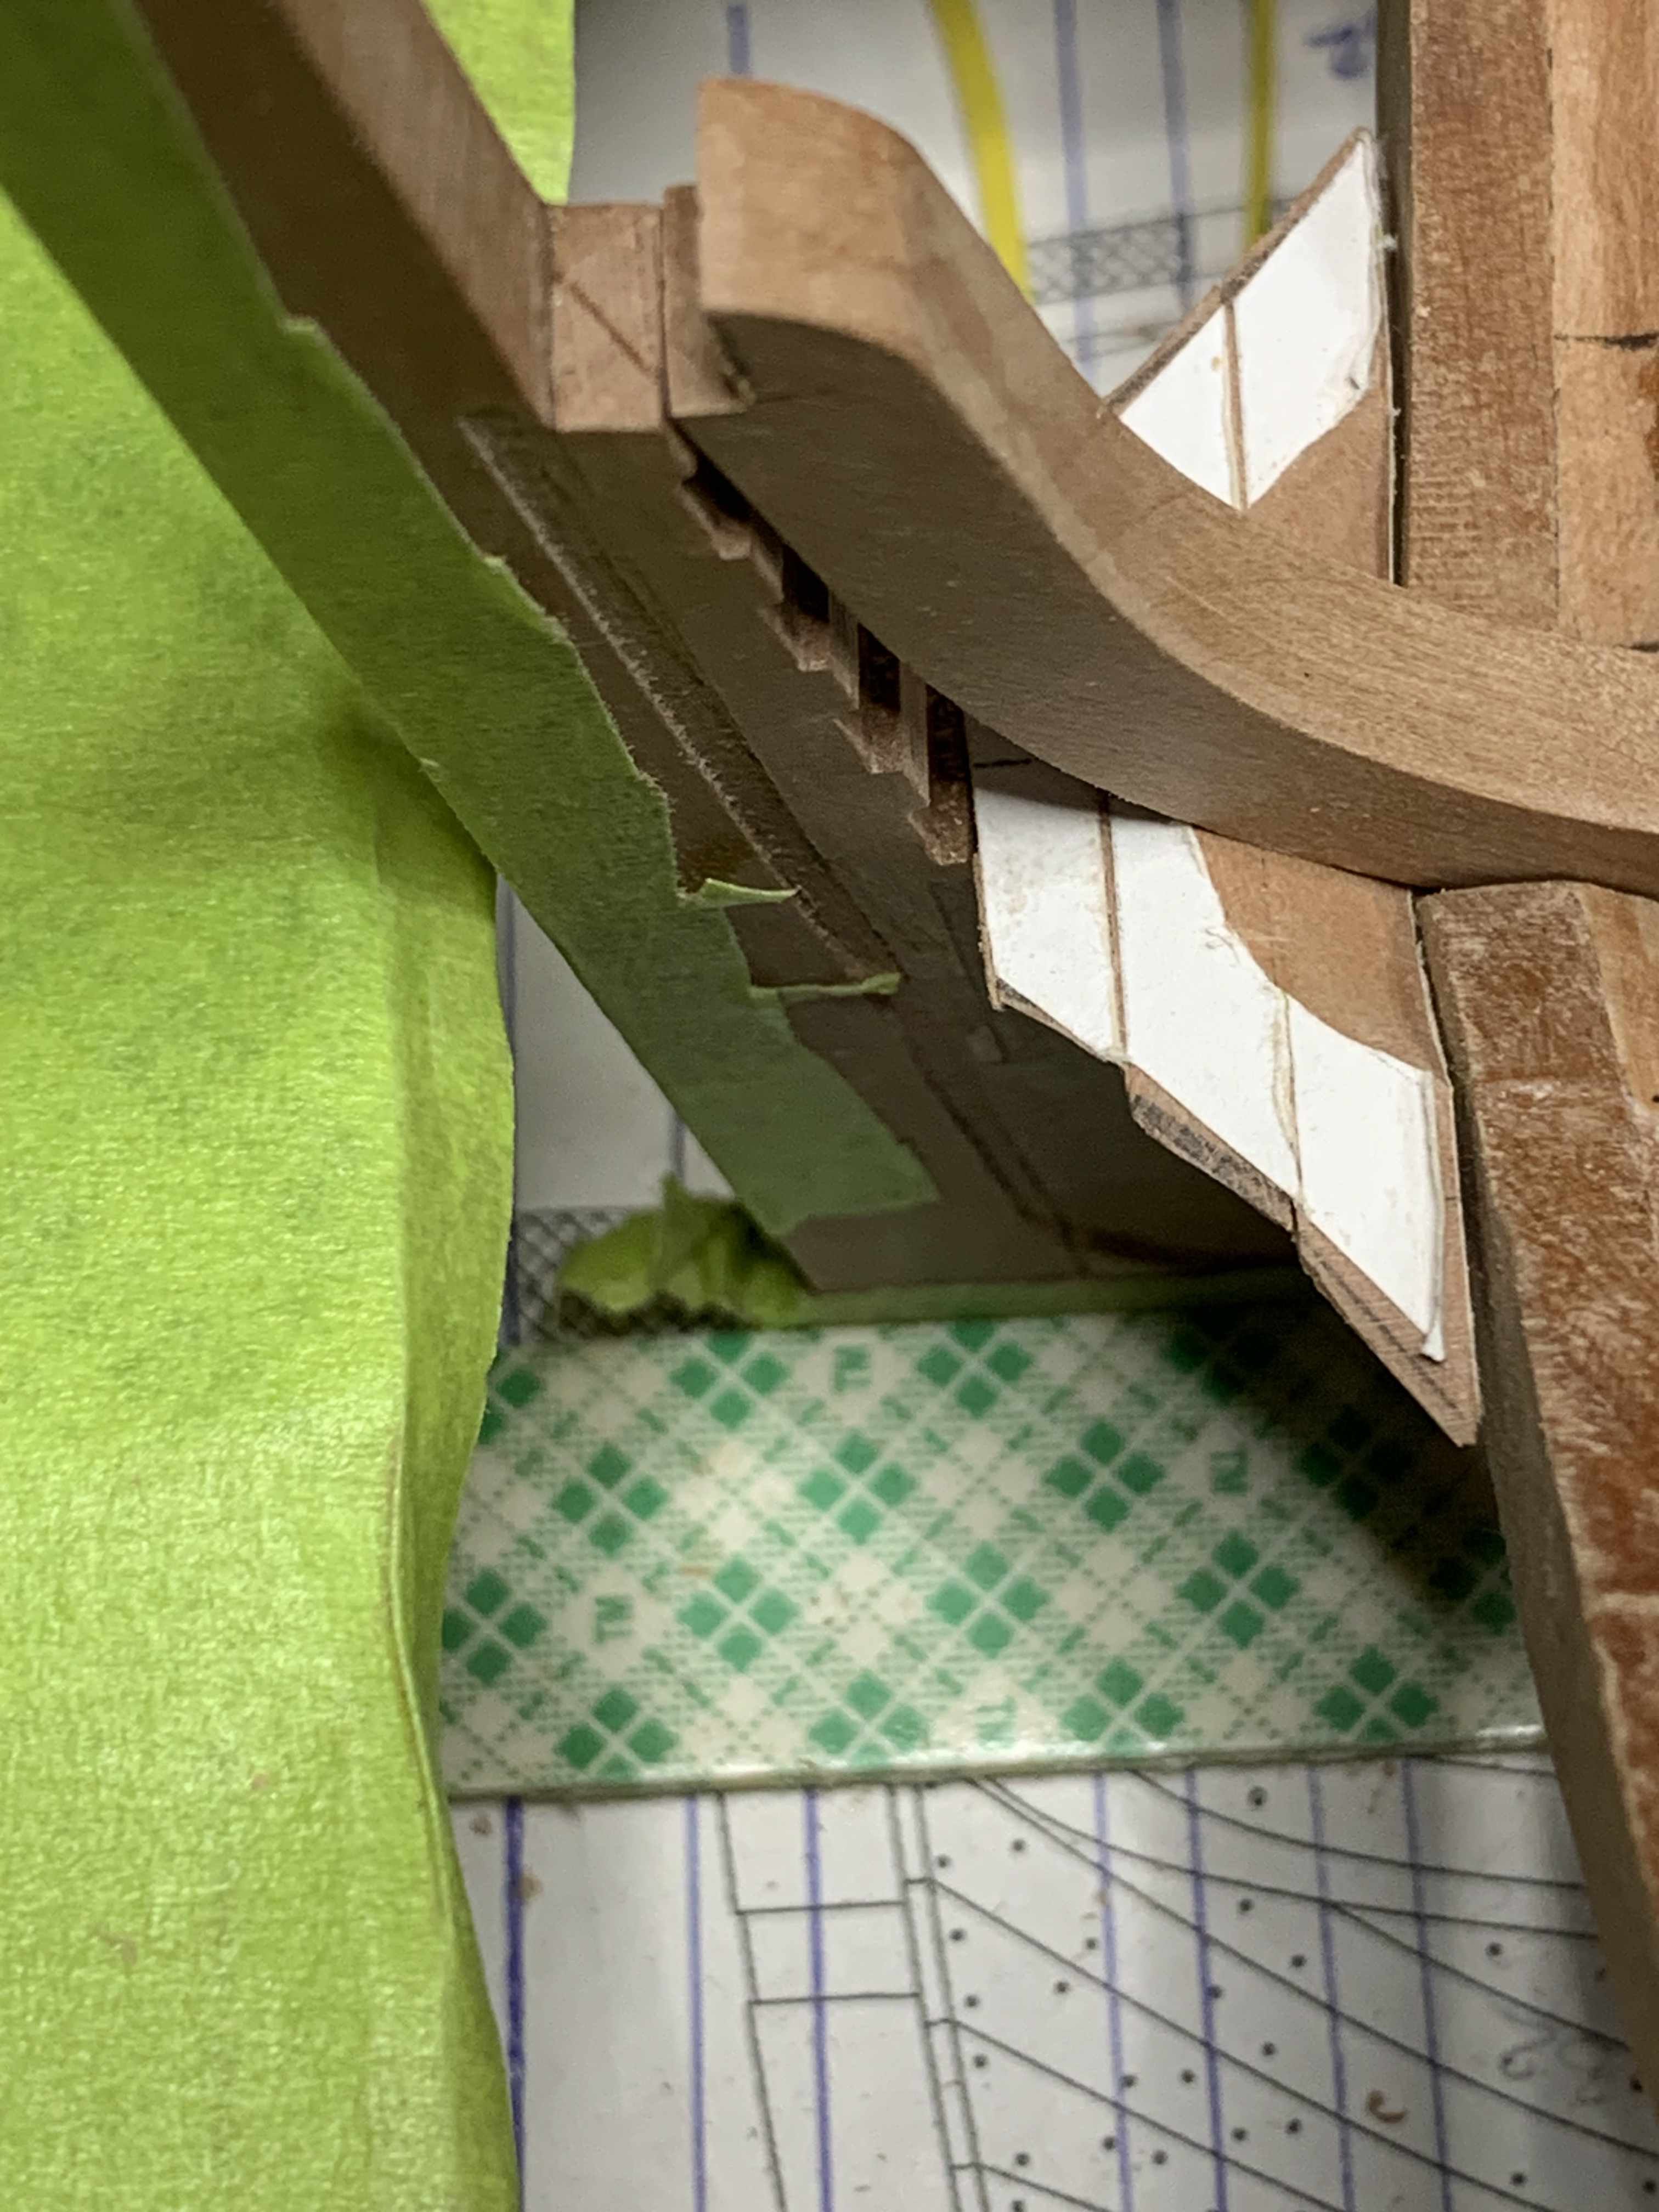
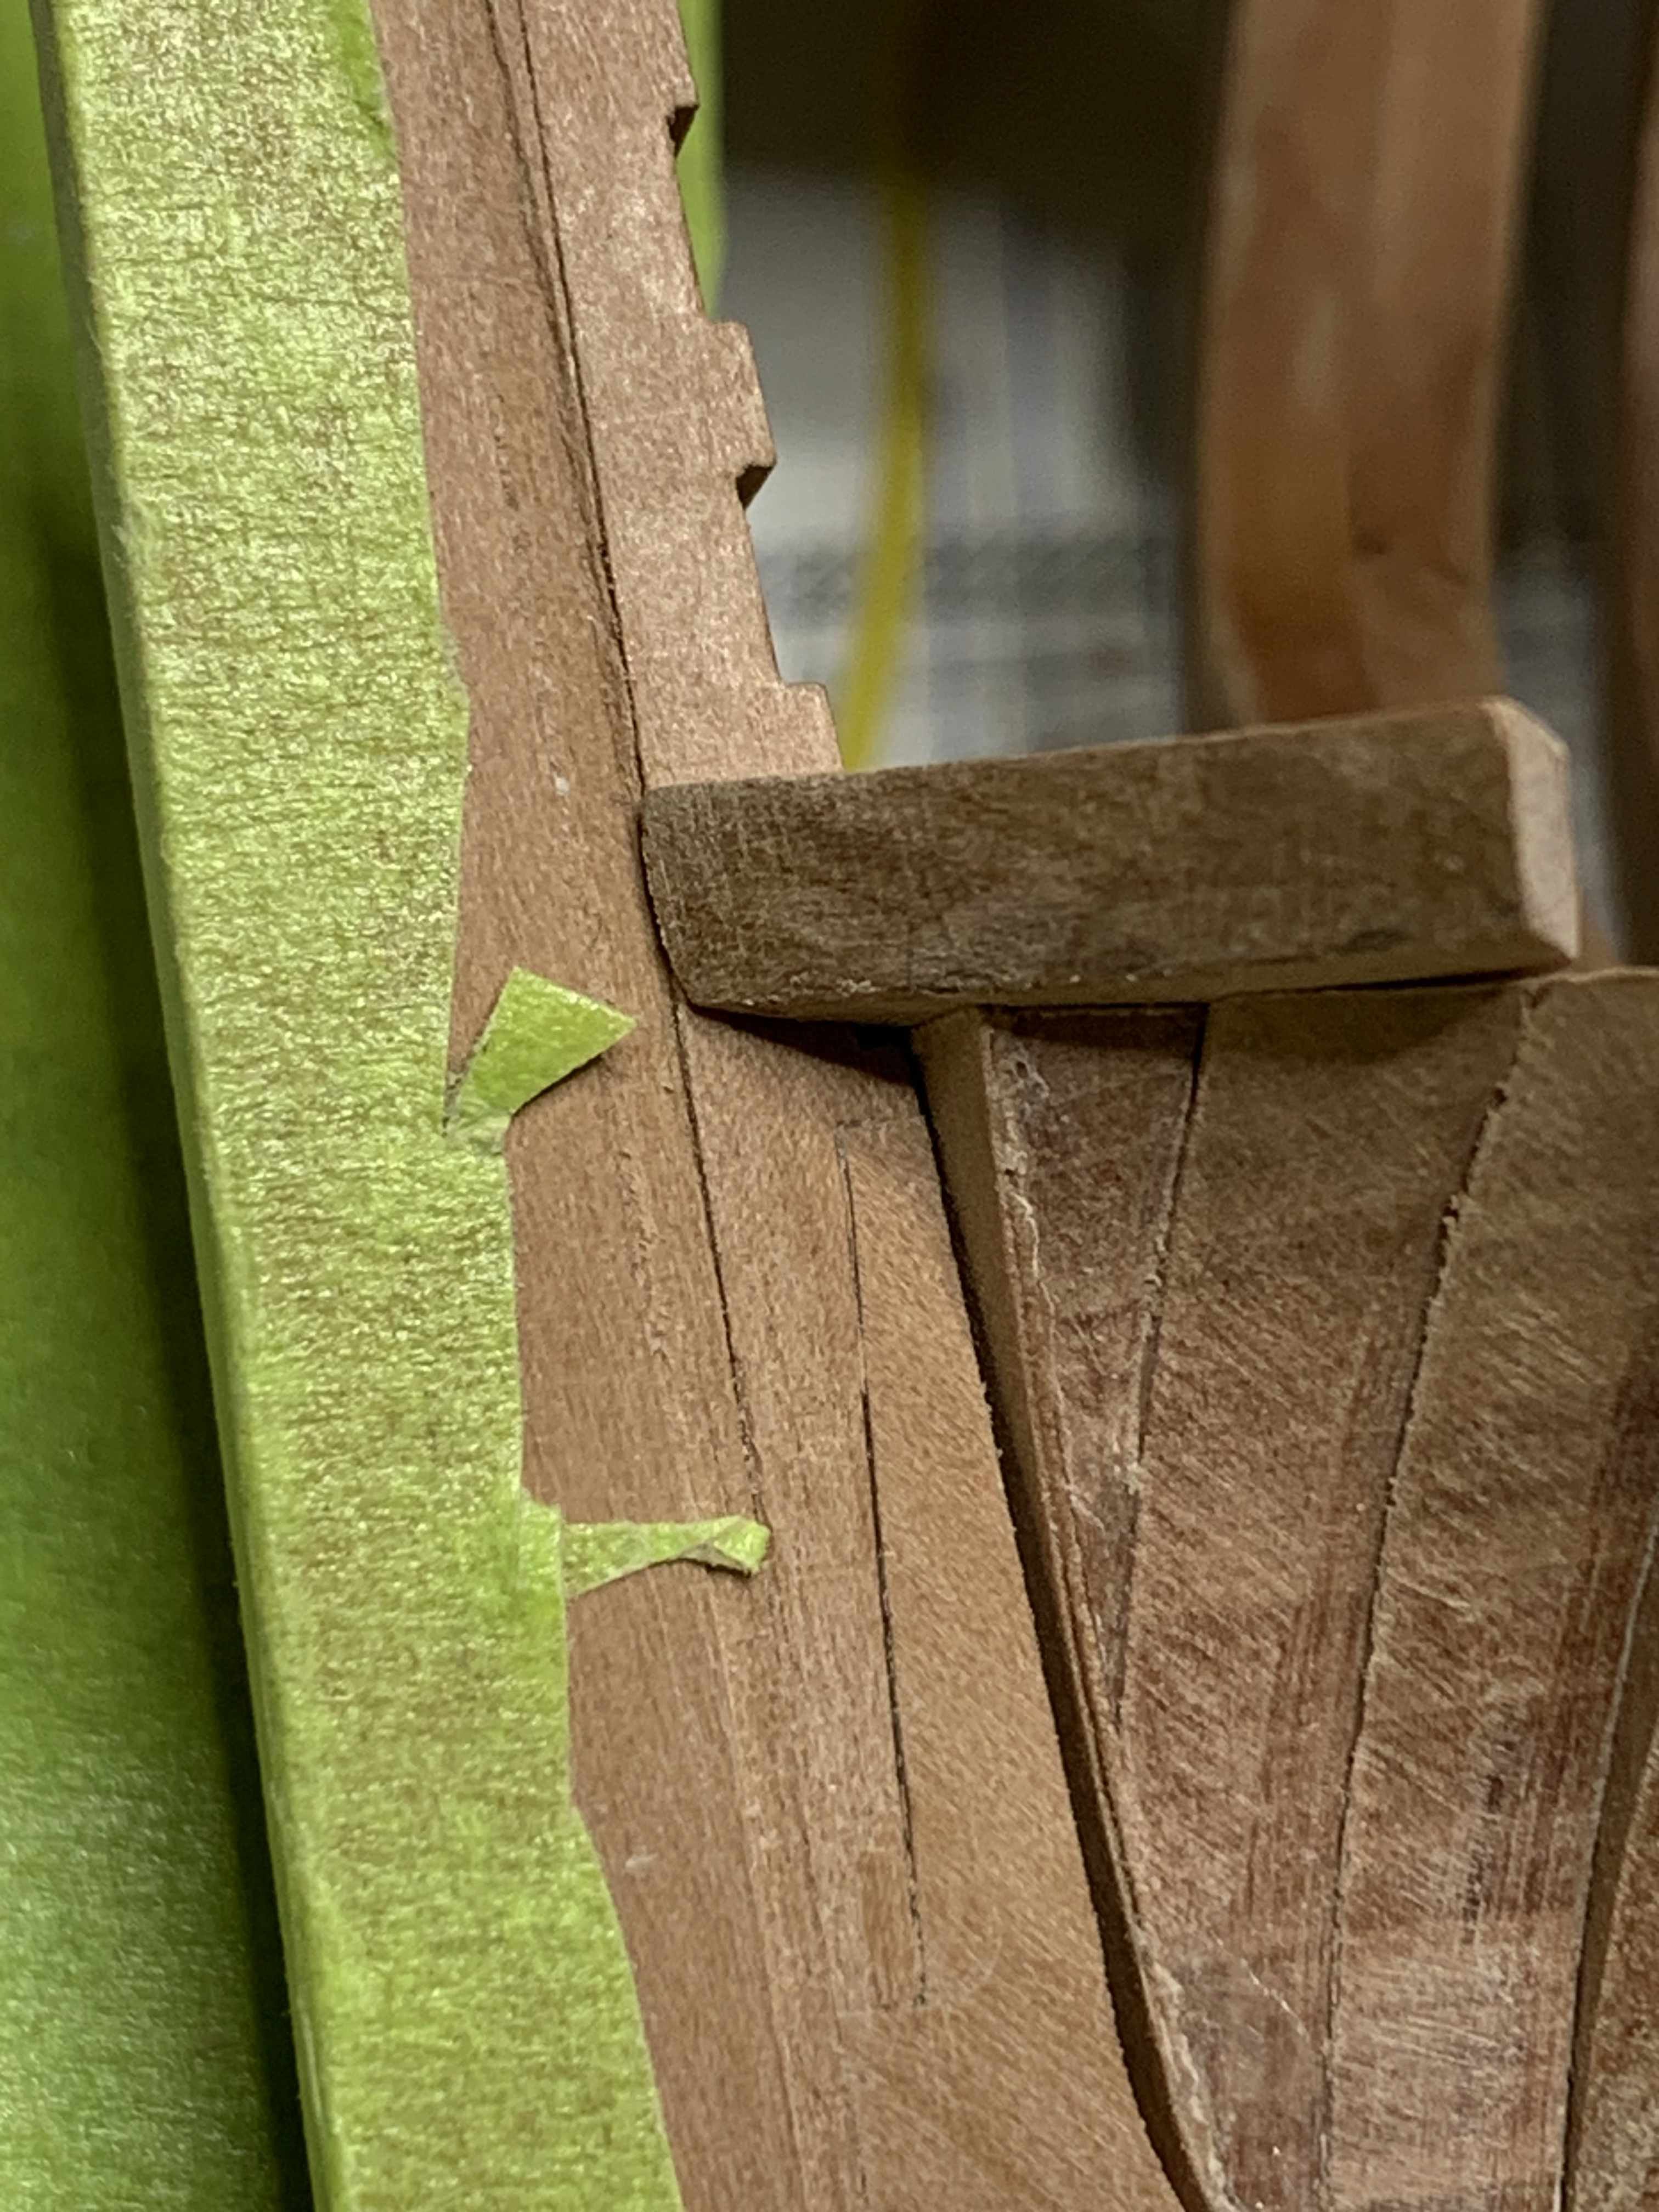
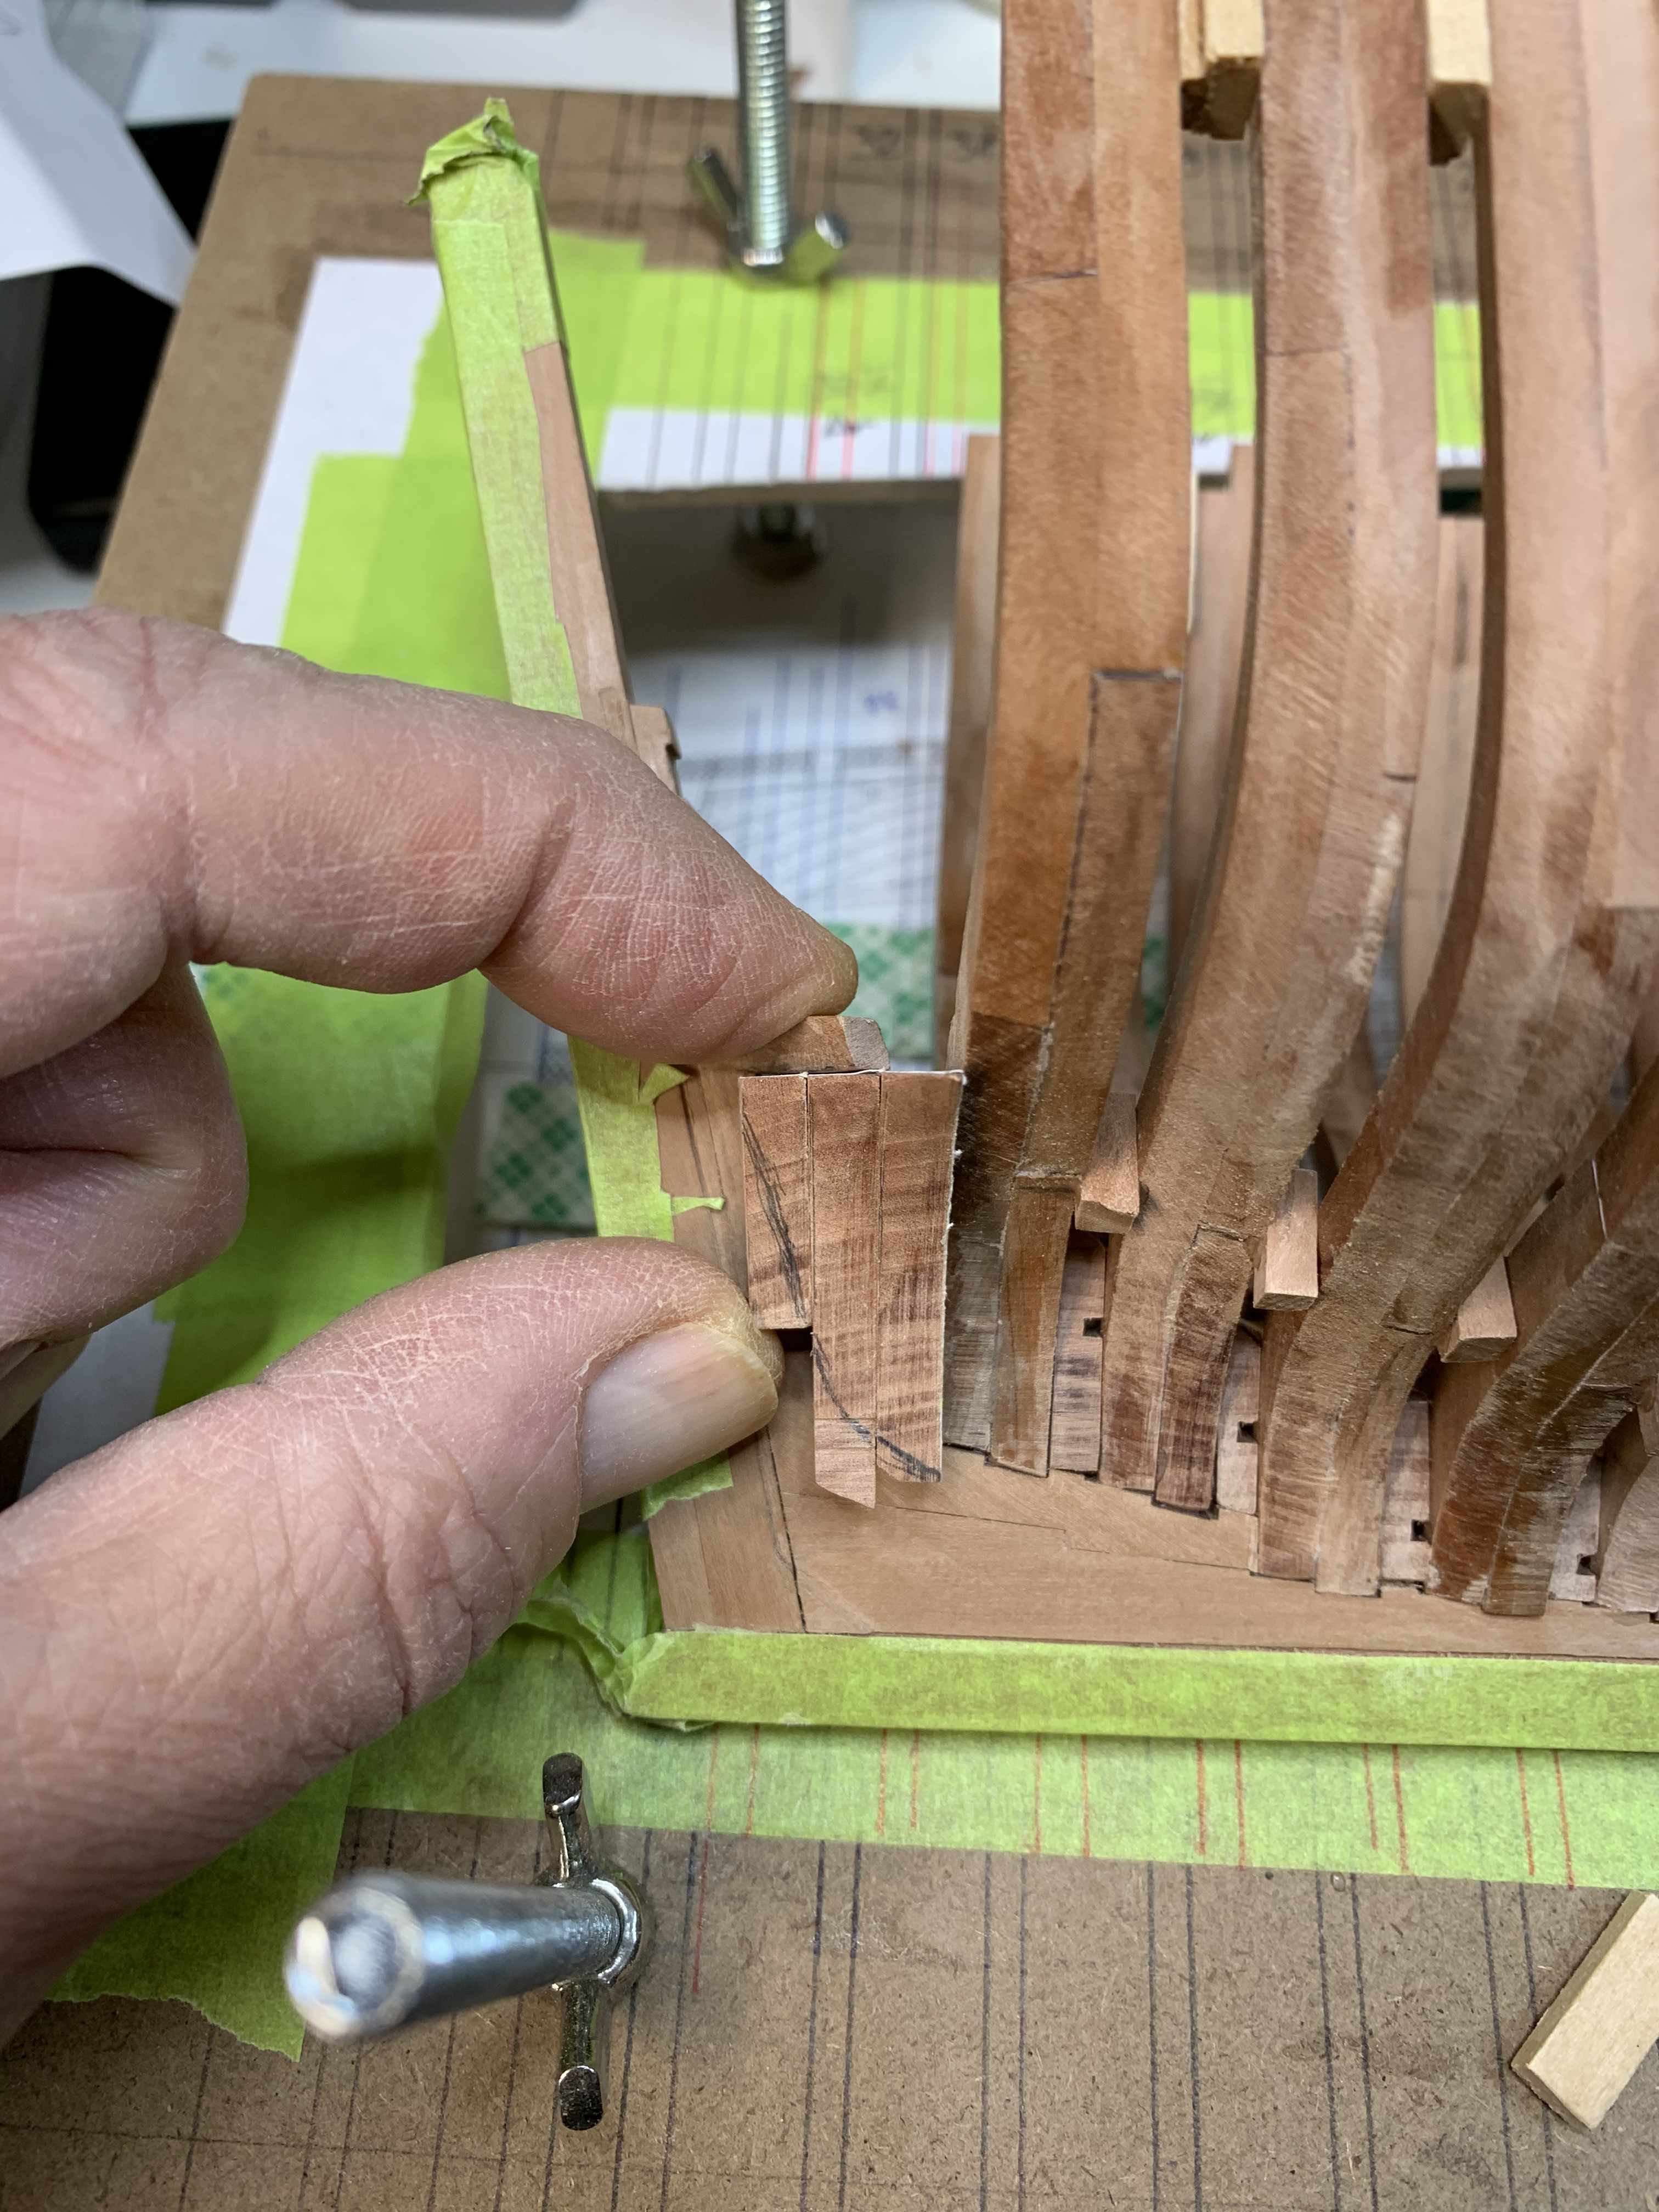
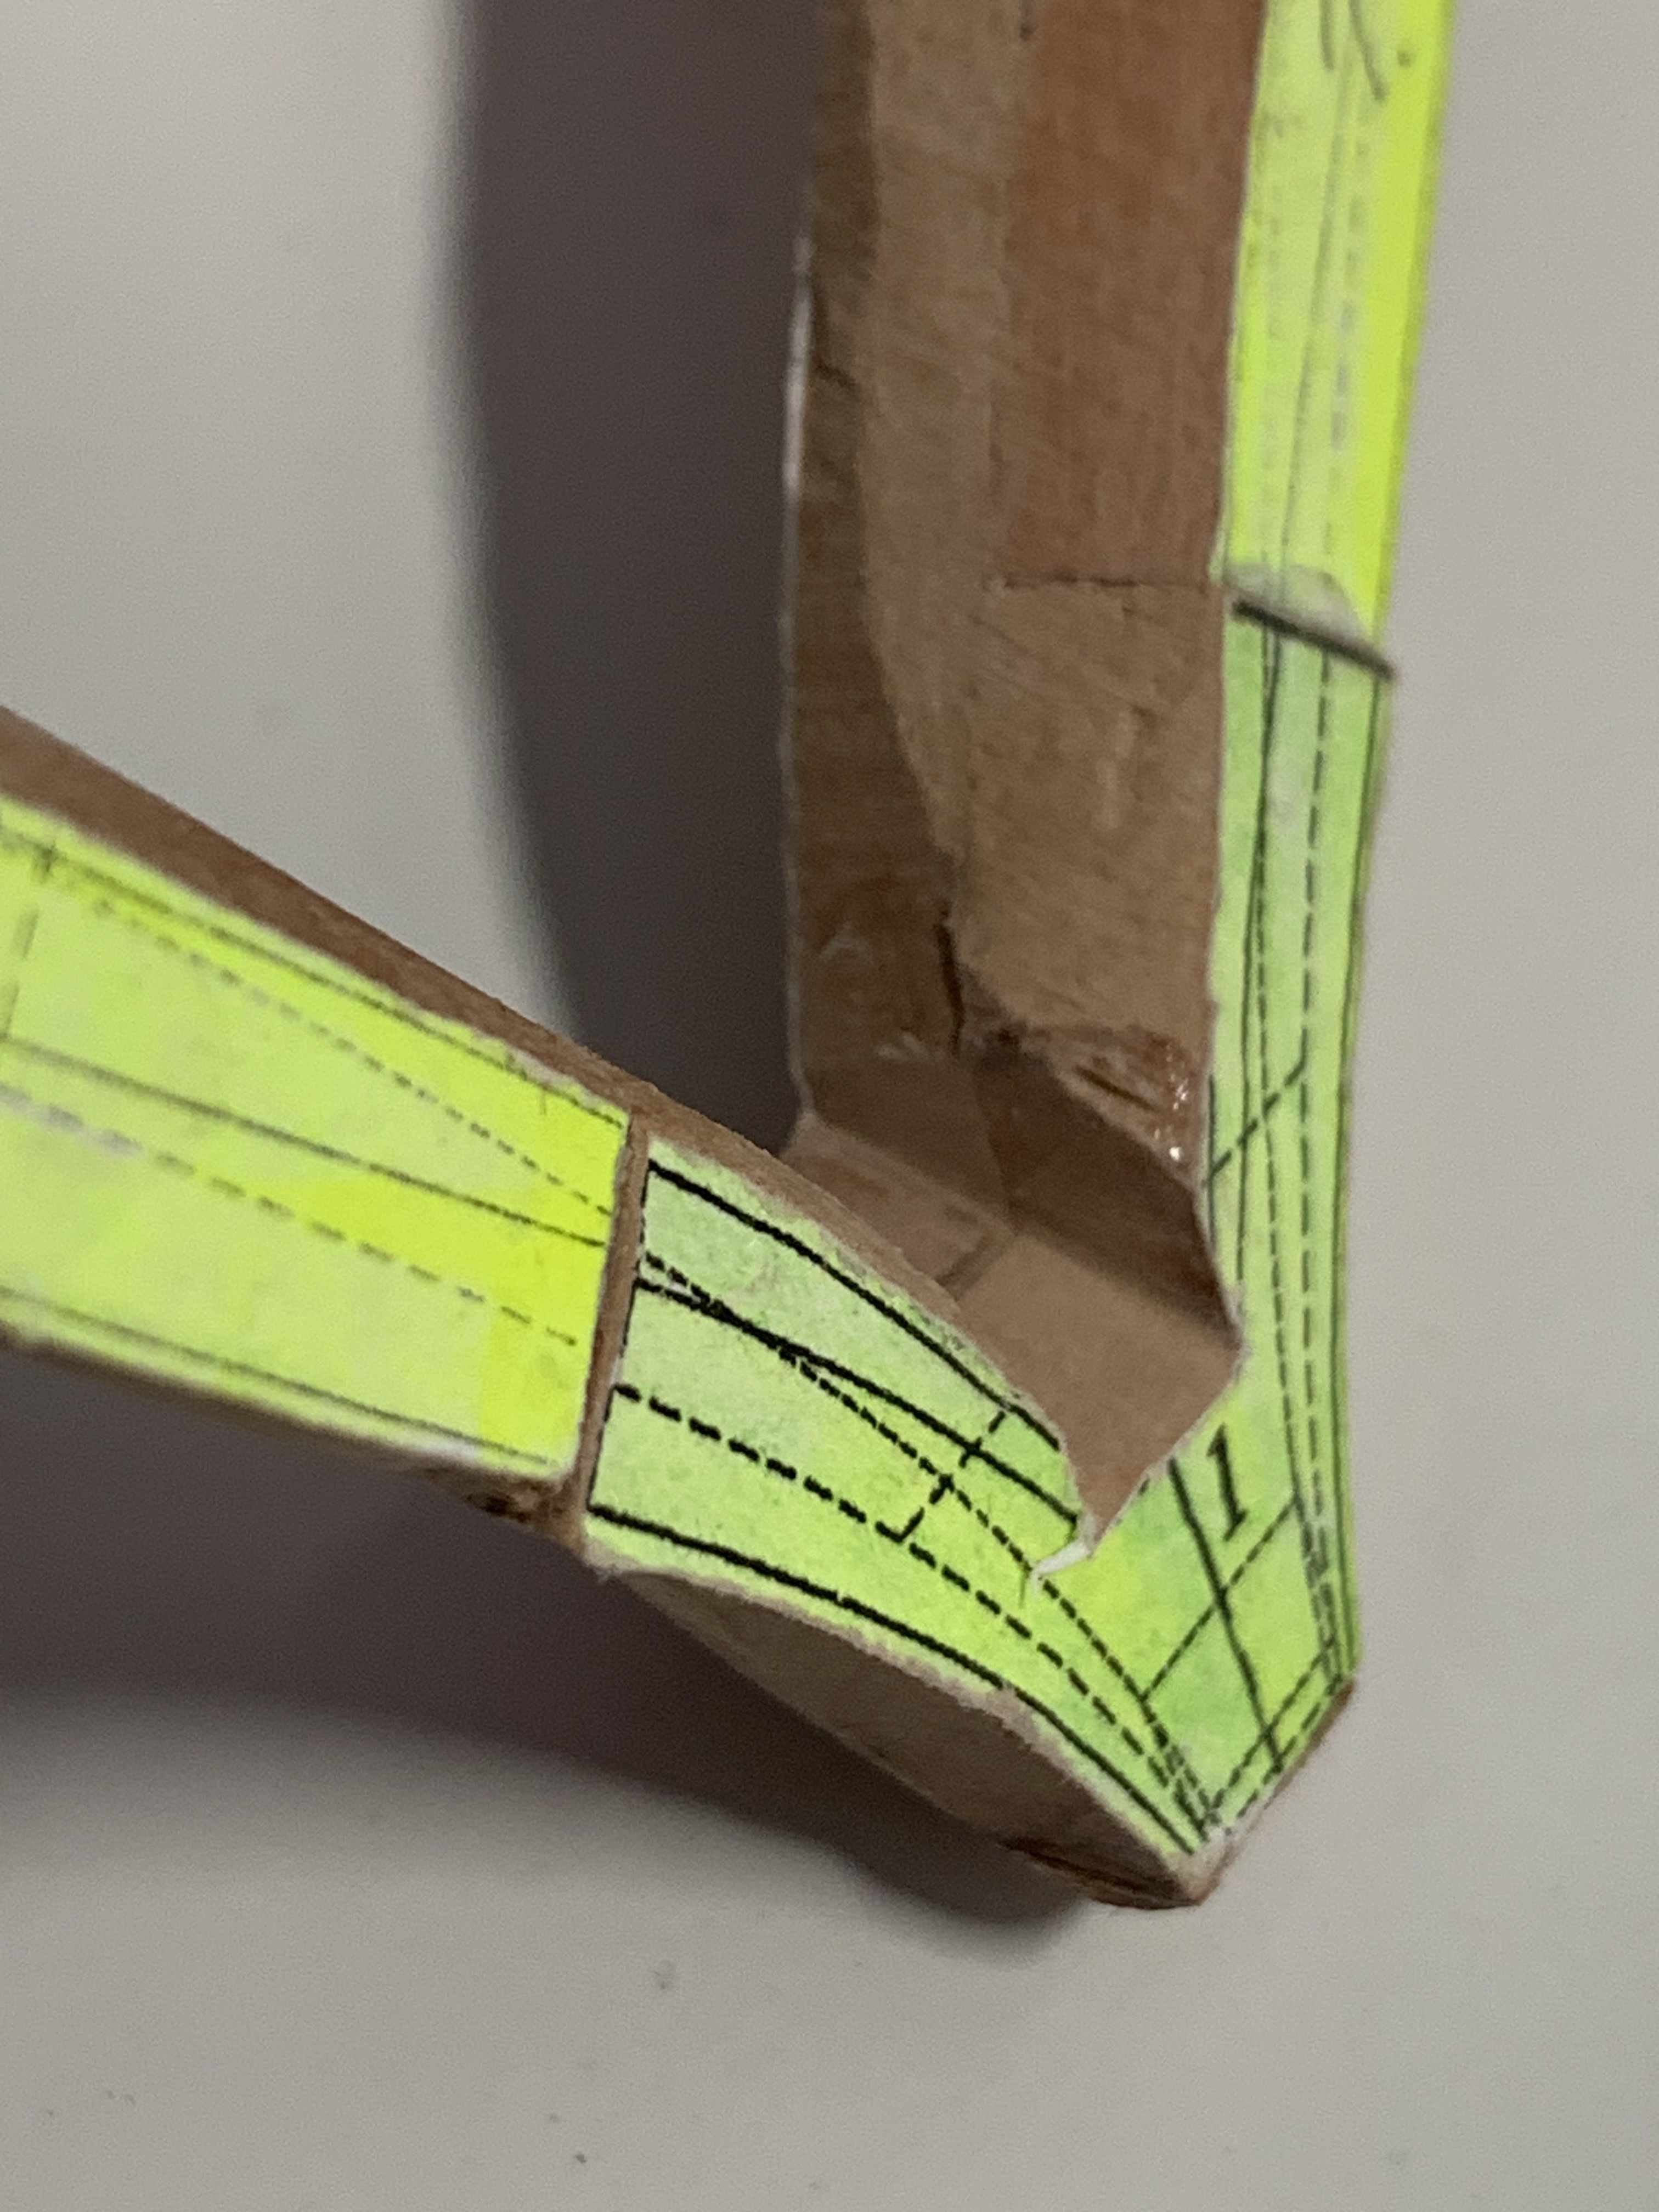
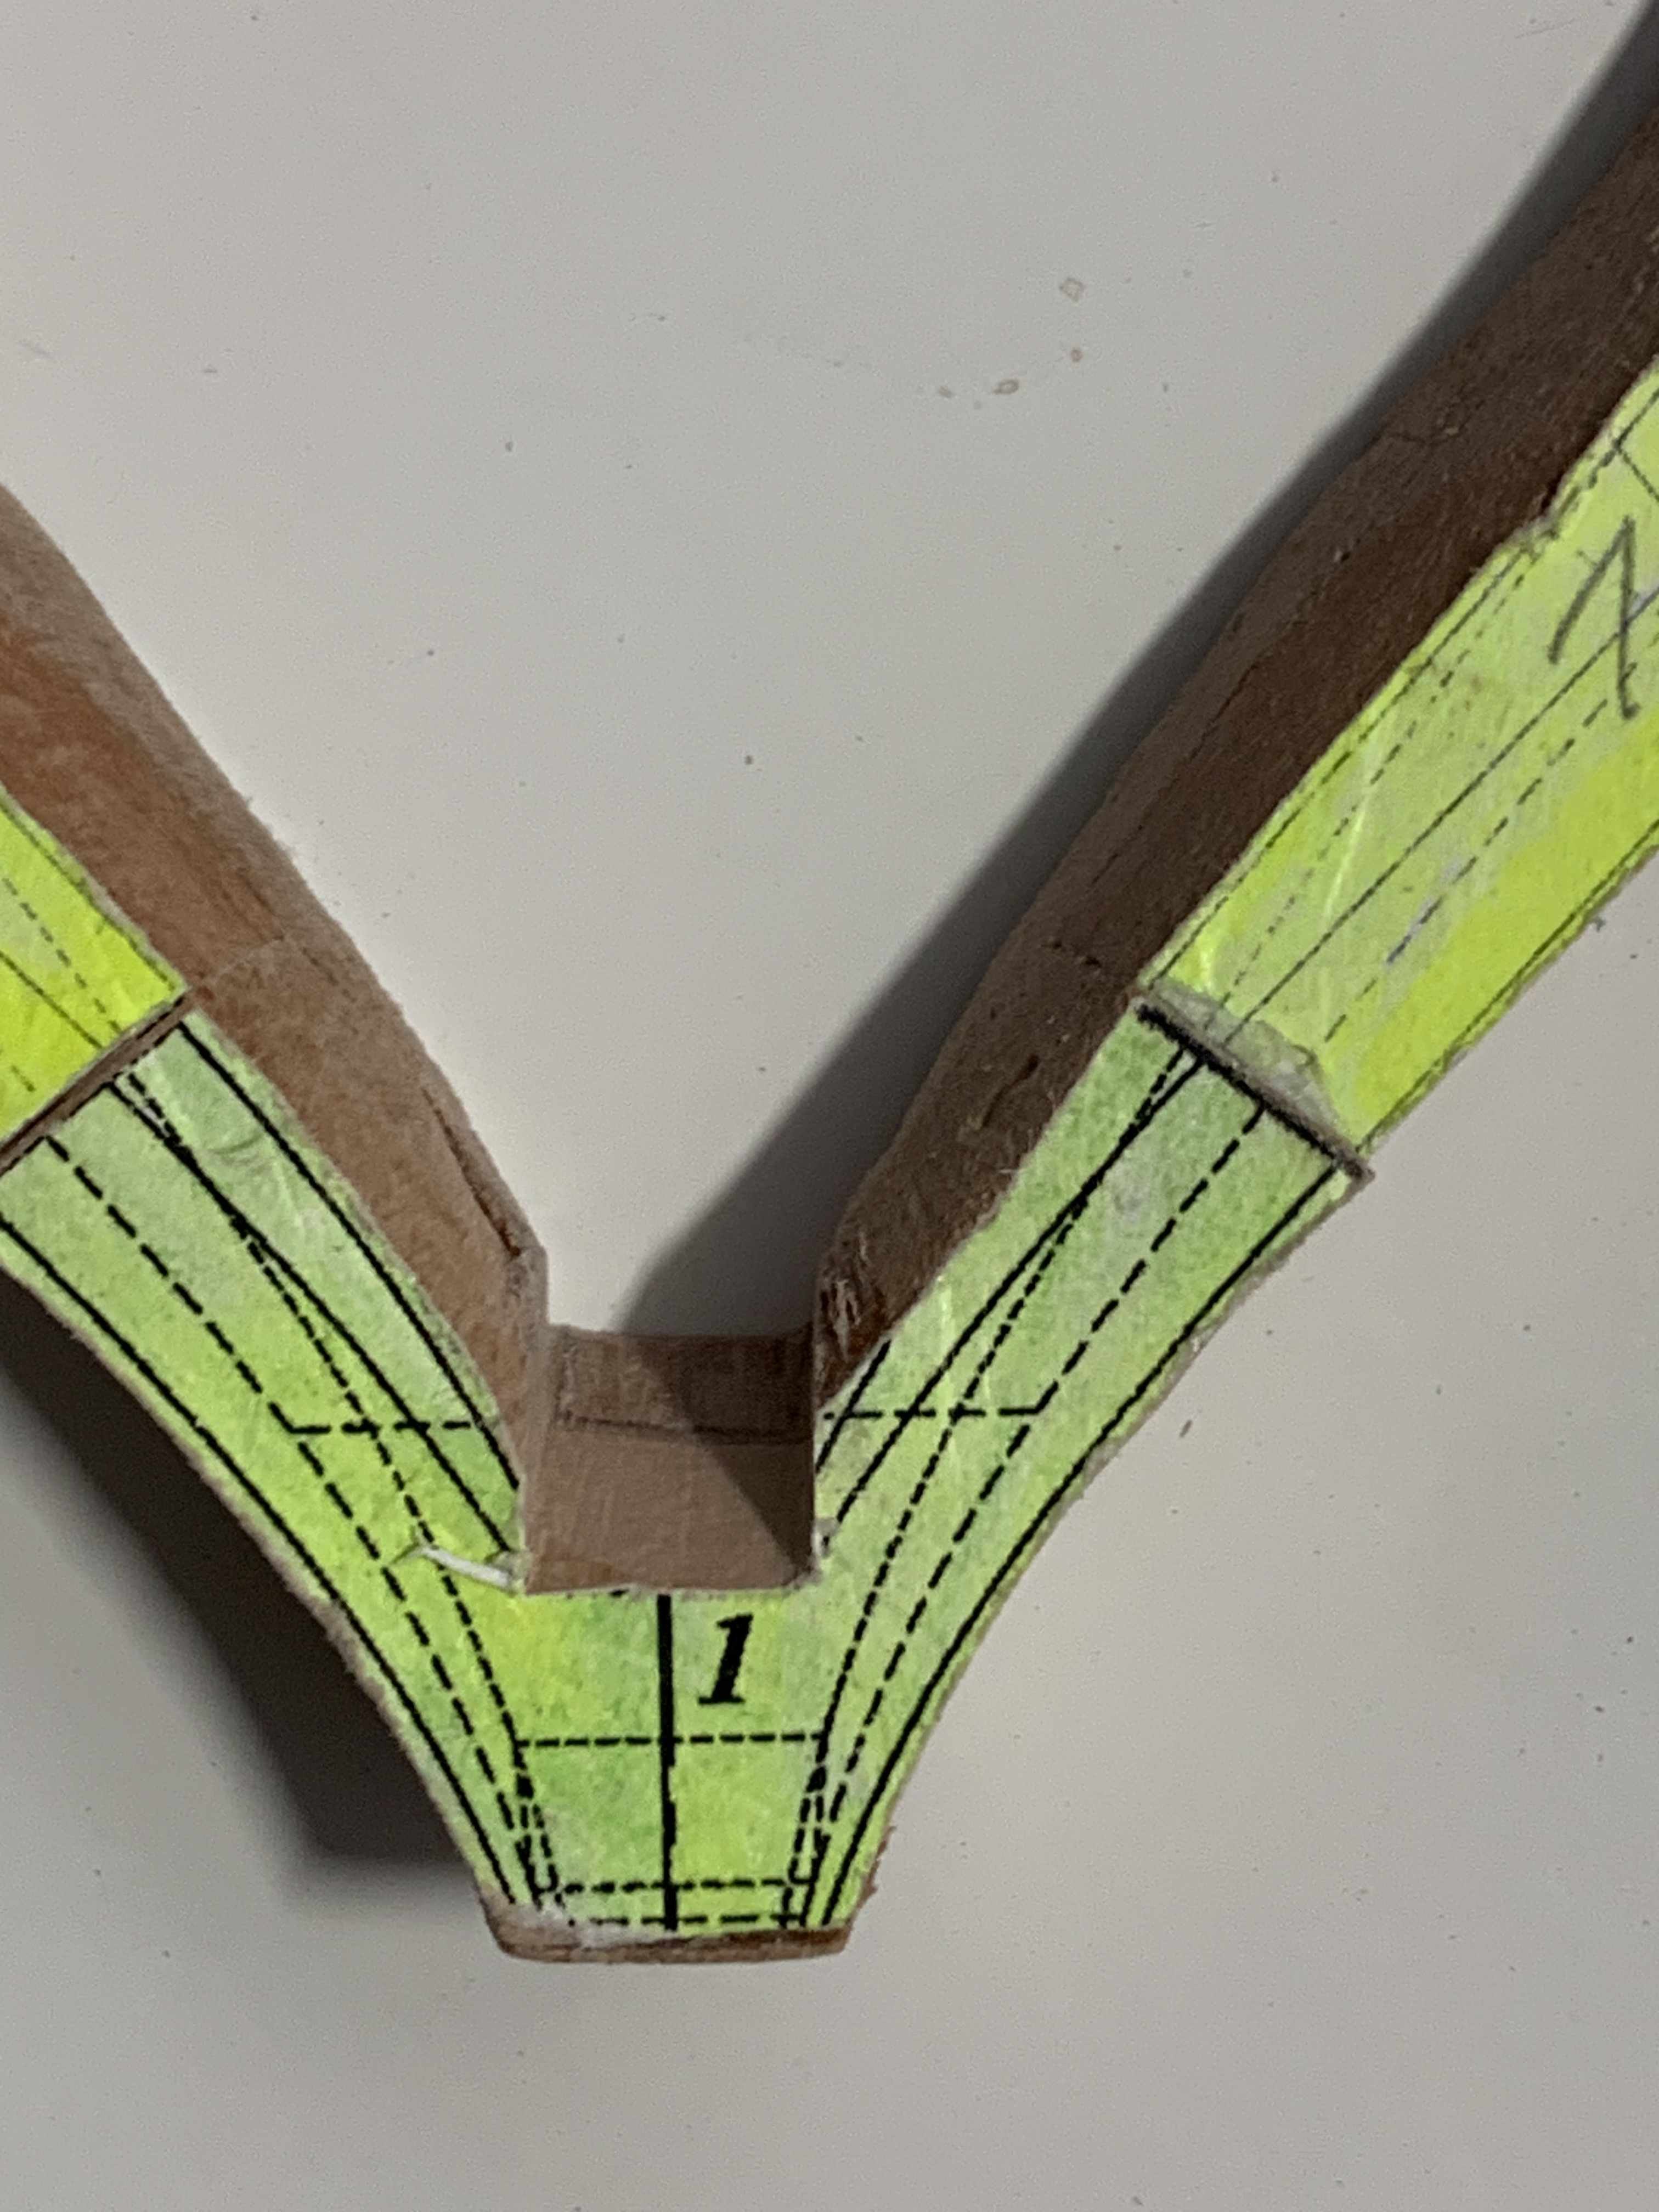
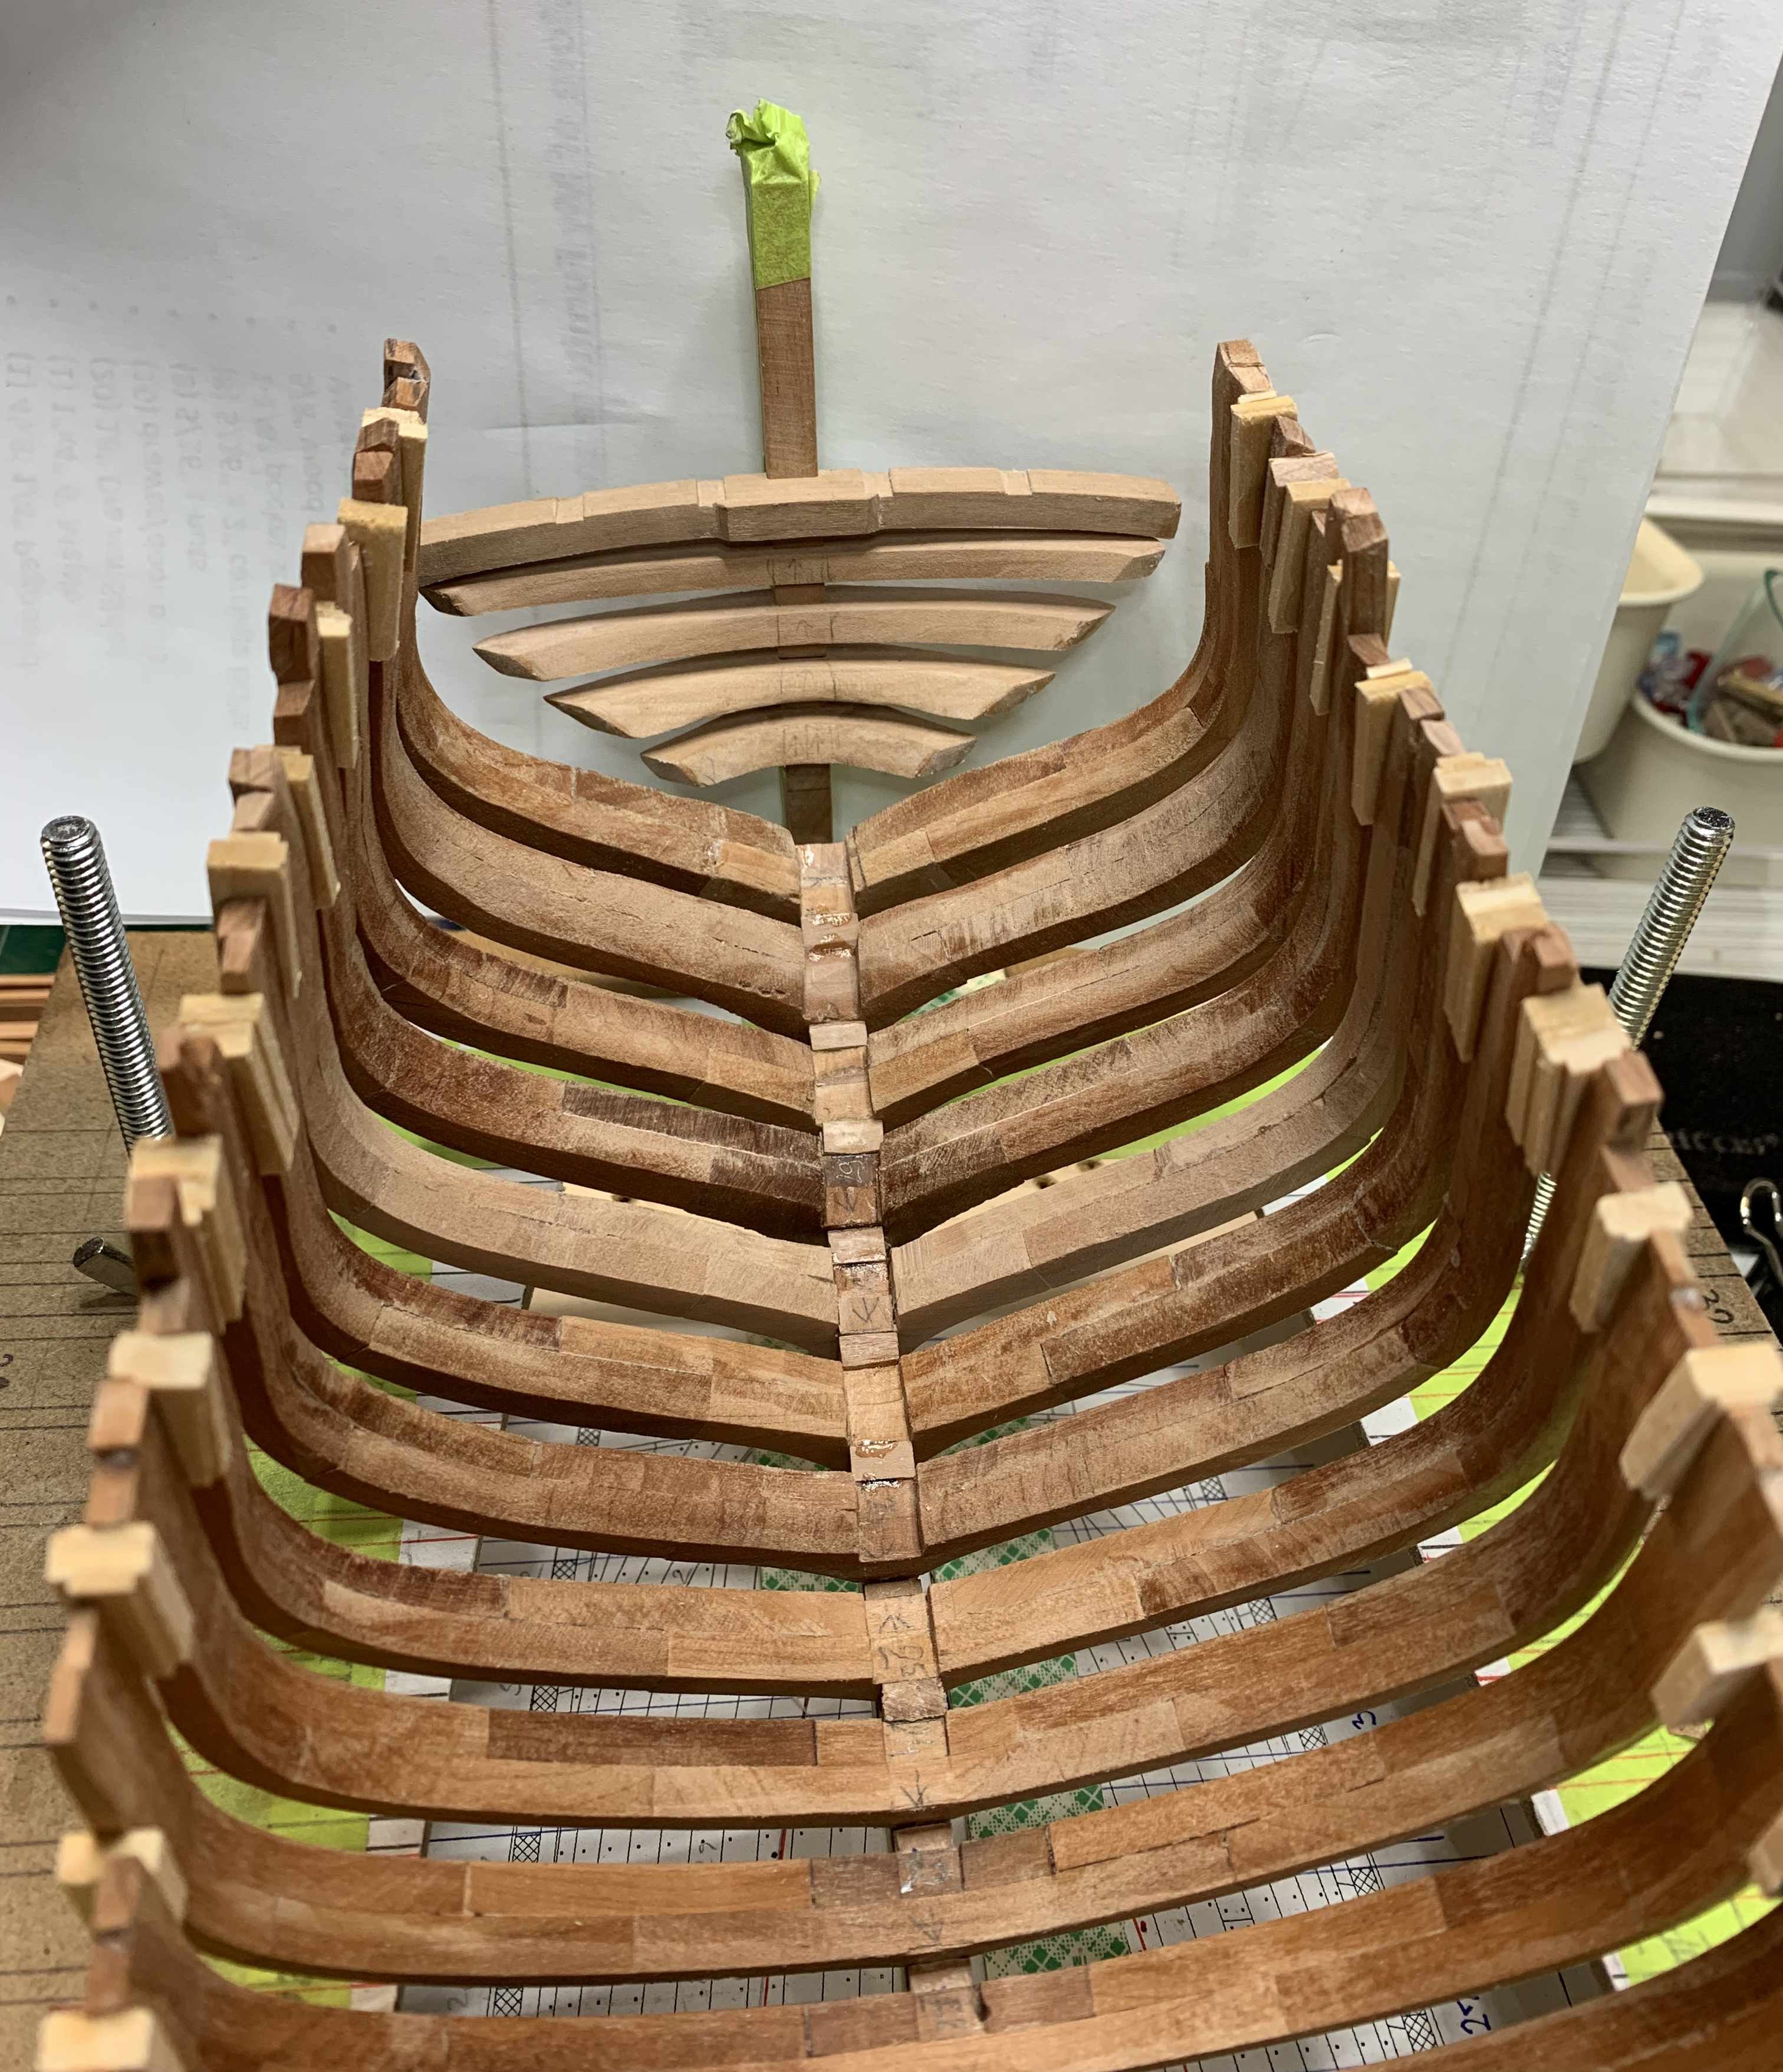
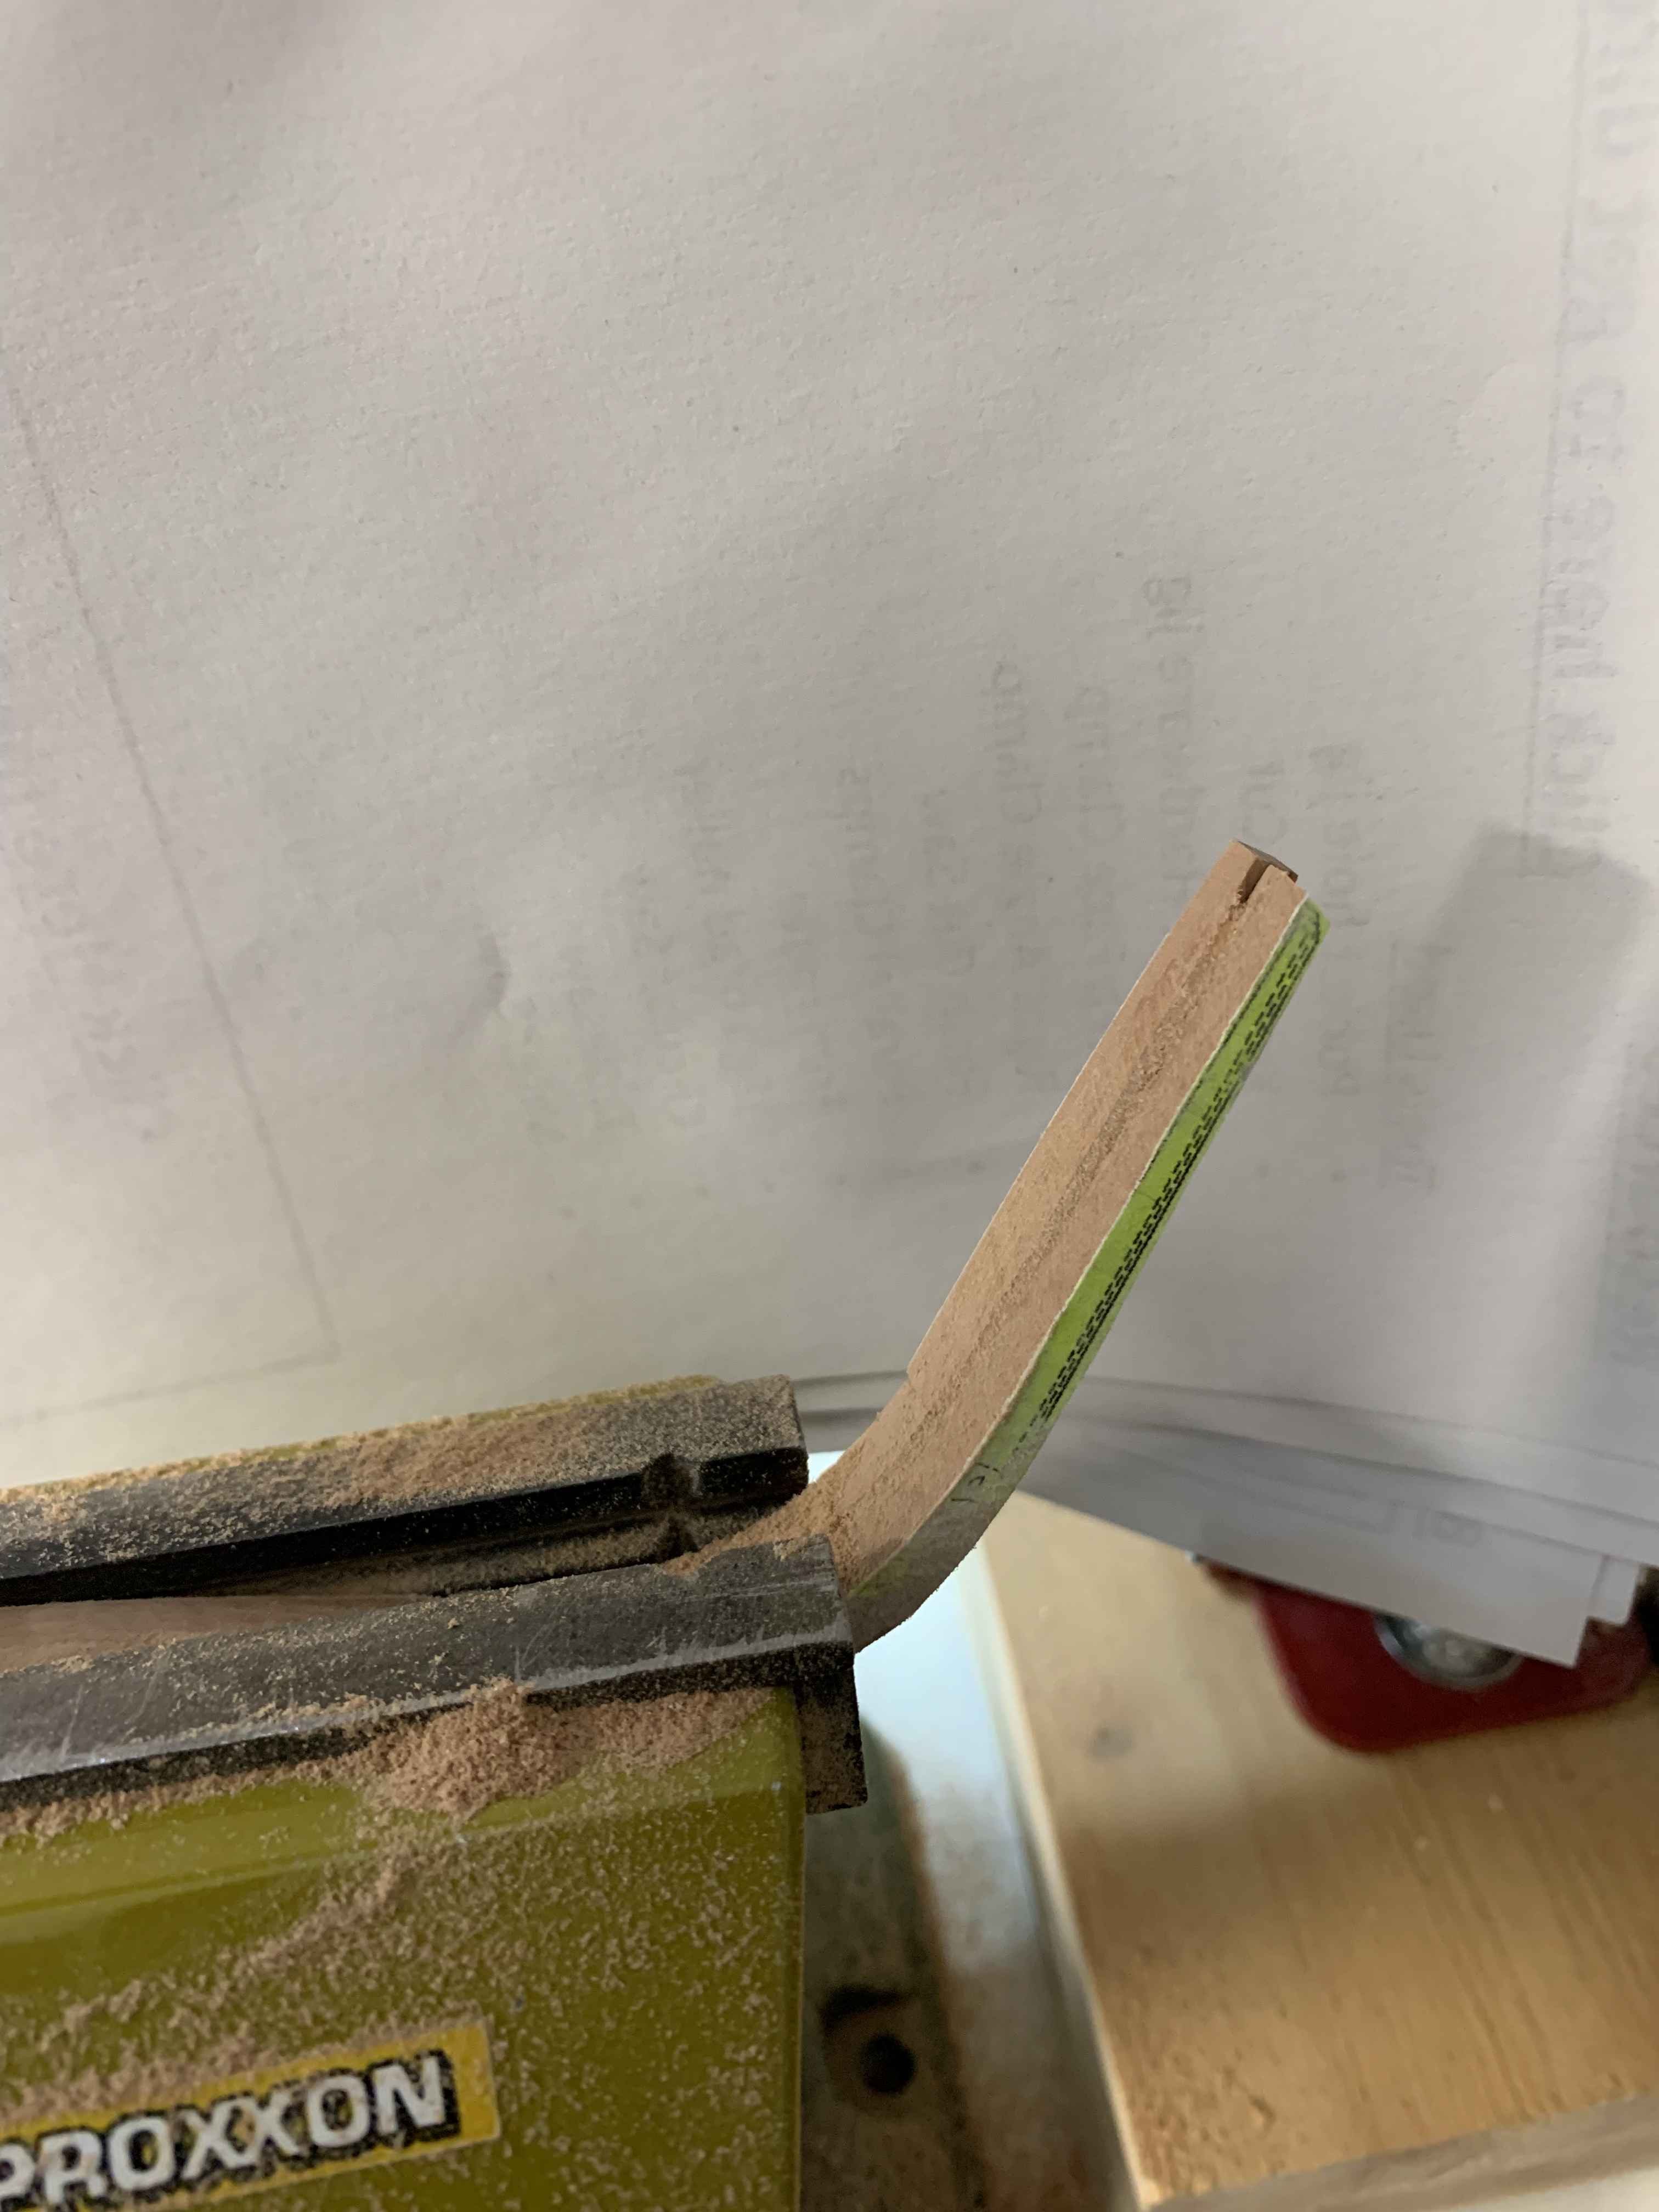
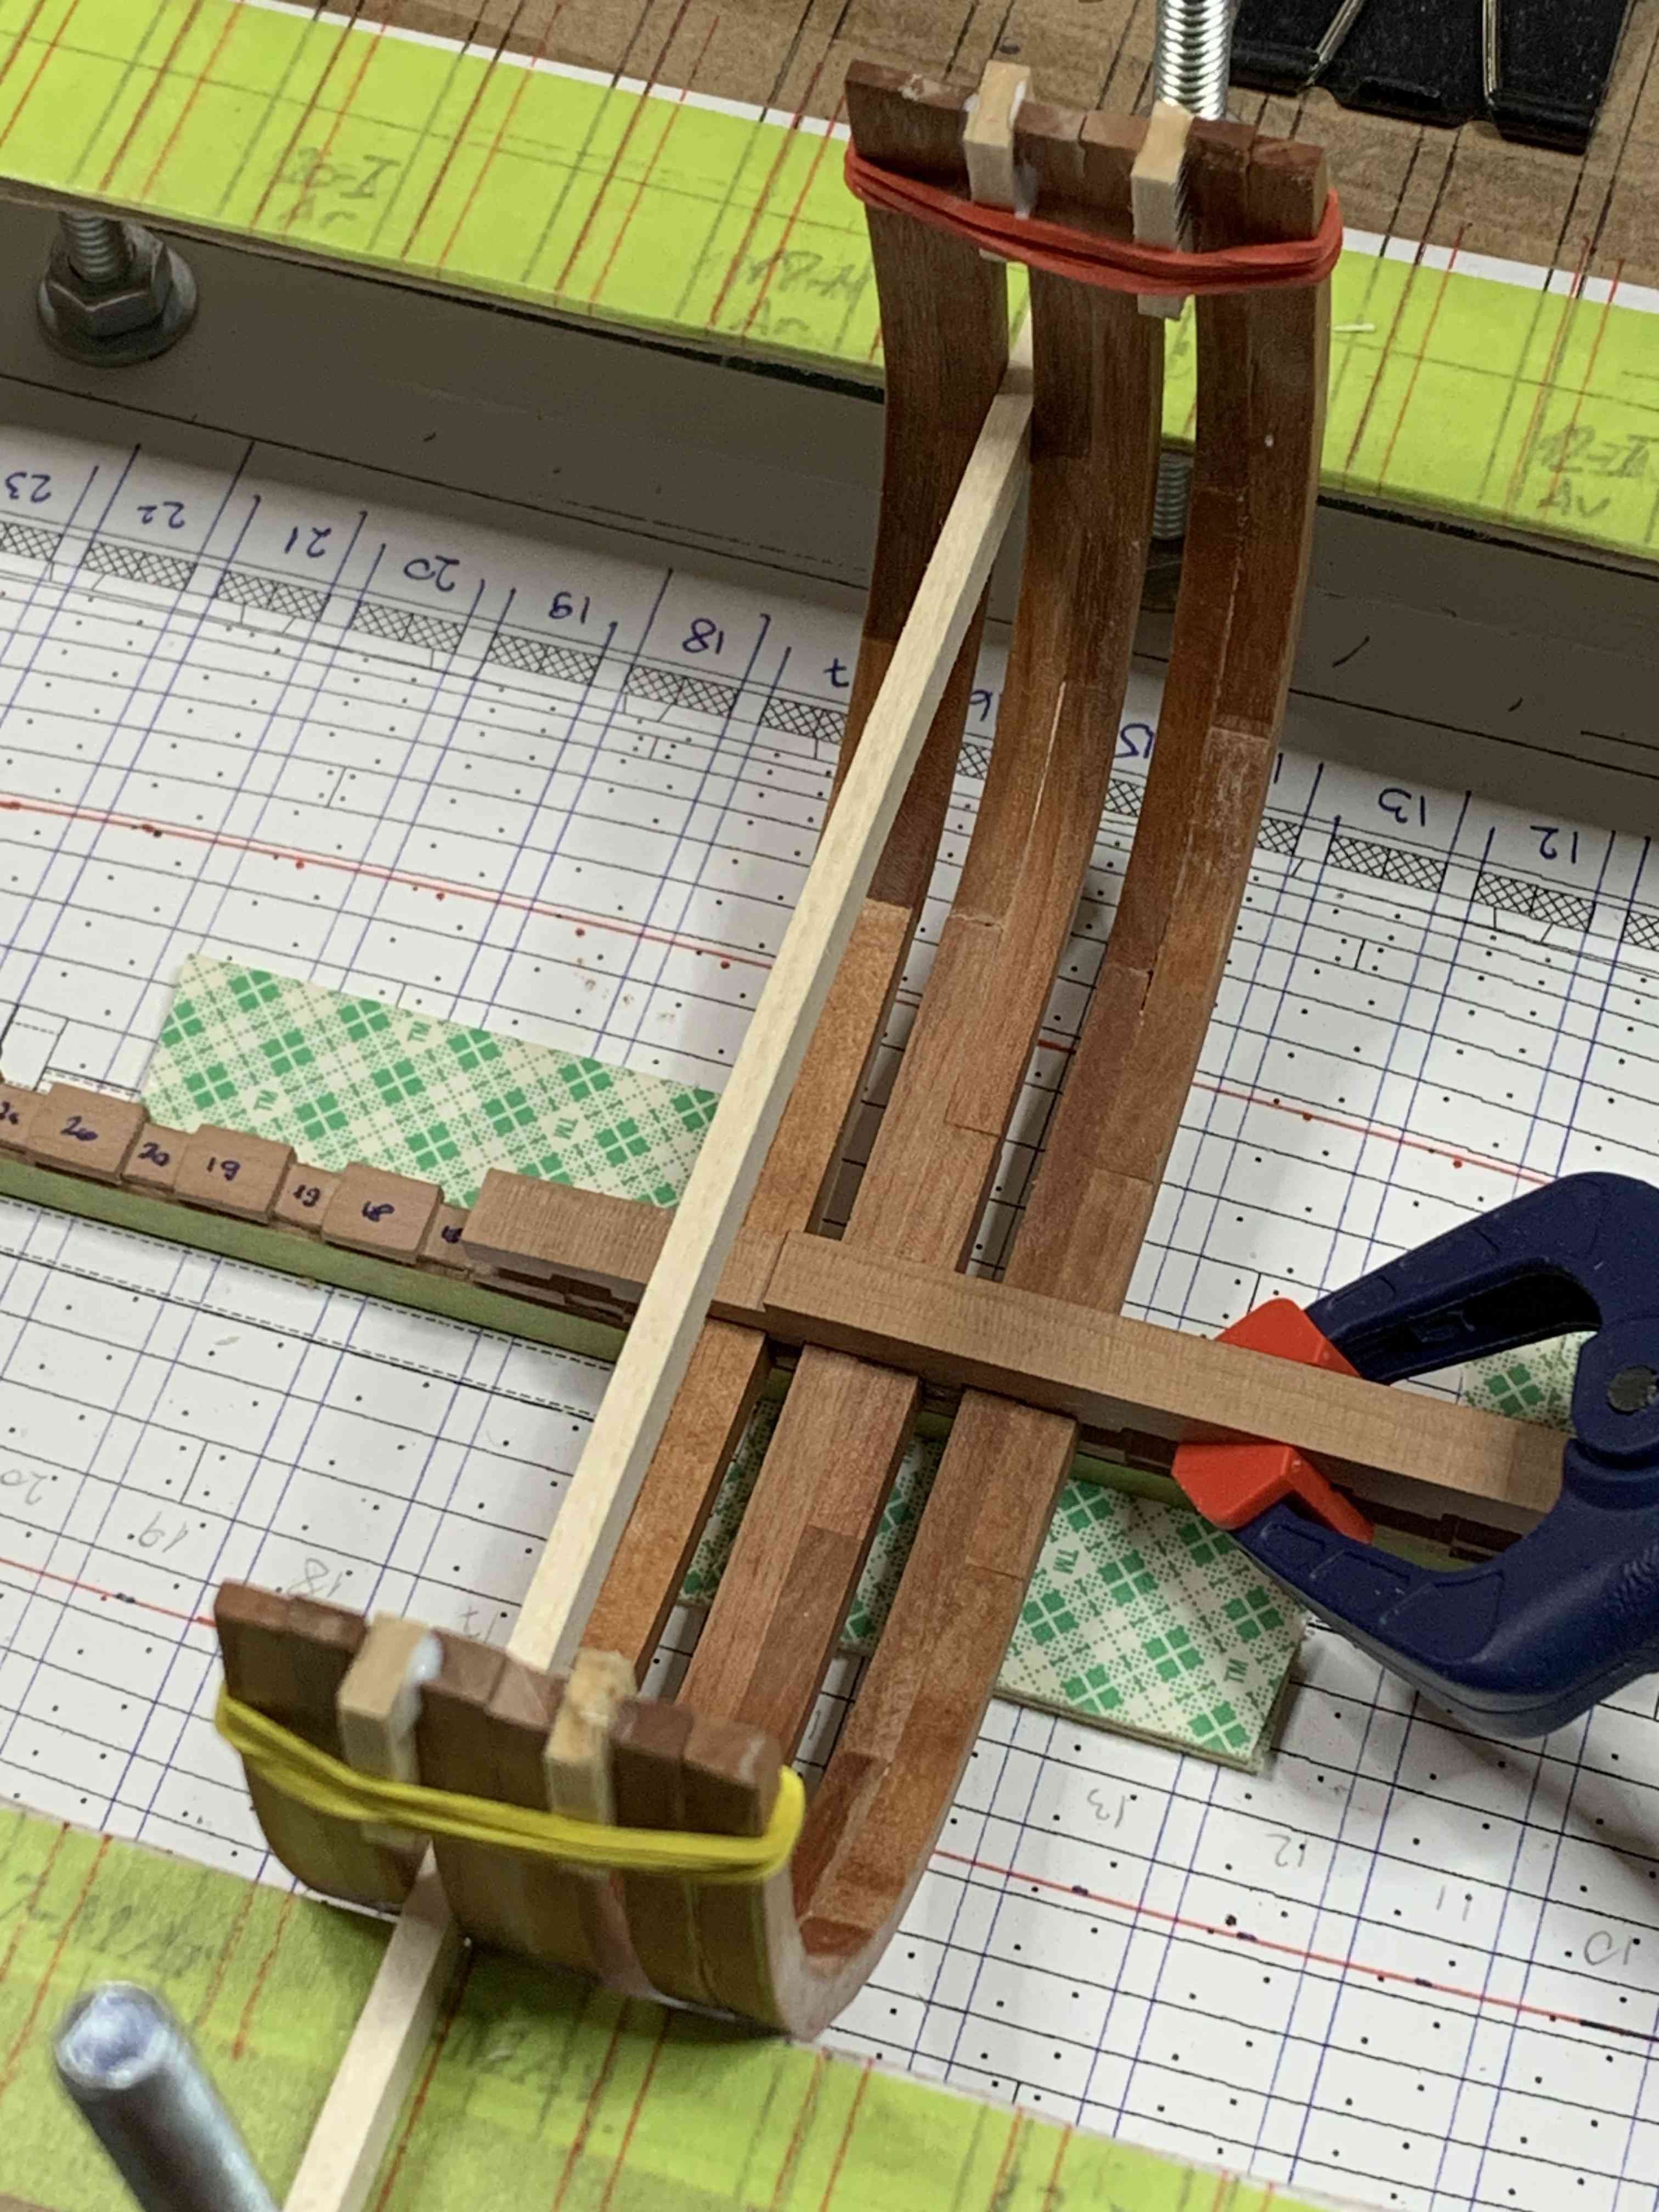
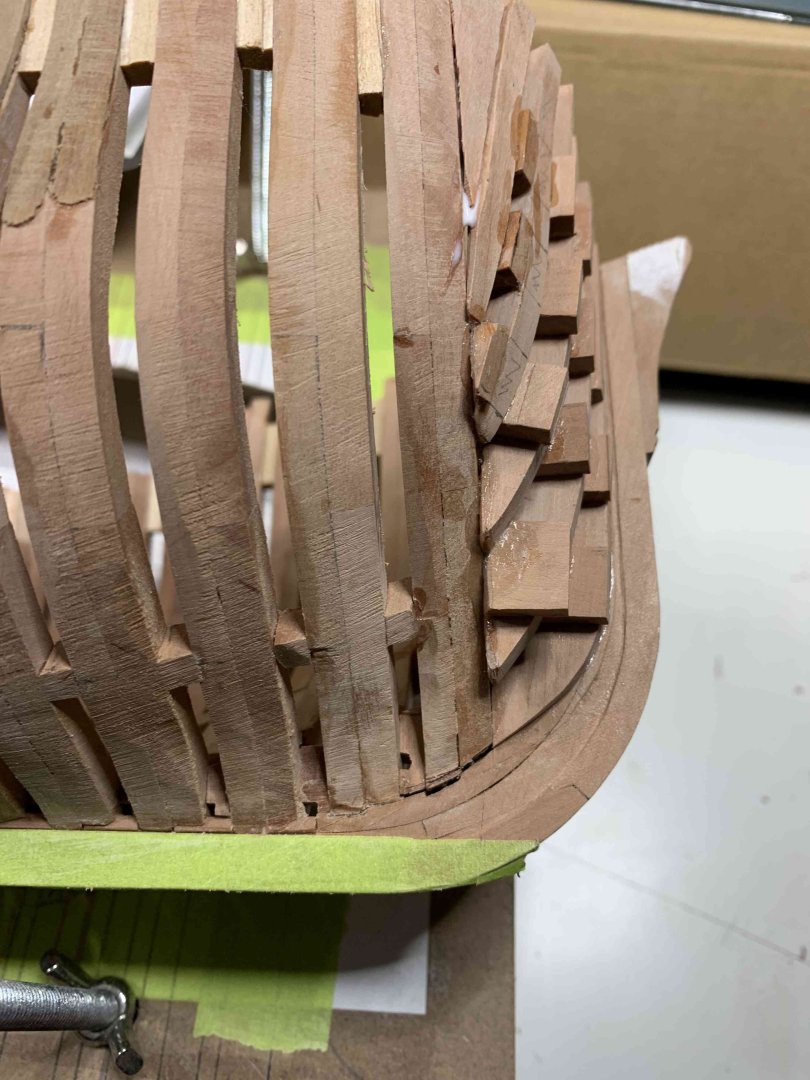
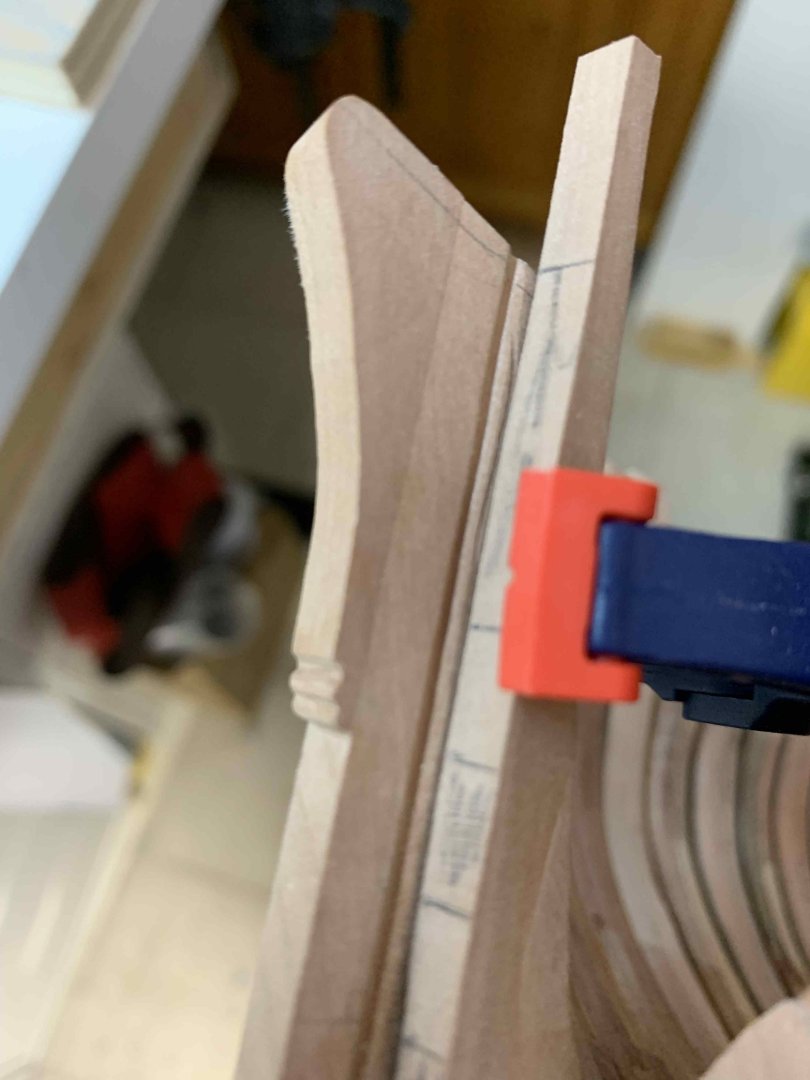
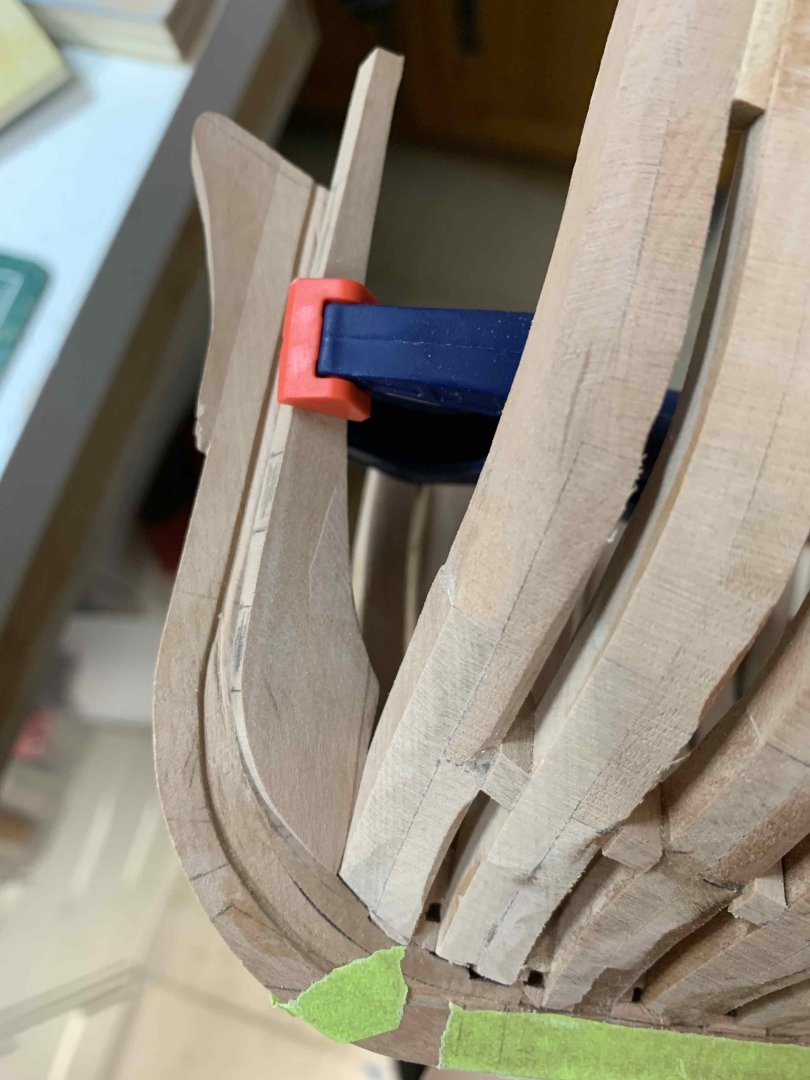
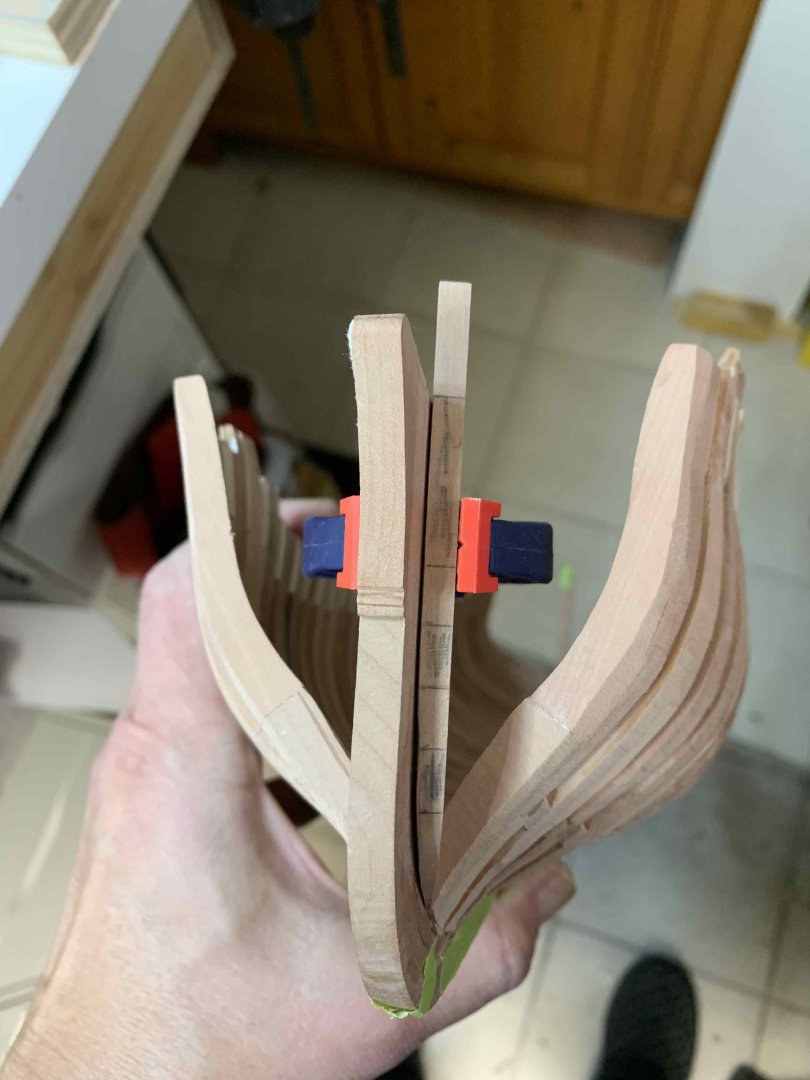
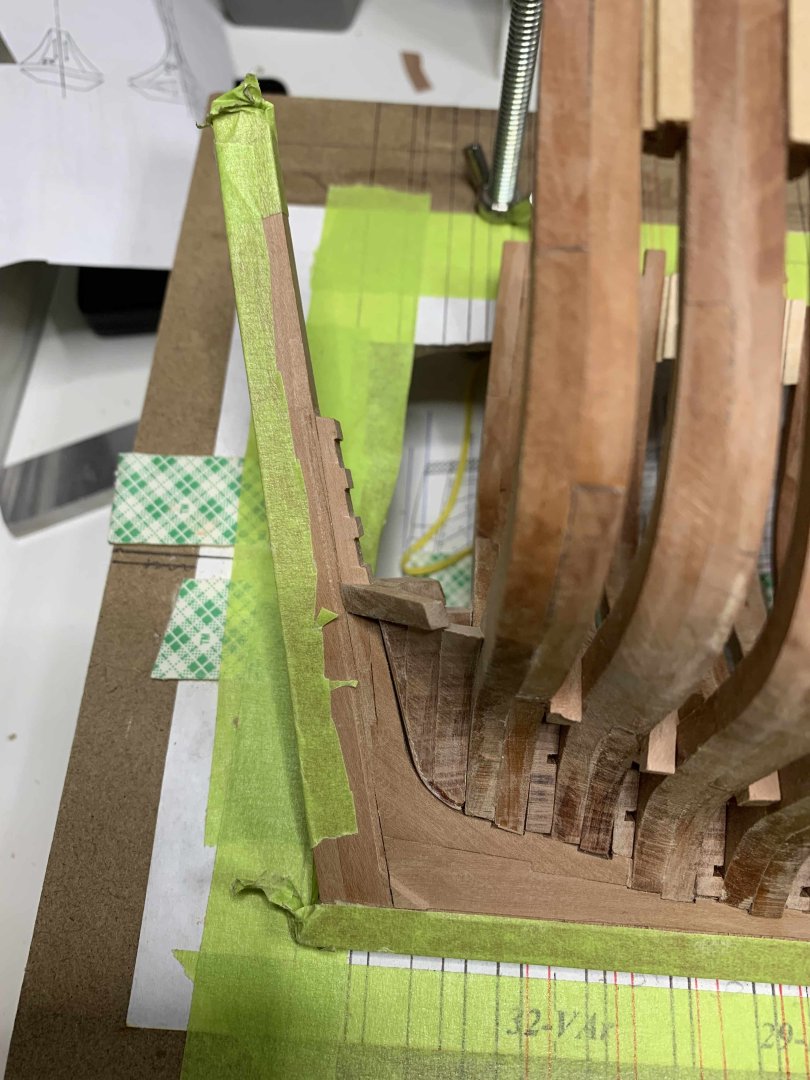
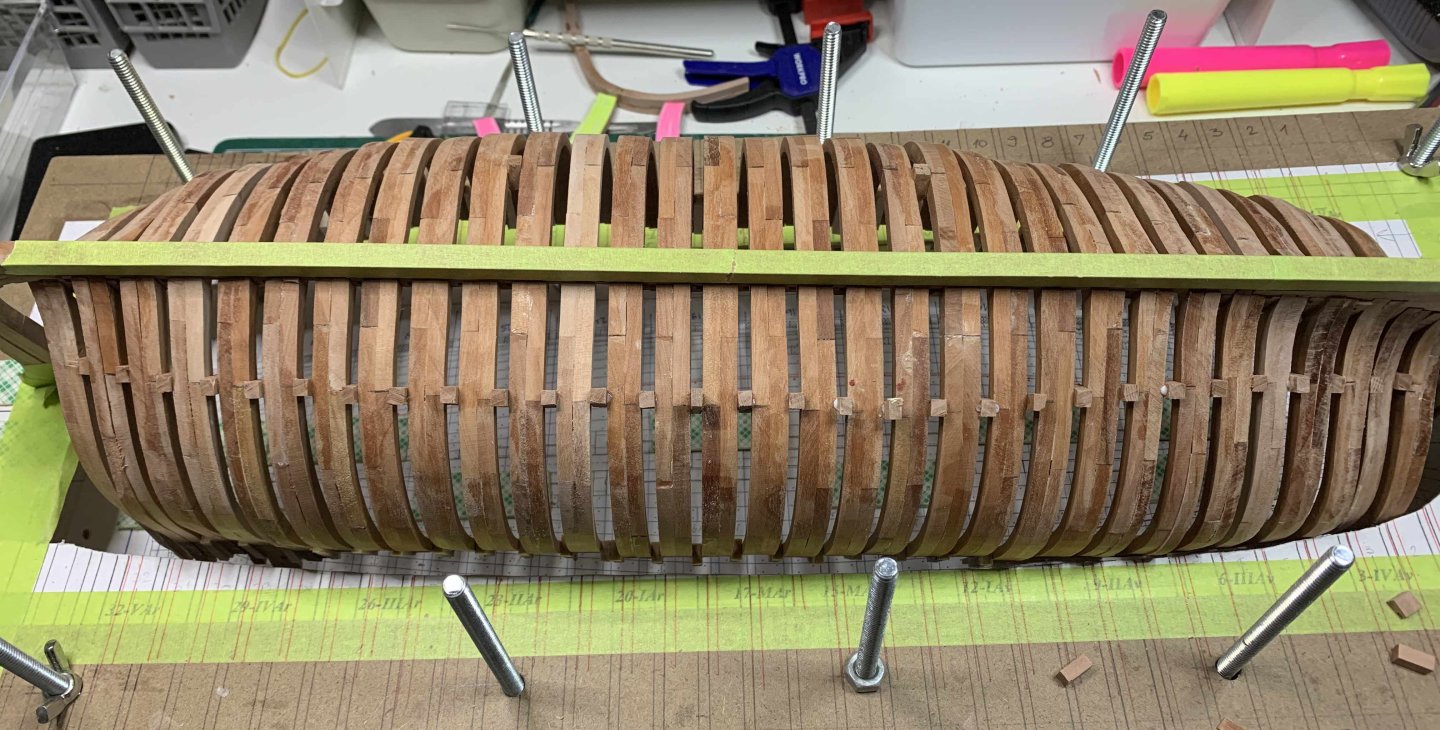
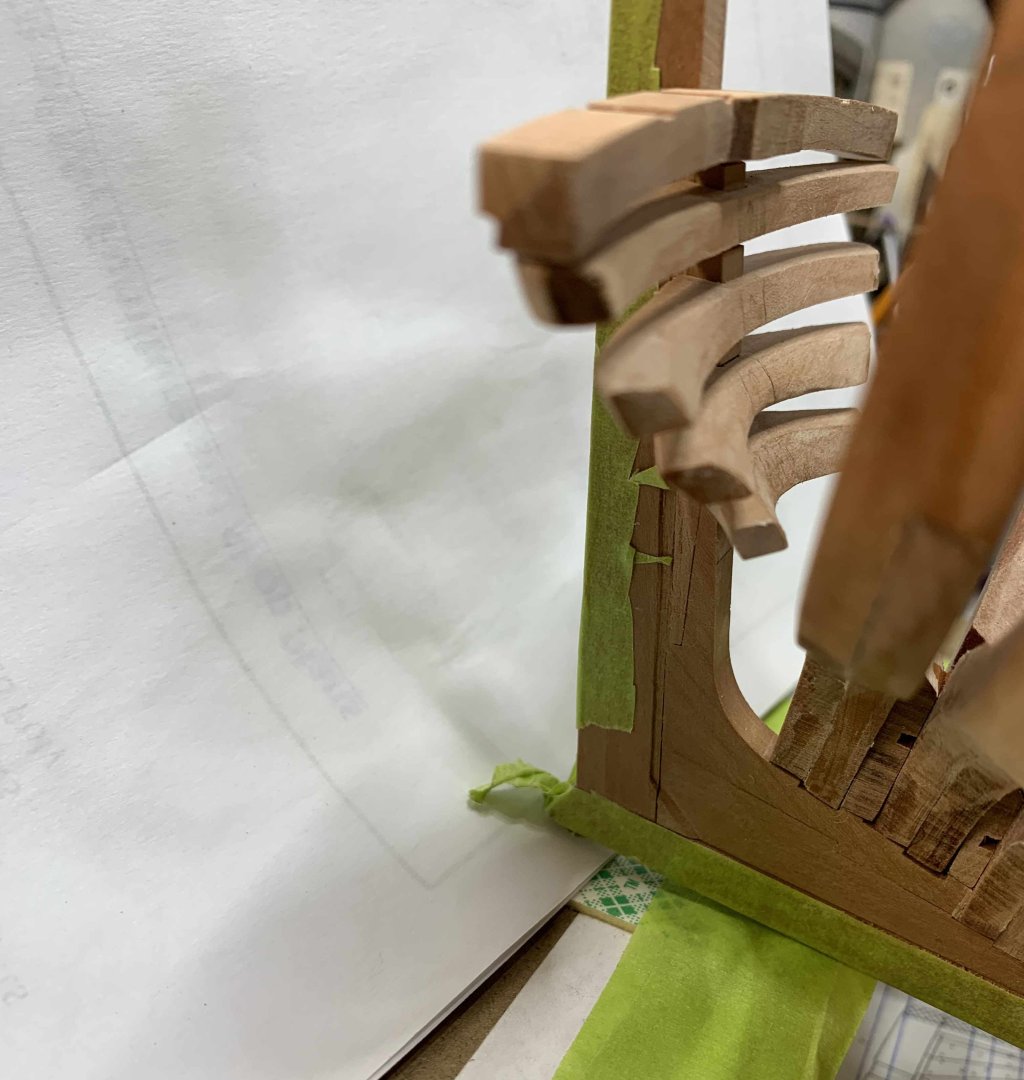
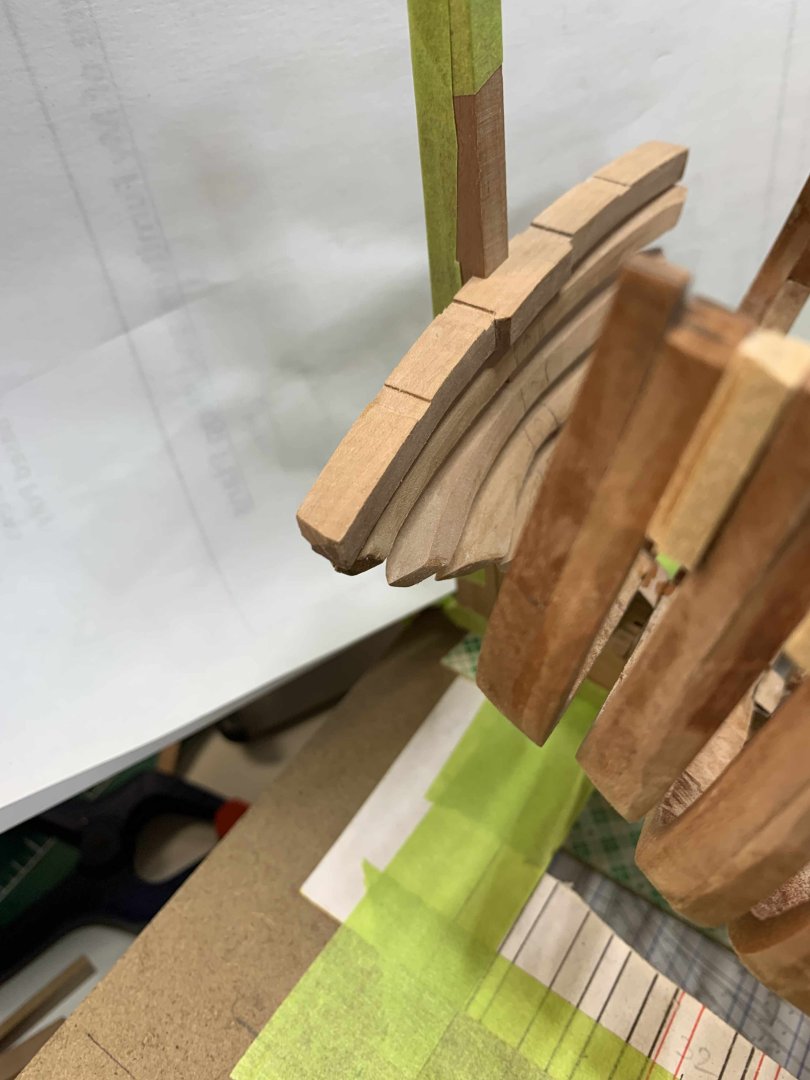
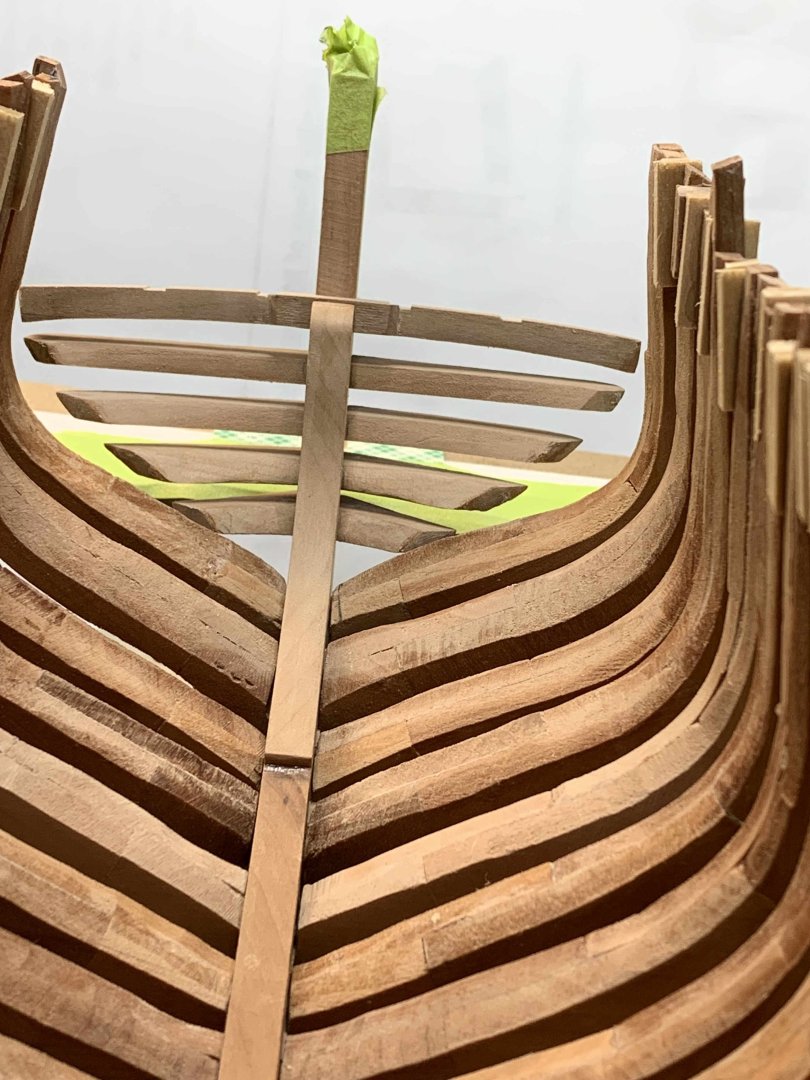
Closing the ship at the bow area by work on howse-timbers. A bit more fitting is needed but here is the progress.. Happy modelling..


-
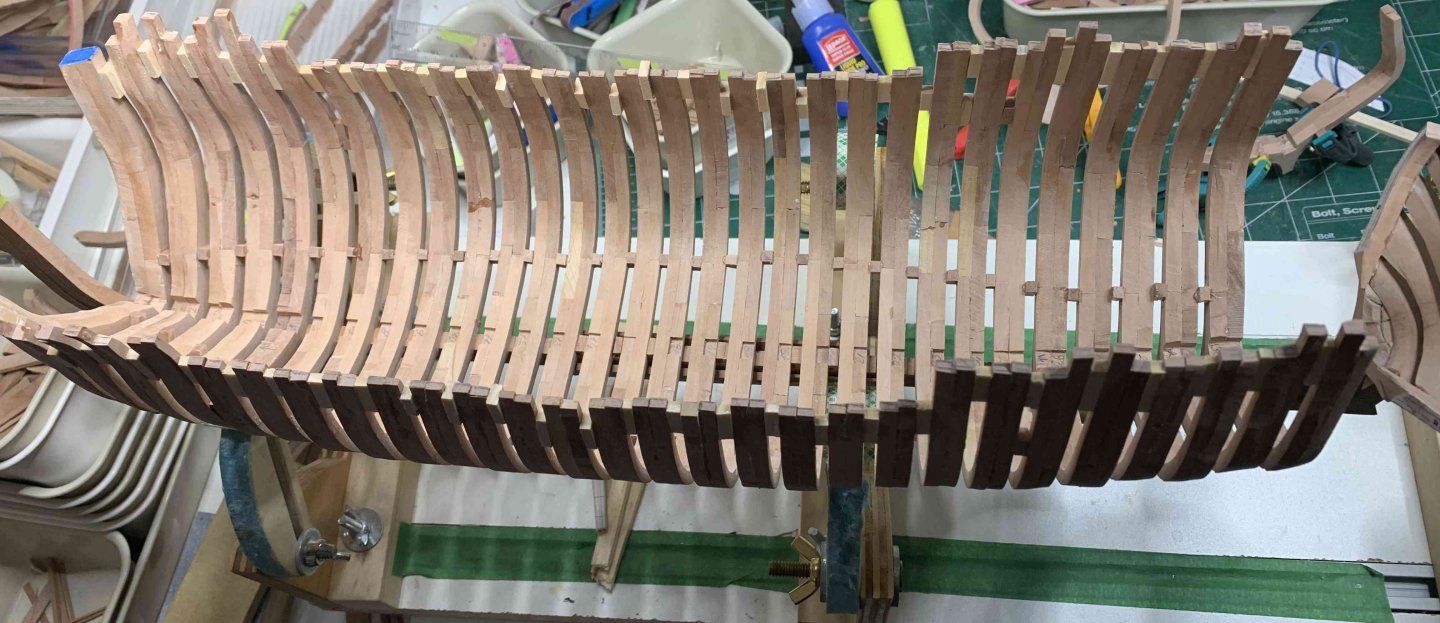
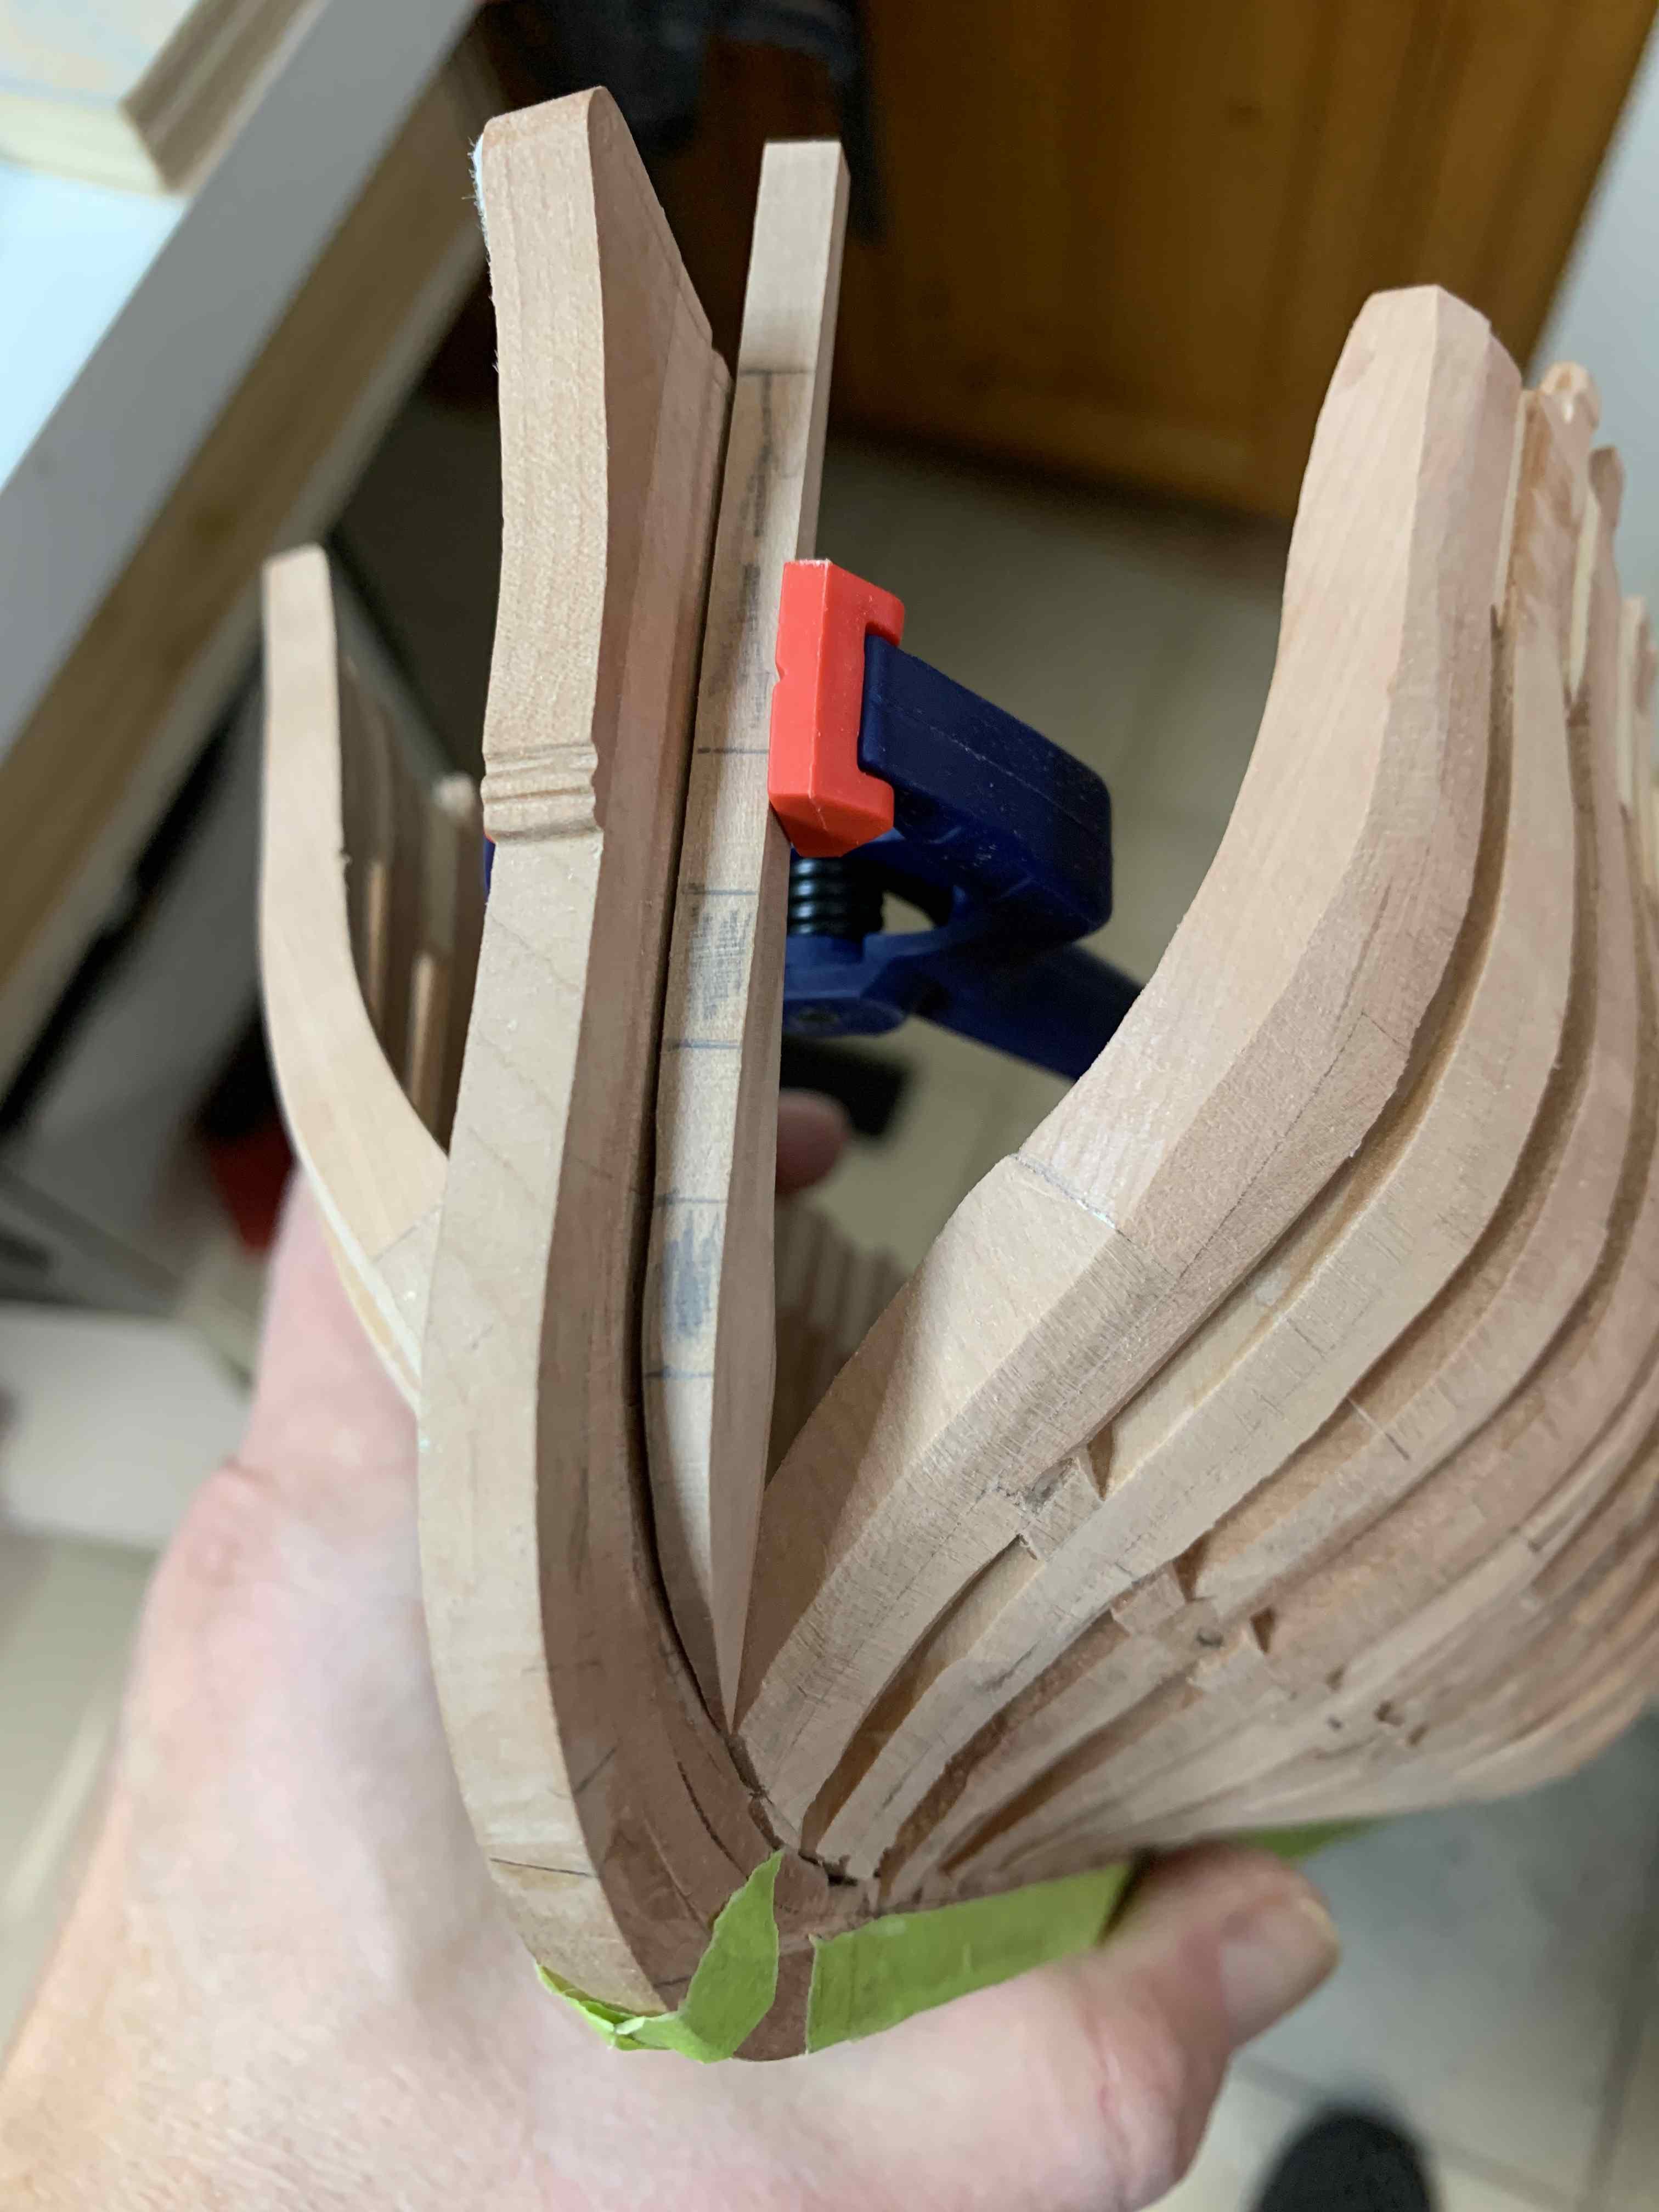
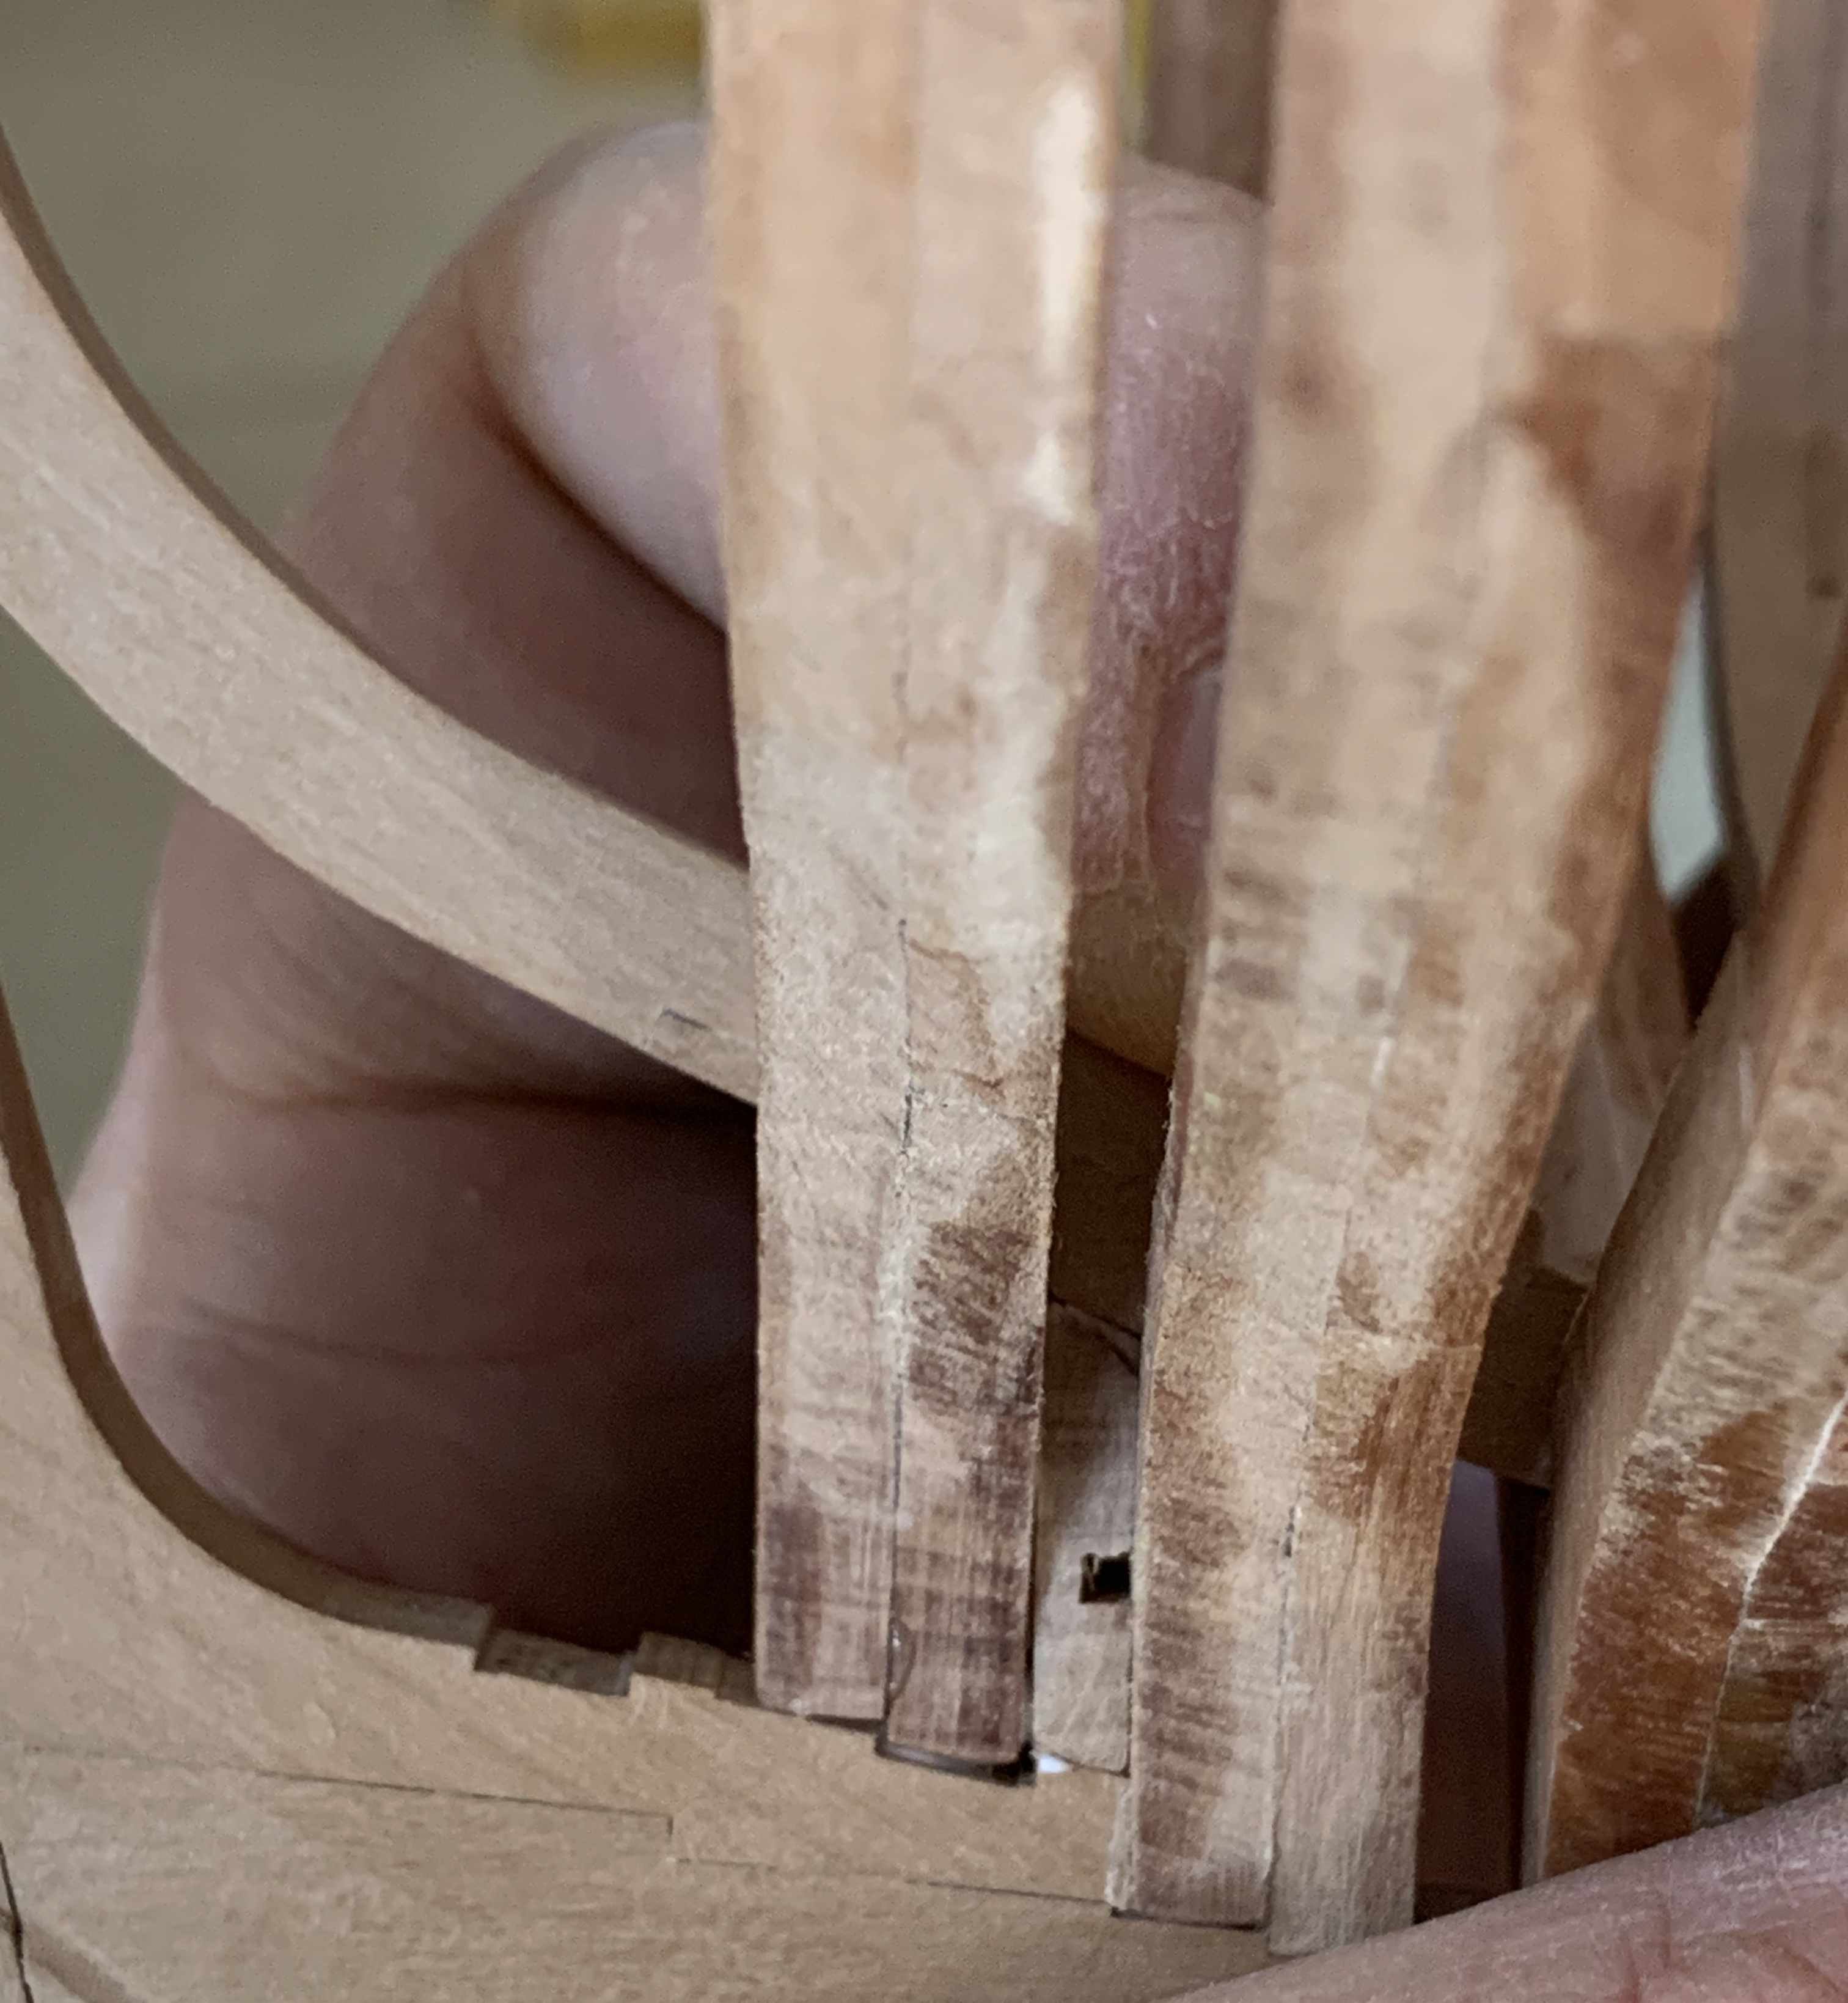
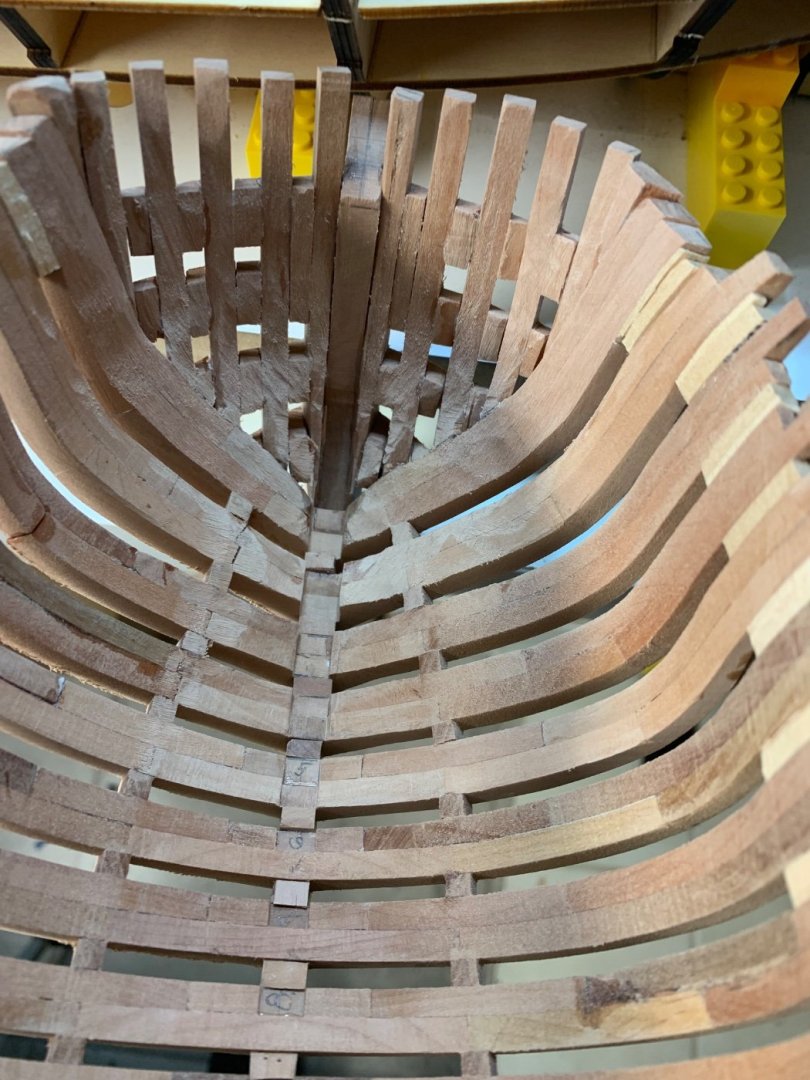
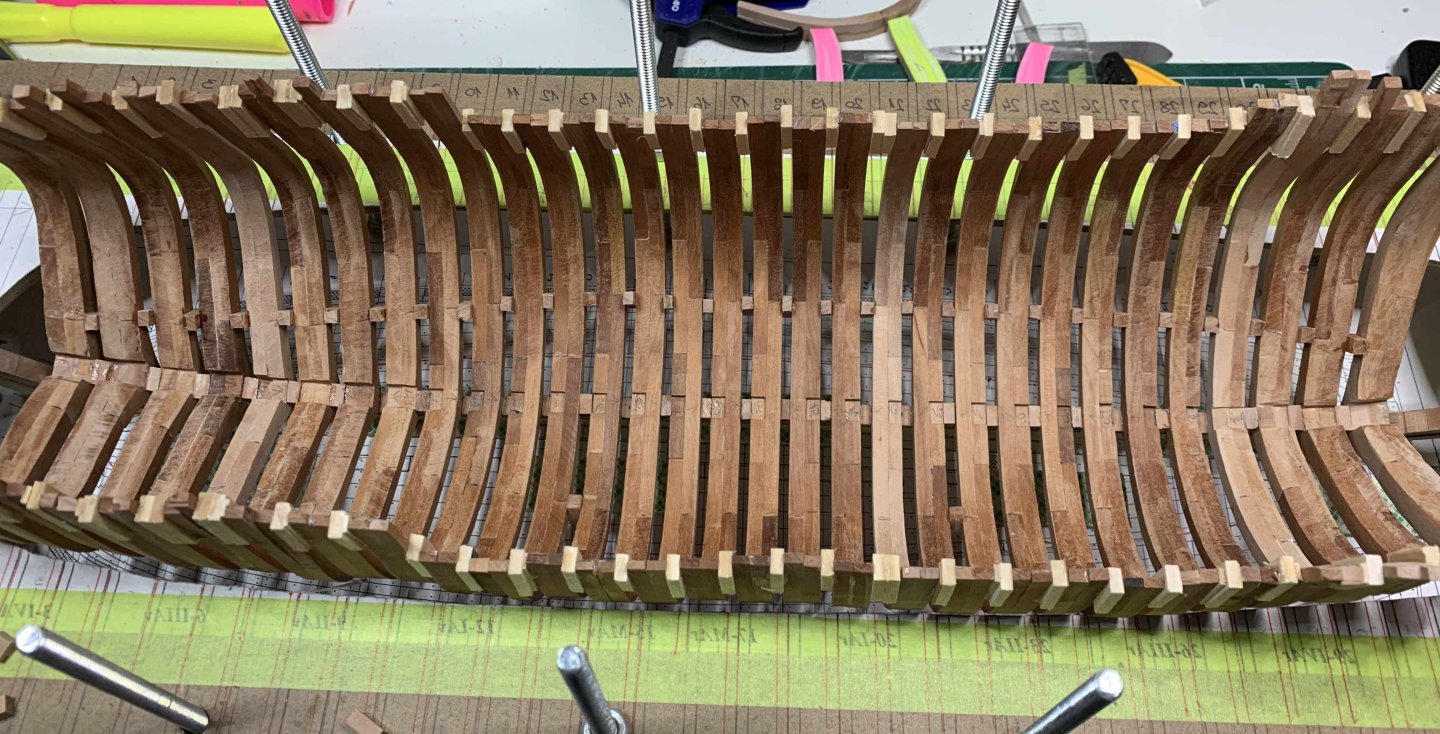
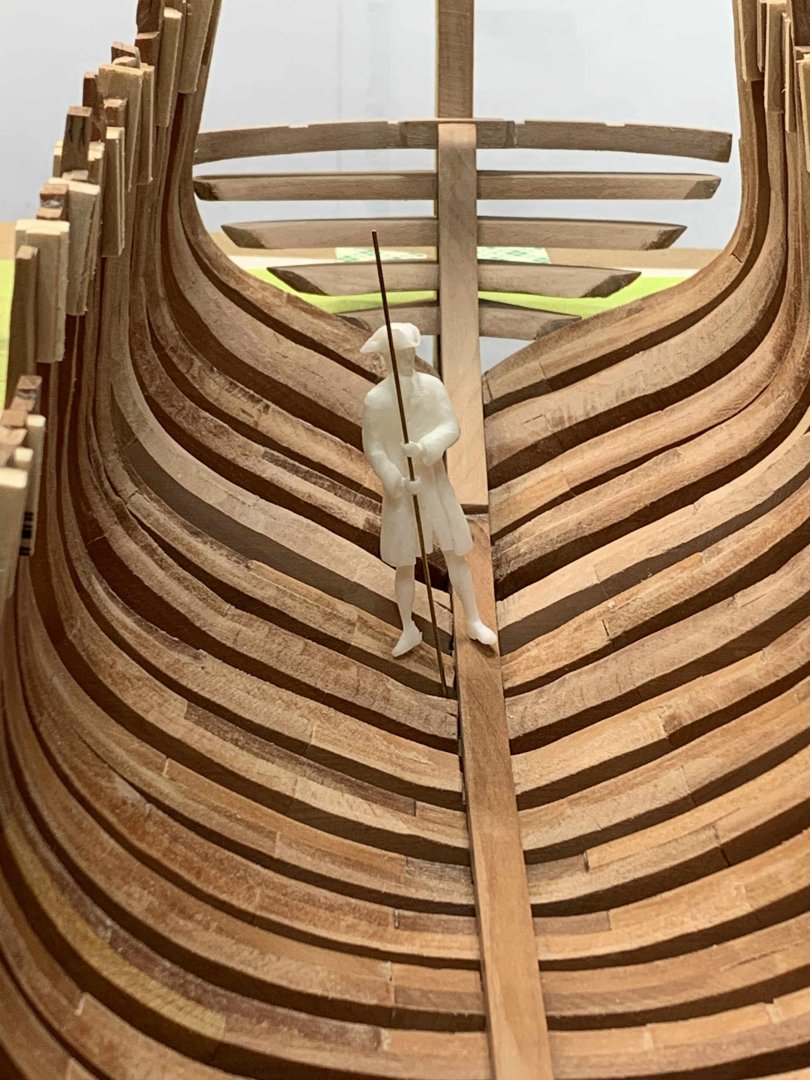
Thank you bdgiantman2, really much appreciated. My scratch build experience goes back to elementary school when I was making a small racing boat; during some "normal" elementary kids school fight, all boat frames were broken and I decided to give up boat building :-). Now, back into the scratch build again... Hopefully someone will learn something from my mistakes... I definitely will.. More sanding happening.... working on external hull.. there are some frames that would need a bit of alteration hopefully not visible at the end. For testing after sanding process, I will lay down one plank on the hull and see if frames fits nicely. I can see that frame 31 will need some work.. Happy modelling..

-
Thanks Mike, Yup, it is very nice ship; regretting I had no much scratch build experience, this will be just beauty, but next one will be better...
-
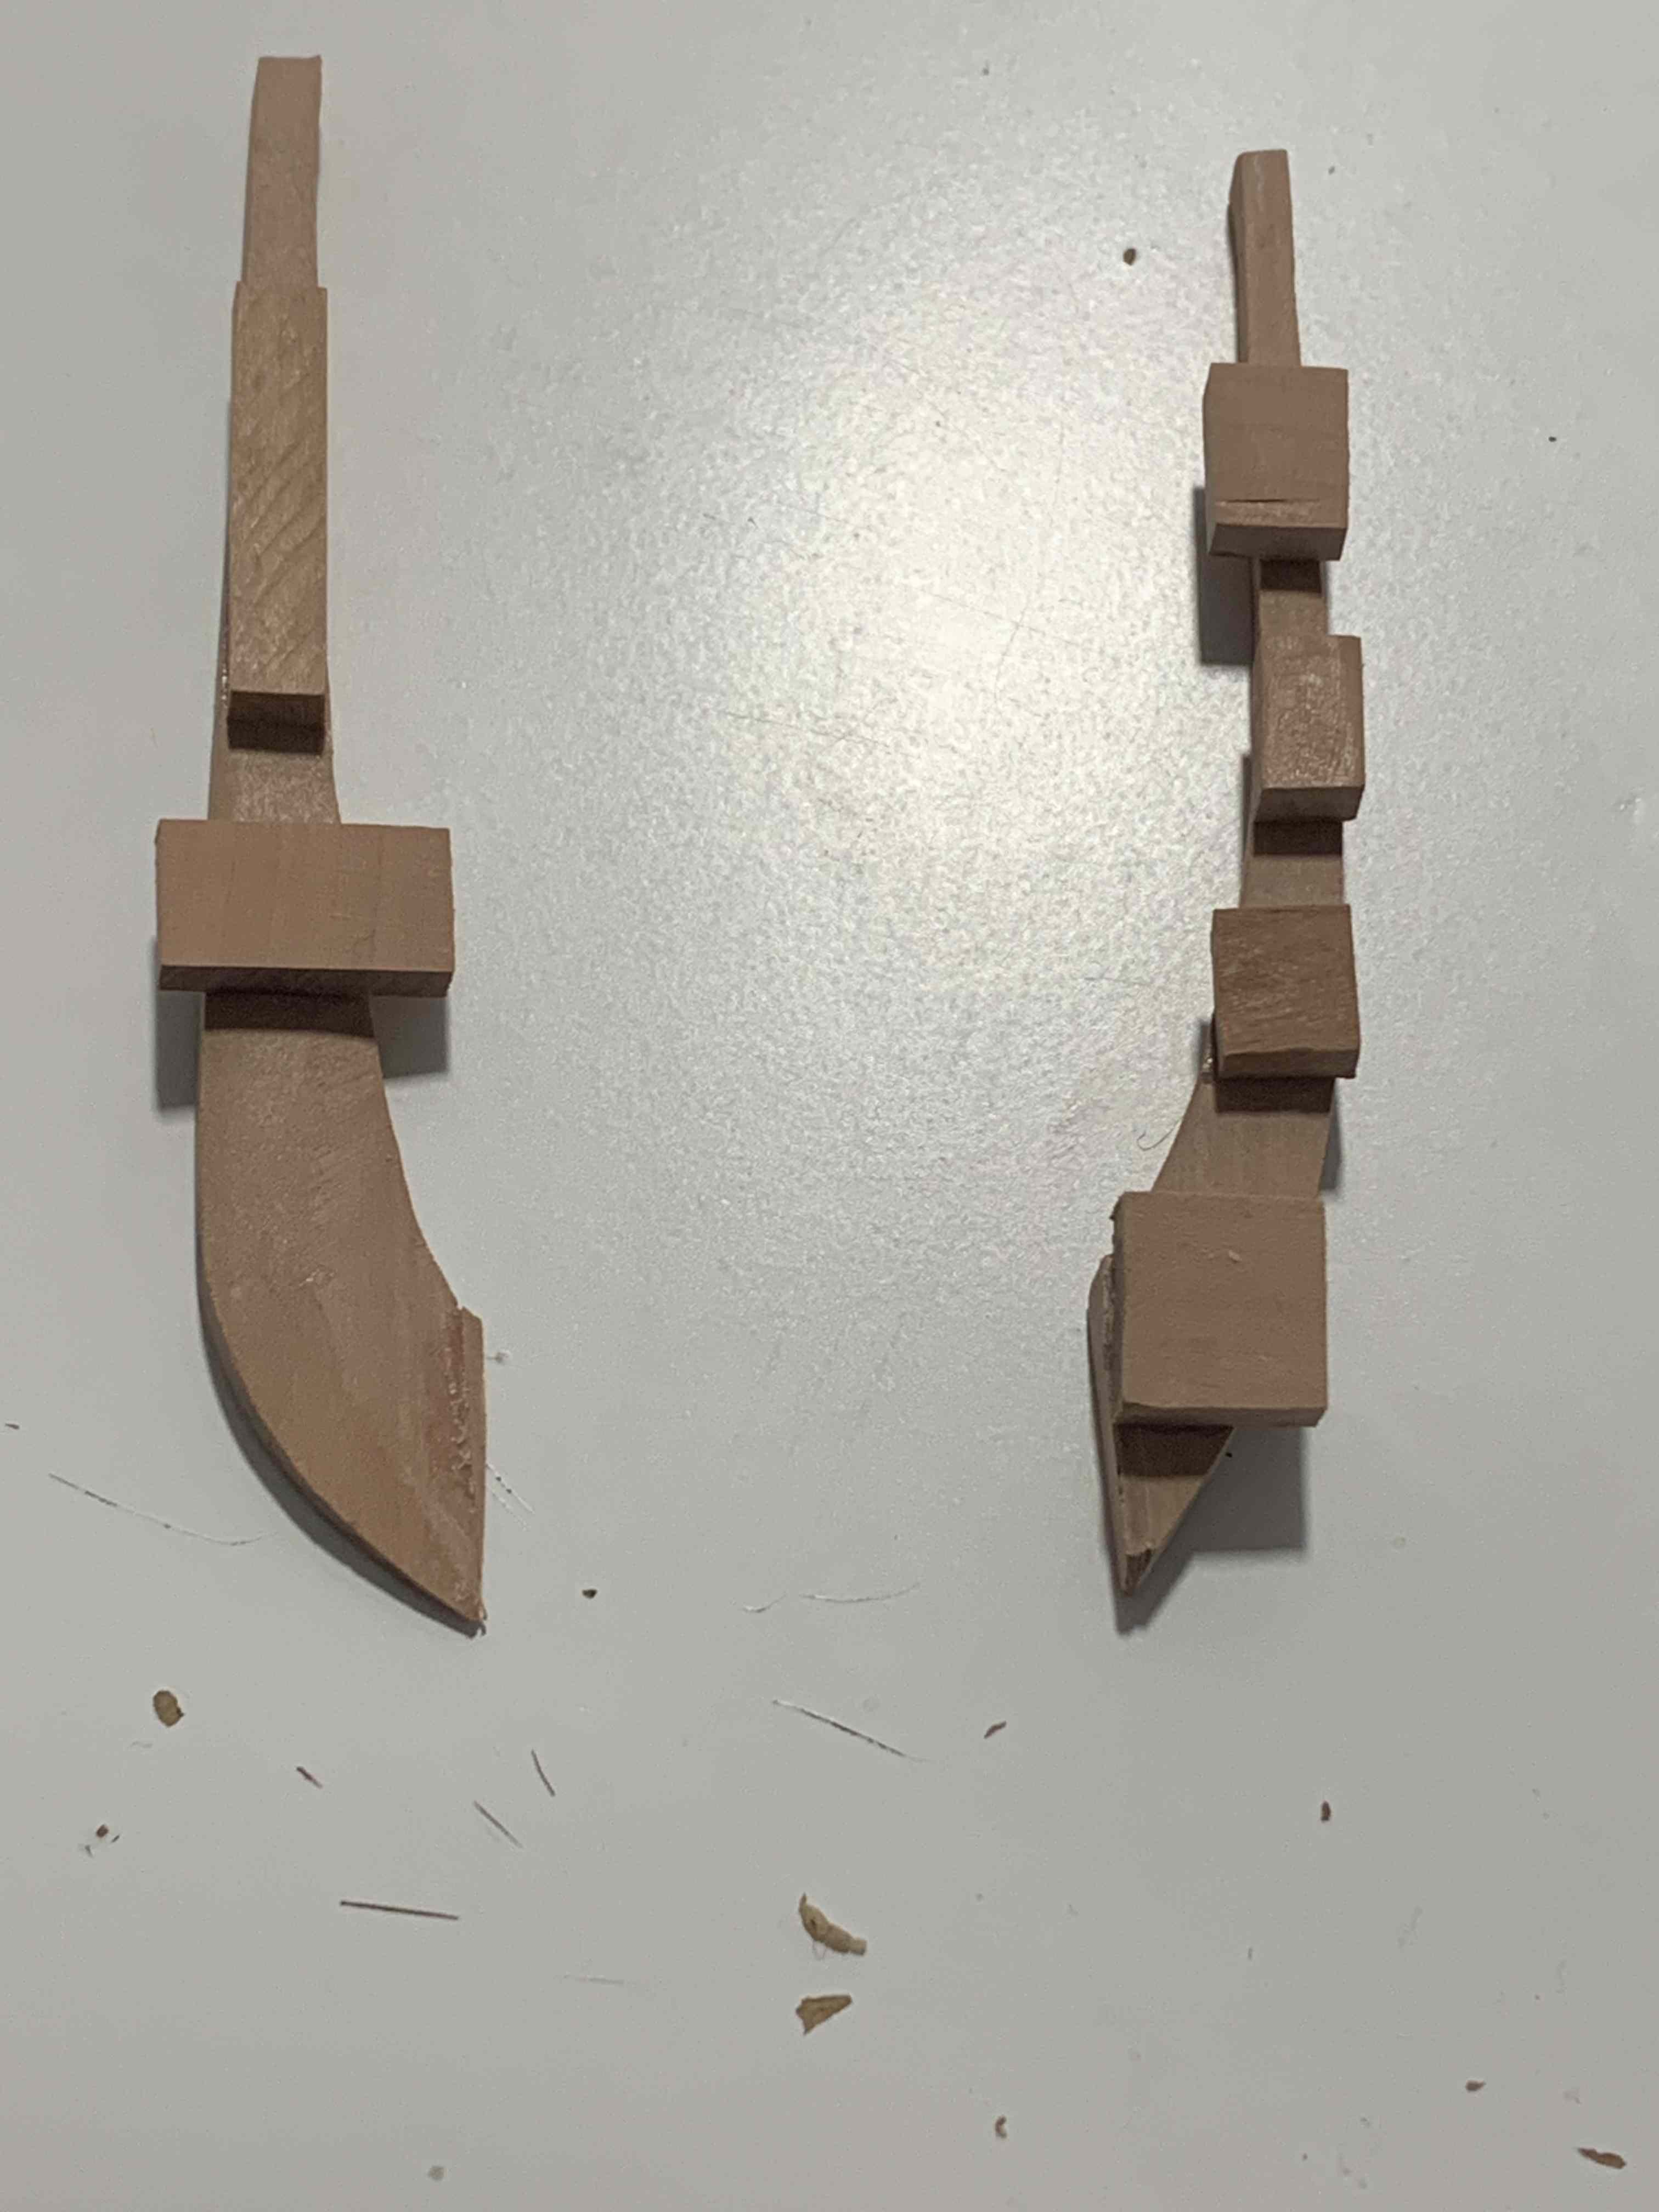
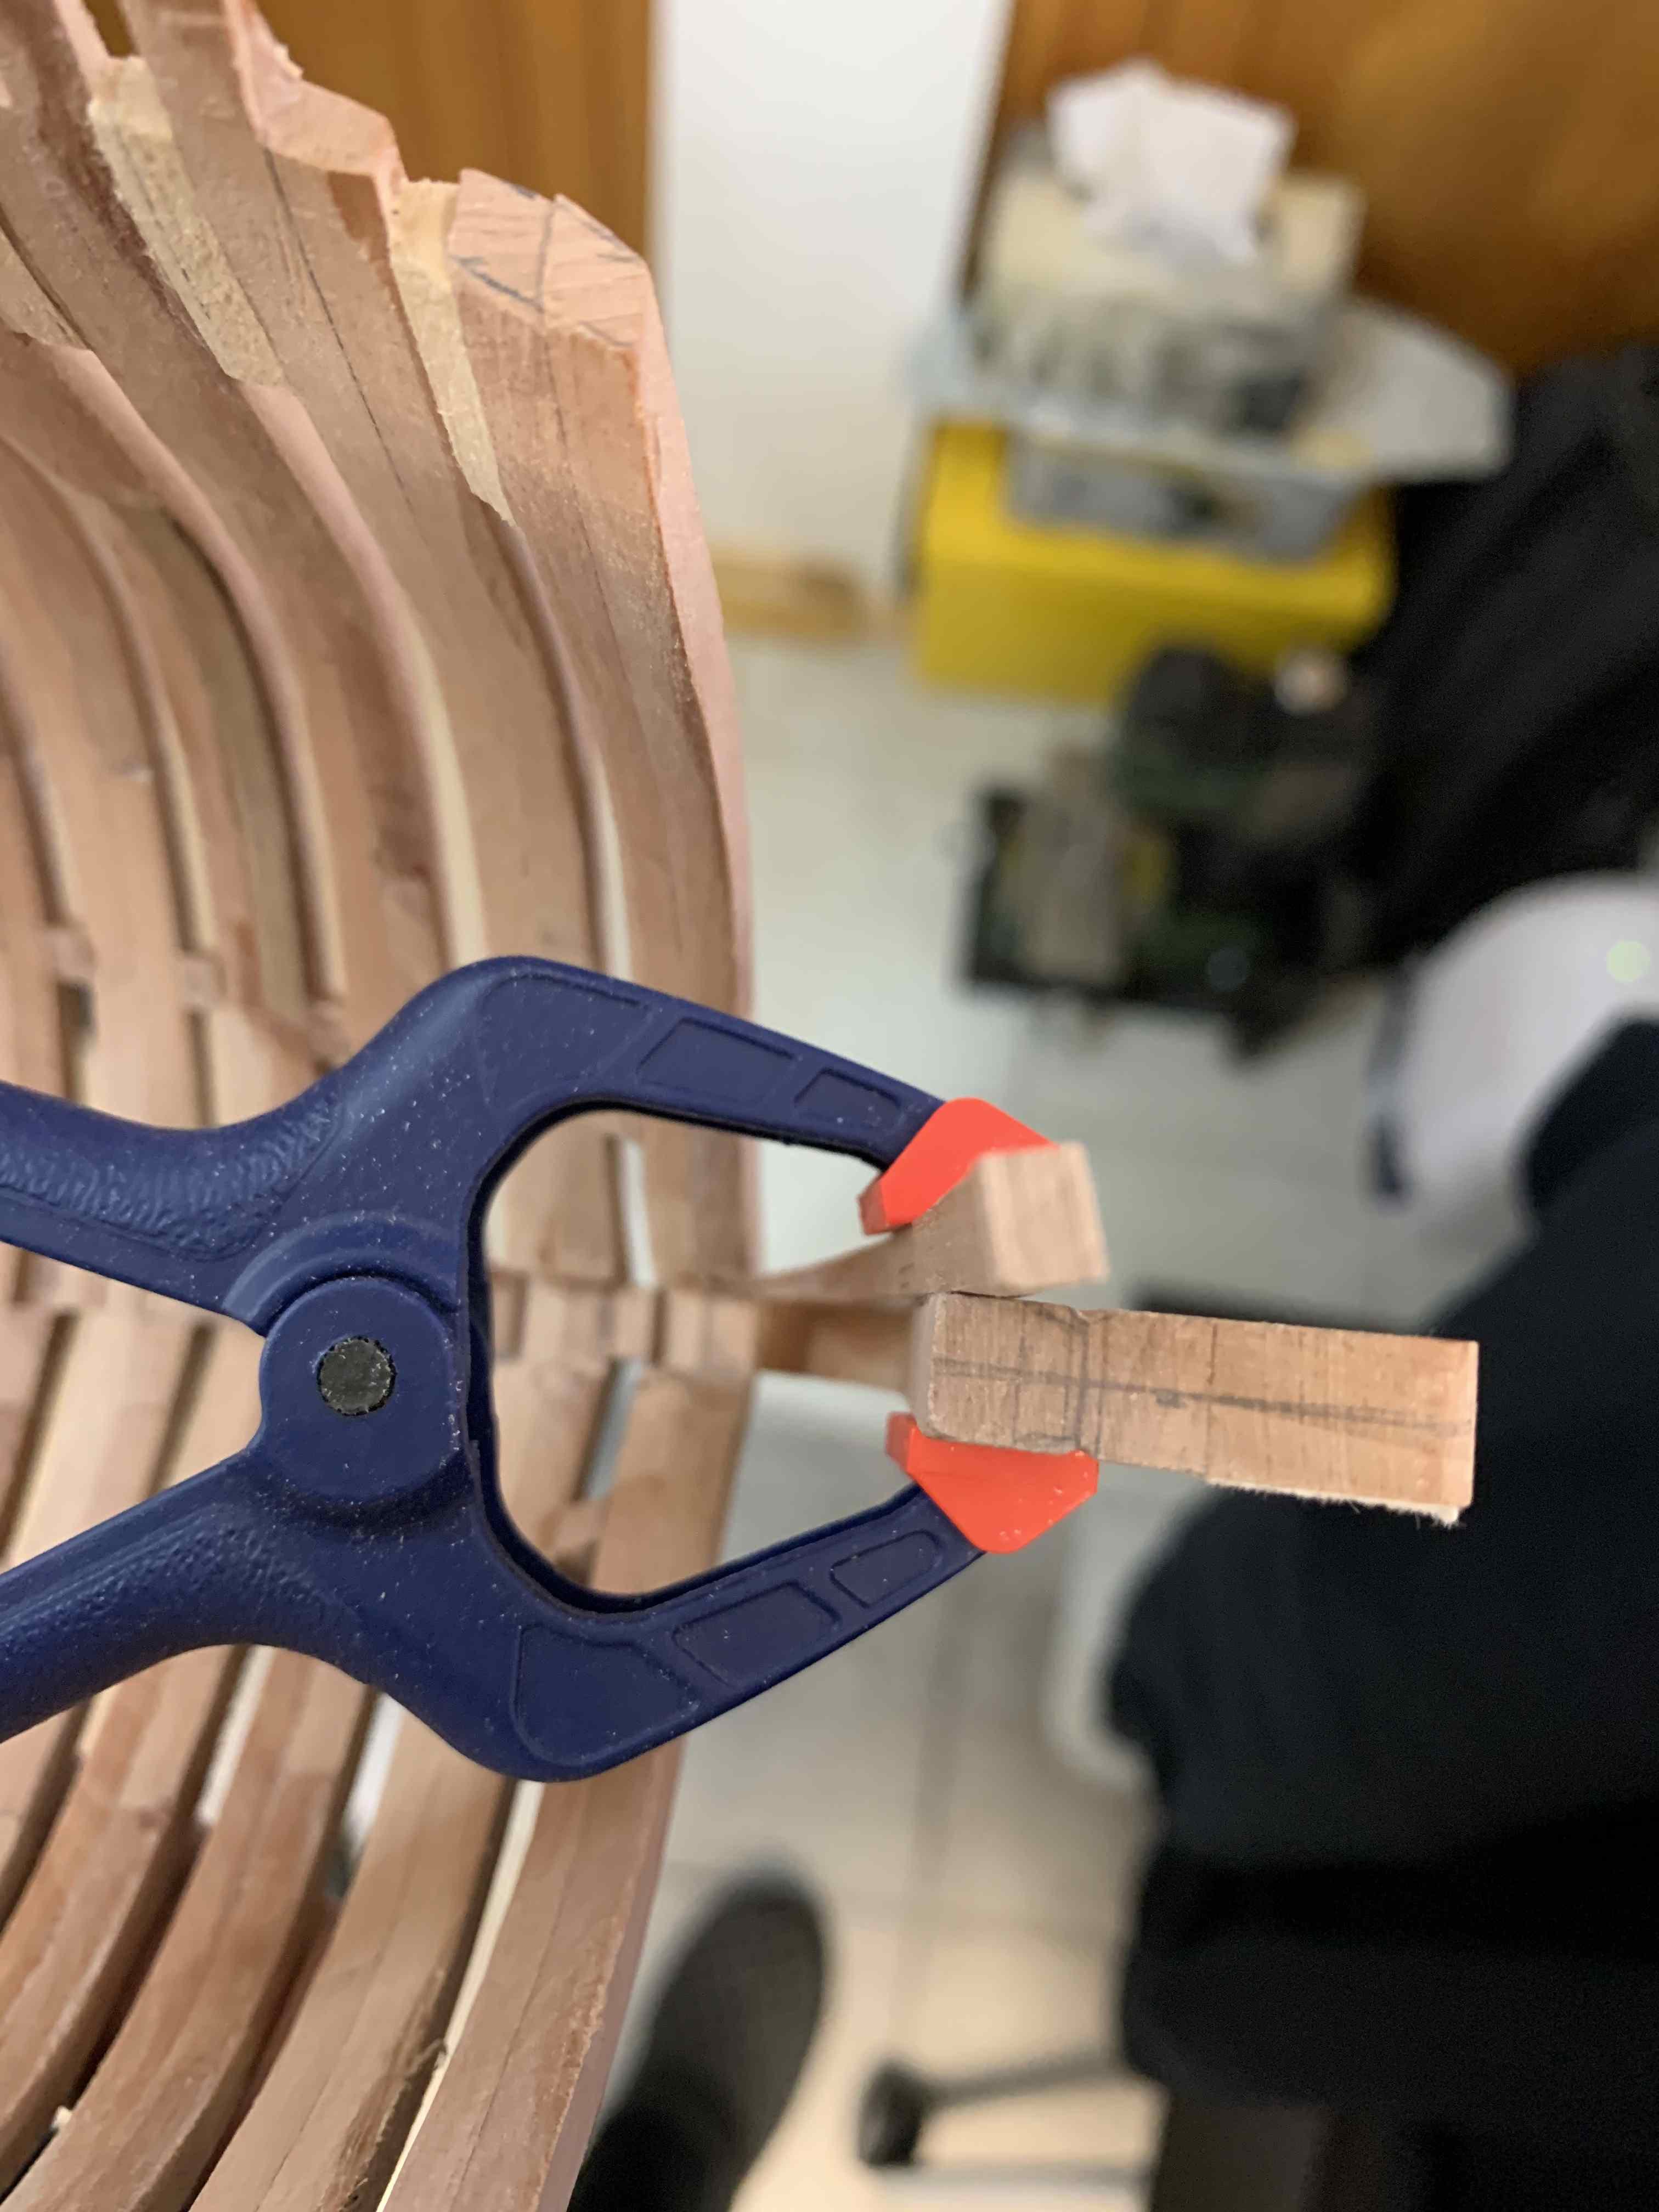
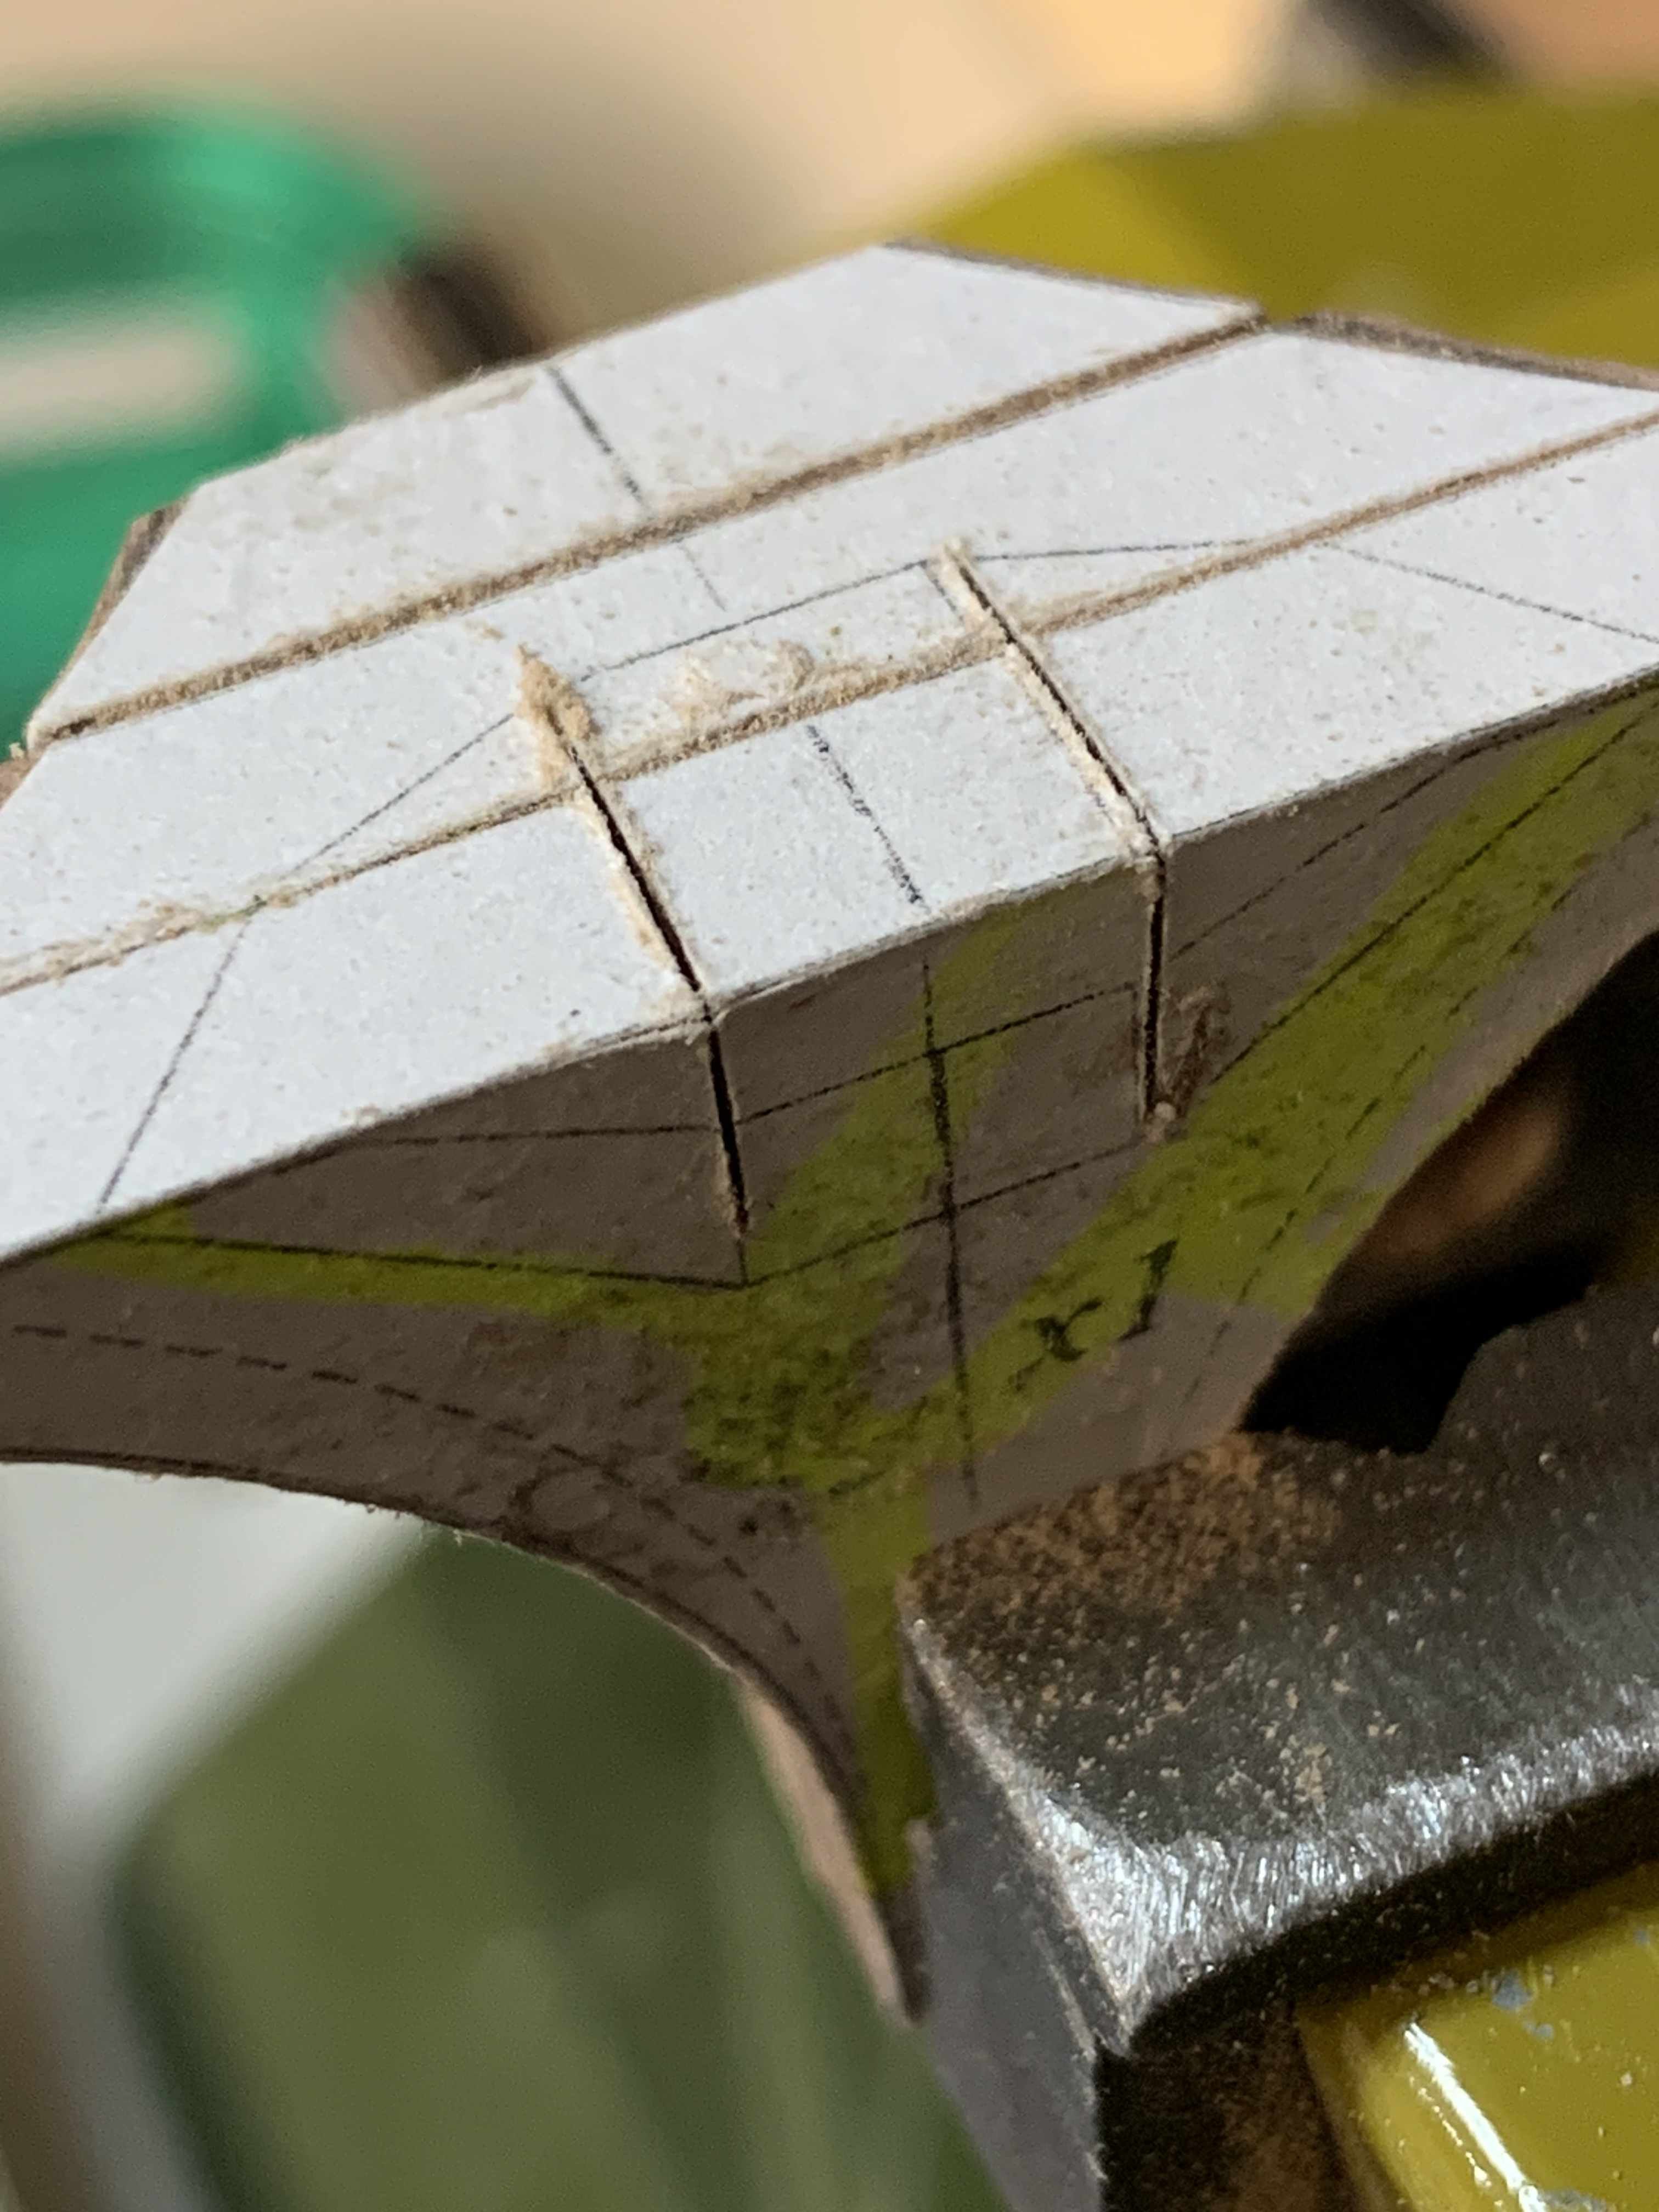
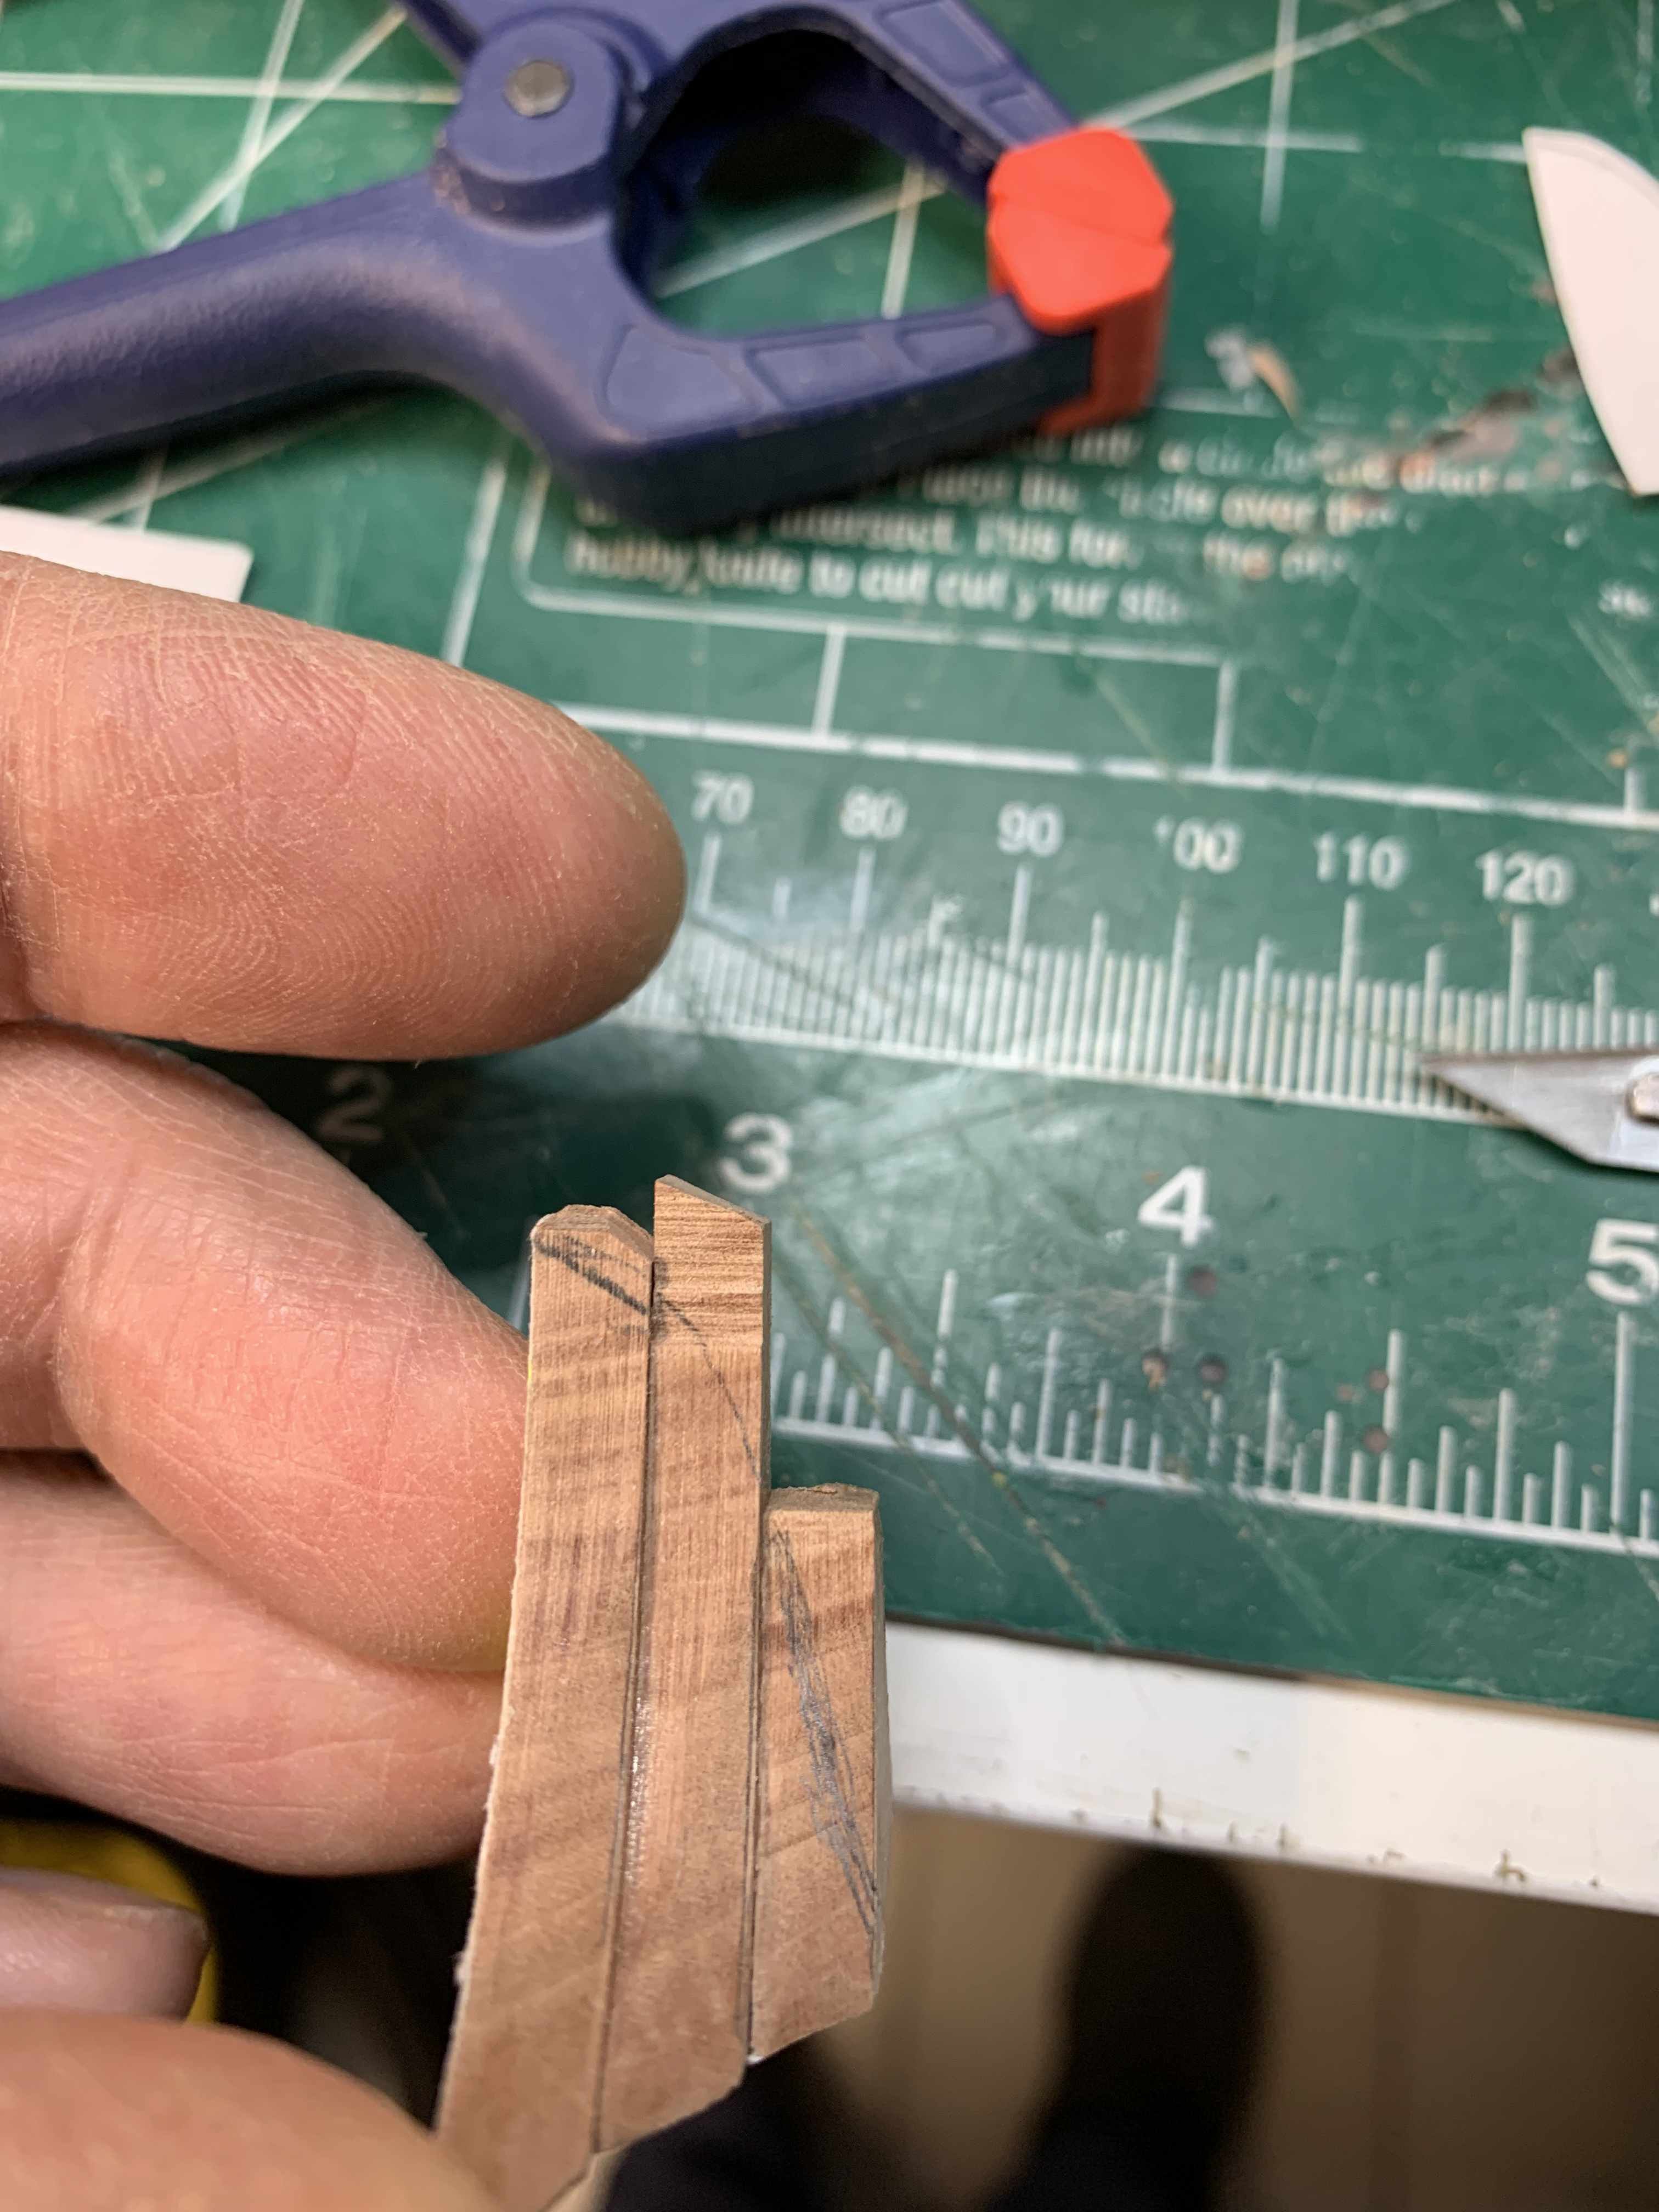
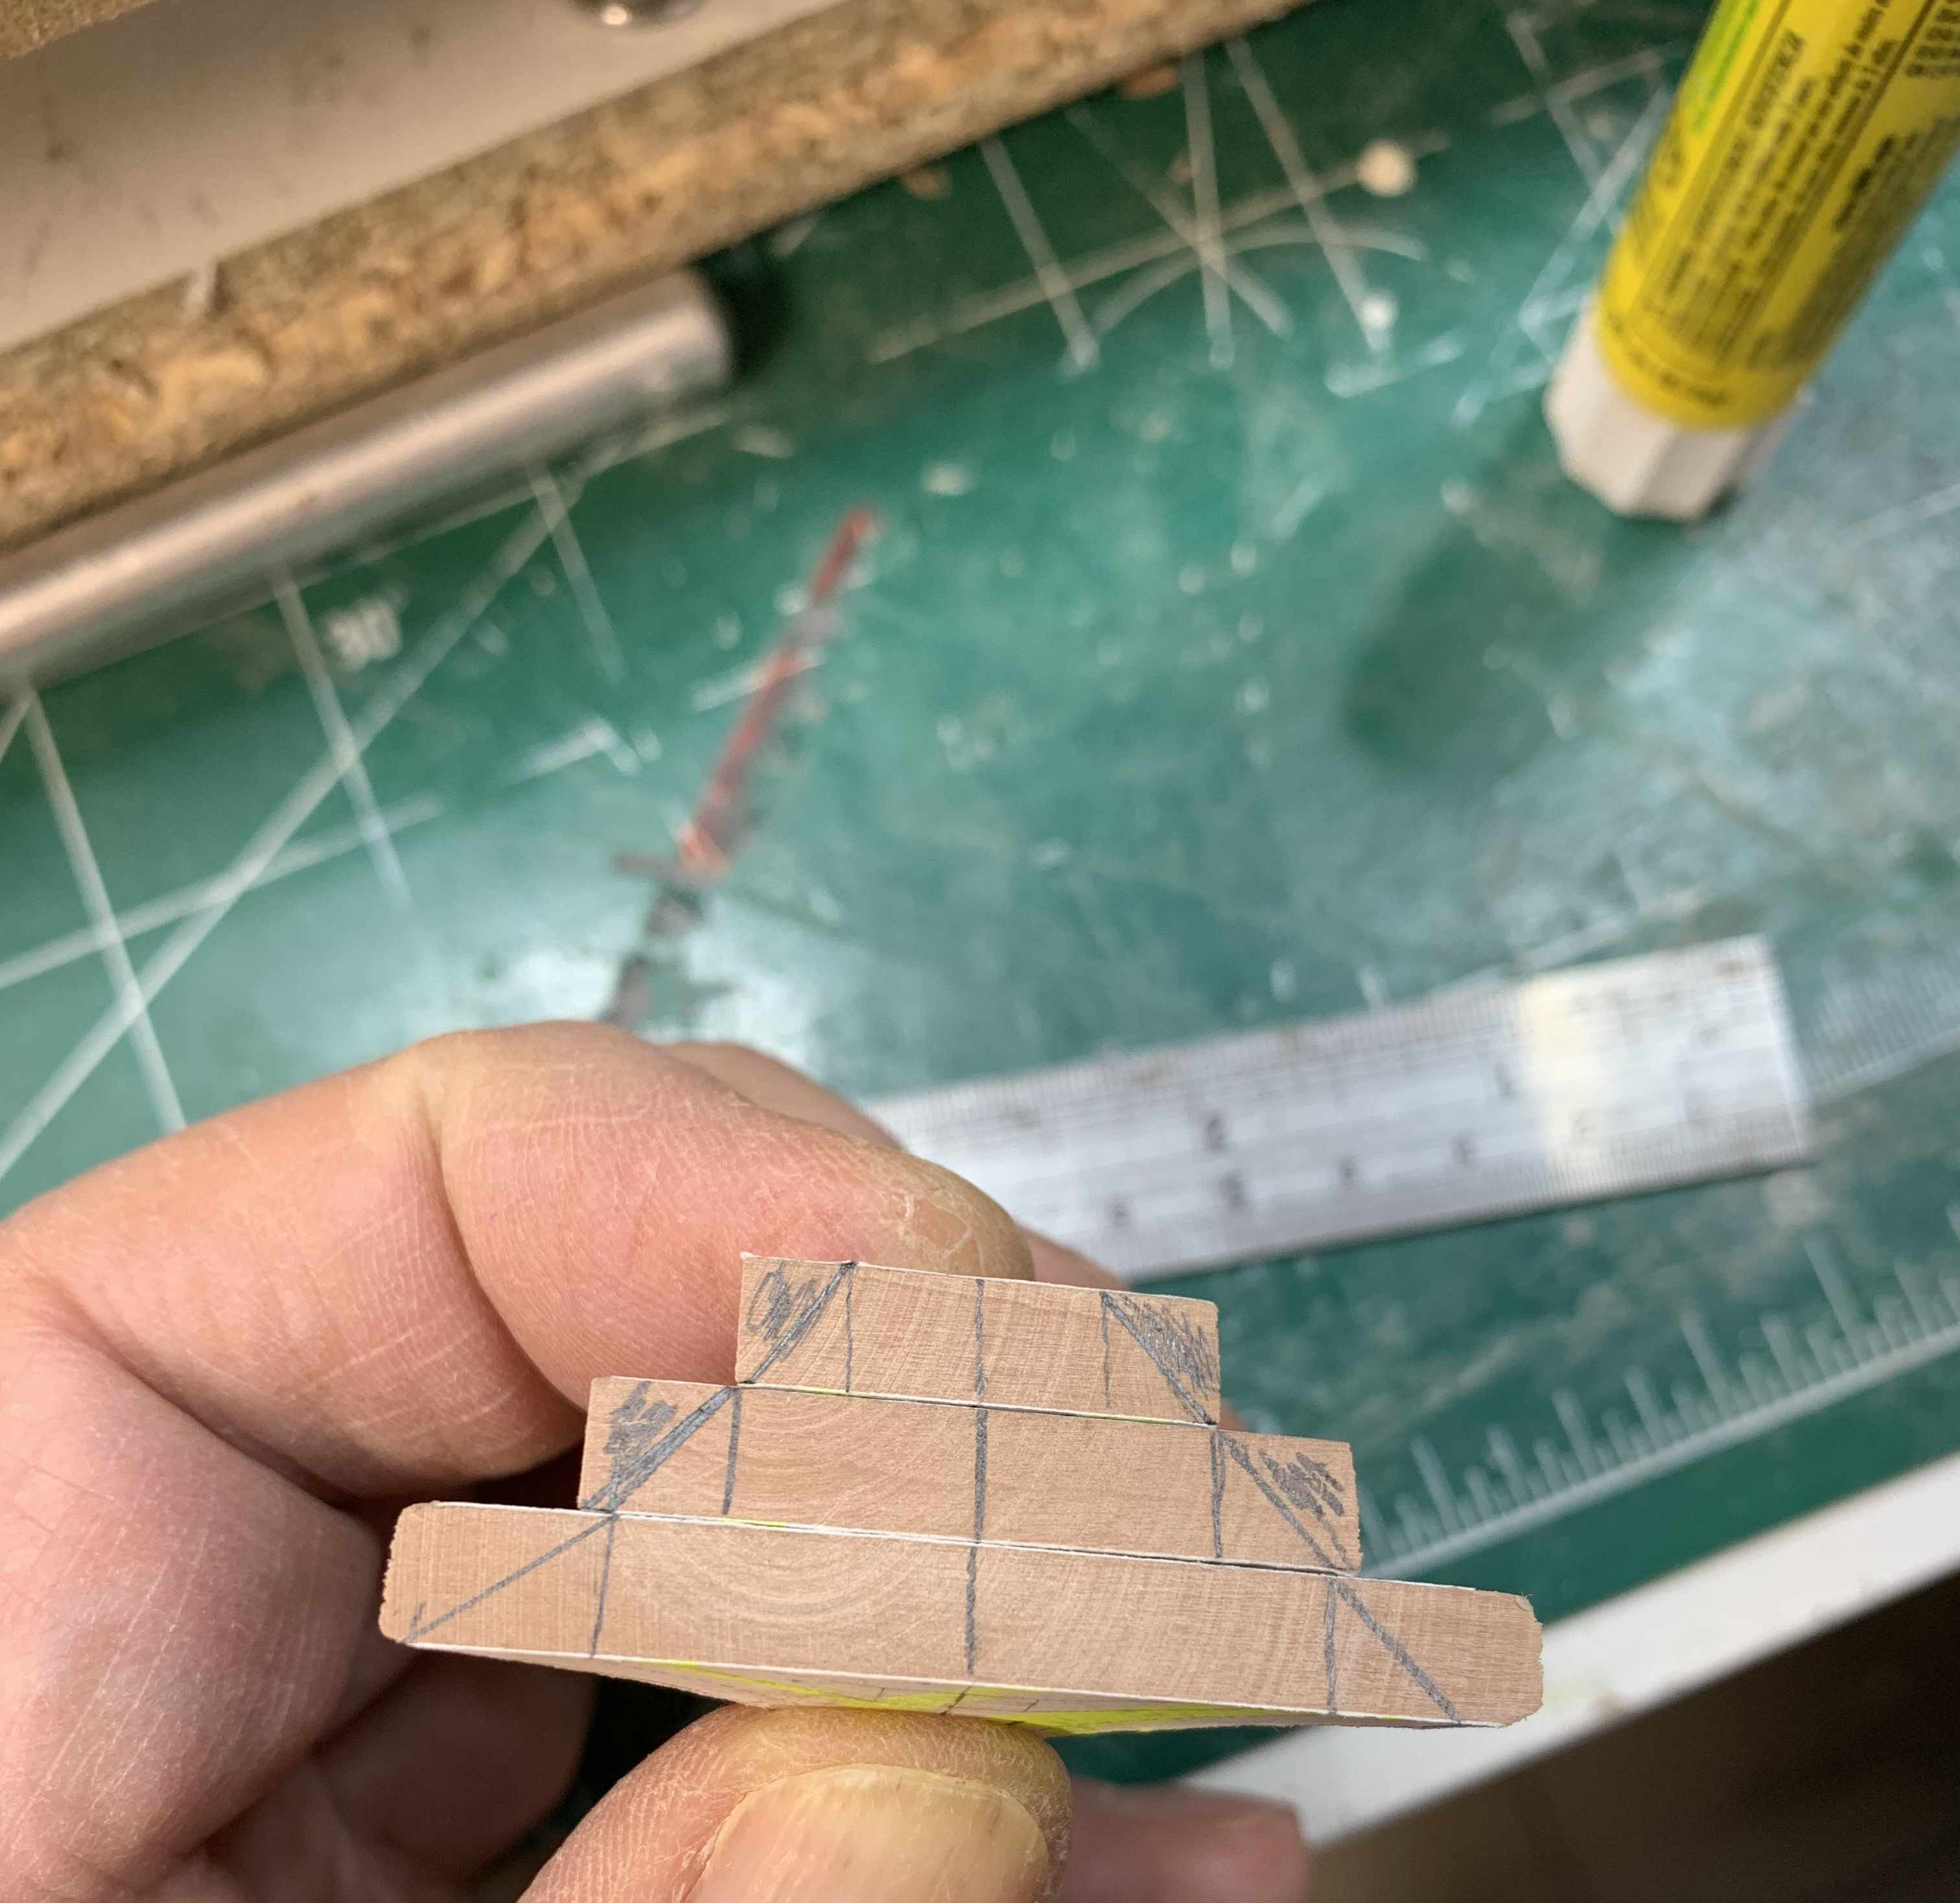
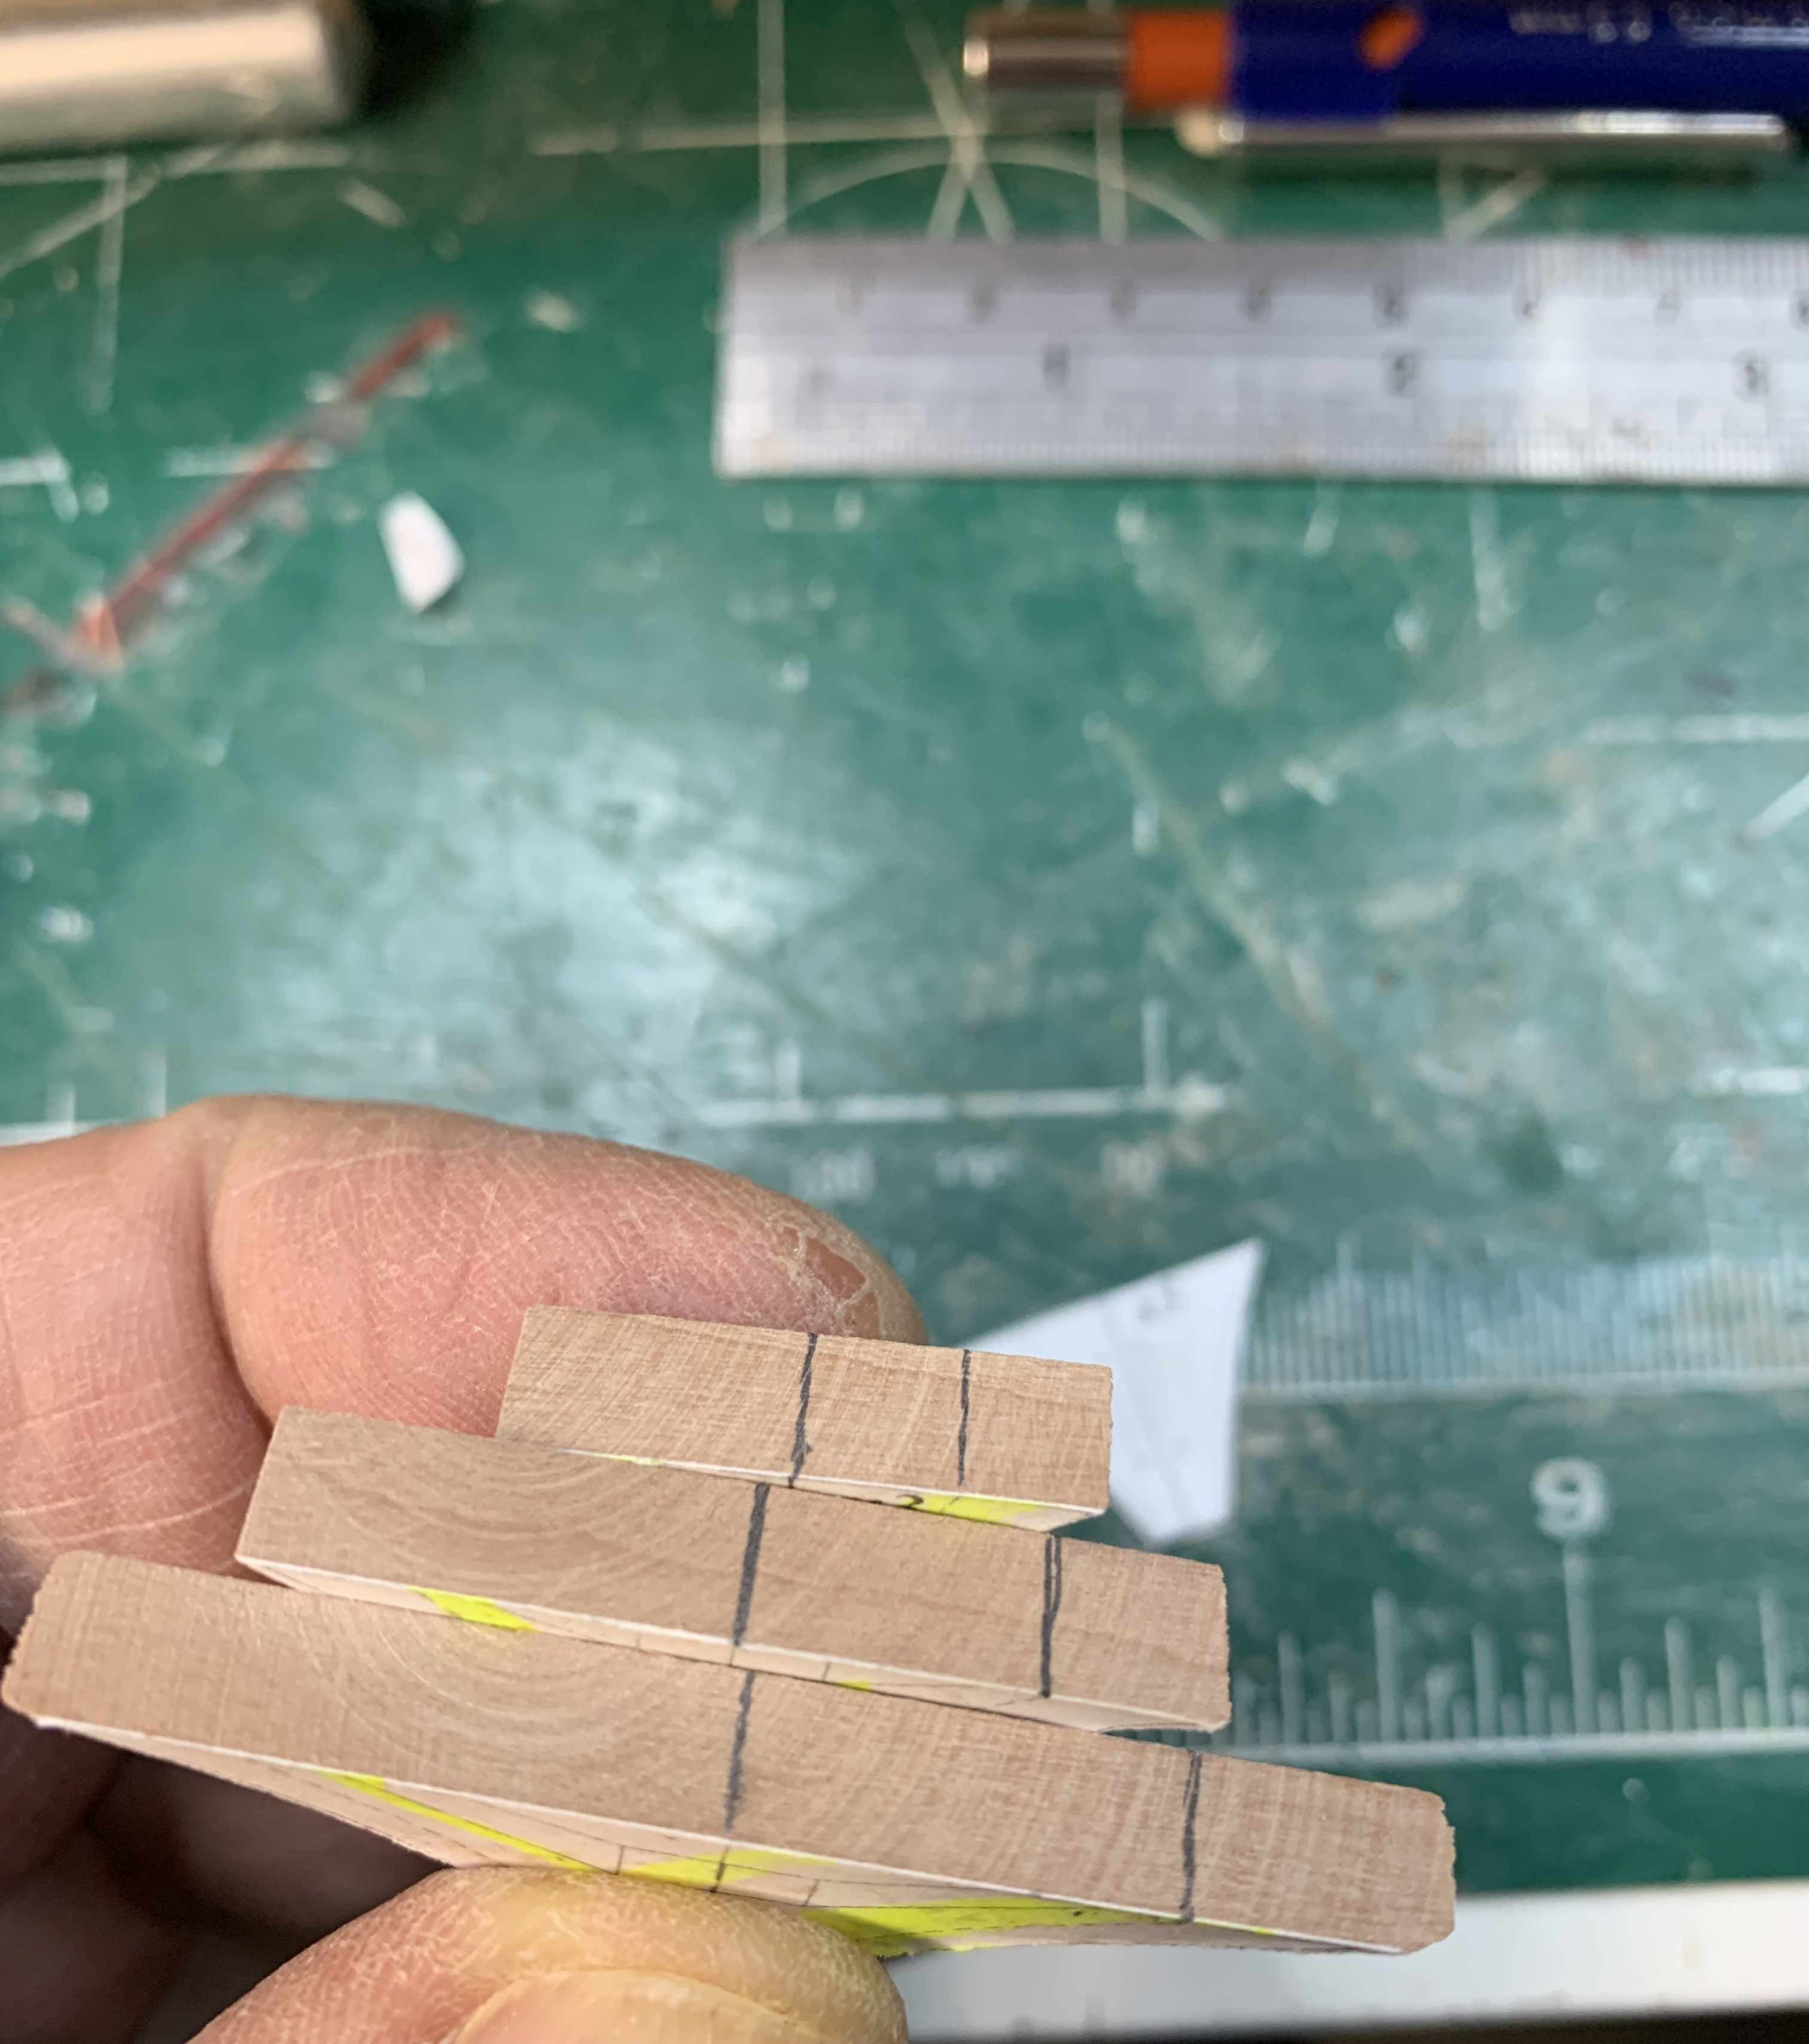
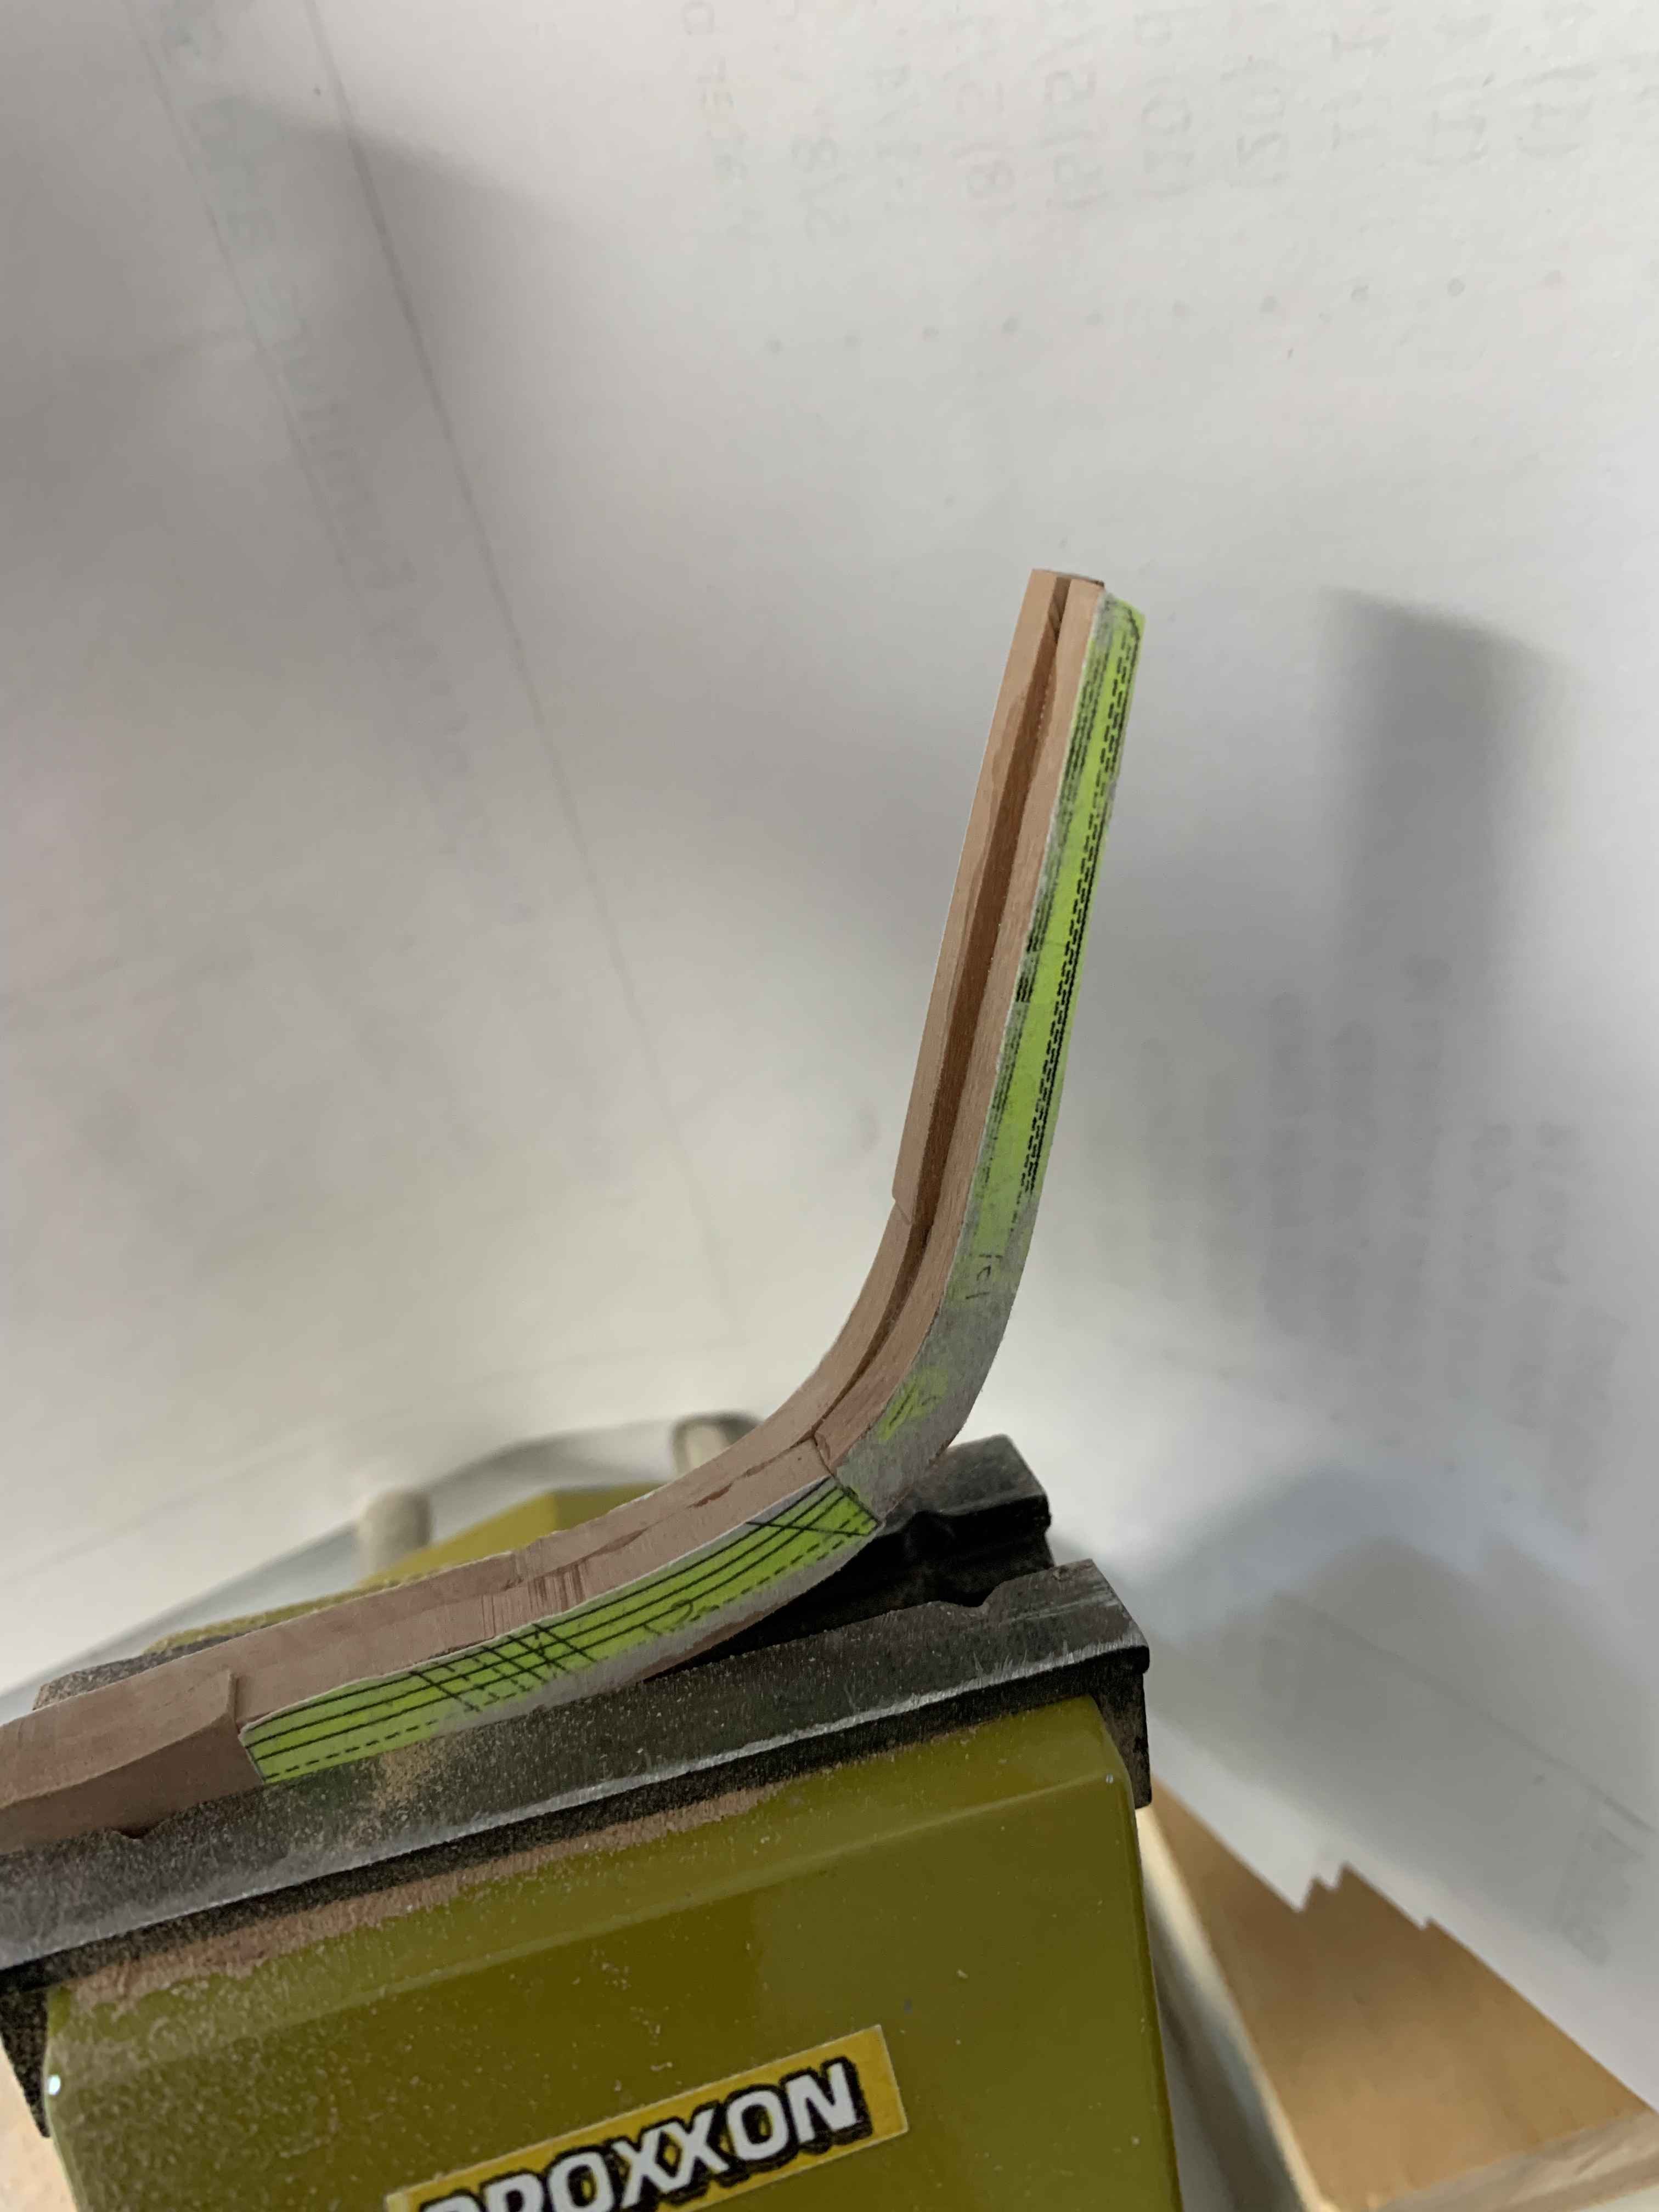
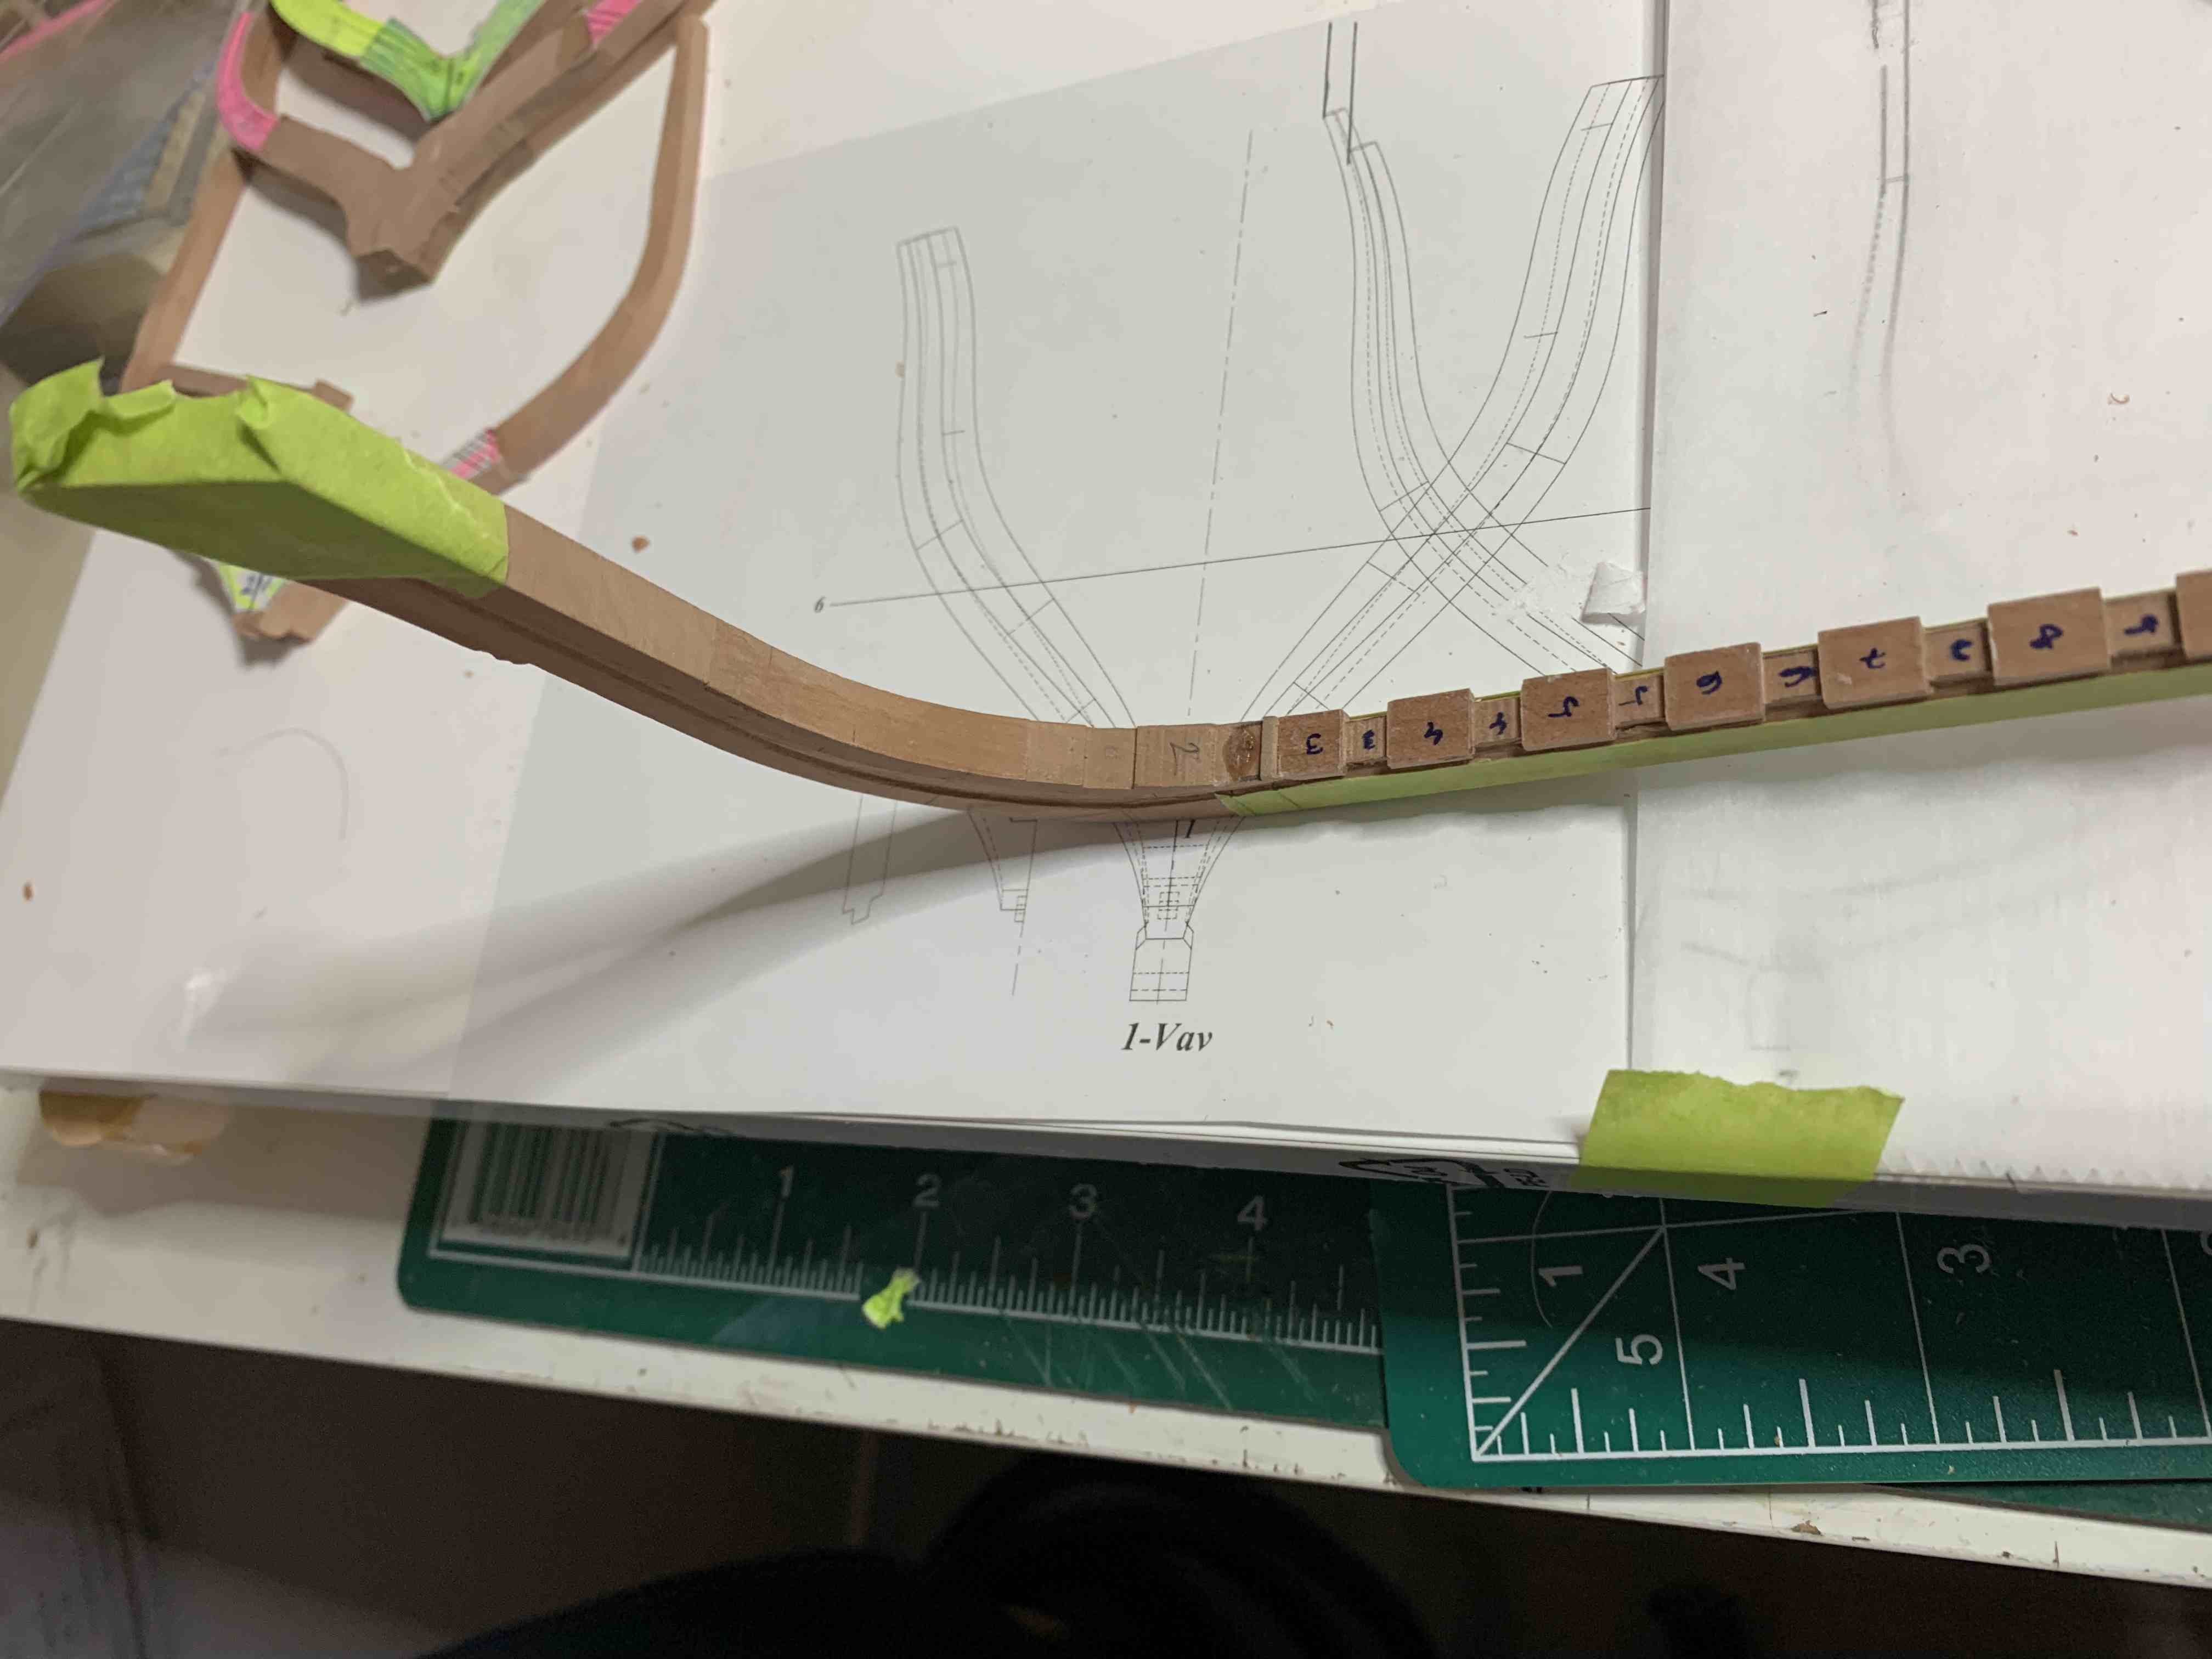
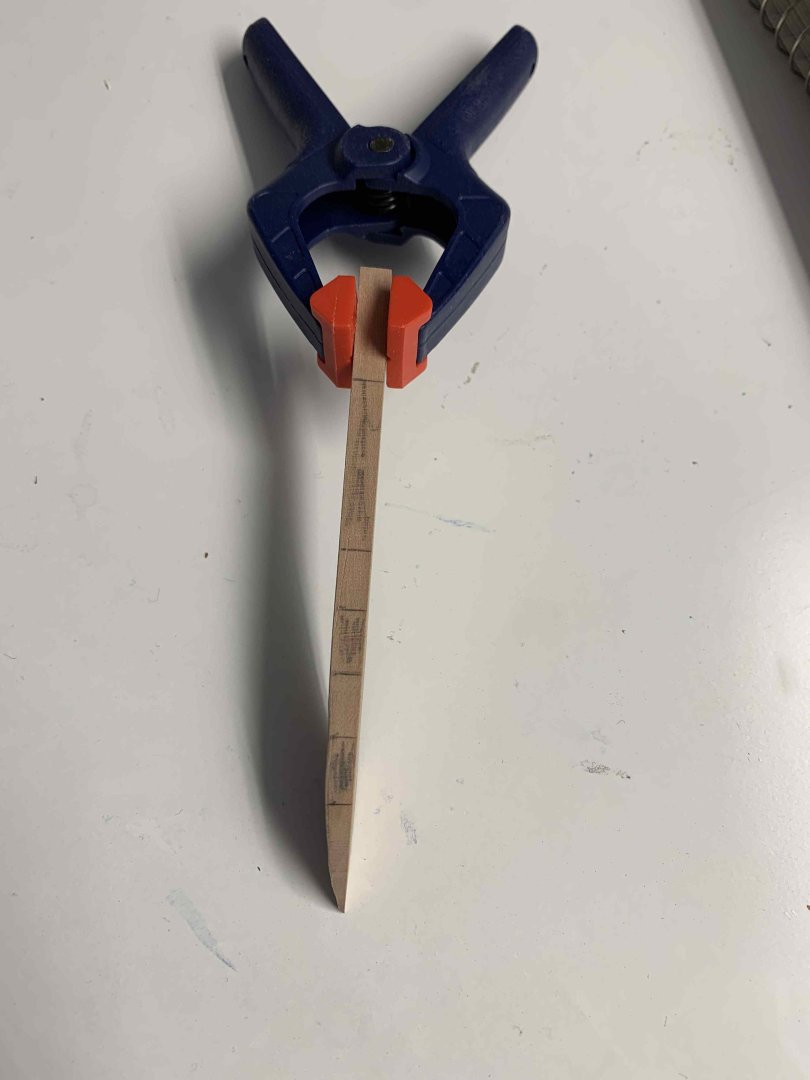
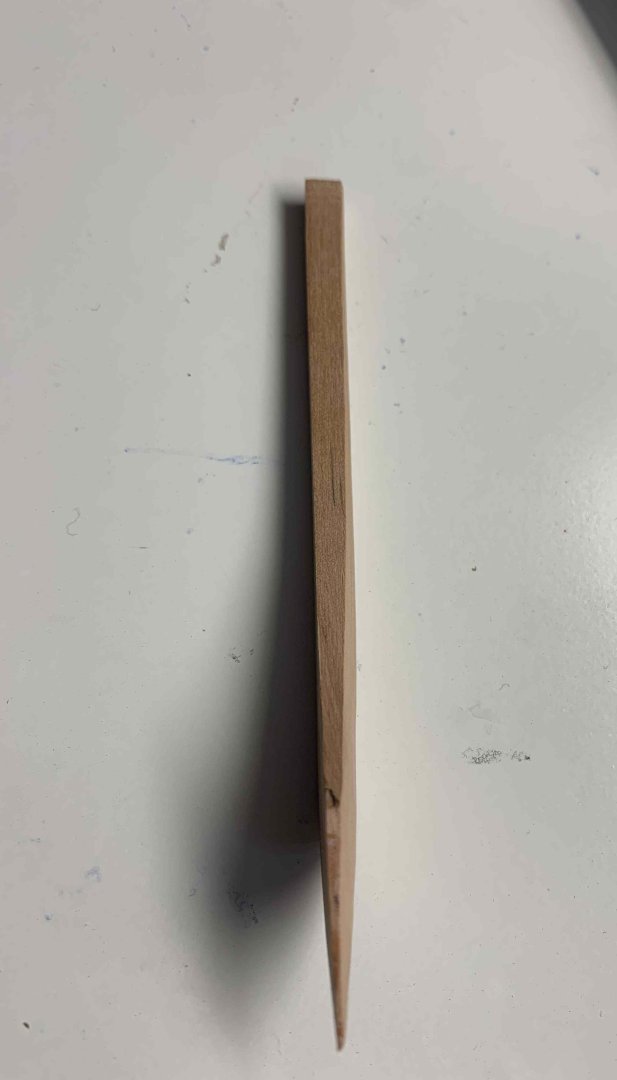
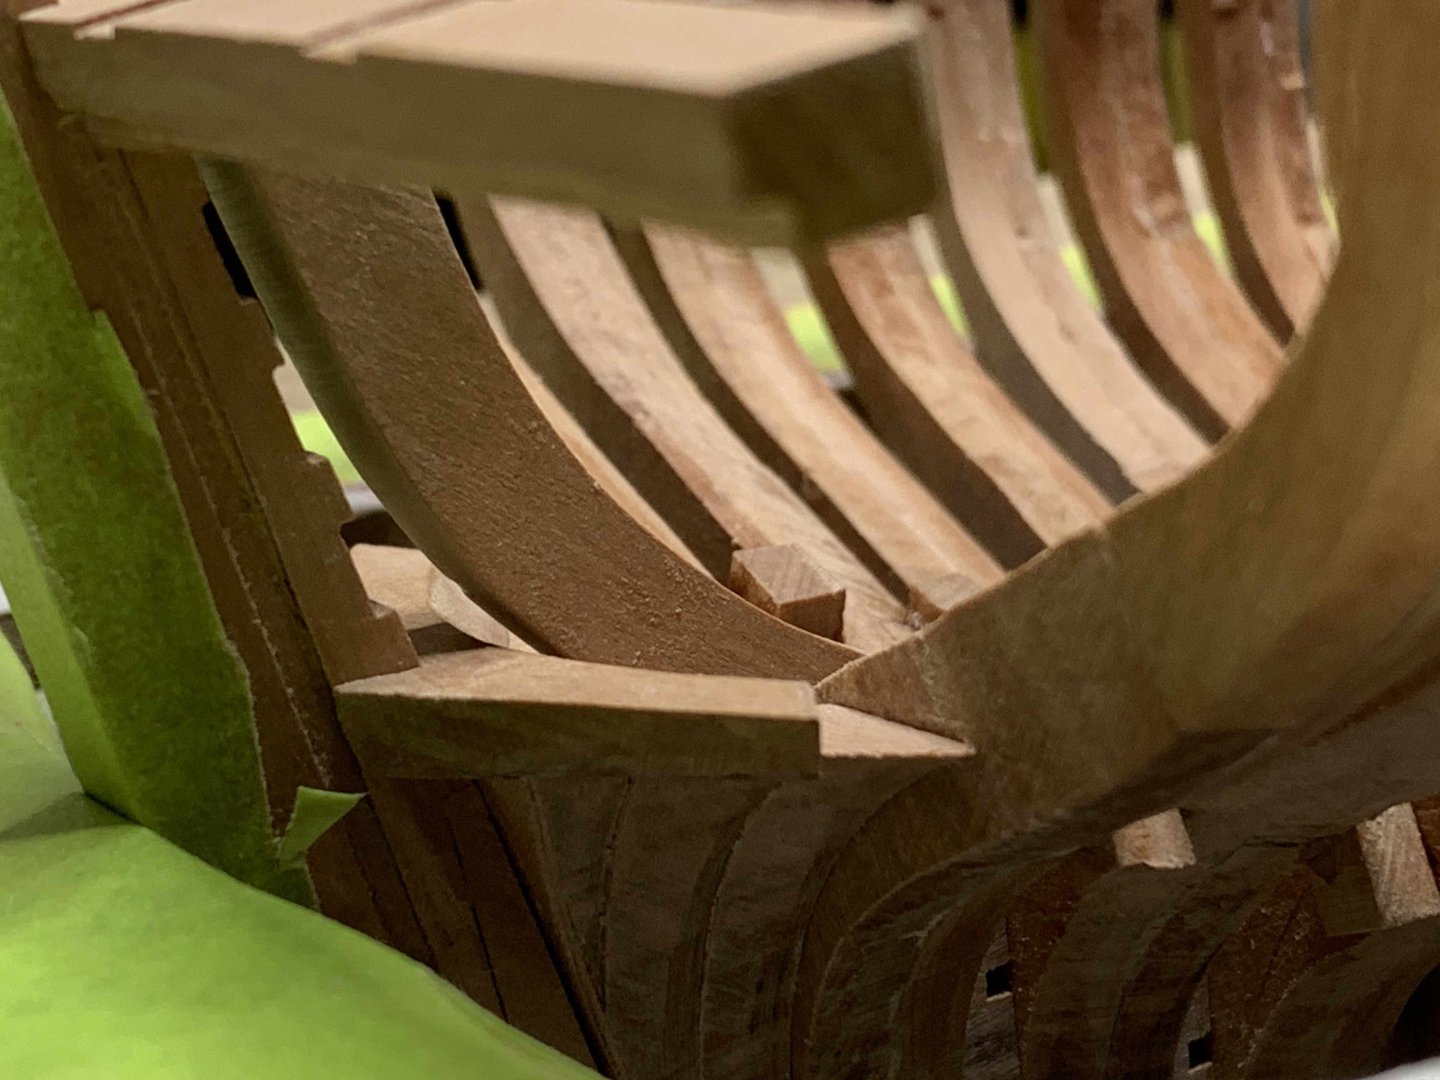
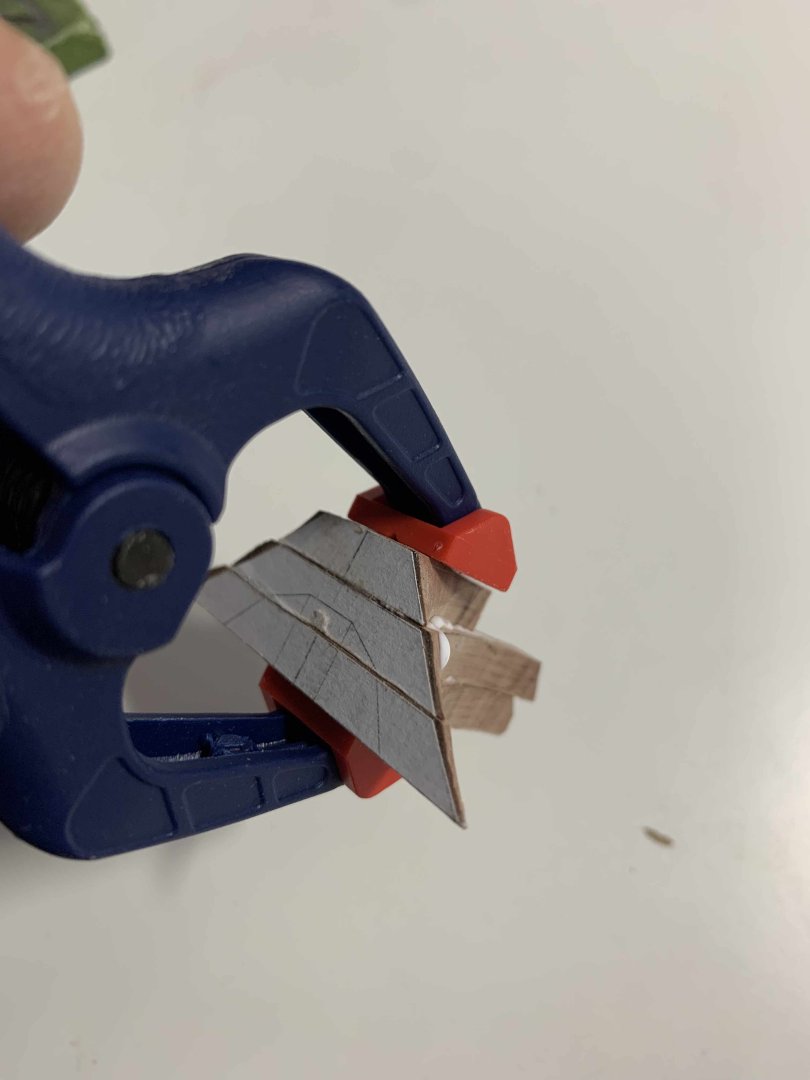
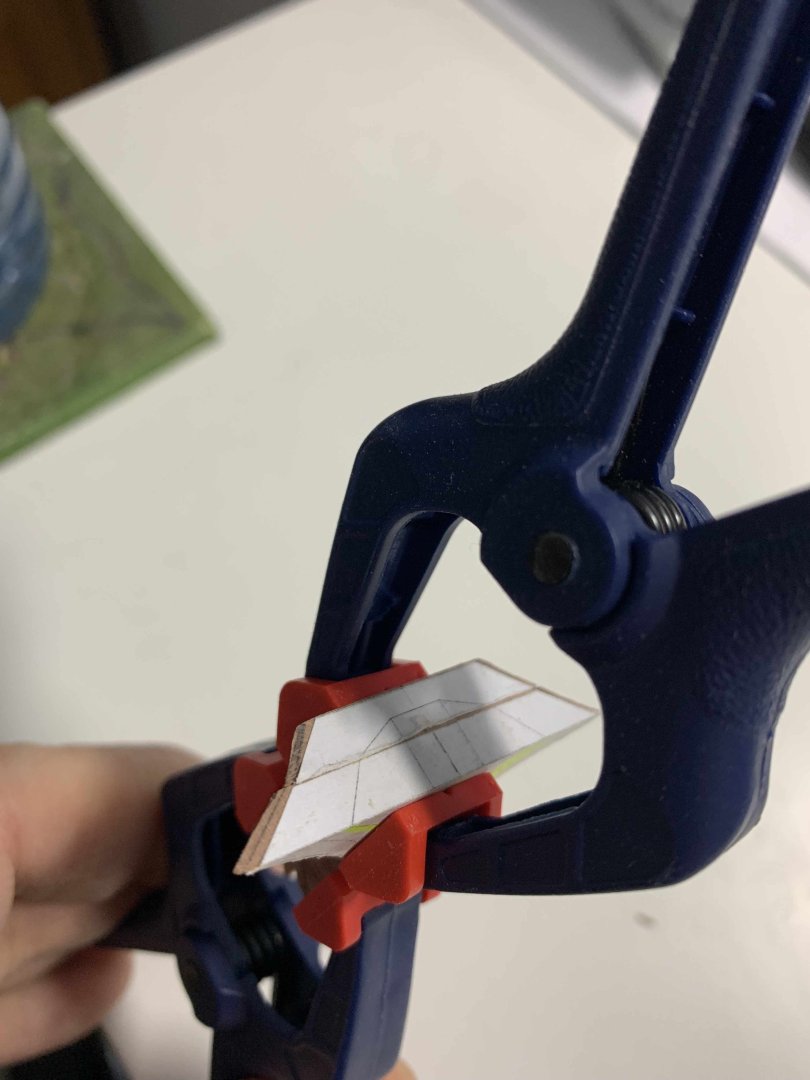
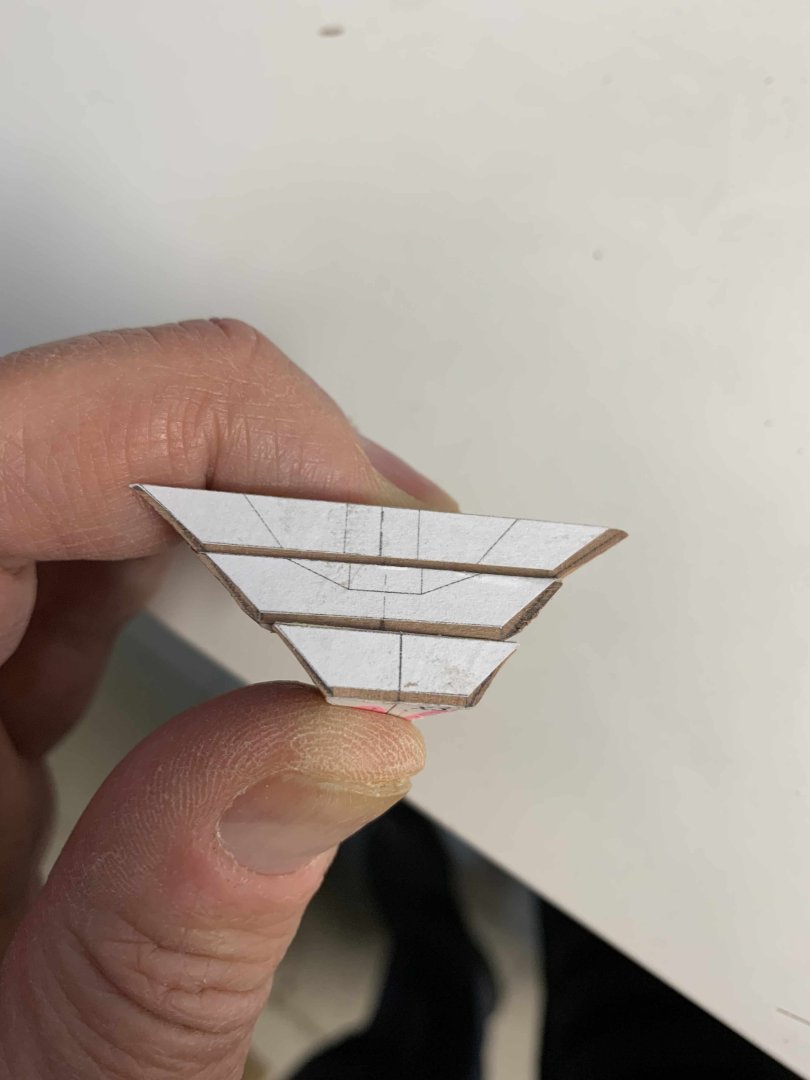
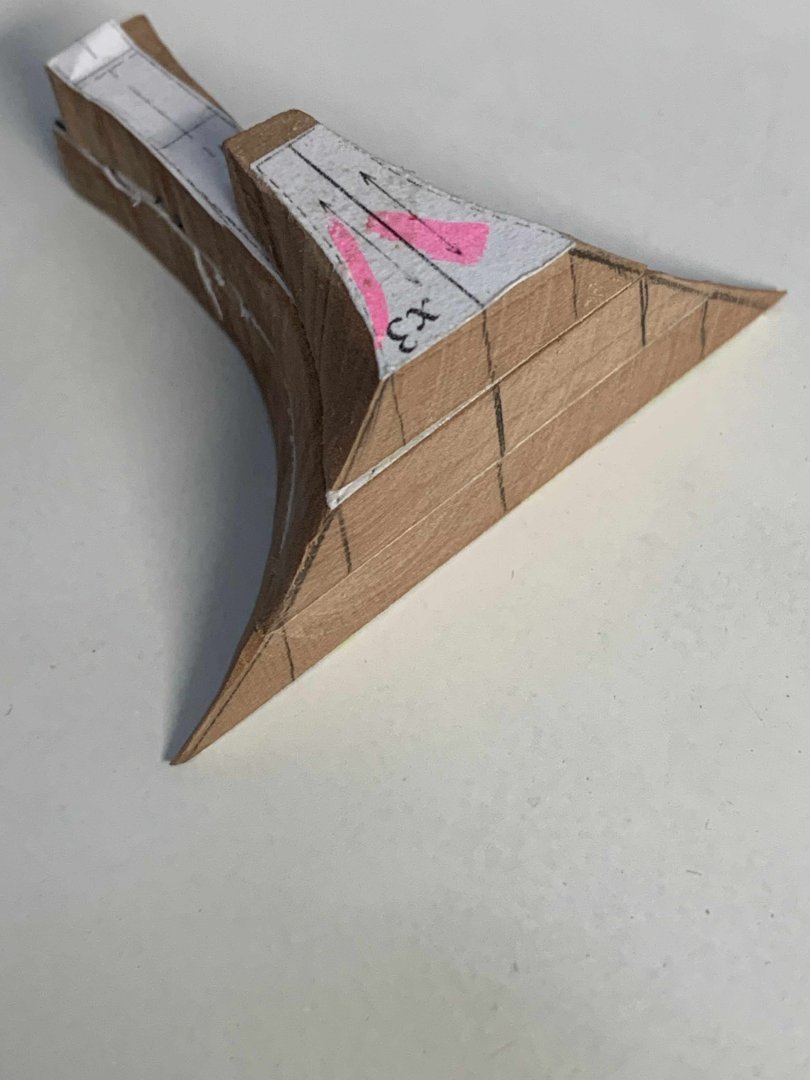
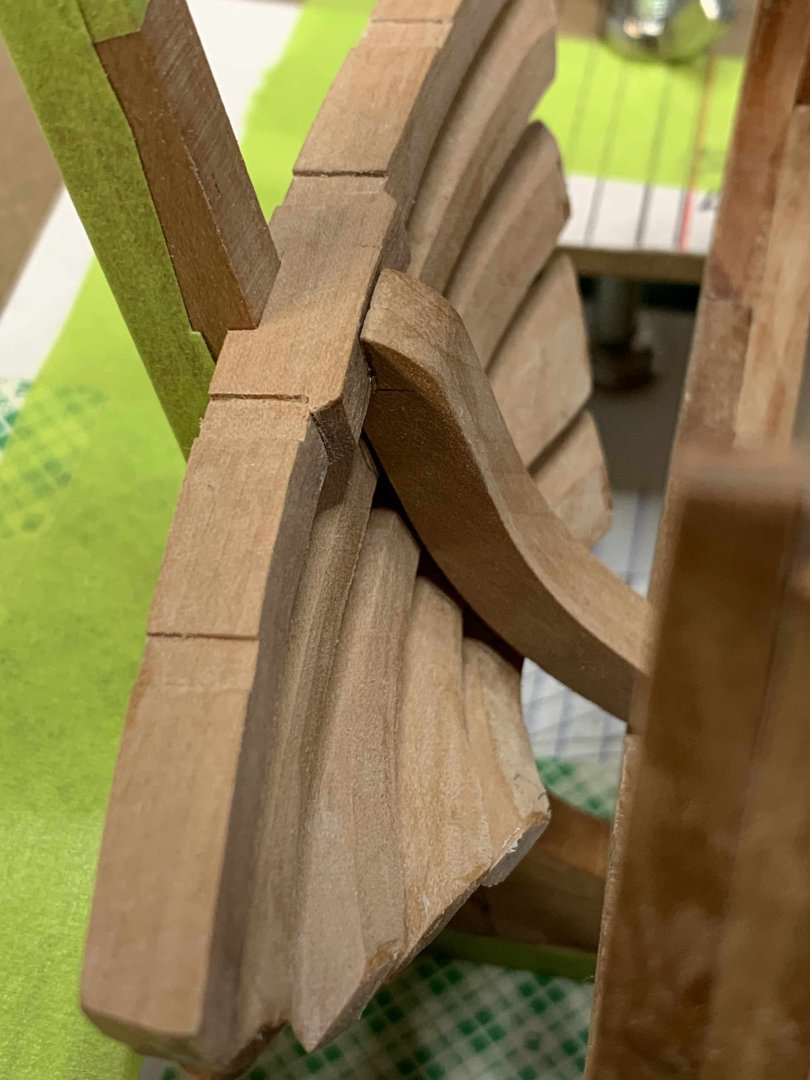
A bit of a carving... I found it easier to mark the lines, cut them with a saw and slowly carve the shape.. small amount of wood at a time.. Fitting test.. Now, lets add knee in the pictures.. Happy modelling


-
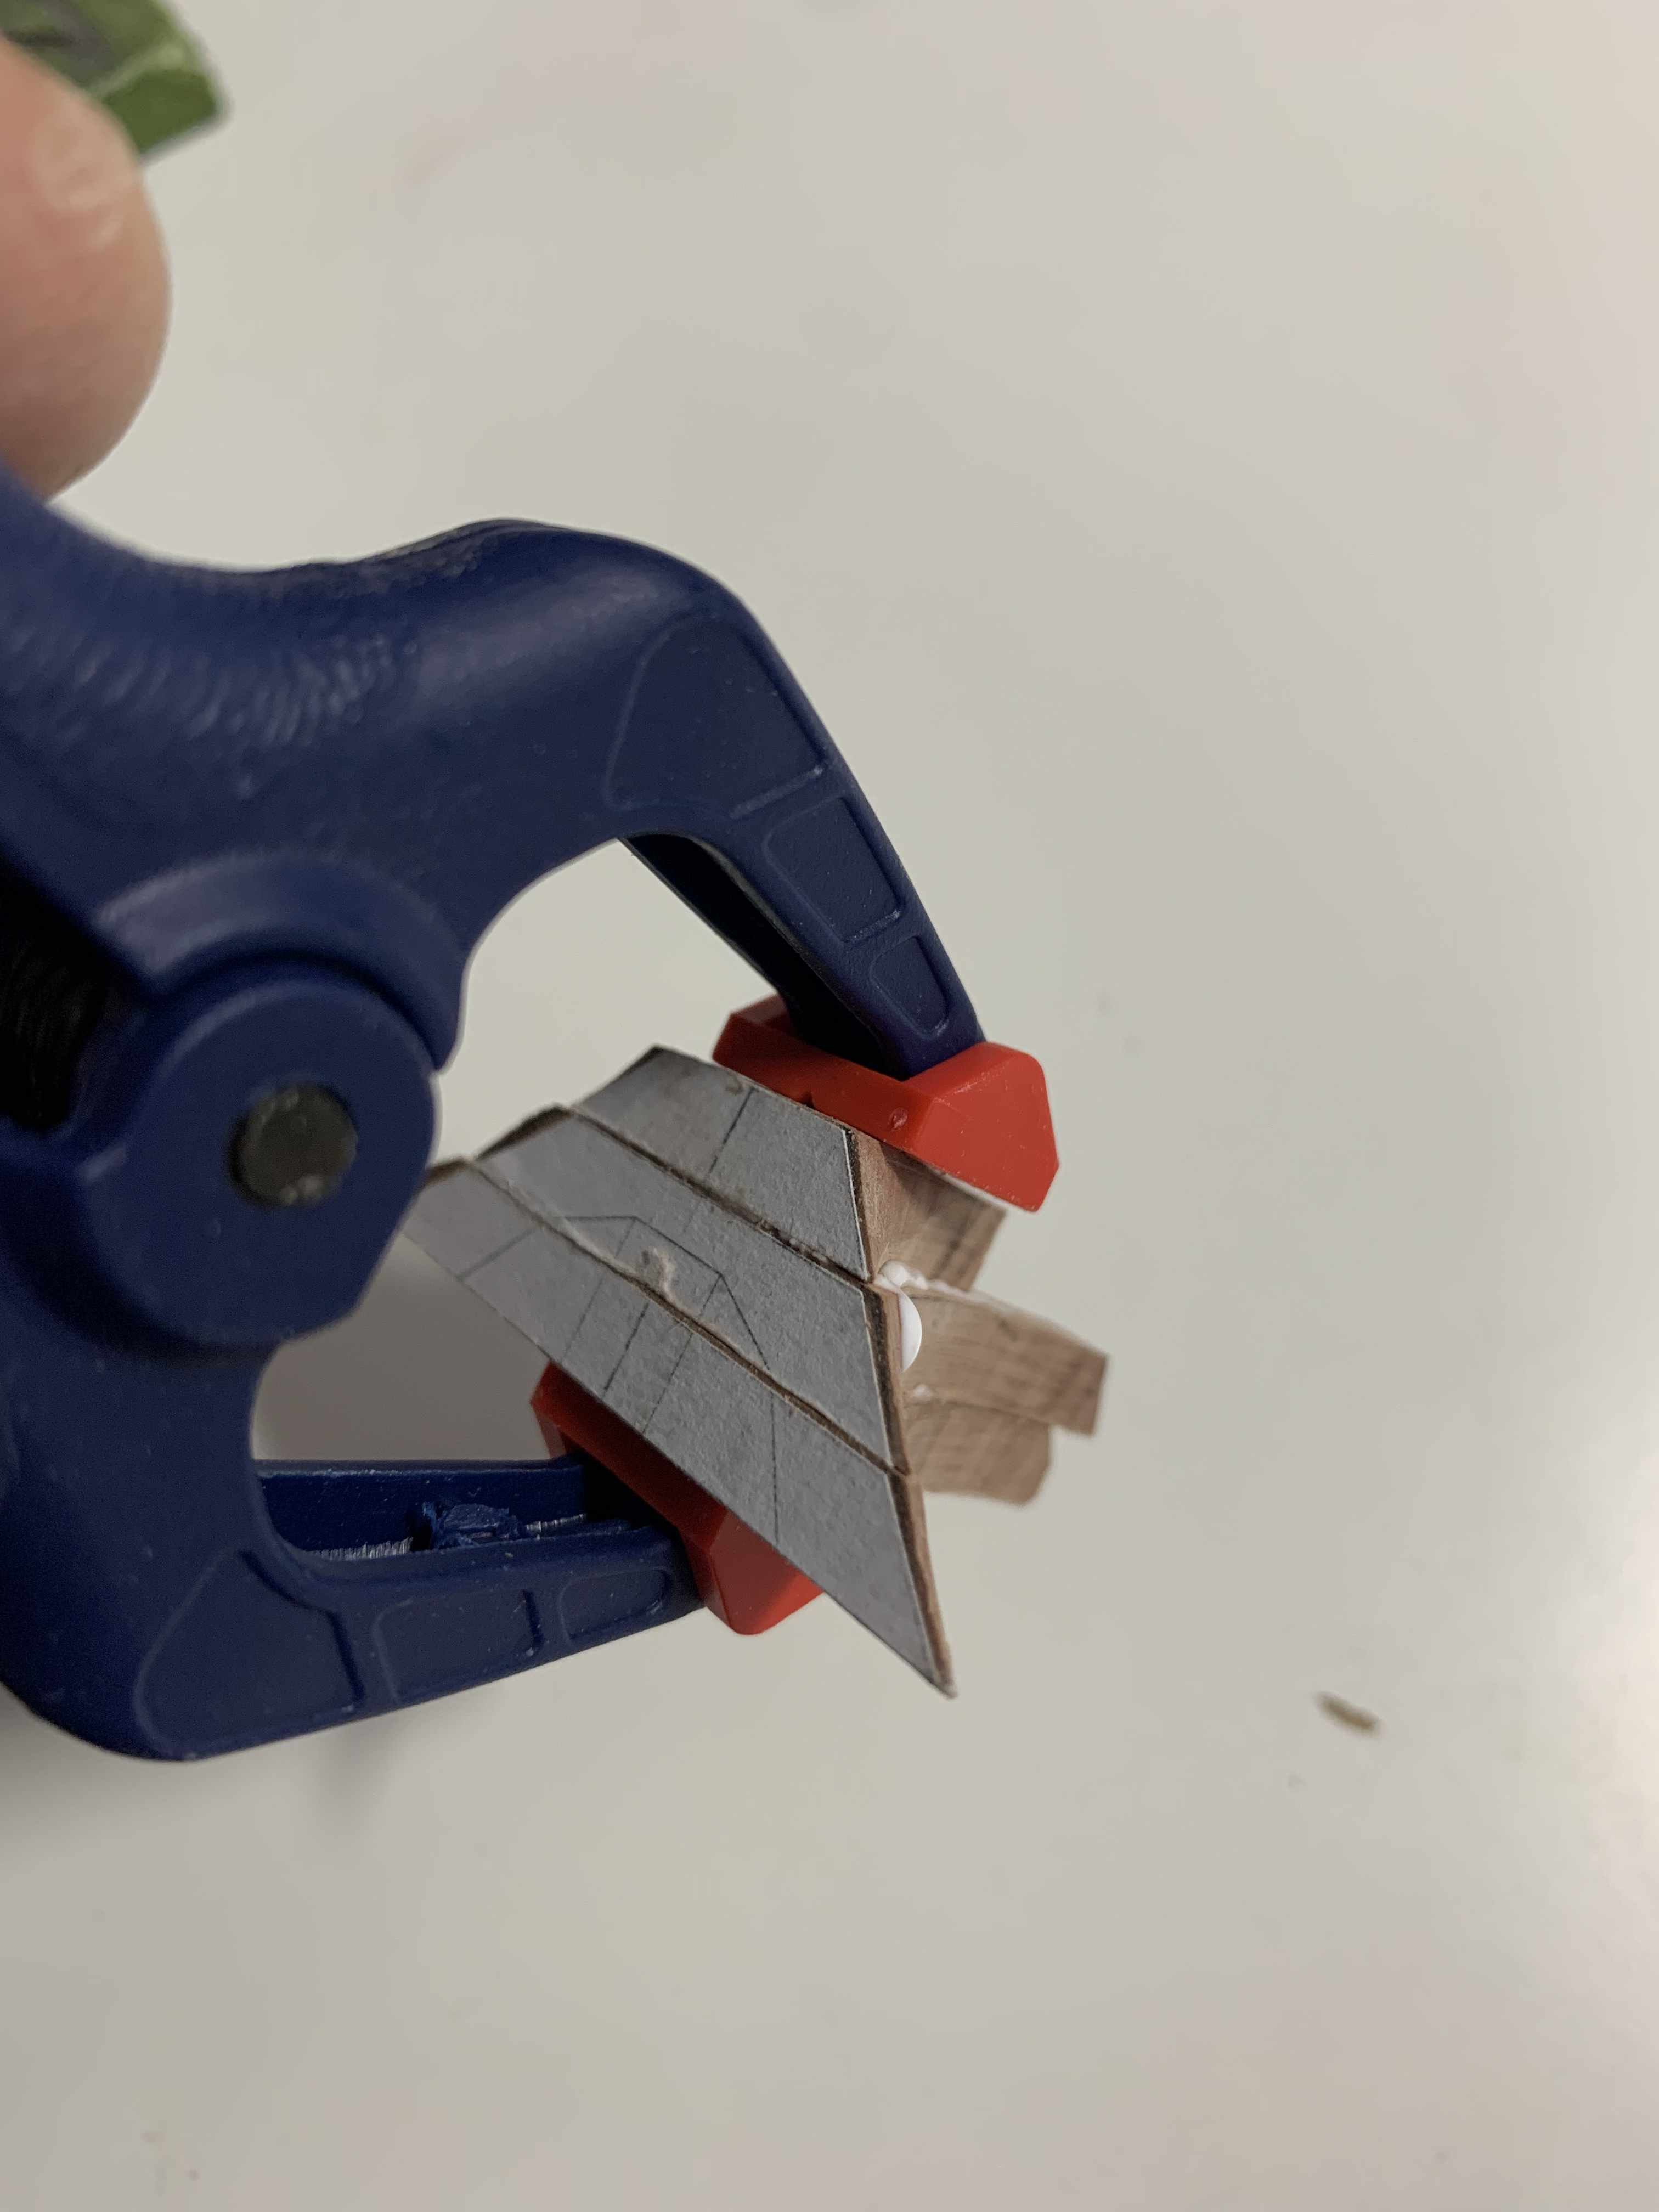
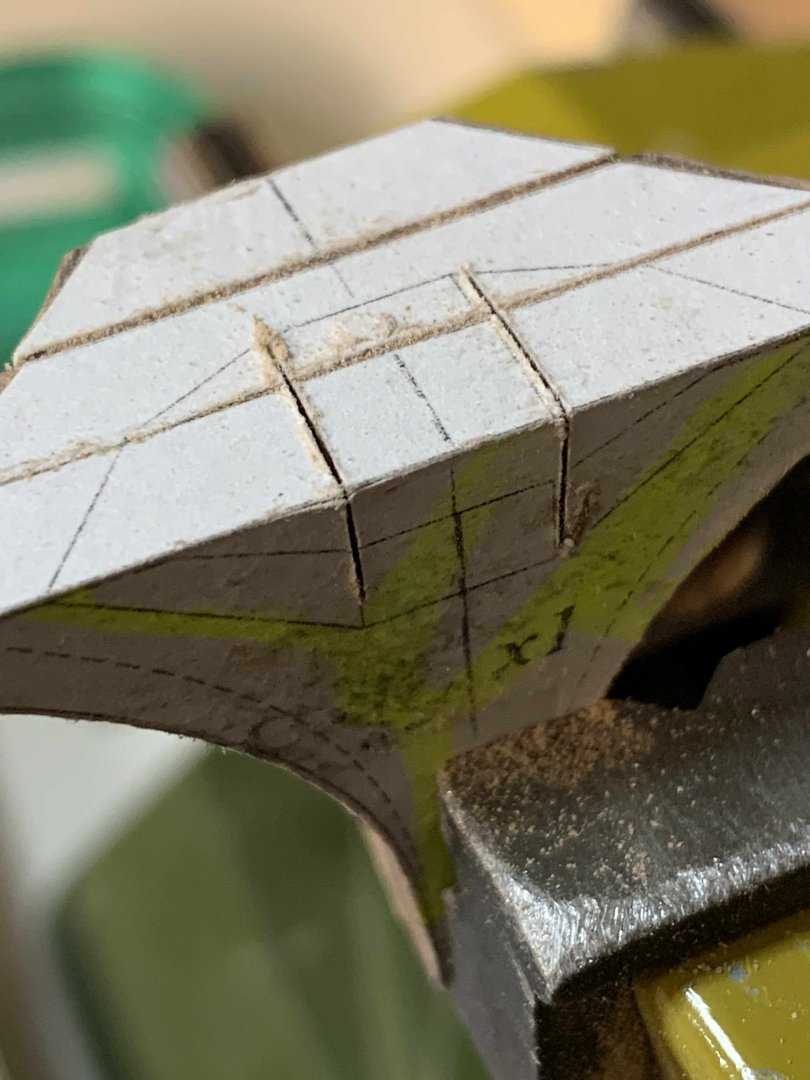
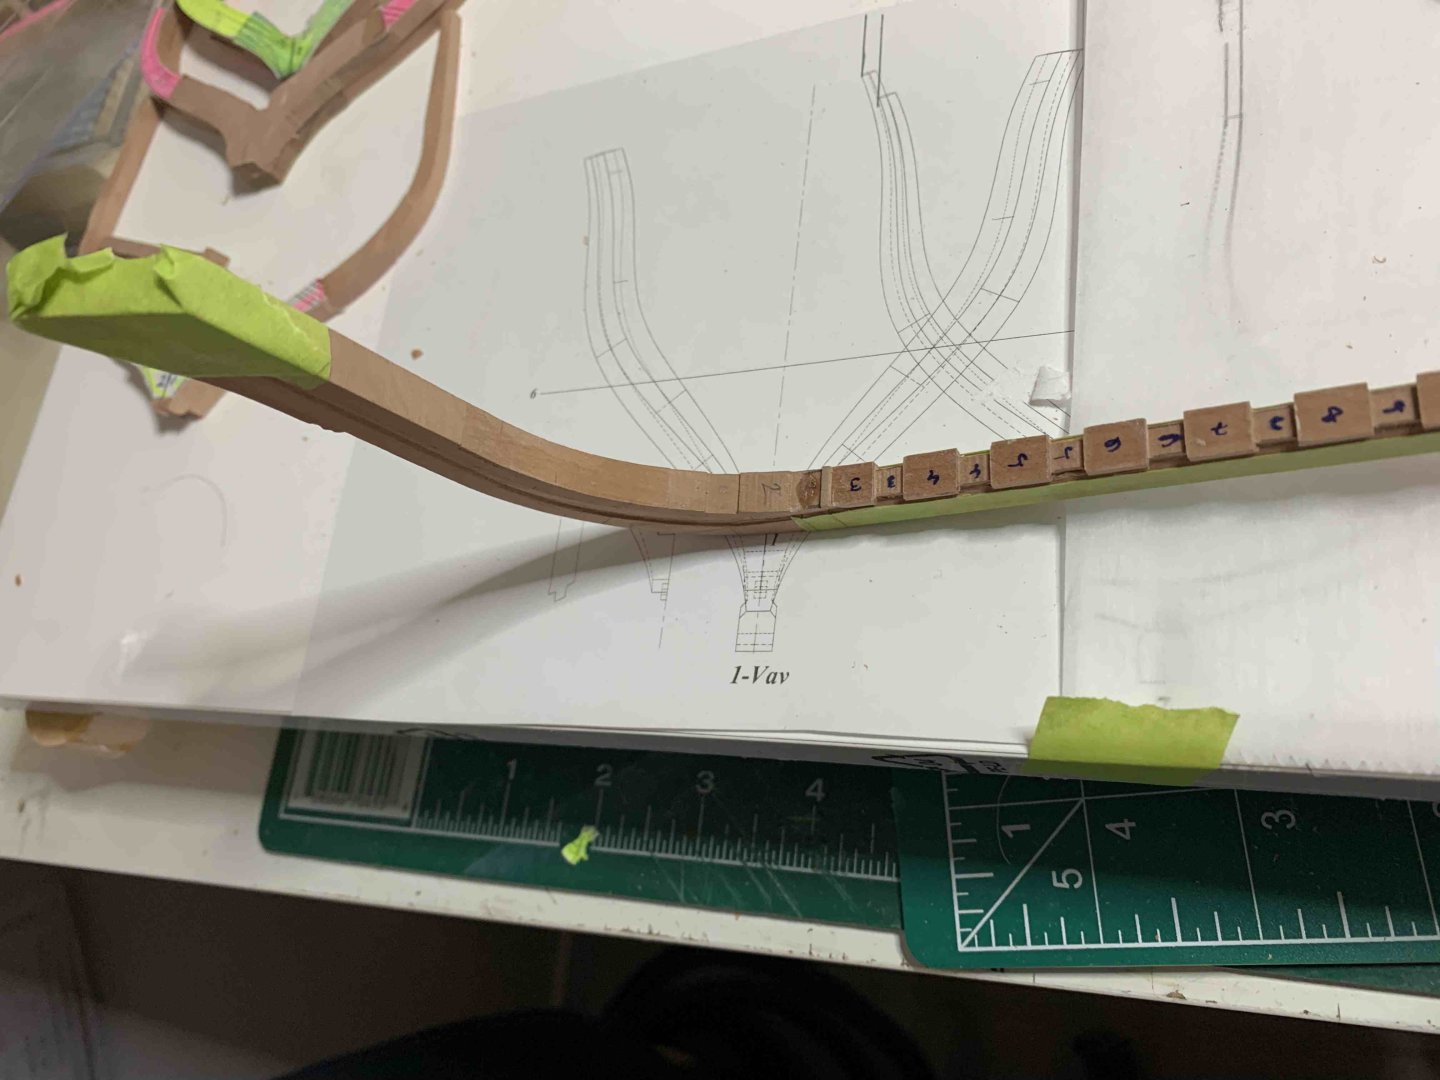
Last, frame #1, was lightly sanded and glued to the ship.. Then, work on stern filling timber continues with glueing all parts.. Then I created a small template out of paper in attempt to follow keel curvature... Testing fitting after initial sanding Another template added to the filling Sanding, testing... Preparing for more carving work... Happy modelling.


-
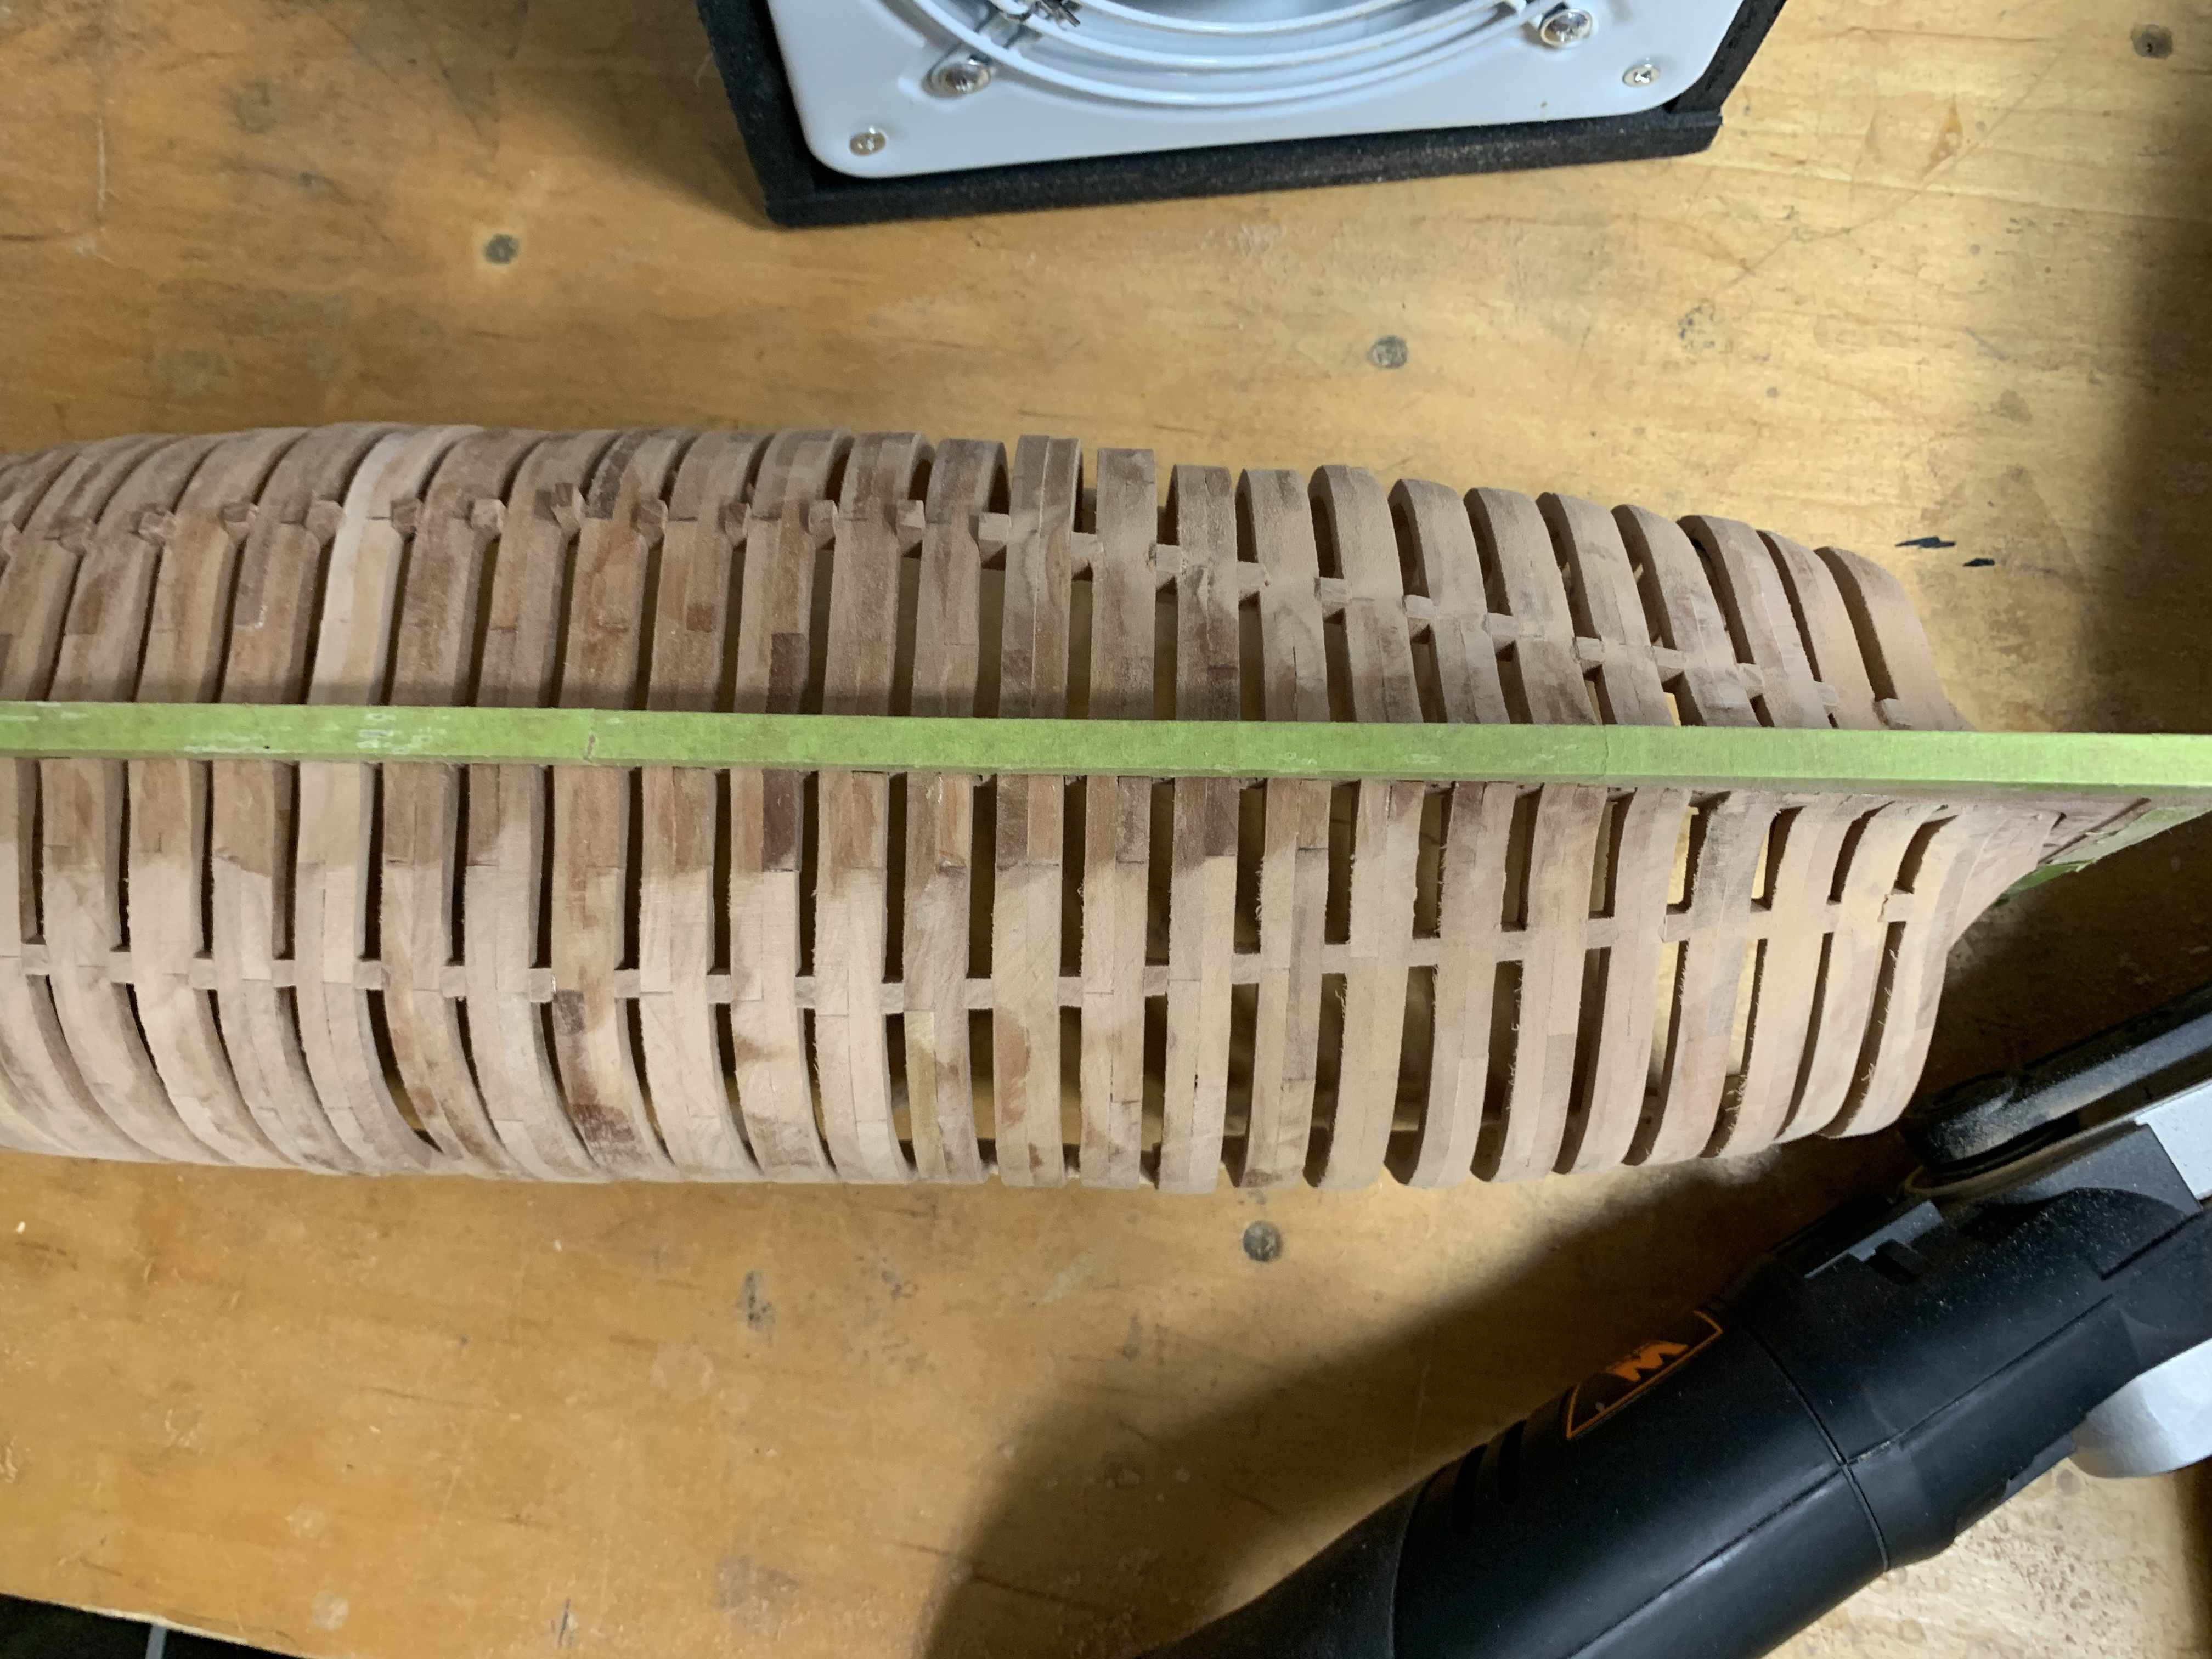
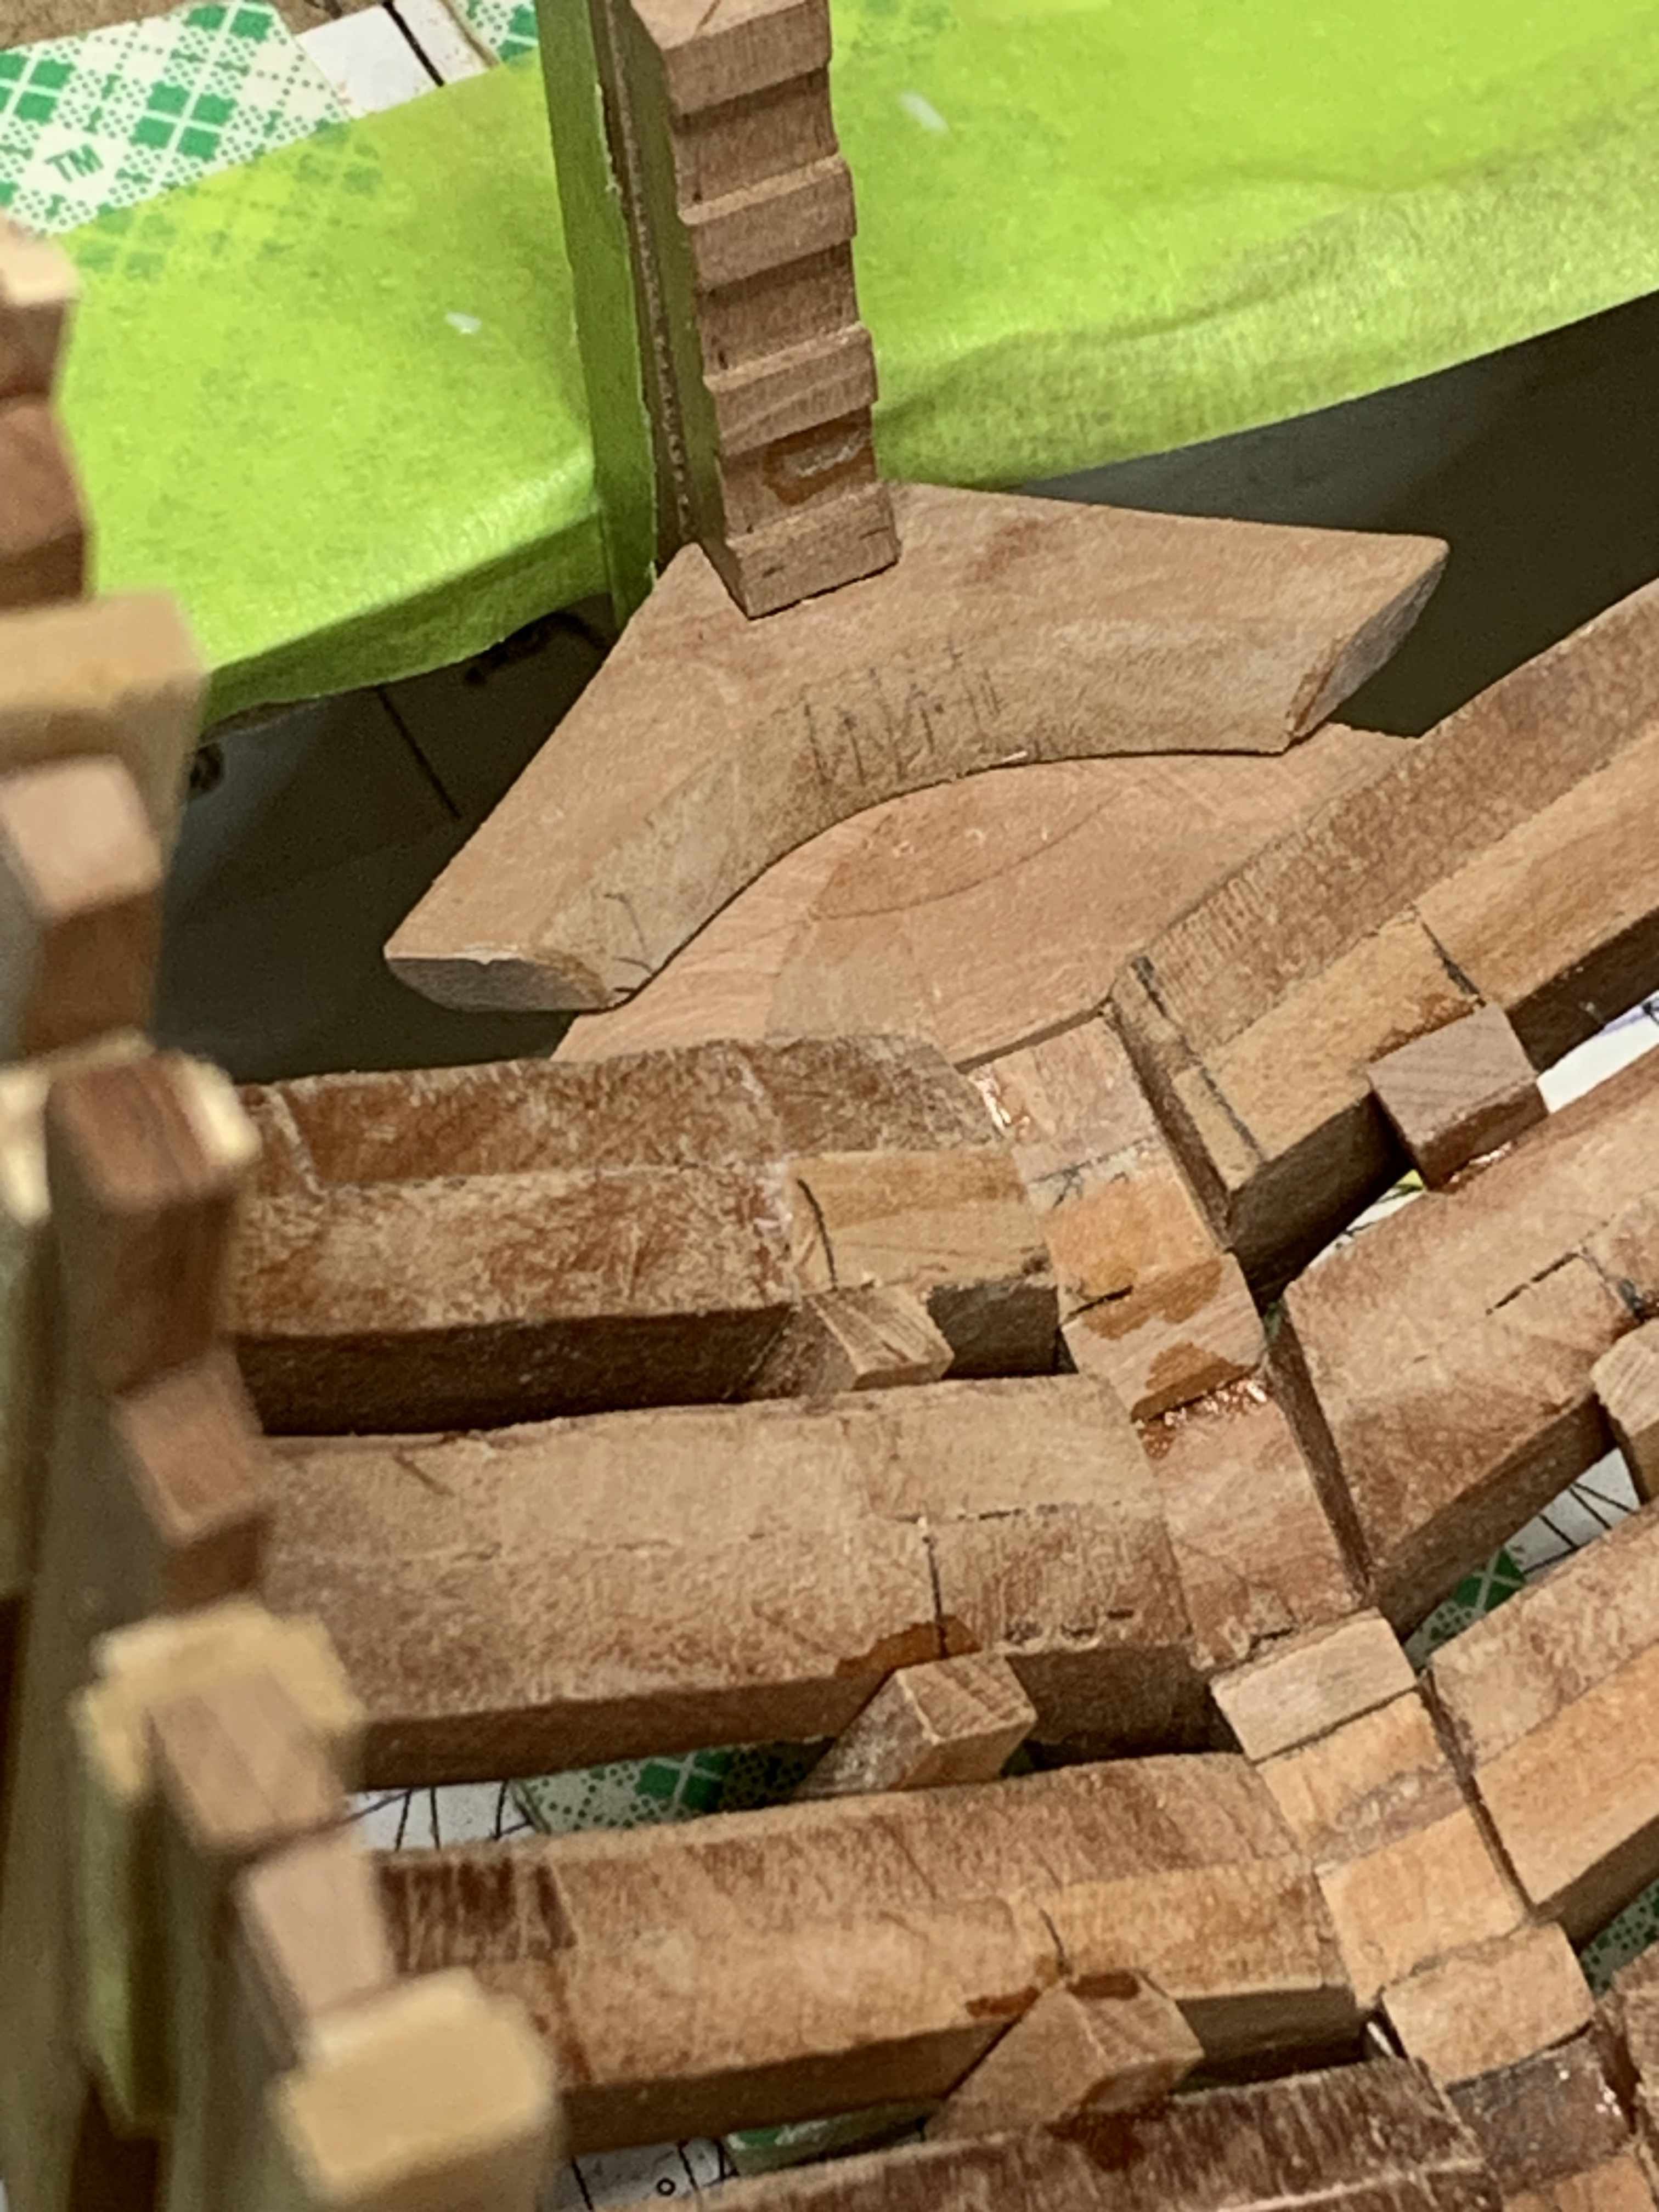
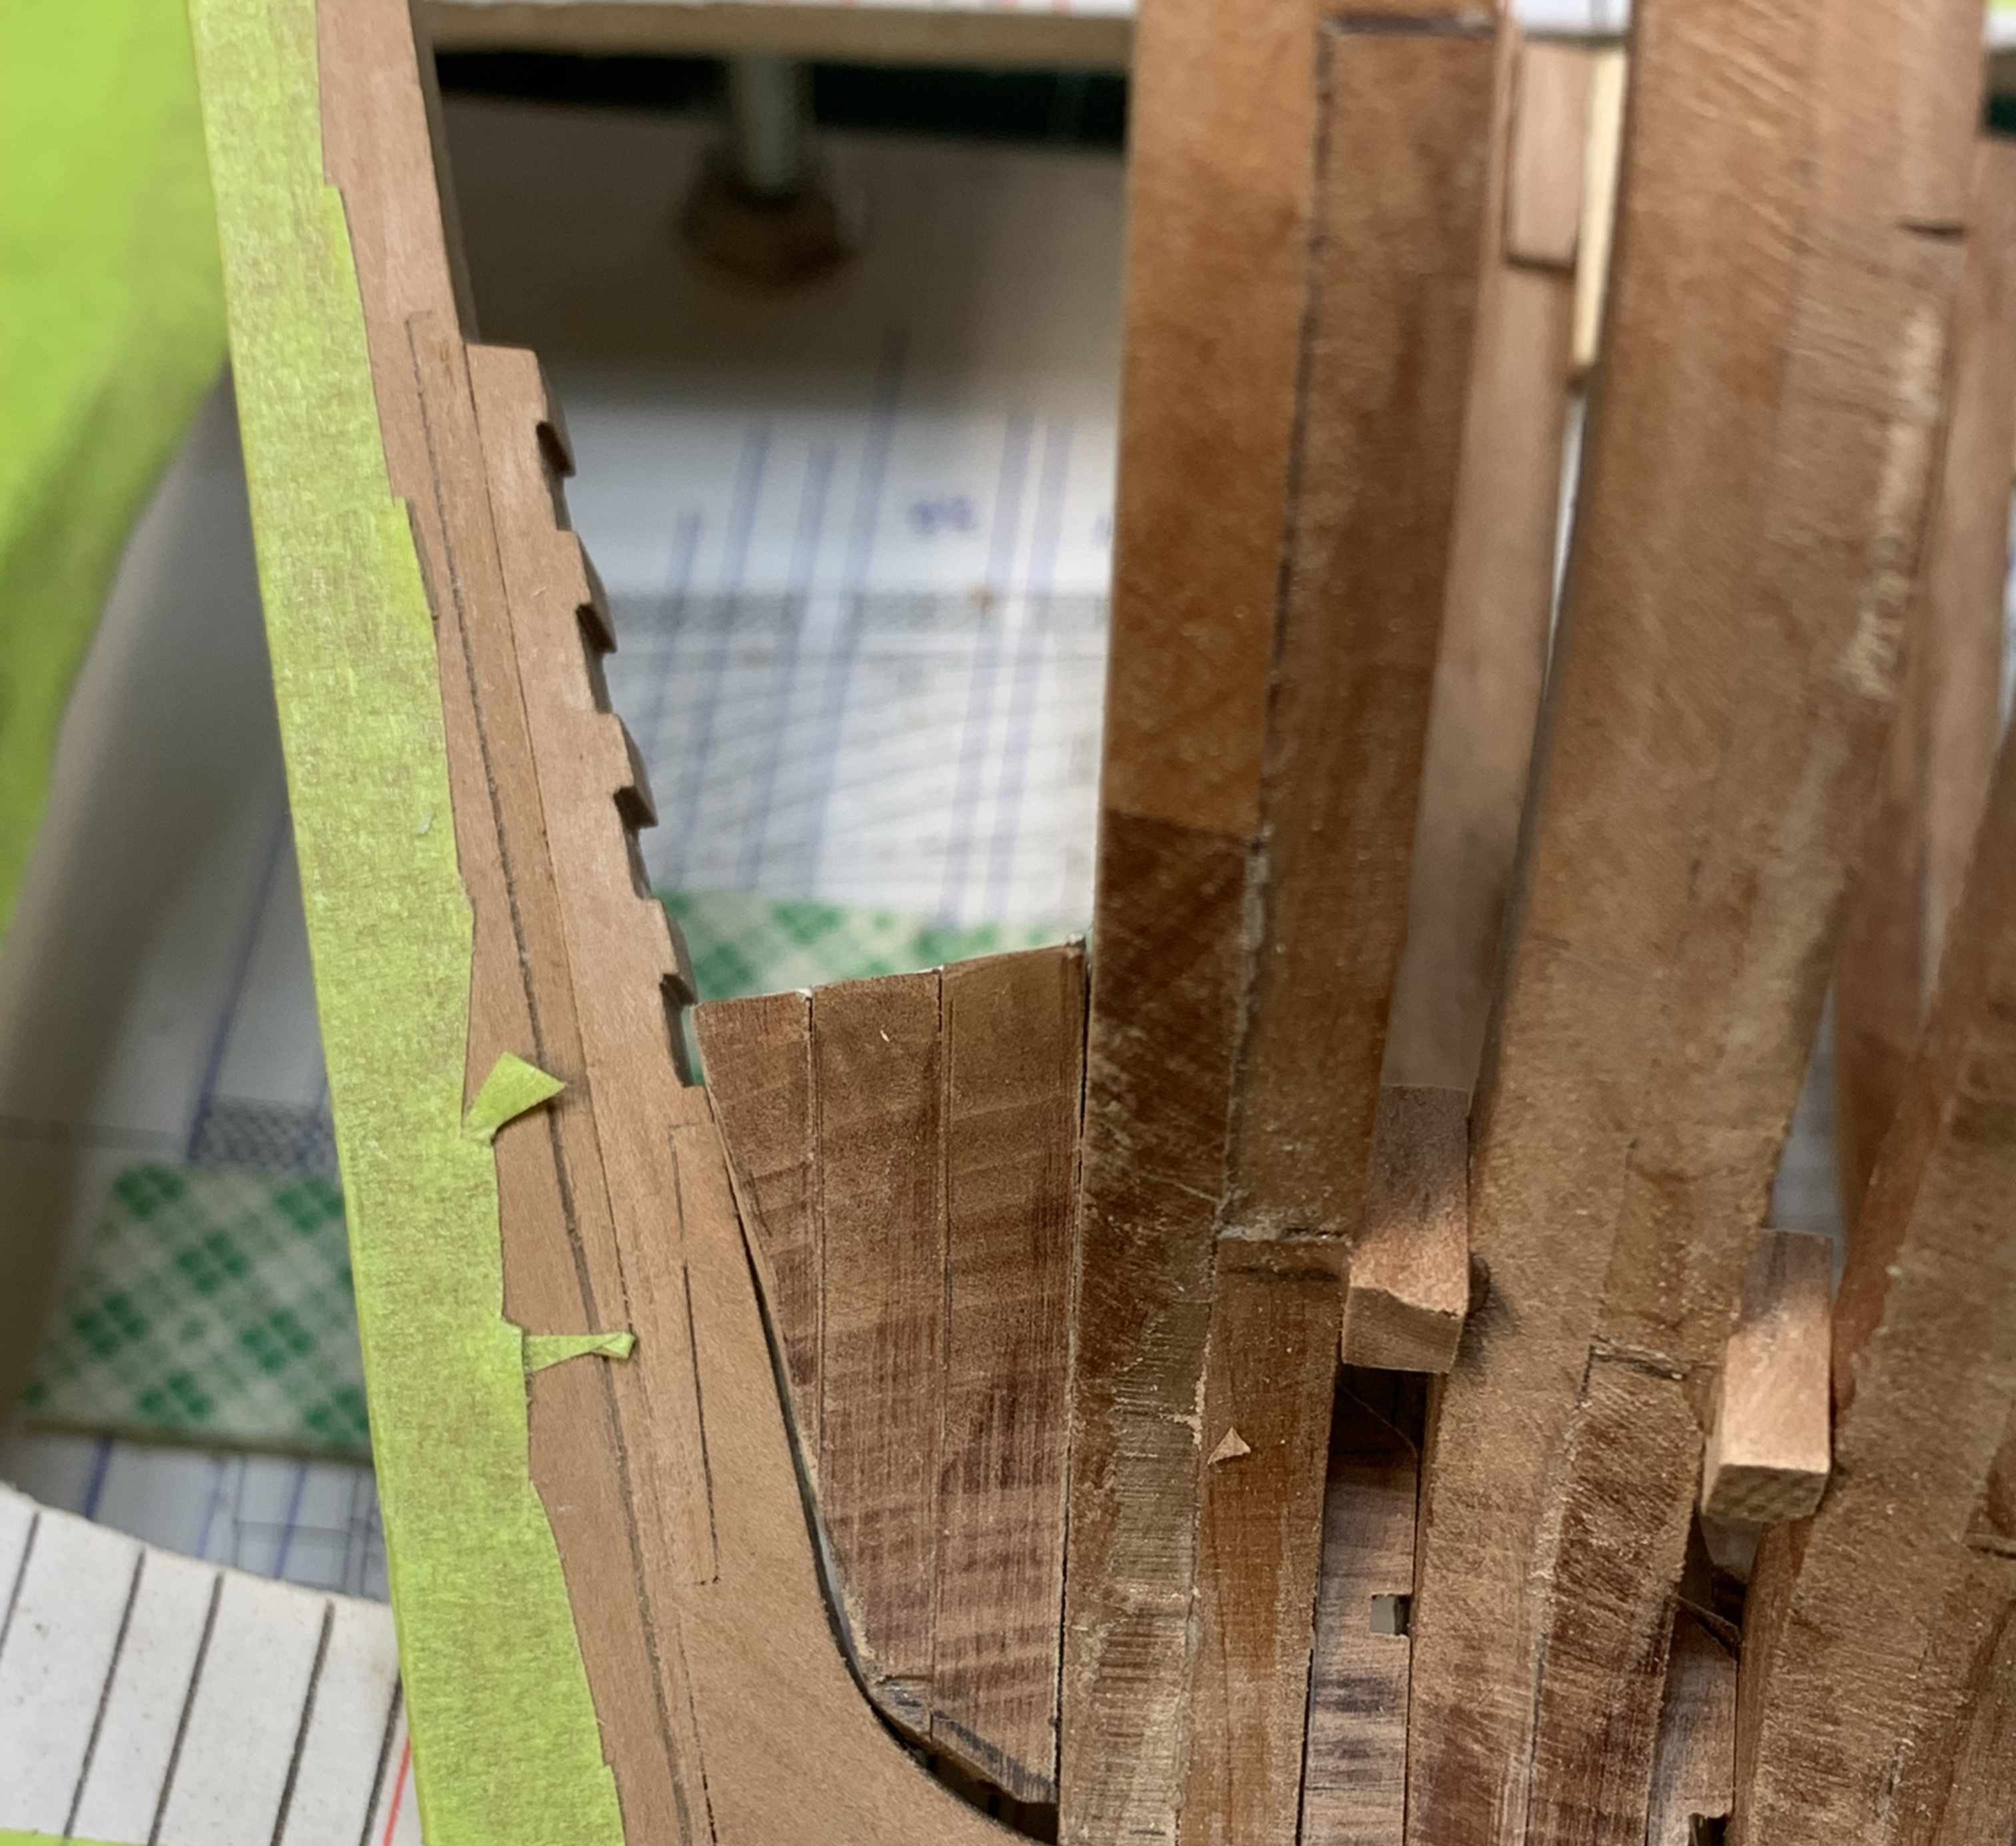
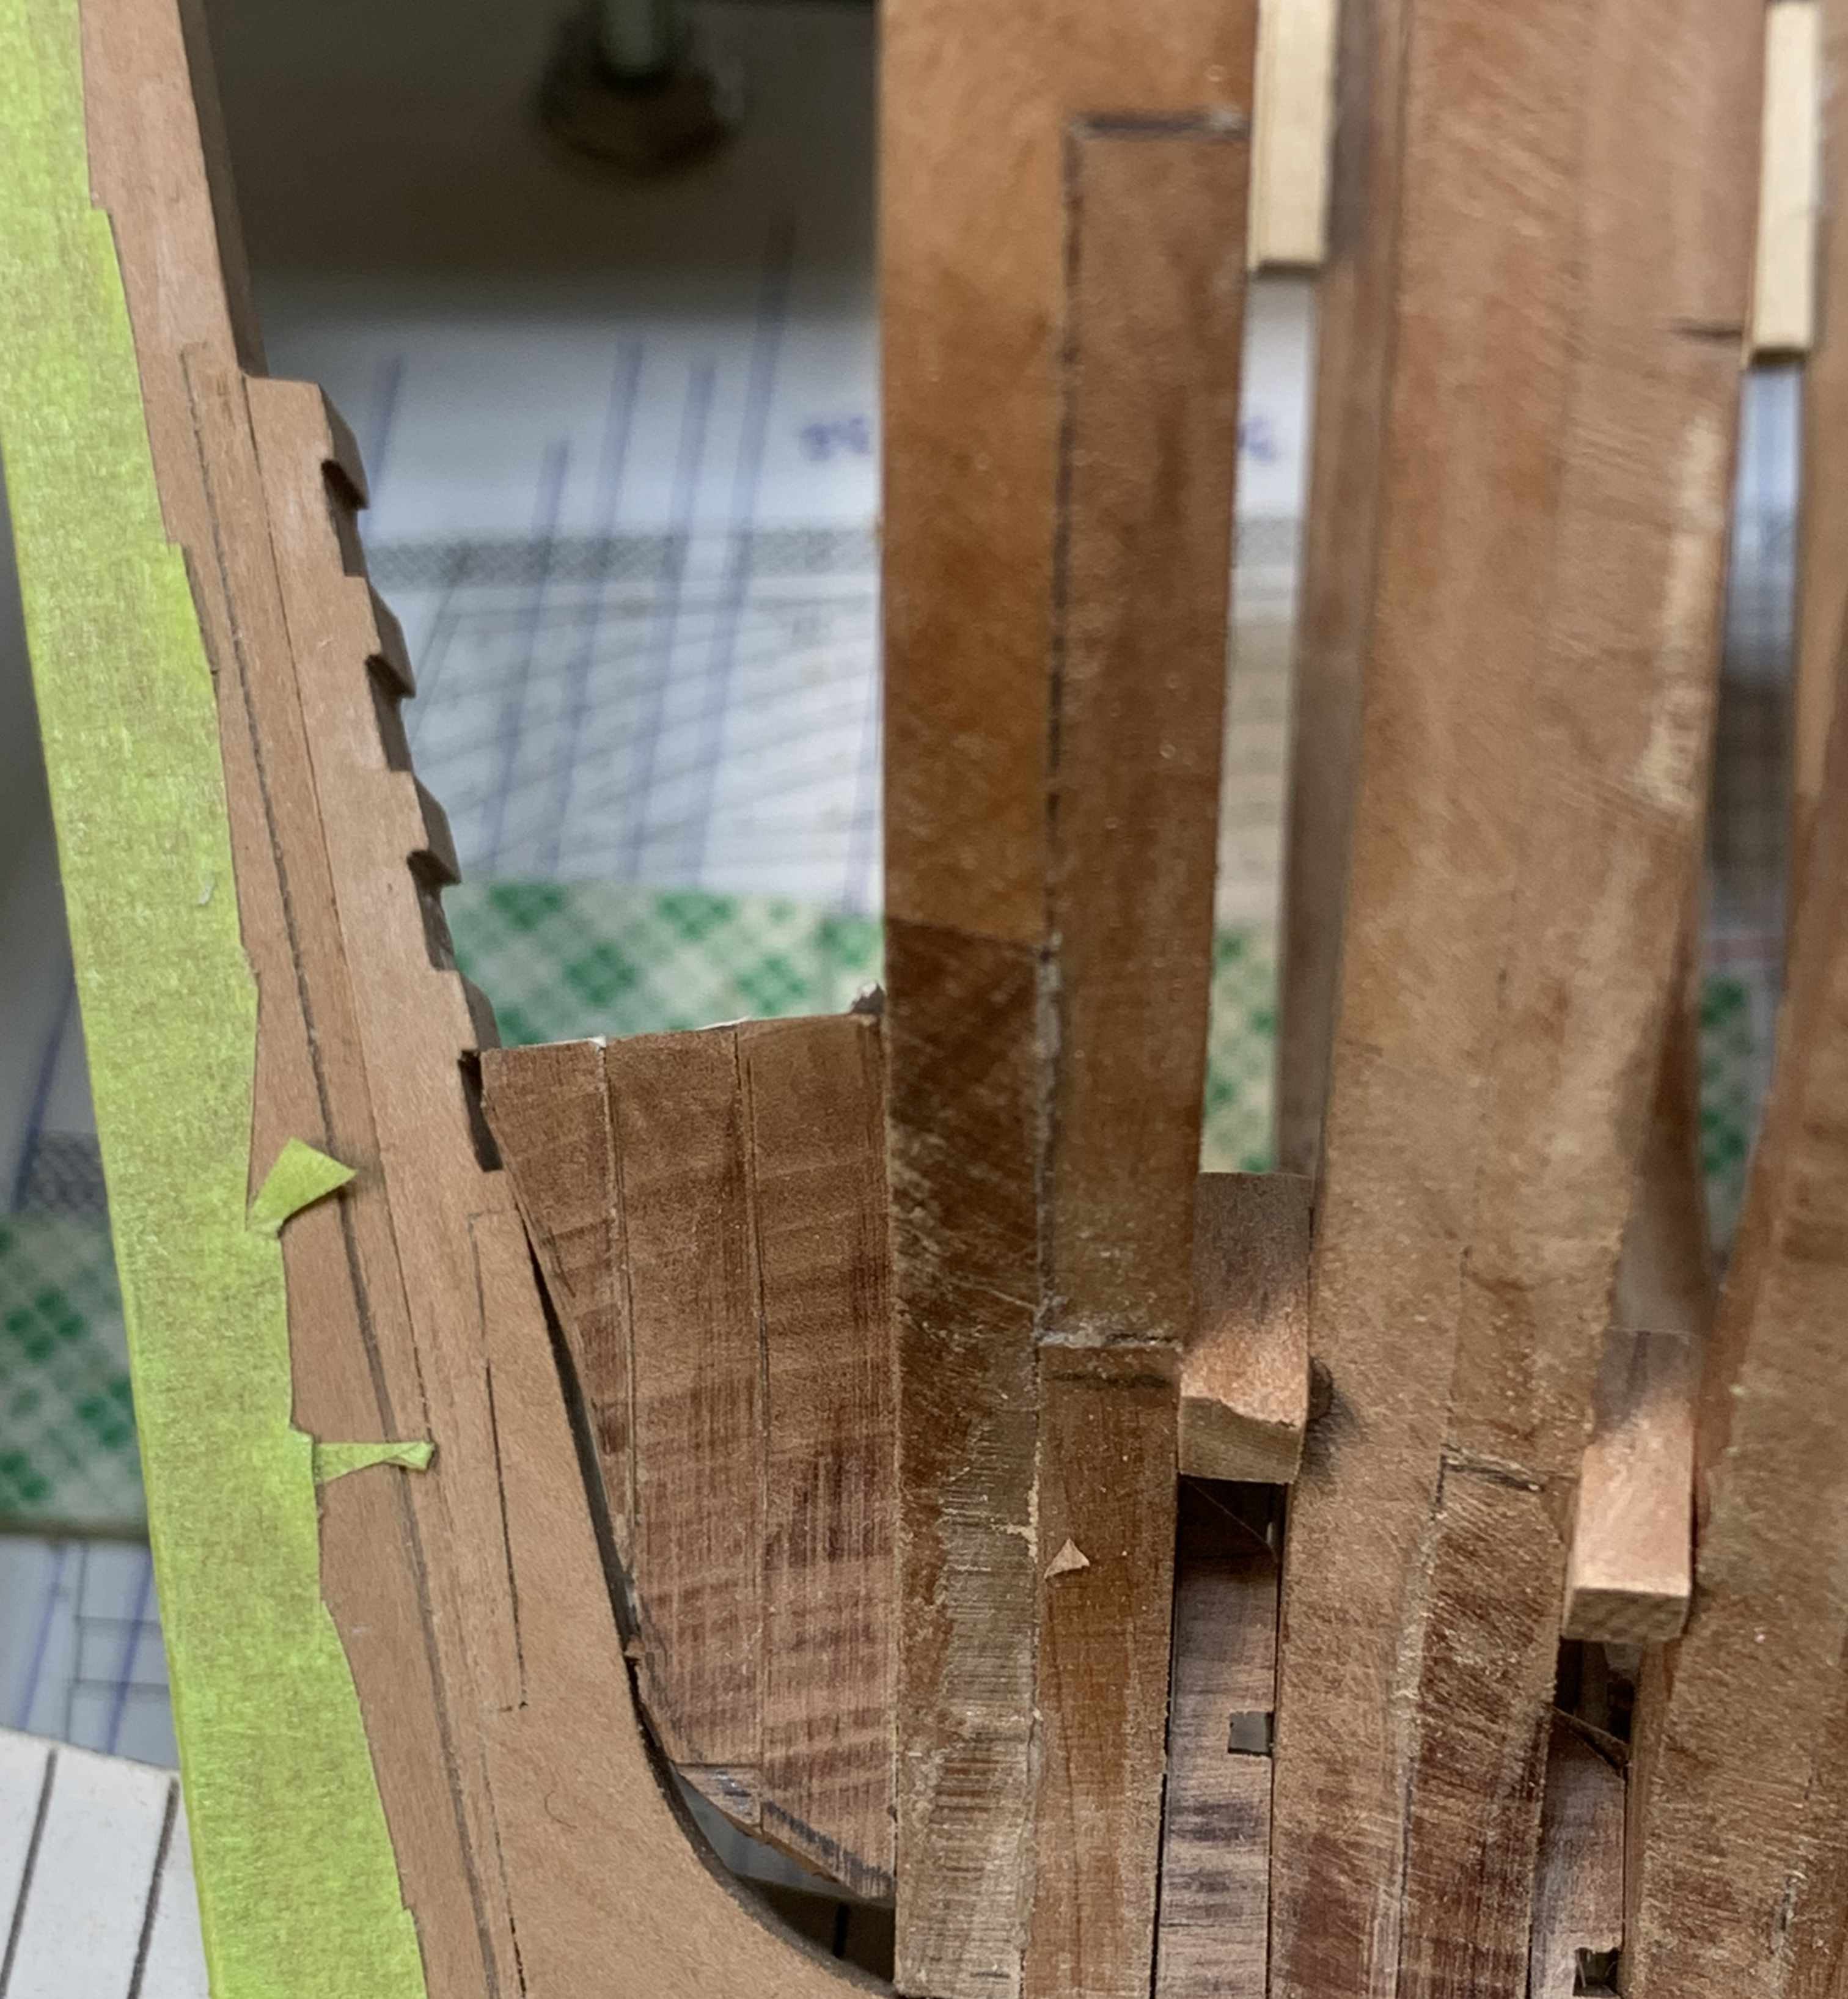
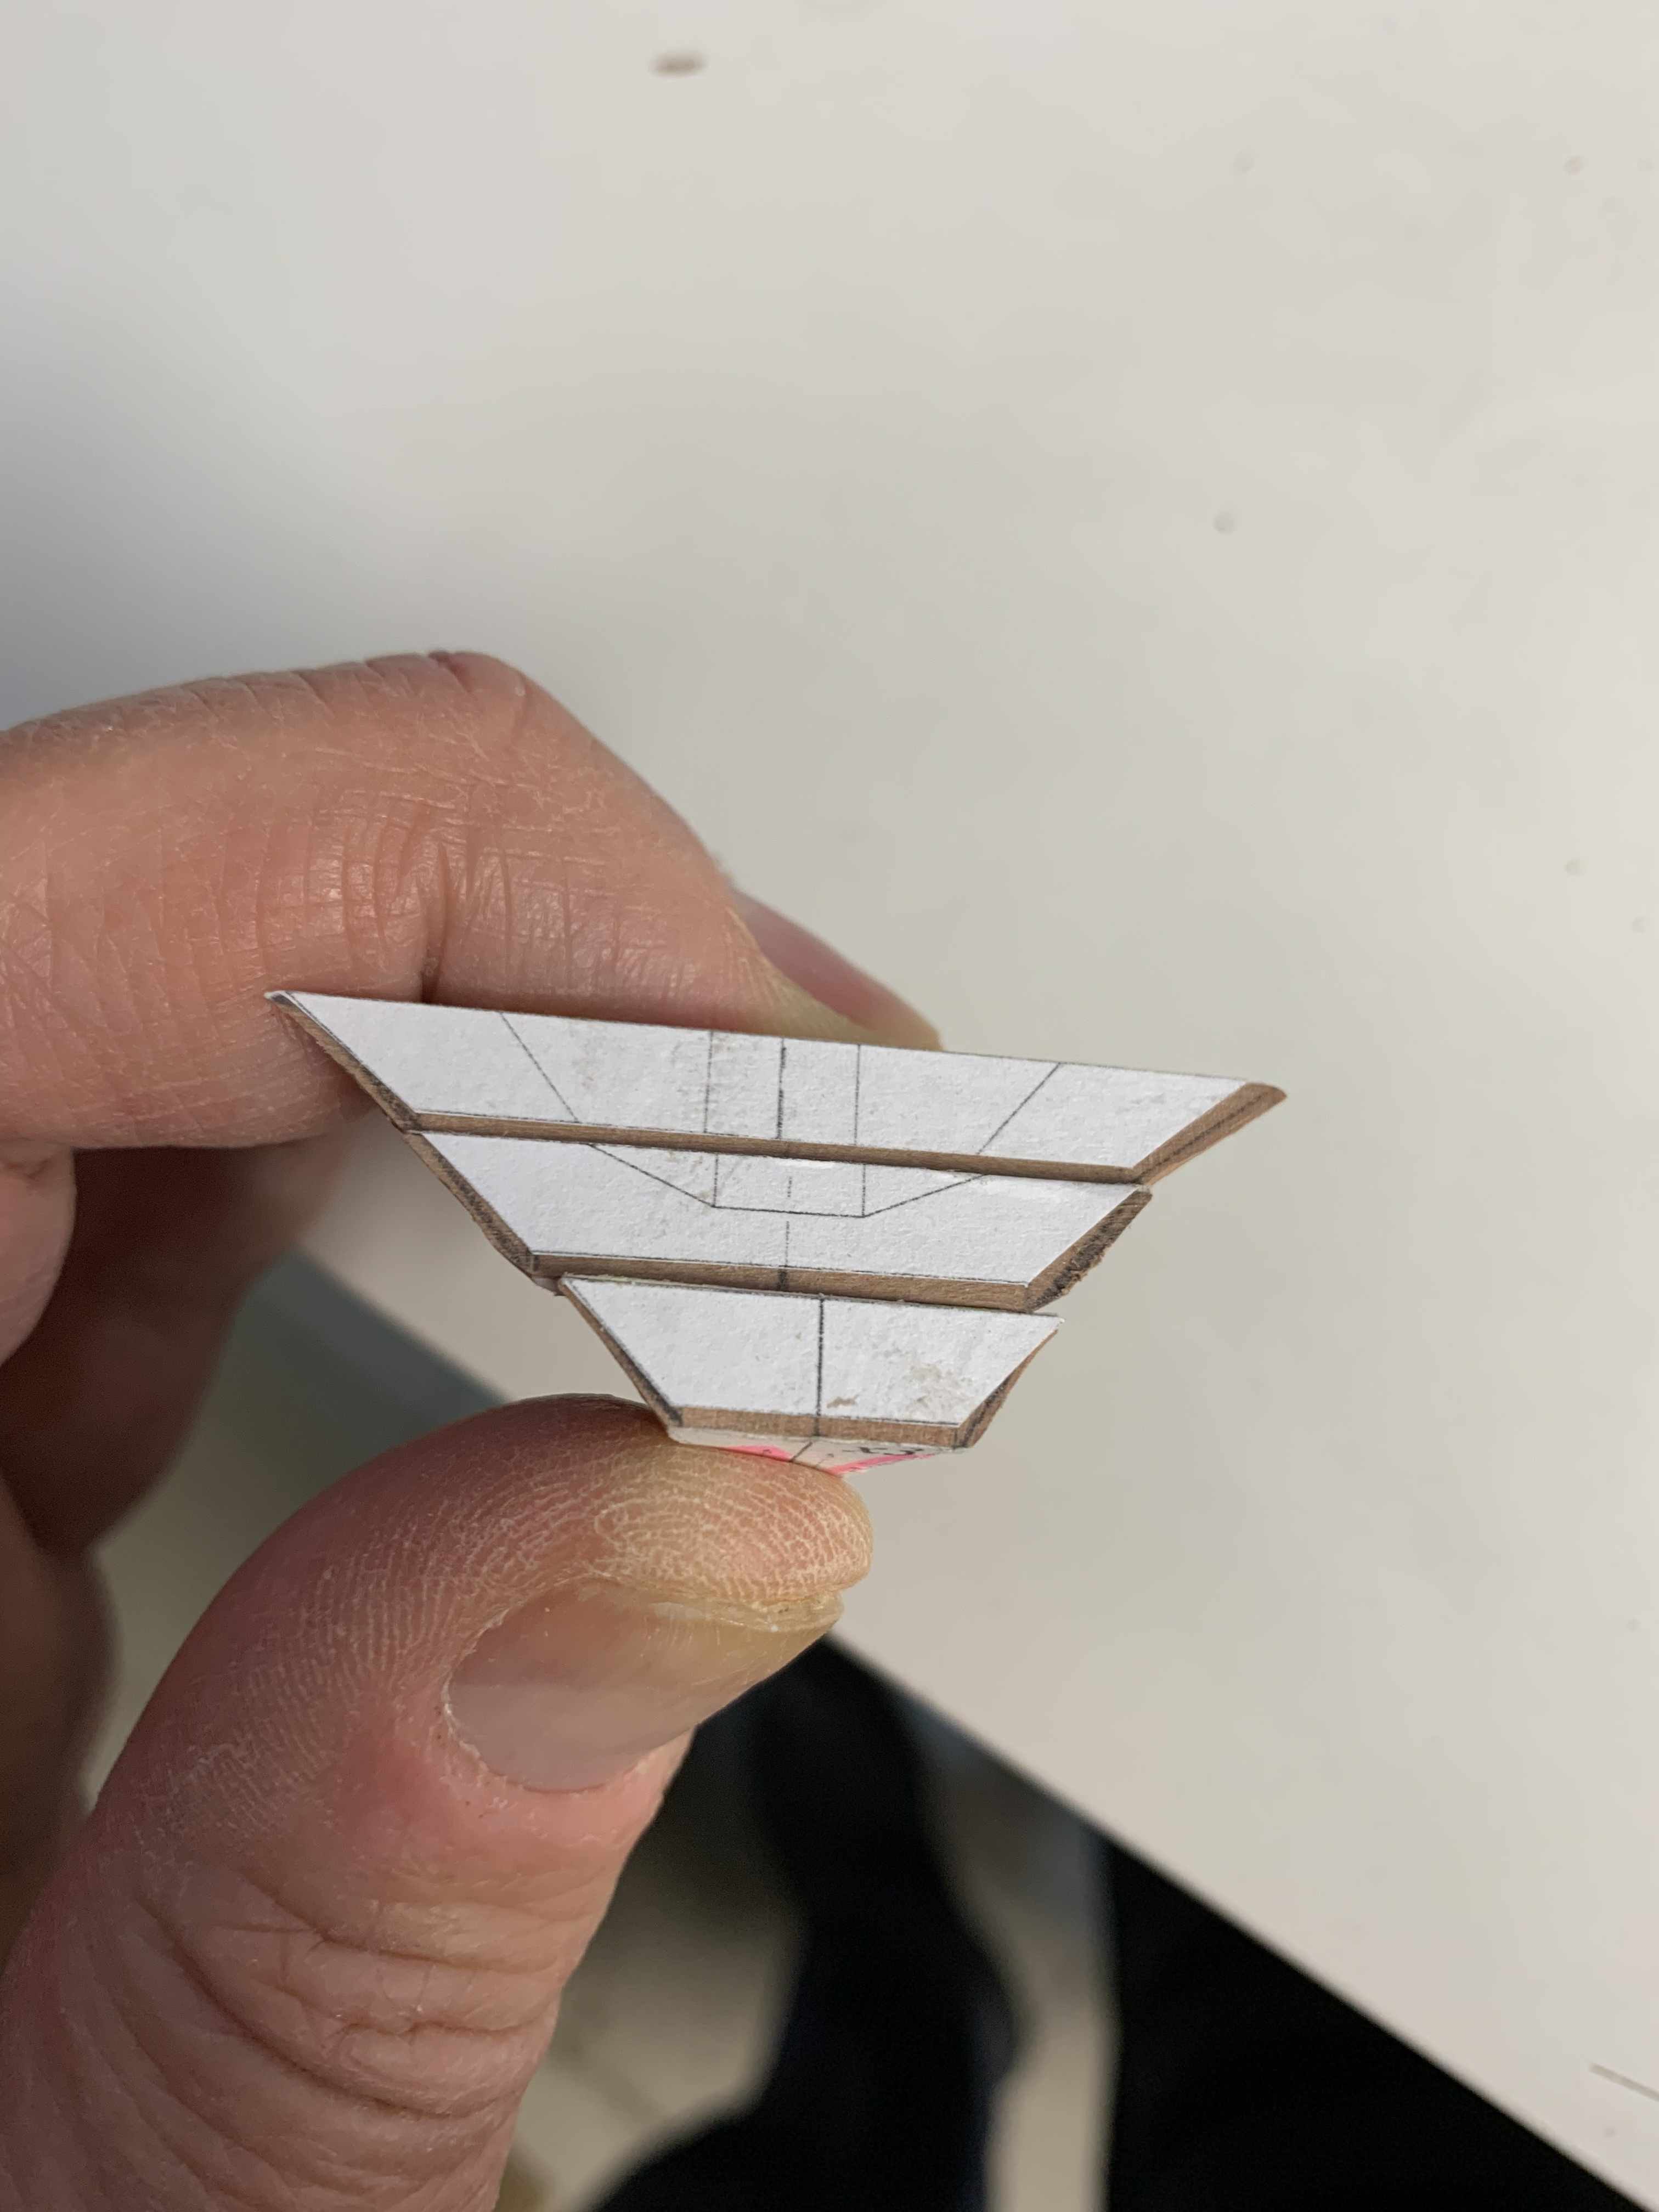
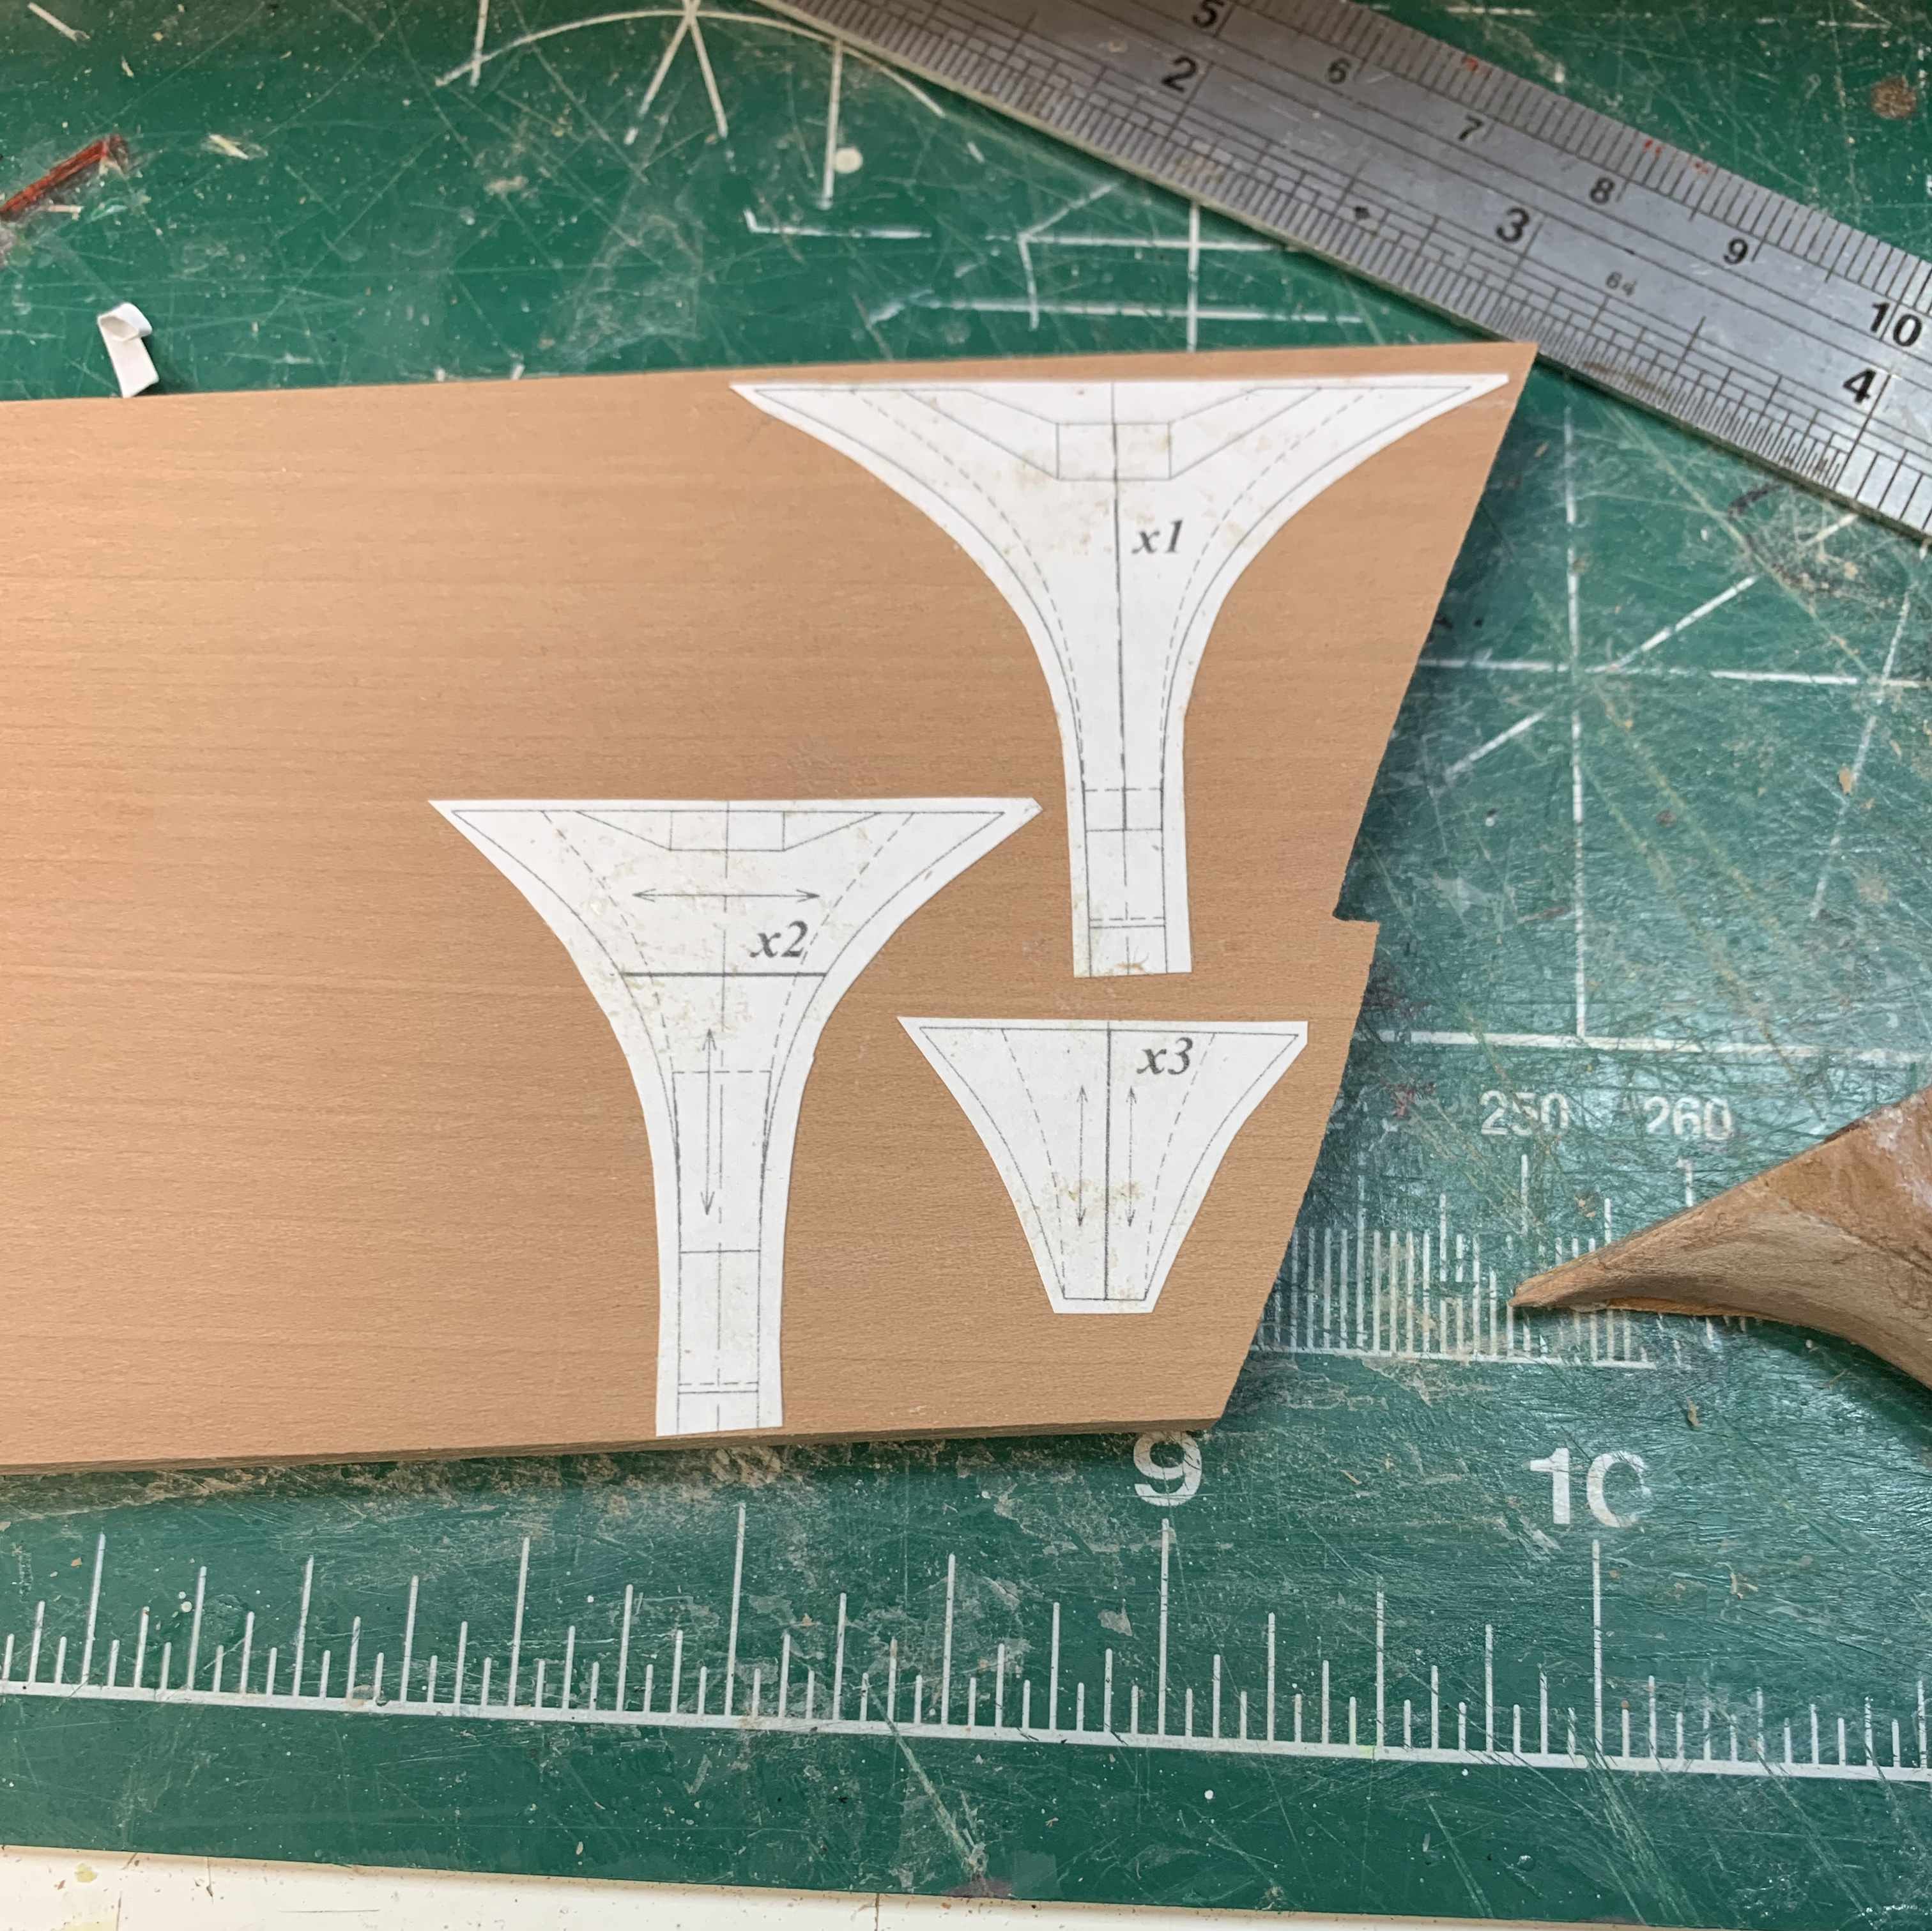
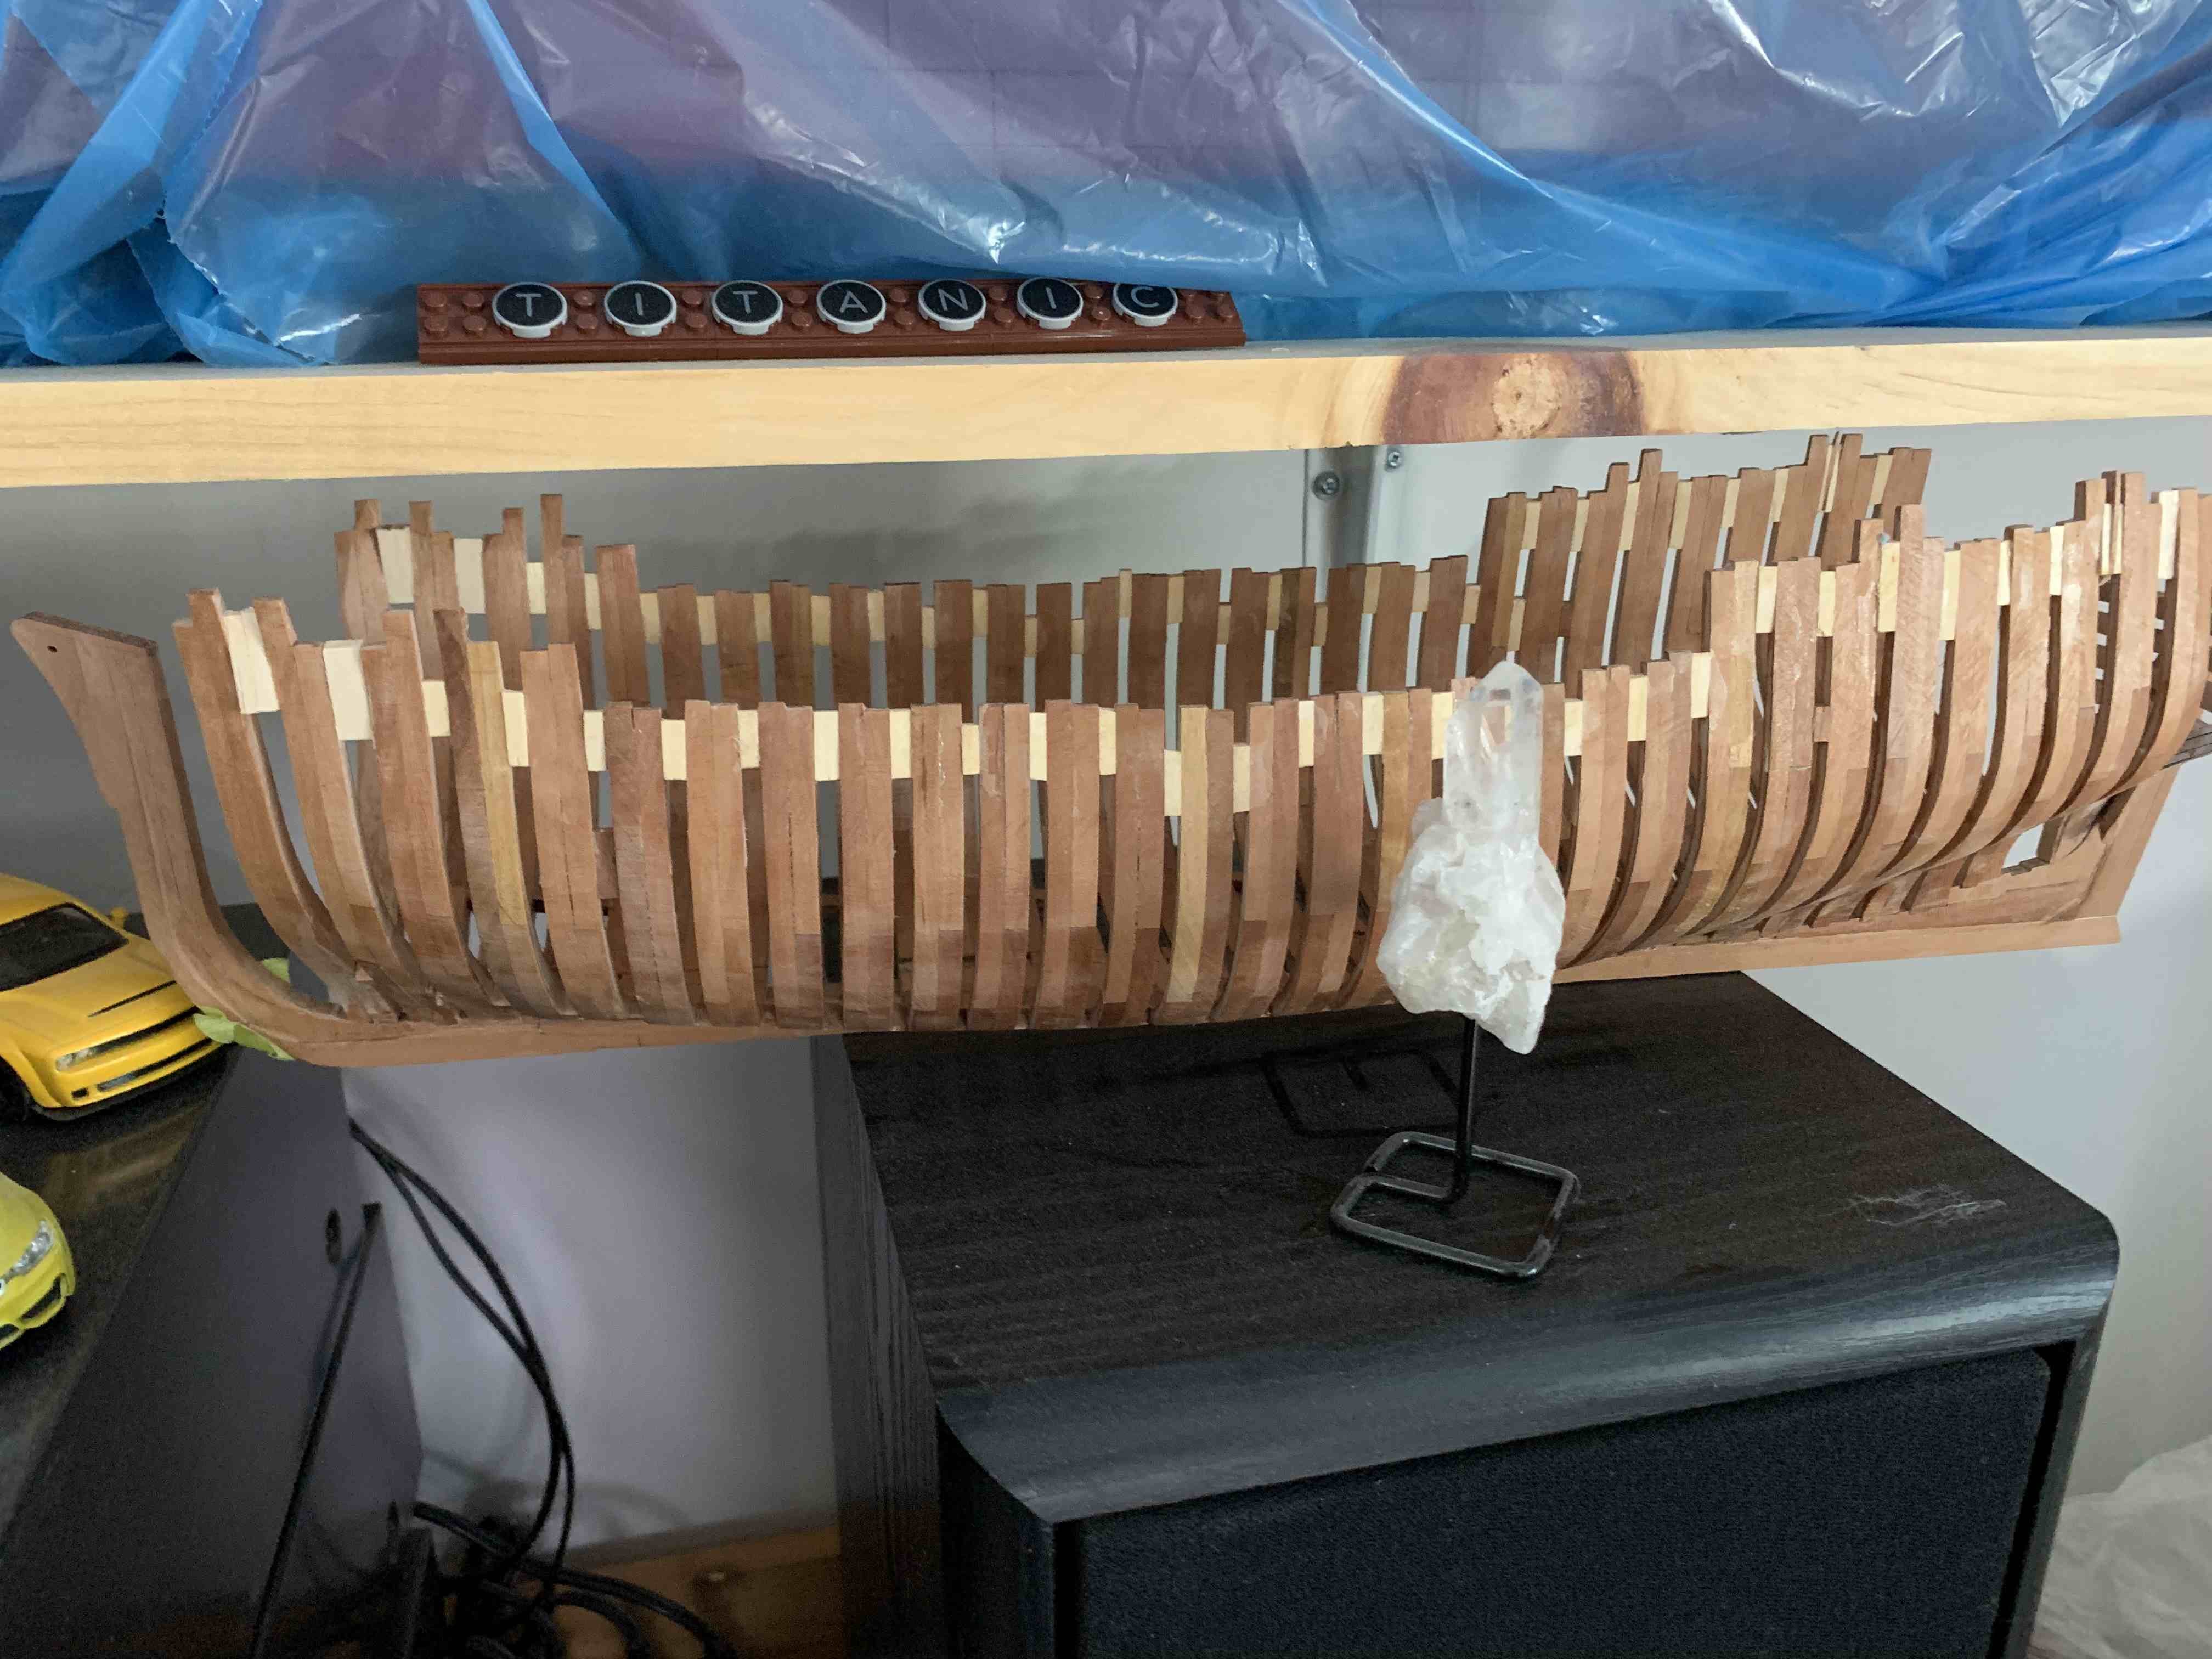
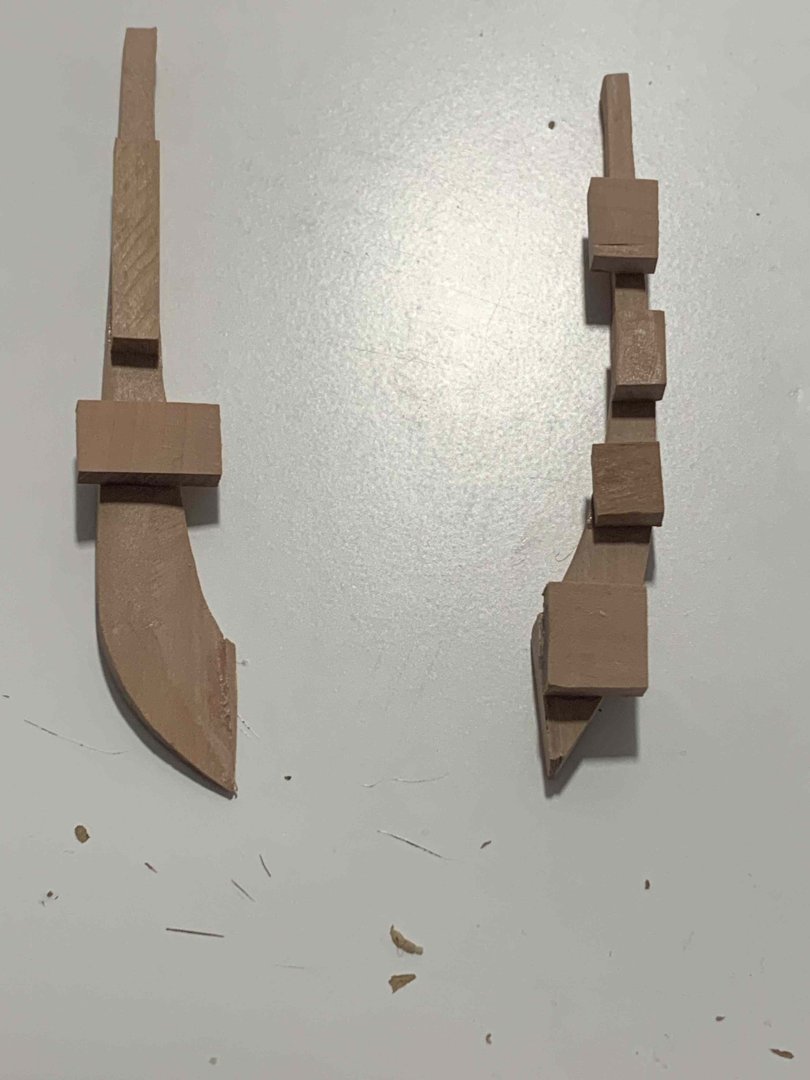
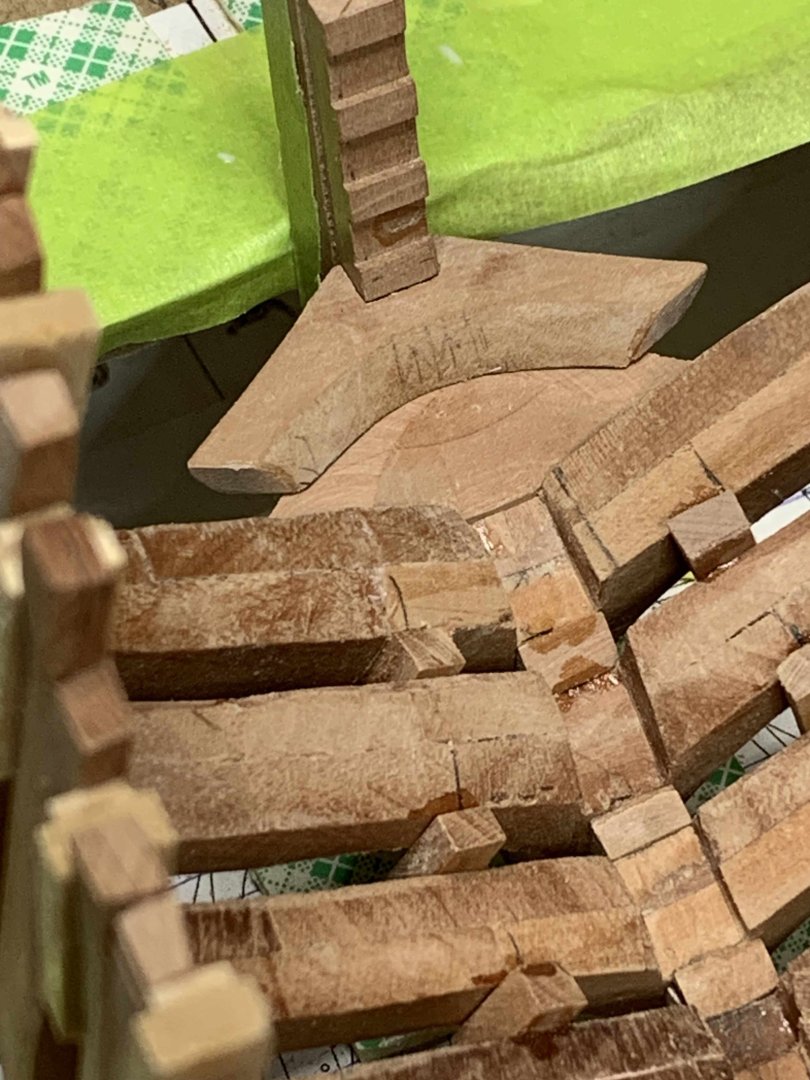
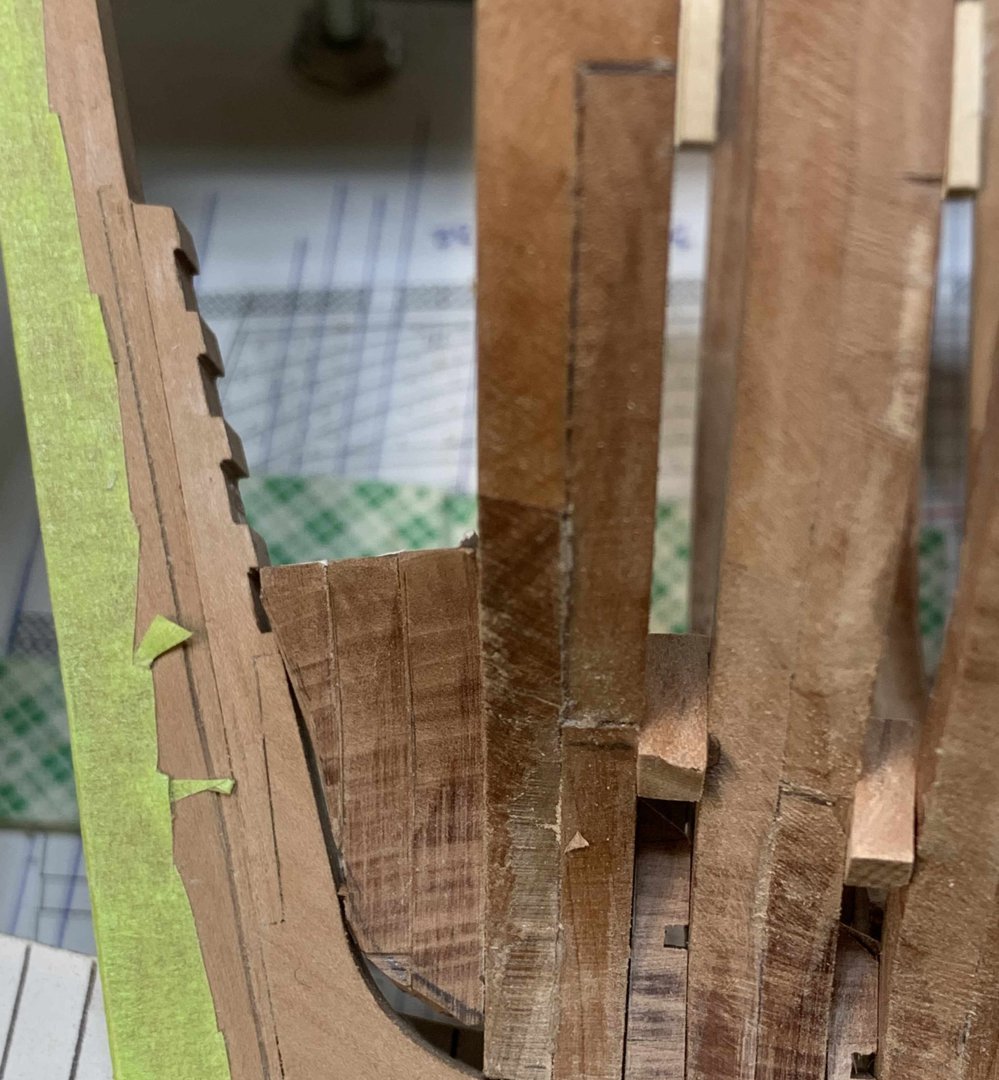
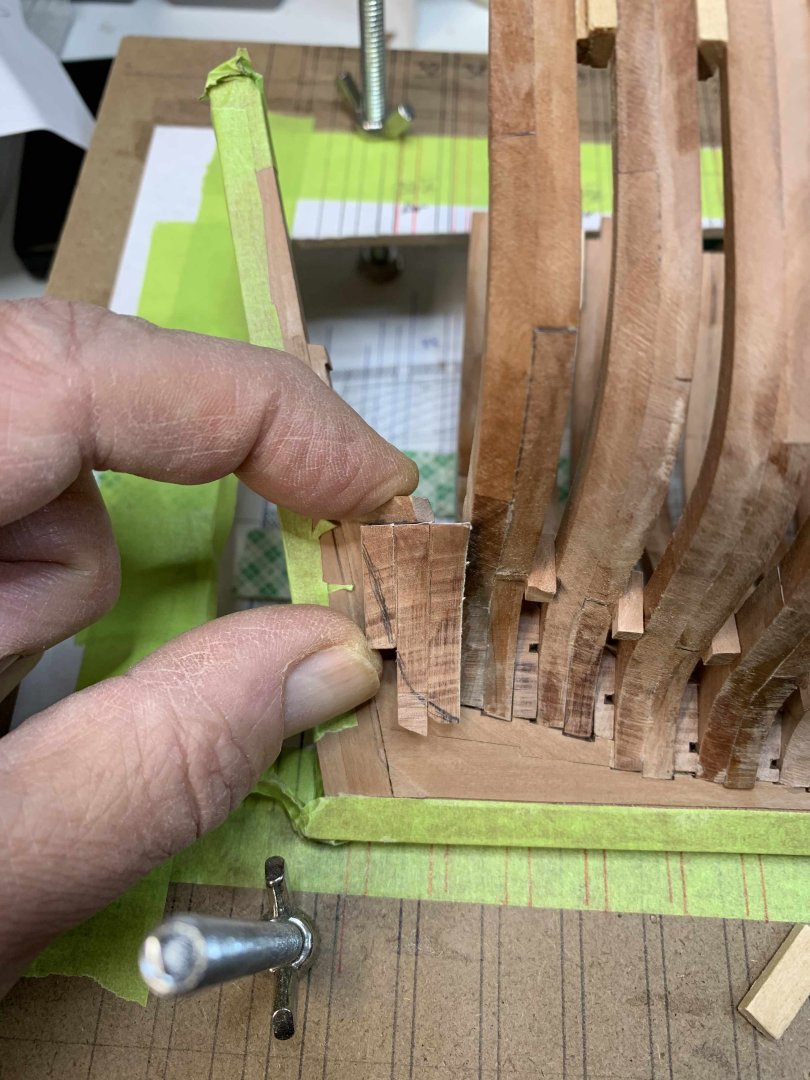
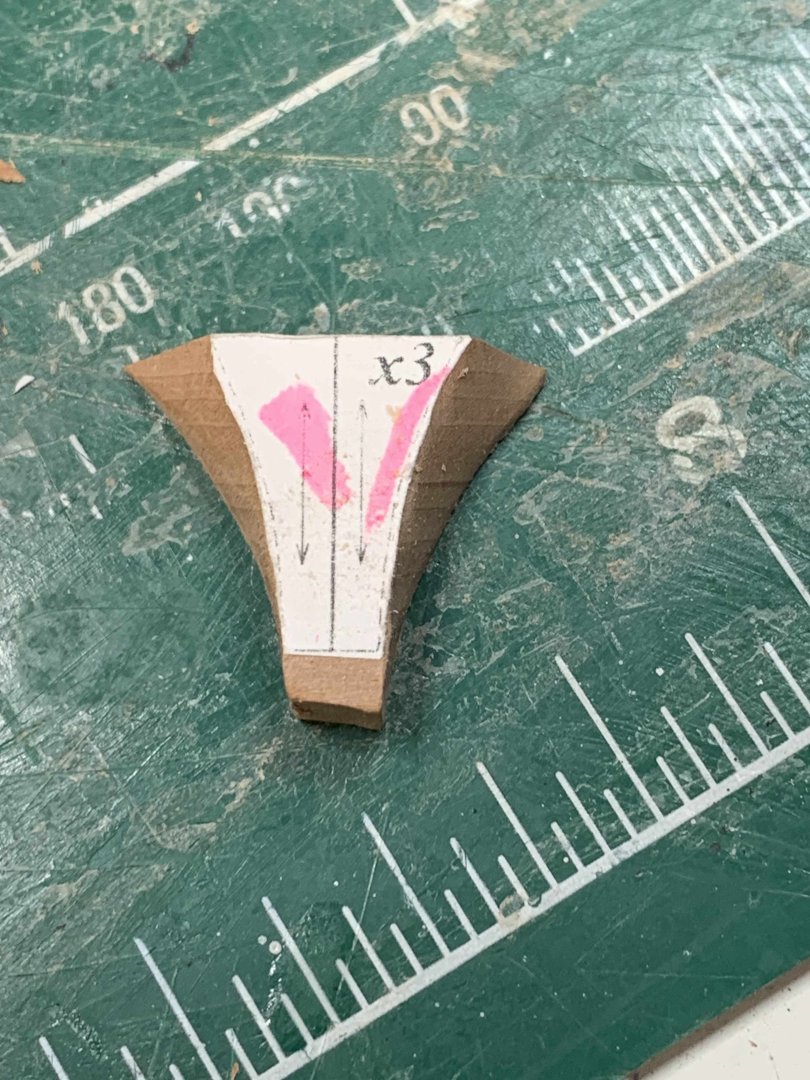
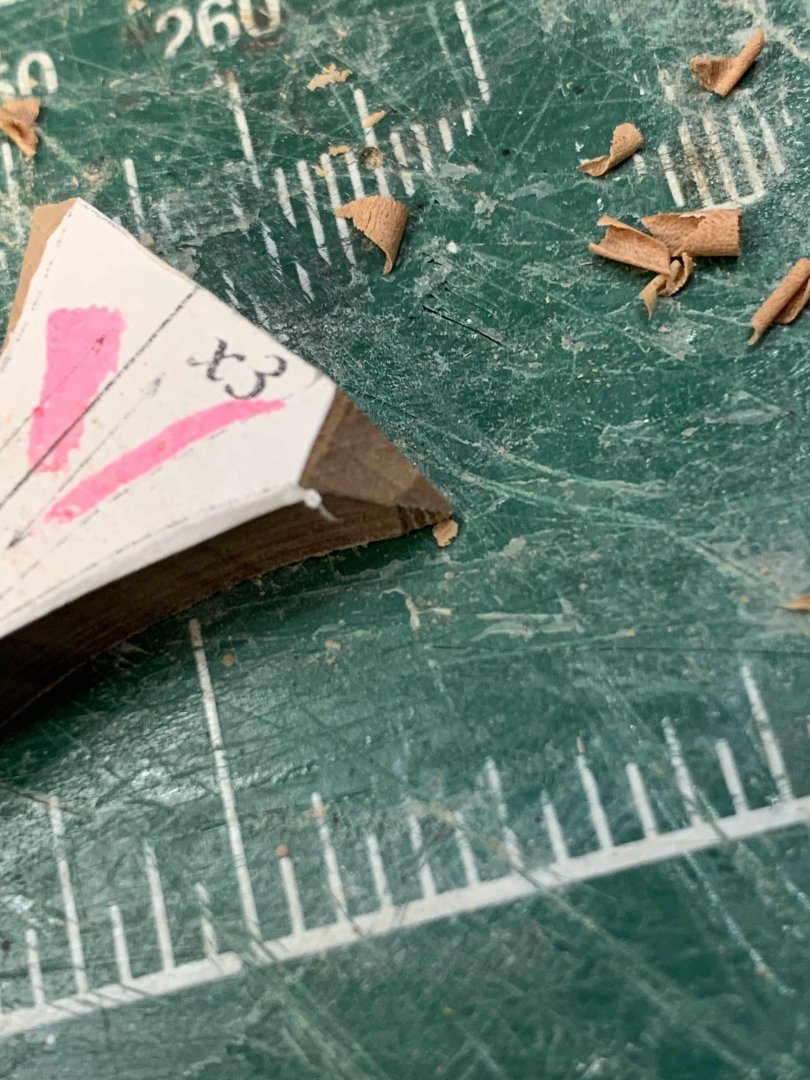
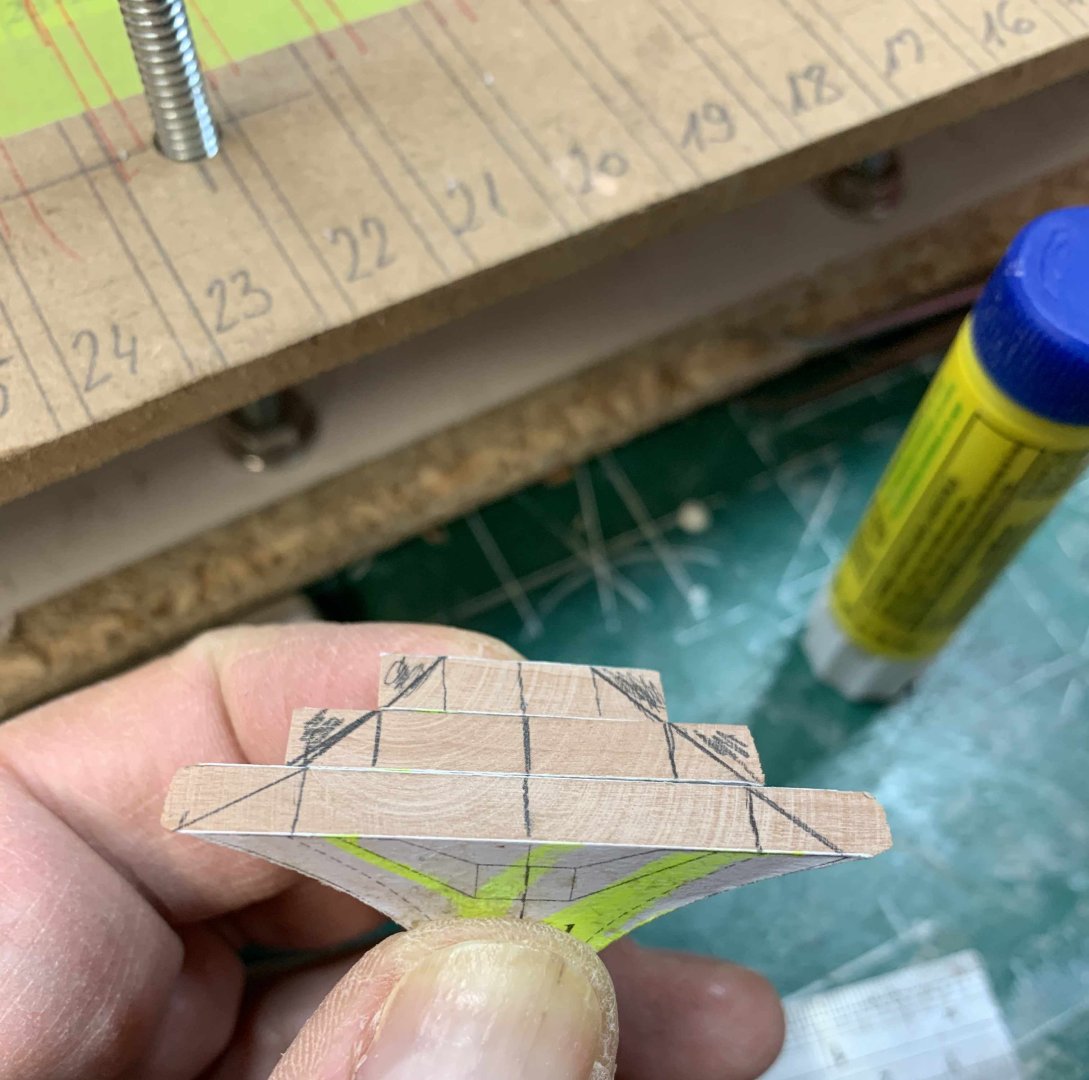
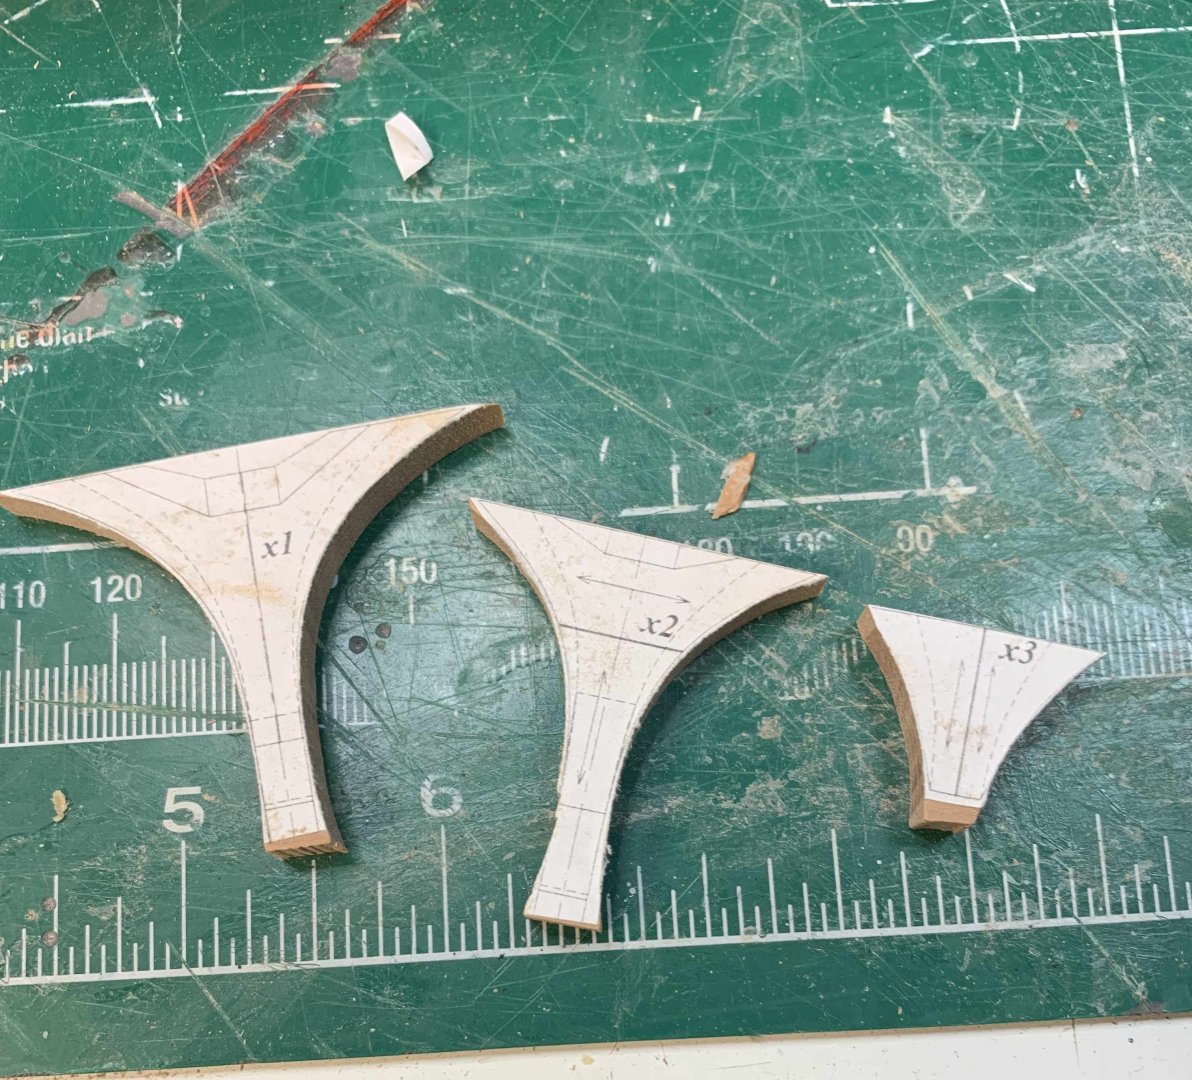
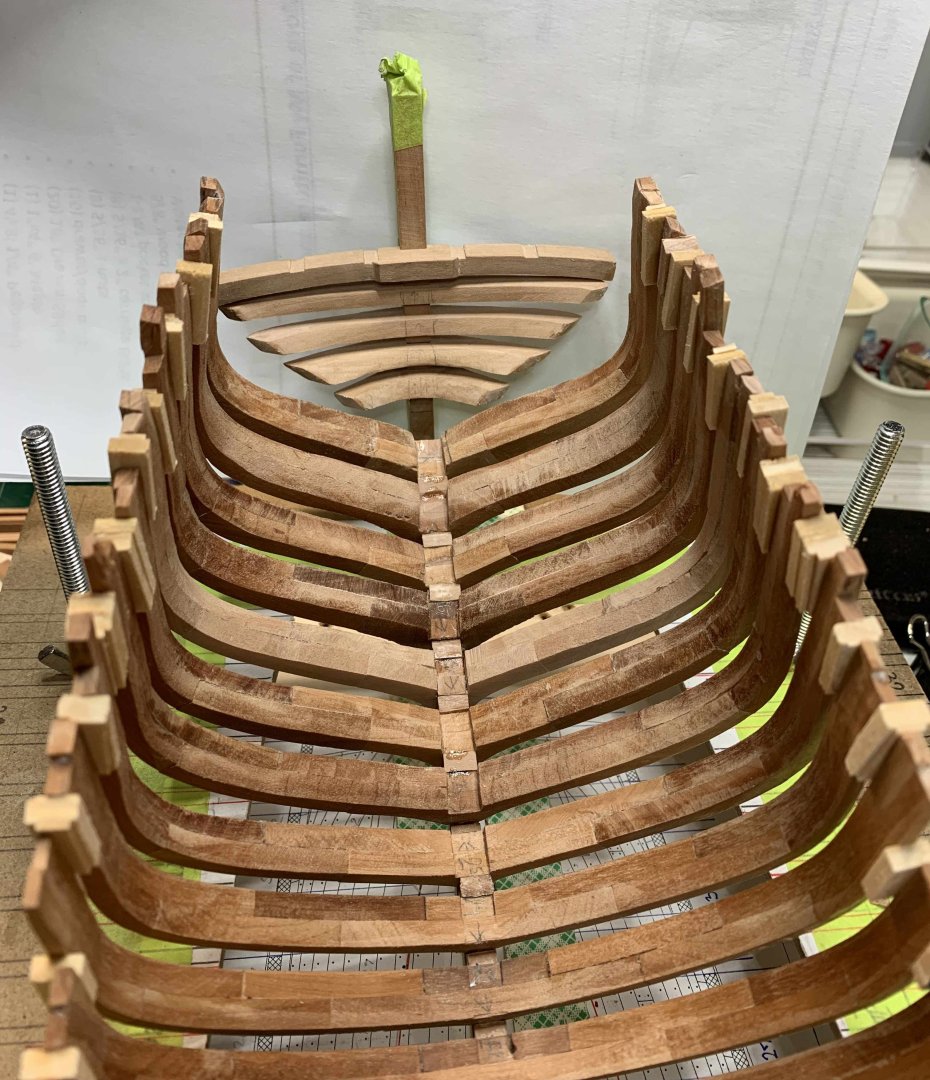
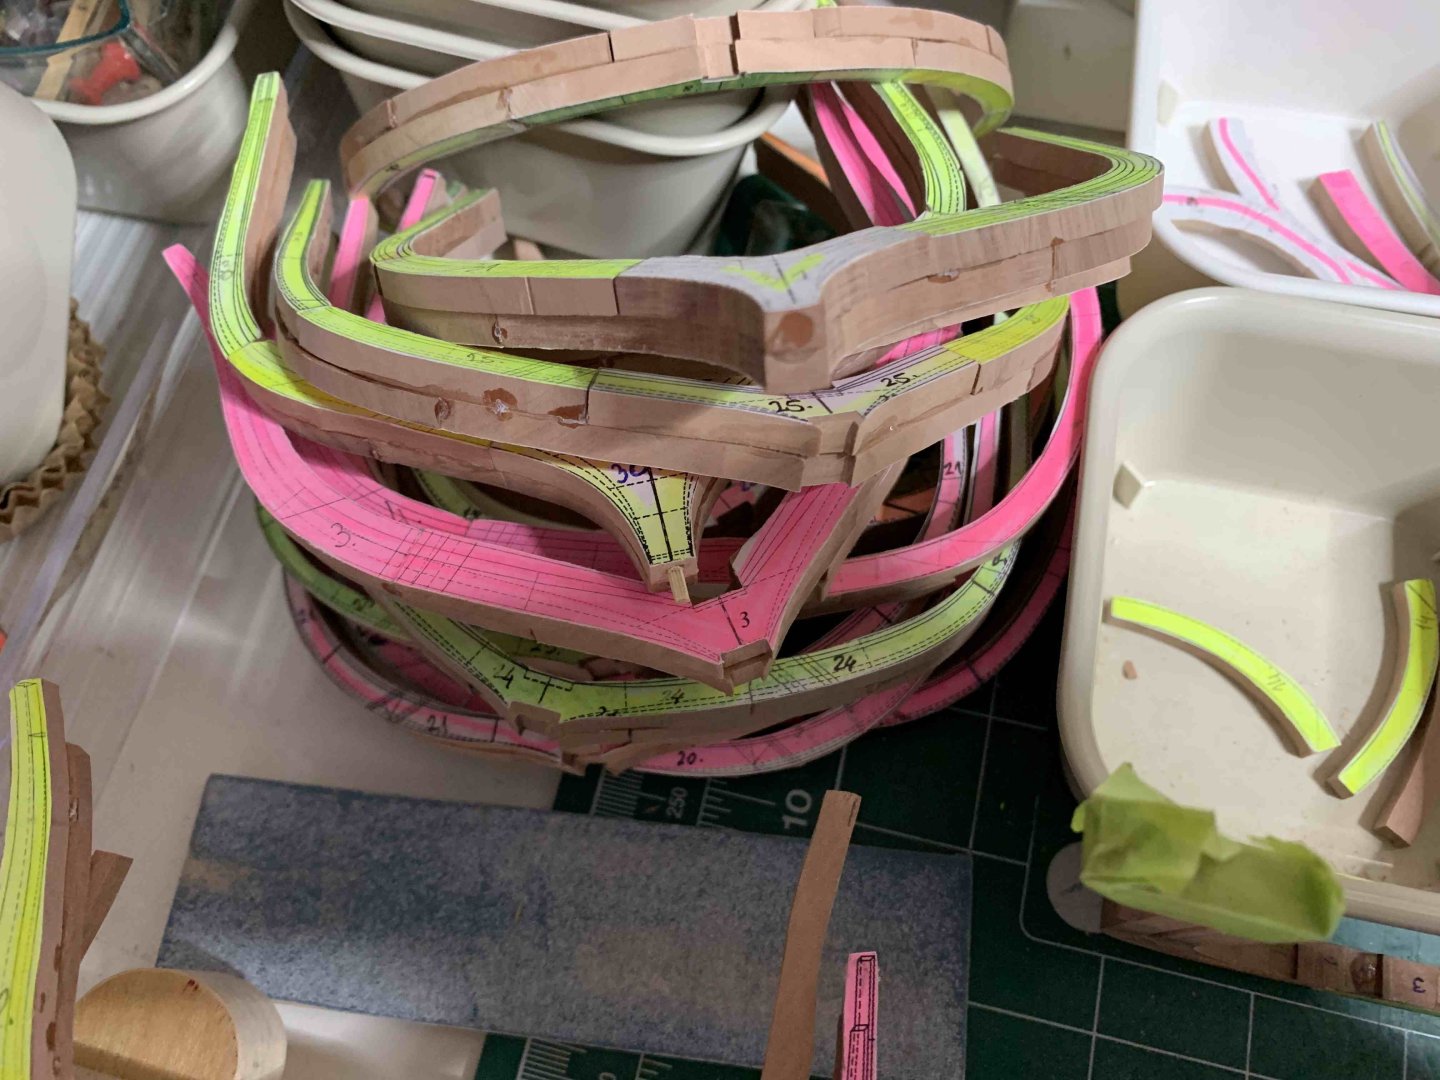
Frames are completed, time to get rid of not used templates. Now, I am working on stern solid filling timber, first, cut the template and glue it to the board. Cut and sanded.. and same templates glued to the back.. Marking it for shaping.. Here templates (white line) can be seeing on the back and front.. Start carving... first with the ends to make sure not to break the wood... must admit this wood (pear) is perfect for carving. Speaking of which, need to order few more boards.. then carving following the dotted lines.. Semi-end result... Next is a bit of sanding since my board is 6mm and I need 5mm.. I left a bit more wood to do final sanding/carving when board is 5mm thick.. Happy modelling..


-
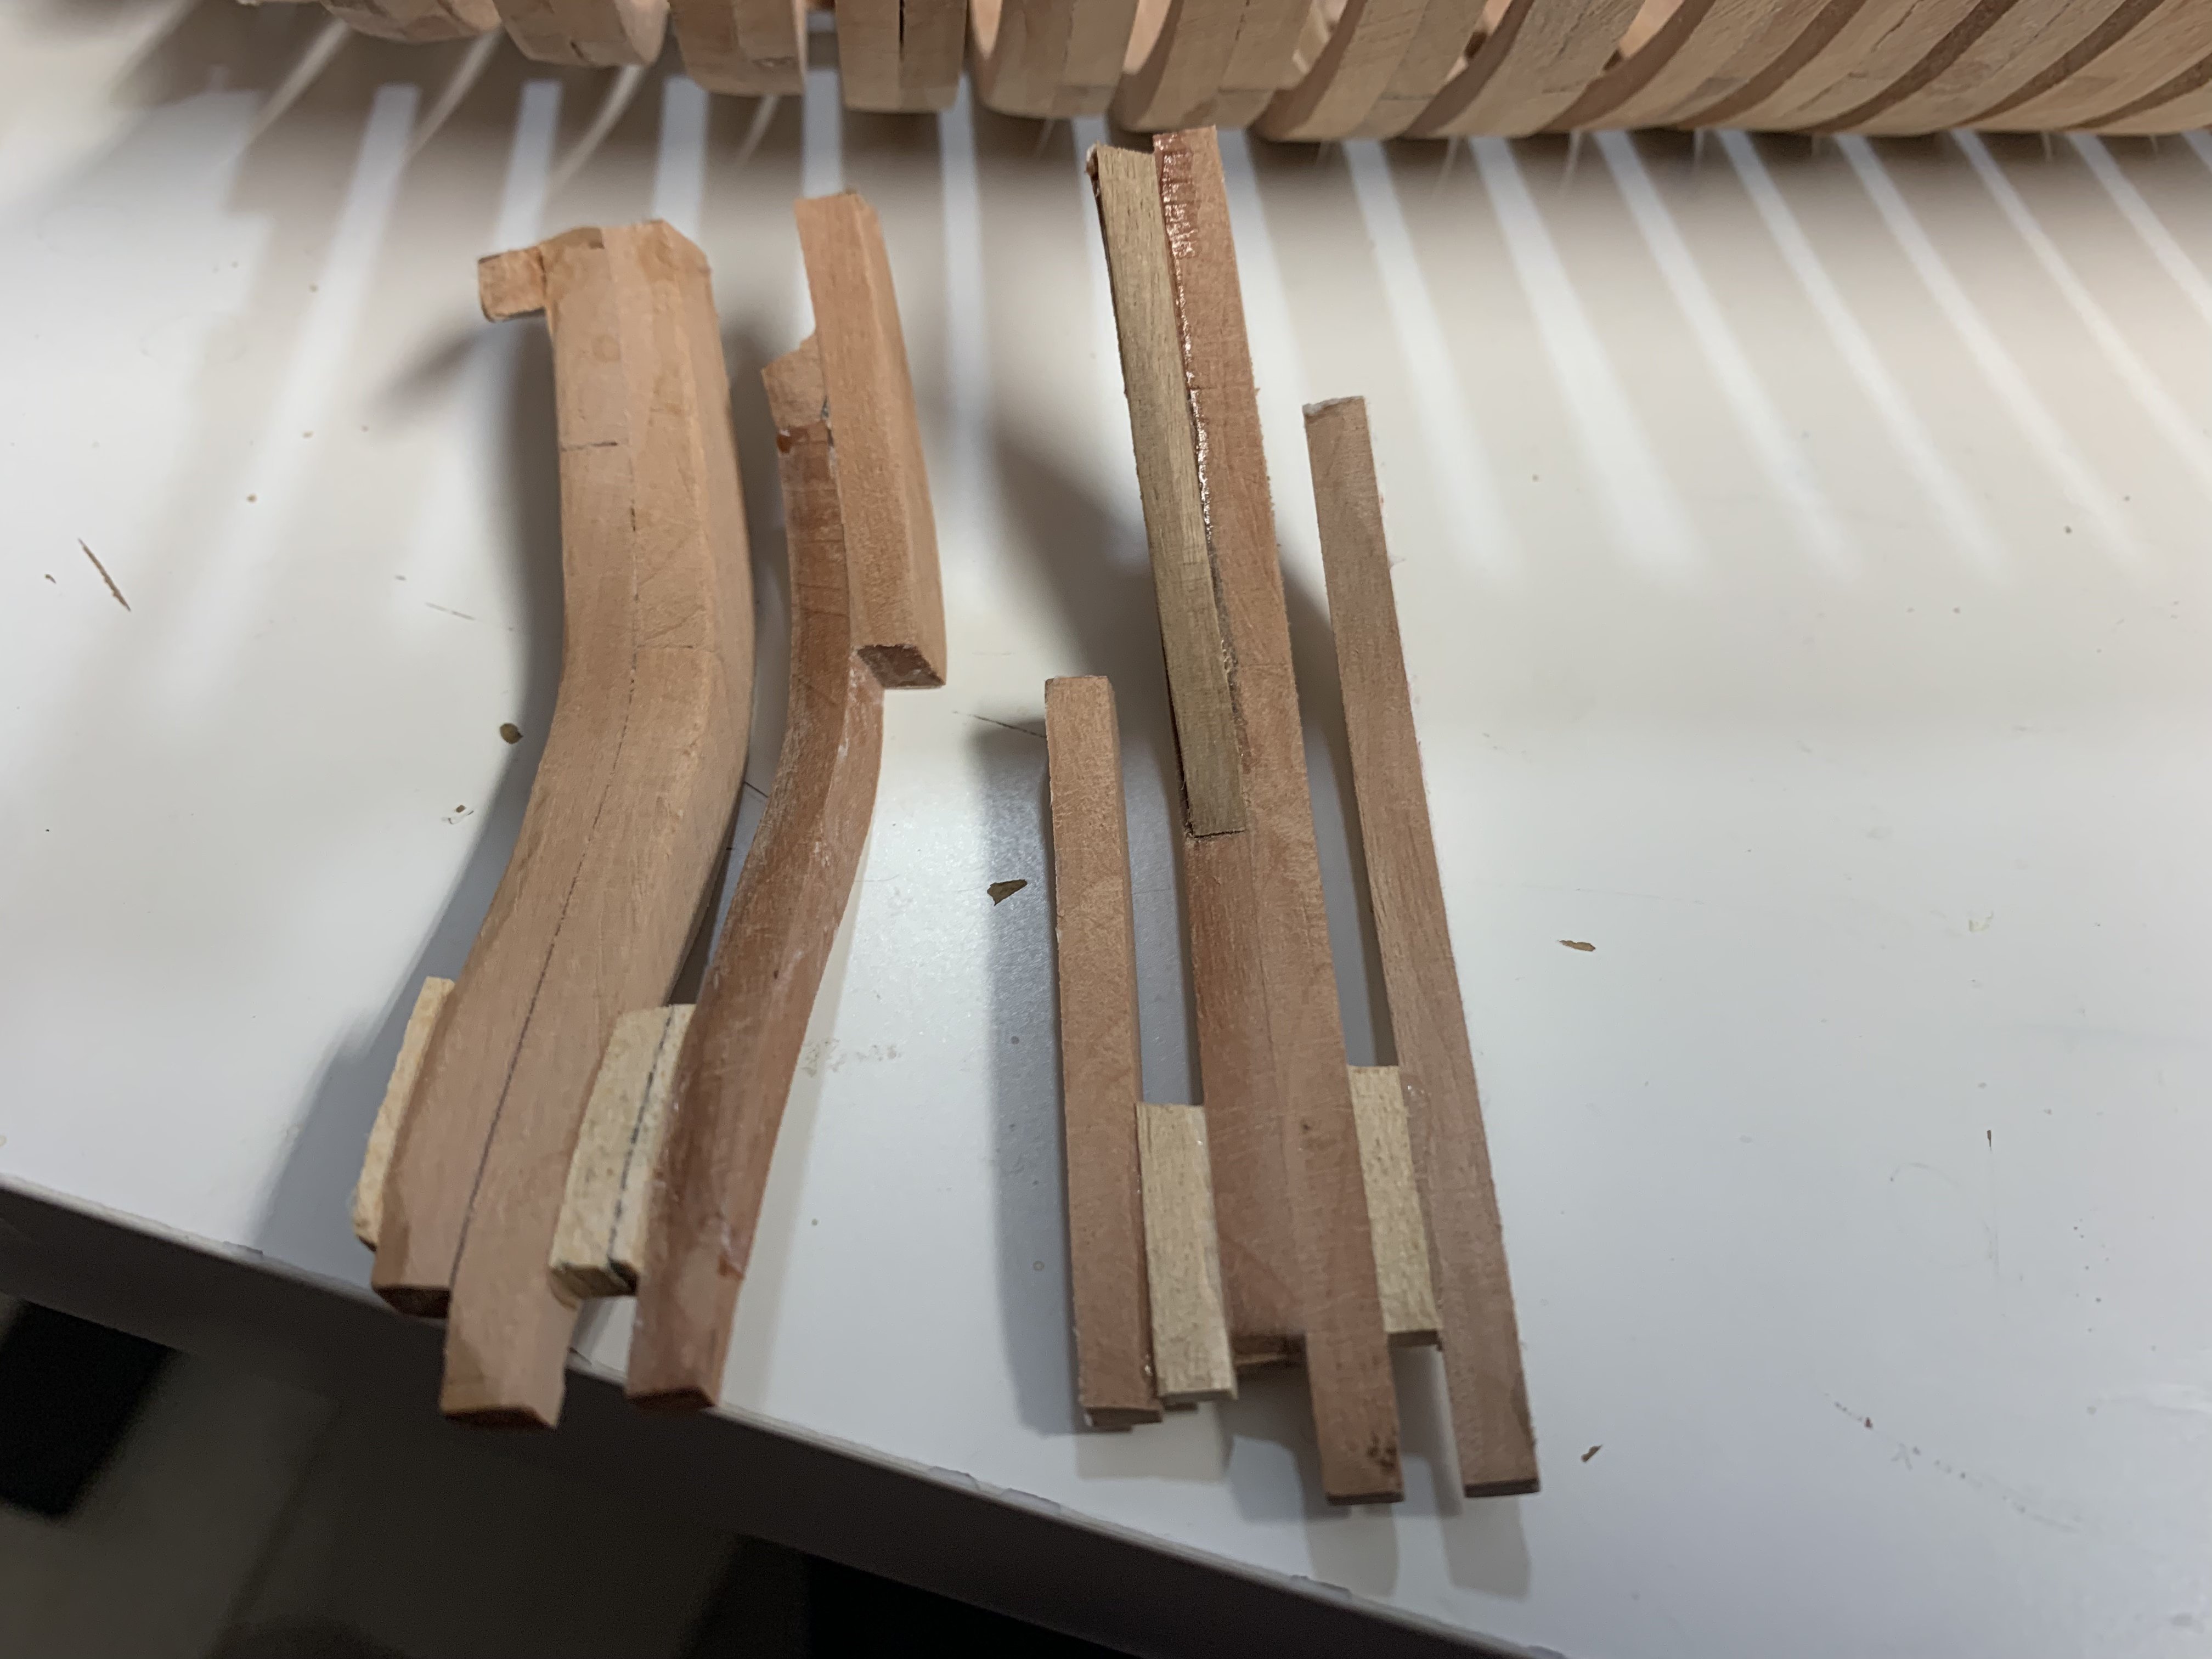
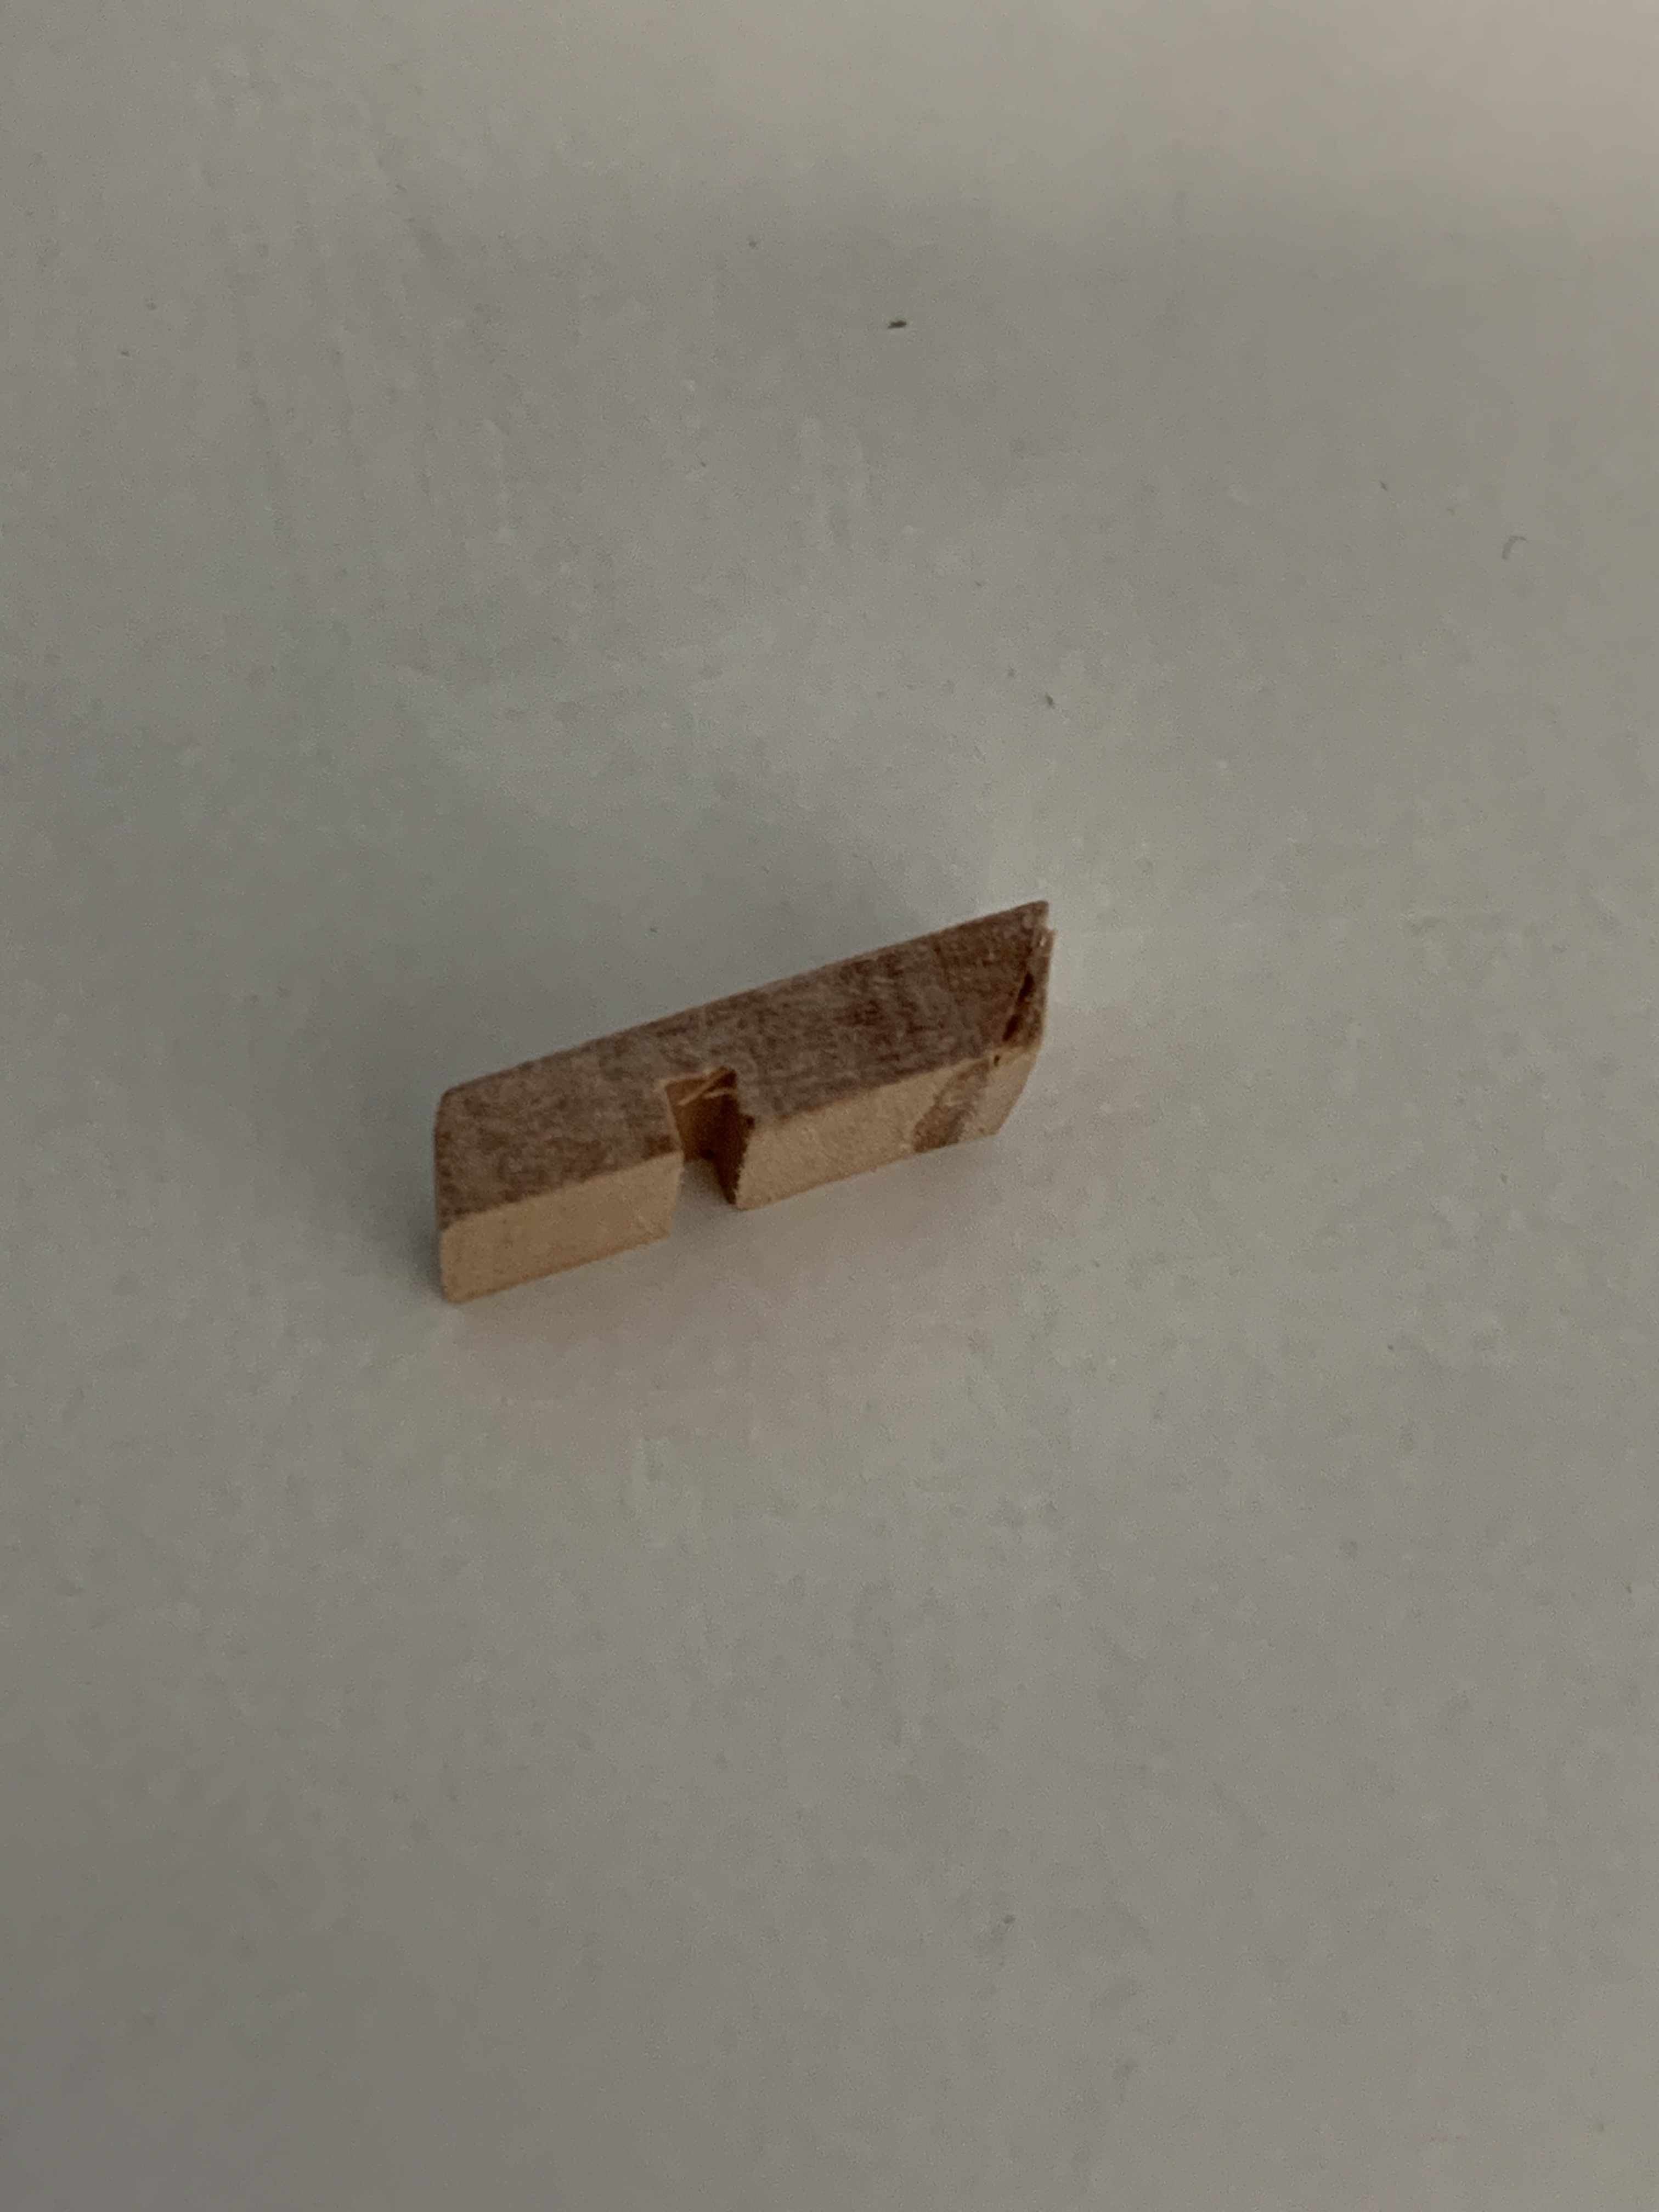
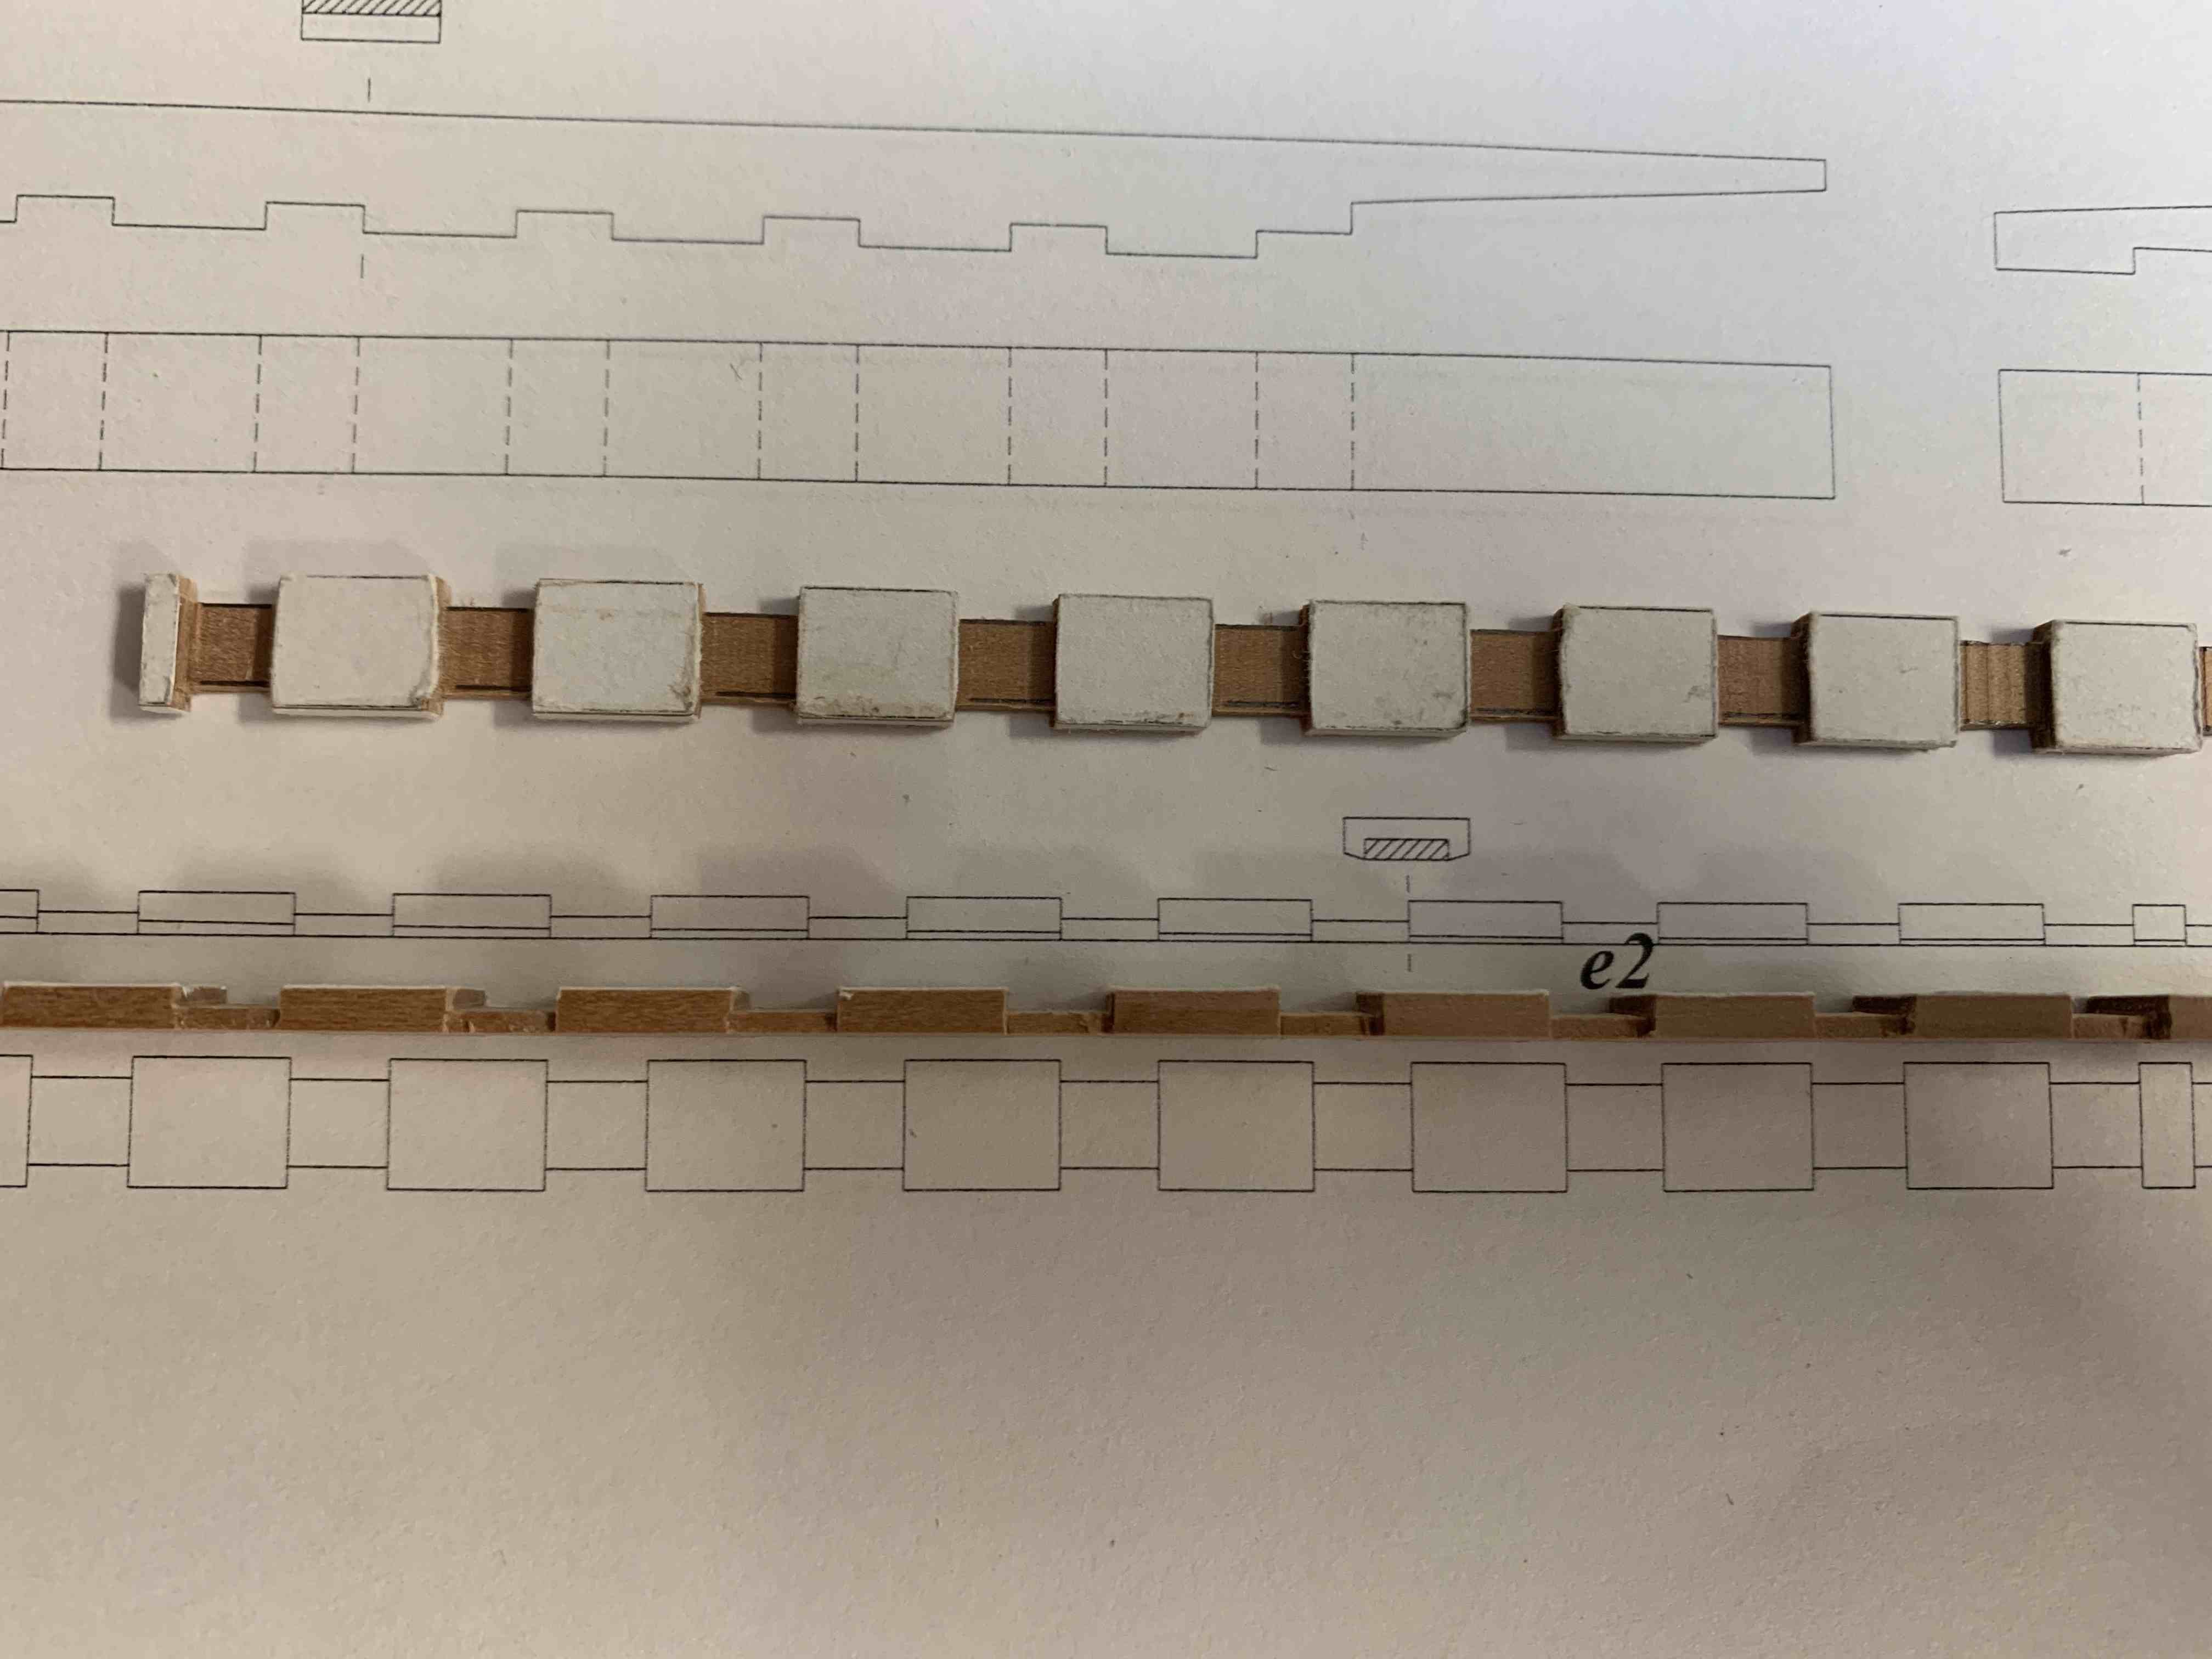
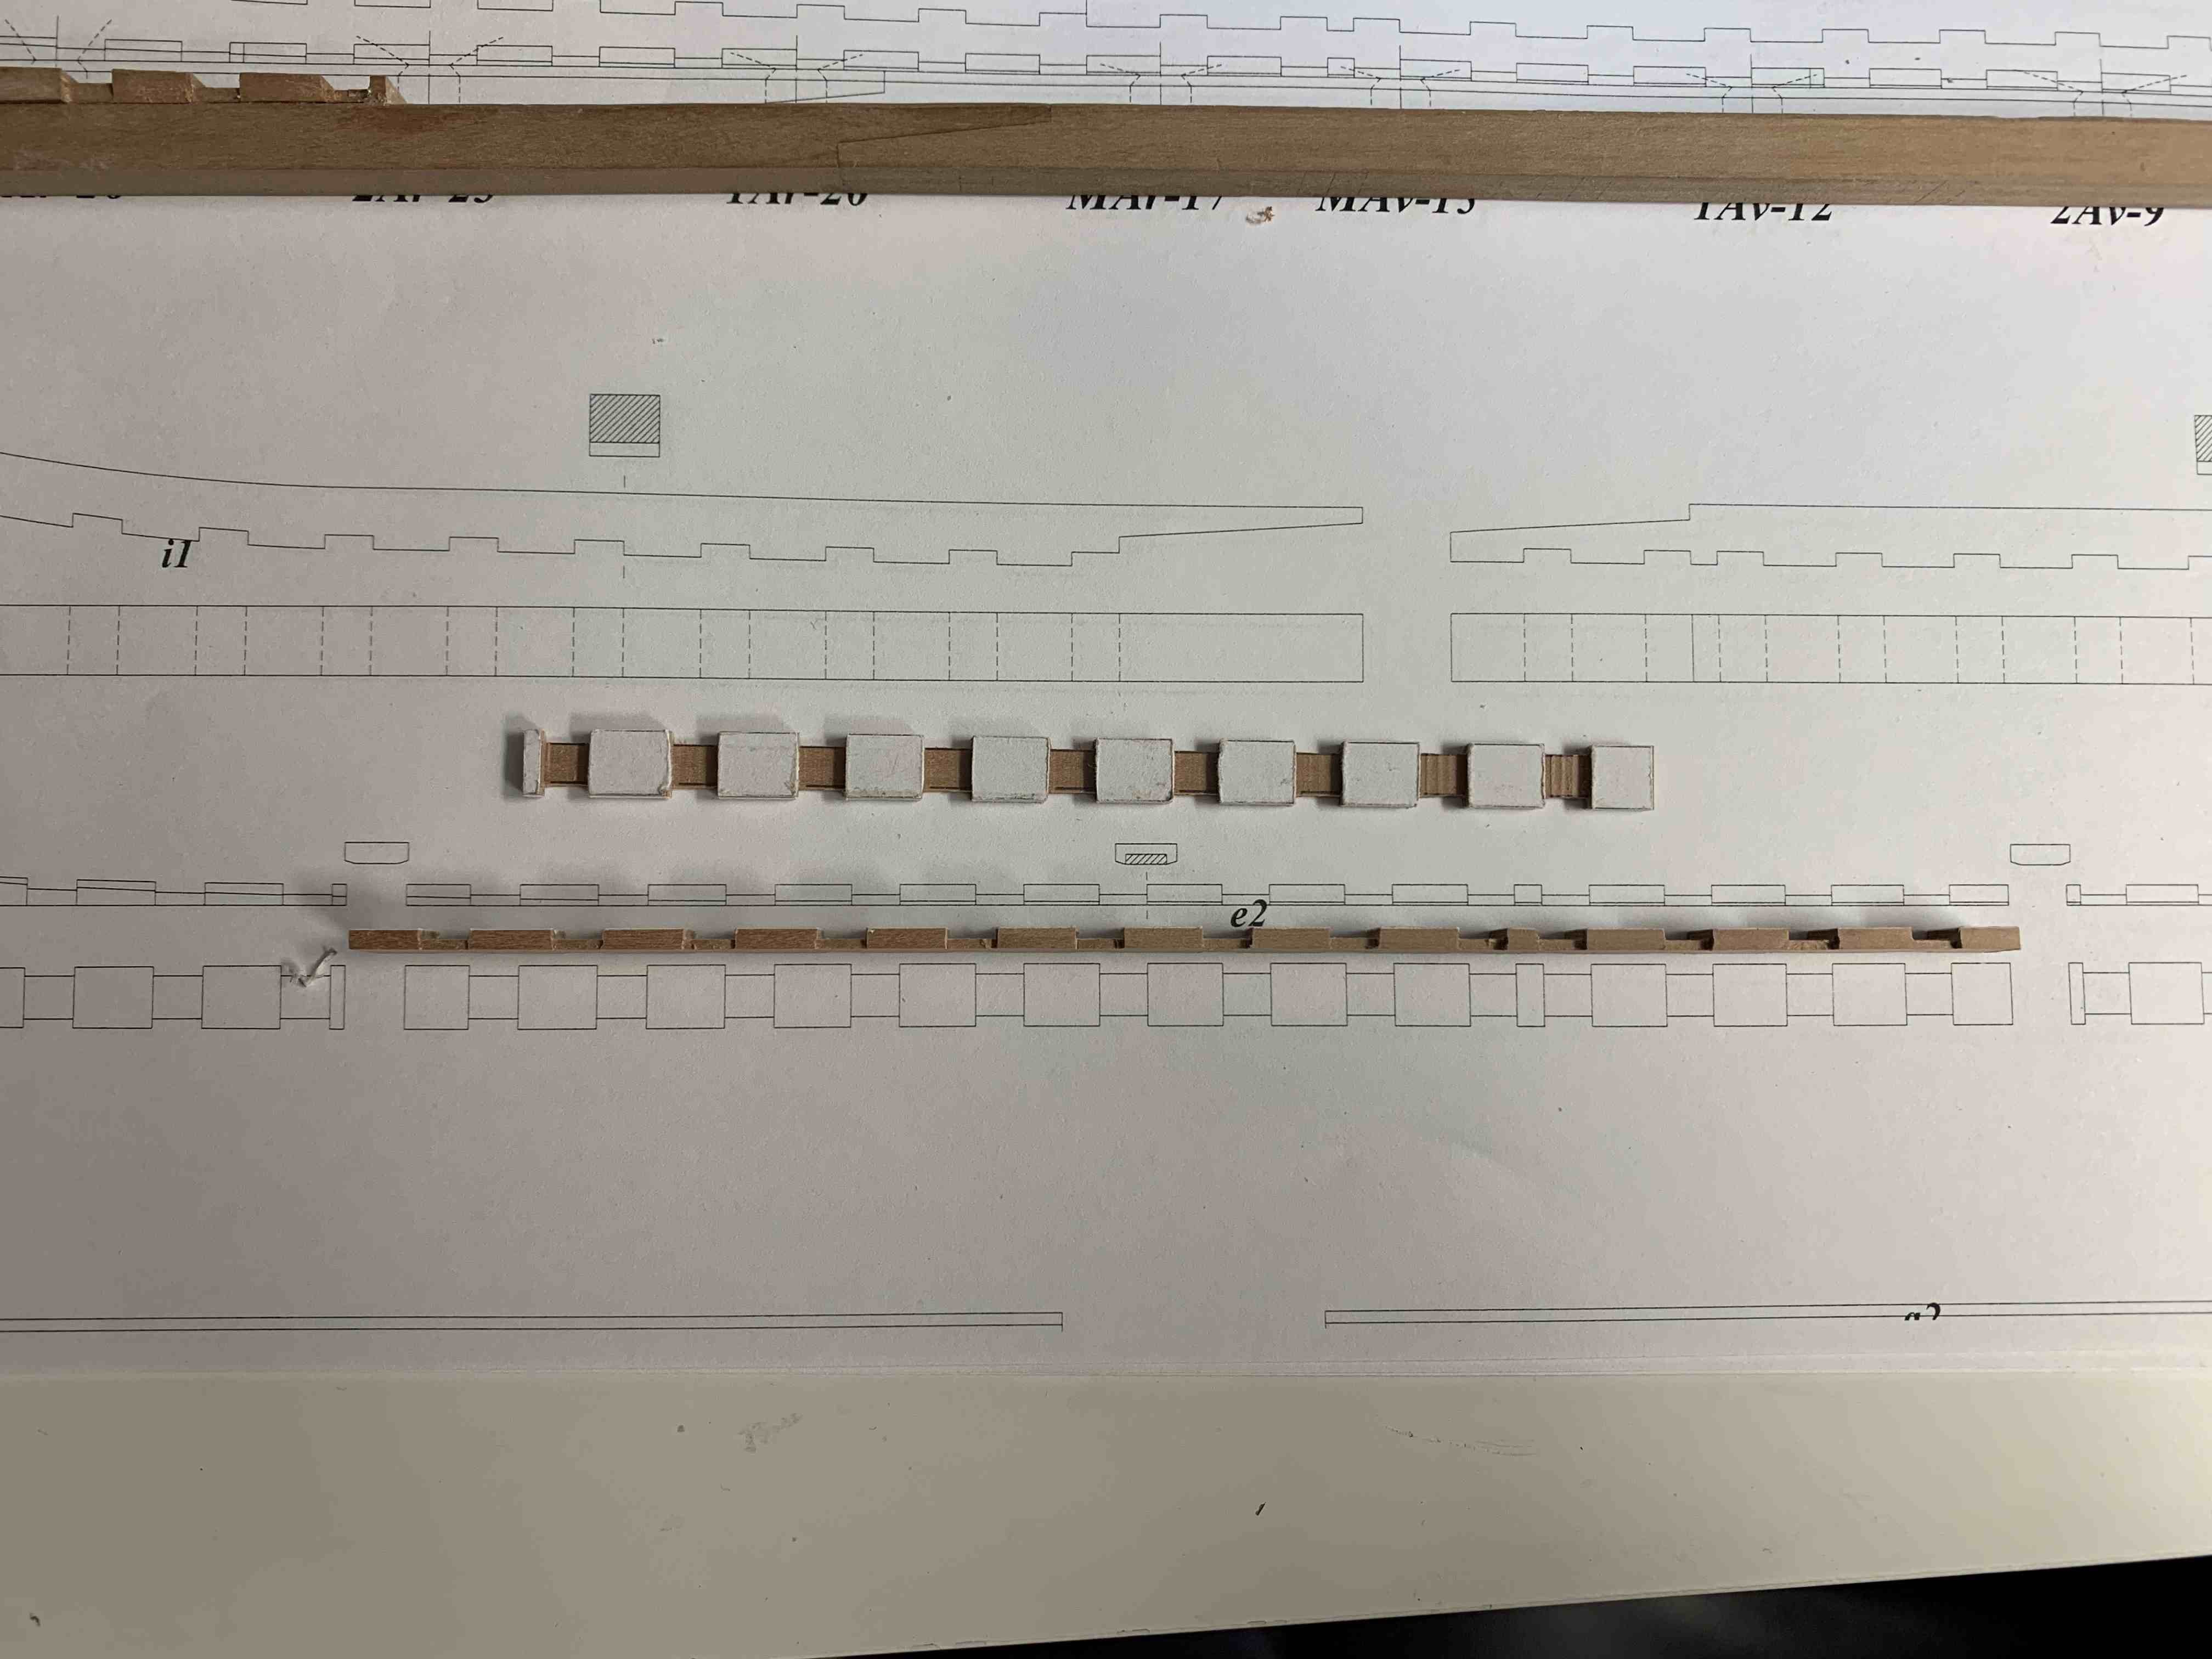
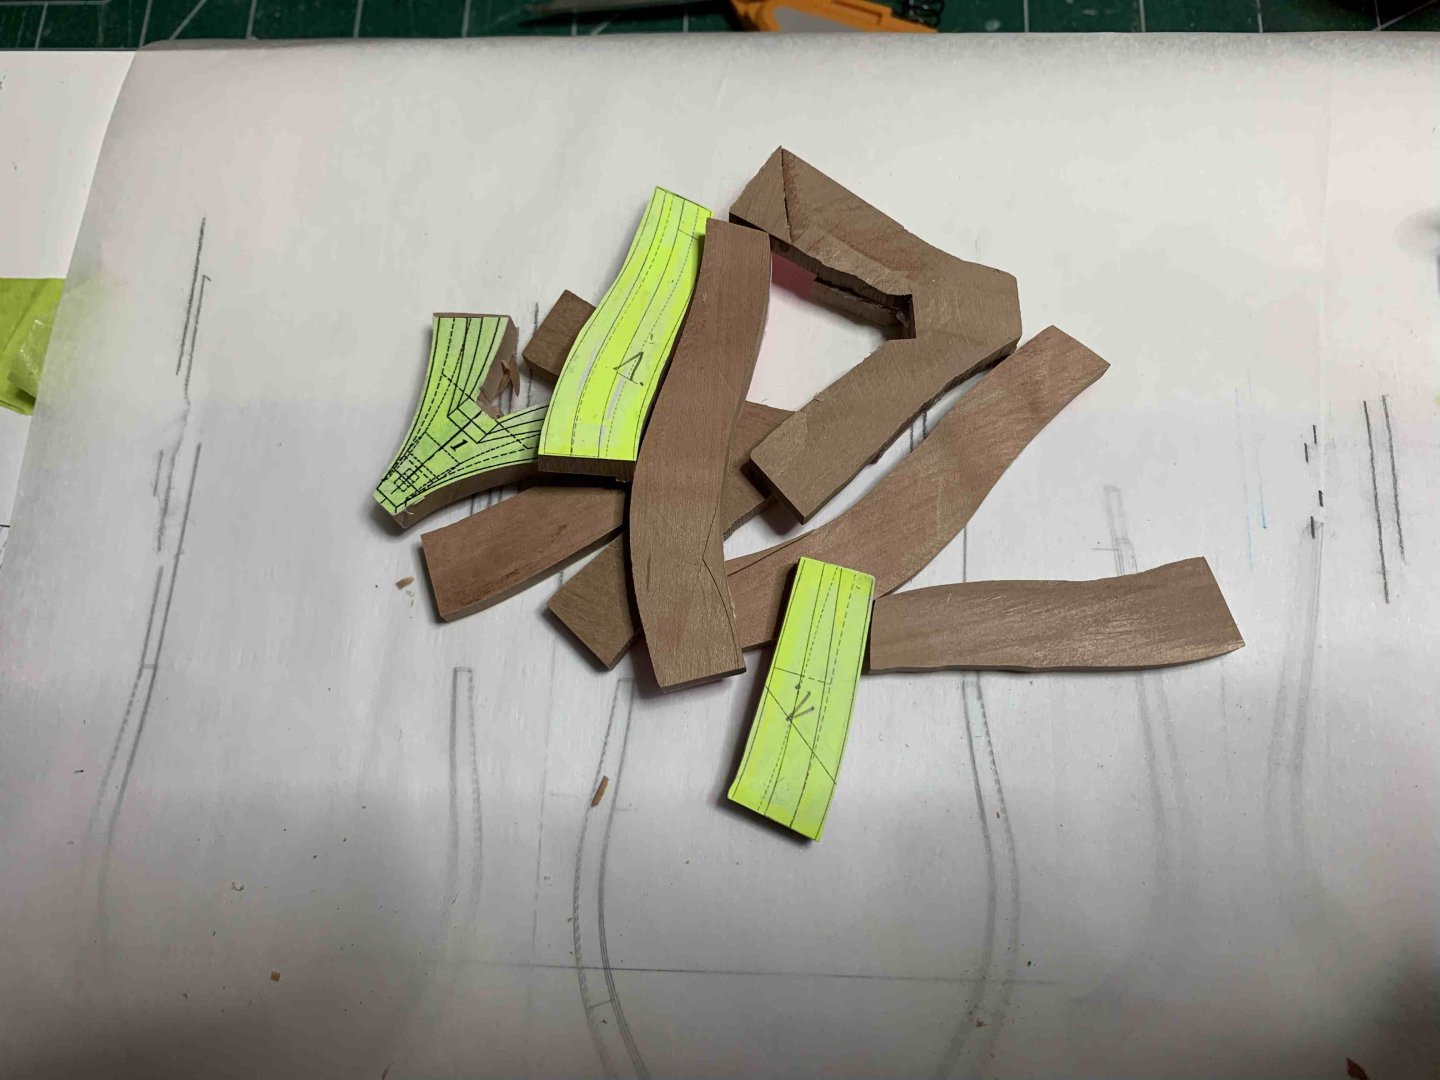
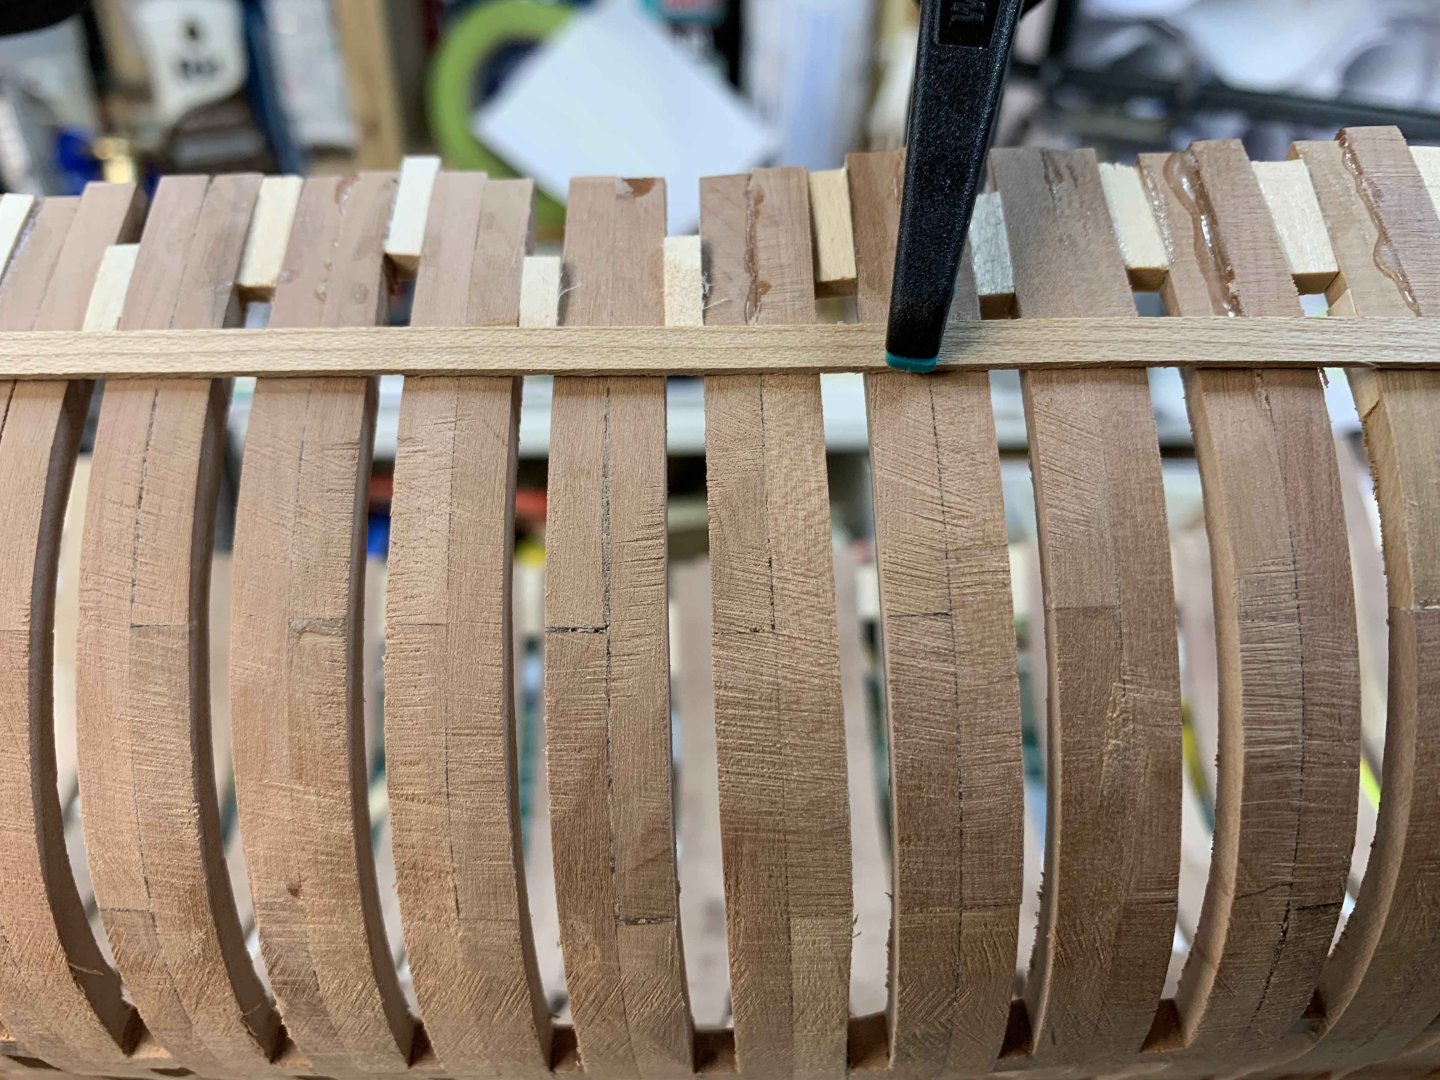
Work on floor timber chocks continue to break out a routine.. They will be sanded down to correct hight once I work on frame sanding. Happy modelling.
-
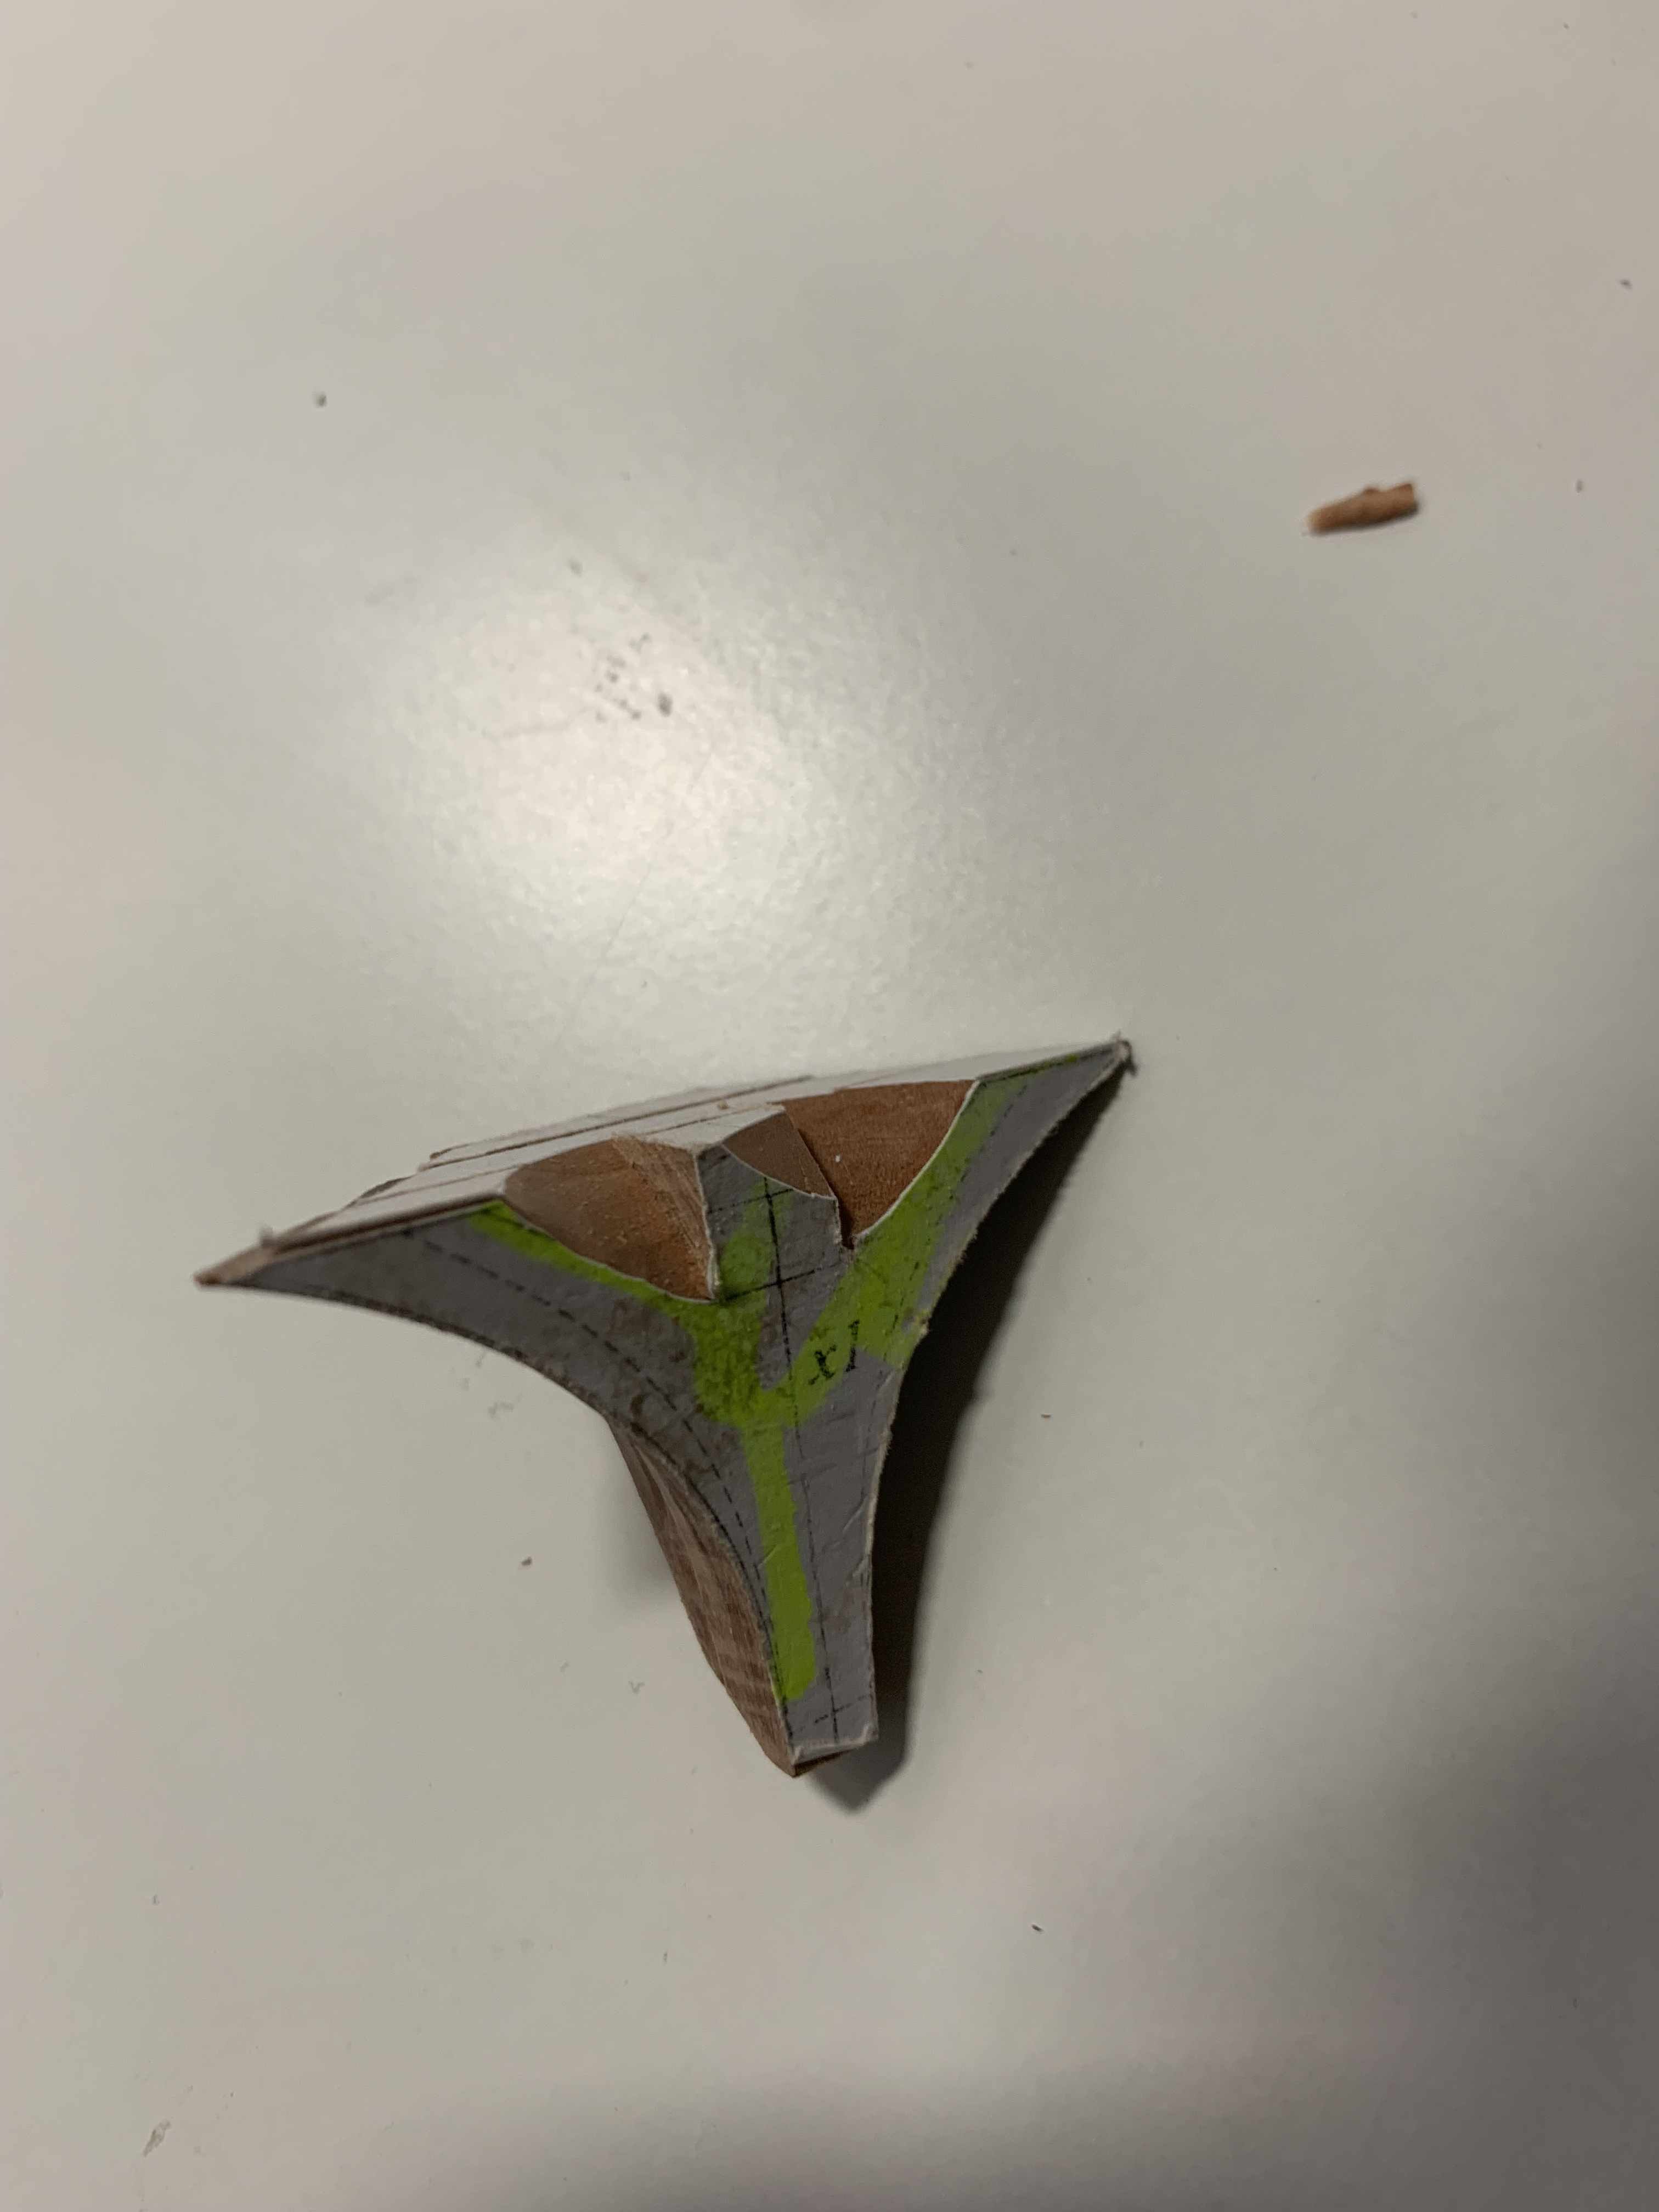
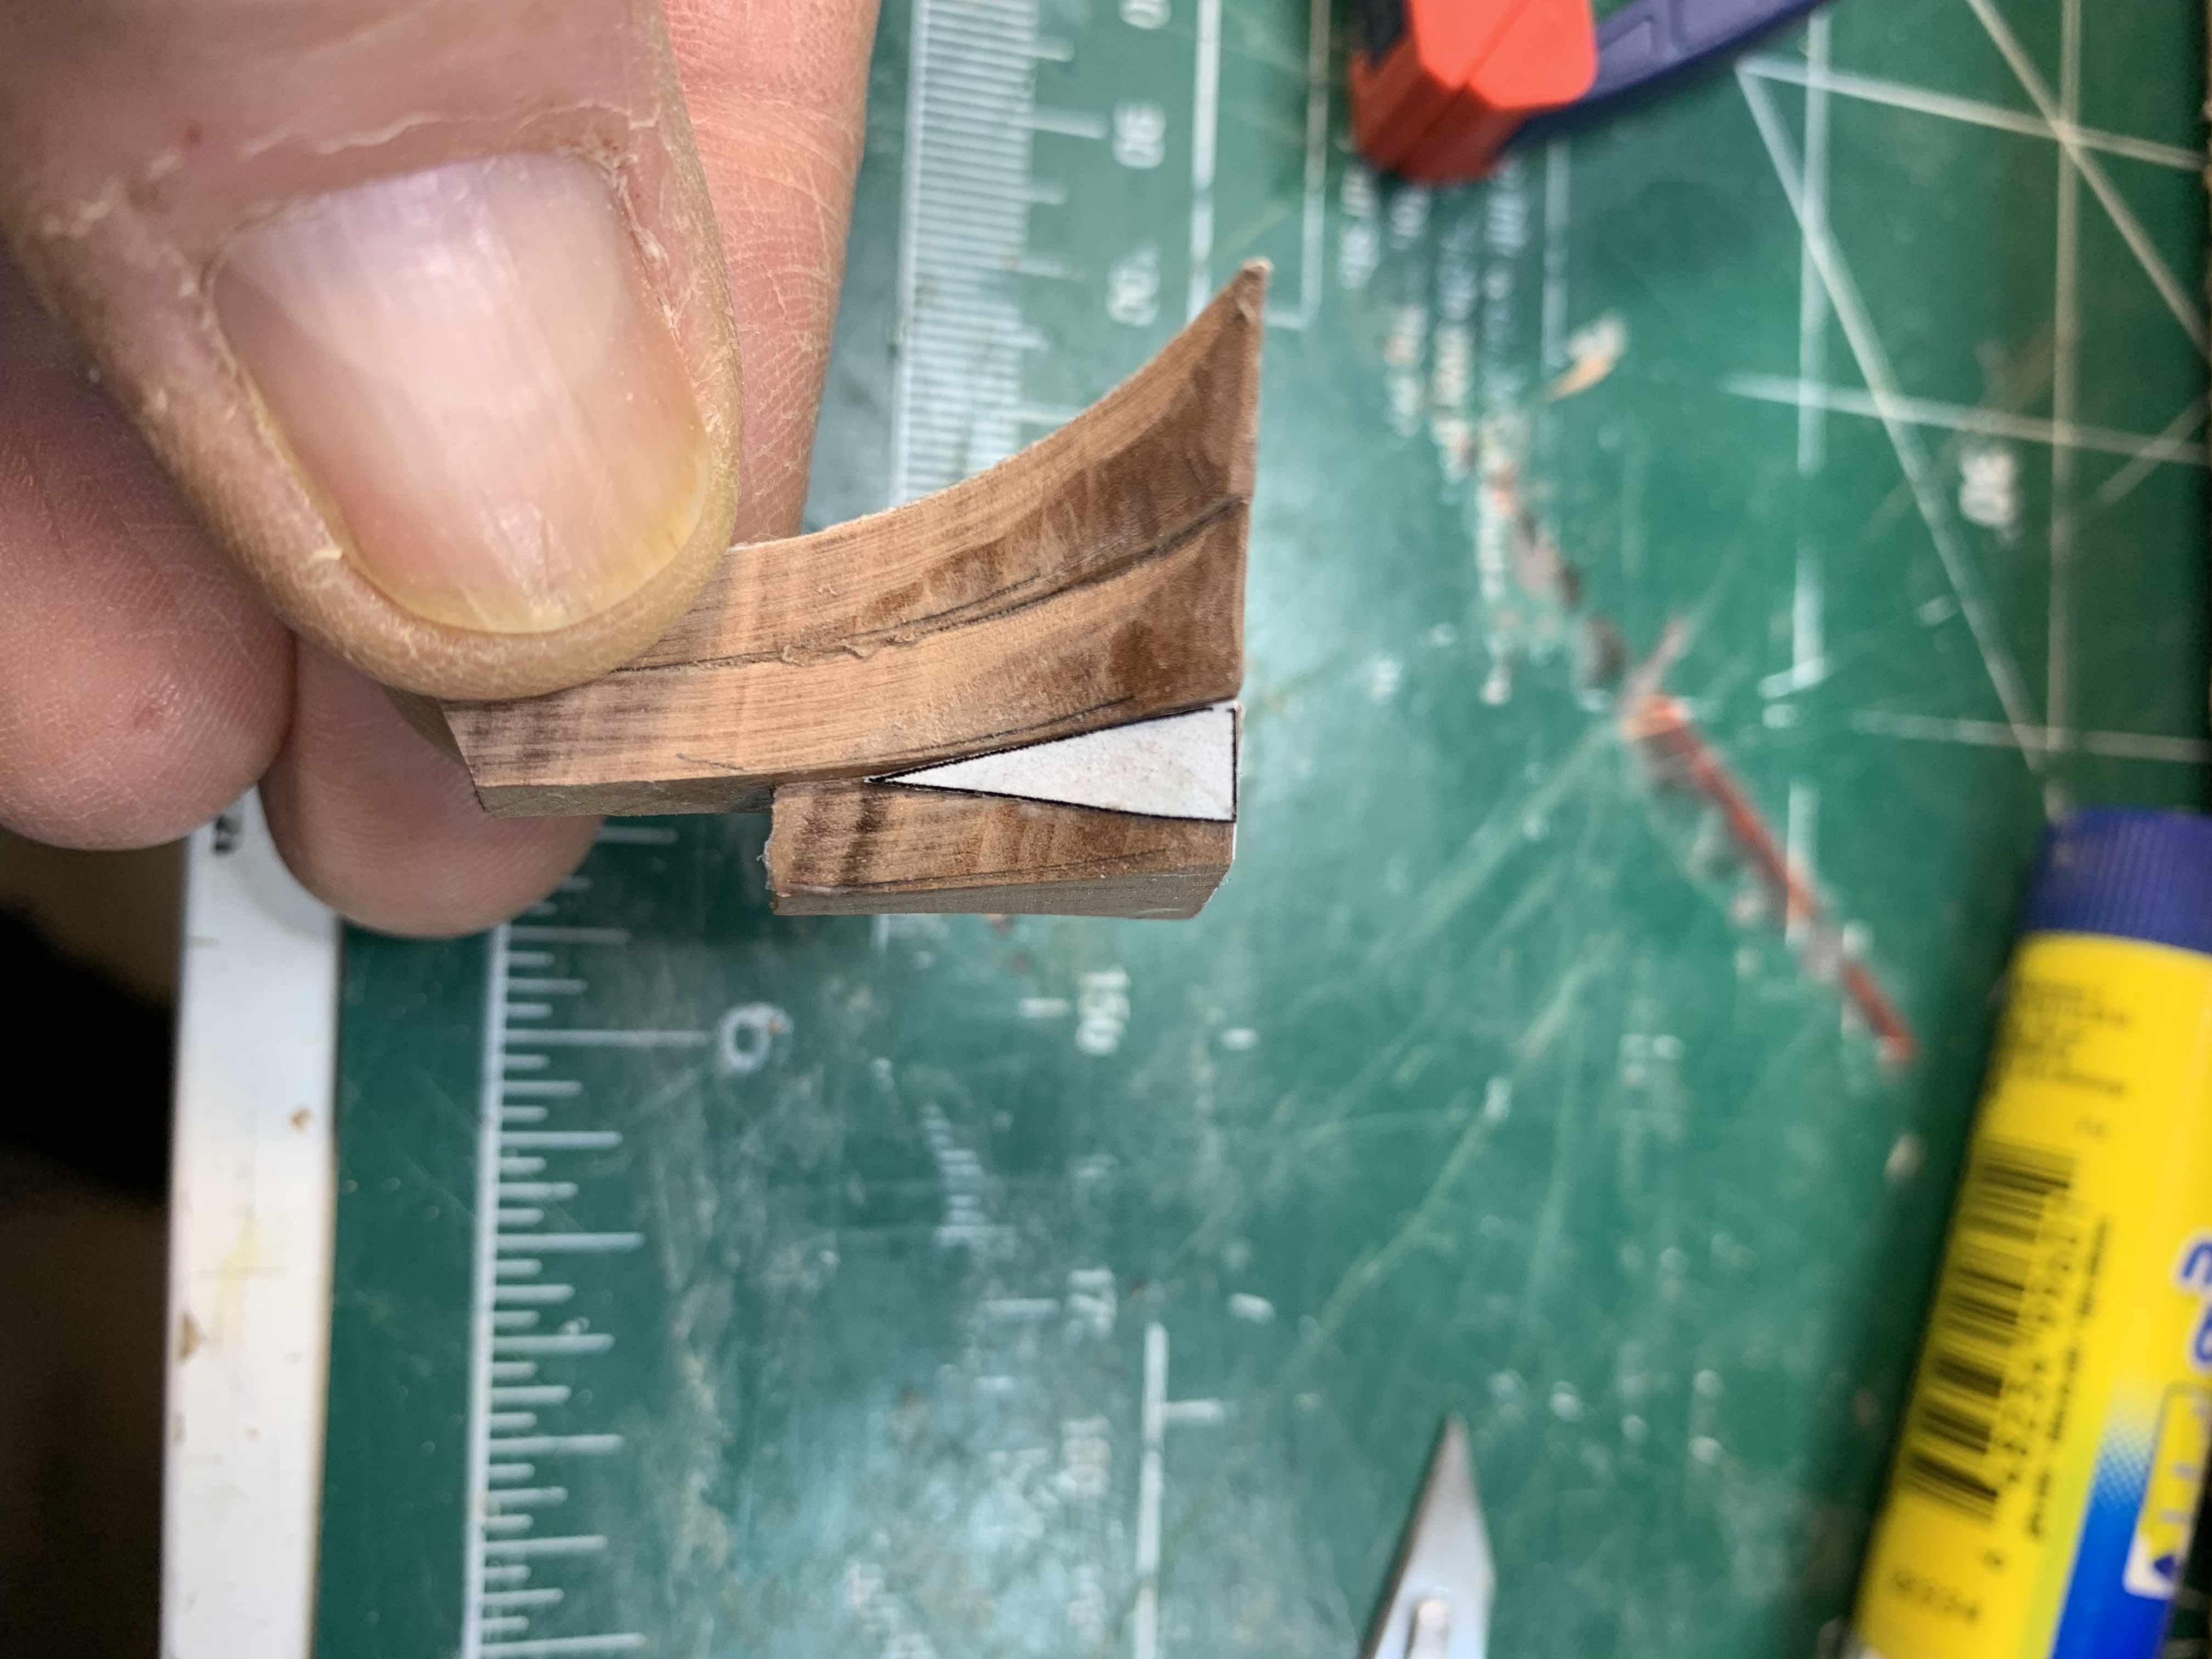
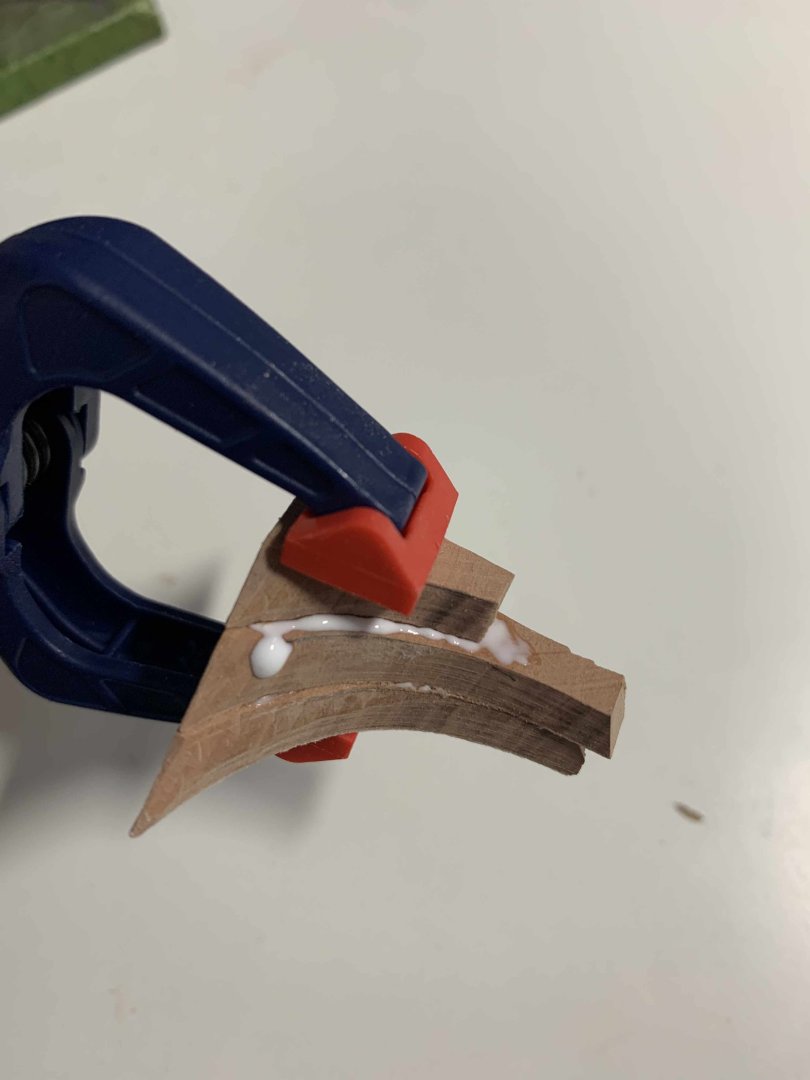
Filling piece shaped and ready for installation... I care about environment so managed to recycle filling transforms from abandoned build.. https://shipsofscale.com/sosforums/attachments/rochefort-00629-jpg.500505/?hash=5ca2d9b1523e743033206850a670cf5f Master carpenter arrived to check the progress... https://shipsofscale.com/sosforums/attachments/rochefort-00631-jpg.500503/?hash=5ca2d9b1523e743033206850a670cf5f Happy modelling..
-
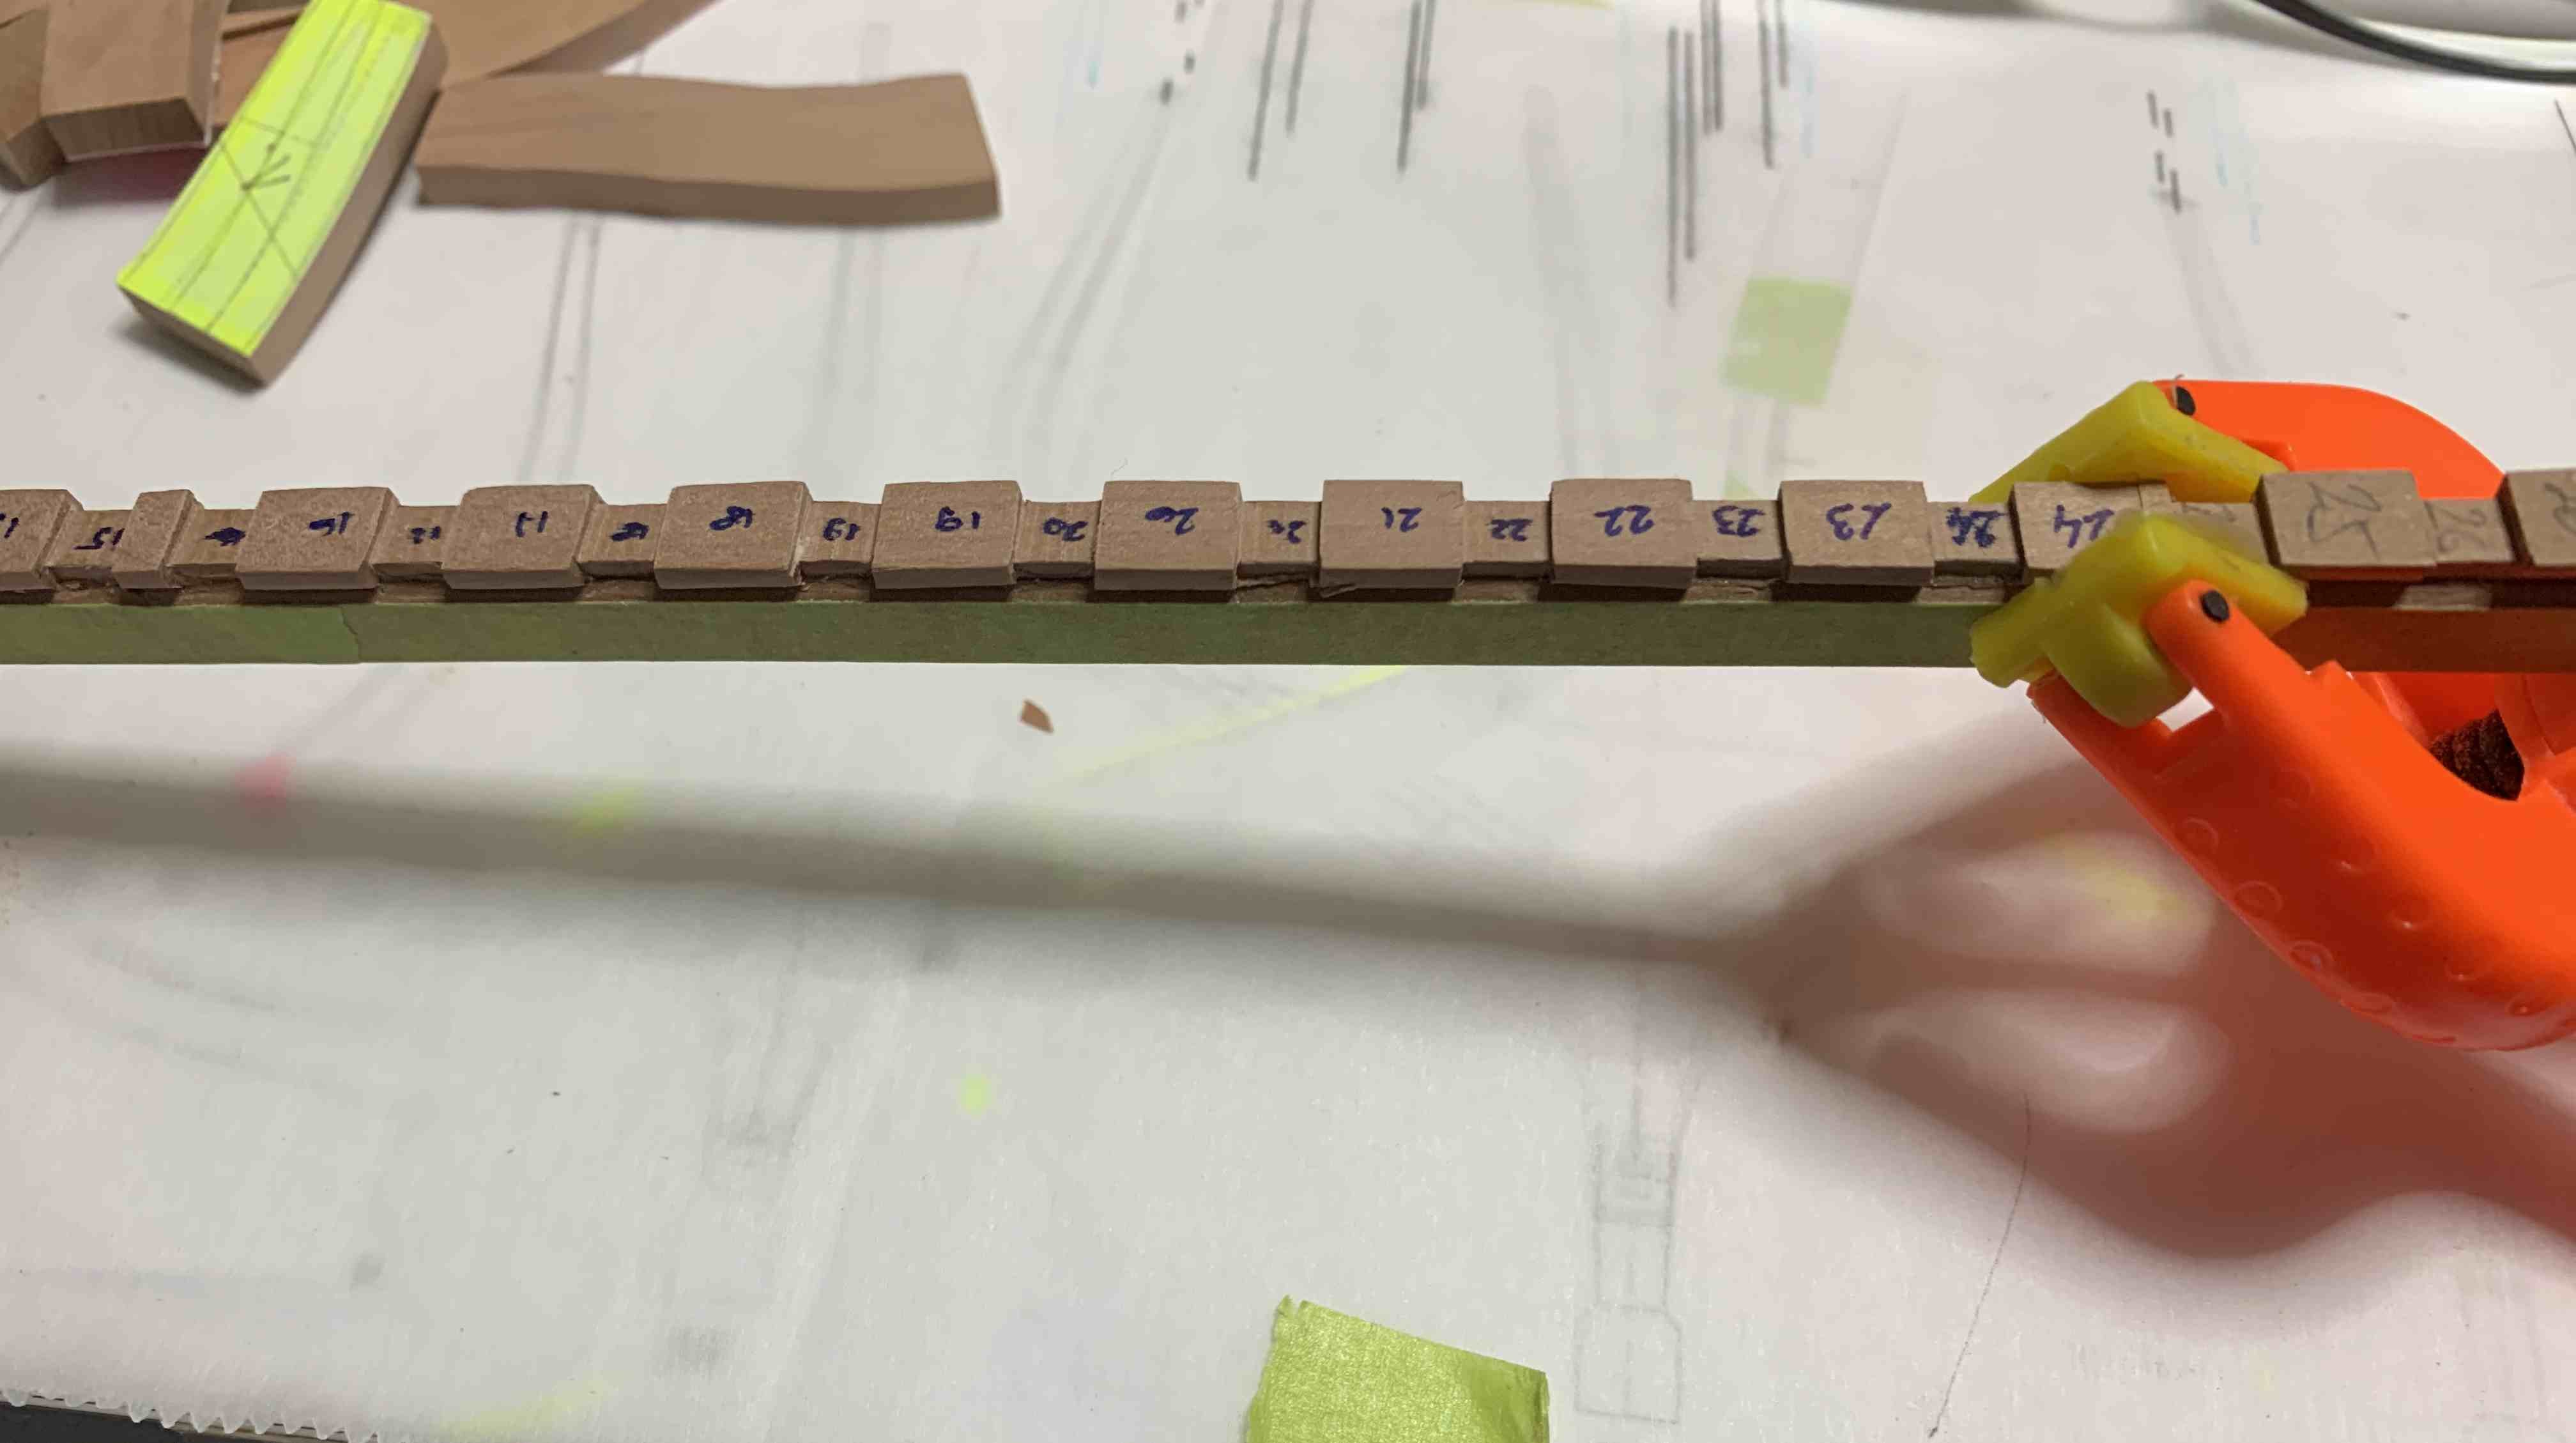
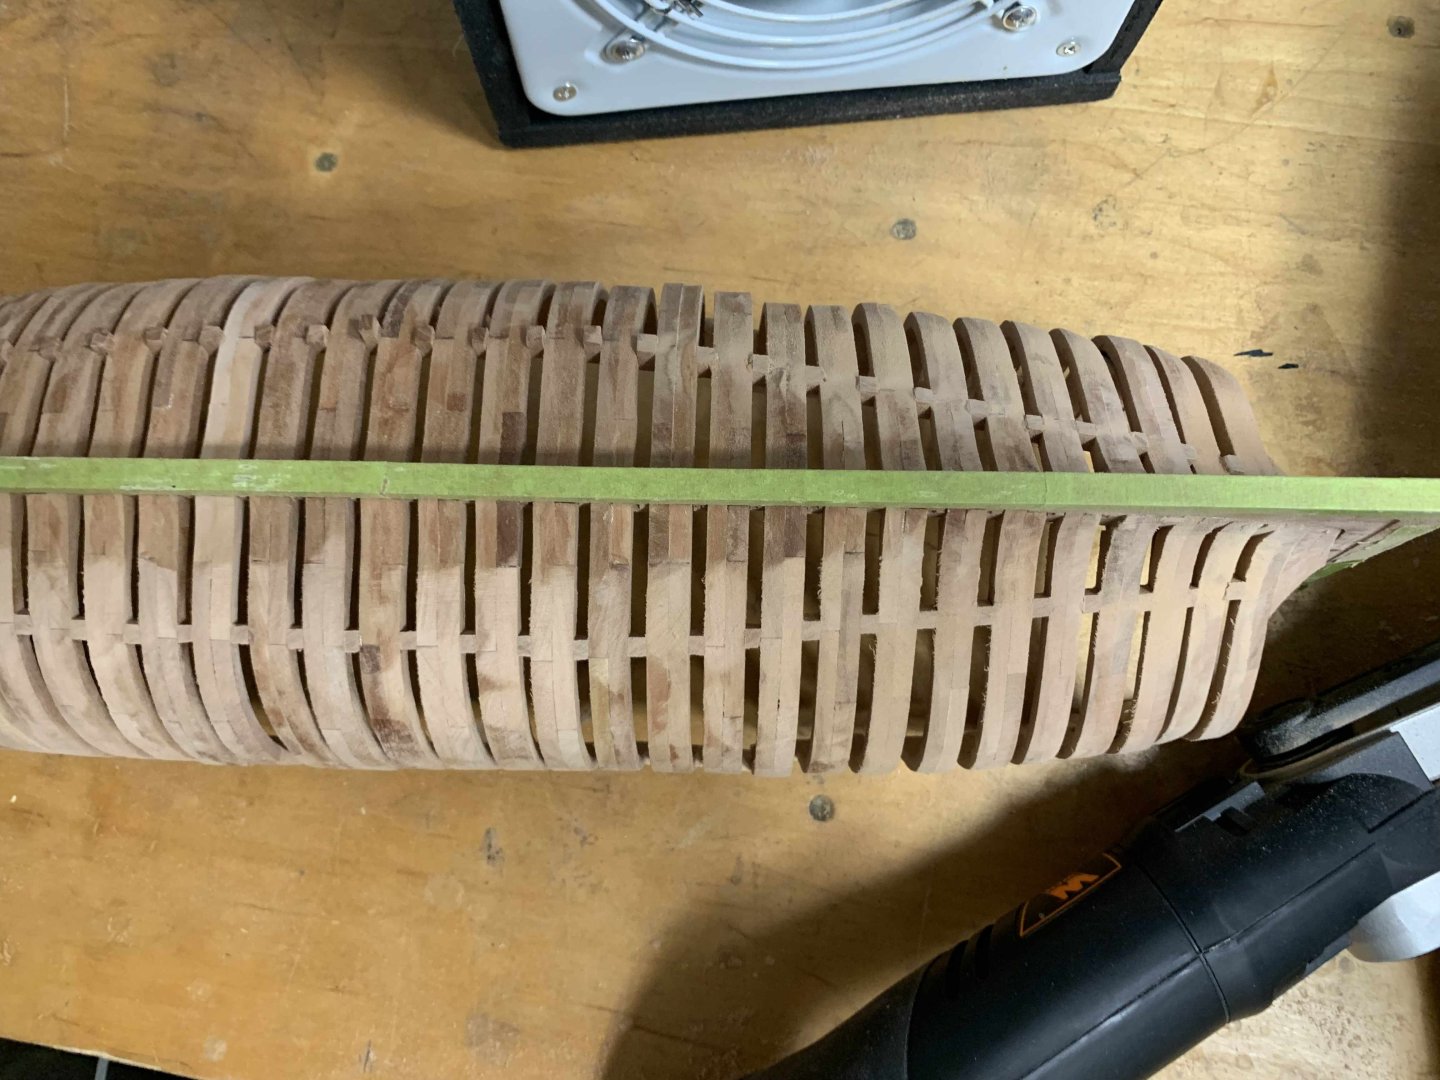
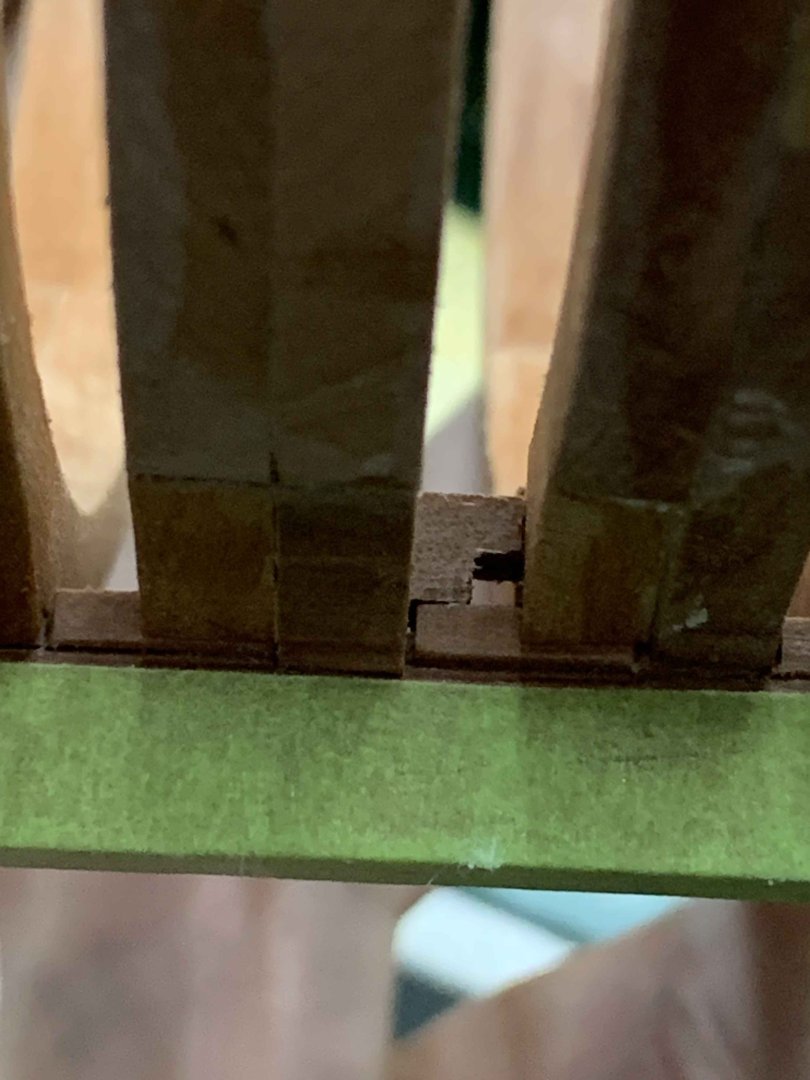
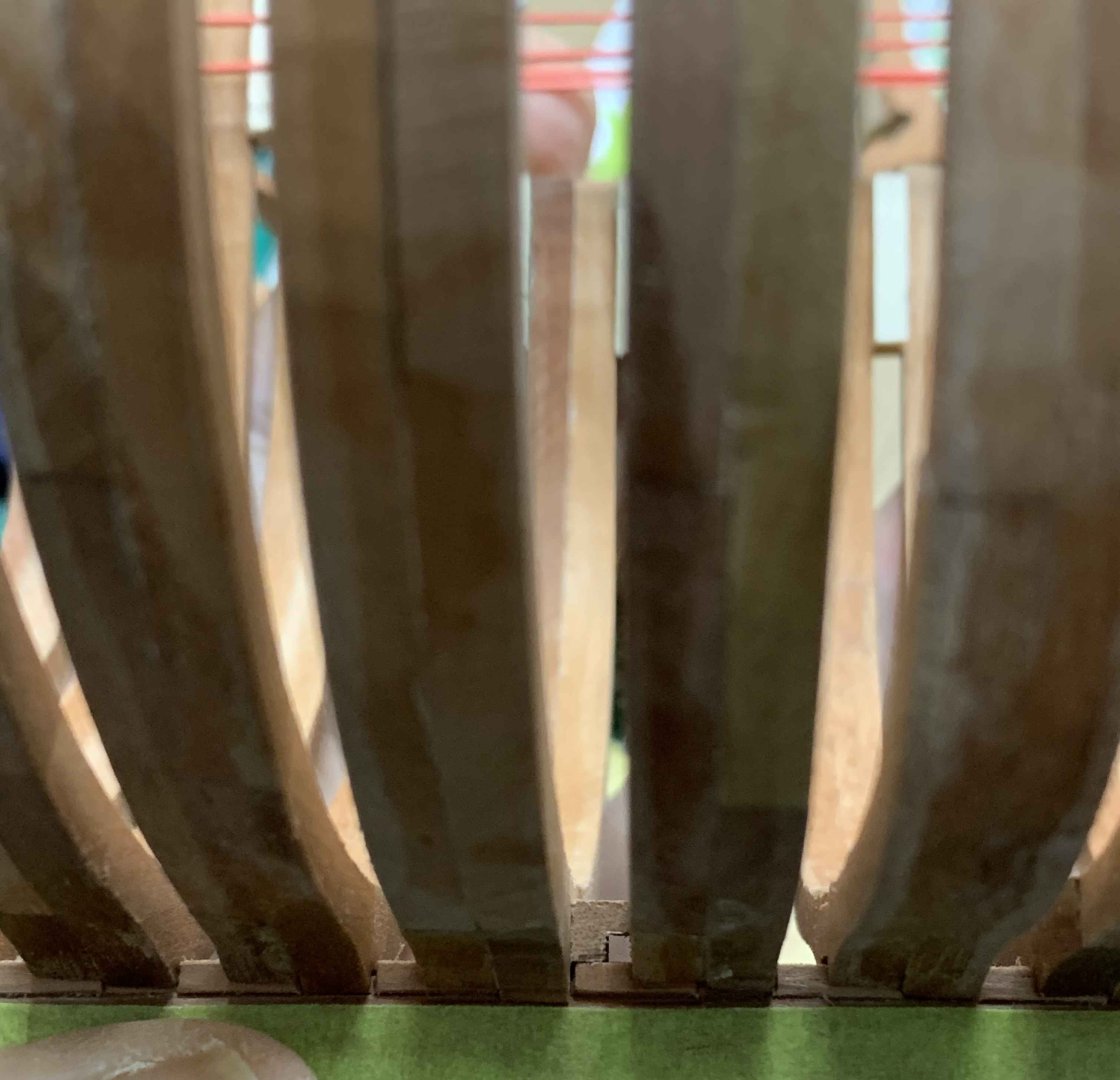
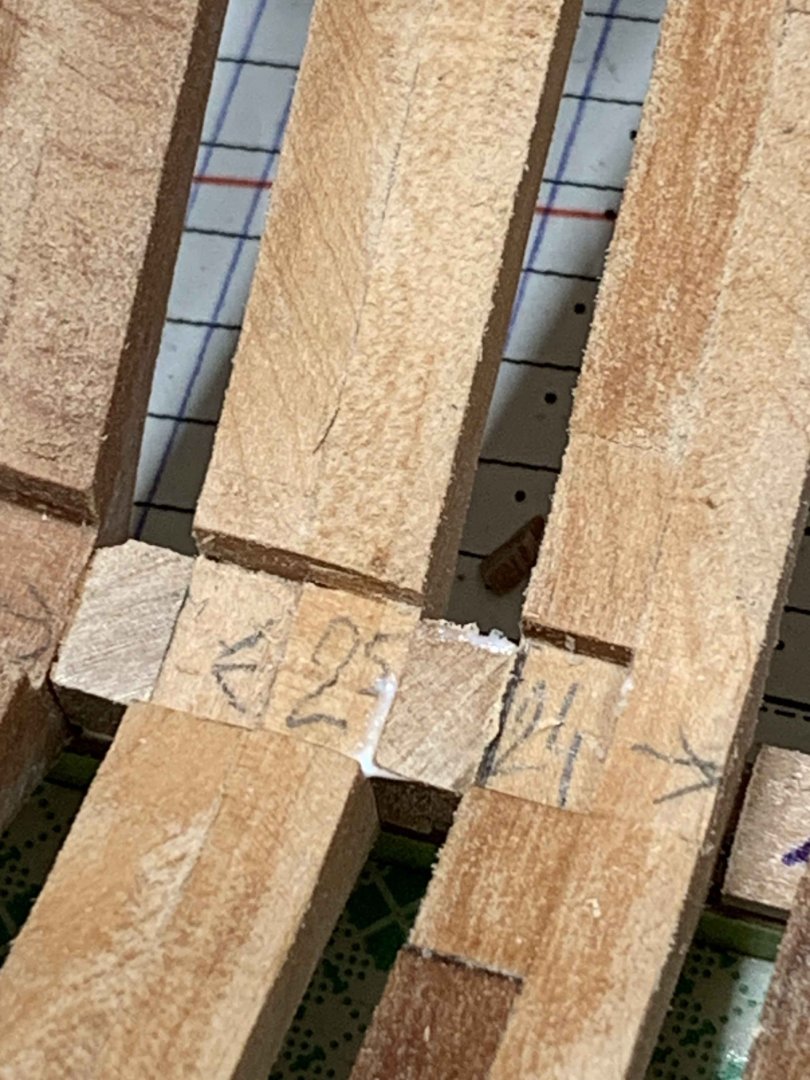
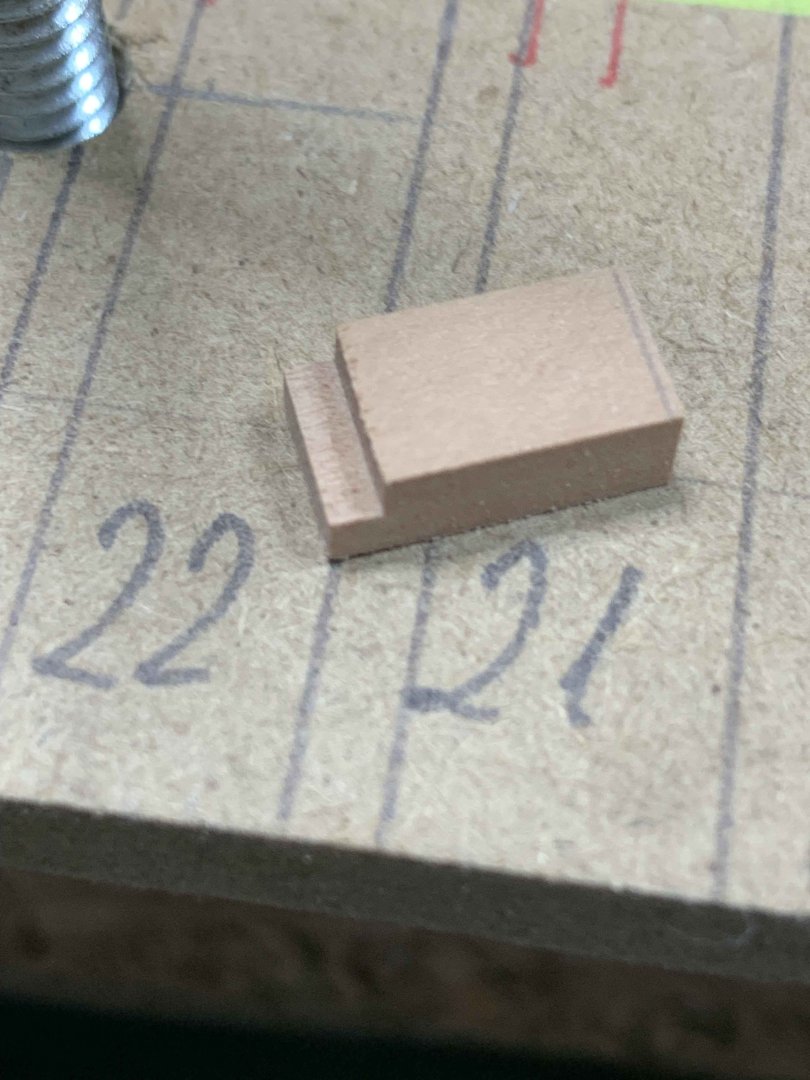
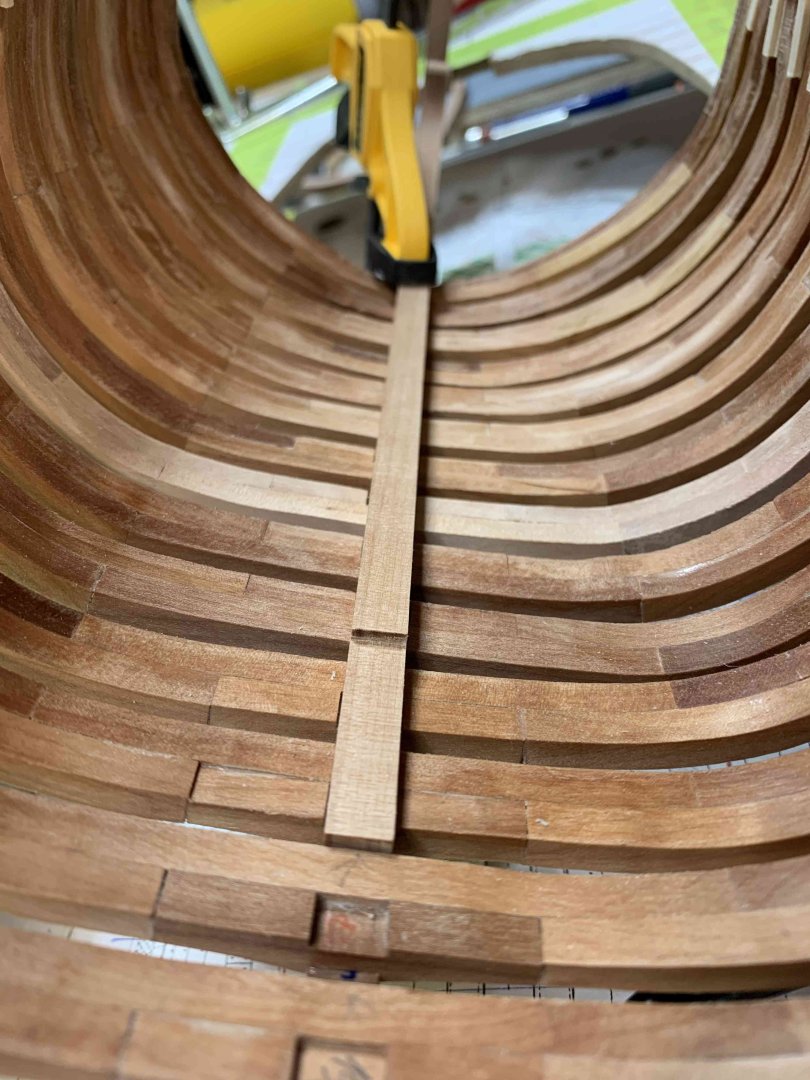
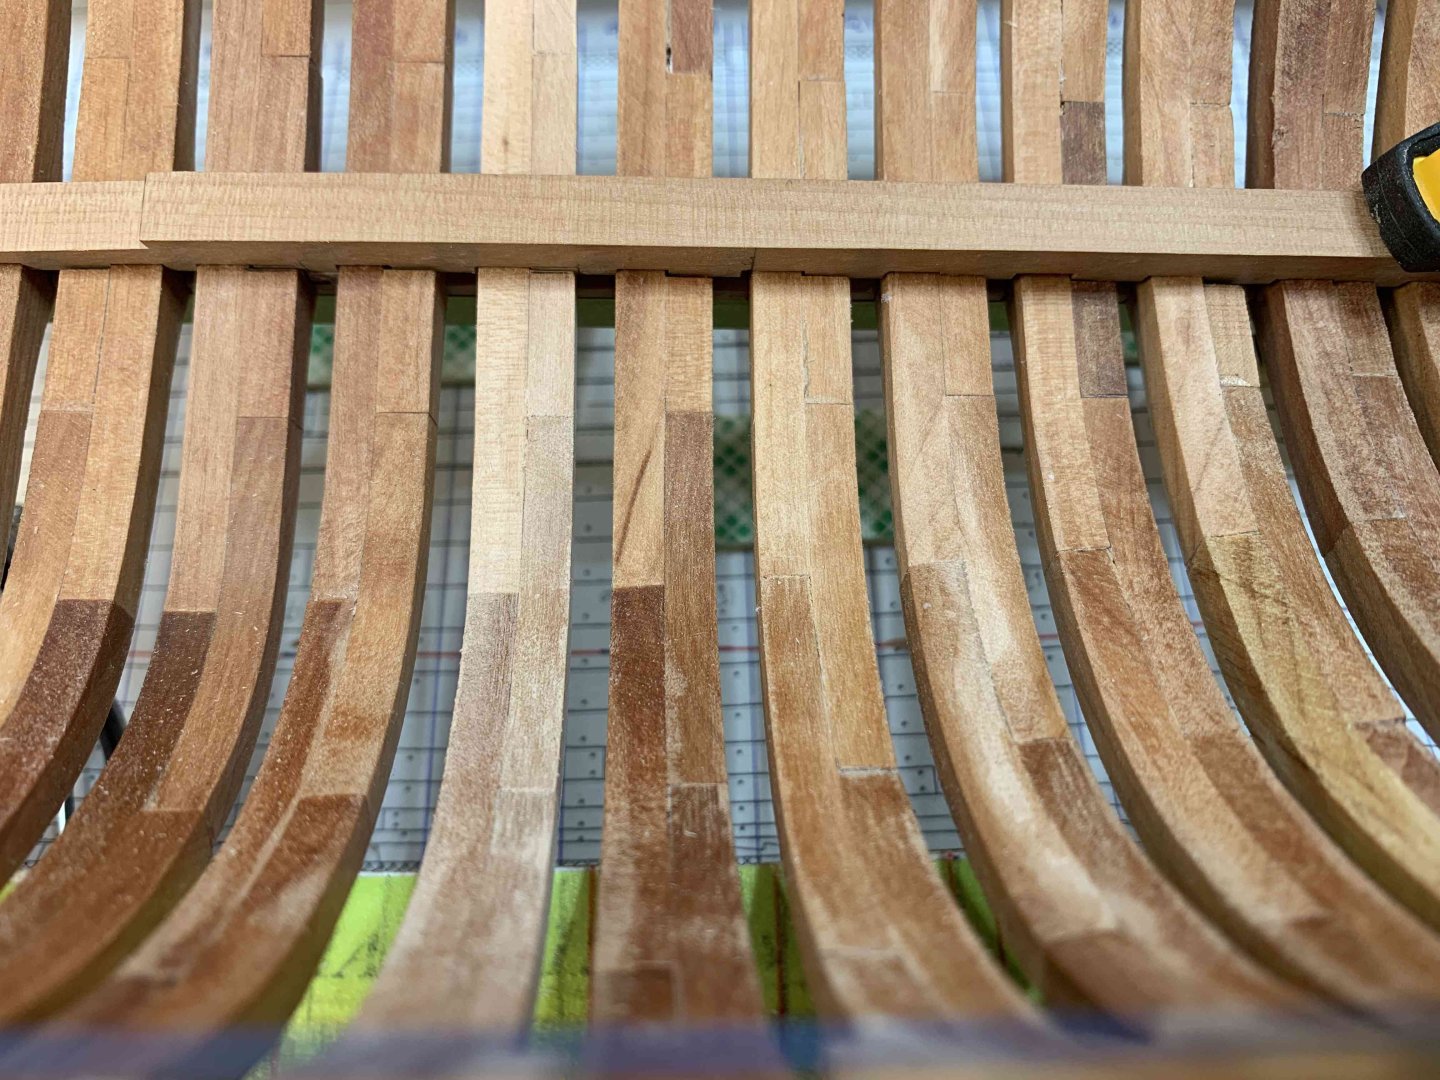
Working on filling pieces.... first made a 15cm long stripe of wood and on its edge cut a groove 1x1mm, taking into account that filling pieces are not equal in hight, based on plan from plate #6. For example, this one has a groove on the bottom so I cut extra length.. .. put it in place.. .. mark its hight... .. and cut .. ... then with a small amount of glue, put in place between frames.. .. end results... not perfect... Keep into account the groove (or water channel) direction changes at frame #22.. Happy modelling..


-
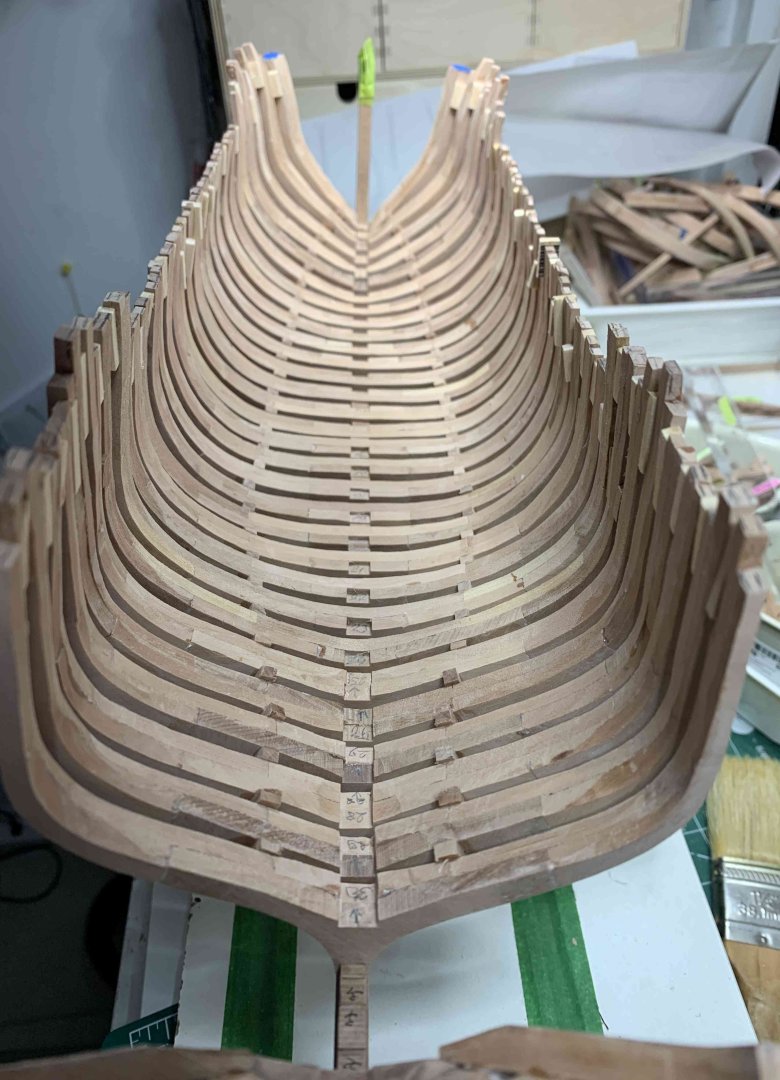
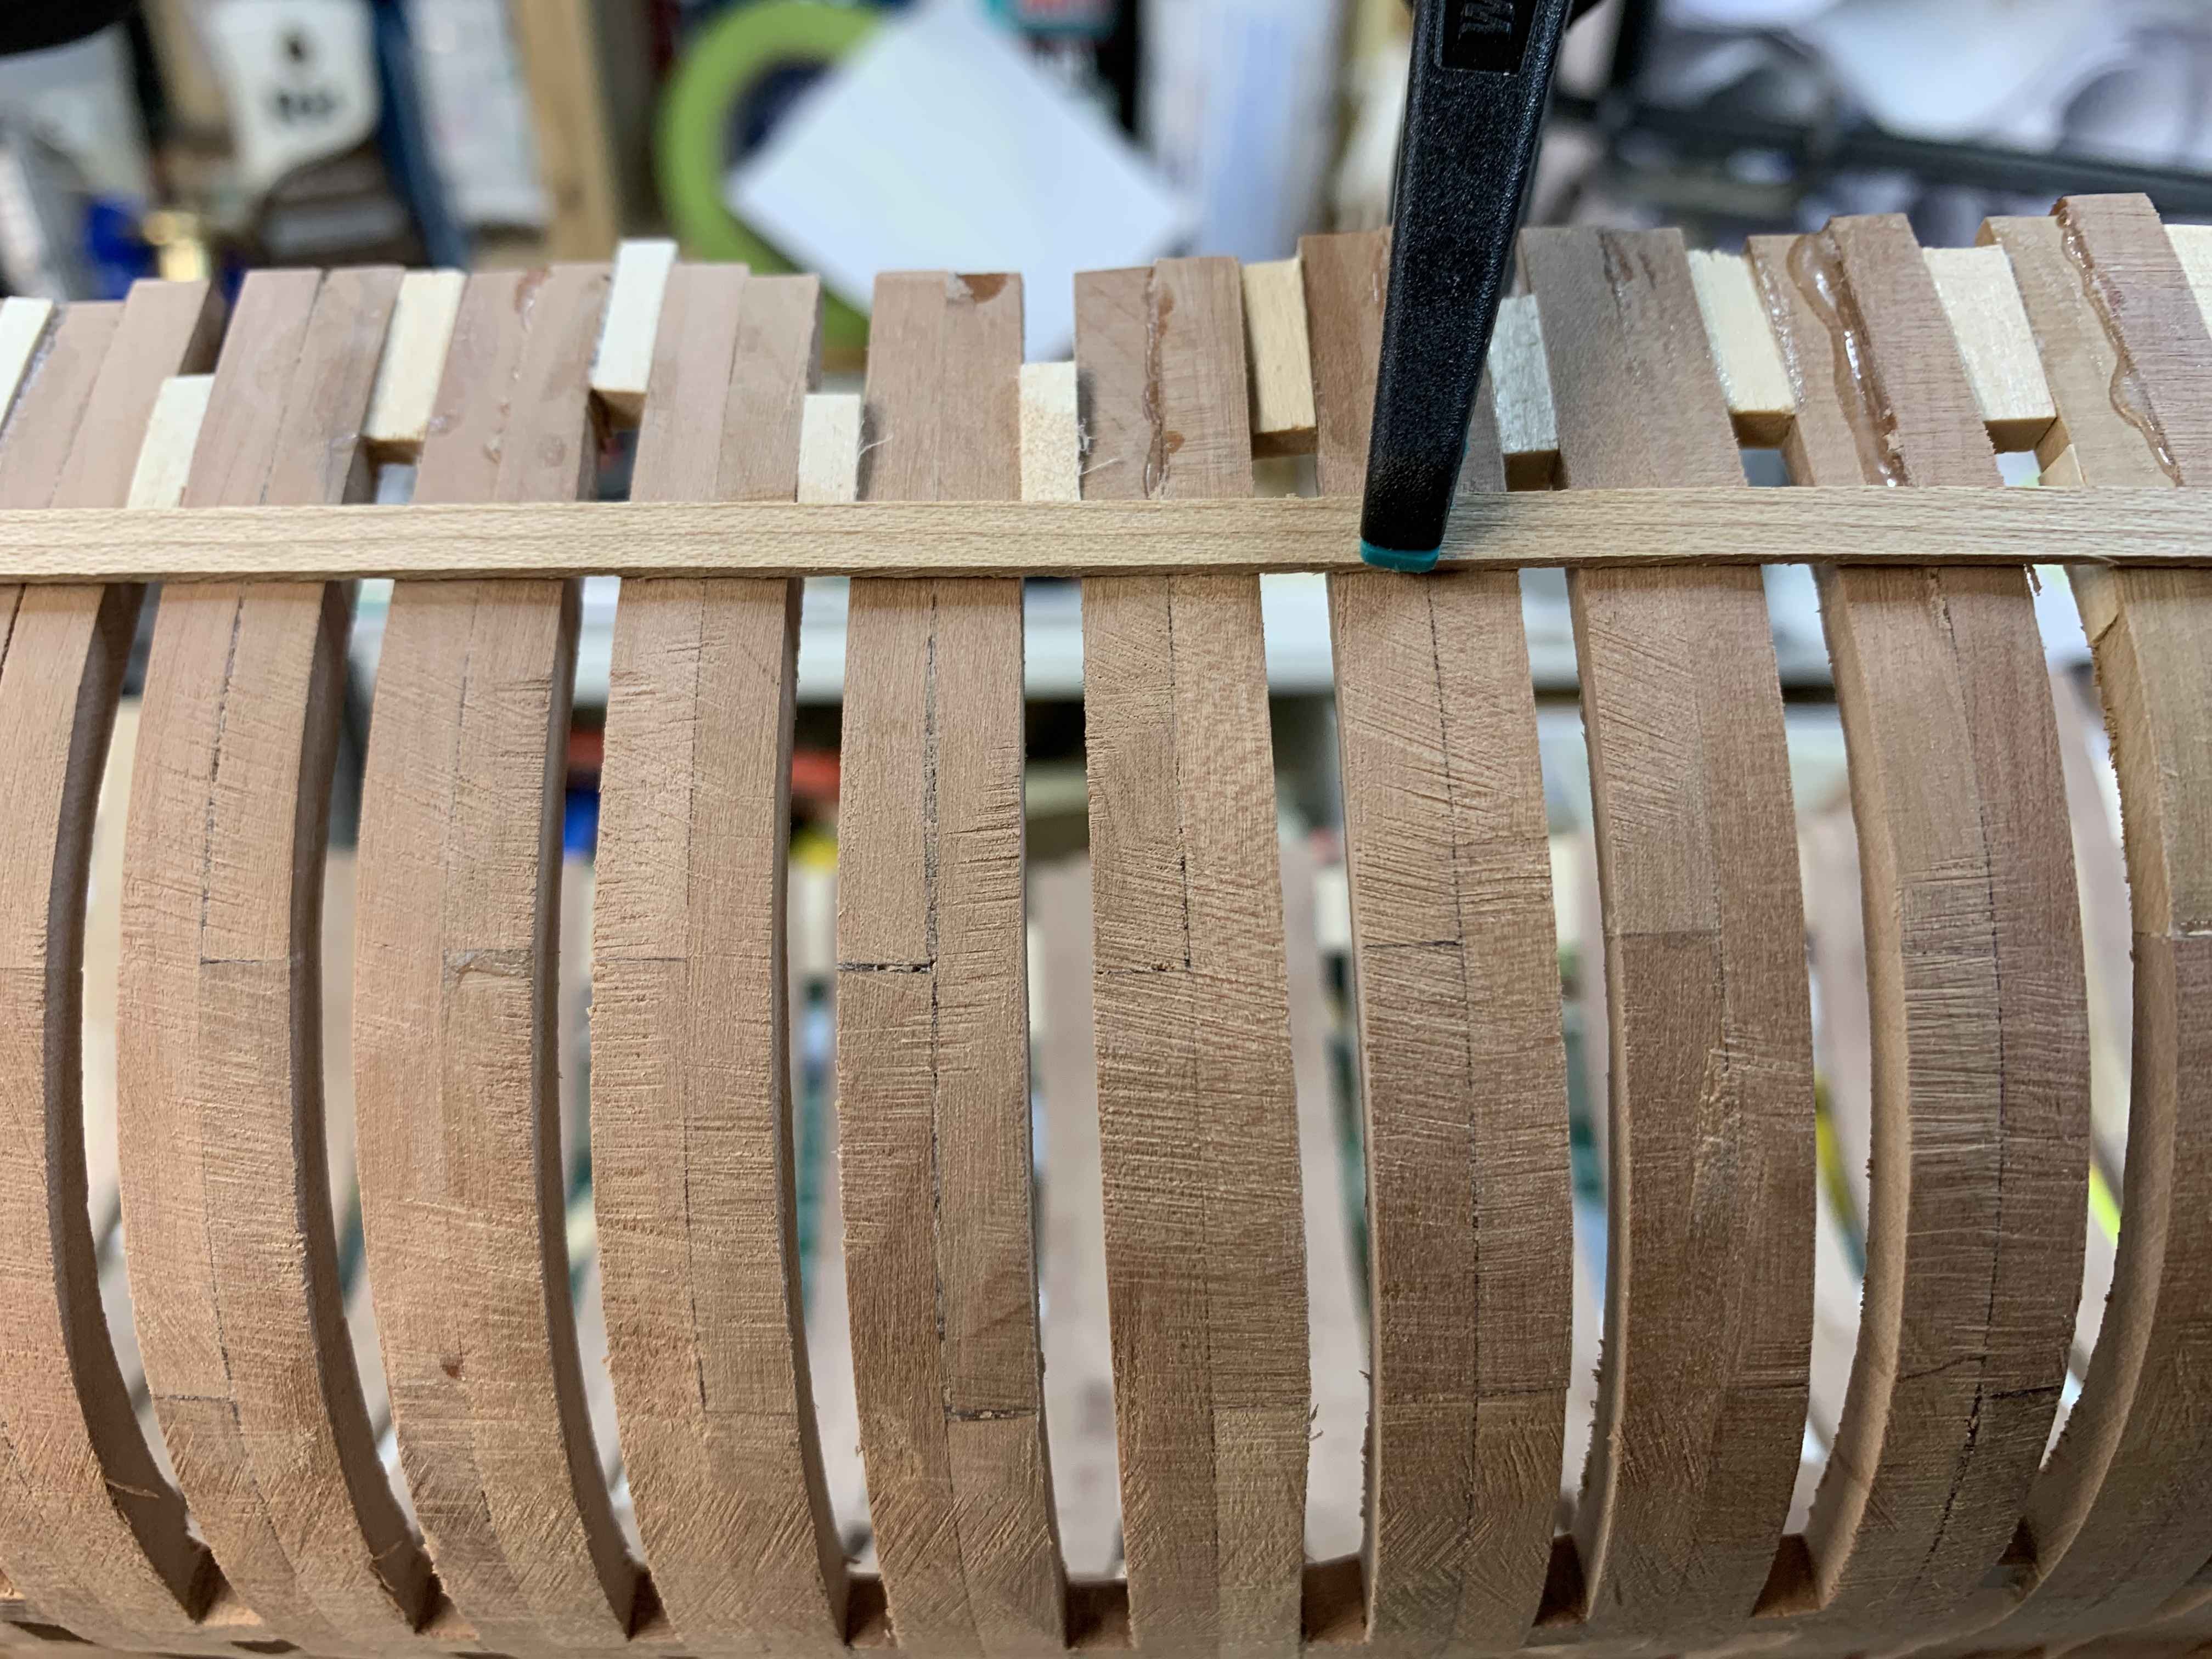
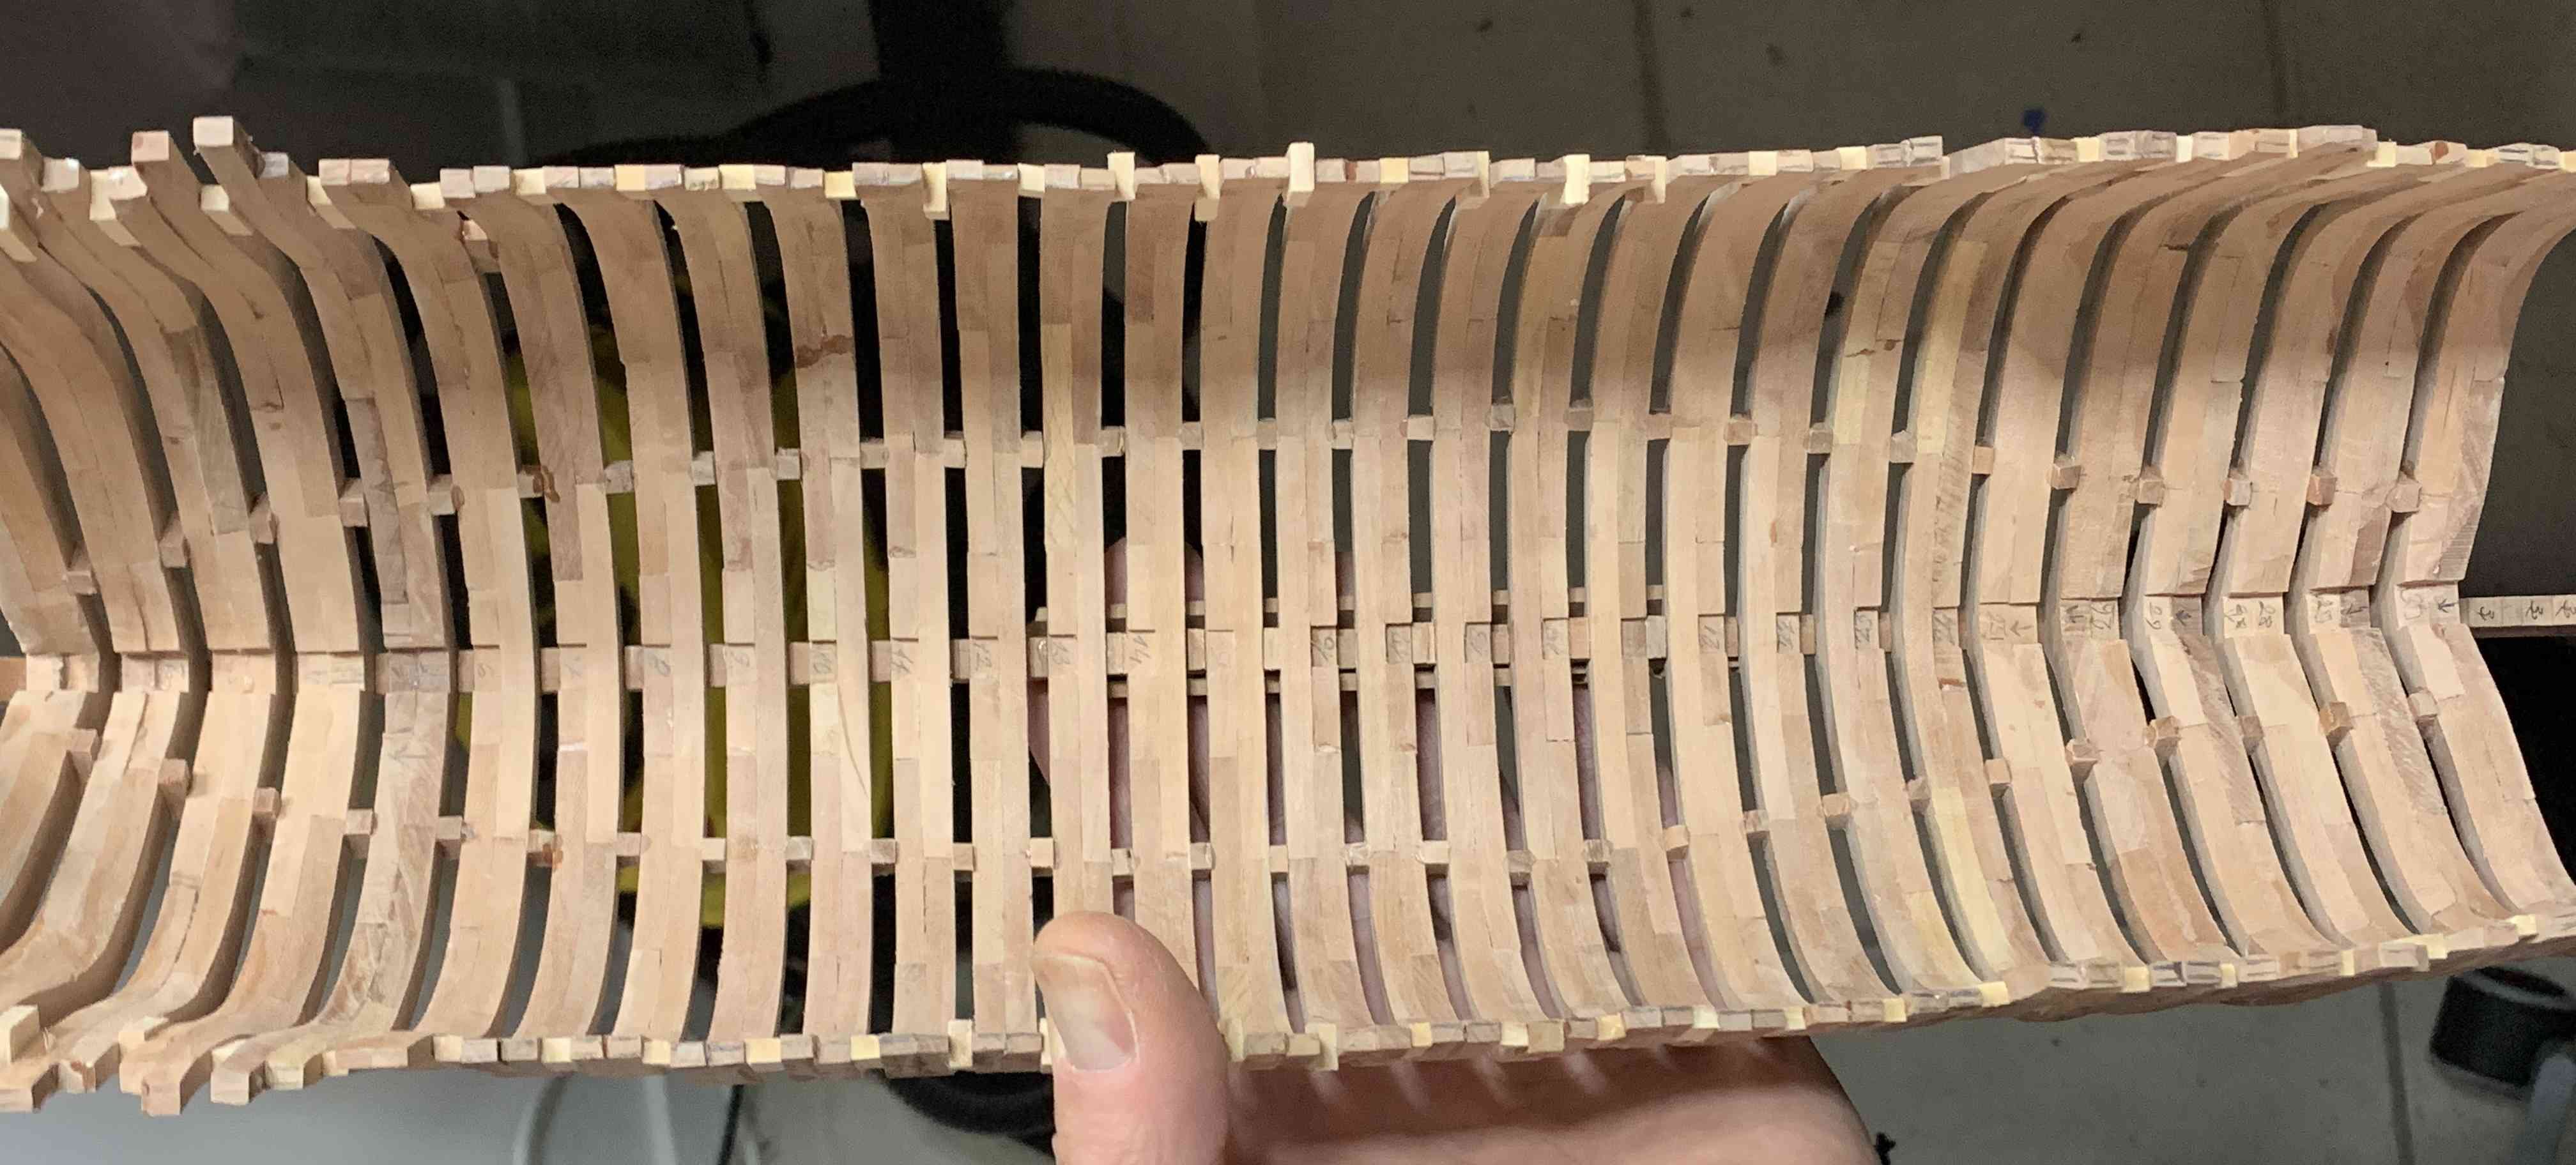
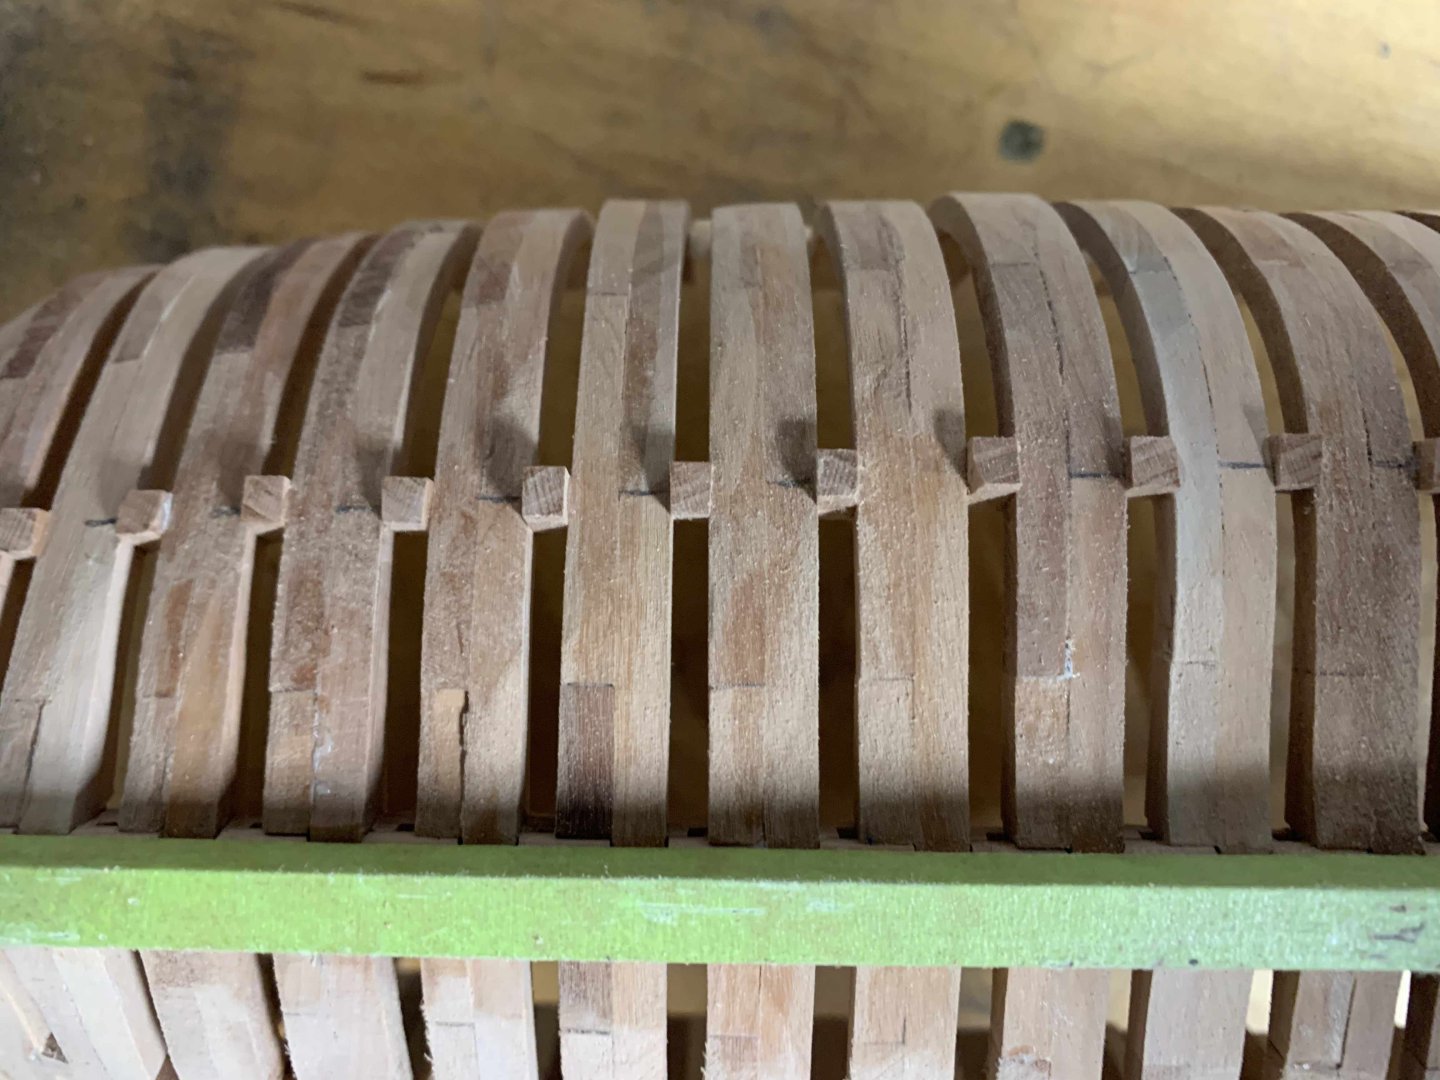
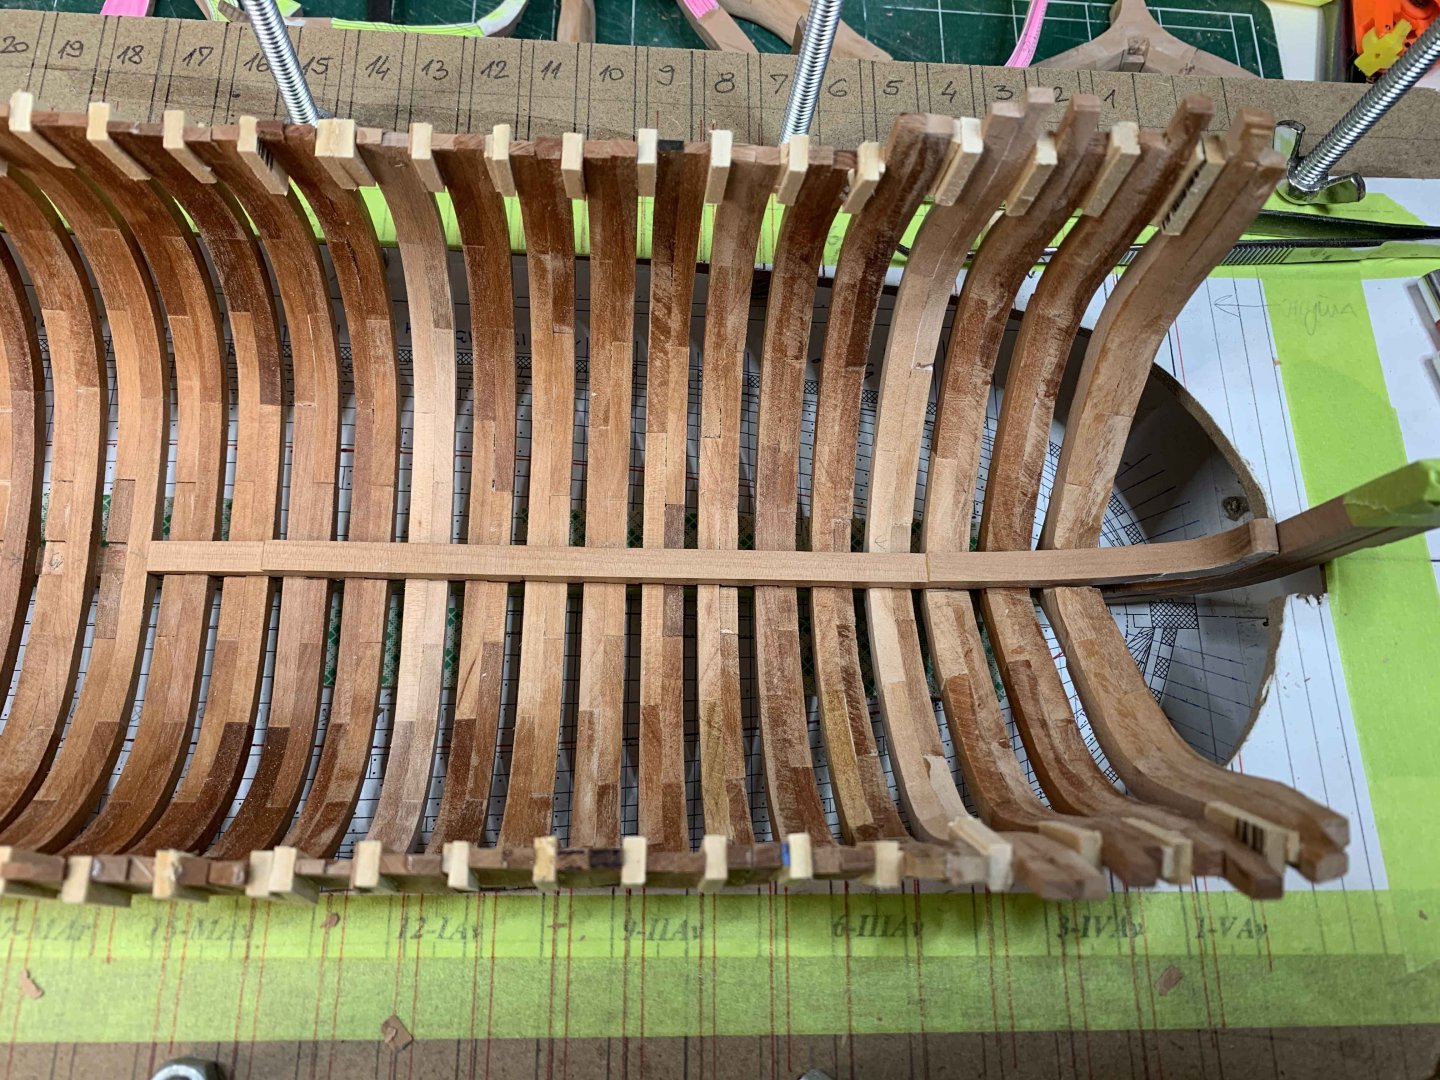
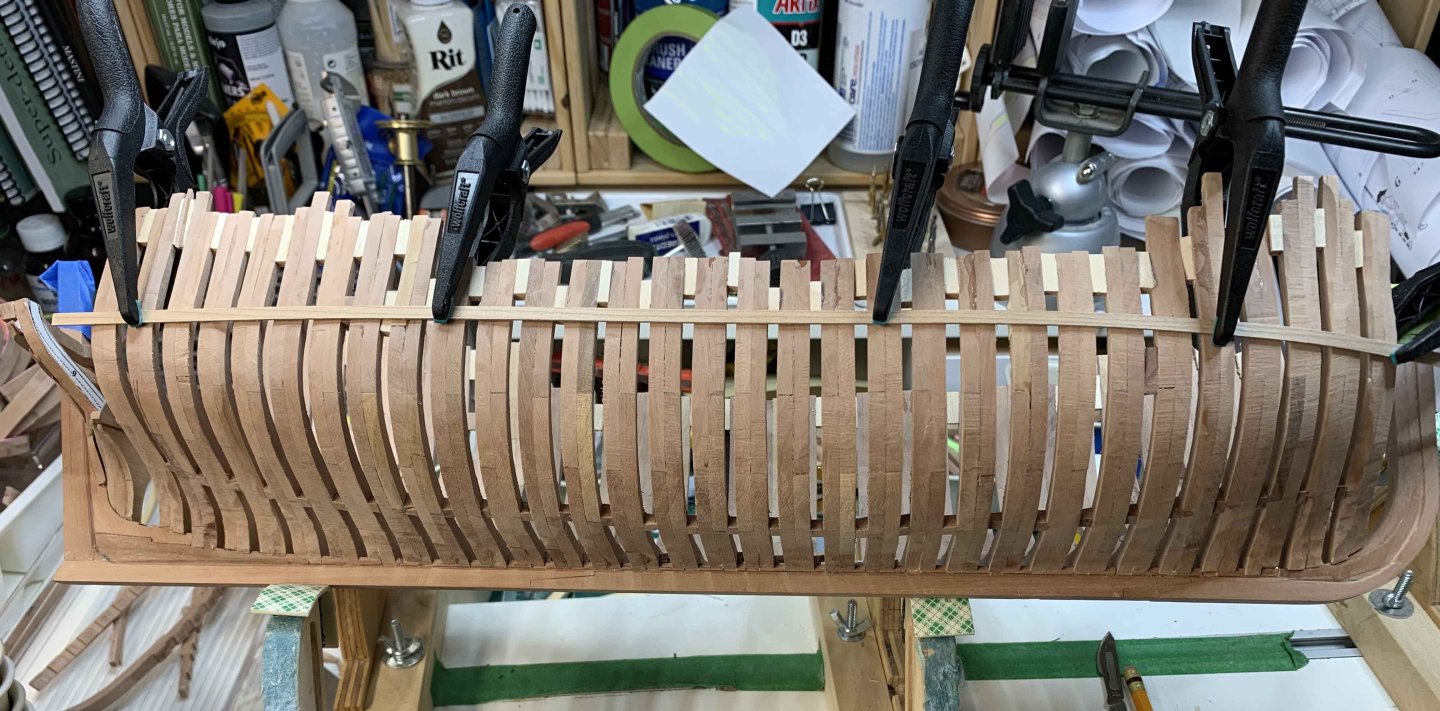
A bit of an update... Frames sanding process using files.. Happy modelling.


-
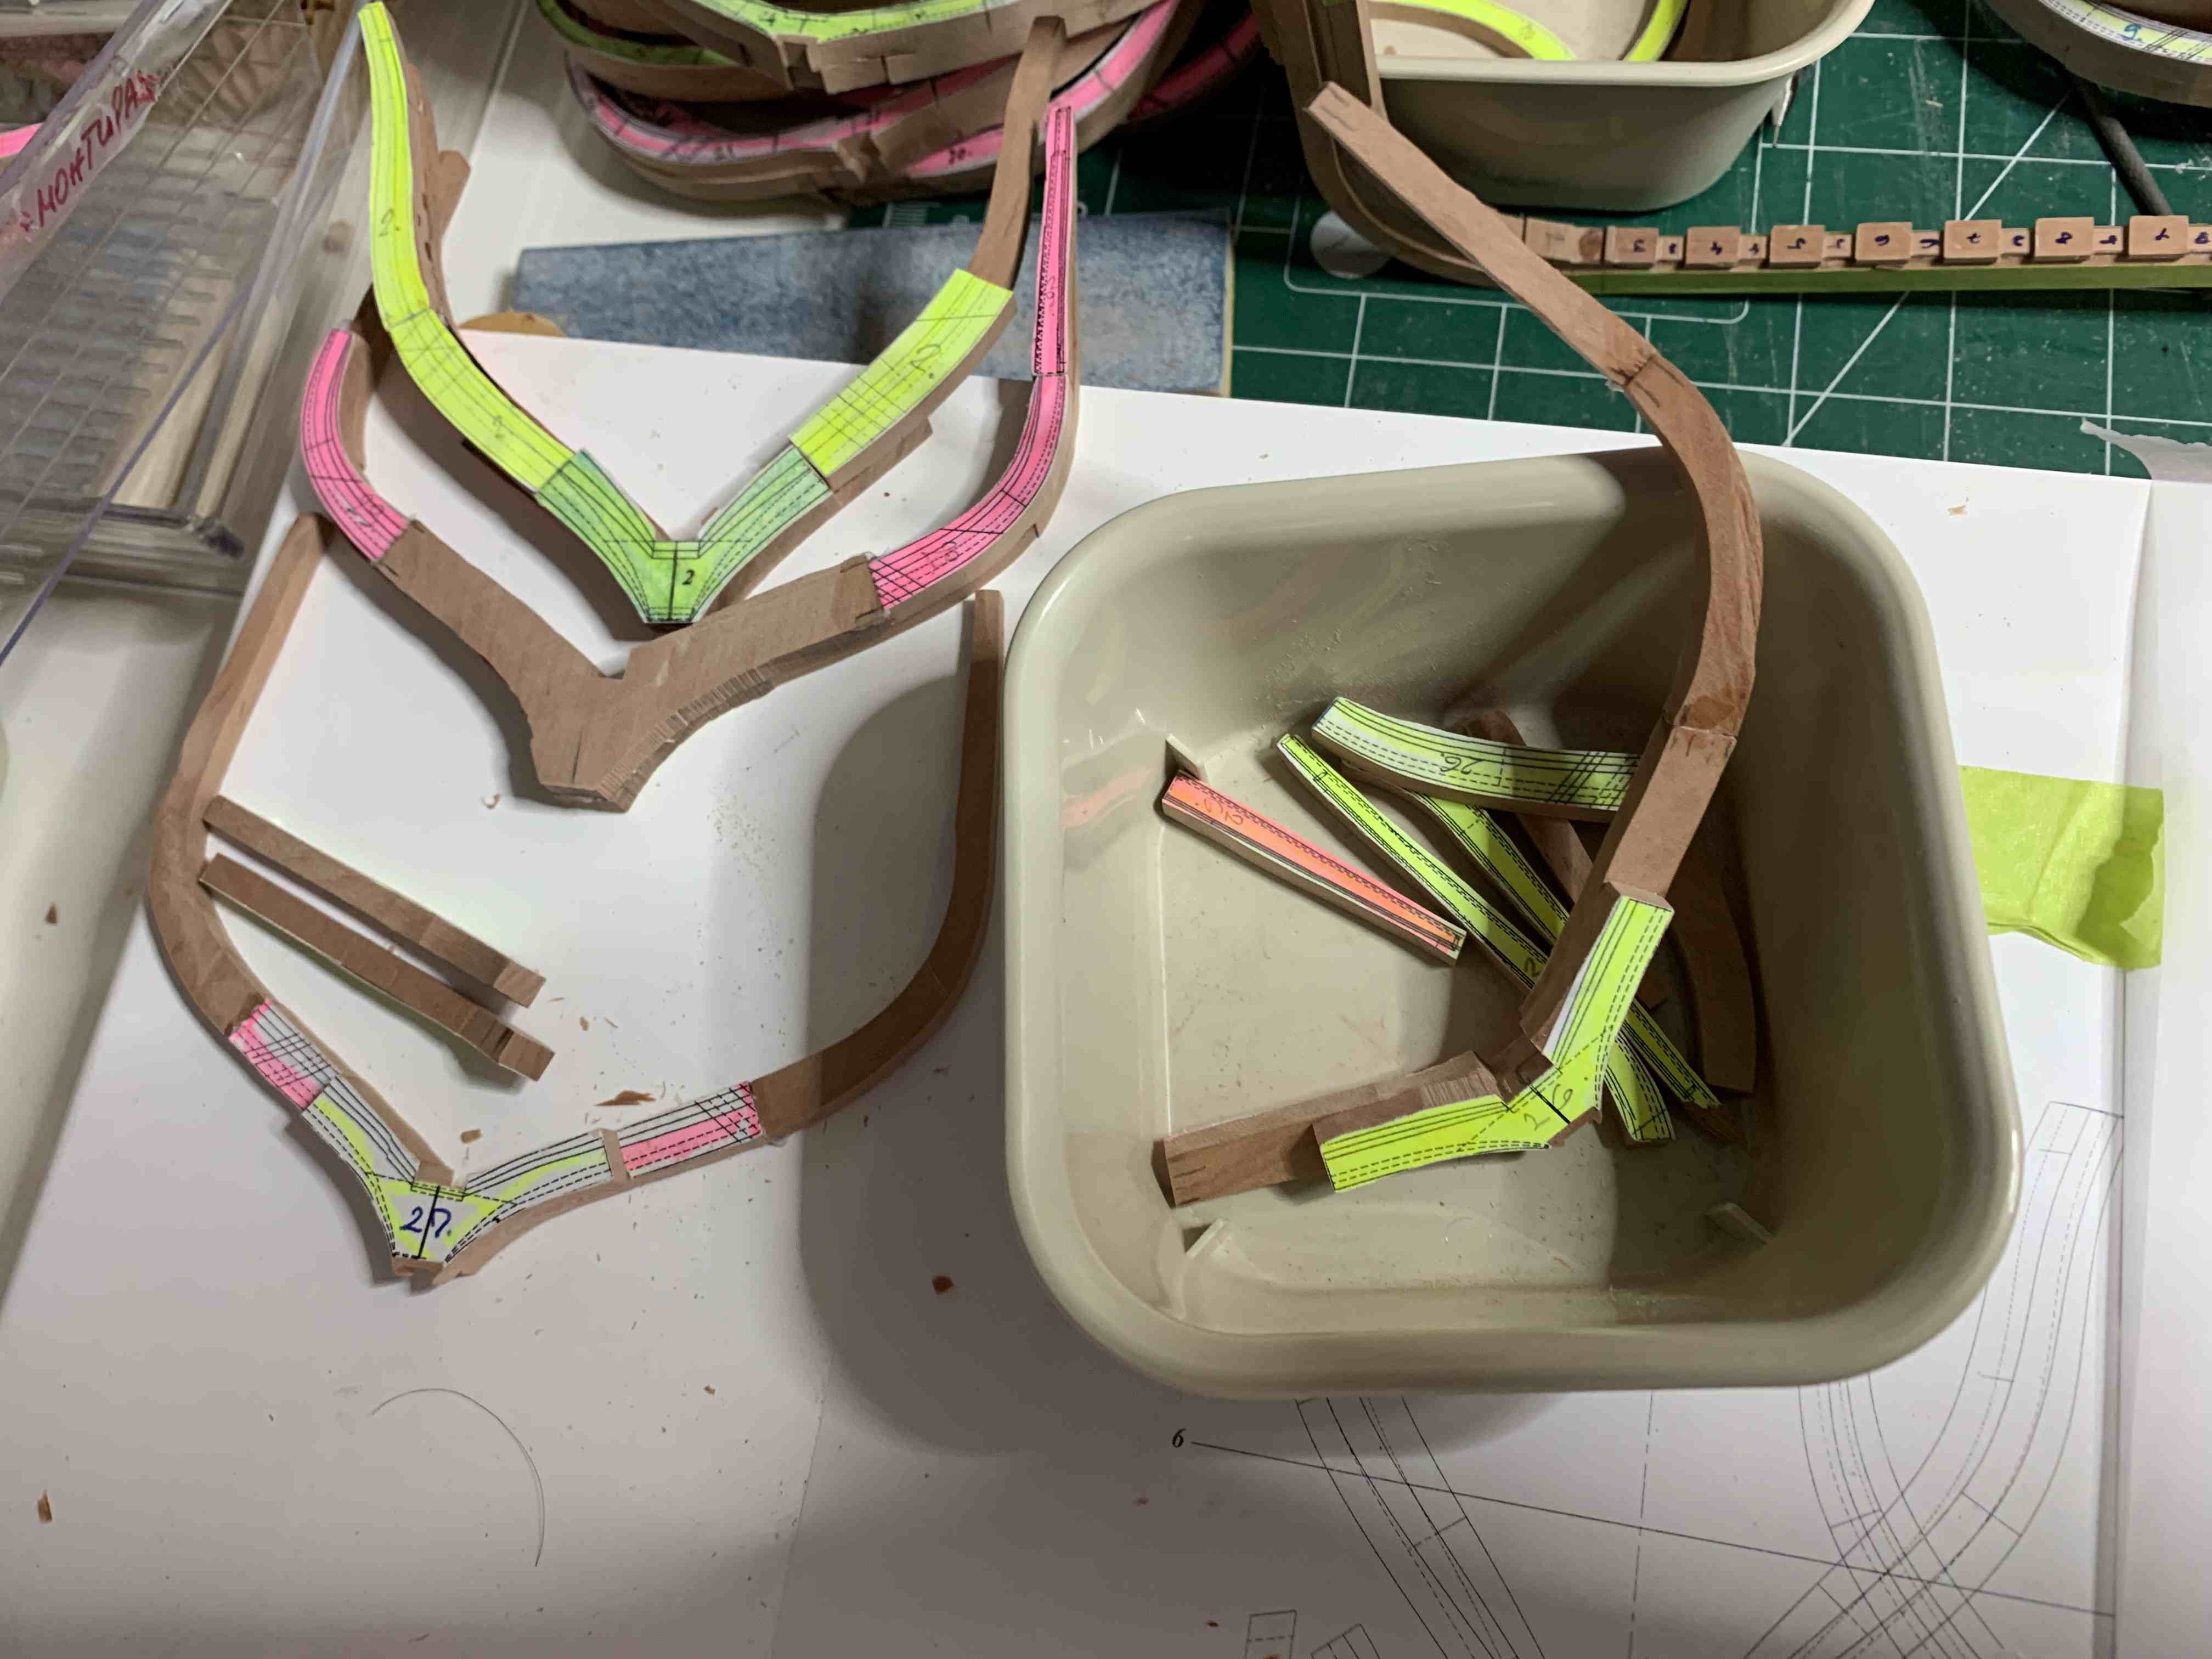
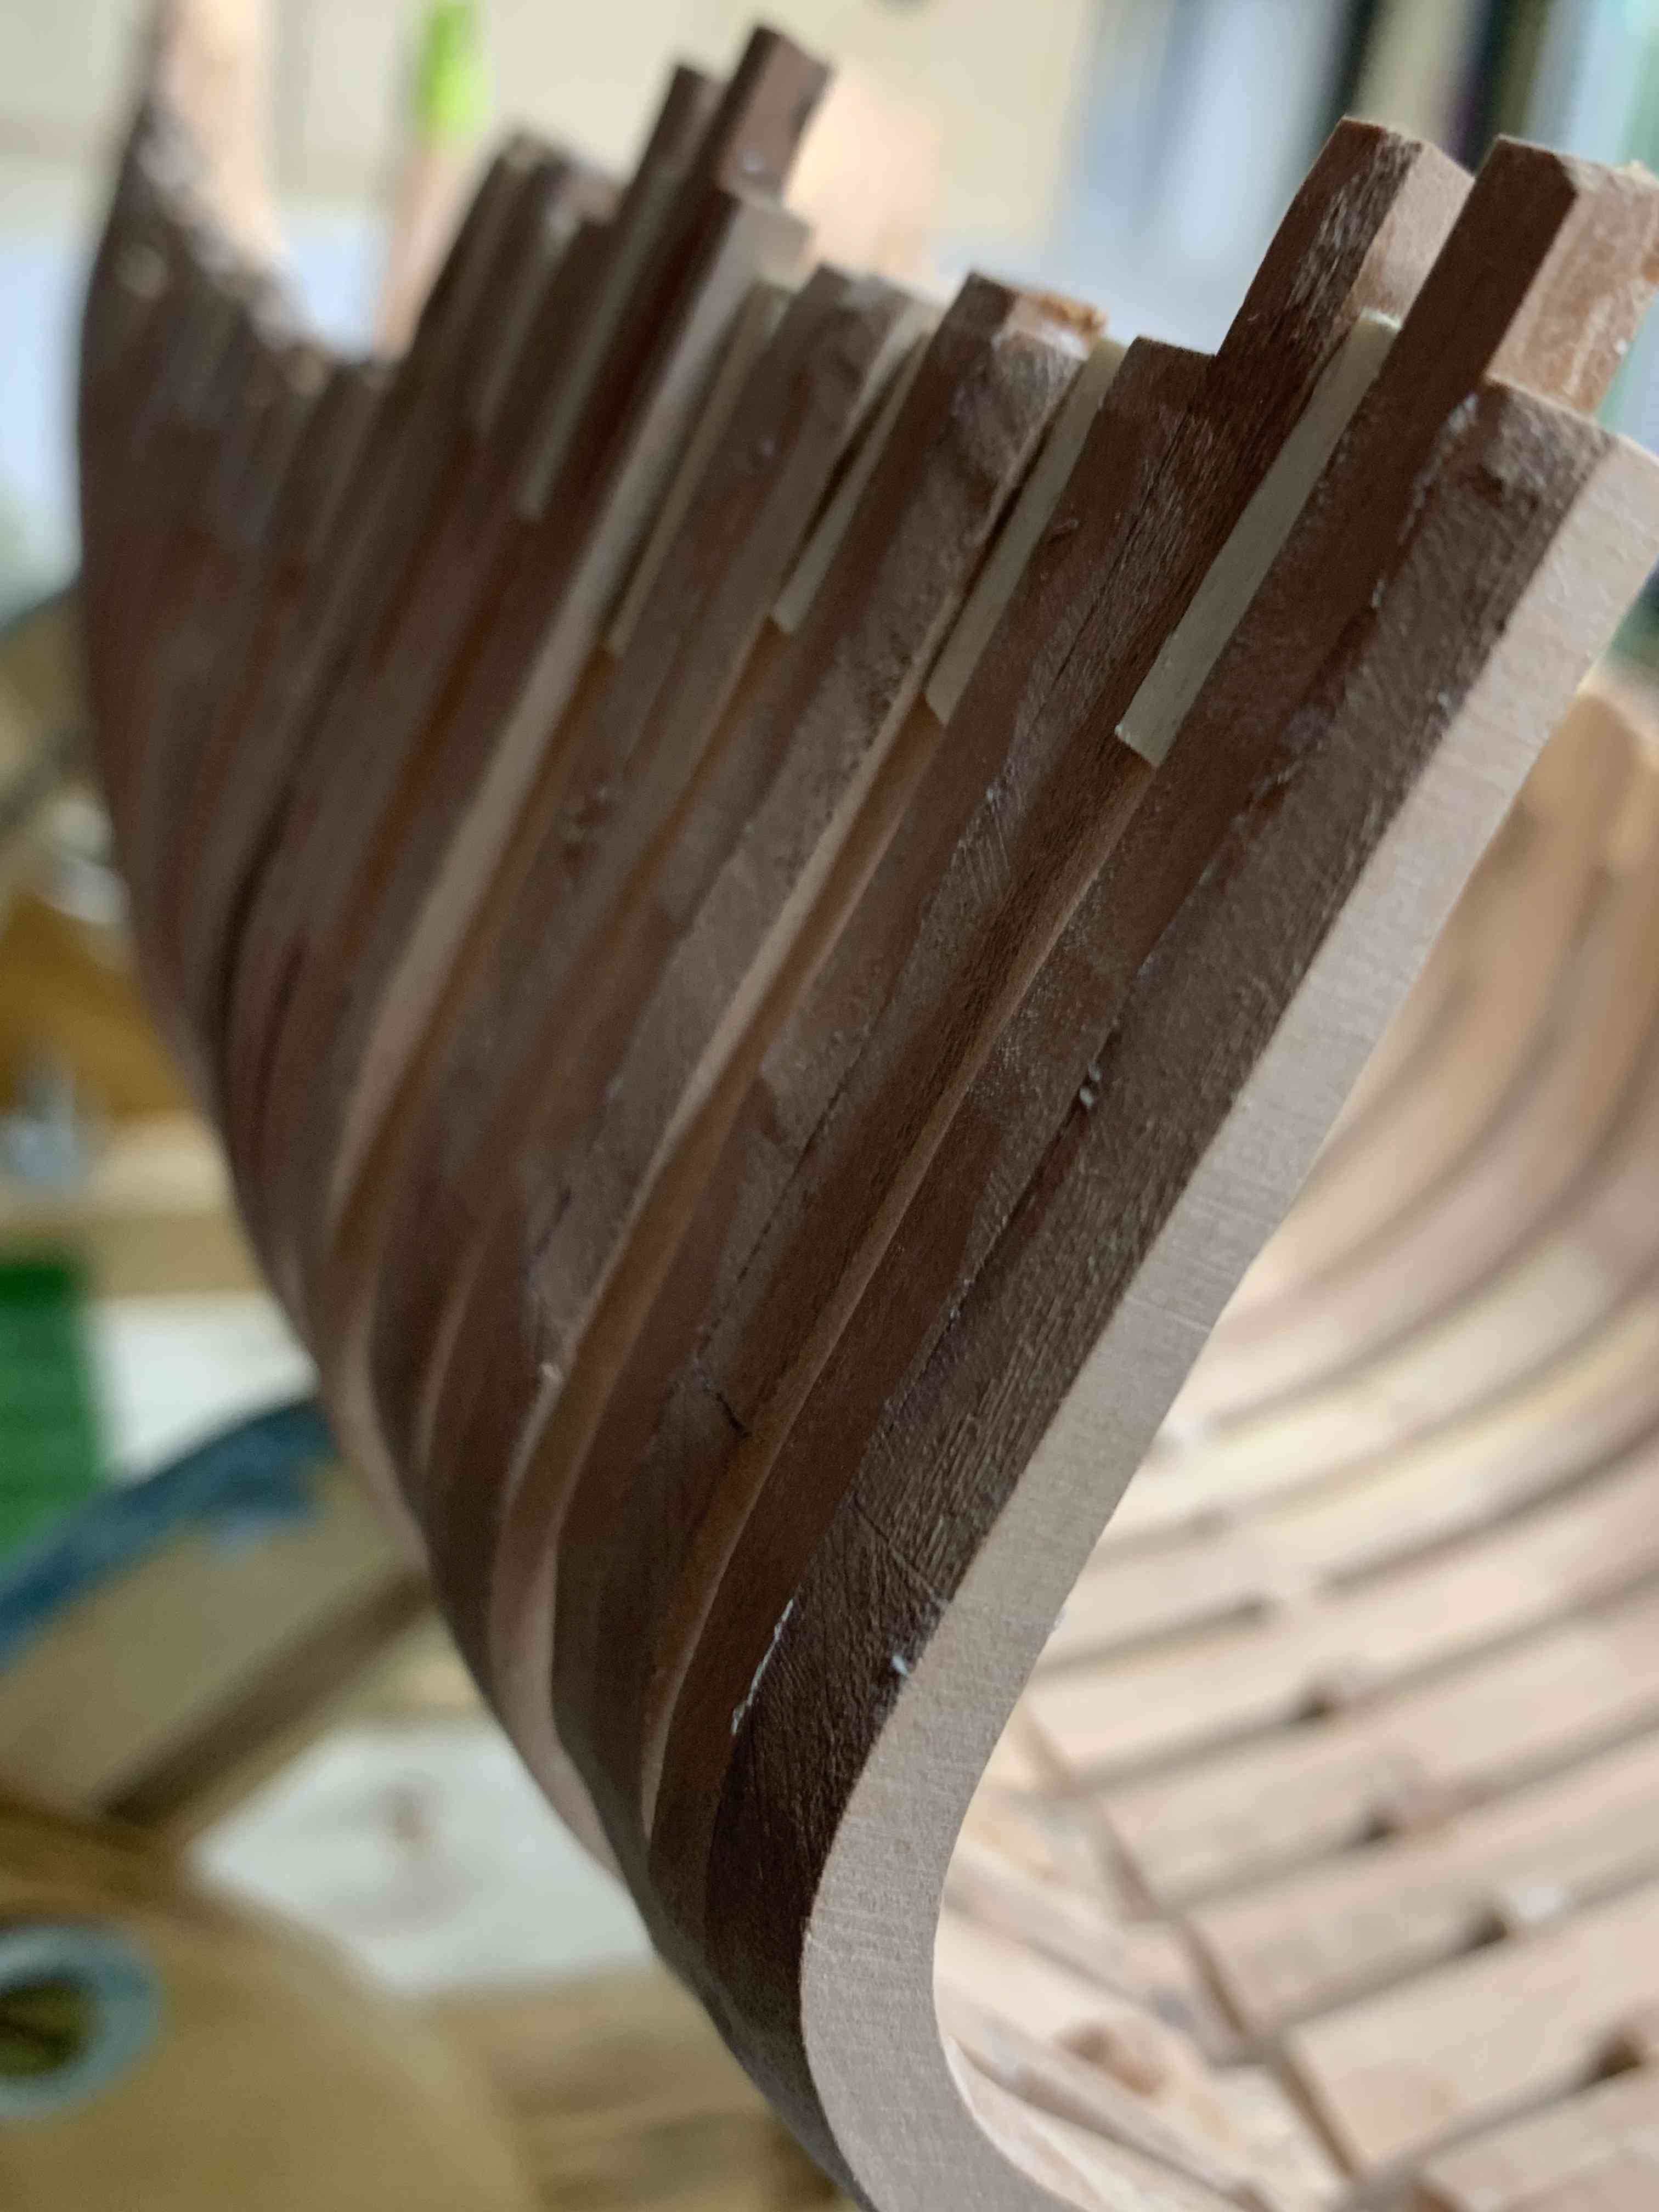
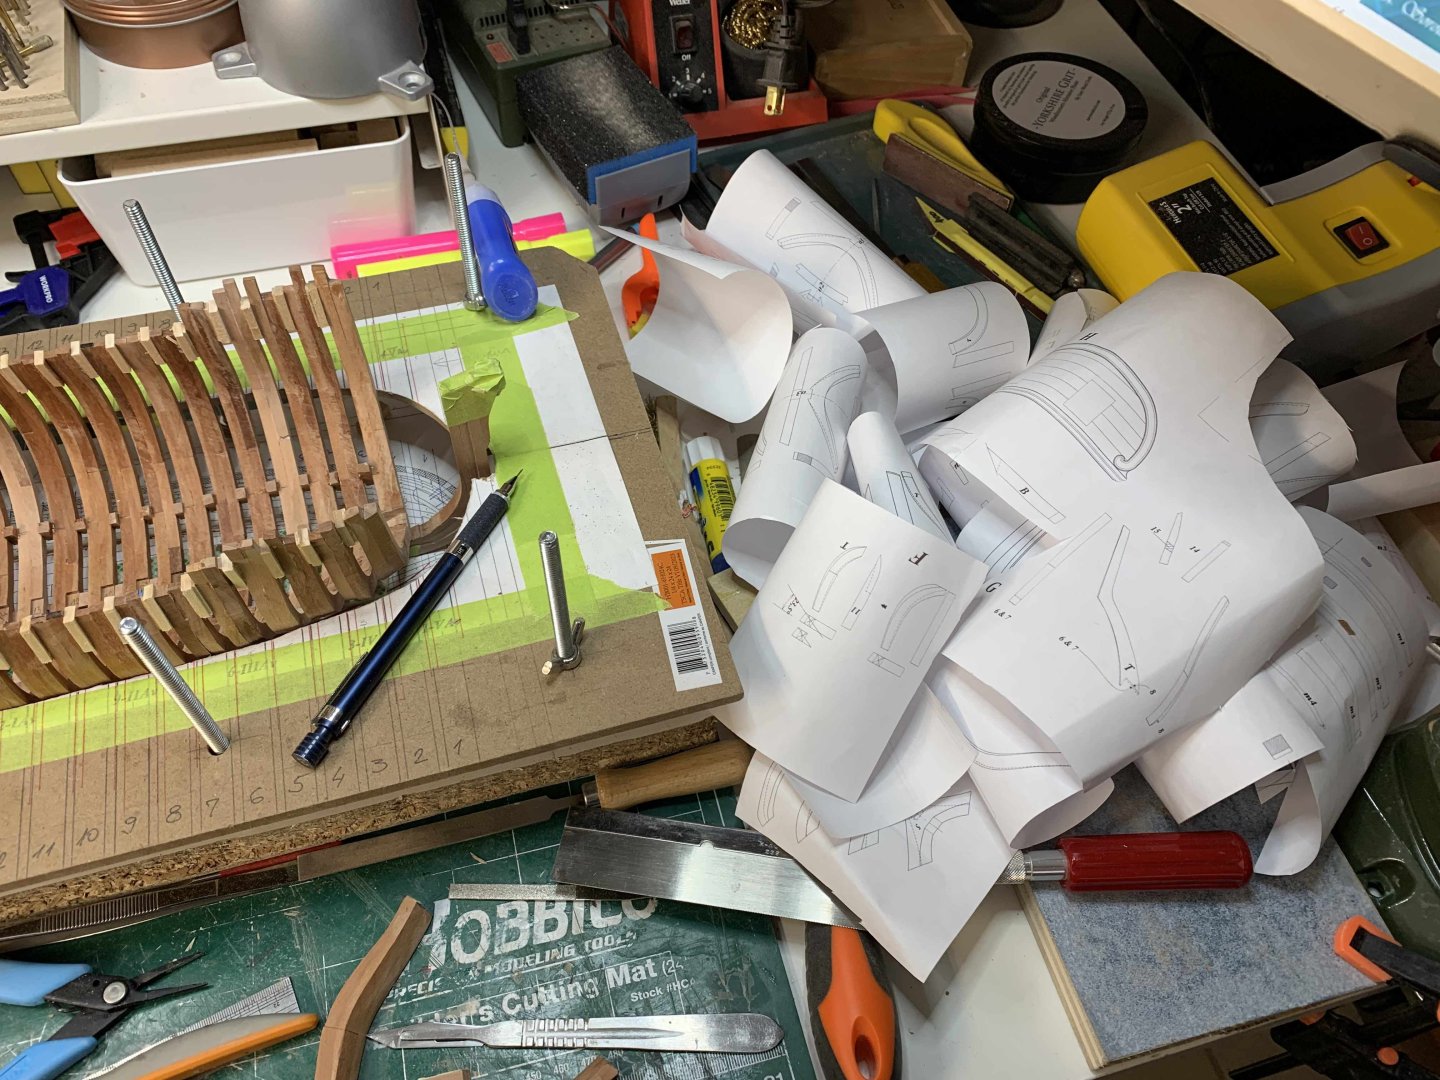
OK, here is a little update.... started to work on frames... No much to report... just cut, sand, fit, glue... Happy modelling..


-
Thank you all.... yes. I will always see those small "things" not quite right so better to start from scratch again. Still have some planks available but will need to get more for future parts... Have no plans for a "bad" hull at this moment, but will think of some usage, definitely will not warm me up in the winters :-).. I just like this little ship and want to have it as correct as possible..
-
I have been quiet for a while; the main reason is my contemplating process re LR. I noticed few mistakes that I was not able to correct and that will be causing me more troubles as build continues, so I made executive decision to reuse all existing parts (only good one) and restart my build from scratch, which will make me more experienced scratch builder since I have a second build I can place in my pictures. And can pretend that I am working on two builds at the same time . For this I have a new keel done and most of frames completed as well. And previous experience... Happy modelling..


-
Excellent, thank you Mark.
-
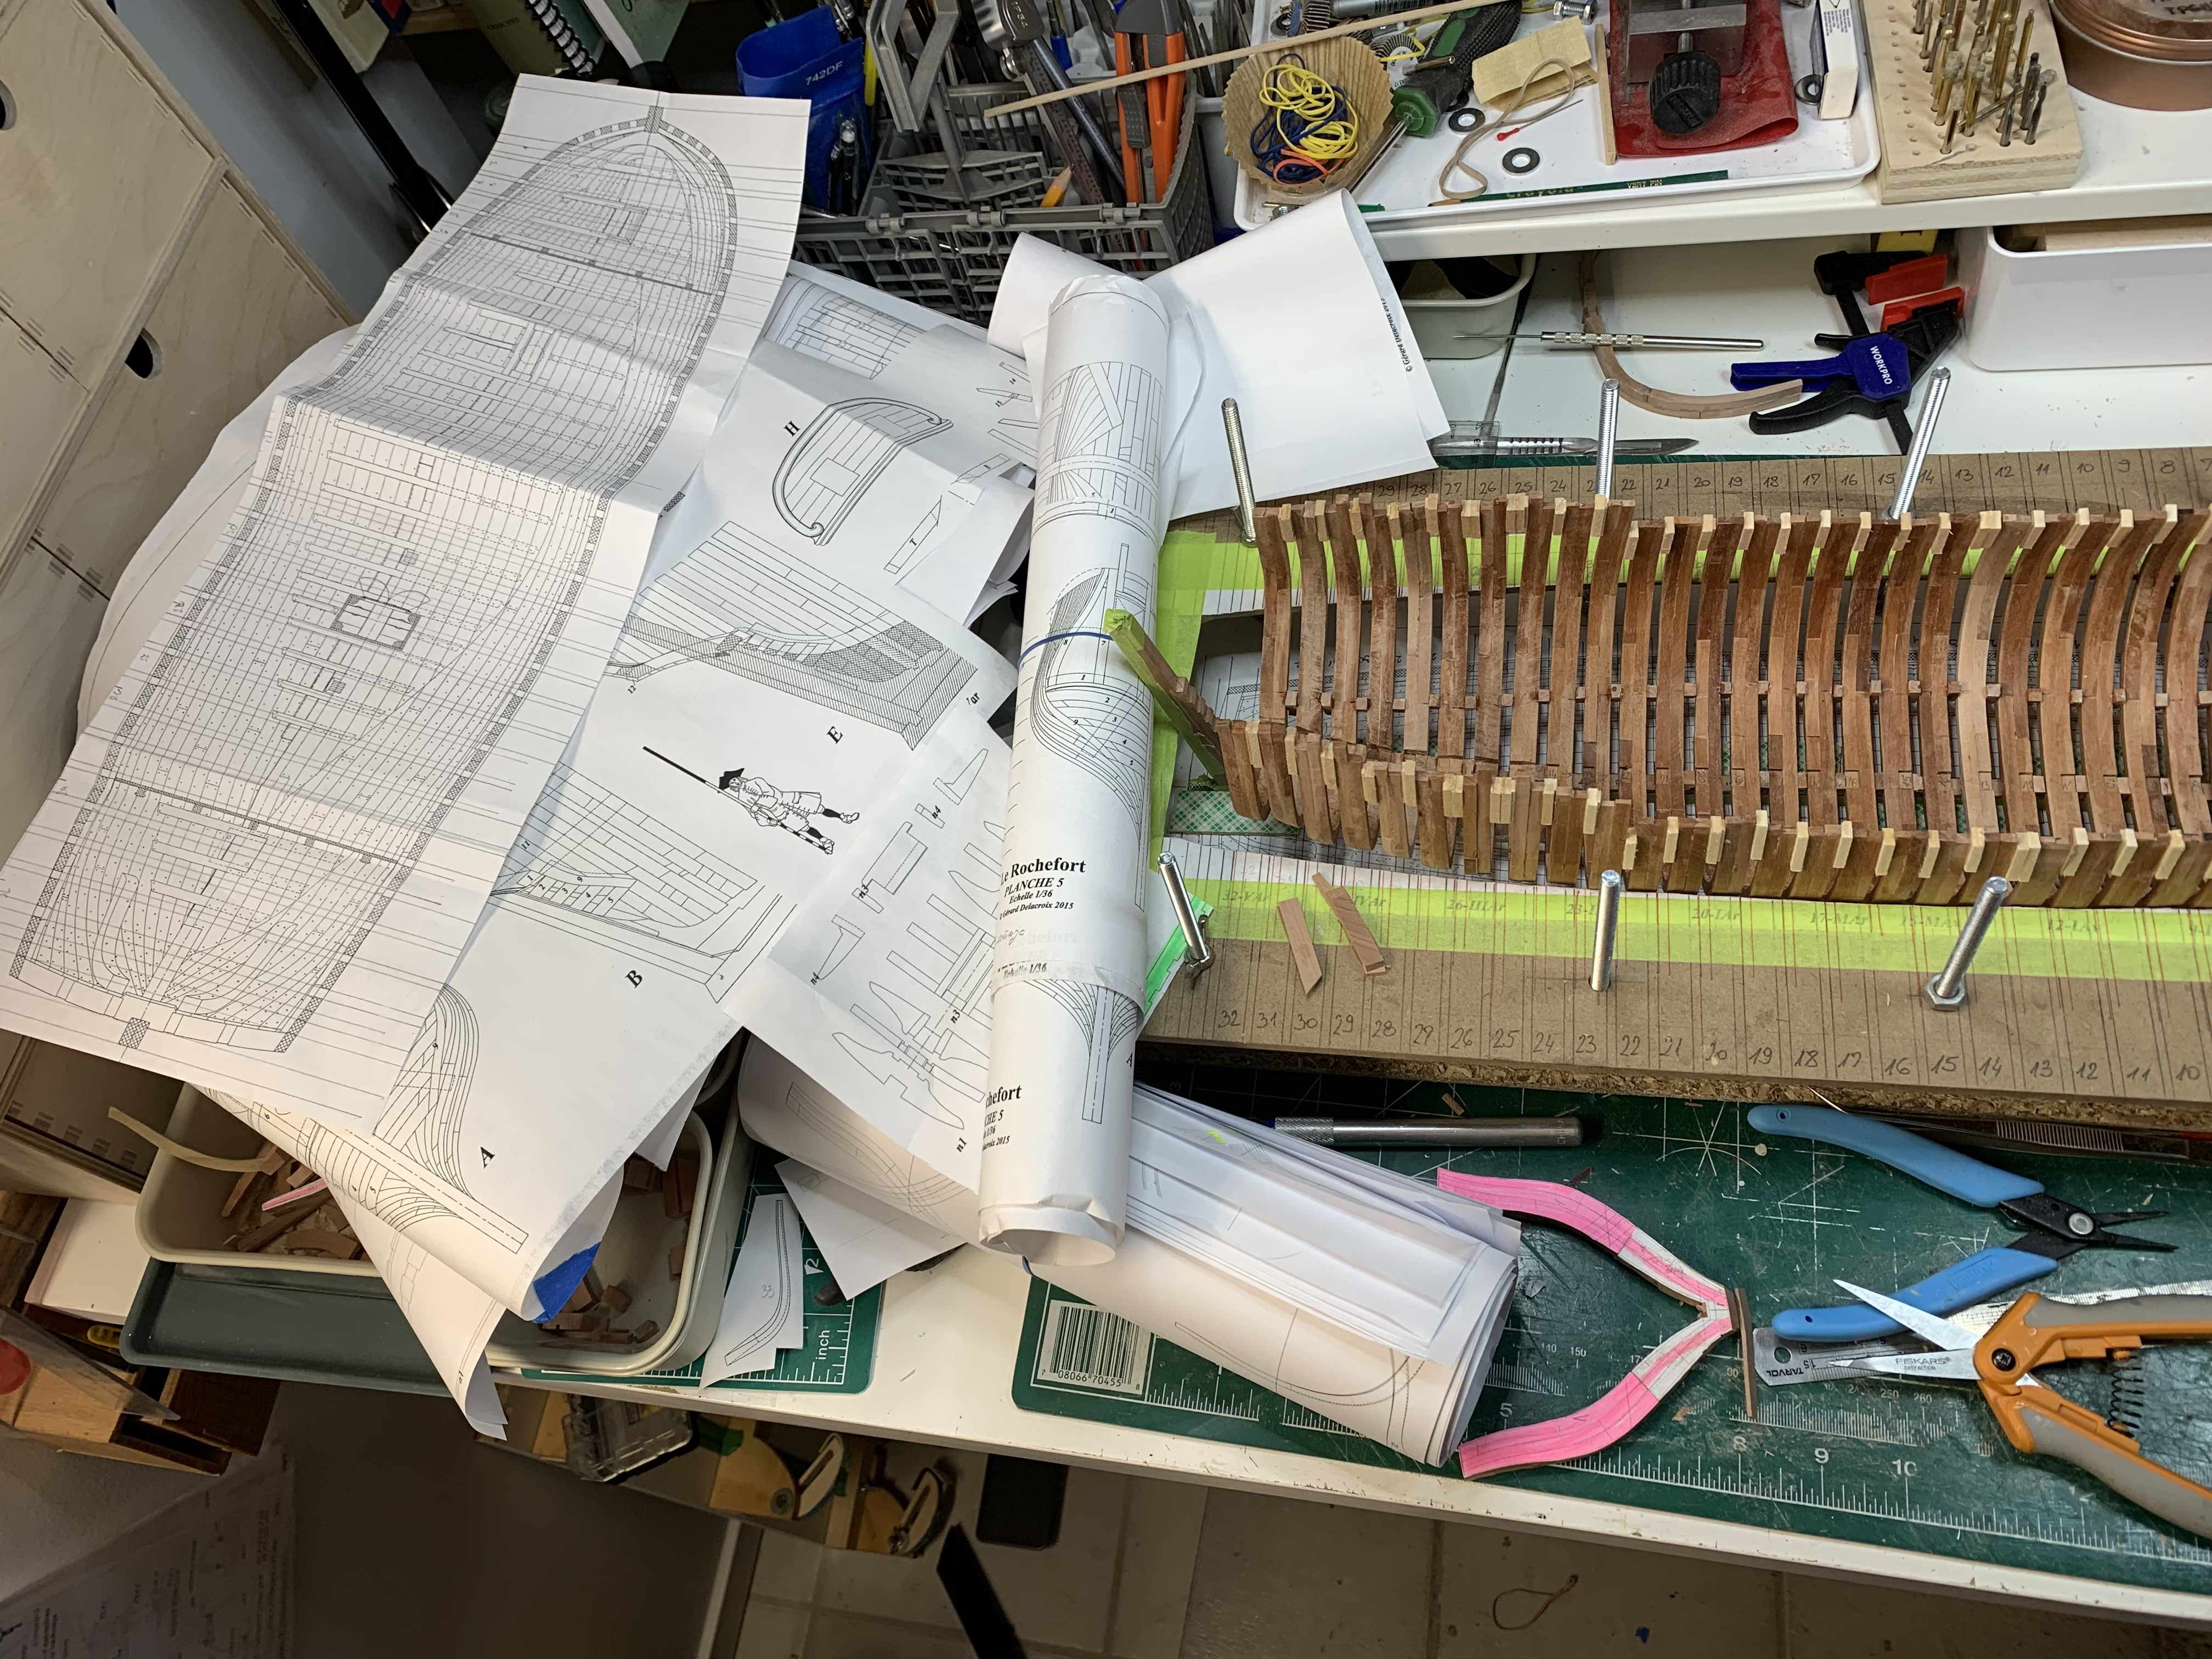
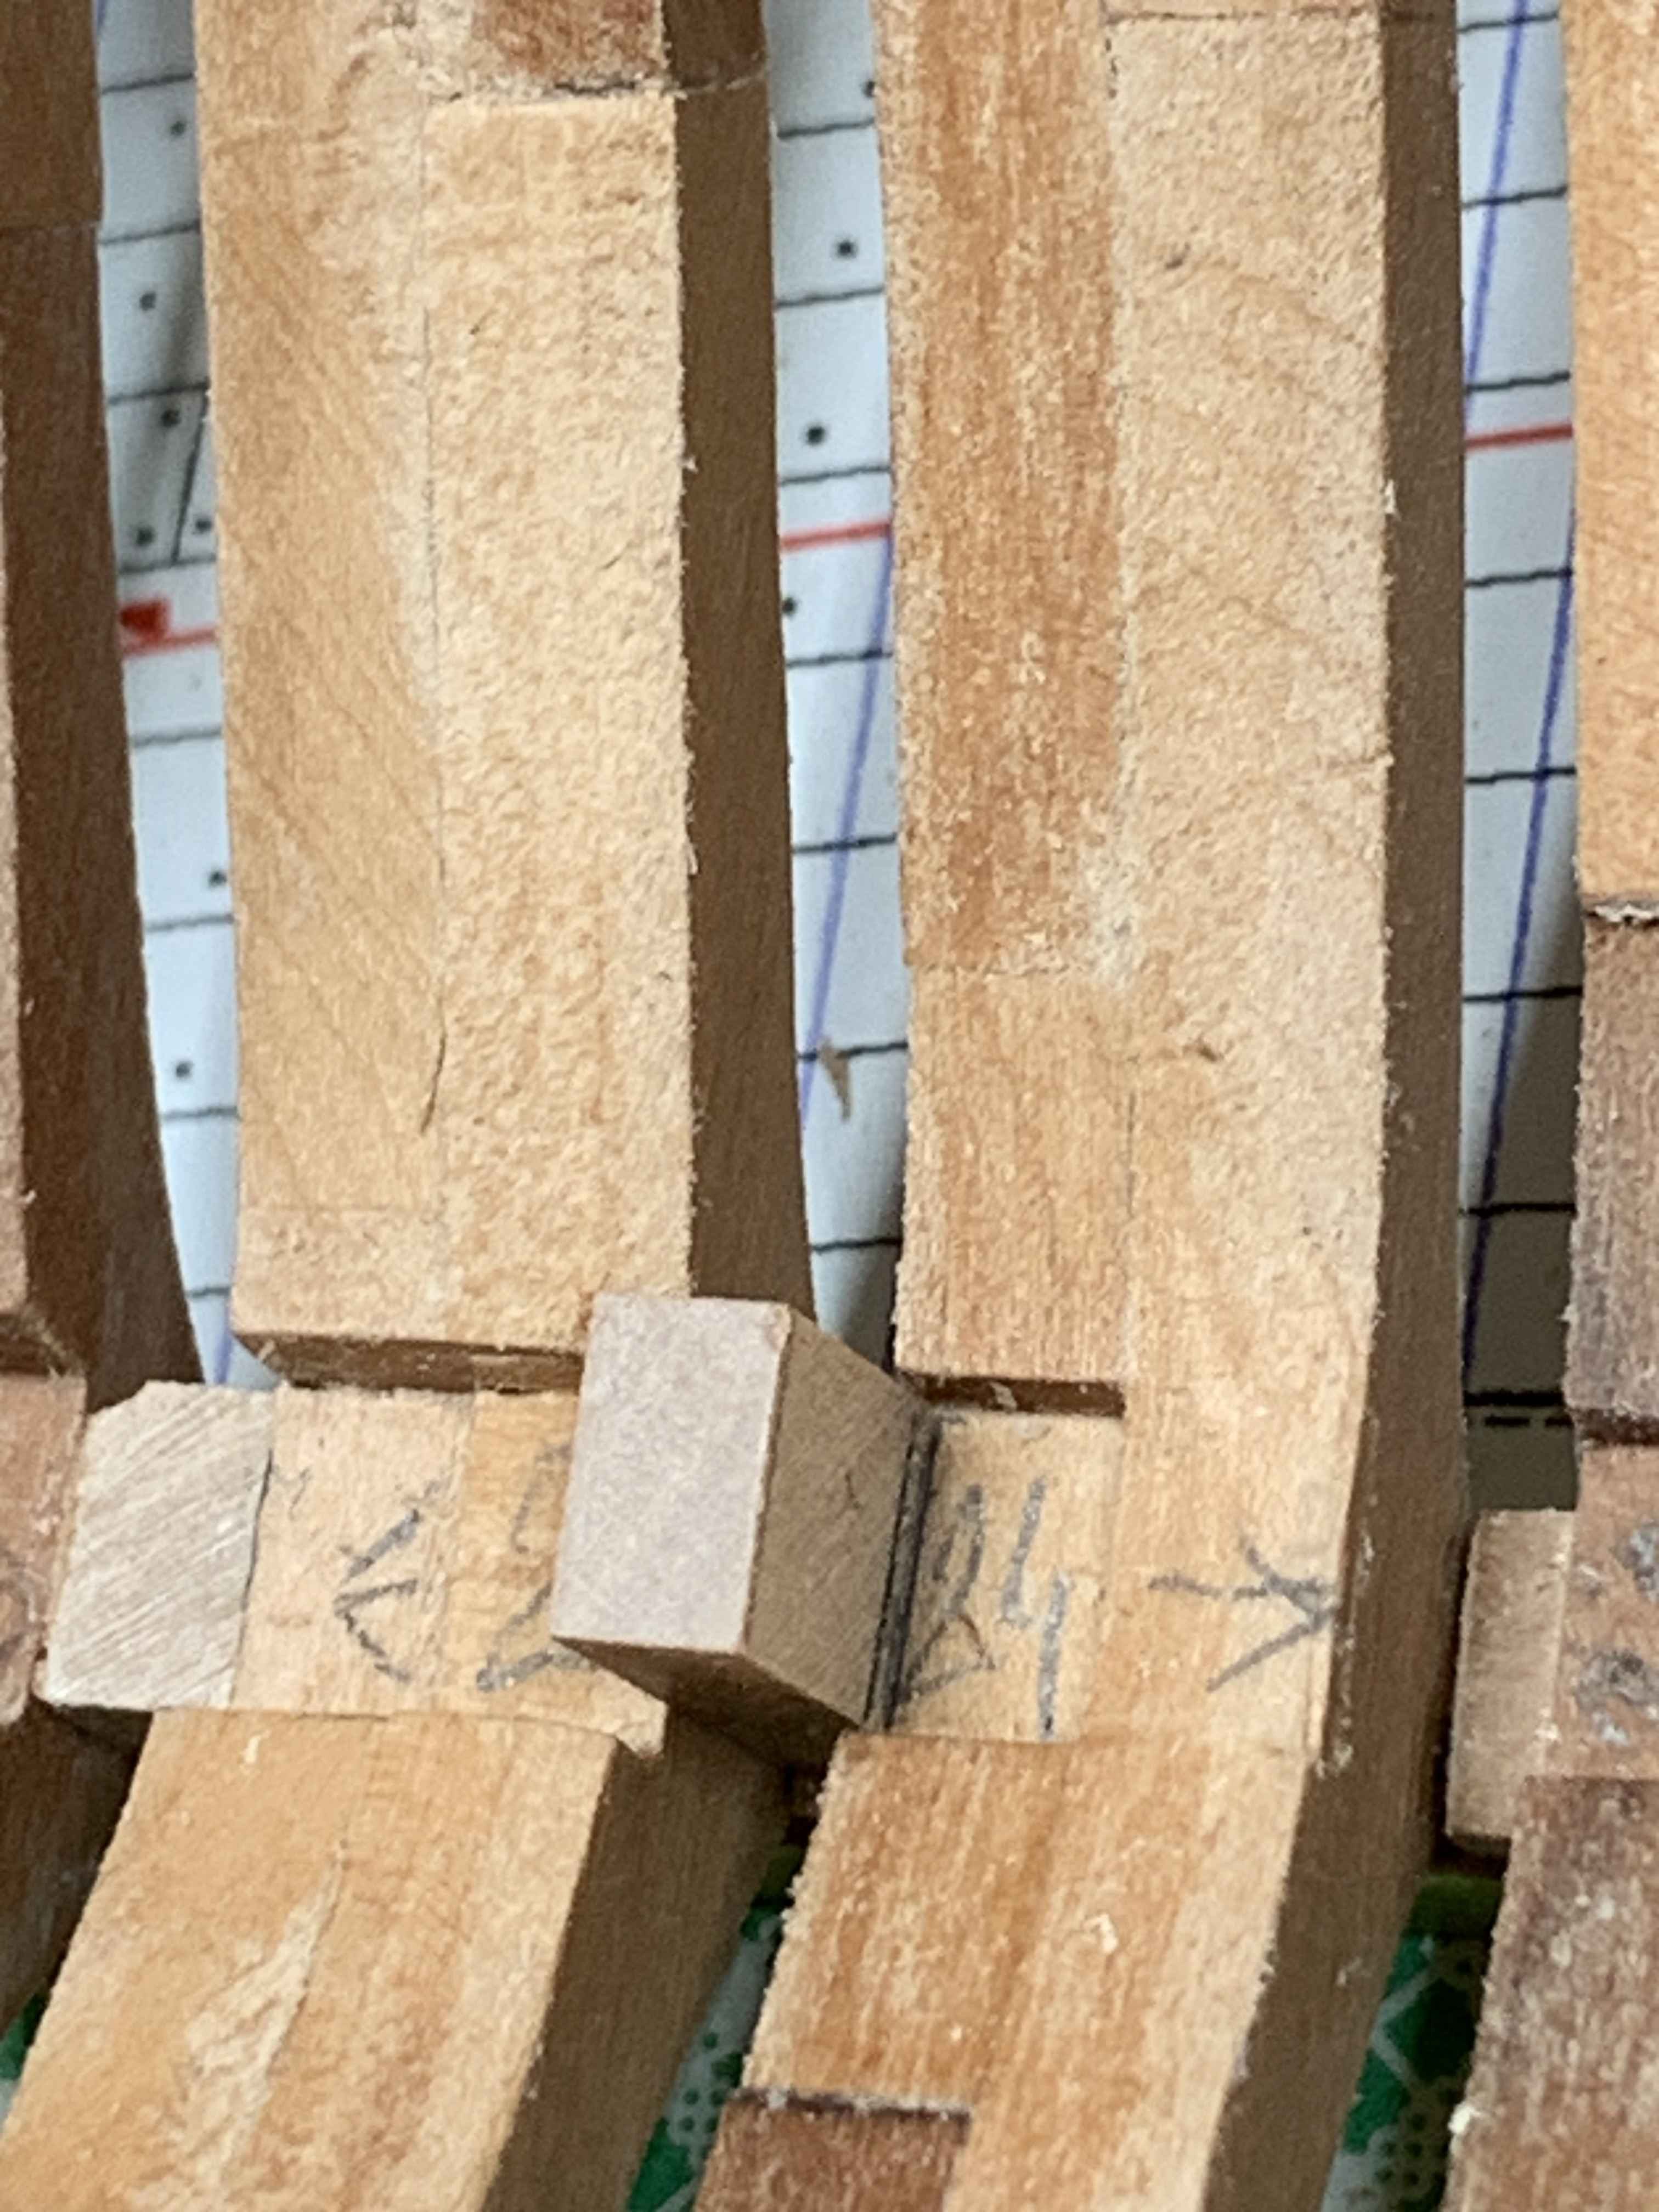
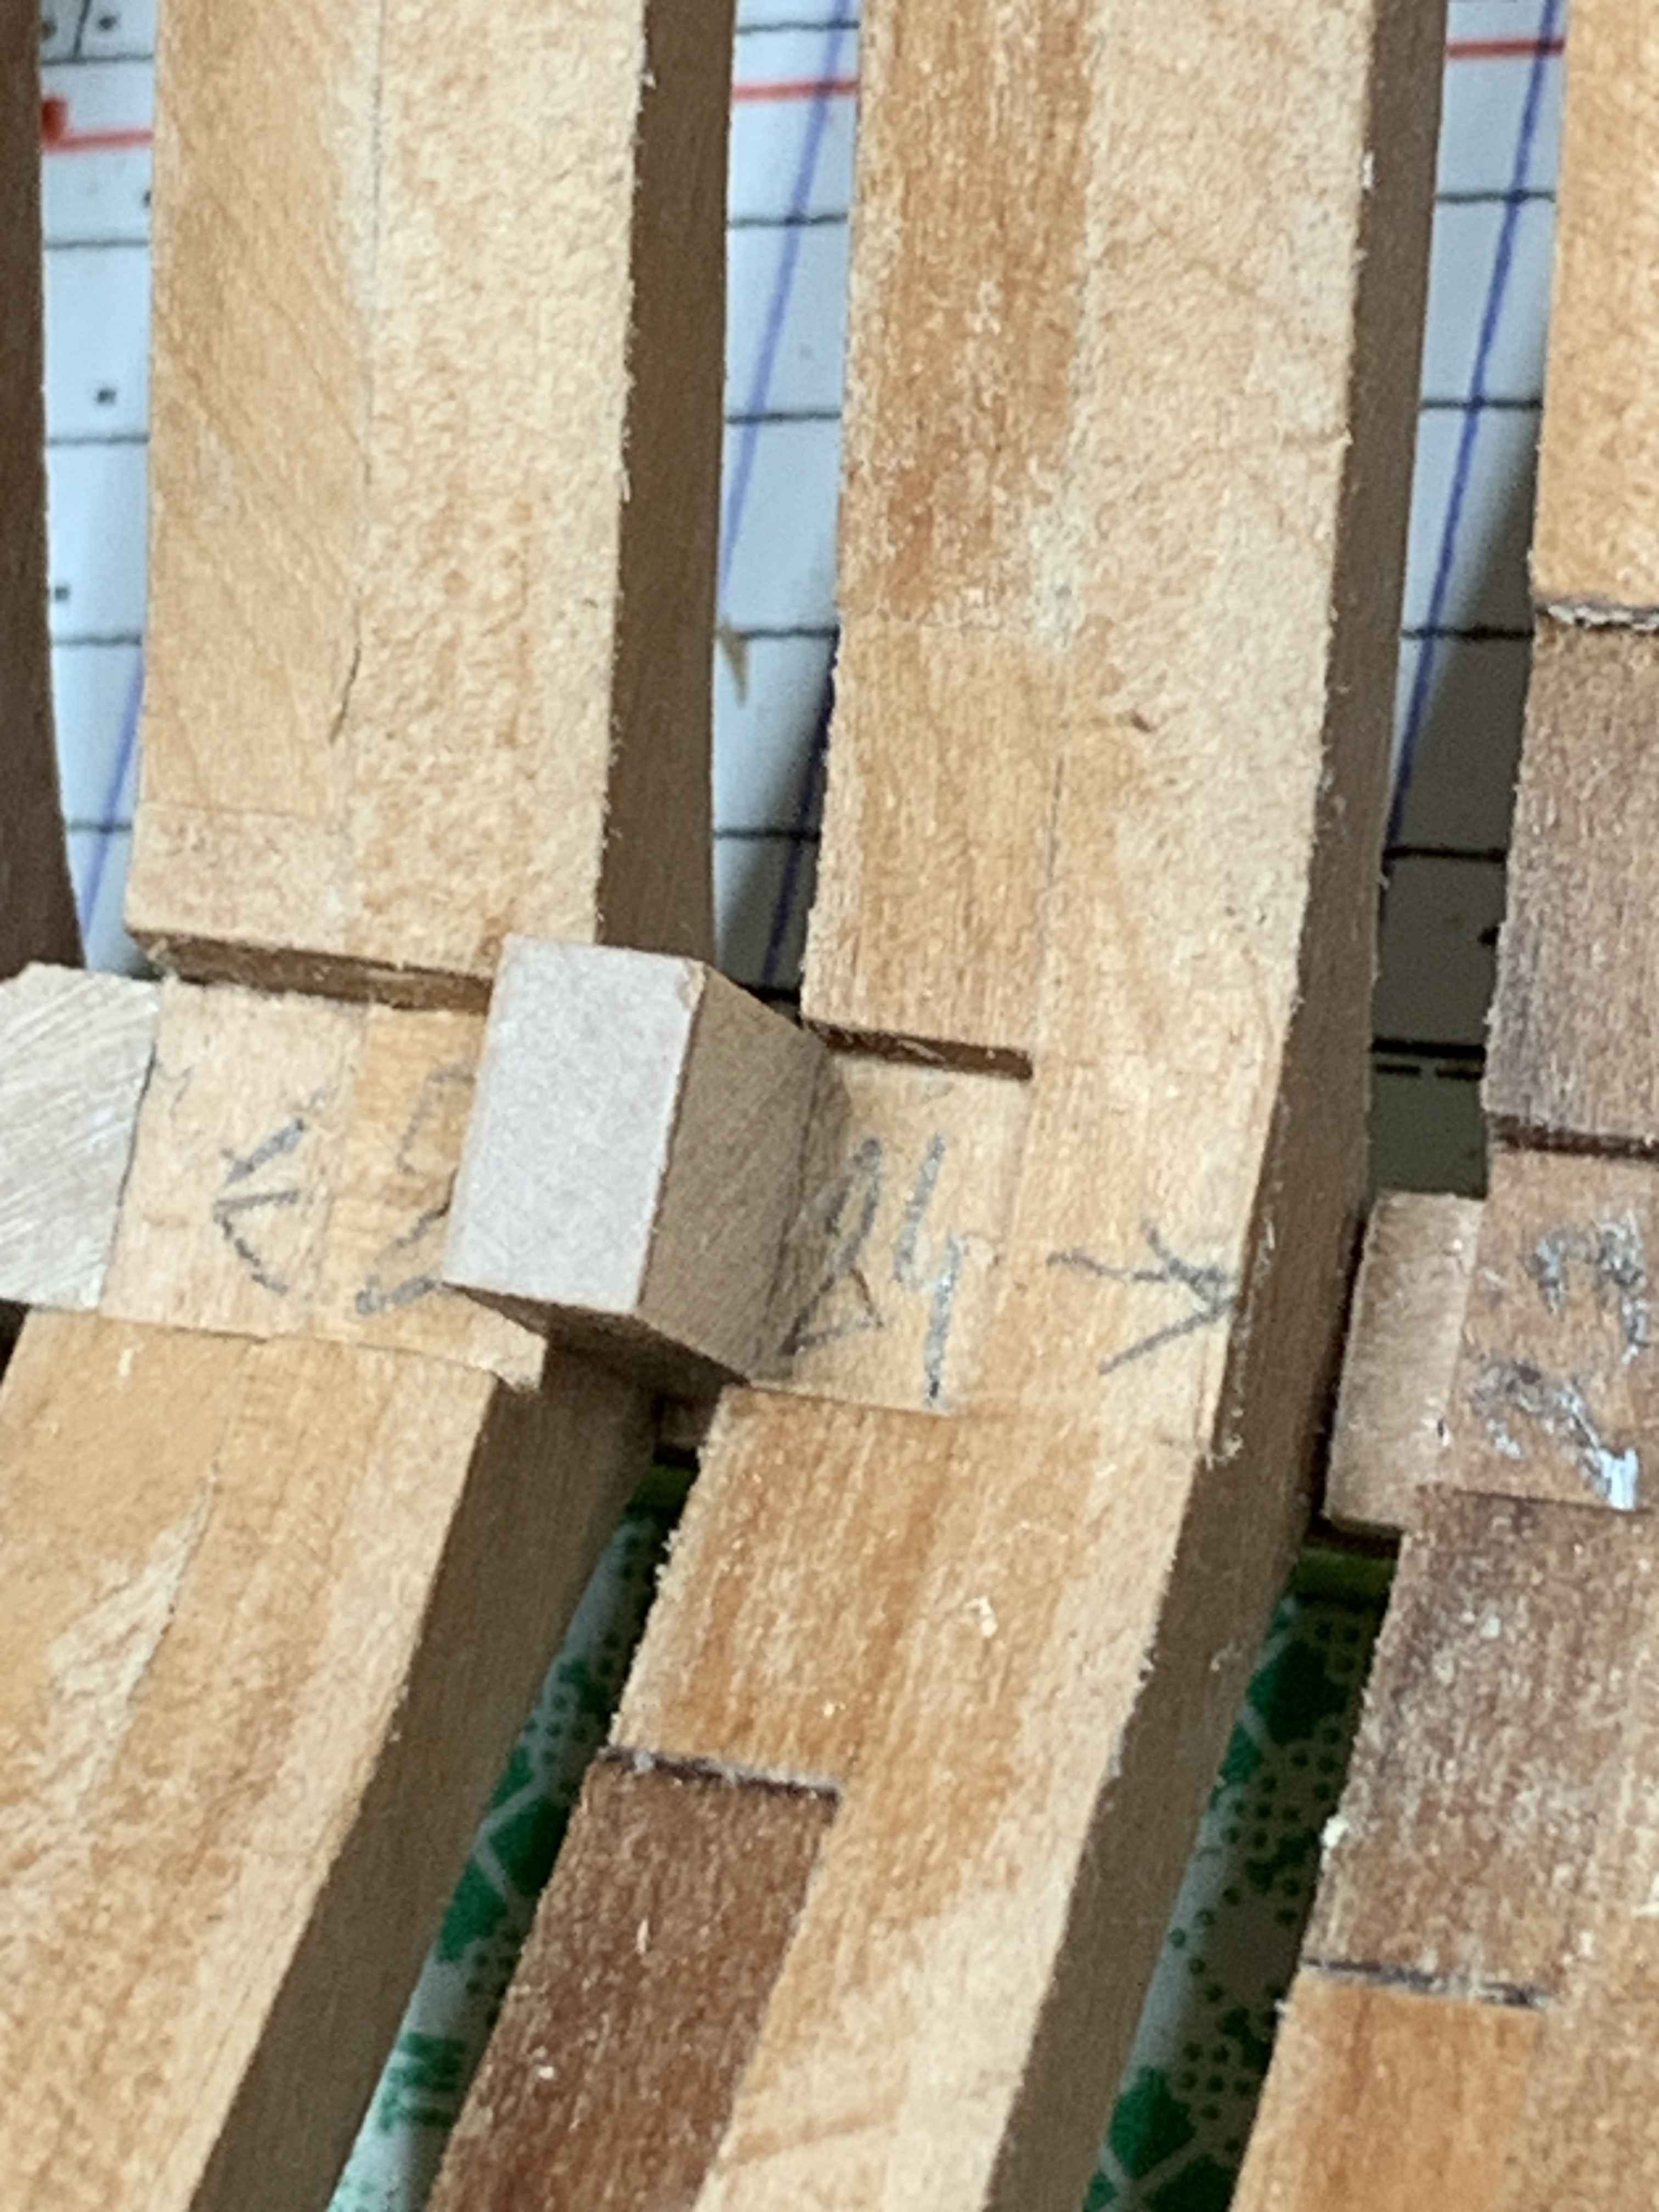
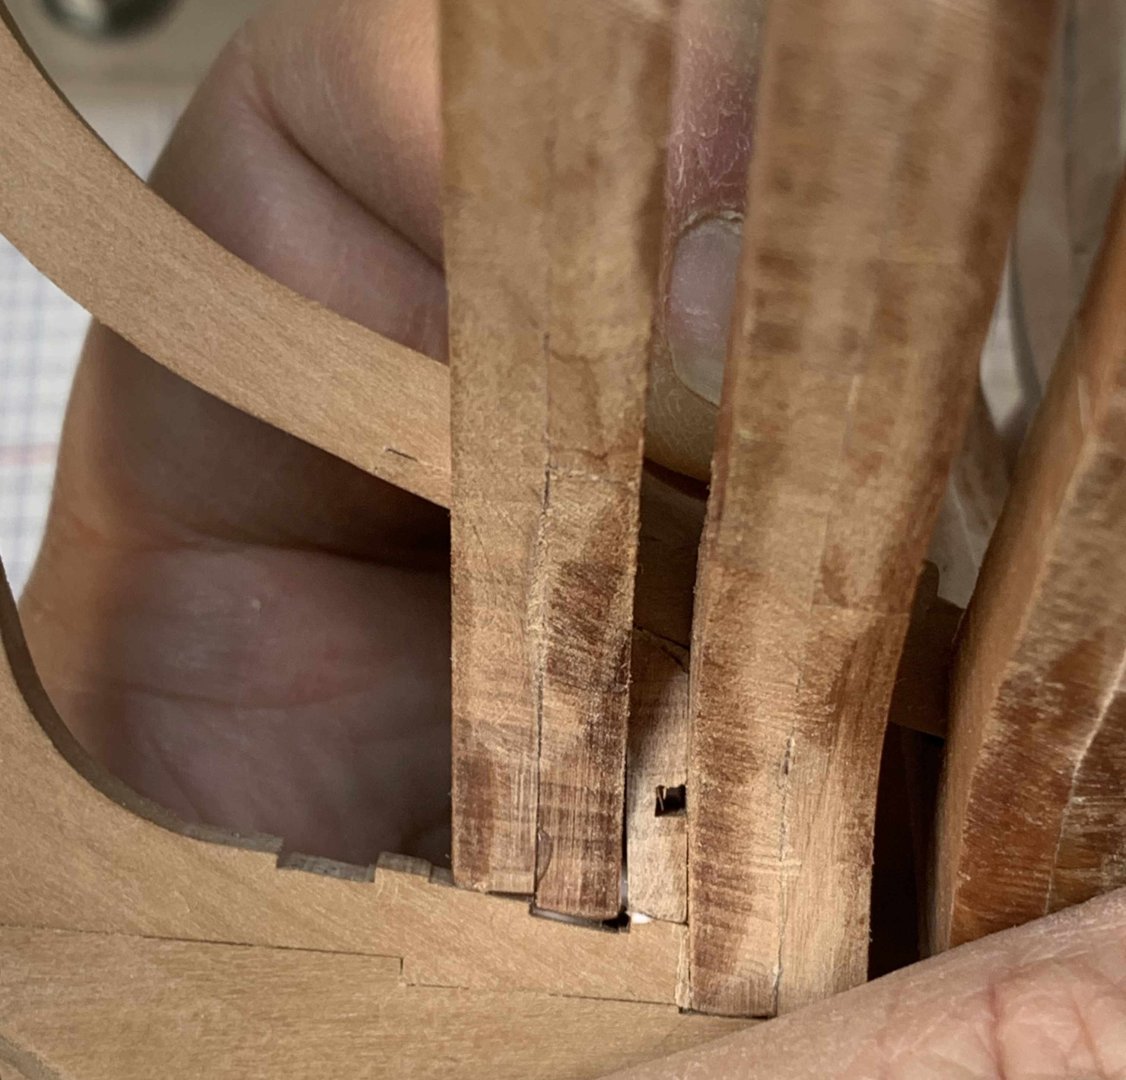
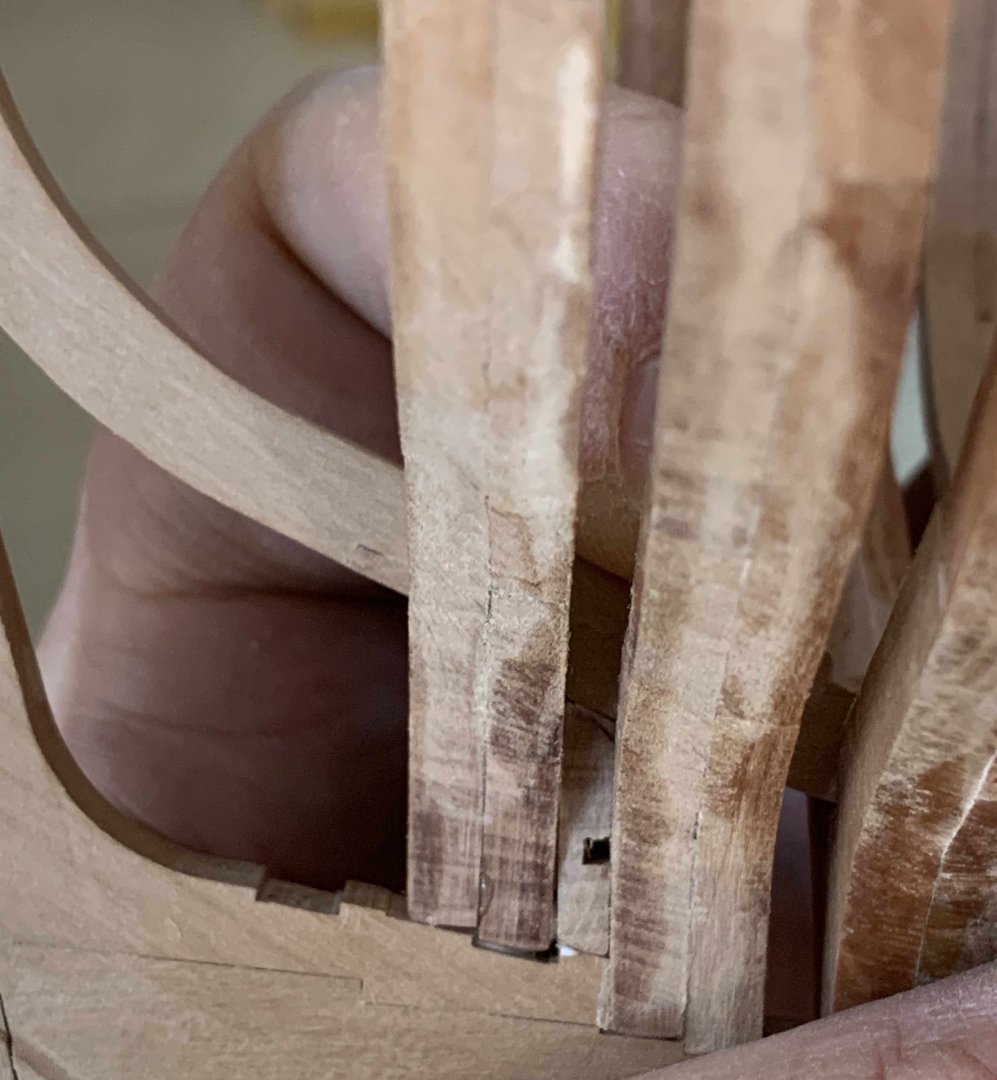
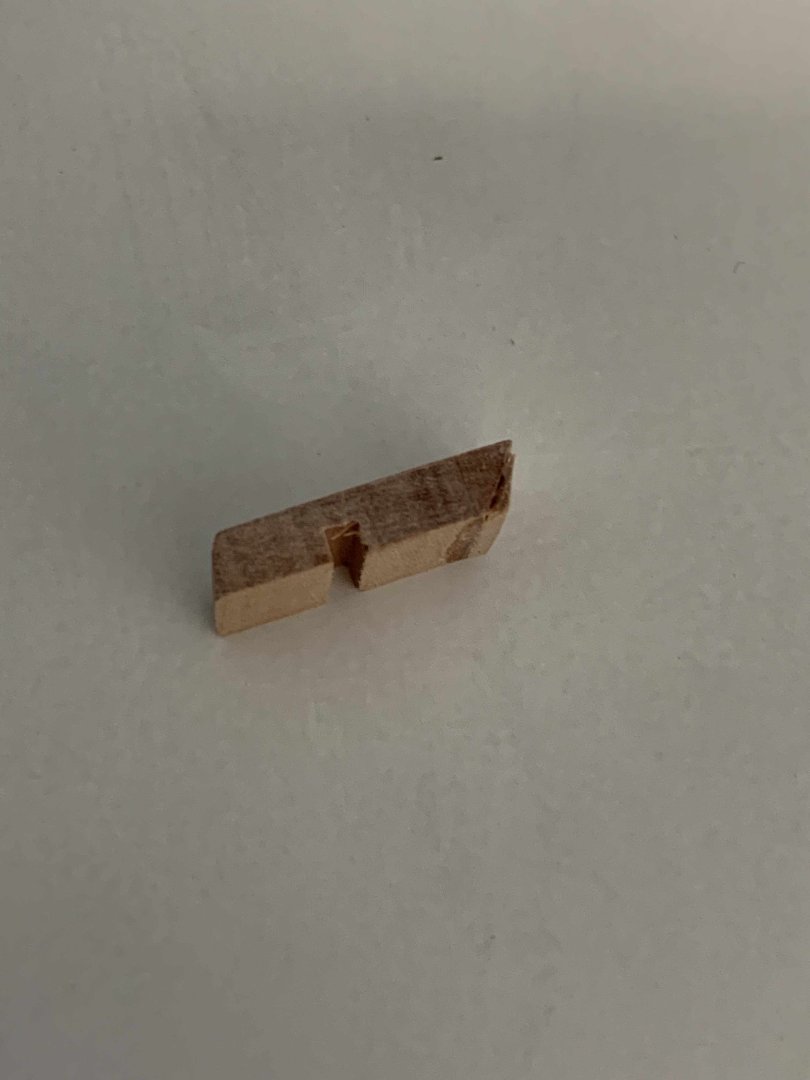
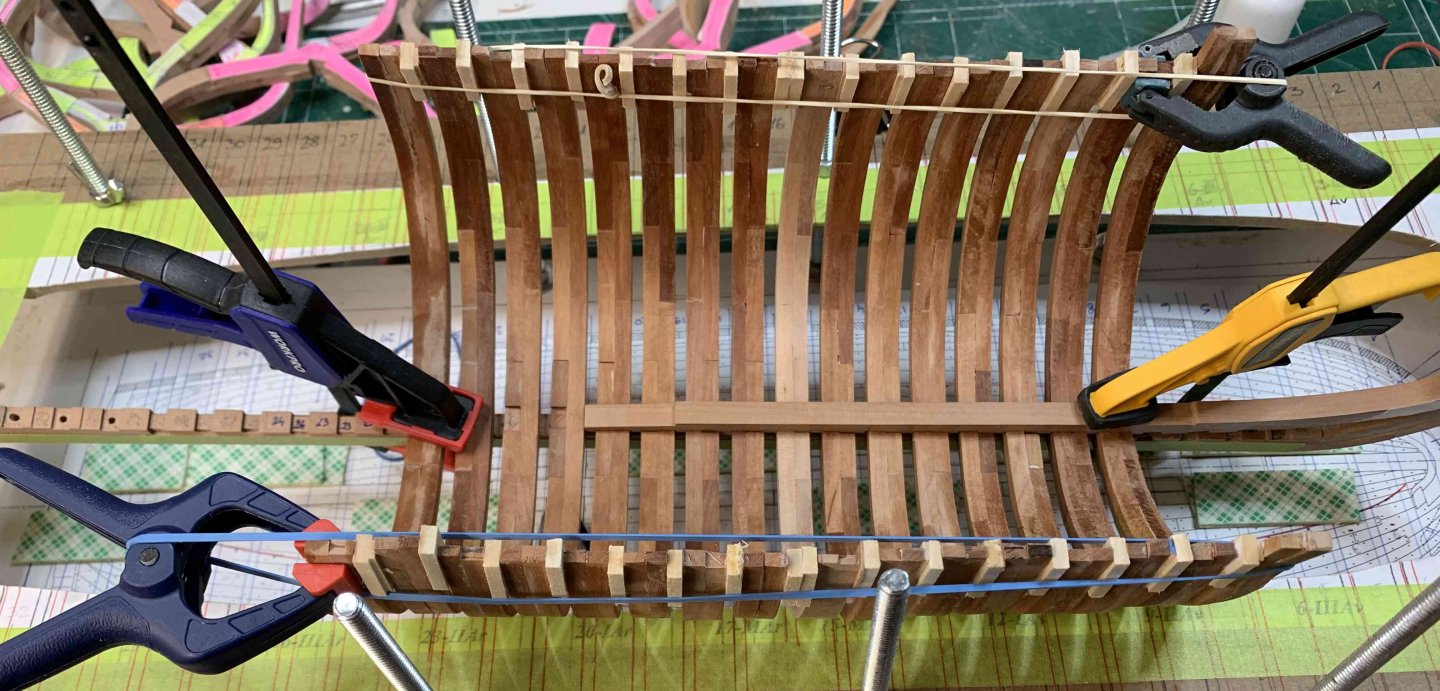
Few sanding days for my LR.... lots of dust so I had to find a better place (more ventilation) than my current workbench to safely remove wood... Slow progress, discovered few mistakes I will need to take care of but overall decent progress so far... but it is soooo slow.... and need to sty focused.. Testing planking on hull' external.. Question for you guys... on plan #5, 6 hawse timbers were presented, but only 5 were numbered.. Practicum mentioned work on #1 then down the text mentioned that bigger timber (#1, not marked as #1 on plan) was used.. On picture bellow it appears that smaller #1 was in use: So, which one we need to use: bigger, not numbered #1 or smaller, numbered #1? Also, when it comes to planking, are you guys doing double planking for external hull?
-
A little bit of a progress, two more frames to go... Happy modelling..