moreplovac
-
Posts
794 -
Joined
-
Last visited
Content Type
Profiles
Forums
Gallery
Events
Everything posted by moreplovac
-
 If you are already in 2025, wishing you a best of luck, good health and prosperous New Year... and of course, lots of newly built models.. Happy modelling in 2025 to all...
 -
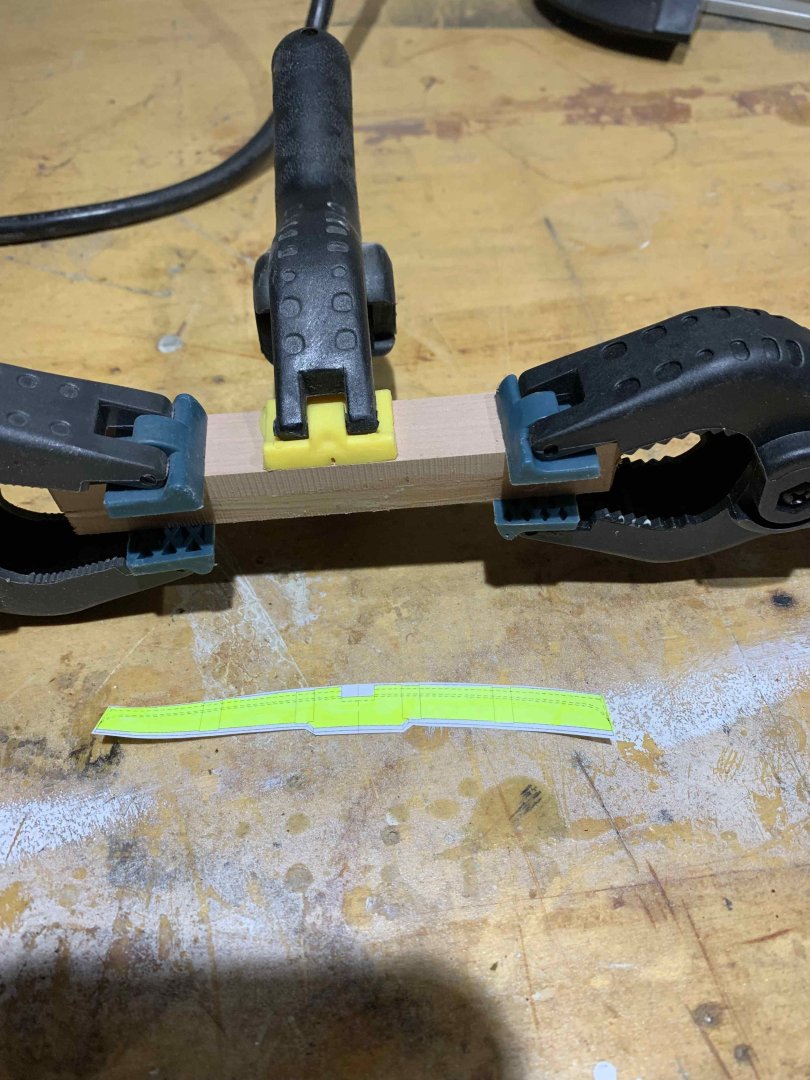
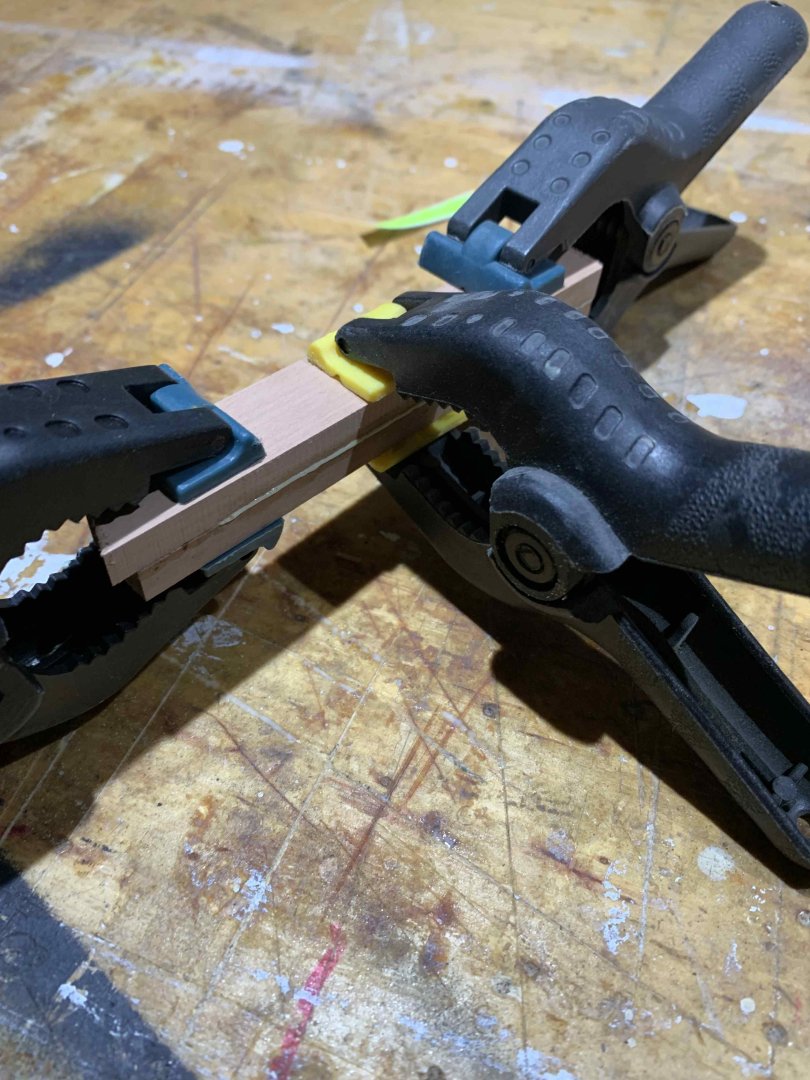
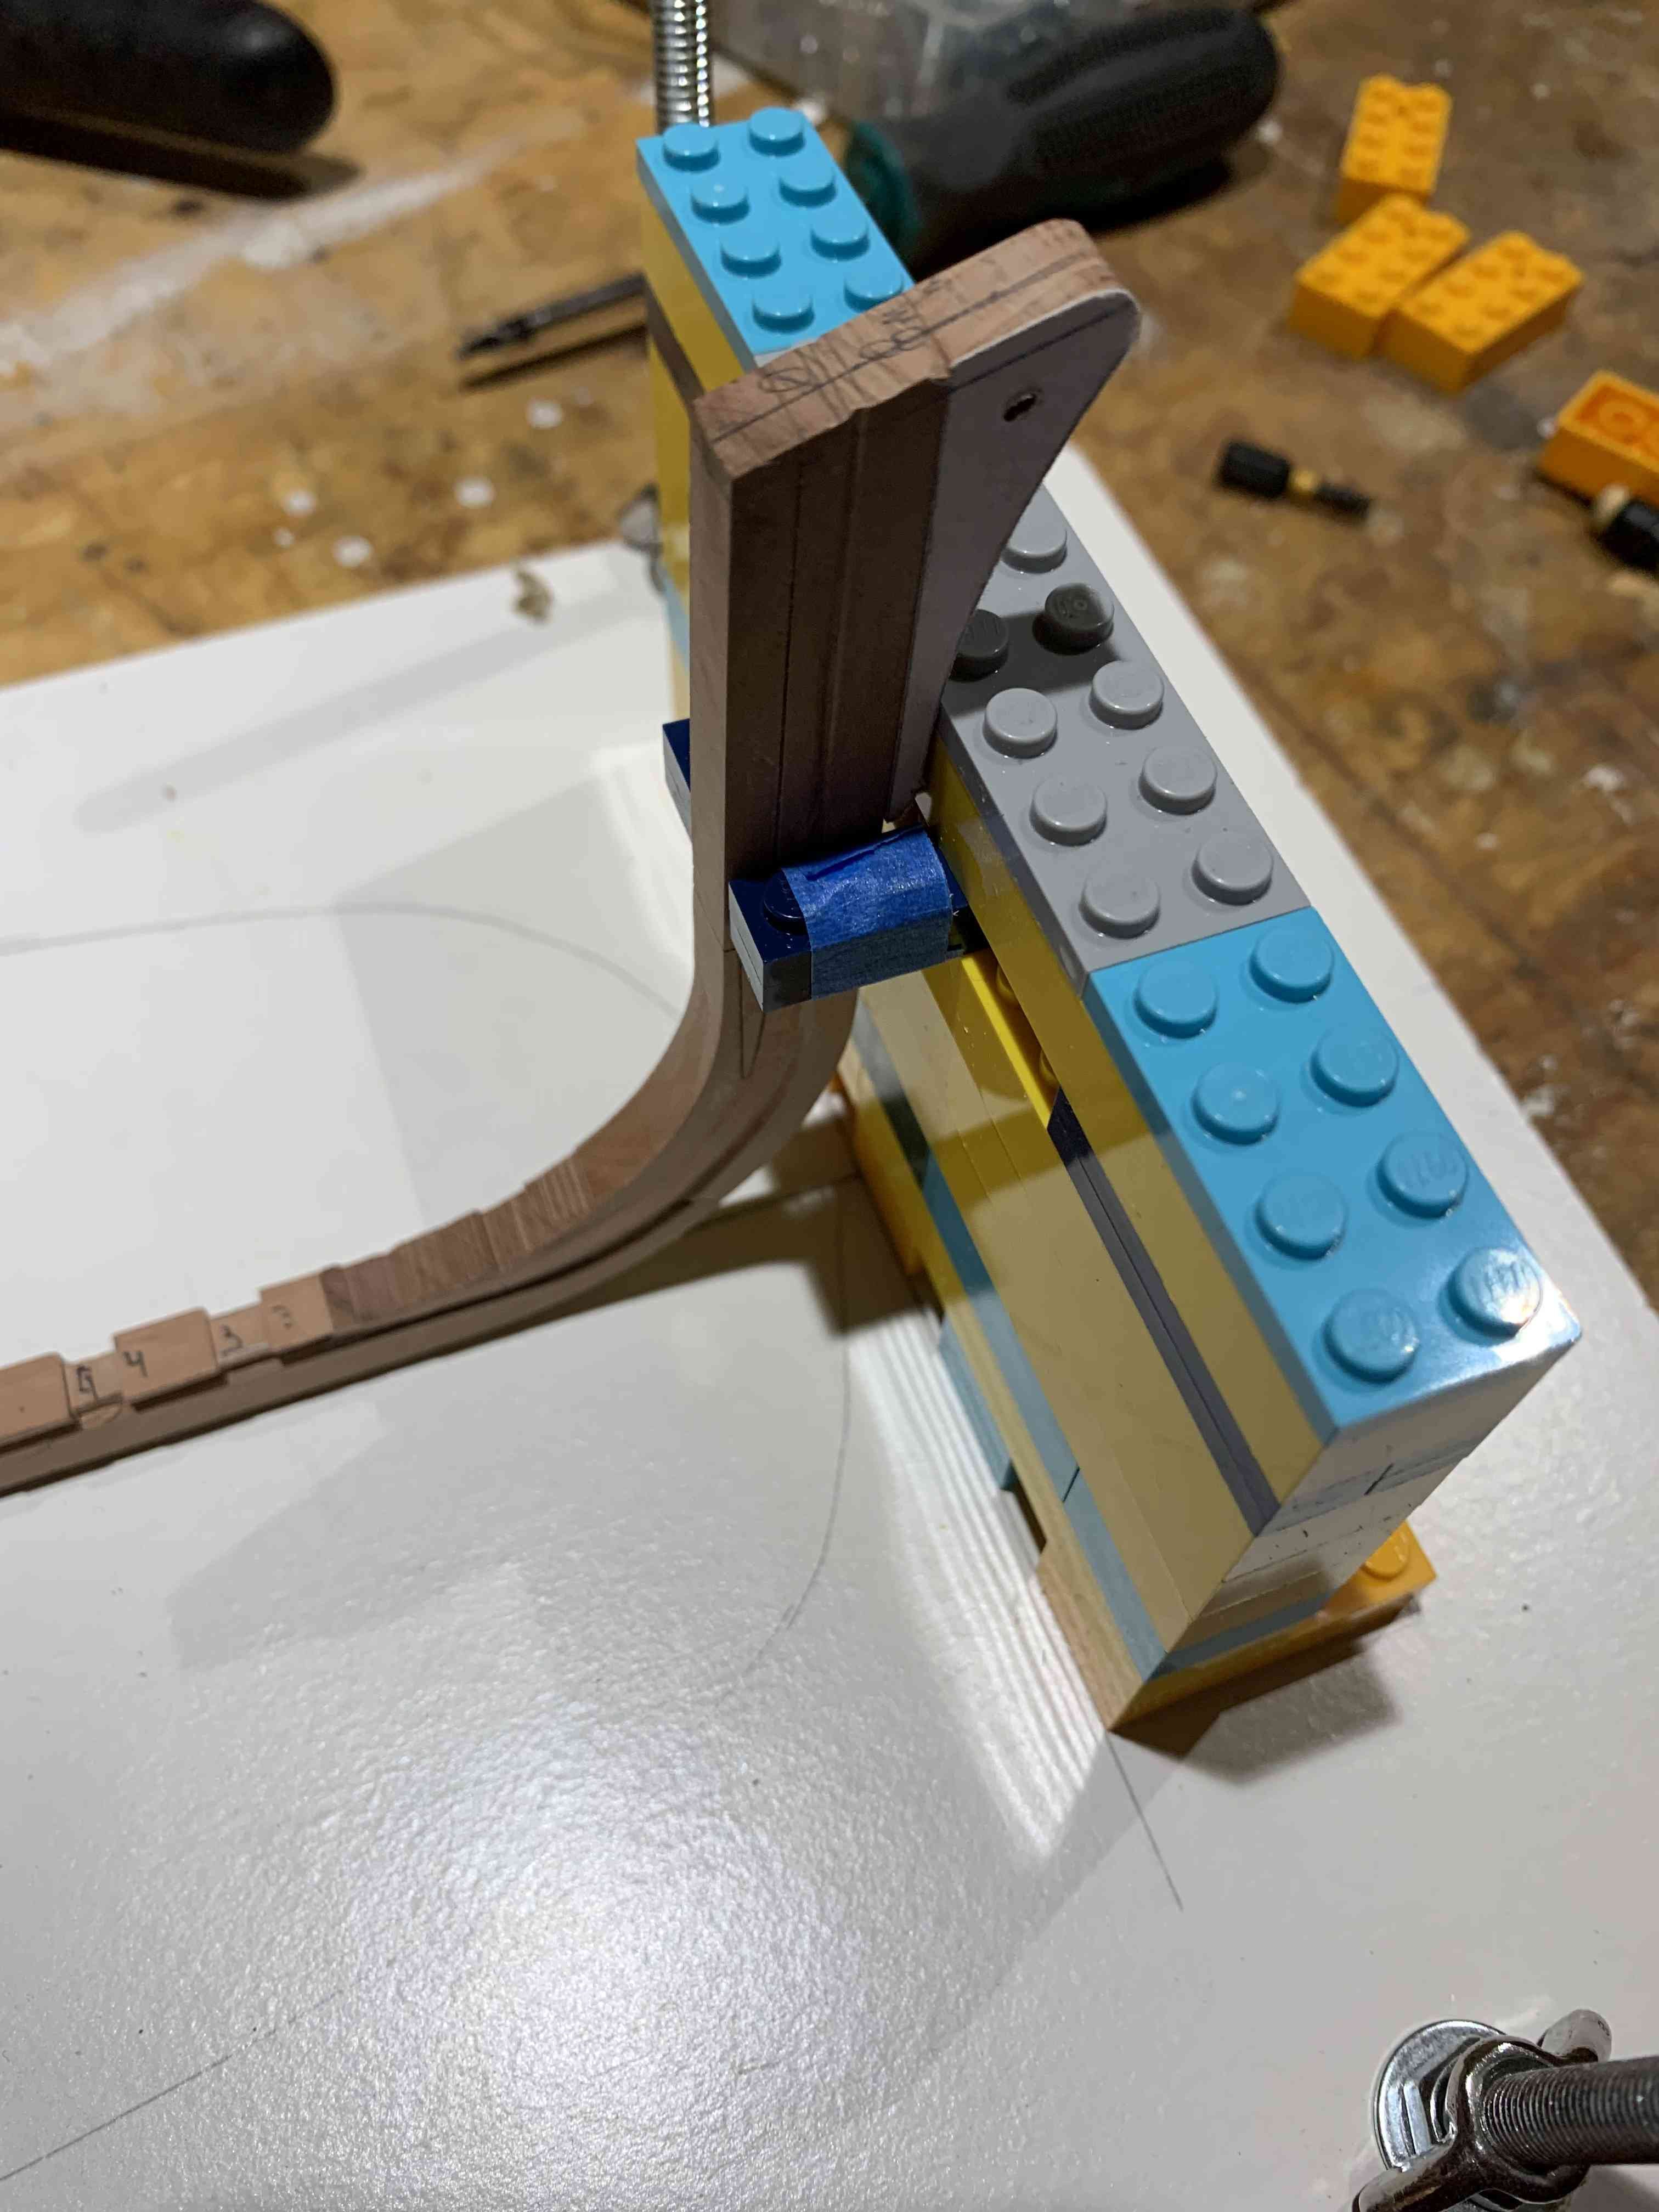
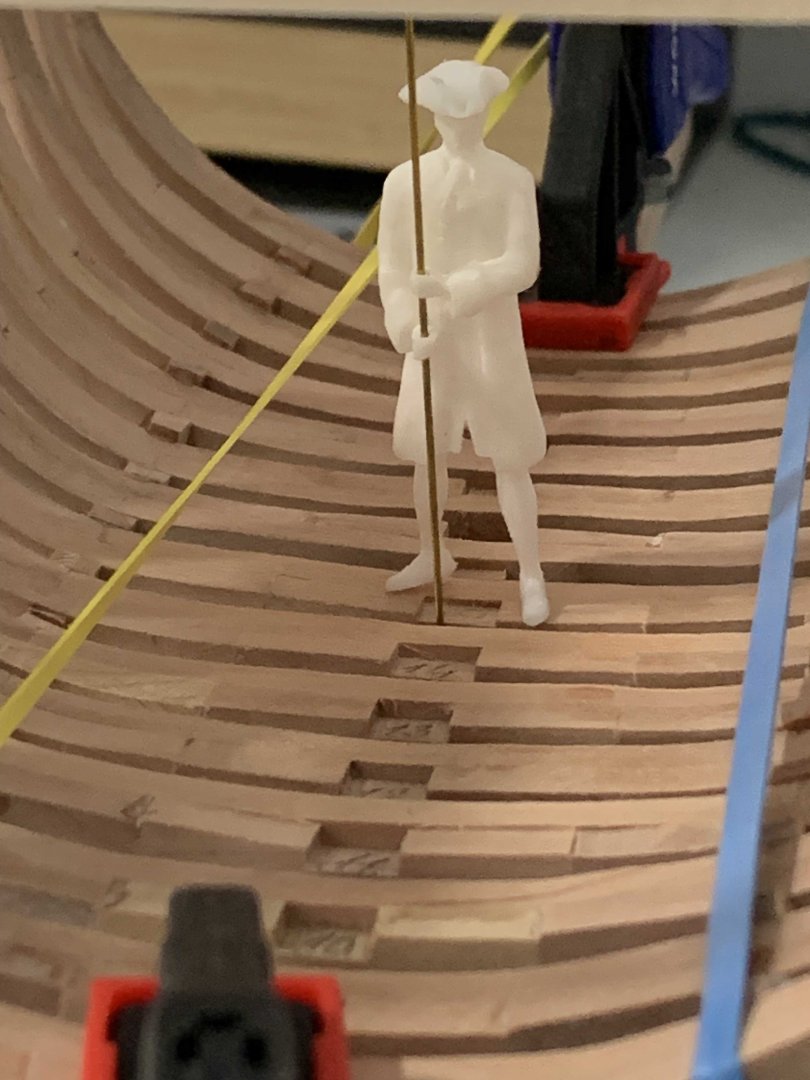
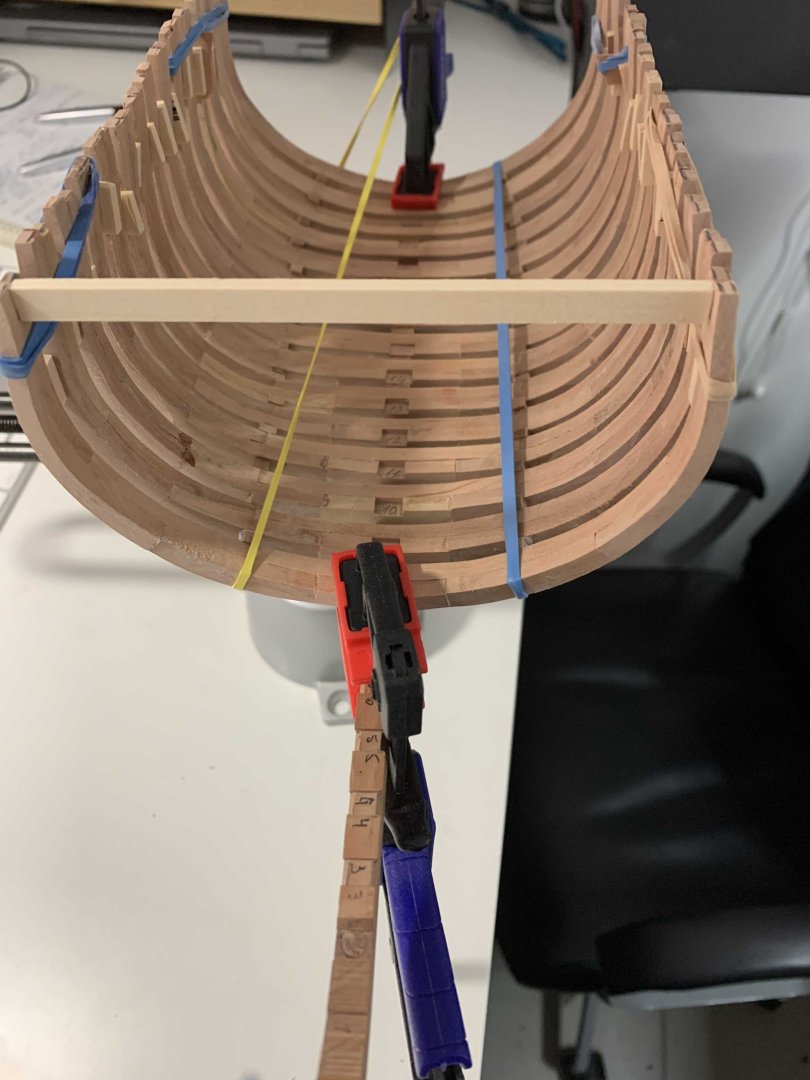
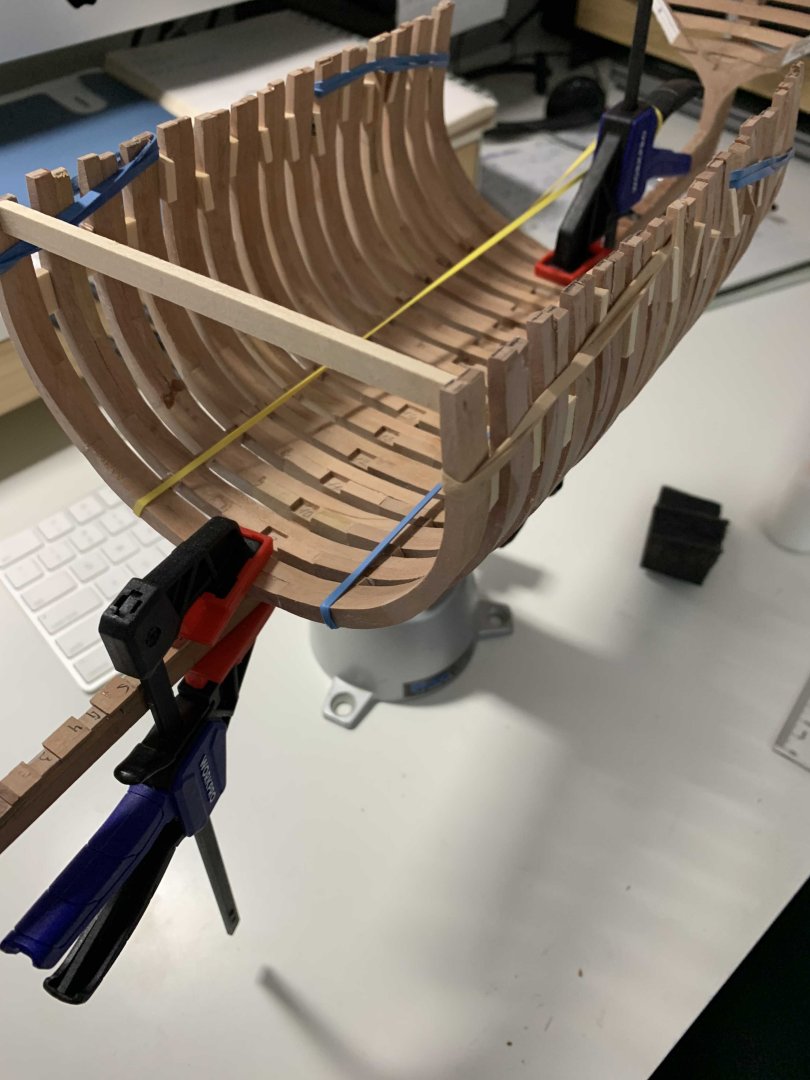
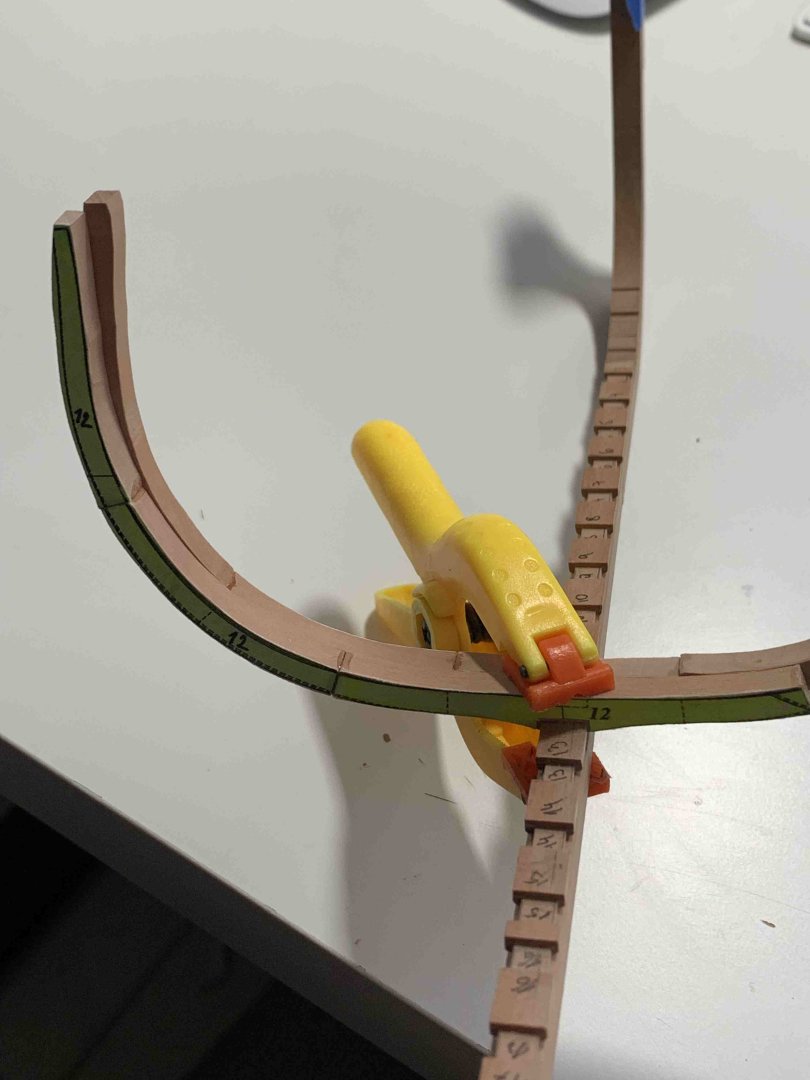
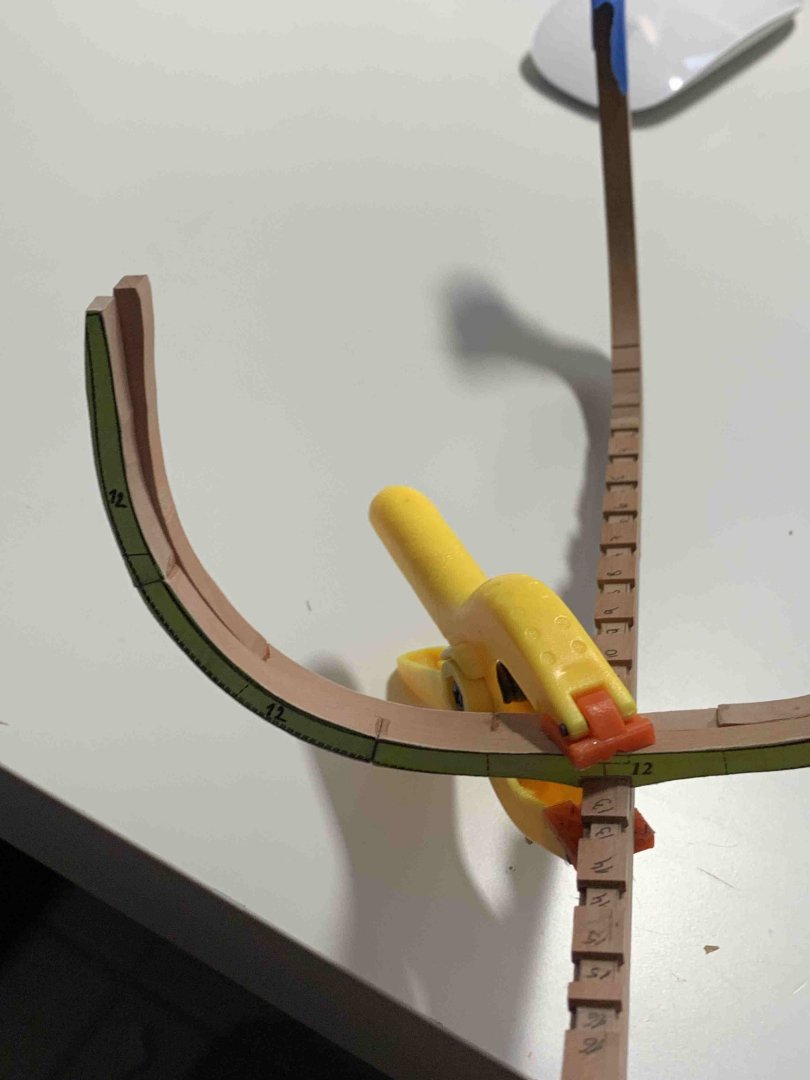
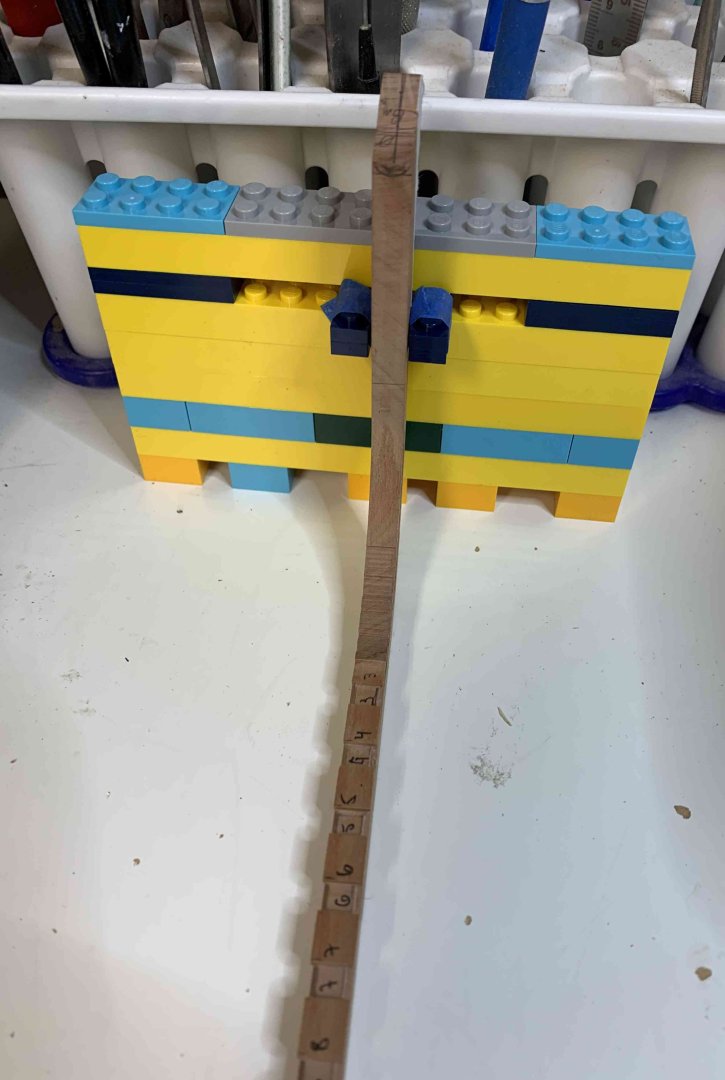
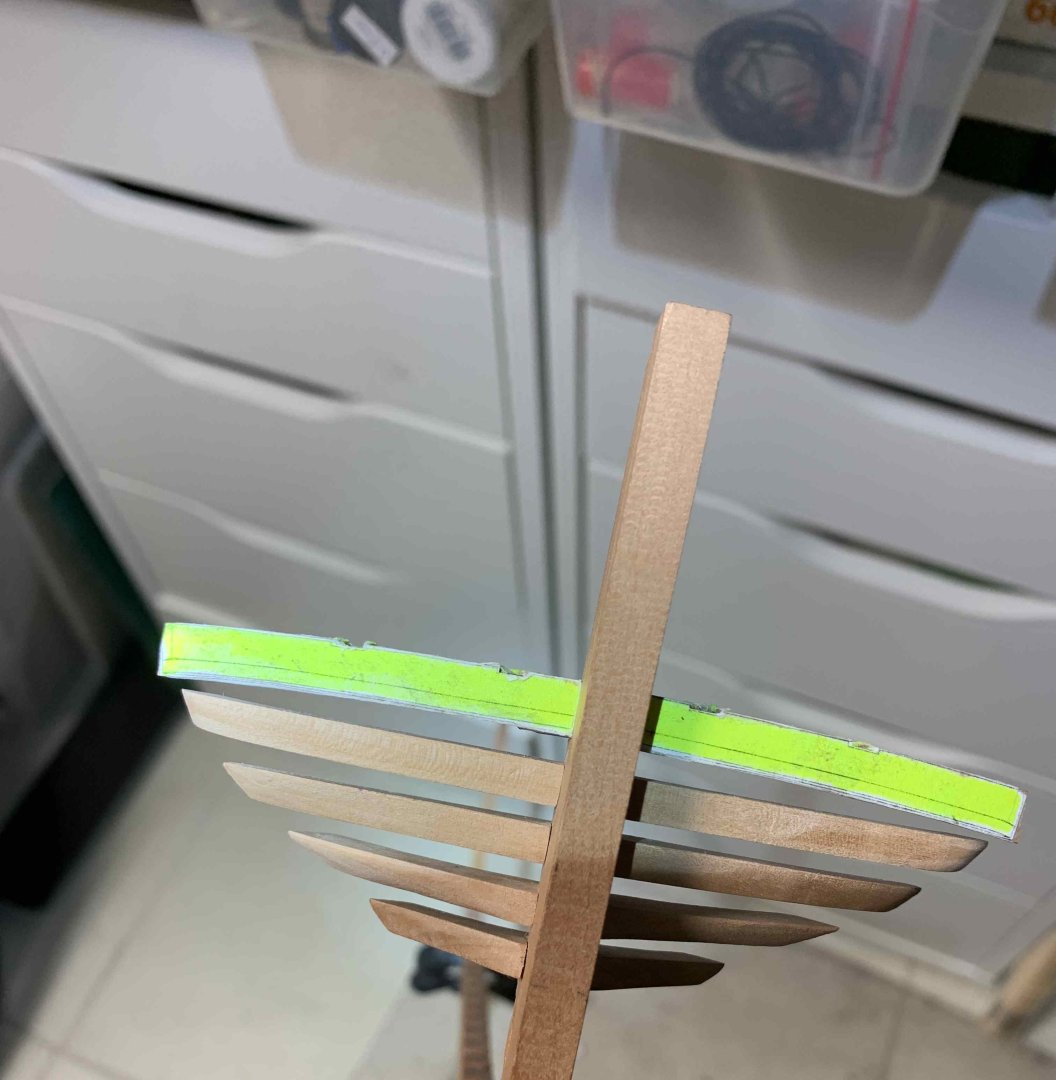
Correct, with jig, this is just for picture taking, to show progress a bit clearly.. Regards,
-
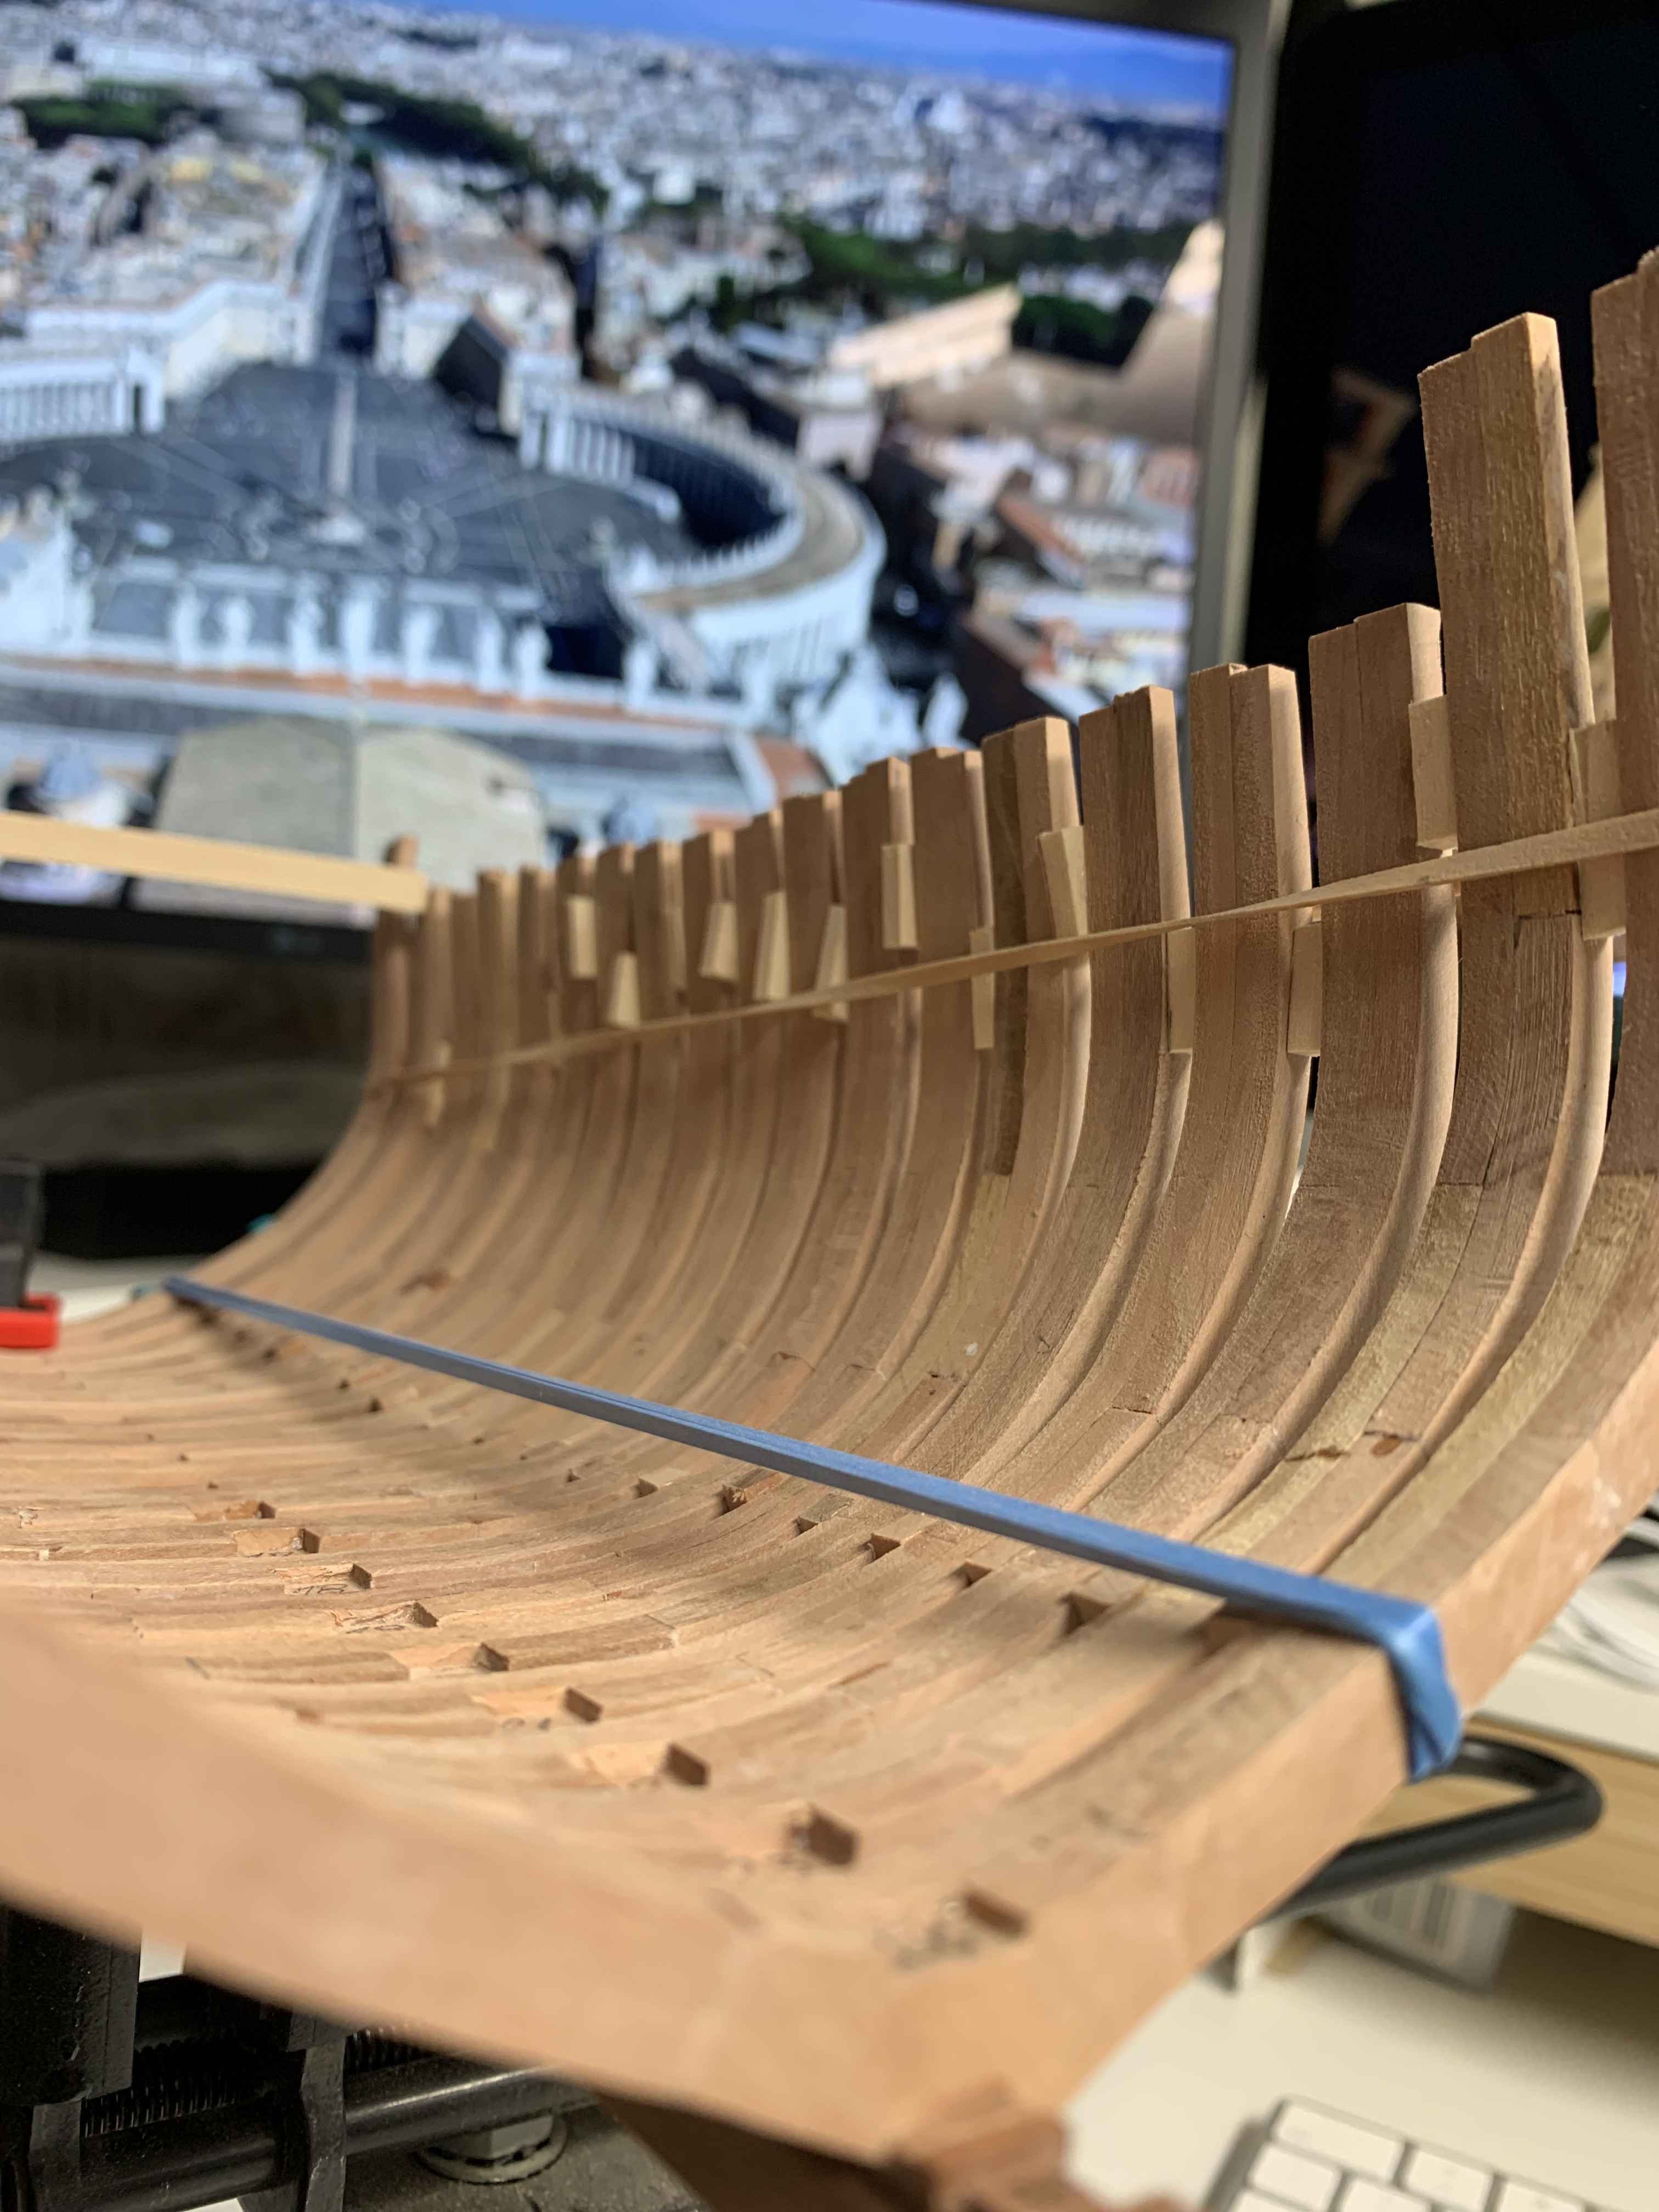
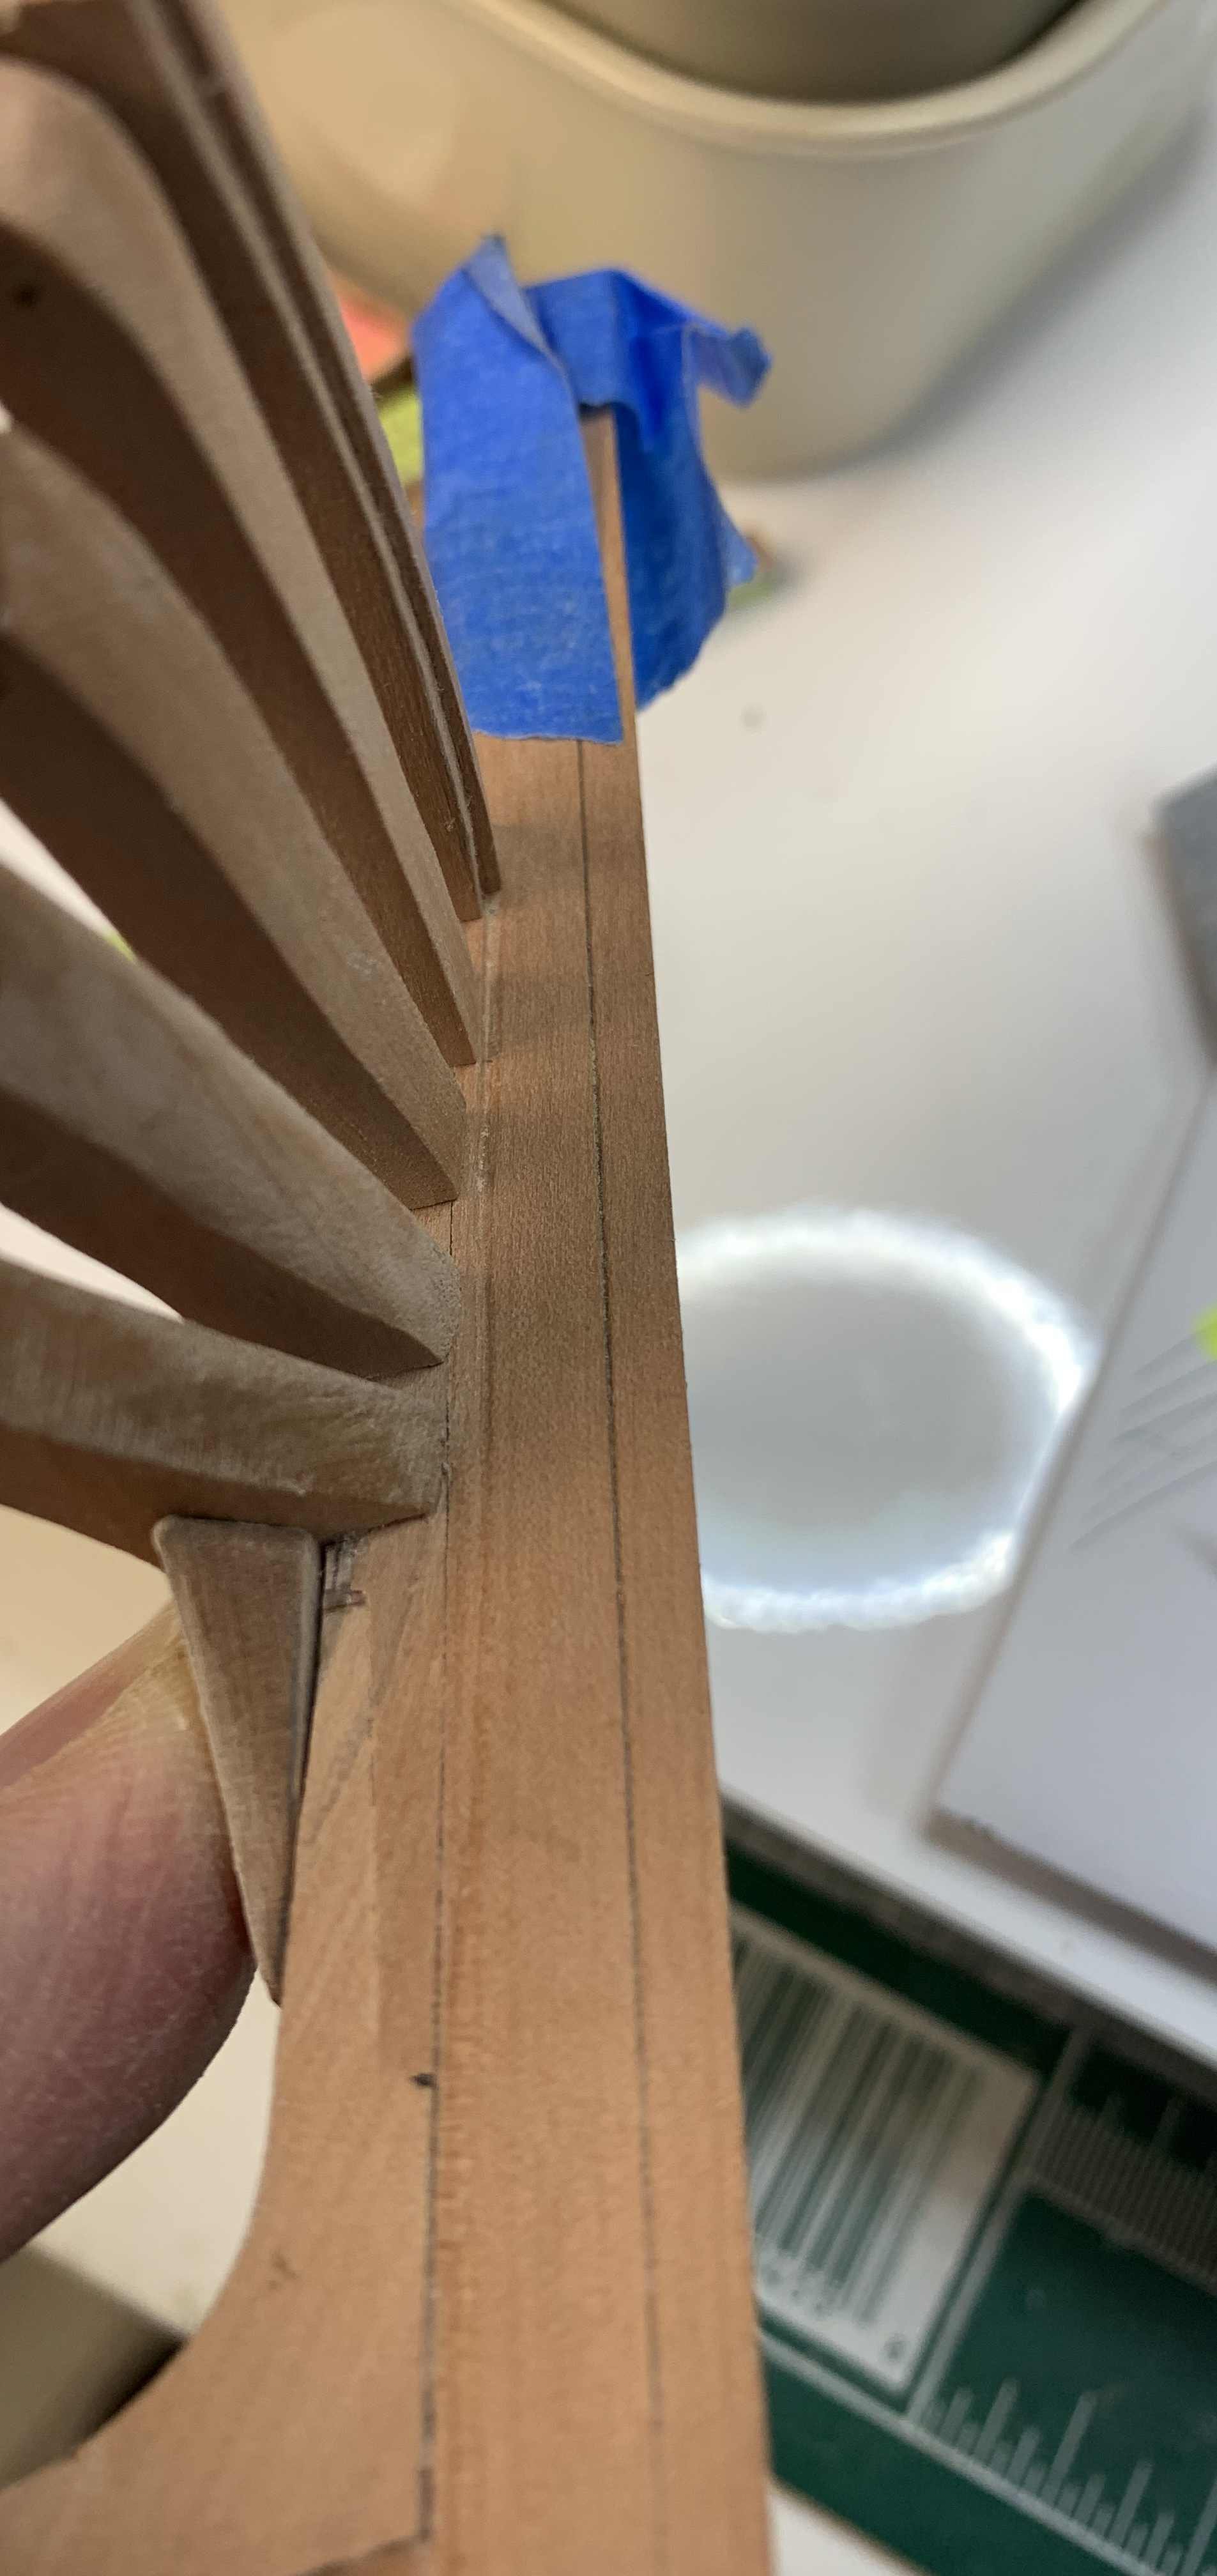
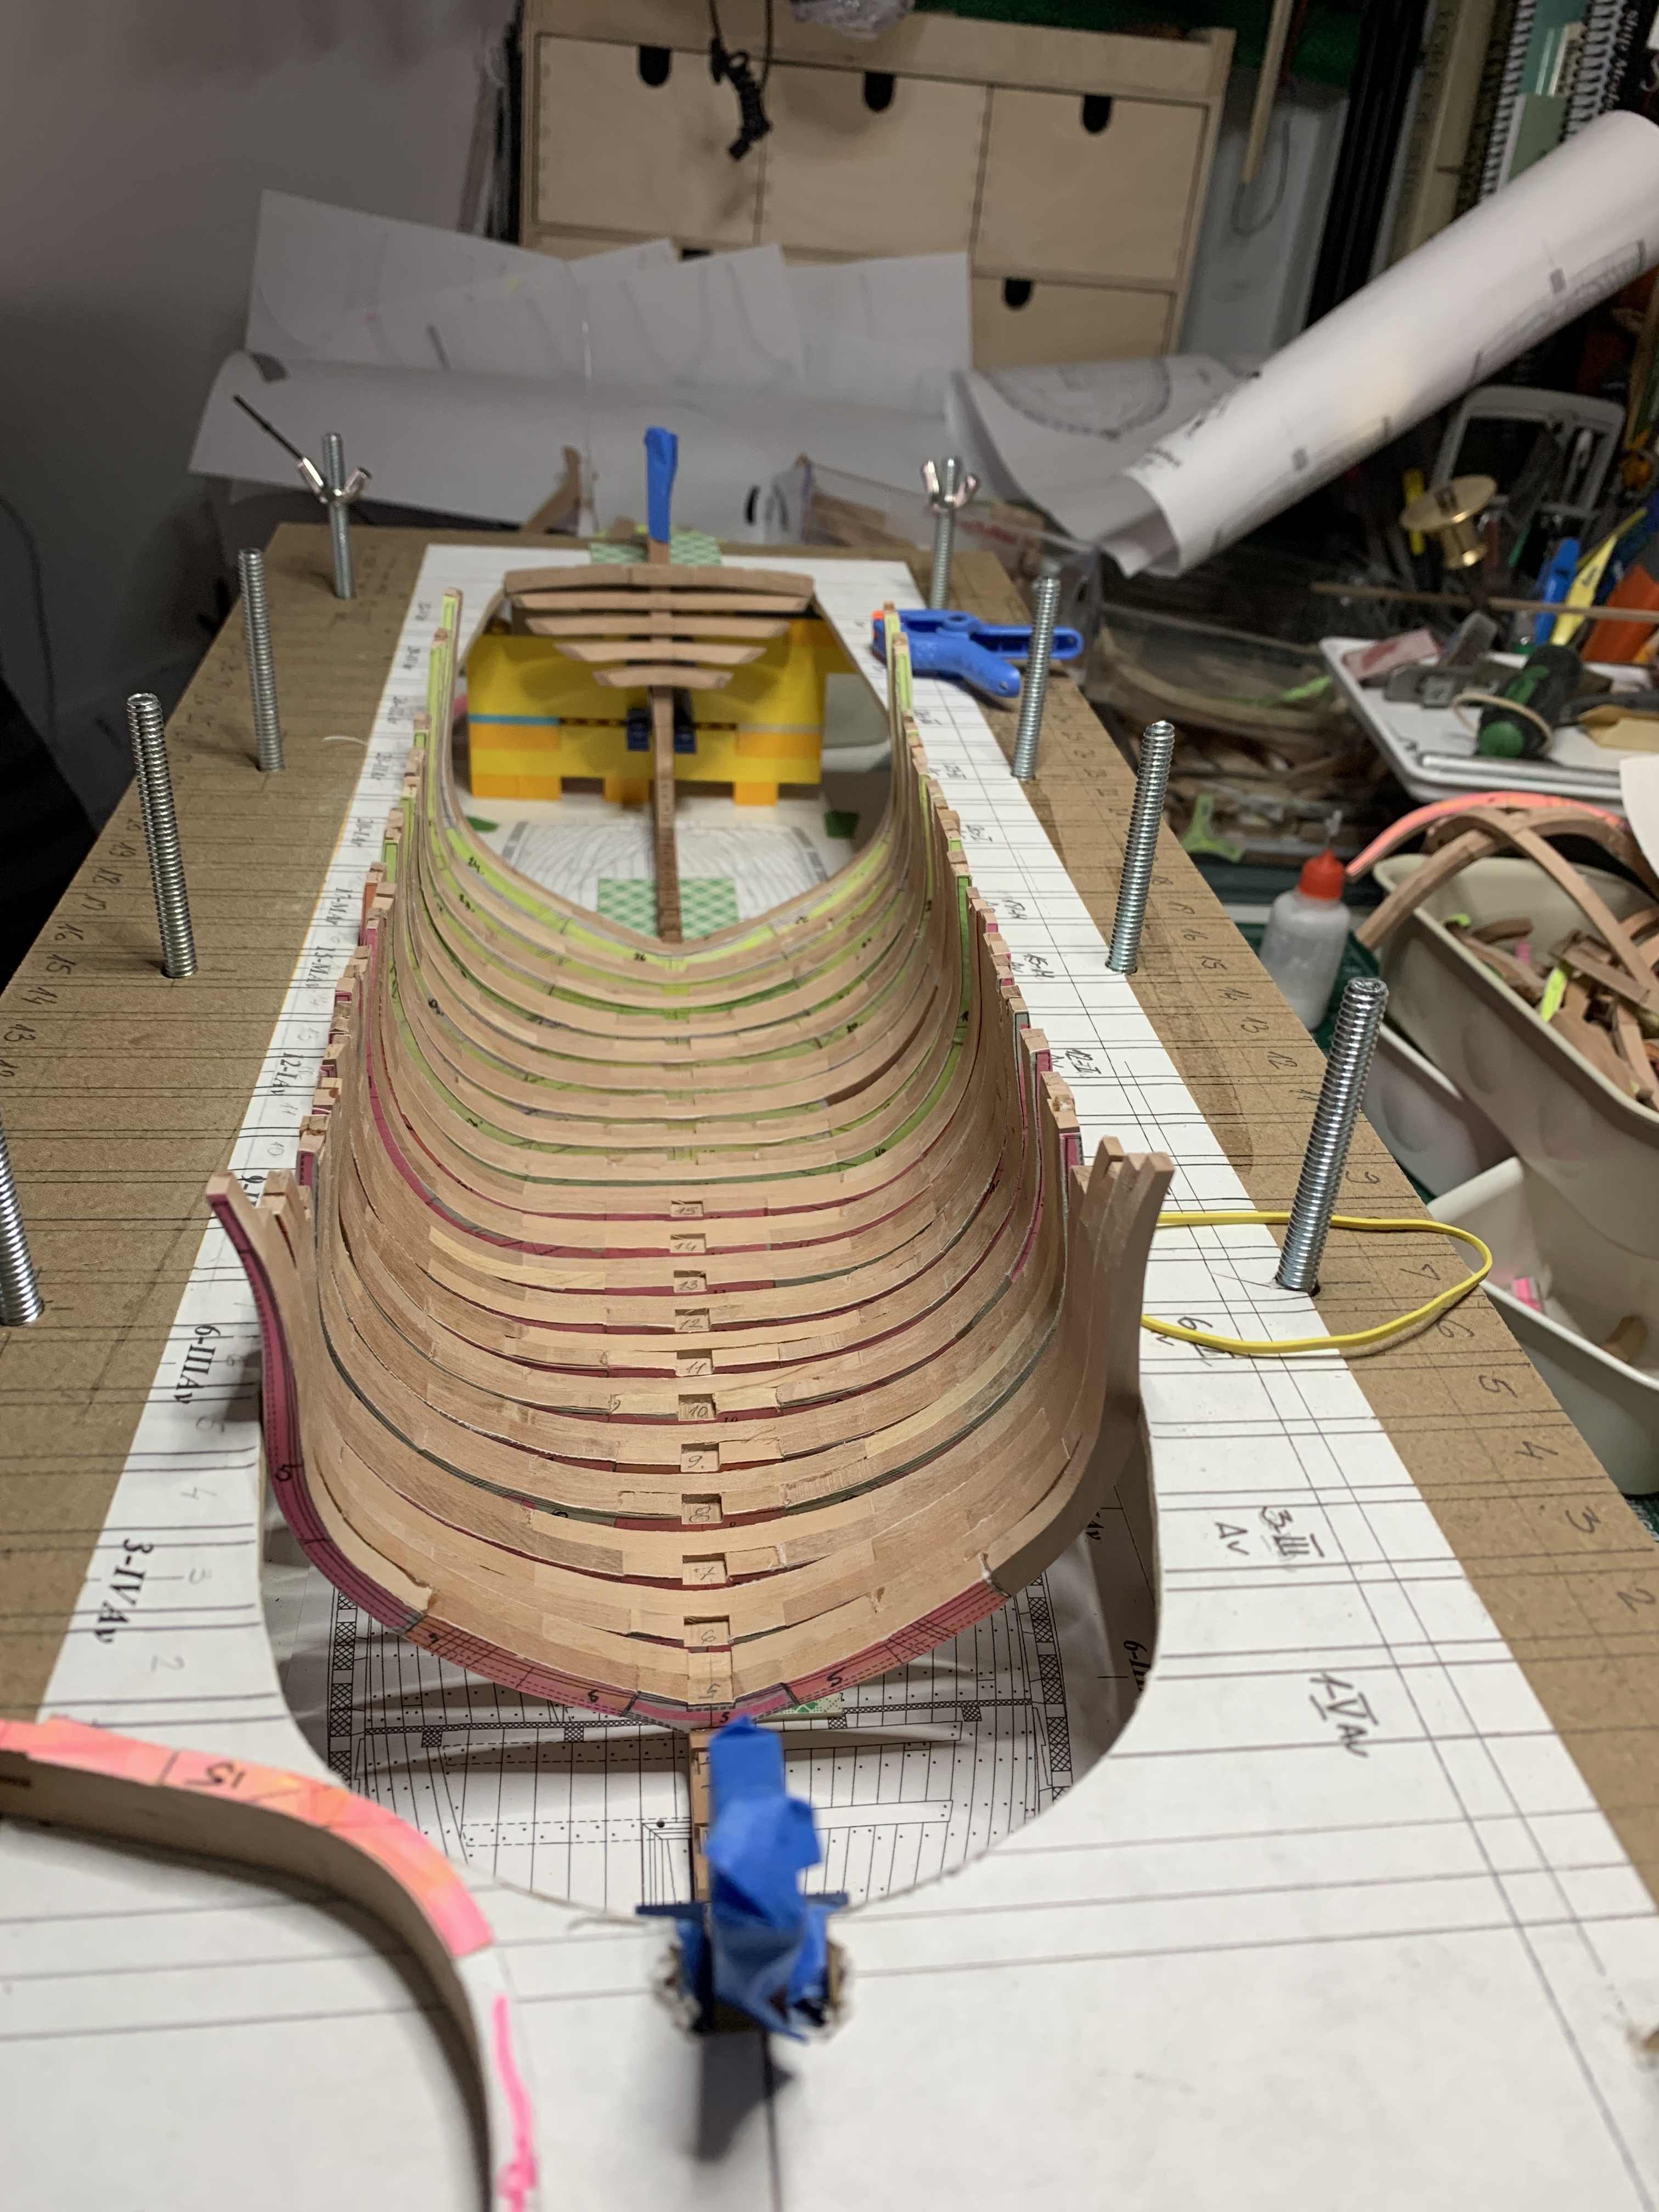
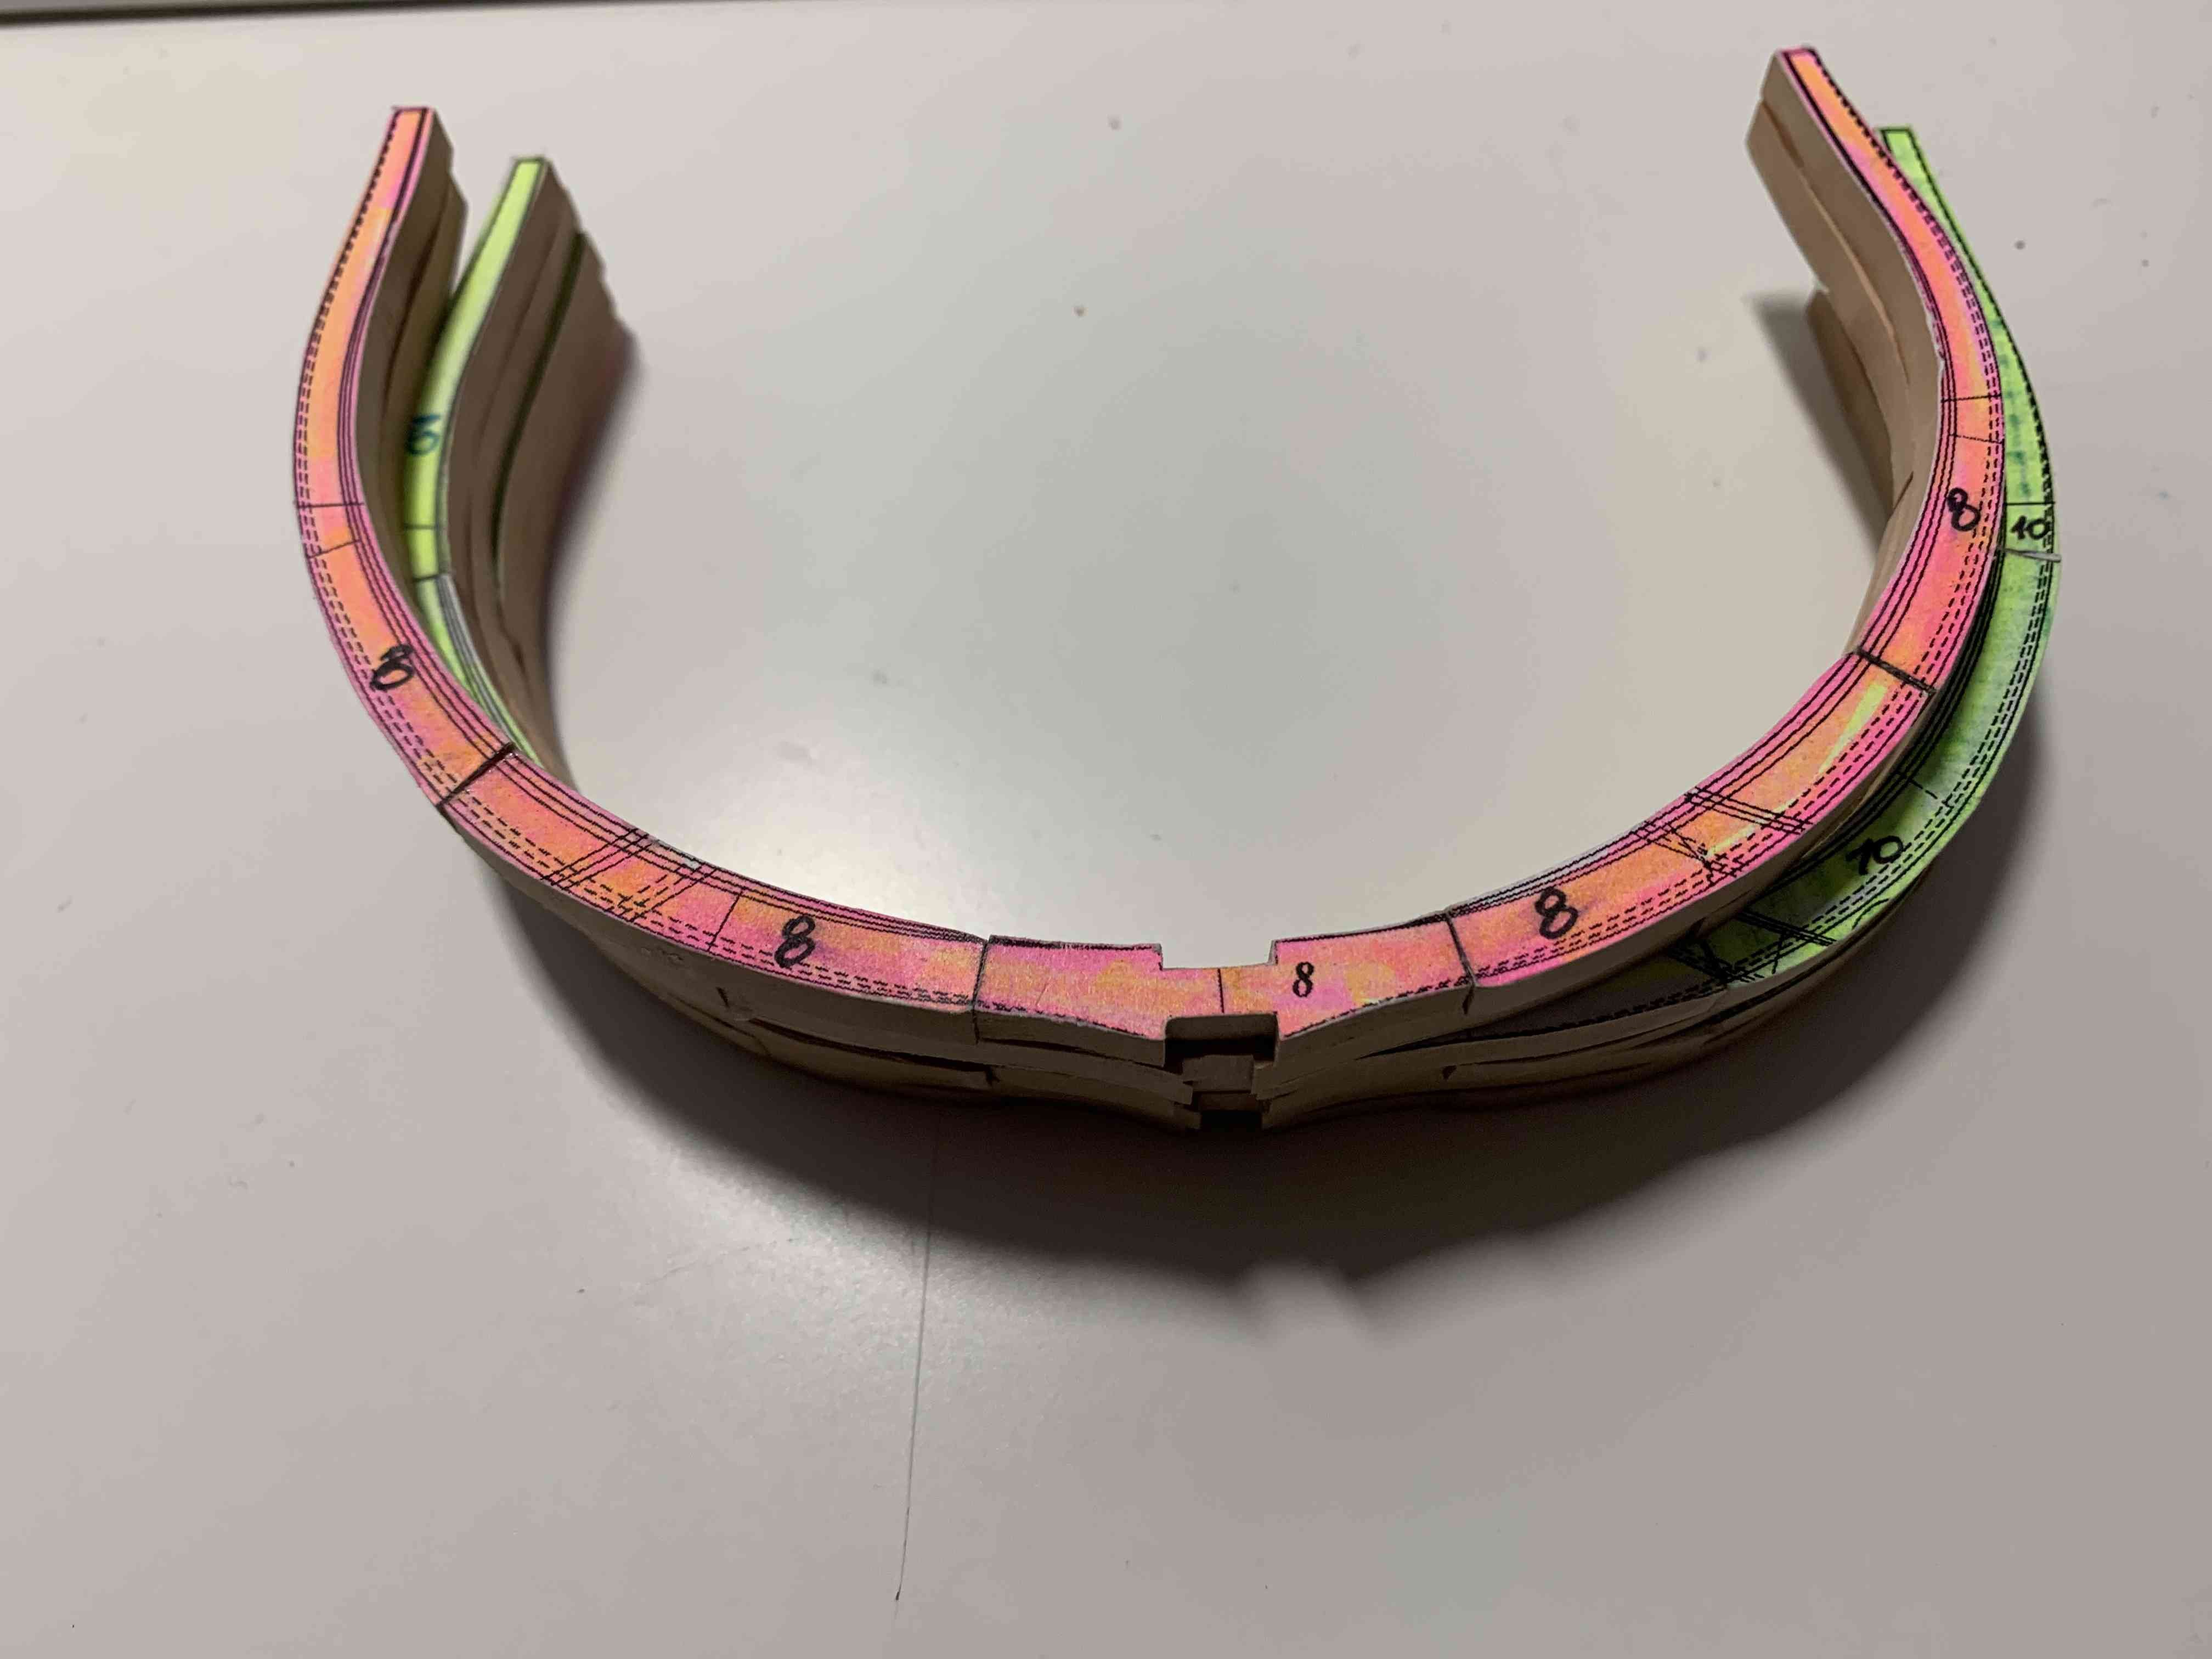
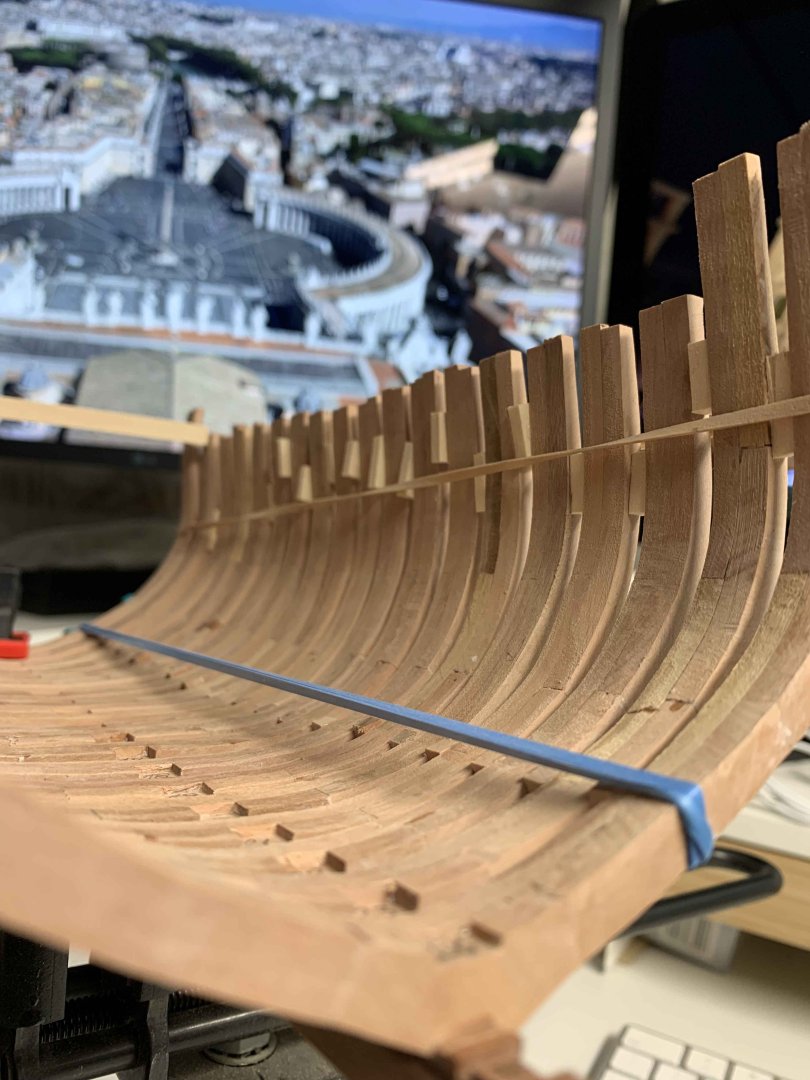
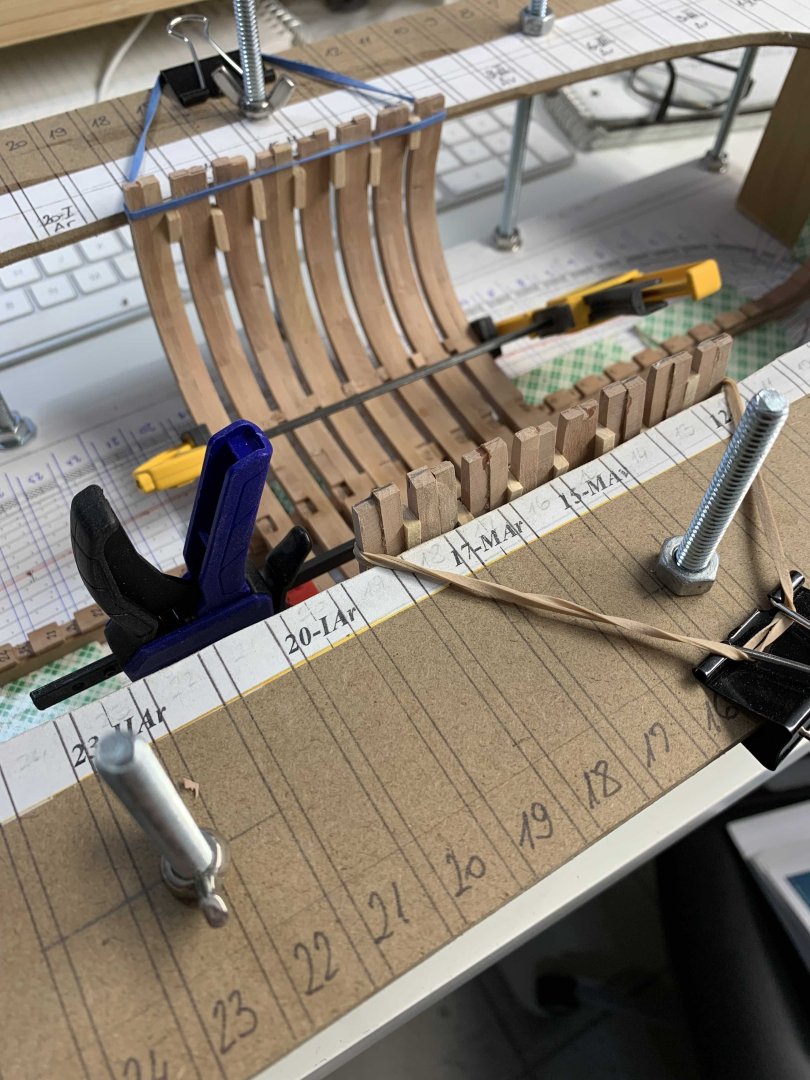
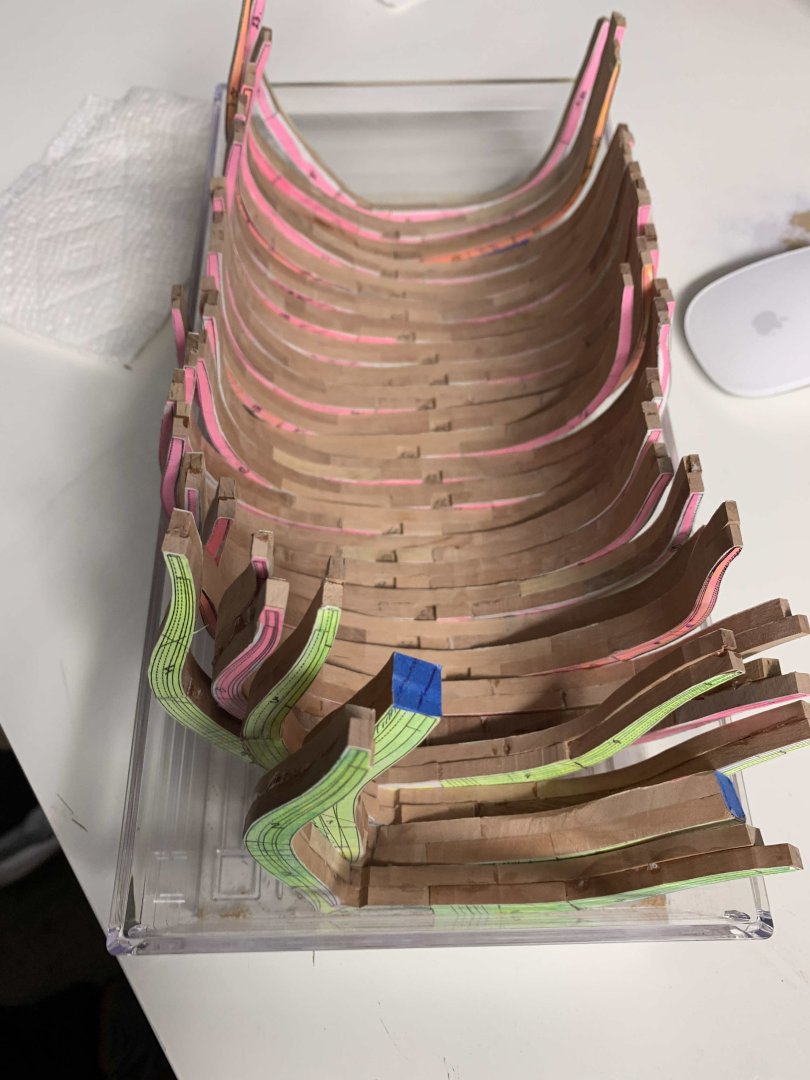
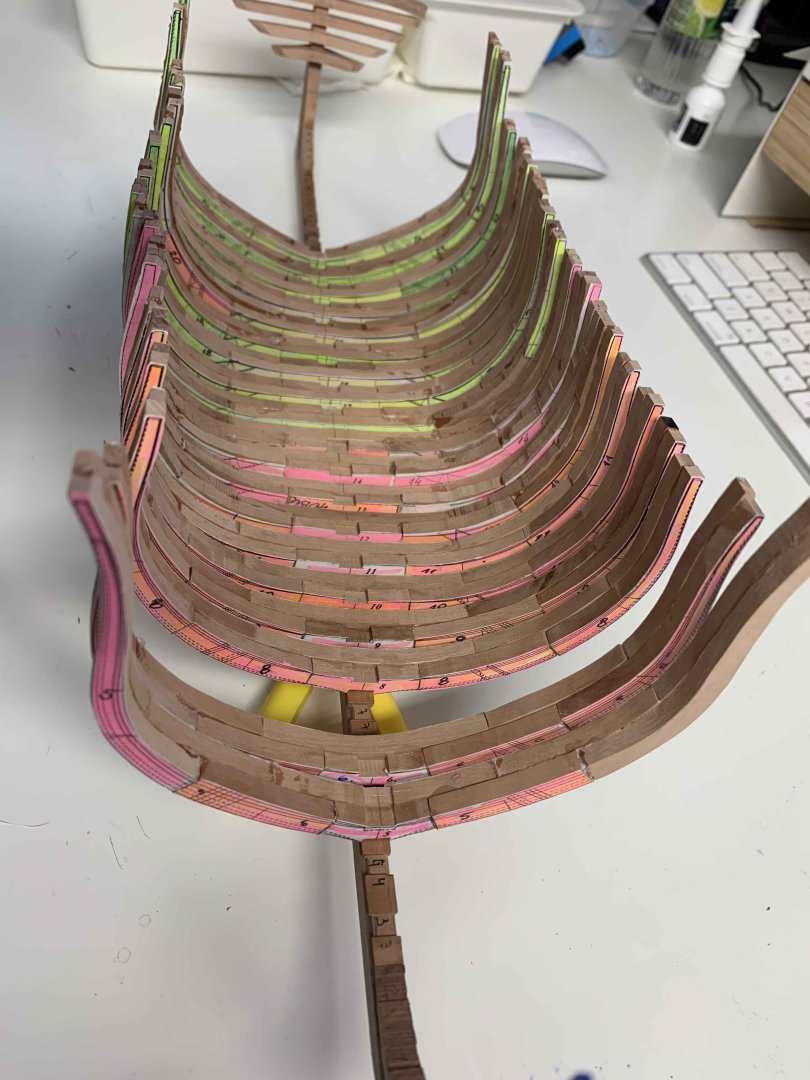
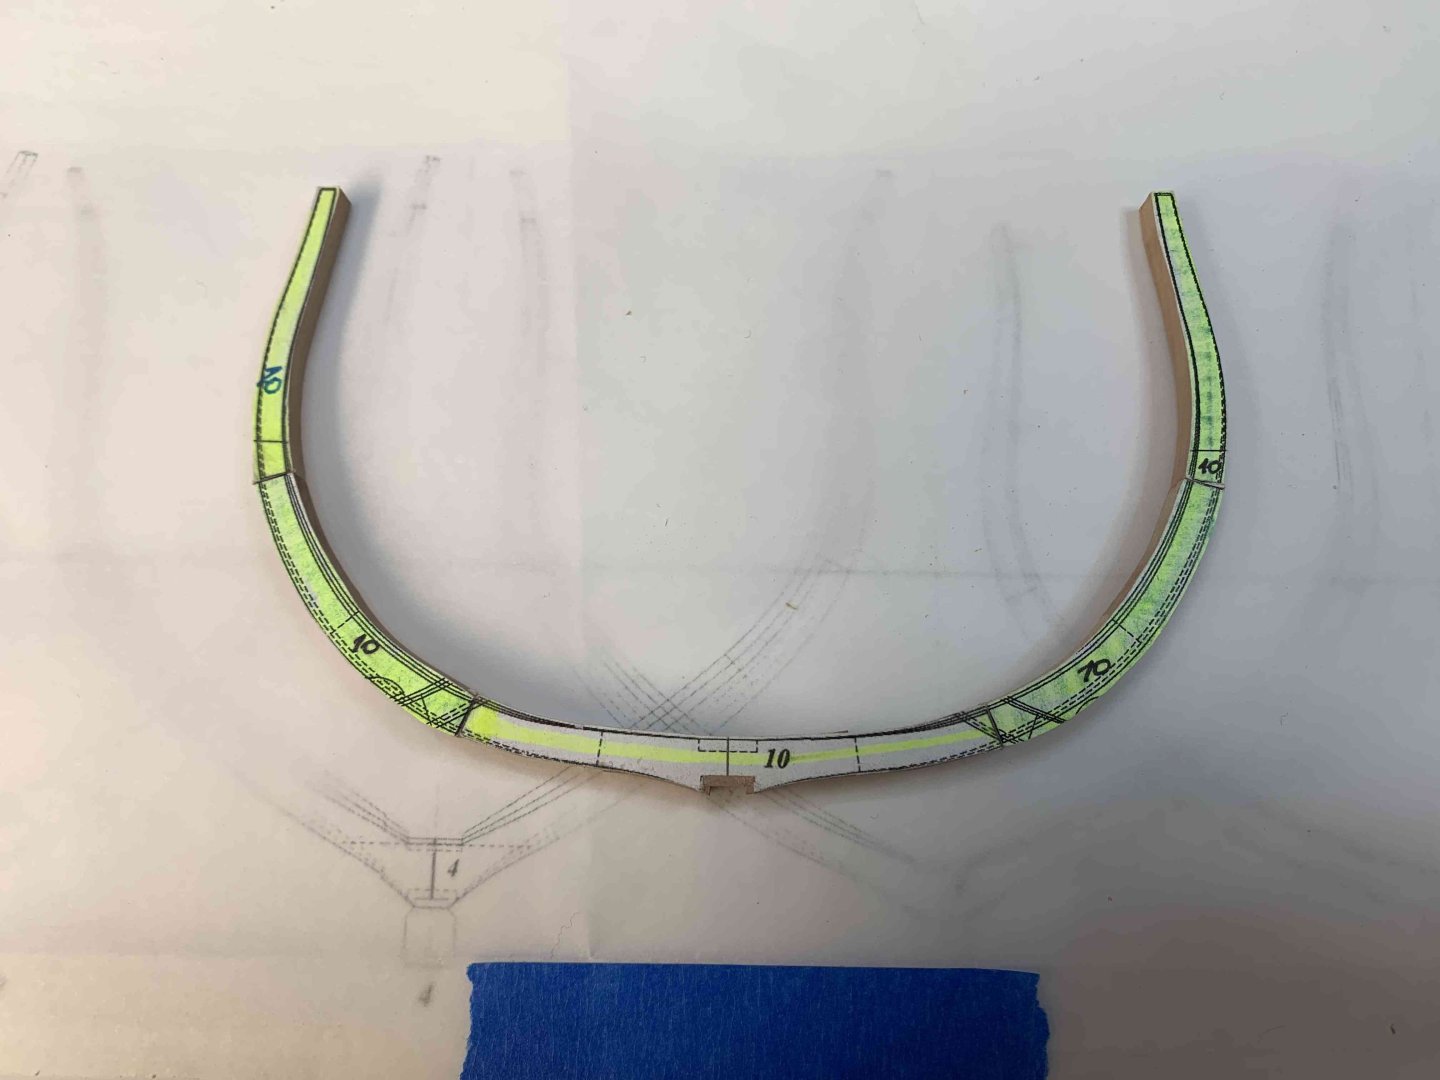
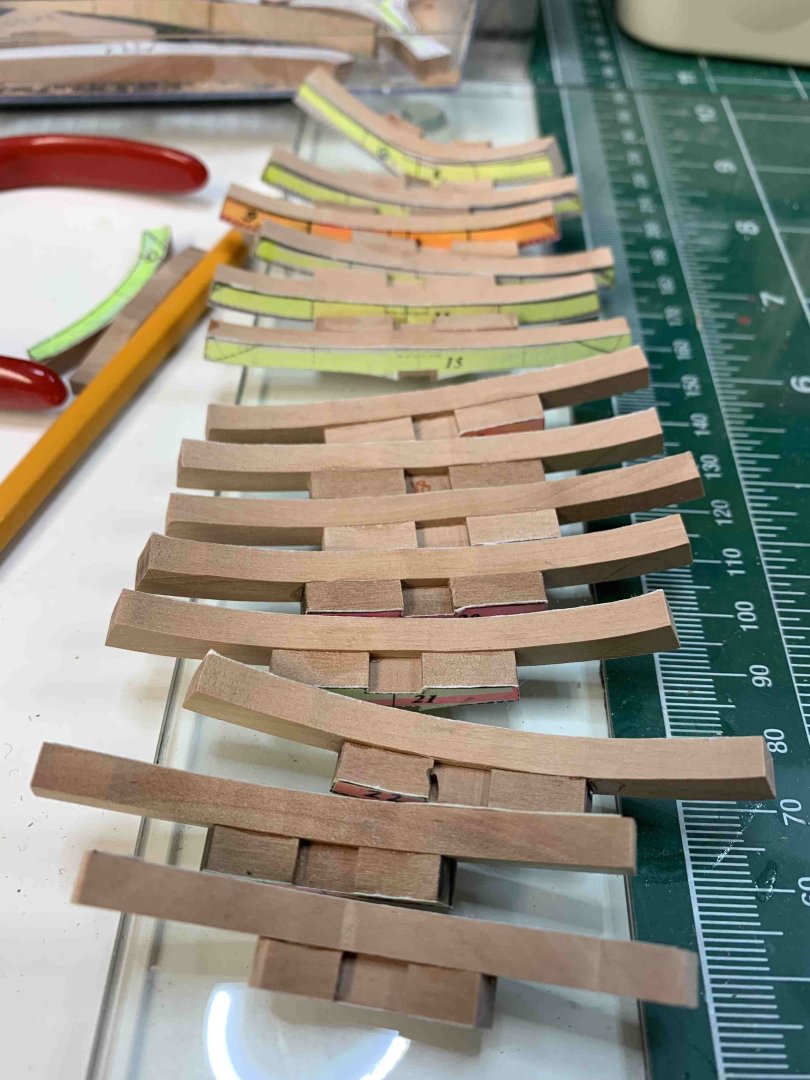
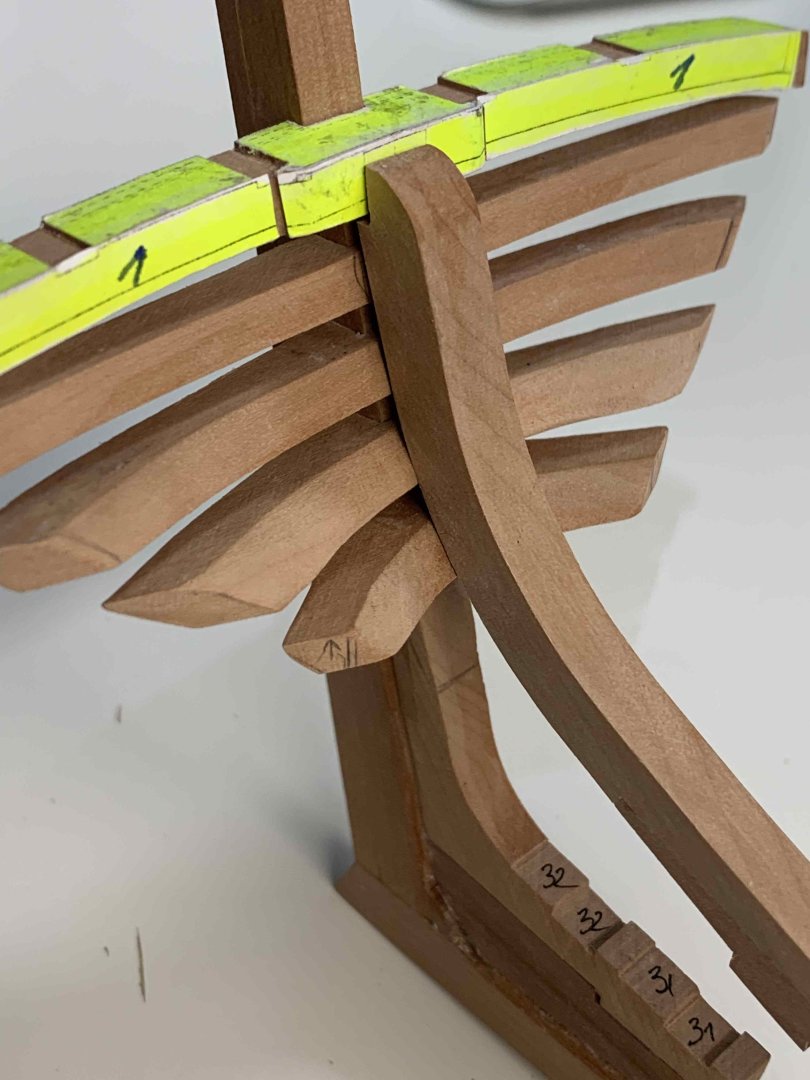
I few more frames added... Happy modelling..
-
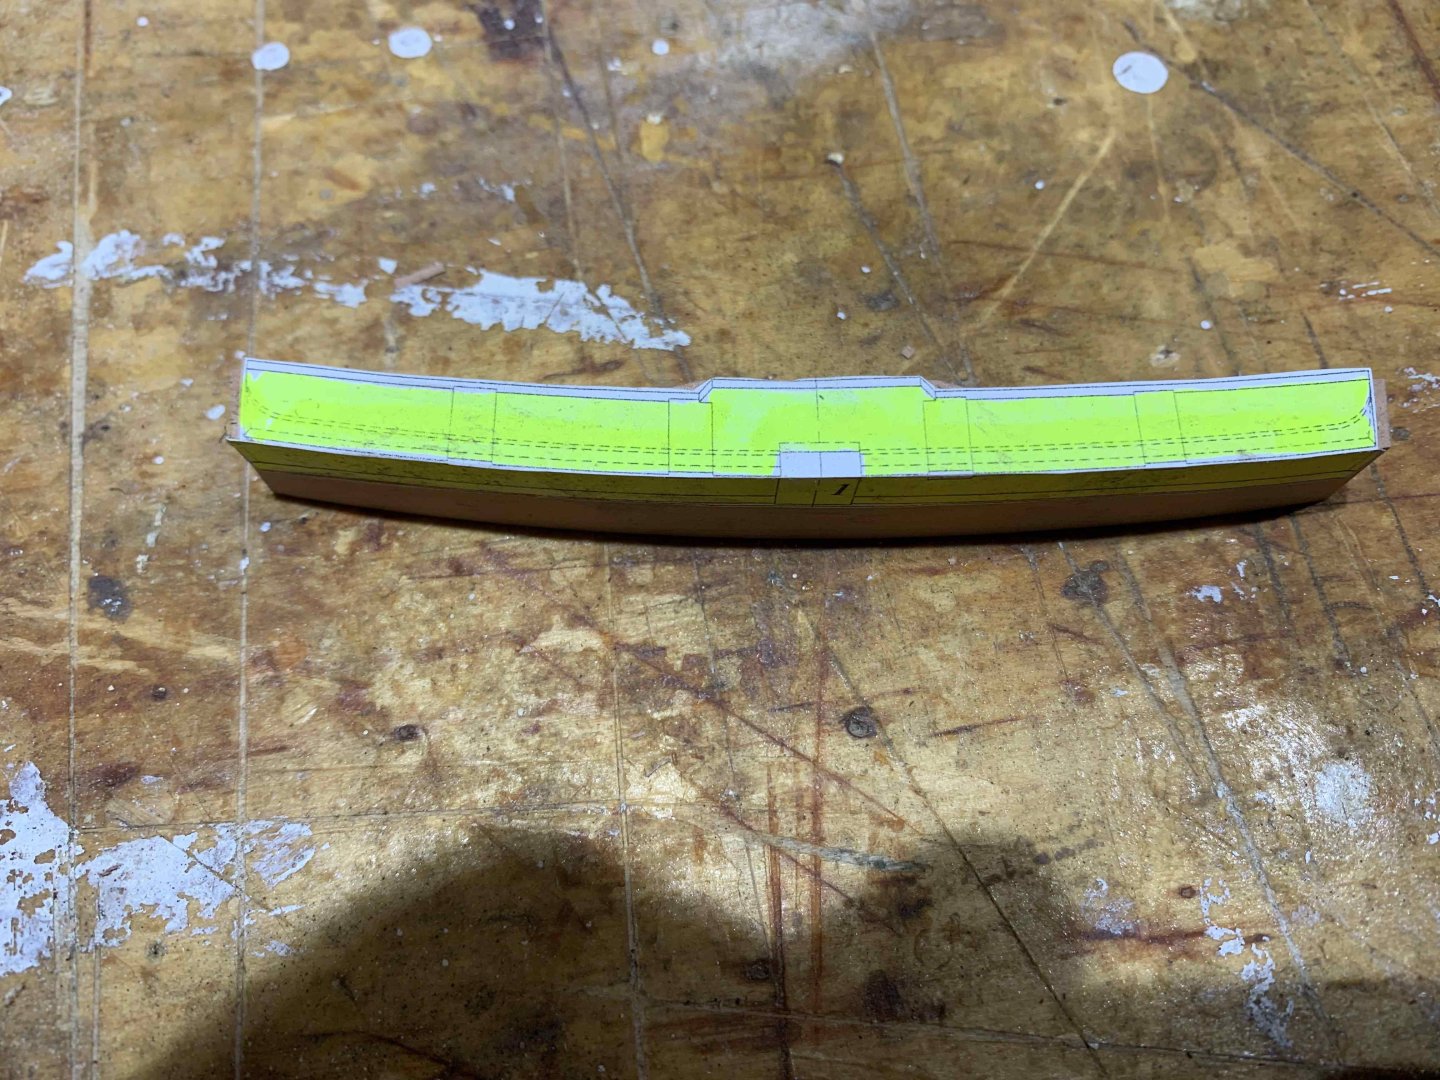
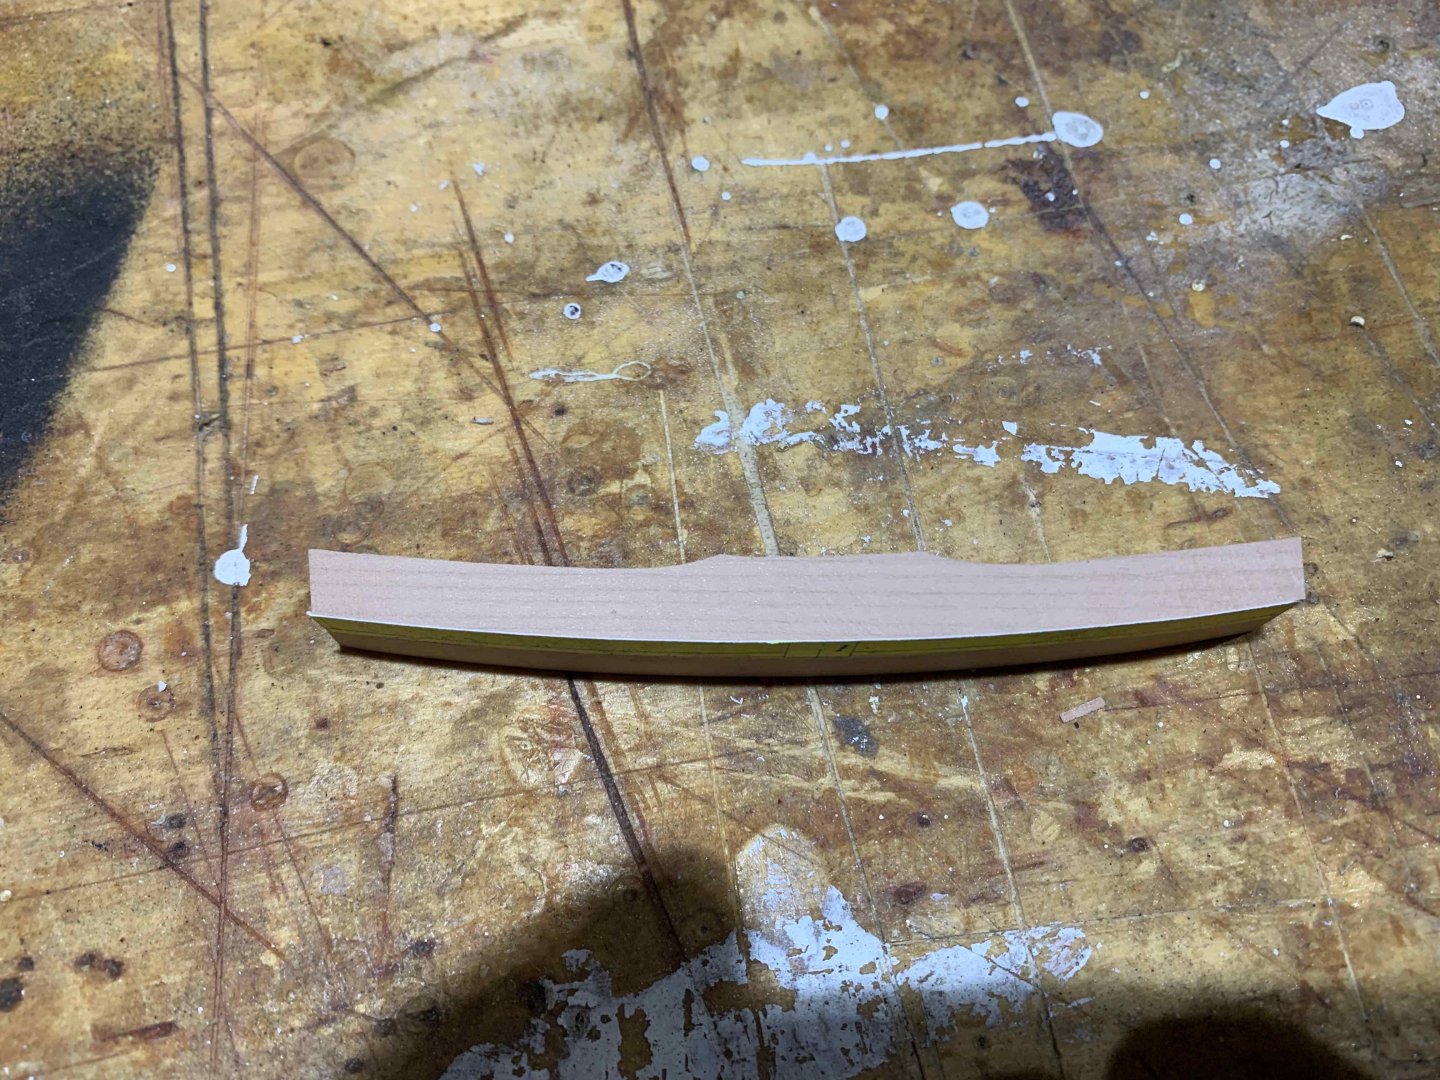
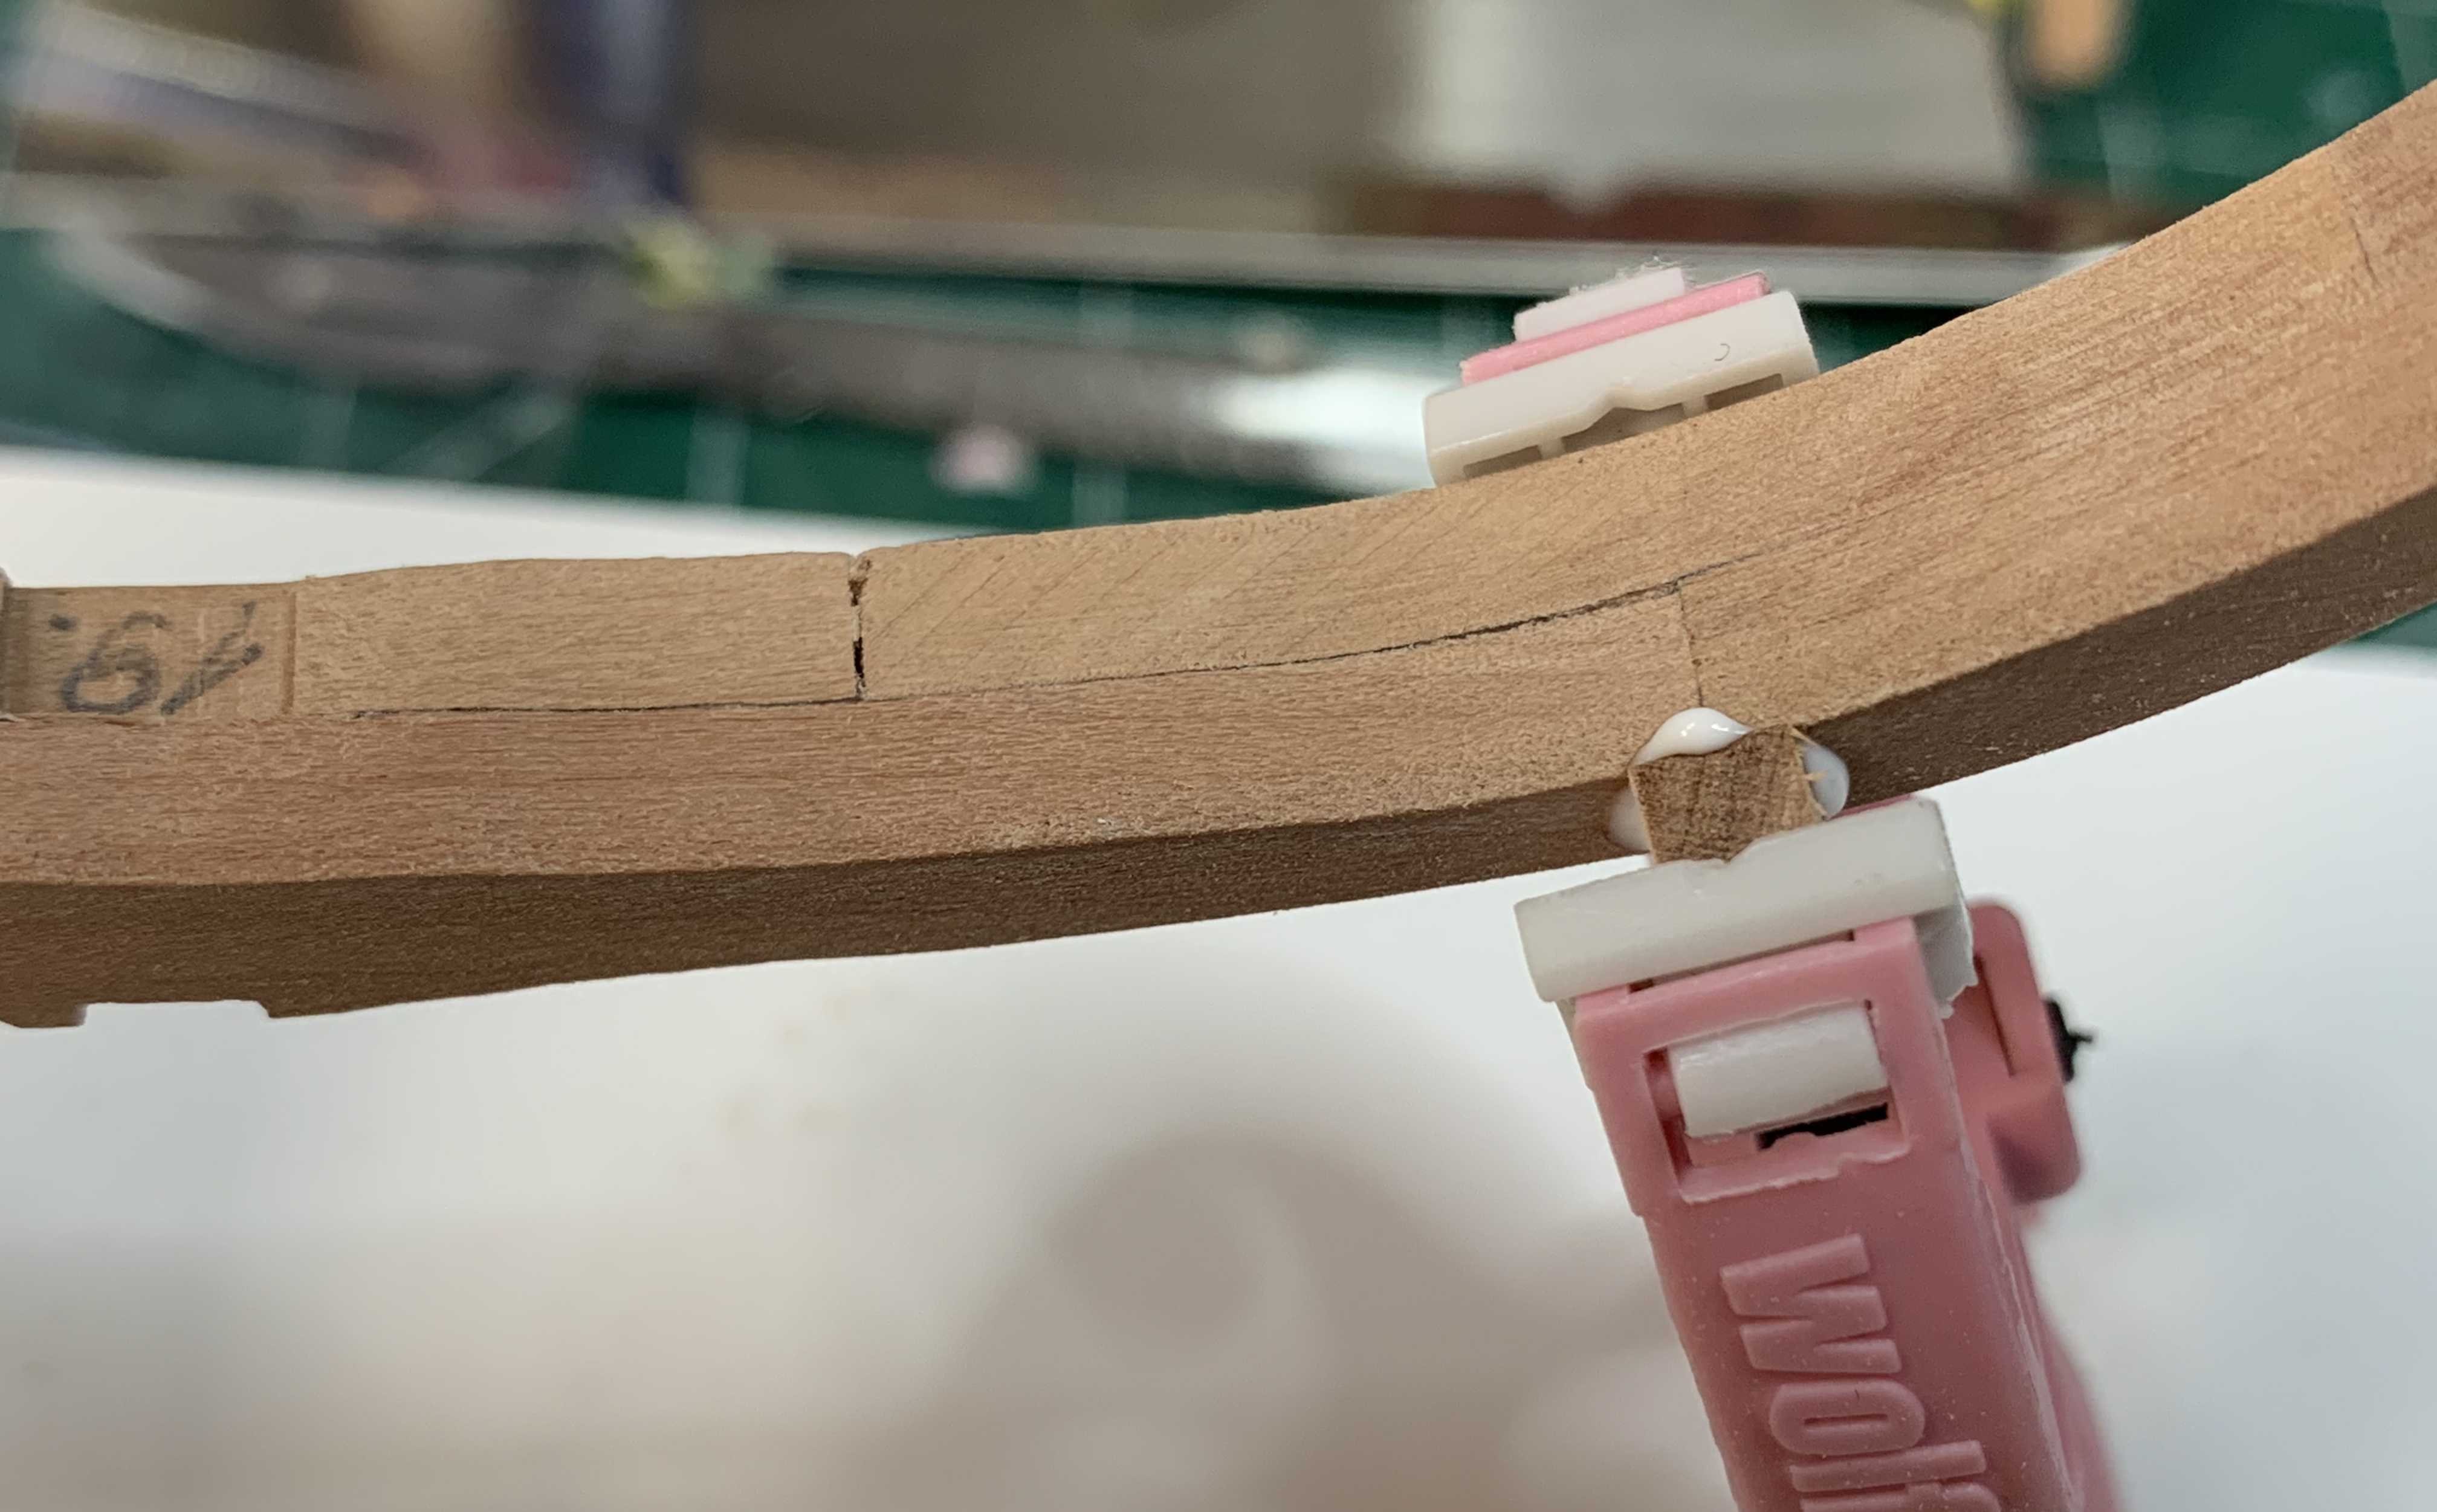
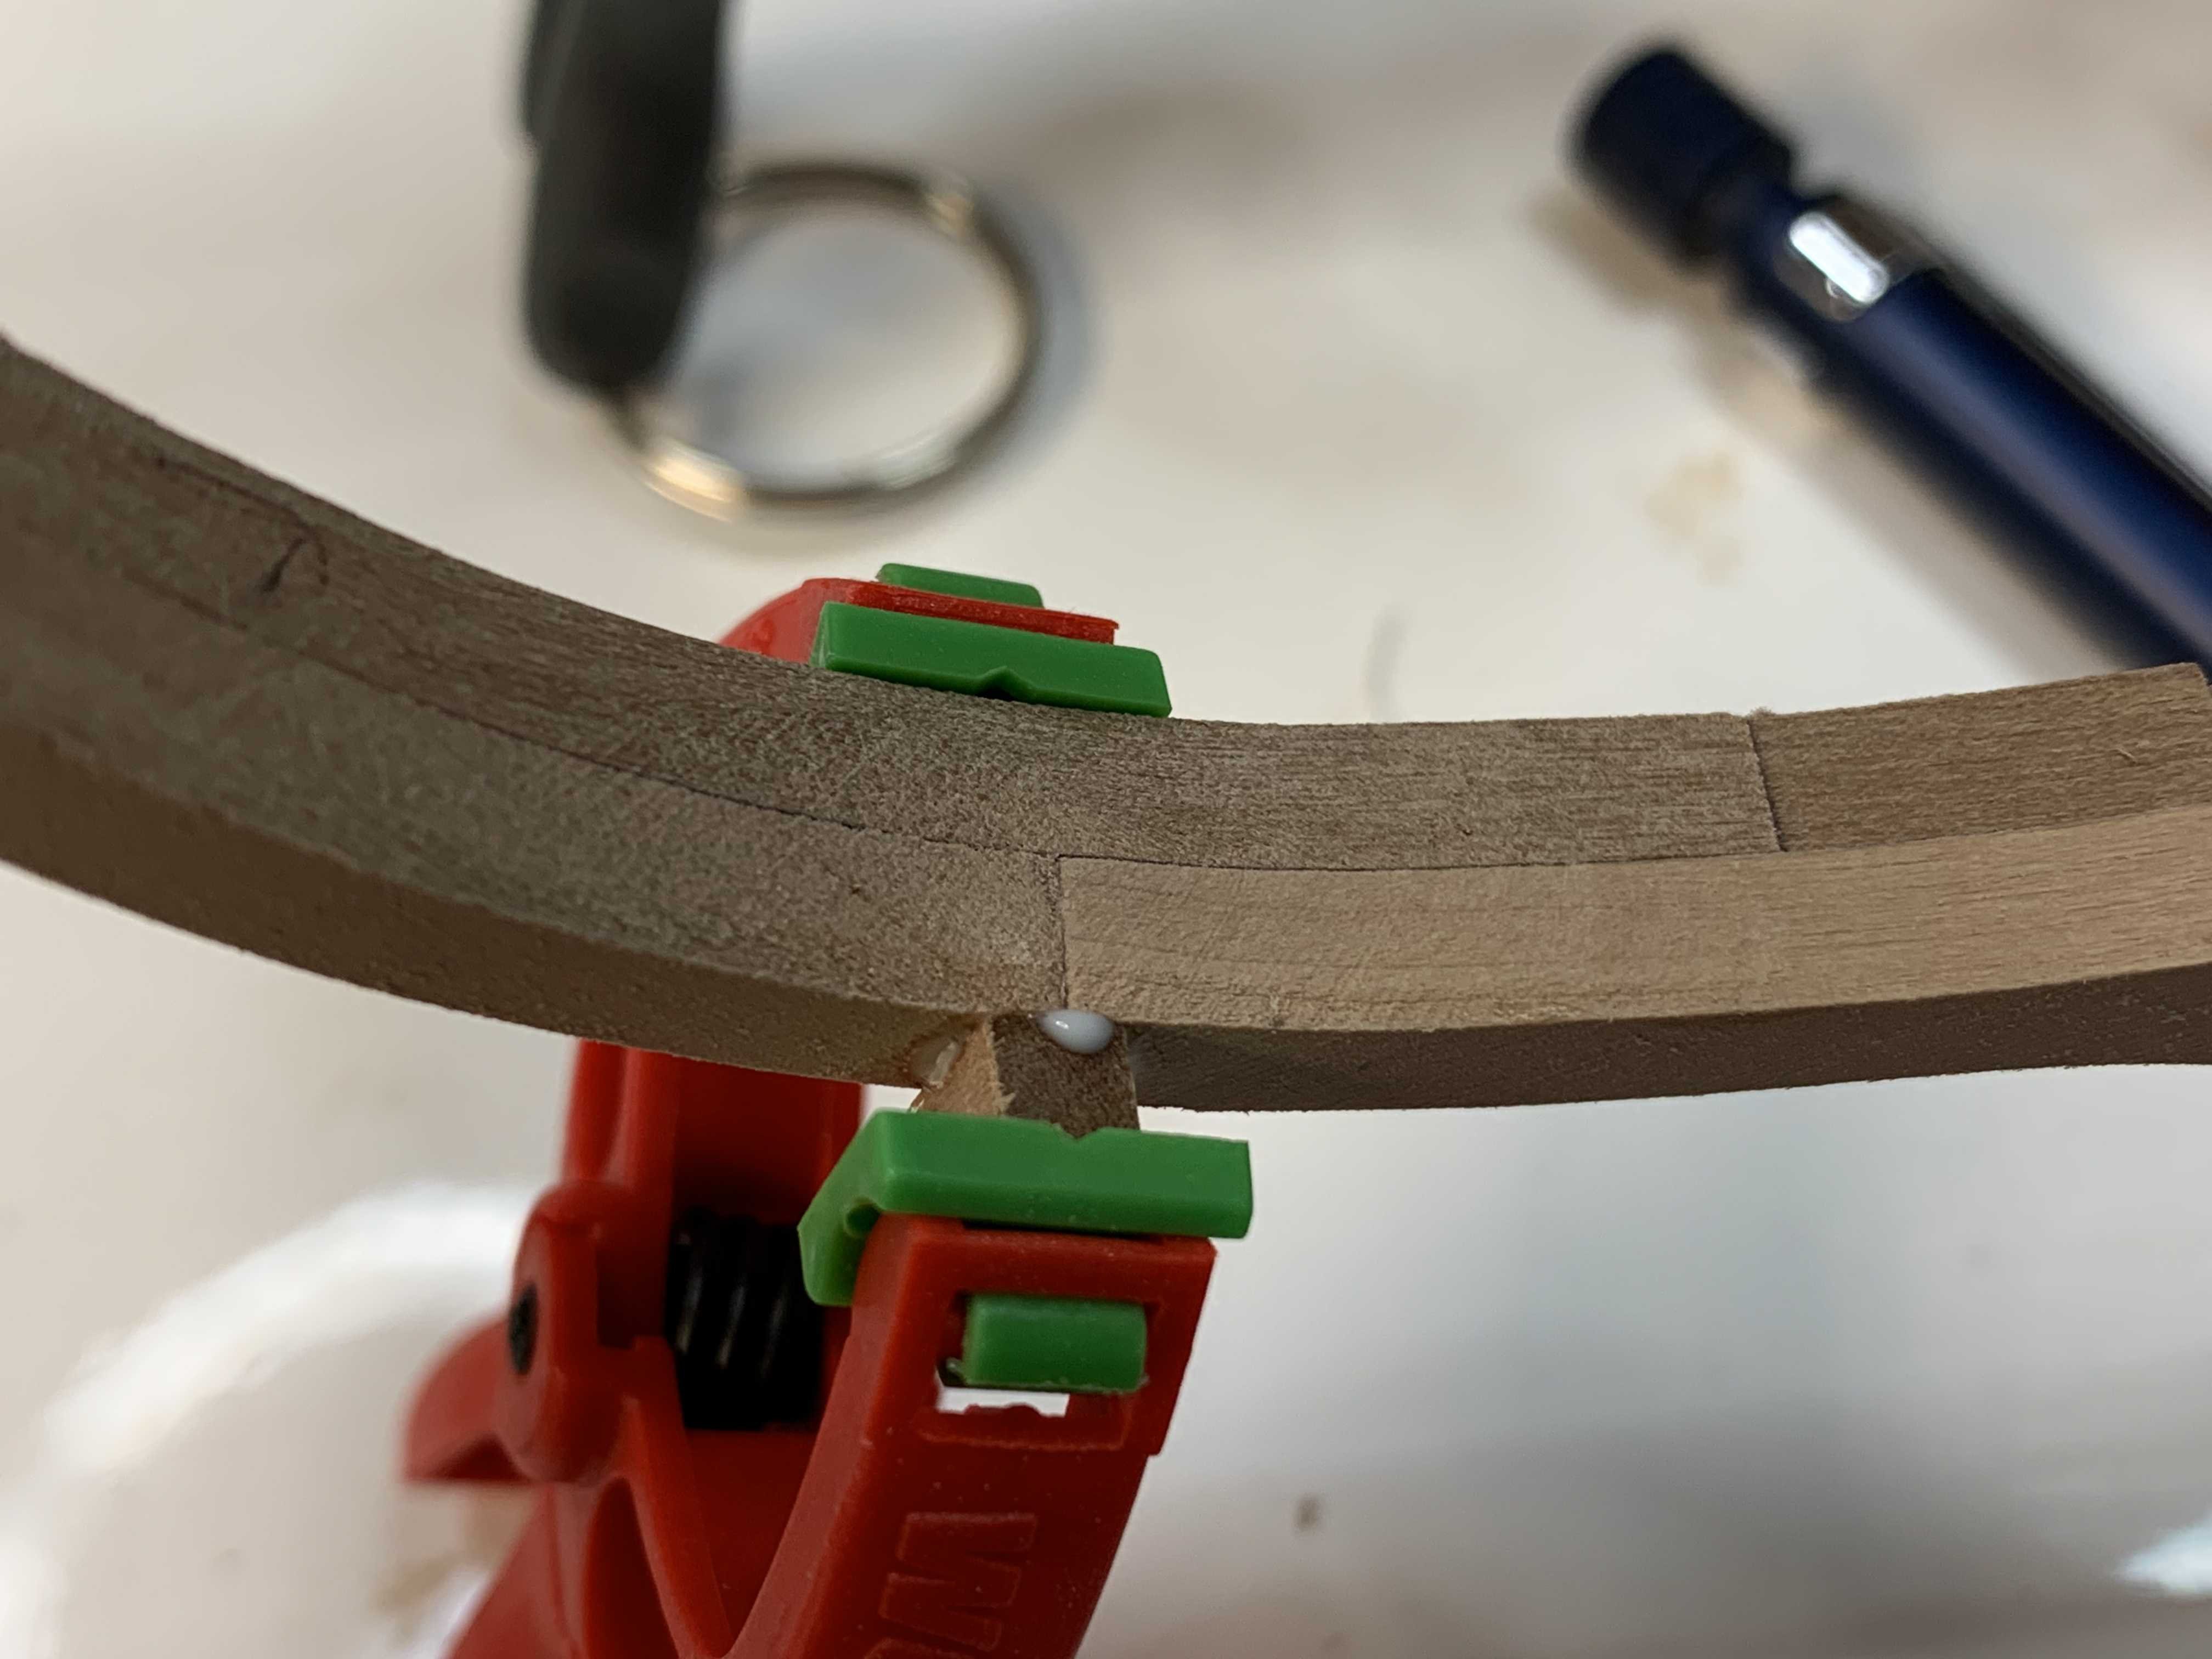
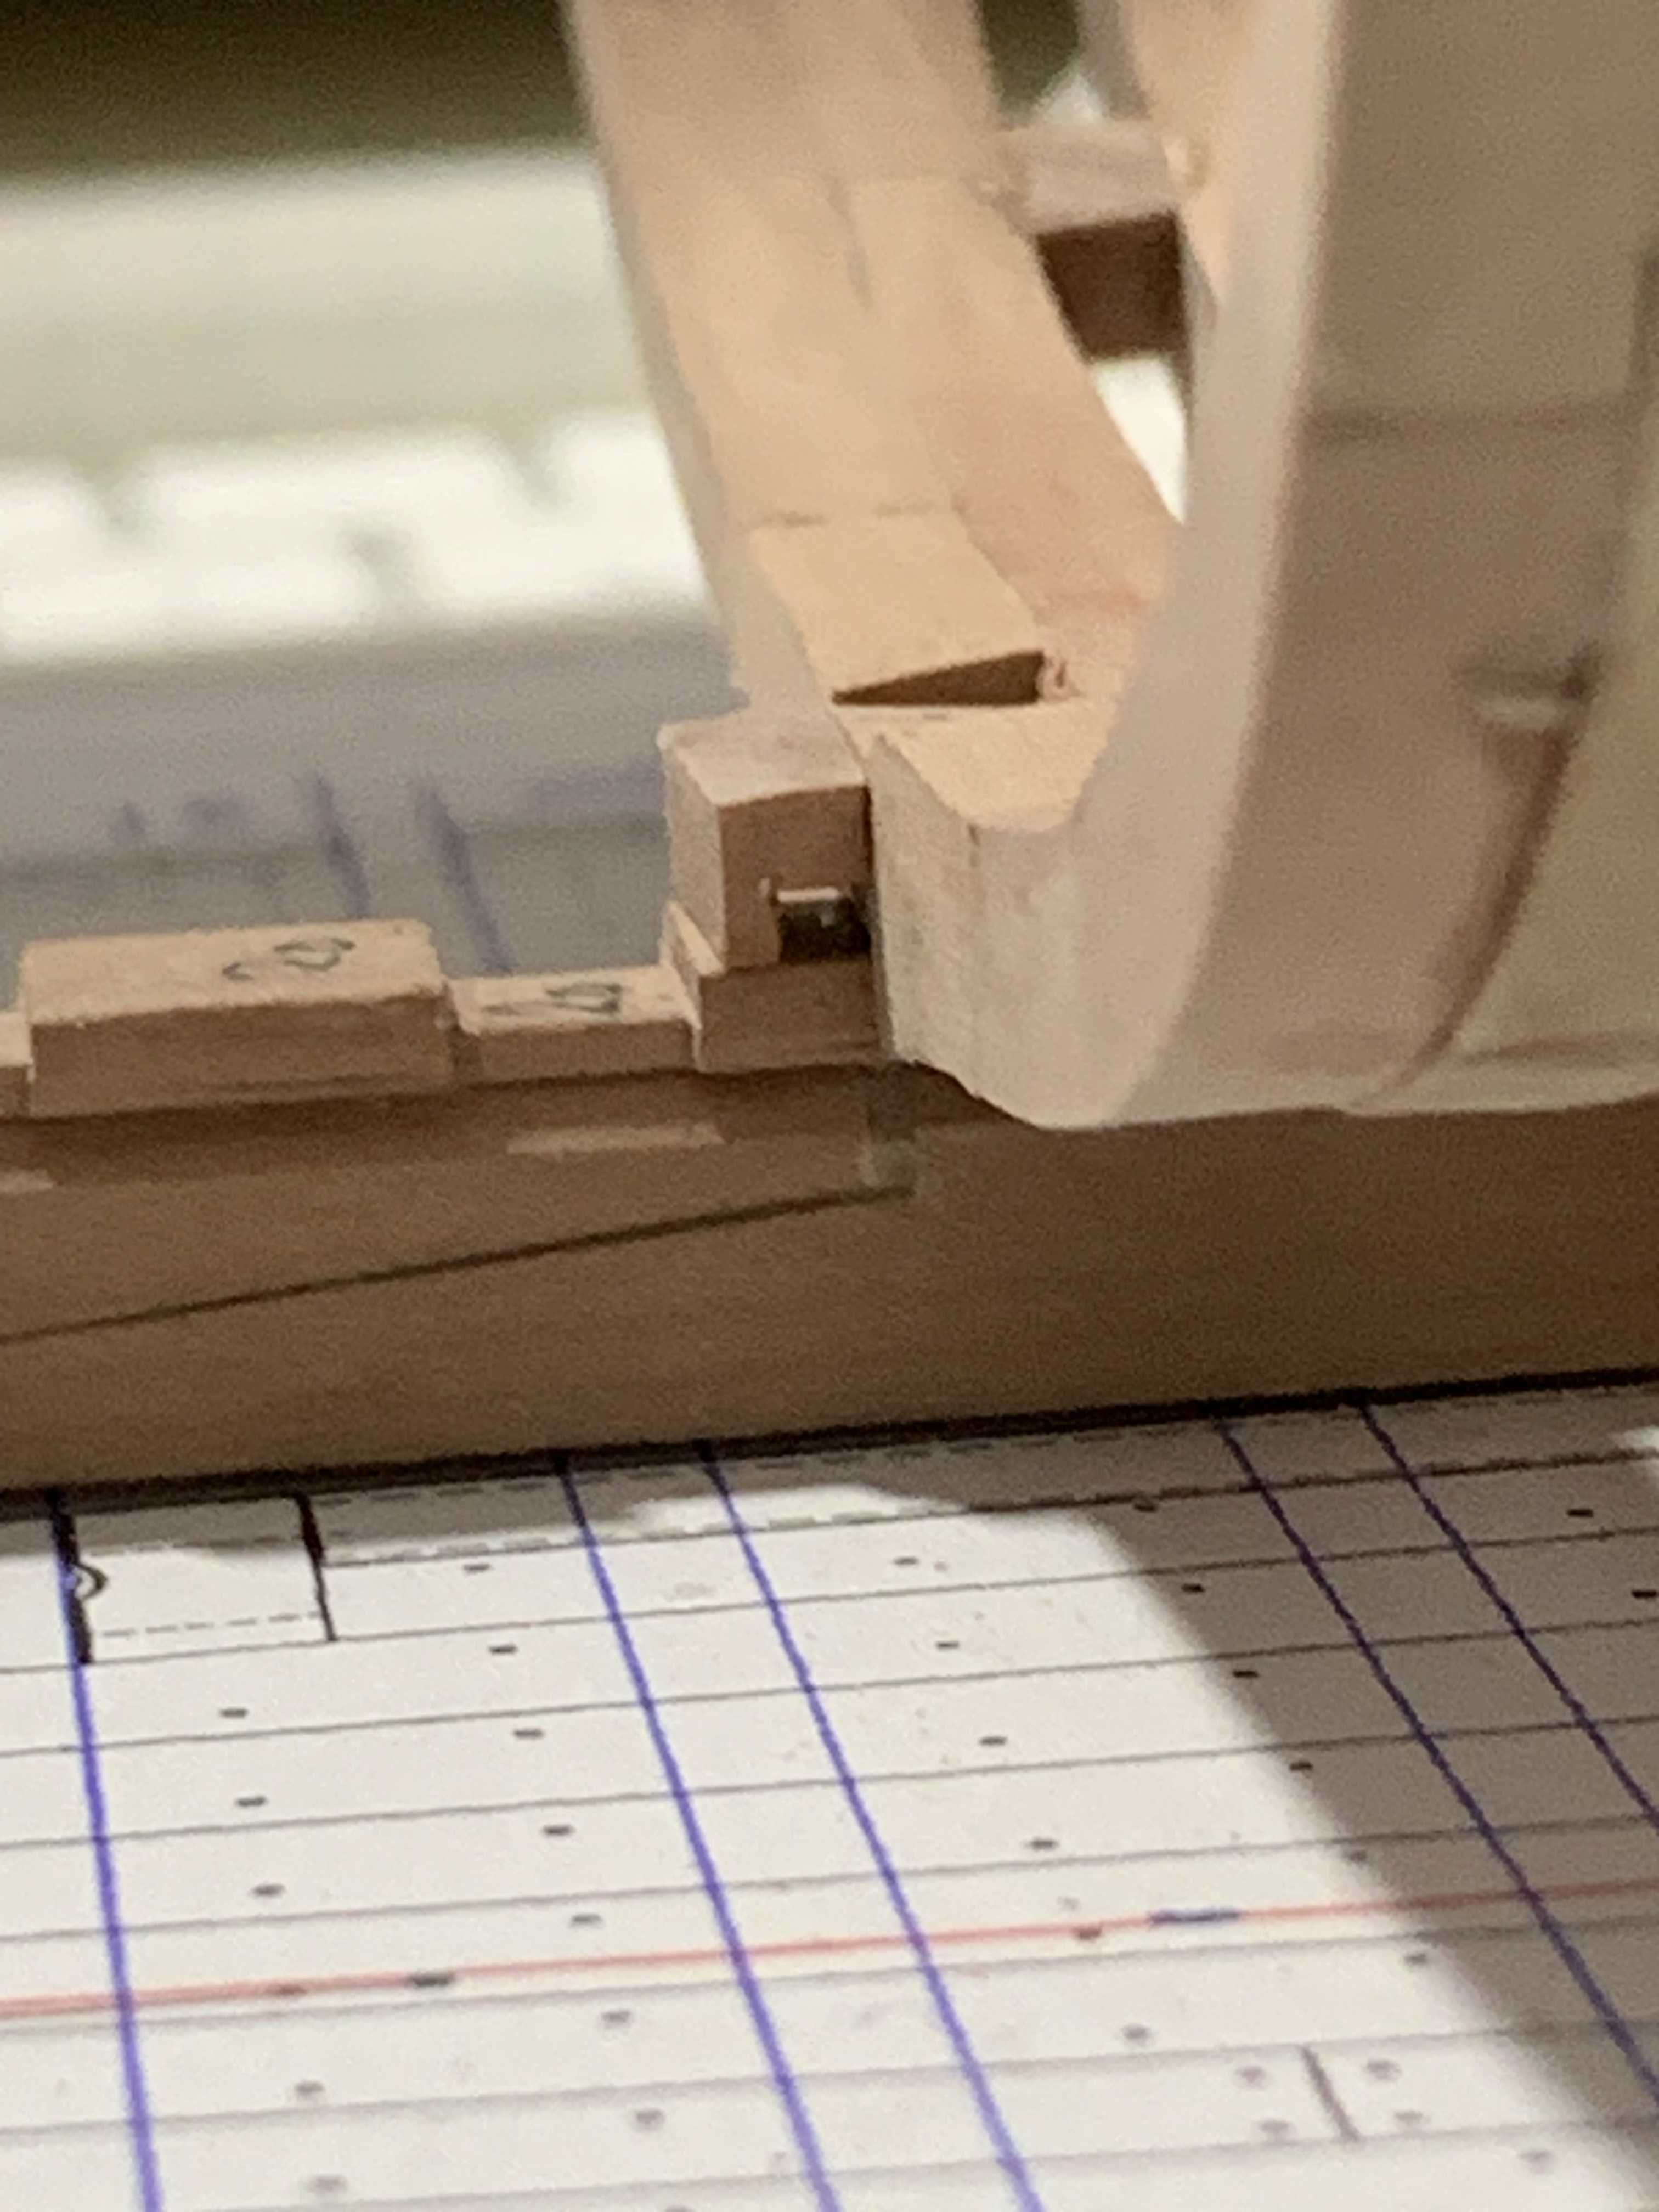
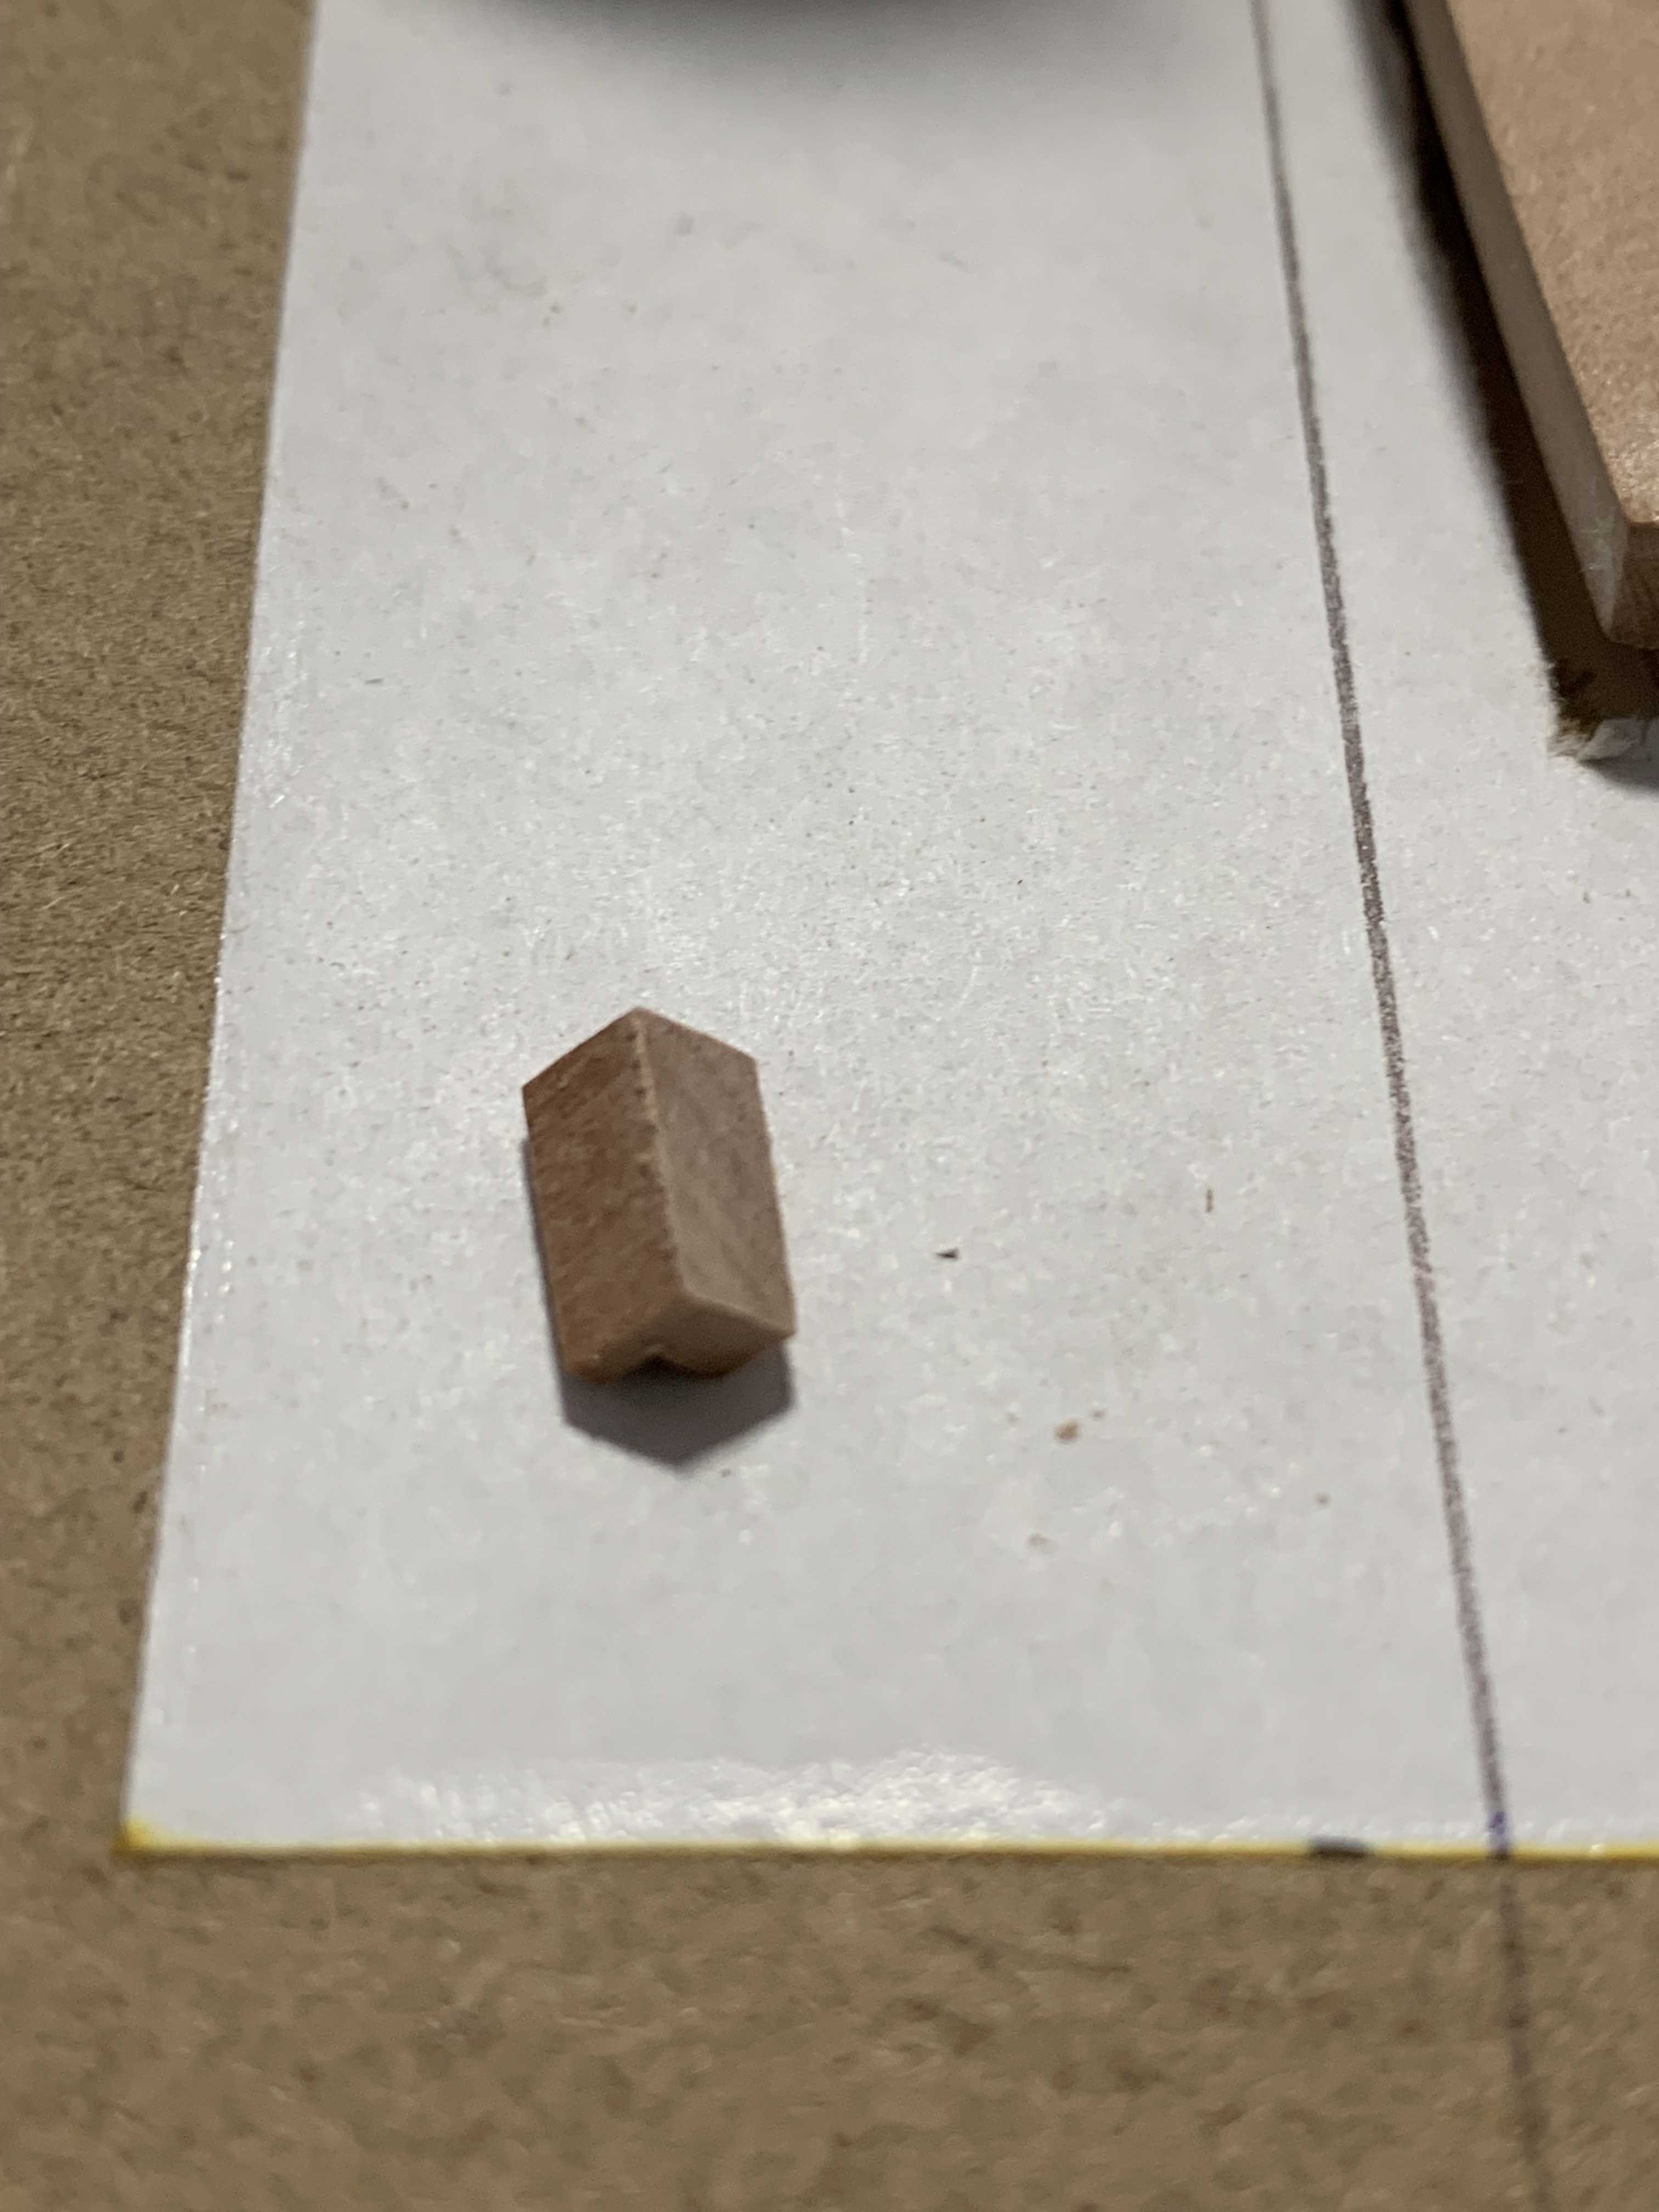
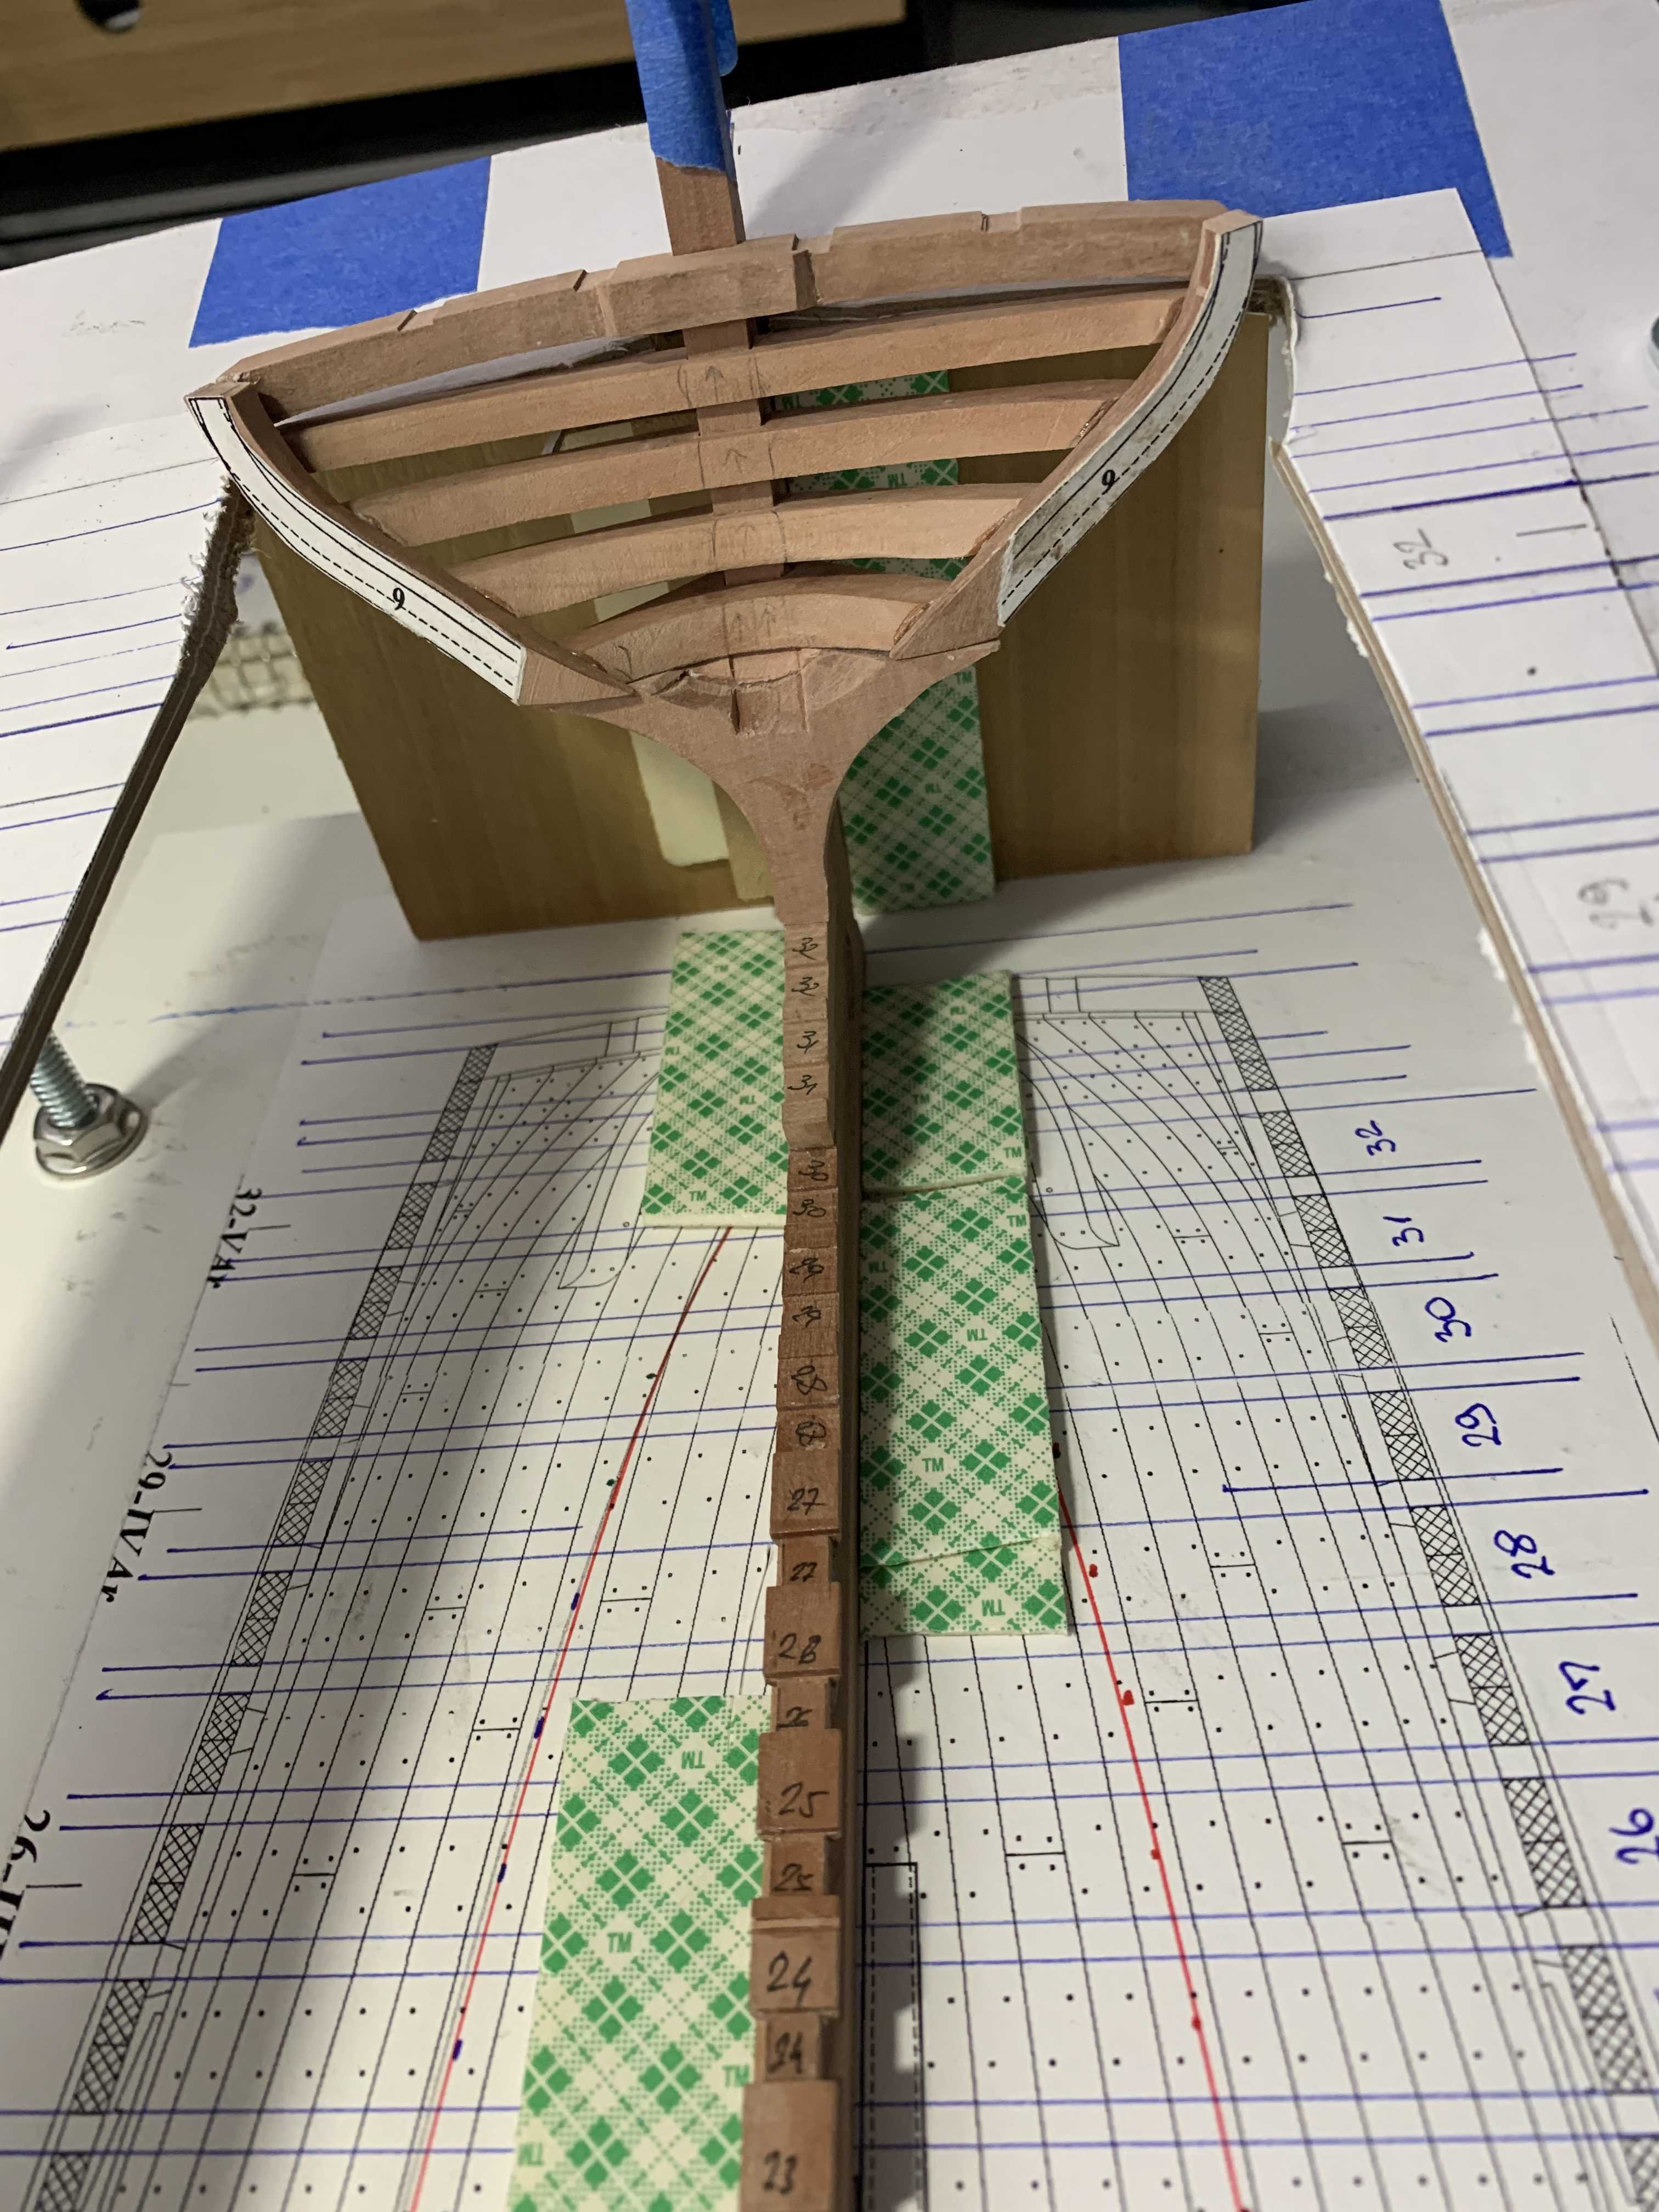
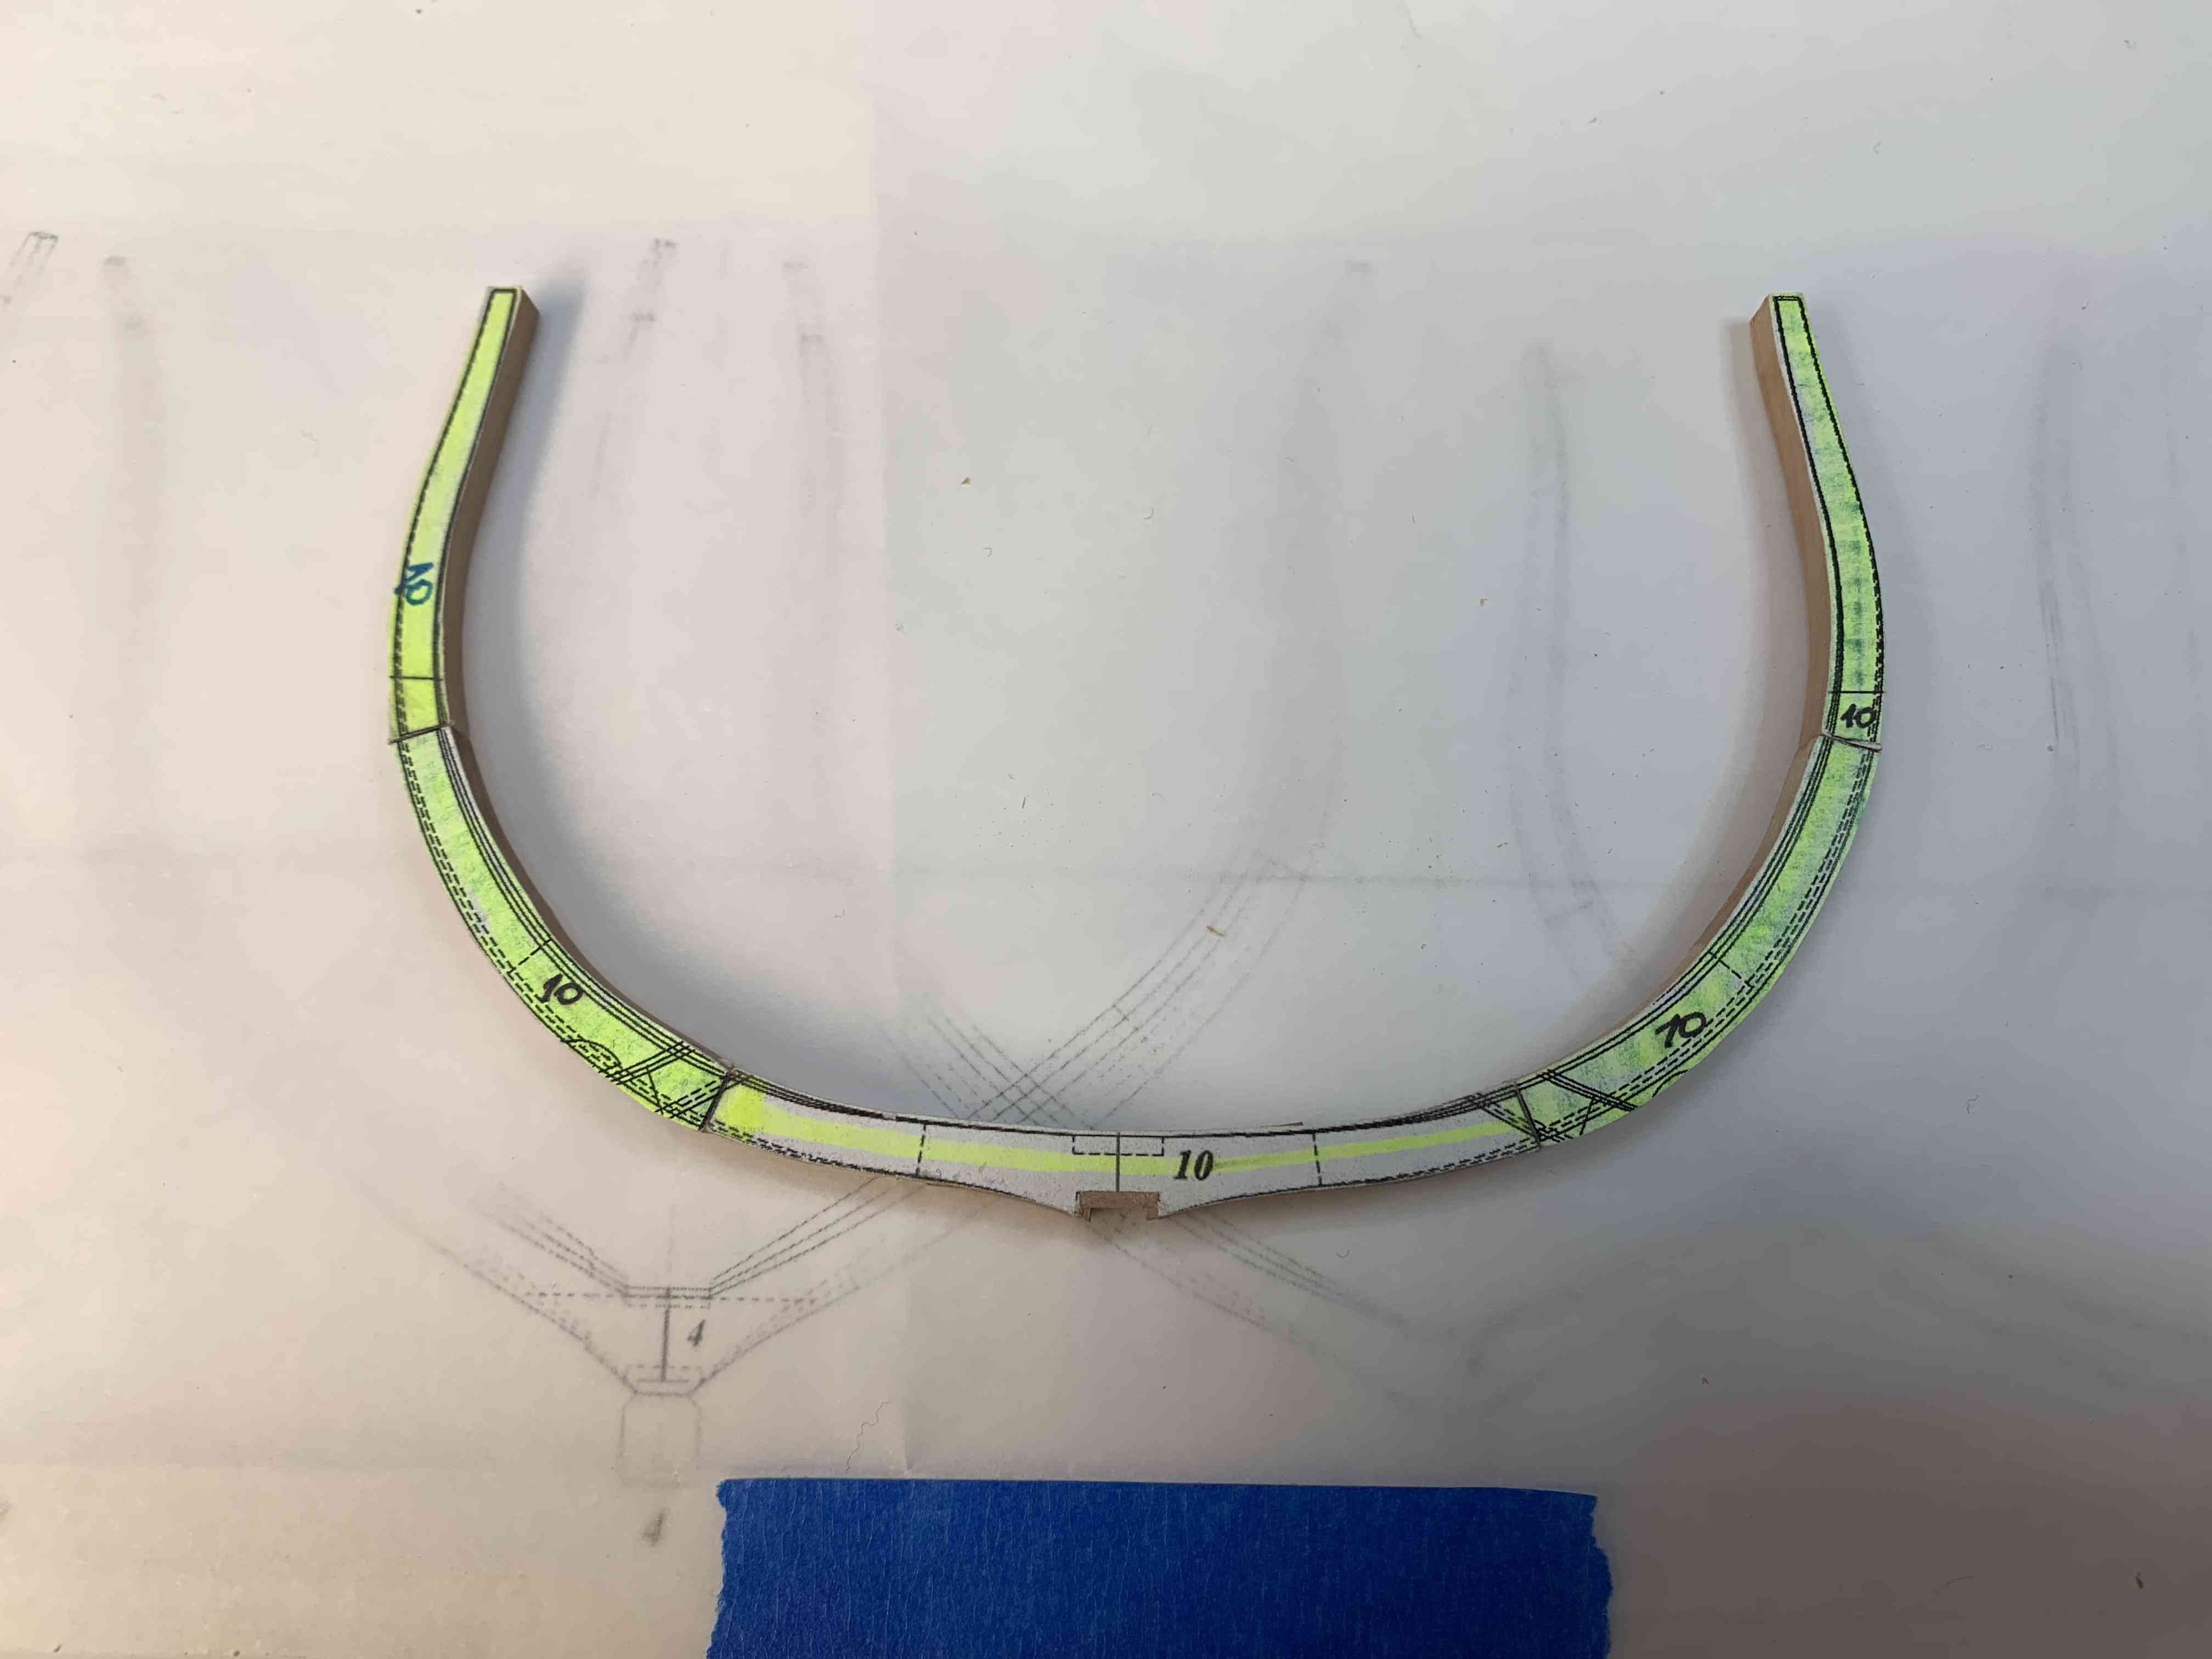
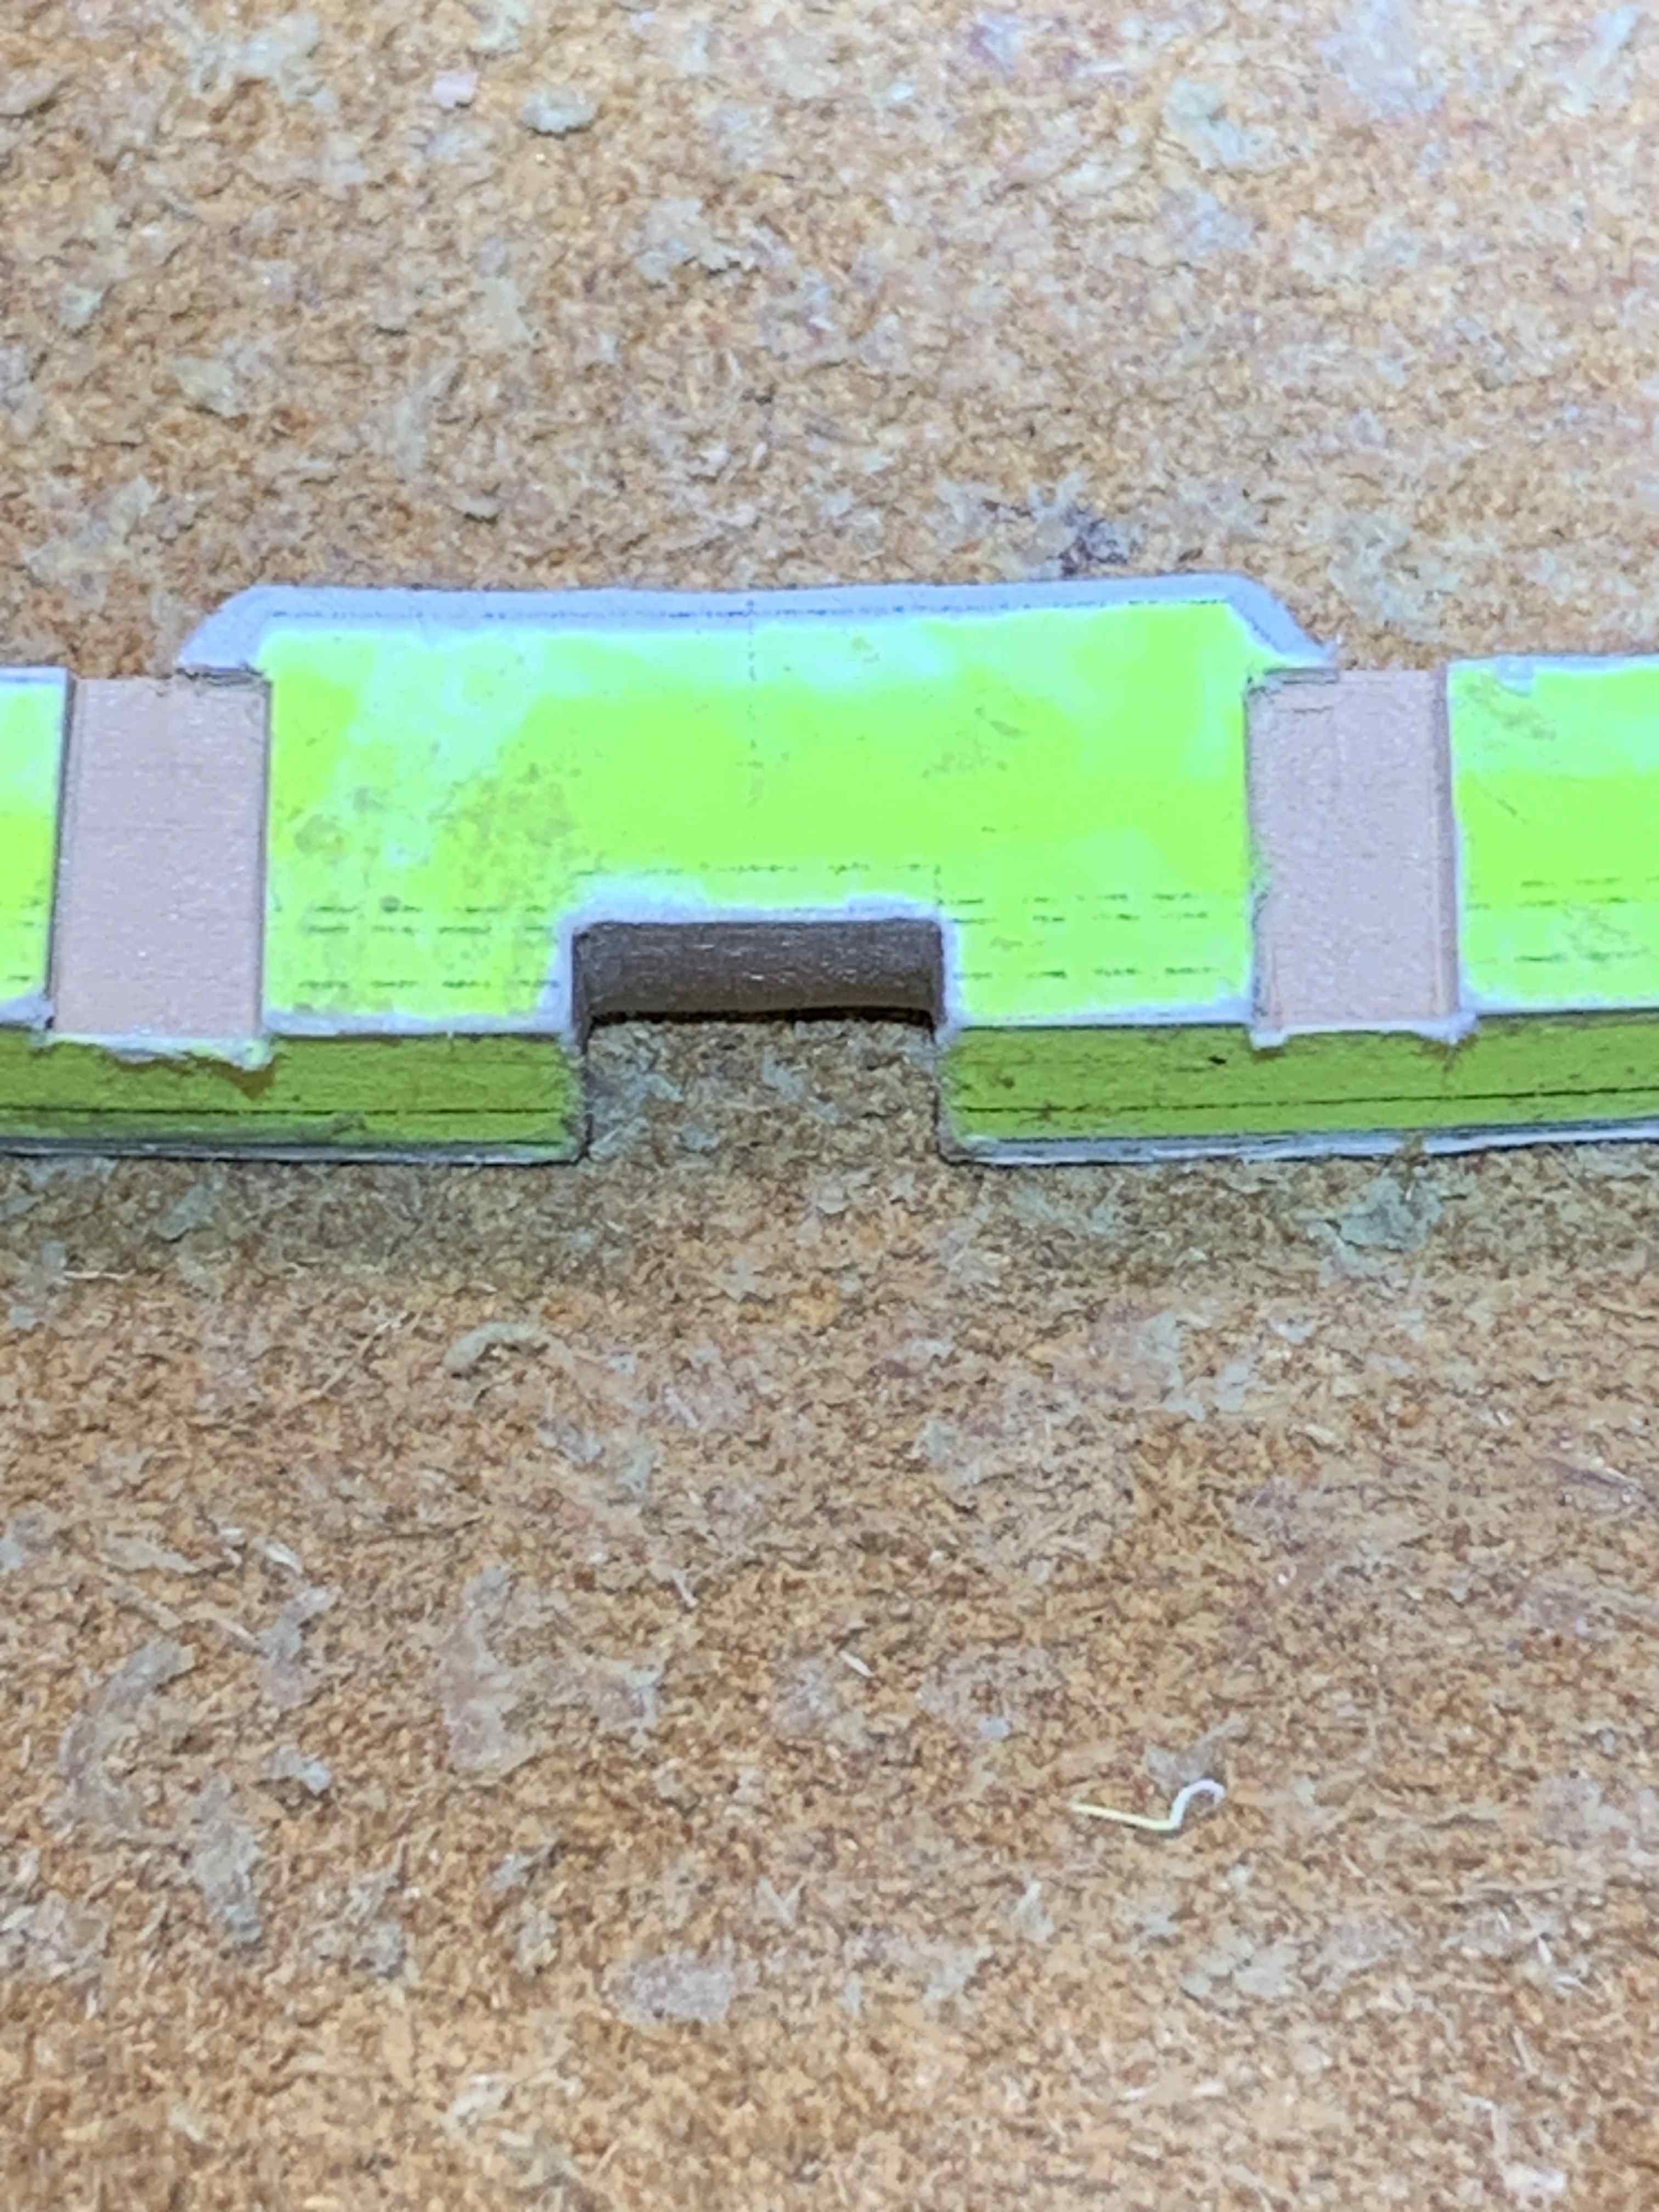
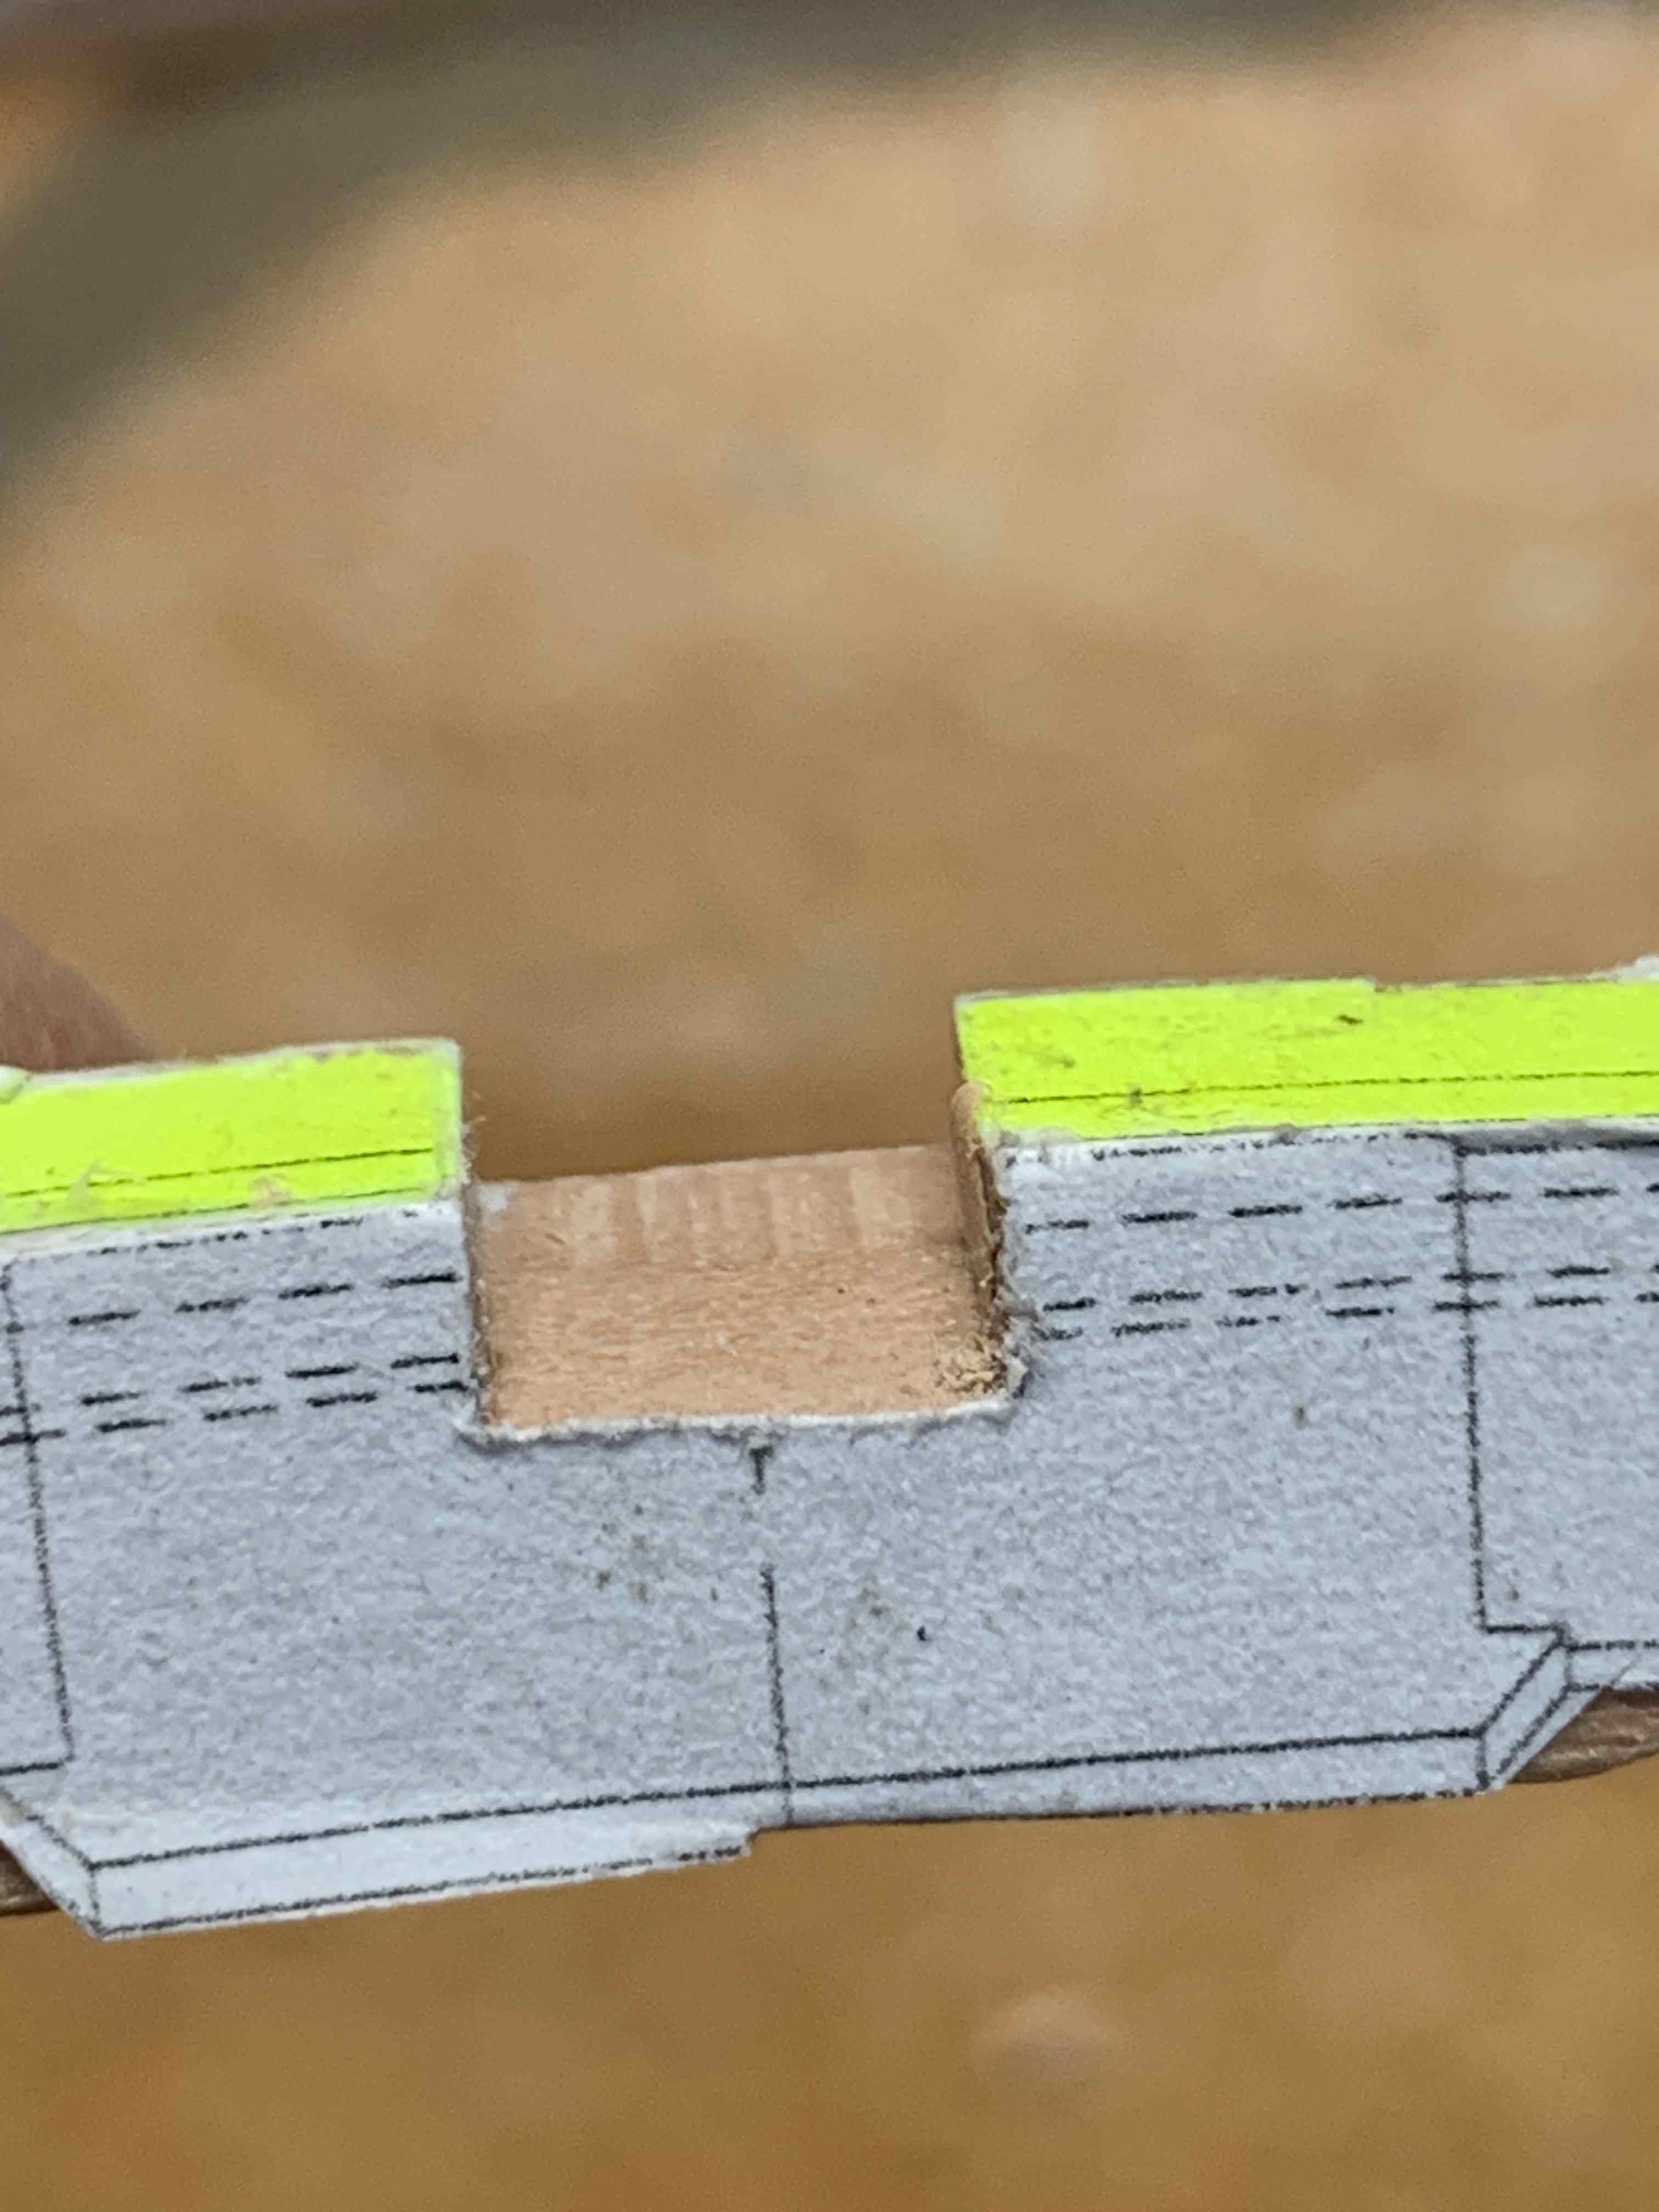
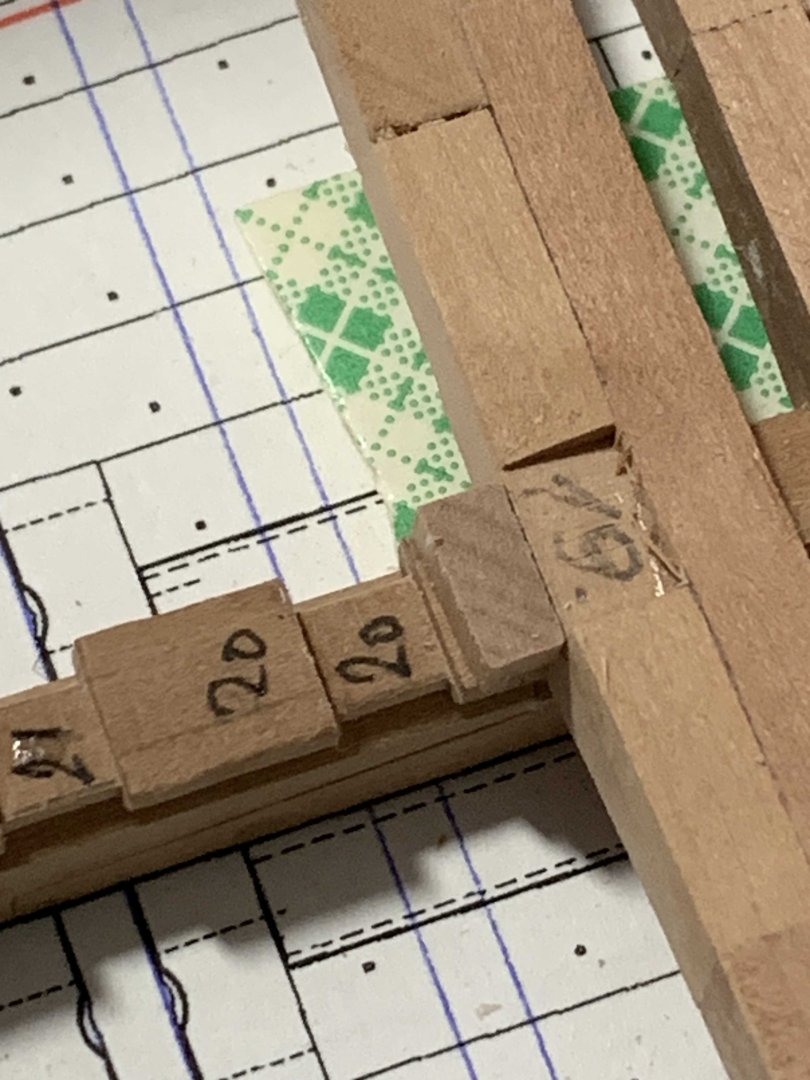
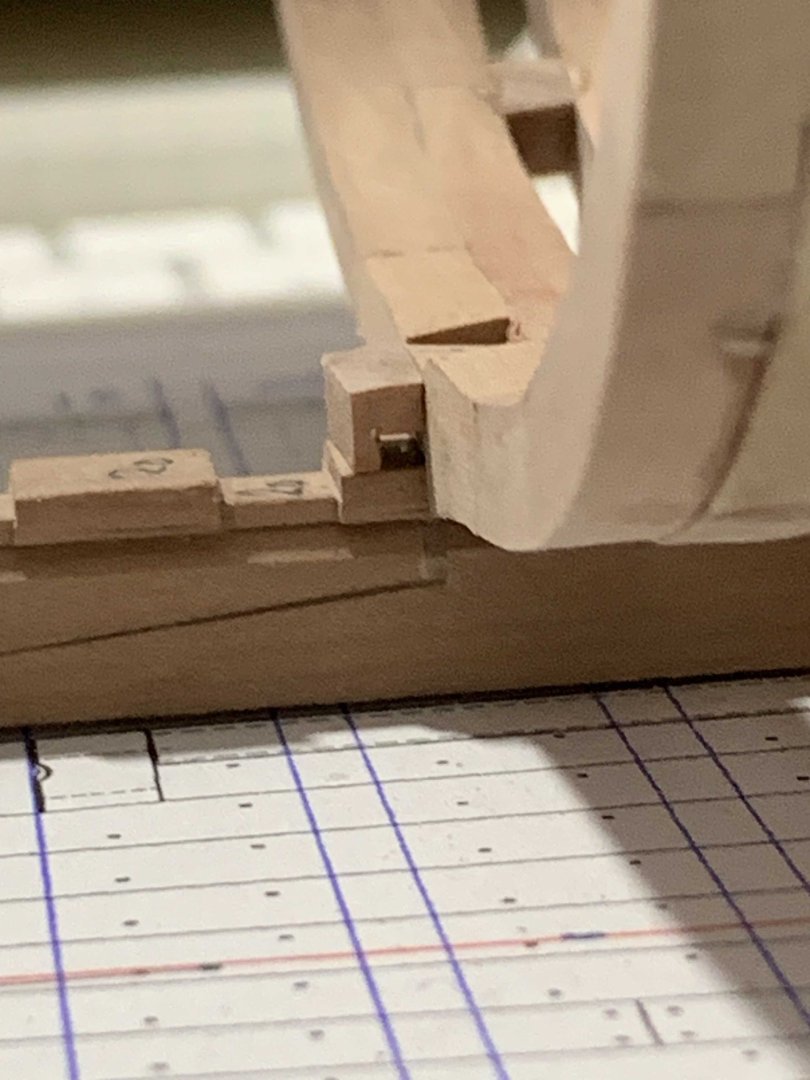
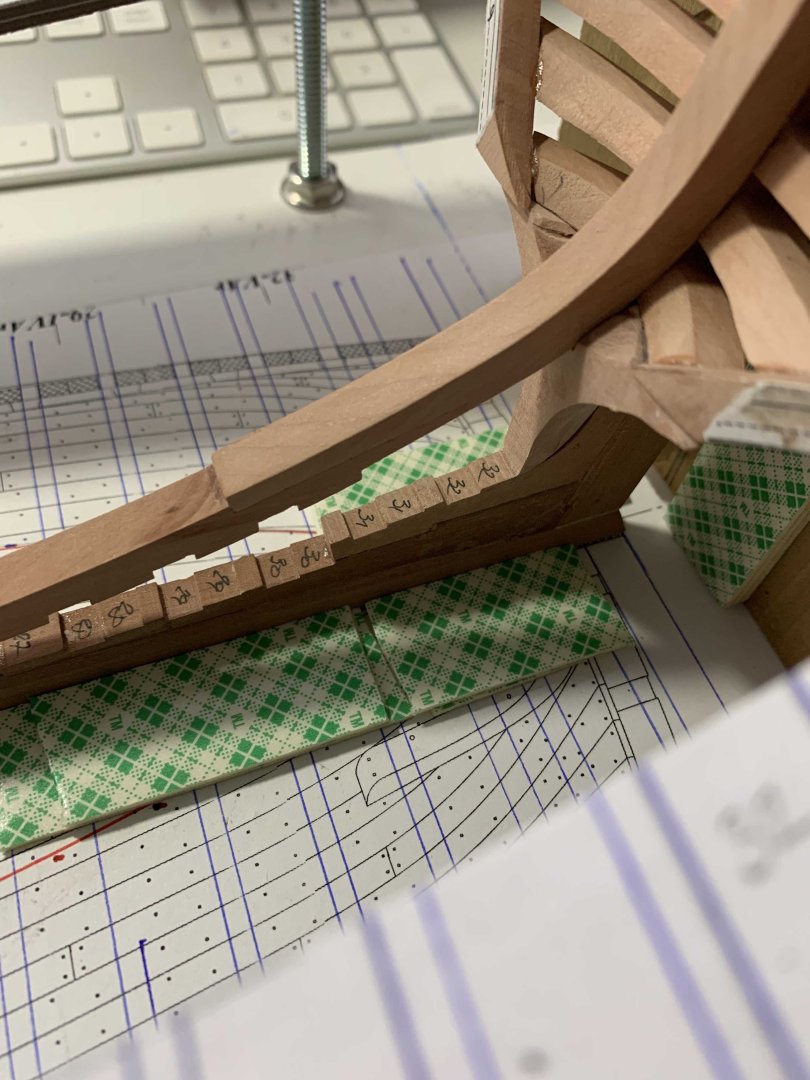
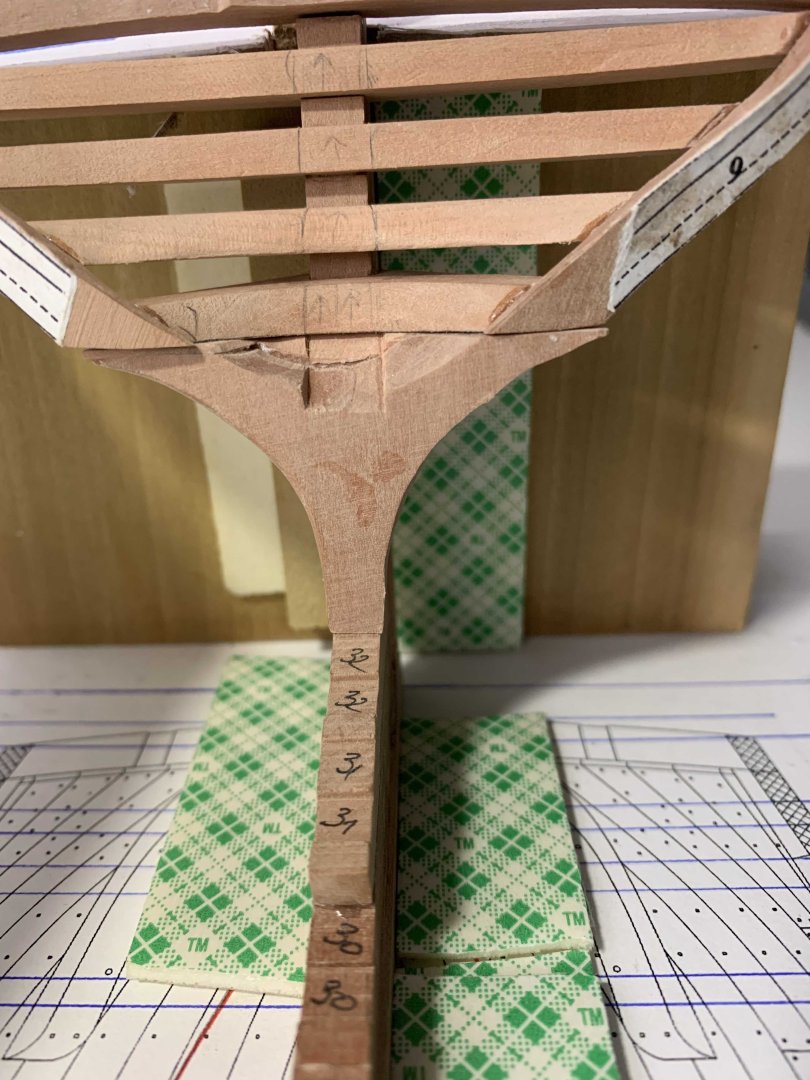
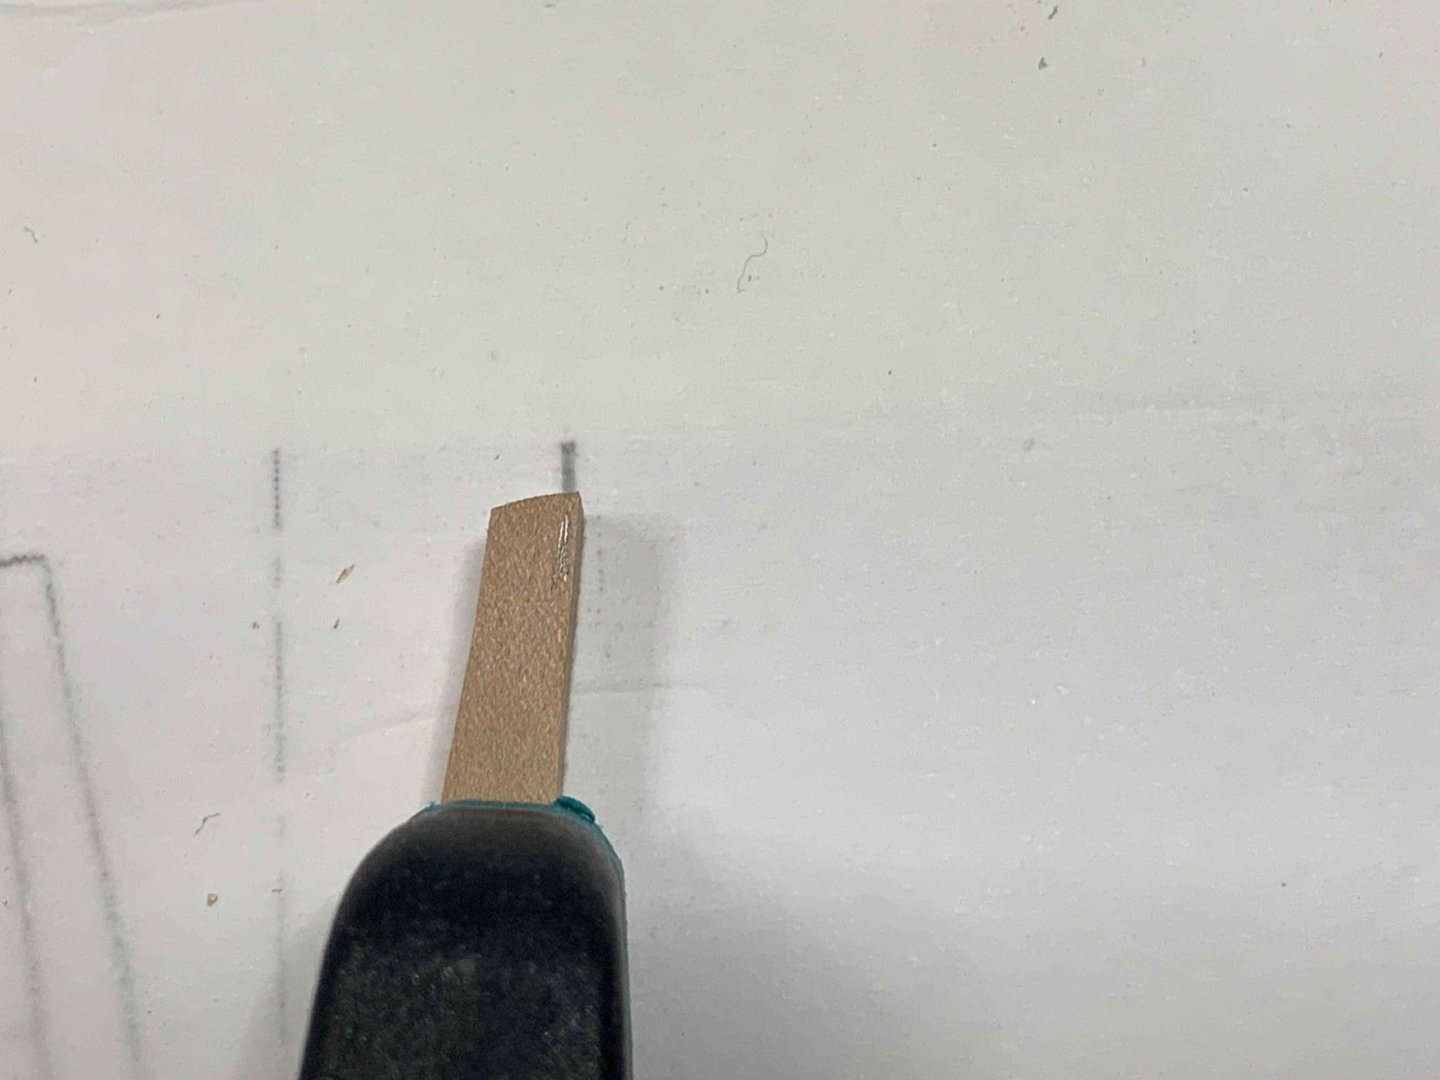
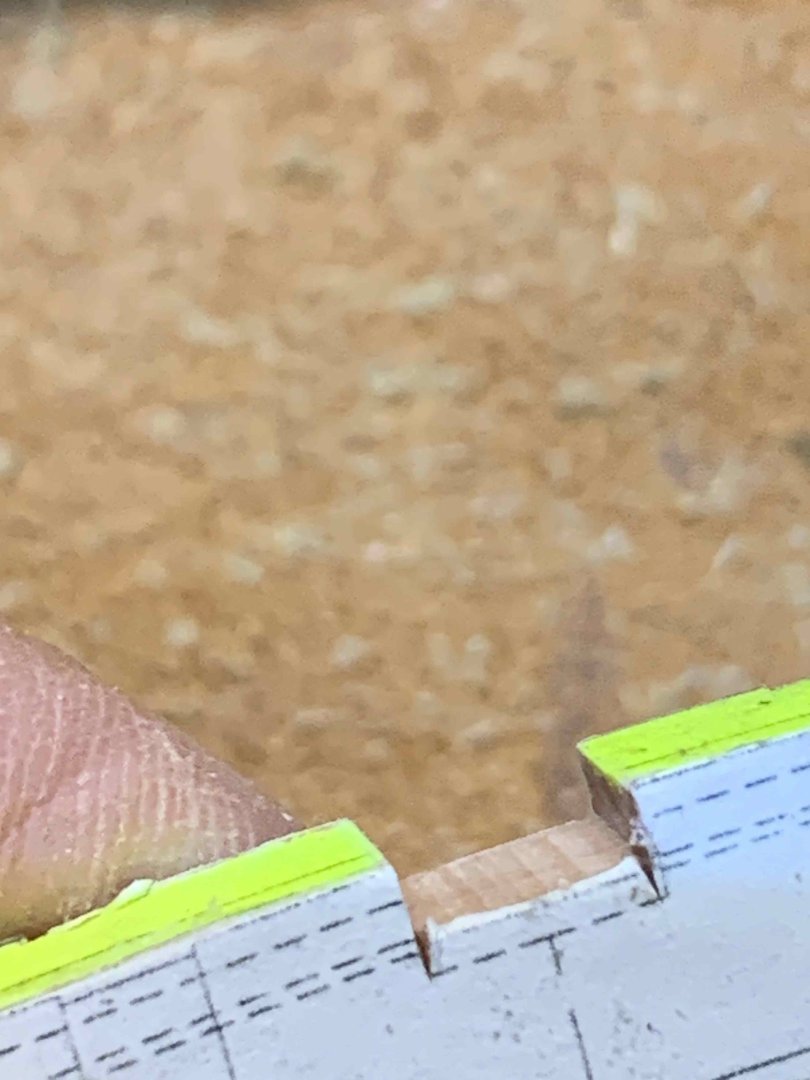
Once frame is roughly shaped/sanded, pilling off template was very easy with a little help of a water to soften the glue... Rising wood filling piece was also made and installed on the keel.. Does not quite fit properly so replacement will be made but the main concept is the same.. Floor timber chocks also assembled... Frame assembly progress.... hardly waiting for a final sanding to give it a nice shape... Main supervisor arrived after spending Christmas break... Happy modelling..


-
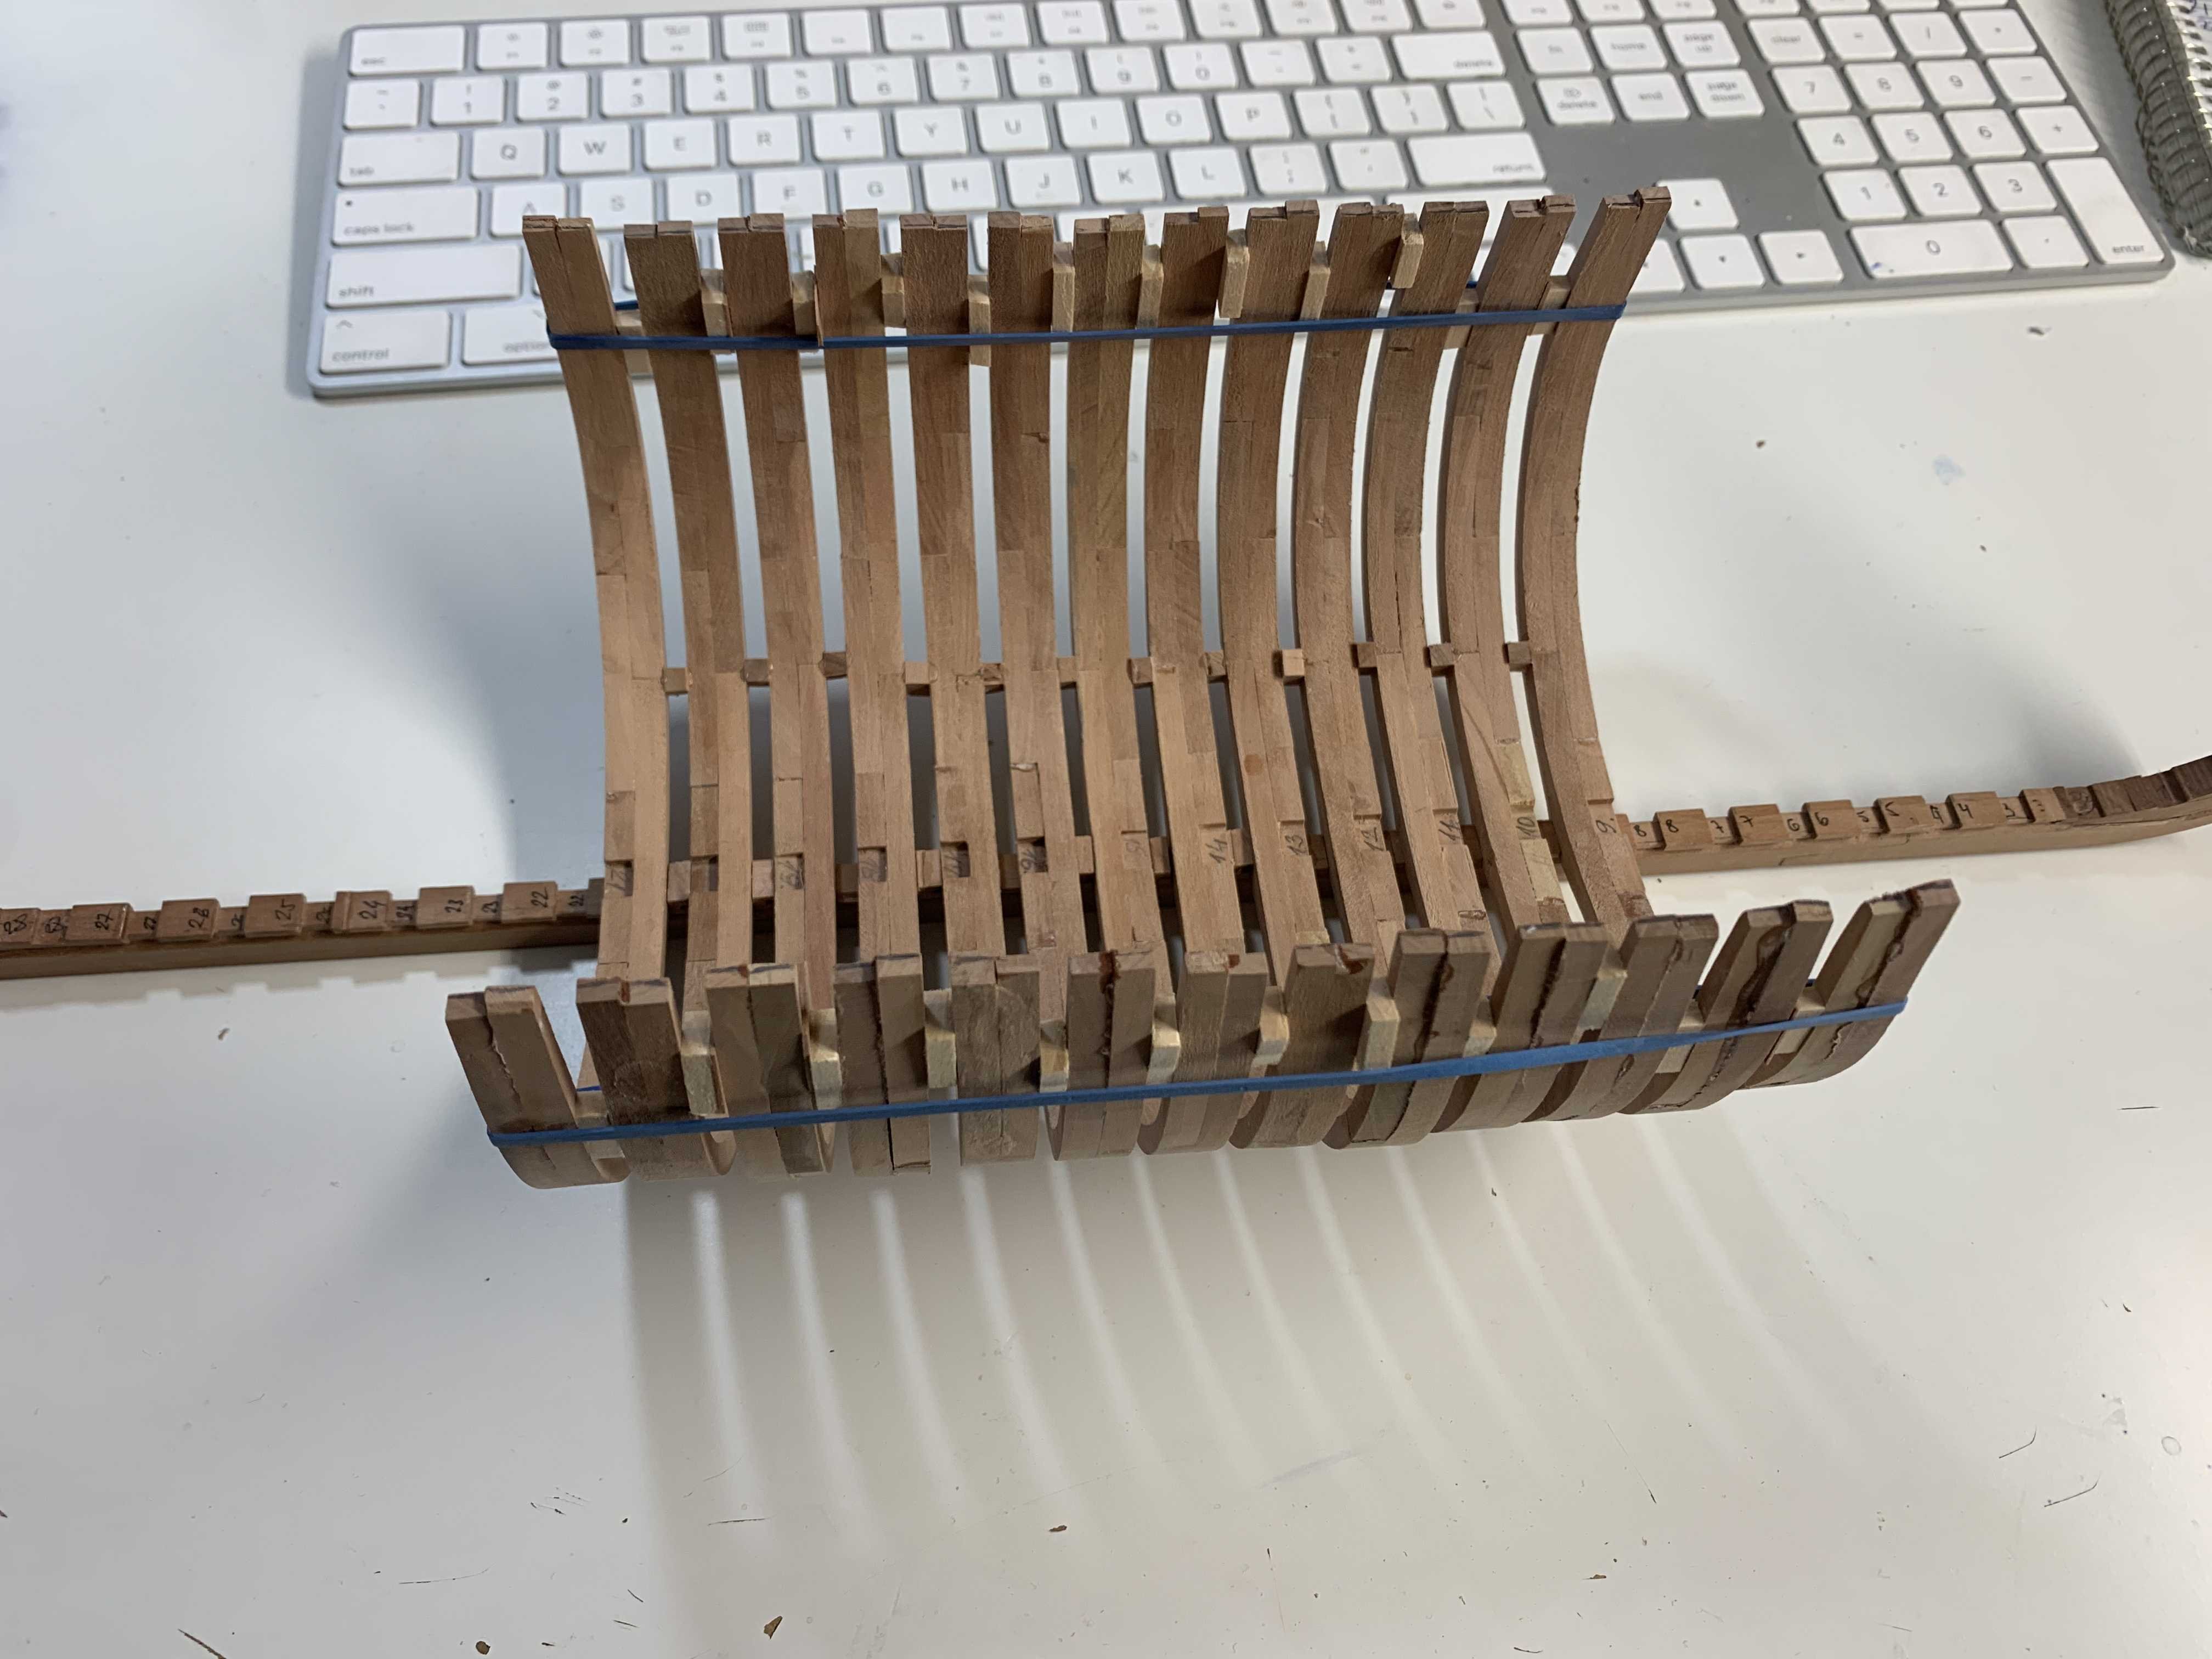
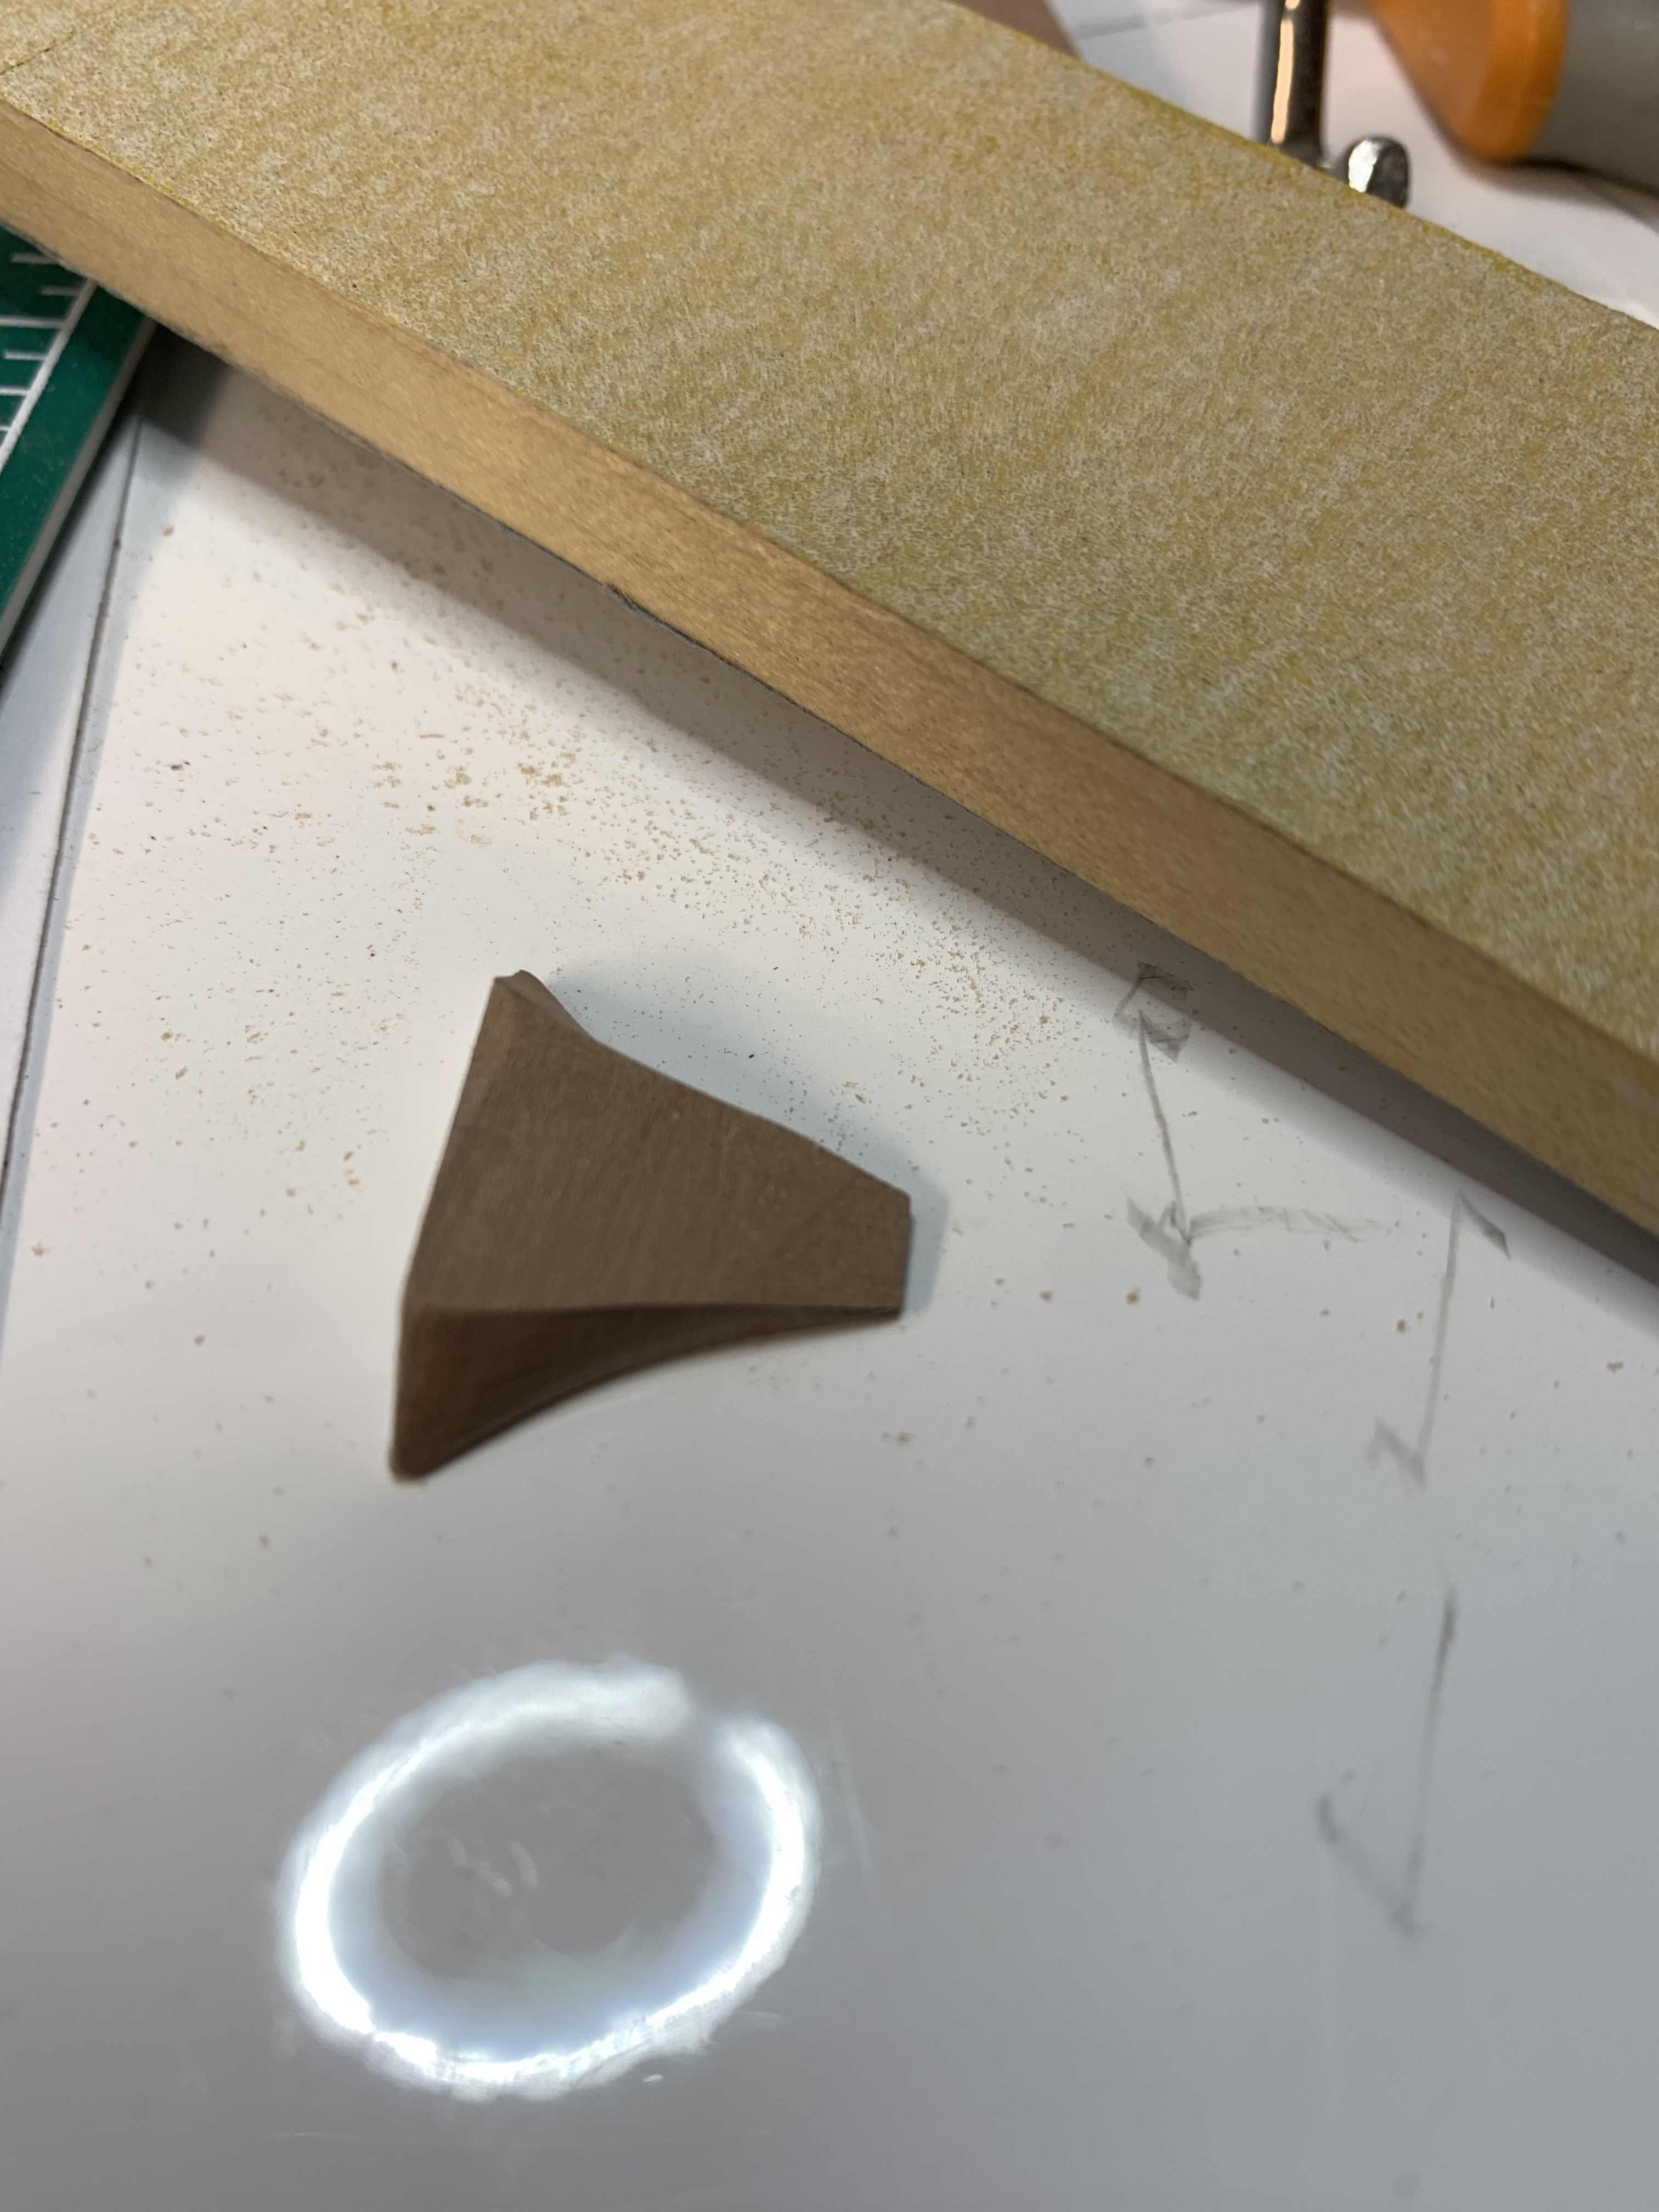
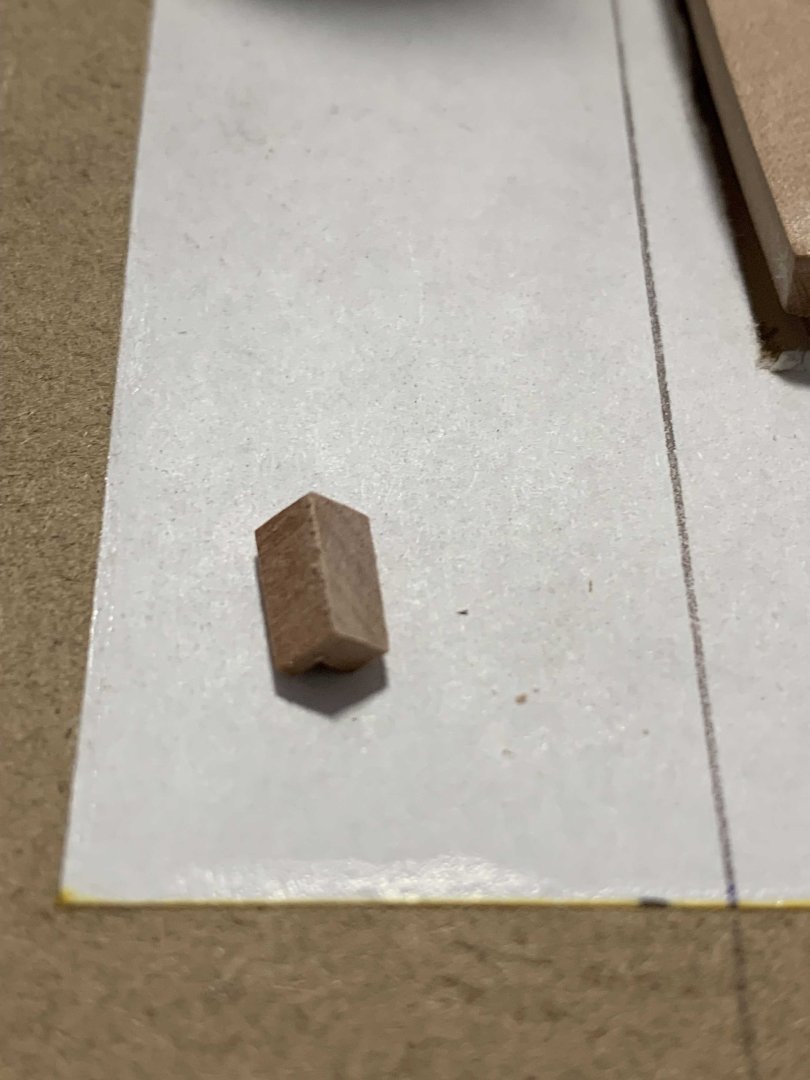
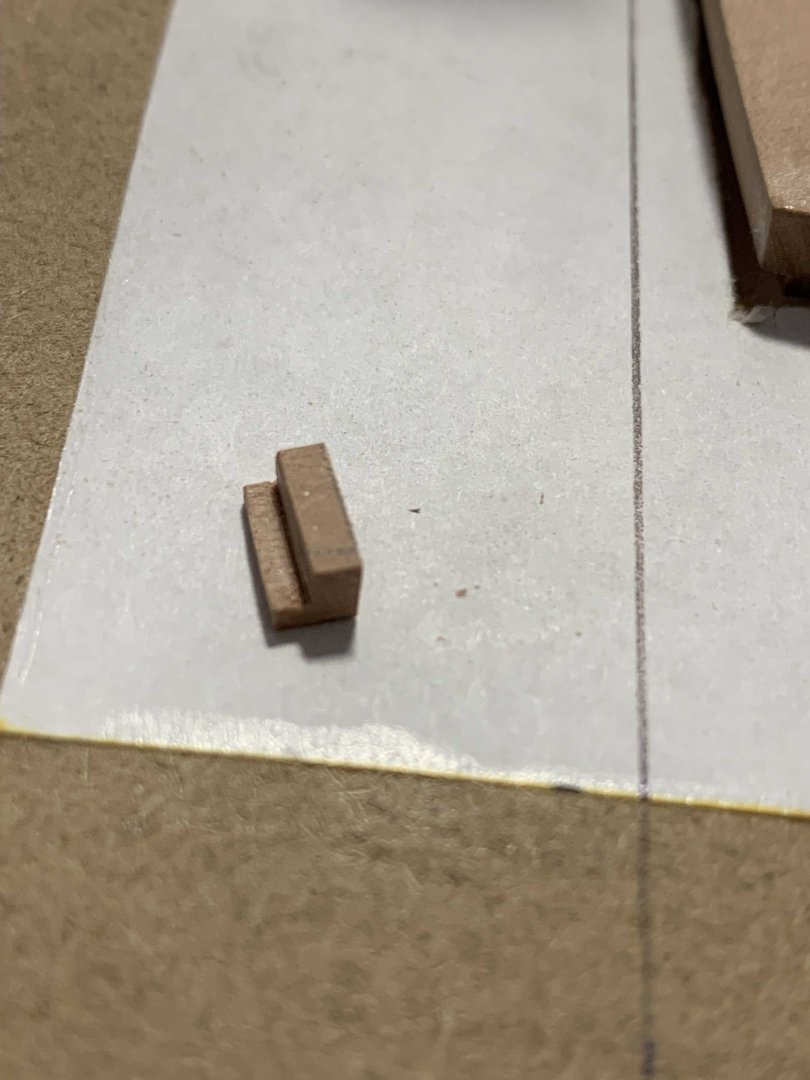
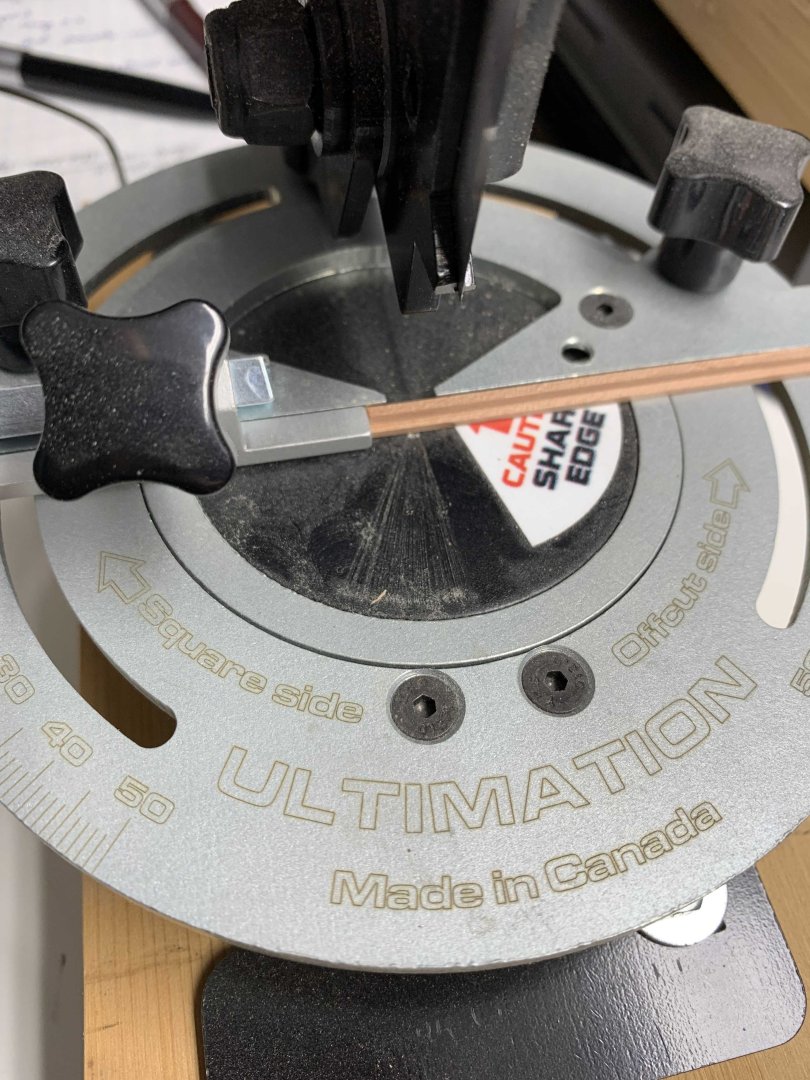
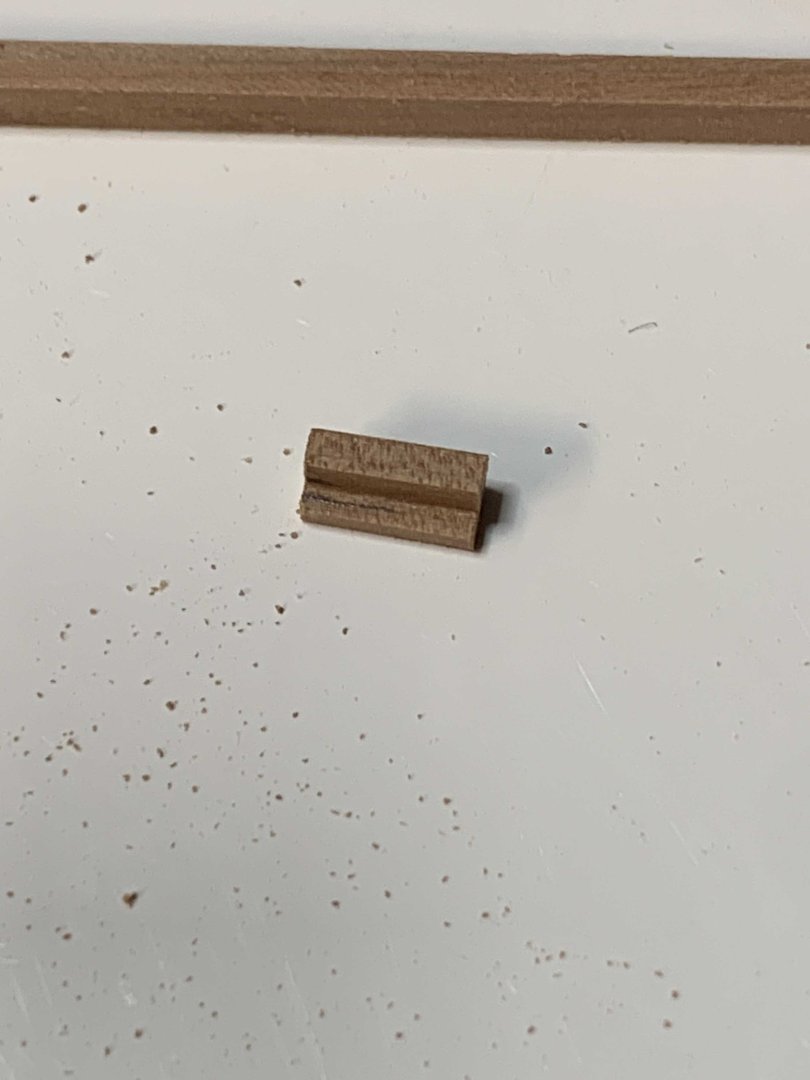
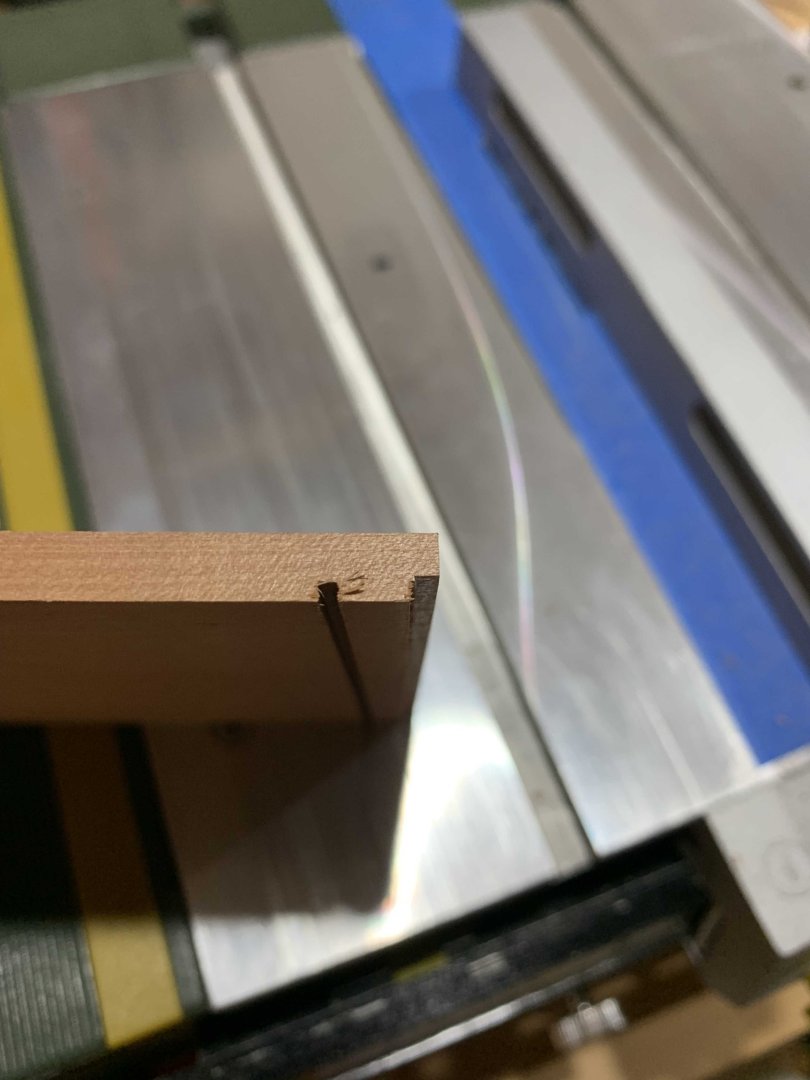
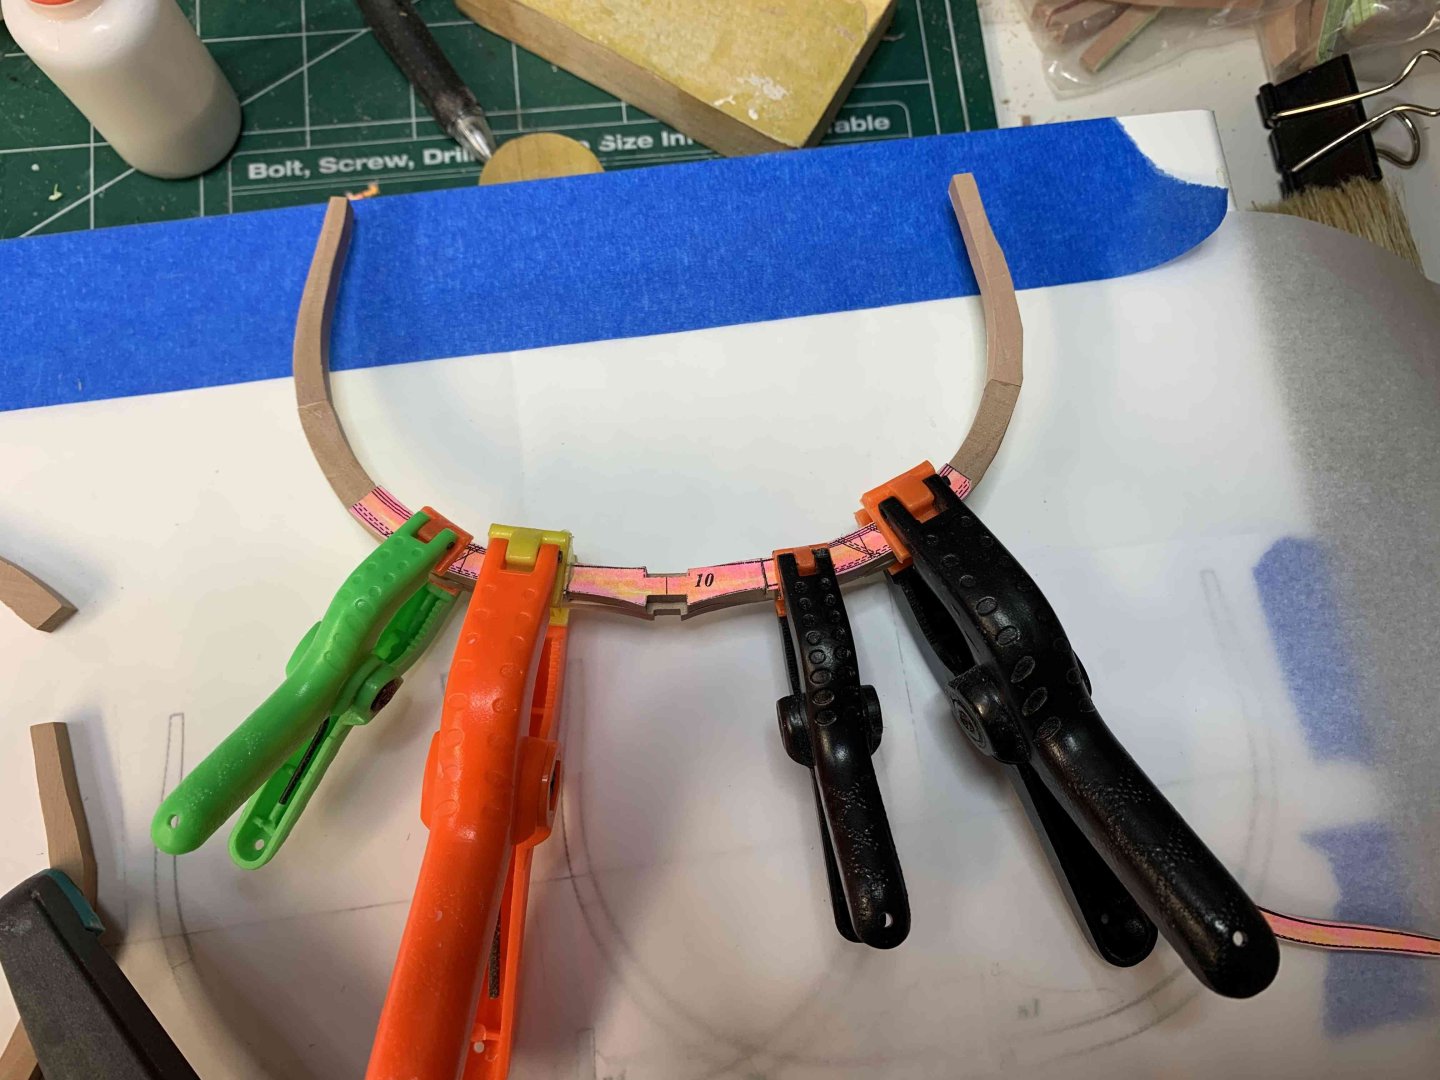
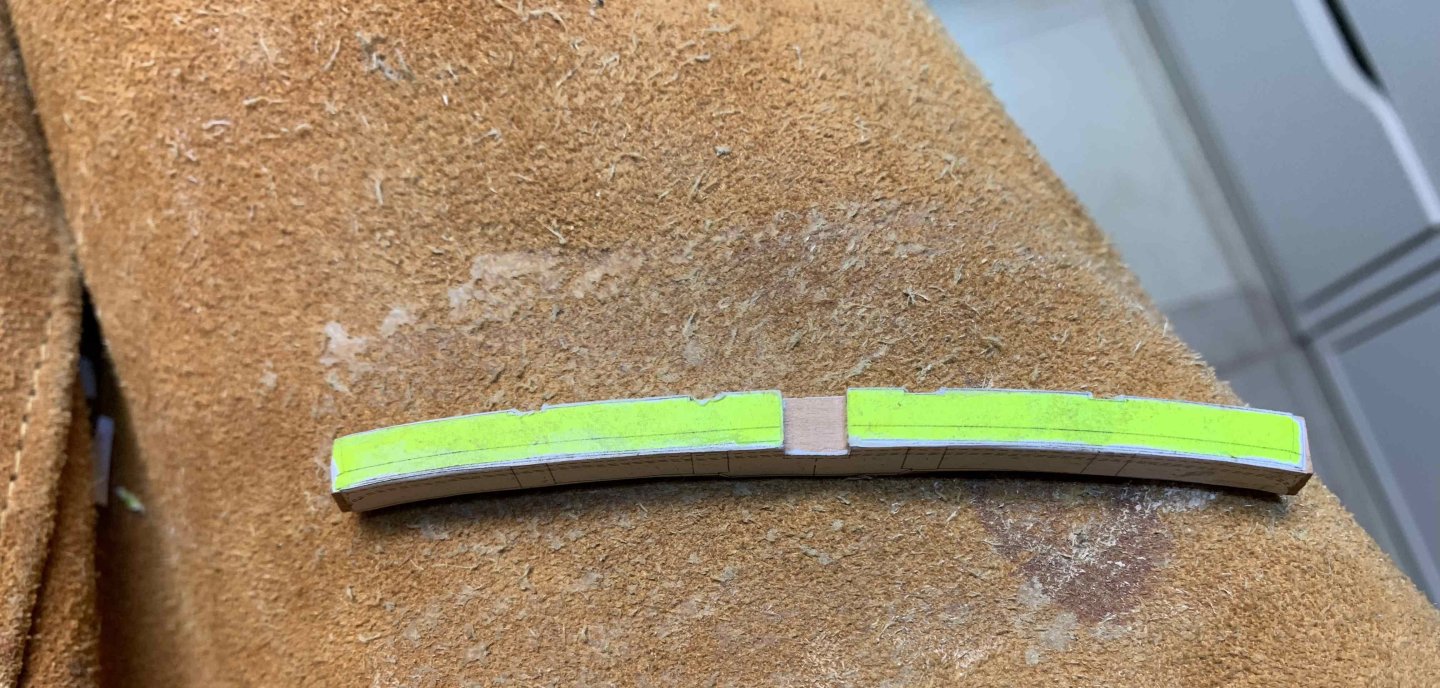
Rising wood filing pieces were made out of one long part, groove cut to the appropriate depth on Proxxon saw and 6.8mm length was cut on slicer. First pair of frames were put in place.. with rising wood filler piece in between. Happy modelling..

-
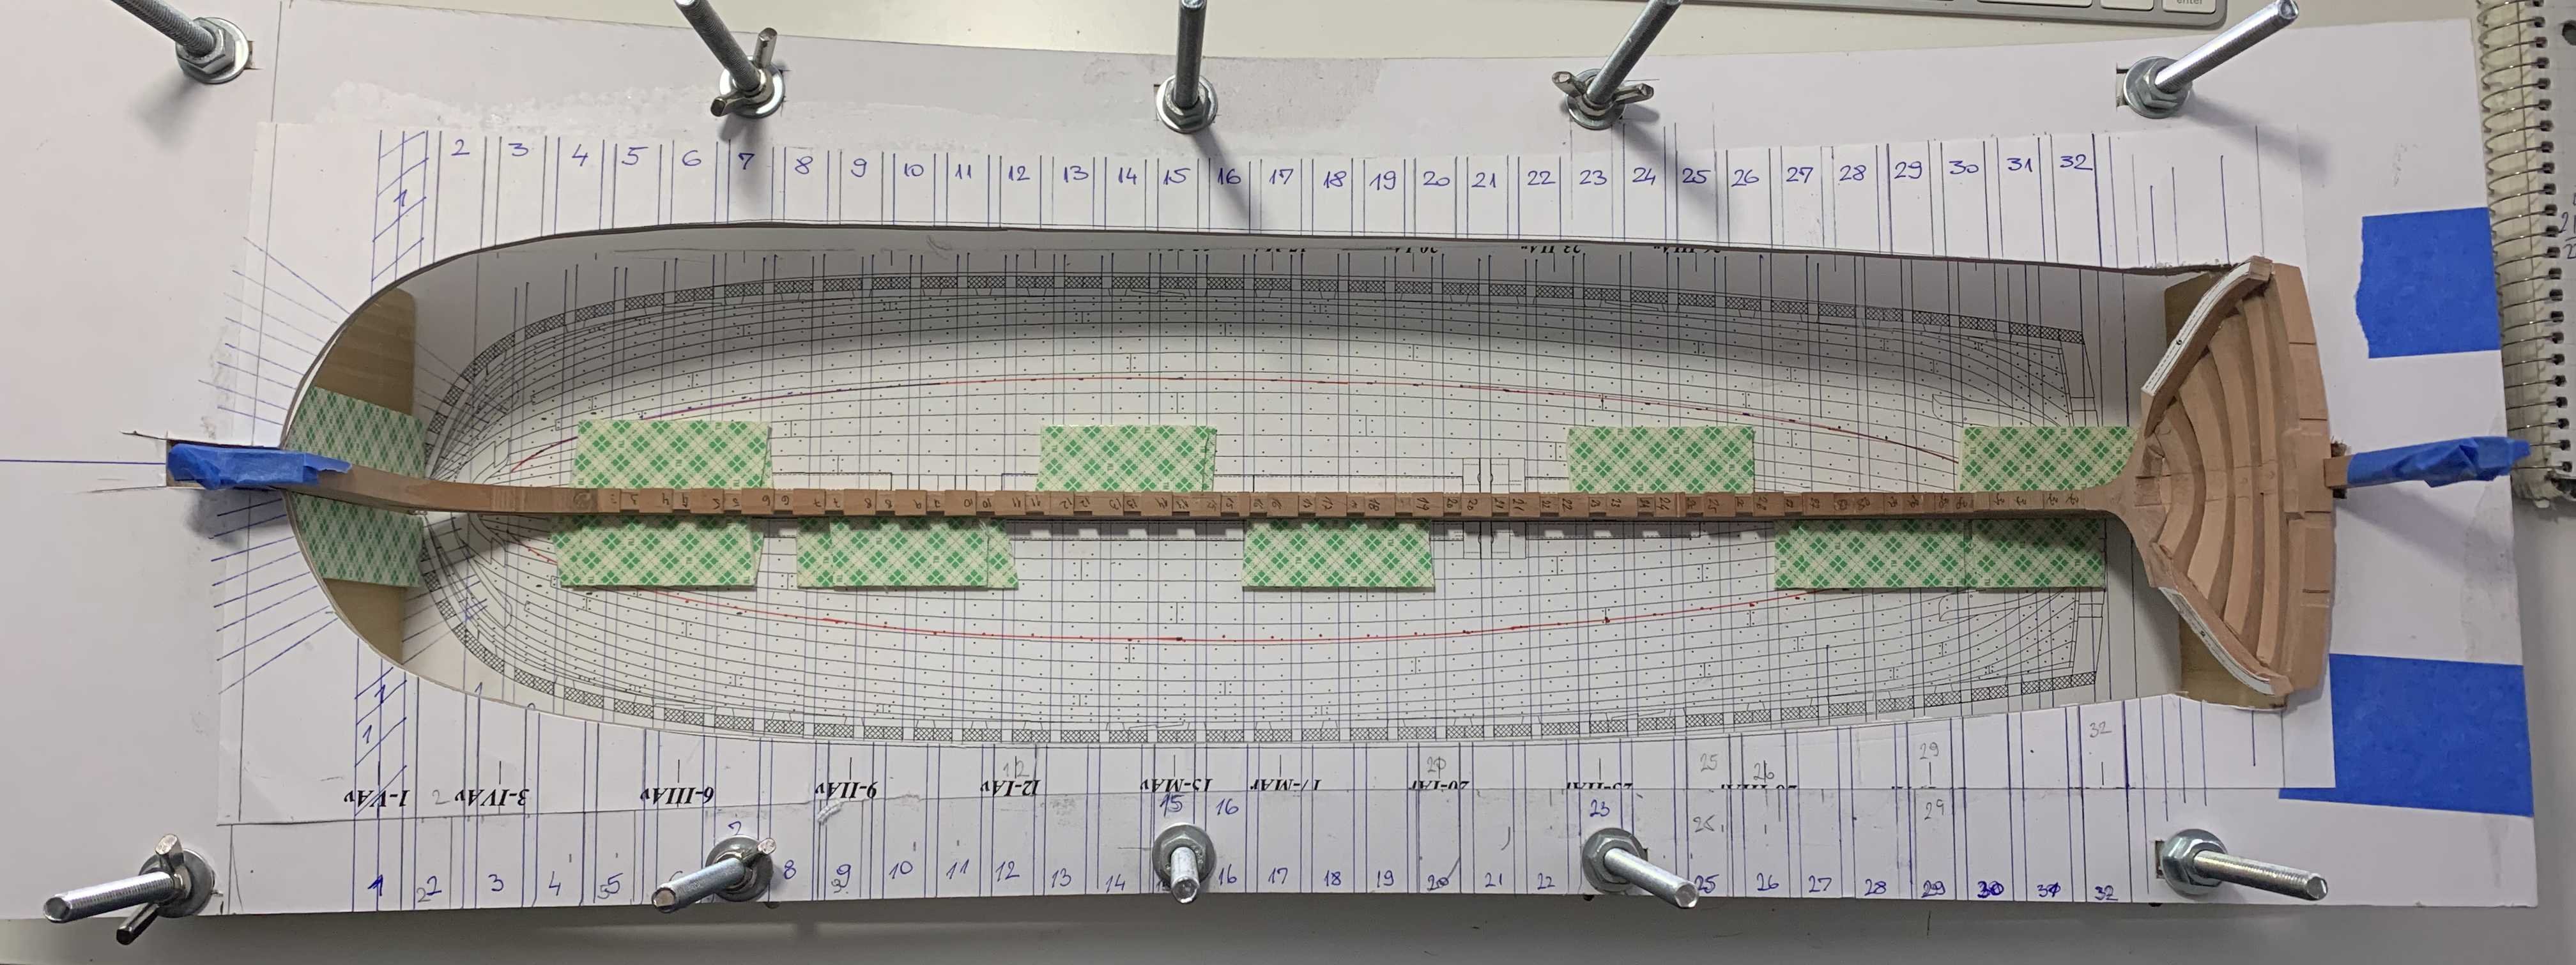
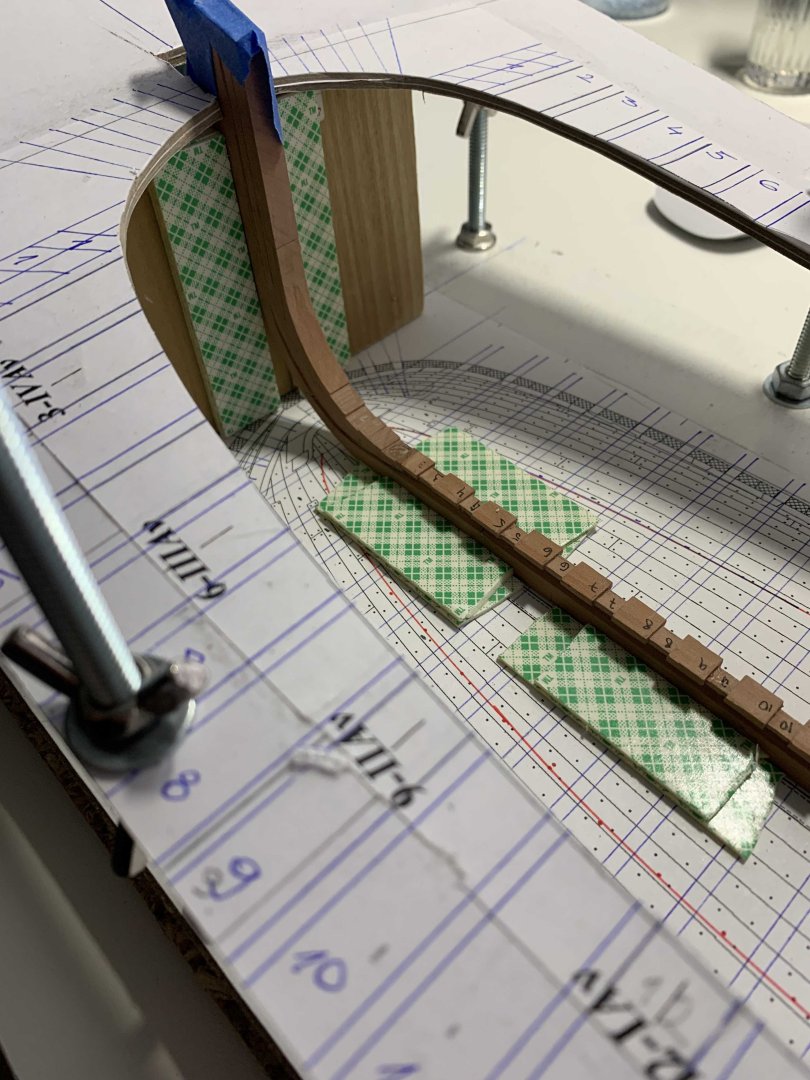
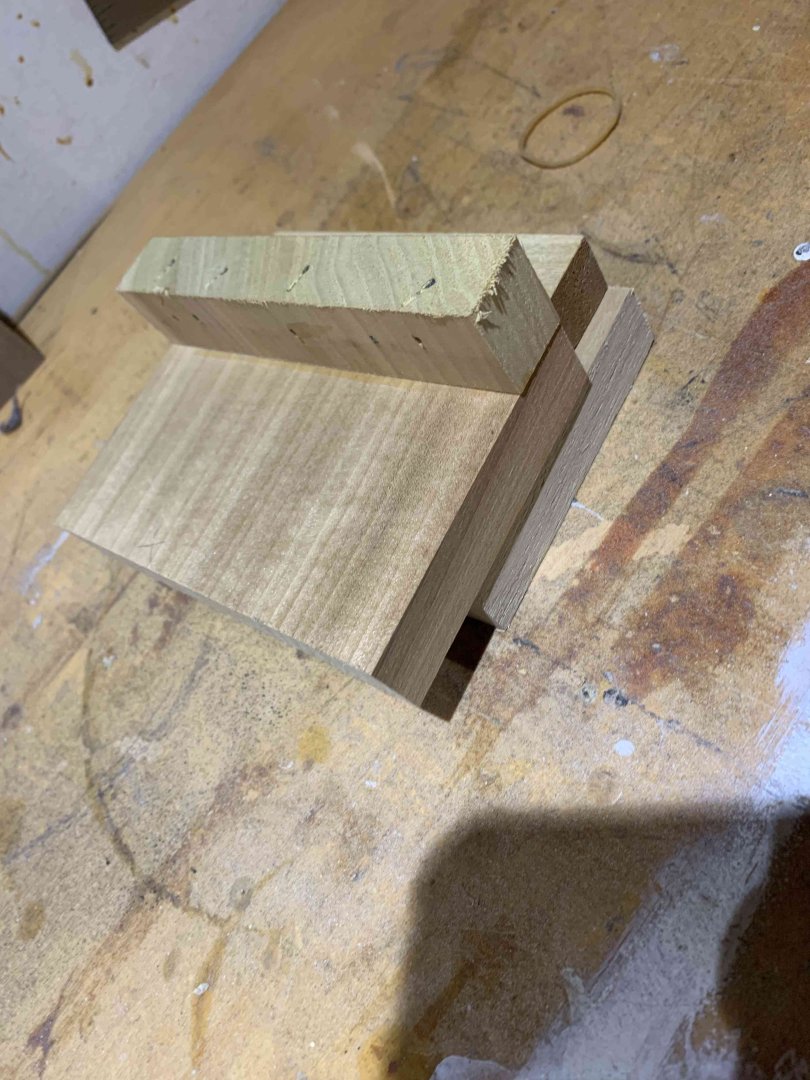
A little bit of a progress ... Created (updated) building board a bit, decided to use double-tape to hold the keel in place; so far works ok.. Lego parts were returned to the original owner after huge fight and lots off tears and replaced with regular wood scrap... same idea here as well, few layer of double tape to hold the keel .. Stern solid filling timber was giving me some hard time and after two failed attempts and following practicum steps, I managed to get it correct with some extra wood for further, final shaping.. \ \ Happy modelling..

-
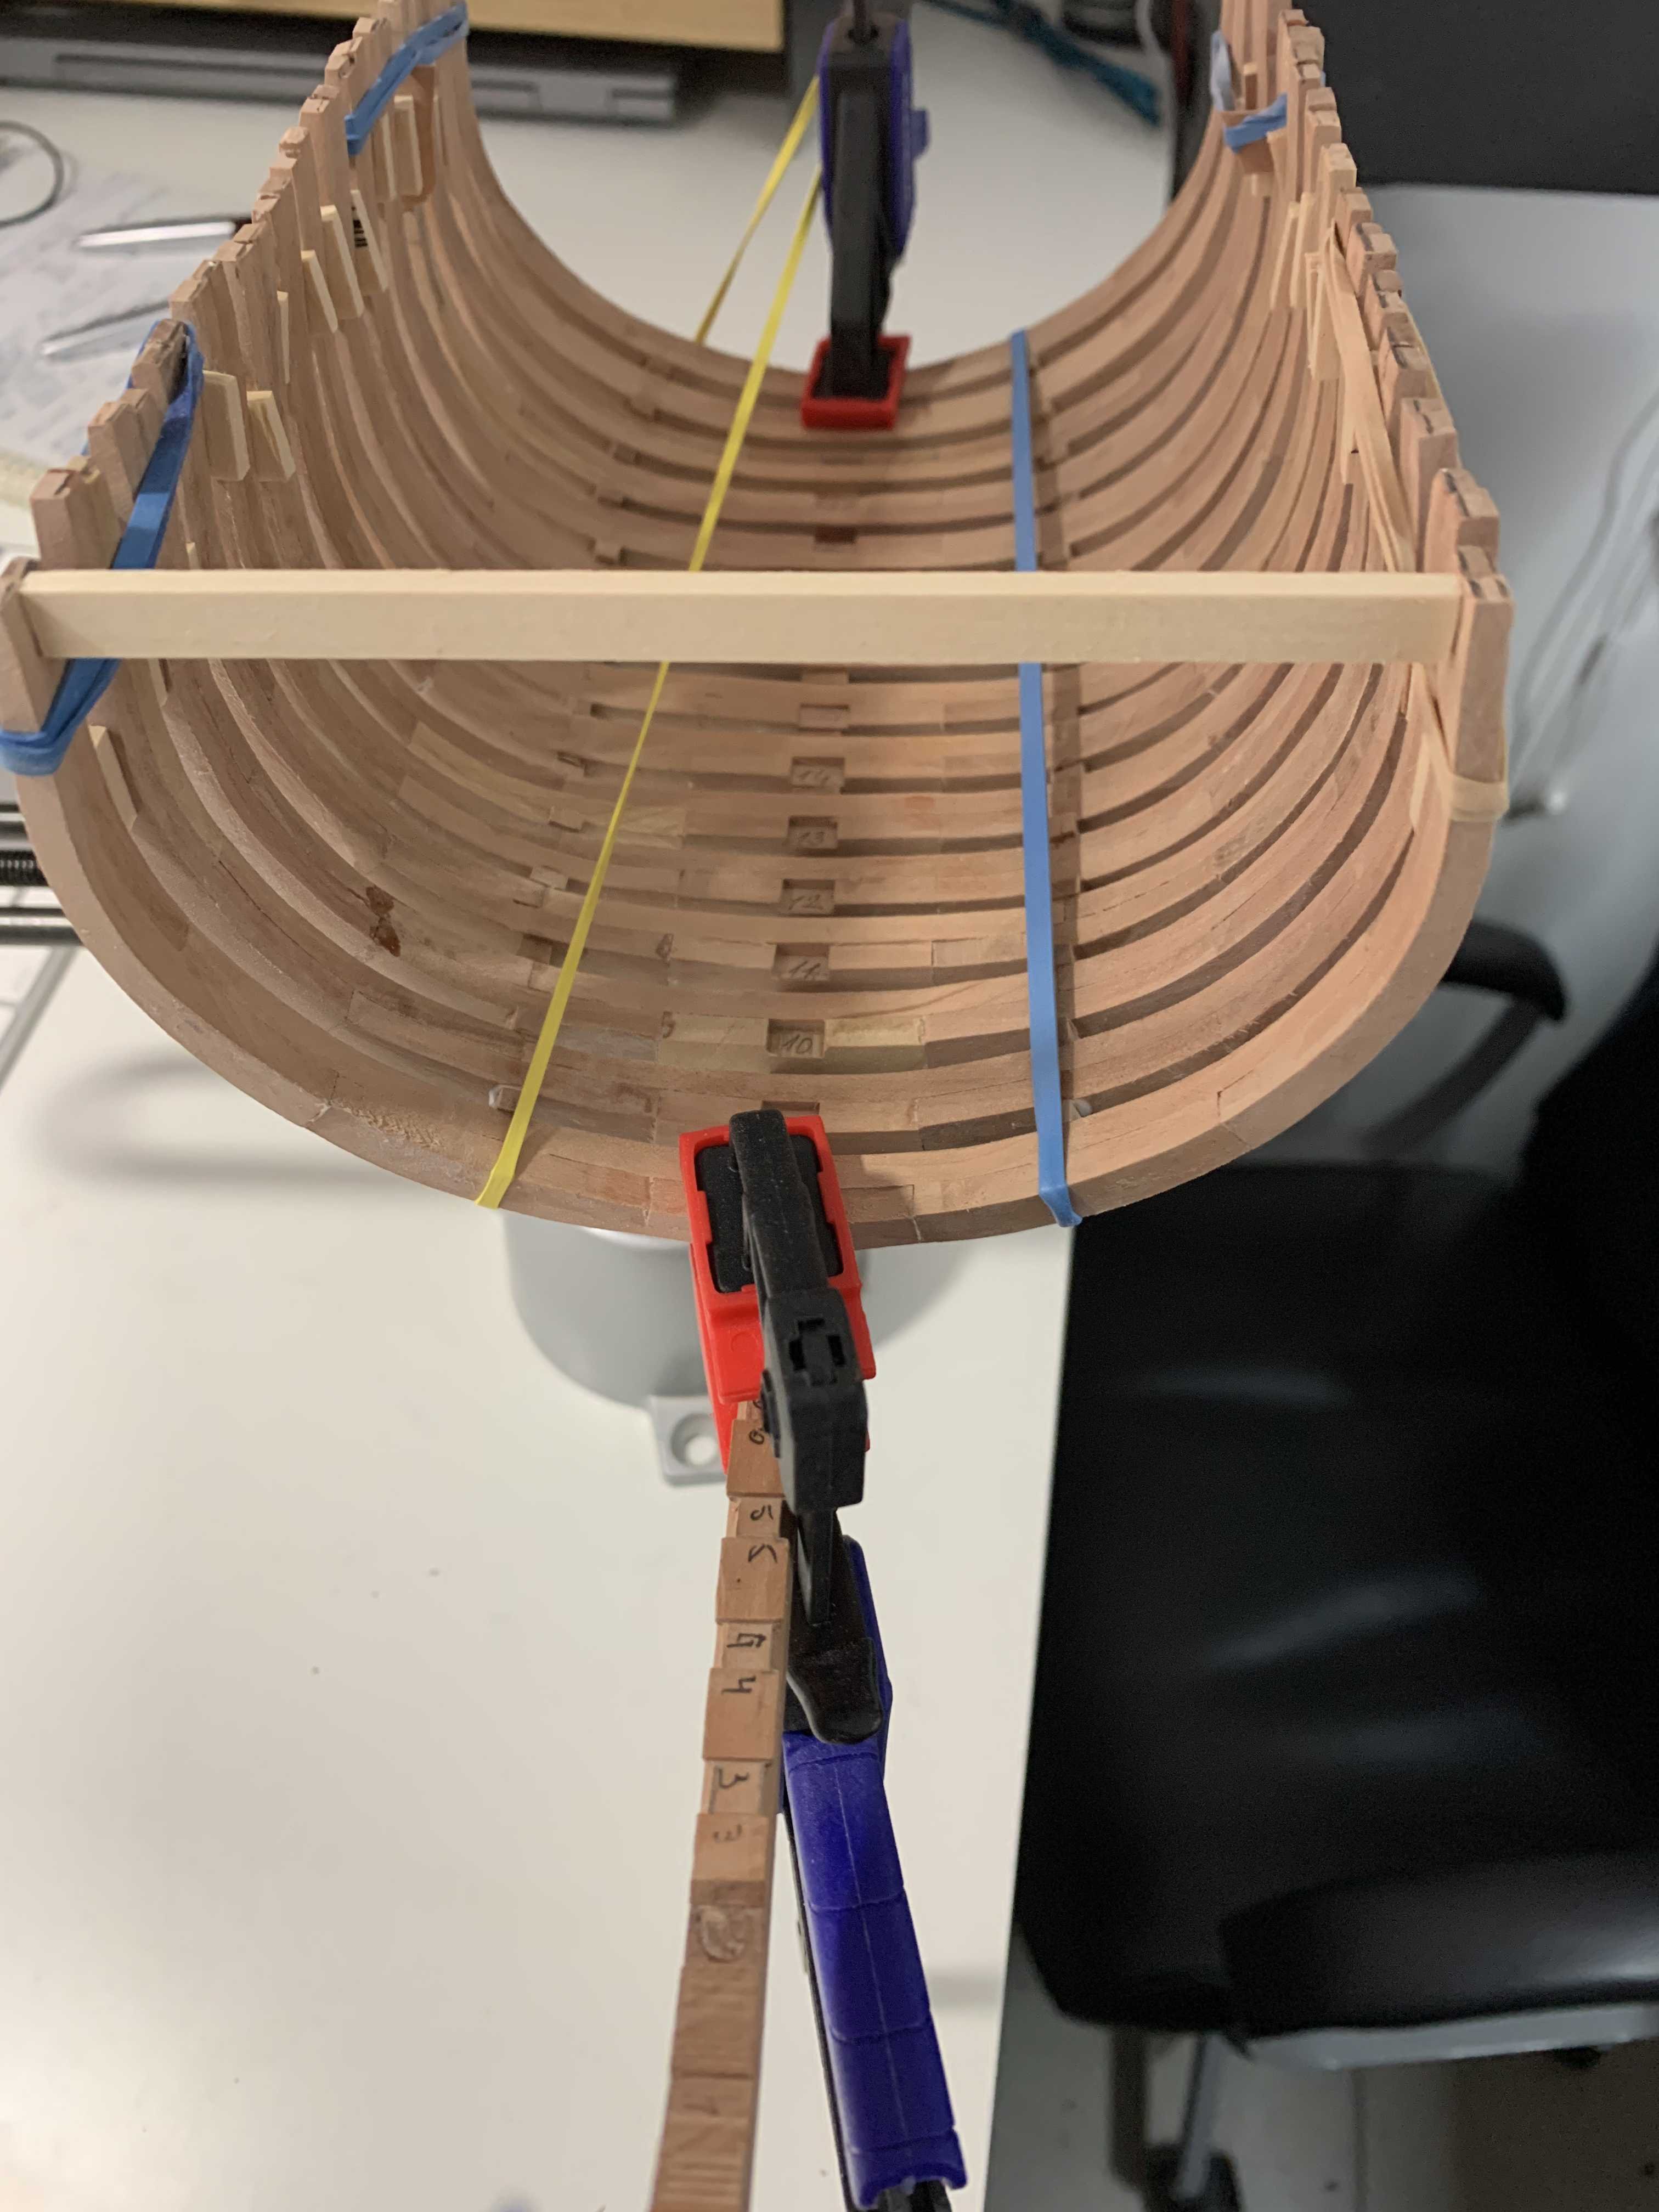
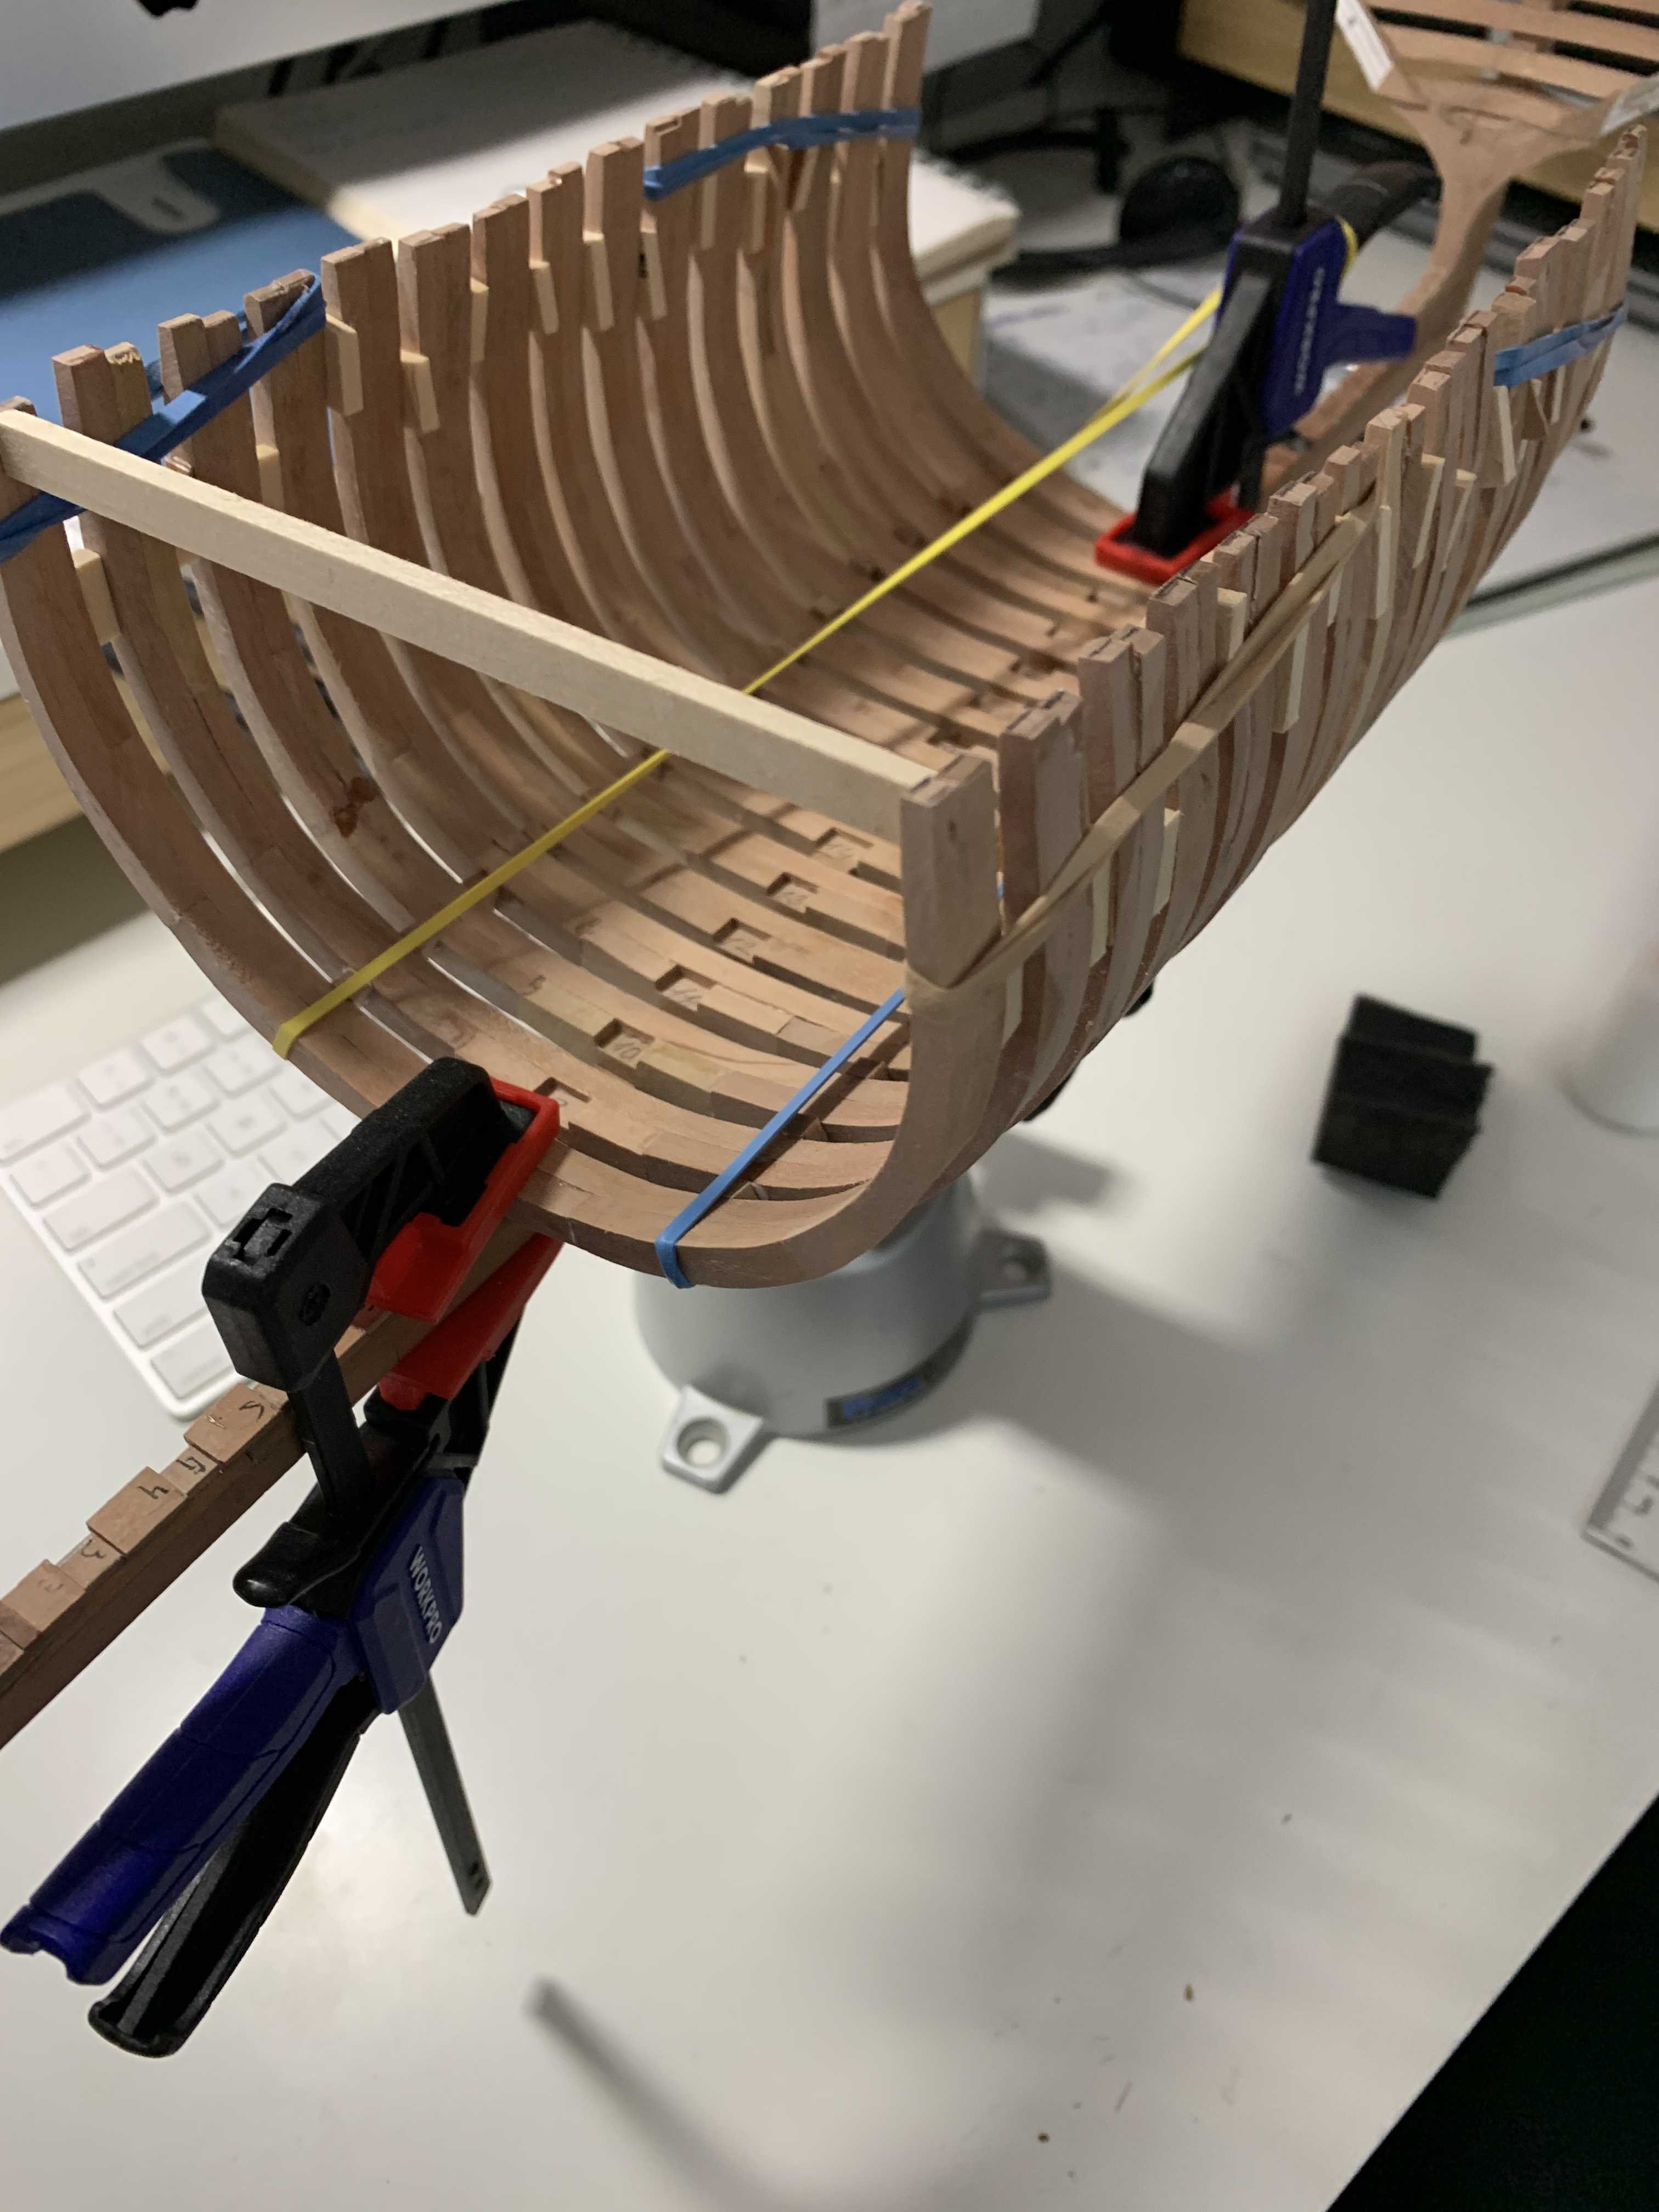
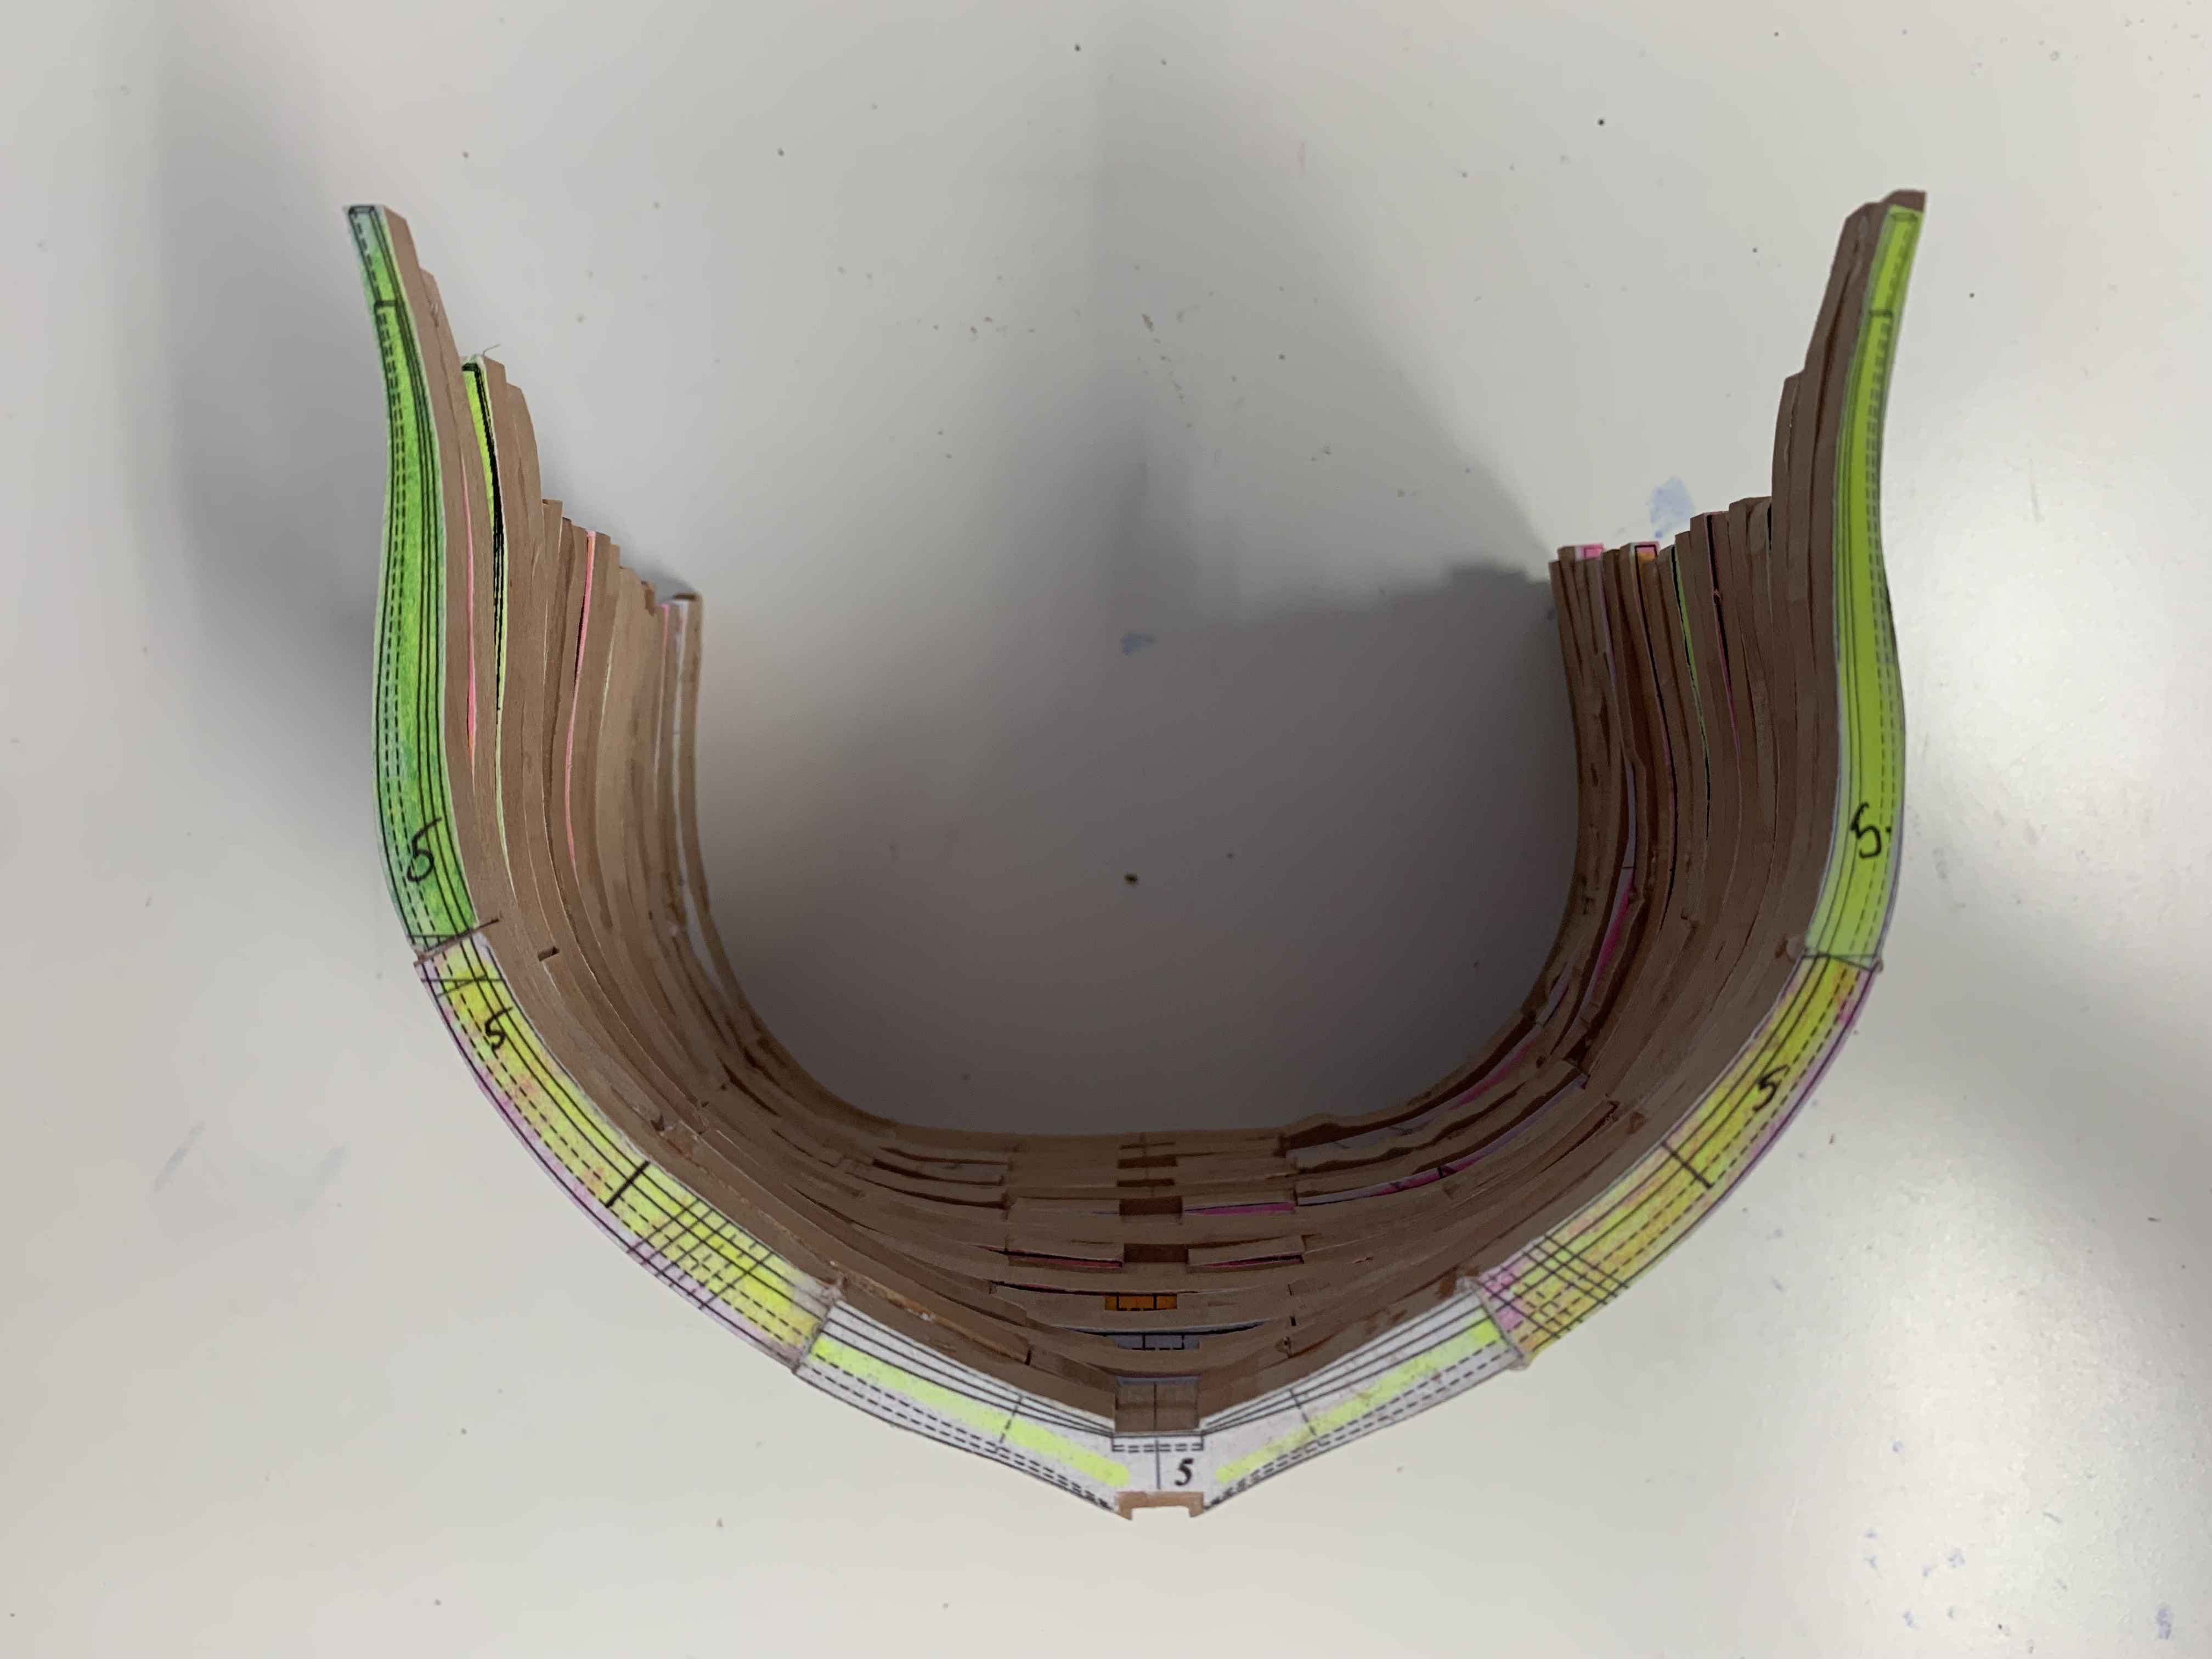
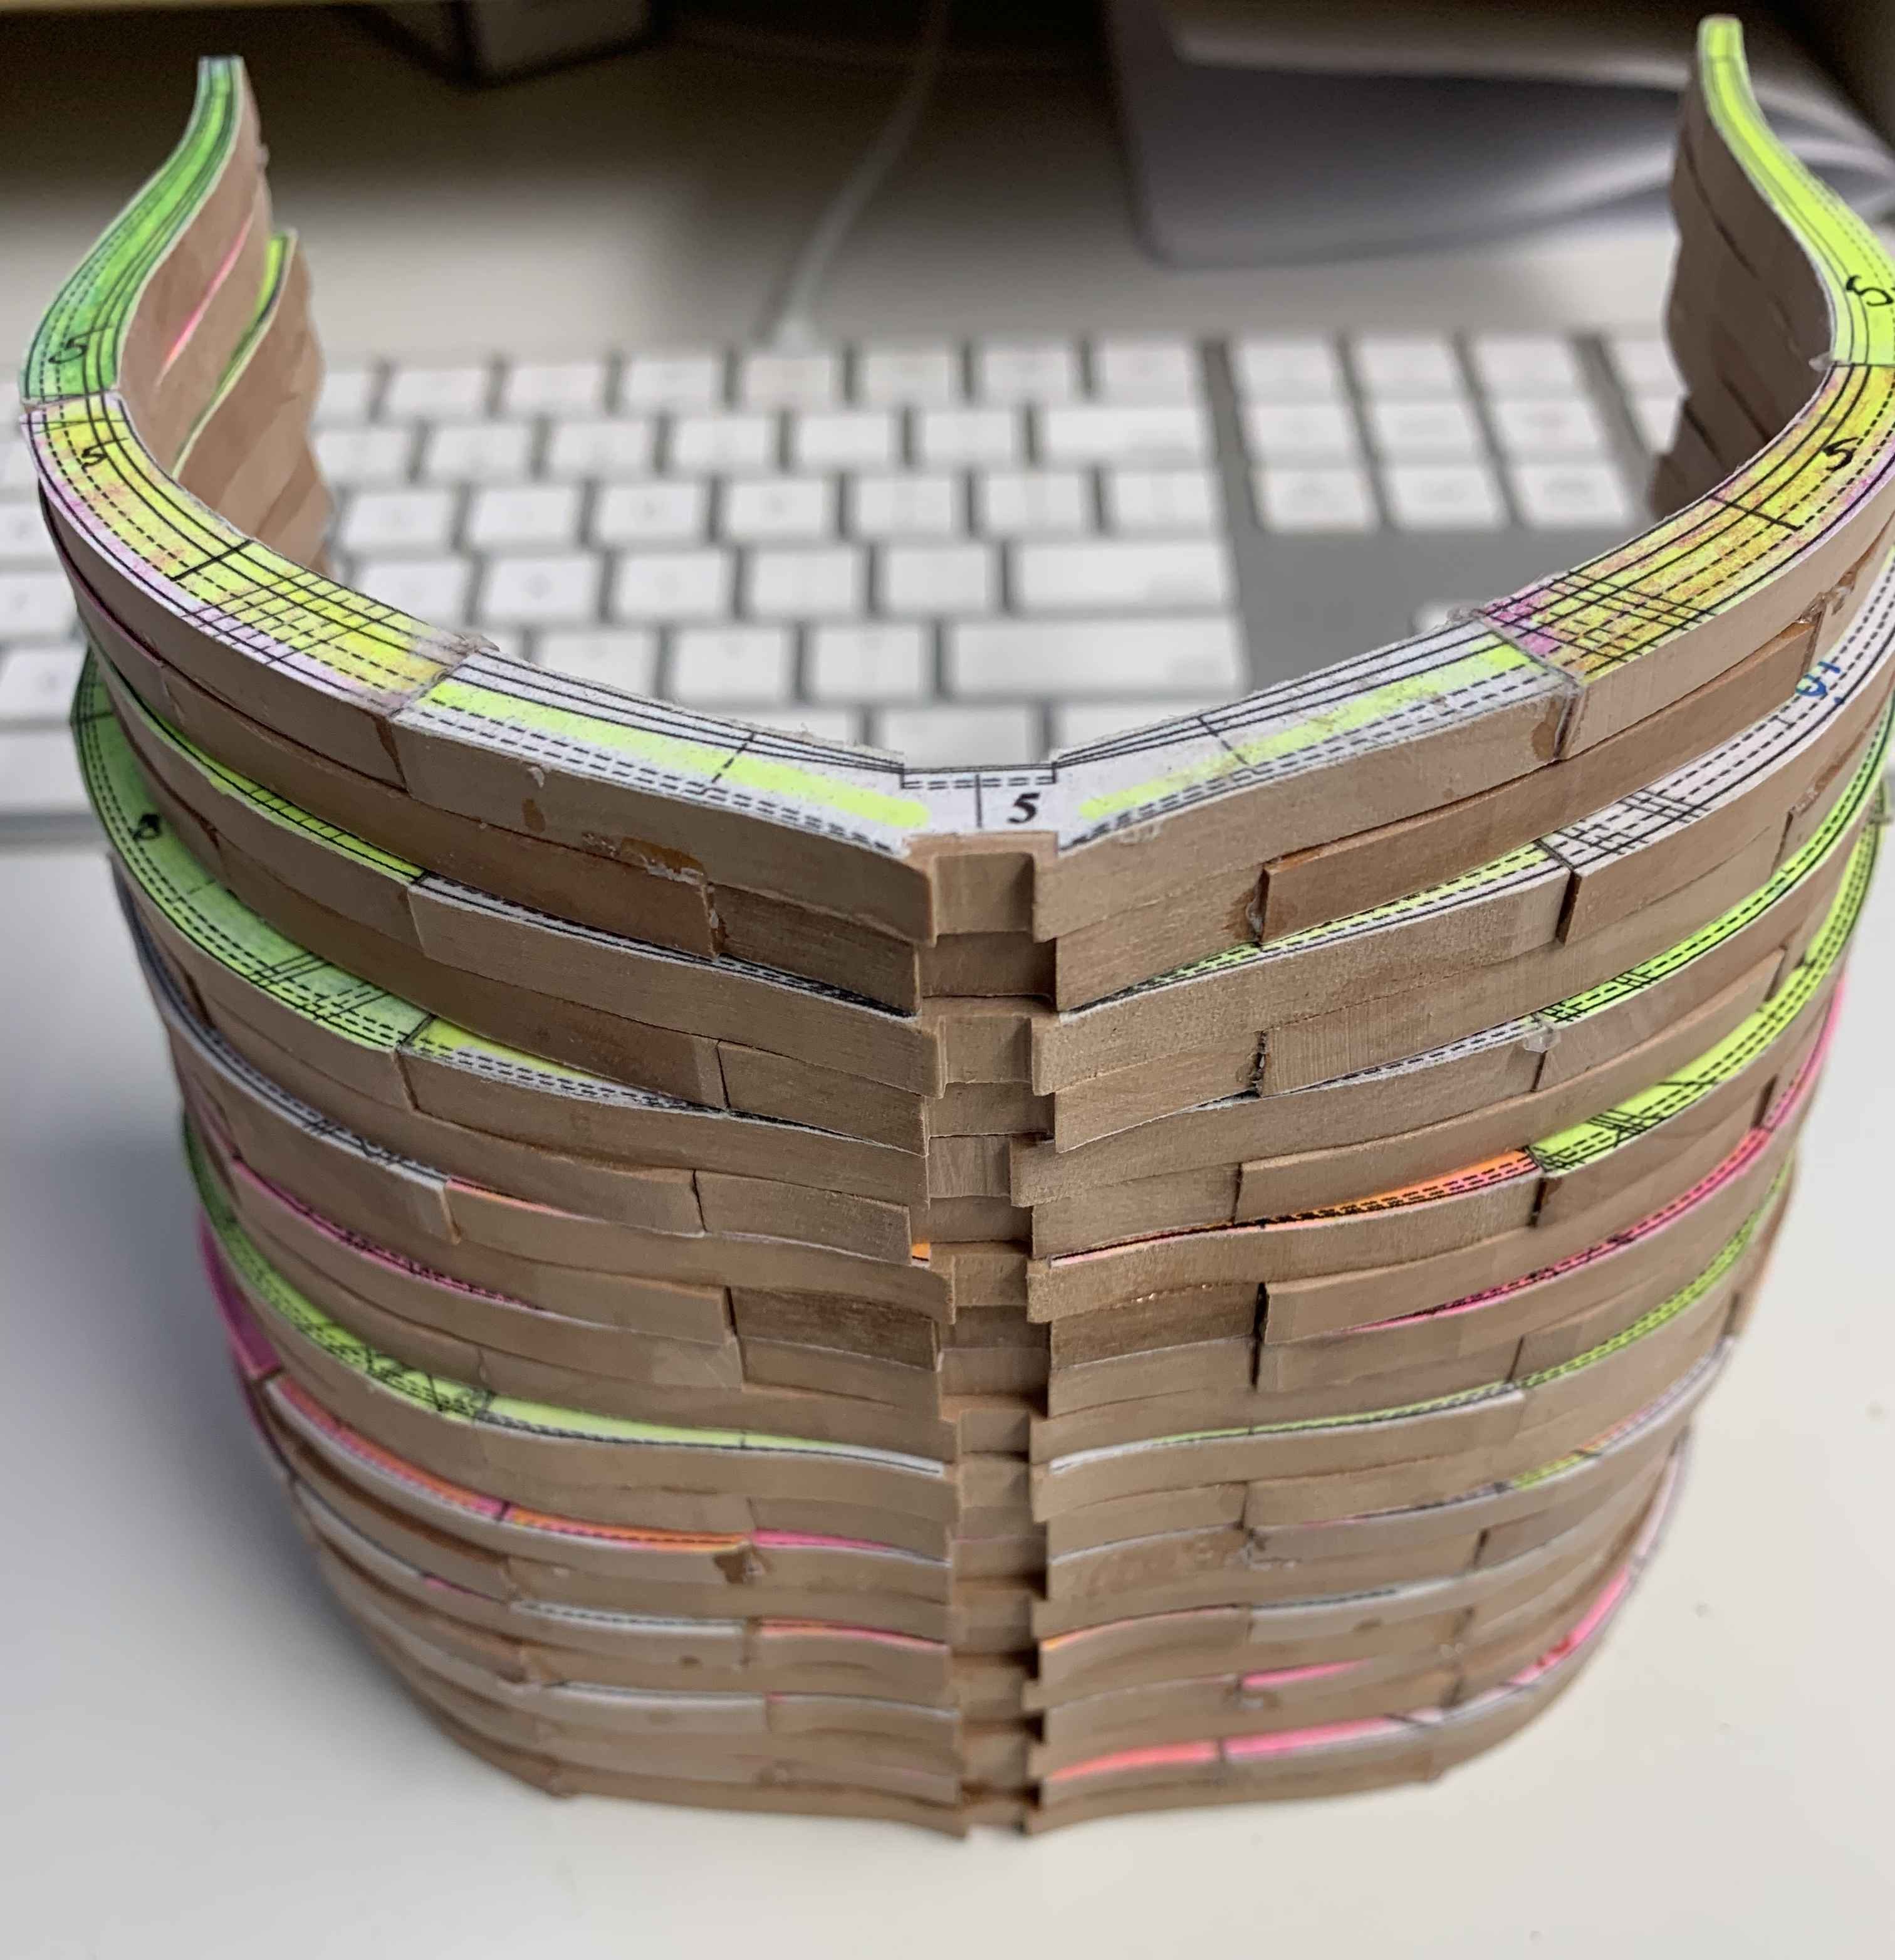
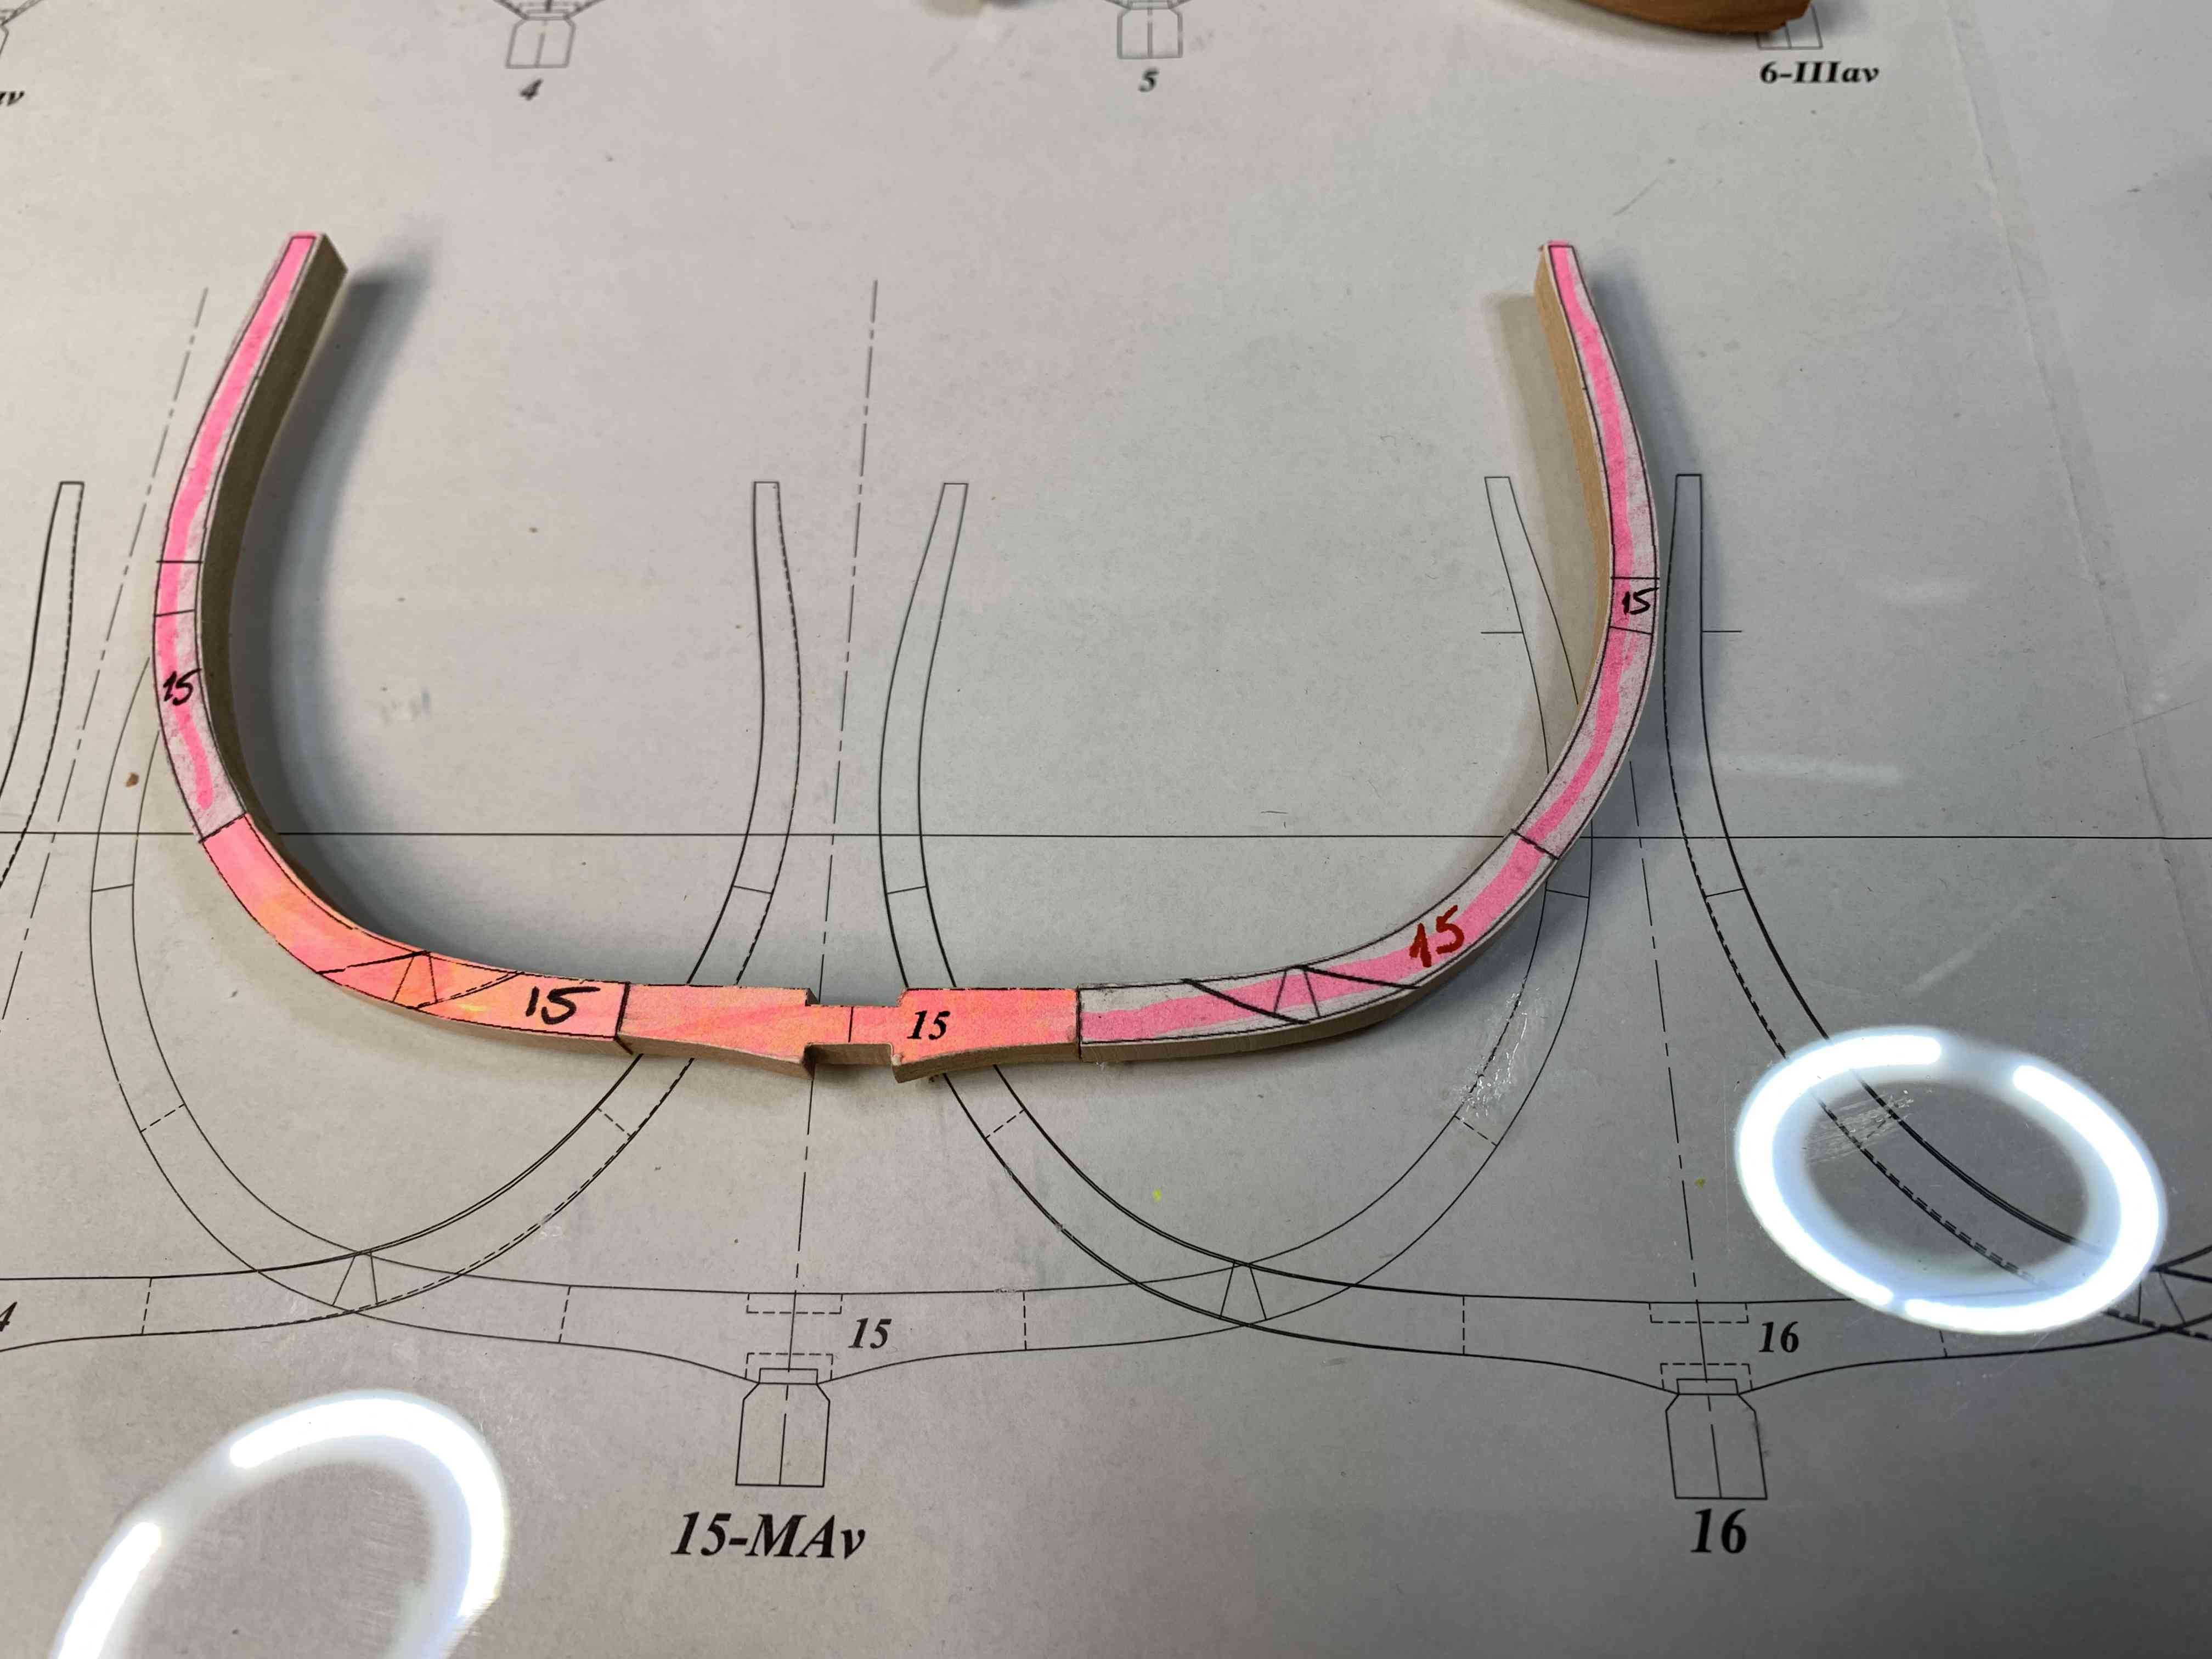
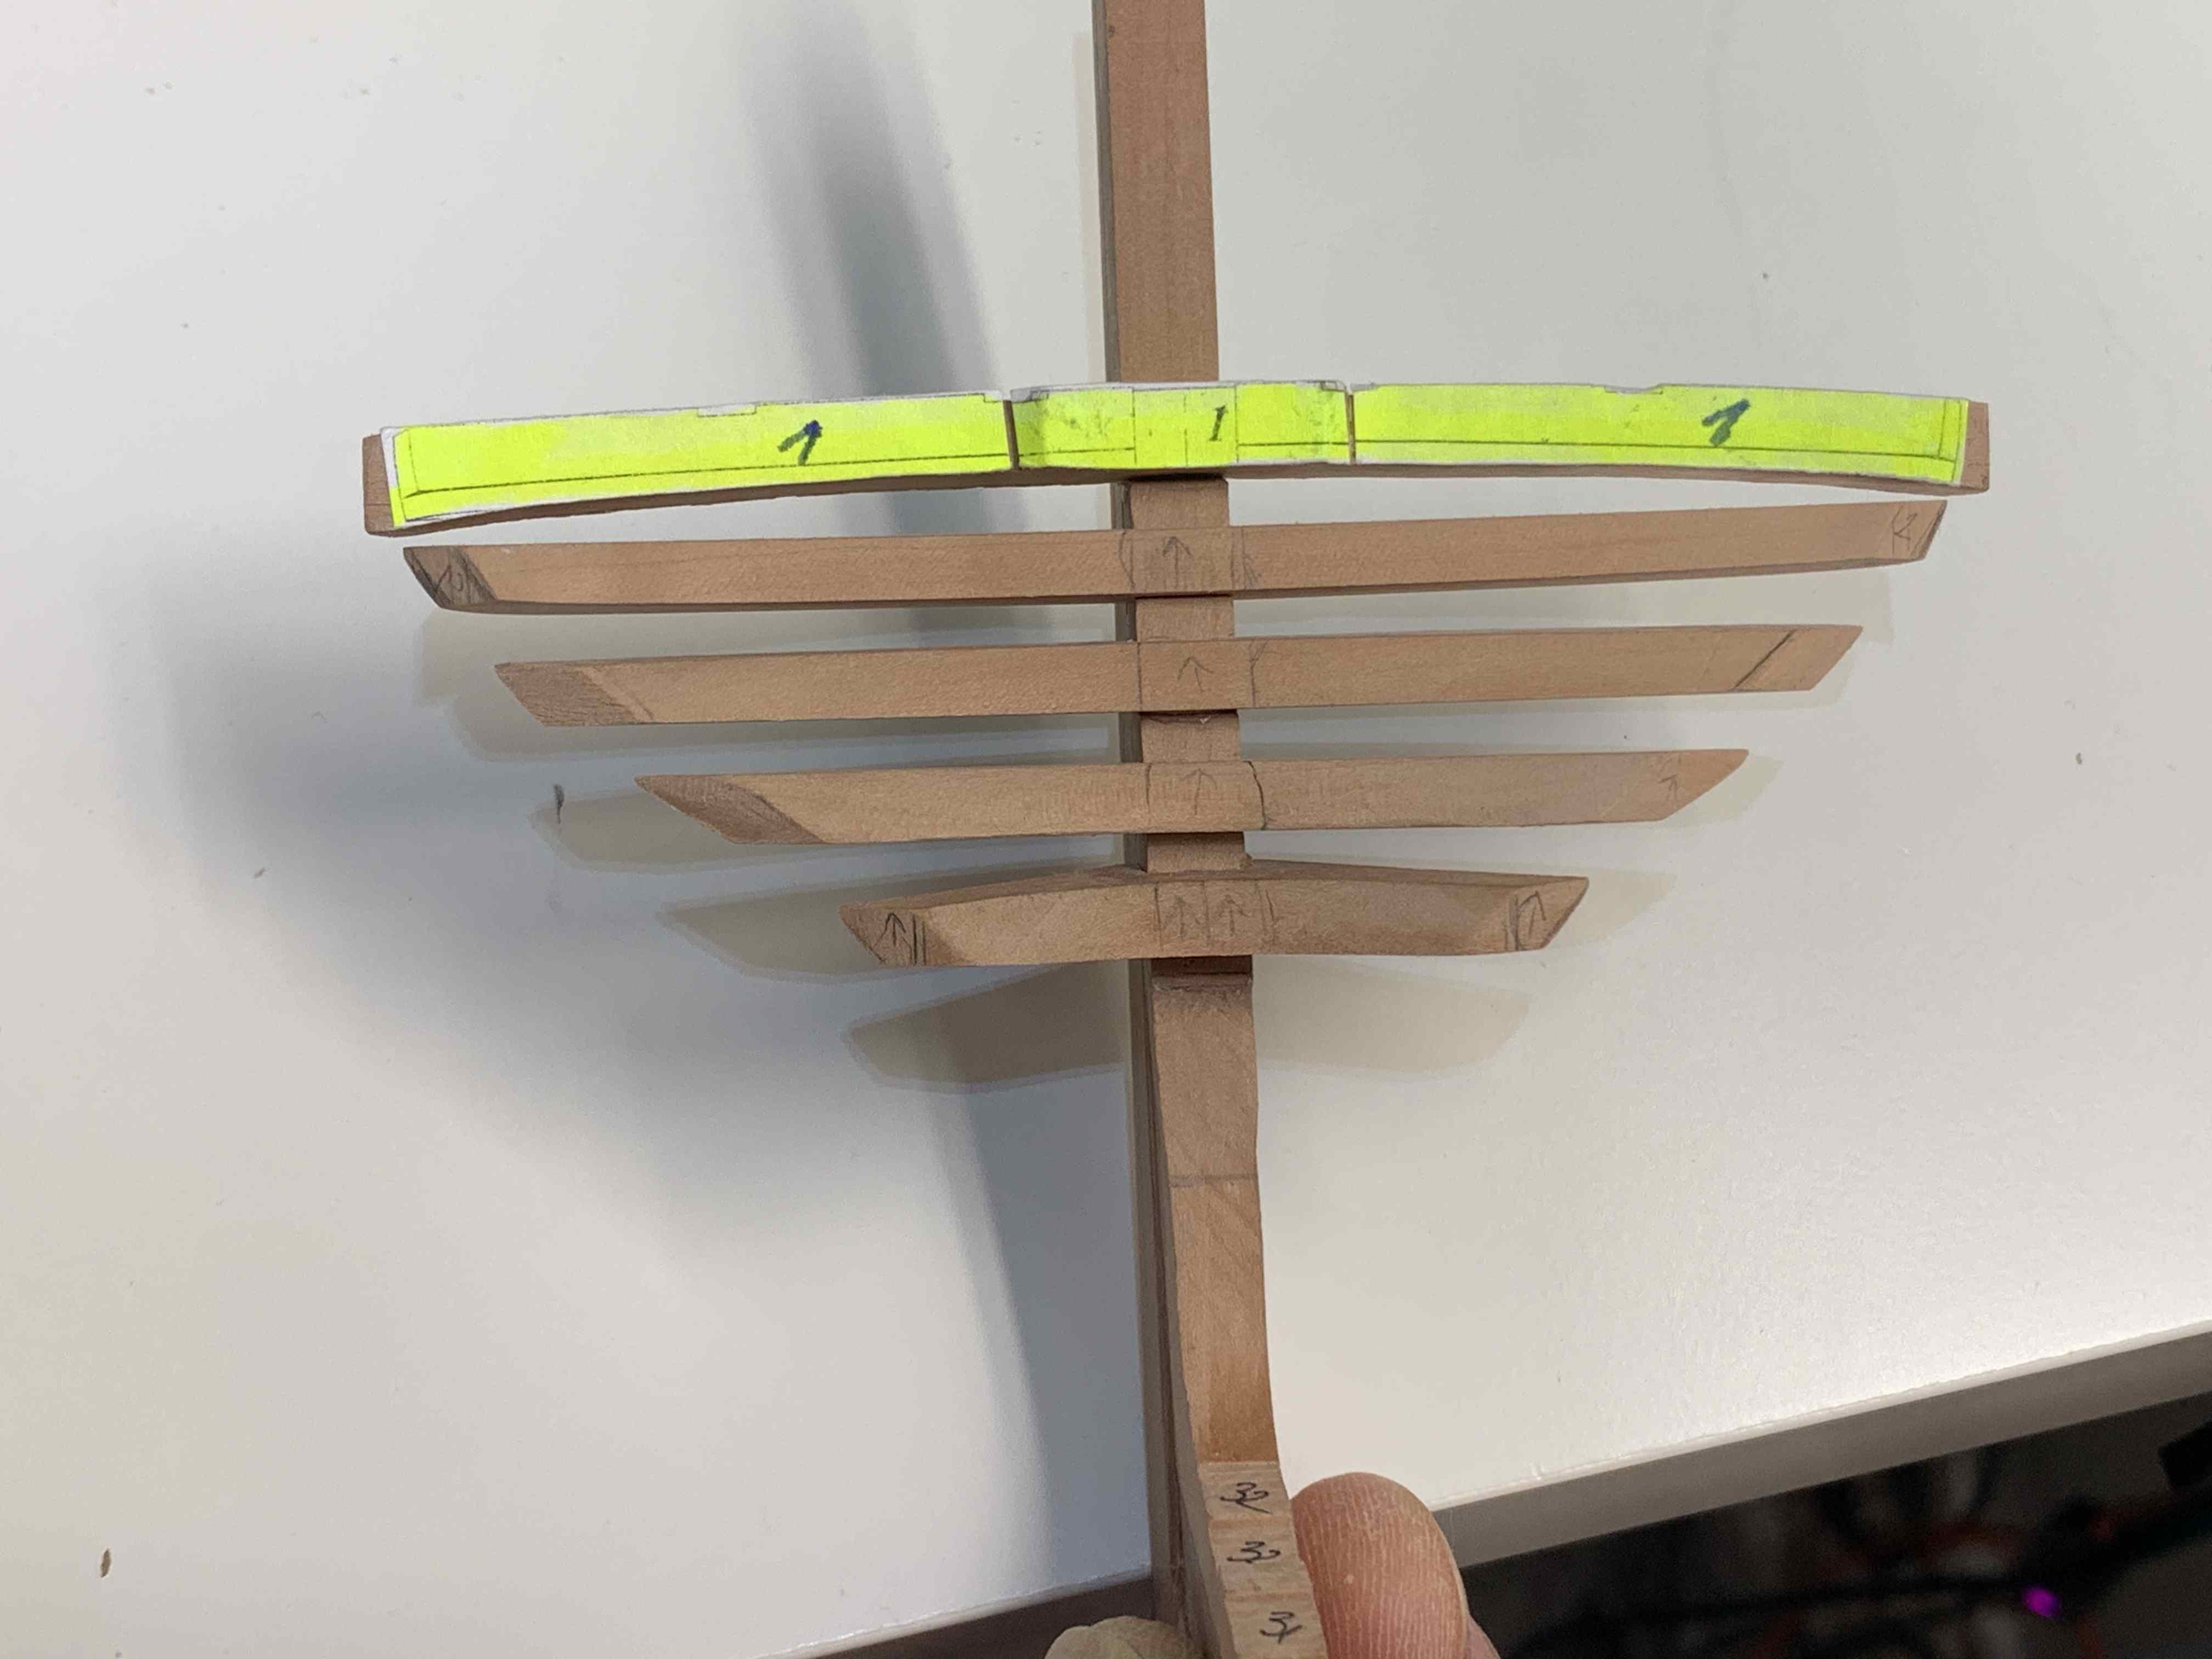
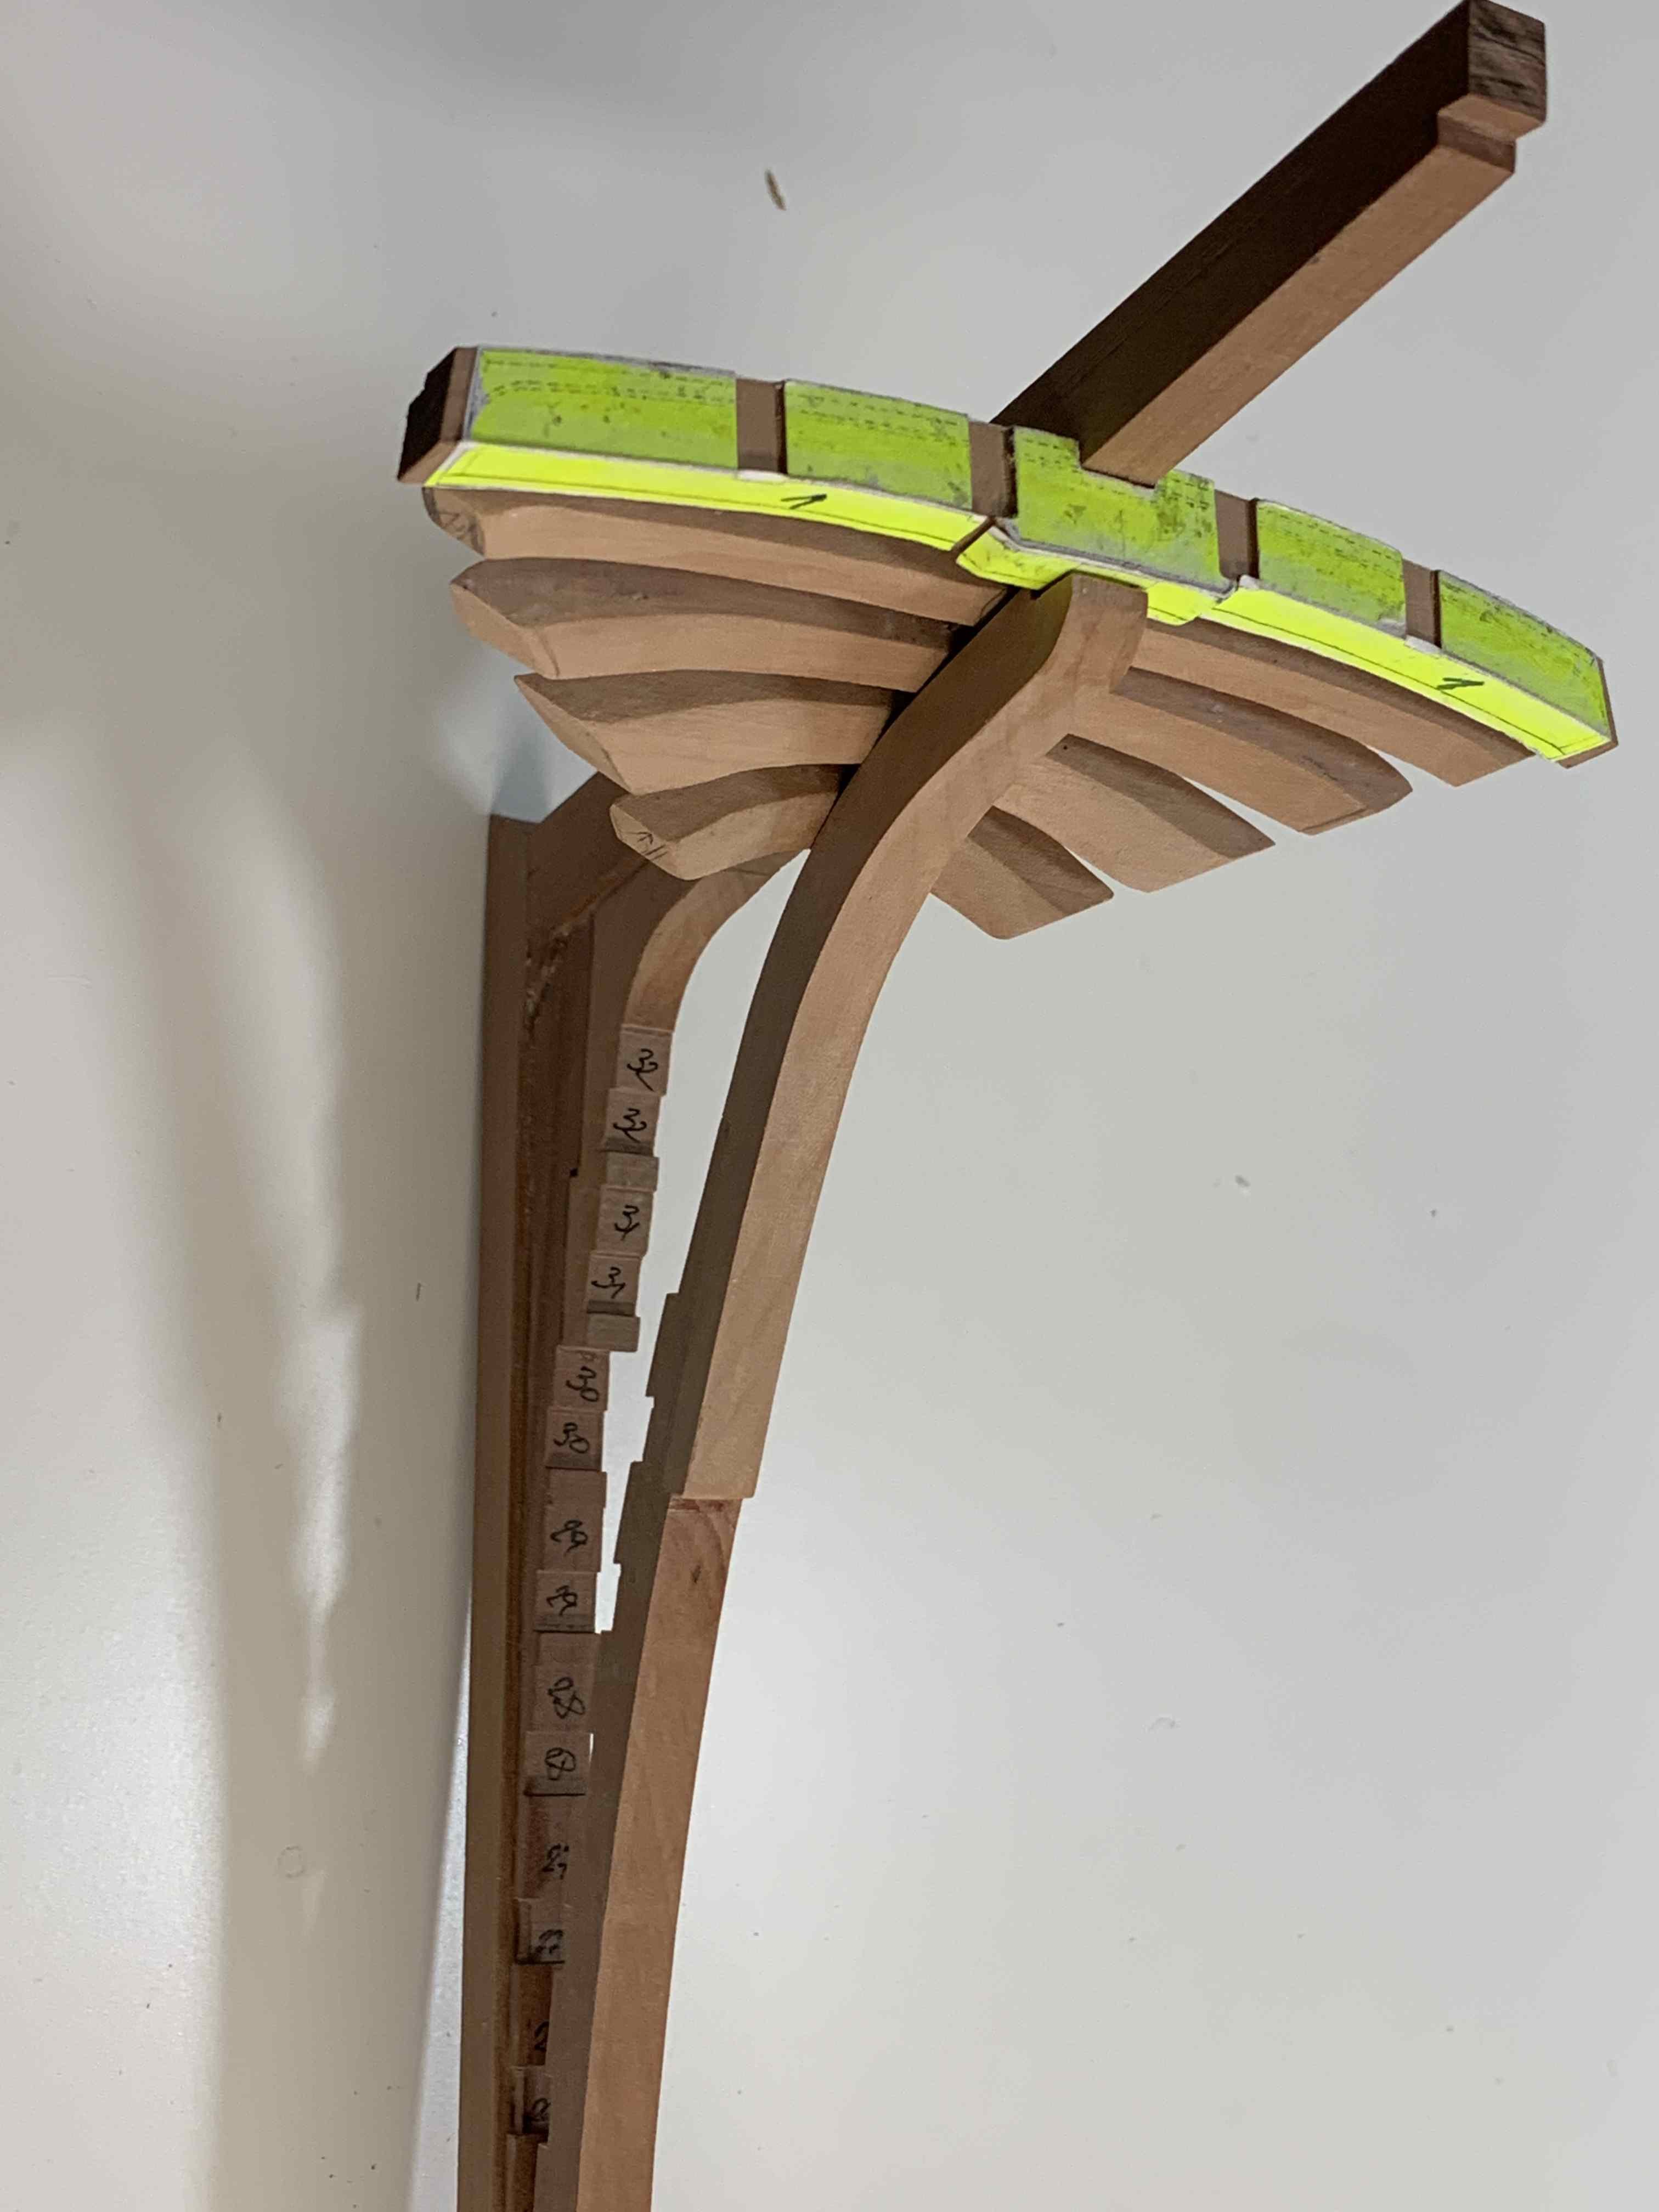
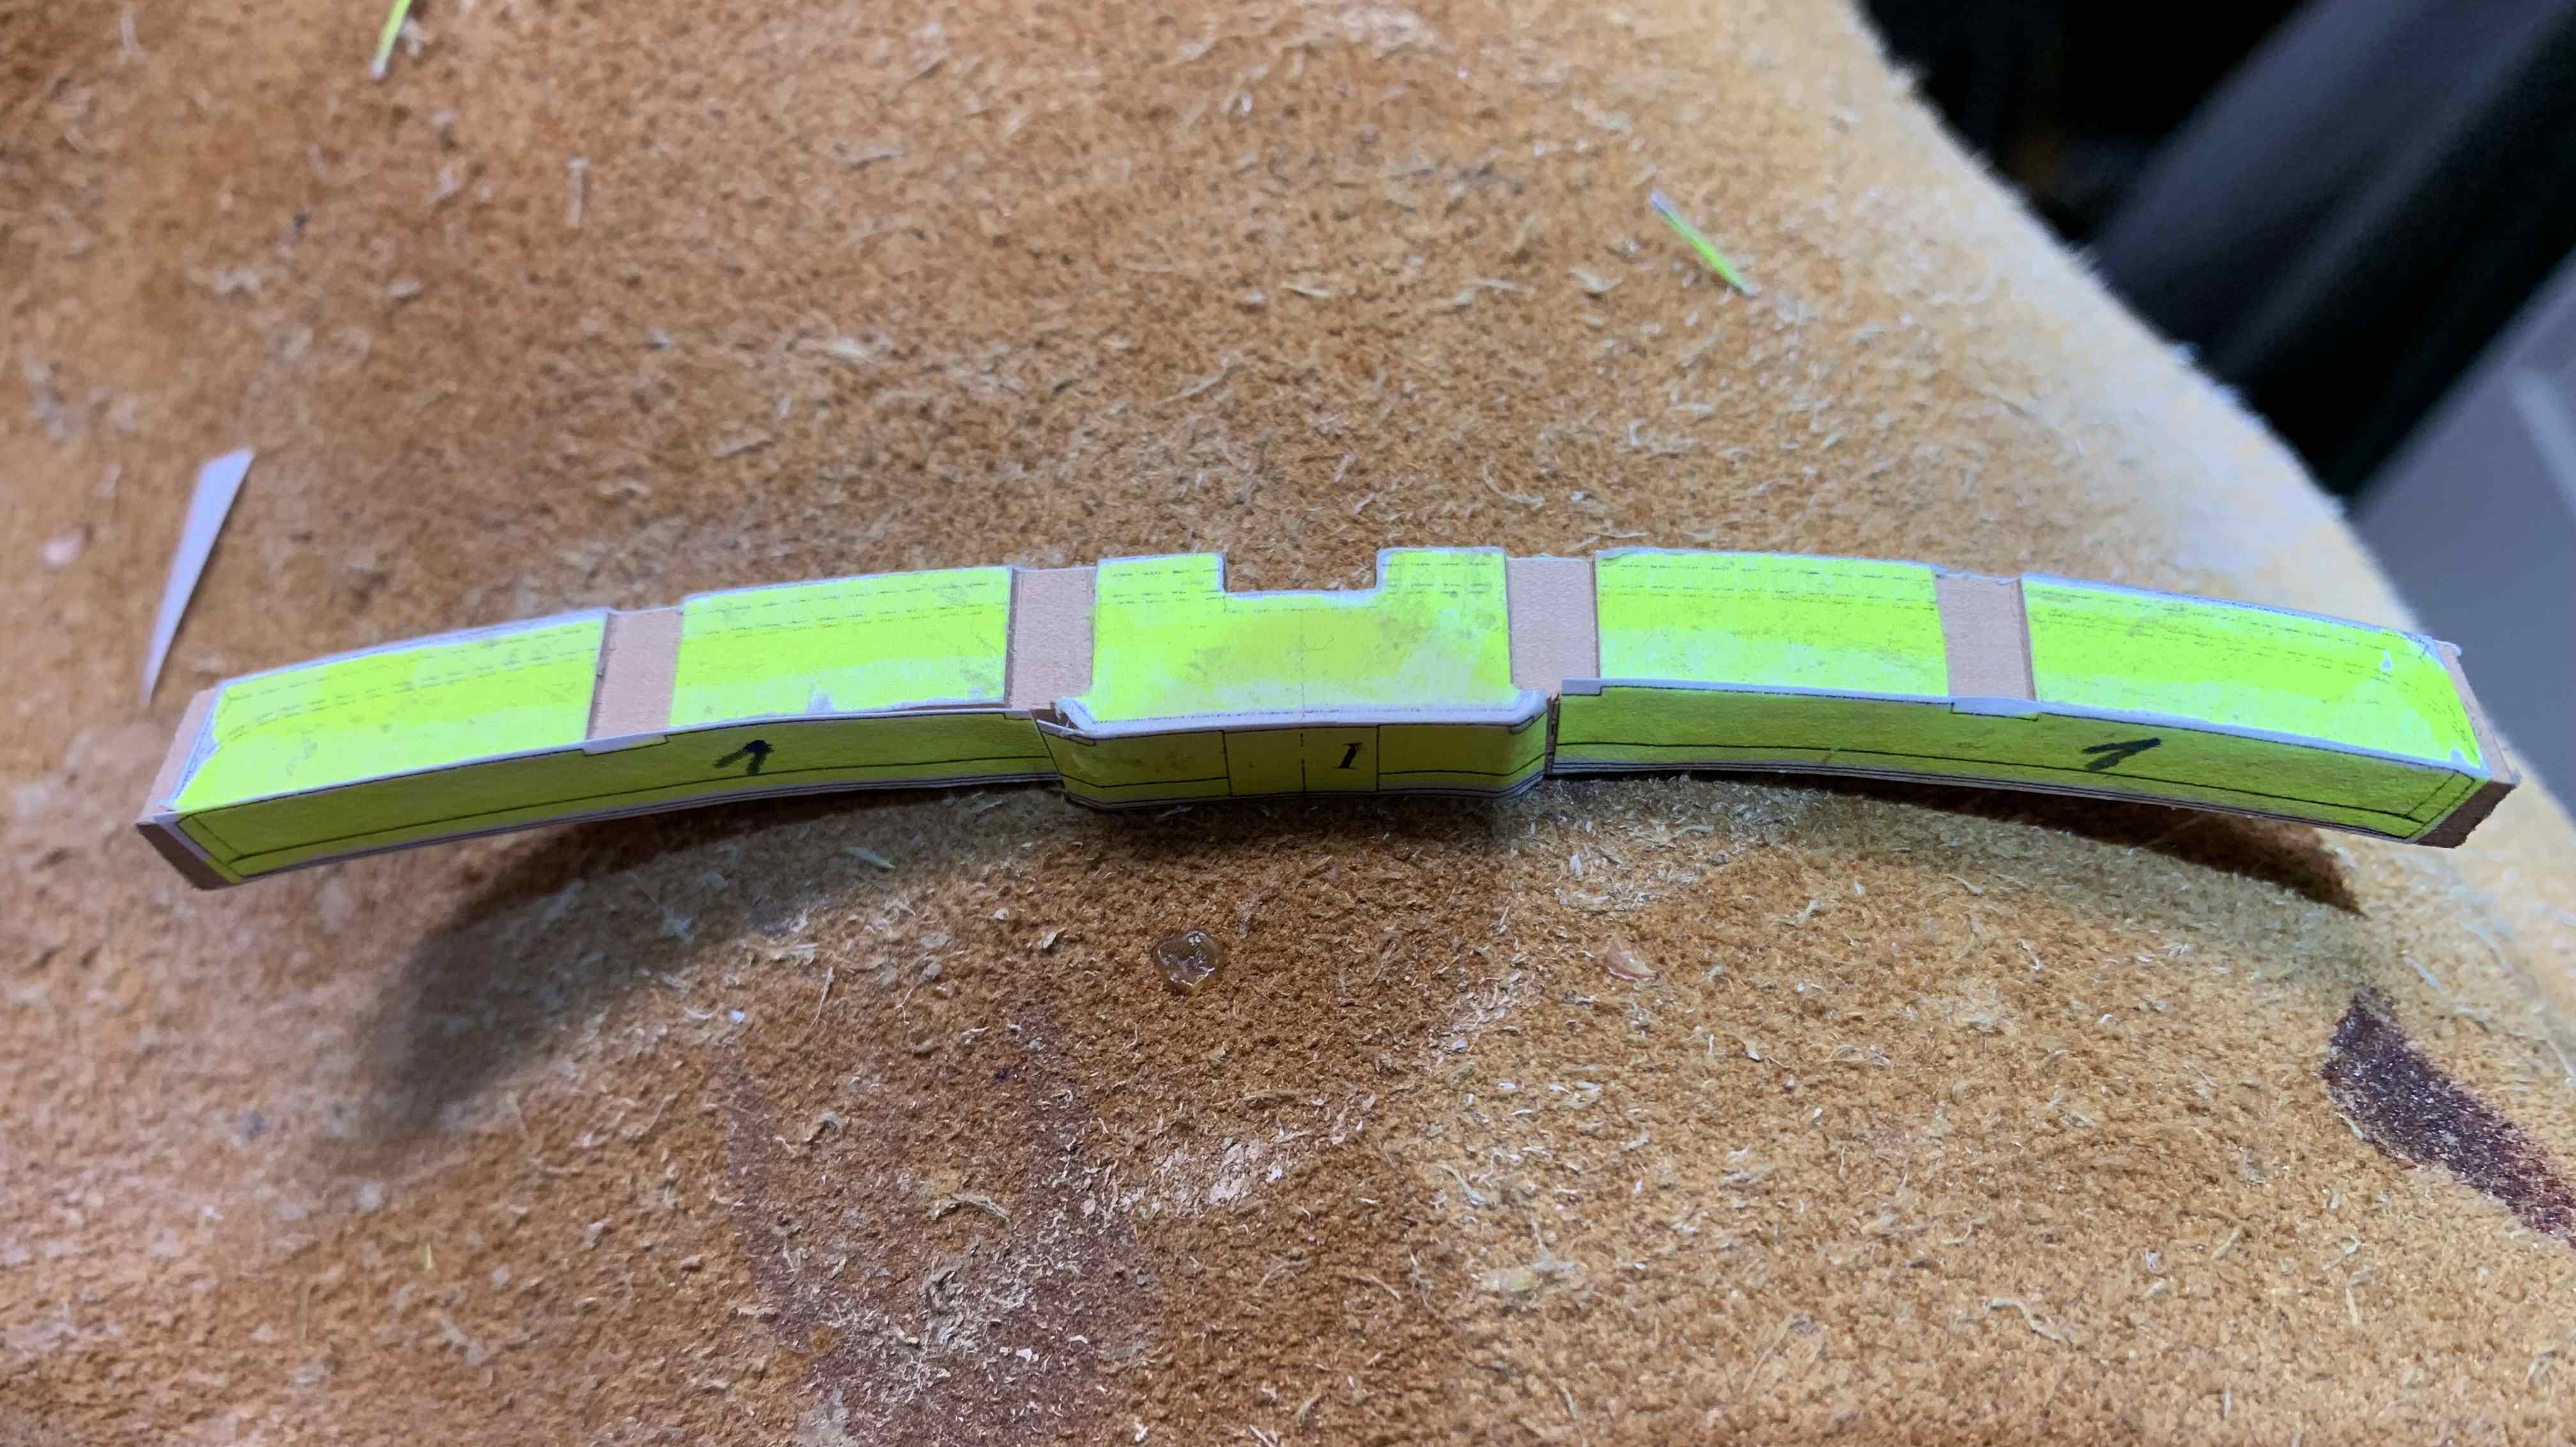
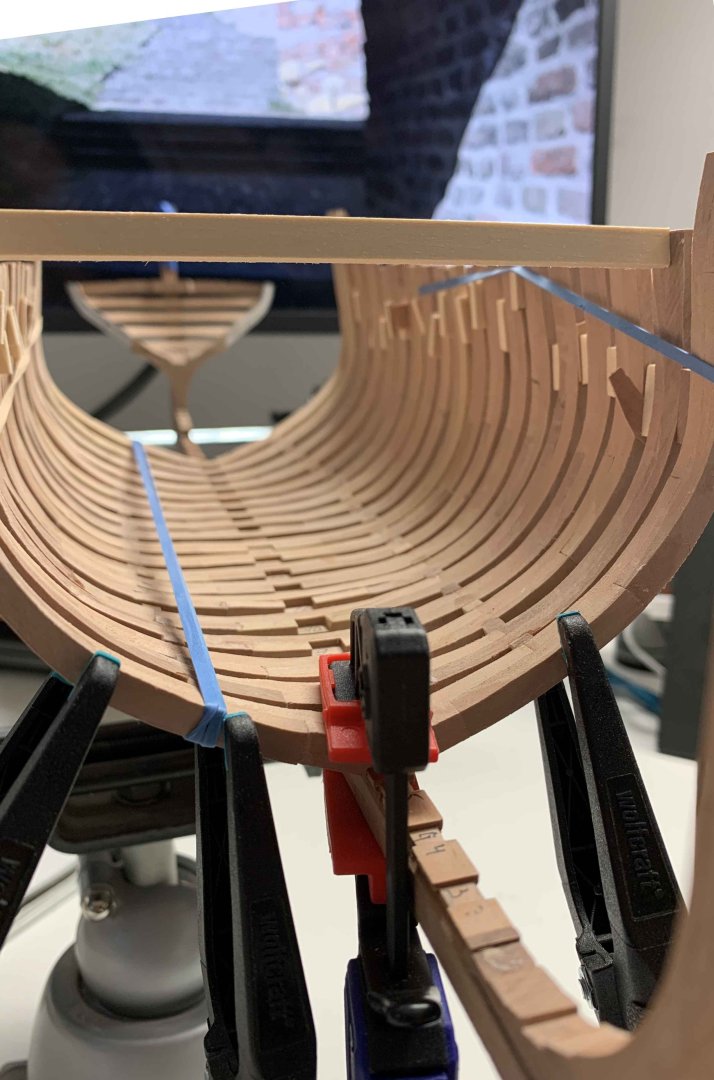
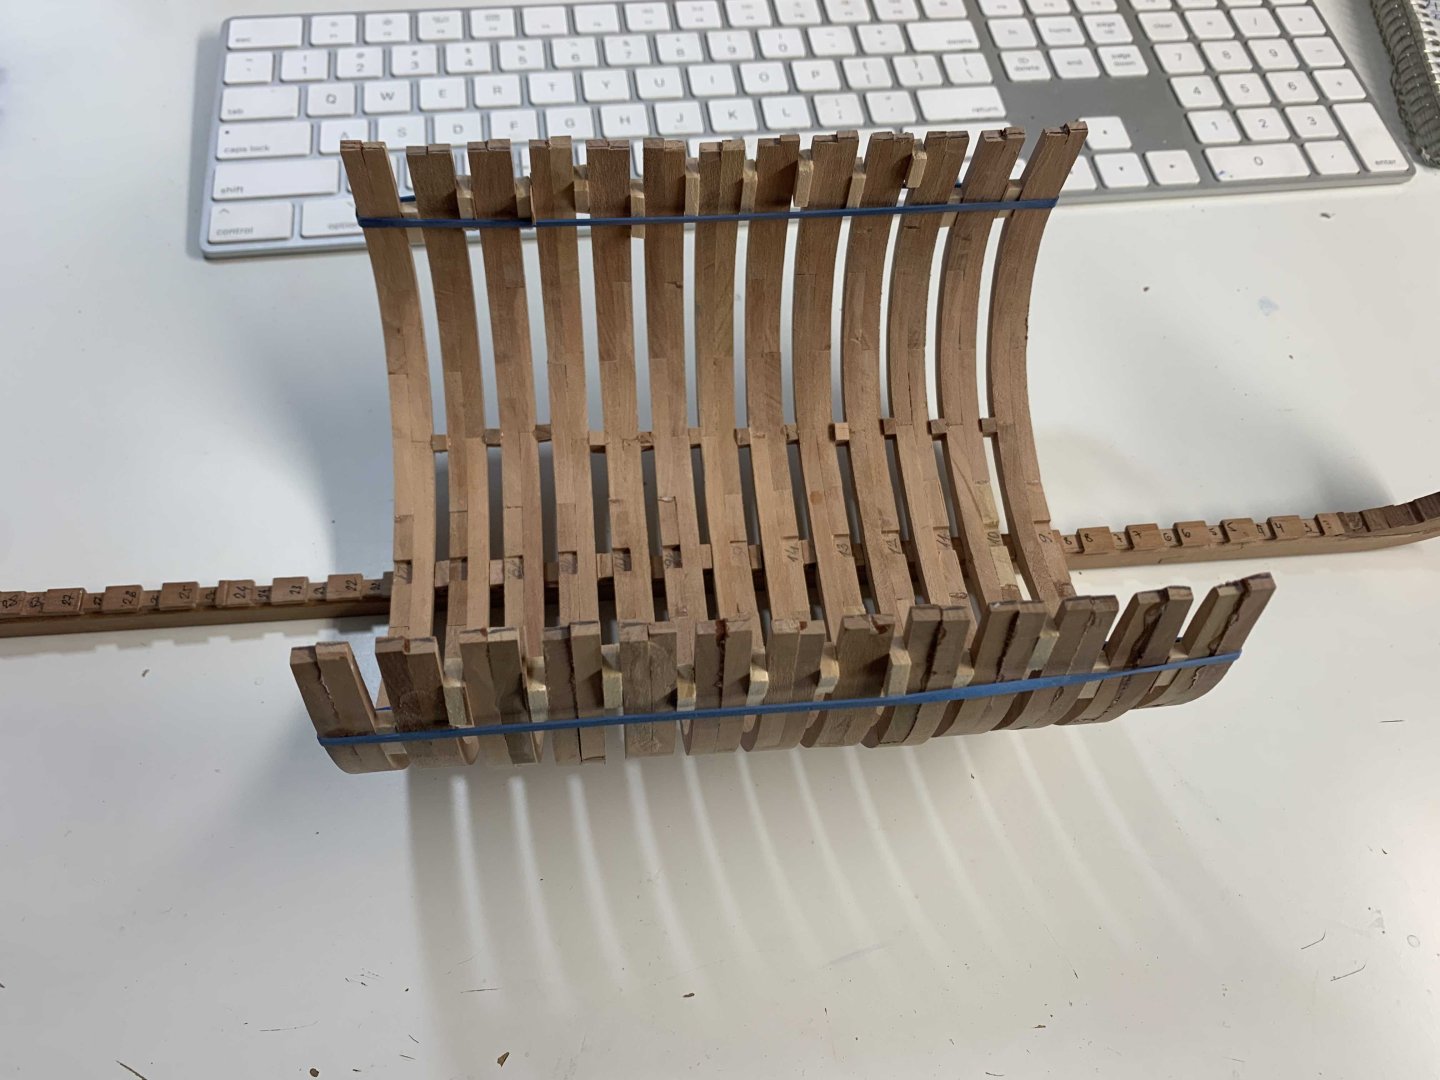
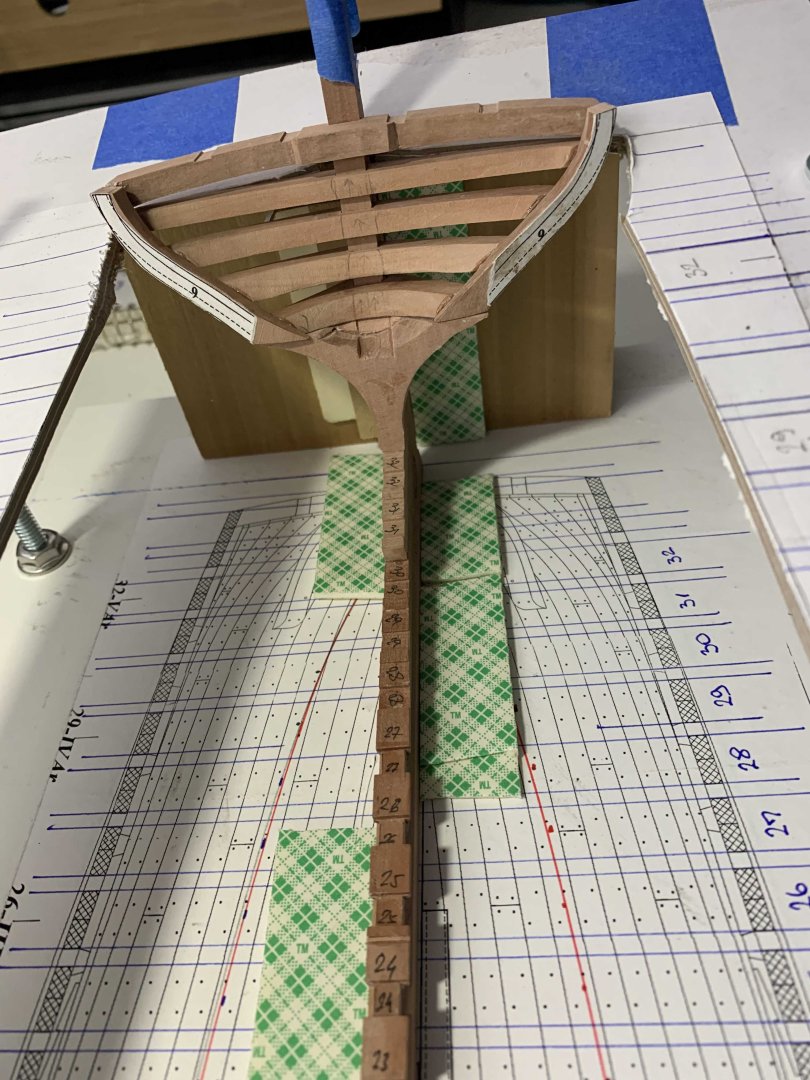
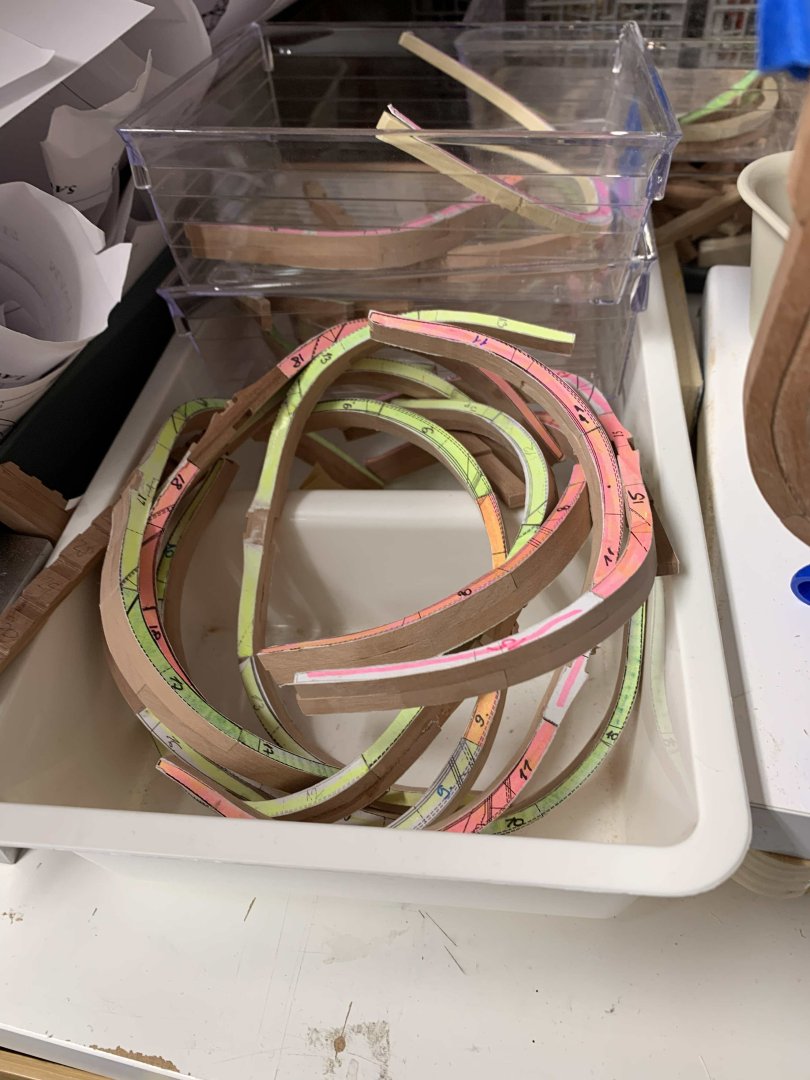
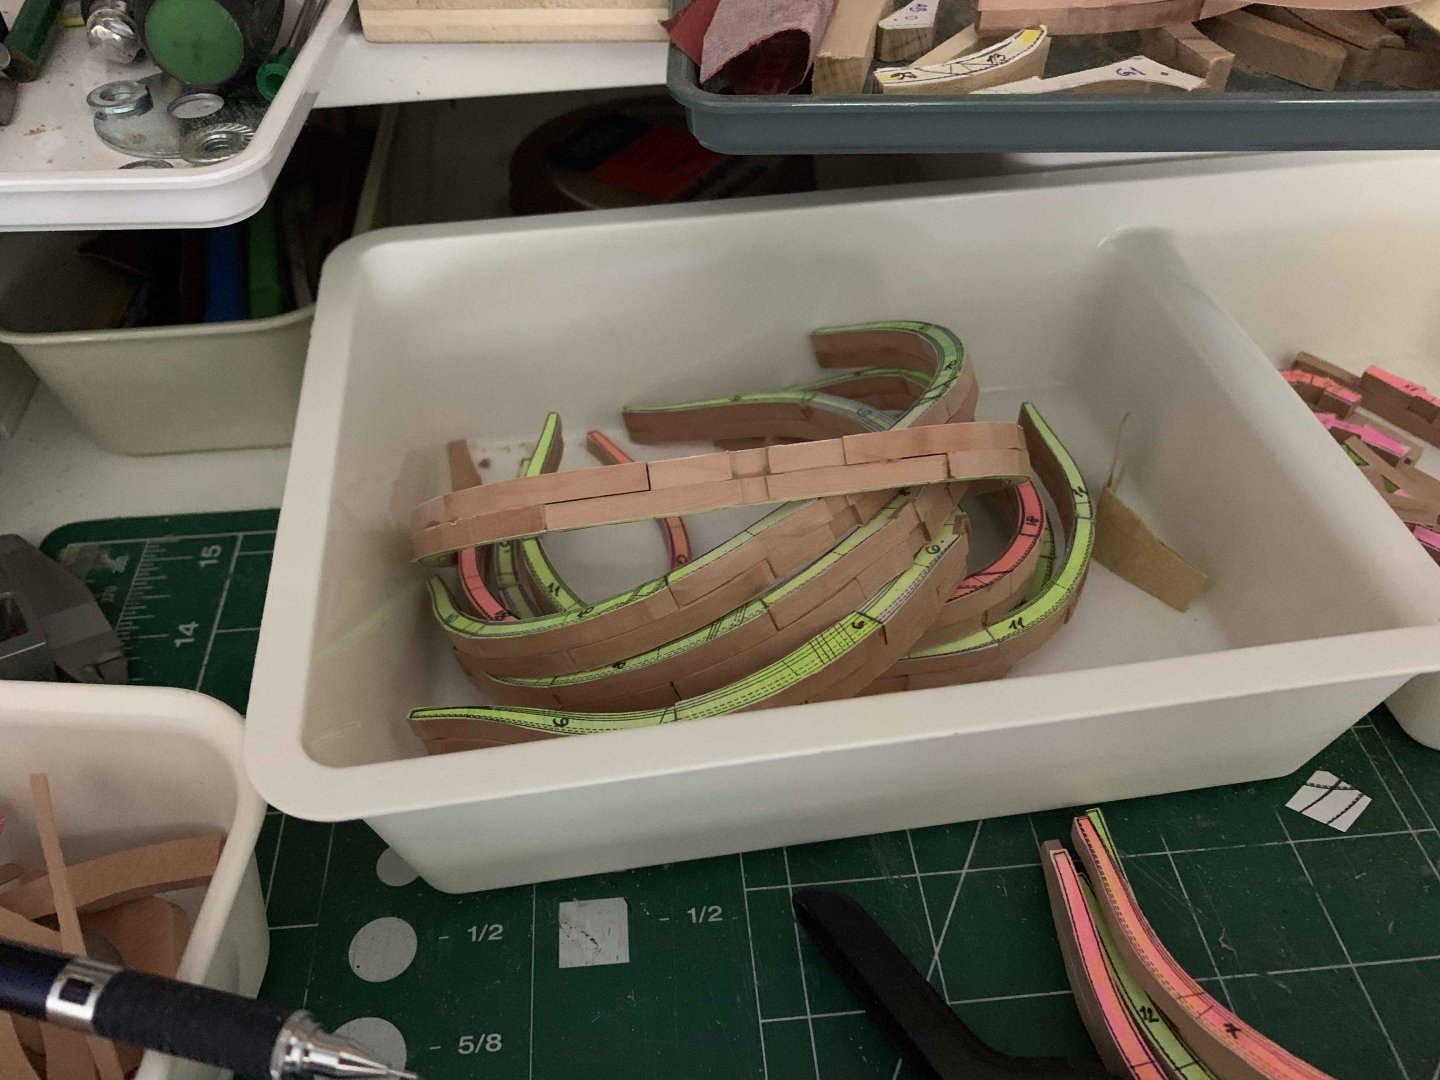
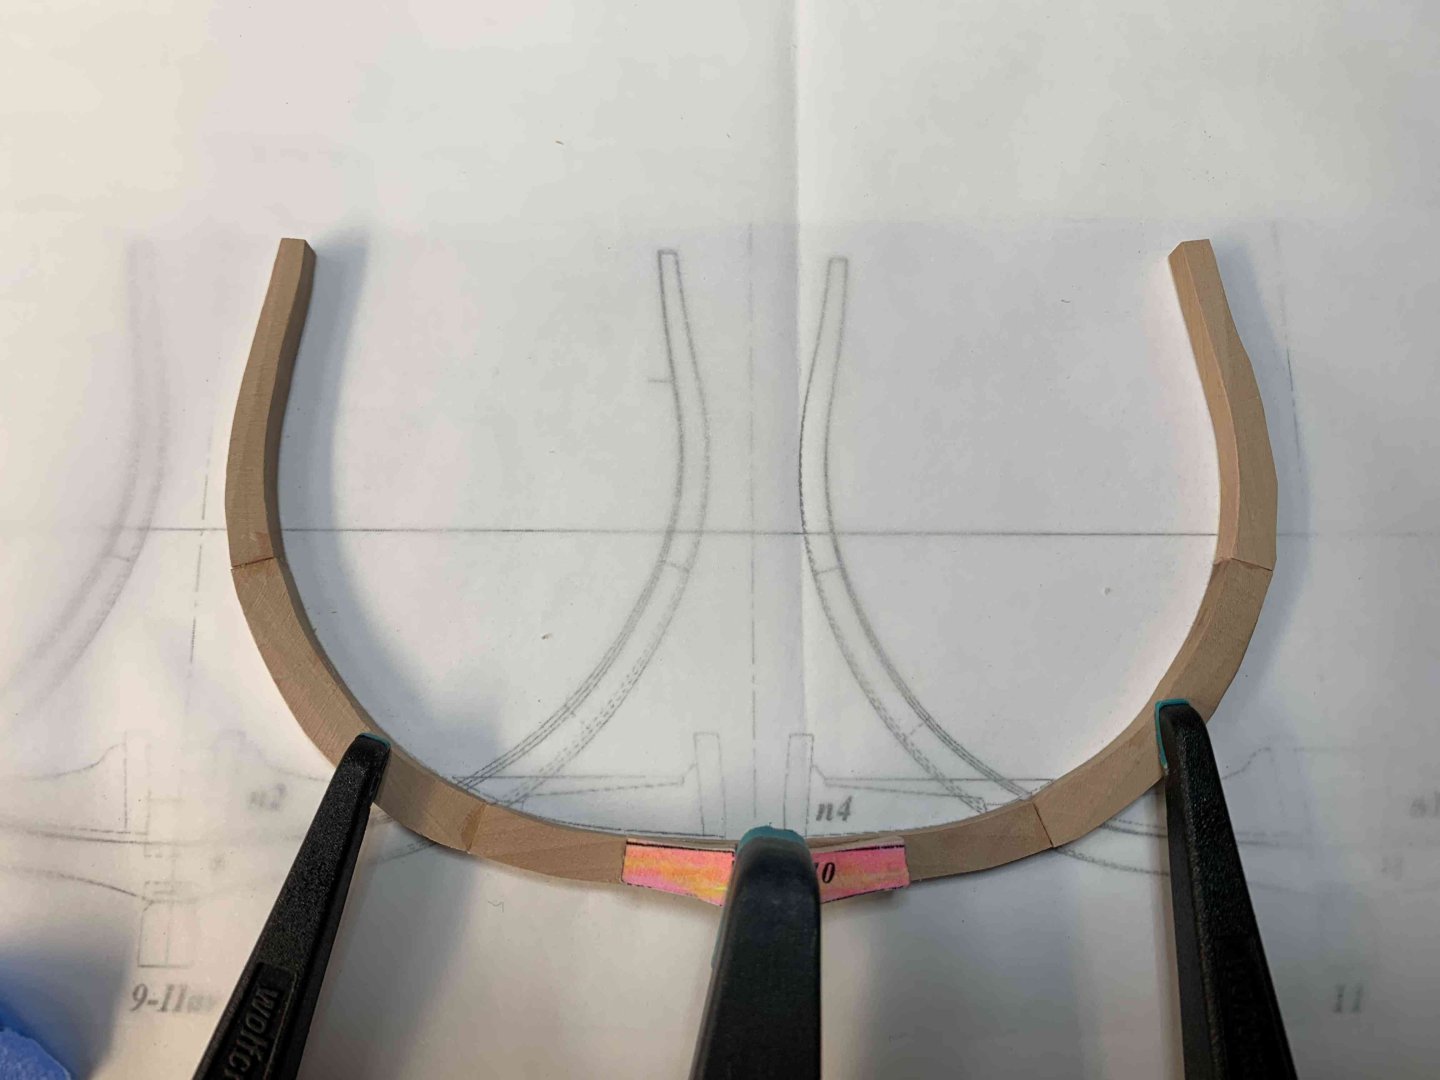
Getting there, few more frames to be built and then funny part of careful sanding and mounting on the keel will begin... With some failed attempts for whatever reason, think I have enough parts to make a LR cross section 😁 Happy modelling..
-
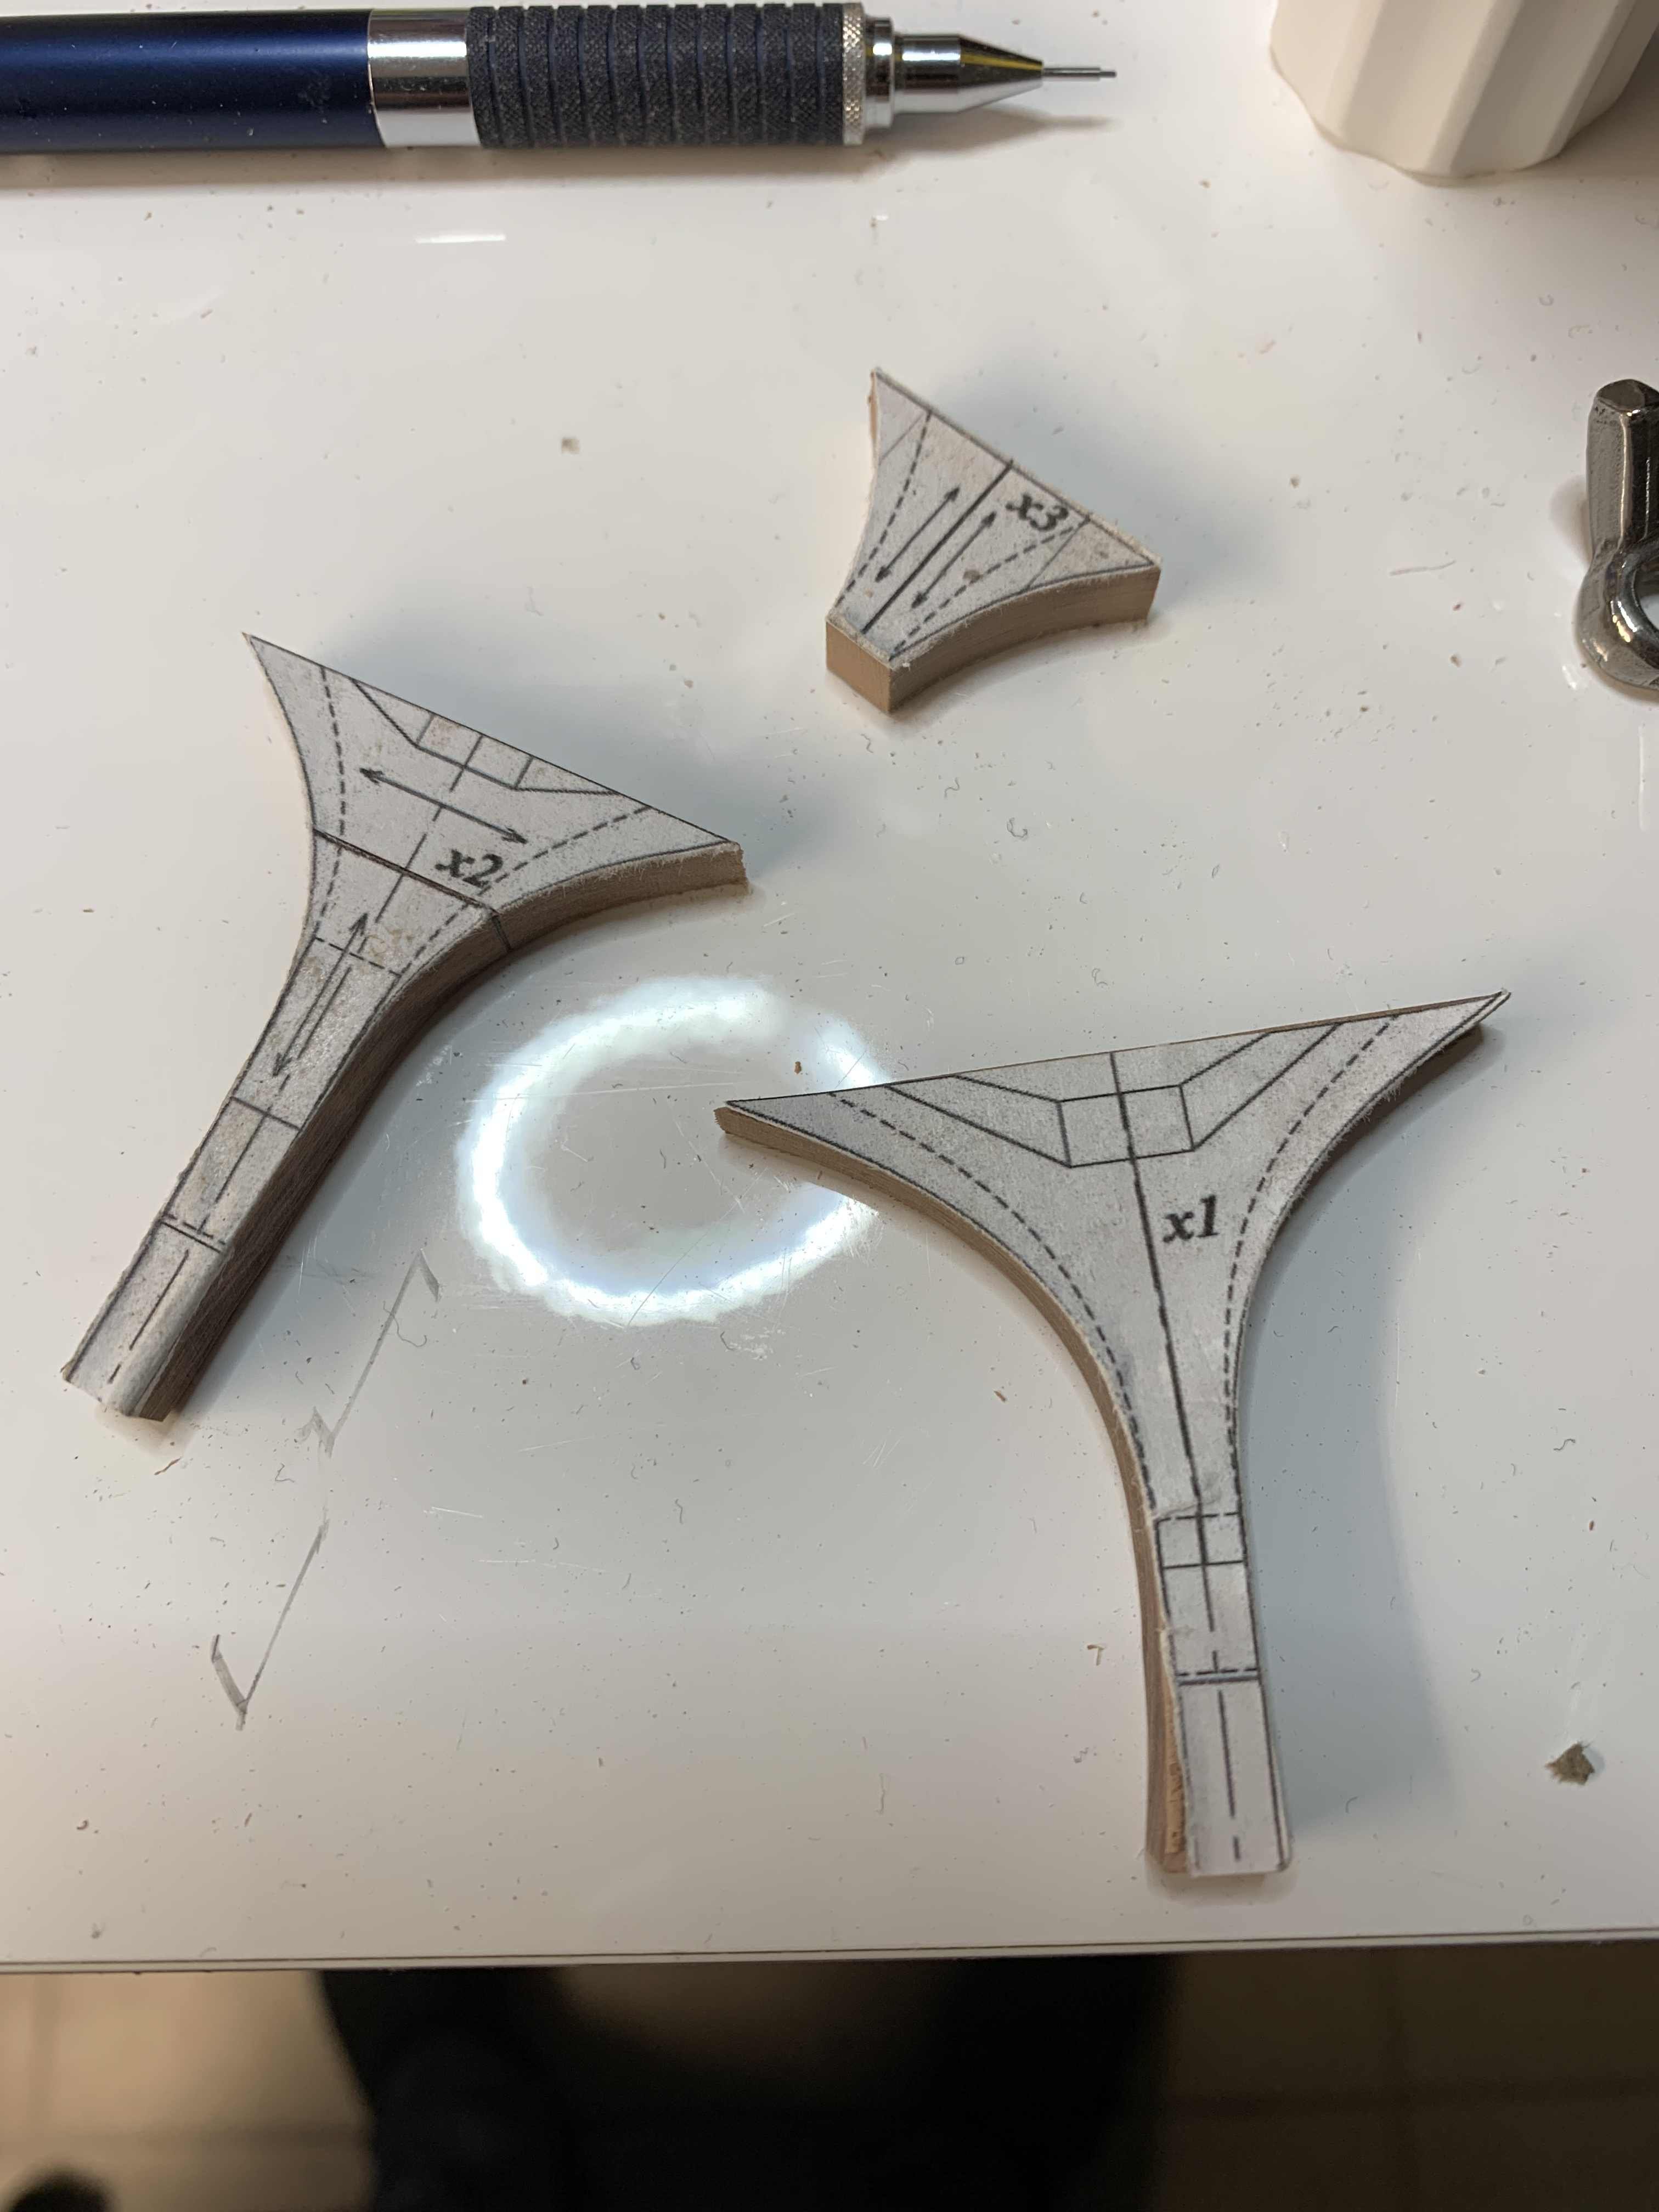
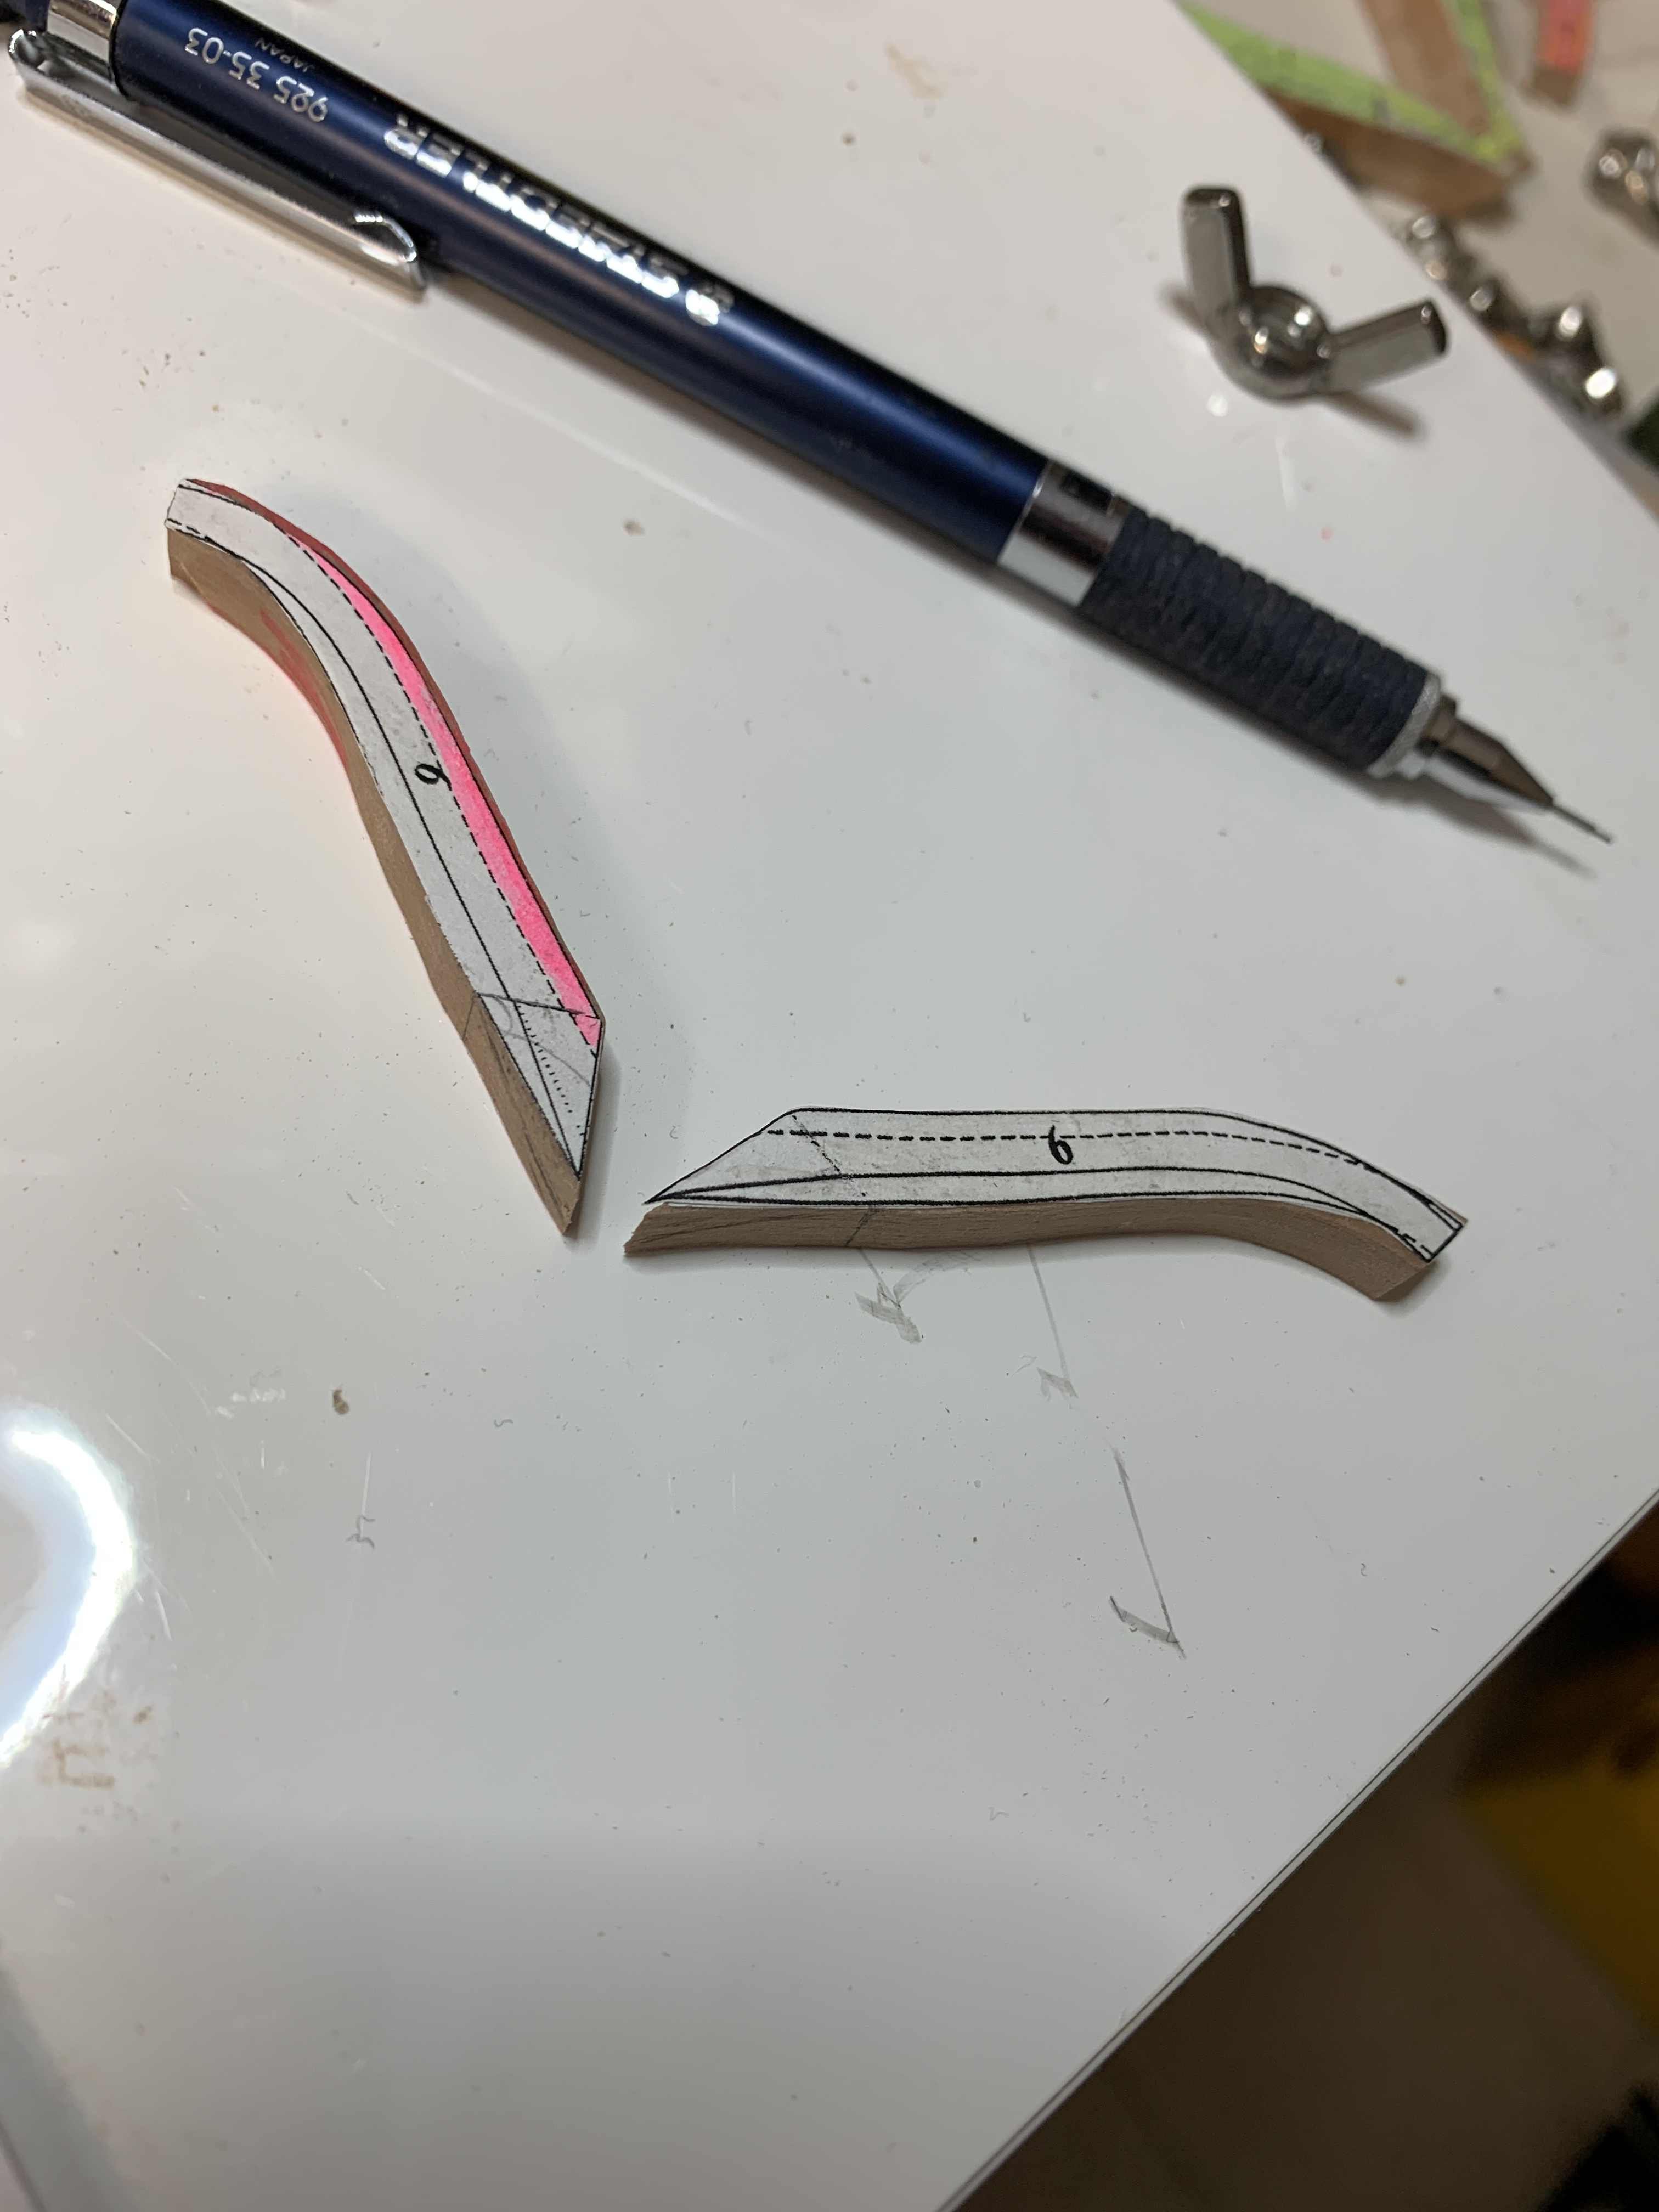
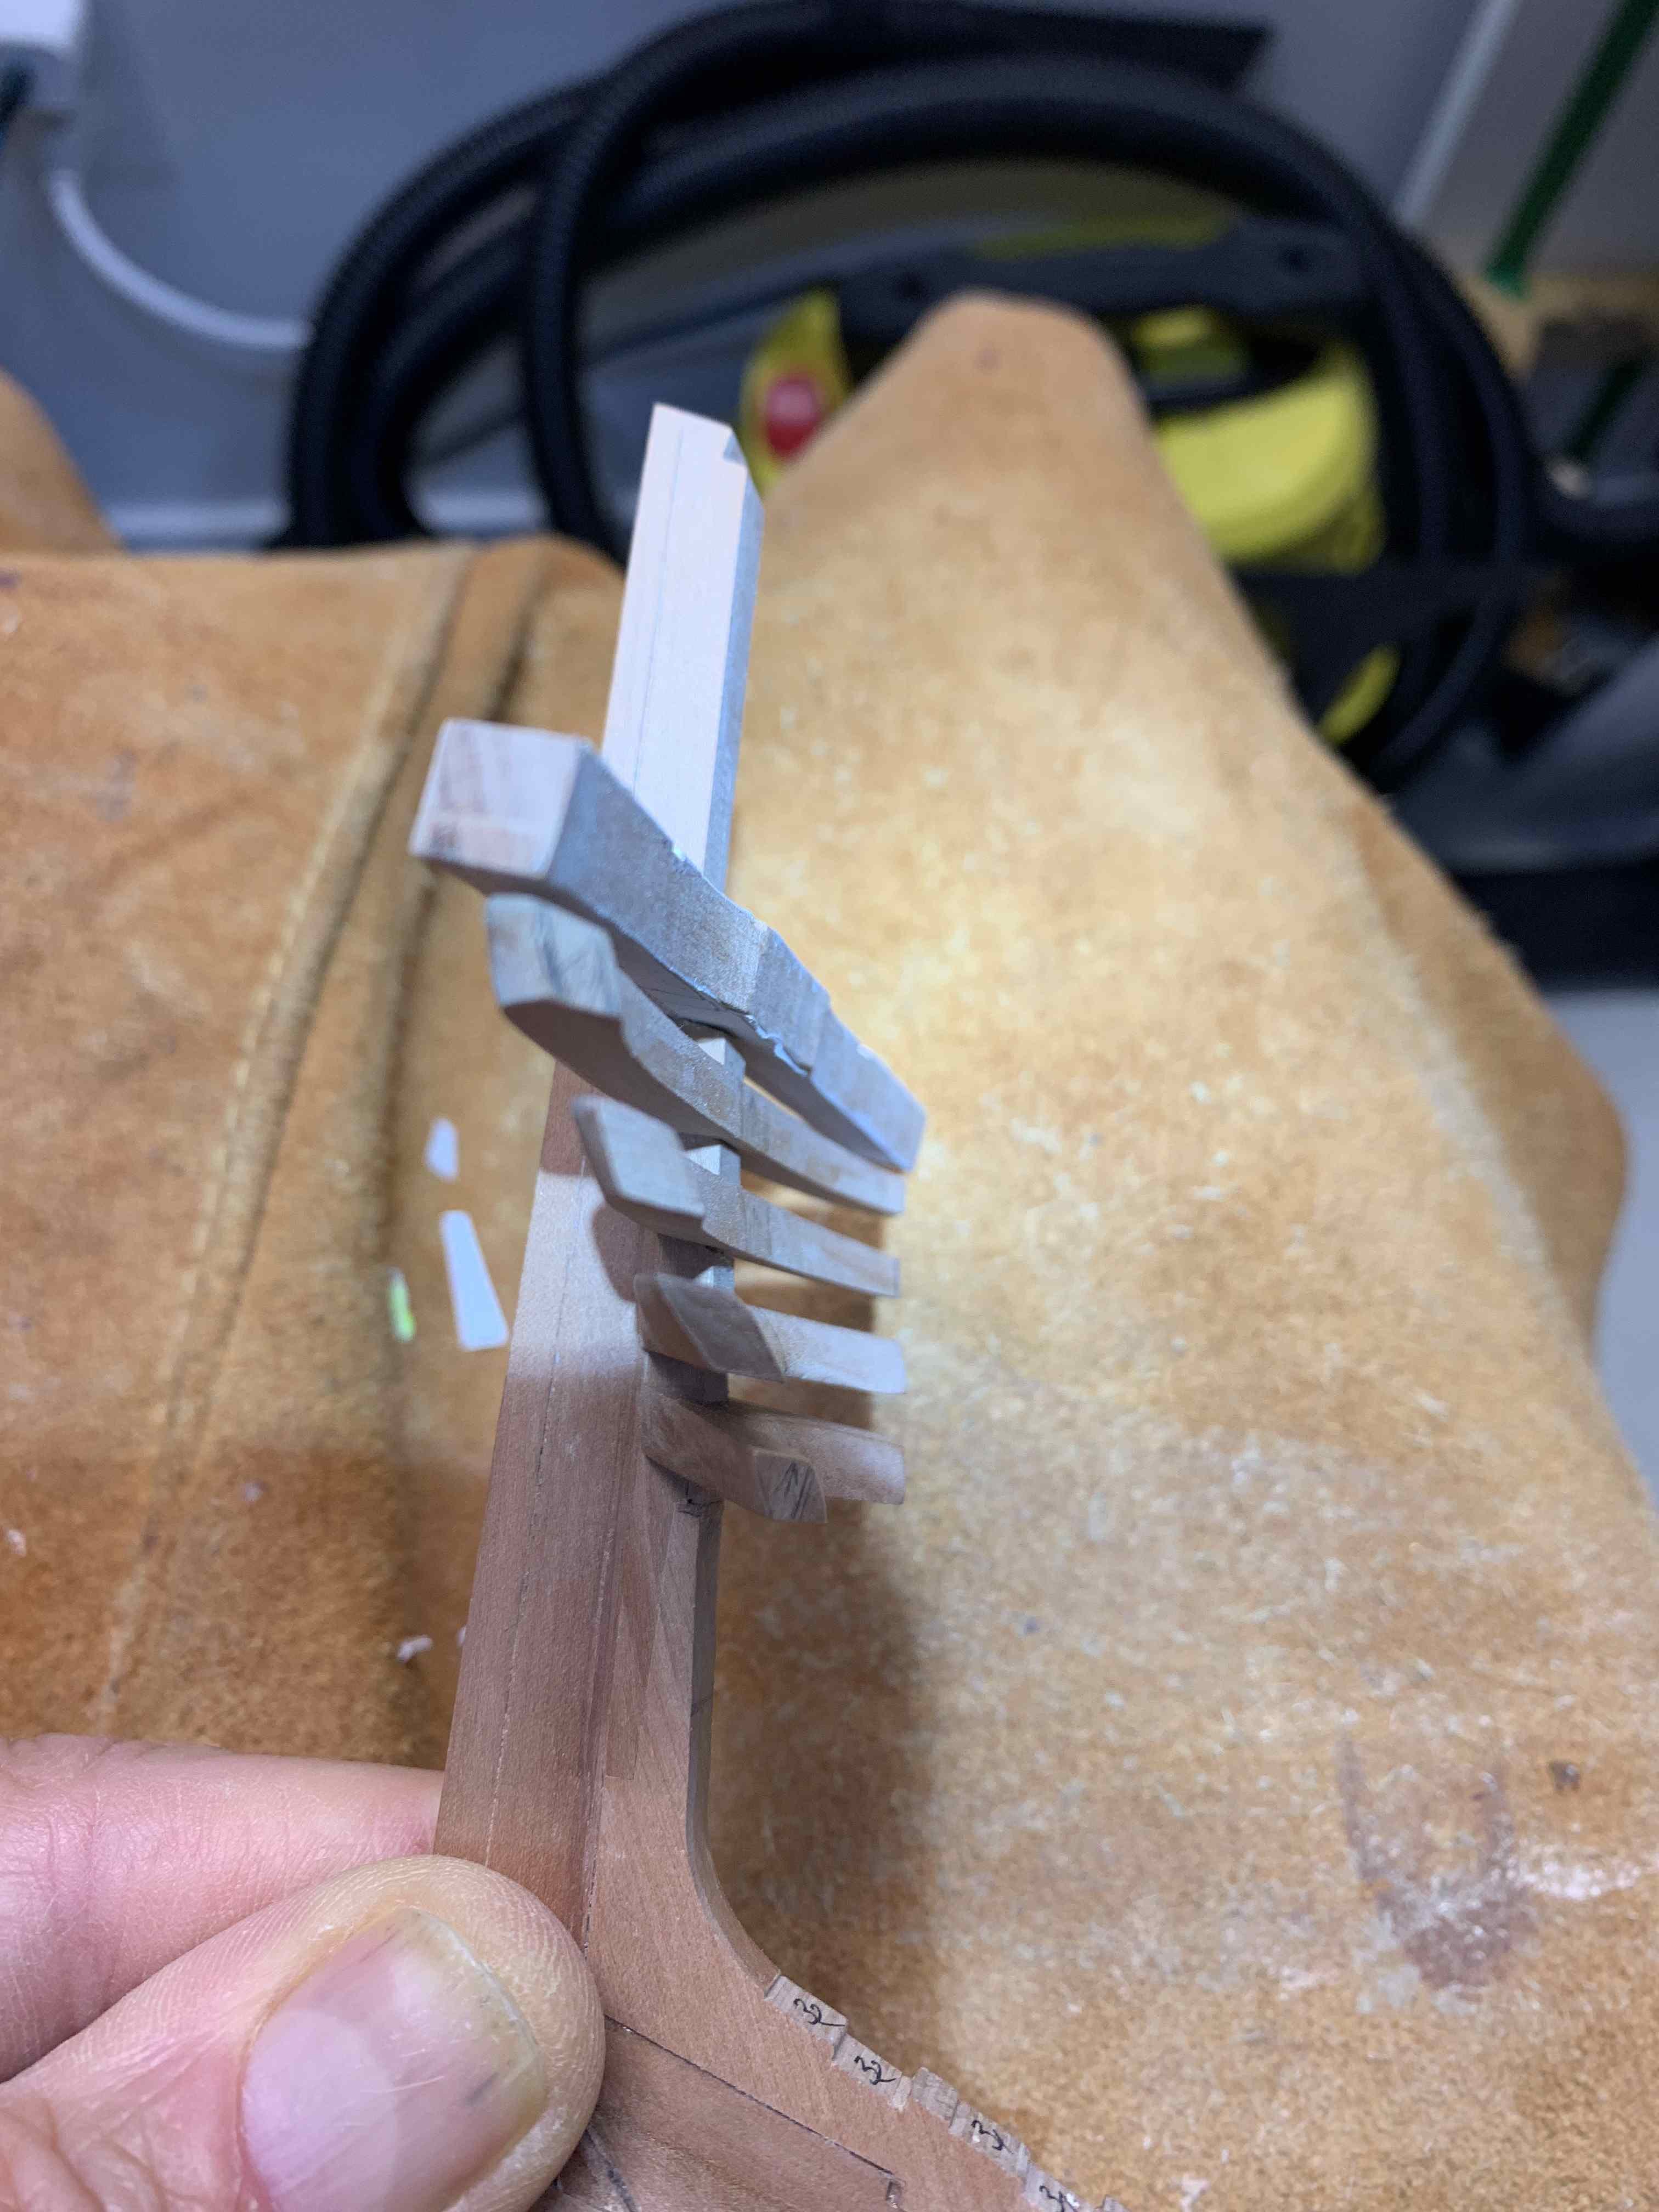
Yeah, thanks.. it is taking quite some time to have all parts lining up correctly for fashion piece... Not sure I will be able to achieve your "contact" level but will try my best.. these are really small parts and with big fingers it is fairly hard to keep them in hands while carving, without use of bandages 🙂 at the end..
-
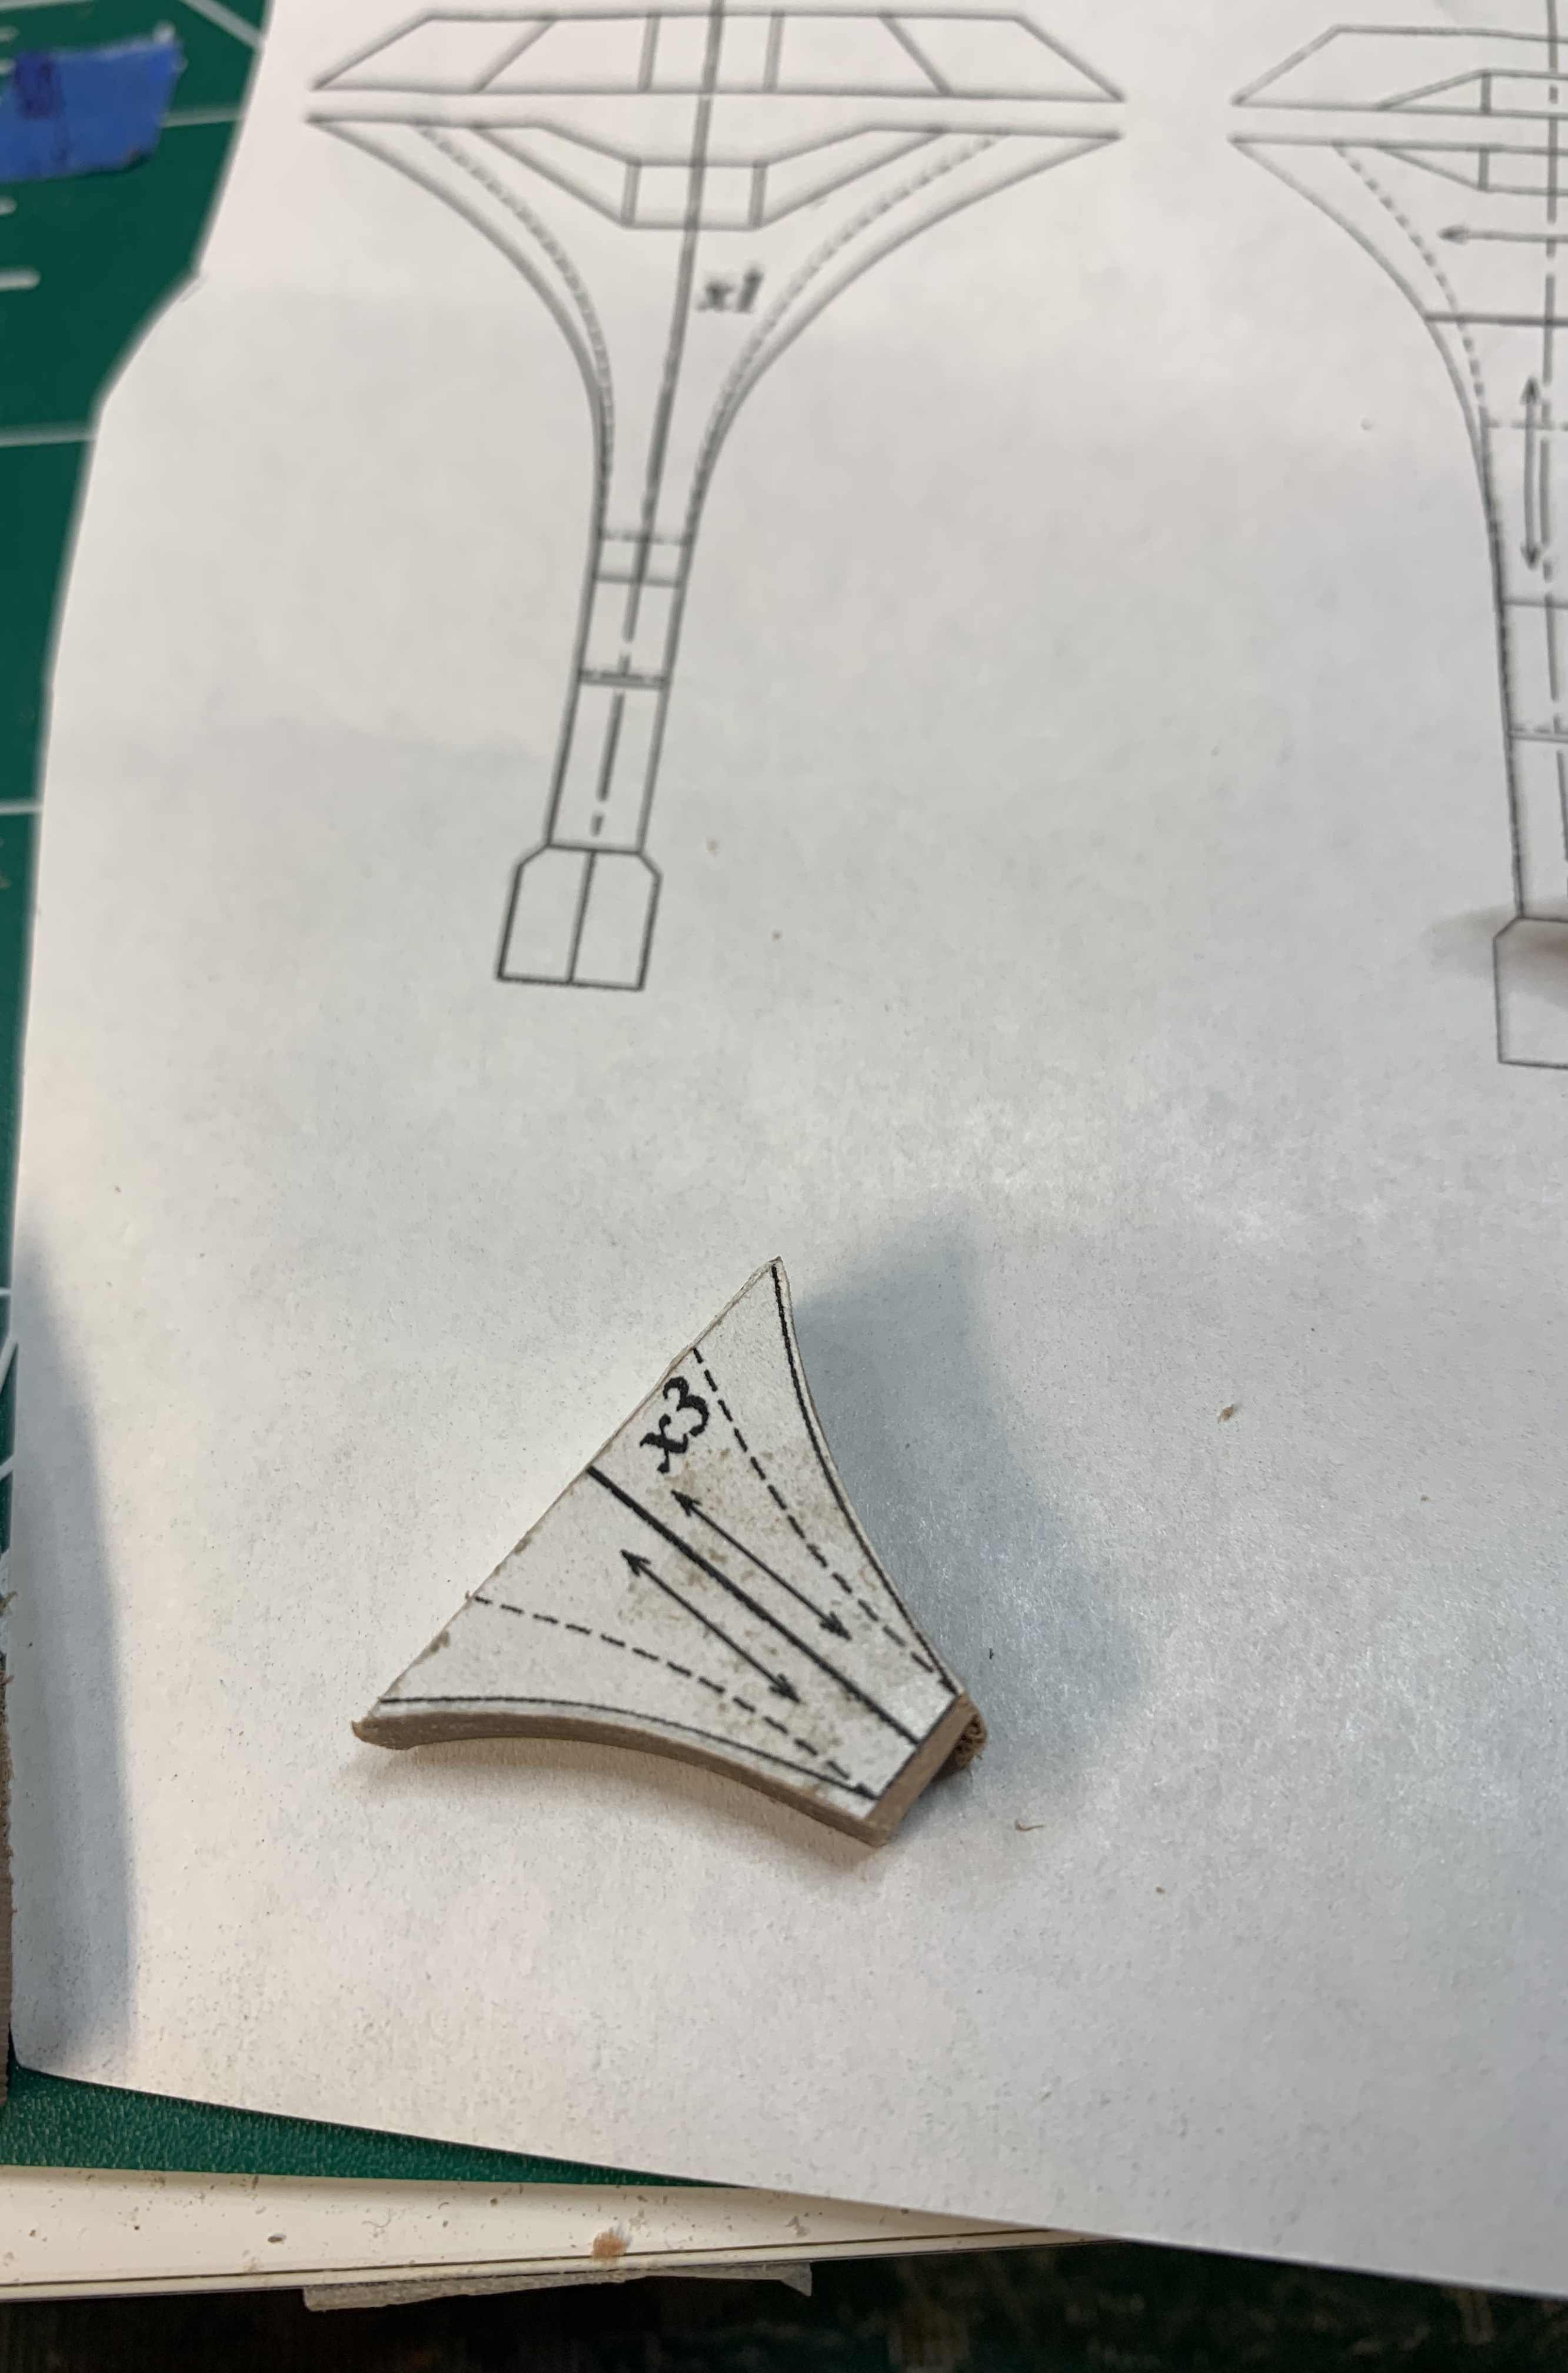
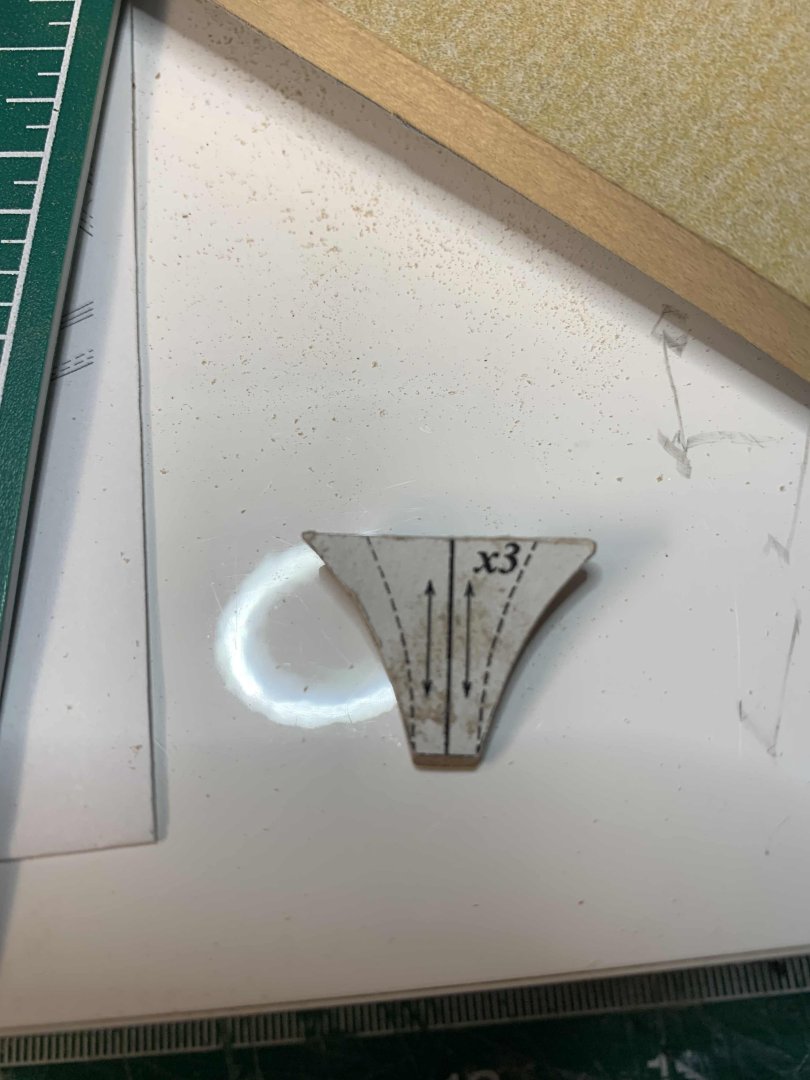
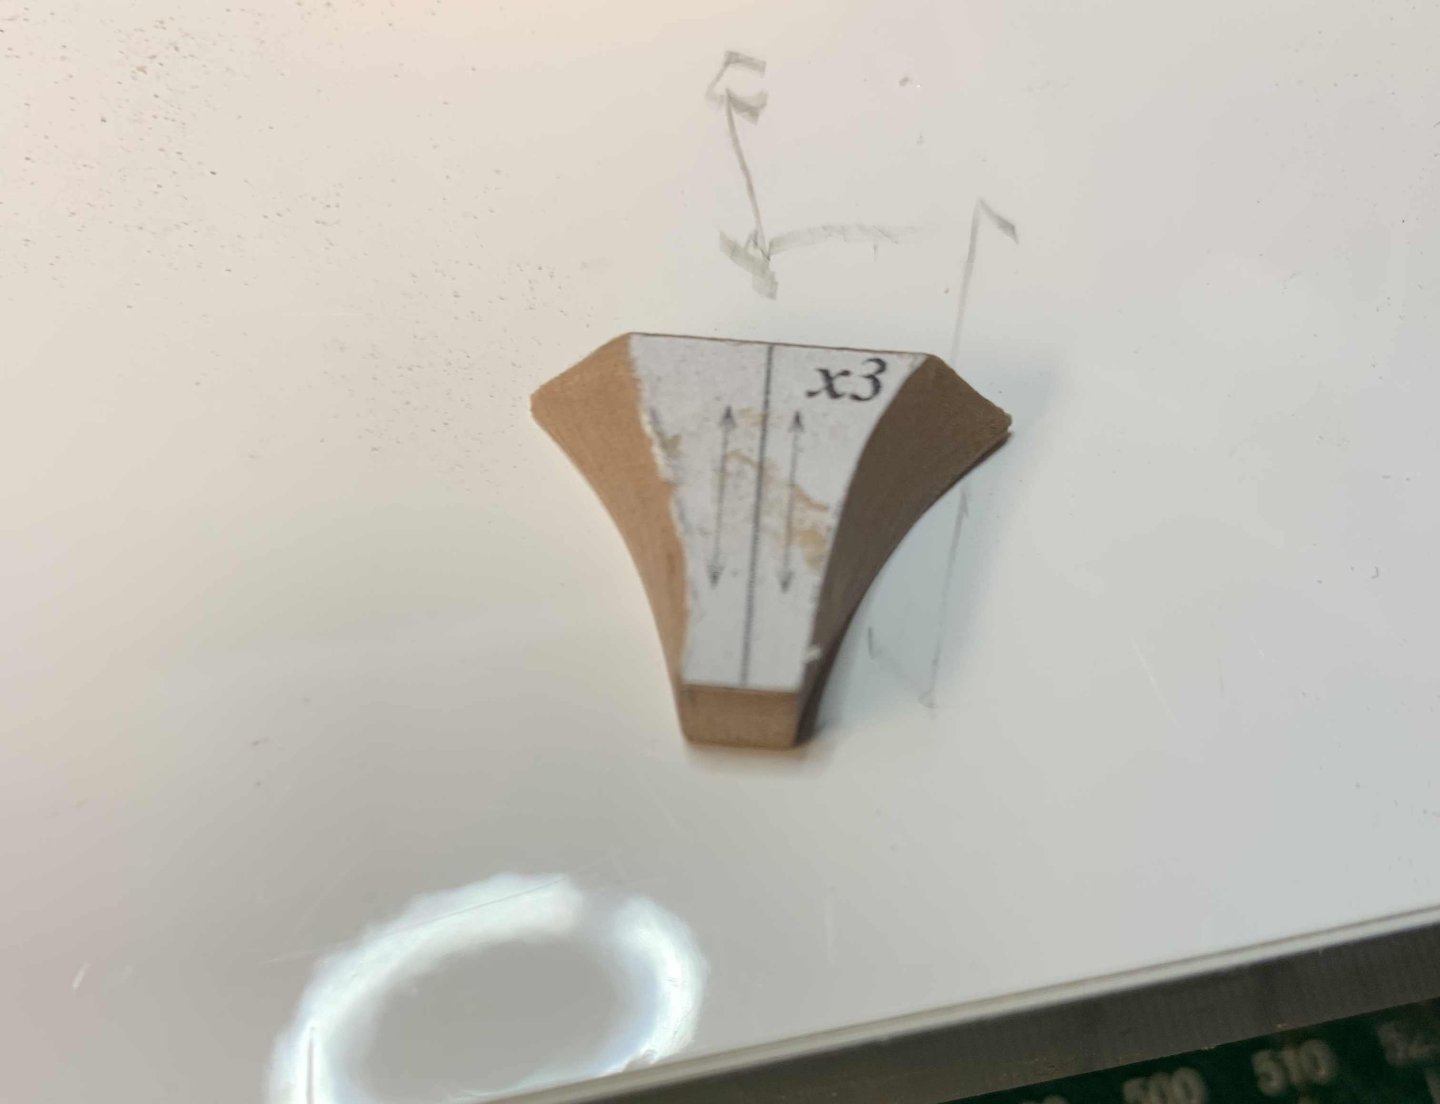
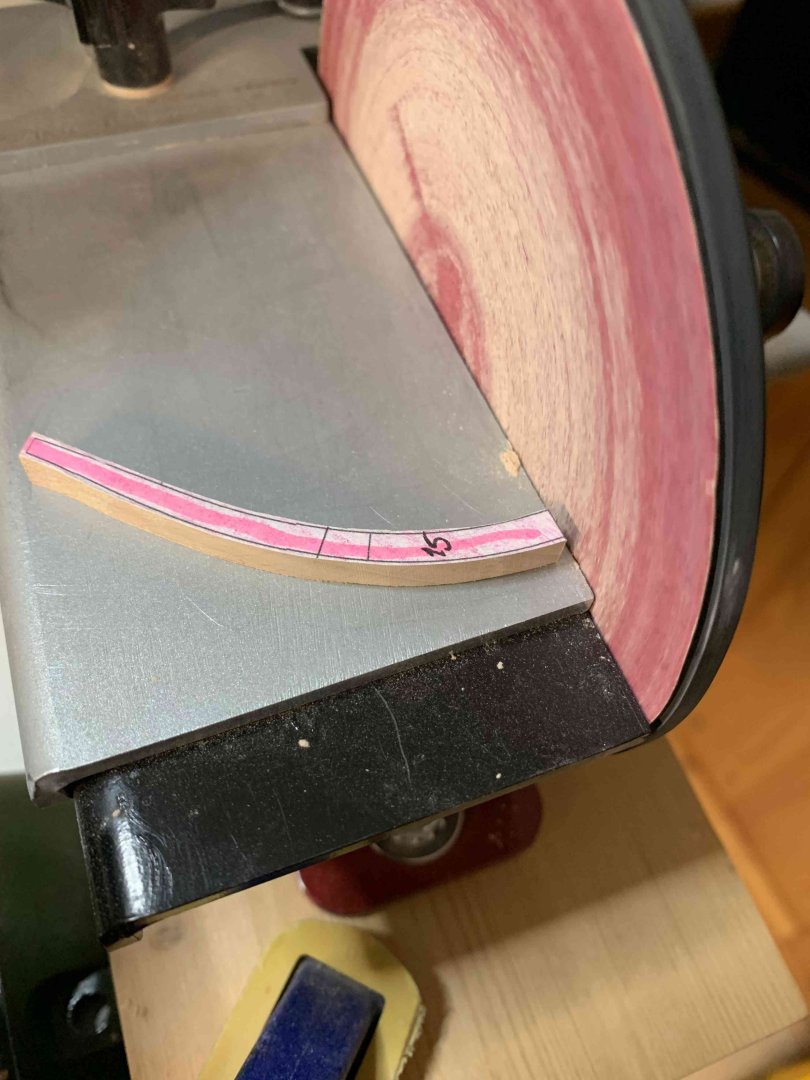
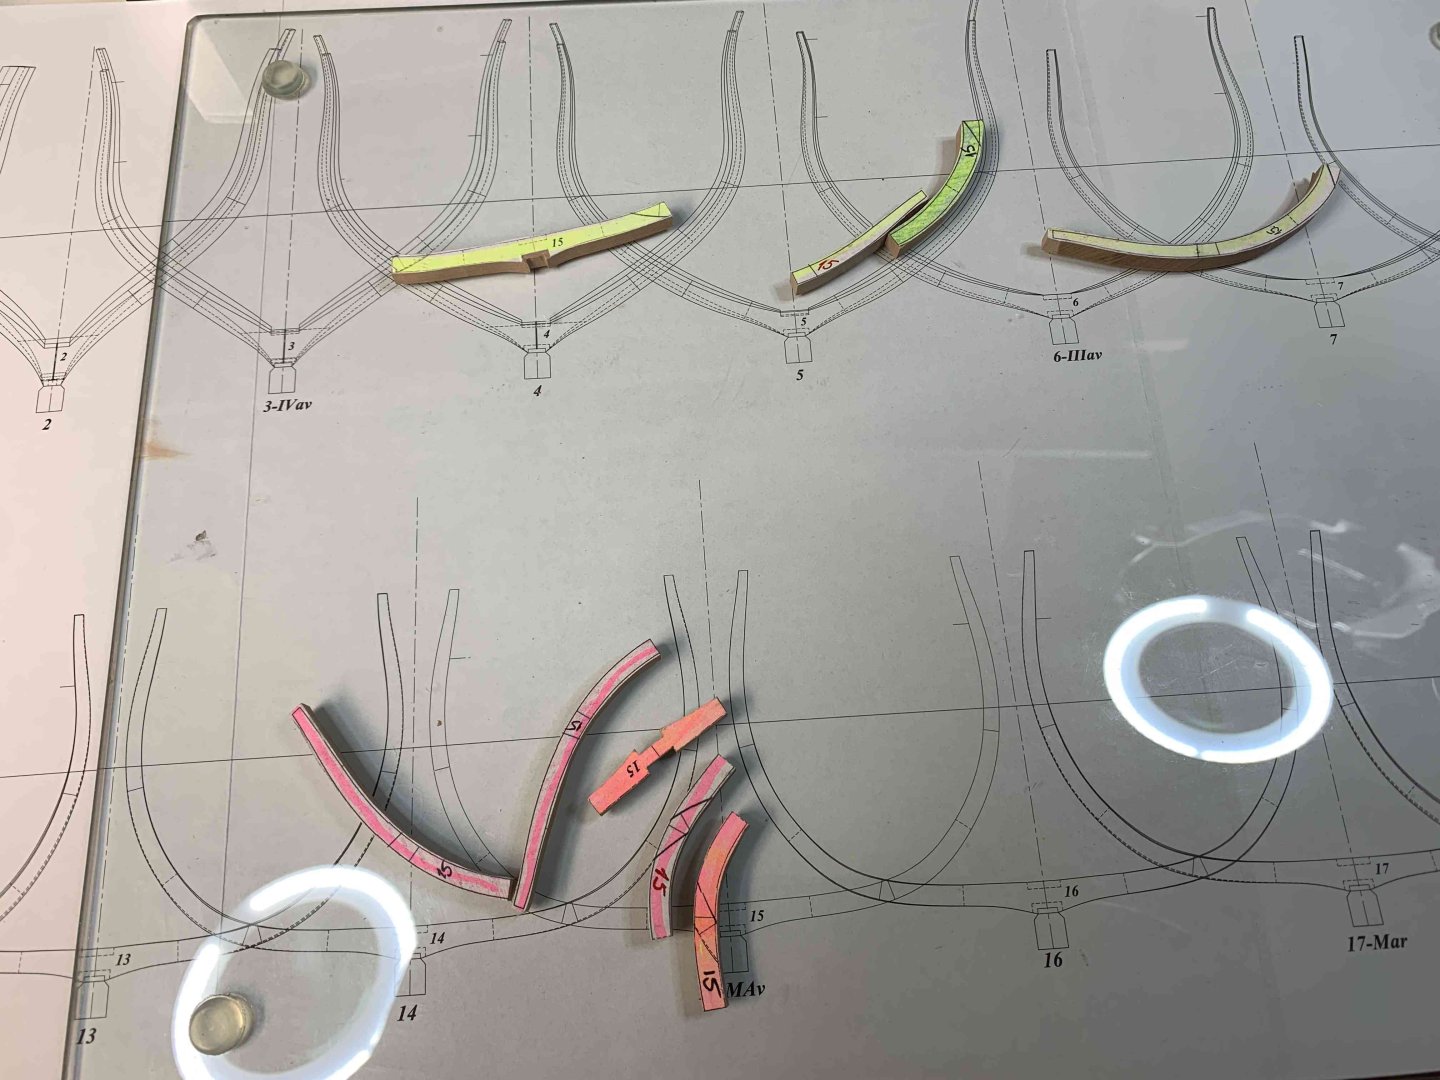
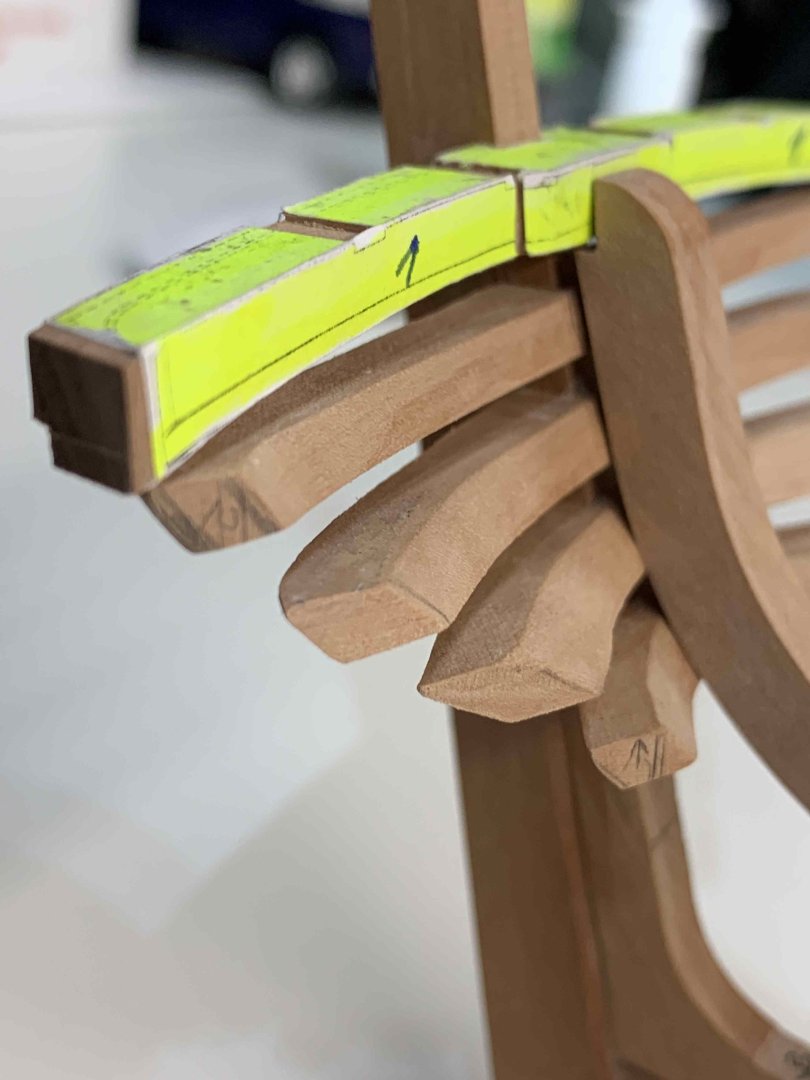
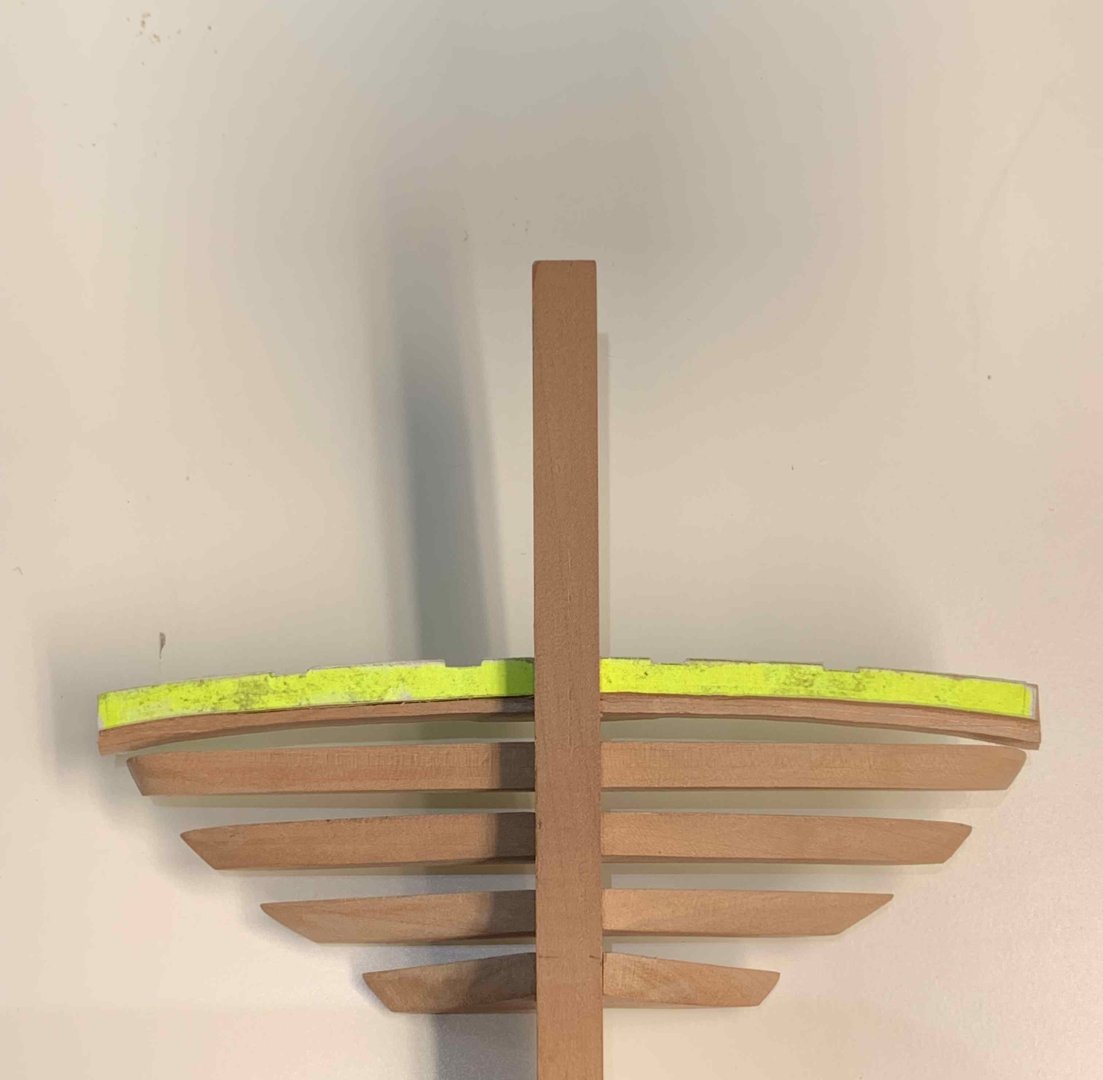
Sanding, sanding, sanding and more sanding.... nothing interesting to report... still working on frames... final sanding to come.. To break a routine, and to keep this build interested (and not to jump on Xebec' kit), started to work on fashion pieces.... They are attached to the ship but with some final sanding done in a later stages... Then I started to work on stern solid filling timber... made out of three pieces.. This piece requires lots of carving so proper position of a template on the wood is crucial for easy carving and good results. OK, now, time for few more frames.. Happy modelling.


-
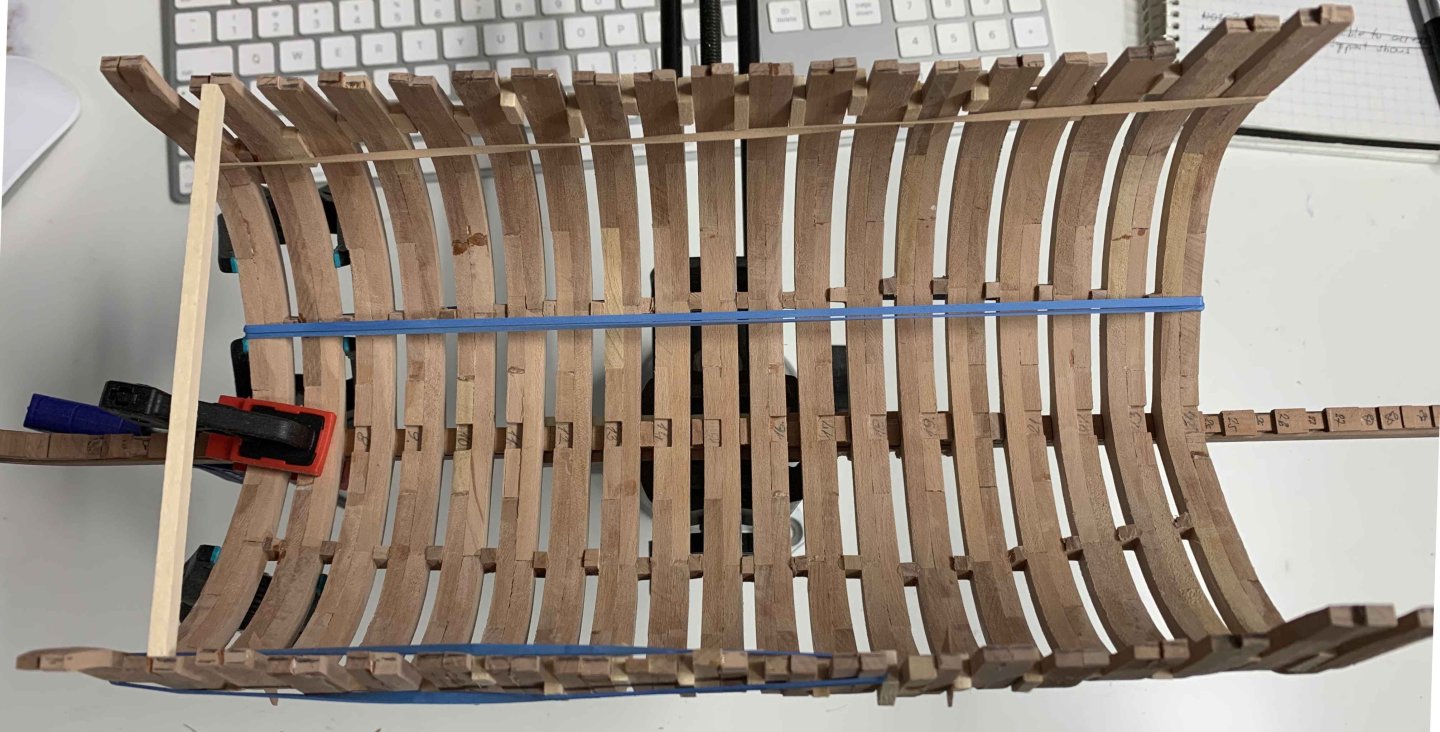
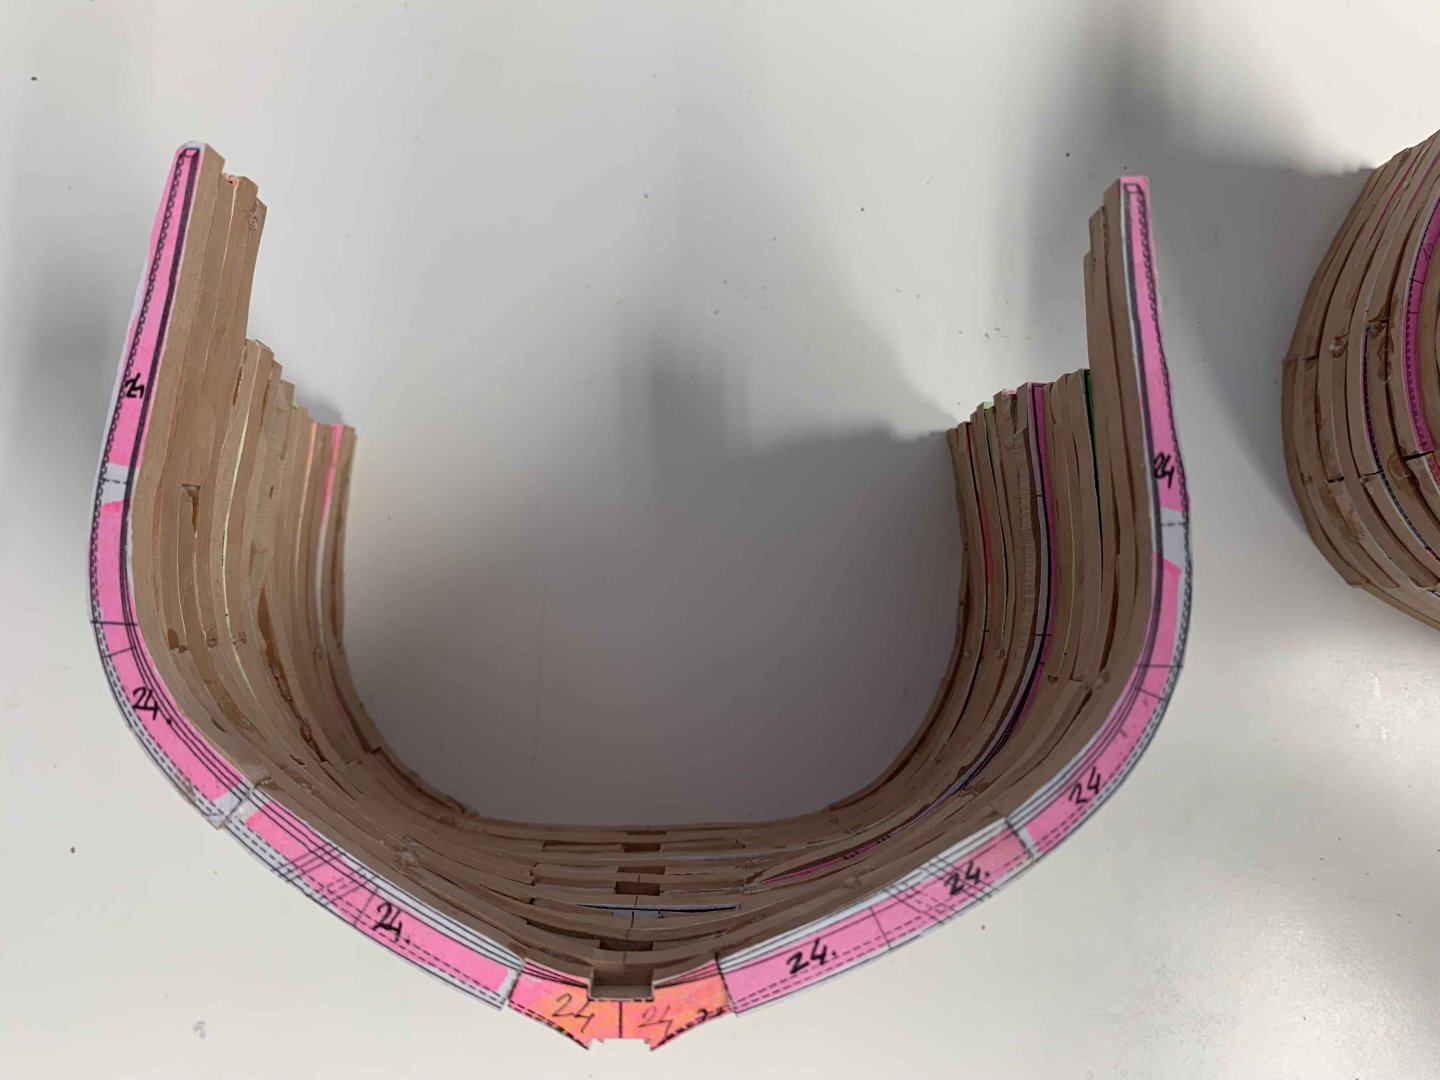
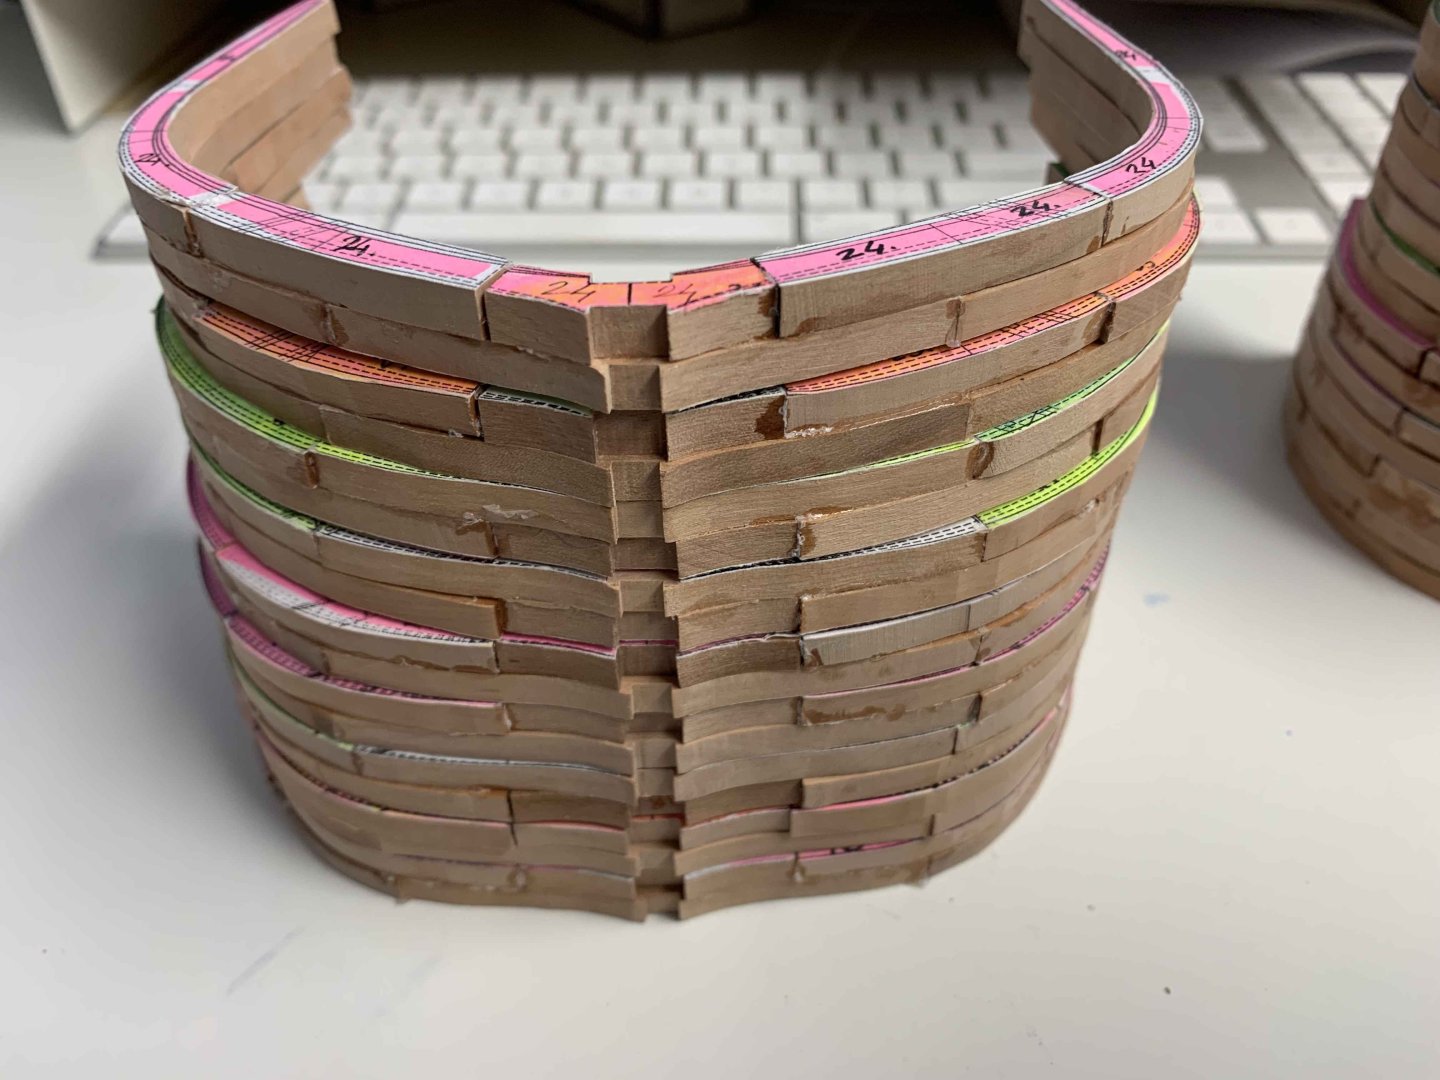
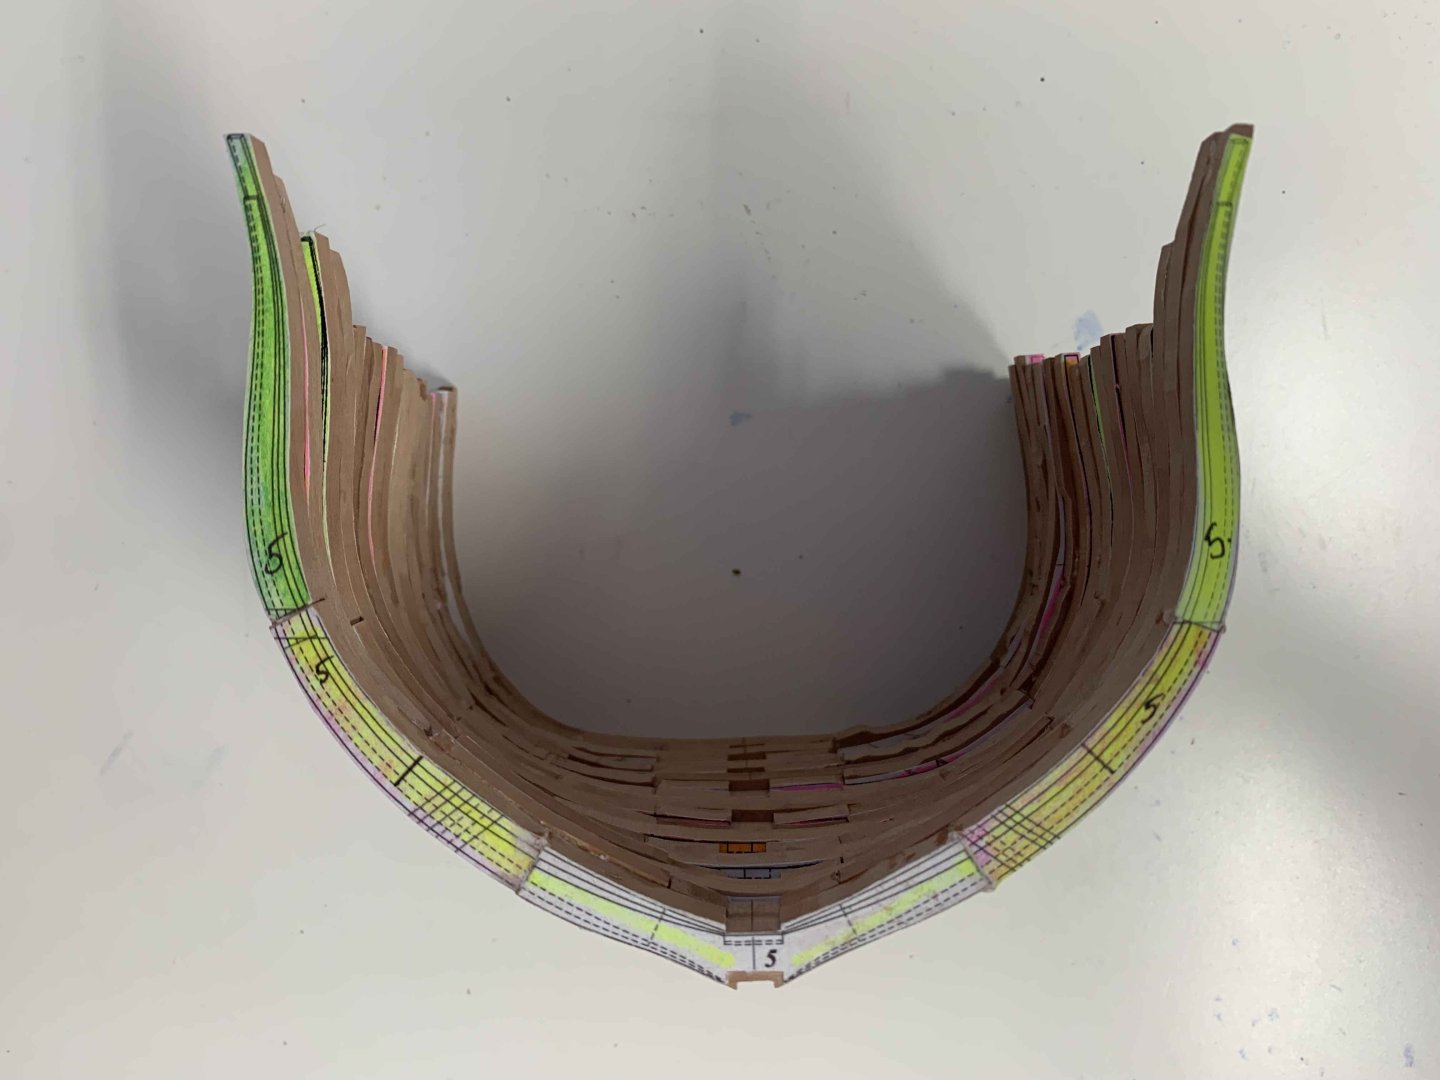
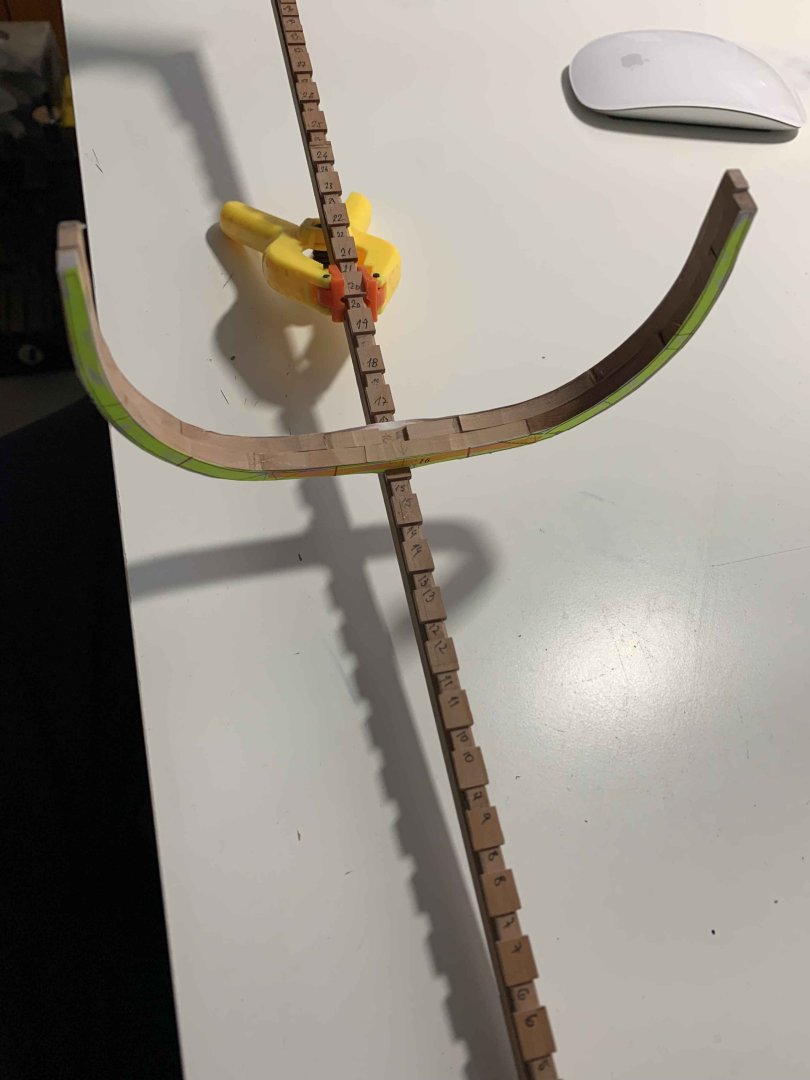
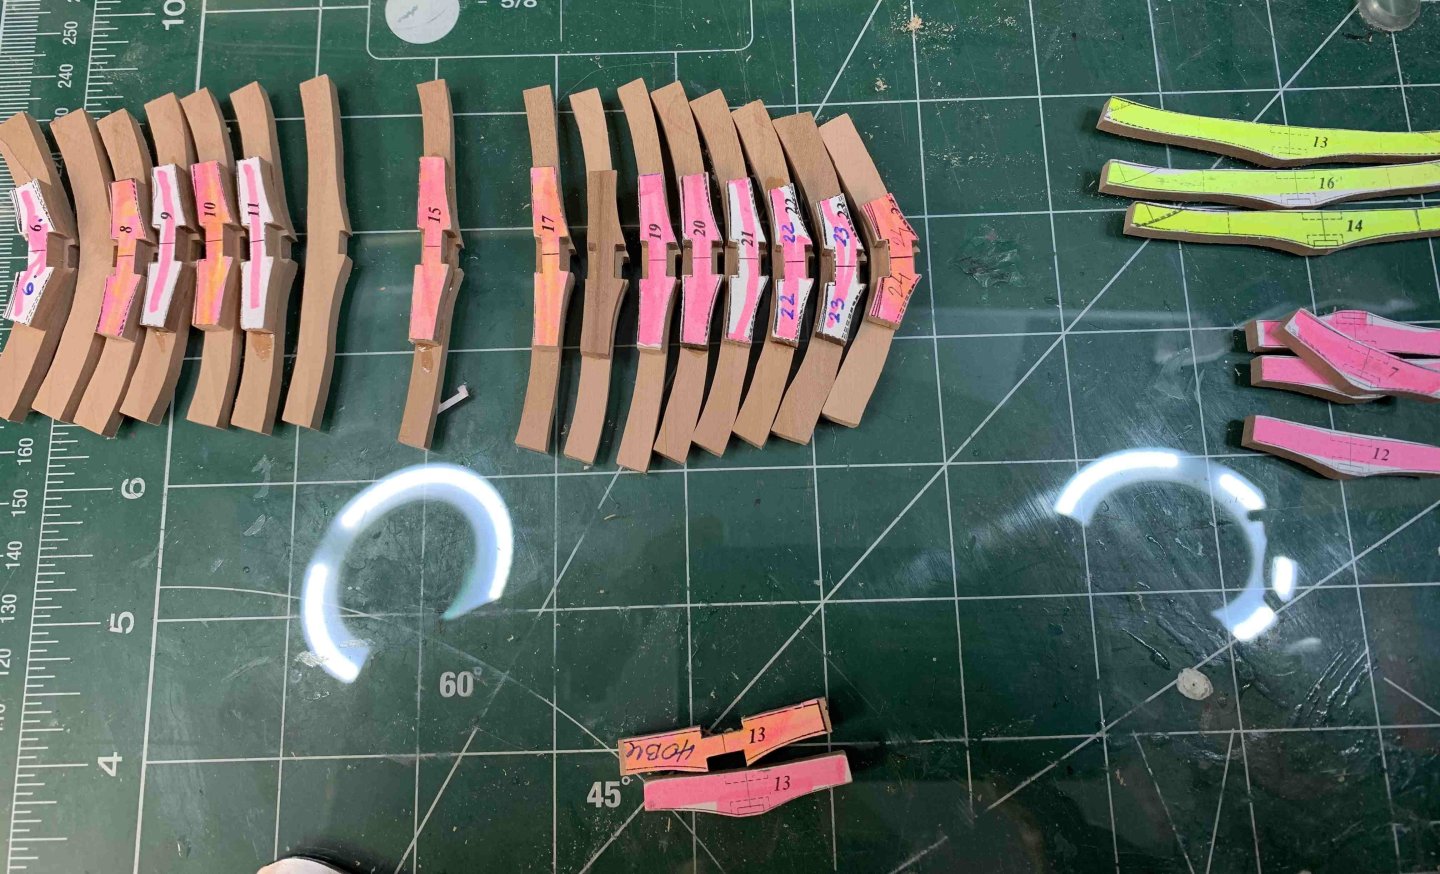
As per practicum, frames from 5 - 24 are built; #7 is in drying process at this moment... Just curious to put them on... they are not fixed yet to the keel, nor adjusted so some of them are a bit out of line.. Next is a nice amount of sanding... then rest of the frames... Happy modelling..


-
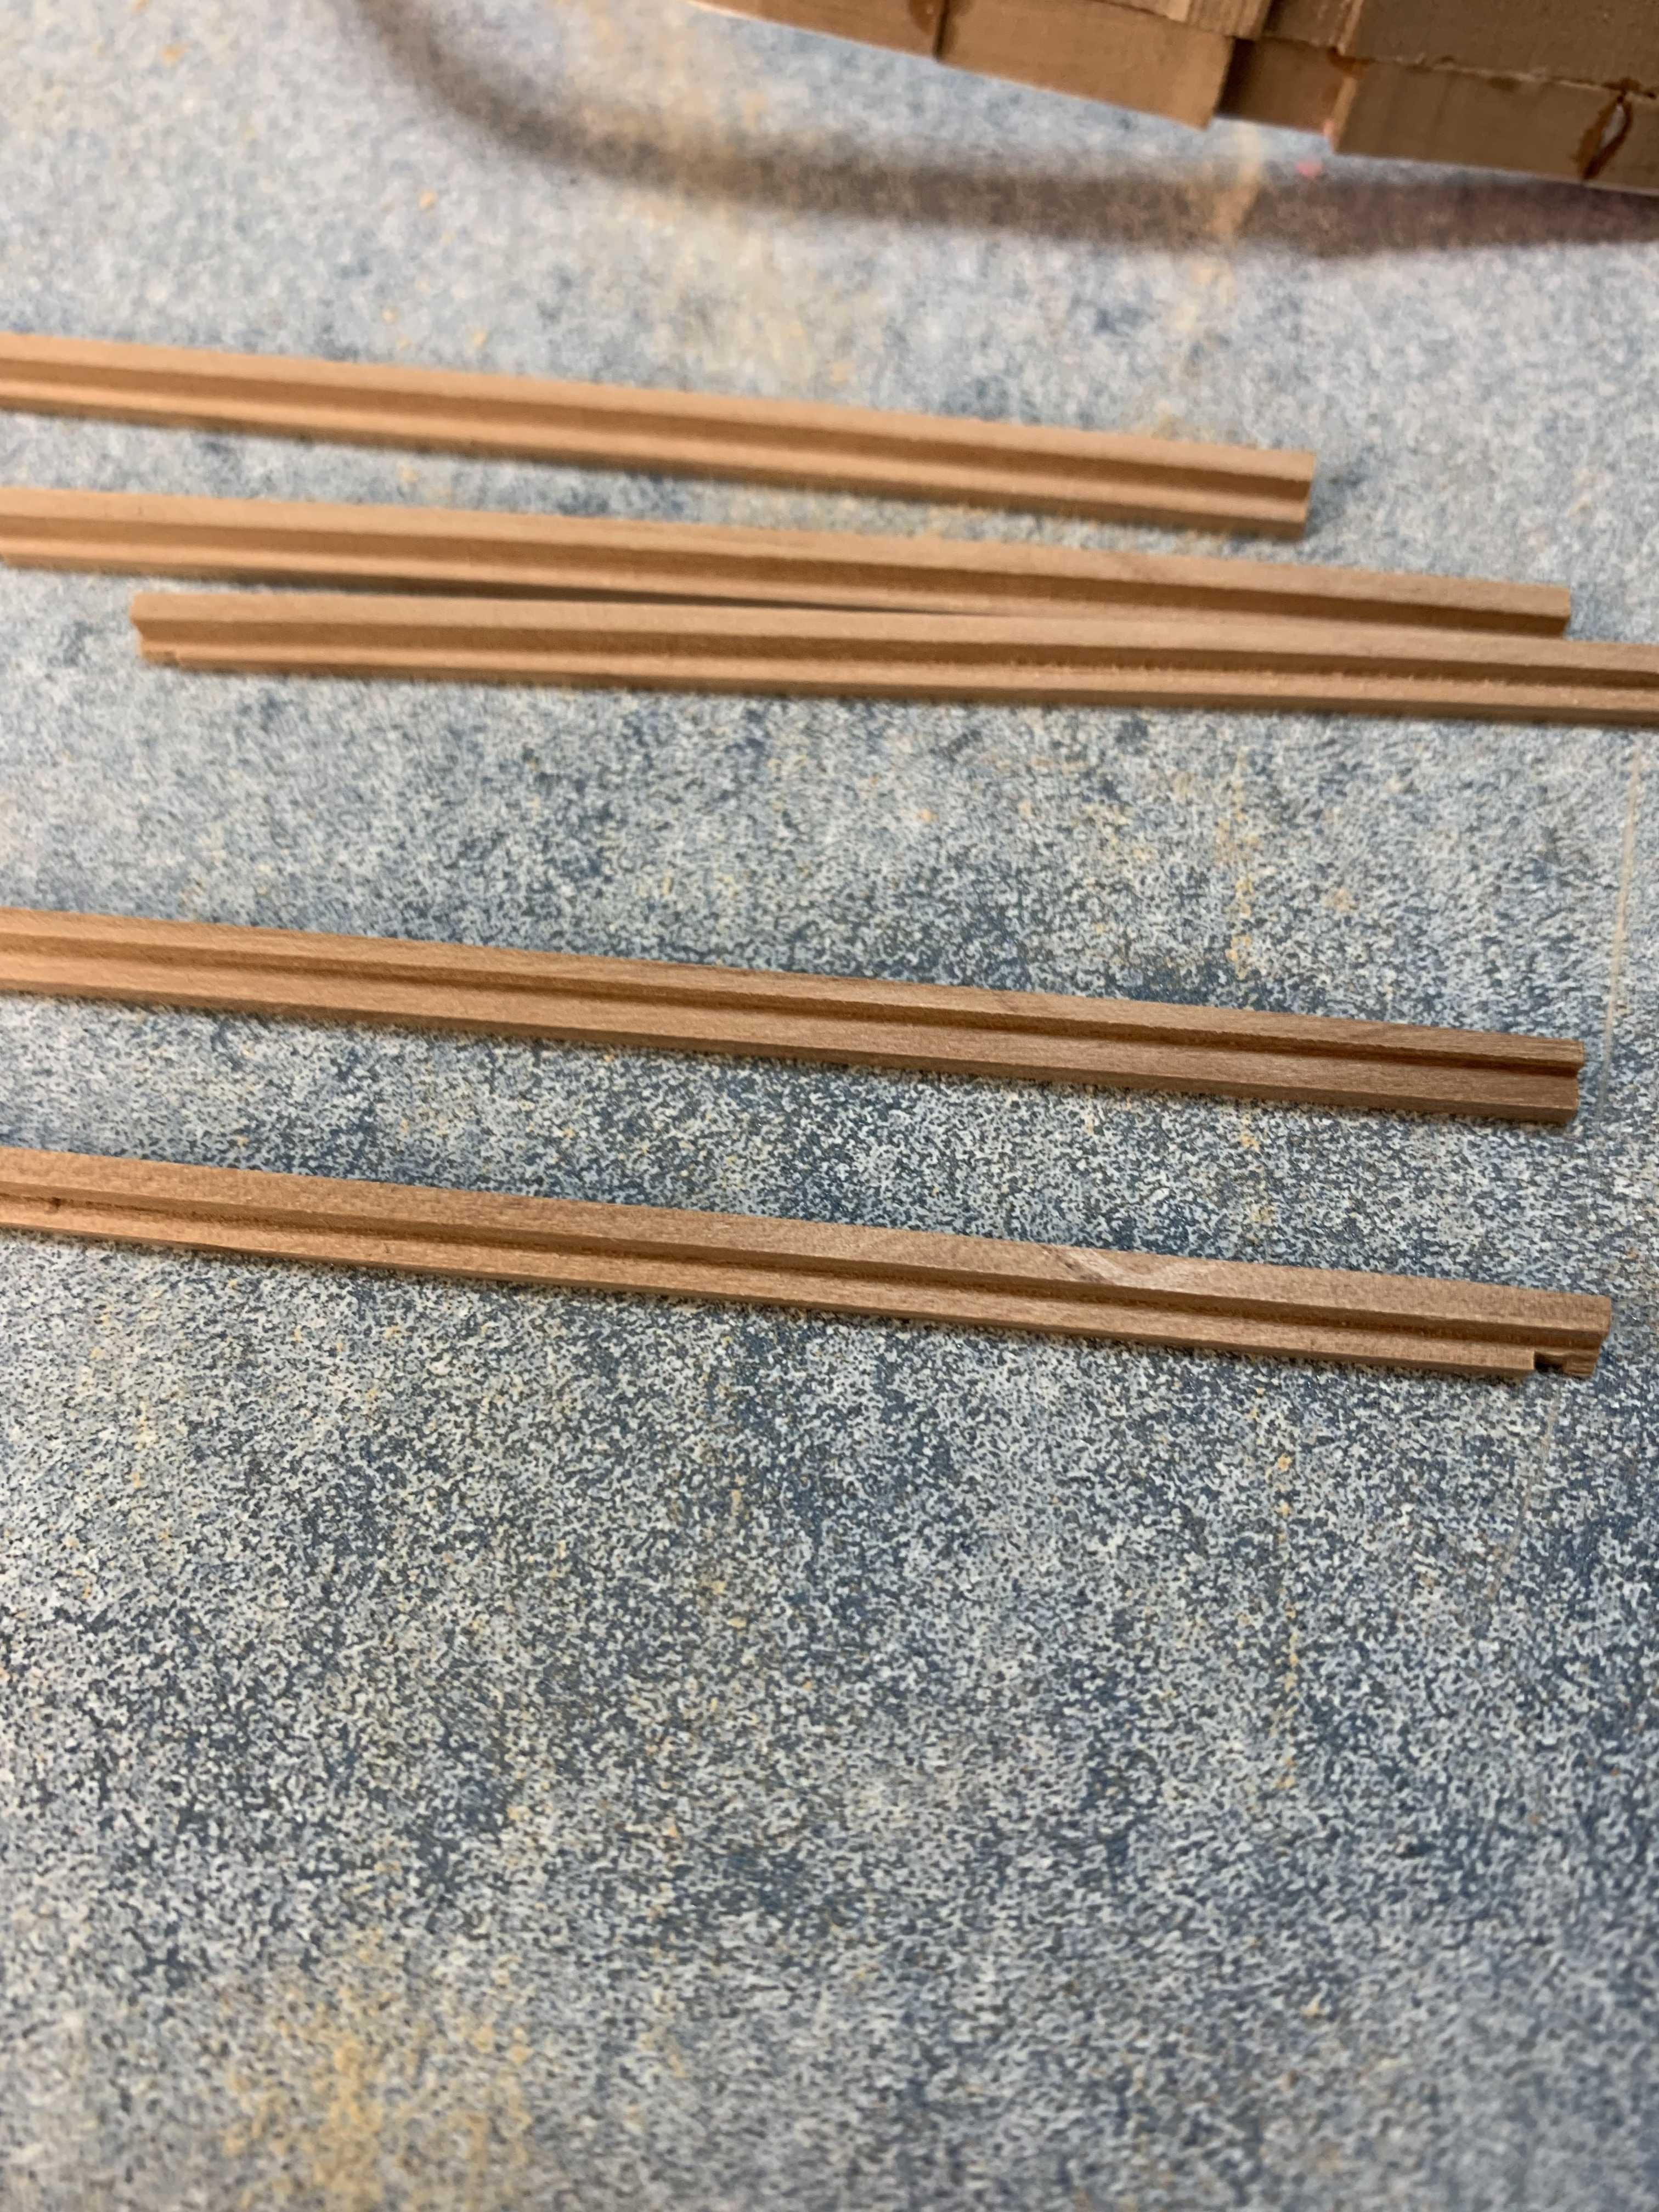
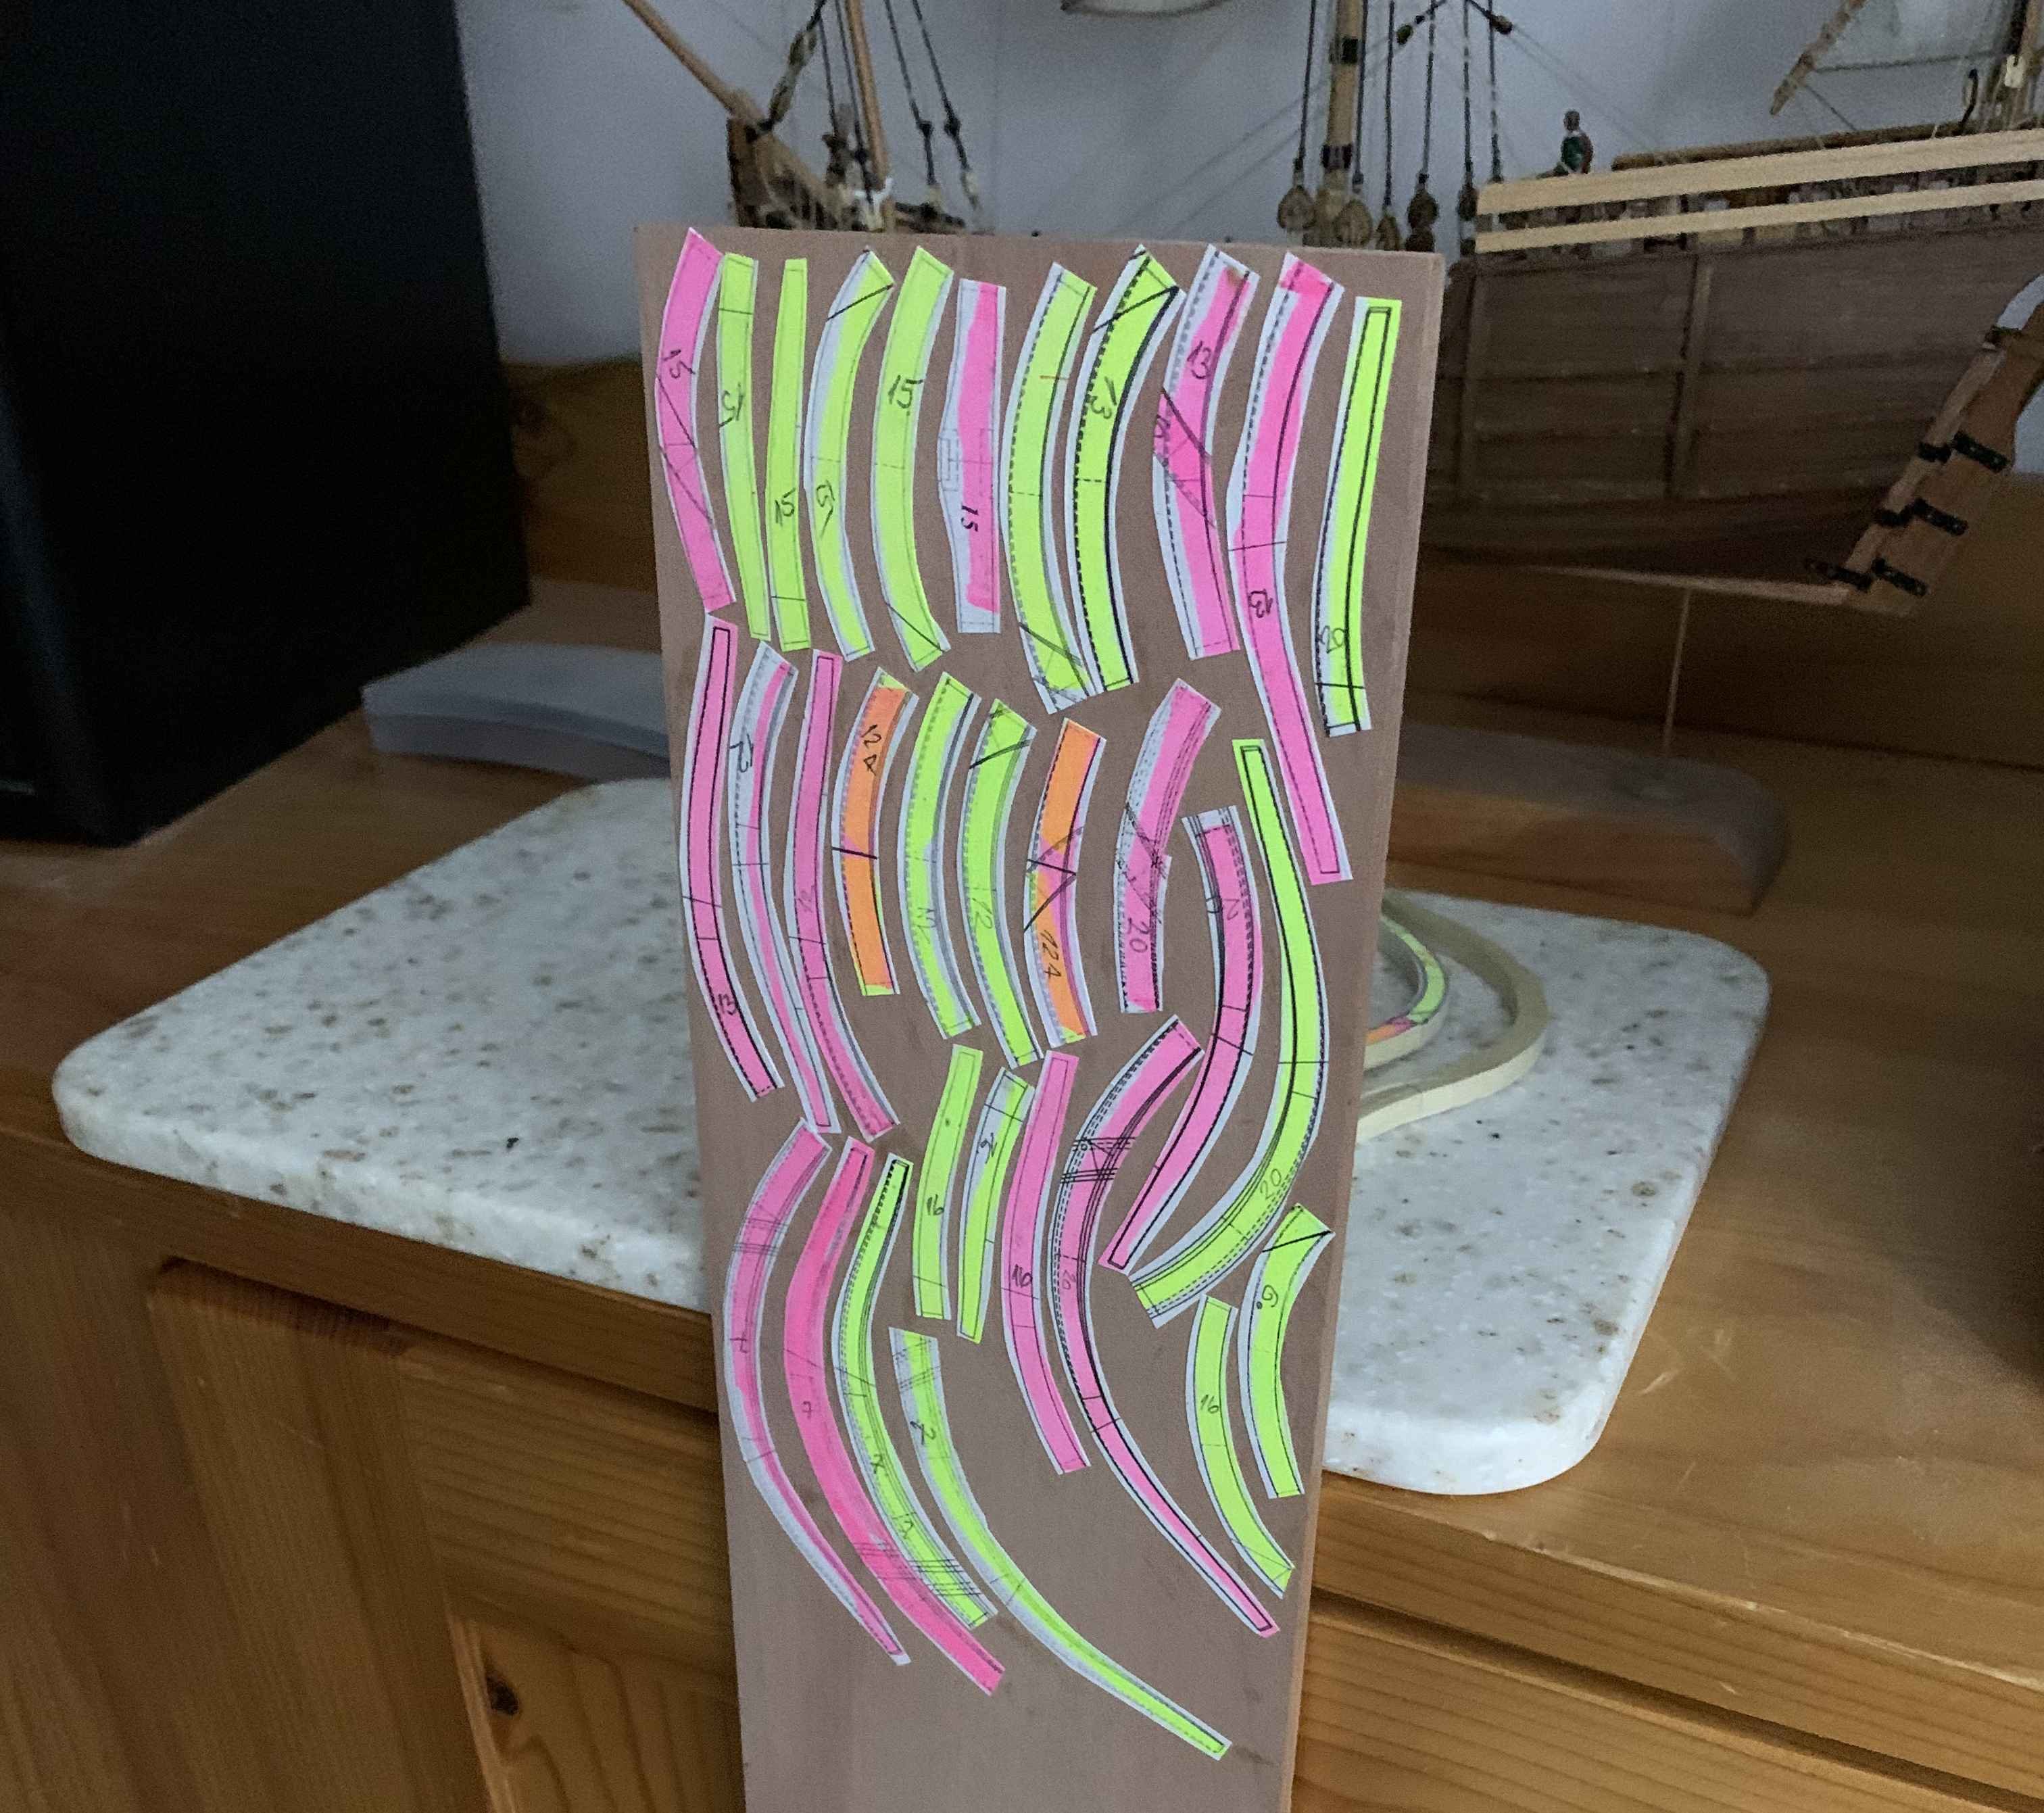
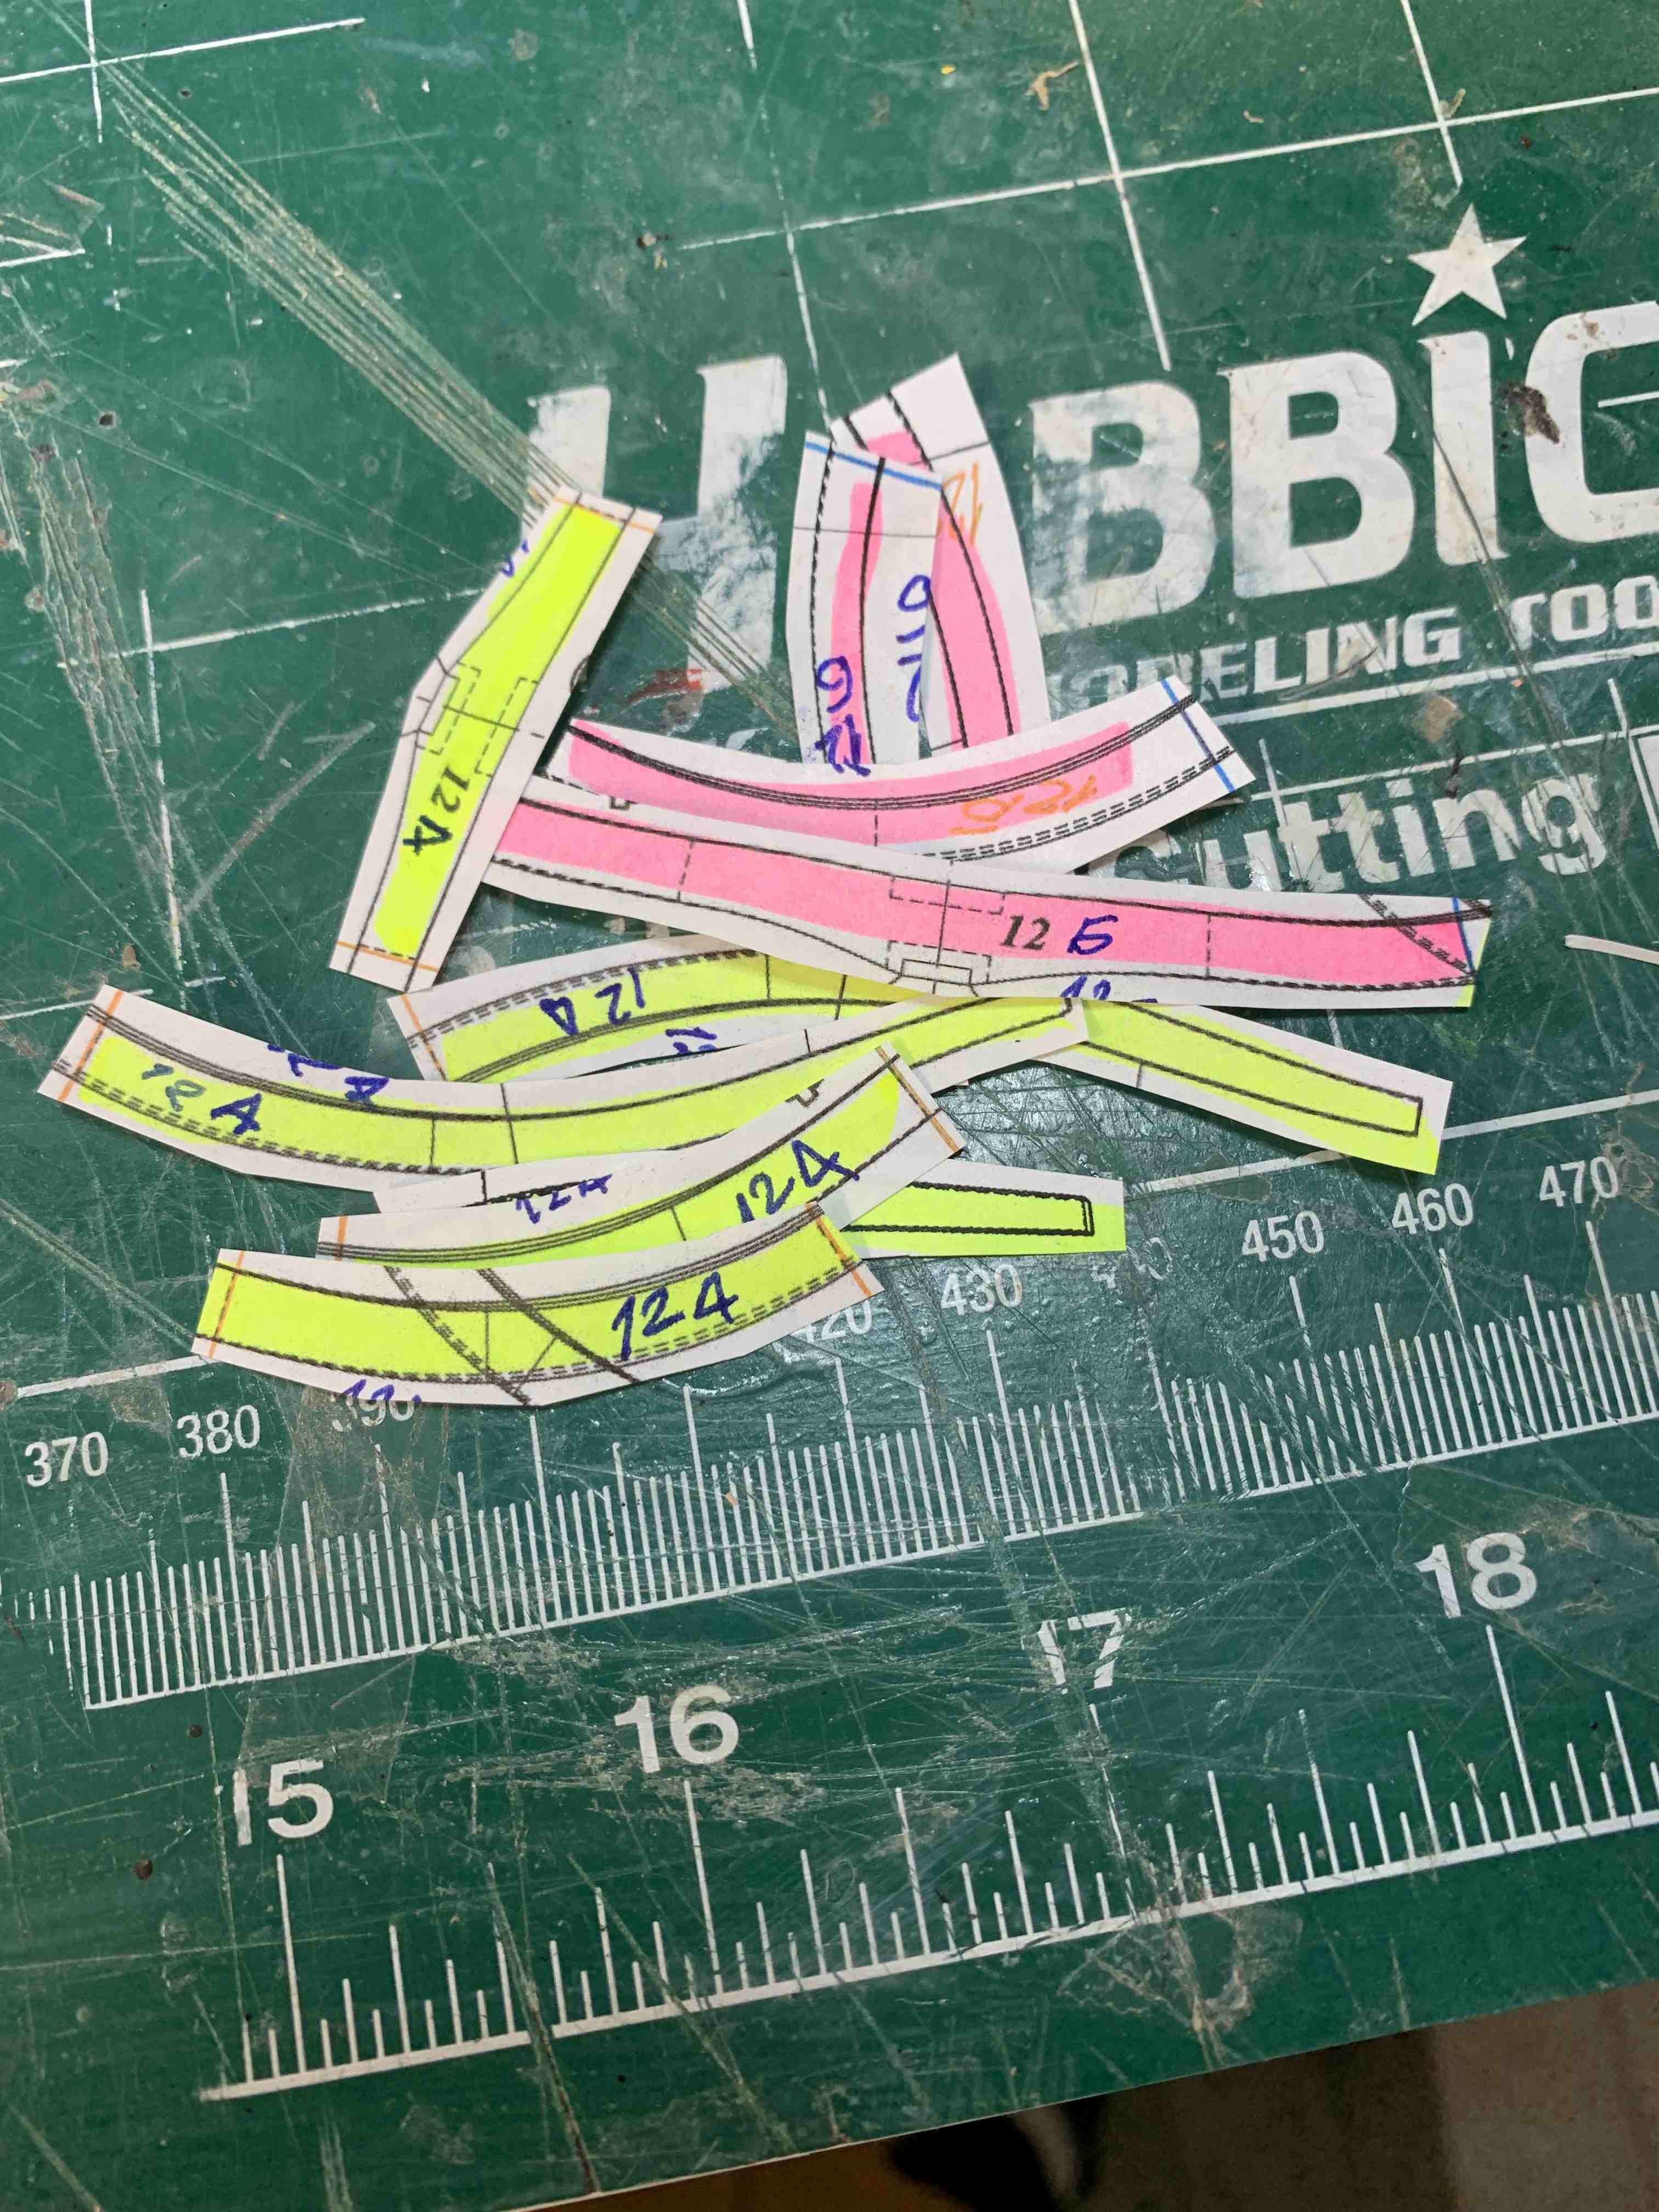
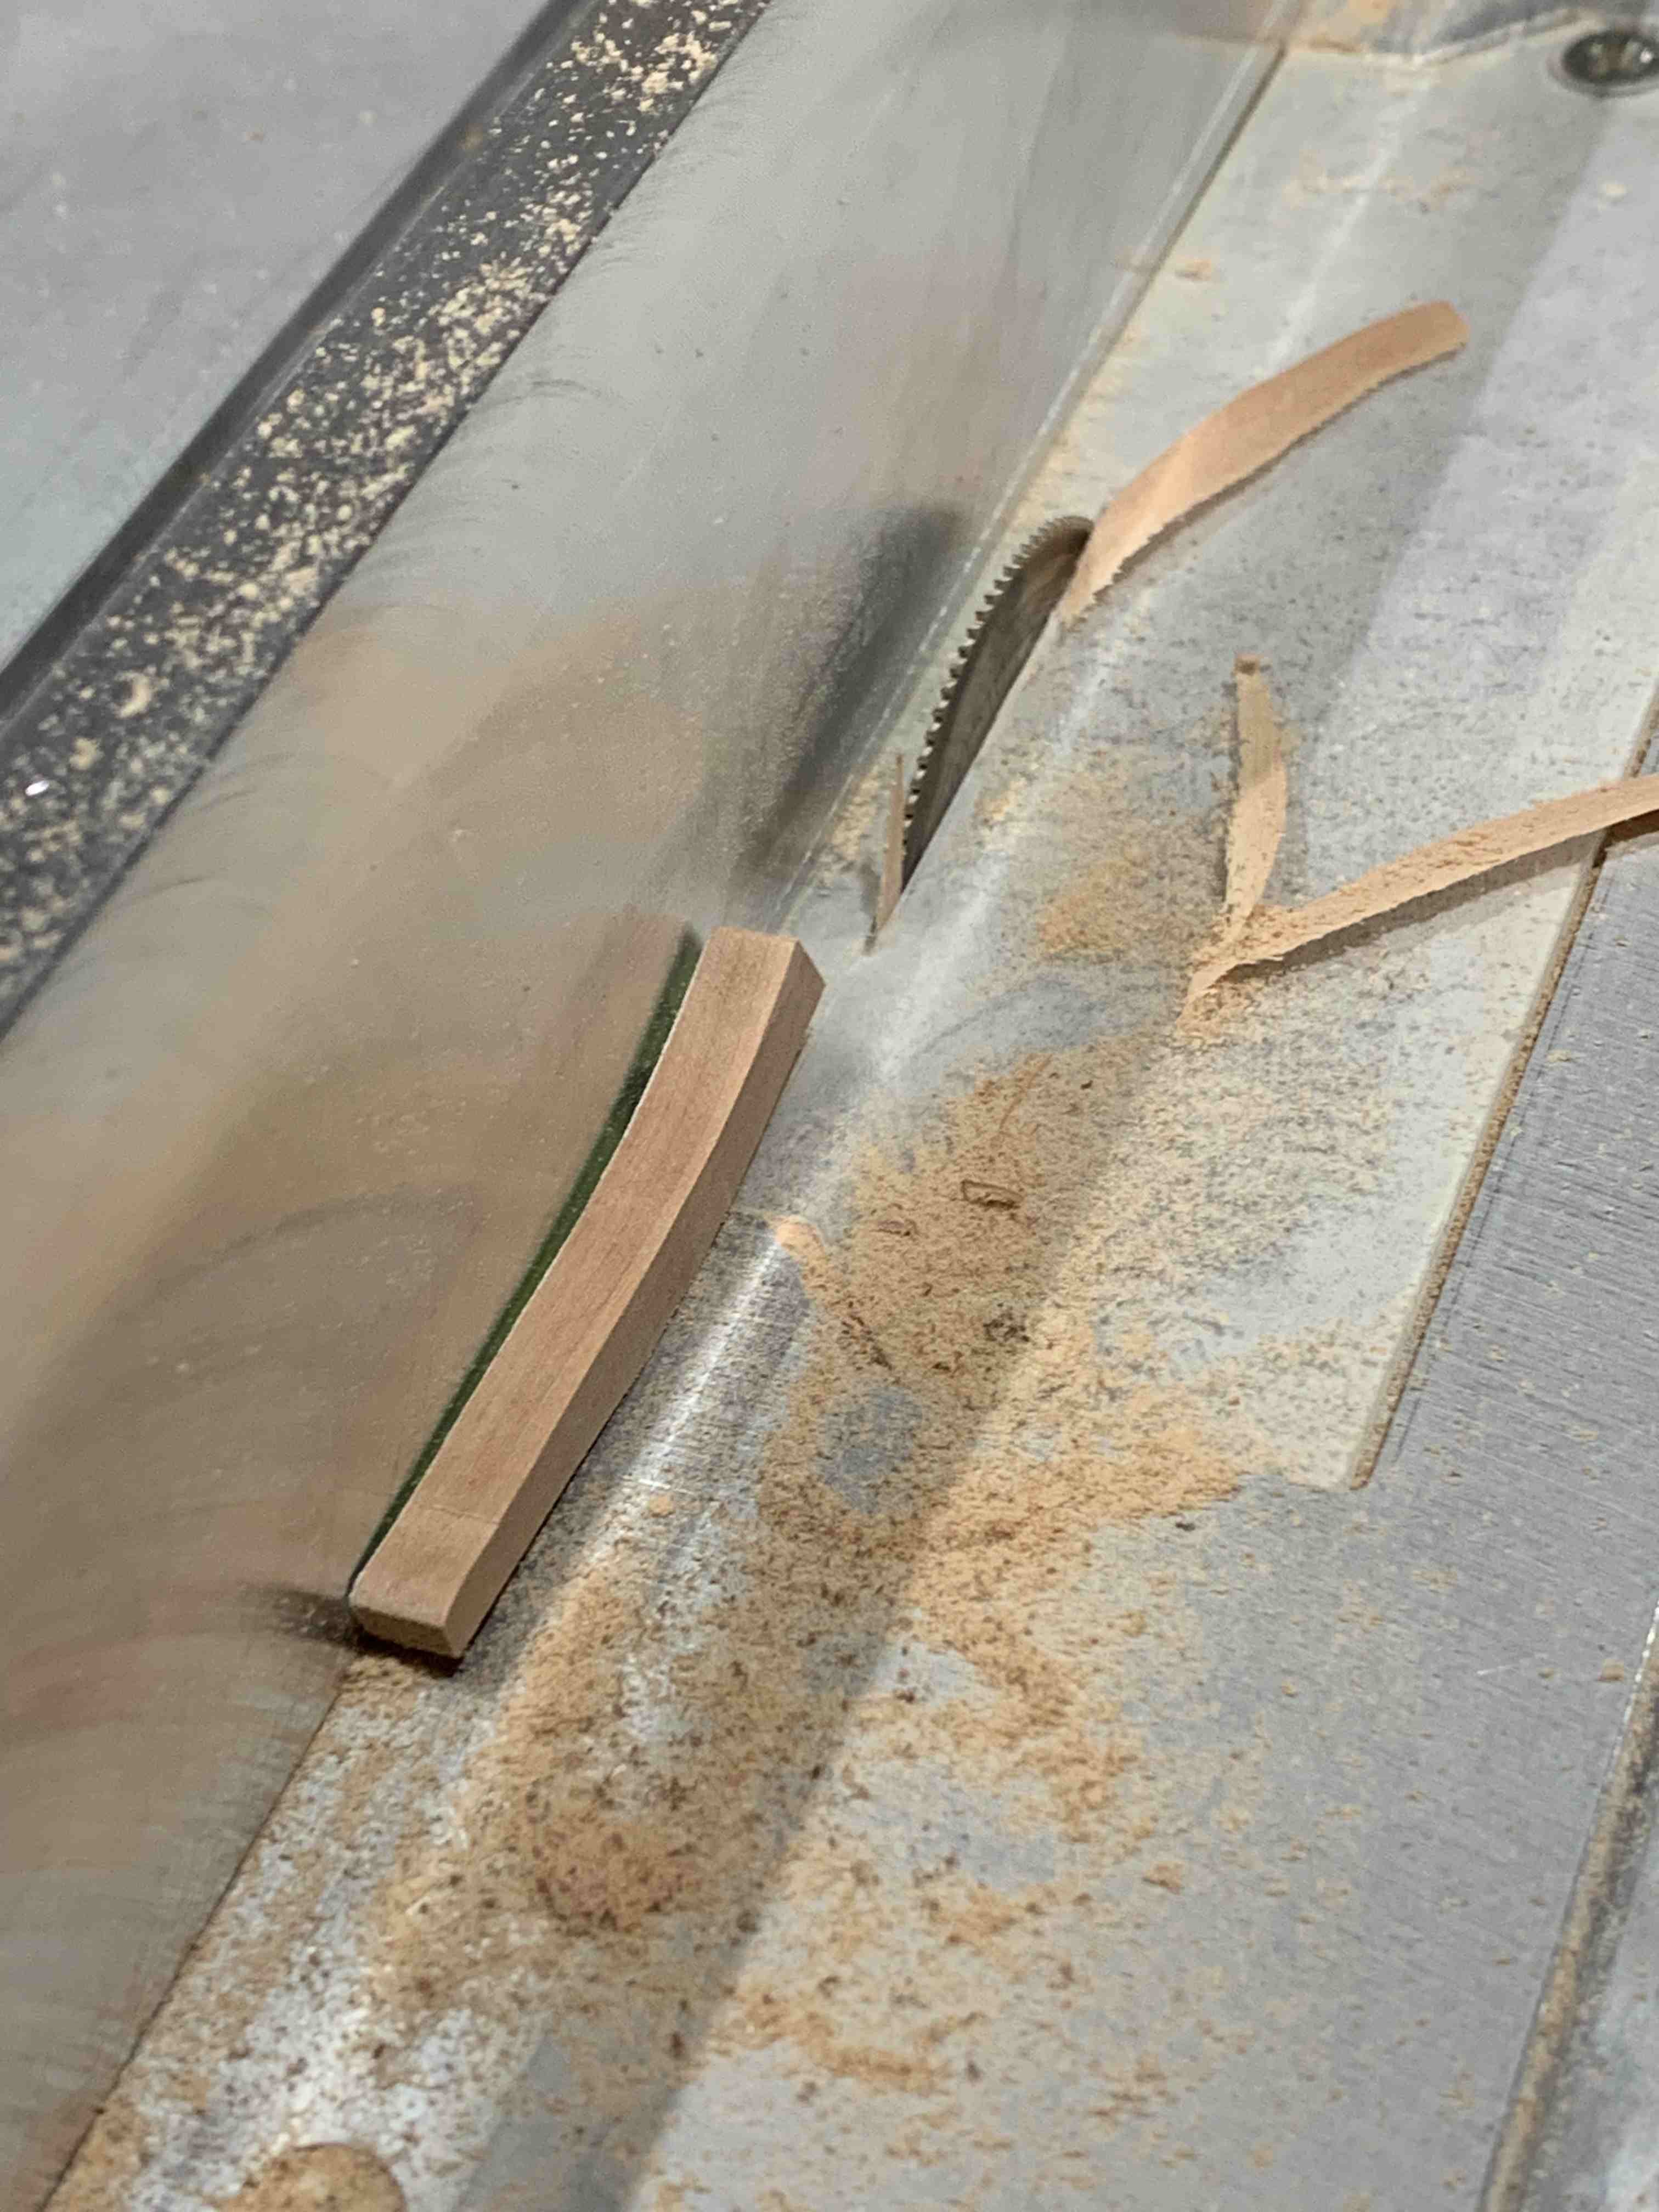
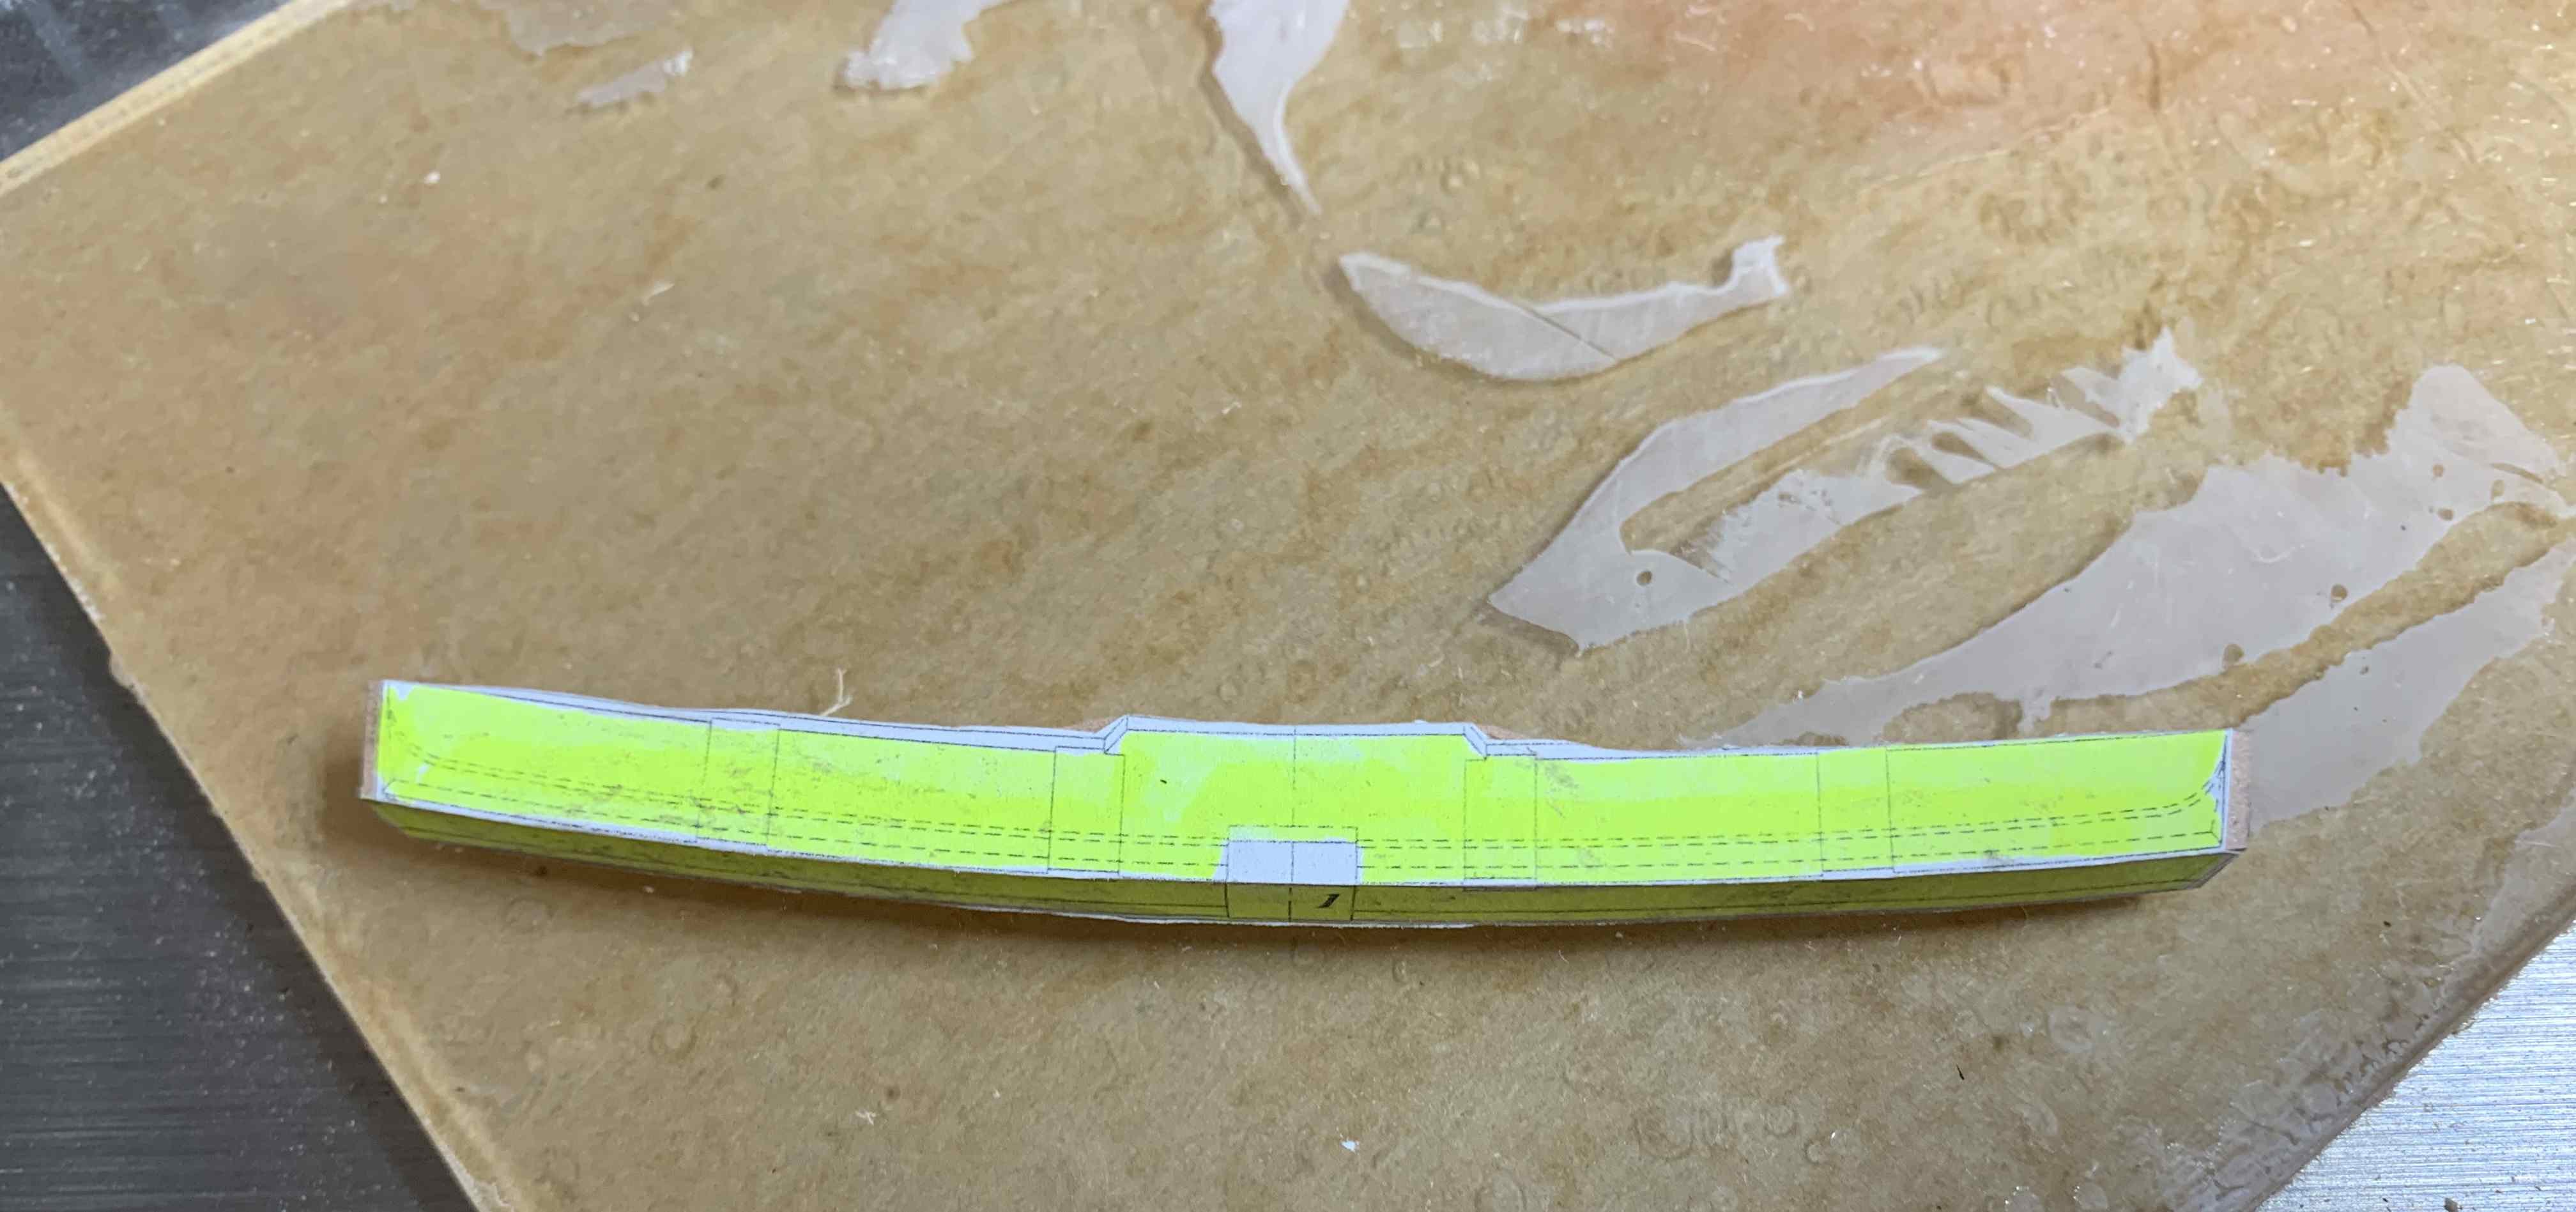
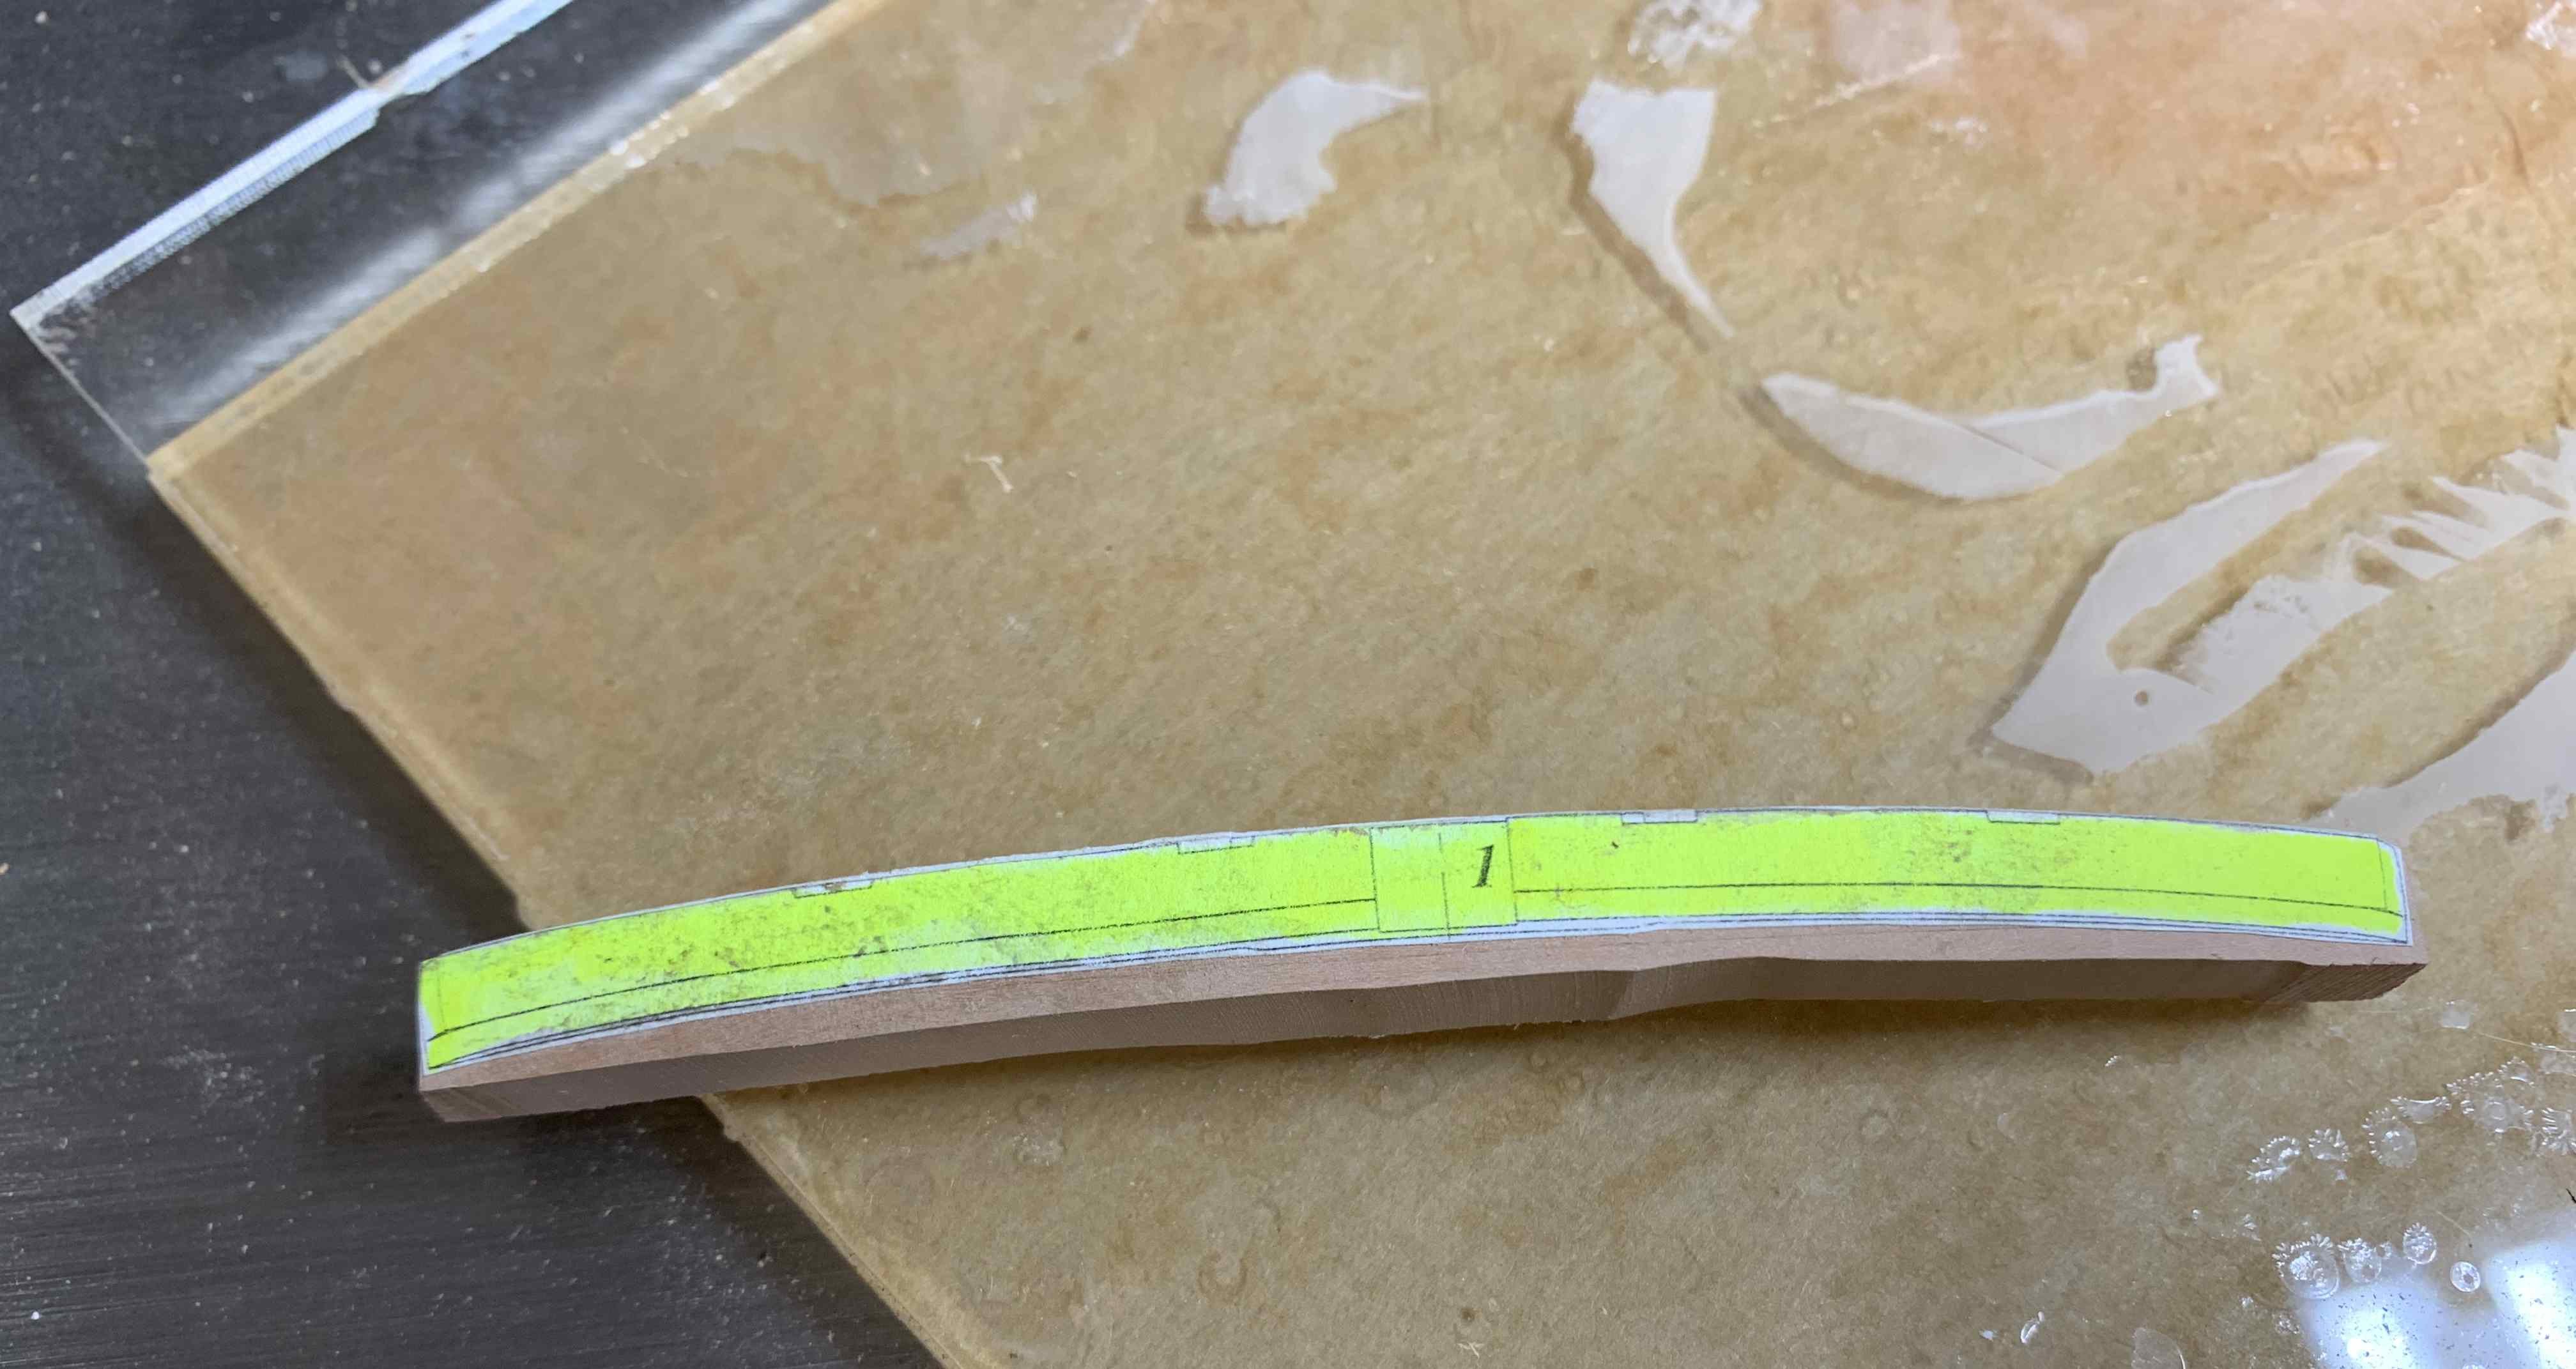
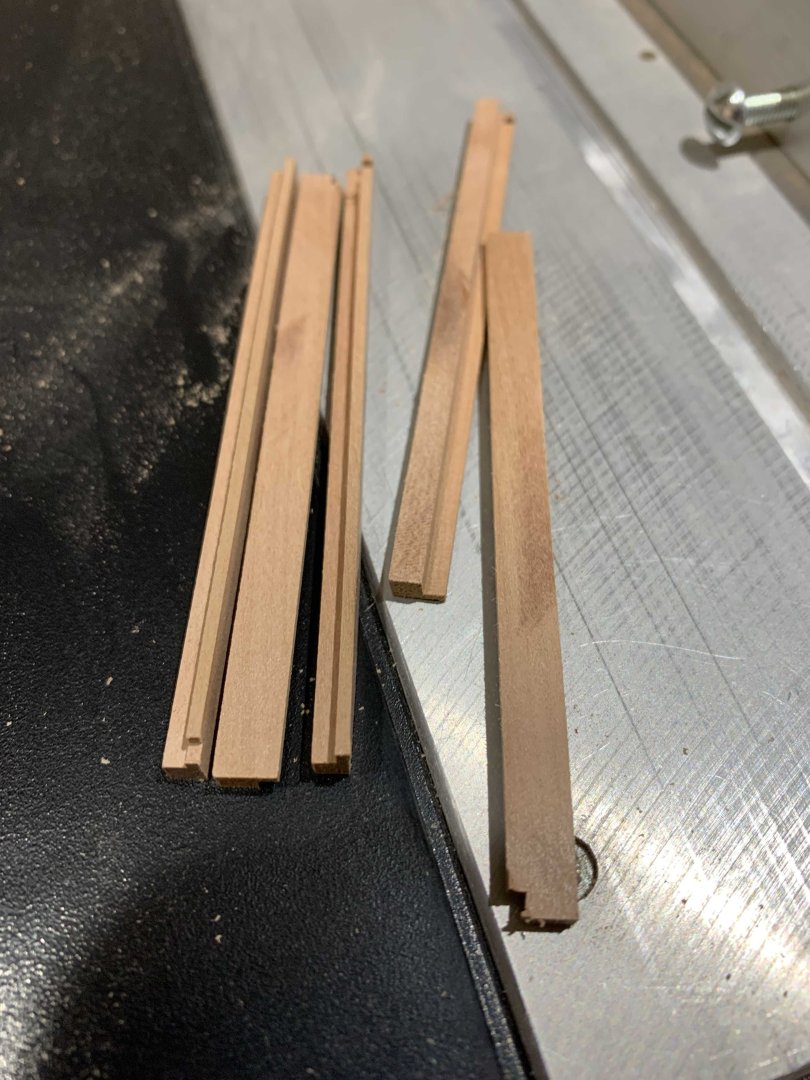
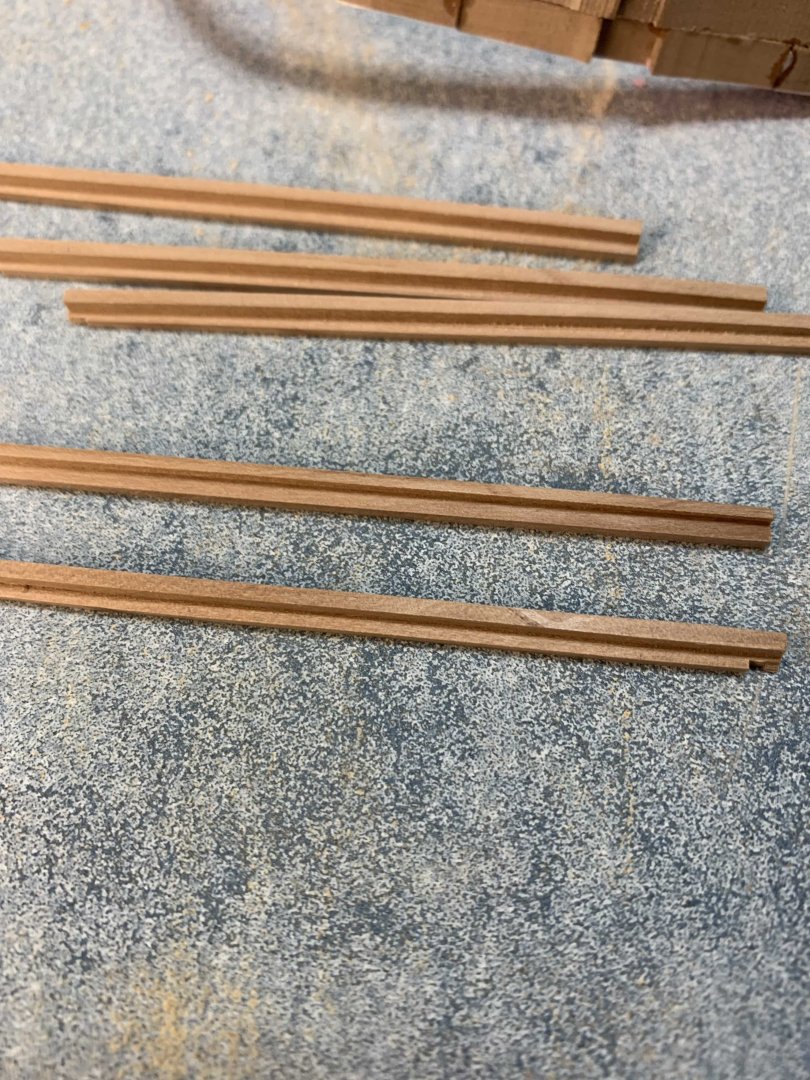
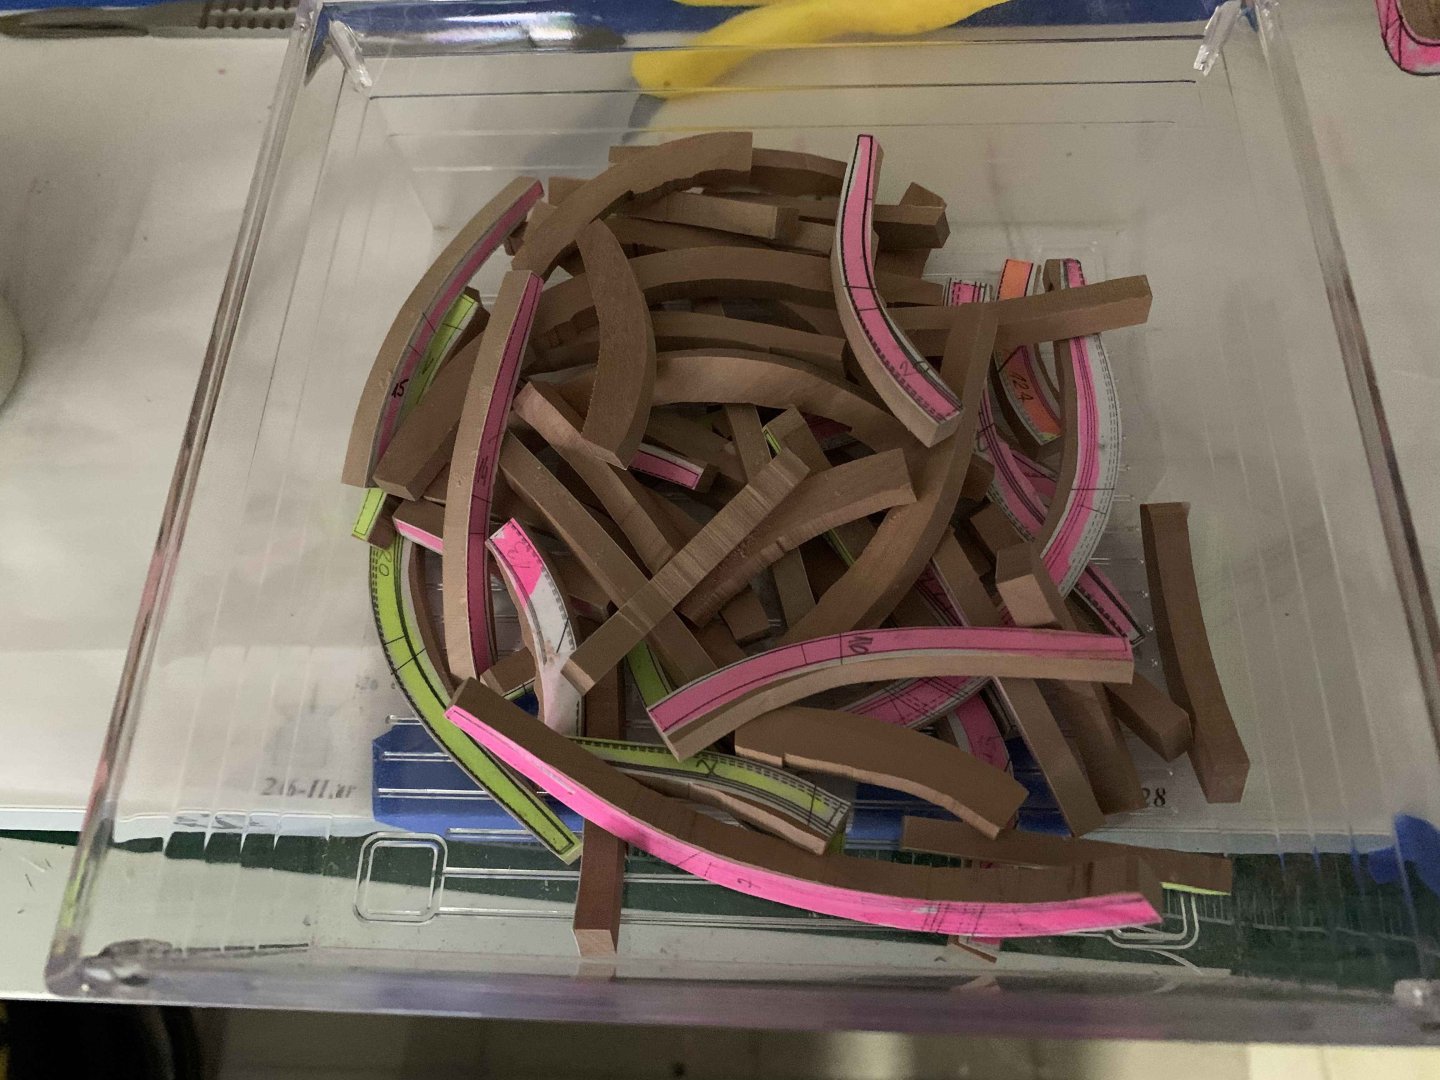
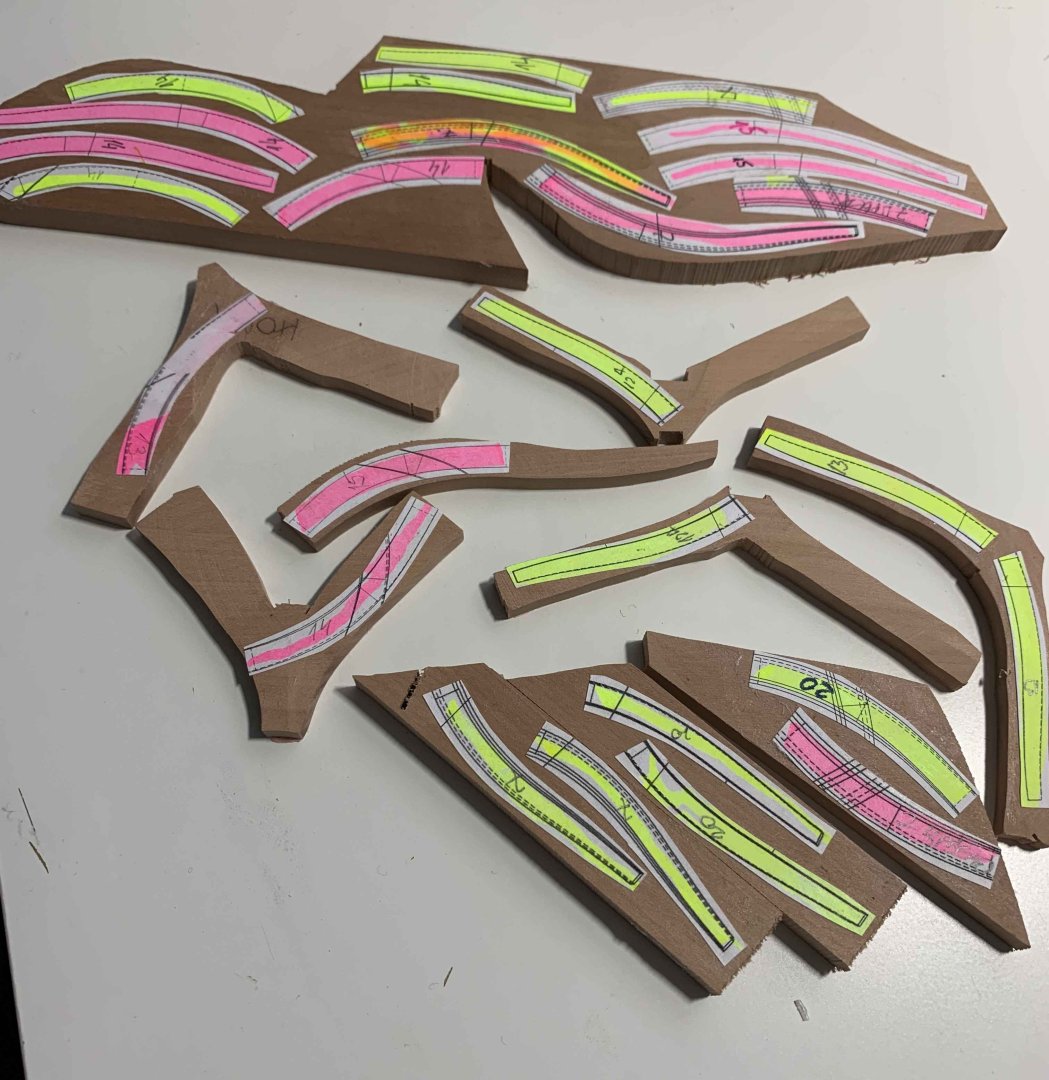
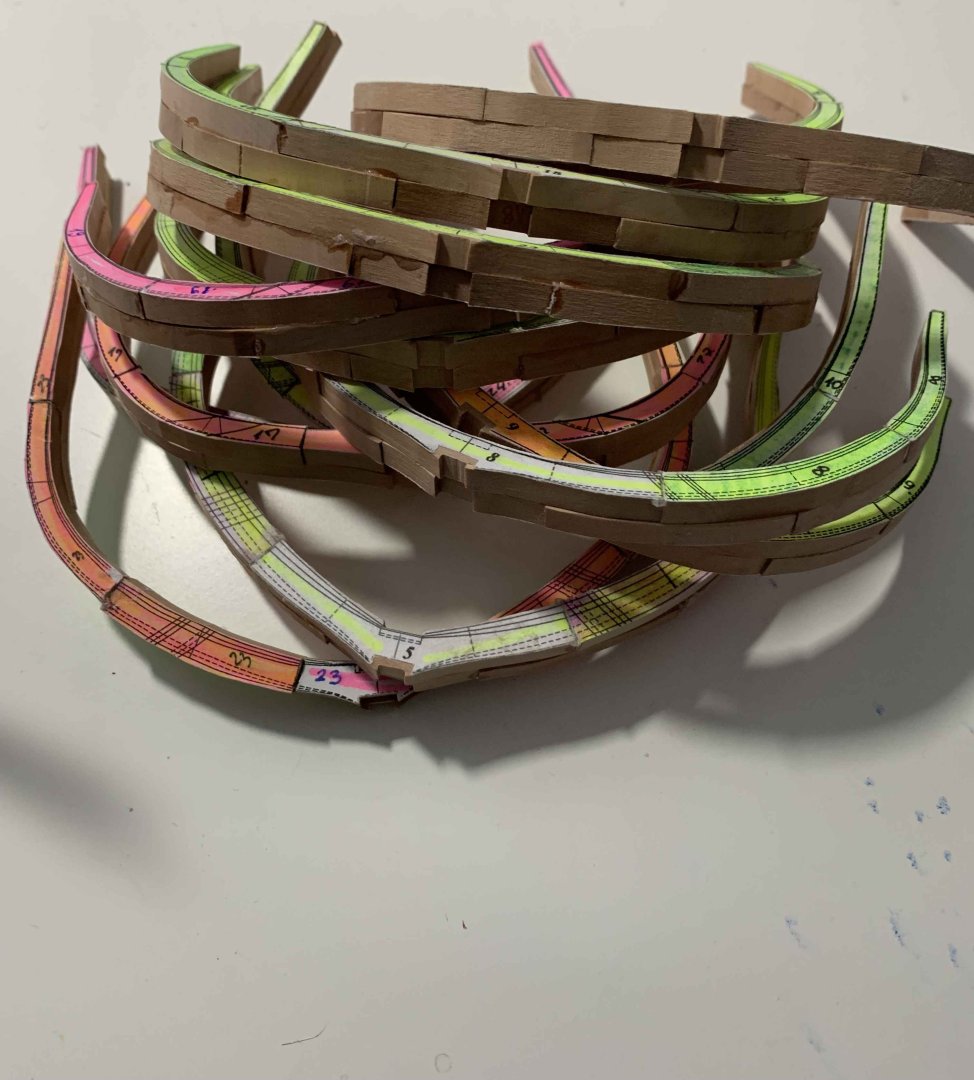
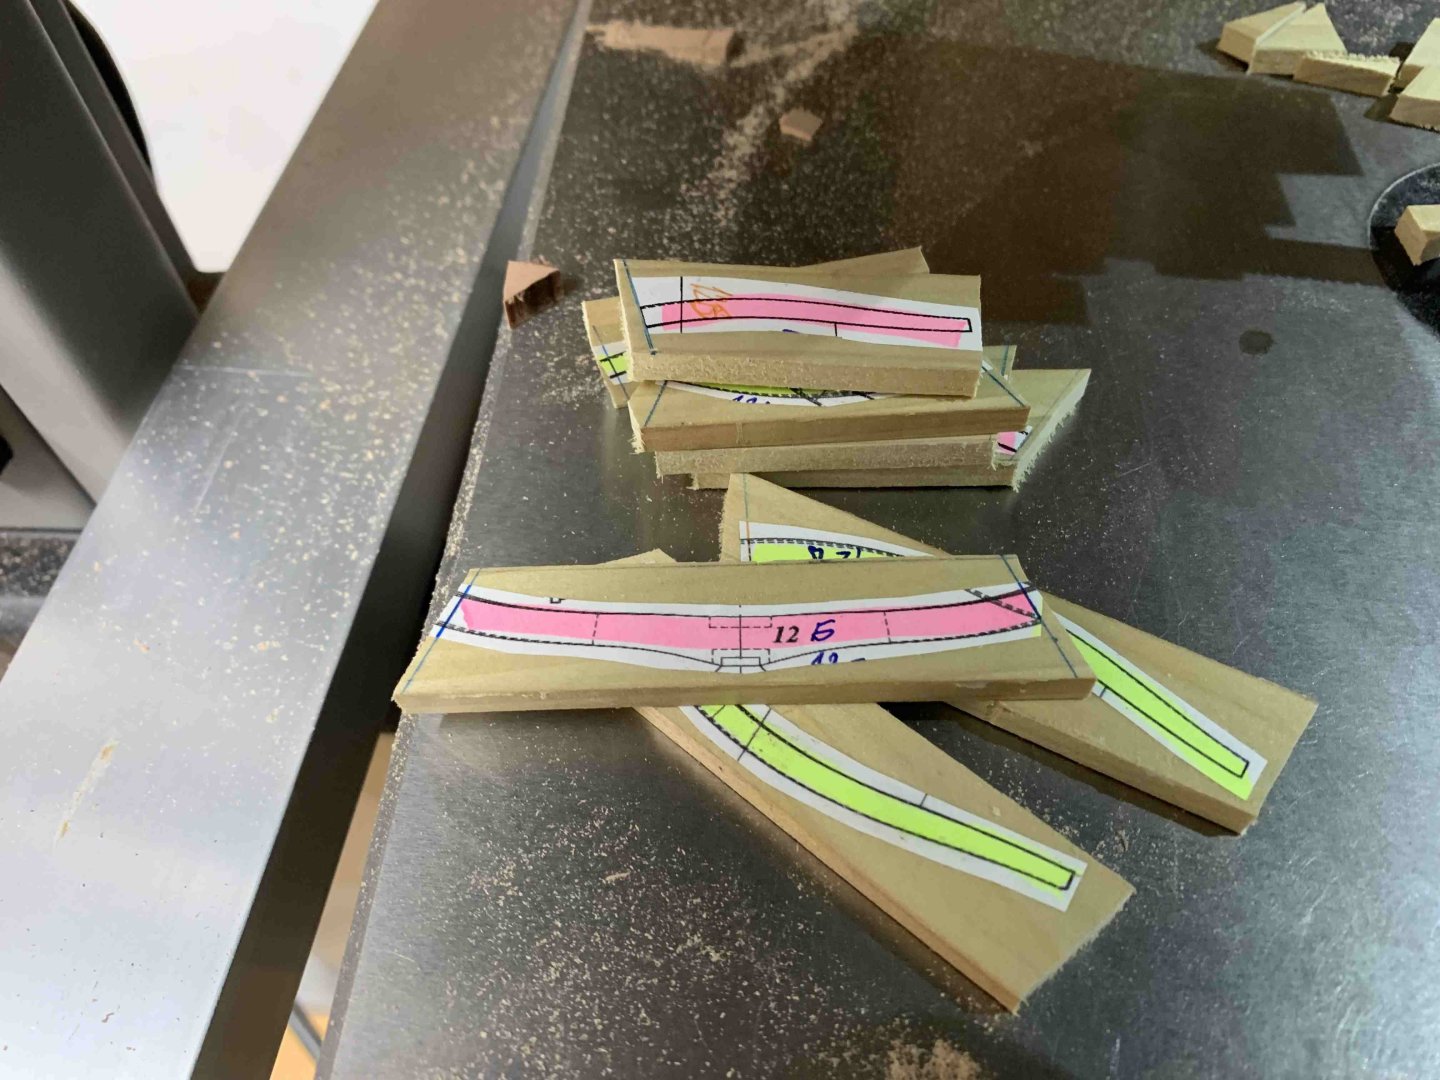
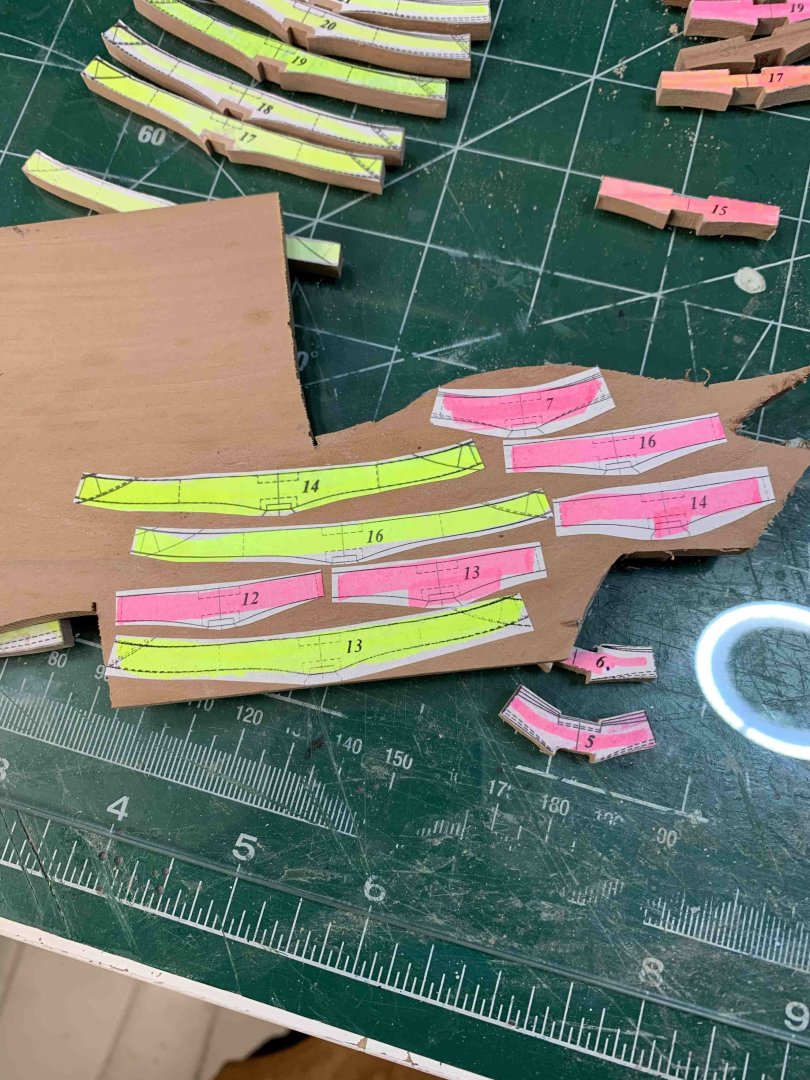
OK, parts are cut from the board and ready for raw sanding.. Sanding is done, now correct thickness was achieved buy running each piece thru mini table saw.. There is always a lots of leftovers, that can be reused somewhere on scratch build project.. And saw dust as well.. looks like chocolate.. Parts are ready for assembly.. Happy modelling..


-
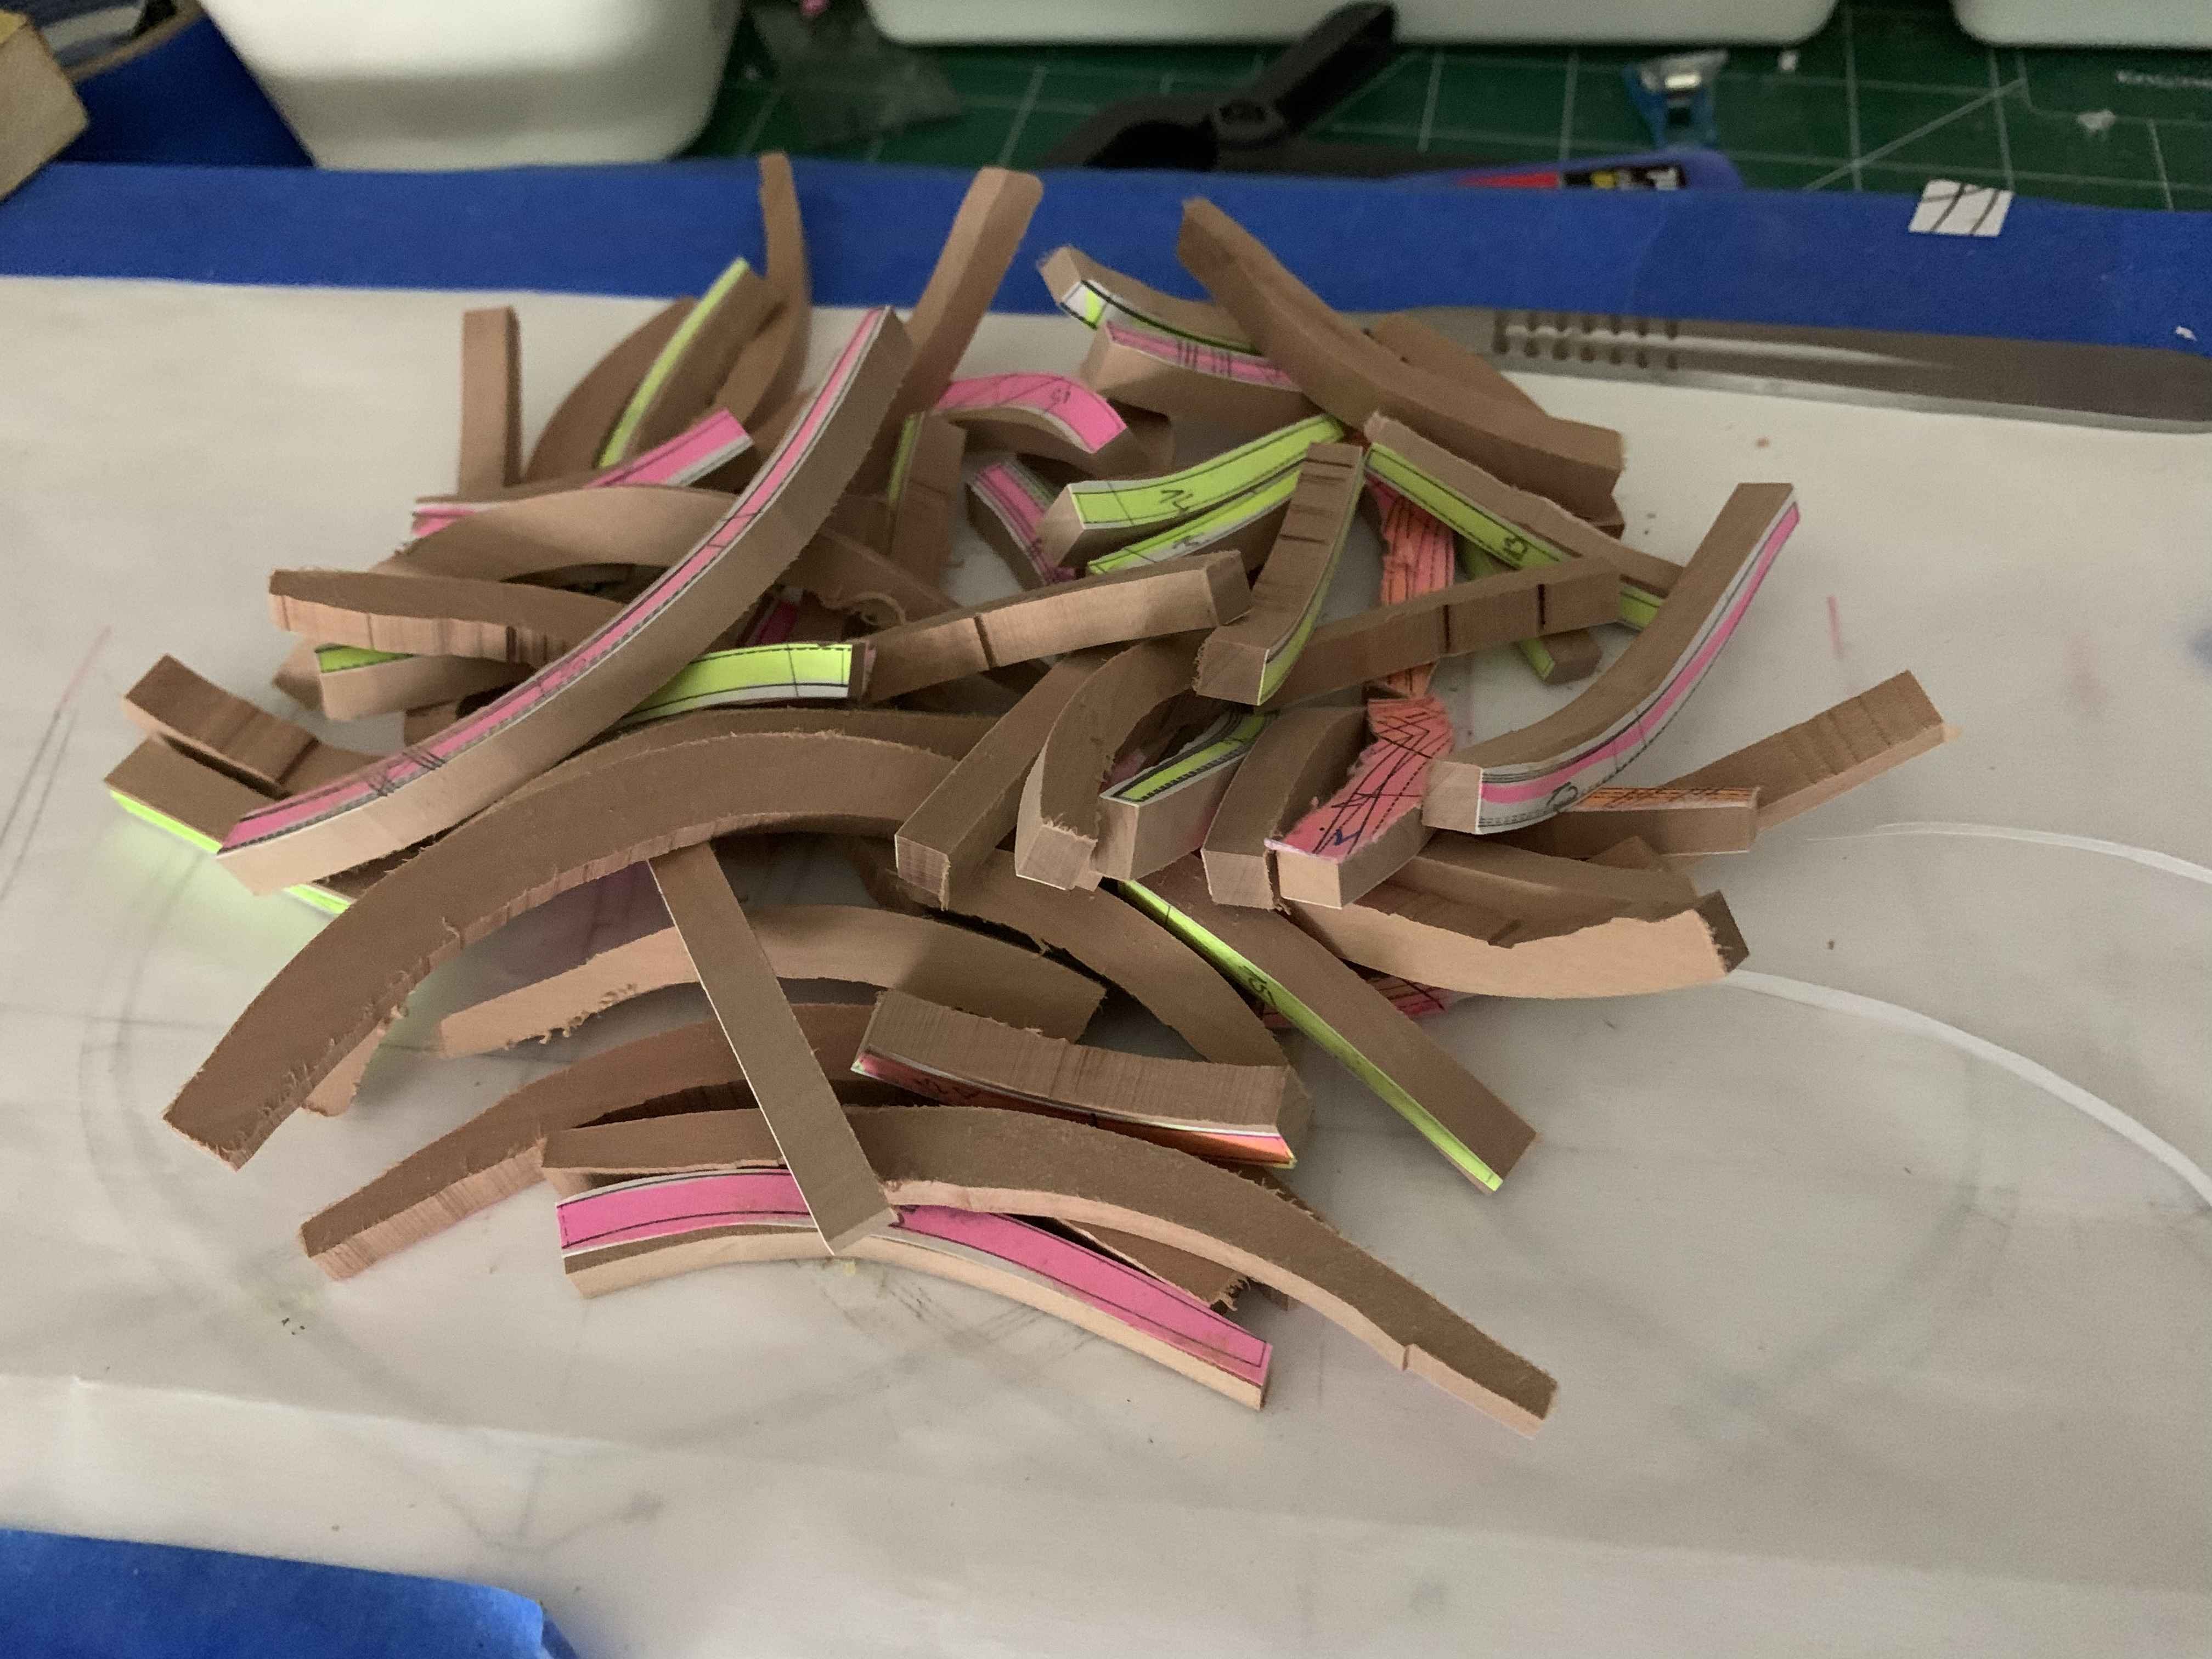
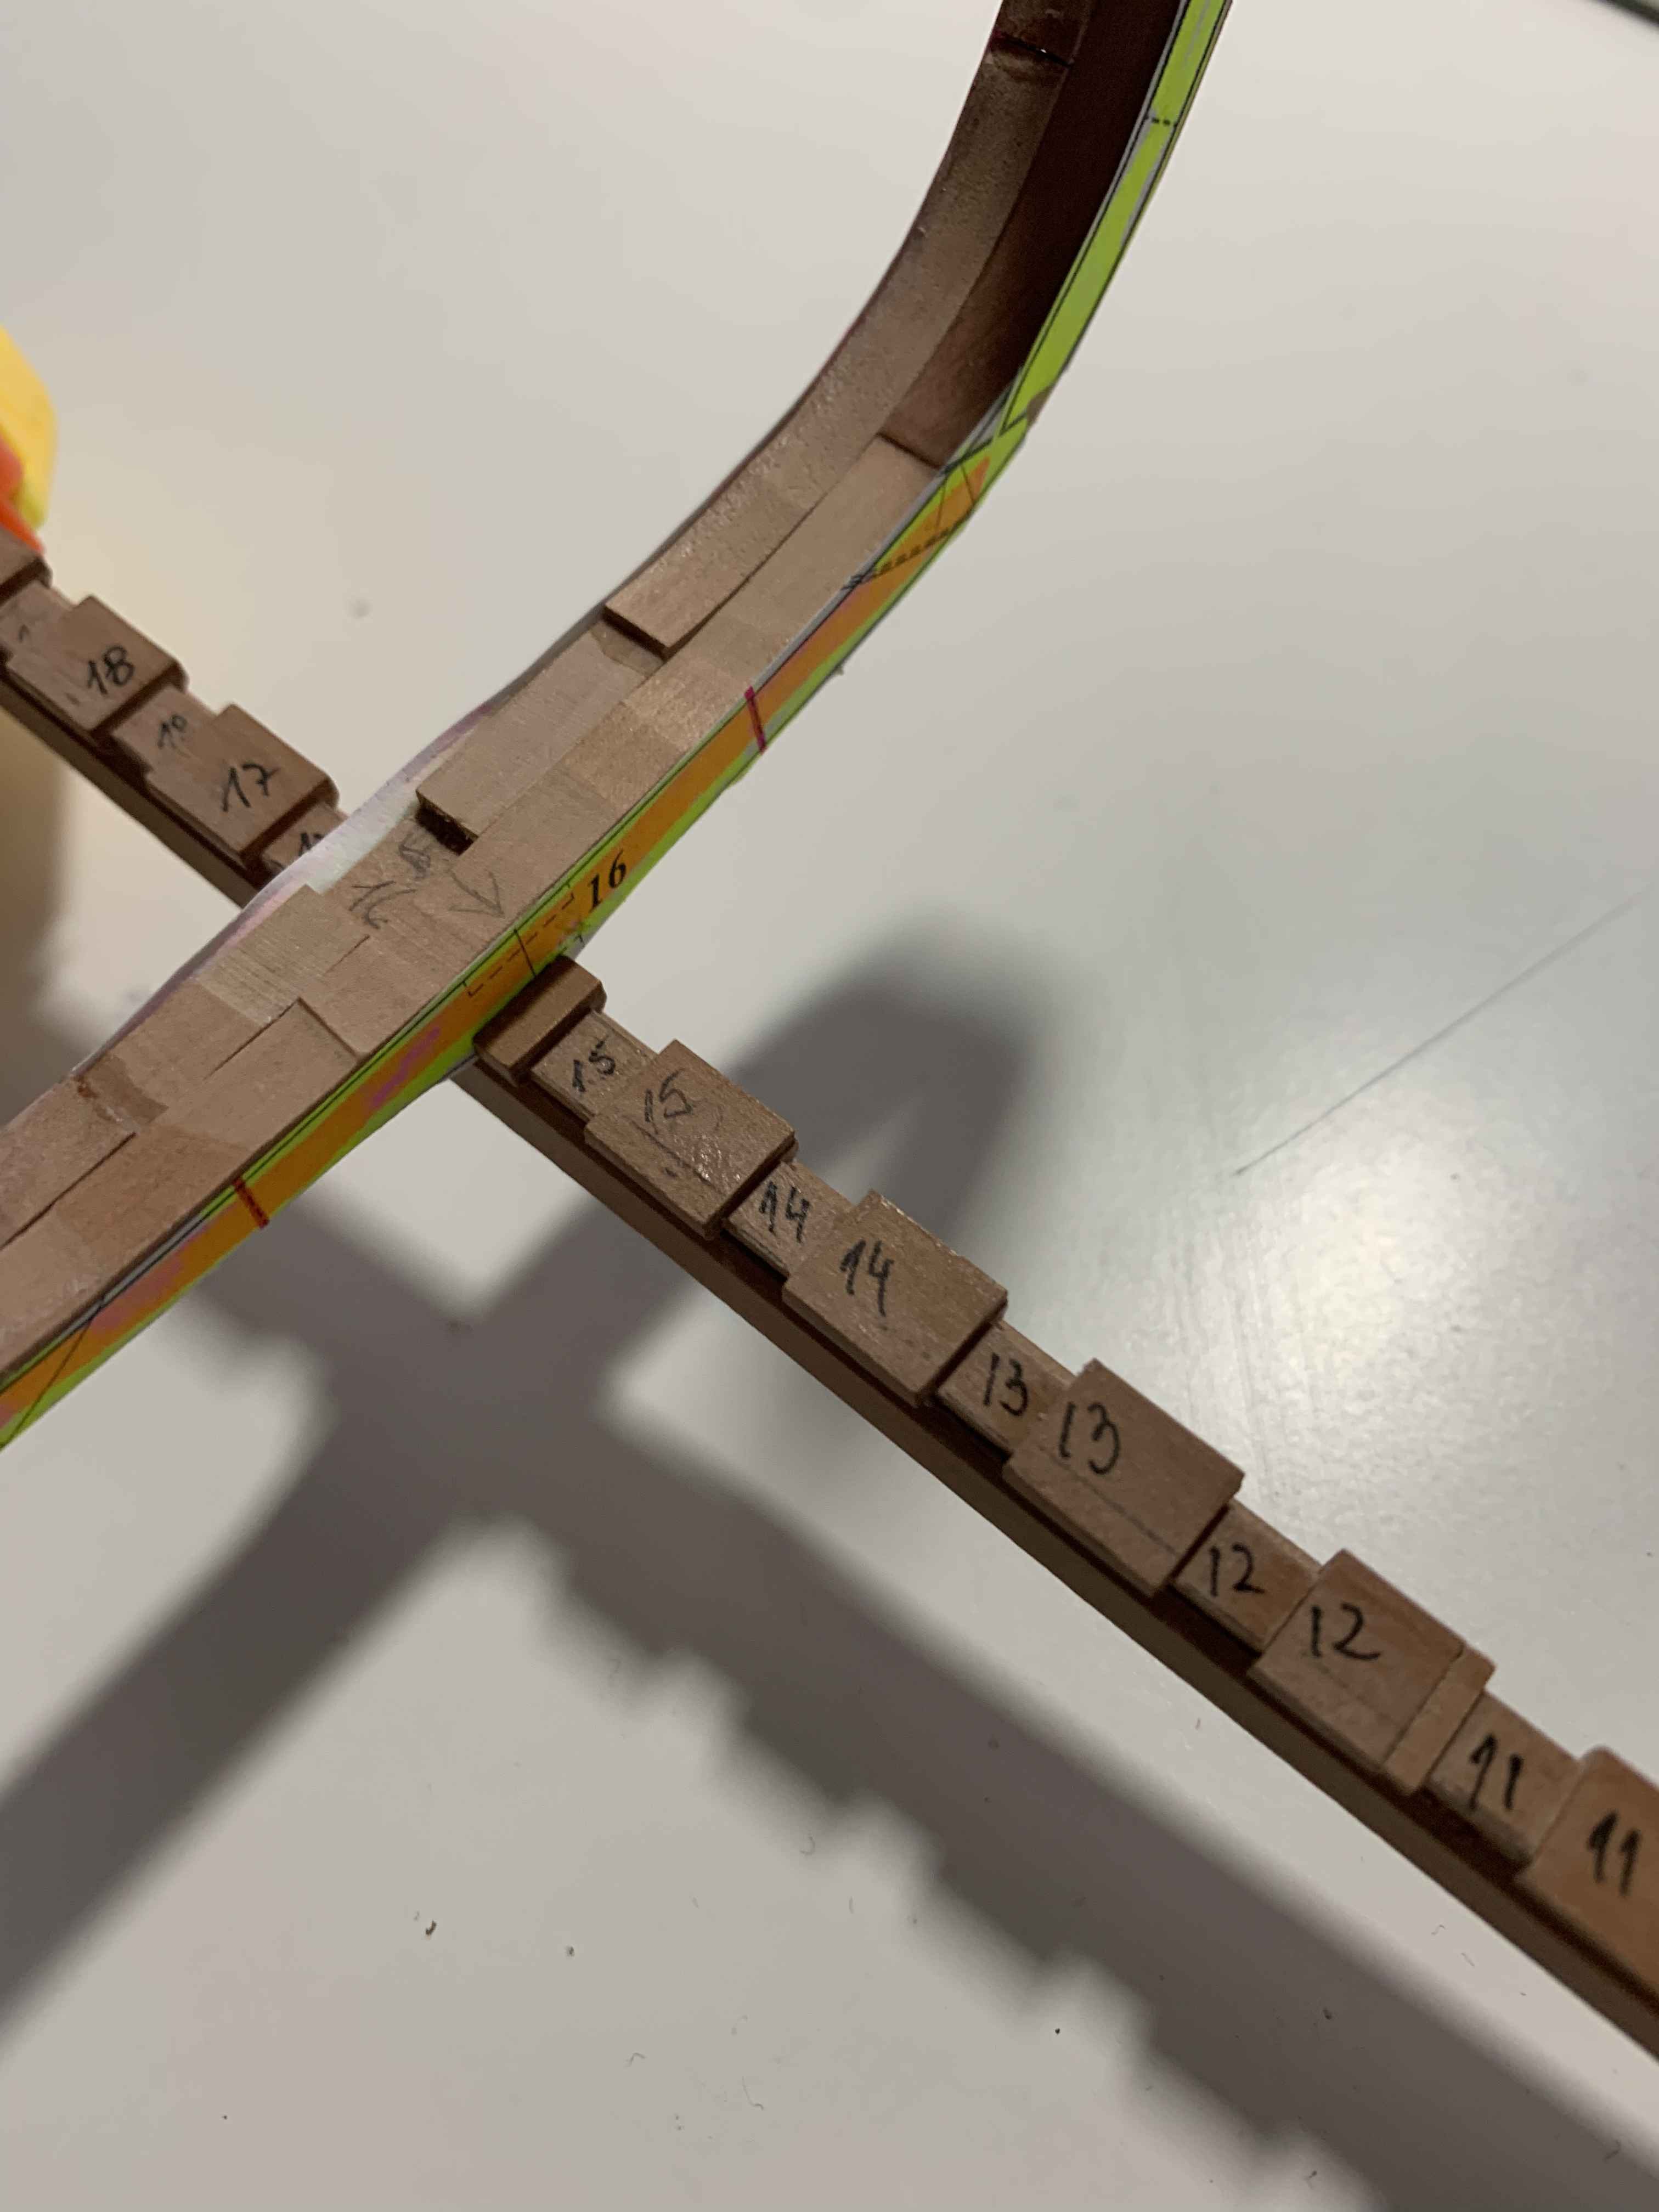
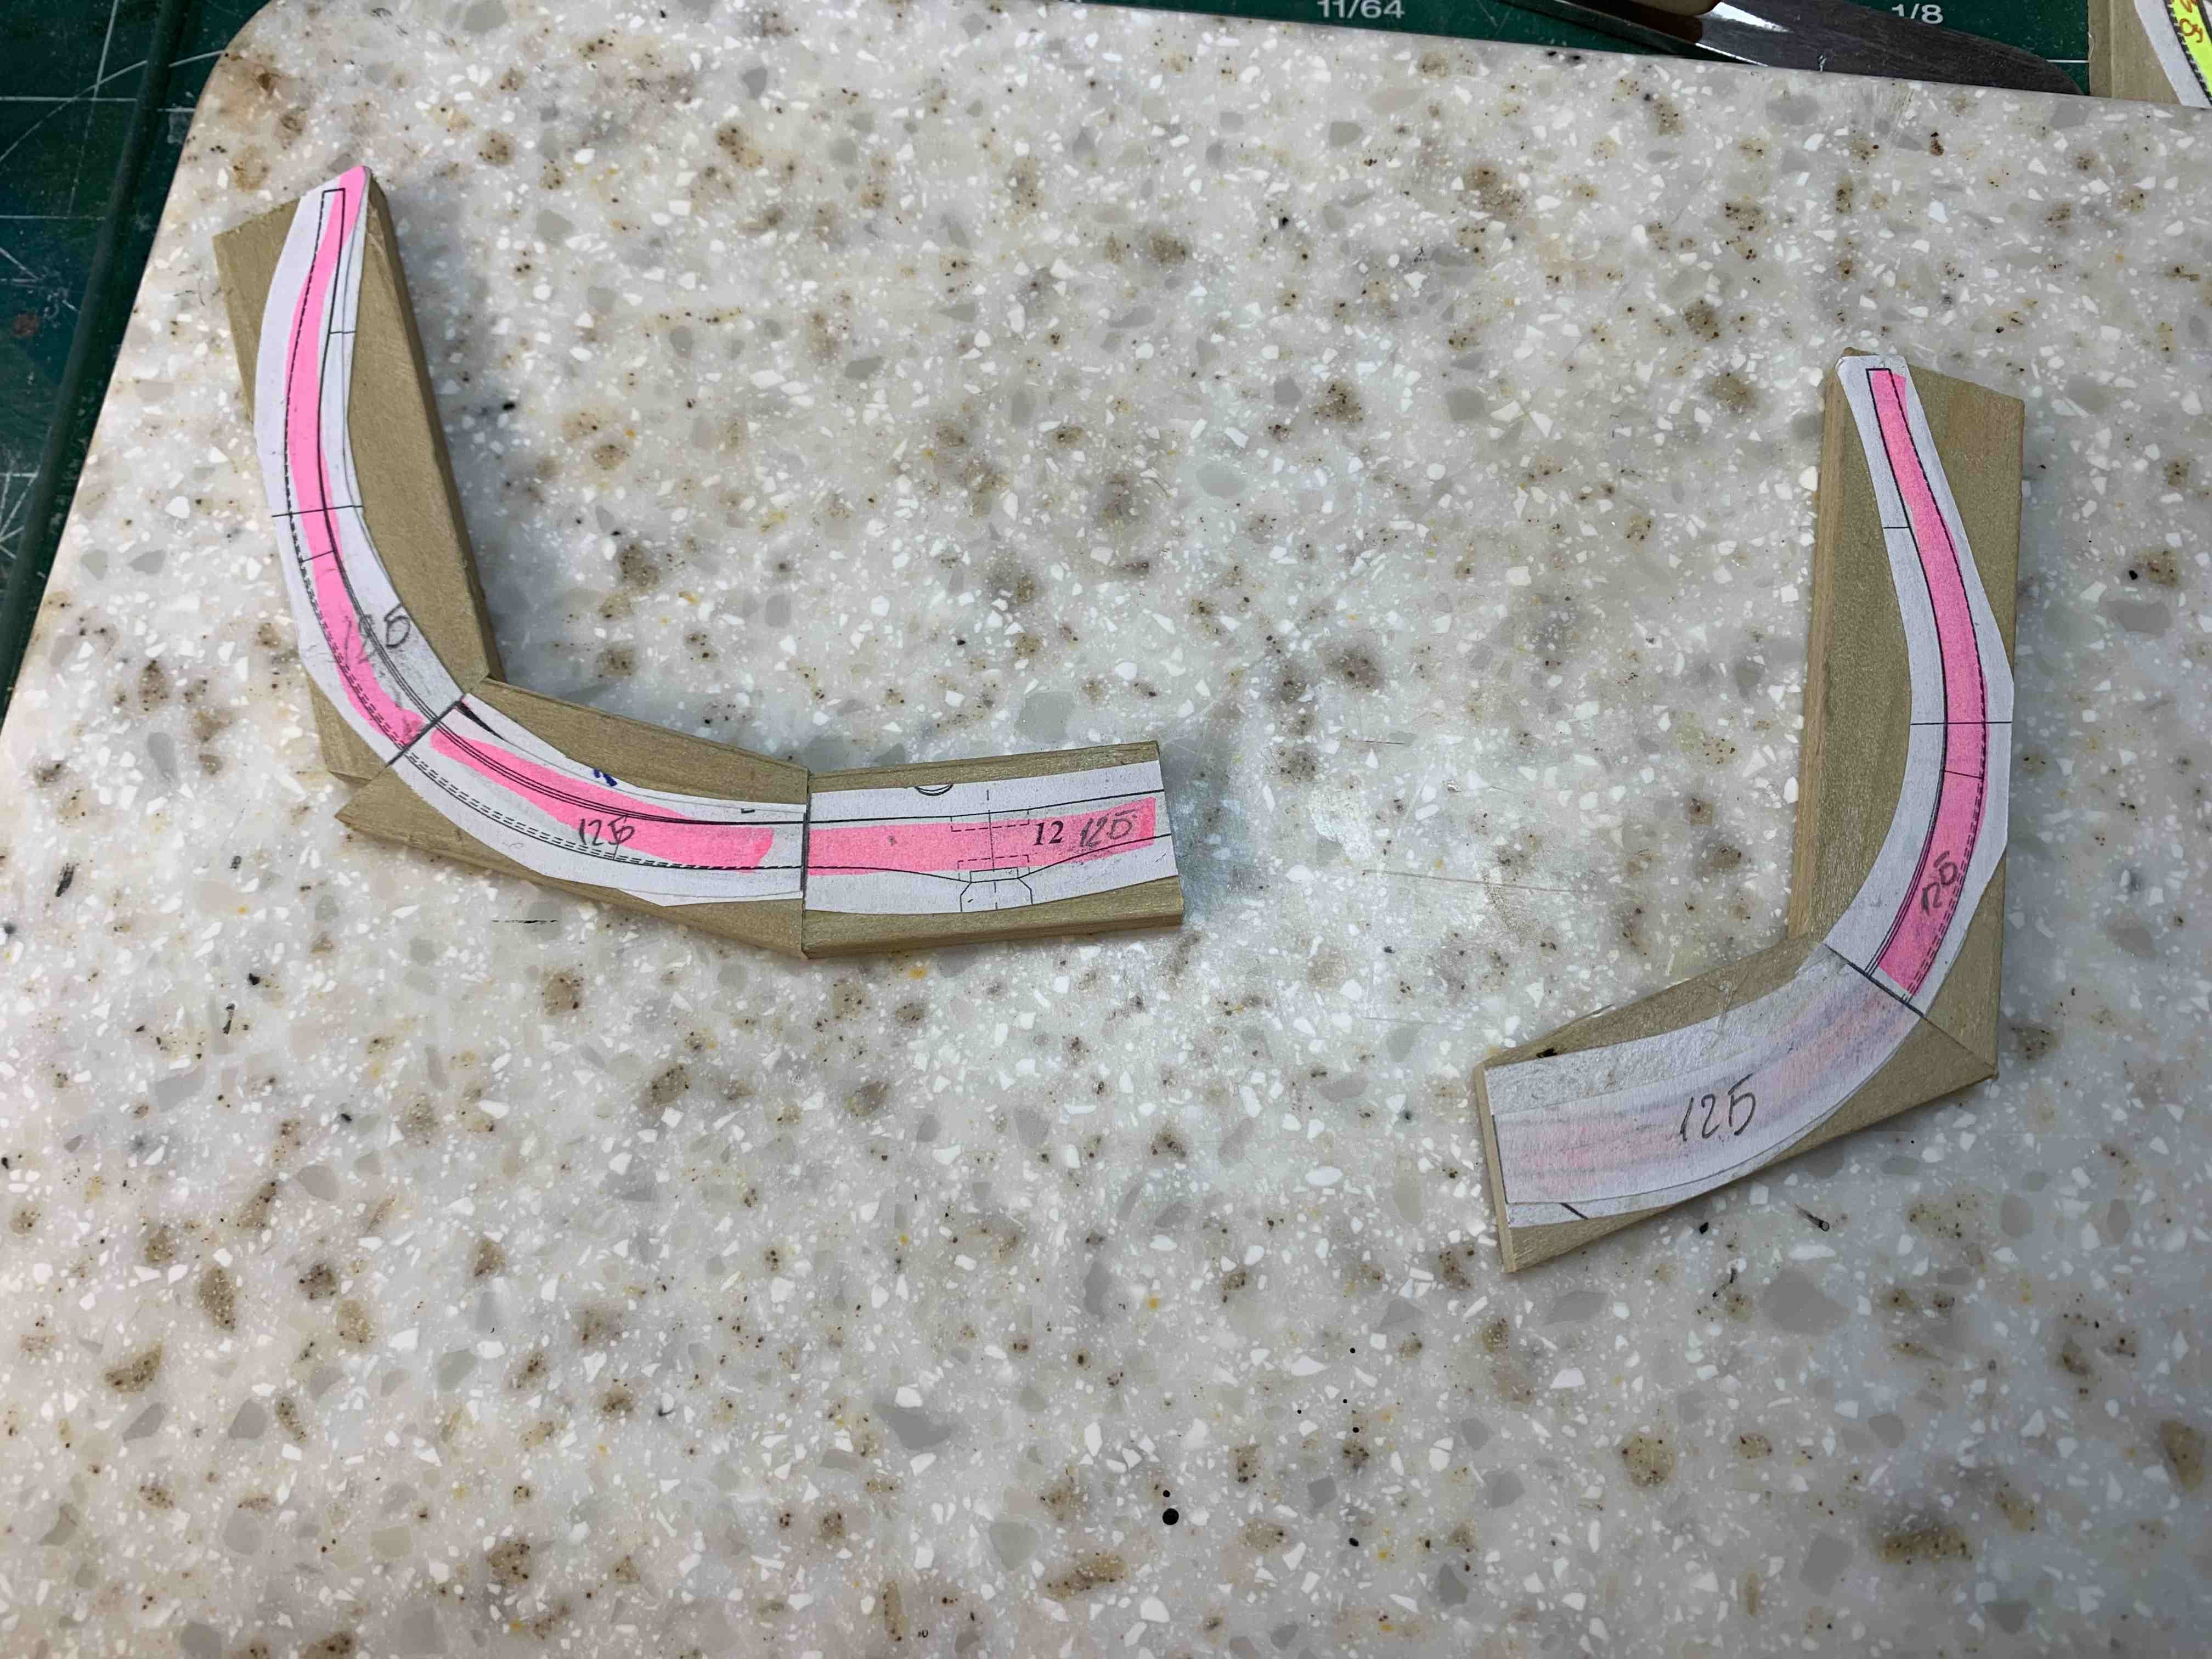
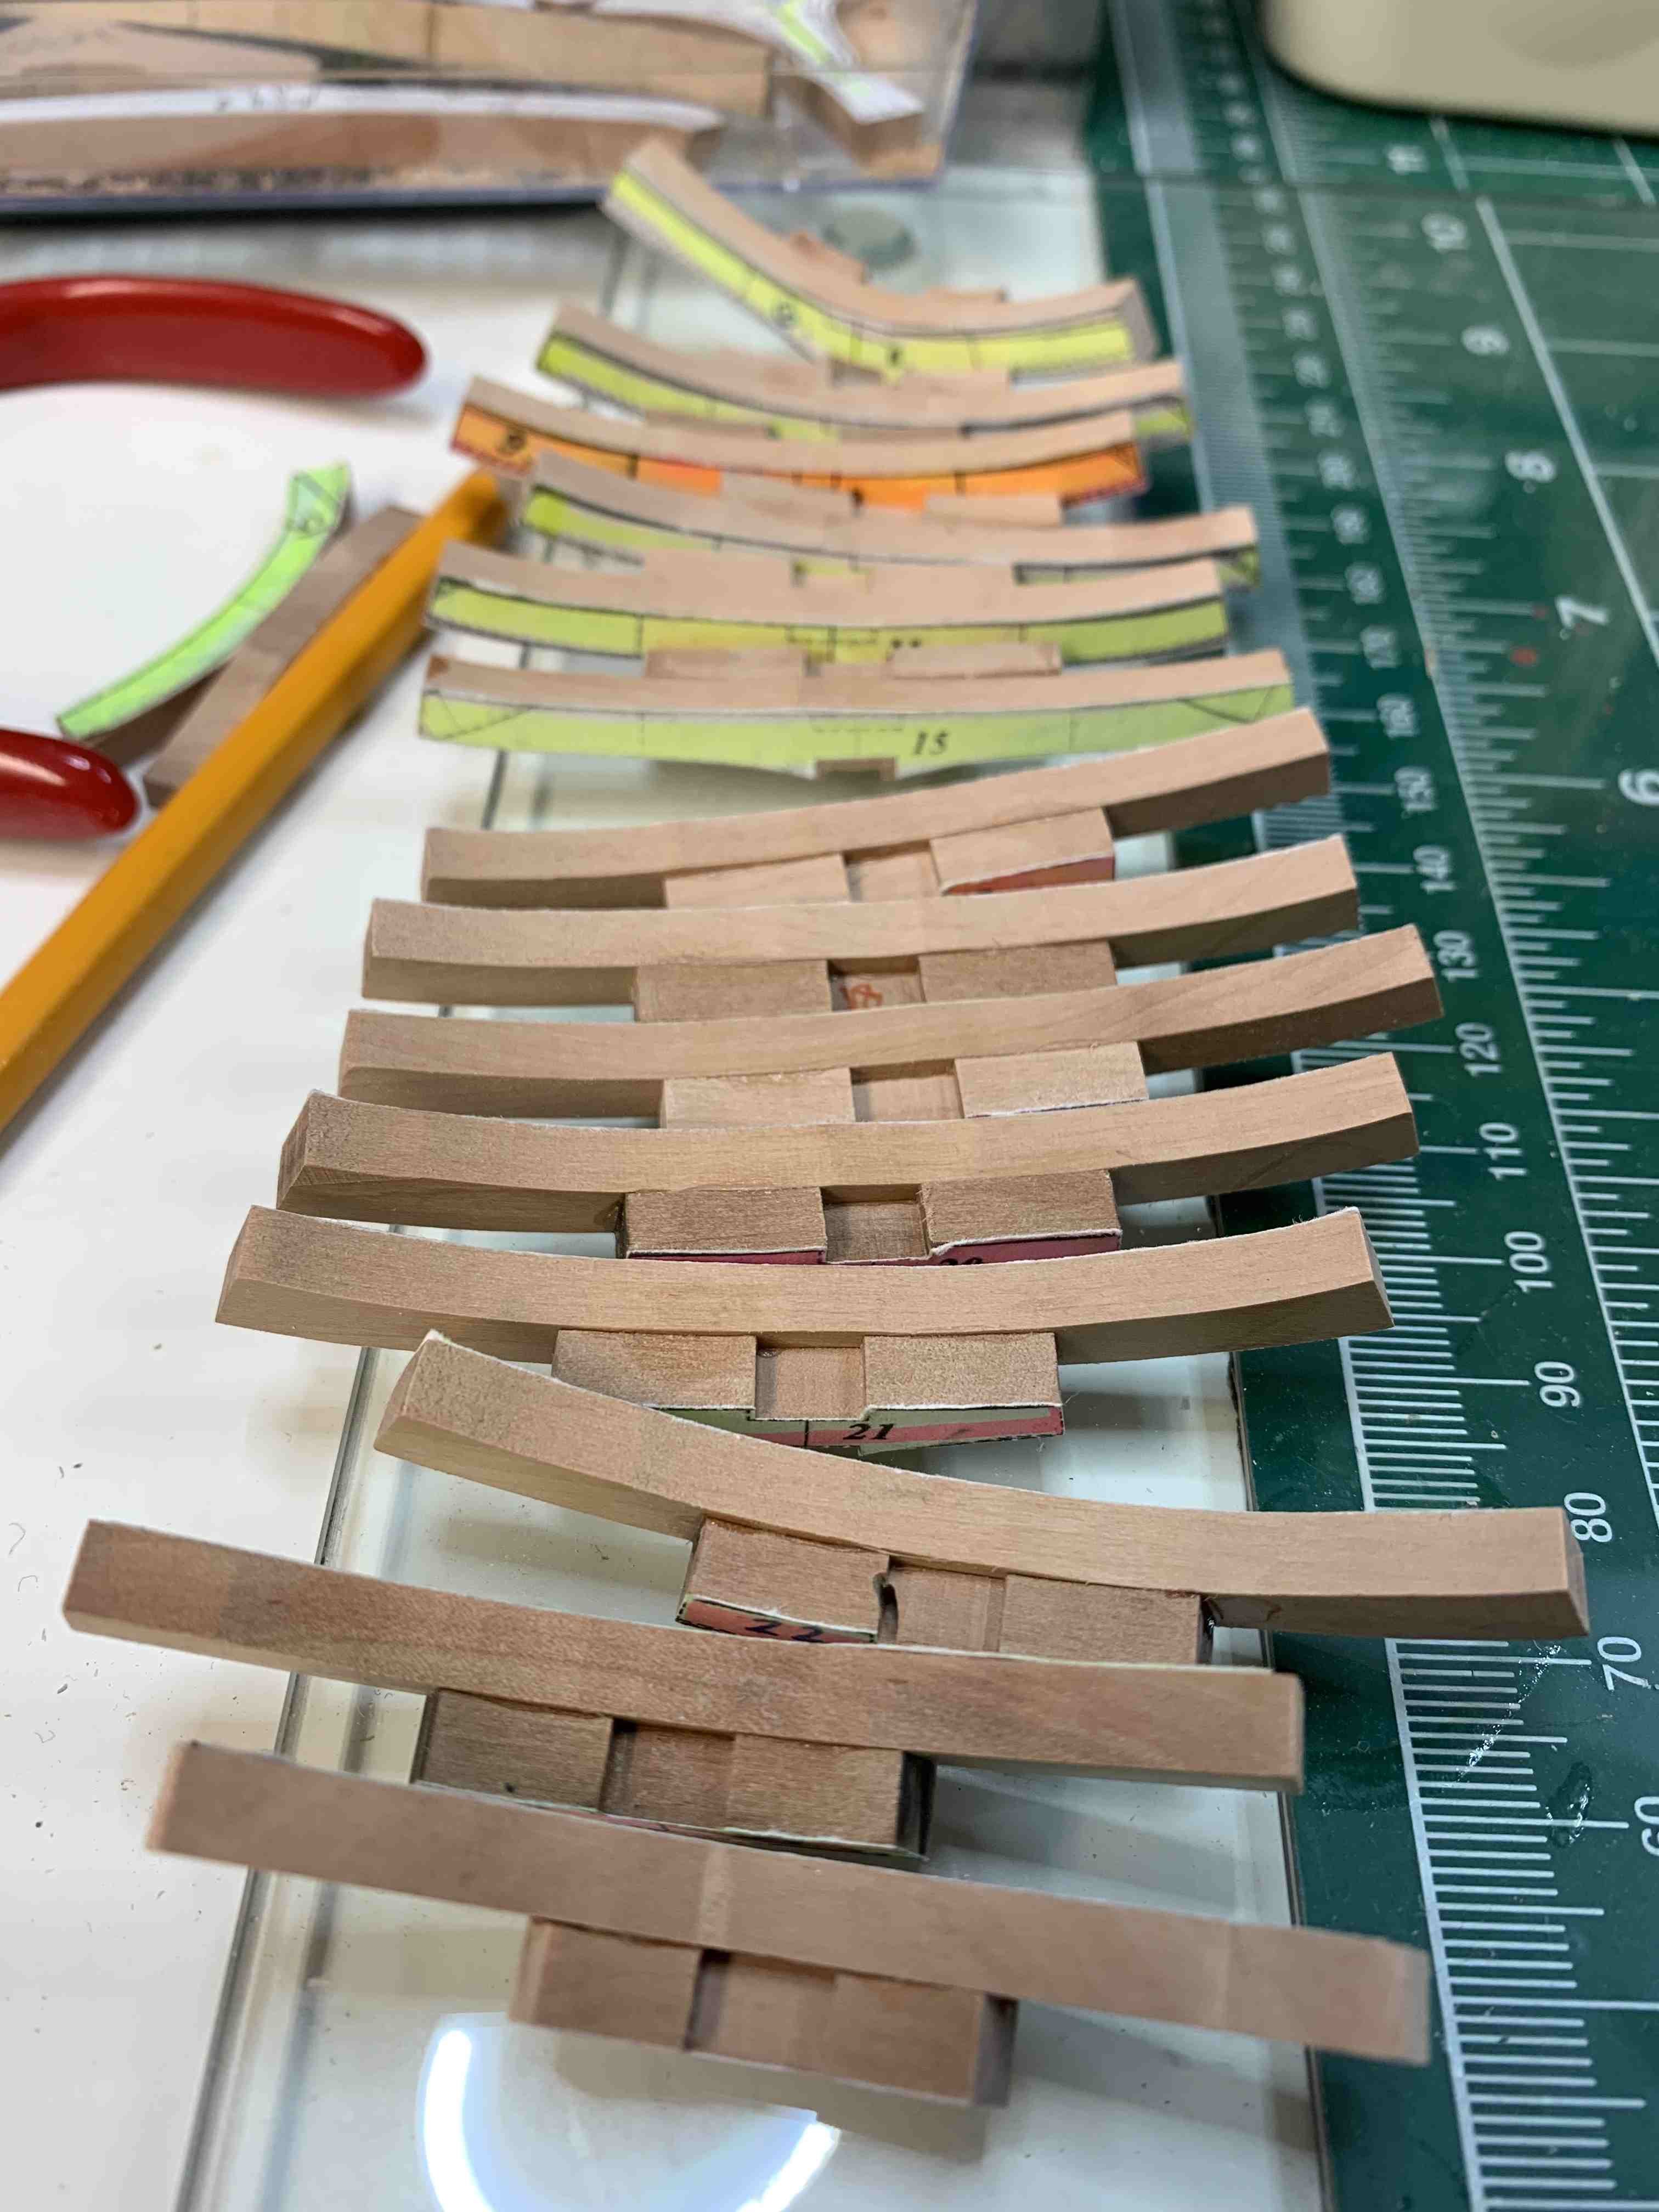
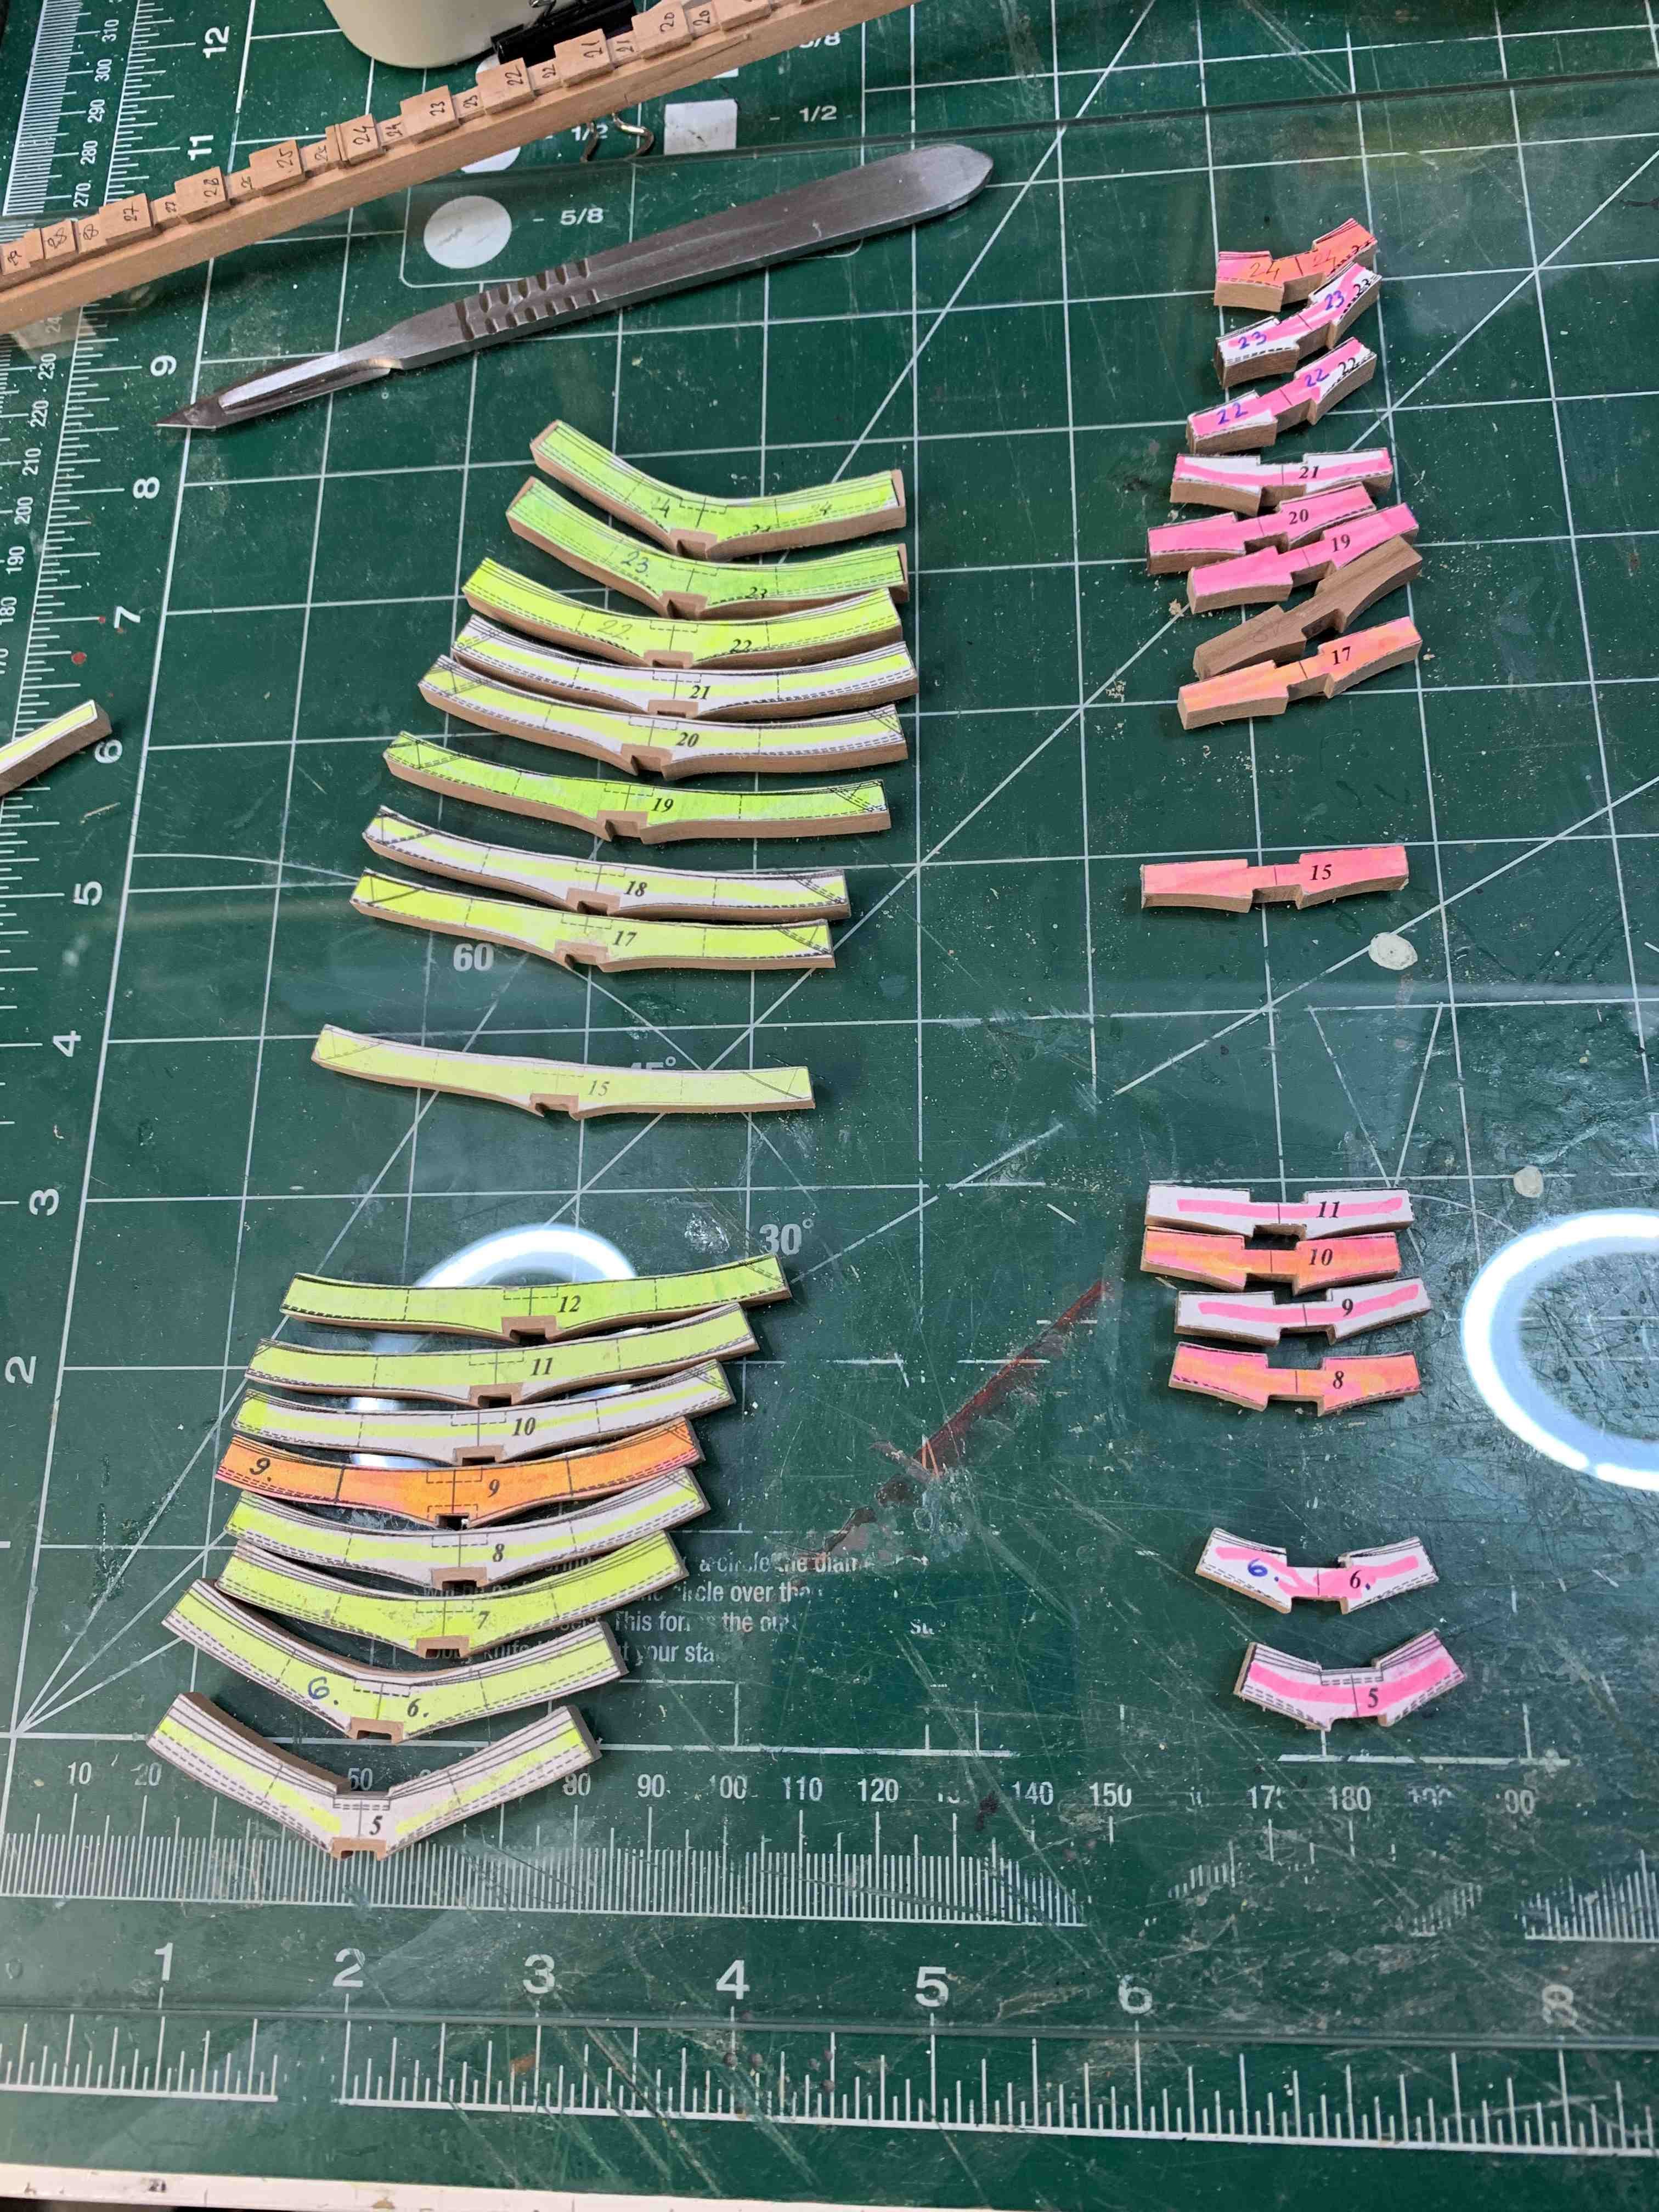
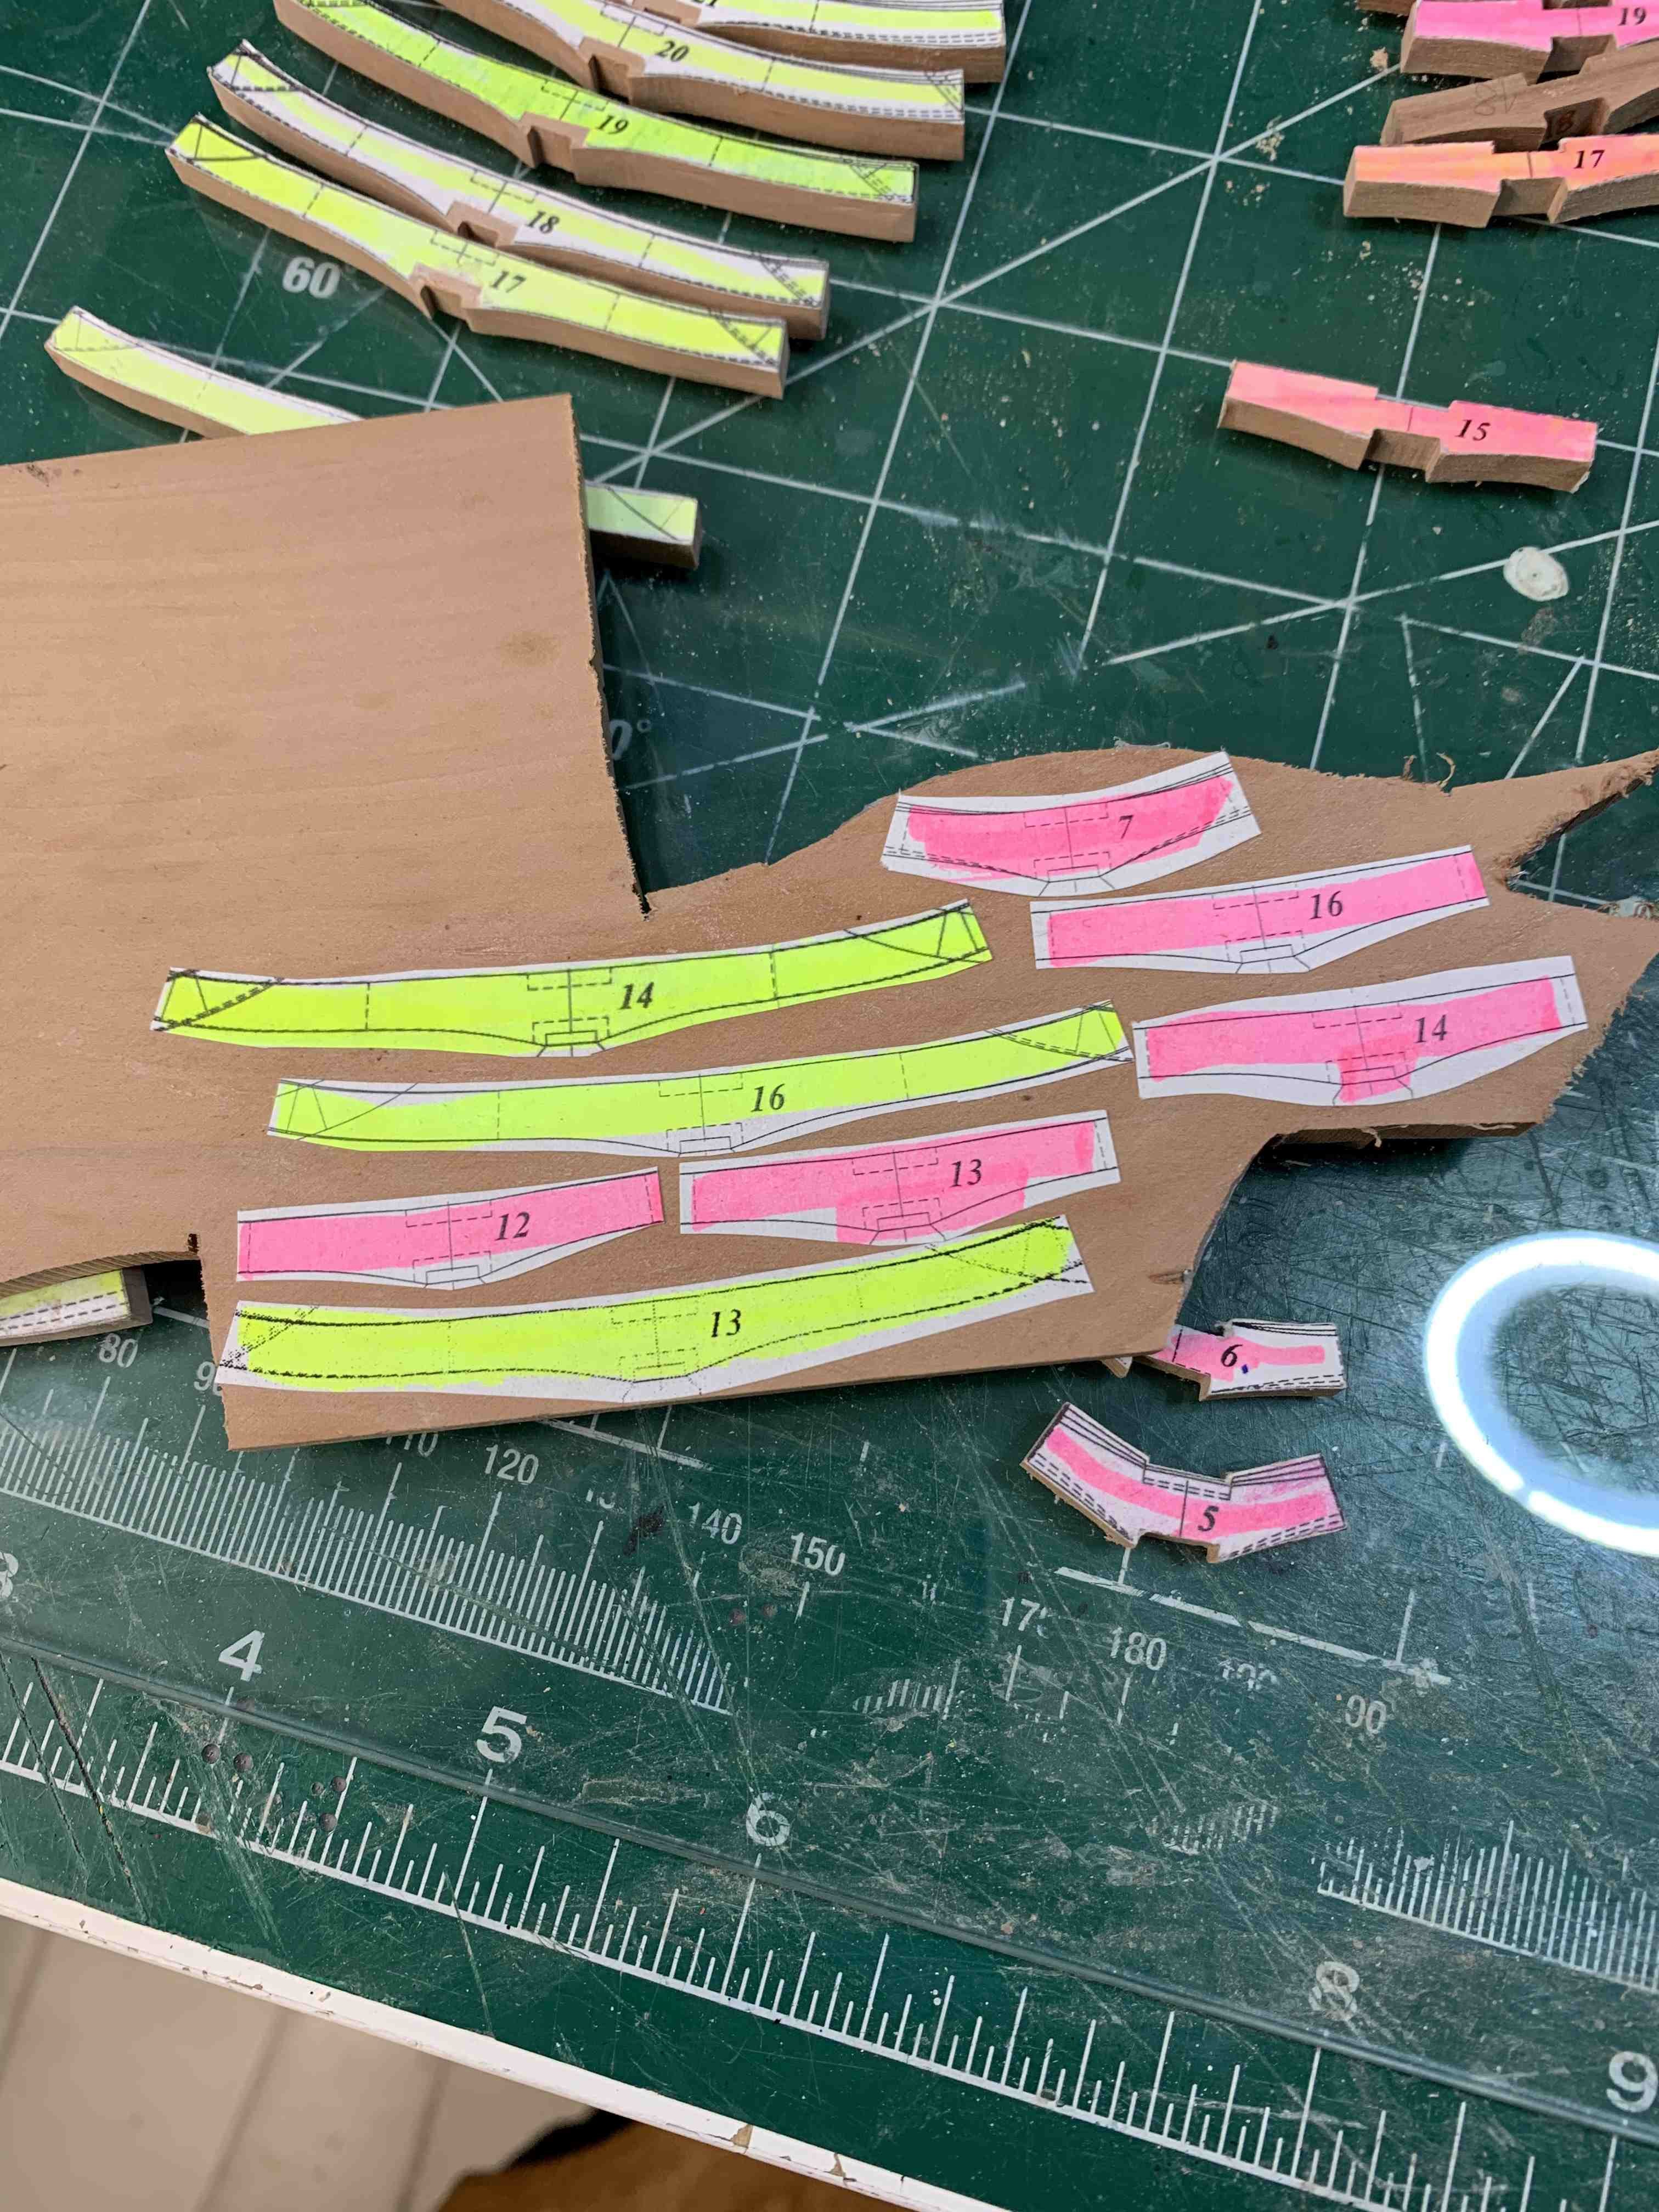
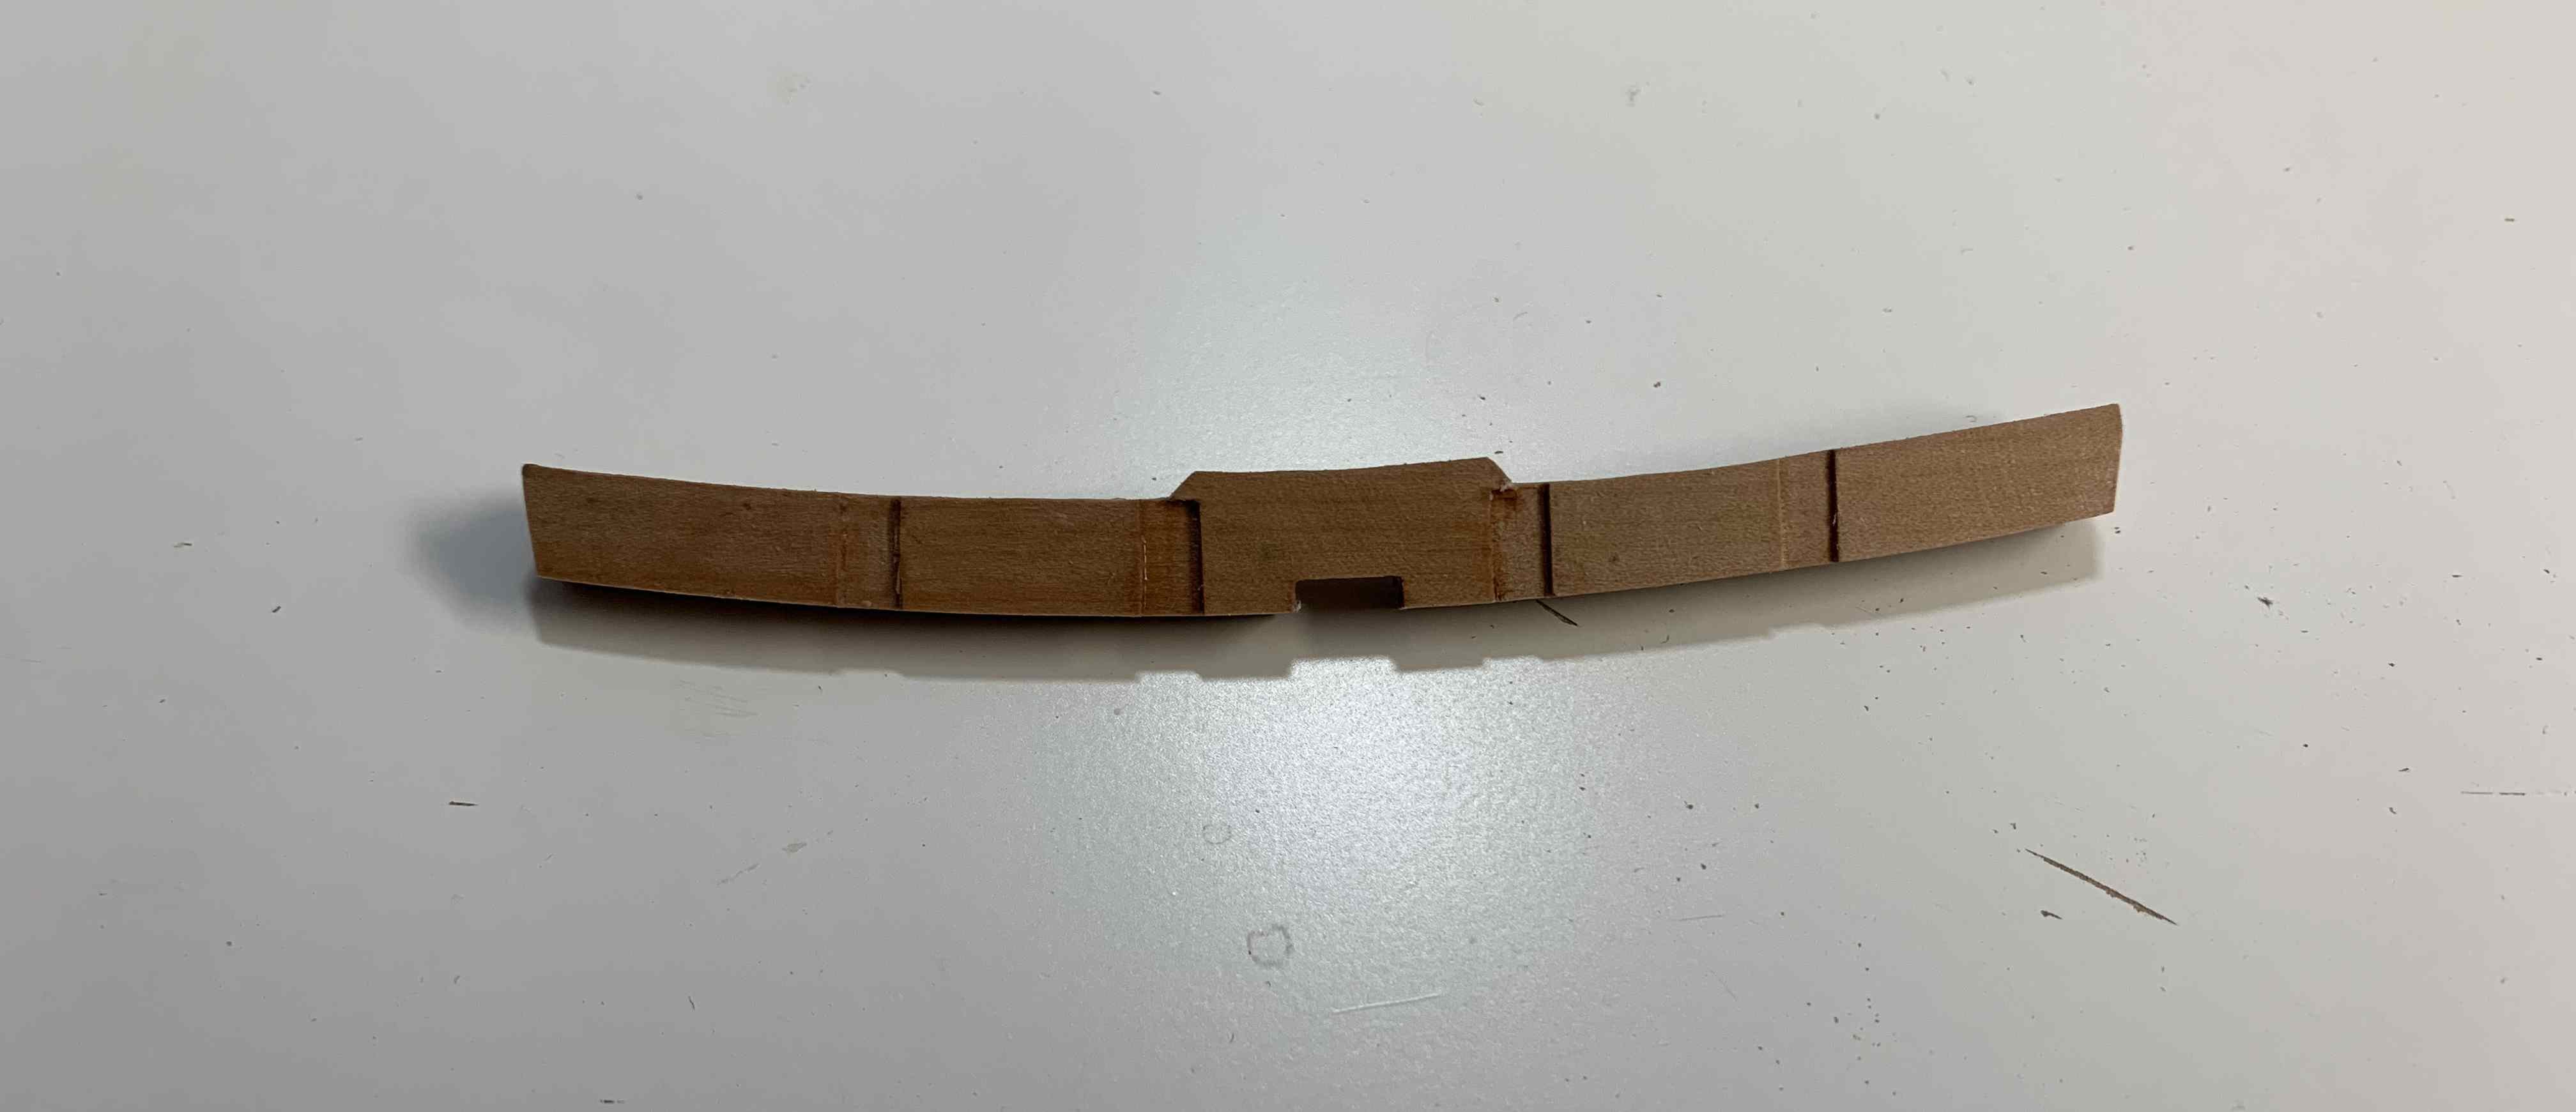
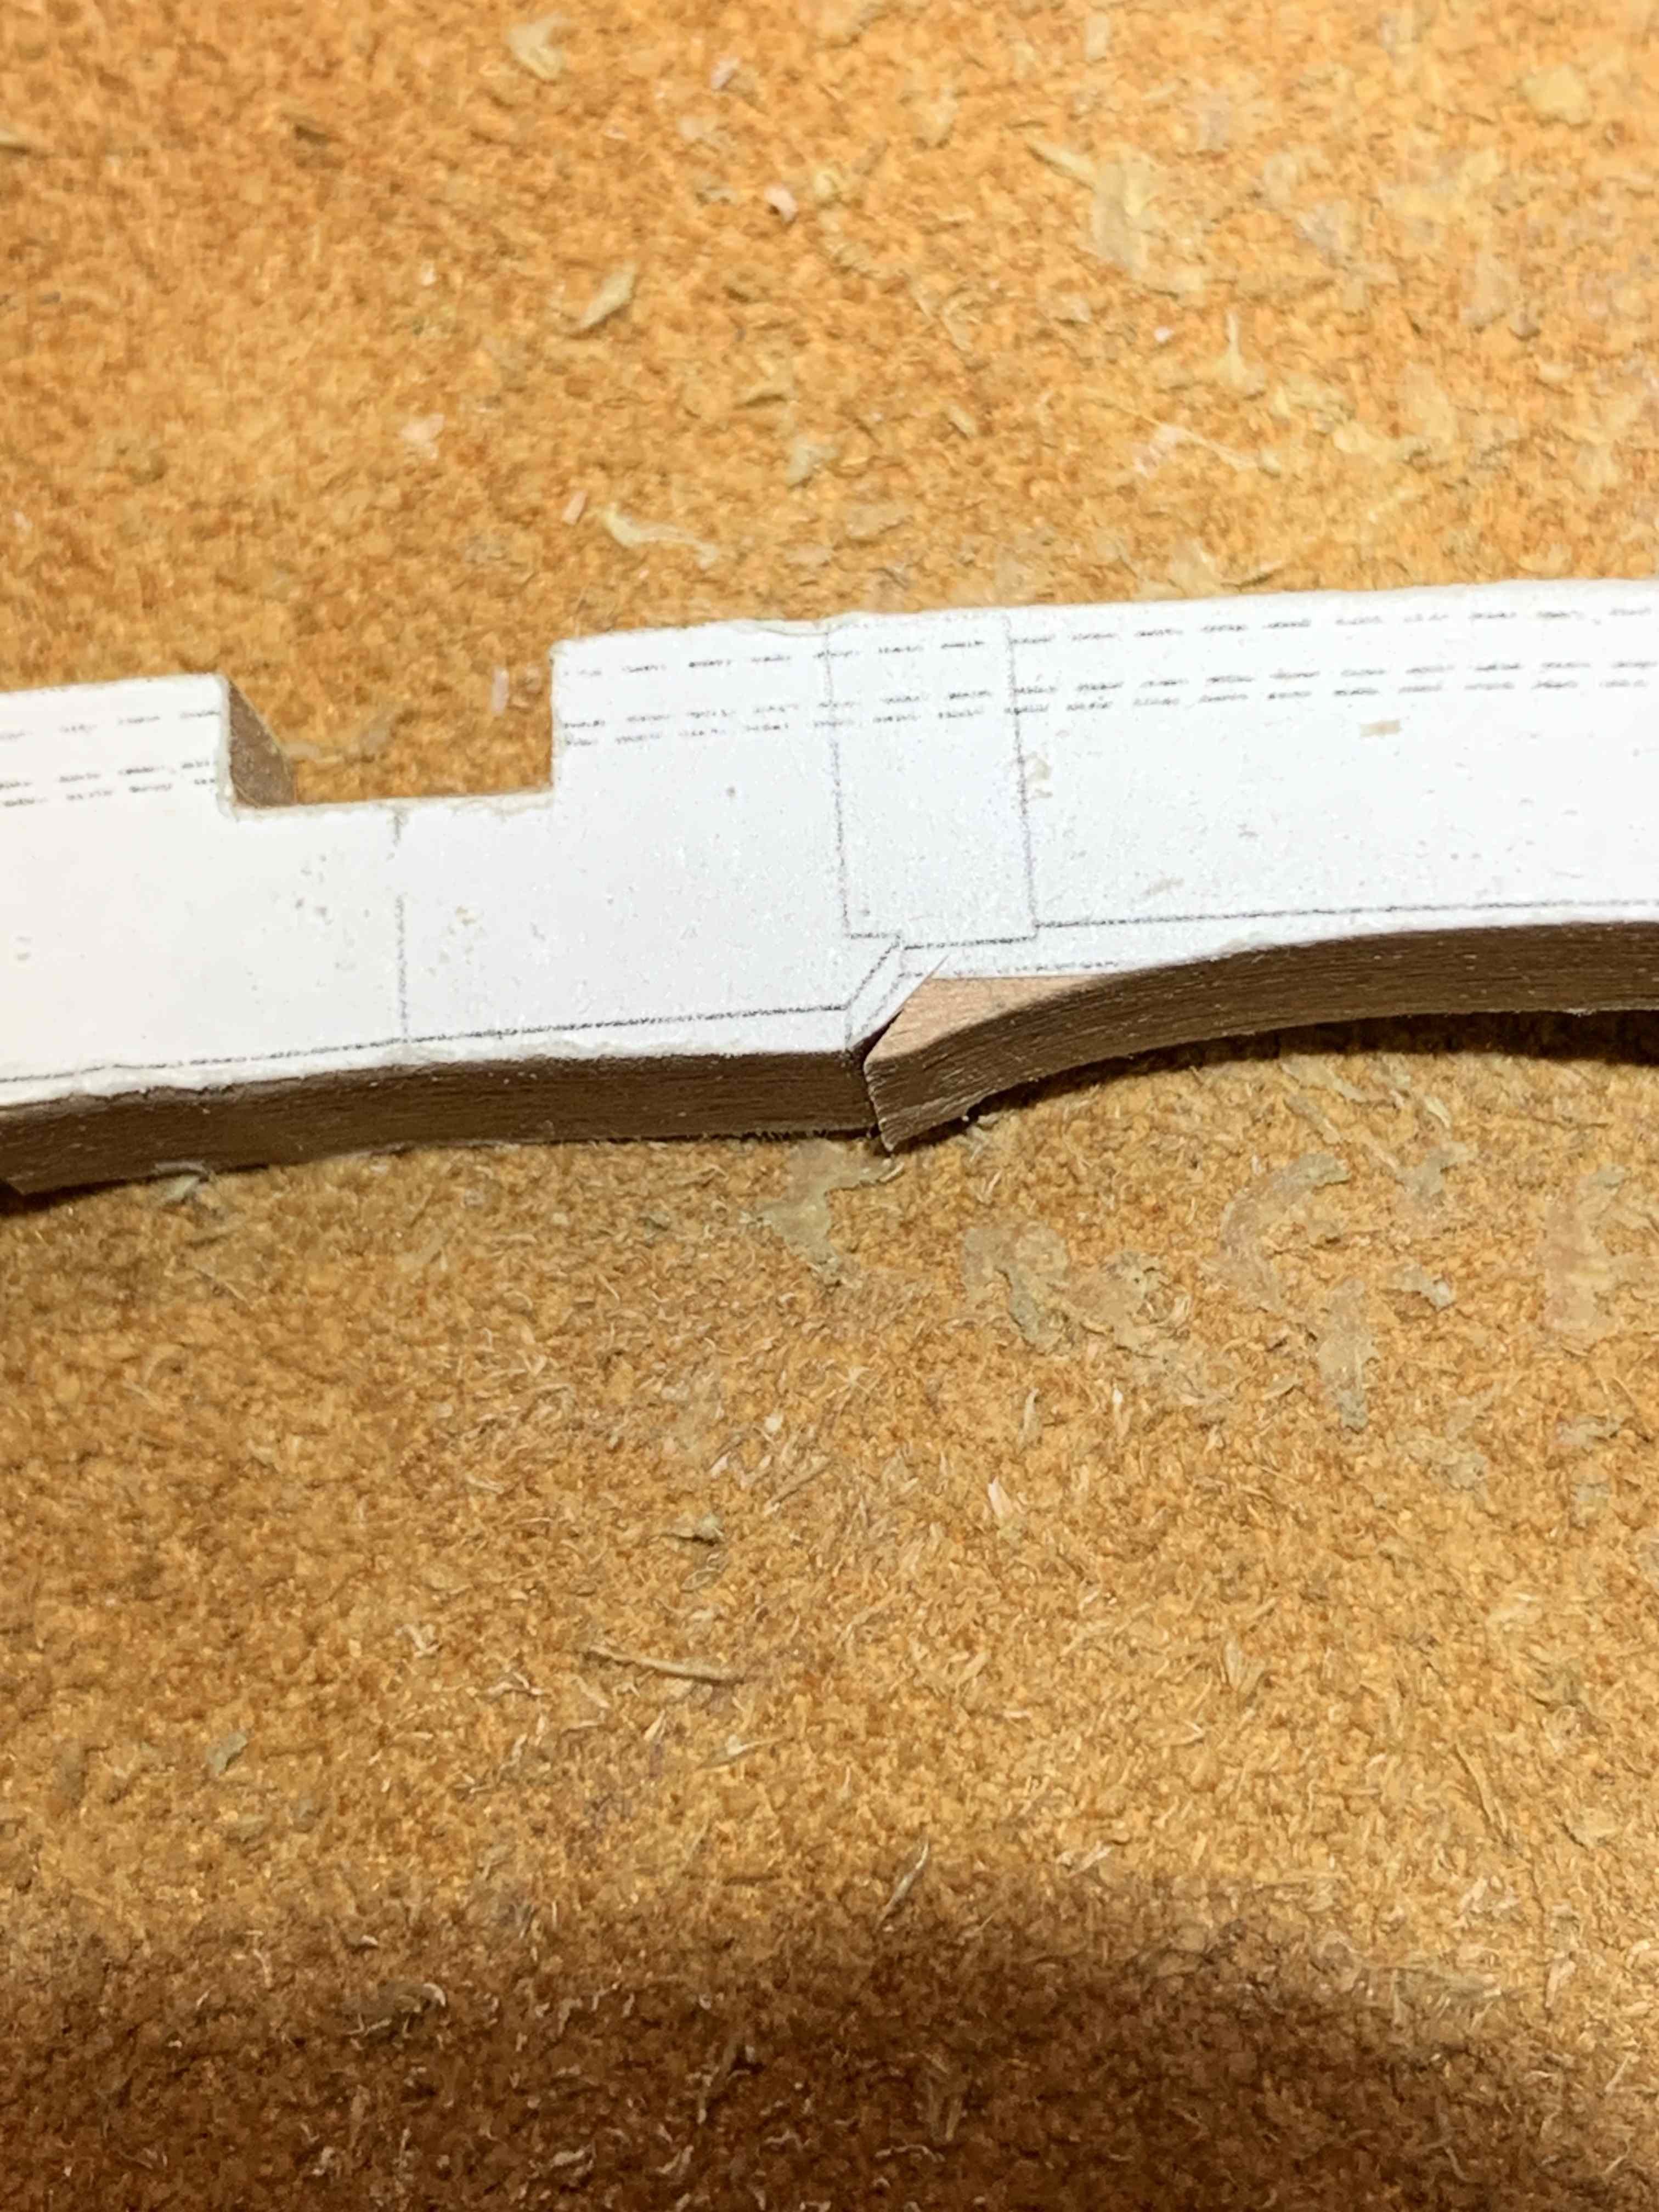
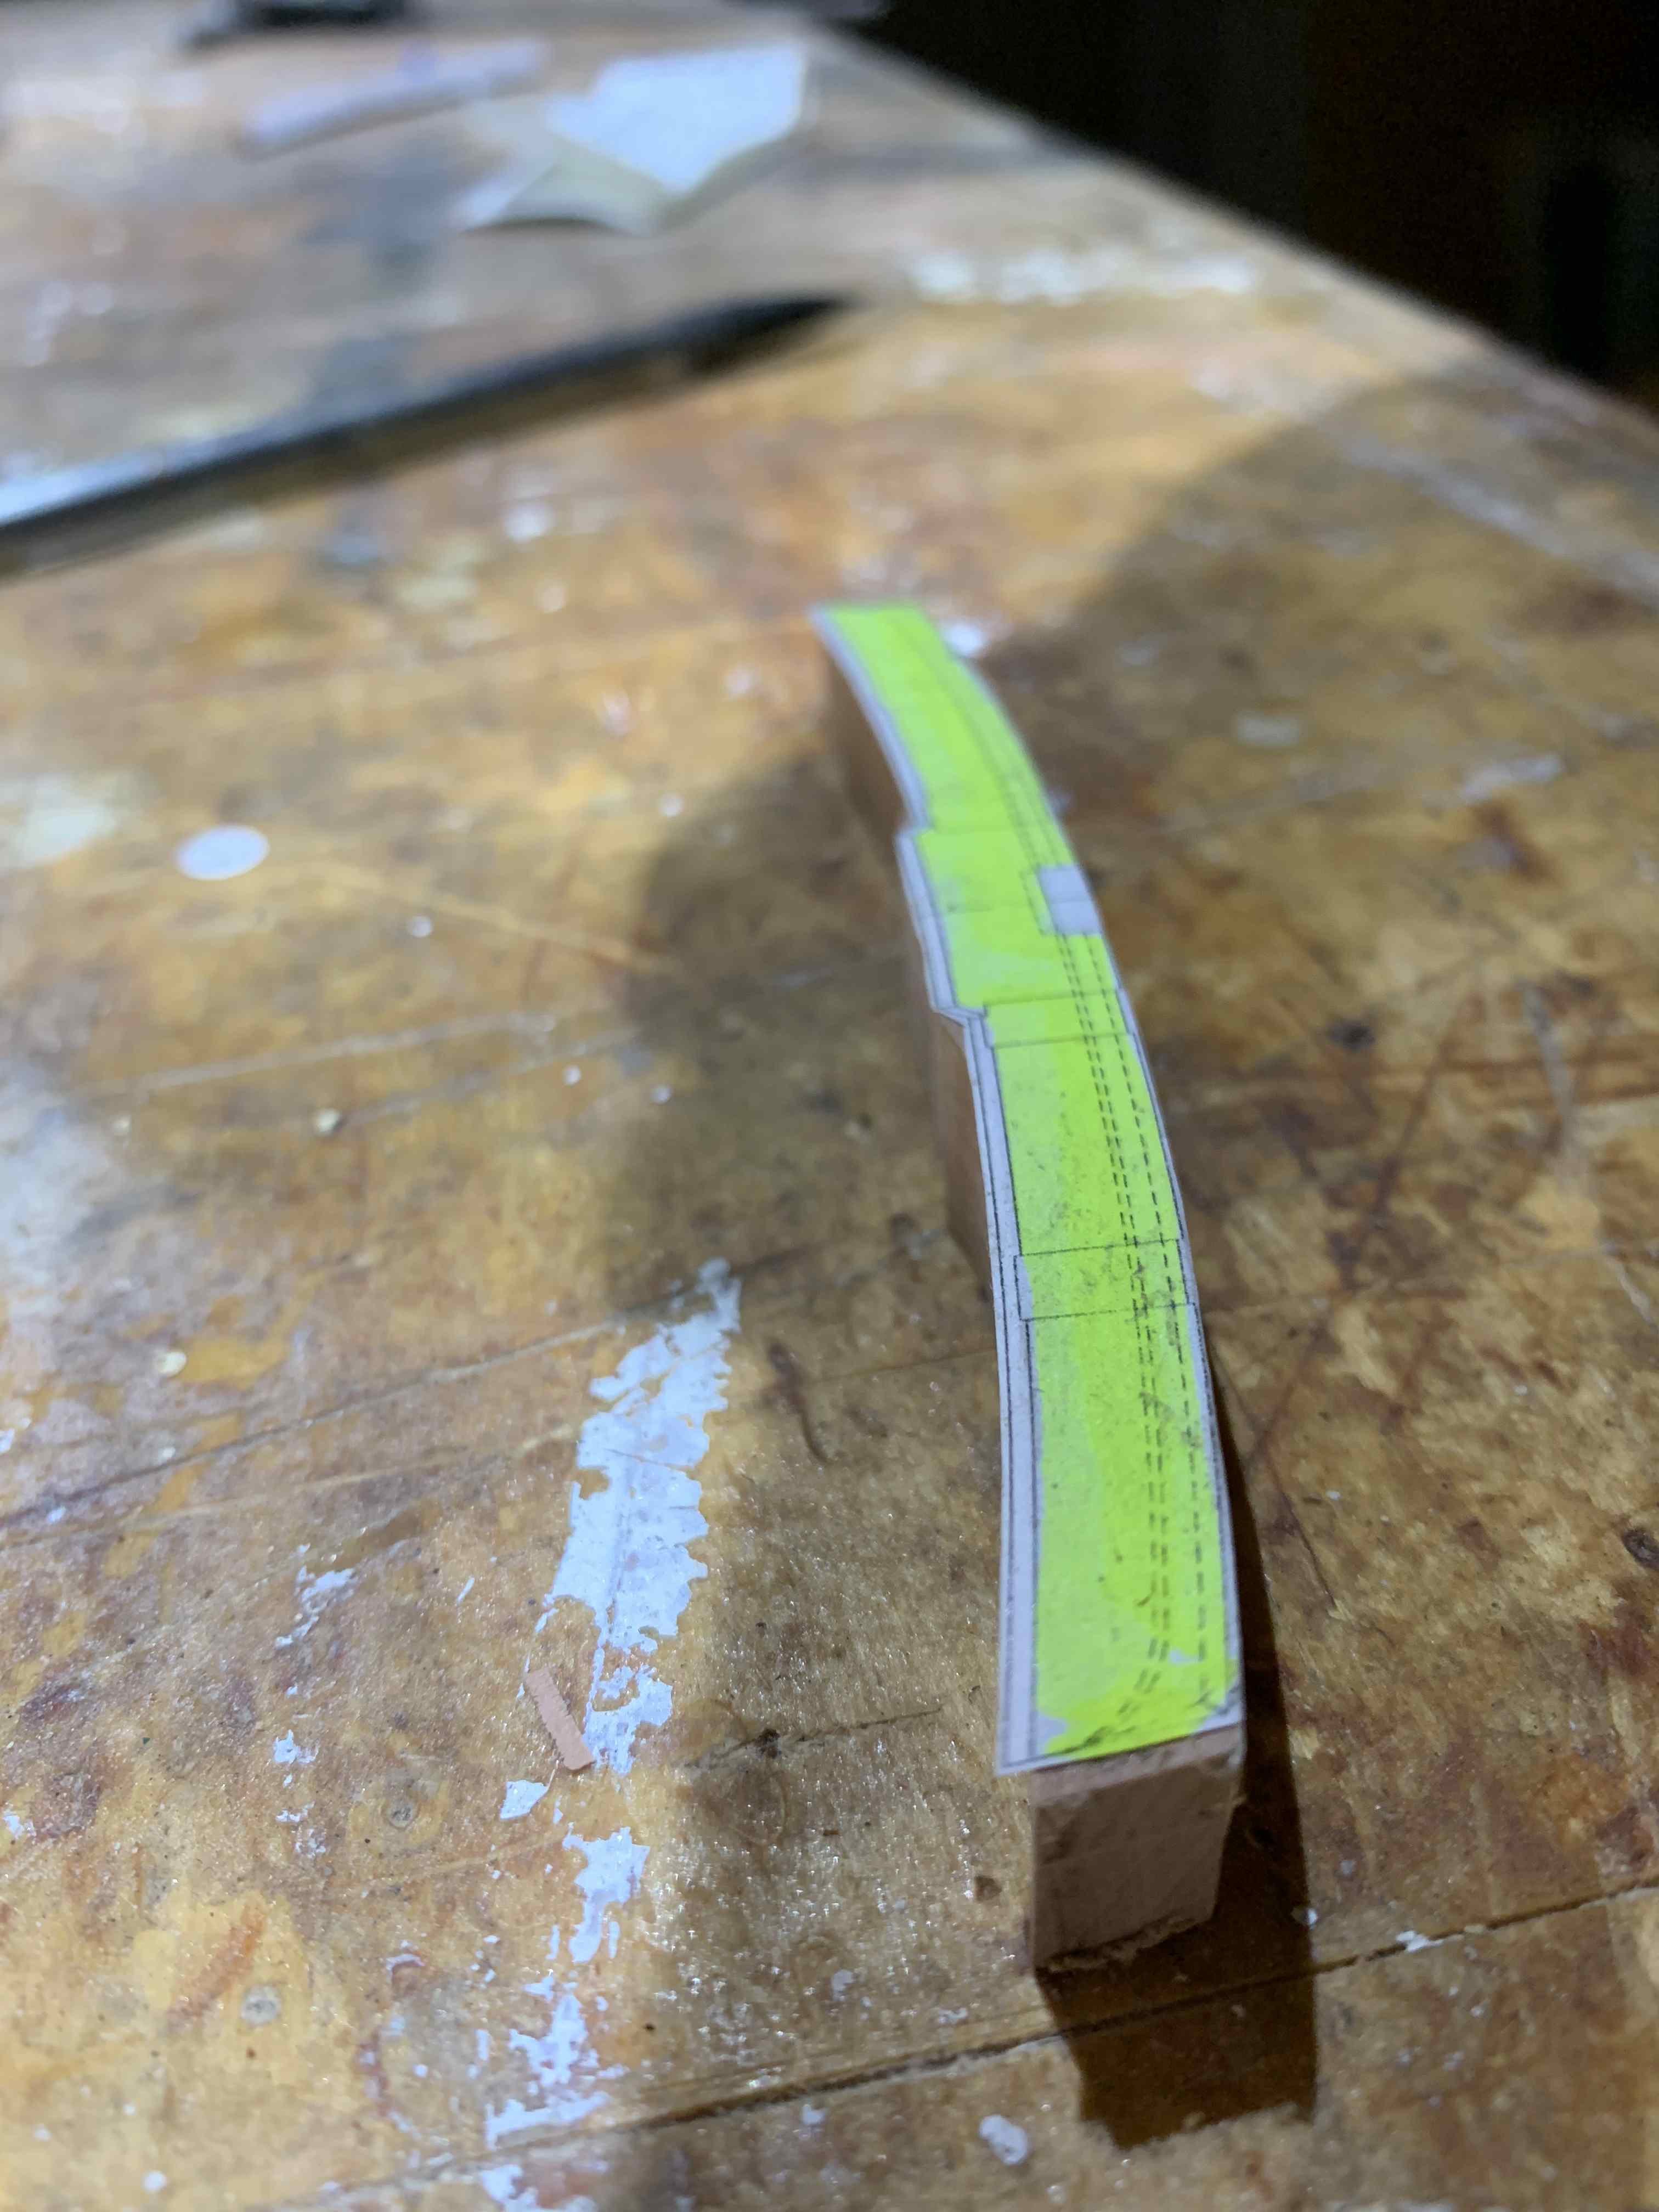
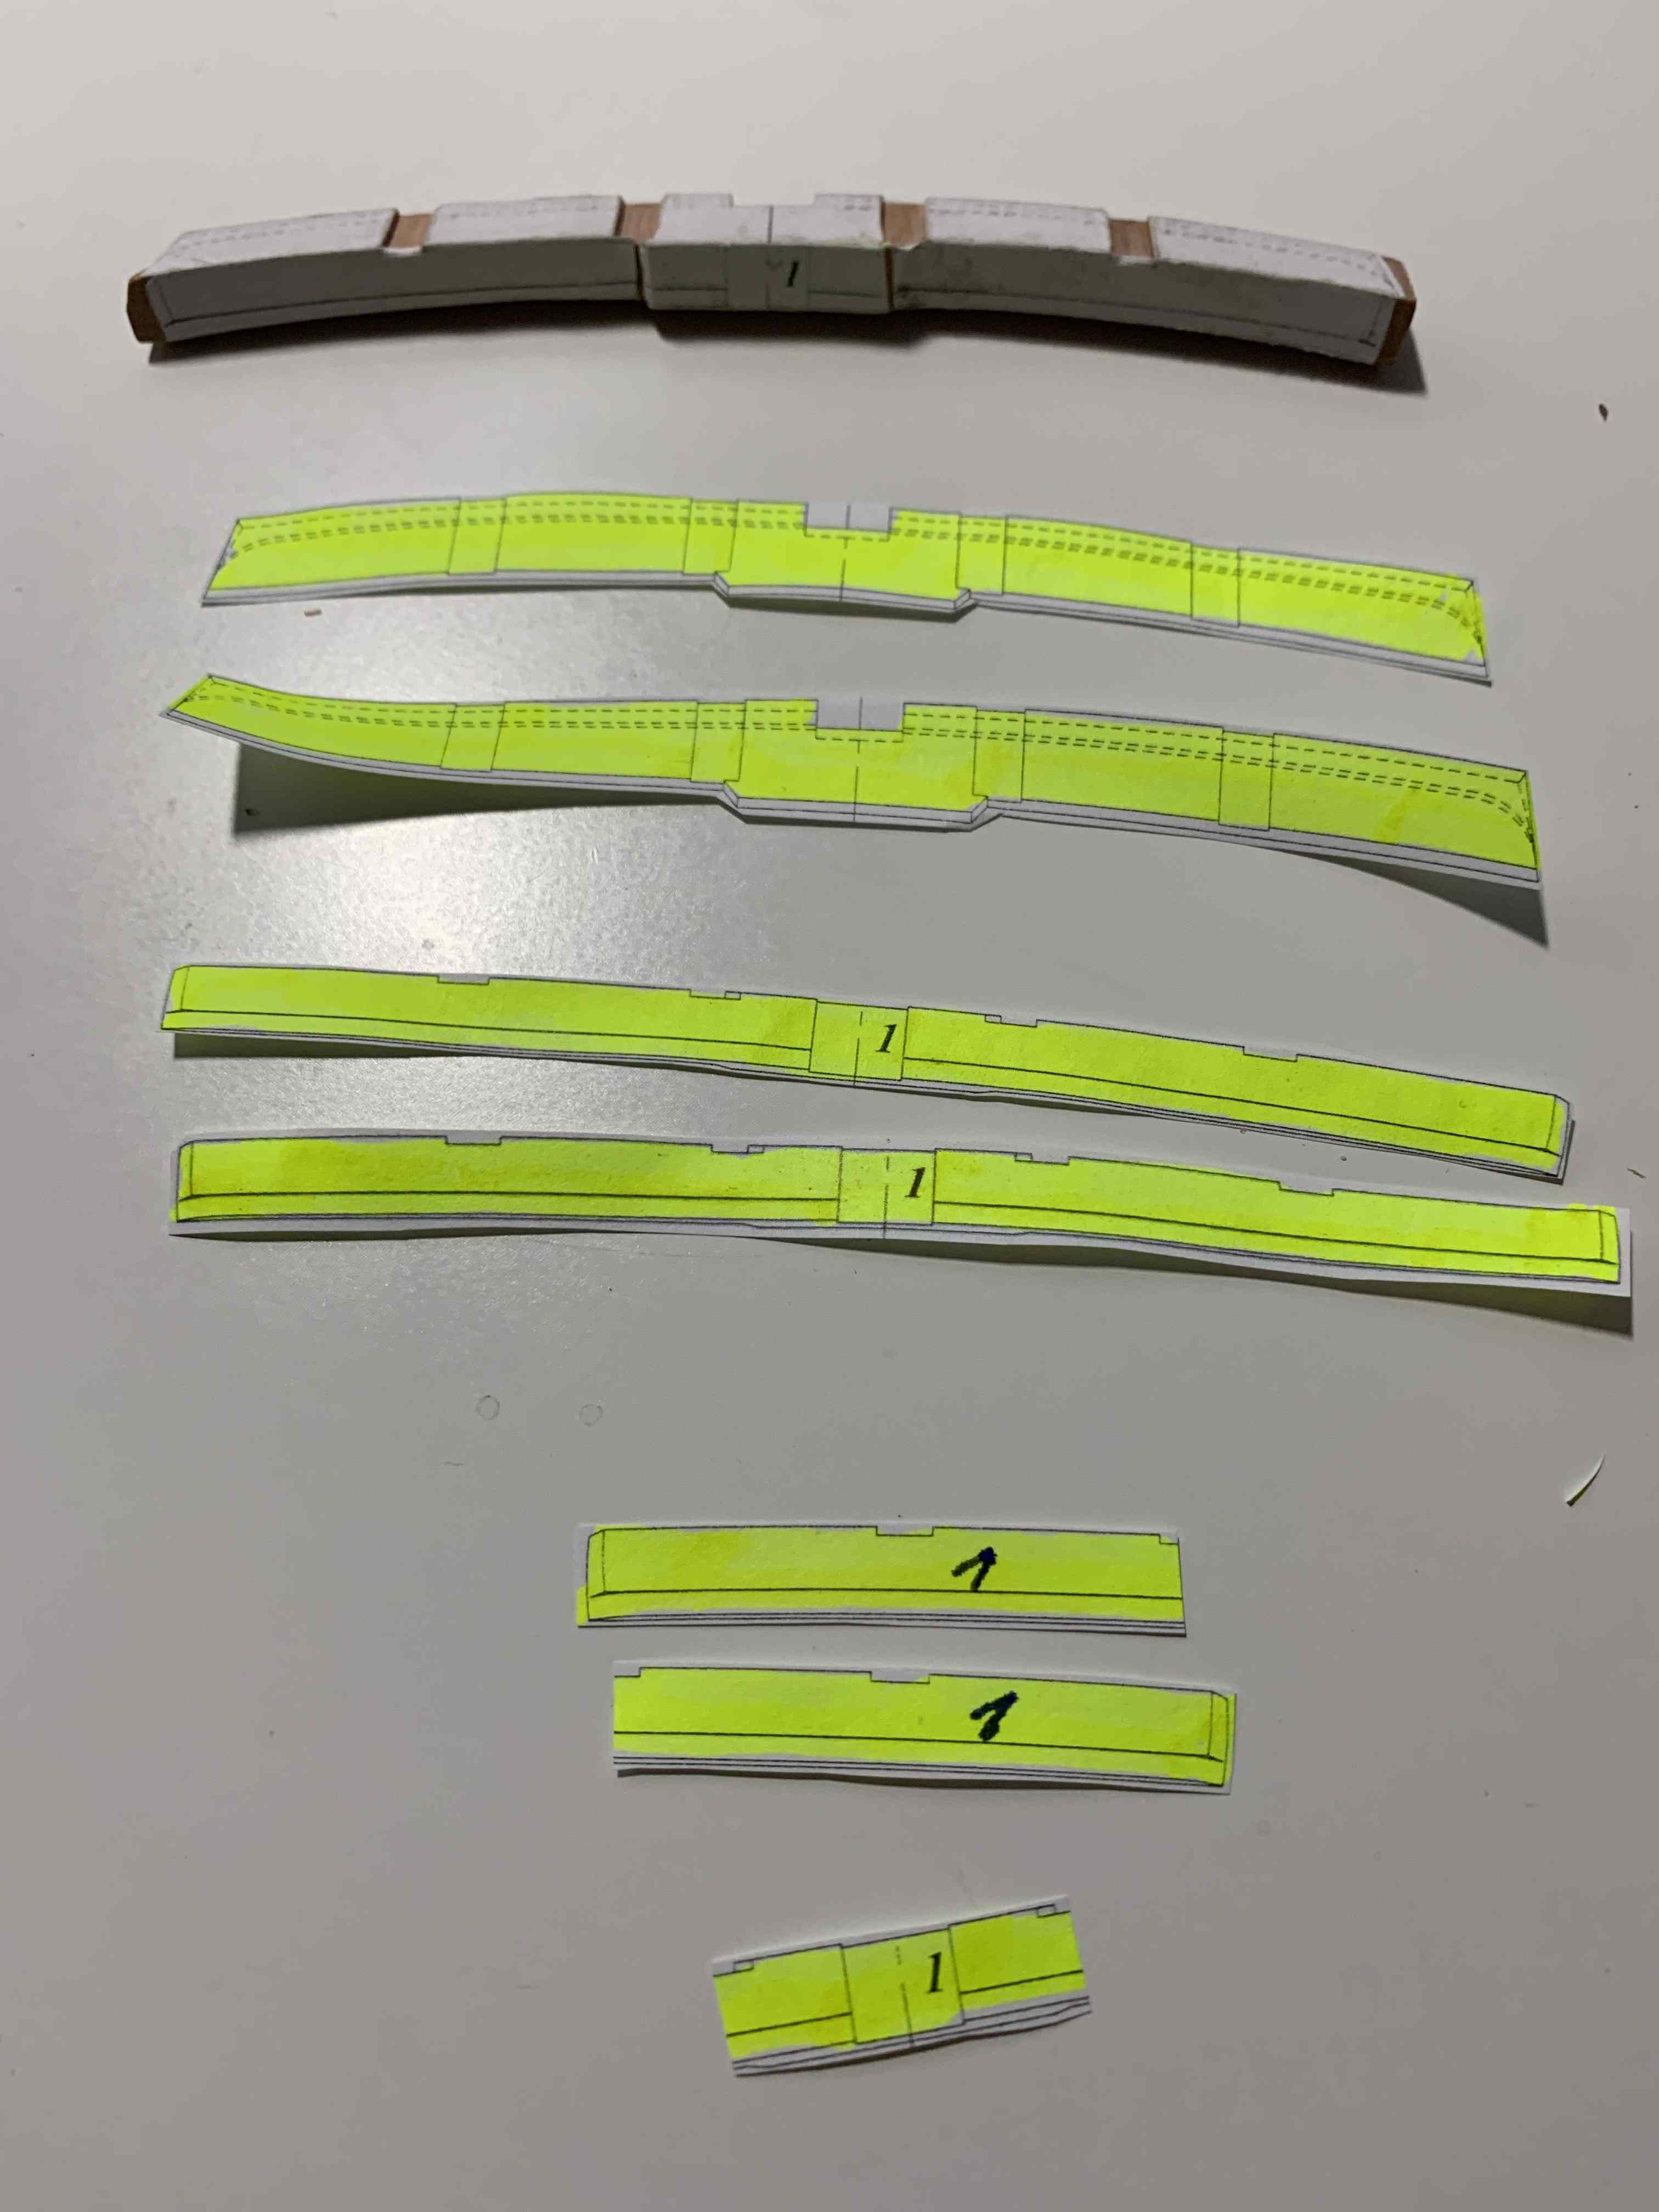
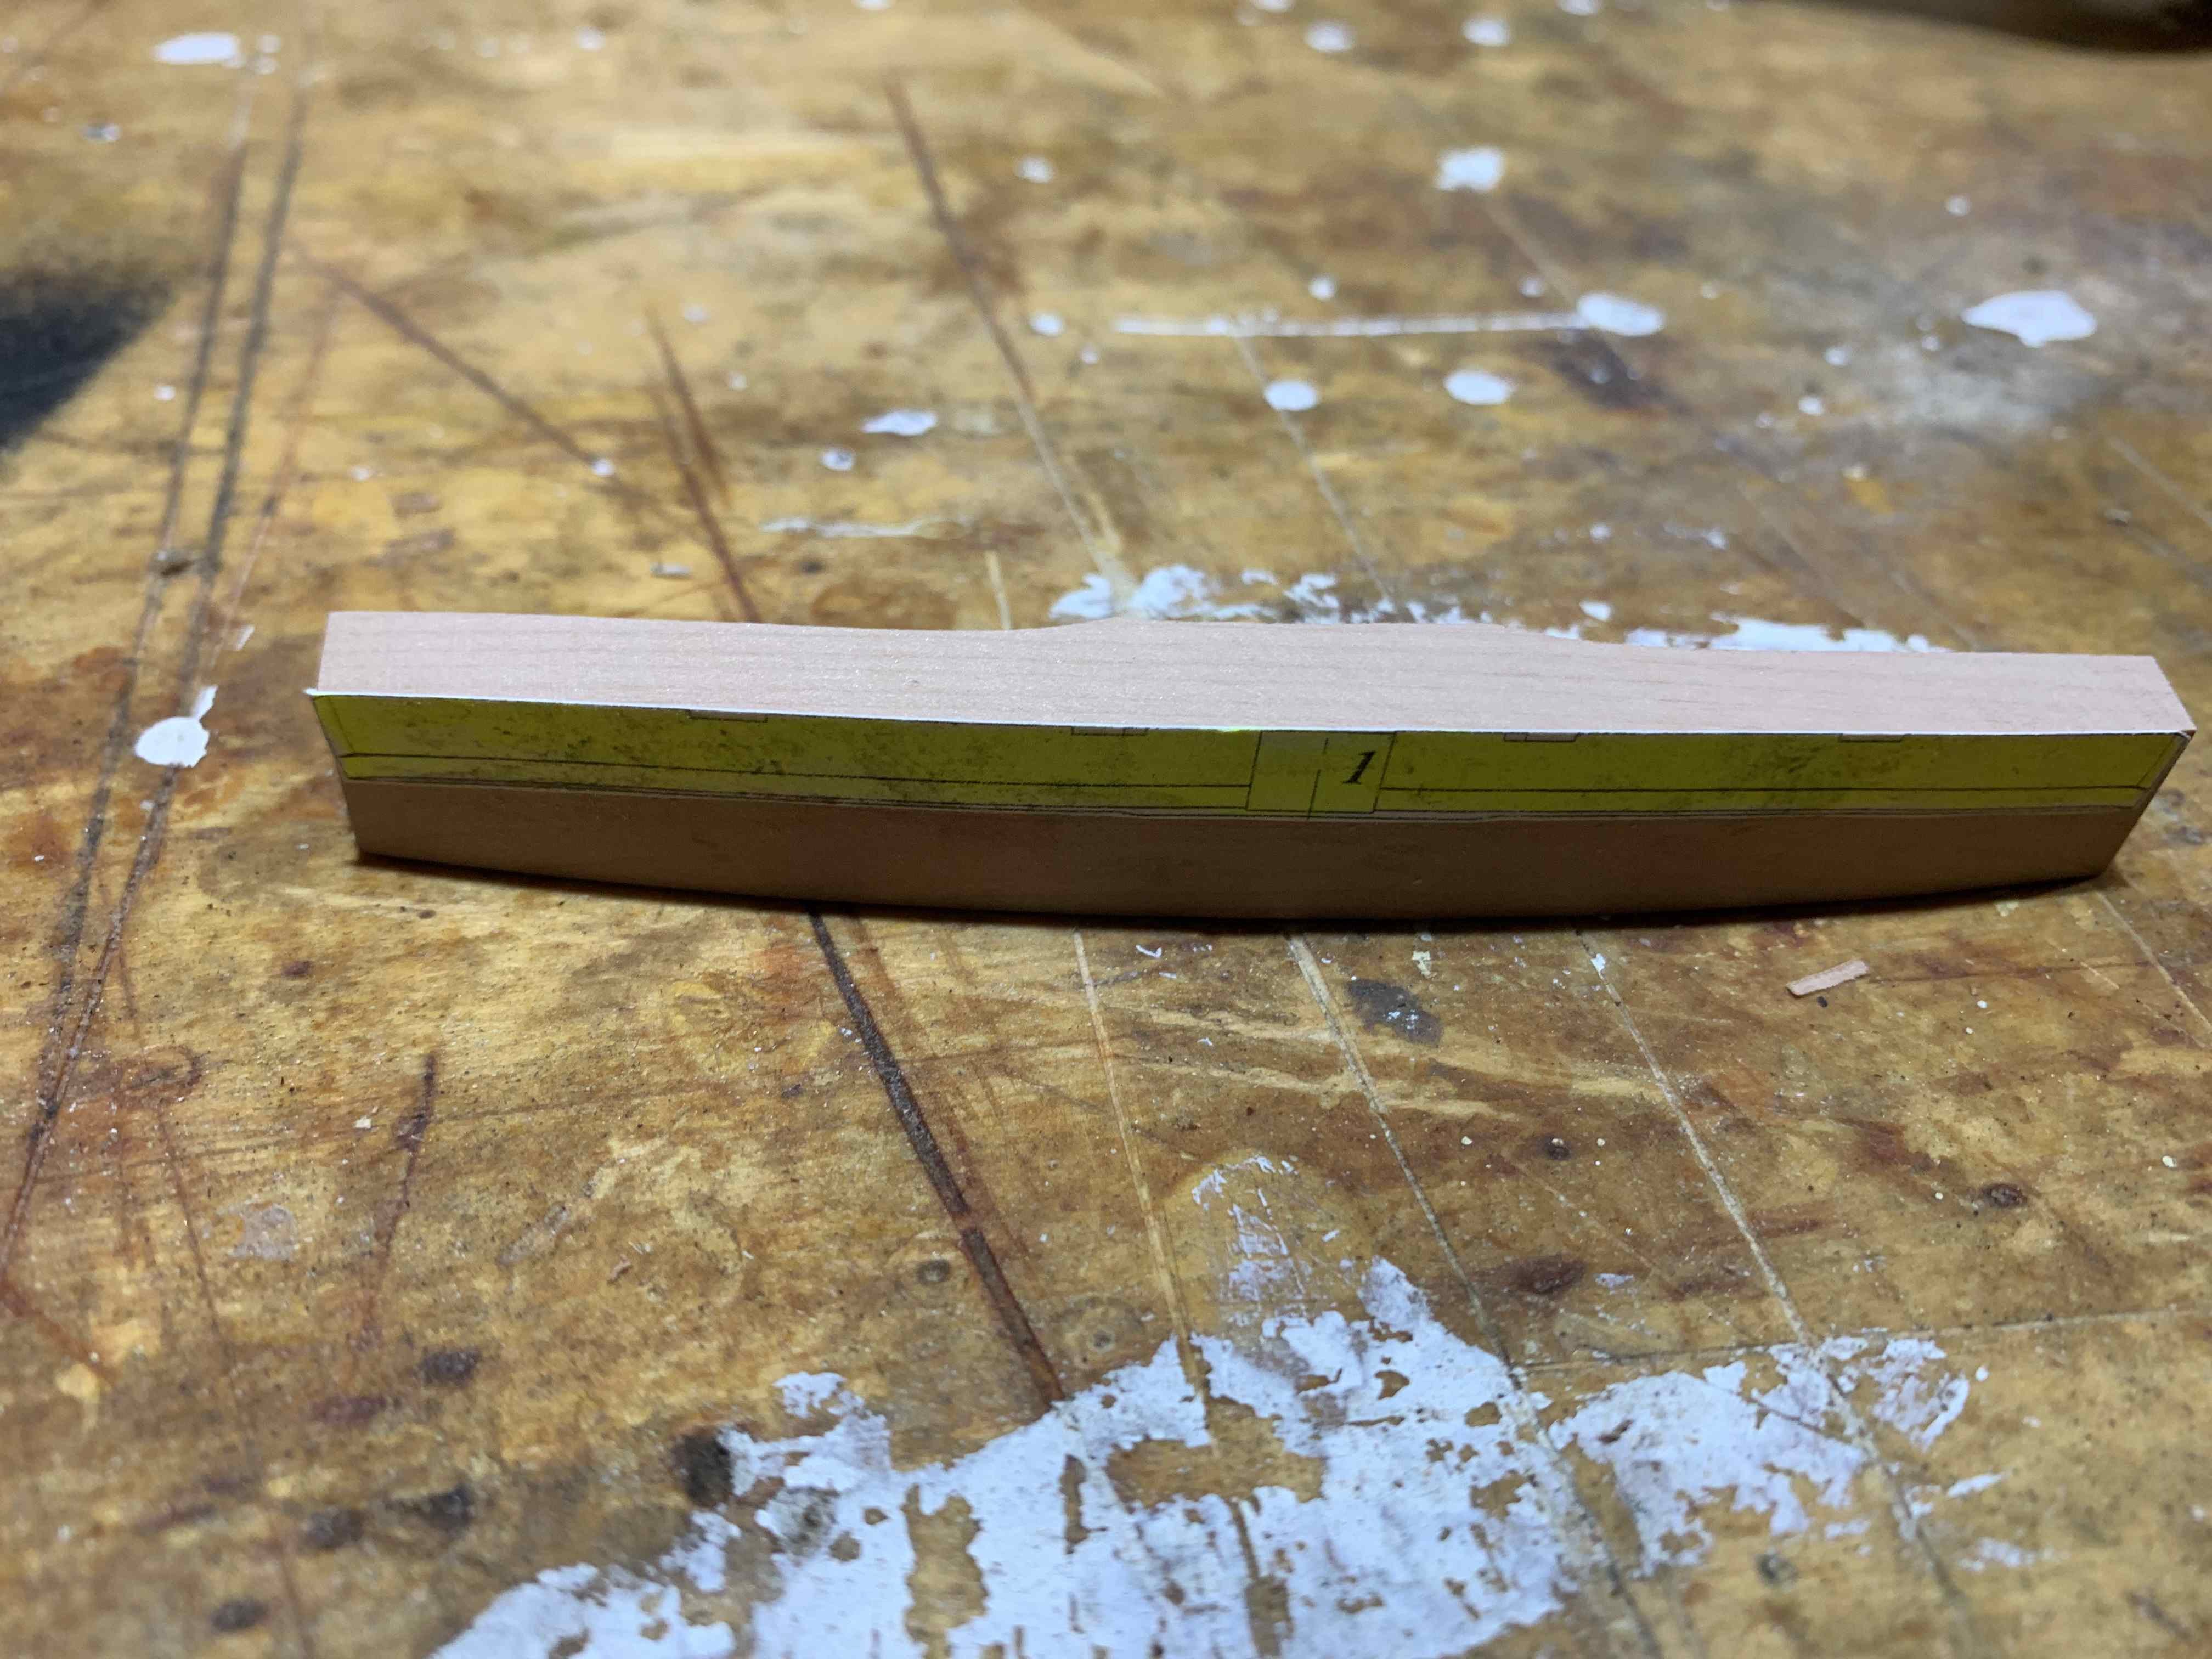
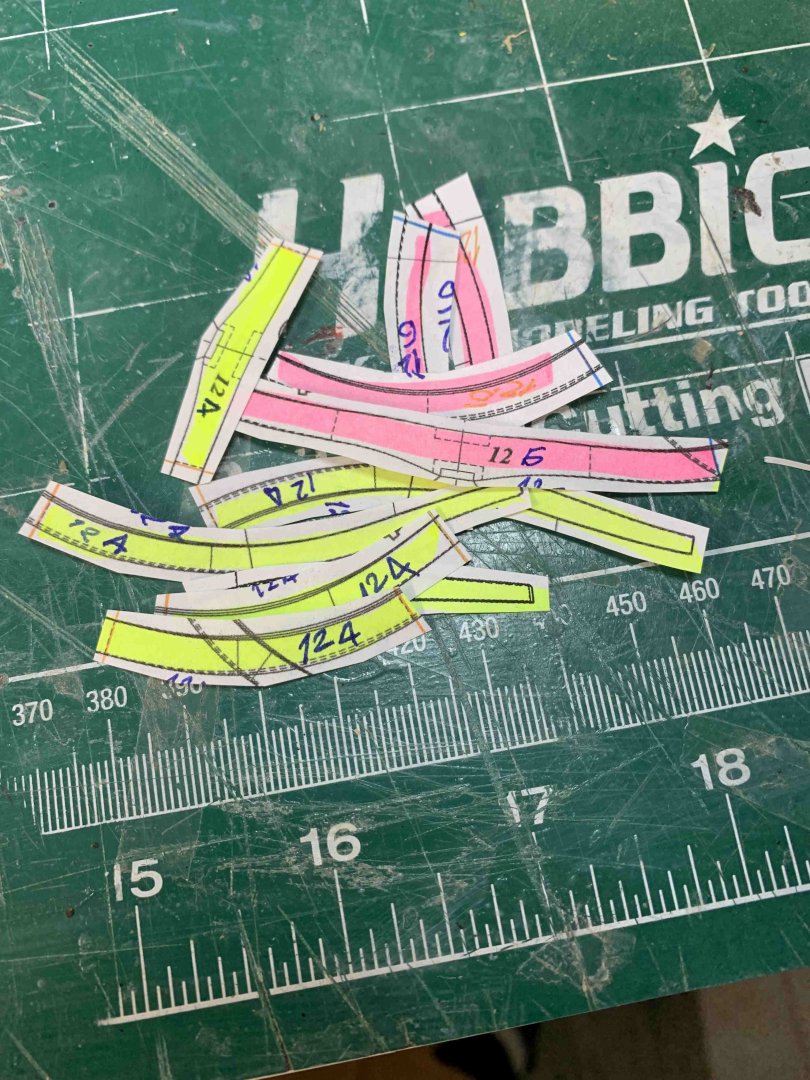
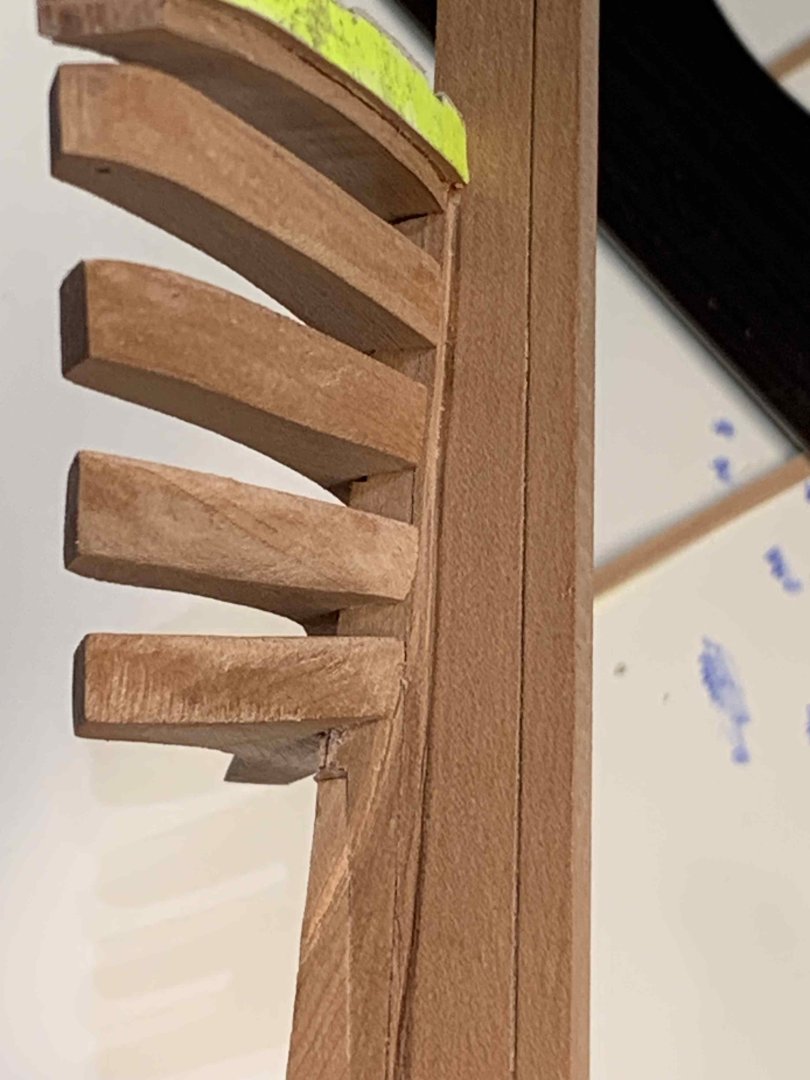
Frame build work continues... Testing frame #16.. It fits perfectly but the middle line on a template does not align with a keel, not to worry, this is additional template (for sanding) I put on but will replace it with correct one. This one does not fit the frames, moved to the right 2mm approximately... Pile of frames keeps pilling up... Some parts needed to be redone; some are gone missing somewhere, or stolen by my cat, or will just be located when I start cleaning up my hobby room; anyhow, usage of old parts is there.. Shhh, don't tell anyone, some of frames will be "simulating" edges, like we do for deck planking, simulating planks, out of one long plank... I would call it "using different techniques for frame build"... Did not follow the gran on purpose for those one, just want to see how this works.. if does not work, will re-do correctly.. Happy modelling..


-
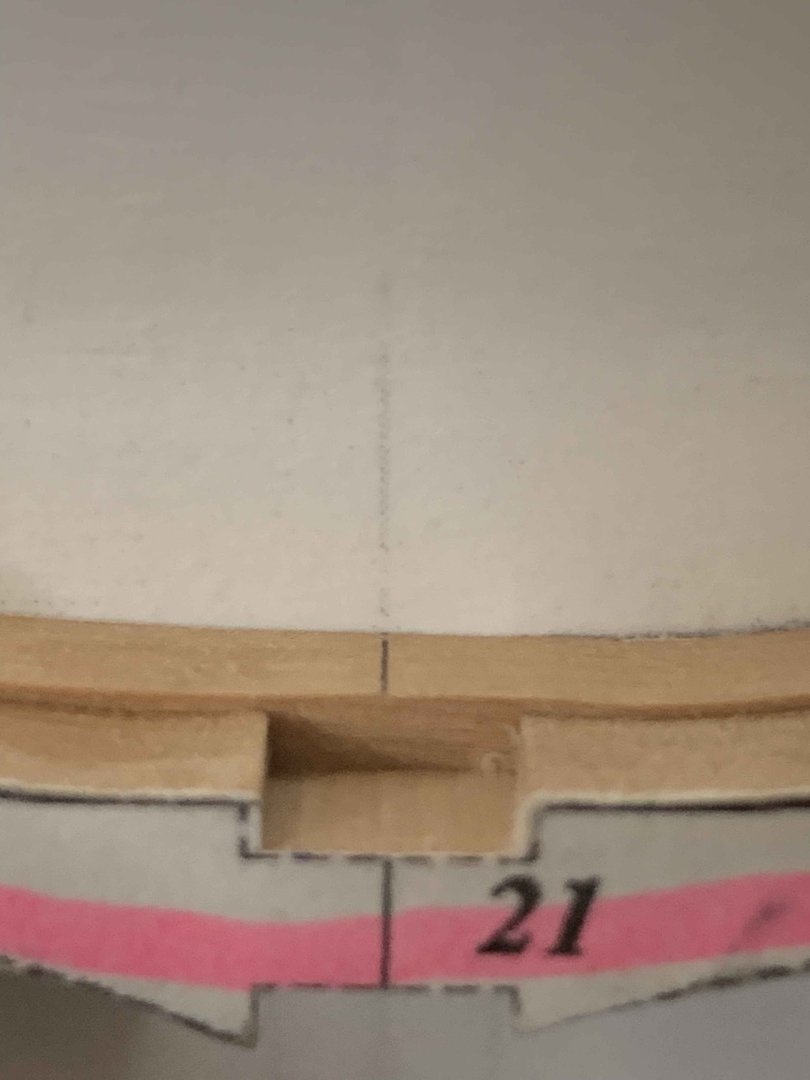
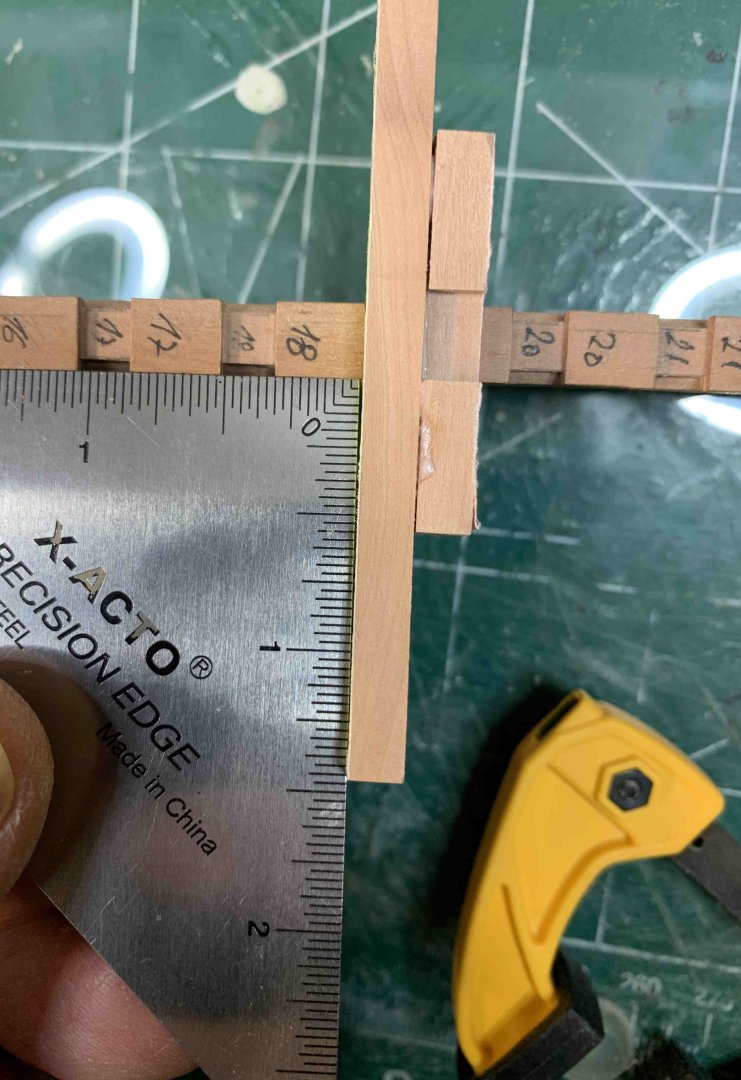
With current frame assembly method, I cannot see the template on one side of frames so I extended a line on plan and also marked the same line on the frame pieces that are finish up at the top. The line is actually inside sanding marking line so I can measure distance as accurate as possible and getting desired results. Trying to achieve the least amount of rebuild as possible... Also, the line is traced on the timber and half timber to make sure we are on the spot.. I also have another approach of frame assembly and will see how this goes but will stick with what practicum suggested: floor timber and half floor timber glued together on the keel and rest of frame parts added lately. Frames are keep piling up.. Happy modelling...


-
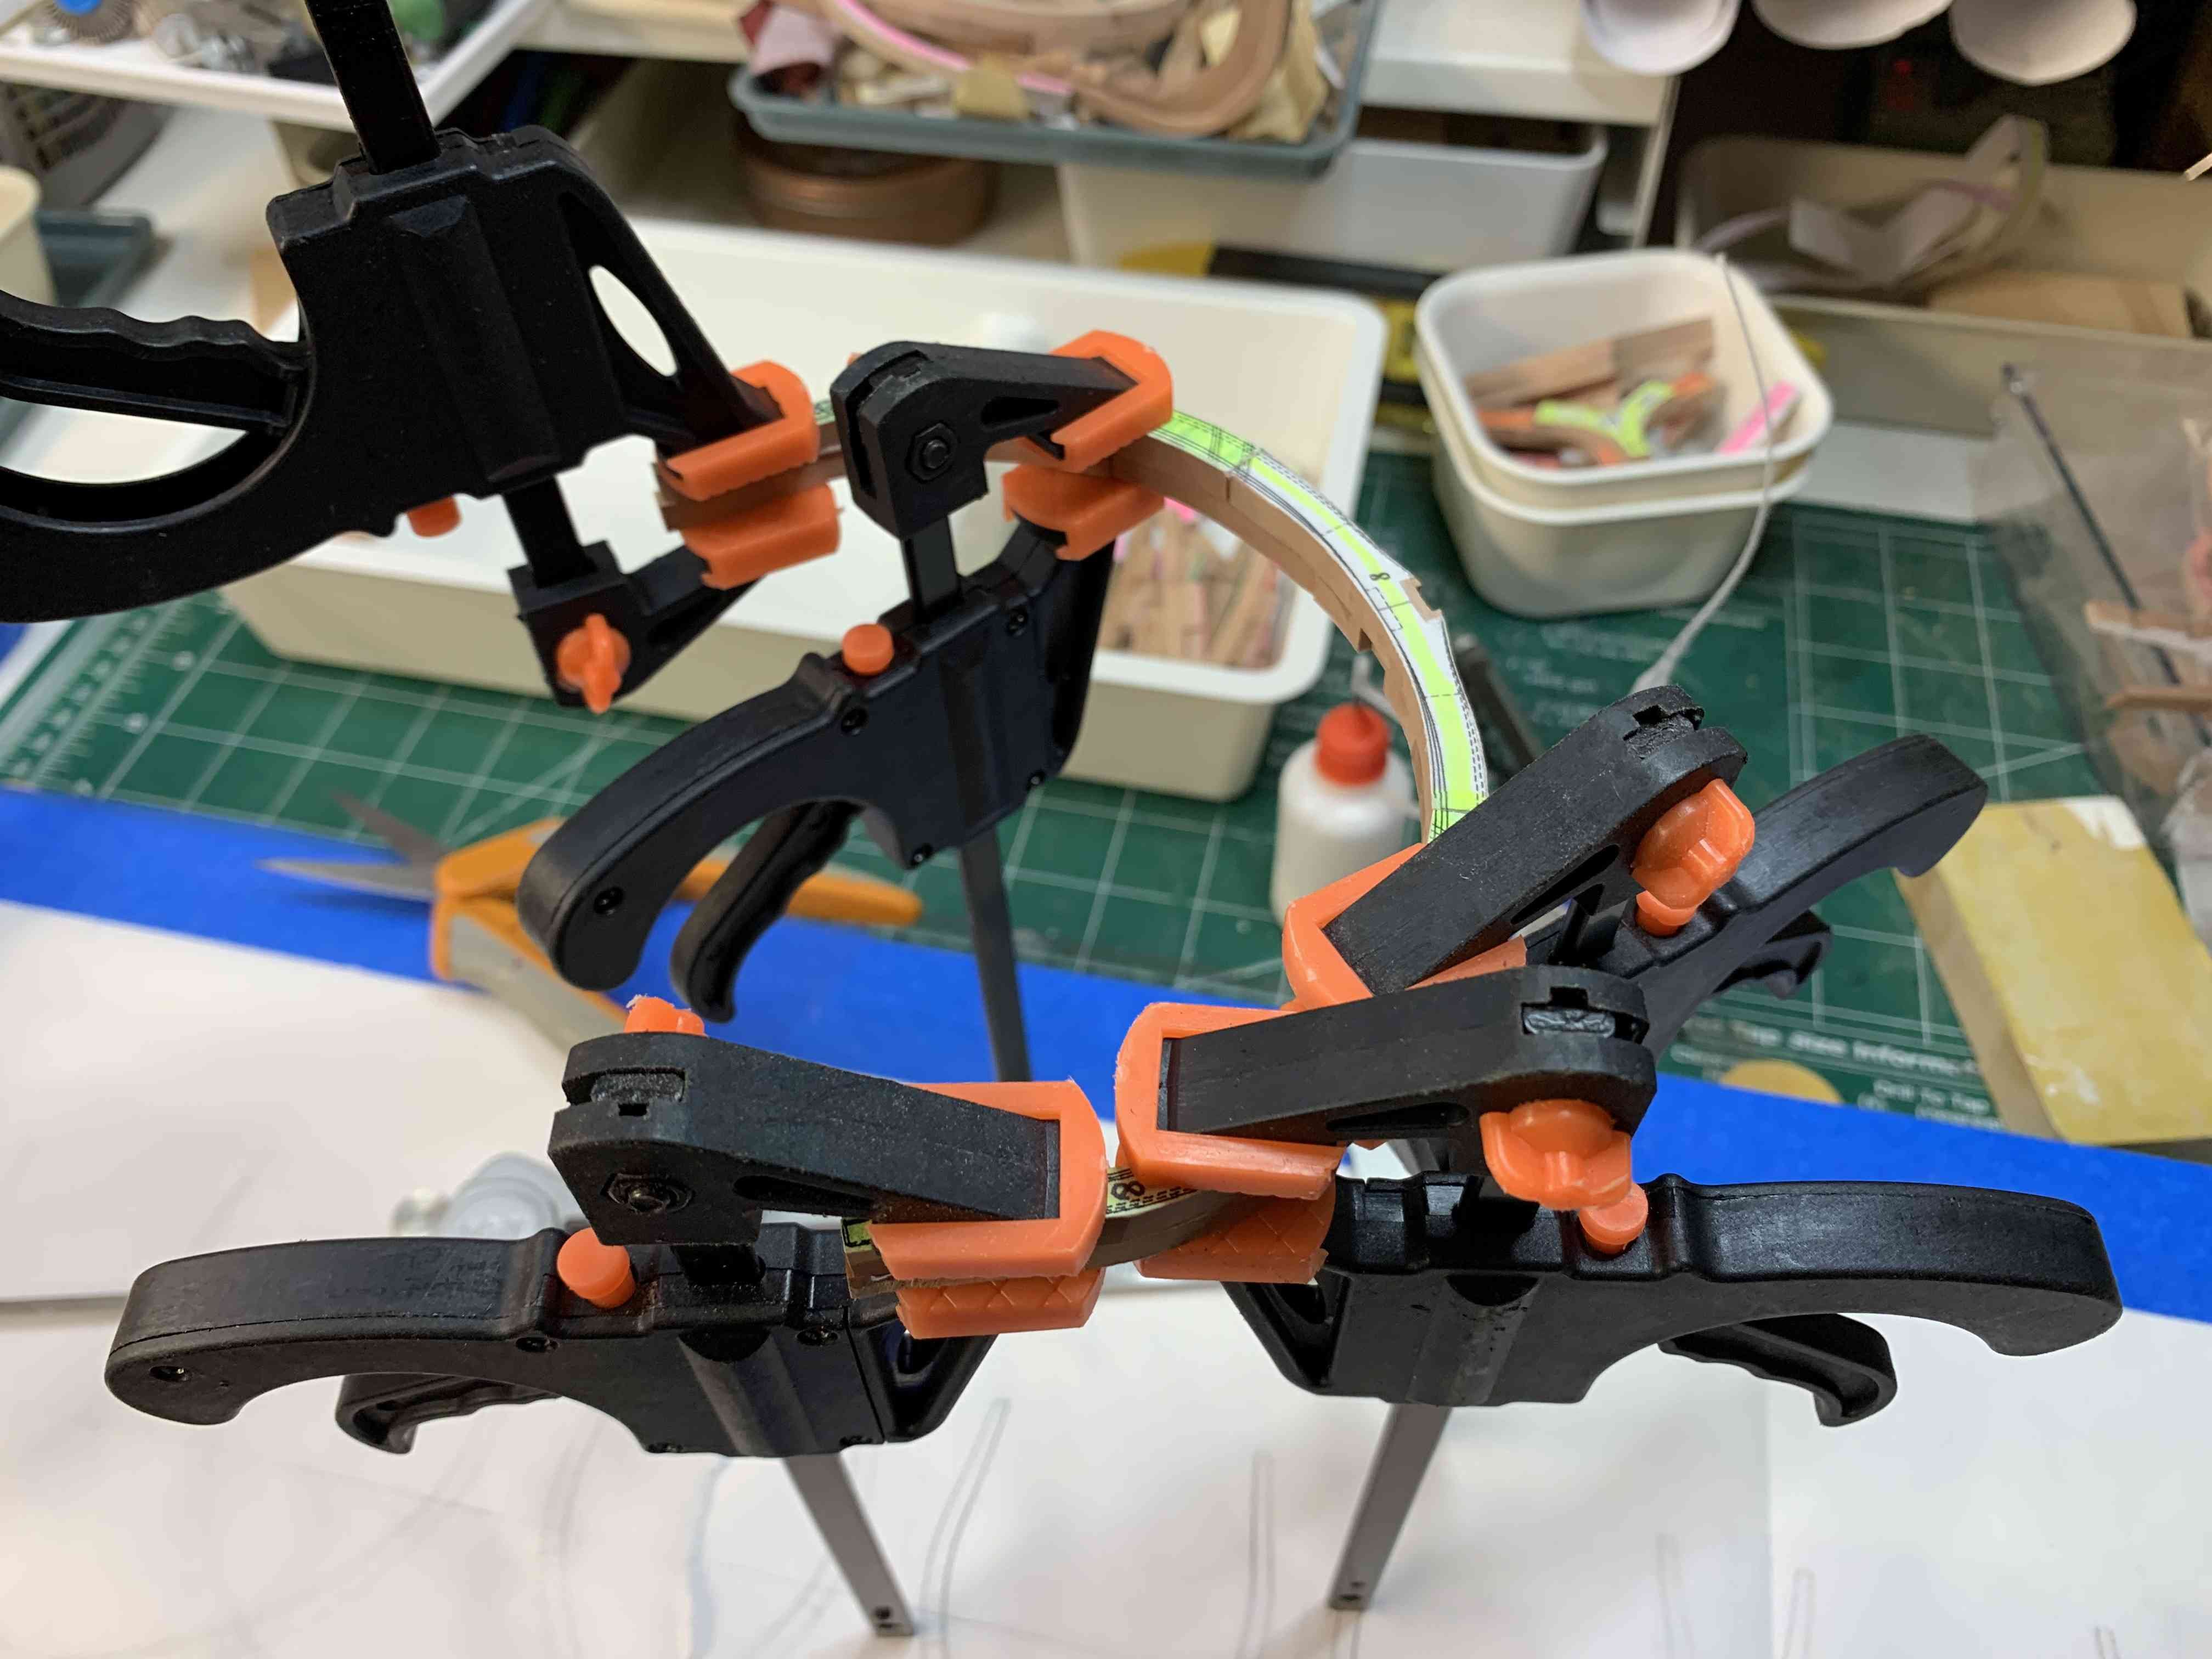
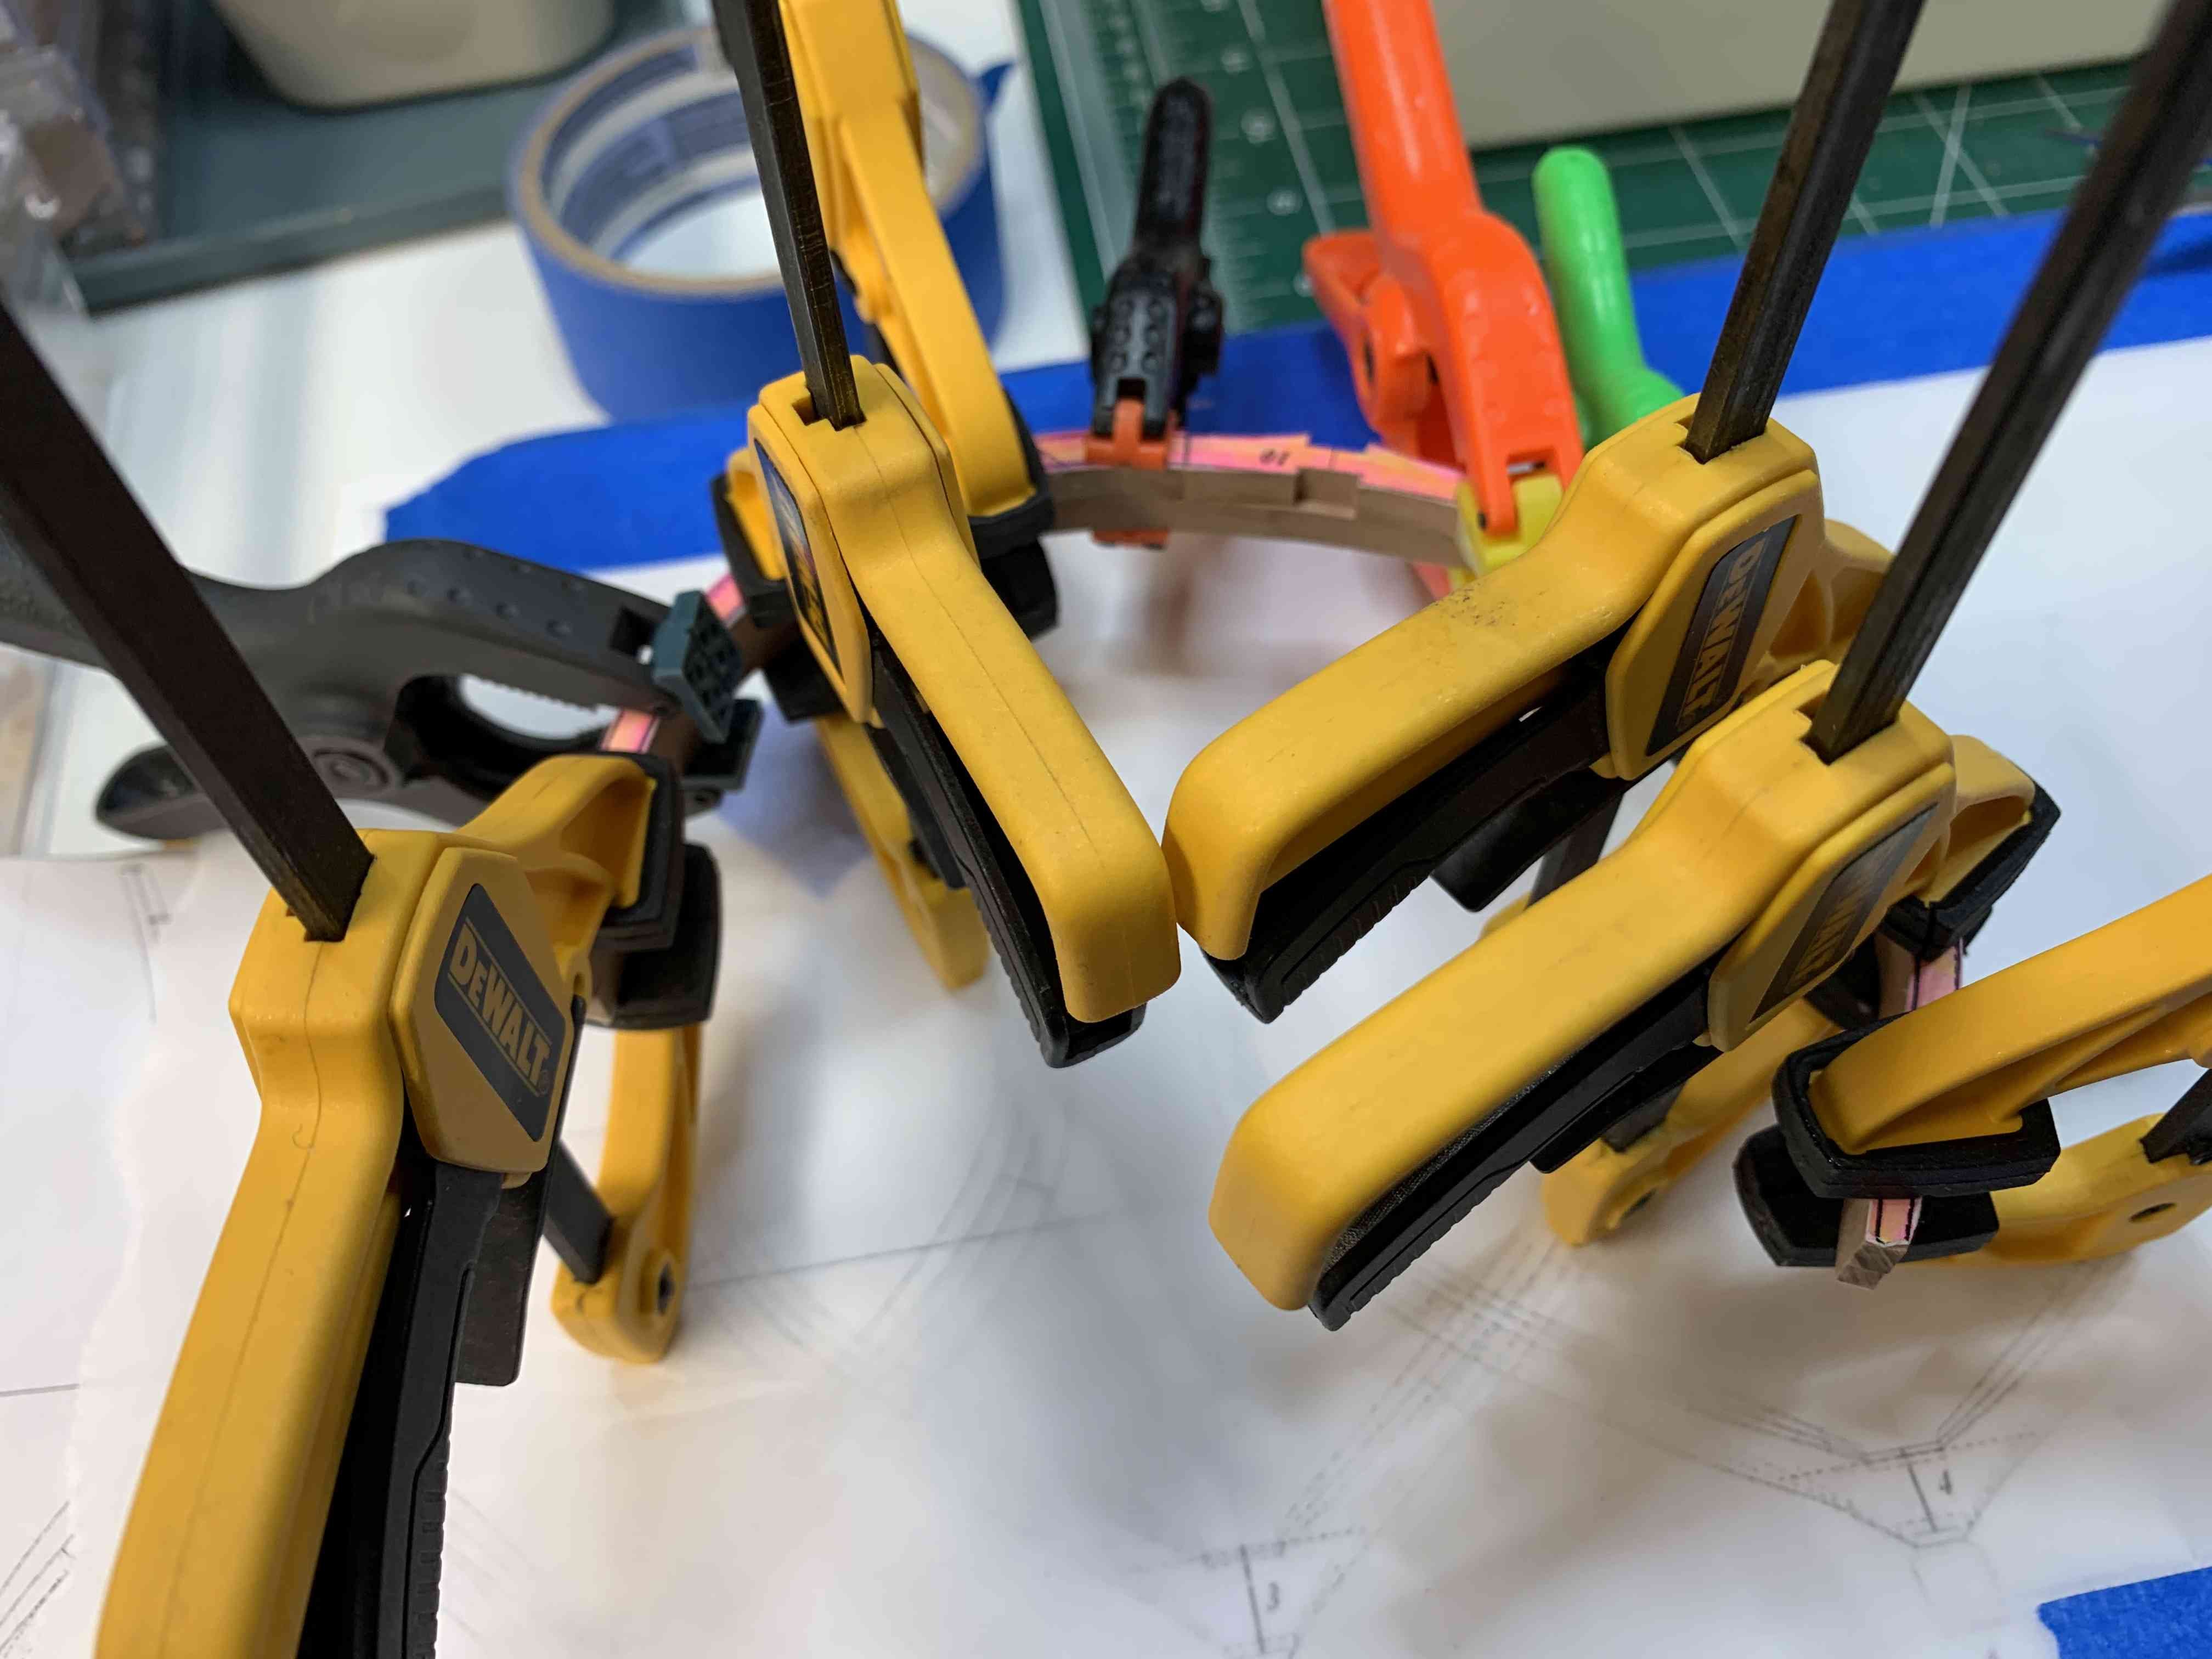
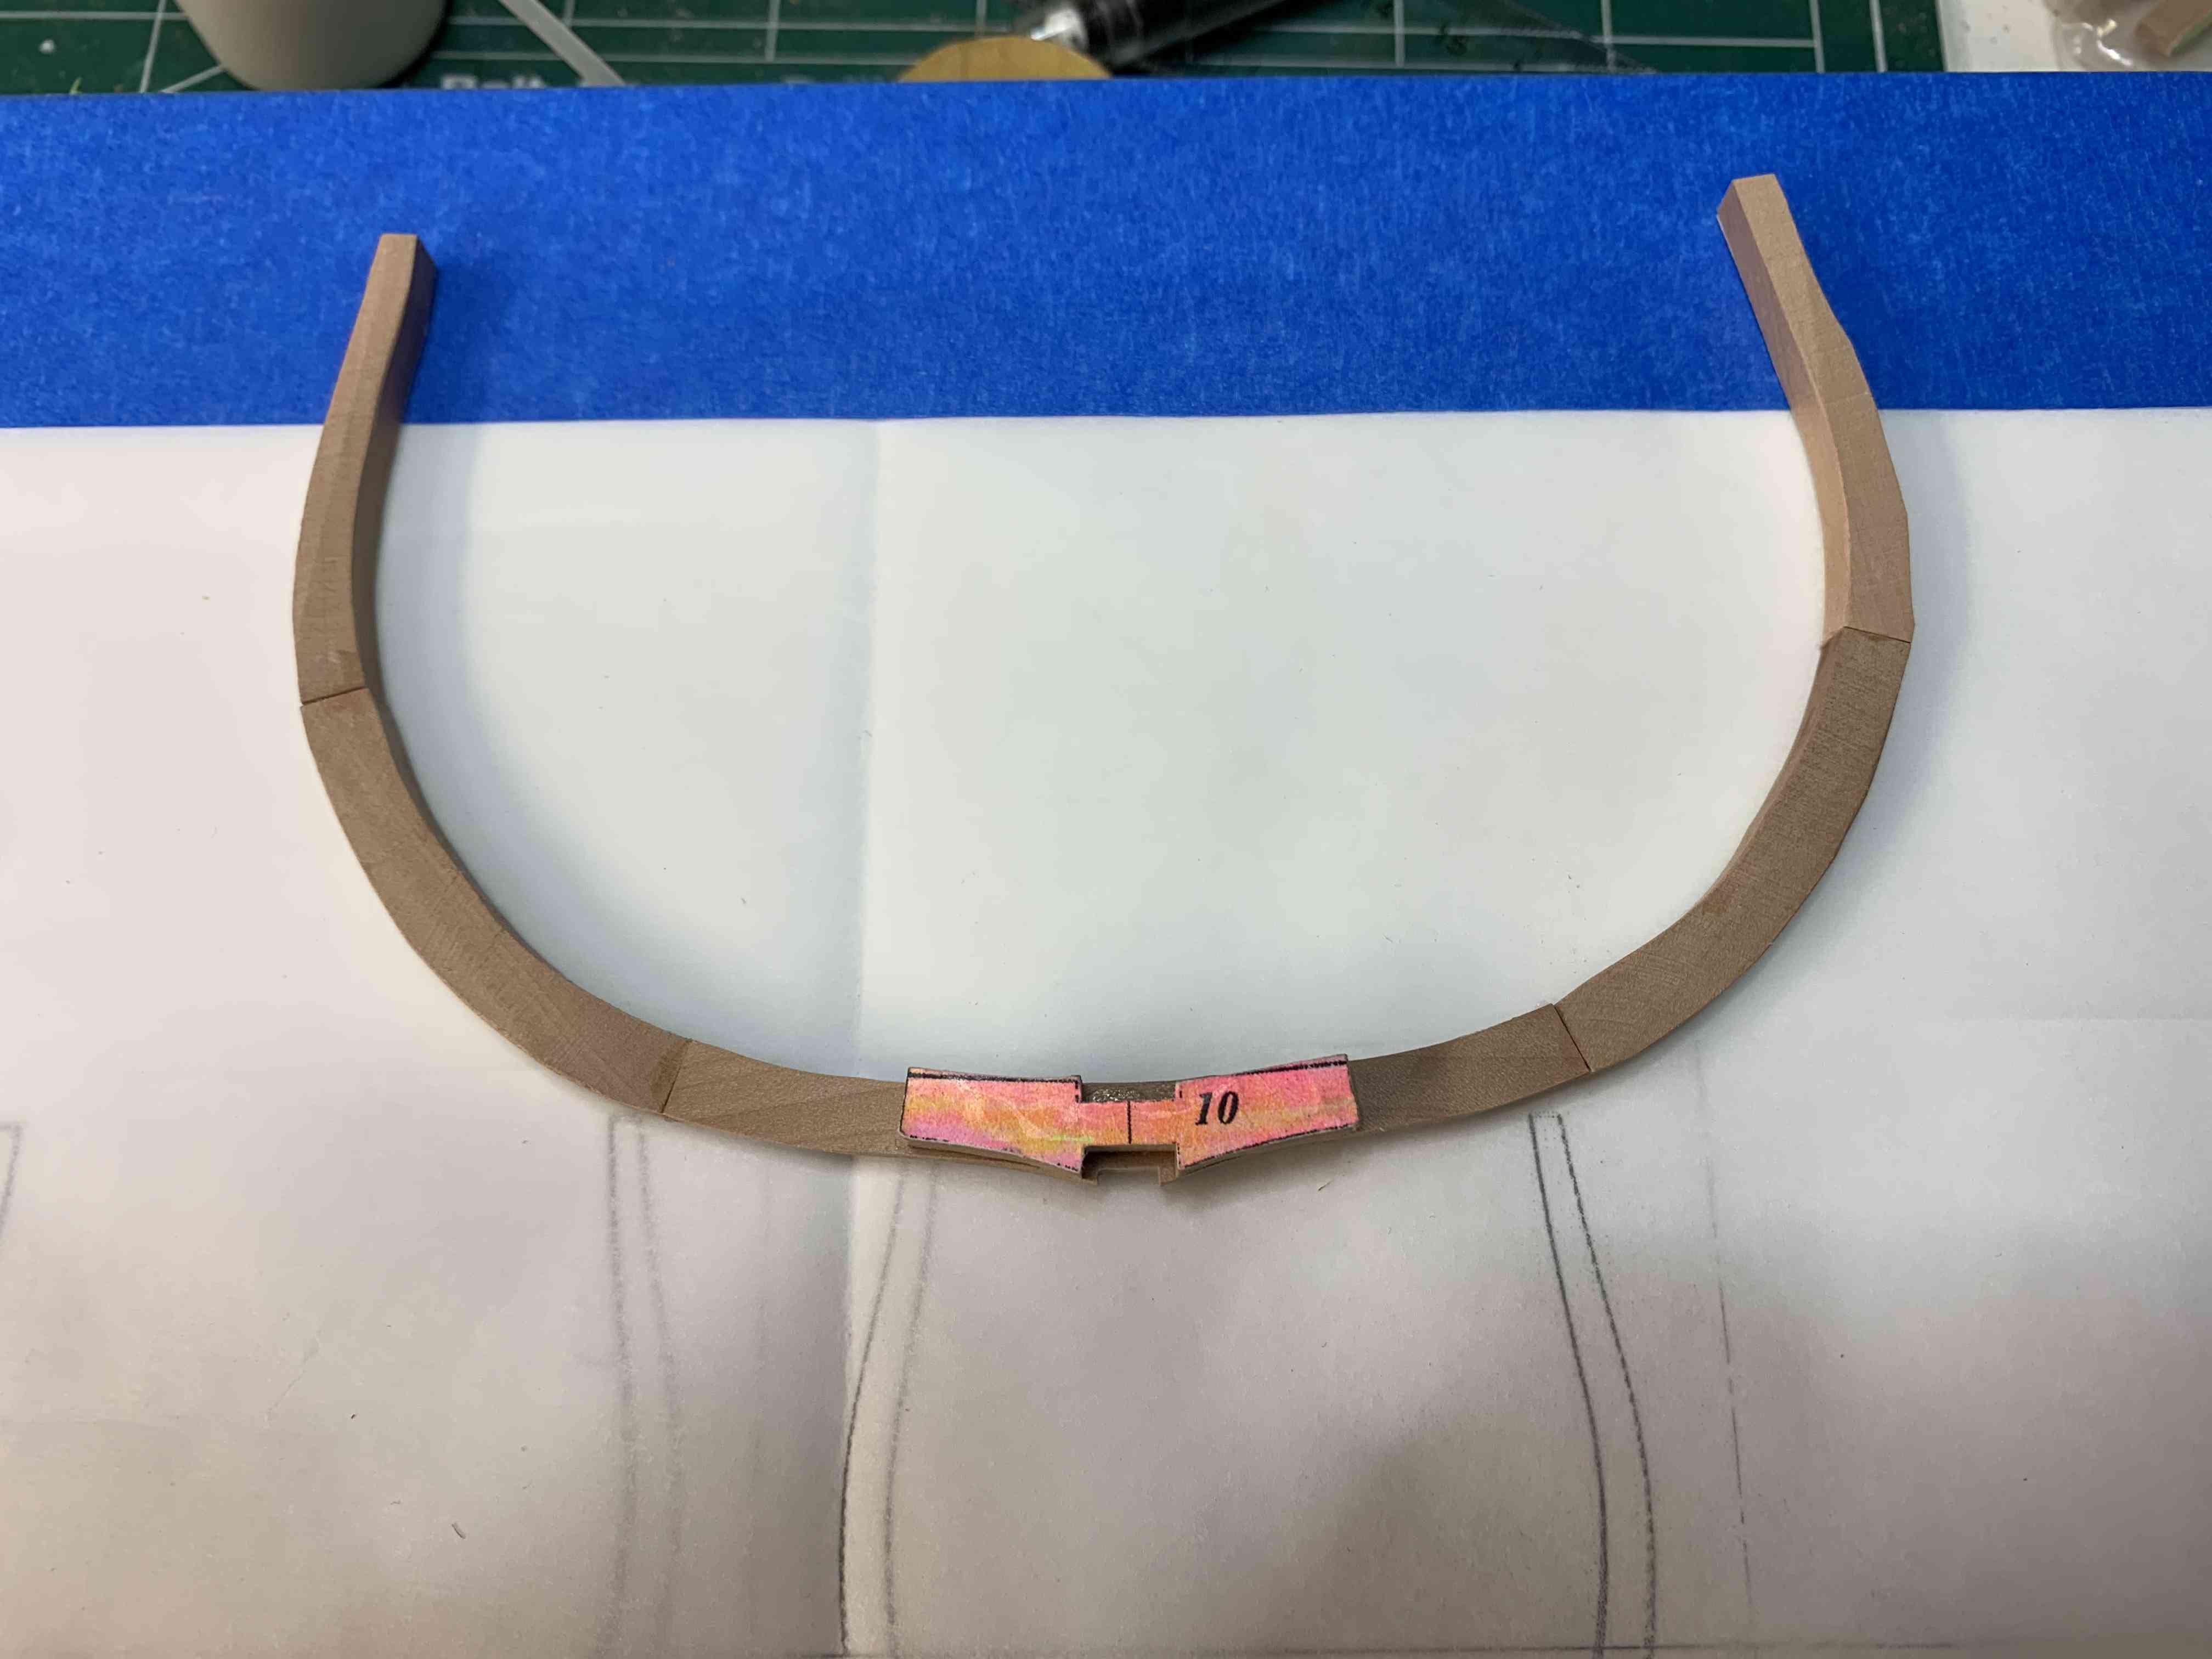
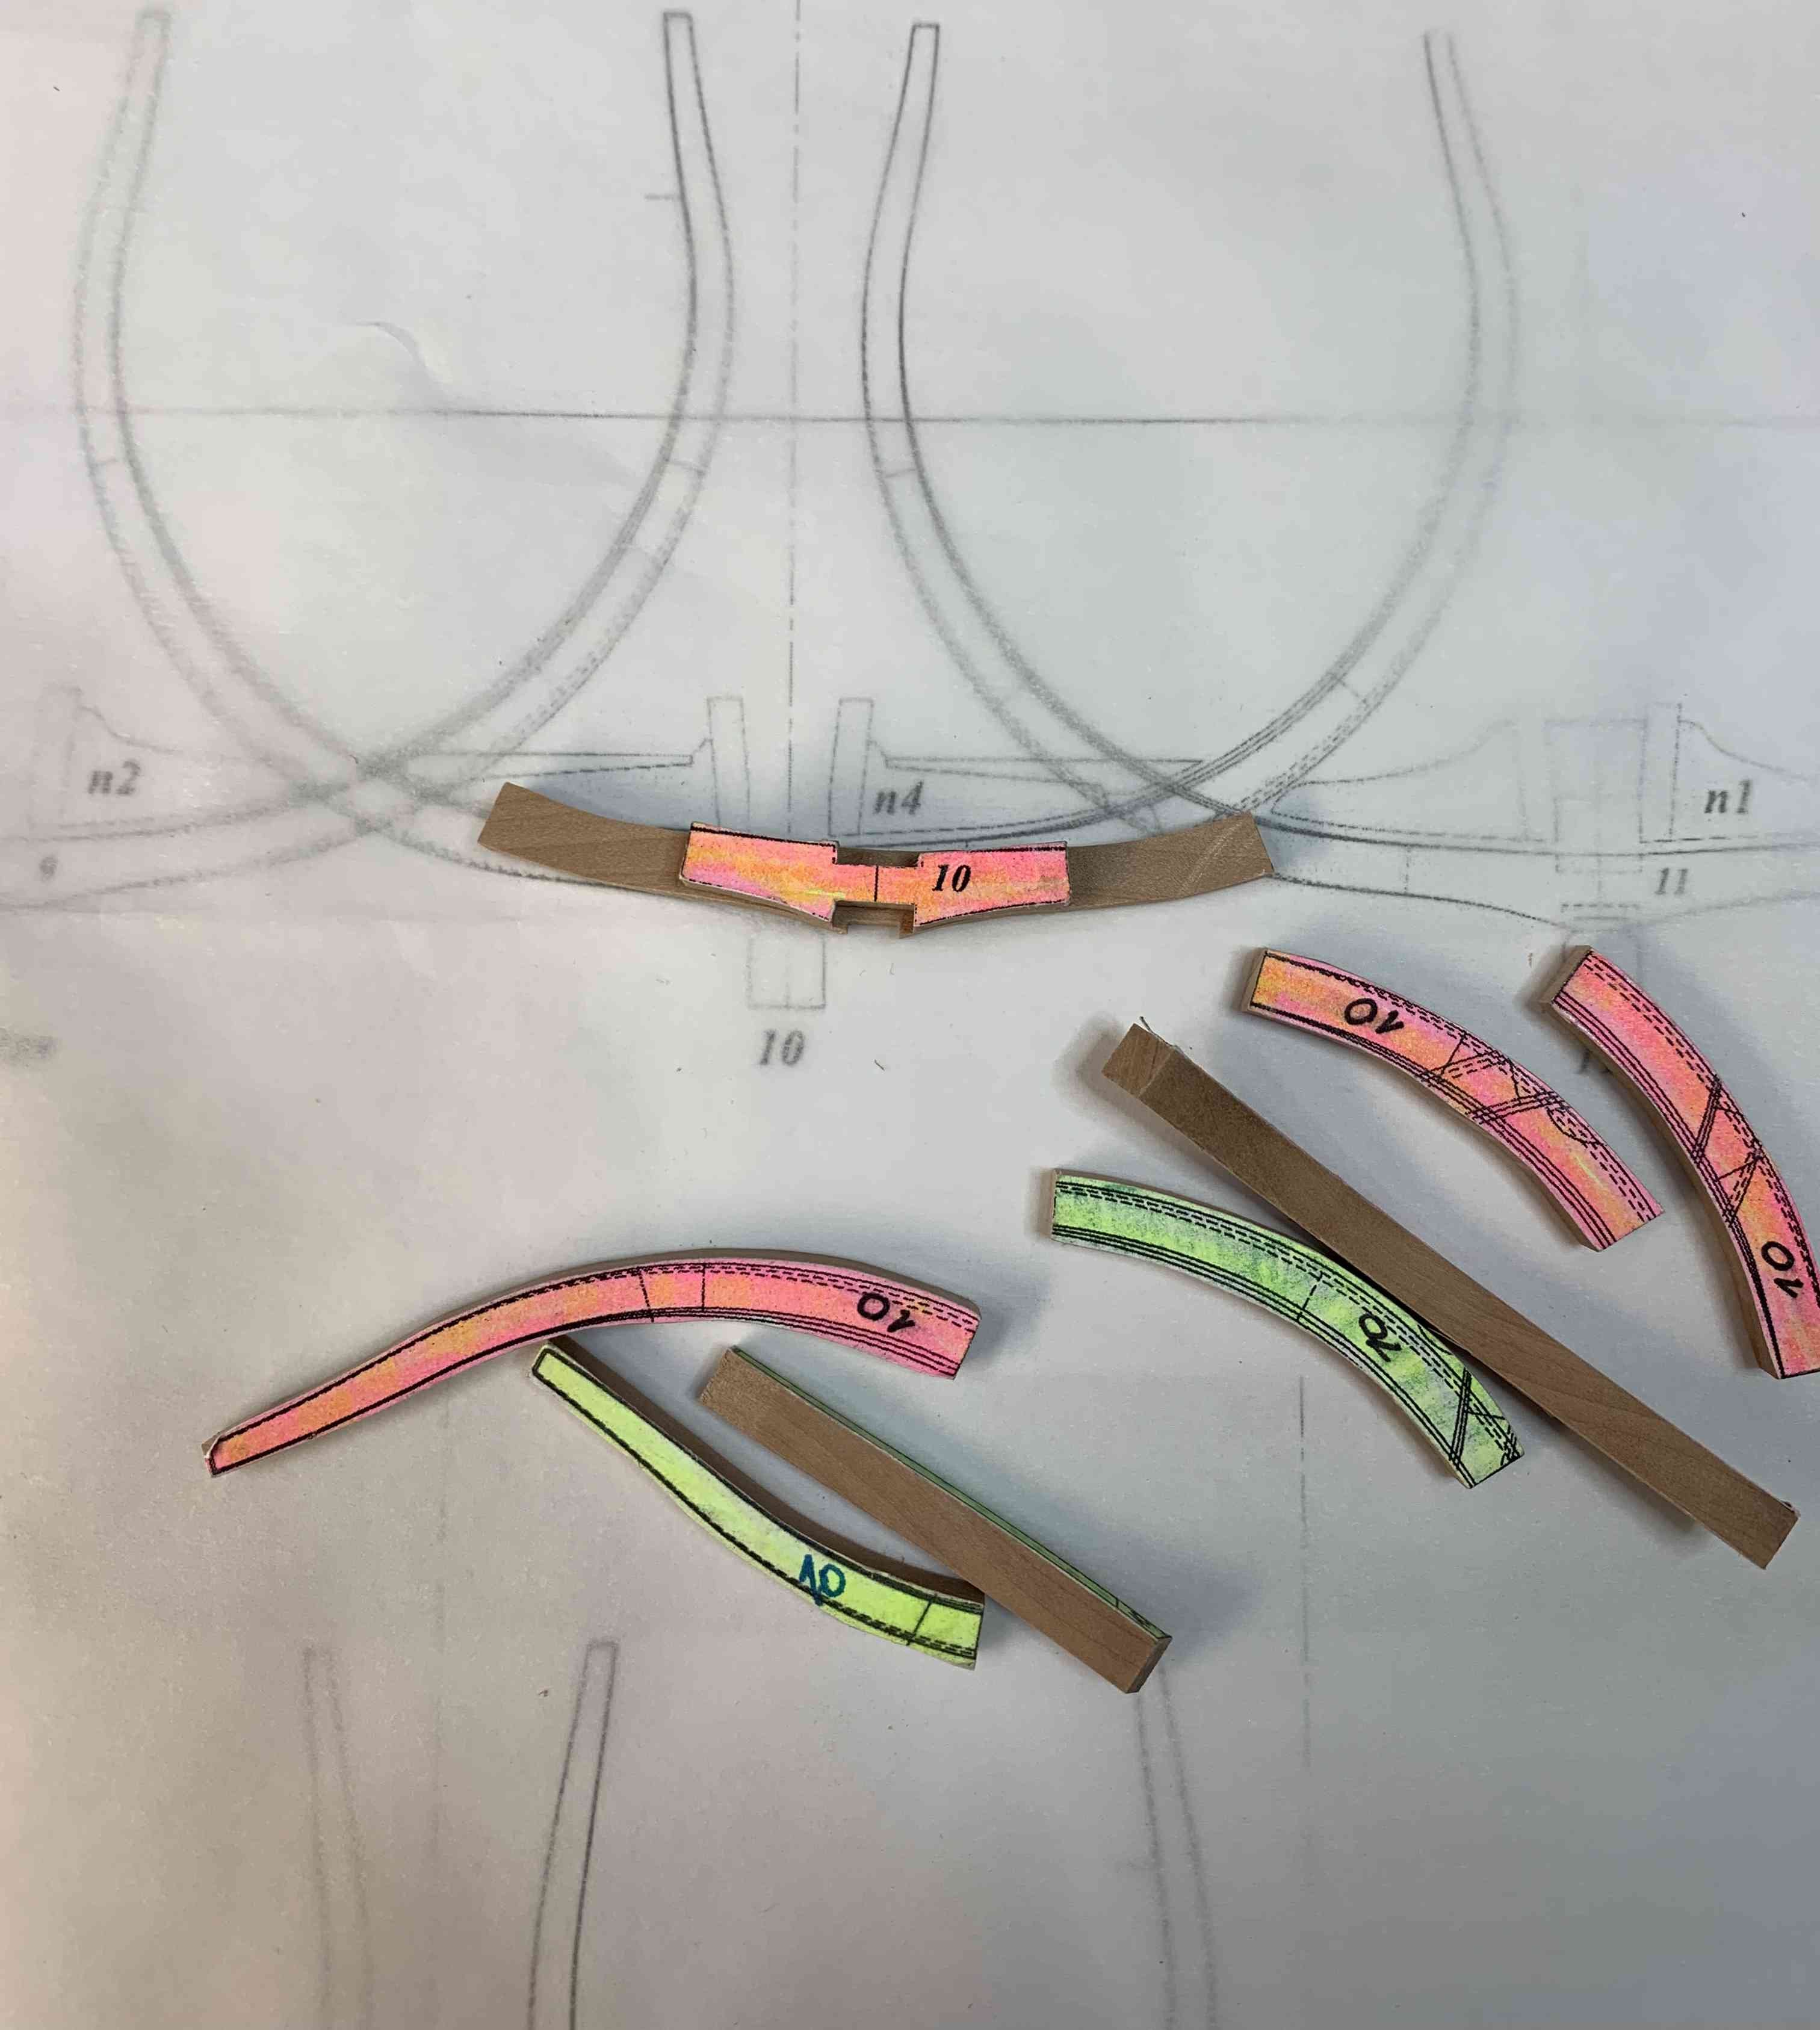
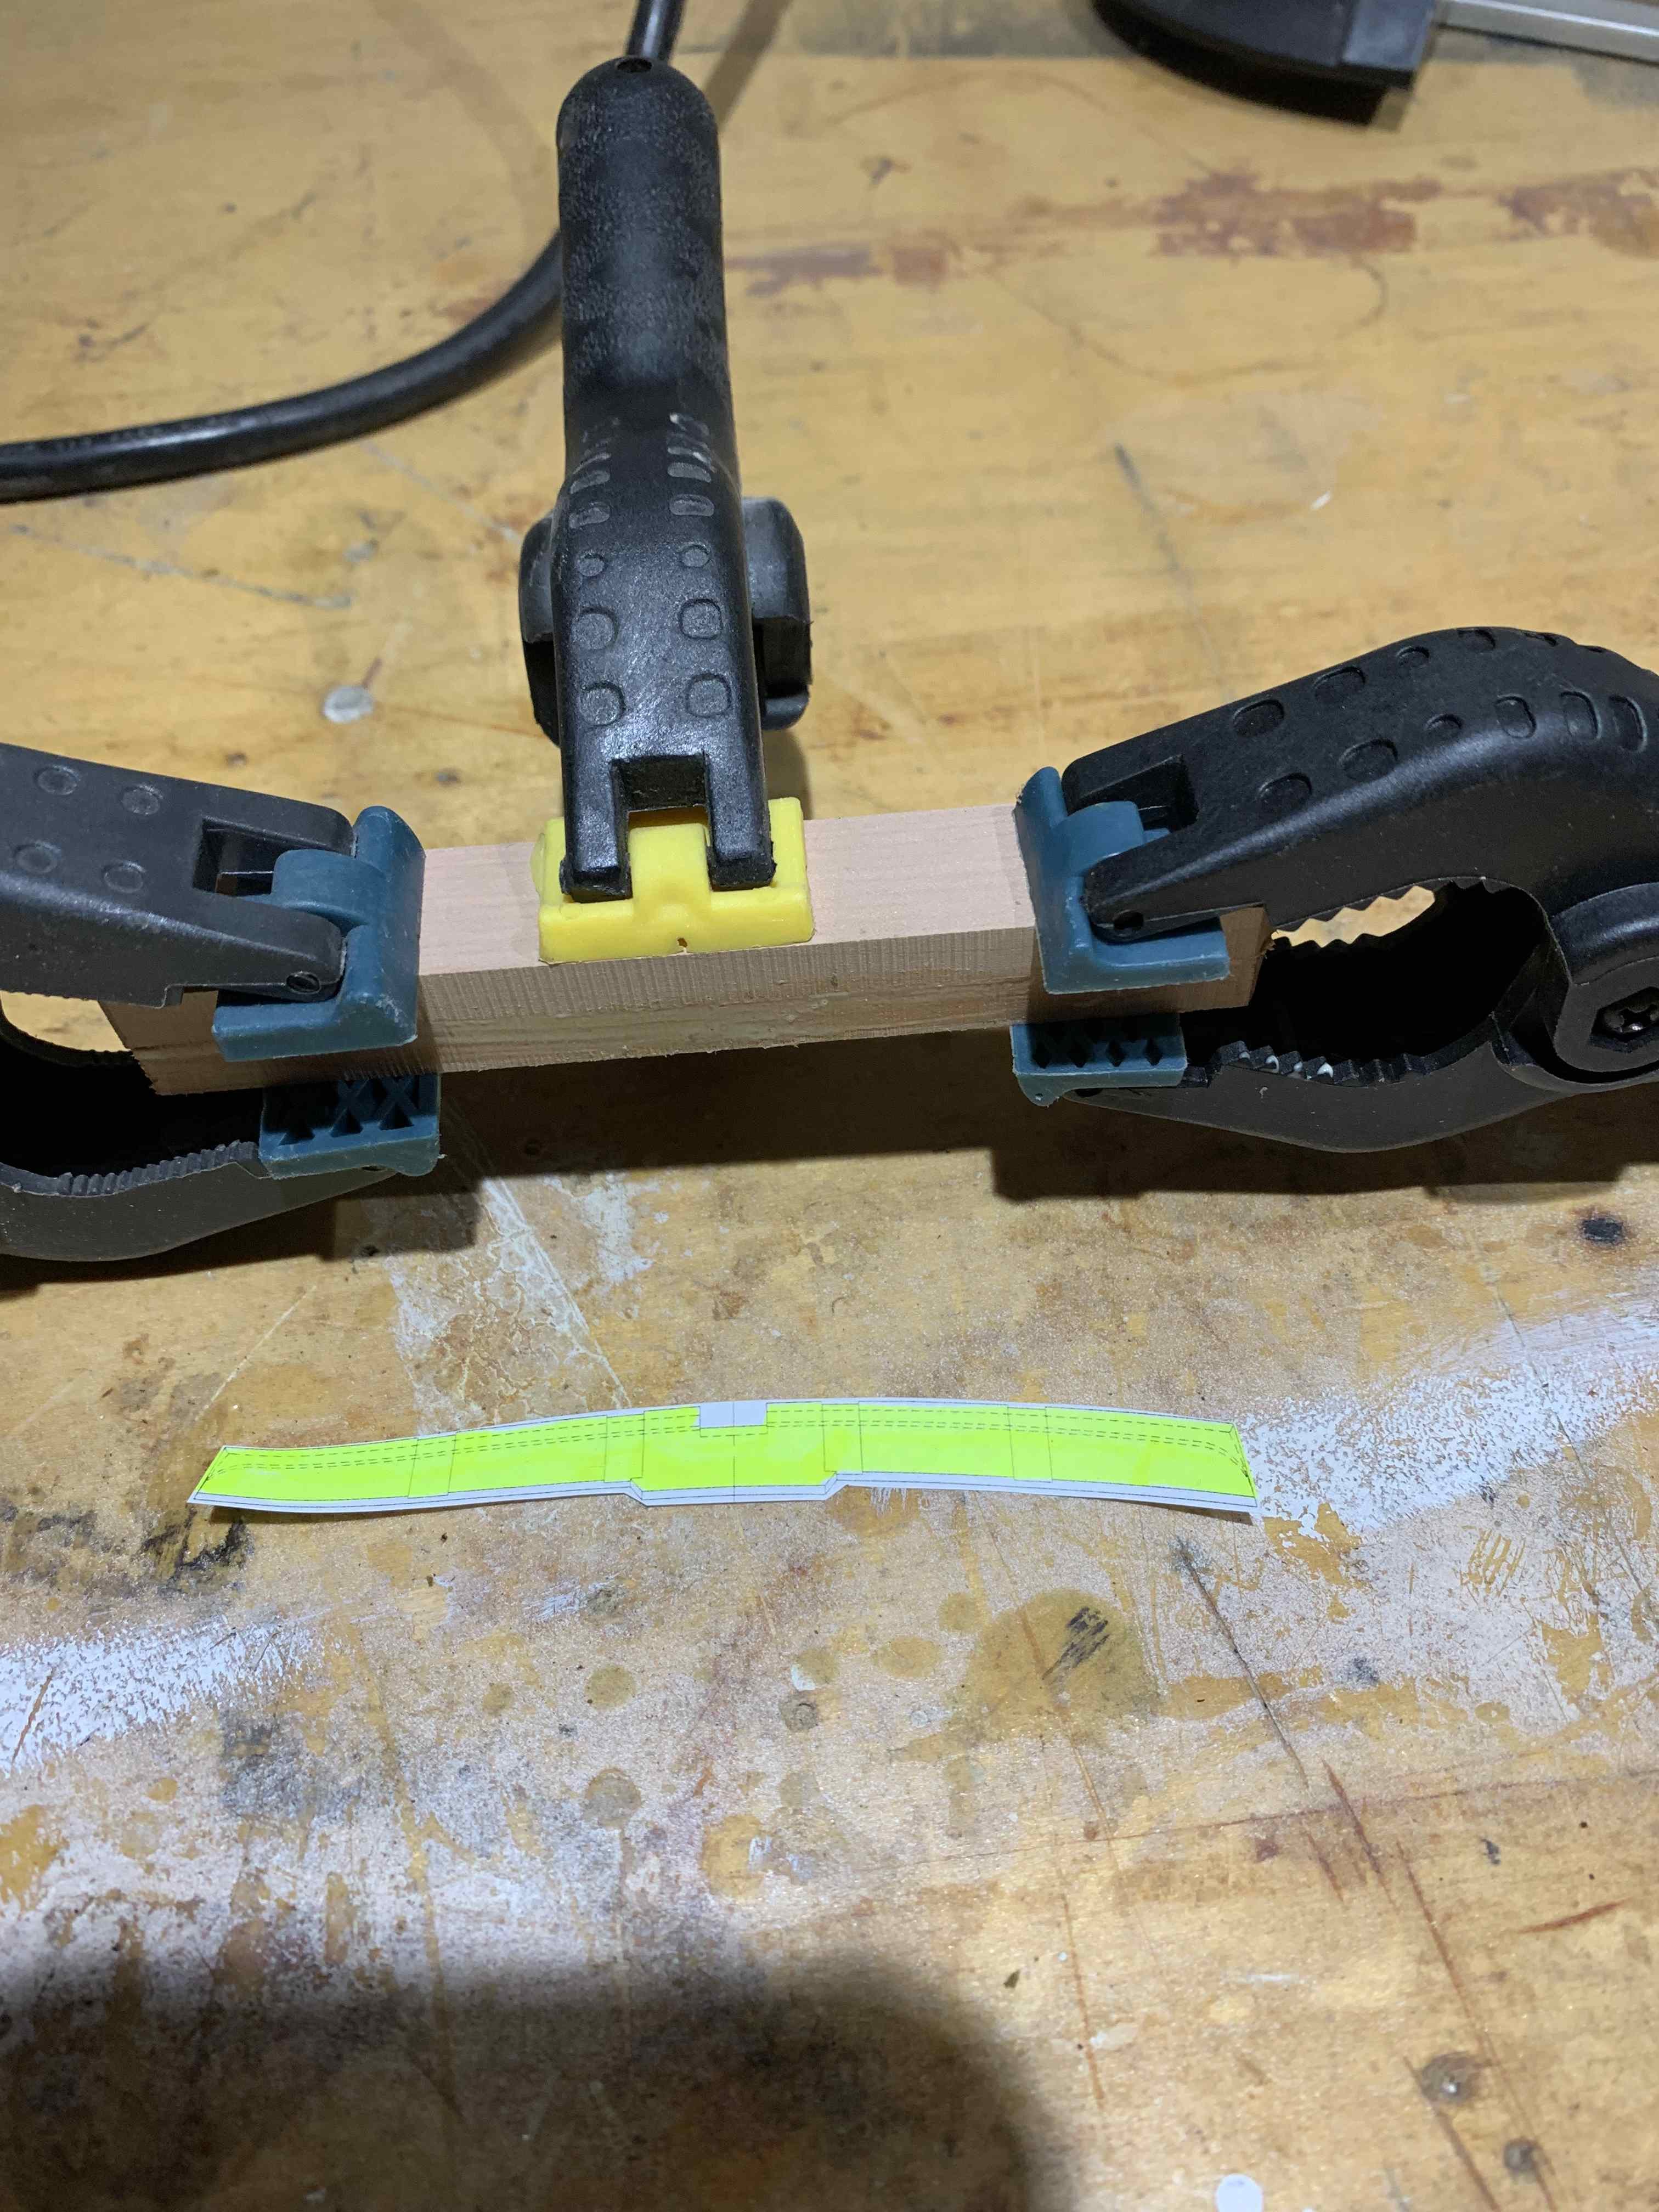
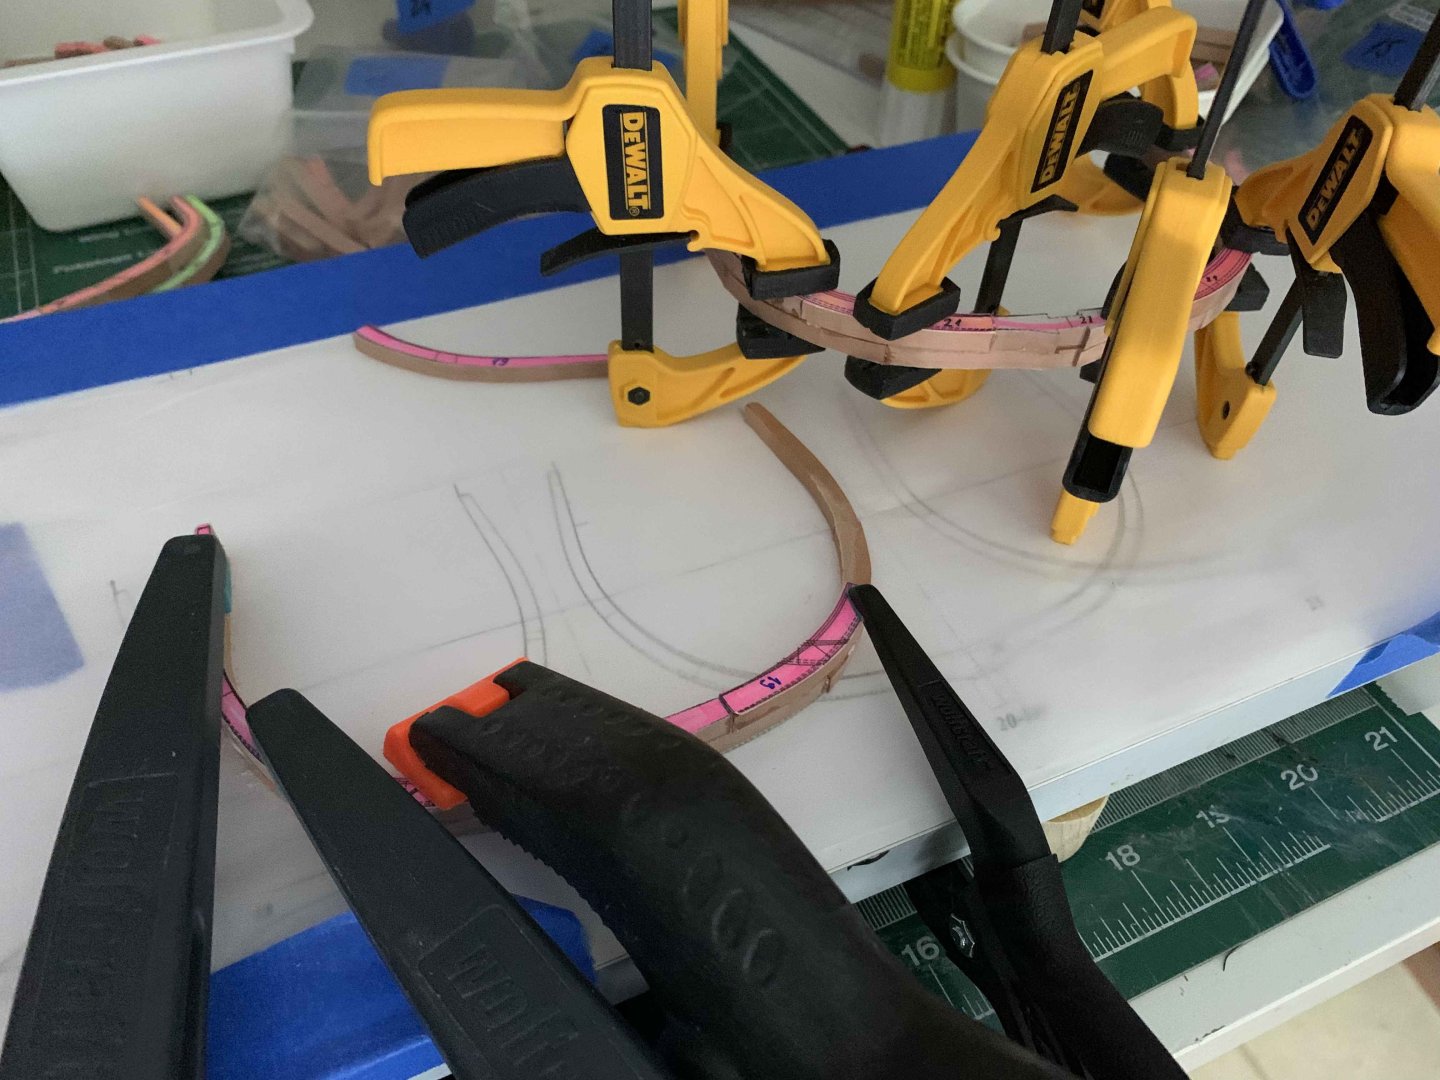
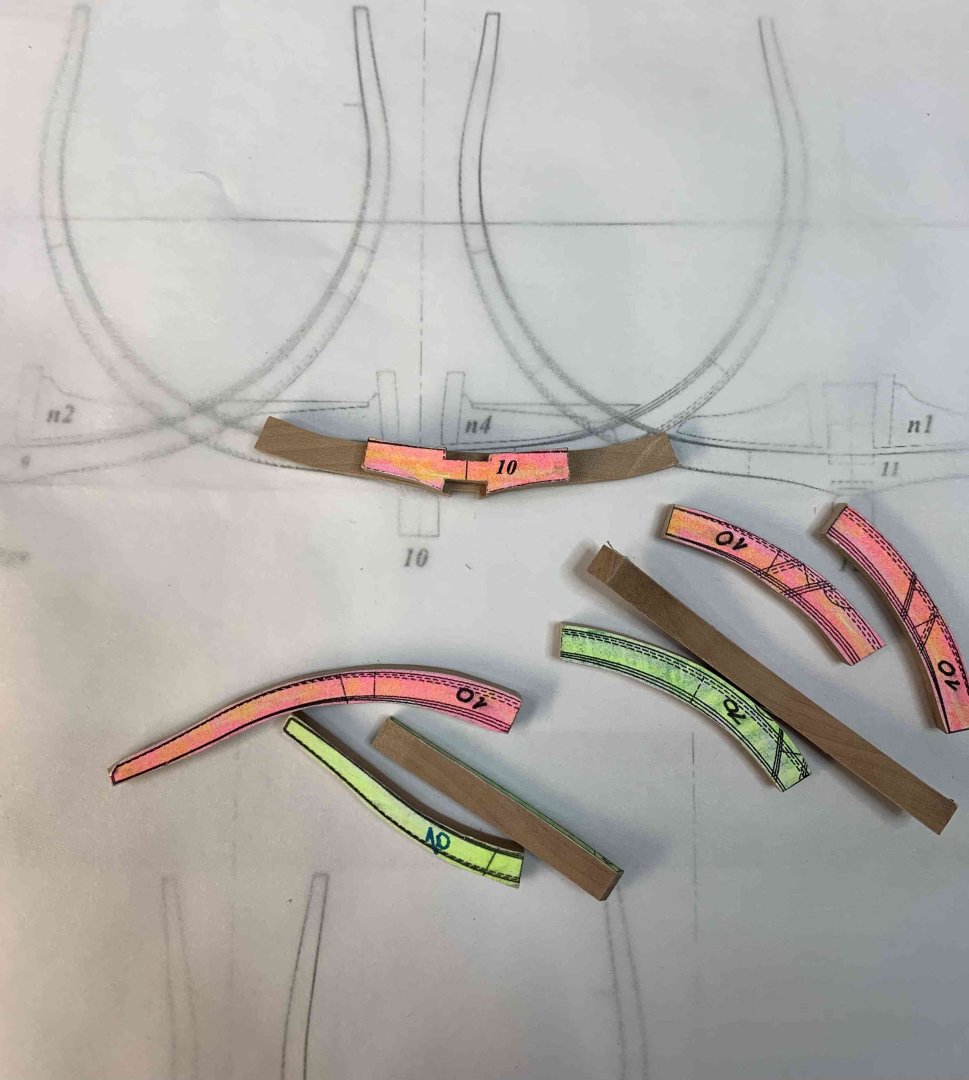
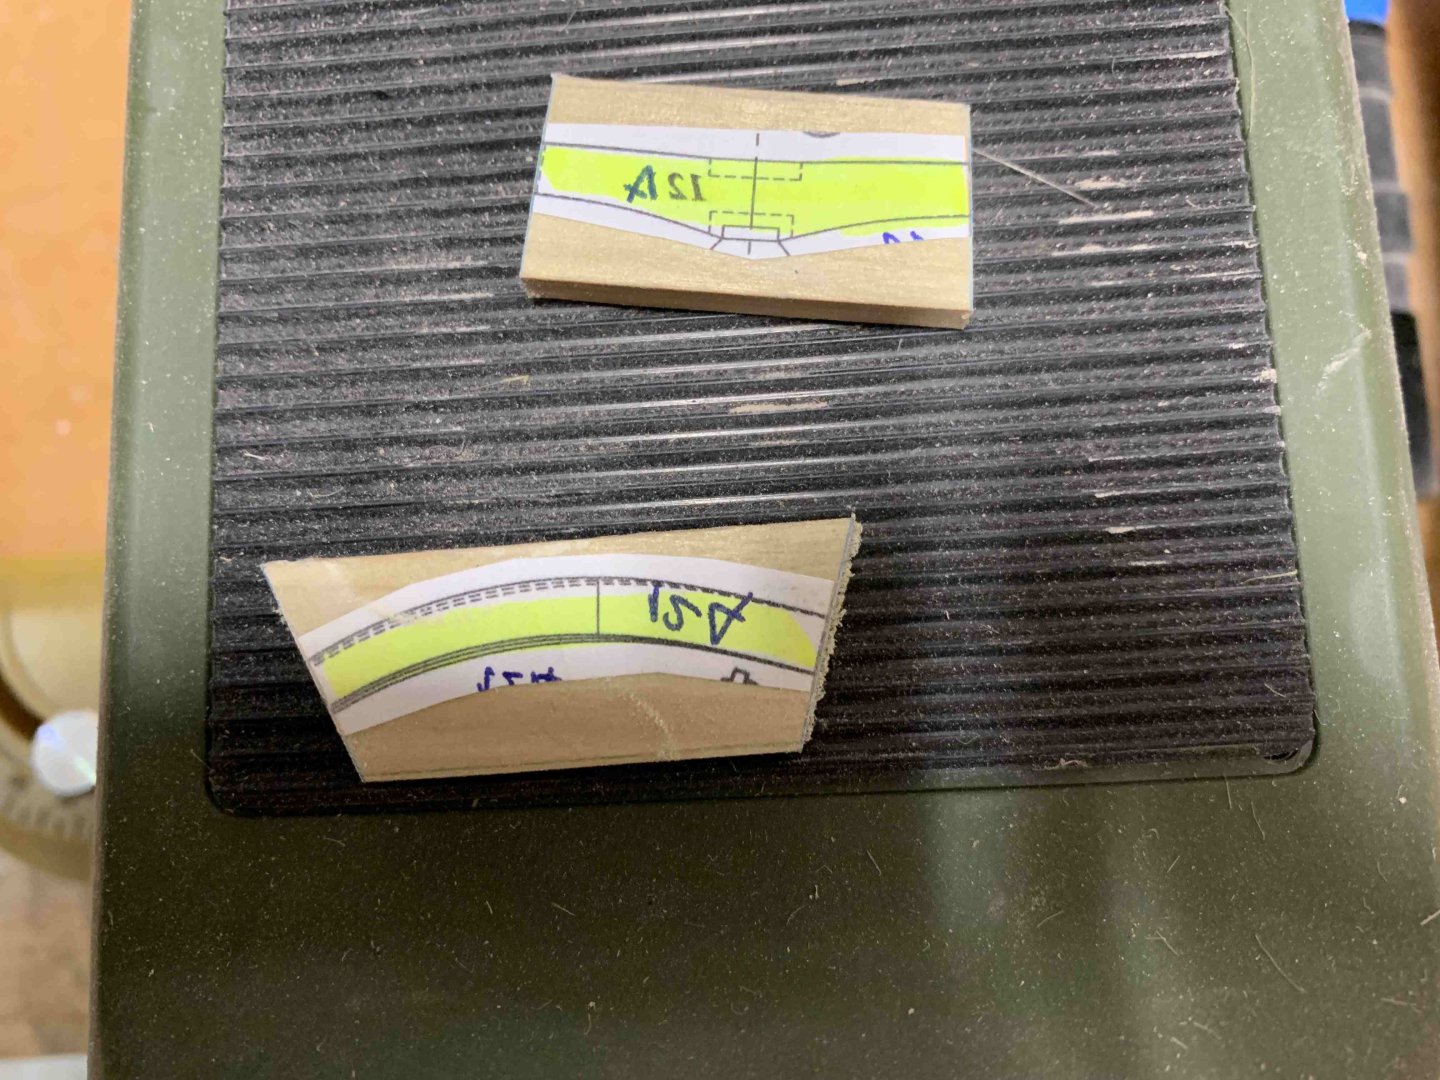
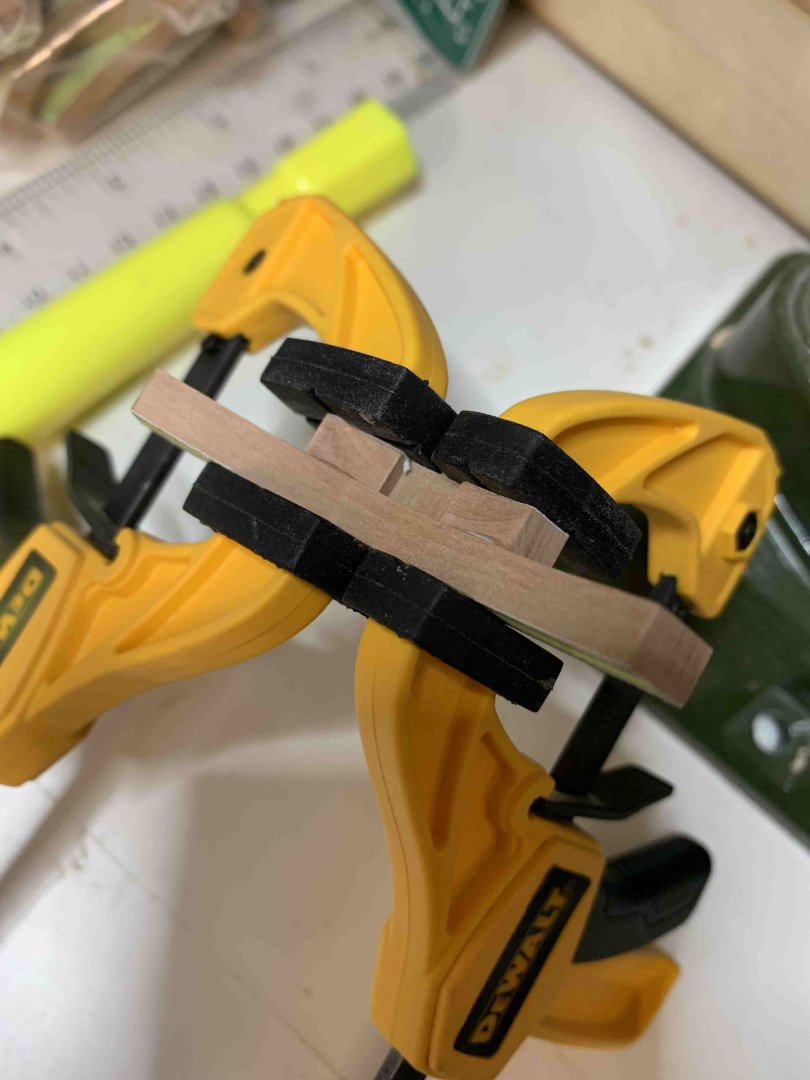
Now it is time to start making some frames, finally... I might jump on another part of a ship while waiting for glue to dry... I gave up on glass as a foundation to work on, since the distance between plan and actually frame (sitting on glass) is several millimetres which can cause me mis-positioning of frames, etc so I ended up "stealing" cooking paper (very handy, non sticking paper) and place it on top of copy of a plan, which was cut in strips, having only one row of frames visible. The plan was fixed on piece of bright white wood, from kitchen door I bough in Ikea, as-is. Very handy, perfectly flat with that blue protective paper still on the door finish. Door was glued to two scrap pieces of wood, so I can squeeze under it my long jaw clamps. On top of a plan, I fixed parchment paper. Plan is very visible and parchment paper allows you to squeeze frames, with glue without stickiness. I believe it is betted than glass in that area. CA can easily stick to the glass but it will not stick to paper, at least in my experience. For glueing I am using mostly white glue but on some parts CA as well. Frame 10 with all parts is ready... I also measured distance between frame sides so will try keeping it as close as possible to measured distances. I measured on two areas: So.... here we are.. And final glueing and drying... Another one done, using the same method.. Three done so far; might need to speed up process but missing proper clamps... Yet another time for me, the truth become more truth again: don't buy cheap tools, including clamps...I had 10 on those black clamps (above photo), very affordable price, but when I start using them, only 5 were usable; I was unable to open clamps to use them so they ended up on "I might use this sometime for something else" pile of scrap things. Happy modelling..


-
Not putting too much hopes into but want to try...
-
Thanks Tonphil1960, appreciate your comment I am just experimenting with Hann' method for one or two frames. I already cut all my frame parts, sanded them to correct thickness and spent some number of hours working on them so will continue following Rochefort practicum. Wanted to see how this will work since people are talking about a lot :-).
-
Yeah, I am doing that for regular frame building but for this "traditional" would not be able to trace the frame from the plan with wood parts that covers the plan. I believe that is why this method might not be to accurate... but this is just a test frame...
-
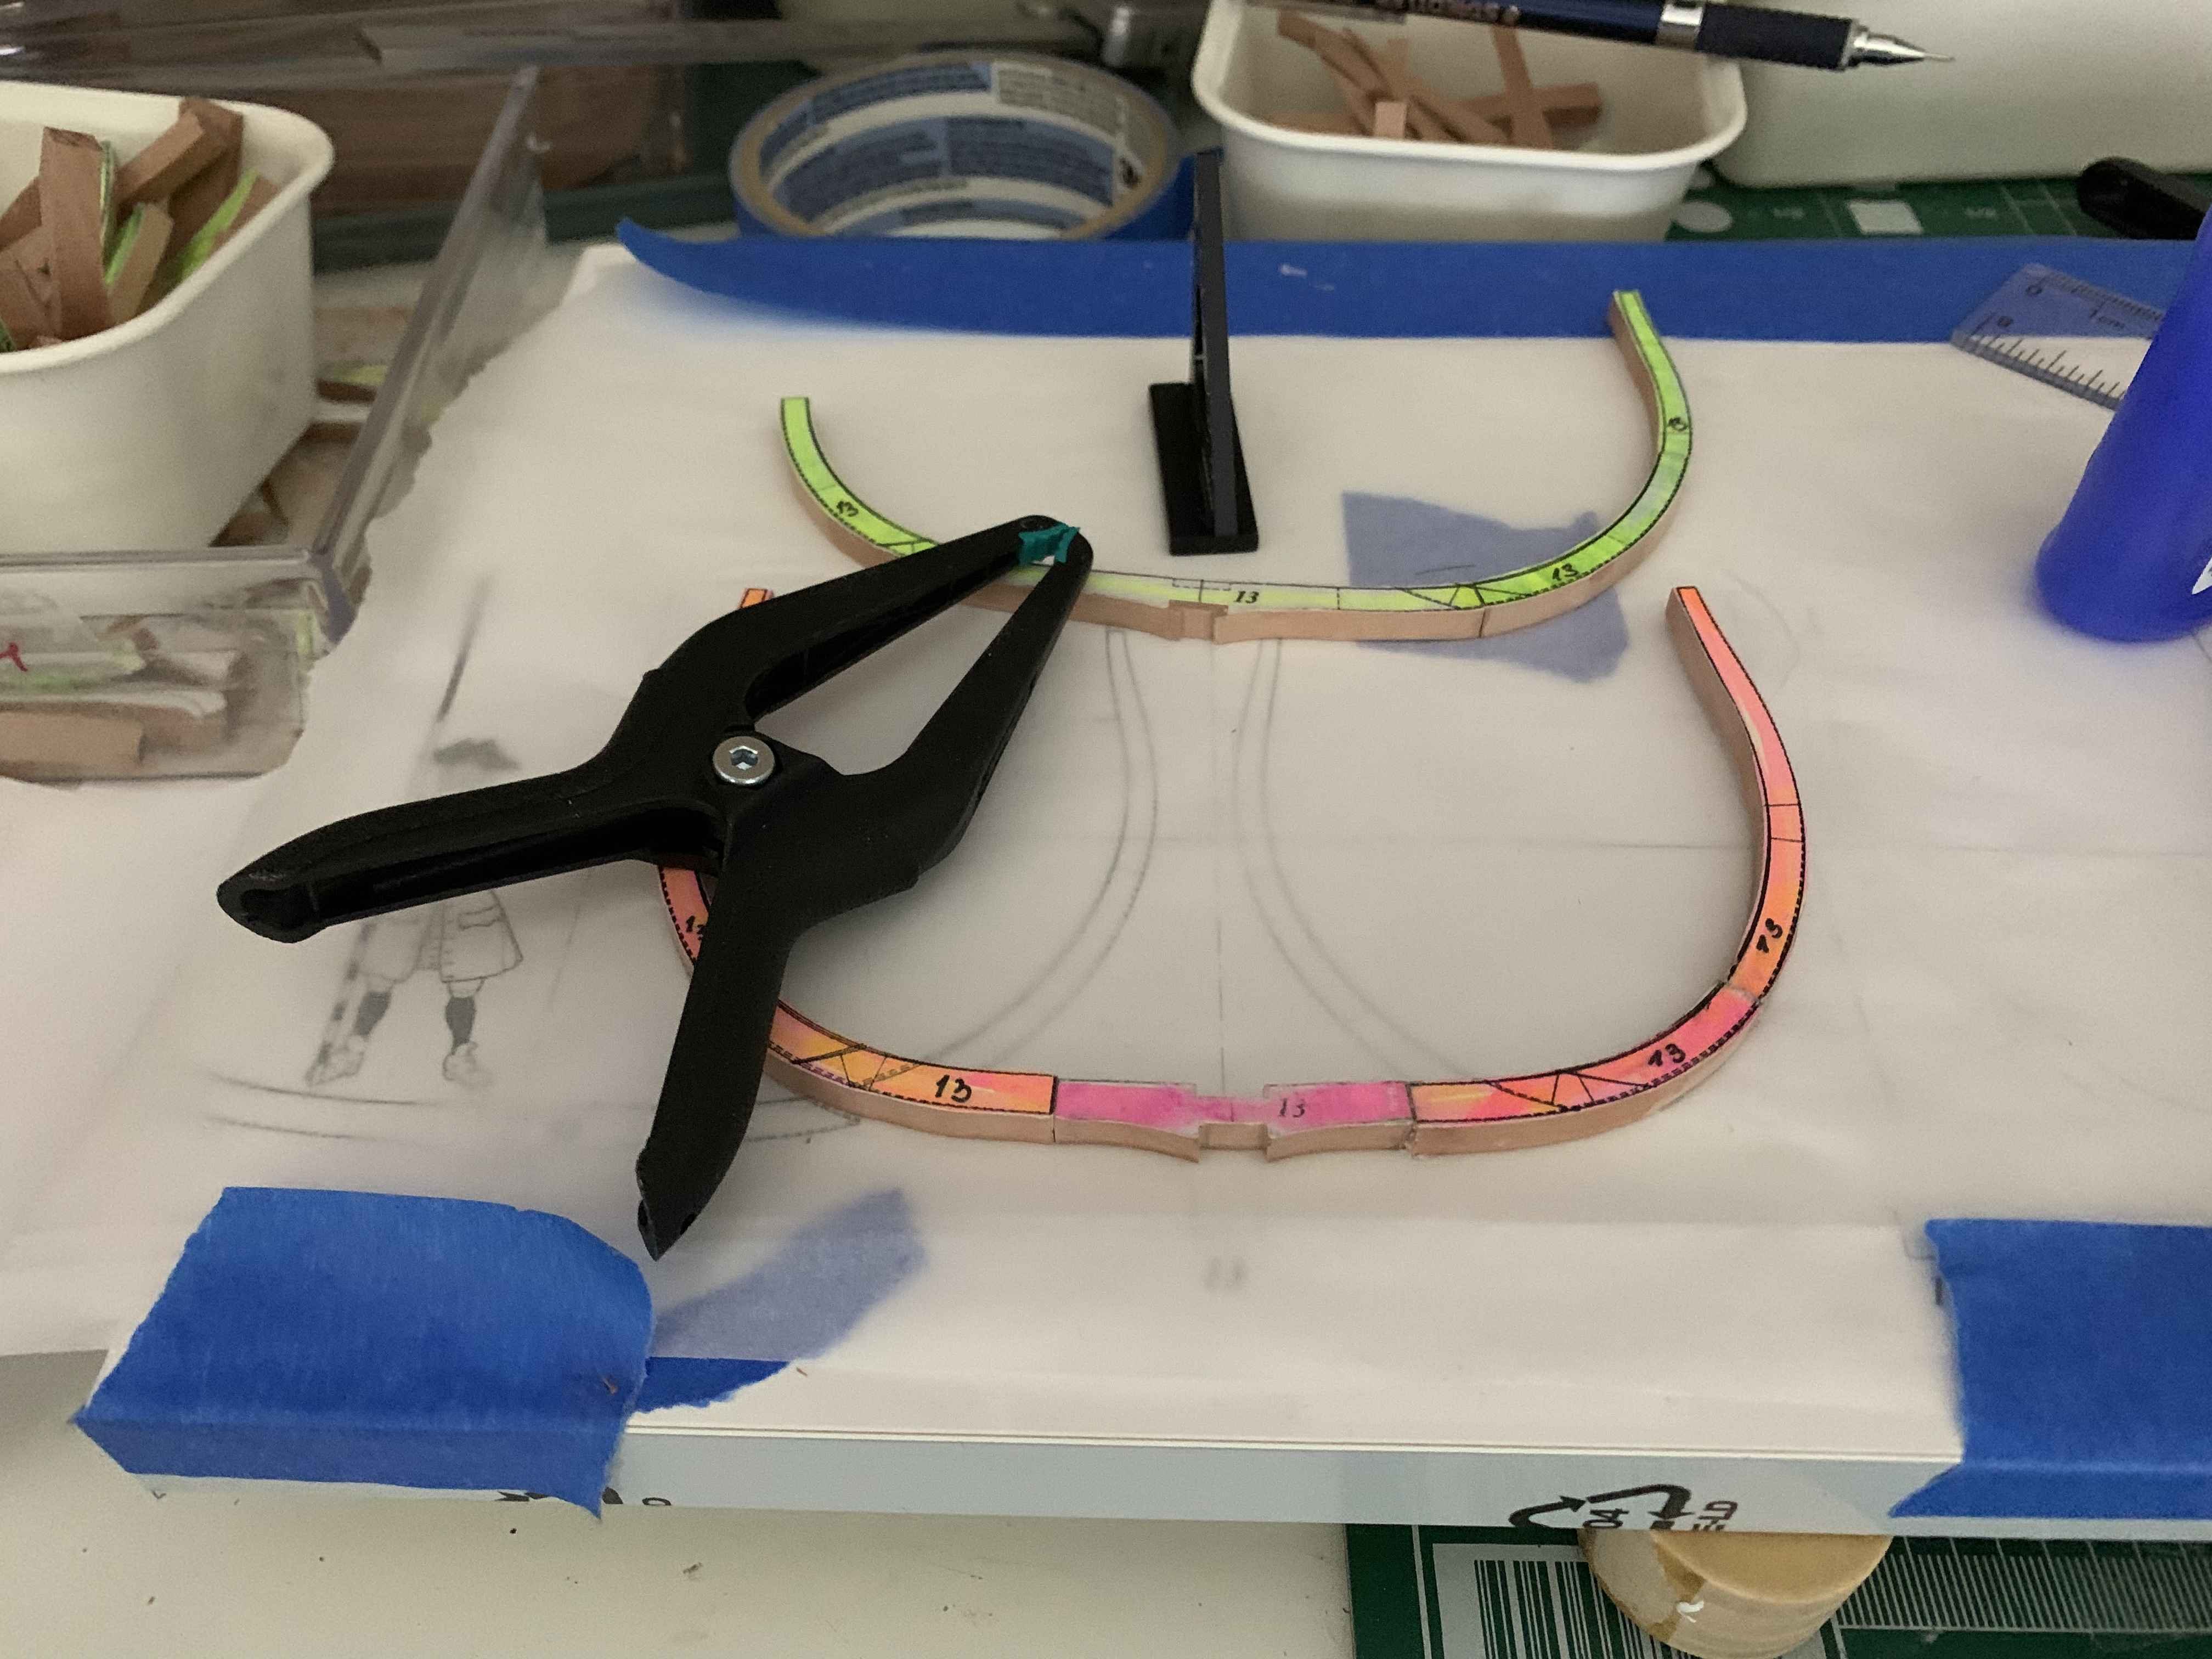
Continue work on timbers... by thinning them with mini table saw to needed thickness.. Few missing/damaged parts are also prepared to be cut.. So far this is what I have and ready to be glued together, following steps from practicum... I don't use template as suggested in the book and fitting them on the keel directly, hopefully it will ending up fine.. Once on keel and with a drop of white glue, while still fresh, checking correct angle... So far... So, I also wanted to test an other method of building frames, using some old poplar board, already planned to correct thickness.. These templates will be glued to the plank.. Orange and blue lines are representing sanding line.. After cutting on a band saw.. Sanded... to the "meeting" point Glueing and drying... Will see what the end result will be, just curious... Happy modelling..


-
Thank you Mark, I will keep using existing frames and making sure they line up properly following plan... just a bit of practice... Will also try the other method but already have some questions in my head for that method build... but it might be worth spending hour or two for testing.. Yeah, larger scale = more visible mistakes... Thank you and will certainly use your help offering if needed.. Cheers
-
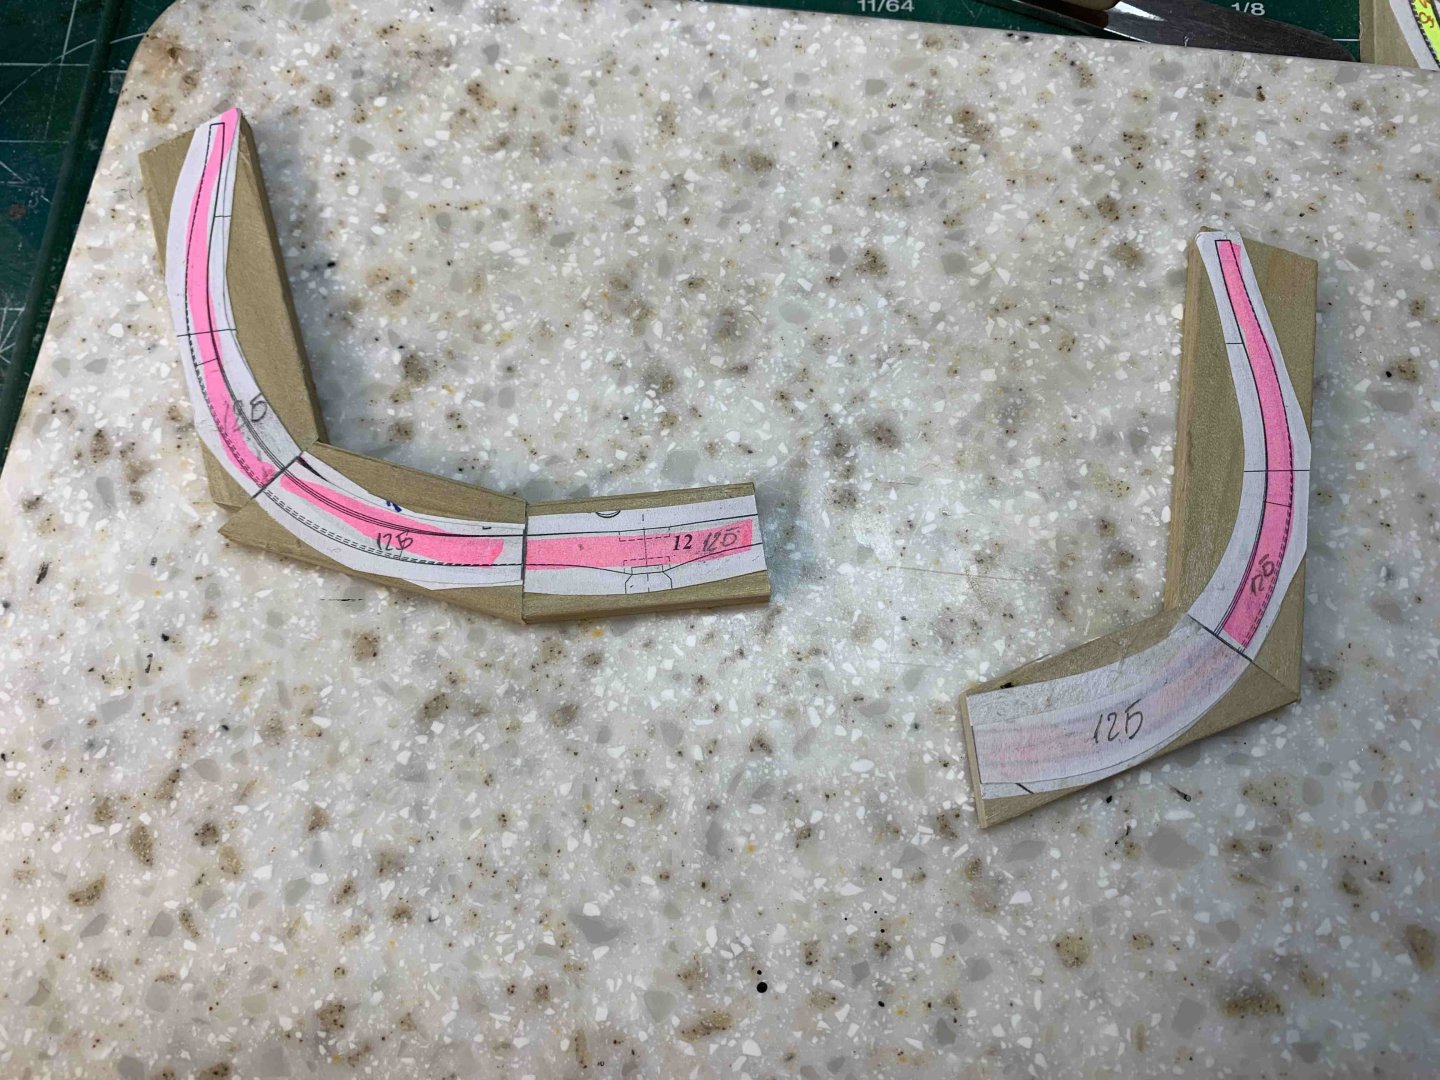
Thanks Mark... thanks for your comment, really appreciated...yes, I am following his tutorial and it helps a lot.. Some of my frames are not lining up correctly so the end result after glueing them (like frame #12) is not lining up with plan; Also, need to sand every frame individually since I forgot to run wood board thru planer ending up with frame parts that are thicker than needed... which is not that big of a deal, as I already sanded down half of them... Want to try some other approach of frame building but definitely will not use all my current frames in long winter nights, helping warming up the house 🙂 I am more familiar with making frames as I started and planning to continue building ribs with existing frames, not giving up (too much time and funds will be wasted if I start freshly new) but some of them that are not good, will try replacing with Underhill' method with spare wood from pile... Will try.. and if not working fine will just redo the missing pieces.. Since I really like this ship, somehow is a simple but yet very powerful model, I made an investment and got a larger scale of the same model, so thinking of this build like a learning curve.. And, your build absolutely helping me a lot throughout my adventure..

-
No pictures today, just comments.... i was continue working on frames and some results were not ending up quite satisfactory, so will play with other way of making frames, basically using a "traditional" or Underhill' method.... will see how that goes... For now I am using a spare wood for testing, saving good wood for later. I have to run planks thru planner anyway since my pear wood came in 6mm thickness which is more that needed for frames.. Happy modelling..
-
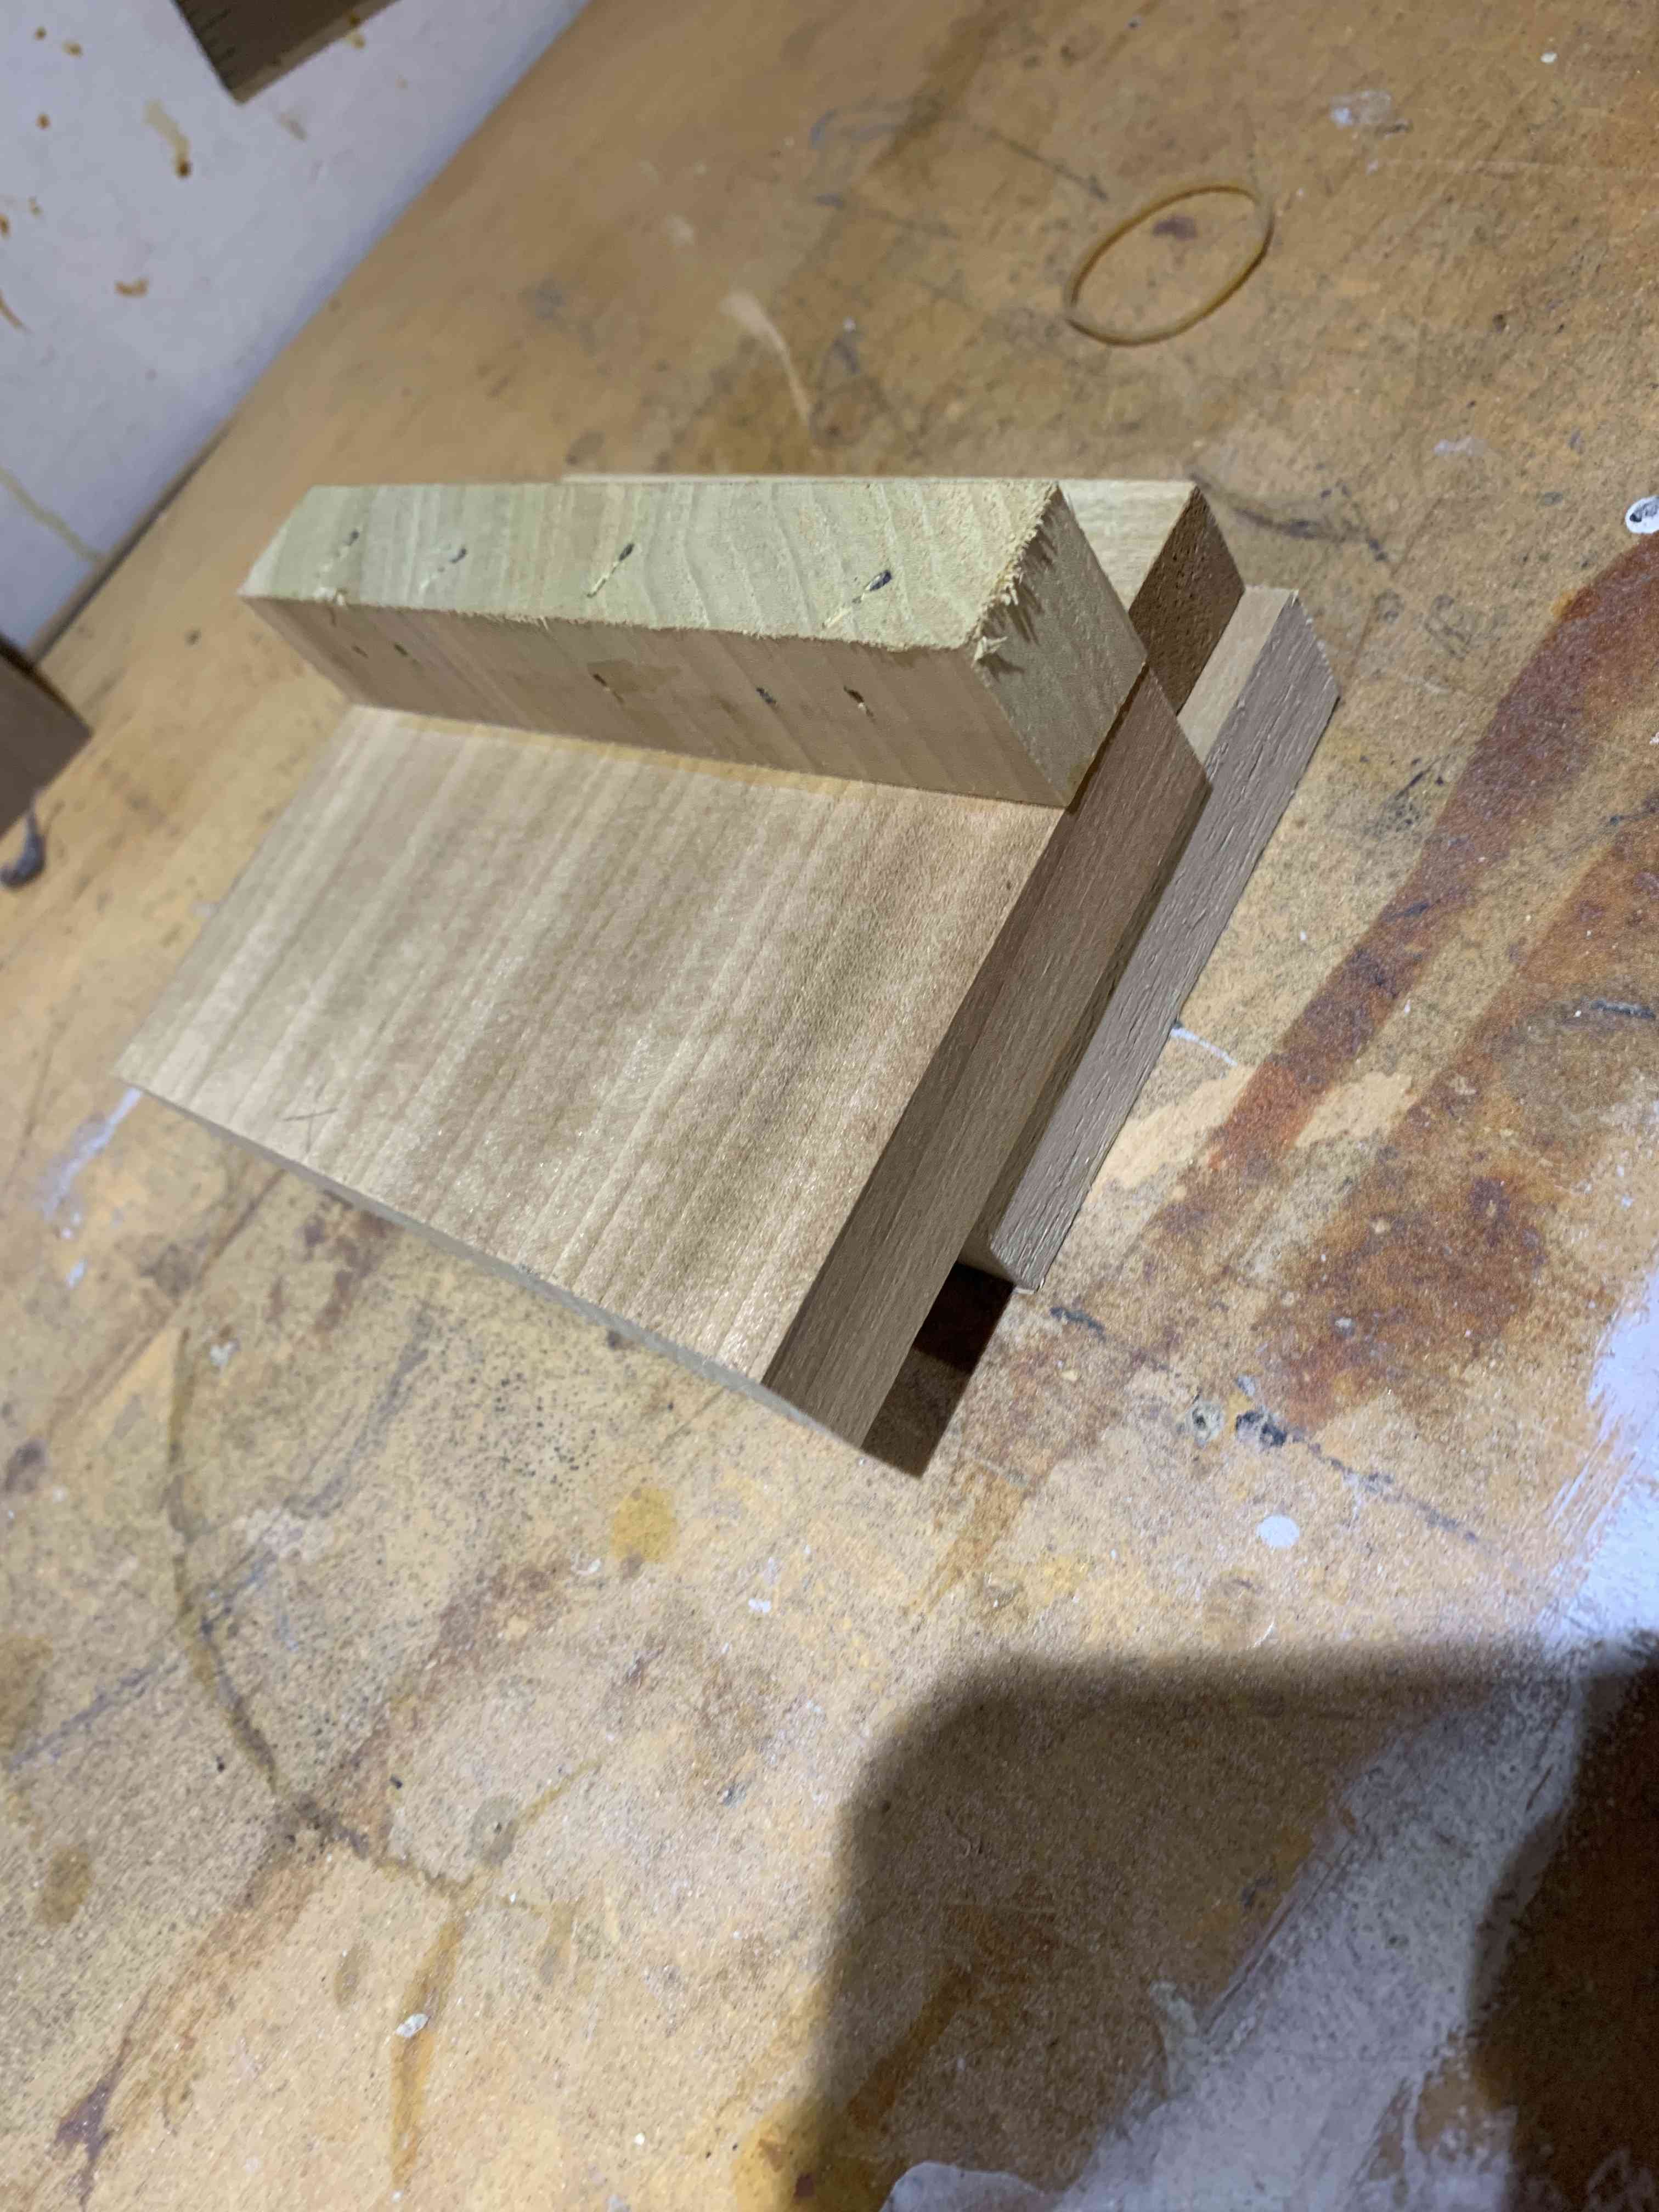
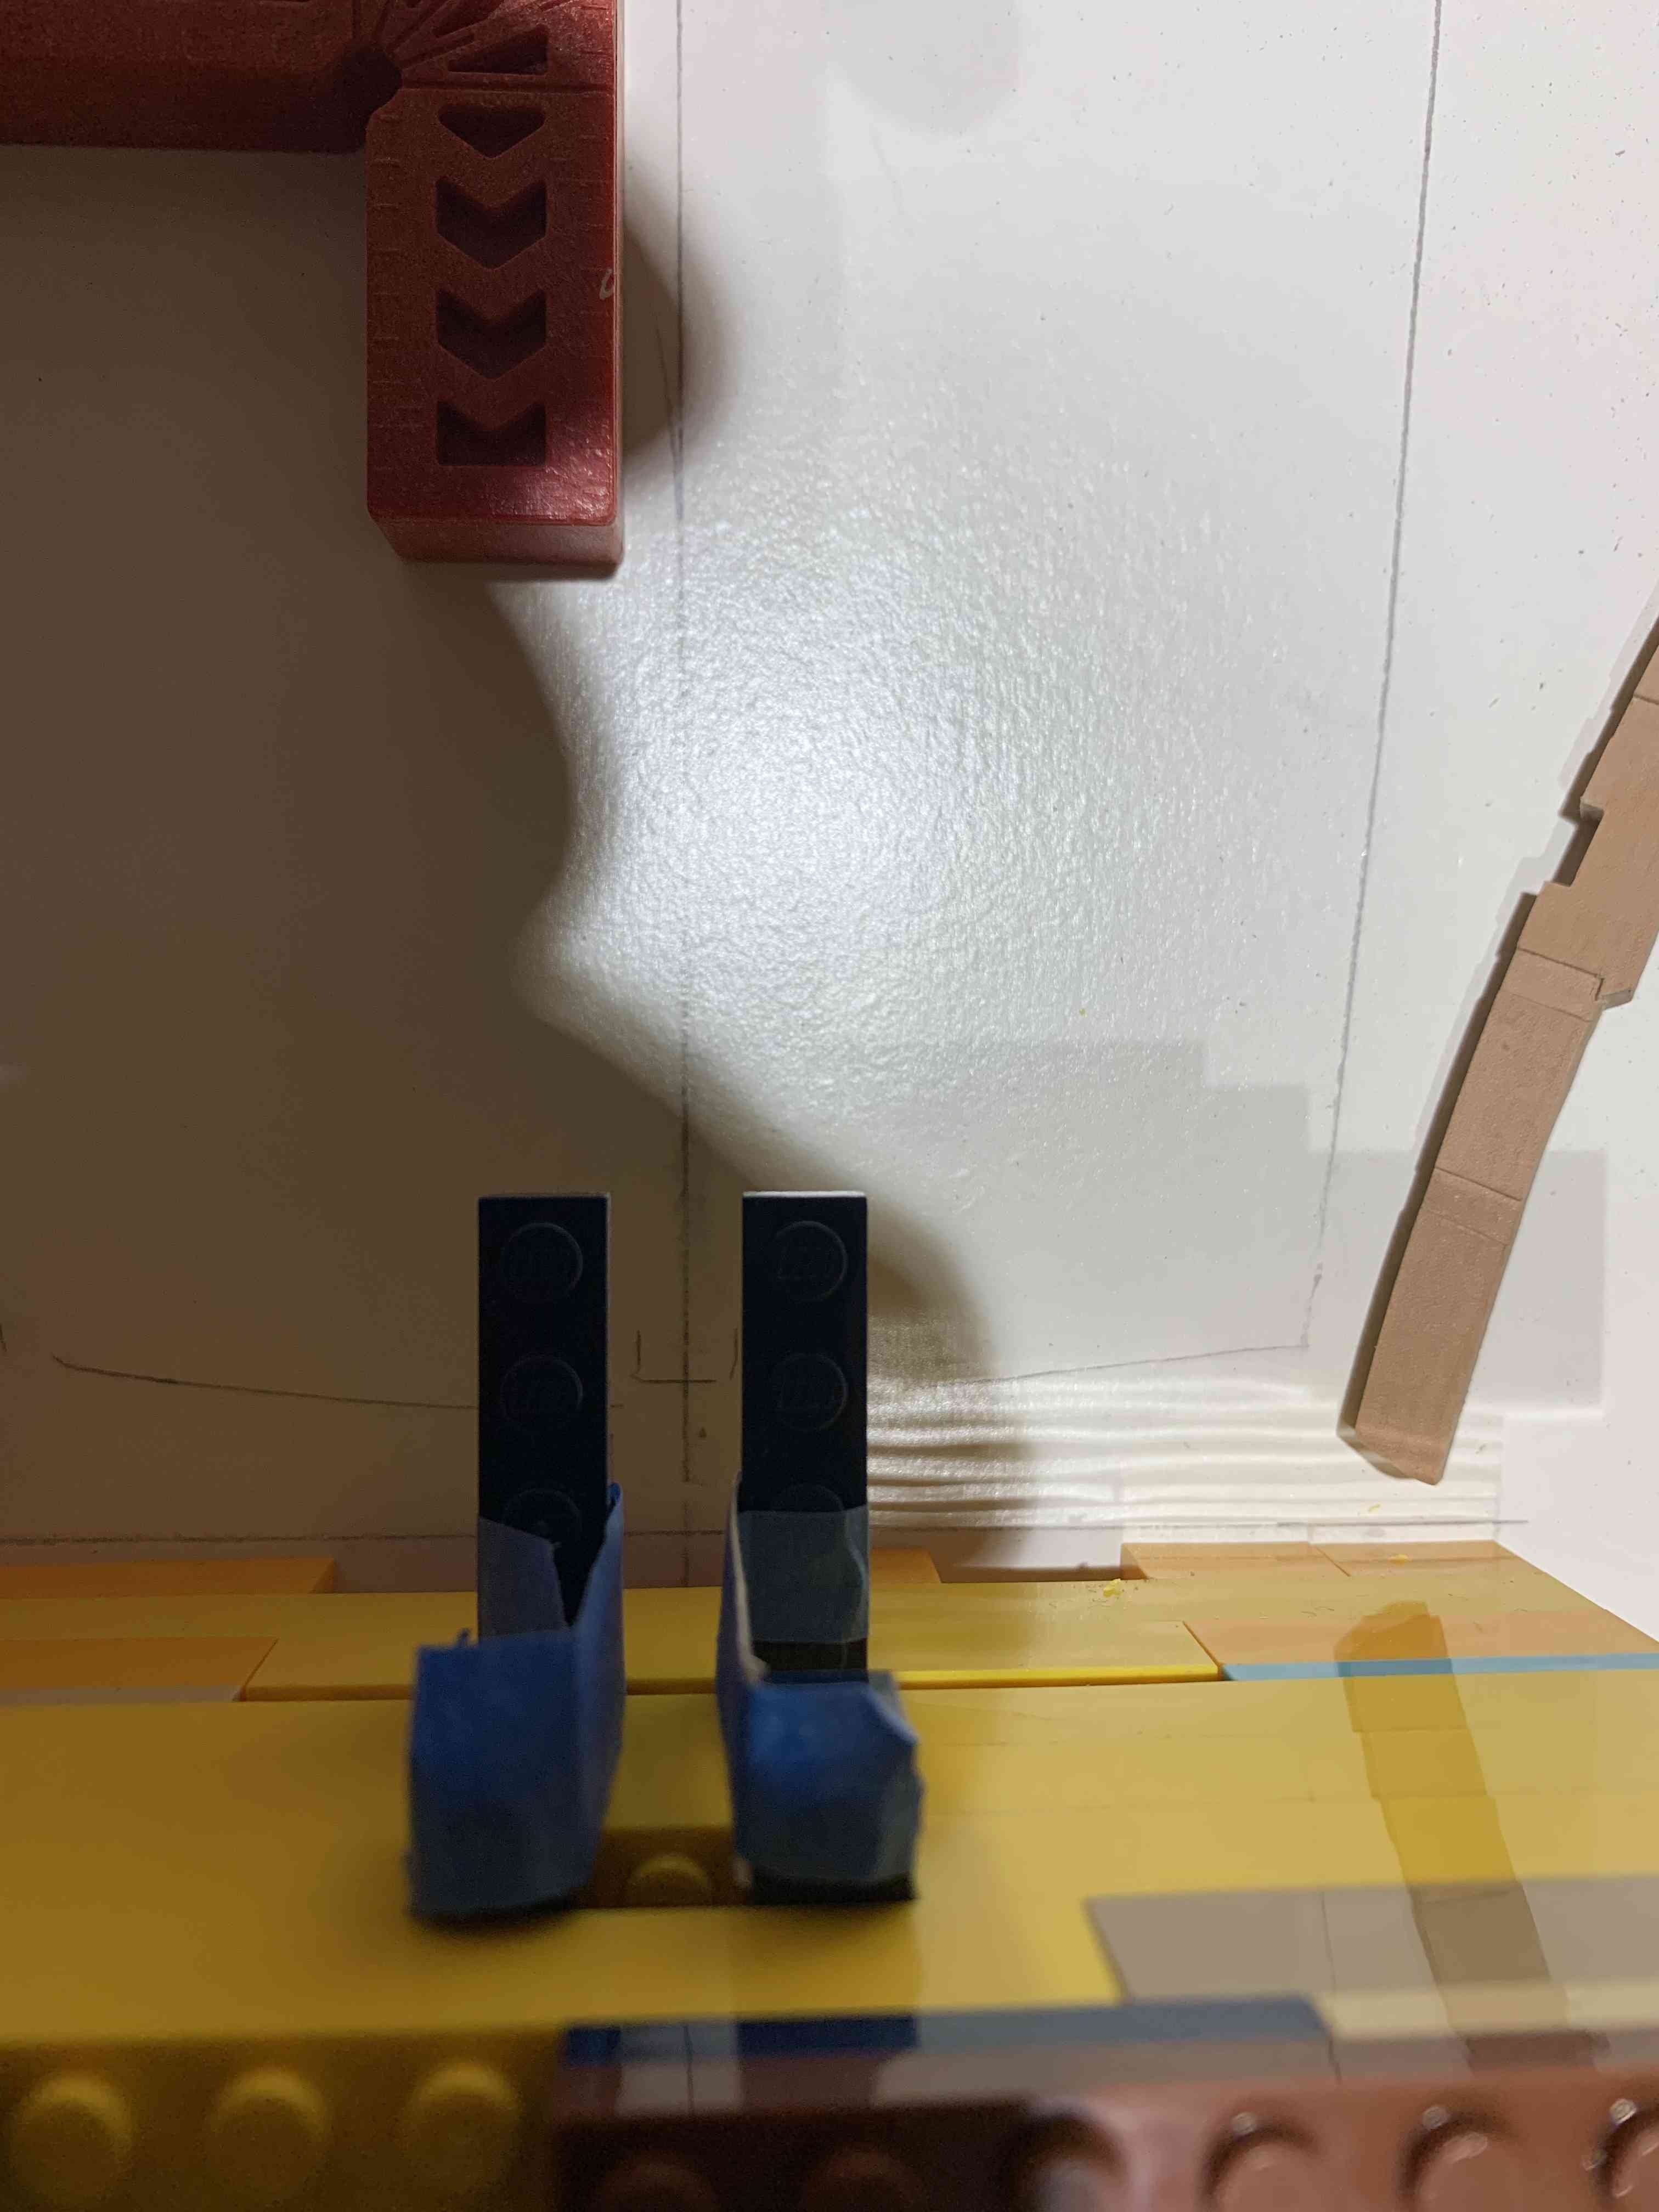
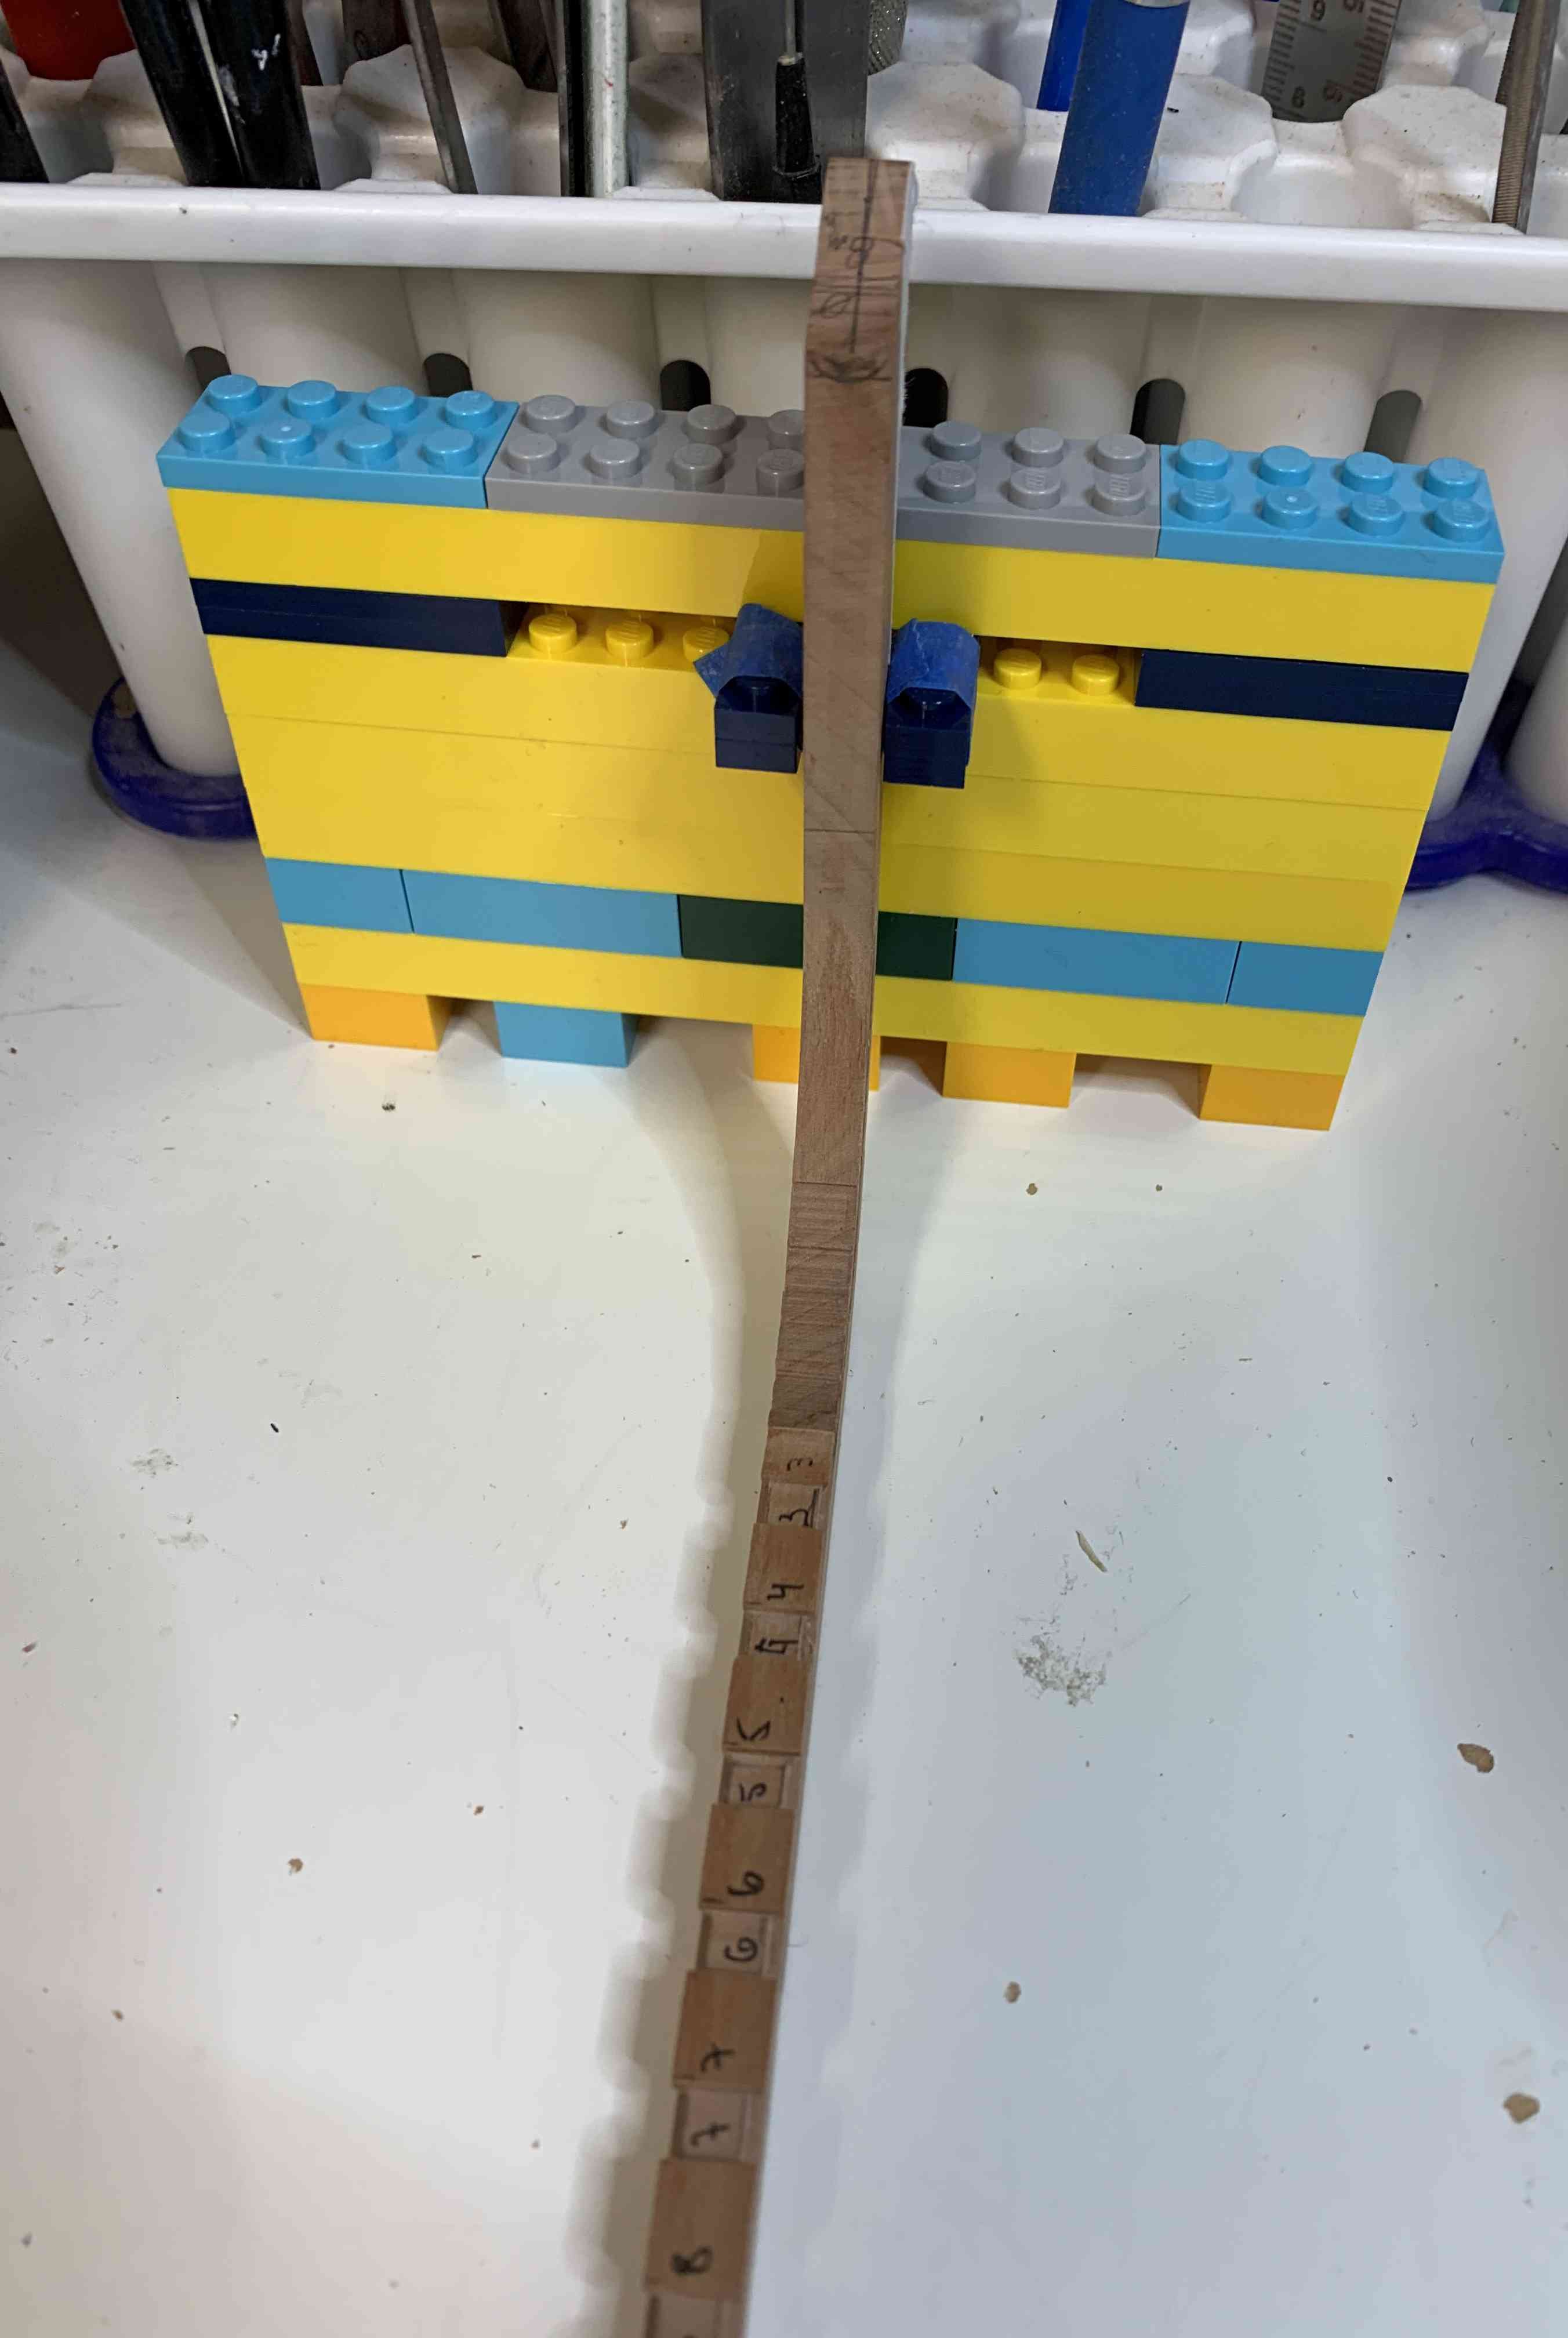
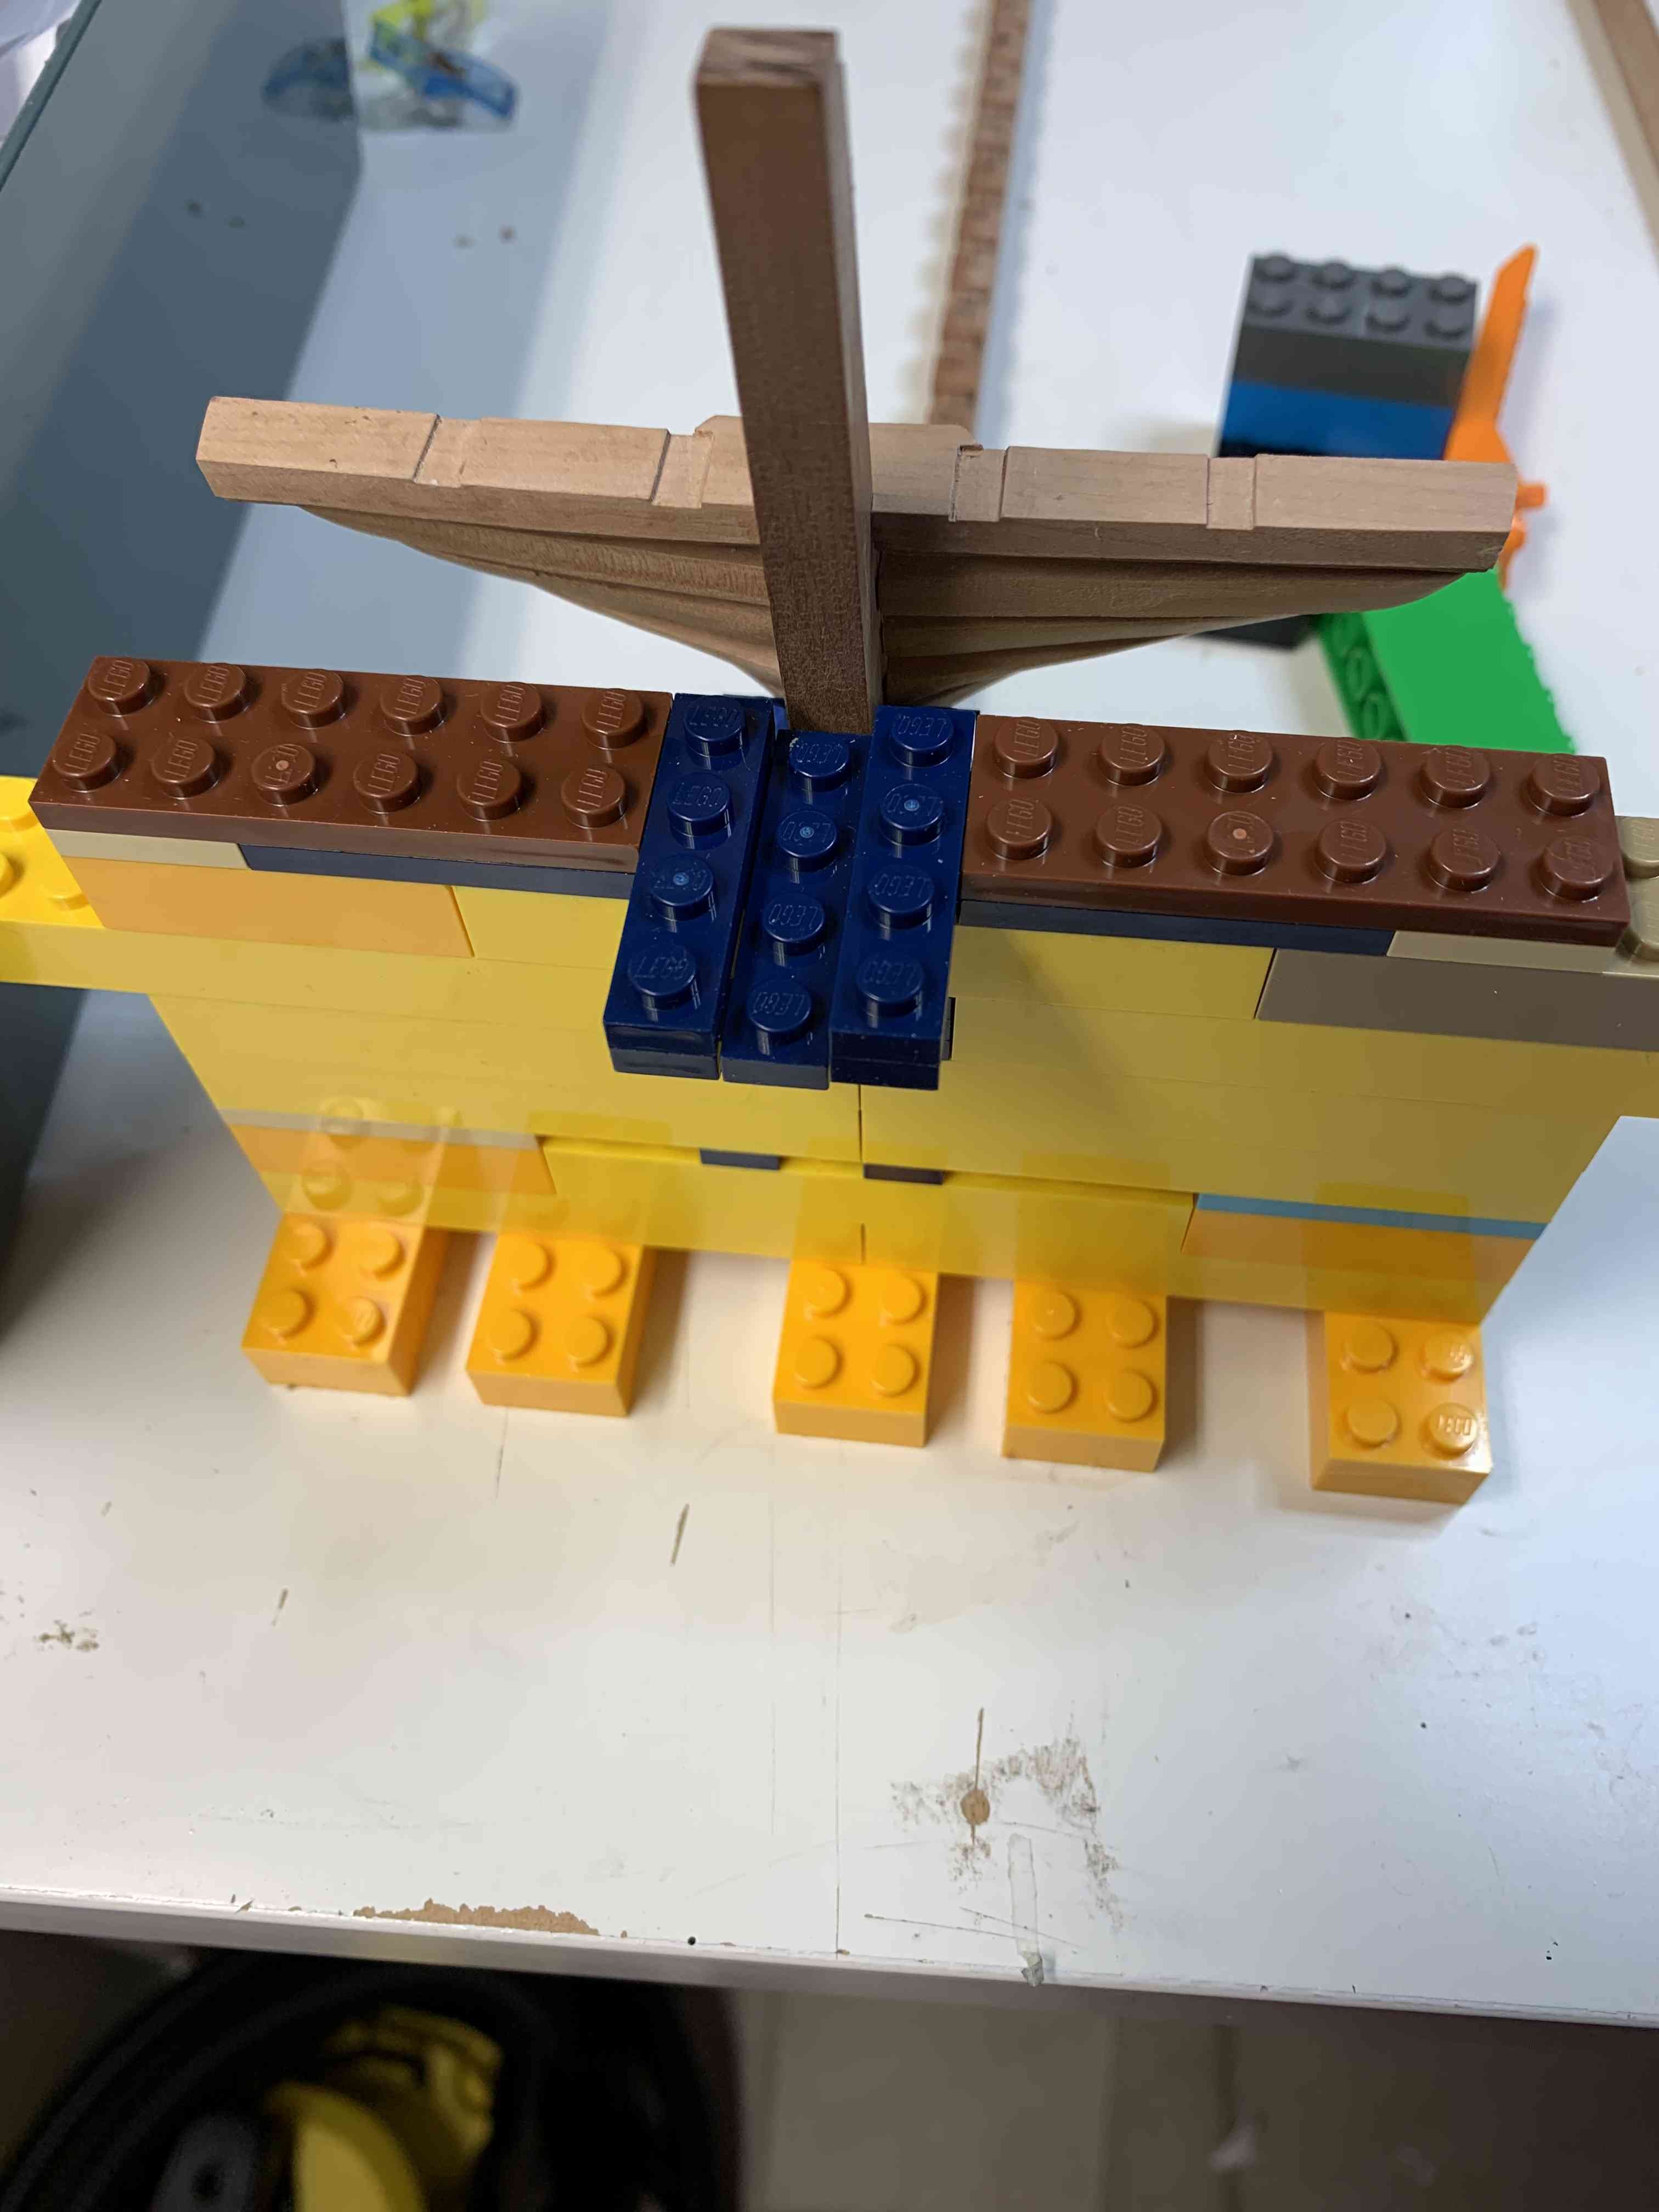
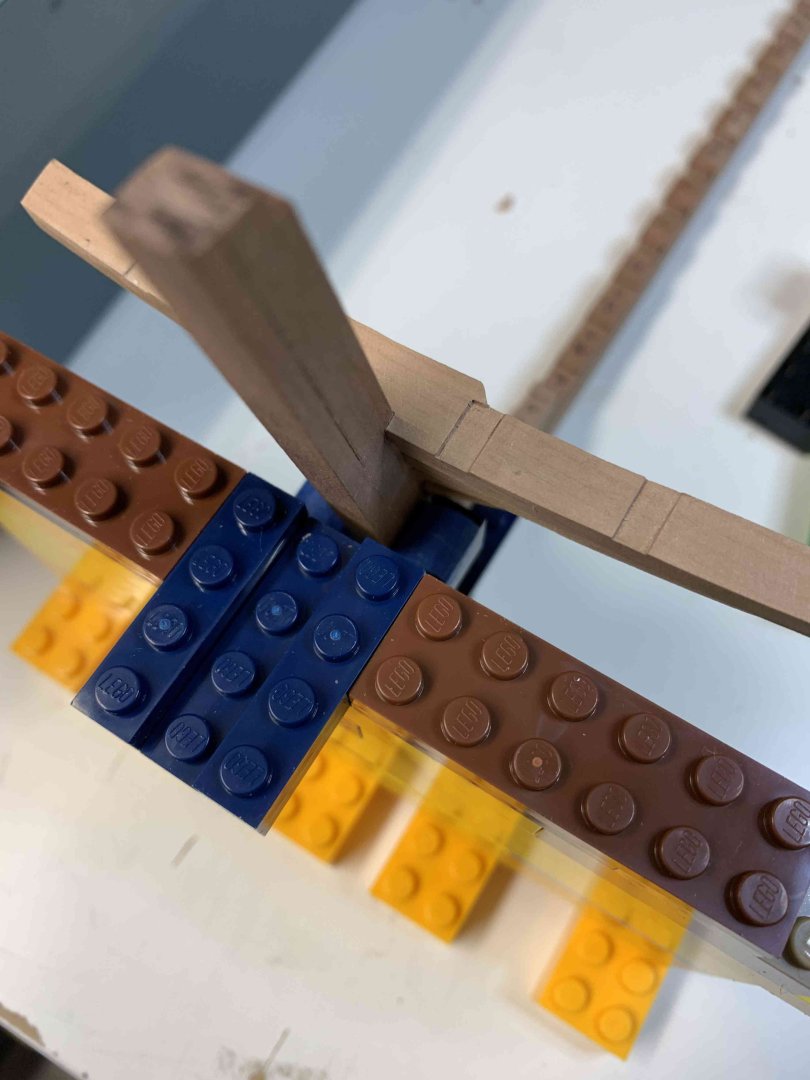
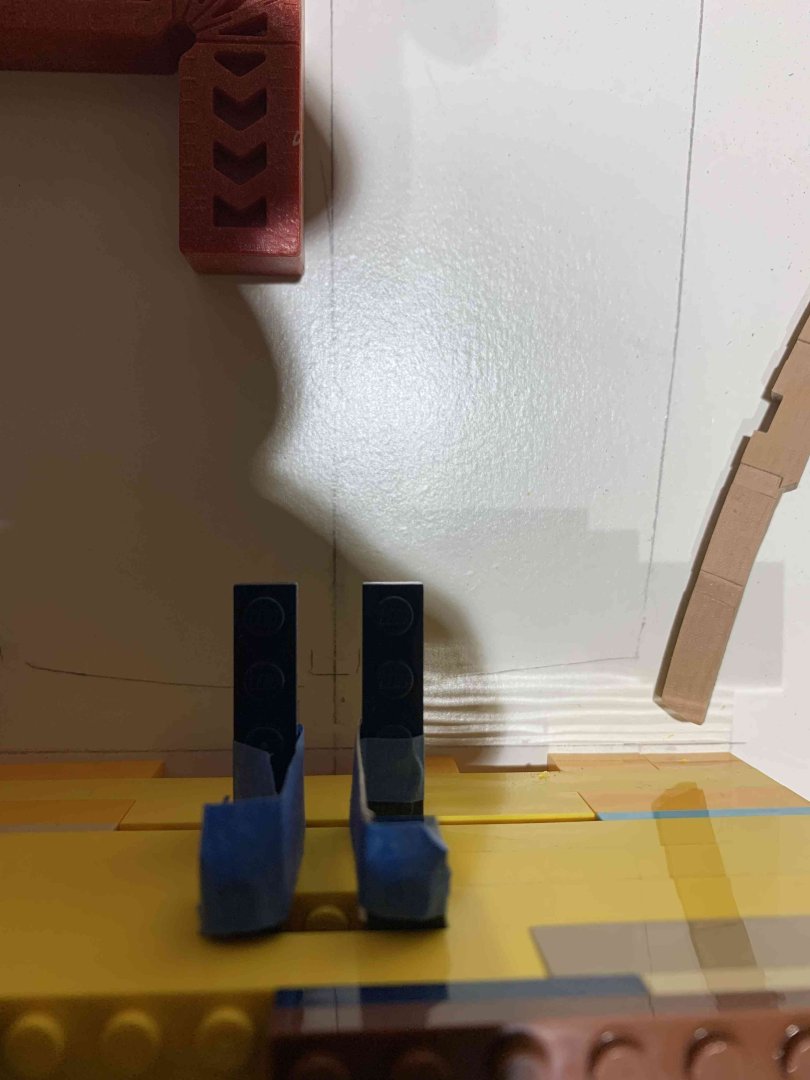
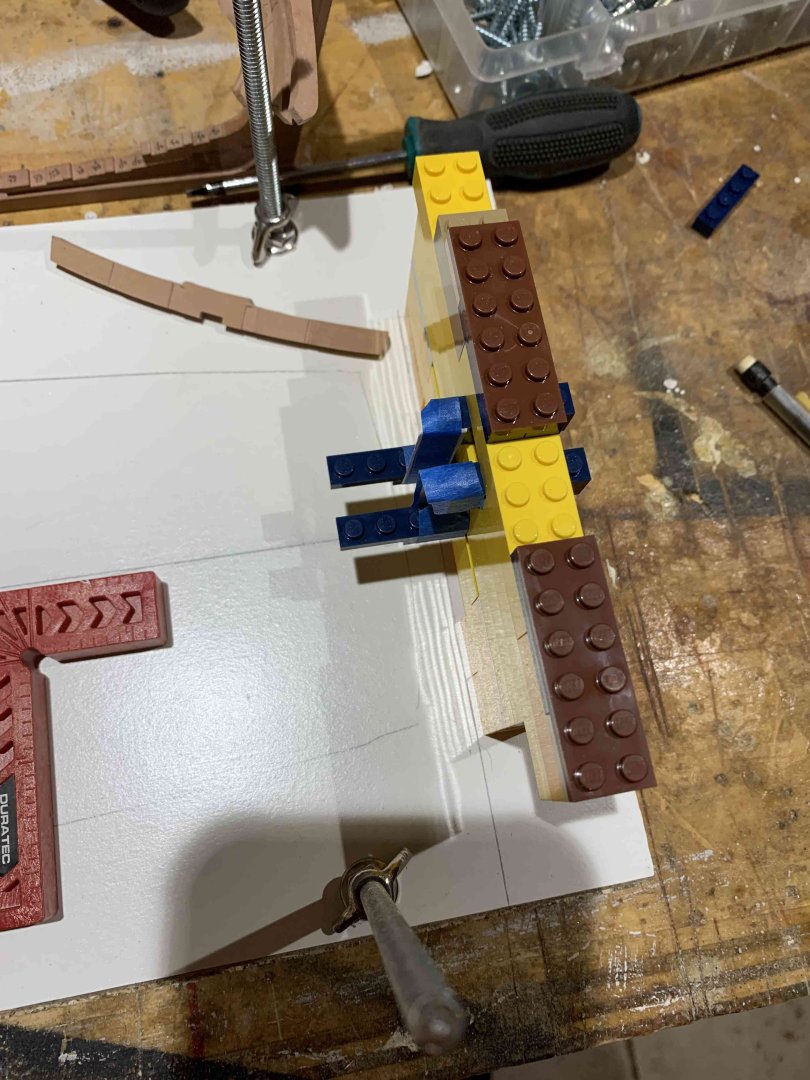
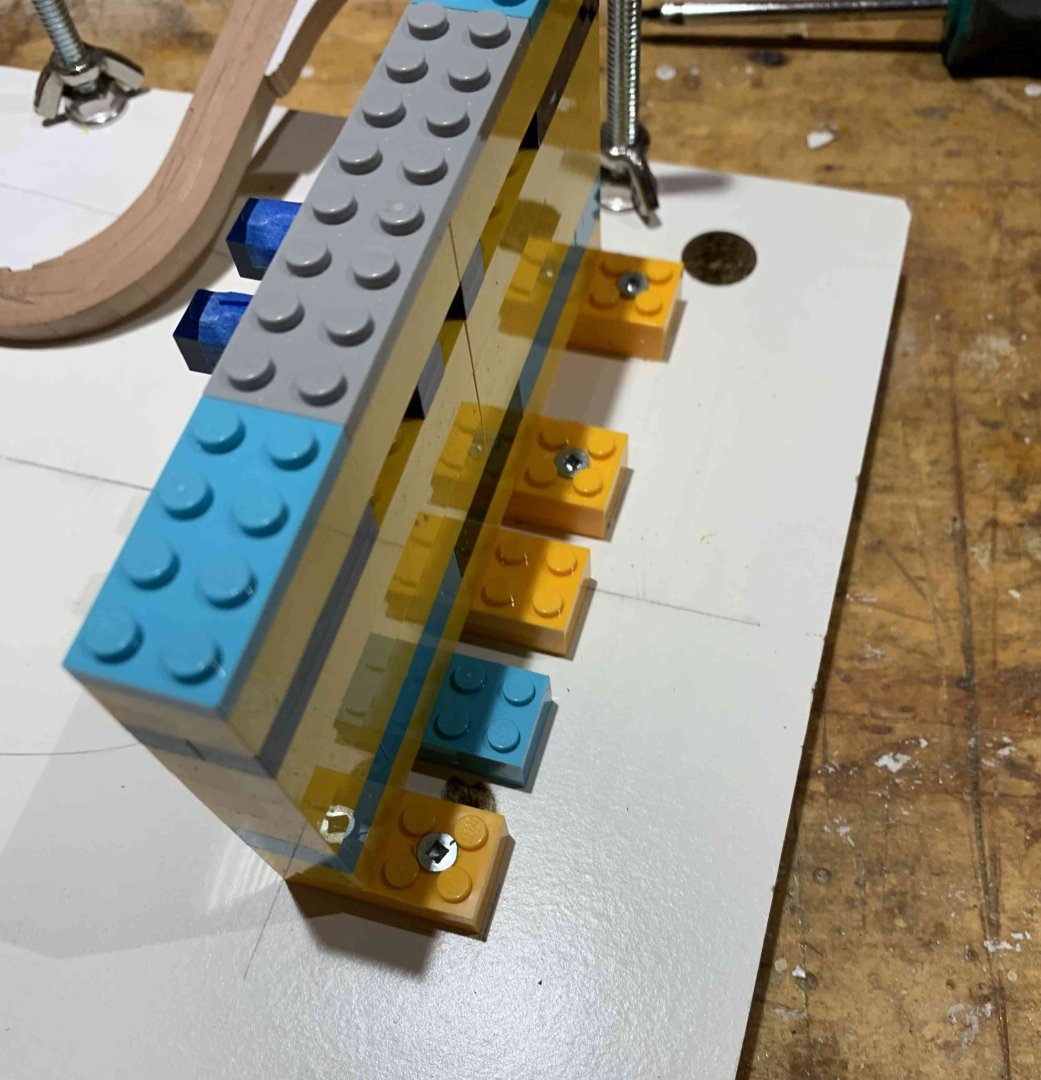
Today I worked on building board and decided to try a perfect 90 degrees parts... yes, Lego blocks... those darn neighbour' kids are running fast, who would say that for small kids ... just kidding of course... I like using Lego in ship building as much as can just because of its perfect square you can count on and ability to fit it in any weird angle possible.. Anyhow, this is my test and we will see how it goes; the only drawback at this moment is that I cannot find a perfect lego size distance for a keel so need to improvise a bit by adding few wraps of painter's tape to hold the keel nicely and tight. In case, old fashioned pars are here to assist... Then I started to work on frames, just to break a routine.. a glass cutting board are placed on the plan and frame parts are laid down and glued. The ends are sanded a bit using hand sander And first one waiting for final fitting test and send is here.. Happy modelling..


-
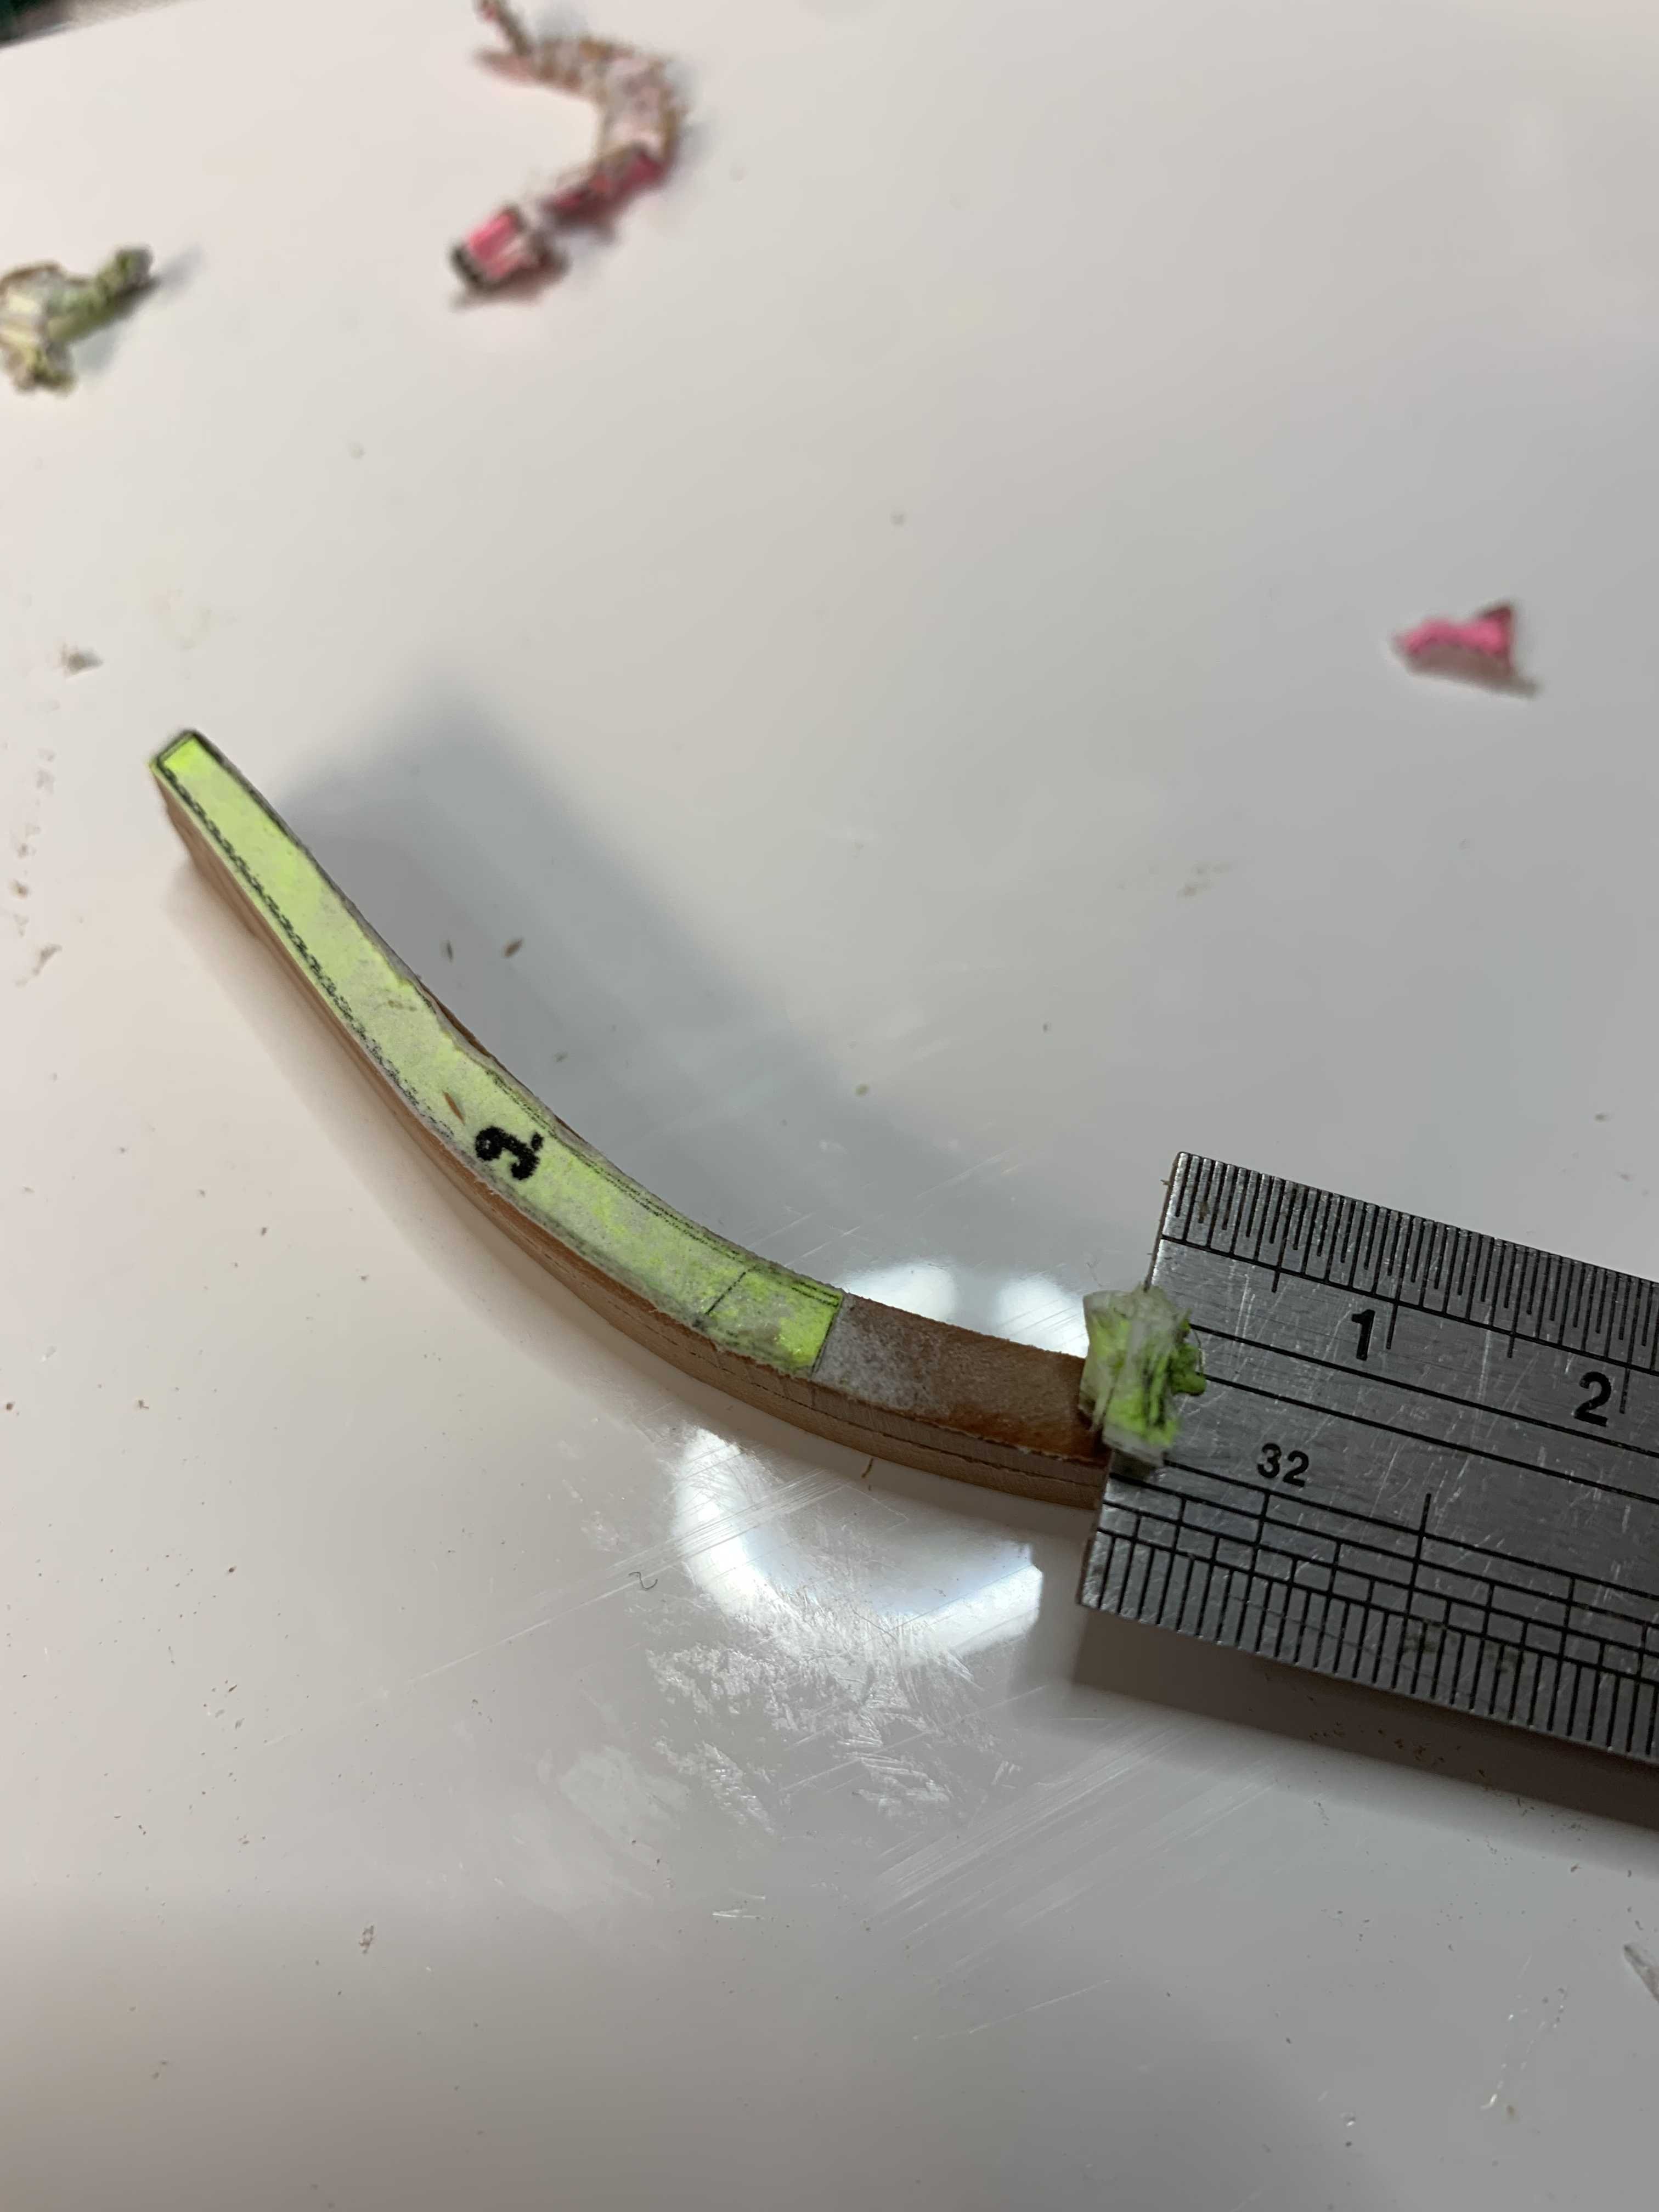
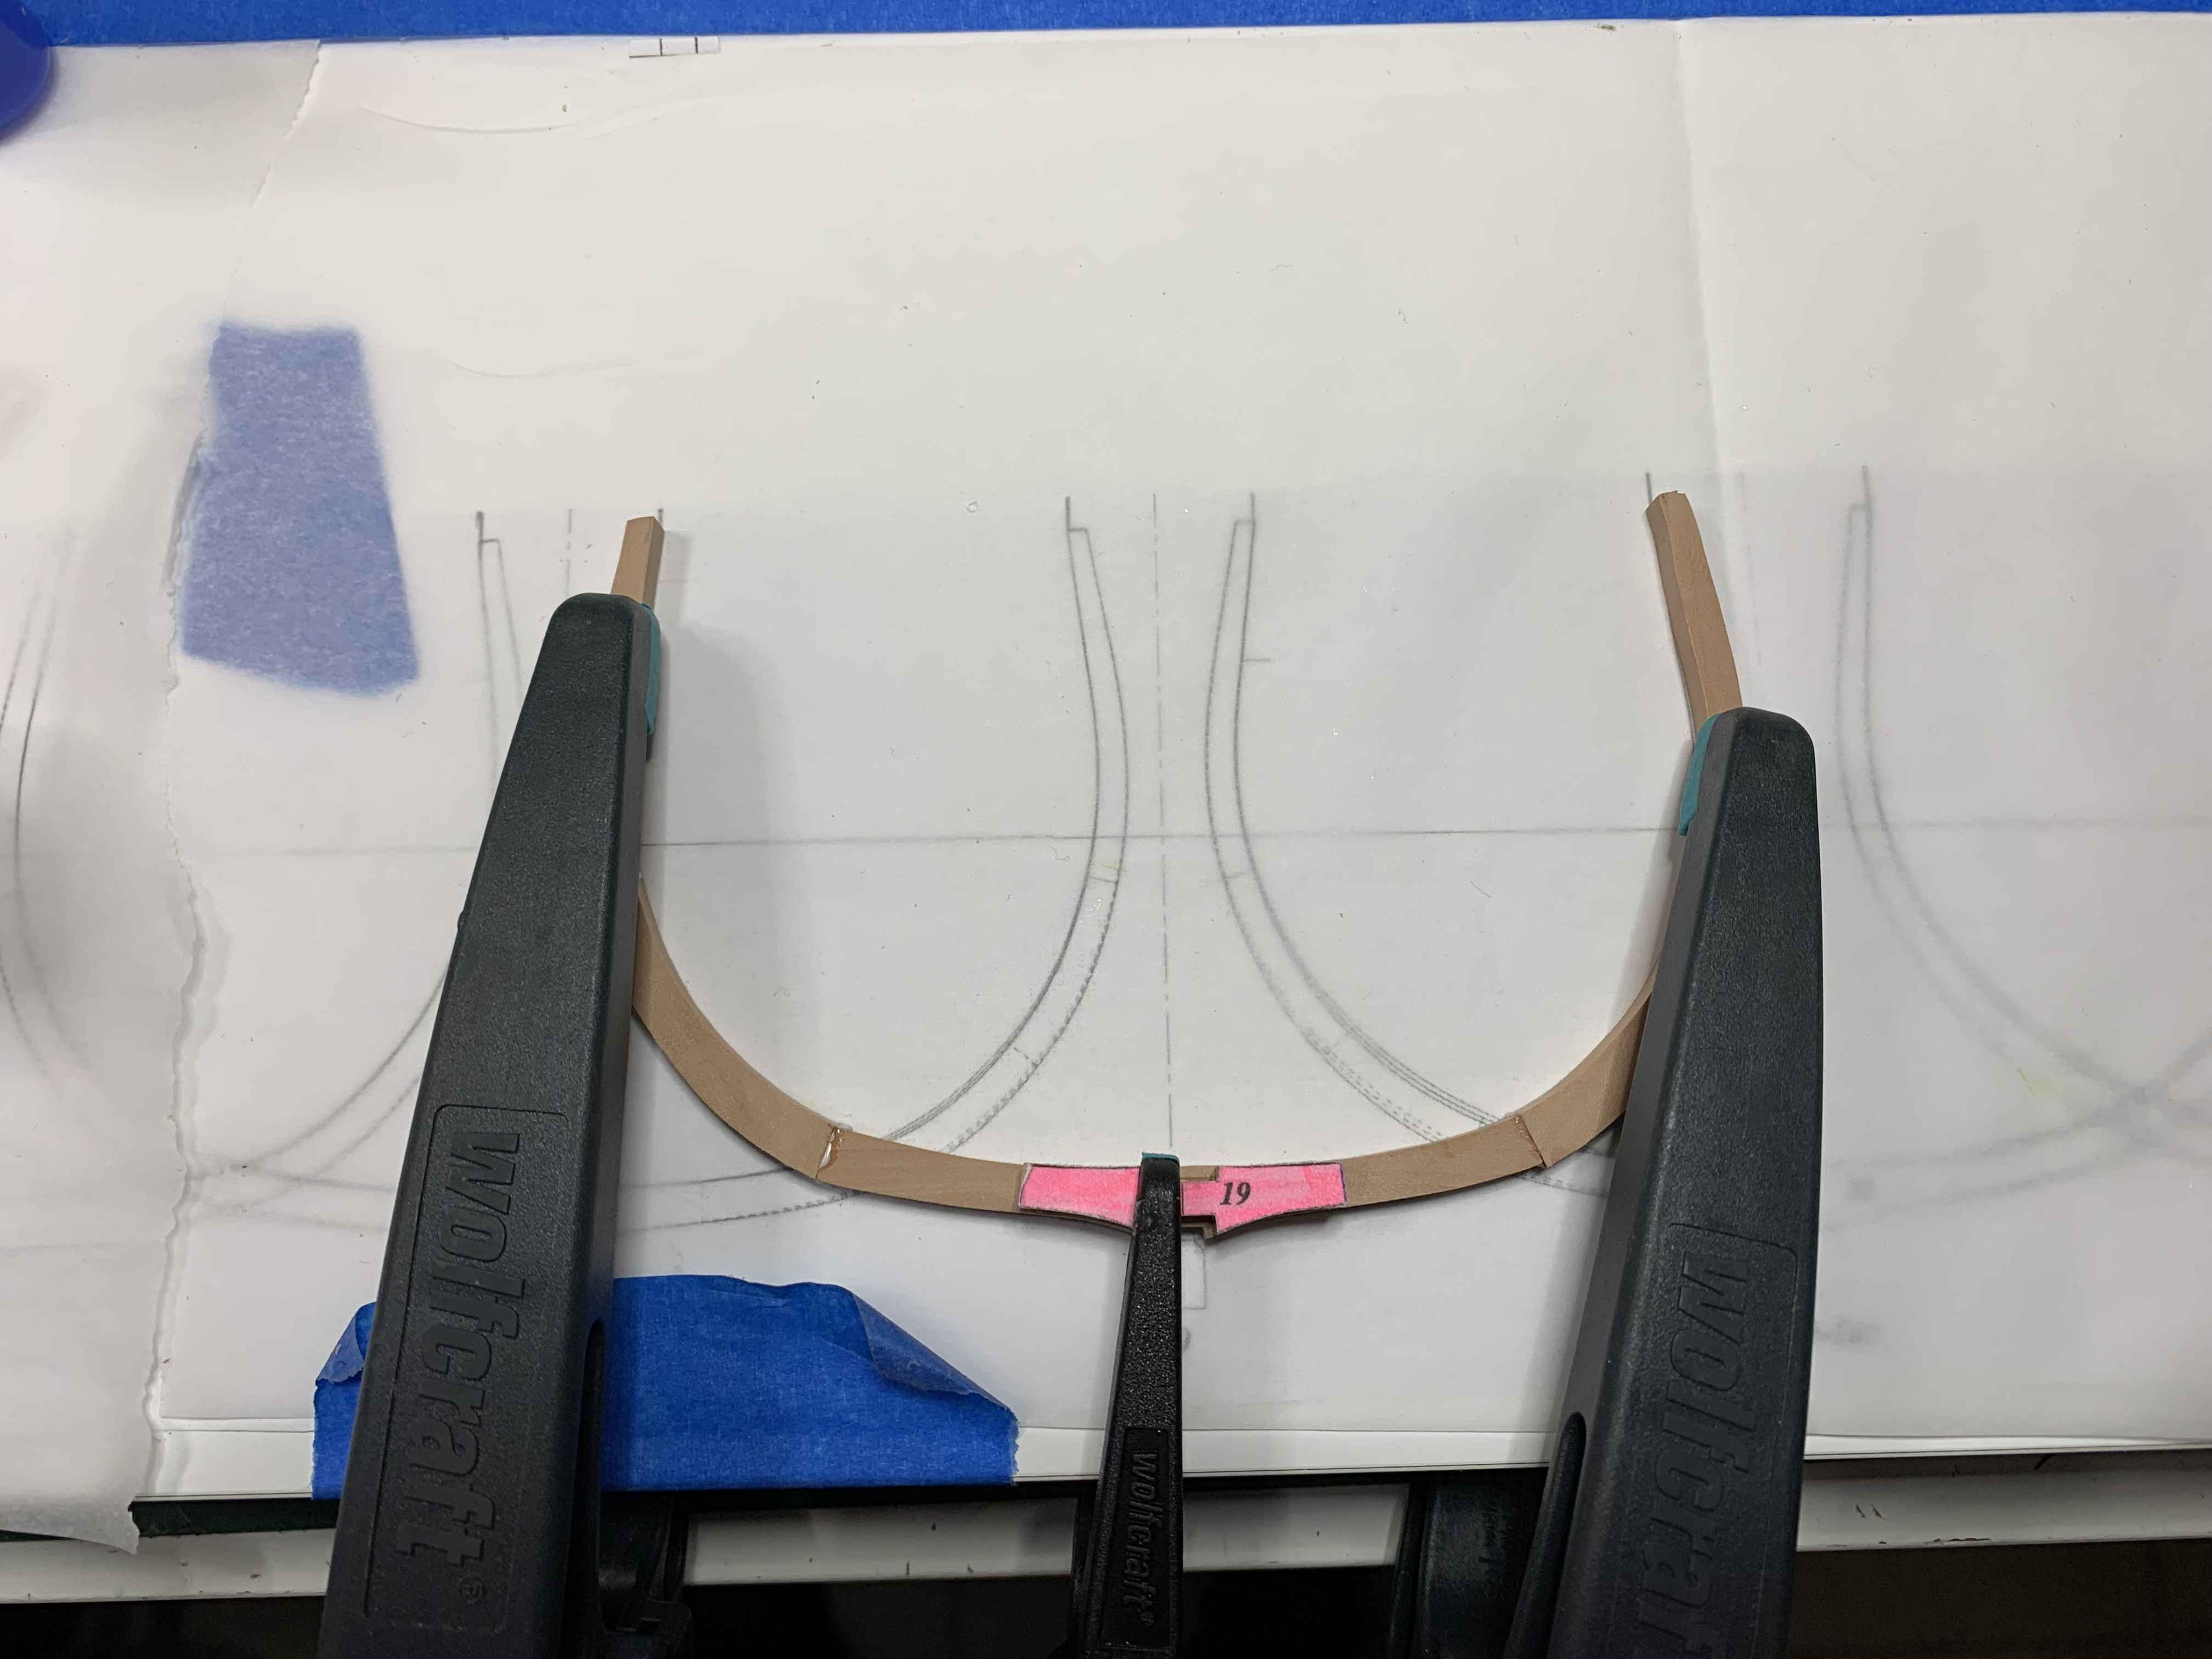
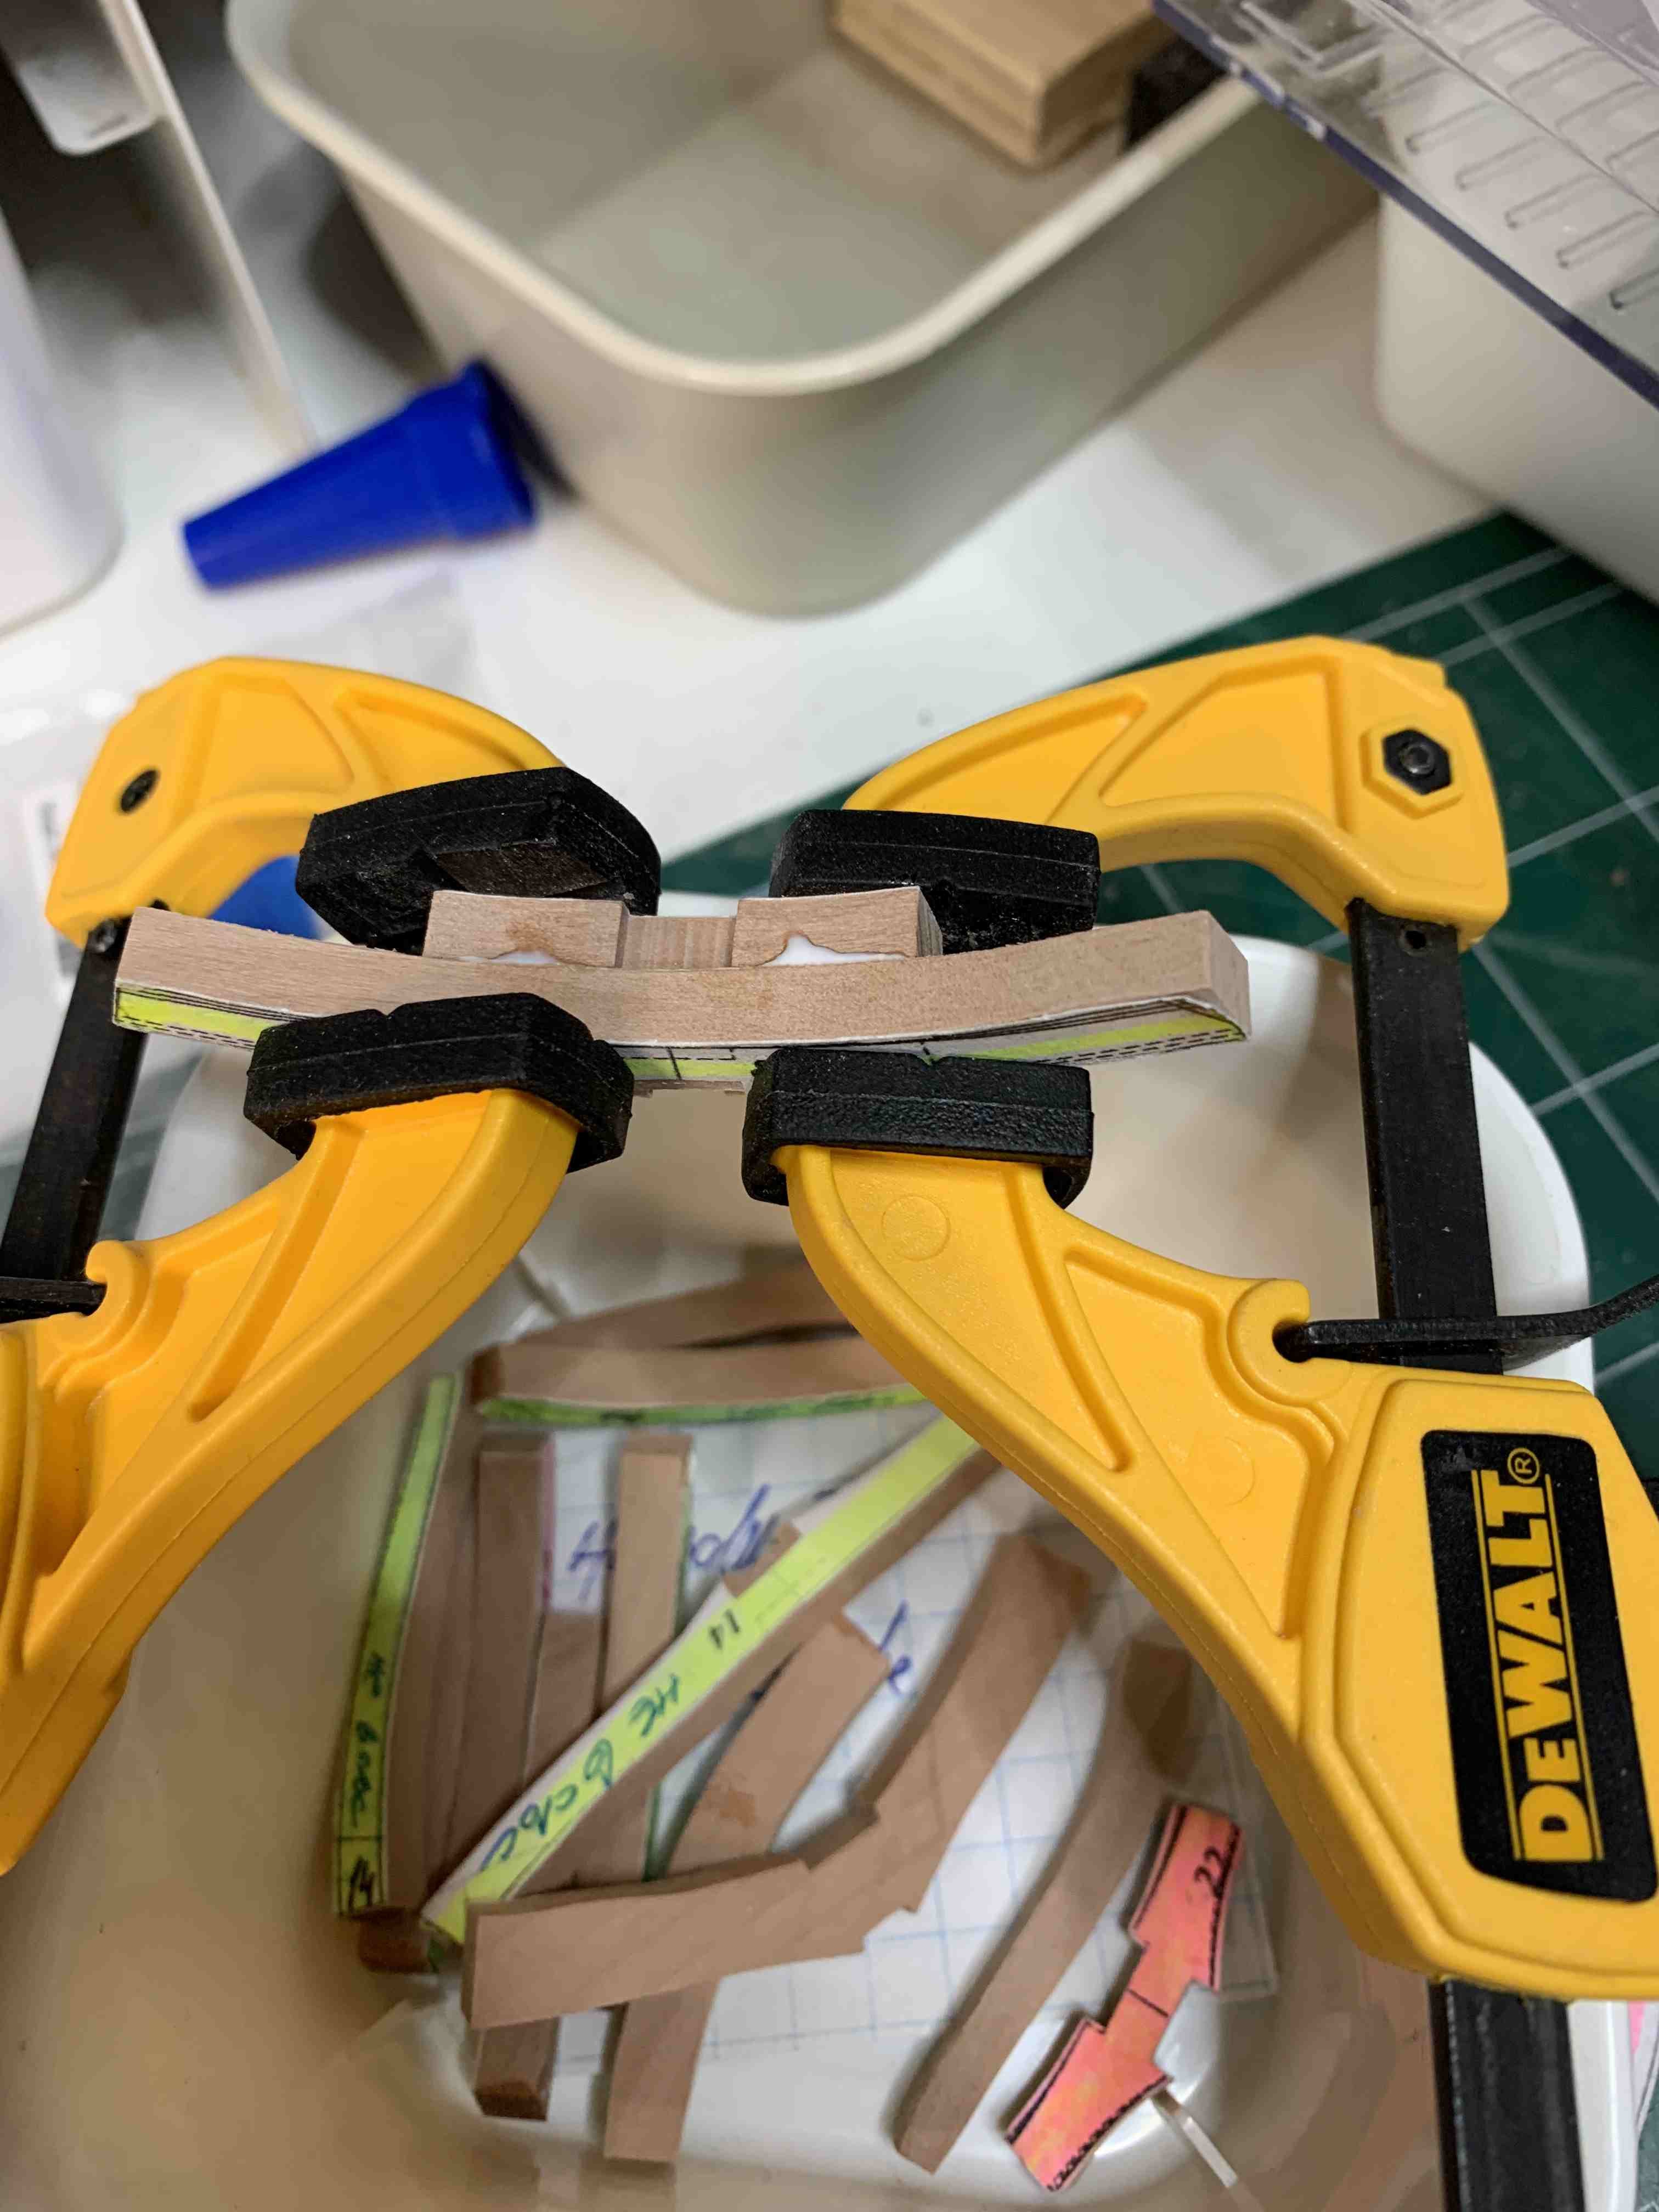
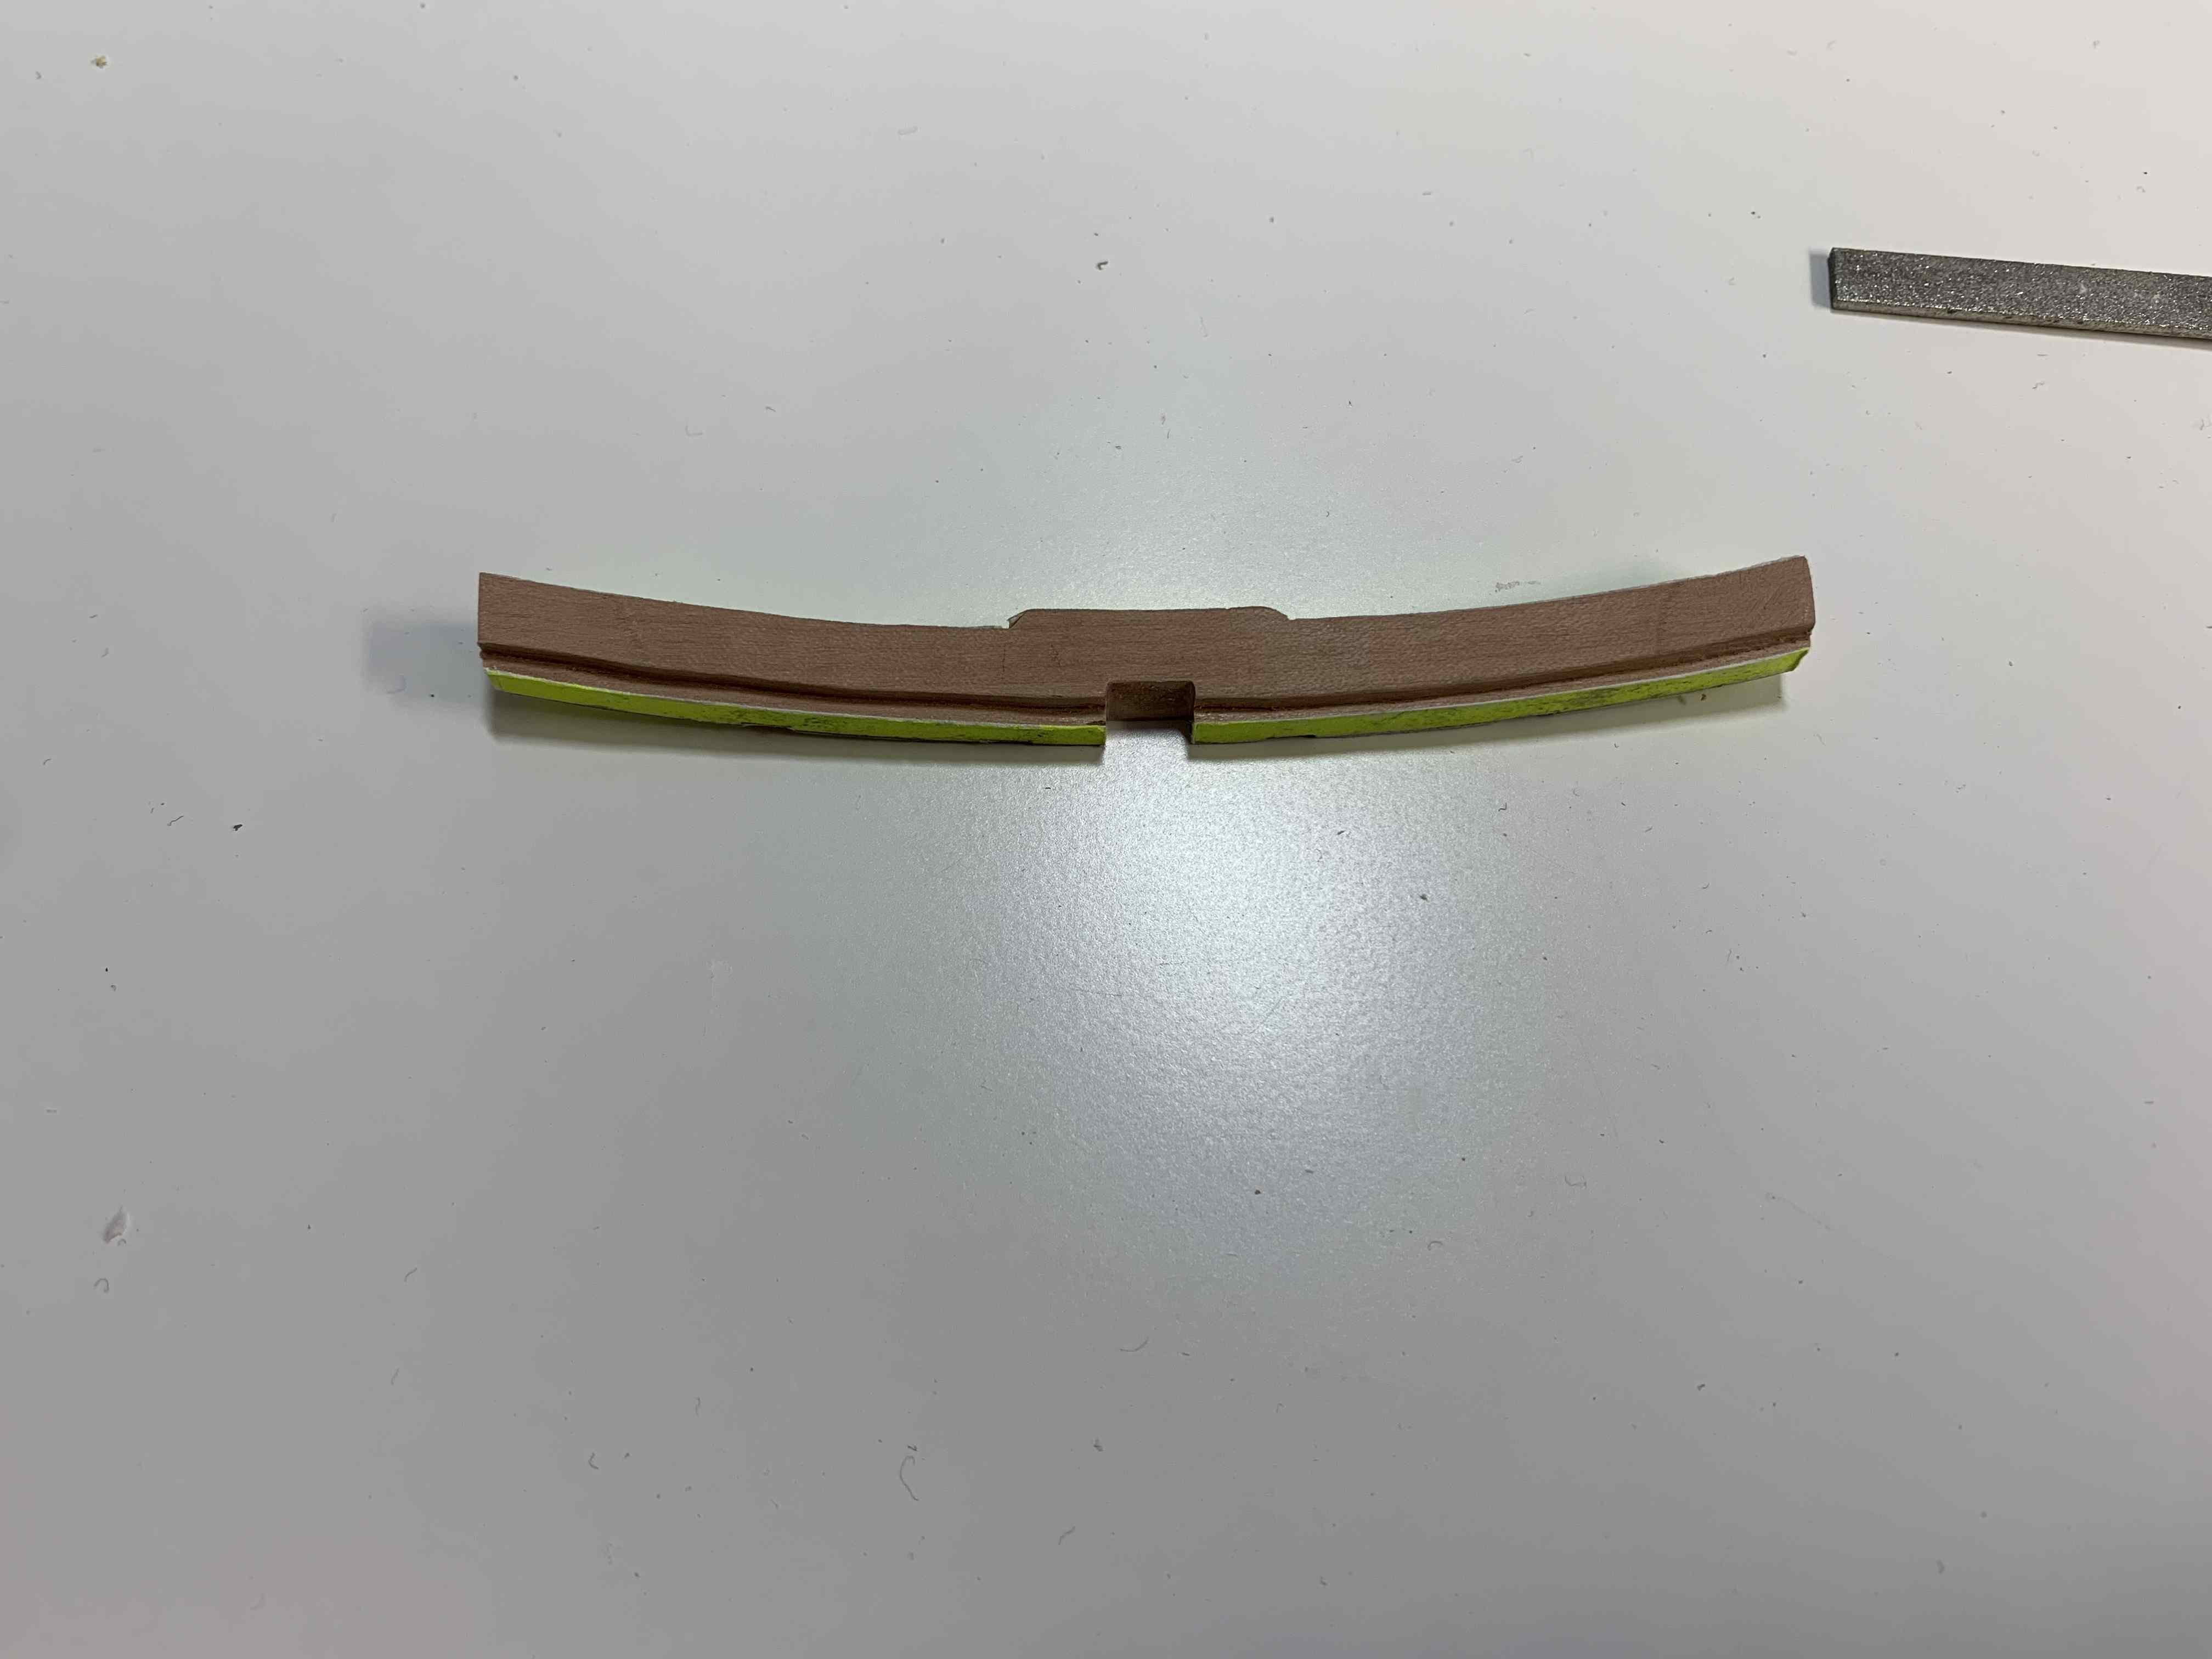
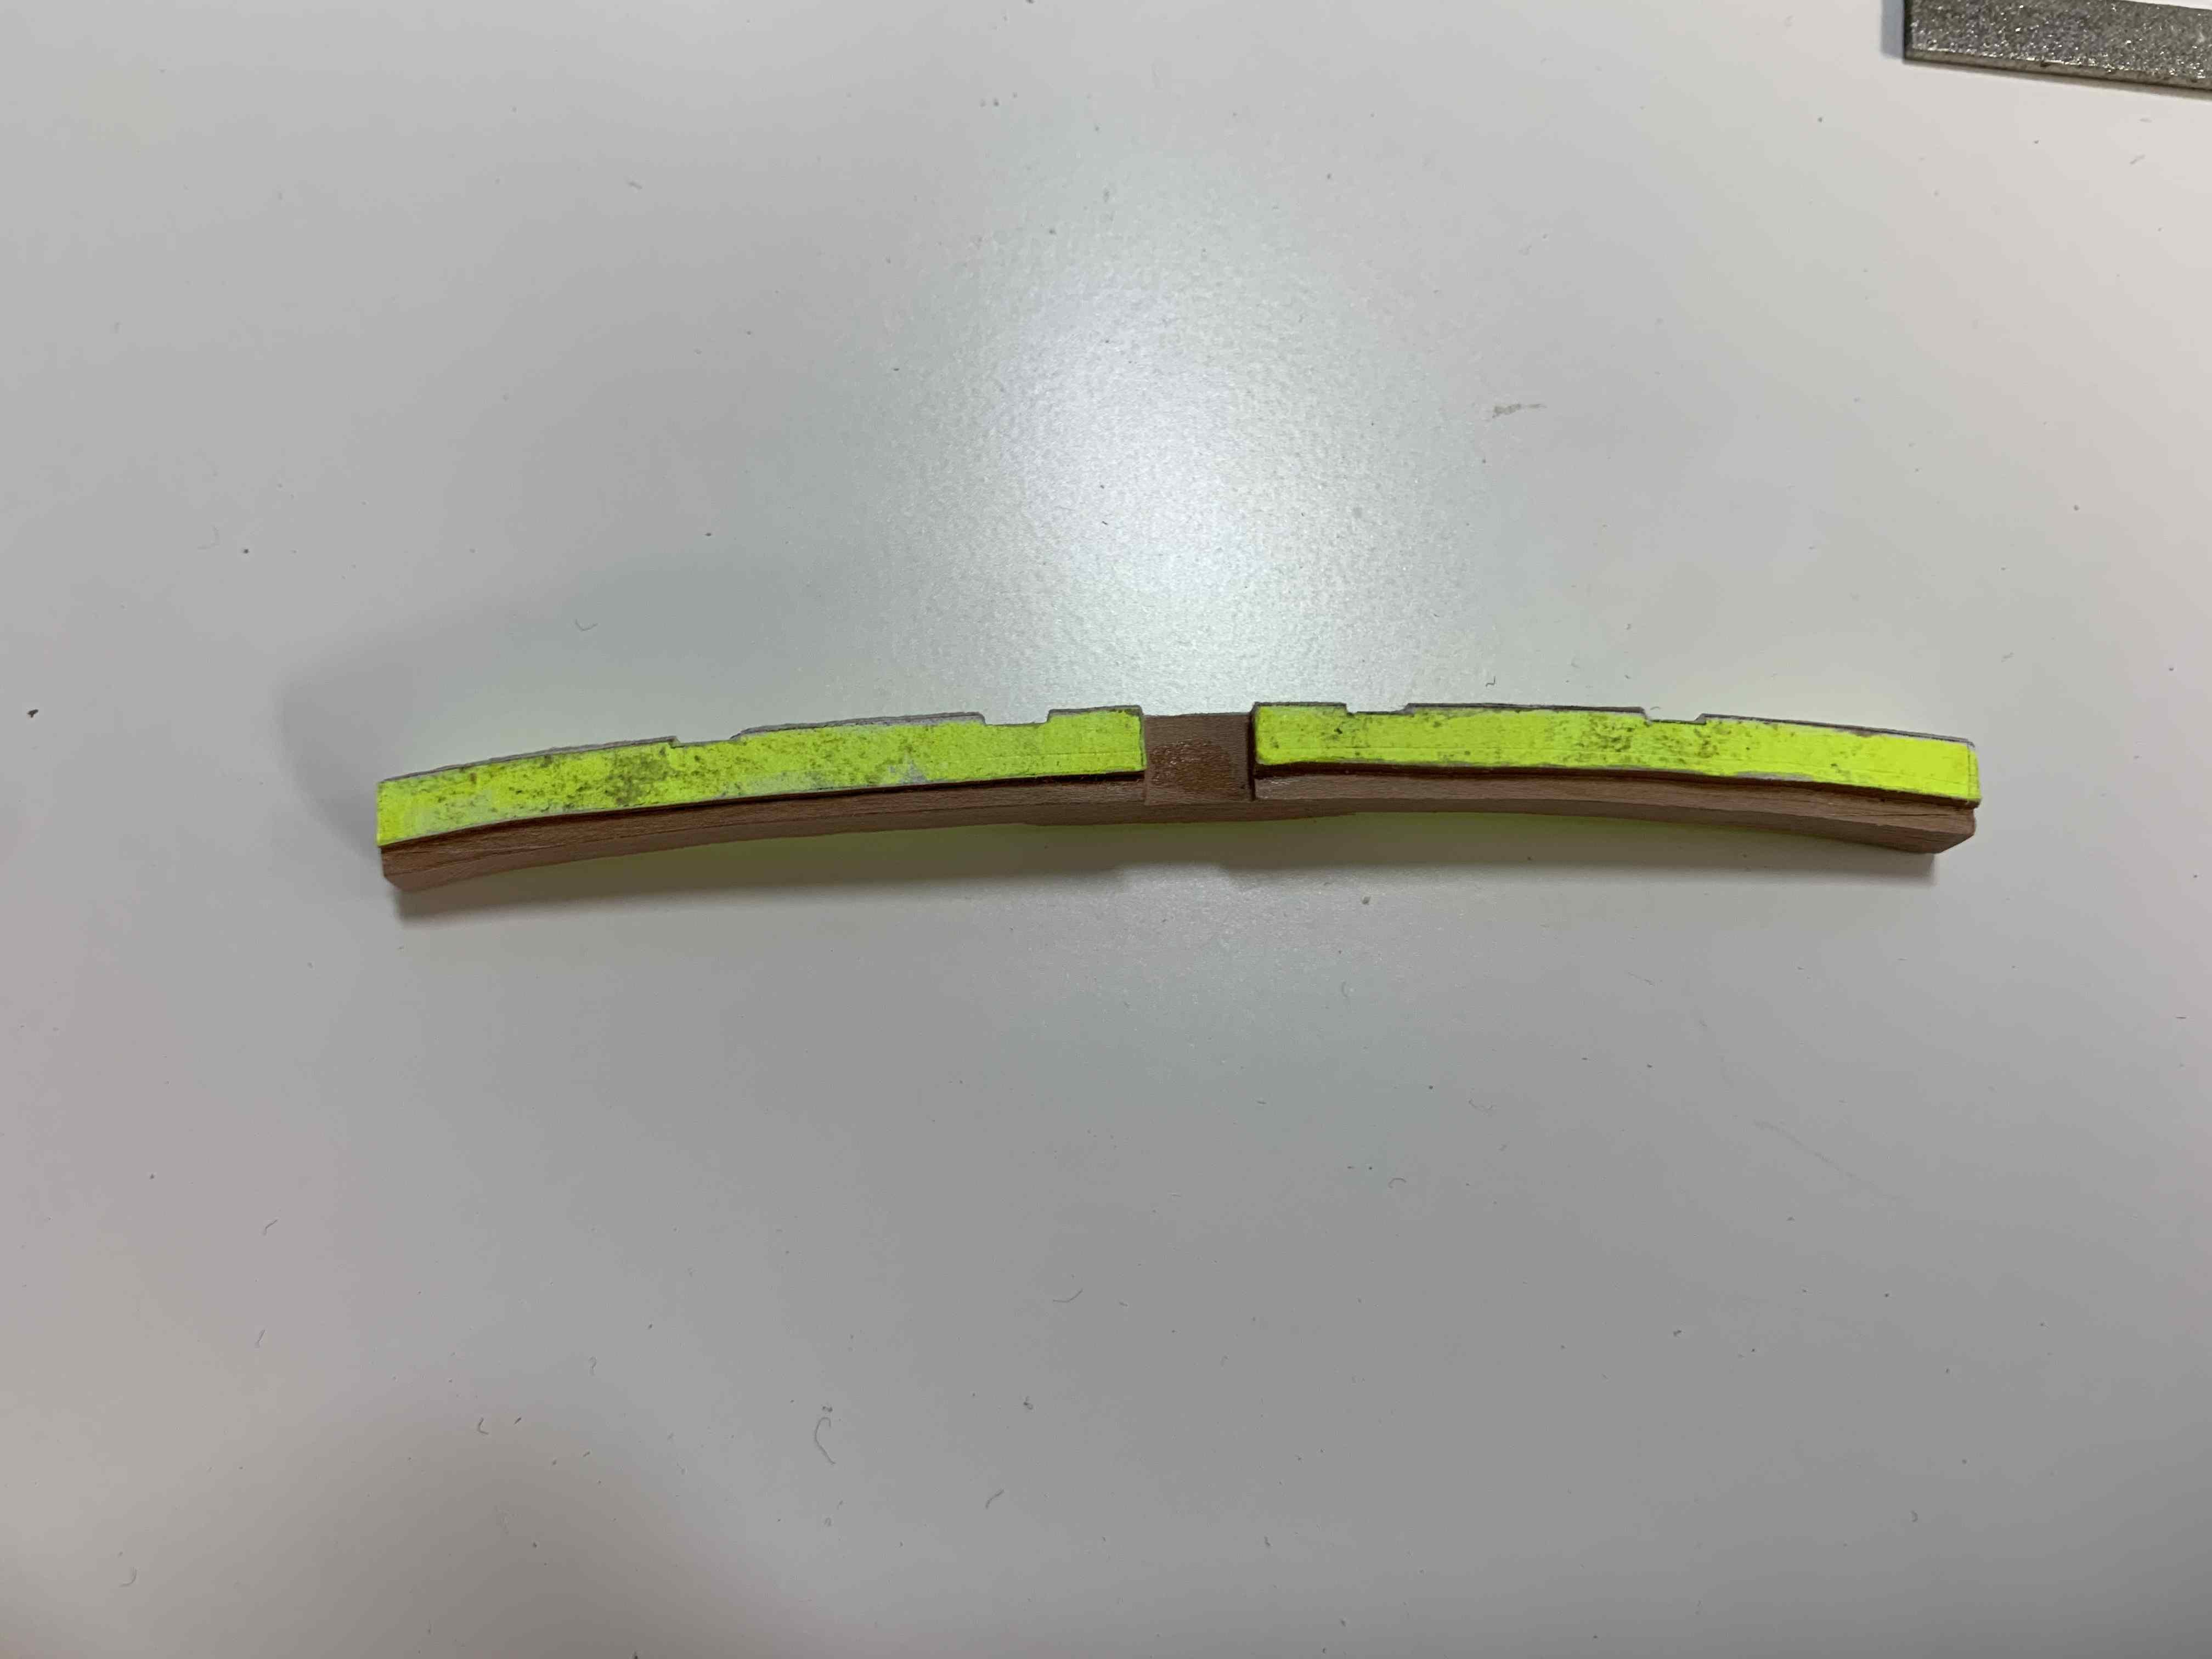
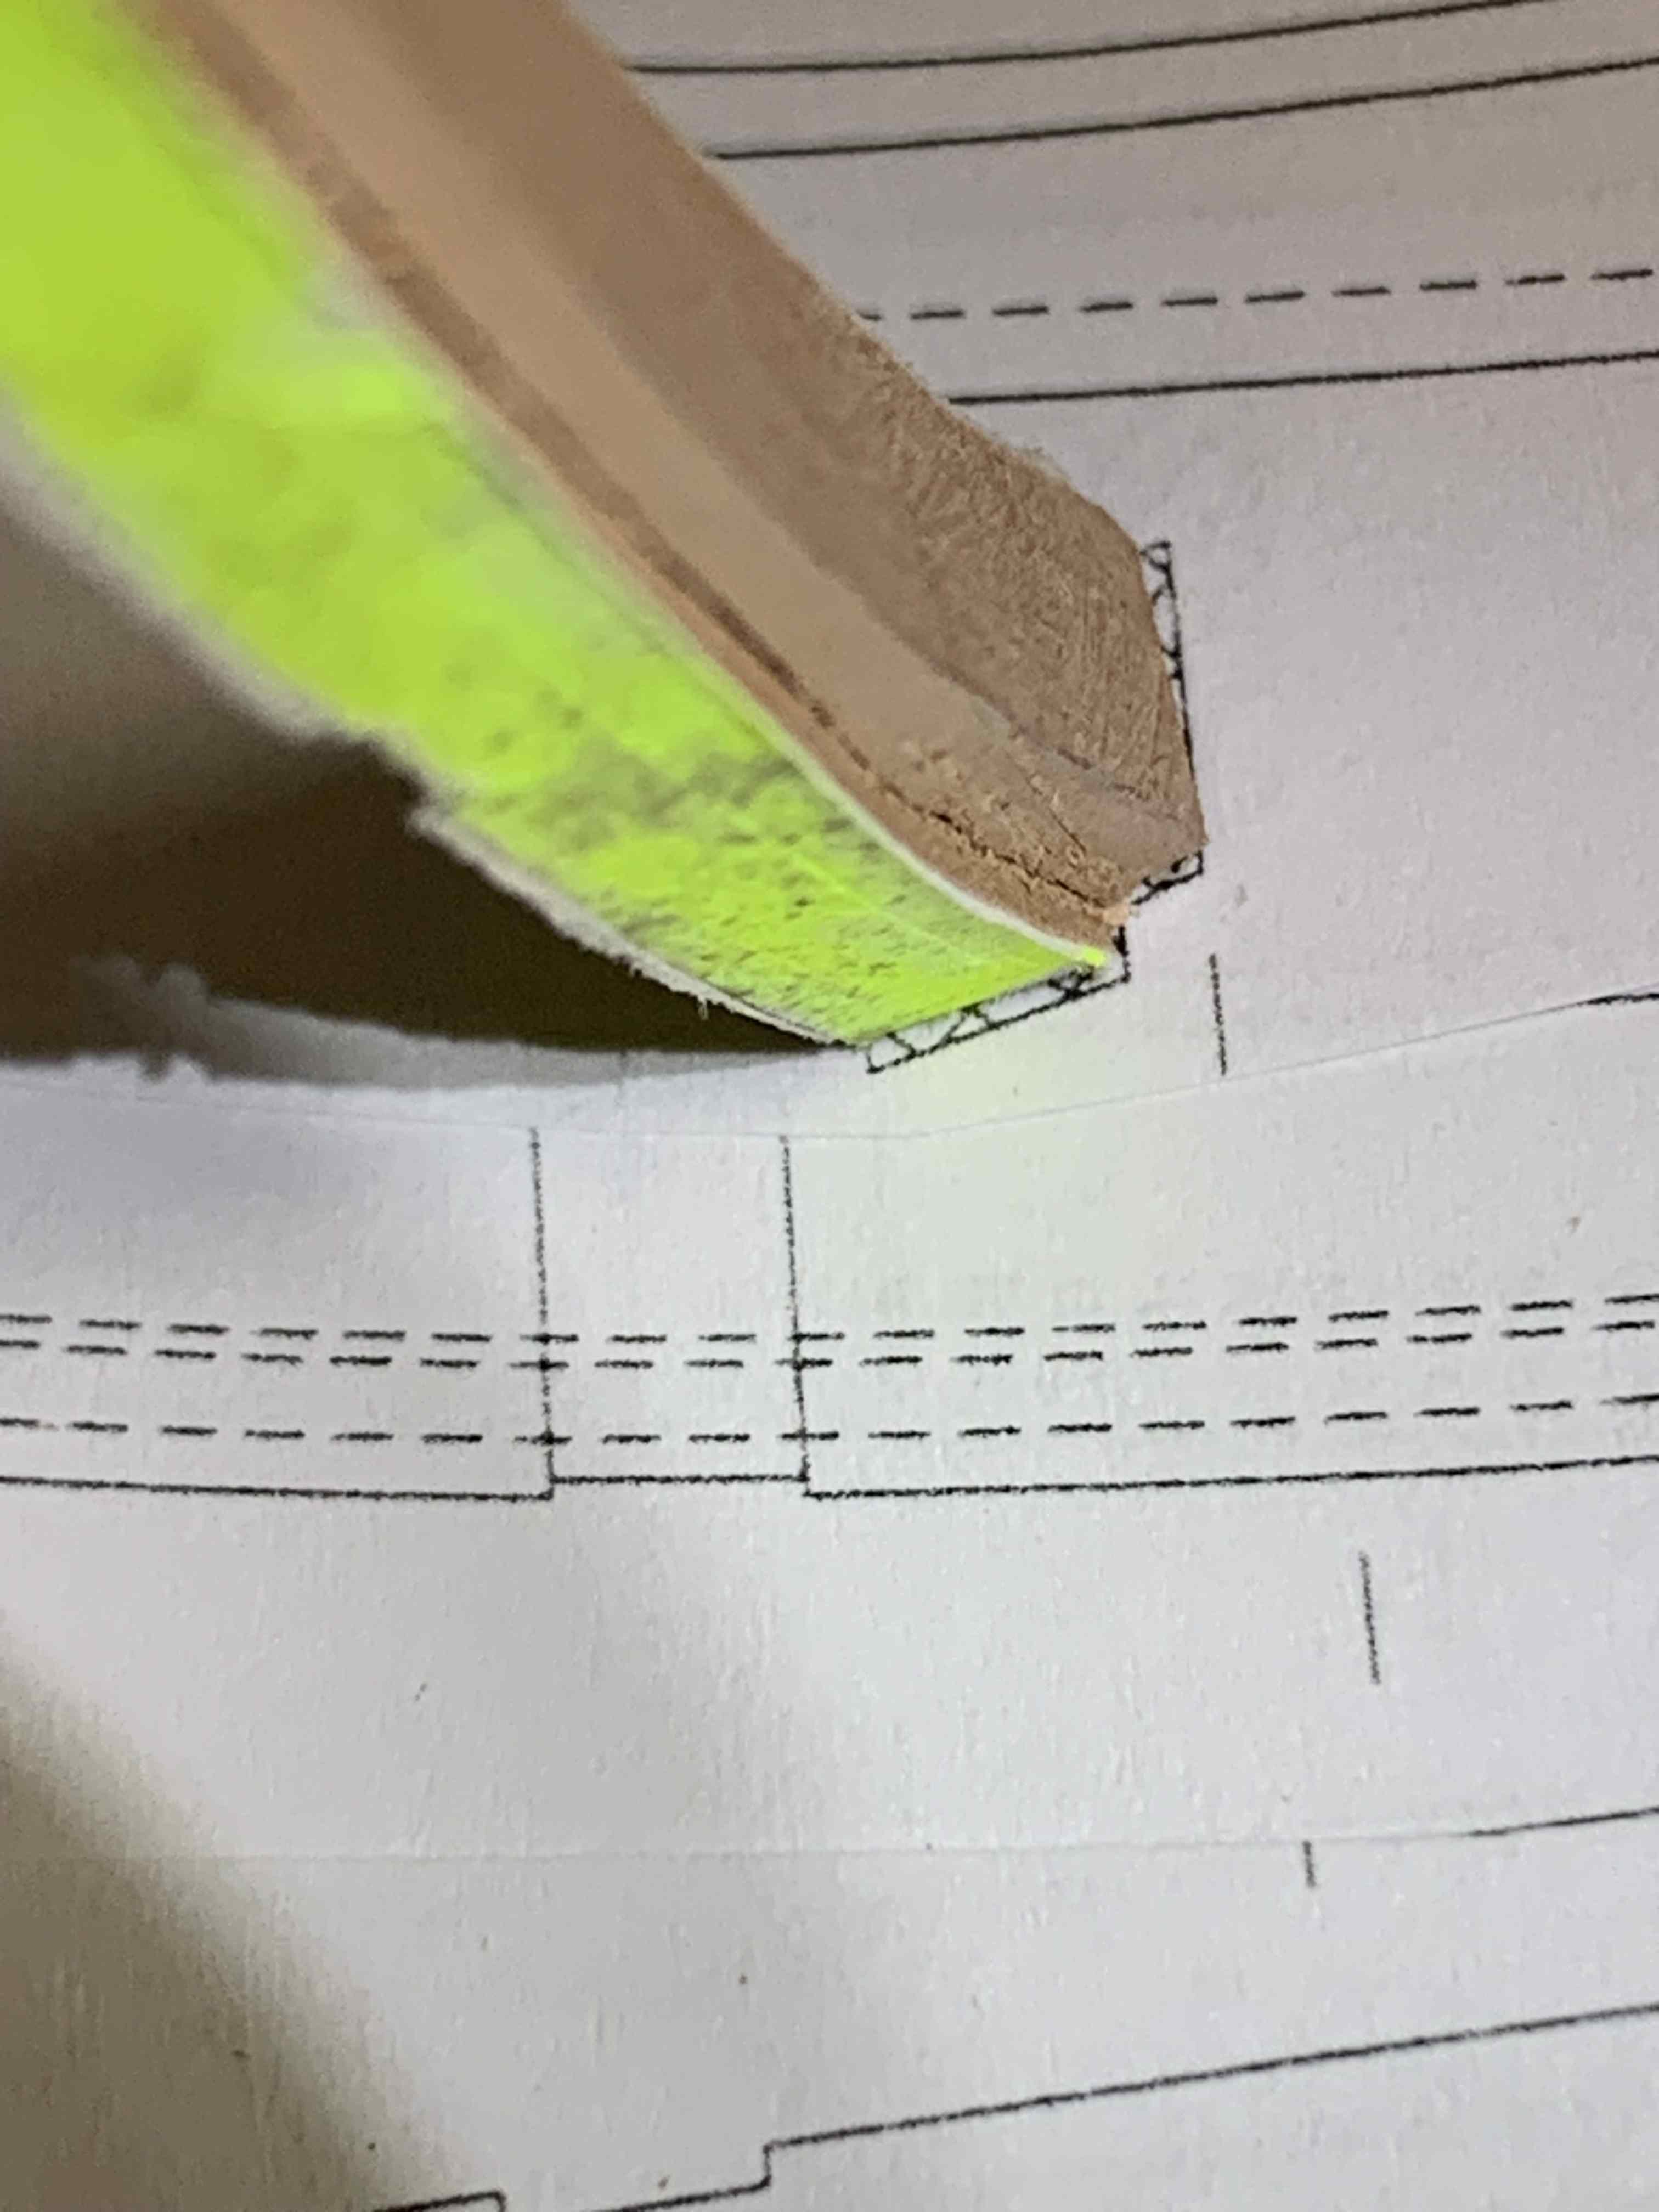
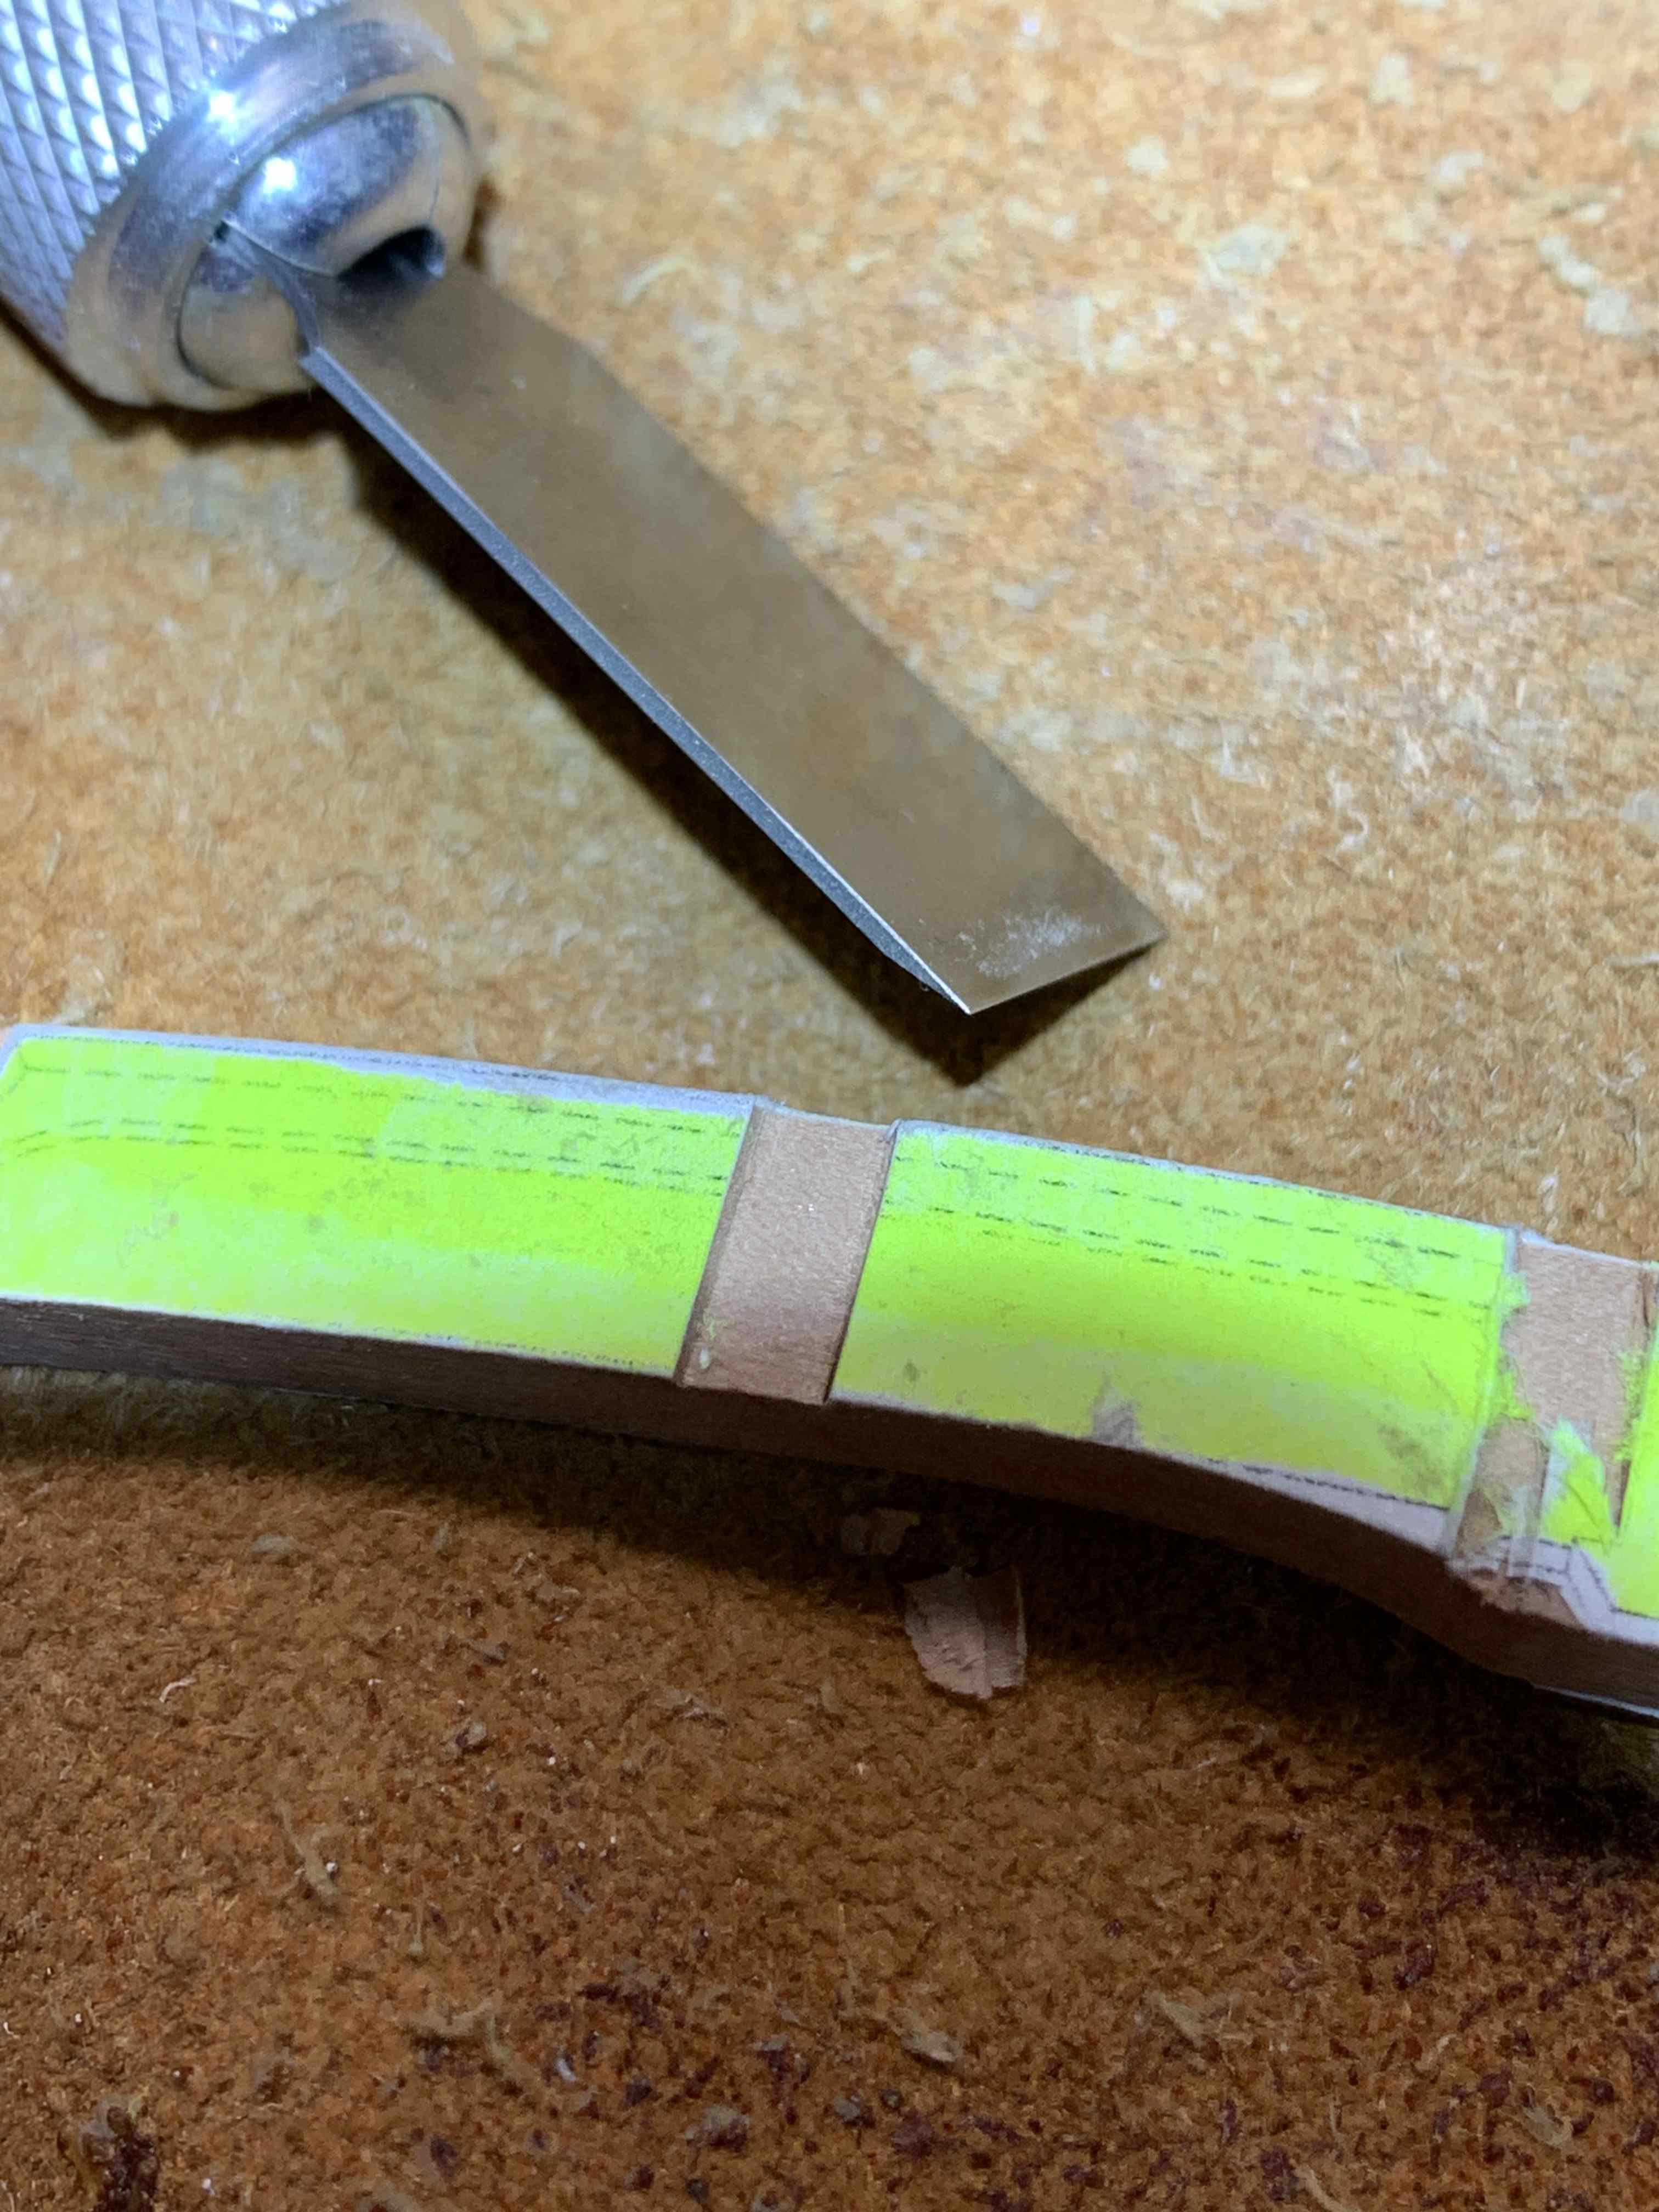
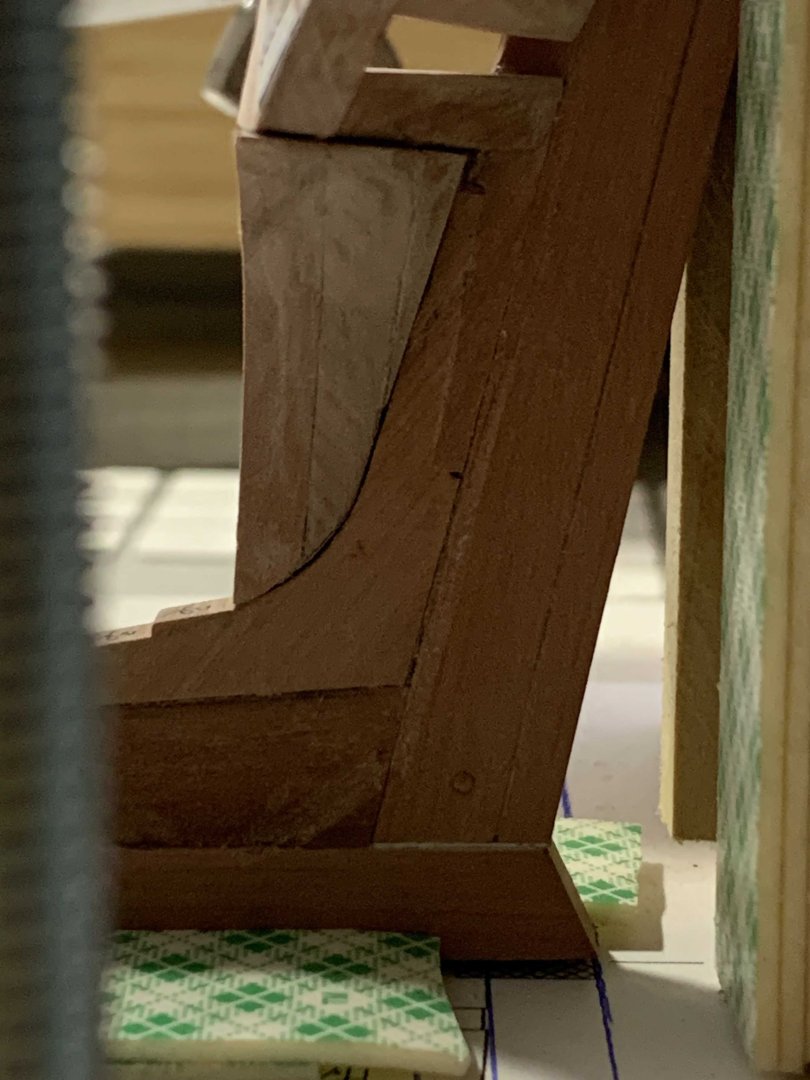
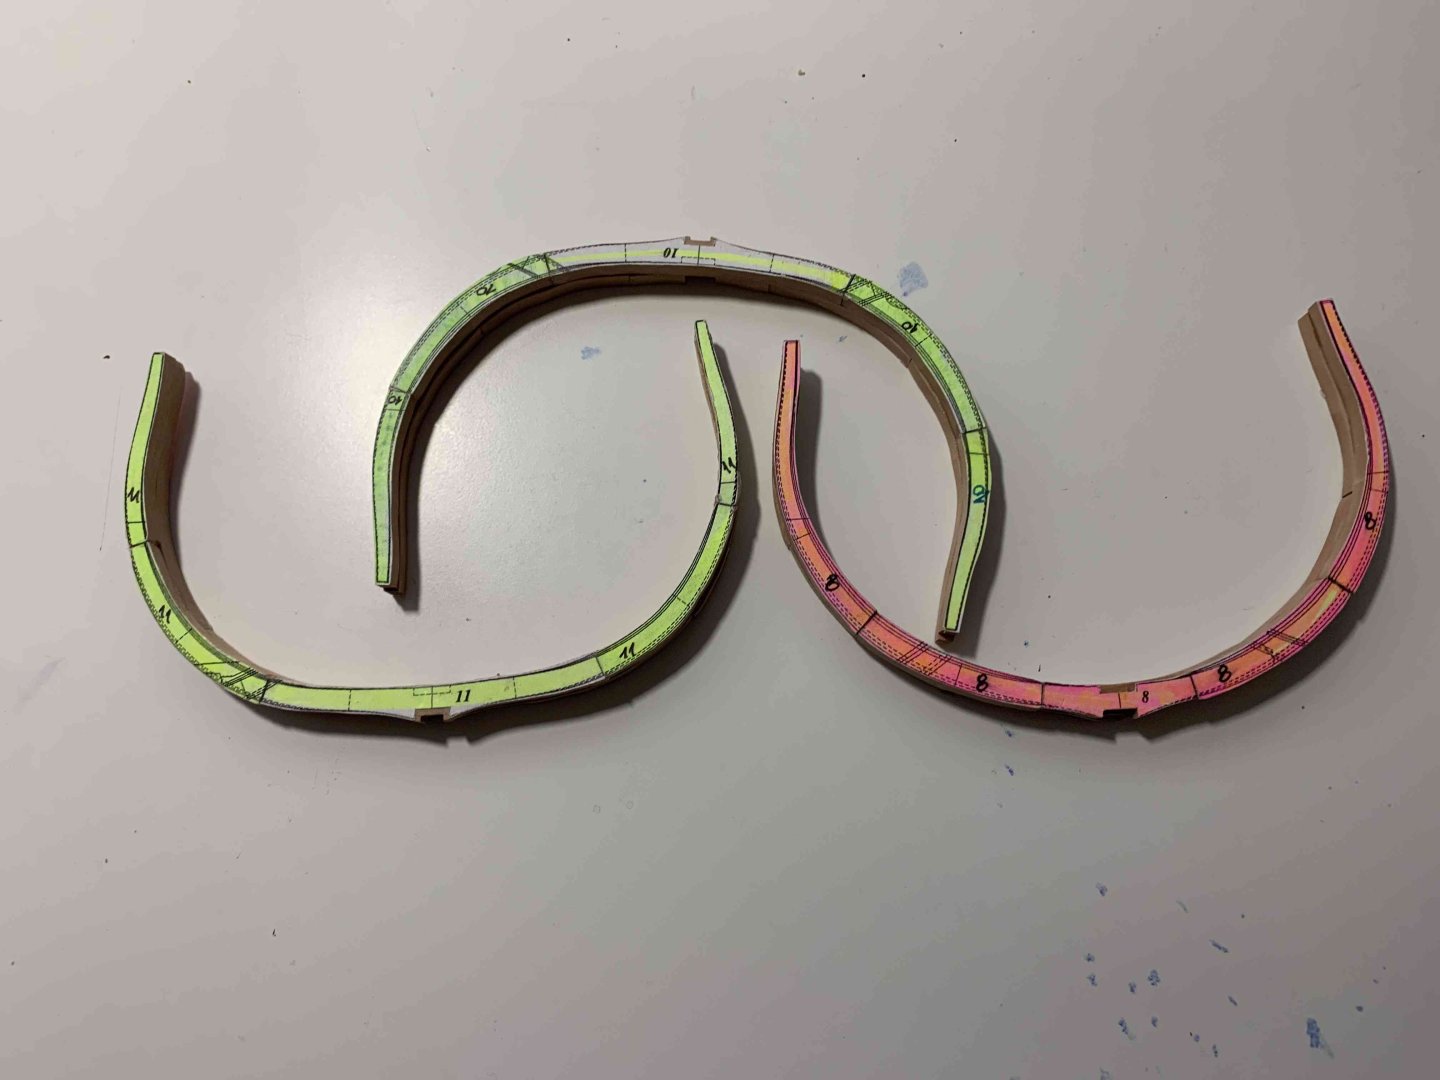
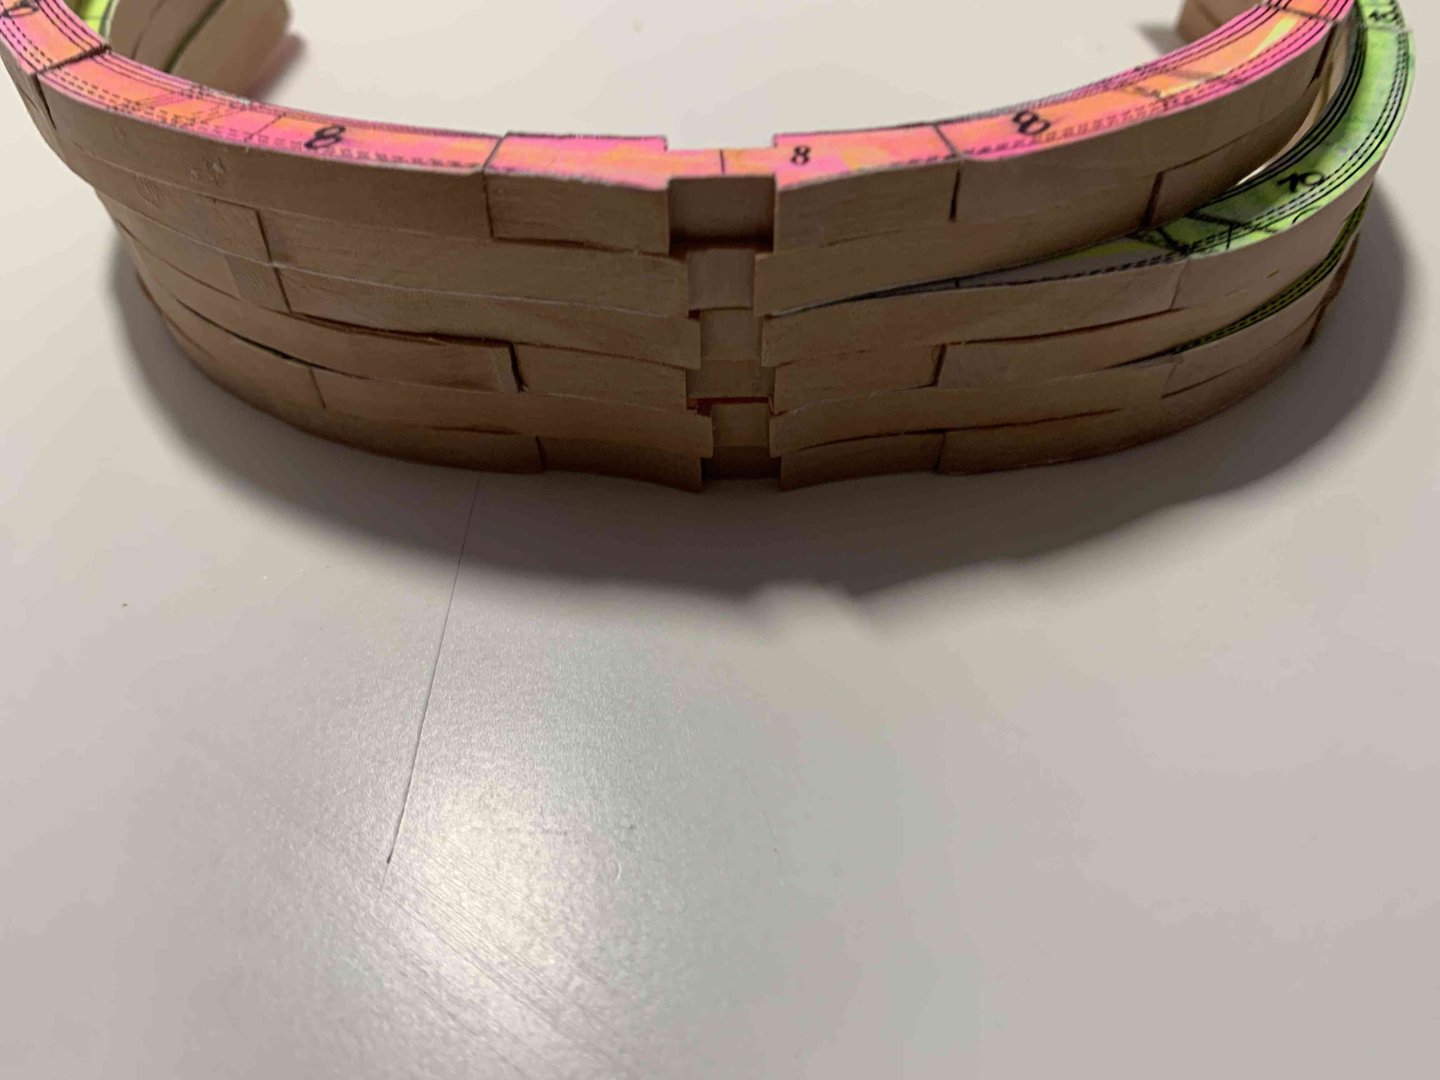
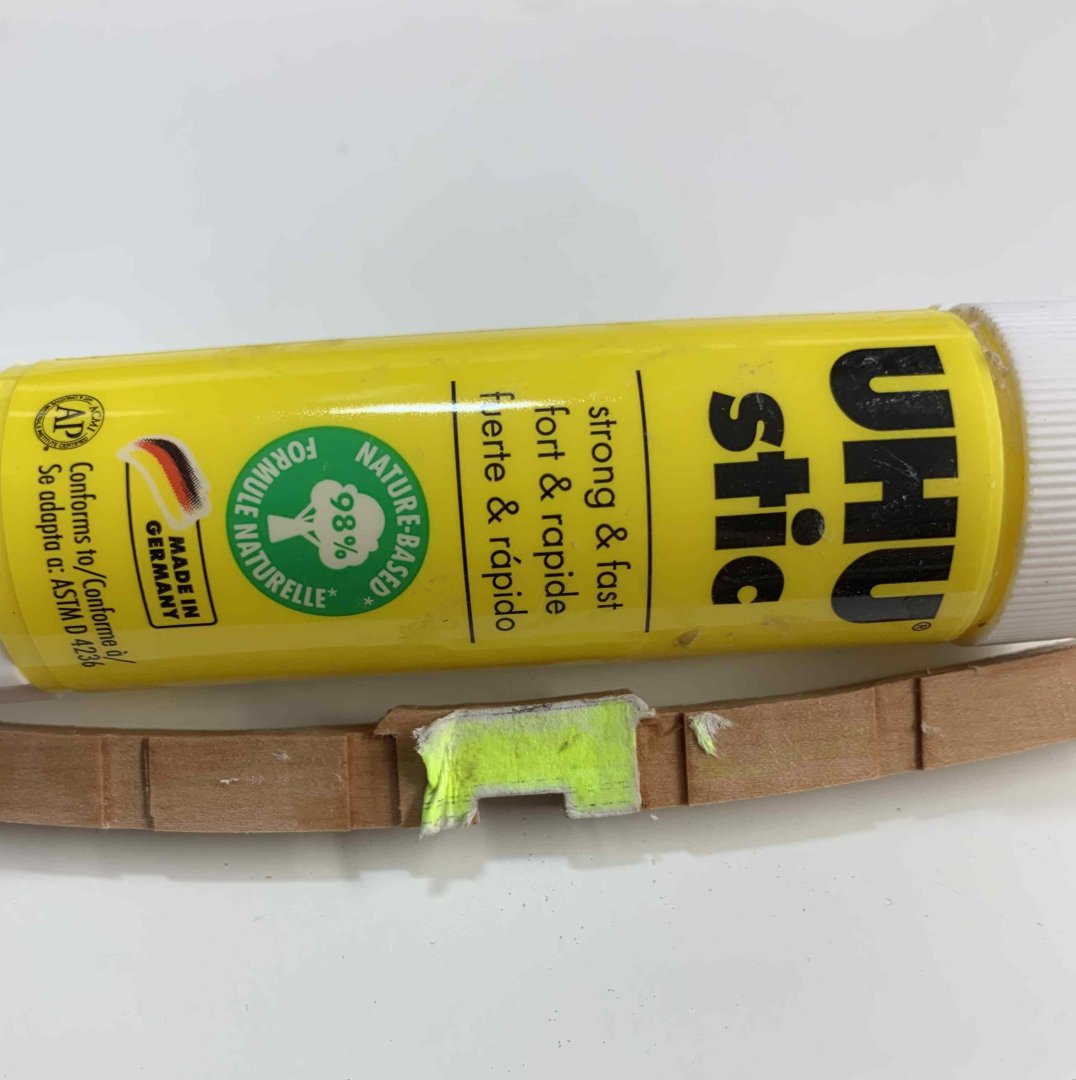
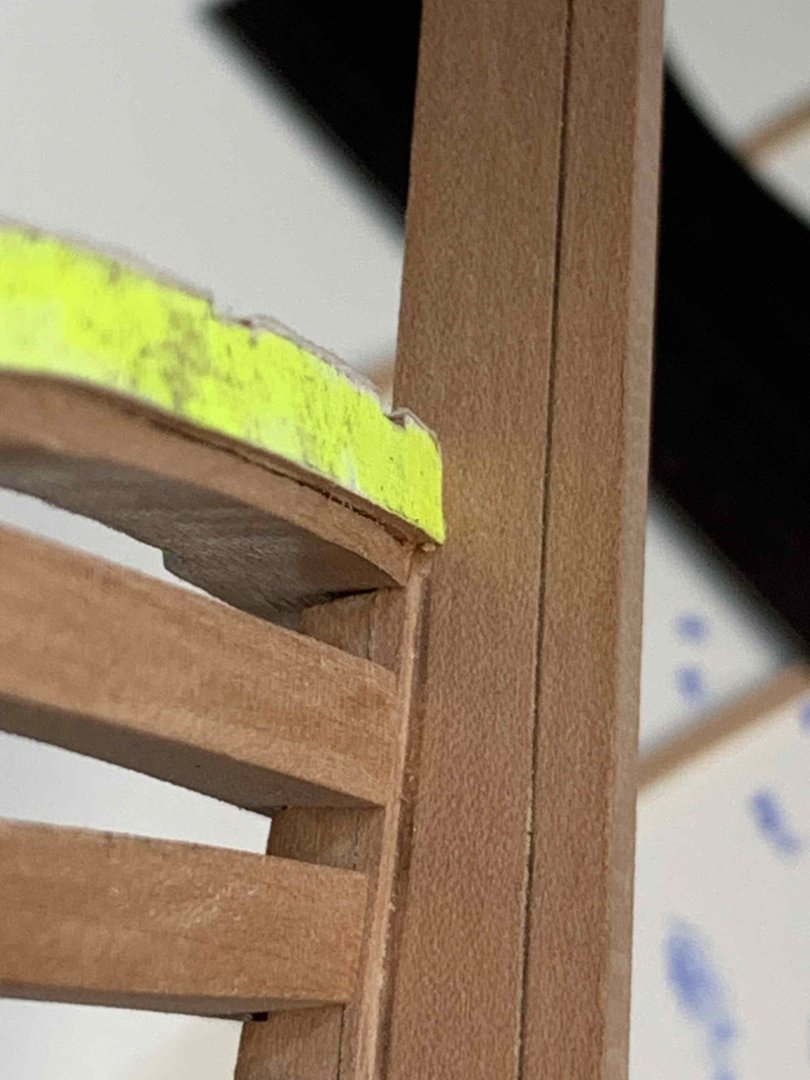
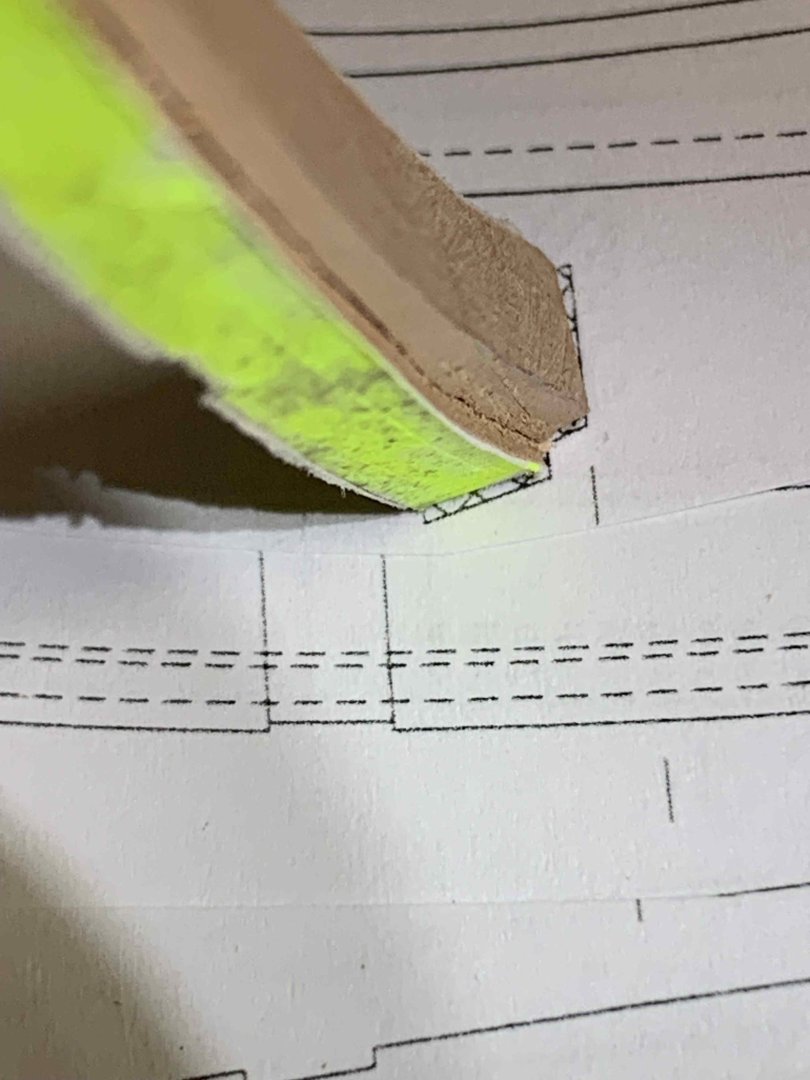
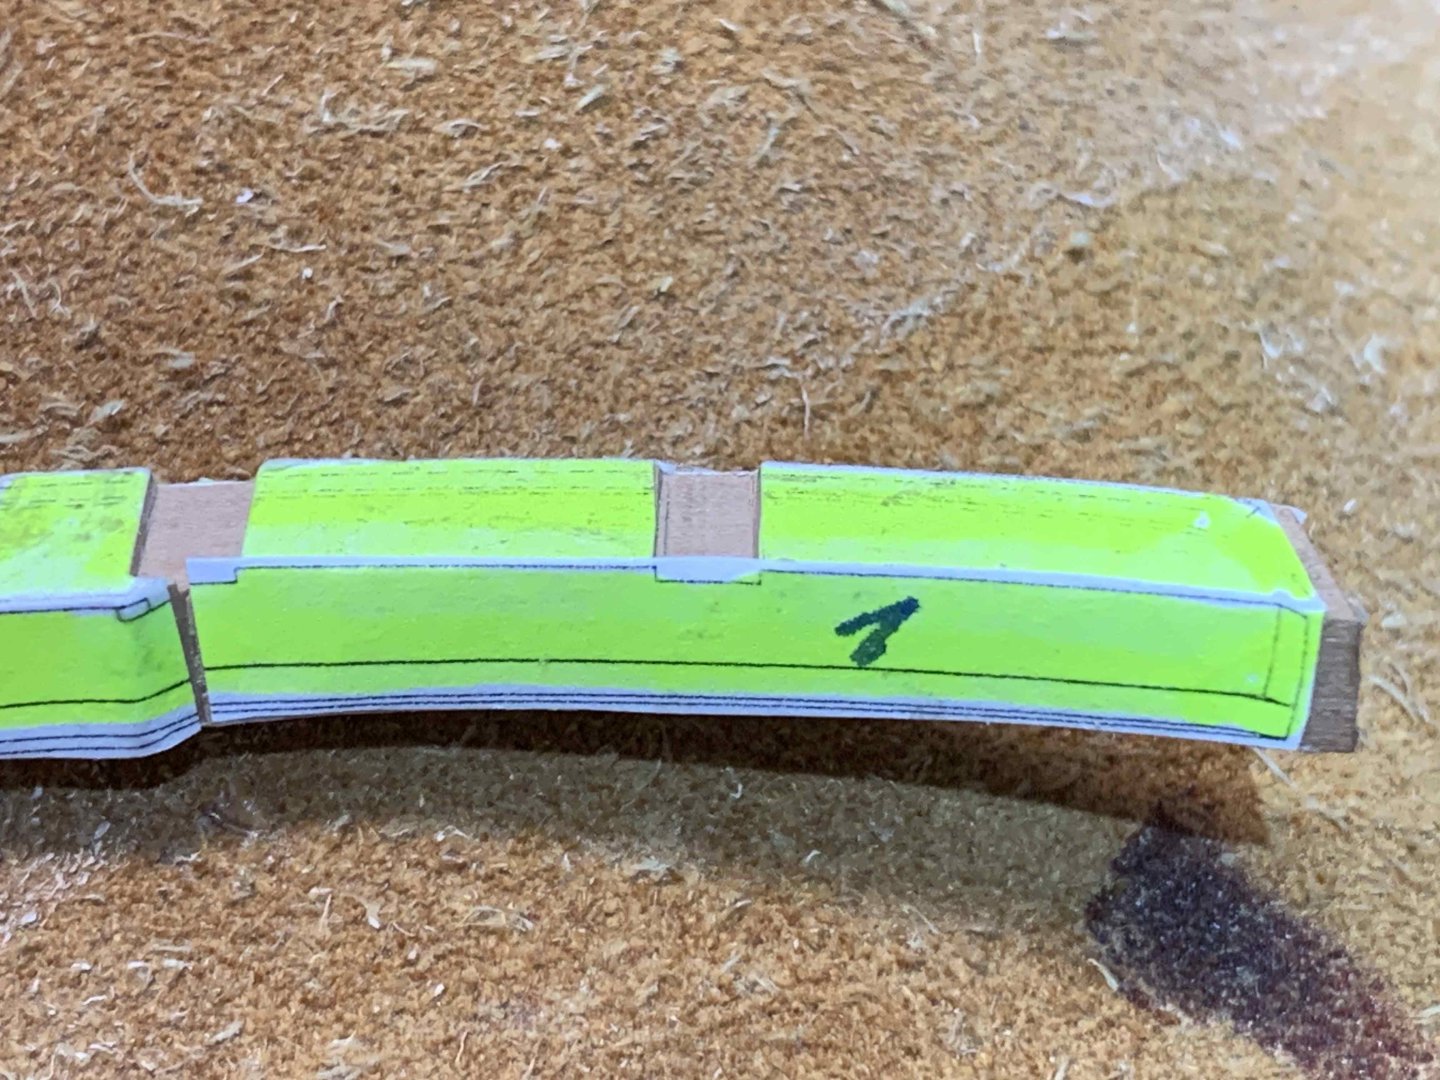
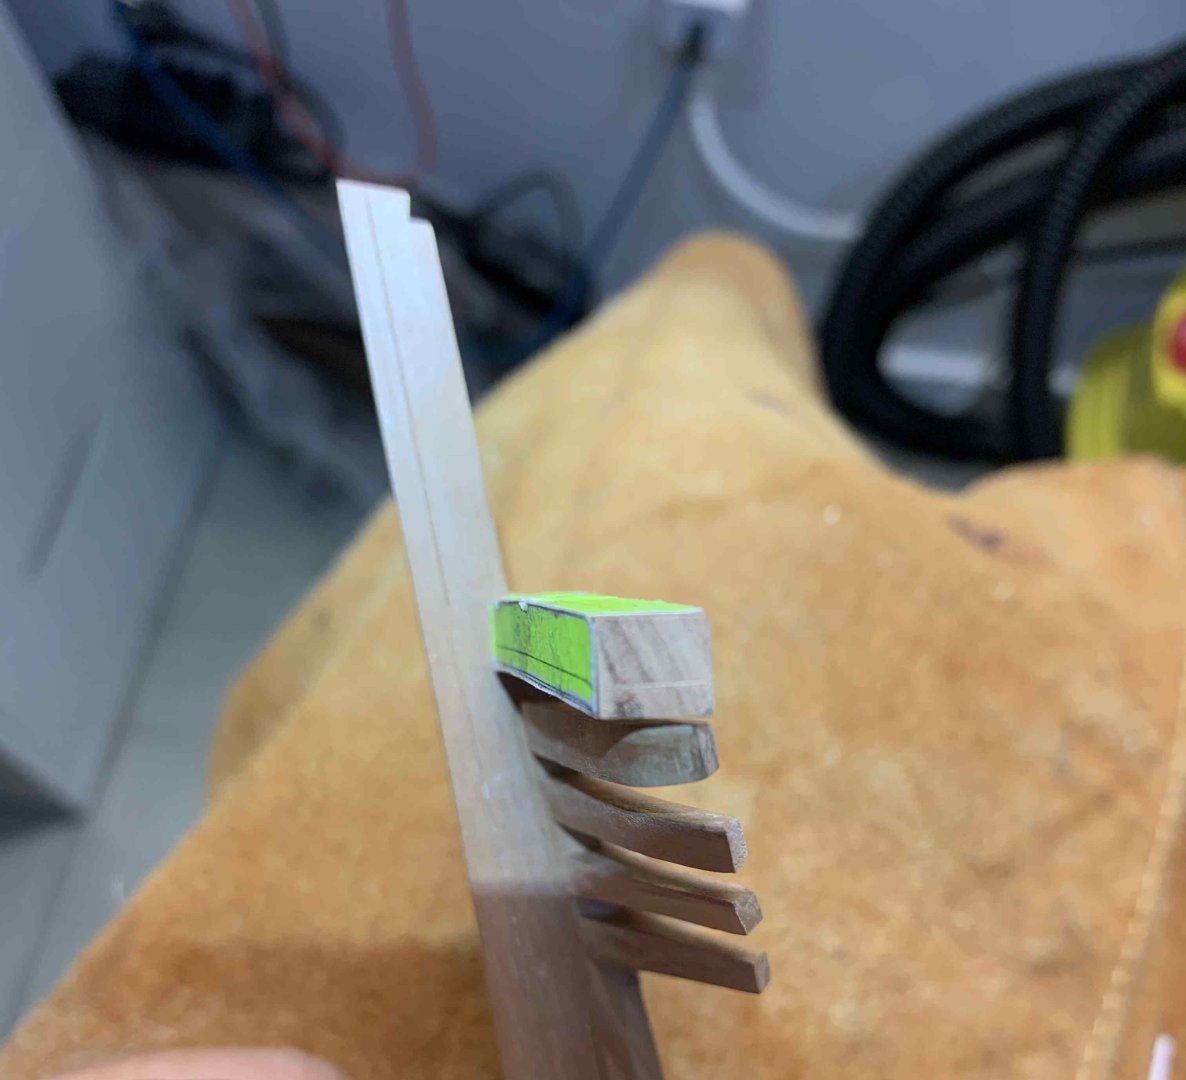
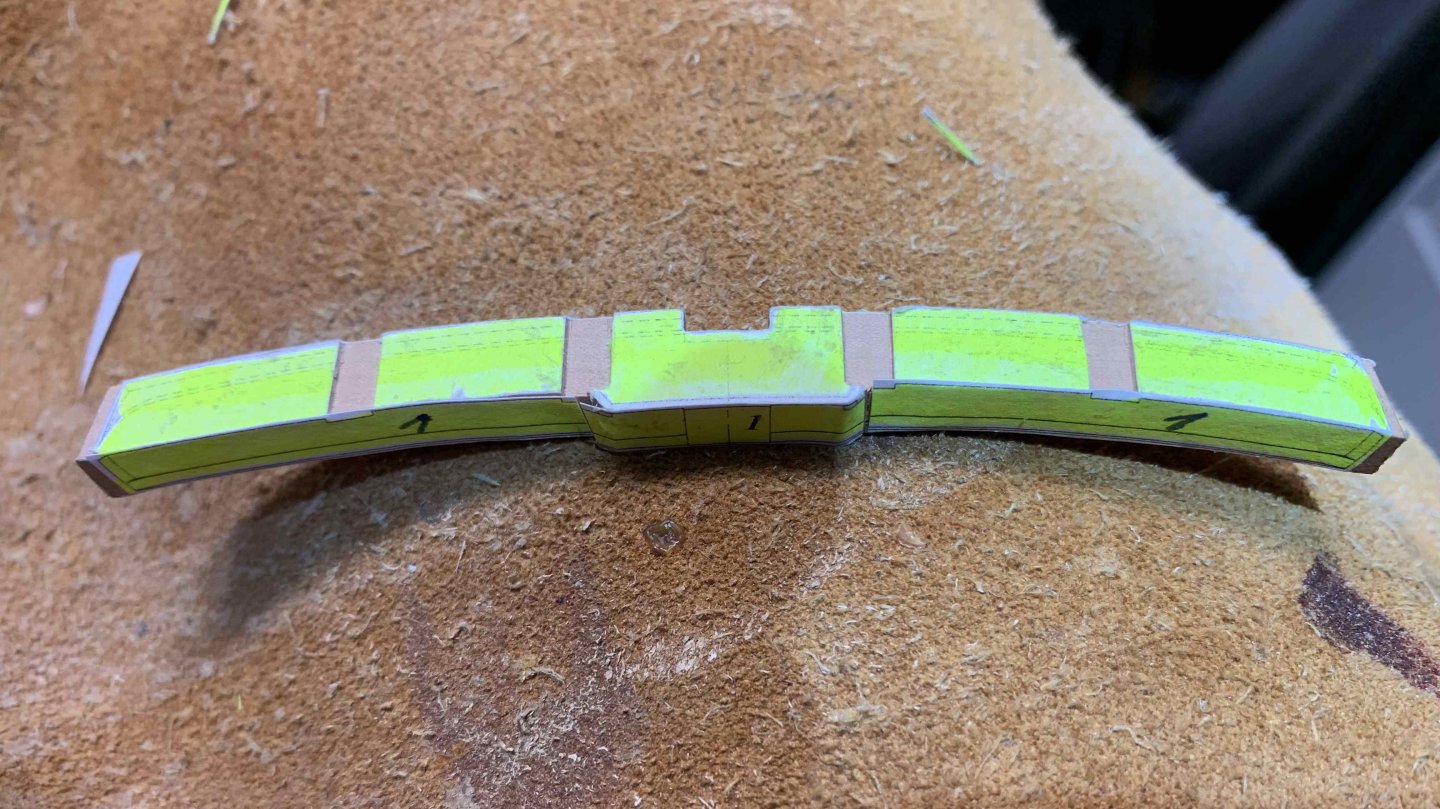
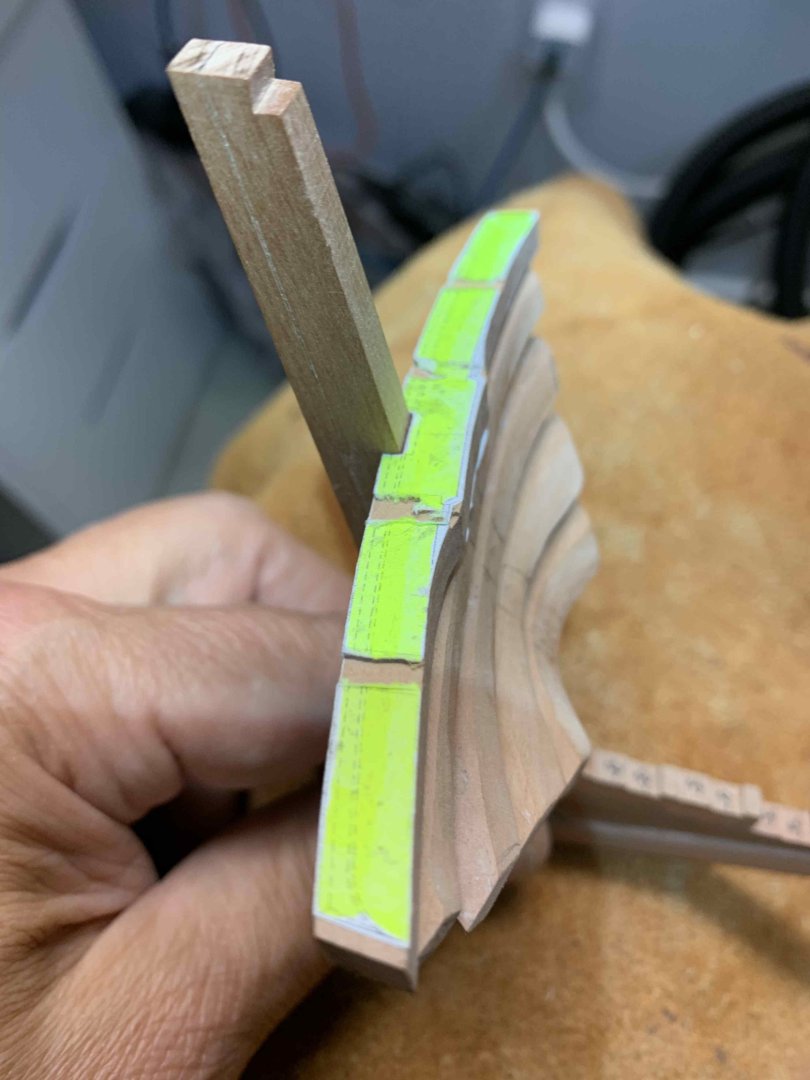
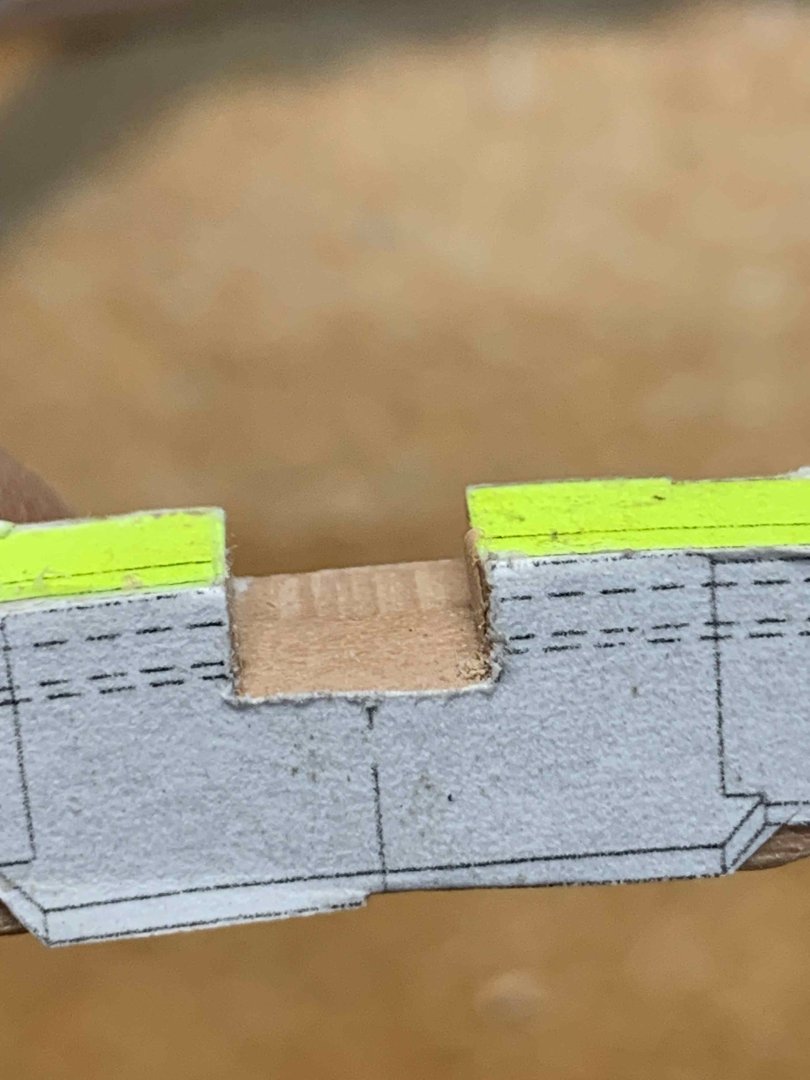
.. most of the work was done using mini chisel and scalpel.. Timber was yet another time refreshed with another template... .. so the rabbet line can be cut, using scalpel... First, marking... Then slowly cutting following marked line.. And few fit tests... and the final result, I think it is for now... hopefully no more modifications will be required on it. Still will not be glued permanently in case I need to adjust a bit... All my templates are glued with this glue: Templates are easy removable after being watered lightly... Happy modelling.


-
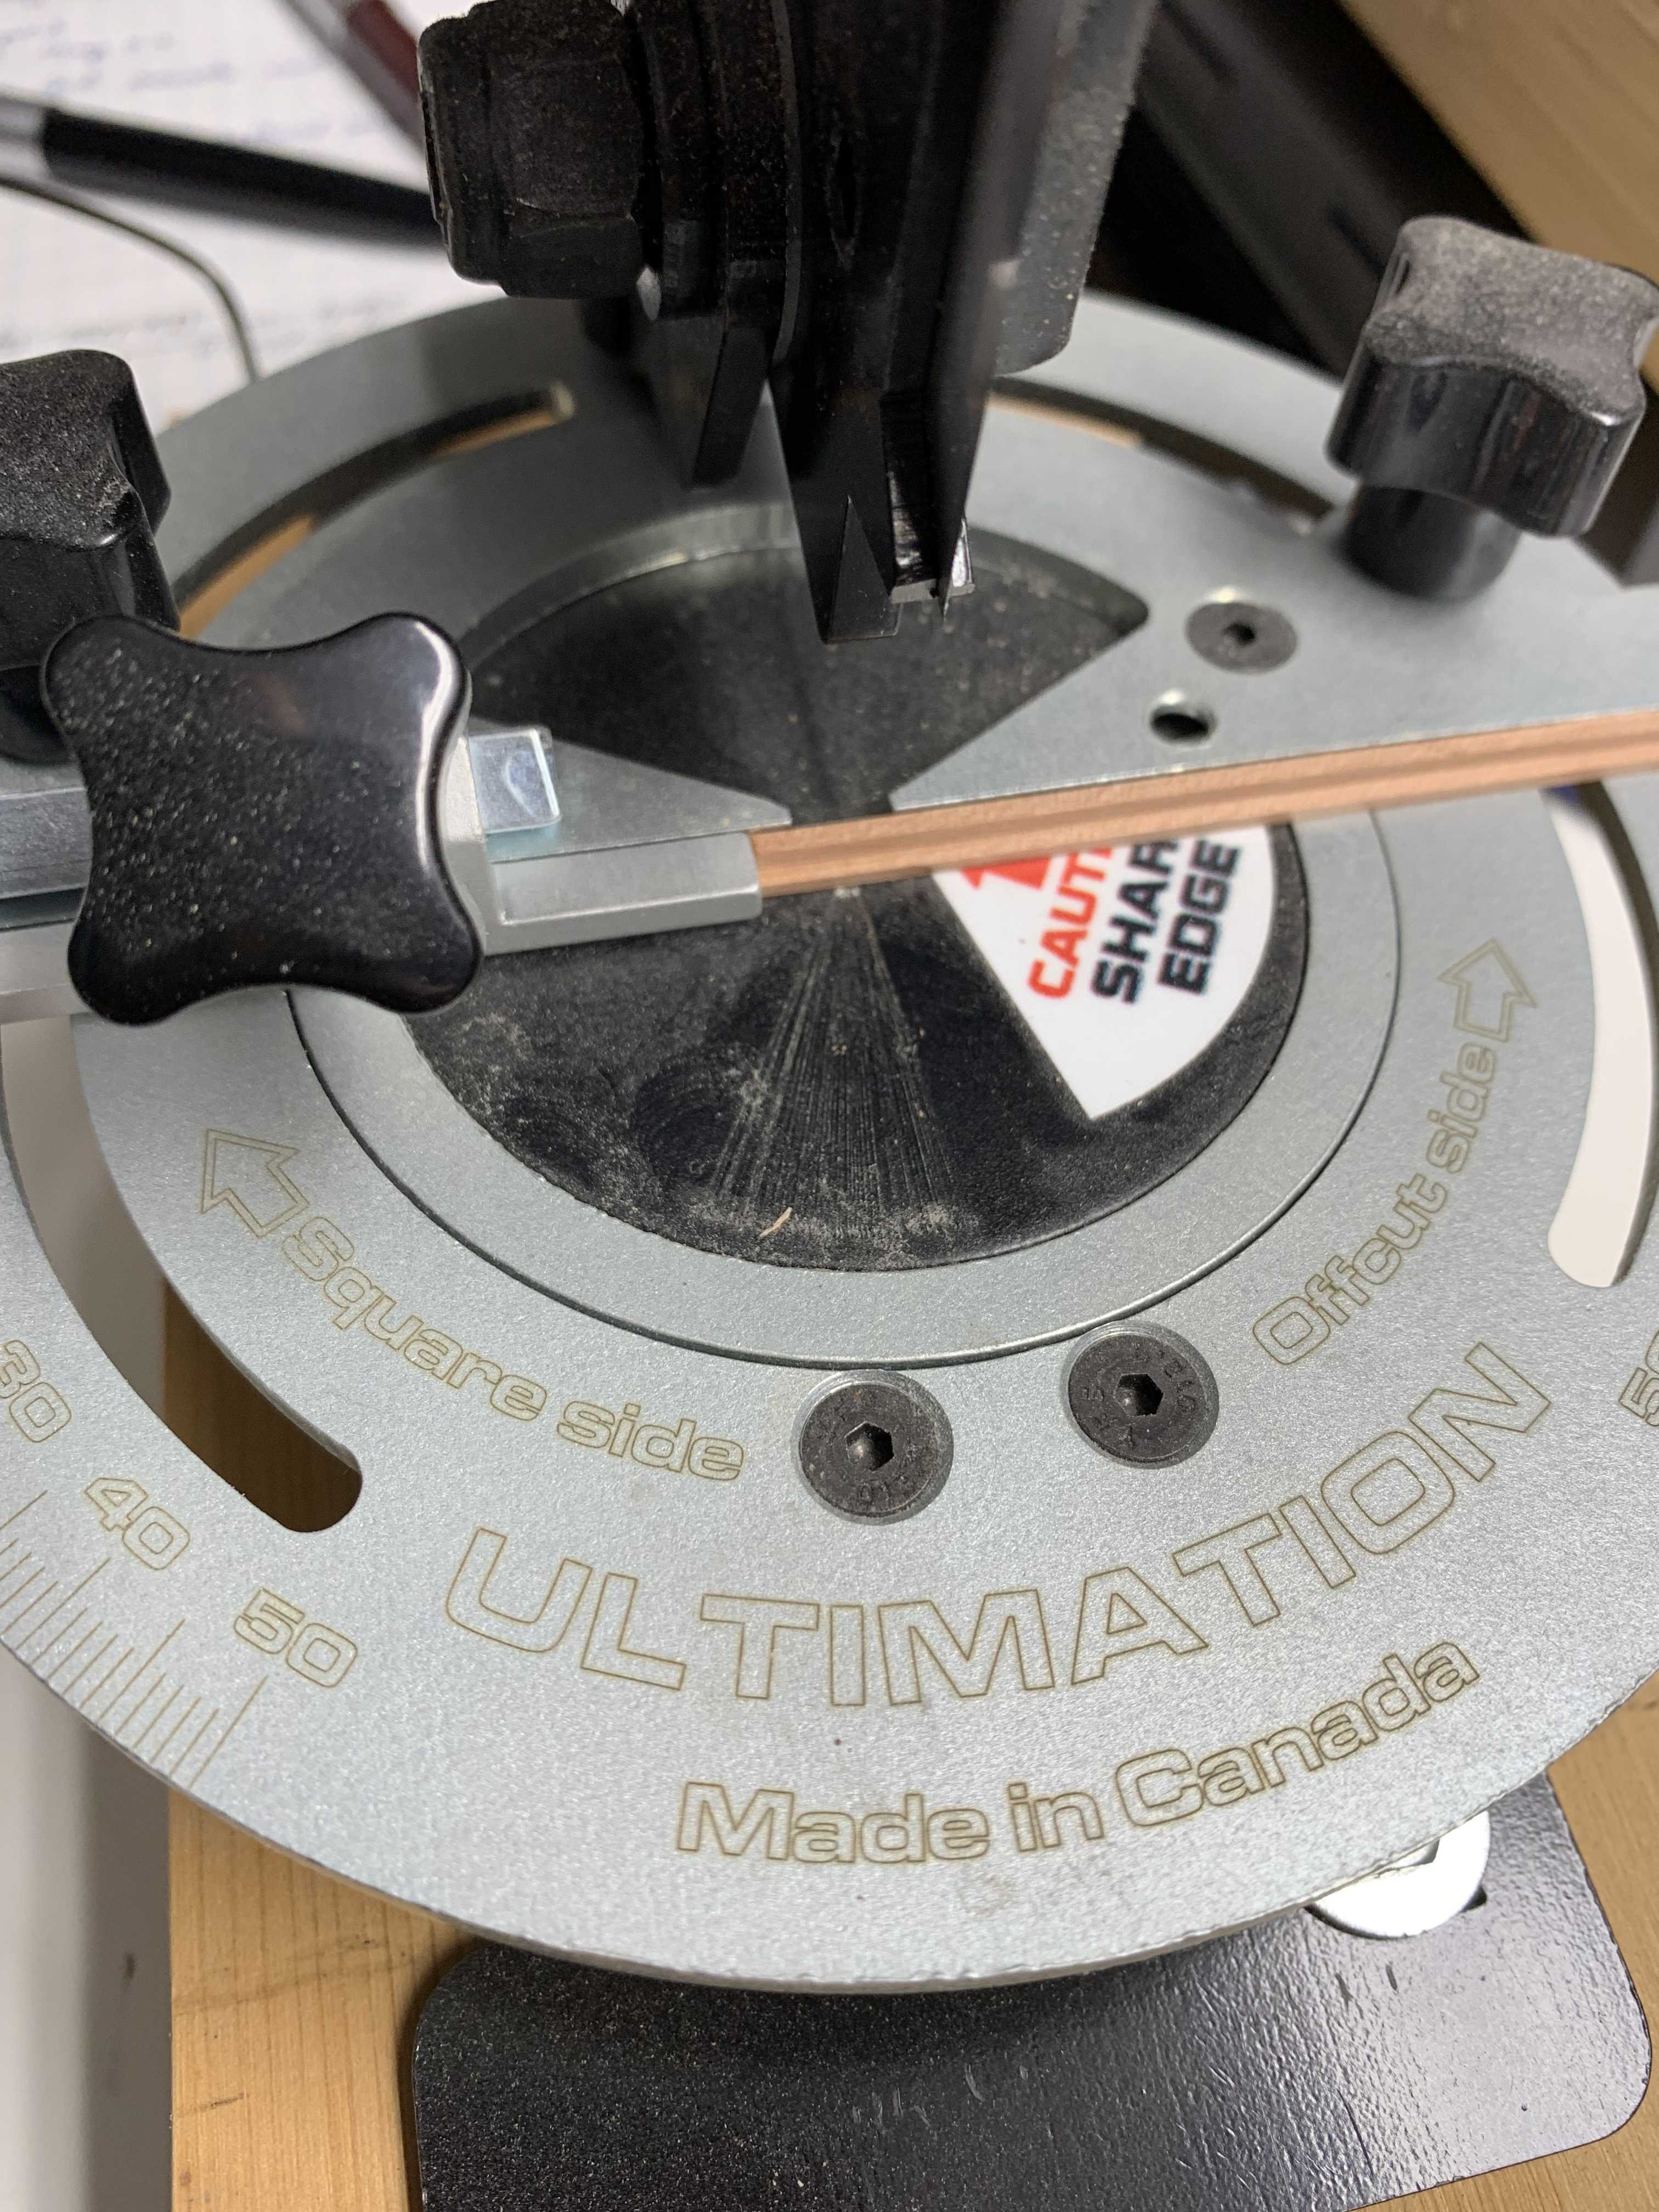
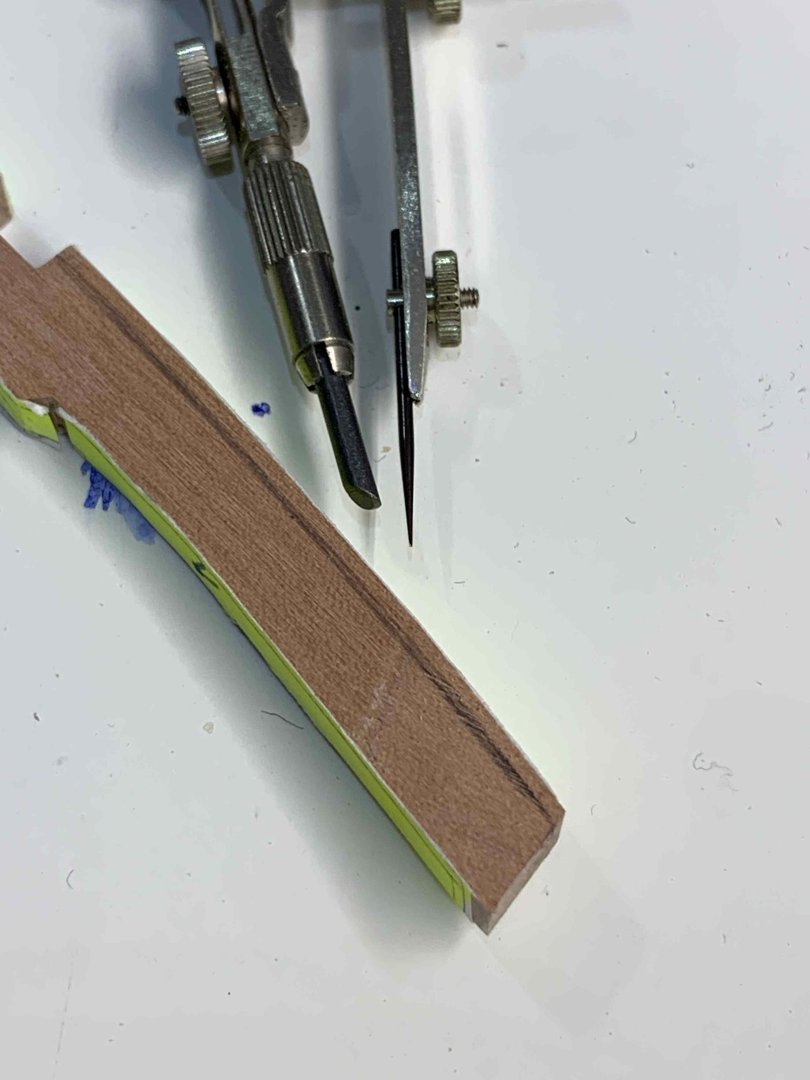
... Continue work on timber #5... the notches were done with a help of a mini chisel that was used to clean up area in notches, after initial cuts were made on the mill, about half of a mm from the line. Fitting test was also performed few times... The angled area was done by hand, not having an angle wise to assist with milling.. First the mill was used to cut as deep as I can go, then hand saw was used to cut angled cuts and finally the scalpel was used to carve out extra wood.. ...


-
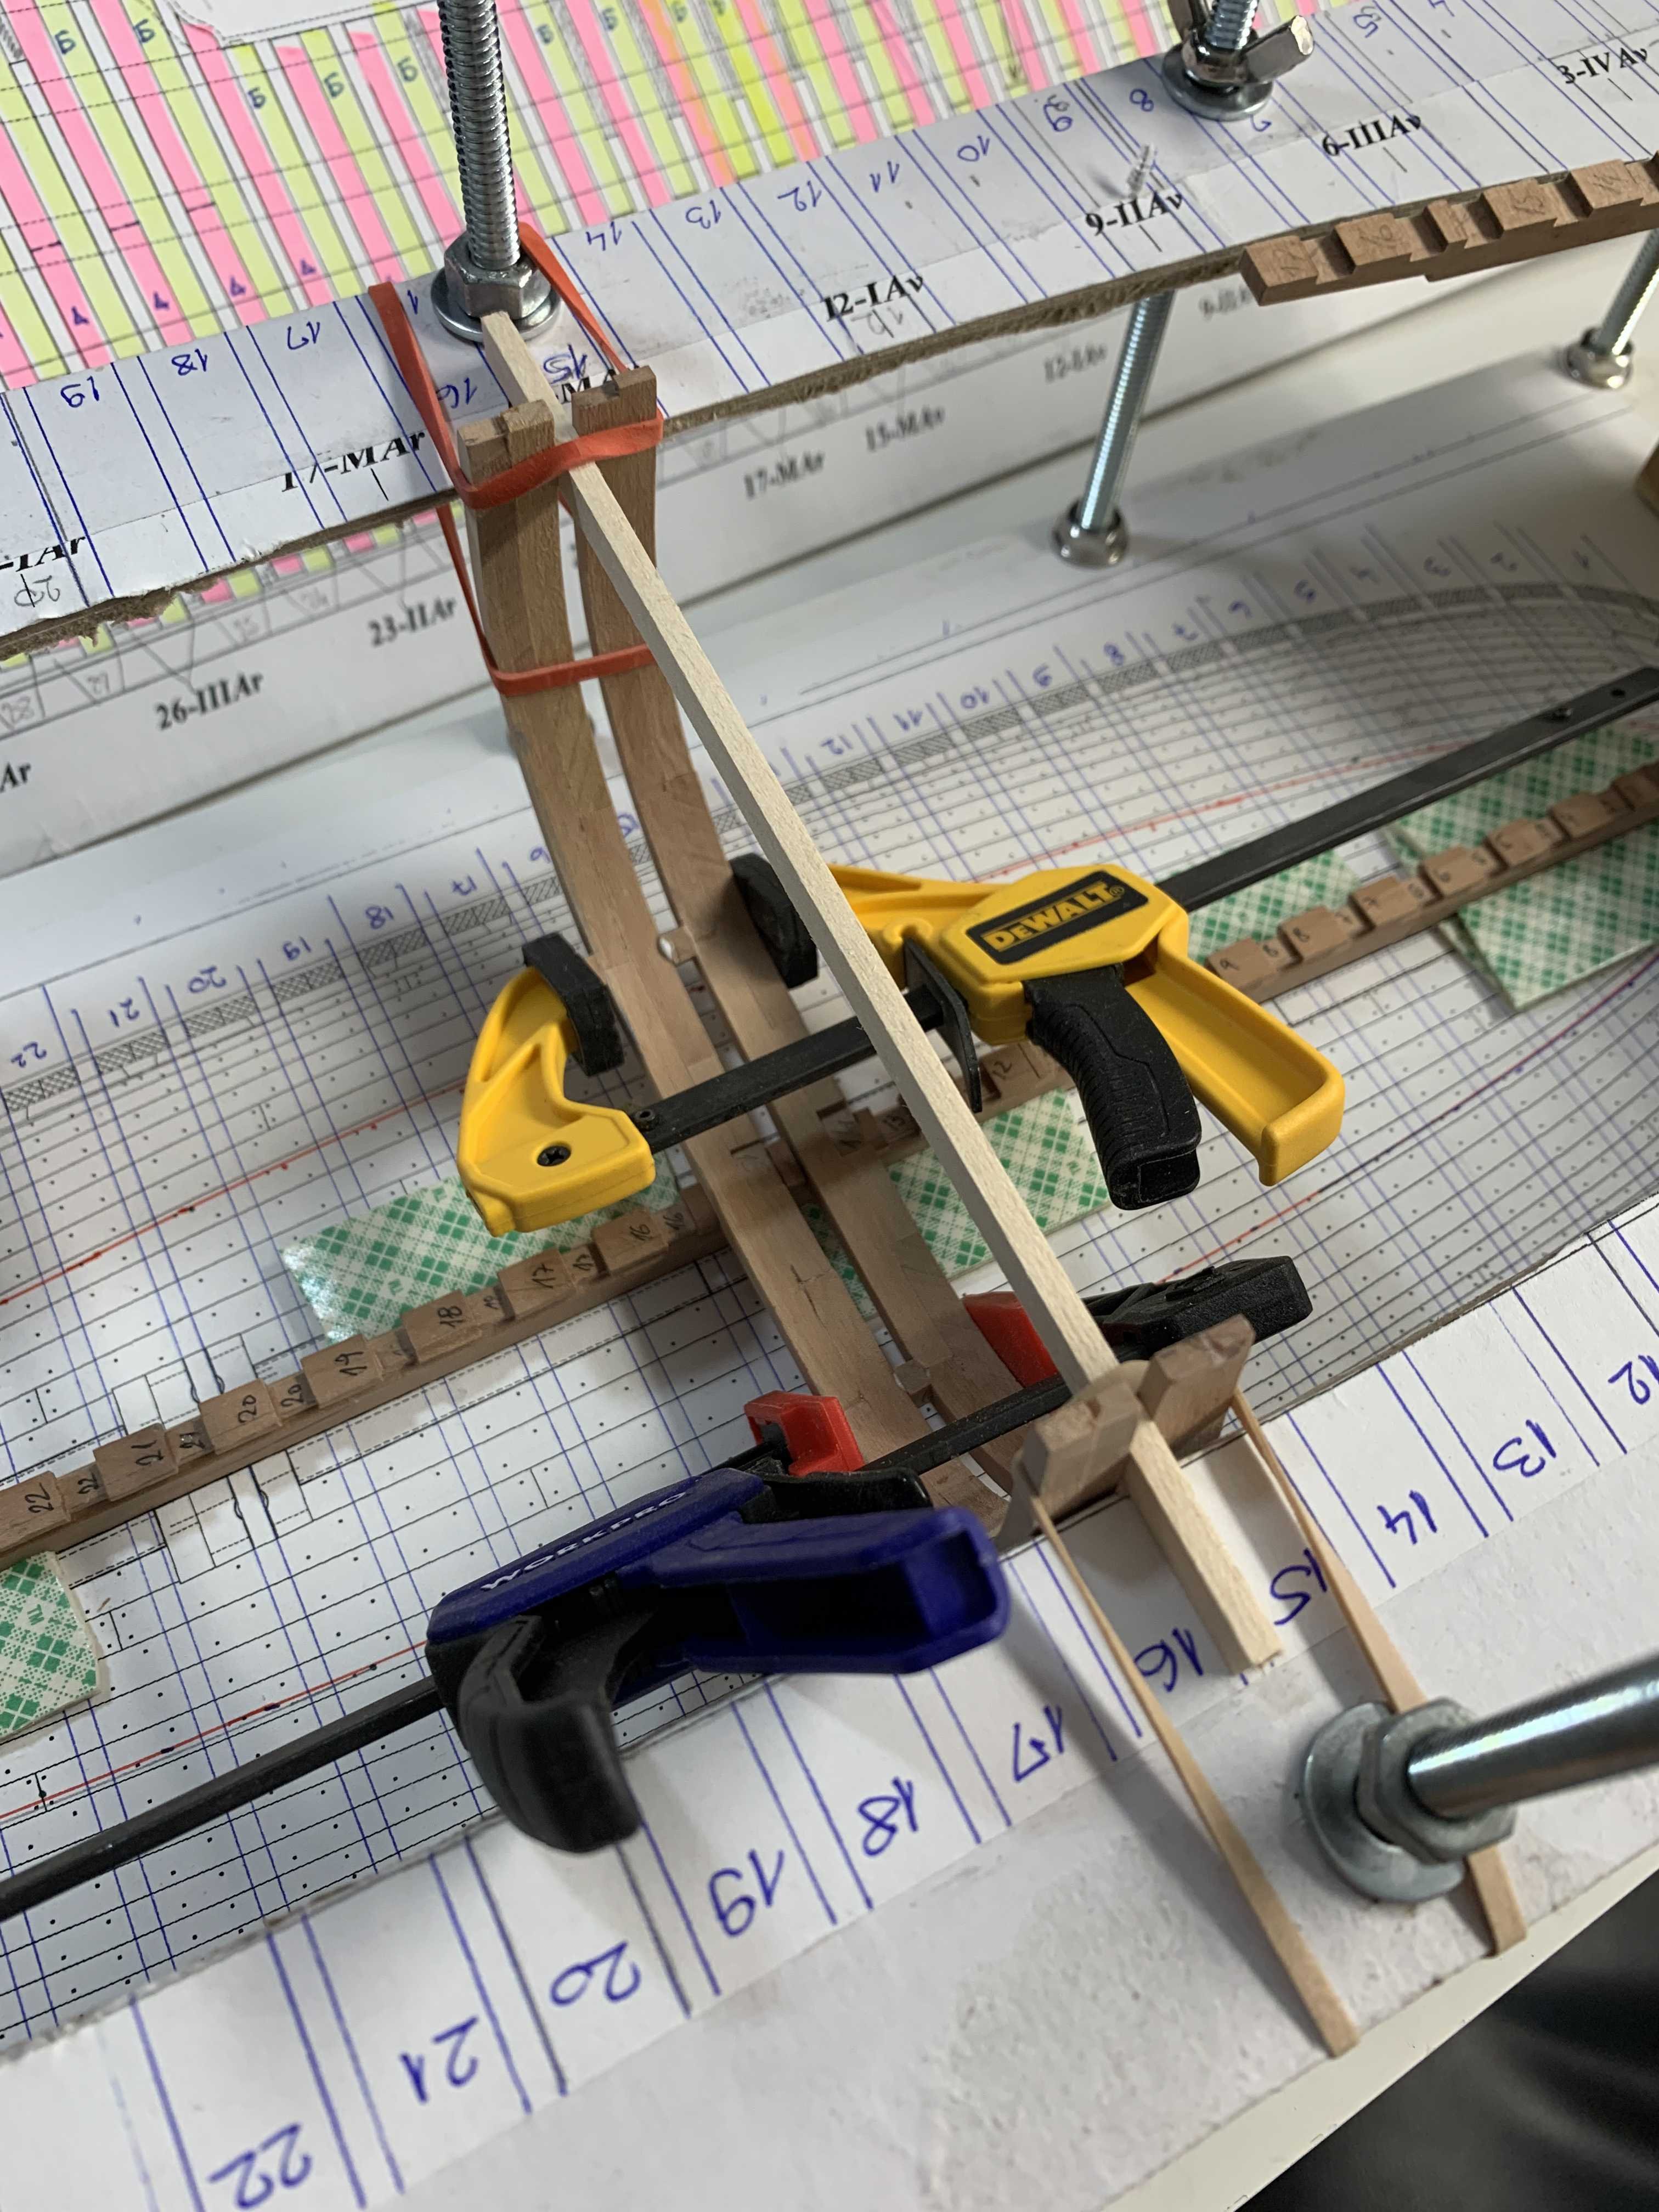
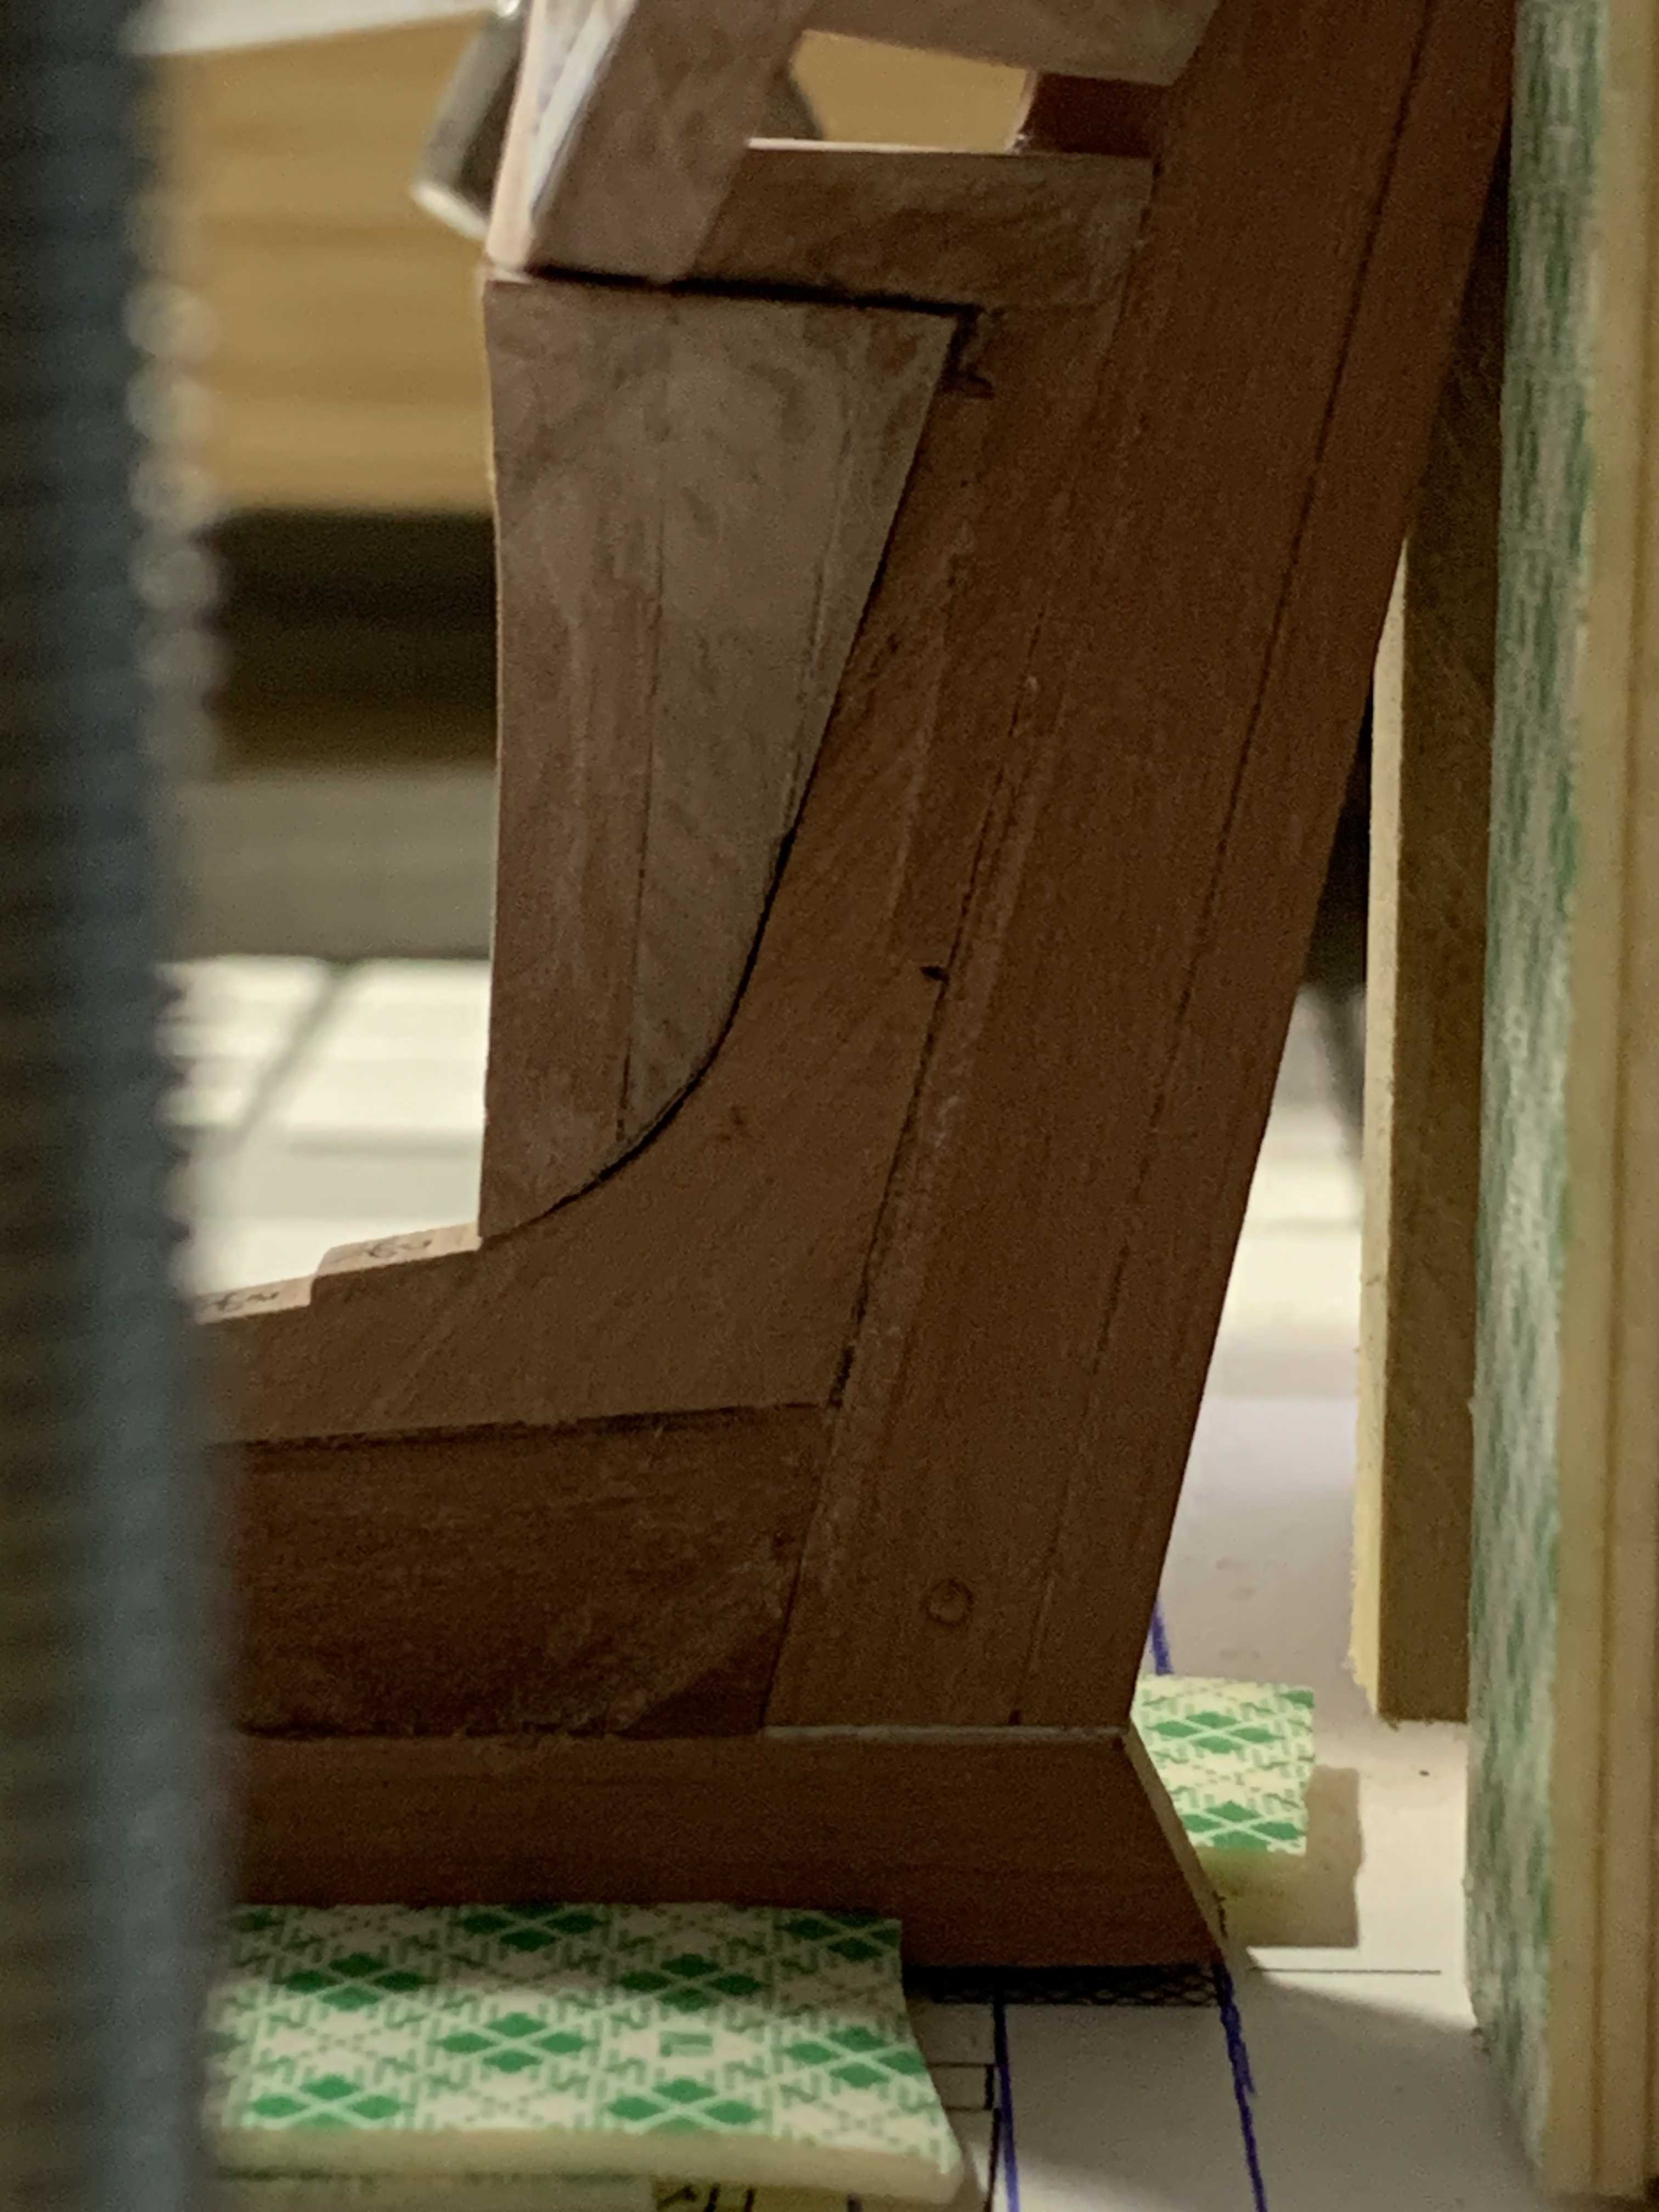
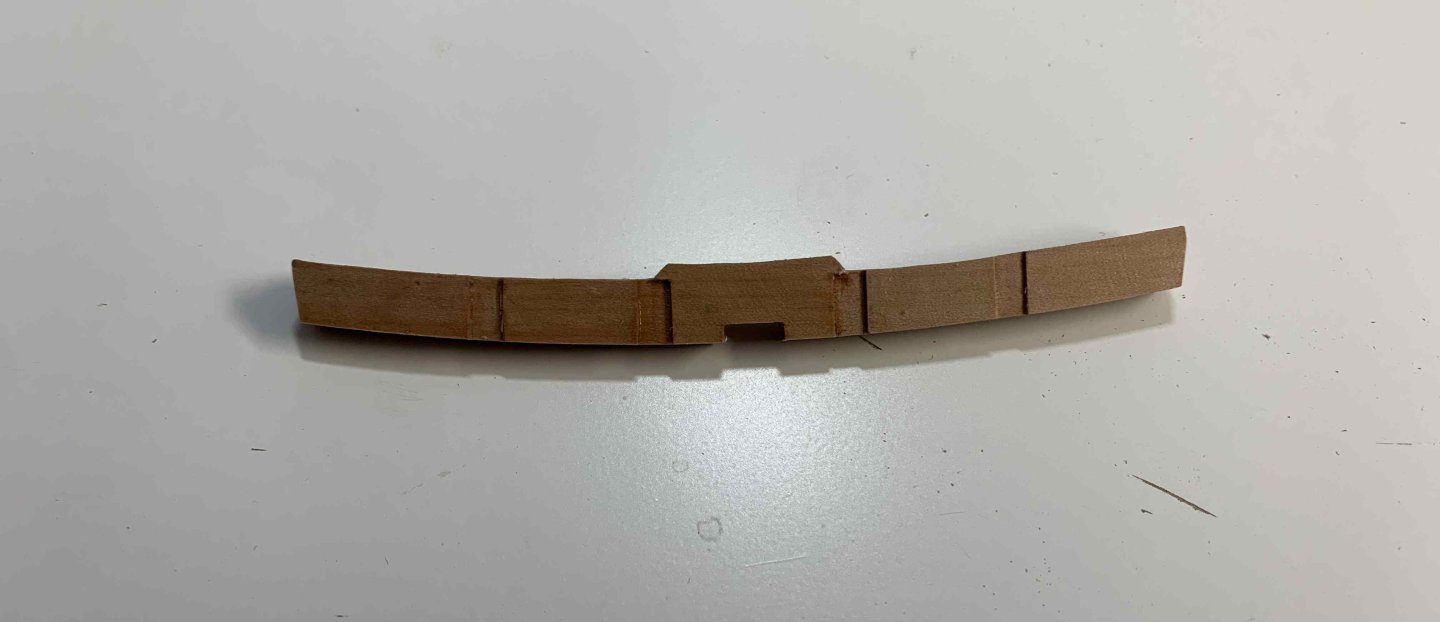
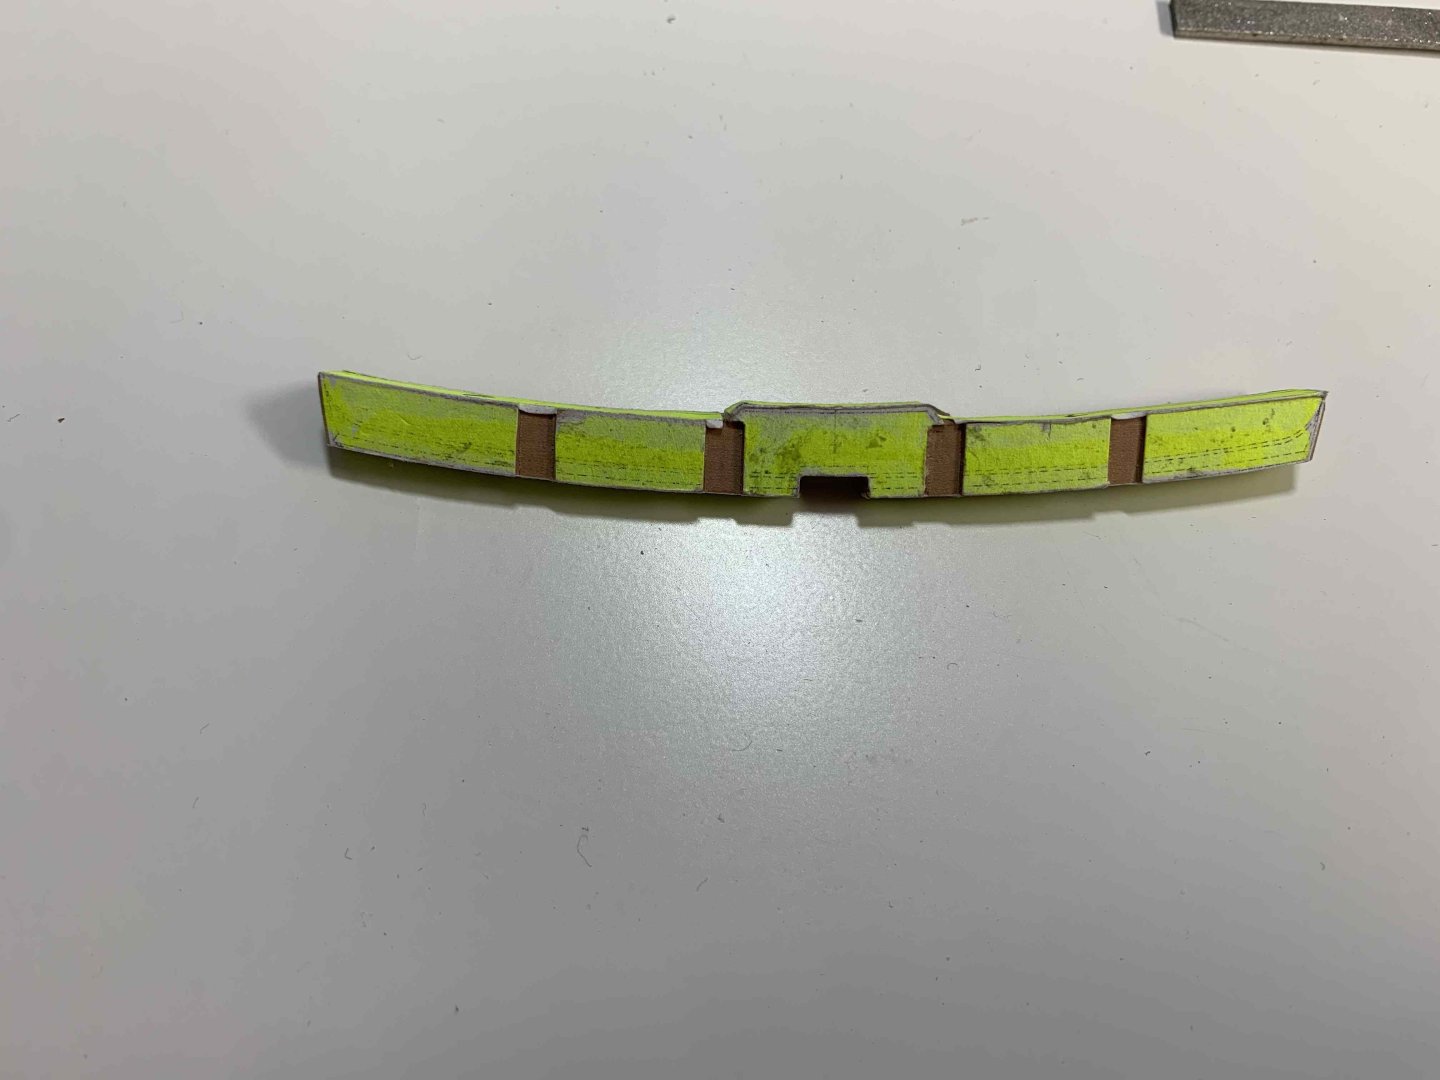
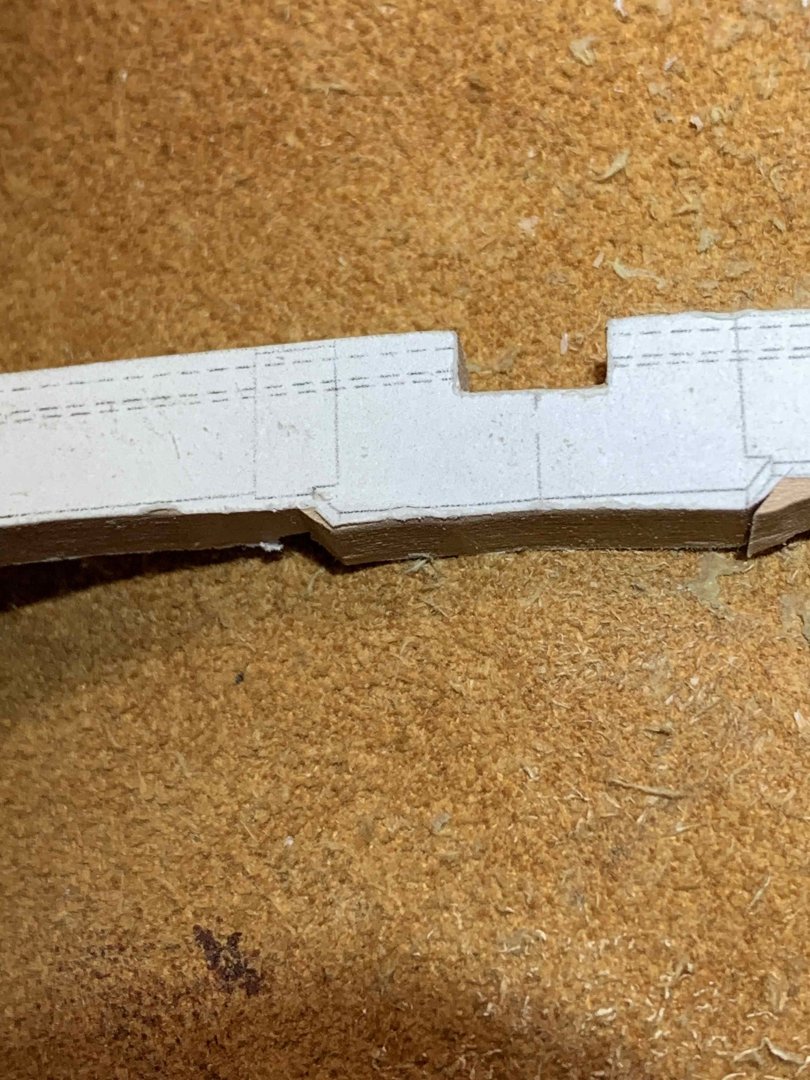
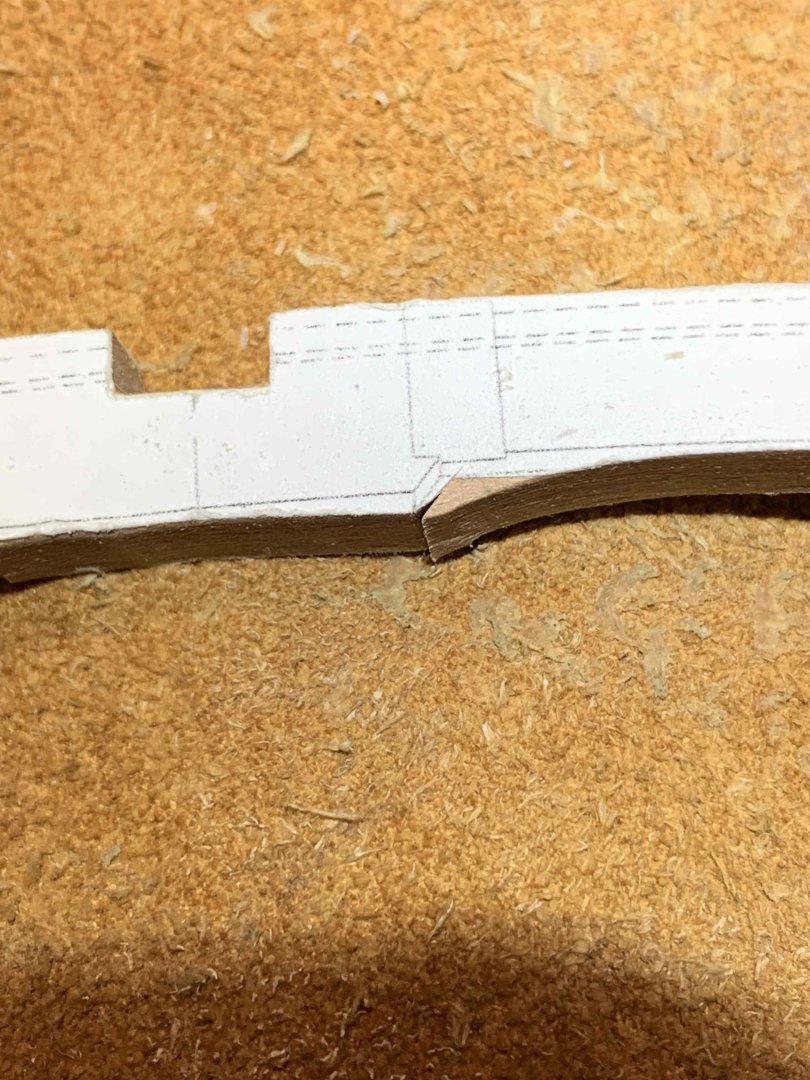
Today I was working on # 5 transom timber, for the third time... First two attempts were not good in few different reasons. Must say envy people that are done with a part in a first attempt; that is my long term goal when POF are main focus... First i made several copy of several templates that will be used throughout the process... The timber on the top is one of failures, excuse me, actually one of the learning curves.. Two planks were glued together to obtain required thickness, in my situation, 8mm Once it is dried, template were glued on... and cutting was done, following the curve of a top template. The first top template was removed with sanding, so new is glued on. Then bottom was cut and sanded off.. ......