moreplovac
-
Posts
794 -
Joined
-
Last visited
Content Type
Profiles
Forums
Gallery
Events
Everything posted by moreplovac
-
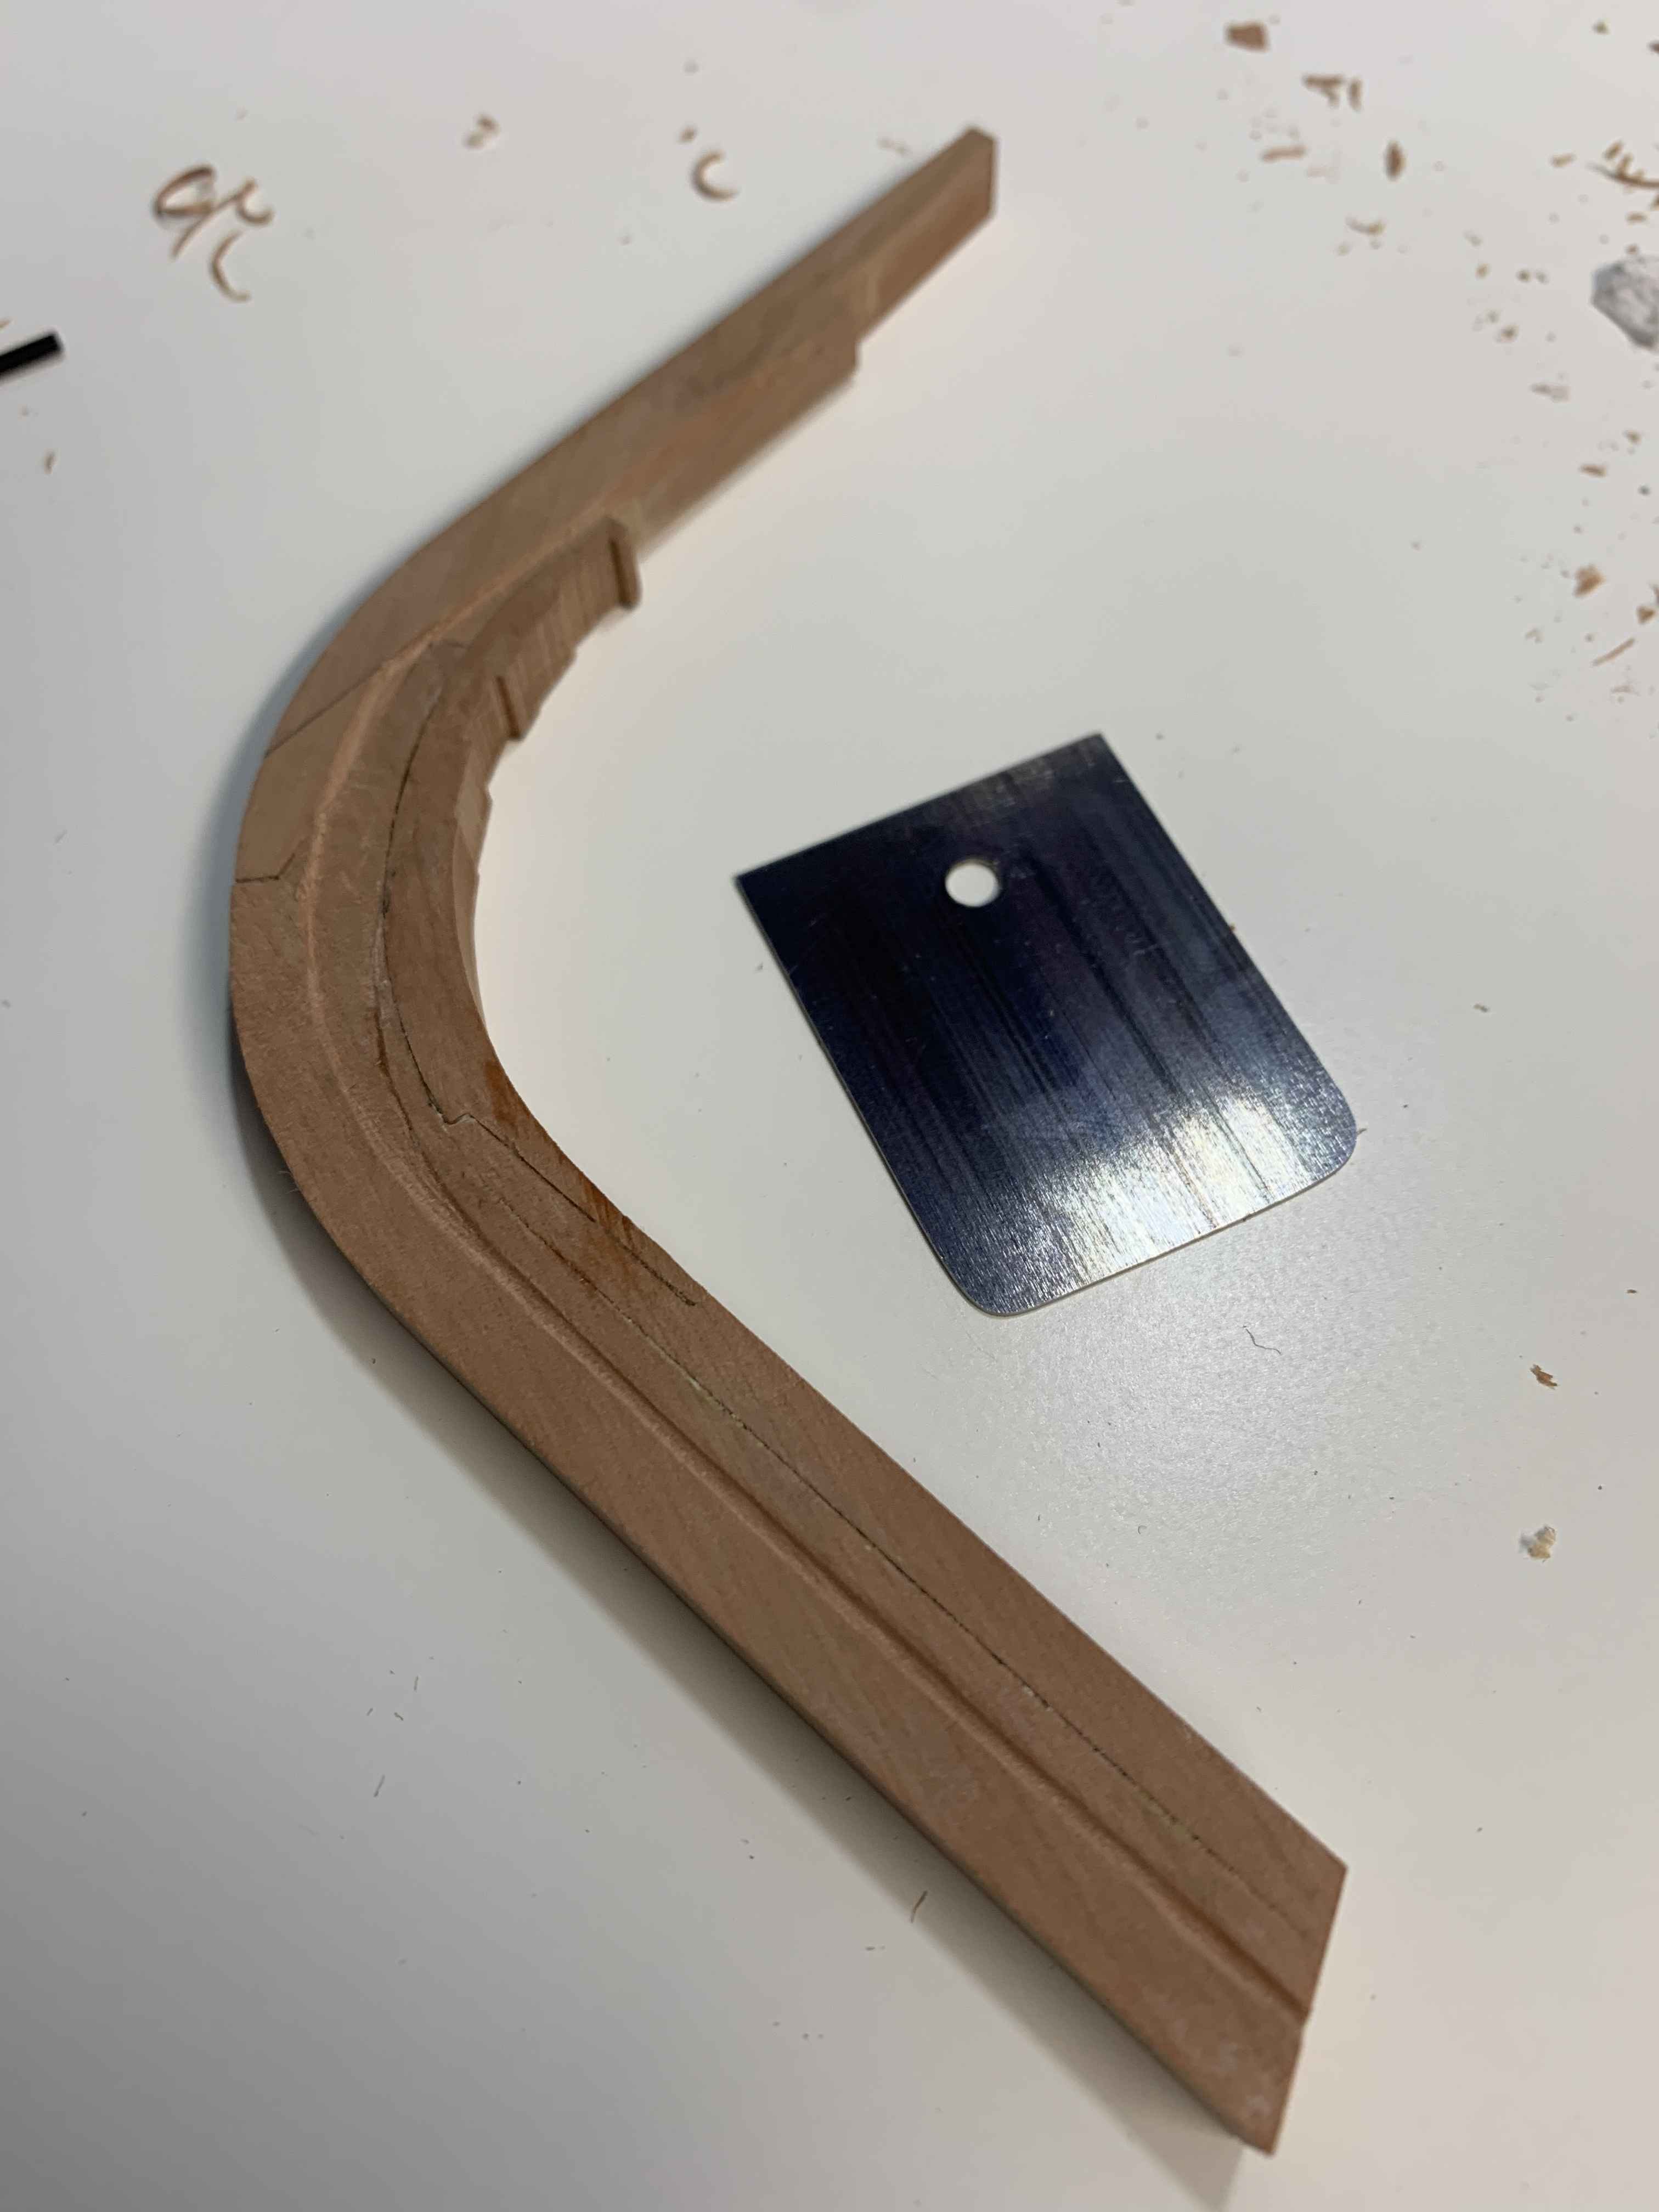
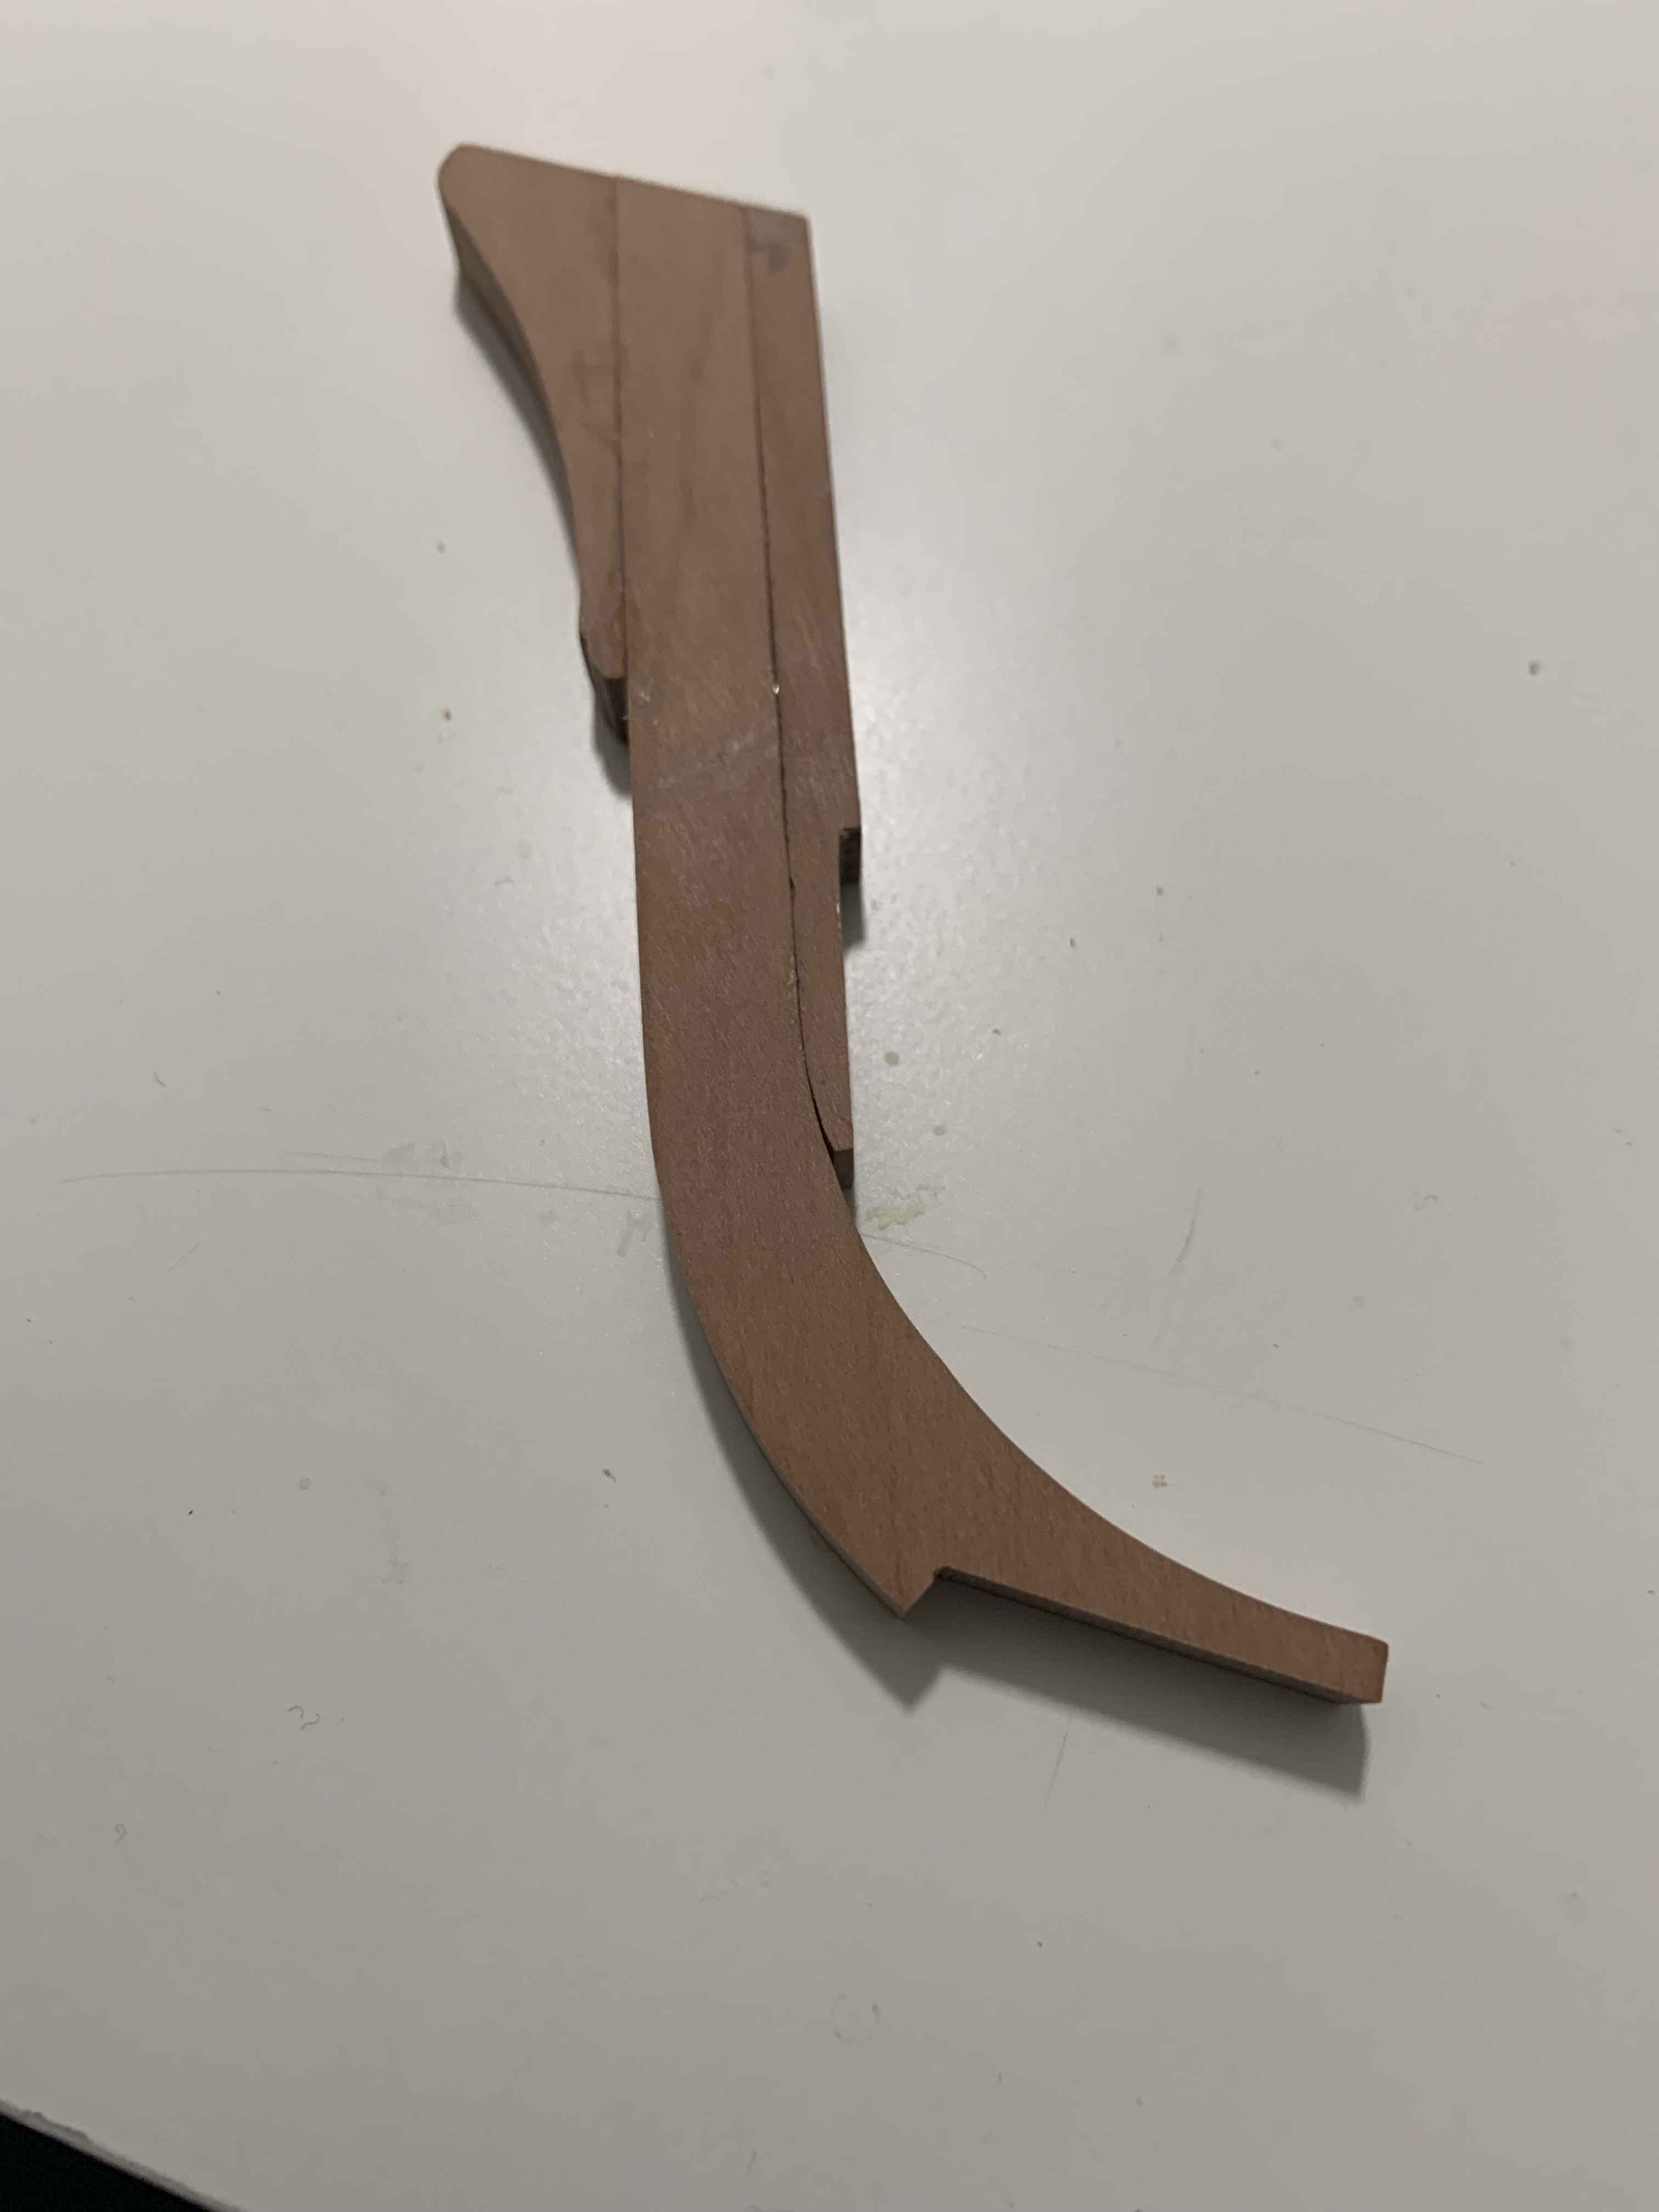
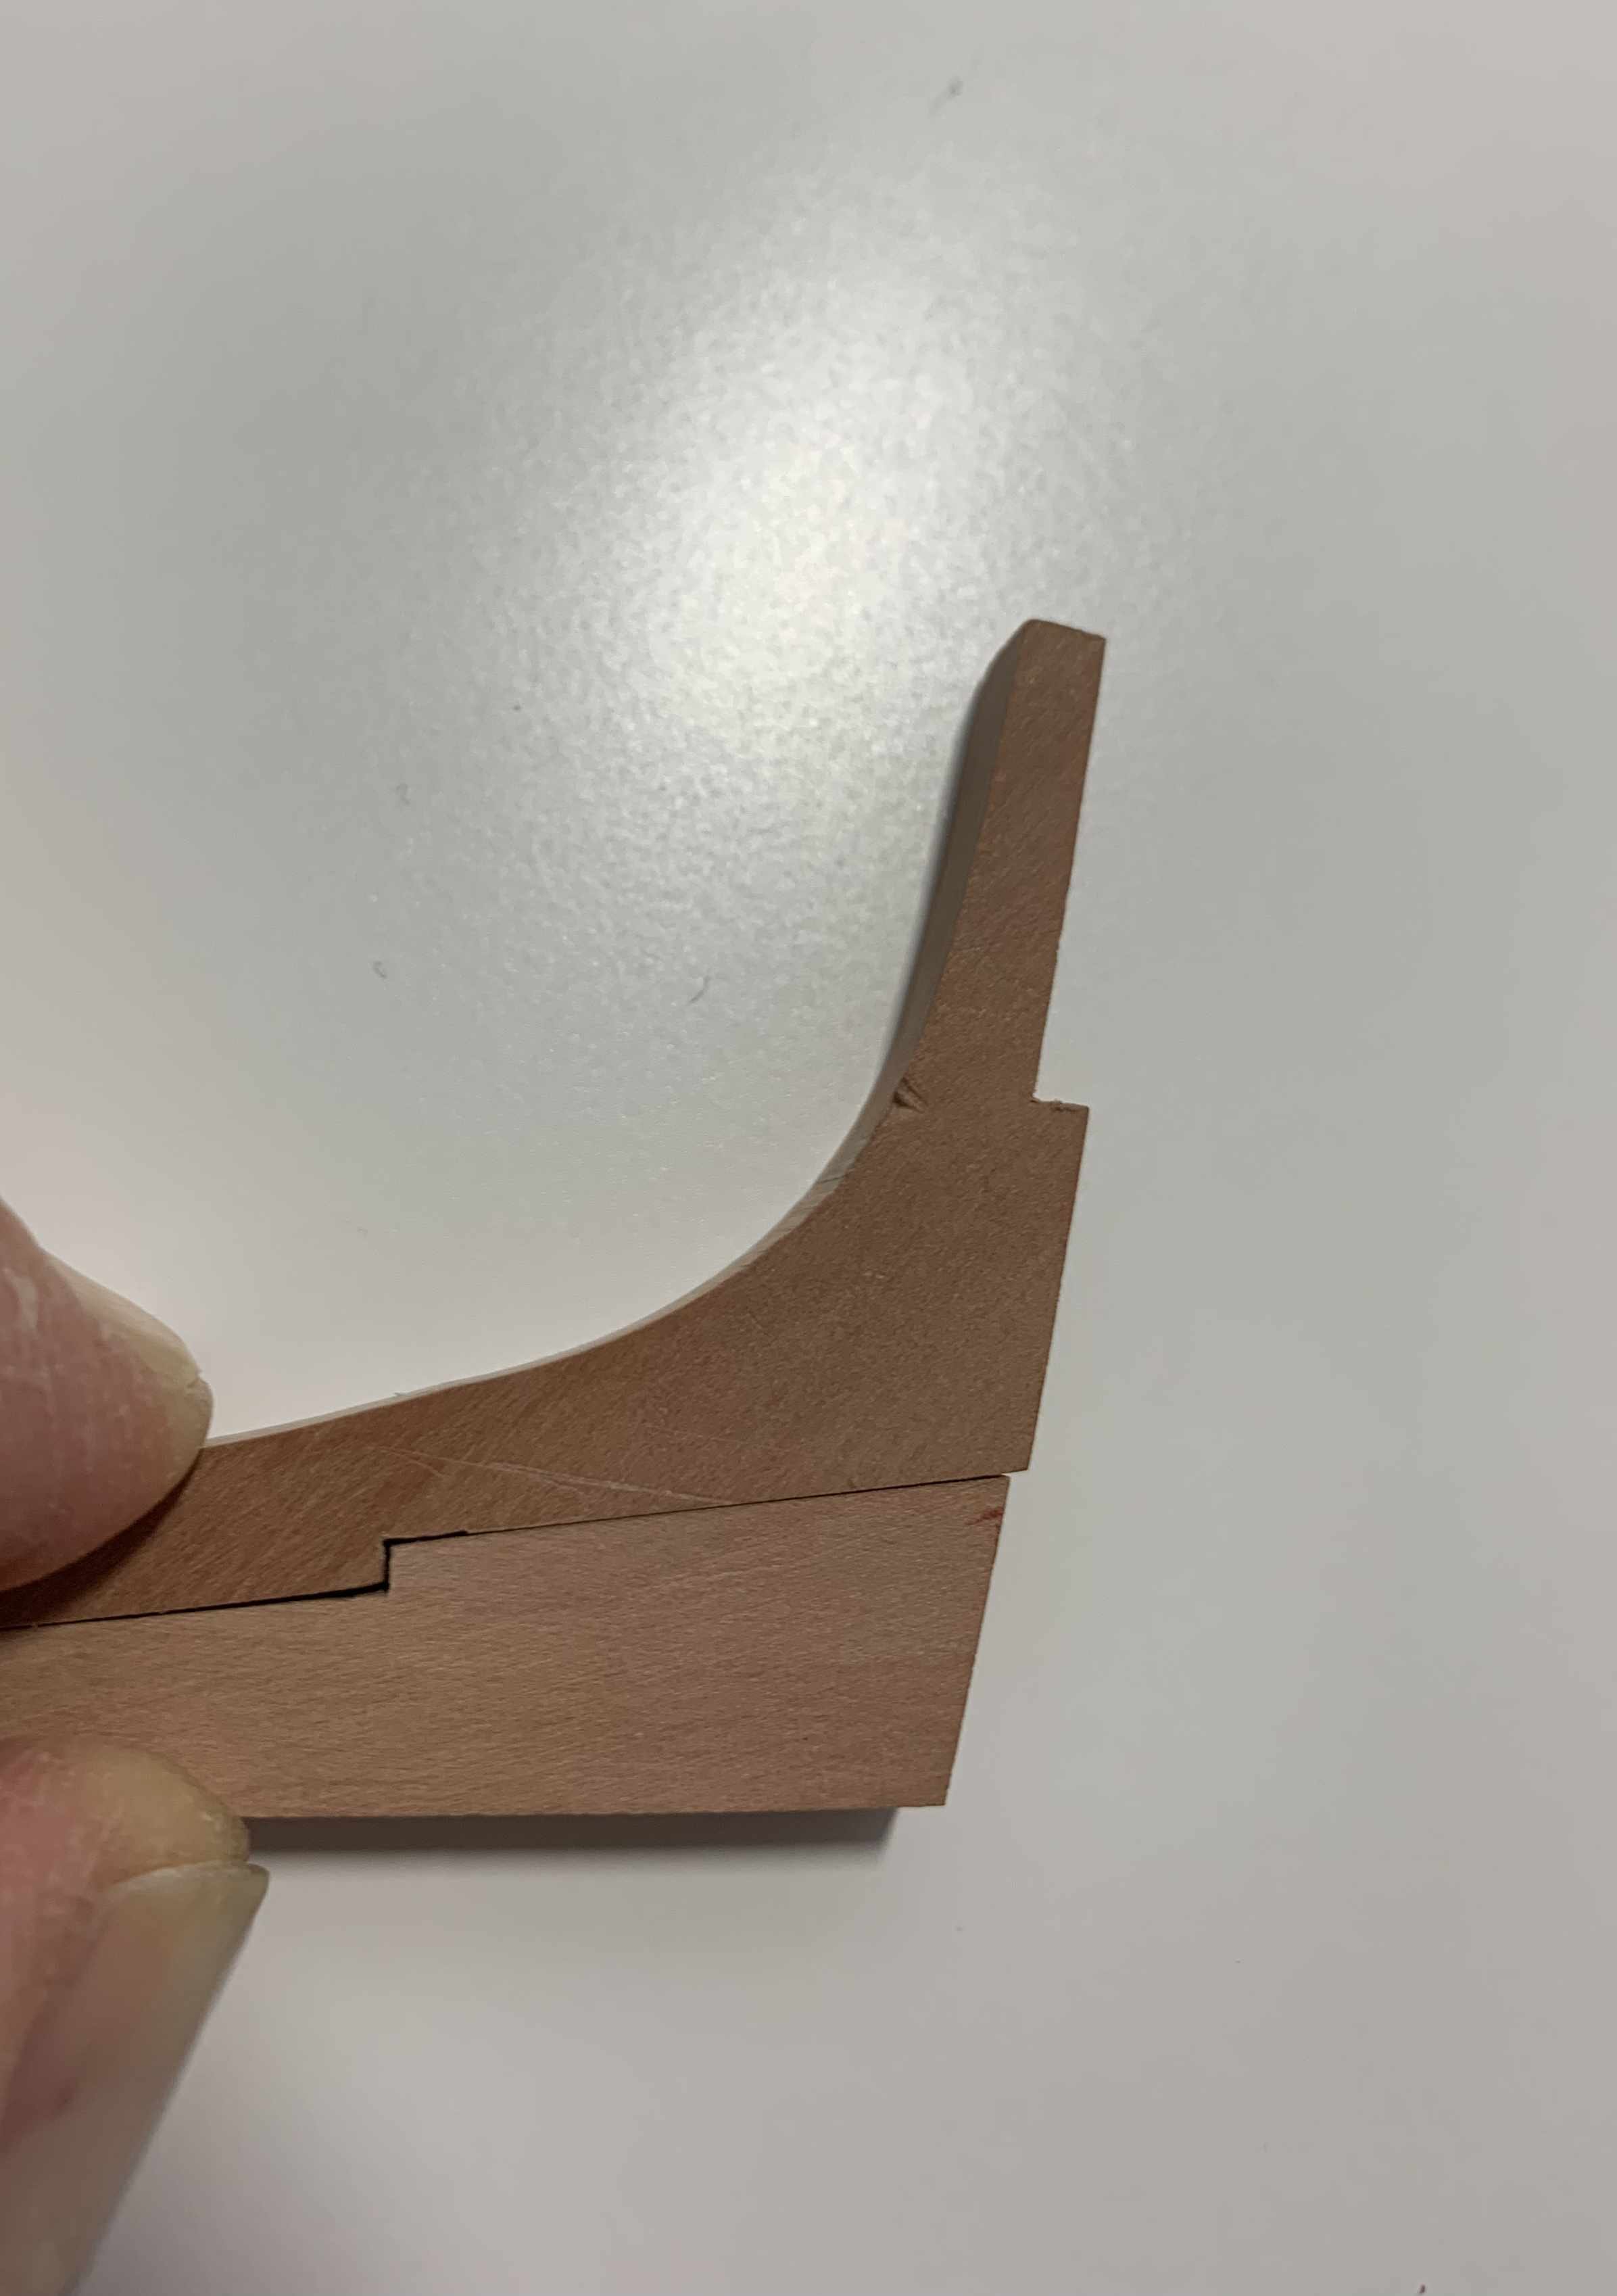
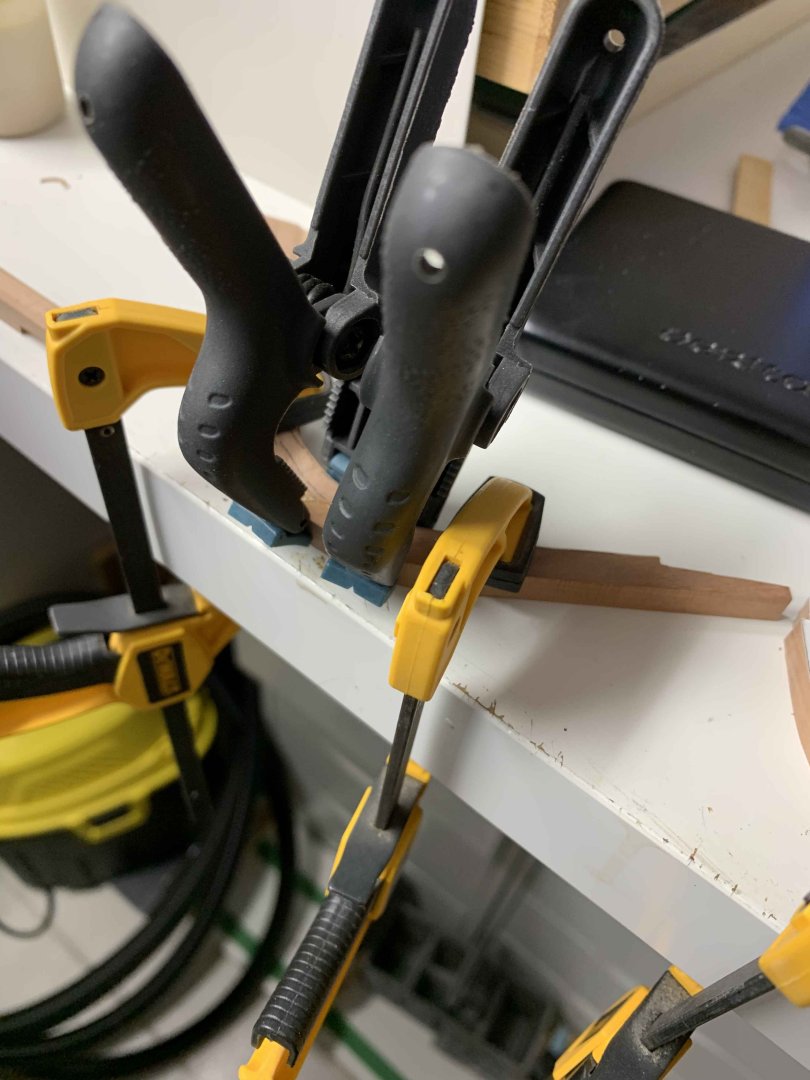
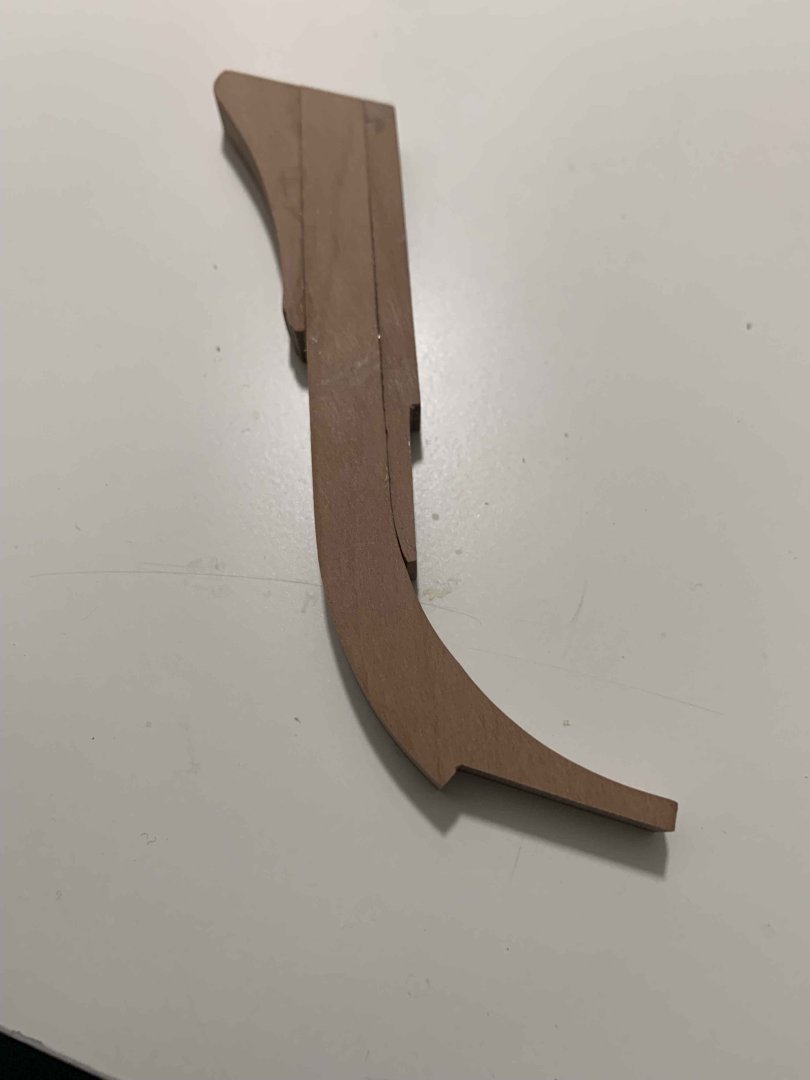
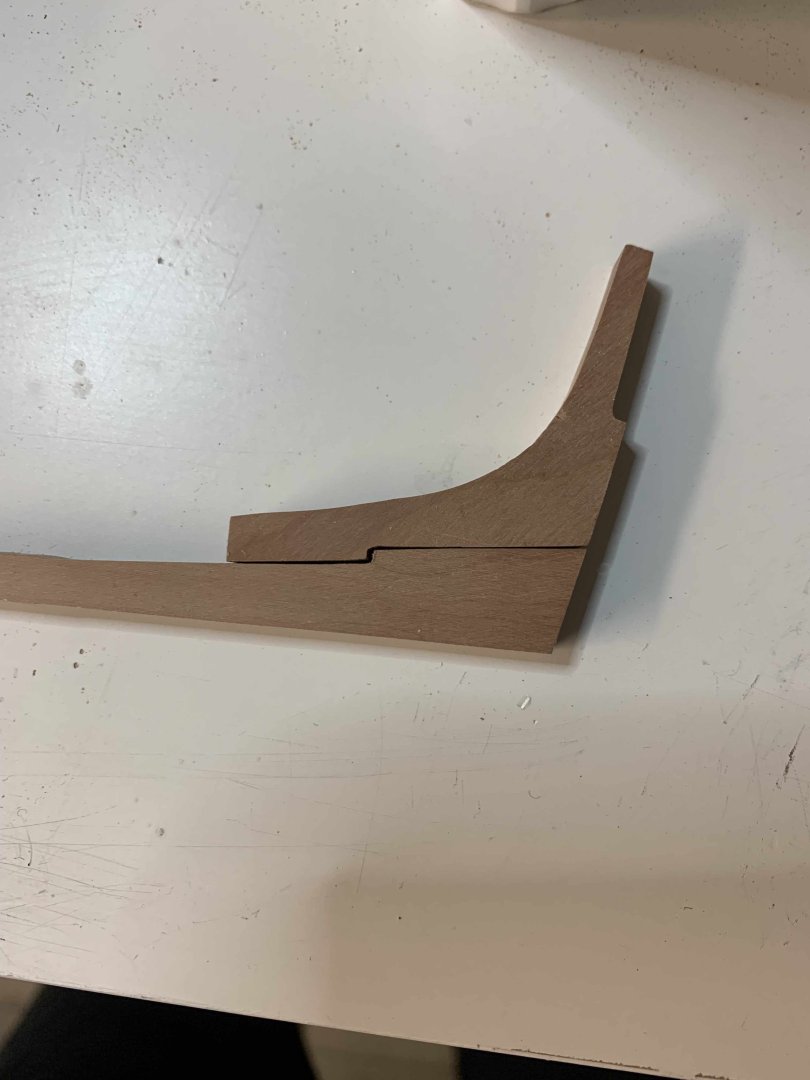
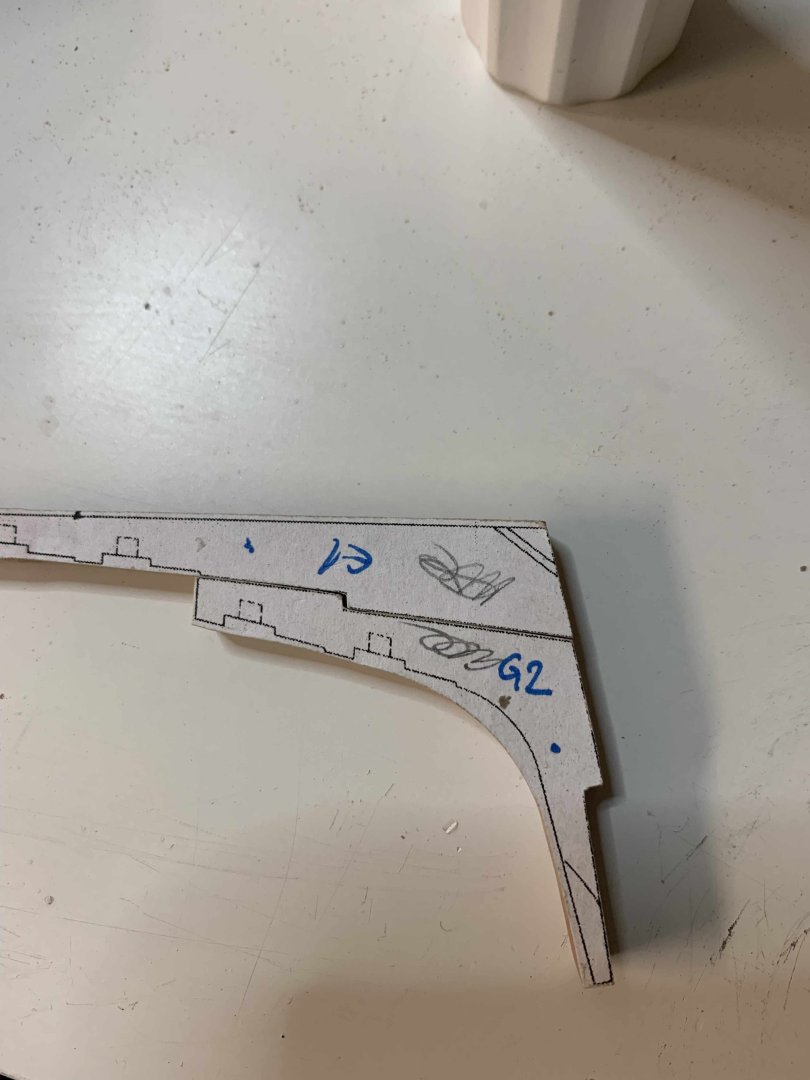
 After few attempts, I managed to get one done; I will leave it as-is and adjust if needed more in the further steps... it took me really much of effort to get it done, understand the curvature and how it supposed to look, what tools to use for carving, etc... Anyhow moving forward... Few attempts discarded after different failures... All work was done using chisels and scrappers.. This is it, just need to glue the last piece, already sanded and ready.. Happy modelling... I think I might update this to "Happy modelling - patiently" Cheers


-
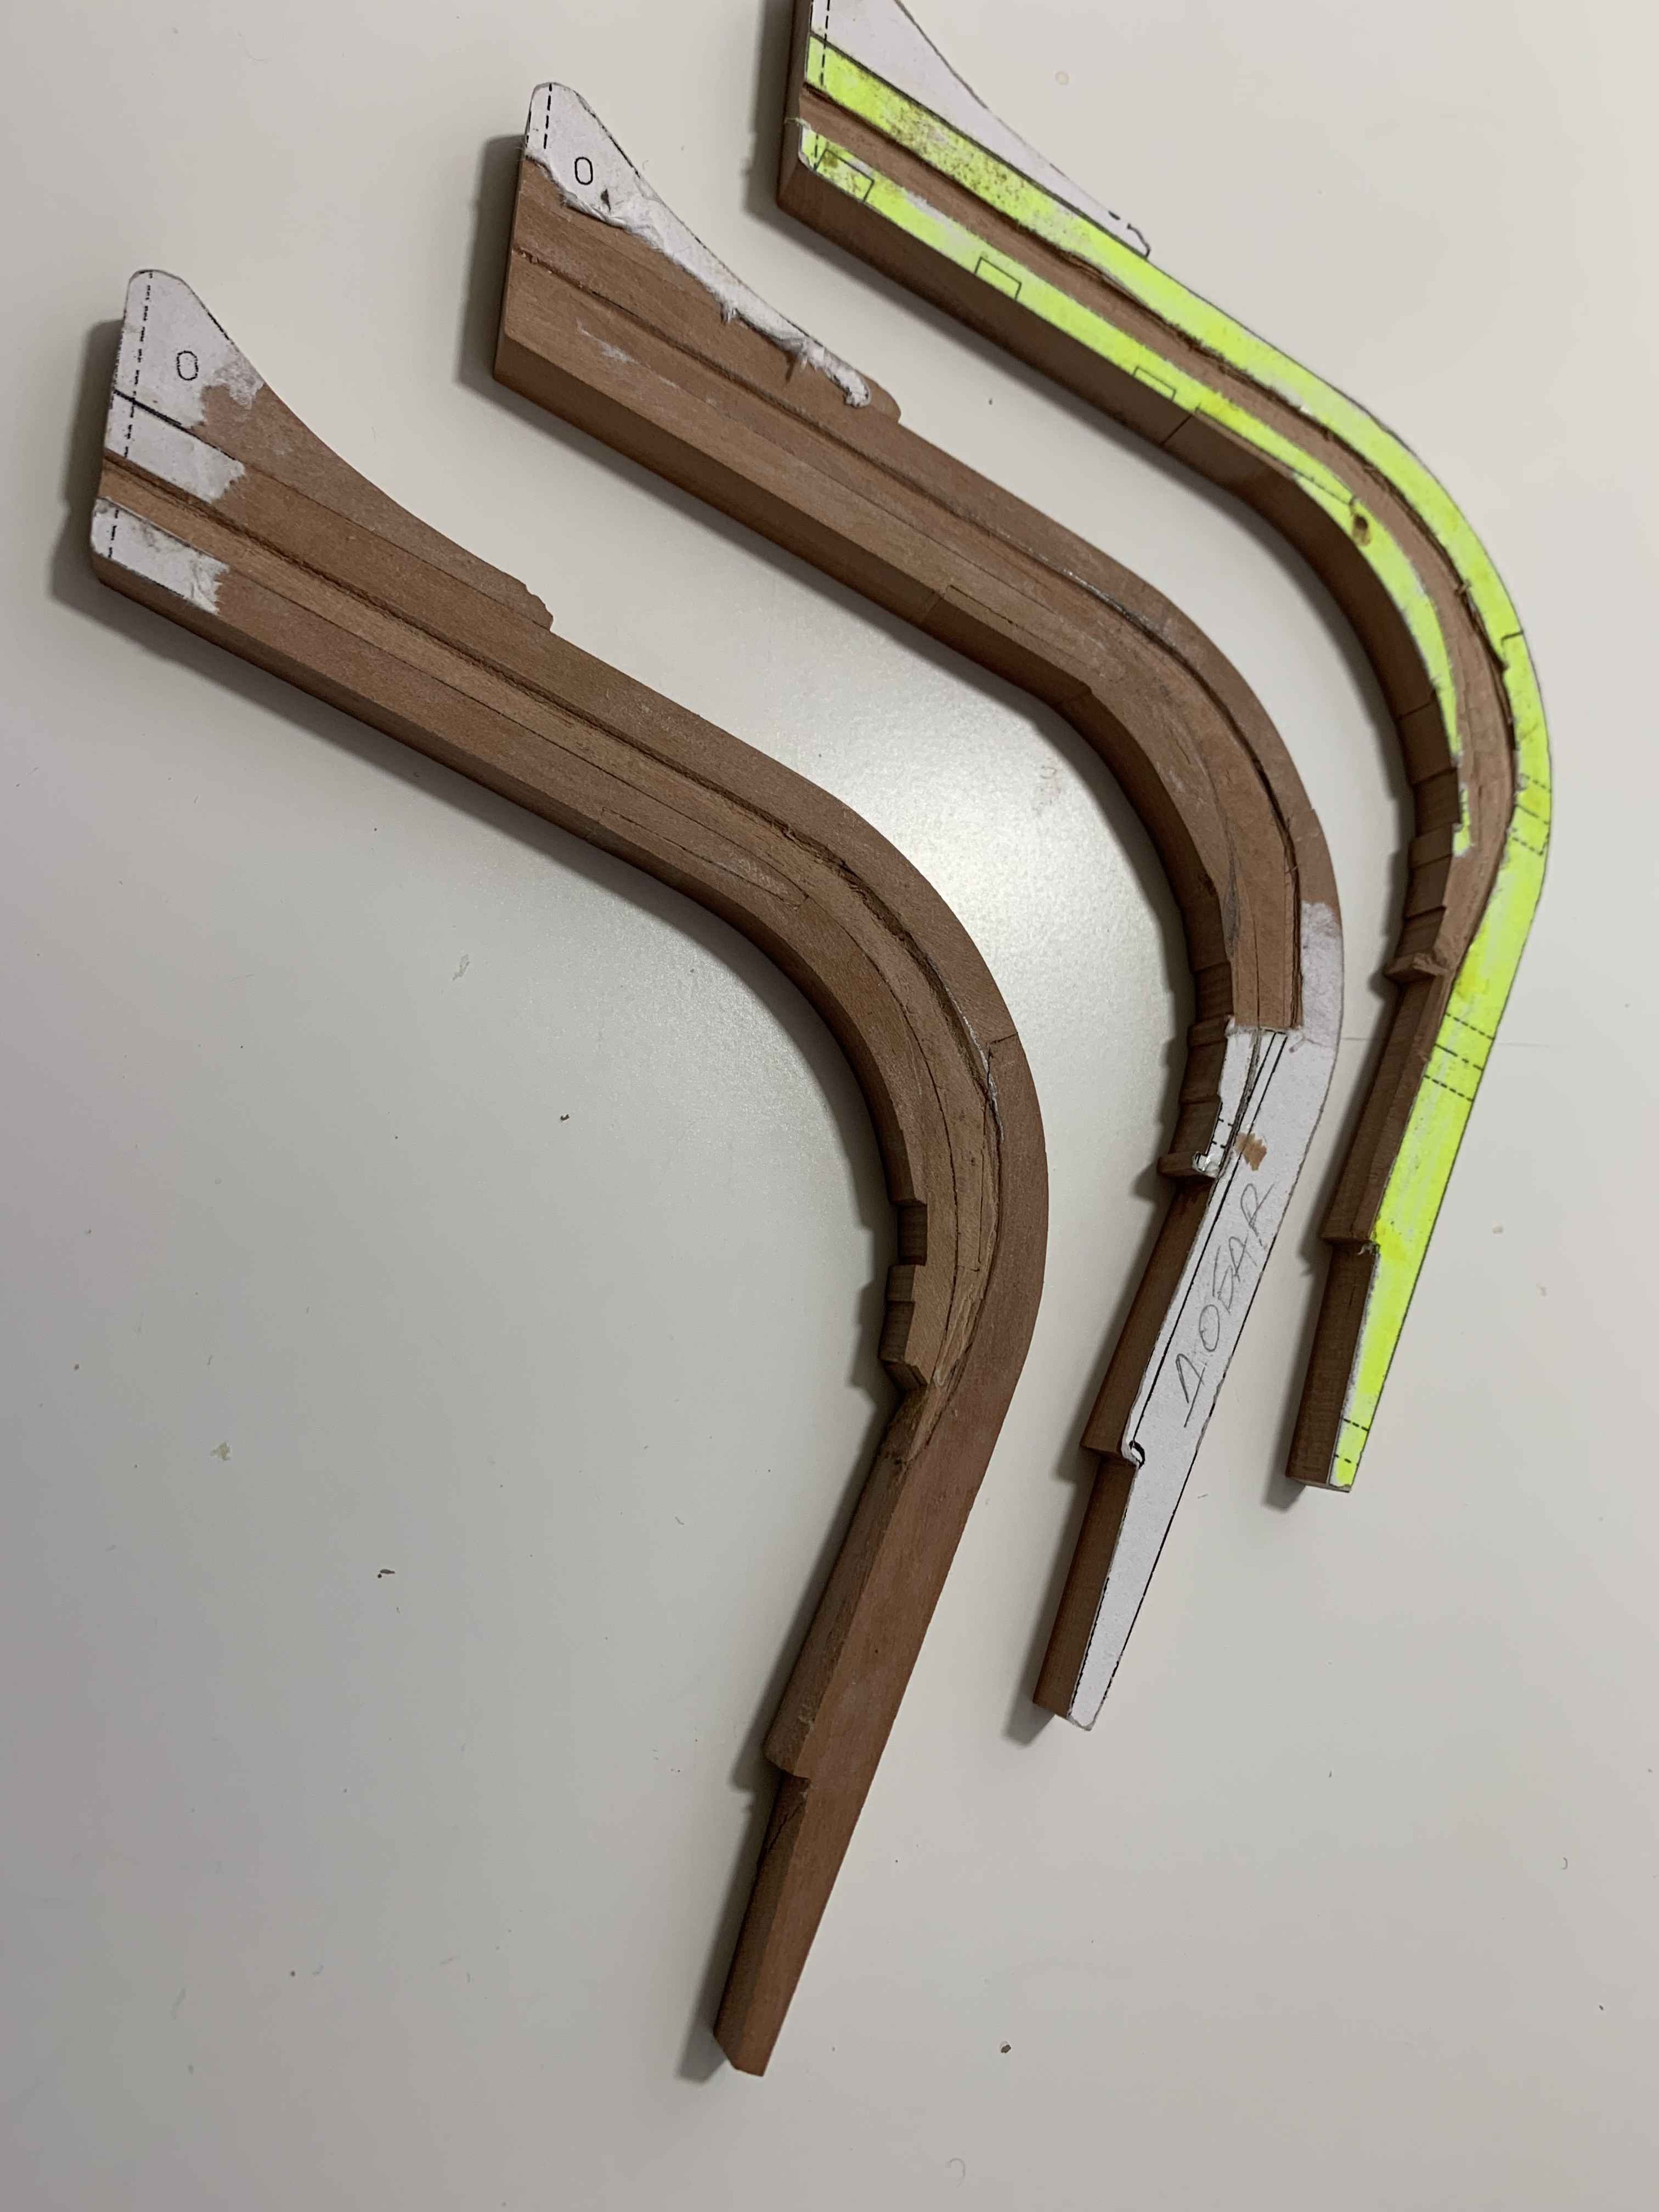
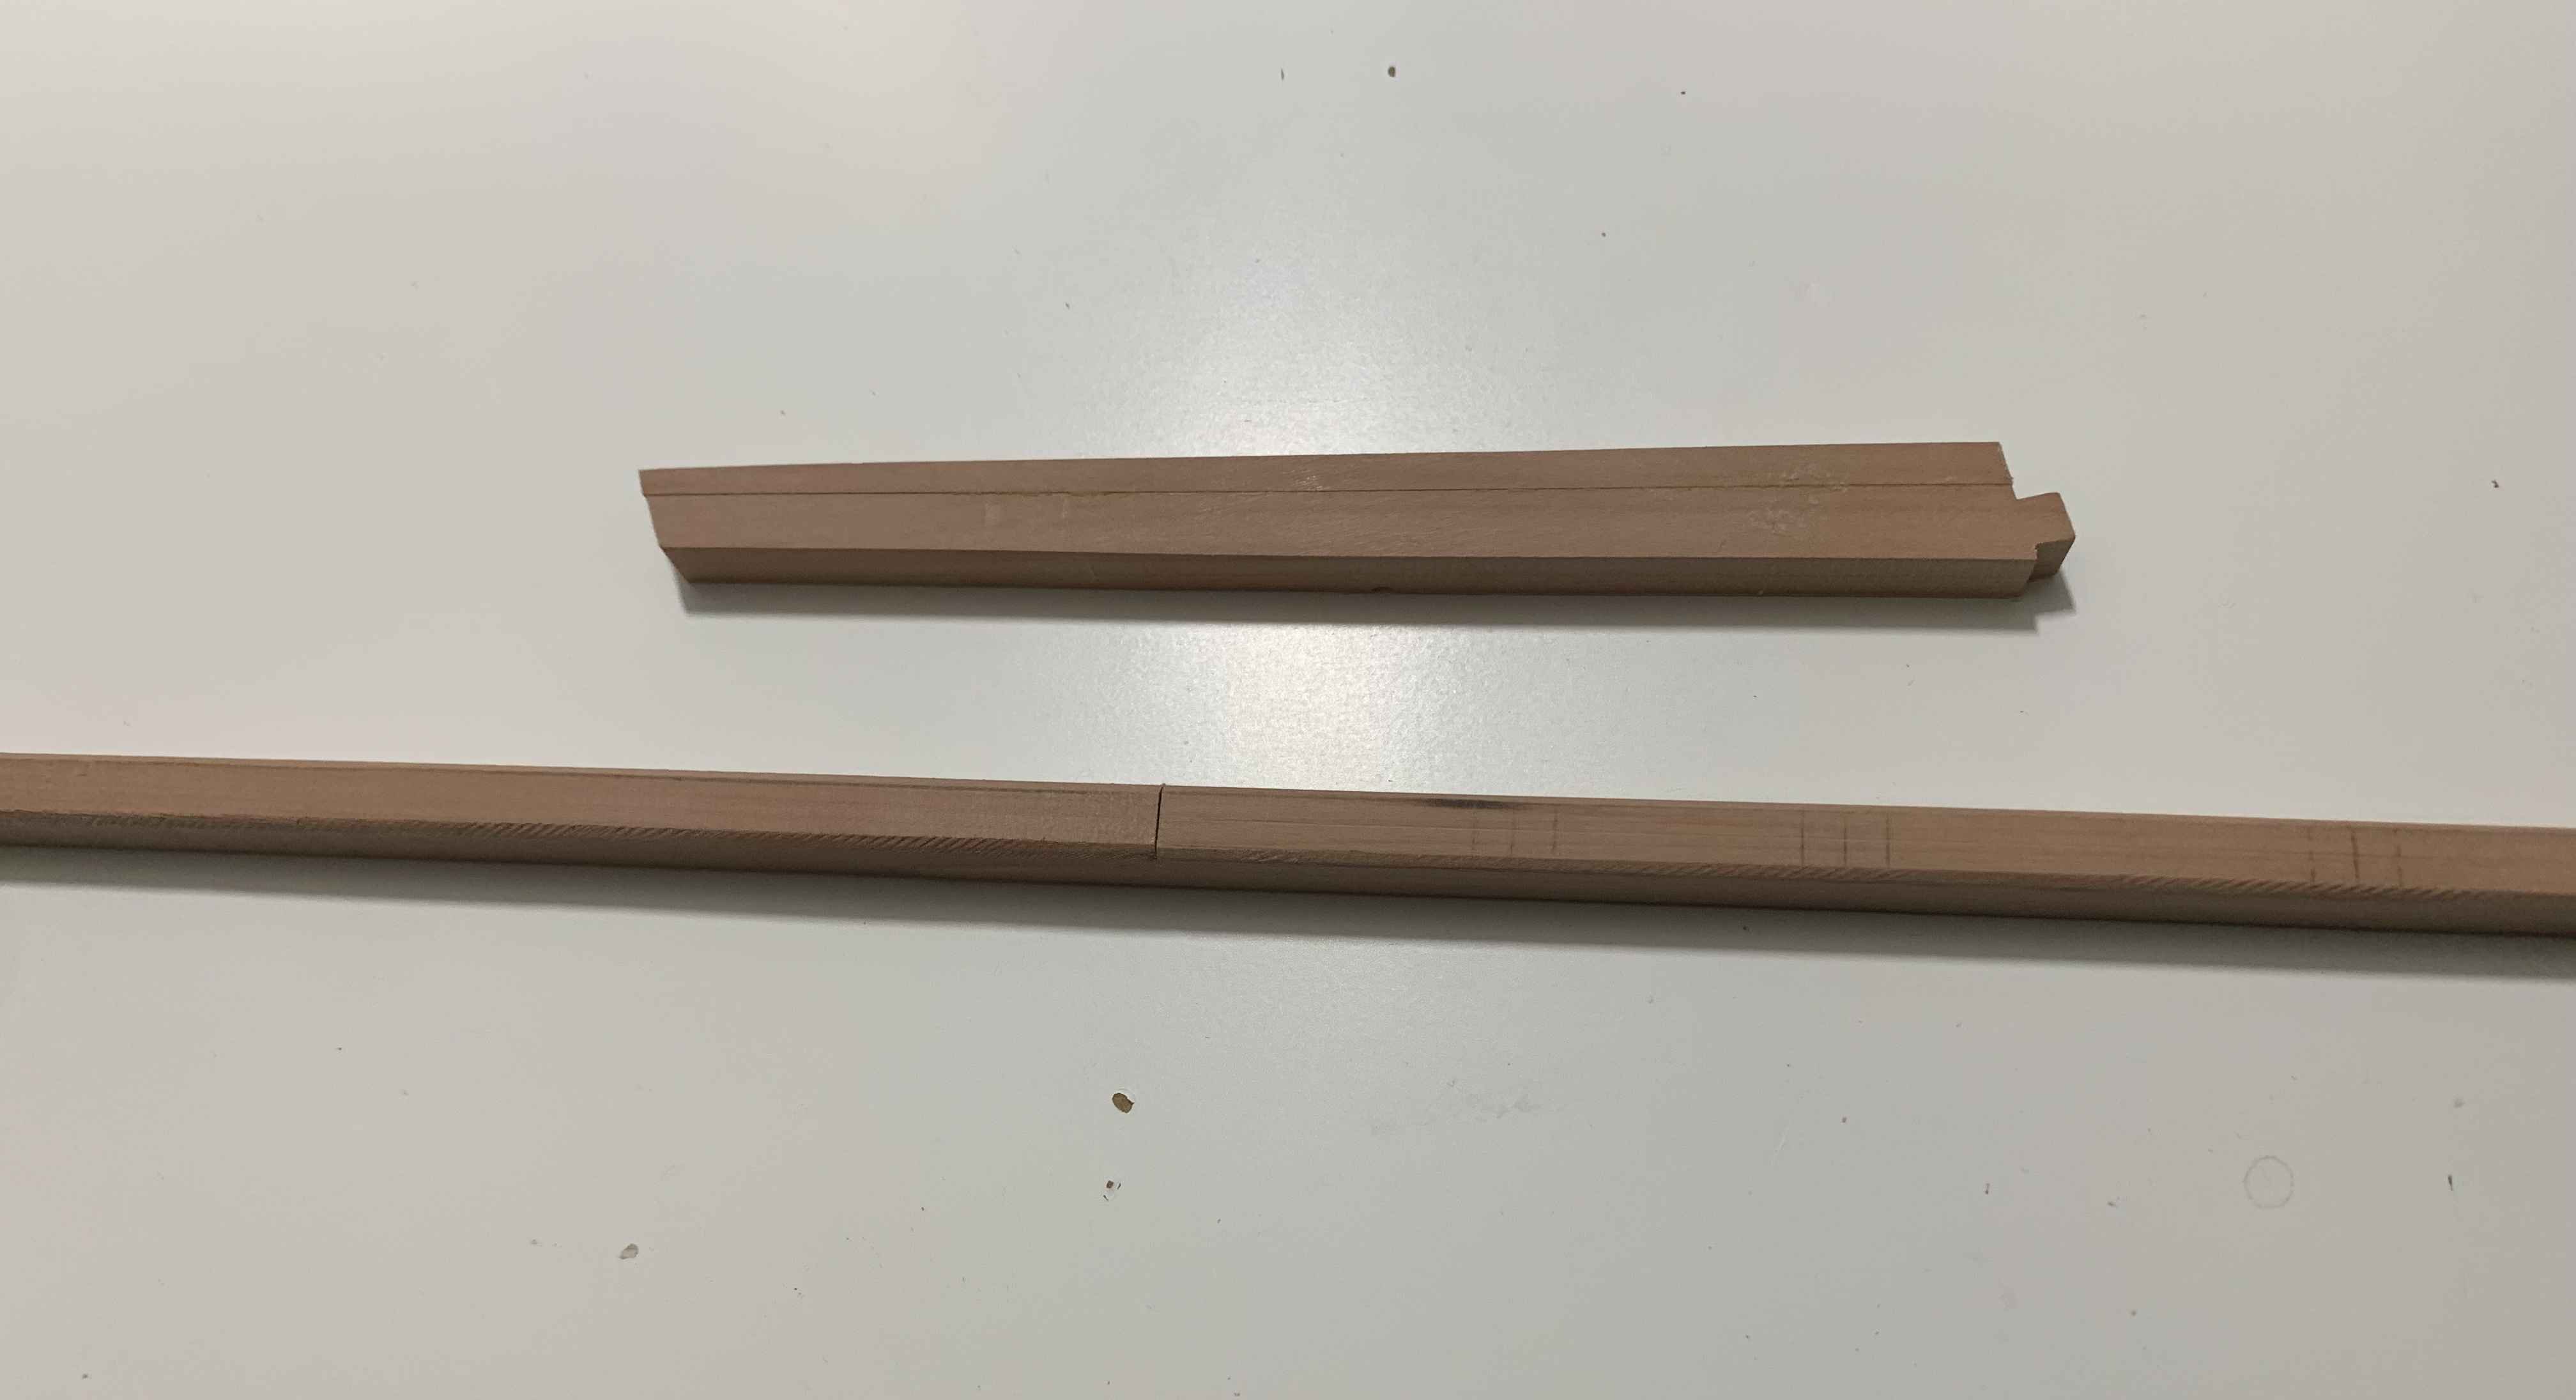
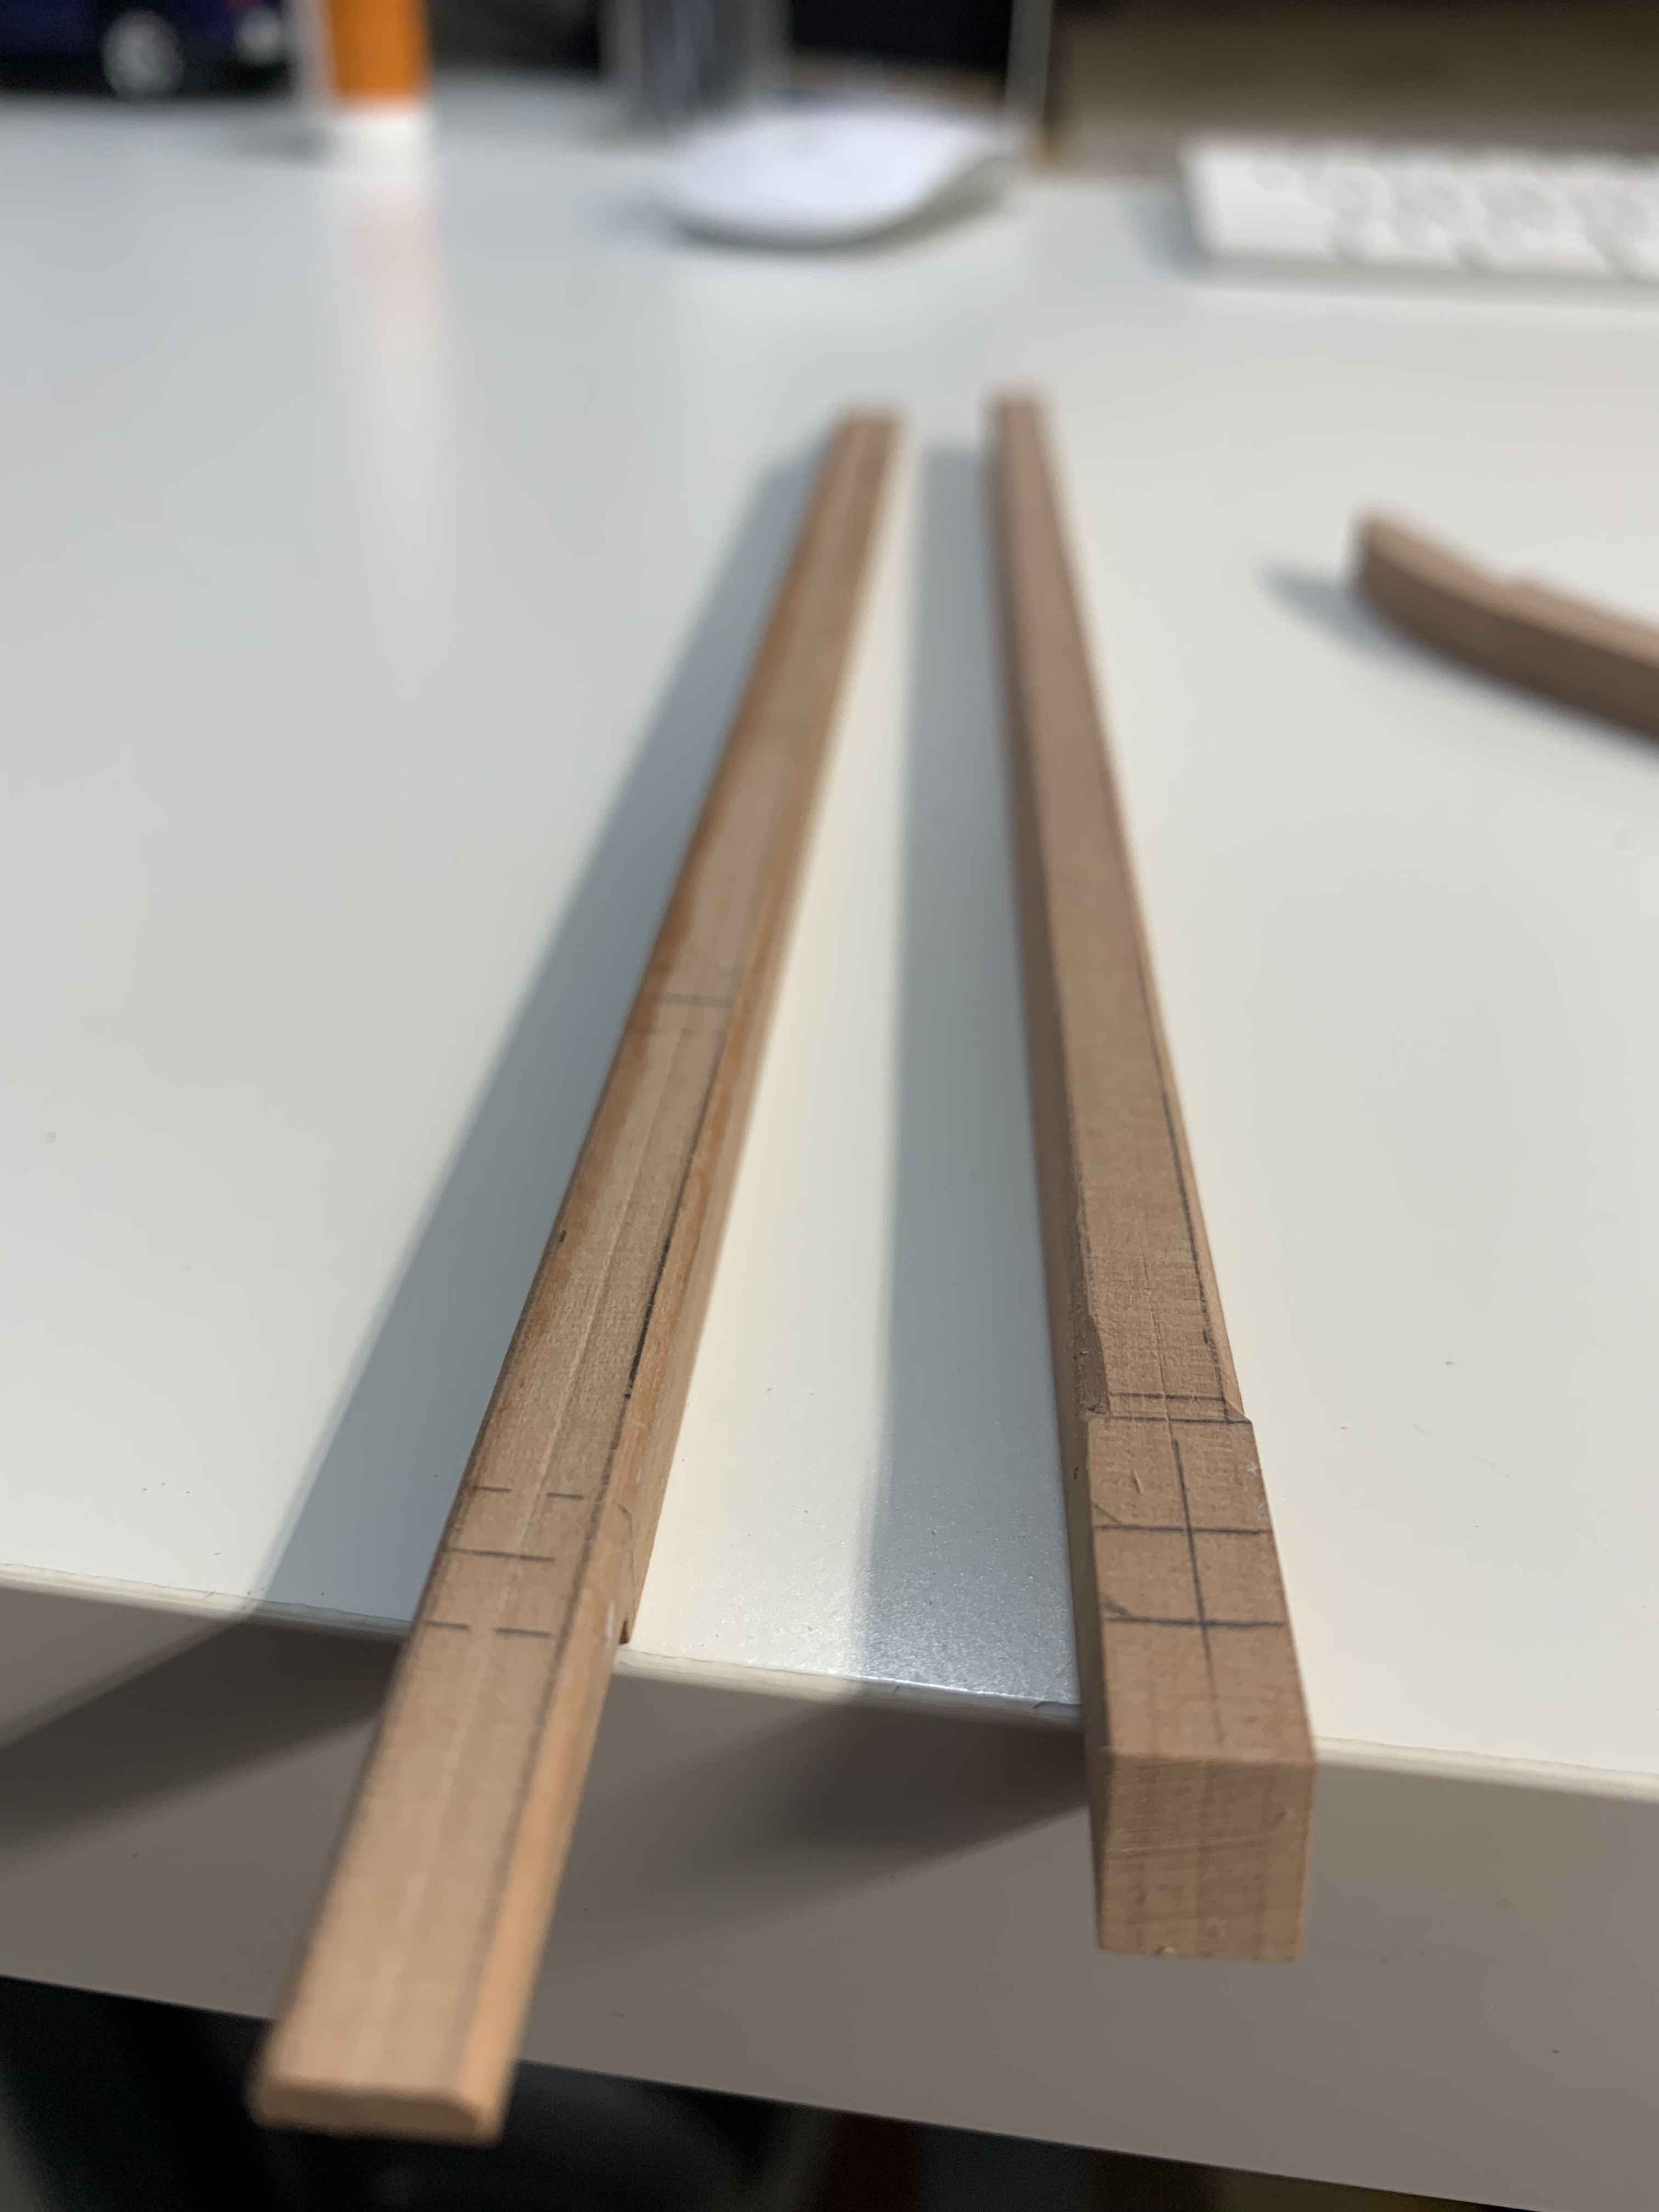
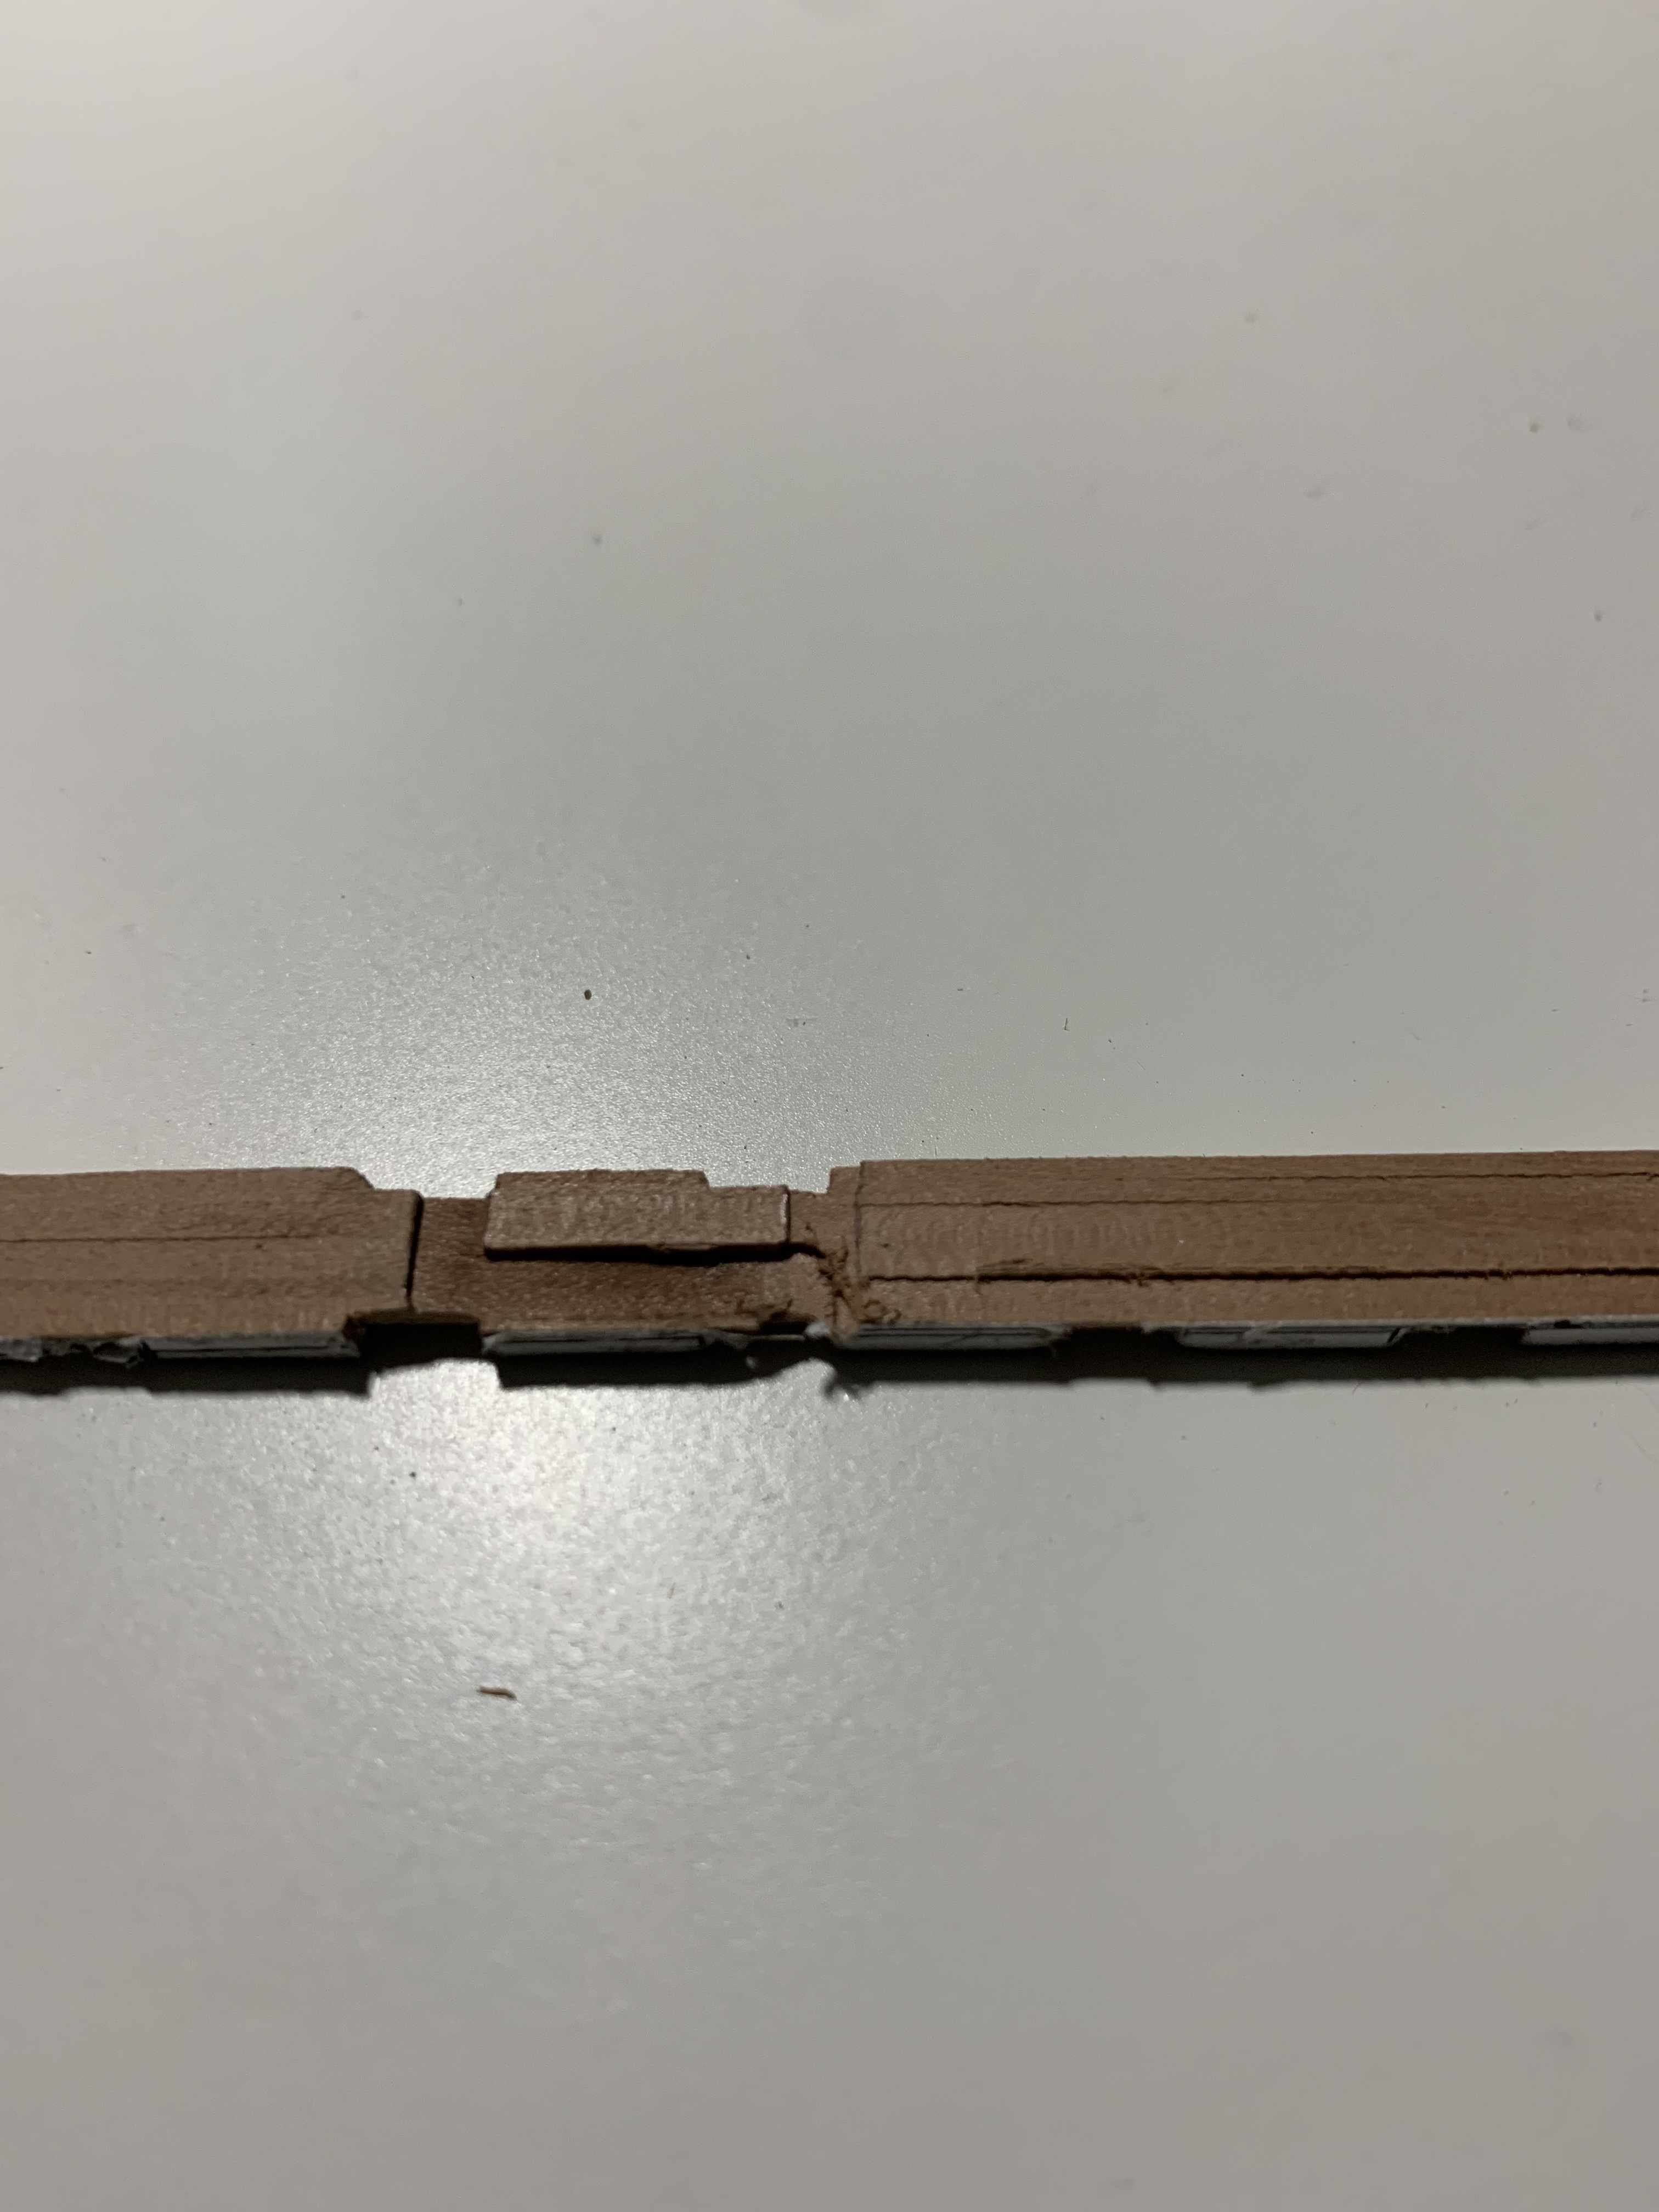
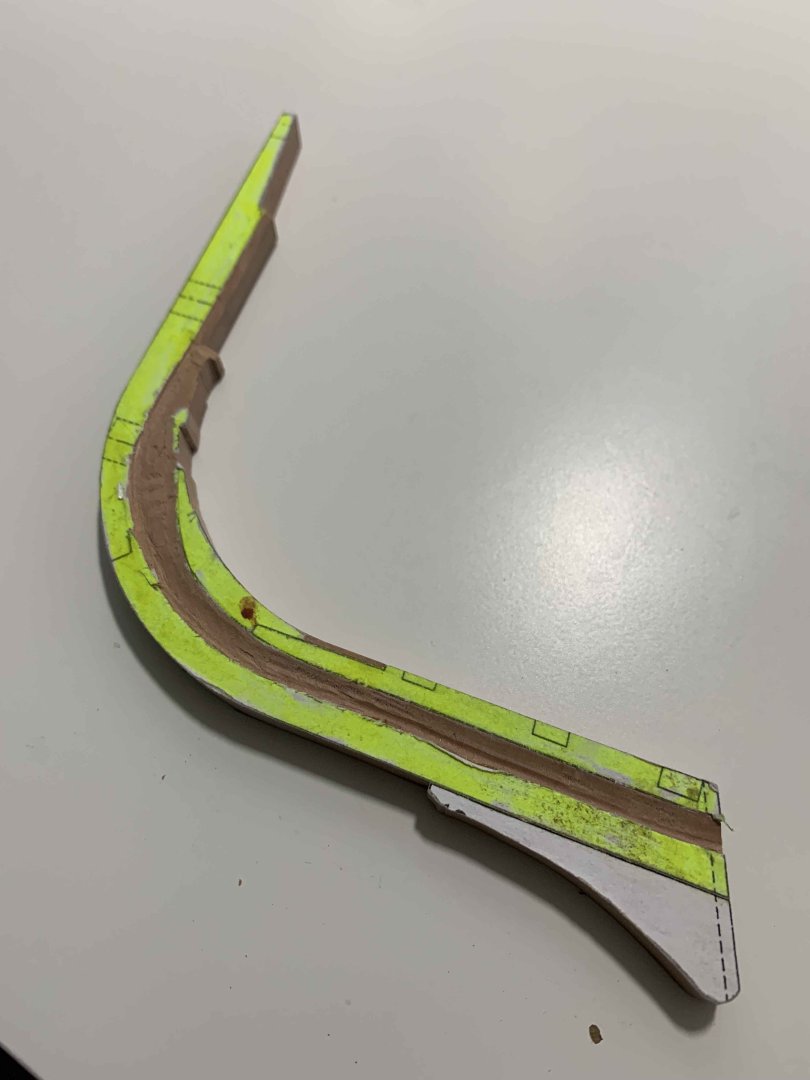
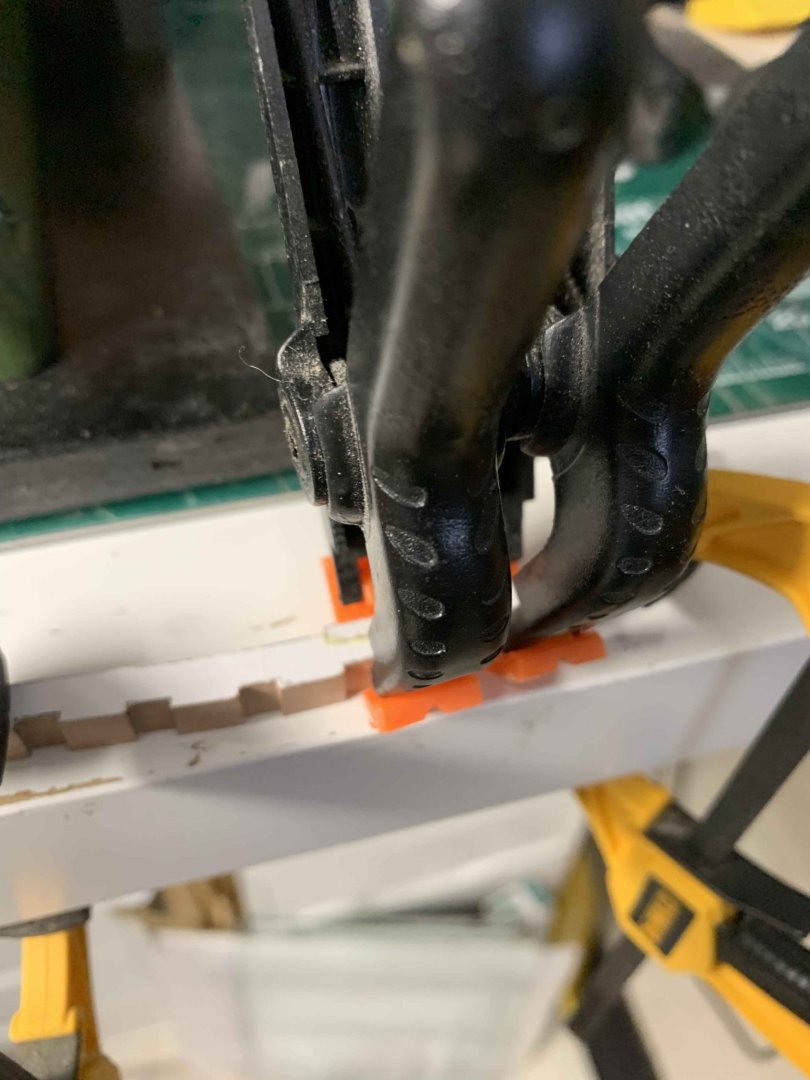
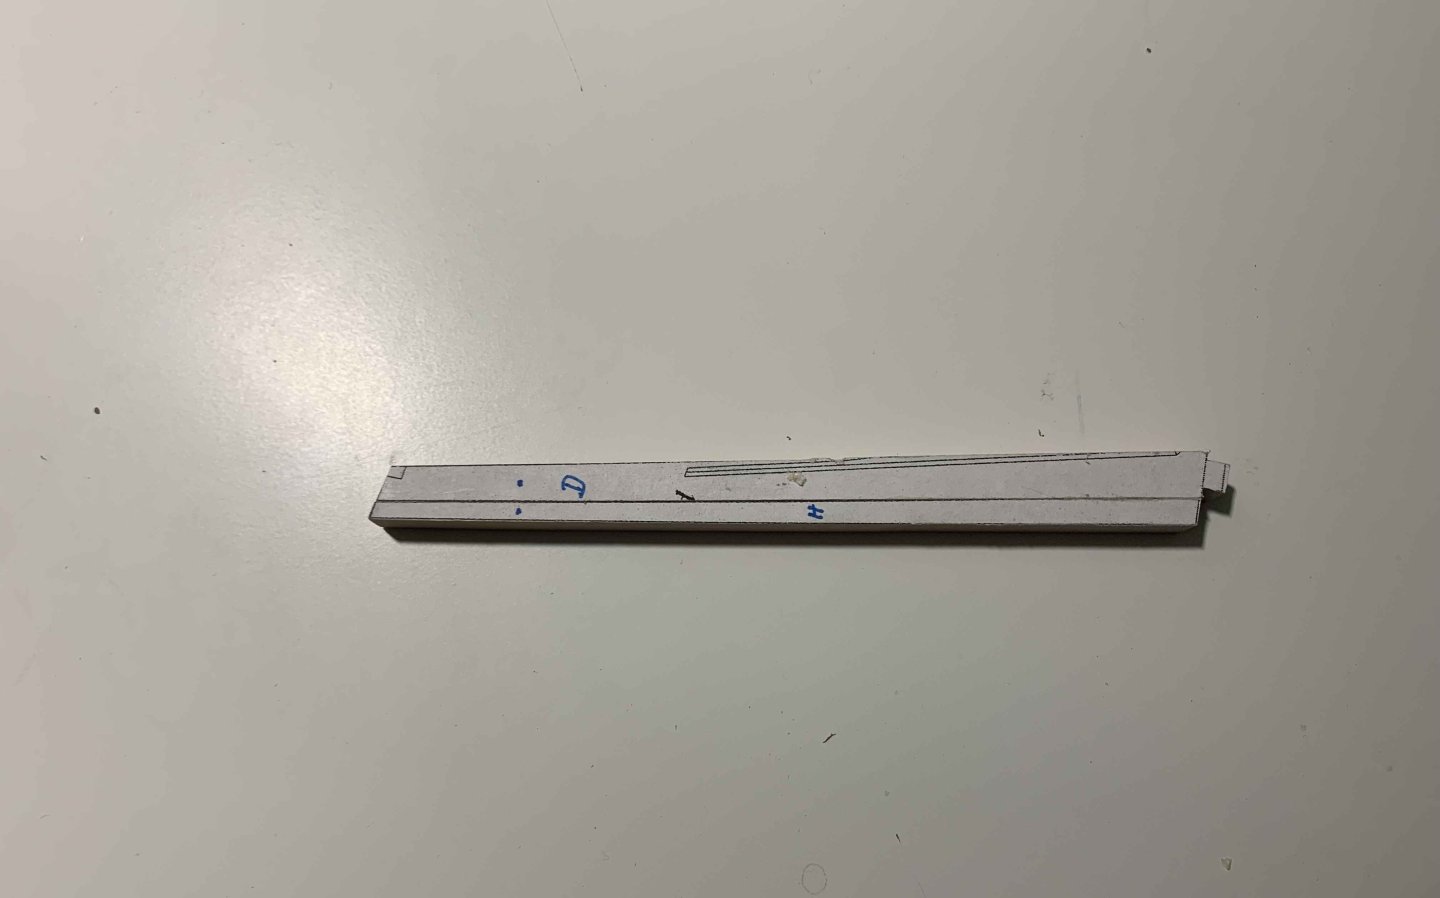
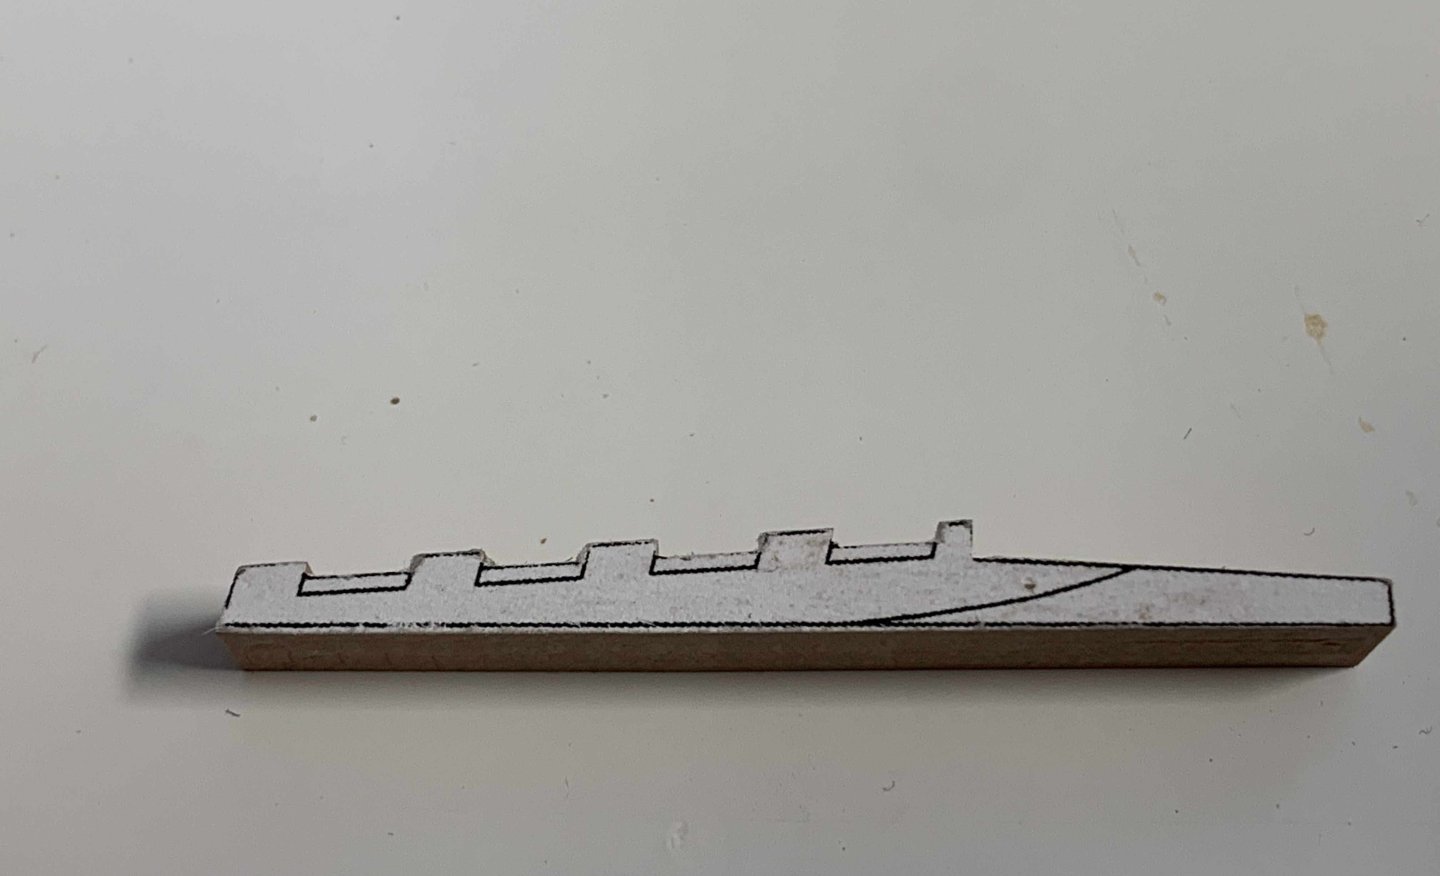
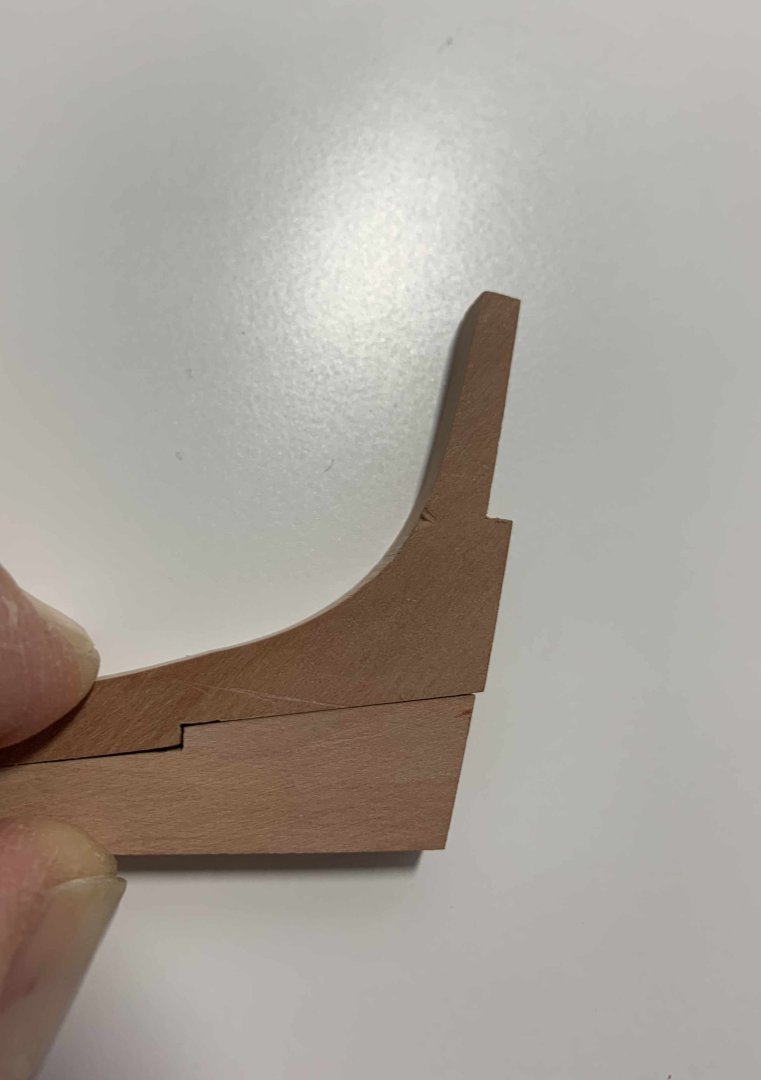
Third time - luck.... hopefully learned something from my mistakes... First one - broke the part above its potential repair.. Second one - too hard push with a chisel caused rabbet line to go sideways.. above potential repair... So now it has to be a good one, since I don't have more lumber available... Happy modelling..
-
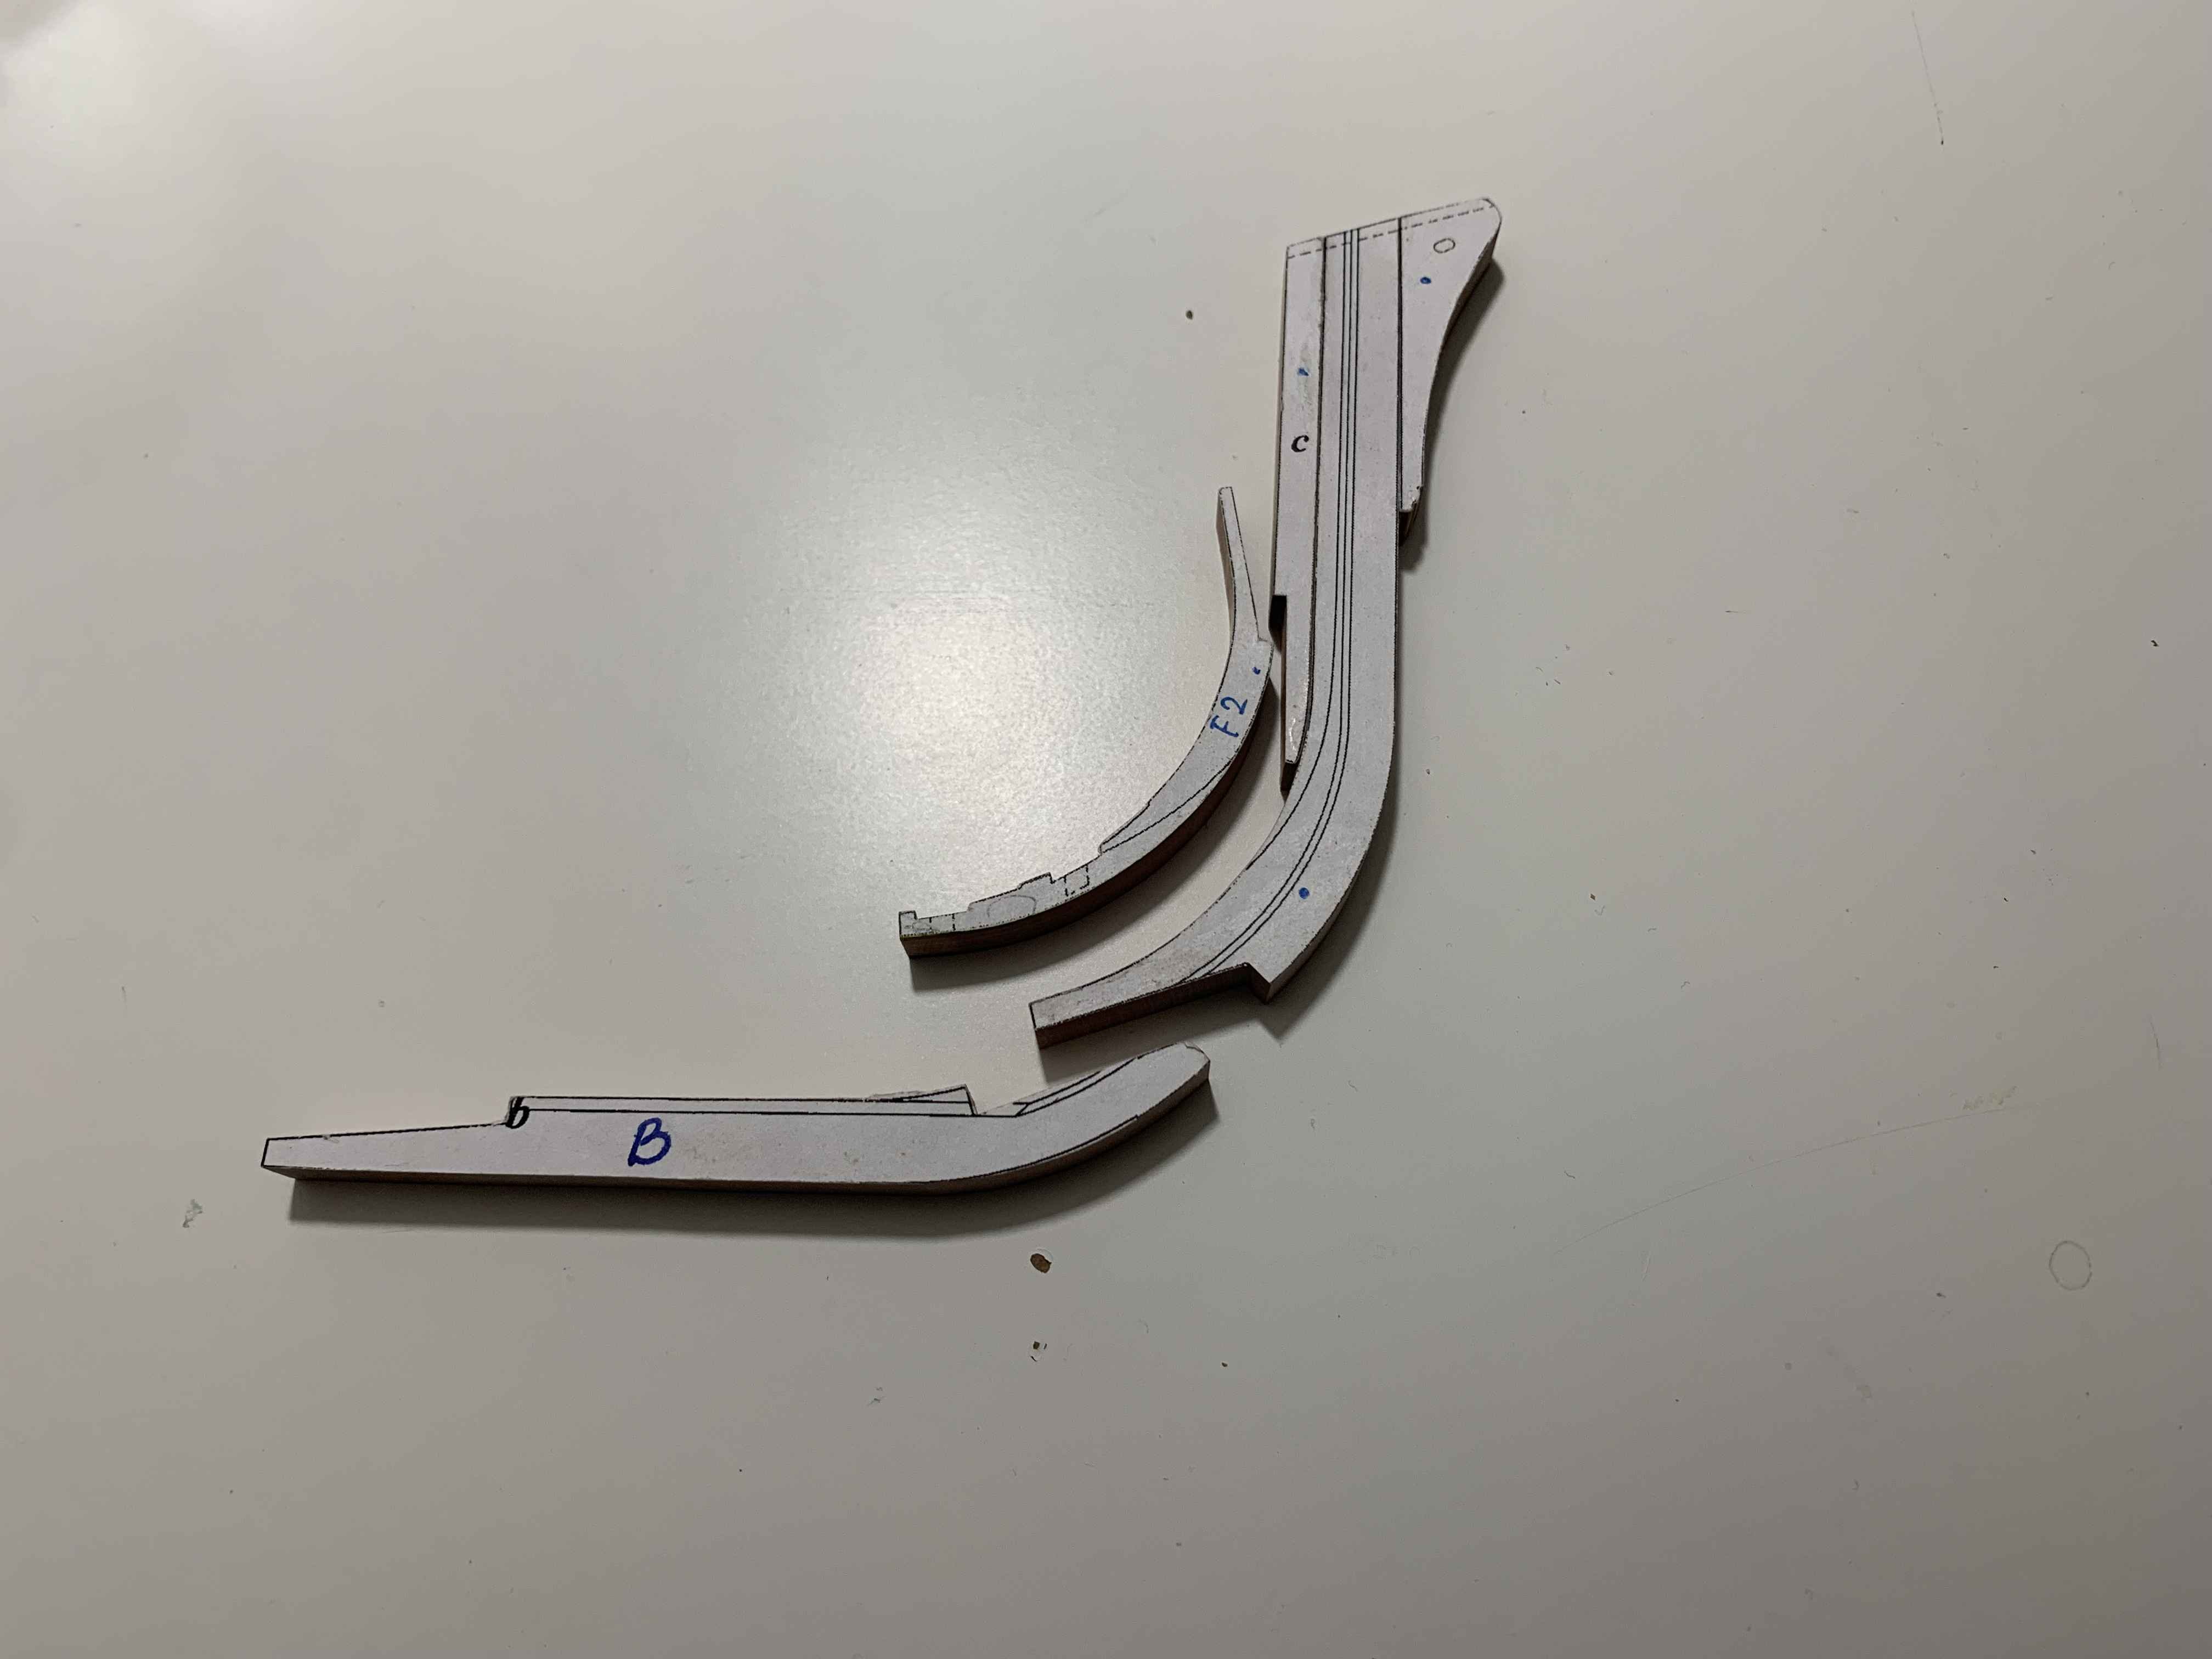
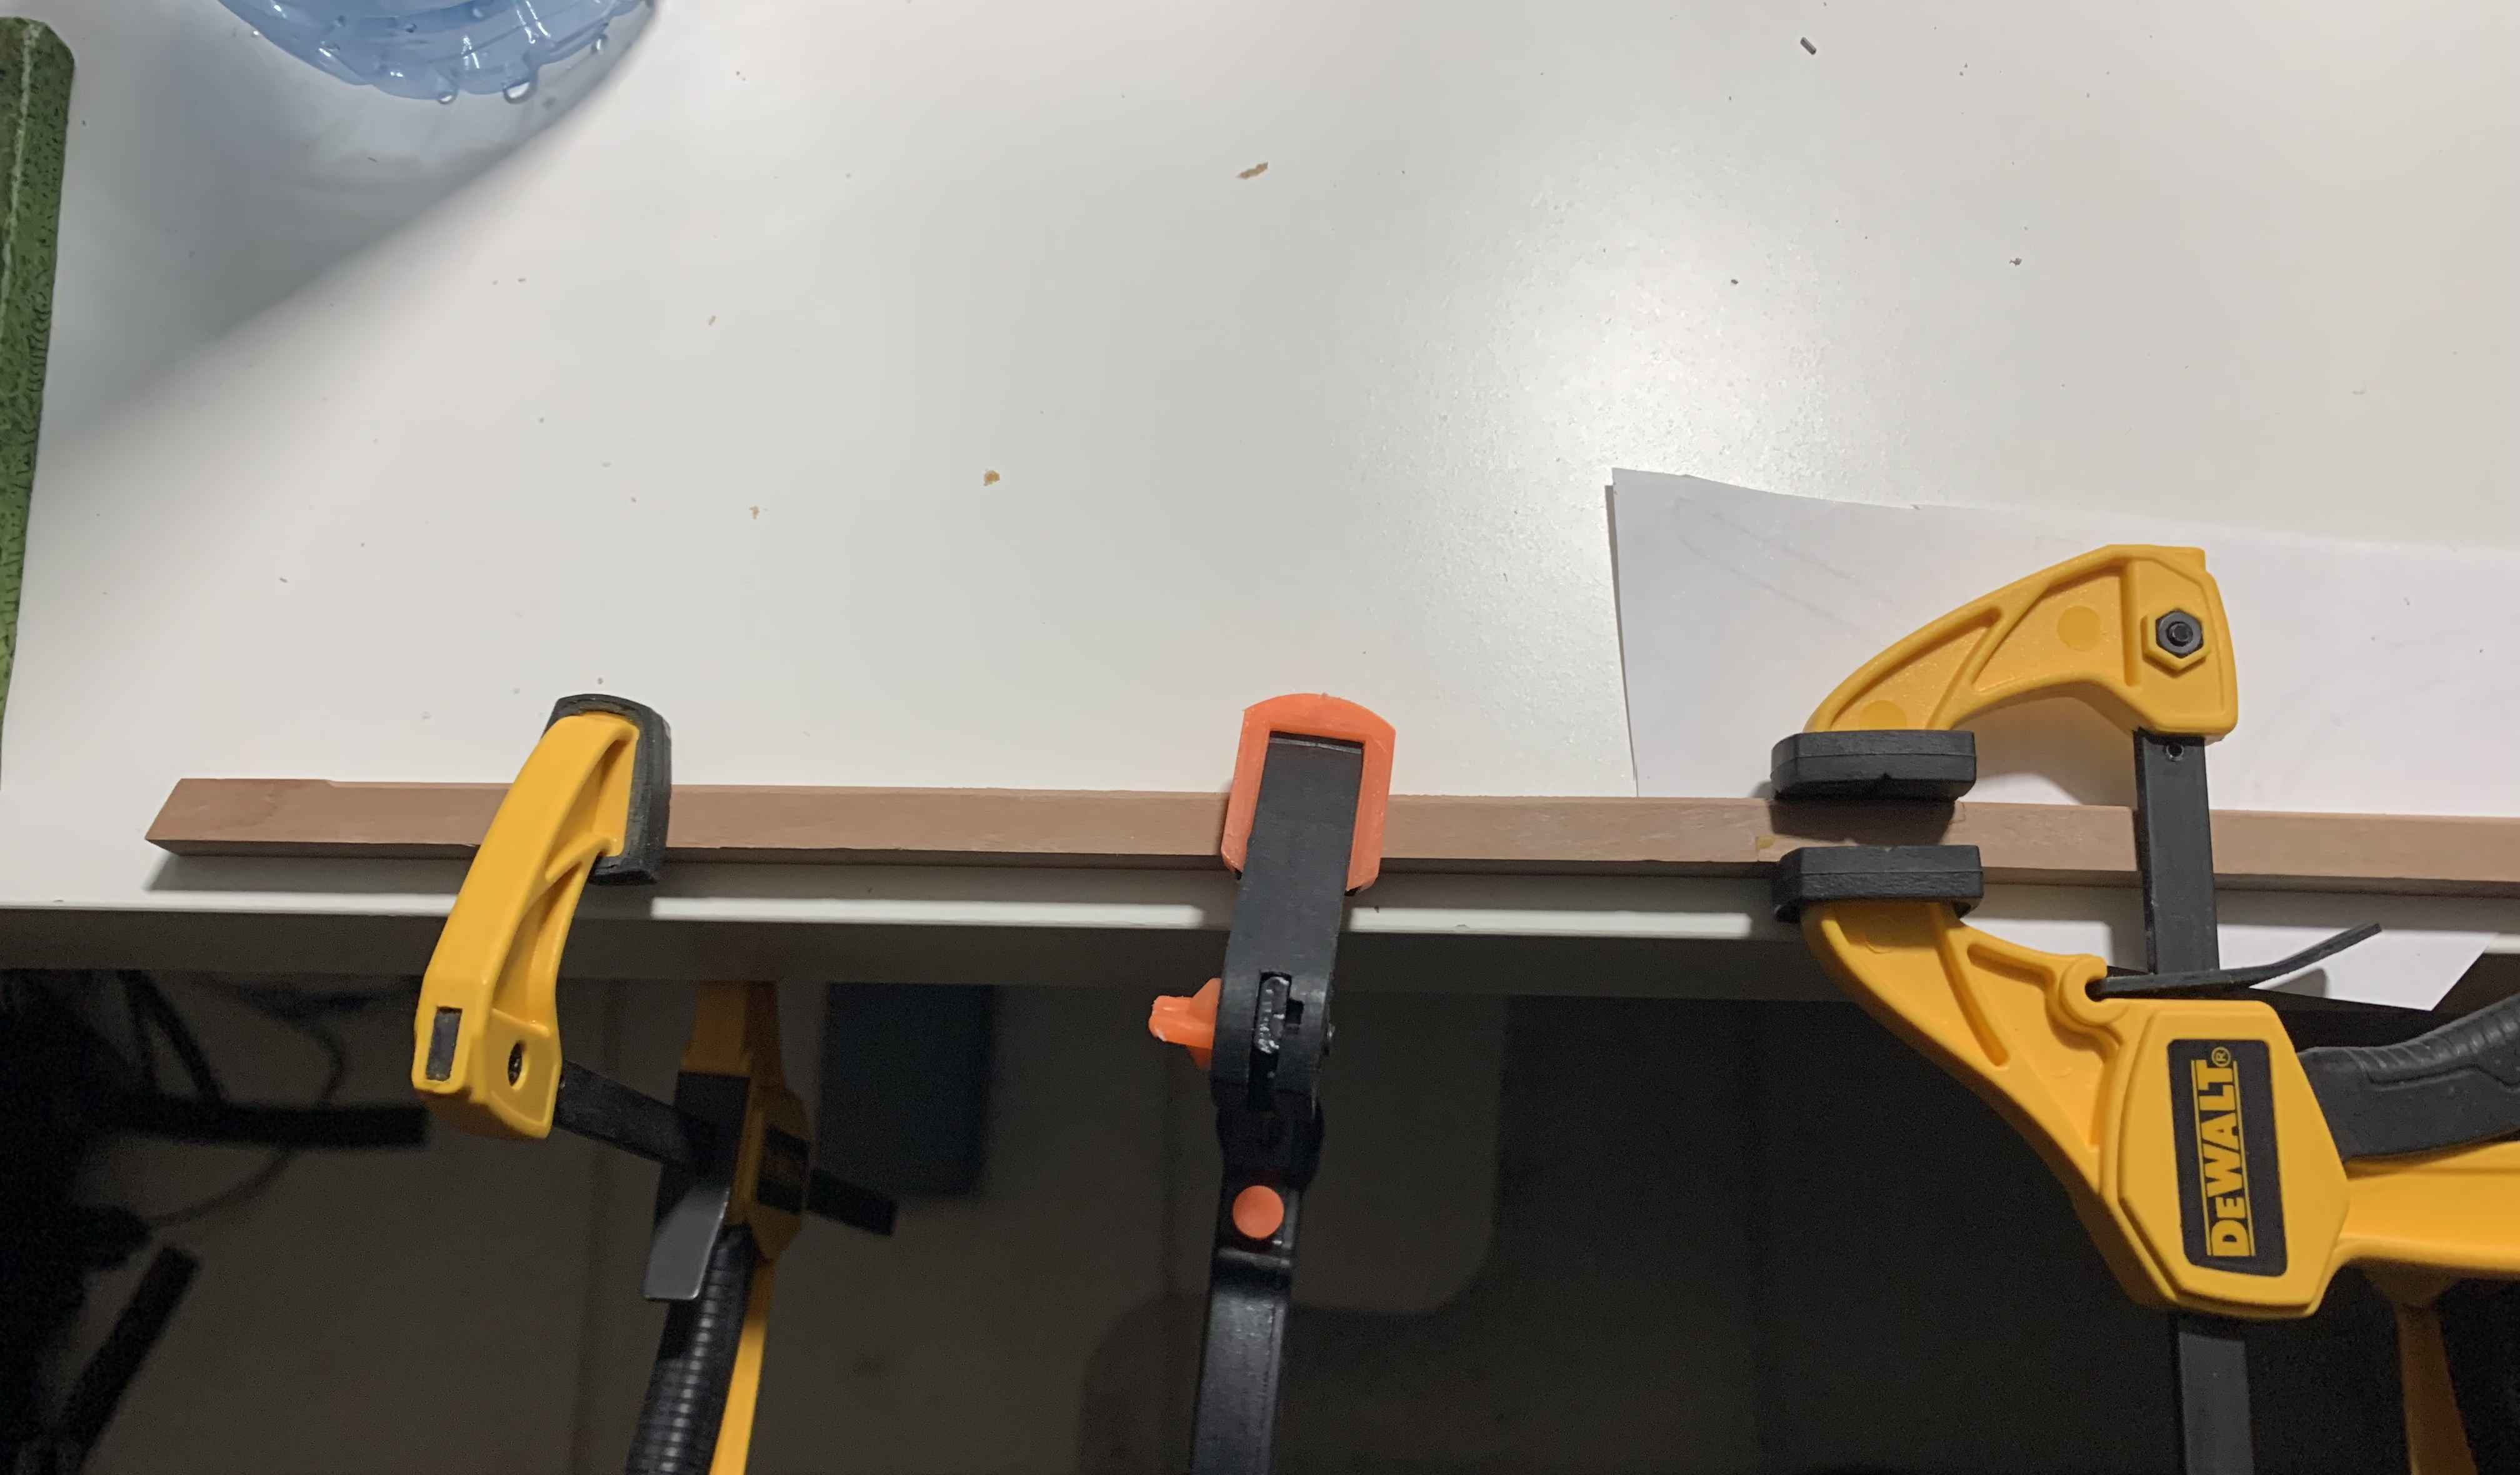
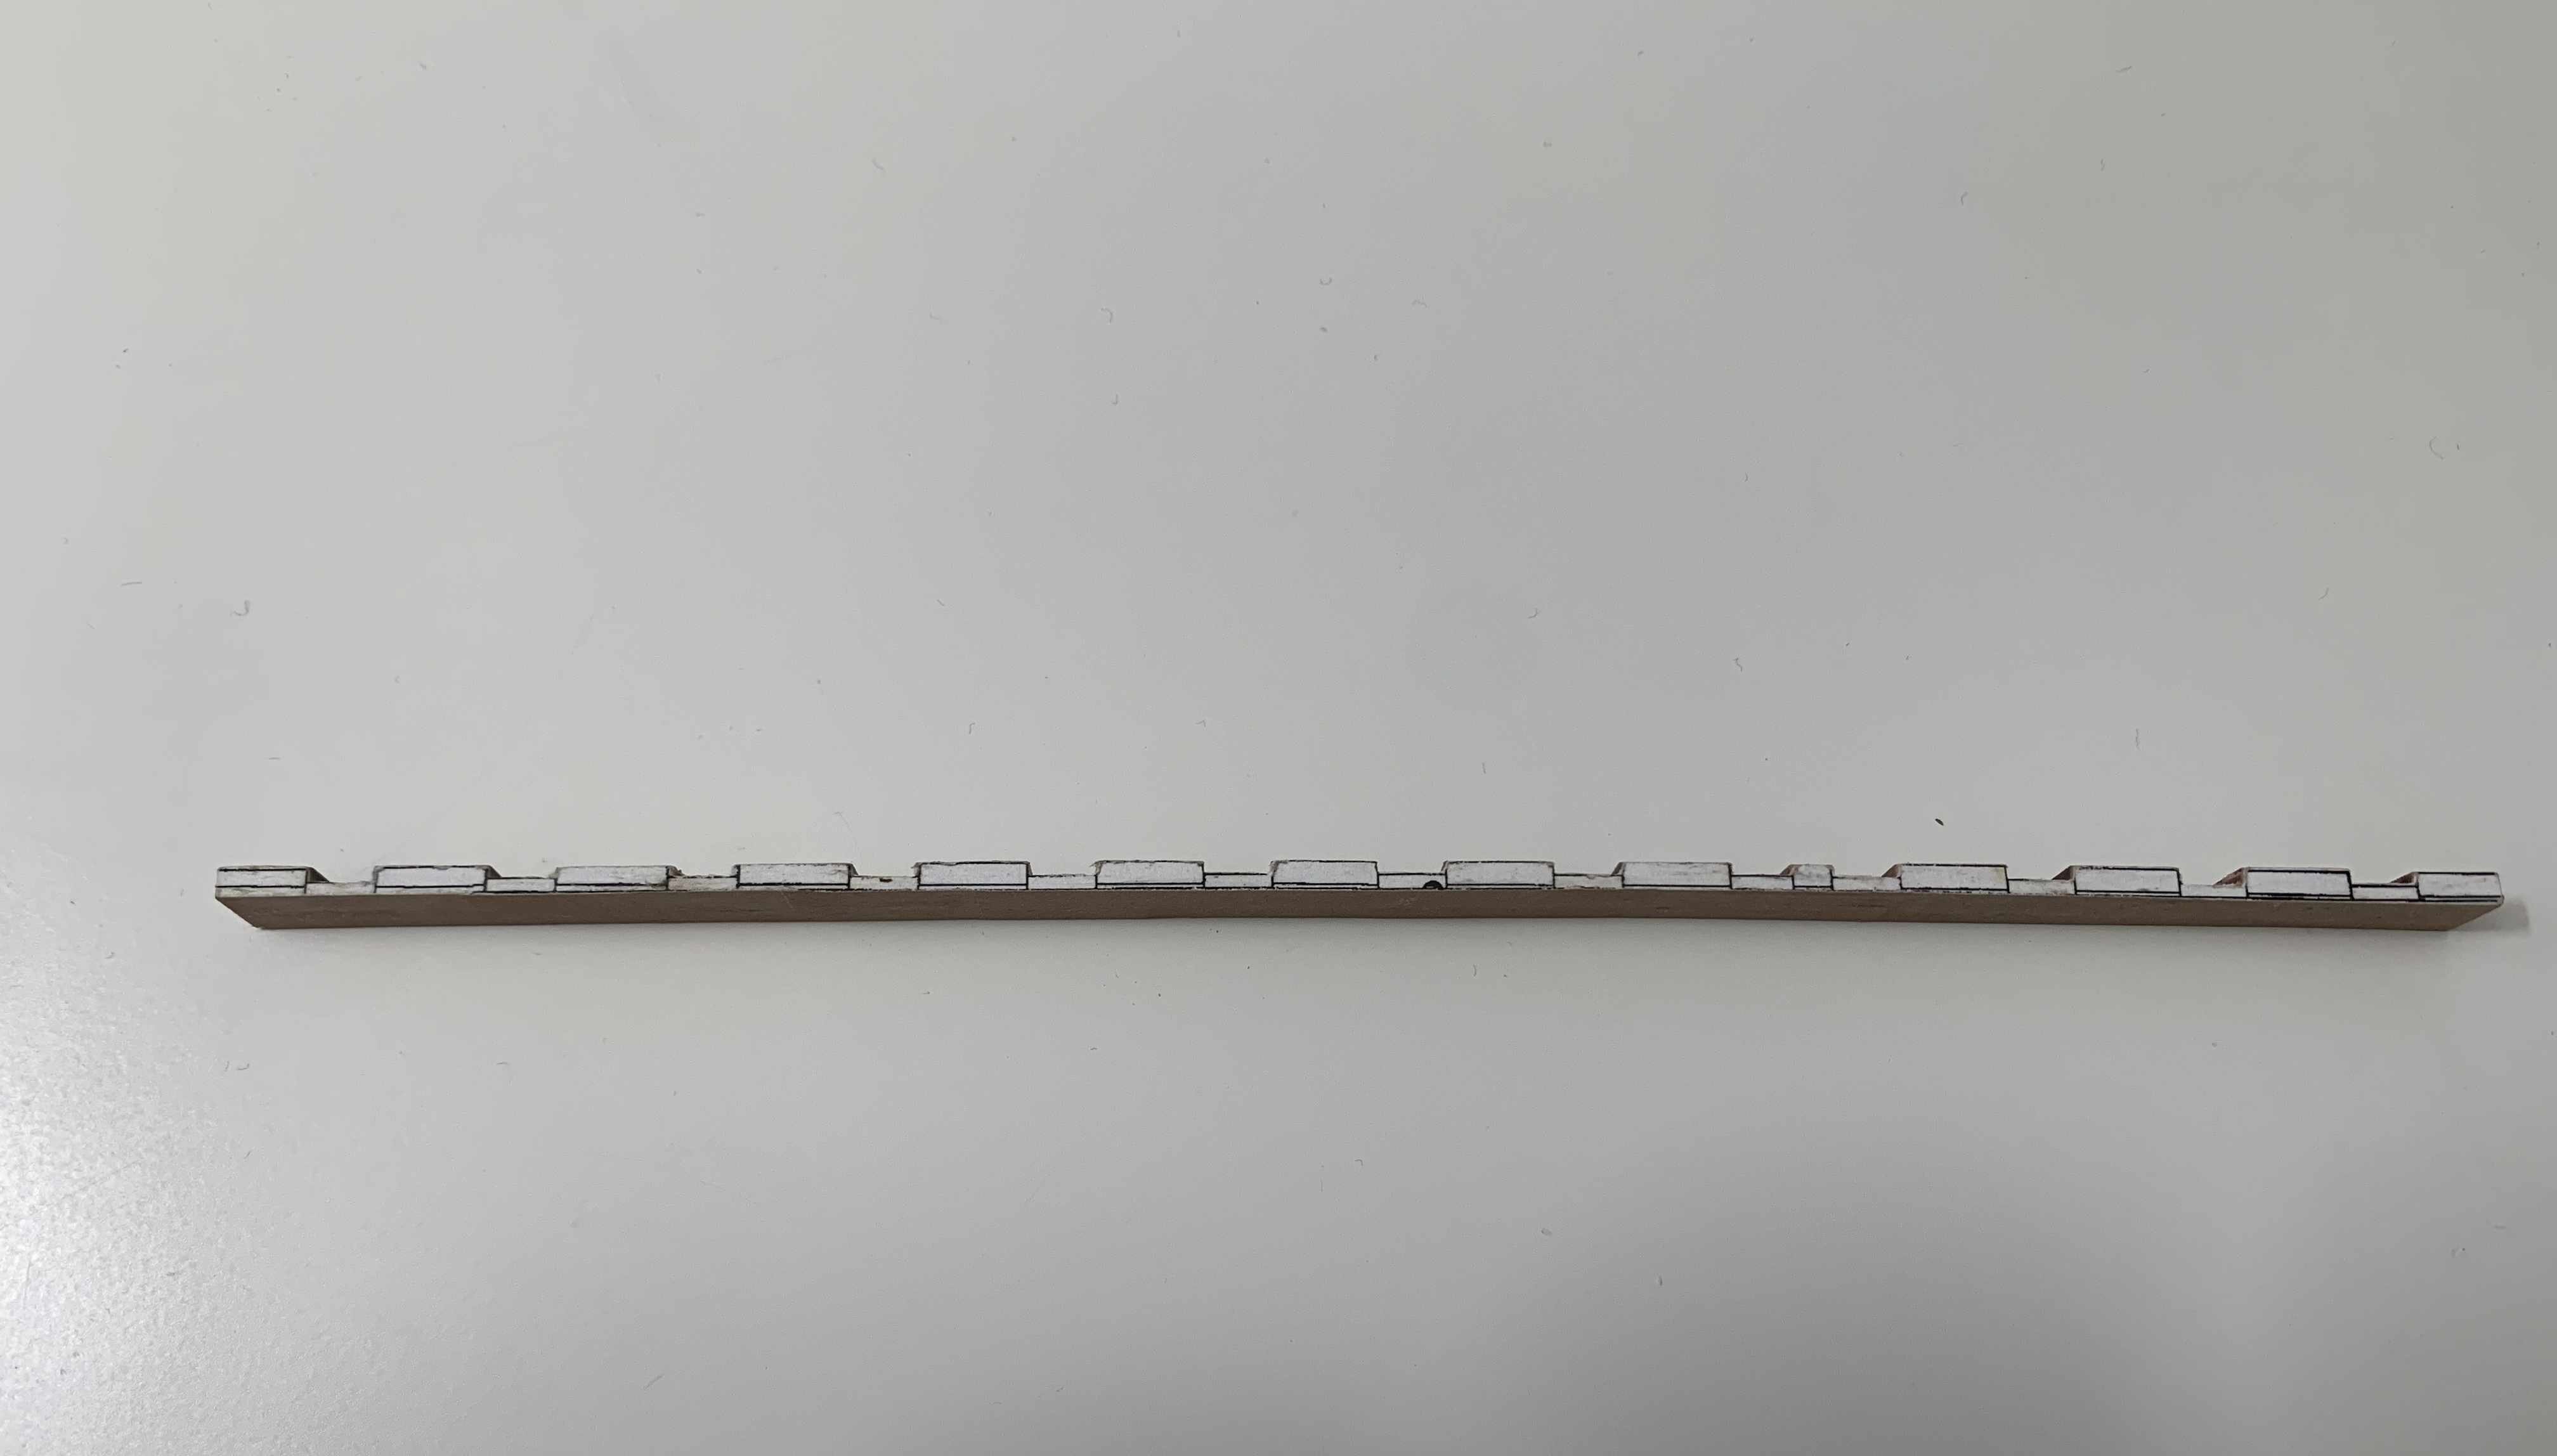
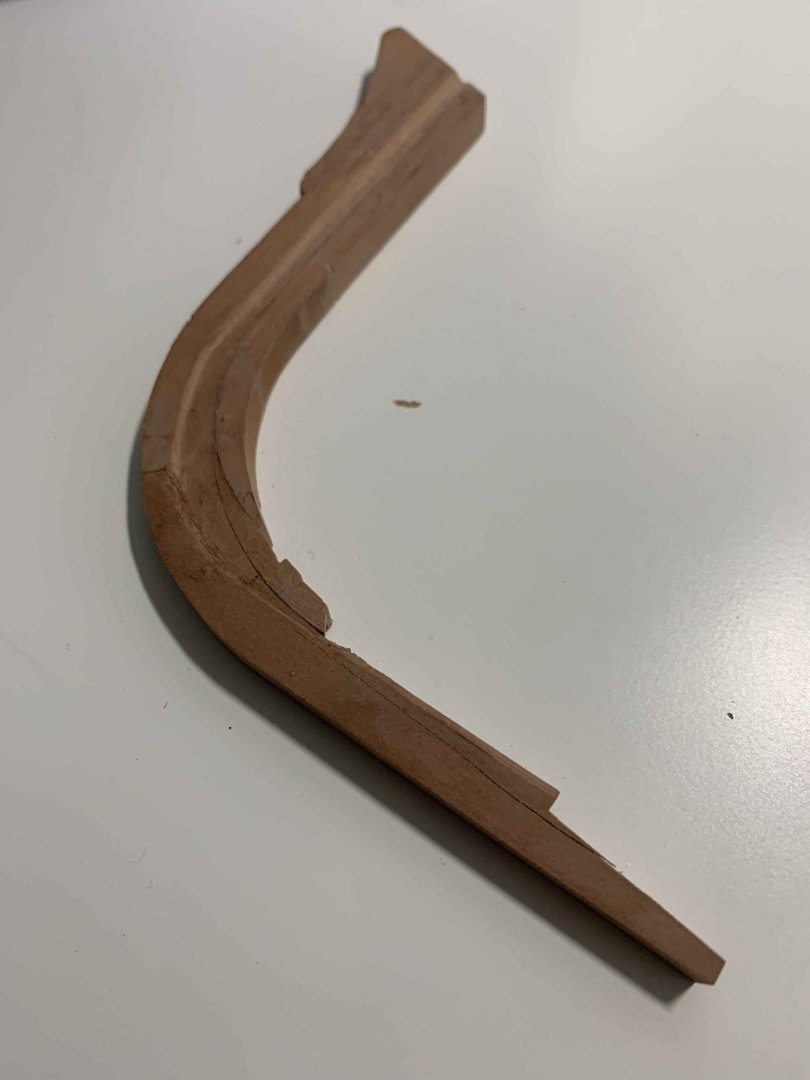
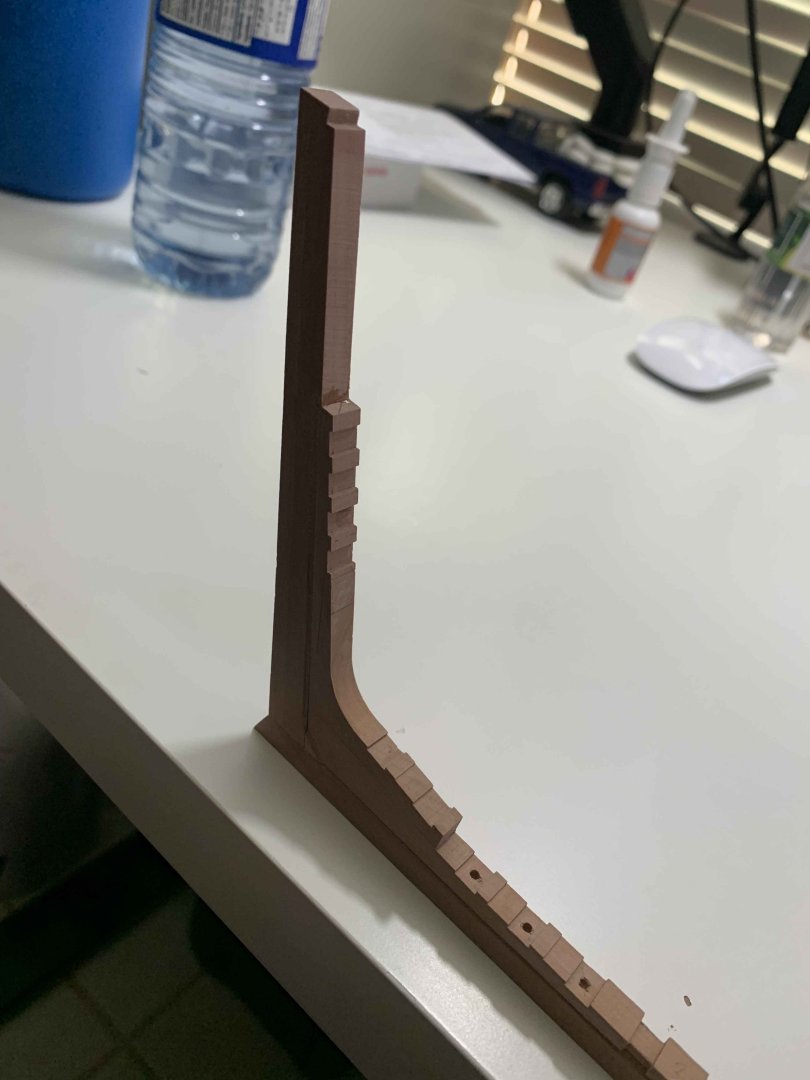
A bit more overnight glueing and parts are ready for final sending and cleanup... also rabbet line will need to be completed... Happy modelling..
-
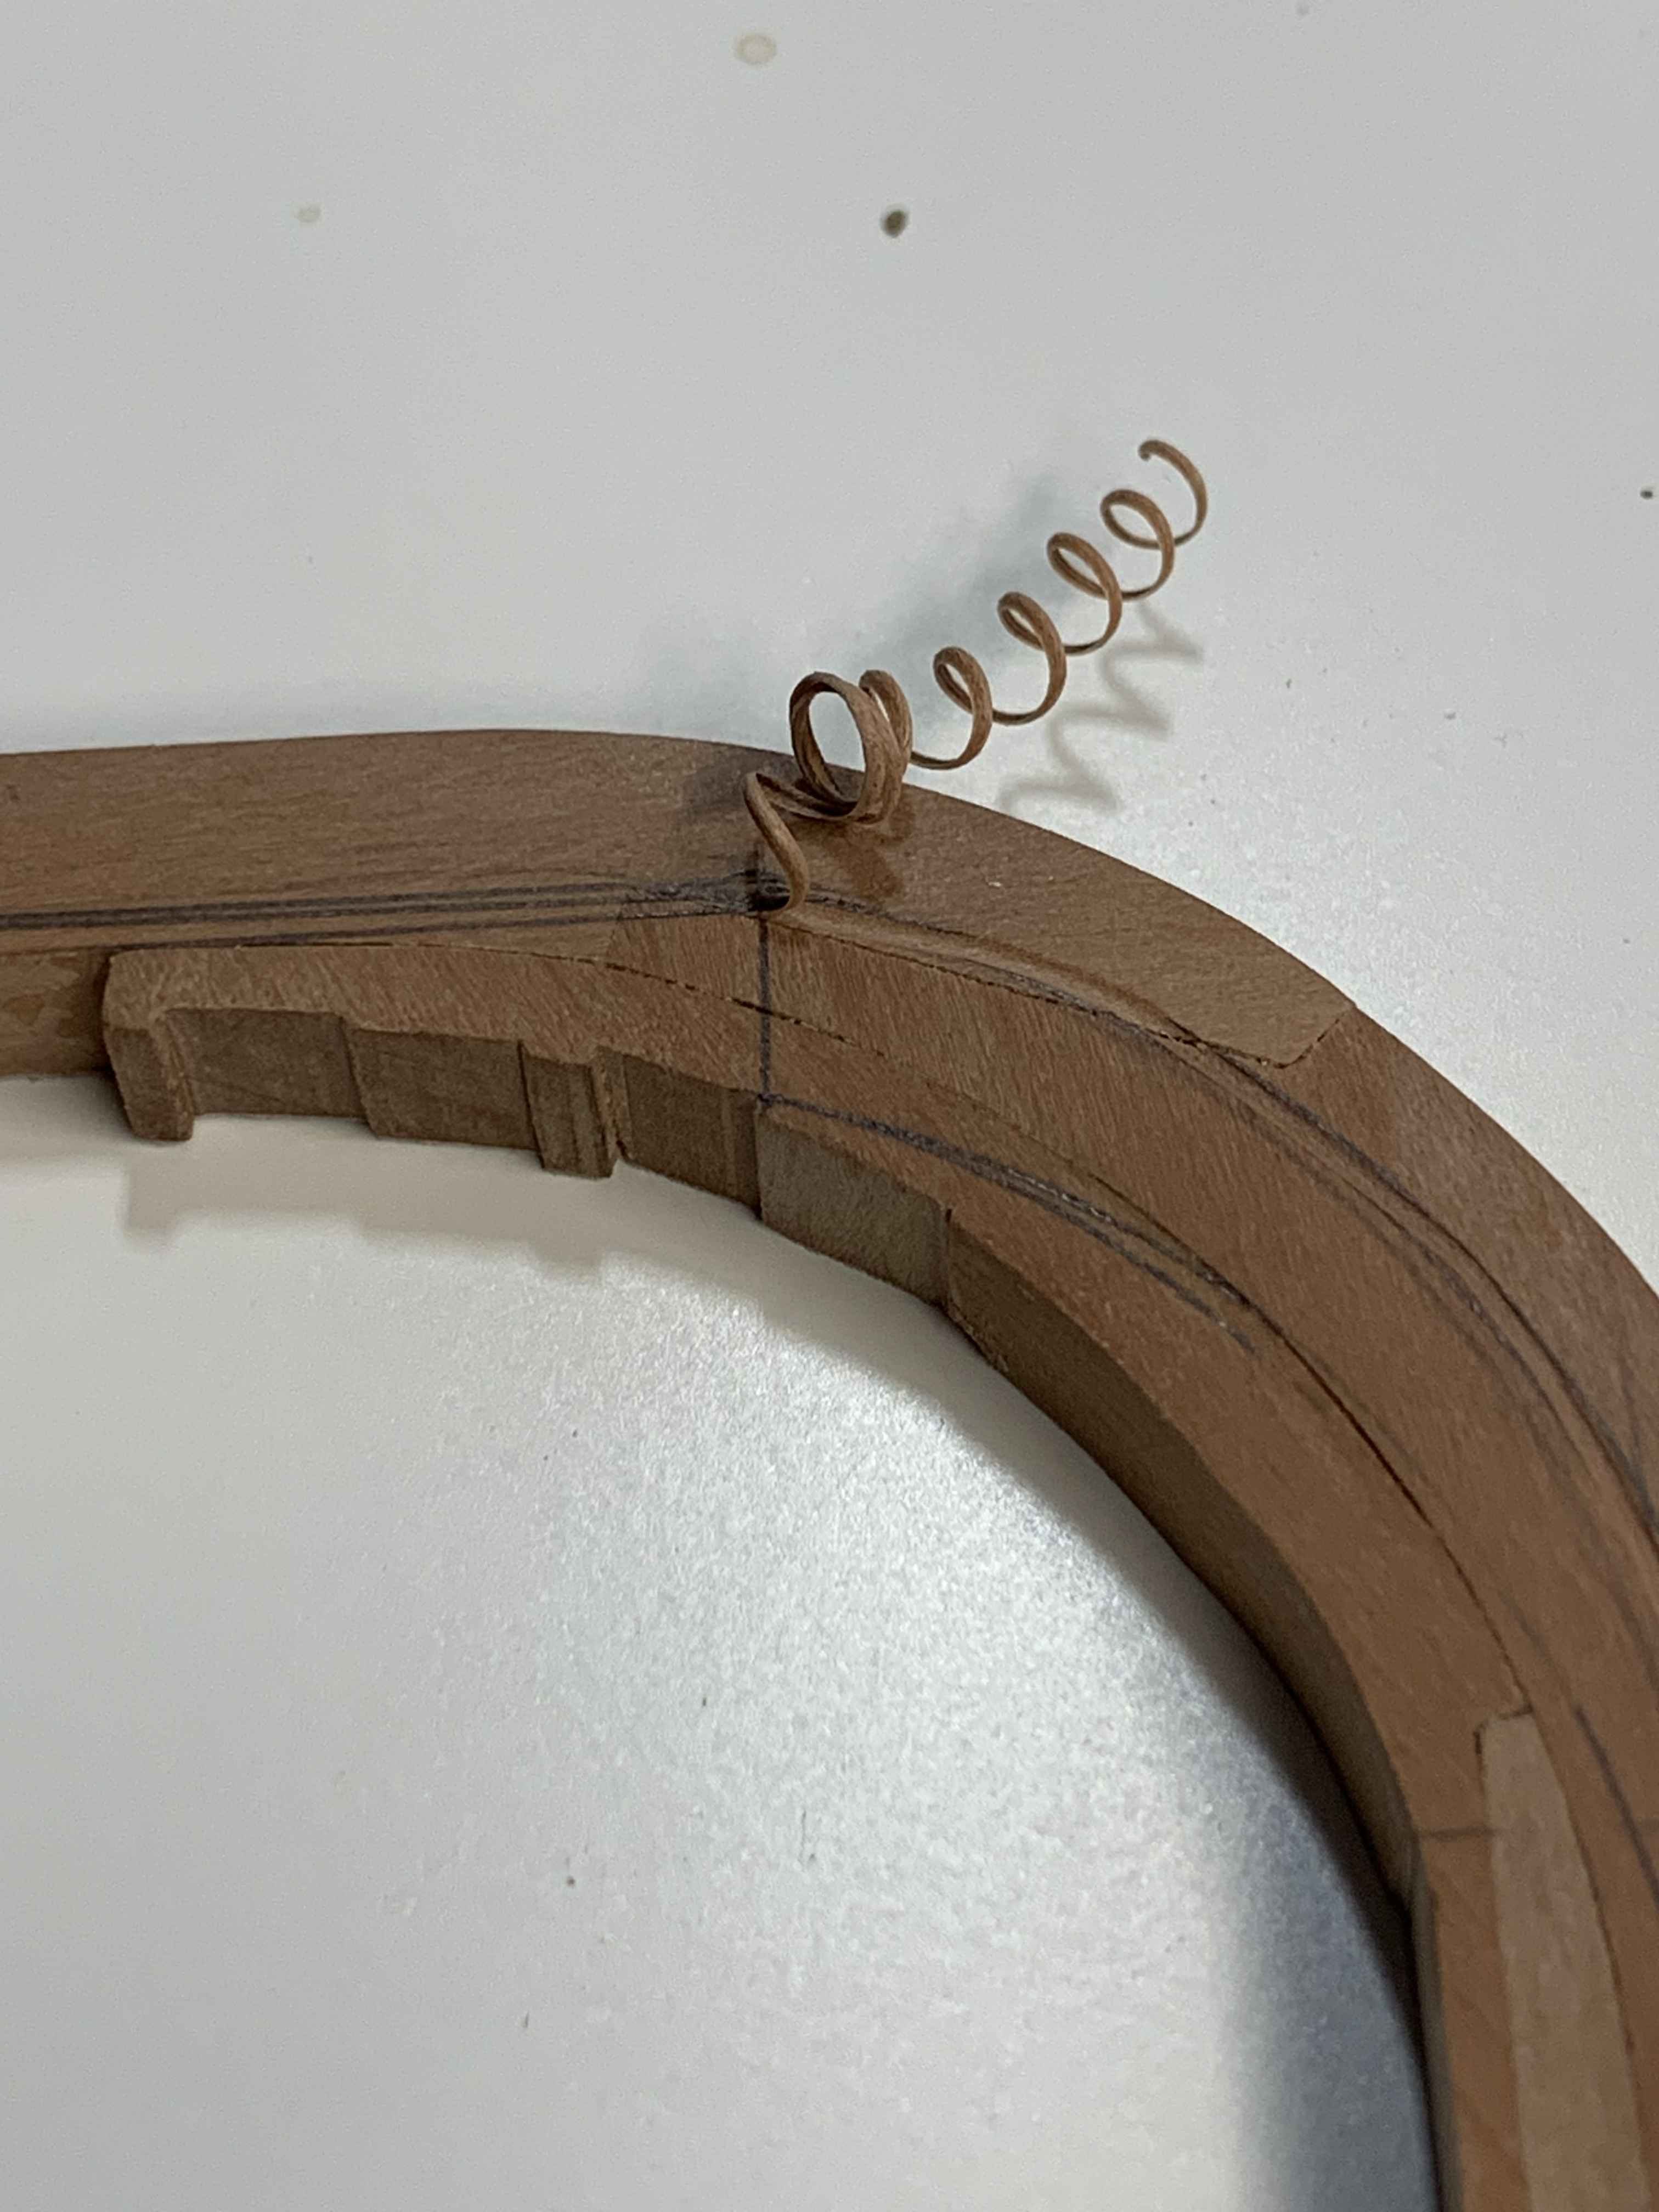
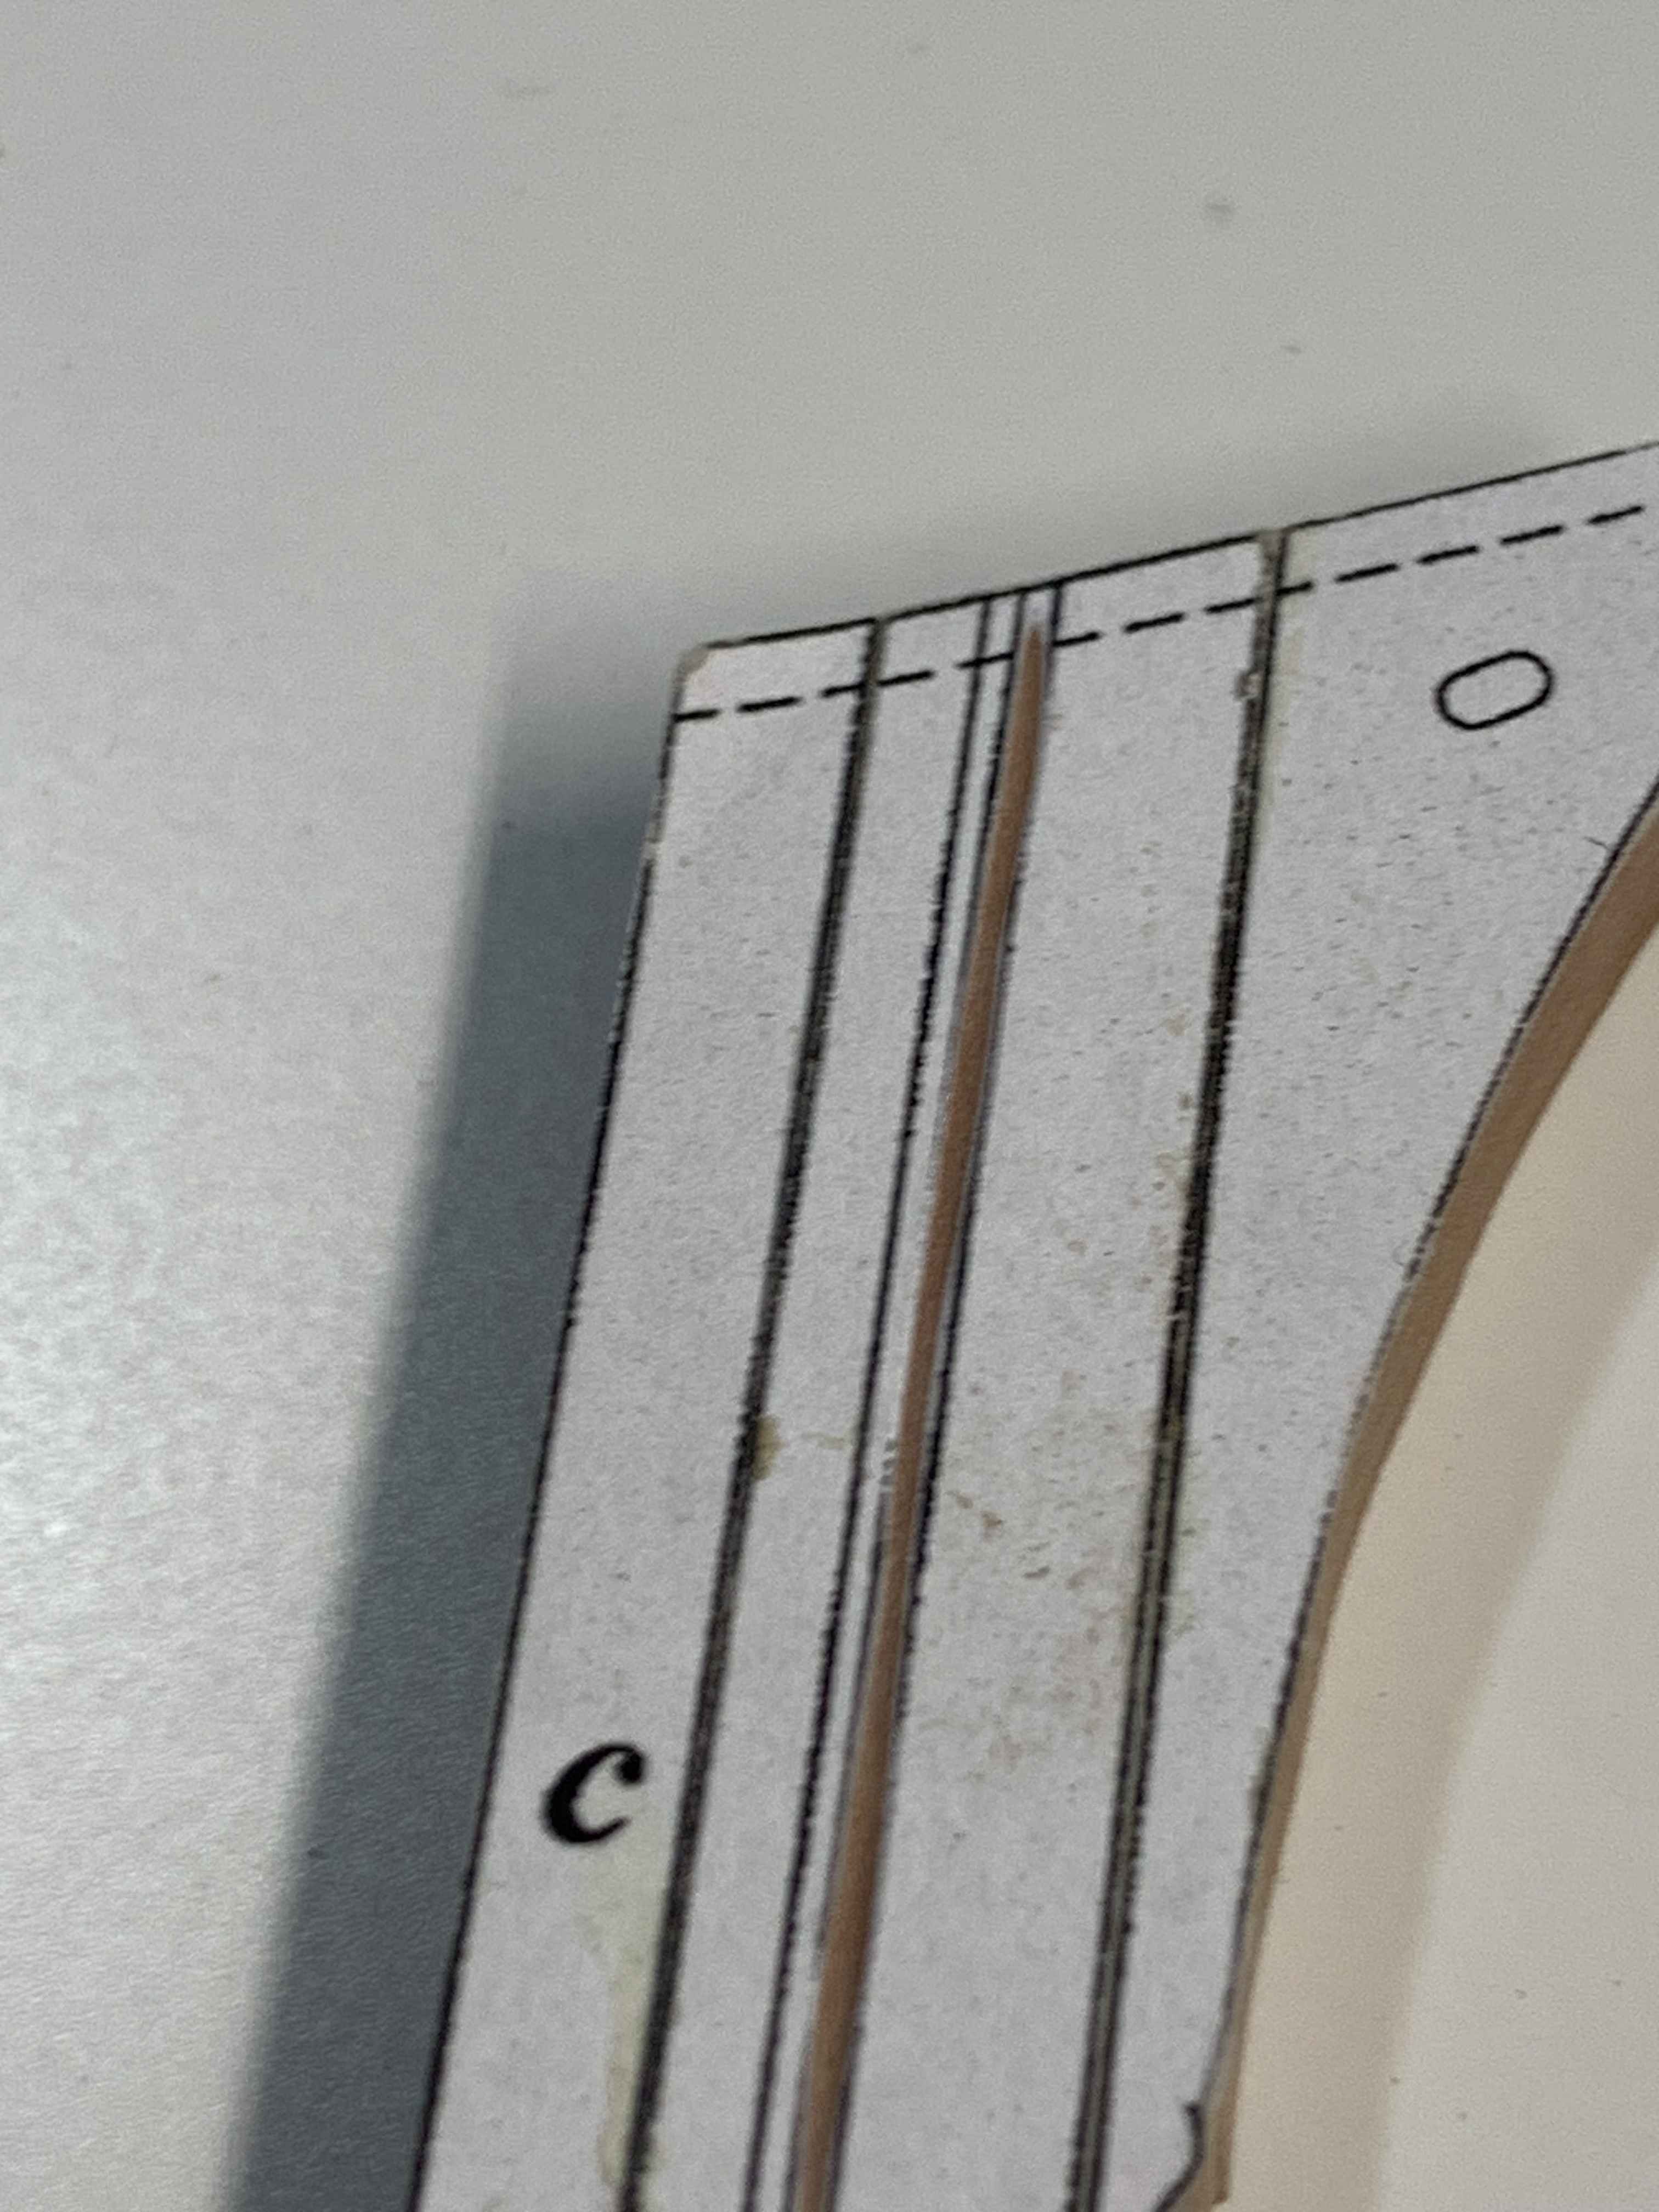
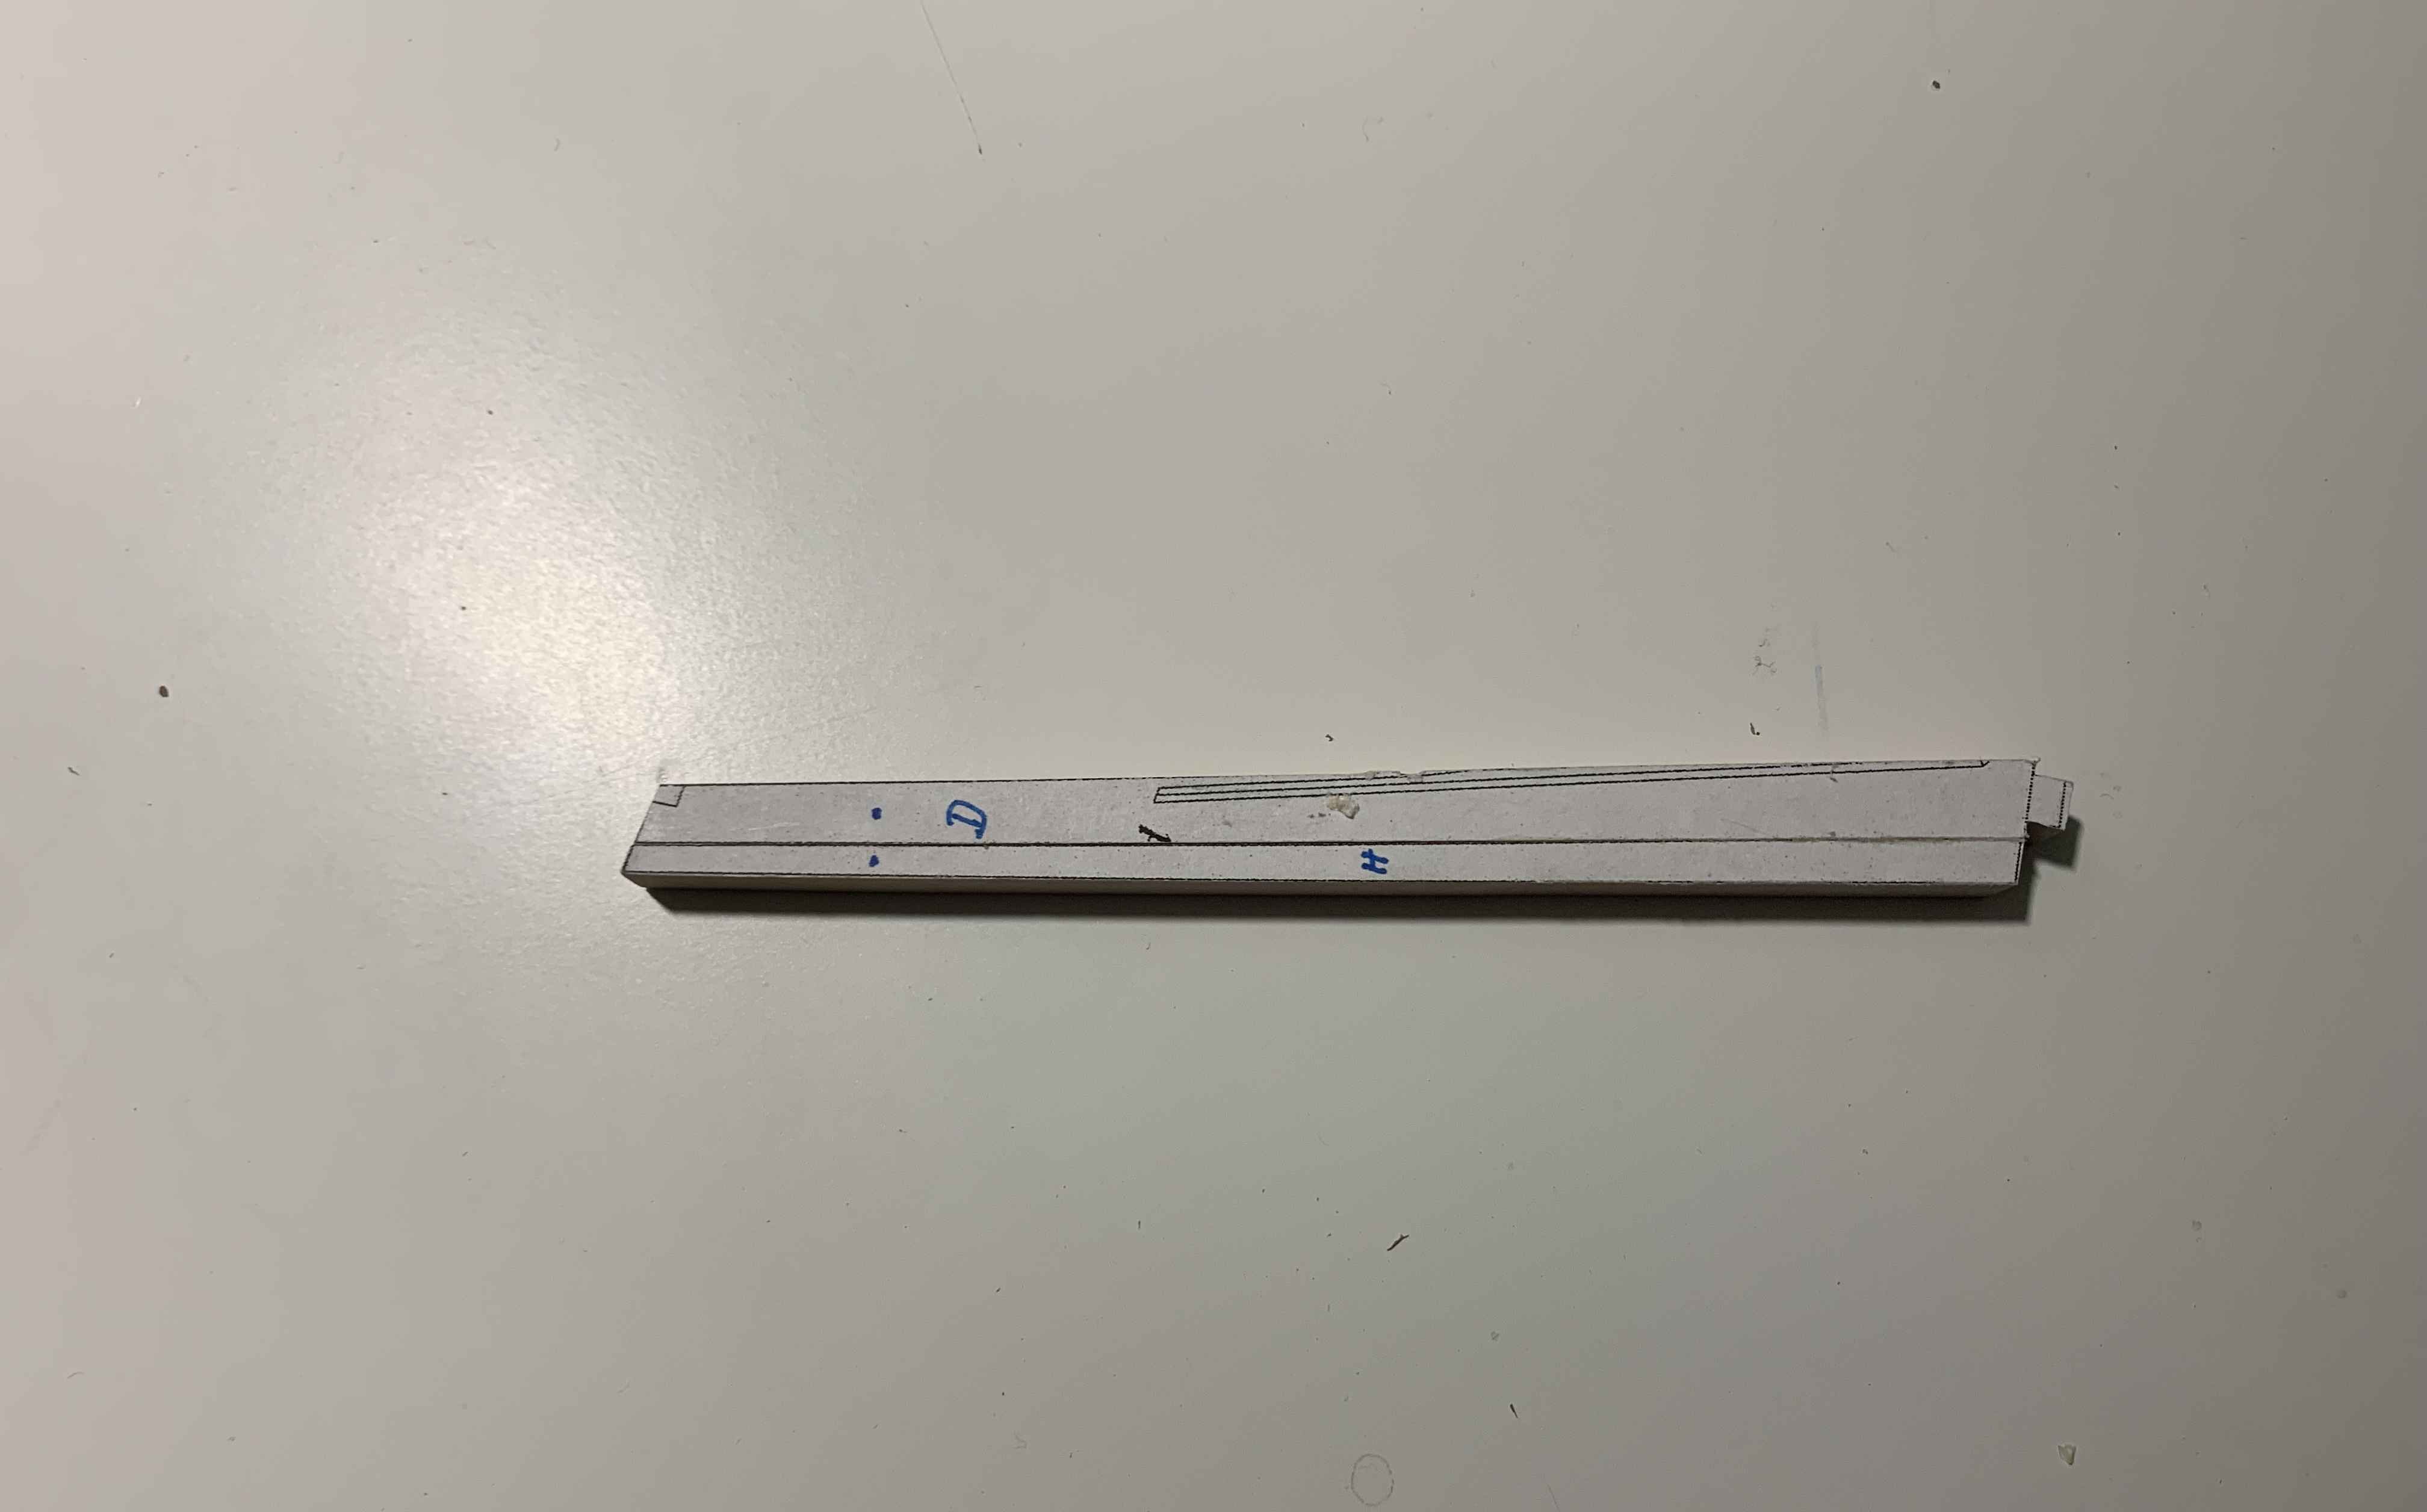
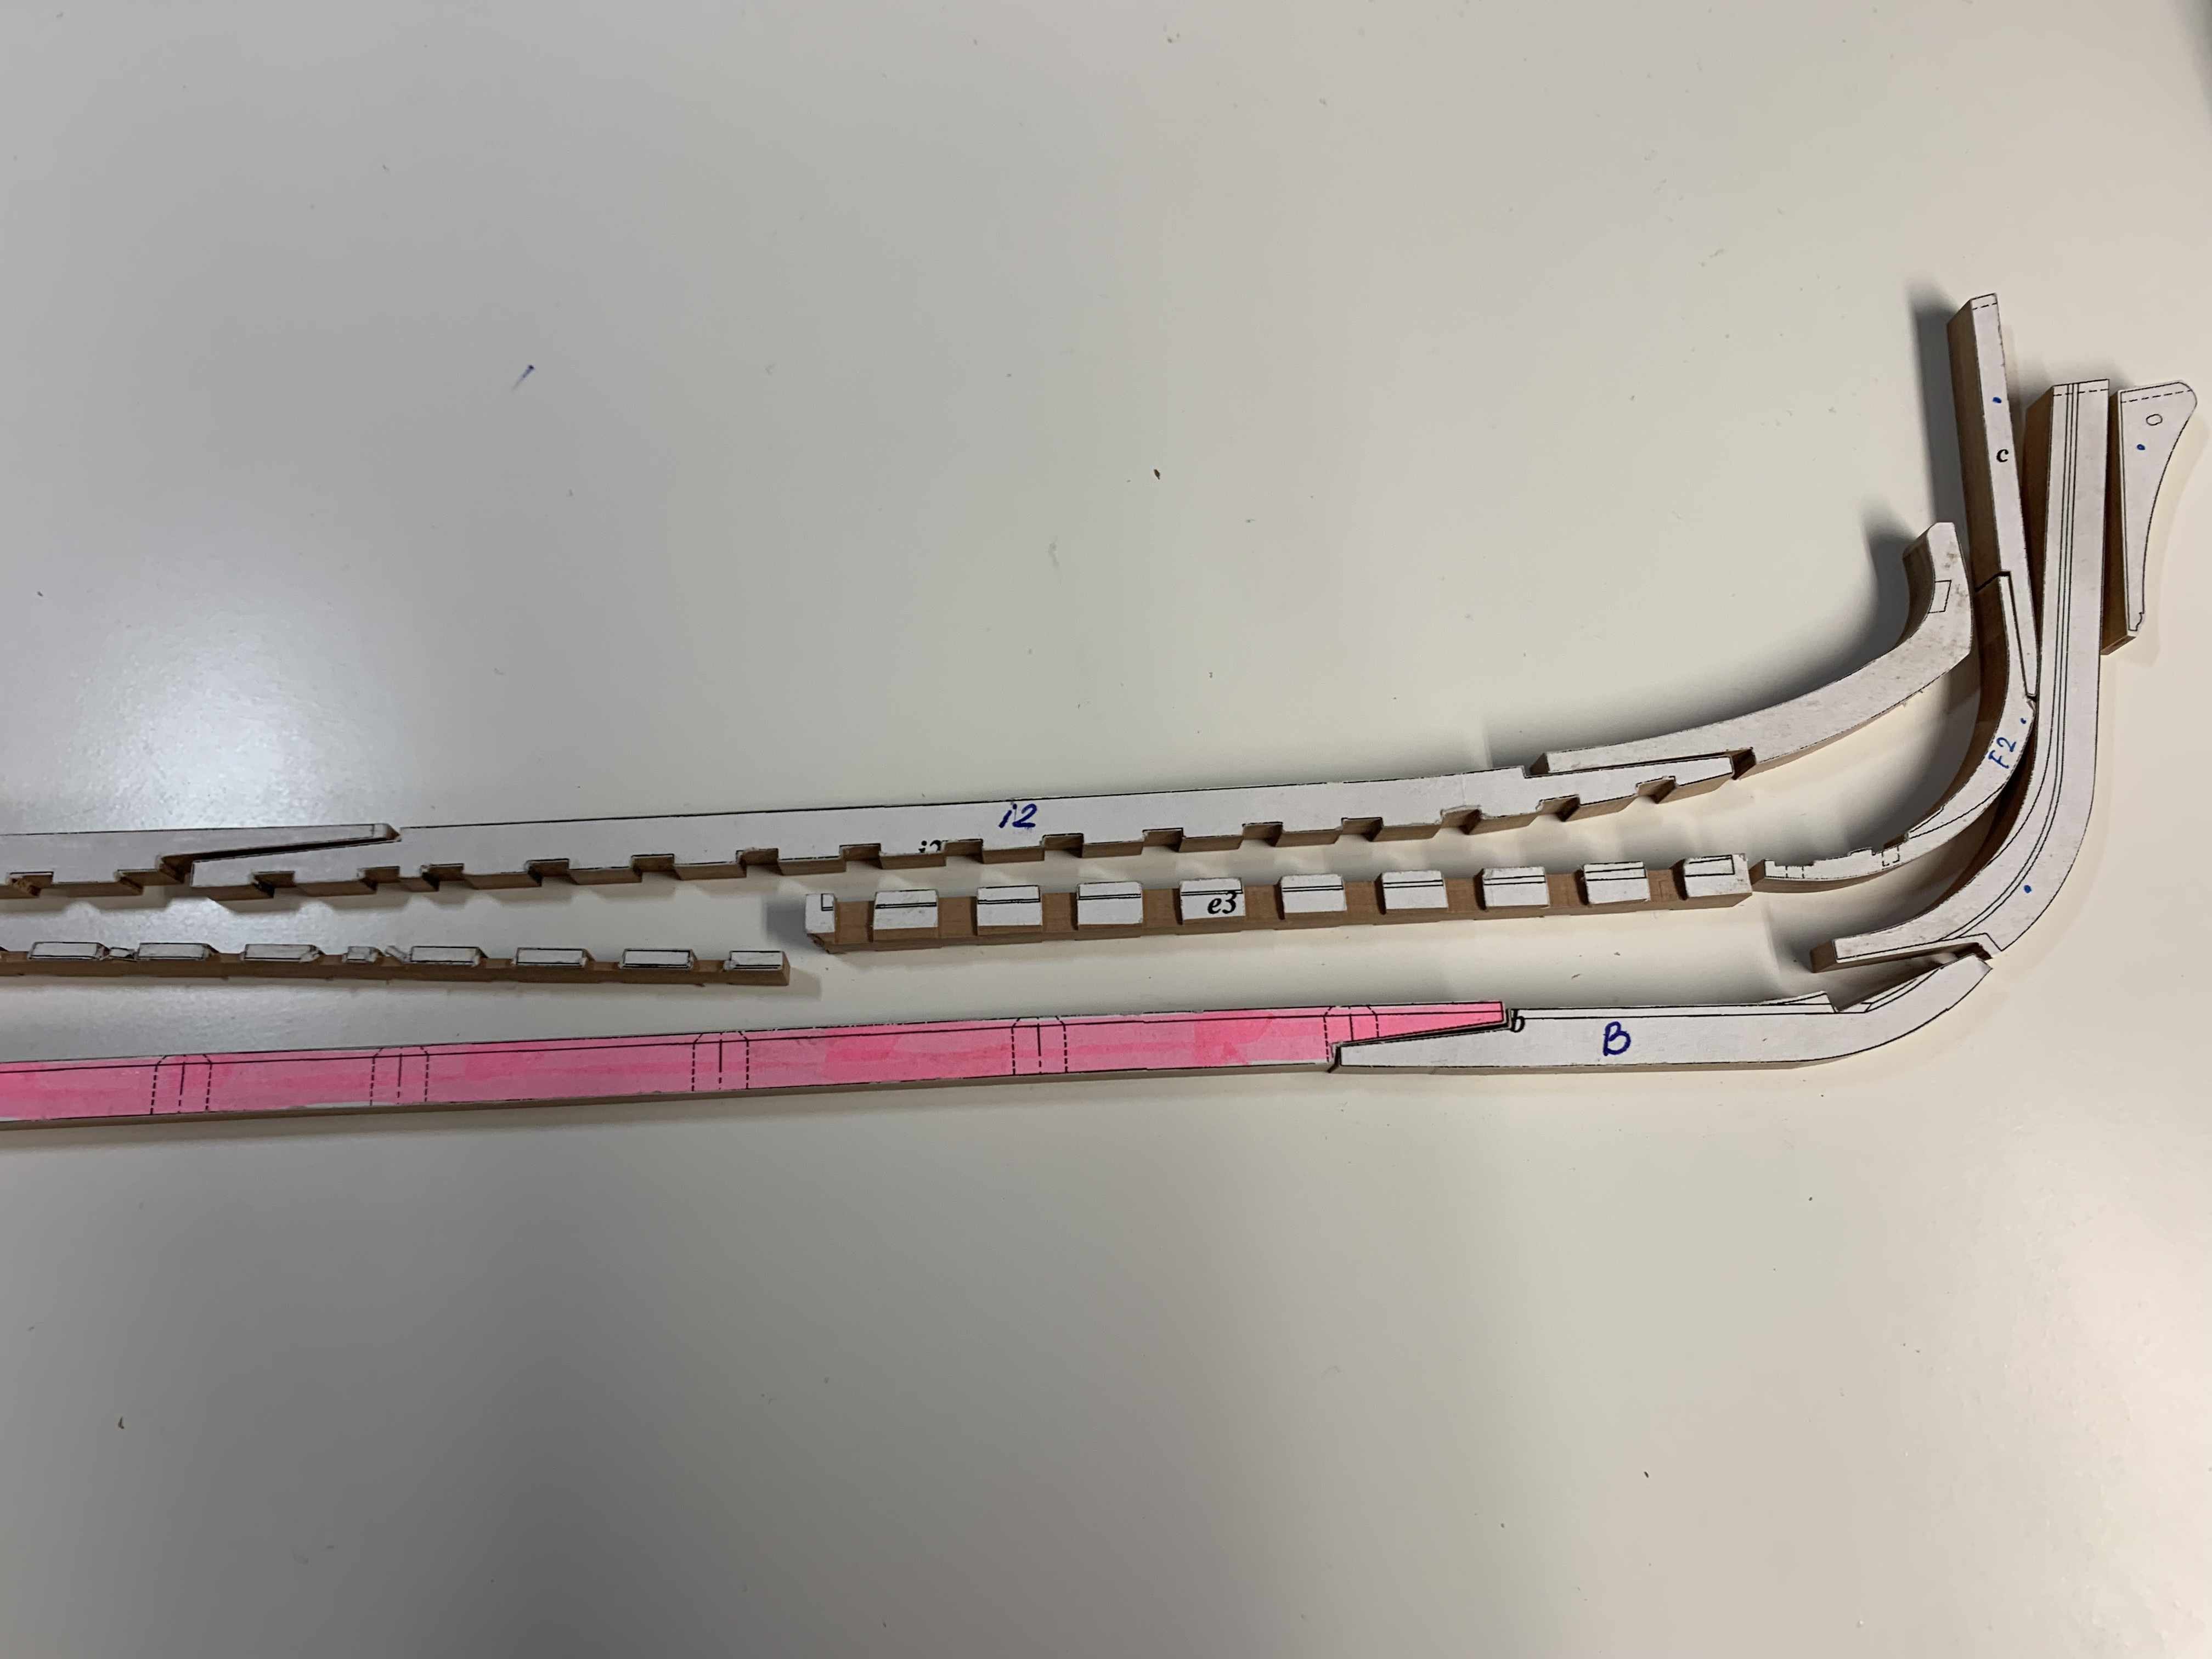
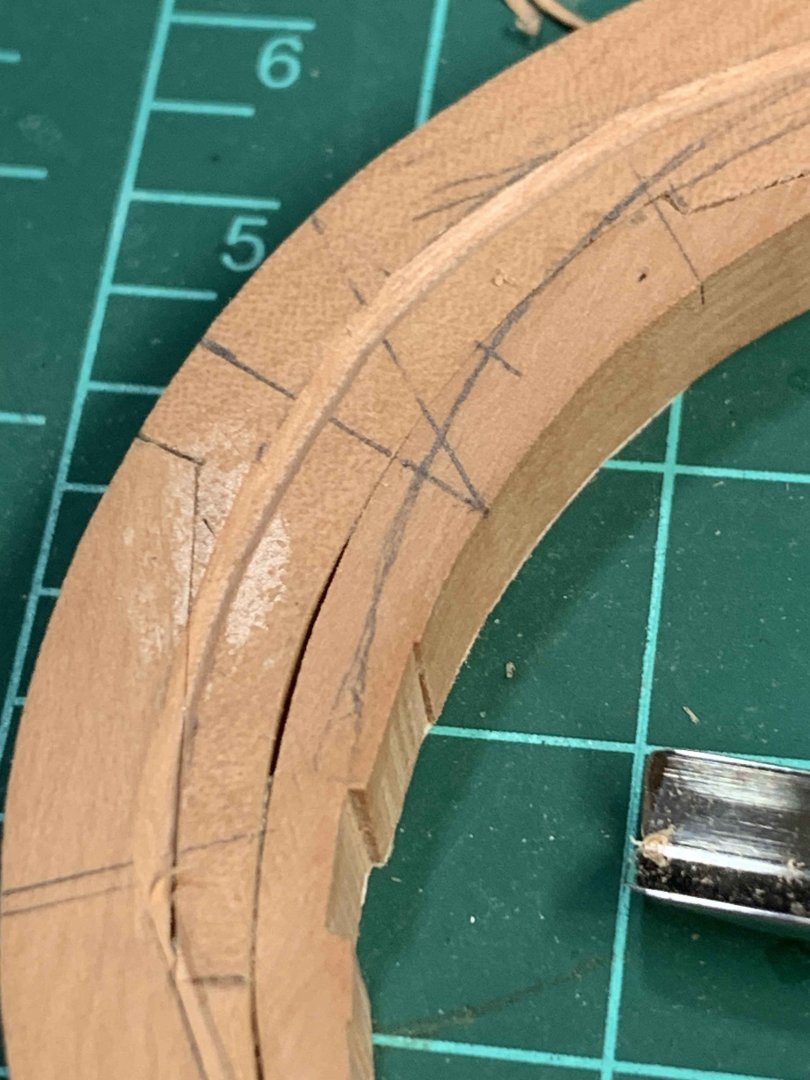
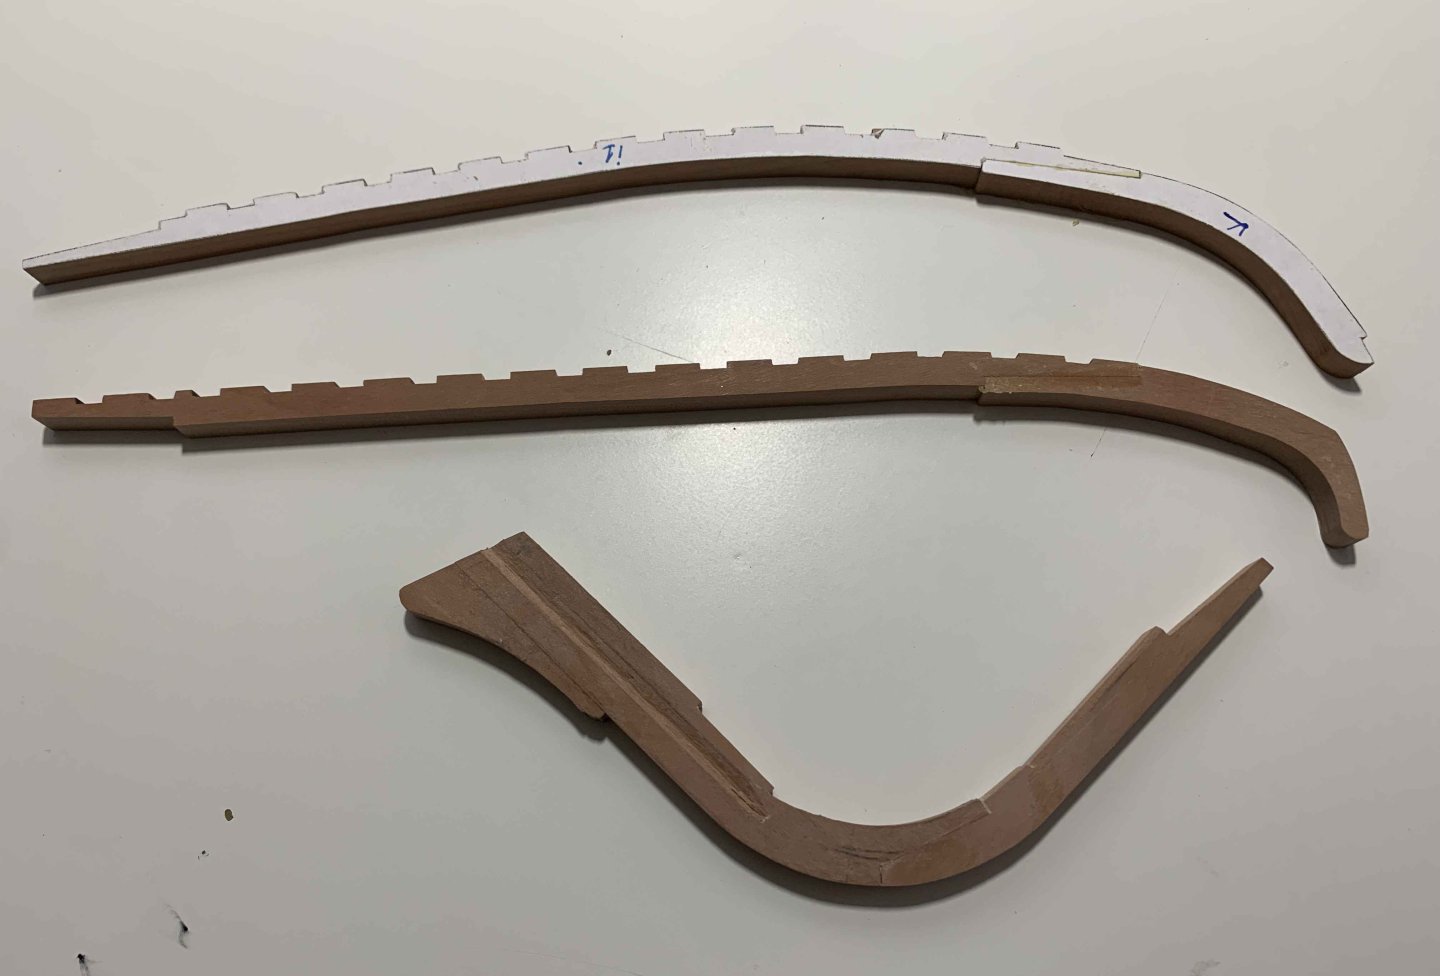
Work on a bow continues. Few peaces cut and sanded not completely but enough to test assembly and some of the to be glued together... Now I need to find a way to transfer all rabbet lines on the other side of the part, most likely will use transparent paper and mirror image if original part... Happy modelling...

-
A bit more progress.. Happy modelling..
-
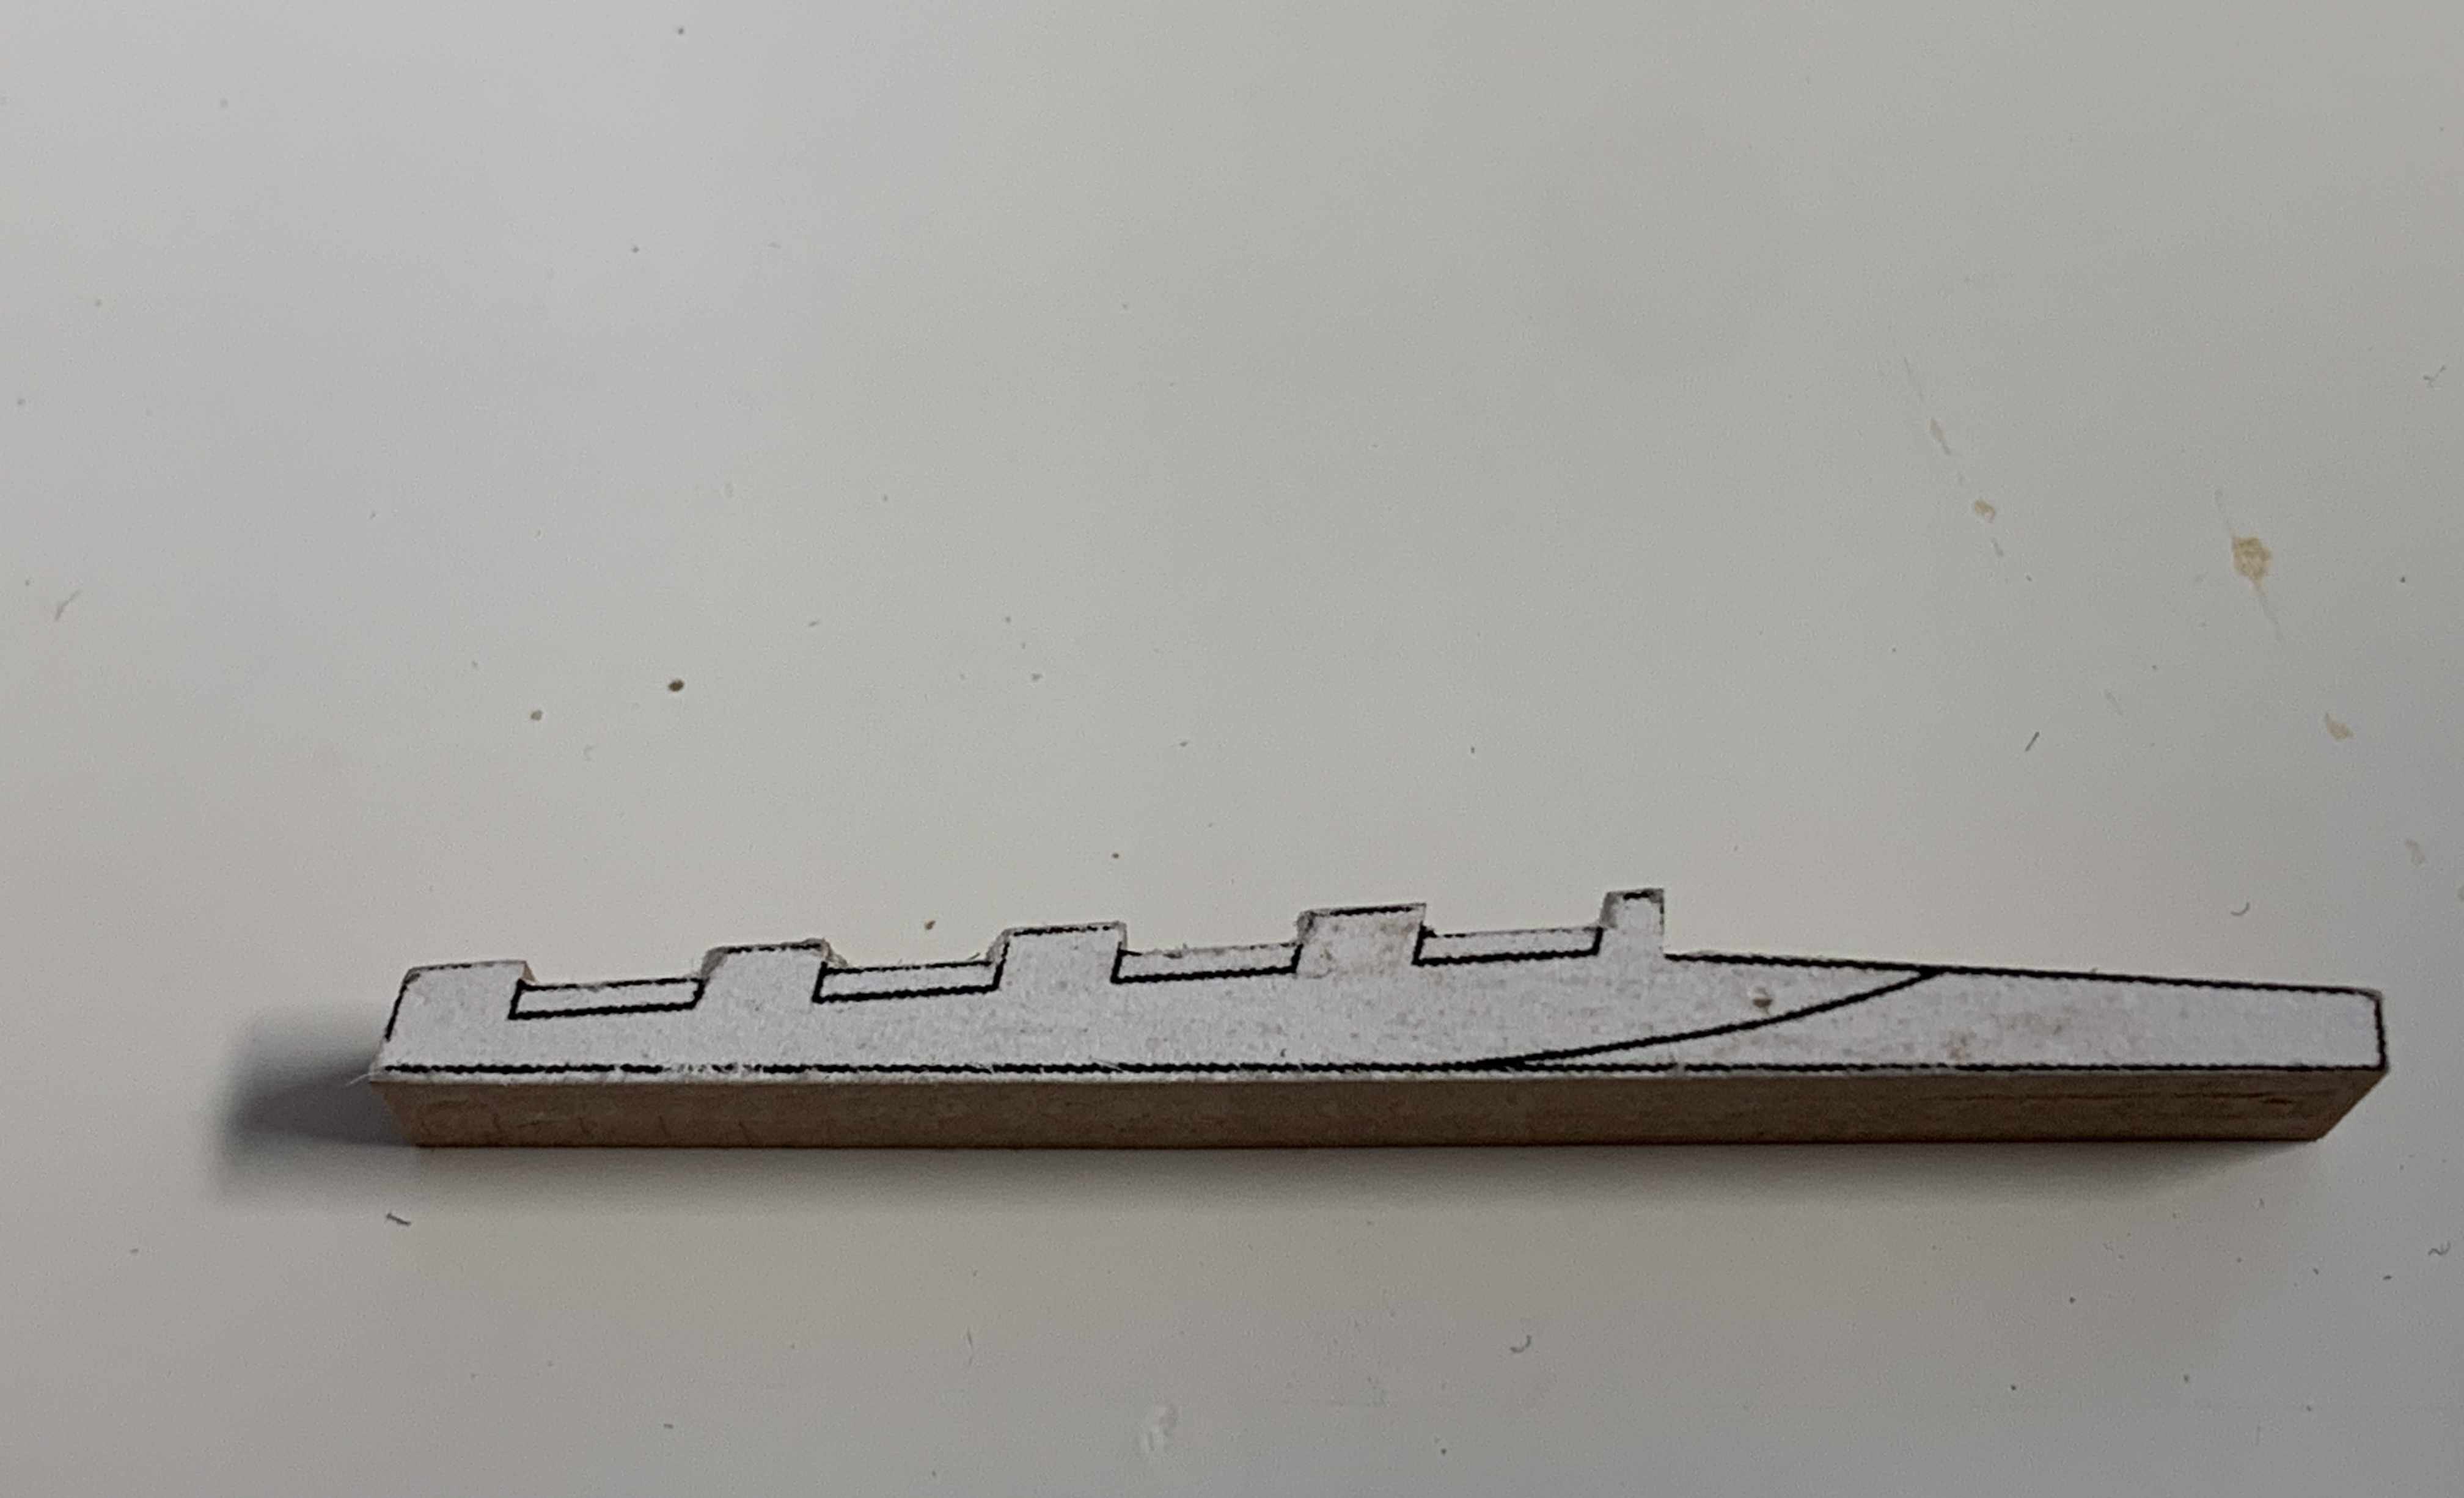
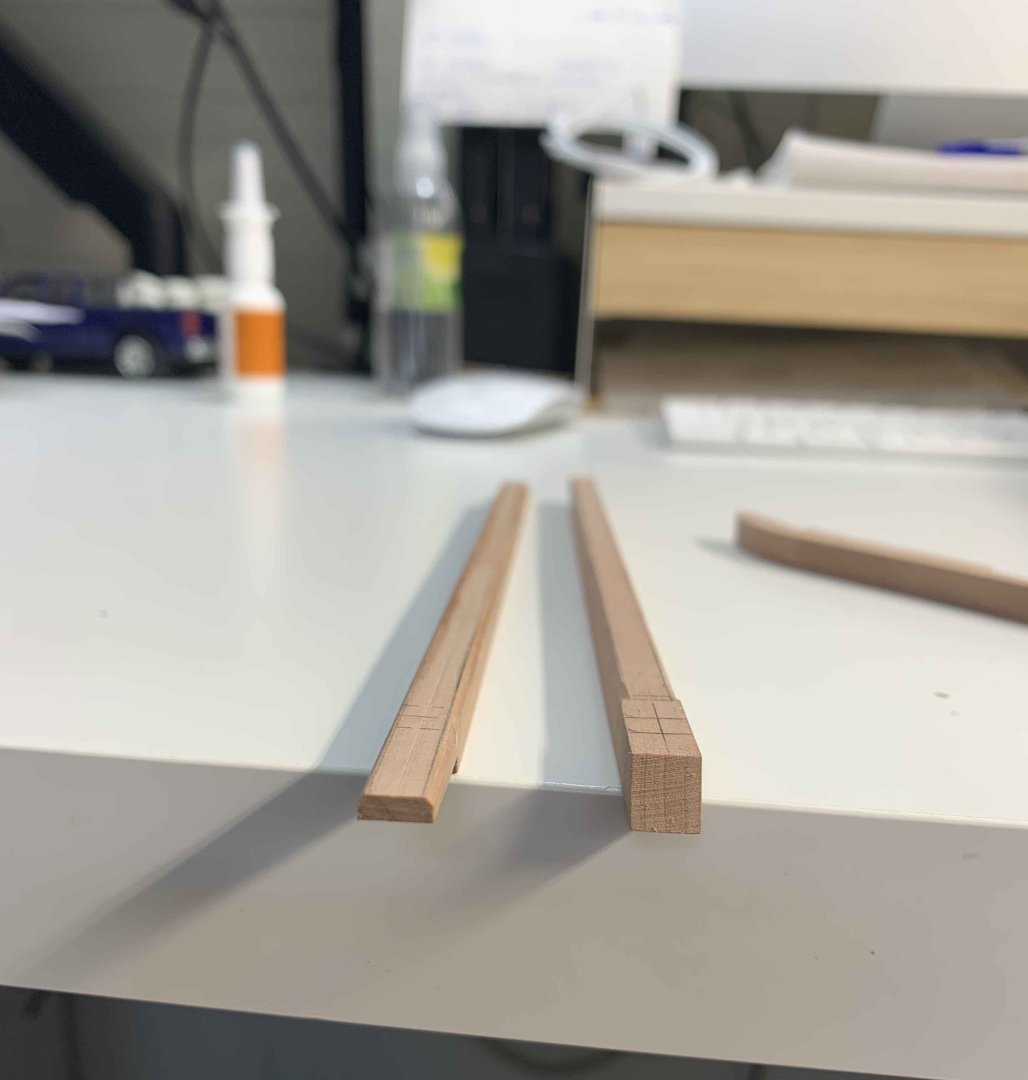
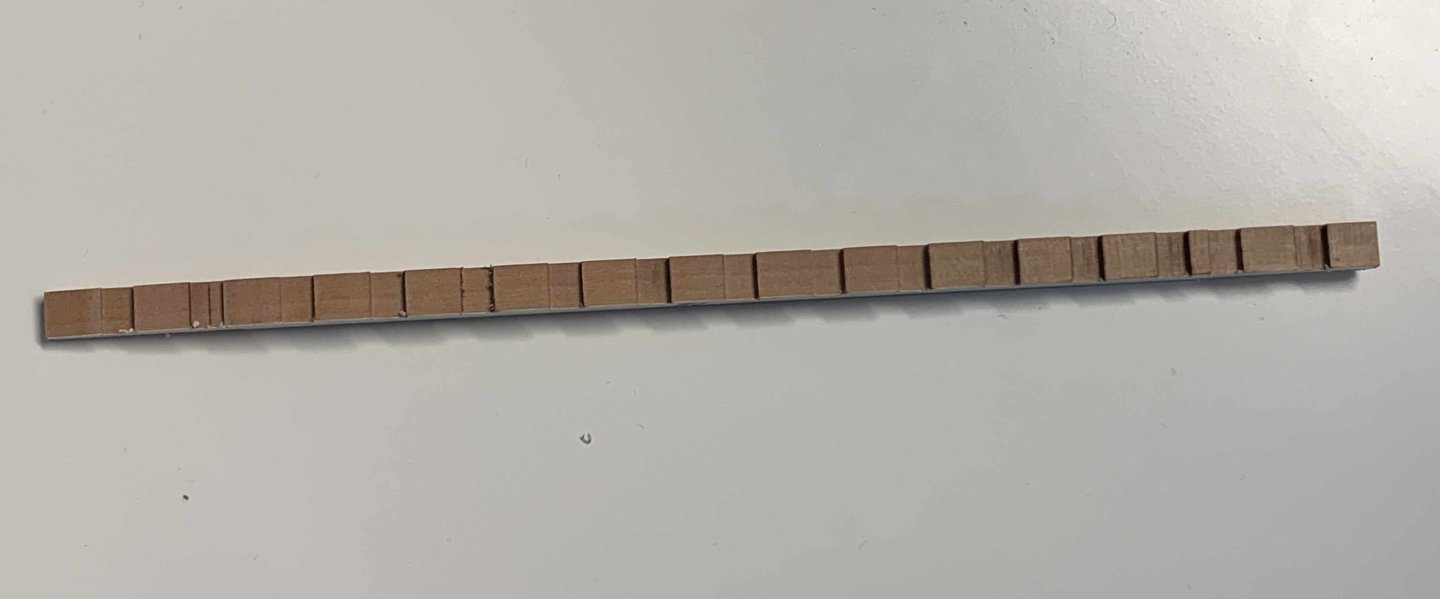
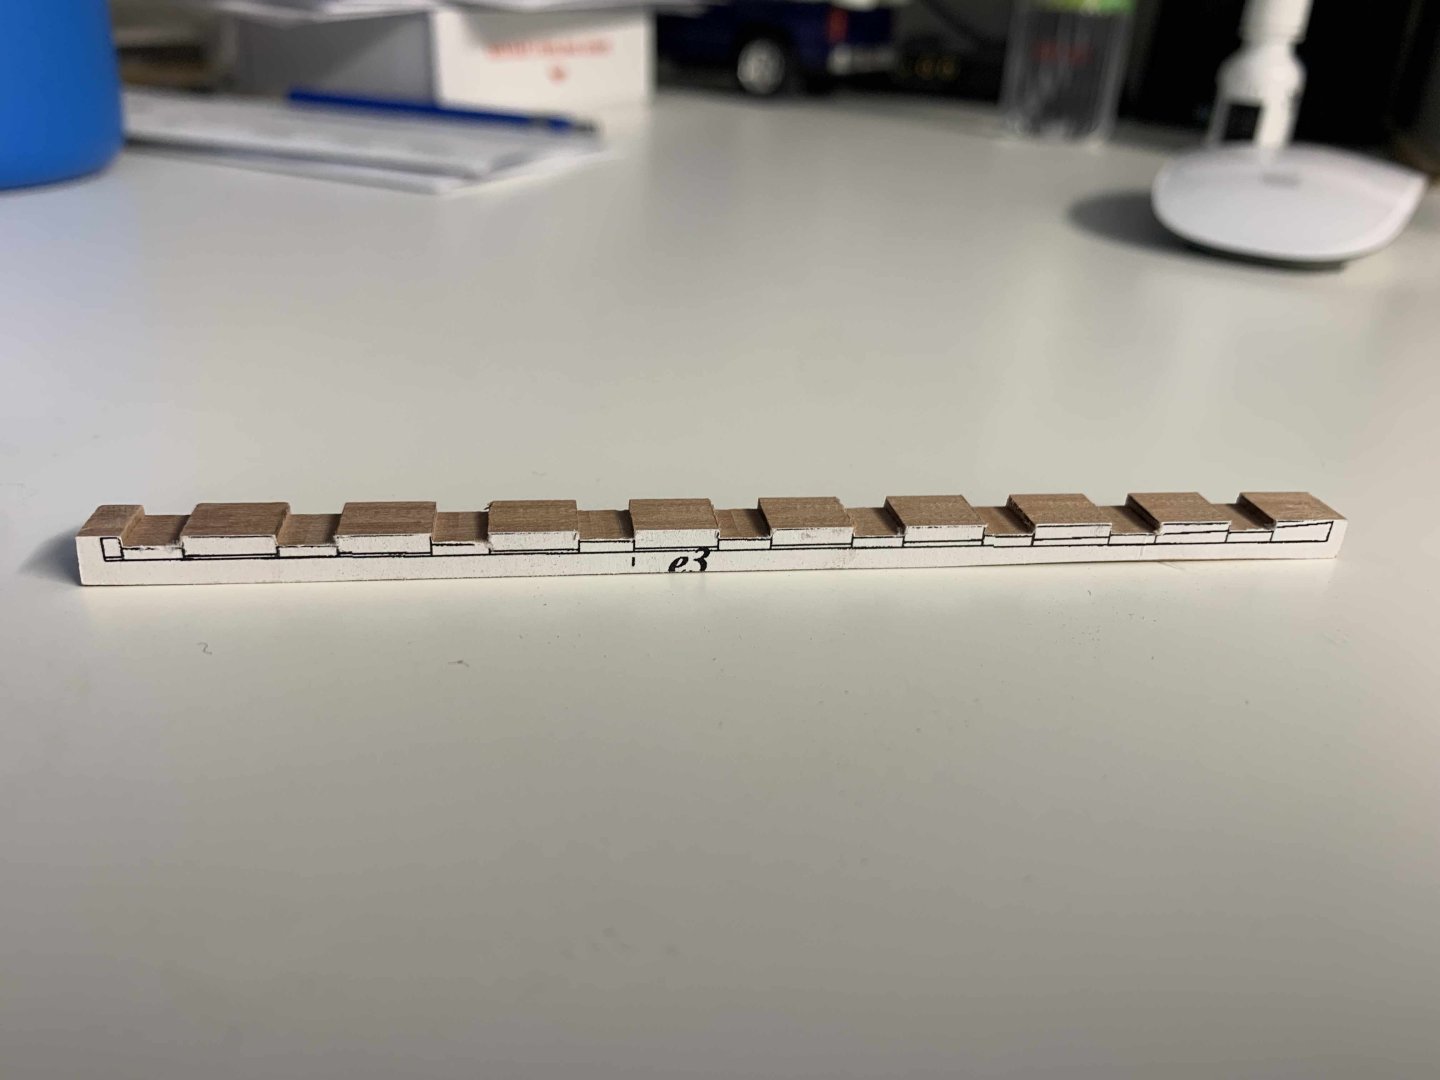
Managed to get the keel straight... Now we can continue... Happy modelling..
-
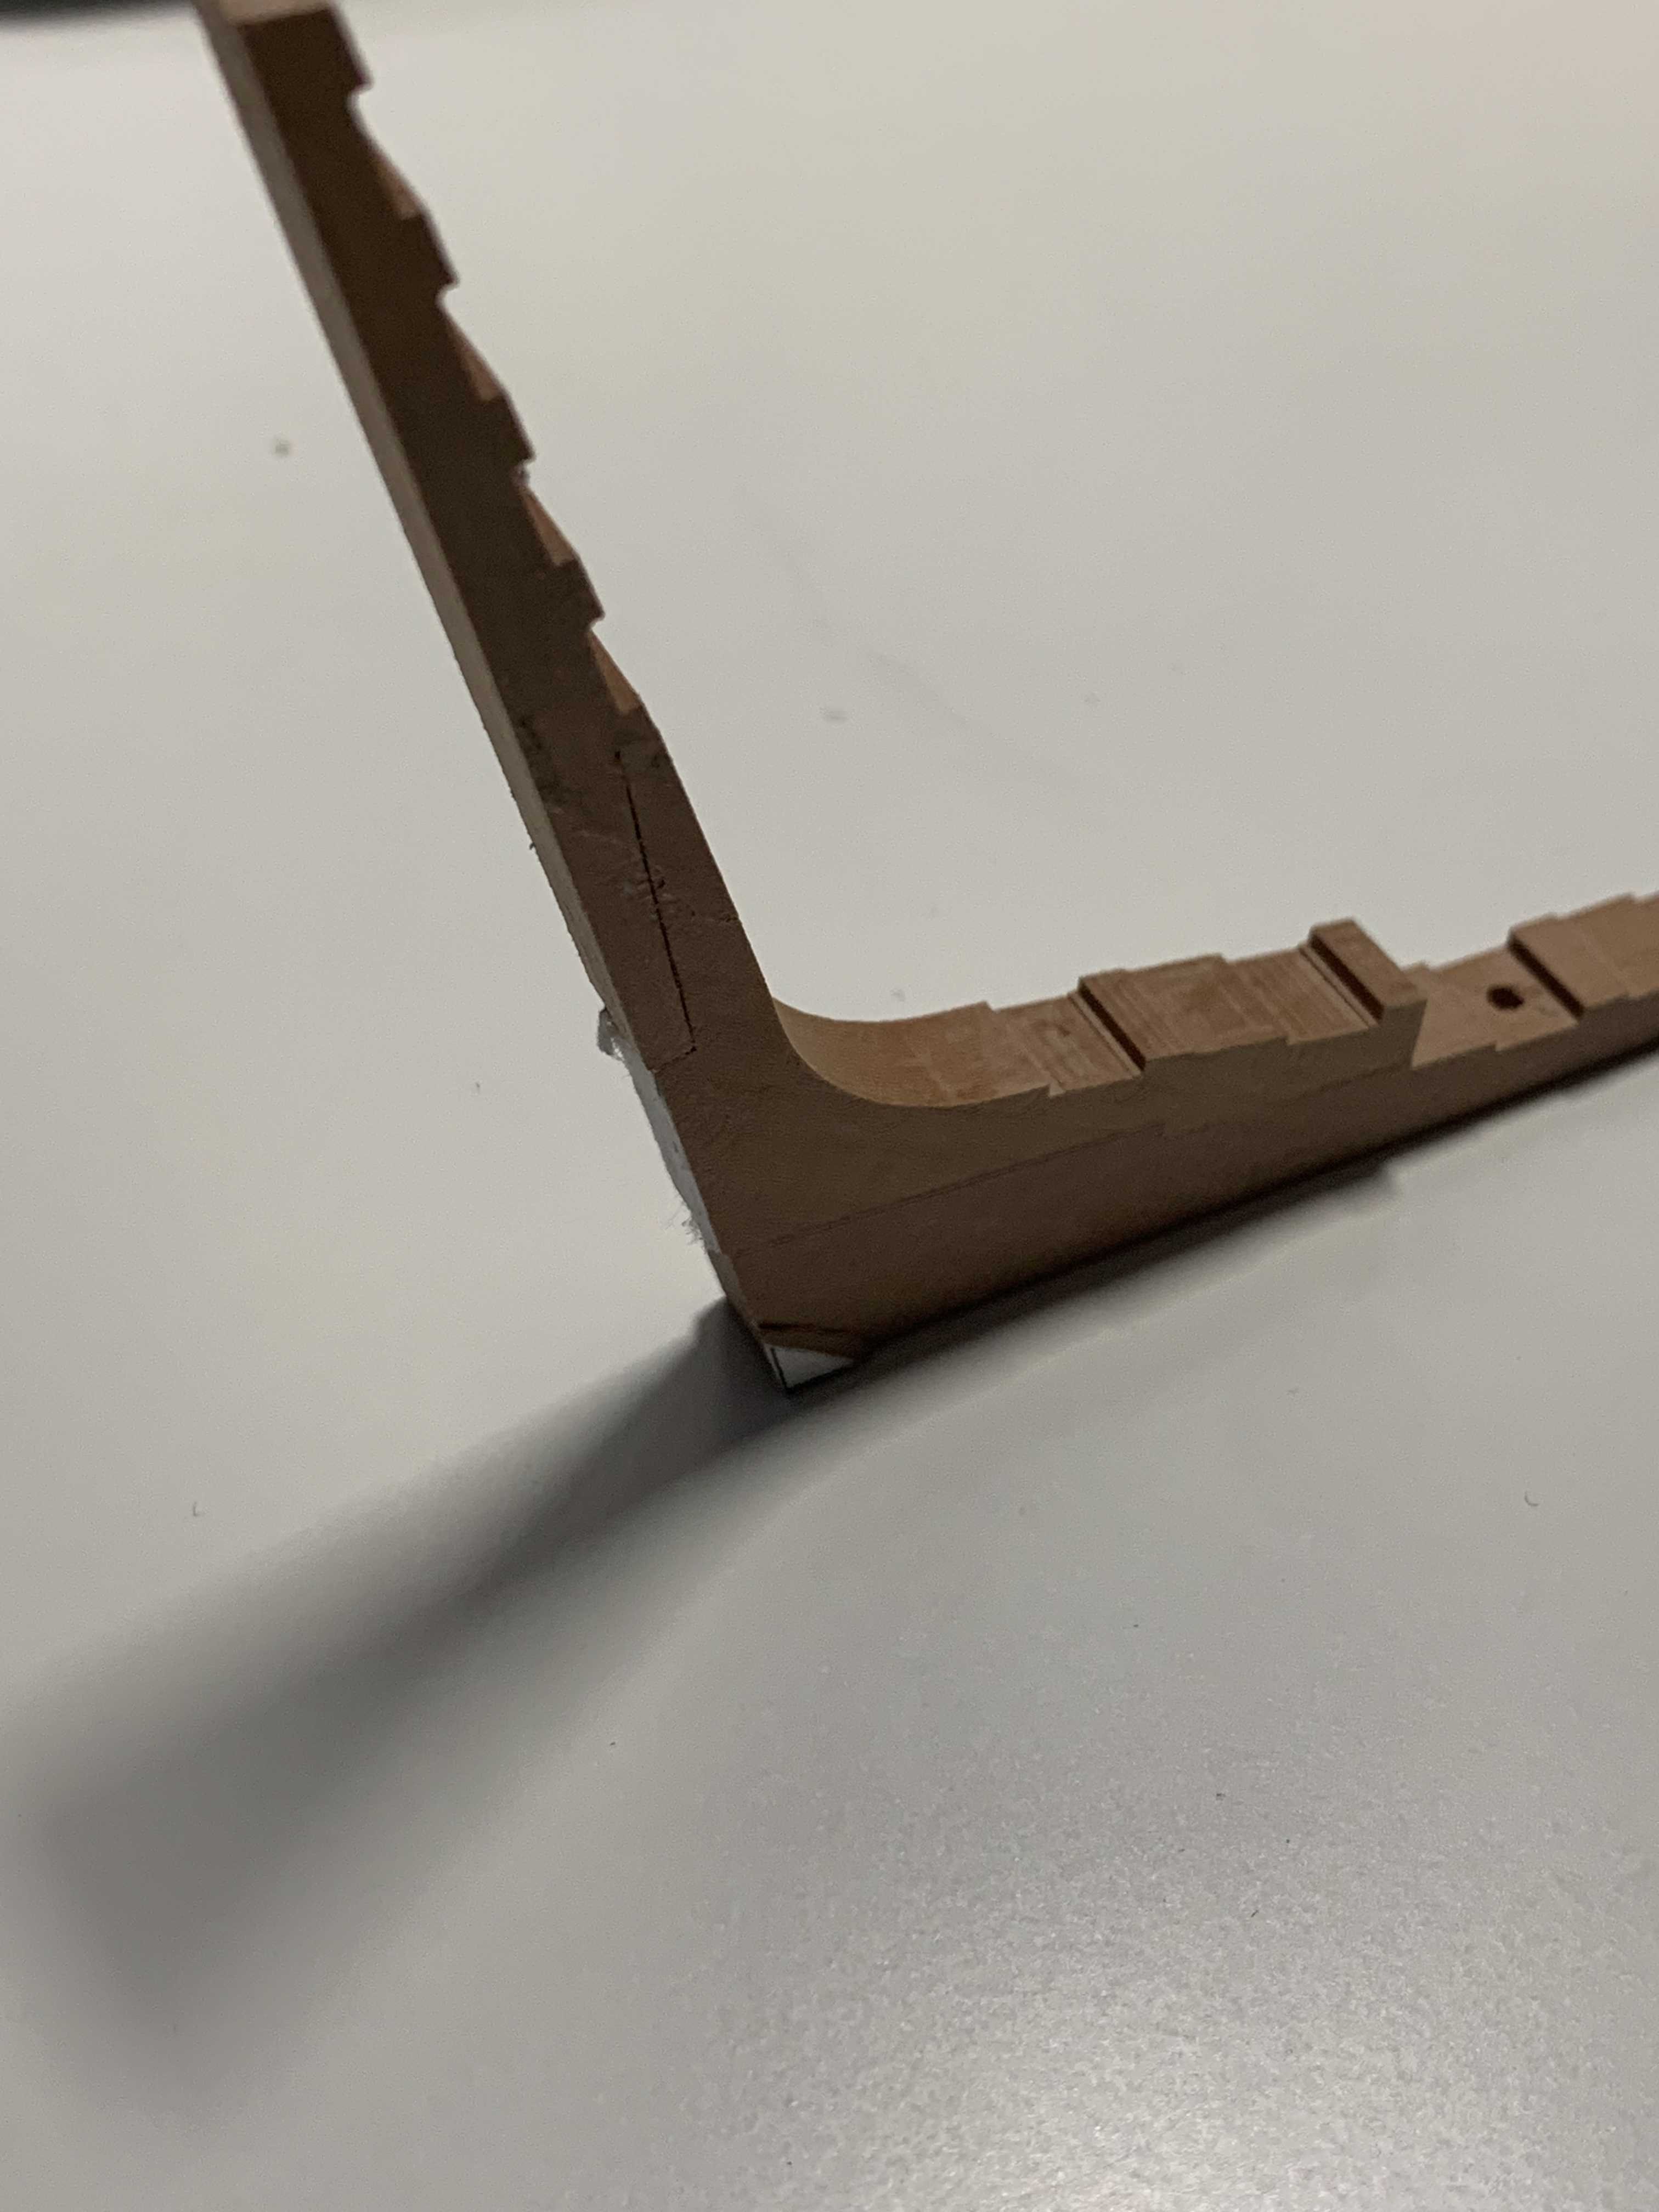
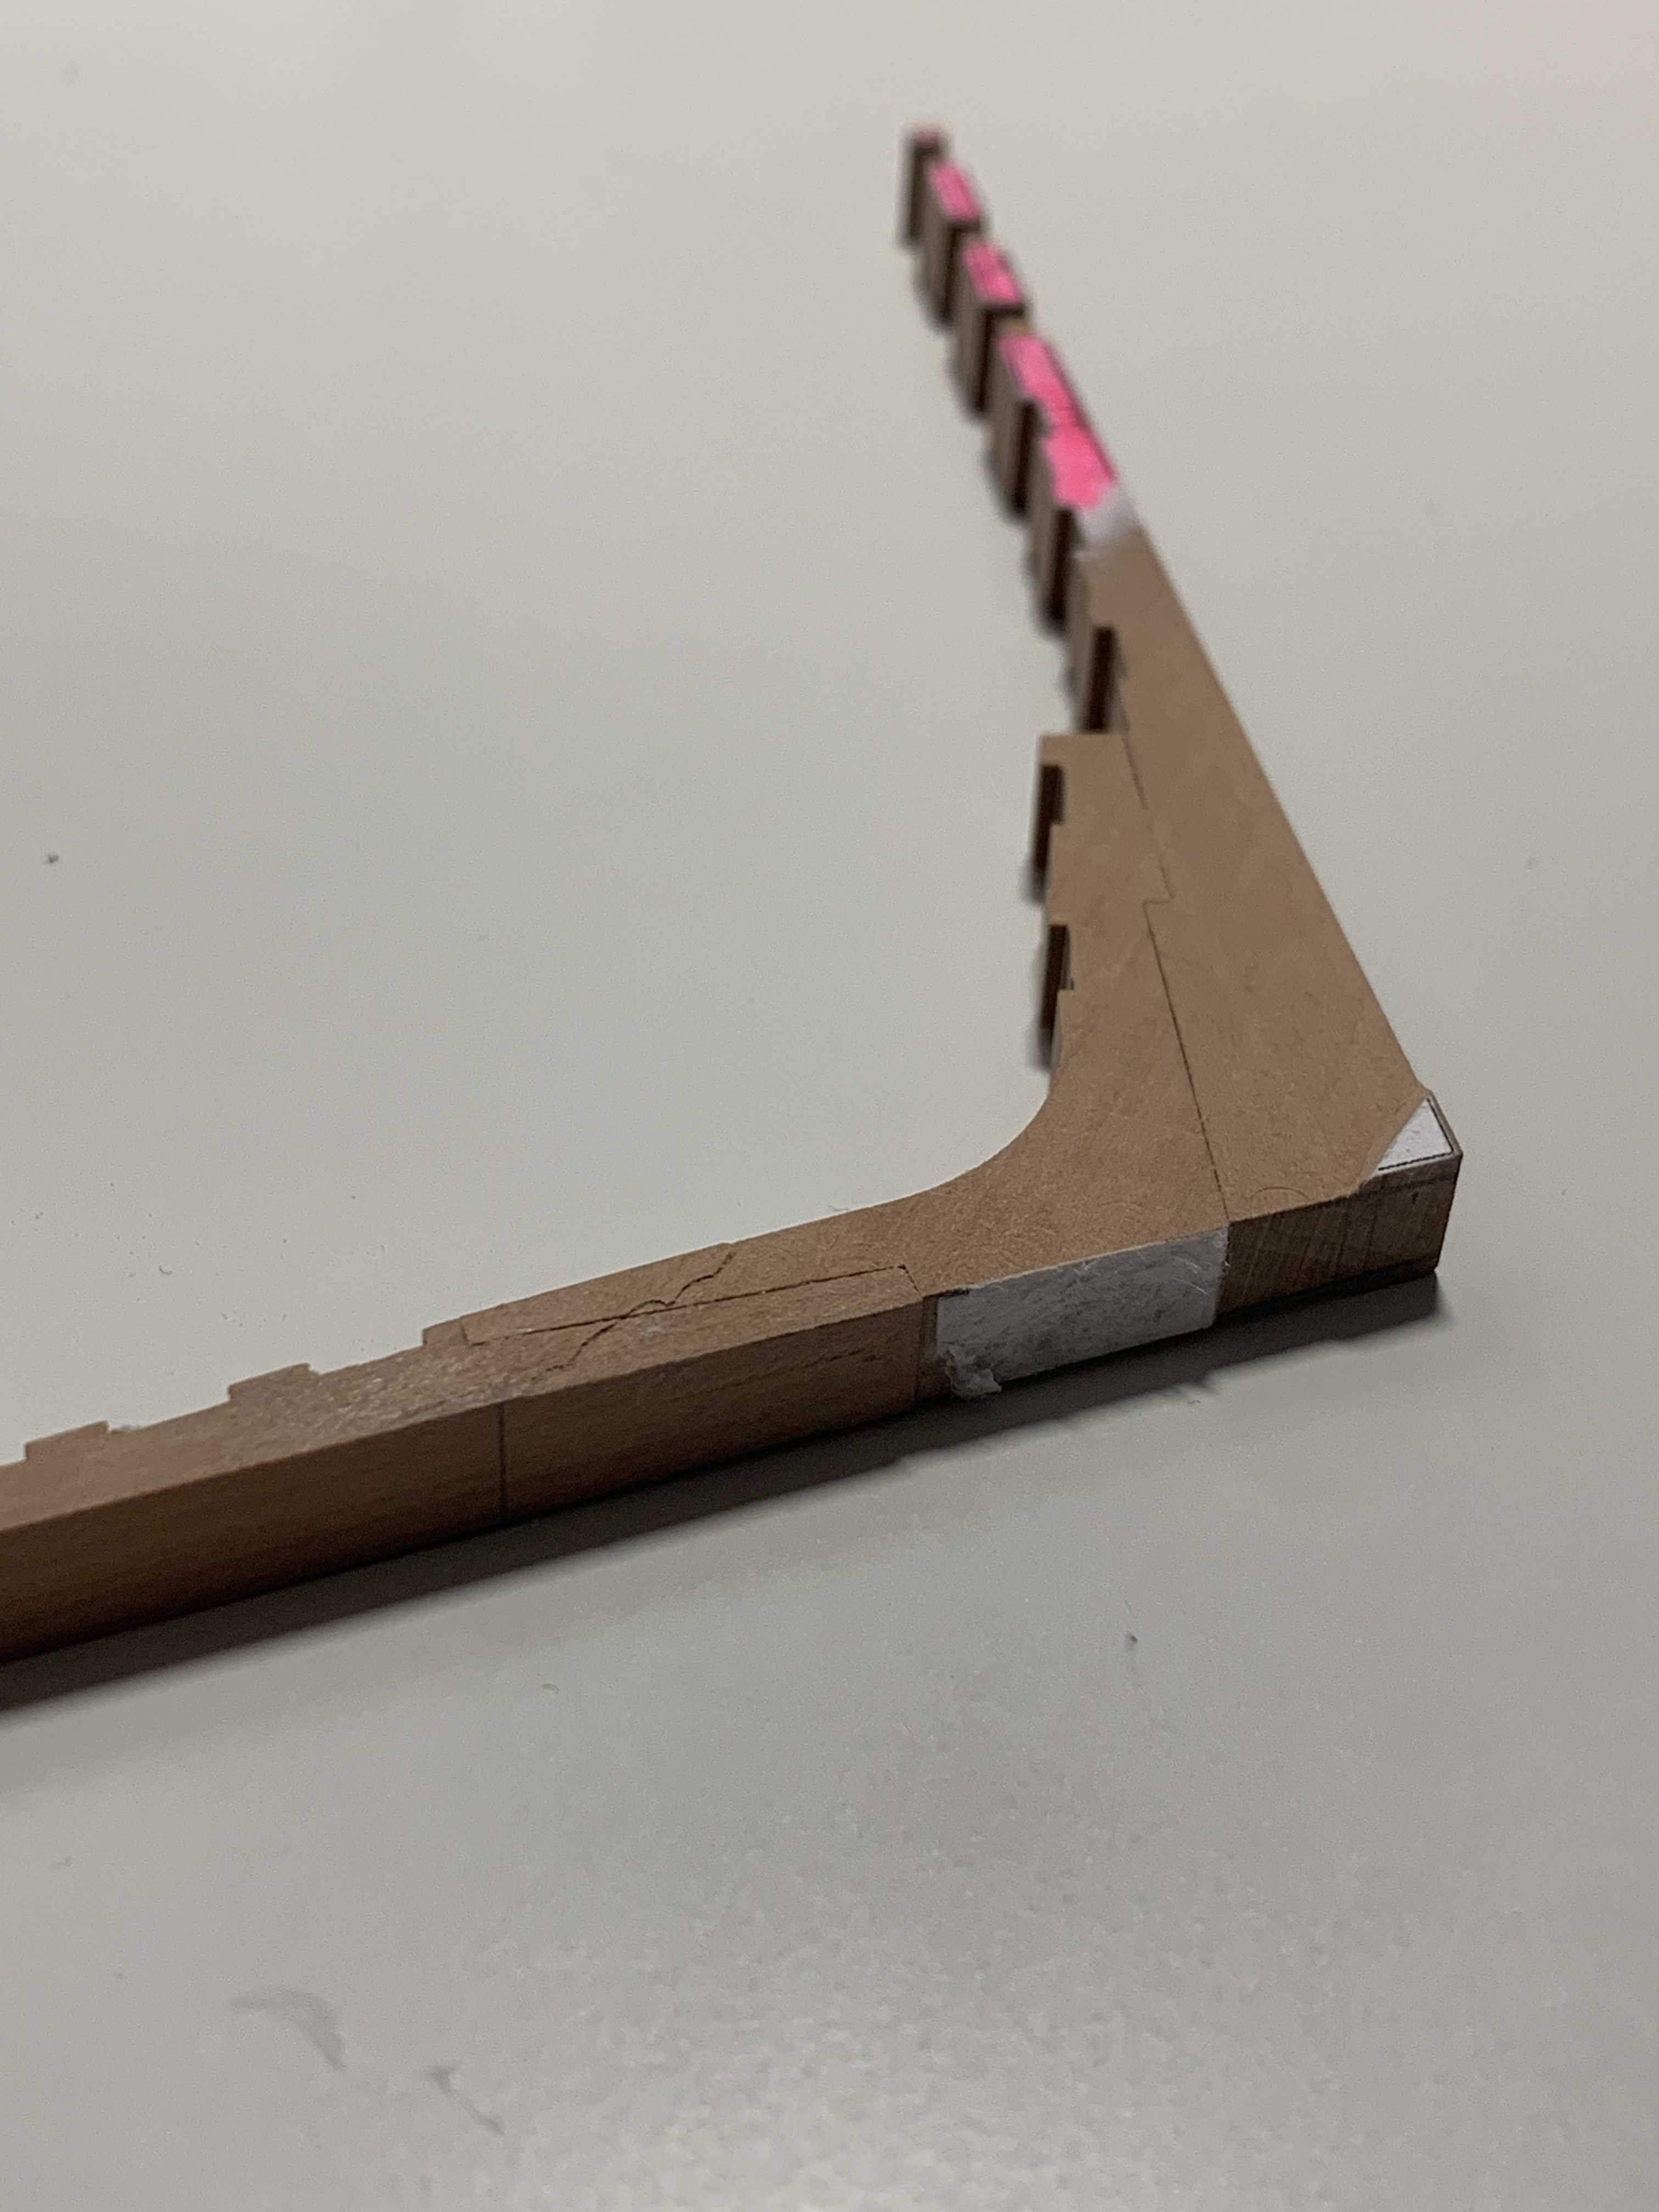
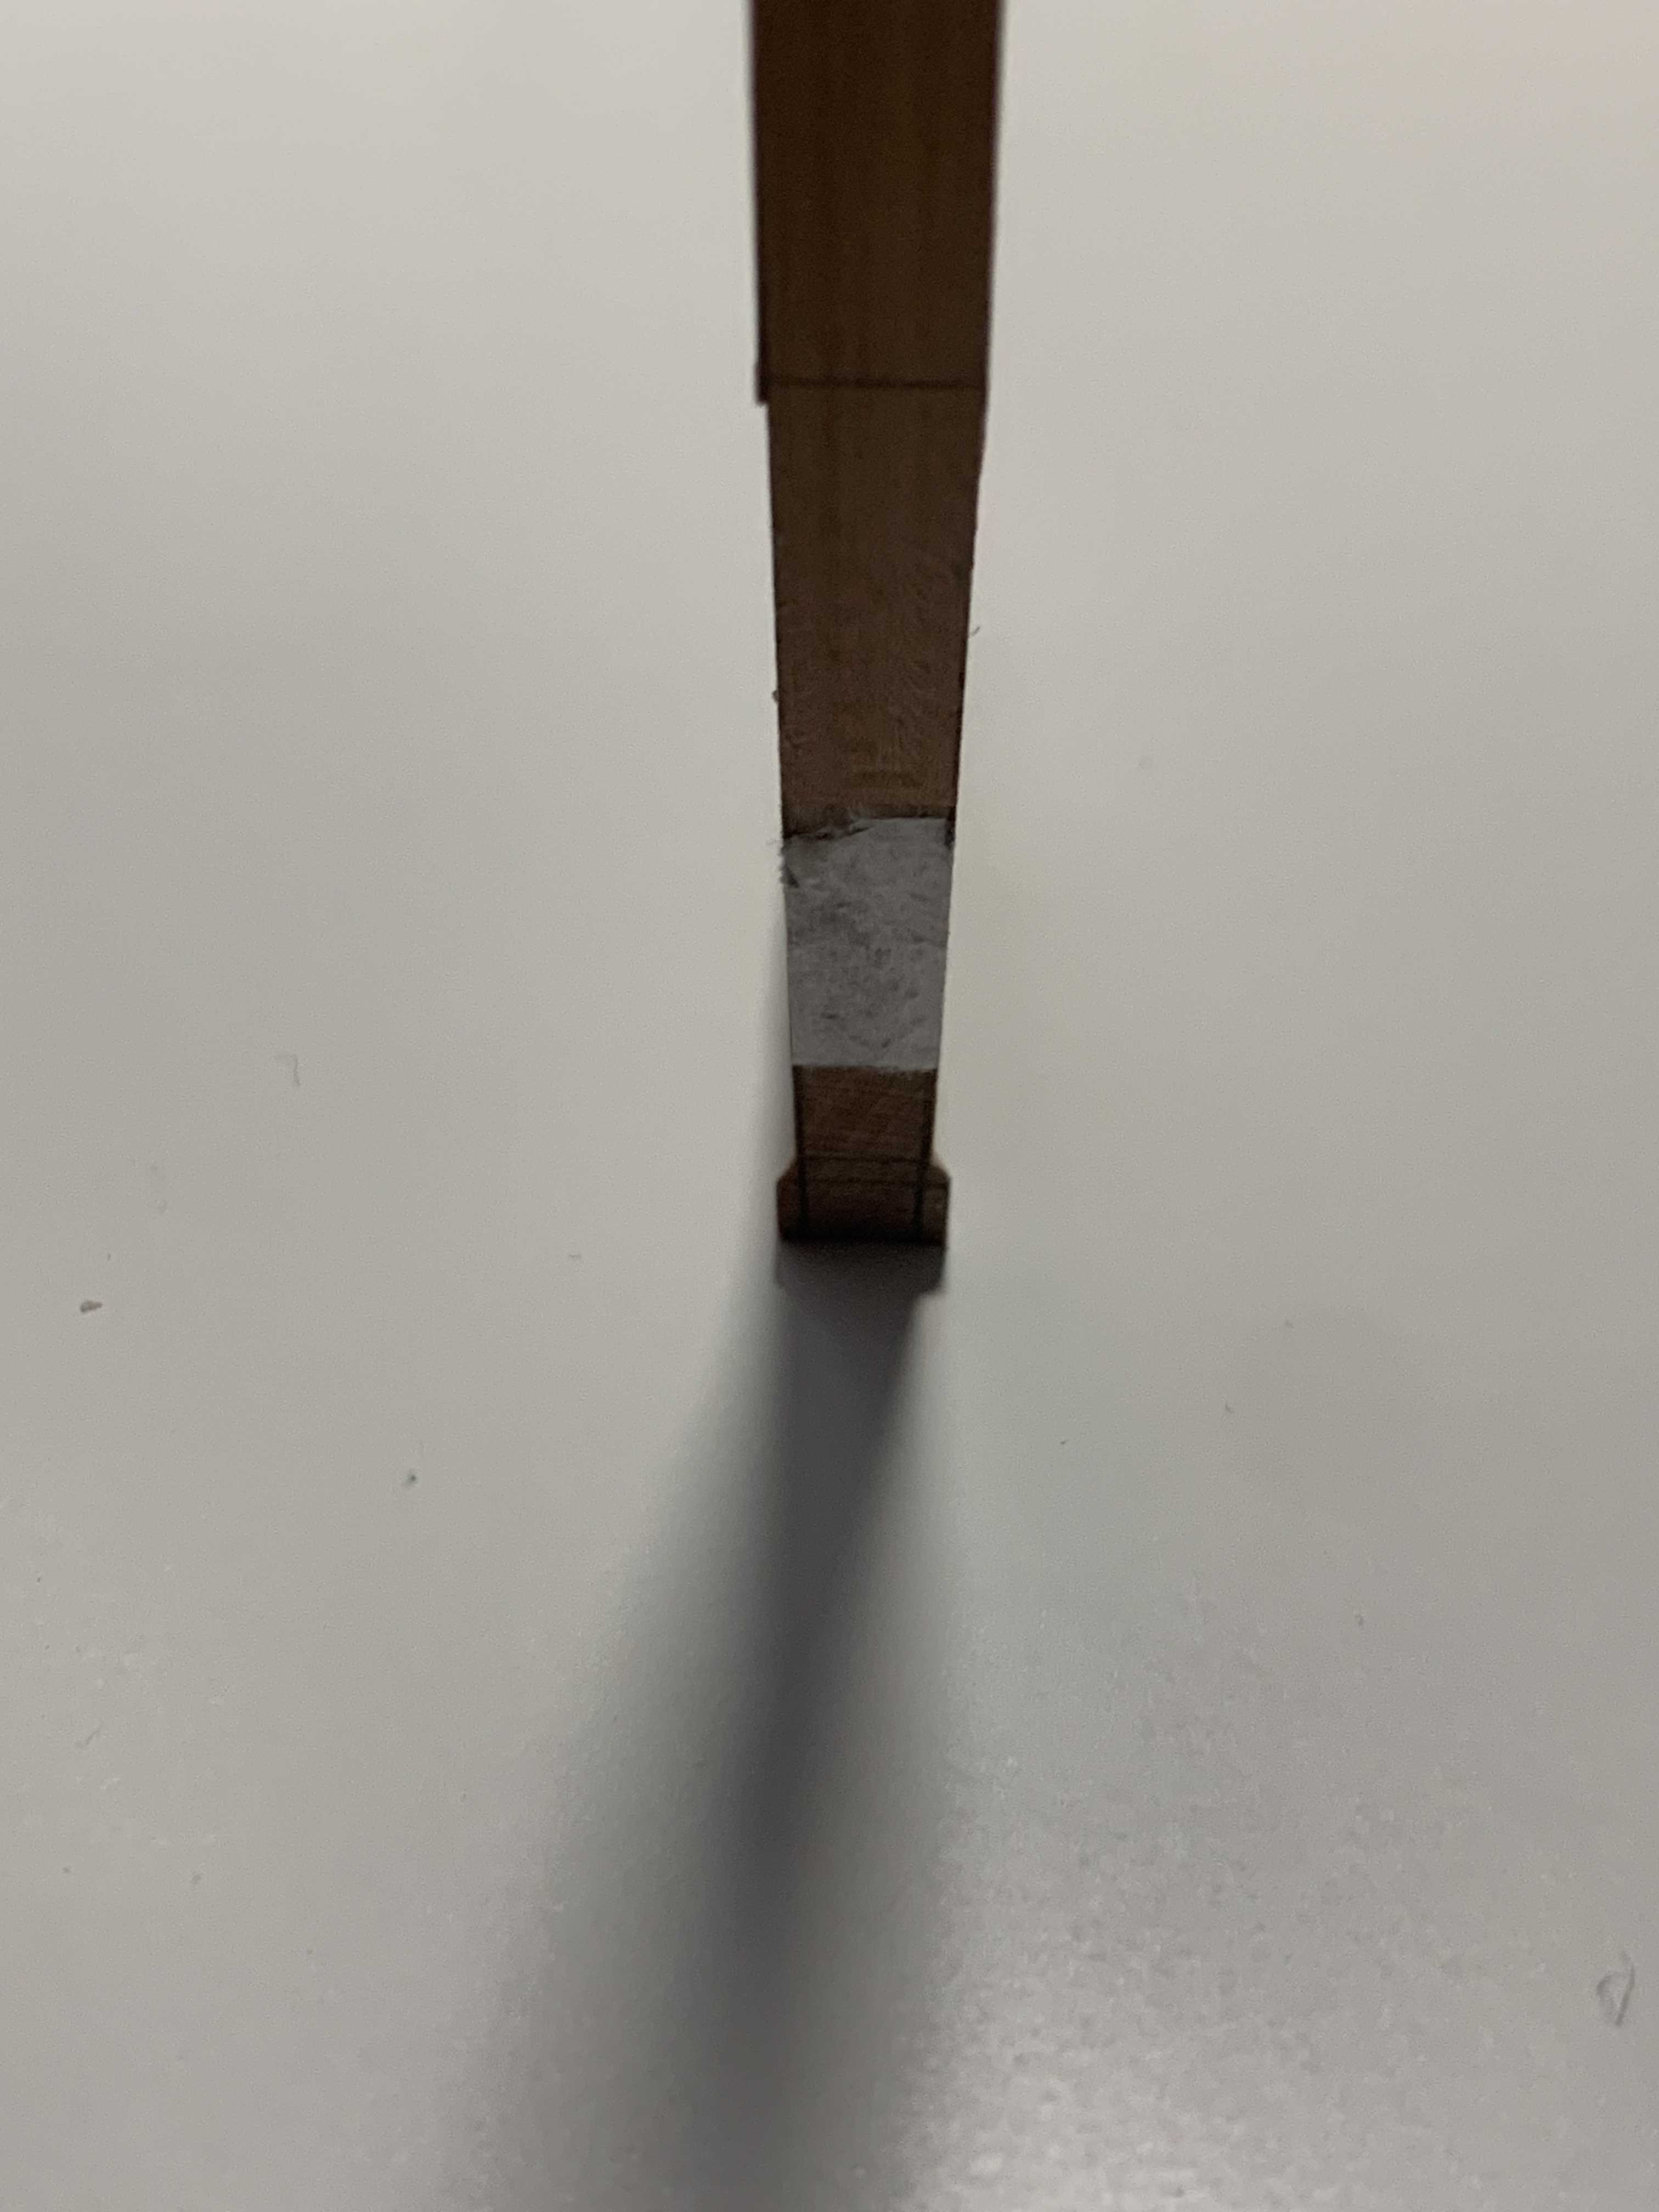
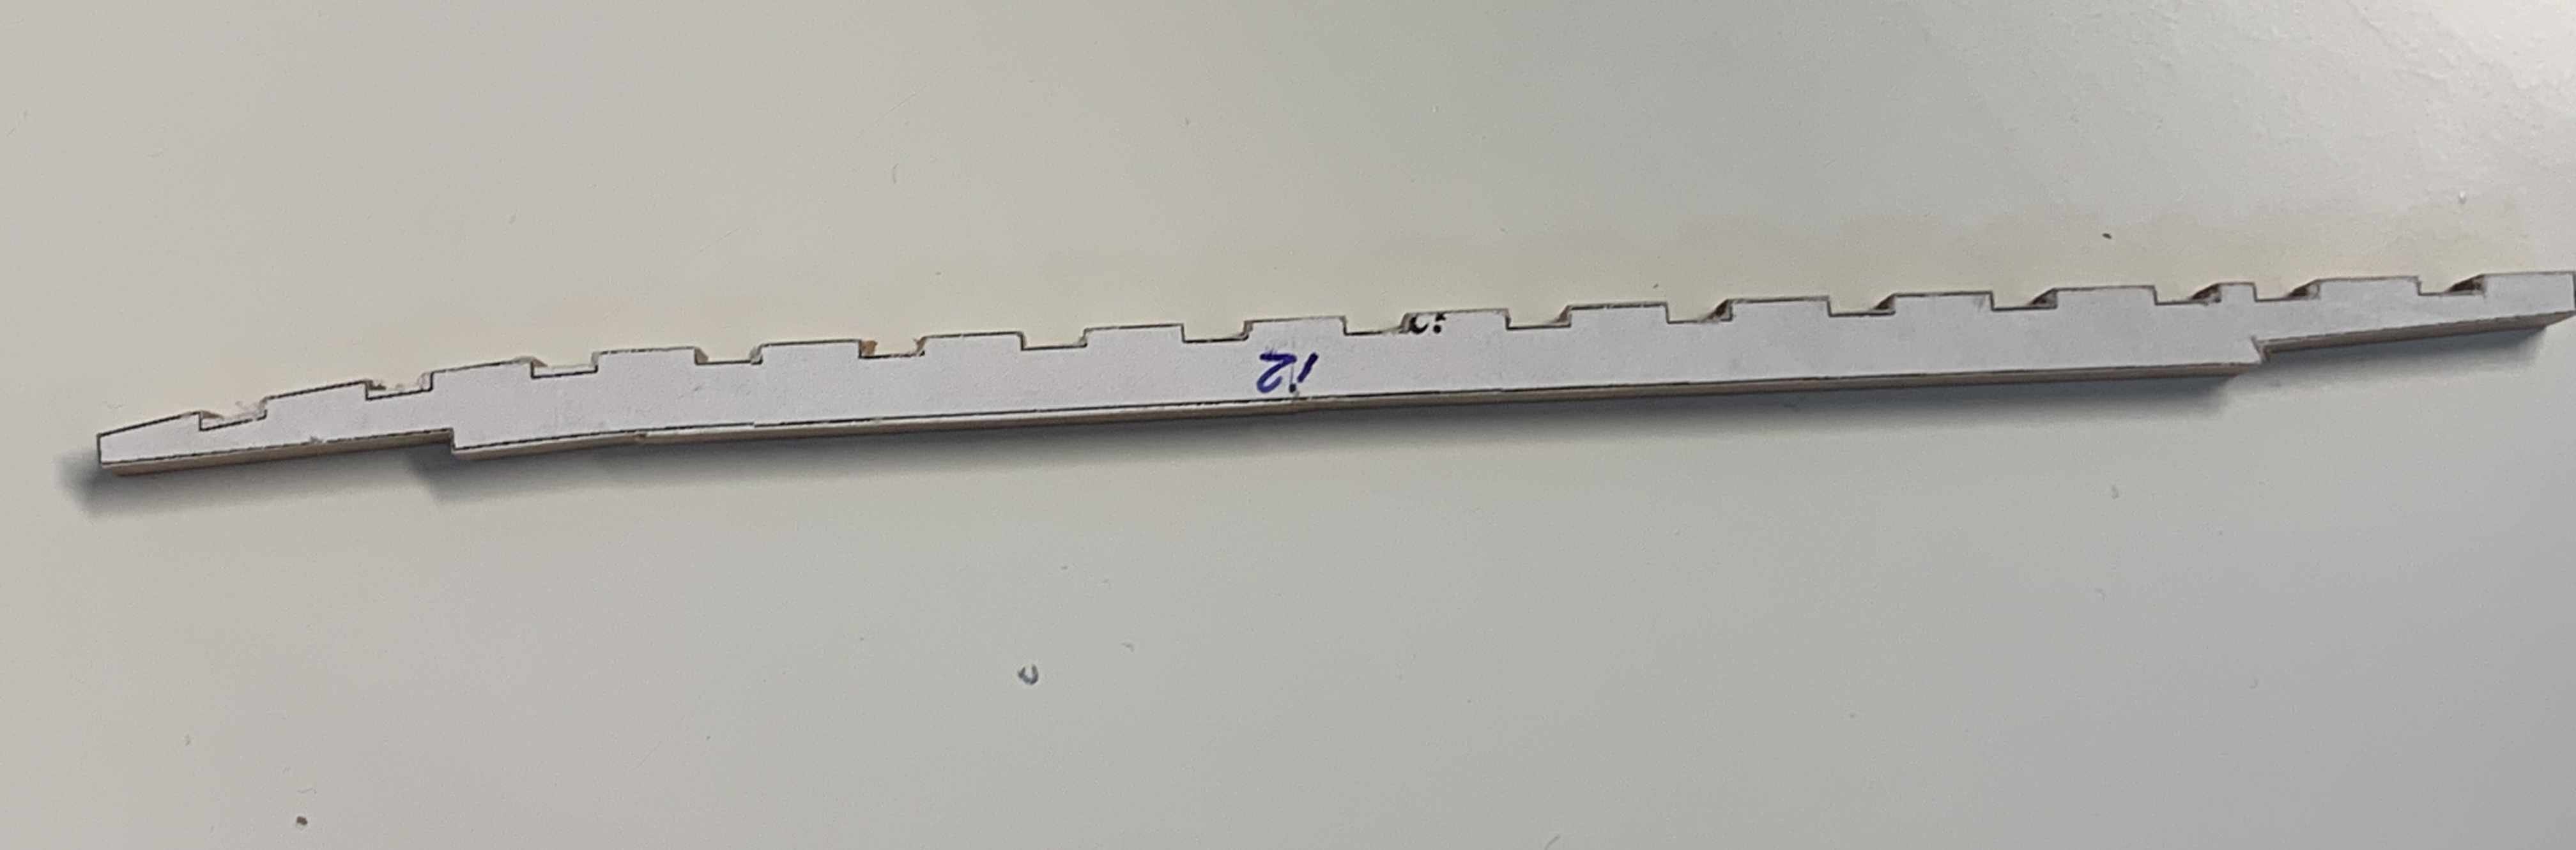
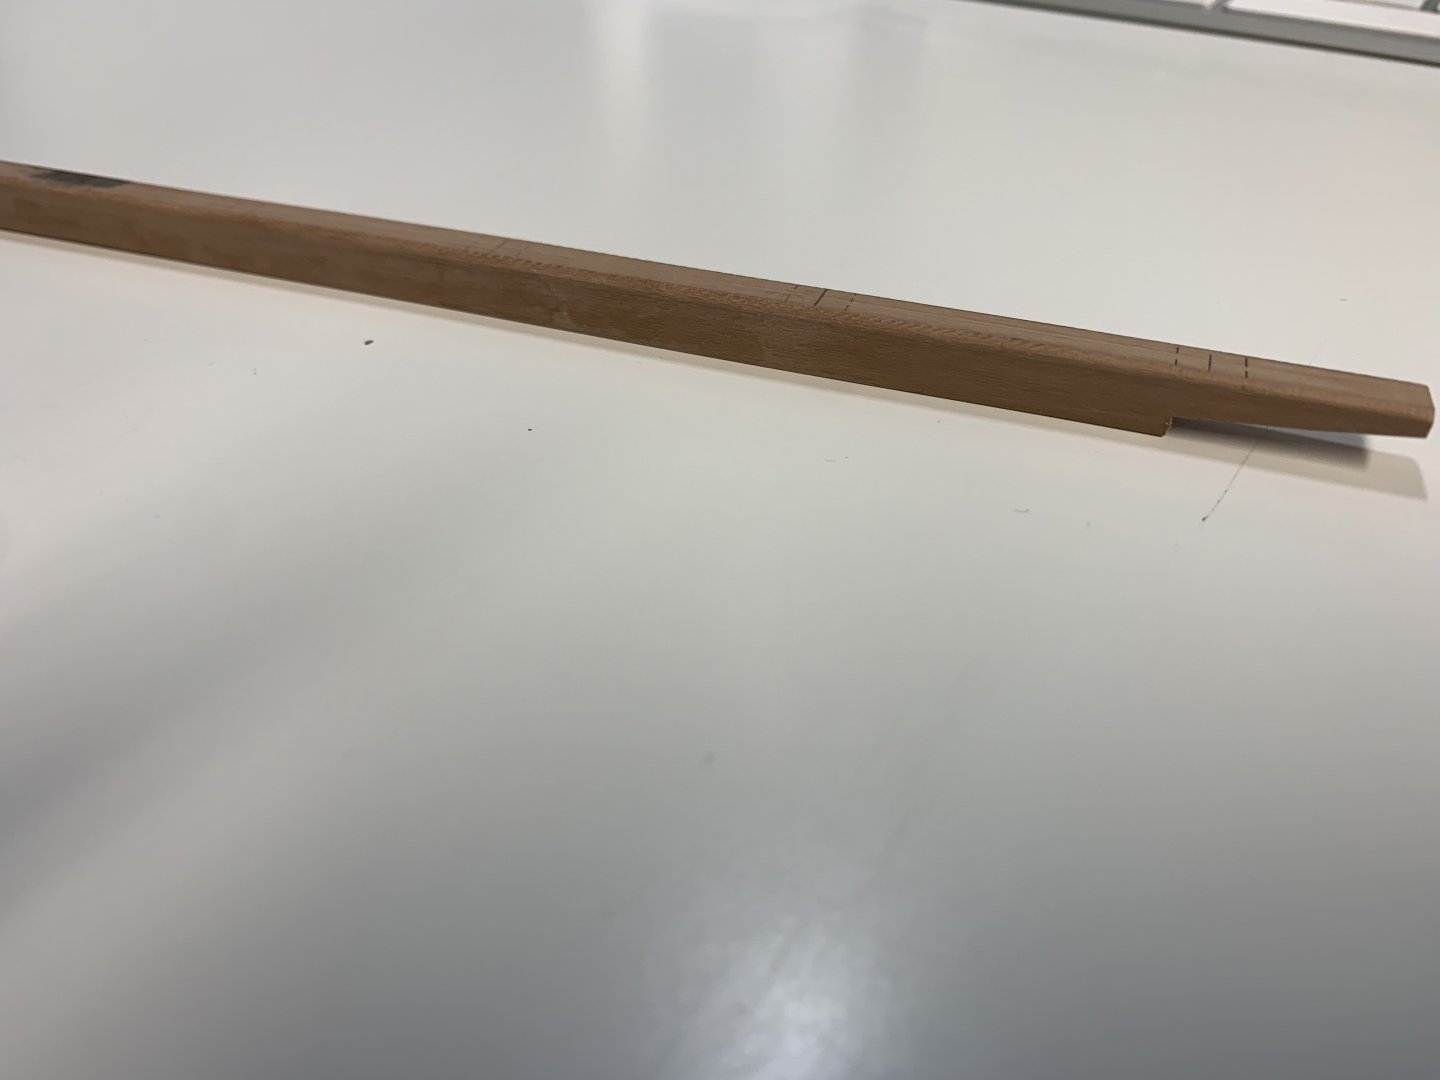
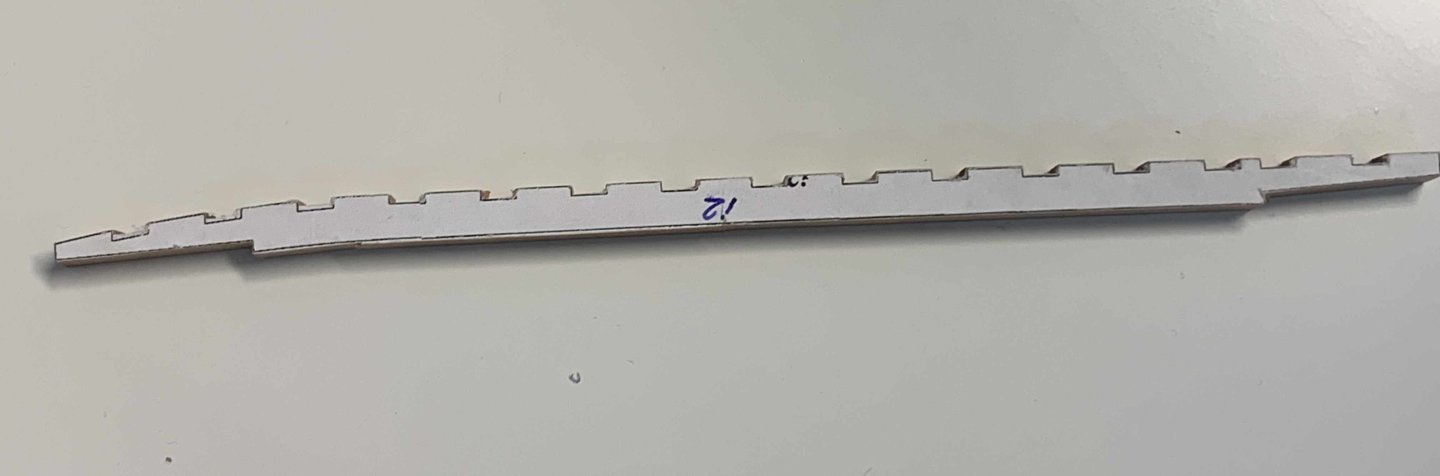
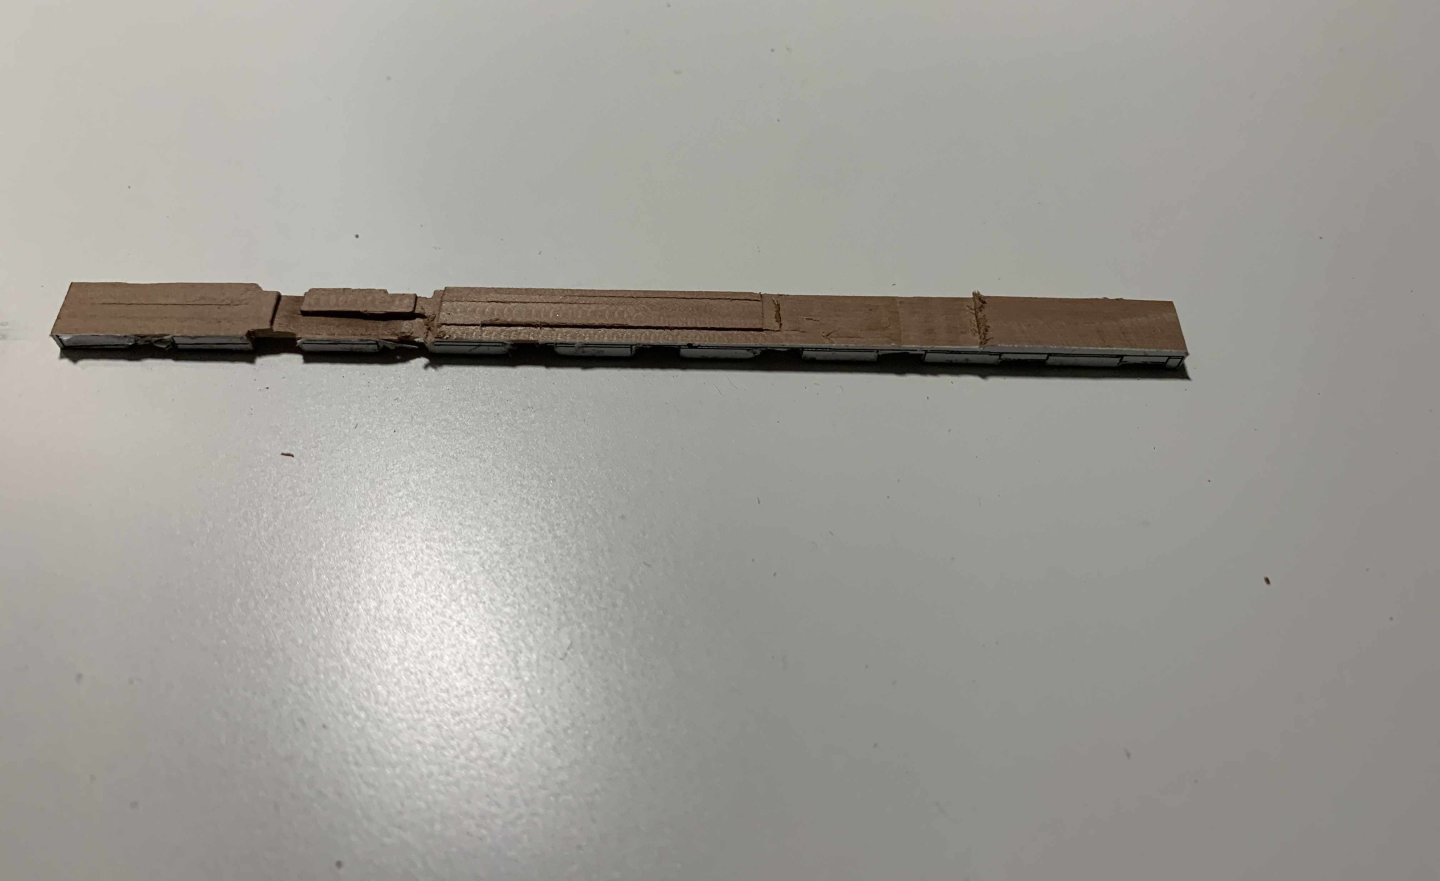
The build continues with assembling few parts, including keel... Also, I have cut the angle on the keel with a knife, file and sanding so will see end results.. Keel parts were glued together but was noted some curving on the keel so had to reassemble and glue them again with mora usage of wise and heavy objects.. Both parts done... Happy modelling...


-
Ok, after few weeks holidays, I am back on line and behind the mill.... will continue with build soon I finish washing my car, after 8000km.... fairly dirty.. Happy modelling..
-
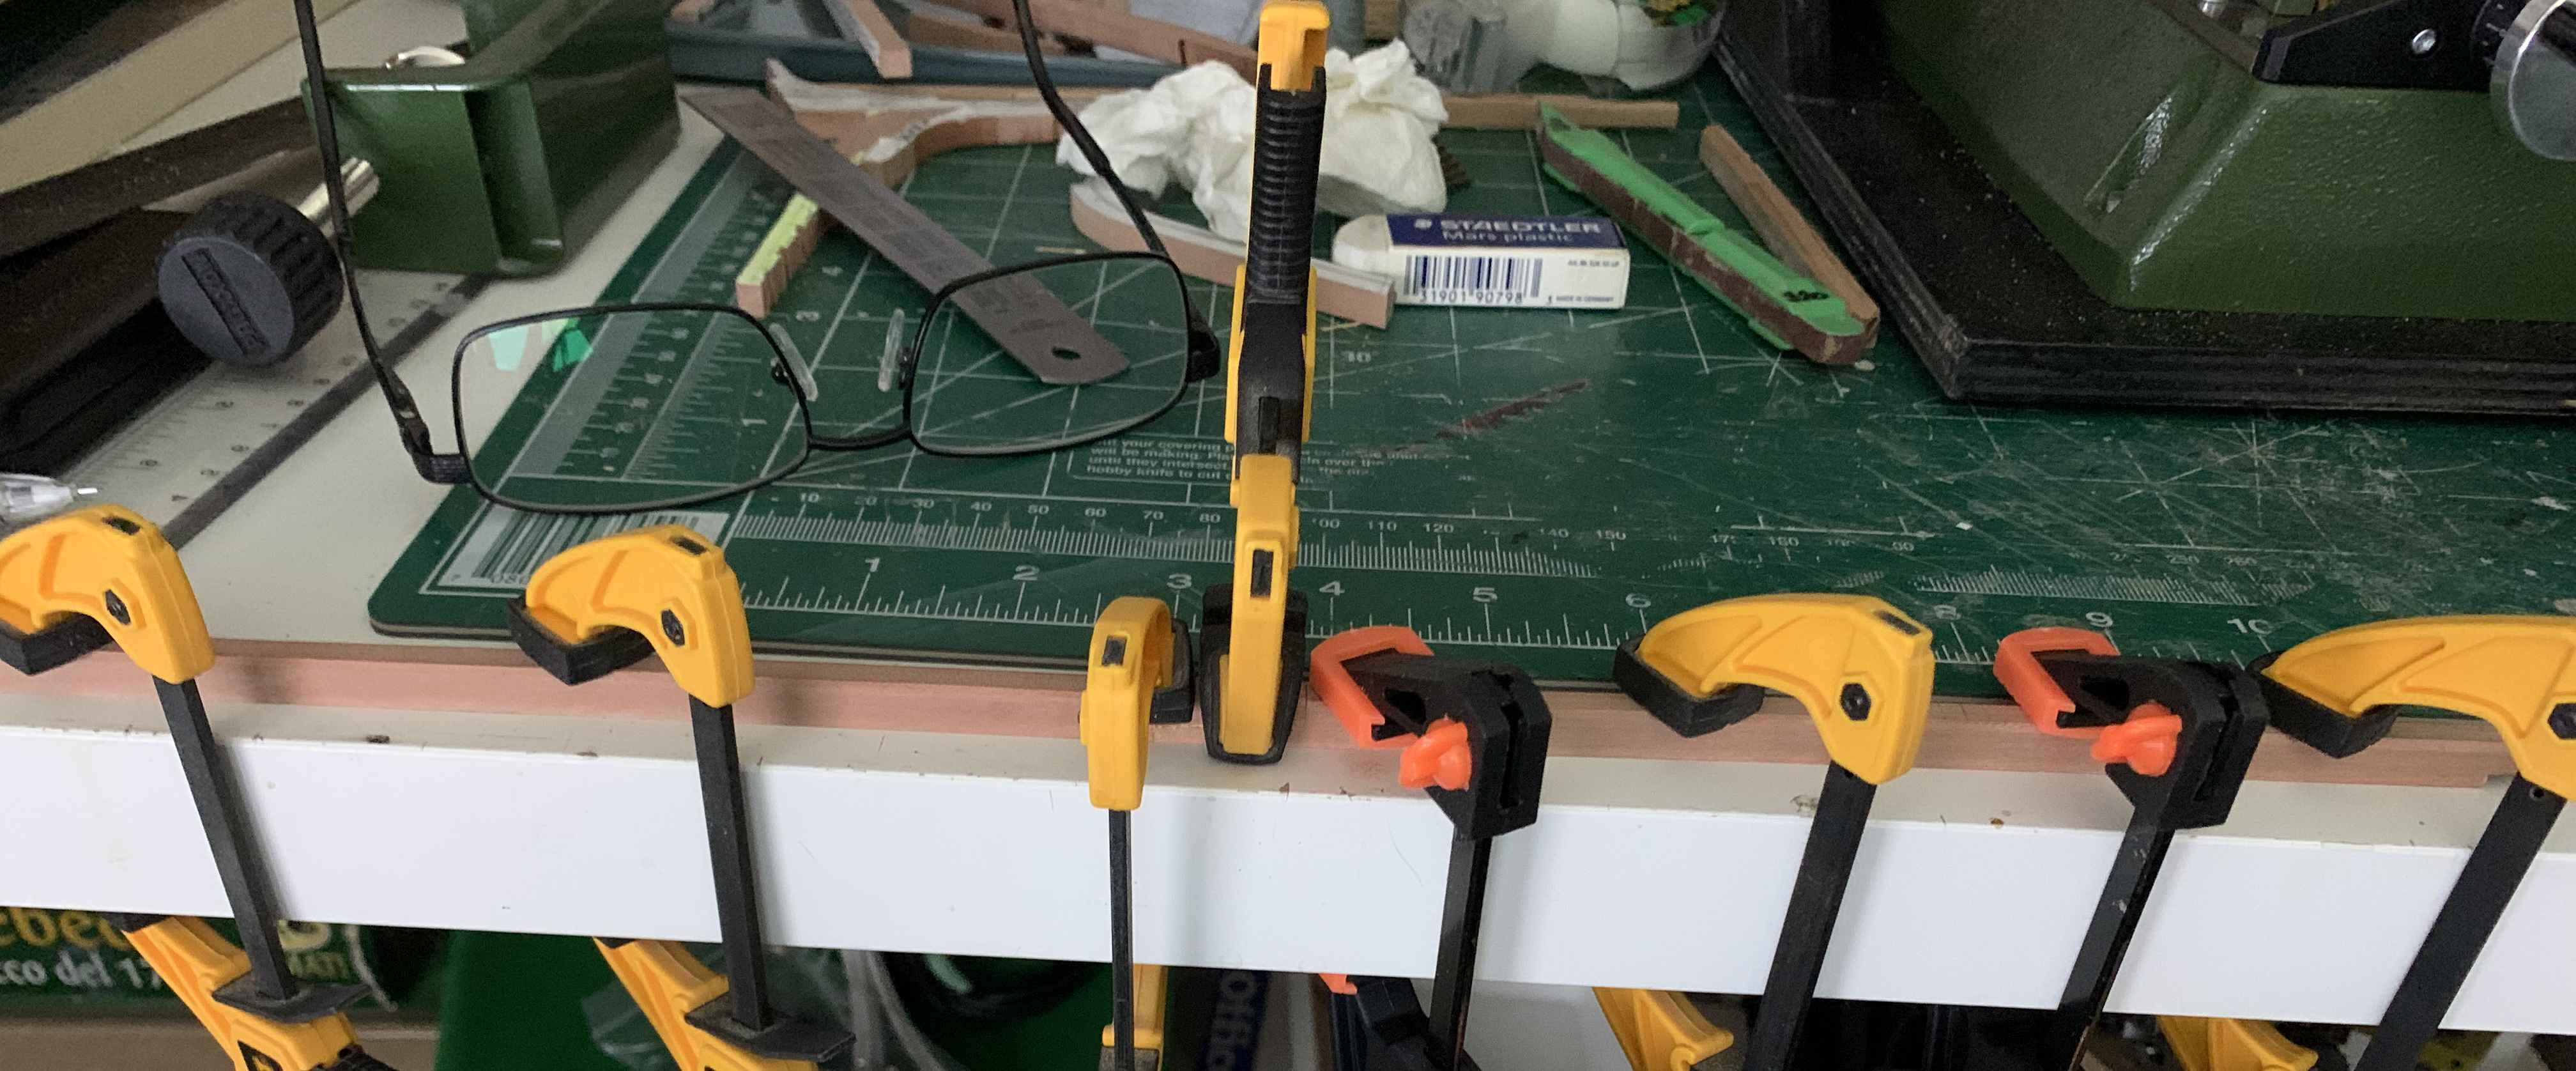
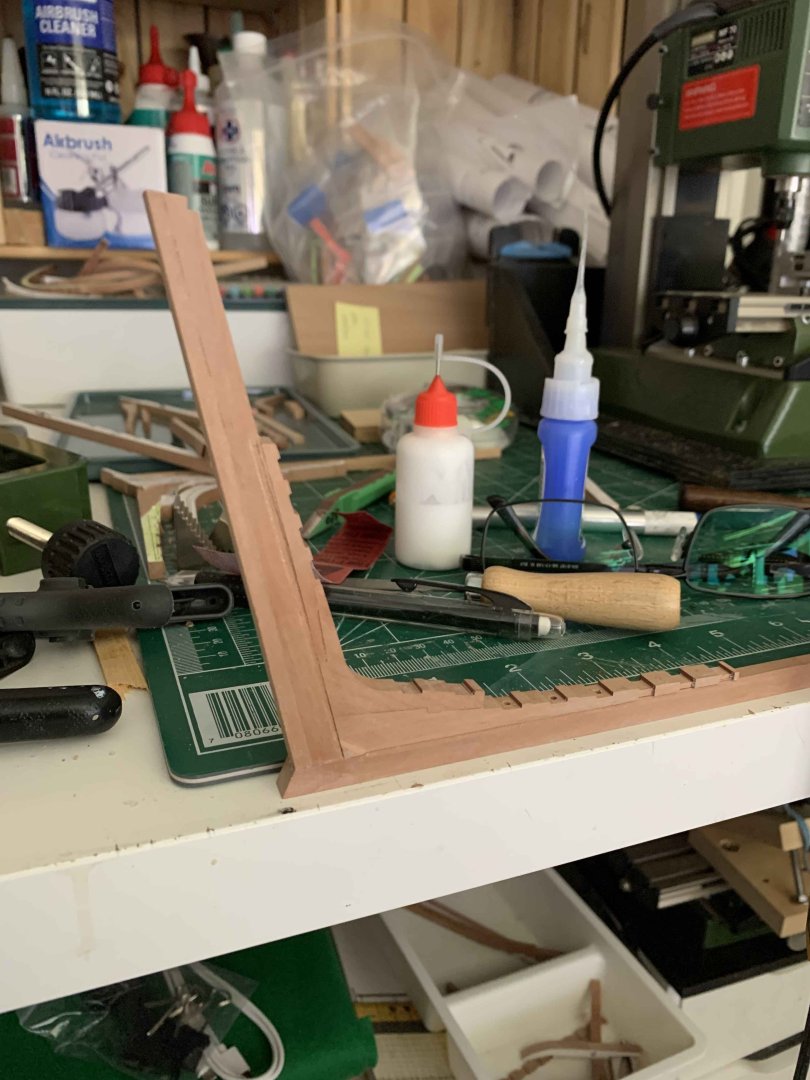
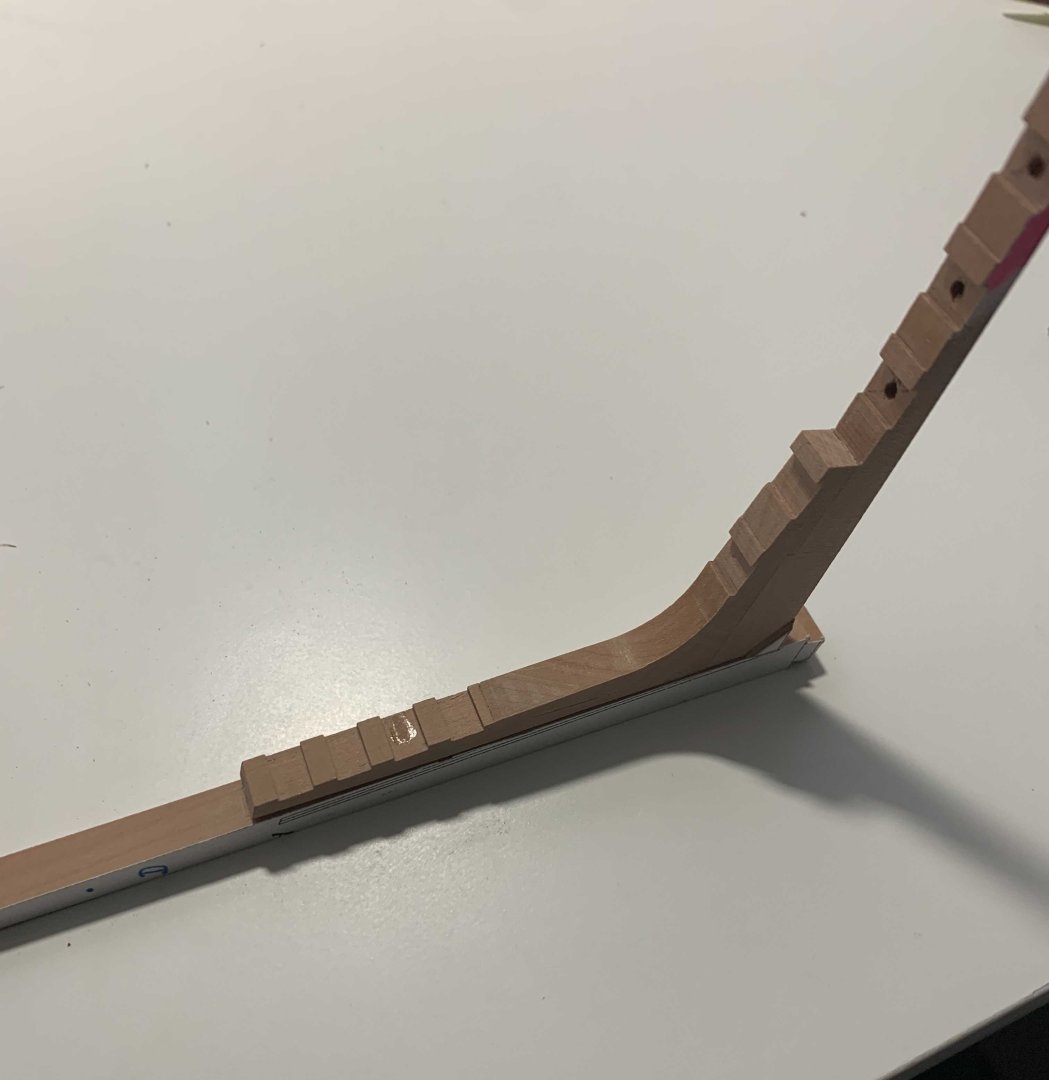
A bit more work done today... The ruler provides close to required angle but still some work by hands needs to be done to make sure all fits nicely... A bit more filling is required... Happy modelling..


-
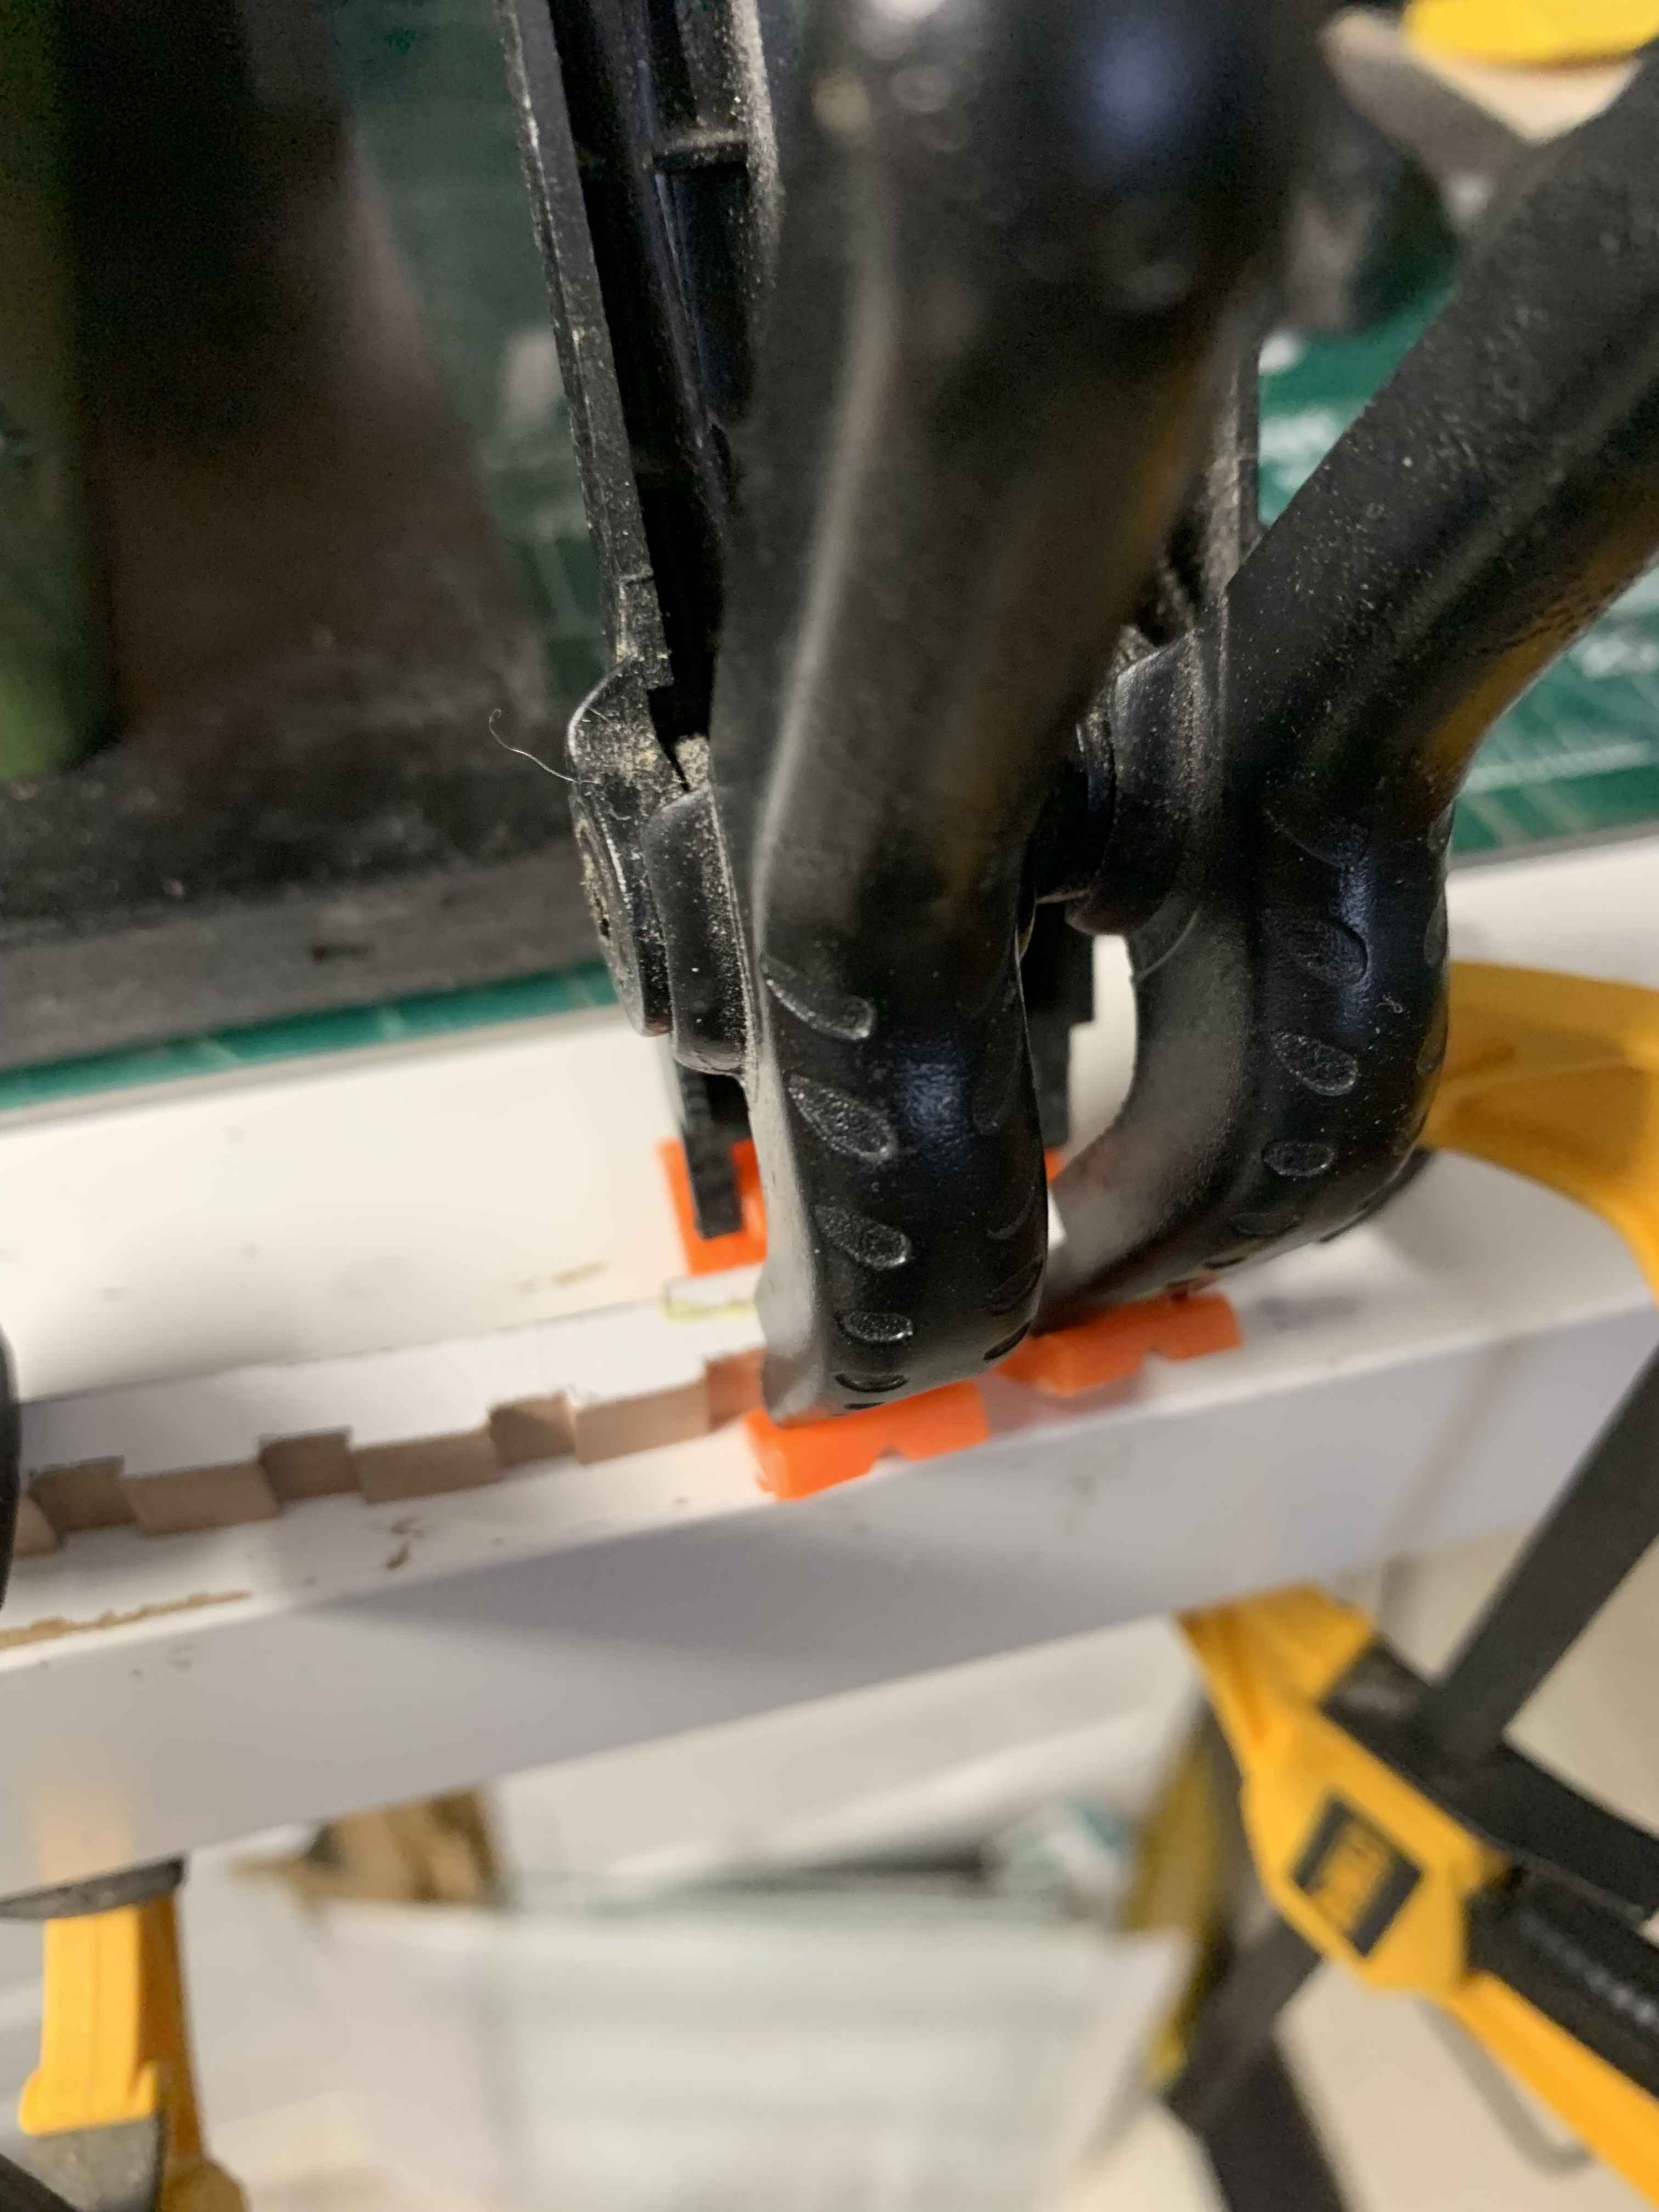
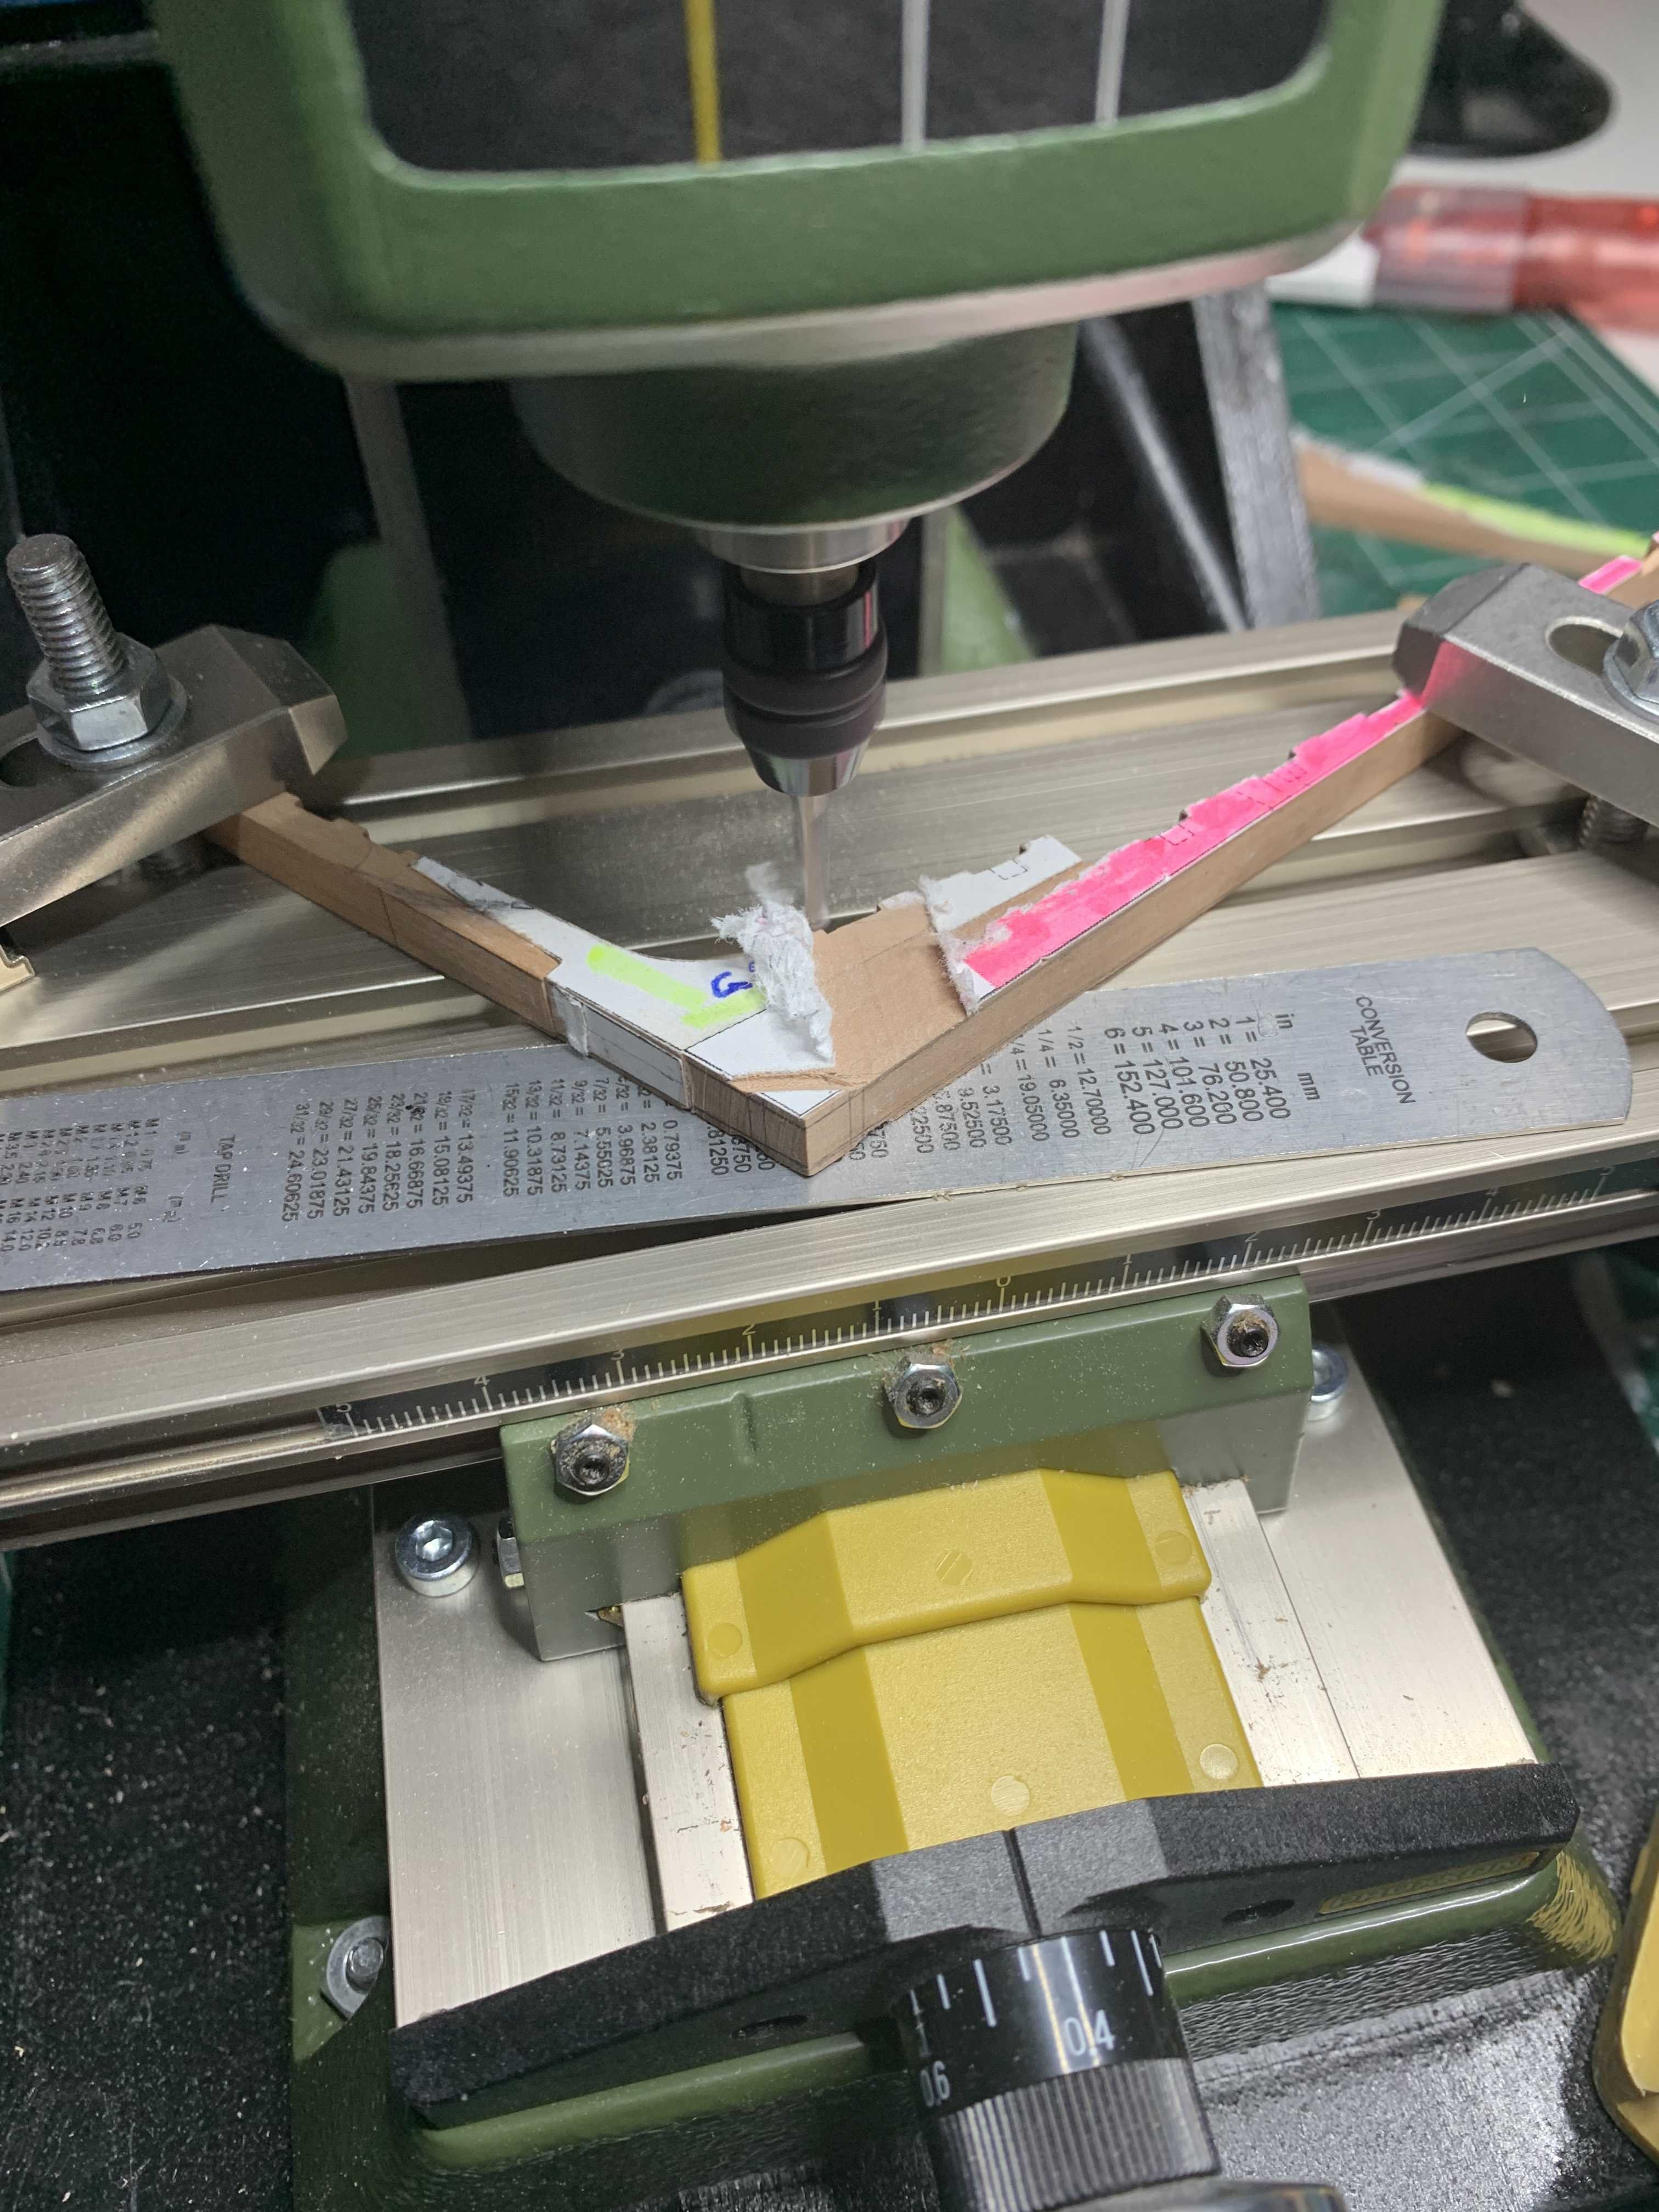
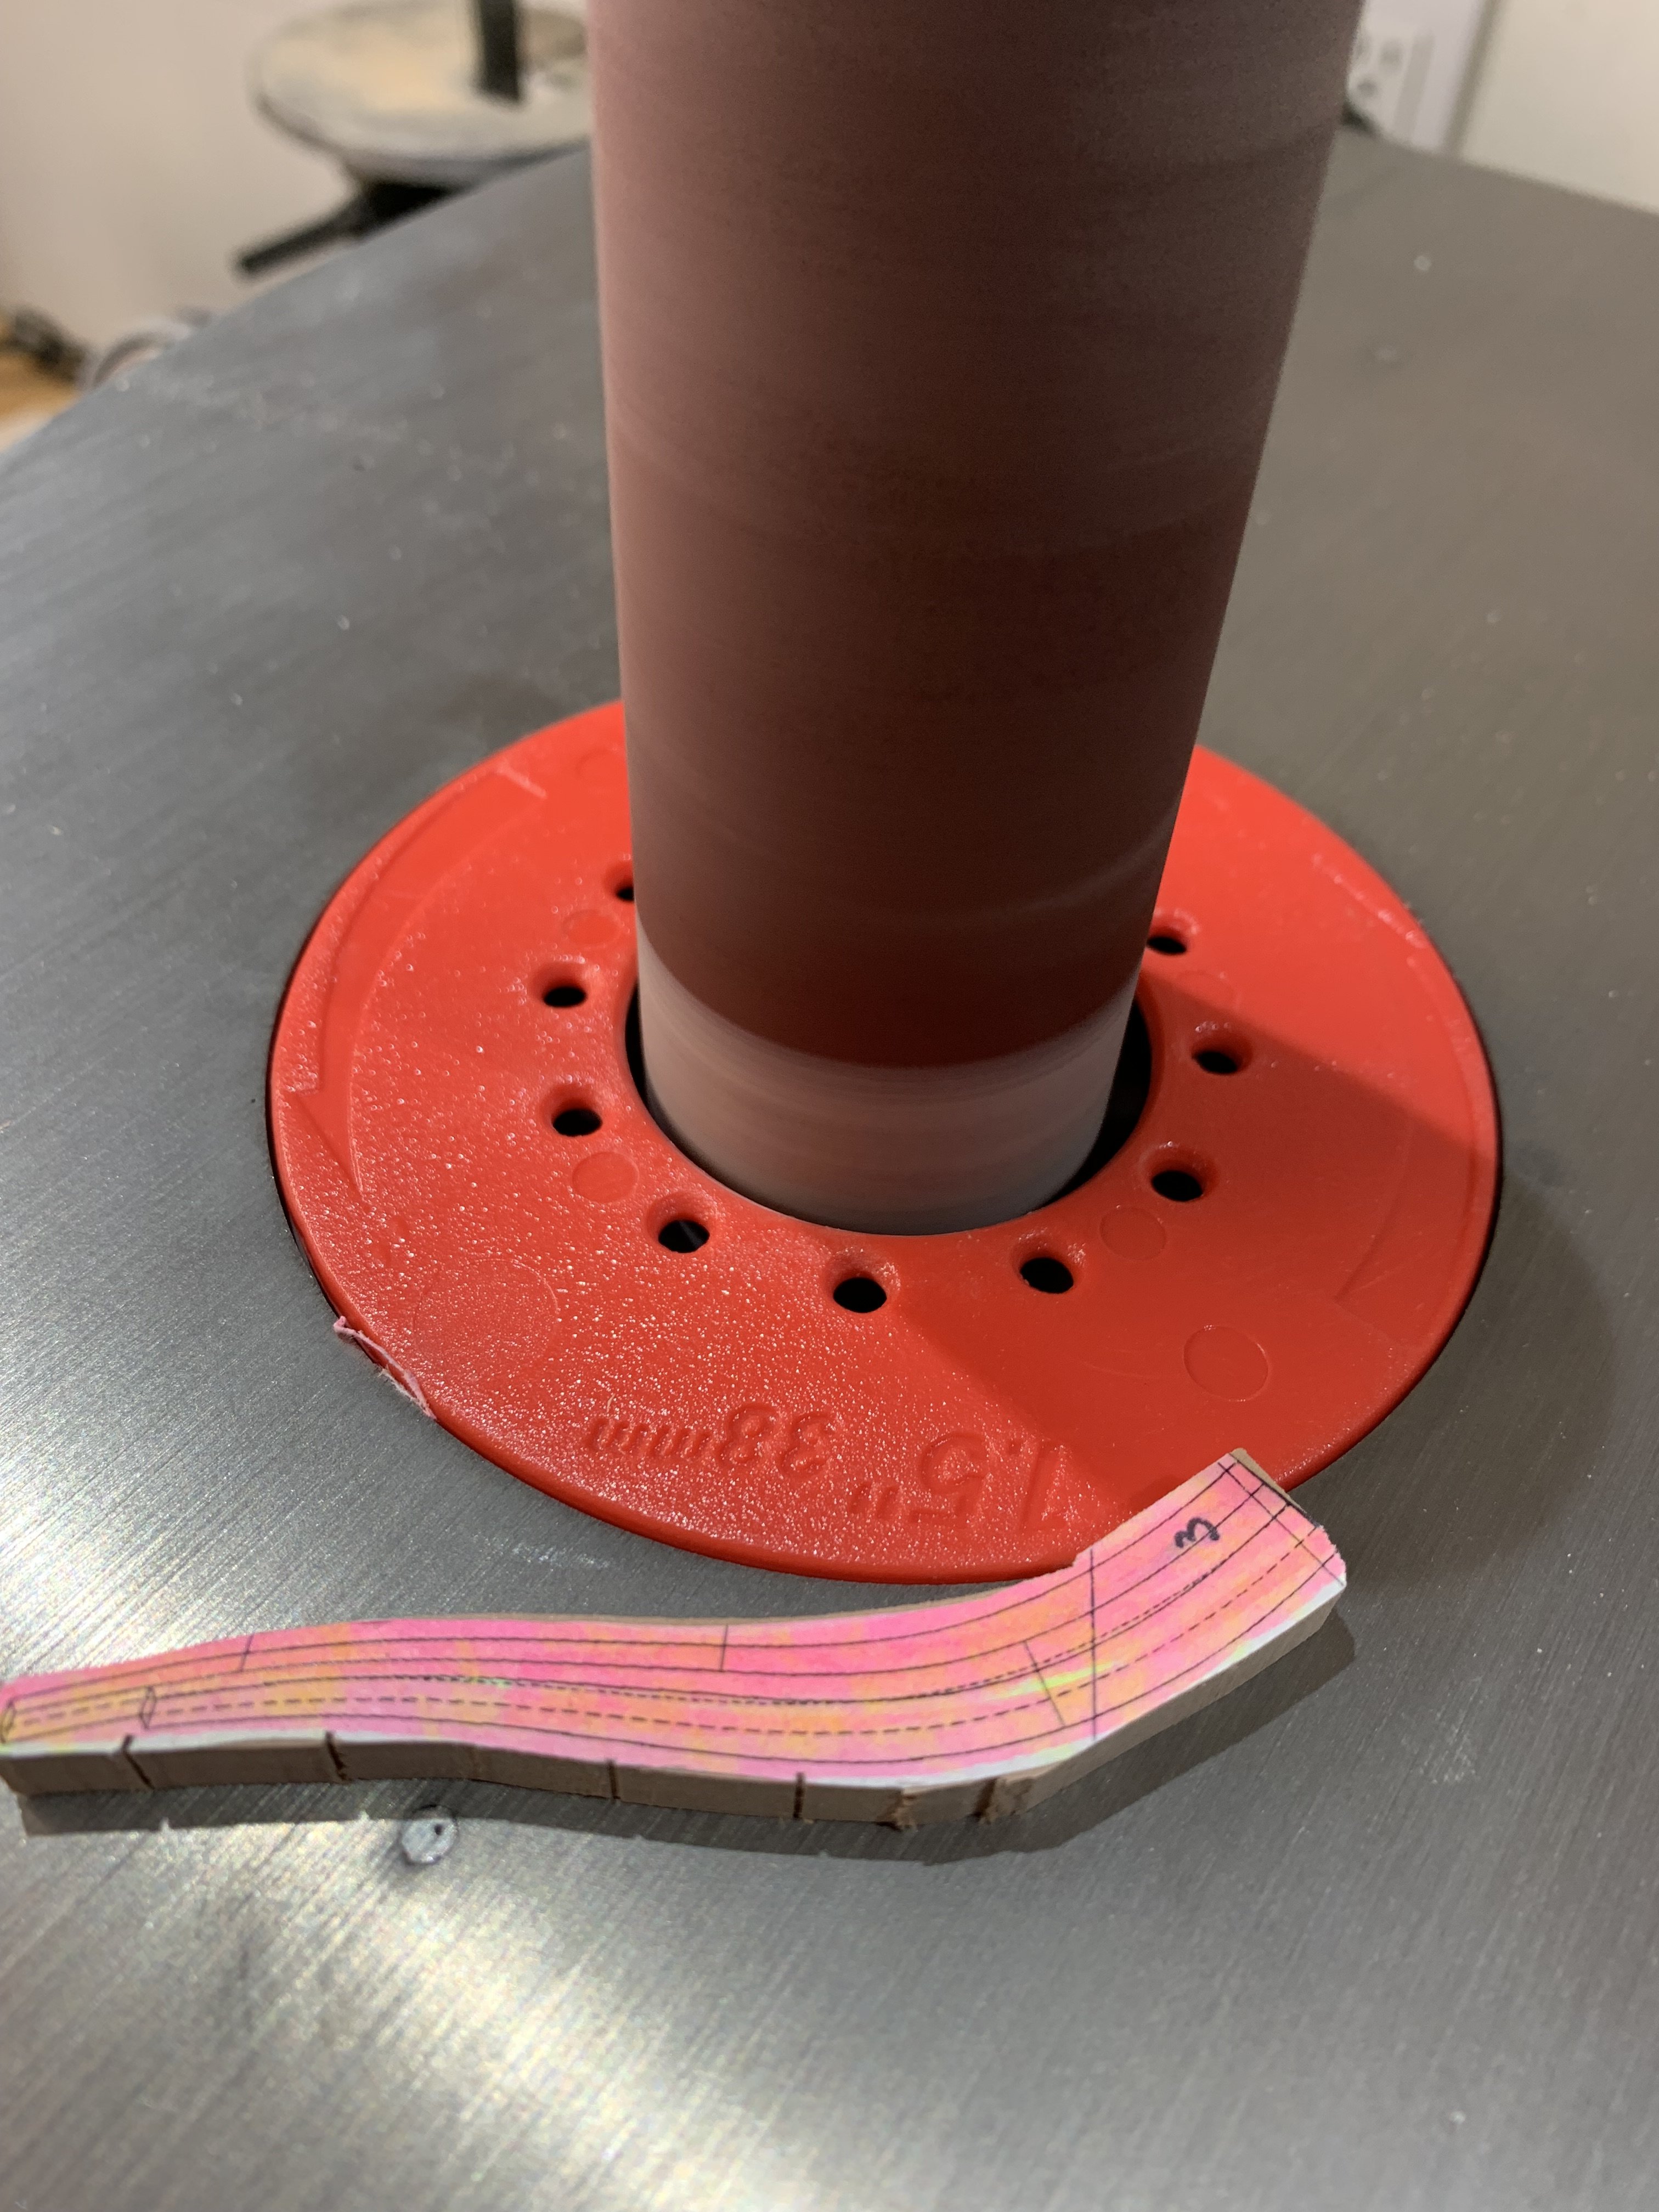
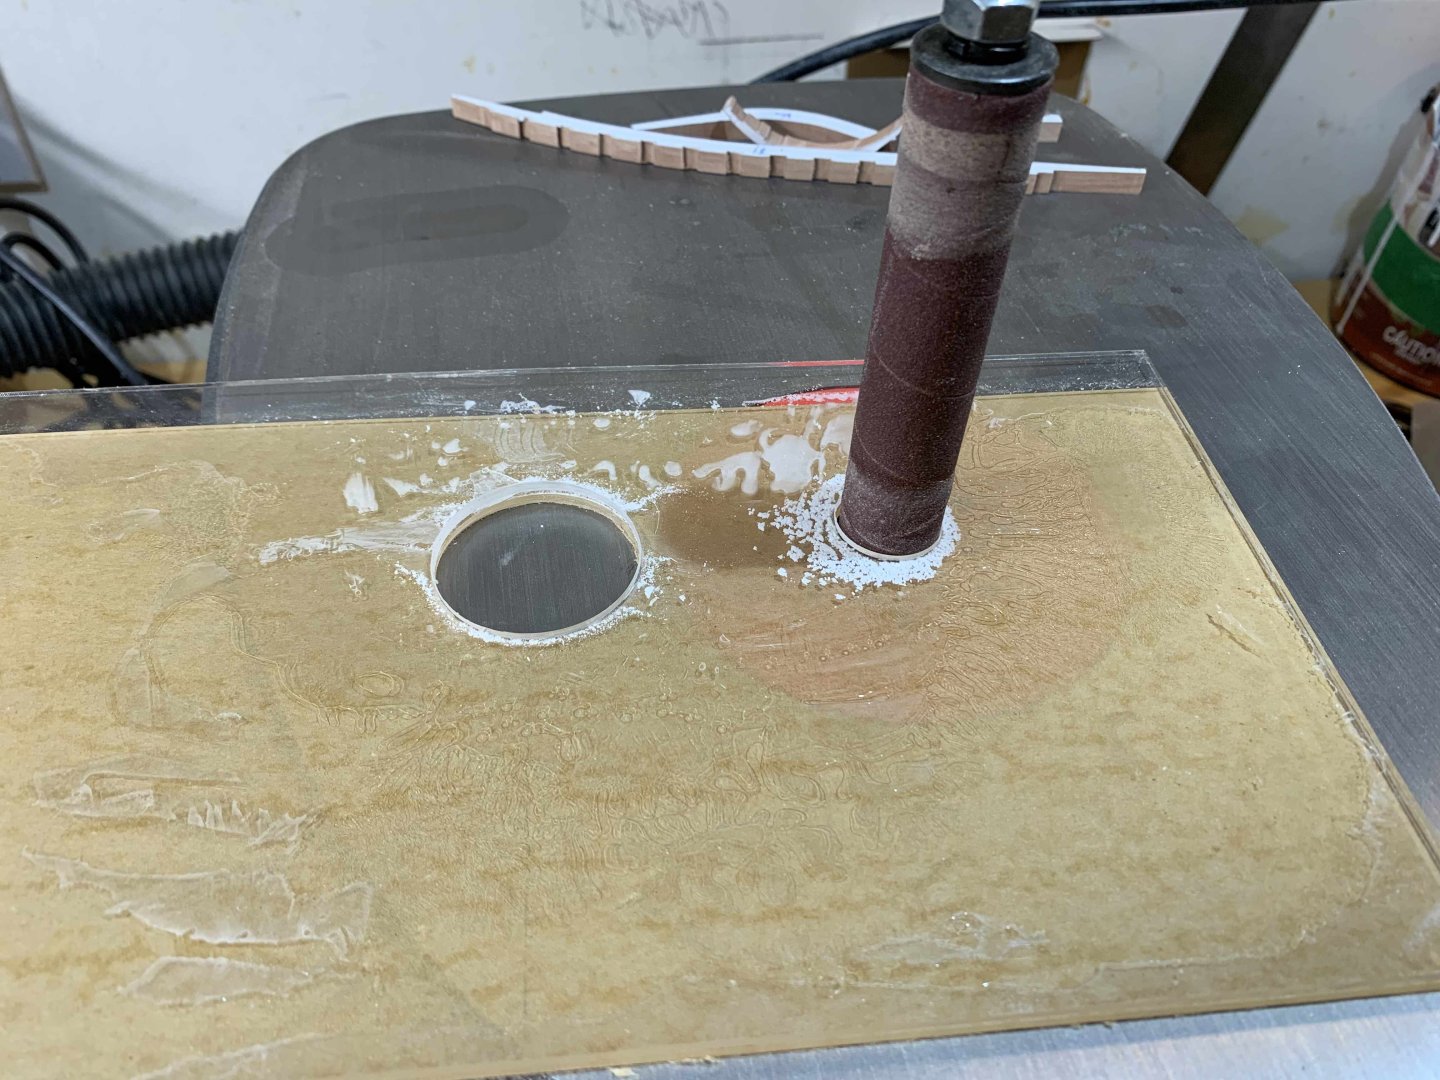
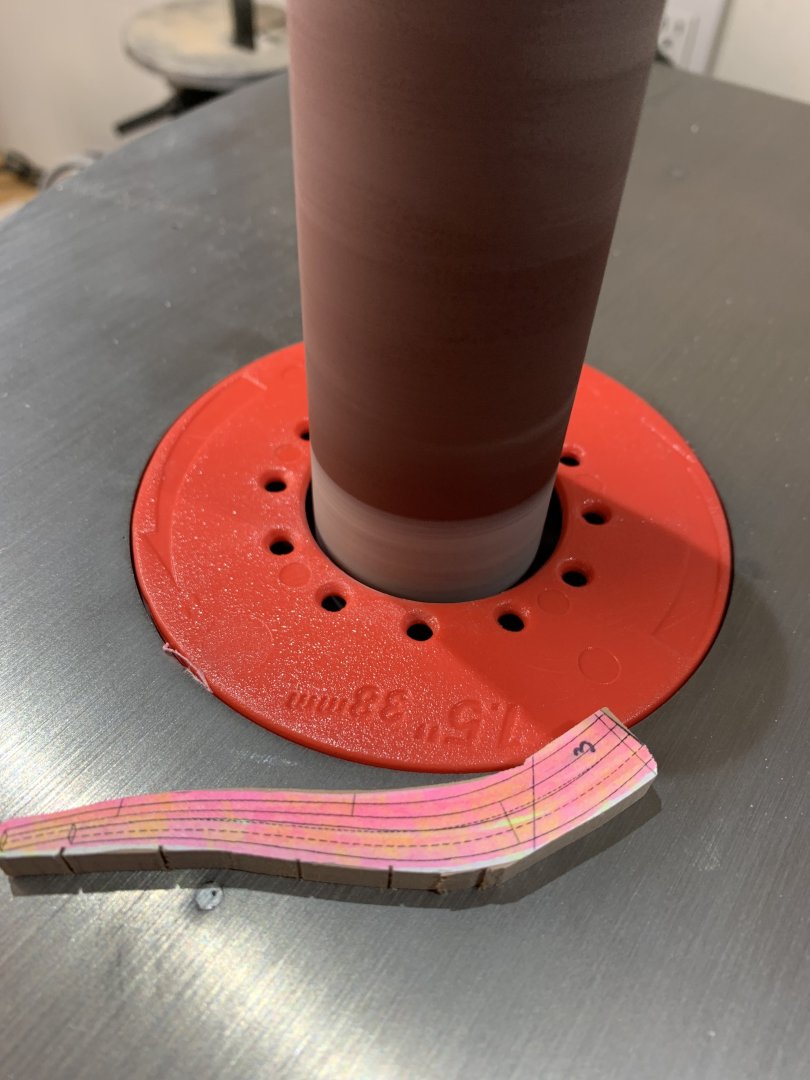
A little table addition to bridge the gap between sanding paper and sanded part... just a two piece of plexiglass, glued together for thickness and two holes matching diameter of a sanding cylinder.. suction action of an attached vacuum, keeps the plexiglass very tight... On the bench.... during action... All parts are almost done... Hard to find some hobby time during Euro24... Happy modelling..


-
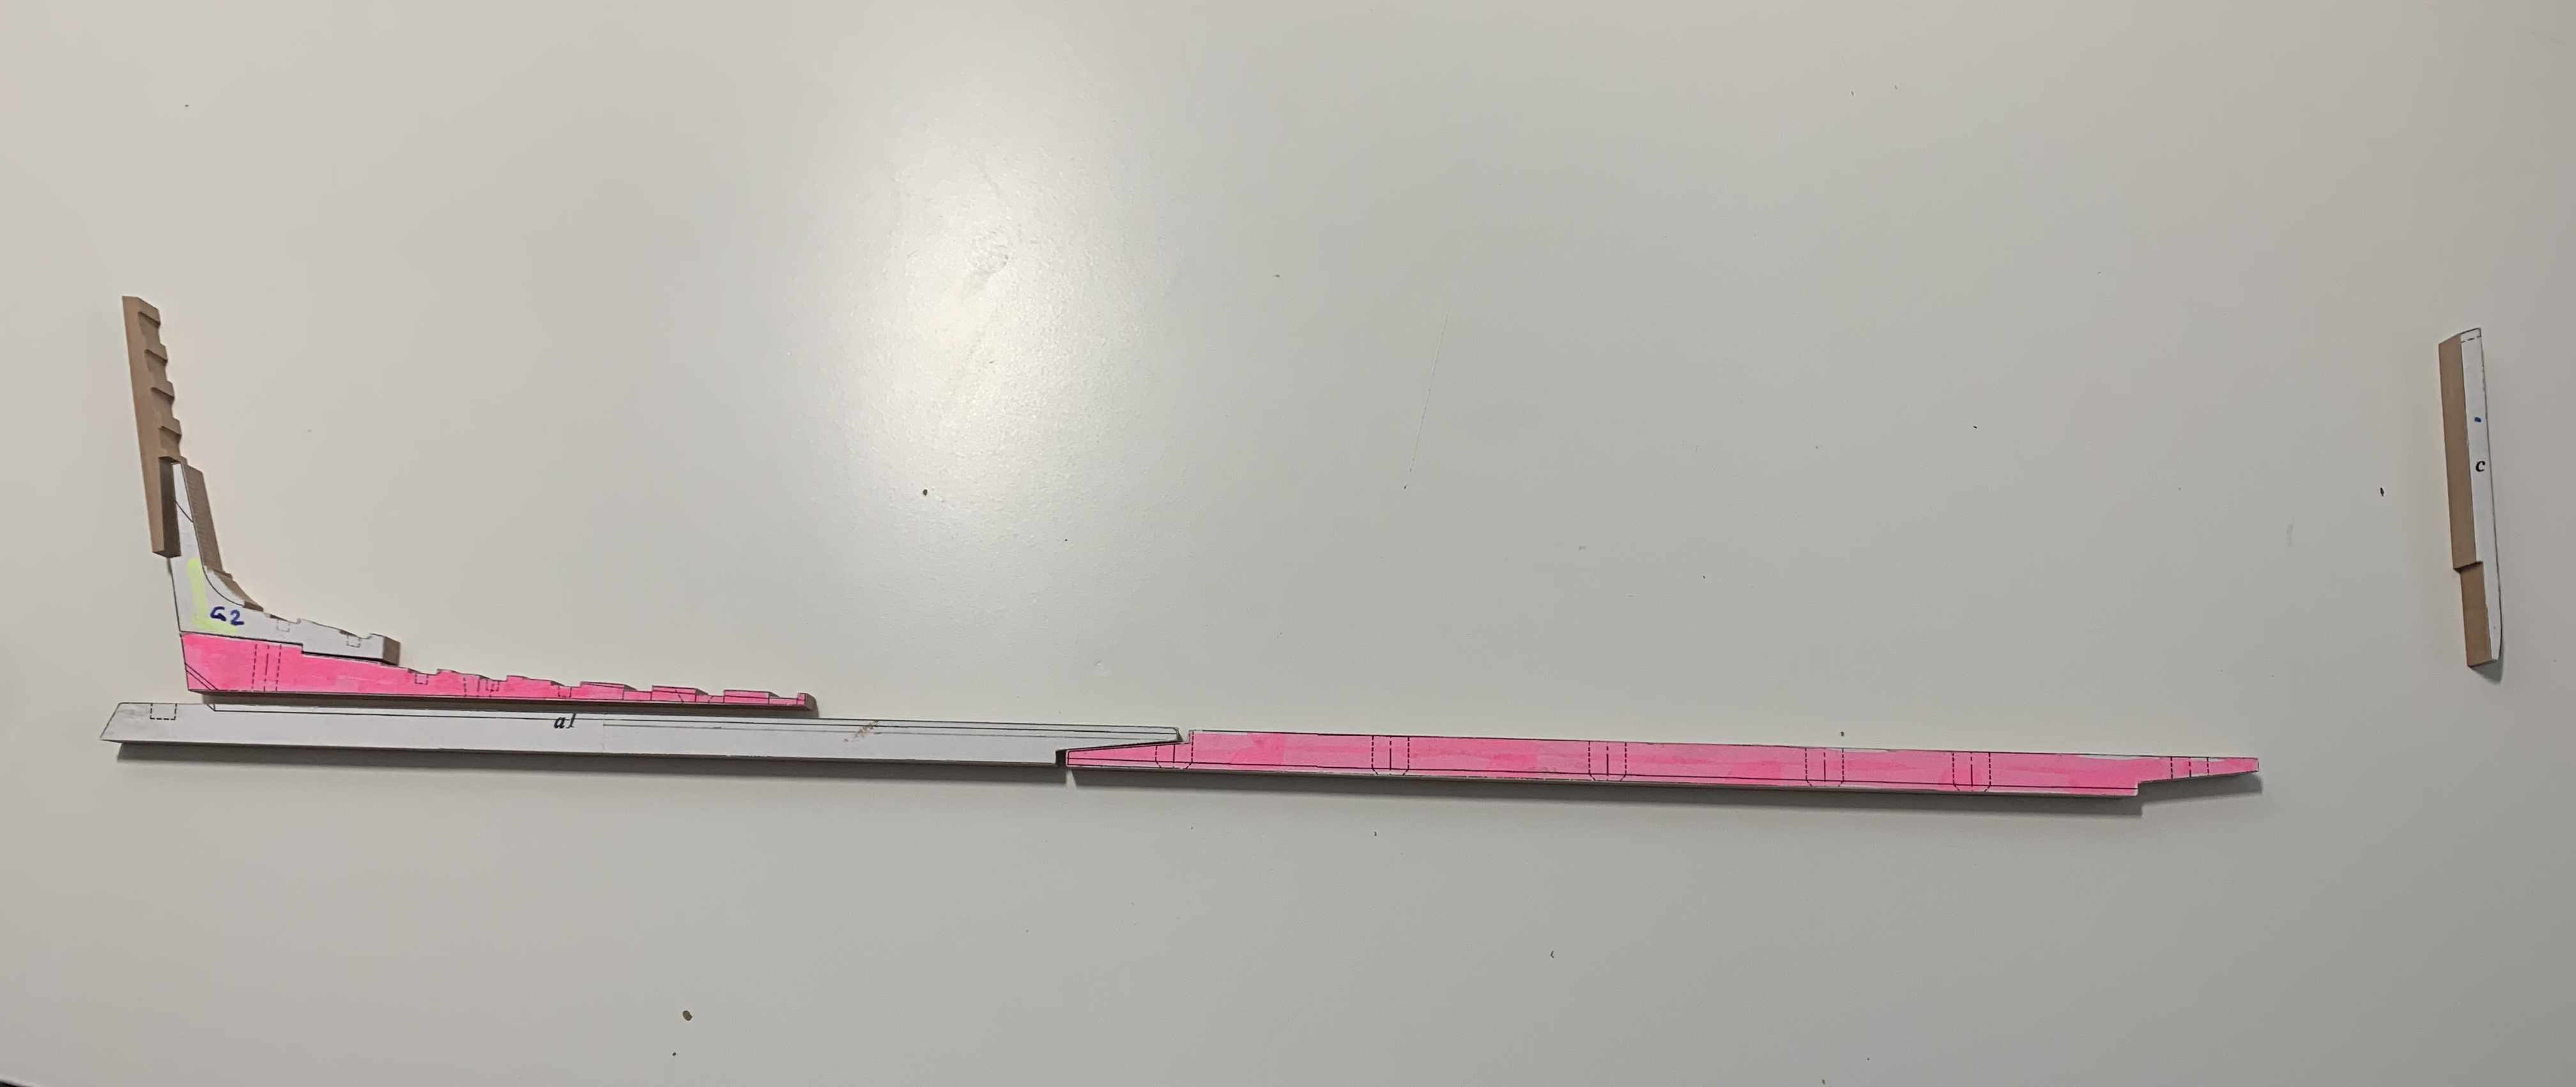
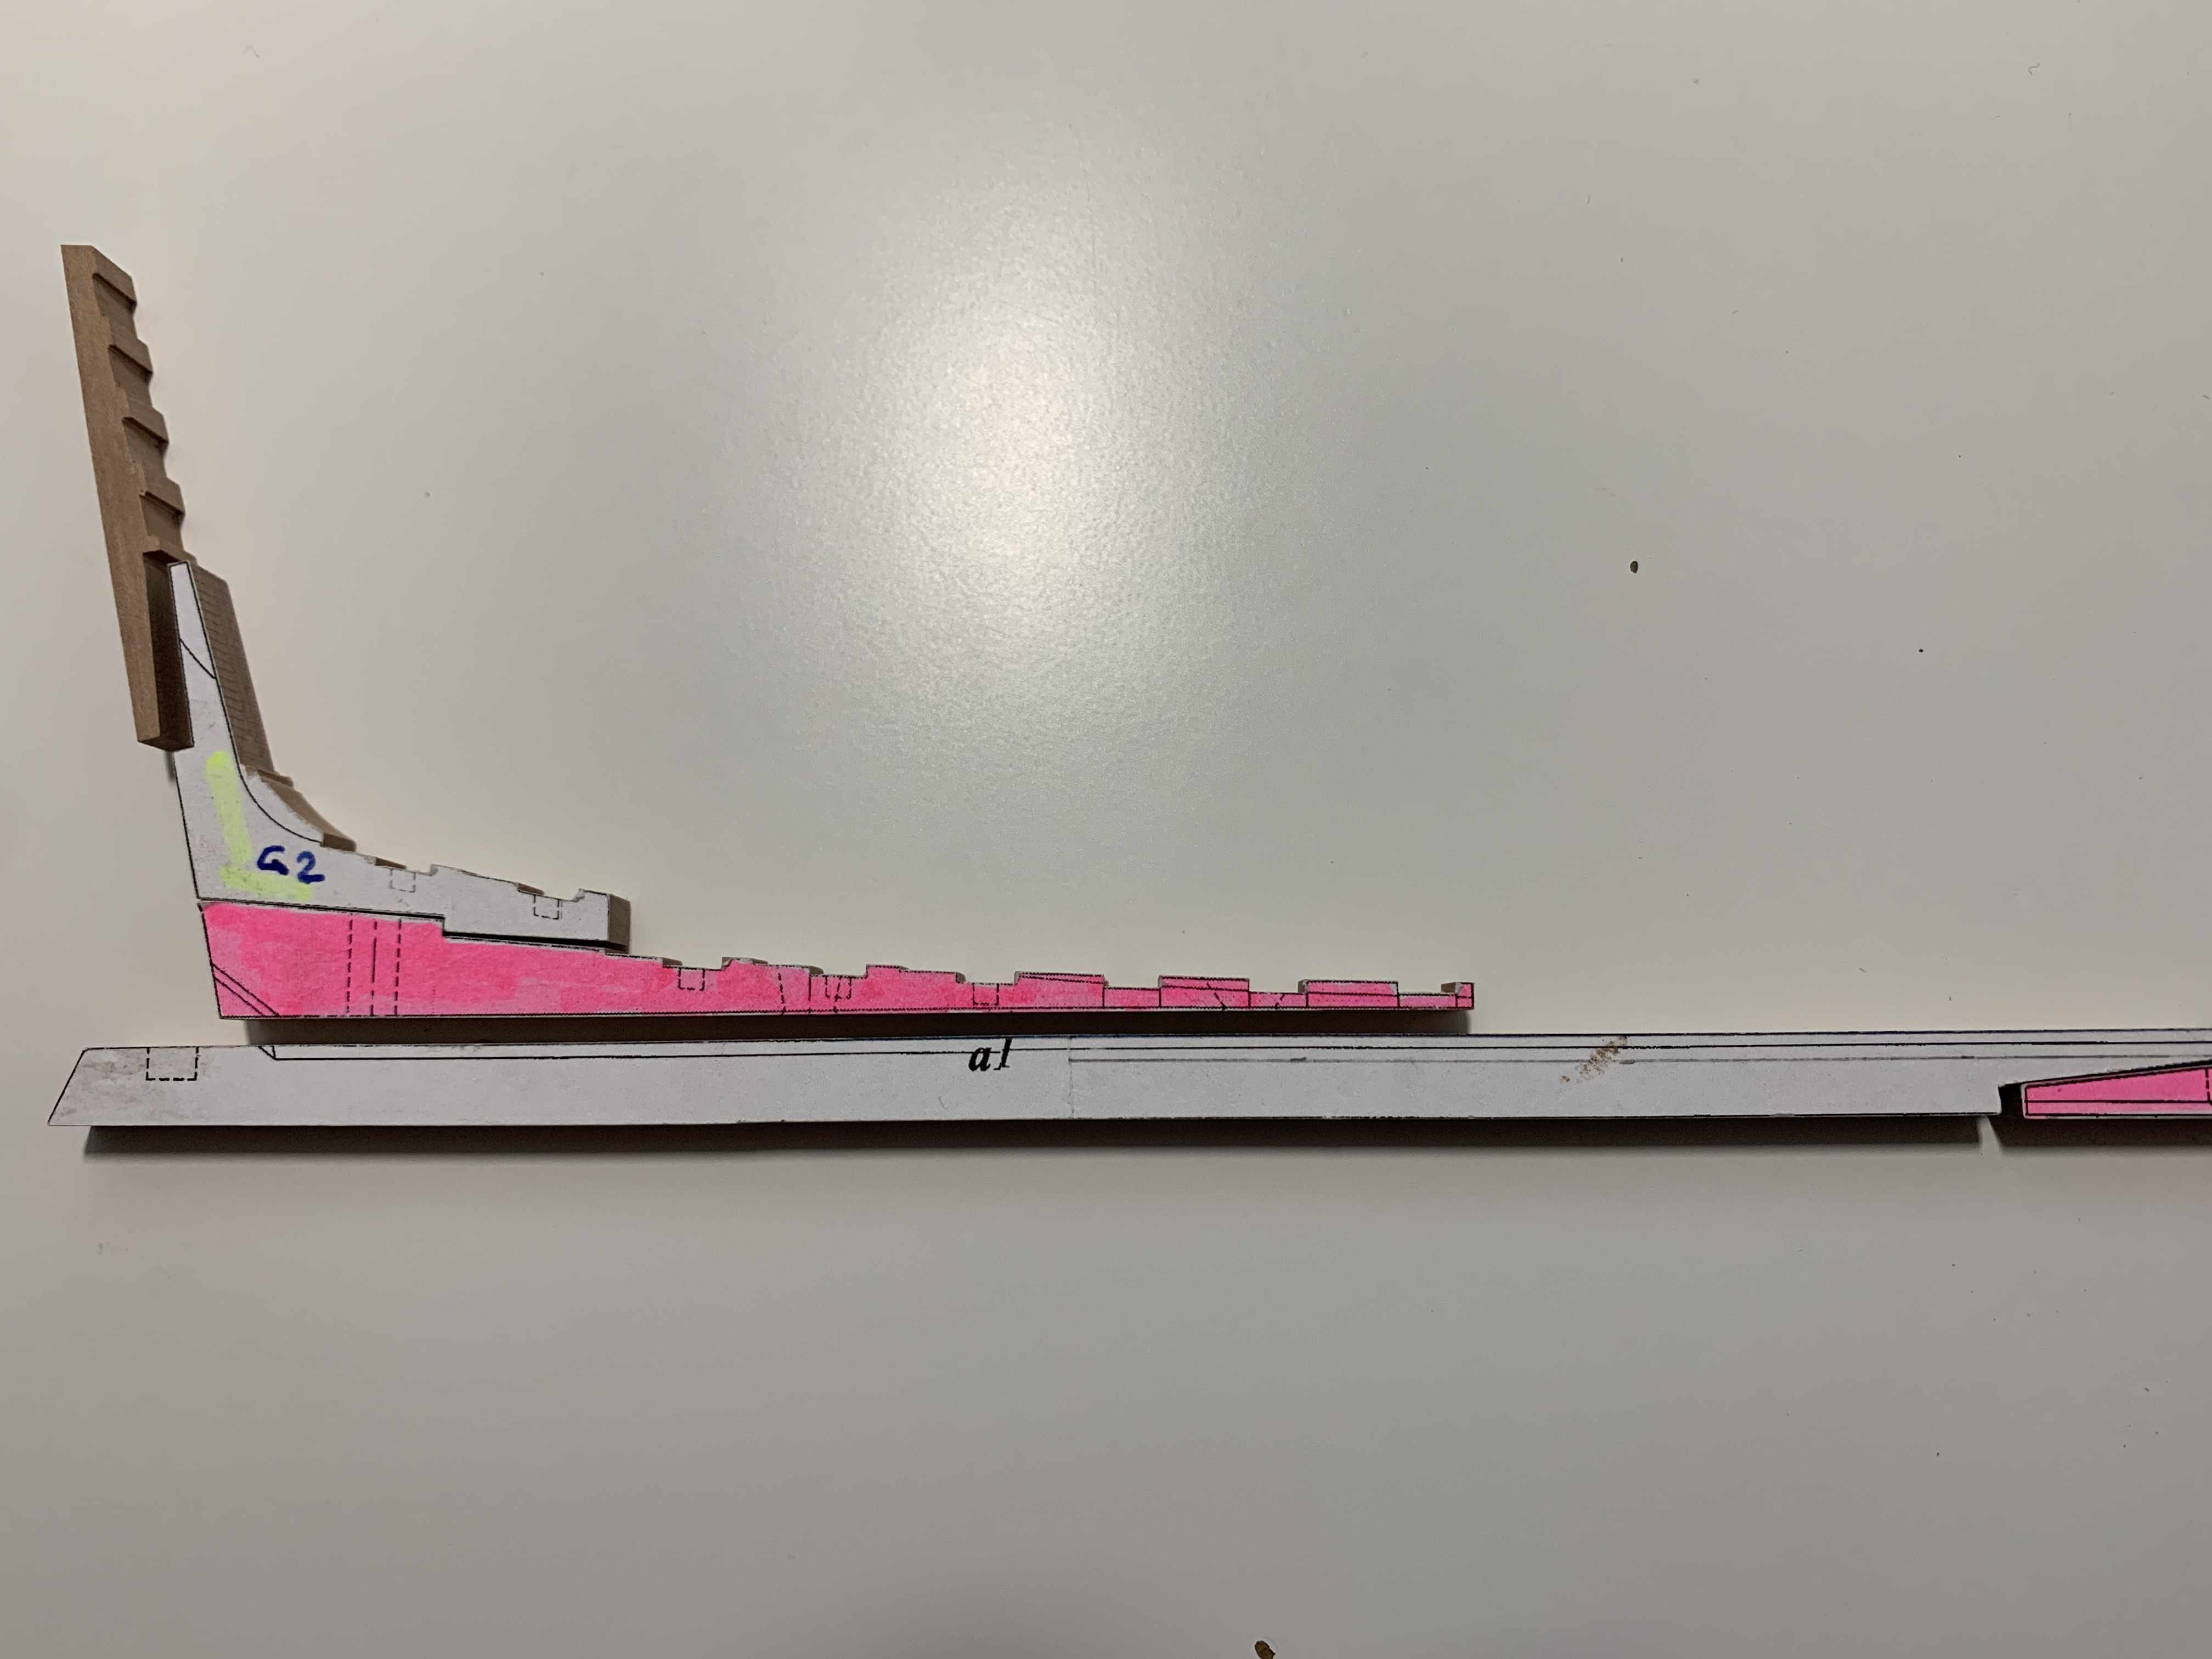
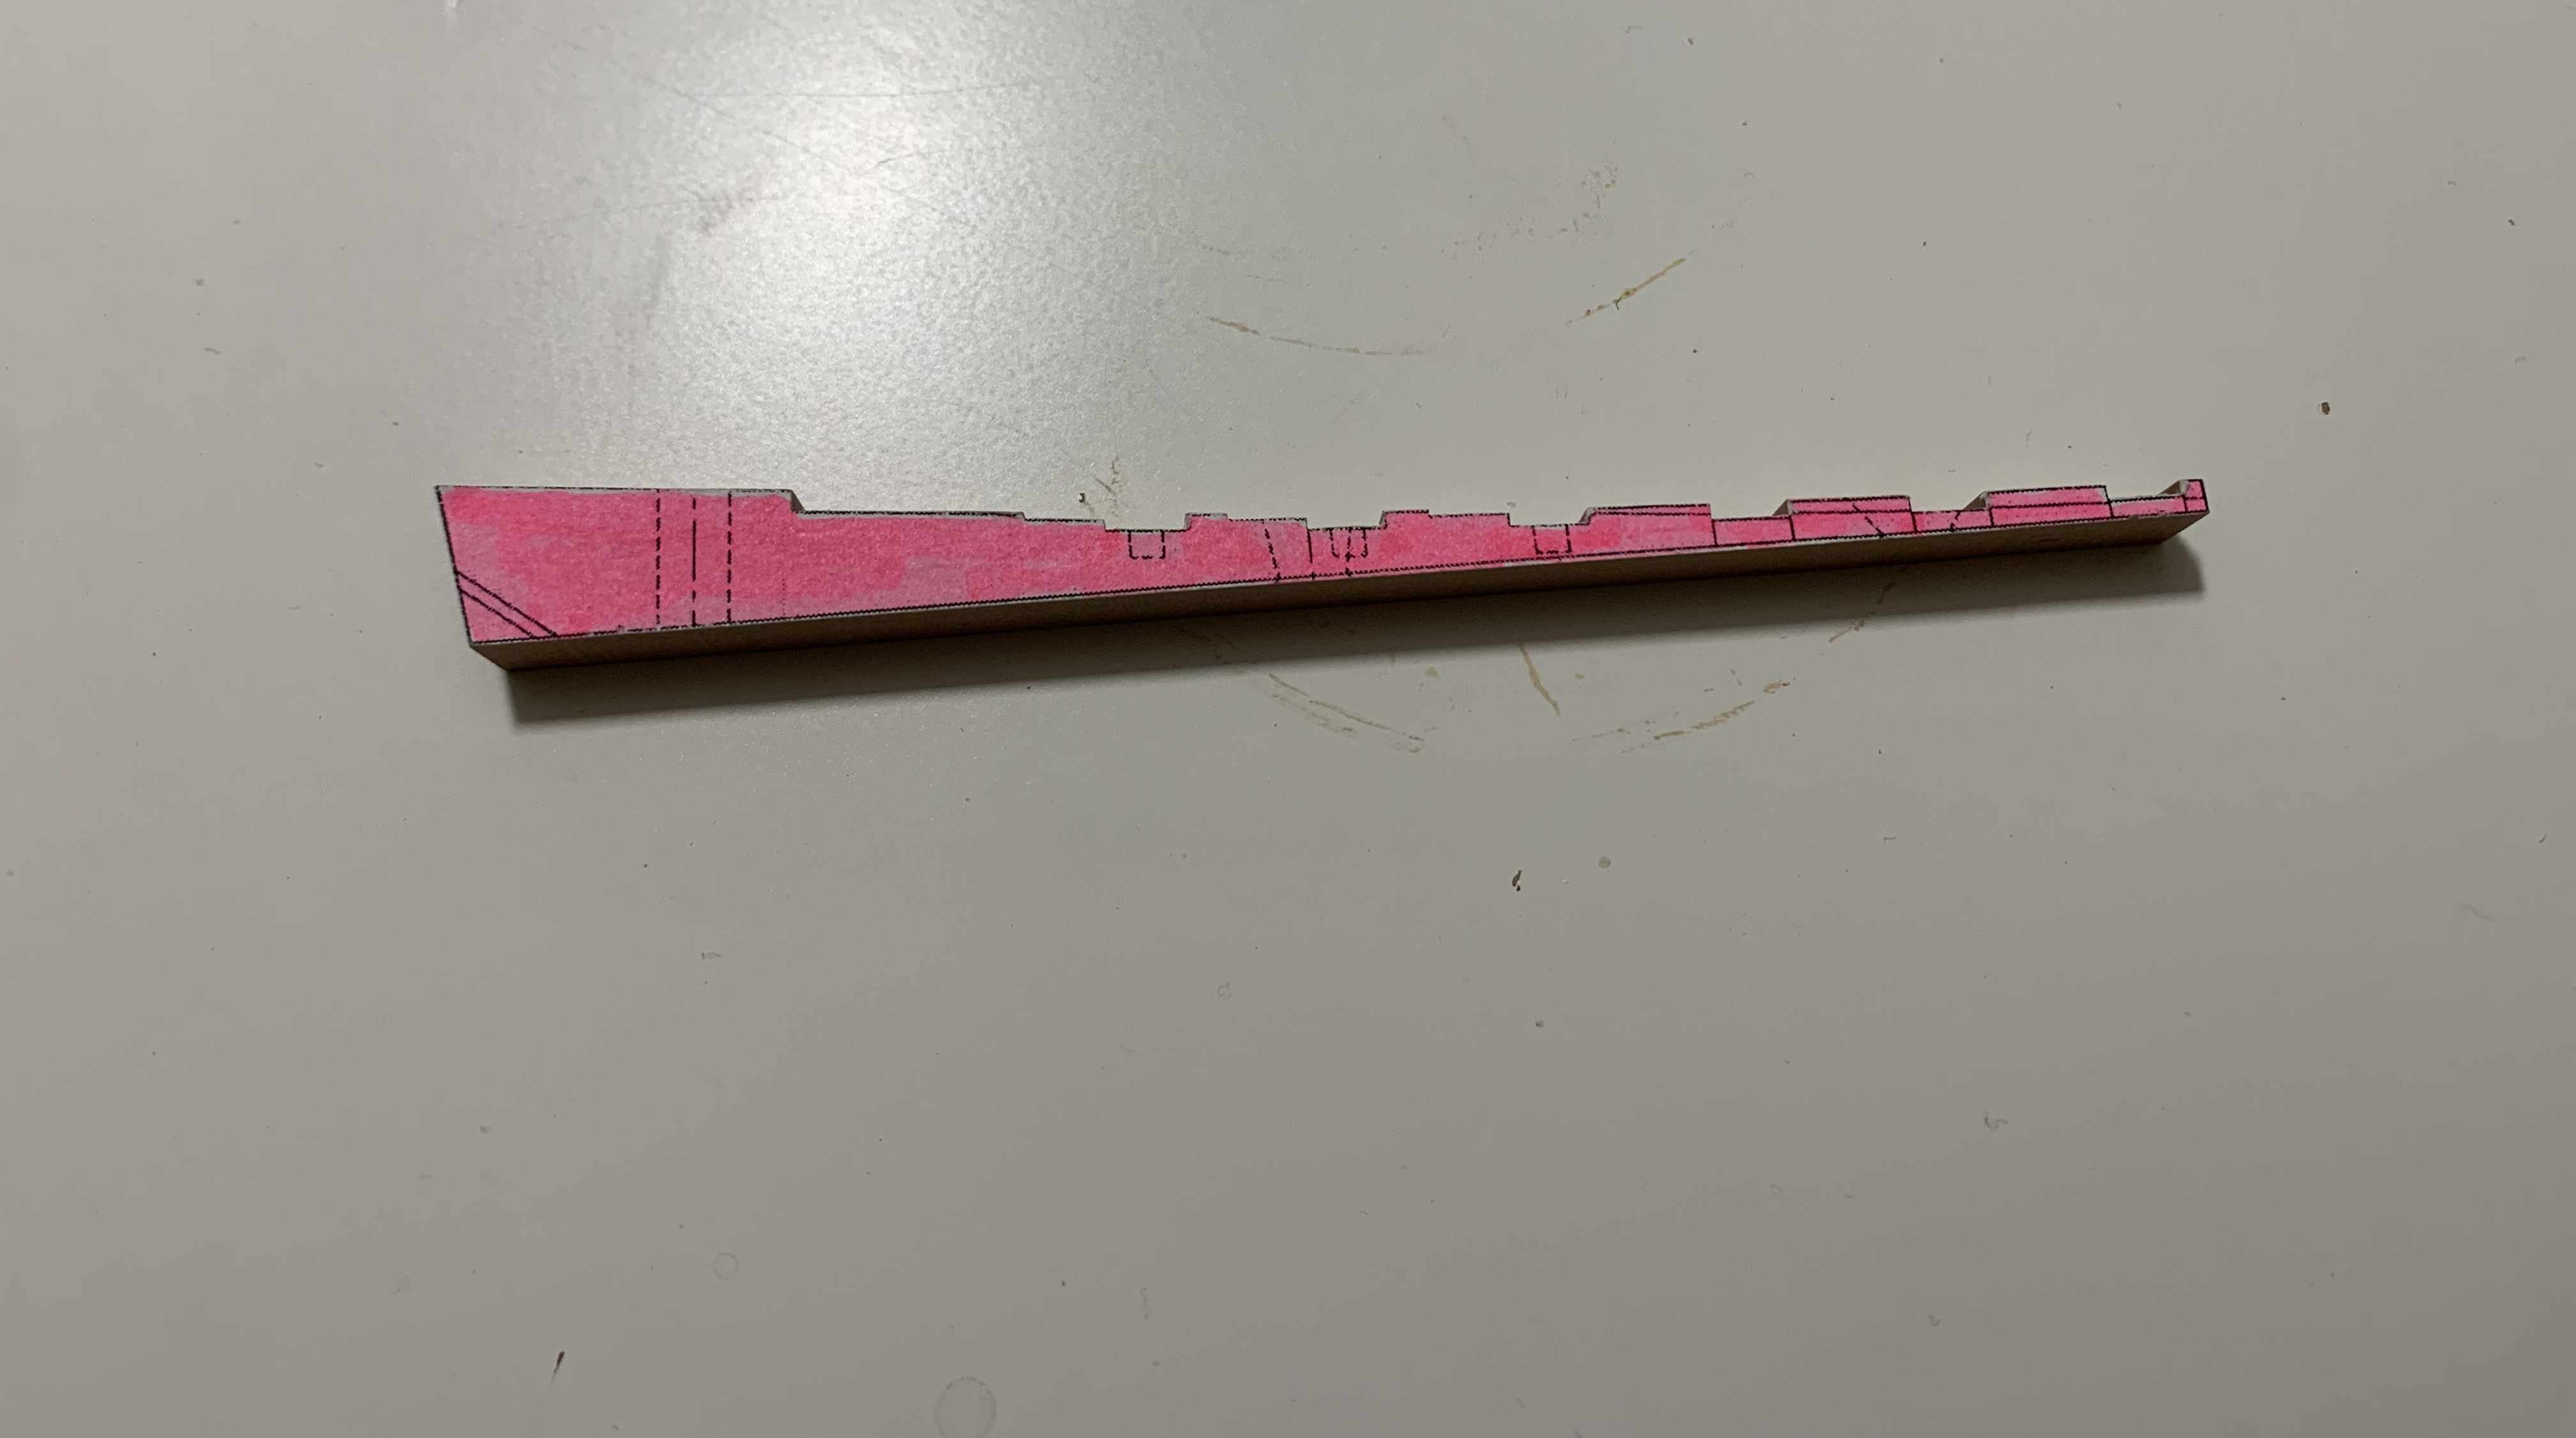
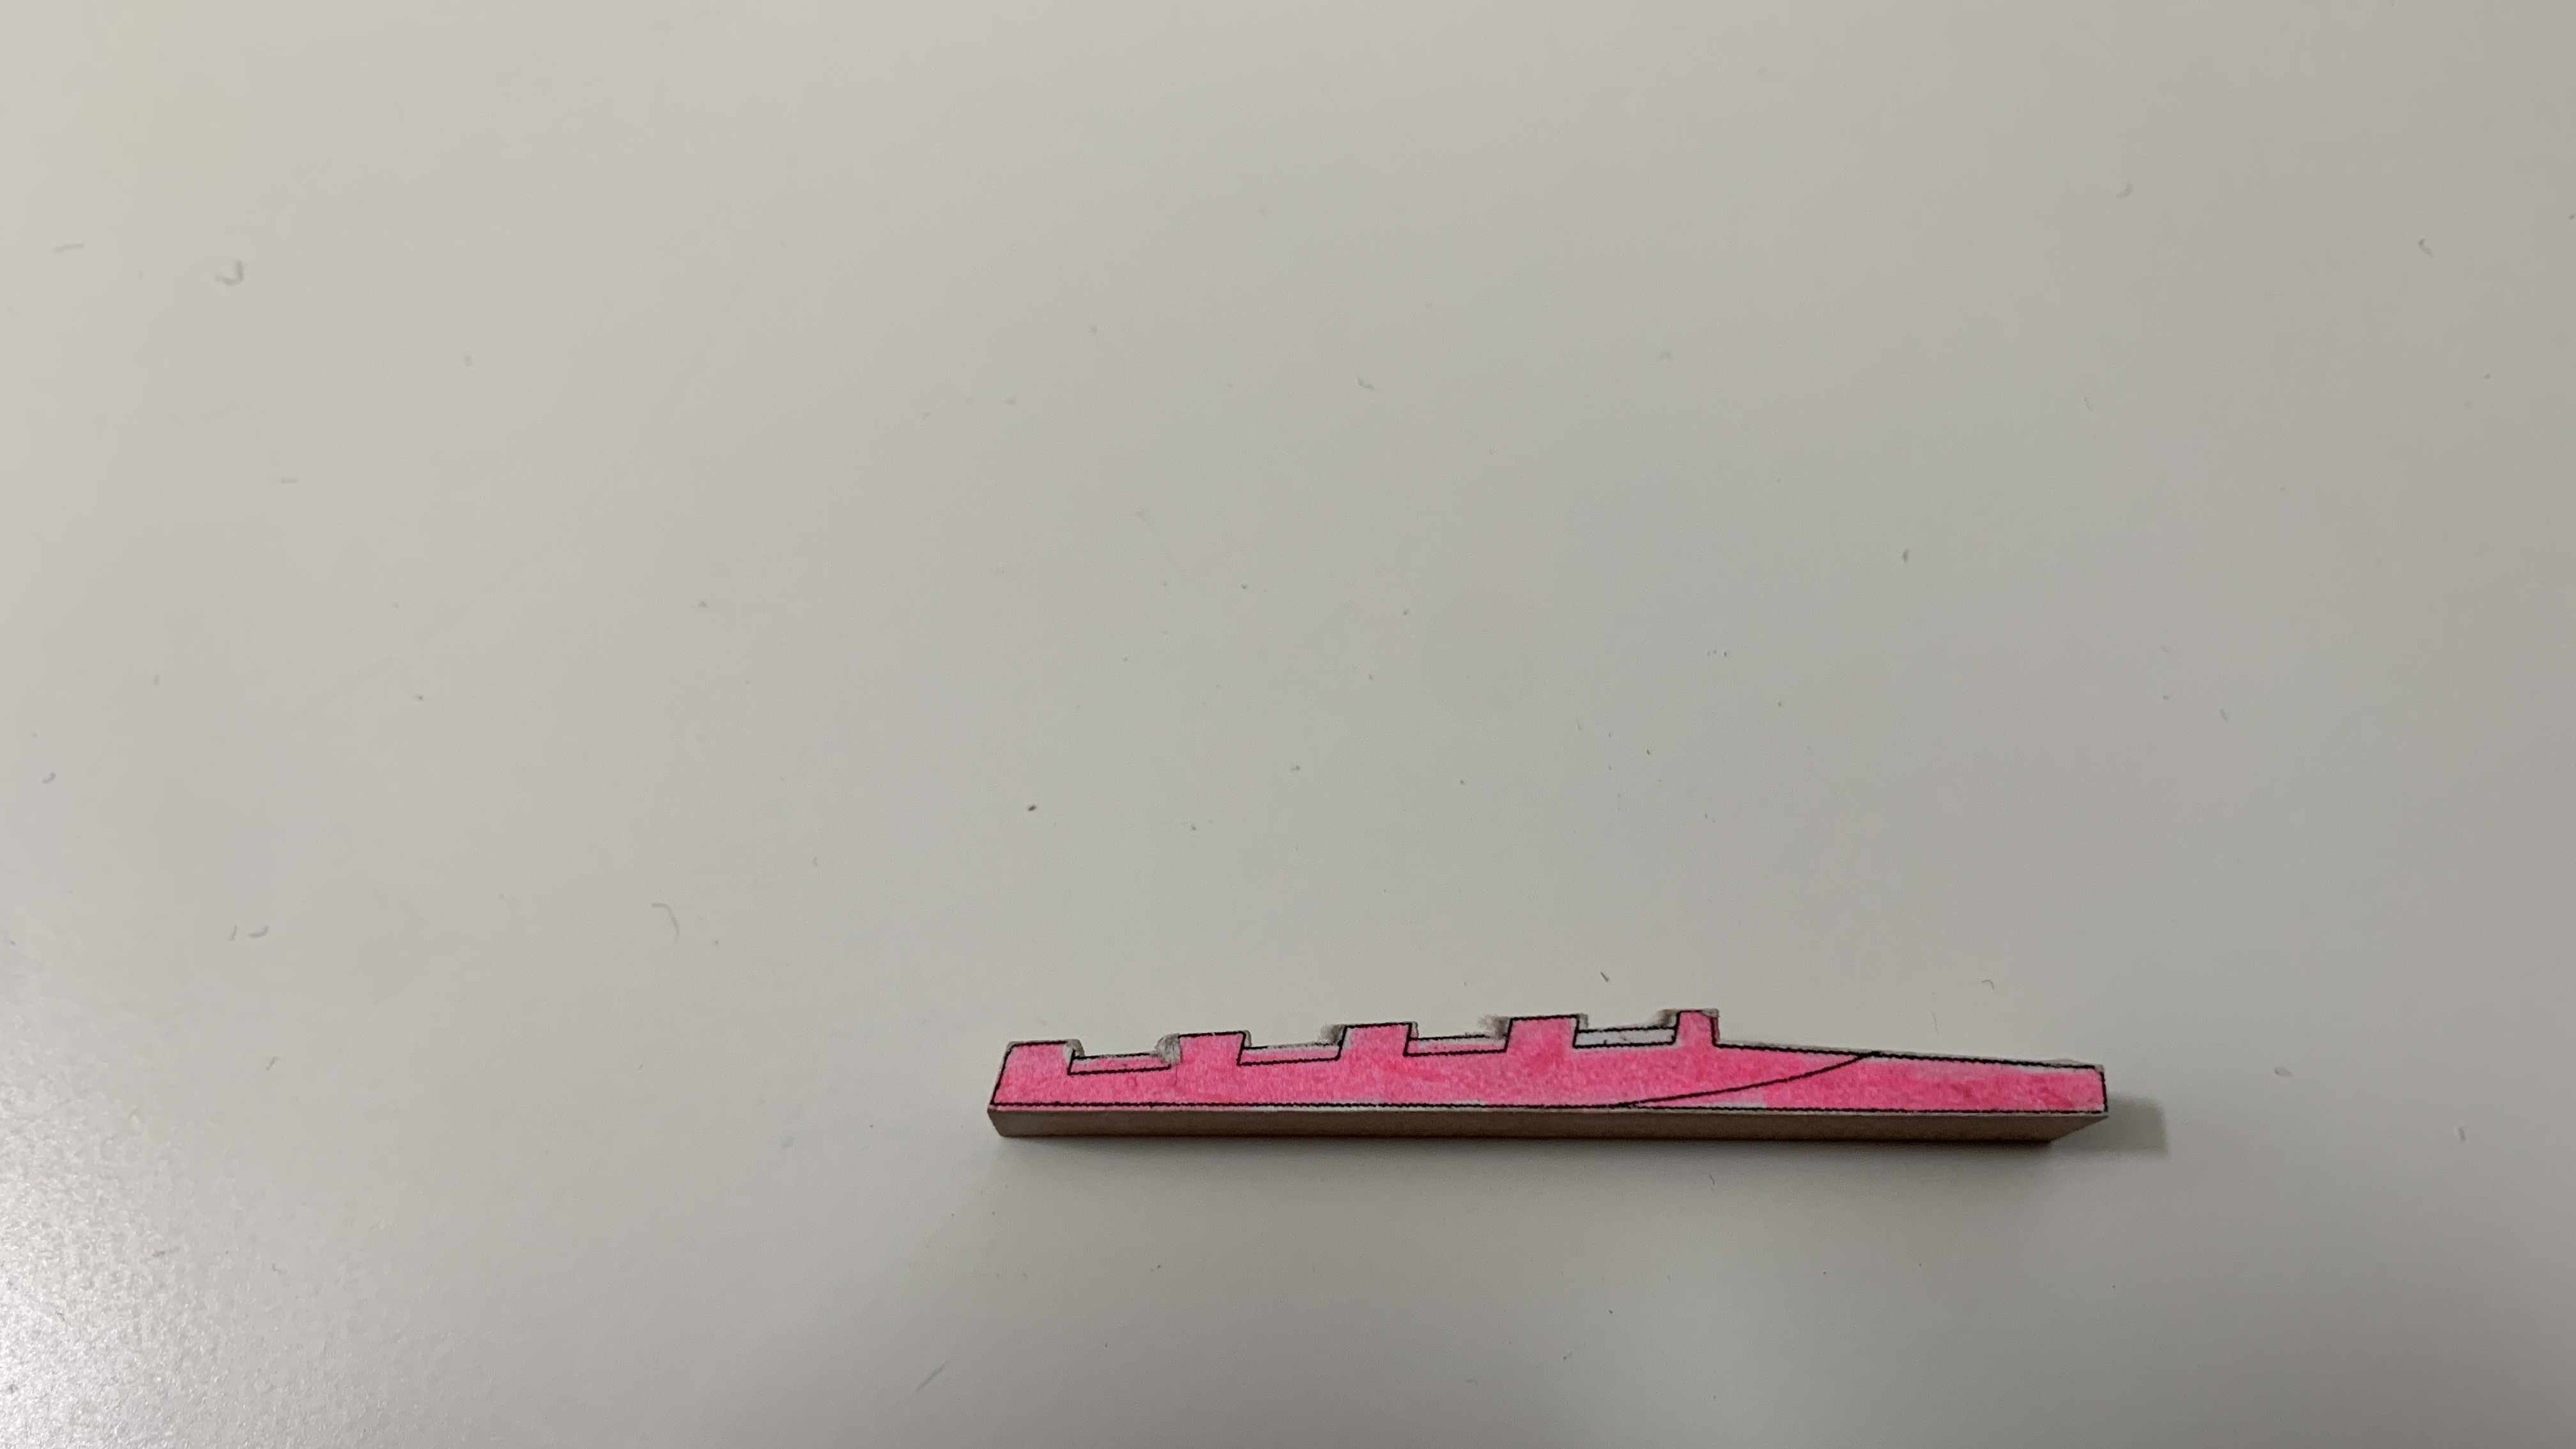
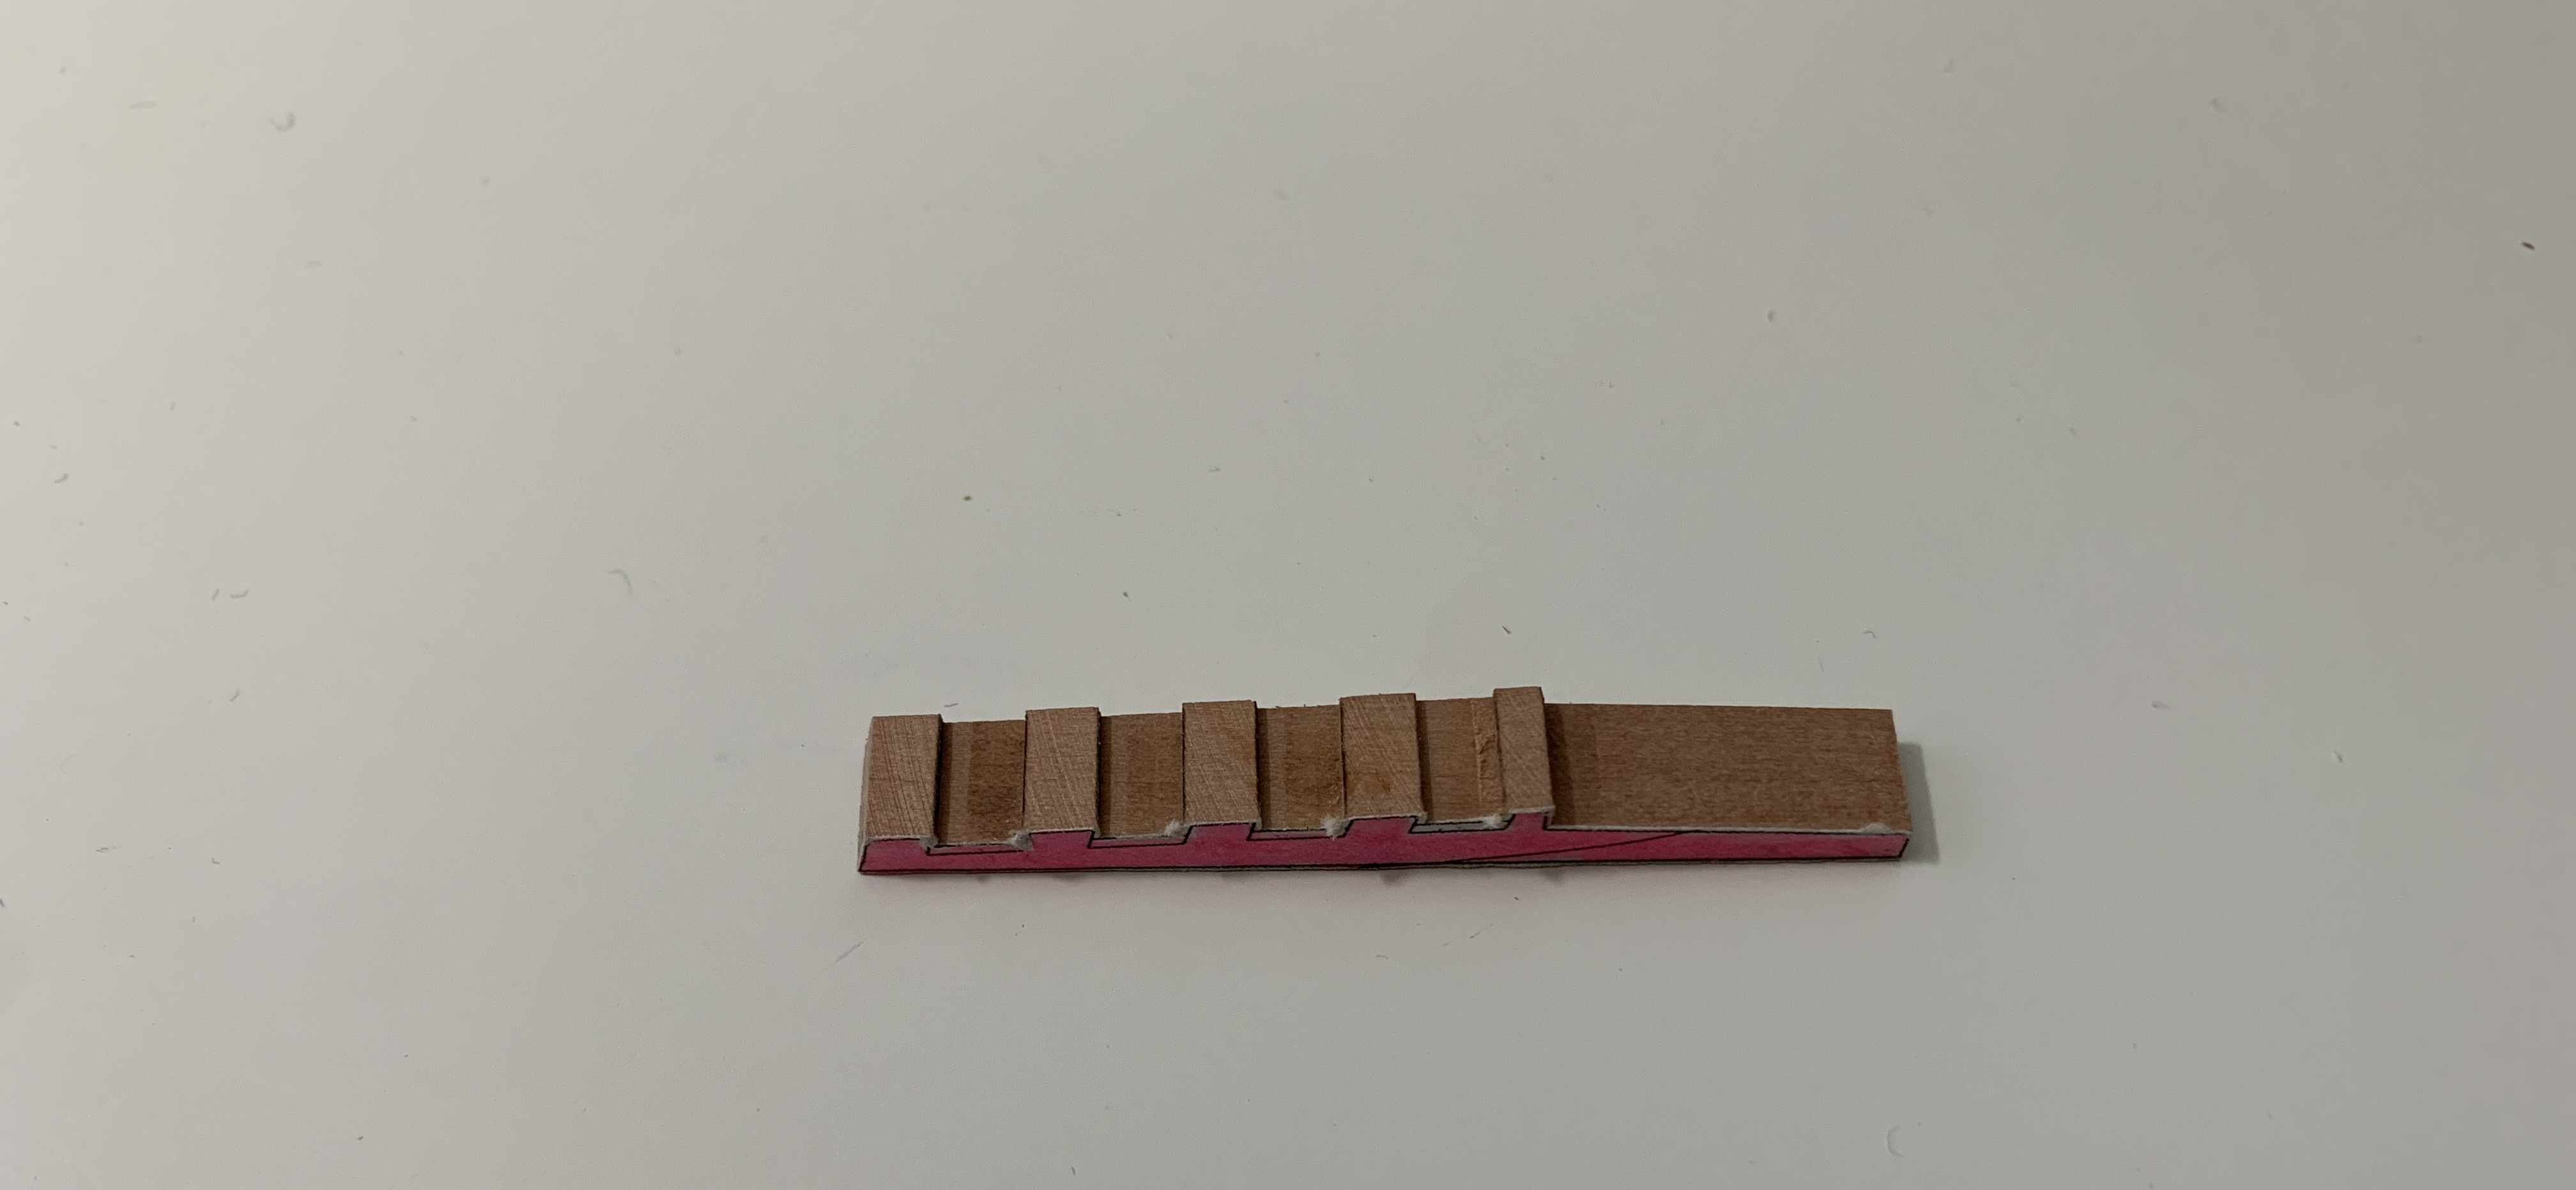
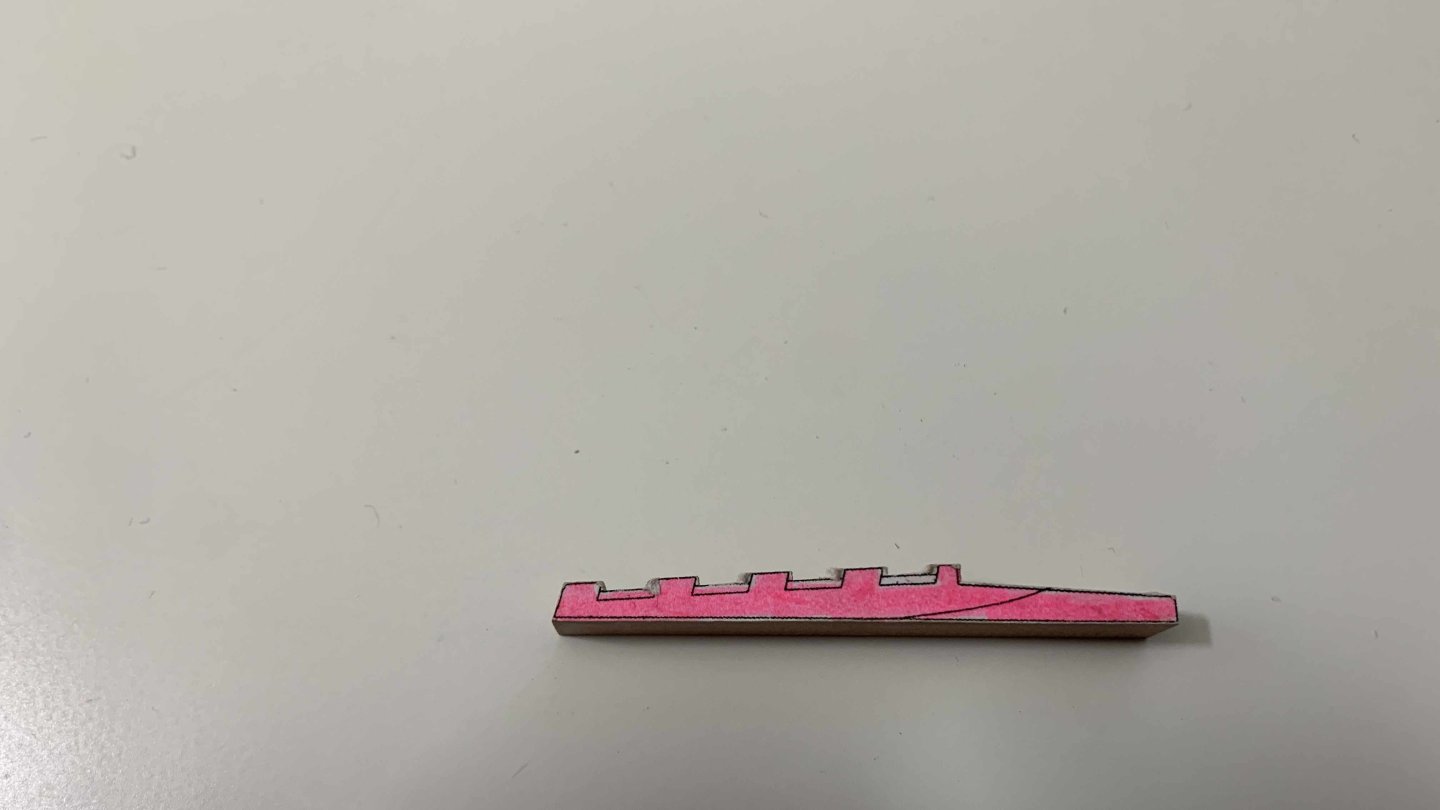
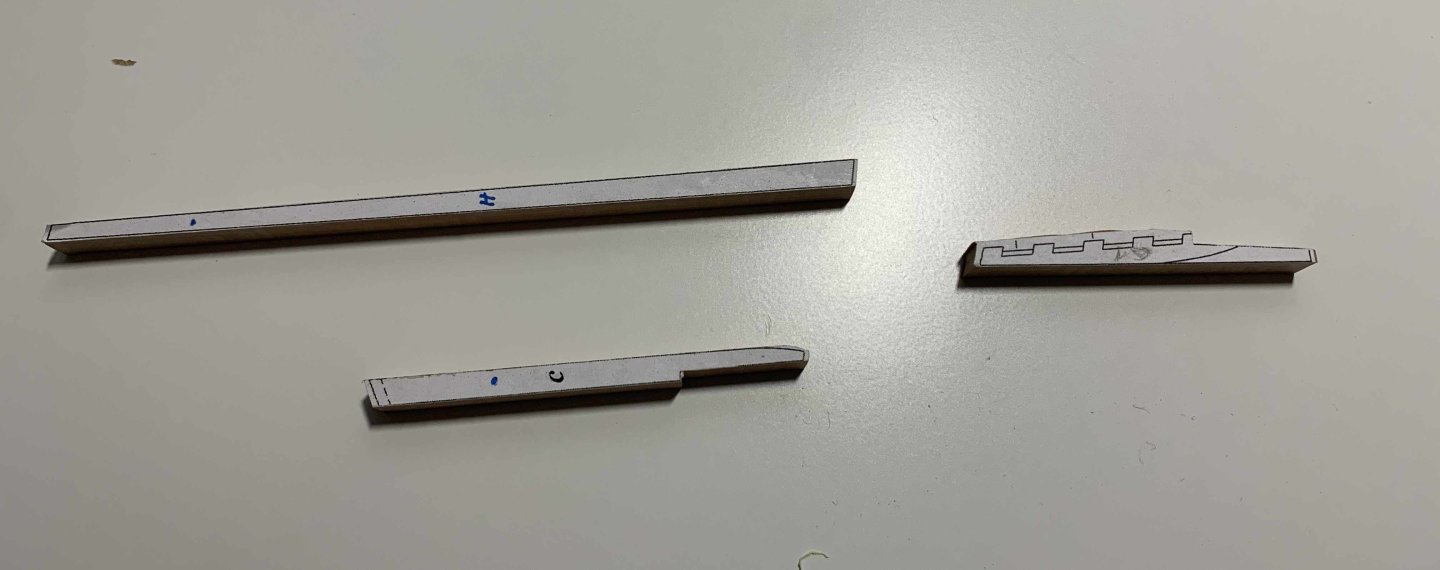
A bit of a progress,,, magenta keel part was turned around for no apparent reason 🙂 Happy modelling..


-
One more completed.. this little fellow gave me hard time, had to make few. Happy modelling..

-
A little bit of a work completed yesterday; both parts do need a bit of a touch ups and finishing sanding and I am hardly waiting to see how they all fit together... Happy modelling.

-
A bit more work was completed; few keel pieces done with small details left to be done.. With holiday season it does take time to make those parts.. Happy modelling.
-
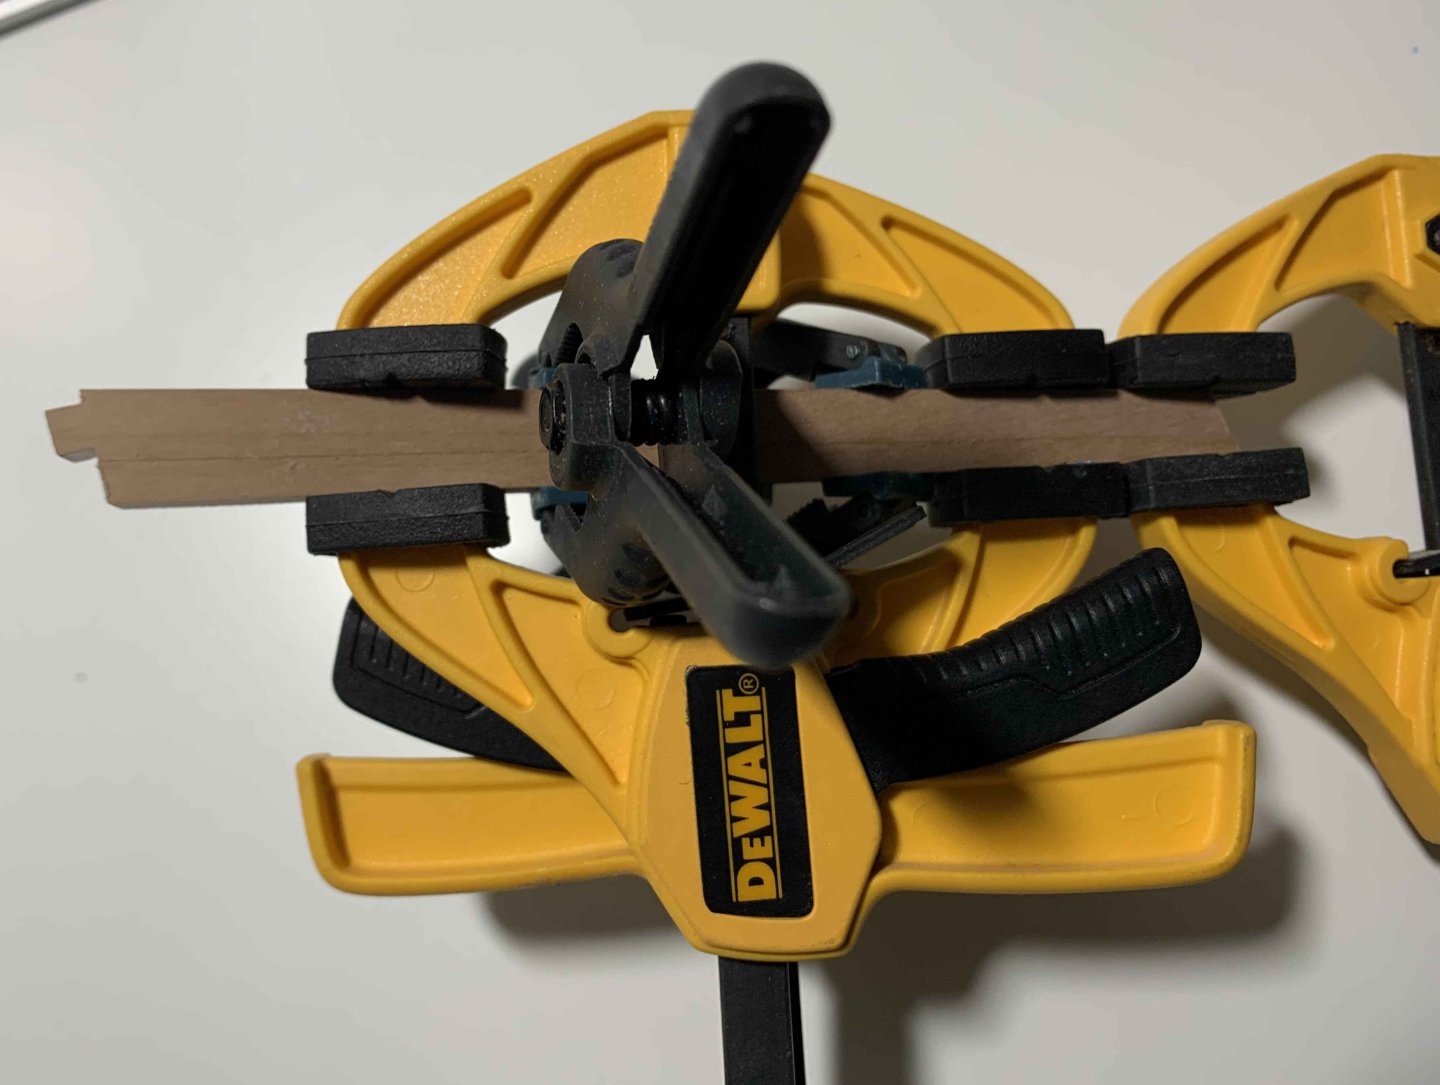
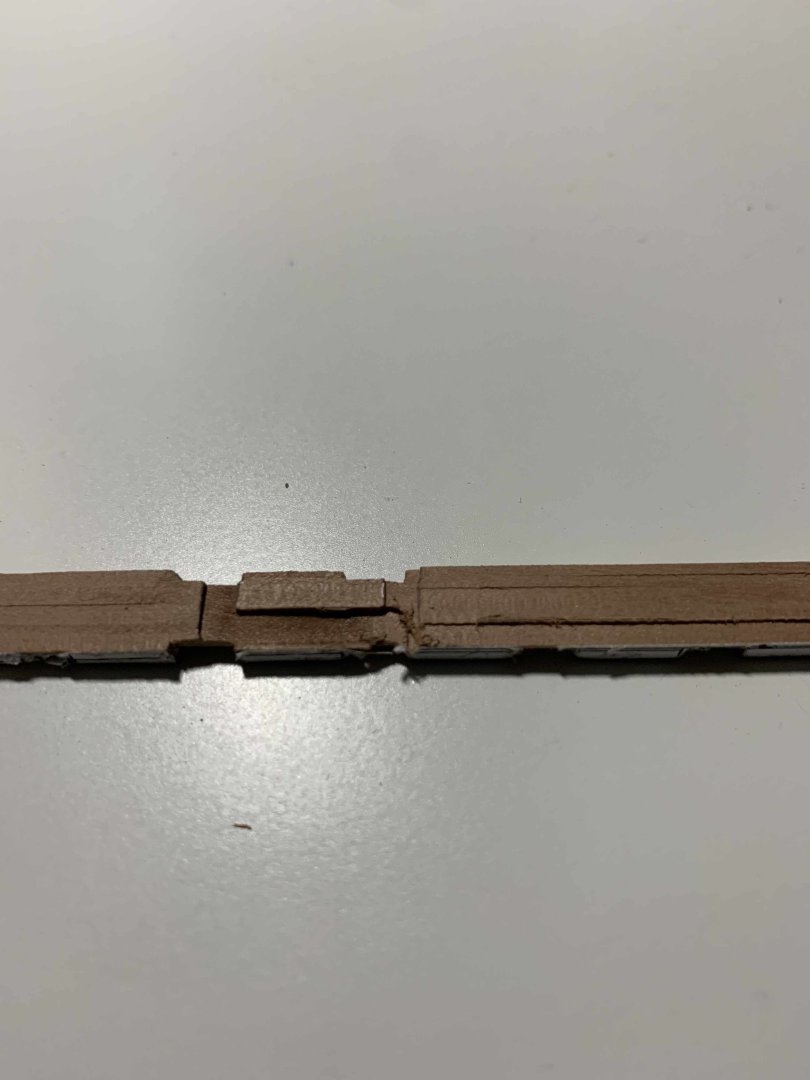
Started well and on track... and then forgot to tight the clamp screw.. Oh well, 2 hrs of work... Starting again.. Happy modelling..

-
Thanks No Idea... Appreciated..
-
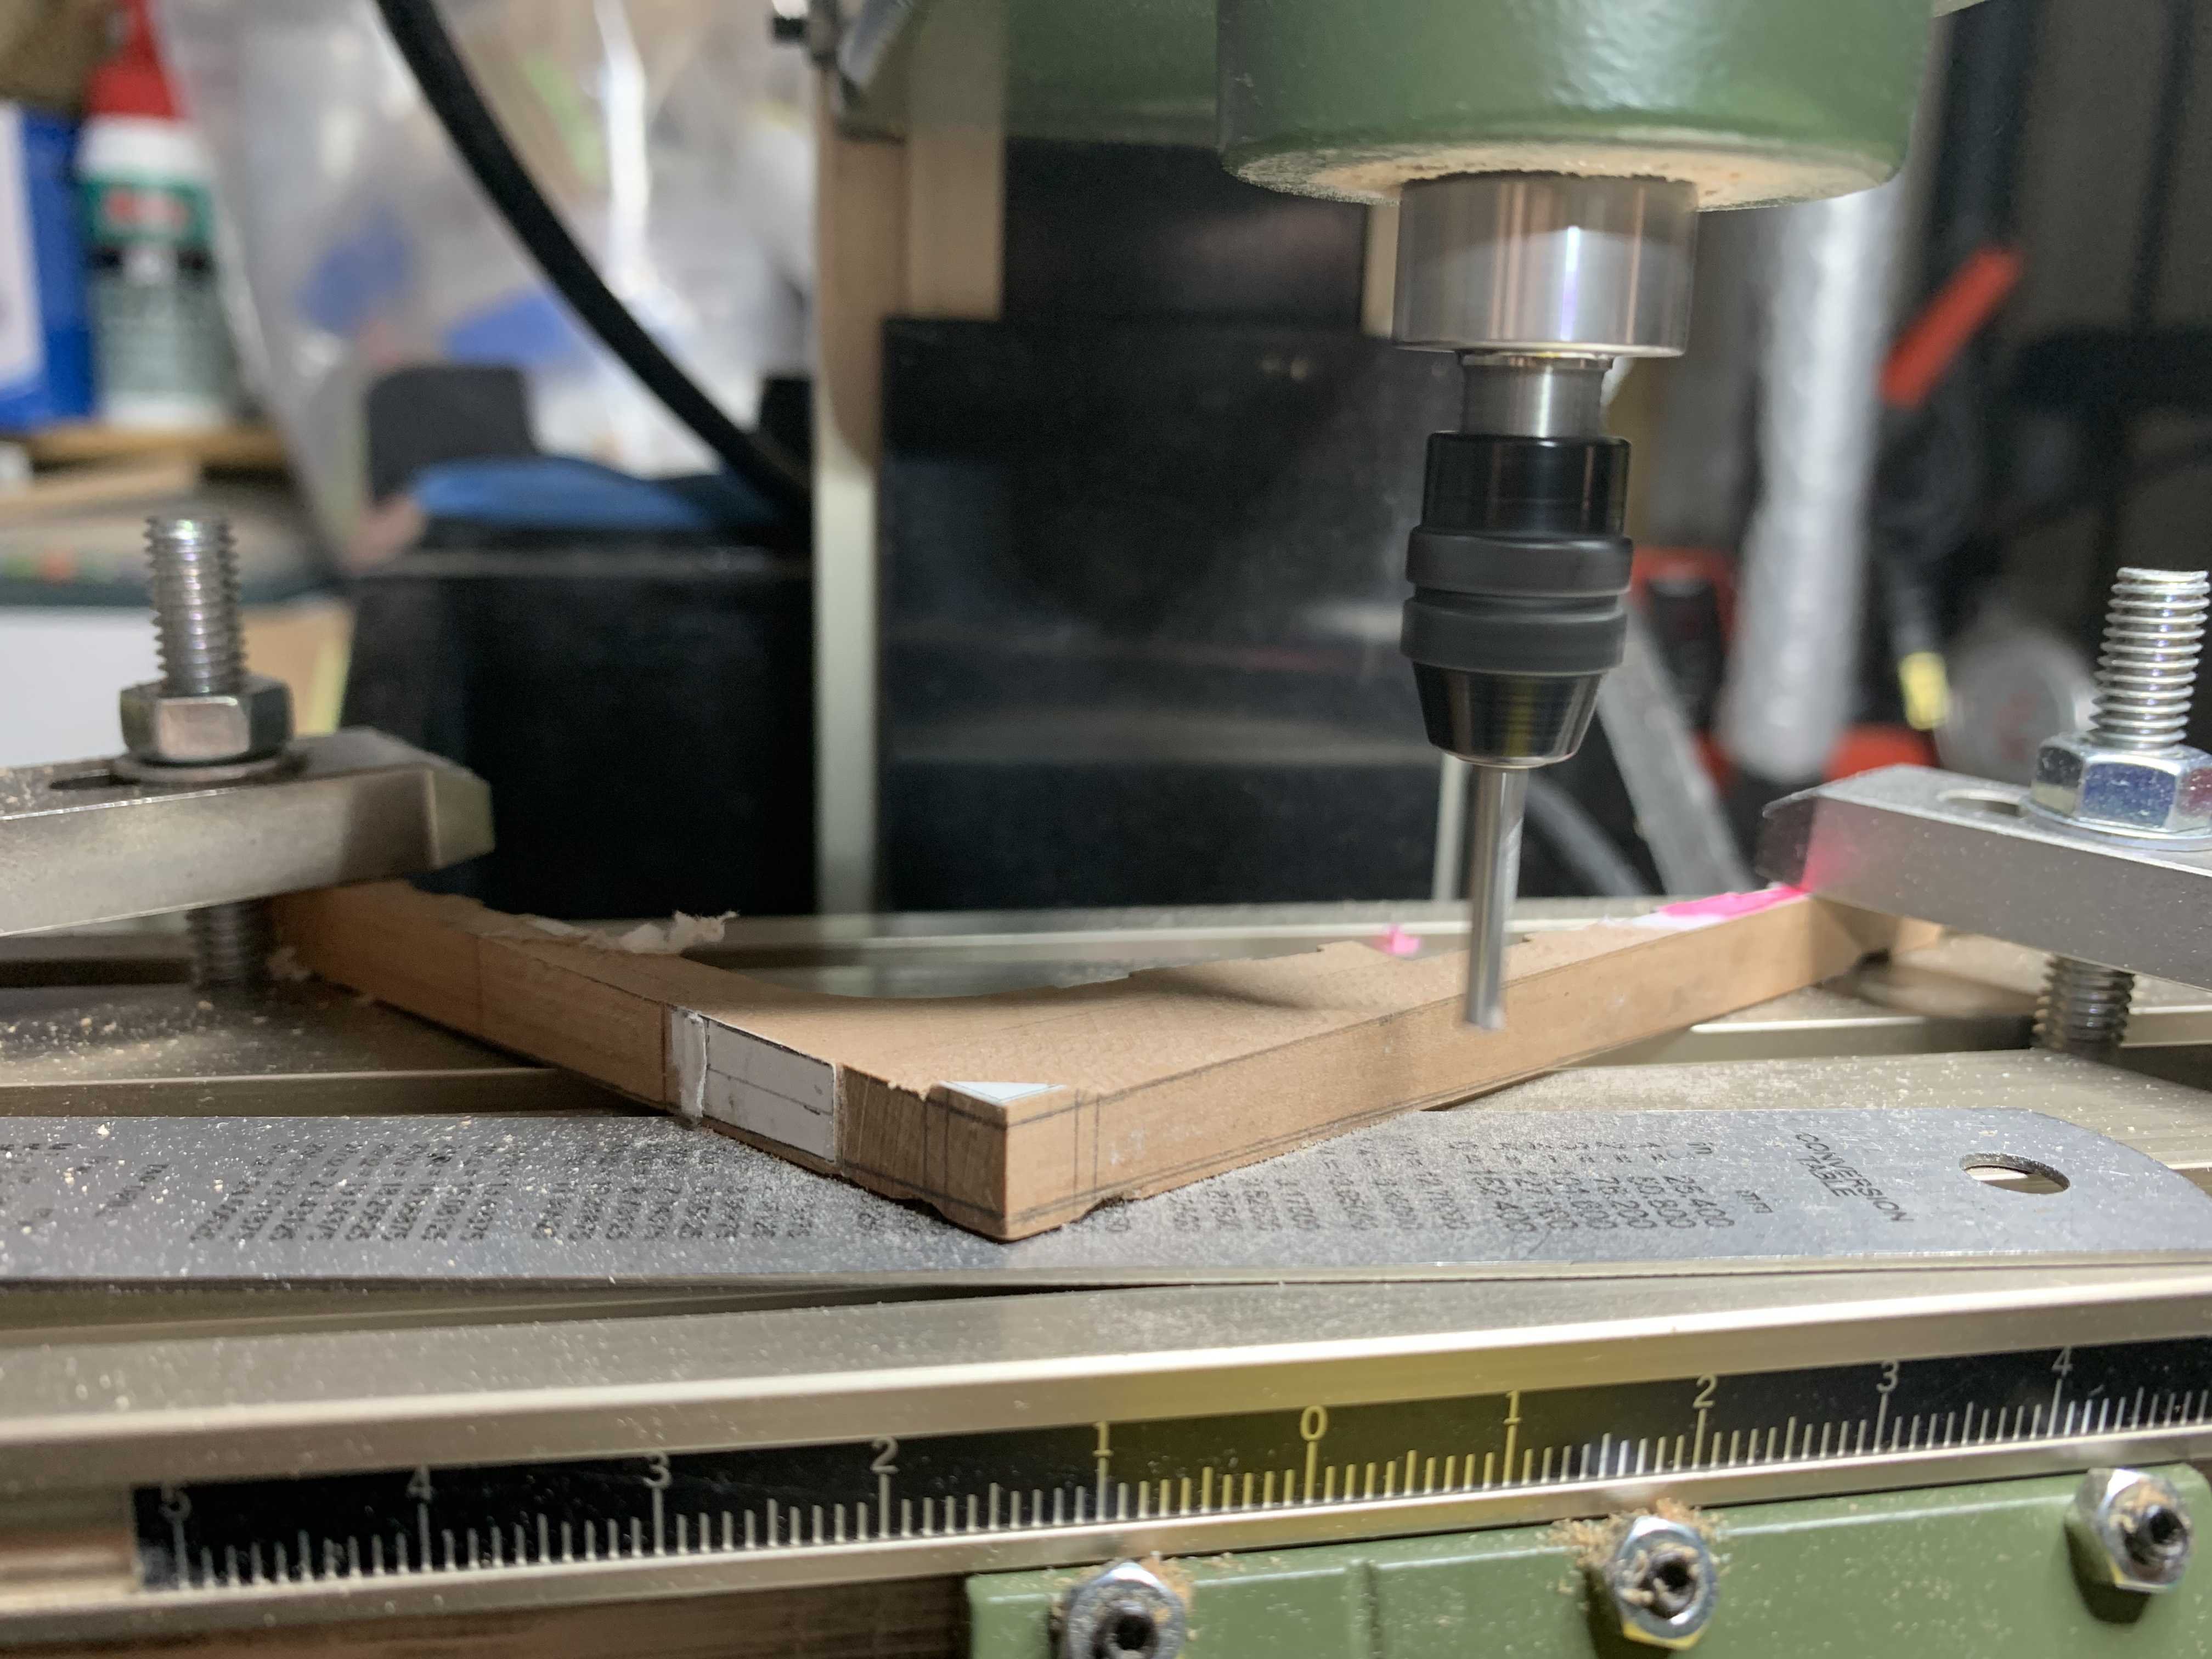
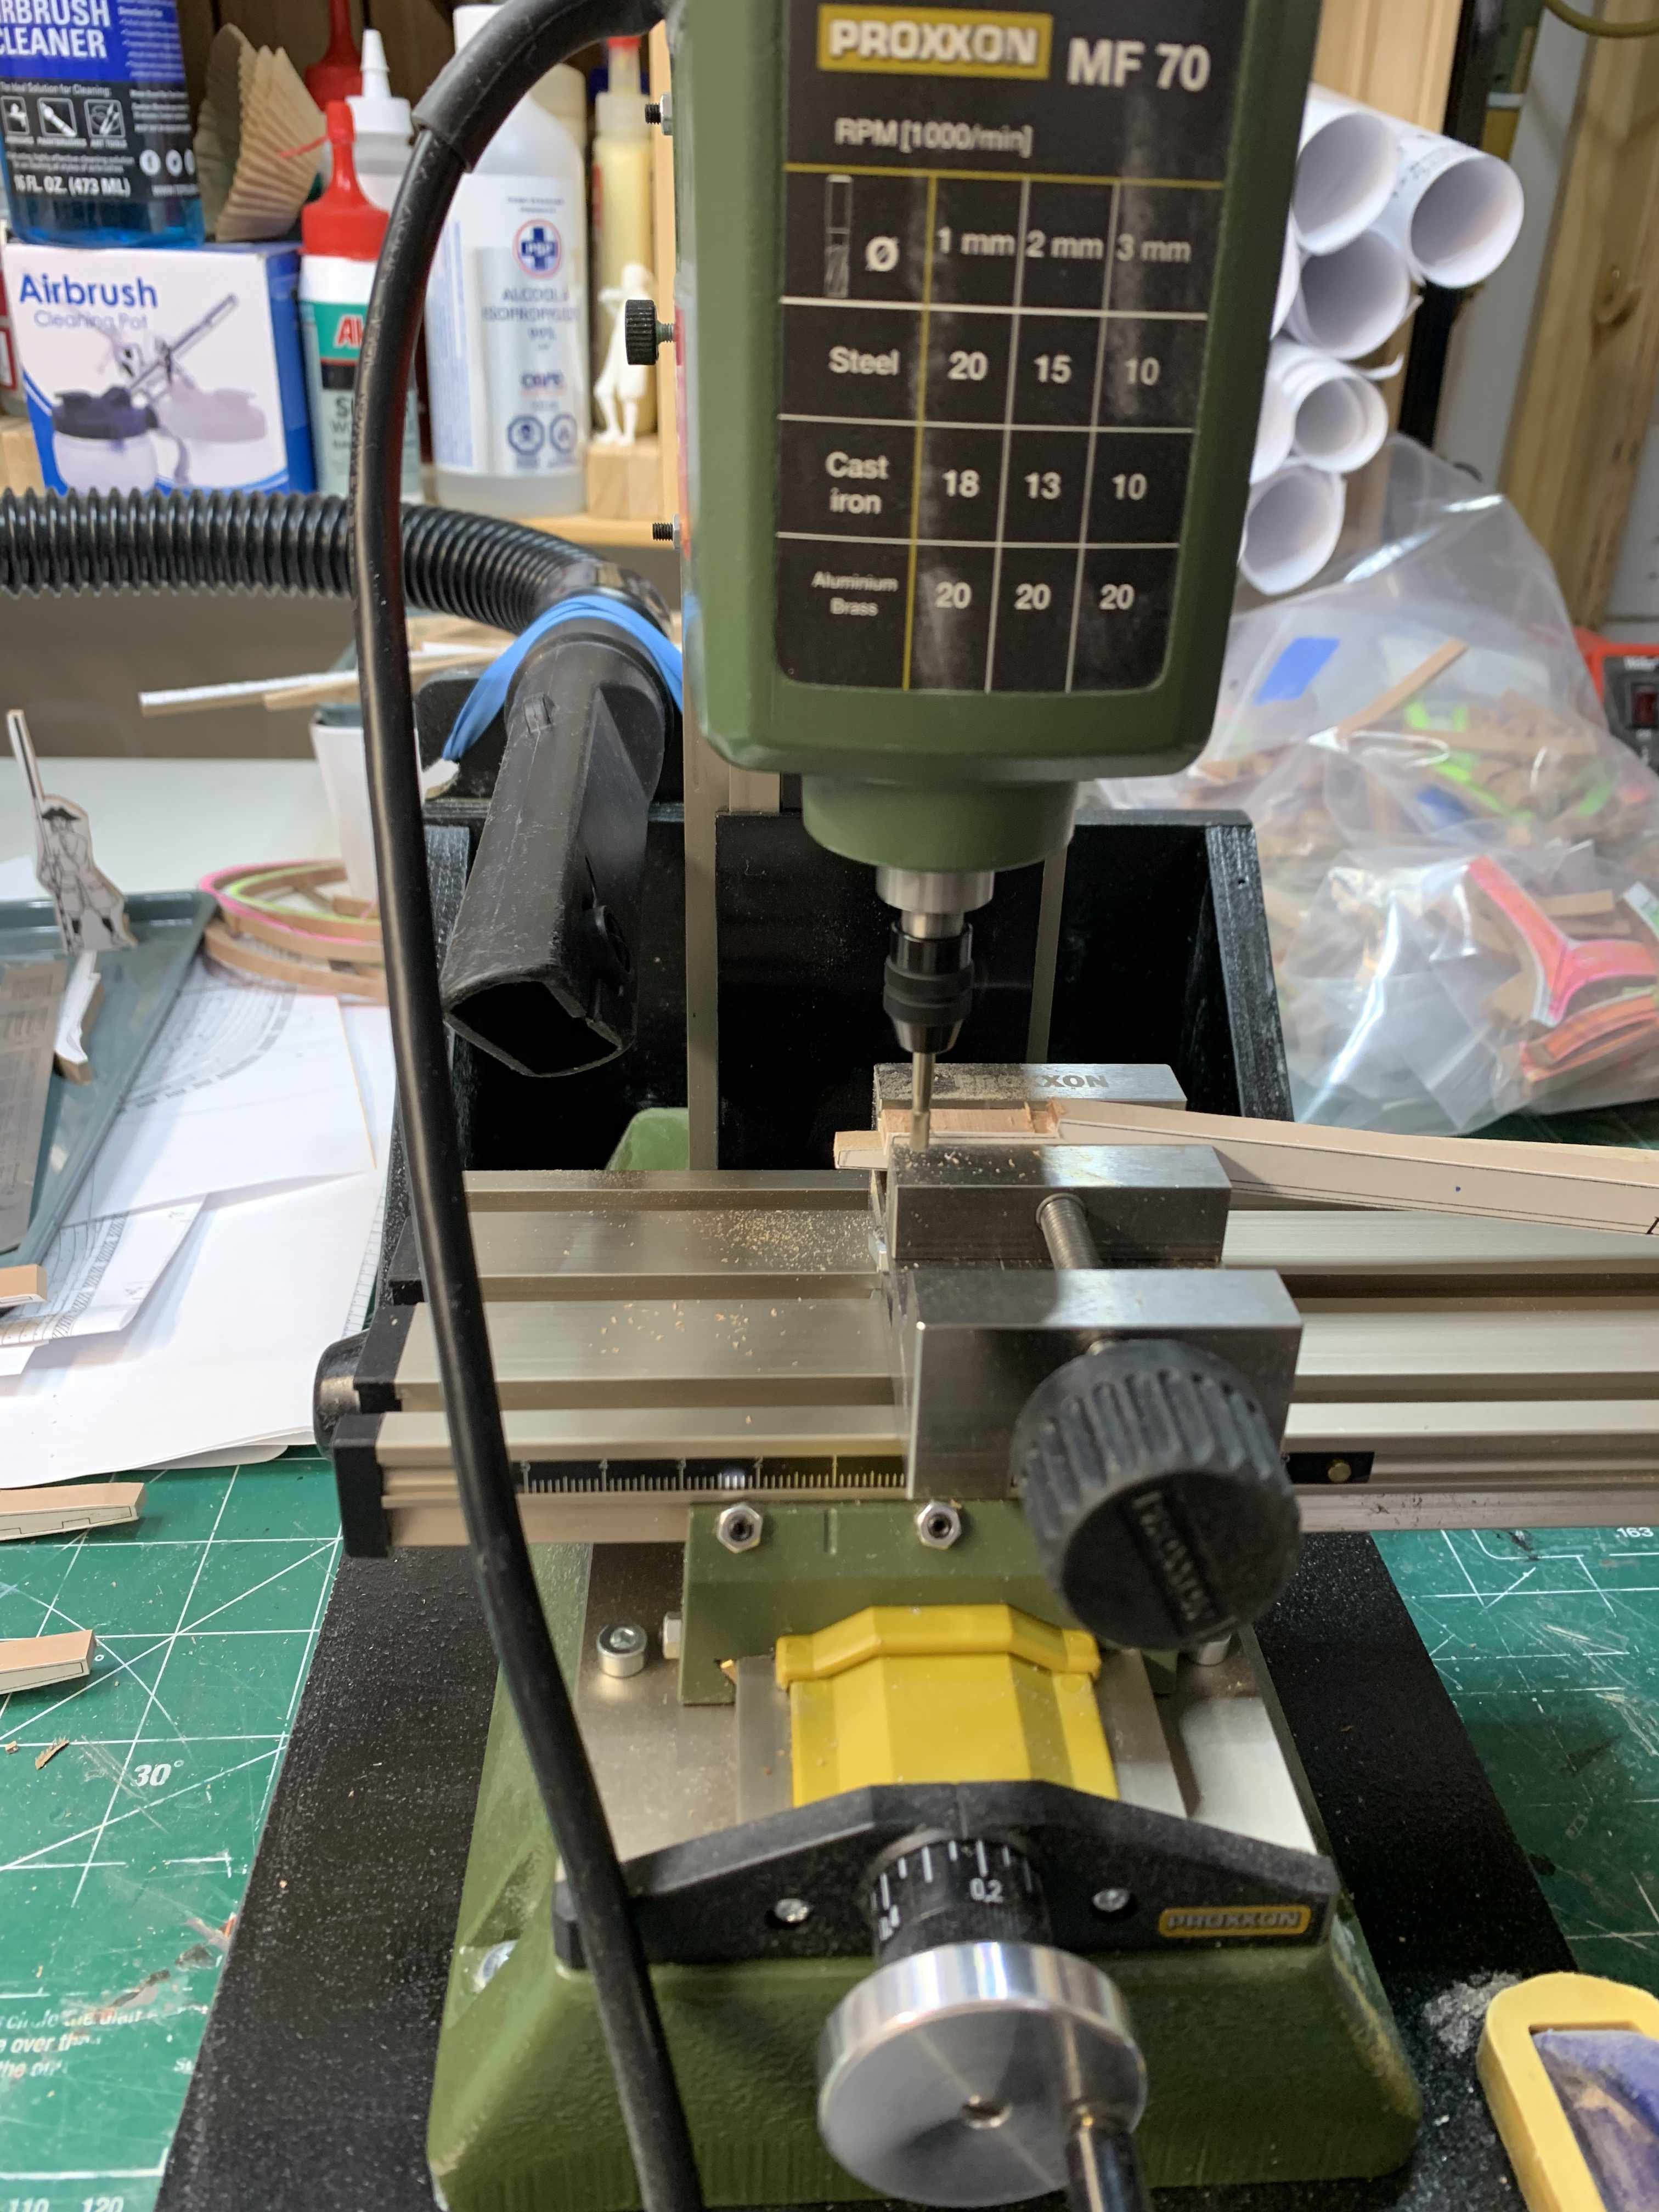
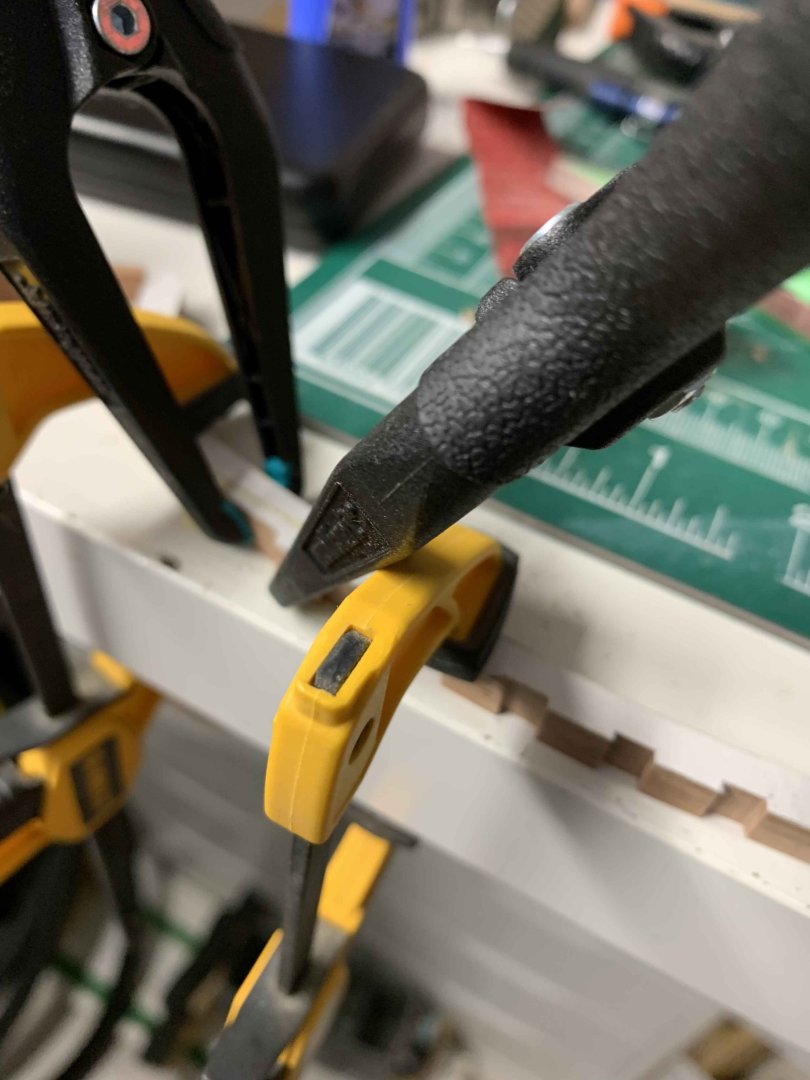
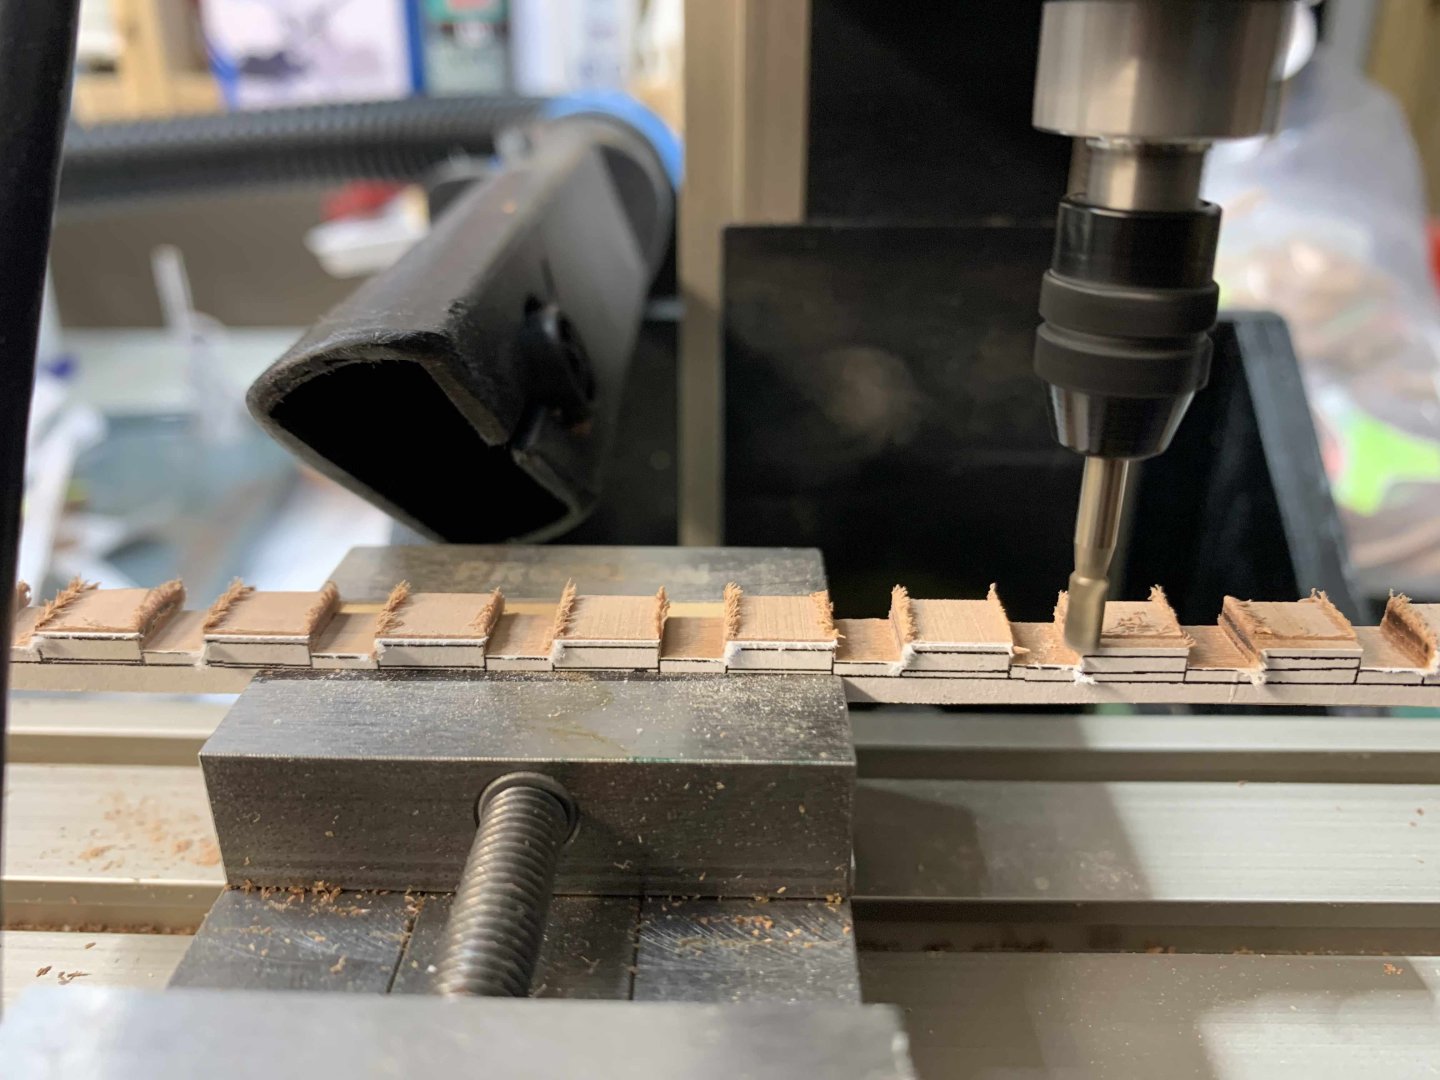
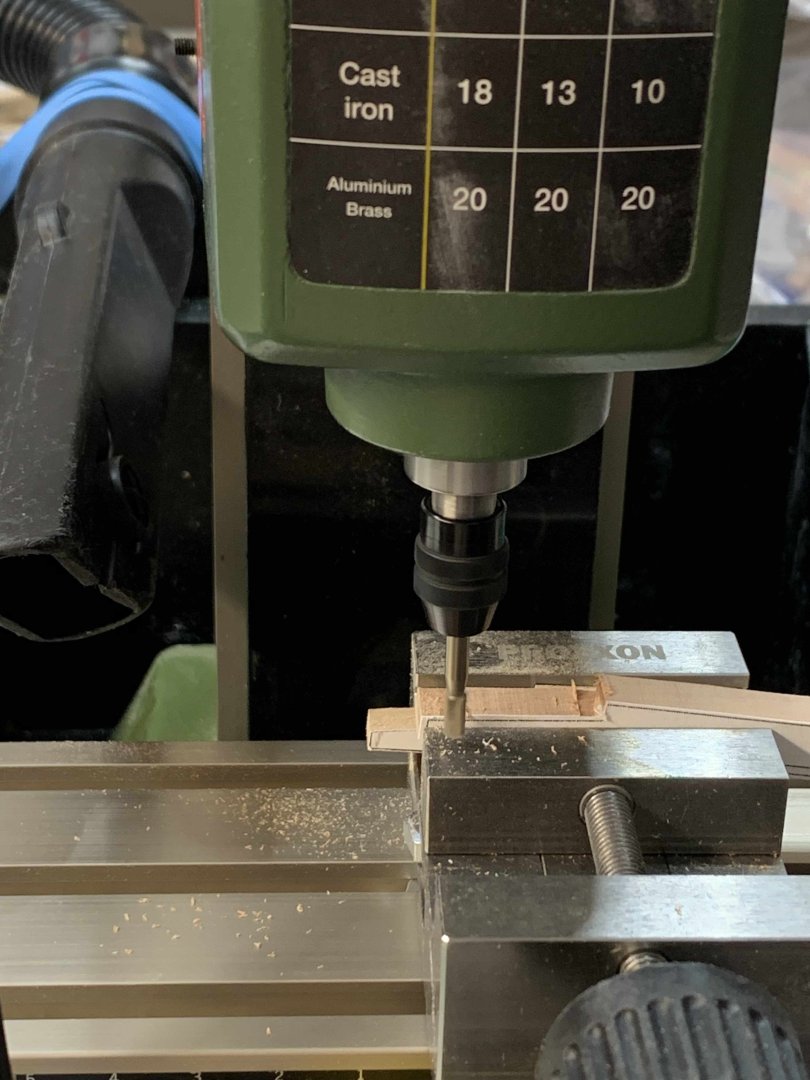
Big guns are brought in for assistance... better control and results but also lots of noise from machine itself and vacuum.. Happy modelling..

-
Thank you, MikeY. I will poke around with combination of hand tools, milling machine, patience, etc and hopefully have some satisfactory result for me...
-
Thank you KLarsen, Will try that method as well.. It is already looking better just playing with chisel.. the new parts will still be made but this is a good test..
-
Thank you, will try it, forgot about chisel...
-
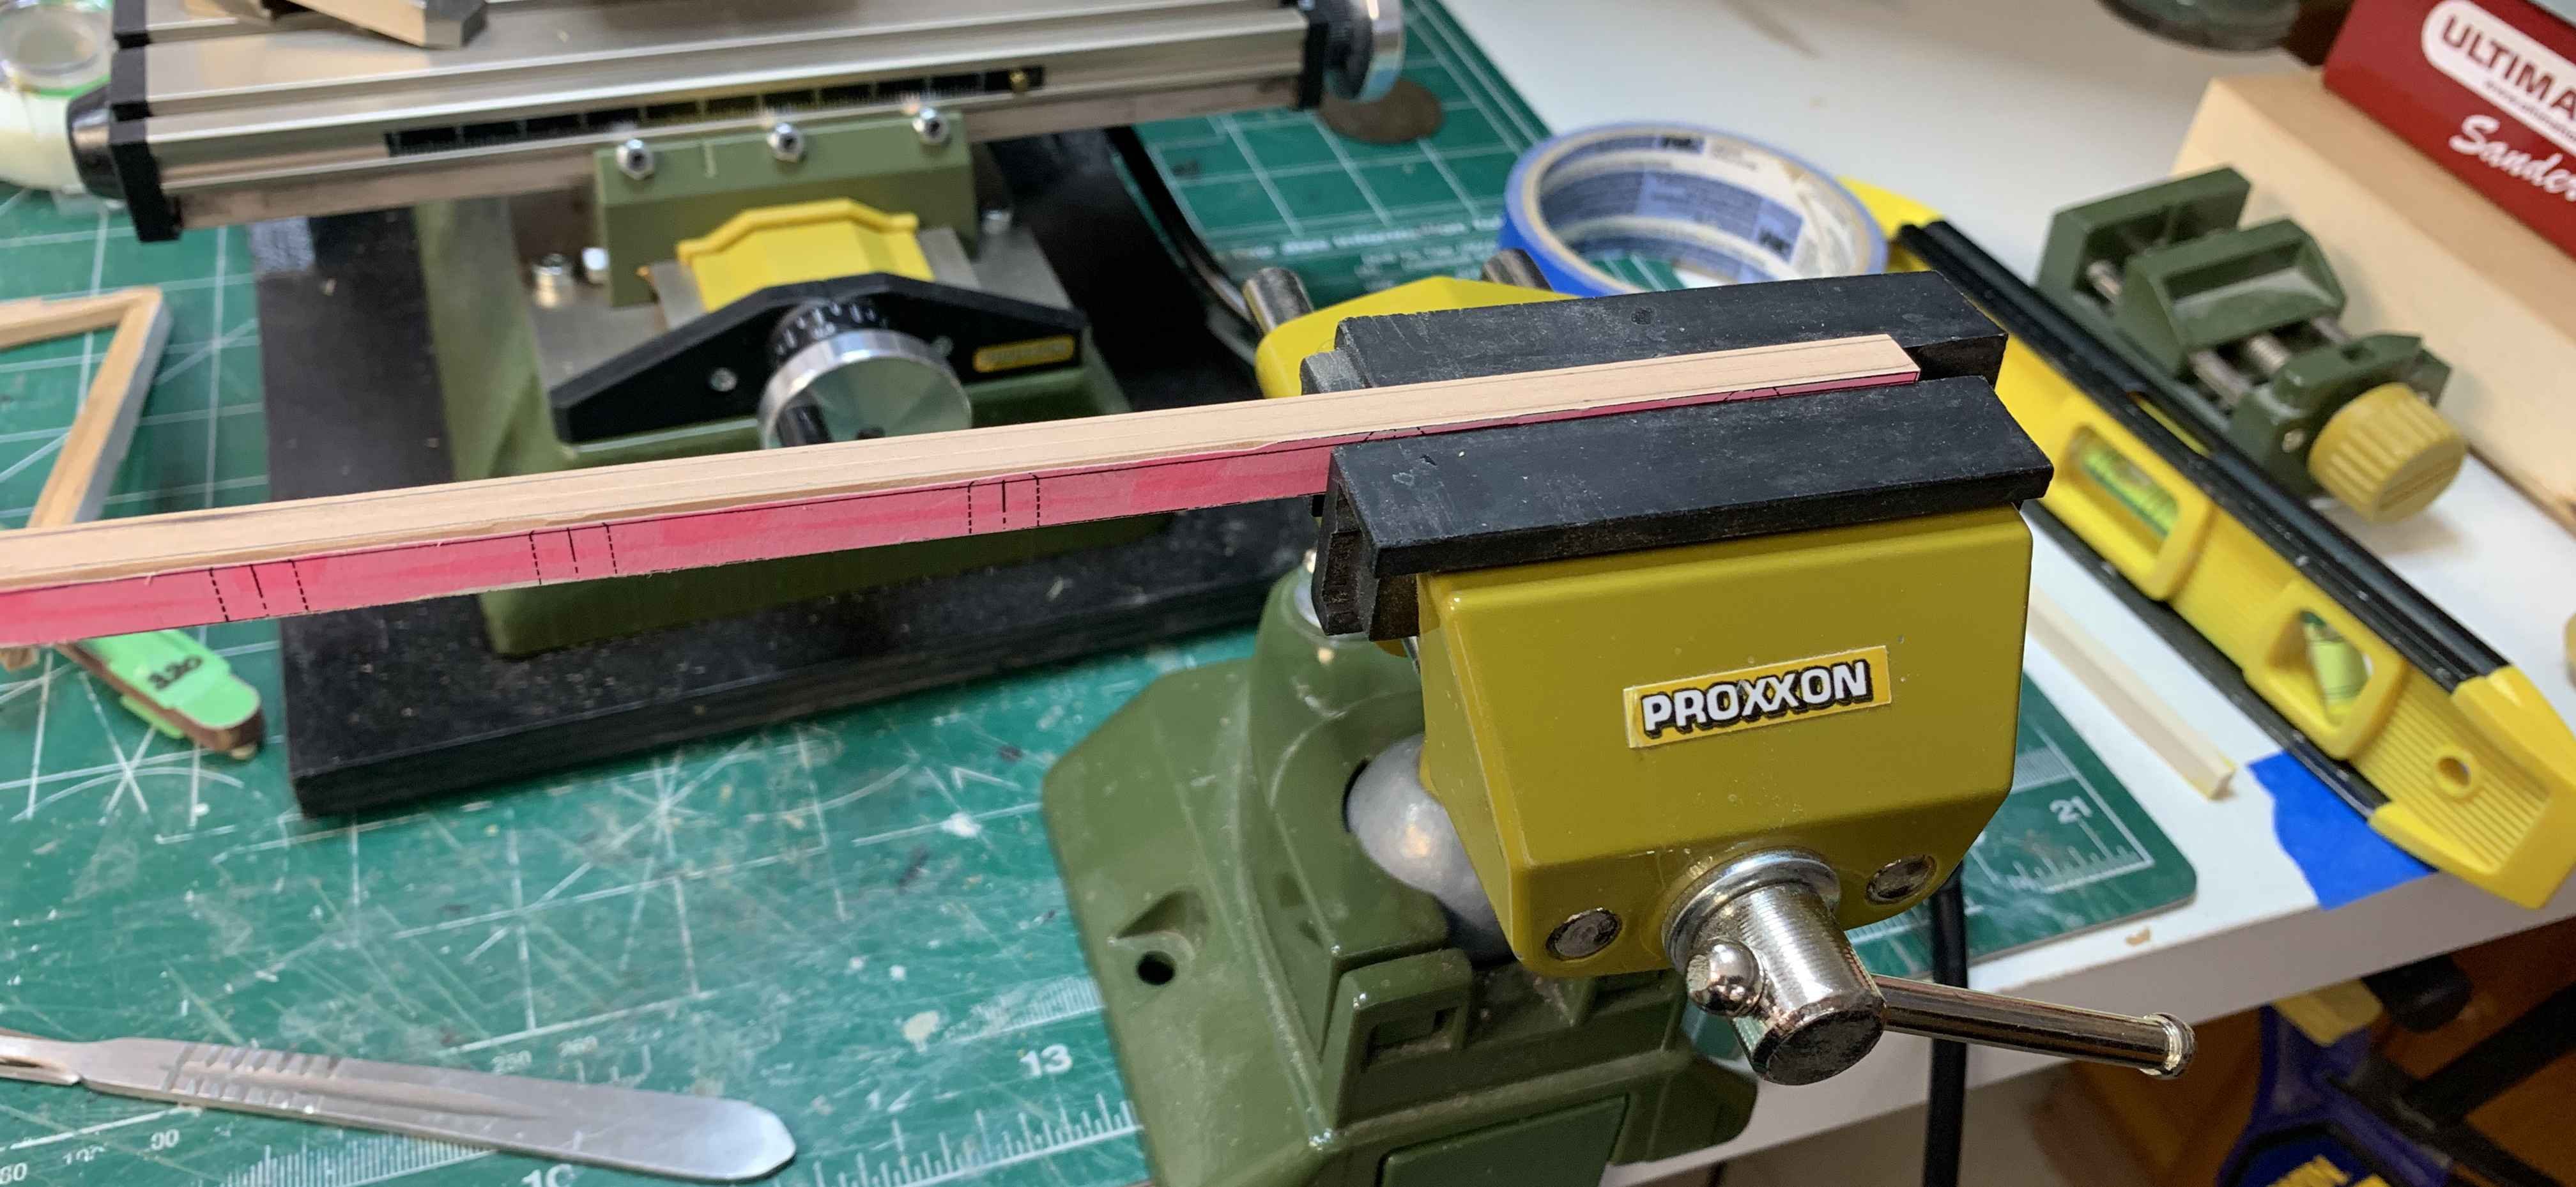
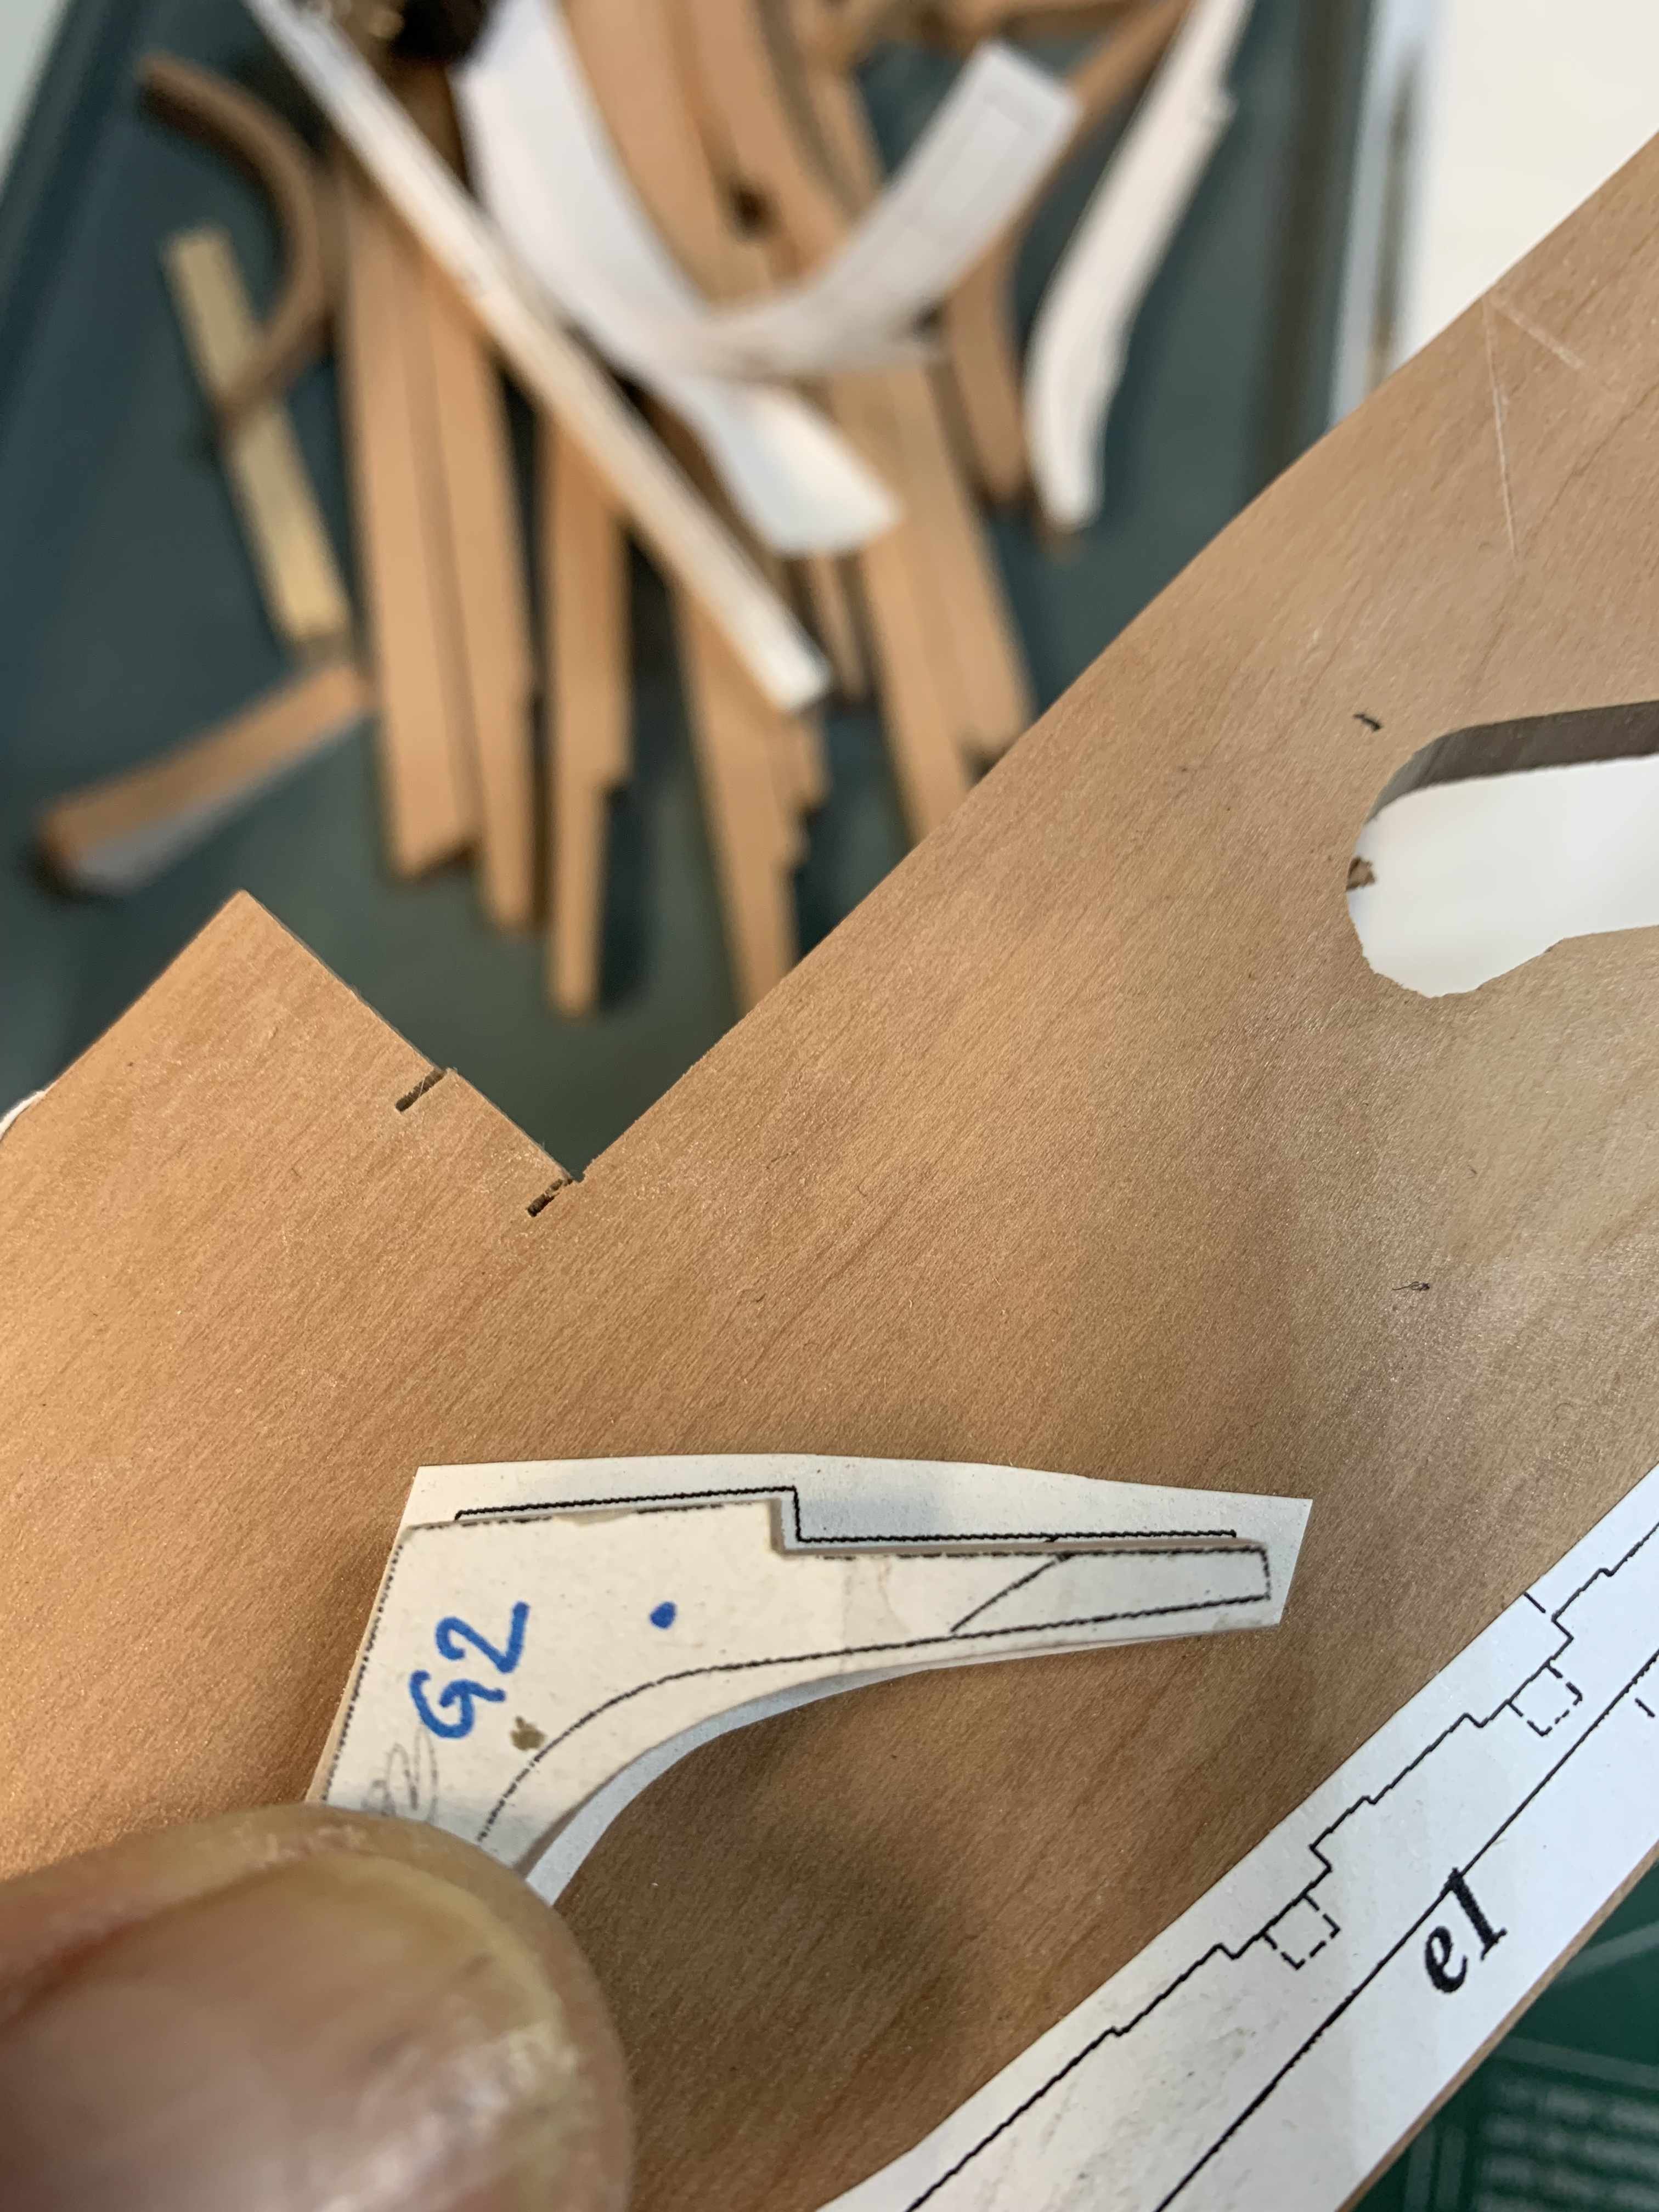
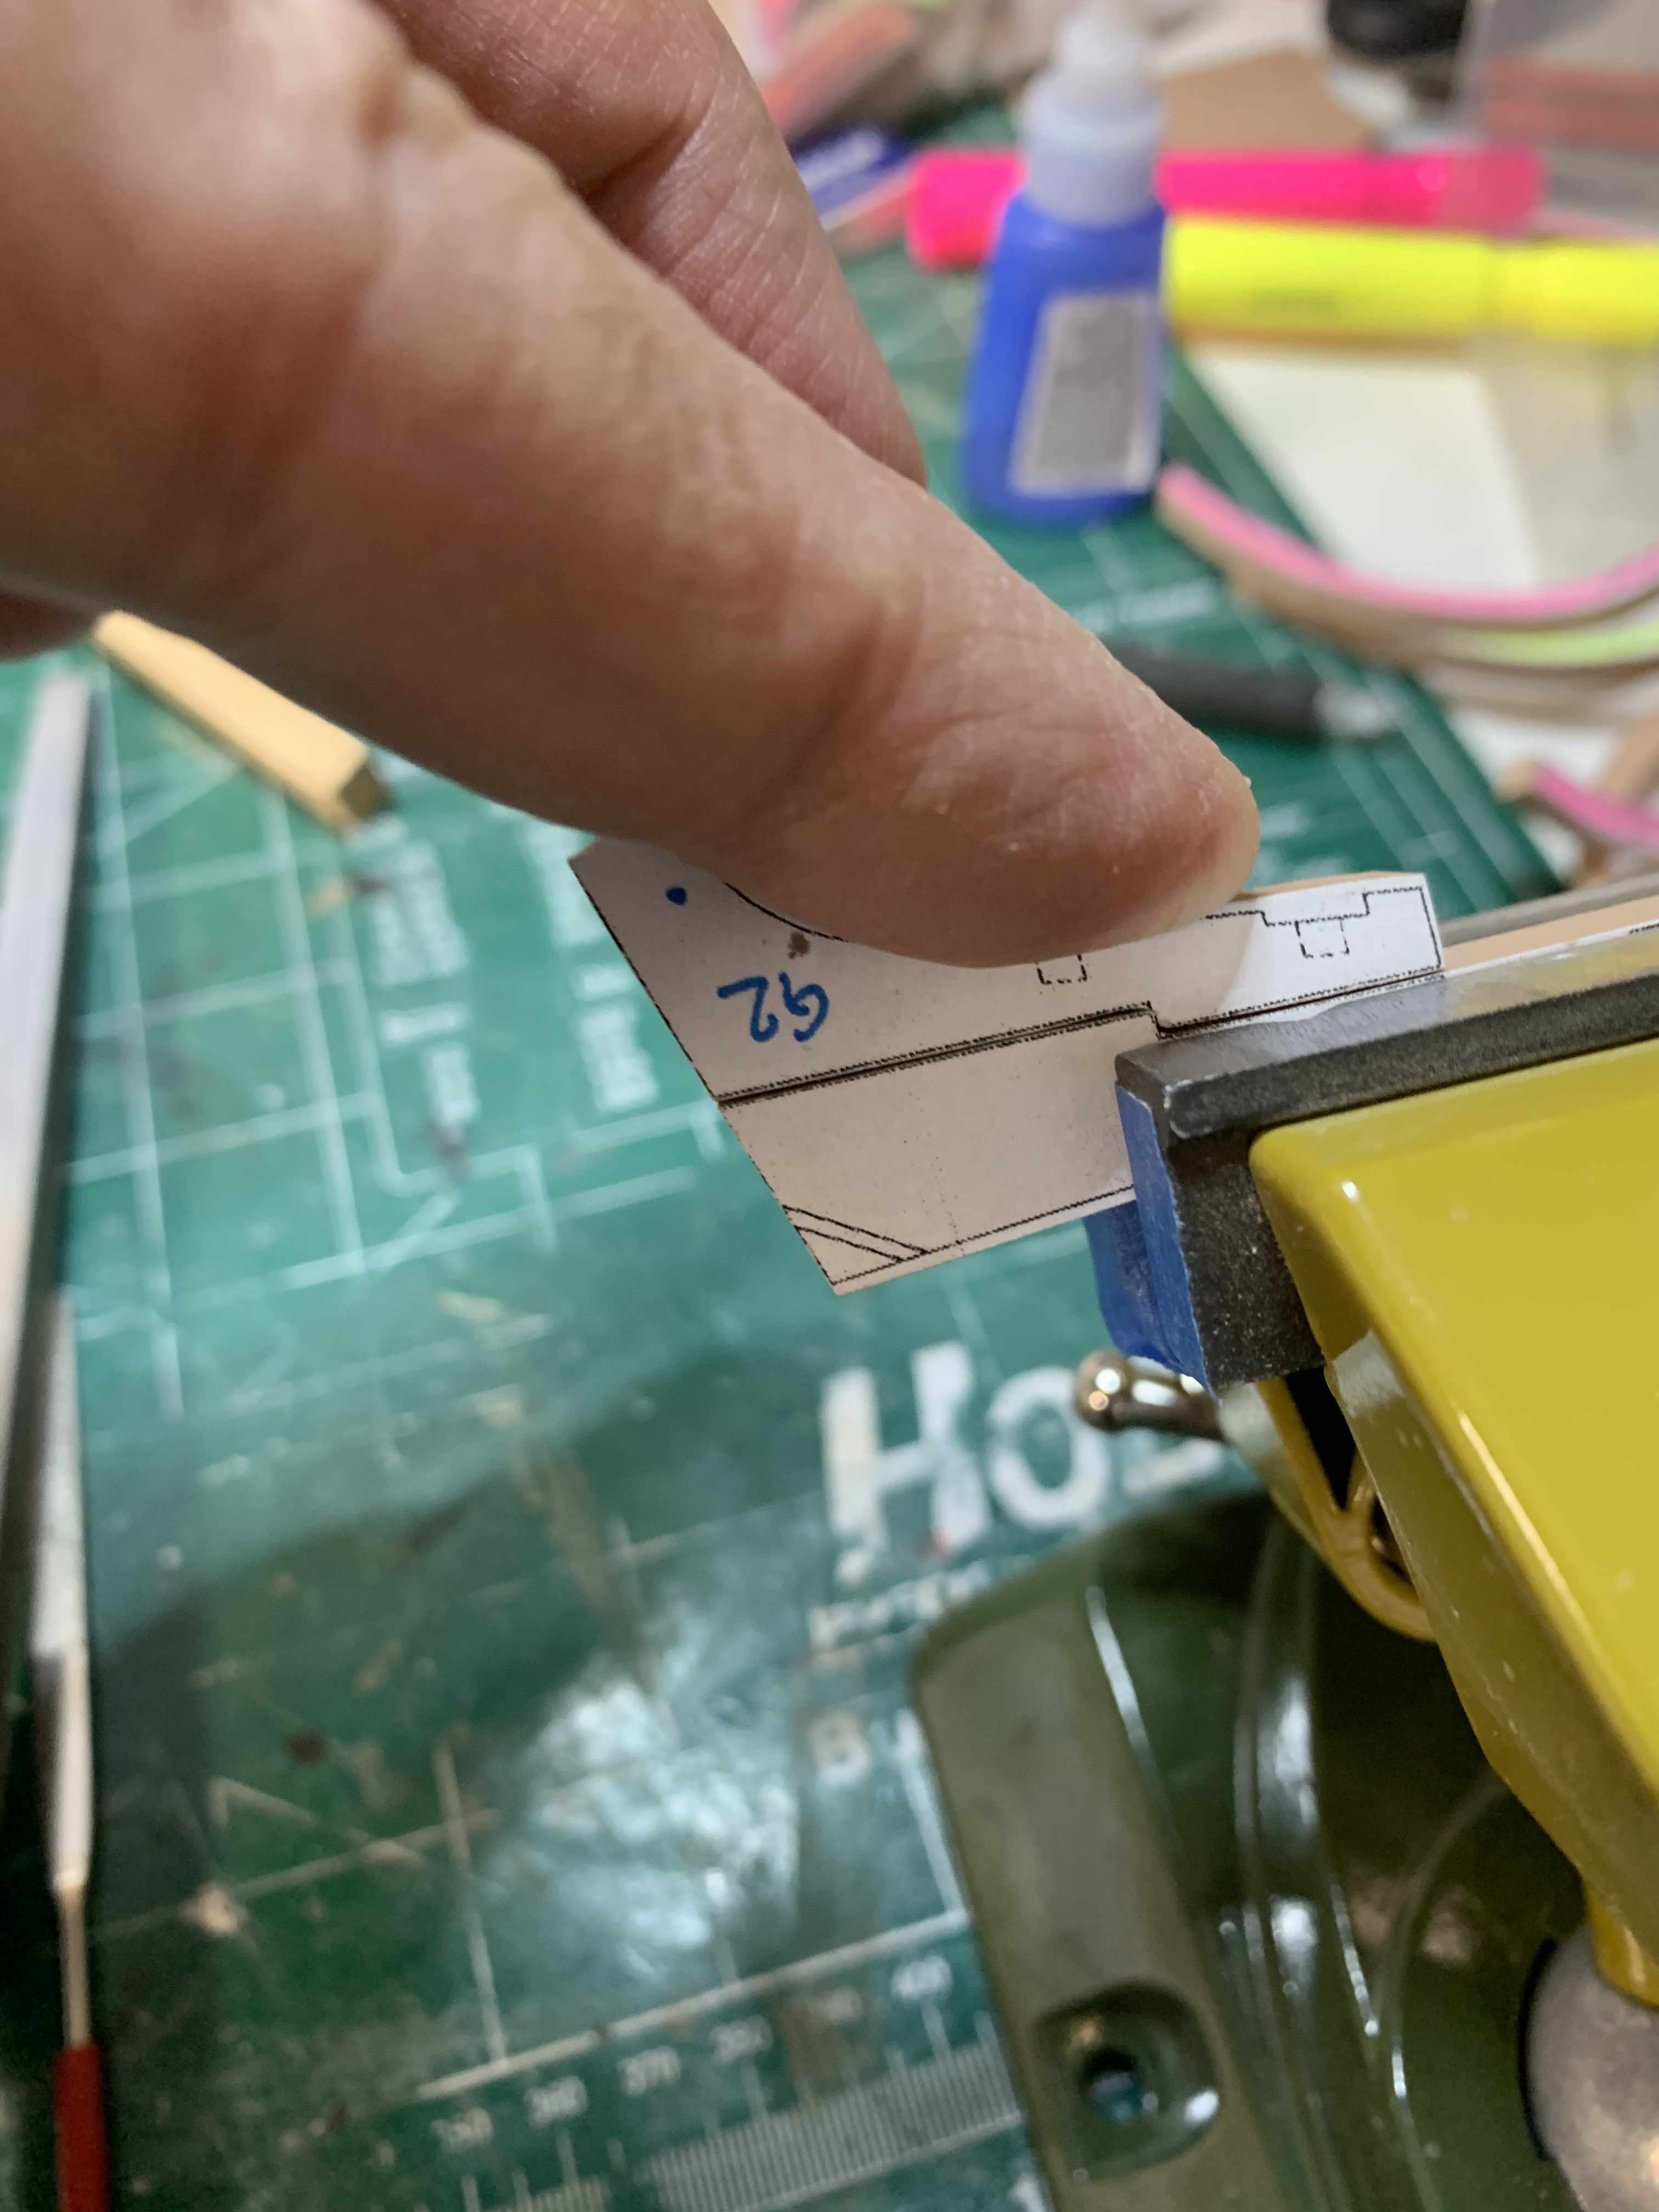
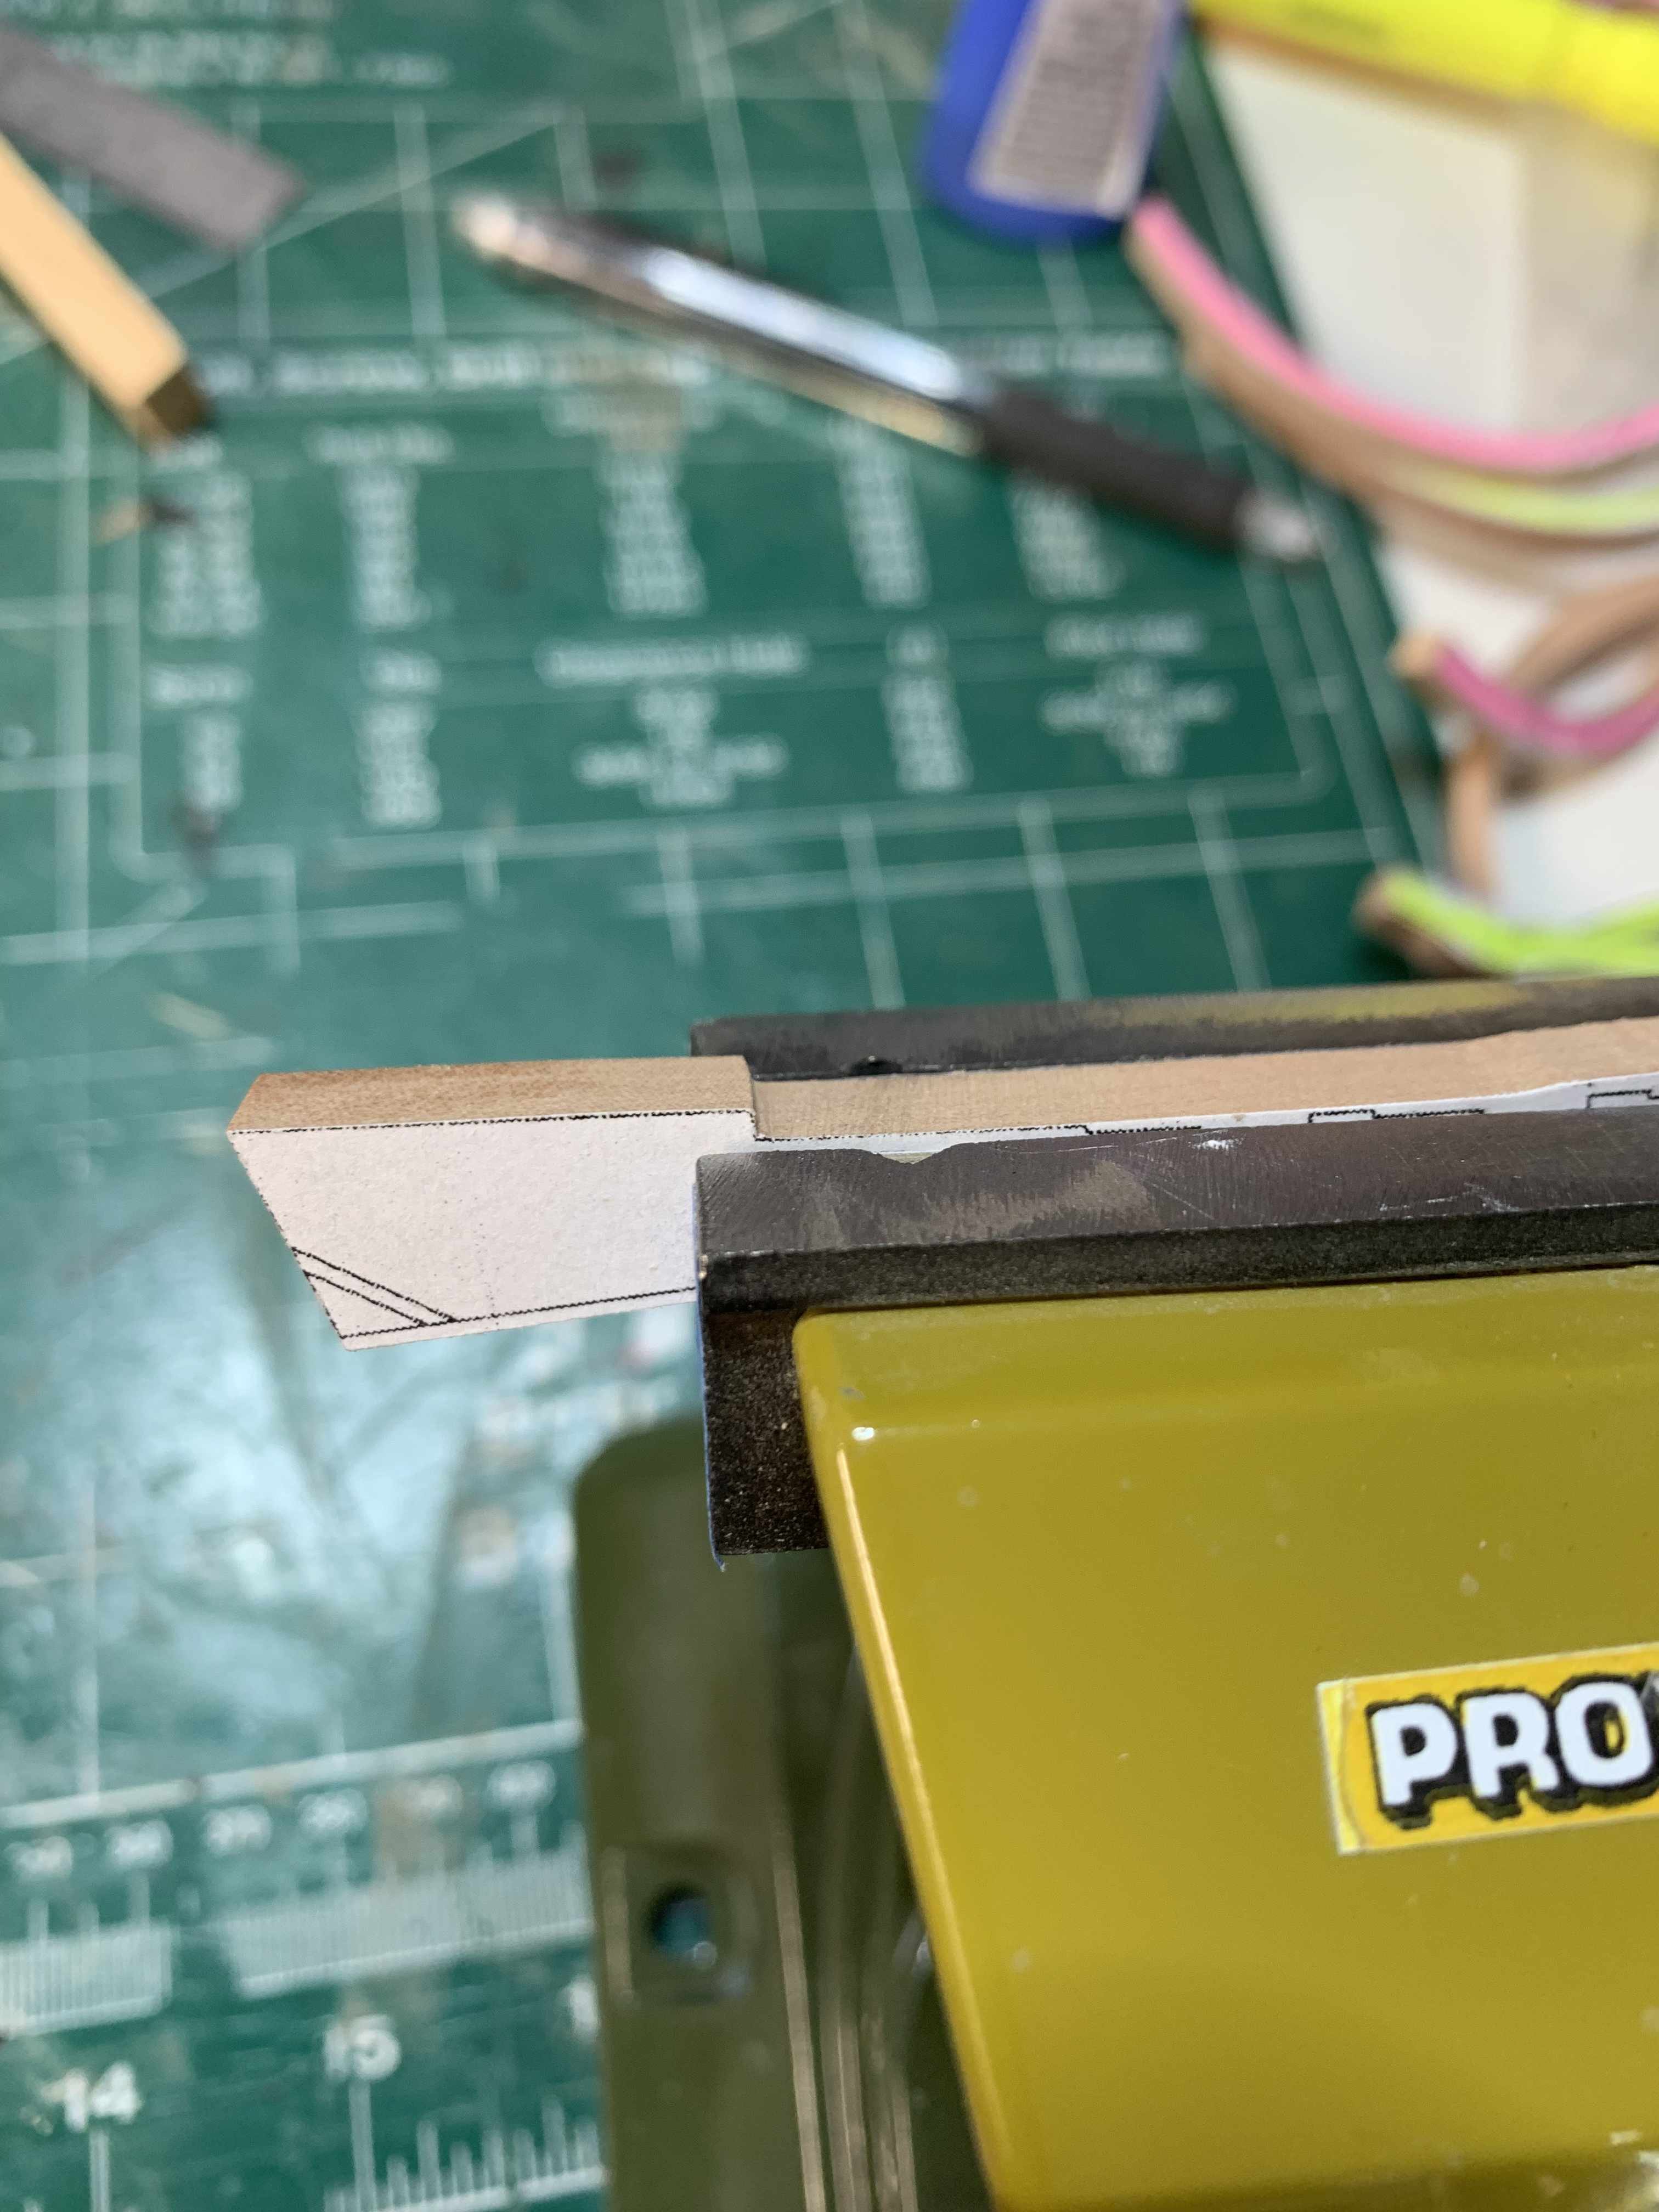
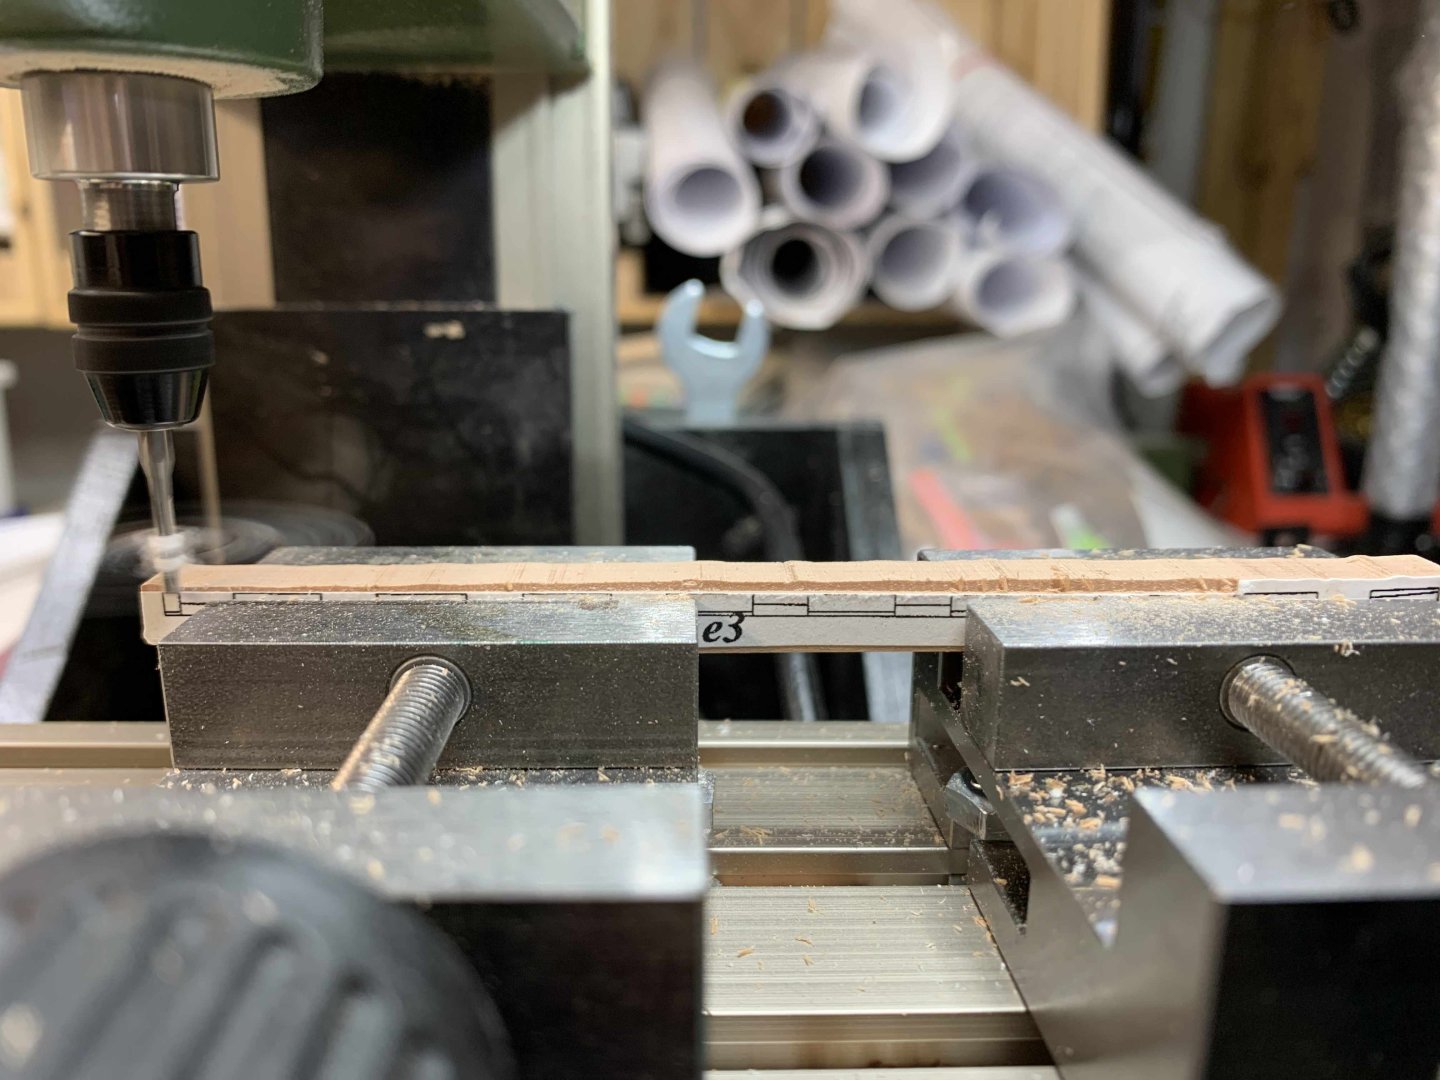
First attempt to make some keel parts... Rough sanding then some more controlled sanding using a file. Challenge here is to keep straight position of the file and not allowing it to wobble up and down during sanding.. Will need to build few sanding disks in the size of the keel parts to assisting with flat sanding... a bit afraid of damaging my Proxxon wise with sanding to the template line and keeping those metal wise parts as a border... Ok, looks OK... testing OK still looks good... And lets rotate to the side with no paper.. Hmm, not quite there... Yeah a bit over sanded somewhere... Time for a new part.. Happy modelling..


-
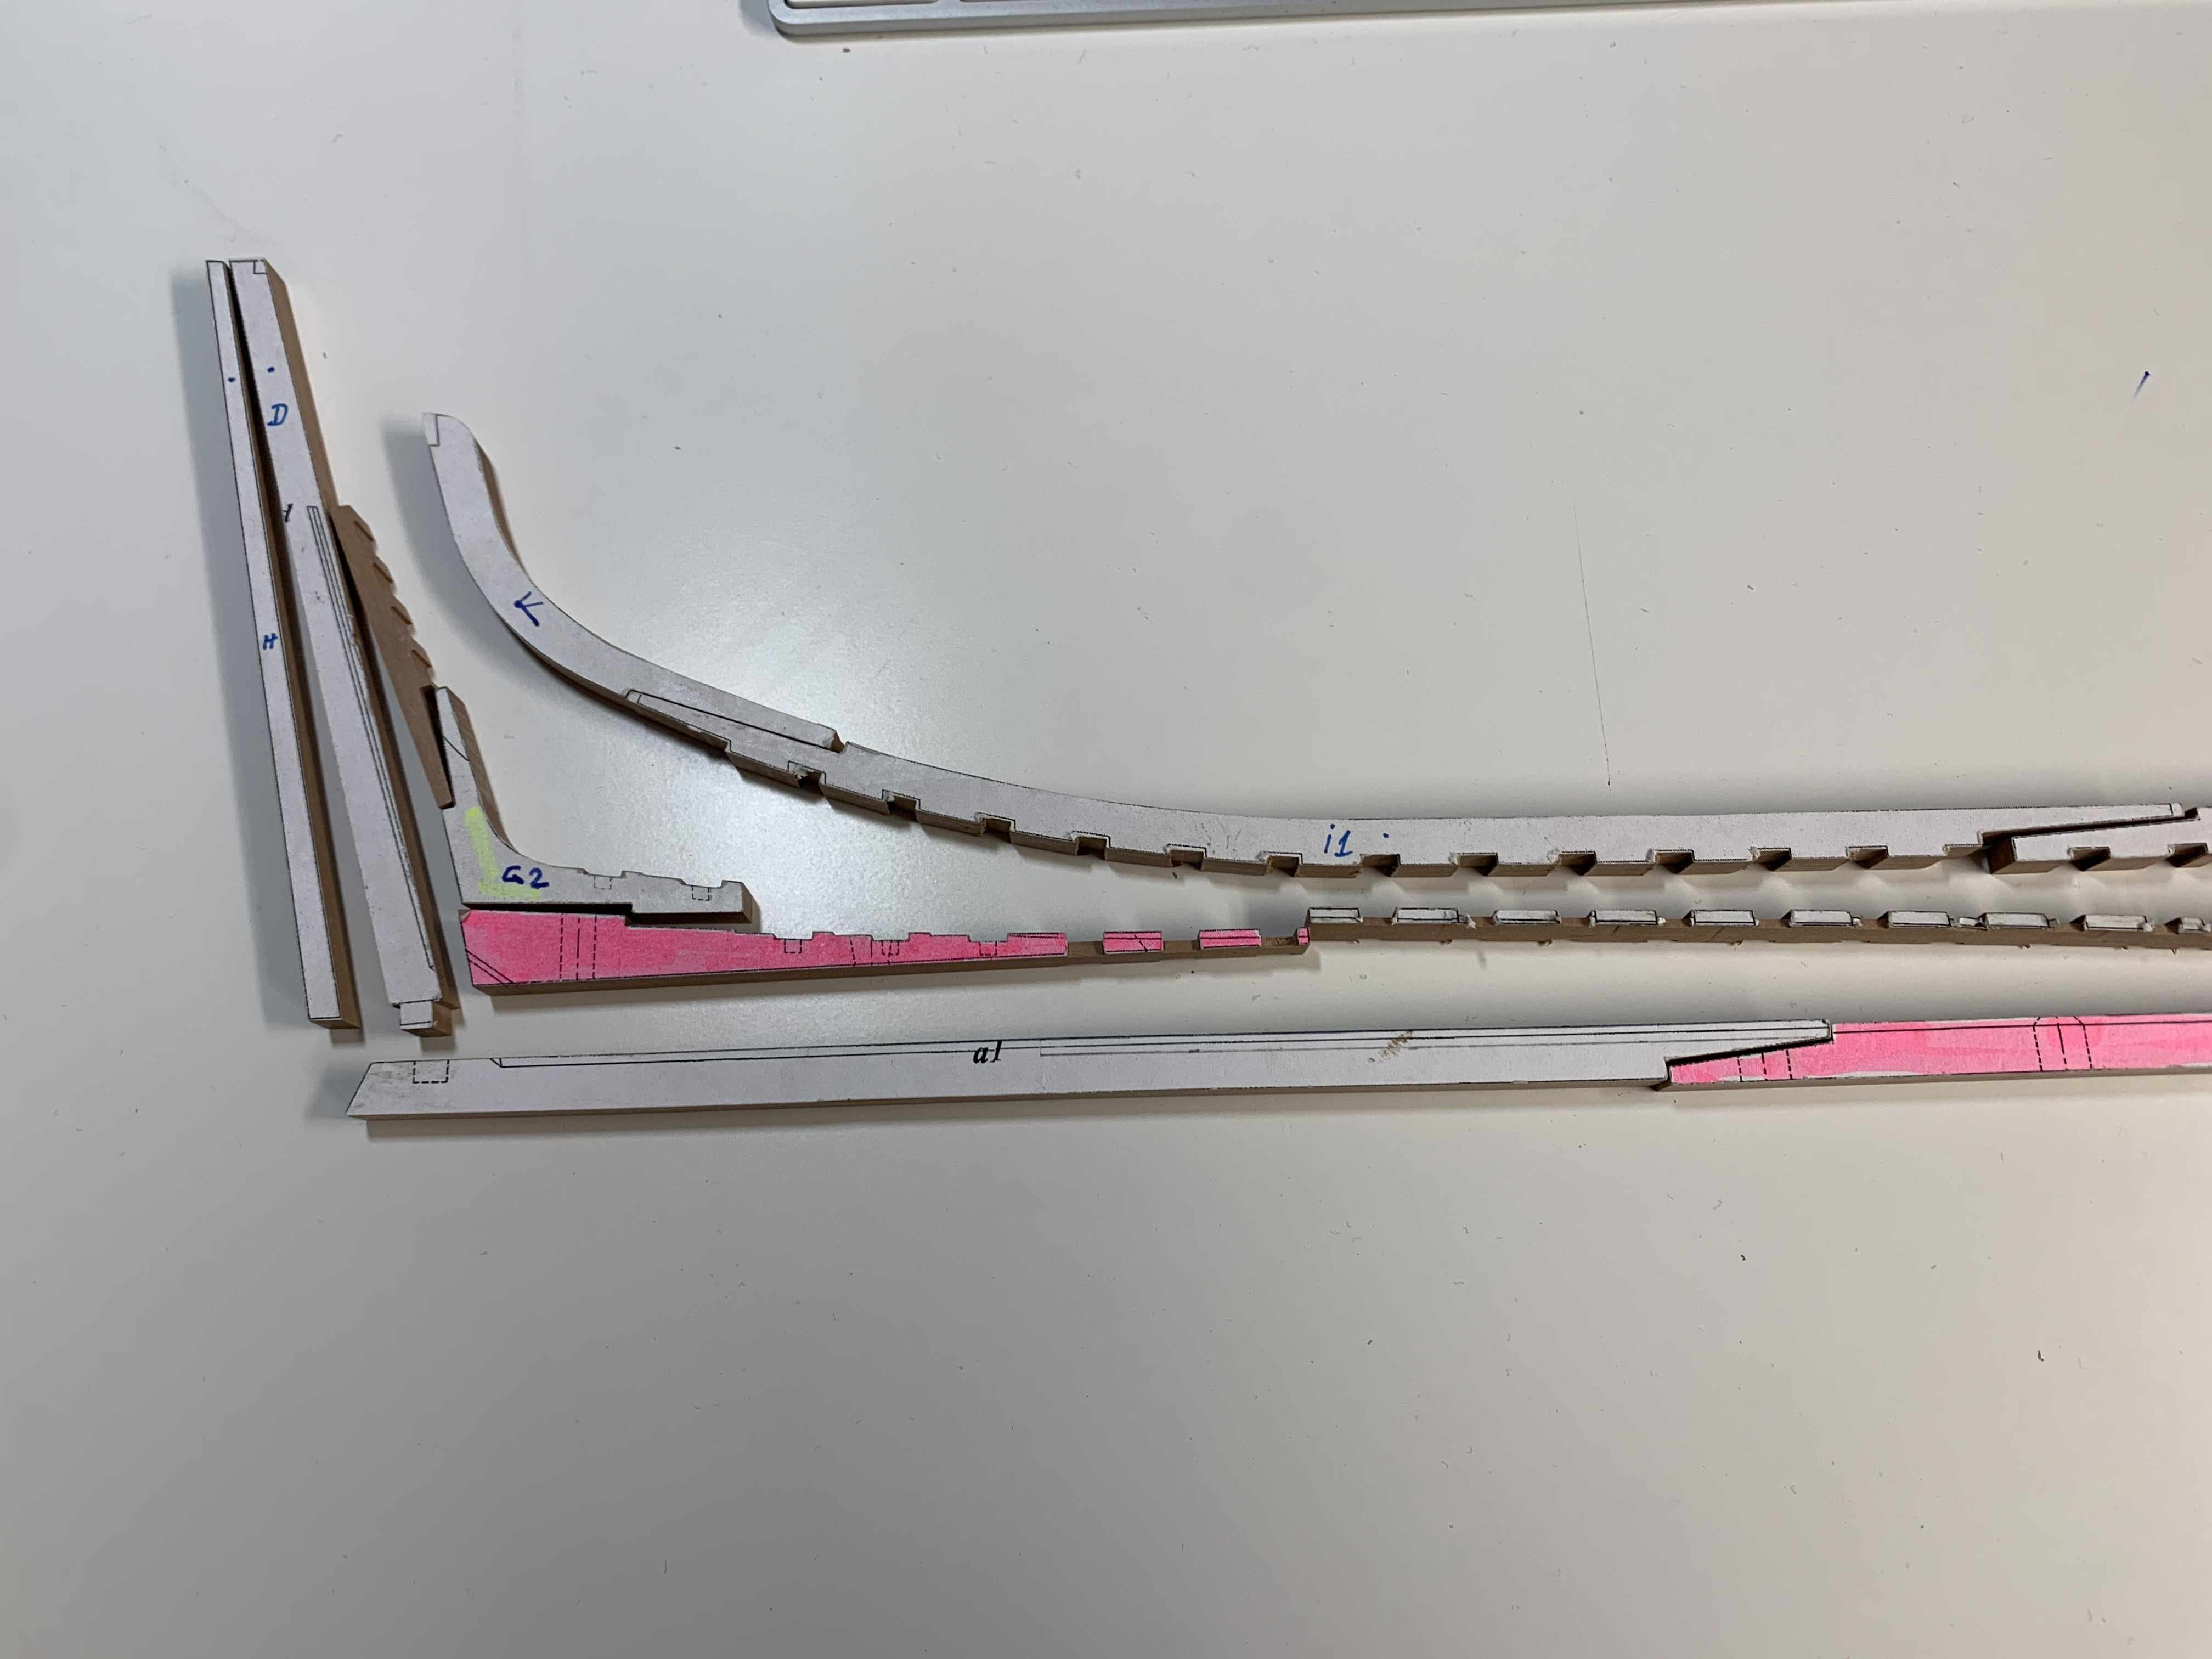
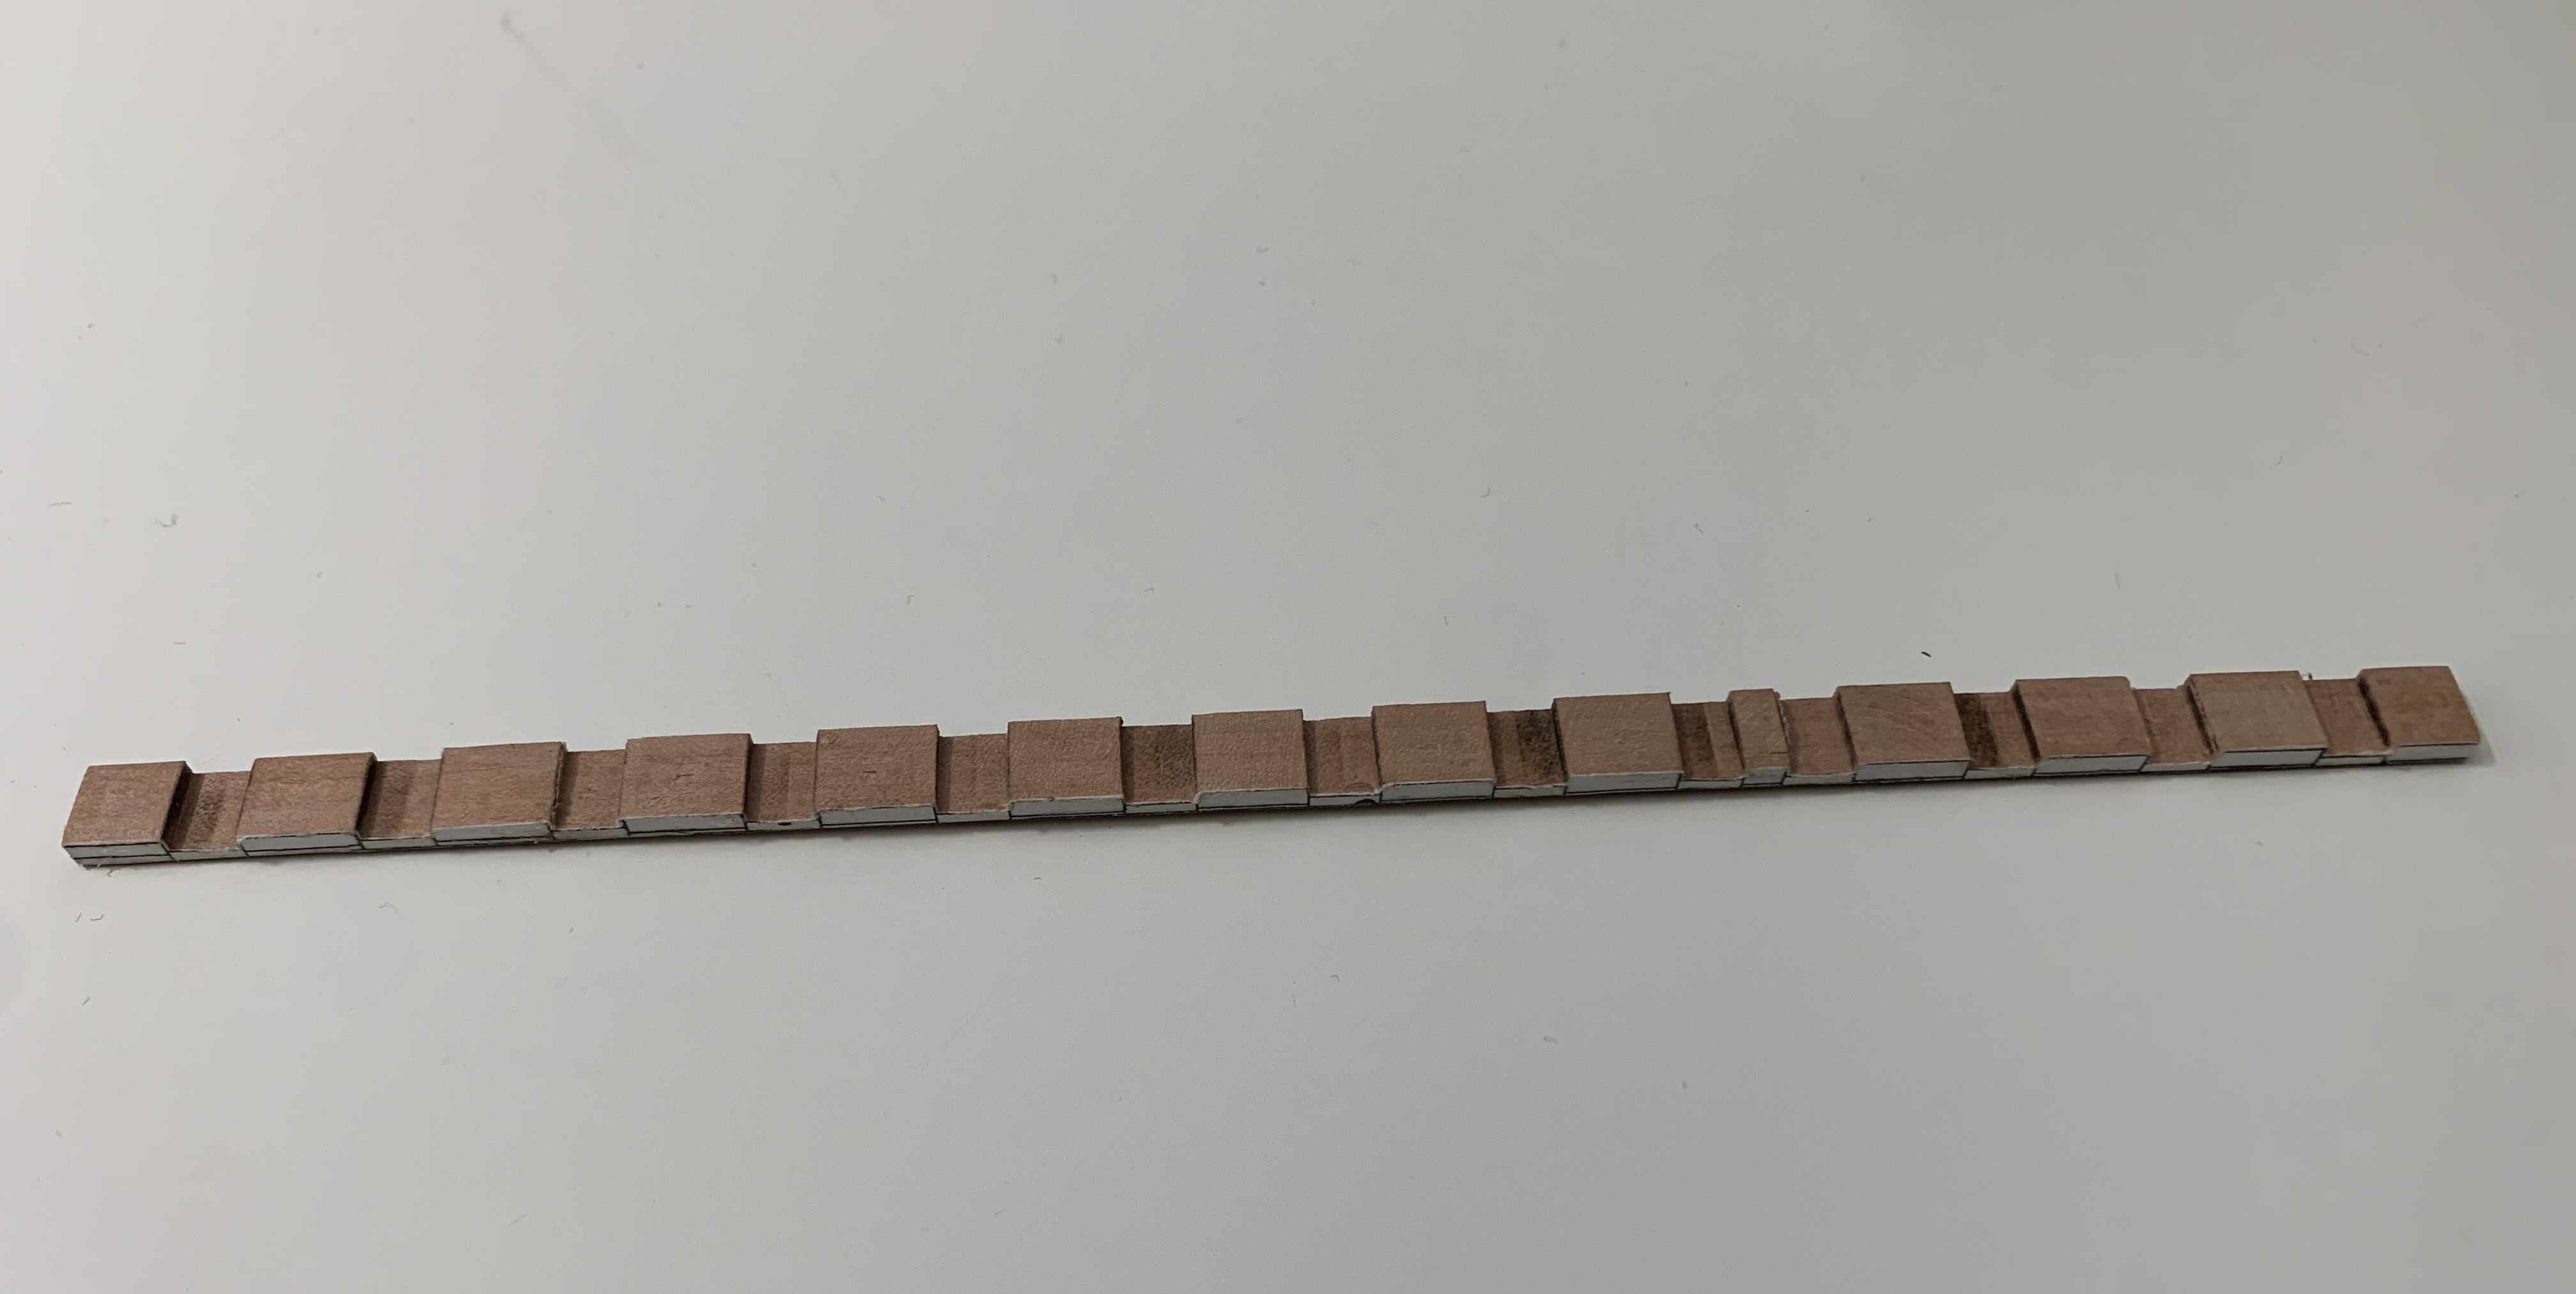
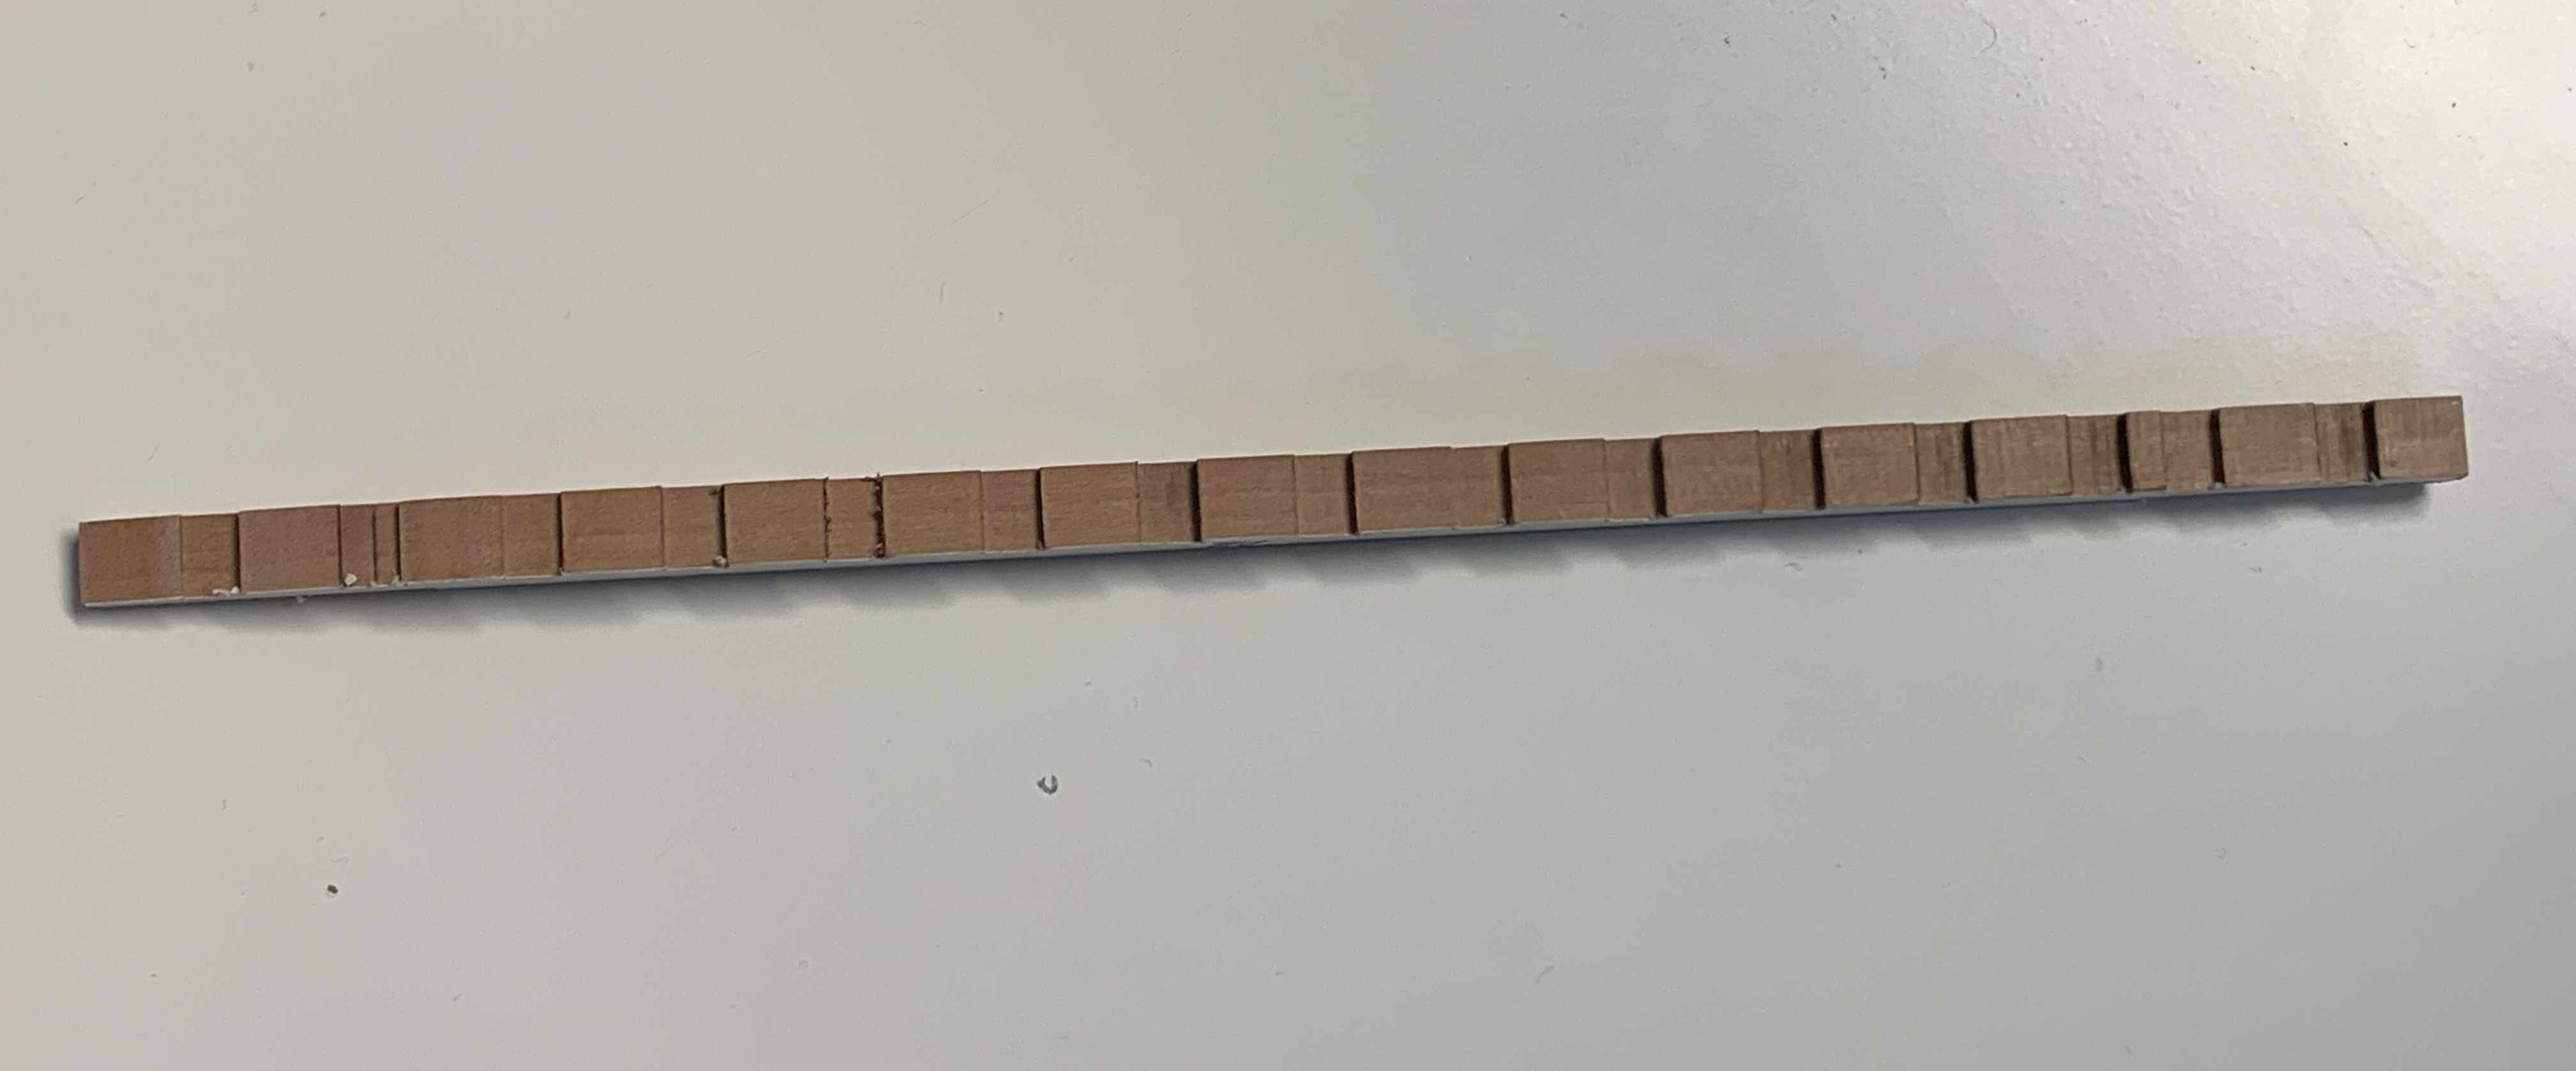
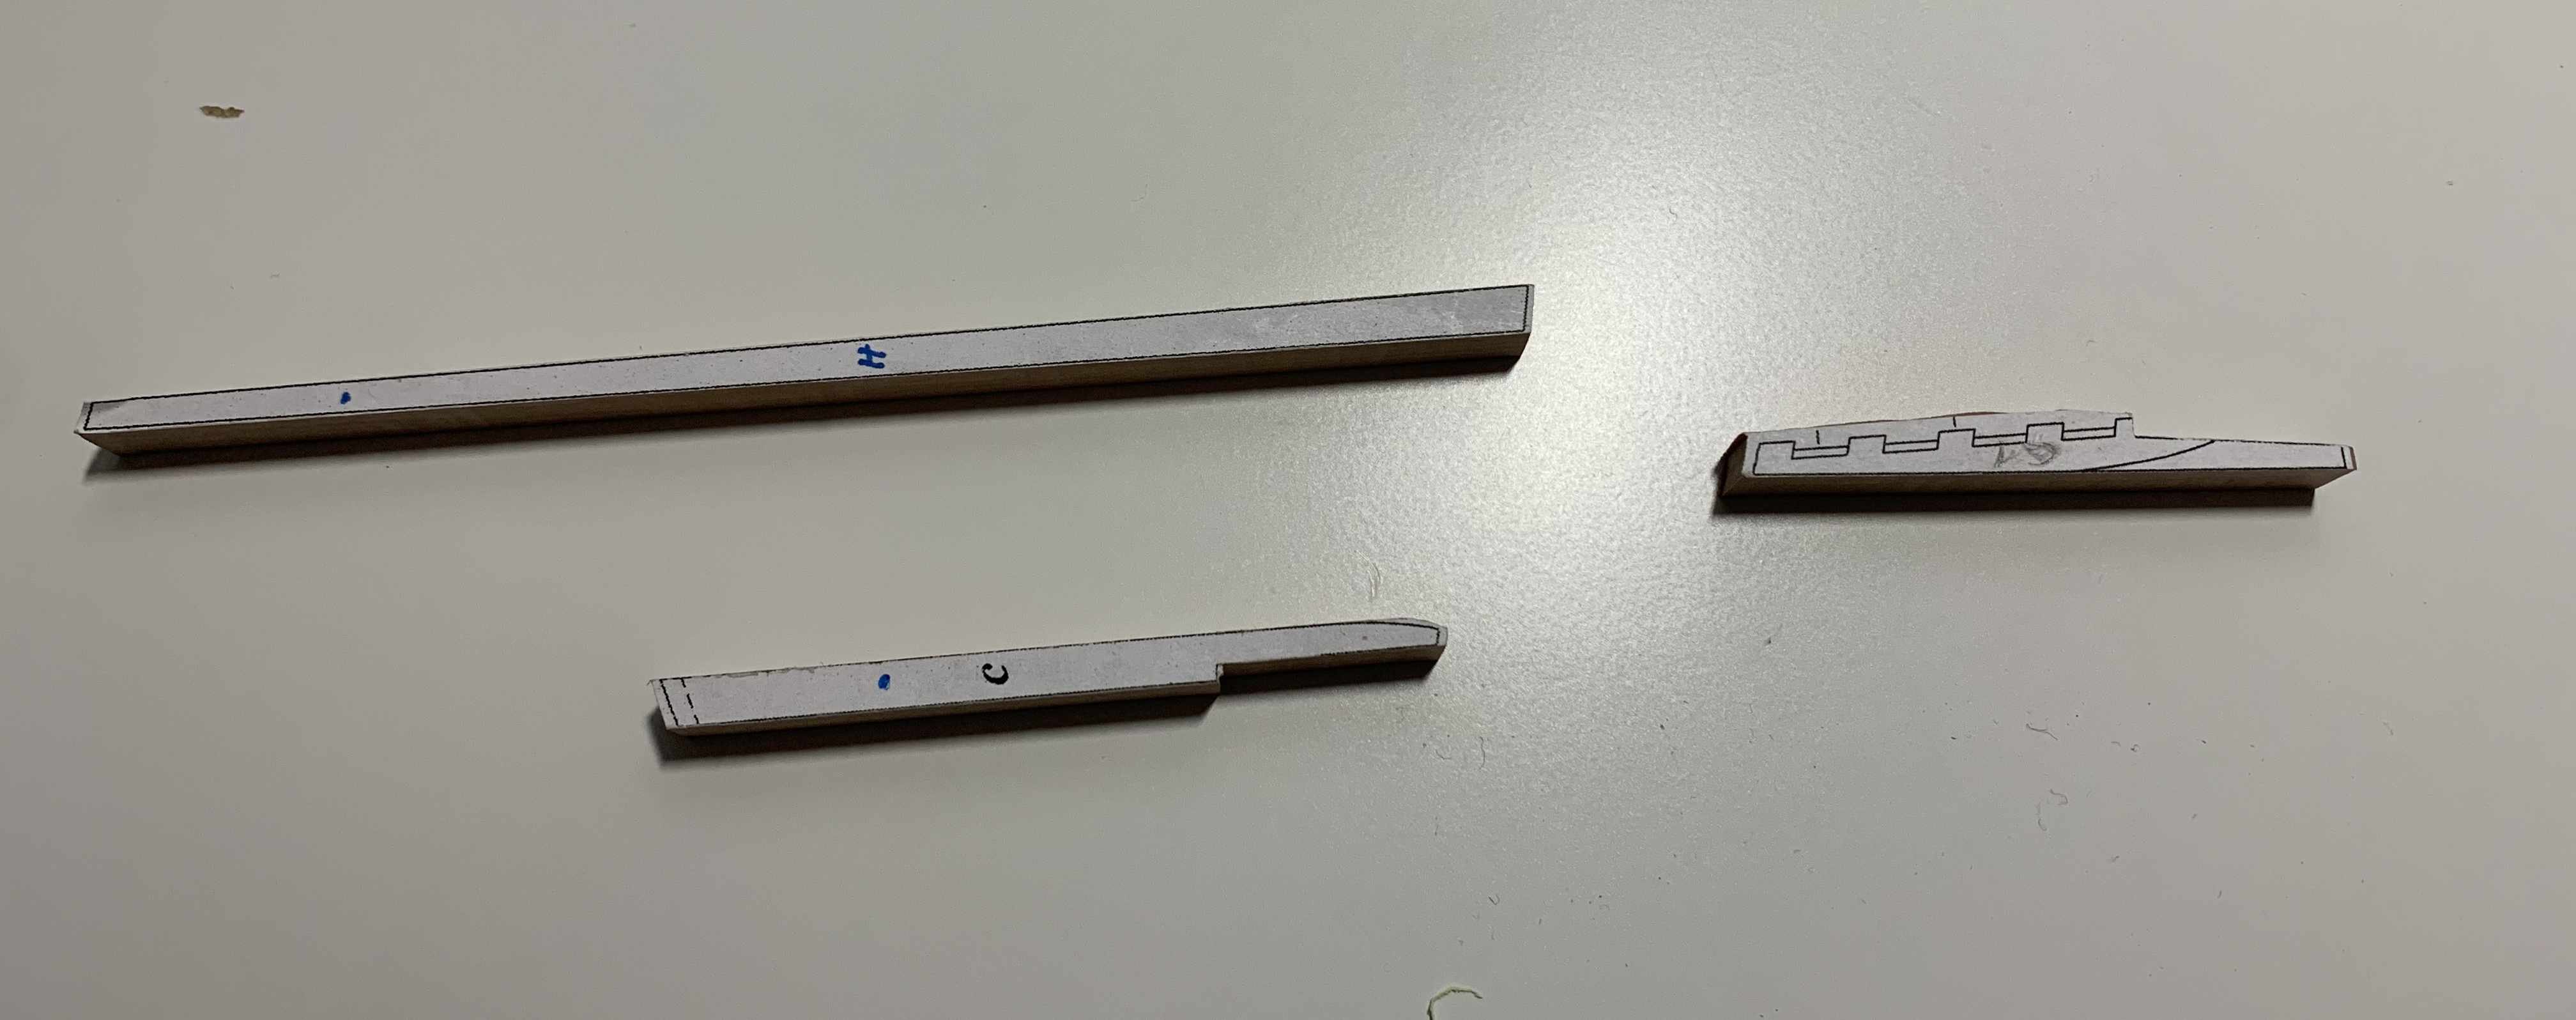
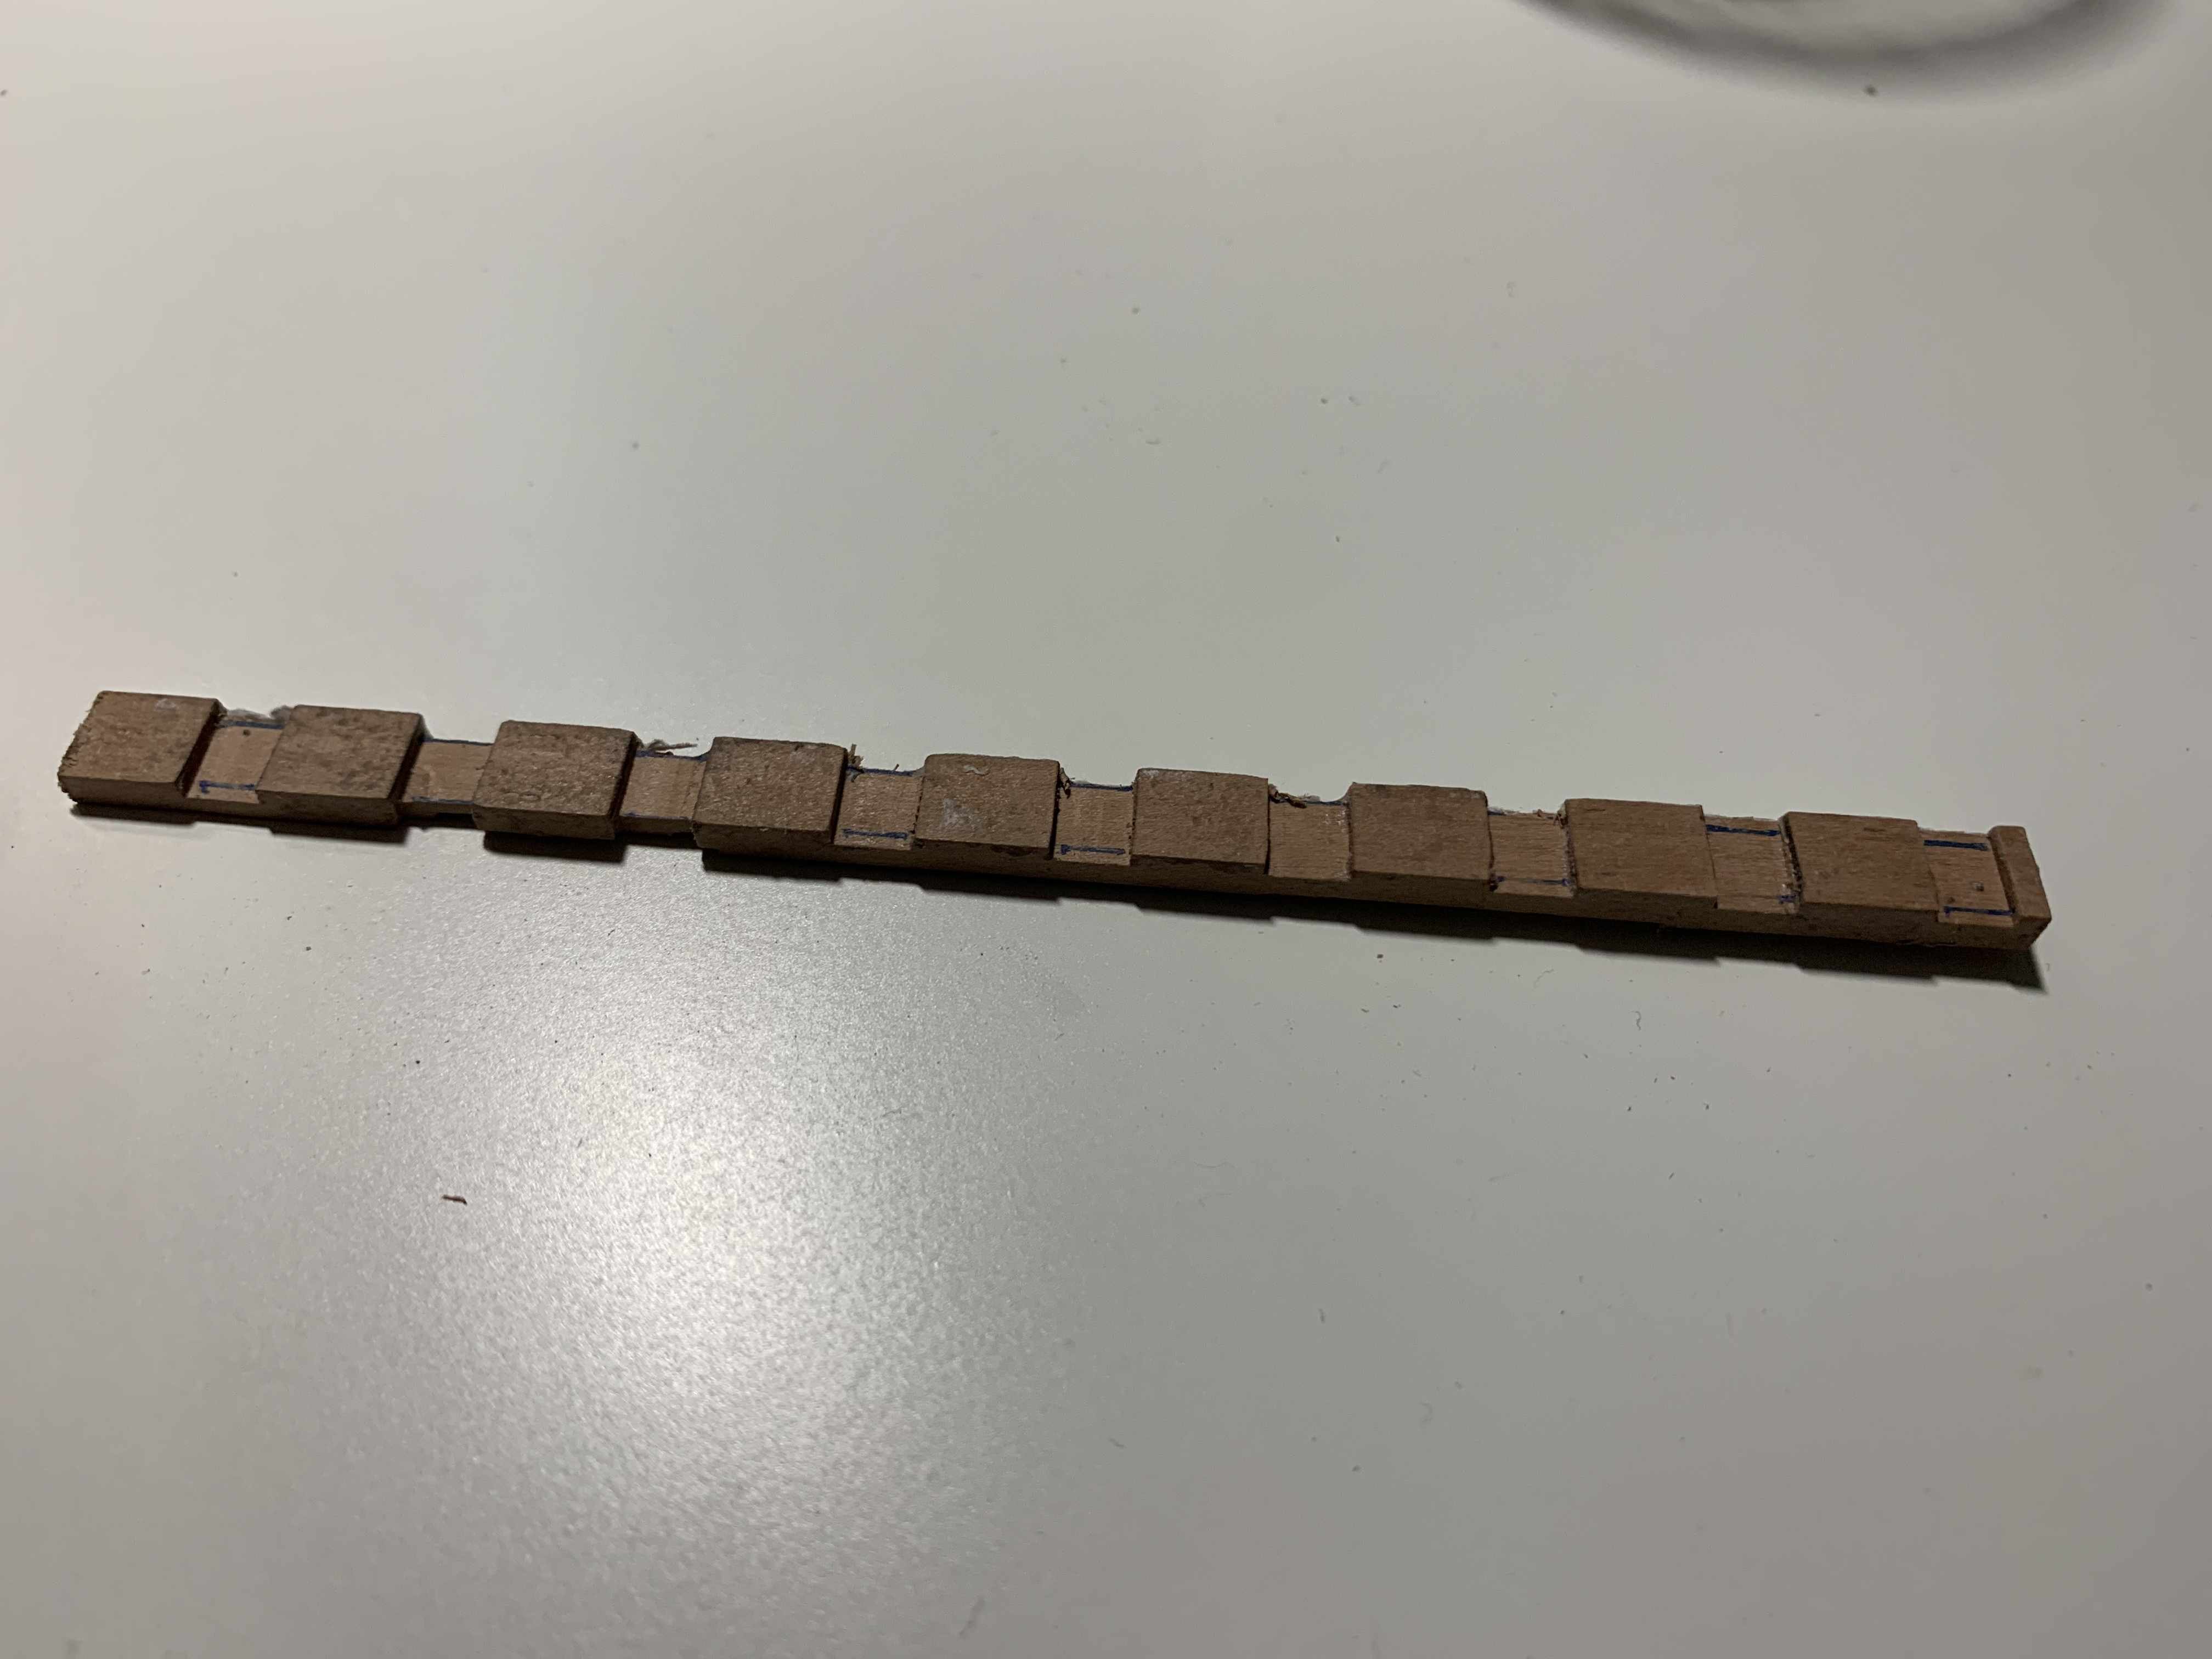
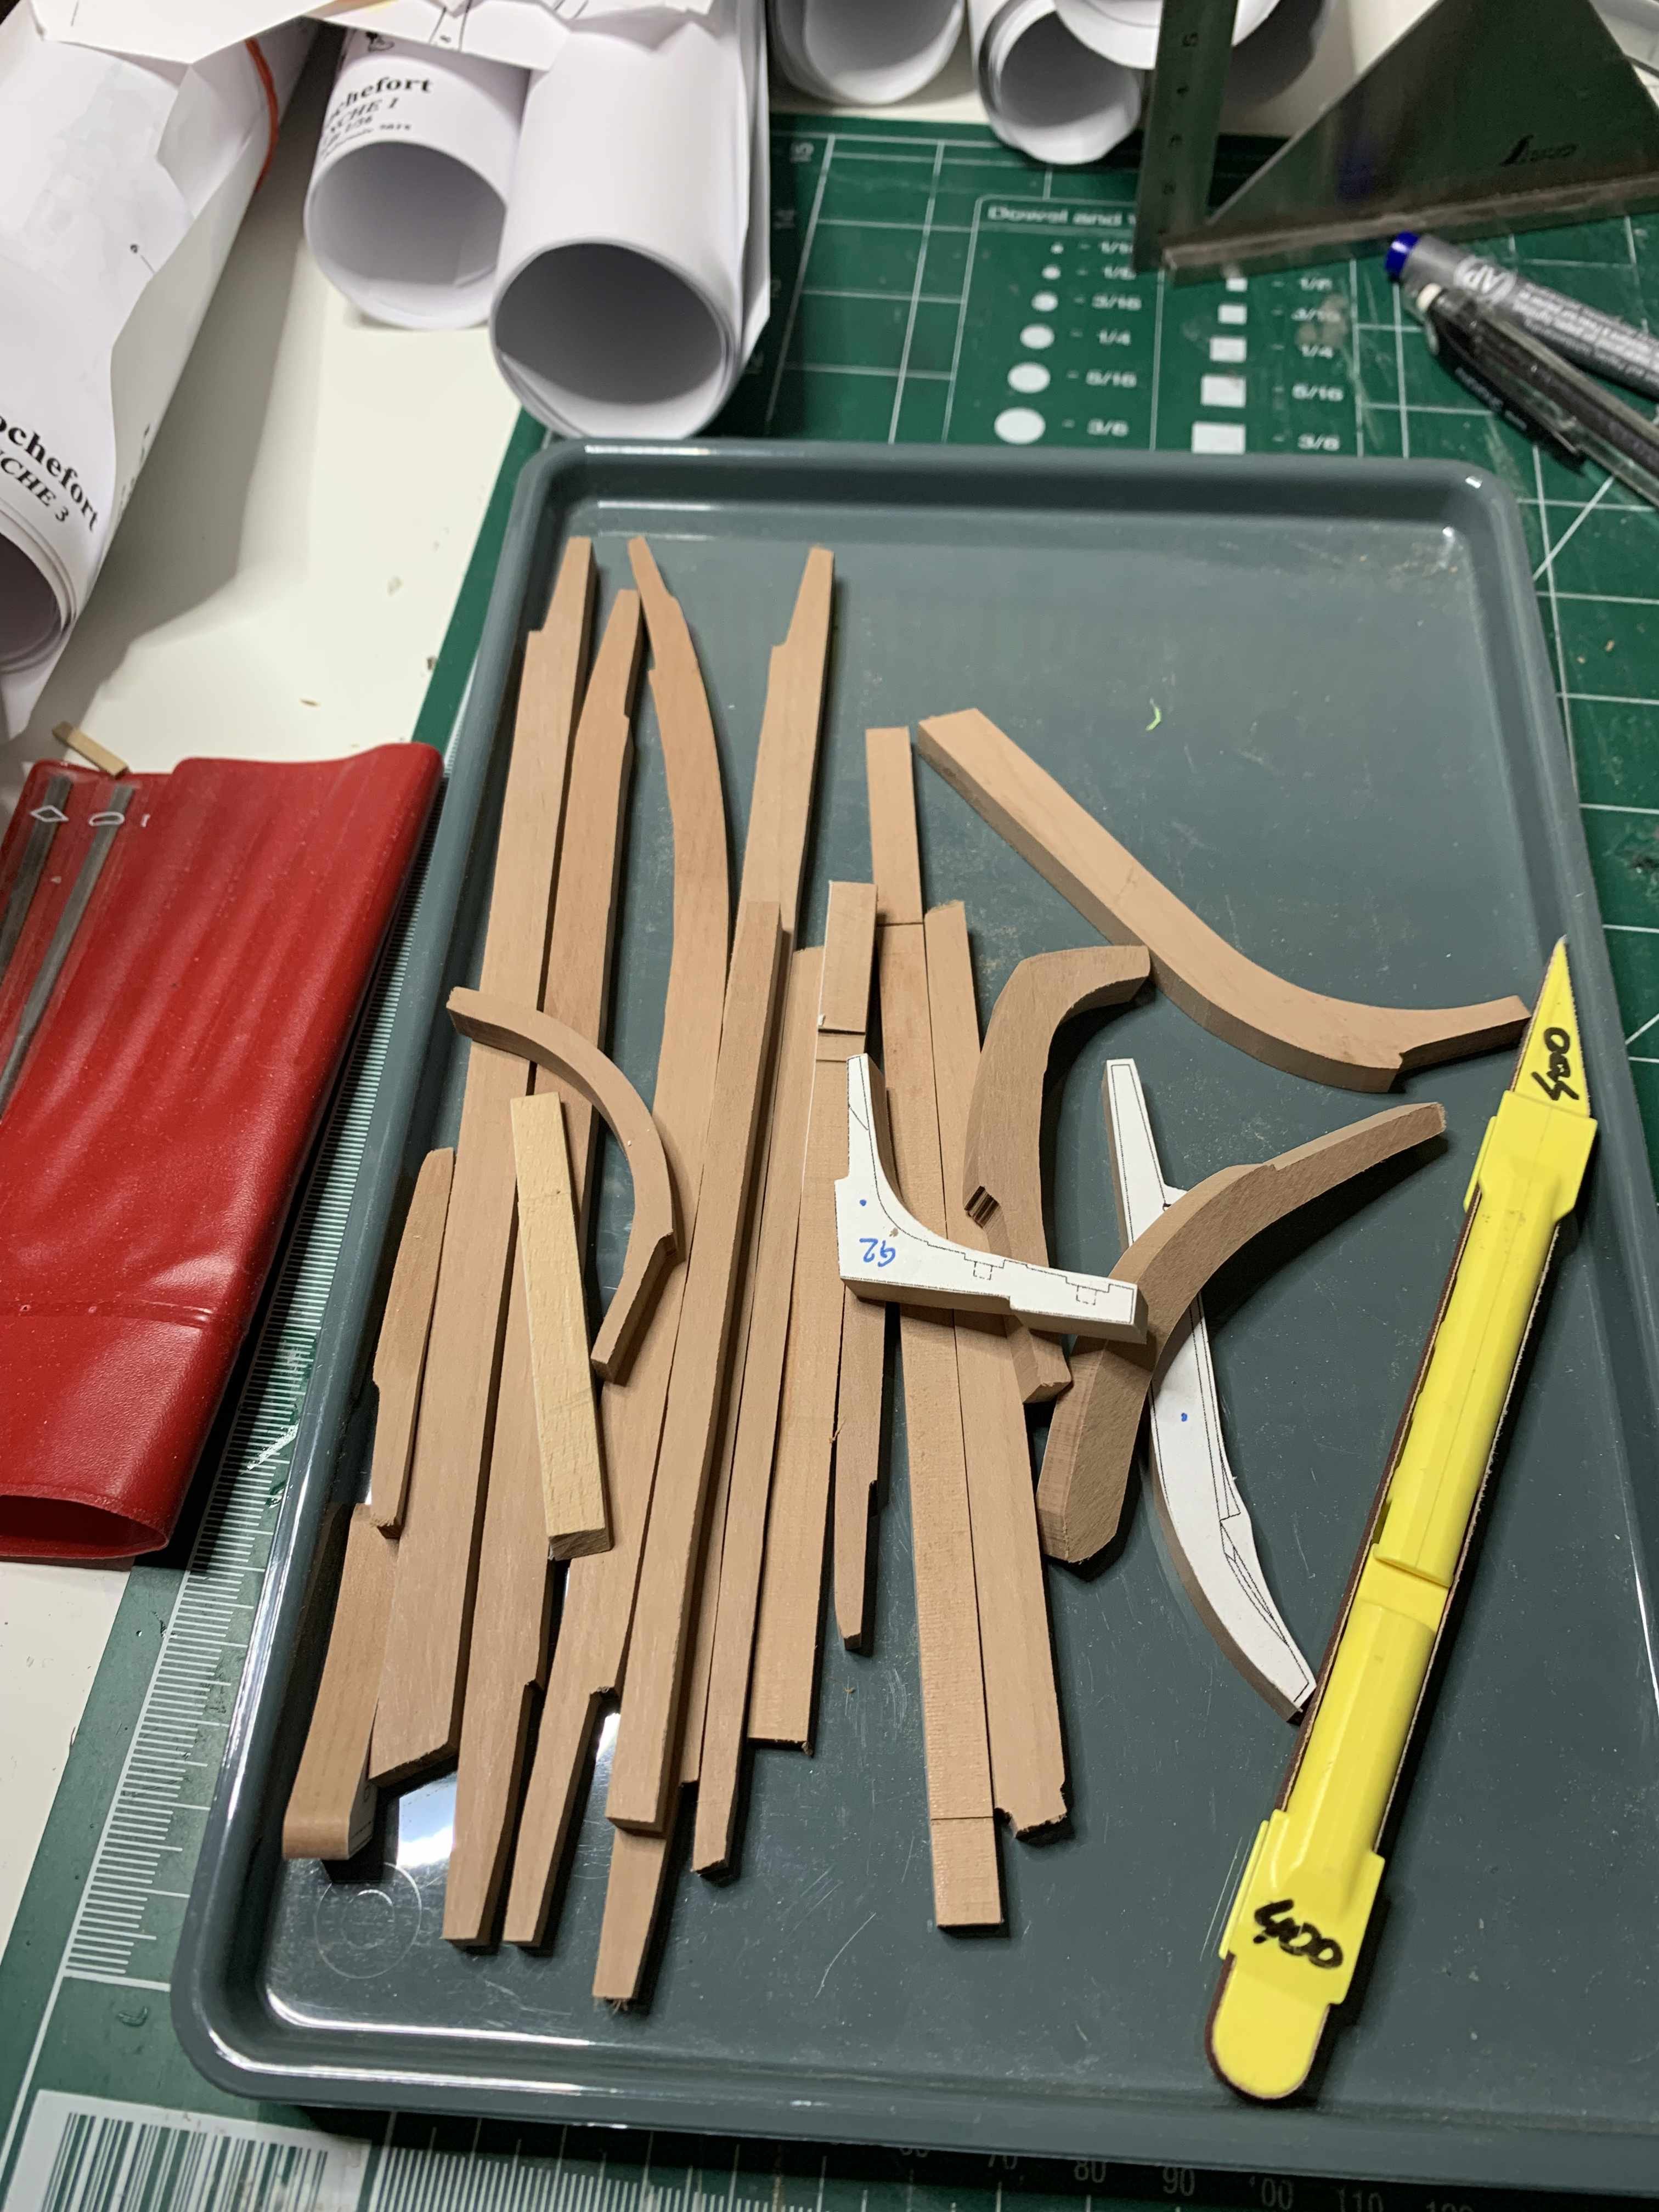
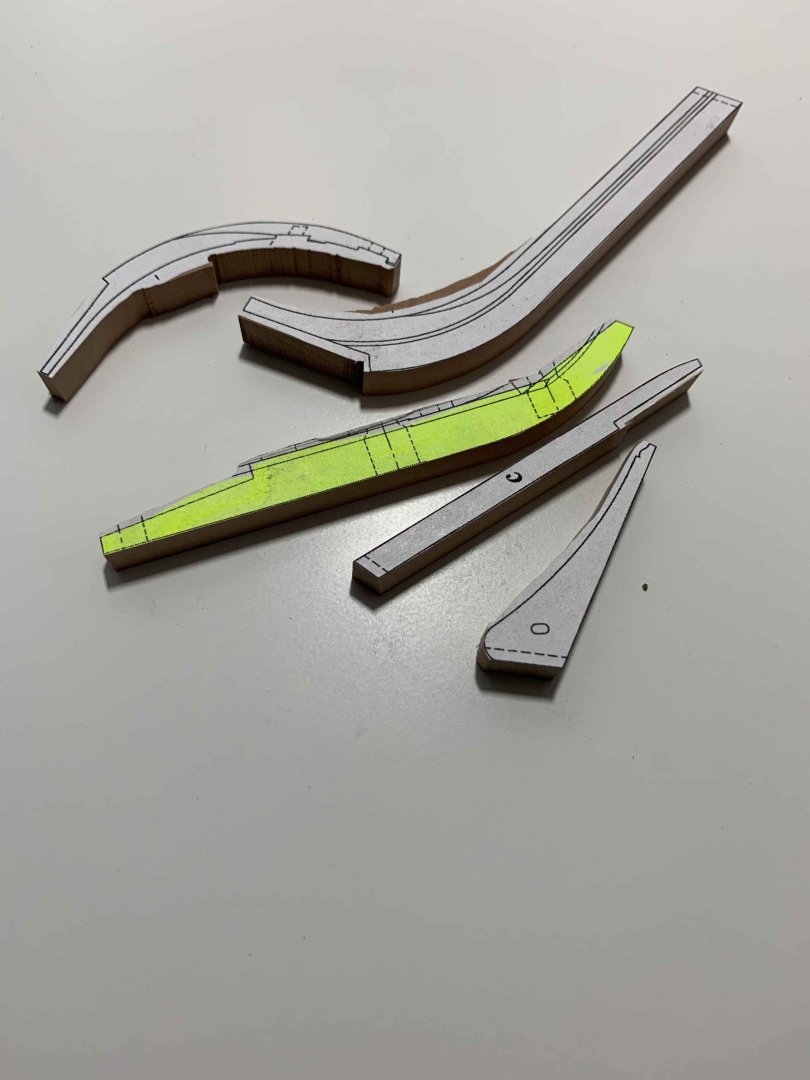
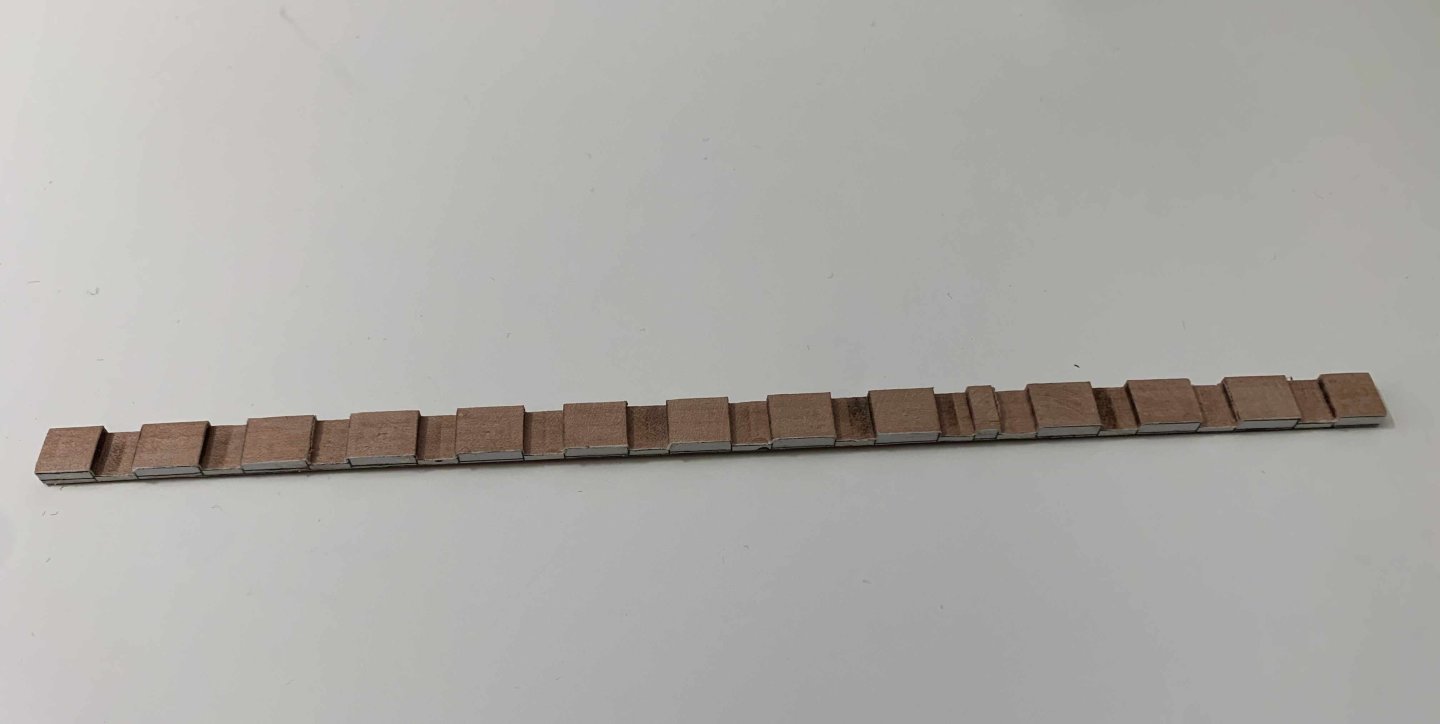
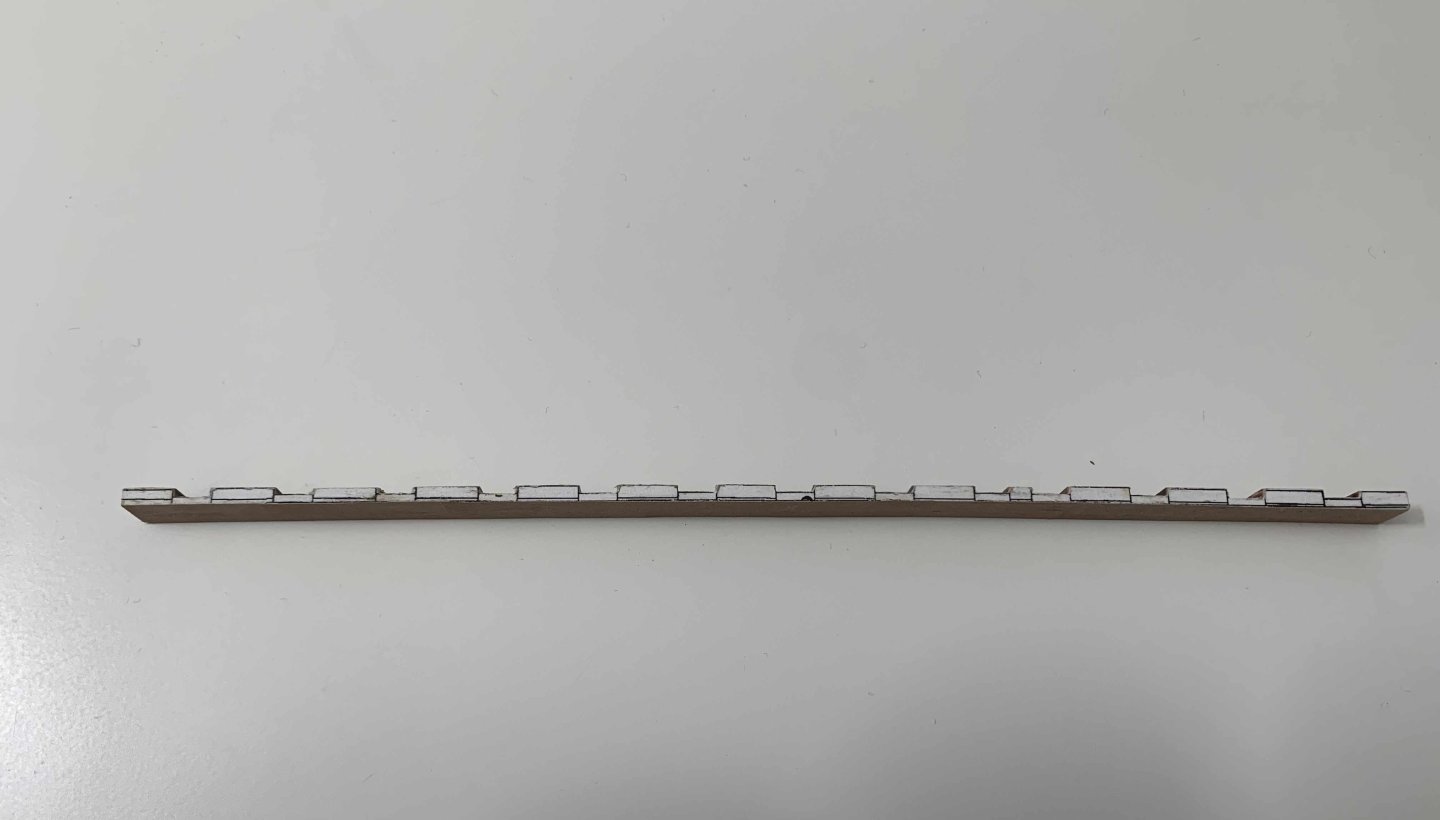
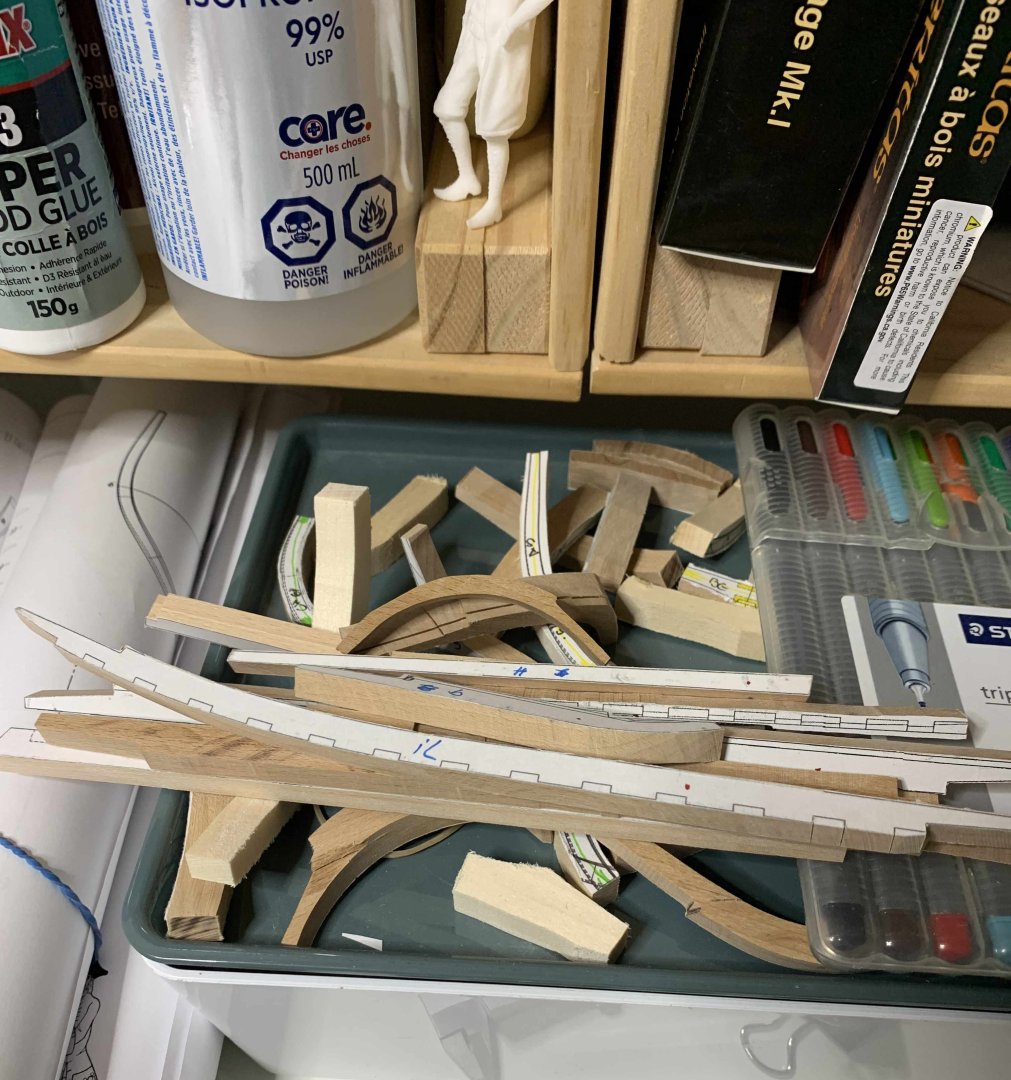
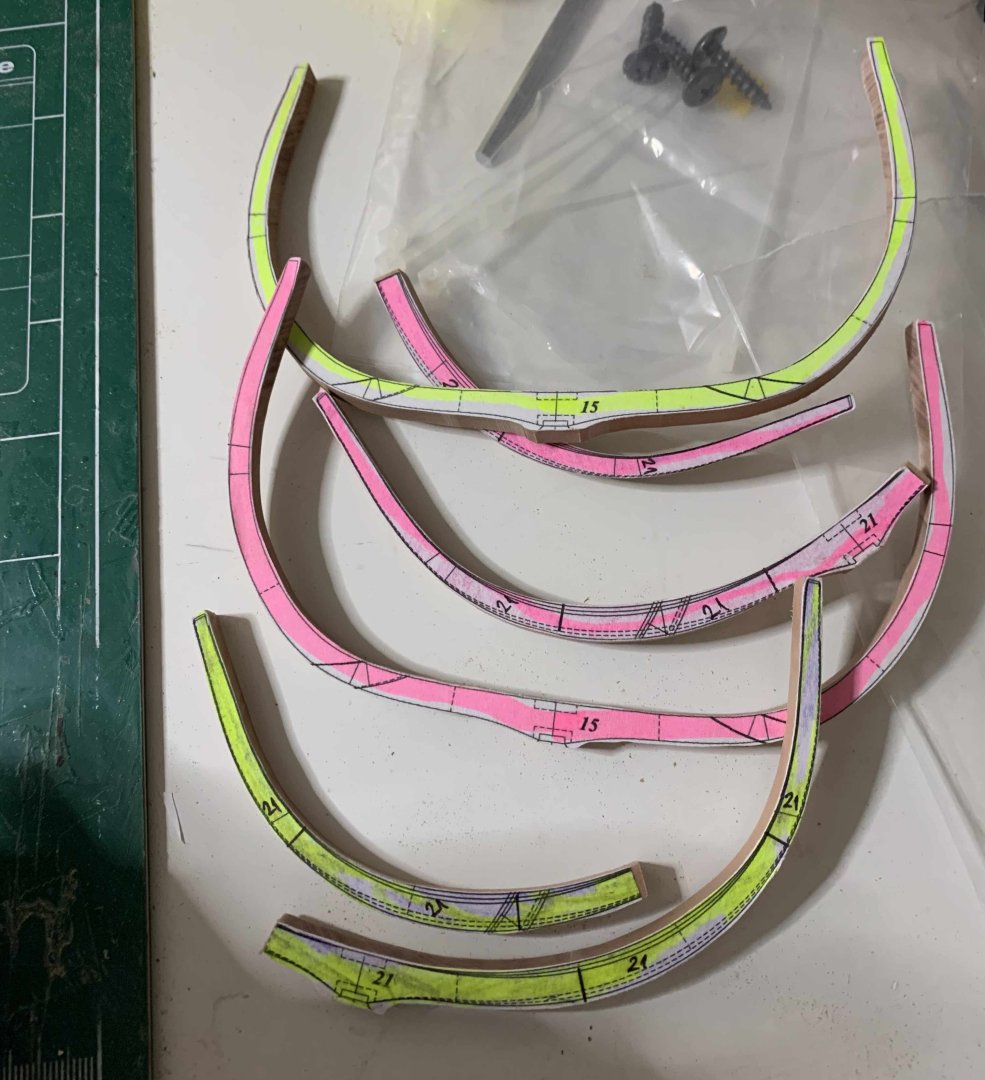
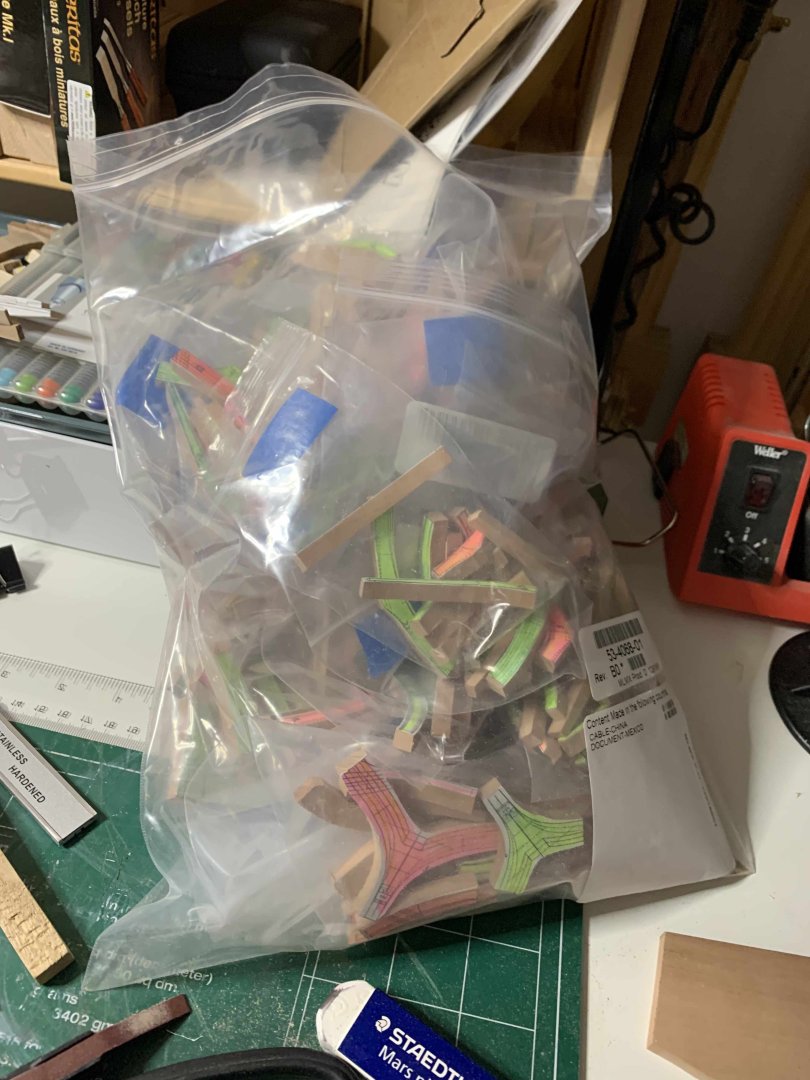
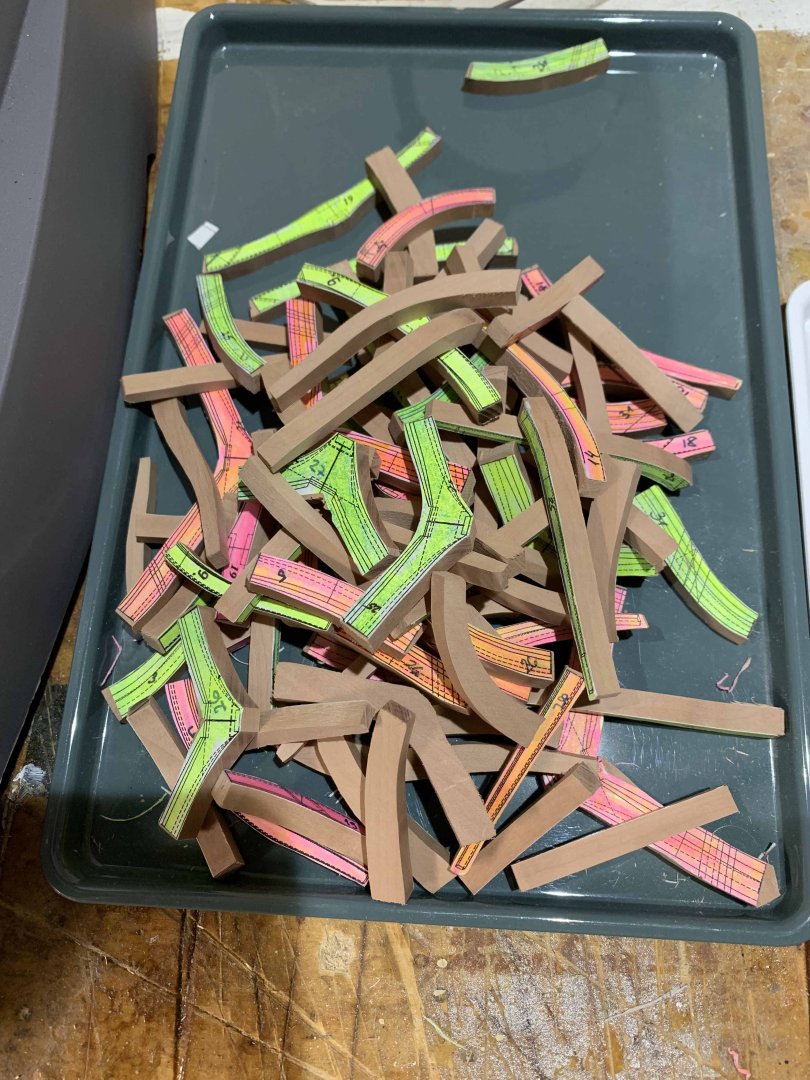
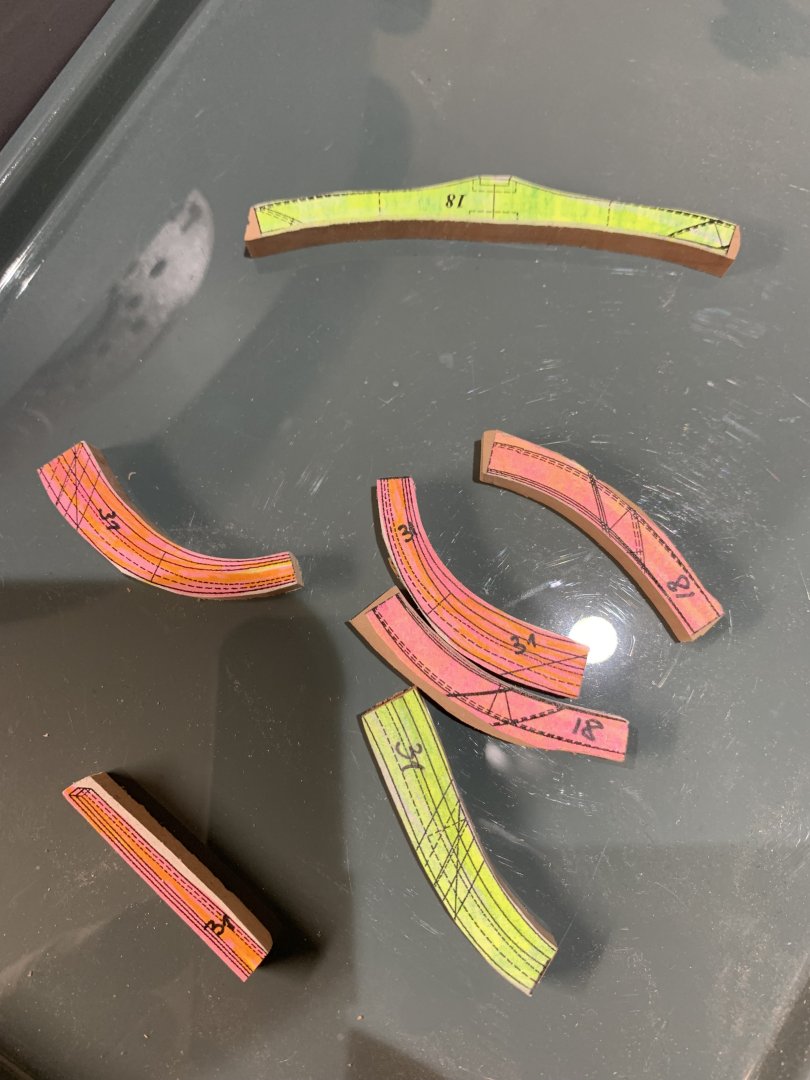
This is my pile of cut and rough sanded frame parts, ready for assembly and final sanding... I do have a bout 10 frames not marked with a number I would need to match during assembly process.. I also made few frames, completely copied from the plan, in one piece to be used as a visual representation of frames and frame orientation towards the bow/stern... this way takes more wood than cutting individual frame pieces but it is easier for testing purposes... This is my current "good" pile of keel parts.. And this is my pile of testing parts... The keel parts in above picture are done from wood that is thicker than needed and I planned to saw it down to the correct thickness but I had some challenges with the process and at this moment no much fundings to buy proper sander so will try to stick with the wood that has little deviation of required thickness... And of course under the watchful eyes... Happy modelling..

-
1/3 of all frames rough sanded and ready for assembly... there are few that needs to be made again, just to much pressure on the sander caused more removed wood that needed... Happy modelling..
-
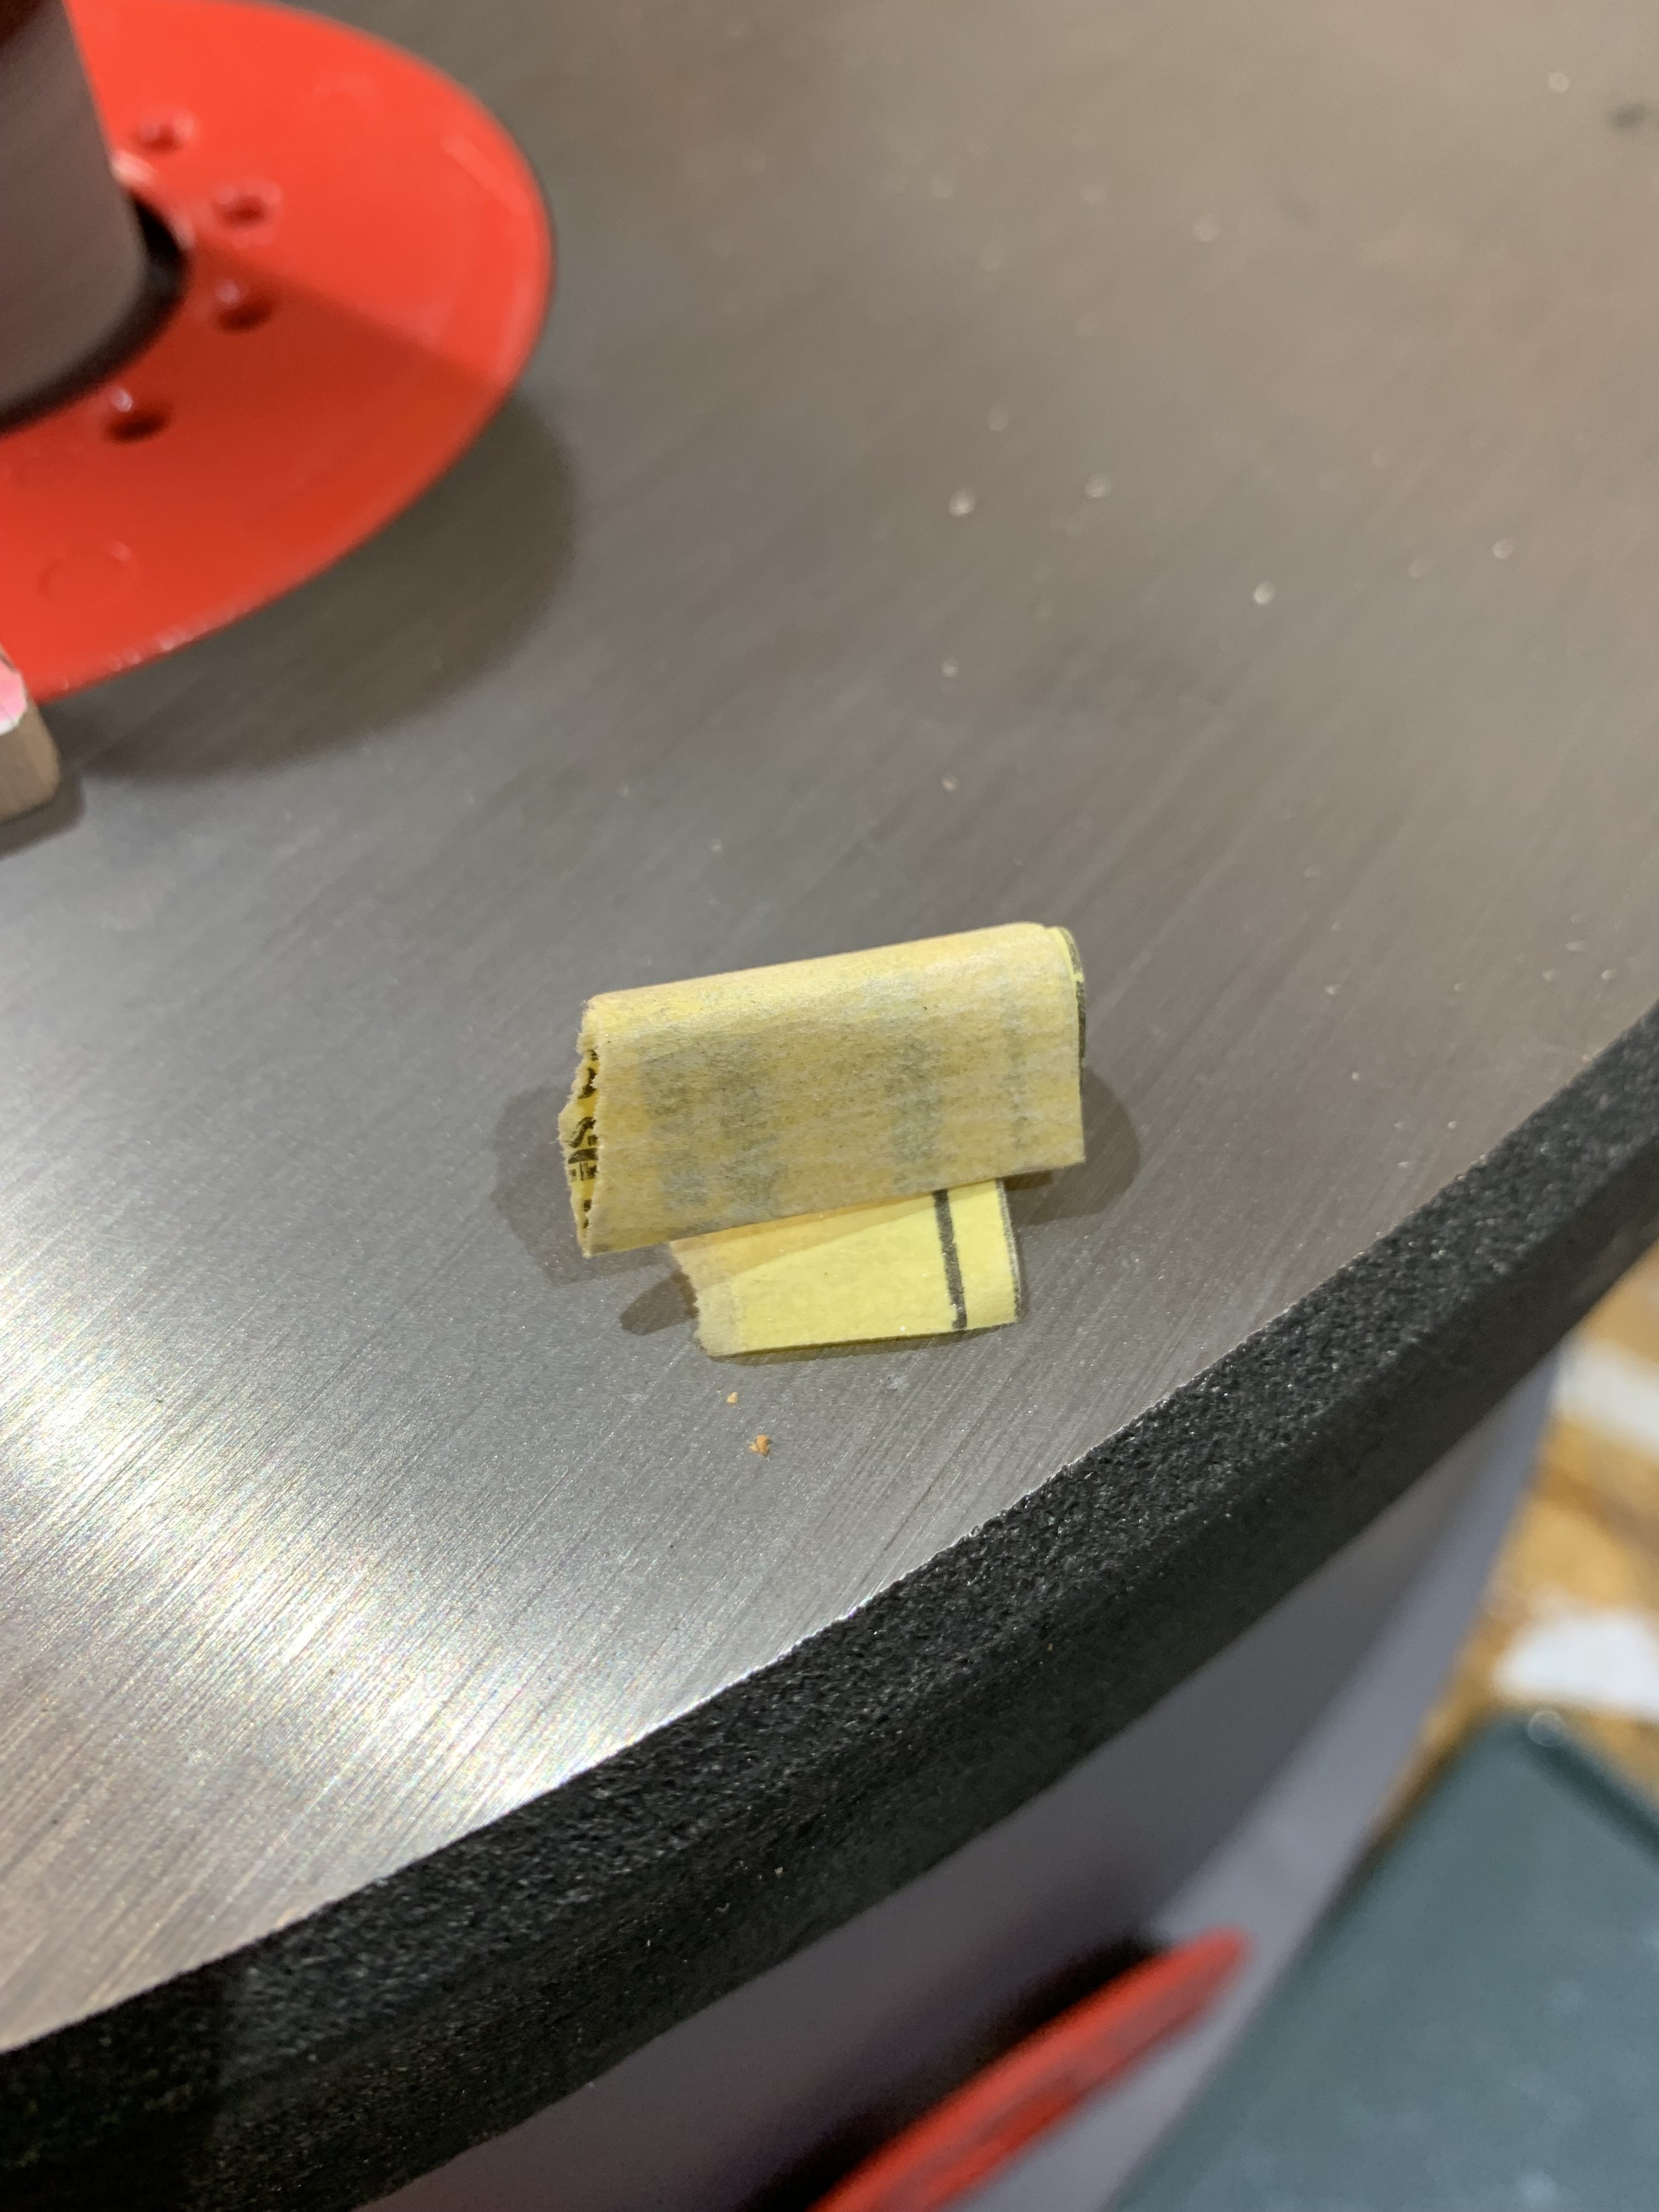
Some inner sanding was done for few frames using oscillating sander and paper burr was removed with a small piece of sander paper. Result is very nice and acceptable. This is rough sanding, still leaving some meat close to the line for final sanding.. Happy modelling..
-
Thanks Mike Y, yeah, I was experimenting with few other sanding ways/options but appears that slow and careful way is always a winning combo.. Appreciated your comment. Cheers