moreplovac
-
Posts
794 -
Joined
-
Last visited
Content Type
Profiles
Forums
Gallery
Events
Everything posted by moreplovac
-
 I think I finally get this little bugger #4 done; it took me several attempts and I think I have it correct but we will see down the build... So far if I put together all bad parts I made, I might ended up with one good pear wood board . Anyhow, next is work on #1 timber... Happy modelling..
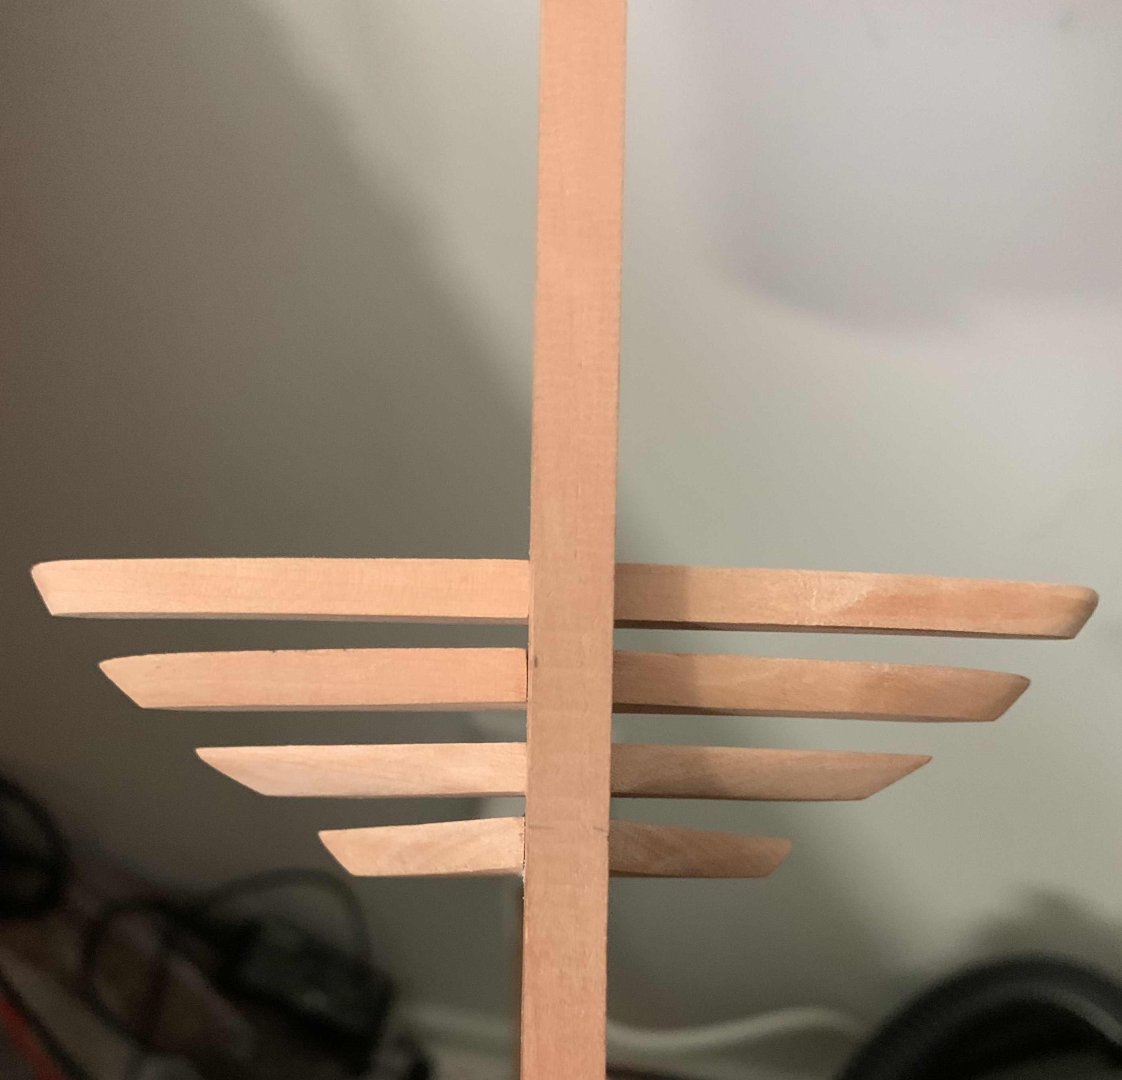
-
Yeah, looks like that.... I learn with every cut, sanding move, etc ....
-
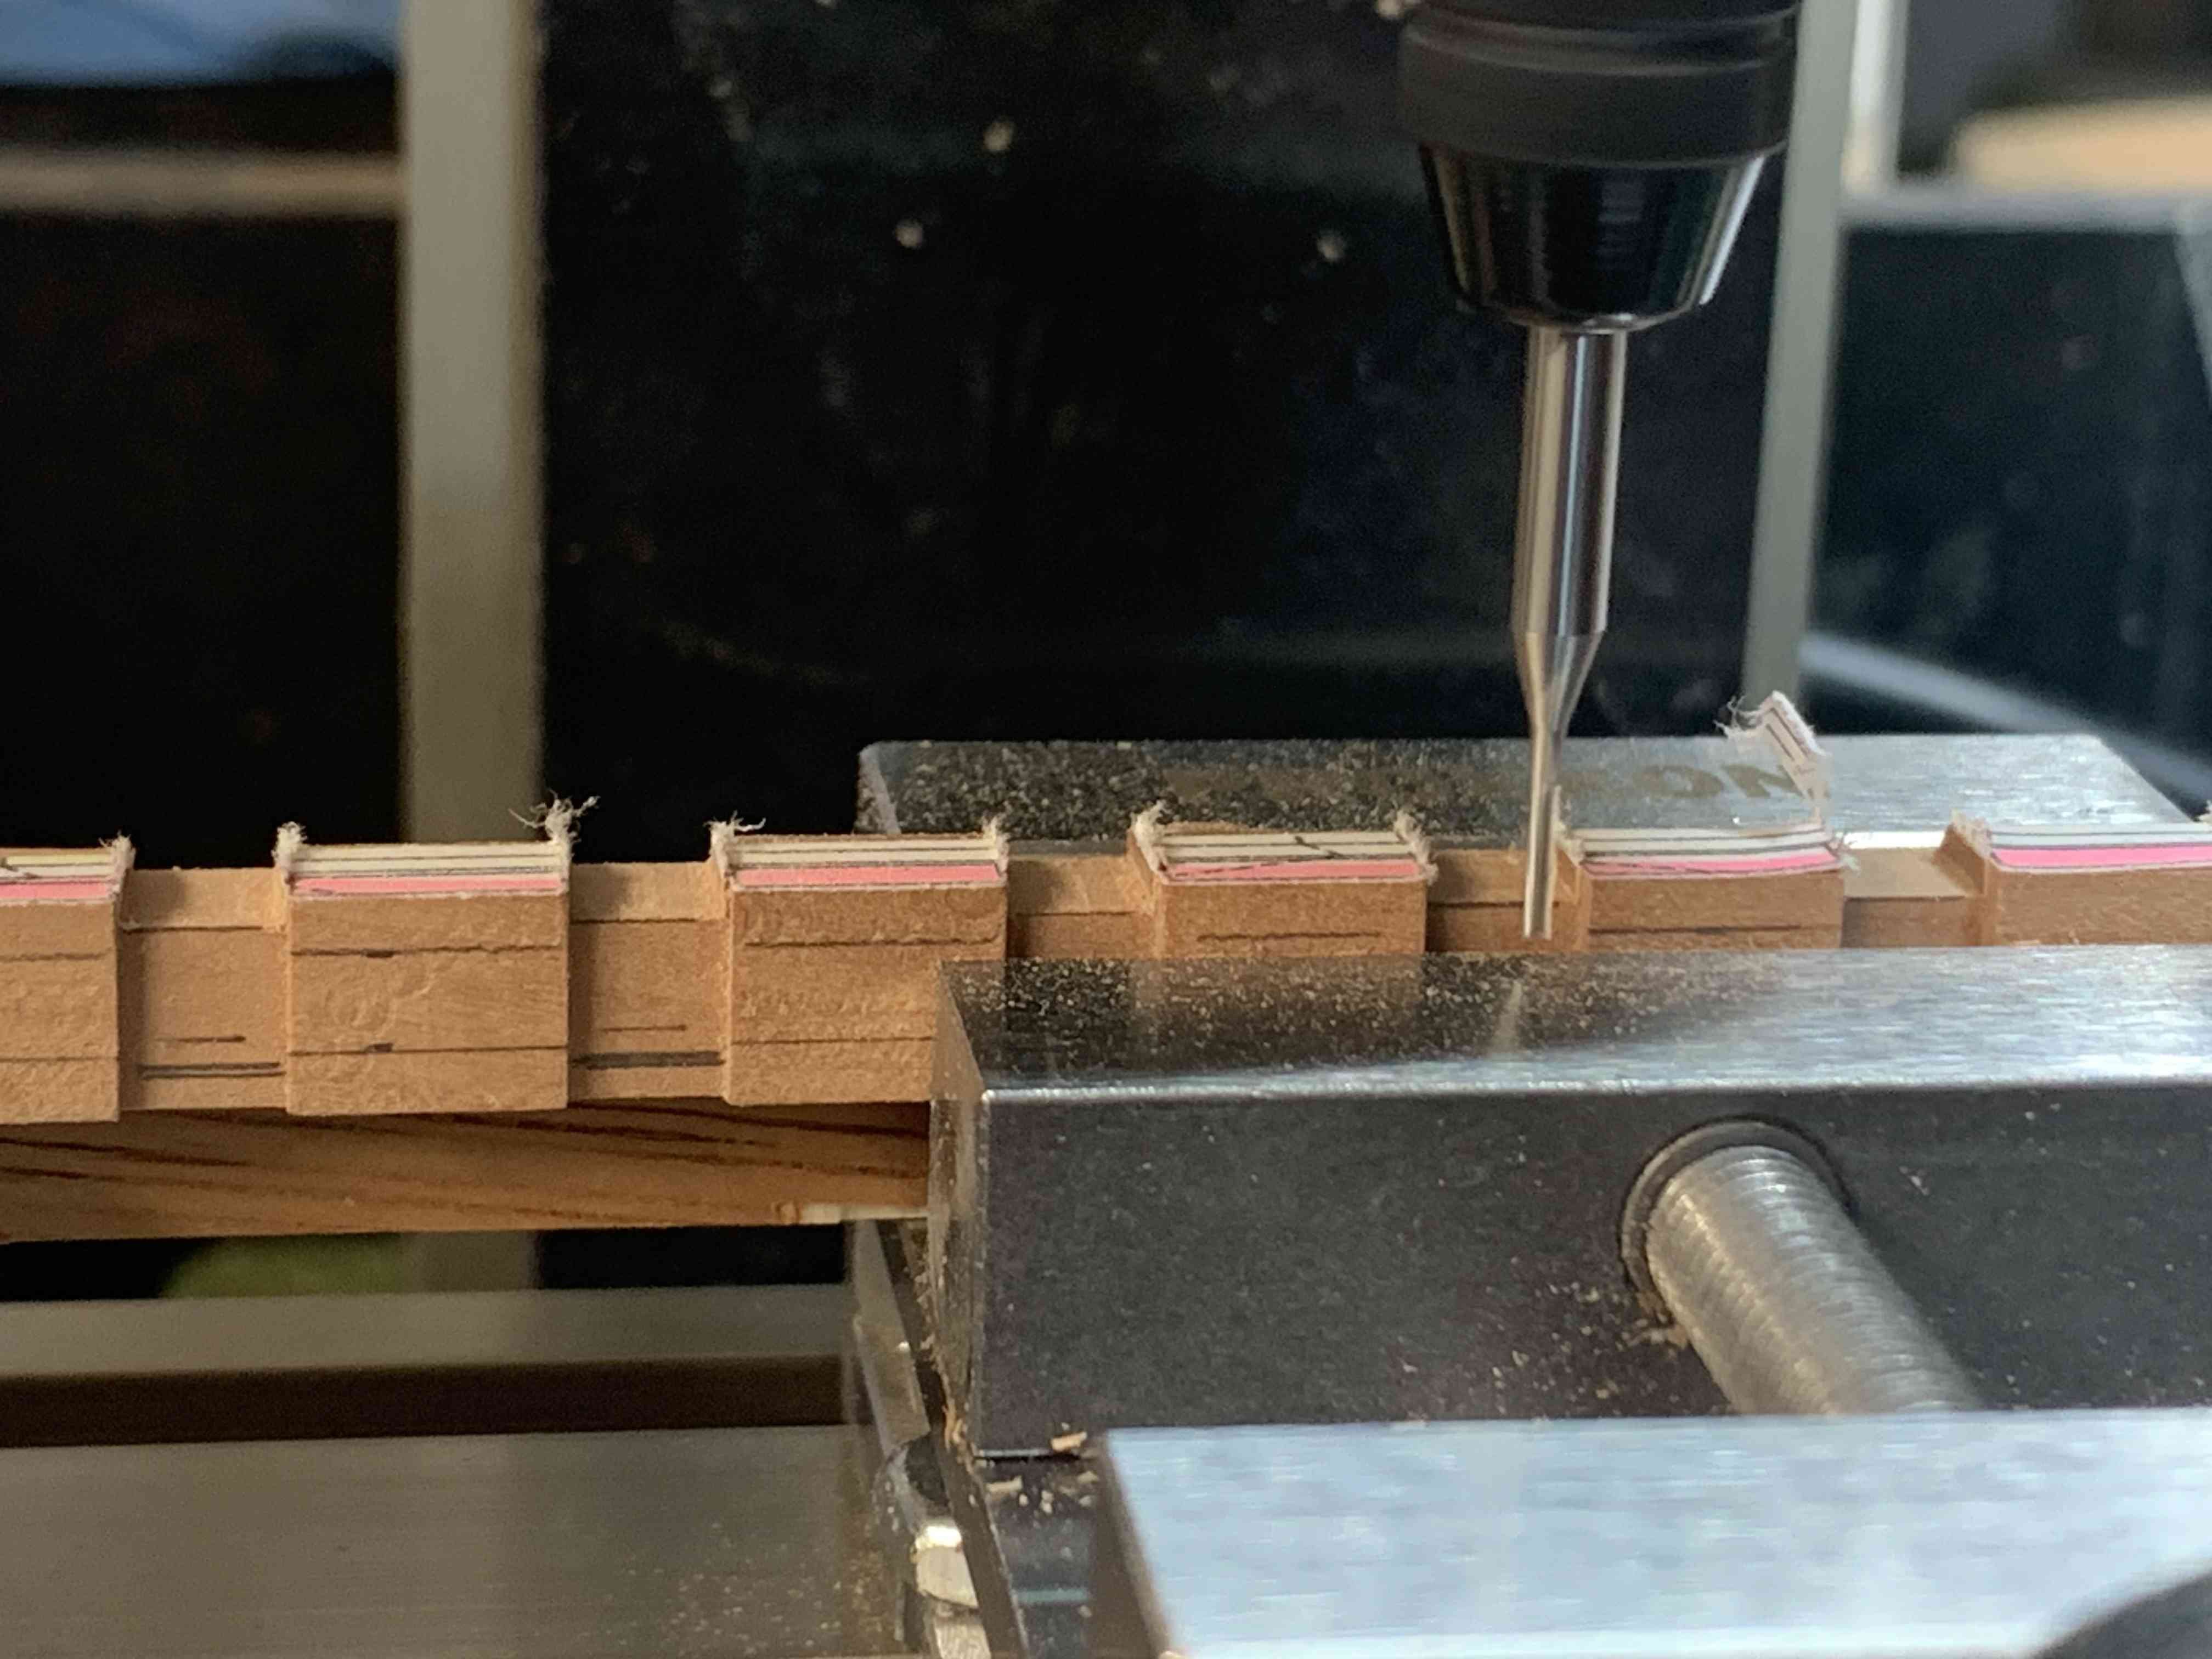
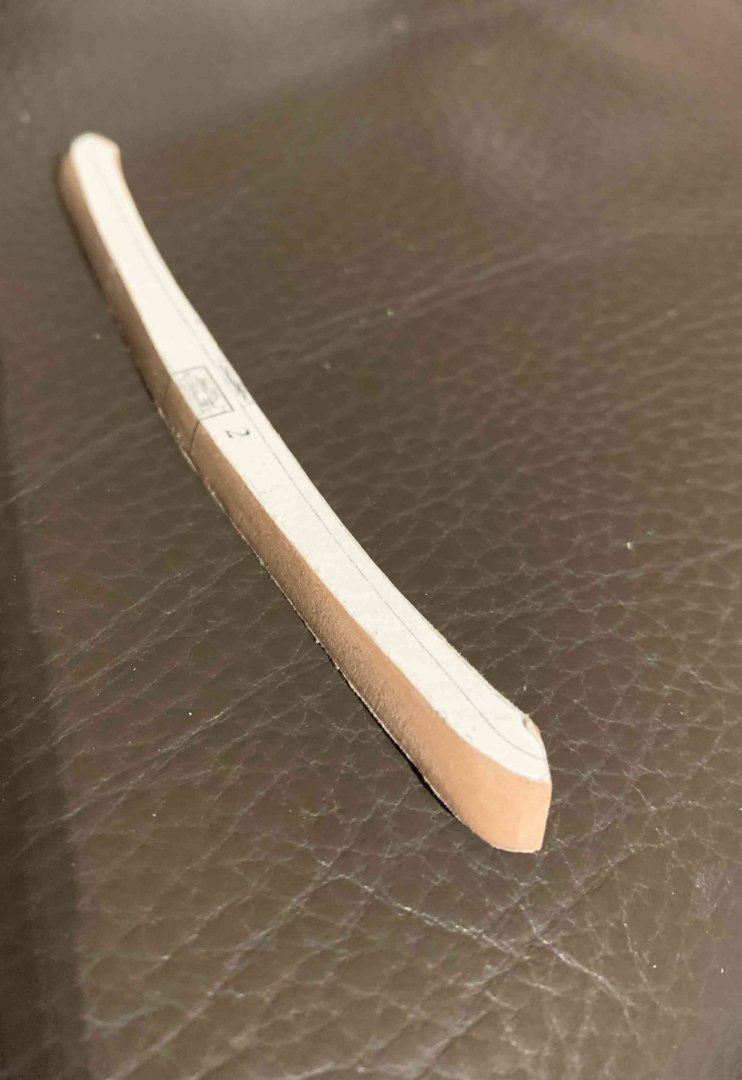
Keep working on timbers, fitting and testing.. I don't have angled wise for my proxxon mill so I had to be a bit creative by using mill for horizontal cuts for keel notches, as much as I can, then with a hand saw cutting a angled line on both ends and finishing up with scalpel removing excess wood. Then filling, testing, filling, testing... etc... So far #2 and #3 were 90% ready. still need to check with a plan to sand them a bit and #4 is made of thicker wood so need a bit of sanding before fitting exercise.. Happy modelling.

-
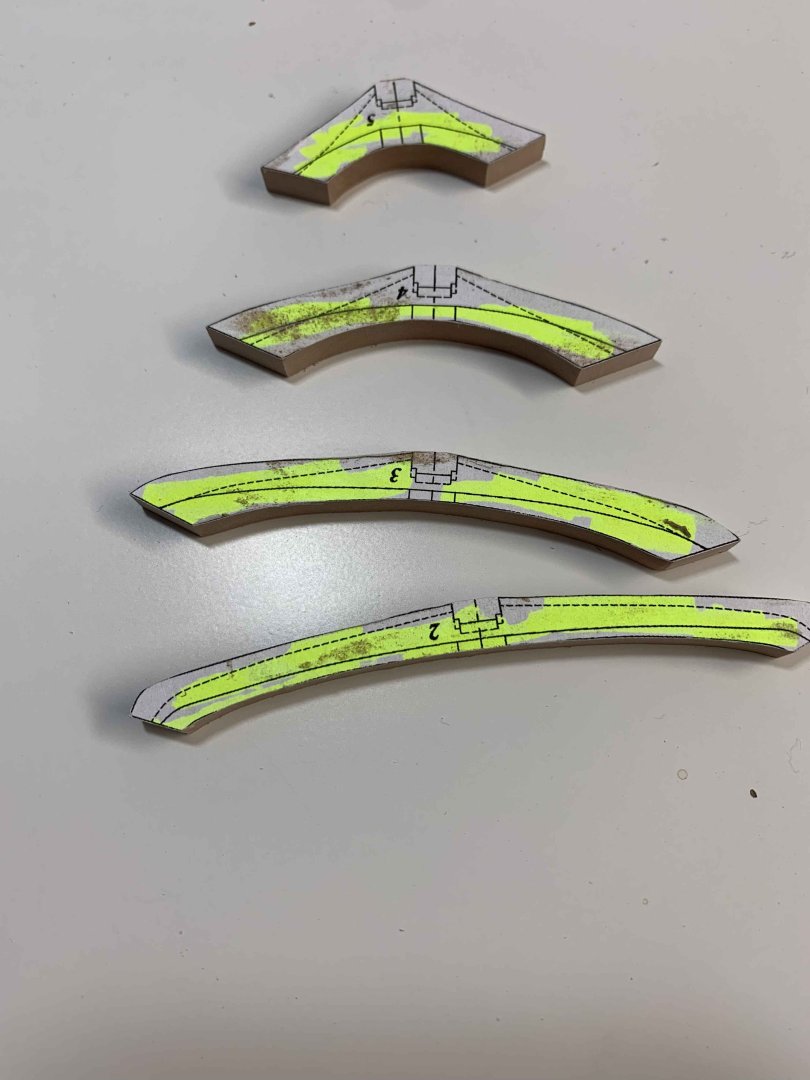
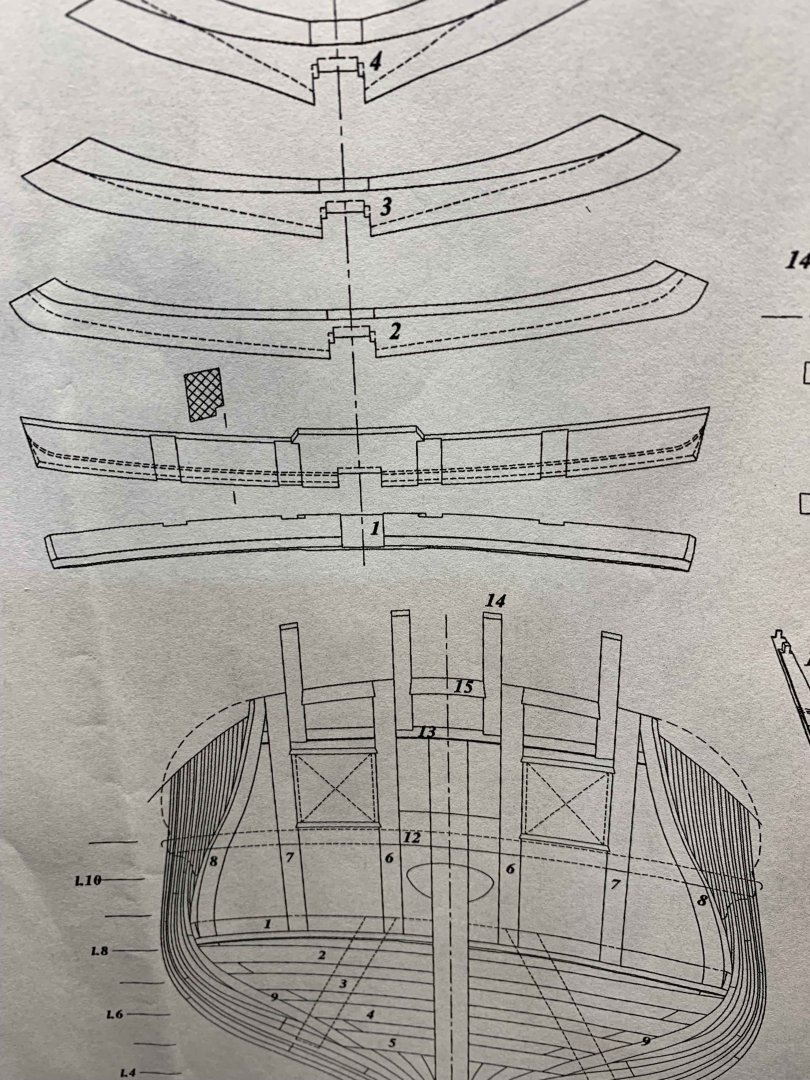
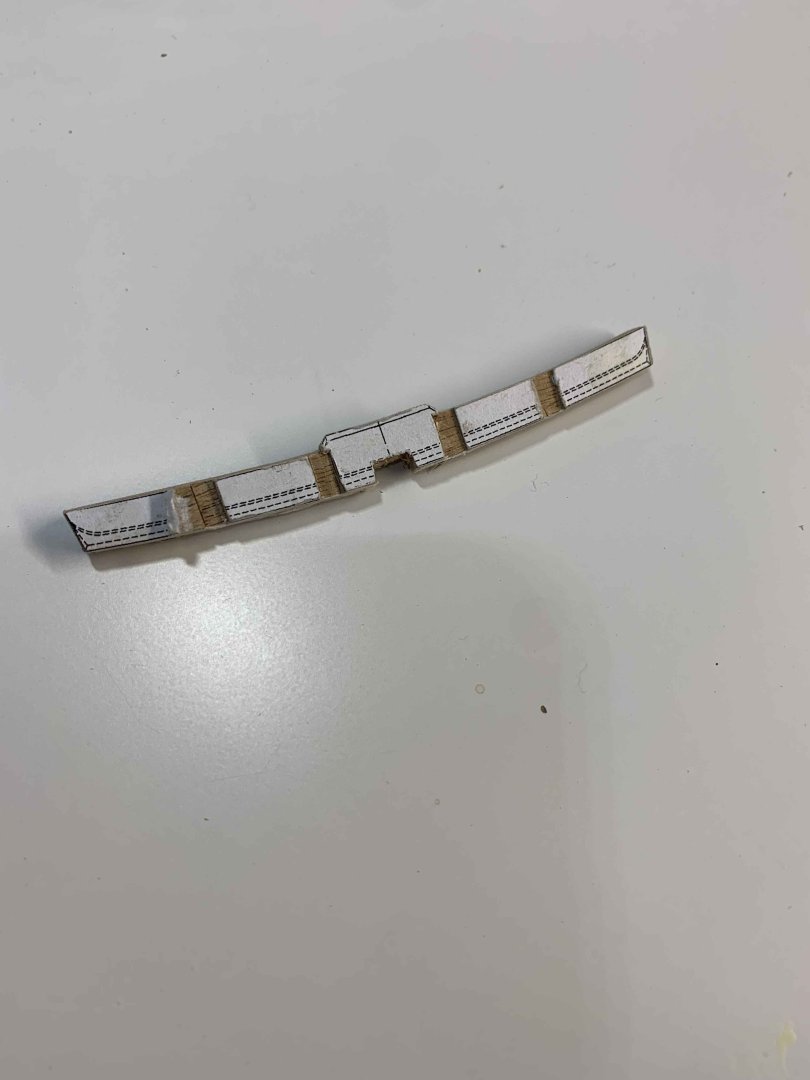
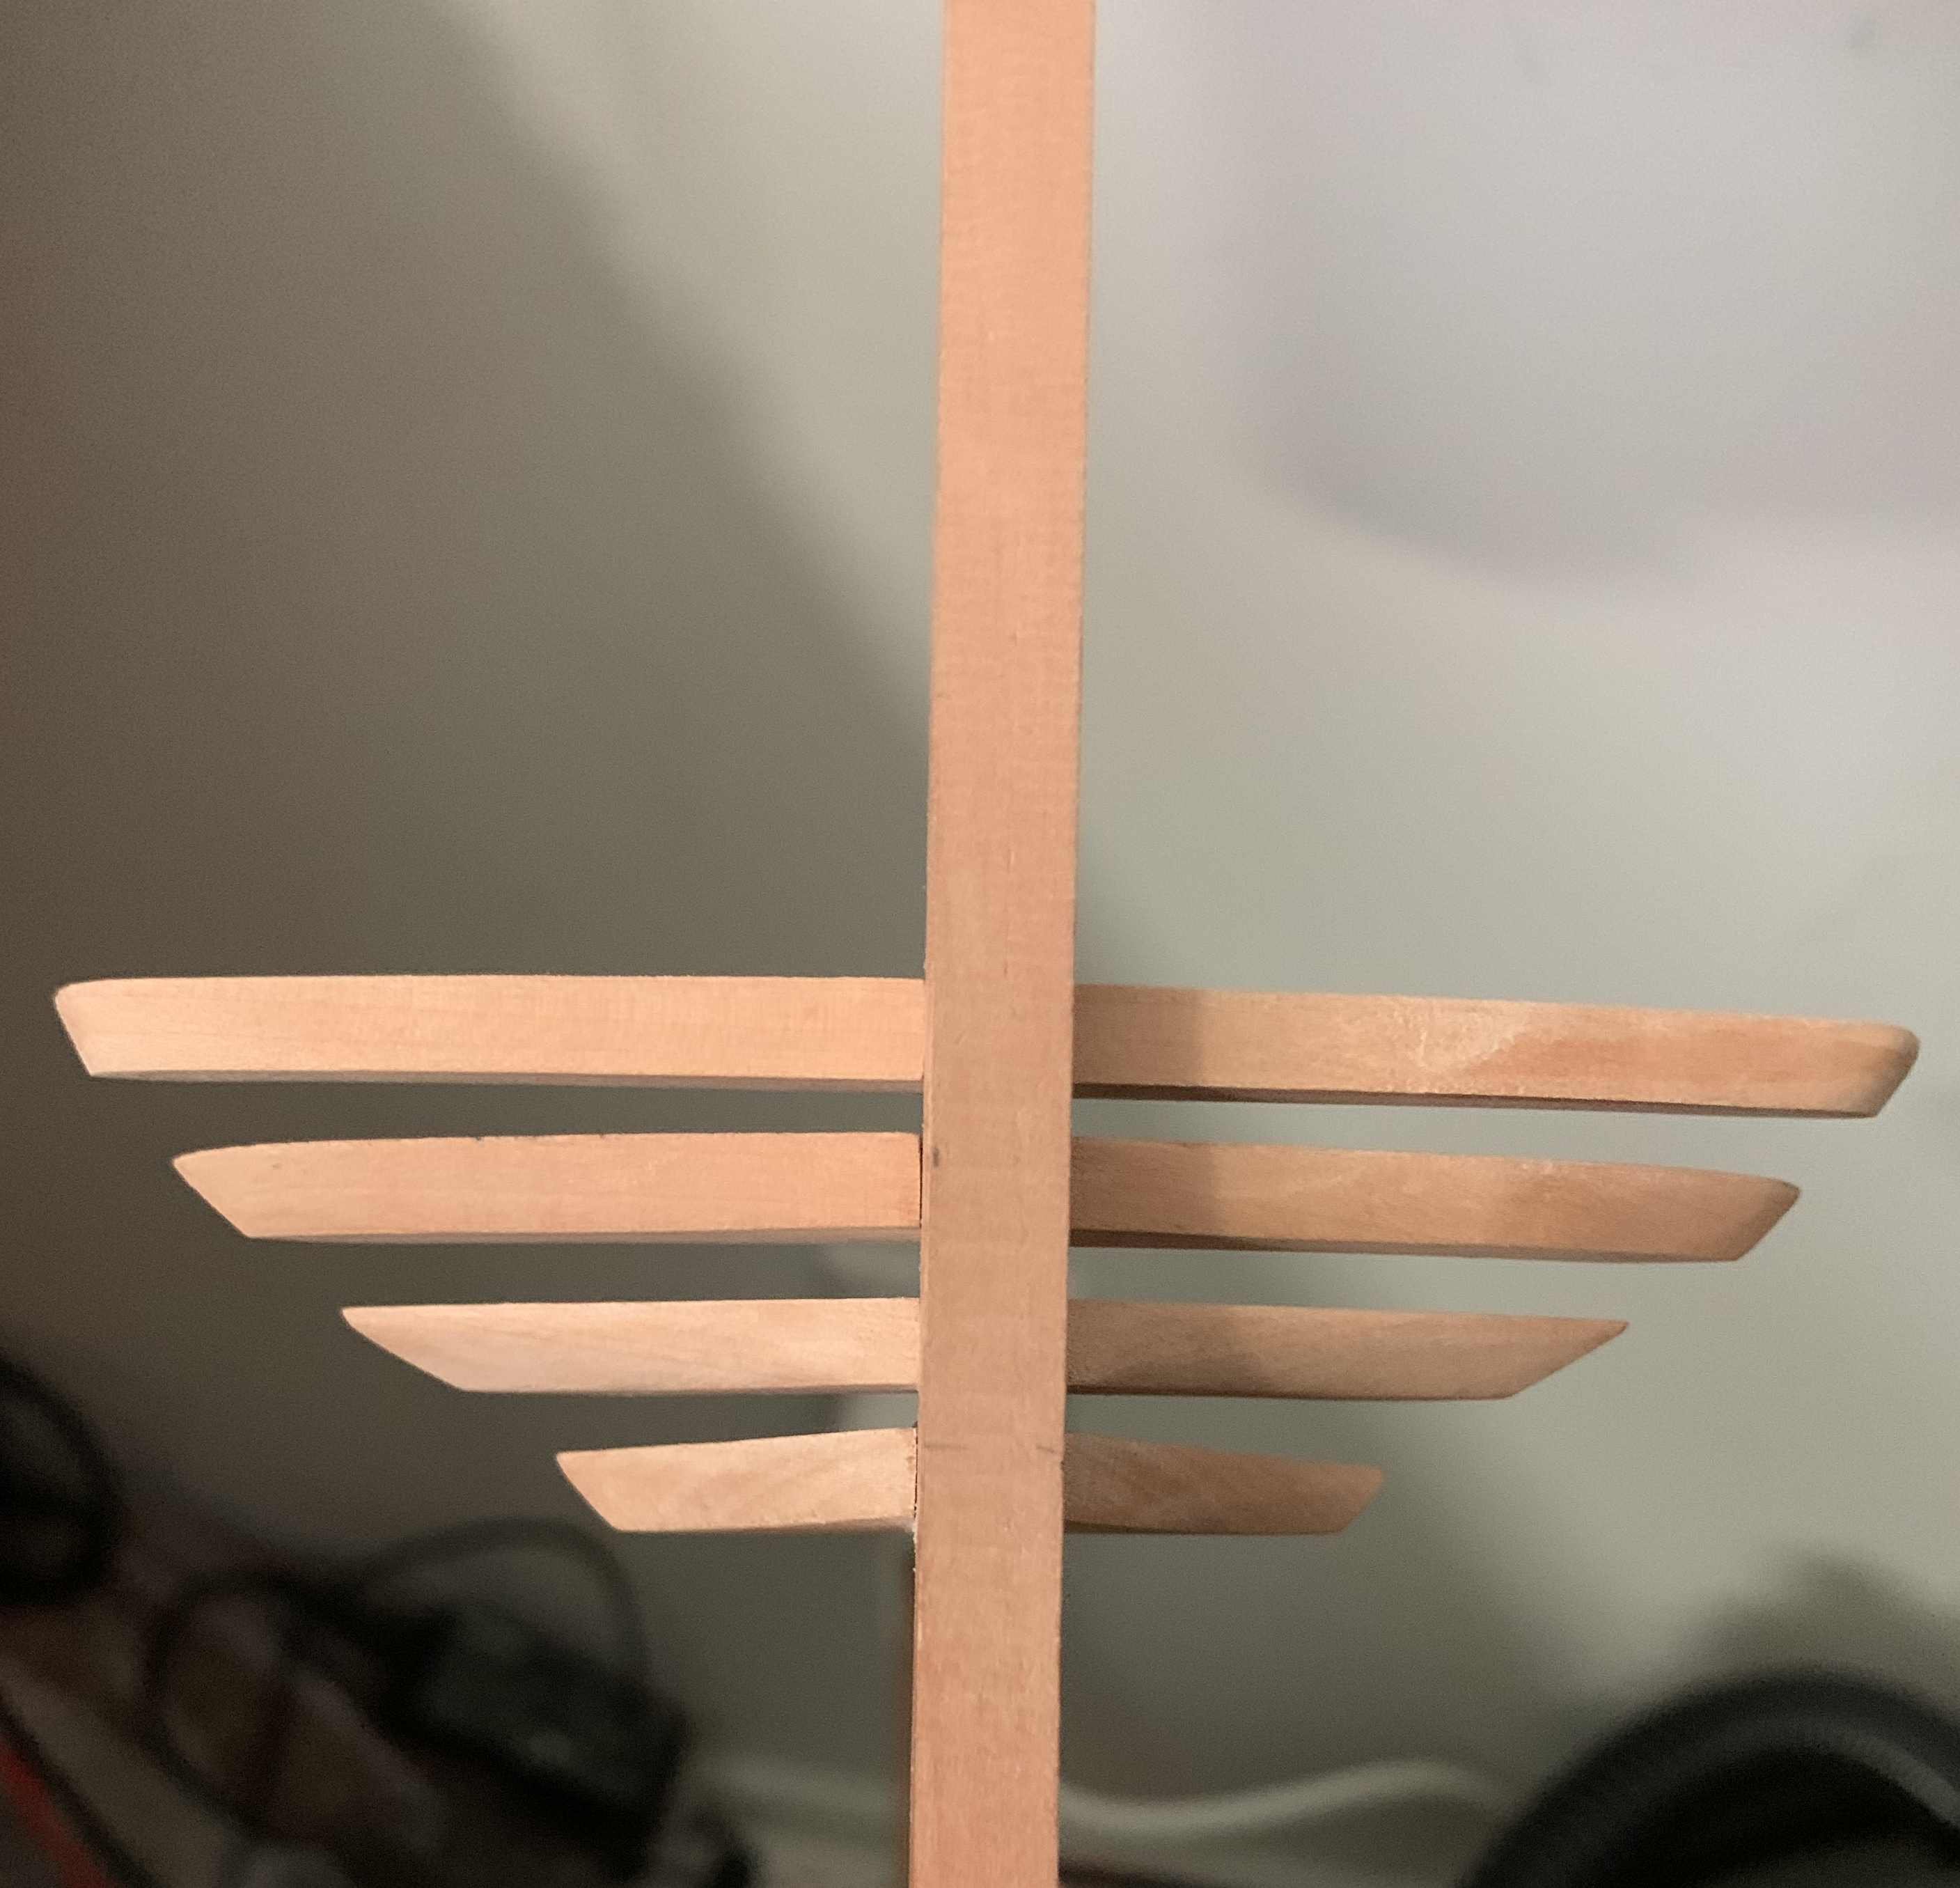
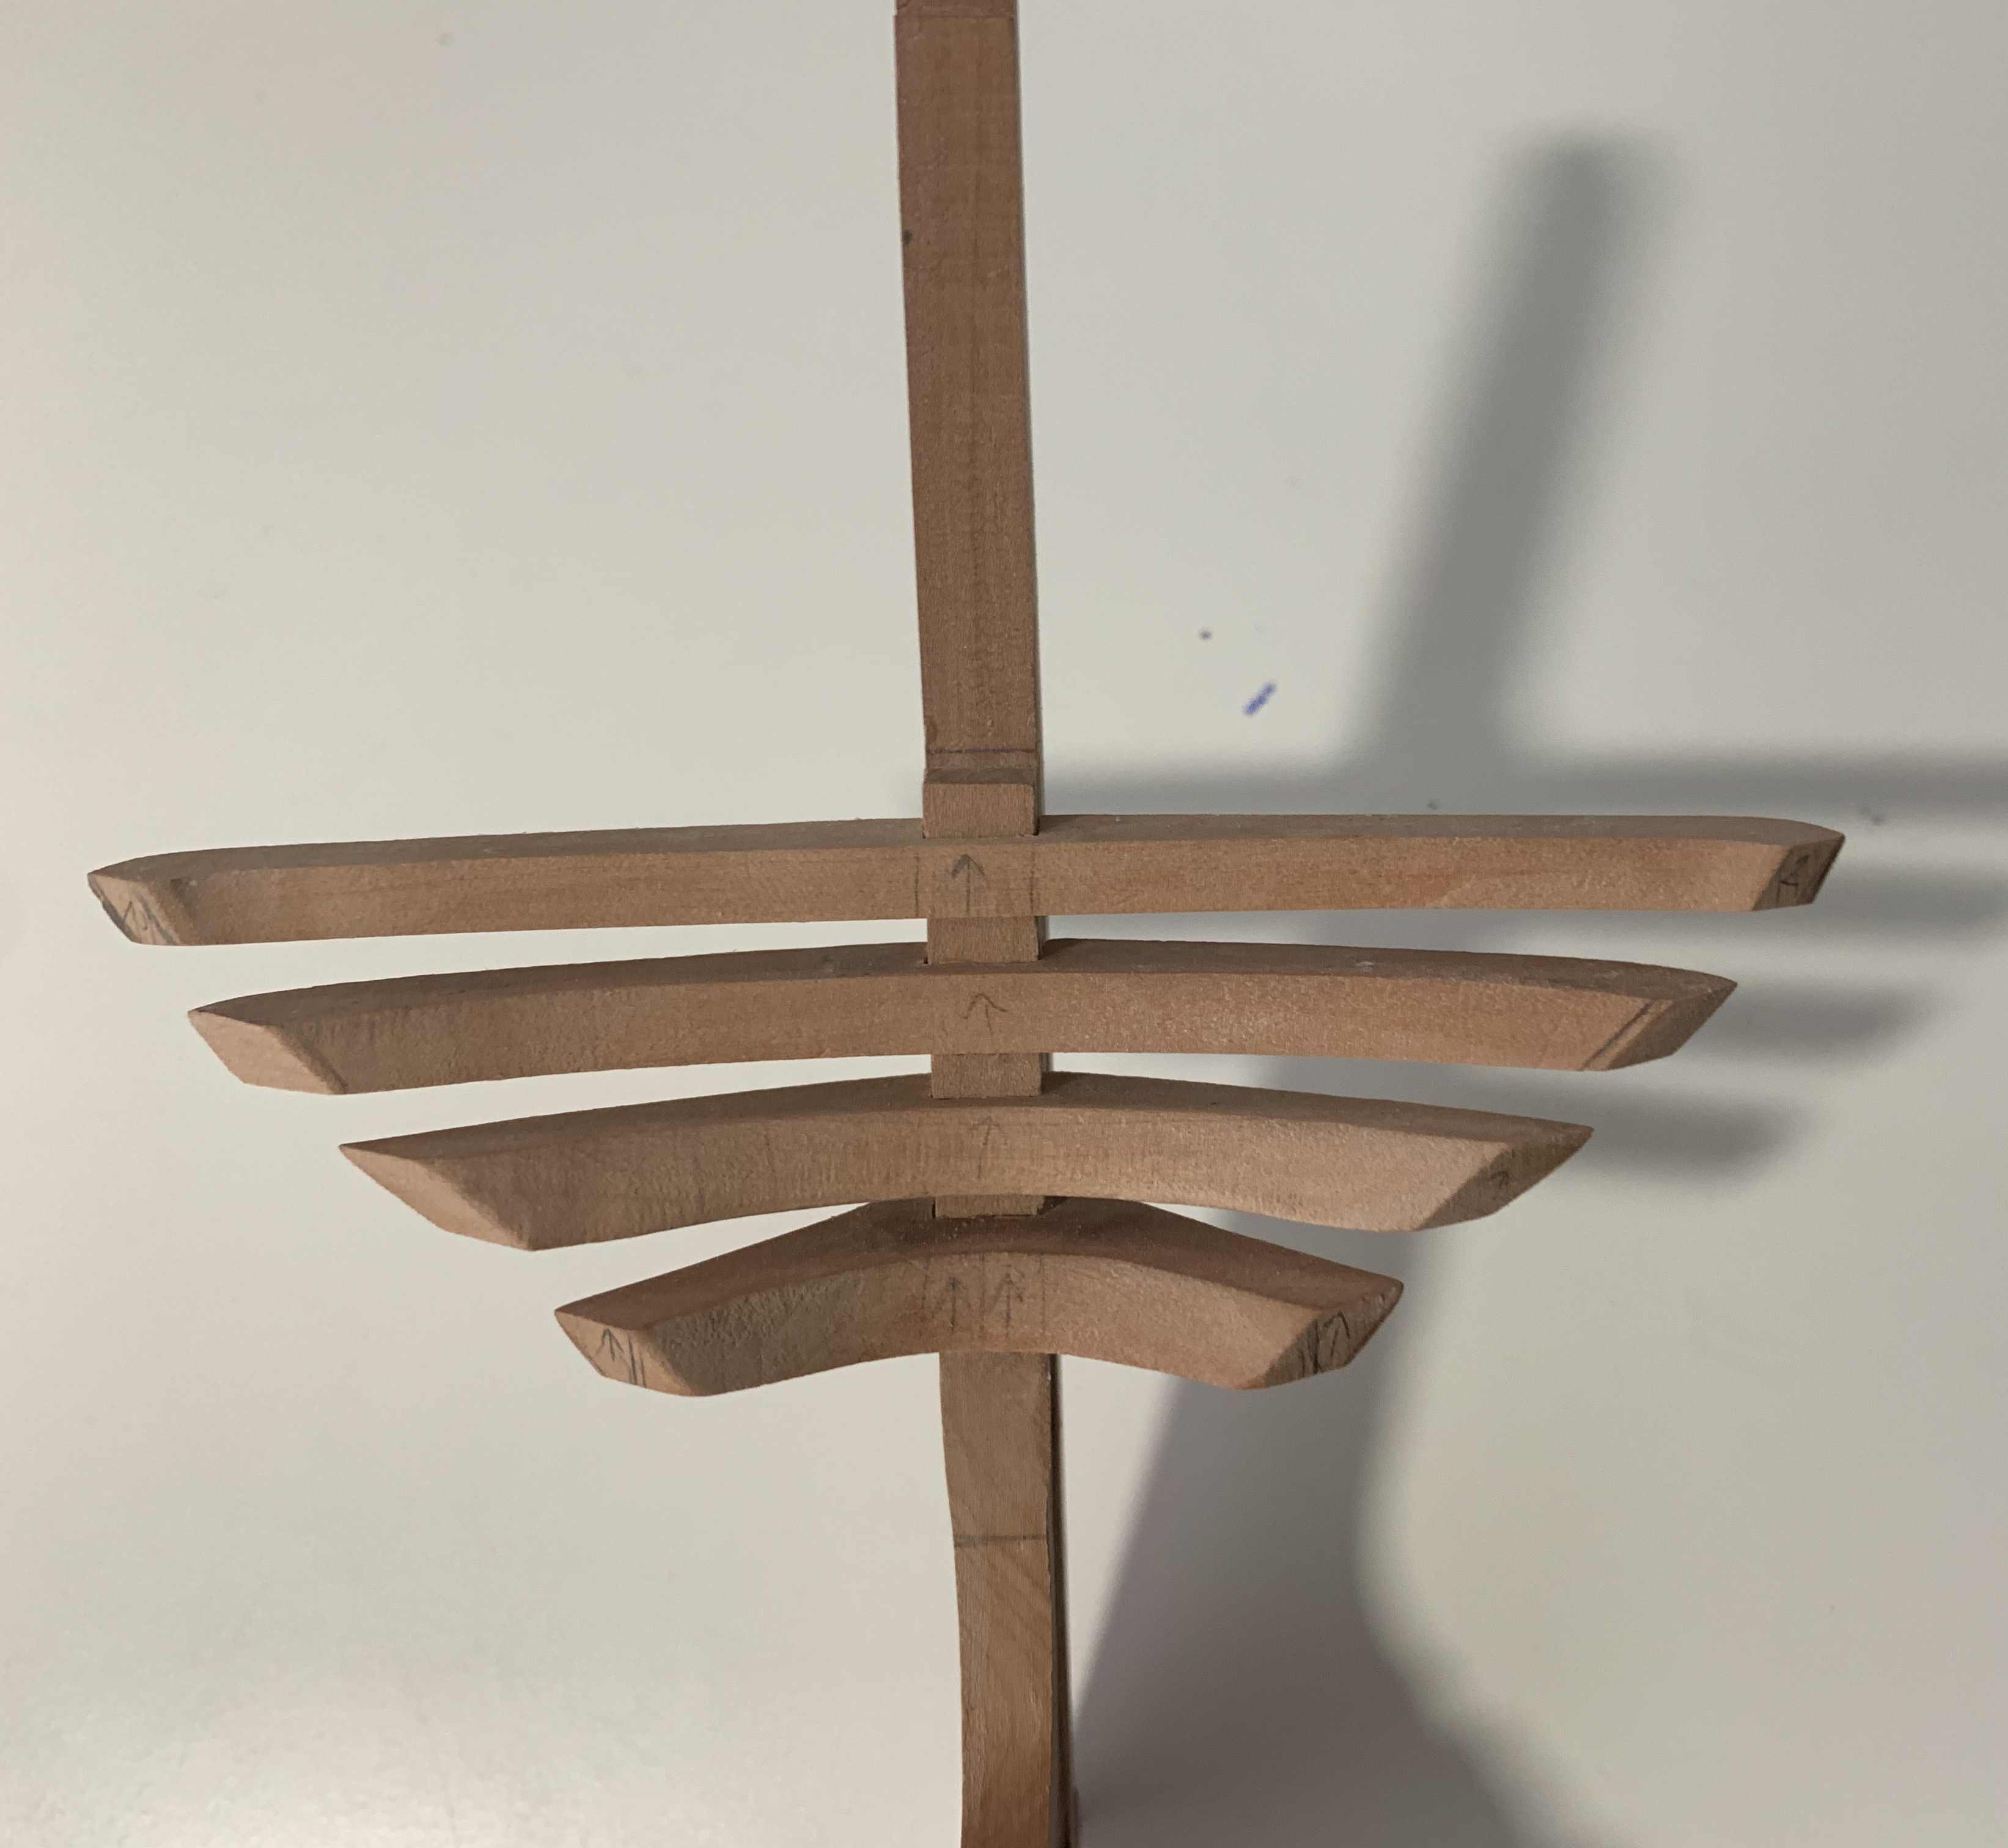
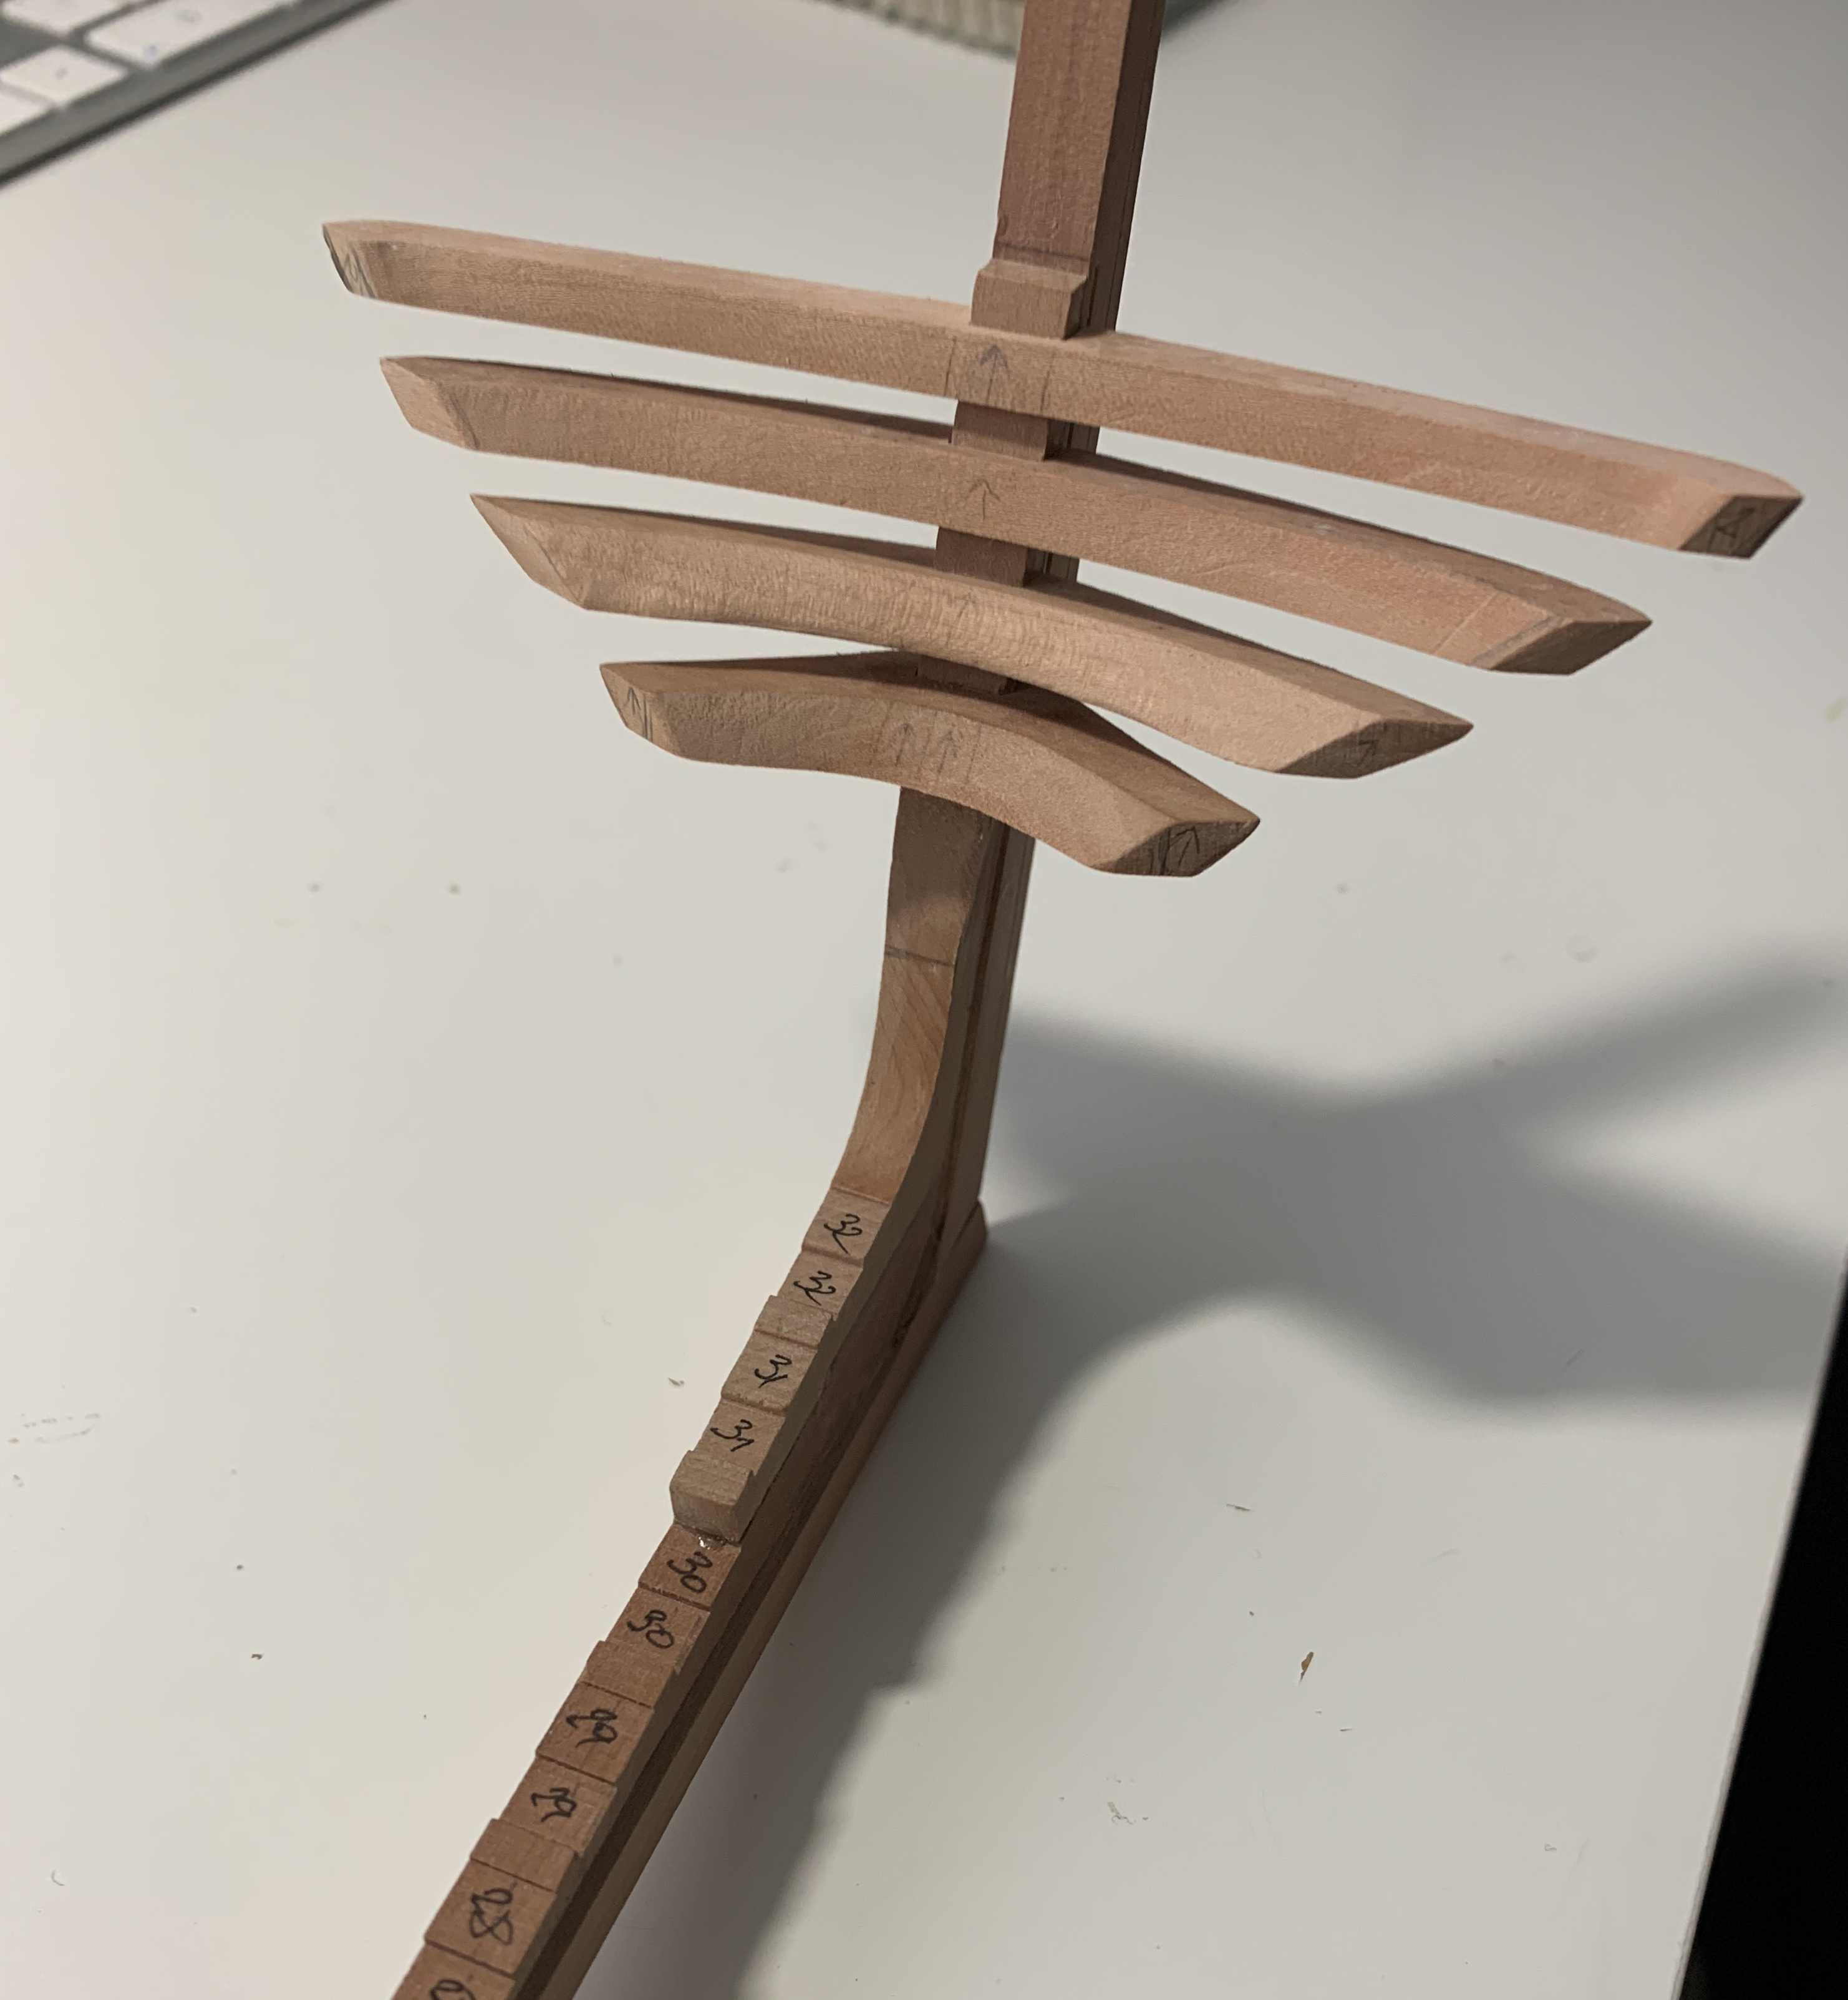
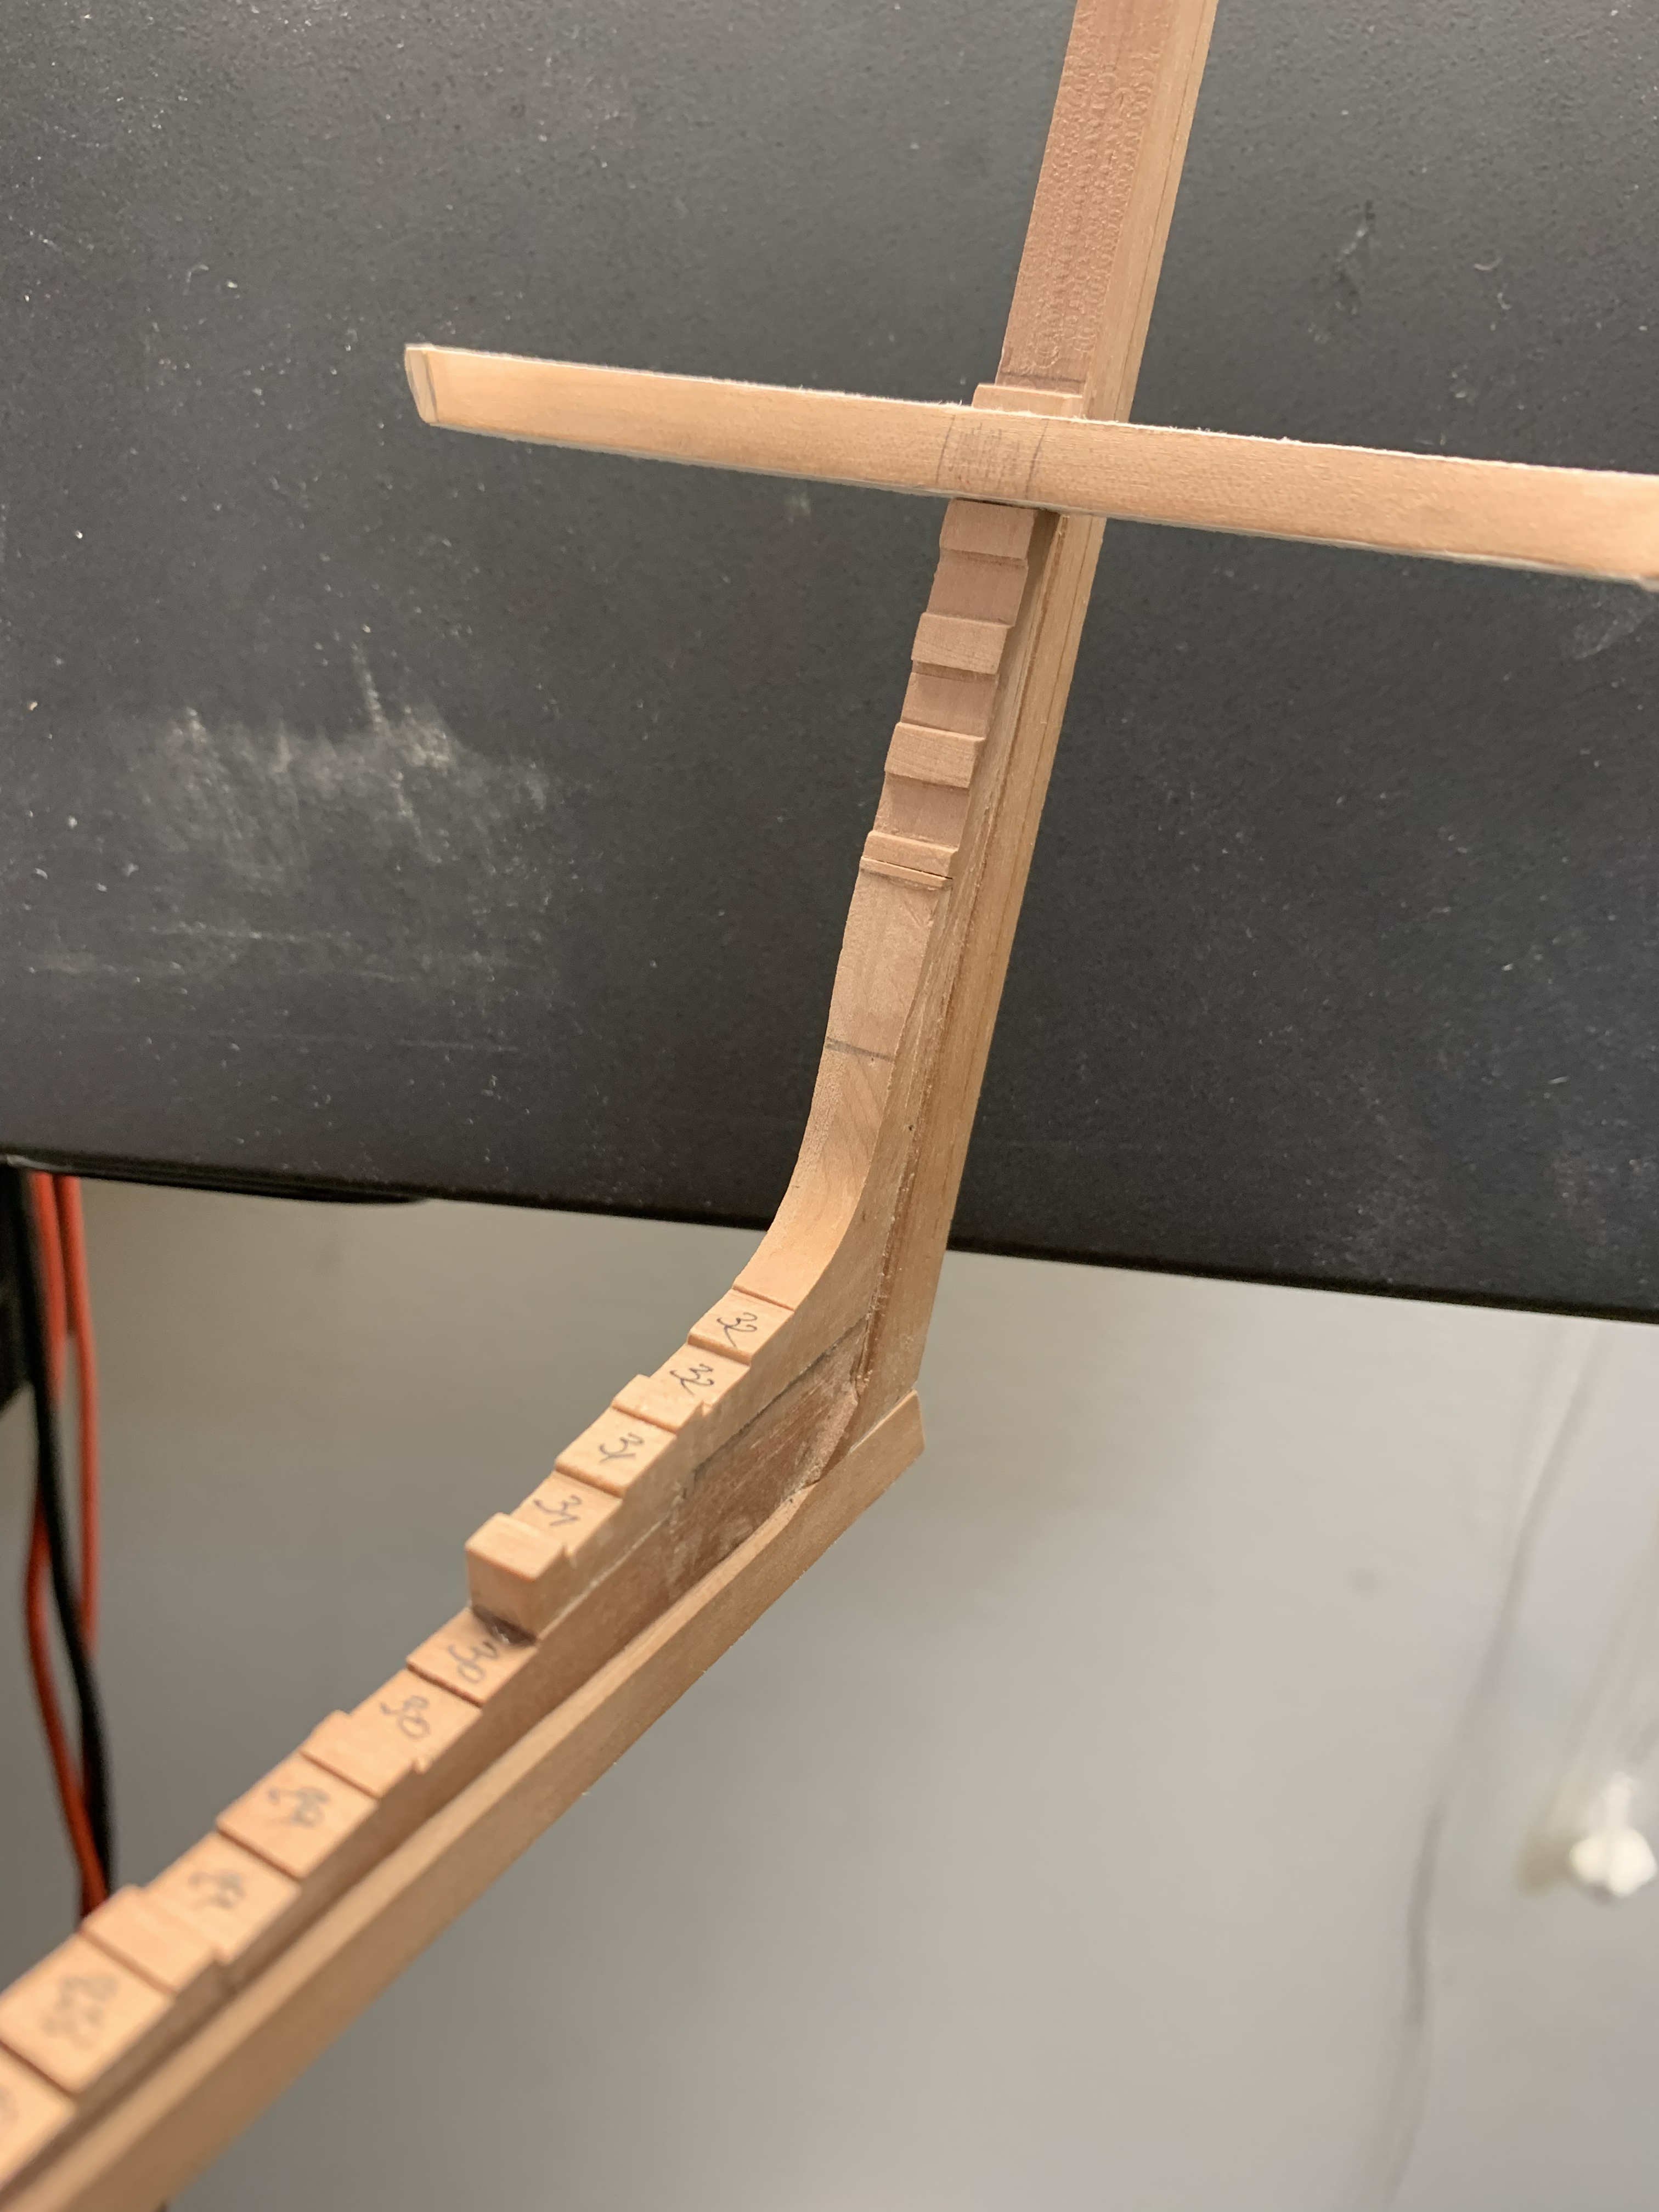
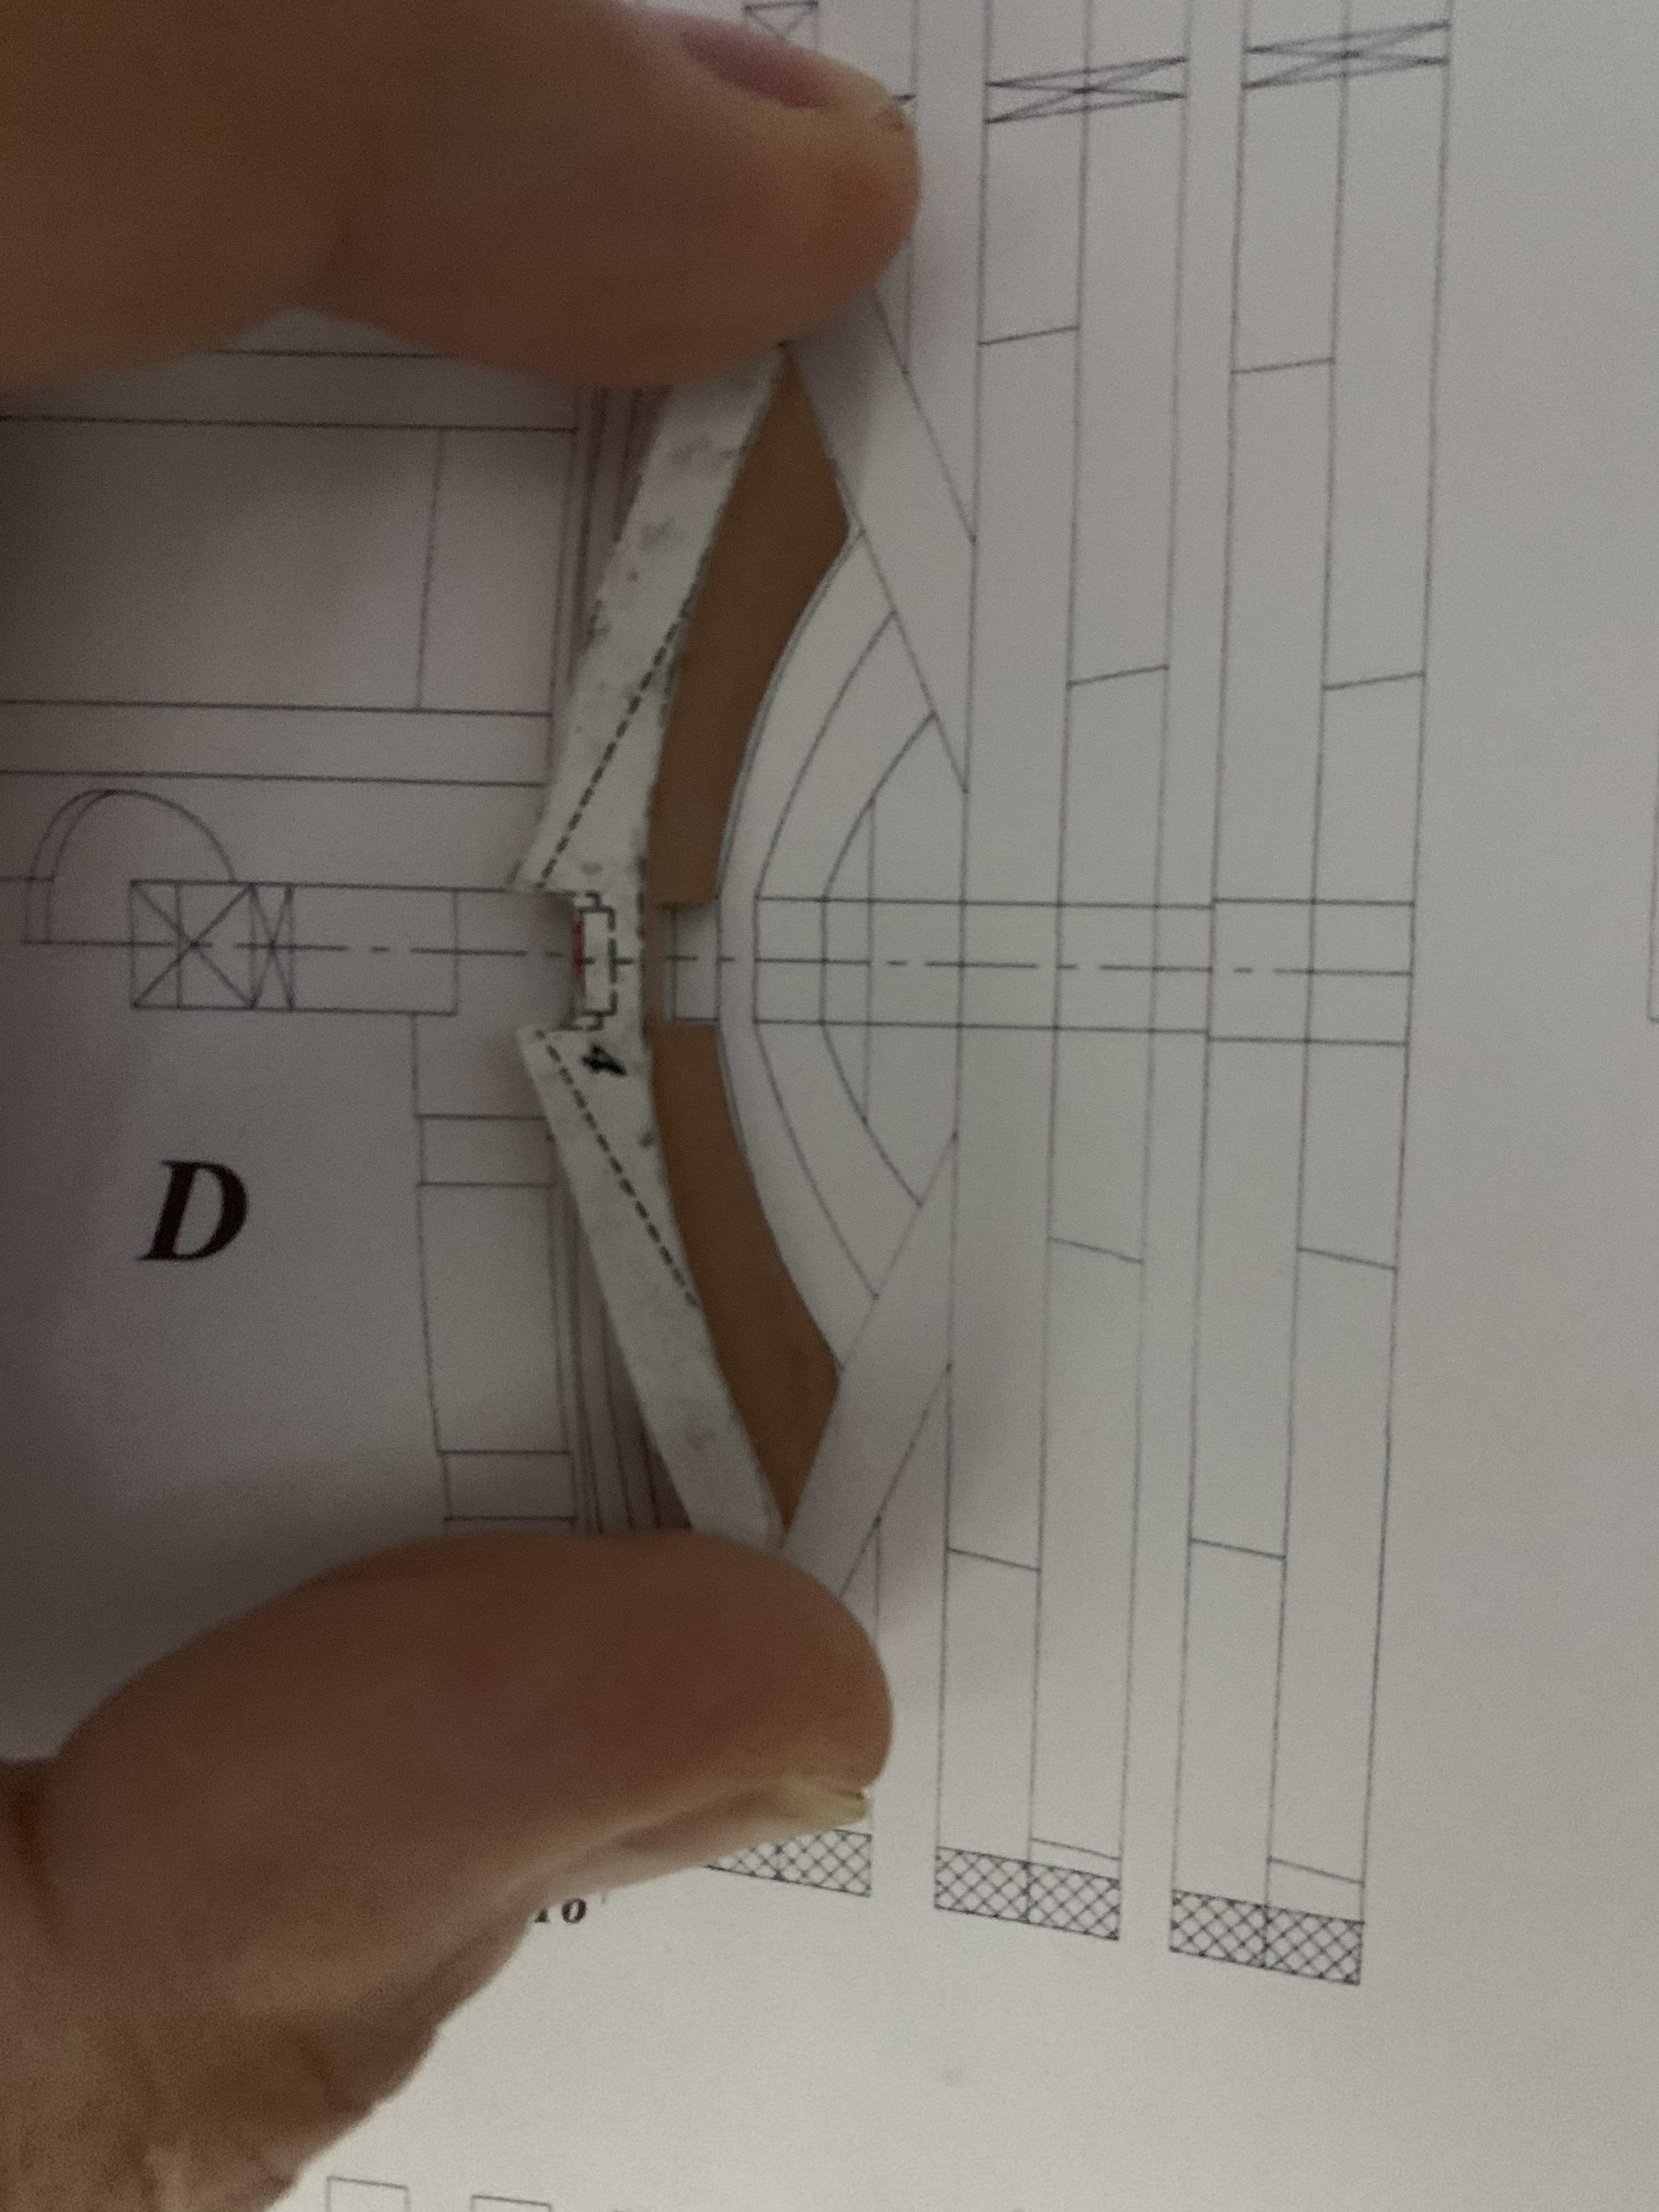
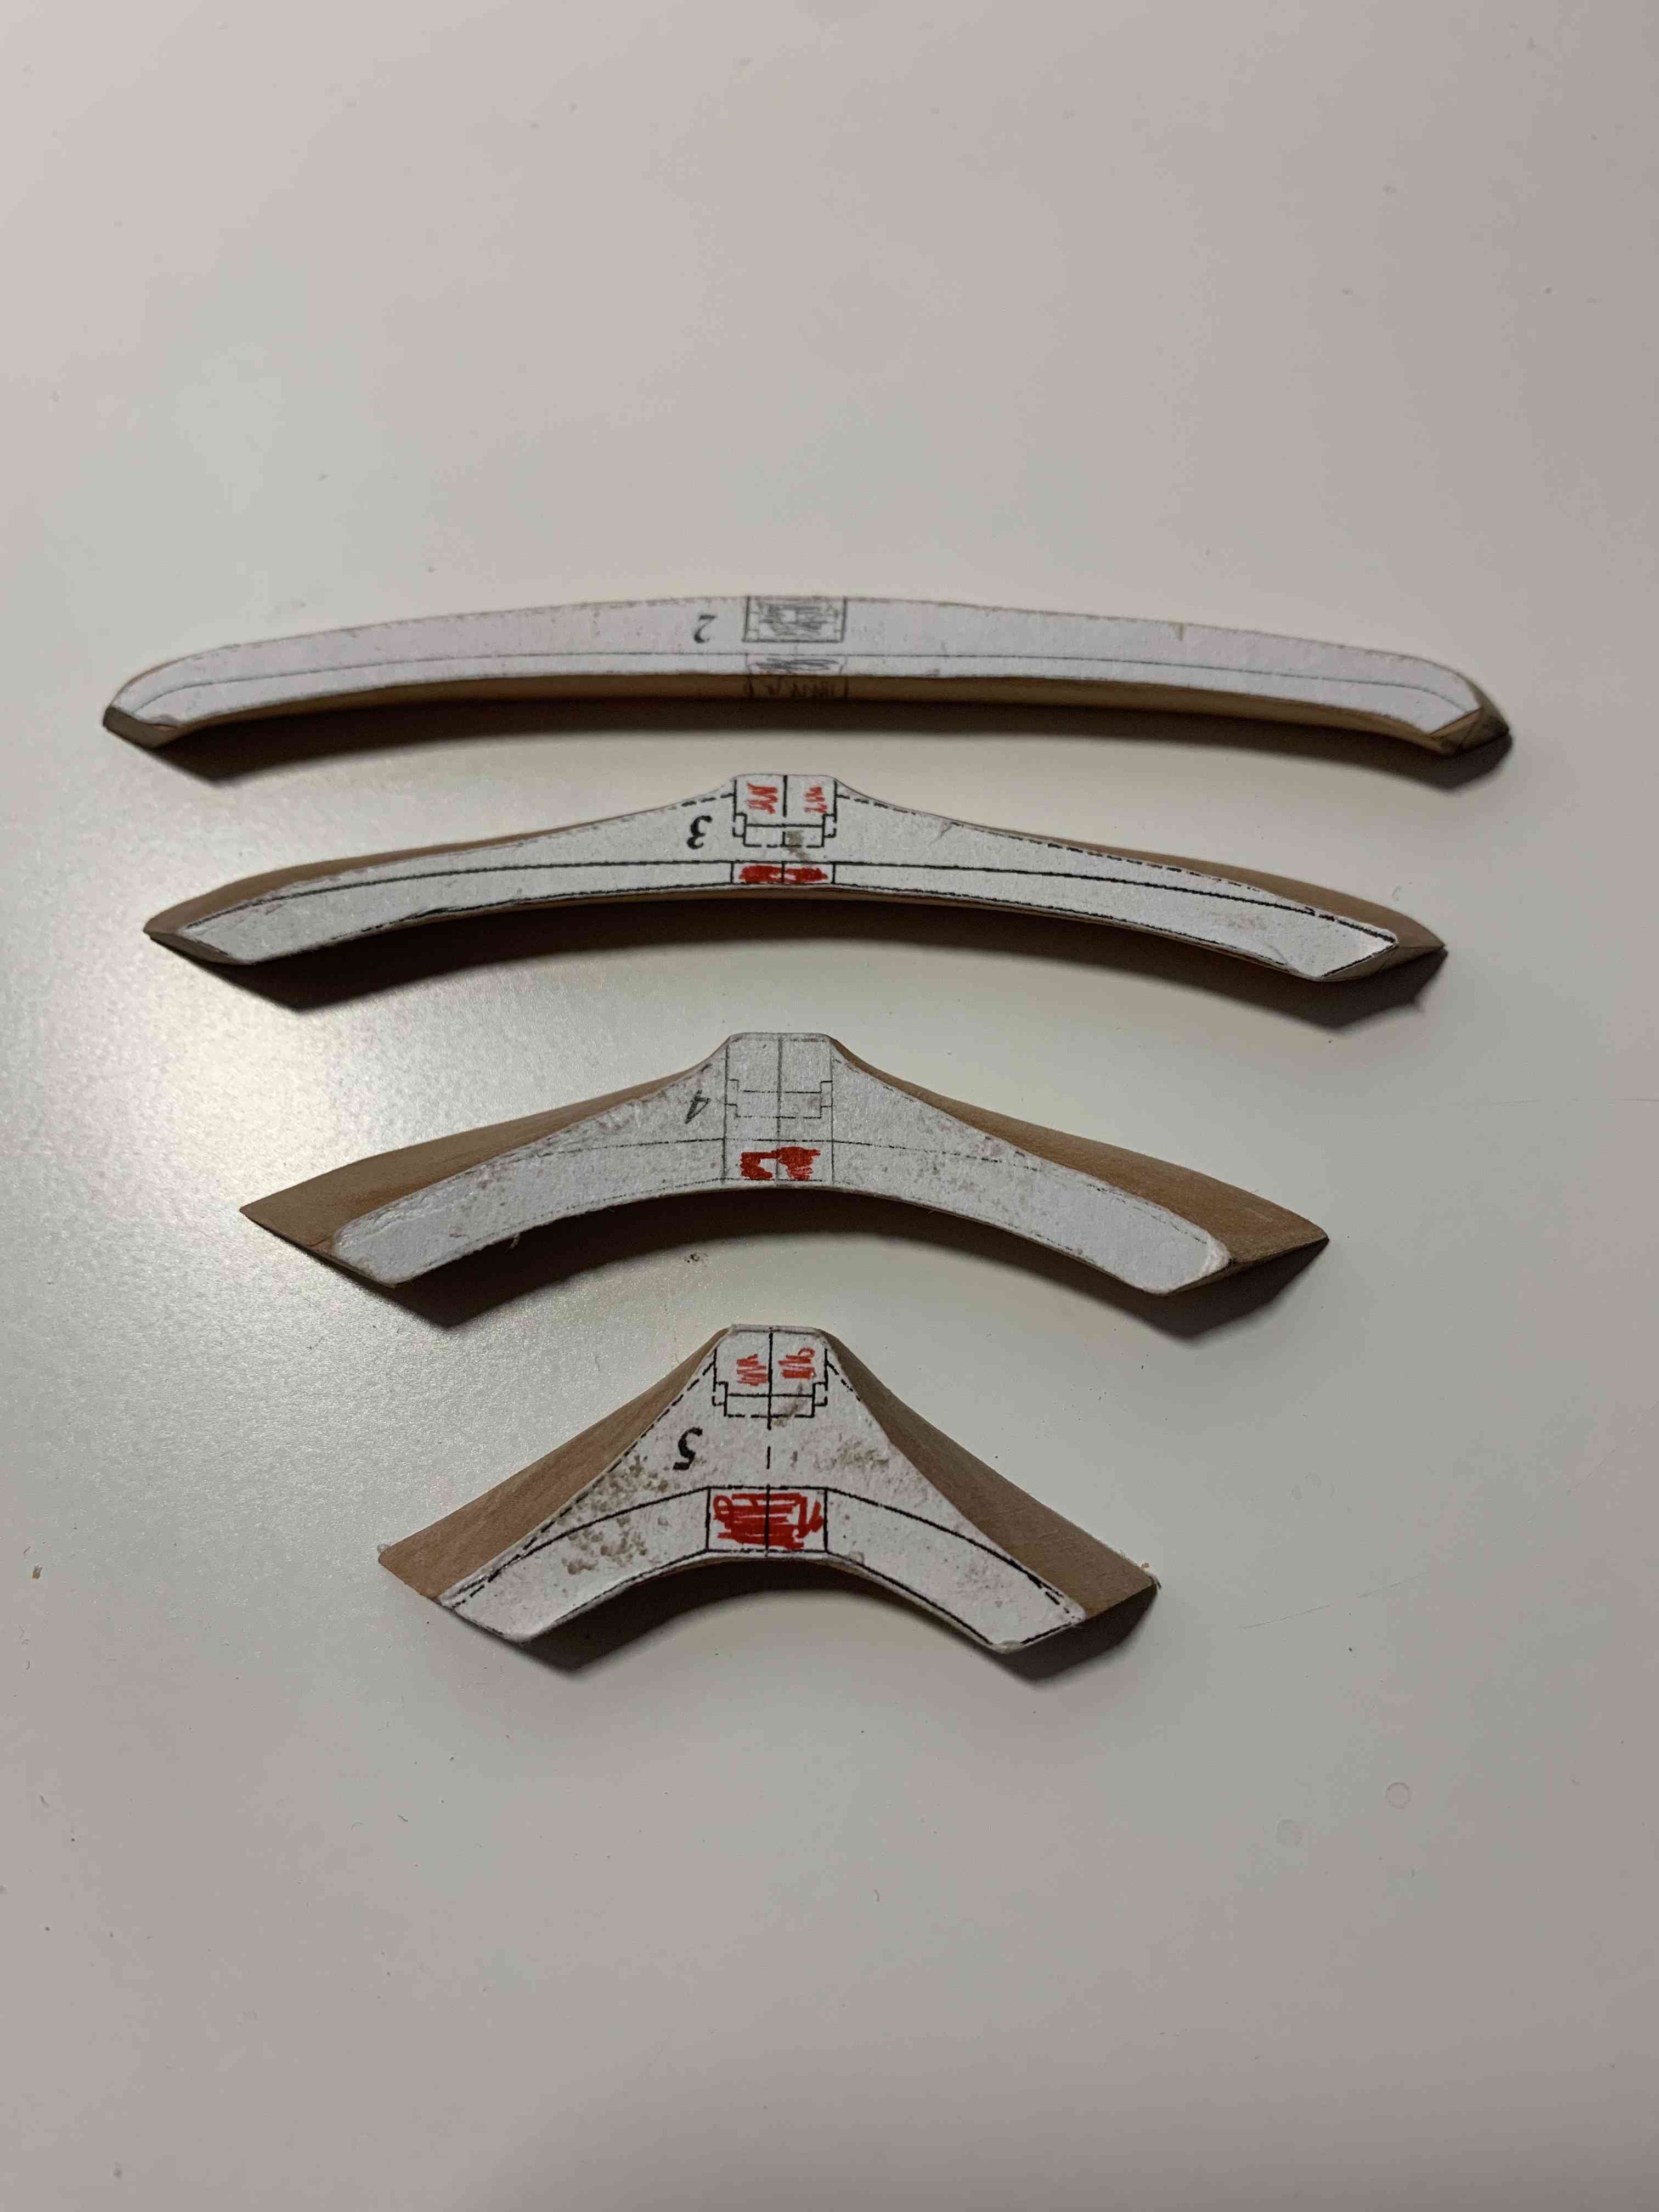
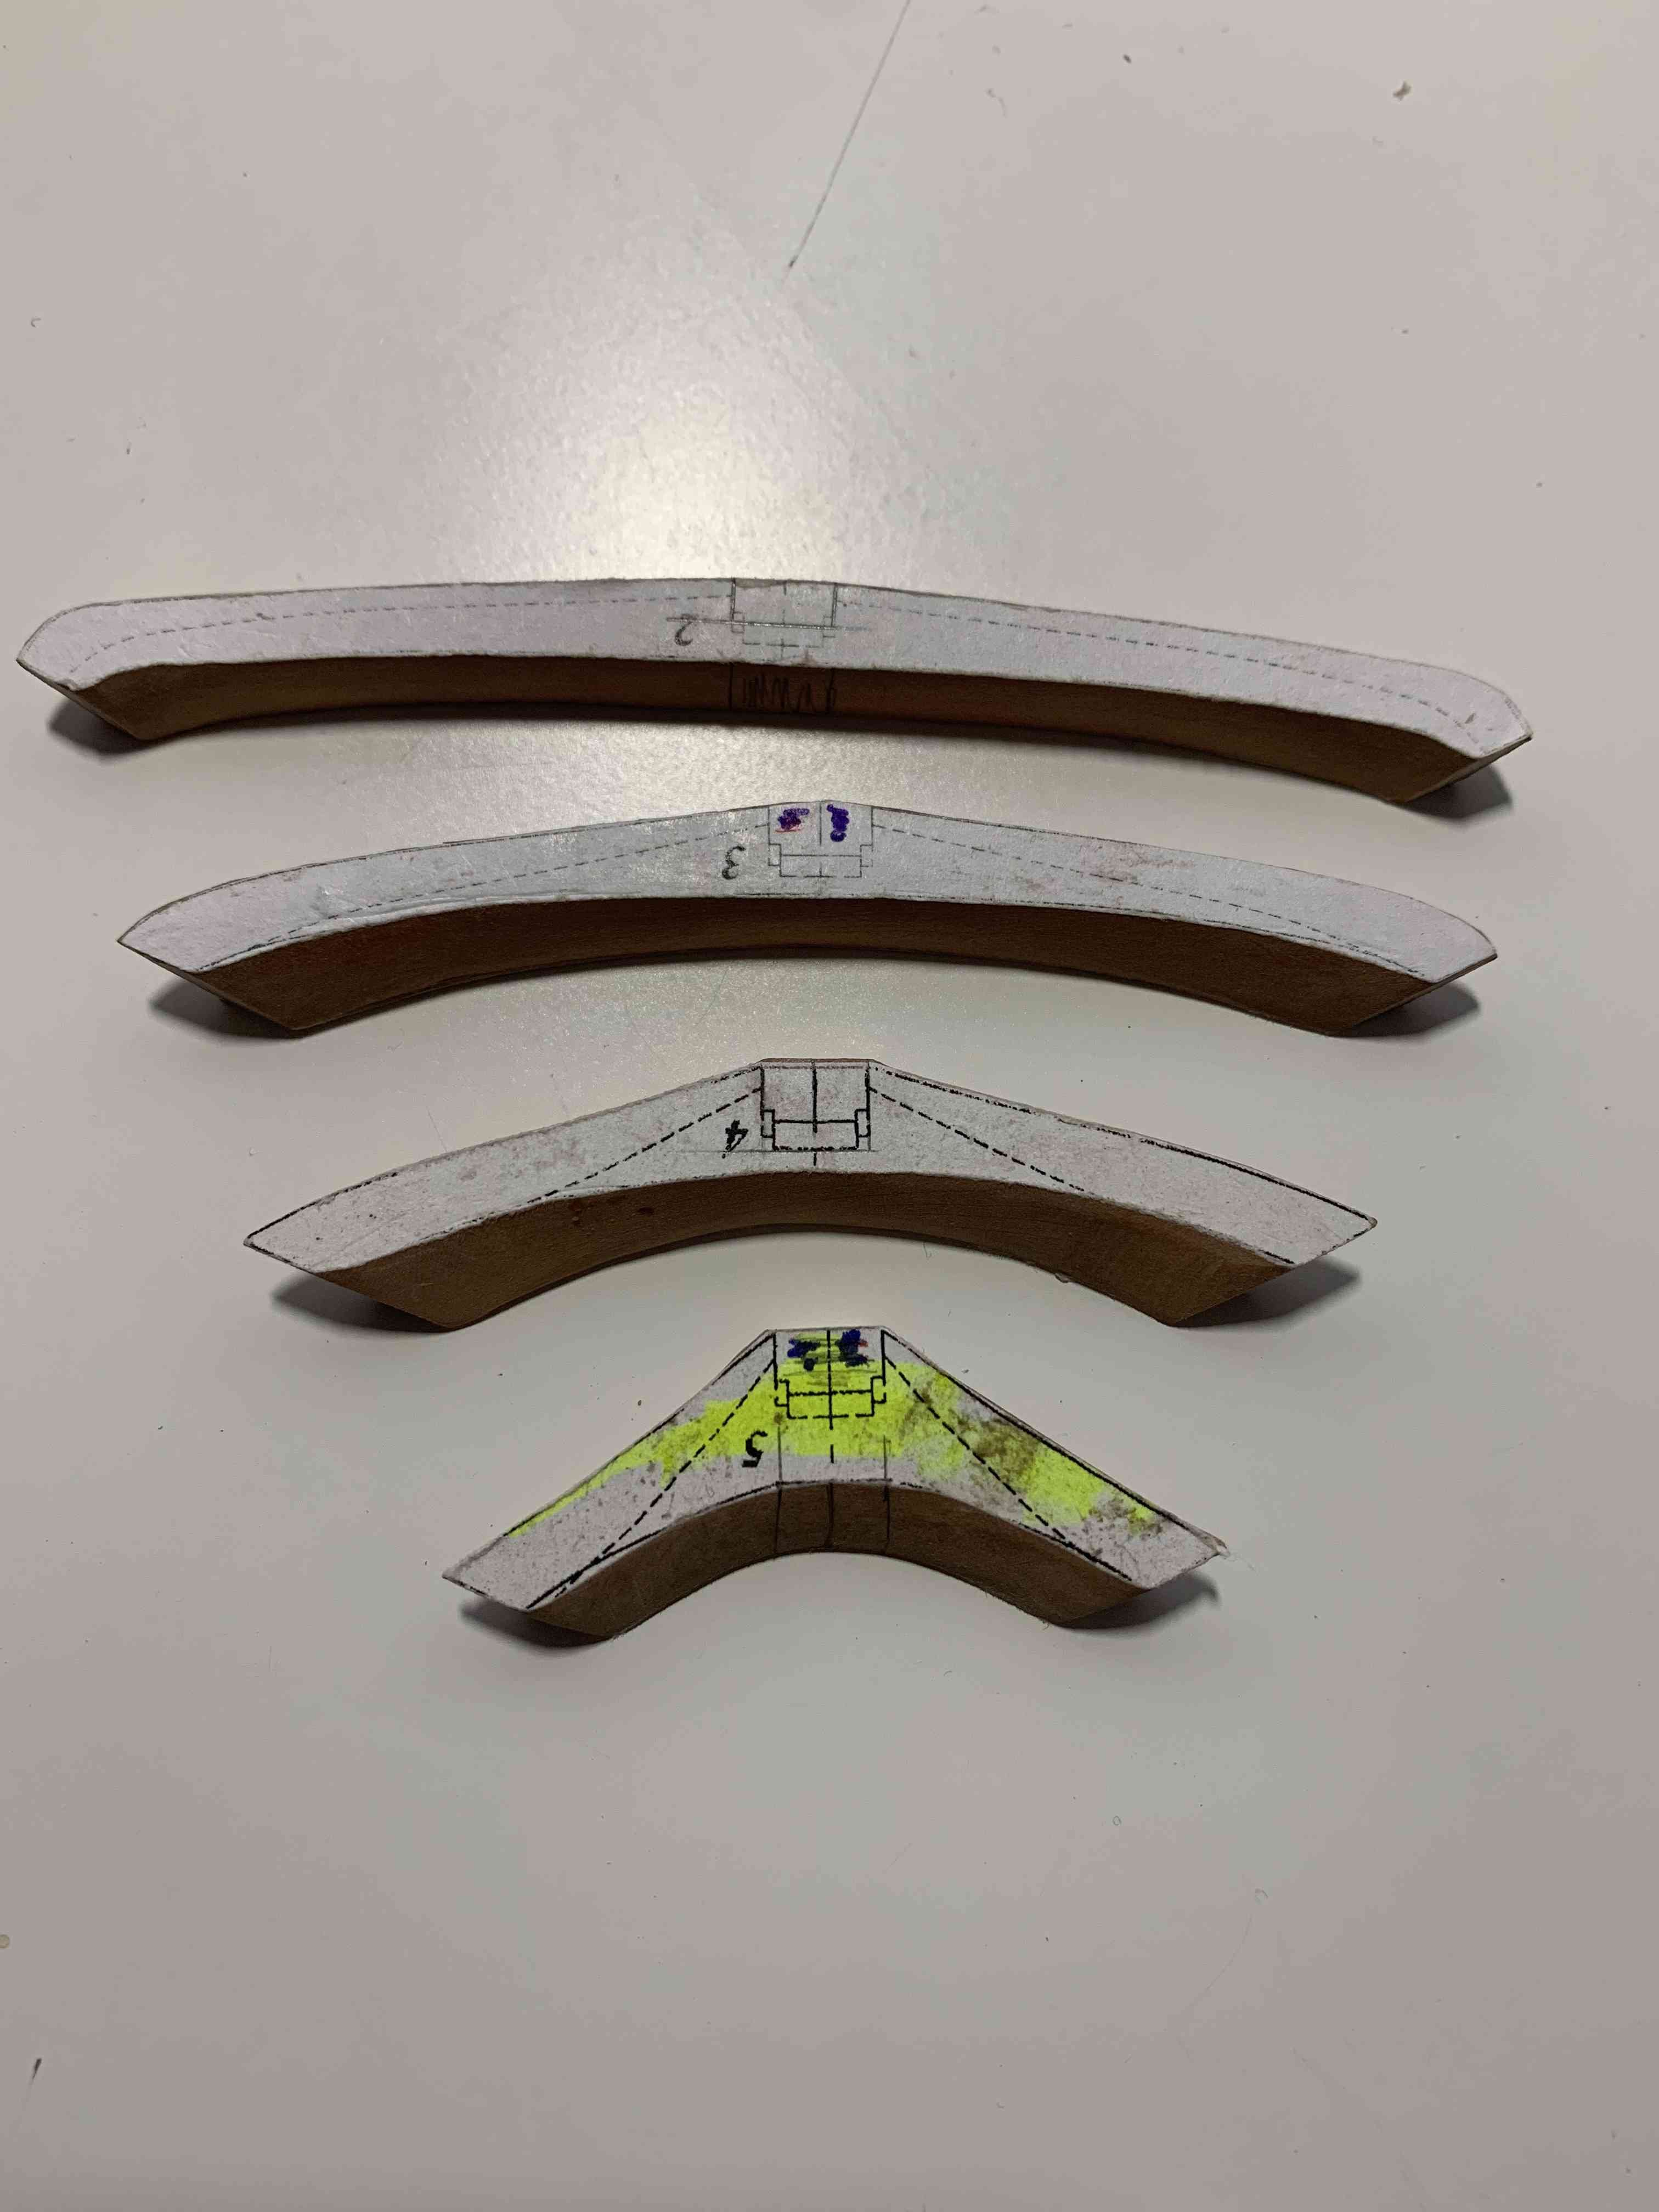
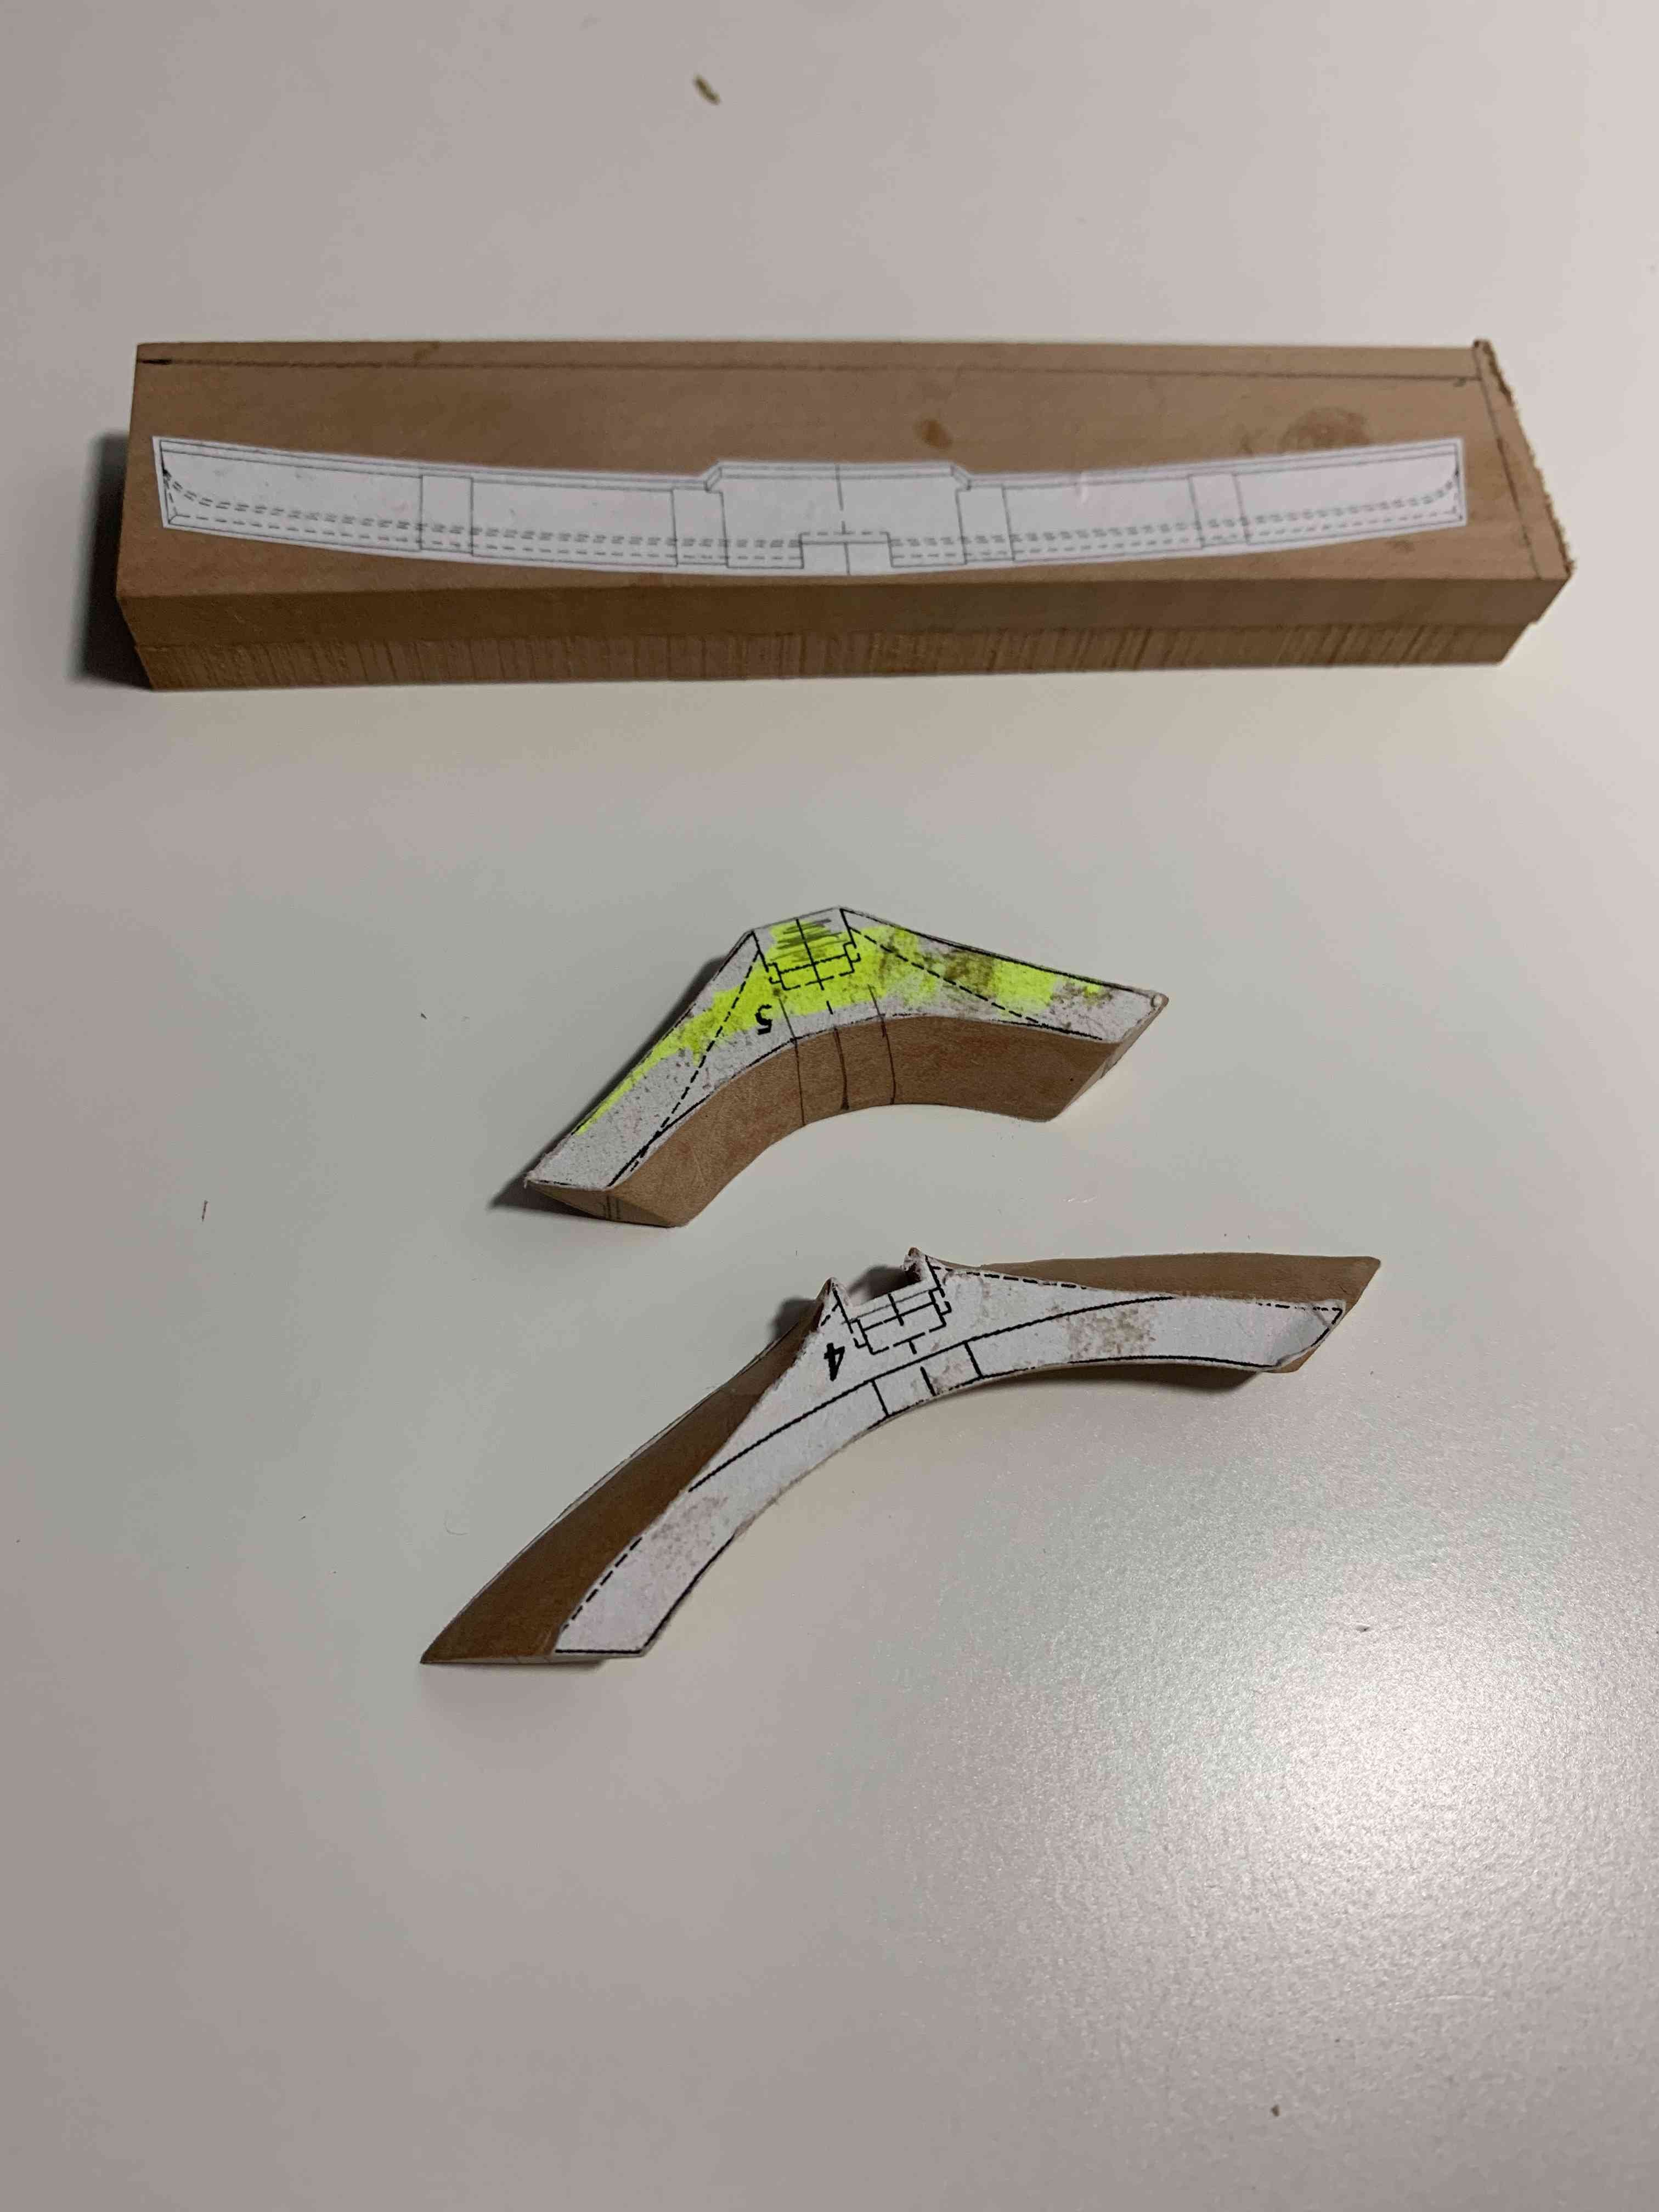
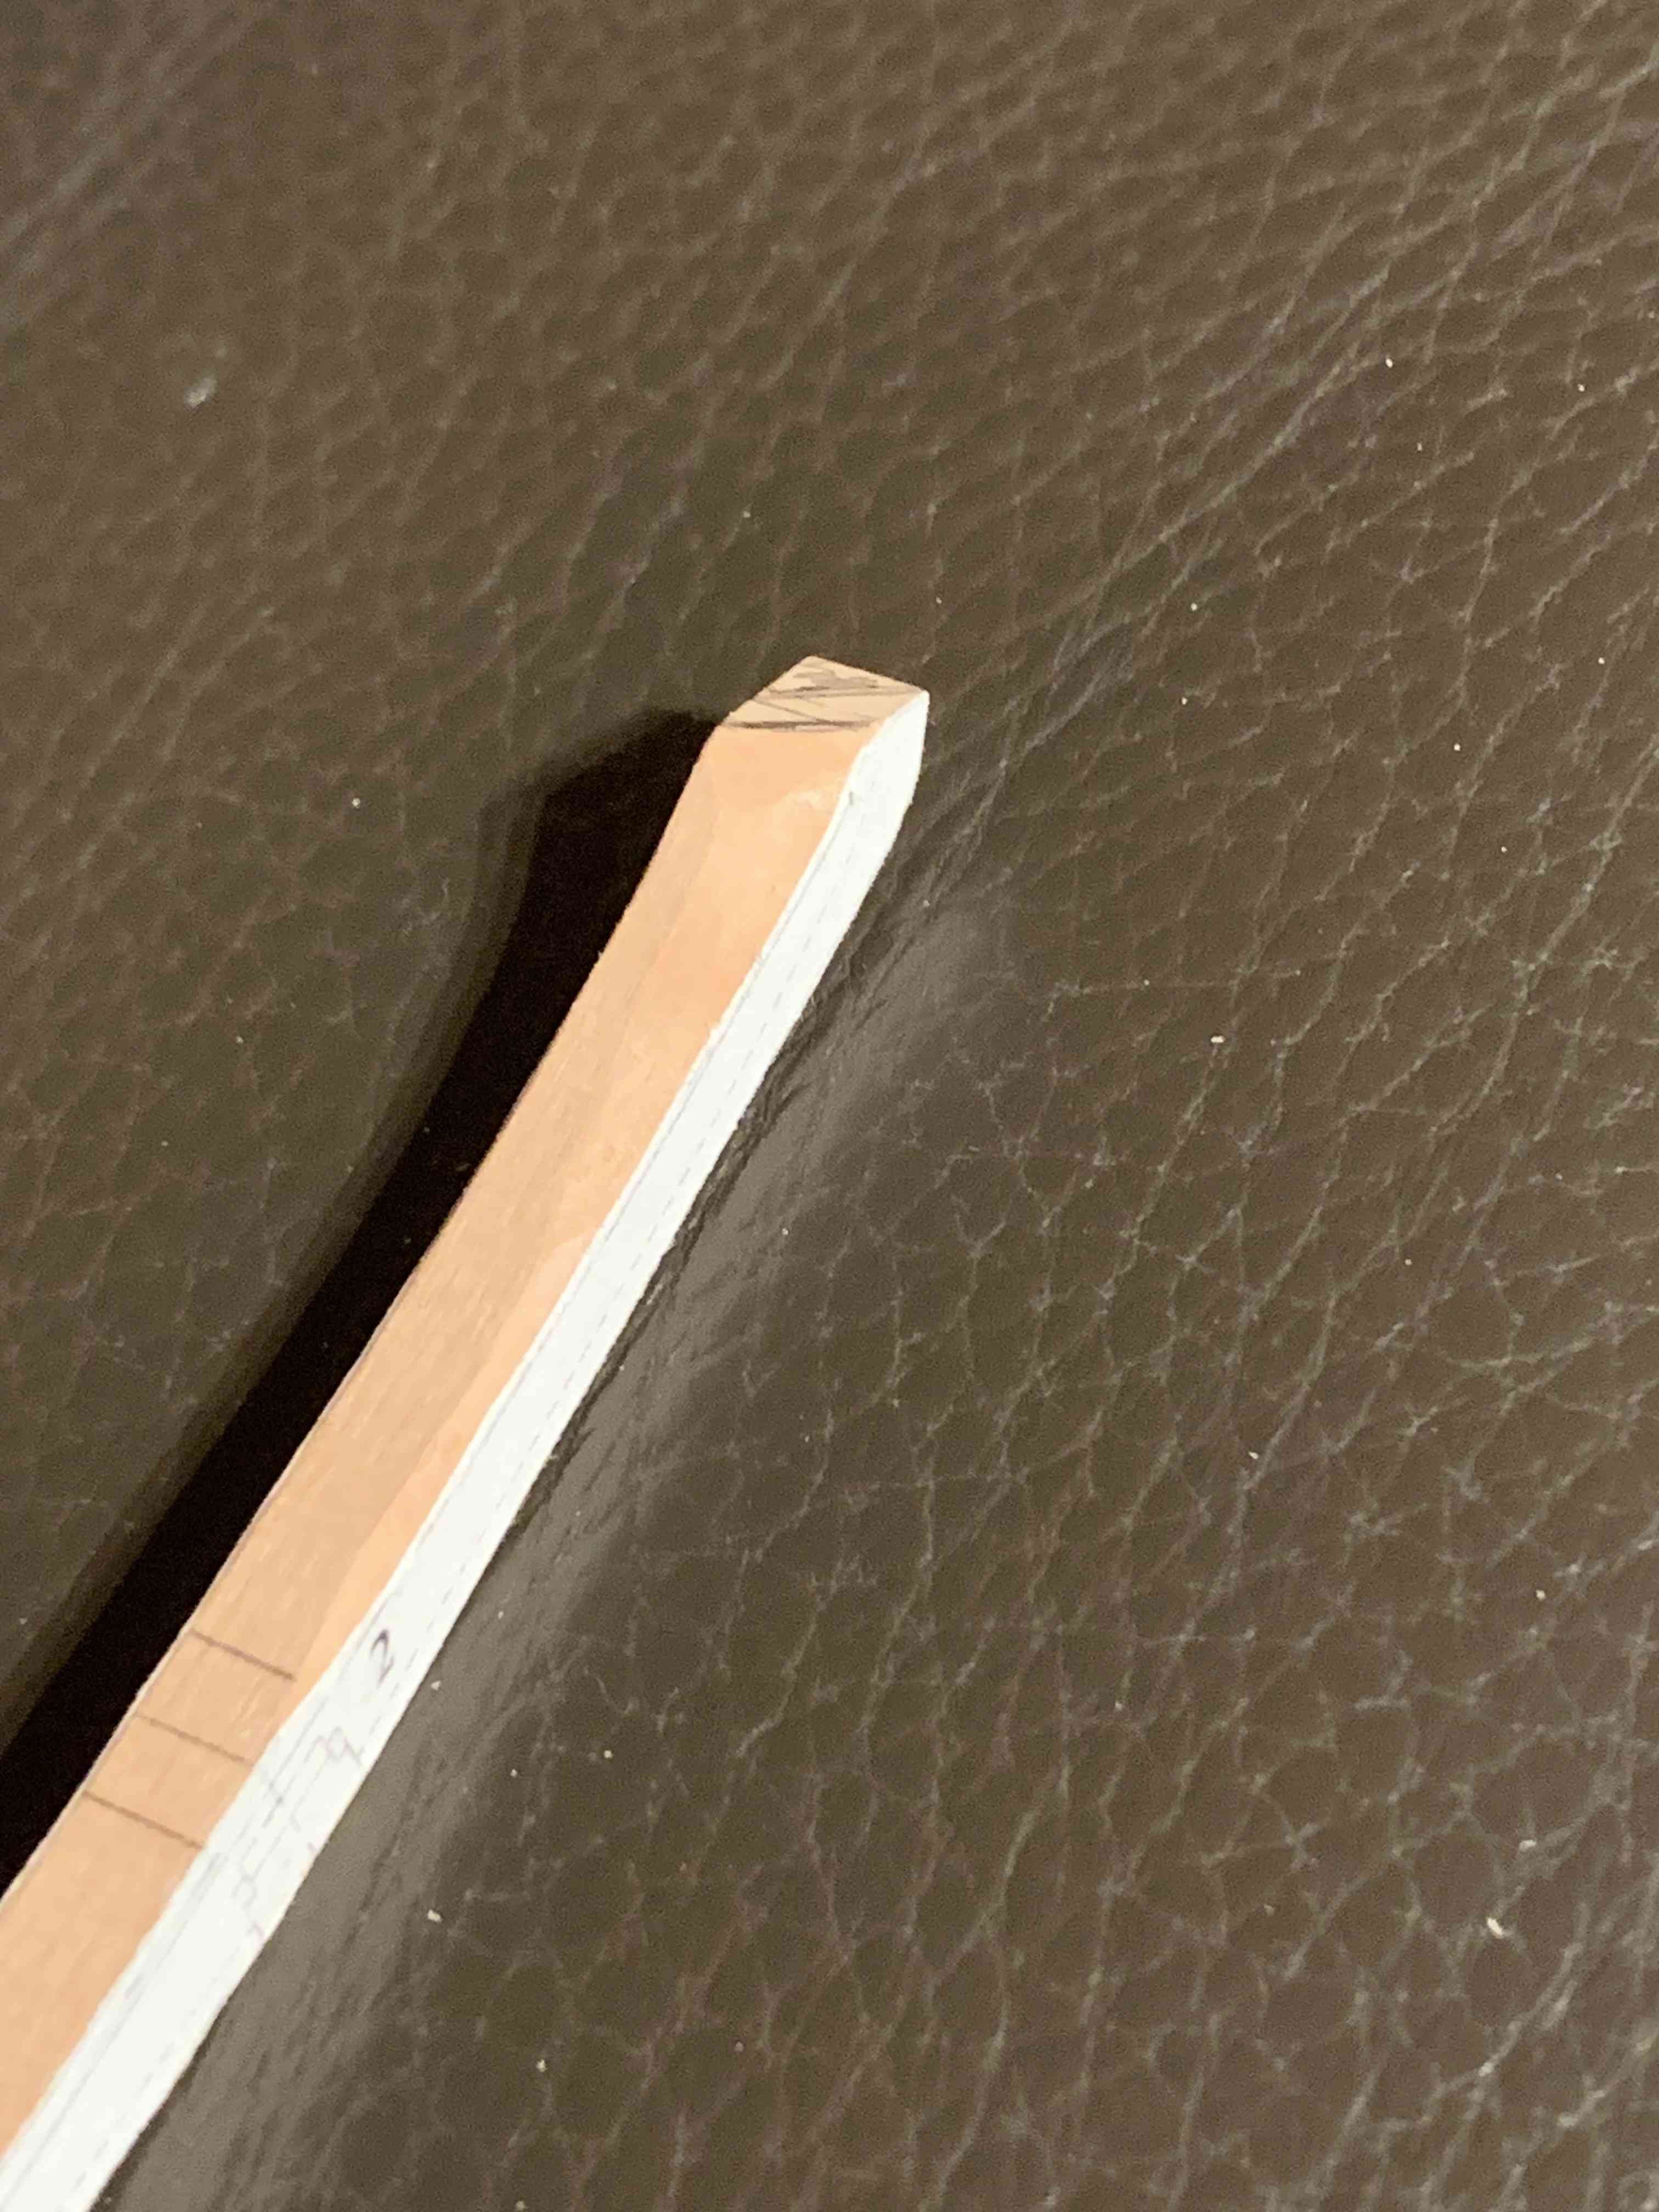
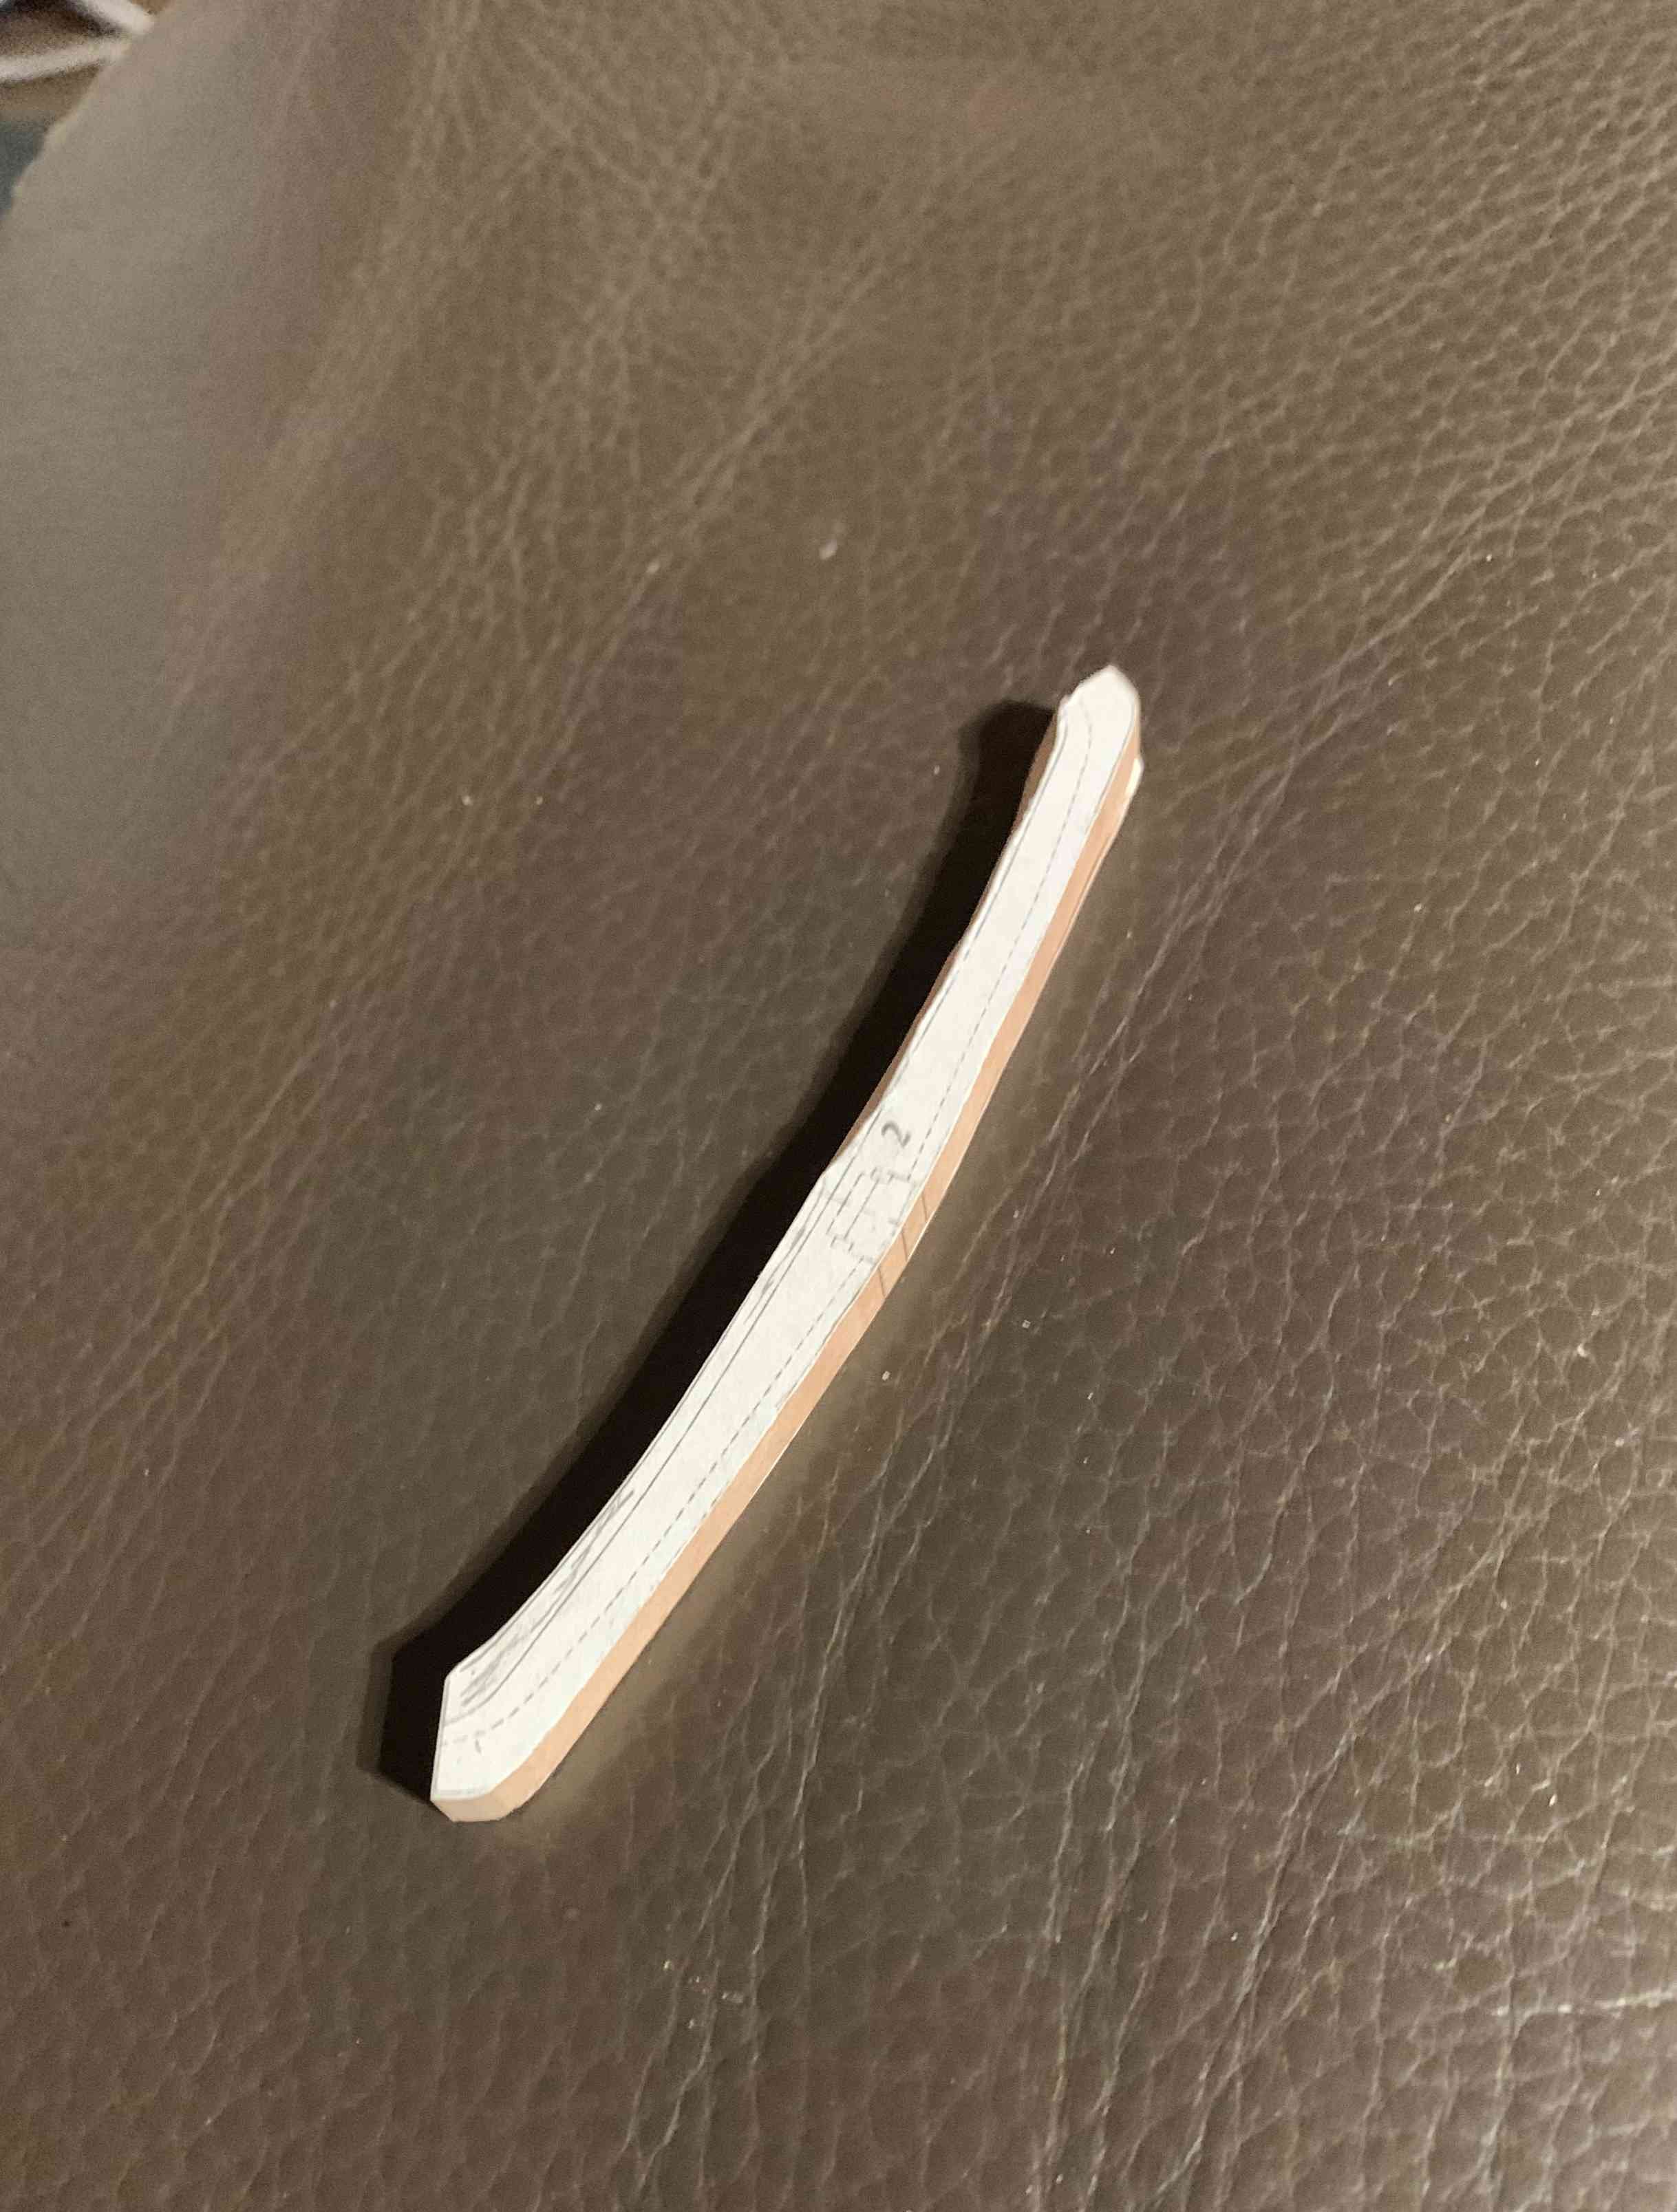
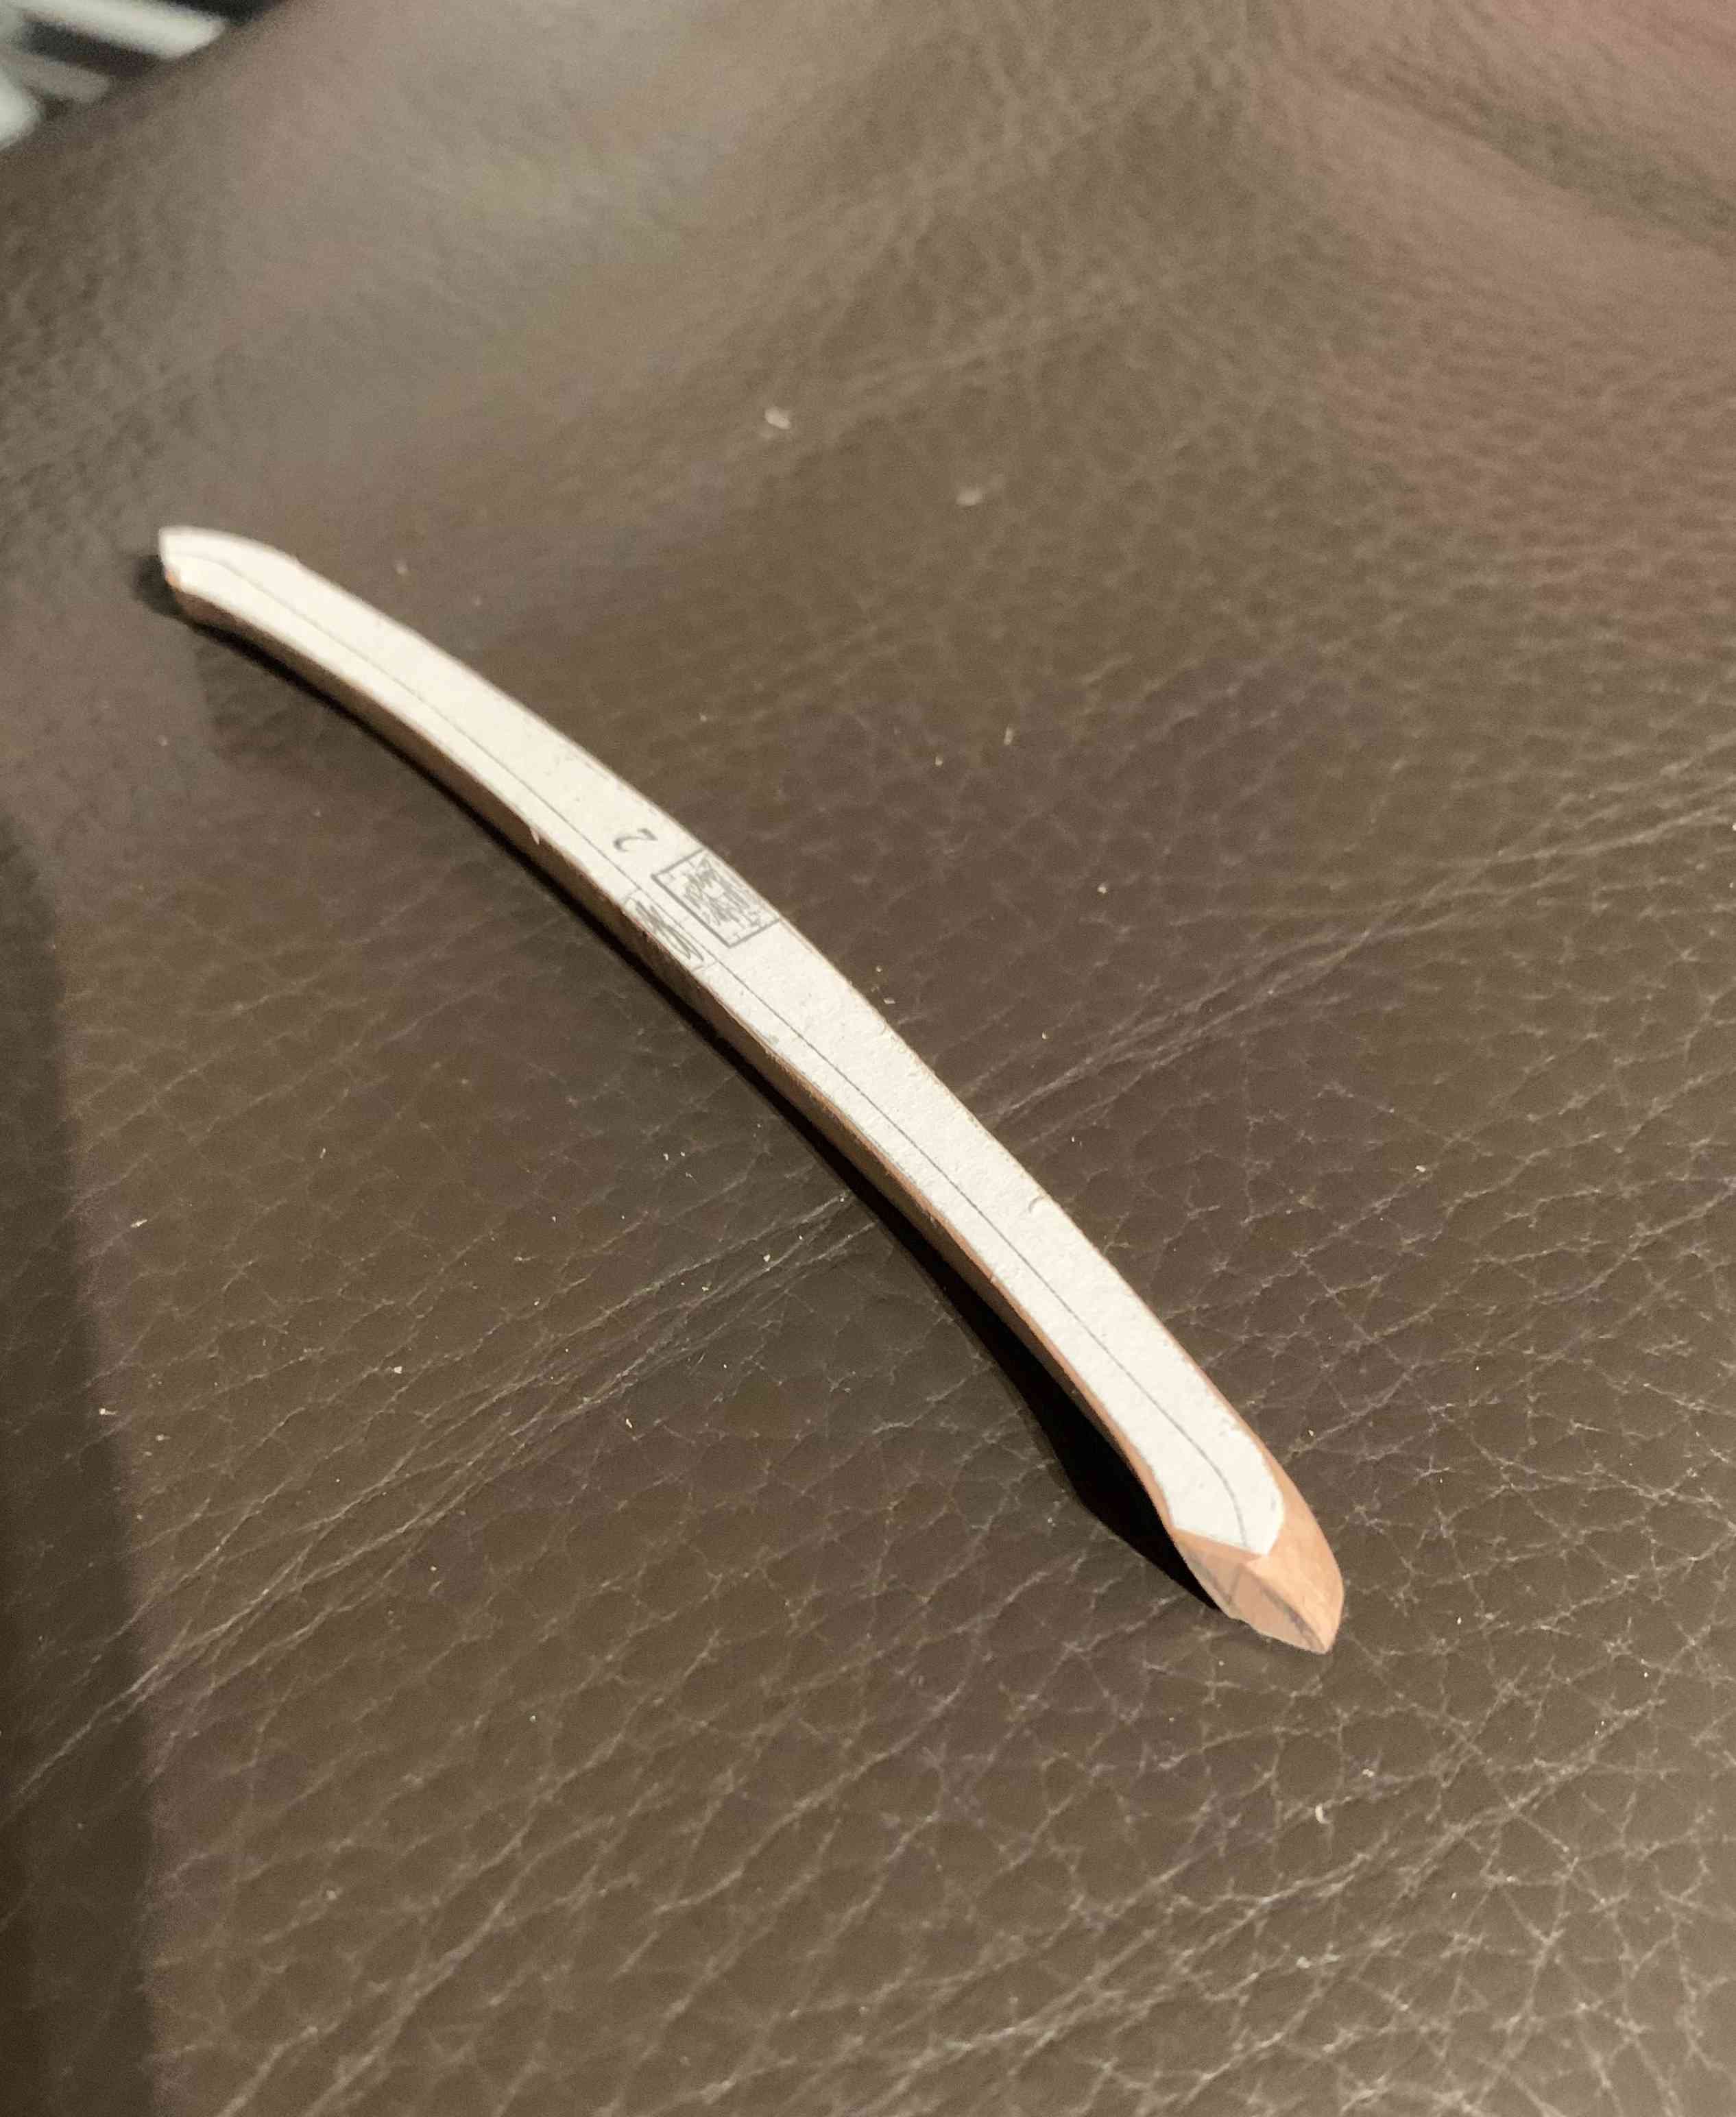
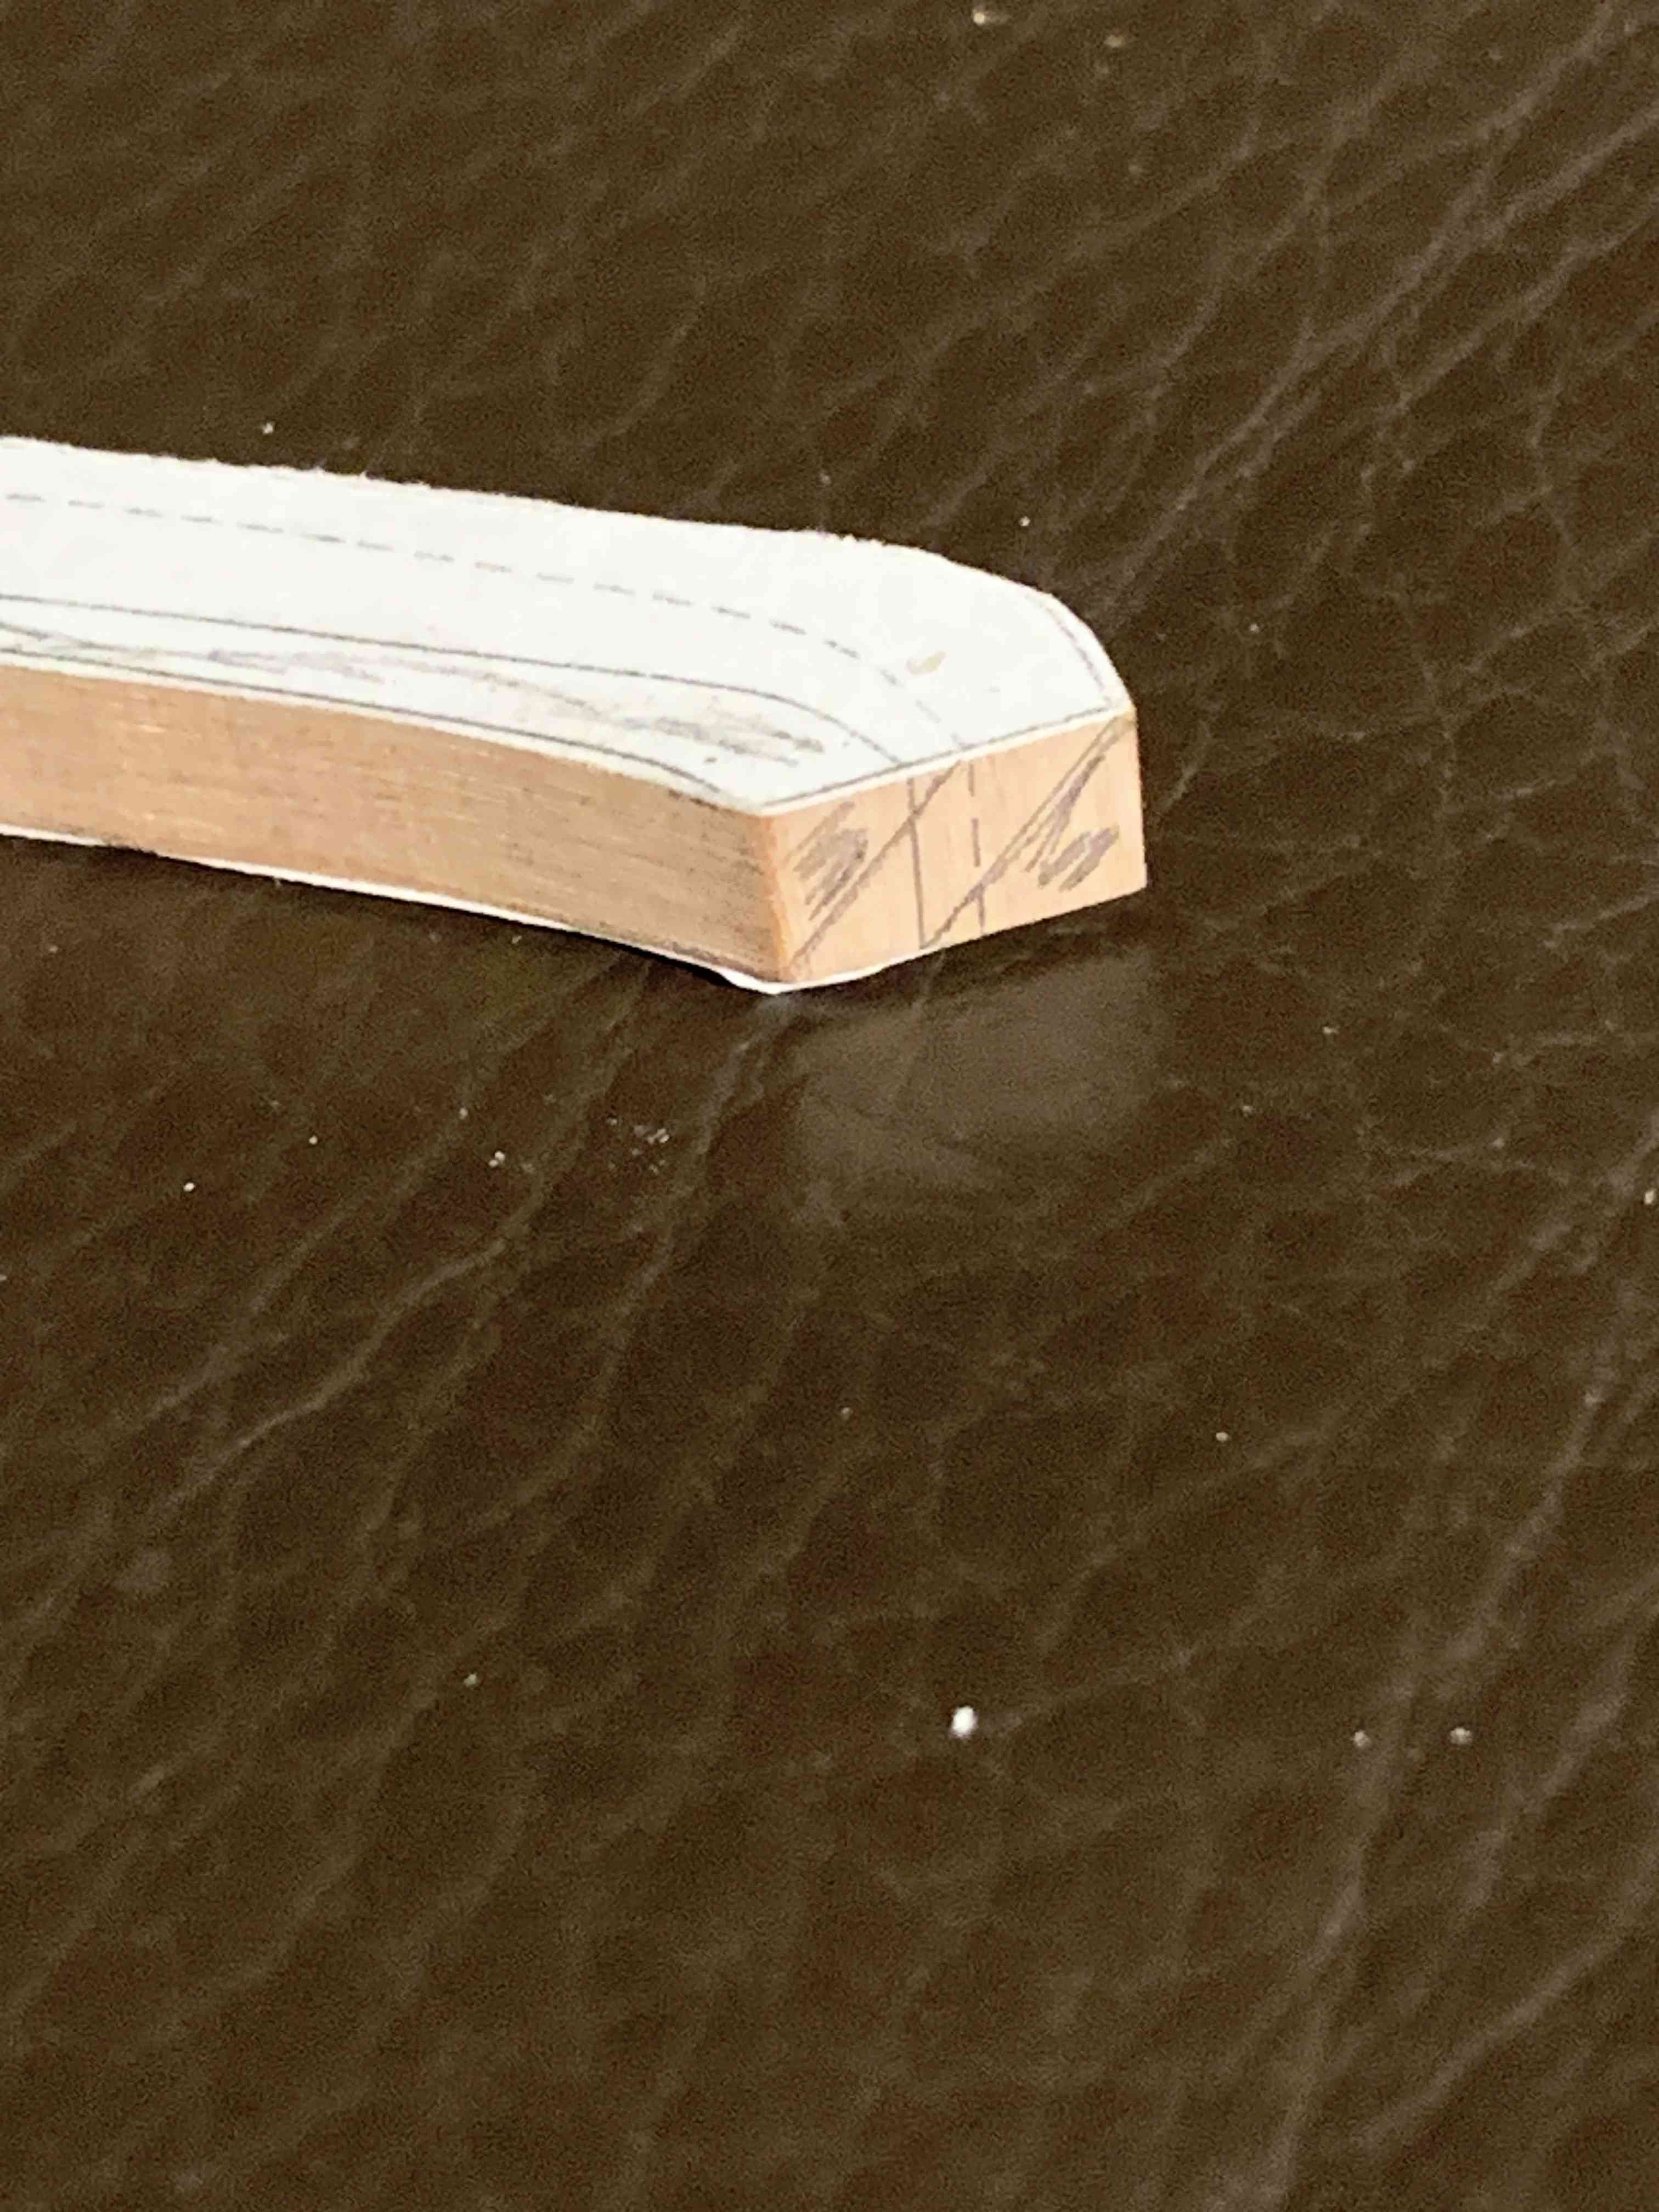
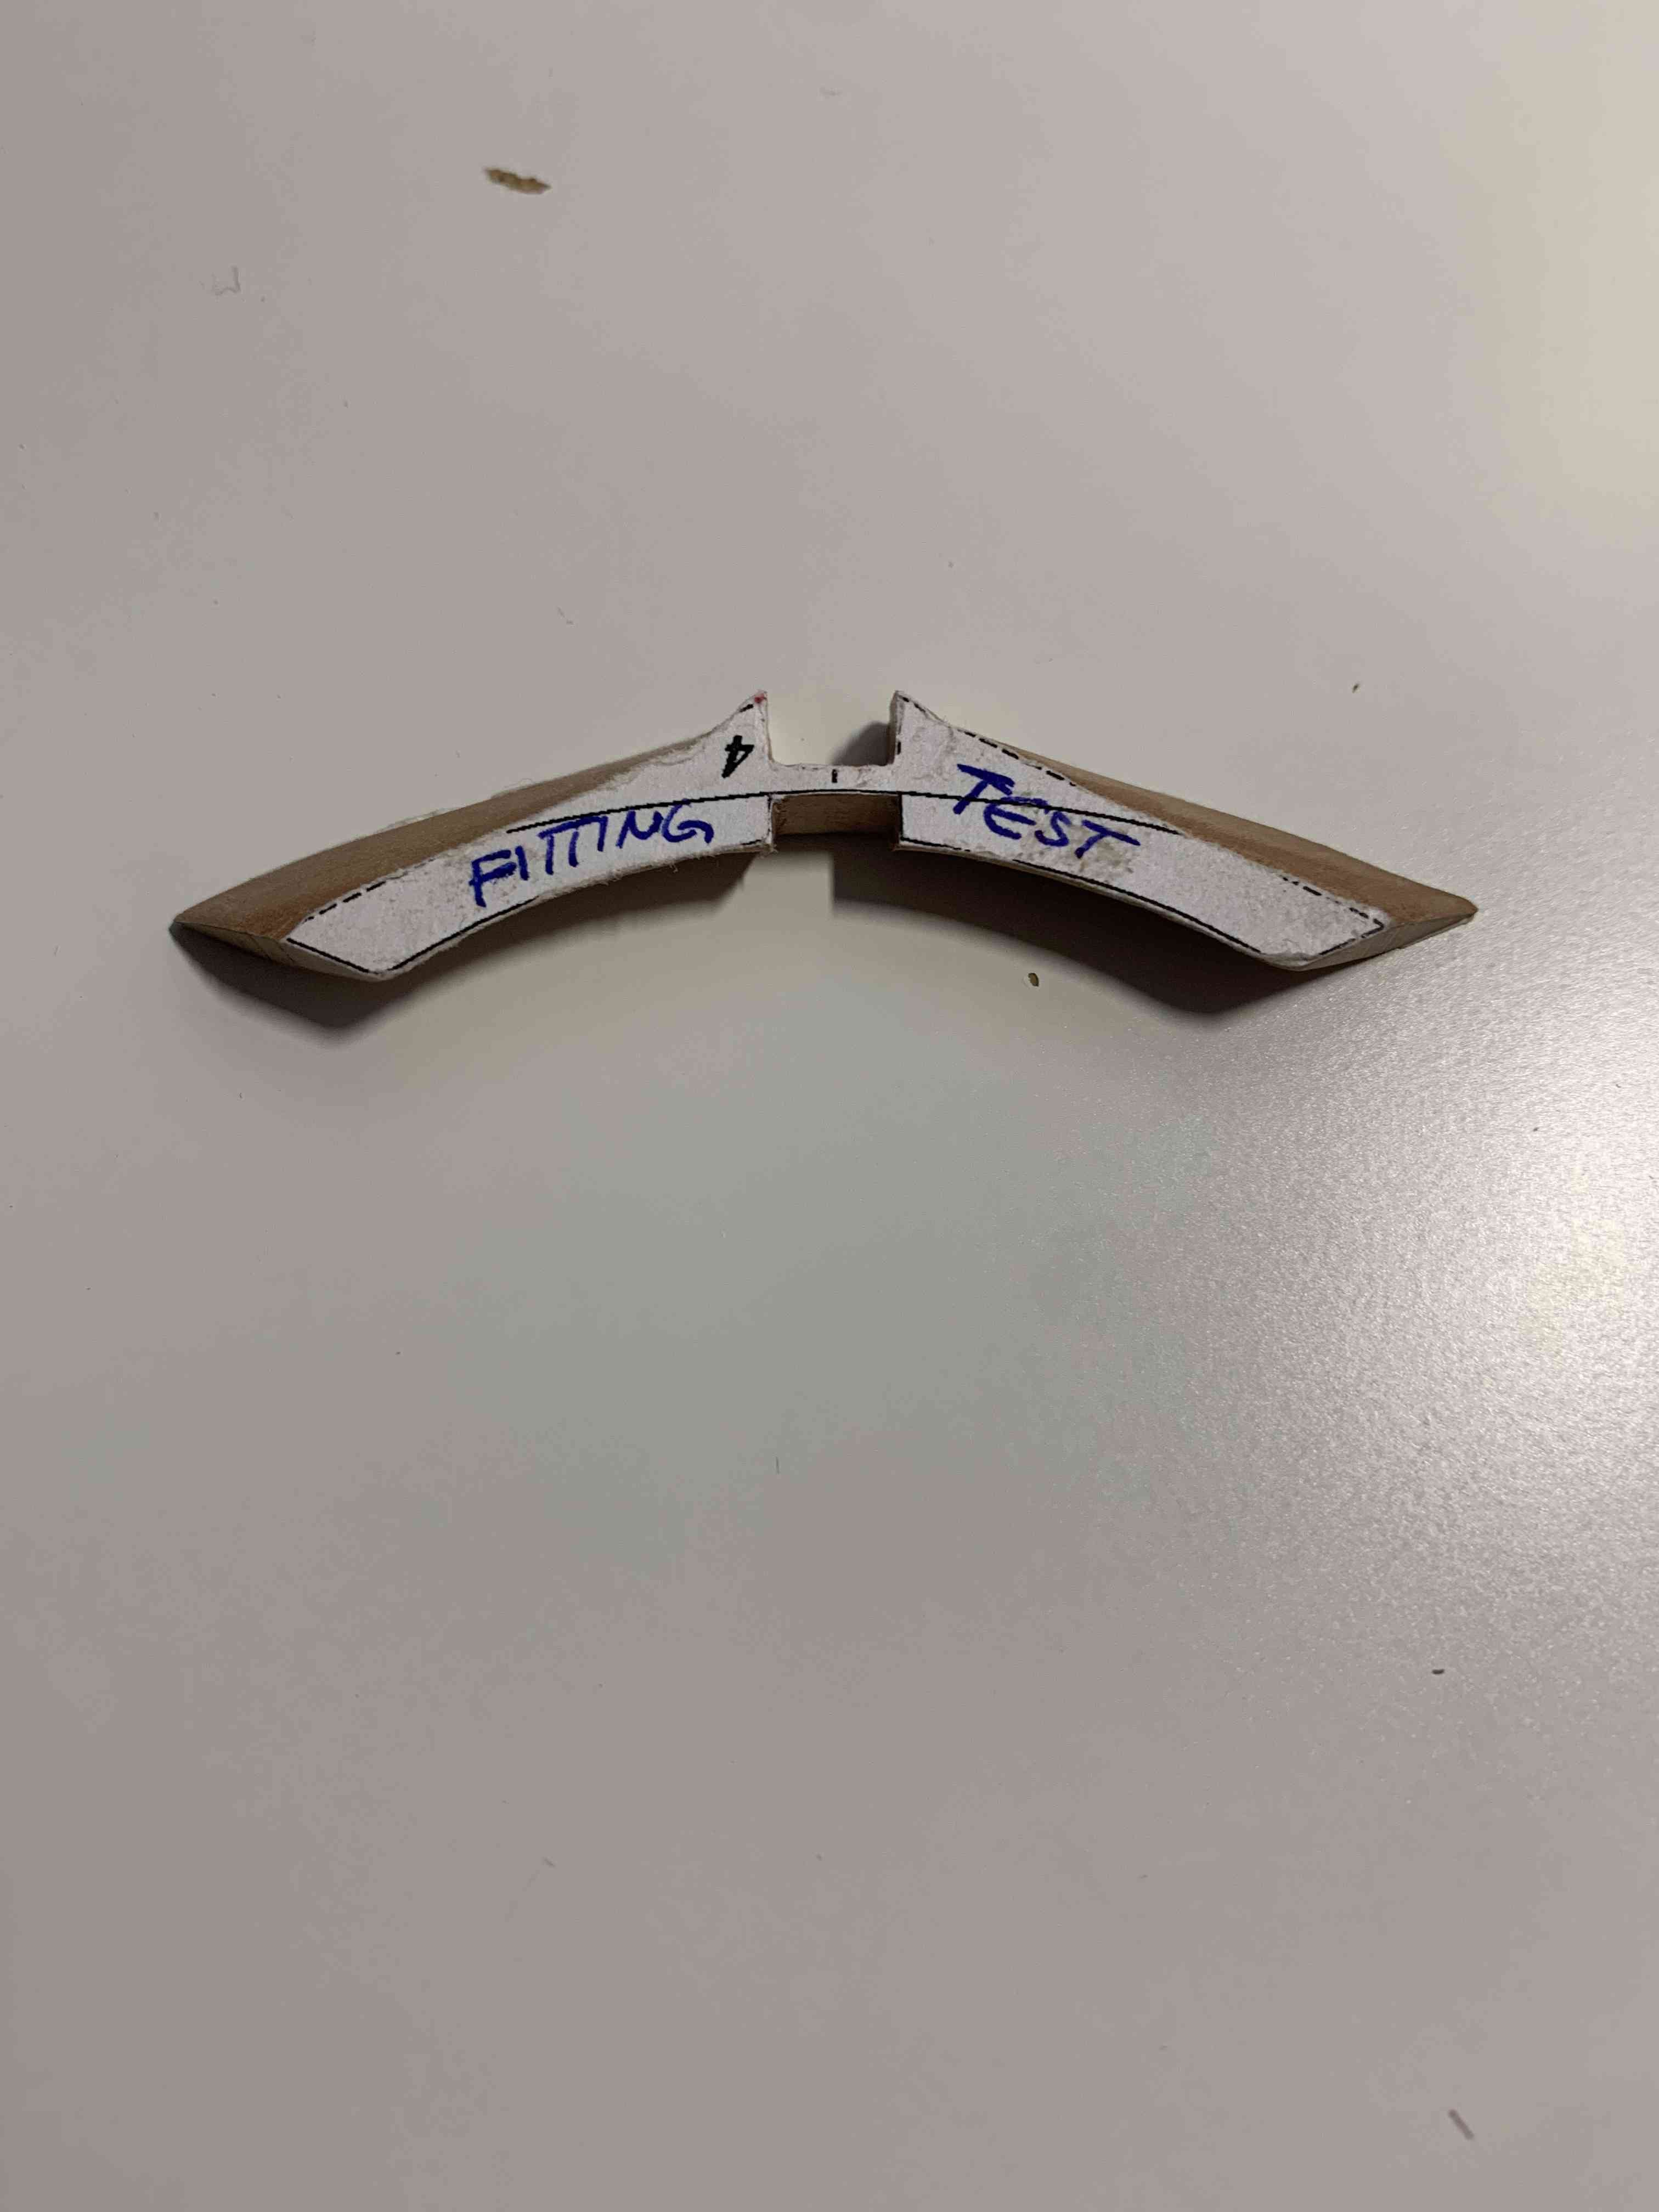
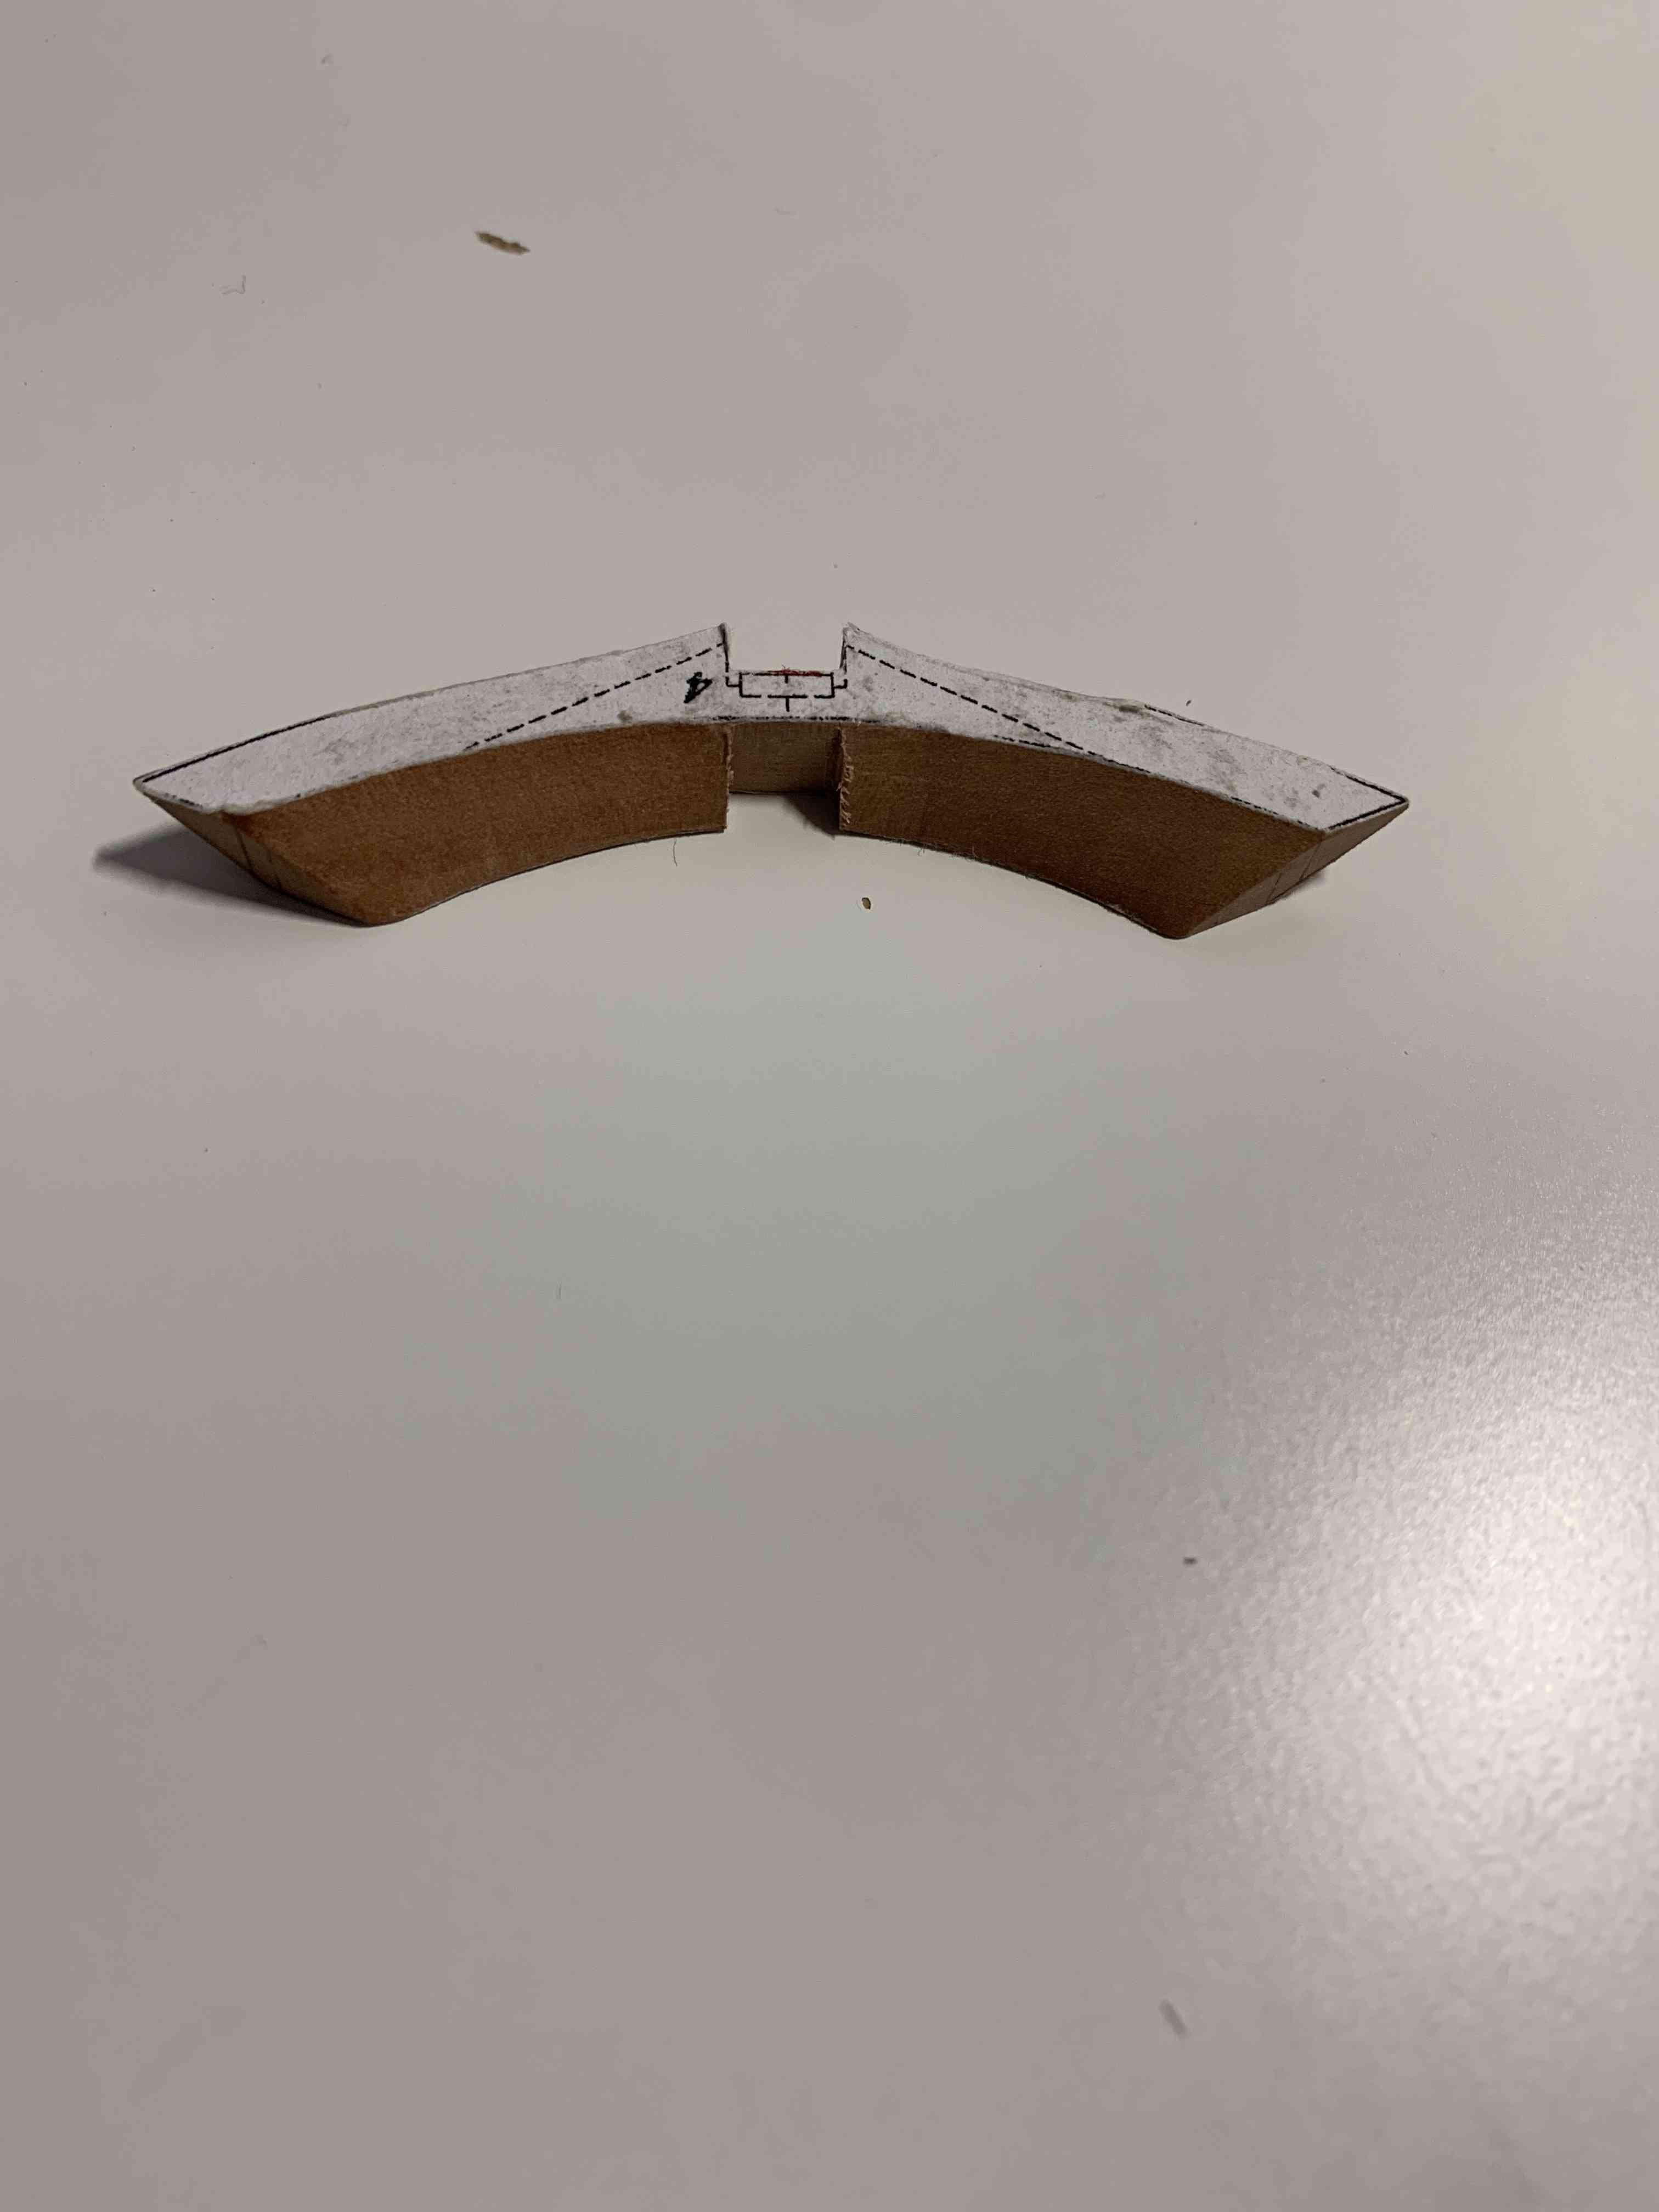
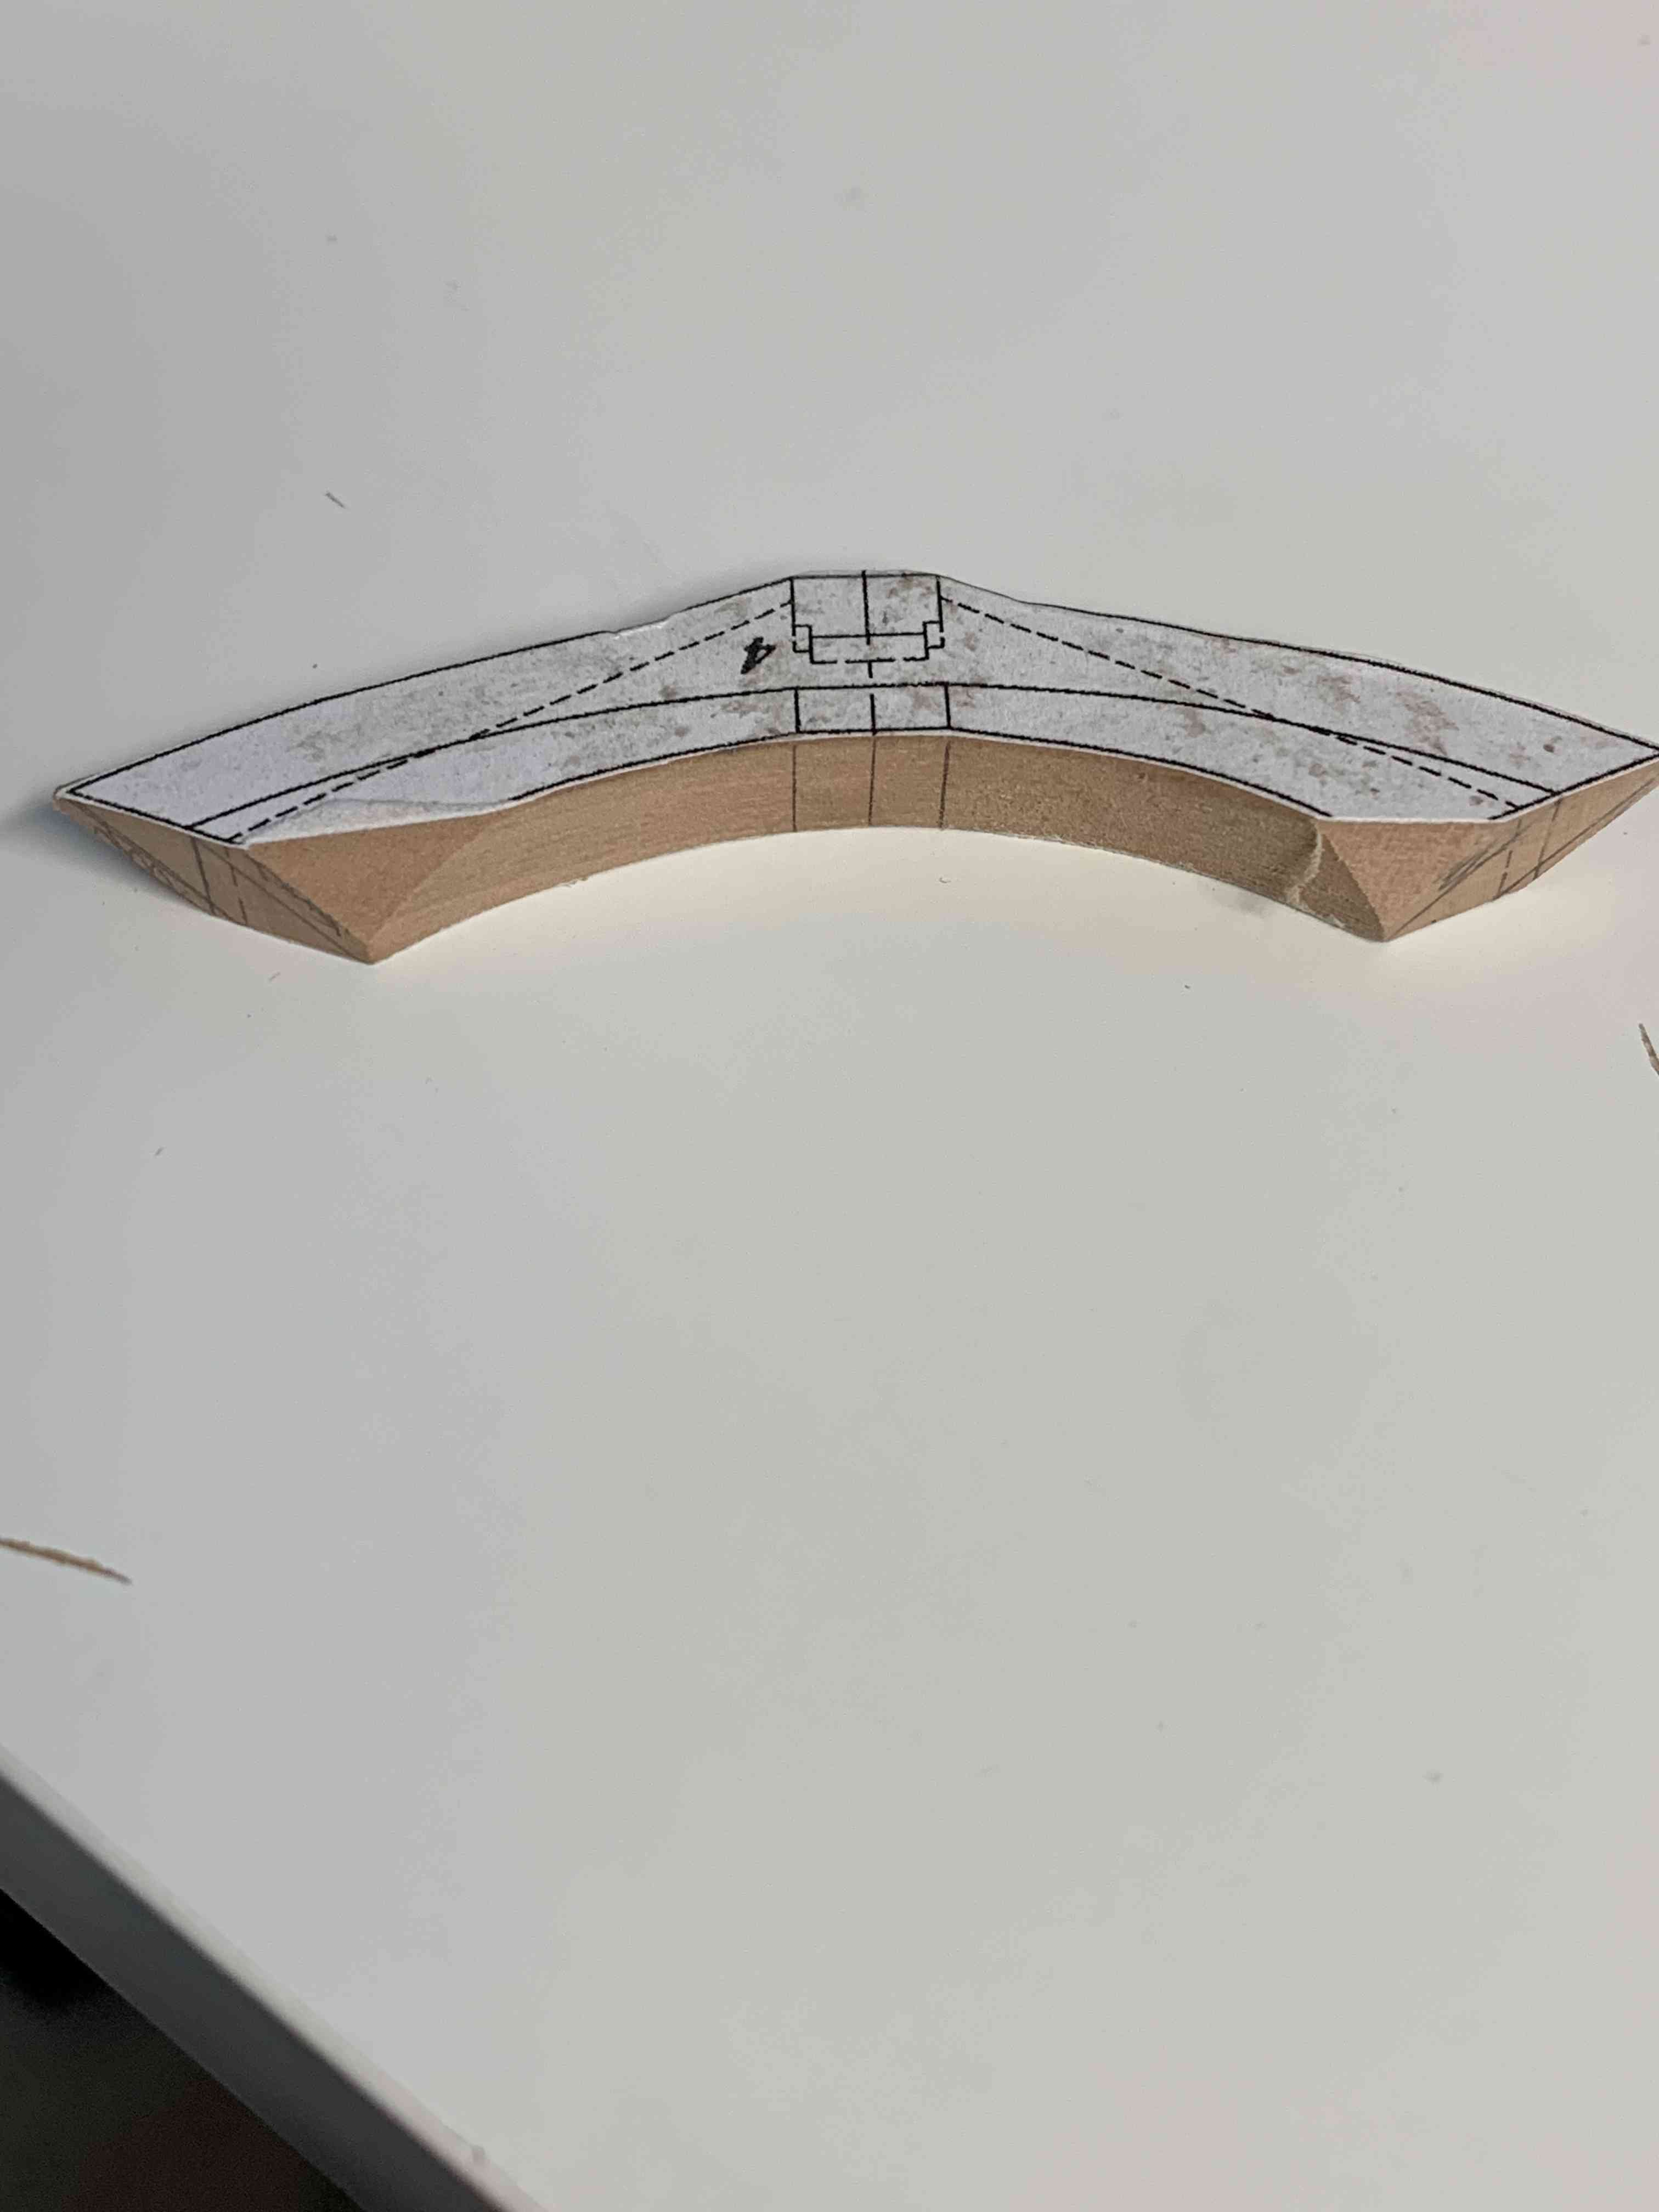
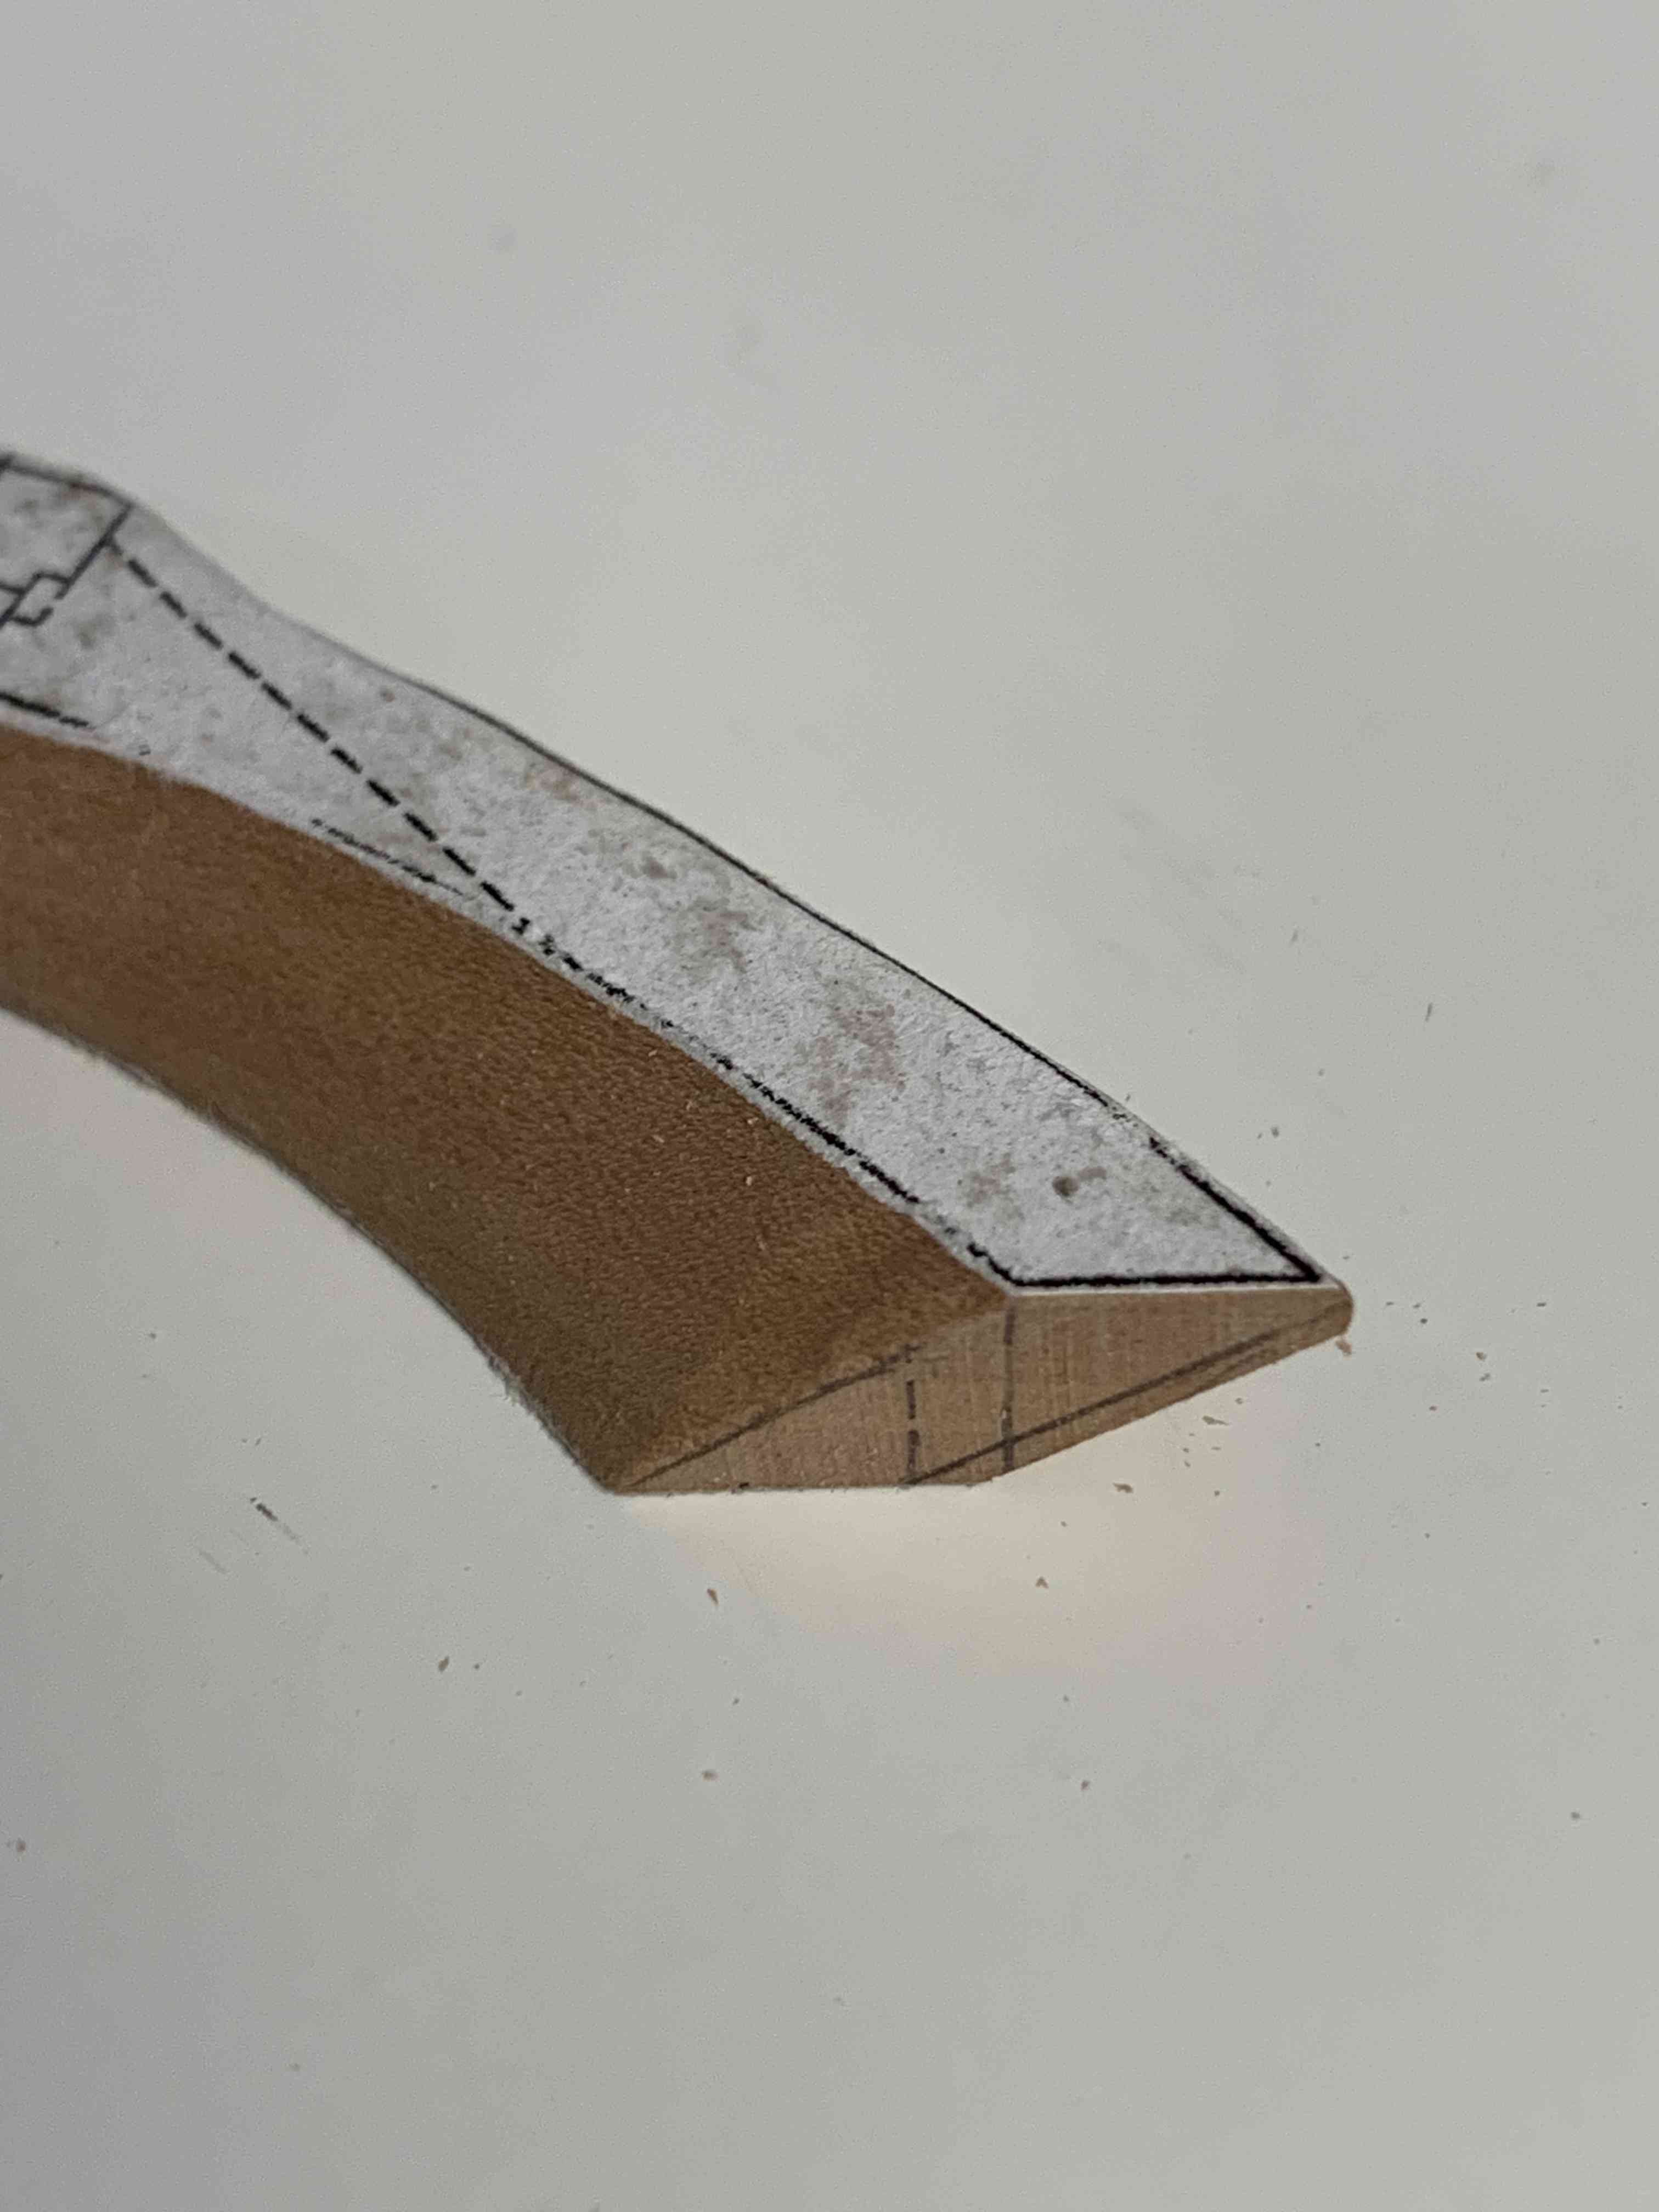
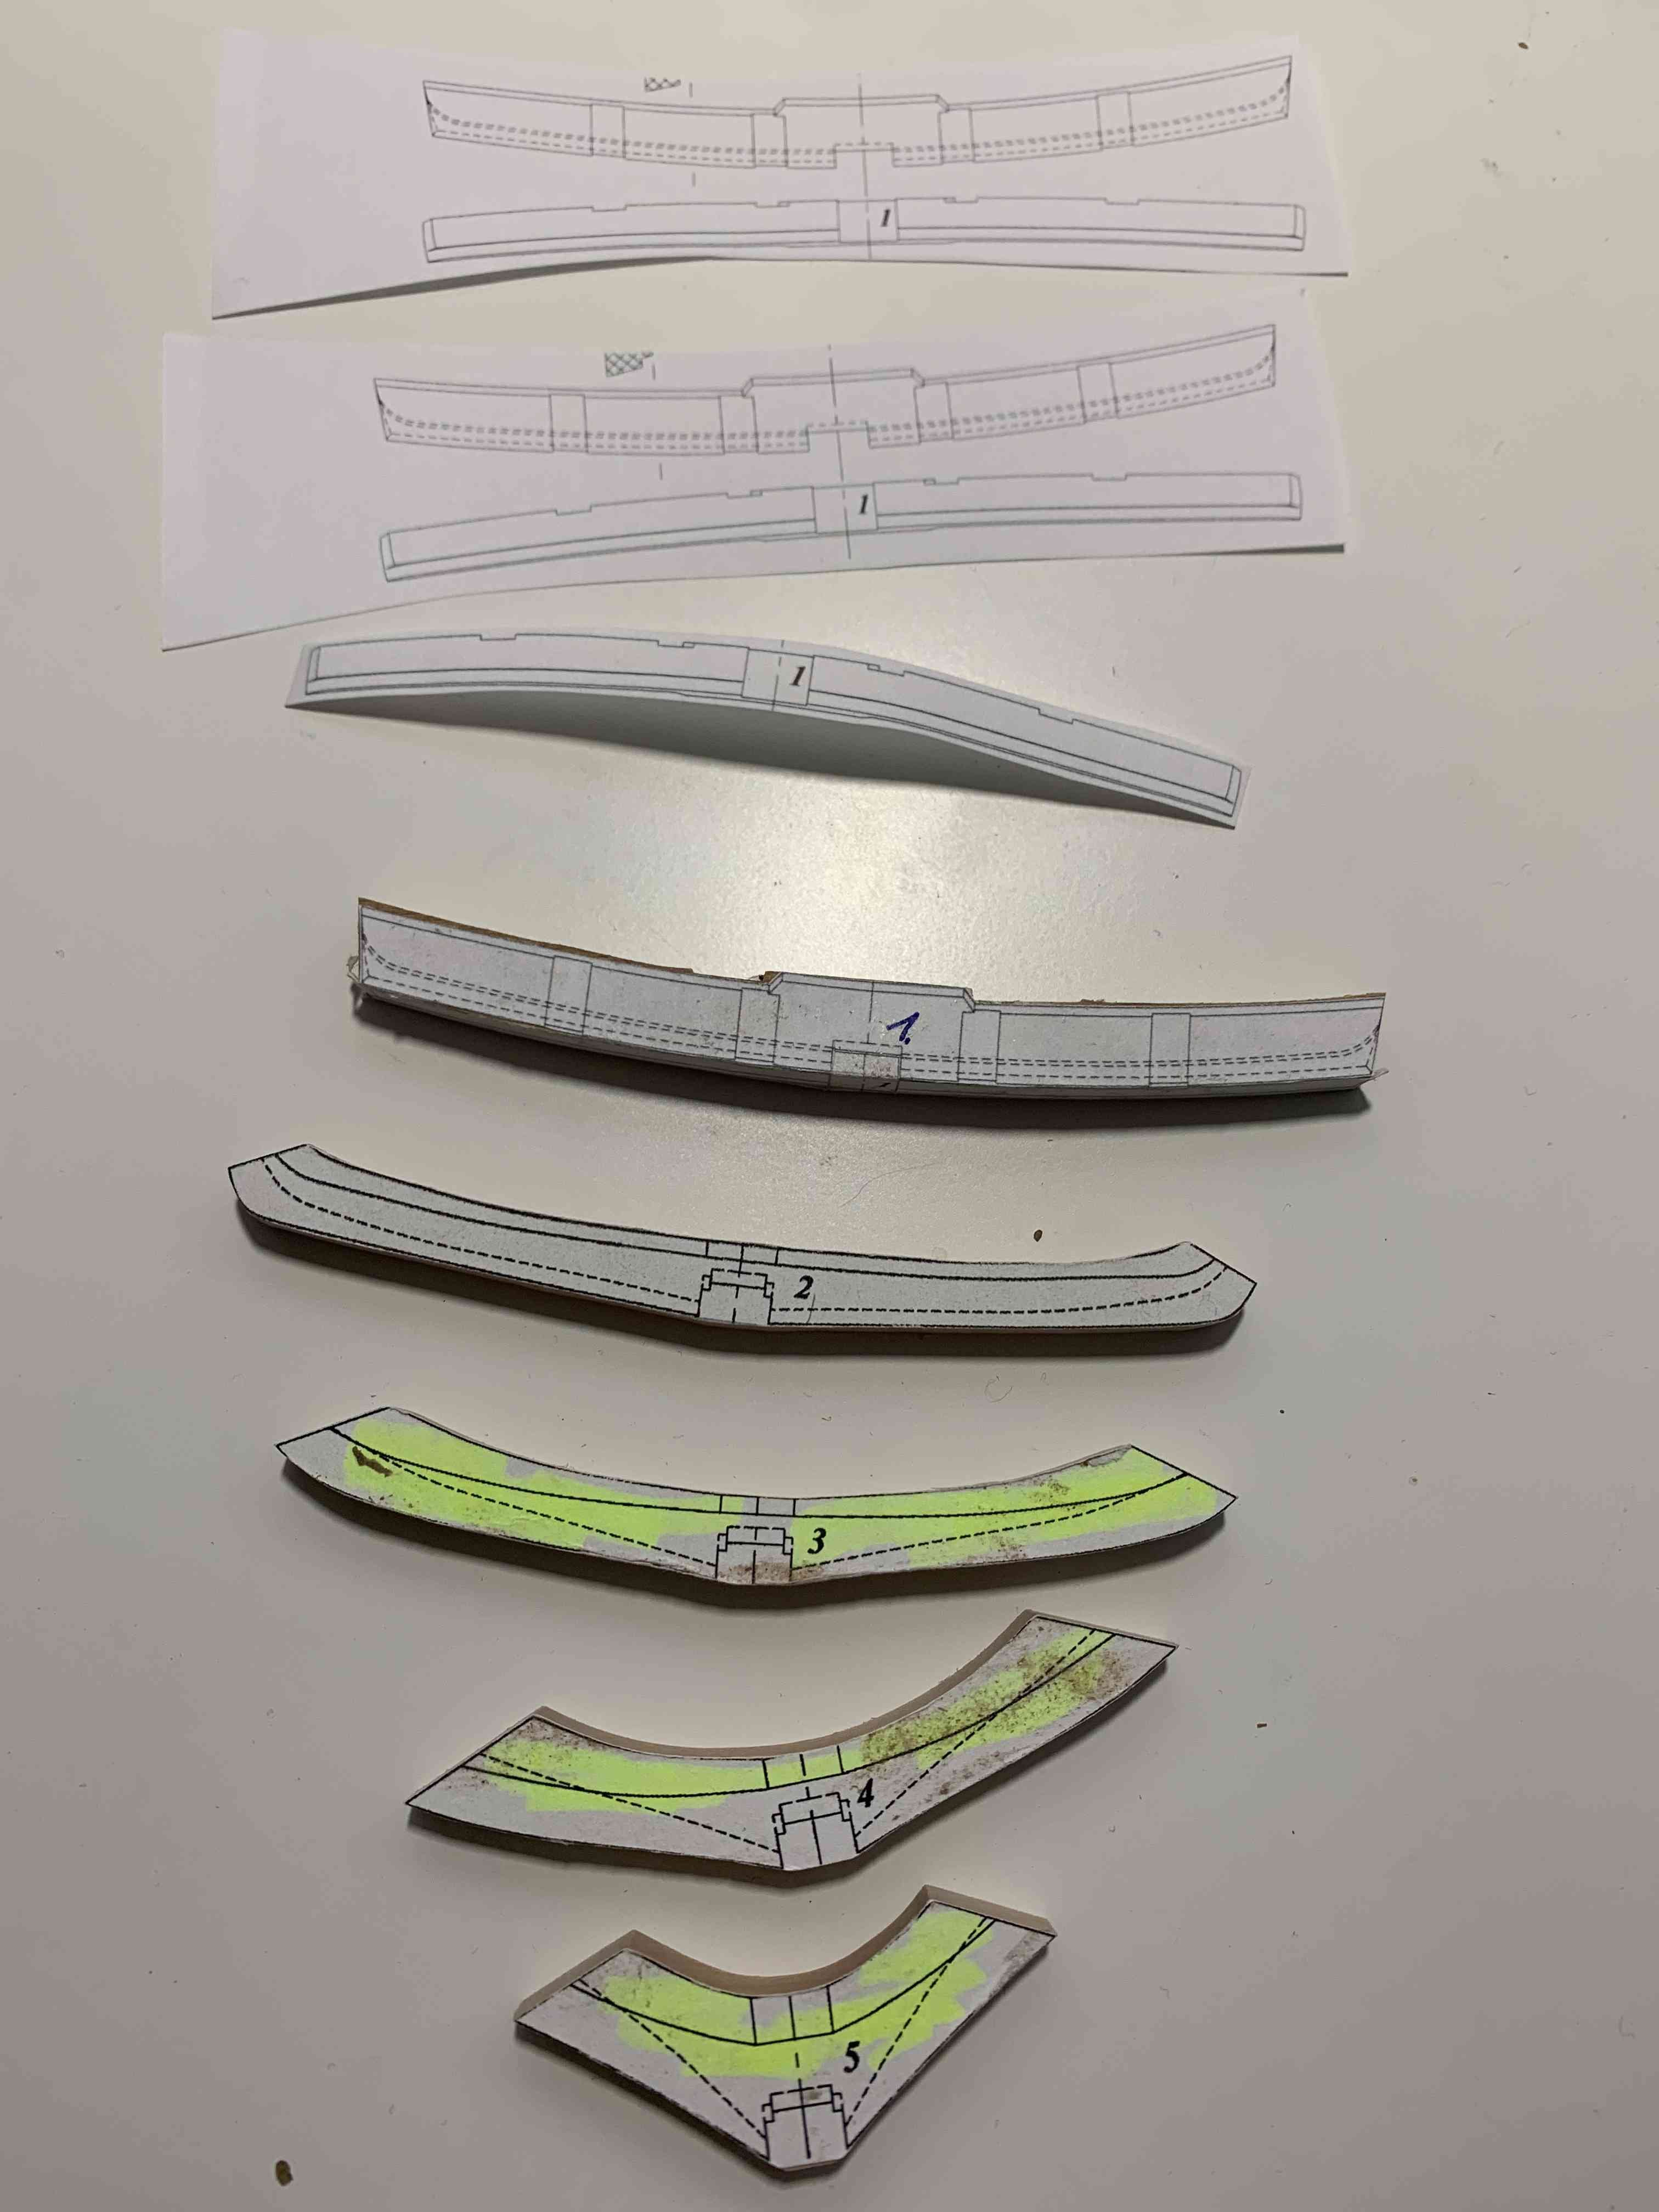
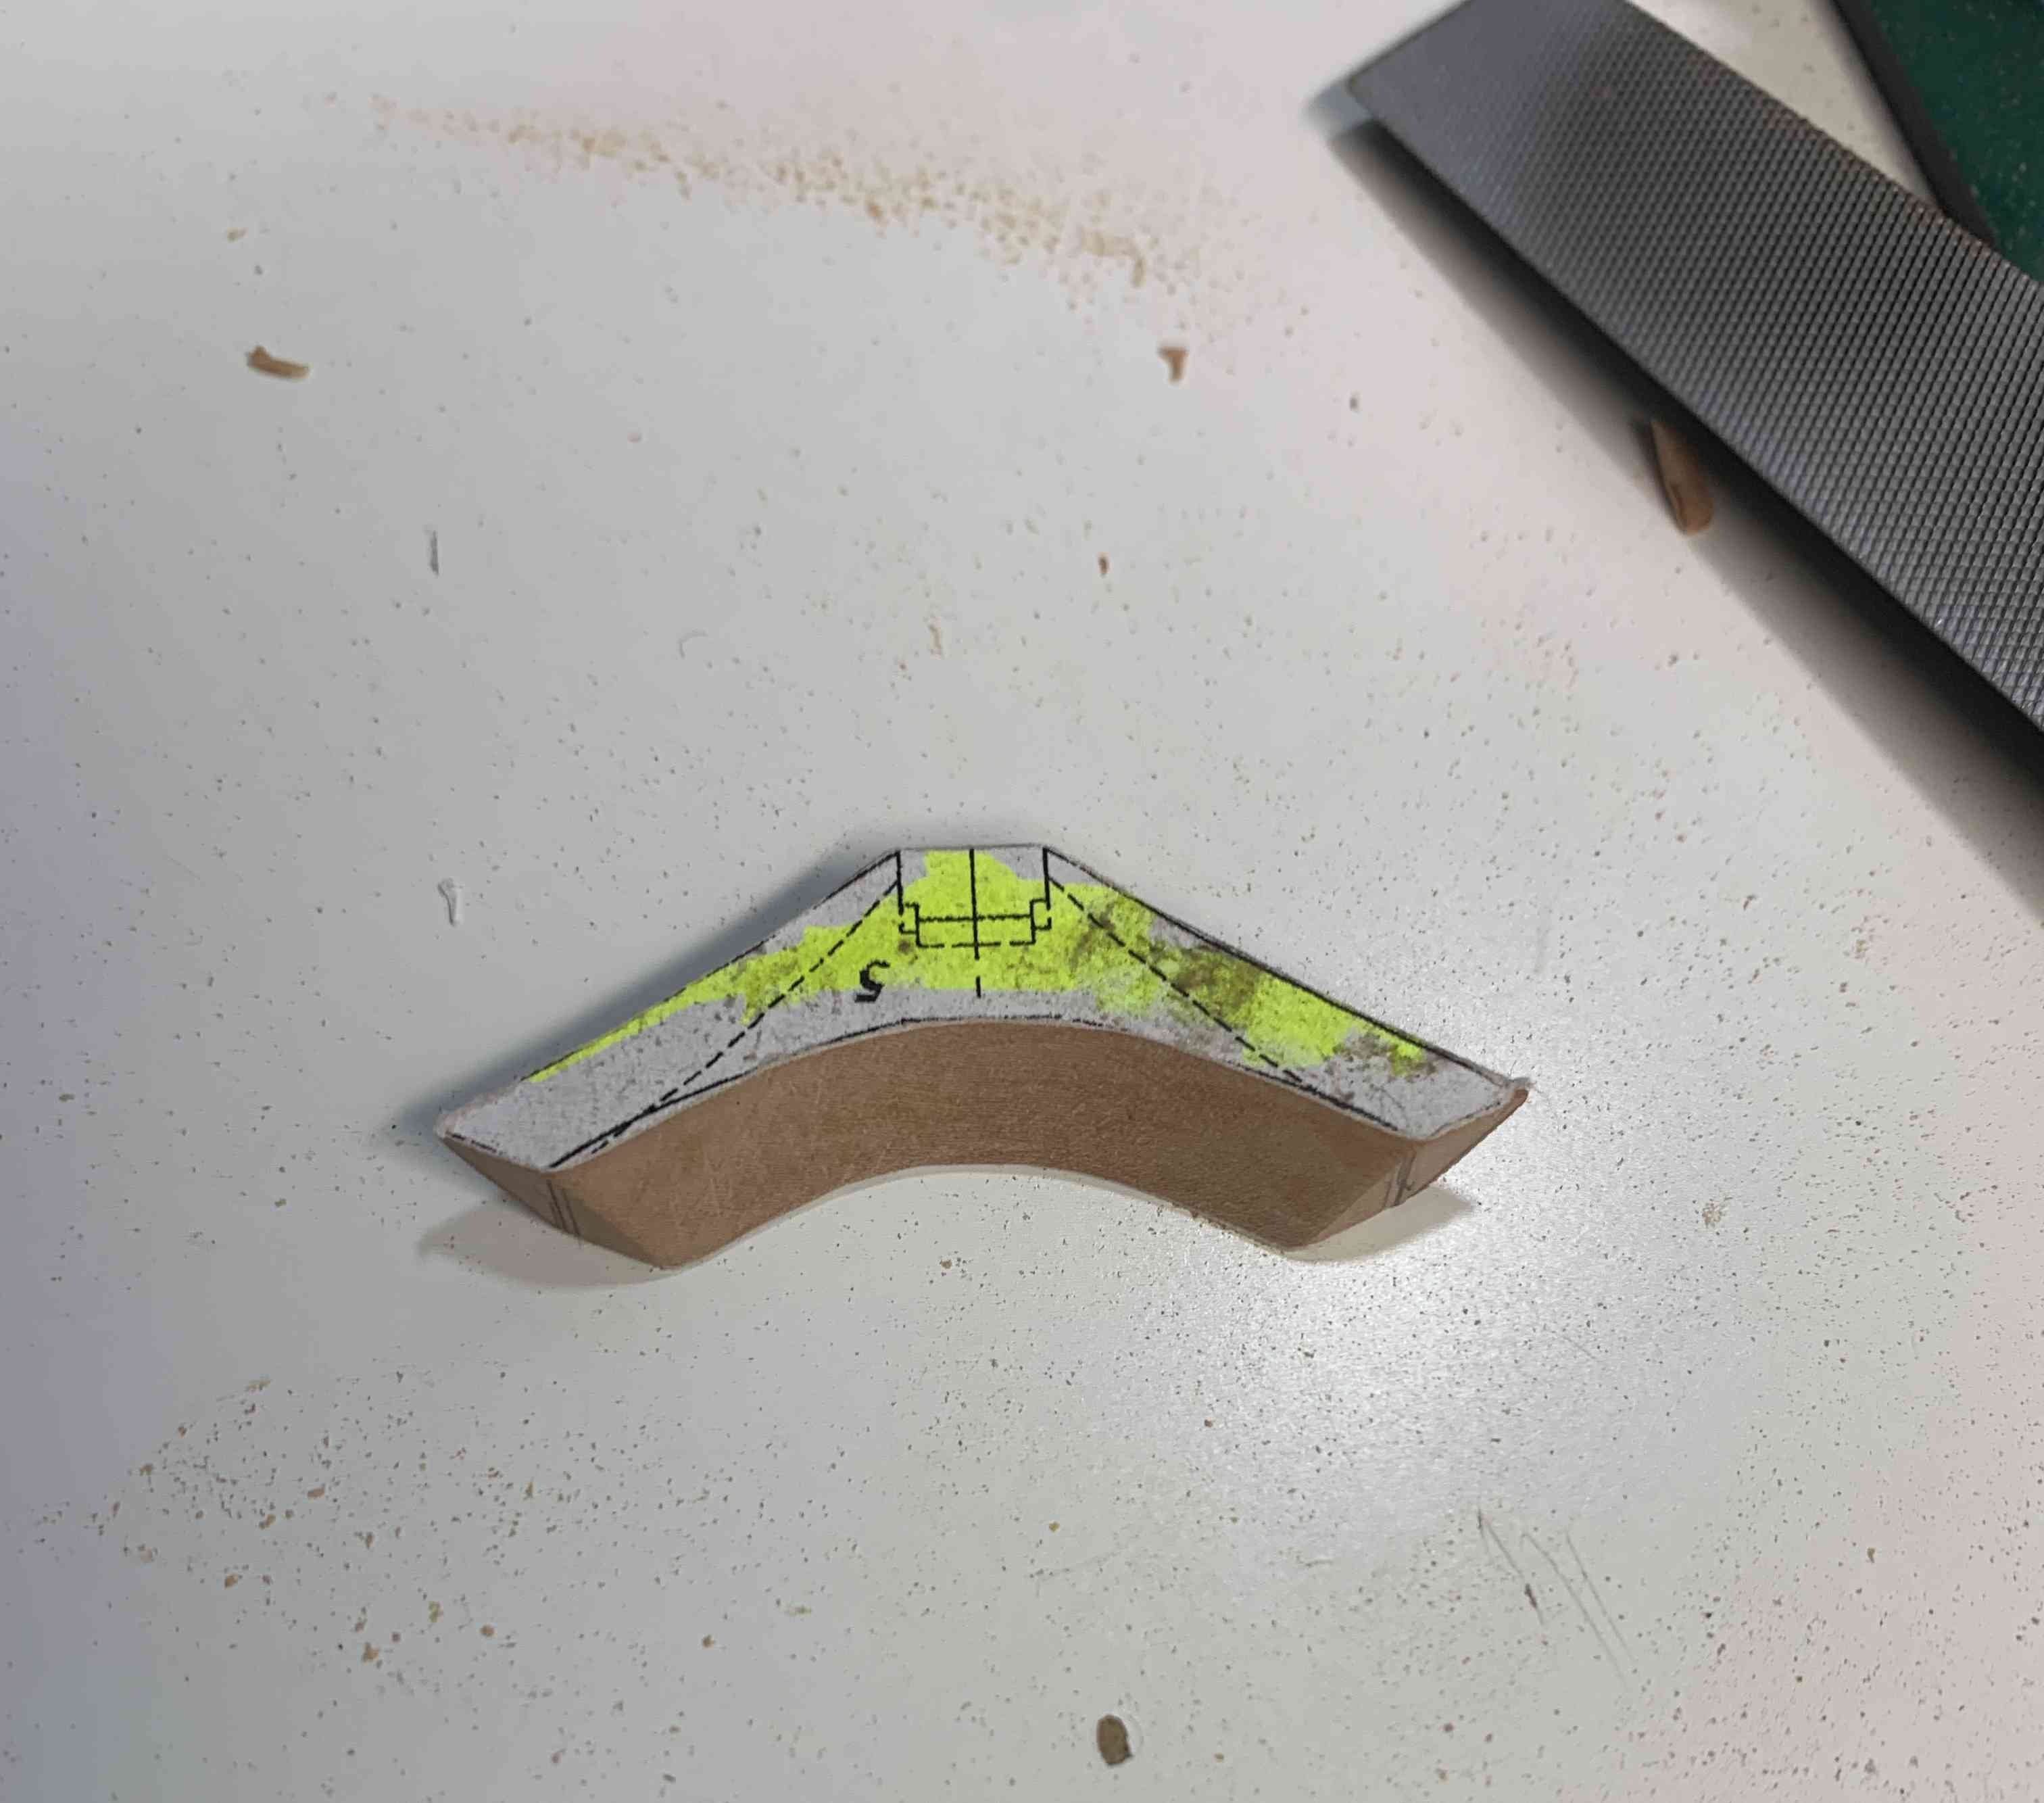
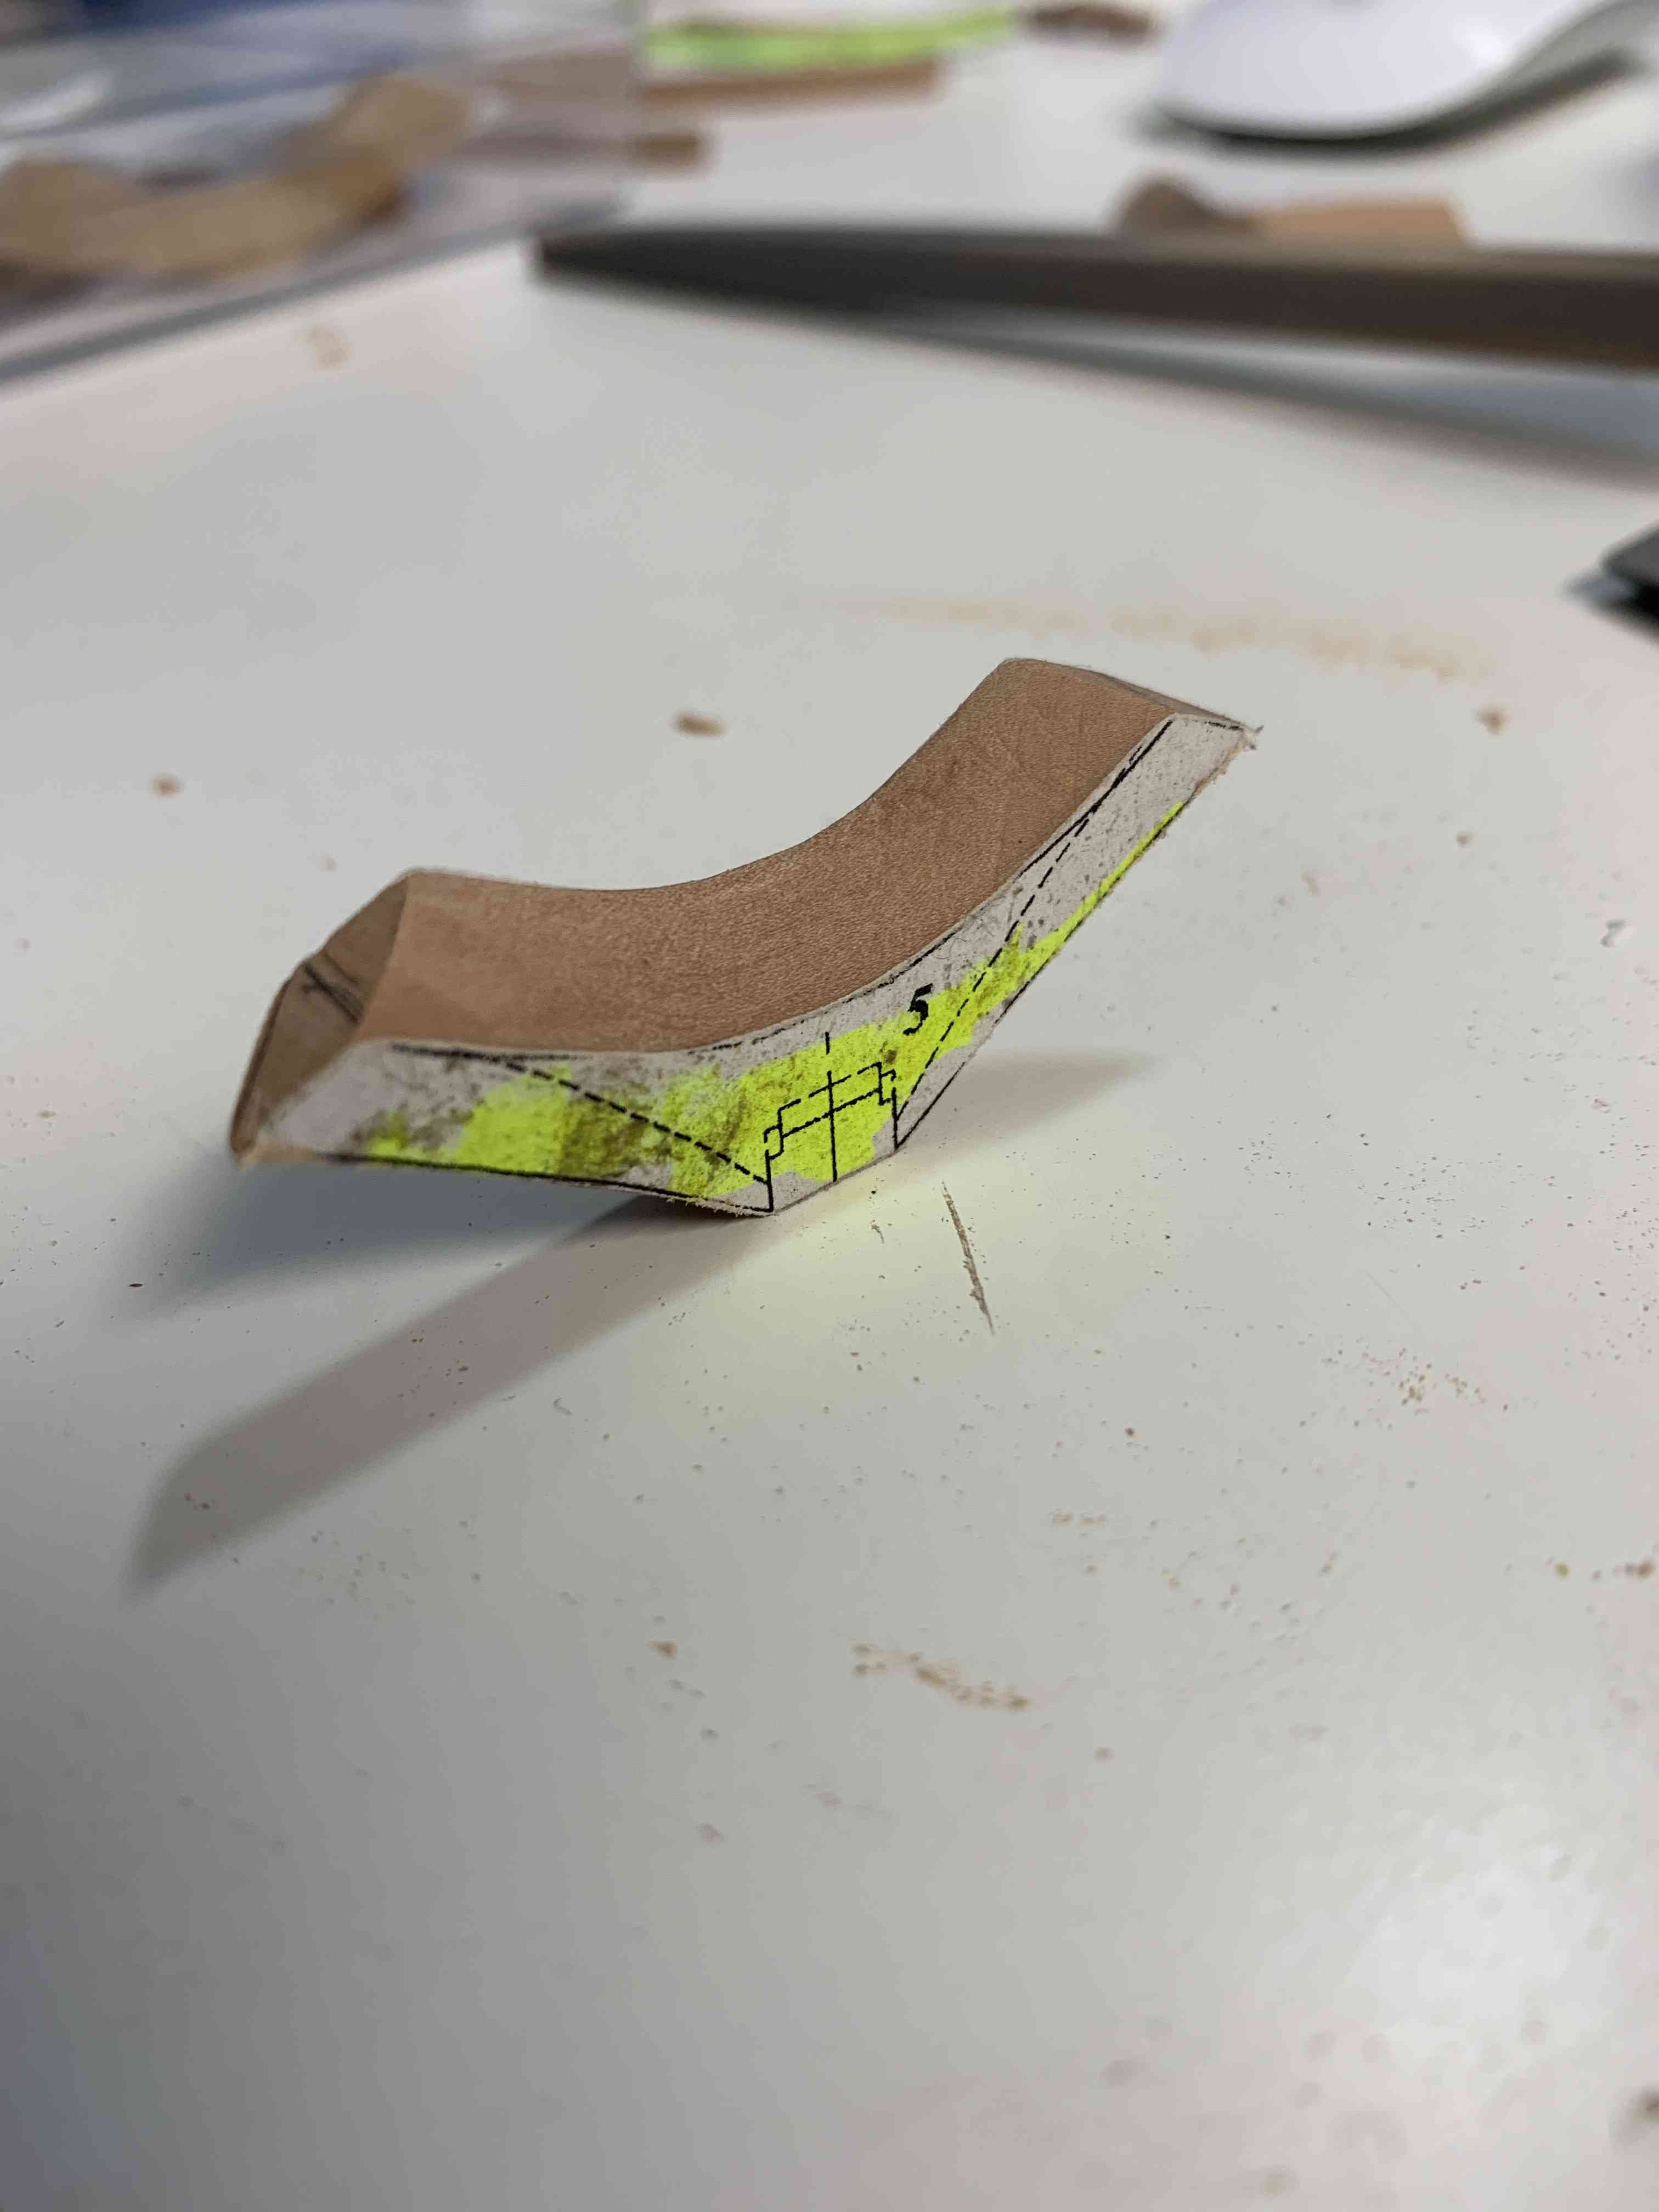
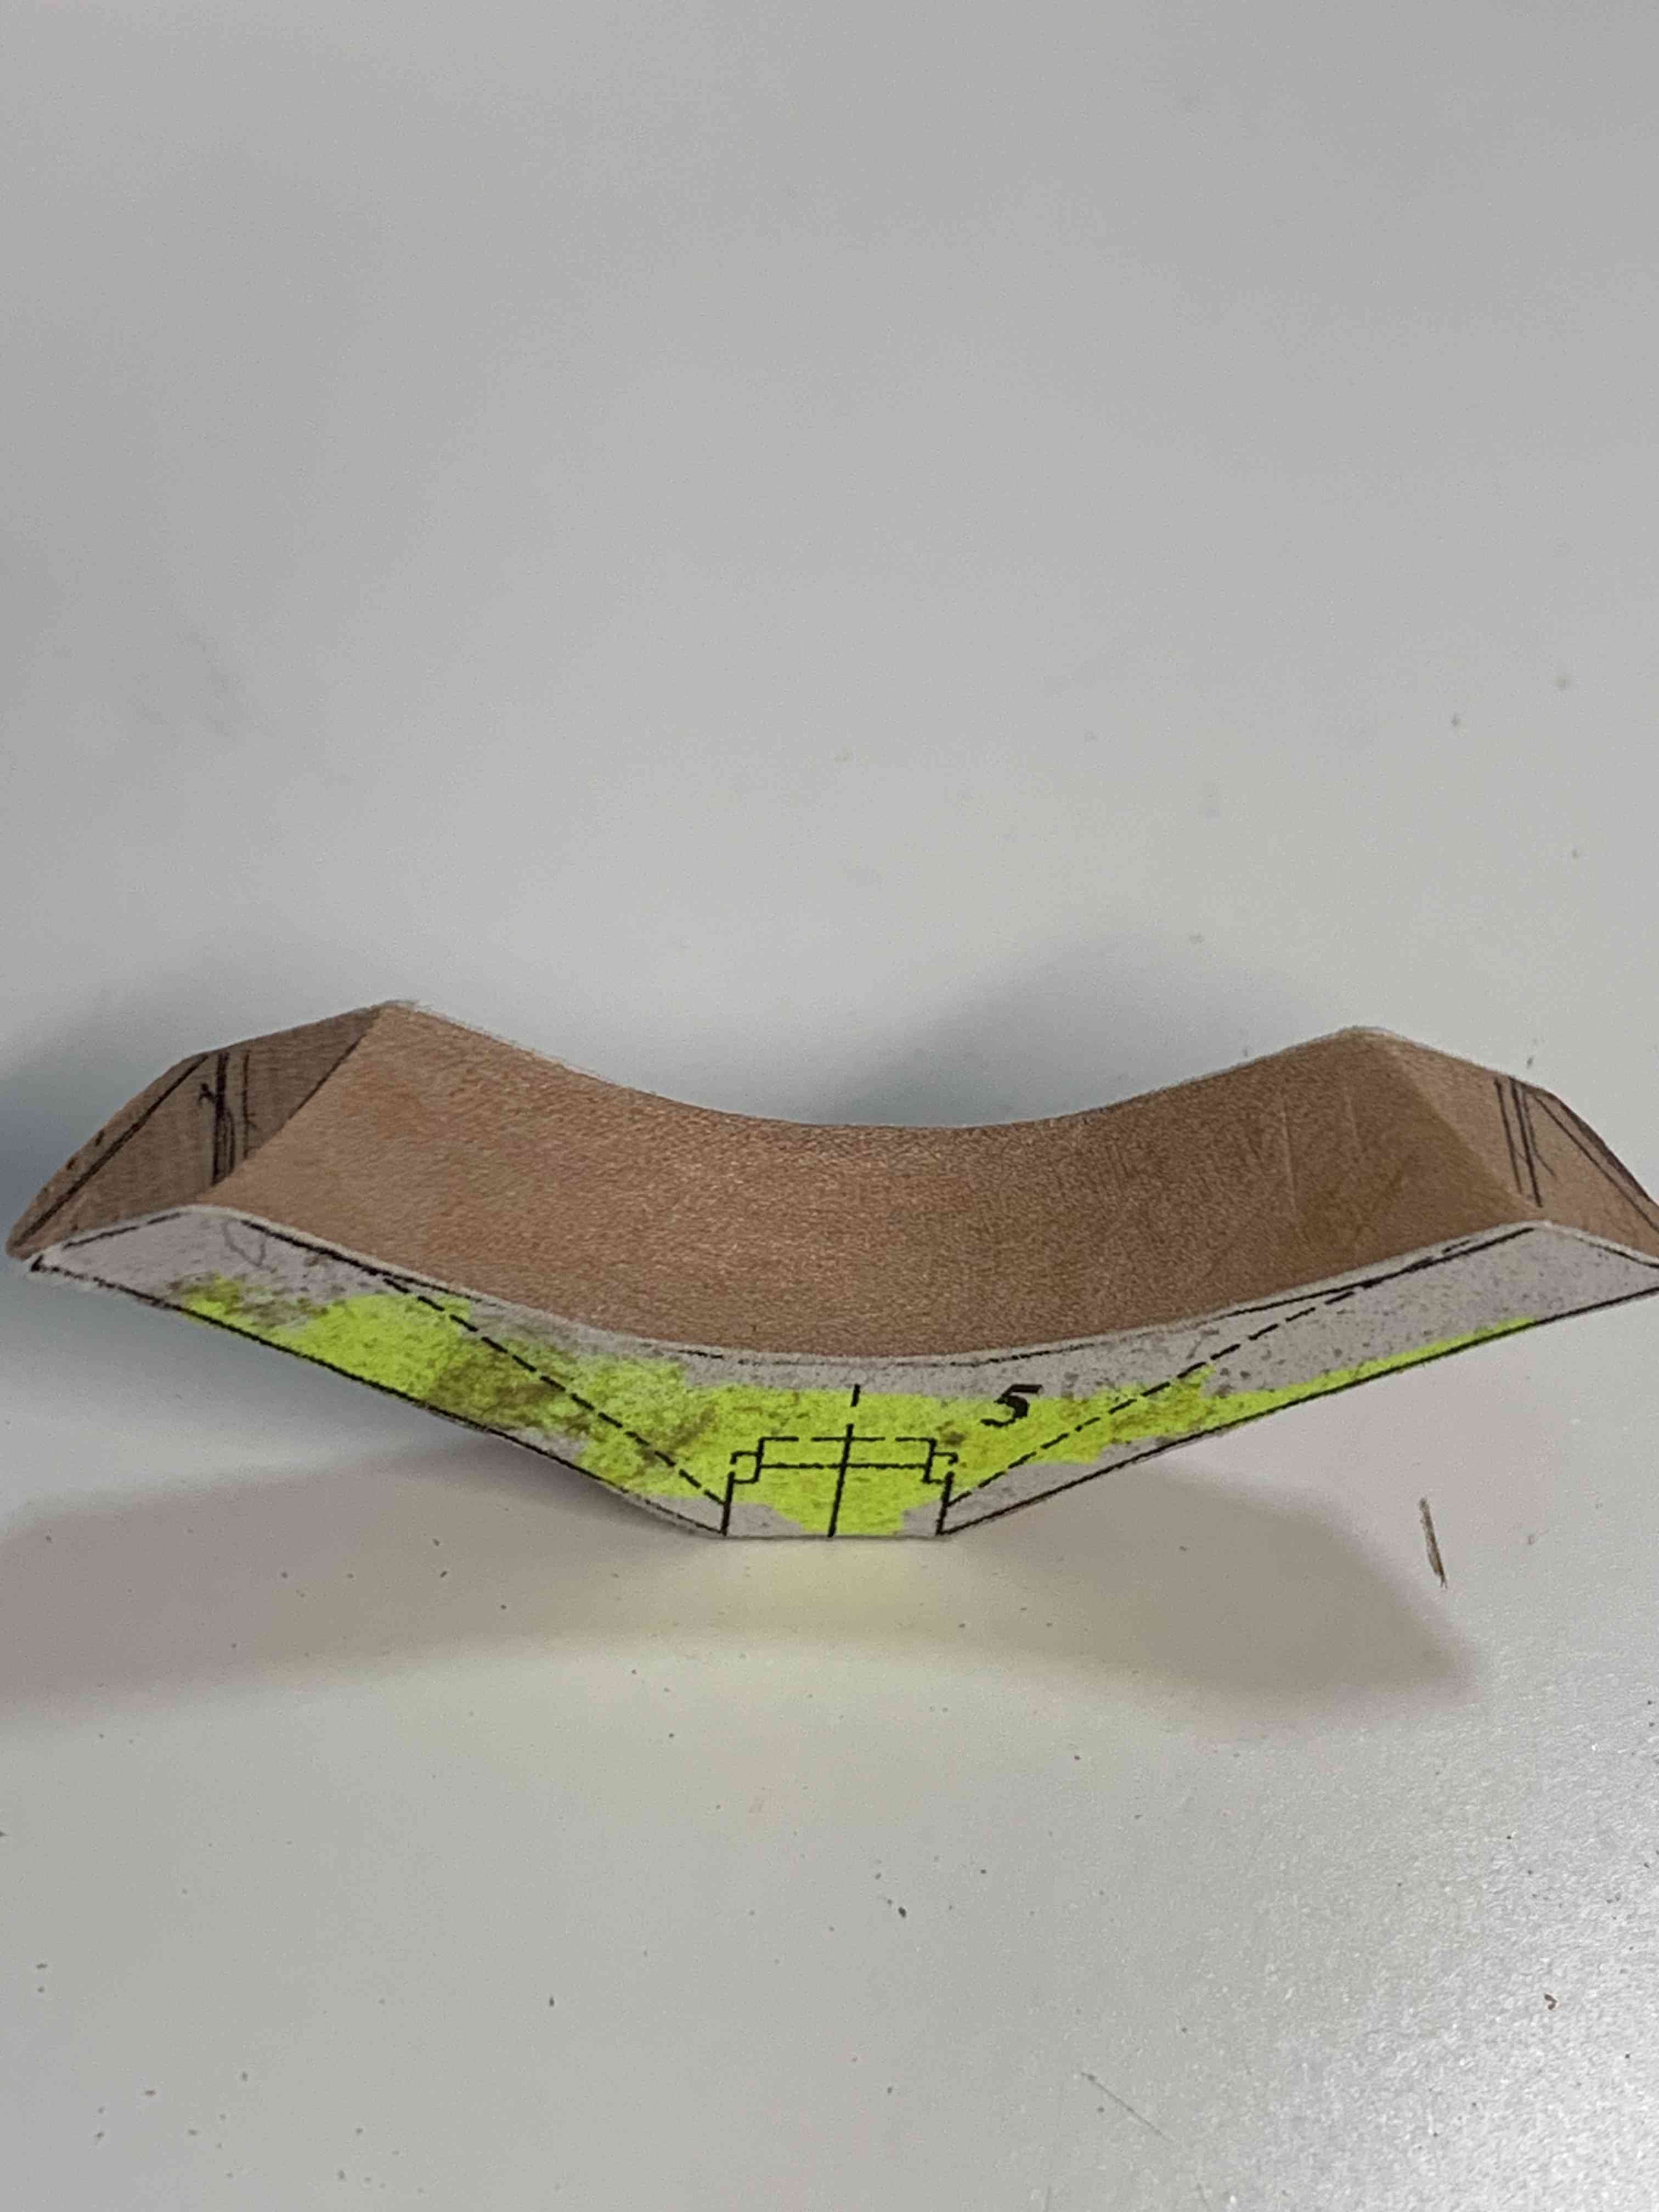
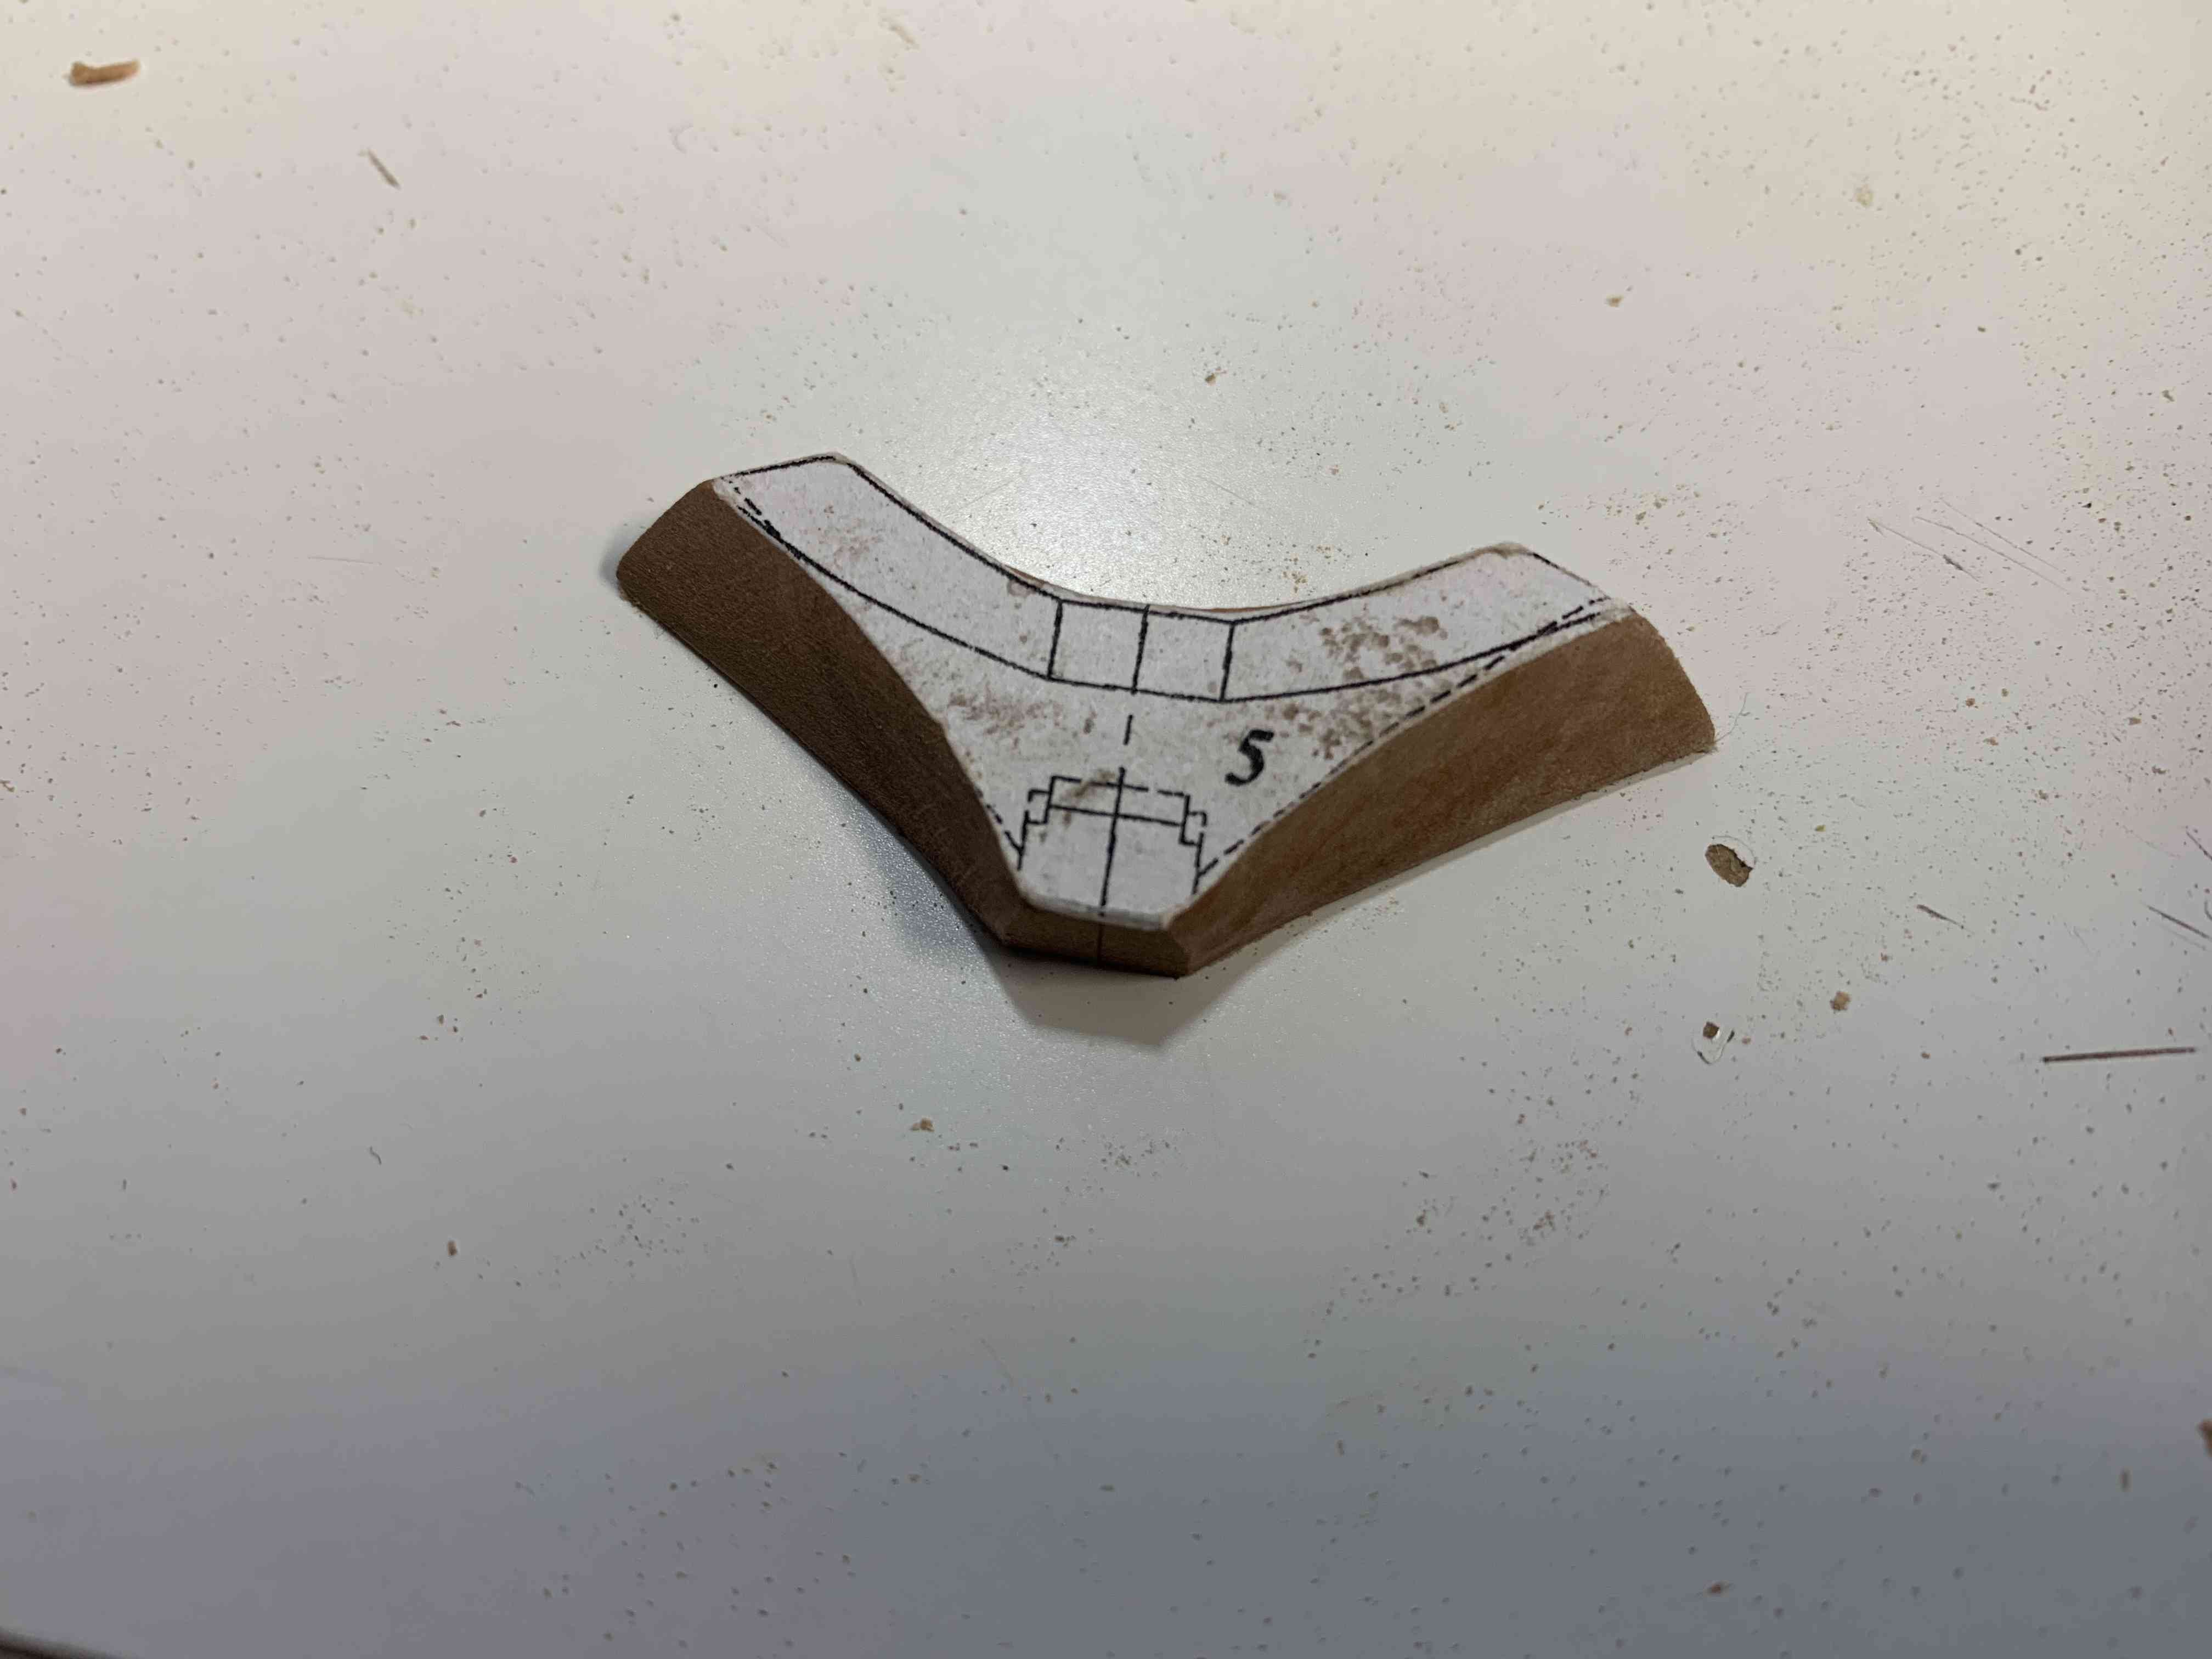
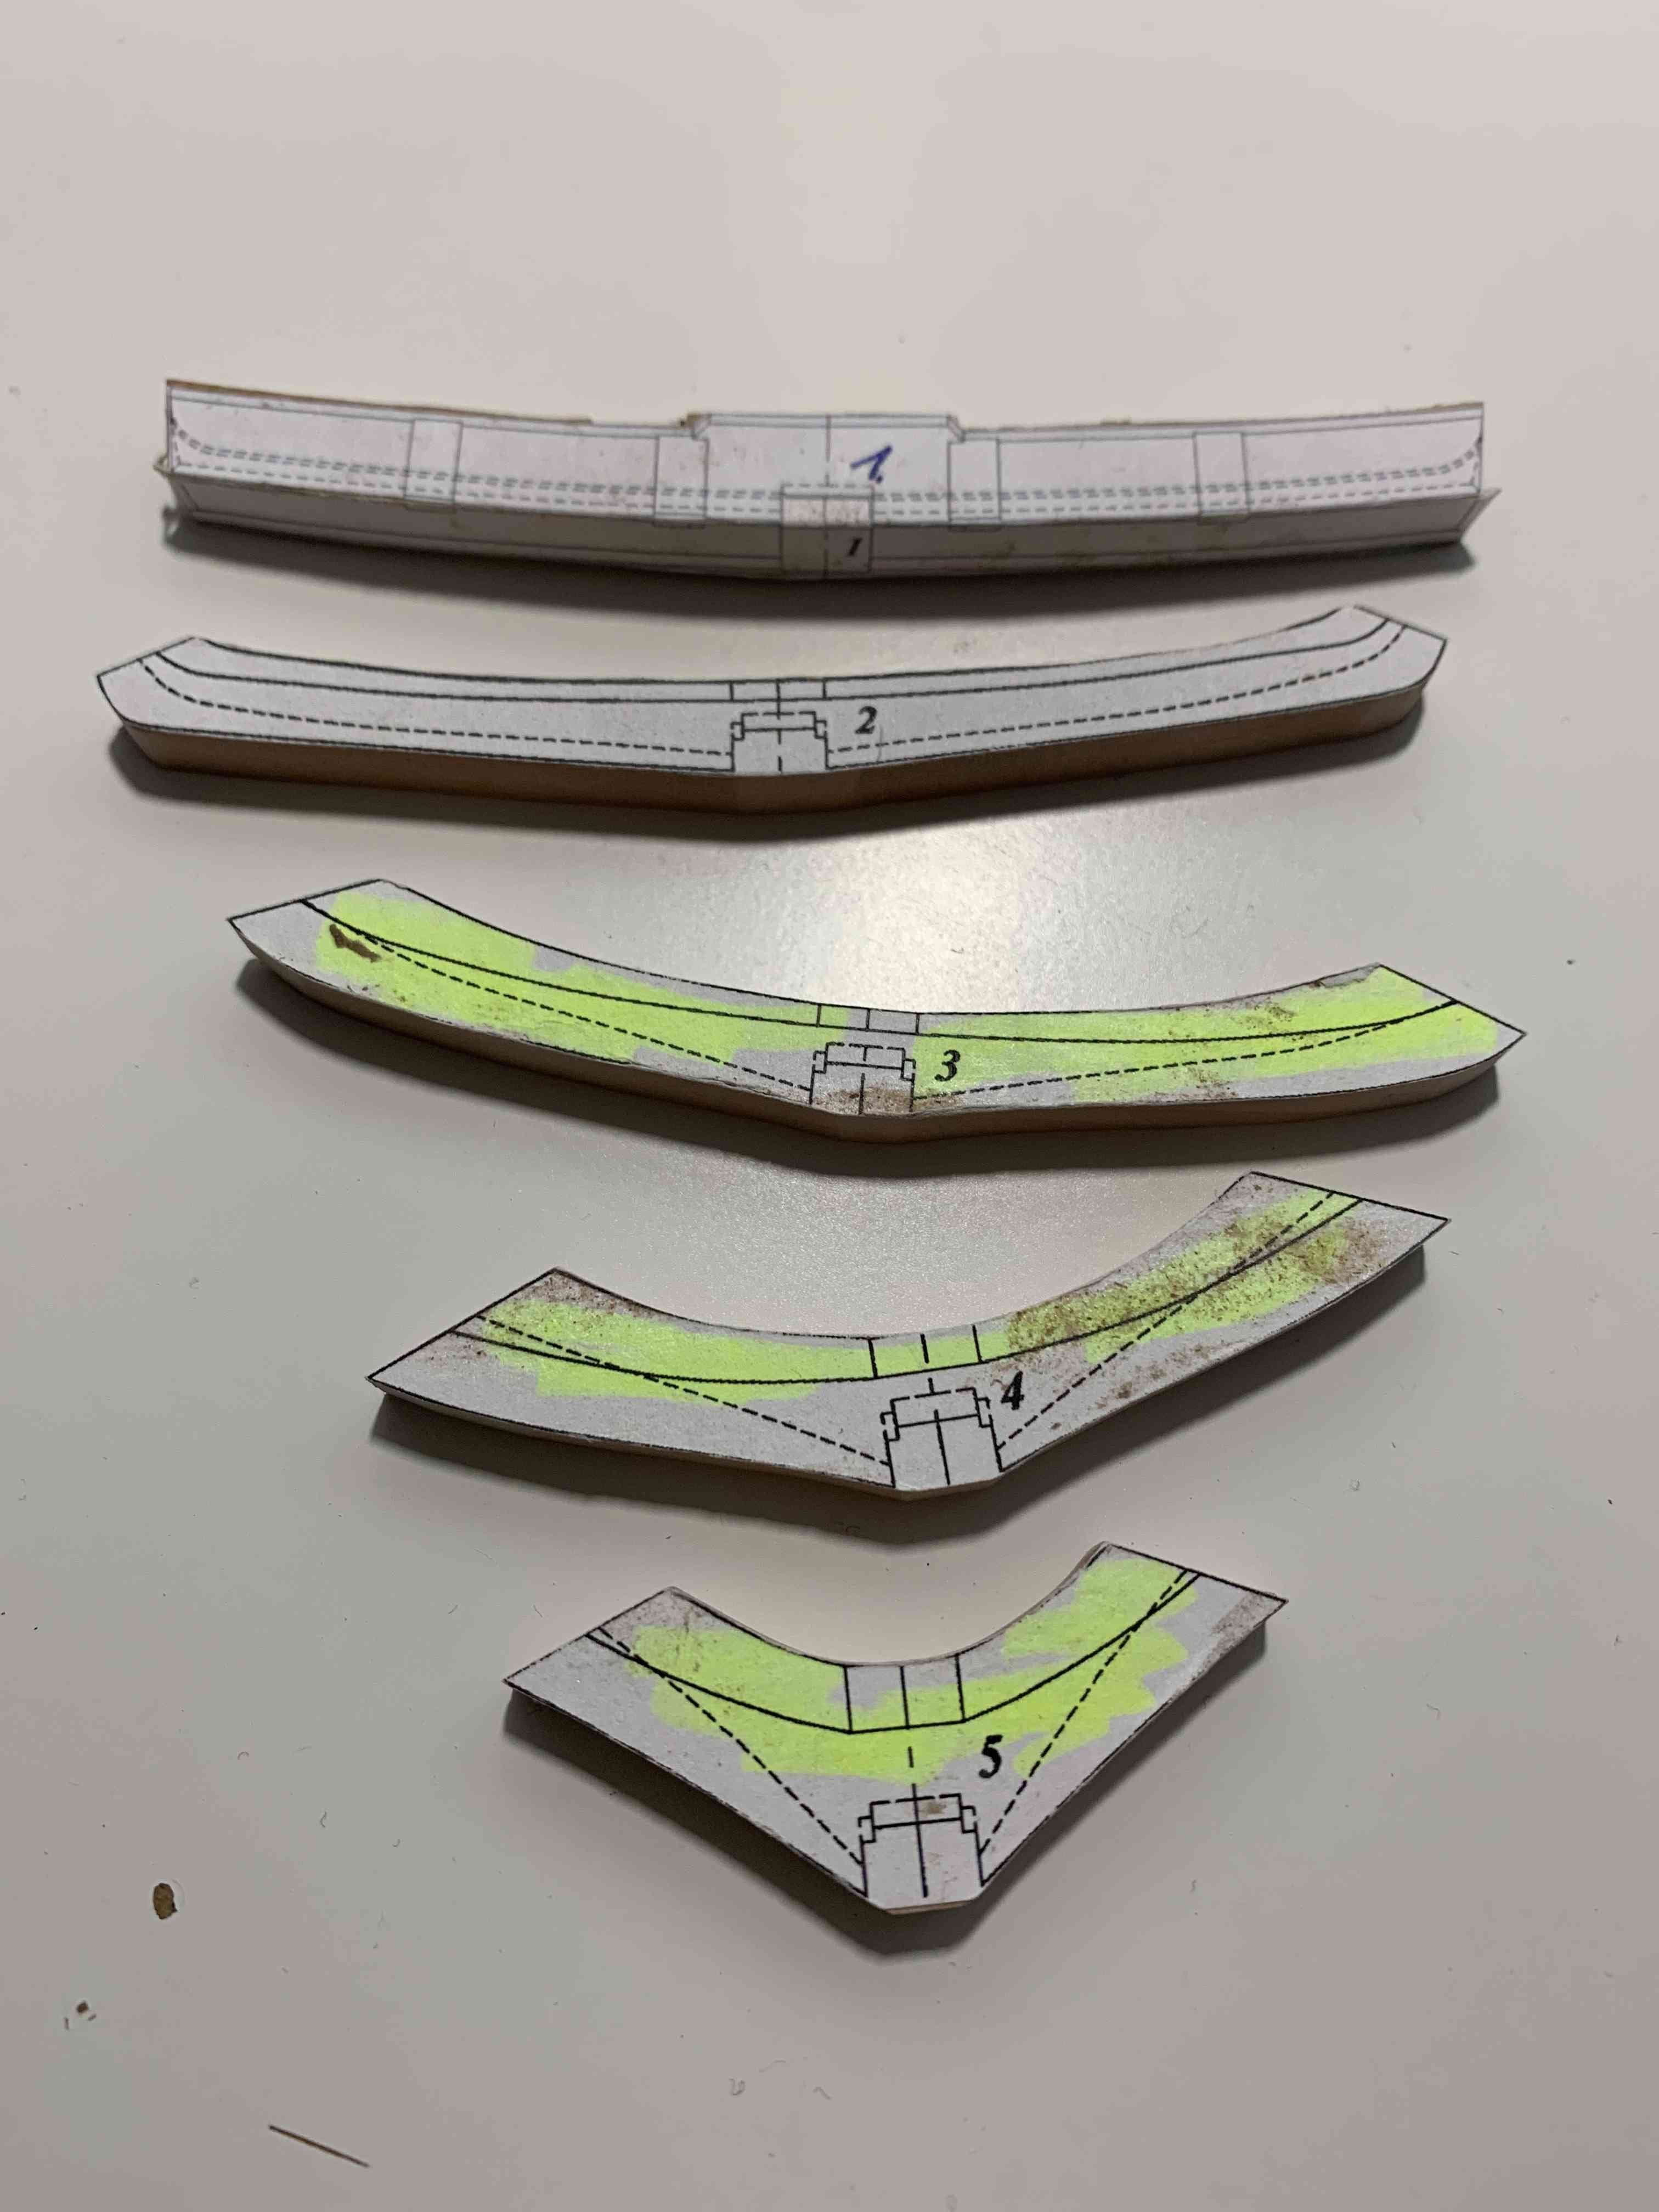
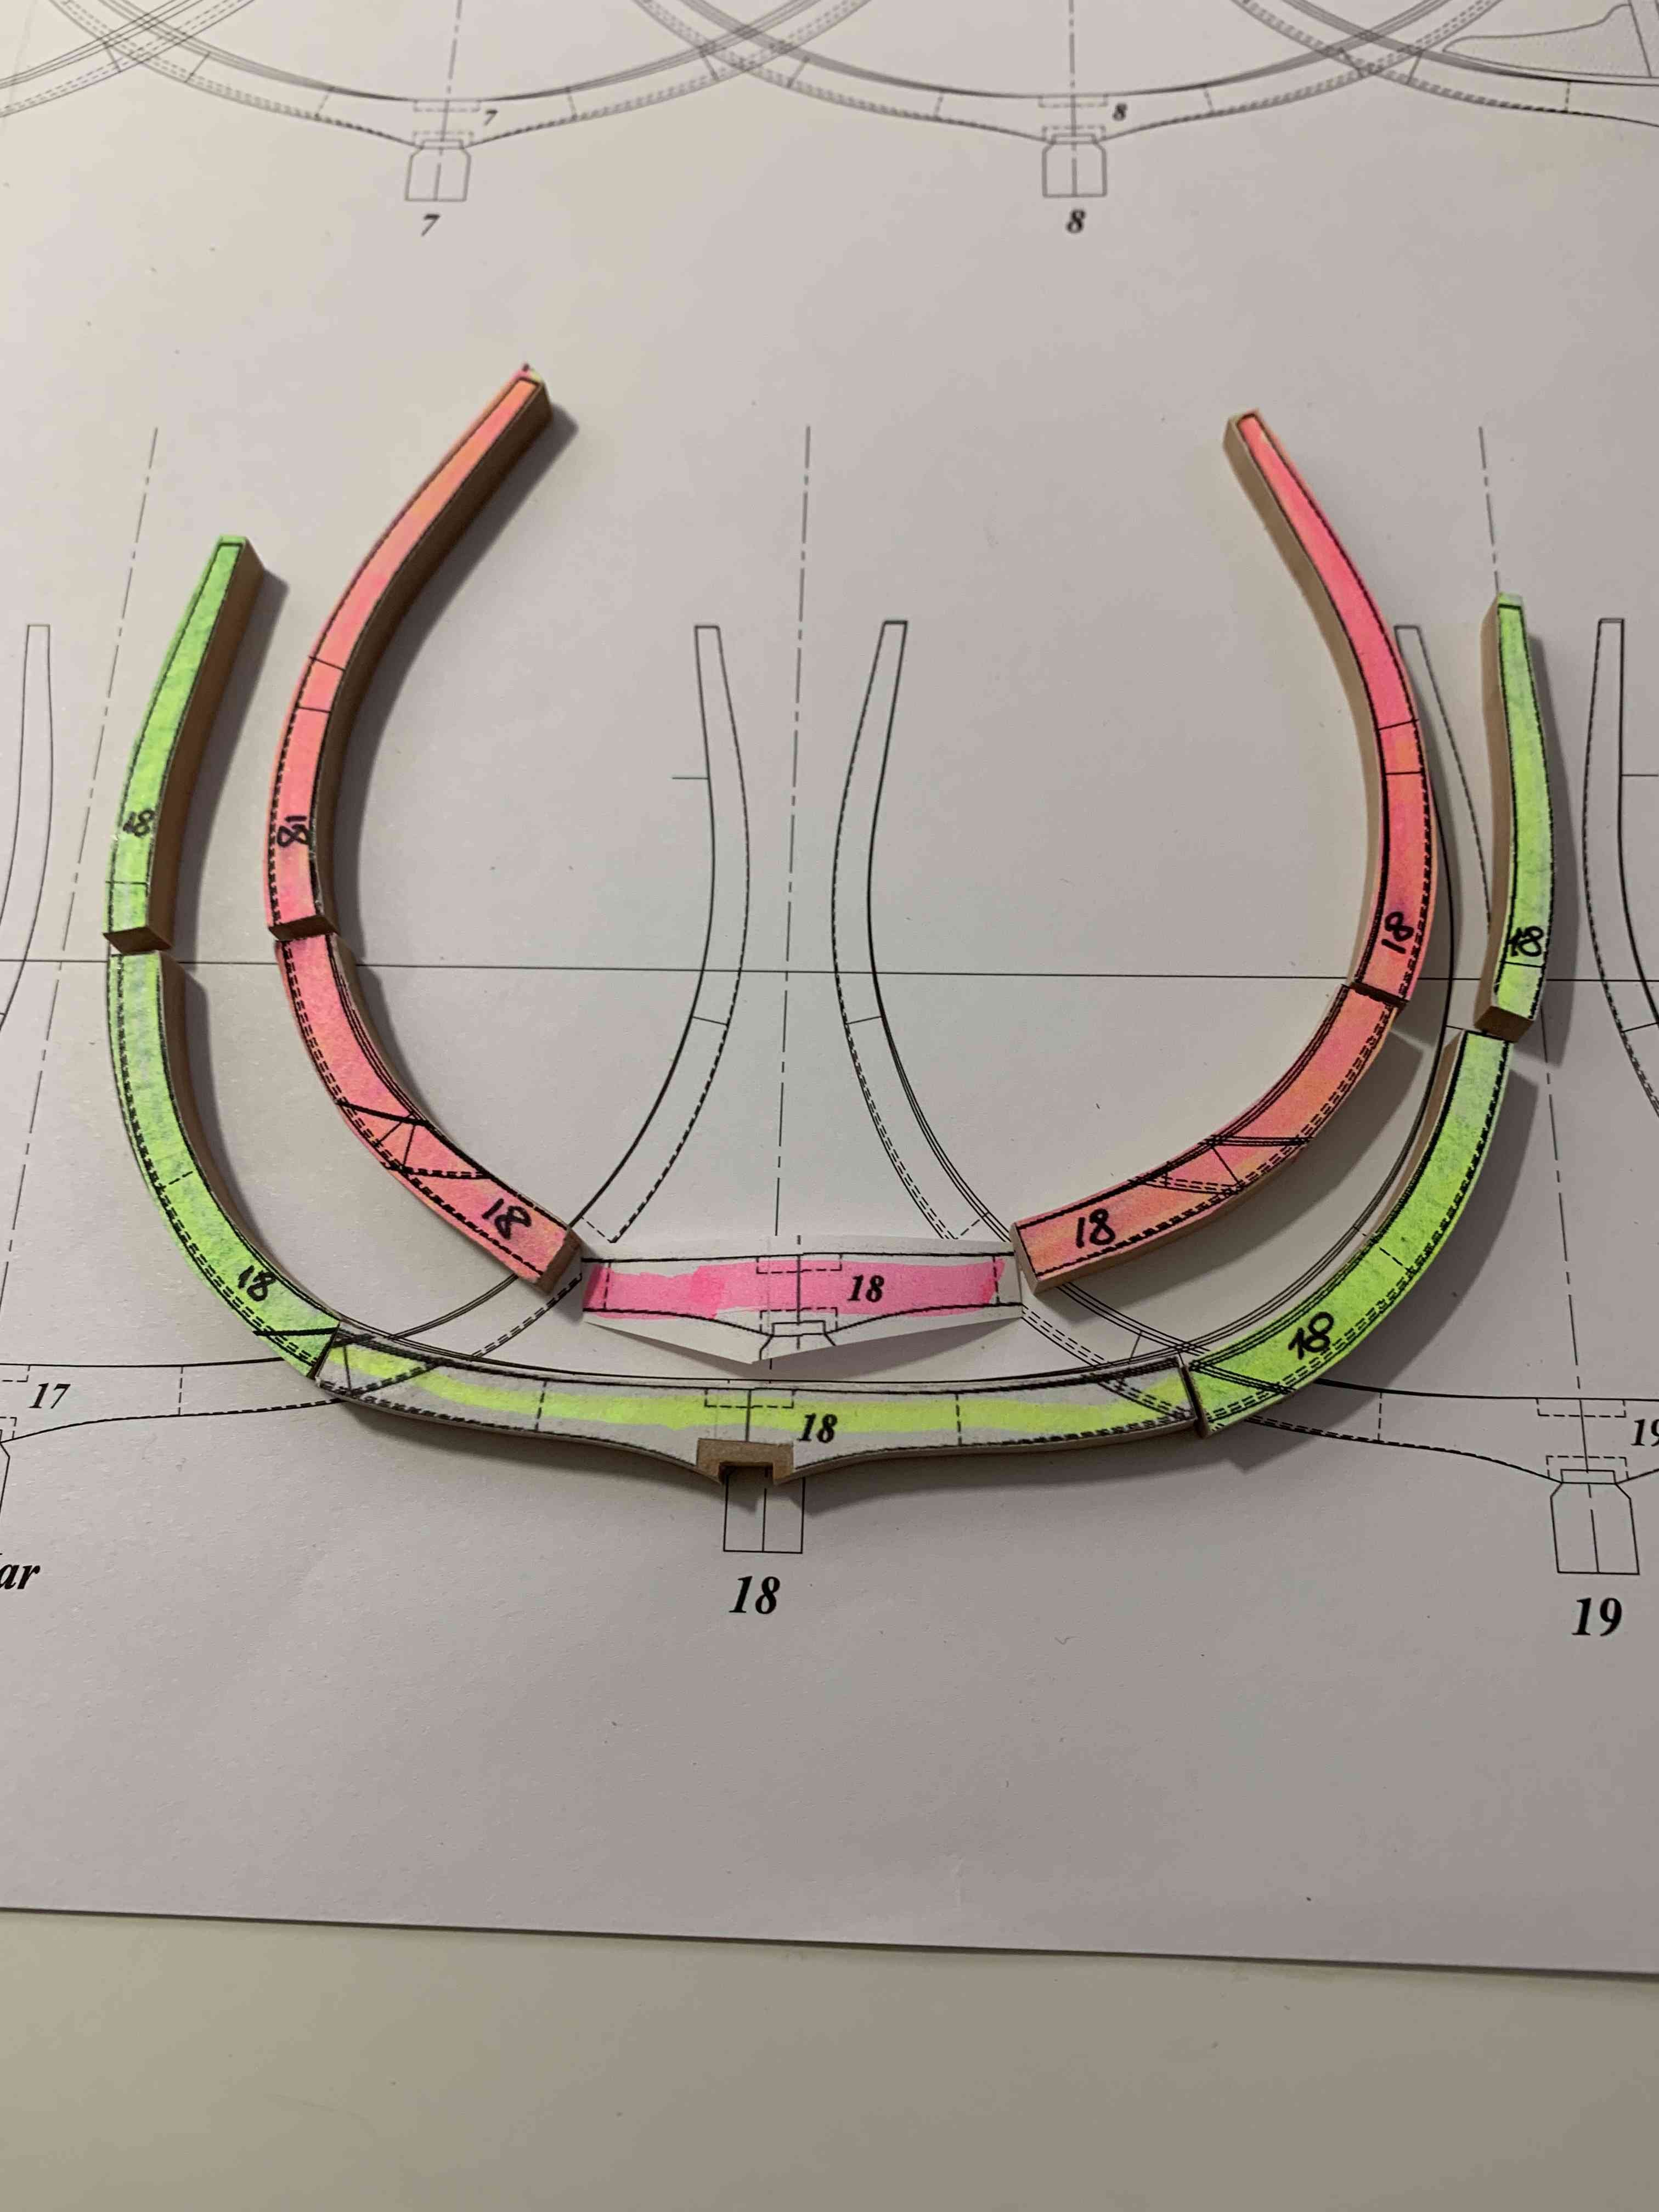
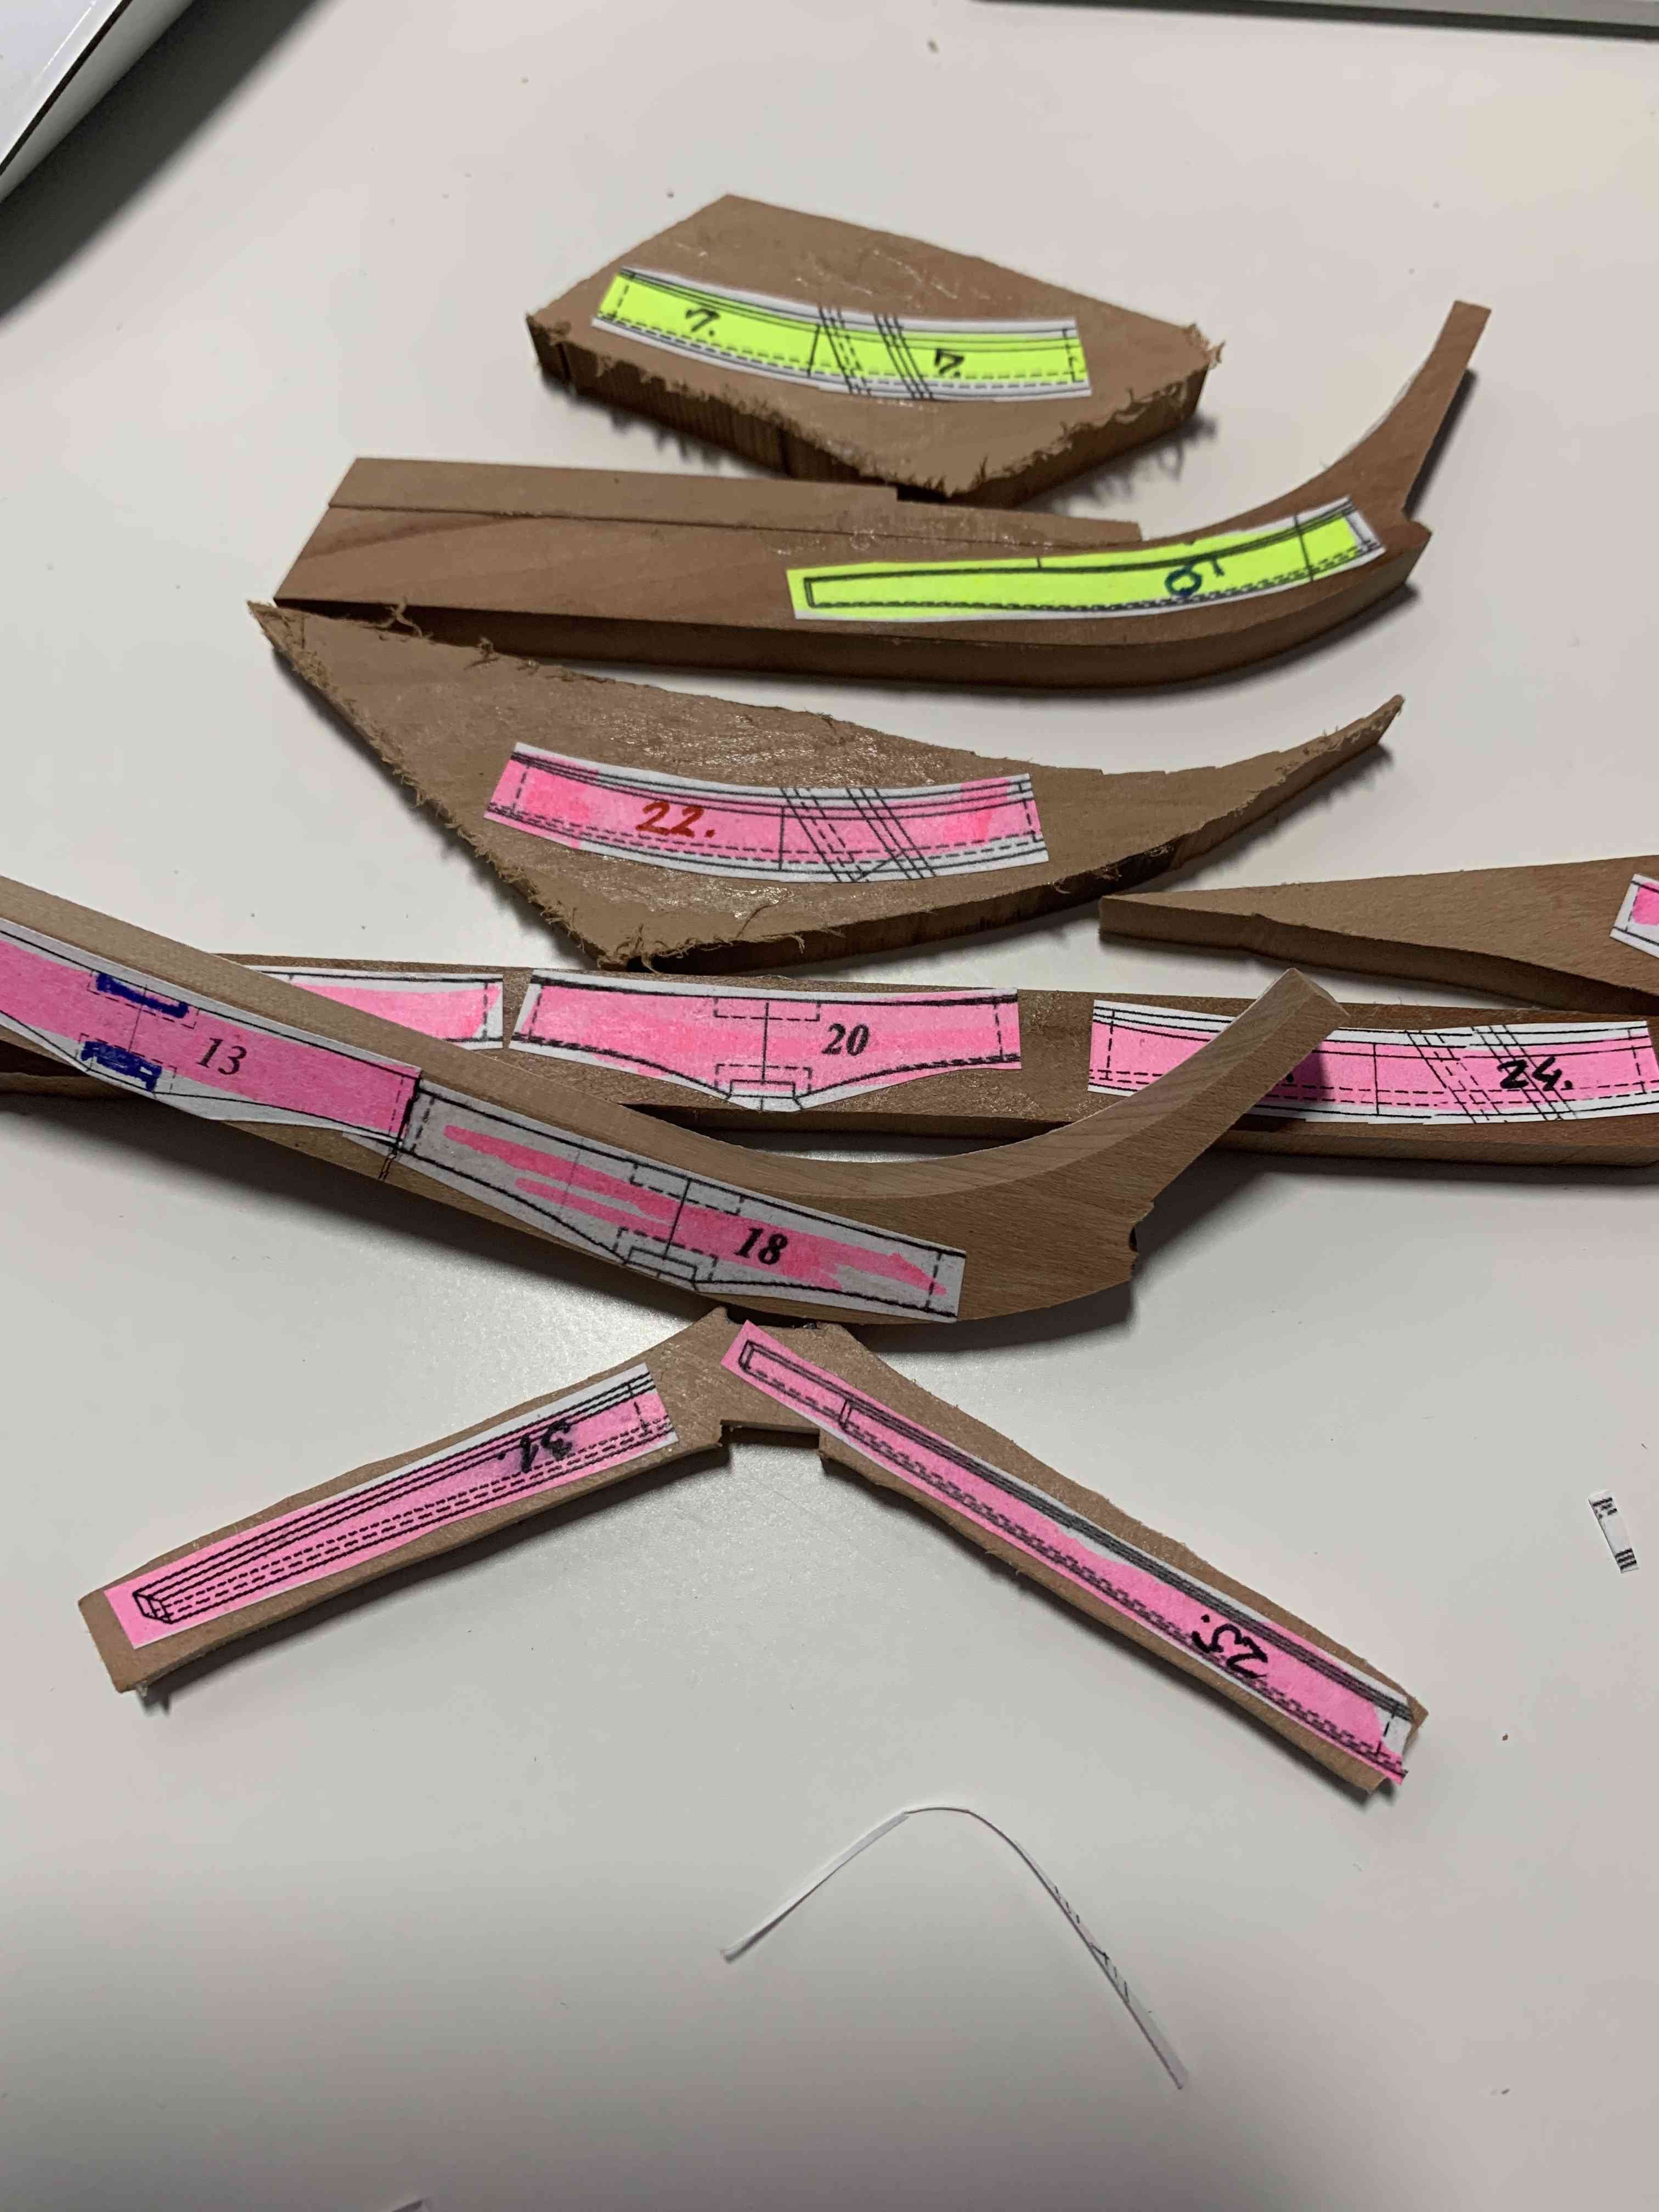
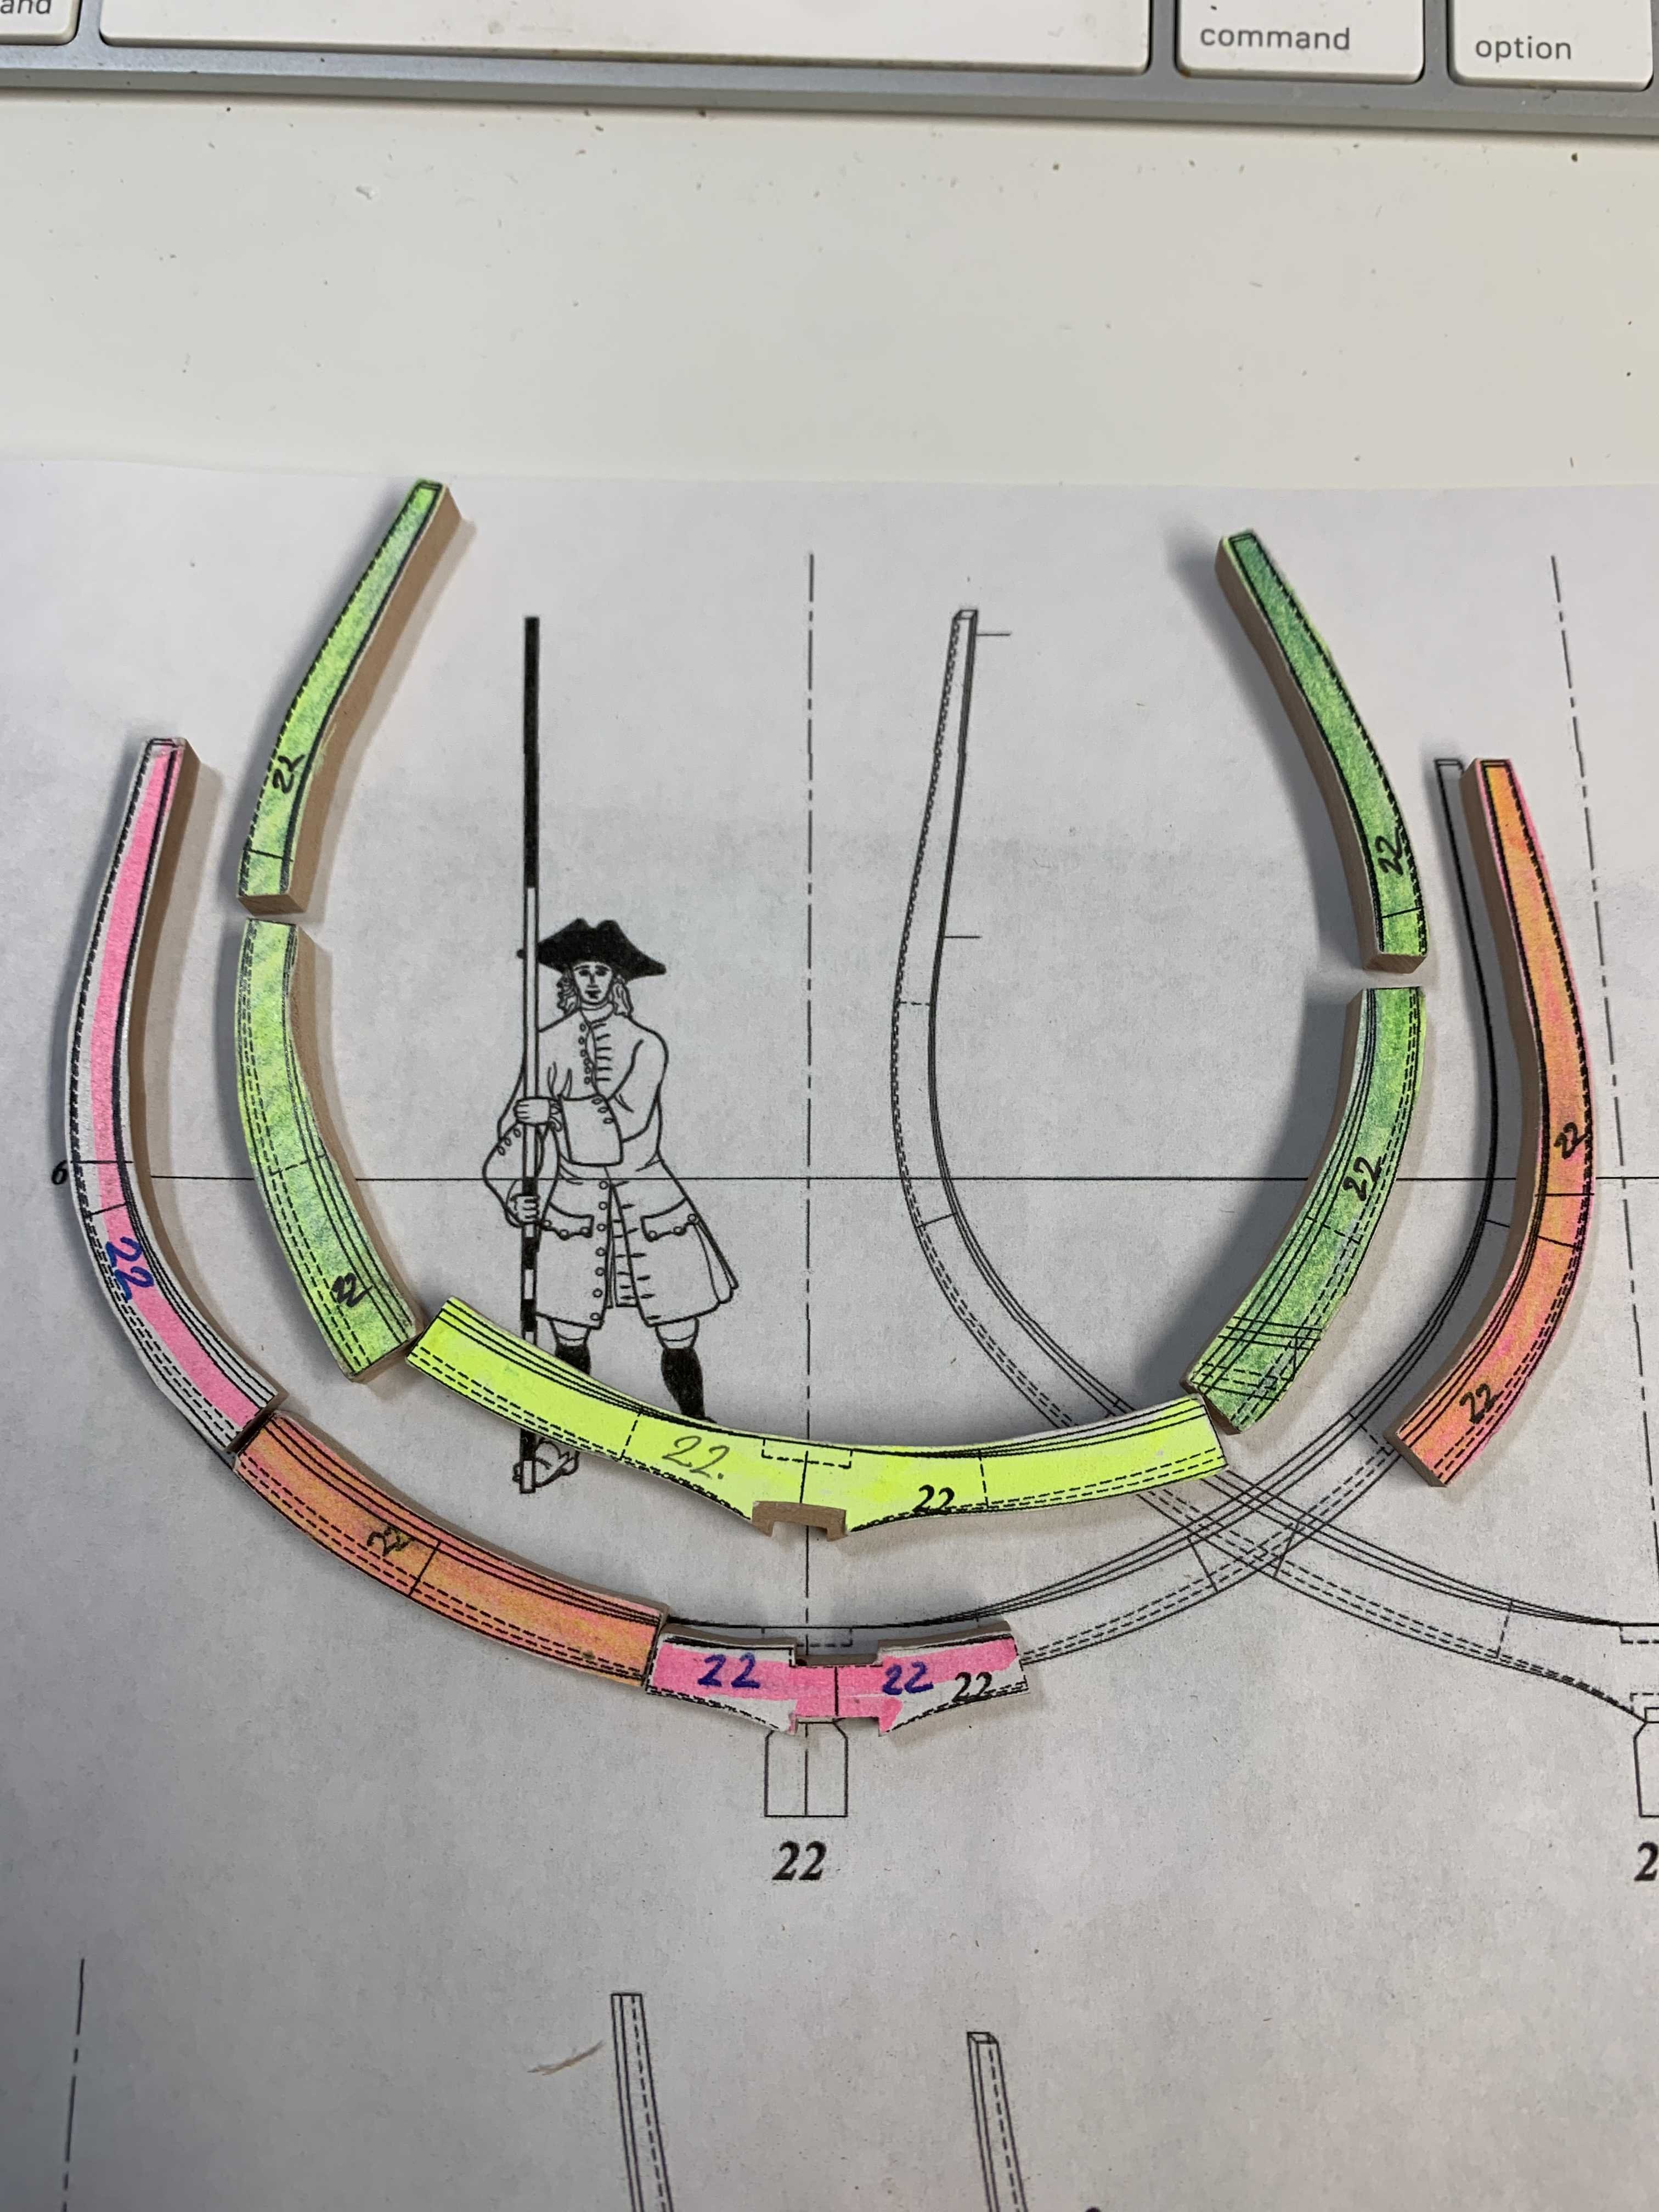
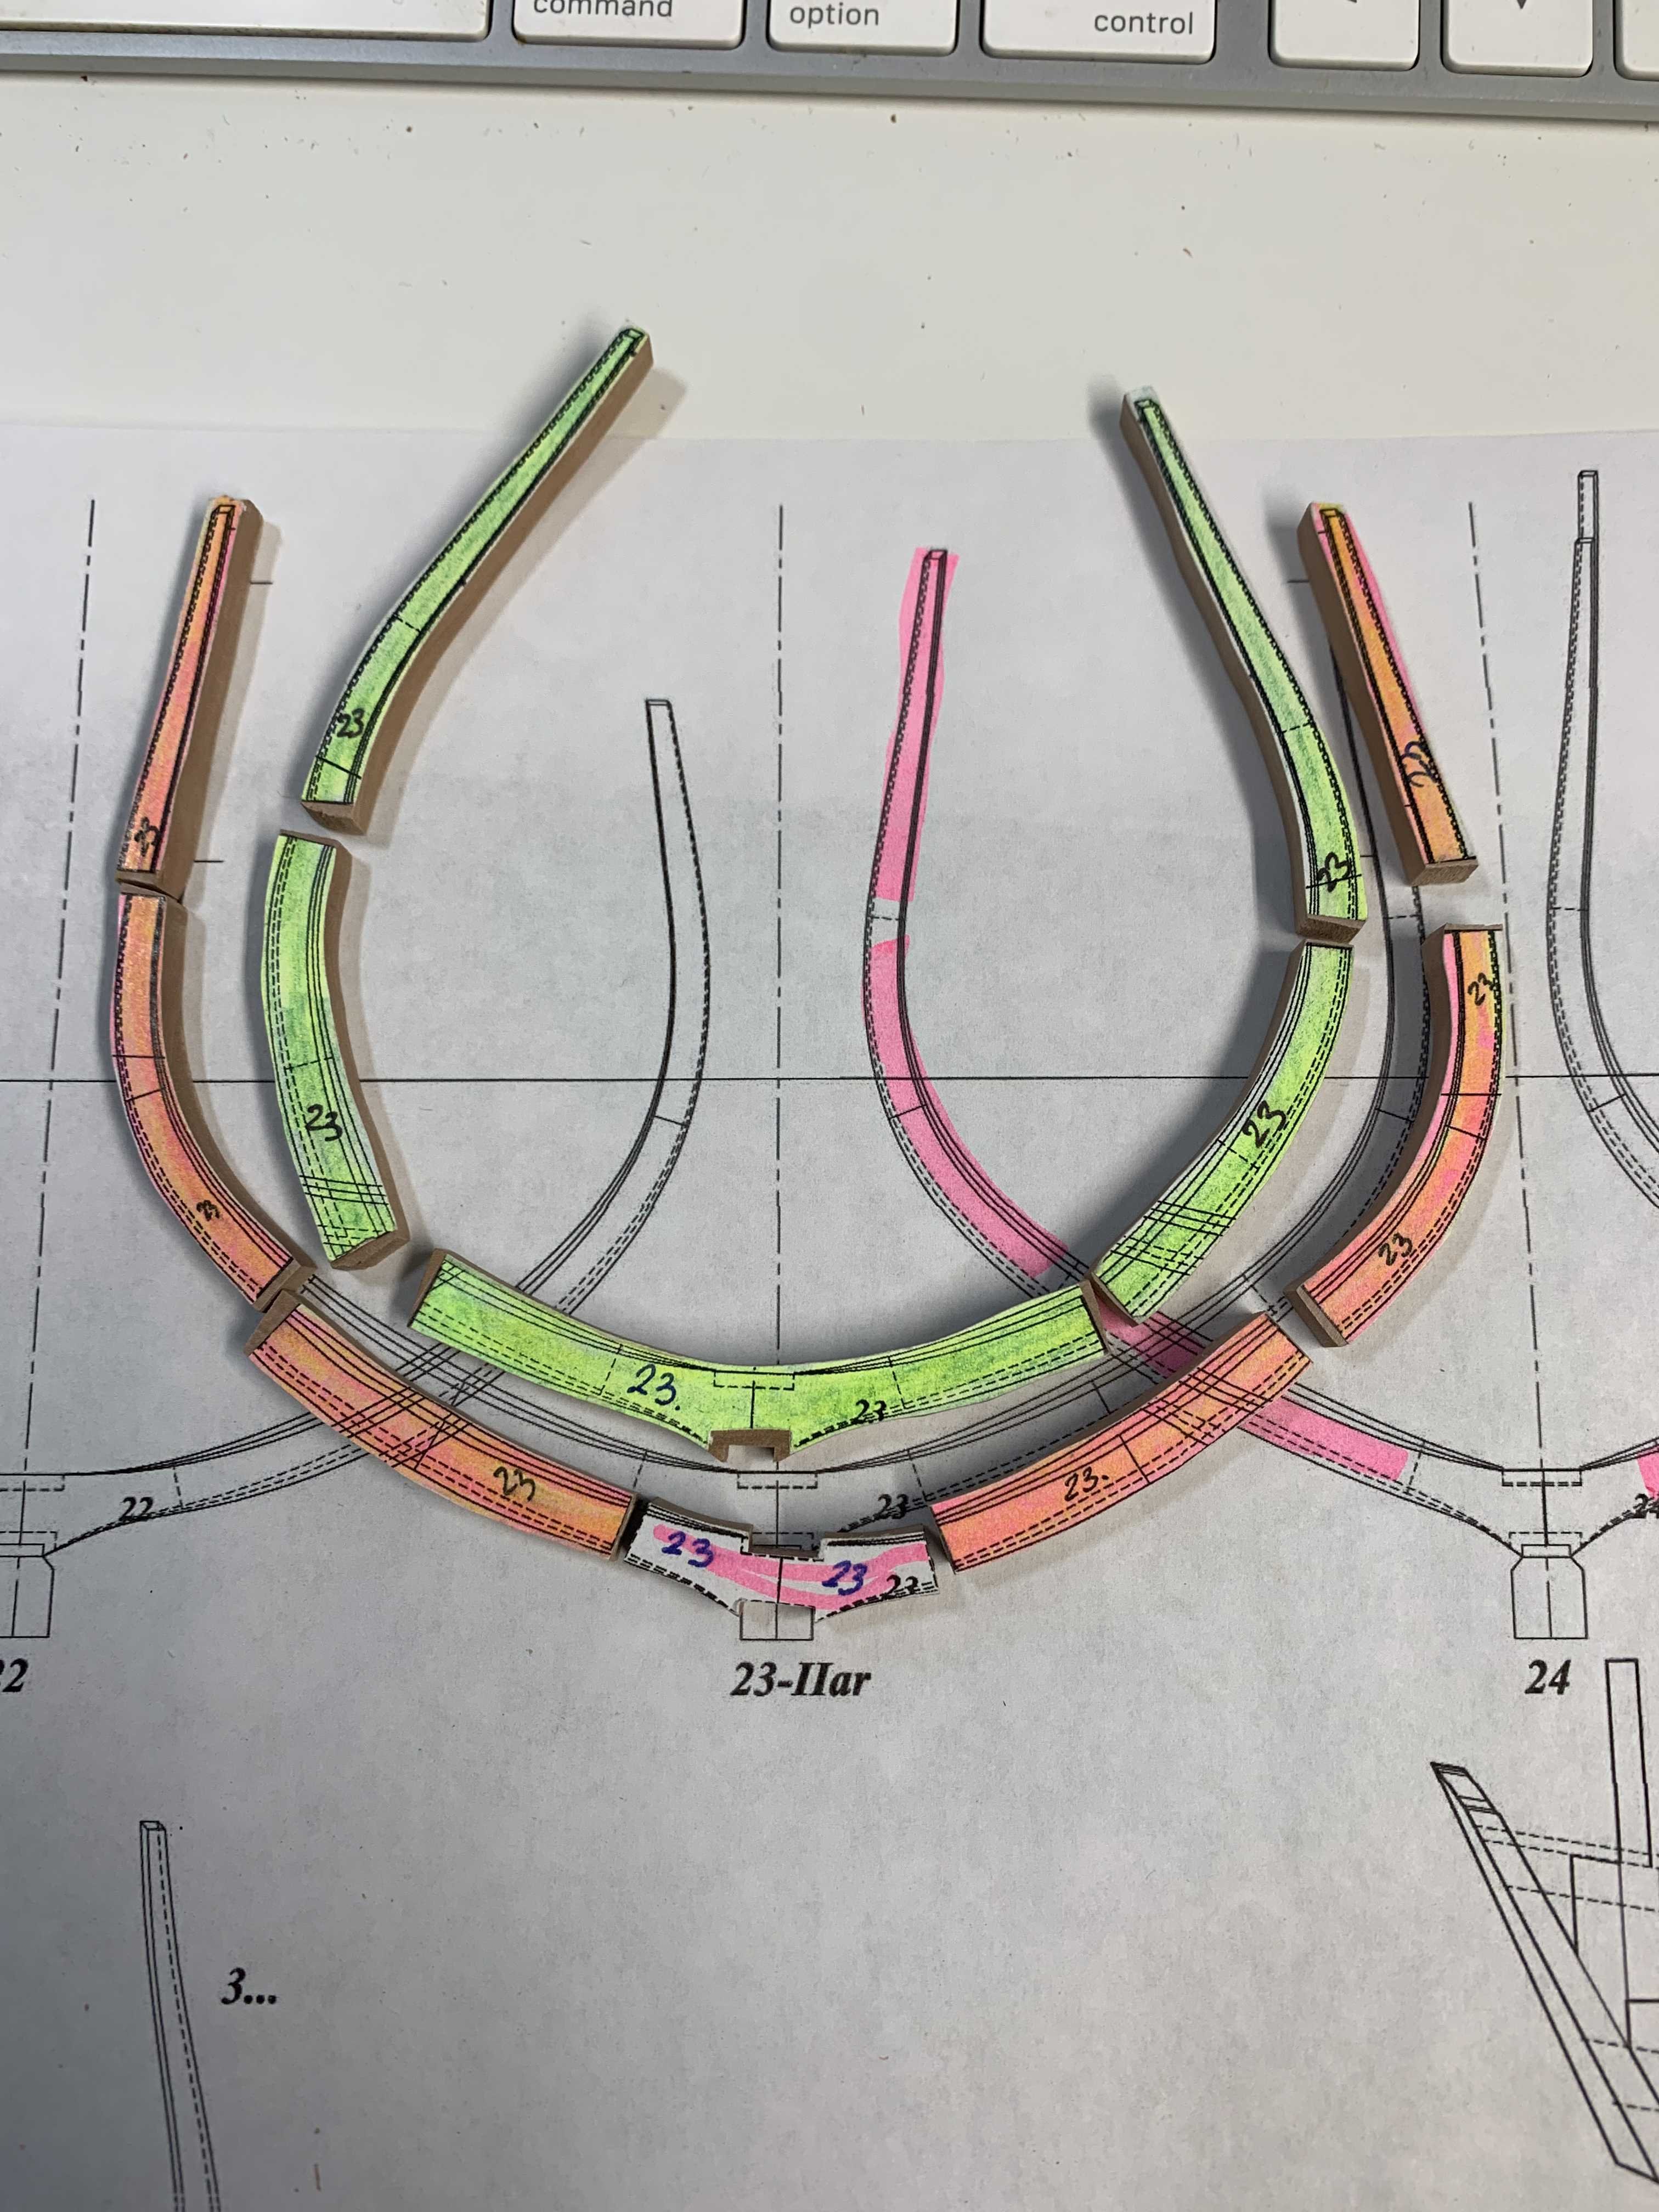
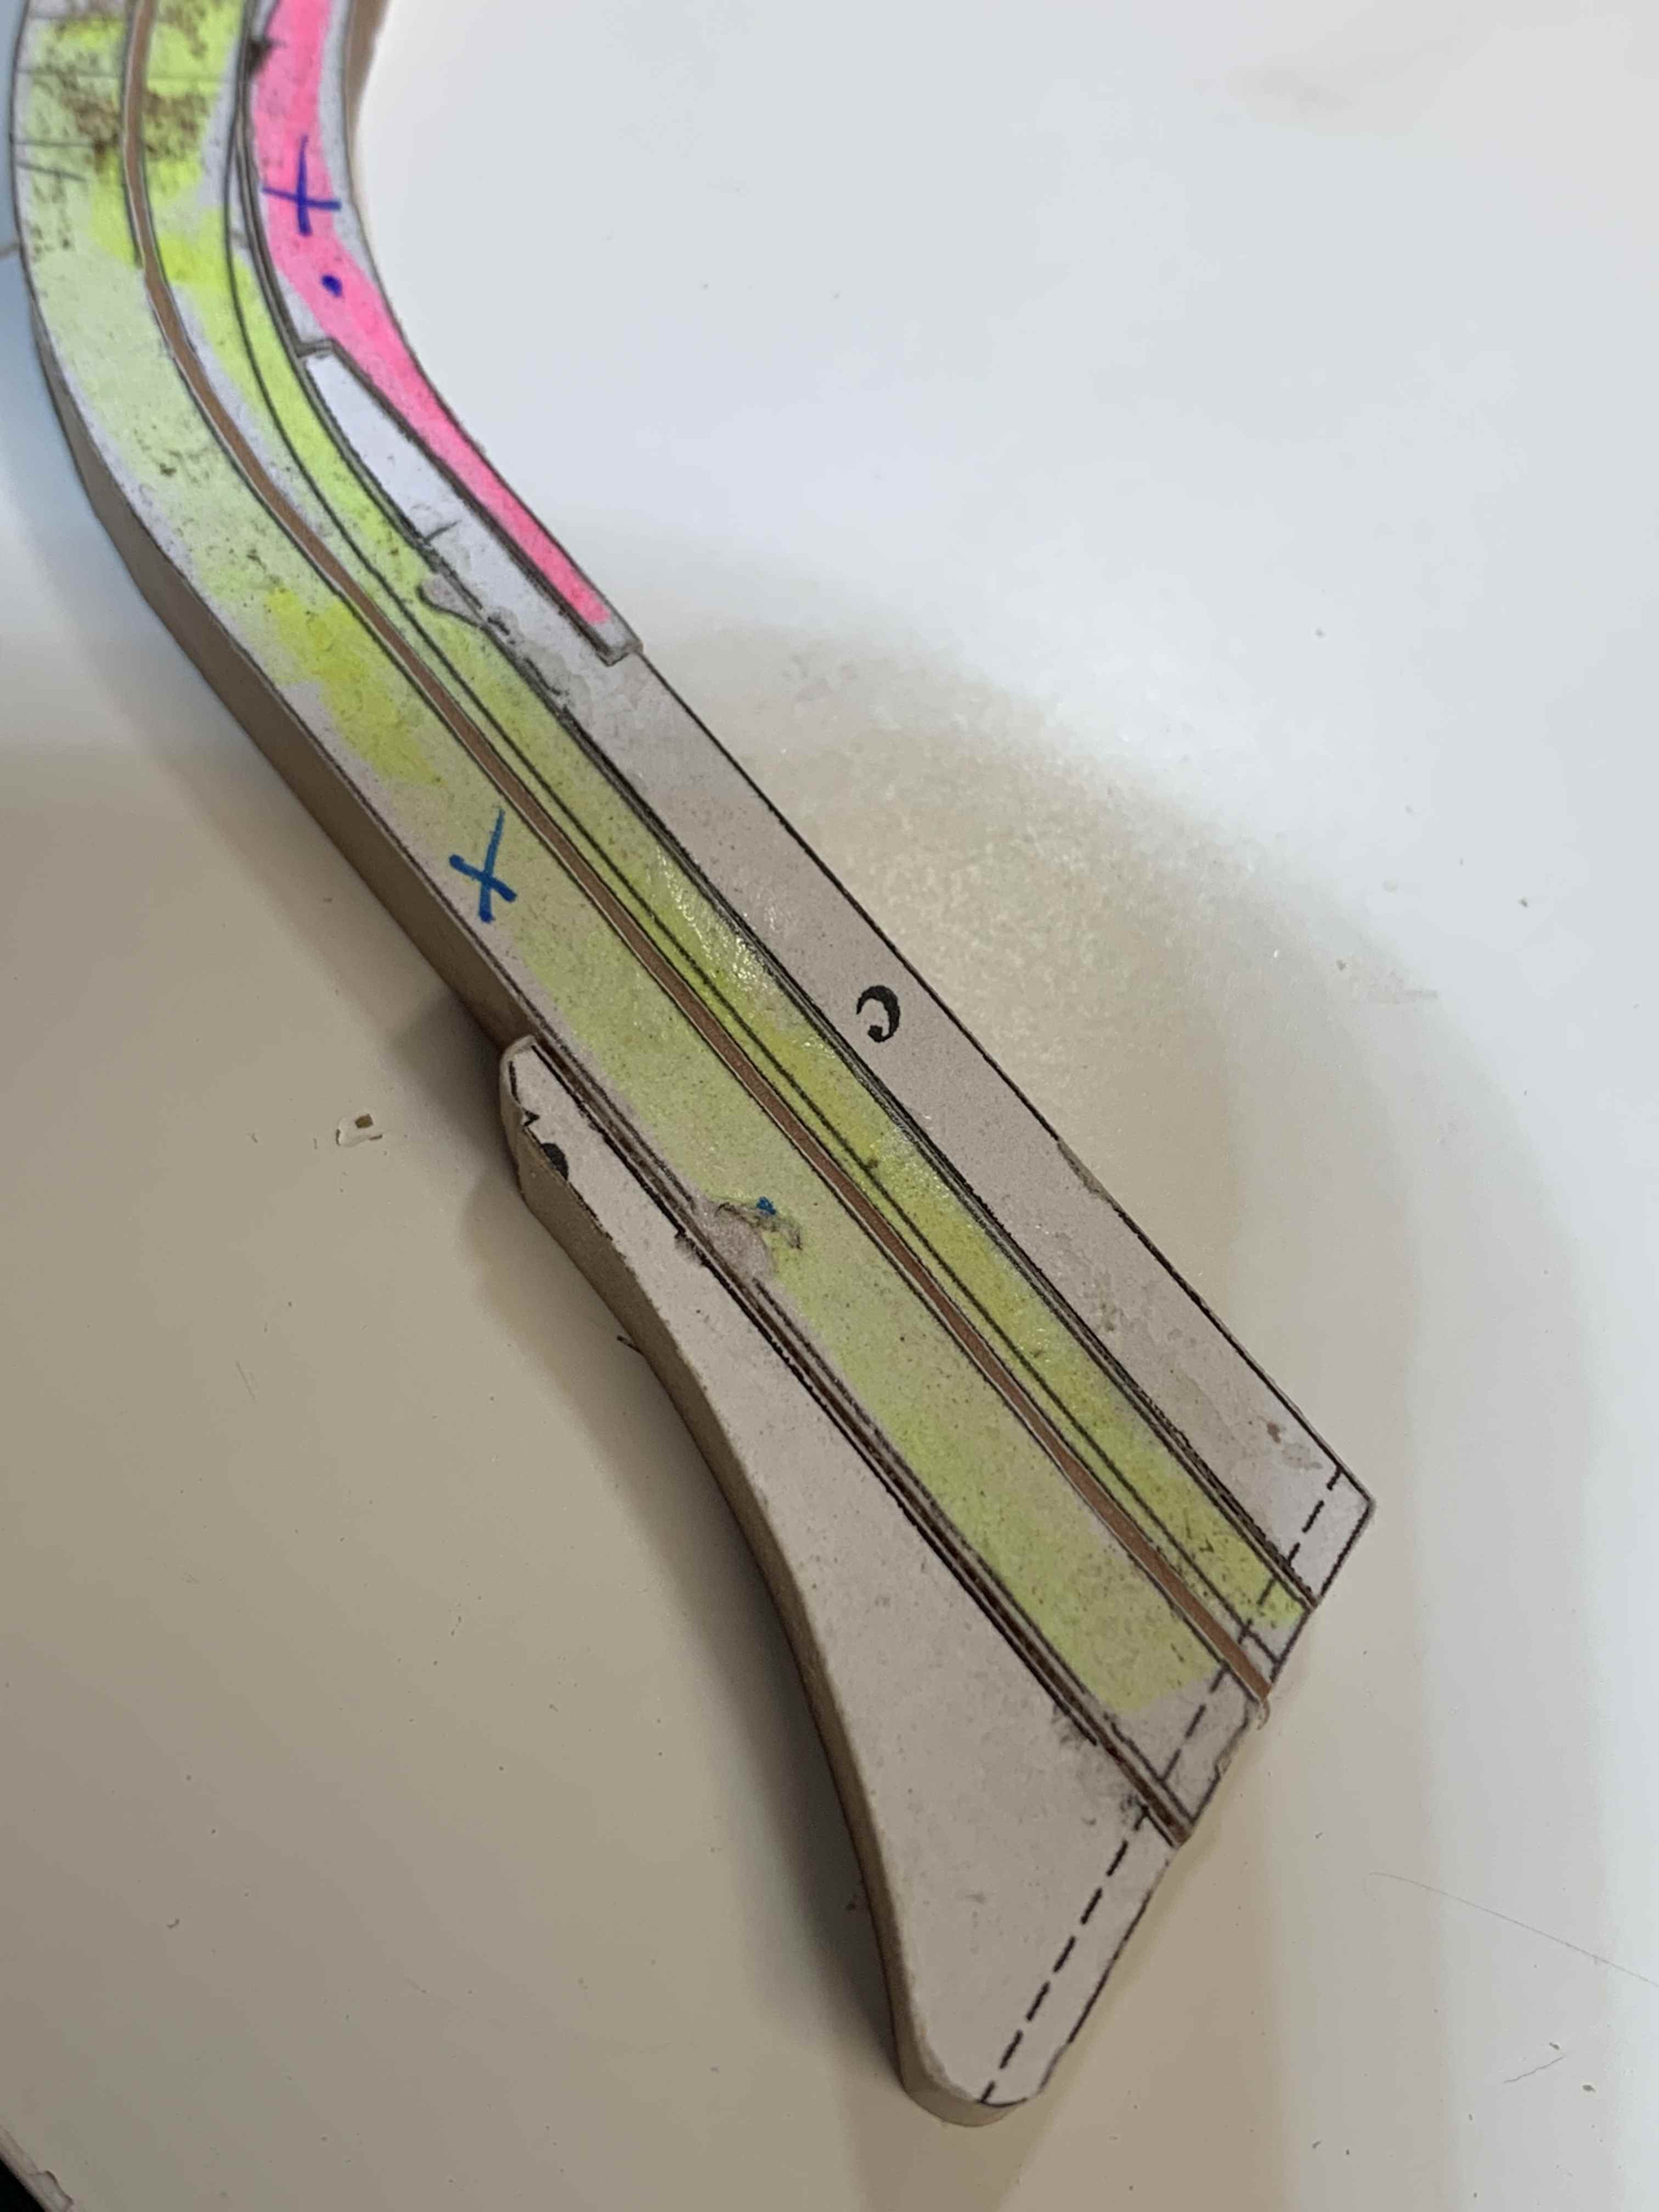
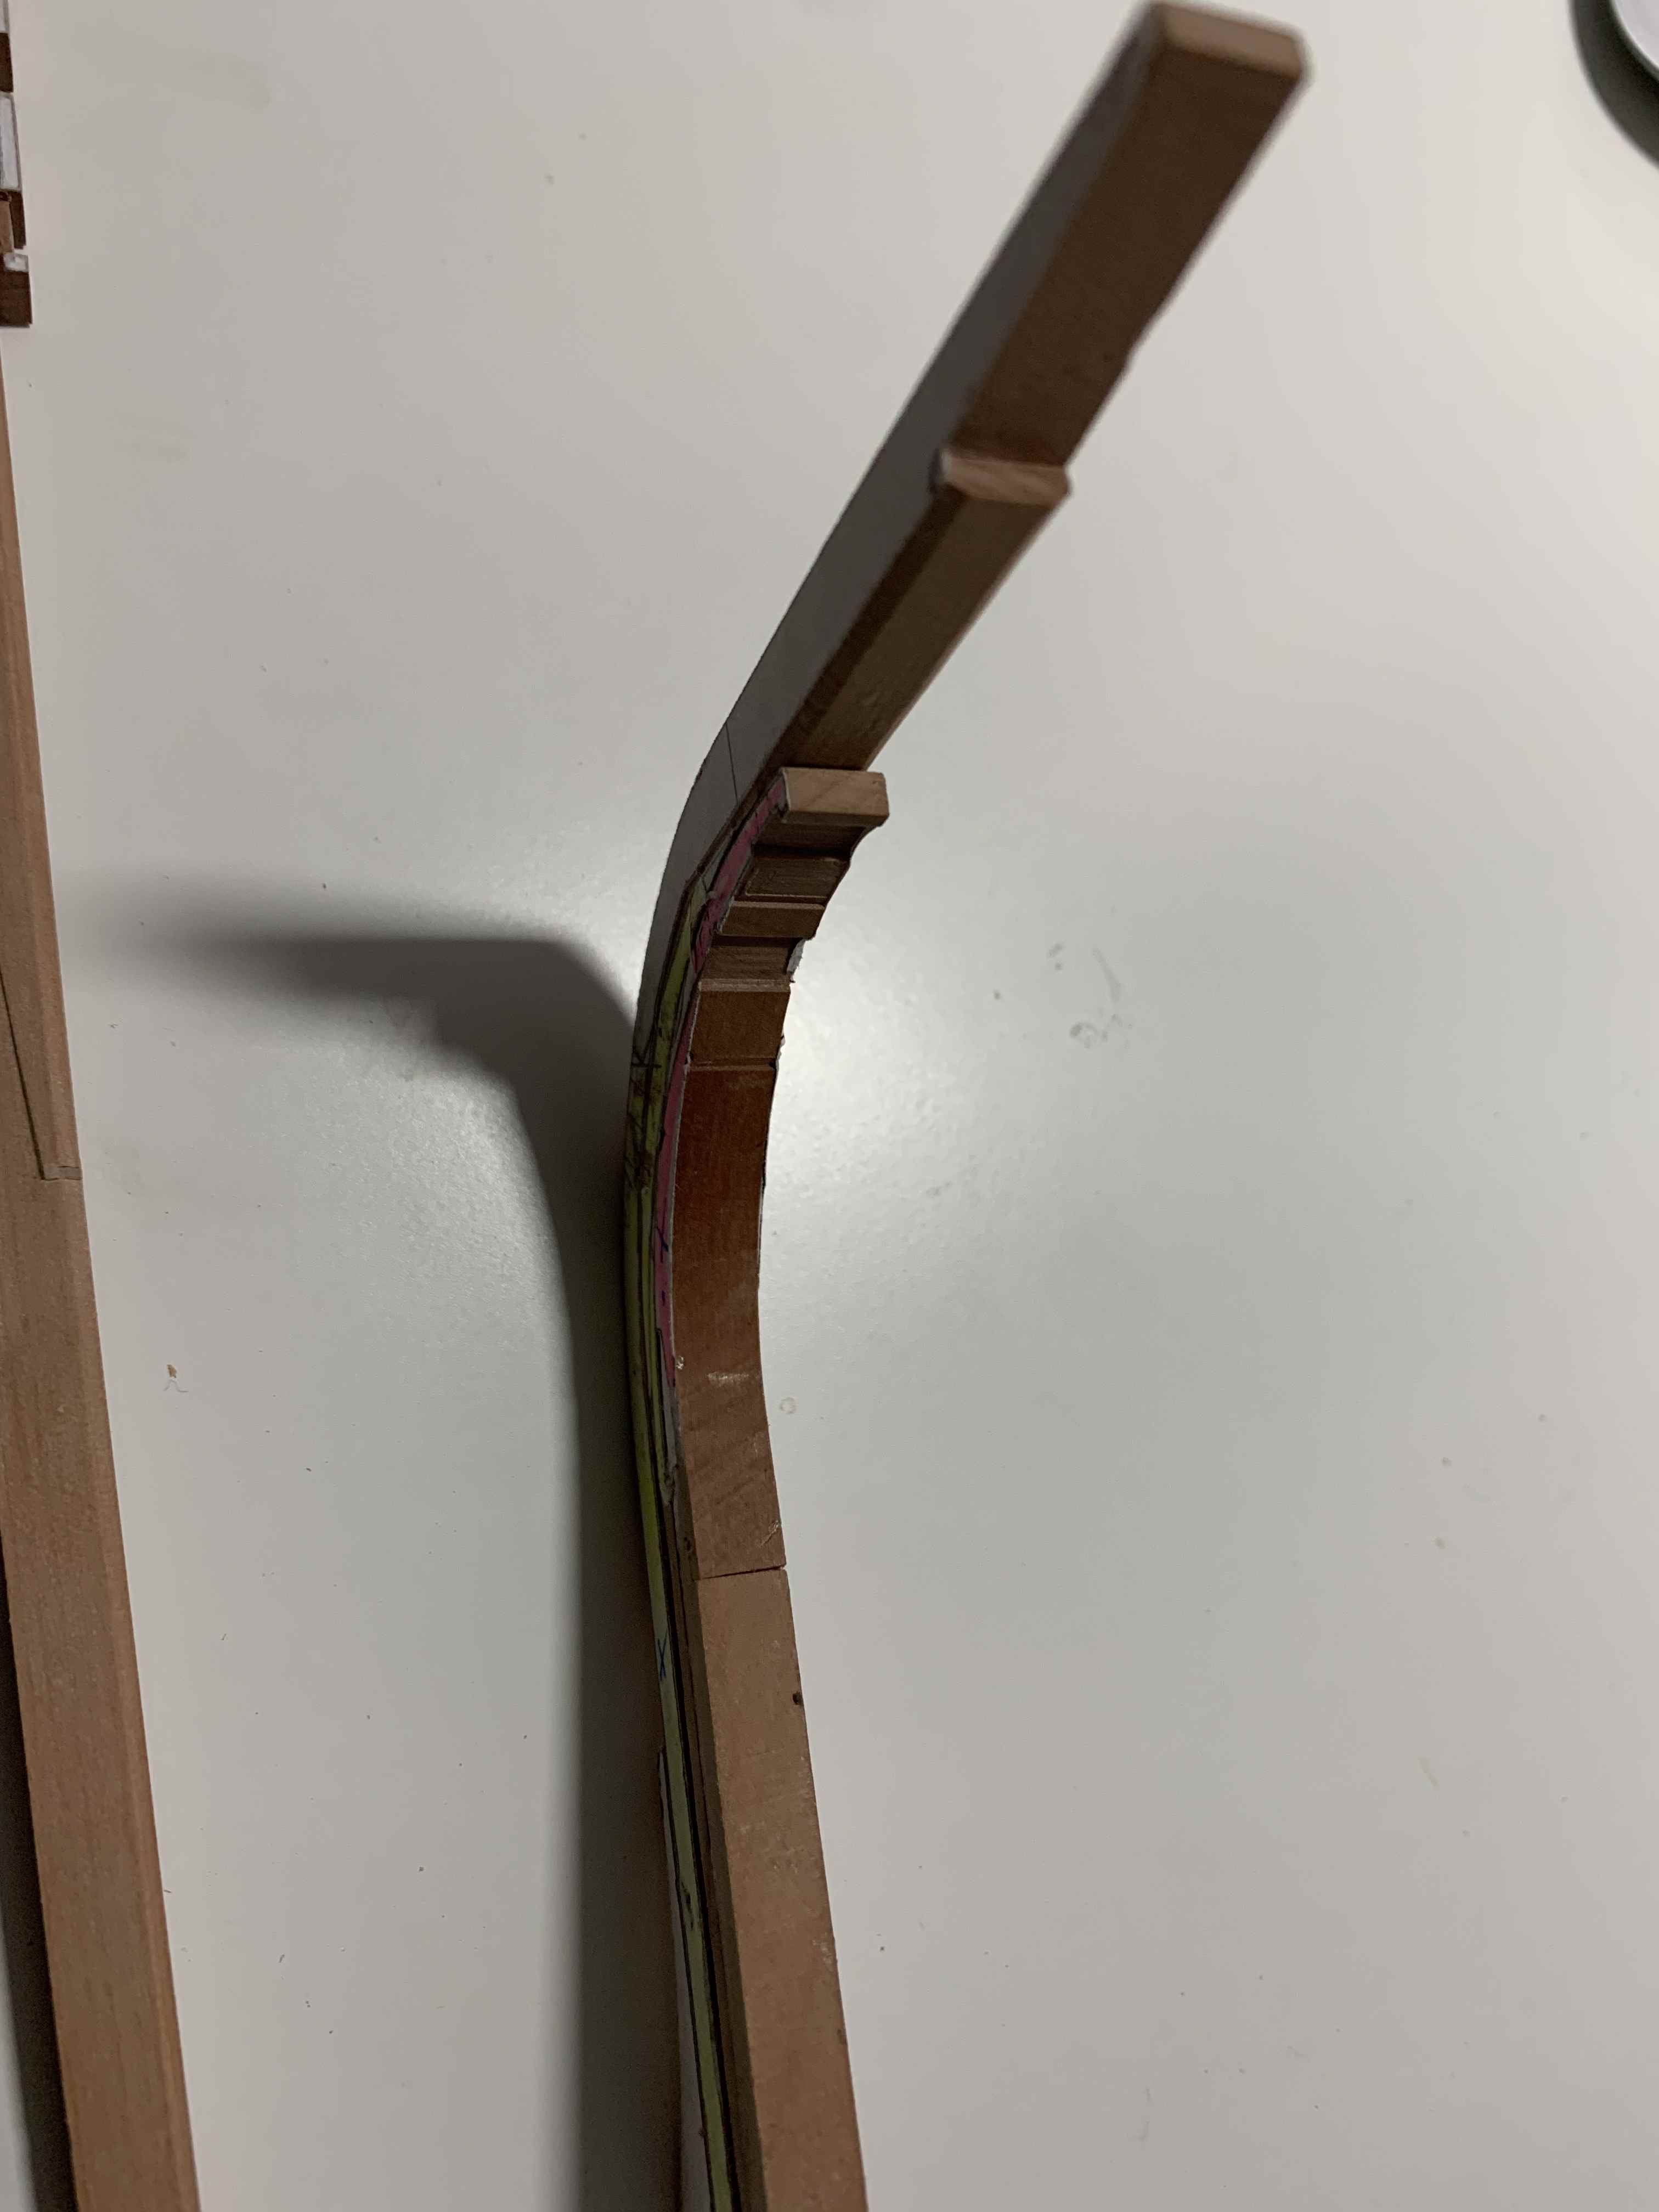
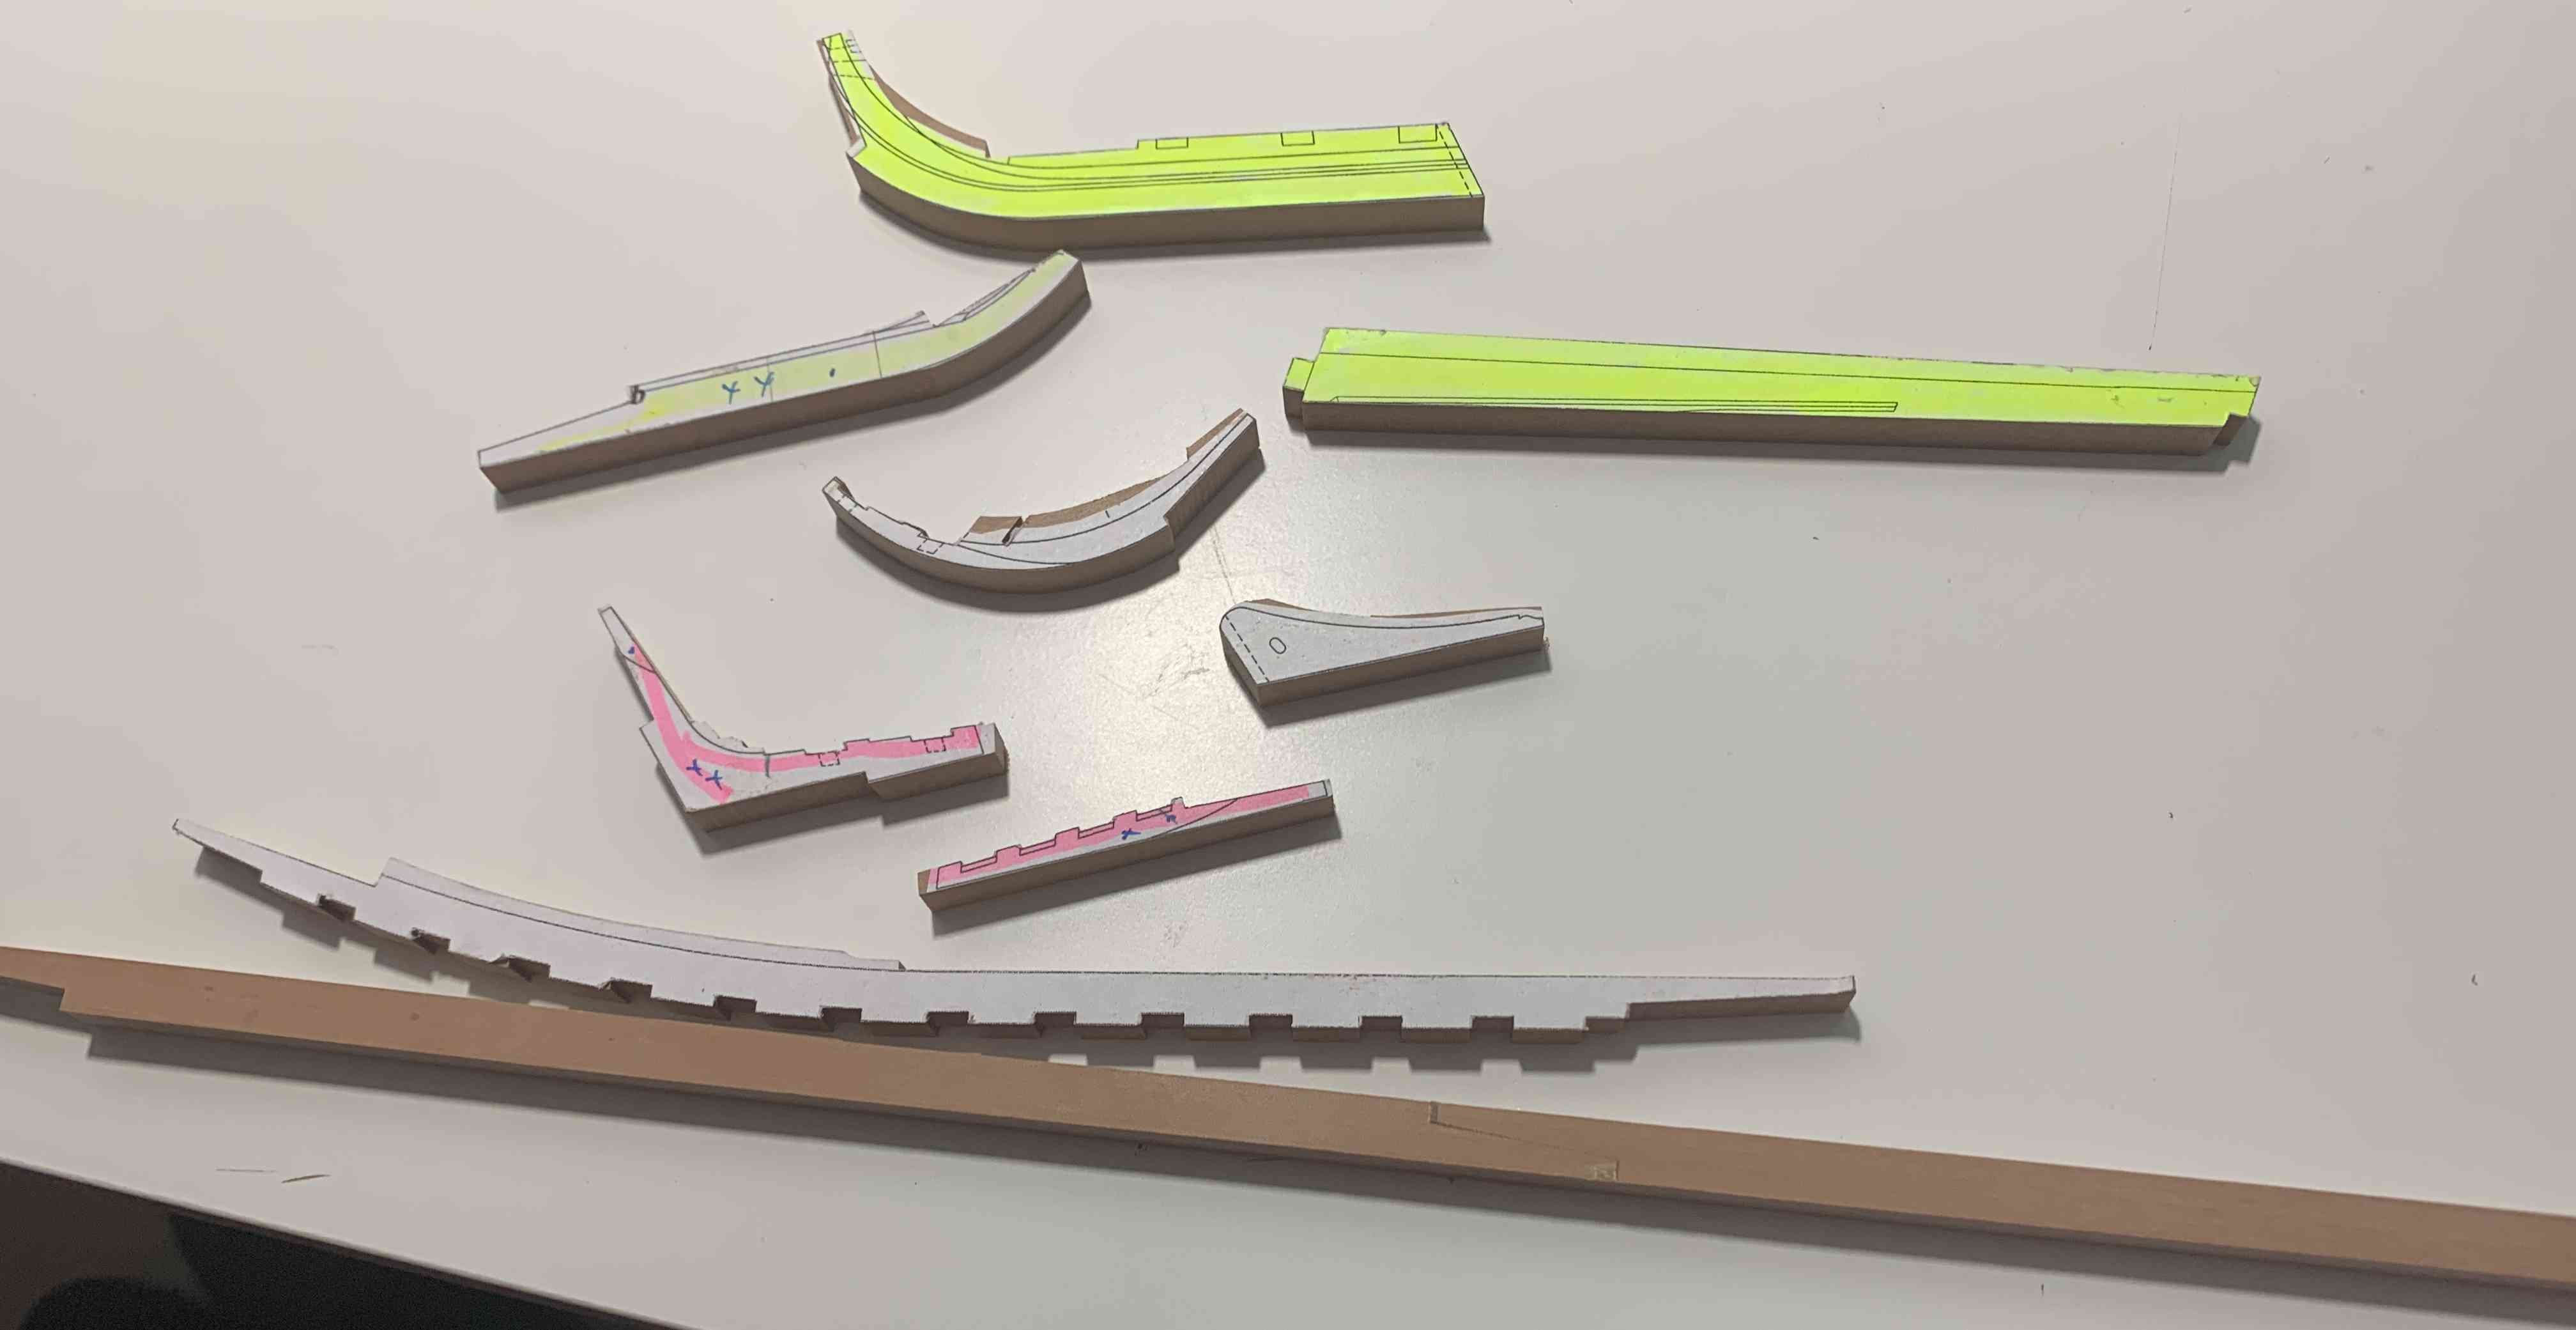
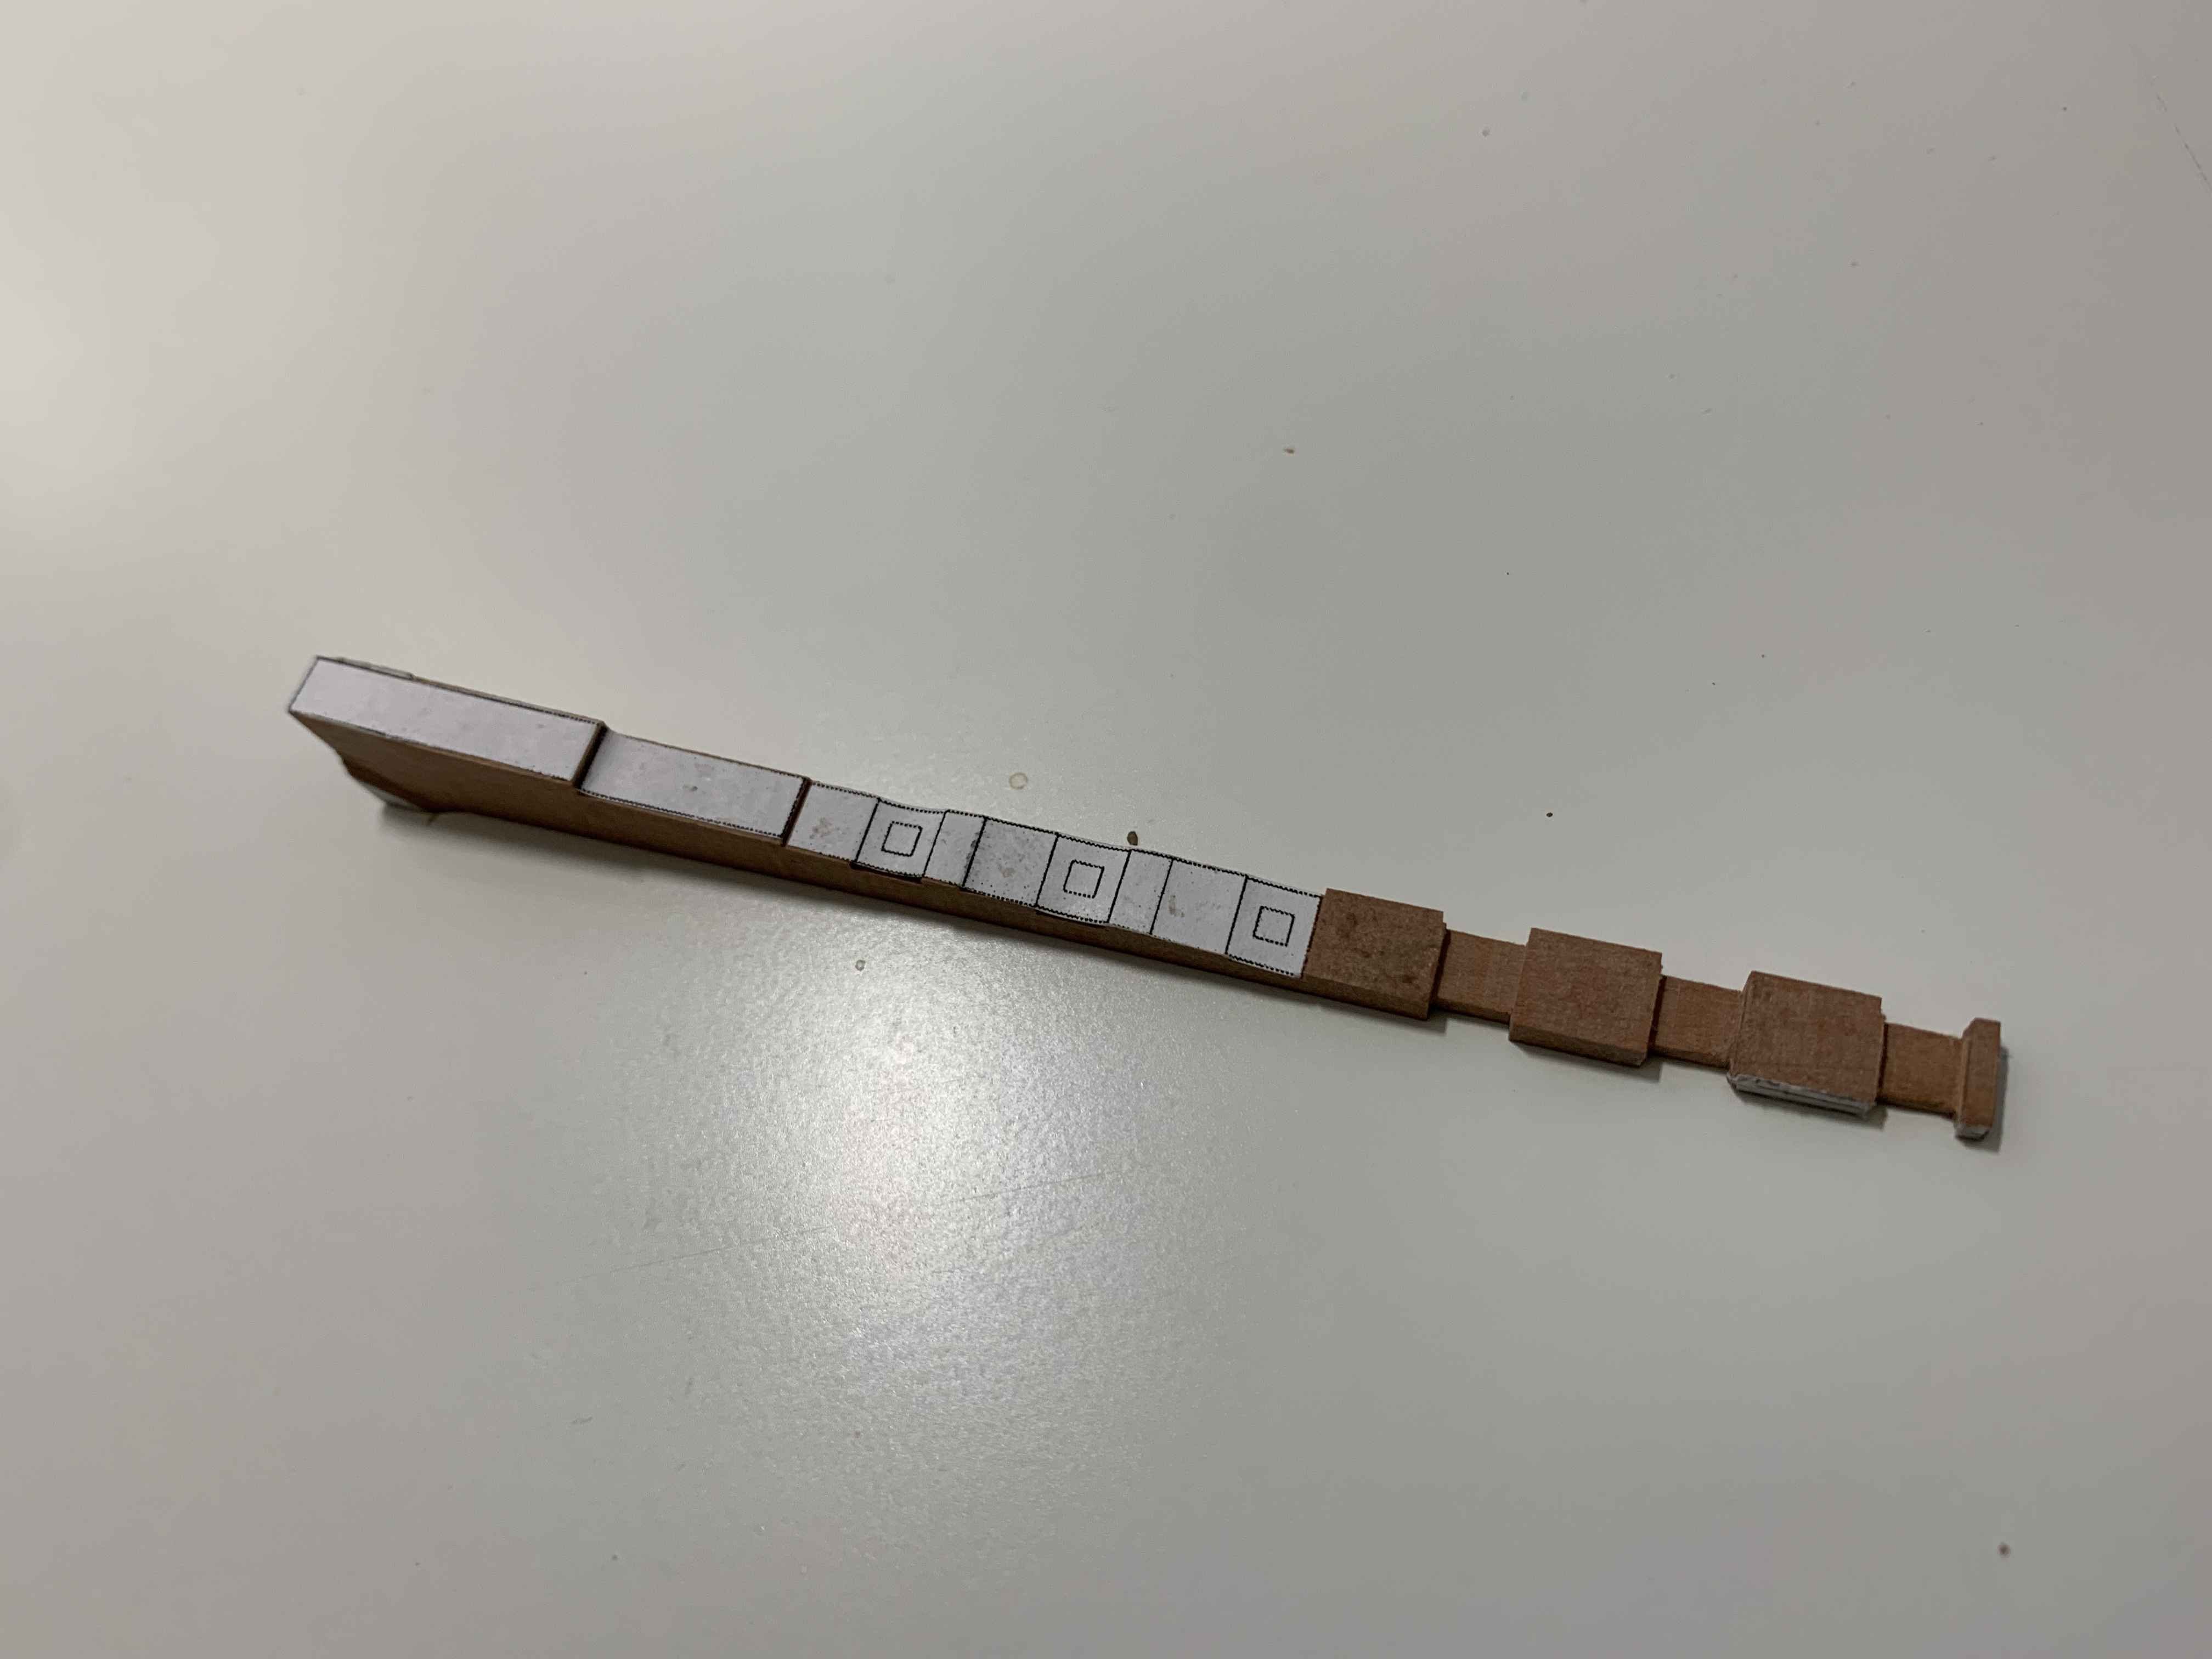
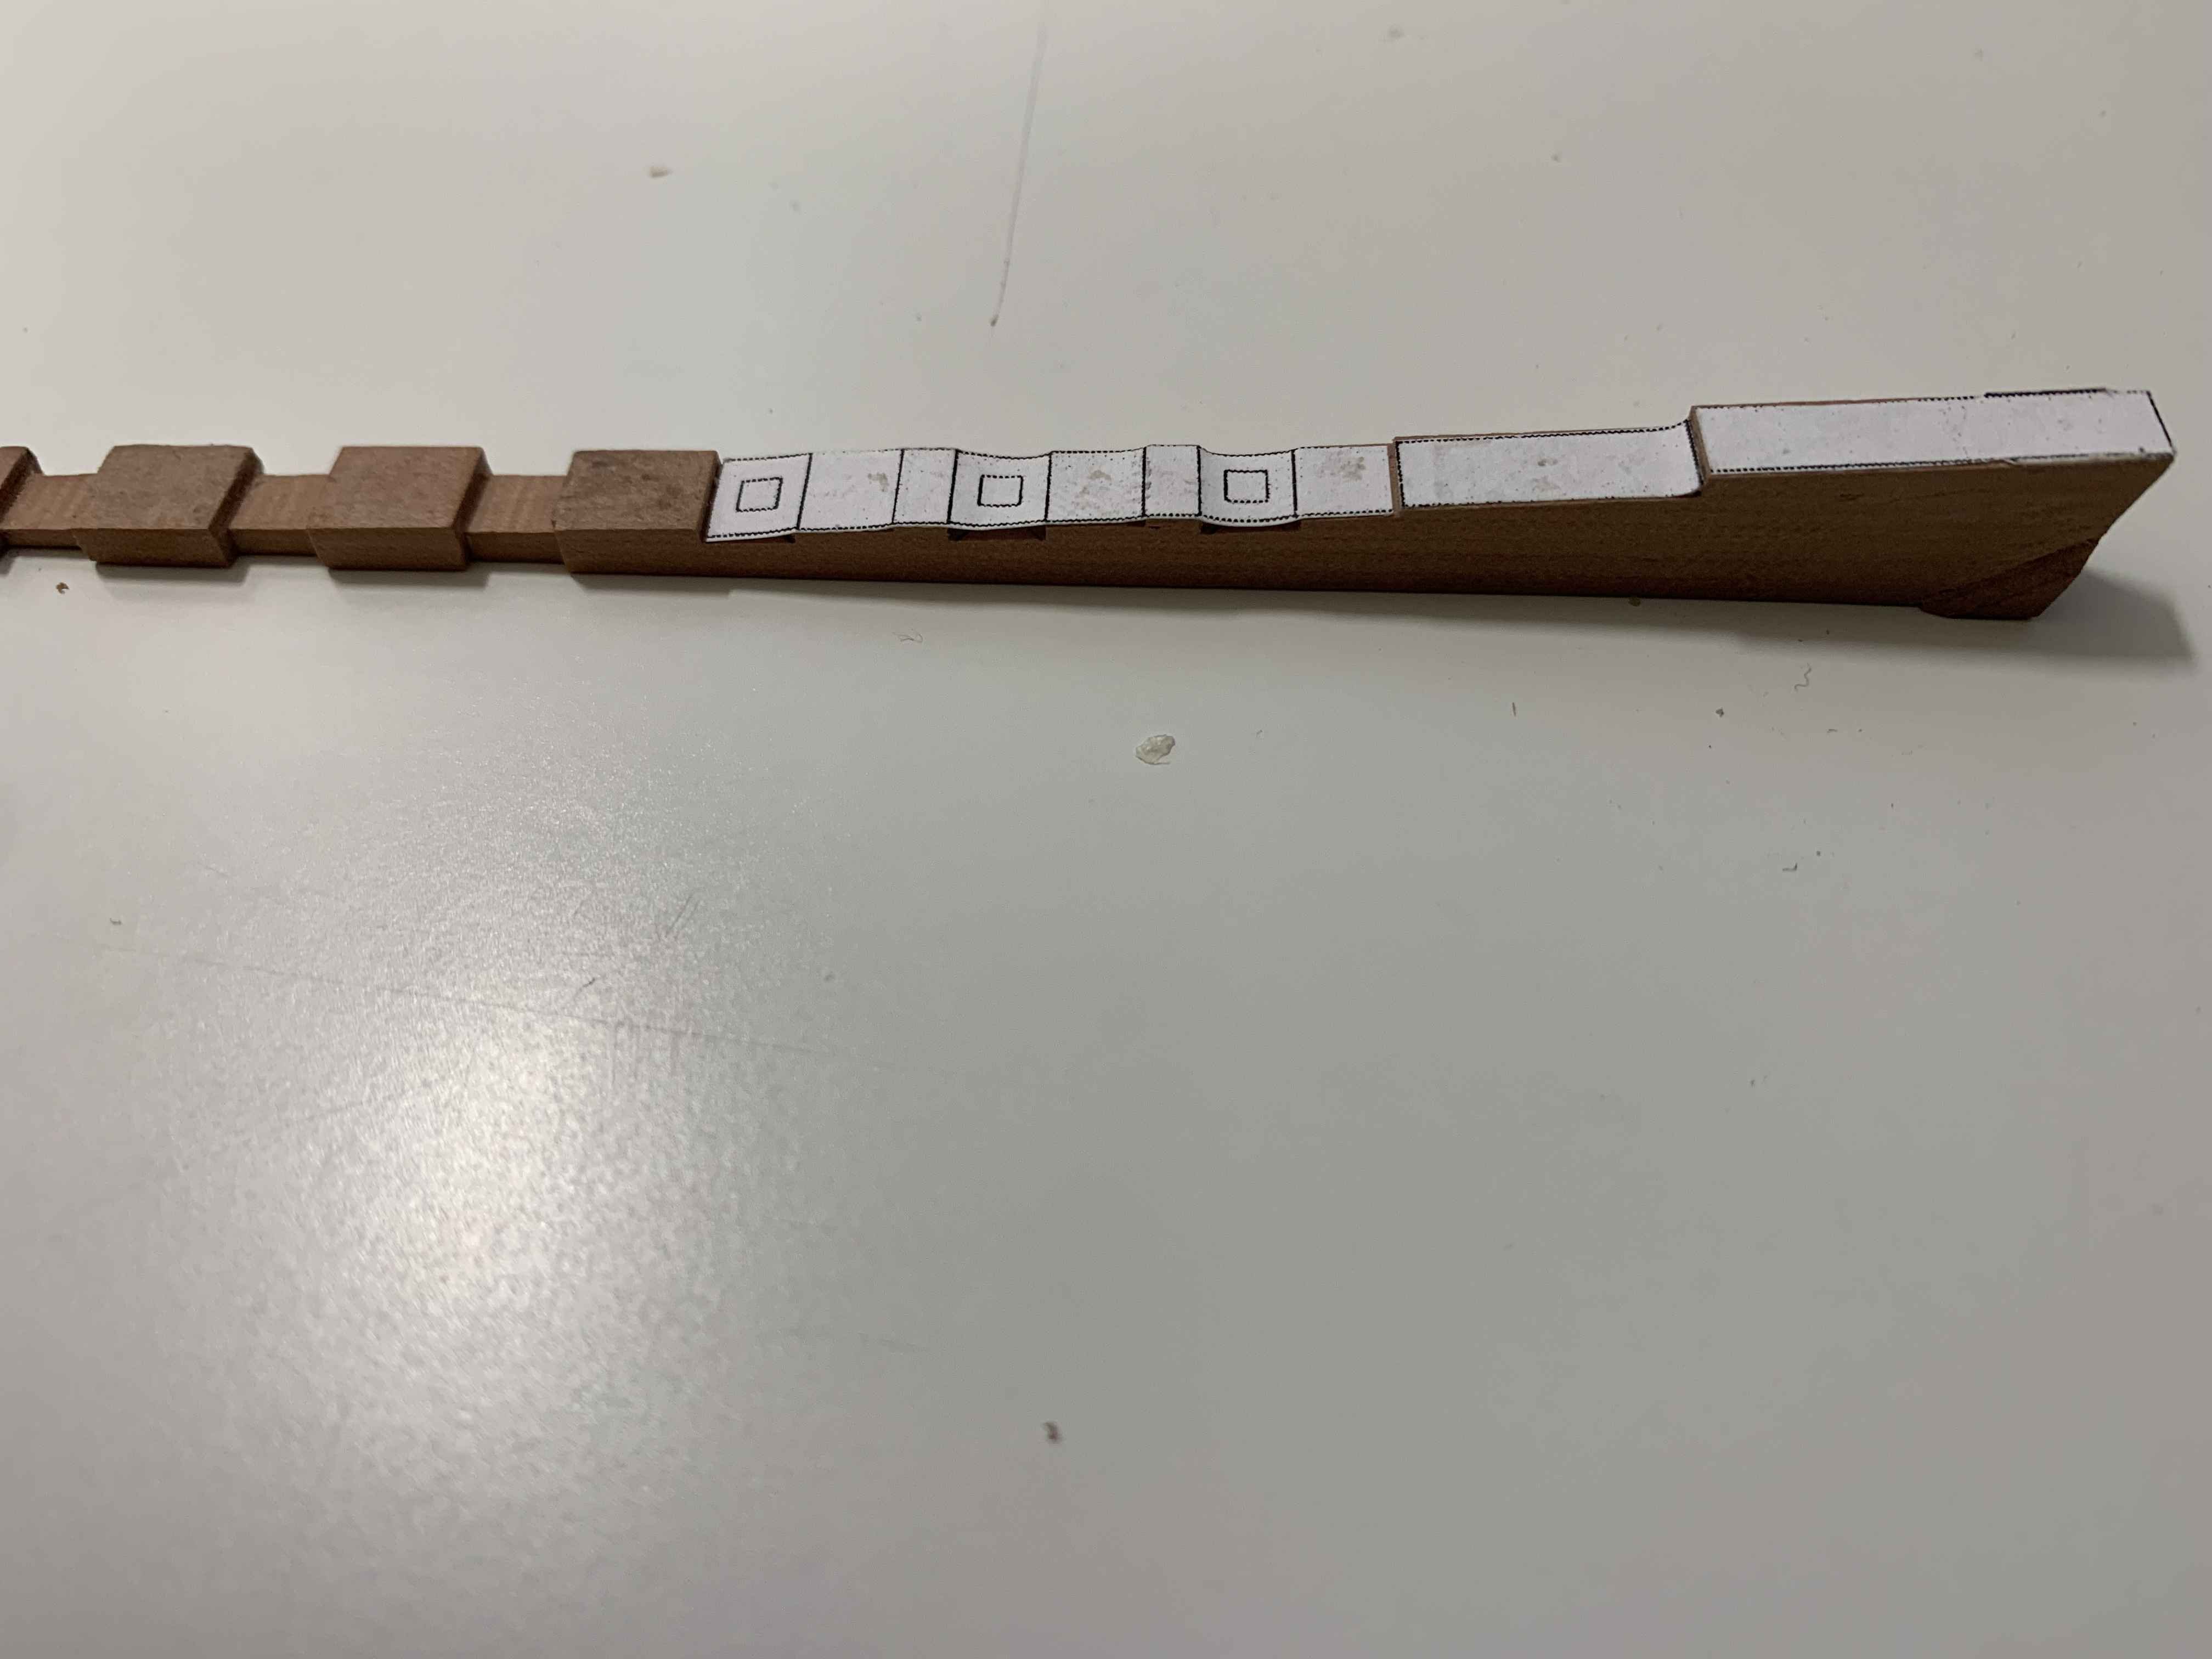
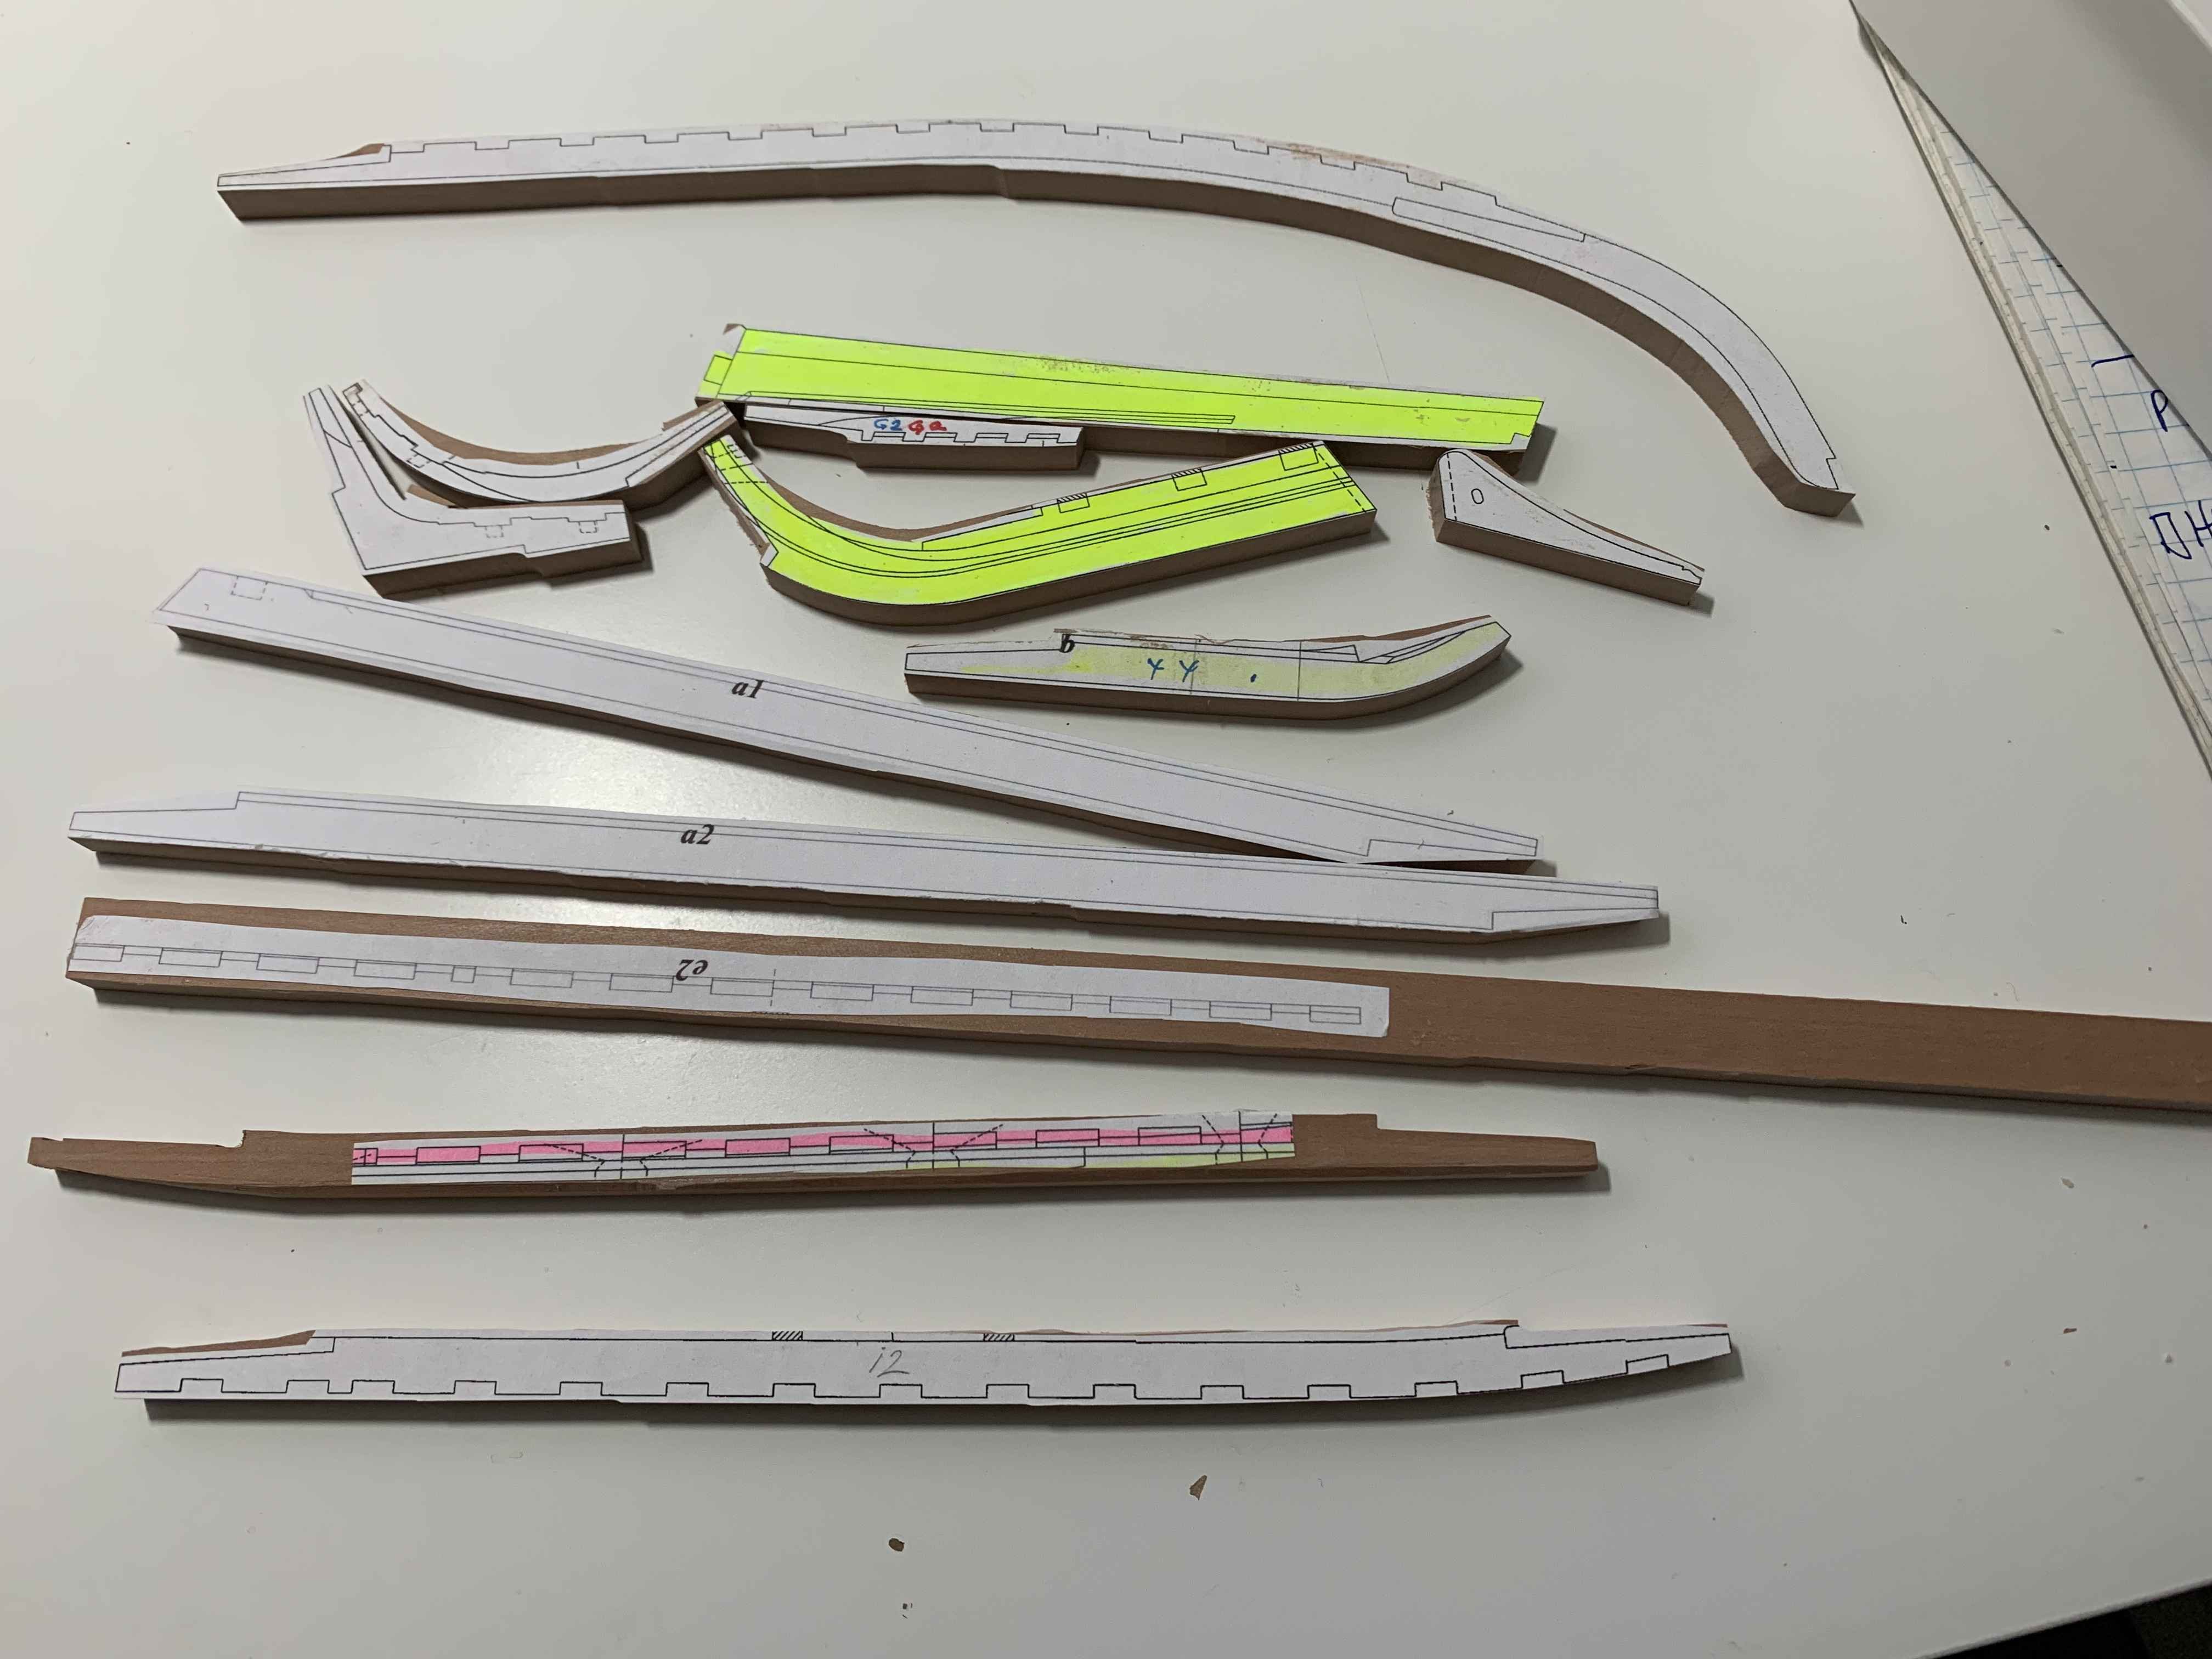
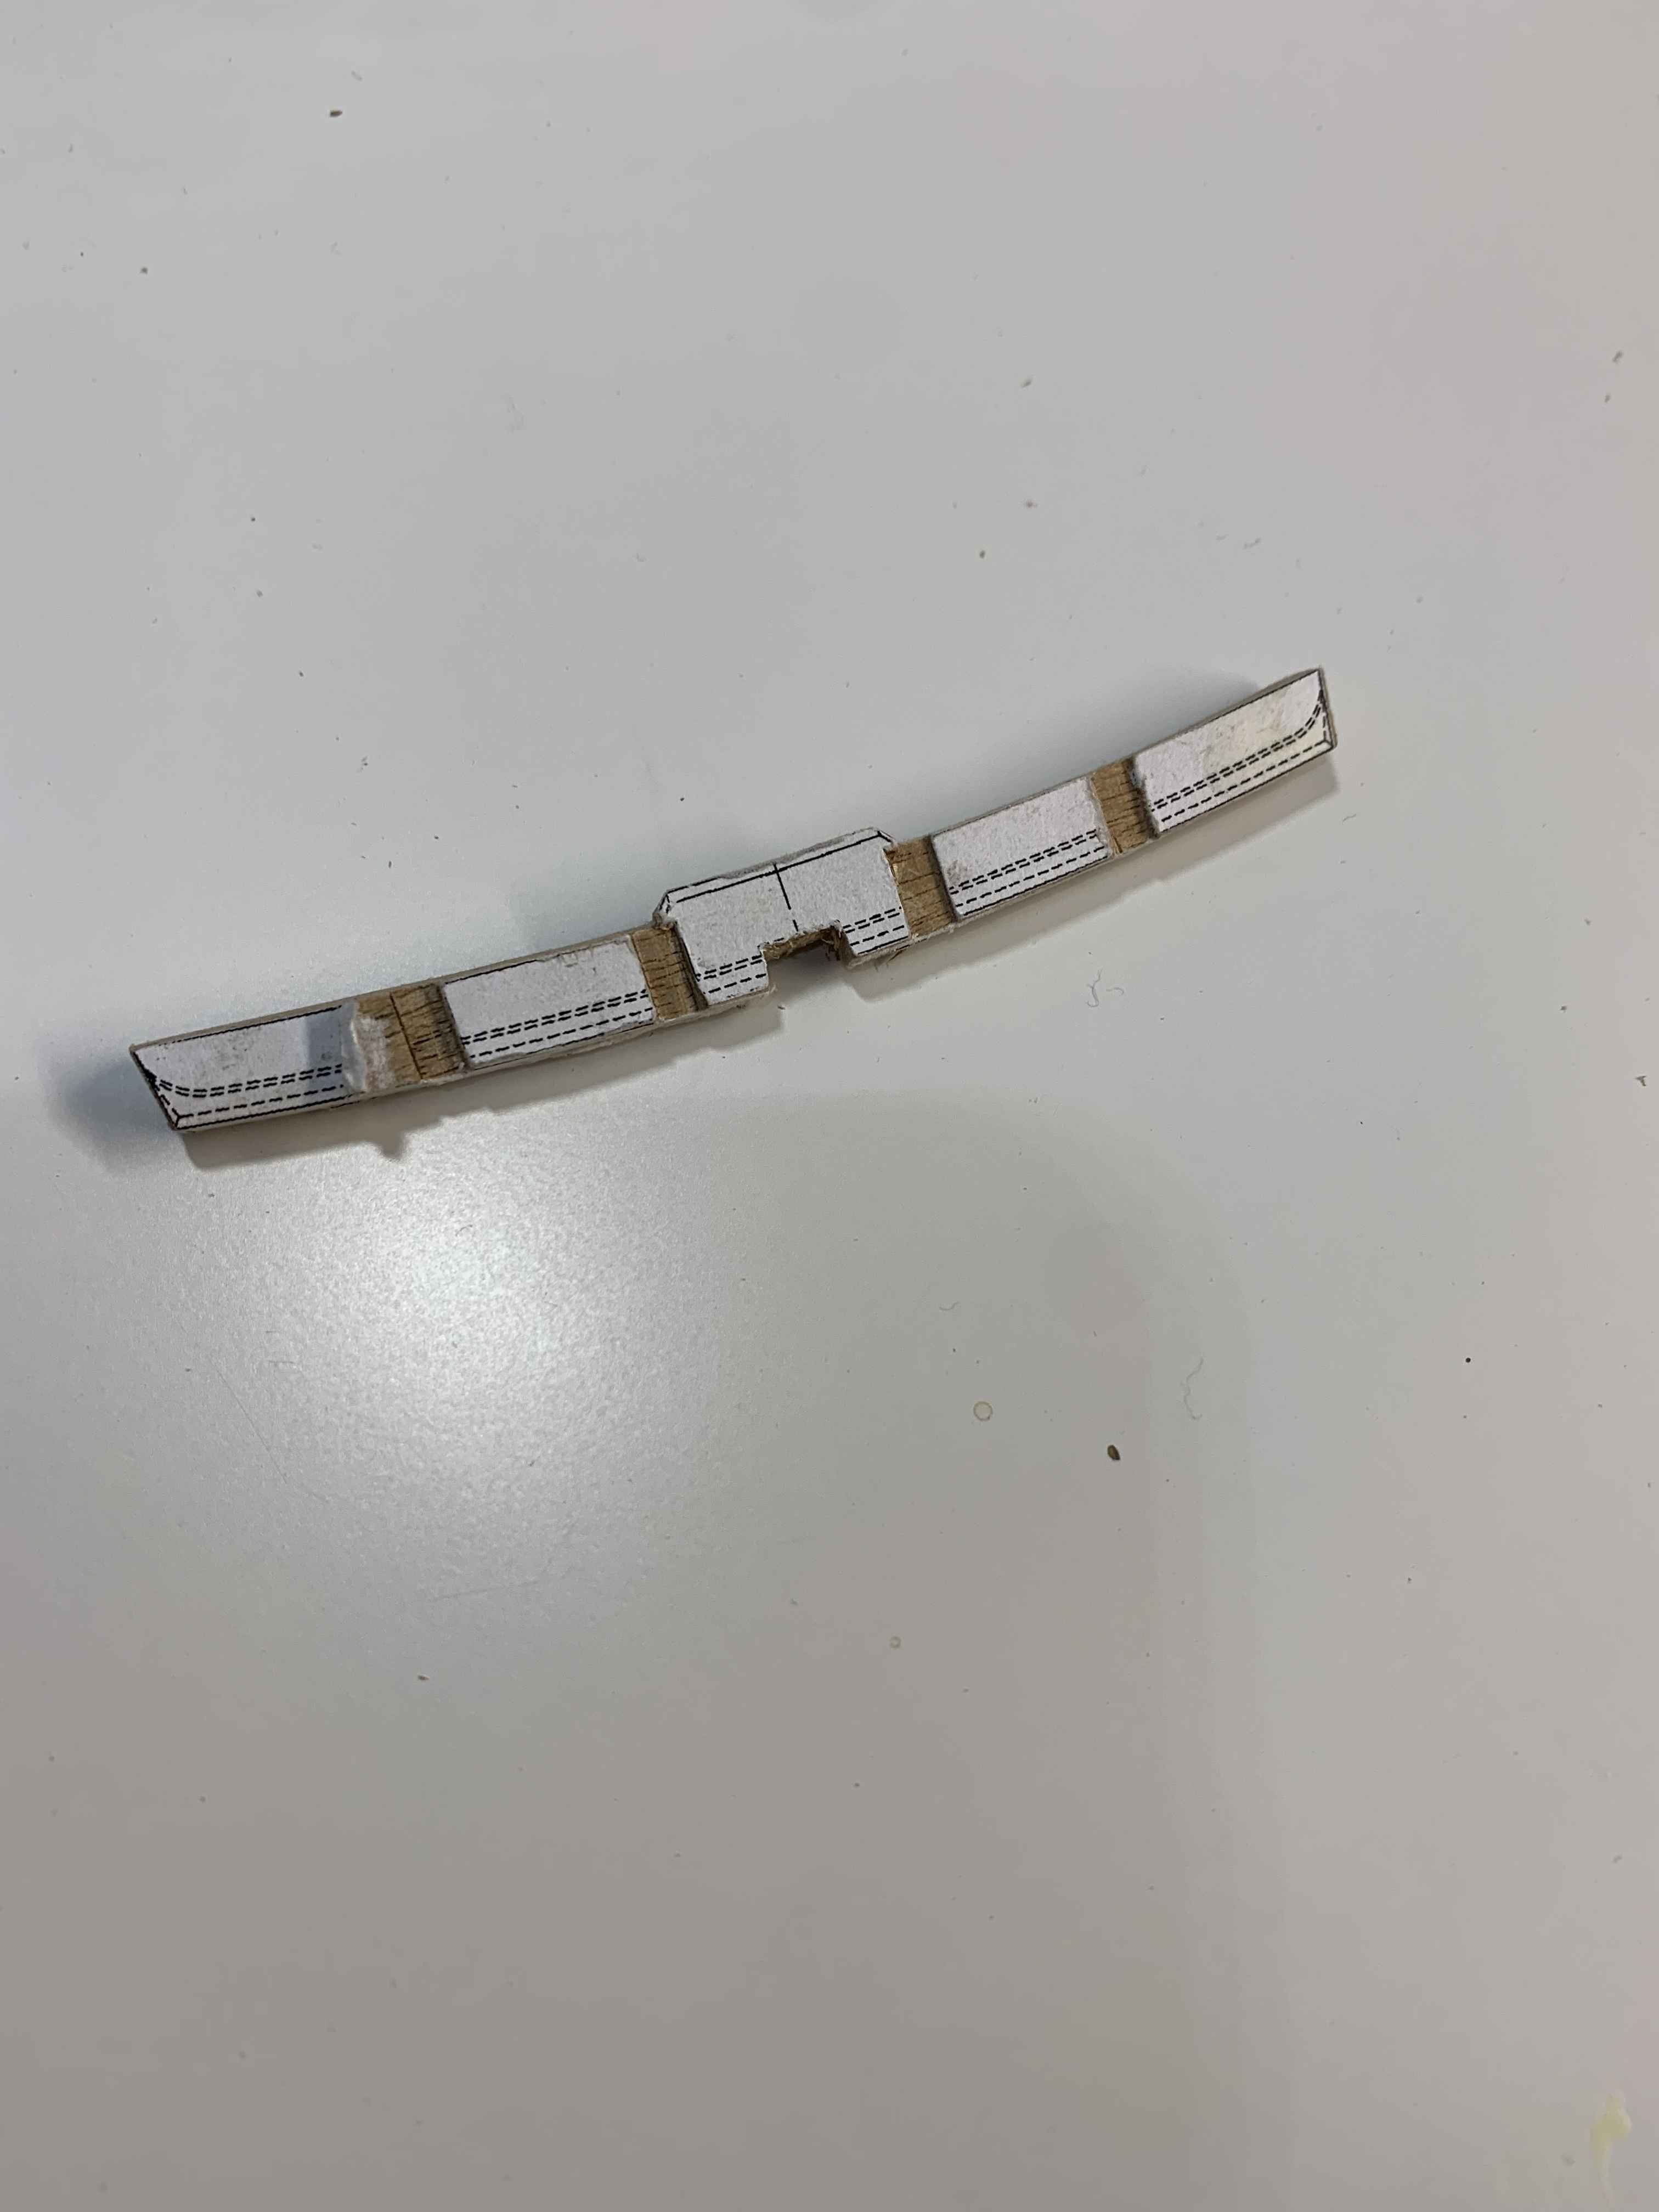
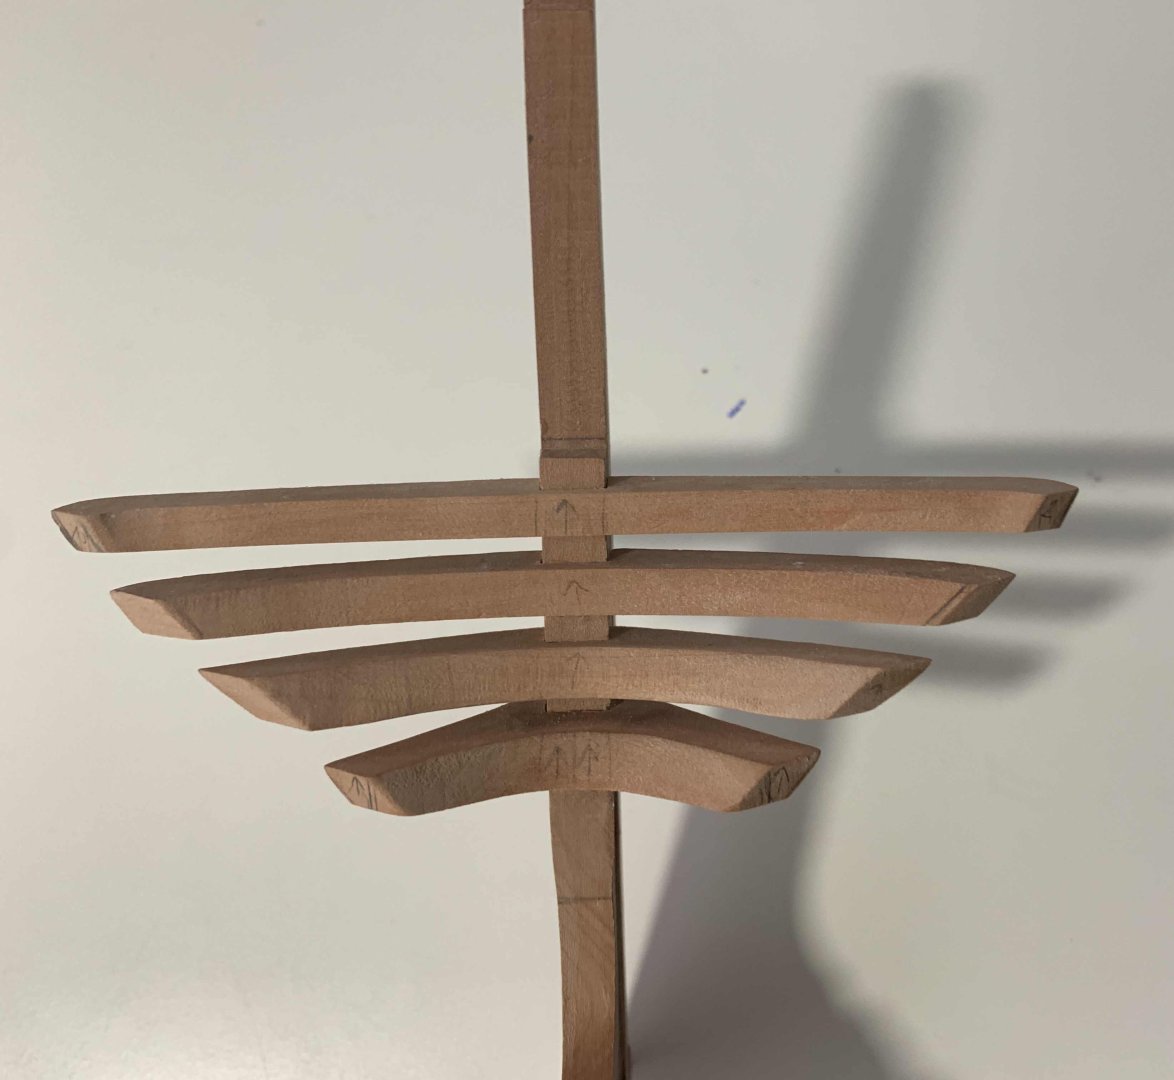
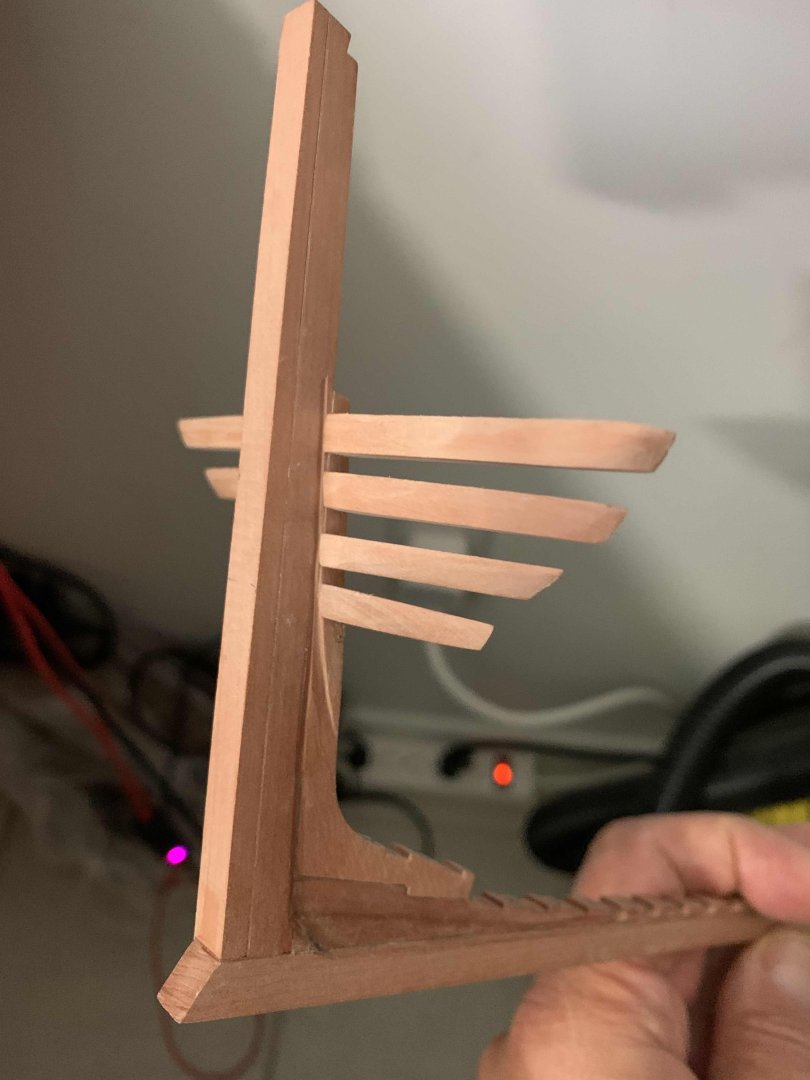
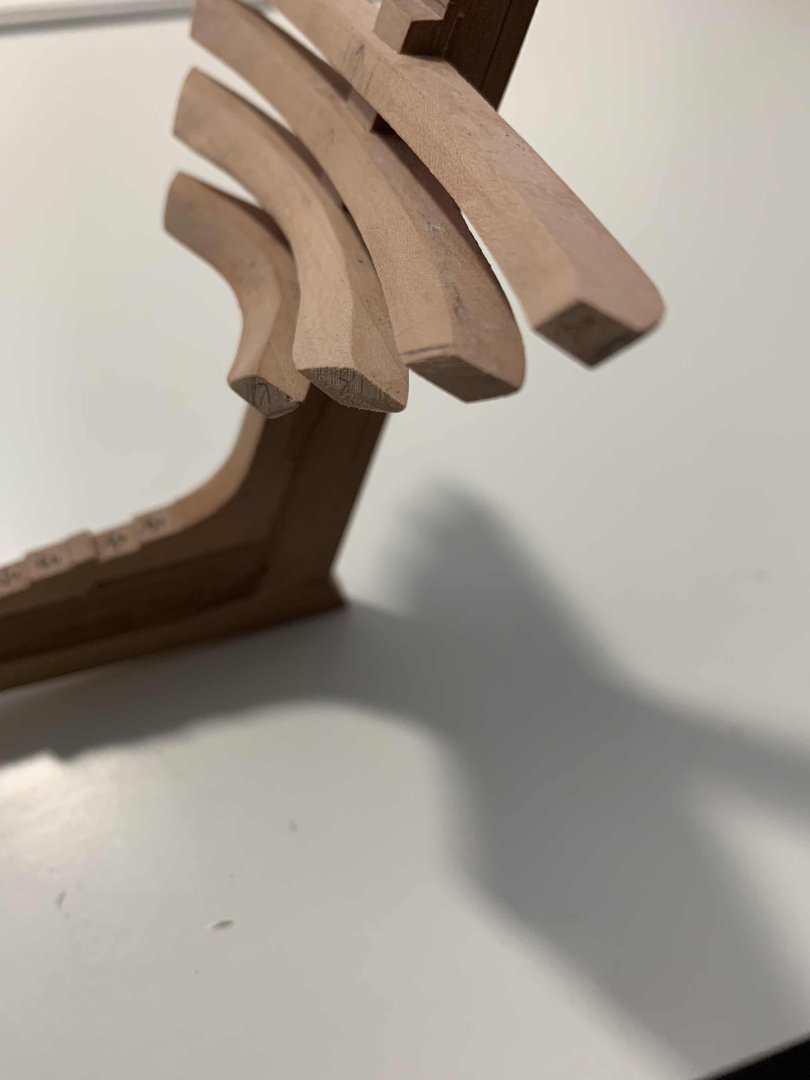
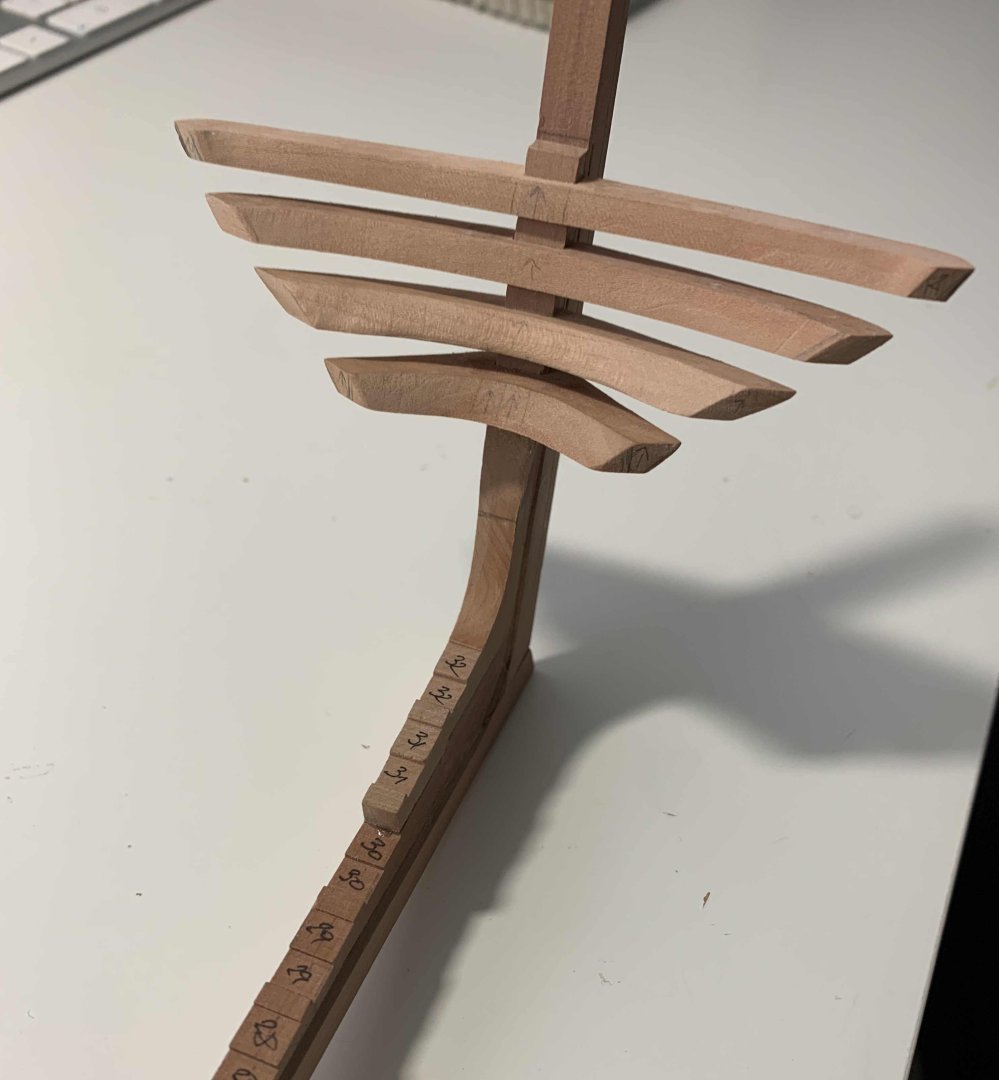
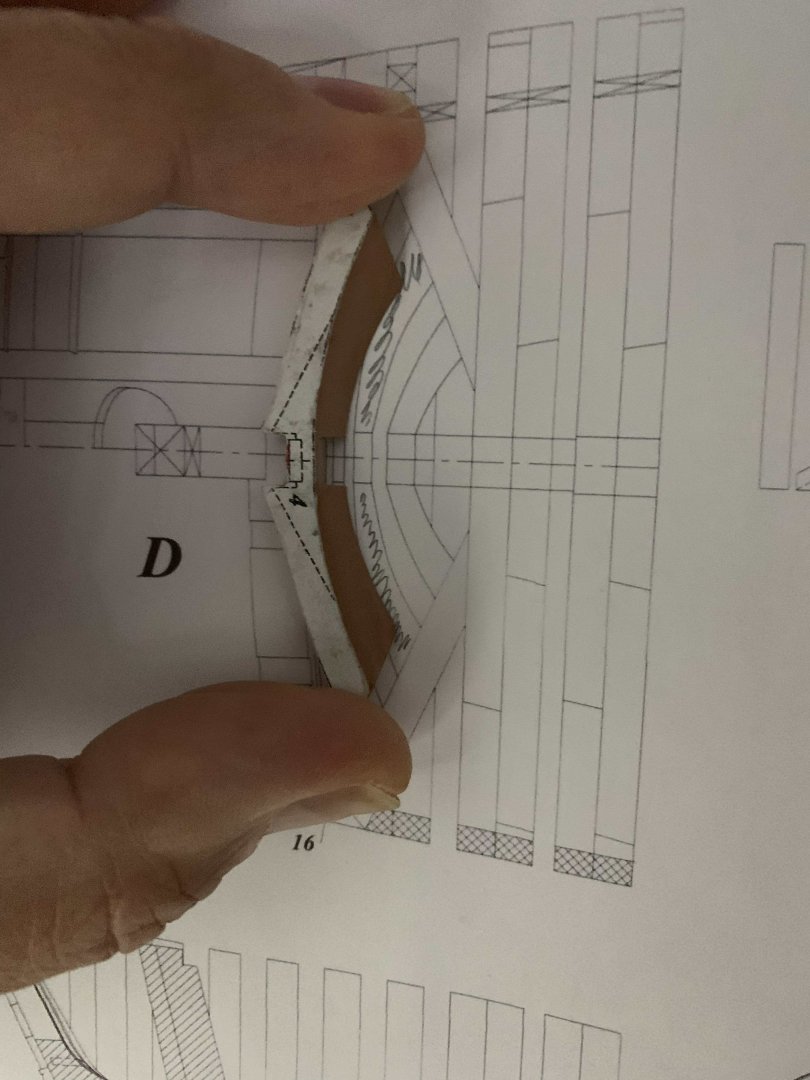
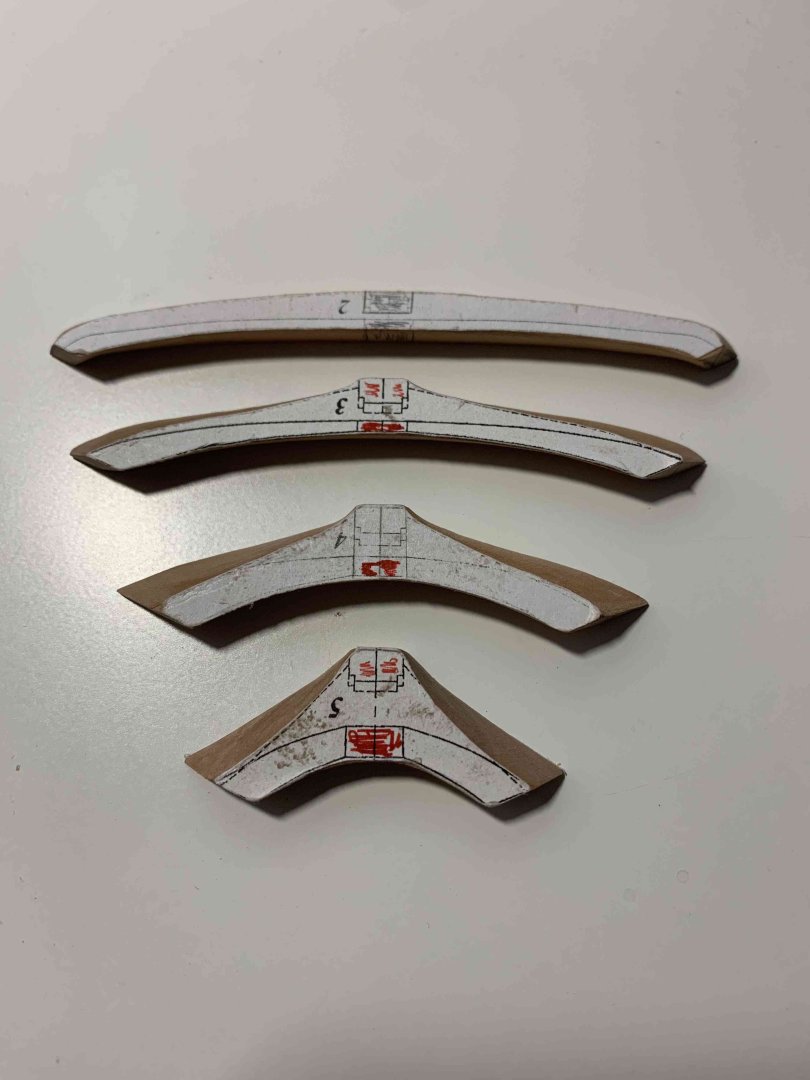
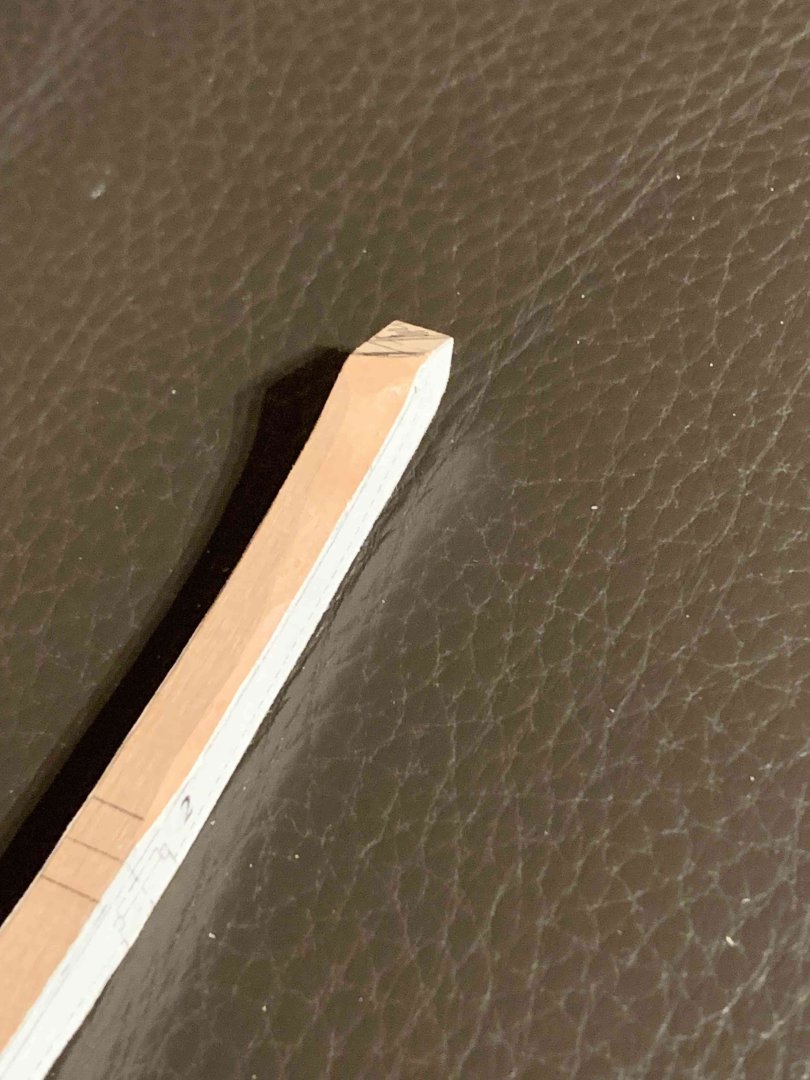
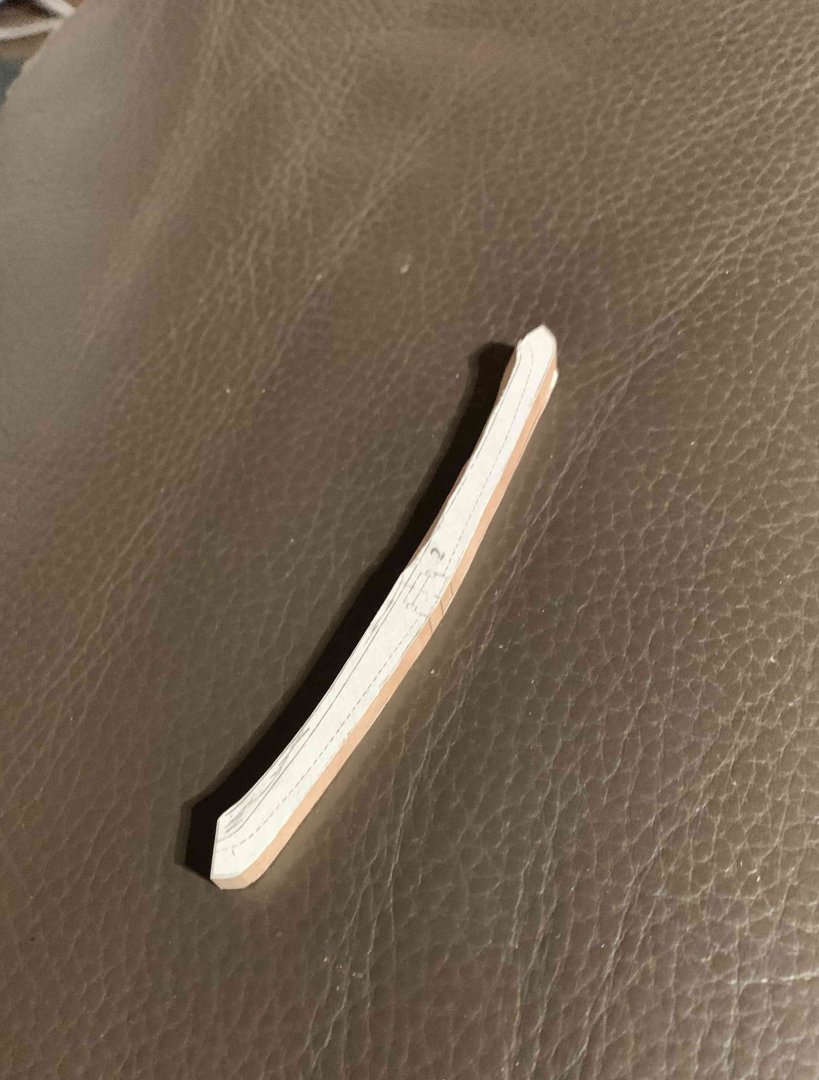
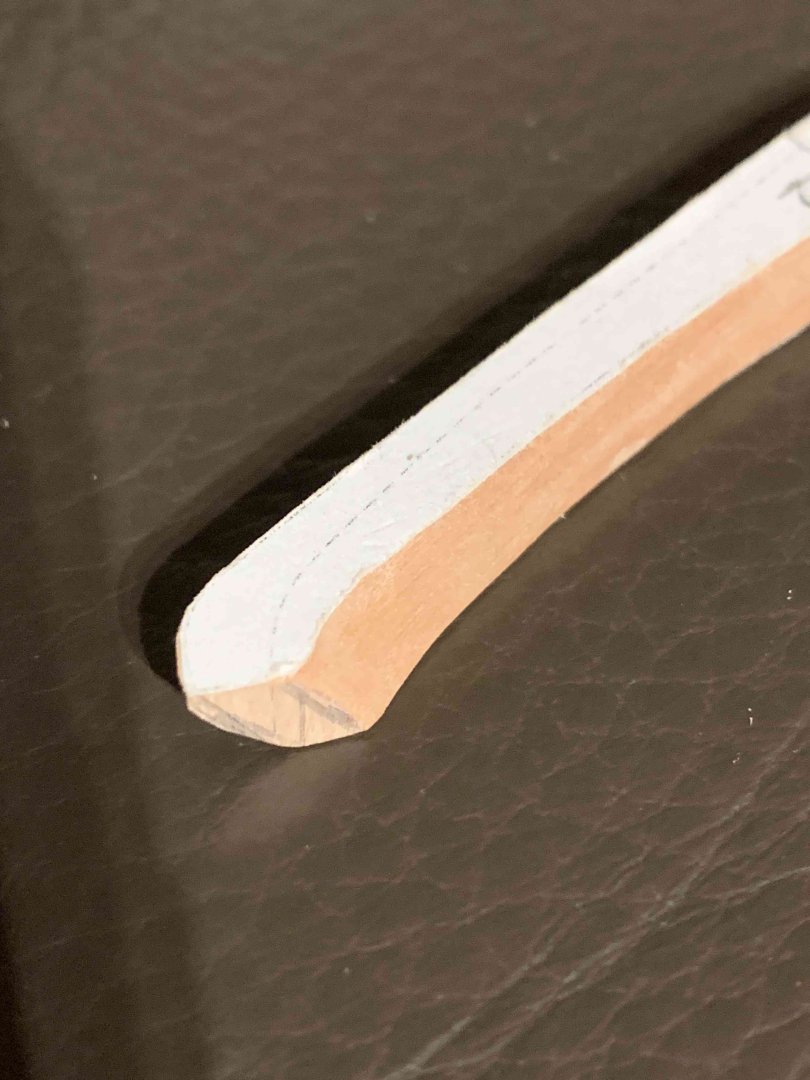
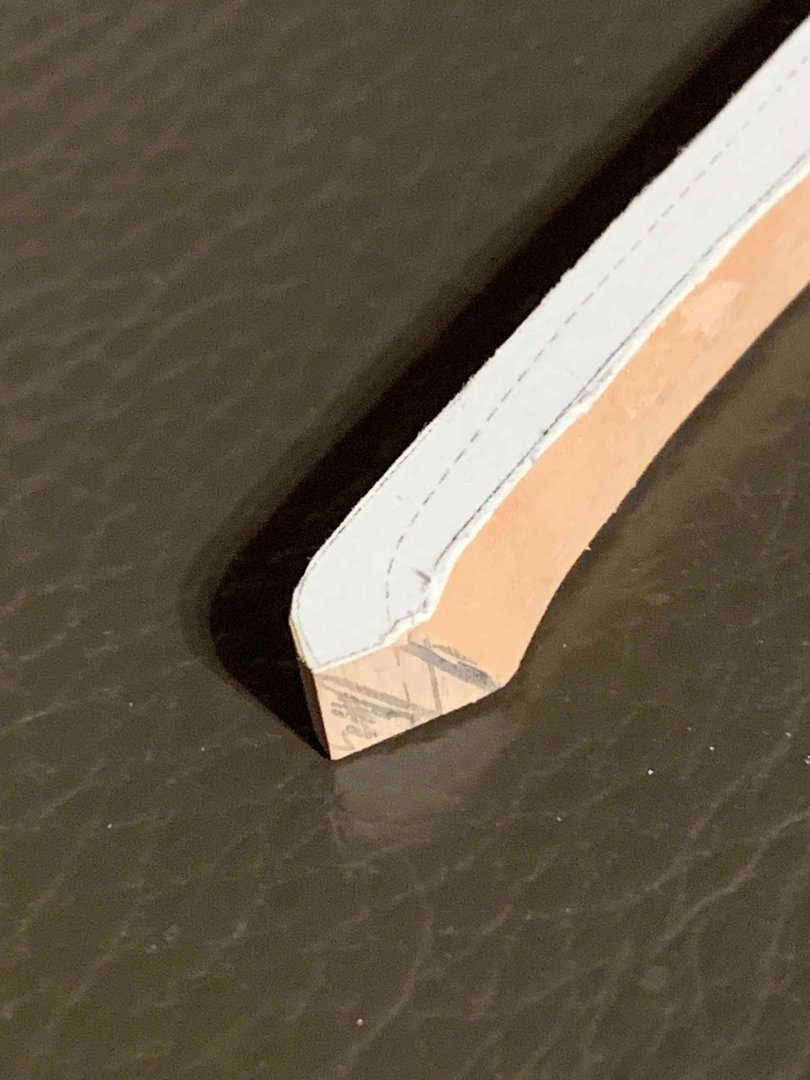
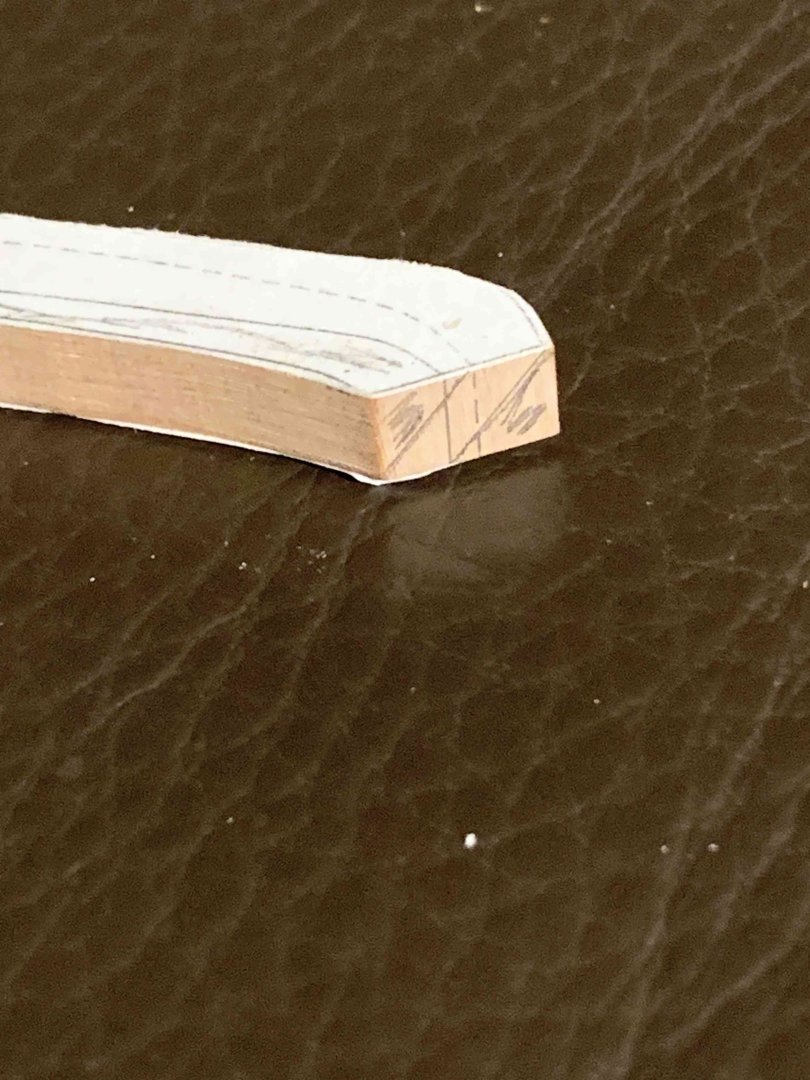
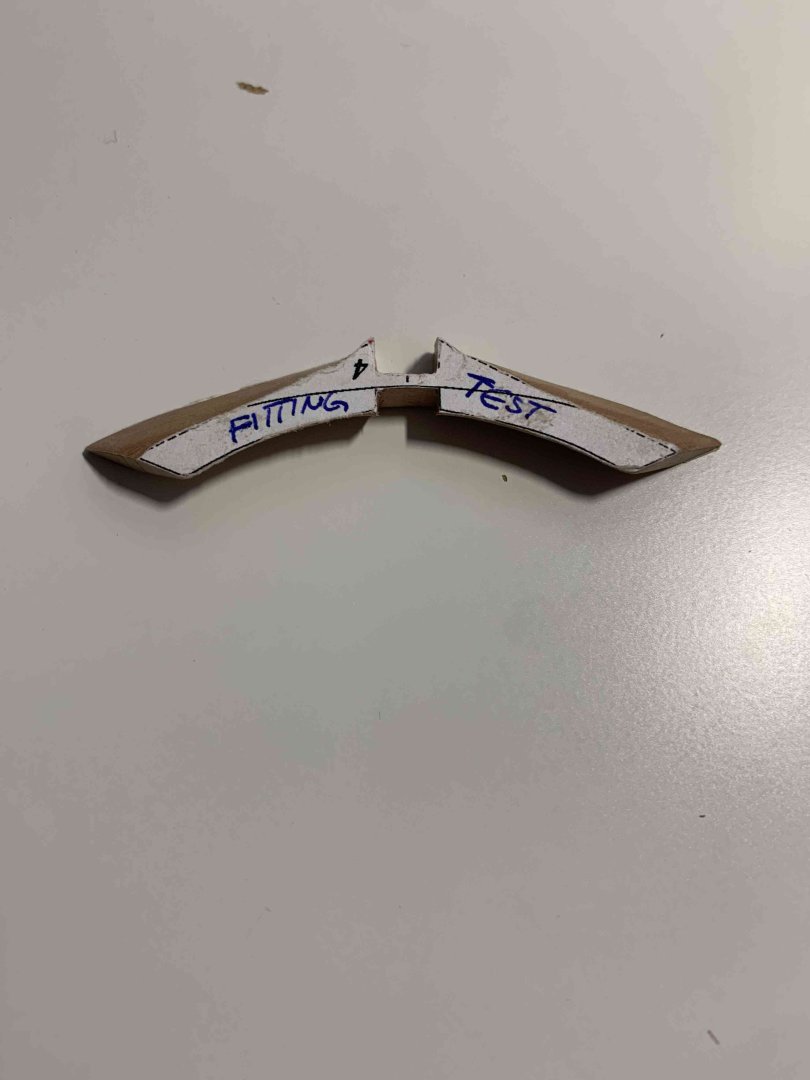
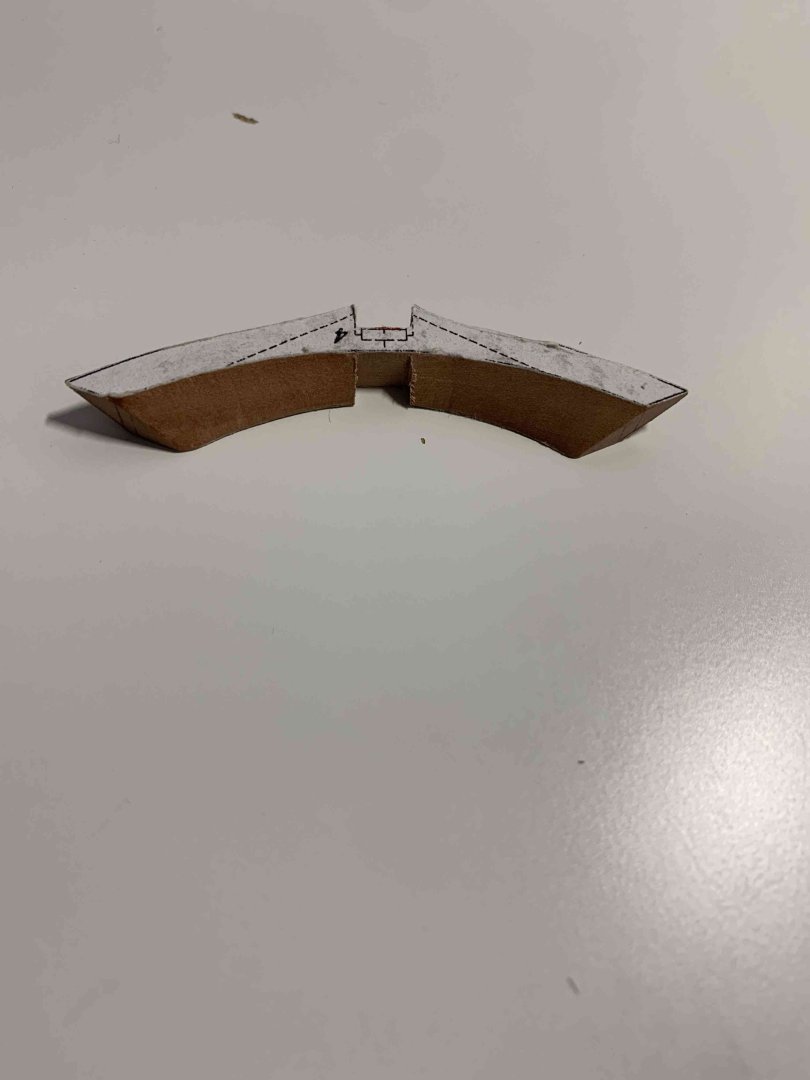
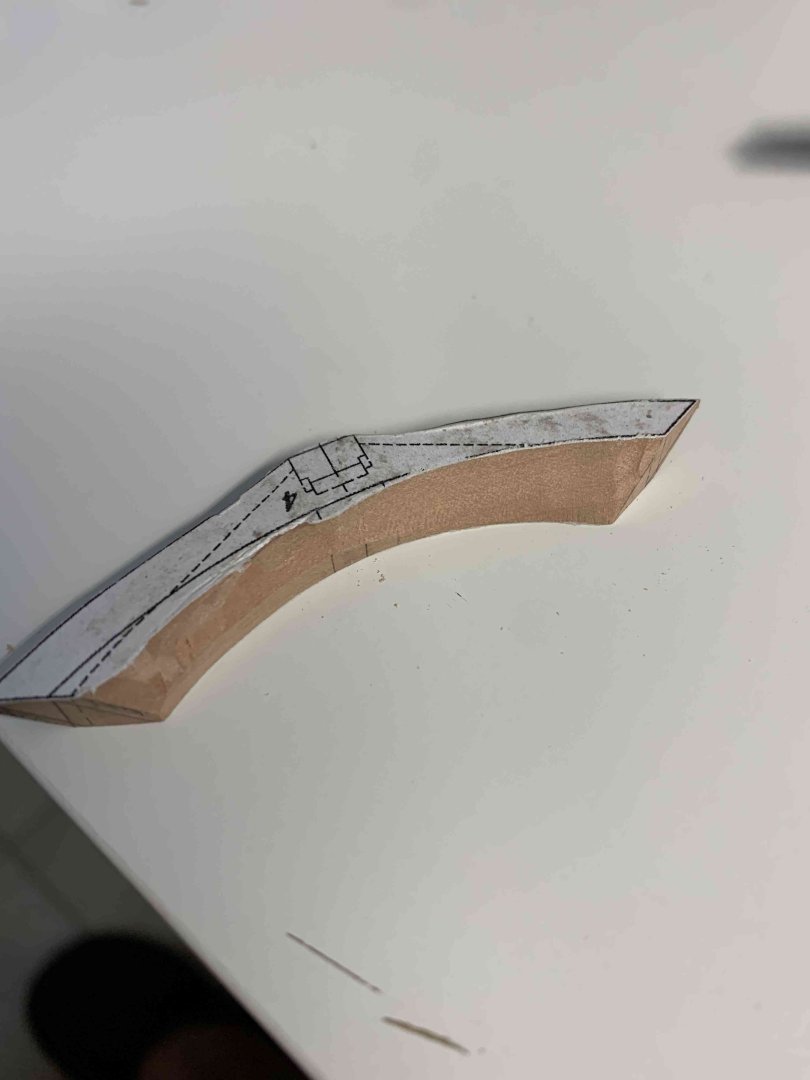
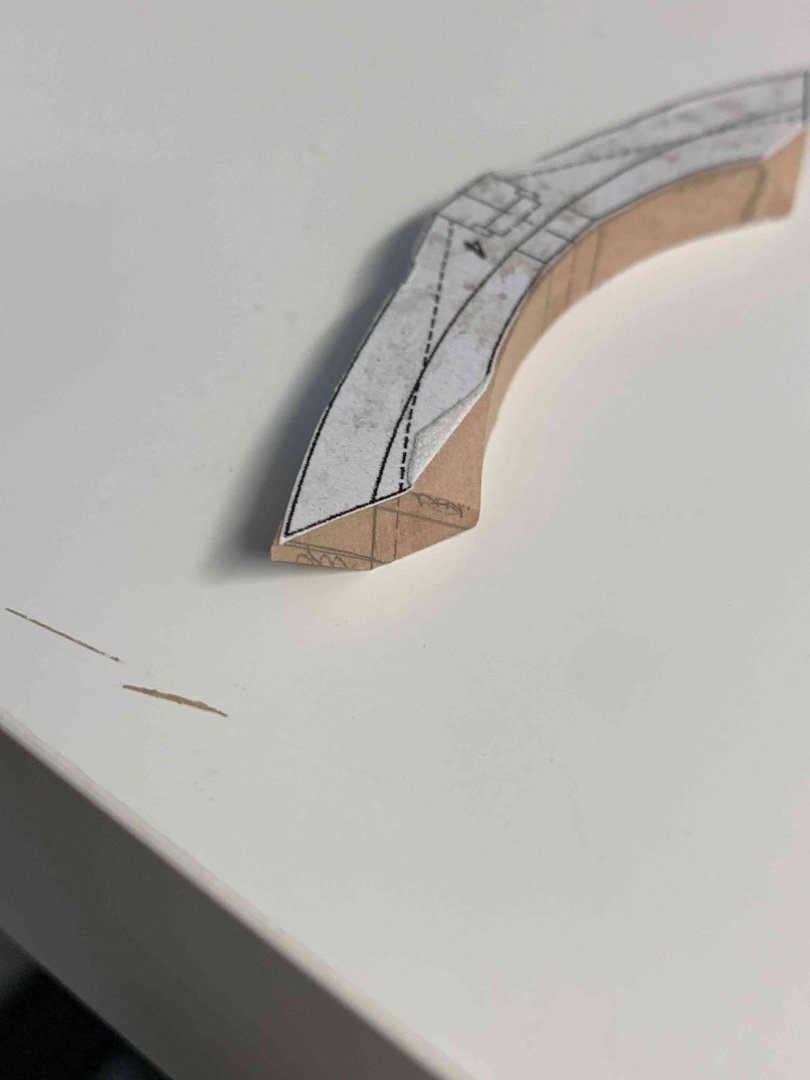
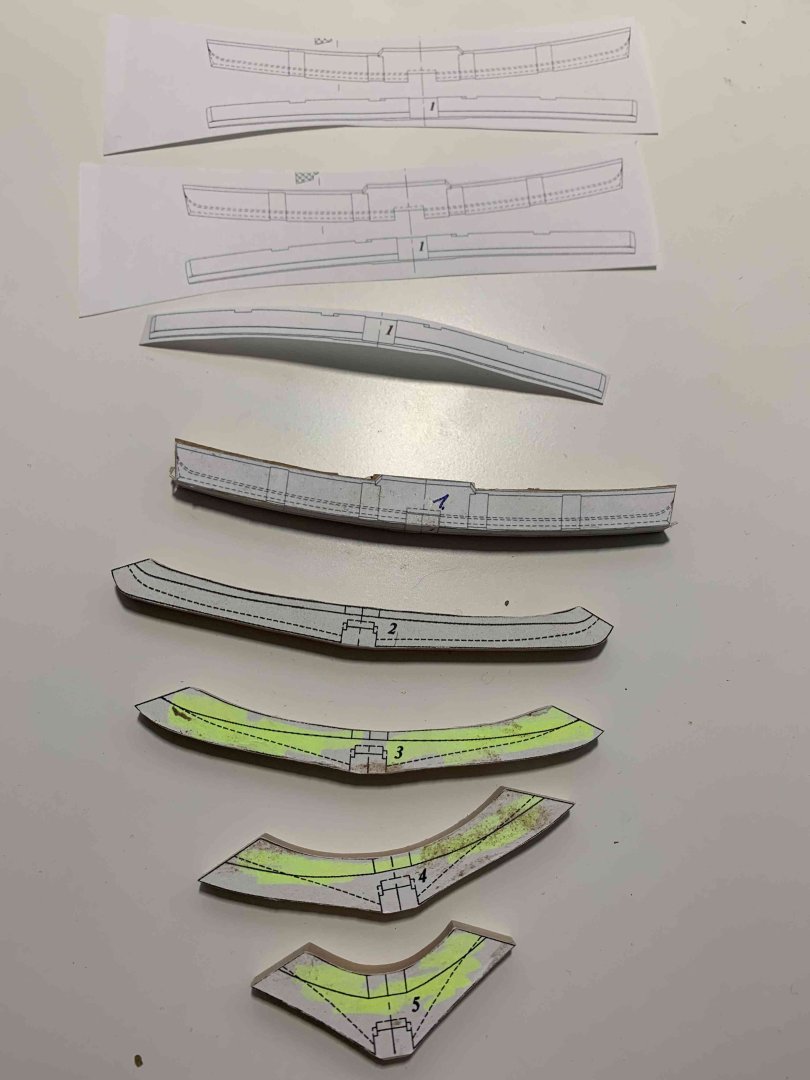
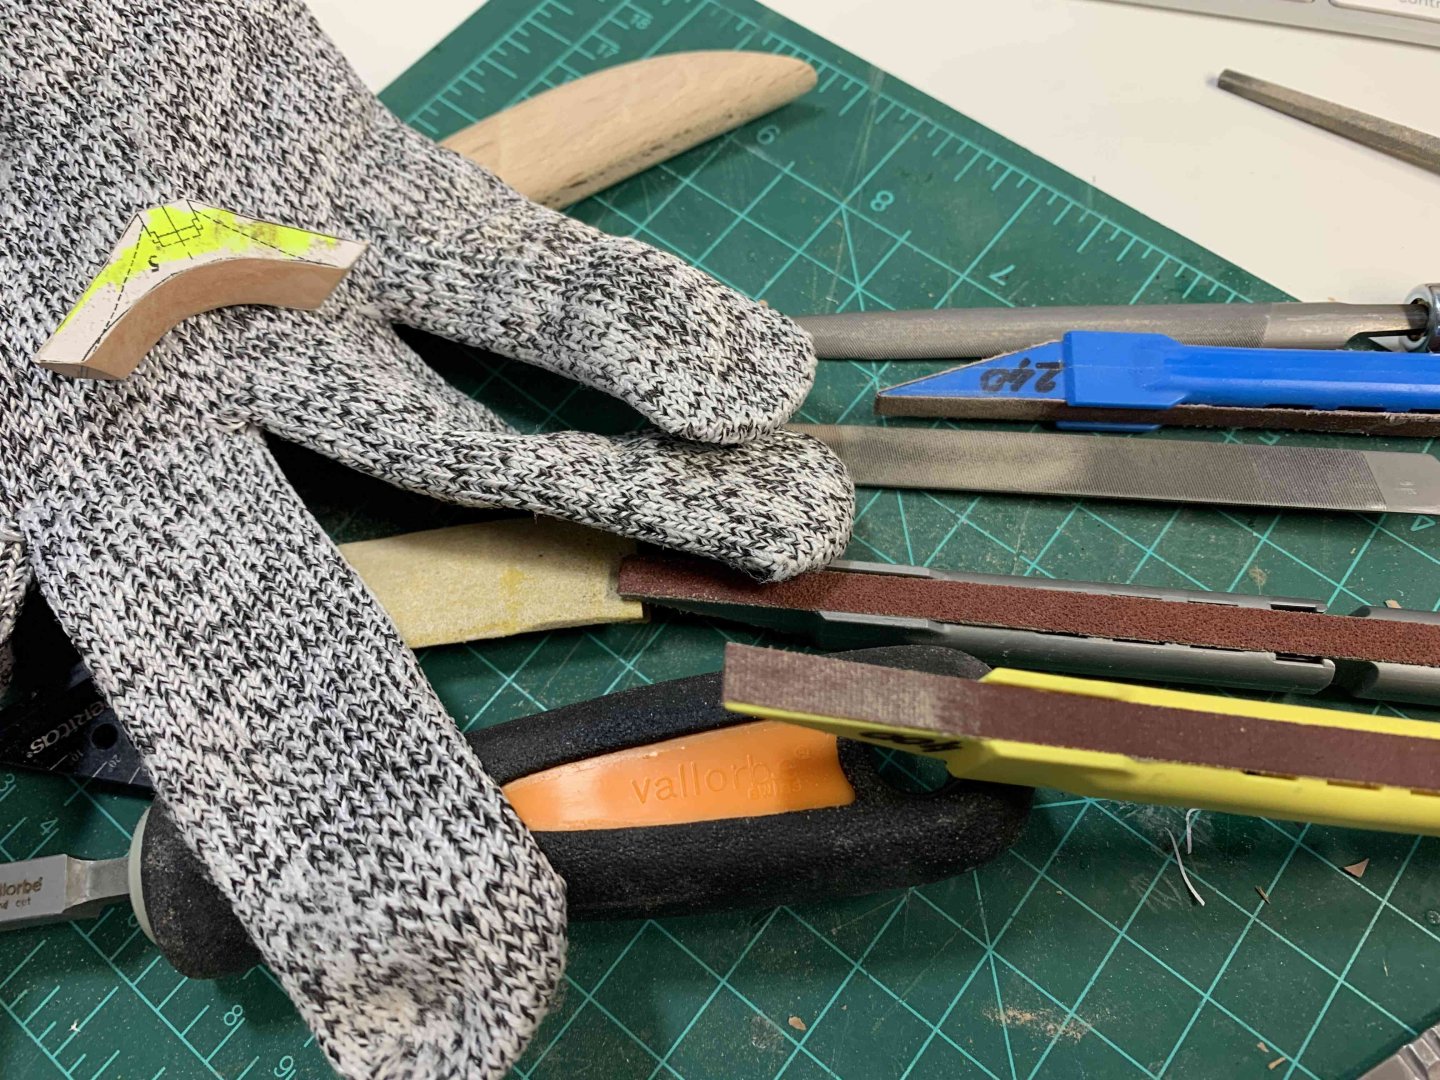
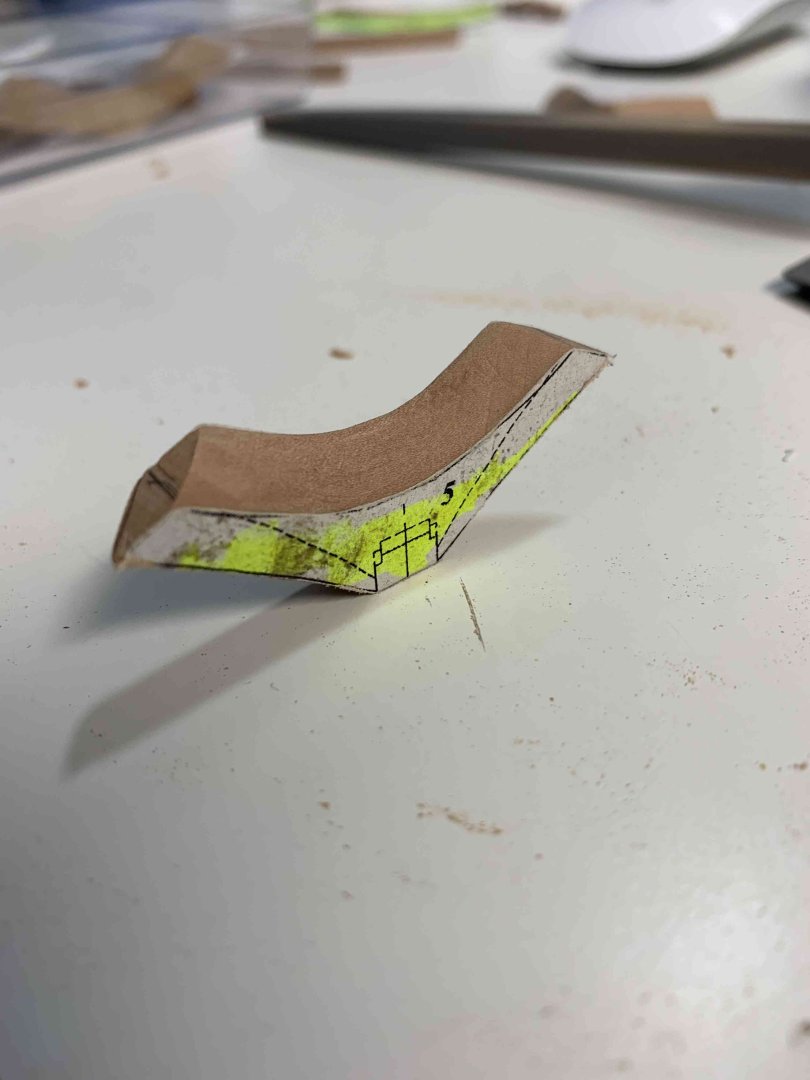
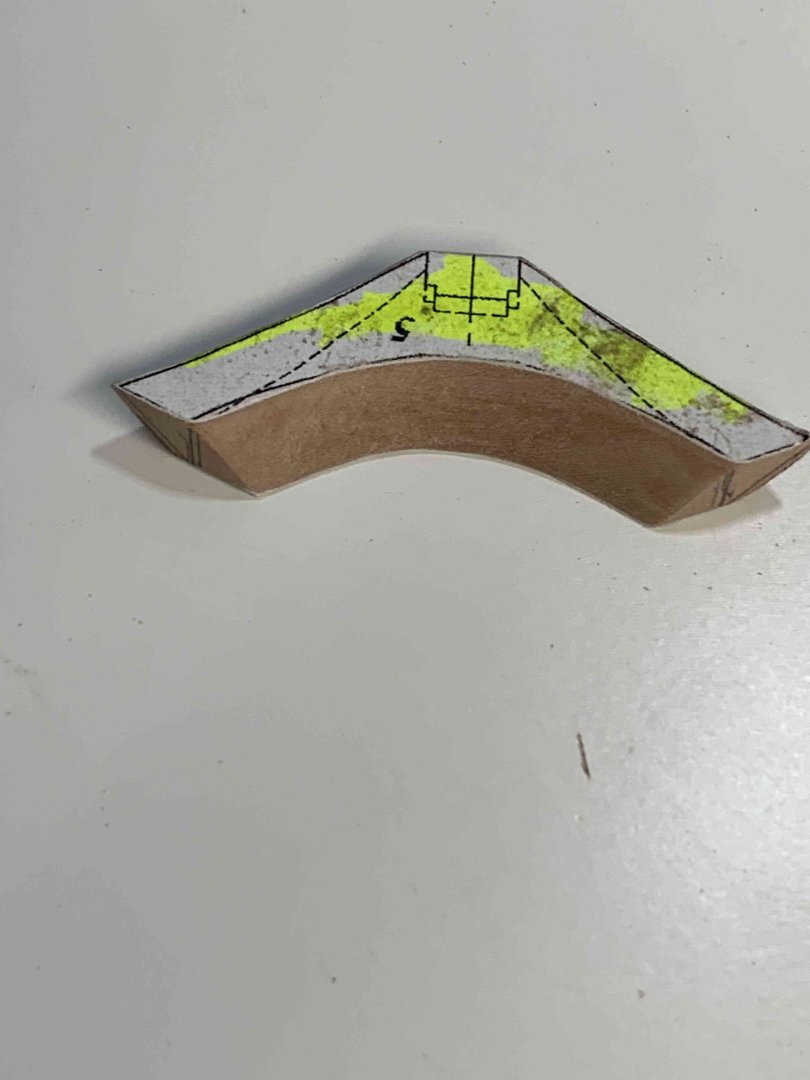
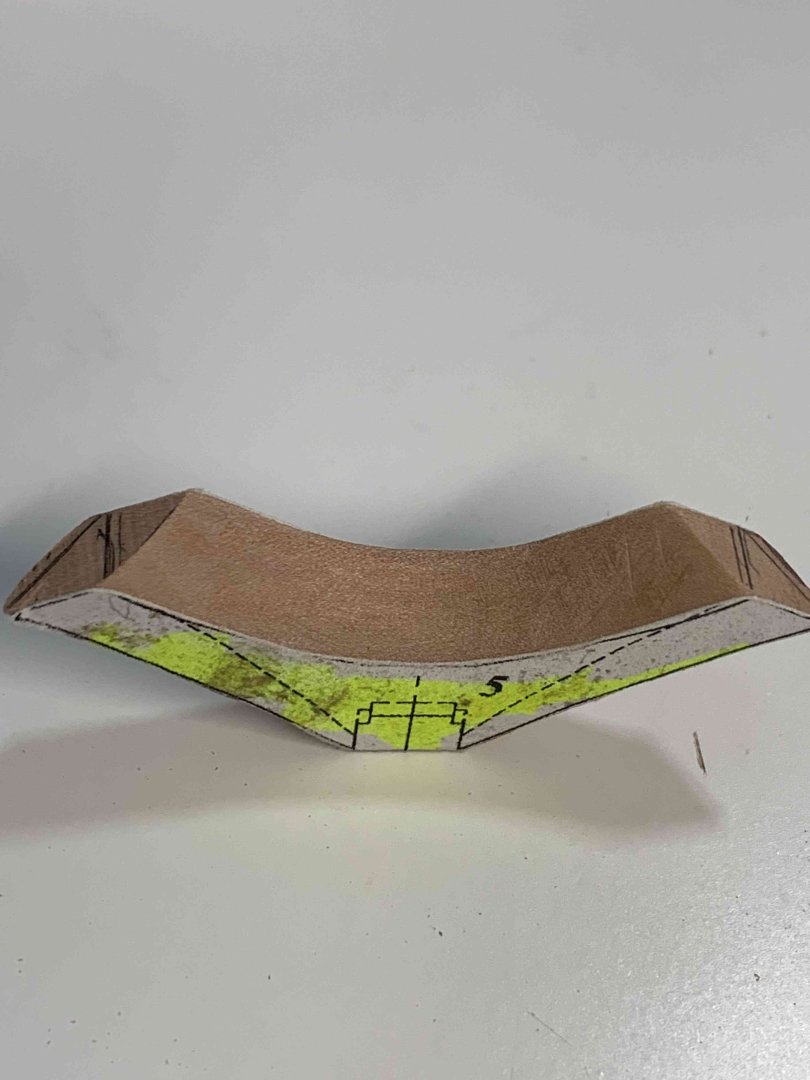
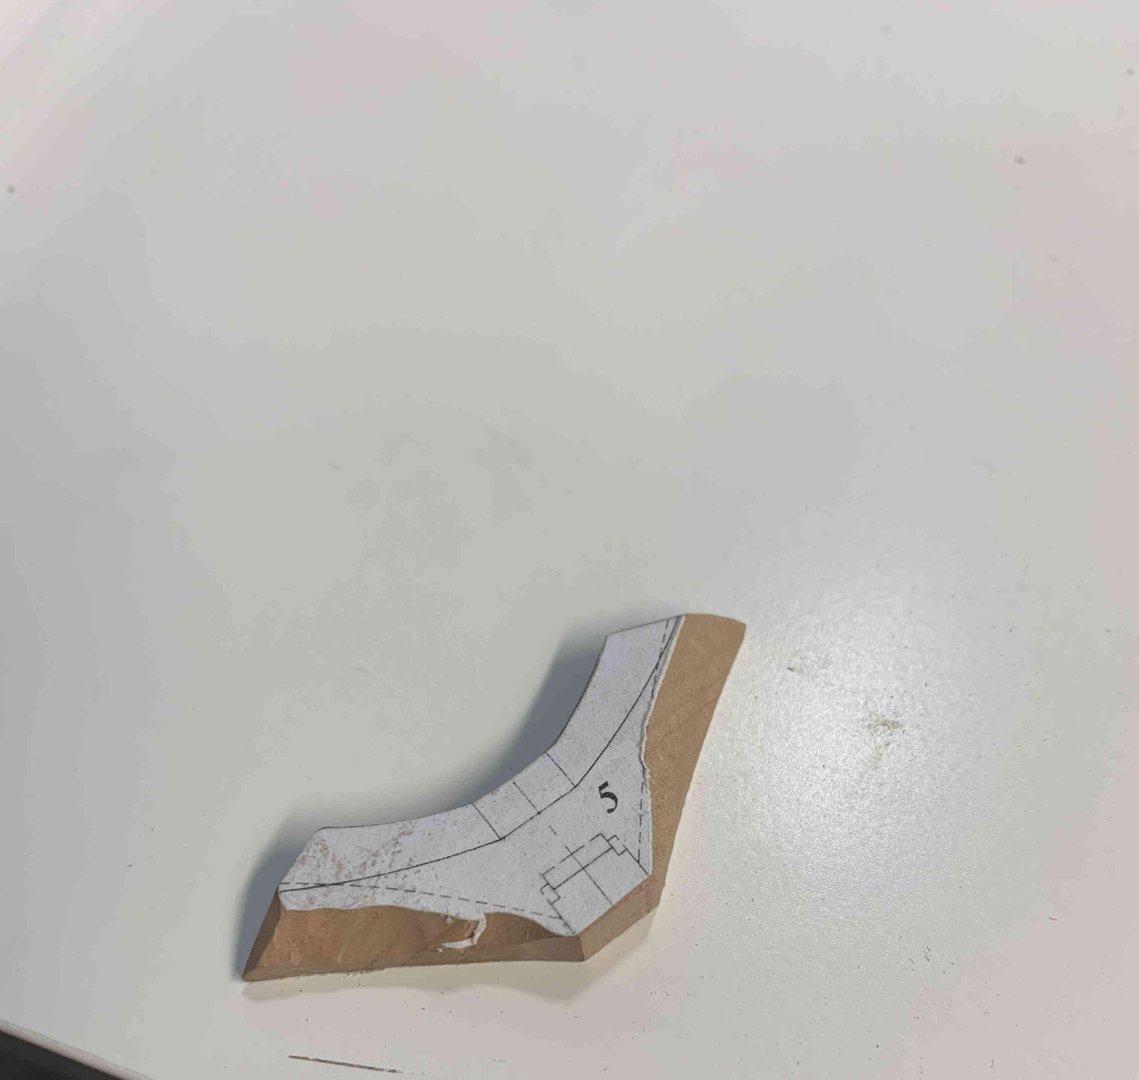
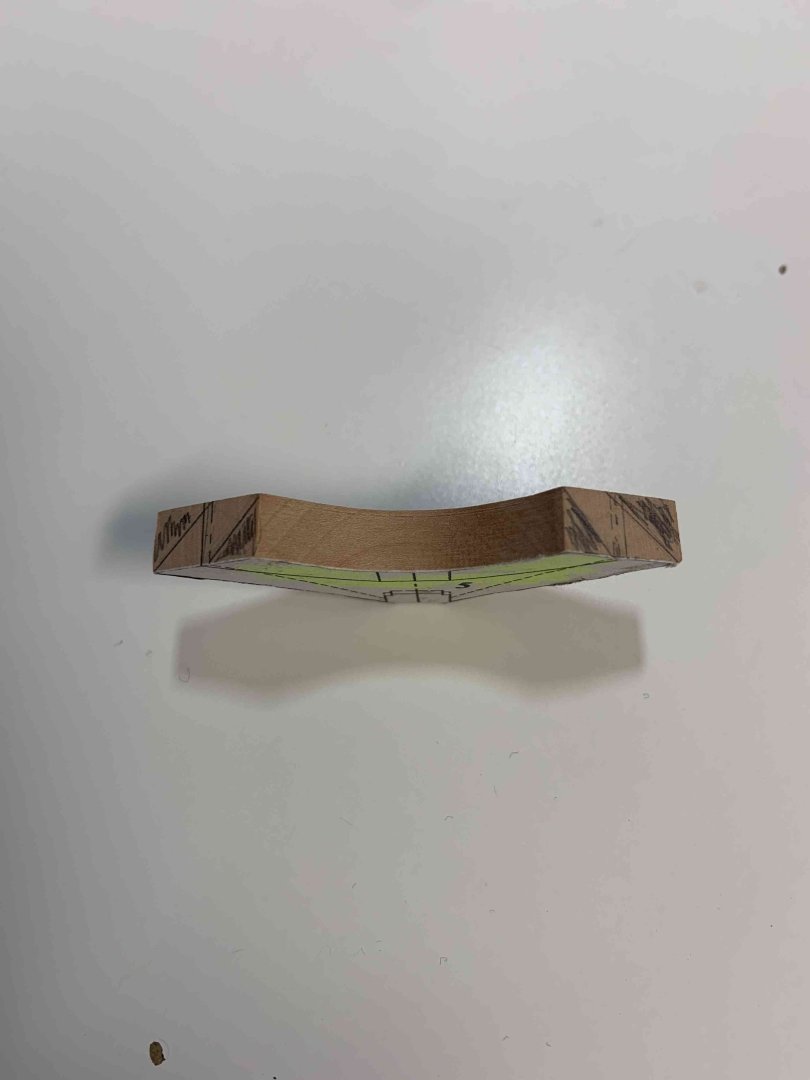
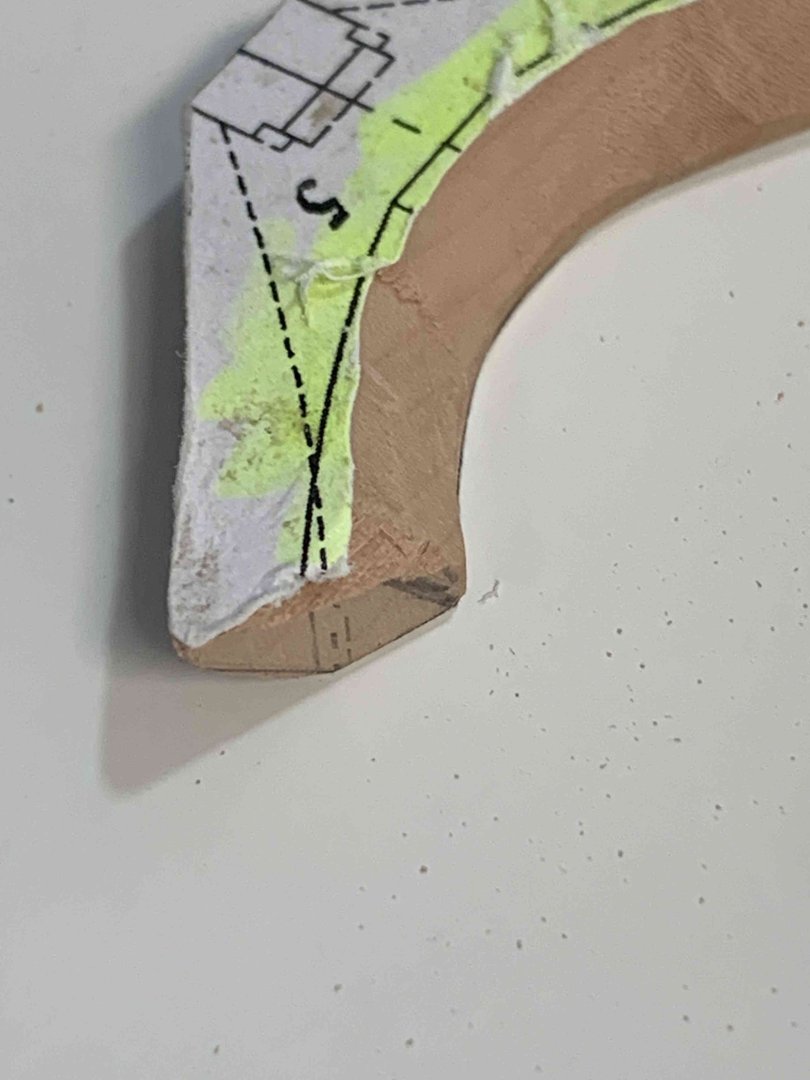
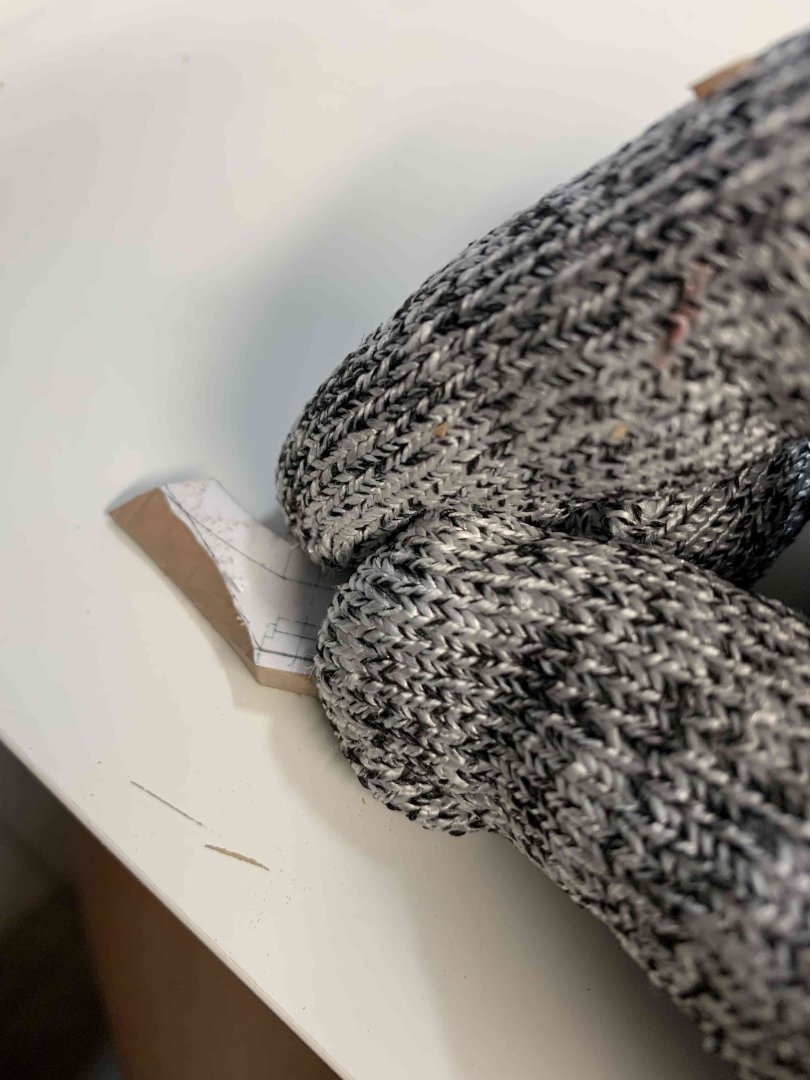
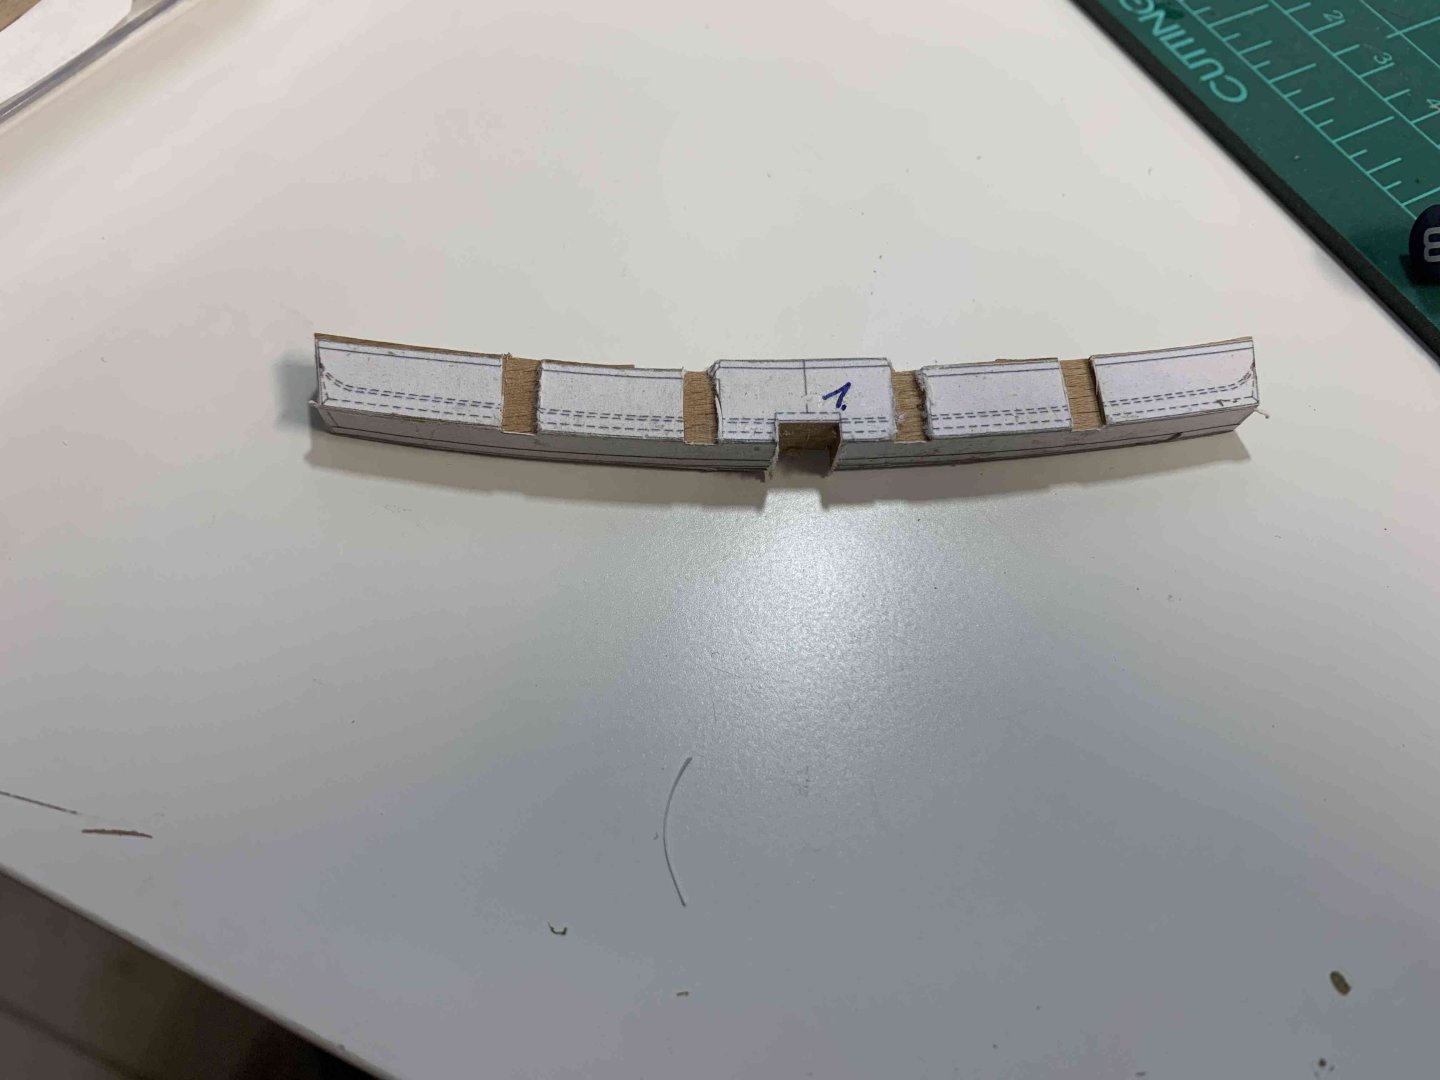
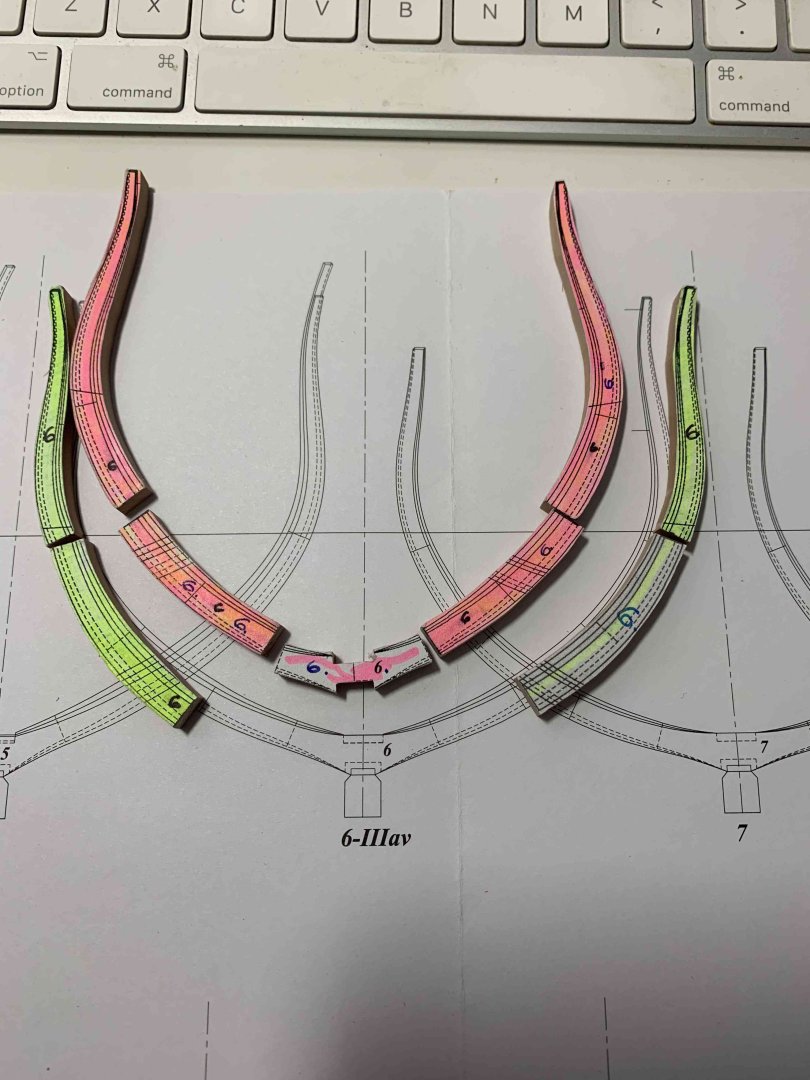
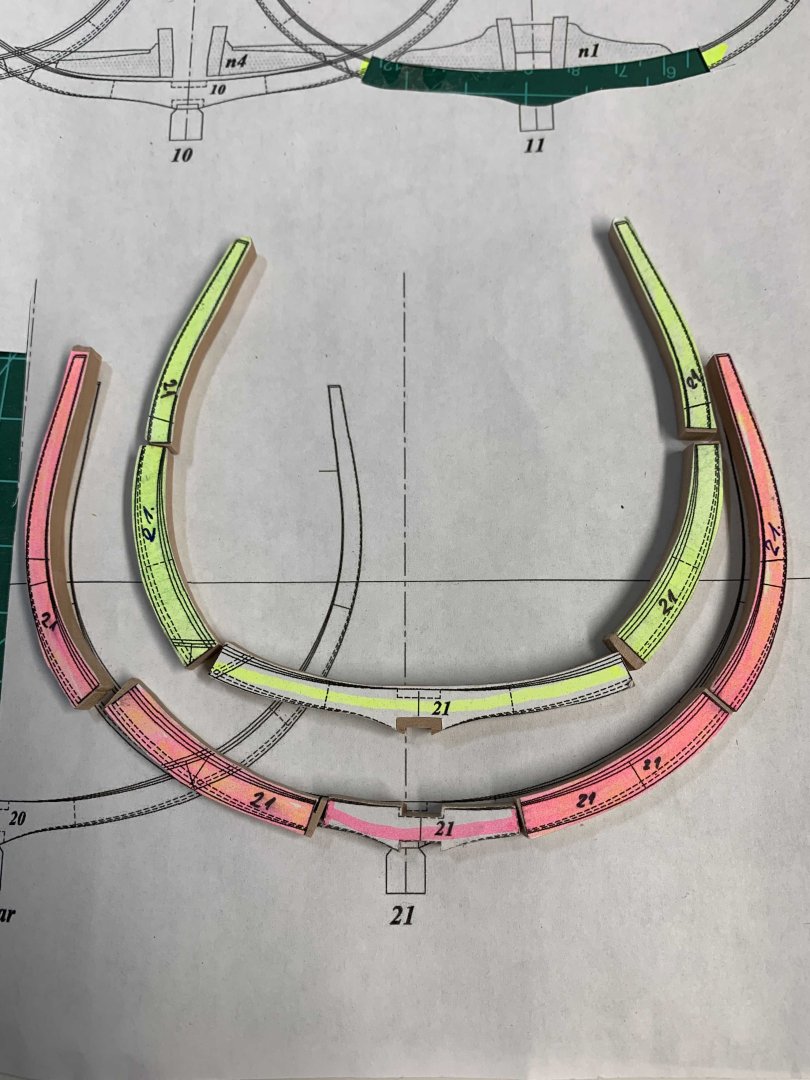
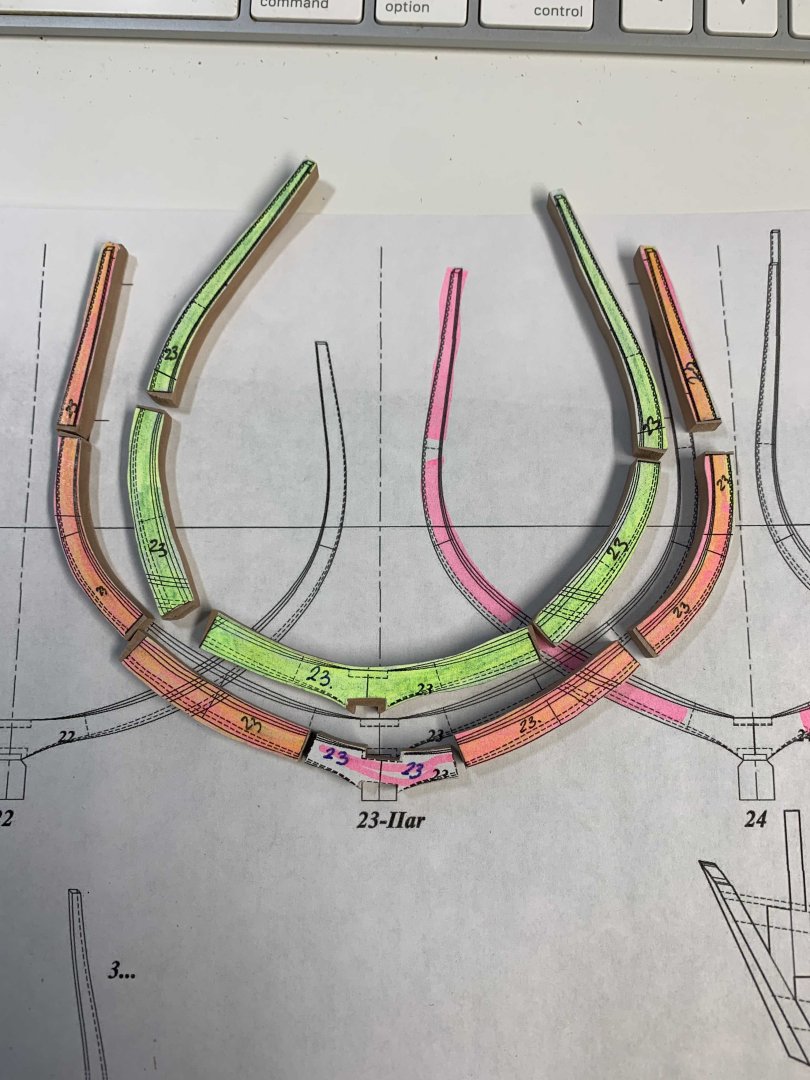
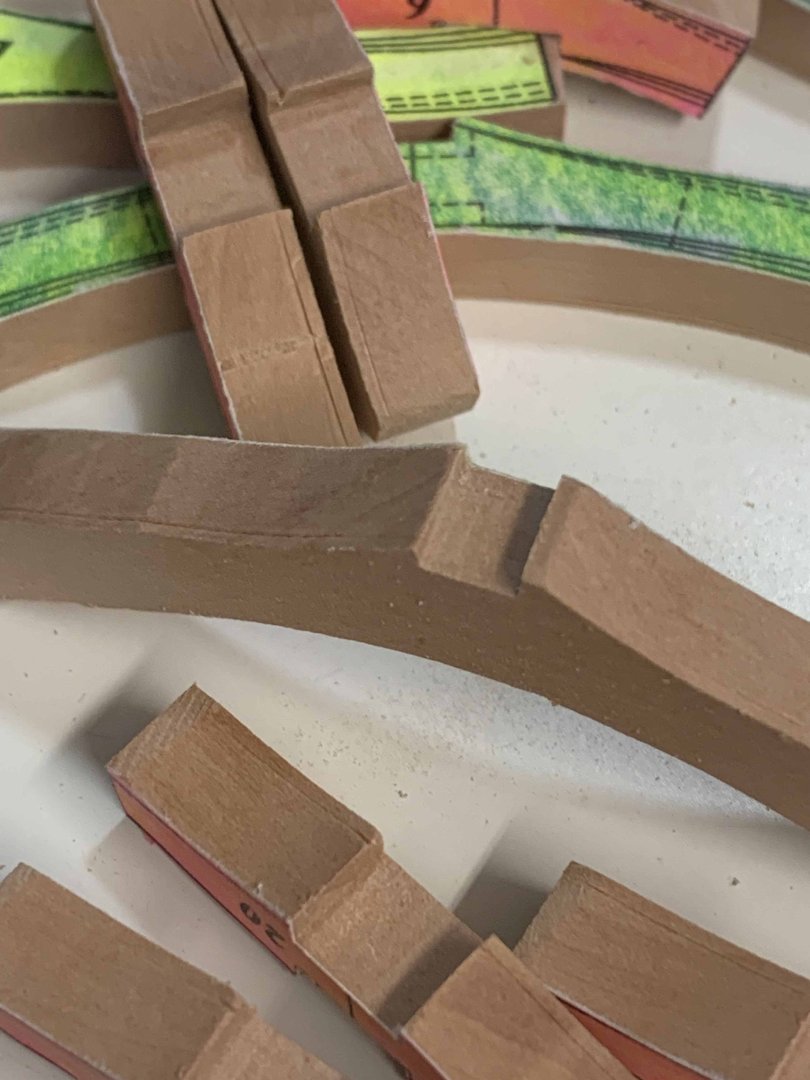
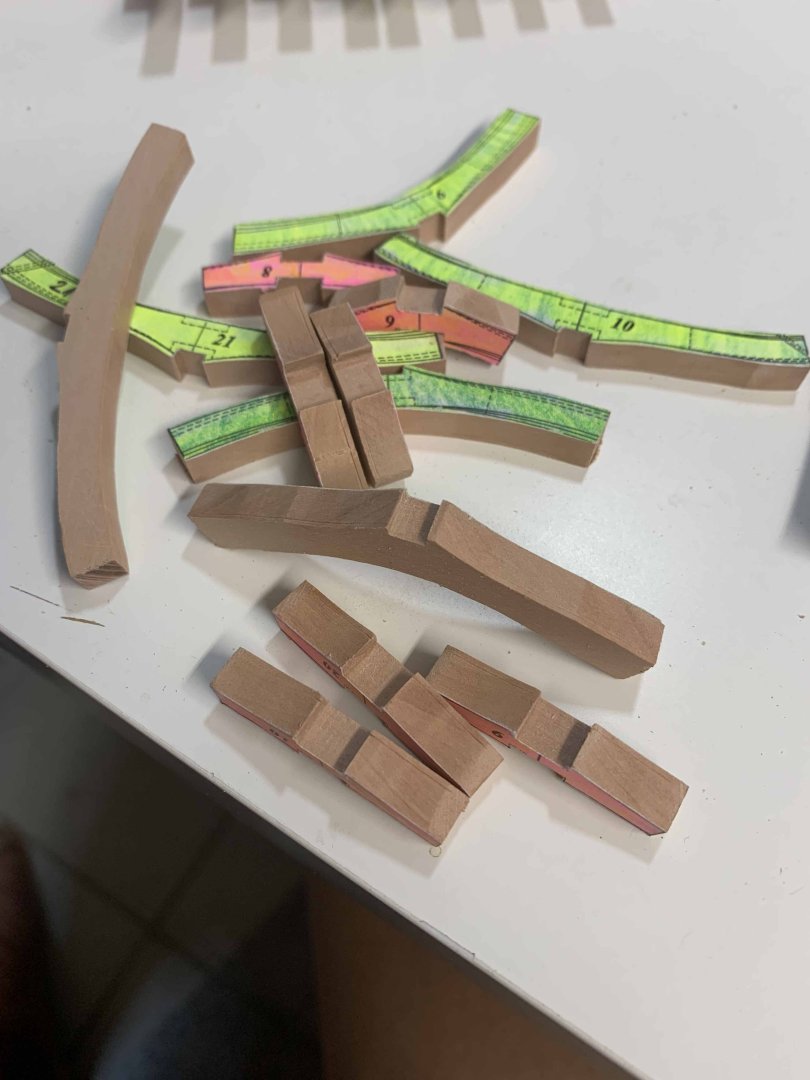
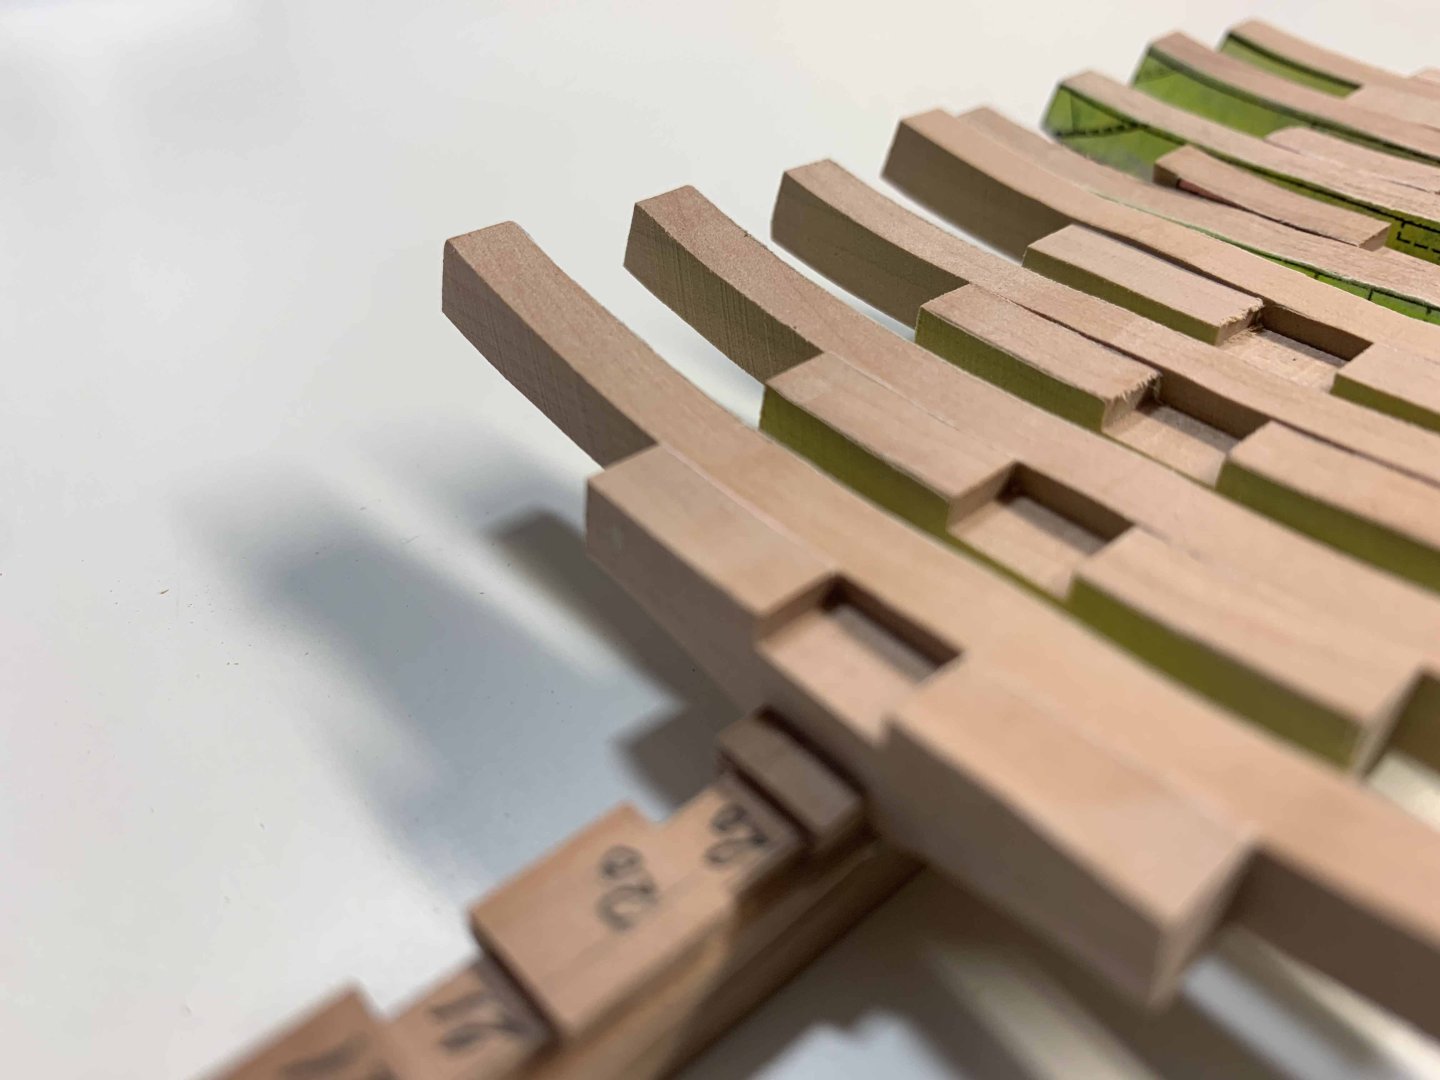
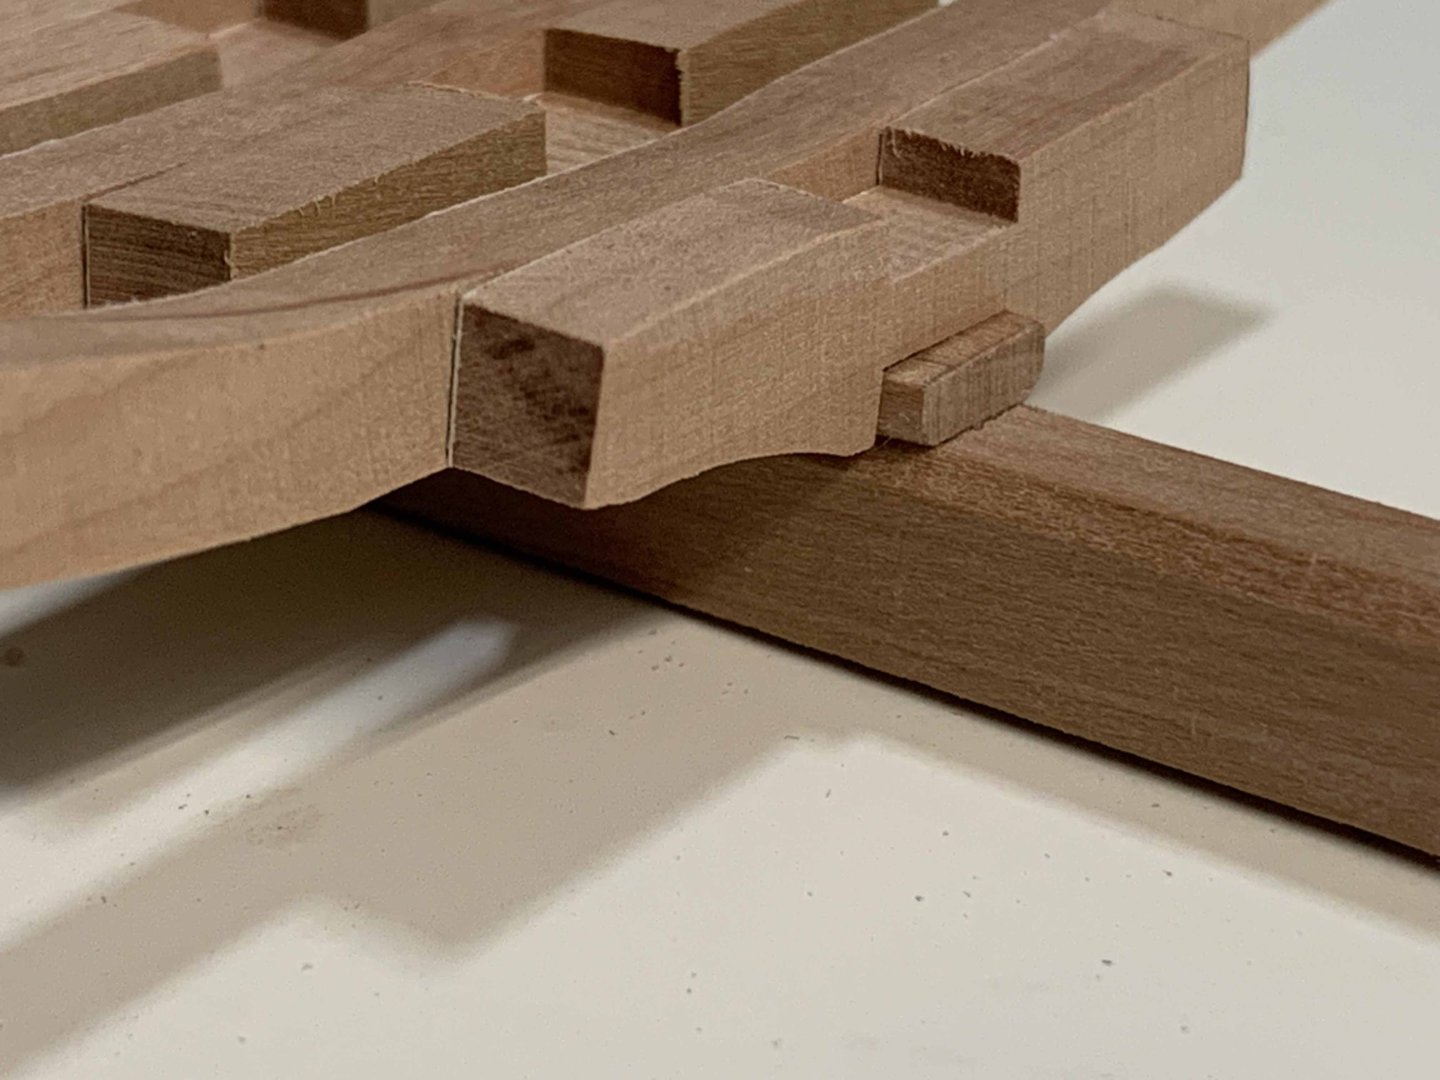
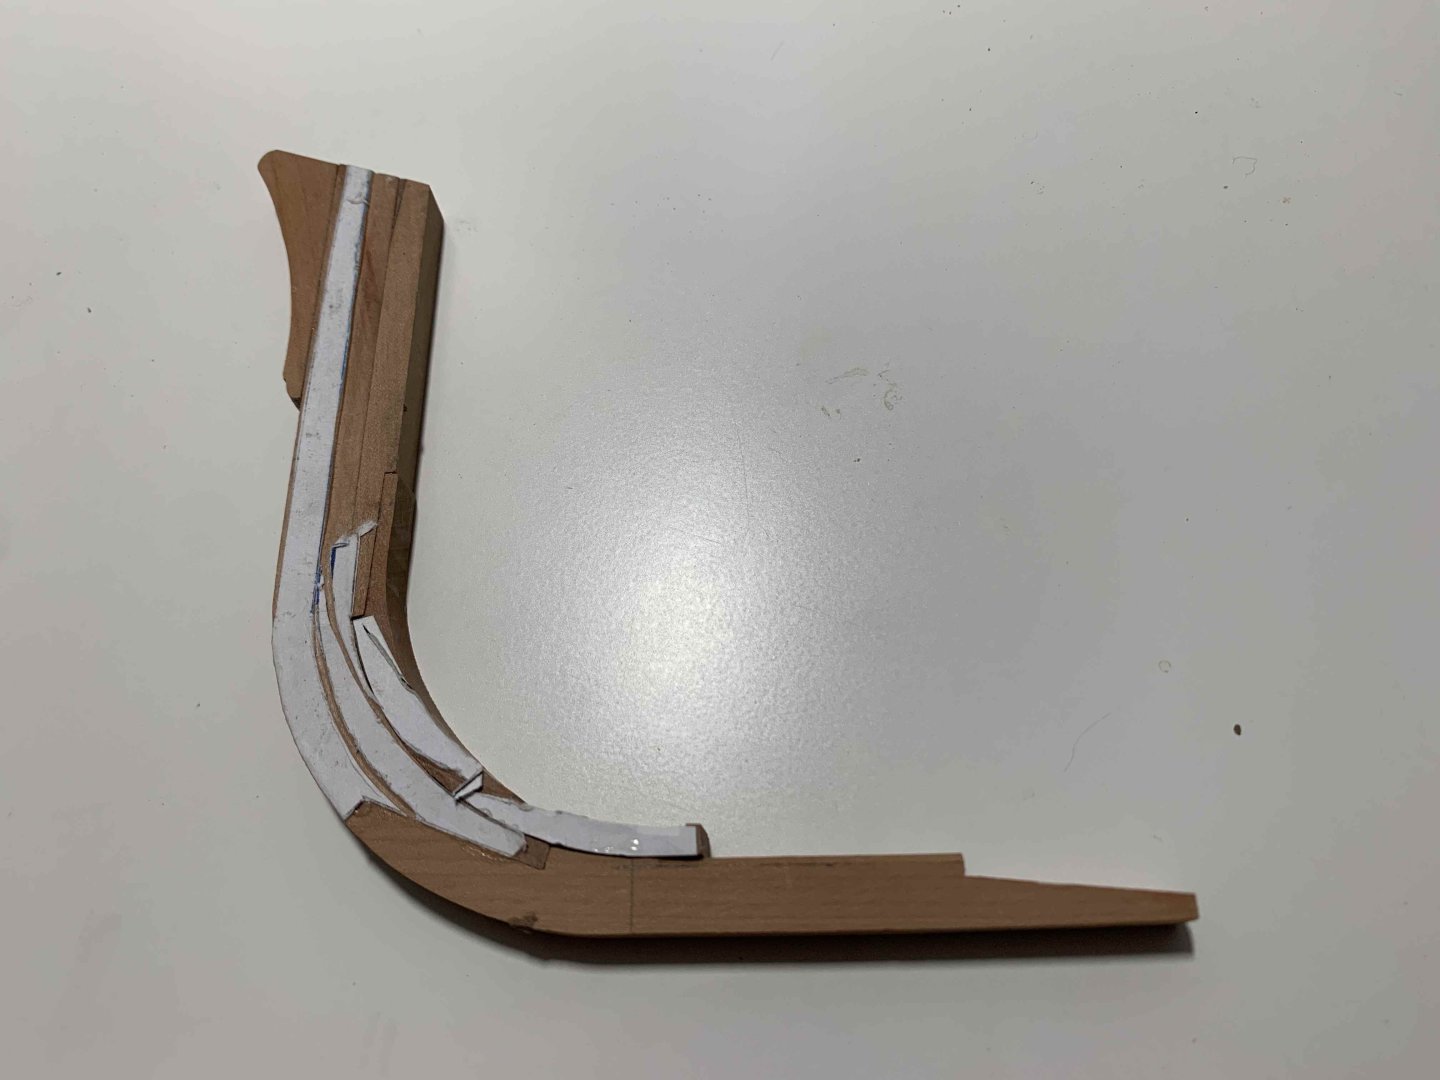
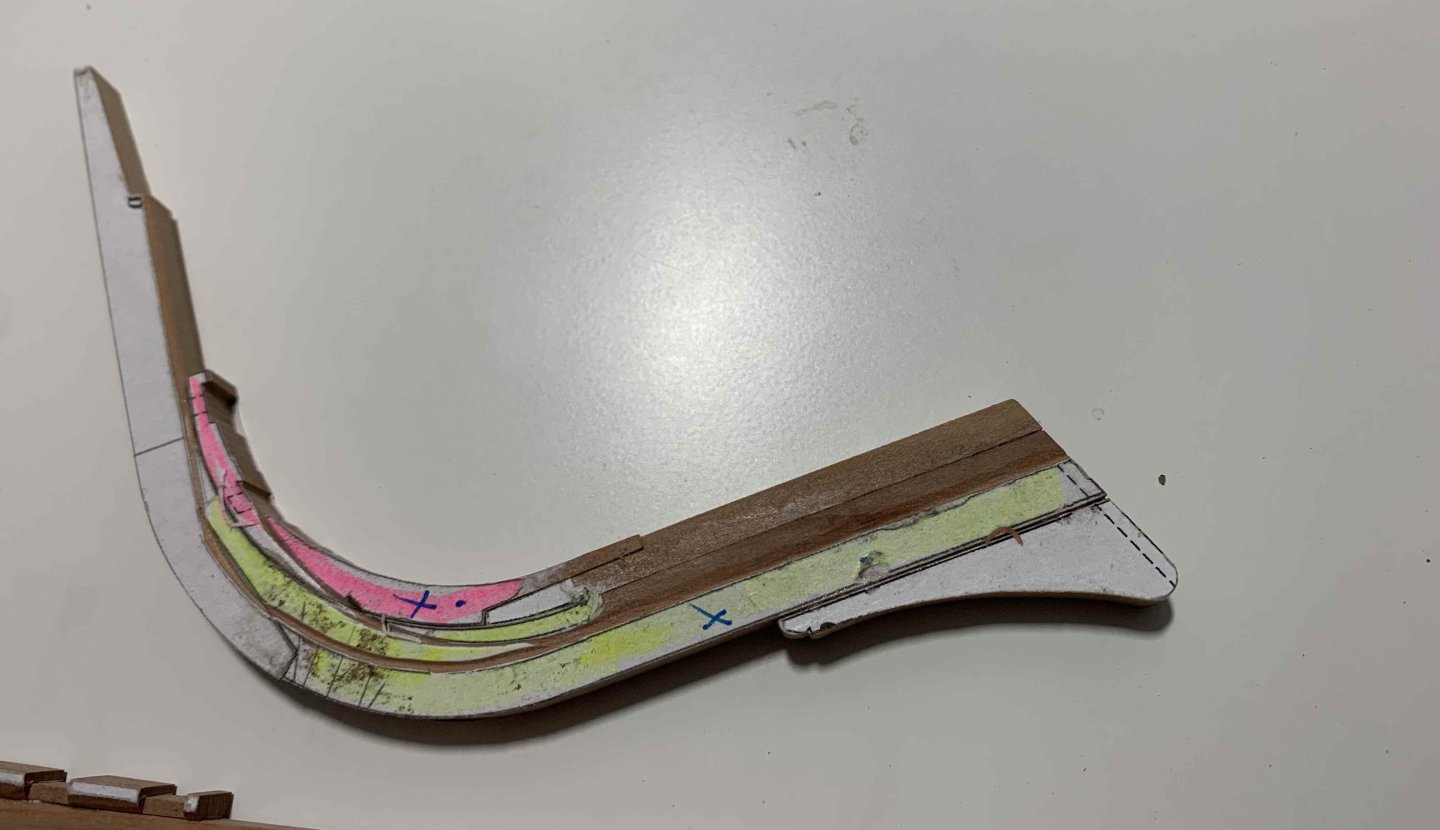
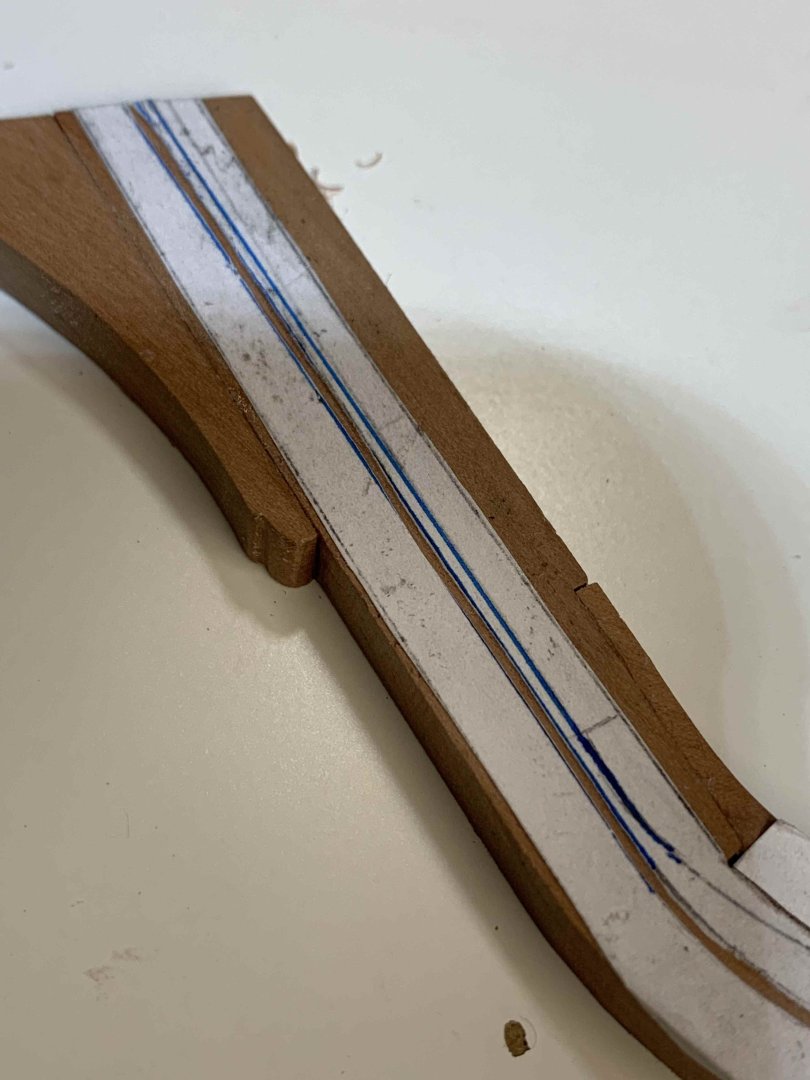
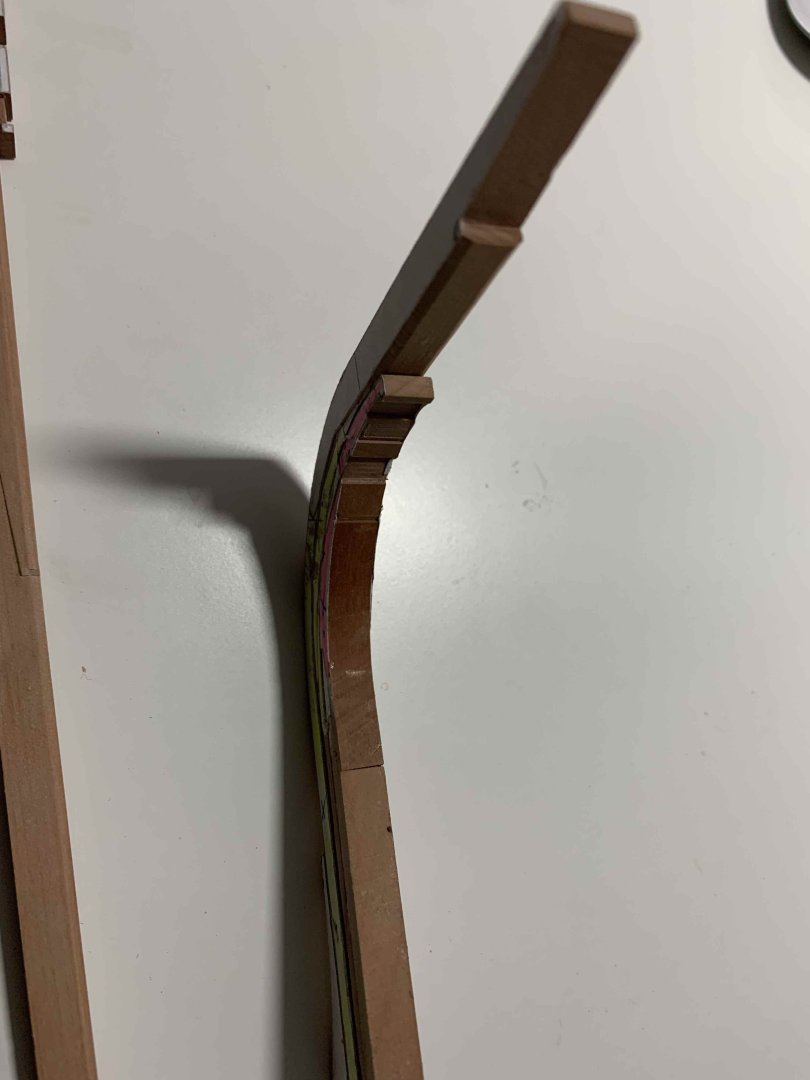
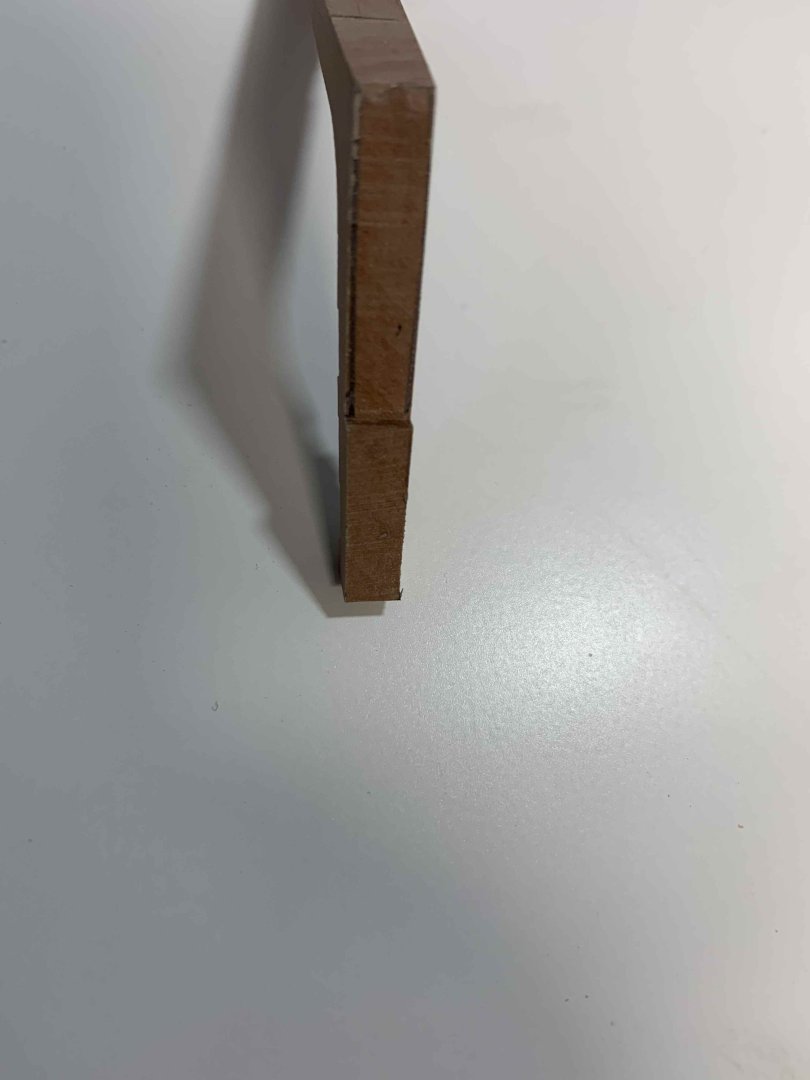
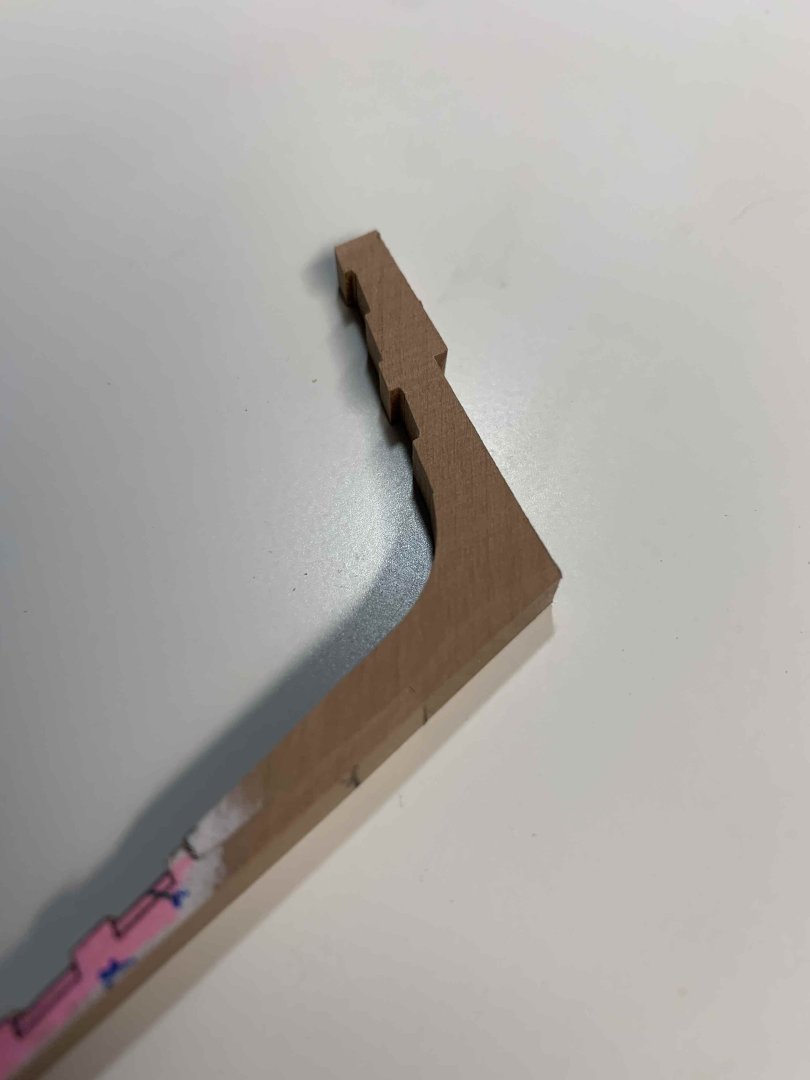
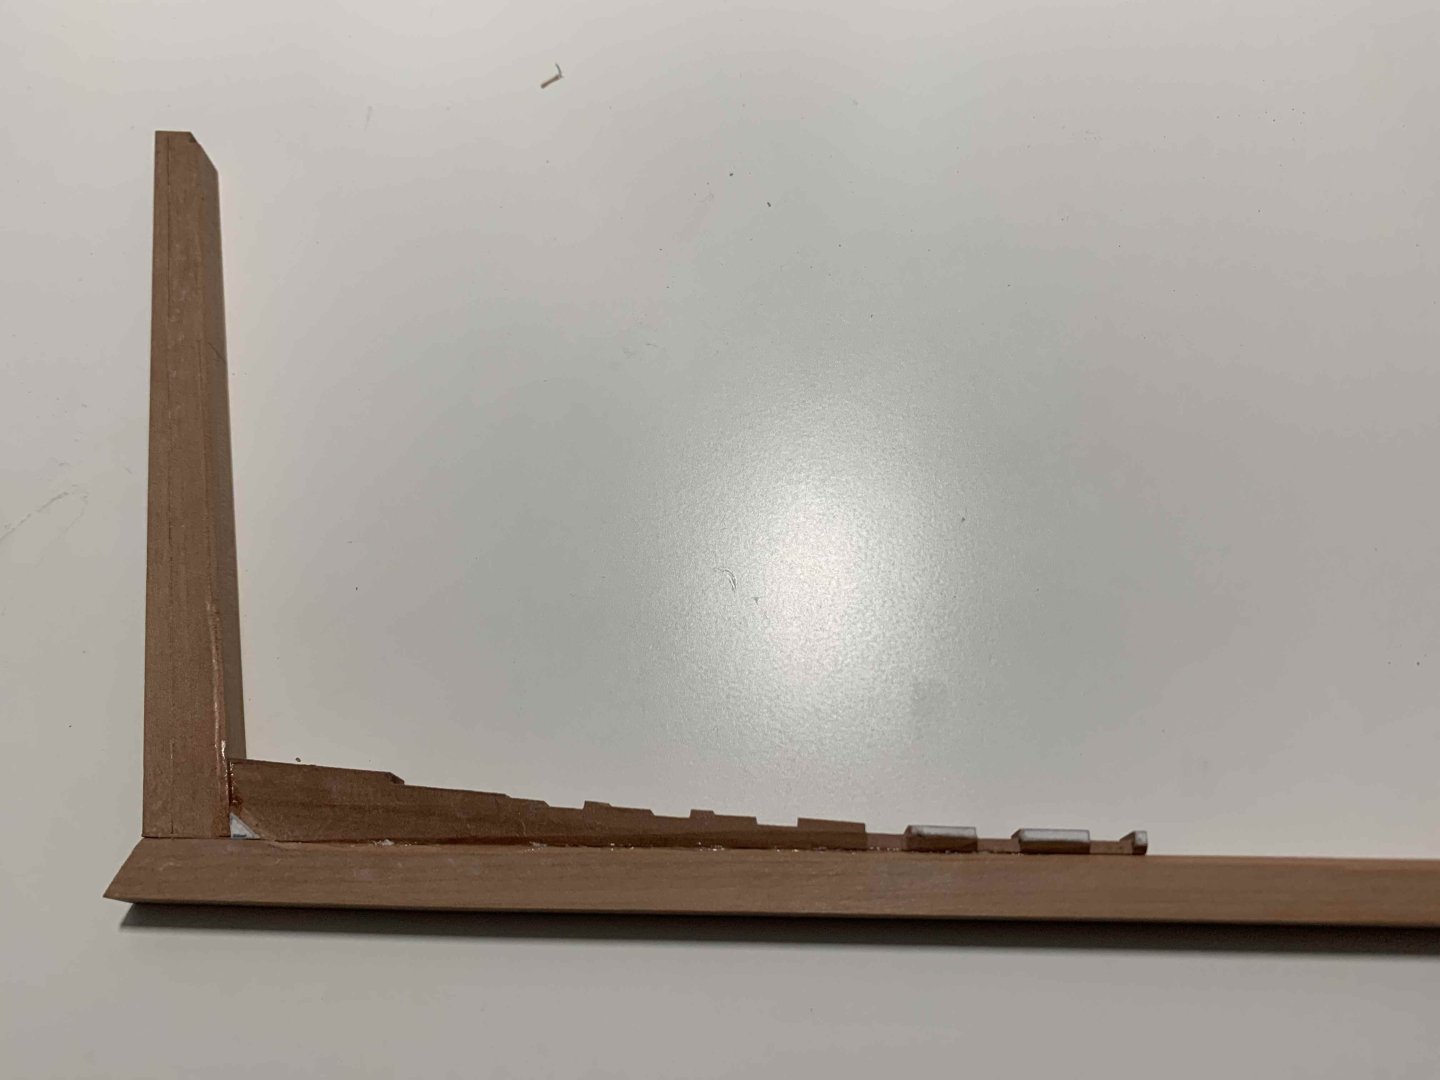
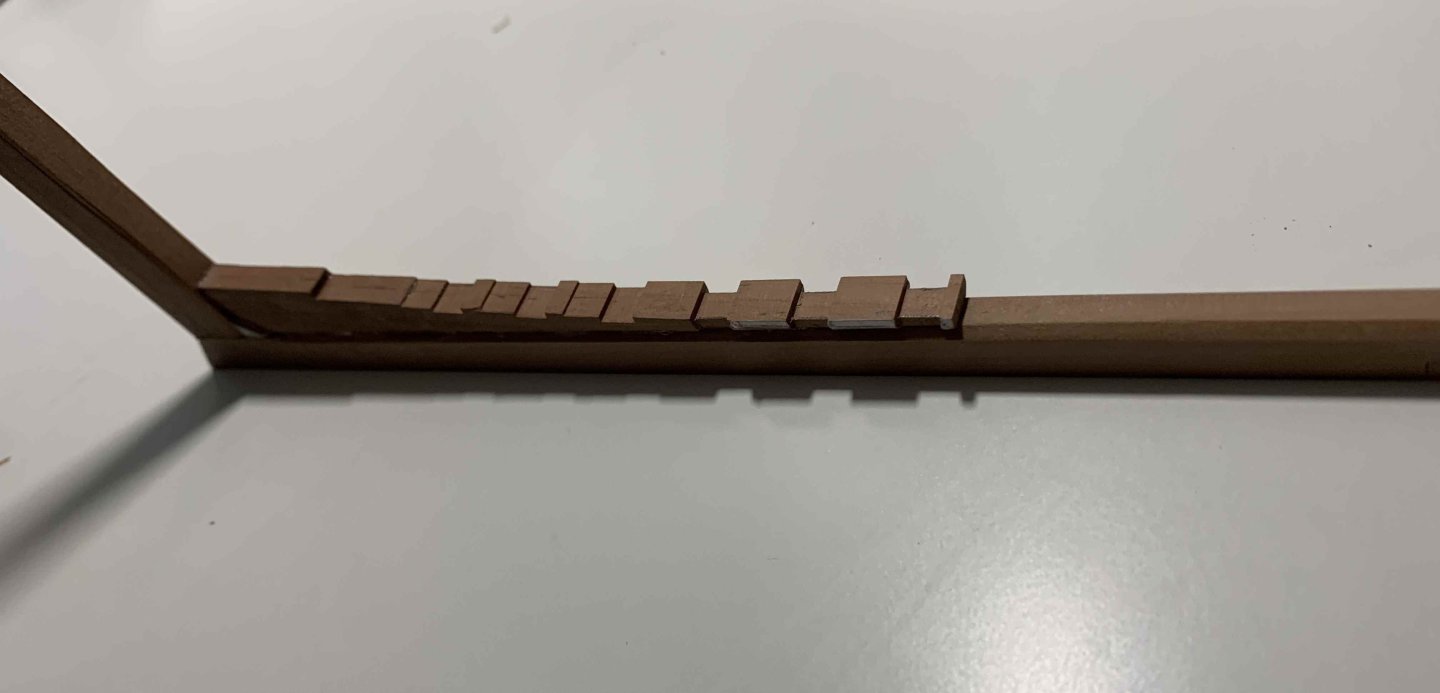
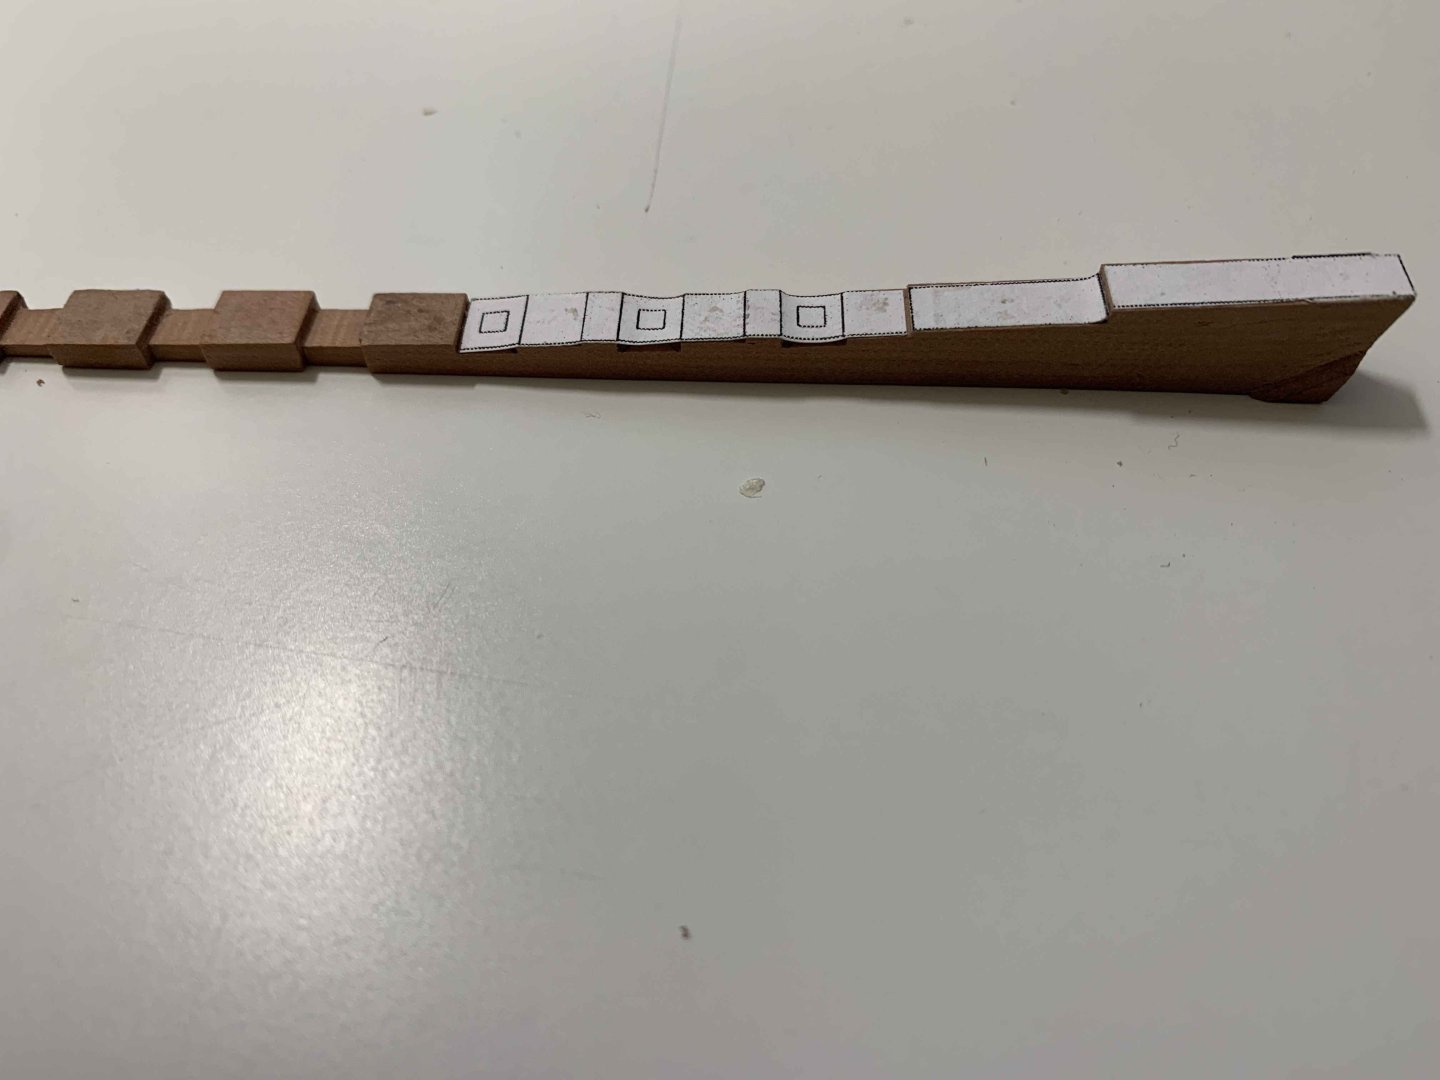
It took me a while but I believe I grasped them all good... with several, I would call them "to-be-used-in-the-near-future" parts, I managed to get 4 transom done.. not completely but most carving was performed and completed..Here are some process pictures, lots of marking, line drawing, pre-sanding, etc but must admit that pear wood is perfect for these parts; yes, I have few broken ends but those are just my mistake not placing transom templates correctly on the wood grain. Once I stabilized that part I was able to carve very nice and sharp objects... For carving I used combo of files-sand paper various sizes, scalpel and carving knife; base sanding was done on Proxxon disk sander and spindle sander with band saw helping cutting parts of the board. And protective gloves as a must when carving is in place.... I think with amount of bandaids I purchased, it makes sense getting a basic carving protective gloves instead... Angle sanding cuts are there to protect wood chipping... This is one of failures which I am using as a test part for fitting.. I had a bit of a hard time understanding the final shape of a part which ended up with few extra parts done. But there will be a new life for them in future steps.. So I have a question; how deep red marked notches (for keelson) should be in these parts? Are they going all the way to the back side (for example on #5) following red marked square, with 90 degrees angle, leaving the notch wider on the top side and narrowing down towards bottom, following the shape of a transom? I see various depth in other people' posts so not sure what shape notches should be taken.. Here is my fitting test part on the plan. If I am seeing it correctly, I have it shaped properly. Feedback is appreciated before I start making cuts.. Happy modelling..


-
Yeah, I could not find any more efficient way for massaging those timber other than by hand/hand tools... Thanks for the tip, I already have a pile of "spare" parts looking for a new life..
-
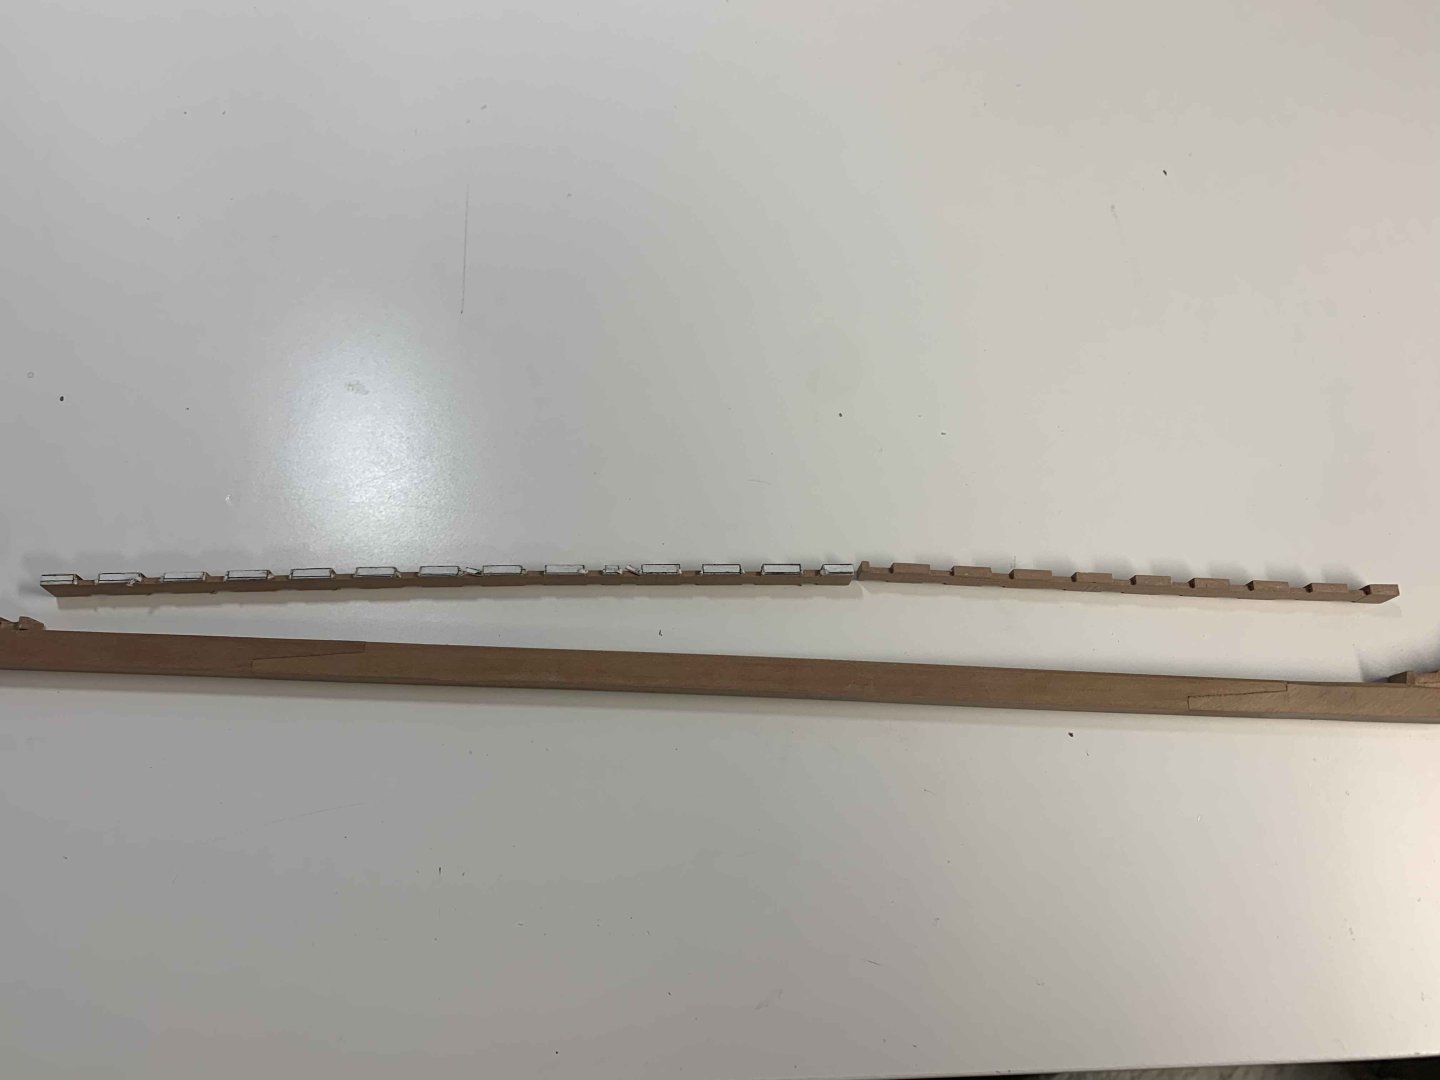
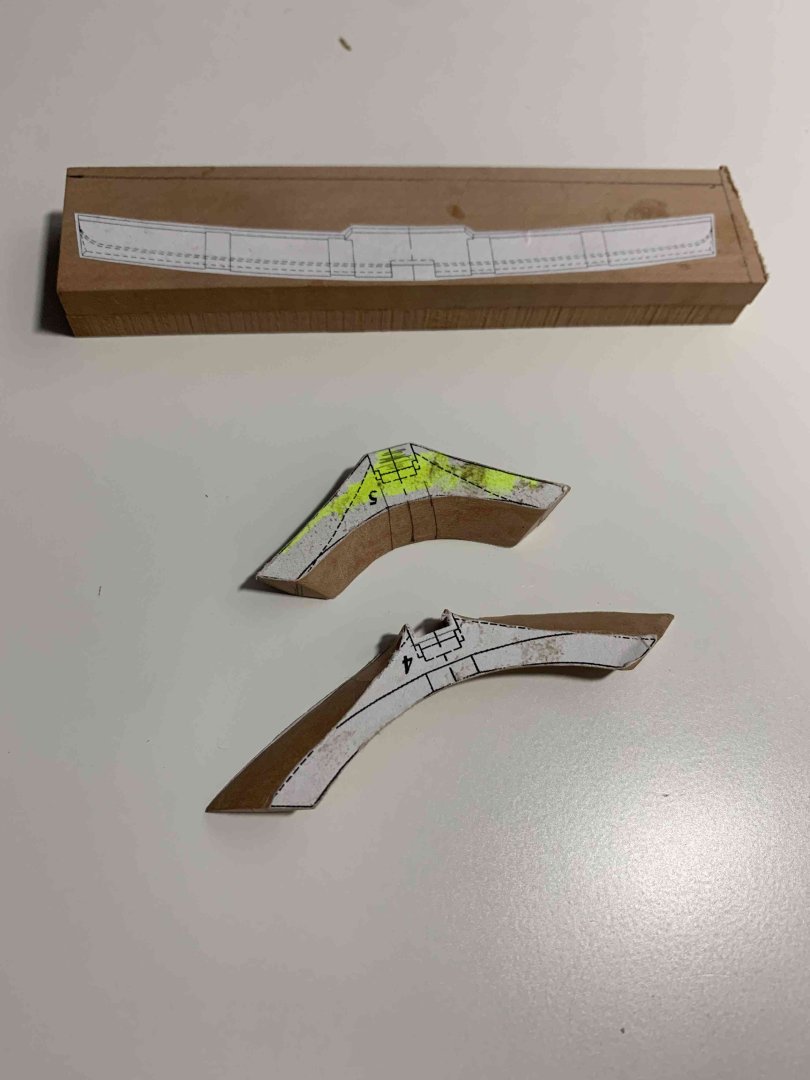
A bit work on timbers... I don't have board thick enough so 2x5mm glued together to provide a good foundation for wing transom.. and two completed 90% Happy modelling


-
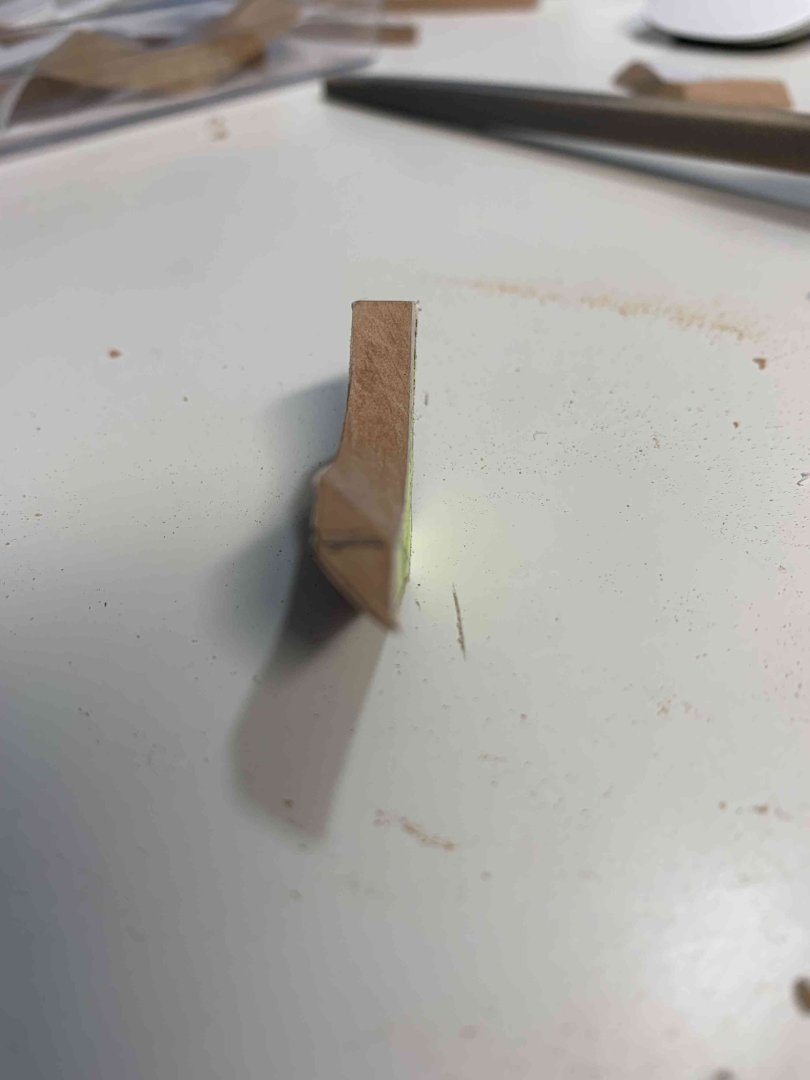
Working now on transom timbers... Testing on a spare wood part, wing transom.. I think I grasped needed steps for wing transom... Now, started to work on lower transom timbers, from #5.. Not sure about you but I always trying to use protective gloves when using scalpels or other cutting tools.. have enough marcs on my tomb from "I can stop it no problem"... And a little bit of mistake... New part on the bench.. I think I have it done right, hopefully... not all cuts are done but the most difficult, at least for me, is completed... Here are various hand tools used for this piece.. Happy modelling..


-
Getting inventory off all frame parts... Missing parts are ready to be cut... recycling some old, bad ship parts...

-
In the process of inventory check and making missing parts.. Happy modelling..

-
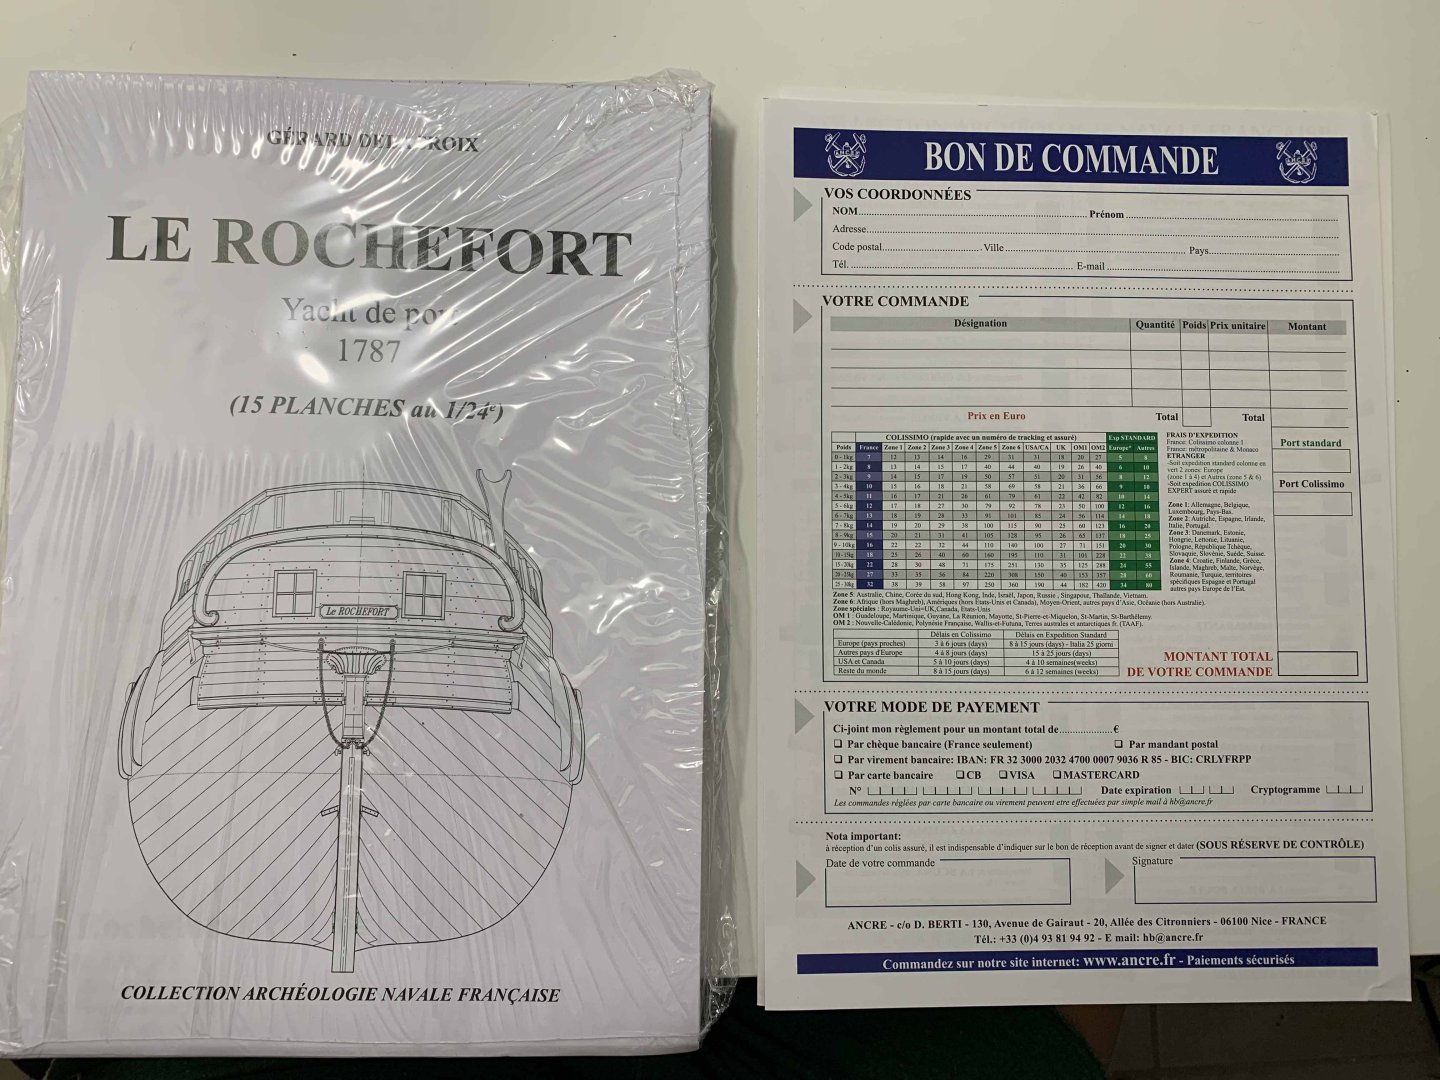
And to make my modelling life even more complicated, this is what arrived today, bigger scale: So, current build will definitelly be a learning curve.. Happy modelling..
-
Thank you No Idea, I was, I think, too worried with all those small dings and scratches, not that I would not care anymore, but looking into other's logs I start noticing them too often so I am not making a new keel structure... yeah, making an actual plank as a rabbet line depth reference is a very nice idea... Cheers
-
Keel structure needed a bit of a extra work so here is current keel built stage.. Rabbet lines were giving me the hardest time, mistakes like missing correct plan line, too deep chisel cuts, slip over working part making bad scratch marks (not like "Cat scratch fever" Ted Nugget) etc, causing make of two extra stem, apron and forefoot parts... oh well, will have plenty of pear wood for other ship parts and other ship kits are waiting in line.. won't go to waste bin. Continue with wrapping up keel work so I can jump on frames... Happy modelling.
-
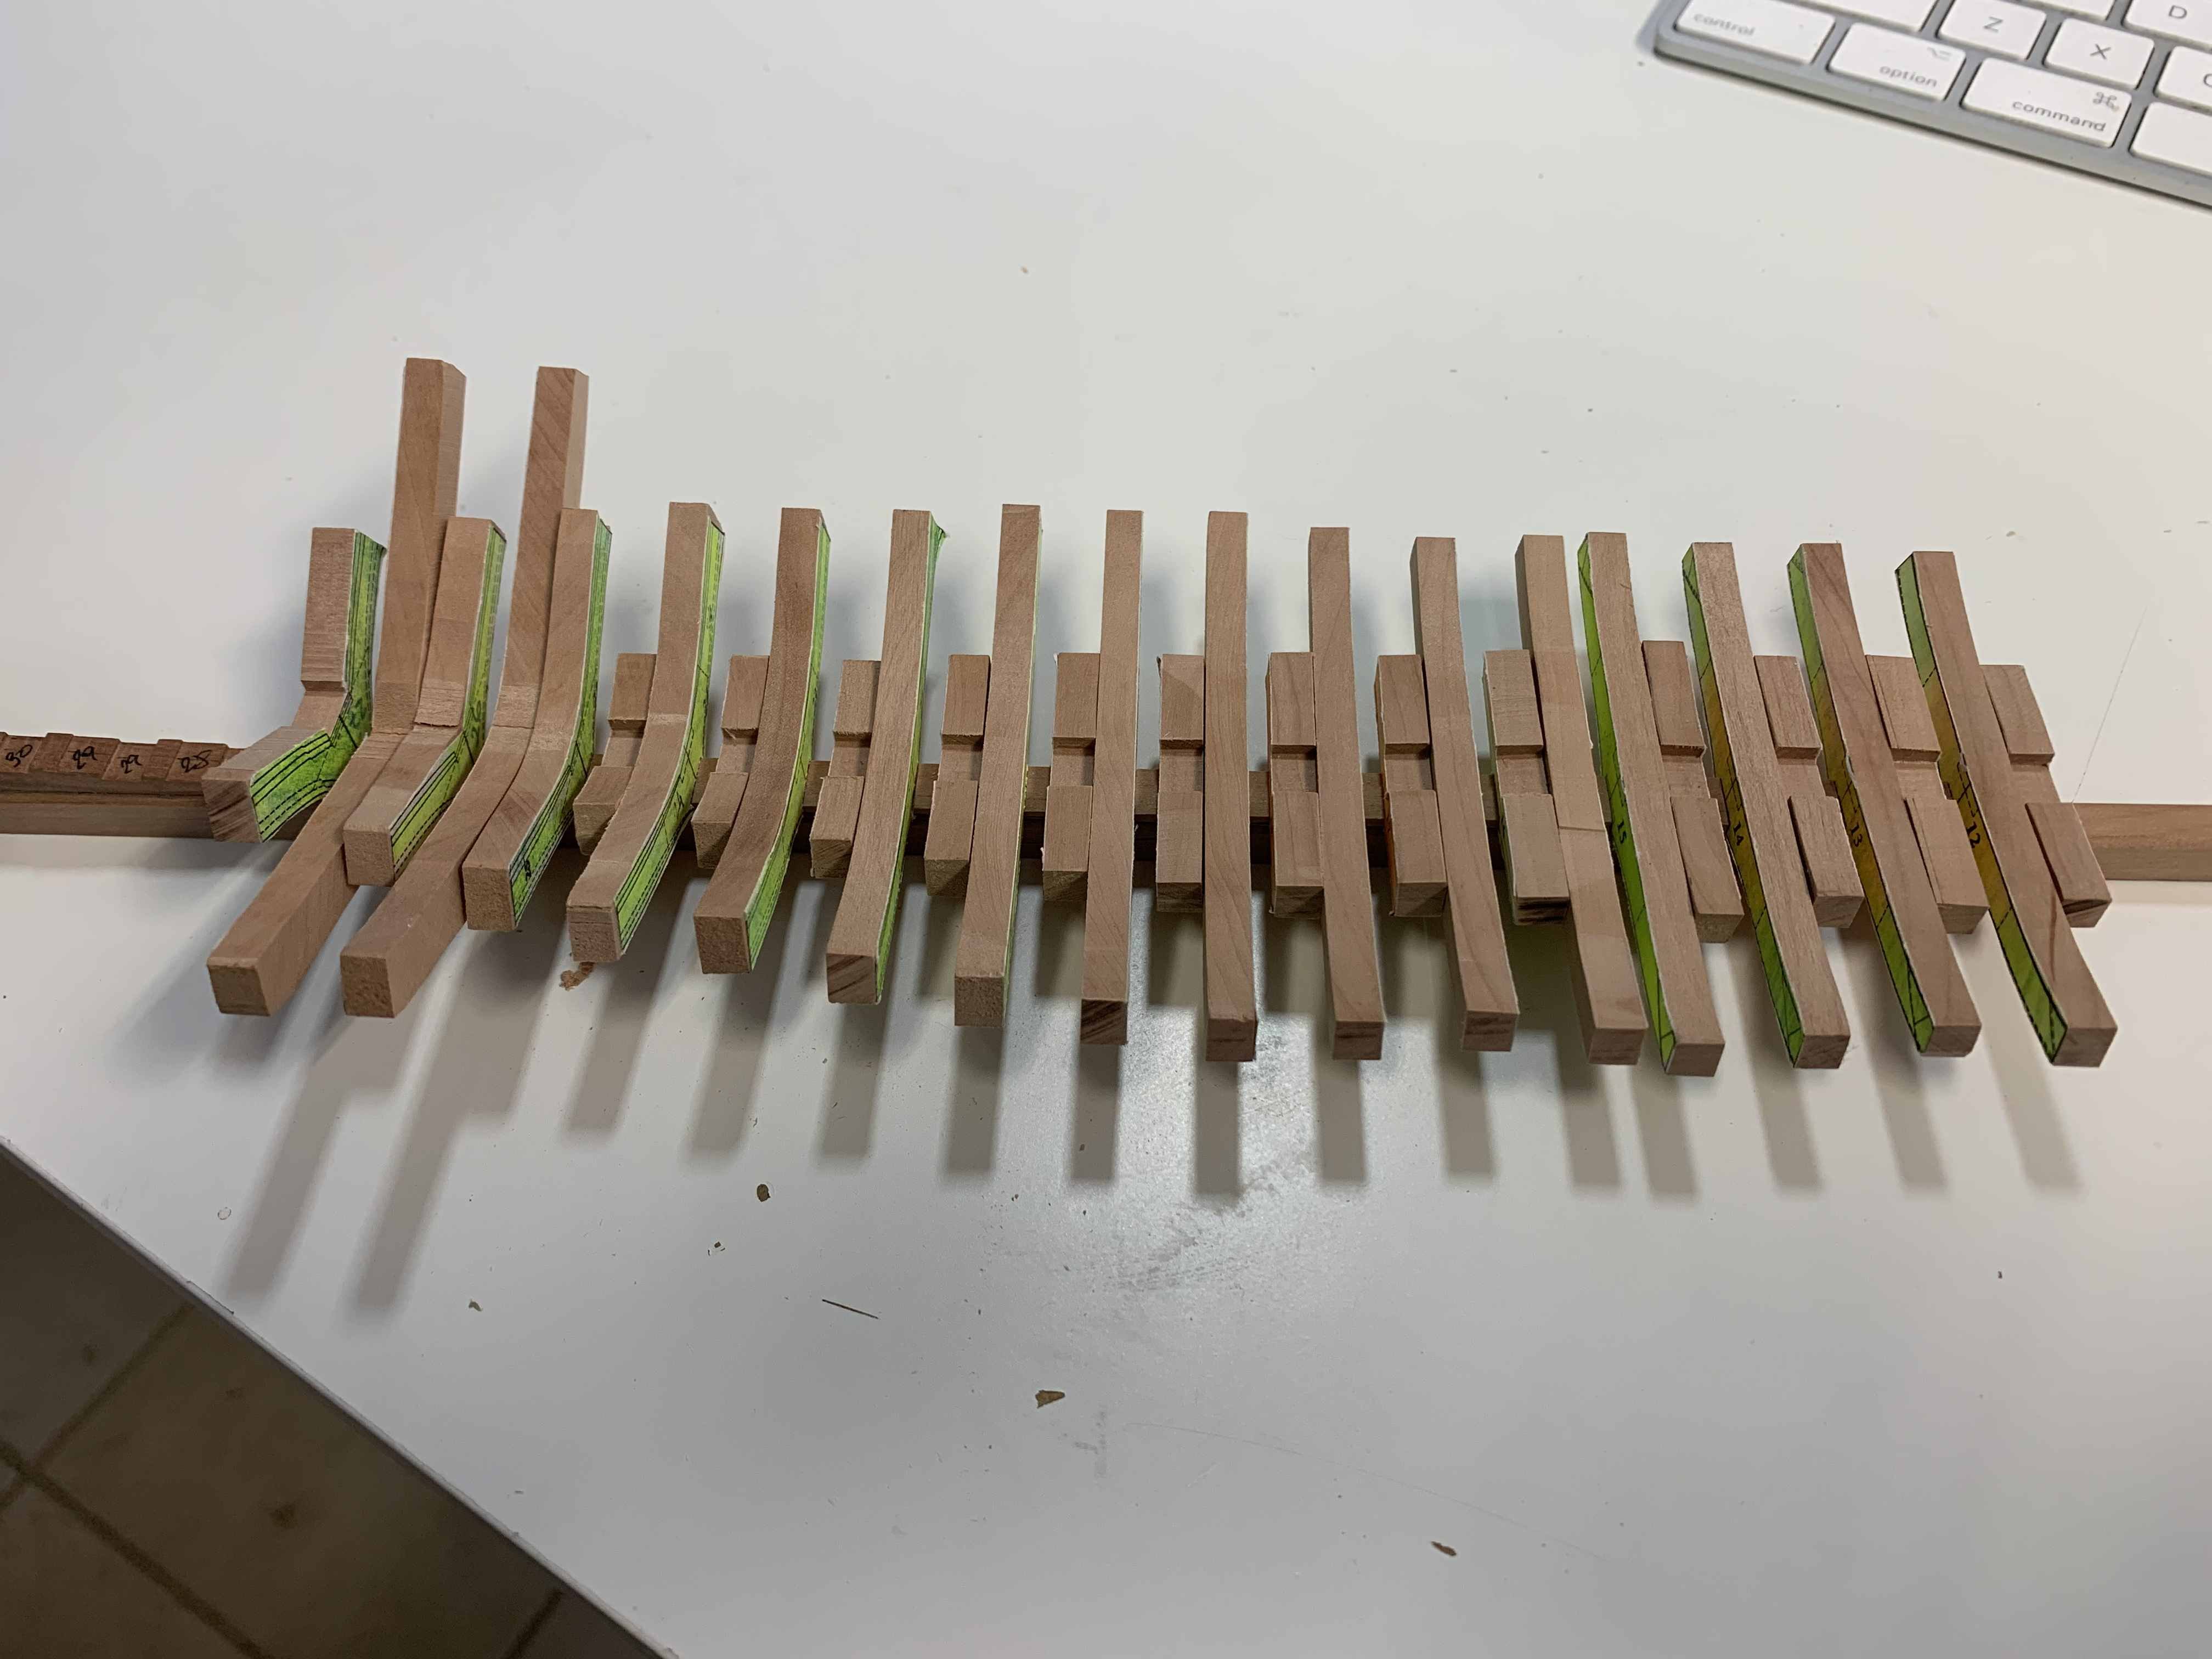
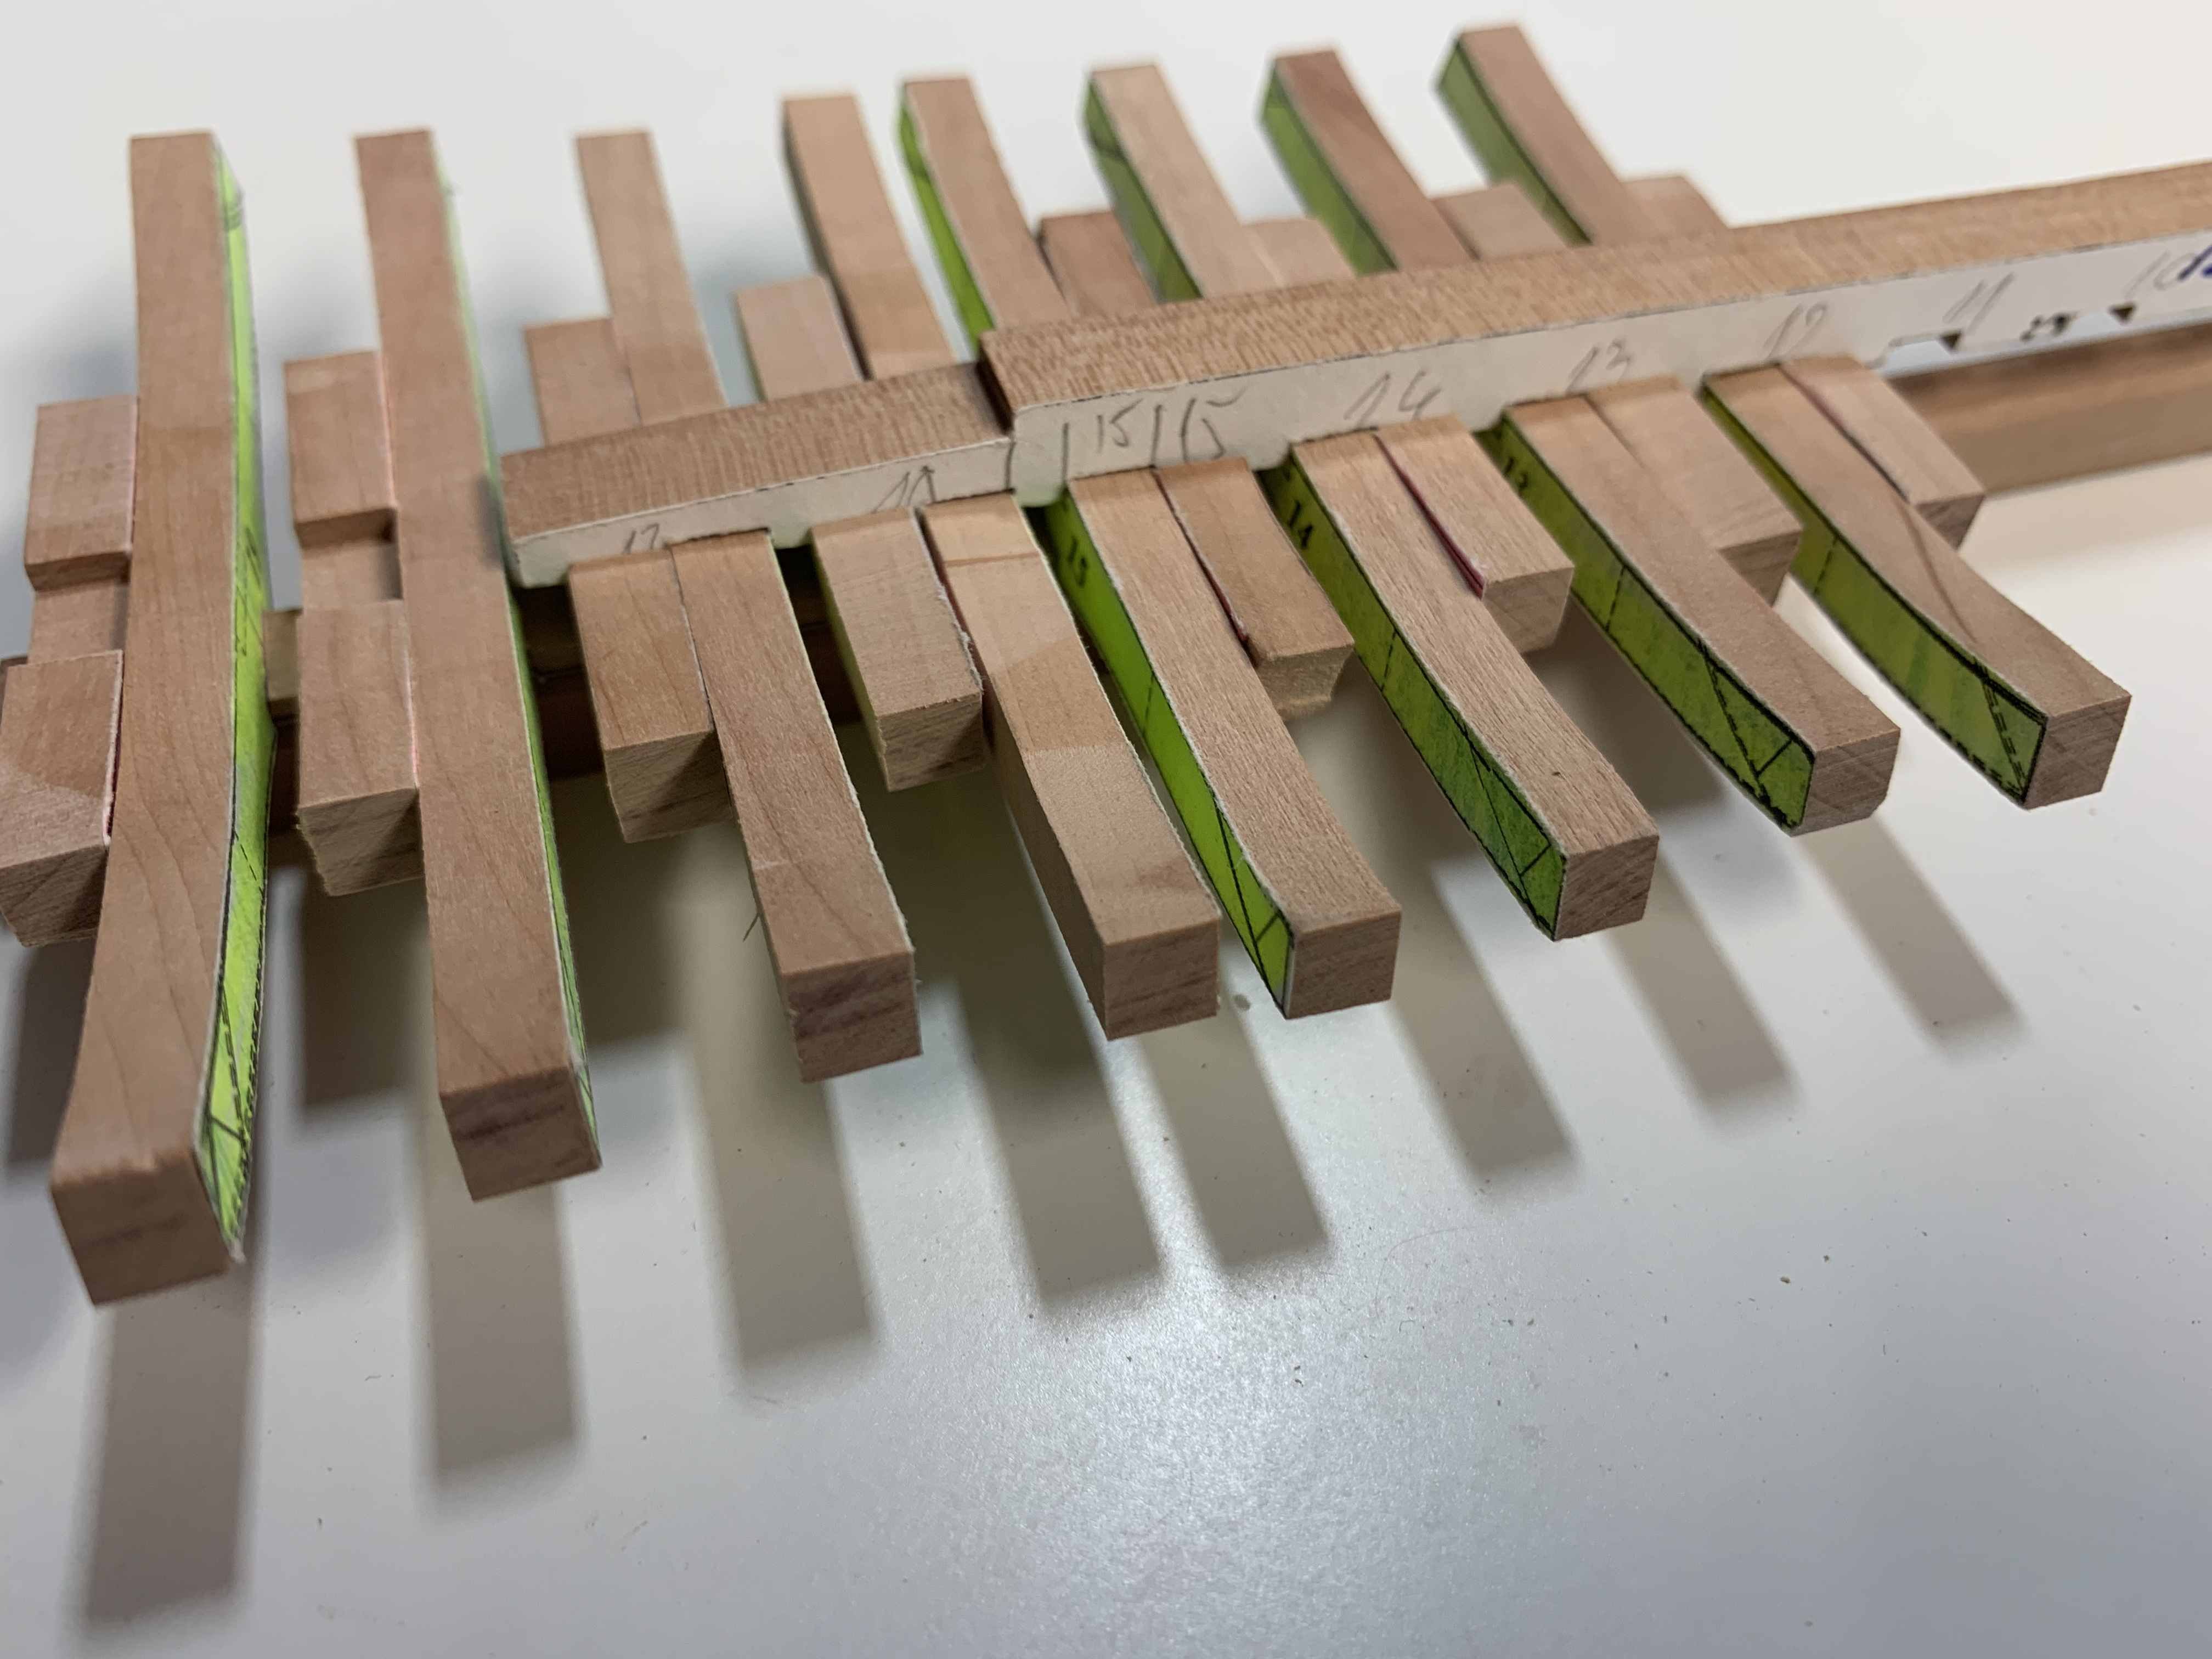
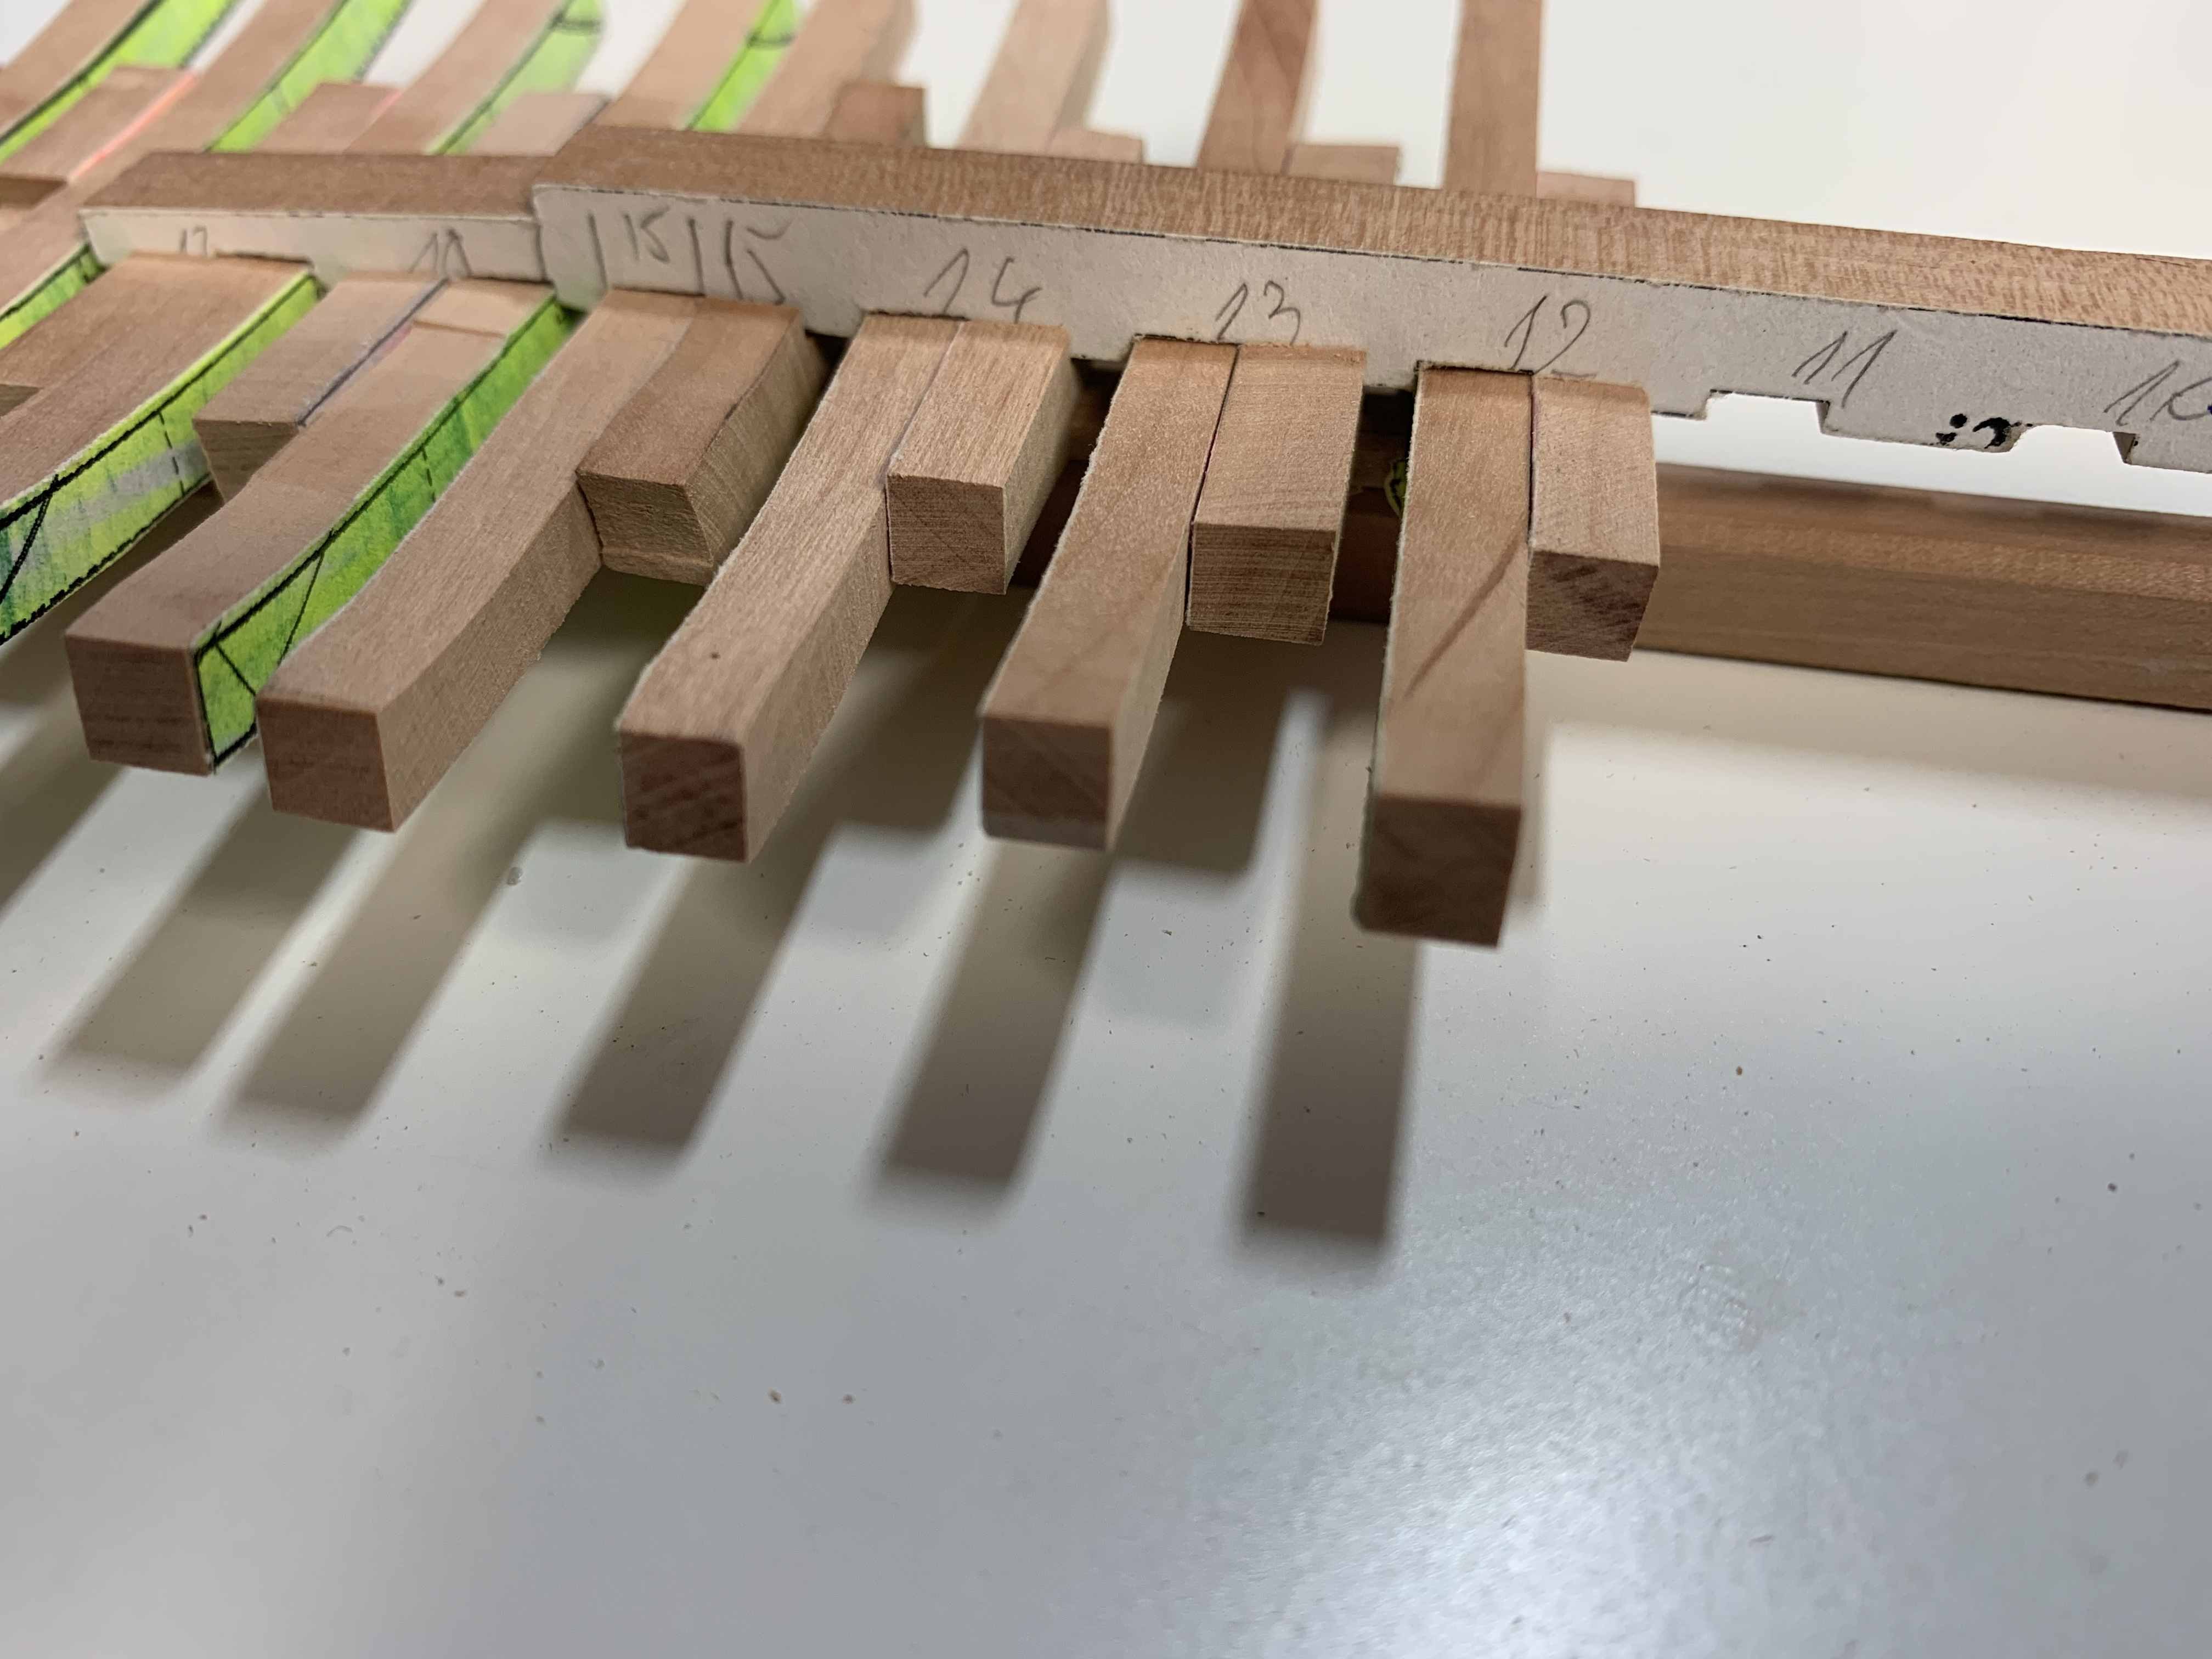
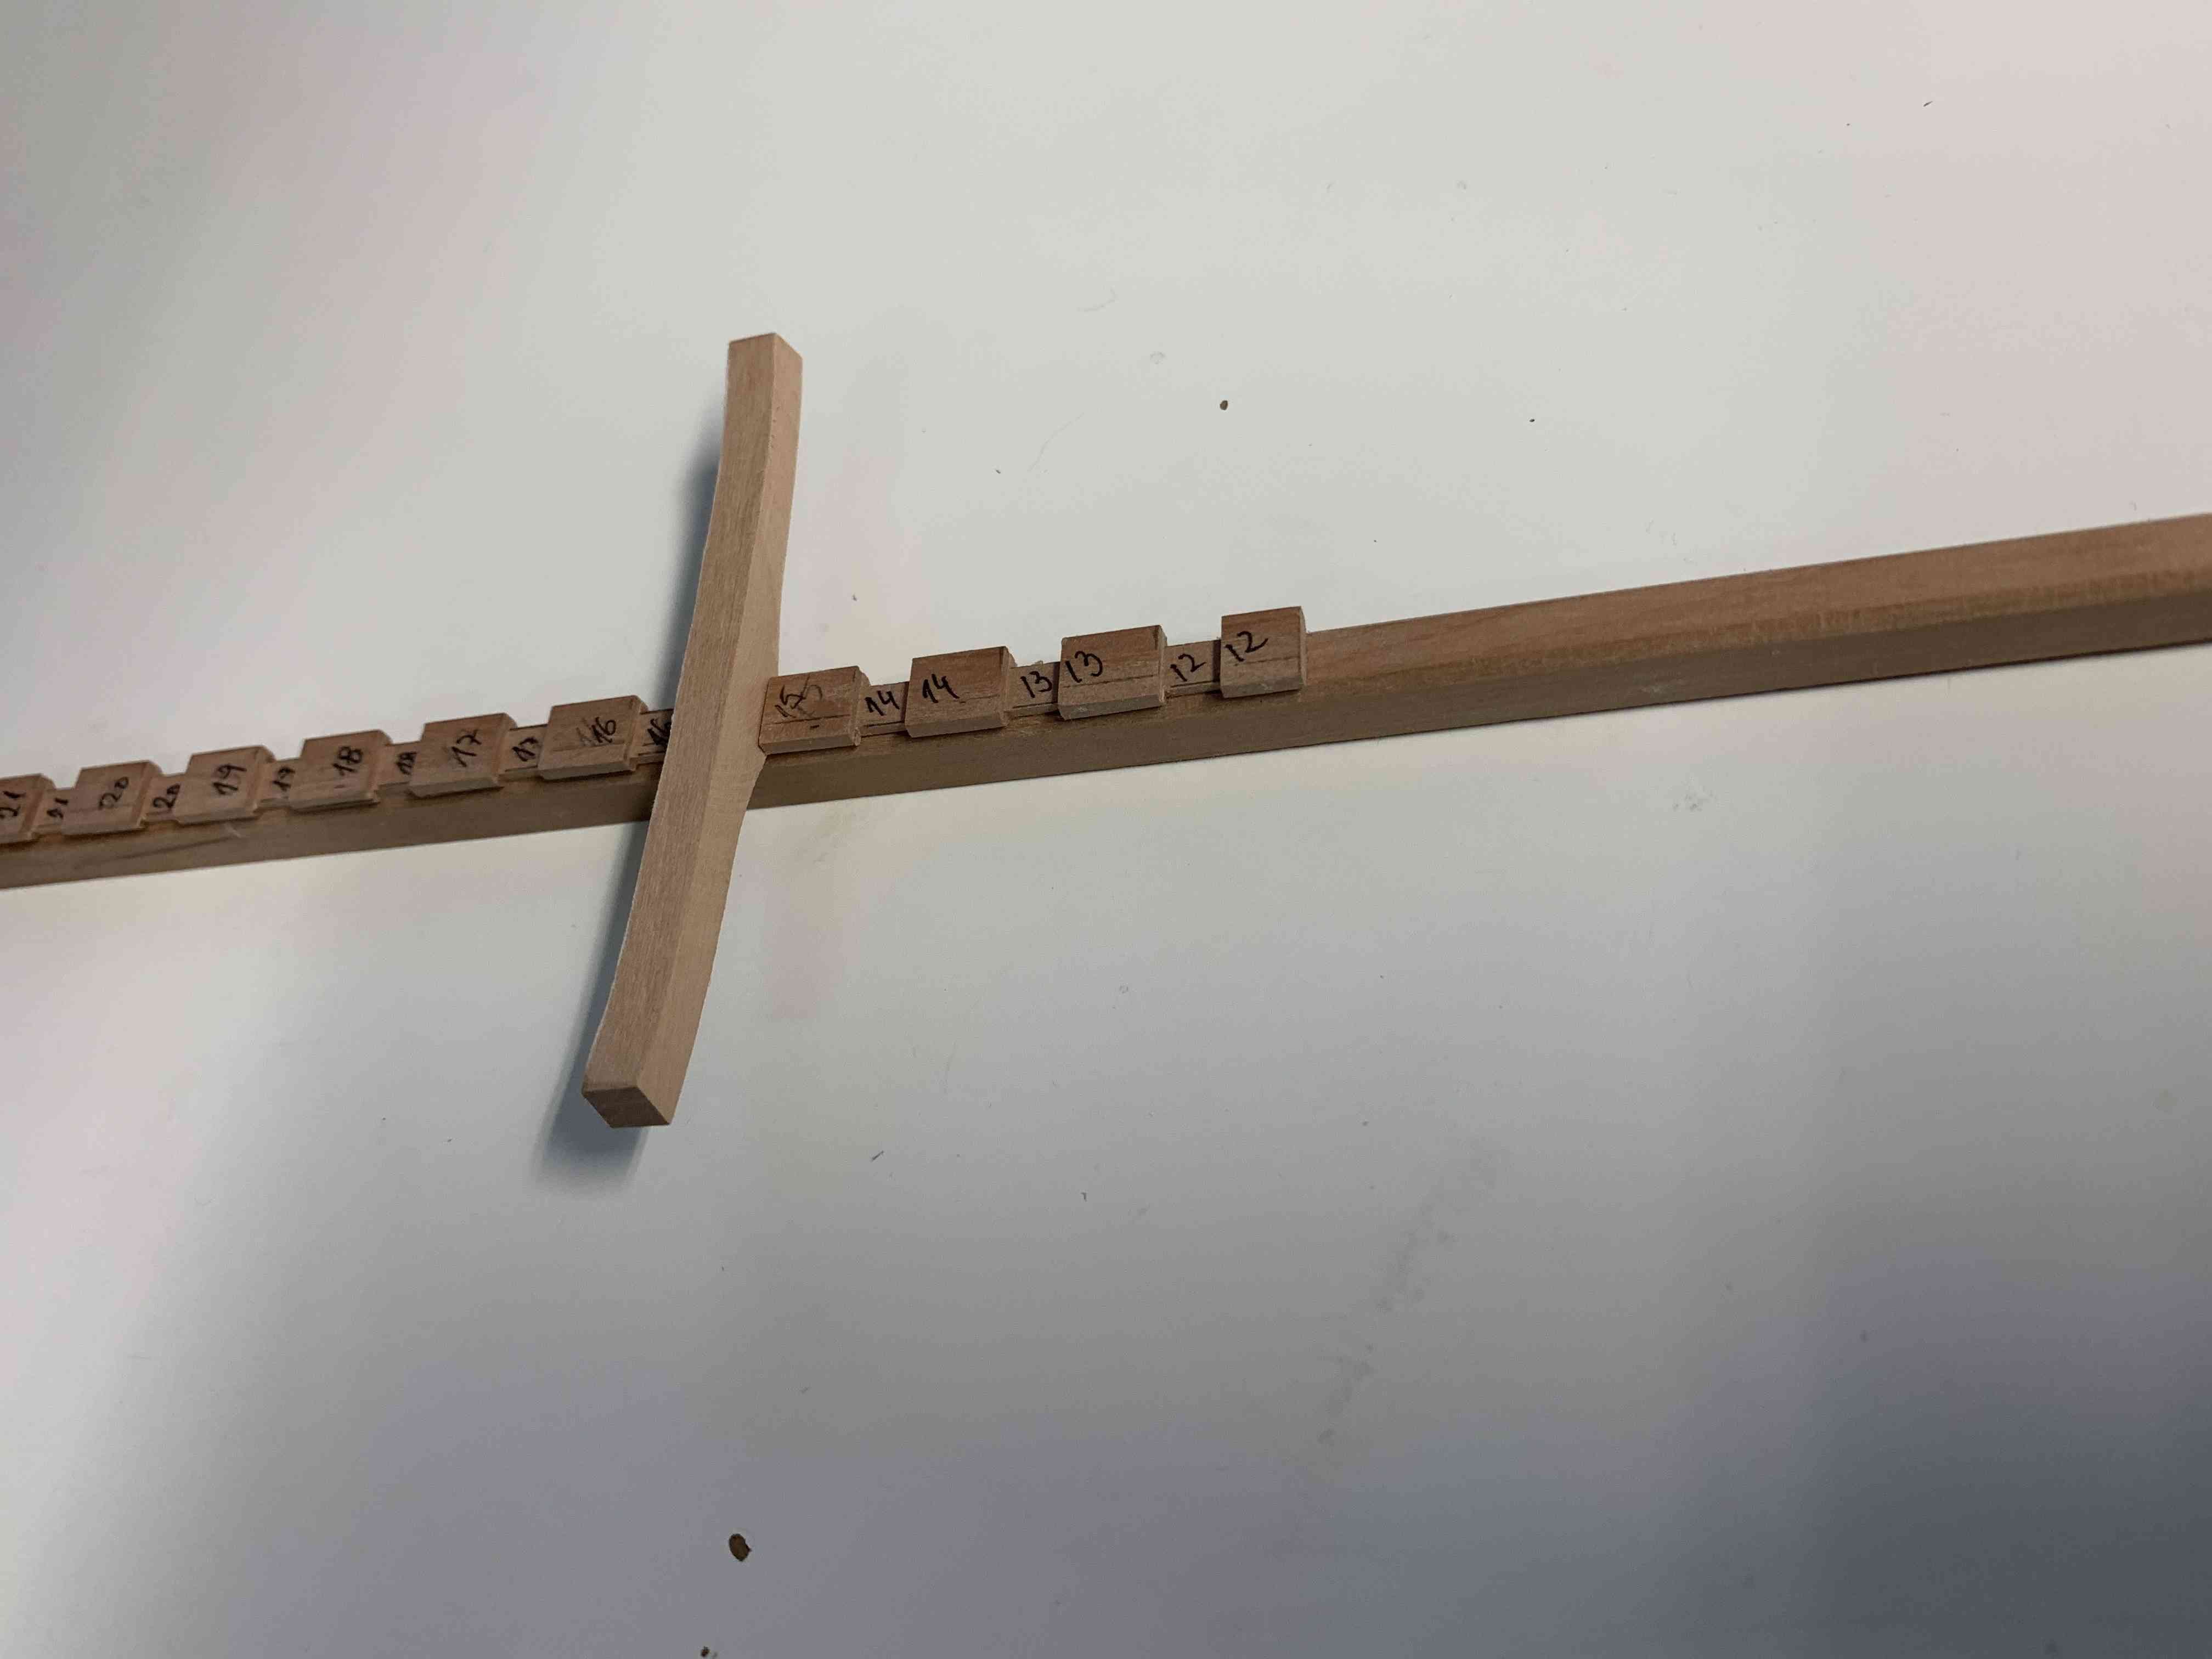
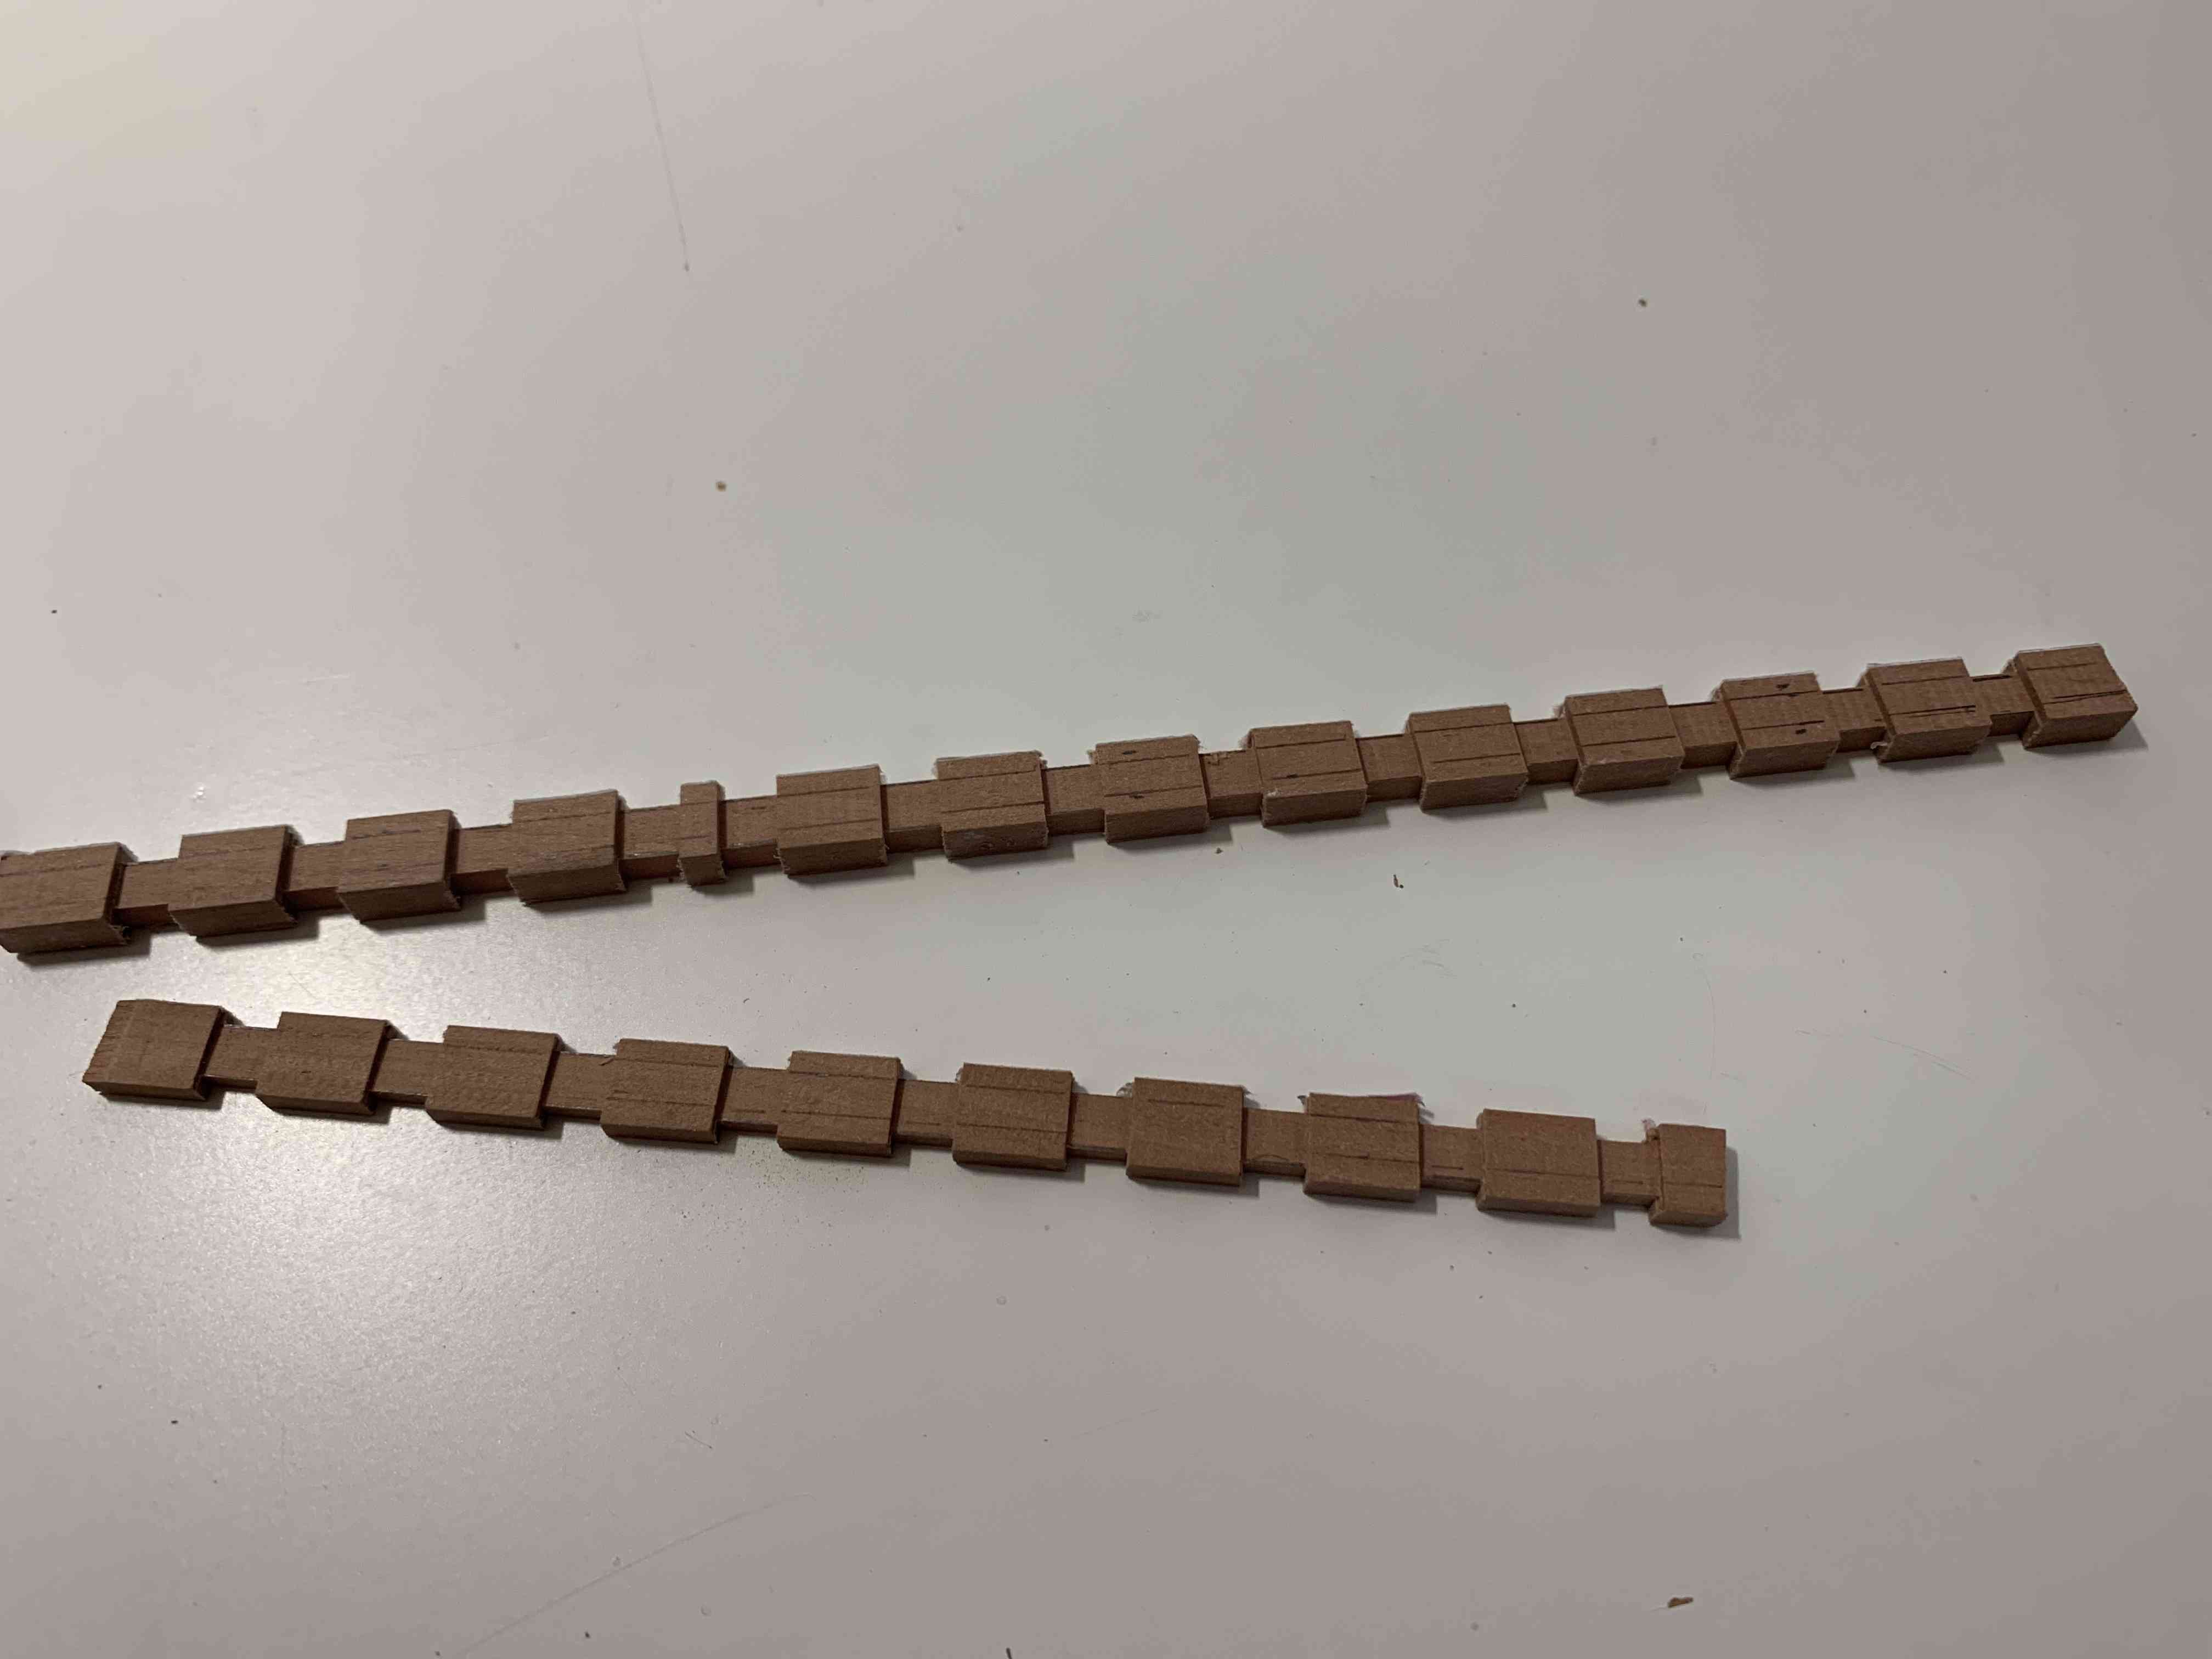
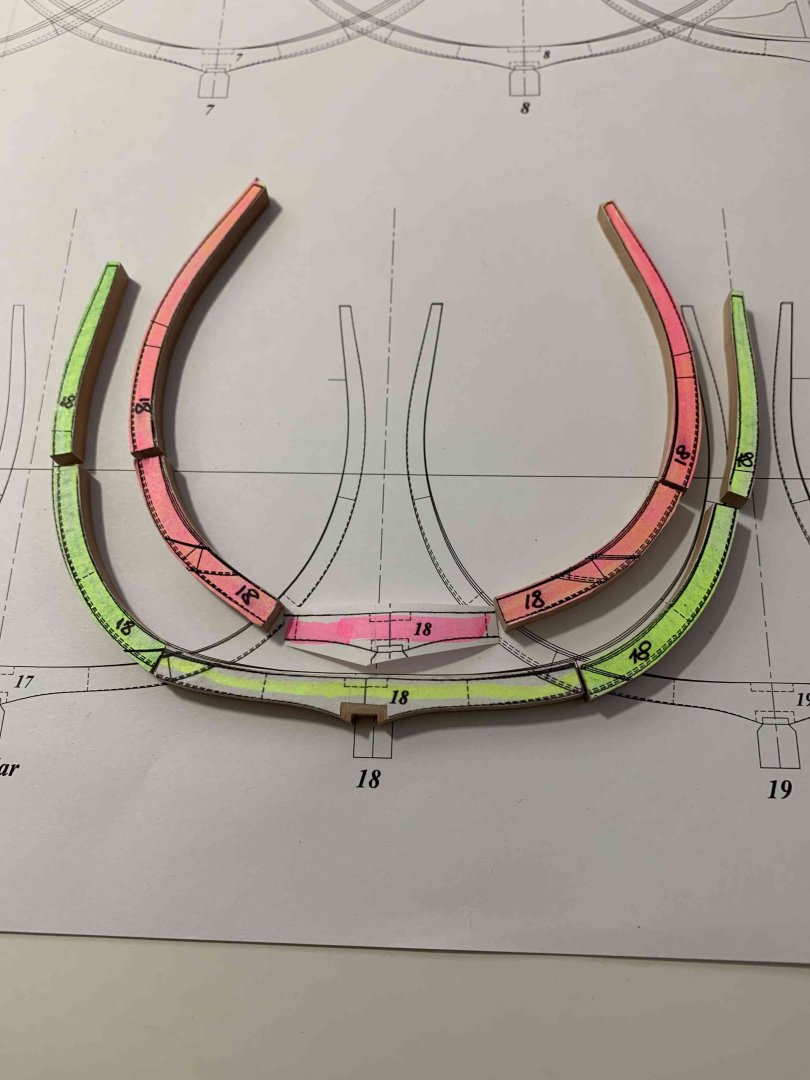
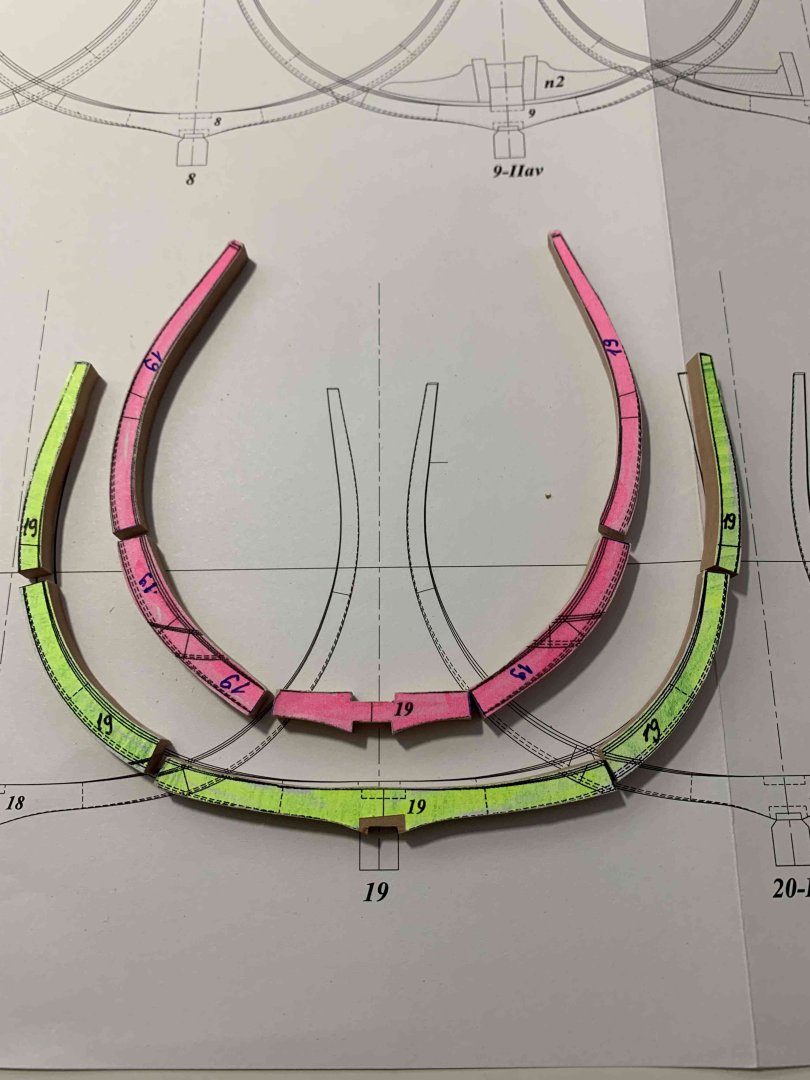
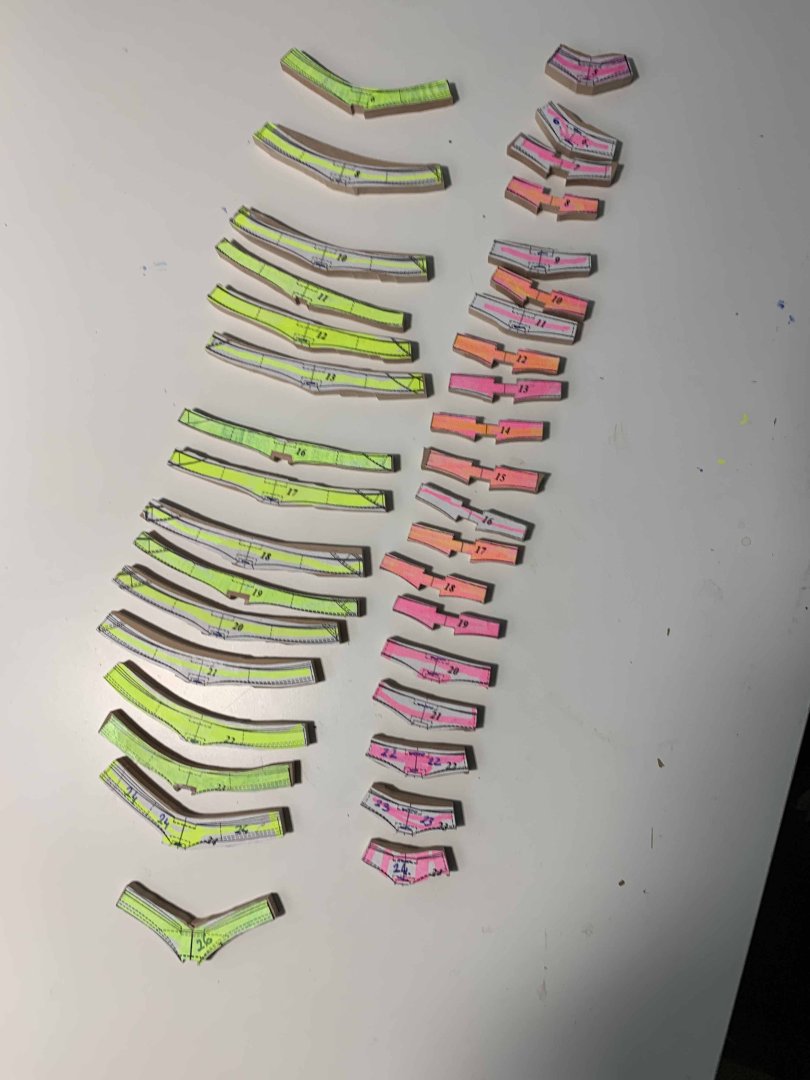
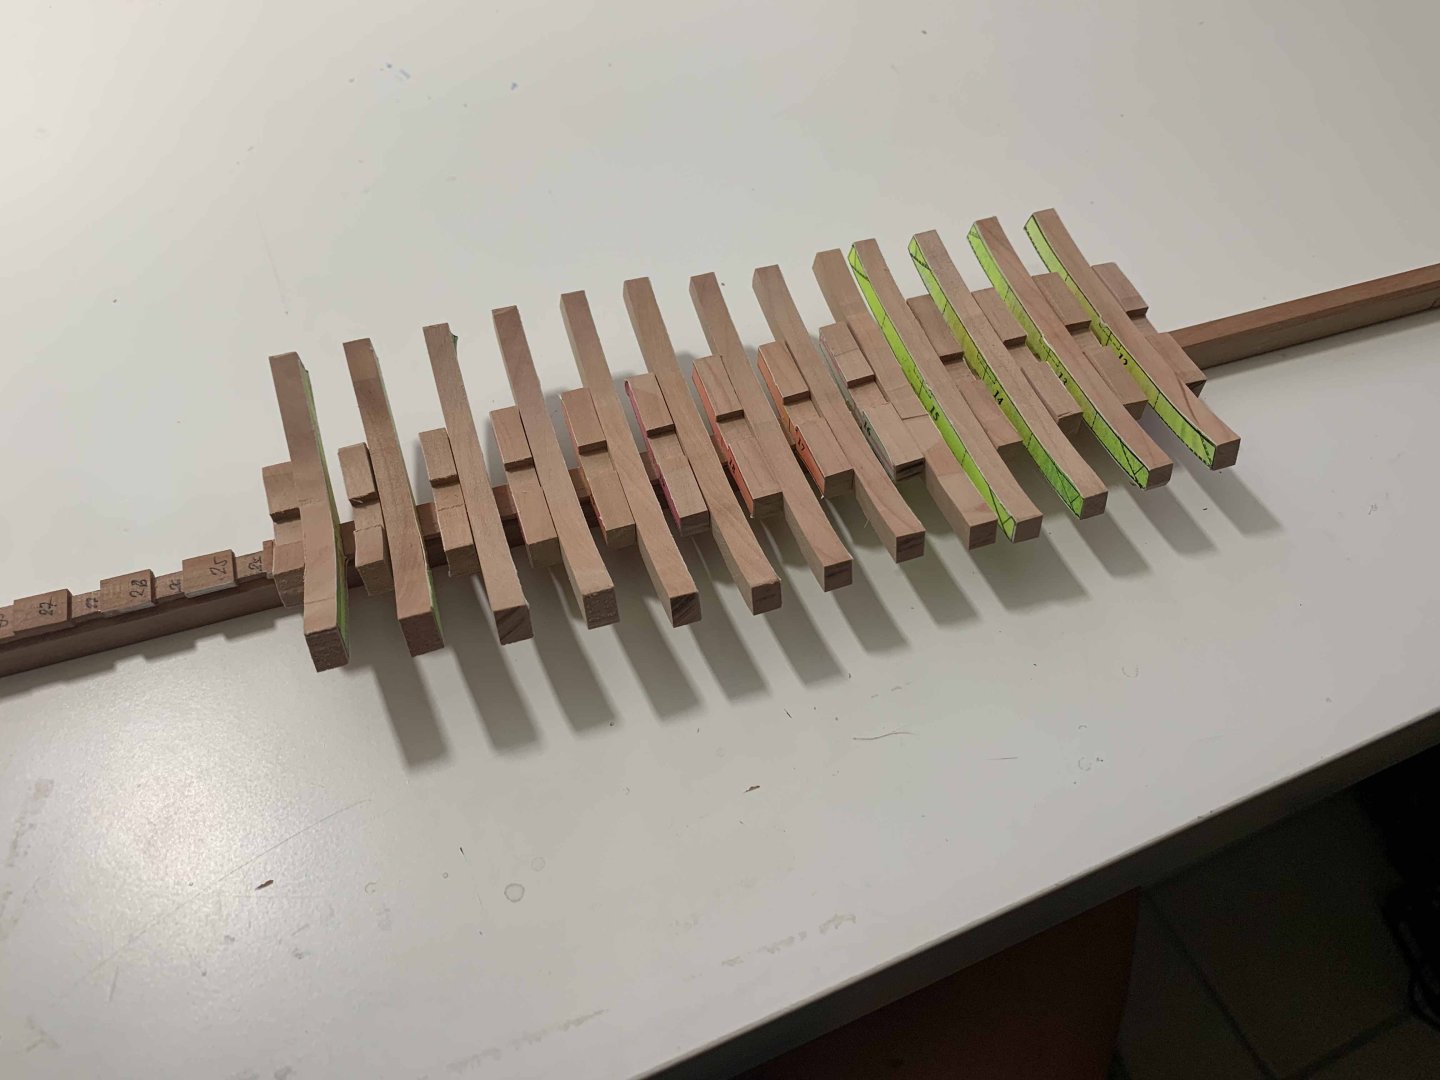
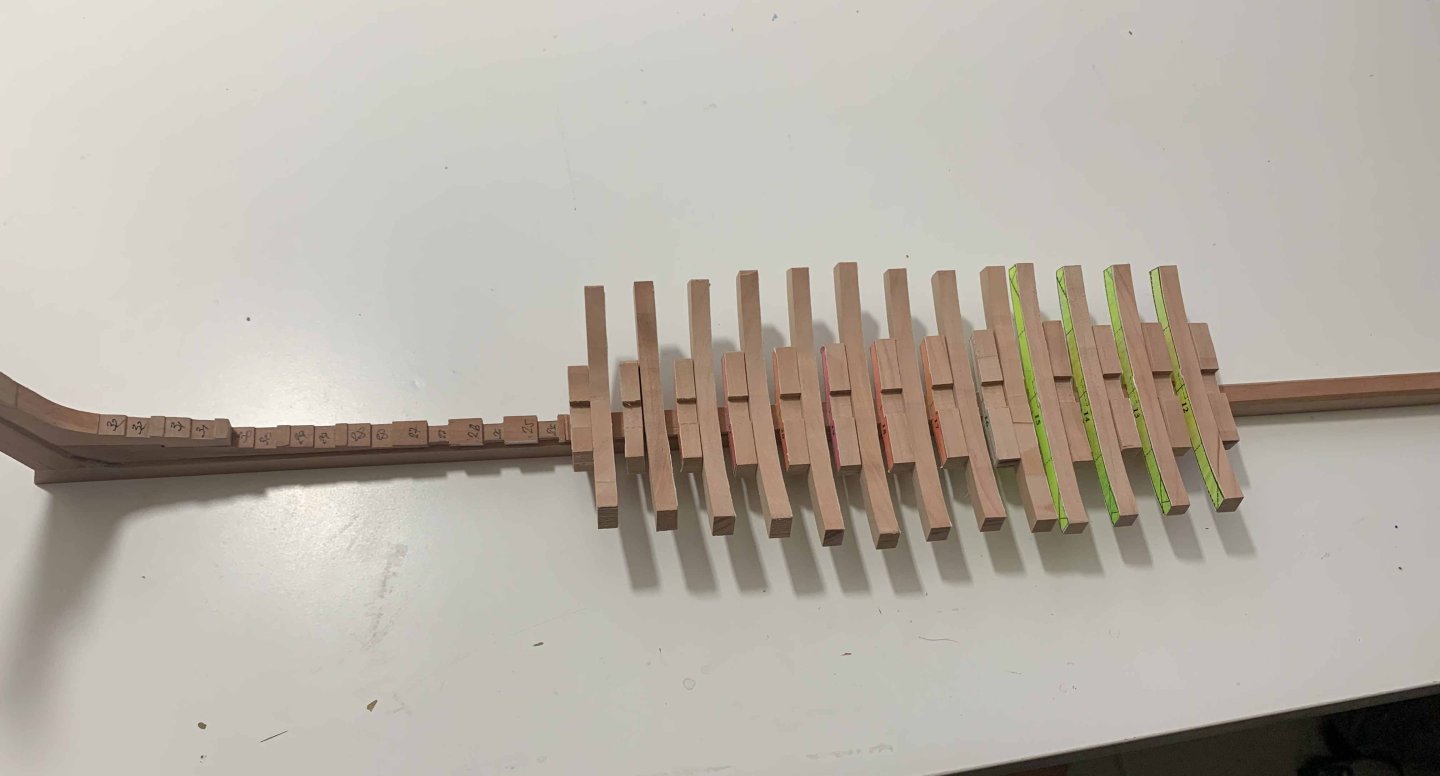
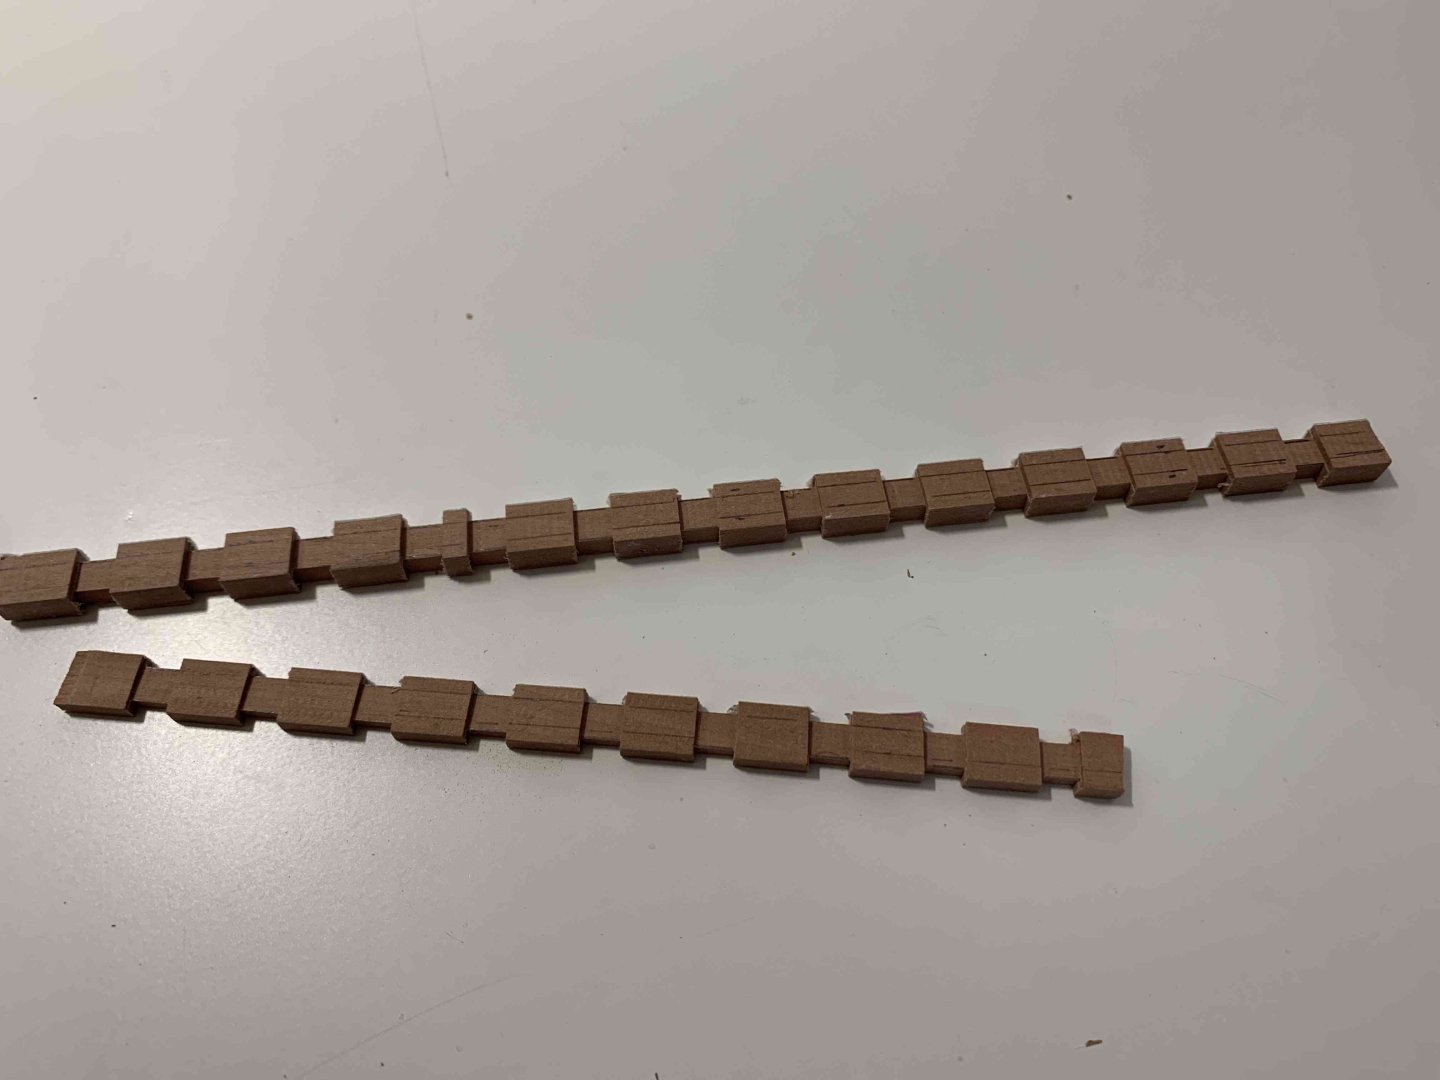
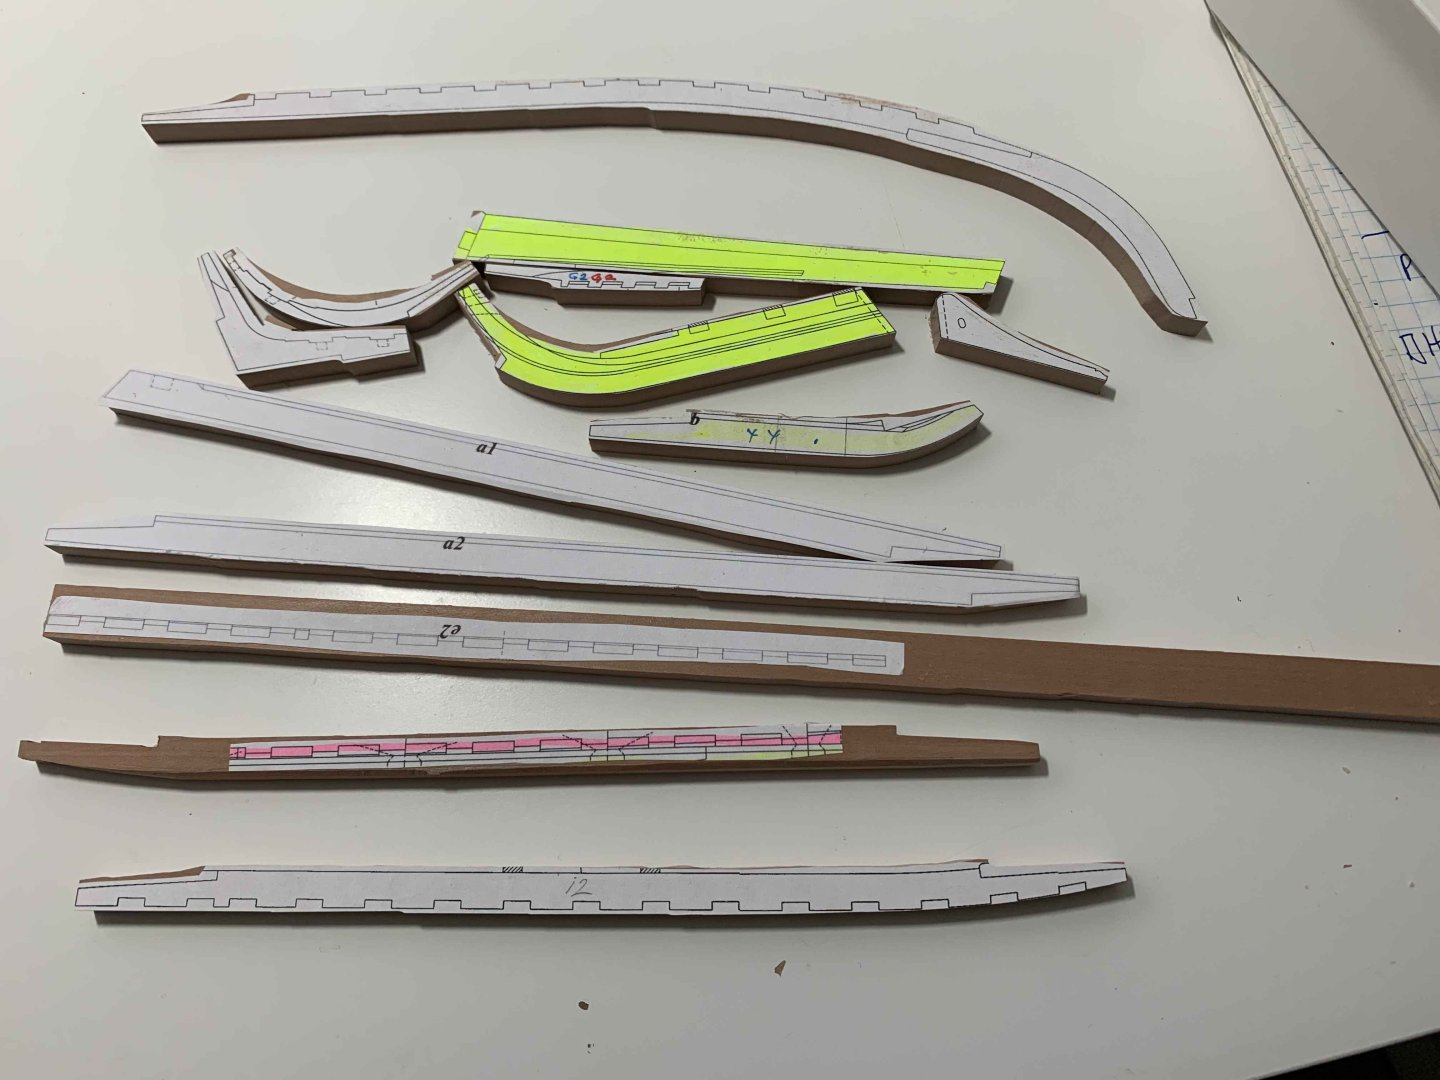
Continue with frame building, sanding, etc... after checking the thickness on all frame parts, I discovered some discrepancies on thickness due to bad plan copies and in most time, my mistakes... so some parts I will be able to reuse and some not... so new and old frames lined up... other, missing in this "fish line" are still on the board, waiting for cut.. Happy modelling..
-
Few more frames marked for thinning to 5mm and ready for sanding .... and few more frames added .... Happy modelling...

-
Thank you Brian; it is hard to stay focused at the beginning when you are just cutting pieces but when it starts to get a shape than all exitement begins..
-
A bit more progress... sanding, fitting, sanding, fitting,,,, not much to report... Happy modelling..


-
Yeah, couple... 🙂
-
To break routine a bit, started to work on frames... Just testing, no glue and no final sanding completed.. So far goes well, the only challenge is that my wood planks were 6mm thick and frames are all 5mm so need to send down each frame individually... Will be an expert in sanding at the end. Happy modelling..


-
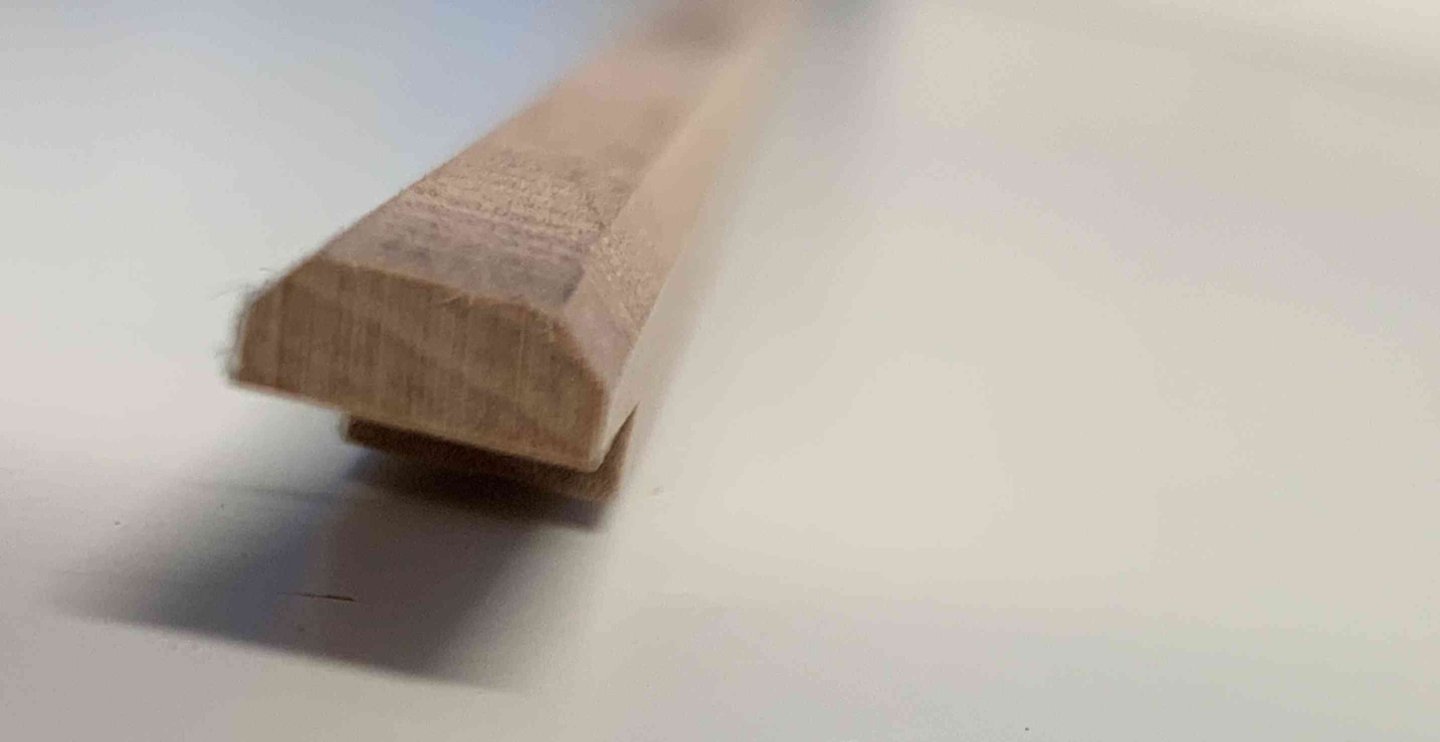
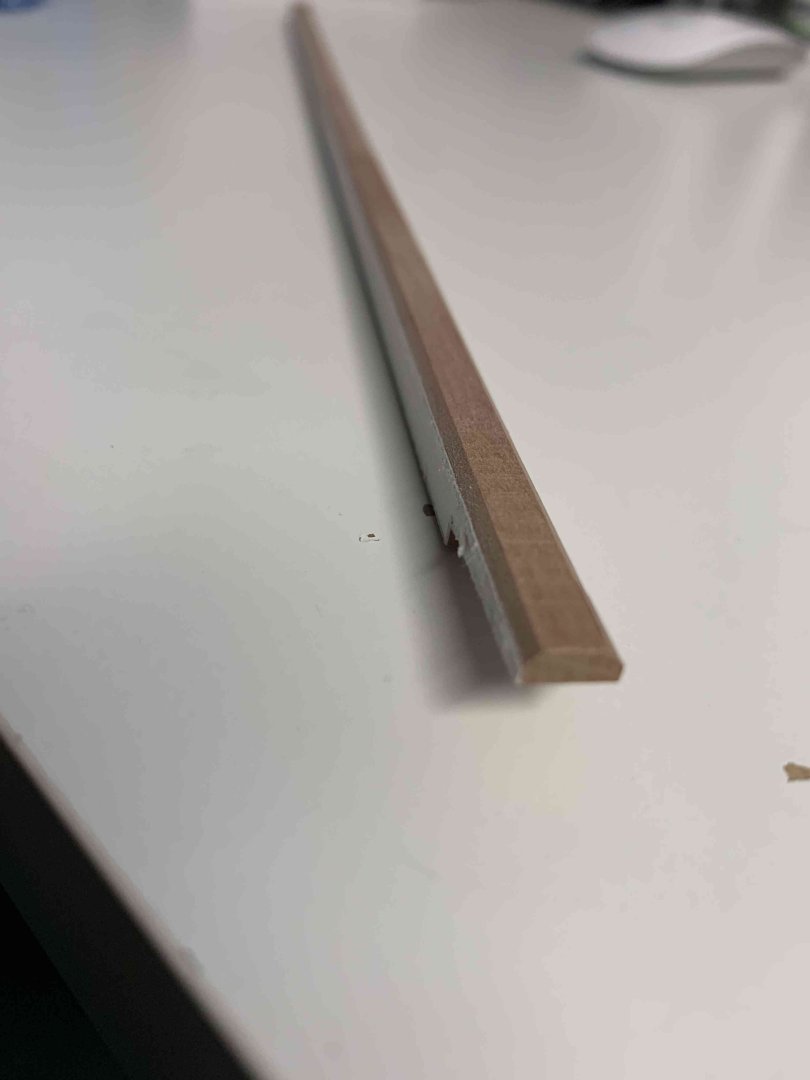
Keel building process continues... lots of repetitions (my mistakes) and trying to use the most of available woods takes plenty of build time... but I am getting there... This is a final version, no more "build it again", no more wood available at this moment so hopefully all will be done fine. A little bit of a cleanup and sanding is still needed.. Continue with other keel parts, like sternson knee, which I have sanded on disk sander to get correct shape. I had one over-sanded result so ended up redoing it using some old wood parts.. The rabbet line is also taken care of, using a small chisel and lots of scraping, bellow first line with a V chisel. Copy of the plan with draw lines on the opposite site using a light table to see thru... I don't have a printing option to print mirror image of a plan part so had to mark lines using old fashioned method, light table... Still work in progress, not done with rabbet lines, which i find the most difficult to trace, at least for me. Happy modelling..

-
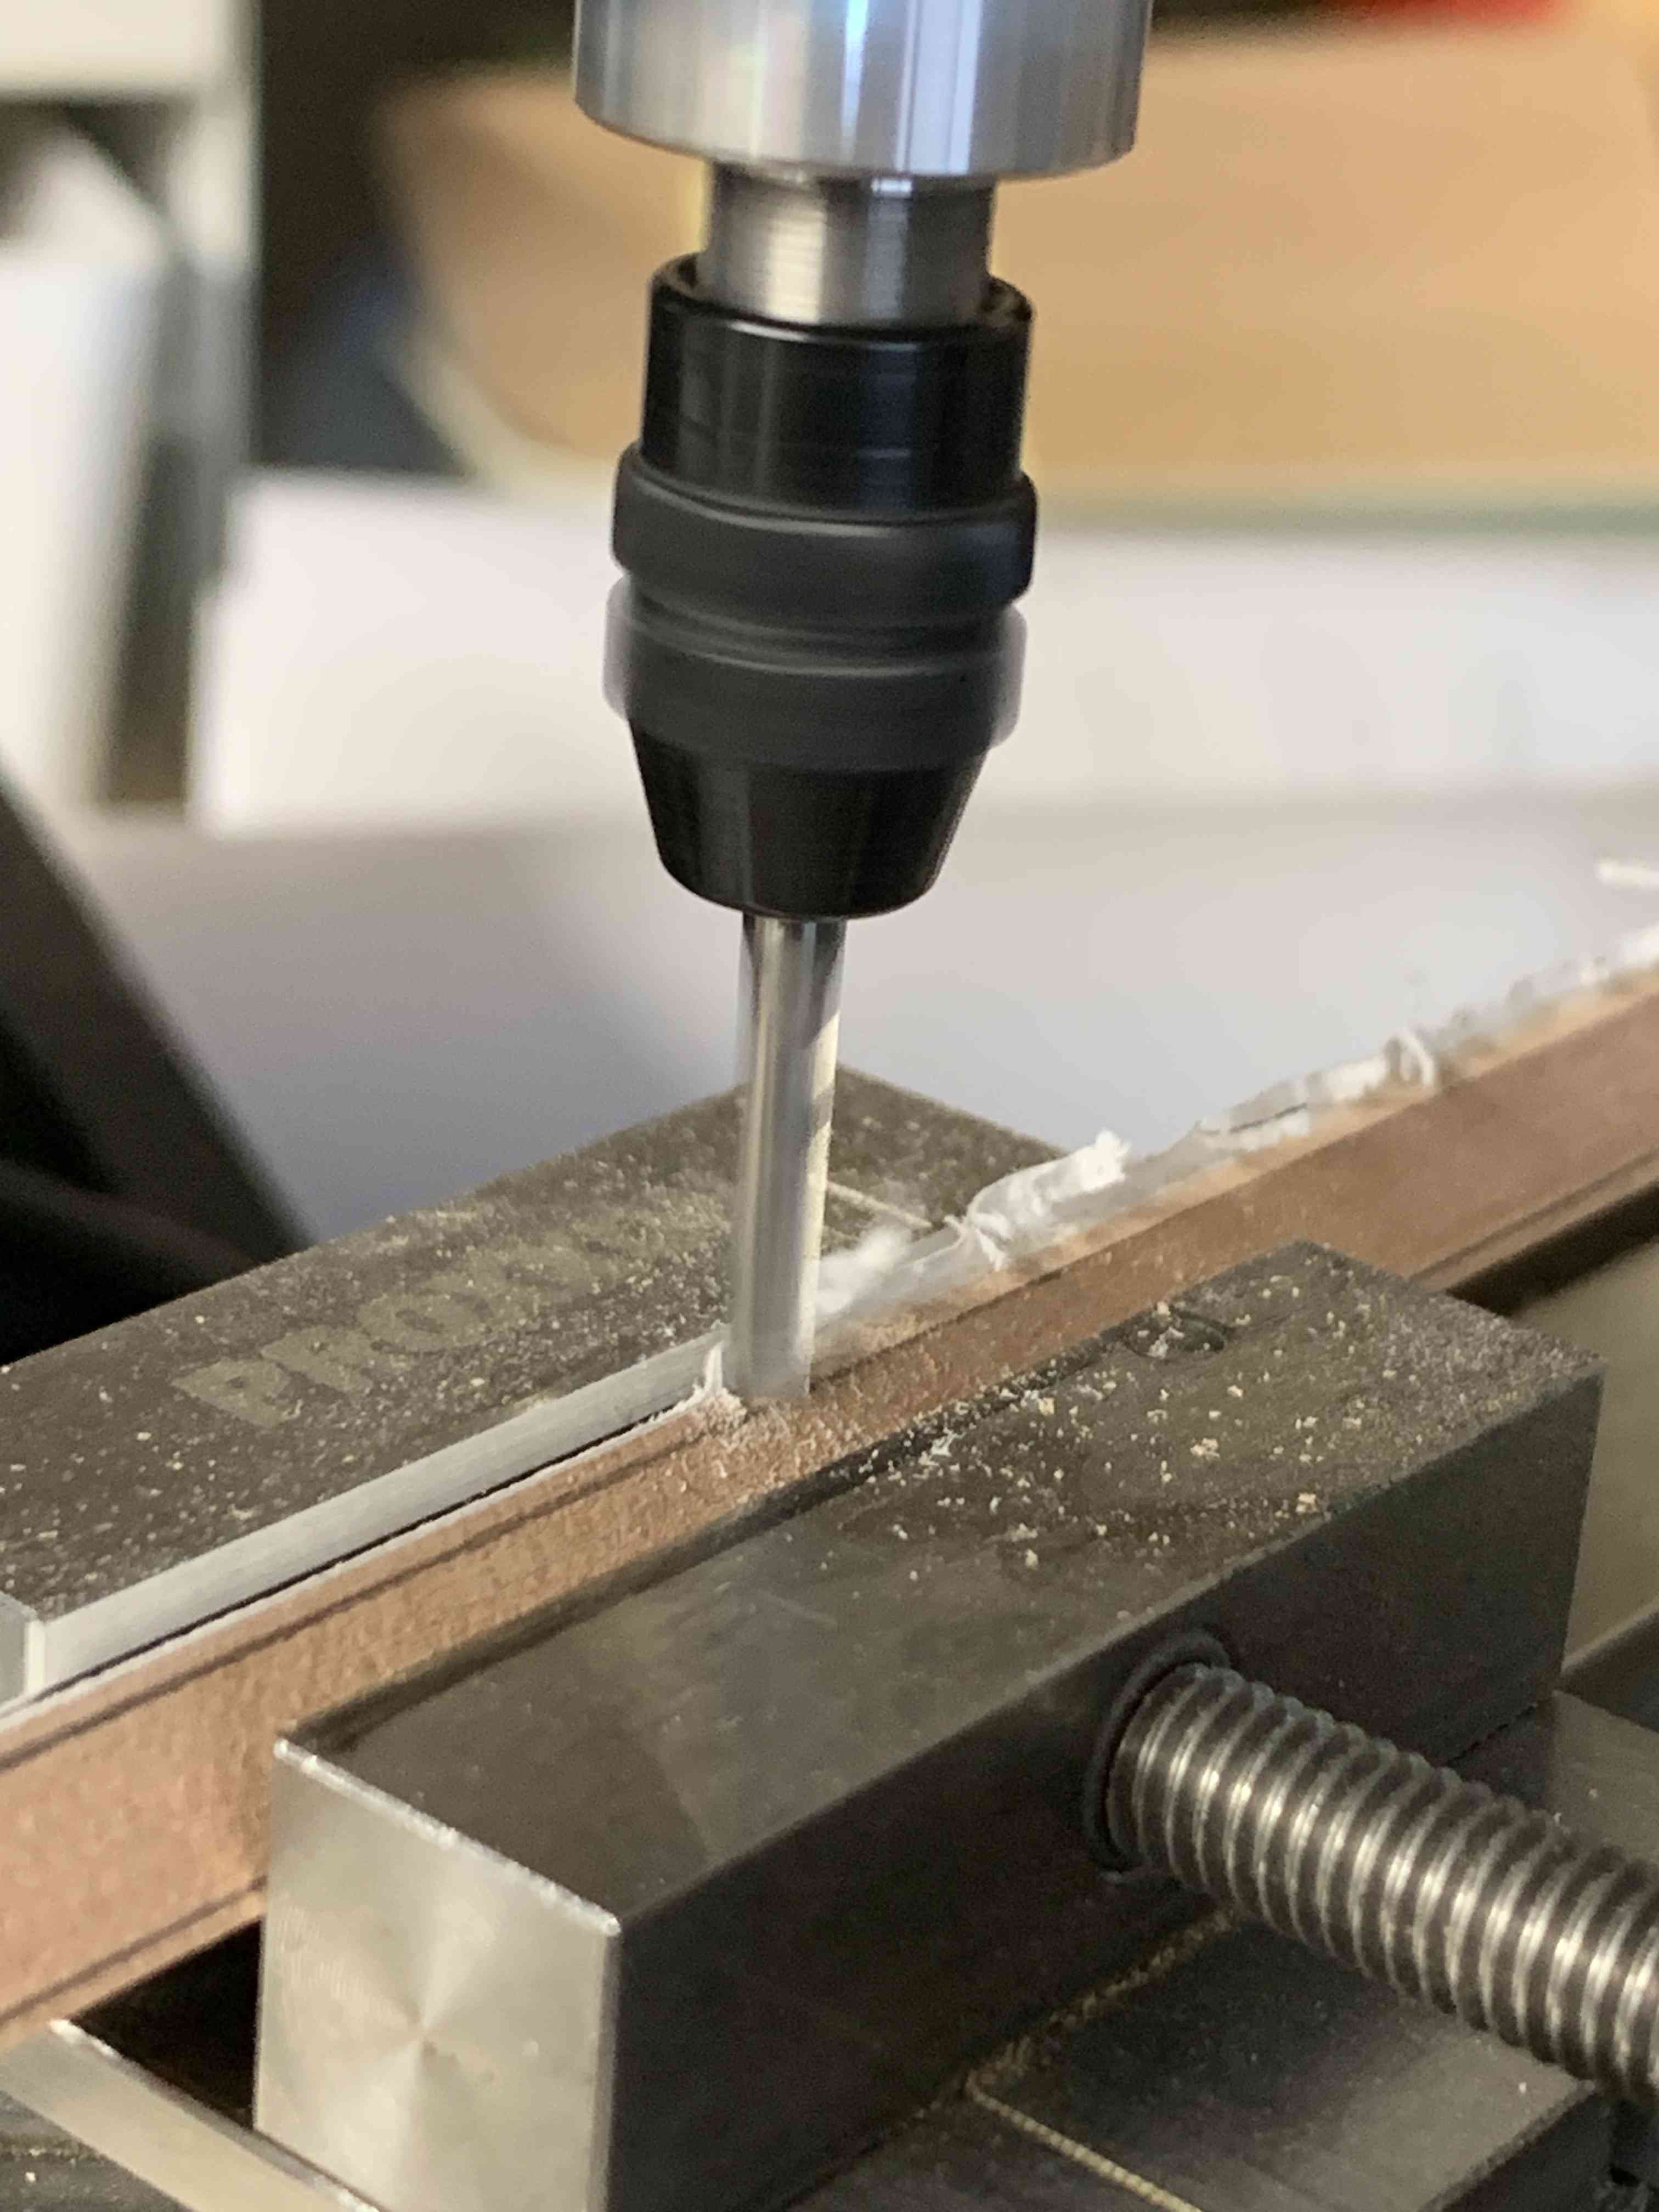
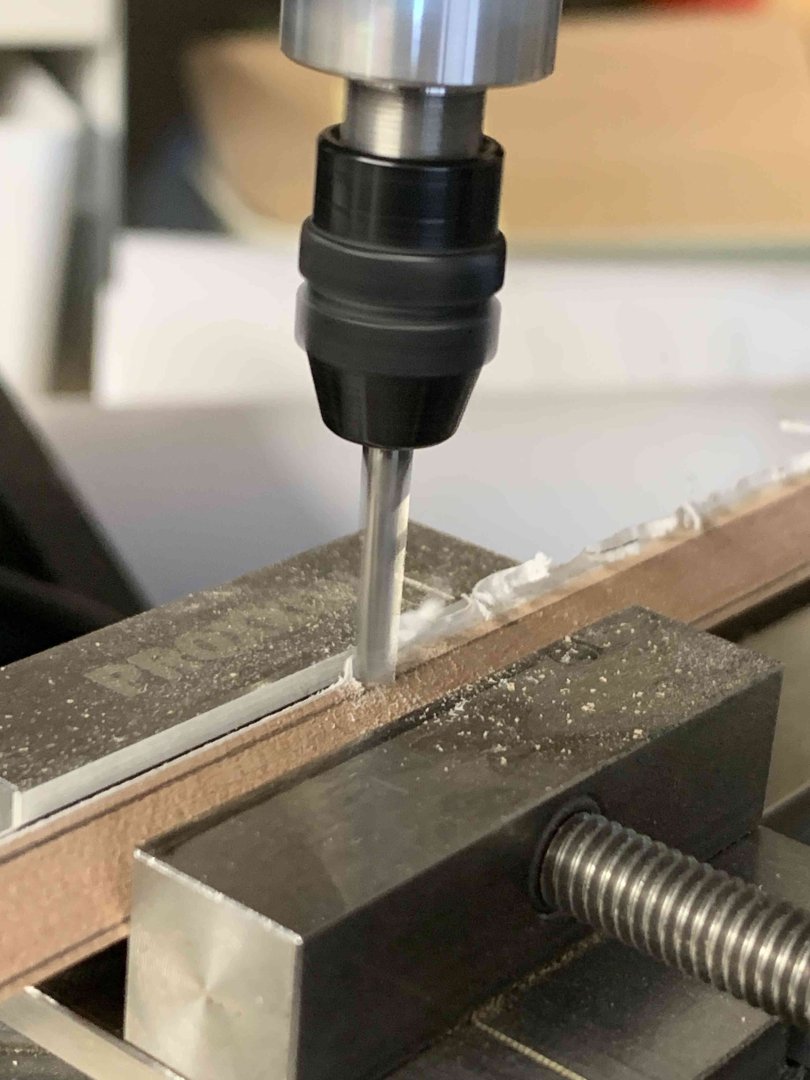
Working on rabbet line on the keel... using 3mm milling bit.. Happy modelling..
-
A bit of a progress pictures... keel, second attempt... looks good so far... Happy modelling..

-
"Repetitio est mater studiourm"... I am waiting with rabbet lines on inner keel until keel is done, so I can match the shape... Happy modelling..


-
I was watching Olympics and those top players do have few attempts to come to the best result..... so I decided to redo my Le Rochefort keel since I noticed few small mistakes that might bite me towards the end of this very nice build.... Here we go, a new set of copied plans, transferred and parts cut... also, you might notice a speeding up attempt in my cut parts... well.... if we can simulate planking on the deck, lets see how this would work..... Happy modelling..
-
Yes. Thank you, that helped a lot... Regards..
-
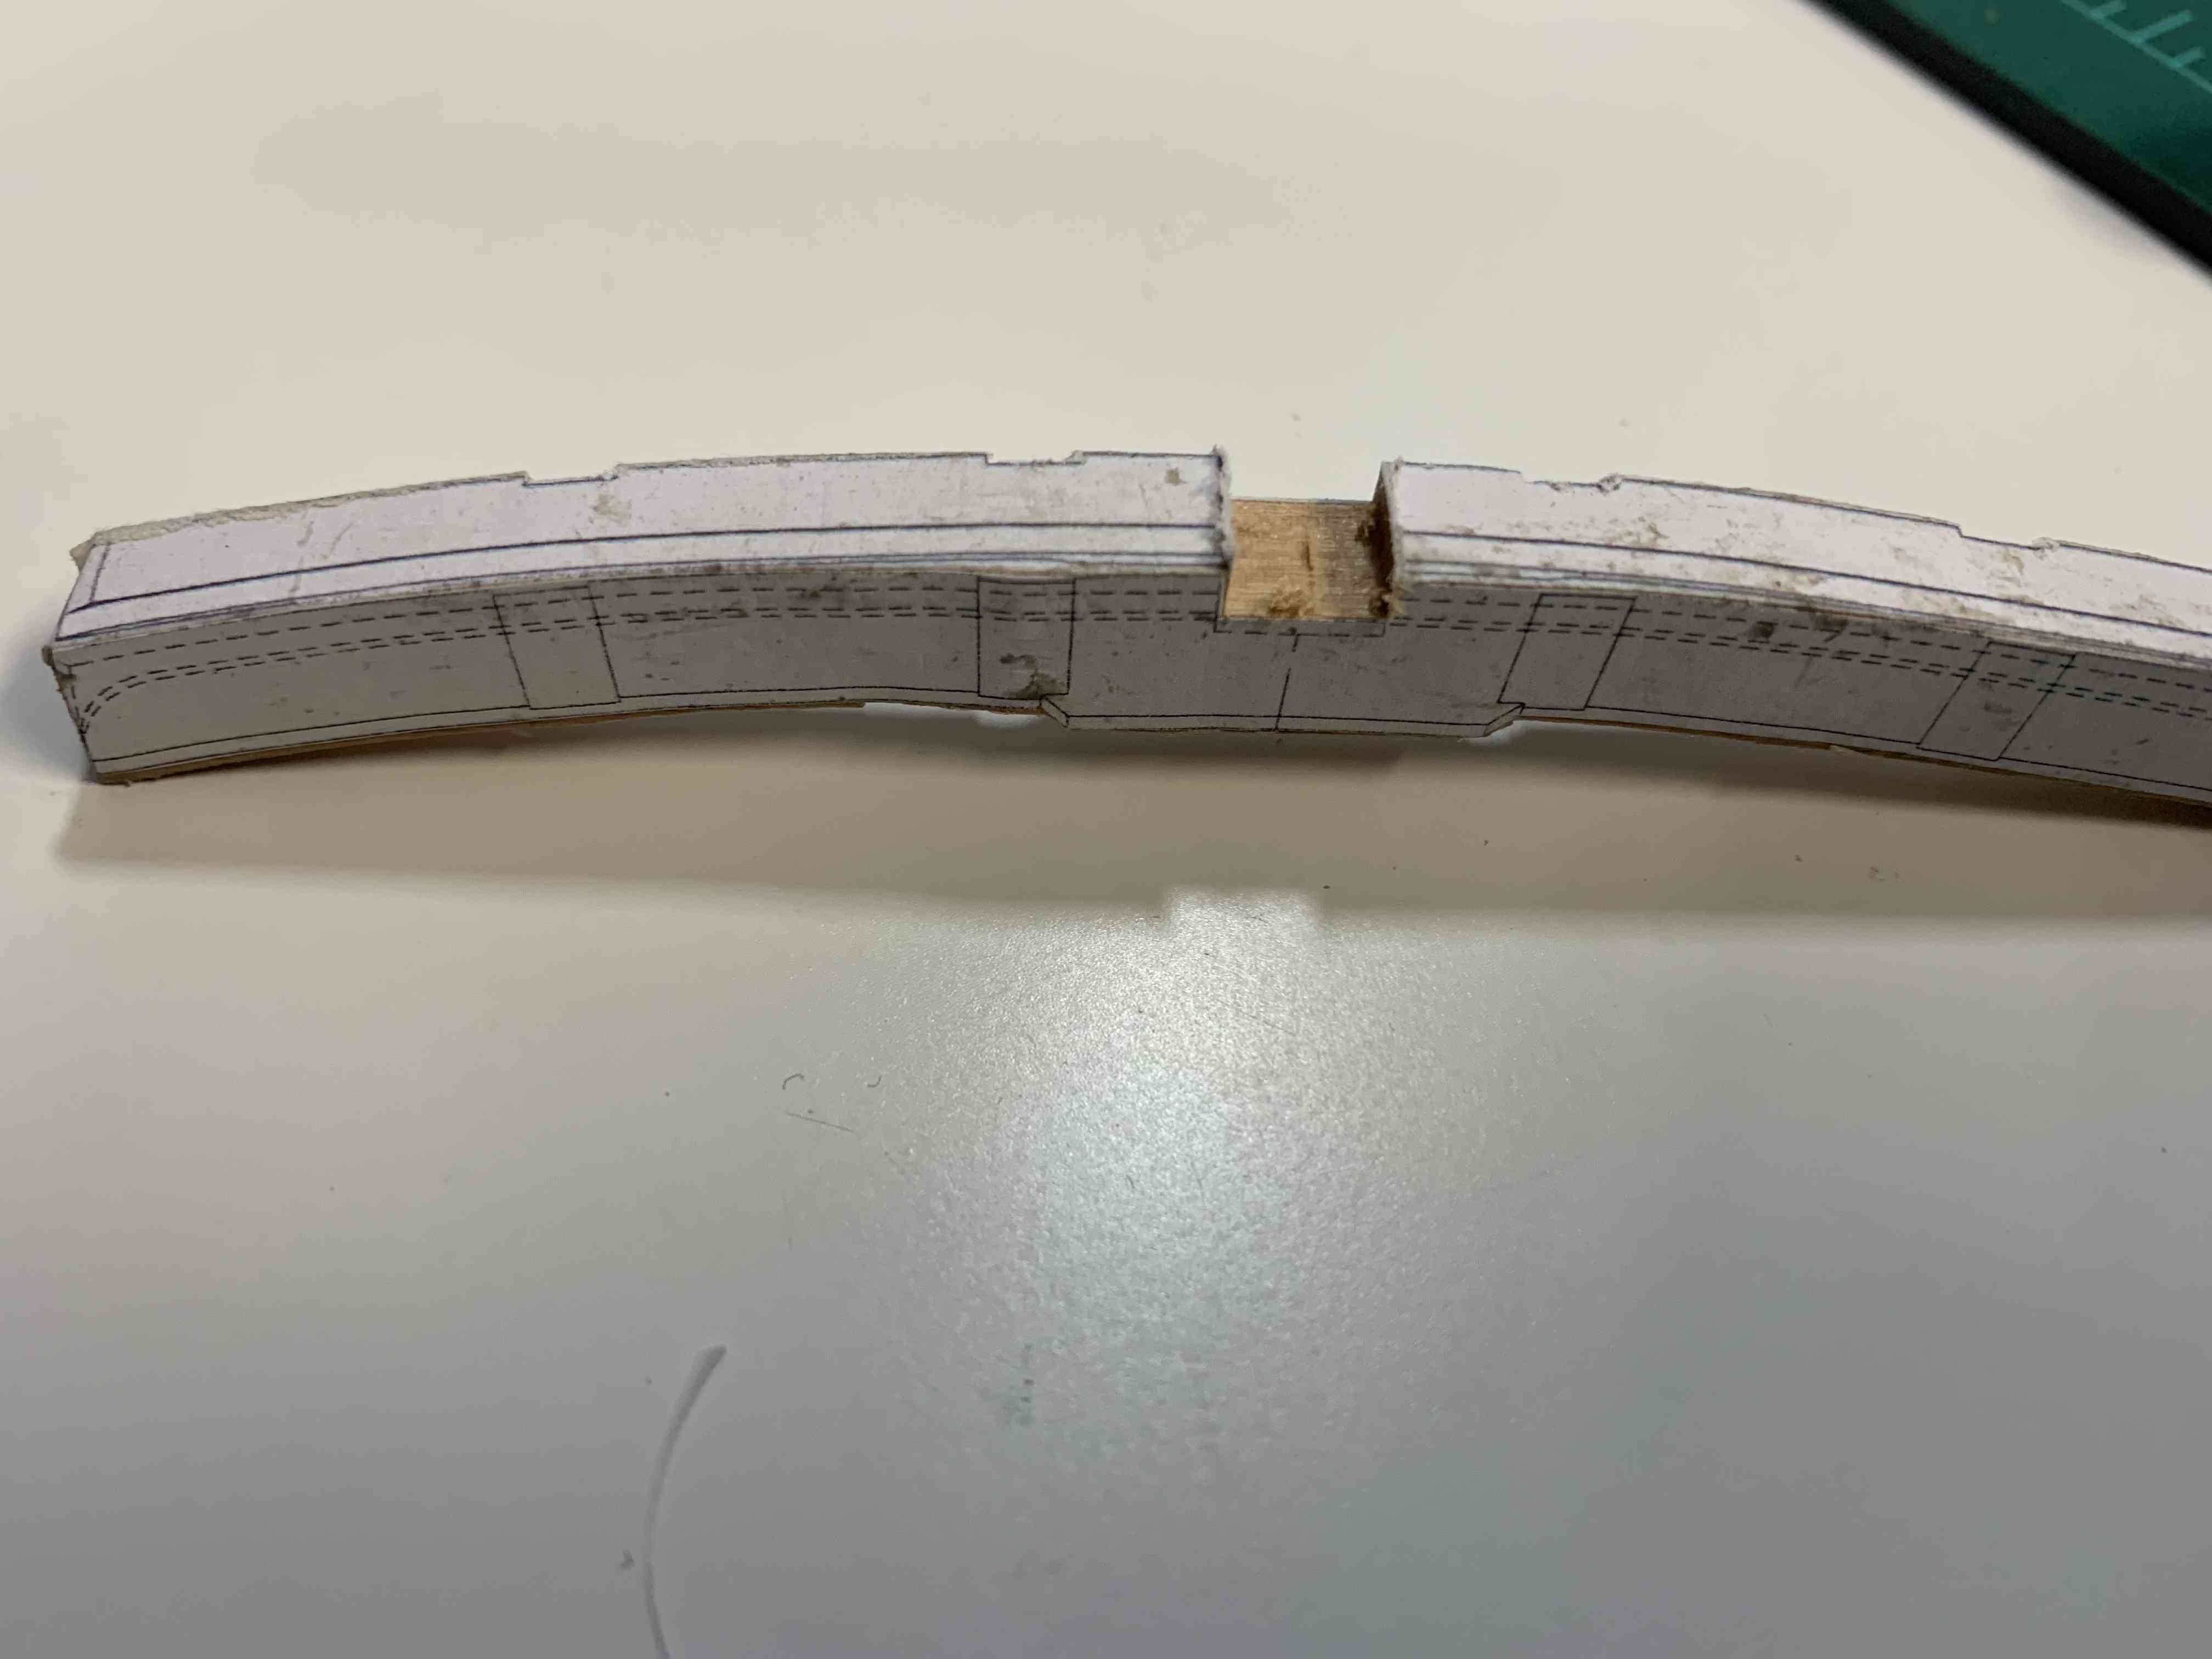
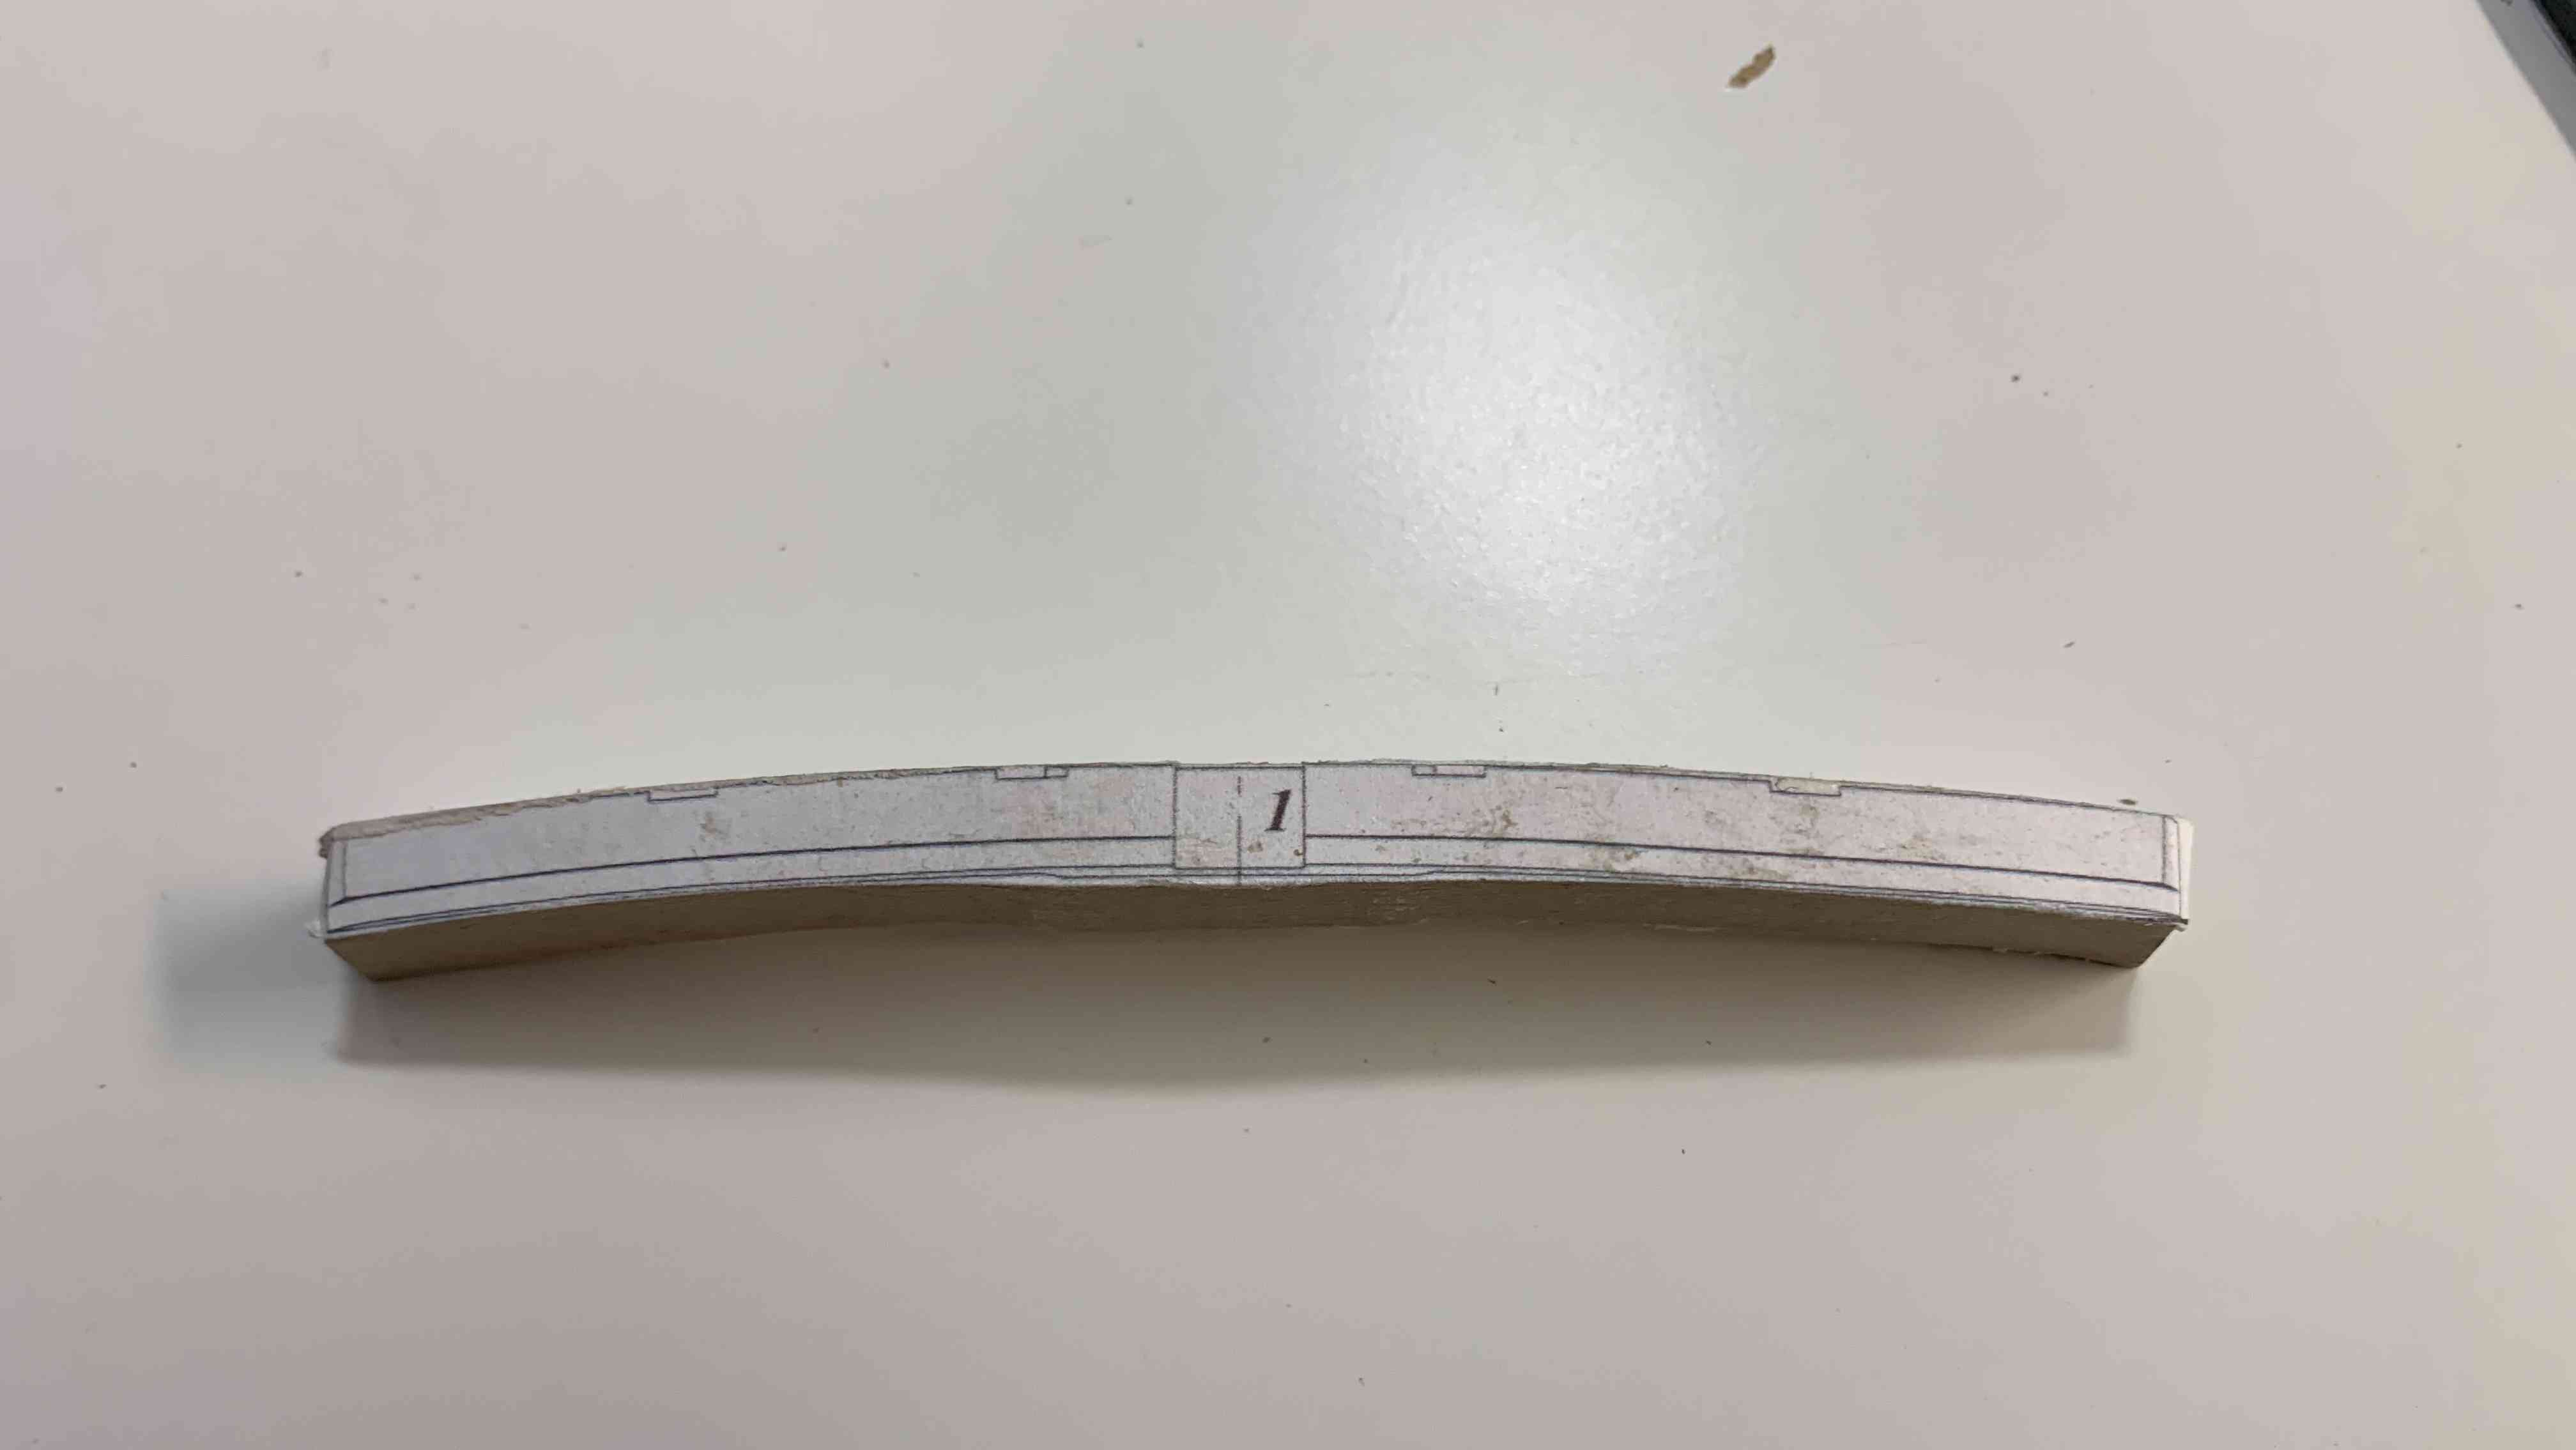
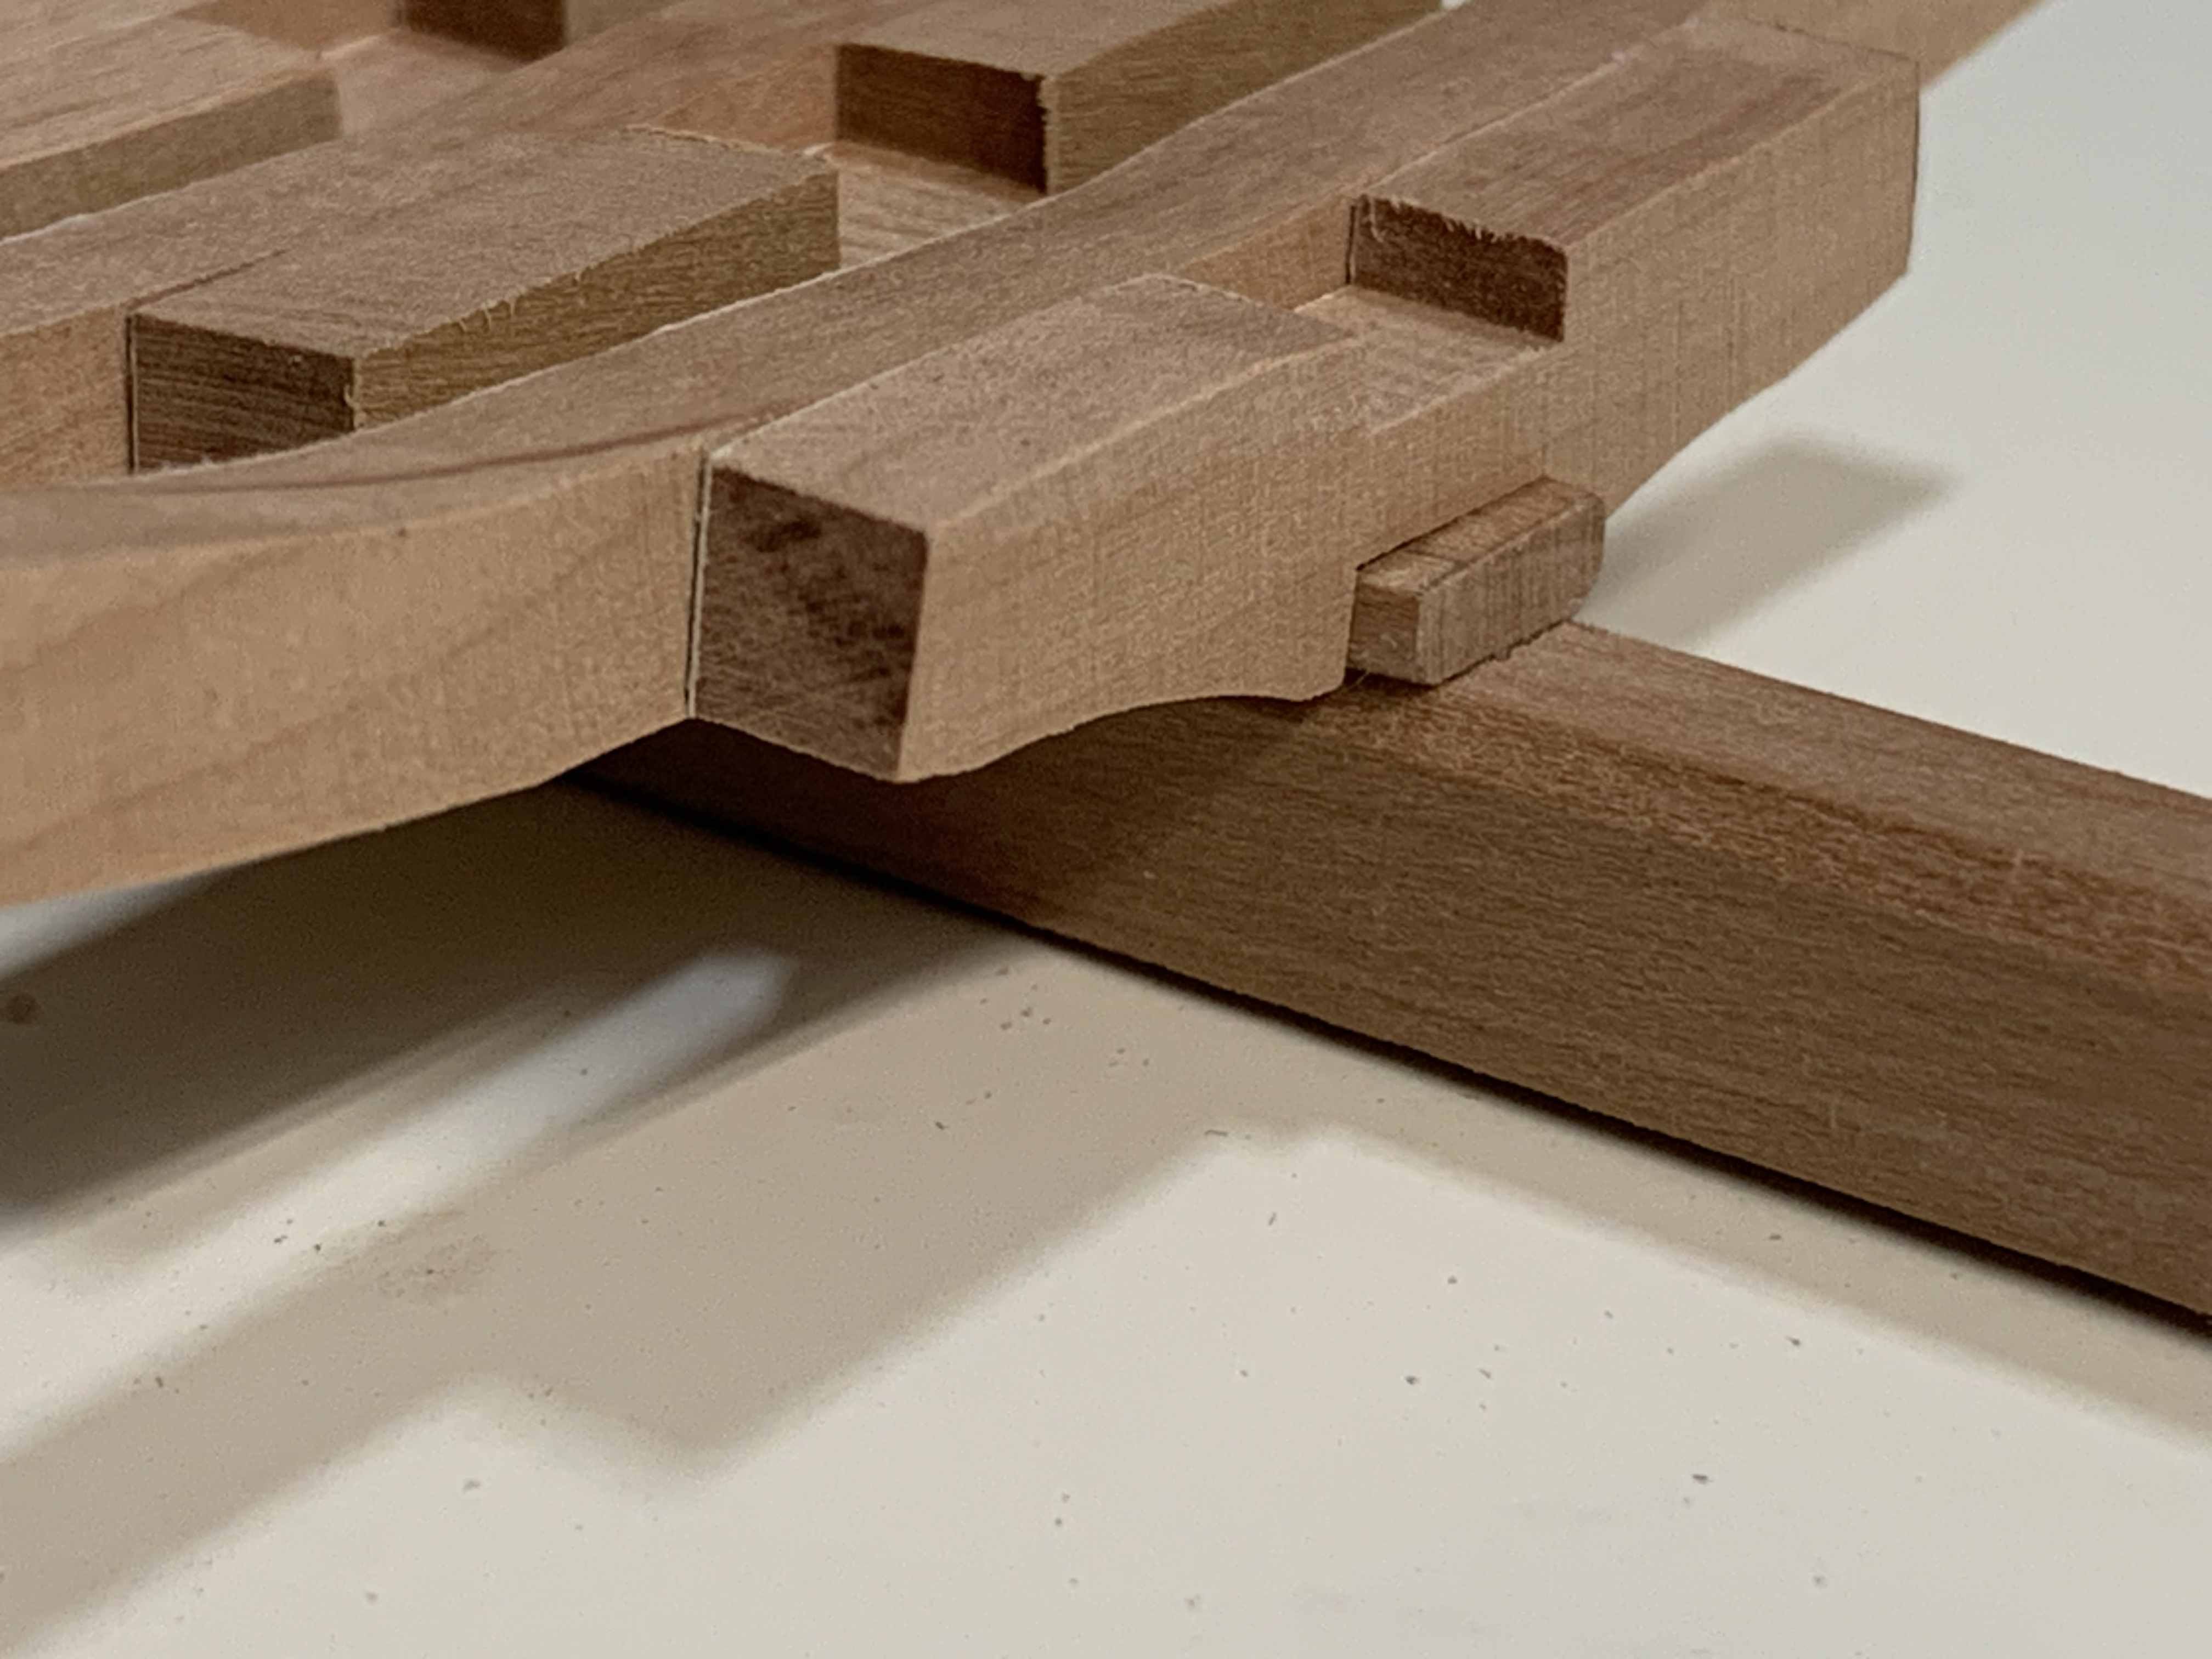
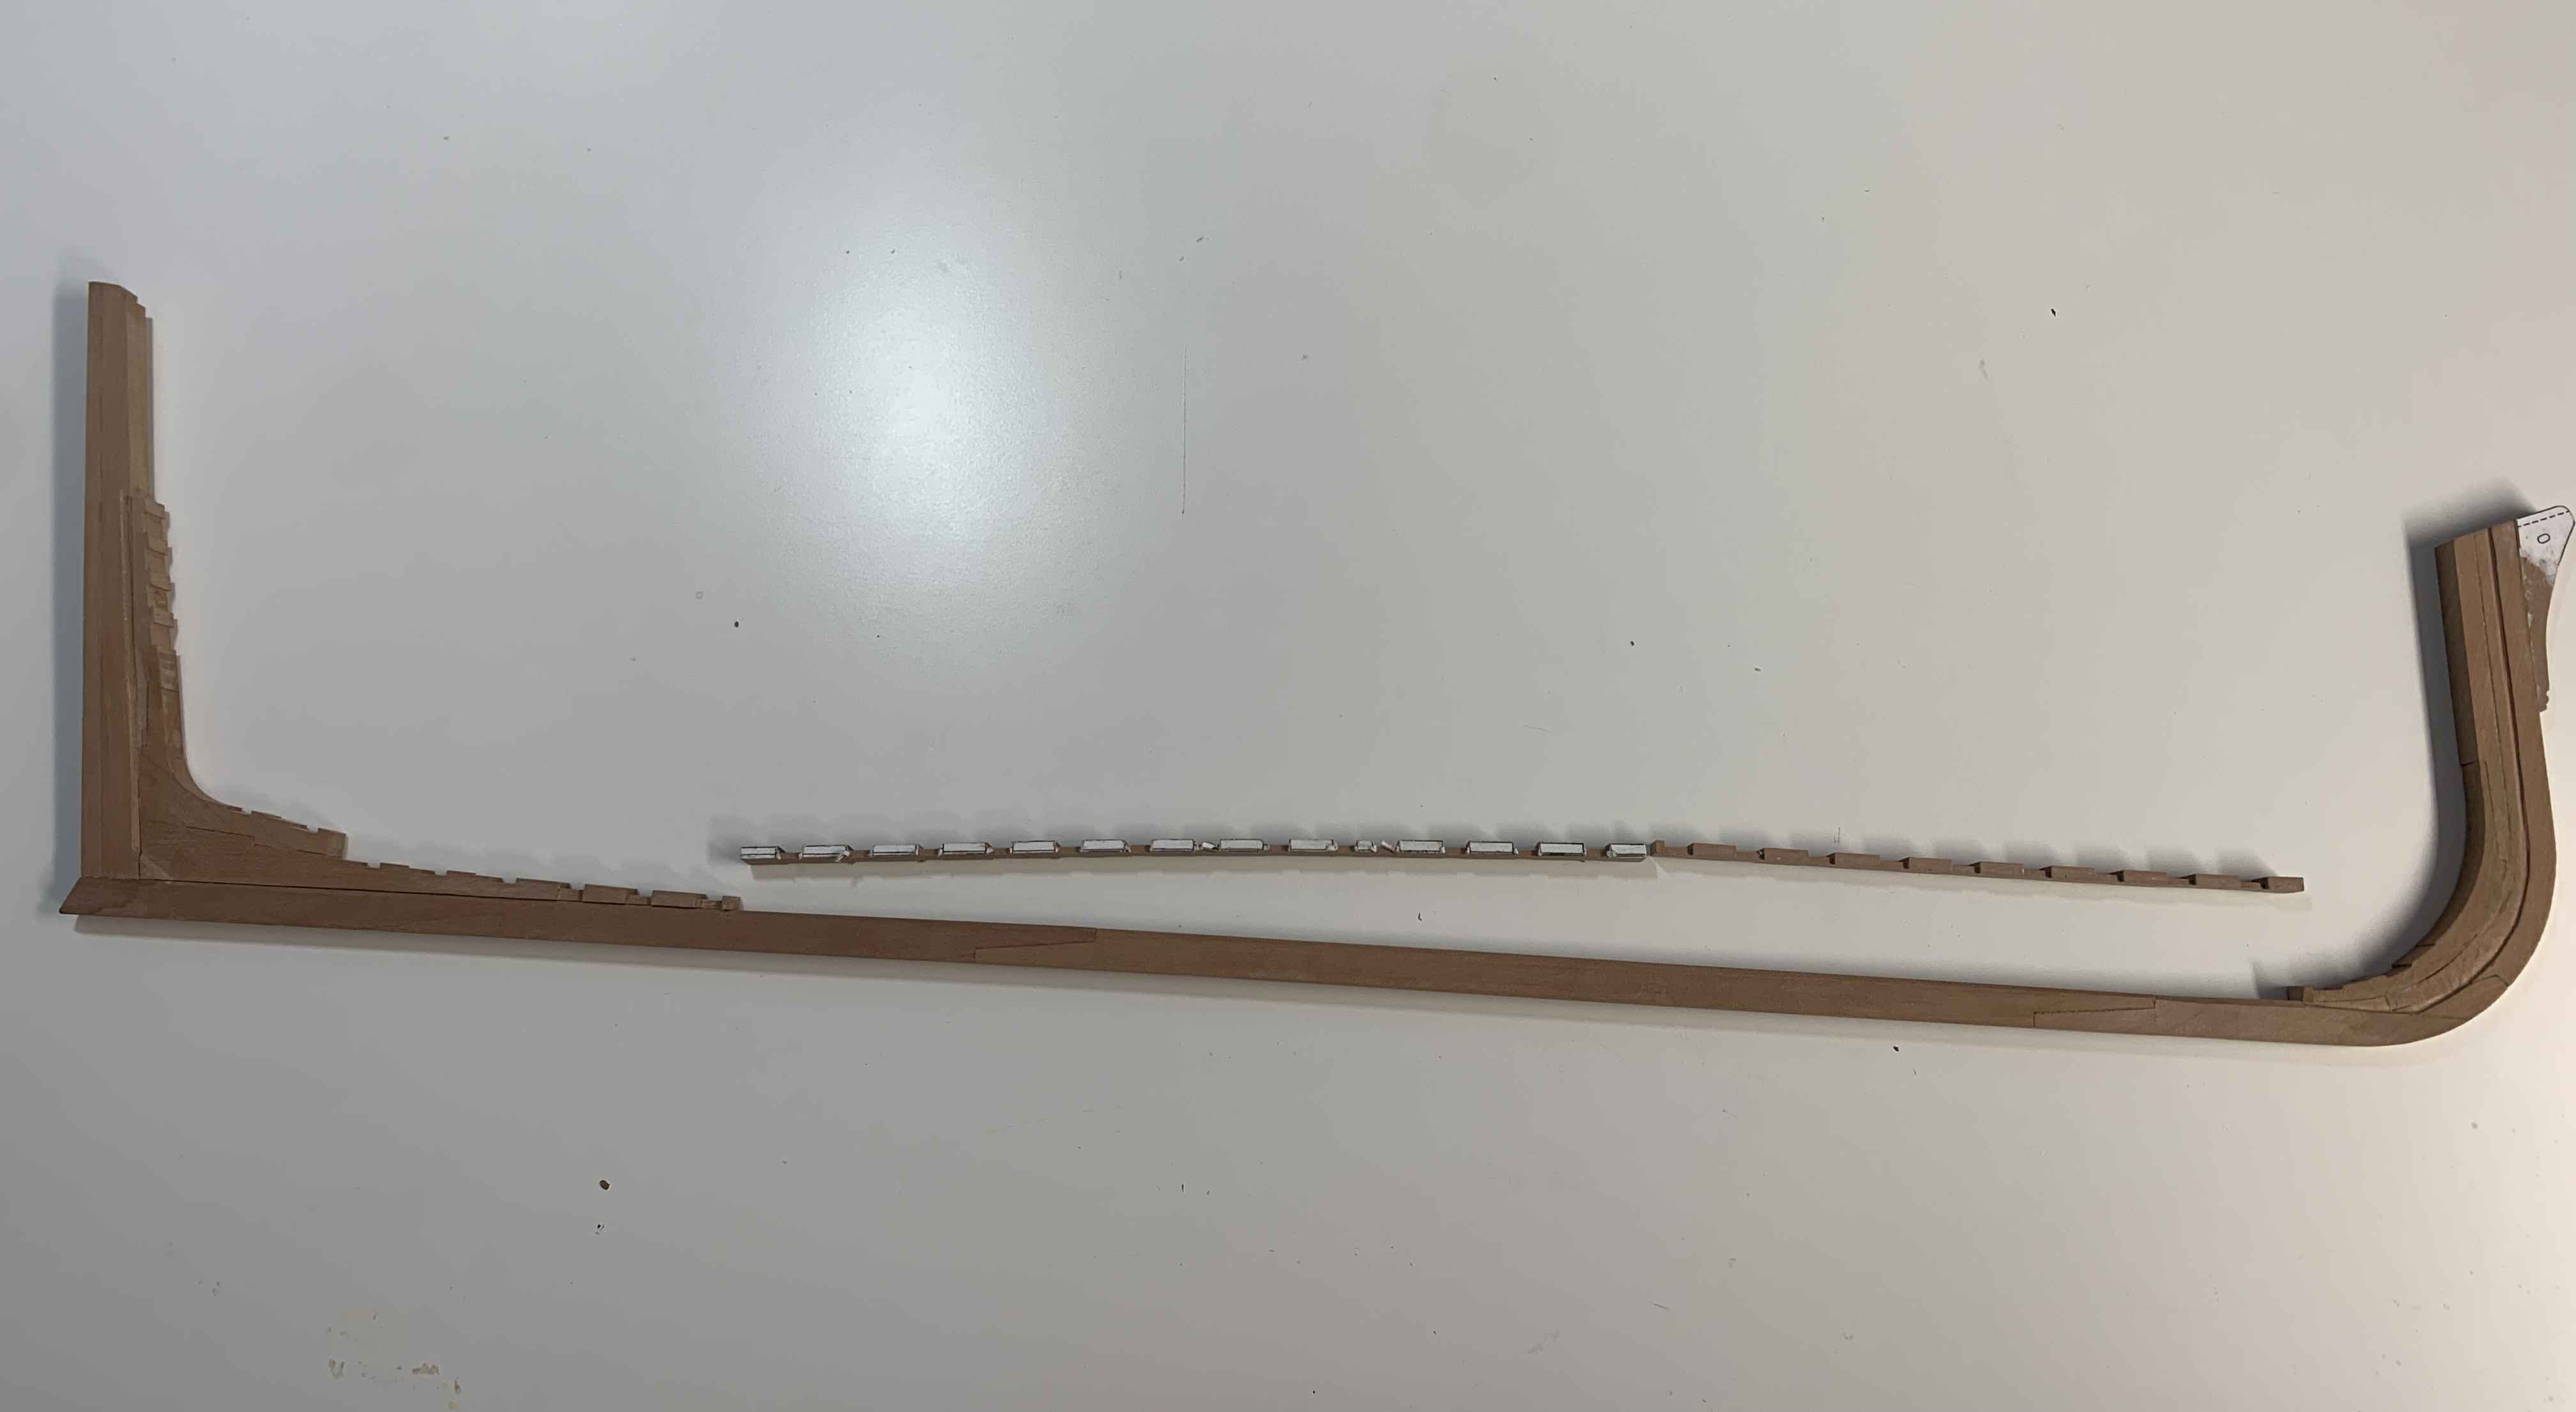
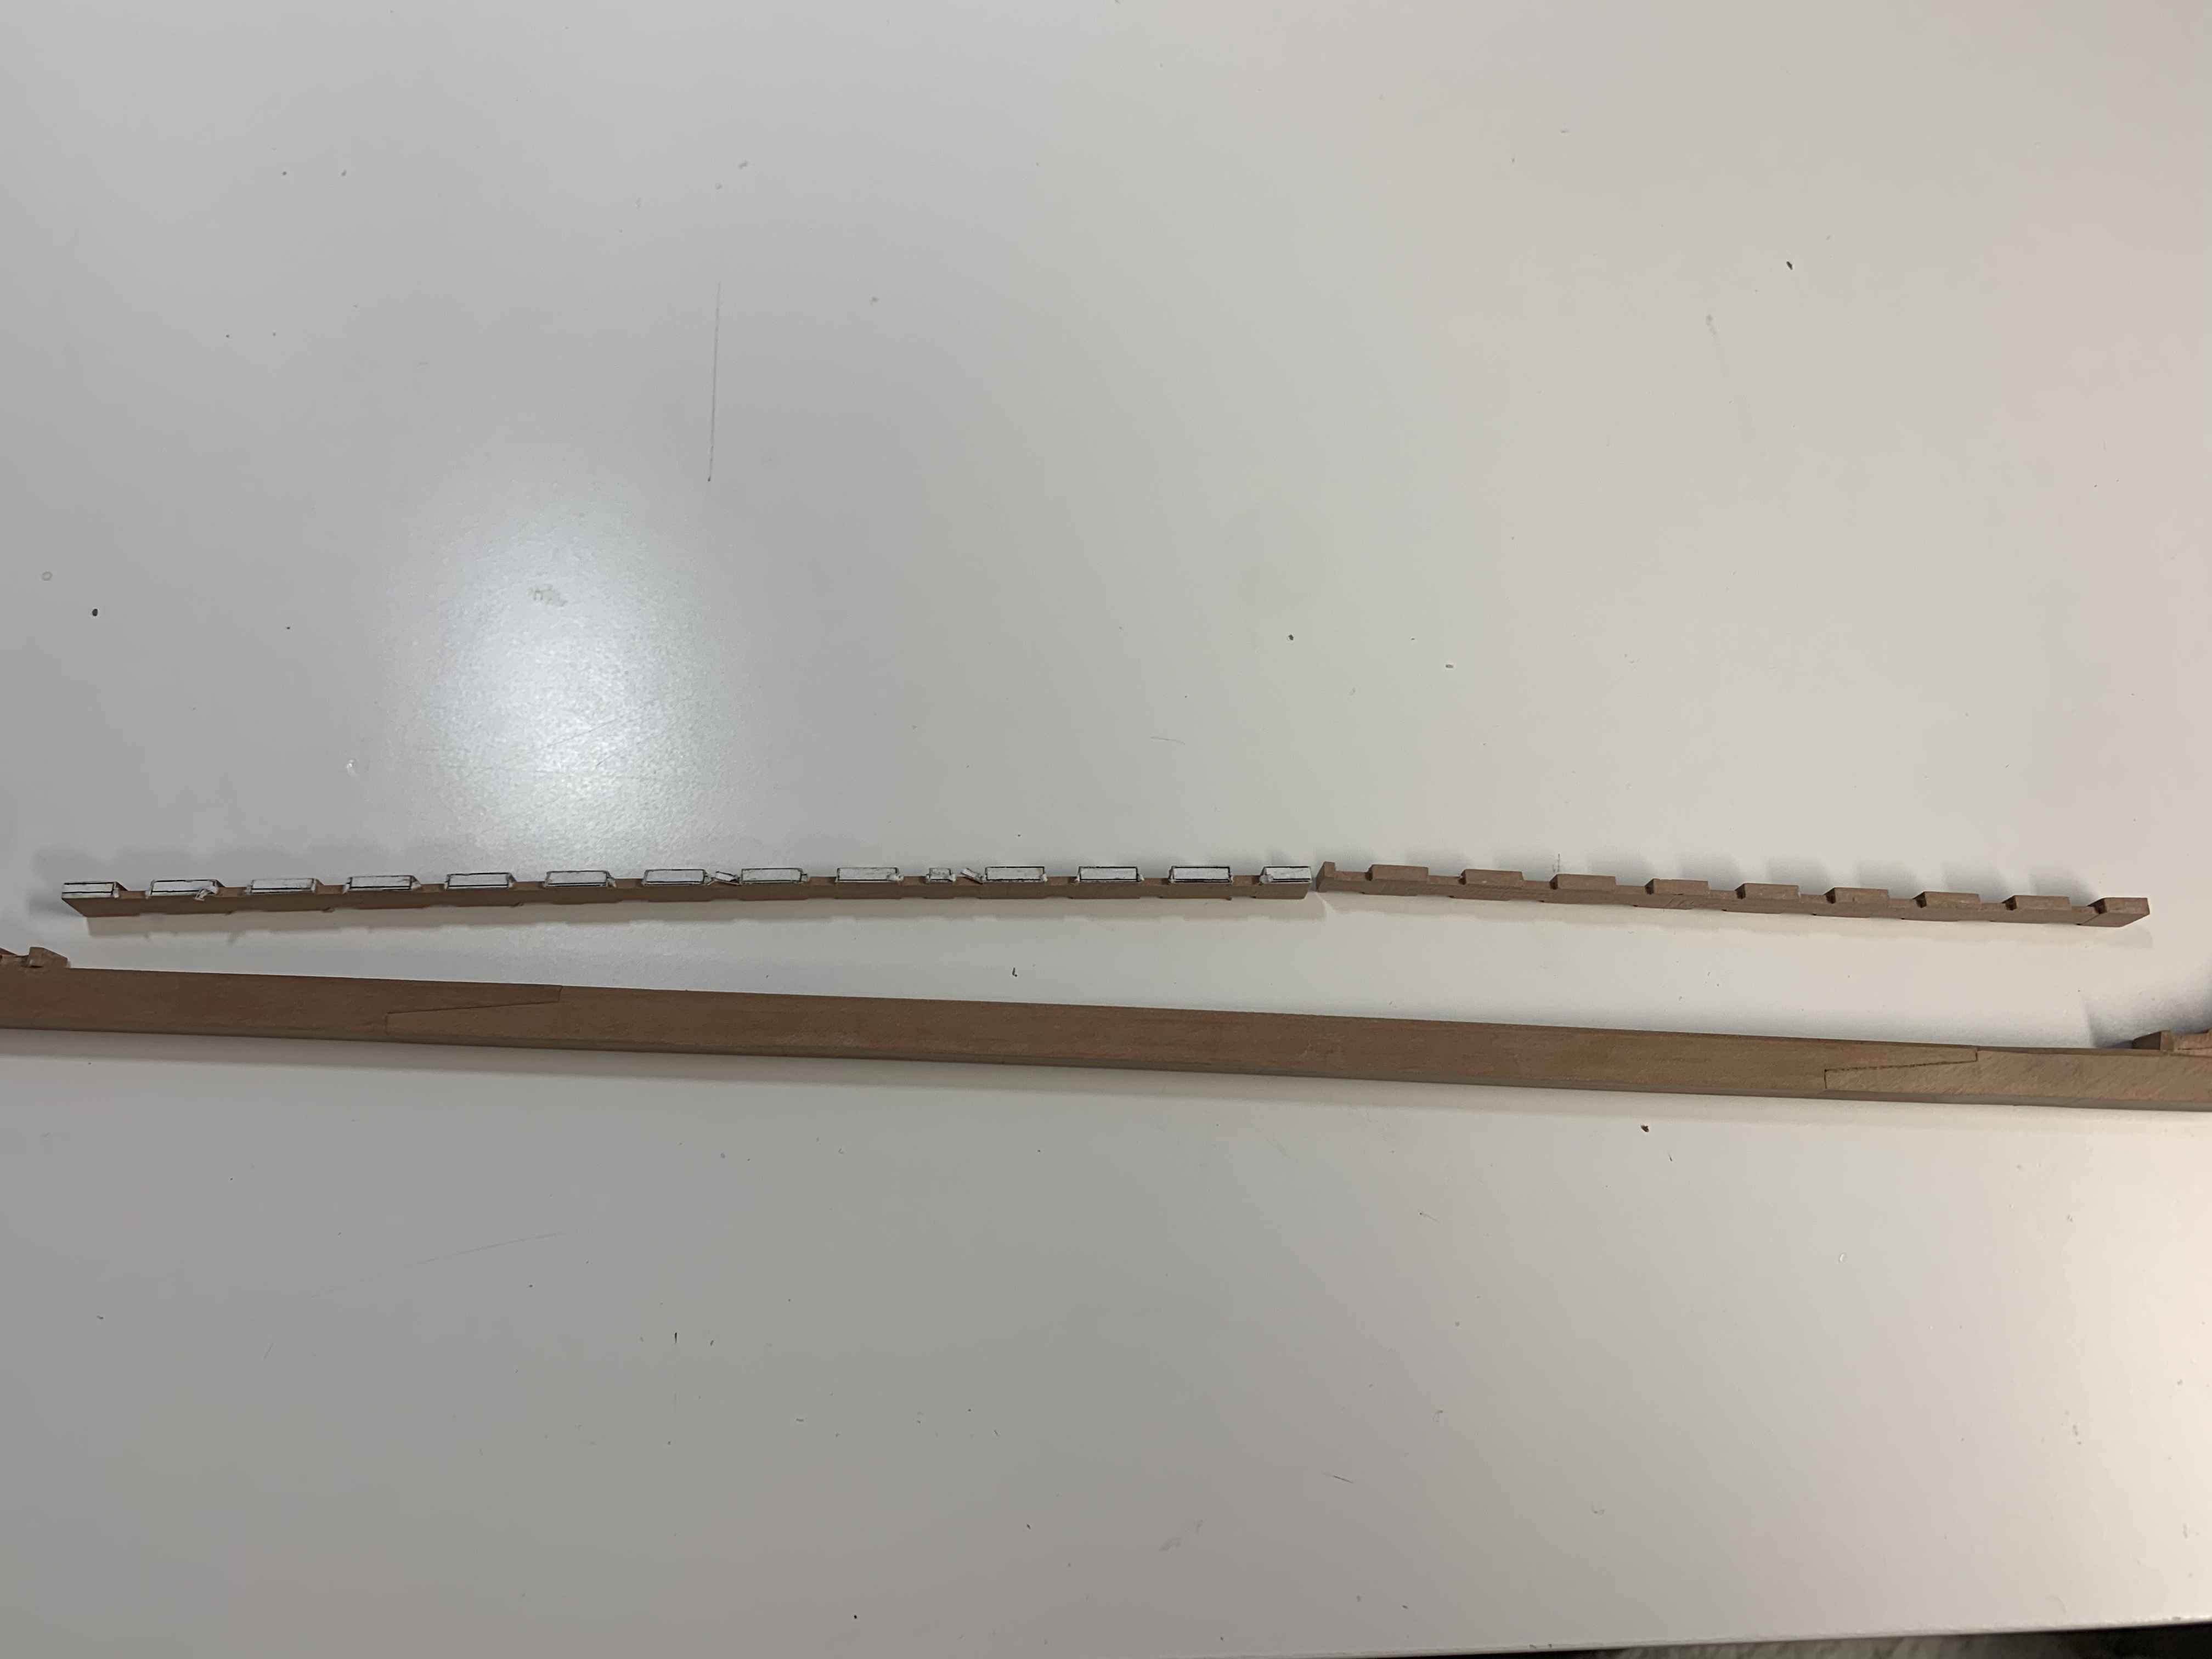
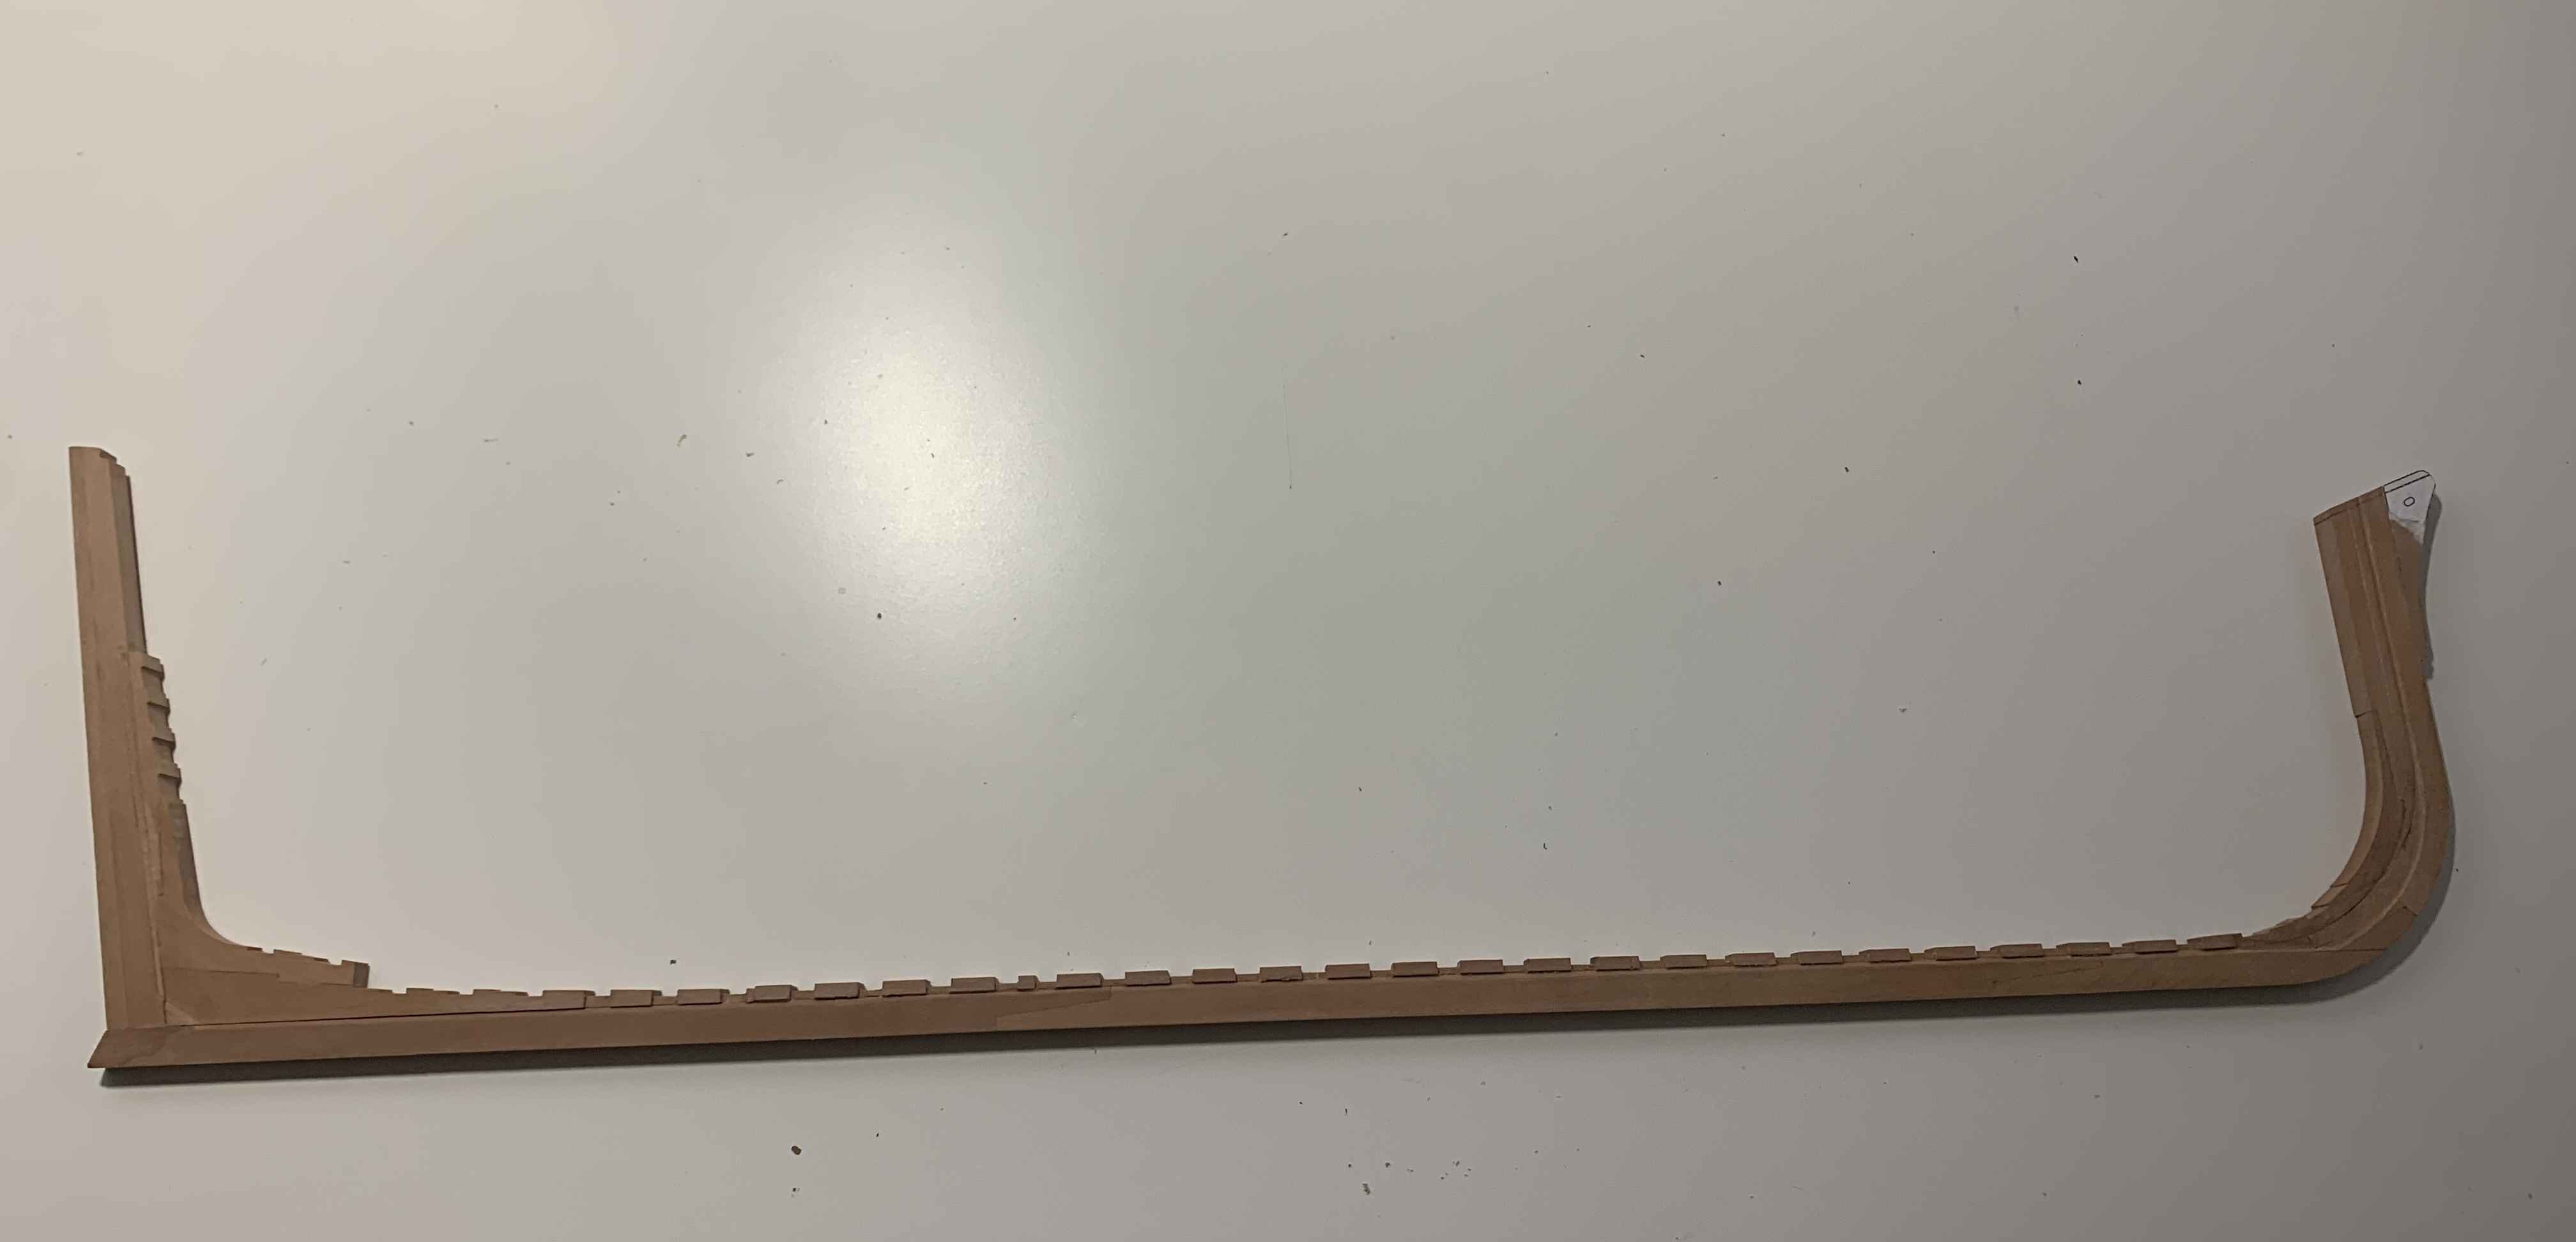
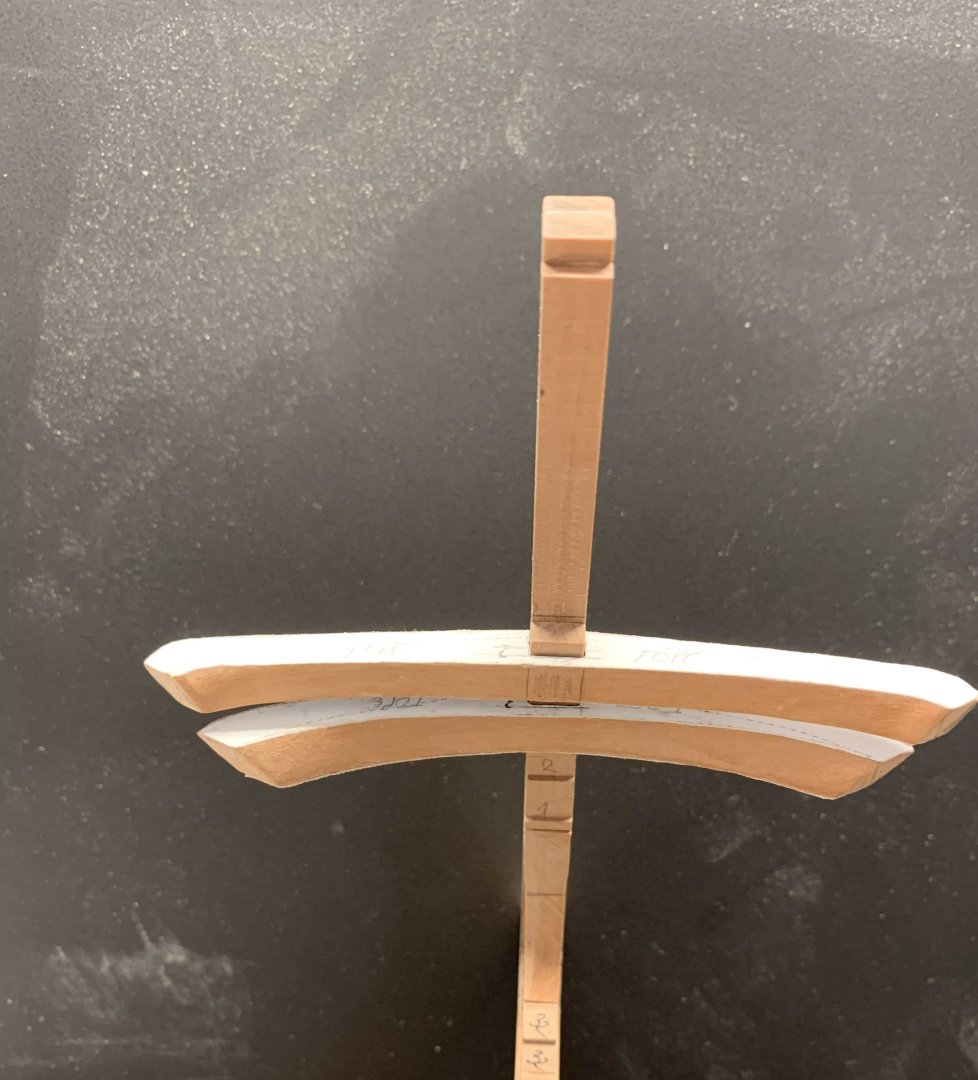
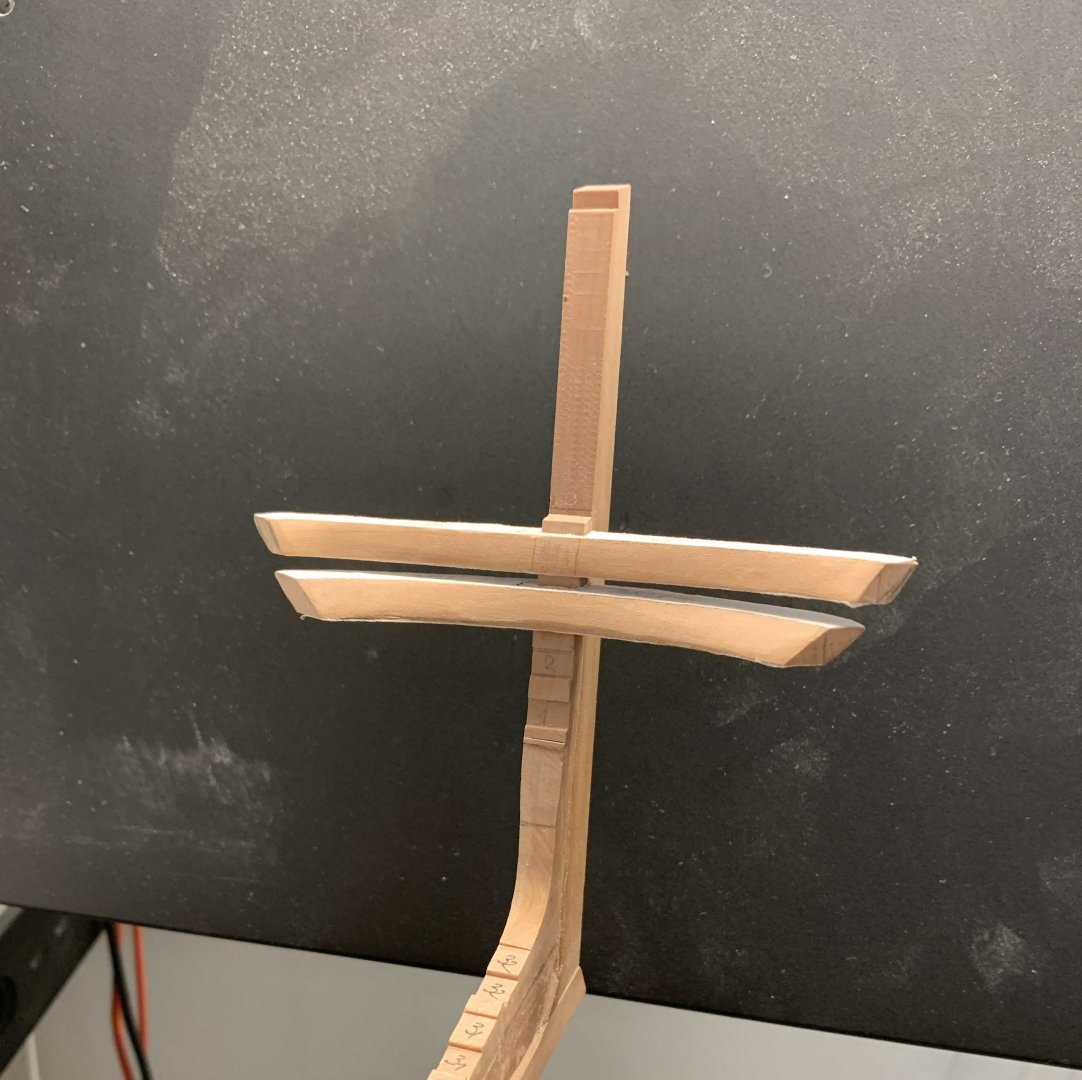
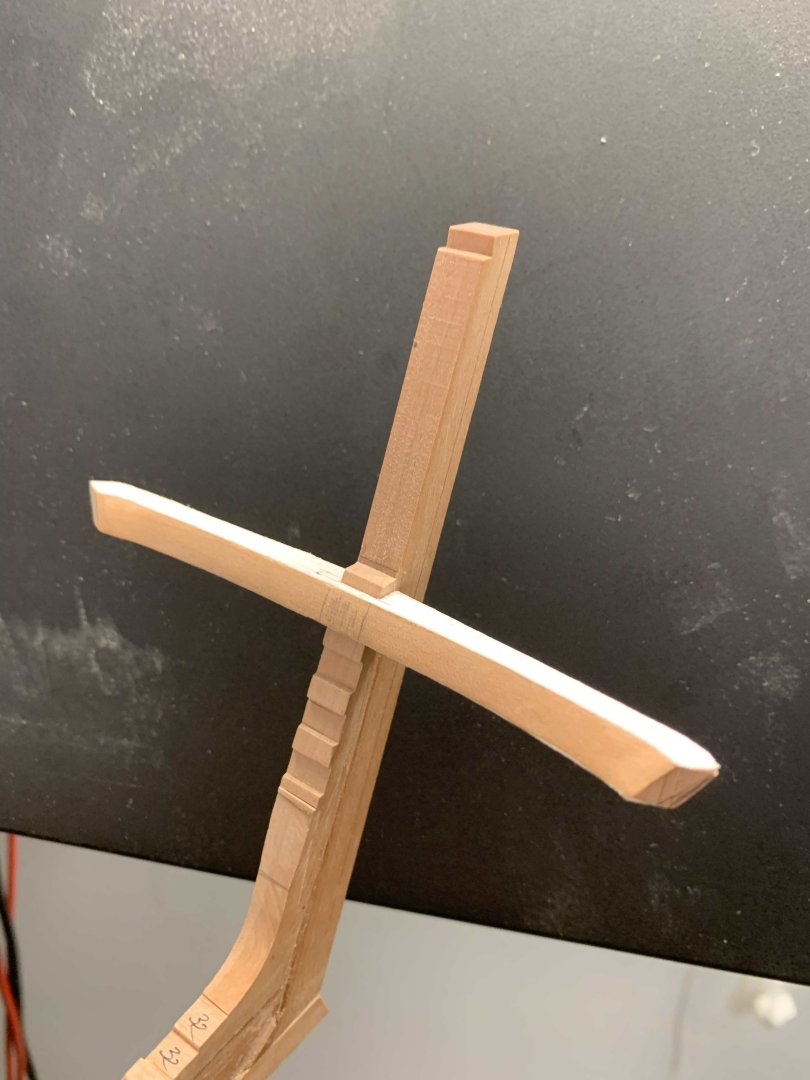
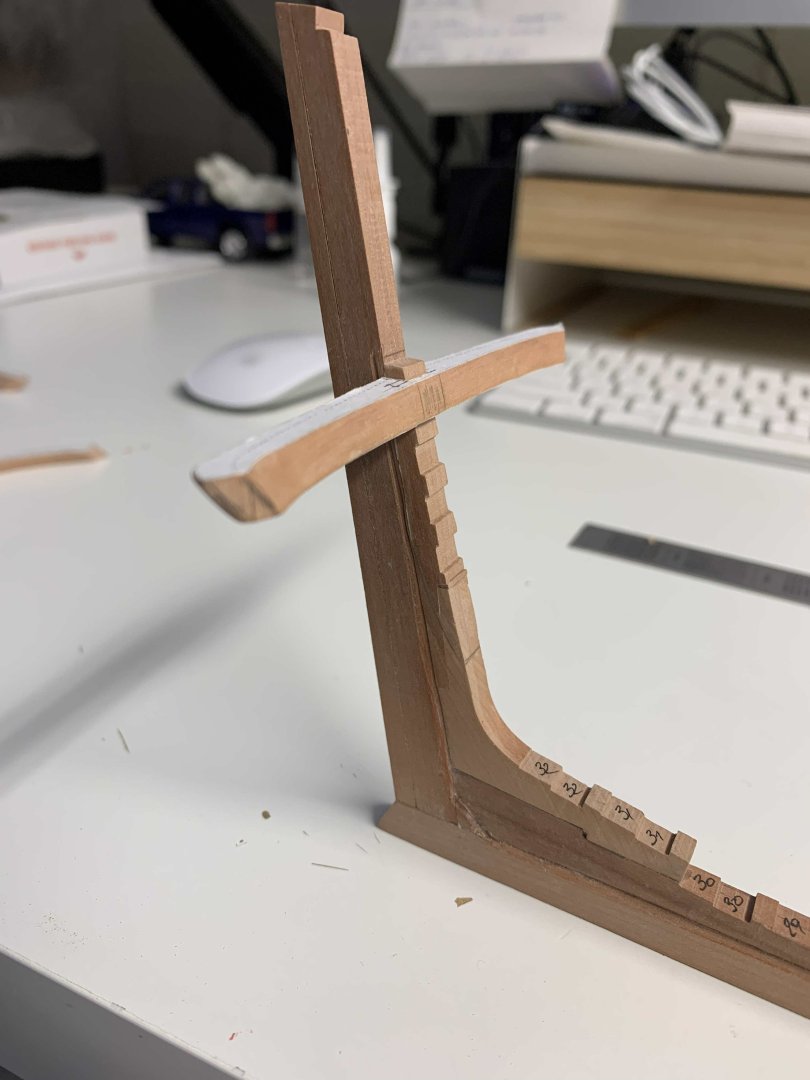
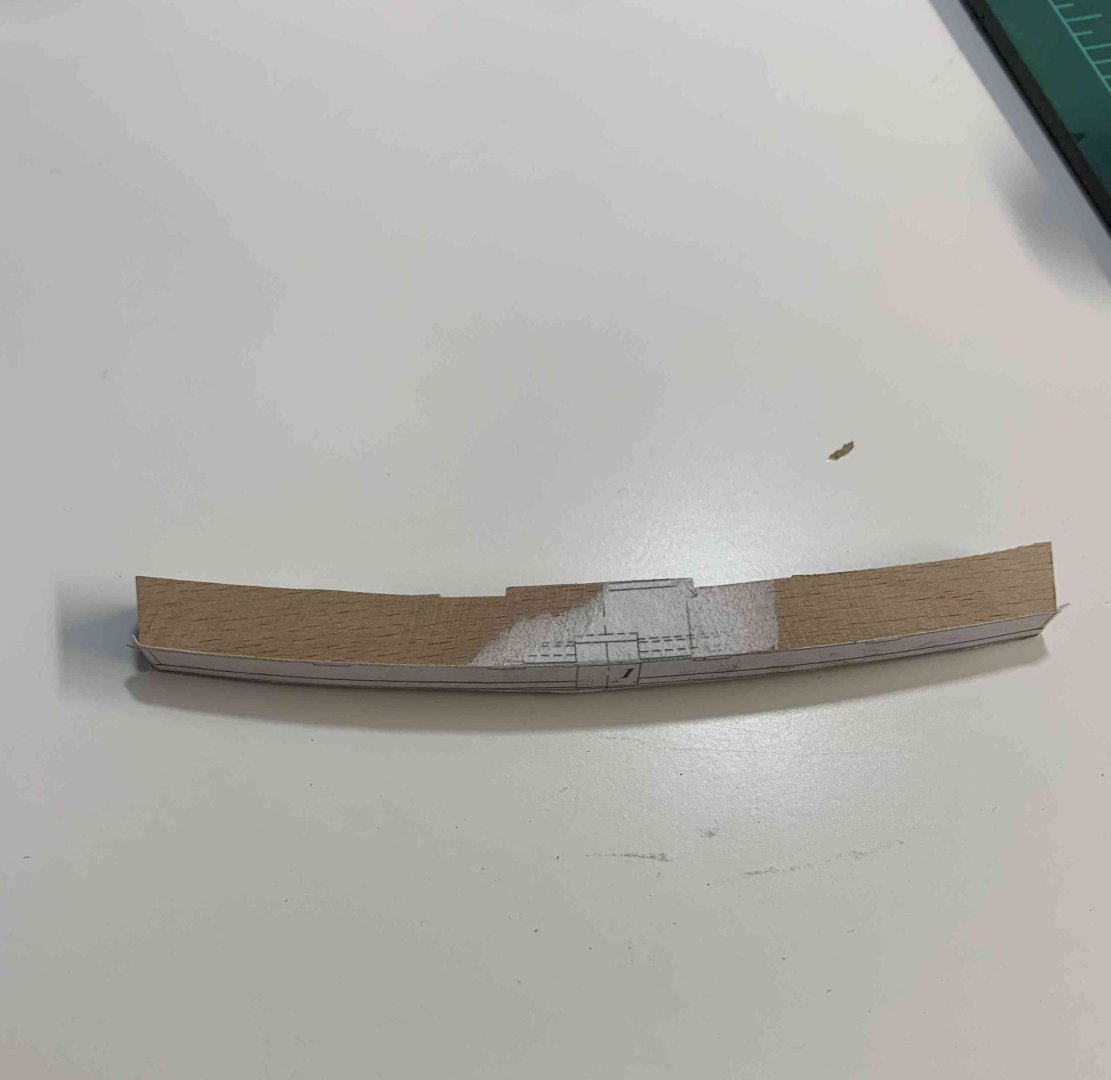
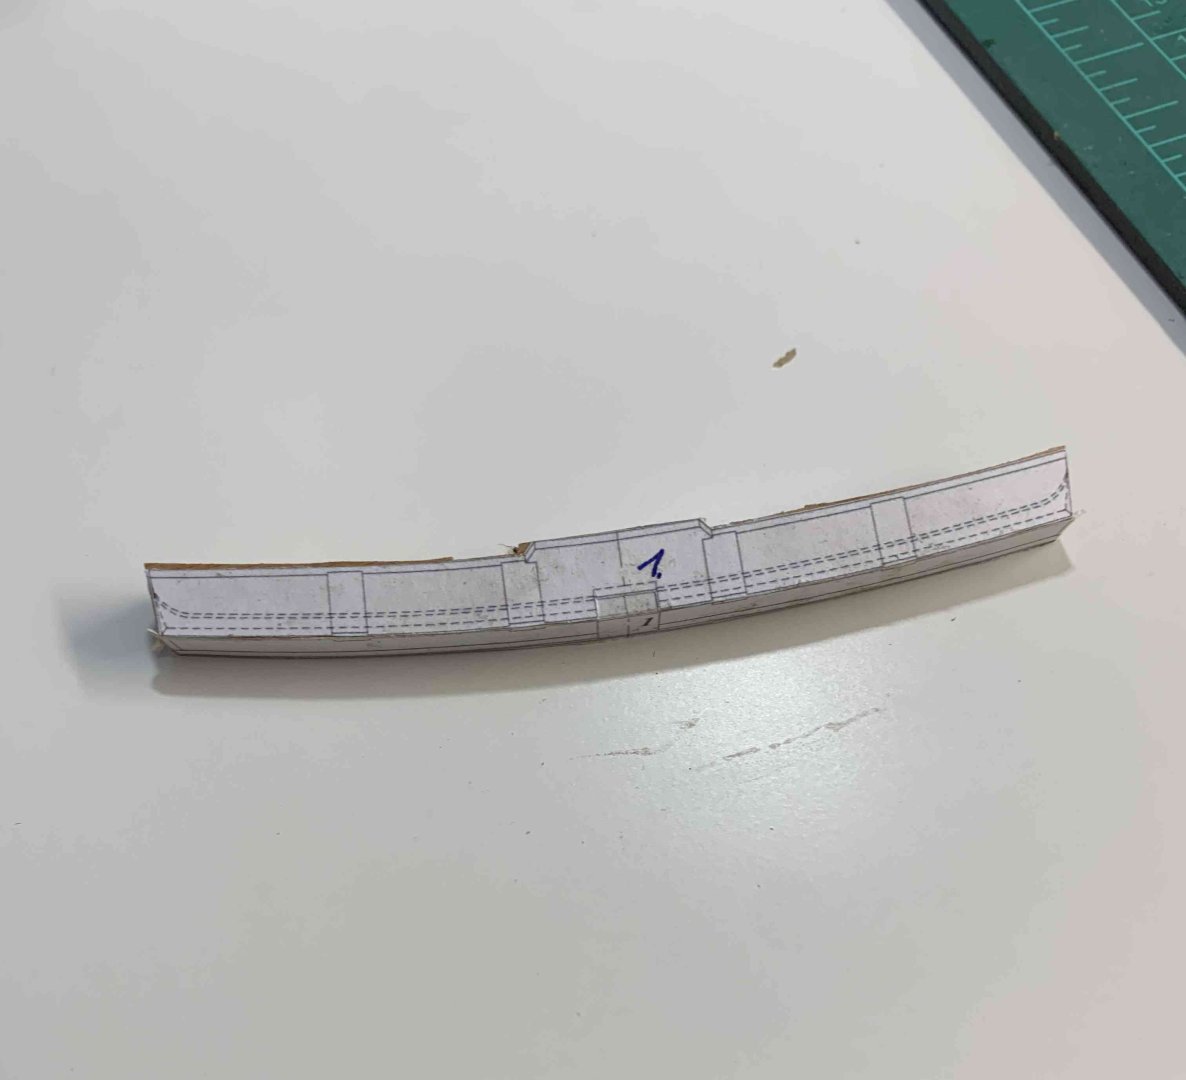
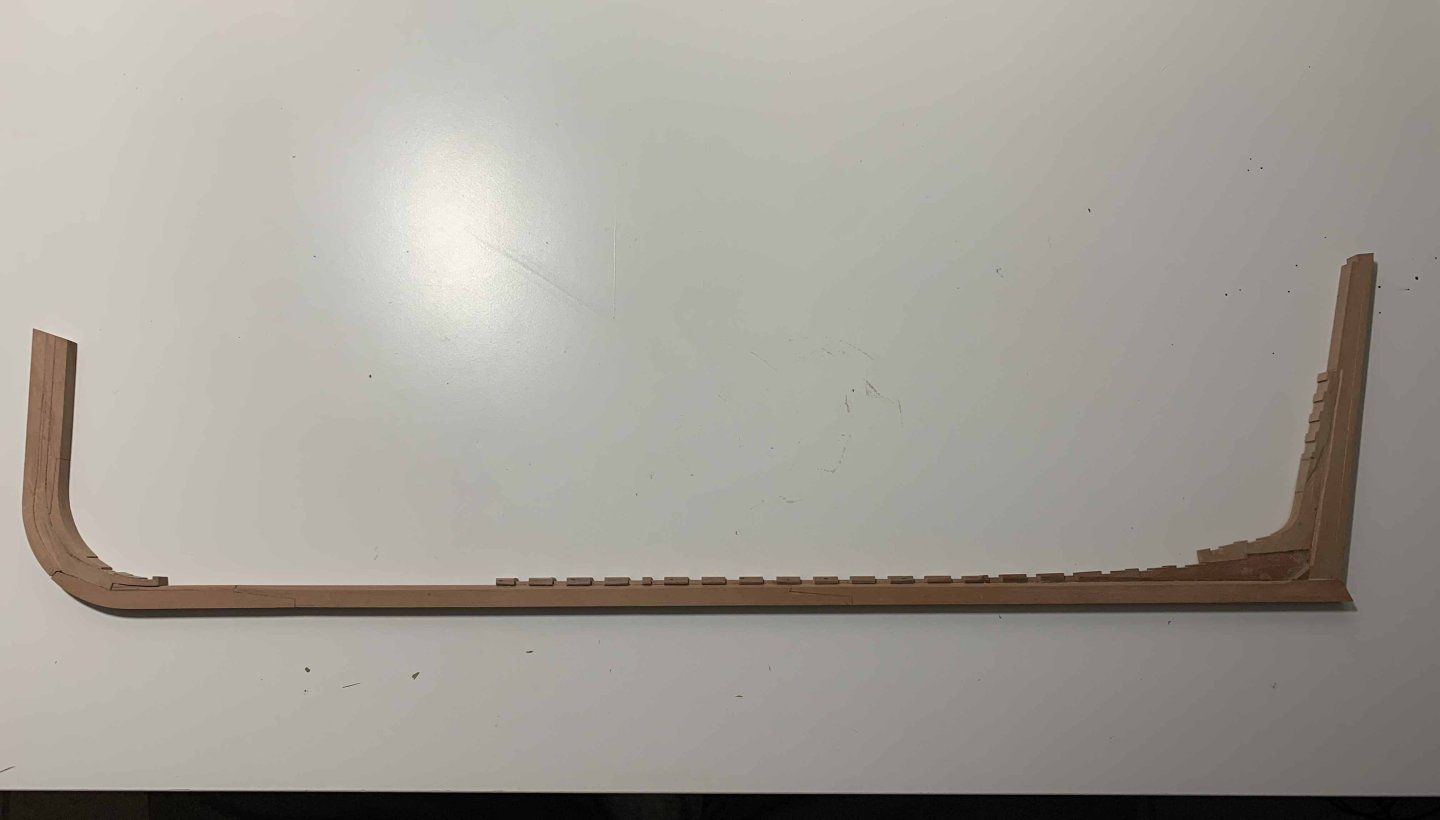
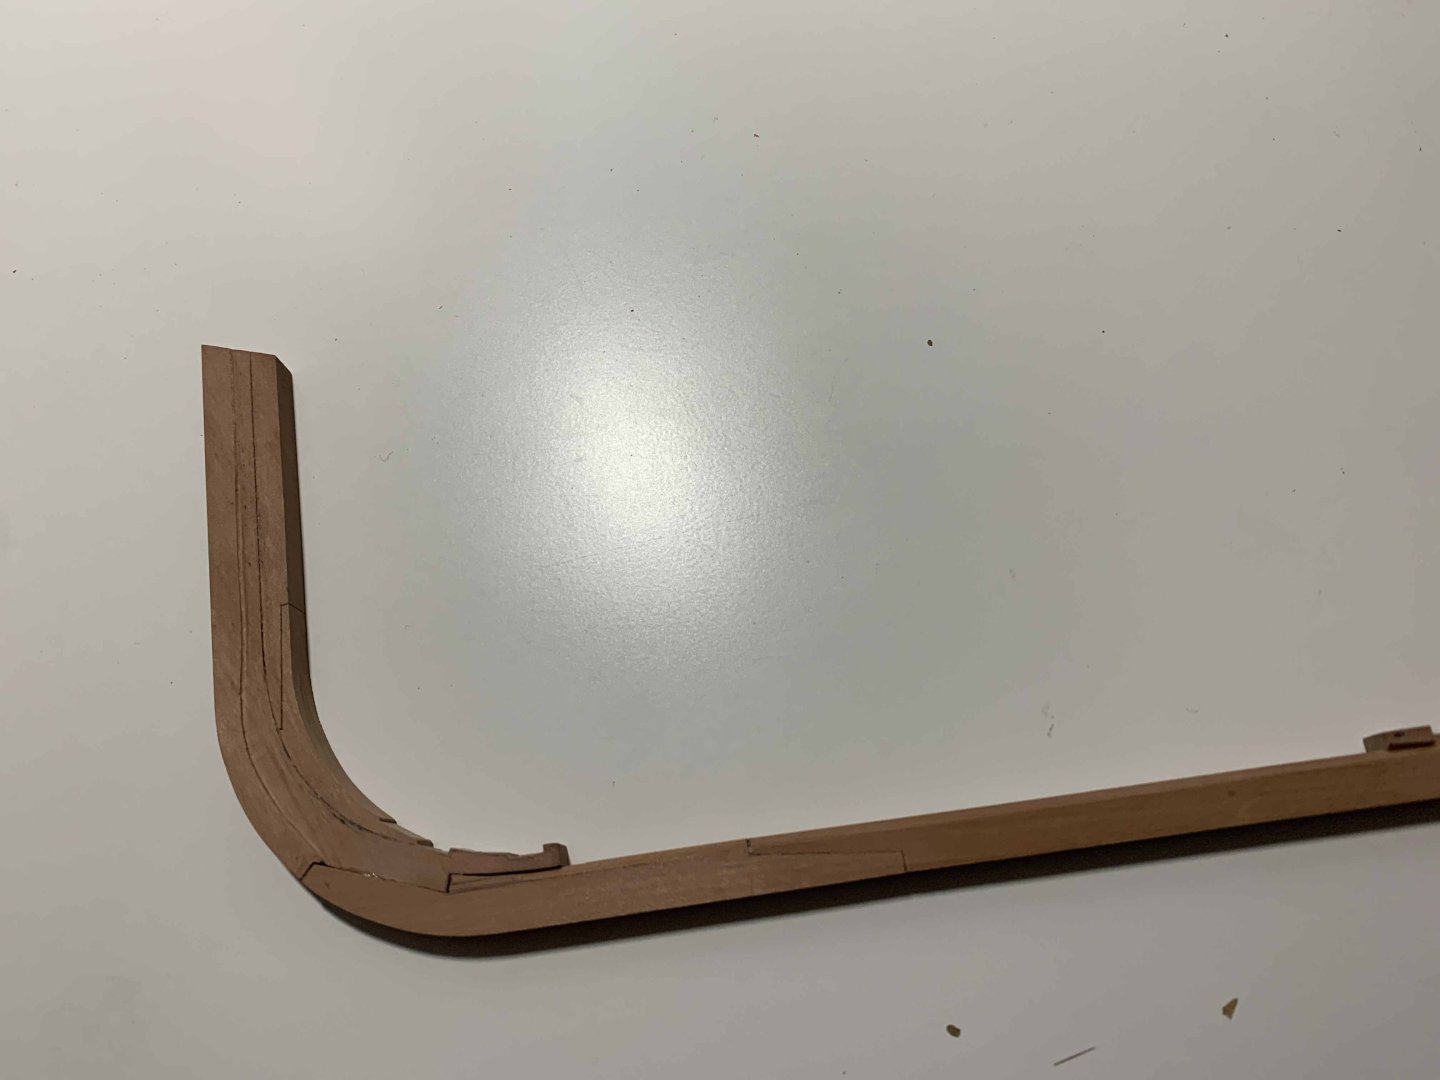
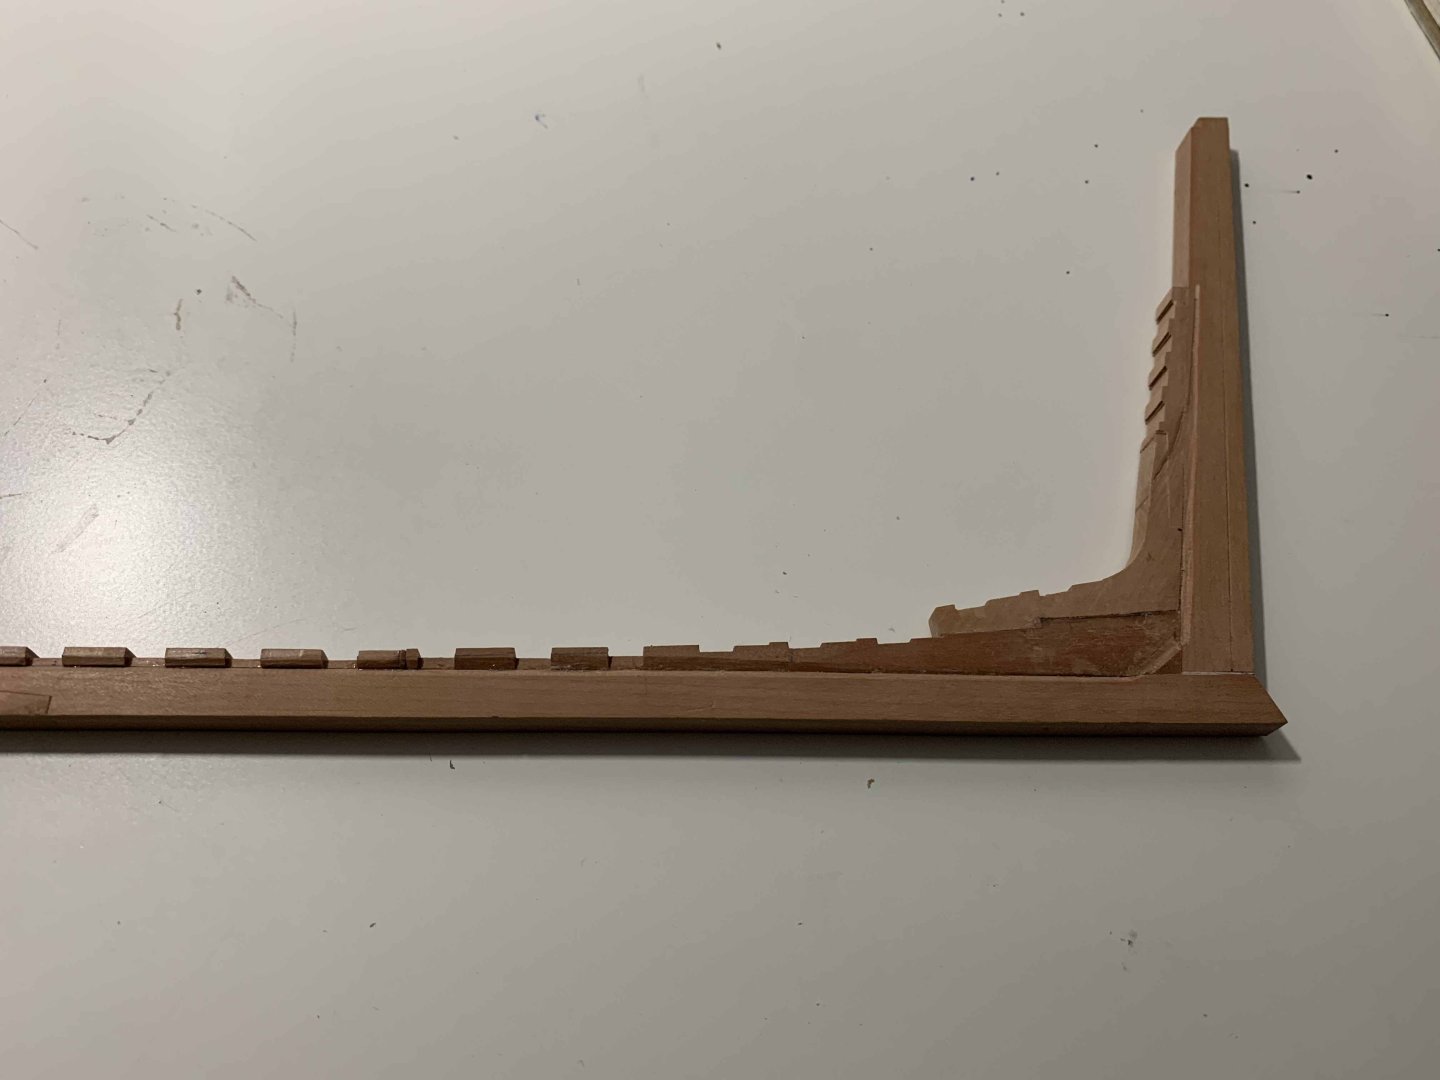
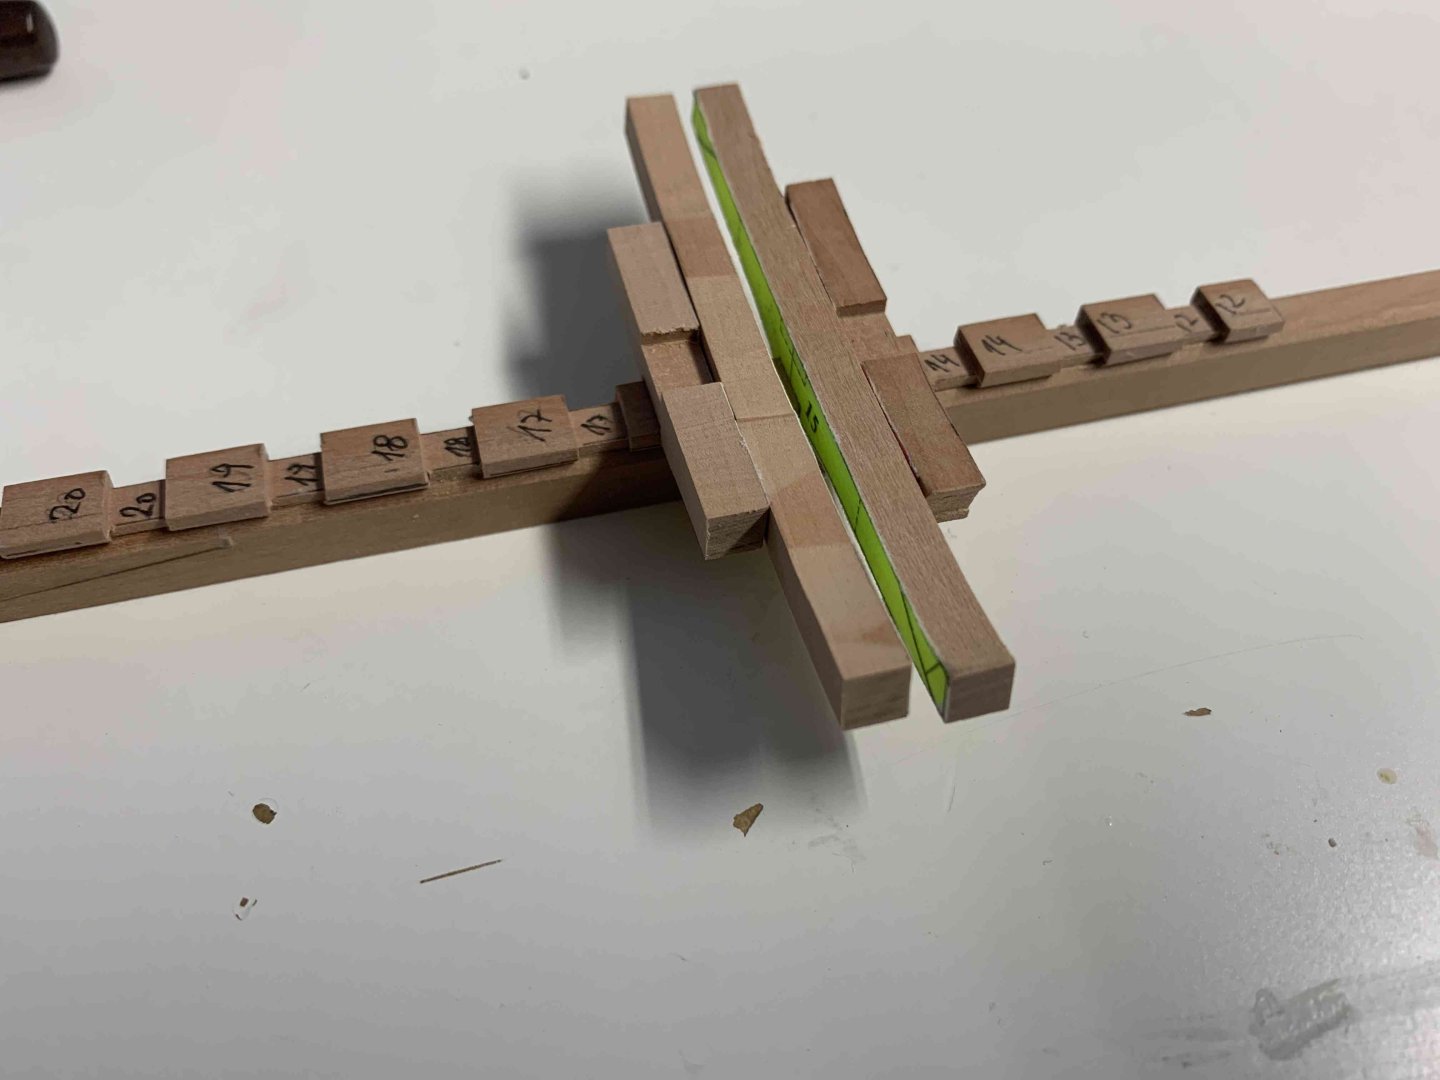
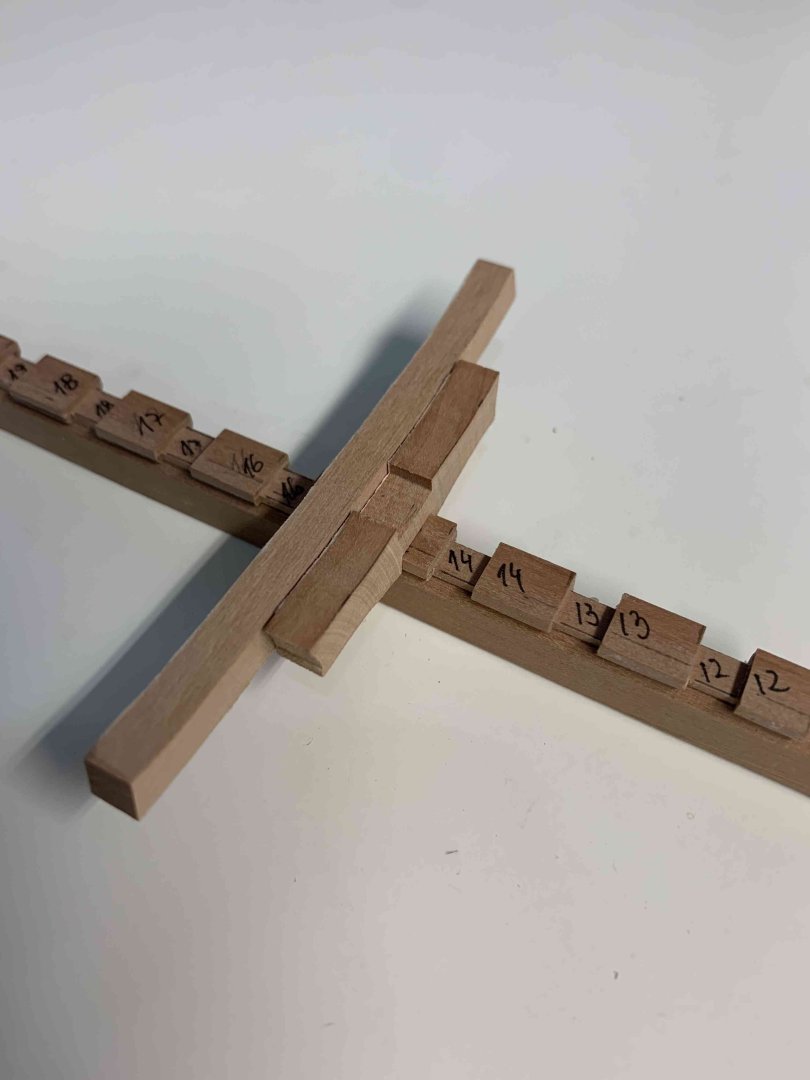
Continue with a keel work... A bit afterwards cleanup is needed to remove excess glue.... I do have one question, can anyone point me to some other build thread that do have a full picture of a wing-transom (#1) visible; I have some challenges visualizing the end result... really appreciated.. this is my test attempt.. Happy modelling..