HOLIDAY DONATION DRIVE - SUPPORT MSW - DO YOUR PART TO KEEP THIS GREAT FORUM GOING! (Only 24 donations so far out of 49,000 members - C'mon guys!)
×


HIPEXEC
-
Posts
2,698 -
Joined
-
Last visited
Content Type
Profiles
Forums
Gallery
Events
Everything posted by HIPEXEC
-
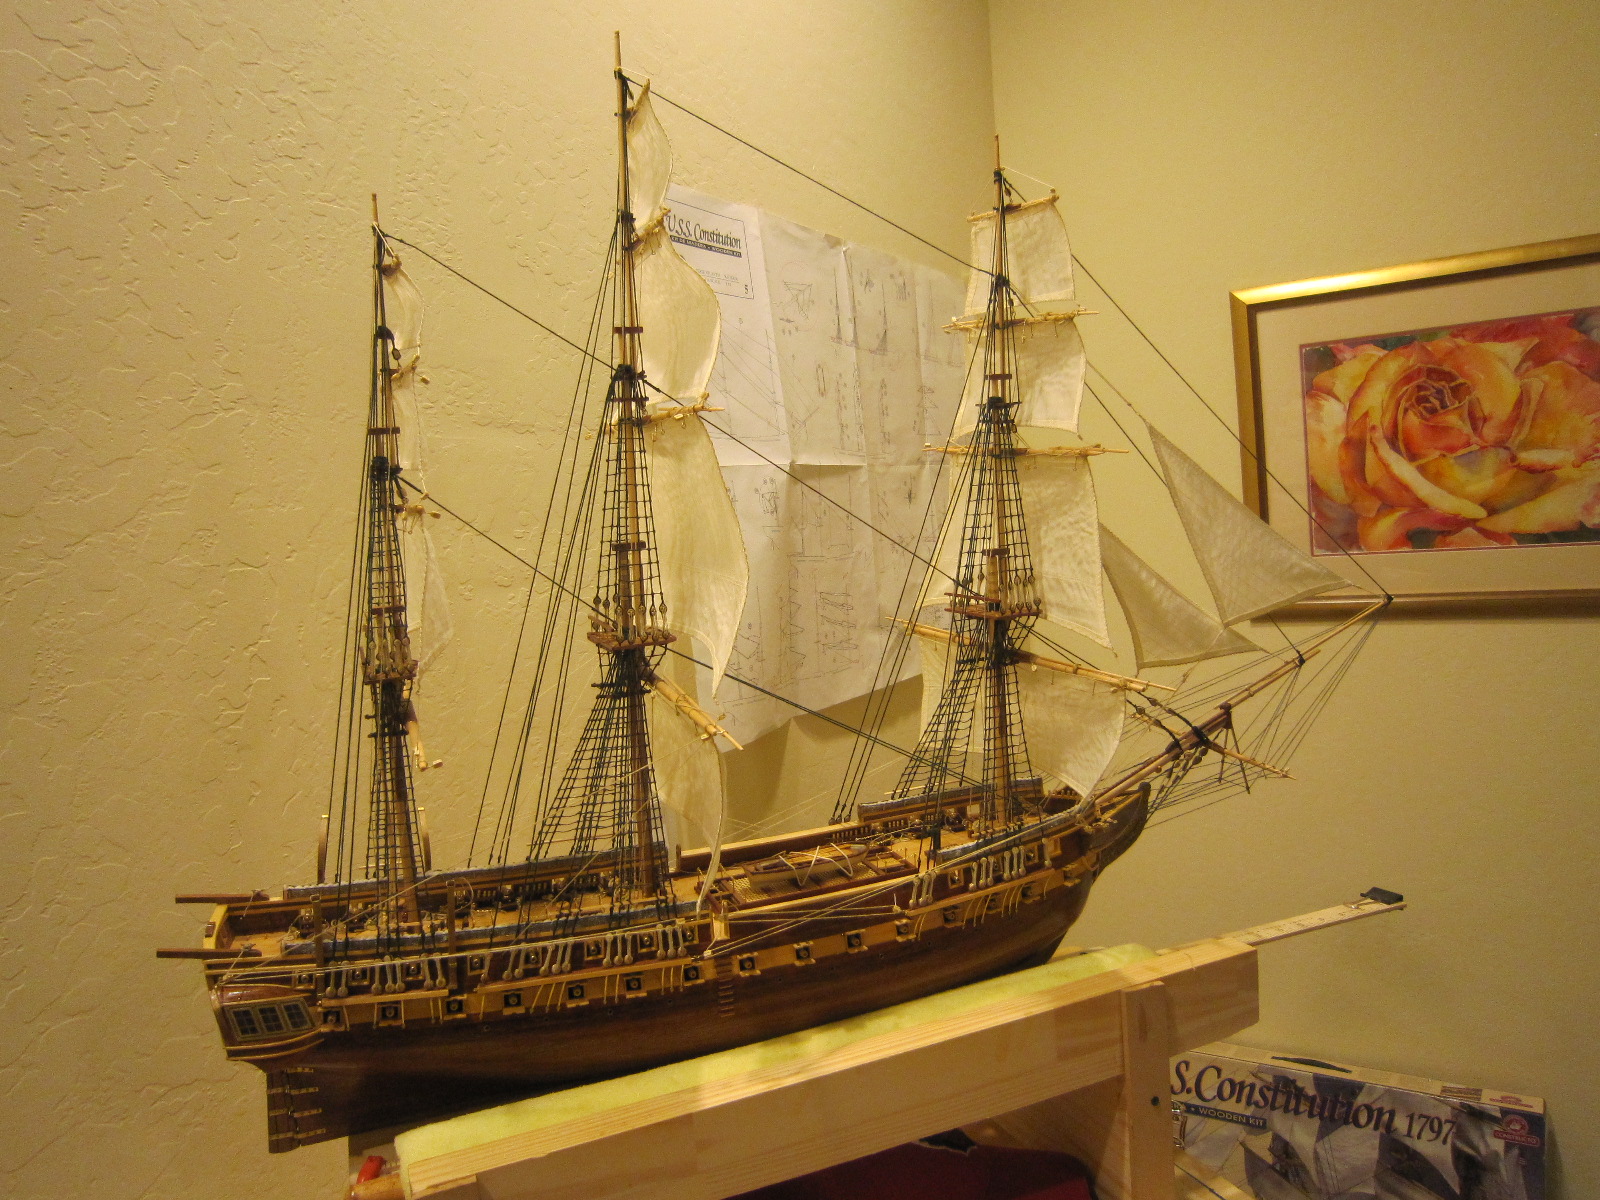
 Can you post the prints for the Connie's "spanker". Constructo's plans are very poor.
- 1,756 replies
-
- 1
-

-
- constitution
- constructo
- (and 1 more)
-
These photos finally do your ship justice! Great job. I'm glad I got to see it up close. Your work is excellent.
- 831 replies
-
- 1
-
-
- Armed Virginia Sloop
- Model Shipways
- (and 1 more)
-
Jibstays properly installed. Come on Constructo...get with the program
- 1,756 replies
-
- 9
-
-
- constitution
- constructo
- (and 1 more)
-
I've got the jibstays half done. I knocked my model crooked in its cradle so it looks like she's charging on a larboard tack.
- 1,756 replies
-
- 10
-
-
- constitution
- constructo
- (and 1 more)
-
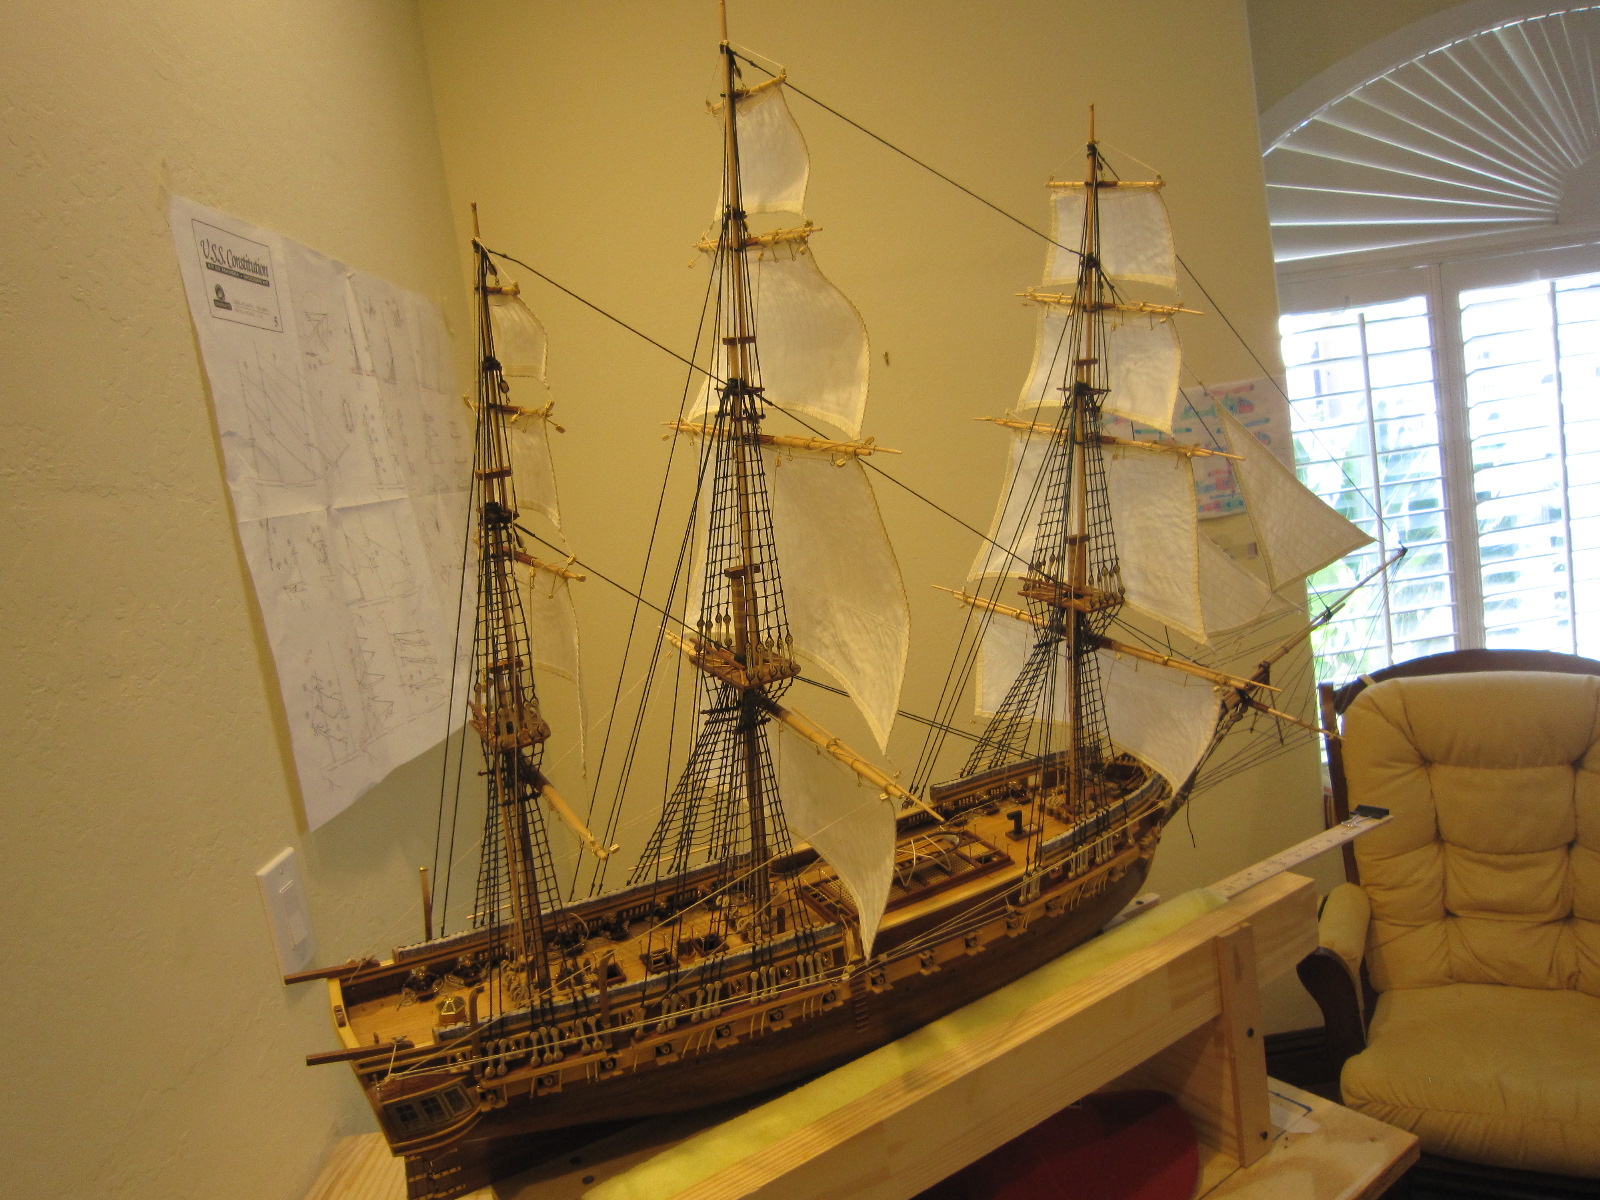
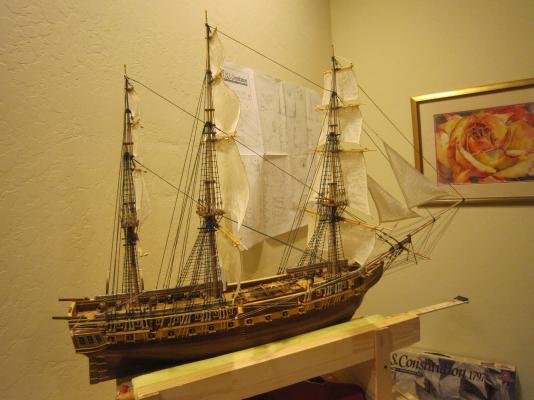
I'm stopping rigging the square sails while I rectify the Constructo omission of not telling me I needed jibstays. I should have known better since I sailed for several decades on modern fore & aft rigged boats. They all had jibstays. I placed a rubber absorbent mat under my work area to "catch" fallen tiny hanks. I dropped most of them and it caught all but one. Goodness knows where all these little dropped parts disappear to. Now that the brass hanks are on the jibs...I shall attempt to install jibstays.
- 1,756 replies
-
- 10
-
-
- constitution
- constructo
- (and 1 more)
-
These are great plans...I shall refer to them the rest of the rigging progress. Thanks
- 1,756 replies
-
- 1
-
-
- constitution
- constructo
- (and 1 more)
-
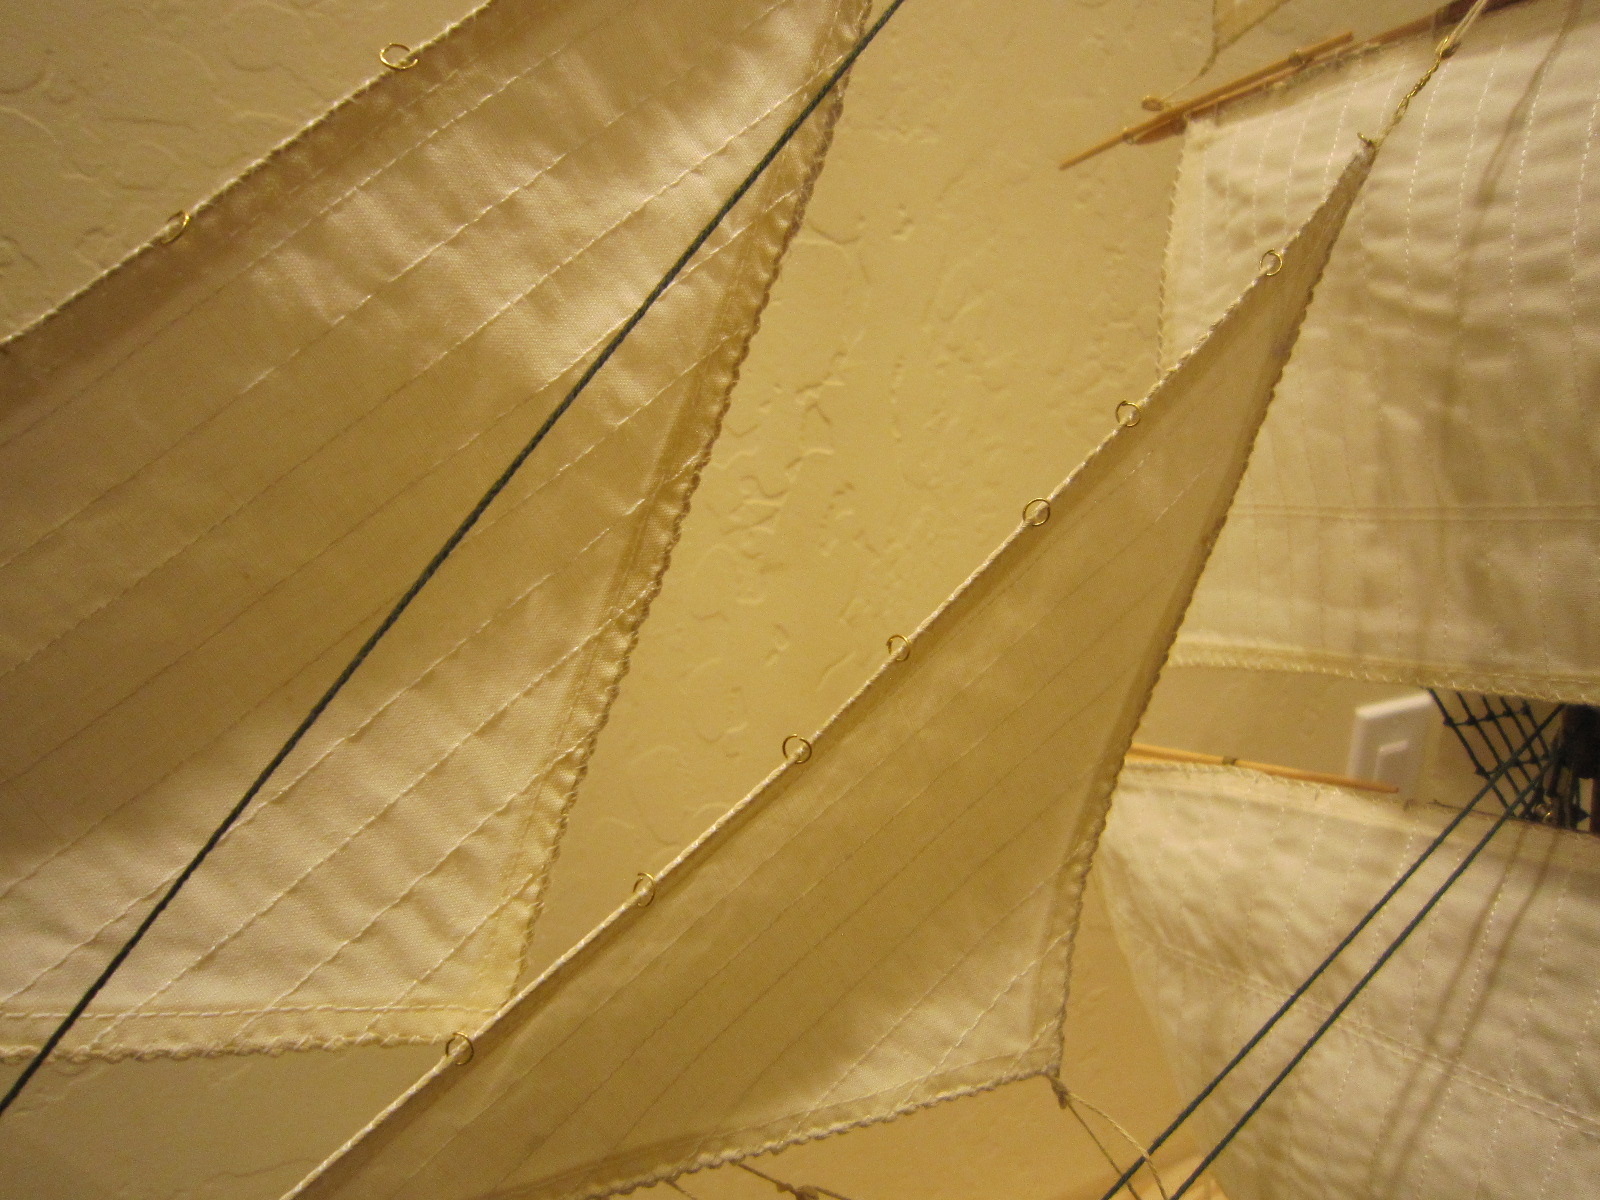
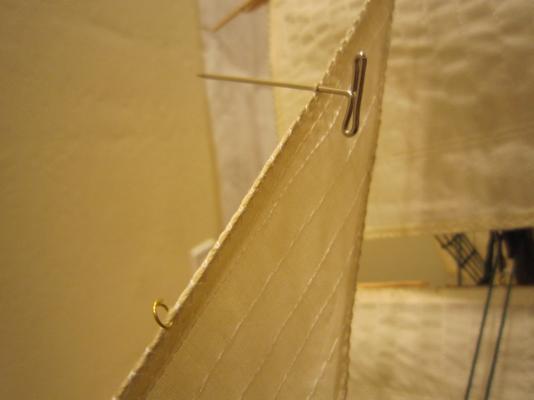
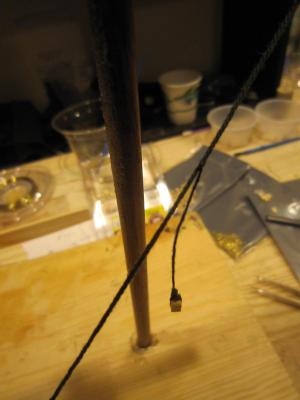
Here I'm practicing making a splice to a stay. The rigging plan calls for most braces to be rigged with a block and a line spliced to a shroud.
- 1,756 replies
-
- 5
-
-
- constitution
- constructo
- (and 1 more)
-
That's what I figured. I wonder why Constructo eliminated the jib stays? I'll probably retrofit jib stays once I can figure out how to do it easily.
- 1,756 replies
-
- 2
-
-
- constitution
- constructo
- (and 1 more)
-
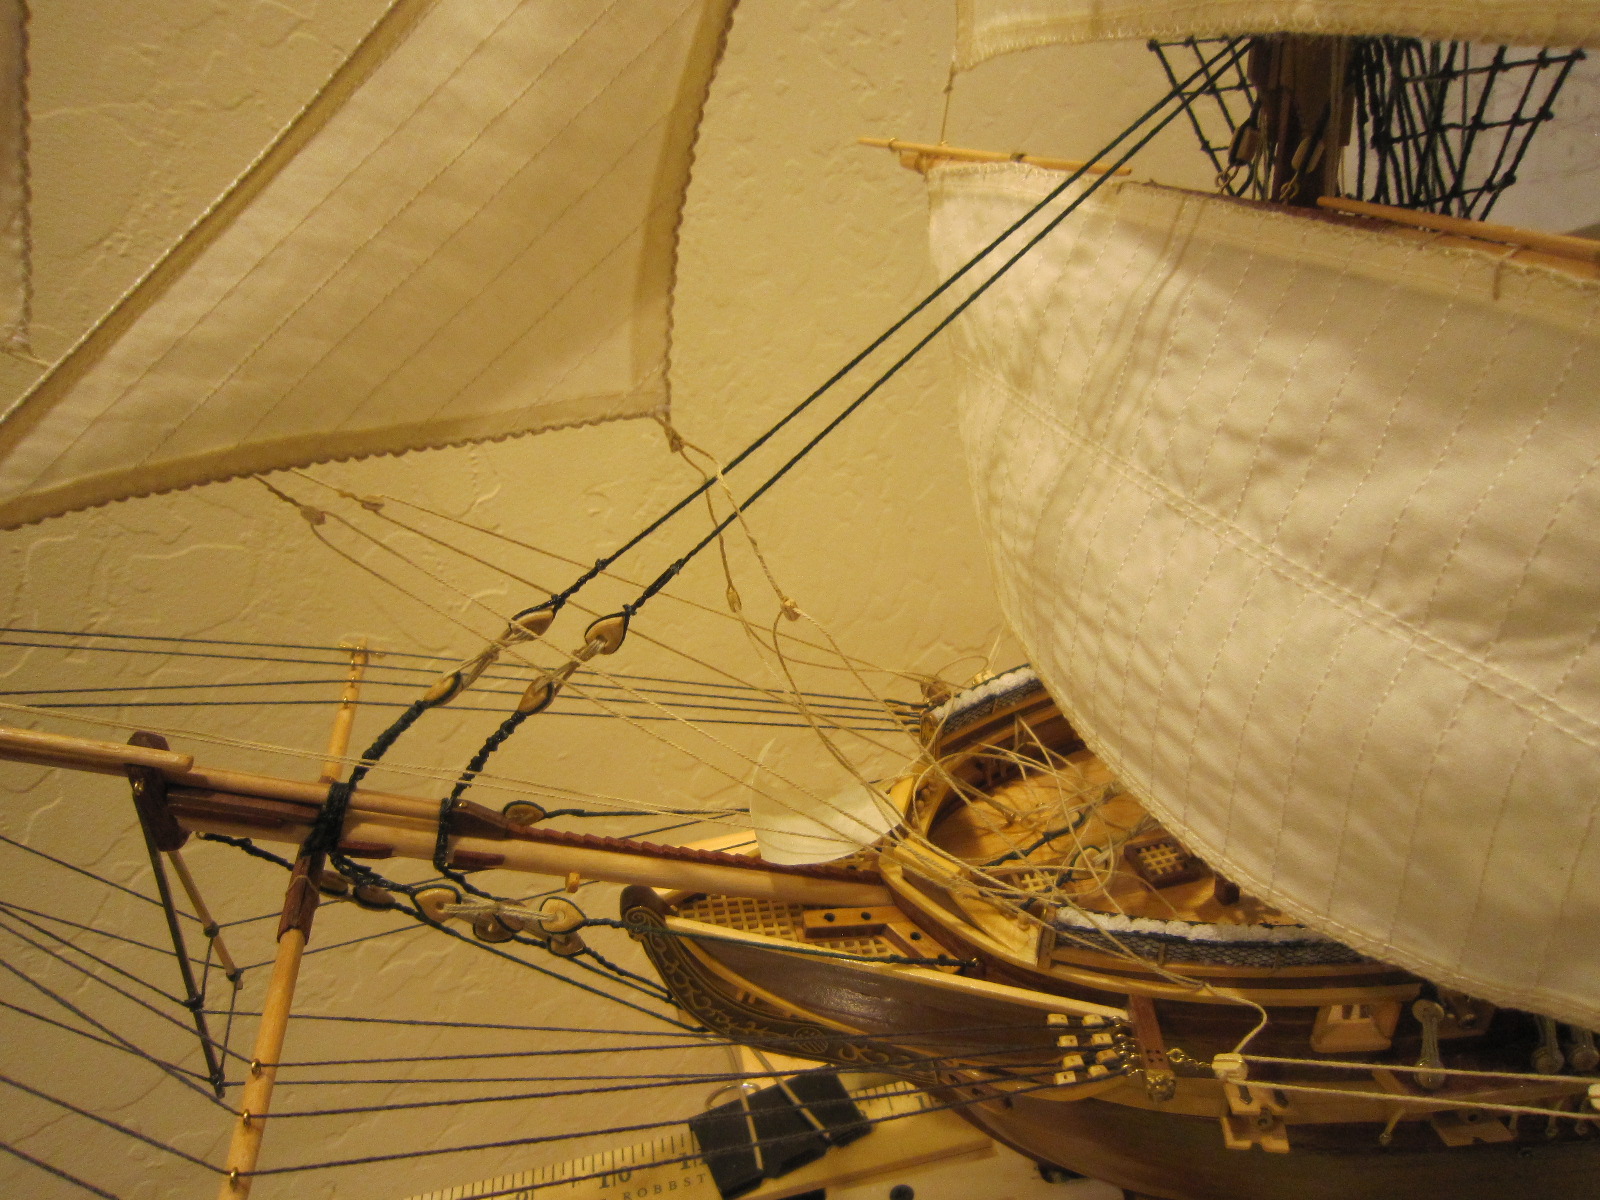
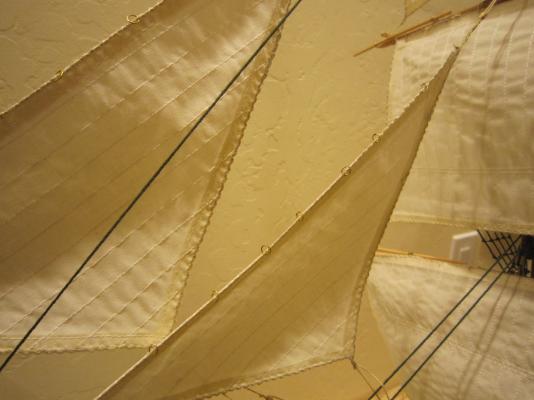
Now that I've rigged the two foresails (jibs) according to Constructo's plans....I'm puzzled why they hang like staysails instead of being run up and down on jib stays? How are the actual jibs on the real Constitution set?
-
Jack, Frank, Geoff and all of you....thanks for the support & help.
- 1,756 replies
-
- 2
-
-
- constitution
- constructo
- (and 1 more)
-
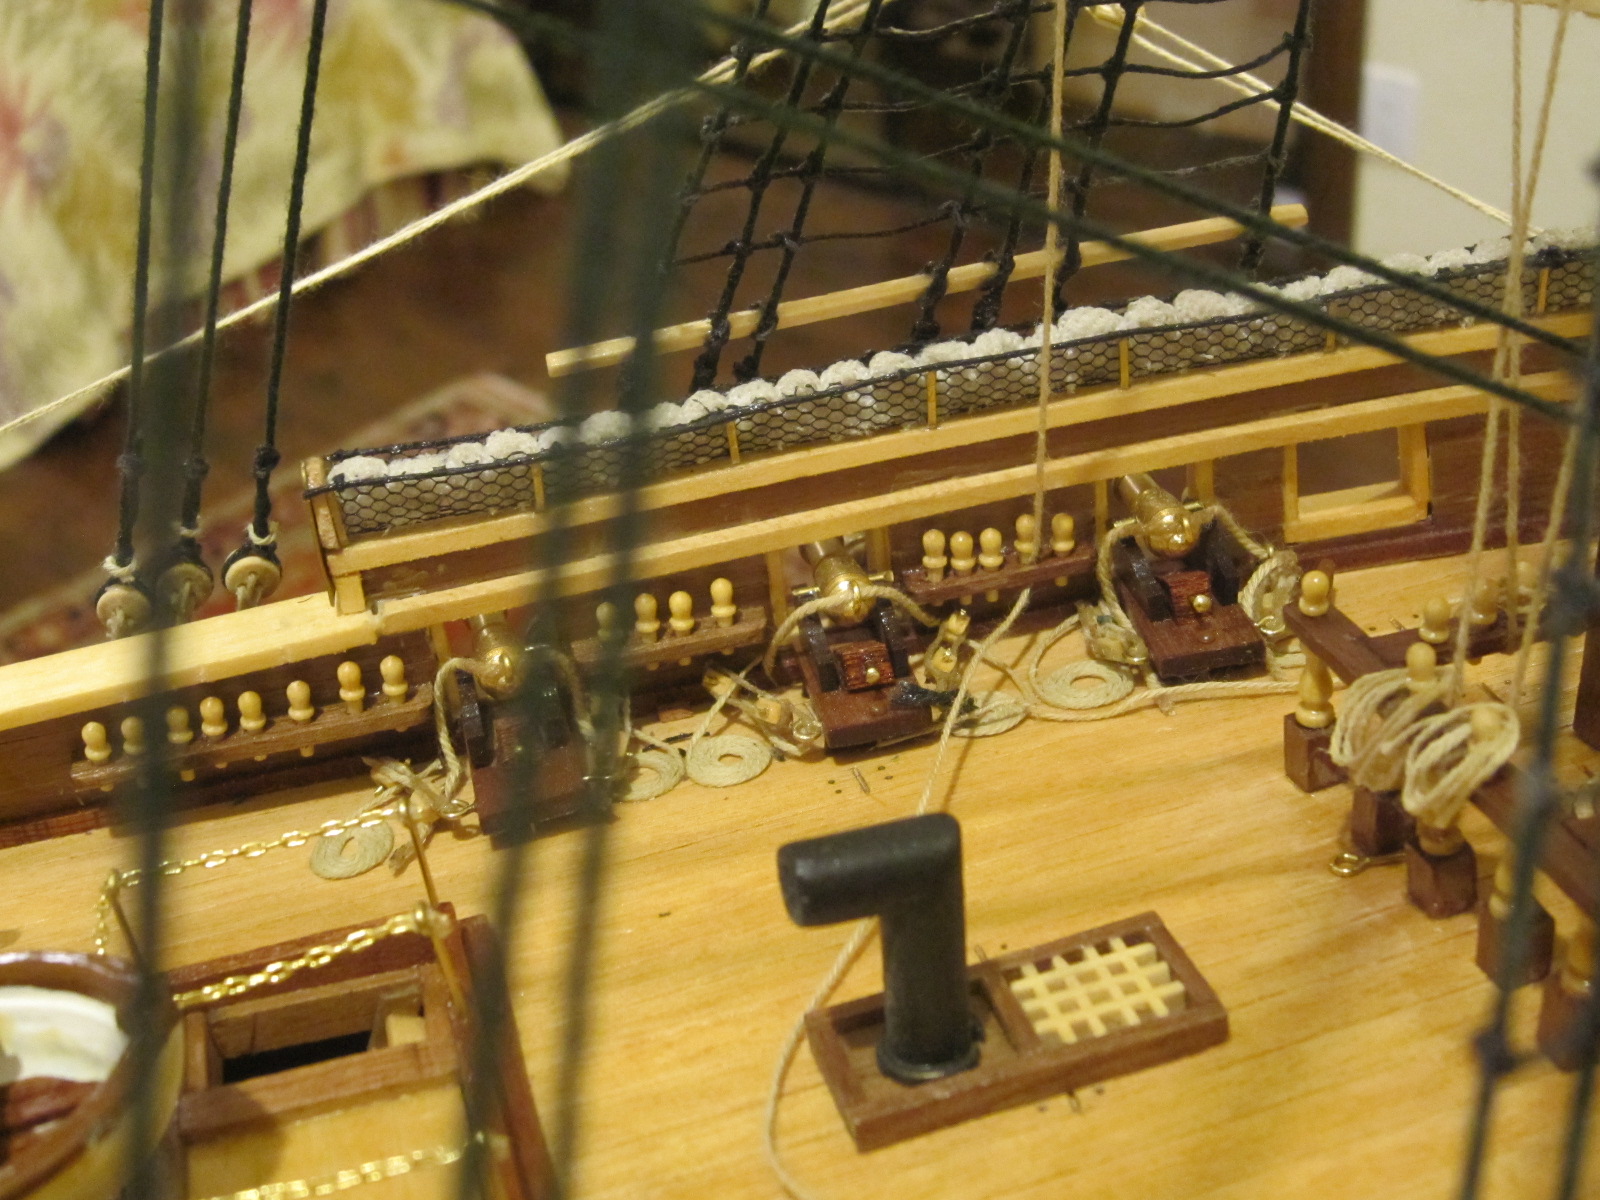
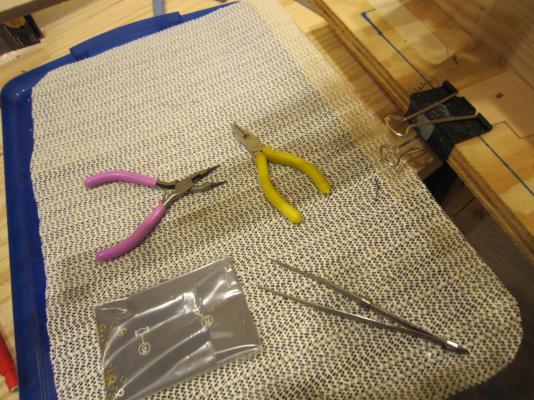
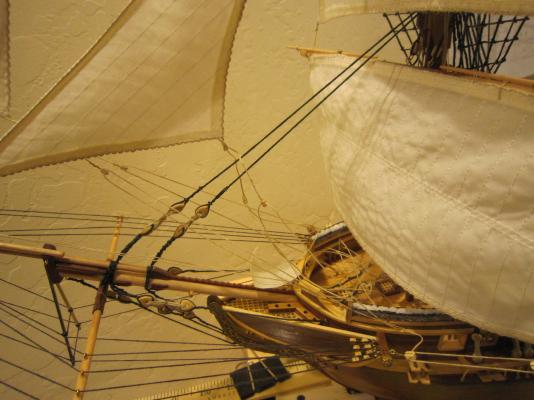
Slow and not very sure rigging progress. I now have to buy some very long tweezers and sissors since it's getting very hard to reach into the inner recesses to attach lines to belaying pins. I have drilled some sheaves to run lines through the gunwales.
- 1,756 replies
-
- 8
-
-
- constitution
- constructo
- (and 1 more)
-
The actual ship used for the movie is in San Diego. It looks a lot like the Connie.
- 1,756 replies
-
- 2
-
-
- constitution
- constructo
- (and 1 more)
-
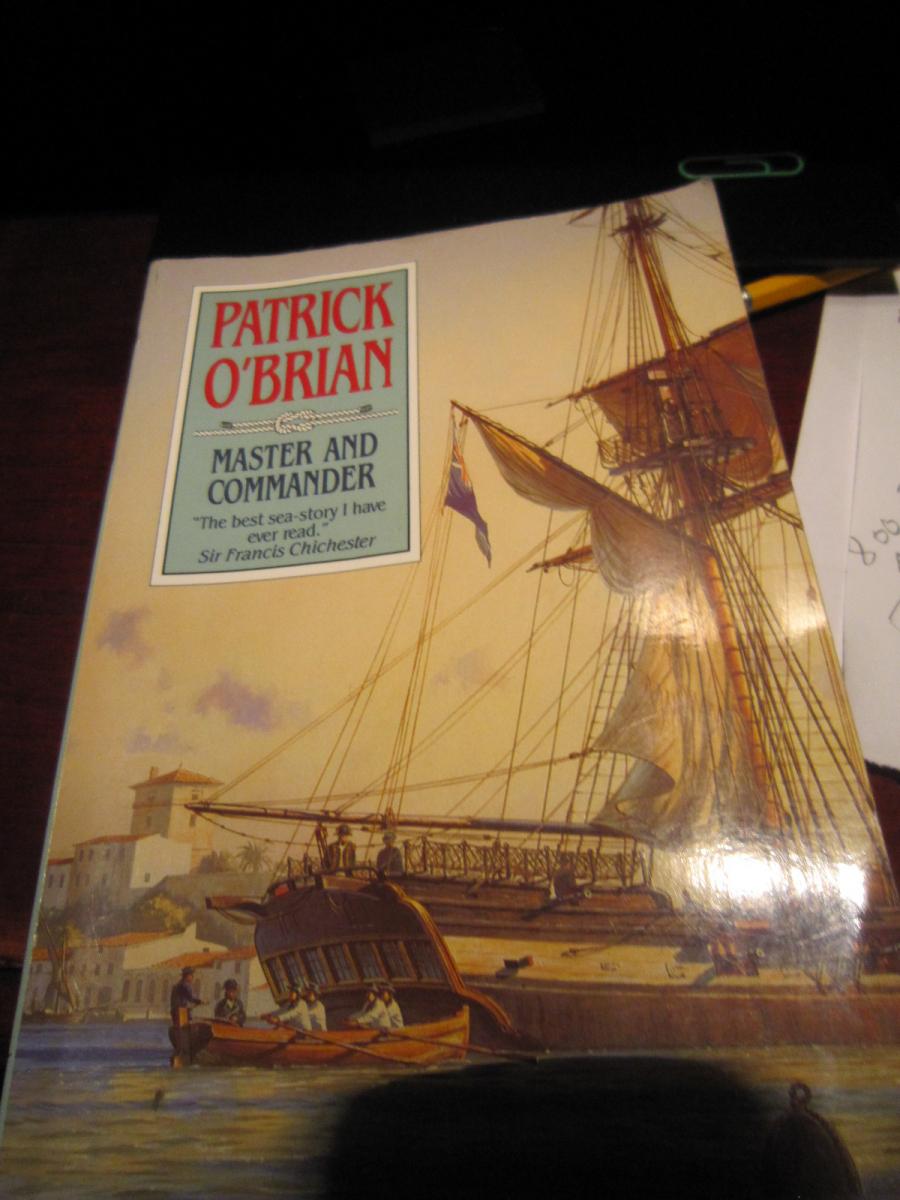
If you want great reading about the ships we build, check out Patrick O'Brian's Master and Commander. It was very good. Now, I'm on his second book.

- 1,756 replies
-
- 4
-
-
- constitution
- constructo
- (and 1 more)
-
I took Bill up on his idea to just remove a belaying pin and run the line through the hole then re-insert the pin. It works great!

- 1,756 replies
-
- 6
-
-
- constitution
- constructo
- (and 1 more)
-
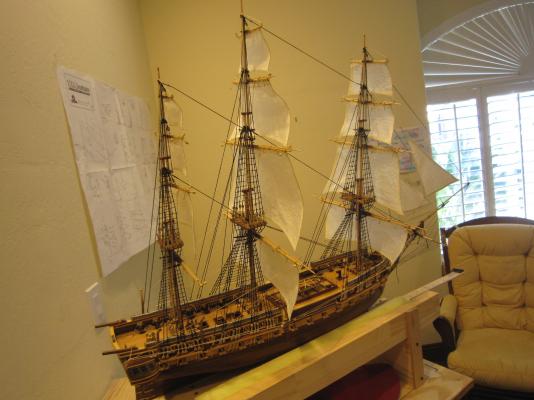
Well my rigging is progressing very slowly while I learn "the ropes". However, since all my rigging works...that is, all the rigging can be adjusted, I don't want to tie anything down until it's all rigged. What to do with the "rats nest" I've created?
- 1,756 replies
-
- 5
-
-
- constitution
- constructo
- (and 1 more)
-
Now you all see why my rigging has slowed down.....I must figure out how these square riggers sailed. I'm reading all the Patrick O'Brian books starting with Master and Commander to help me, as well as all of you. Thanks!
- 1,756 replies
-
- 1
-
-
- constitution
- constructo
- (and 1 more)
-
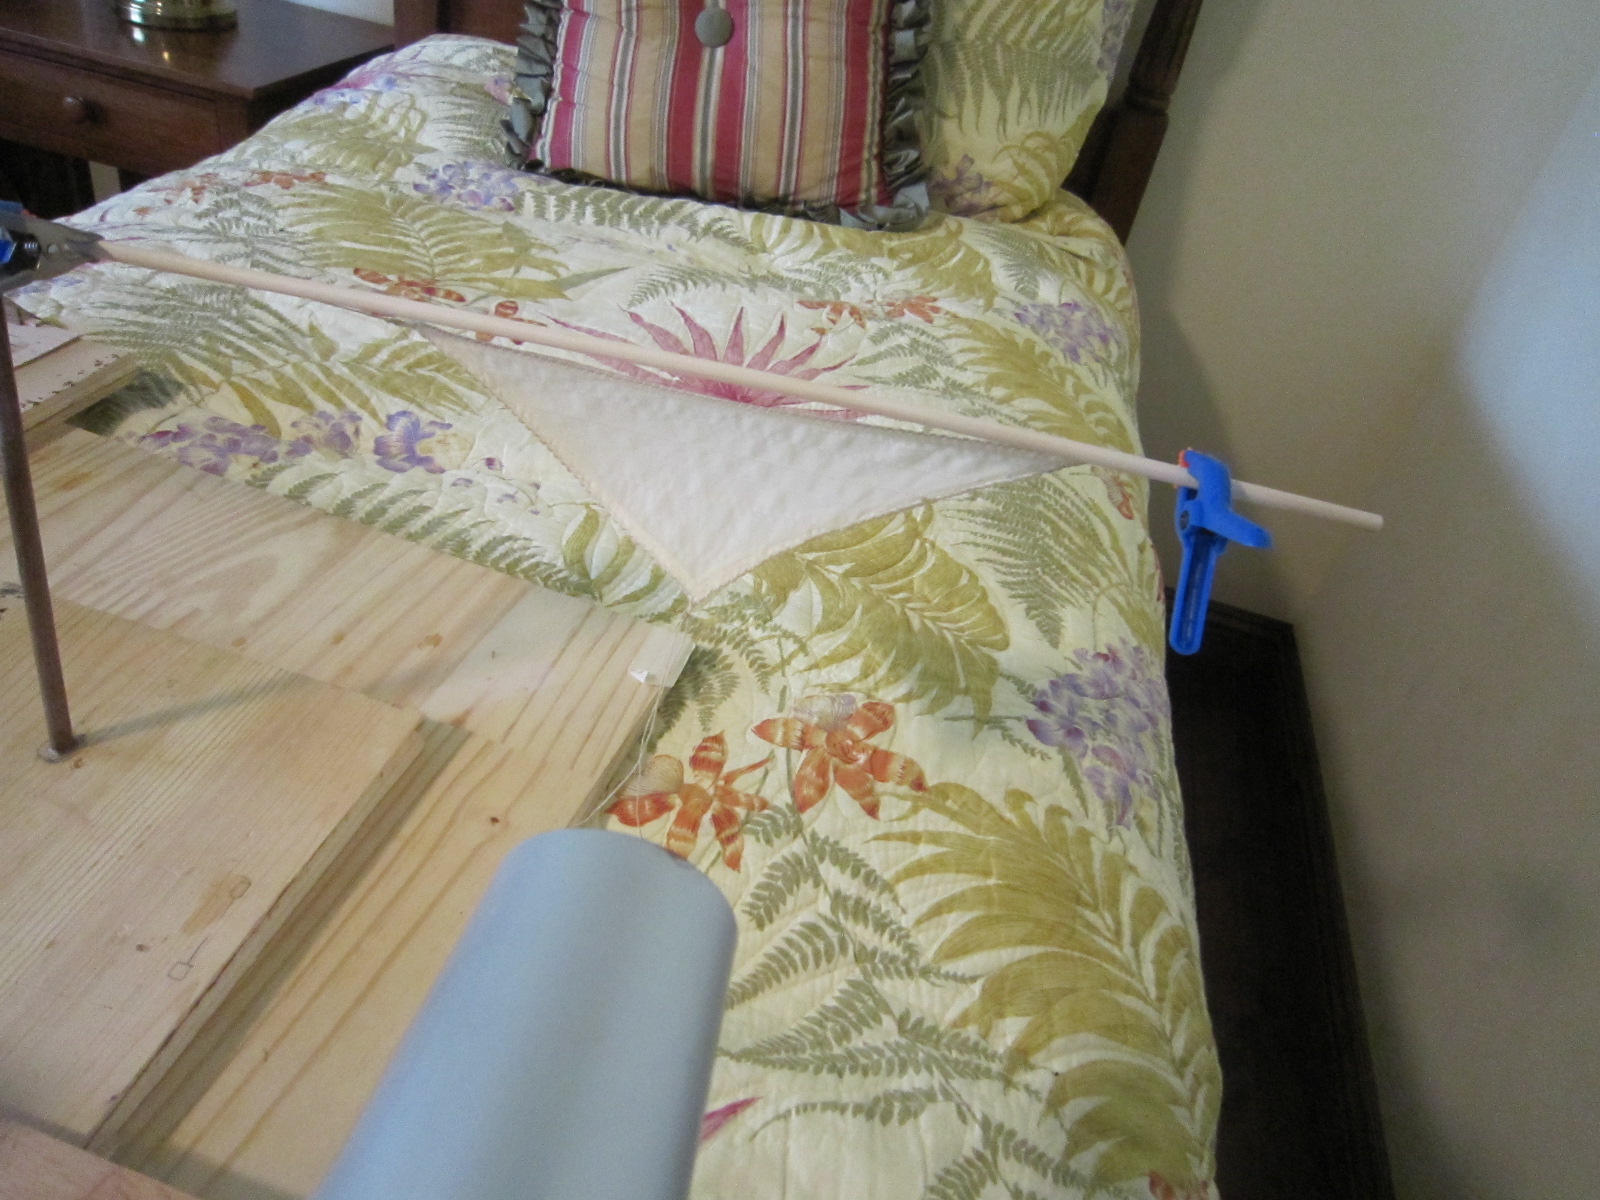
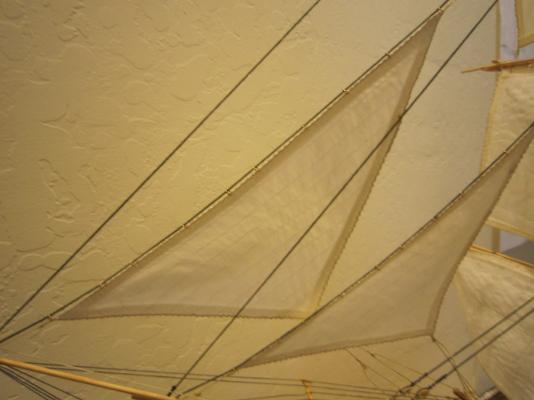
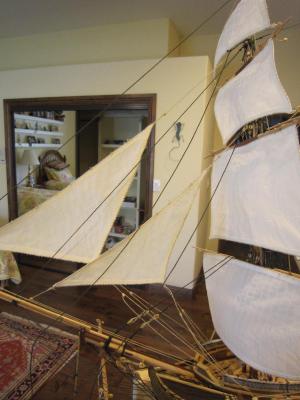
Here I'm putting some wind in a jib. Rigging the jibs makes easy sense to me. The rest of the rigging still remains a mystery.

- 1,756 replies
-
- 2
-
-
- constitution
- constructo
- (and 1 more)
-
Progress is going to be very, very slow while I figure our exactly how to rig all these lines. I really need to see a picture of how a block is attached to a shroud so the line doesn't hang on the hammock nets. Drilling holes is difficult for me to bring myself to do, but I probably will create sheaves.
- 1,756 replies
-
- 1
-
-
- constitution
- constructo
- (and 1 more)
-
Thank you all for this amazing help.
-
Thirteen pictures are worth a thousand words....thank you so much!
- 1,756 replies
-
- 1
-
-
- constitution
- constructo
- (and 1 more)
-
Thanks George and Augie. I'd love to see a picture.