KJackson
-
Posts
66 -
Joined
-
Last visited
Content Type
Profiles
Forums
Gallery
Events
Everything posted by KJackson
-
 It's lovely when the calculations add up! Always good when multiple people converge on a single number.
 -
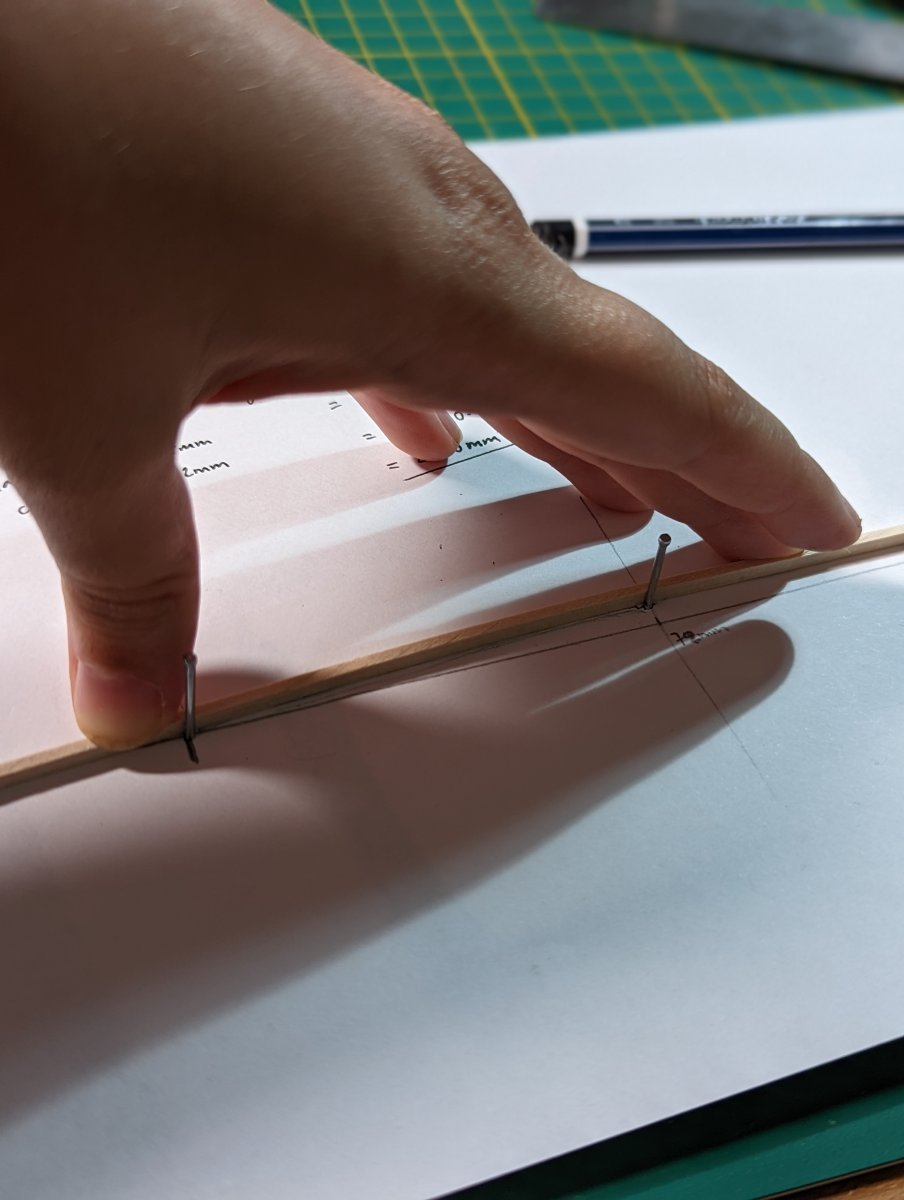
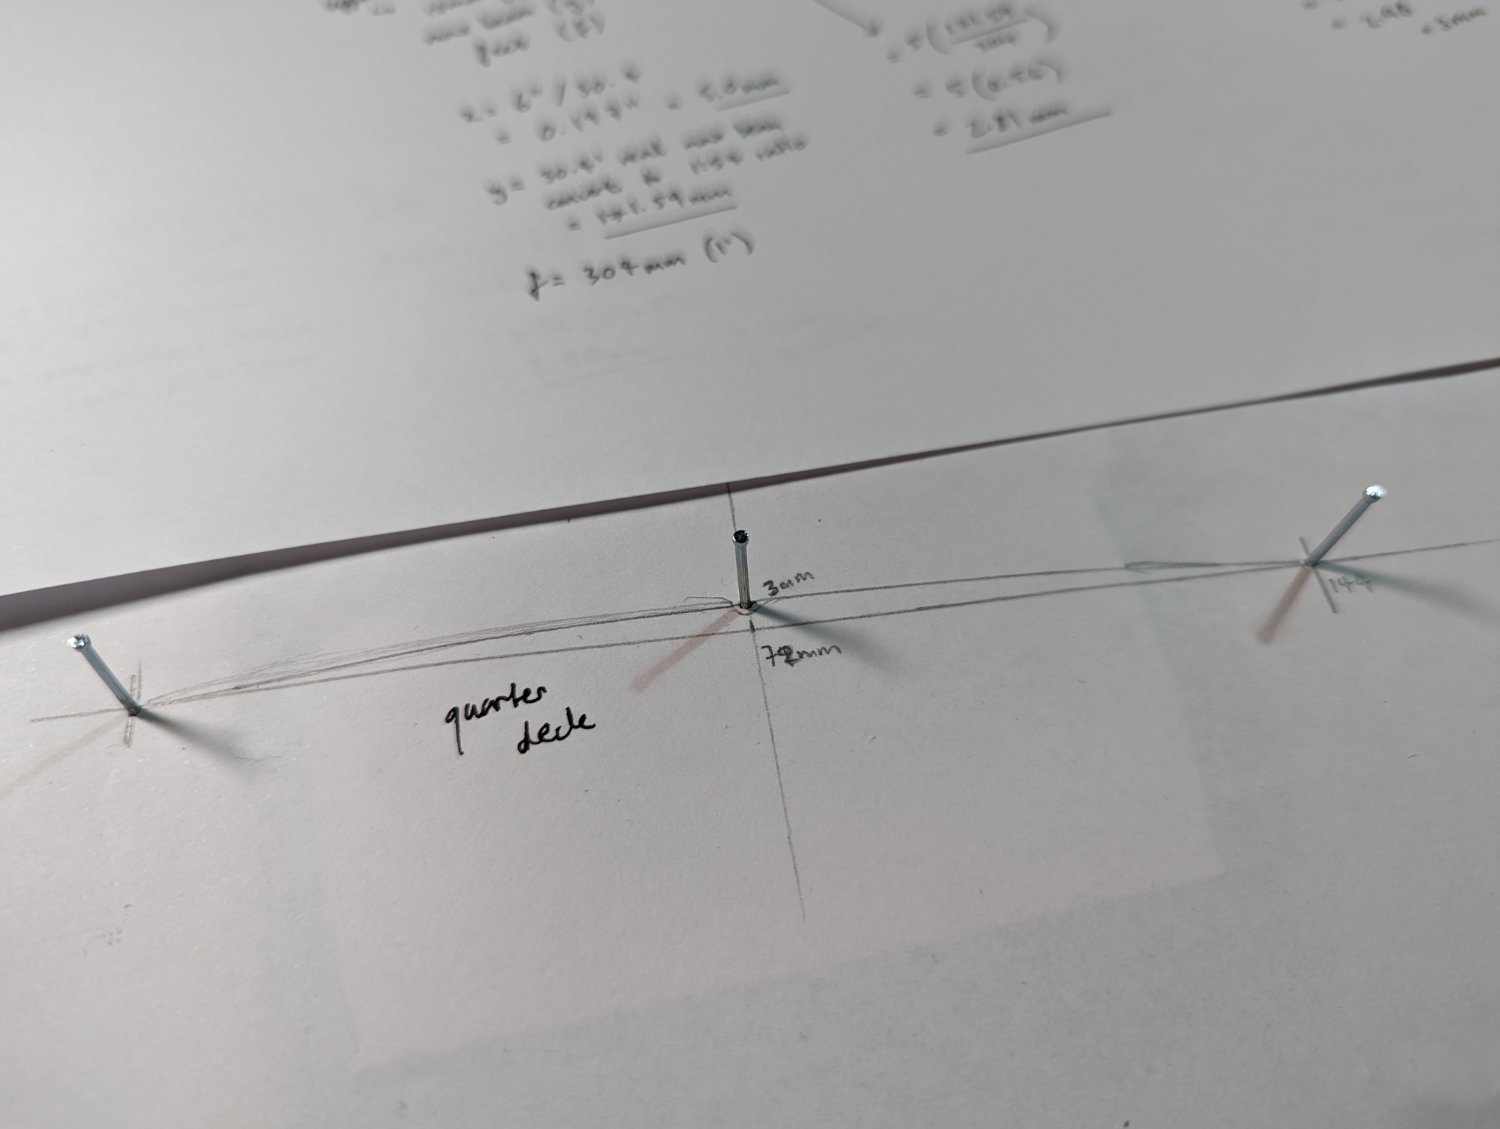
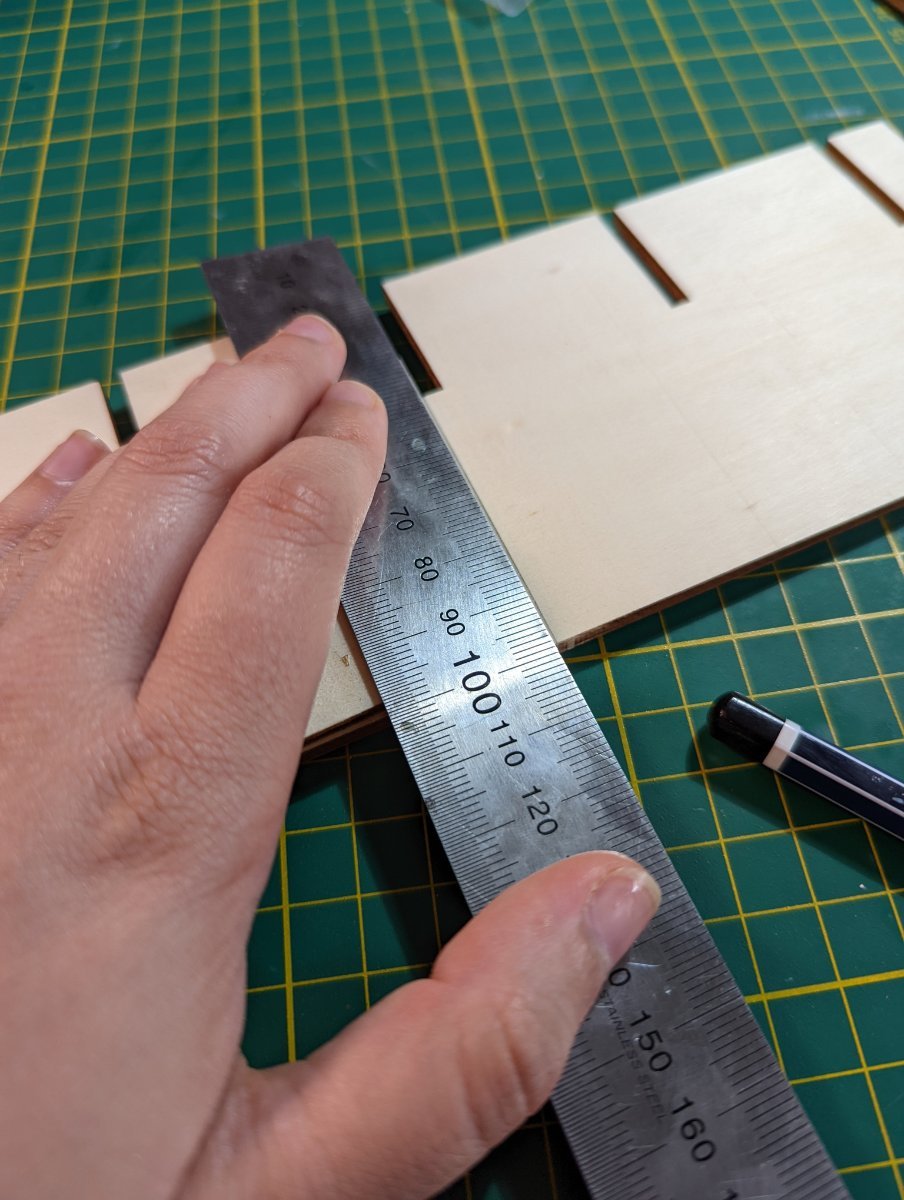
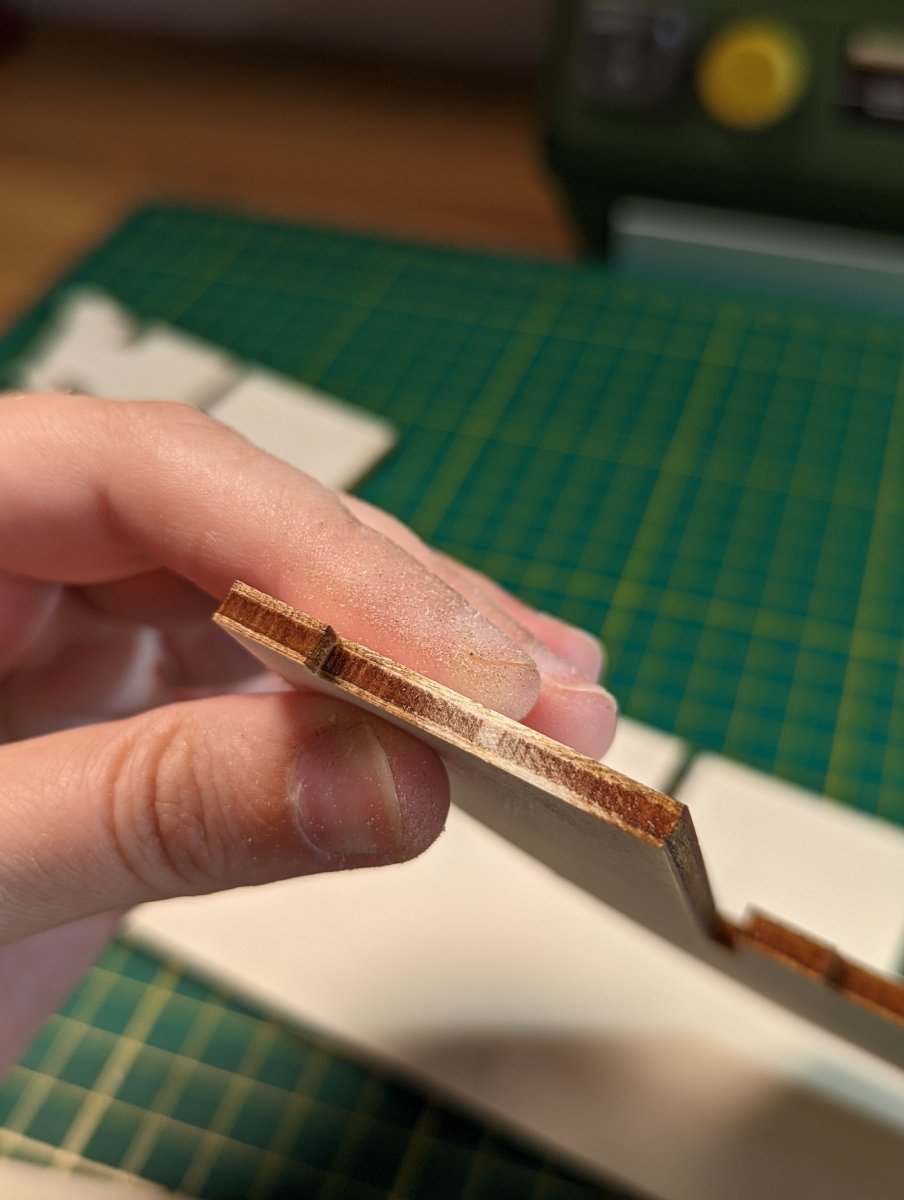
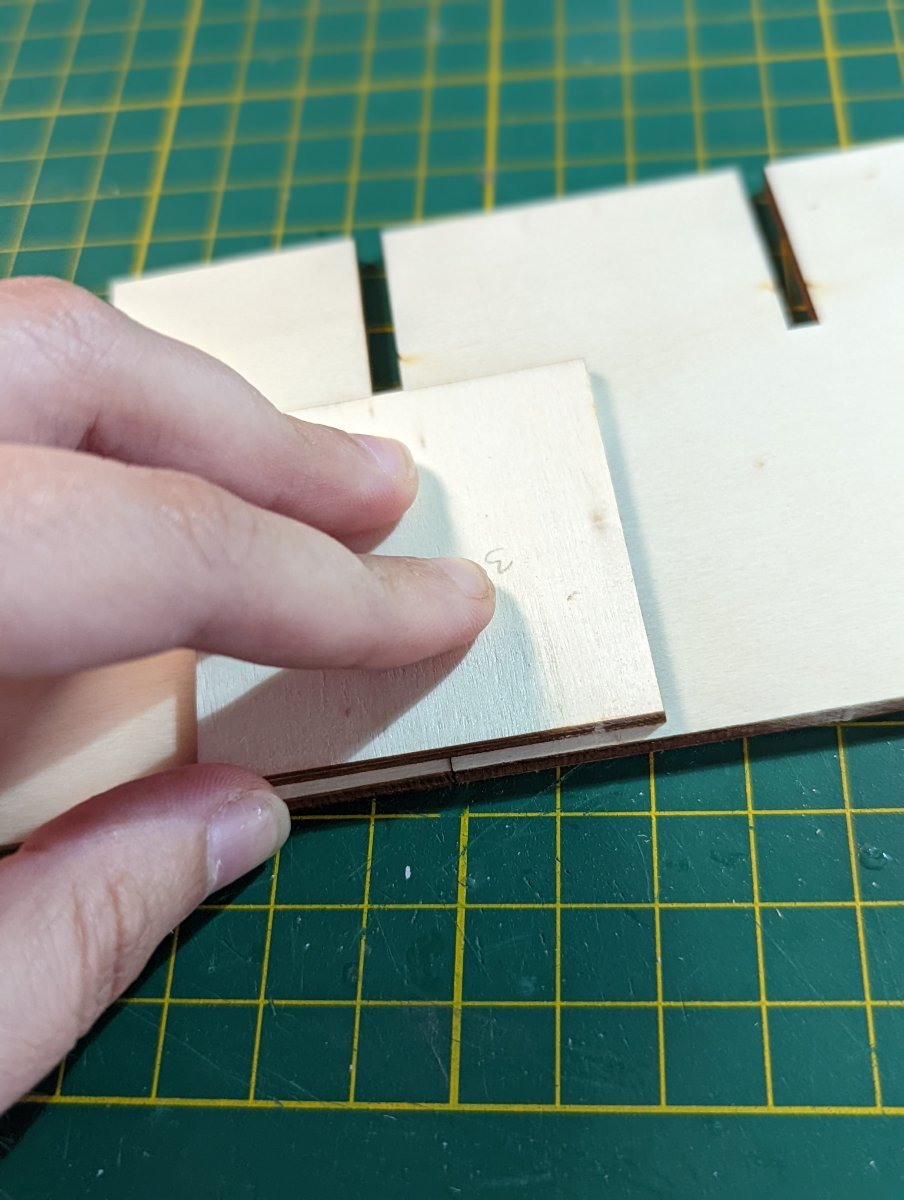
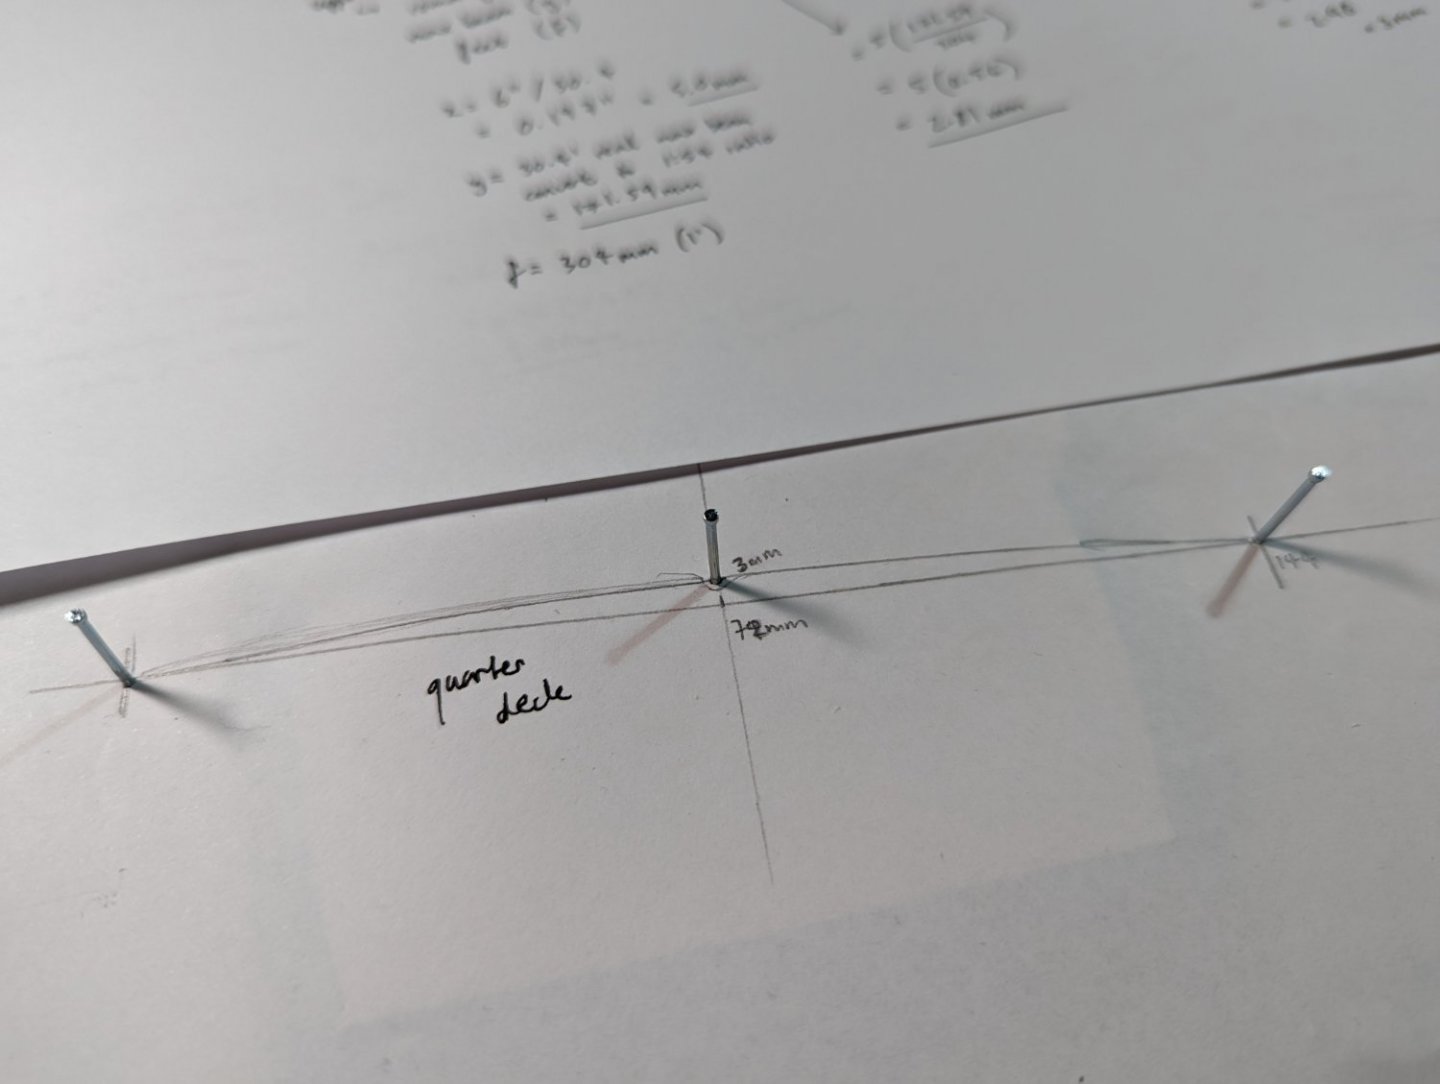
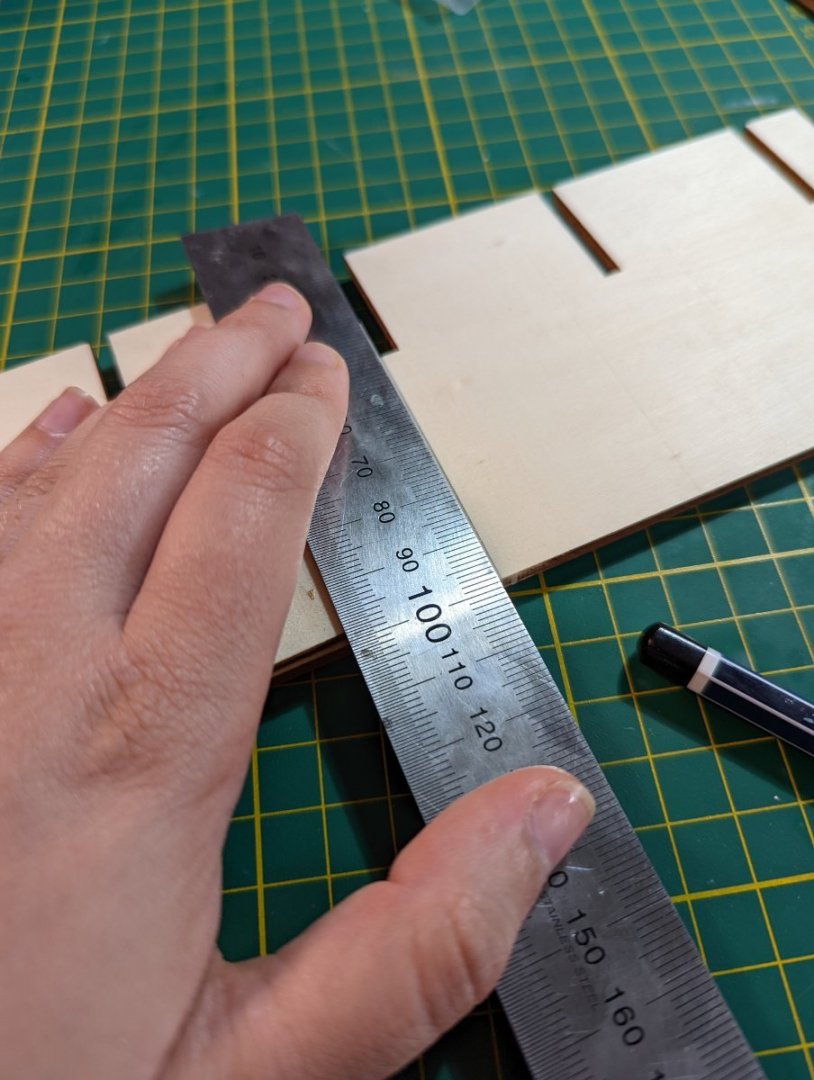
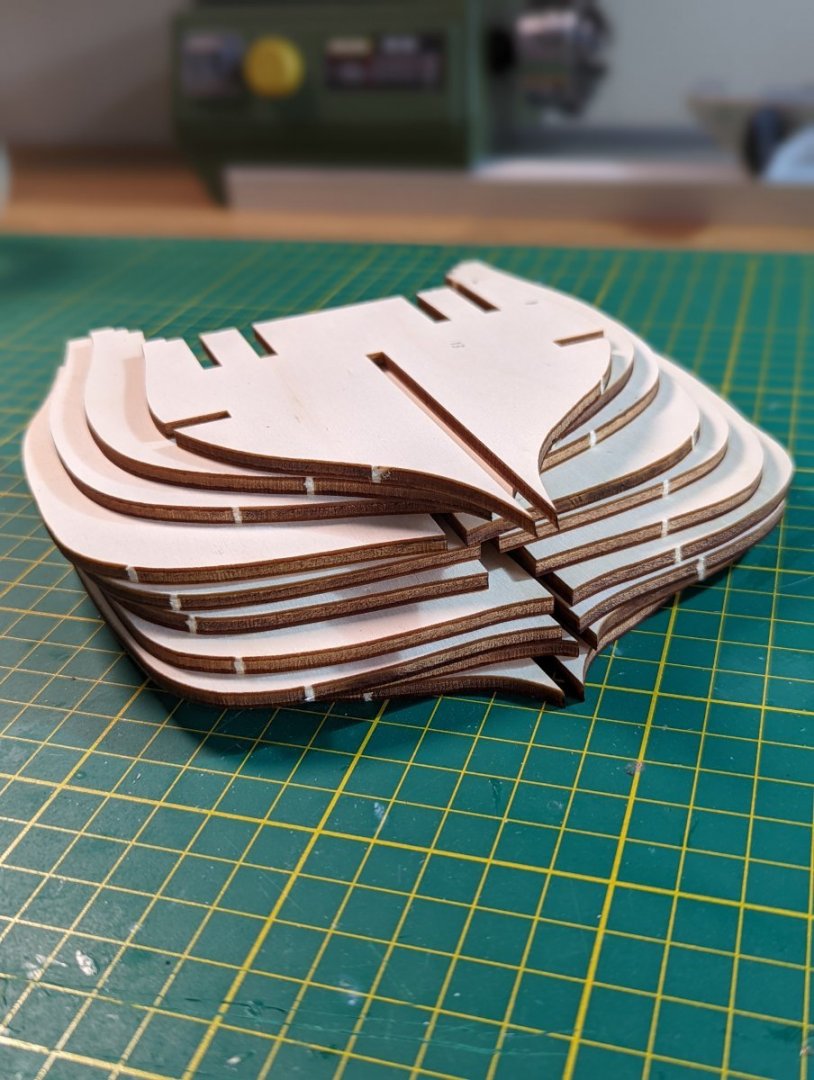
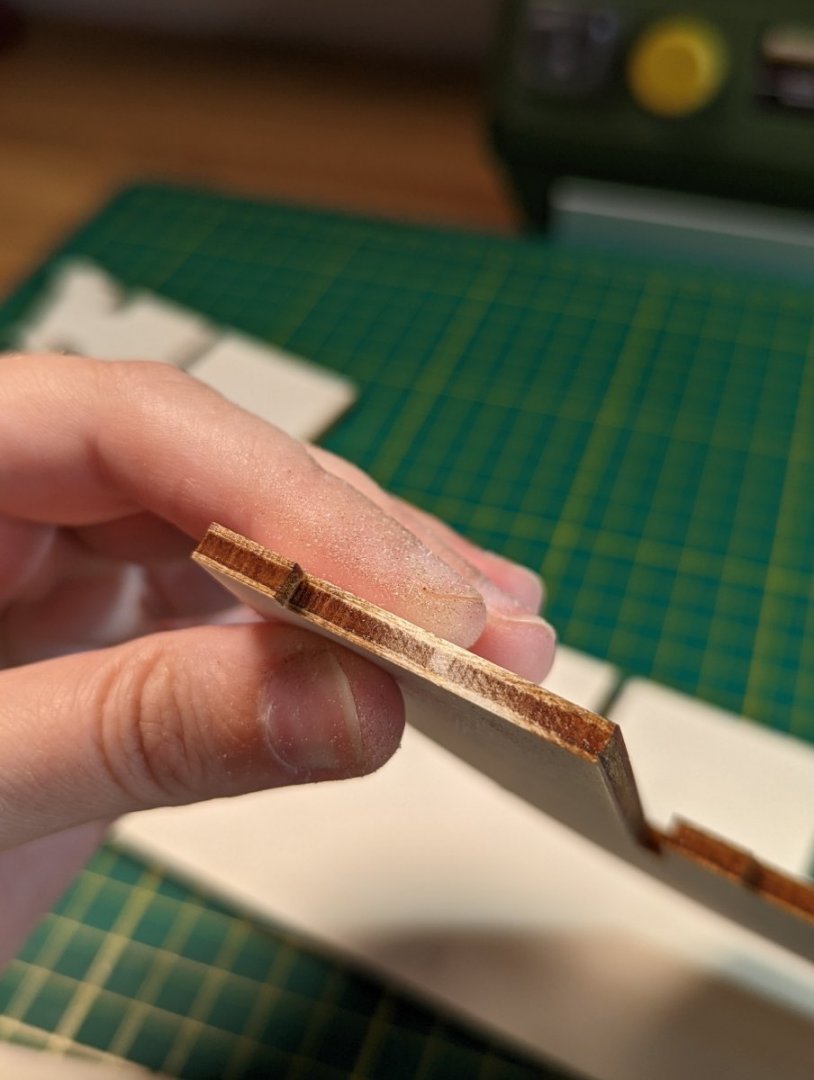
Thanks for these figures, Allan - I had started research and stumbled upon (across multiple sources, including the NRJ) the rule of thumb as the round camber (X) in inches for every foot of the ship's maximum beam. So I ran some calculations (converting to my scale and mm) as such... The formula = camber (max beam / foot) = x(y/f) HM Bark Endeavour maximum beam (y) = 30.4' = 171.59mm at my 1:54 ratio 1 foot (f)= 304mm Quarter deck camber = 6.5" / max beam (y) = 6.5 / 30.4 = 0.21" X = 5.33 mm Therefore X(y/f) =5.33(171.59/304) =5.33(0.56) =2.98 mm, or 3mm Upper and forecastle deck camber = 6 " / max beam (y) = 6 / 30.4 = 0.197" X = 5.0 mm Therefore X(y/f) = 5(171.59/304) =5(0.56) =2.81 mm So, the camber for the upper and forecastle decks is 2.8mm and for the quarter deck 3mm. I then drew the max beam, cutting it a touch to reflect the distance from deck to deck rather than max beam (to 144mm), and cut it in half to 72mm. I then created a temporary jig to hold both ends and measure cambers for 3mm (quarter deck) and 2.8mm (upper and forecastle decks) respectively. To get the curve, I used a flexible piece of scrap wood between the three points. And I now have two templates for the different cambers! When the time comes I'll sand down pieces of wood as required to fit these templates.

-
Thank you, shipaholic - great point and I'll make note as I move into decking. On inspection of the following section in the instructions and related componentry, none of the decks appear to have camber. While the lower deck is no worry as it won't be especially visible, I'll need to add camber following shipaholic's suggestion to all other decks. I'm going to do some digging to see if I can't find out what camber variations there may have been for the Endeavour (or equivalent ships of this period) between these decks. A rabbit hole to scurry down!
-
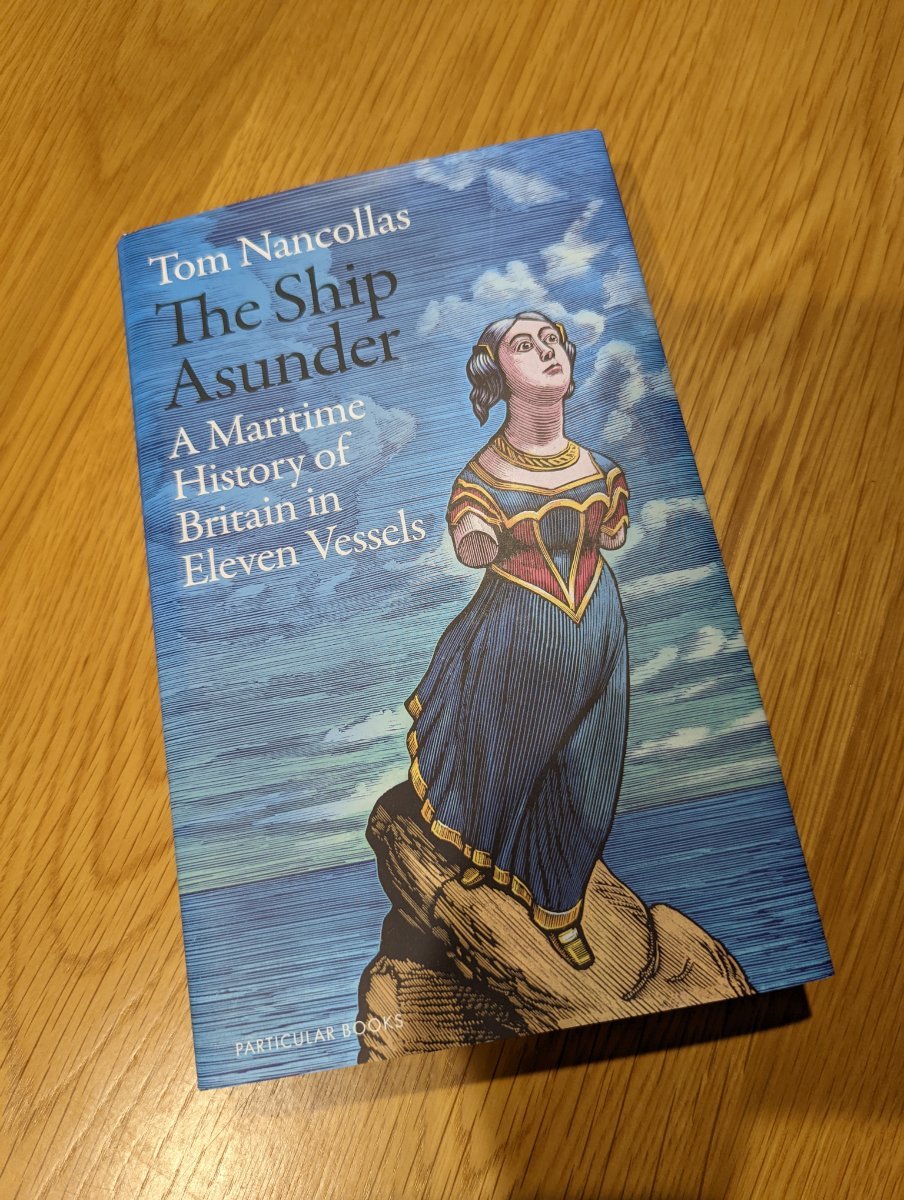
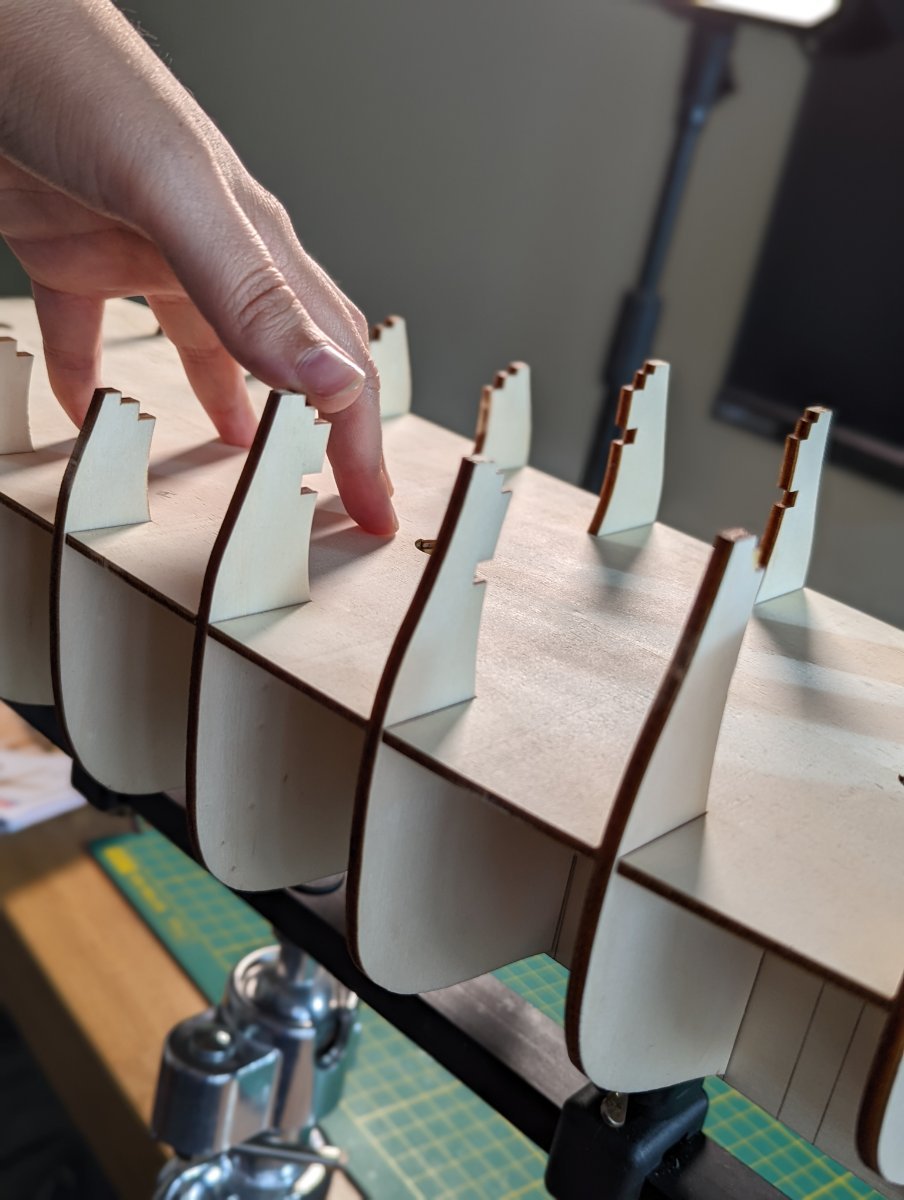
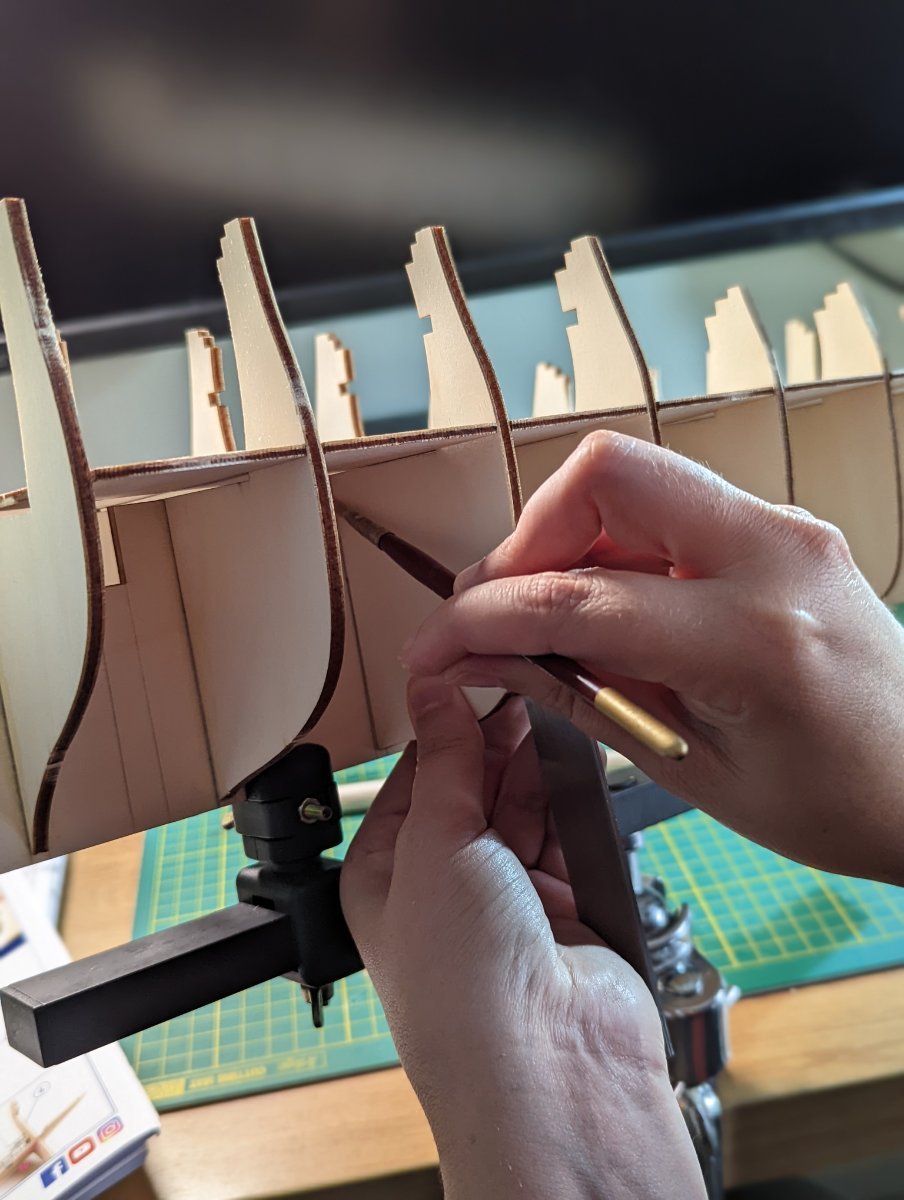
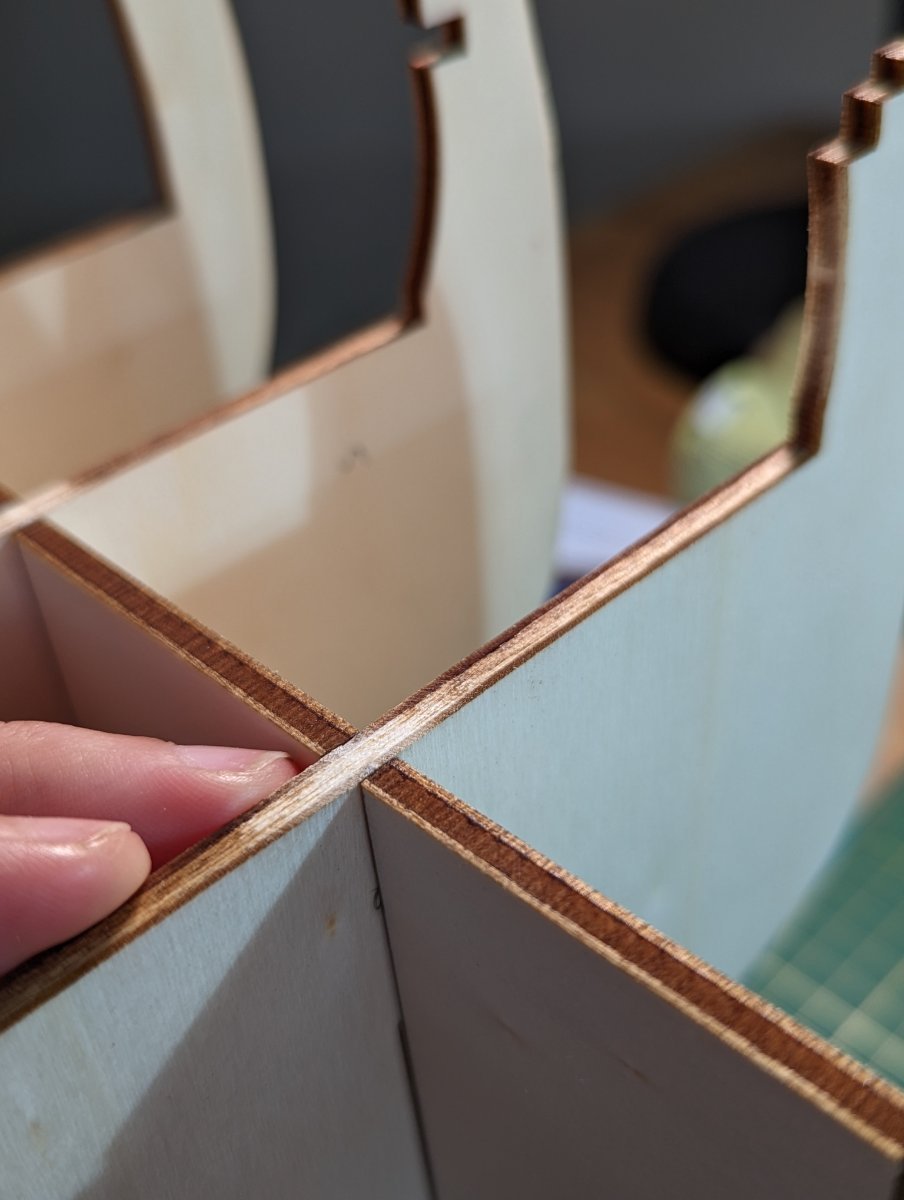
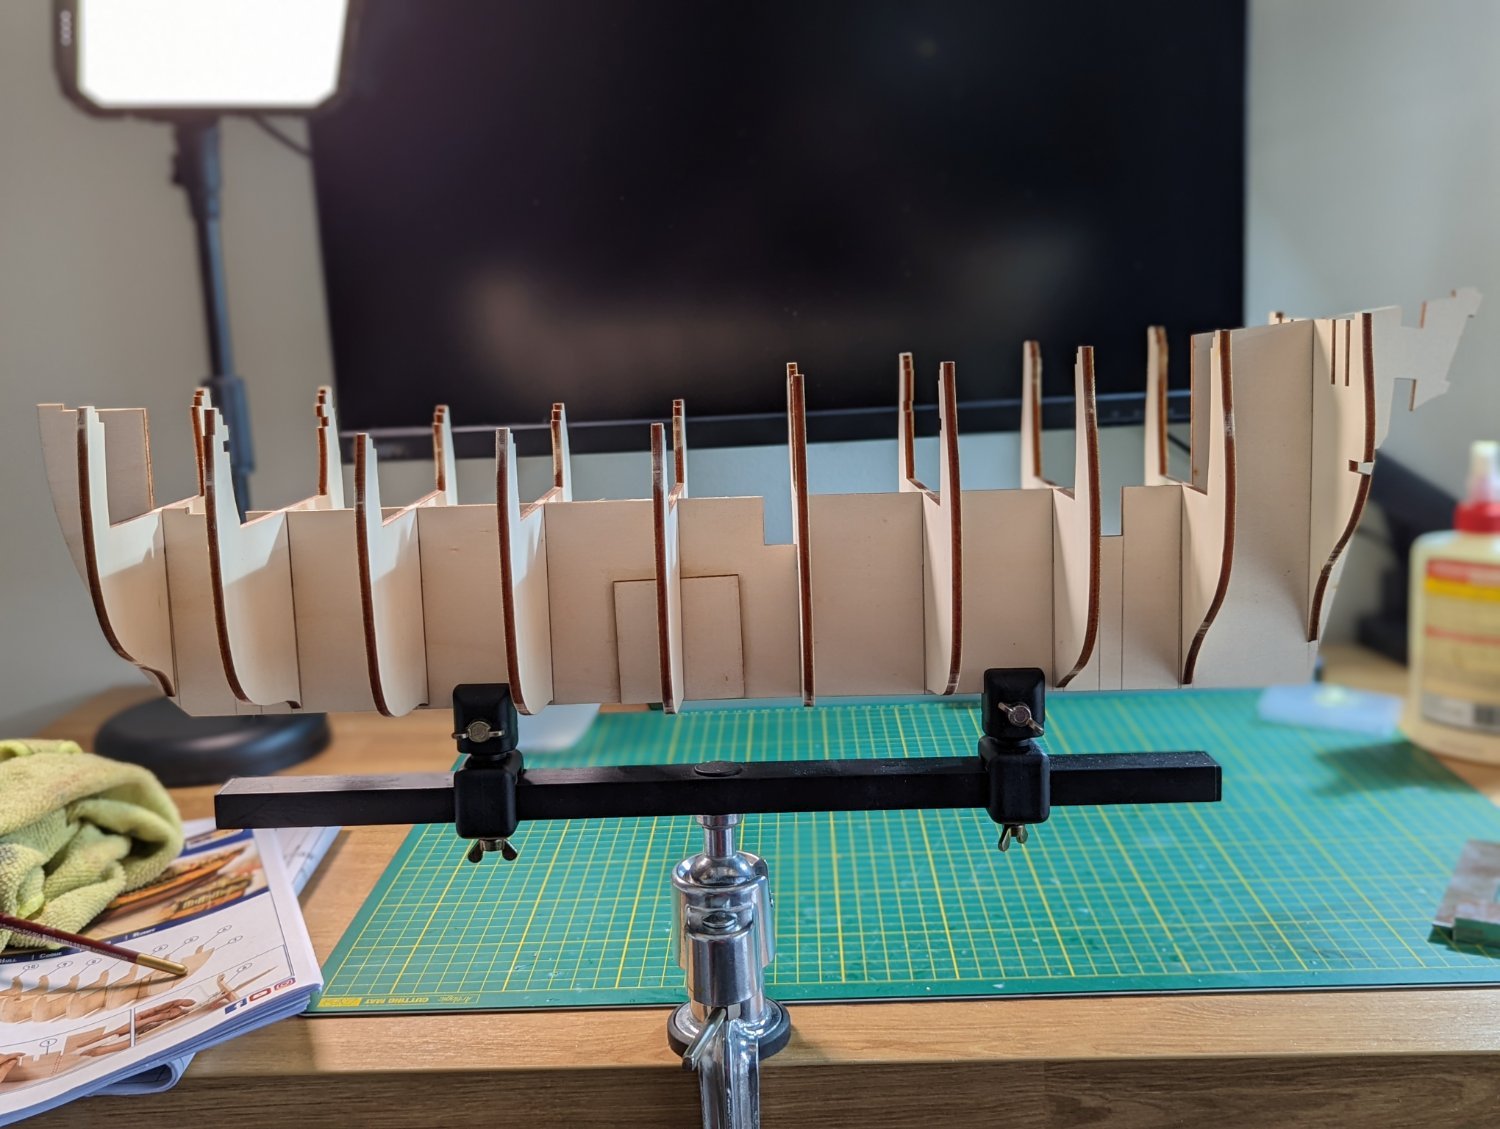
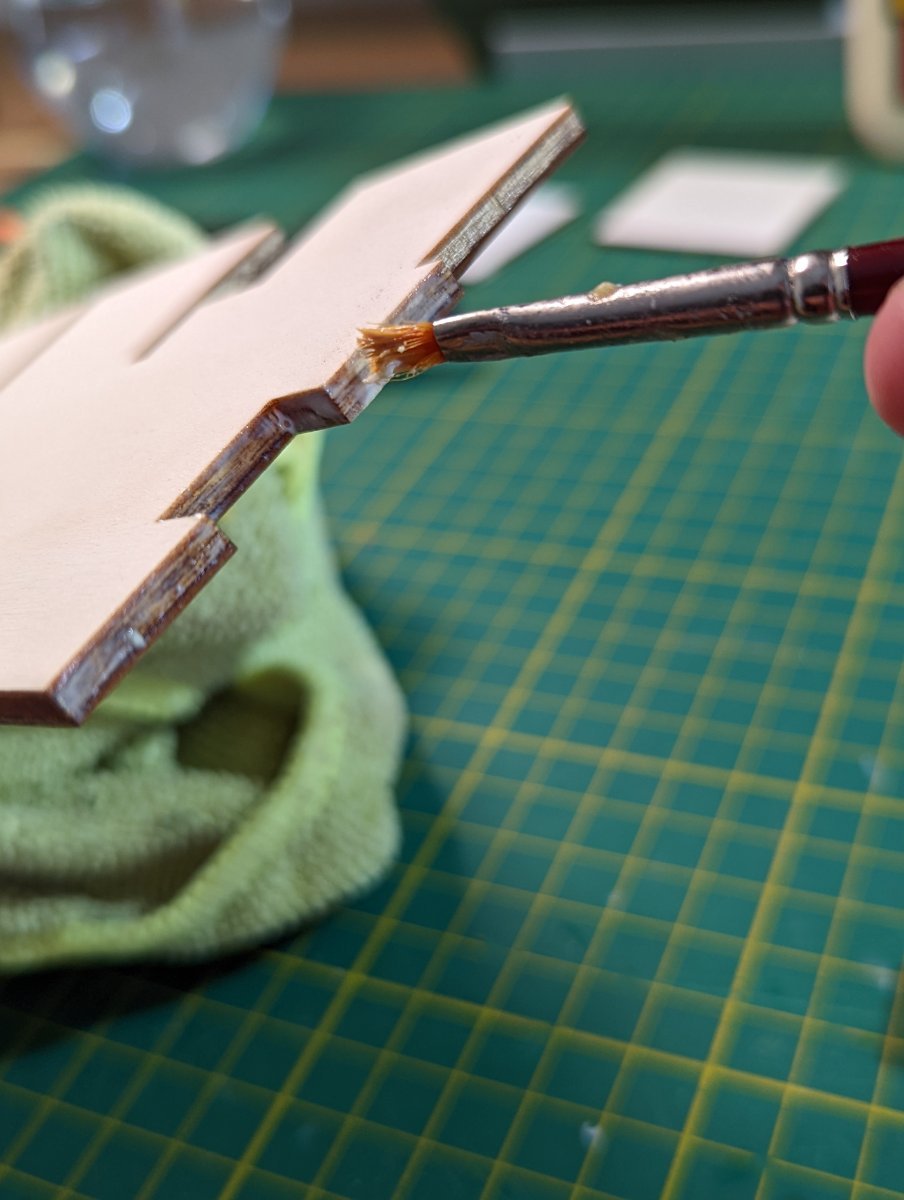
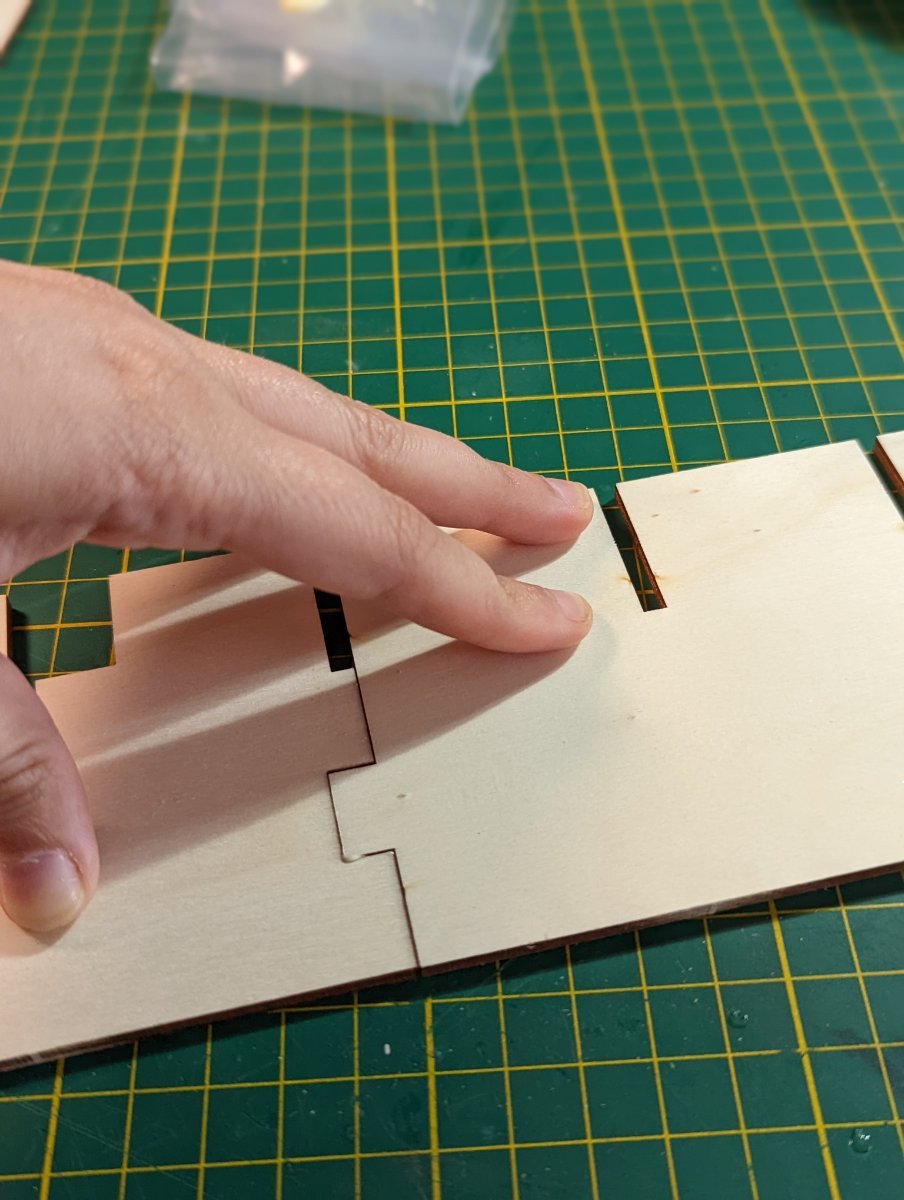
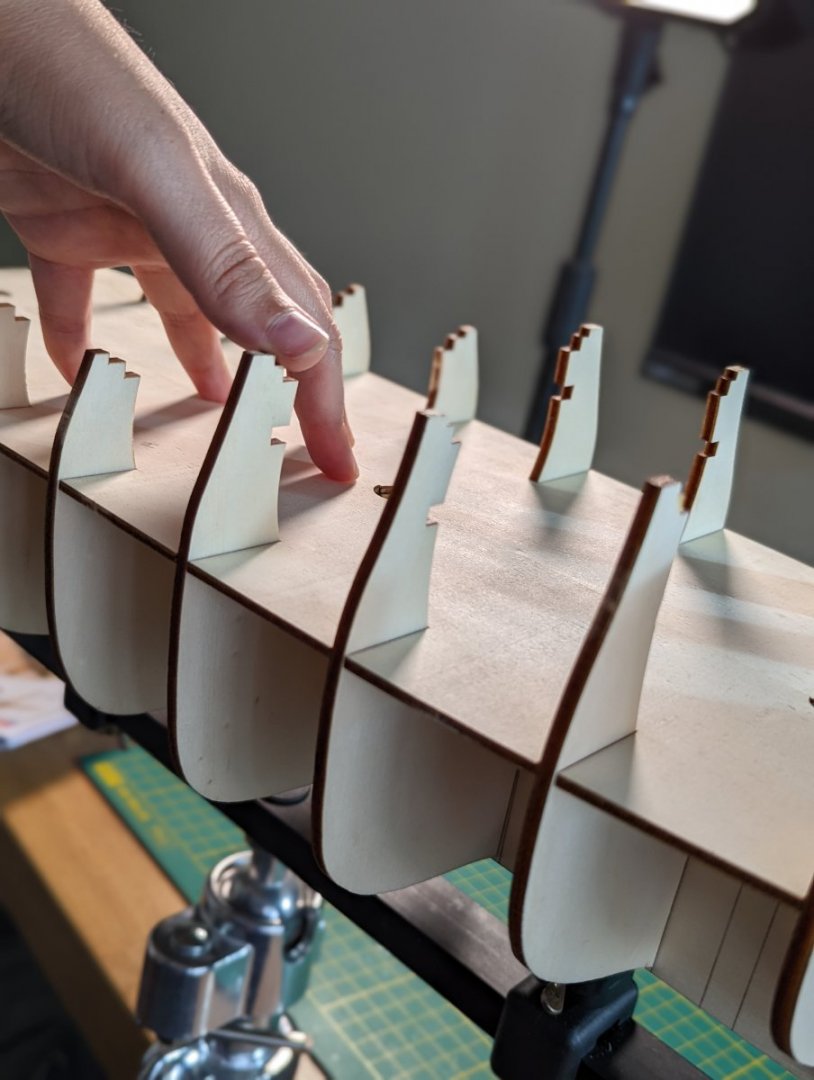
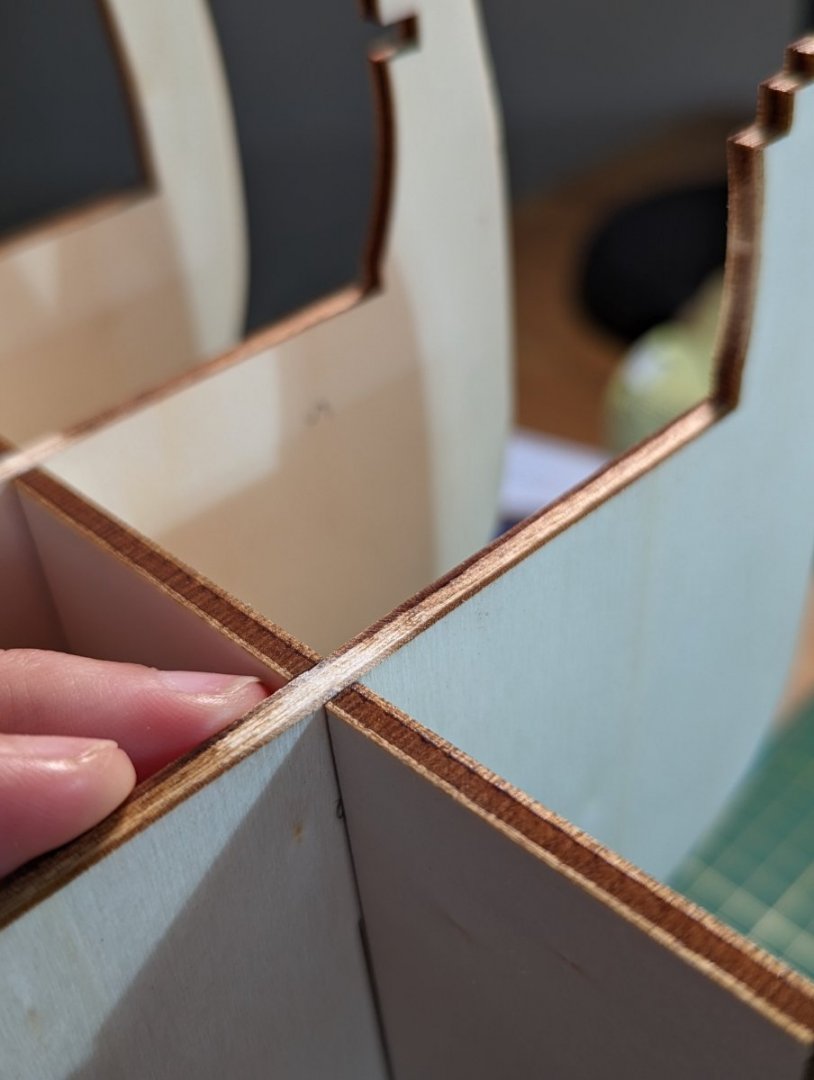
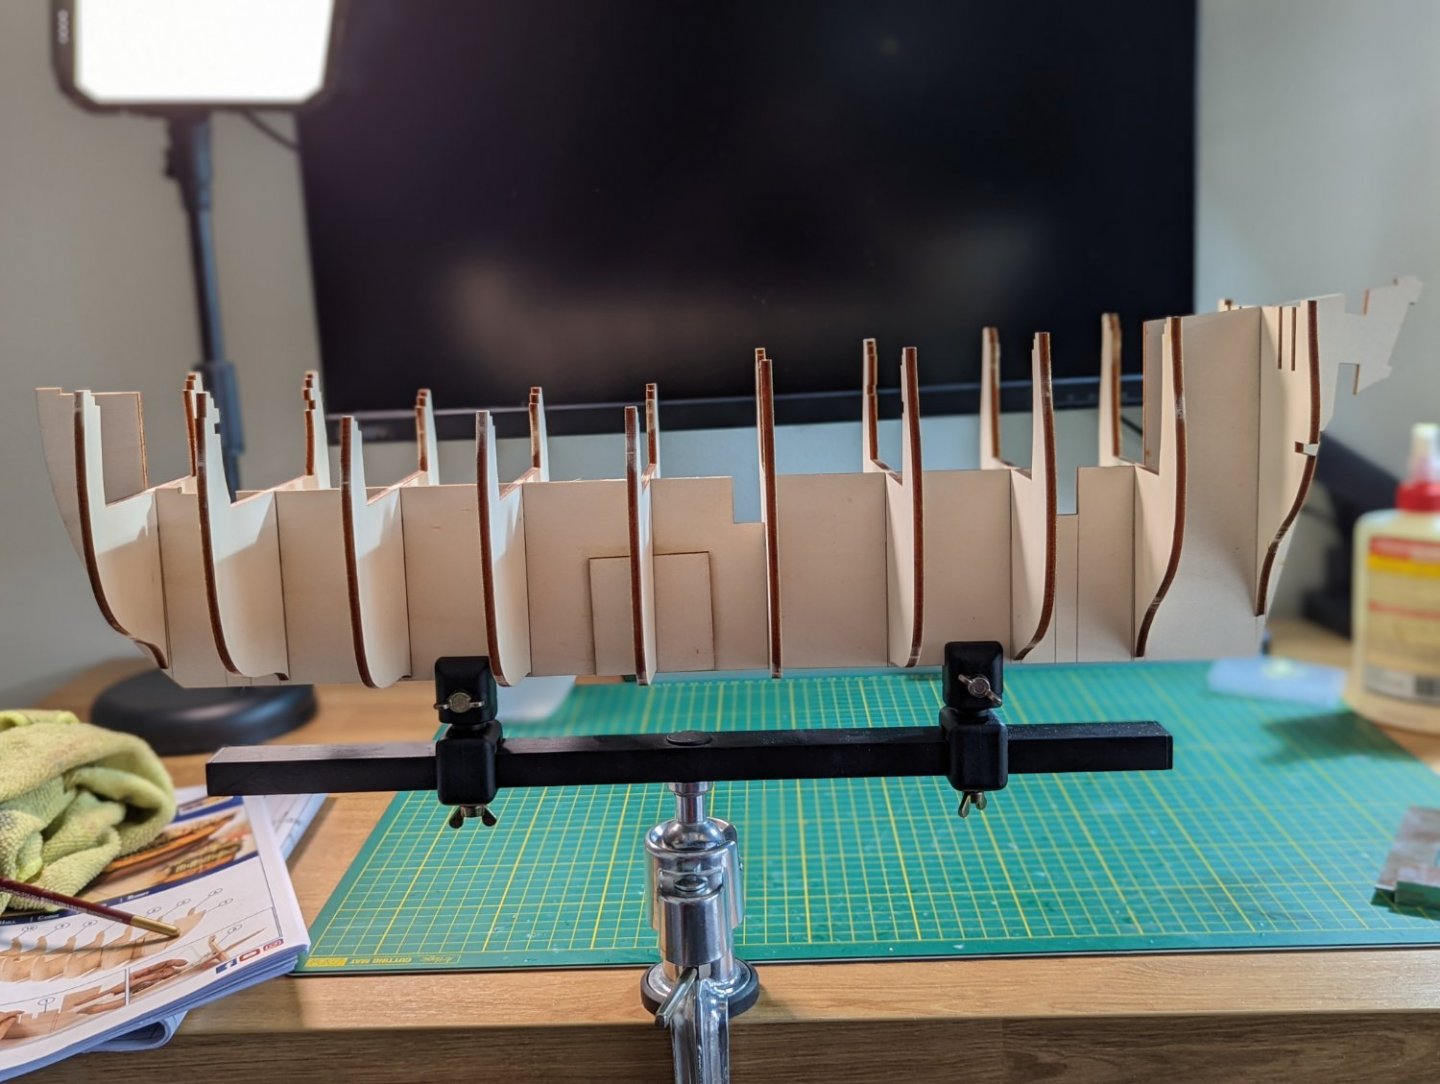
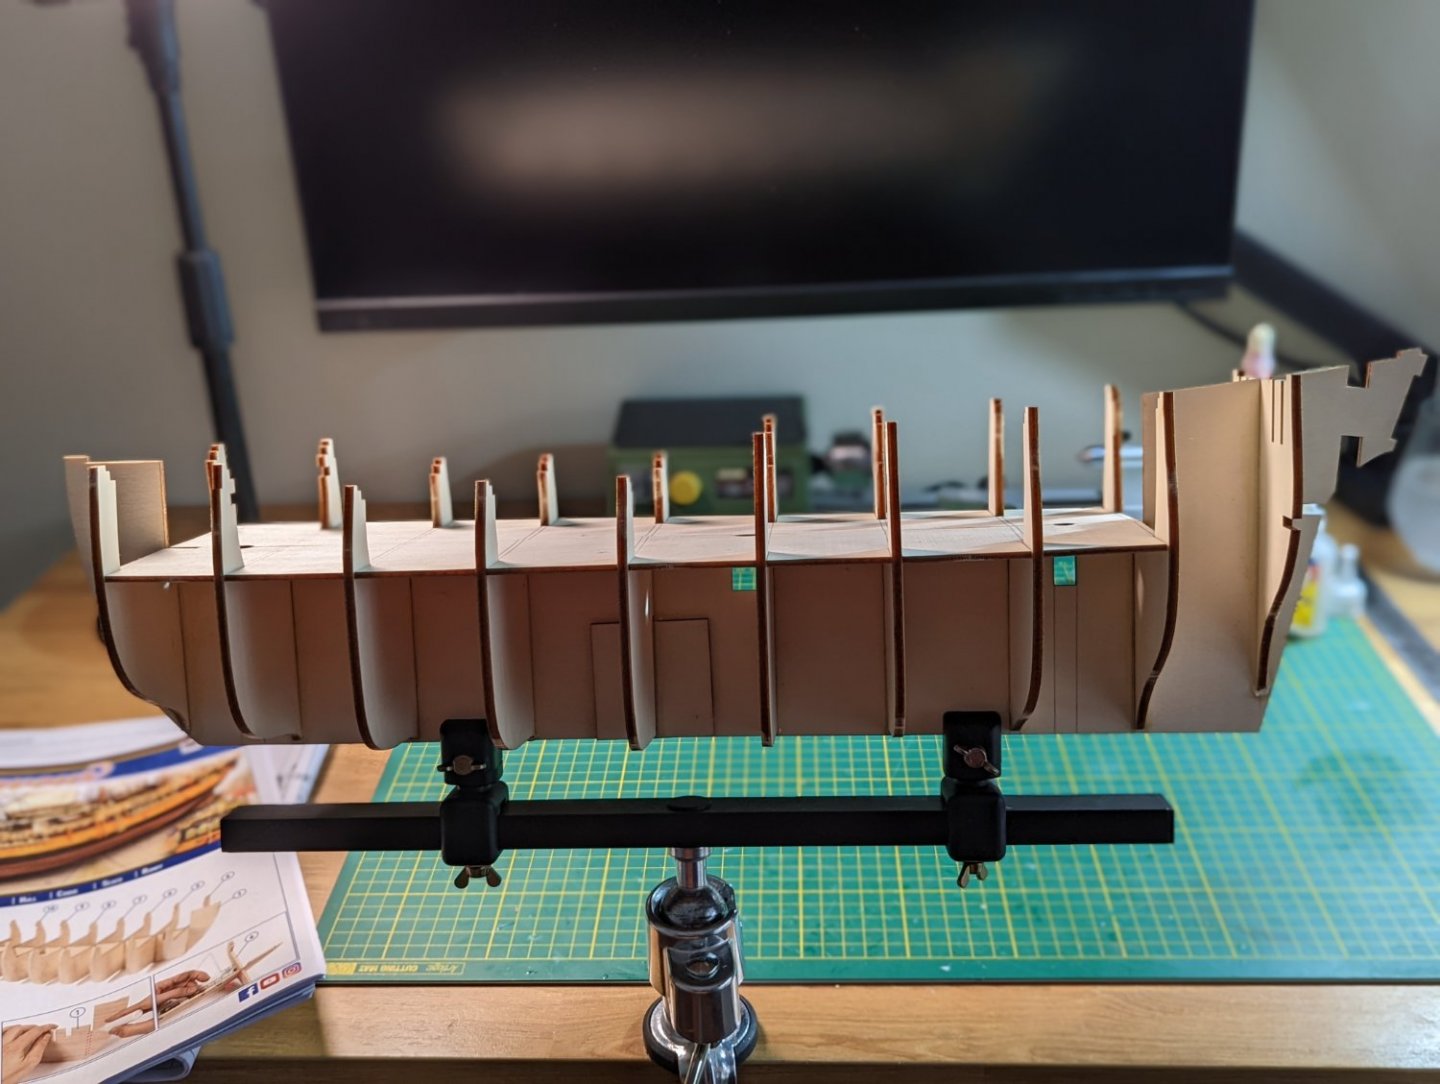
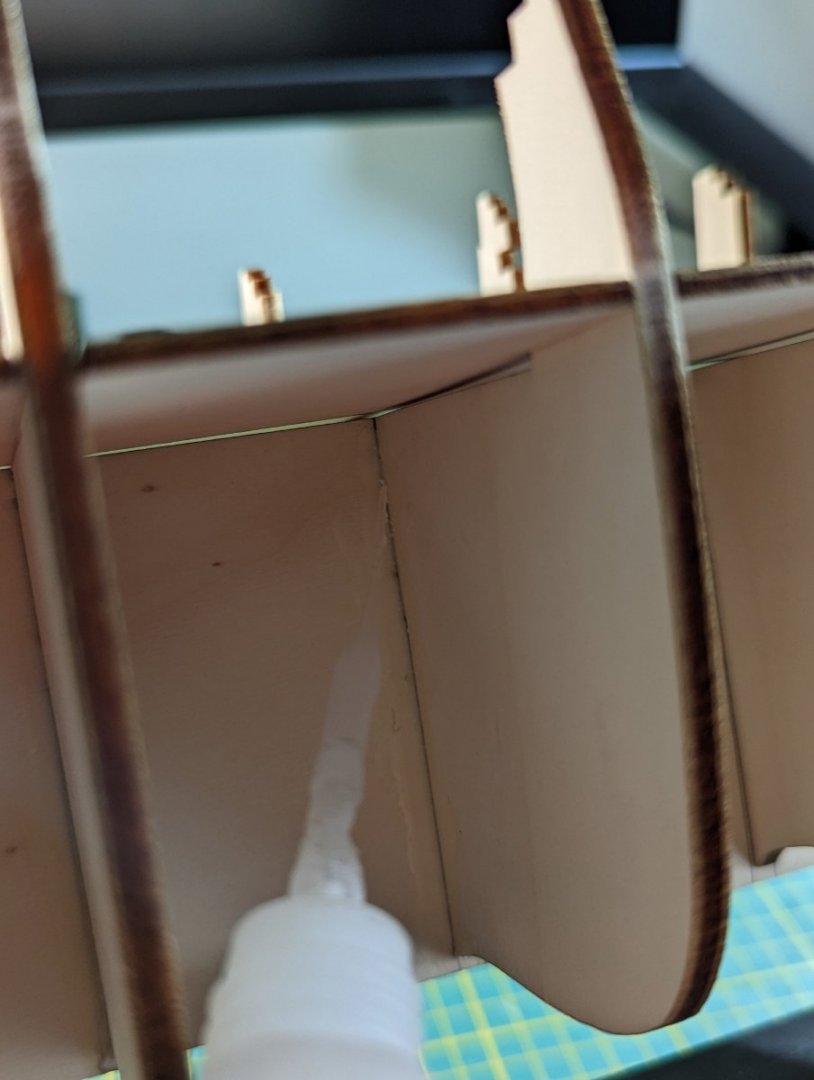
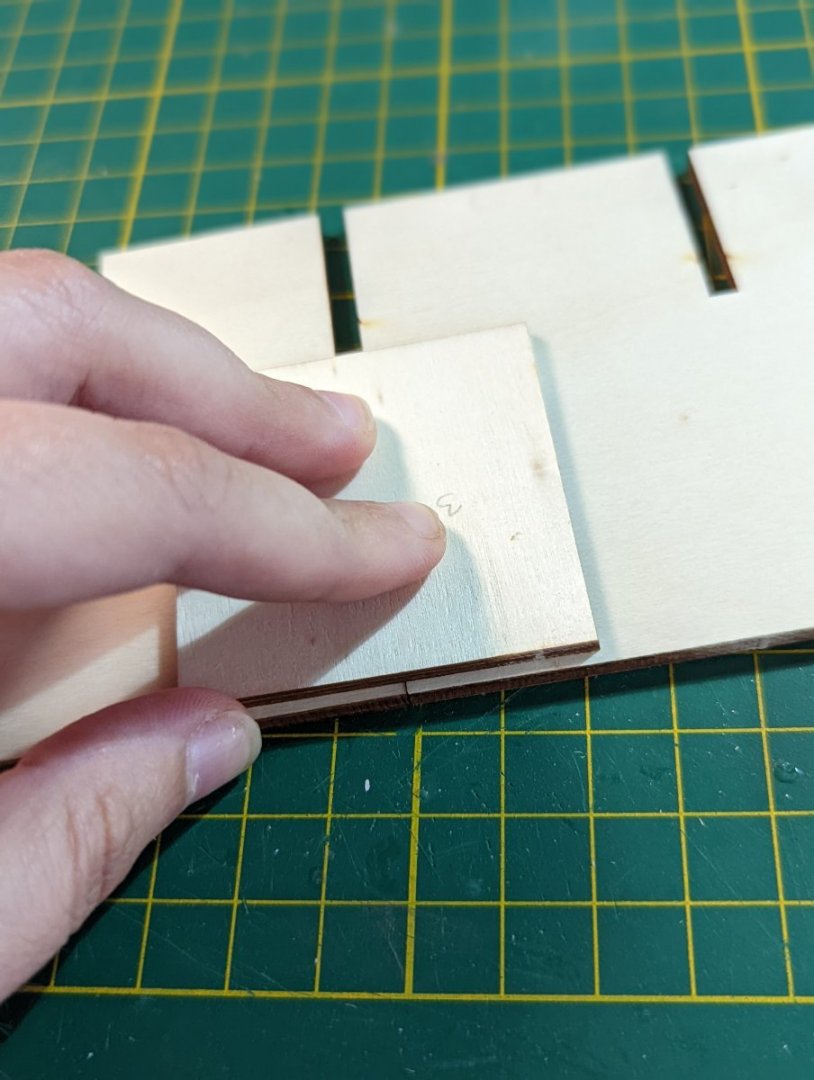
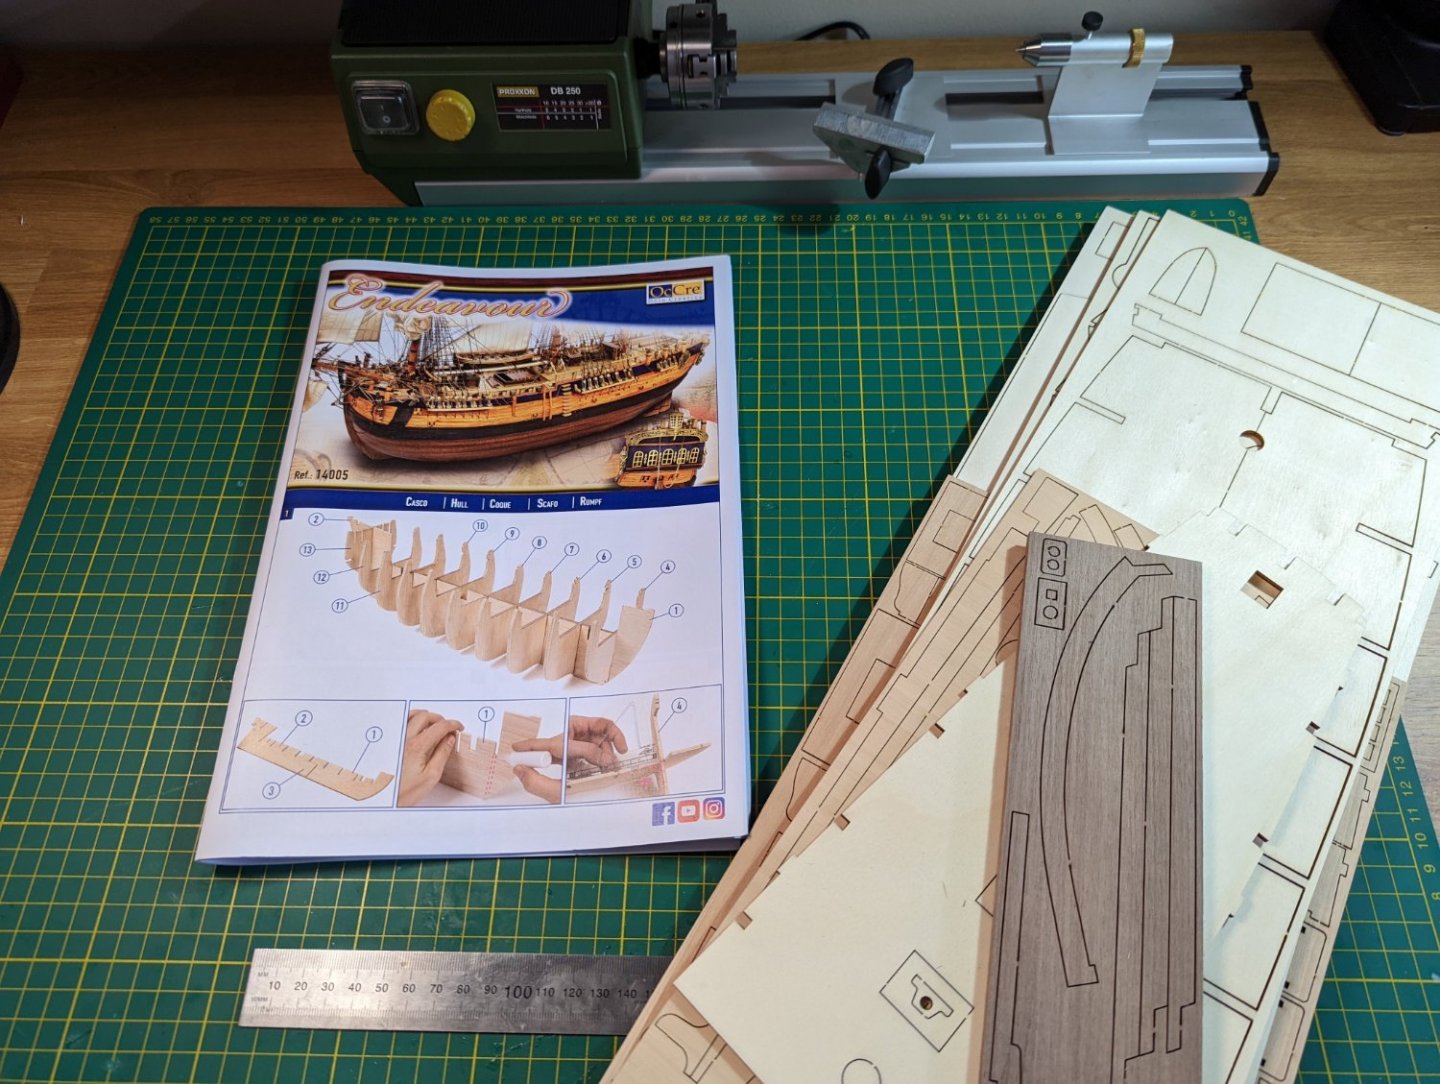
HISTORIC ANECDOTE: As I sink my teeth into this hobby, I am reading more about maritime history. Half the fun for me is the research. I'm currently reading this fascinating book, The Ship Asunder, by Tom Nancollas. It helps me understand why the hull shape between the Endeavour, launched as the Earl of Pembroke in 1764, is so substantially different to the Bluenose II. As a bark ship, the Earl of Pembroke was designed with rounded bows and a flat bottom as she needed ample carrying capacity, being used for coastal sailing transporting coal. This carrying capacity was one reason why, in 1768, she was purchased by the navy for South Sea exploration and renamed Endeavour. FITTING BULKHEADS After a cuppa (giving a good hour or so for the keel to set), I proceeded to cut out the bulkheads - 10 in total. I then marked where each bulkhead would sit against the keel in pencil. These lines will help guide how I position the bulkheads to ensure they are straight. I then dry fitted the bulkheads to the keel to test their fit. Compared to the AL model I built previously, the OcCre bulkheads slid on easily, with ample wriggle room; no filing was necessary to fit. I am careful to ensure each bulkhead sits flush to the keel. The exception is piece no.4, the first bulkhead from the stern, which sits 5mm lower by design. Following Mastini's recommendation, I then dry fit the false lower deck to the model to help square and align the bulkheads. While Mastini recommends pinning this deck, I leave mine free as I need to remove this deck later for planking in the next stage. Using my square, I align each bulkhead and then run wood glue down the bow and stern side of each frame. I then add a touch of CA (I use Roket rapid) to help "grab" straight off the bat, ensuring capillary action. Et voila, now to let this sit with deck in place for a good few hours. I'll remove the deck to go onto planking as the next step, but it's important that I don't touch the keel or frames for the next 24 hours. My next step is planking. I'll be double checking how long and wide the planks on the Endeavour are, and rechecking the trenail pattern. I will likely use my own wood supply for the decks... perhaps use Tung or Orange oil for the stain. Thoughts and recommendations on ideal dimensions and recommended oil are of course welcome!


-
Thanks, @shipaholic - your own build of the Endeavour (amazing work!) will serve as an important reference for me. Thanks for so thoroughly documenting your process and research on your build. Down the line, I'd appreciate it if I could reach out to you with some Endeavour-specific questions if they arise?
-
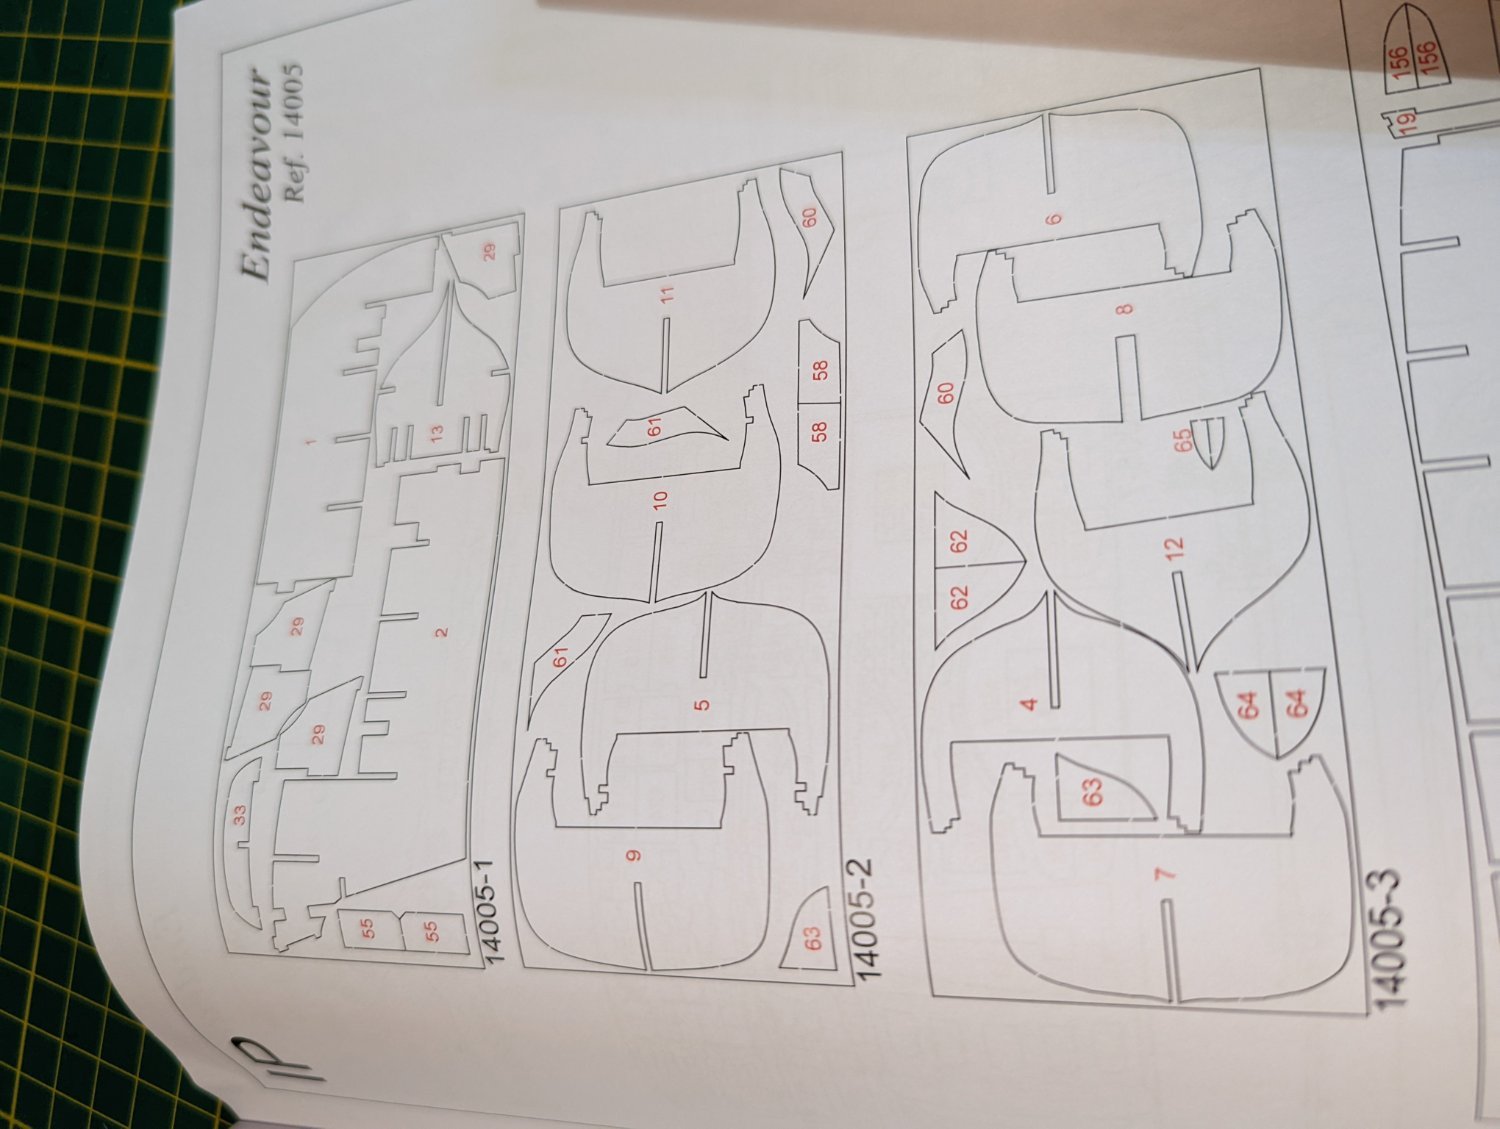
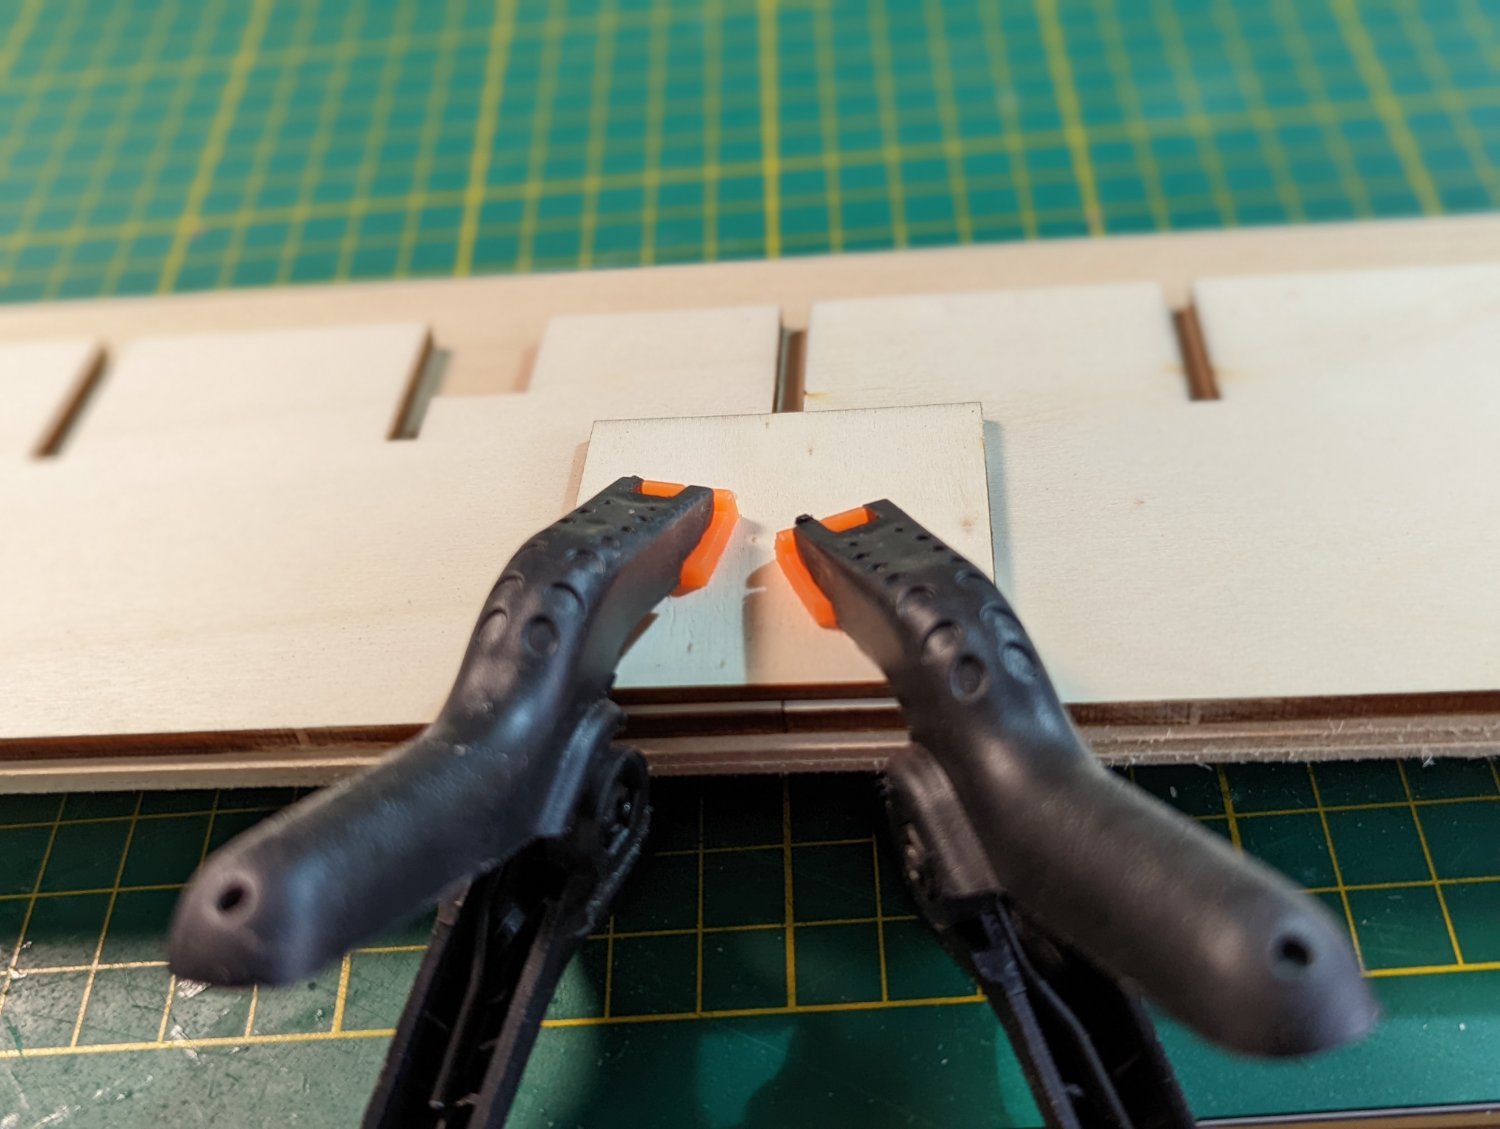
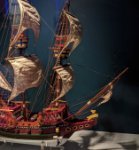
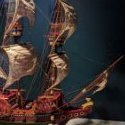
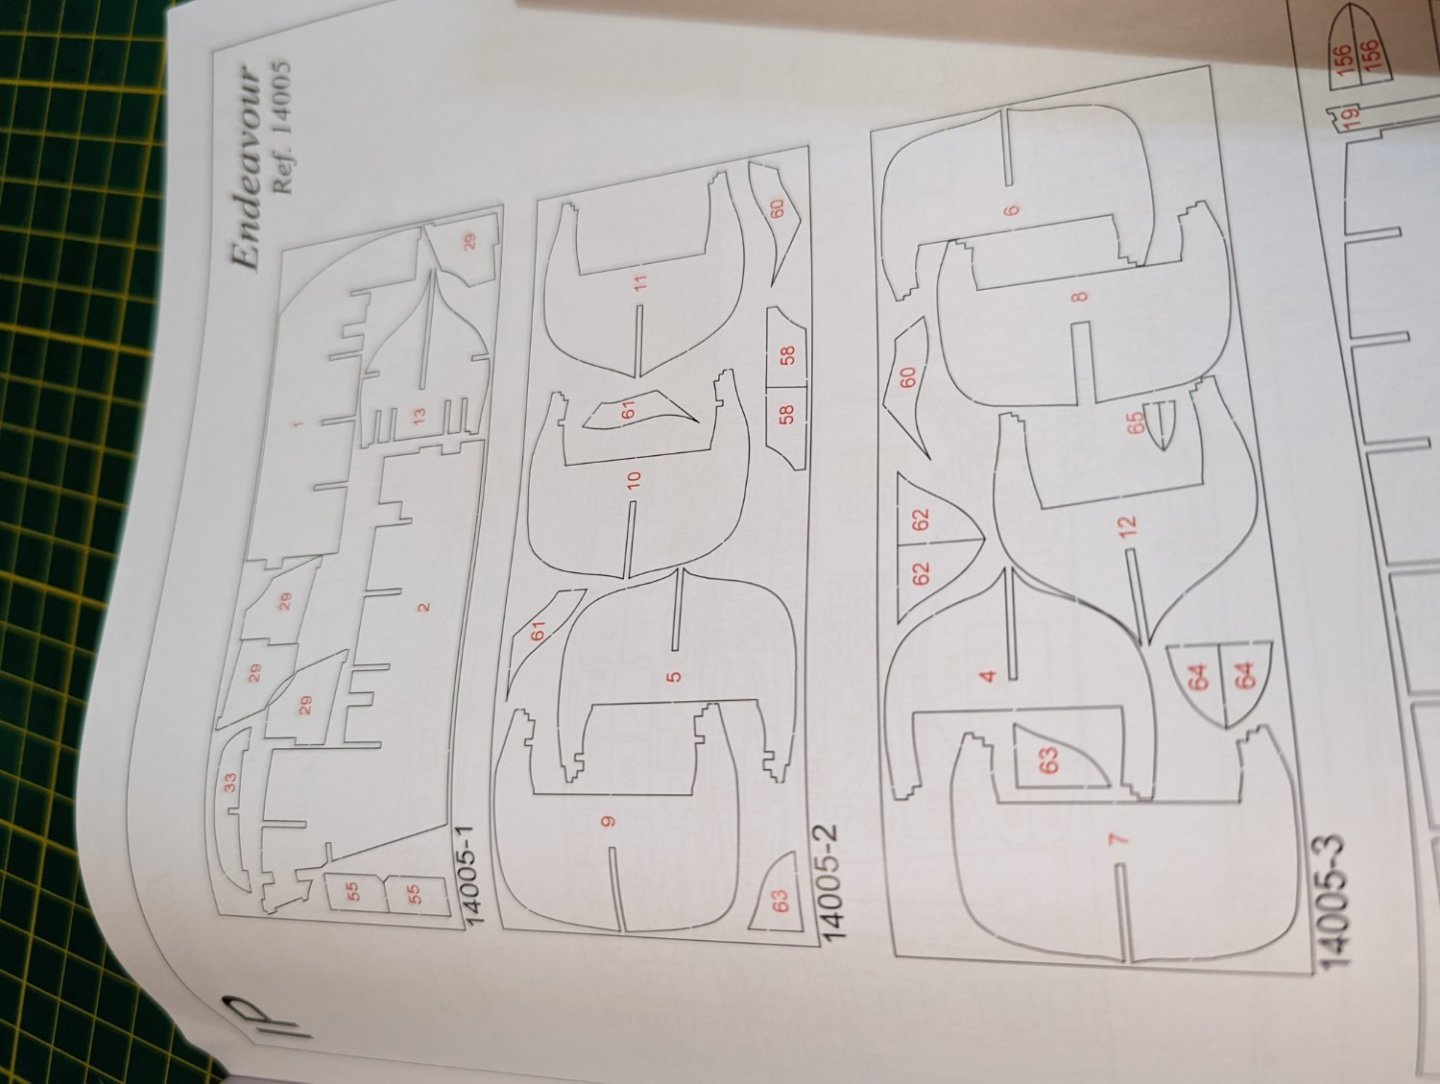
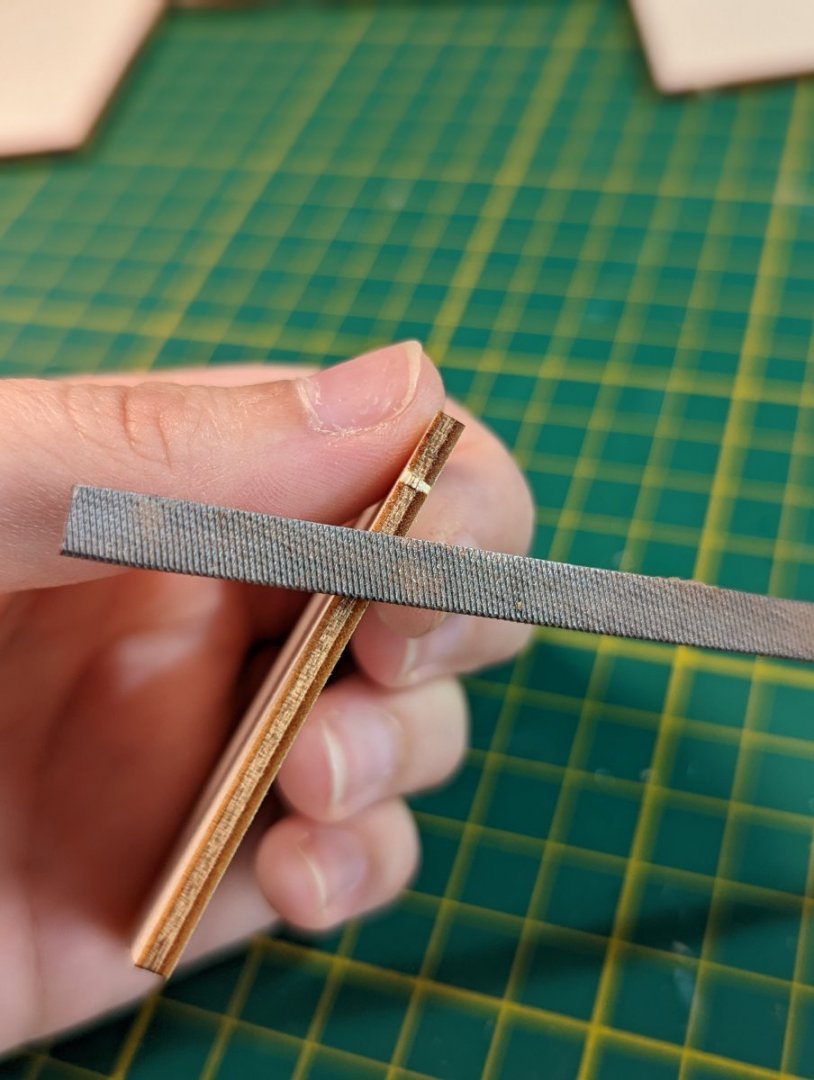
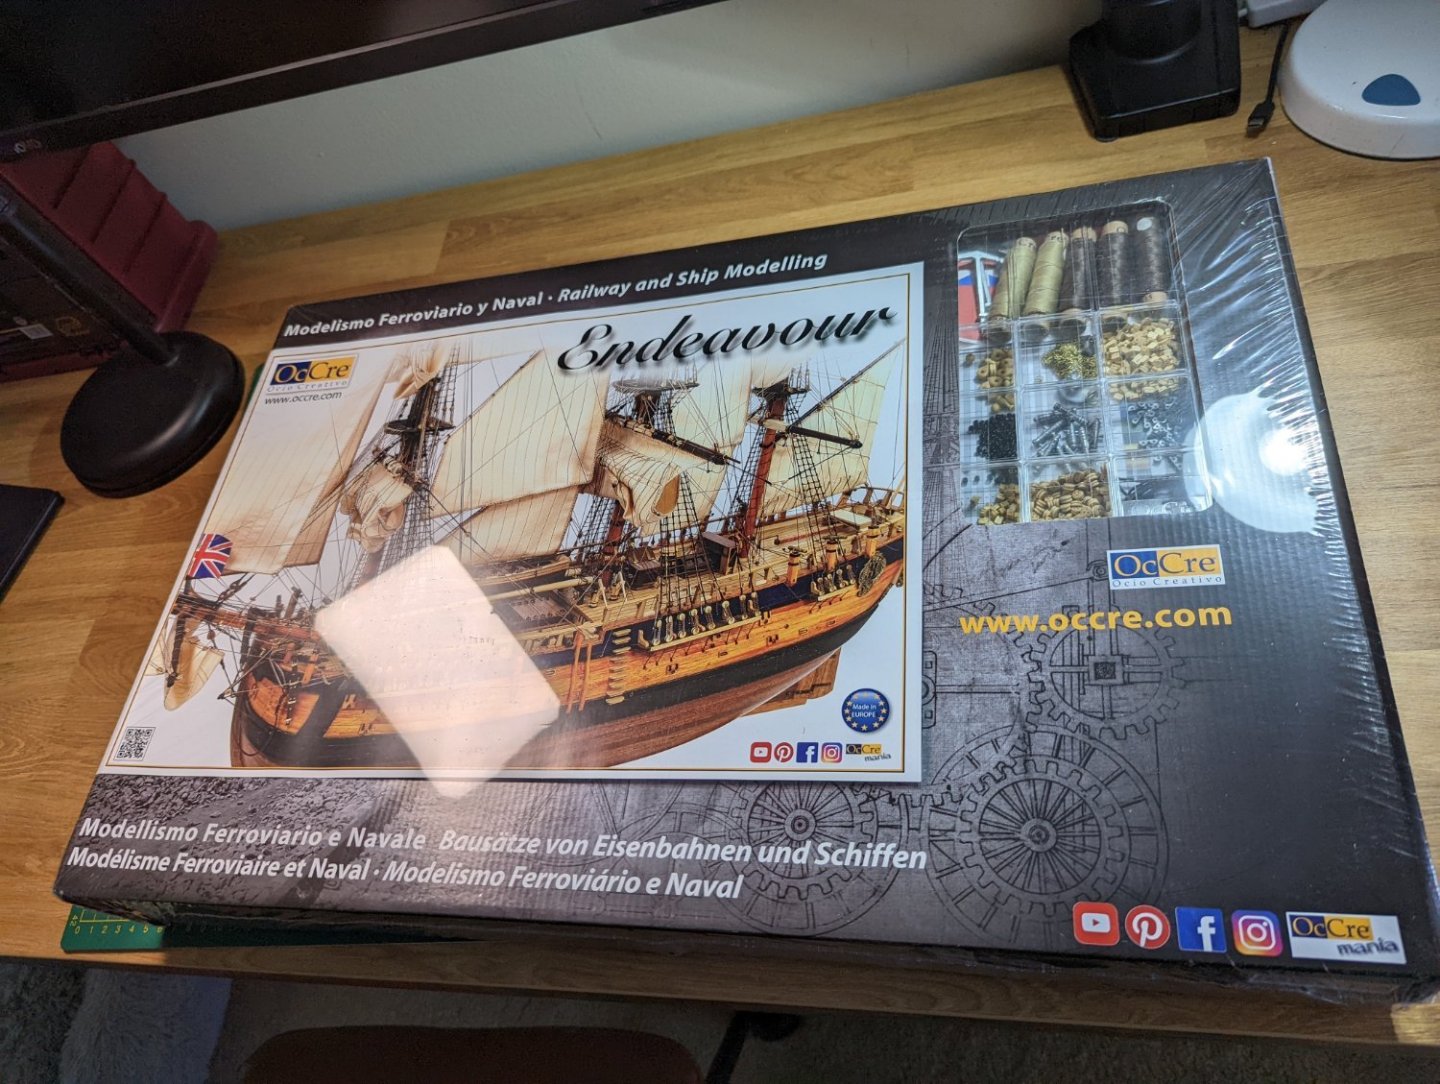
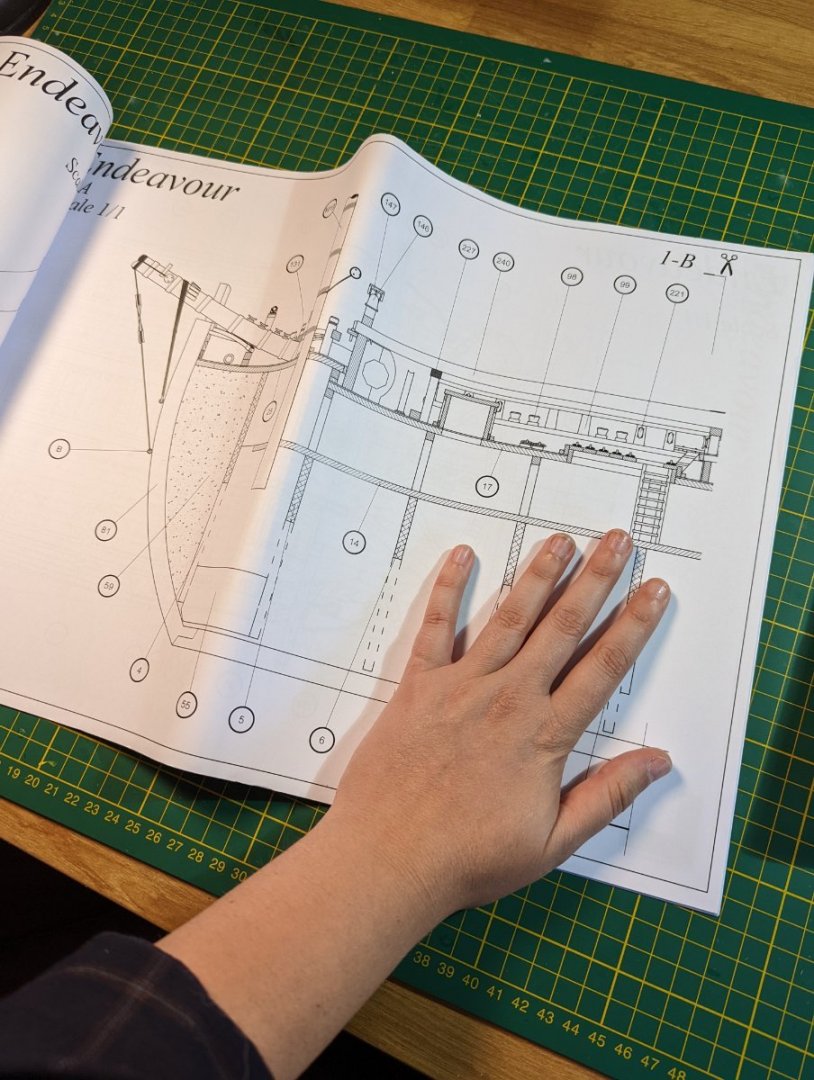
The HM Bark will be my second model ship; a birthday present from my partner and significantly more complex than my first build, the Bluenose II from AL. As an Australian, the Endeavour holds a close place in my heart and I have visited the replica on my trips to Sydney countless times. The Endeavour is also much more widely available and built than other well-known ships of Australia's maritime history, like the Batavia, James Craig or Duyfken. A good place for a newbie to the hobby. I opted for the OcCre kit after much research, choosing this kit as it appears somewhat more detailed and accurate than the AL, but not as much as a ramp up as the Caldercraft. One day I would like to complete the Caldercraft Endeavour, but want to learn more and hone my skills first. Before opening the box, I ordered two resources to help me make updates to the kit to make it more accurate: Parkin's HM Bark Endeavour (1995), which is still in print, and Marquardt's Anatomy of the Ship (AOTS) HM Bark Endeavour, which appears out of print and proved a touch more difficult to find... but I was nonetheless able to secure a good secondhand copy. I also purchased a good bit of various sizes of wood from Bud Nosen, including Bass, Cherry and Walnut to upgrade the kit supplied materials where needed, and restock my spares drawer. TAKING STOCK The first thing I noticed about the Endeavour is that she sure is chonky. Fat and short compared to the Bluenose schooner. The kit is also very large. My hand for scale... the Admiral is getting worried!😂 Before lifting a scalpel, I read through the instructions. The OcCre kit did not come with pre-numbered laser cut parts, with the reference map instead provided at the back of the instruction booklet. I carefully numbered each of the laser cut pieces for future reference. This will make it easier to find the pieces I need when I'm knee deep in build mode in the months to come. FIRST CUTS I replaced my scalpel blade with a fresh one, and carefully extracted the keel pieces, which are to be reinforced with two square blocks. I lightly filed the off-cut tabs to ensure each part is flush (without distorting the shape), then glued the keel together with a touch of Titebond wood glue. With one block pressed into place, I then clamped the keel to a flat board of basswood to ensure that the keel dries straight. This is a tip I found in Mastini's Ship Modelling Simplified. My next step will be to carefully extract each bulkhead, dry fit and square in place on the keel, before glueing into place - potentially with some blocks to support alignment and rigidity. Any advice moving to this stage is welcomed!


-
Thanks, Allan - You're absolutely right, these look very detailed and would no doubt be worth the investment. Many thanks for the link!
- 200 replies
-
- 2
-

-
- Whaling Bark
- Charles W Morgan
- (and 1 more)
-
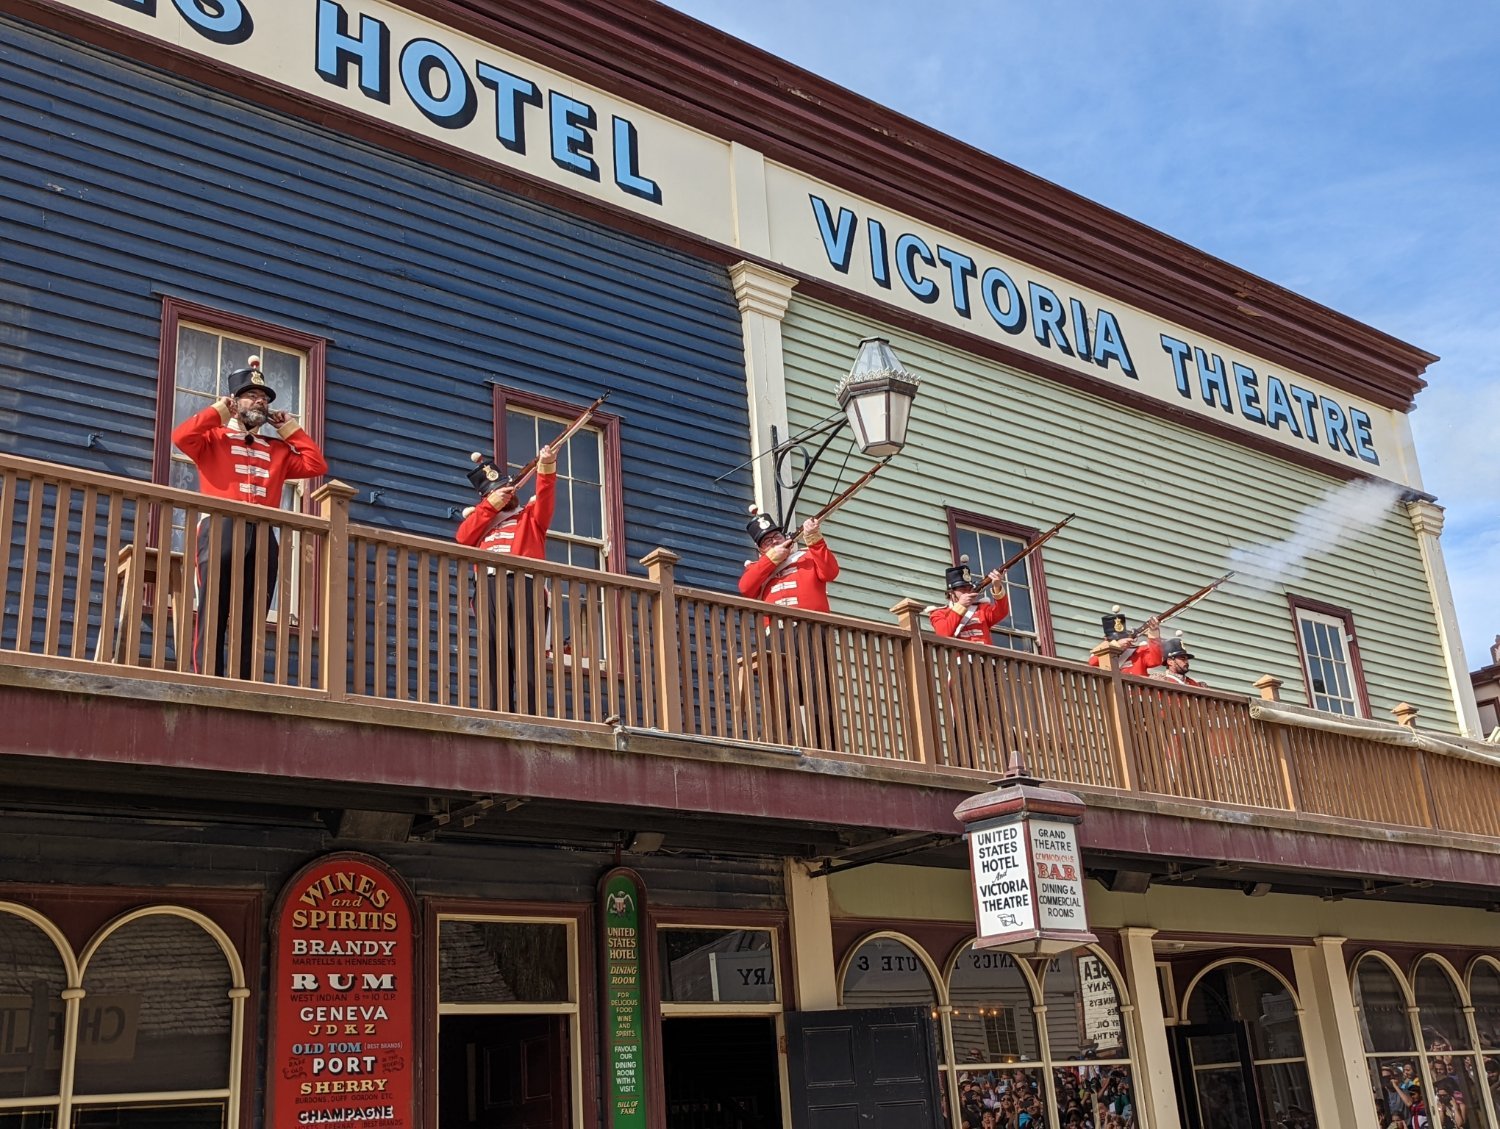
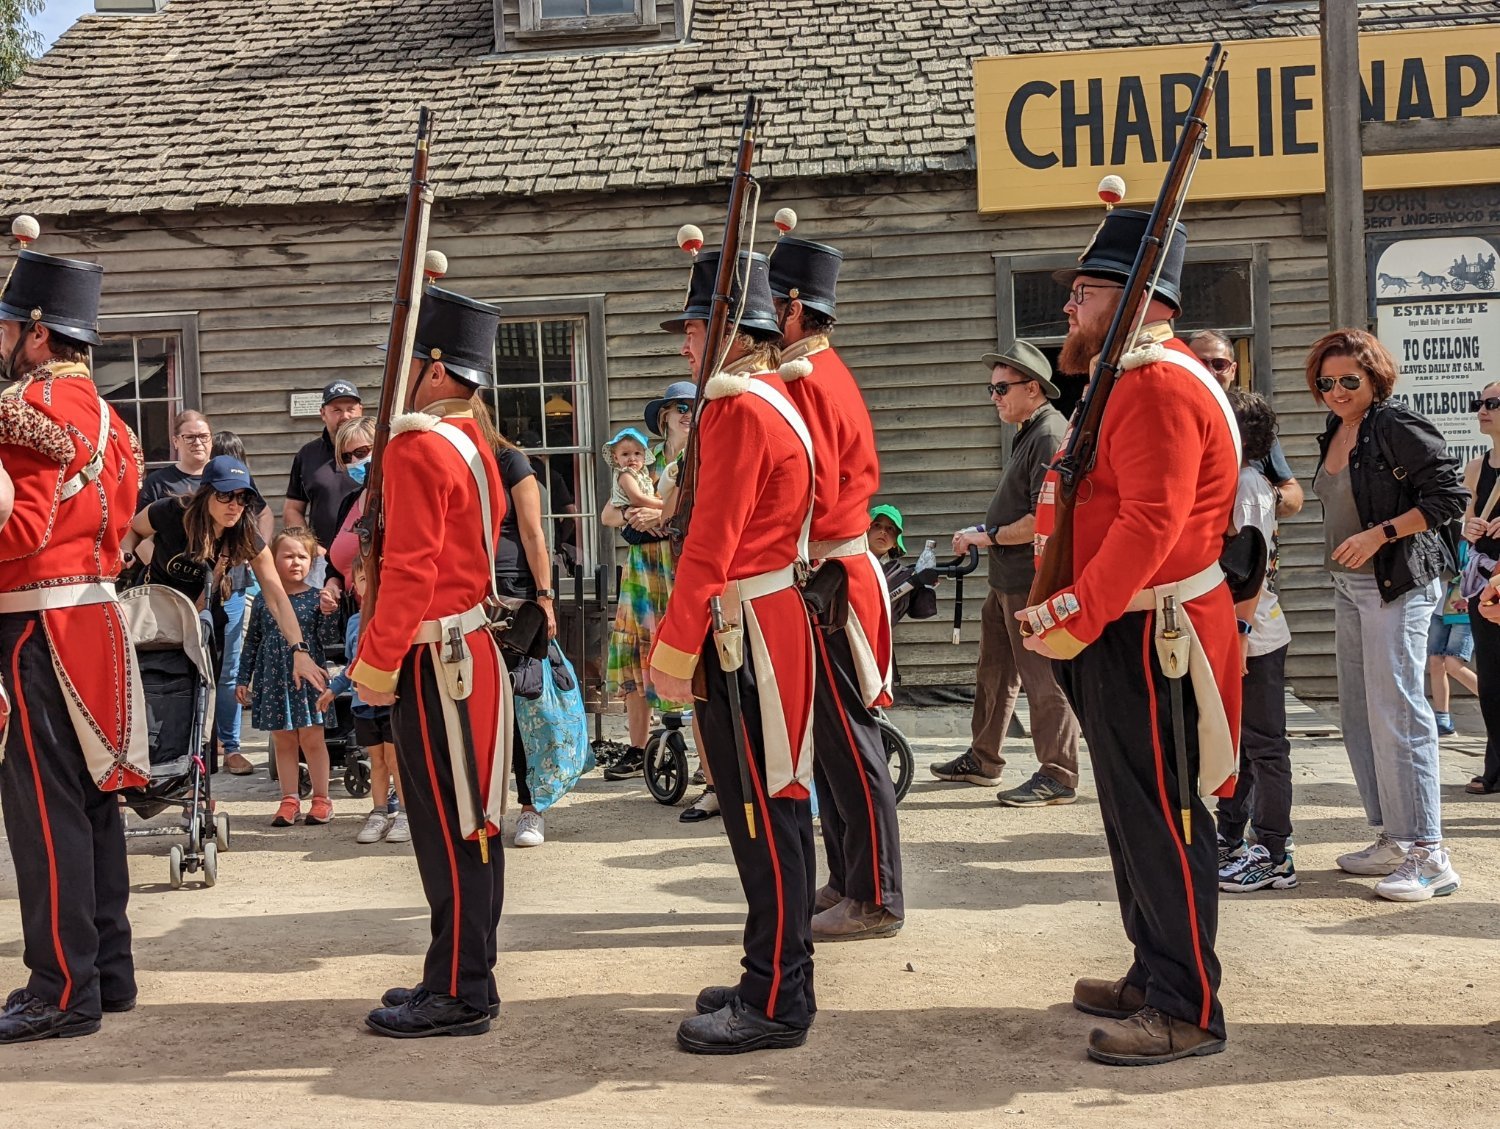
Good pick up, Steven - and corrected. That would make for some awfully well armed / costumed "goldfish". 😂 Yes, we swung around to the lake and marveled at the beautiful architecture - it reminded me of Launceston with the Victorian flavour! It's one thing Canberra lacks; most of our city is 70s/80s suburban sprawl!
-
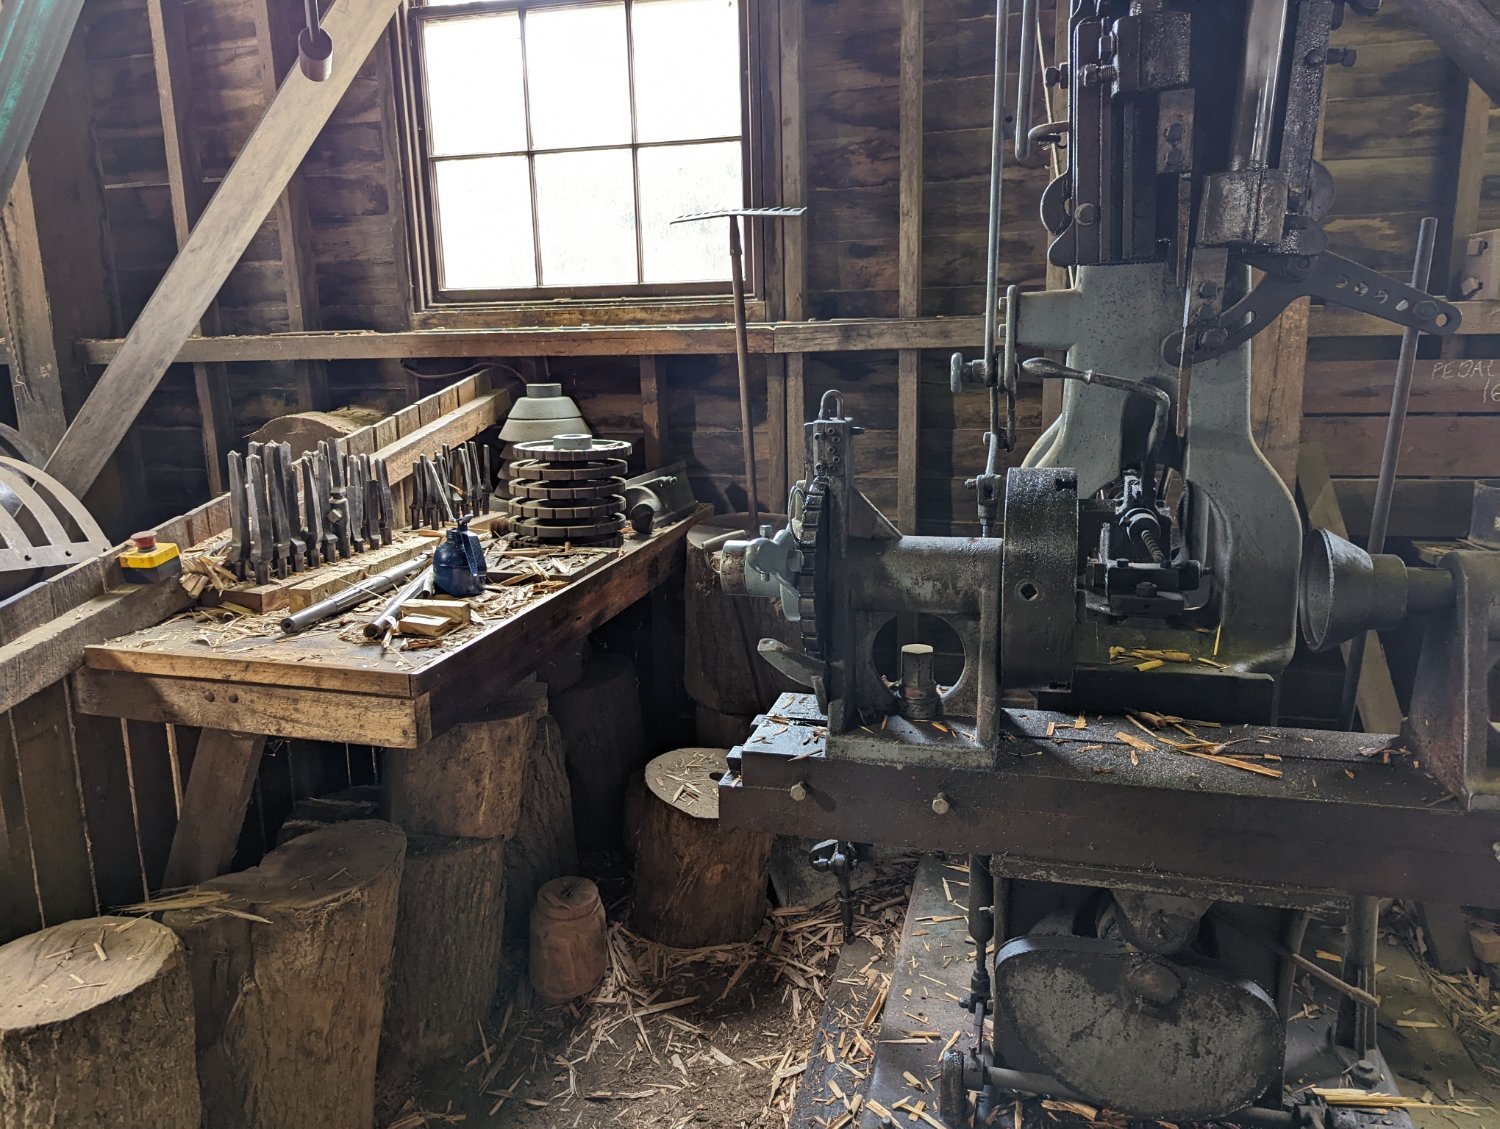
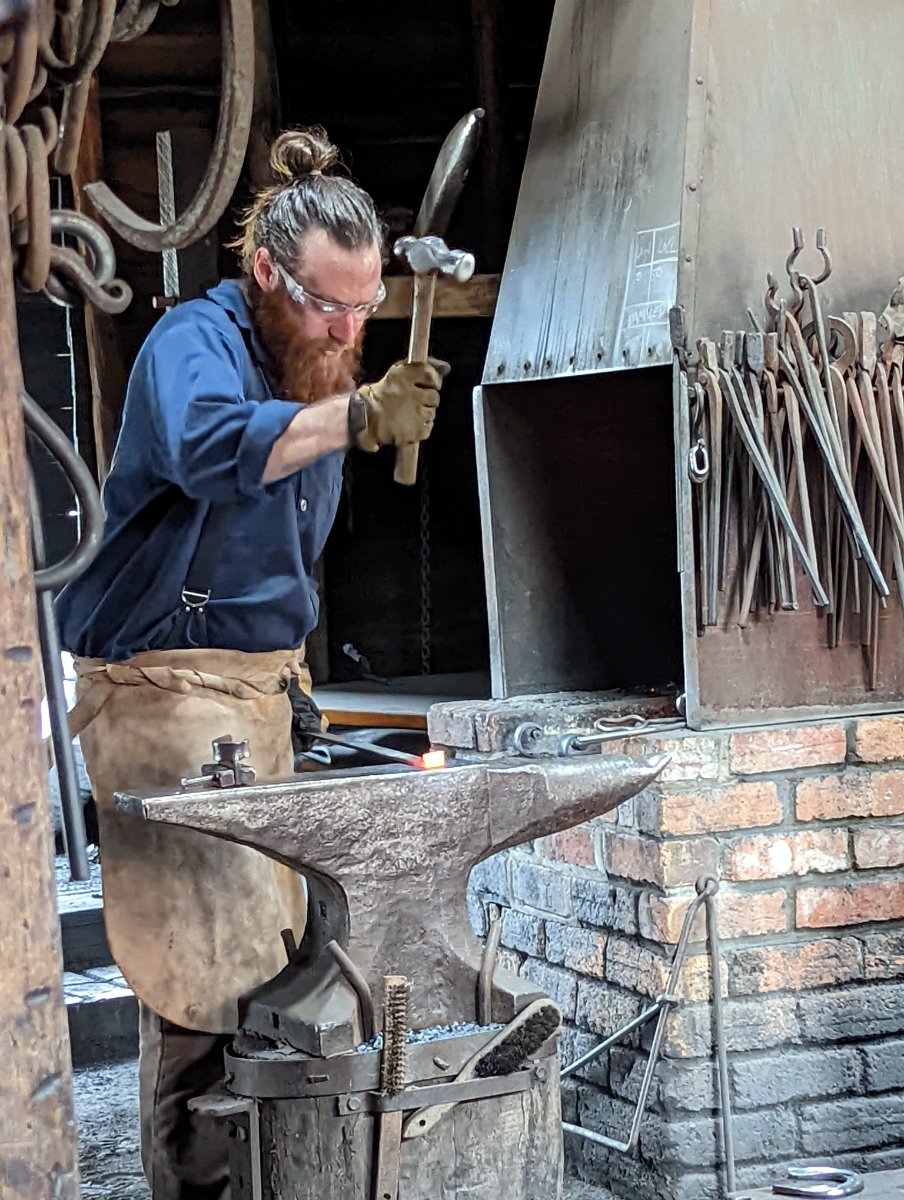
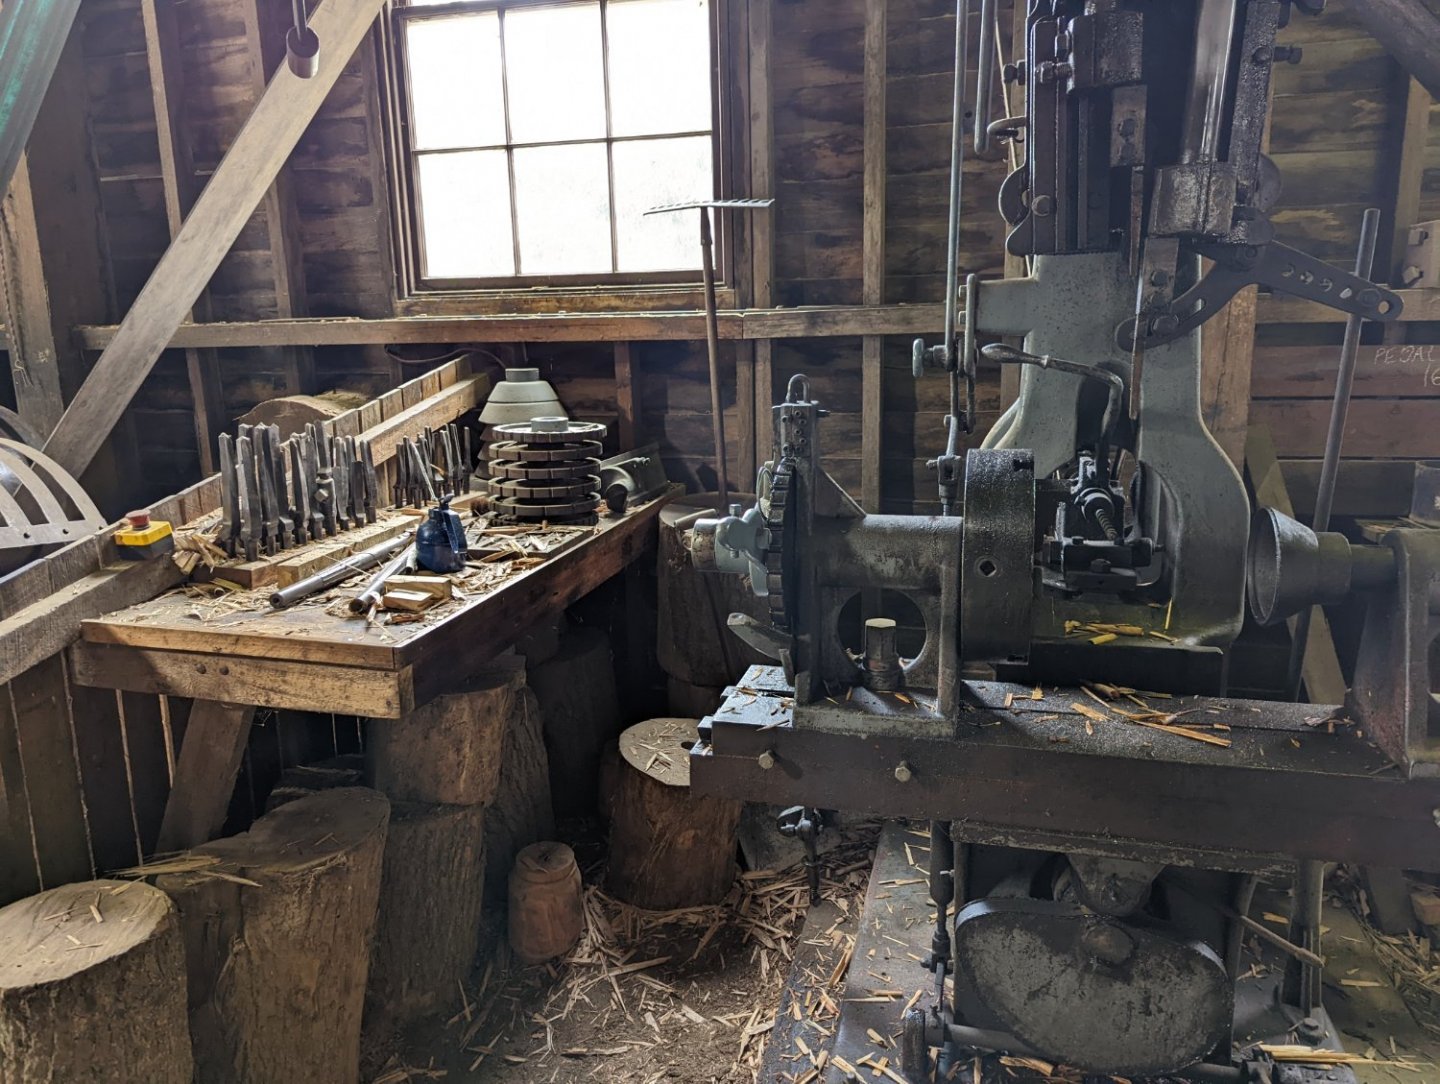
As it so happened, we were of want for things to do with most places closed for Good Friday... So my partner and I made a day trip to Ballarat. This is somewhere I've always wanted to visit since learning about the gold rush in primary school! It made for a lovely day trip! Thanks for the suggestion @Louie da fly ✌️ Some pics from Sovereign Hill, the mini gold rush reenactment museum.


-
Thanks, Robert - great, thank you very much; yes, certainly helpful. I'm going to follow your amazing build with great interest.
-
Thanks, Tom - the logs here on MSW are invaluable! Will watch your build with interest.
- 200 replies
-
- 2
-
-
- Whaling Bark
- Charles W Morgan
- (and 1 more)
-
Great looking build so far, Tom. If you don't mind me asking, what reference sources are you using for the model in addition to the Model Shipways plans?
- 200 replies
-
- 1
-
-
- Whaling Bark
- Charles W Morgan
- (and 1 more)
-
I'm Canberran born and bred. A hidden beautiful city of roundabouts and parks. And thanks for the welcome, guys! I'm currently in Melbourne over Easter but once I'm home I'll start the Endeavour log!
-
This is looking amazing so far, Robert. Curious, what varnish (or paint, perhaps?) did you use on the deck furniture? I have the same kit and will be starting shortly; your build is very helpful!
-
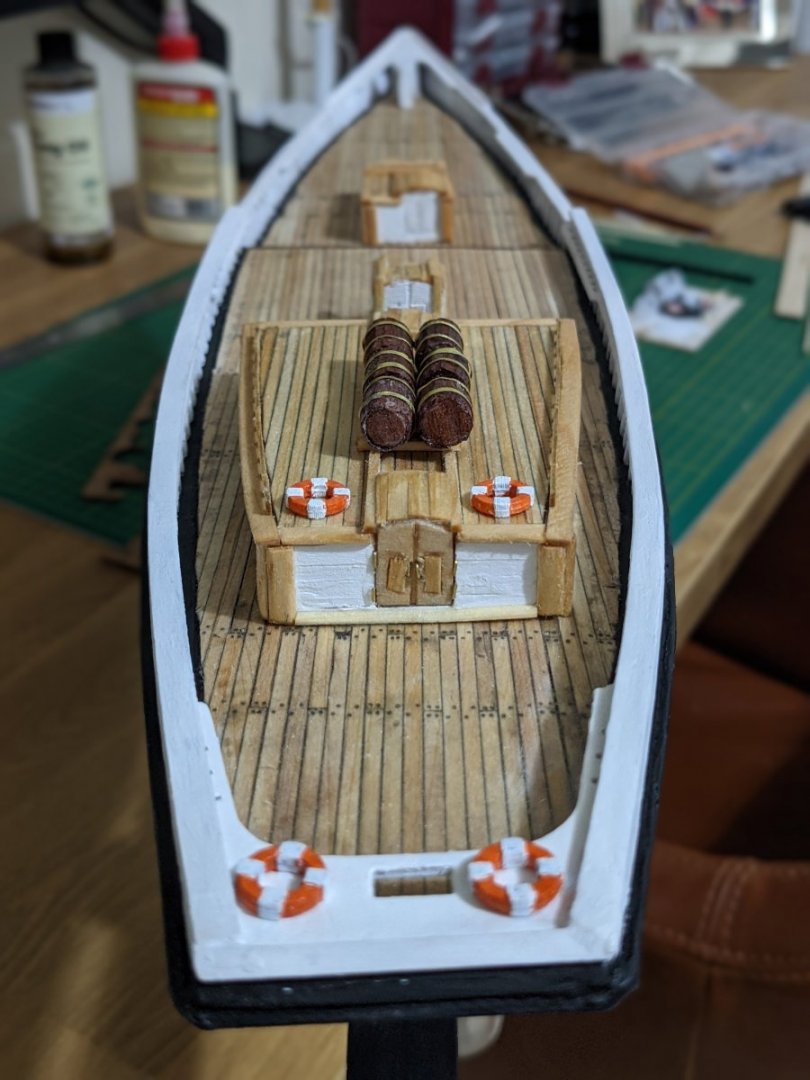
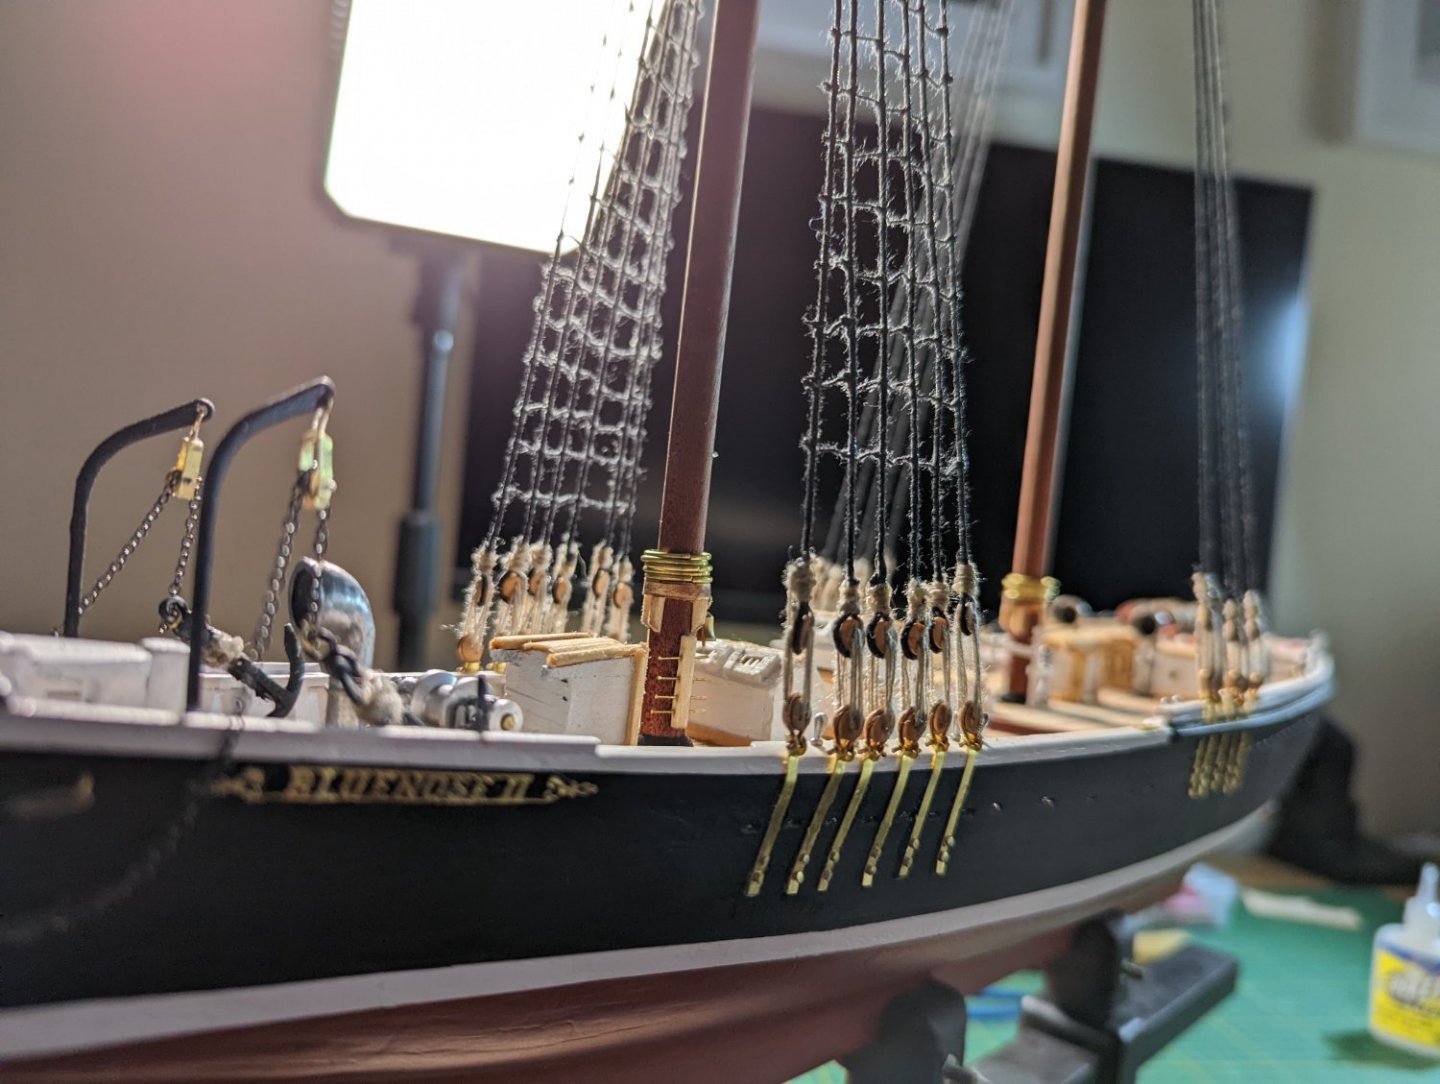
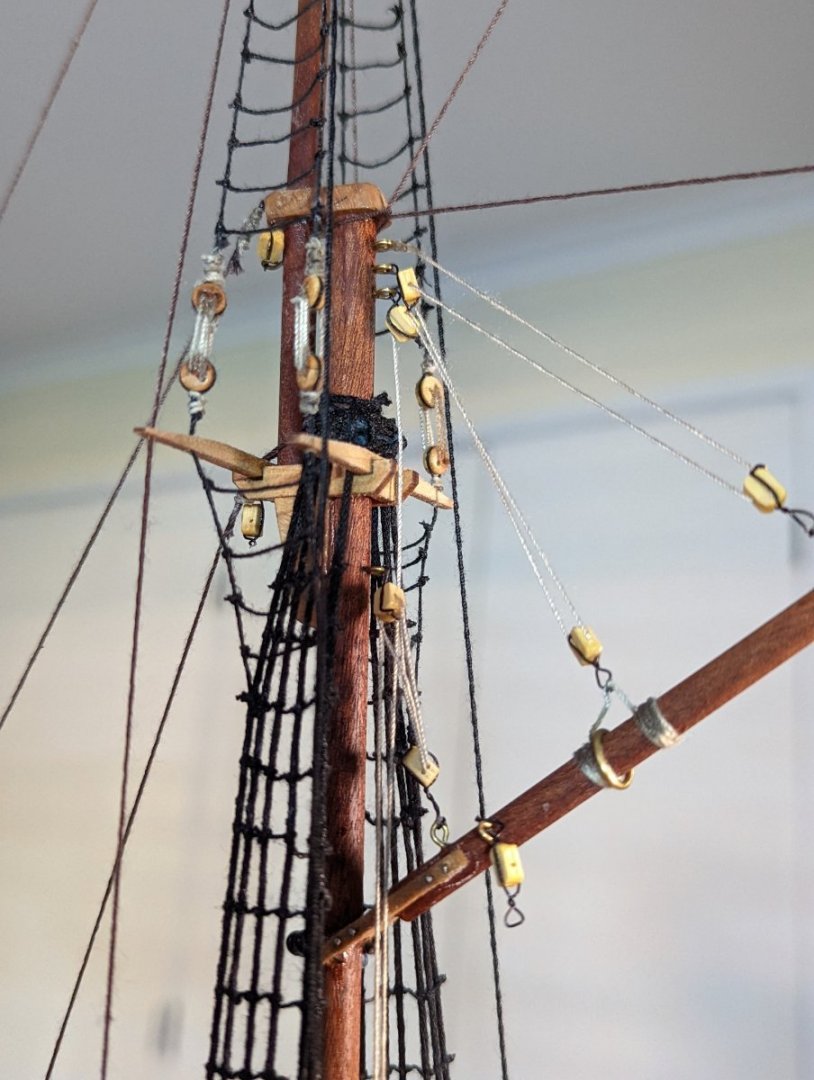
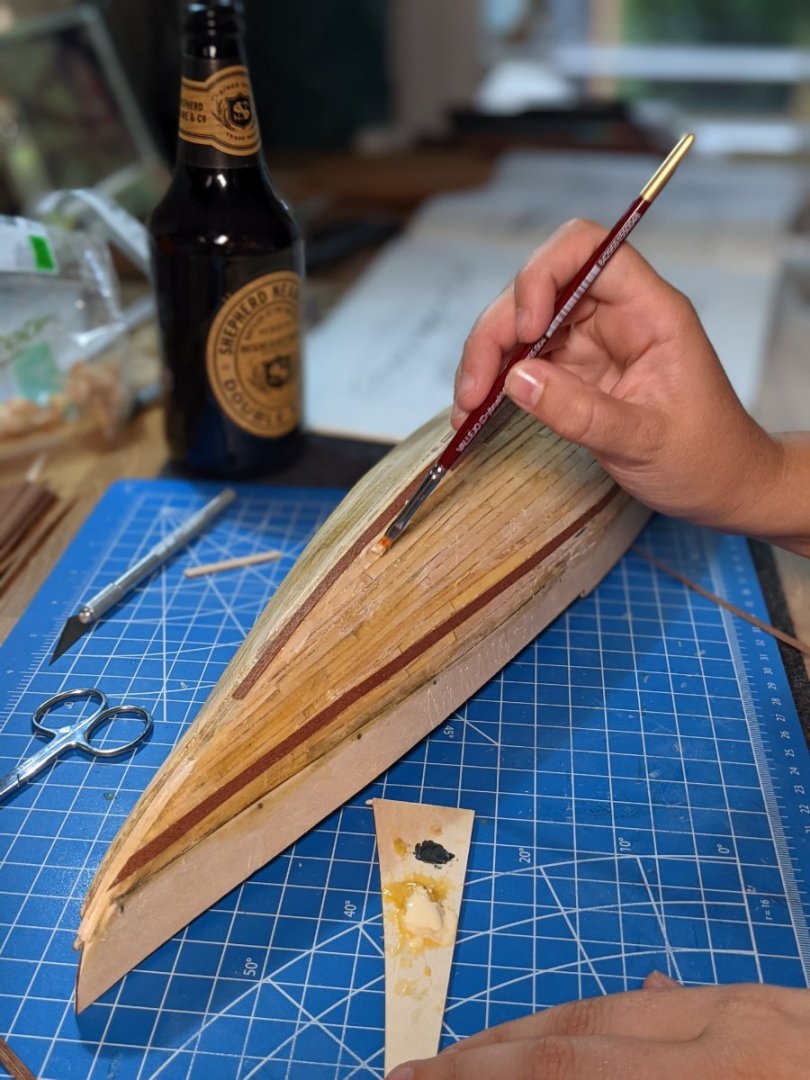
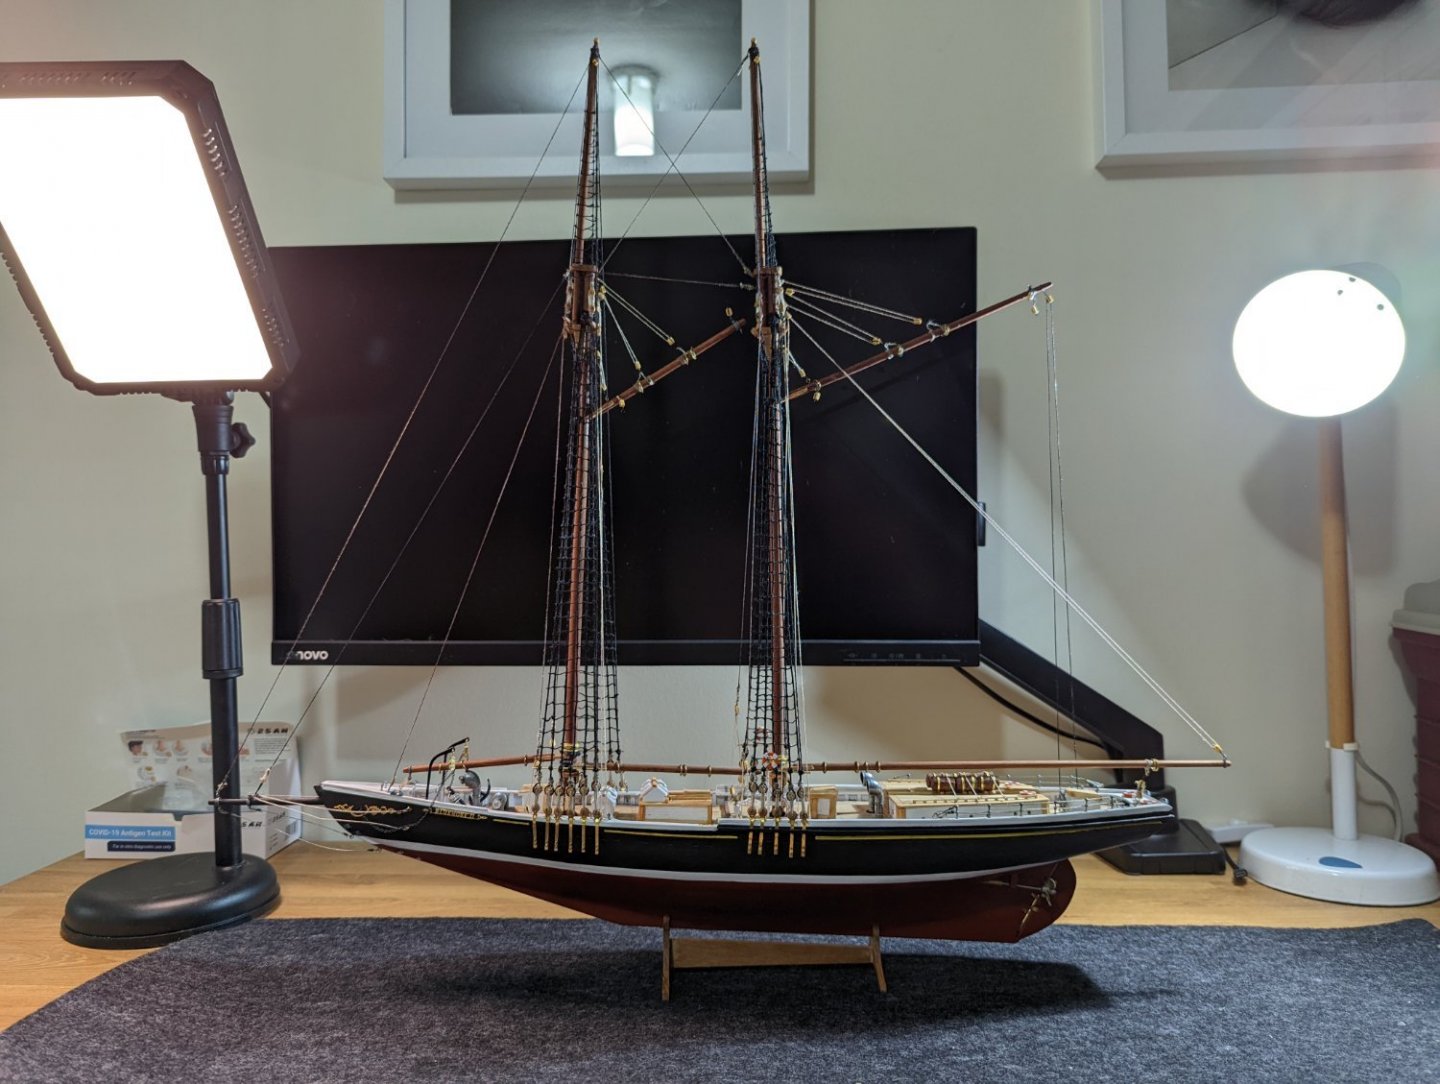
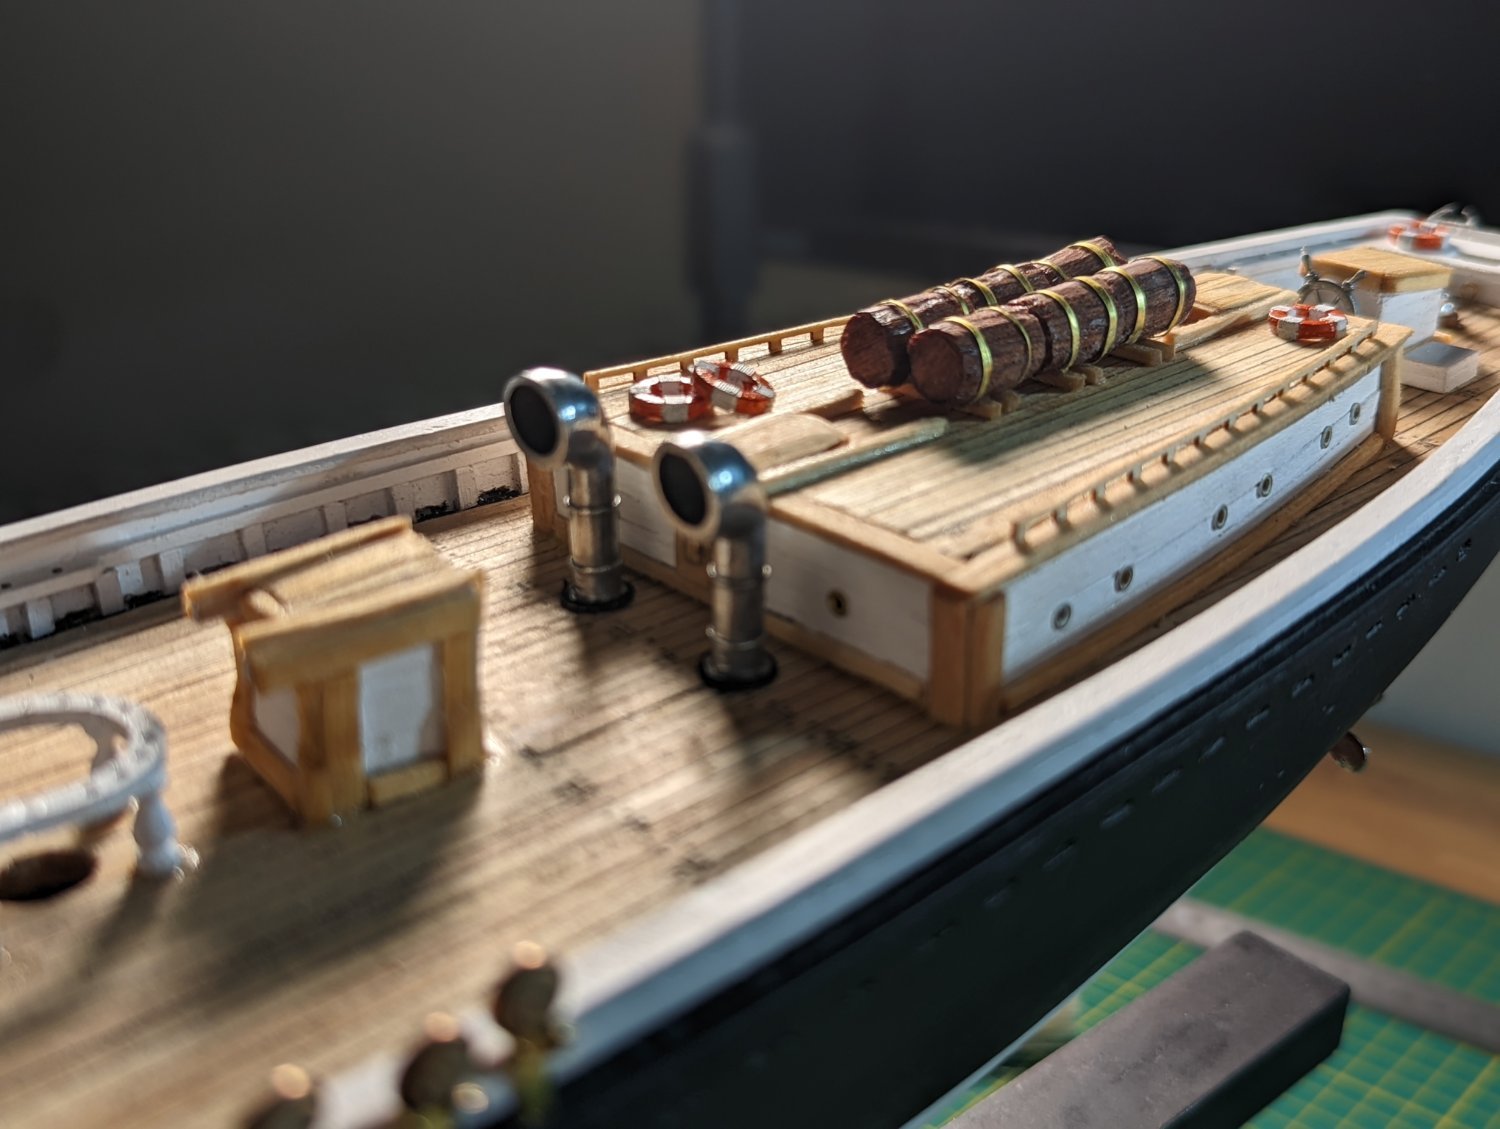
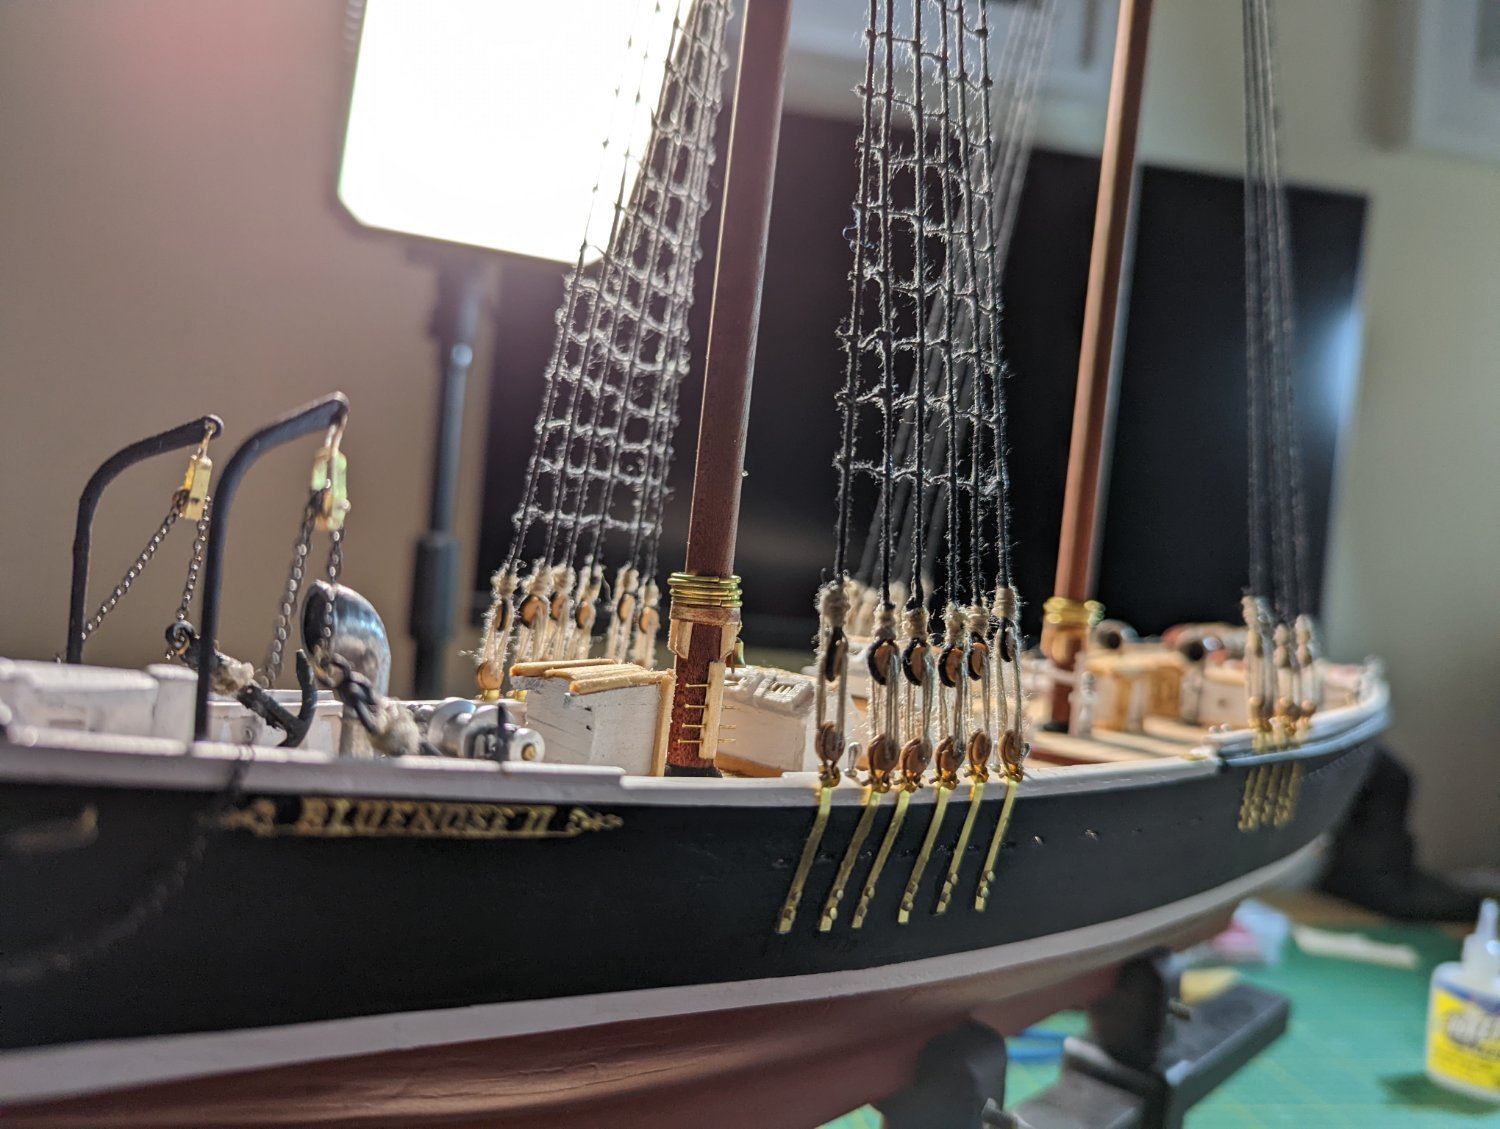
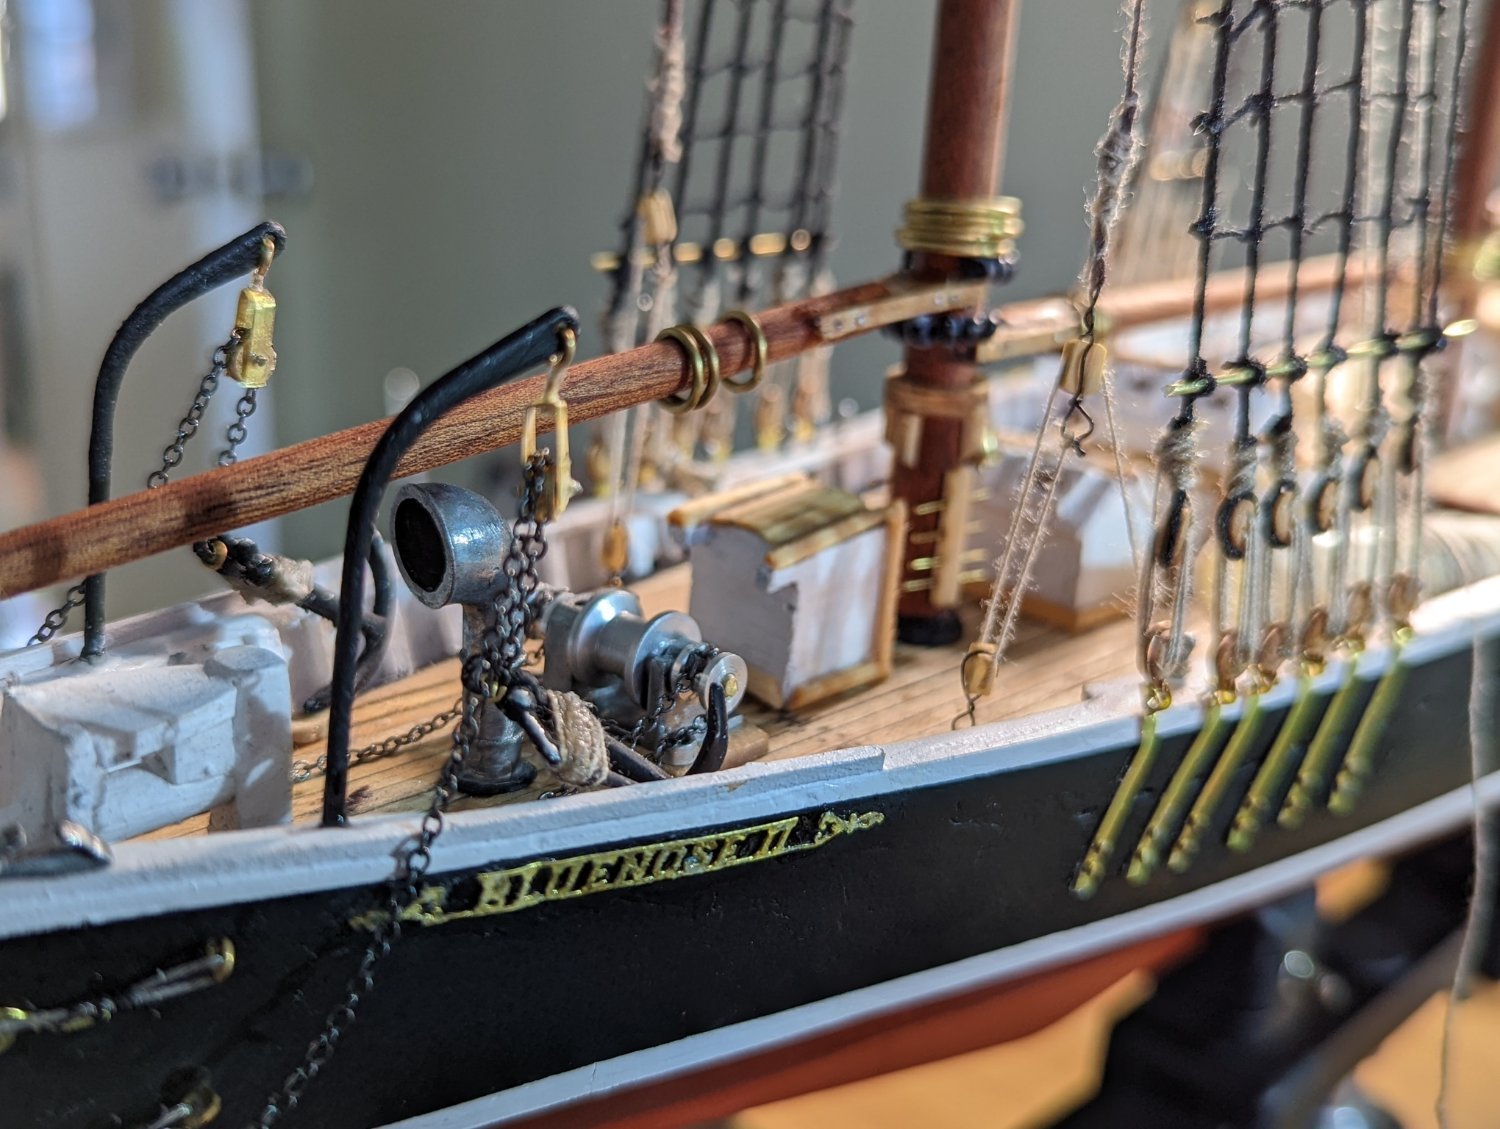
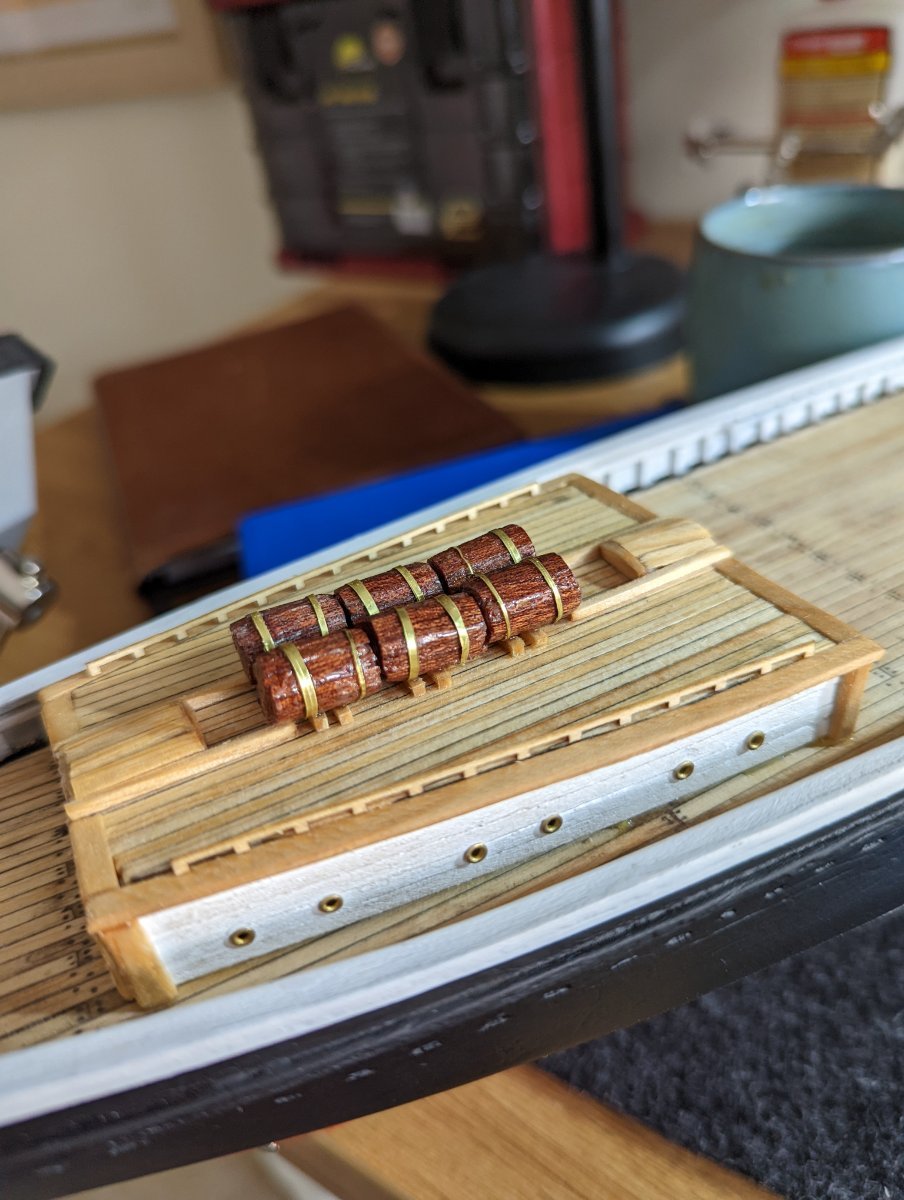
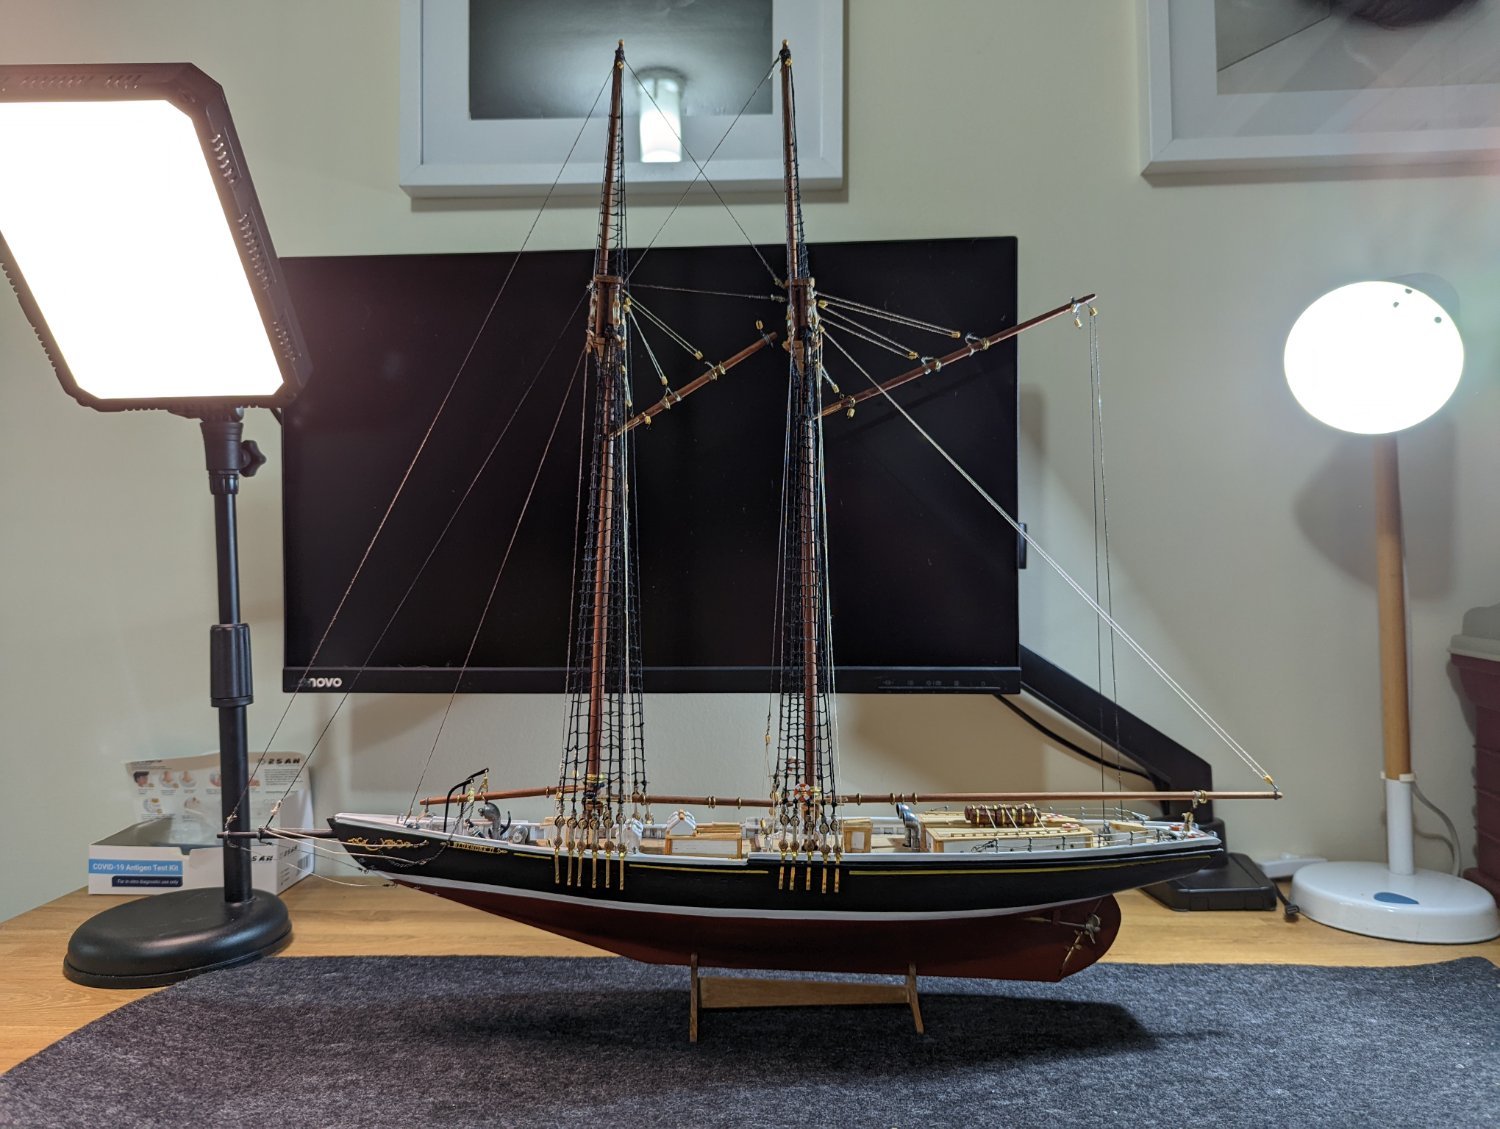
Hi everyone 👋 First time poster, long time lurker. I've been perusing more and more frequently MSW and have found it such an amazing resource... I bit the bullet and have joined. New to model ship building, but have been modelling since I was a kid. I was lucky enough to grow up with my grandparents owning a hobby store, so every weekend my brother and I would spend our days there. I've picked up the hobby again in adulthood, recently completed my first model ship - the AL Bluenose II. While certainly not perfect, I had an immense amount of fun and caught the bug. I have since been gifted the OcCre Endeavour for my birthday, and back ordered the Caldercraft Agamemnon... for when I feel brave enough. Below are some pictures of my AL Bluenose II during and after construction. I didn't take comprehensive photos of the build... but I will endeavour (ba-dum-tss) to do so with the Endeavour! During the second layer of planking My first attempt at putting lipstick on the supplied barrels Close ups of the deck while under construction And shots of the near-complete and complete model Looking forward to my time in this community! KJ