HumphreyG
-
Posts
10 -
Joined
-
Last visited
-
 mtaylor reacted to a post in a topic:
What Wax To Use On Rigging Line
mtaylor reacted to a post in a topic:
What Wax To Use On Rigging Line
-
Technically yes. It is mostly a combination of microcrystalline wax and mineral spirits. Both of which are derived from petroleum. However, that description can be misleading and you need to be careful in what you infer from calling it a petroleum product. The mineral spirits quickly evaporate, and the wax is heavily refined so that it is actually very inert. It is unlikely to react and is well established in its use in museums which are very careful in the care and preservation of artifacts.
-
mtaylor reacted to a post in a topic:
Drawing center lines
-
Canute reacted to a post in a topic:
Drawing center lines
-
Canute reacted to a post in a topic:
Making lifeboat small mast for 1:200 Yamato
-
Stuntflyer reacted to a post in a topic:
Drawing center lines
-
Drawing center lines
HumphreyG replied to Stuntflyer's topic in Modeling tools and Workshop Equipment
There are center funding rulers. They are fairly inexpensive (around $10-15). Basically the rules just extend out in opposite directions from the center. You just check both sides read the same. Saves you from doing the math in you head. That would help you quickly find the center and then set the marking gauge off that. -
mtaylor reacted to a post in a topic:
Making lifeboat small mast for 1:200 Yamato
-
Olaf reacted to a post in a topic:
Making lifeboat small mast for 1:200 Yamato
-
Making lifeboat small mast for 1:200 Yamato
HumphreyG replied to Olaf's topic in Metal Work, Soldering and Metal Fittings
Another option would be phosphor bronze wire. It's a bit stiffer than brass, which can helpful at his diameter, and it still solders great. You can buy it straightened. (There are probably other sources, but this is the one I am personally most familiar with.) https://www.tichytraingroup.com/Shop/tabid/91/c/n_wire/Default.aspx However I opted to buy it on a spool and straighten it. You get a fairly inexpensive wire straighting tool that does a decent job straighting the wire. The pulling method mentioned above should also work, but does change the diameter a little and makes the wire stiffer (which can be good or bad). -
Thank you. Now that you point it out I looked closer and I can see the rivets.
-
I am curious to see your progress on this model. I have another of Sylvan's models (a 1:160 tramp or EFC design 1020 freighter). I have not started on mine yet. I was noticing the vertical lines in the resin hull. My model has the same vertical lines. I am still trying to decide if I should sand the hull flat (removing the plate details). Do you have any plans to remove those lines? Im not confident in getting putty to effectively conceal them.
-
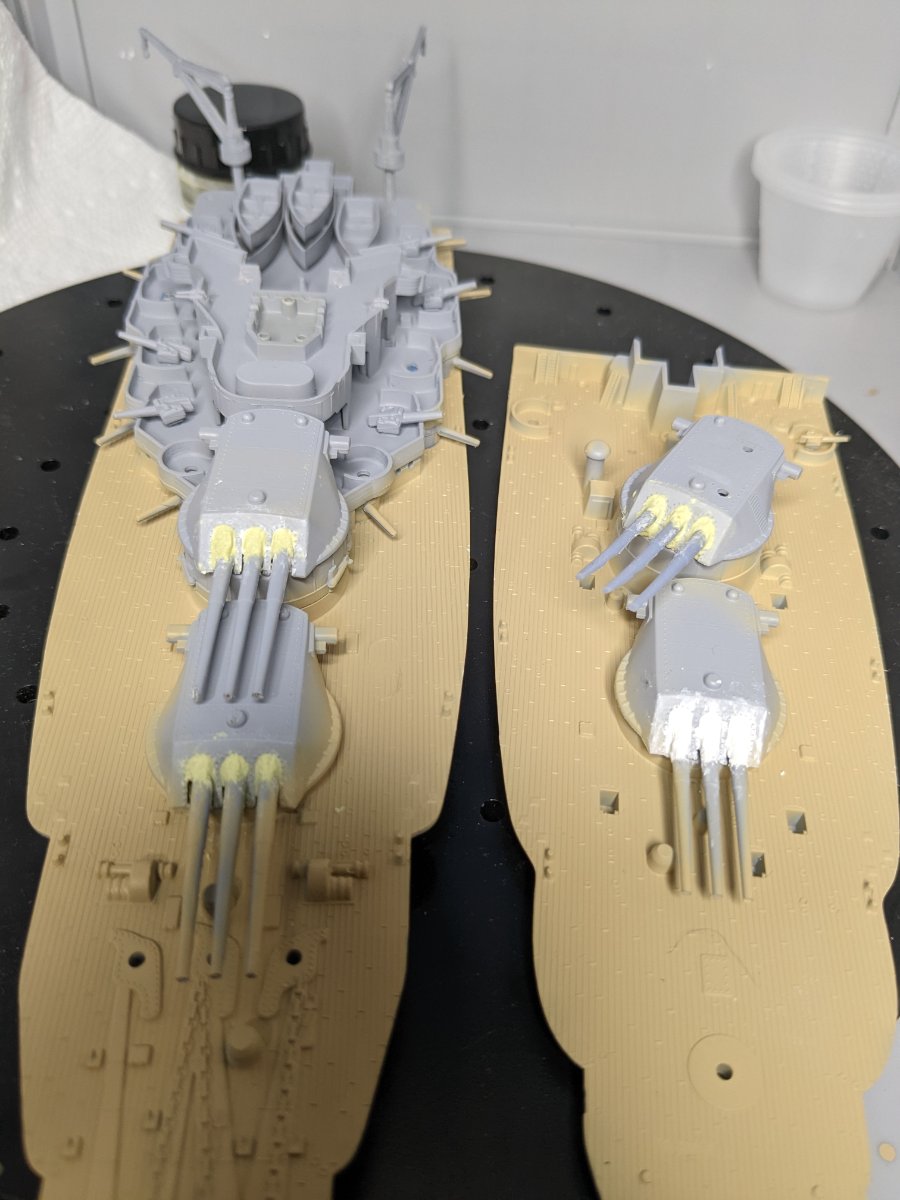
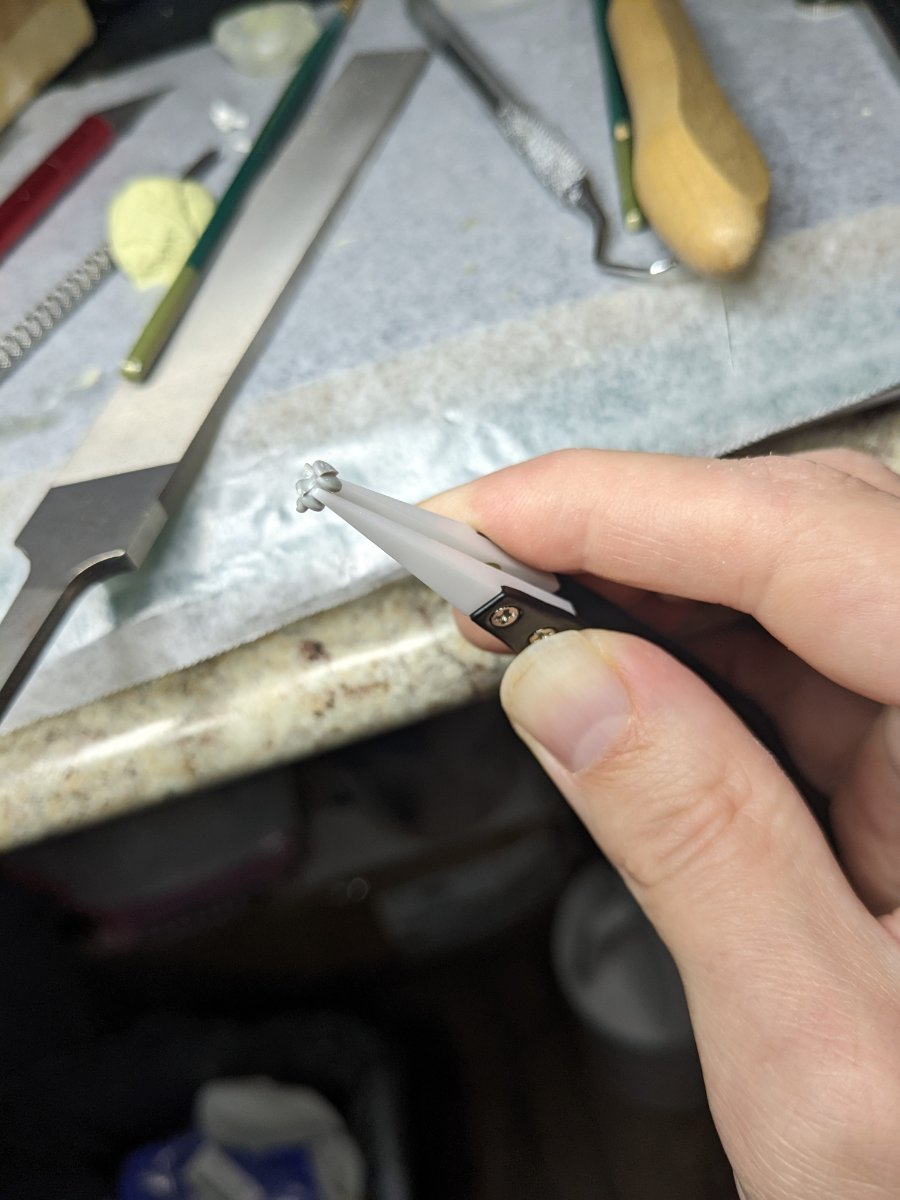
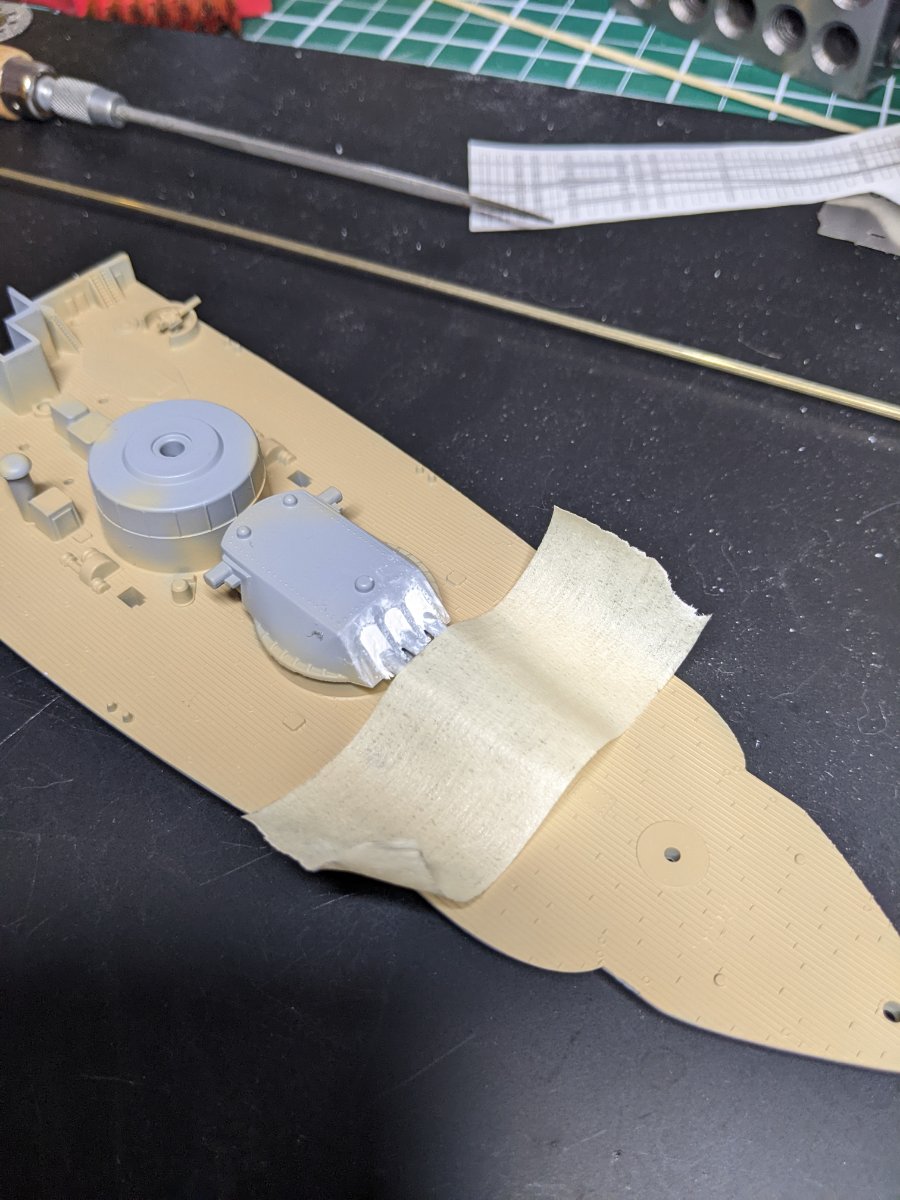
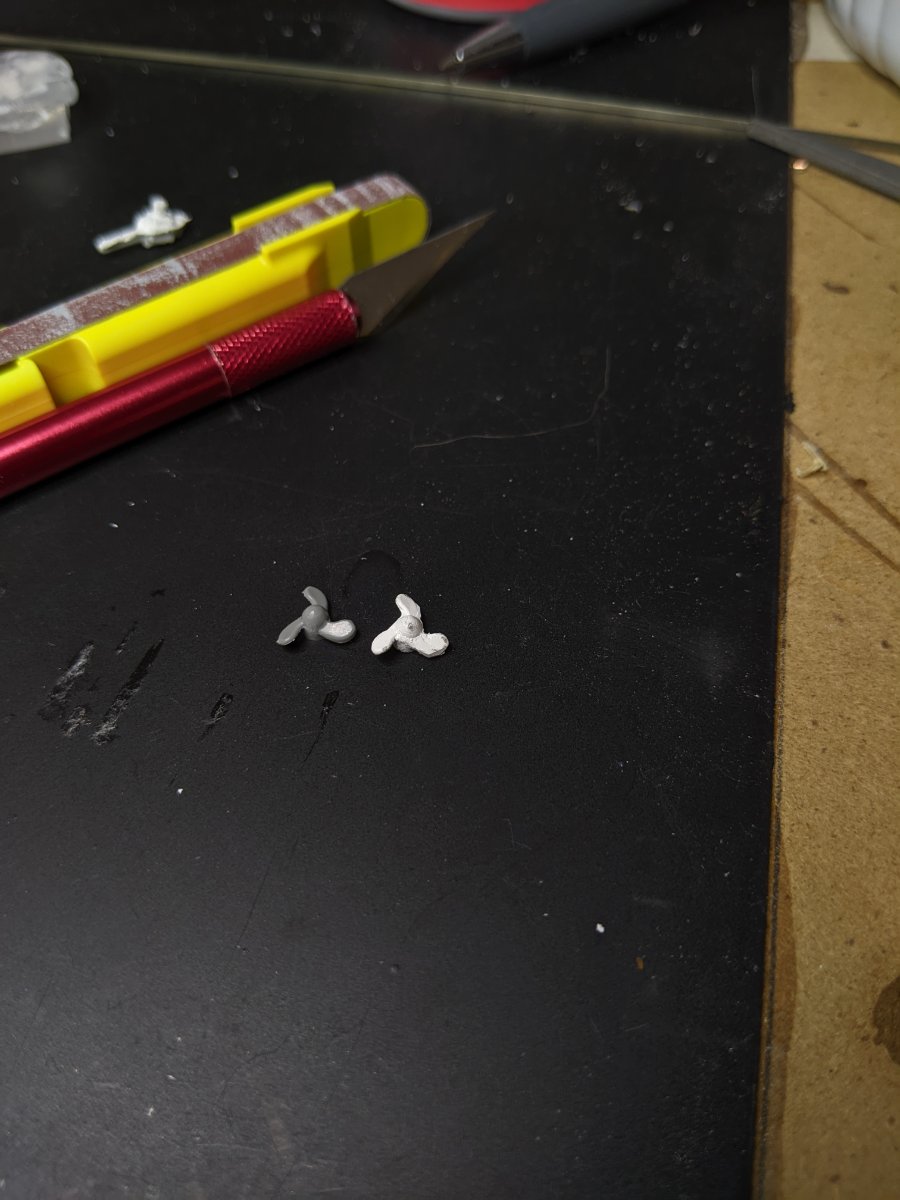
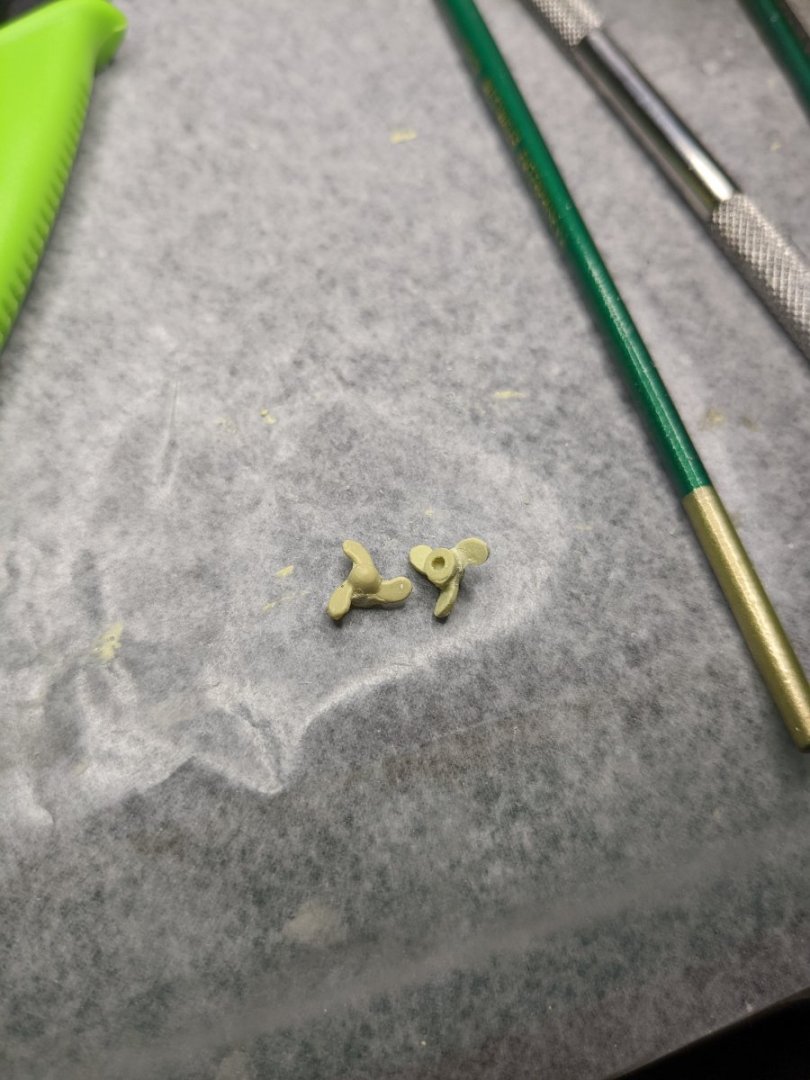
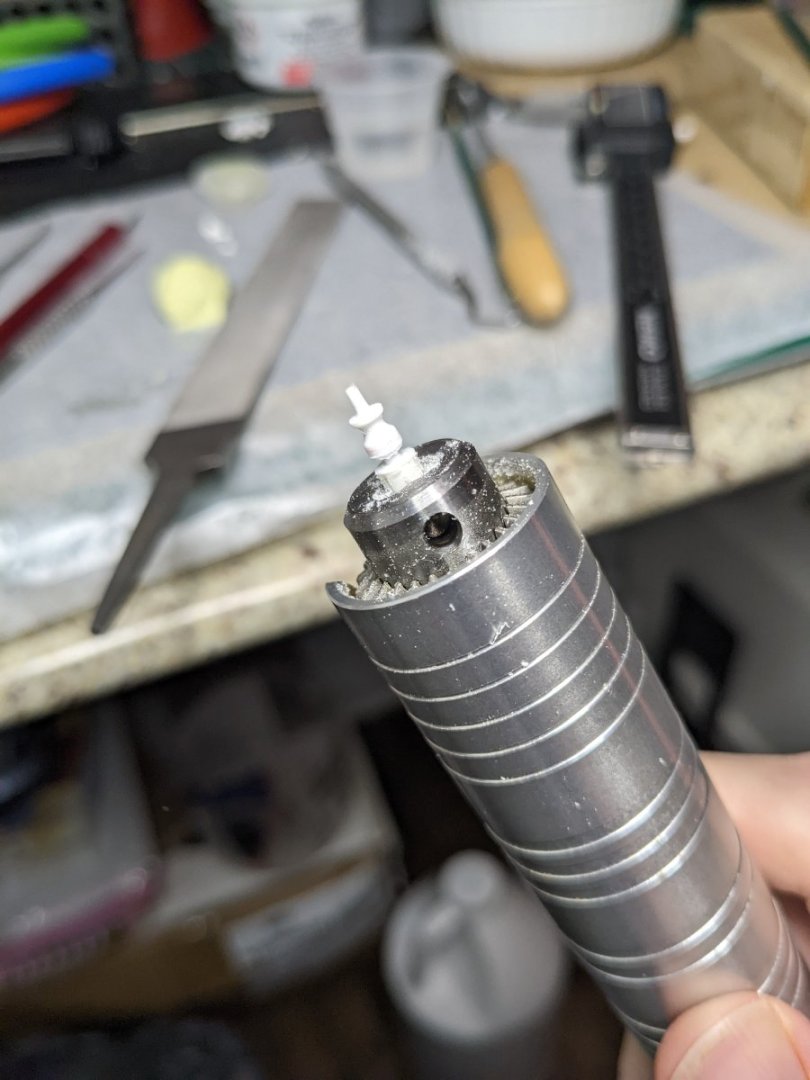
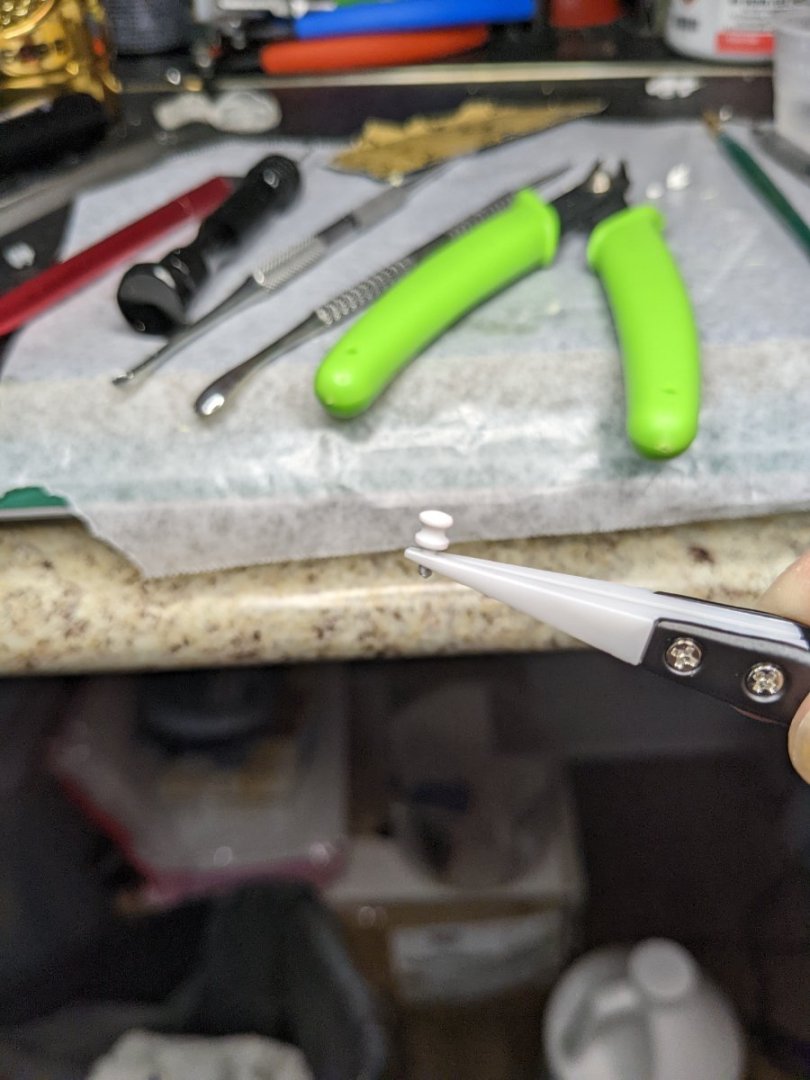
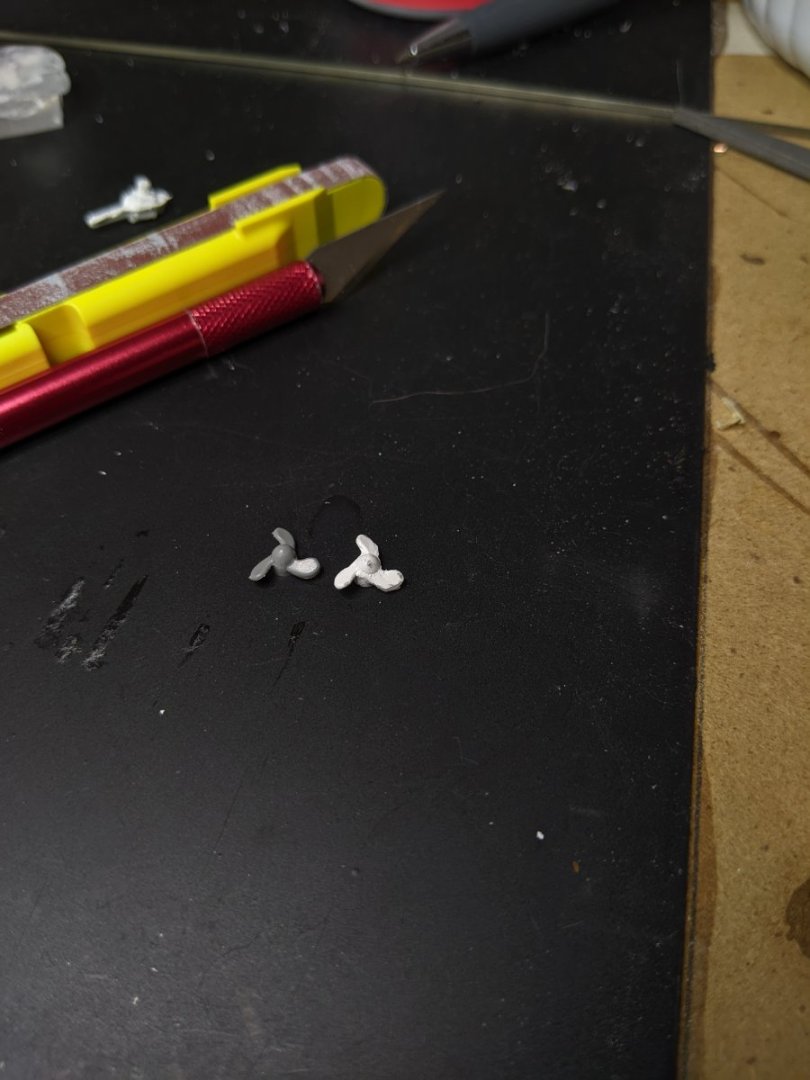
I found the white milliput to be very crumbly, even when dry. I tried the standard and that seems to be much more durable. I had to remake the 2 propellers. With a but more experimentation, I found a makeup applicator worked well for forming the blast bags. I have a bunch for applying flux for solder. They were nice and small, daily stuff and held a little water. The capstan with the kit were very poorly molded, so I decided to make a new one. I use my freedom to turn down a styrene rod. I used a hacksaw and files for tools.


-
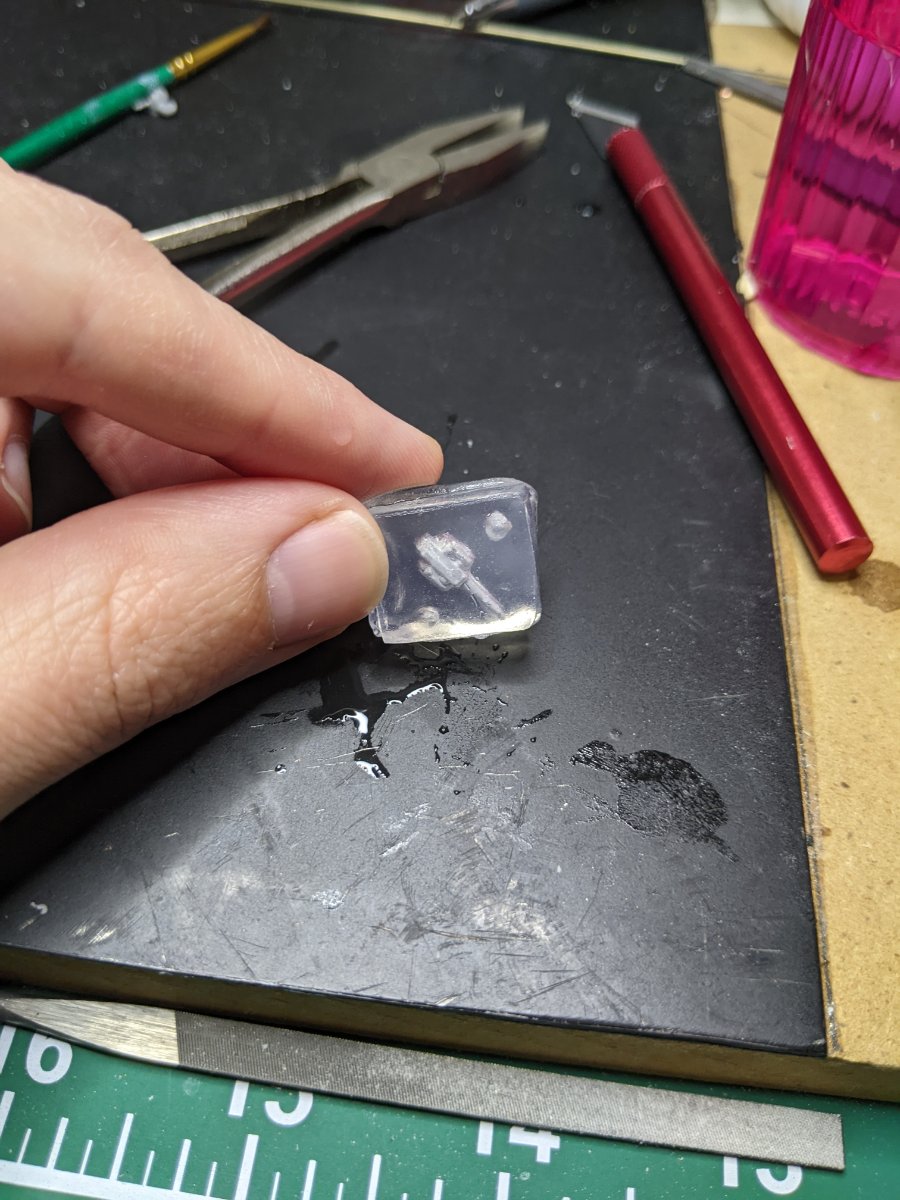
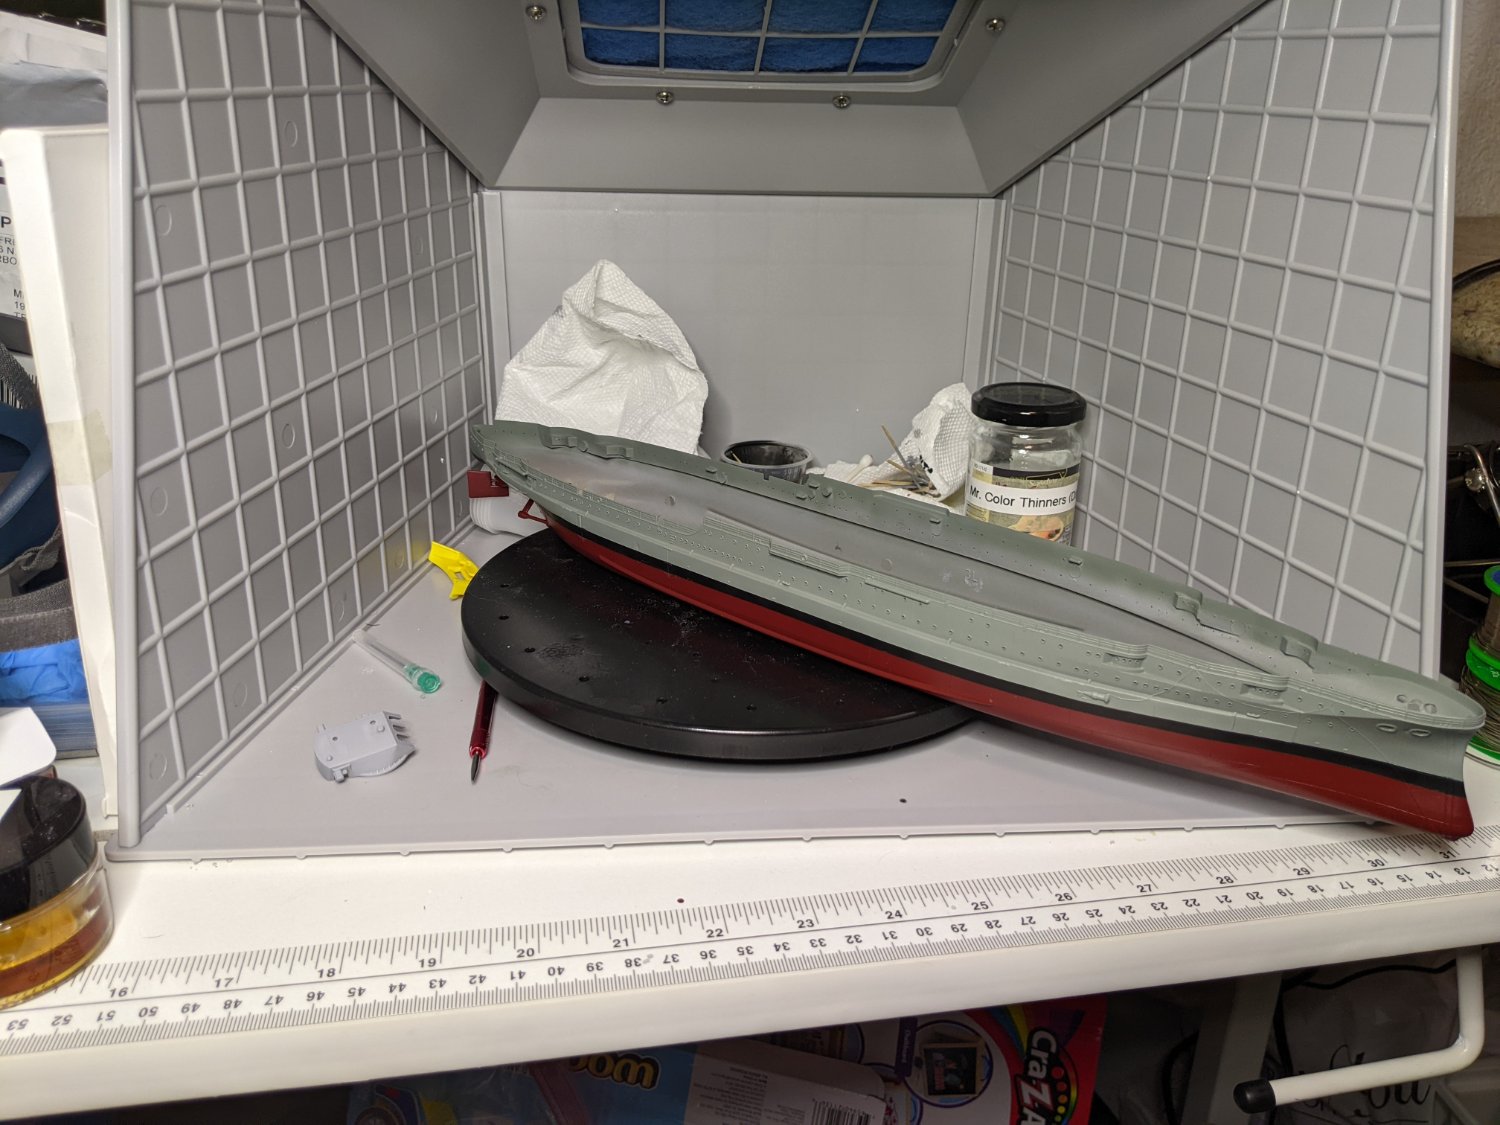
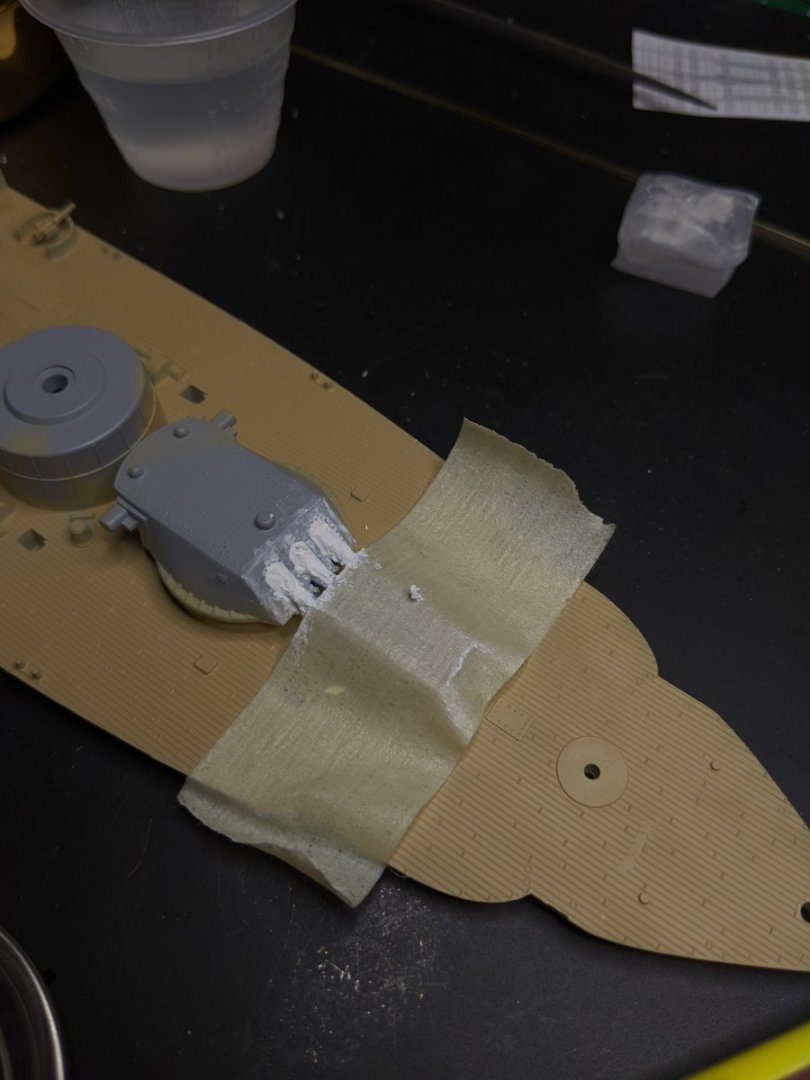
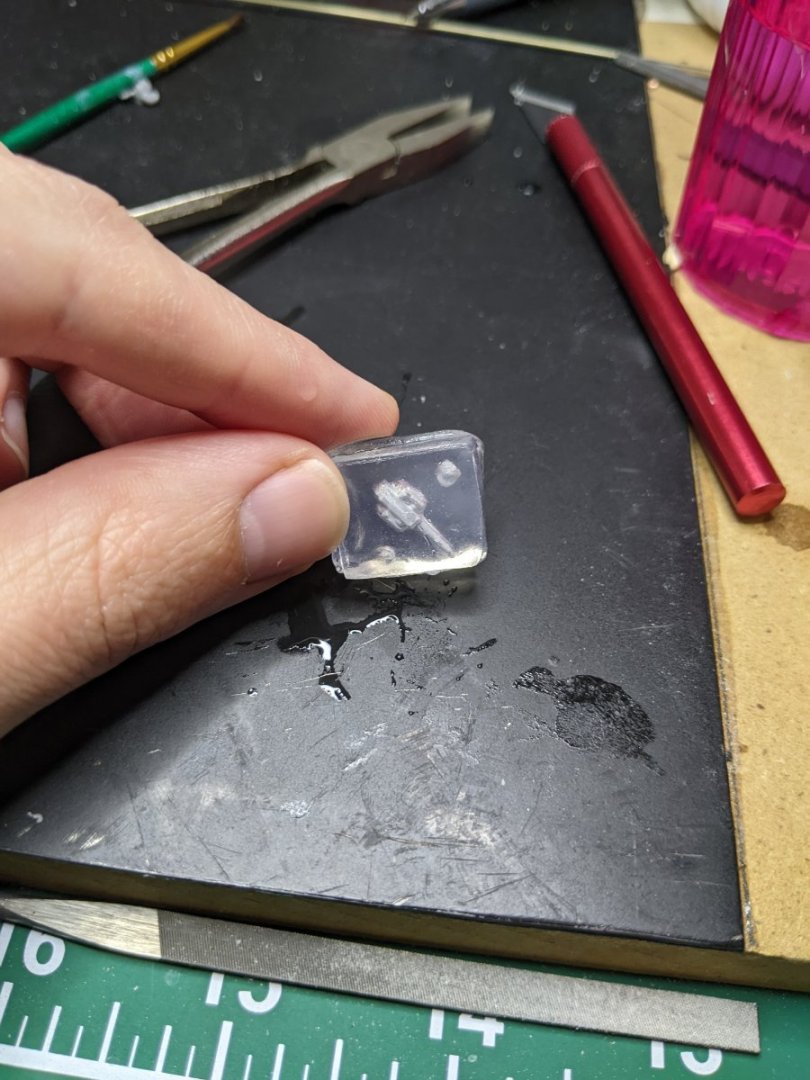
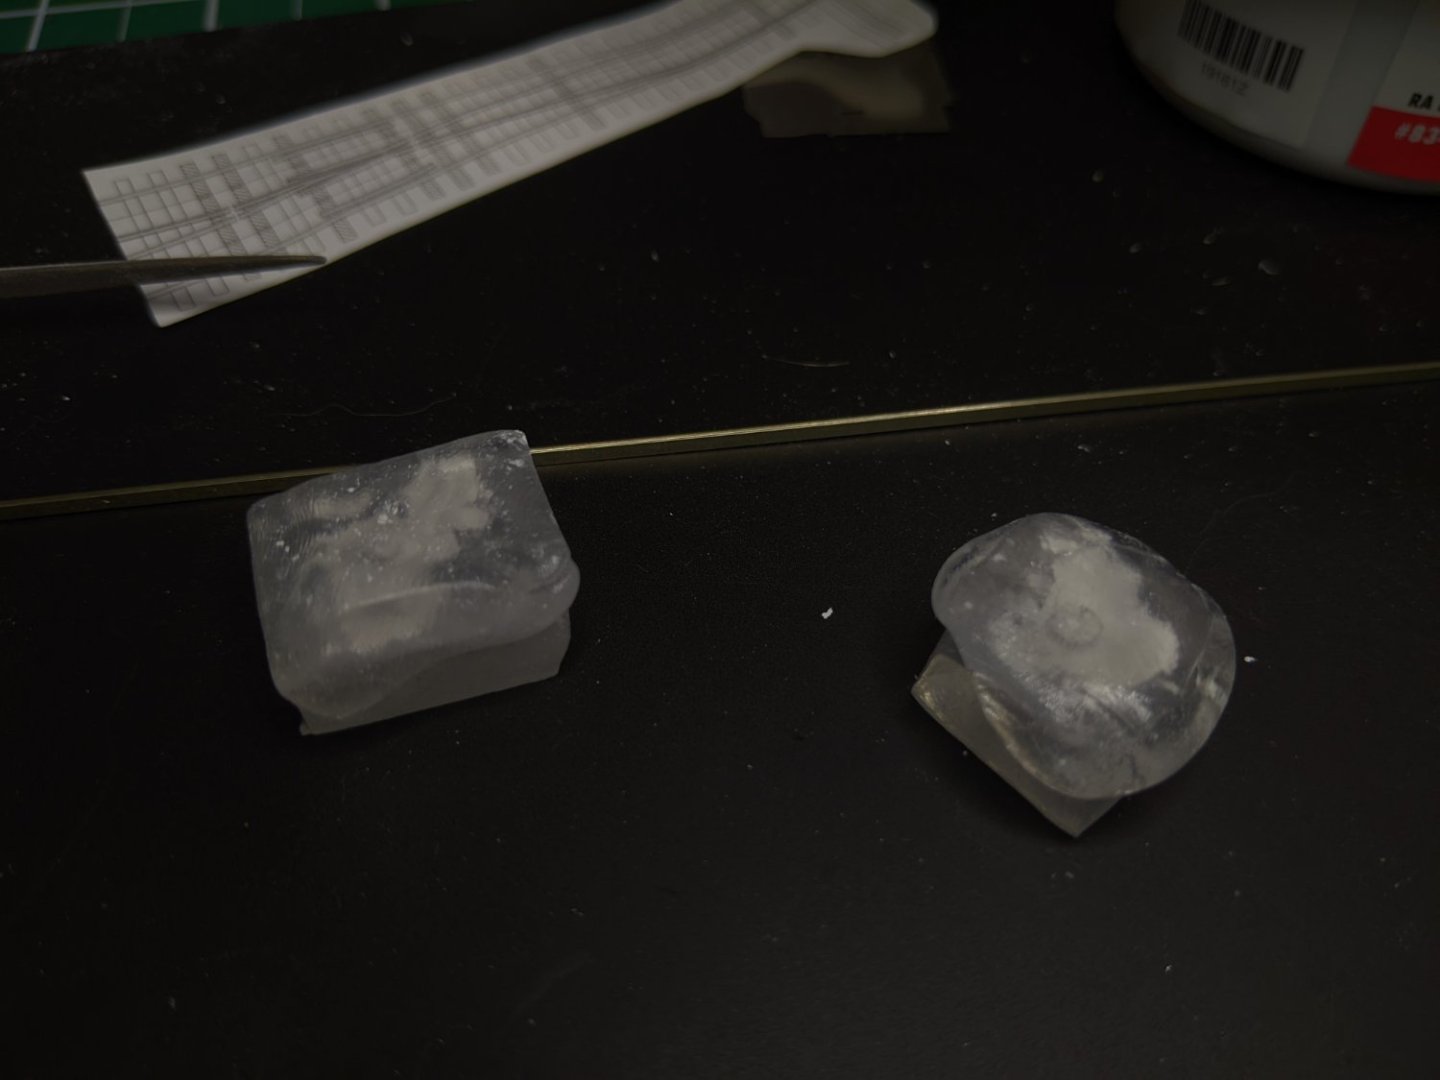
My progress is quite slow. The next kit I am planning is a resin kit, so I'm not sure it will be much cleaner then this one. This week I put a base coat on the decks. I also started using milliput to fill in the blast bags. For my first time working with milliput I think it turned out alright. I have lost a few pieces of the kit, so I decided to use it as an opportunity to practice casting some parts. I used oymaru to make the molds. It will soften in hot water. I then put the milliput into the molds. There is a lot of flash, but with a little cleaning the parts seem to turn out ok.

-
This is my first build log. It has been several years since I built a model kit. I have had this kit on a shelf for the last 15 years. I decided to finish it up. I figured it would be good practice for painting before I start something more expensive.