LWARD1291
-
Posts
7 -
Joined
-
Last visited
-
 Roger Pellett reacted to a post in a topic:
Martin J Lynne by LWARD1291 - Sylvan Scale Models - HO/1:87 - Great Lakes Freighter
Roger Pellett reacted to a post in a topic:
Martin J Lynne by LWARD1291 - Sylvan Scale Models - HO/1:87 - Great Lakes Freighter
-
Canute reacted to a post in a topic:
Martin J Lynne by LWARD1291 - Sylvan Scale Models - HO/1:87 - Great Lakes Freighter
-
 thibaultron reacted to a post in a topic:
Martin J Lynne by LWARD1291 - Sylvan Scale Models - HO/1:87 - Great Lakes Freighter
thibaultron reacted to a post in a topic:
Martin J Lynne by LWARD1291 - Sylvan Scale Models - HO/1:87 - Great Lakes Freighter
-
Prowler901 reacted to a post in a topic:
Martin J Lynne by LWARD1291 - Sylvan Scale Models - HO/1:87 - Great Lakes Freighter
-
kurtvd19 reacted to a post in a topic:
Martin J Lynne by LWARD1291 - Sylvan Scale Models - HO/1:87 - Great Lakes Freighter
-
hof00 reacted to a post in a topic:
Martin J Lynne by LWARD1291 - Sylvan Scale Models - HO/1:87 - Great Lakes Freighter
-
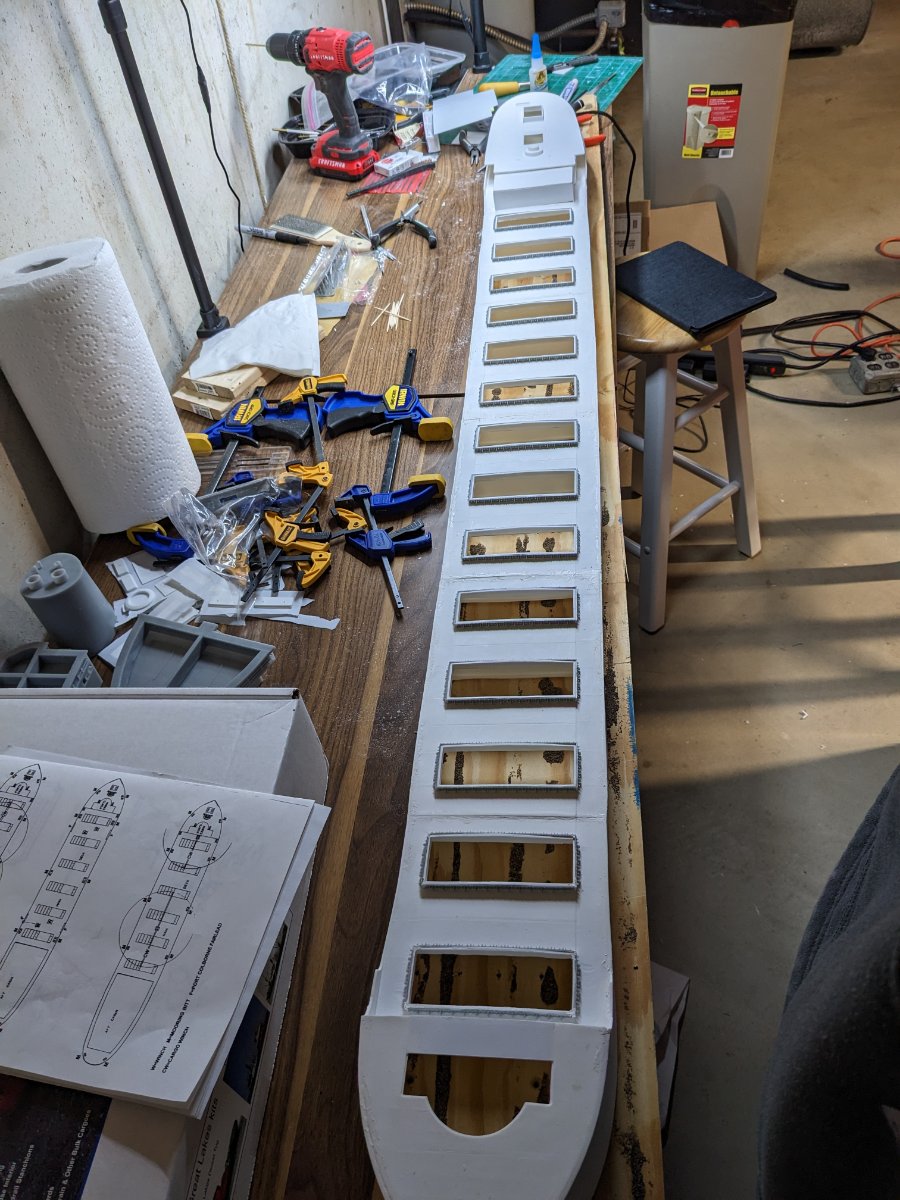
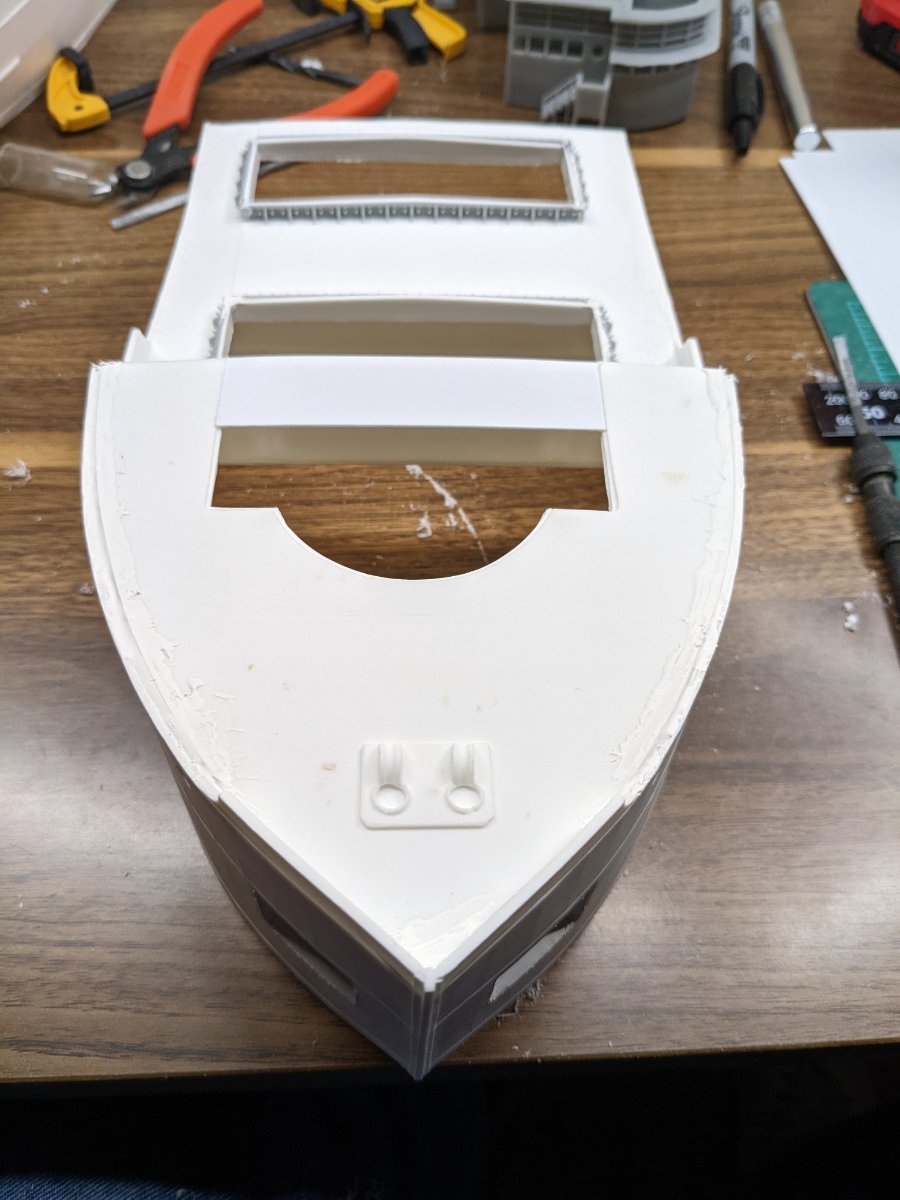
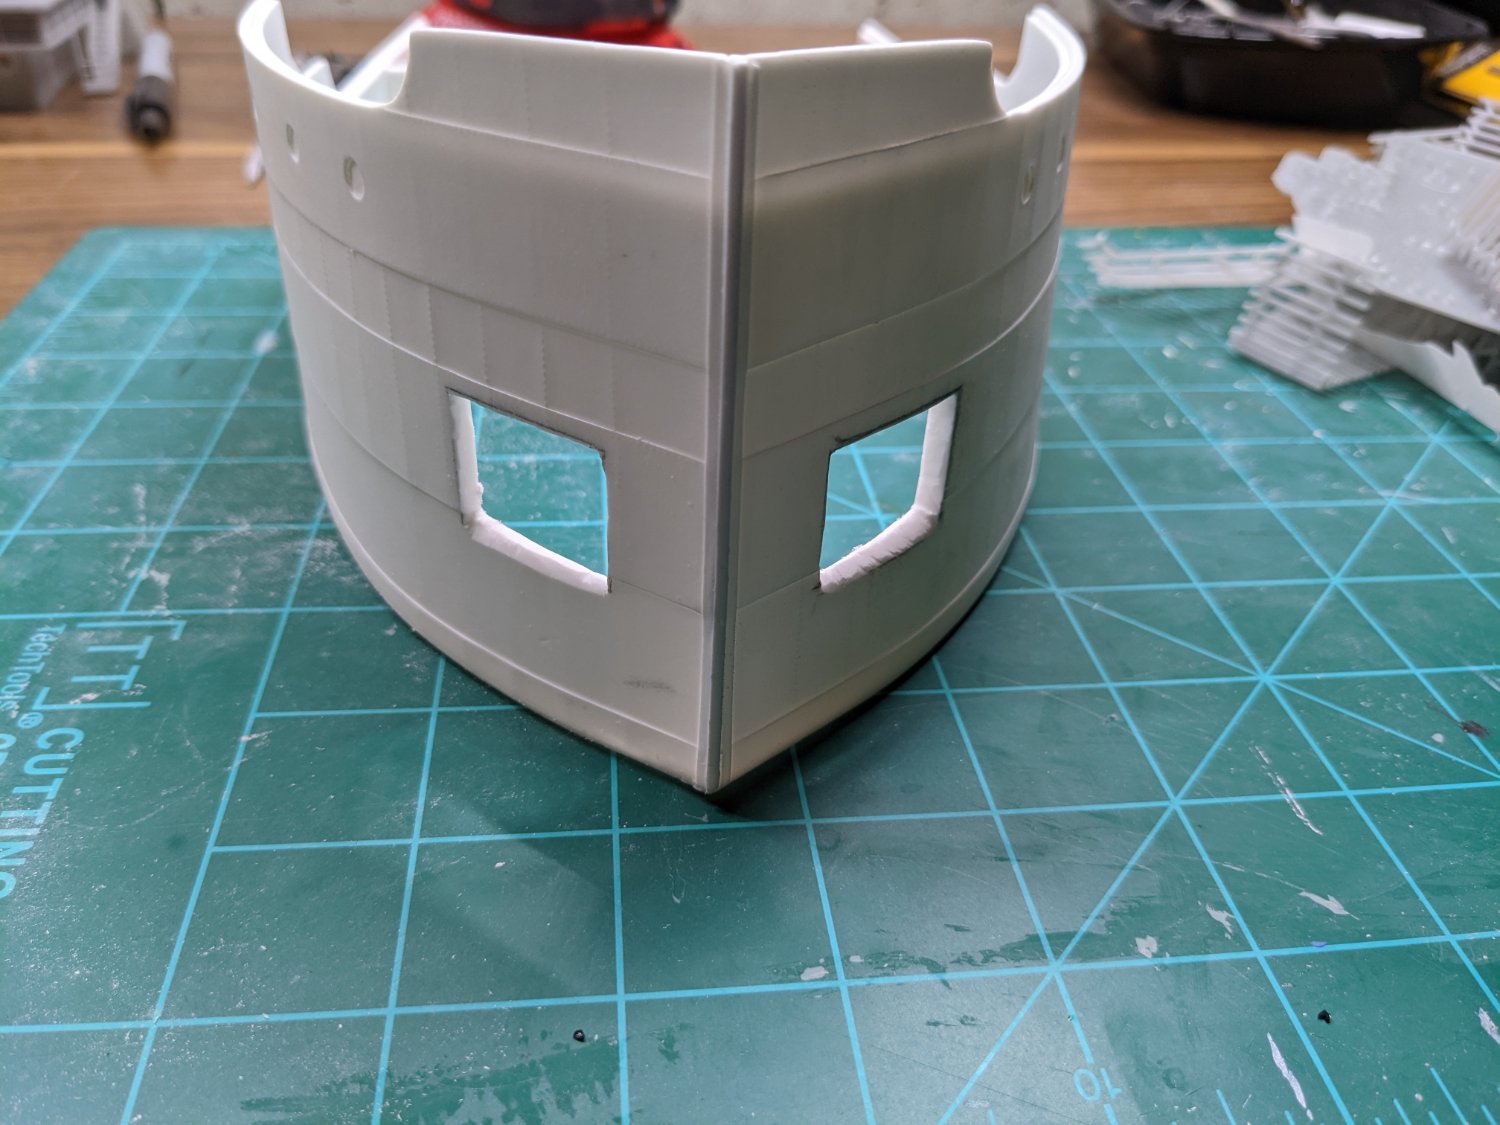
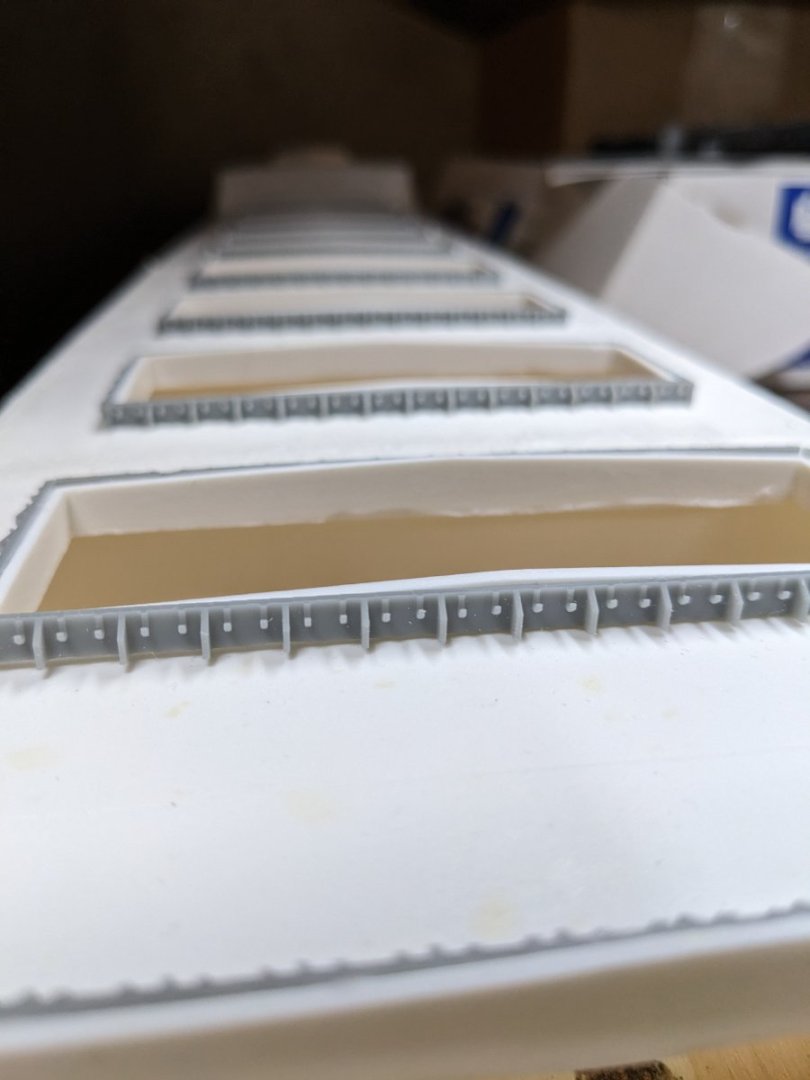
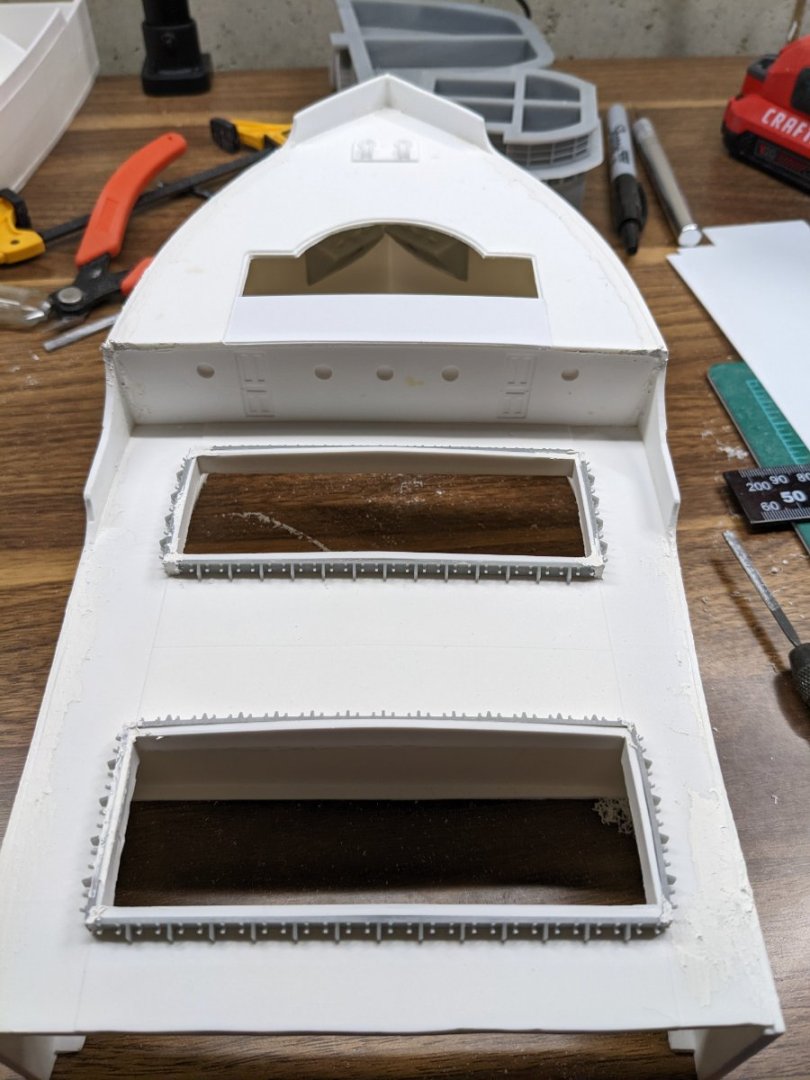
Good evening folks. Another long in between update on the 1/87 Sylvan build. I have the hull pretty much together, puttied, and sanded. This has taken a lot longer than I was expecting. But it's where I want it right now. A key note here. If you're even remotely thinking of using the hatch details from Circuit City, I highly recommend waiting until the major resin work and sanding are done. The little details easily get chipped with Dremels and hand sanding. In the photos, I'm starting to prepare the areas for the fore and aft houses. Again, a lot of modification is needed to these areas on the Sylvan kit to get it to somewhat a later model ship. The kit is based on a hull nearly 80 years old. I also started scratch building the selfunloader housing. This is just styrene cut to shape, puttied, and sanded. I had to order the material to do the boom. No e of my local sources had what I wanted. The boom will use Plastruc open web truss material. Once I get the areas prepped for the houses and other details, I'll put a primer coat on the hull. I always like a light first coat of primer. It really shows the defects and imperfections. With the current Michigan weather, it may be a couple weeks before I can get this beast outside and get that first coat on. That's it for now. Hopefully more sooner next time.


-
mtaylor reacted to a post in a topic:
Martin J Lynne by LWARD1291 - Sylvan Scale Models - HO/1:87 - Great Lakes Freighter
-
mtaylor reacted to a post in a topic:
Martin J Lynne by LWARD1291 - Sylvan Scale Models - HO/1:87 - Great Lakes Freighter
-
mtaylor reacted to a post in a topic:
Martin J Lynne by LWARD1291 - Sylvan Scale Models - HO/1:87 - Great Lakes Freighter
-
Prowler901 reacted to a post in a topic:
Martin J Lynne by LWARD1291 - Sylvan Scale Models - HO/1:87 - Great Lakes Freighter
-
LWARD1291 reacted to a post in a topic:
SS Benjamin Noble by Roger Pellett - 1:96 - Great Lakes Freighter
-
LWARD1291 reacted to a post in a topic:
SS Benjamin Noble by Roger Pellett - 1:96 - Great Lakes Freighter
-
LWARD1291 reacted to a post in a topic:
SS Benjamin Noble by Roger Pellett - 1:96 - Great Lakes Freighter
-
LWARD1291 reacted to a post in a topic:
SS Benjamin Noble by Roger Pellett - 1:96 - Great Lakes Freighter
-
LWARD1291 reacted to a post in a topic:
SS Benjamin Noble by Roger Pellett - 1:96 - Great Lakes Freighter
-
LWARD1291 reacted to a post in a topic:
SS Benjamin Noble by Roger Pellett - 1:96 - Great Lakes Freighter
-
Atlas Mk IV and Peco.
-
Lord no! Mostly Atlas code 100 flex track. I'm not good enough to hand lay track.
-
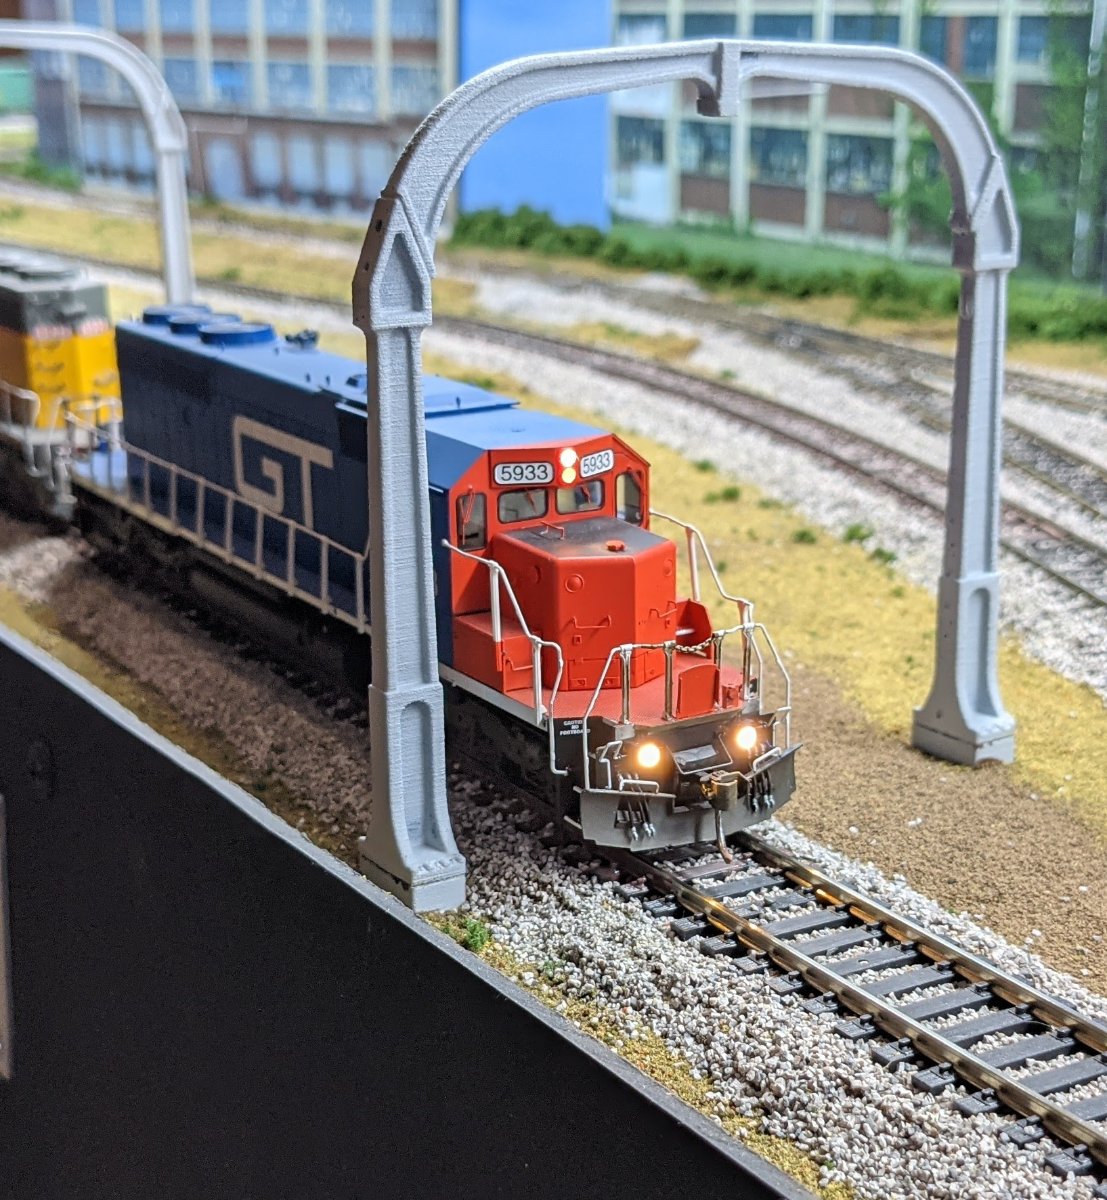
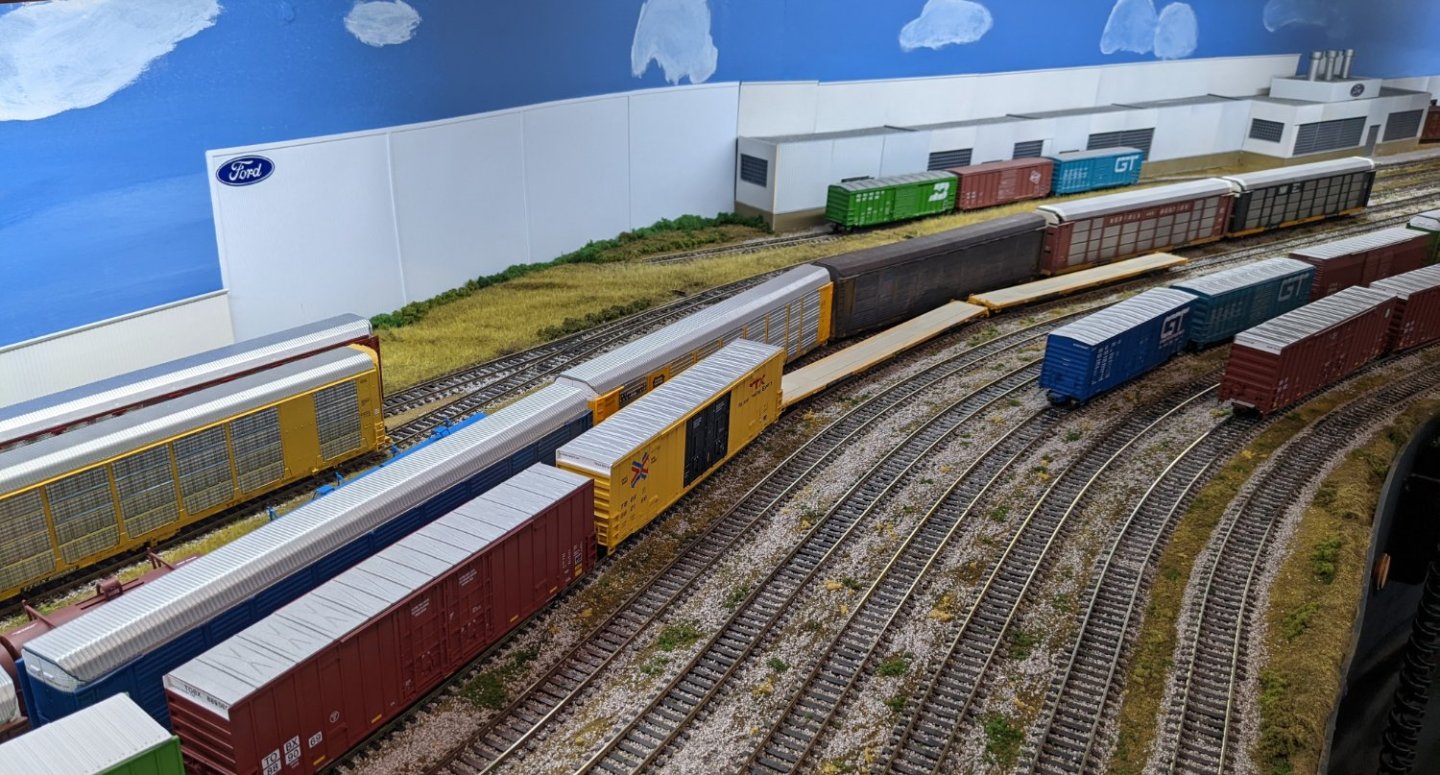
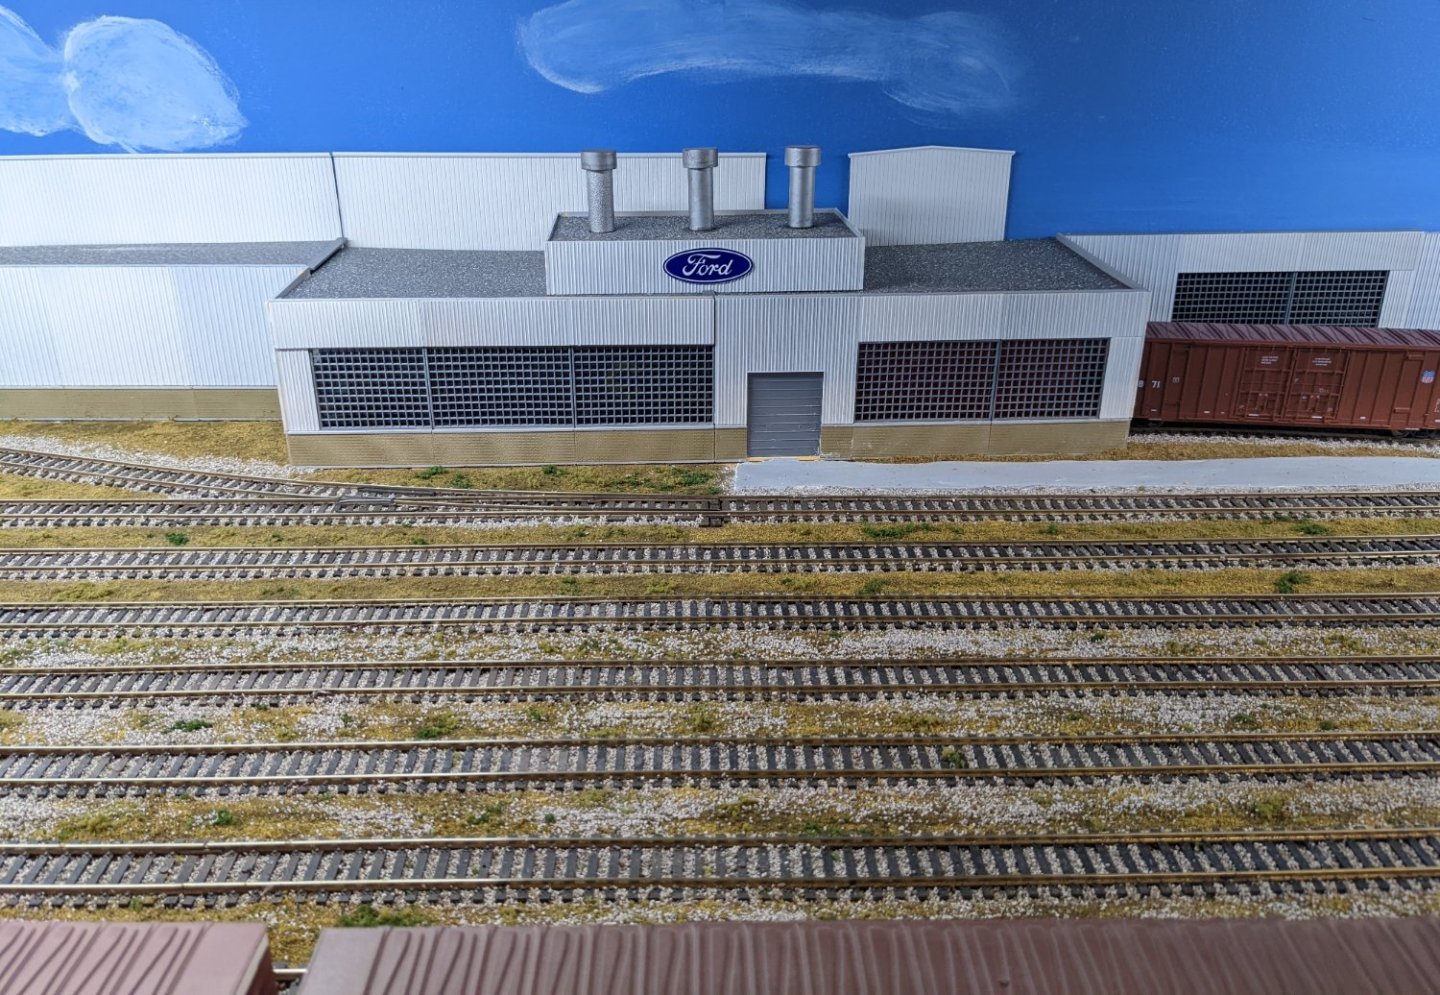
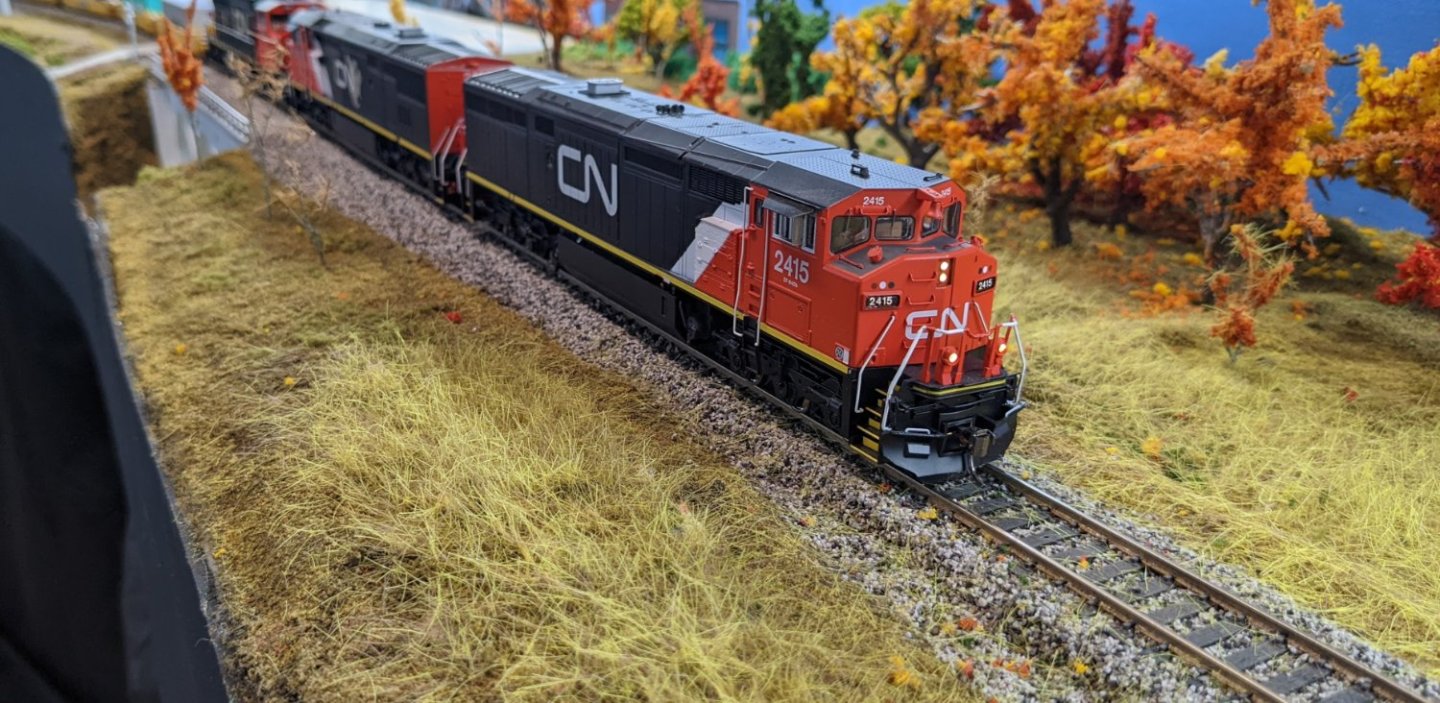
Tom, here's a few photos of the old layout. I model the DTI/GTW/CN. The layout was 17x34, 2 level, with about 300 feet of mainline running. I modeled Detroit (north staging) to Cincinnati/Springfield (south staging). The new layout will be a bit smaller, still 2 levels, but a bit more of the Rouge and Detroit modeled. That's where the freighter comes in. It'll be unloading at the Rouge with Rouge yard in the foreground, and the exit from staging underneath, the Detroit River Tunnel.


-
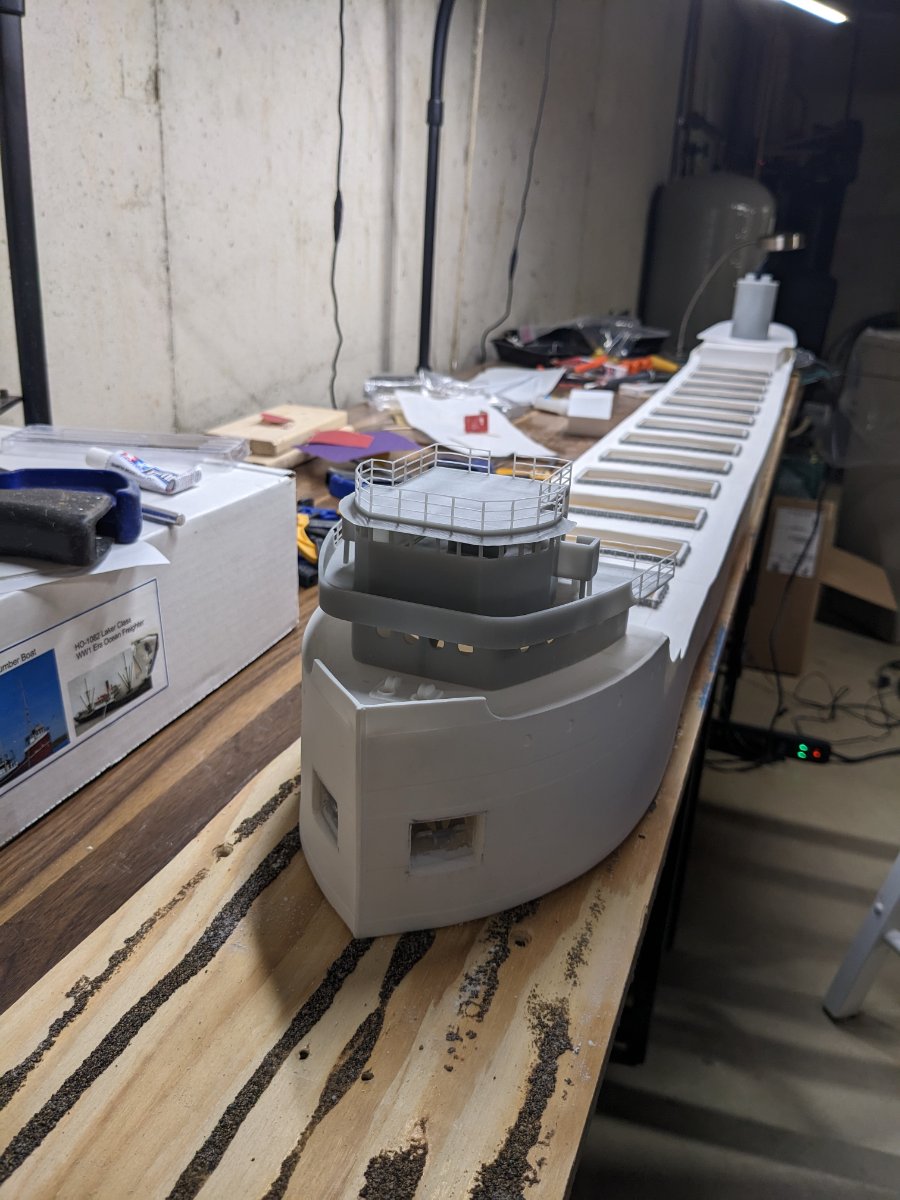
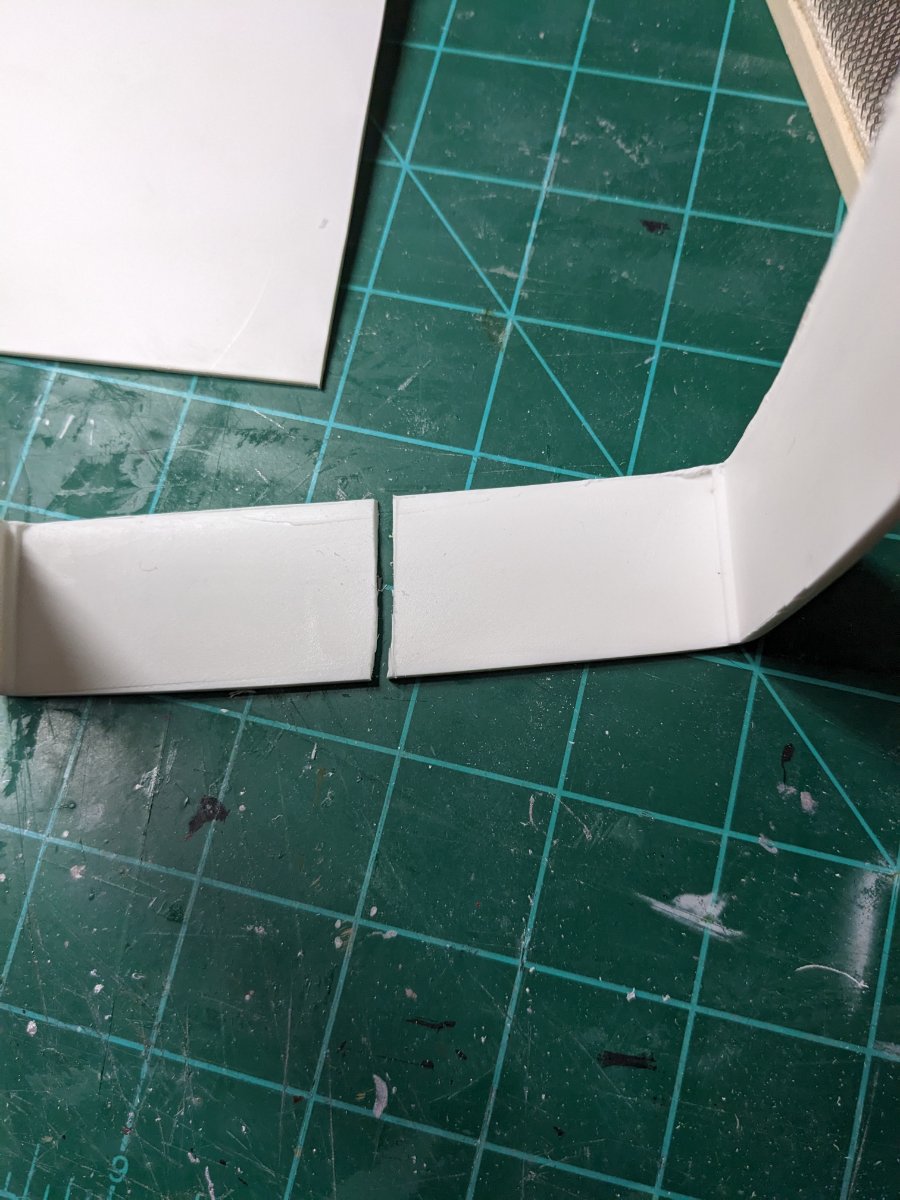
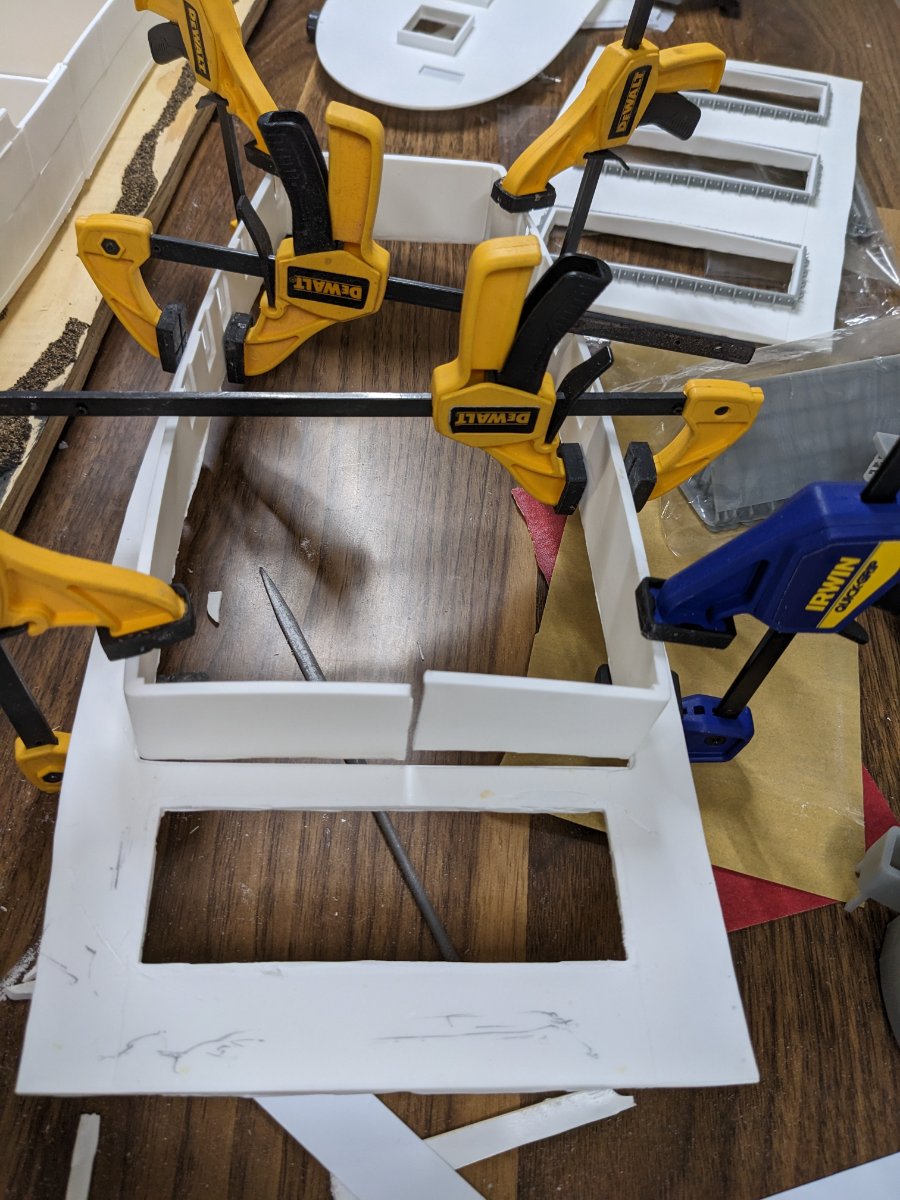
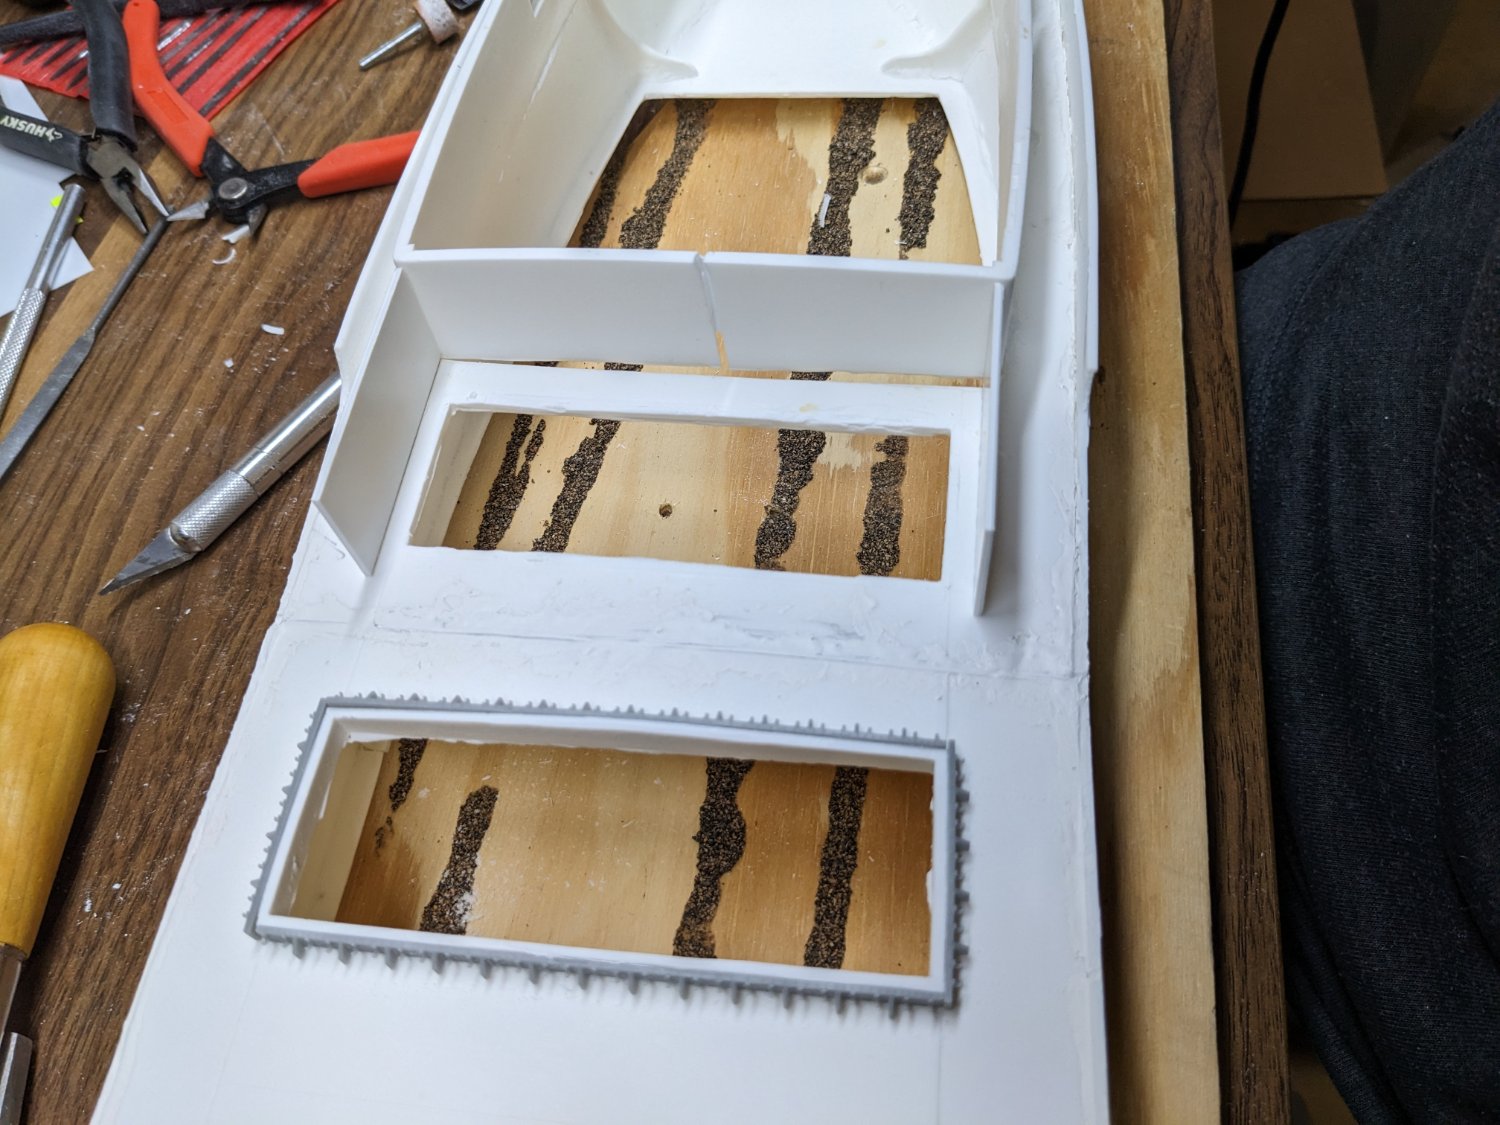
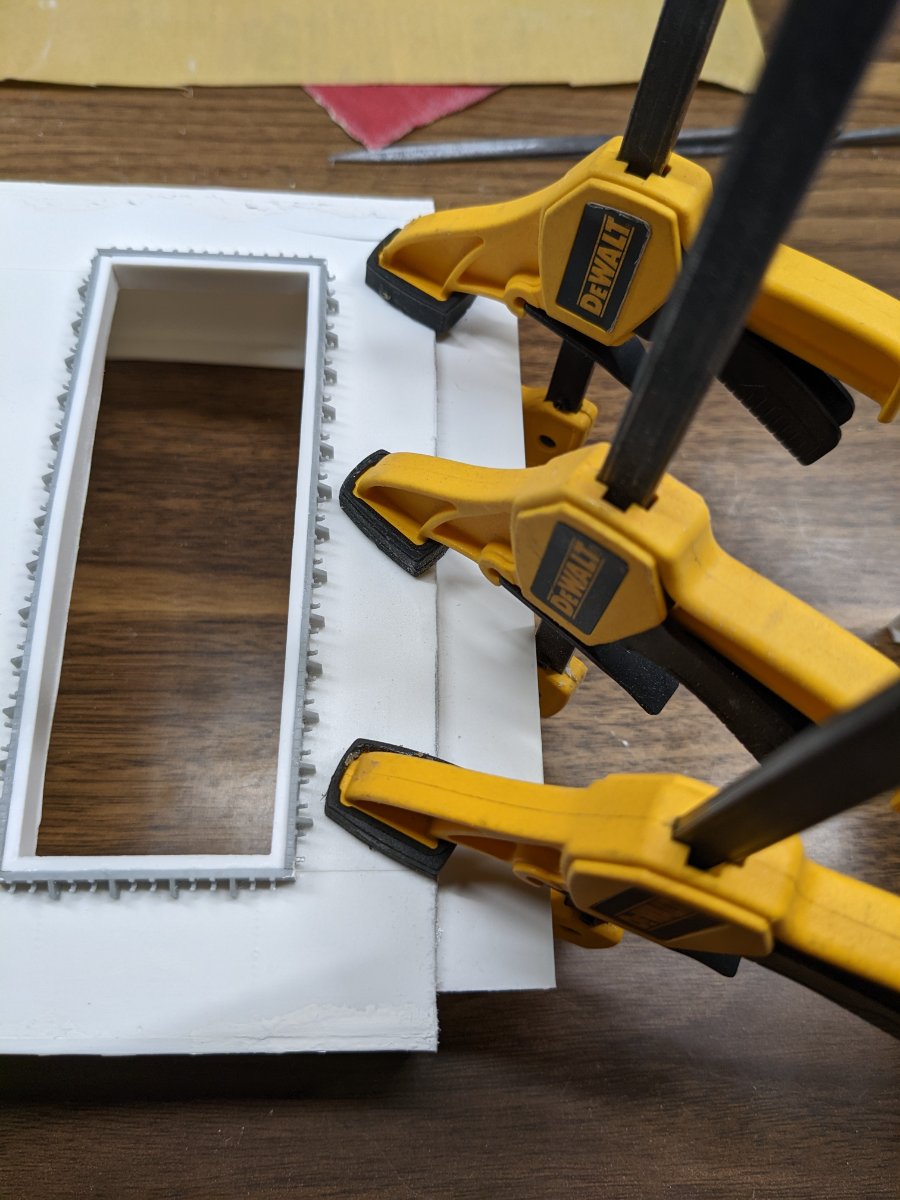
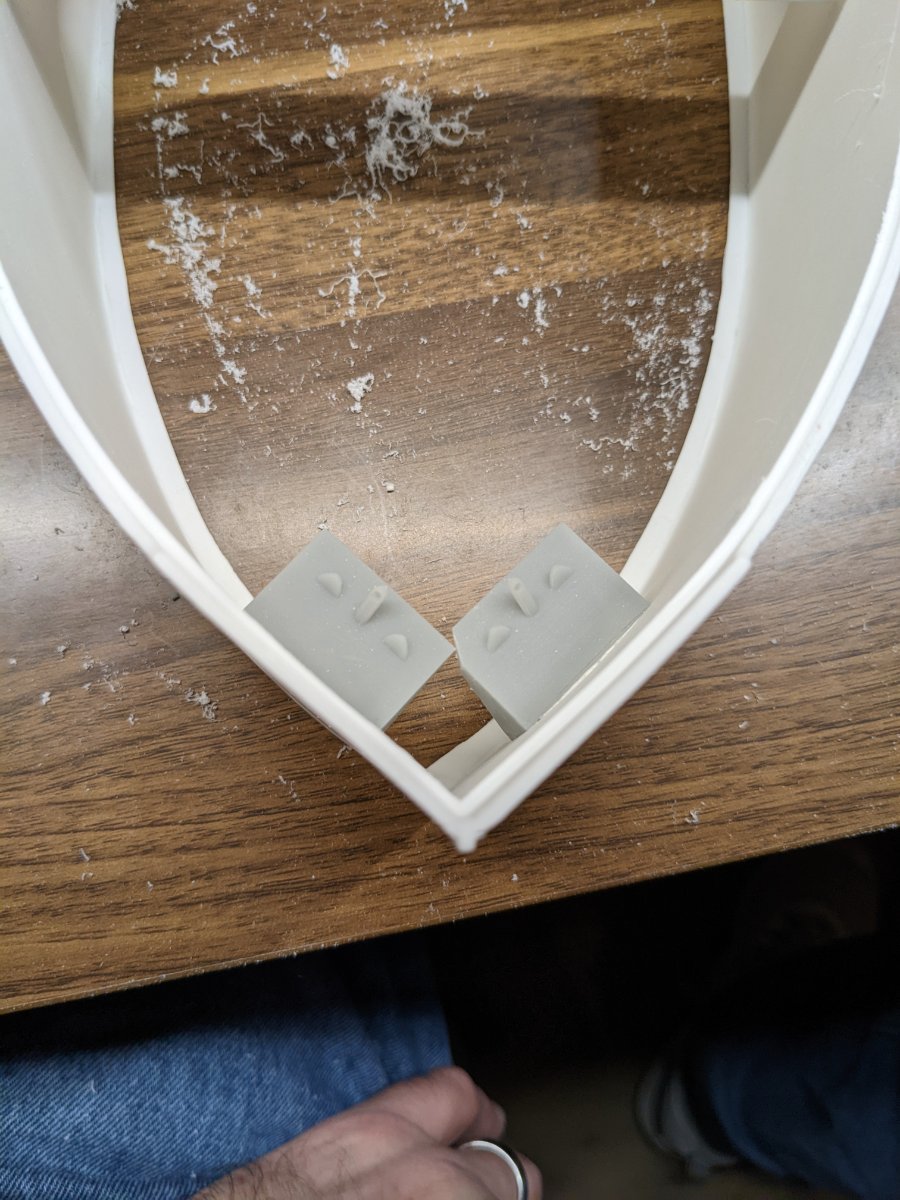
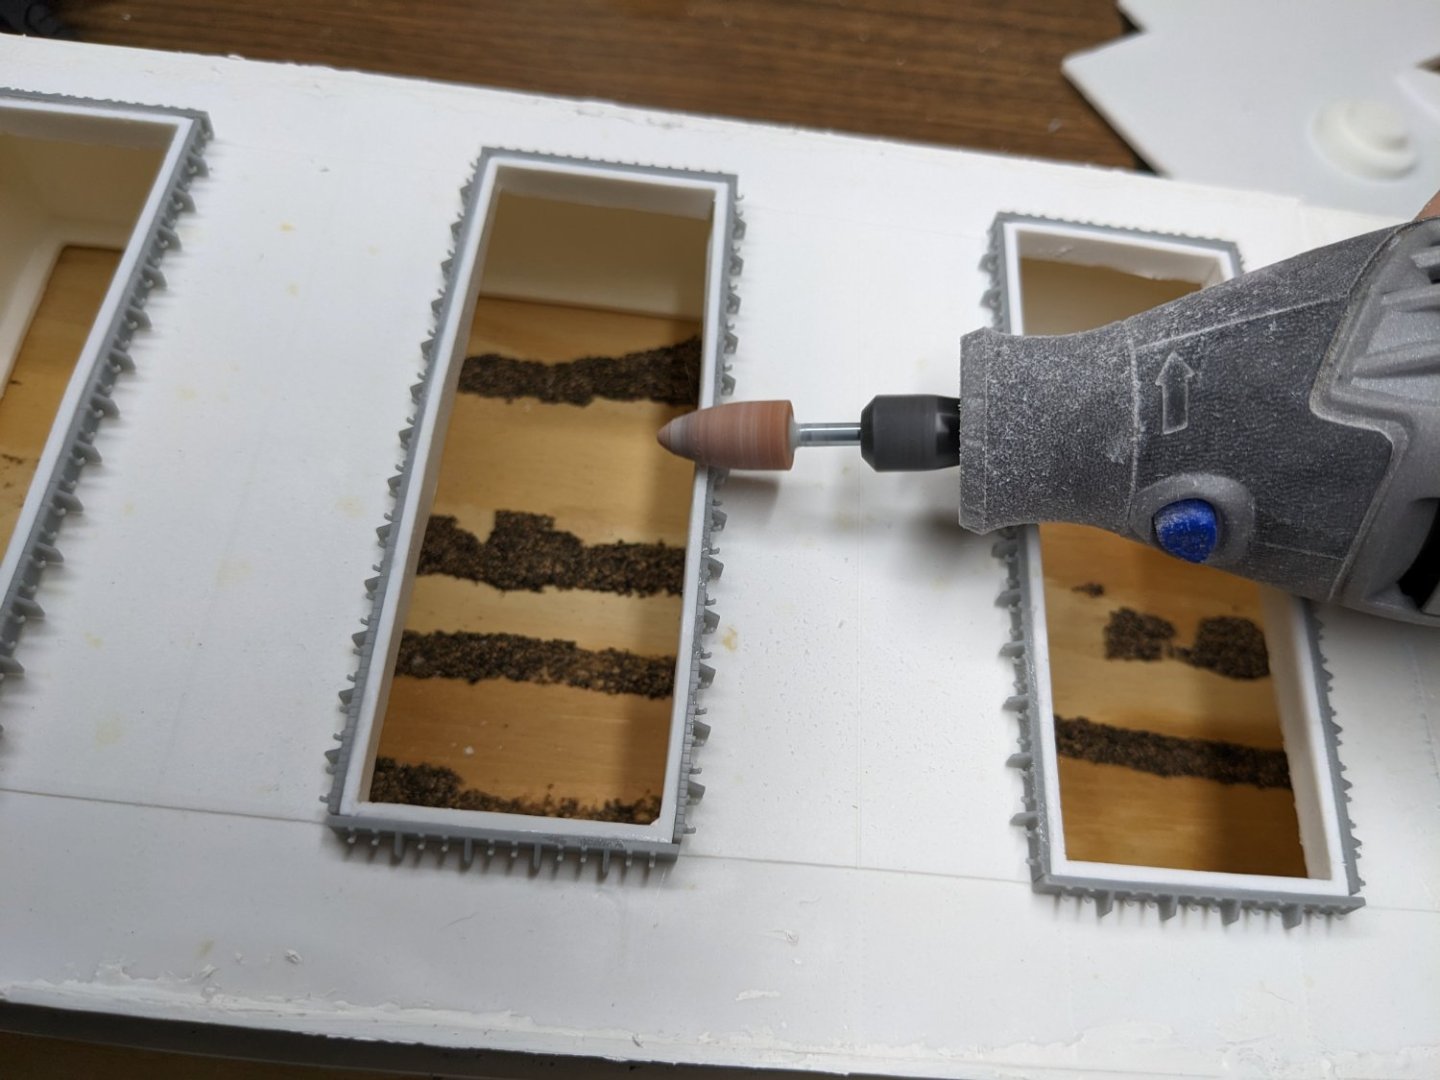
Well, Happy New Year all. It's been a while since I've posted. I've been busy with Holiday stuff and getting the new house up to the boss' standards. New standby generator, new hot tub, just about every light fixture in the dwelling has been changed out to include several new ceiling fans. Anyway, back to my lake freighter. I've been working hard on getting the hull sections on and keeping the integrity of the lines and rivet plates. Oh man! And working on fitting the deck sections lined up. I think half this hull will be made of putty. Nevertheless, we have all the hull sections secured as well as the deck sections. One of the things I've come across, is that the resin hatch openings are arched. The Circus City hatch uprights are straight. So, I've taken the Dremel and files to square the center arch to the 3D printed upright. I knocked down the resin with the Dremel and did the final work with the file (see photos). The hatch covers look great now. Although I think they will be one of the last things attached. I also started working on the autounloading system. I've sacrificed the aft most hatch to start working on the system. This will be all scratched built using styrene sheets and strips. I'm using the Anderson's structure and updating it based on some more recent retrofits. Since my boat is a freelanced ship, I will use some modeling license on the final design. I have come across some blue prints of some classic ships like the Calcite. Although this one is a forward unloader, I'm trying to design and build a hybrid system that will look realistic on my somewhat modernized boat. We also started on the aft cabin and new stack. The resin assembly and the deck casting aren't even close to fitting. To better fit the cabin piece into the deck beveling, I cut the forward end of the cabin, which created quite a gap. Although this area will be covered up by the autounloading equipment, I glued a piece of styrene behind it to make it solid and secure. This week I plan to get the first round of sanding in of the puttied joints and aft cabin. I also plan to progress on the autounloader. I promise I'll post more frequent. I'm at a point where I need to get the boat off the bench before I can start the new layout. So the next few weeks I'll be putting some steady work in on the project. Take care everyone. Larry


-
LWARD1291 reacted to a post in a topic:
Martin J Lynne by LWARD1291 - Sylvan Scale Models - HO/1:87 - Great Lakes Freighter
-
 LWARD1291 reacted to a post in a topic:
Martin J Lynne by LWARD1291 - Sylvan Scale Models - HO/1:87 - Great Lakes Freighter
LWARD1291 reacted to a post in a topic:
Martin J Lynne by LWARD1291 - Sylvan Scale Models - HO/1:87 - Great Lakes Freighter
-
LWARD1291 reacted to a post in a topic:
Martin J Lynne by LWARD1291 - Sylvan Scale Models - HO/1:87 - Great Lakes Freighter
-
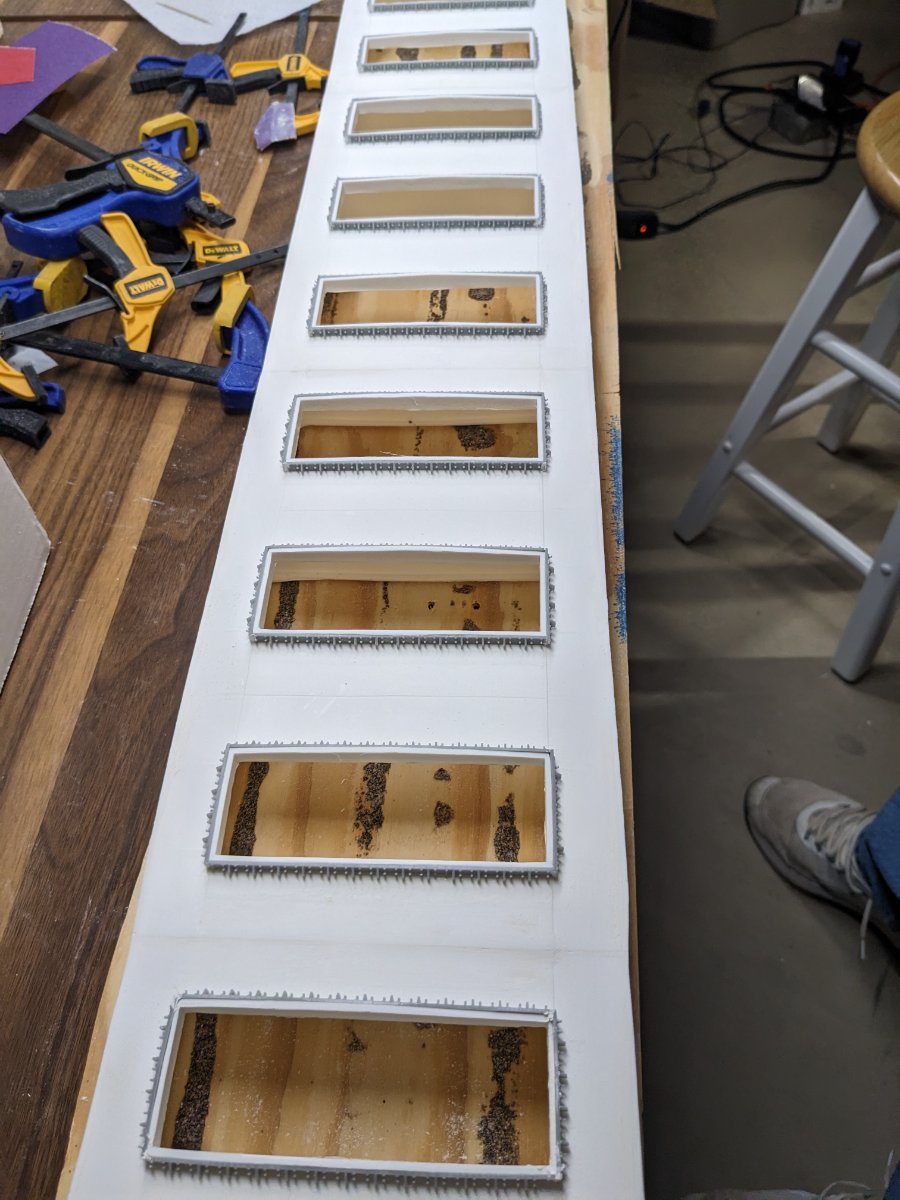
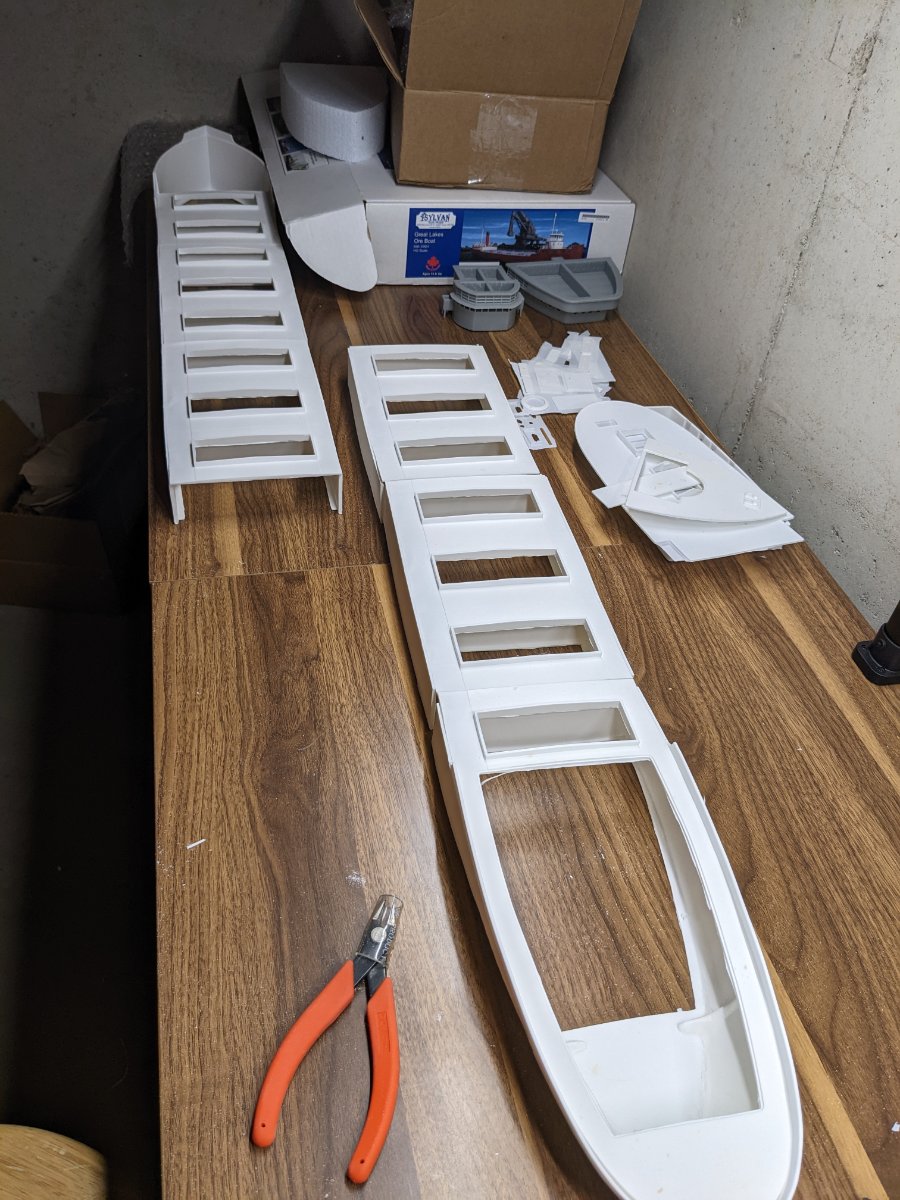
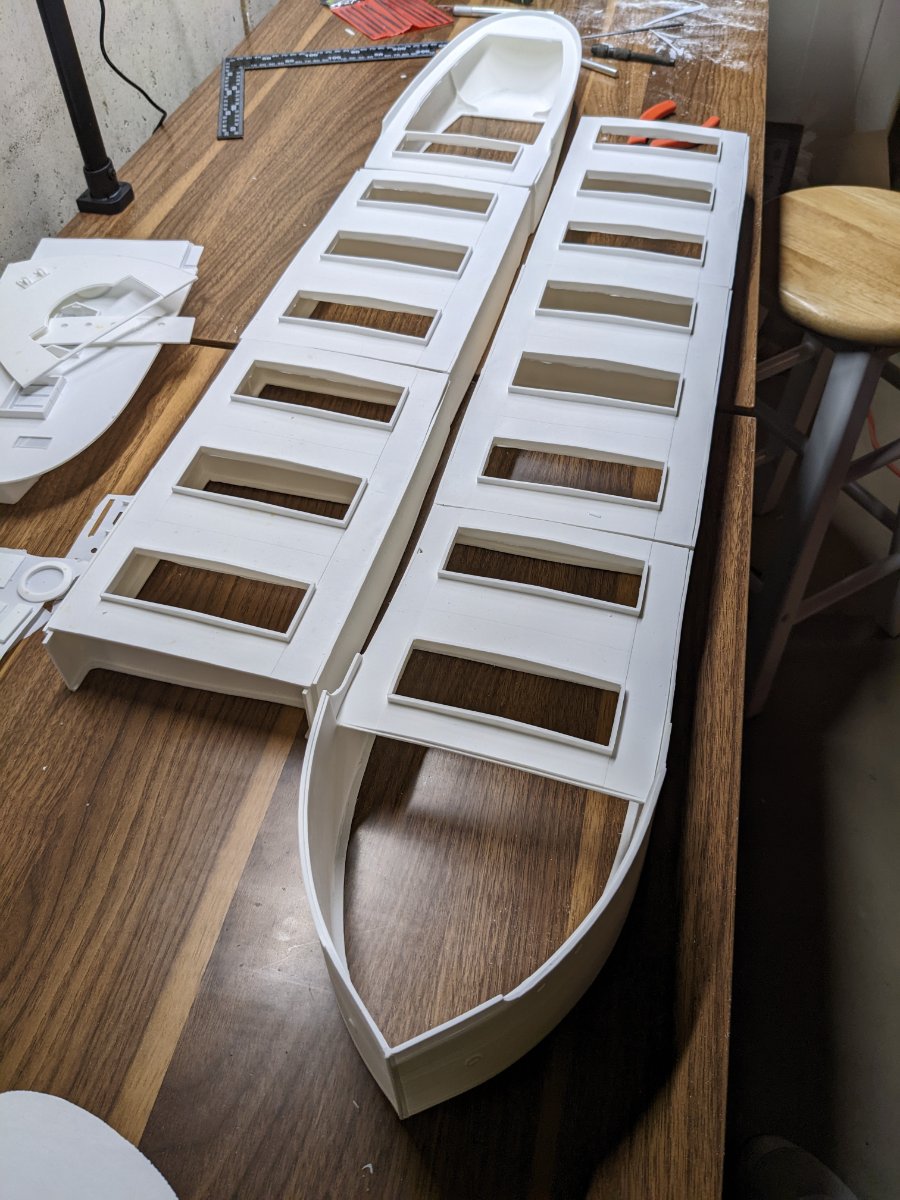
So this week's progress saw three hull sections and deck added. I am working hard to keep the lines and rivets in place on the deck and the hull. I'm finding it easier on the hull than the deck. As I'm fitting the deck pieces, I have to work both sides with the files to make sure the lines are still lined up. It's also hard to make sure the putty doesn't screw up the line and rivets. I'm also using a strip of styrene between each deck piece to make sure I can keep the pieces flush. I'm also adding the 3D hatch details to each. The hatches on the resin model are rounded on top. I'll need to level off the resin in the middle to line up the 3D details and the resin piece. I plan to have the hatch covers on, so I'm not too worried about the interior hatch details. That's all I got done this week. I'm out of town for work this next week, so I'm not expecting too much progress. But I'm pressing on in the time I have. Have a great week.


-
LWARD1291 reacted to a post in a topic:
Martin J Lynne by LWARD1291 - Sylvan Scale Models - HO/1:87 - Great Lakes Freighter
-
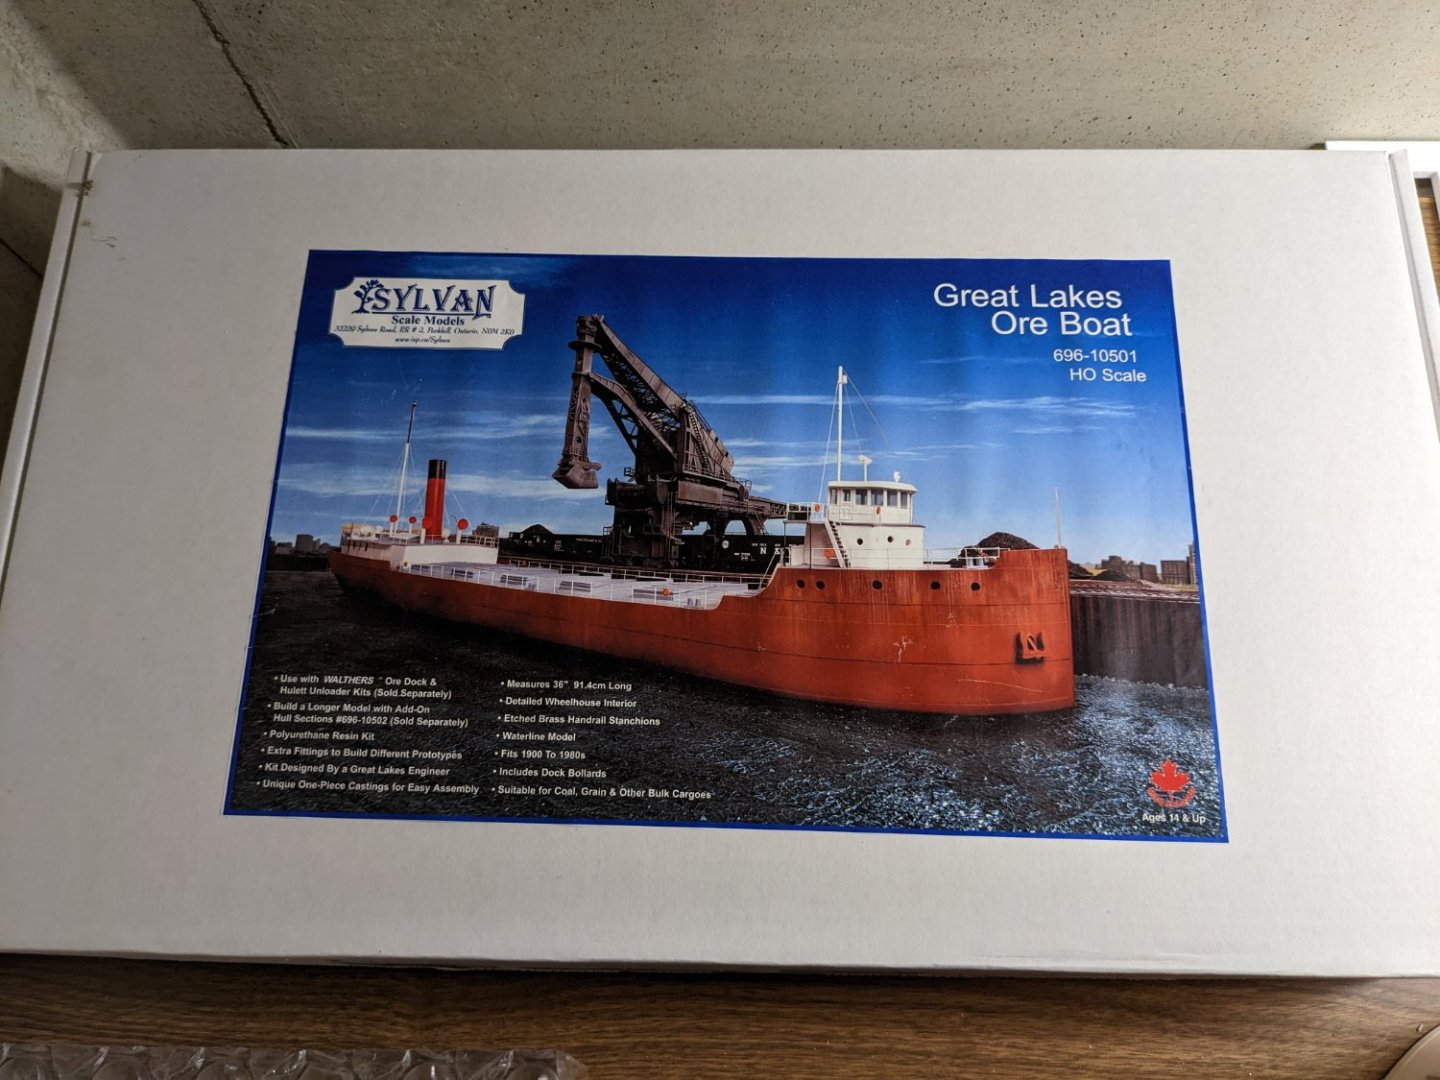
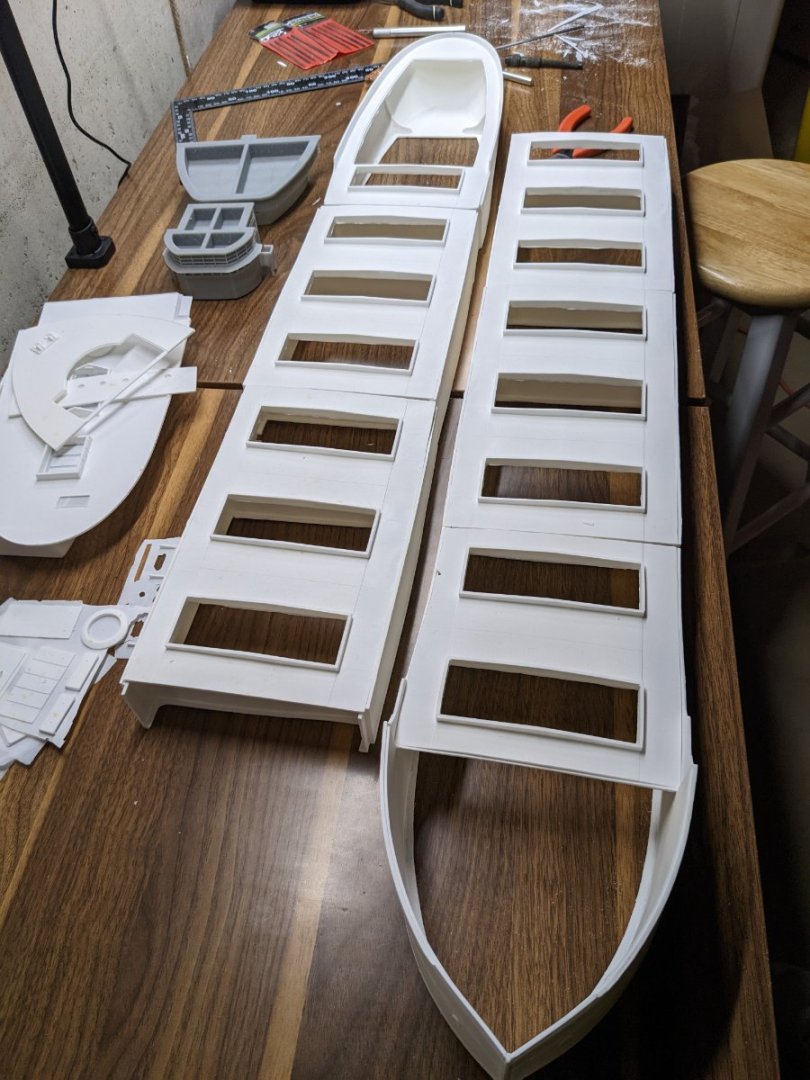
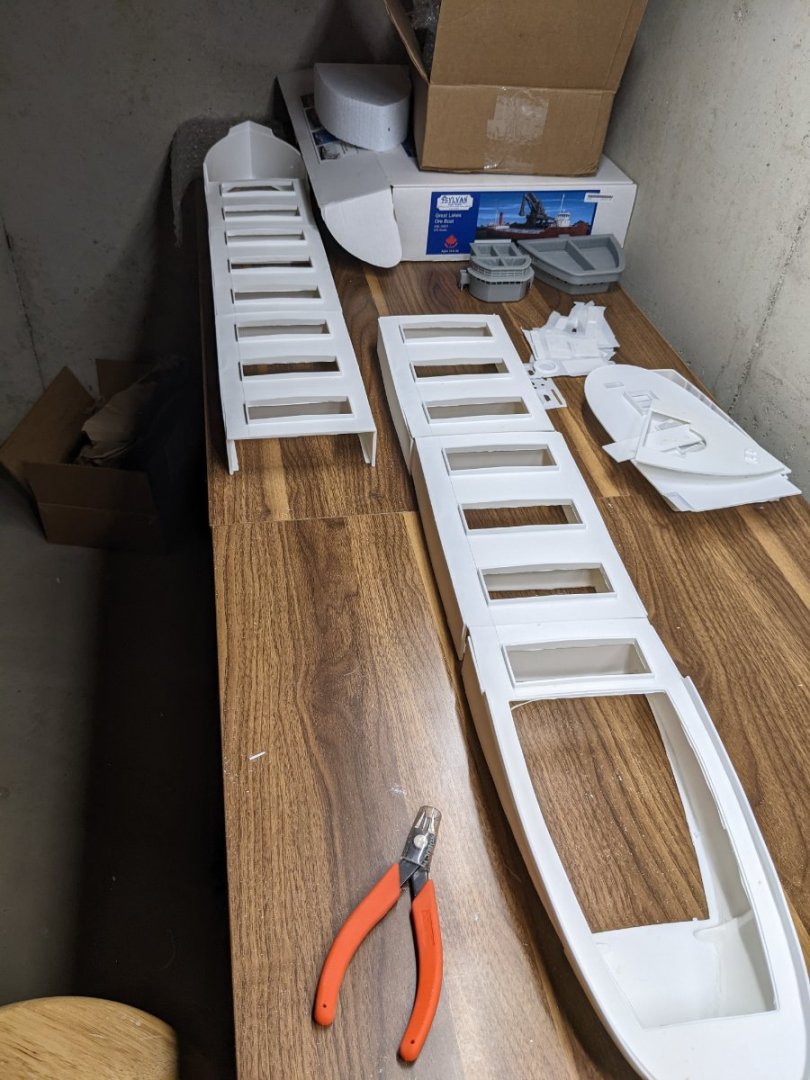
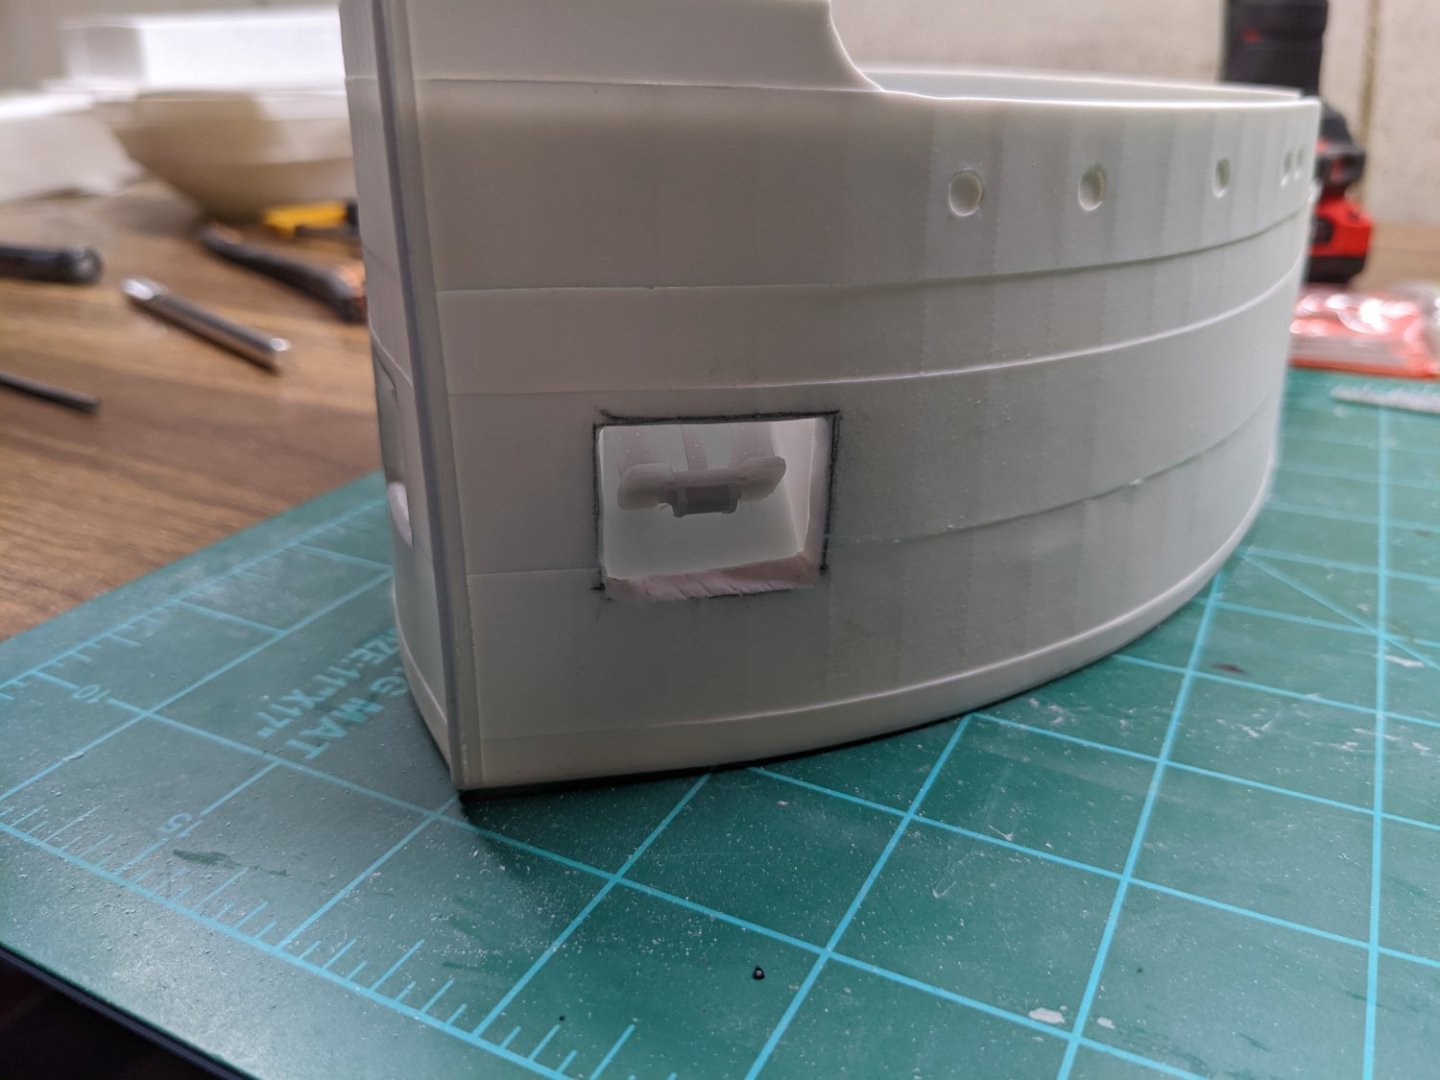
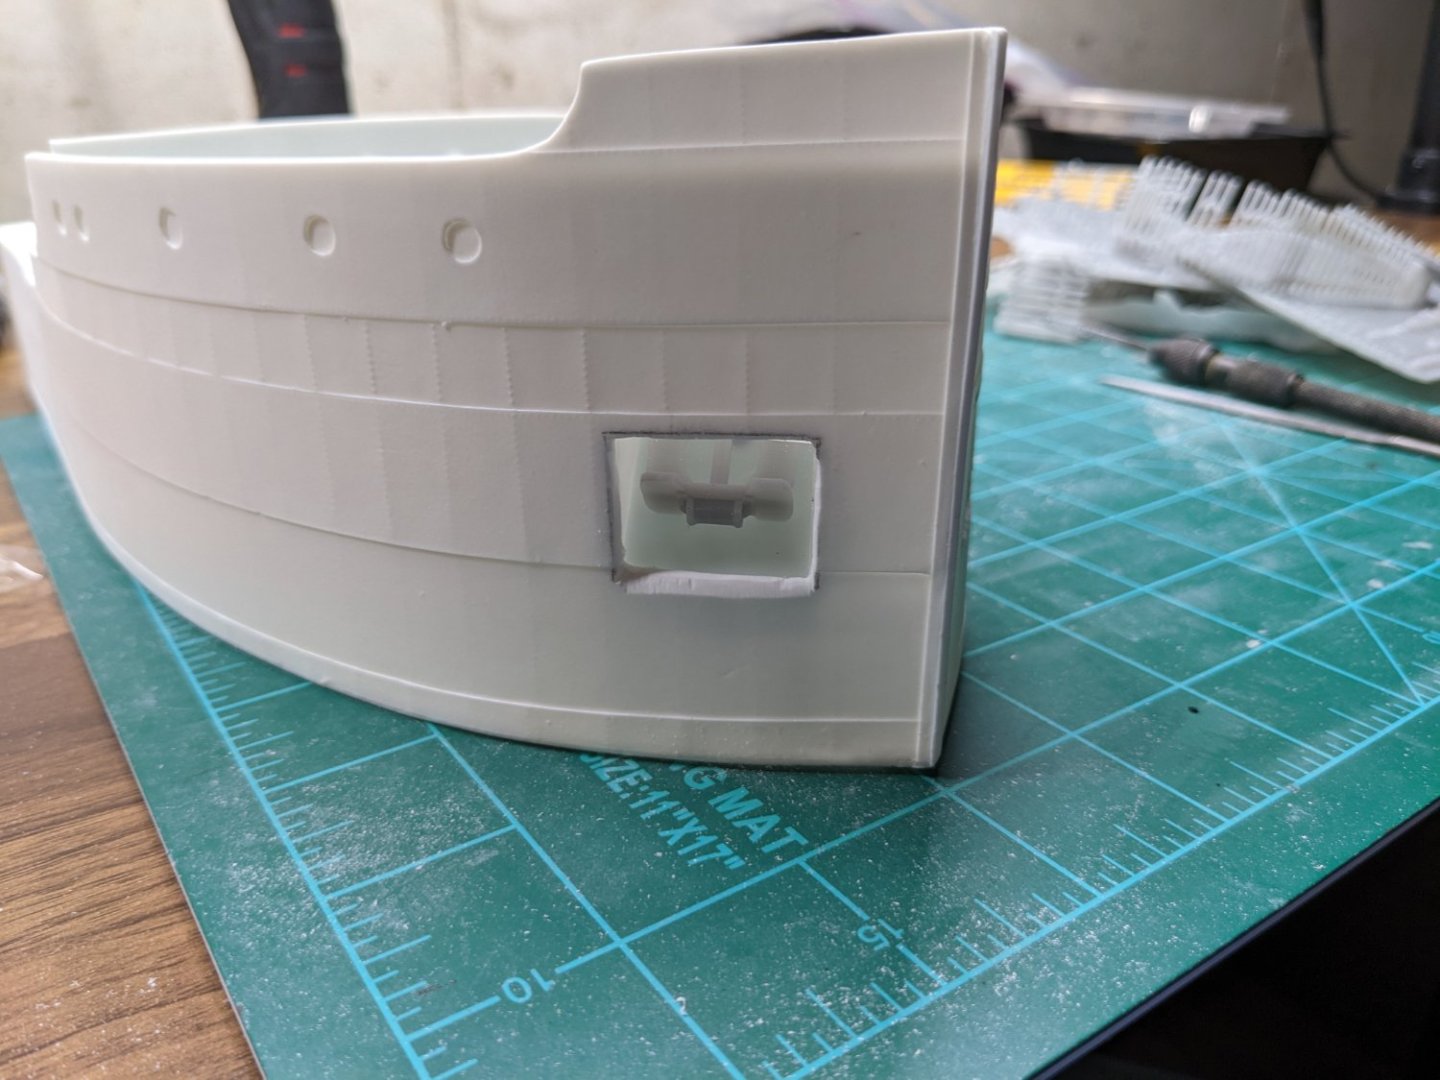
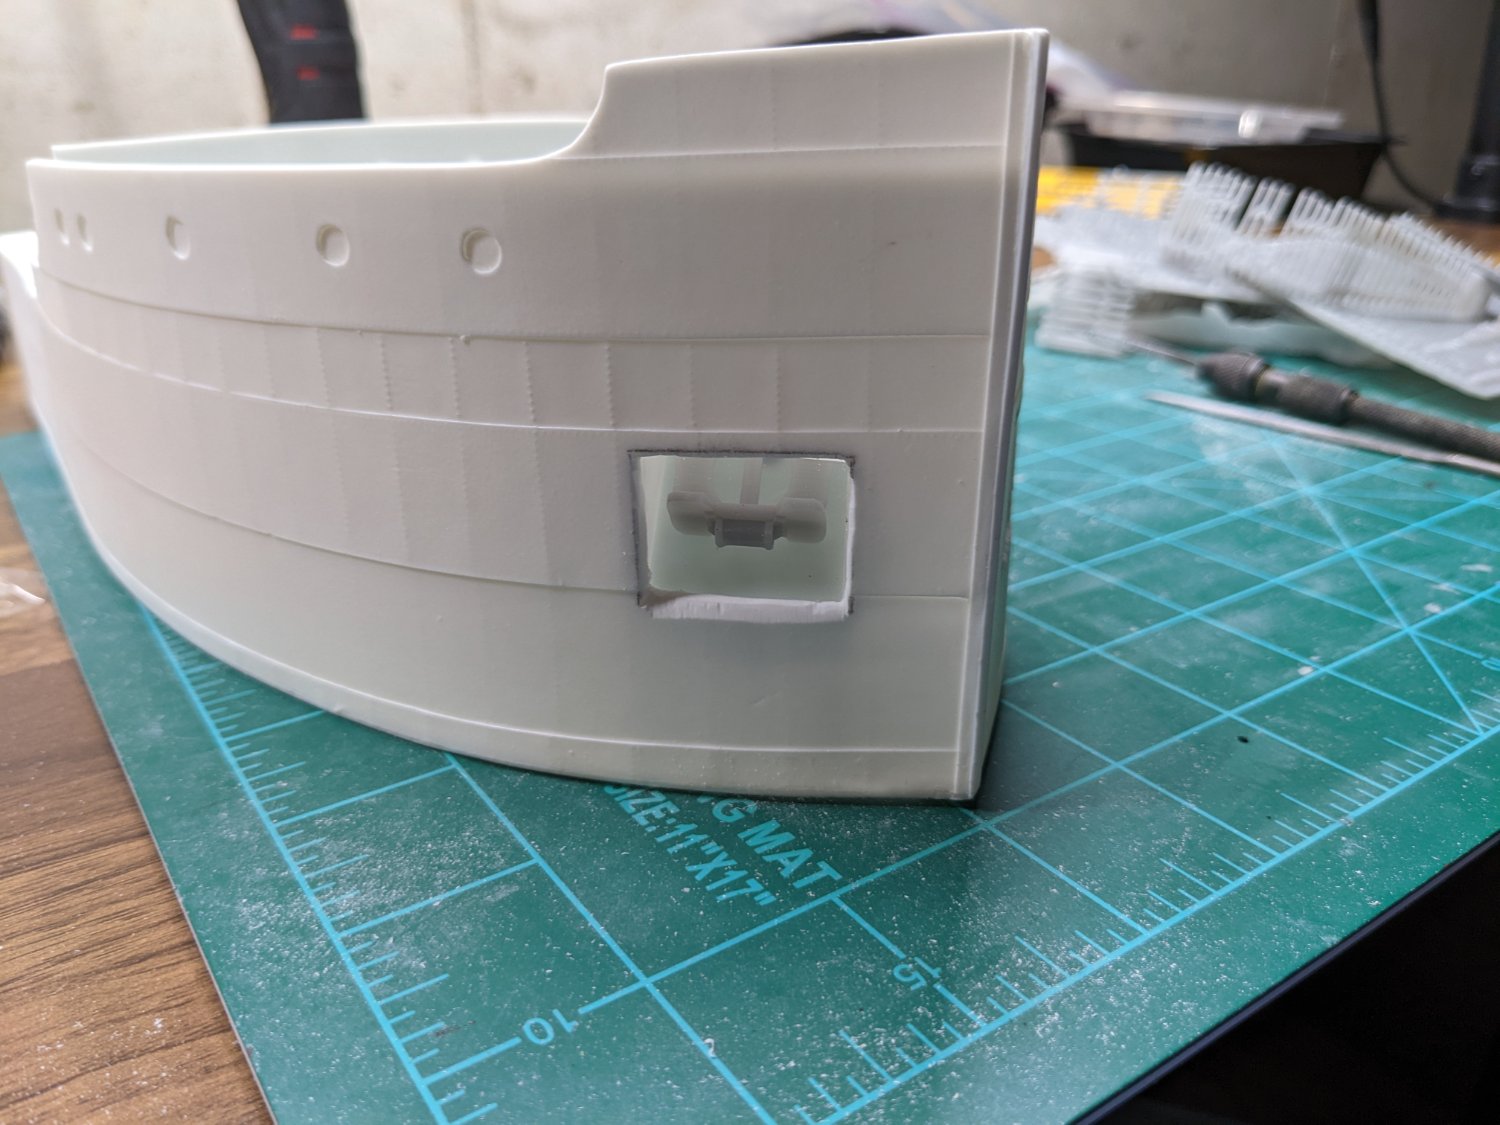
Good day all. I am new to the forum and new to ship building. I am a model railroader by hobby. My wife and I recently moved into a new home and the railroad had to come down. I've always wanted to tackle this kit. I am born and raised in Michigan and grew up on Lake St. Clair. I've sent hundreds of hours staring at the lake freighters for as far back as I can remember. And what a perfect time to start this, between railroads. The ship will be part of the new railroad and be offloading iron ore at the modeled Ford Rouge Plant/Rouge Steel. I started with the standard Sylvan kit and bought 3 center hull extensions. The model itself will be roughly 66" which translates to a little under 500 scale feet. I'd love to go bigger, but I just can't fit bigger on the planned new layout. As I researched what I wanted to do and era that would best fit my modeled era, I realized the kit itself was a bit old. I found a few upgrade pieces online. I then stumbled across Circus City Decals, a fairly well known middle tier model railroad vendor in Wisconsin. They had several 3D print upgrade pieces. I ordered the updated wheelhouse, stack, recessed anchor pockets, hatch cover crane, and some other details that came with them. Once I got the kit out and saw the hatches and hatch covers, I quickly ordered the upgraded hatch and hatch covers. These had the ribs and latches. So, with all the pieces on the work bench, I started unpacking and organizing everything. I spent a couple evenings reading Sylvan's instructions and played around with the pieces. After those first couple evenings, I threw the instructions in a drawer. I've worked with resin for years as a modeler. Mostly ho vehicles and rolling stock. Nothing ever as big as this. The first piece of advice I will over on this project is to make sure your supply of files and sandpaper are stocked up. And putty. Lots and lots of putty. Squadron or Tamiya is what I use. I decided to start at the bow, and work my way back. One of the things I accepted long ago is that resin kits are not precision models. It's just the mature of the medium and with this kit, the bigger the size and scope, the more that this is true. So, I started with the bow section and the main deck wit two hatch openings. Lots of filing. I even got the Dremel out with some sanding and grinding bits. Piece of advice number two, of using power tools like a Dremel, slow speed and very careful on what you're doing. Too high a speed or if you're not paying attention, you can rin a resin piece pretty quick. Once I got the front hatch main deck filed into the hull how I wanted, I started on the fire deck and the first level of the from forecastle. Once I had these pieces filed and shaped into the hull, I decided to put the anchor pockets in before gluing the main and fore deck pieces in. I used the molded anchor windlass as the starting points on the bow. I used a pencil to mark my holes for the pockets. I always leave myself some stock to file and mold when I'm cutting resin. It's easier to make something larger than try to uncut something afterwards. I squared the top and side edges. I bevelled the bottom edge to match the slope of the anchor pocket. I did the starboard first the repeated on the port side. Oops, the top corners of the pockets won't fit using the molded windlass. I filed off the corner of the port pocket. Nobody will ever see it. Next piece of advice when using the Circus City anchor pockets: push them aft or bevel the top corners so they'll fit. I think I stop here for the first post. I plan to keep at this project pretty good the next few weeks. But we are still settling in to the new place and we have about 75 people coming on Christmas Eve. So, my time will have some limitations. I'd love to hear any feedback from anyone. I know at least one other modeler on here has tackled this kit. Thanks everyone.