


Old Rentner
-
Posts
138 -
Joined
-
Last visited
Content Type
Profiles
Forums
Gallery
Events
Posts posted by Old Rentner
-
-
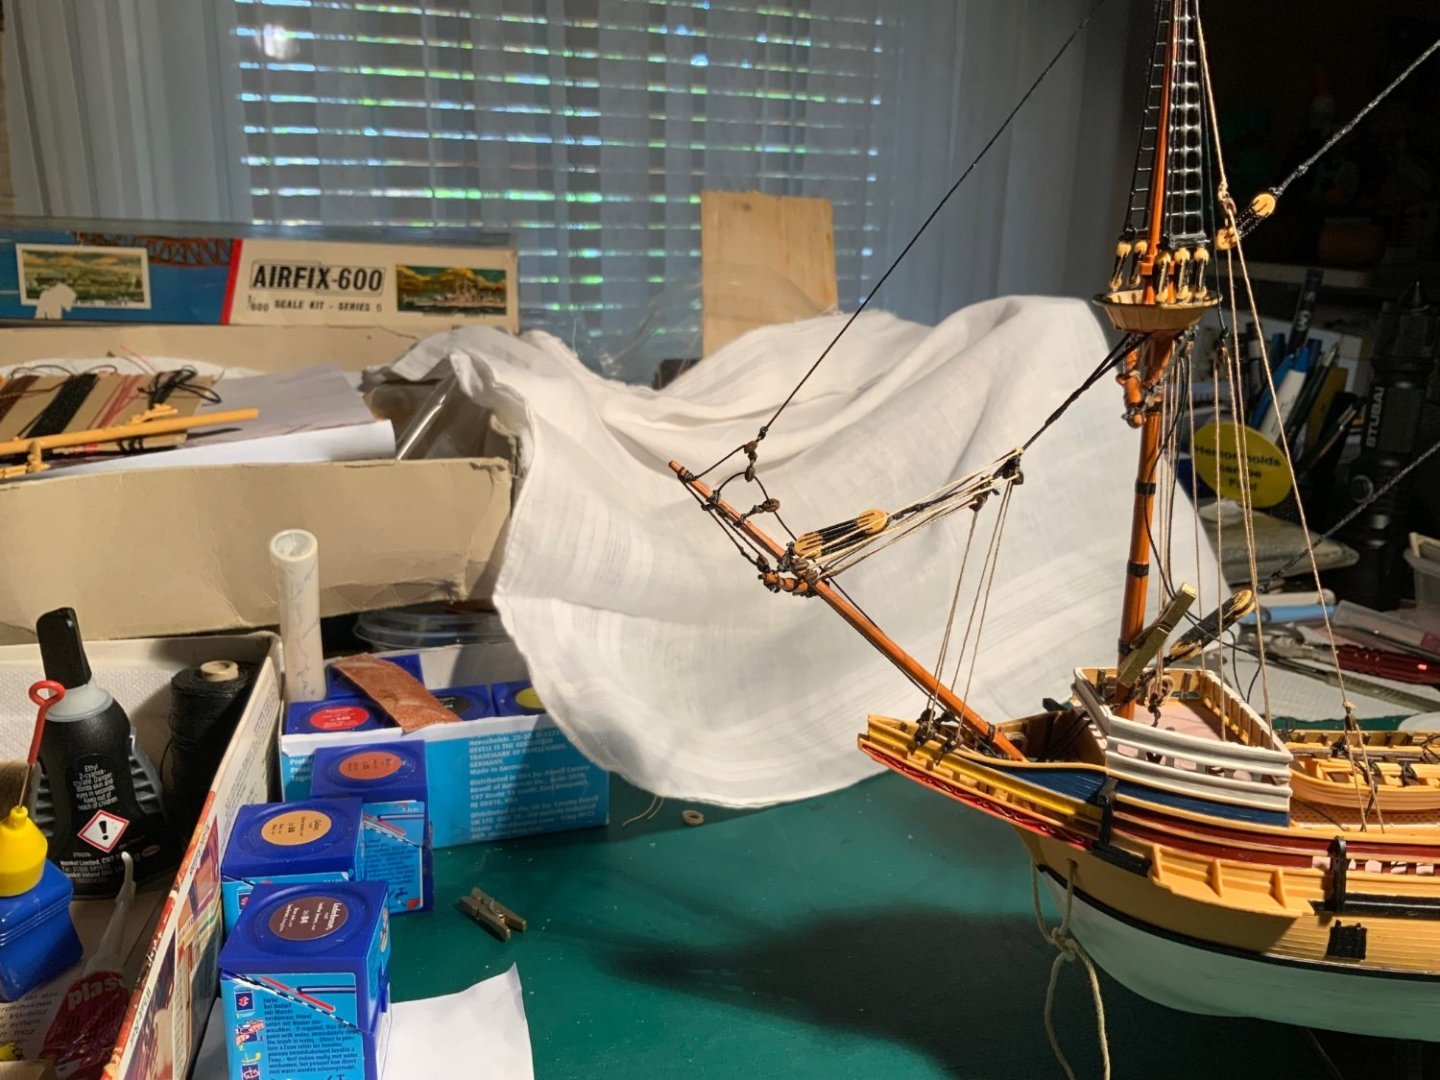
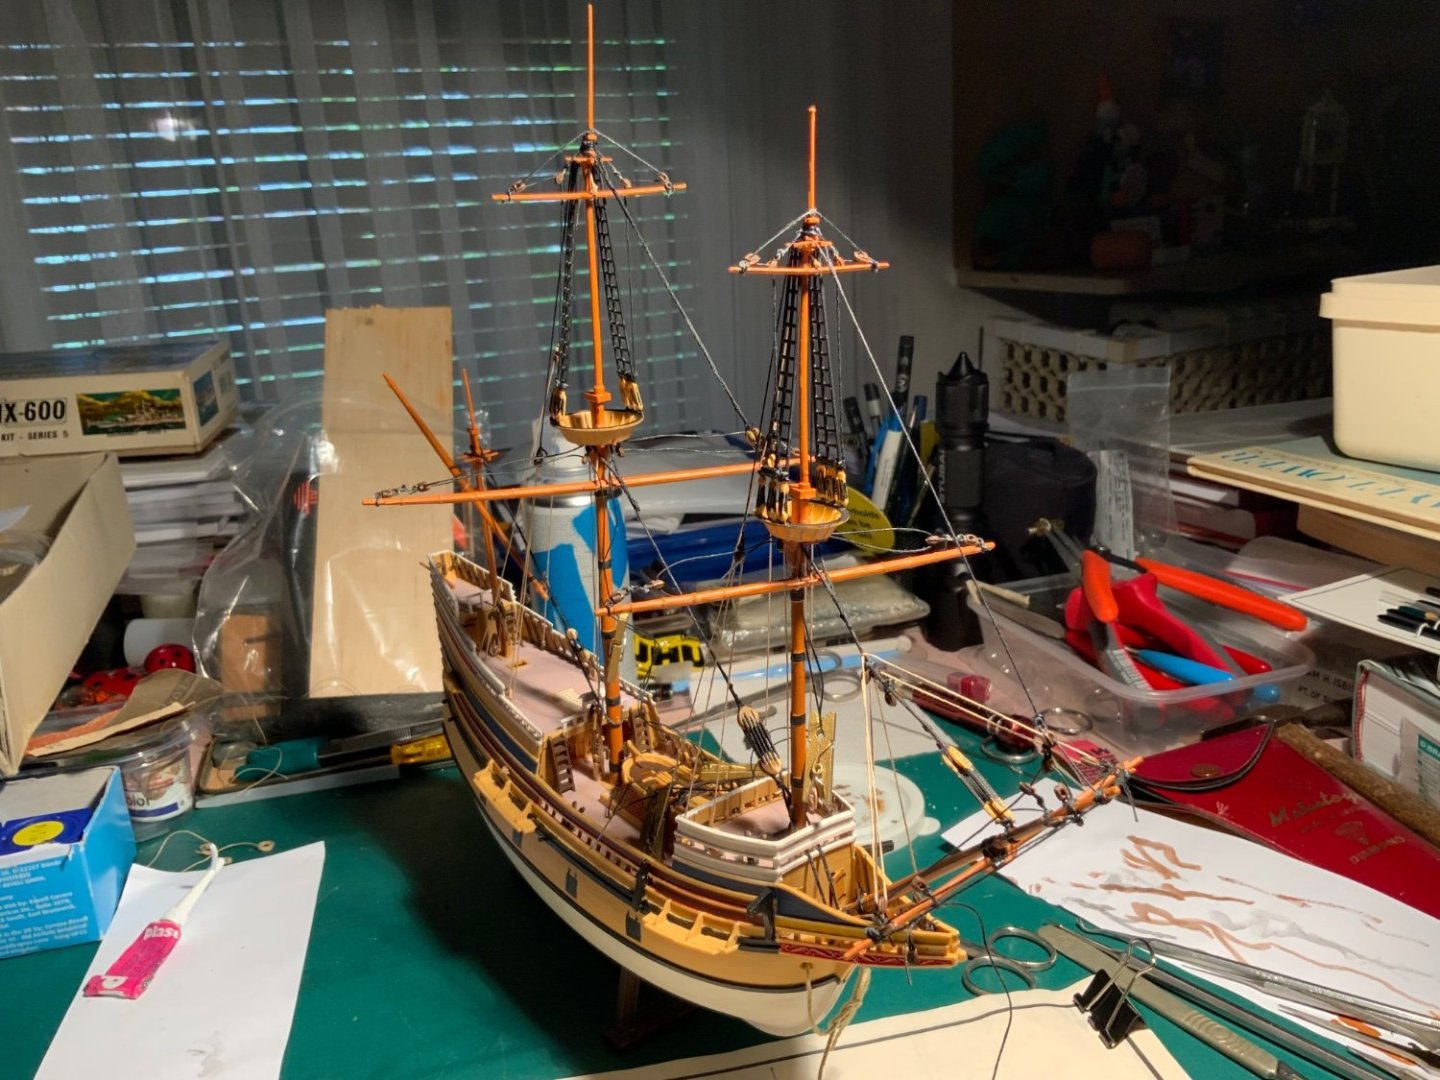
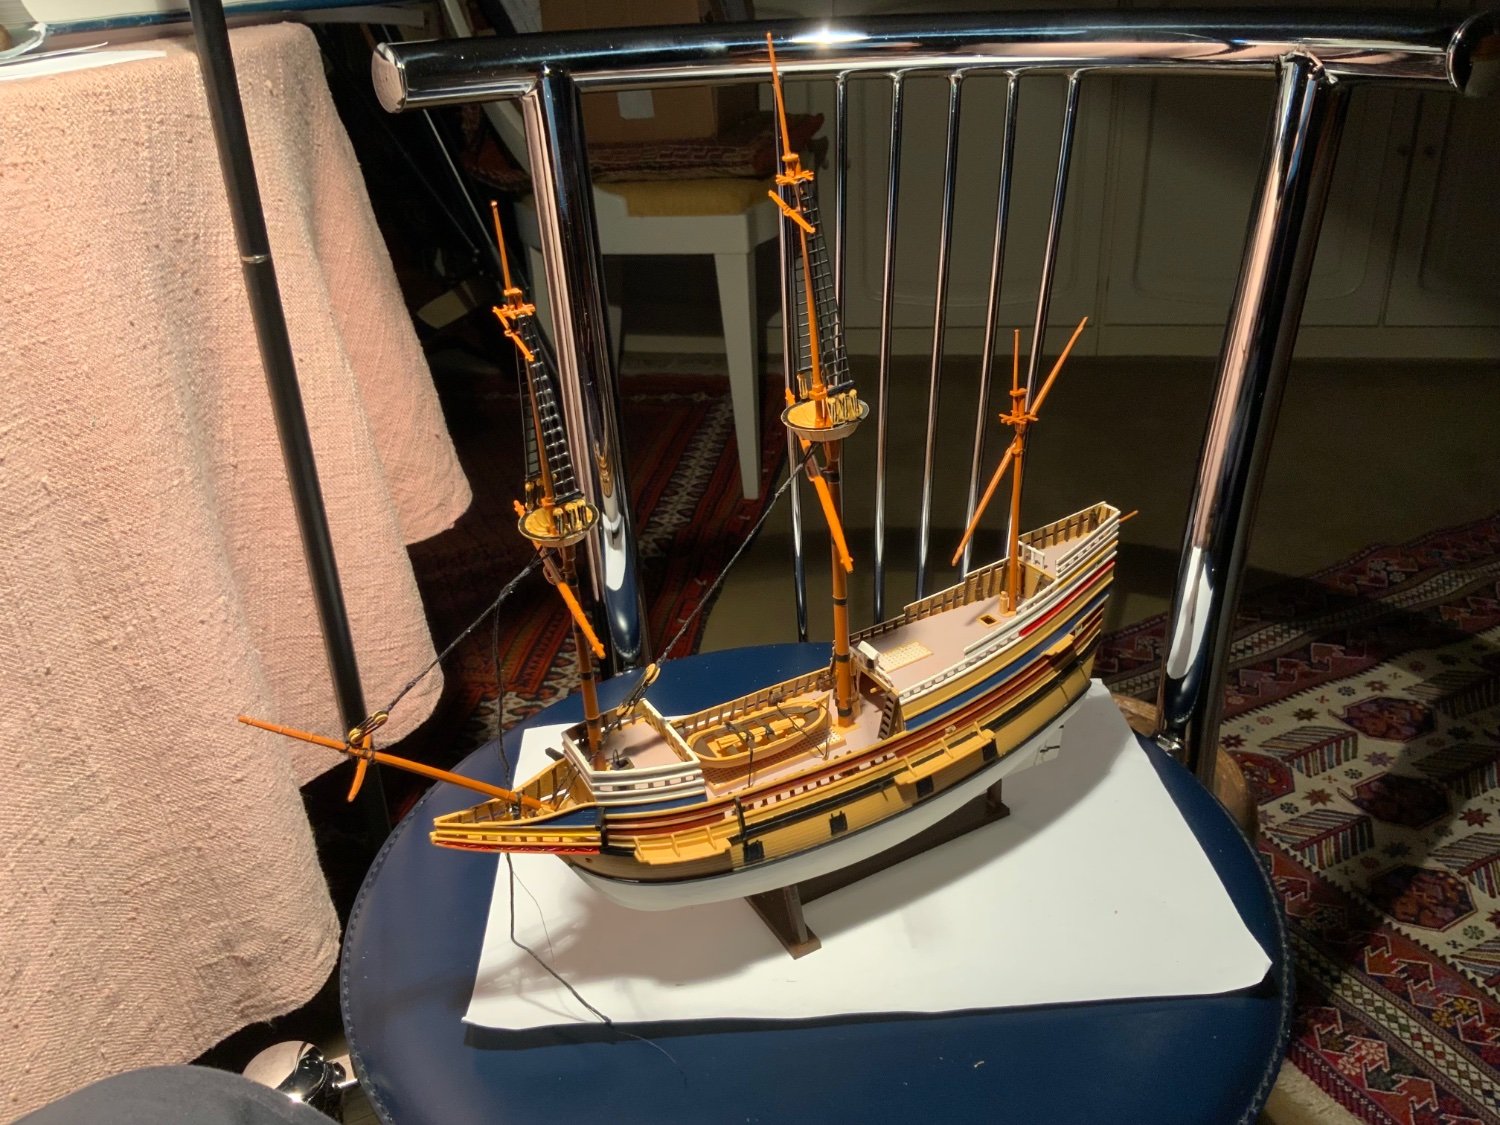
Bowsprit rigging.
Mizzen rigging.

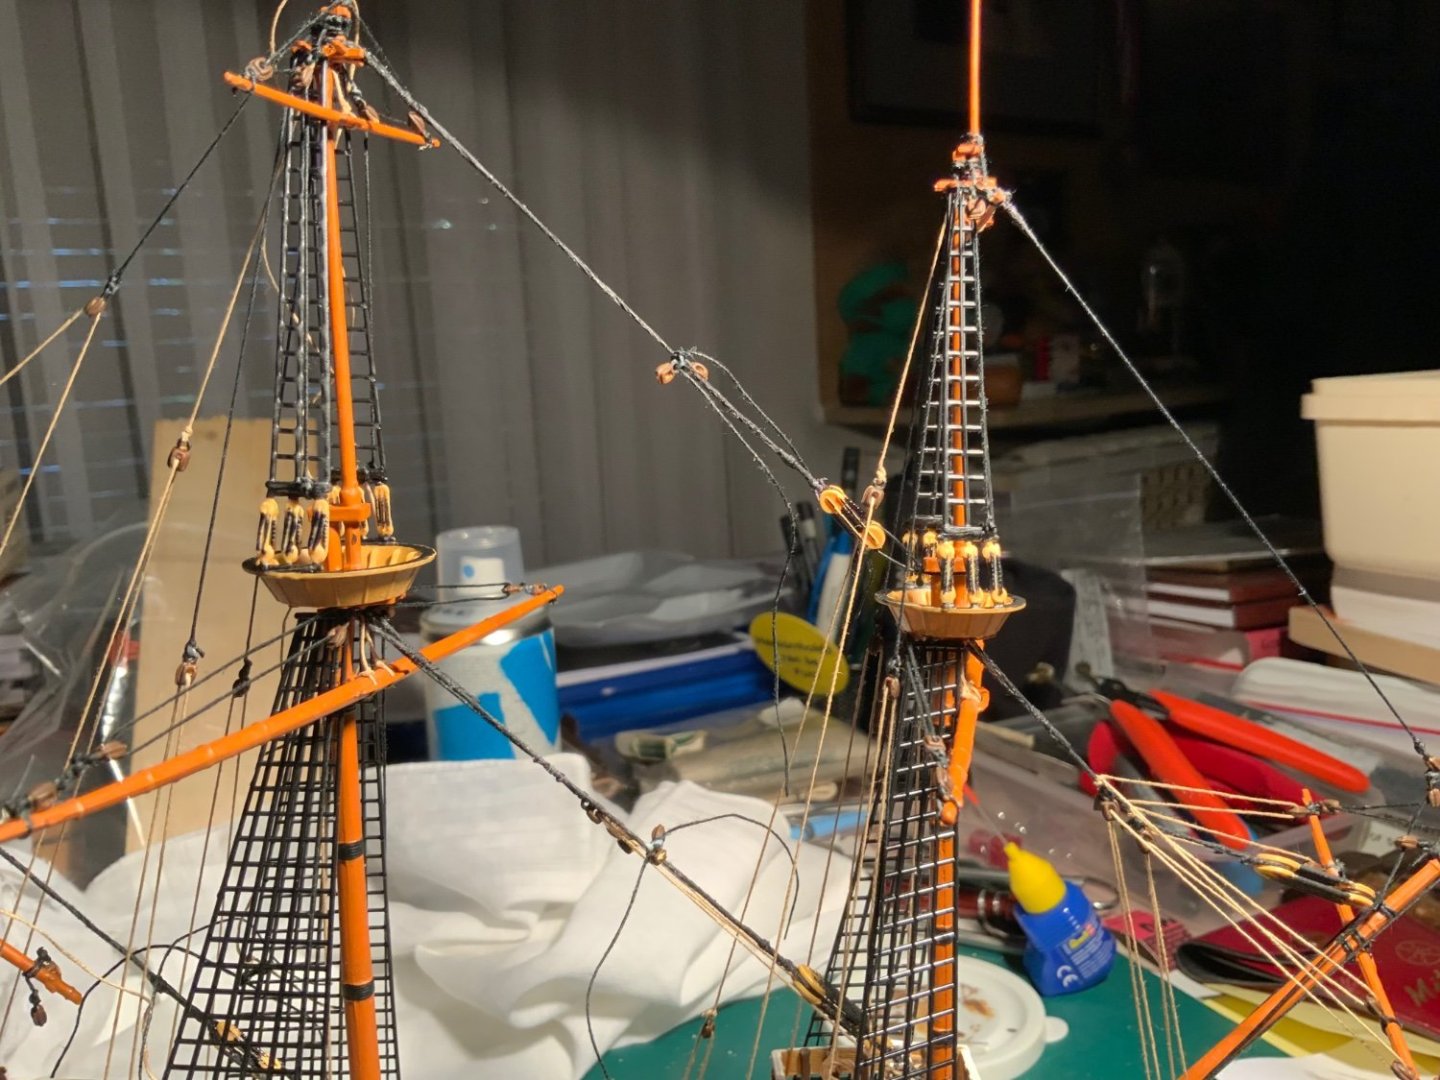
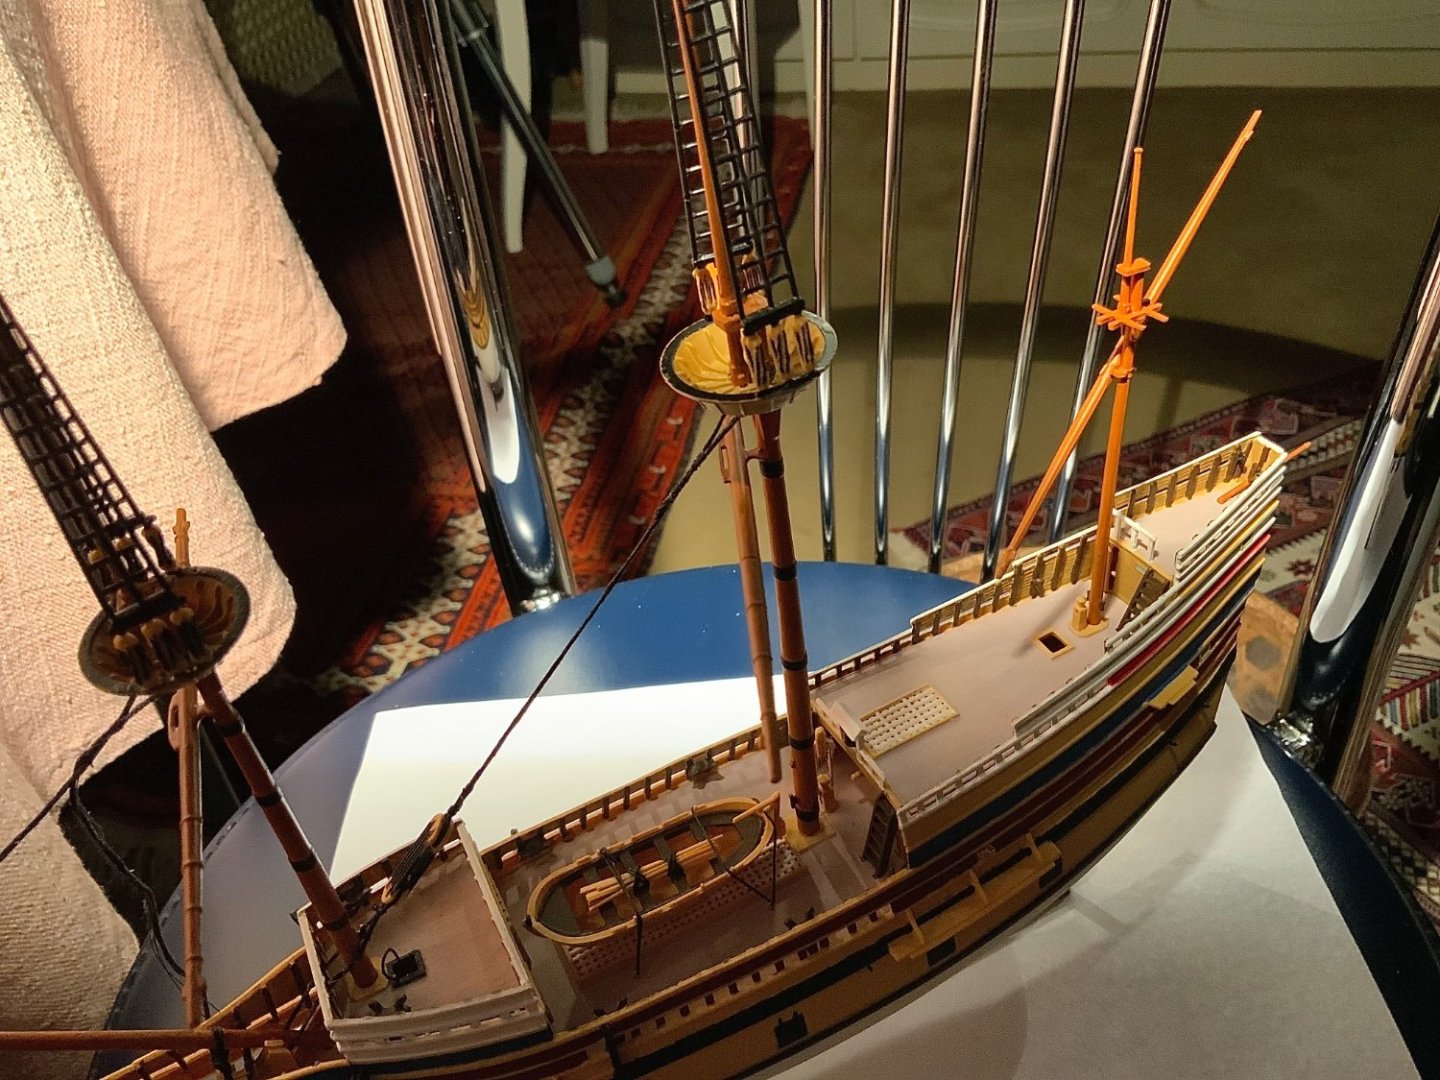
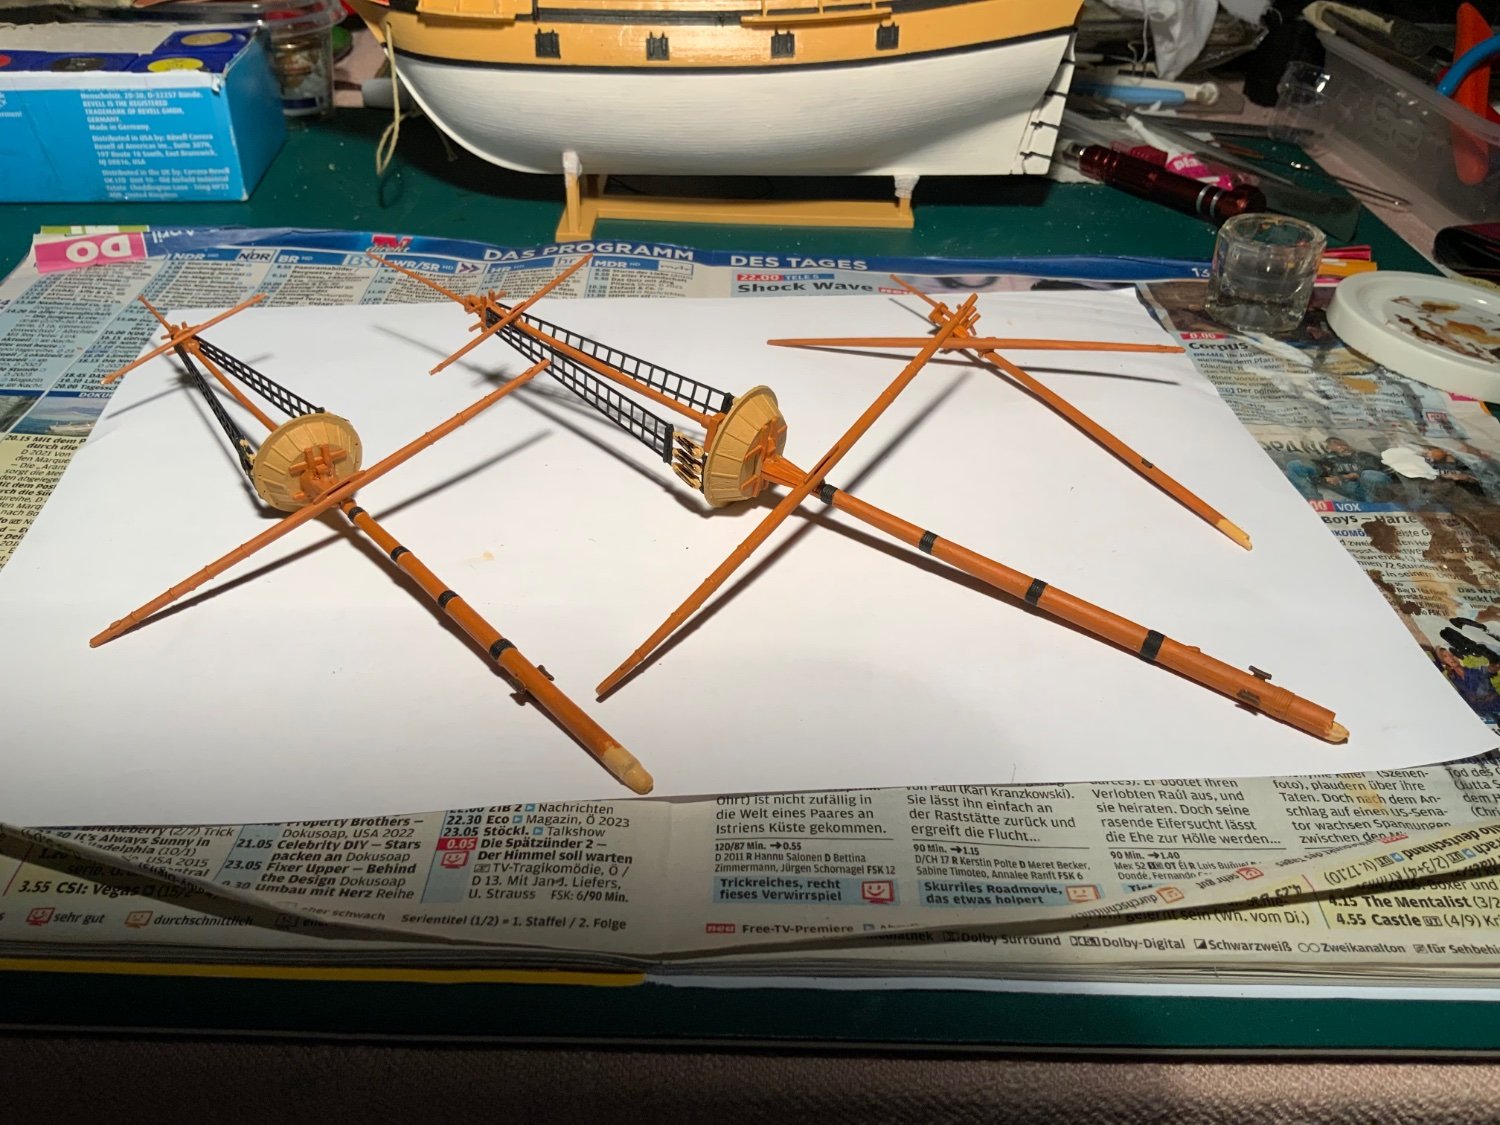
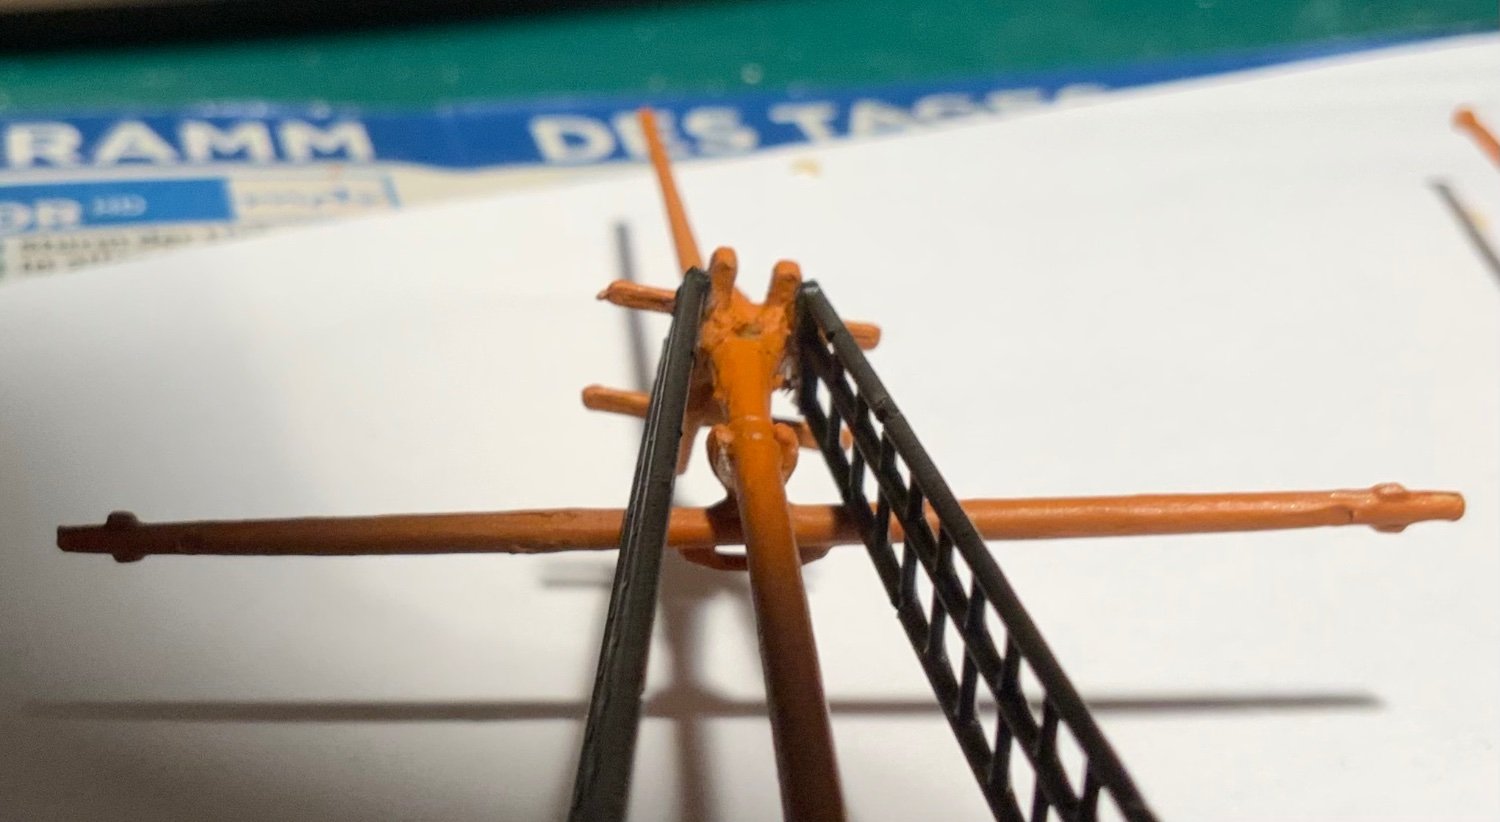
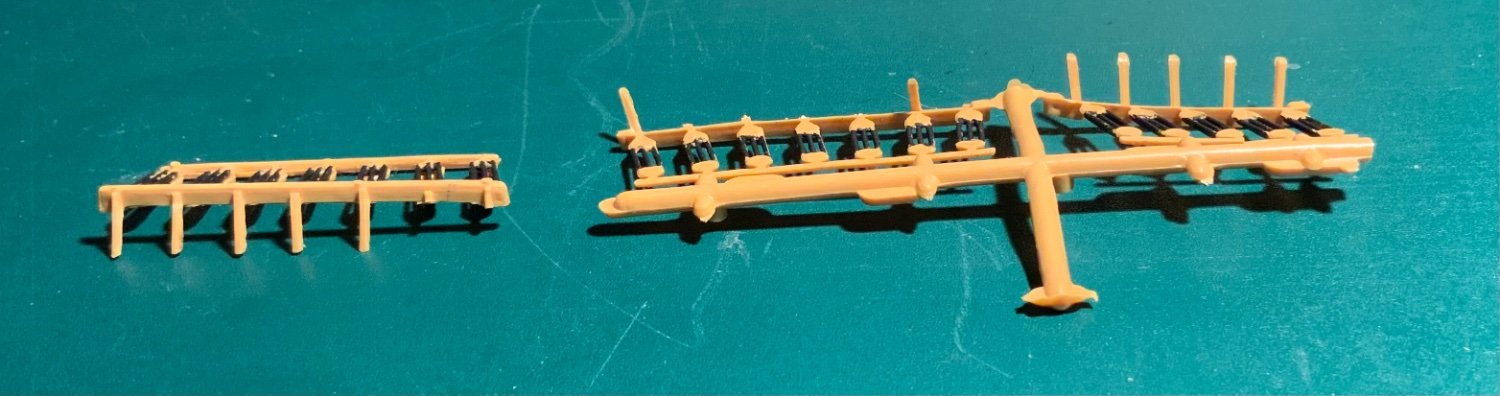
Completed fore and aft rigging. I used the provided ratlines and had quite a lot of difficulty fitting them. I had already glued them to the deadeye chain plates and replaced the missing ‘chains’. I discovered that some were fitted to the wrong ratlines because the direction of the deadeyes did not line up with the shrouds. I separated the offending combinations and reglued them. In spite of correcting the geometry, the angles were still incorrect and when the deadeyes were mounted, the tops of the ratlines were either in front of or behind the mast. Further surgery was required to line up the ratlines! I guess, in retrospect, a warning in the instructions might have helped me and saved much anxiety and toil?
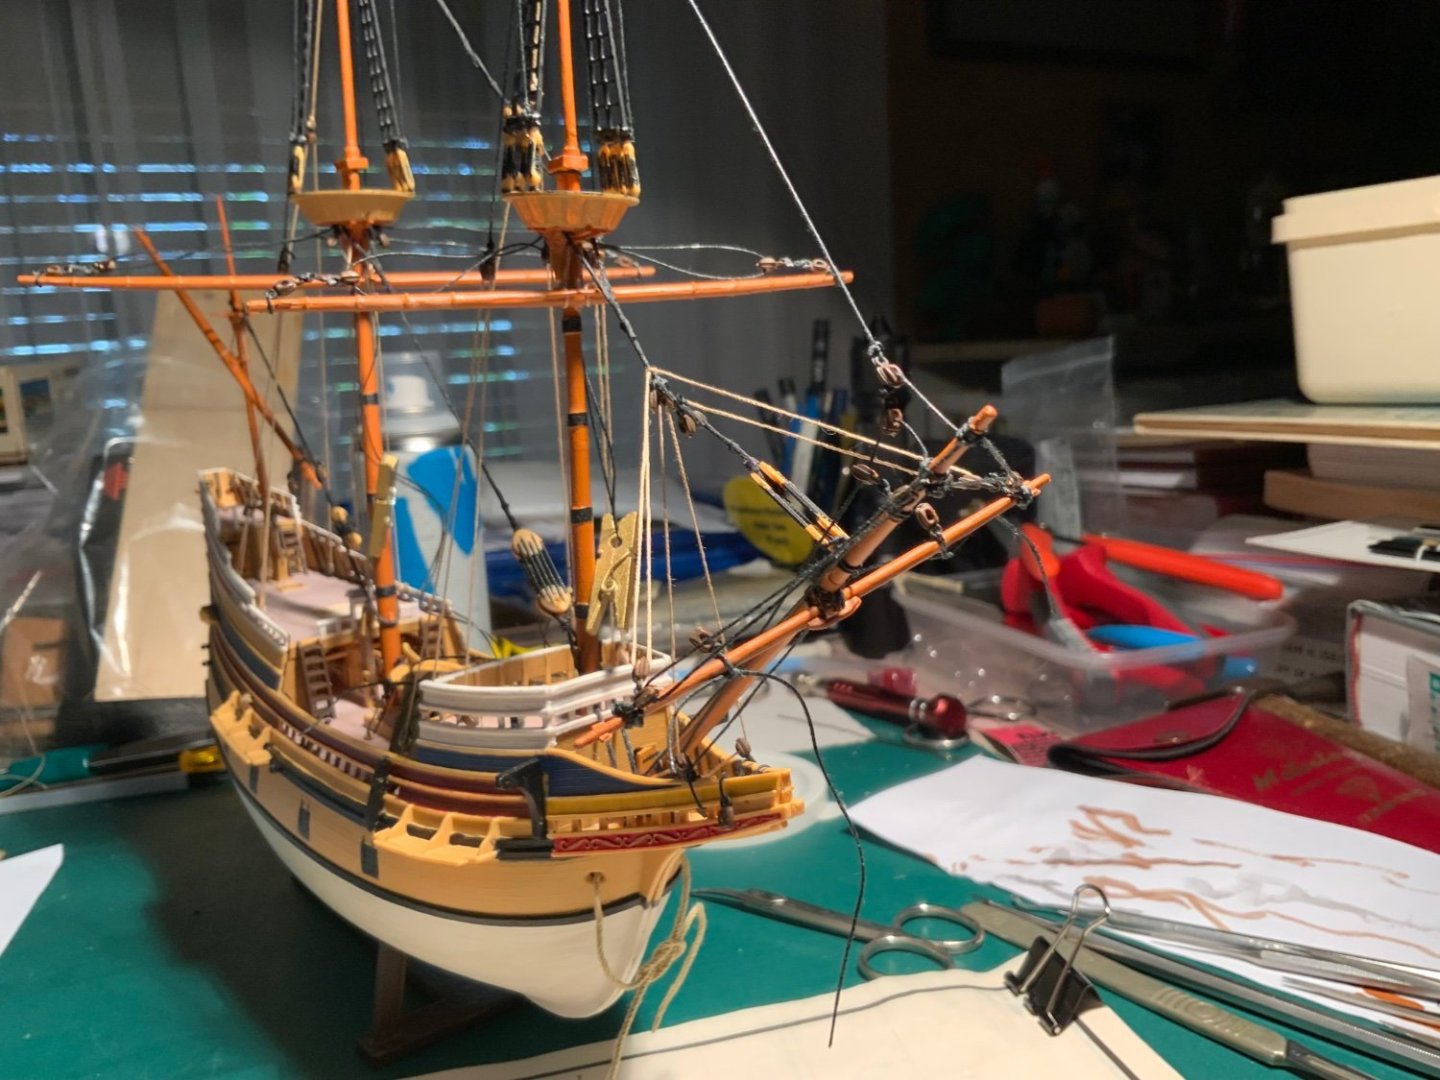
More rigging blocks tied in place.
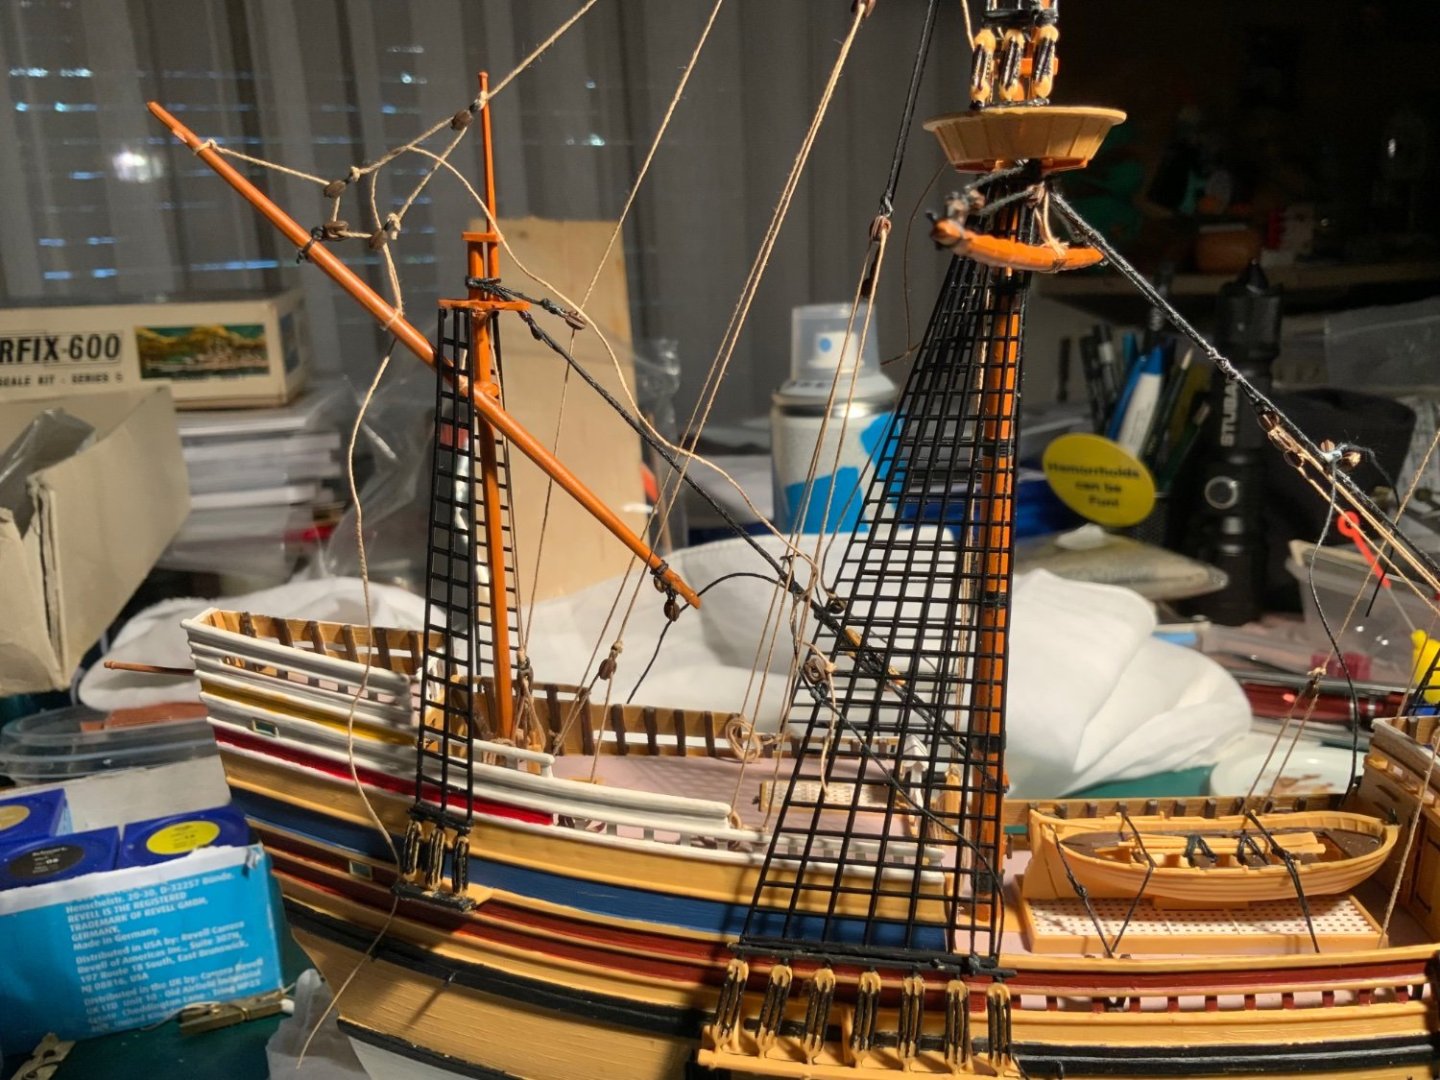
Small wire hooks were made for the main garnet tackle.

-
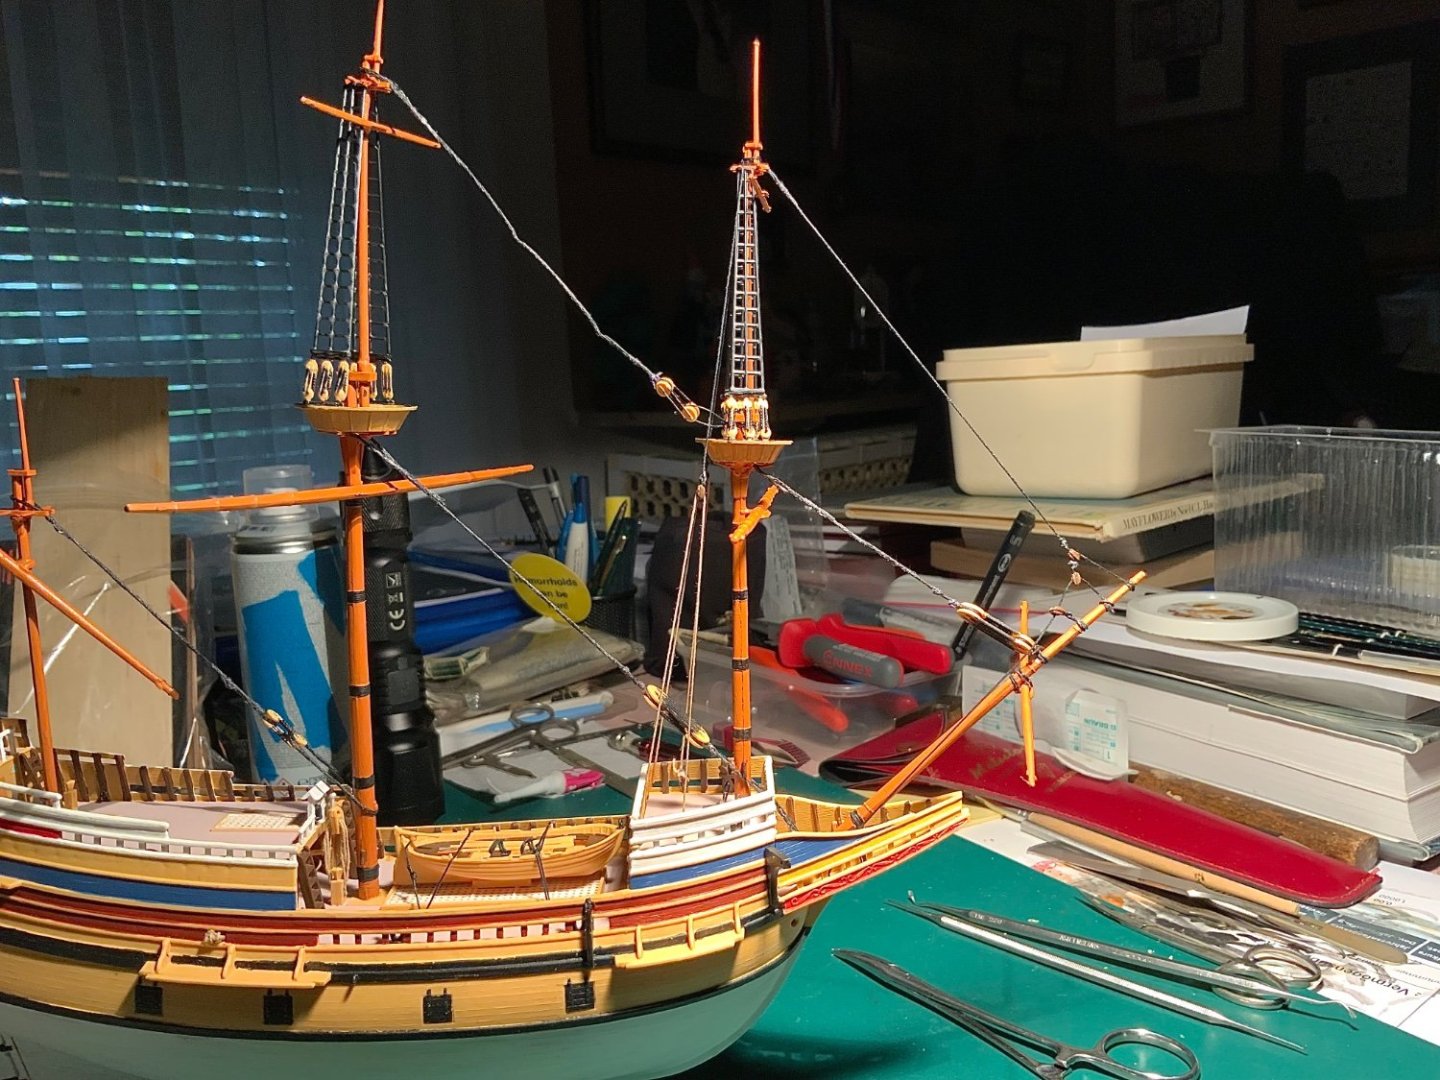
Keeping the lines tight was difficult but progressed slowly.

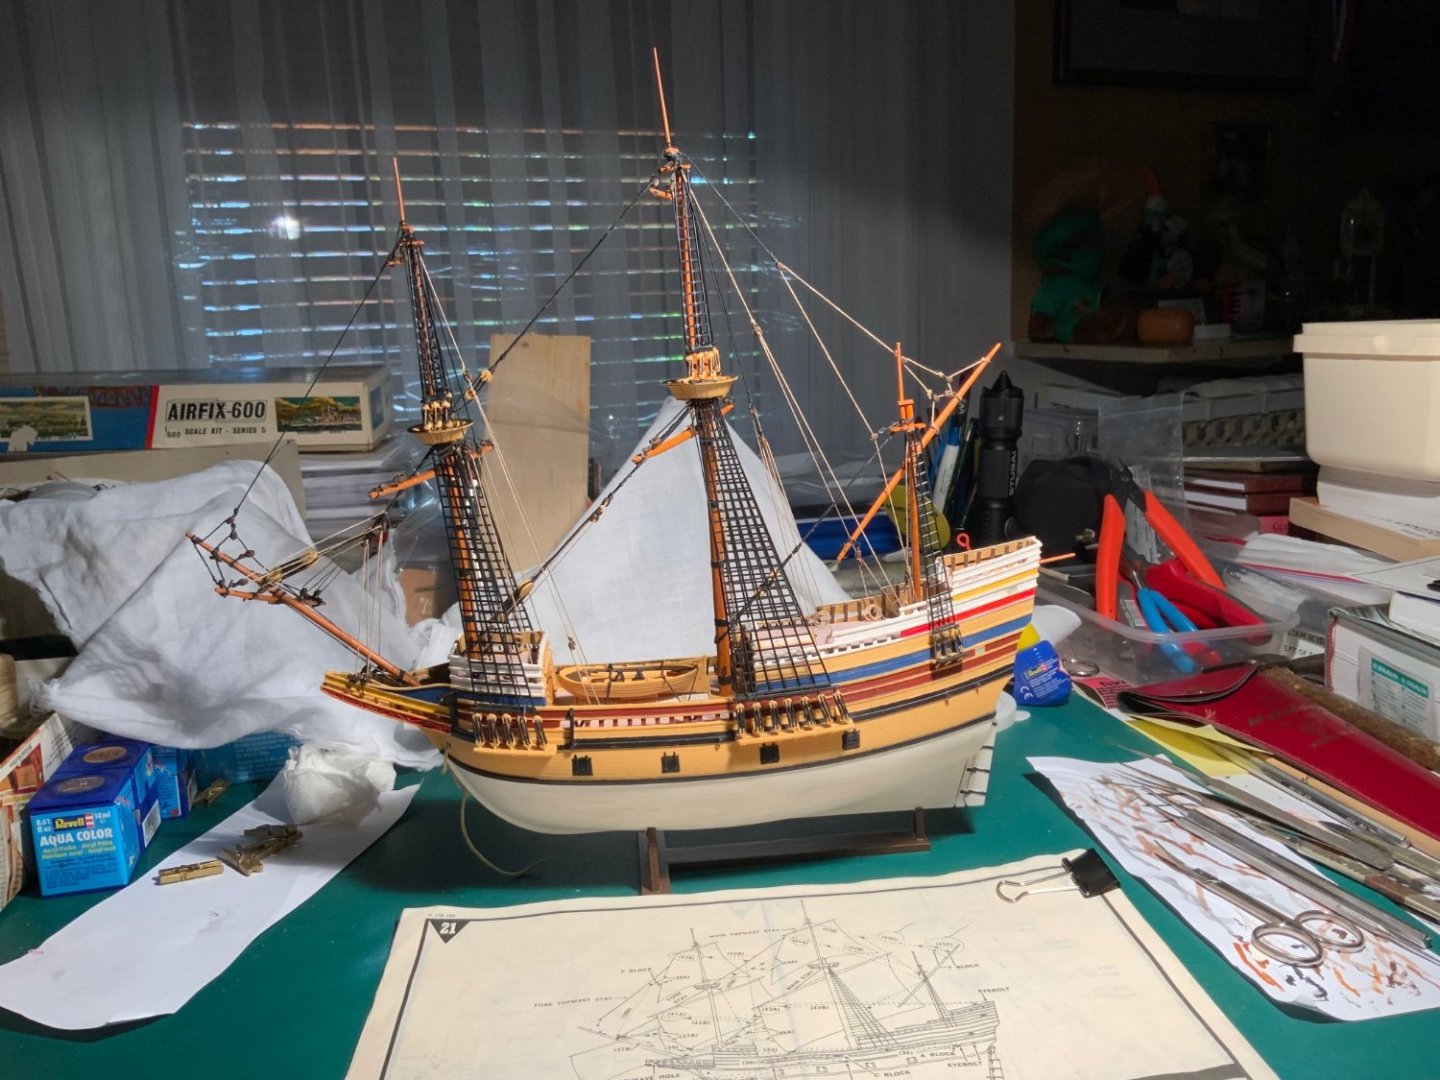
The main mast became more vertical.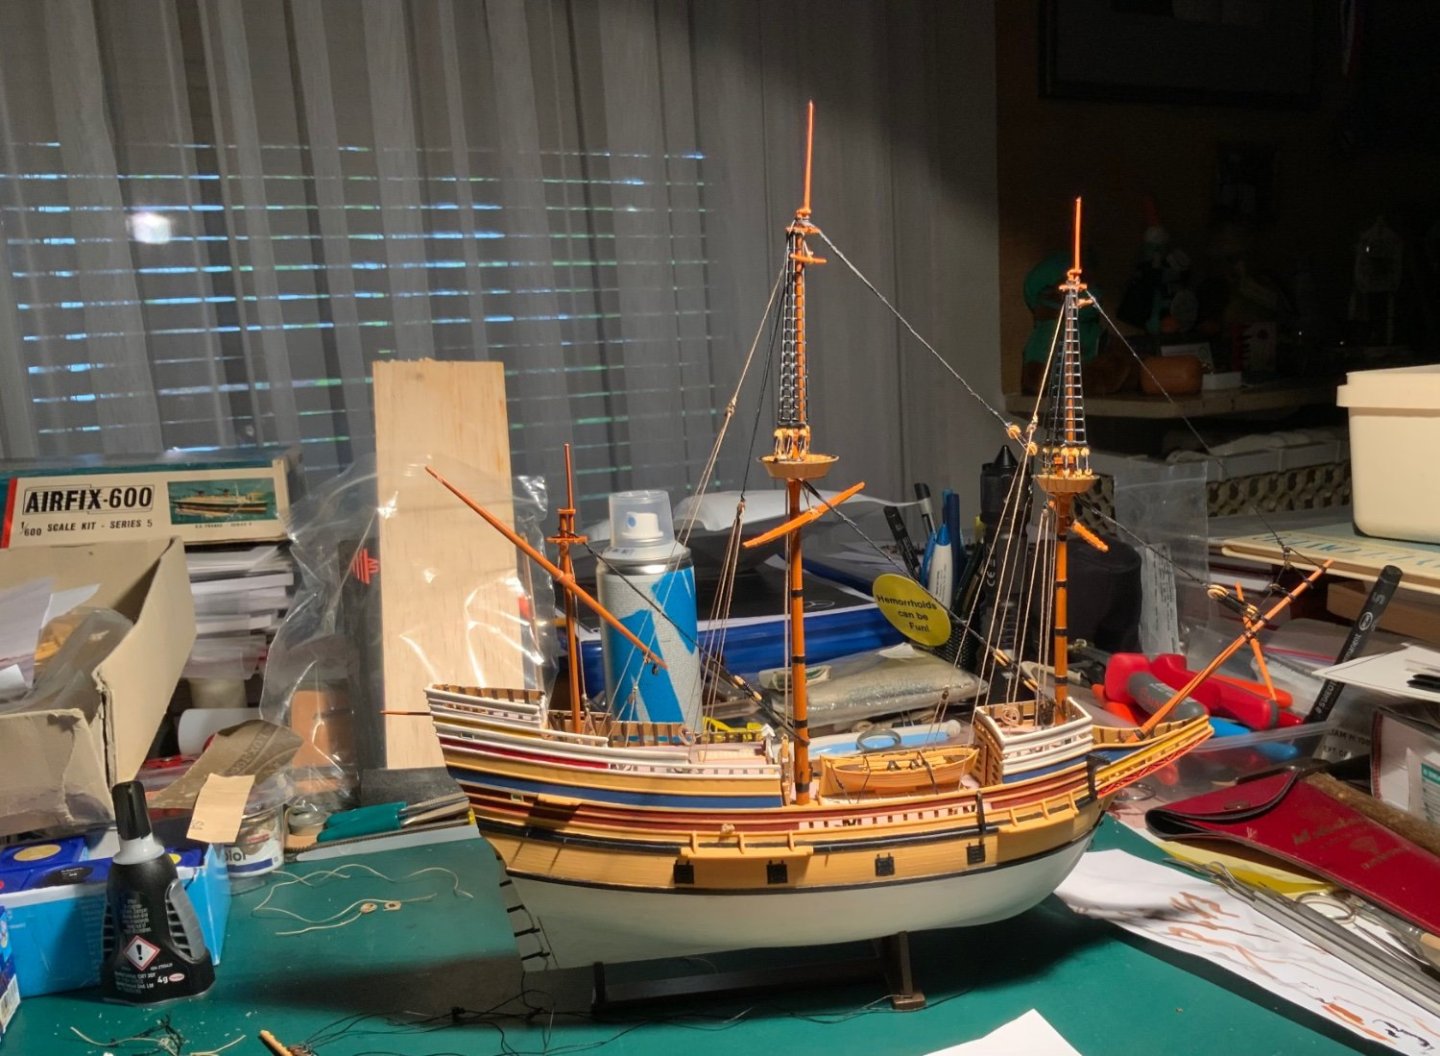
Many blocks were attached to stays and yards. Attachment ties were were ‘locked’ with pva glue and allowed to dry before excess threads were cut off.
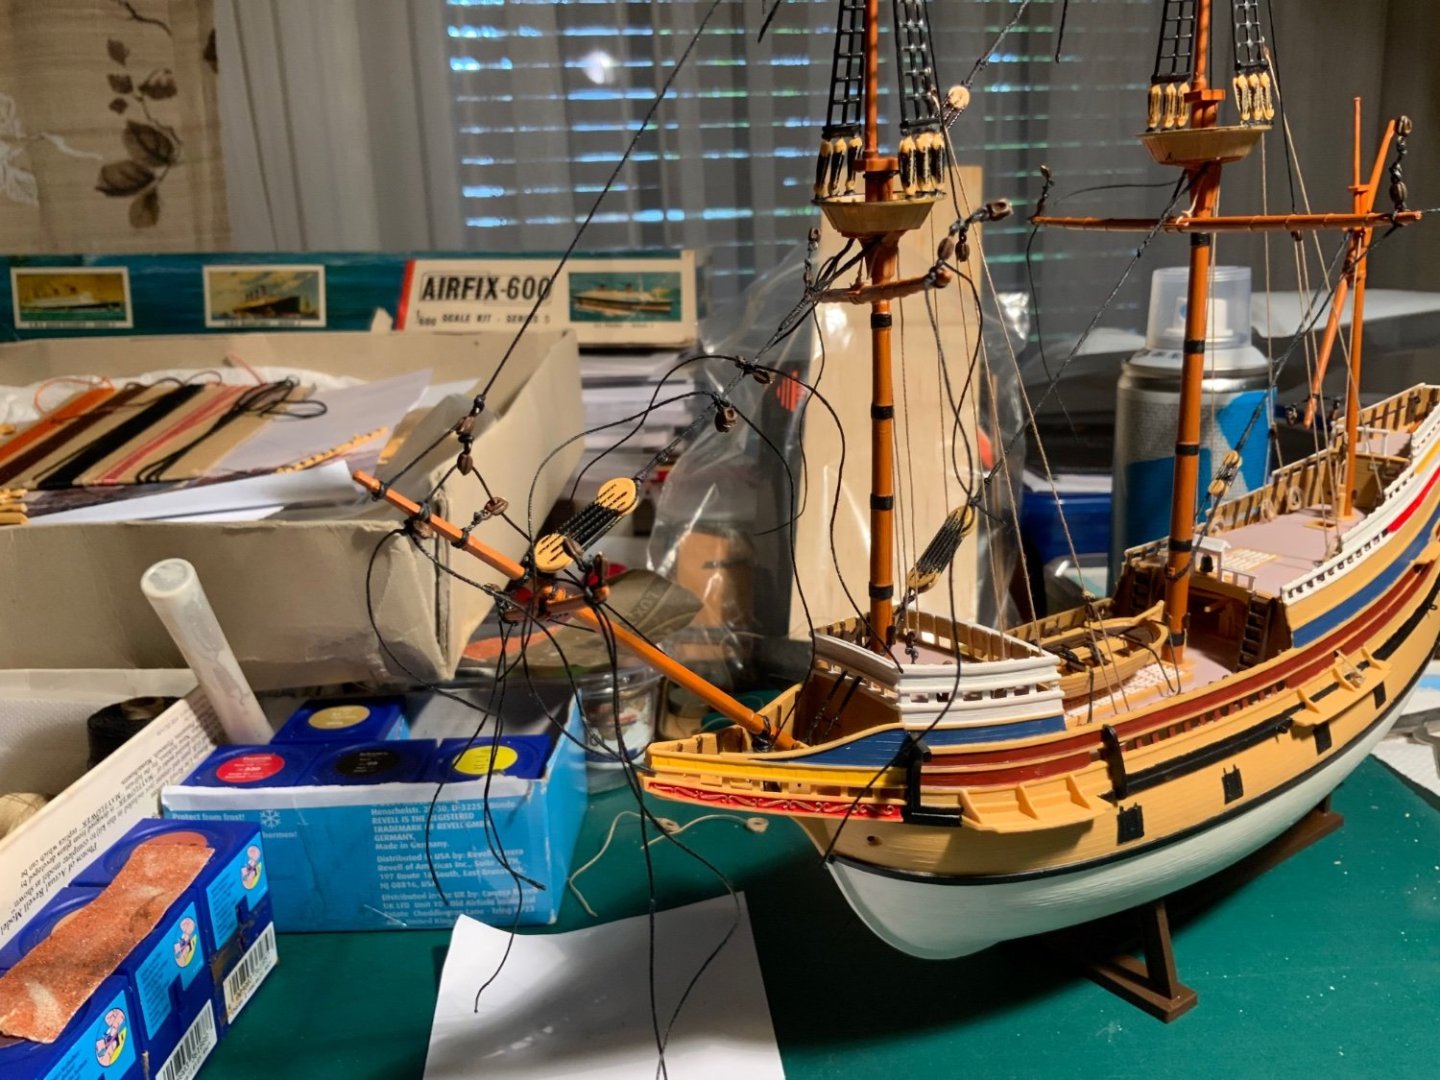
Excess threads removed.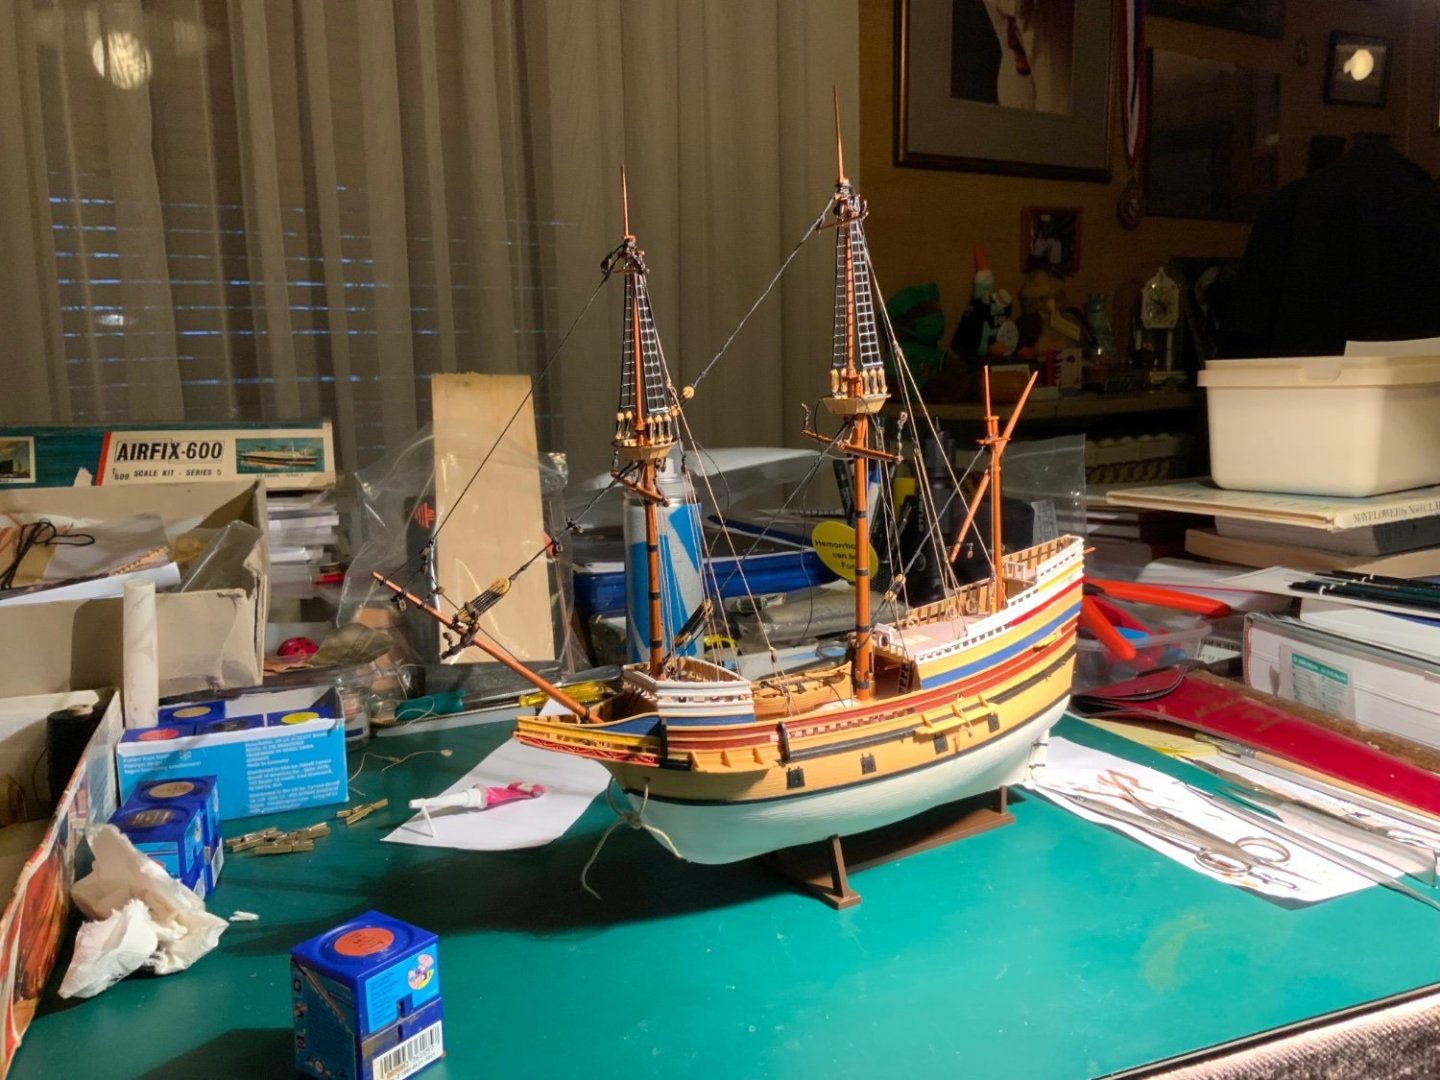
-
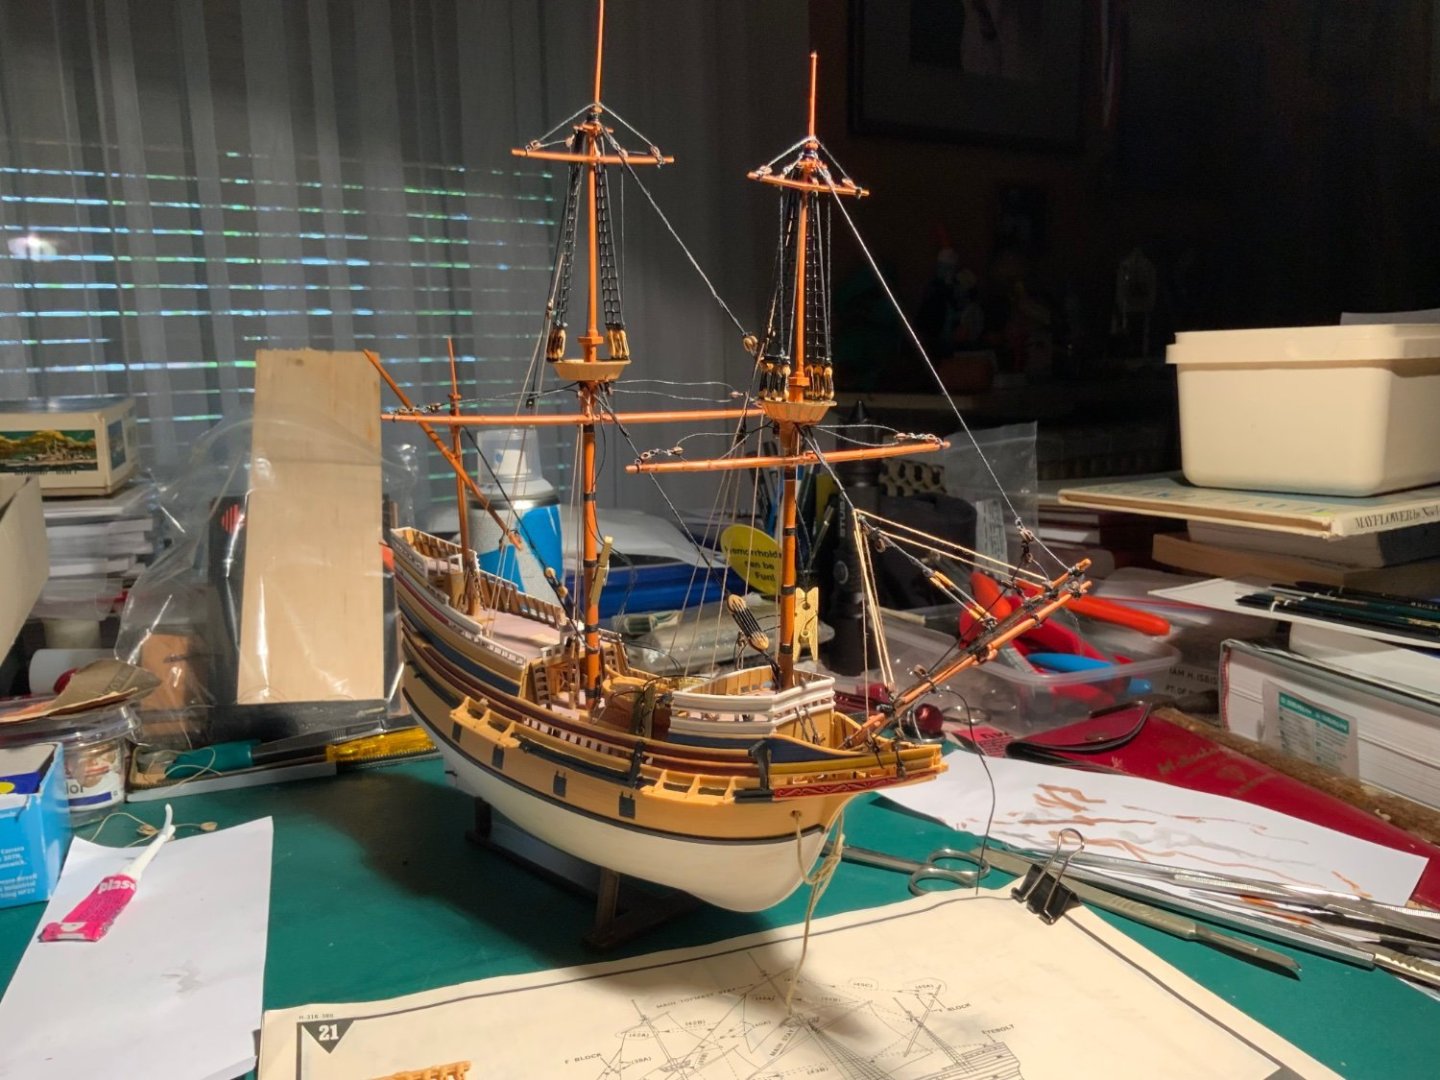
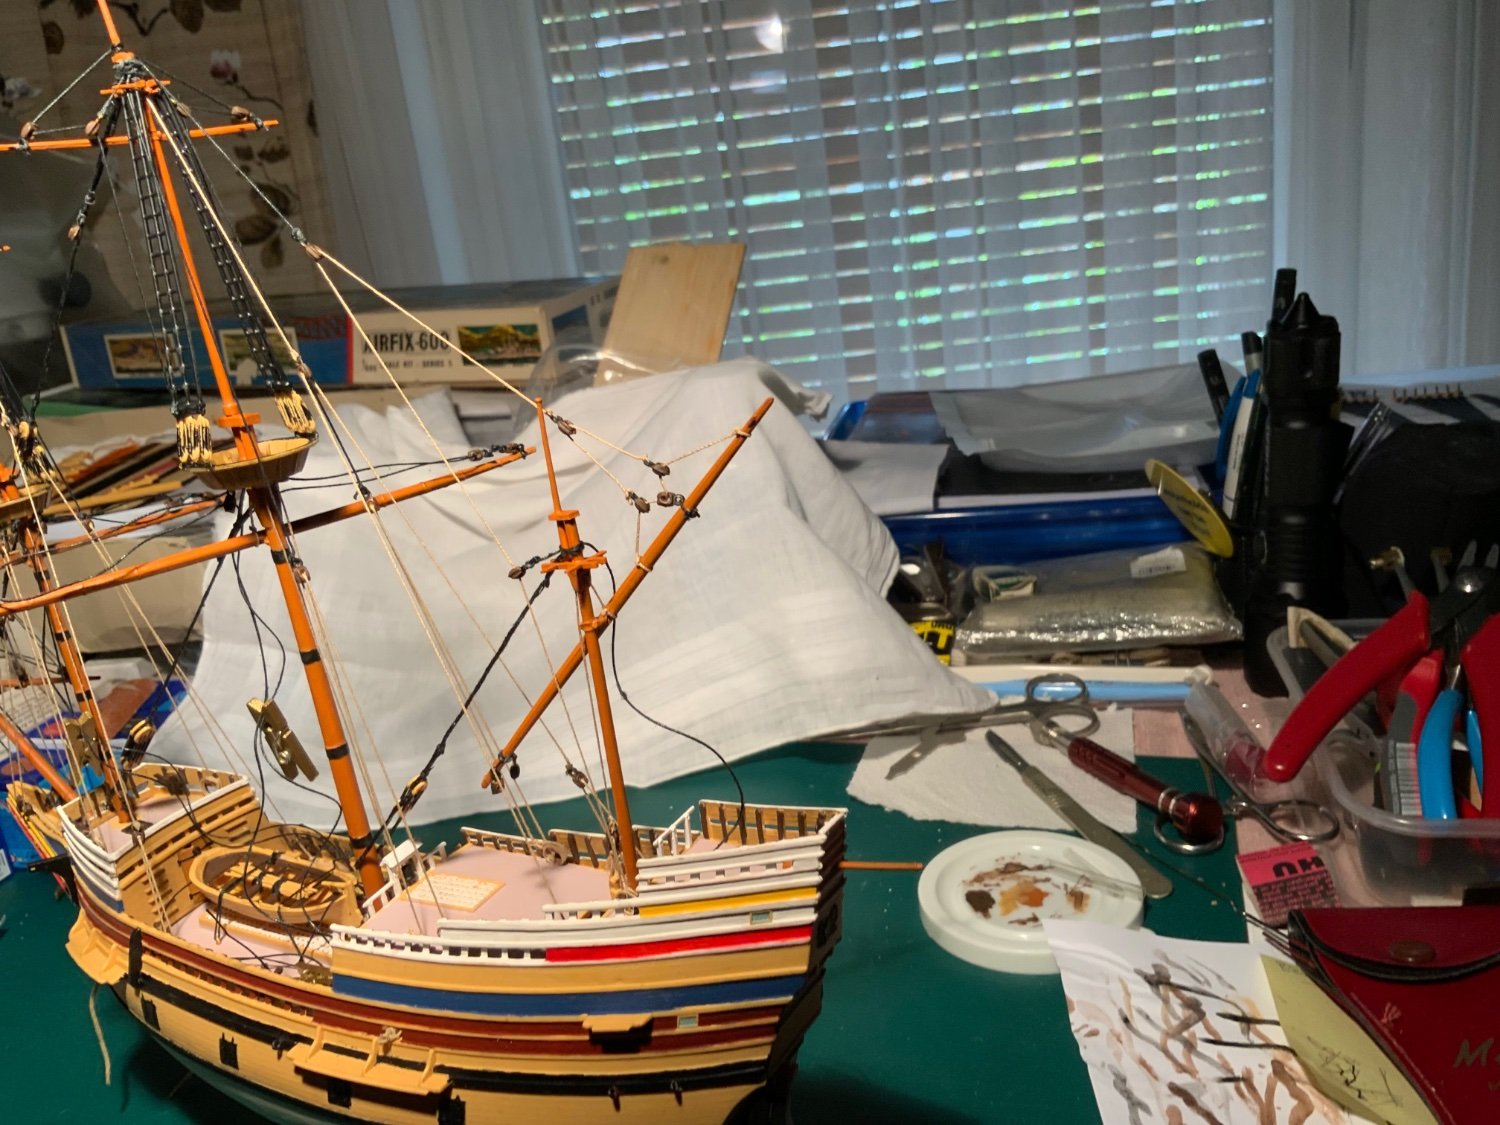
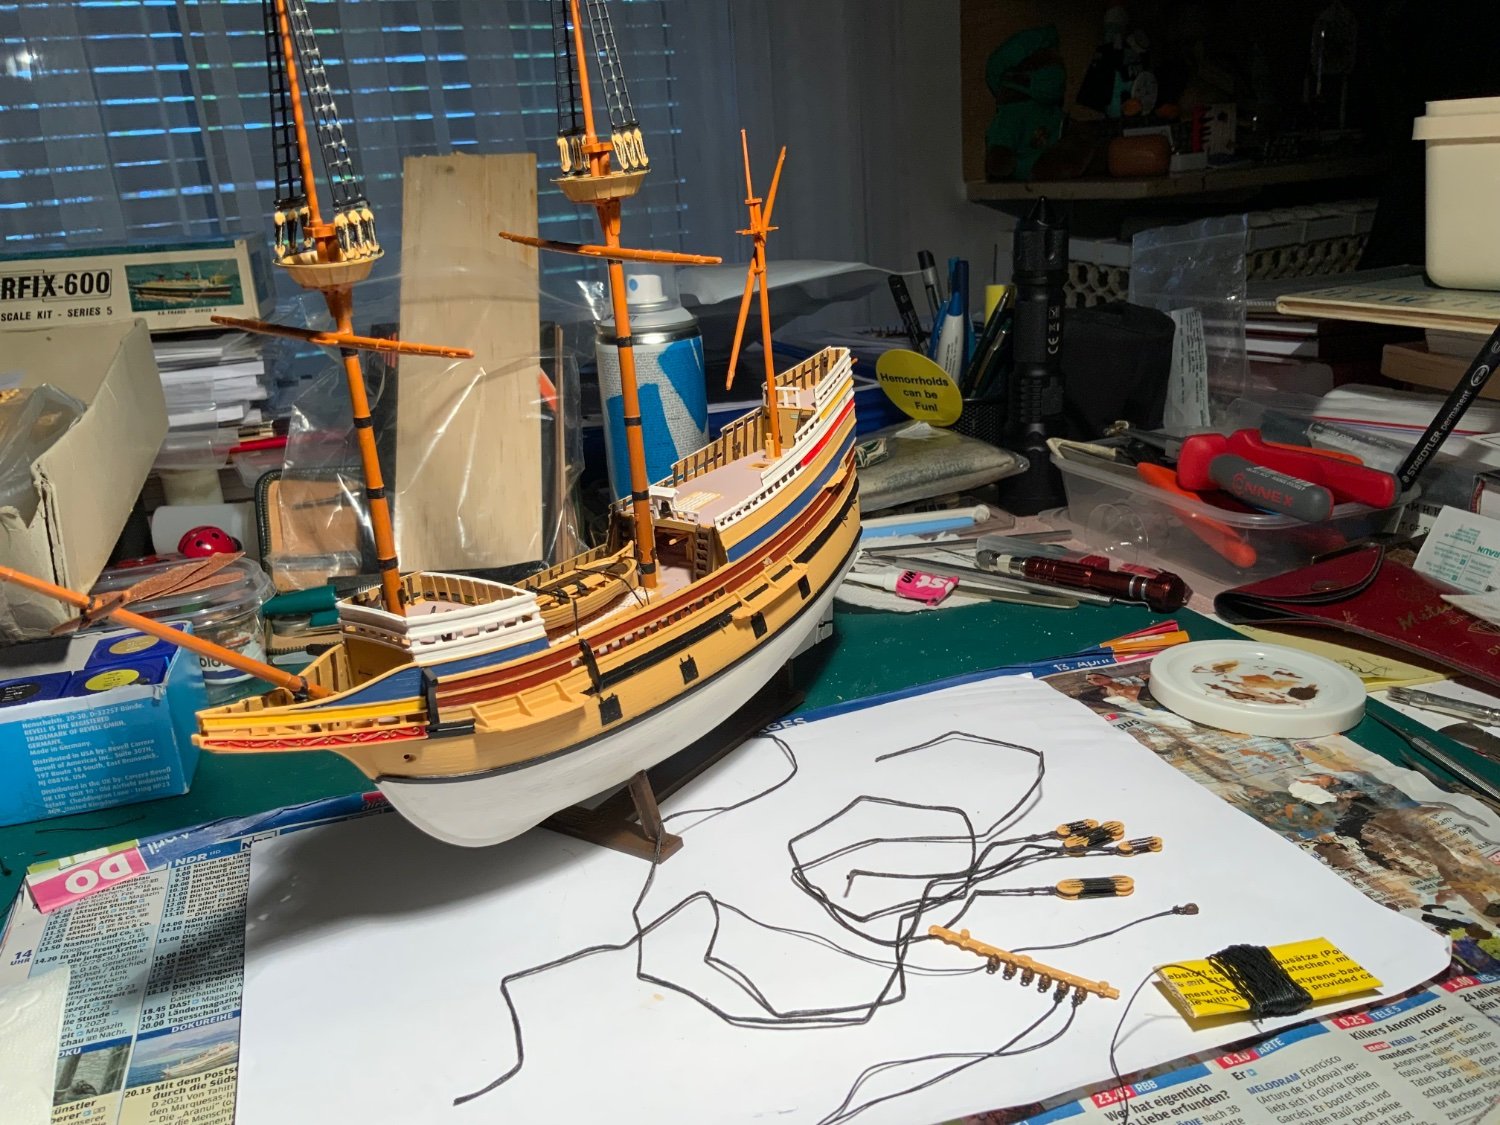
The standing rigging did not look too difficult so I started to rig! I used only the thread supplied in the kit throughout with the exception of some thicker black thread from my wife’s work basket for the stays and some fine fawn thread for the flag halyards and to seiz the stays.

I thought/hoped that as the rigging progressed the loose stays would be tightened. I have seen some sagging loose rigging lines on other models and really did not want any loose lines in this model.
-
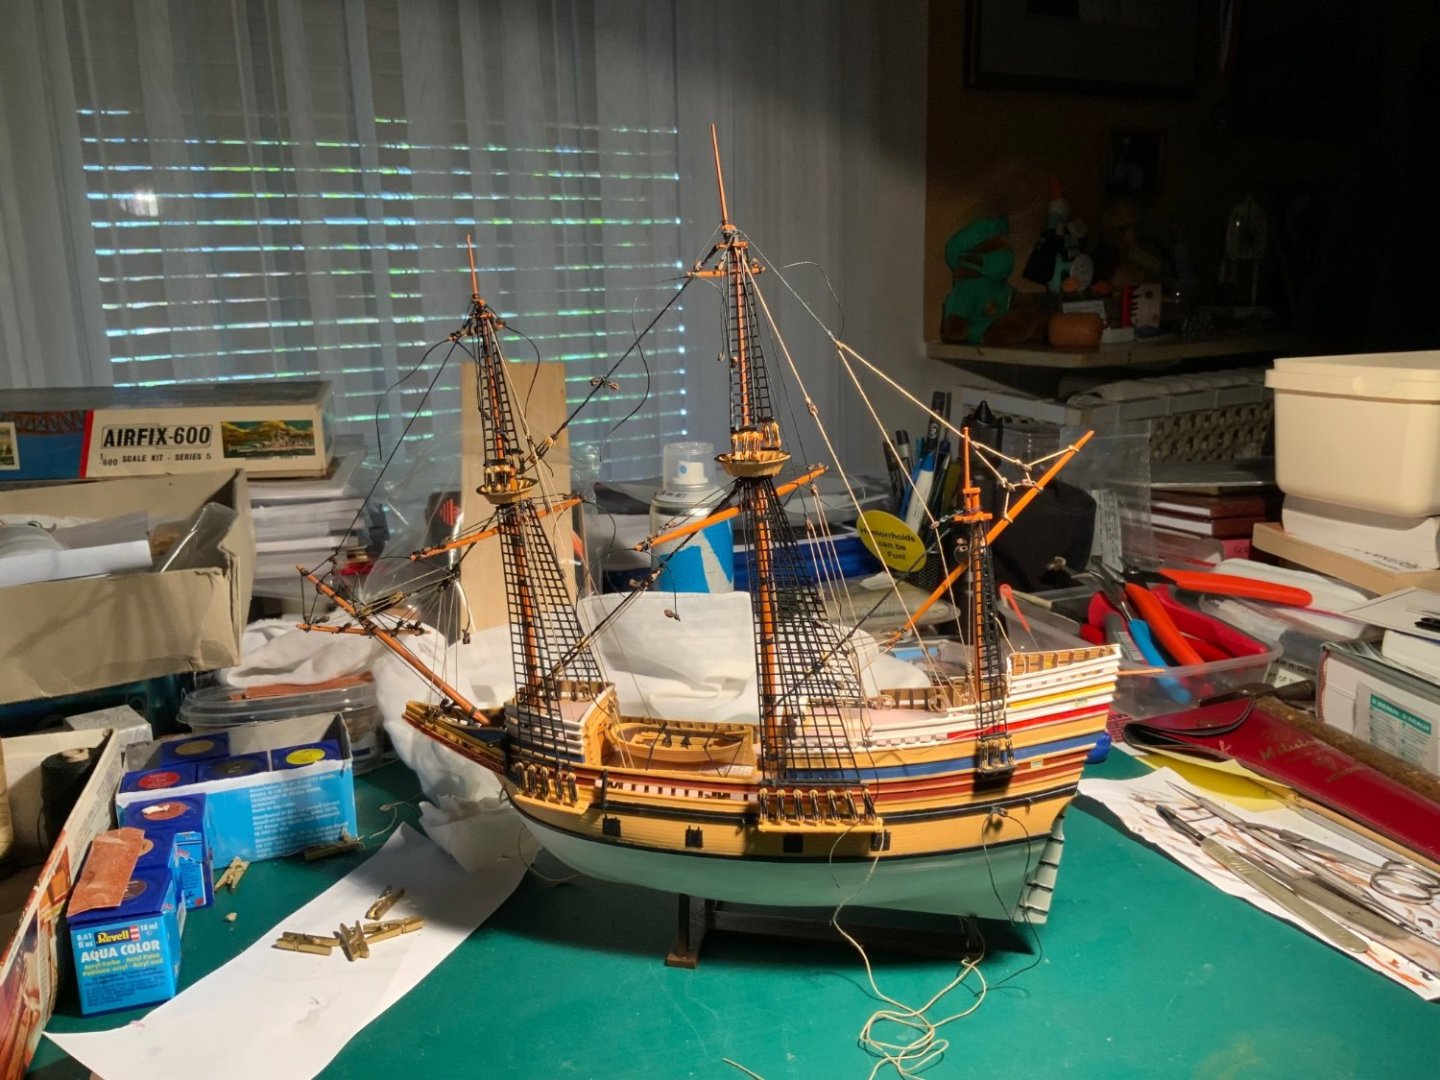
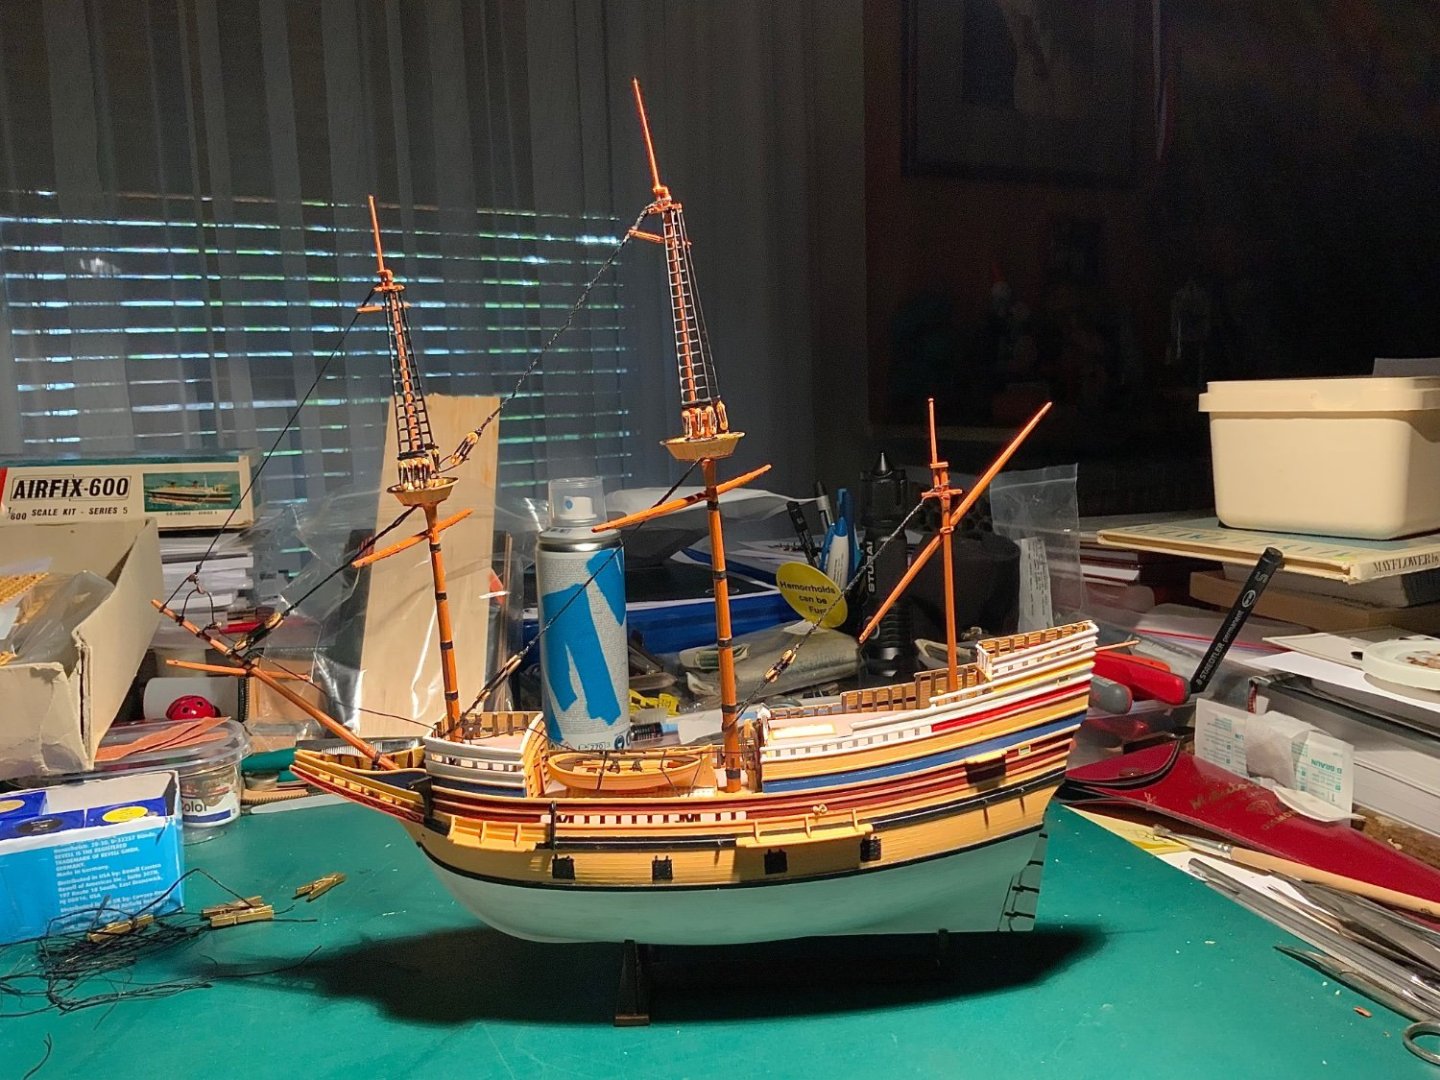
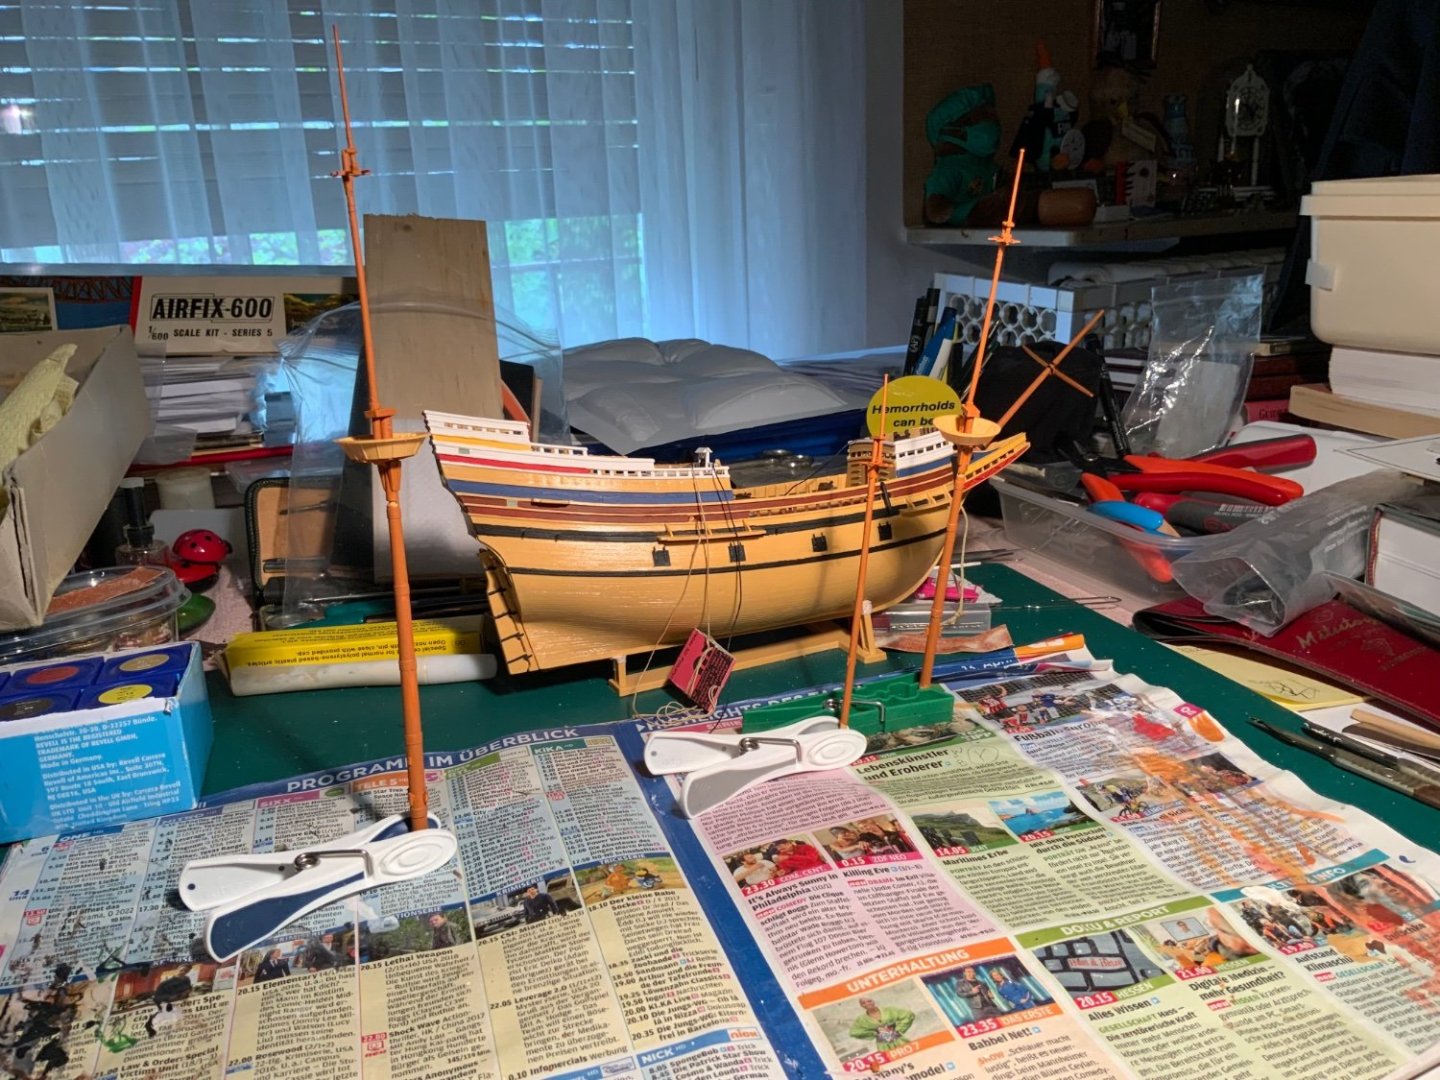
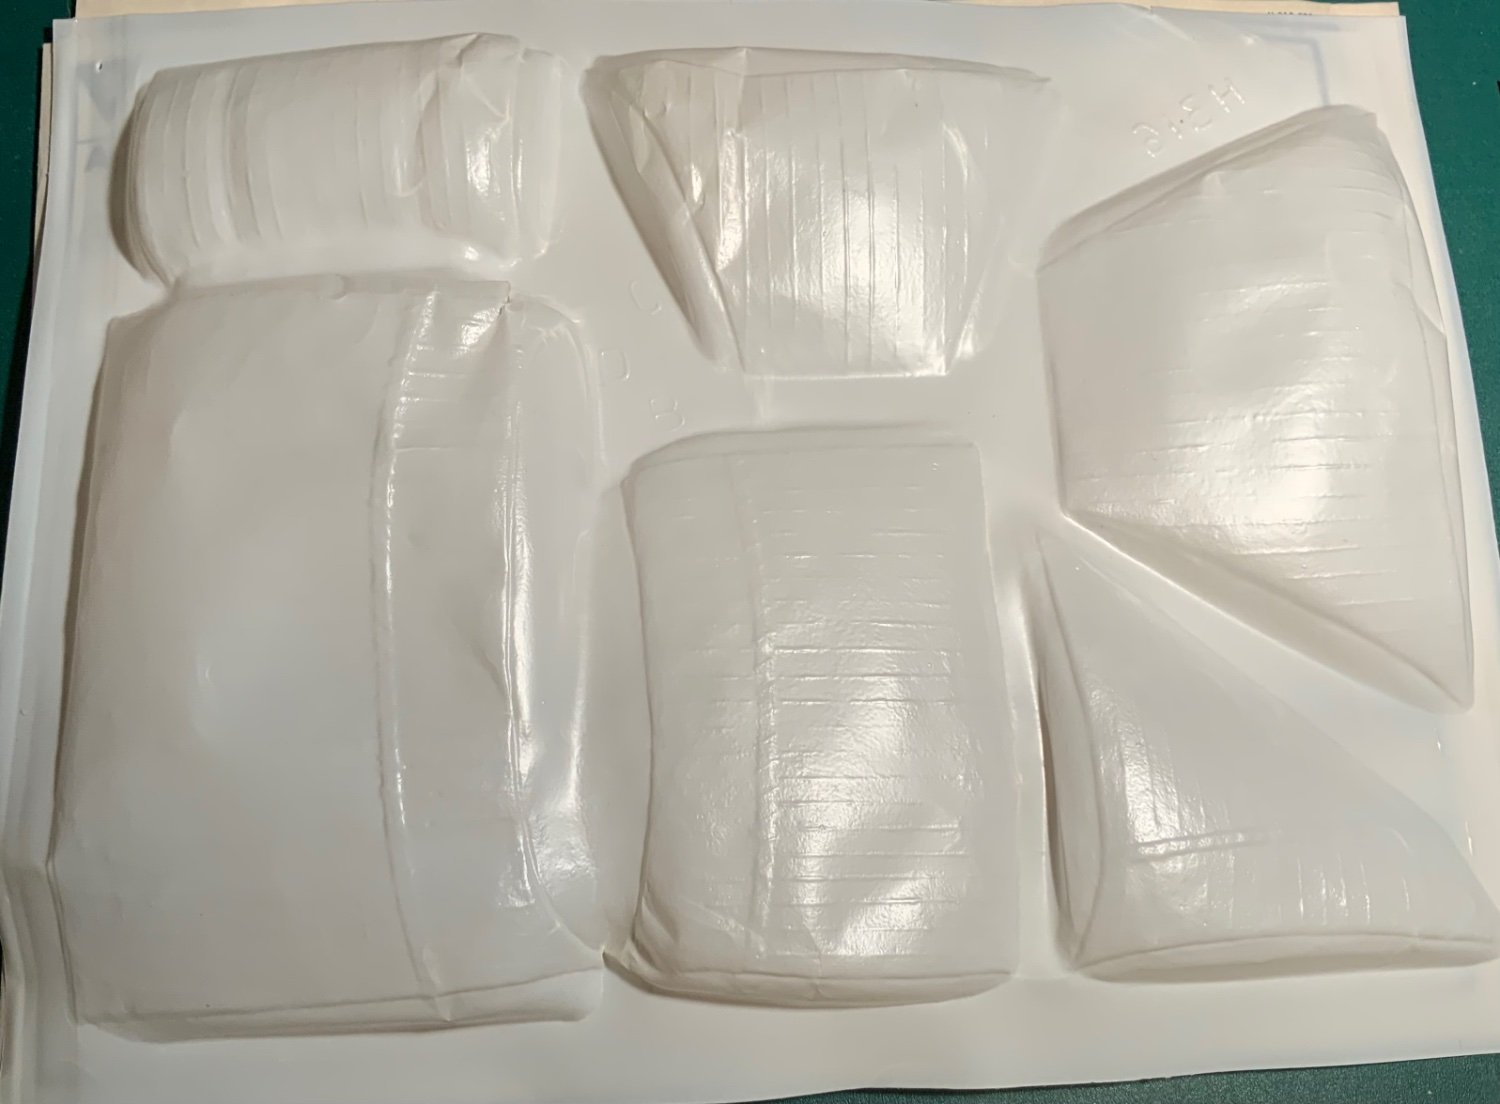
The next task was to step the masts and get on with the rigging. I had decided not to use the plastic sails and only to try to rig the boat with non directly sail related (sheet, clew, bunt, martlet, and leech) lines.
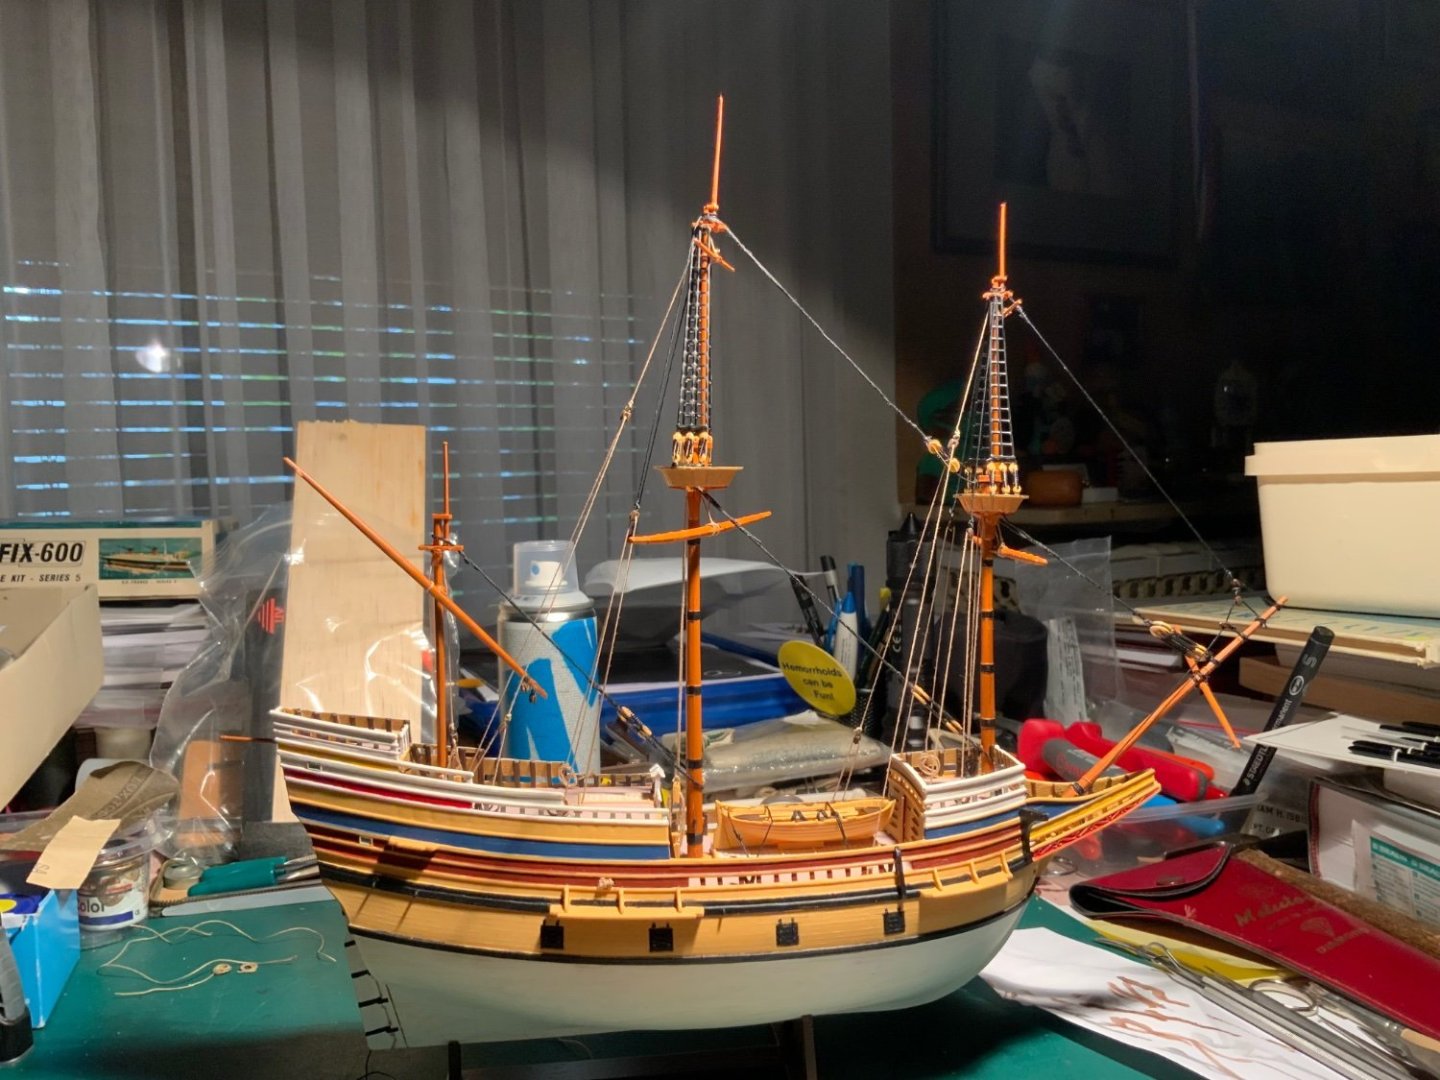
The instructions had no detail regarding fitting the masts. The fore and aft masts passed through holes in decks before being ‘anchored’ into their own ‘sockets’ on the main deck. Sadly, obviously in retrospect, the fore-aft positioning of the upper decks affected the fore-aft tilt of the masts and although the upper decks were fitted nicely into their places in the hull they were not vertically lined up regarding the mast holes and mountings. Again what to do? The fore mast was tilted forwards about 20o! In the end I cut off half of the base of the mast and repositioned it so that the mast became almost vertical.
The main mast had a forward lean but I thought that I could pull it back with some of the rigging lines. I then set about painting the blocks and deadeyes.

- Ryland Craze, ccoyle and Baker
-
 3
3
-
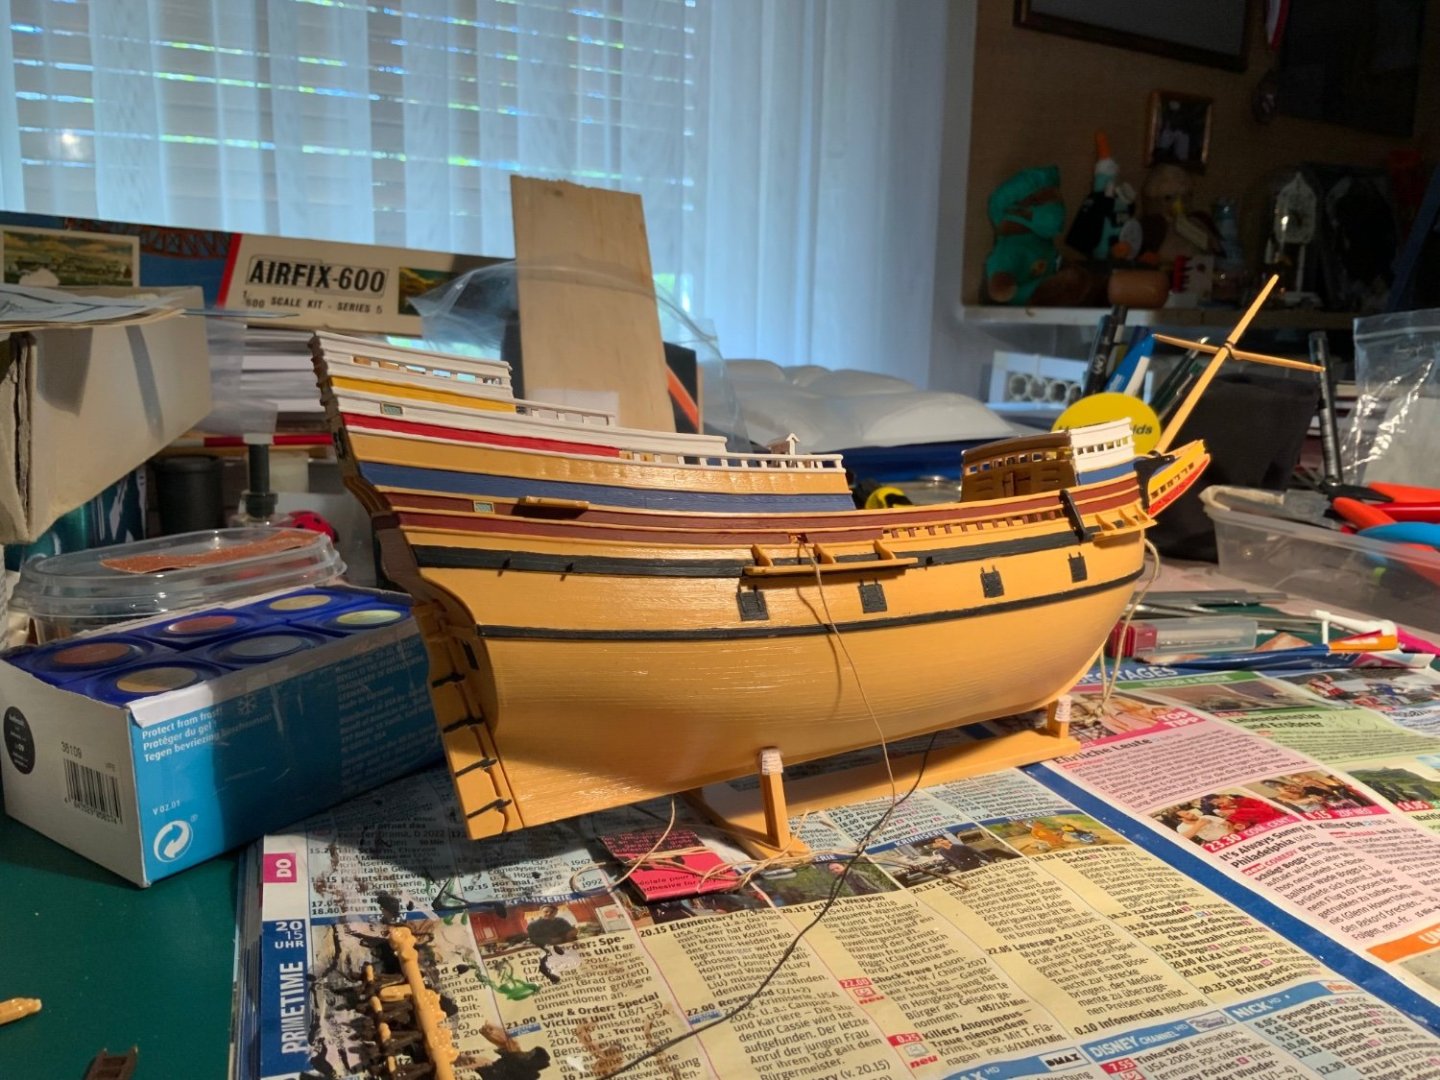
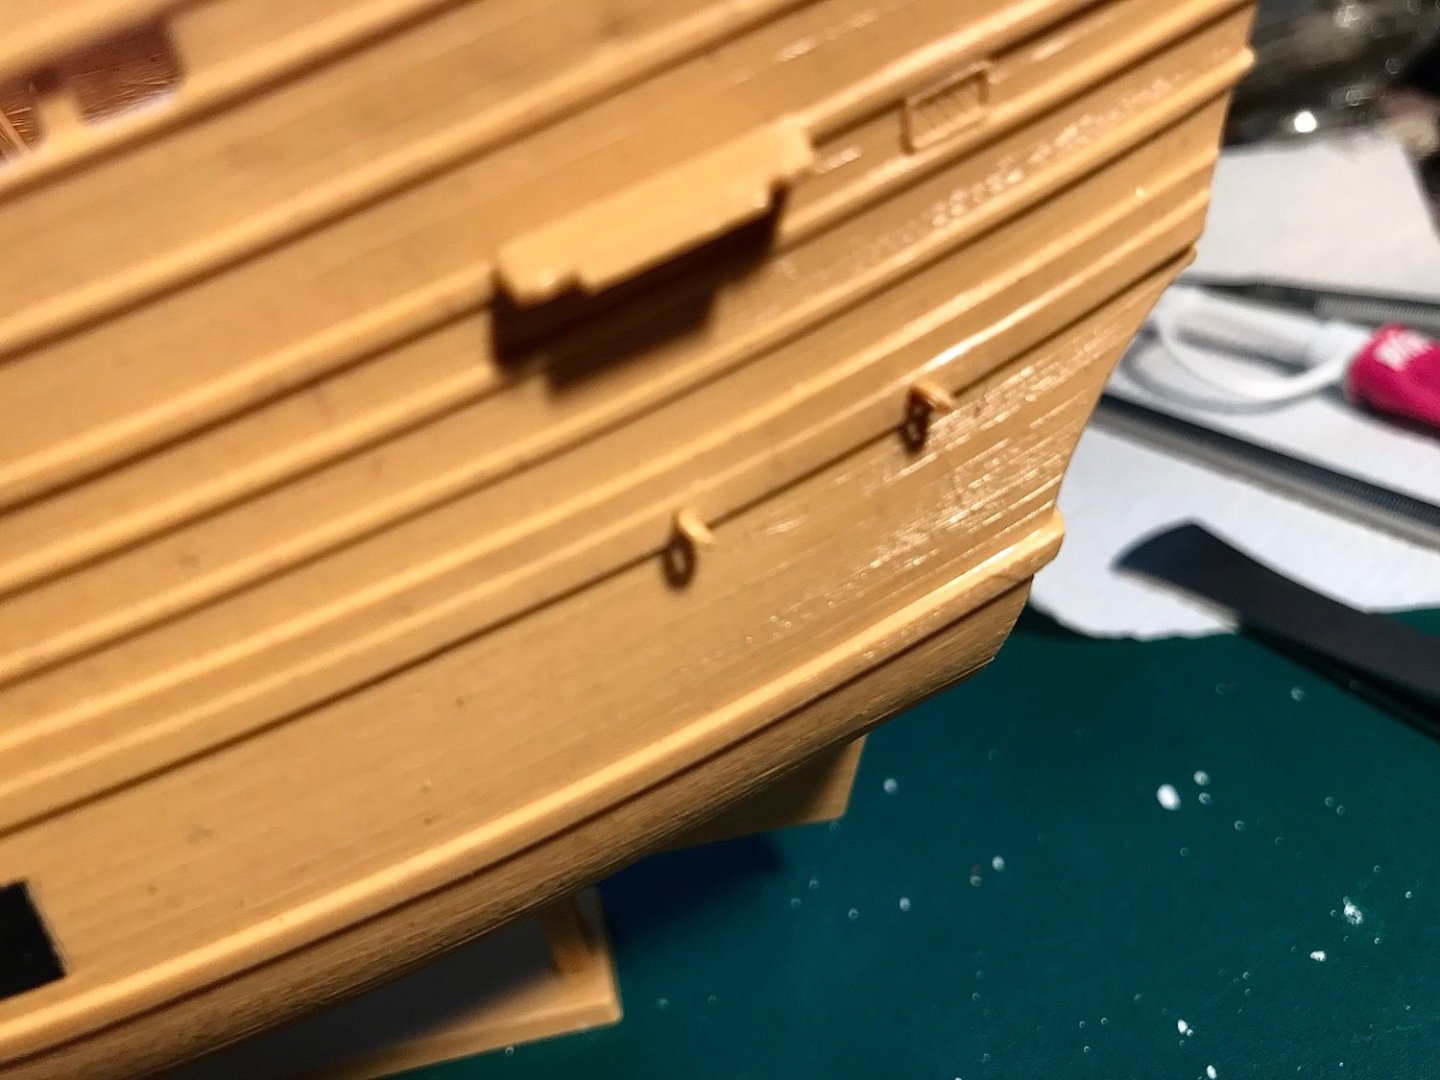
I began to notice, as I manipulated and handled the hull that small flakes of paint were coming off - I had not undercoated it before painting - so I thought that if I retouched the the areas of paint loss and then sprayed the entire hull with a clear, matt, acrylic varnish, it might protect the parts that were being damaged. On a wind still day I took the hull outside, supported it upside down in an ice cream container, warmed the spray can, shook it for 5 mins., donned gloves and a face mast and gave the boat three coats of paint. I had one small ‘run’ which I was able to sandpaper away and respray. I did find that the hull paint was much more secure following the application of the varnish.
-
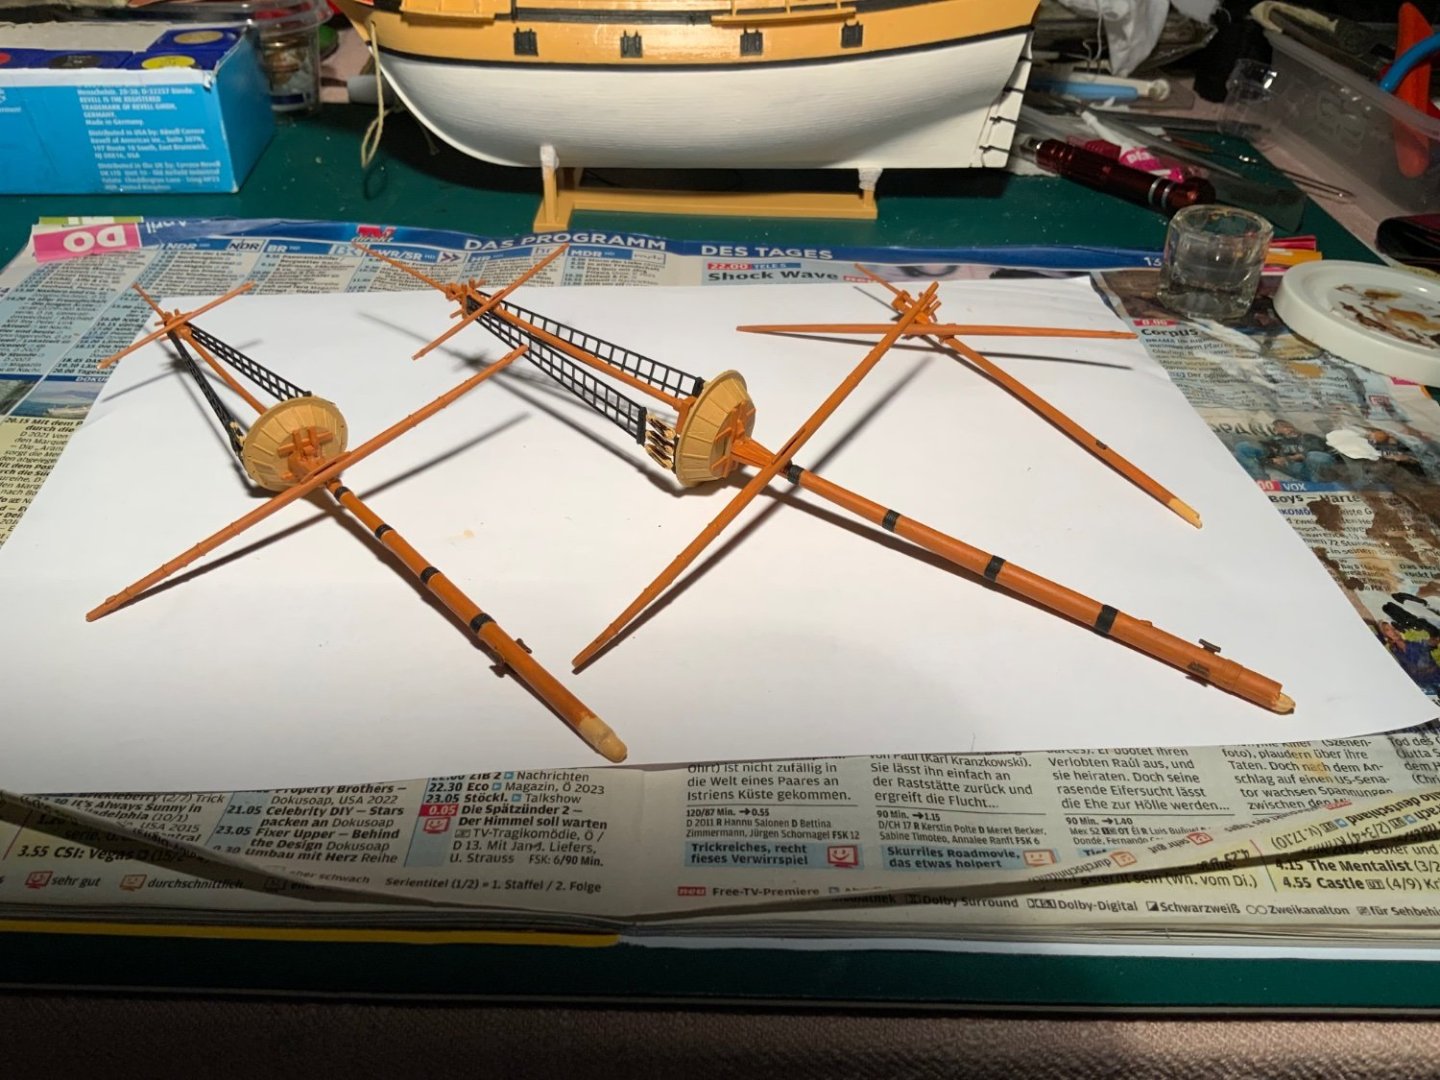
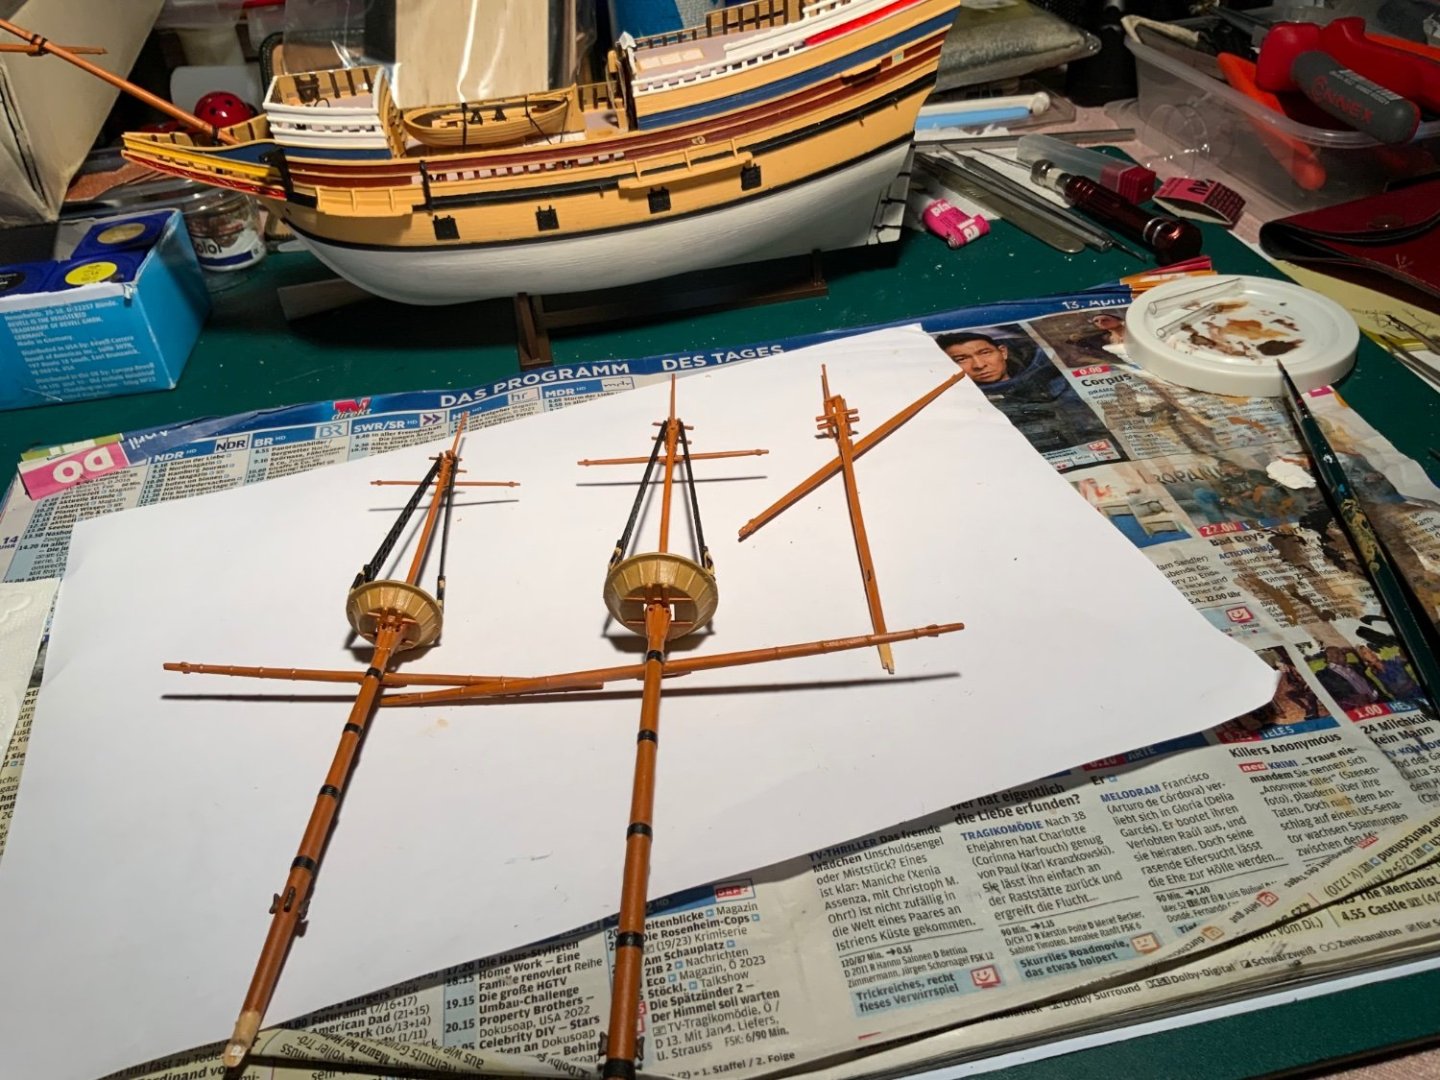
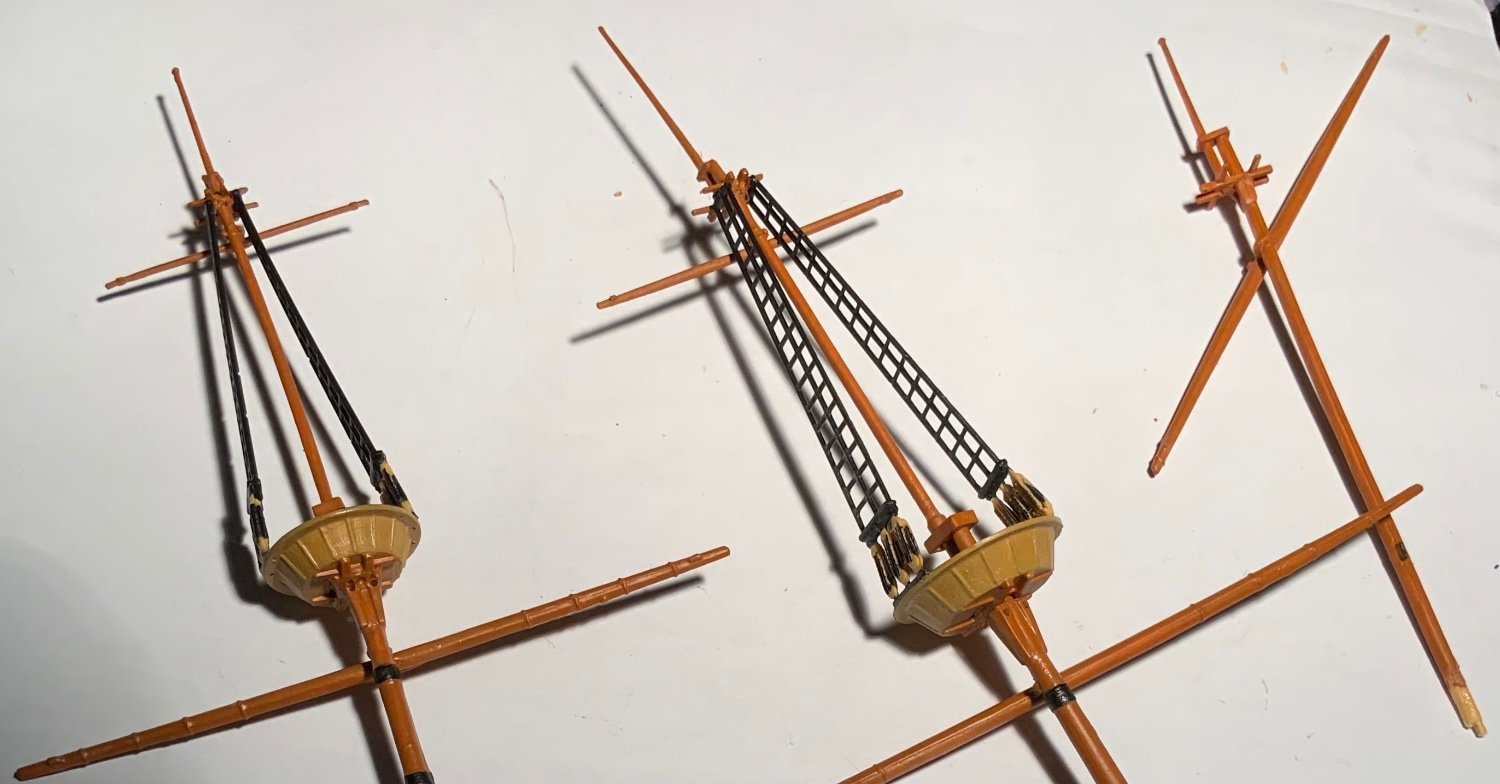
When I re-examined the three masts carefully I realized that despite vigorous perusal of the meager instructions, I had glued the top fore mast and the pennant mast 180 degrees out of line.

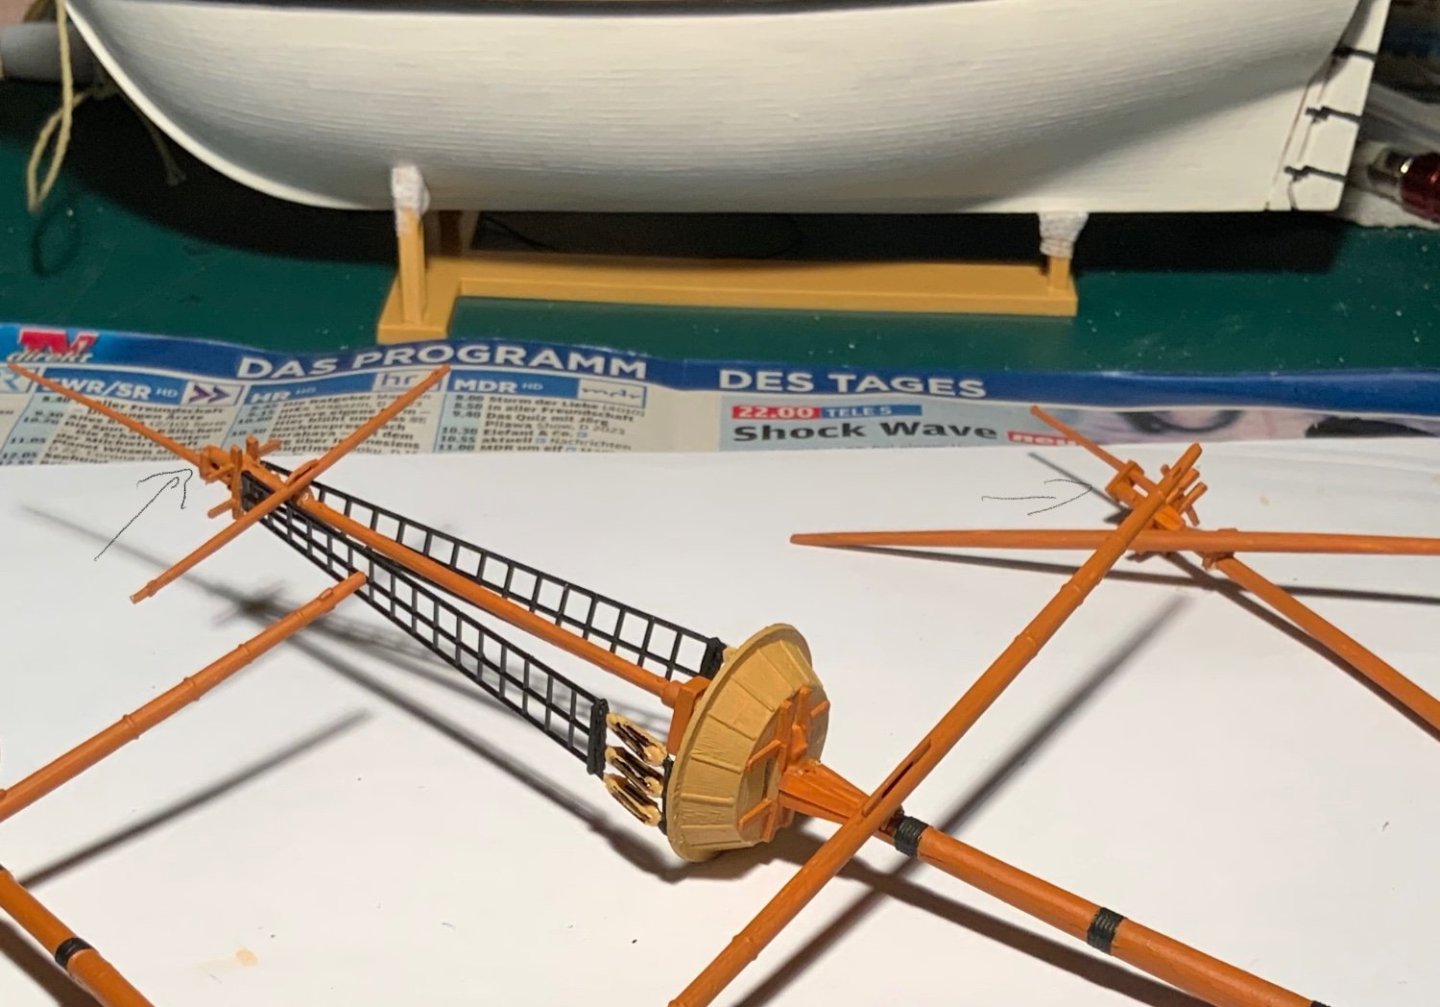
i was unable/did not know how to unglue the pieces so what to do? I pondered the problem, thought that any corrective action would be too difficult and thought that no one would notice! I then realized that there were, in fact, many people who would notice and that somehow I had to correct the mistake. I took my courage in both hands and cut off the tops, turned them in the correct direction and glued them back together!! I think the result was ok?

-
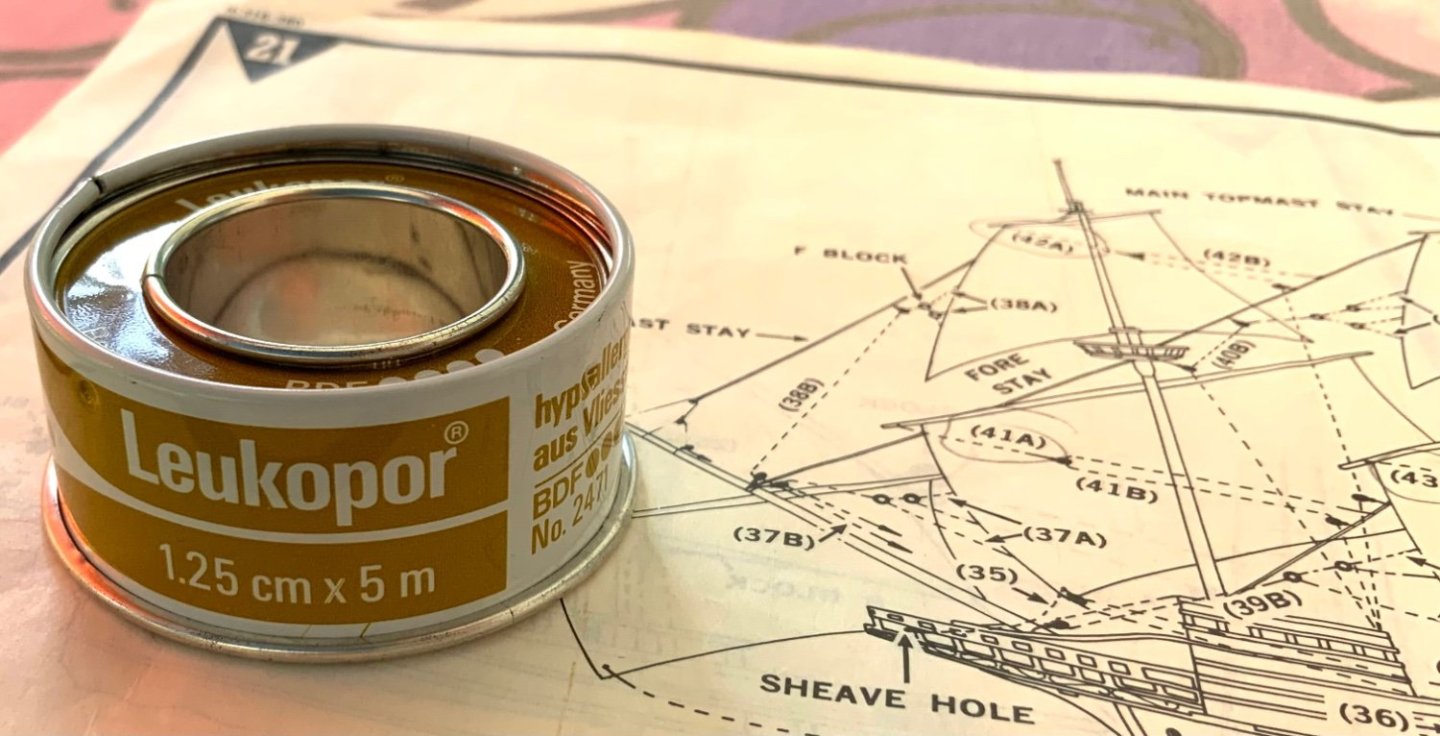
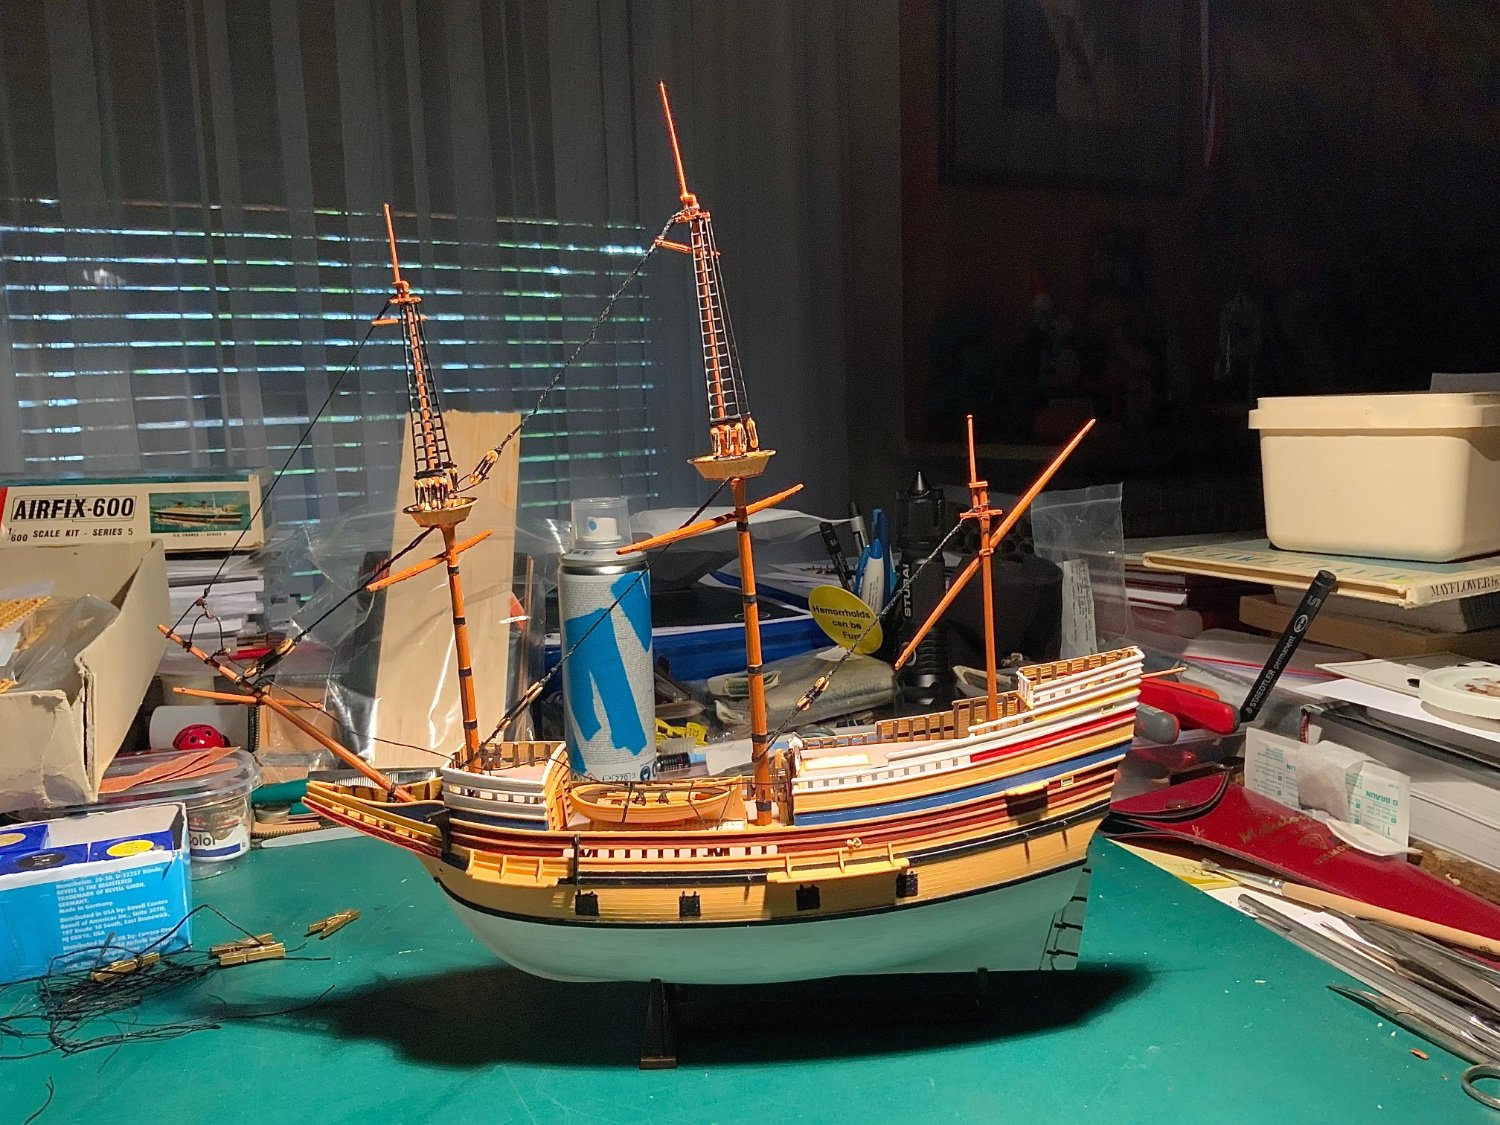
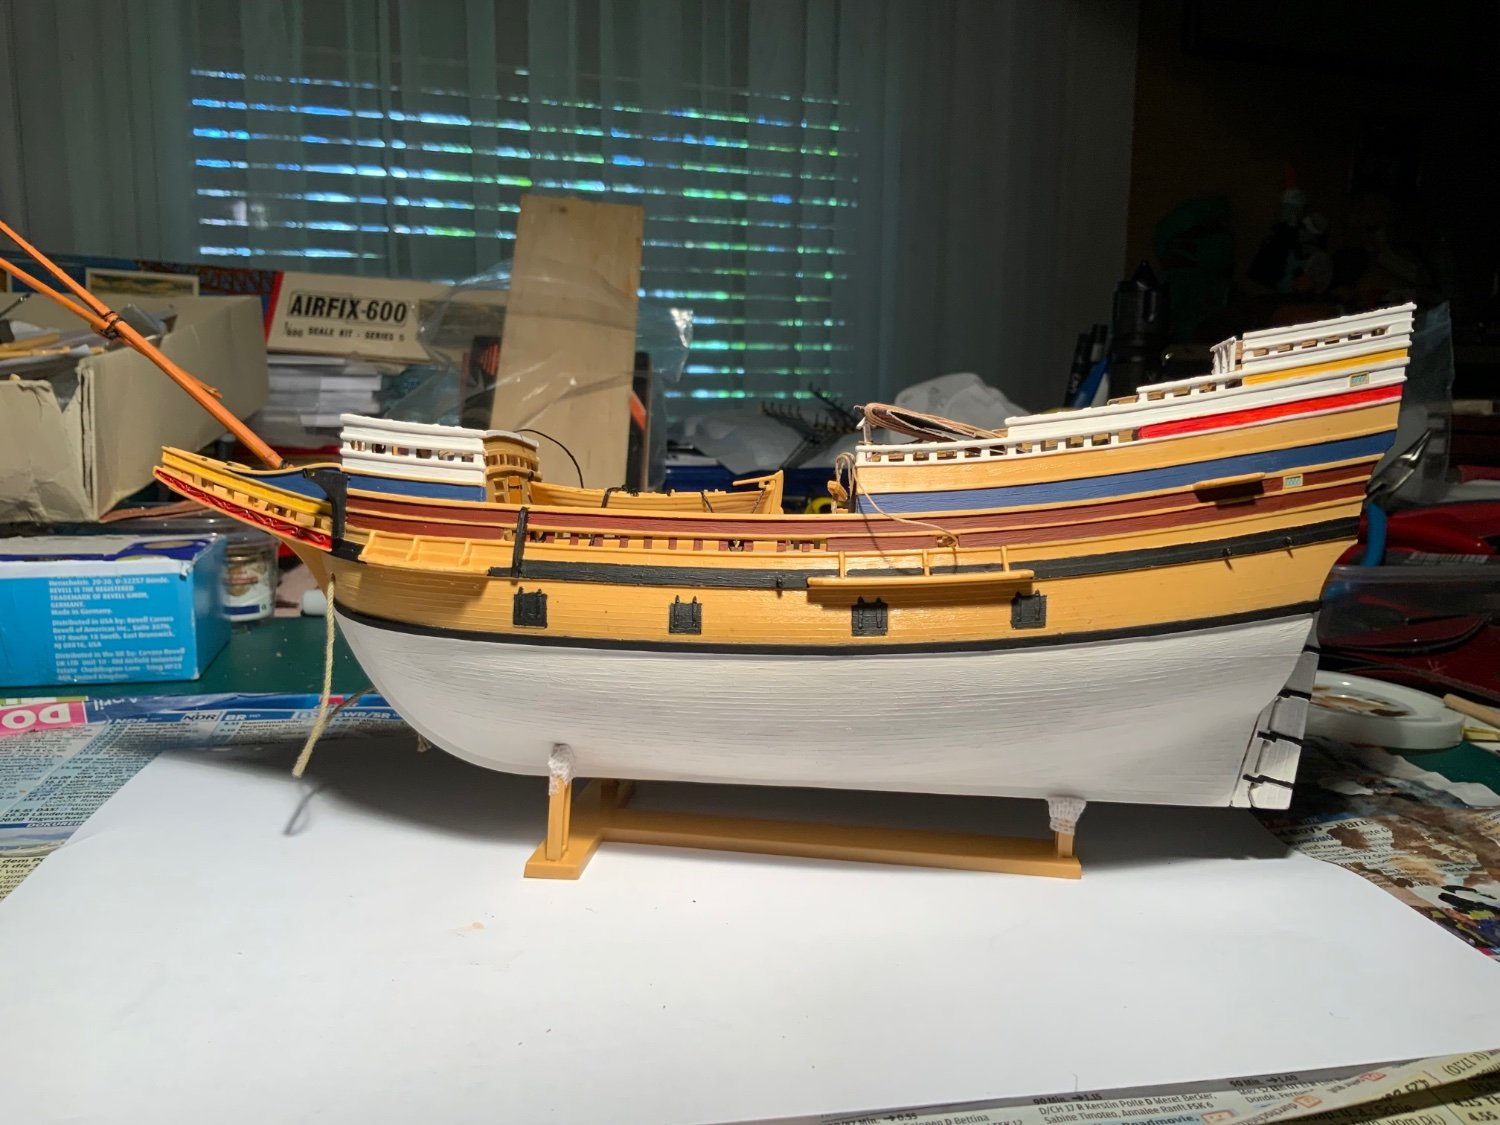
I was worried about the vast expanse of unpainted hull so it was painted white. I found masking difficult too because I did not have proper masking tape - I used ‘Leukopor’ tape.
i was not too happy with the very colourfull colour schemes of most Mayflower models so I simplified it and omitted green.

My painting was not too steady so there were many ‘touch ups’. There was no mention of painting the hull before glueing that I could find - it would have been easier!
- Ryland Craze, Baker and Archi
-
3
-
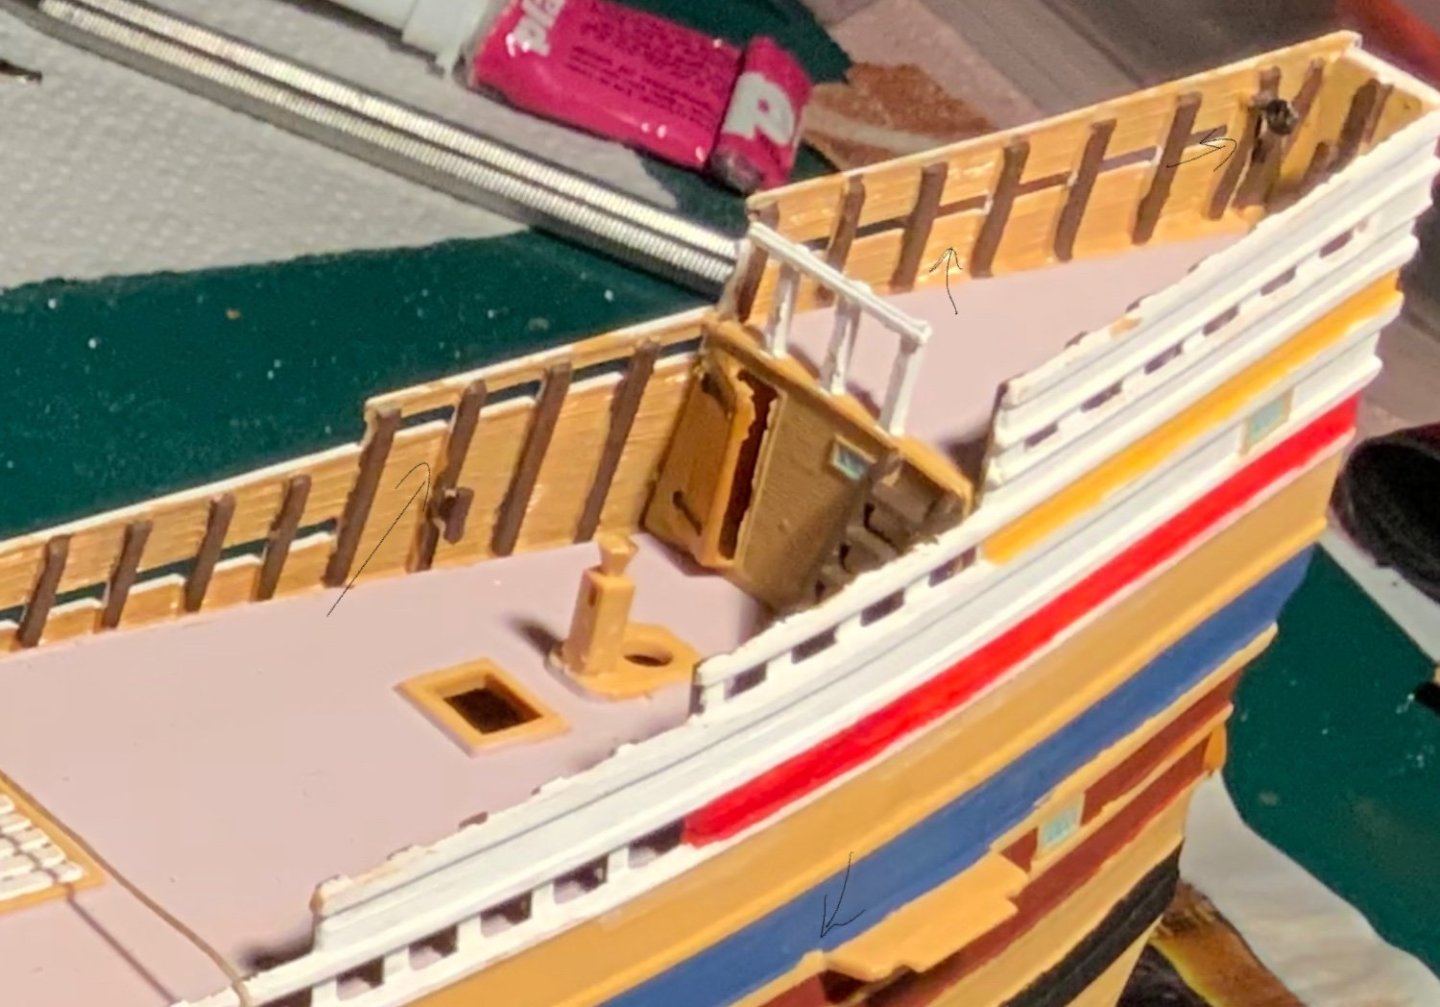
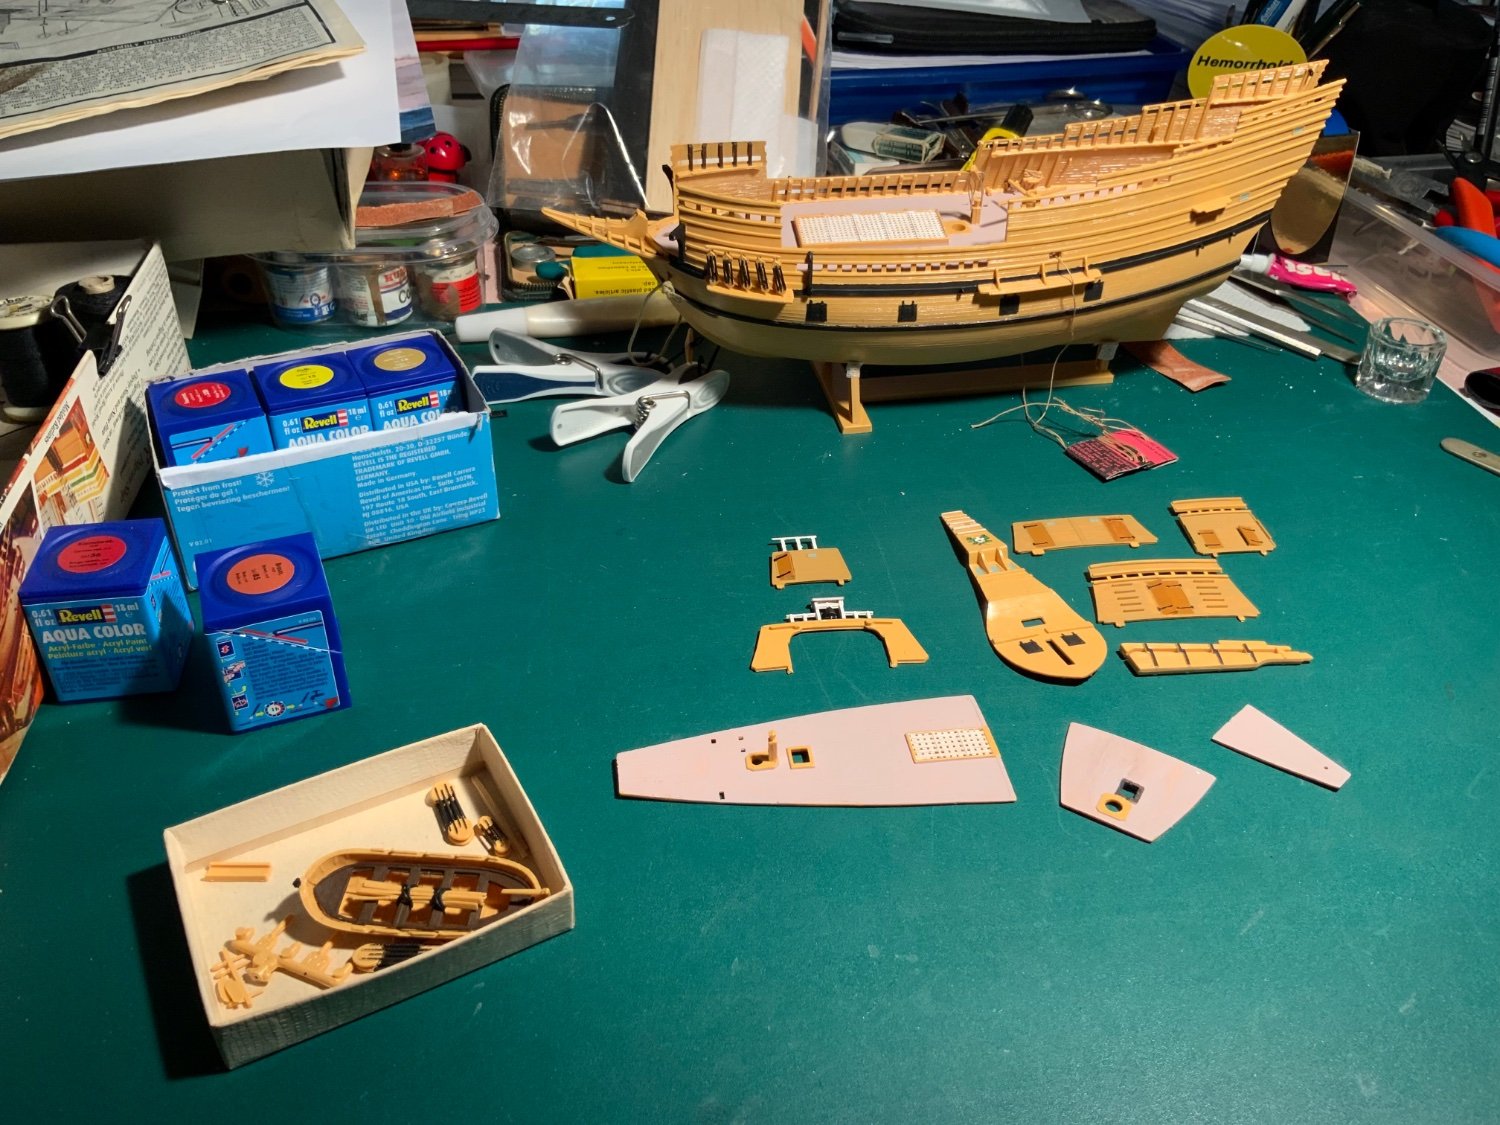
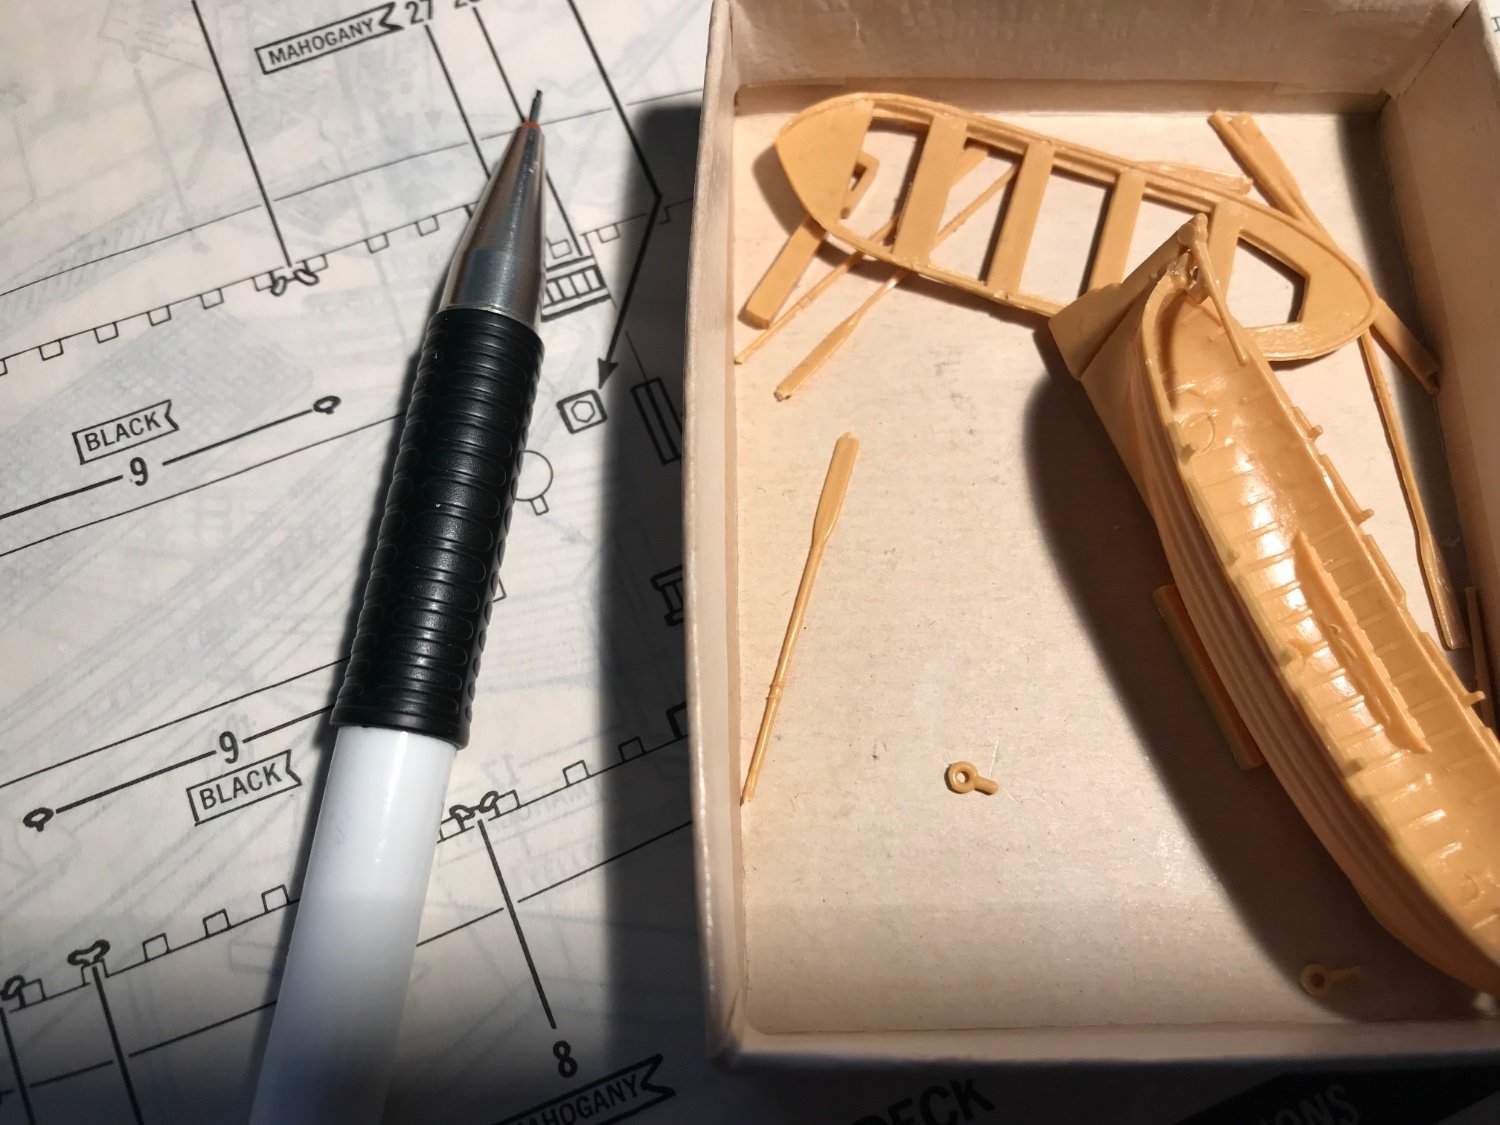
I painted the ladders, made and painted the lifeboat and fixed the upper ratlines.

- Ryland Craze, Baker and Knocklouder
-
3
-
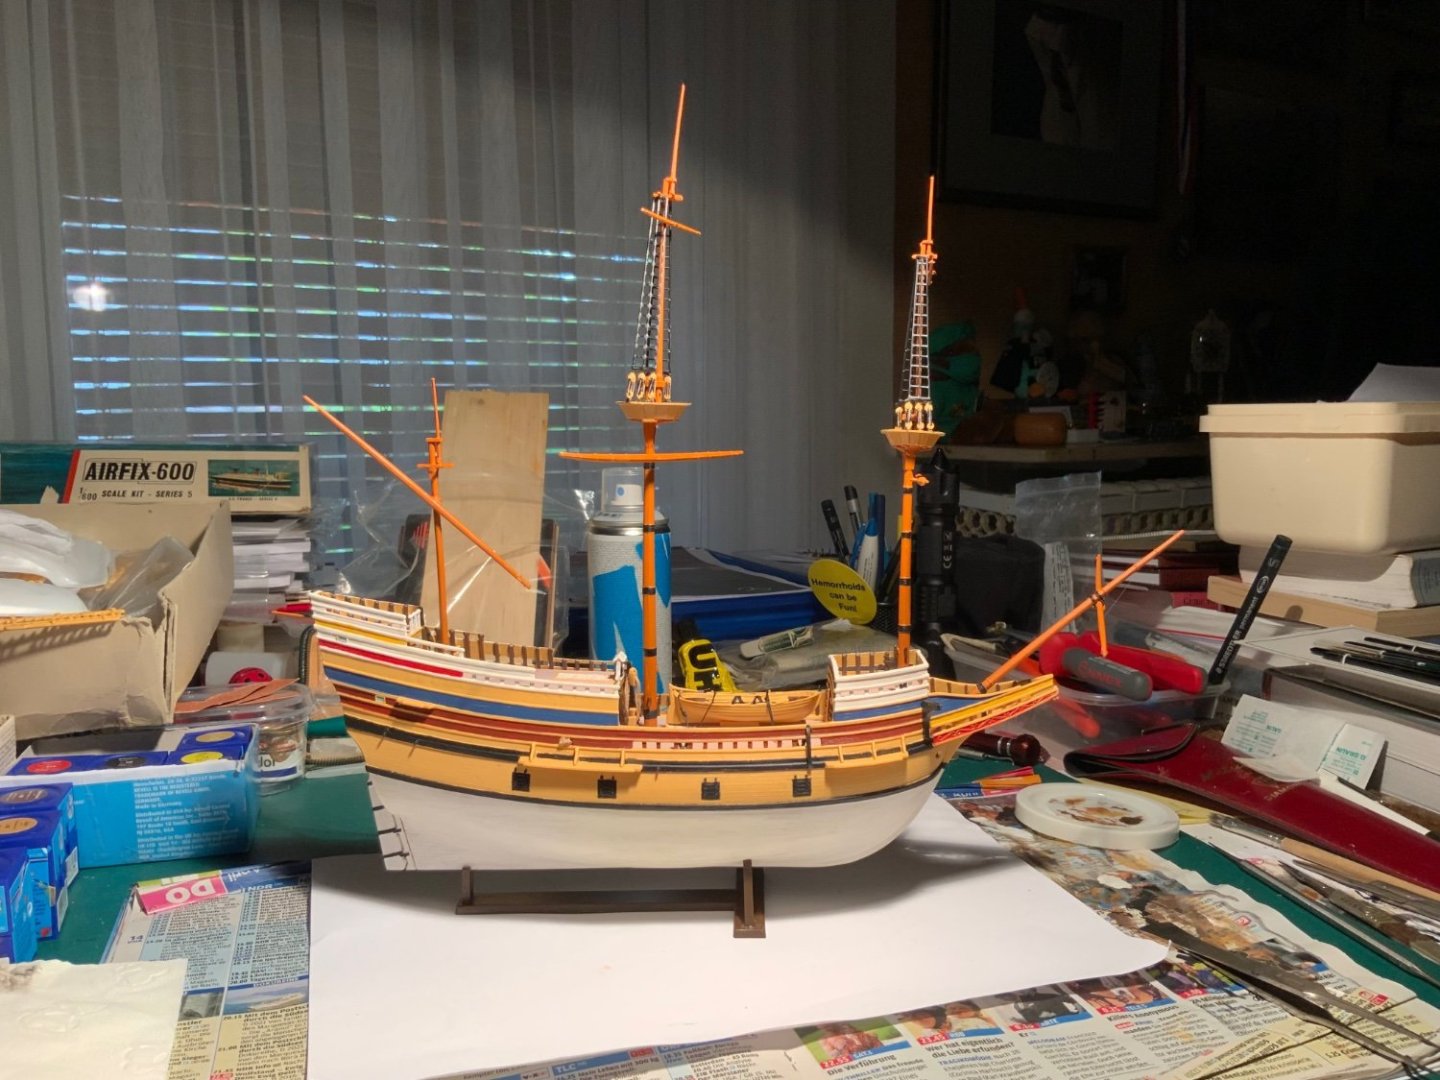
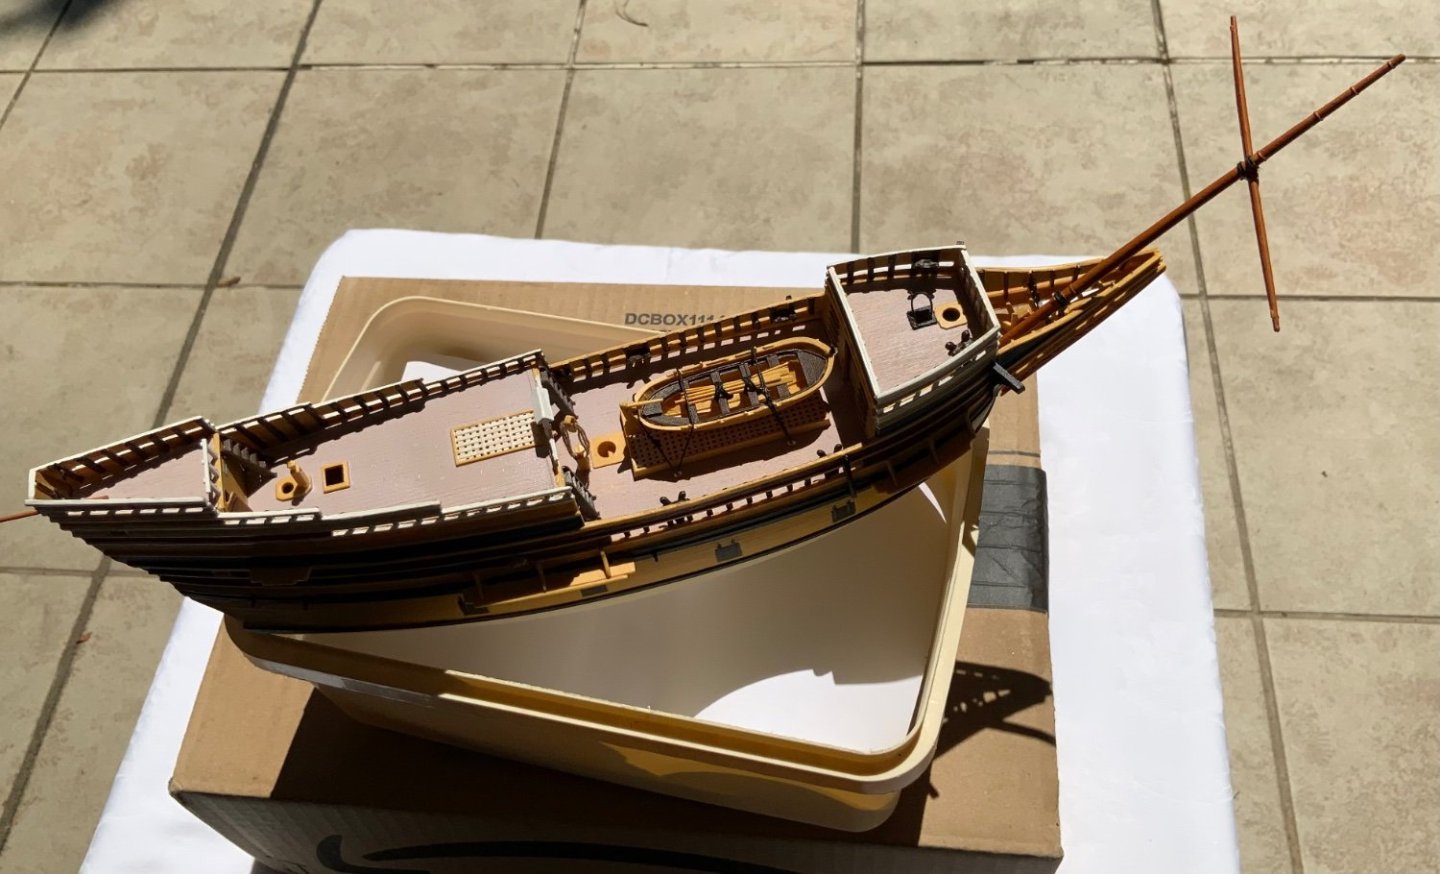
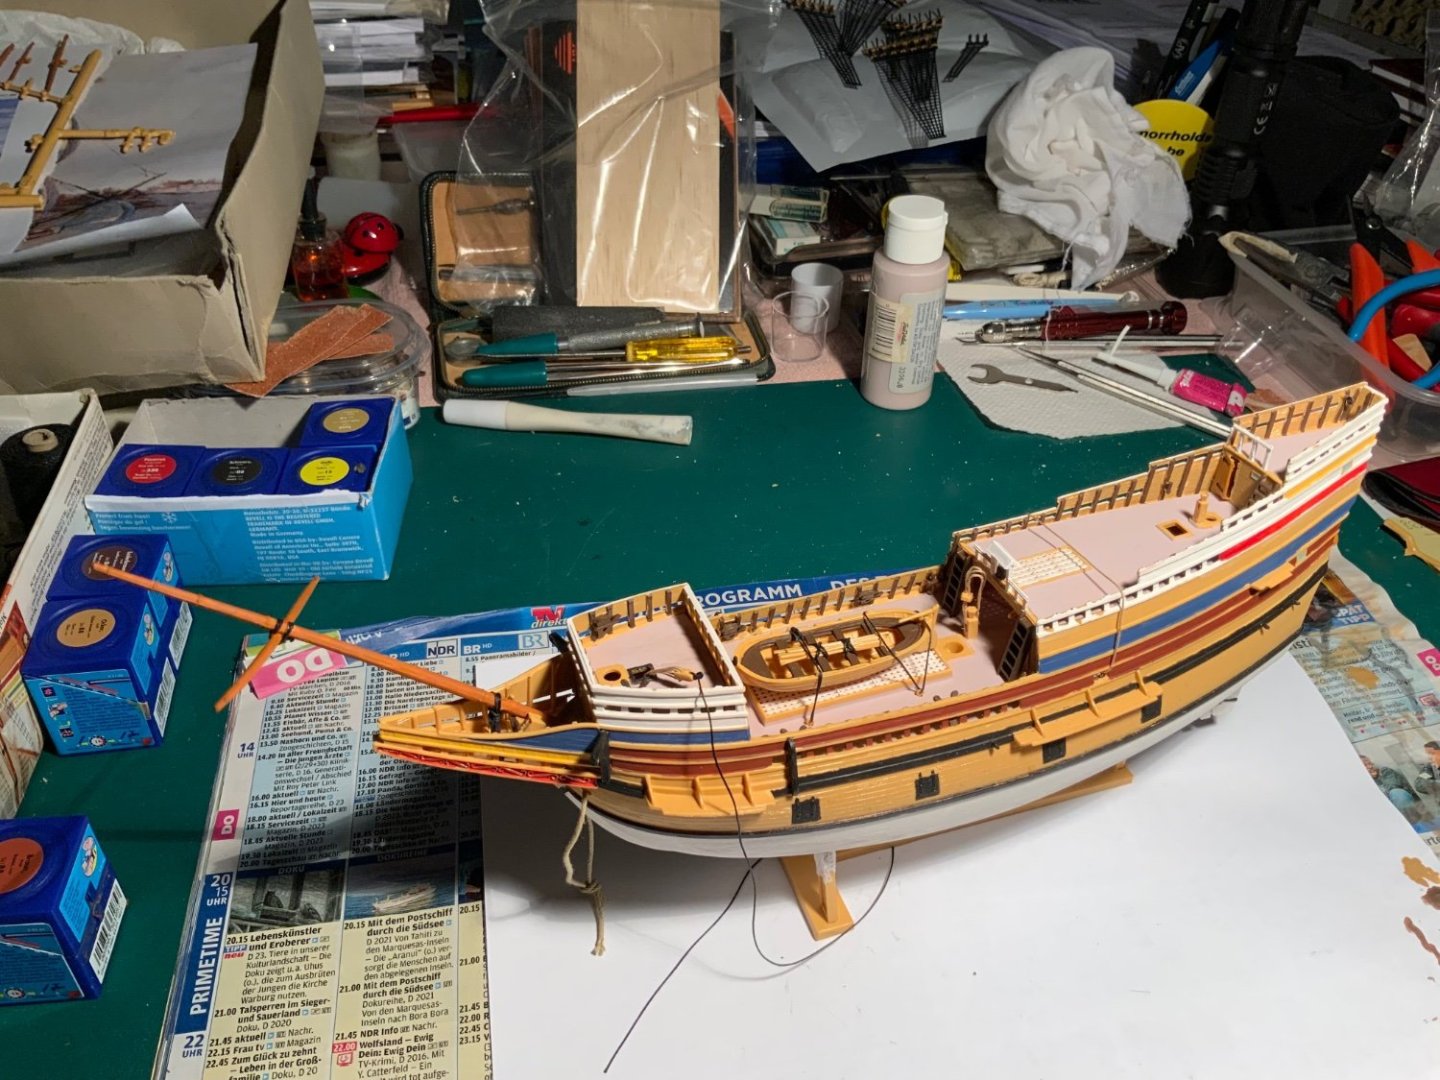
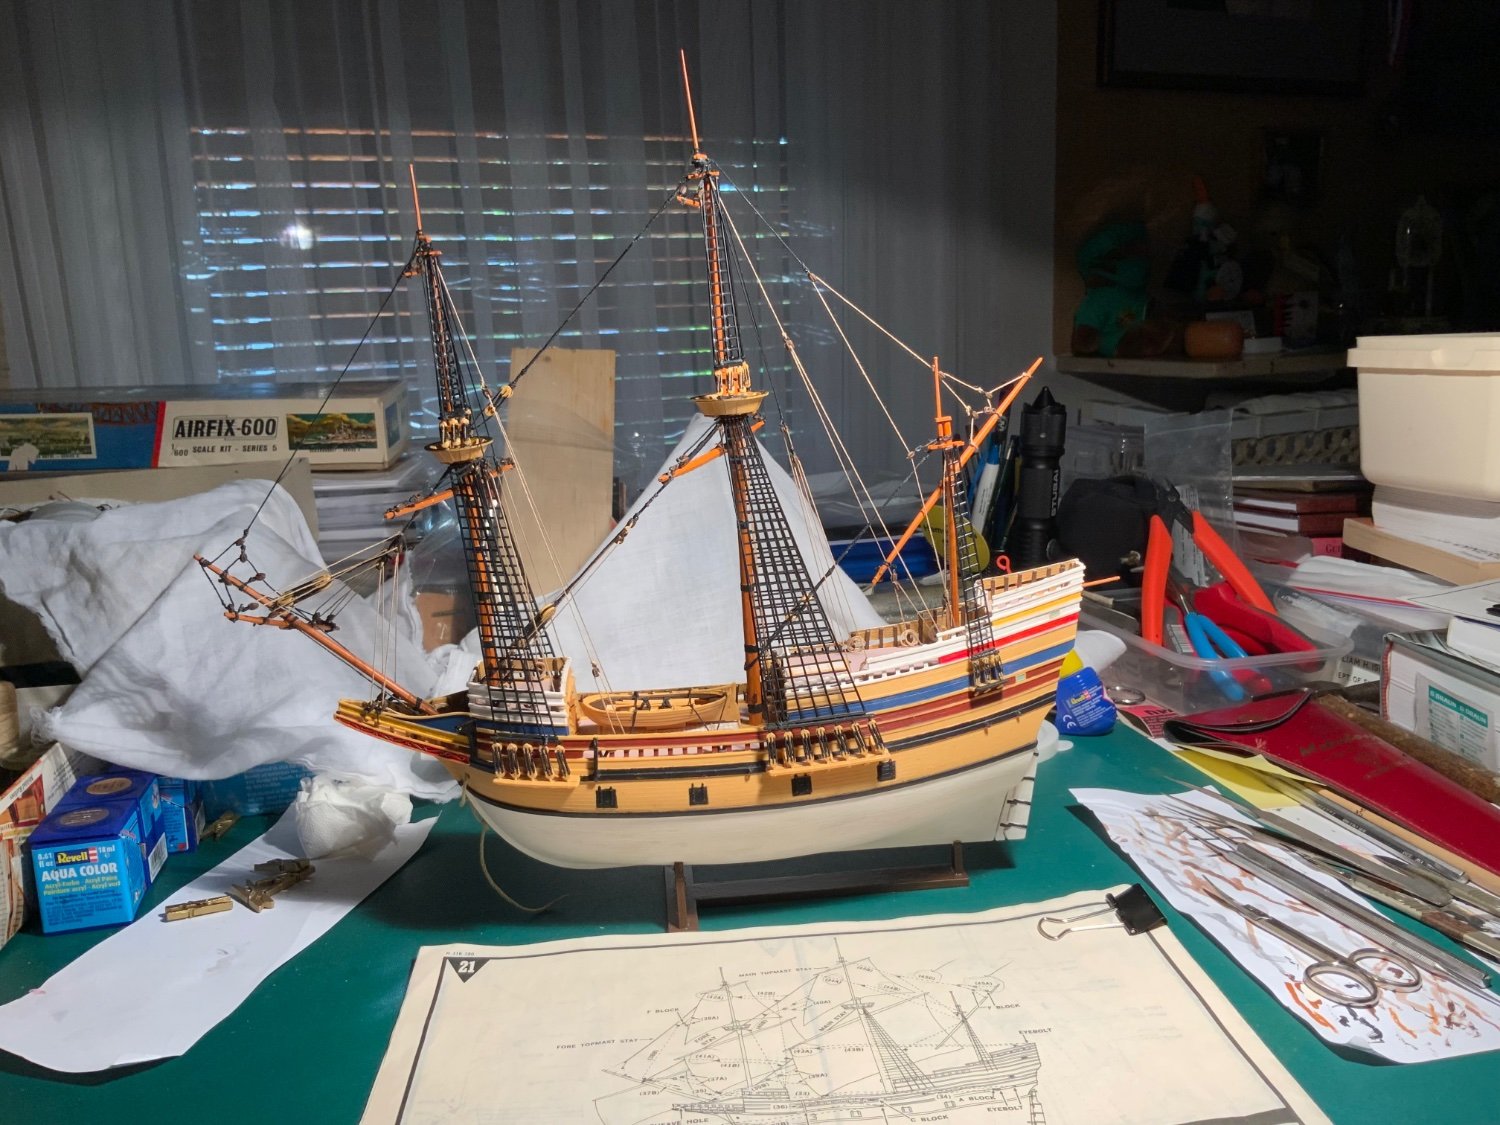
The model was beginning to look like a boat!
I painted the masts and bowsprit after I had gammoned it to the beak head. It was not easy in the confined space available.
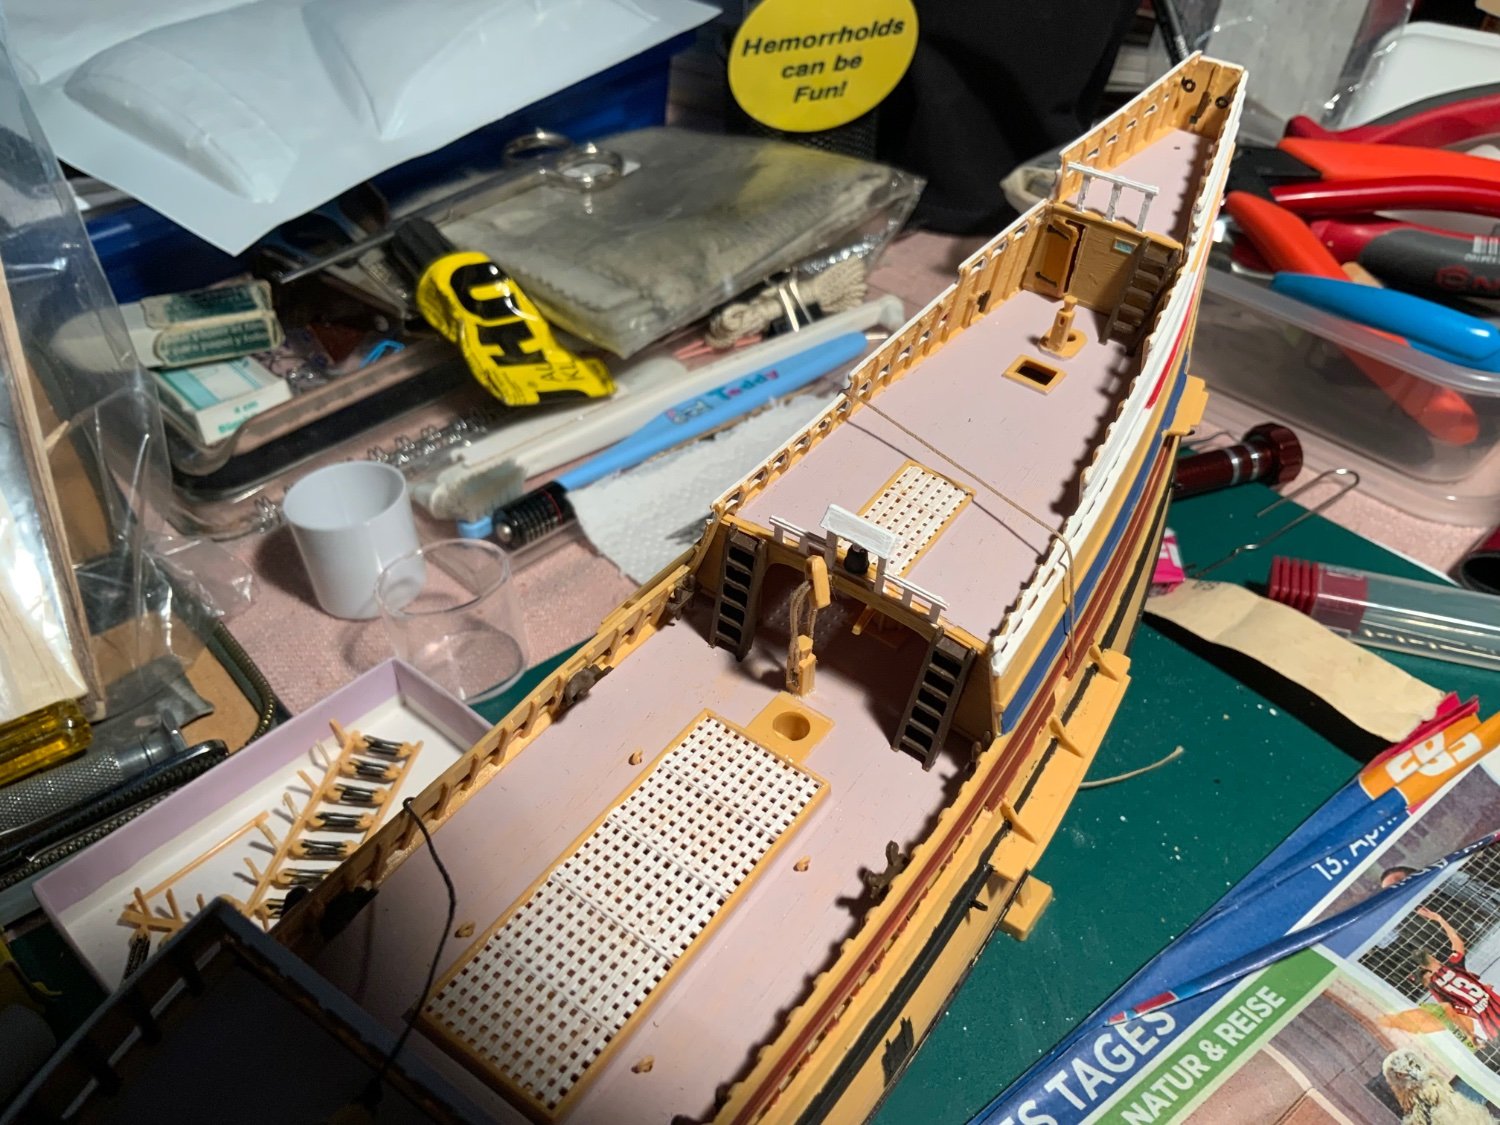
I fitted the cubbridge heads and managed to insert the remaining decks. I completely forgot to put in place the beakhead bulkhead and have it as a reminder to look even more carefully at the instructions. I did not attempt to correct this mistake because it was not visible anyway! The hulls with the glued decks were held in place with rubber bands.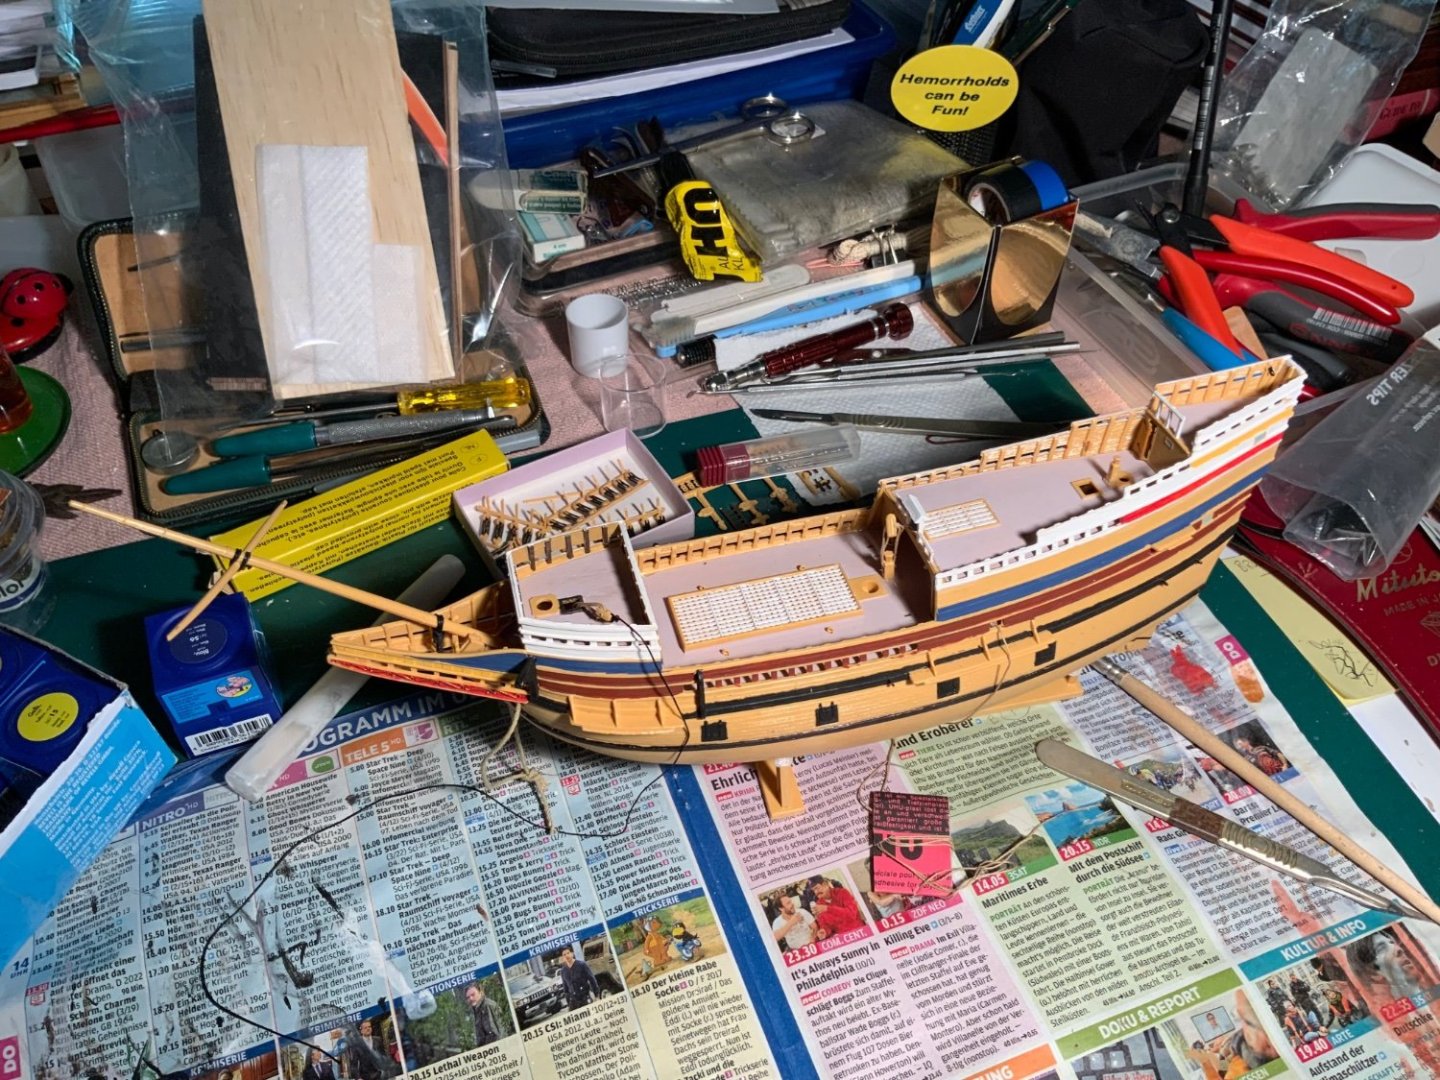
- Baker and Knocklouder
-
2
-
-
-
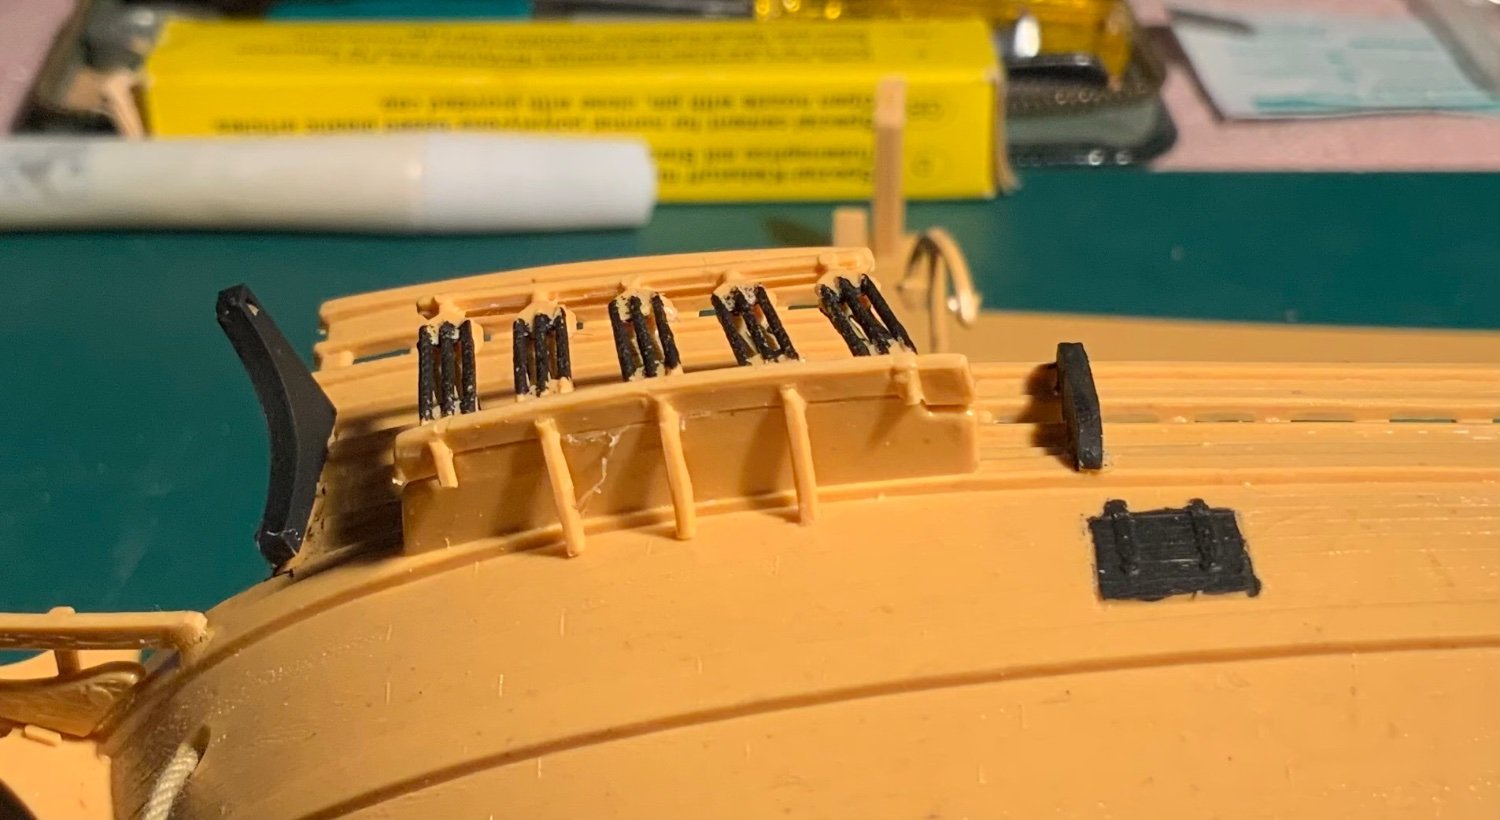
I did not think that I could successfully paint the entire hull so I decided to use the natural plastic ‘brown’ as the base colour. I painted the decks and stern and a few other pieces before gluing them into the hull.
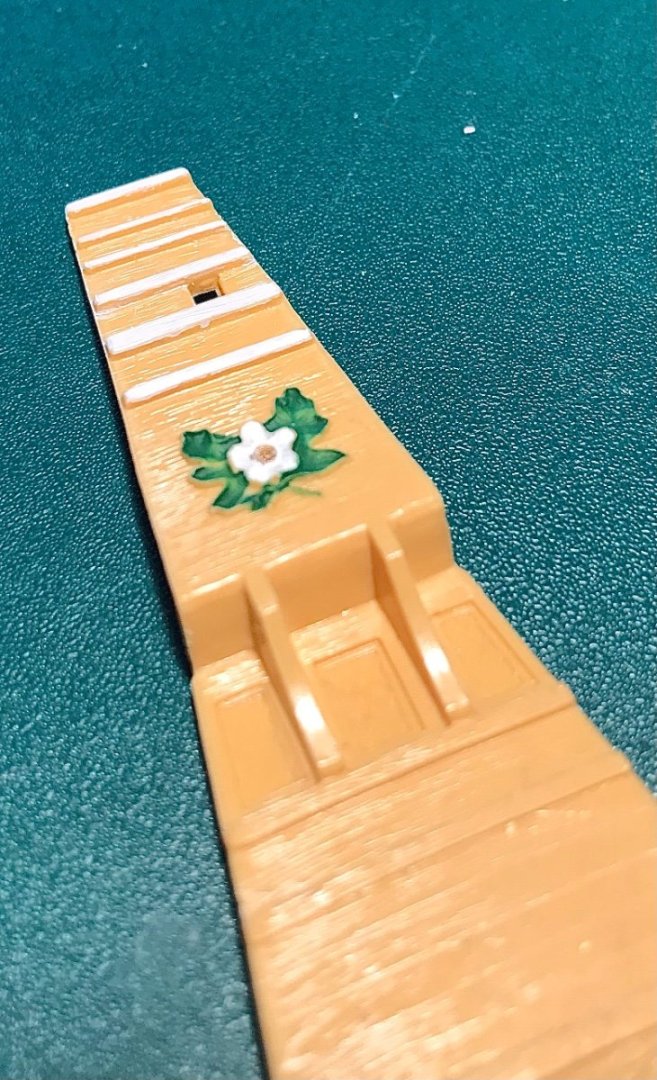


I wanted the decks to look ‘aged’ but I did not know about dry brushing or putting a dark base coat under the deck colour and then ‘scratching’ the board pattern!
-
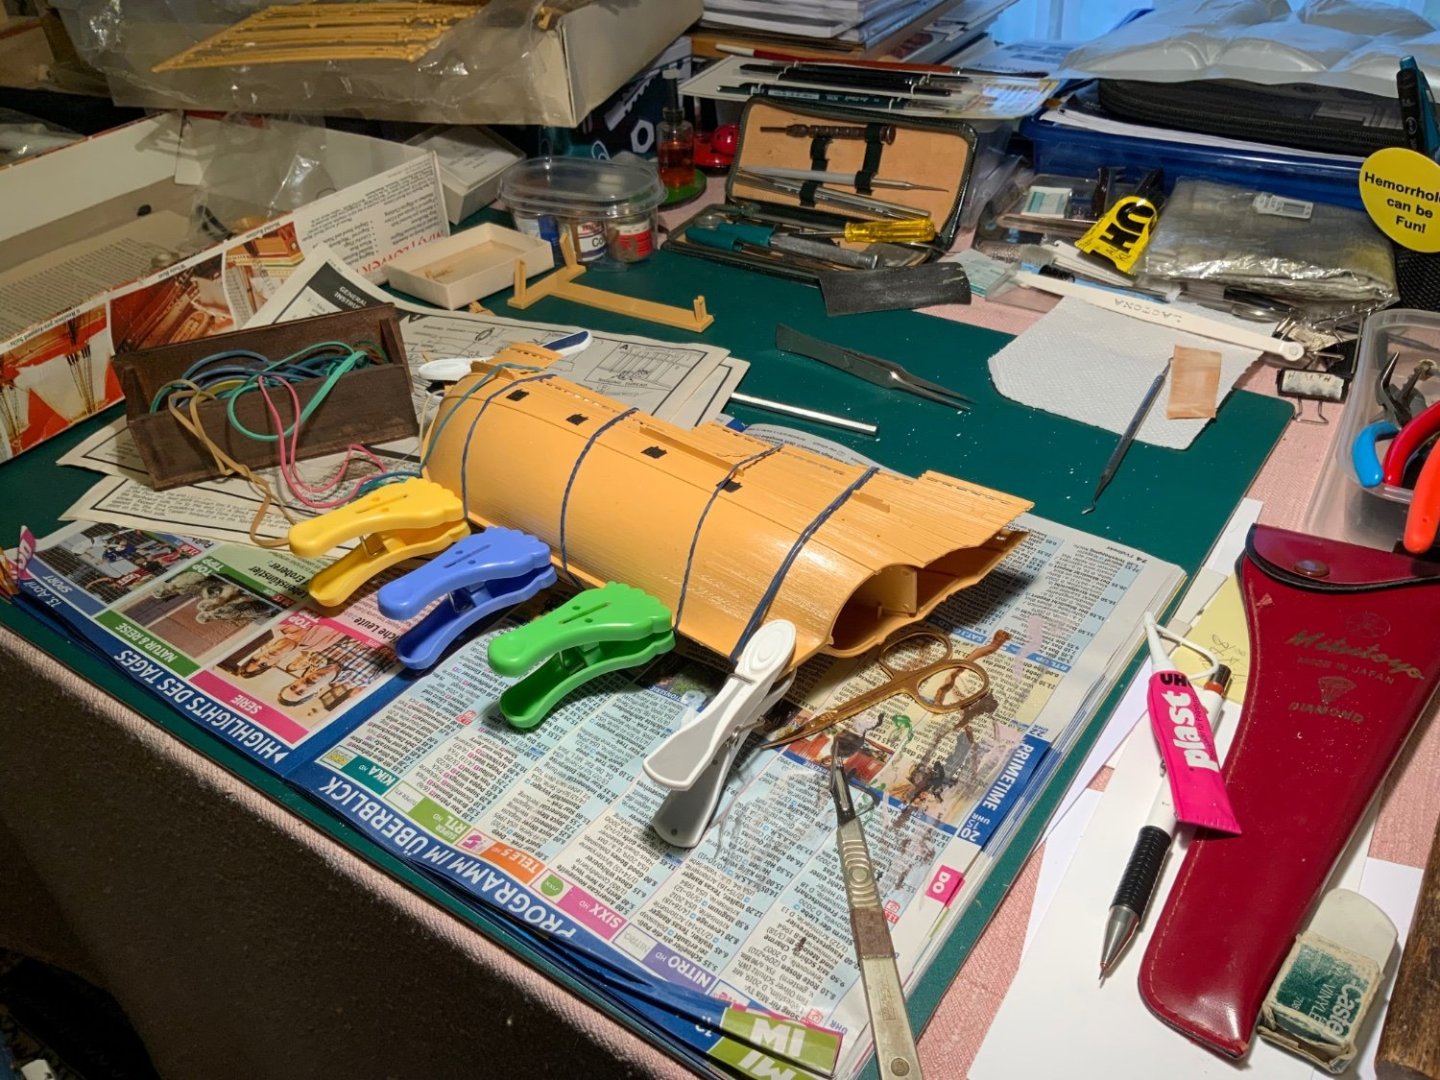
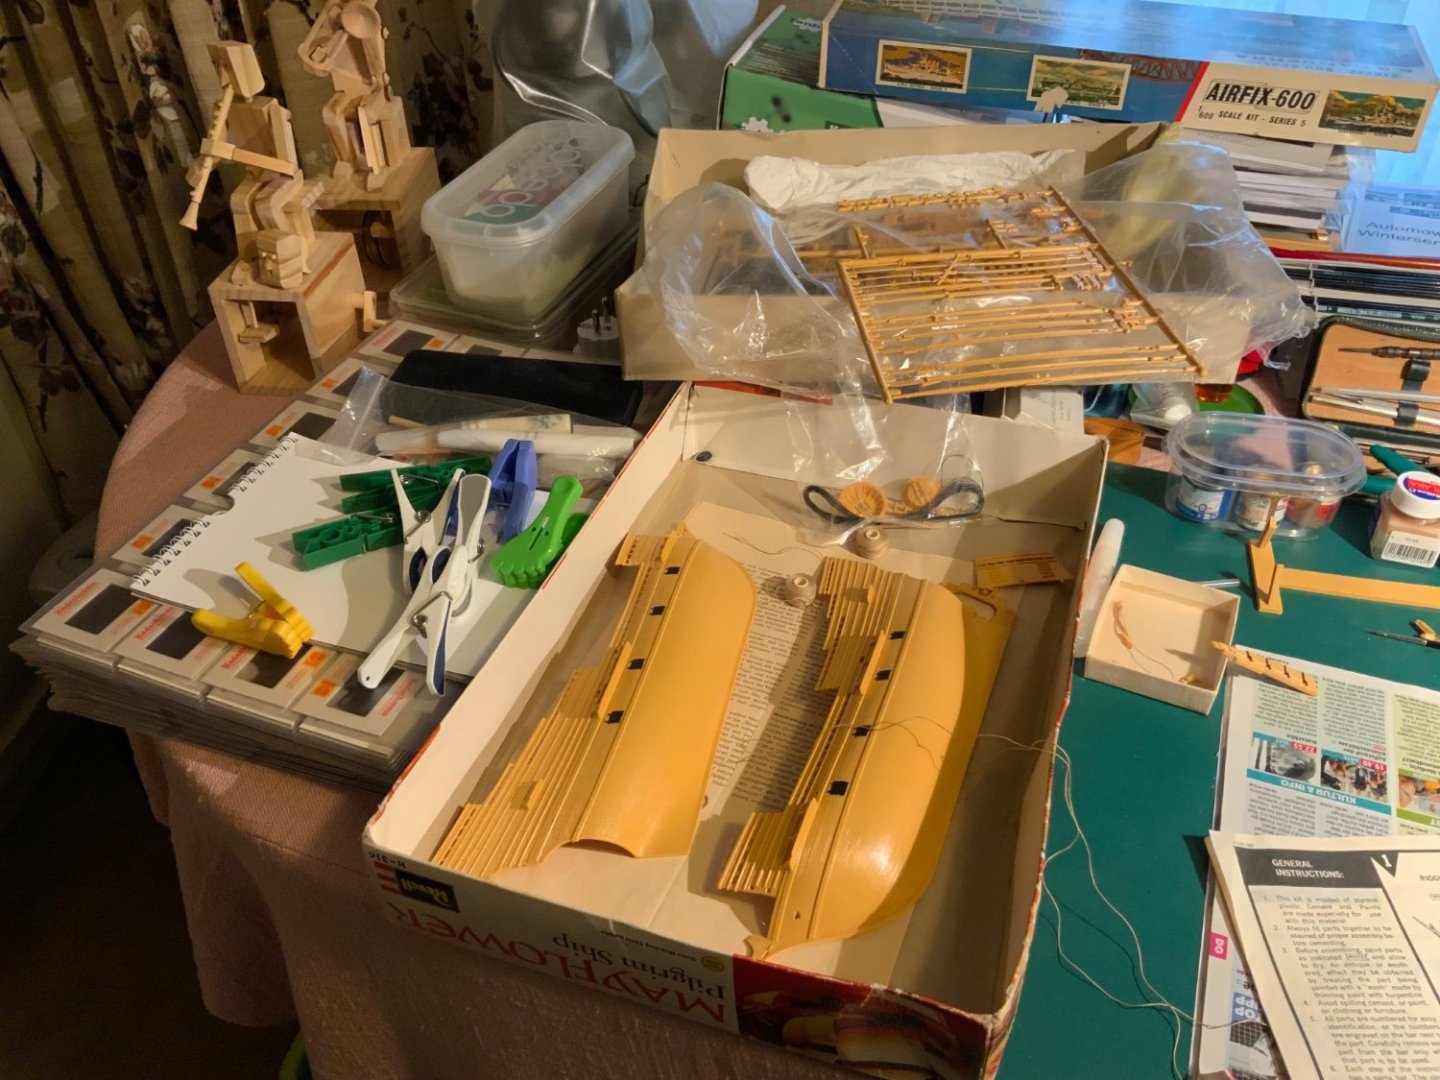
I carefully, or so I thought, read the meager instructions and commenced to glue parts together. I did not know to paint before assembling nor did I know to use a primer coat with acrylic paints! I used clothes pegs and elastic bands to keep glued parts in place. I was unaware of the fine nozzles of modern Revell glue bottles and used the 50 year old glue added to the box by my mother in law. It was sometimes not easy to apply accurately because my hands are now not as steady as they used to be and the glue tube (made of lead in those days) was quite broad. I was surprised how small some parts were!

Clamping the hulls together without decks - ? A mistake!
- Jack-in-the-Blue and Baker
-
2
-
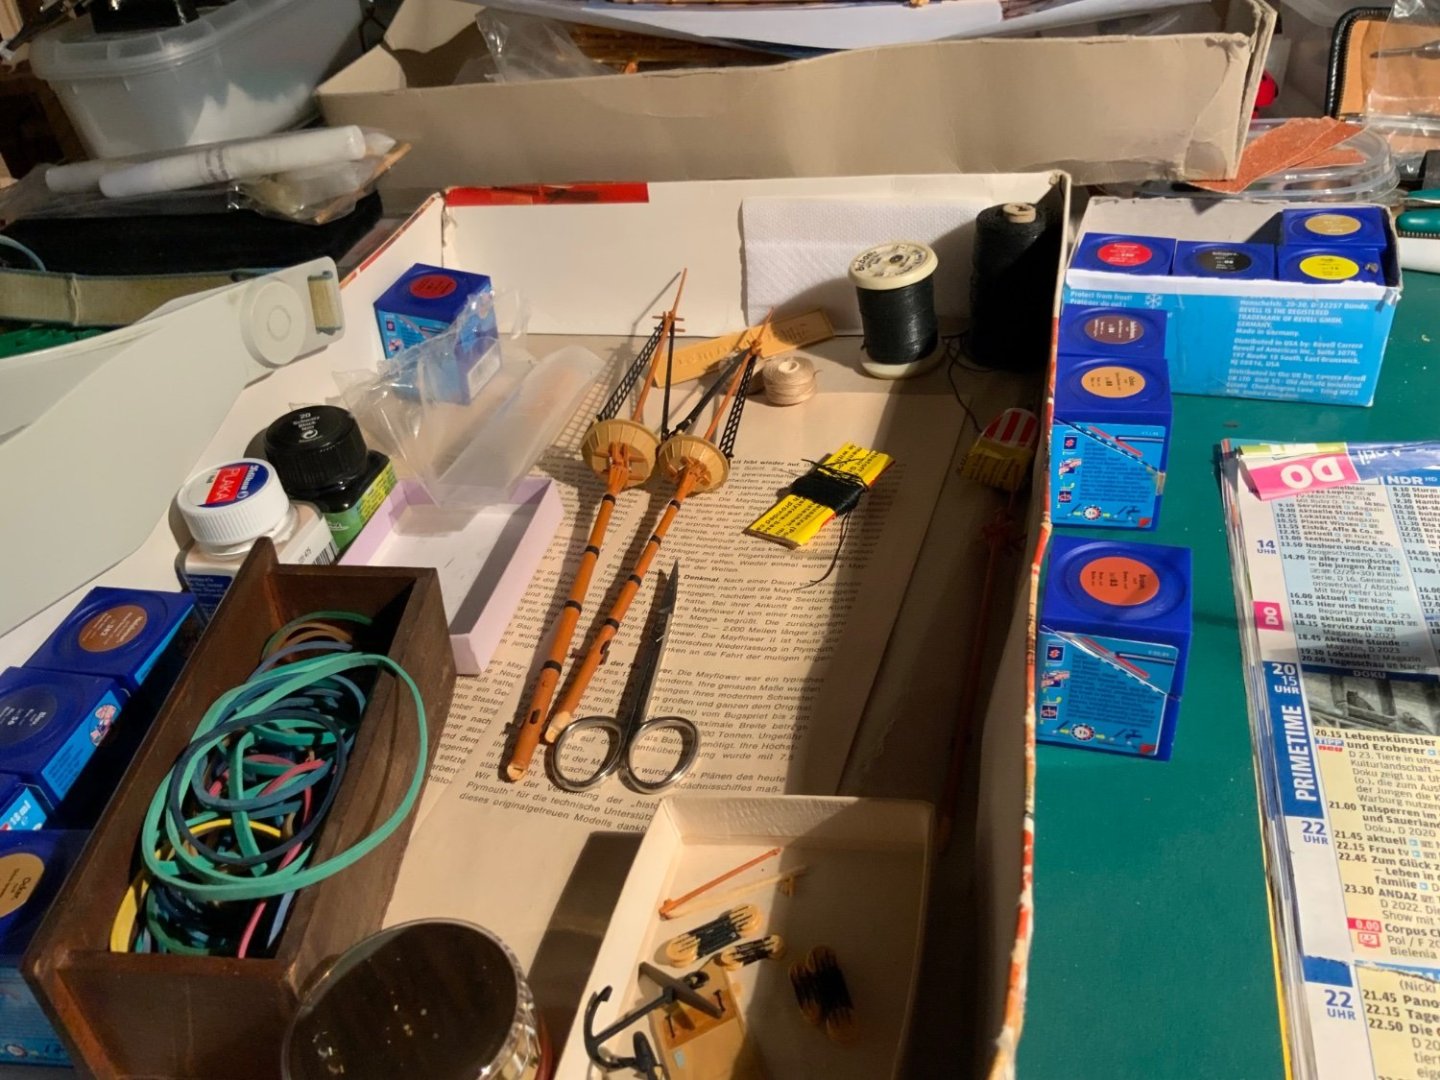
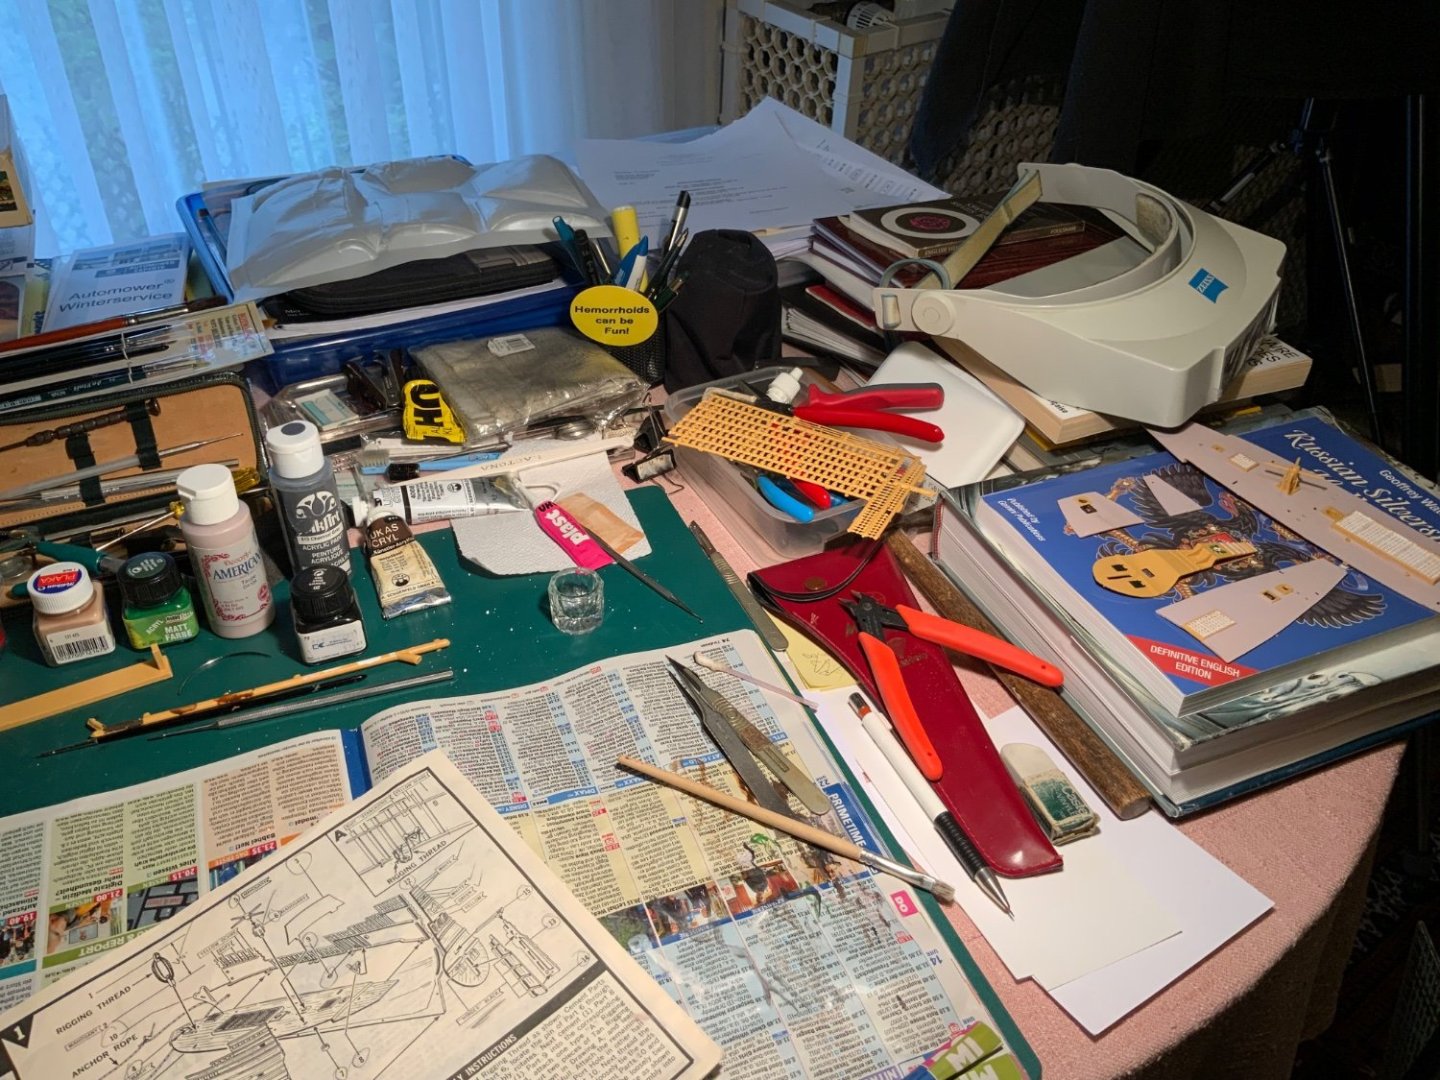
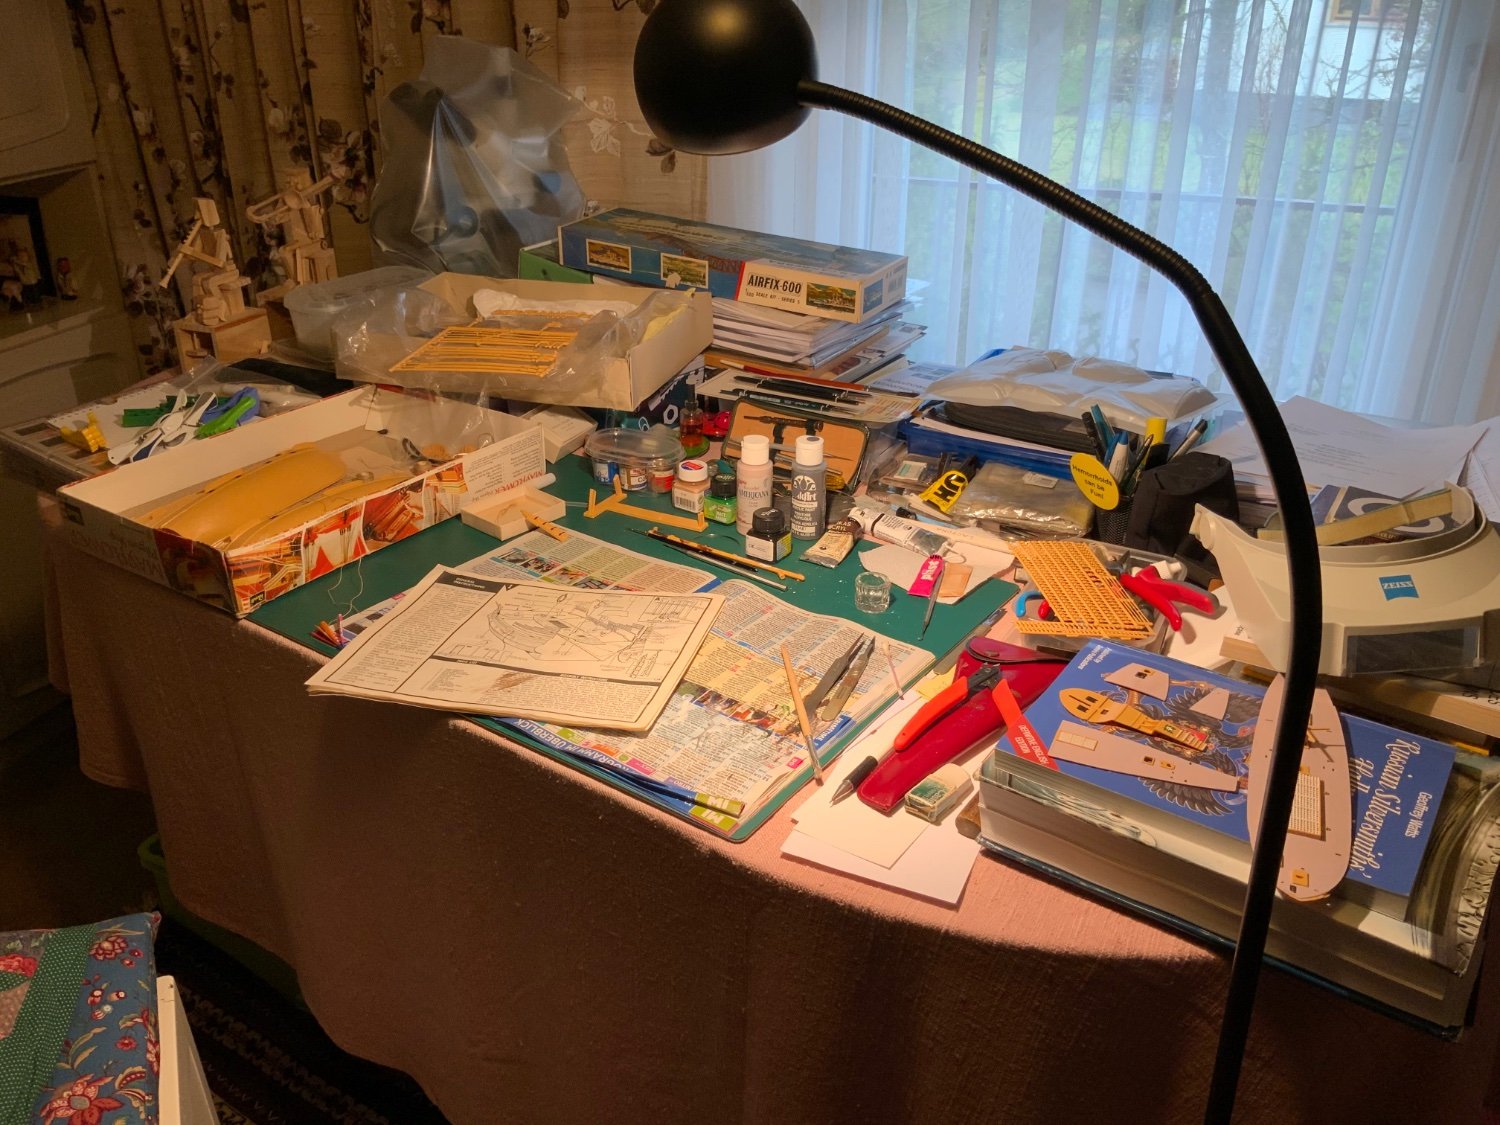
I am 89 years old and have never built a boat before! I used to make plastic kit planes when I was a boy. In the very early 70s I was given a damaged Revell kit by mother in law who worked with an insurance company. The kit was returned as part of an insurance claim. The box was stored and resurrected this year. I took one look at it and put it away! It looked far too complicated and difficult to make! I was encouraged to try to make it as an occupational therapy project by my daughter! Only Revell pieces were used except for four hooks that I made from wire. The pictures and comments that follow document my build. I had some fine forceps and a few old dental instruments that I was given many years ago. Some pieces were damaged, the ‘sails’’ were broken and some pieces were missing.
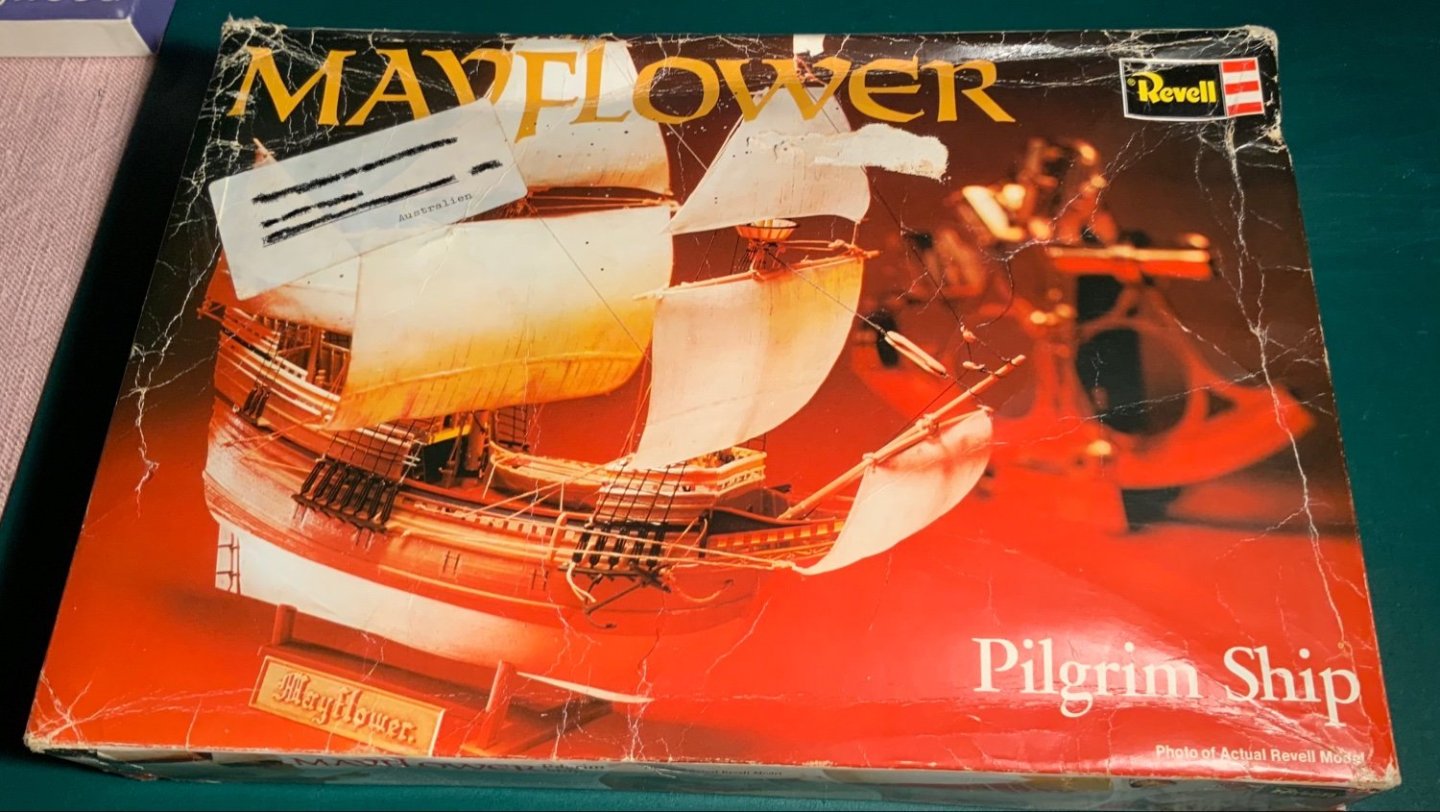


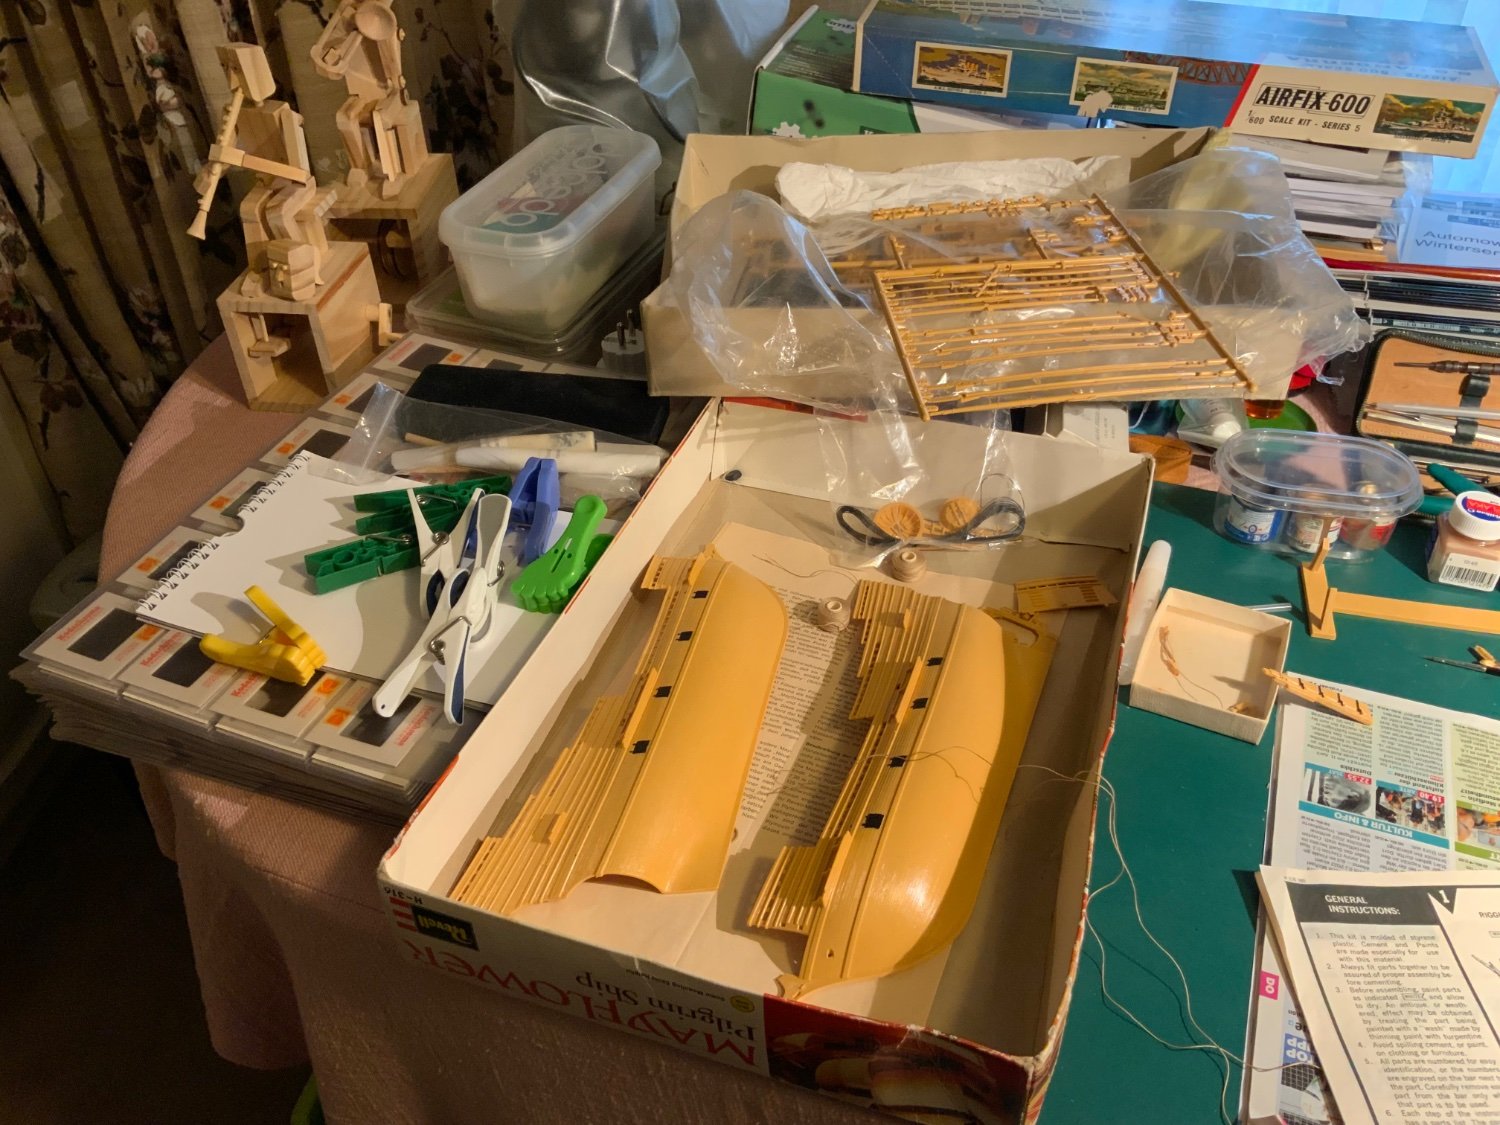
Mayflower by Old Rentner - FINISHED - Revell - 1:83 - PLASTIC - 1966 kit
in - Kit build logs for subjects built from 1501 - 1750
Posted · Edited by Old Rentner
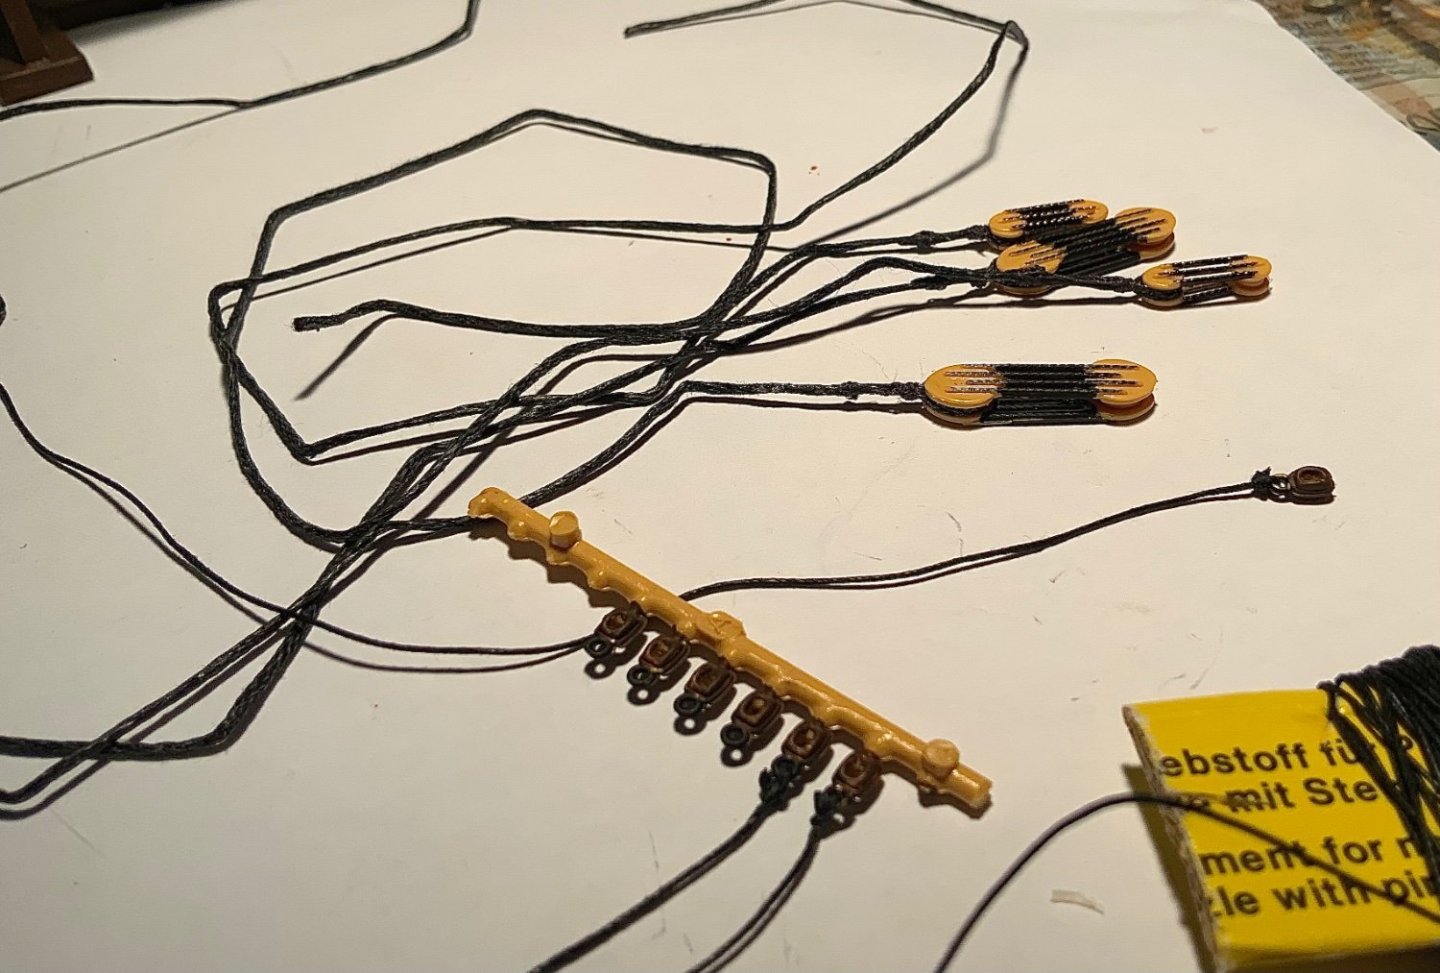
I attached the blocks for the braces, applied pva to the knots, let them dry and then amputated the excess thread. I tied most of the rigging and only seized the stays - very difficult for me with very fine thread. I tried to use everything supplied in the kit but there was no very fine thread.
Securing a line - I tied the line, glued the knot and then pulled the knot inboard so that it was not visible. I glued a small thread coil over the knot inboard.