Old Rentner
-
Posts
123 -
Joined
-
Last visited
Recent Profile Visitors
178 profile views


-
 ccoyle reacted to a post in a topic:
SS Canberra by Old Rentner - FINISHED - Airfix - 1/600 - PLASTIC
ccoyle reacted to a post in a topic:
SS Canberra by Old Rentner - FINISHED - Airfix - 1/600 - PLASTIC
-
Canute reacted to a post in a topic:
SS Canberra by Old Rentner - FINISHED - Airfix - 1/600 - PLASTIC
-
Canute reacted to a post in a topic:
SS Canberra by Old Rentner - FINISHED - Airfix - 1/600 - PLASTIC
-
Canute reacted to a post in a topic:
SS Canberra by Old Rentner - FINISHED - Airfix - 1/600 - PLASTIC
-
Canute reacted to a post in a topic:
SS Canberra by Old Rentner - FINISHED - Airfix - 1/600 - PLASTIC
-
mcb reacted to a post in a topic:
SS Canberra by Old Rentner - FINISHED - Airfix - 1/600 - PLASTIC
-
Old Collingwood reacted to a post in a topic:
SS Canberra by Old Rentner - FINISHED - Airfix - 1/600 - PLASTIC
-
I just don’t know? I’m too old to set up a wood modeling workshop so I think that I am committed to plastic kits. If I did not have the proper and professional wood working tools I would be very frustrated so this is not an option now. I made many planes as a boy and don’t feel inclined to go in that direction, and I don’t have the artistic abilities or painting kit to weather military vehicles. I checked out the Revell old boat kits and compared to the SS Canberra or Mayflower the parts seemed rather gross and crude would you believe? Maybe I just go back to writing about thimbles: https://sites.google.com/site/moreaboutthimblestest/home/pdf-s
-
amateur reacted to a post in a topic:
SS Canberra by Old Rentner - FINISHED - Airfix - 1/600 - PLASTIC
-
yvesvidal reacted to a post in a topic:
SS Canberra by Old Rentner - FINISHED - Airfix - 1/600 - PLASTIC
-
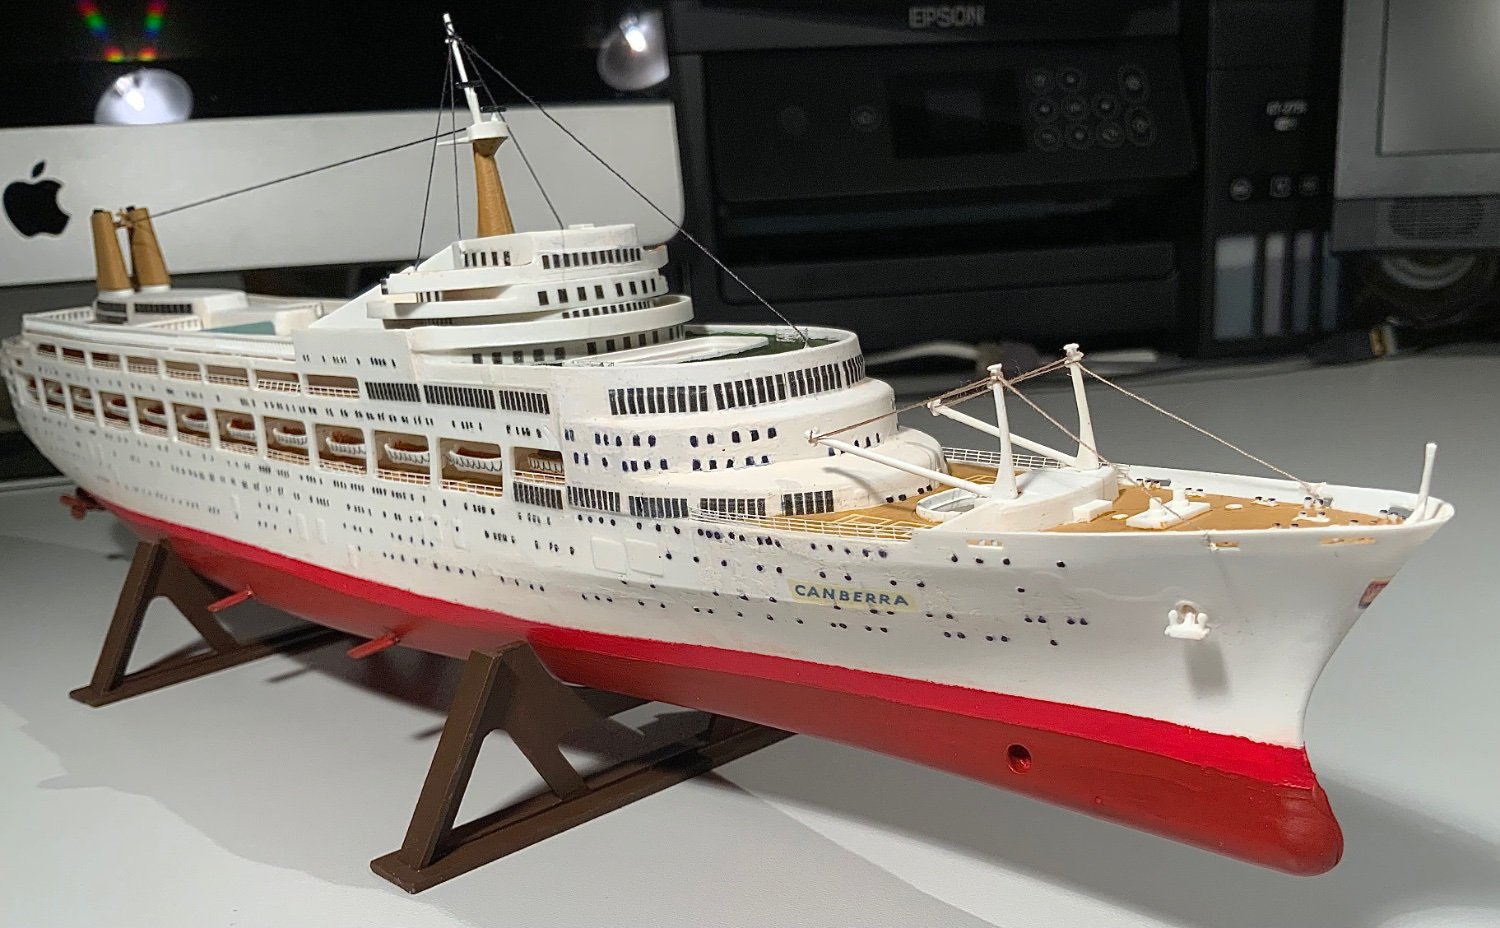
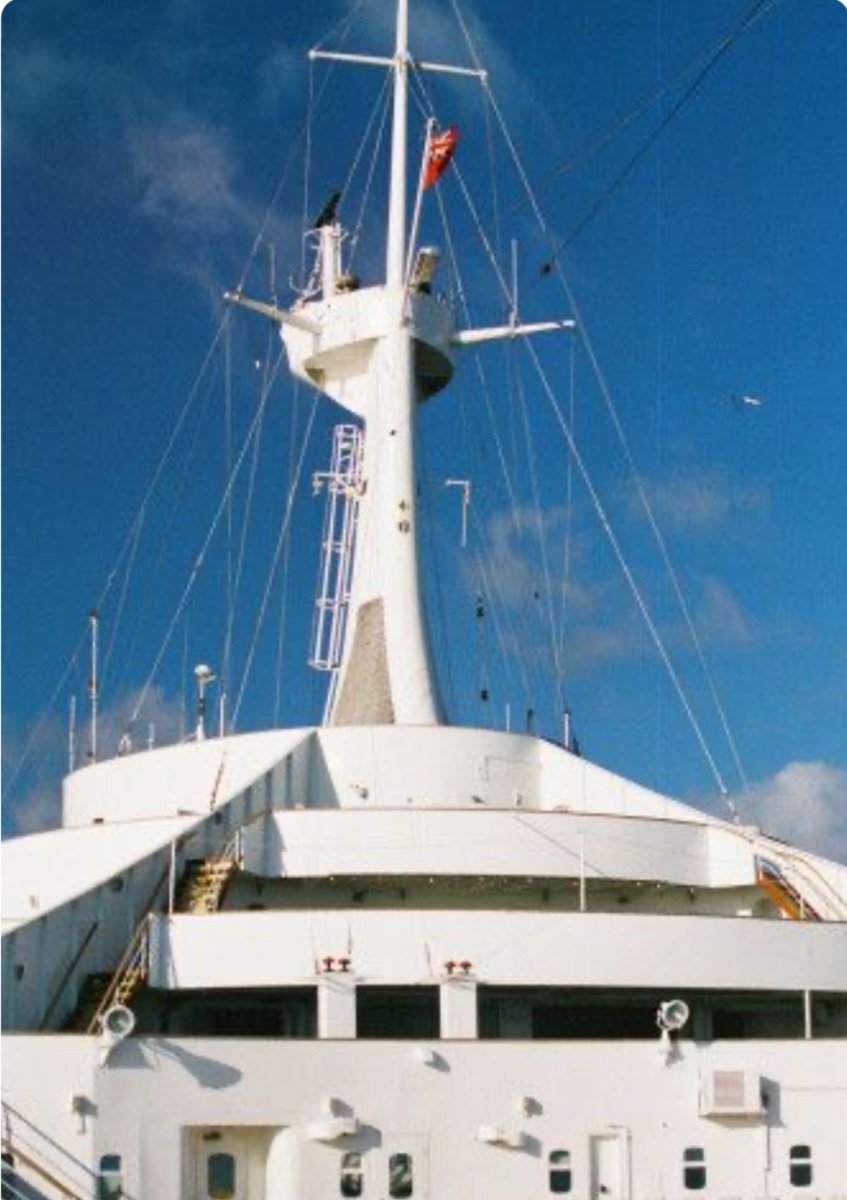
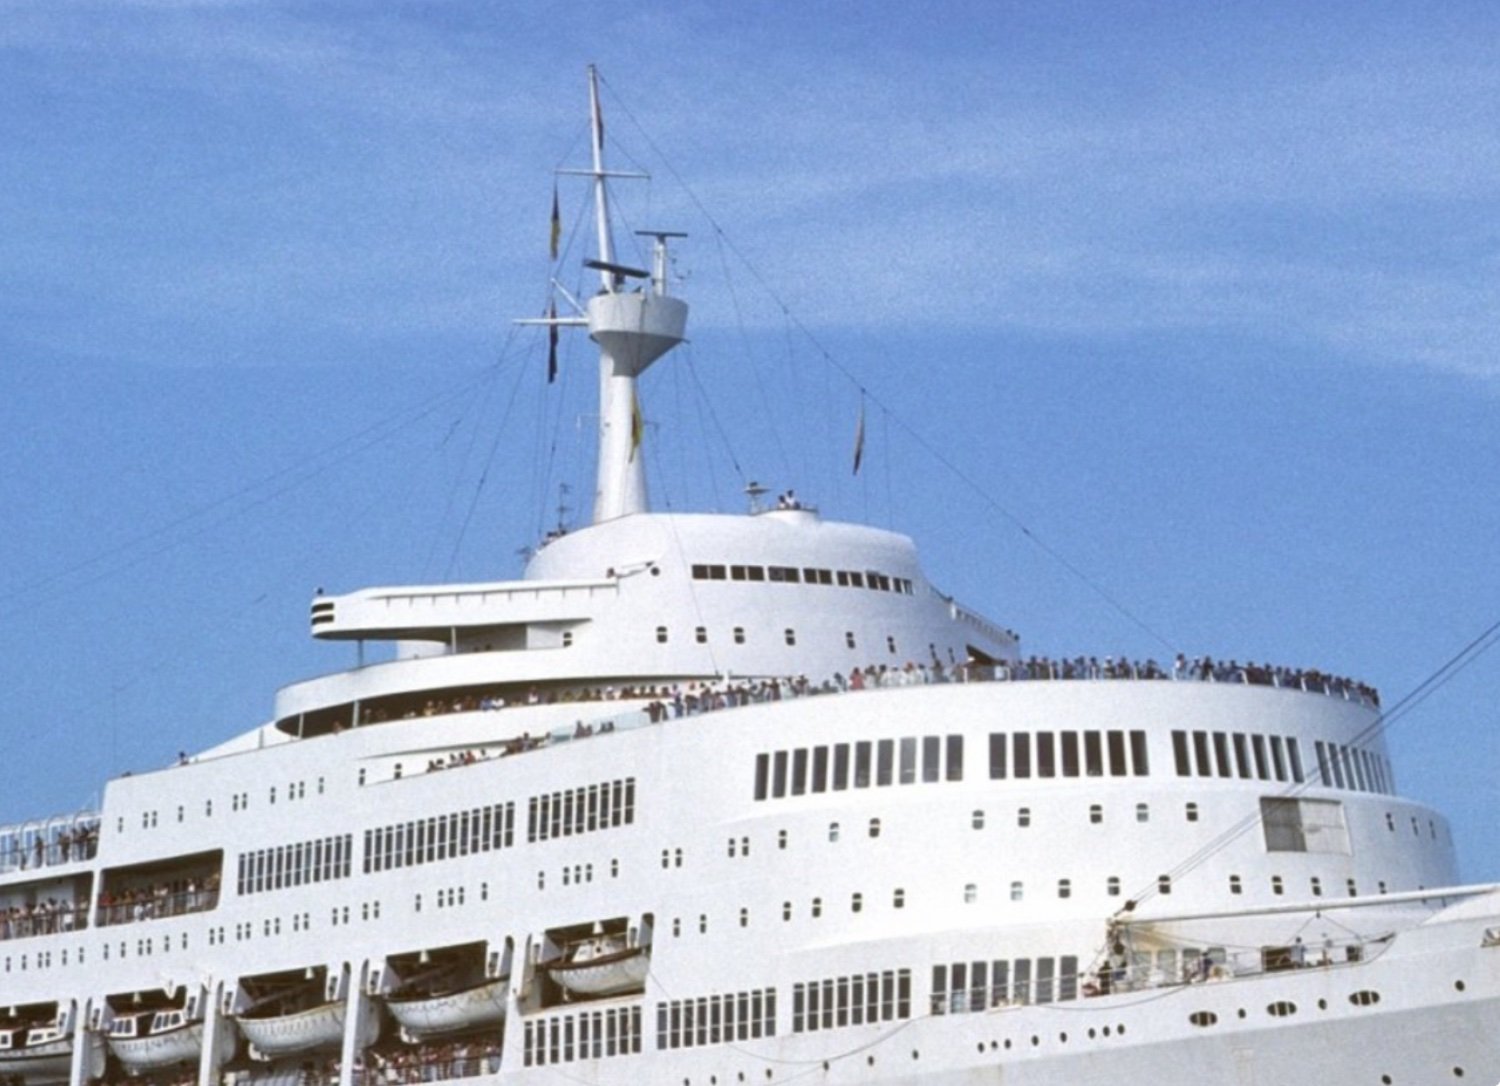
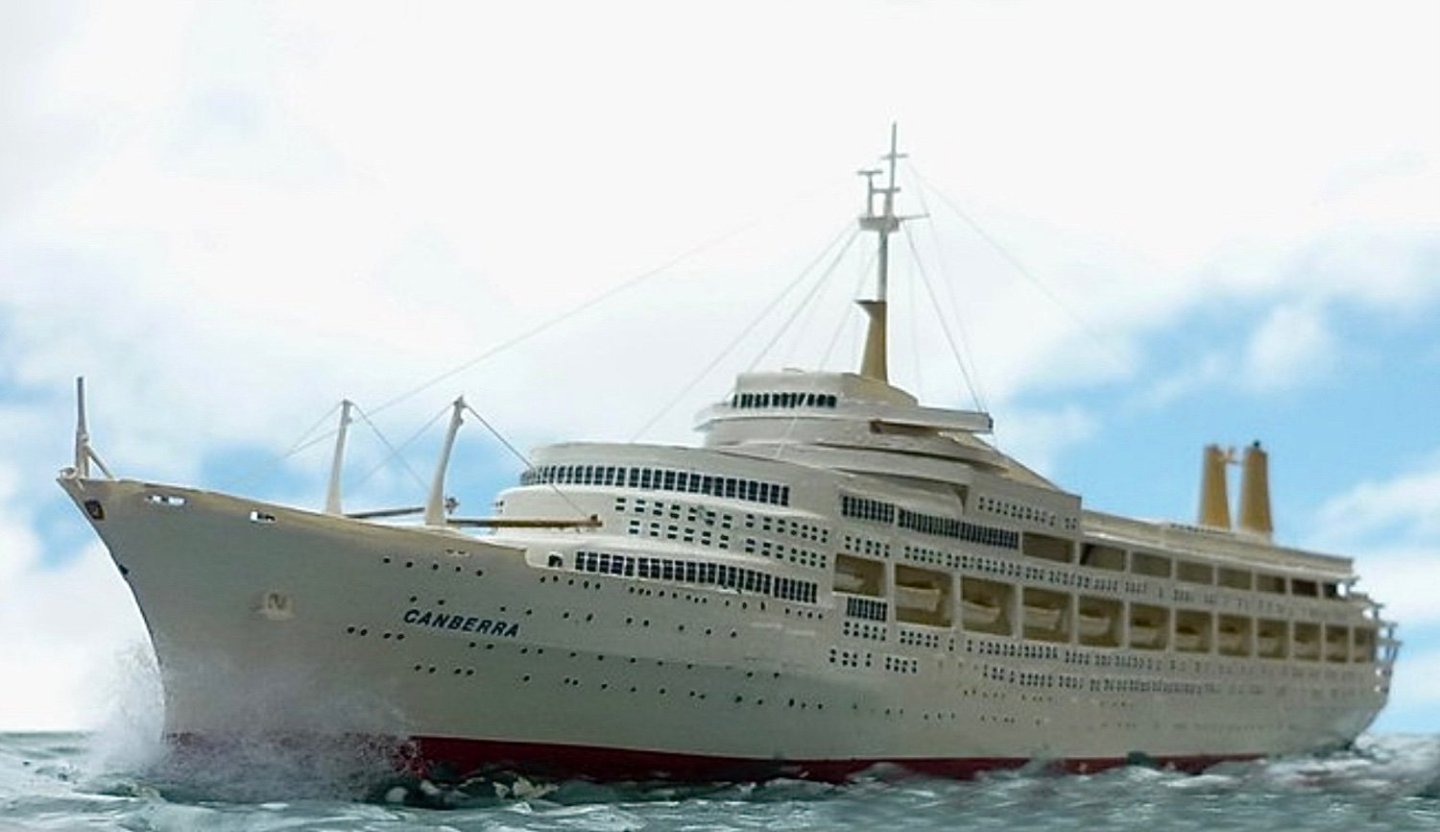
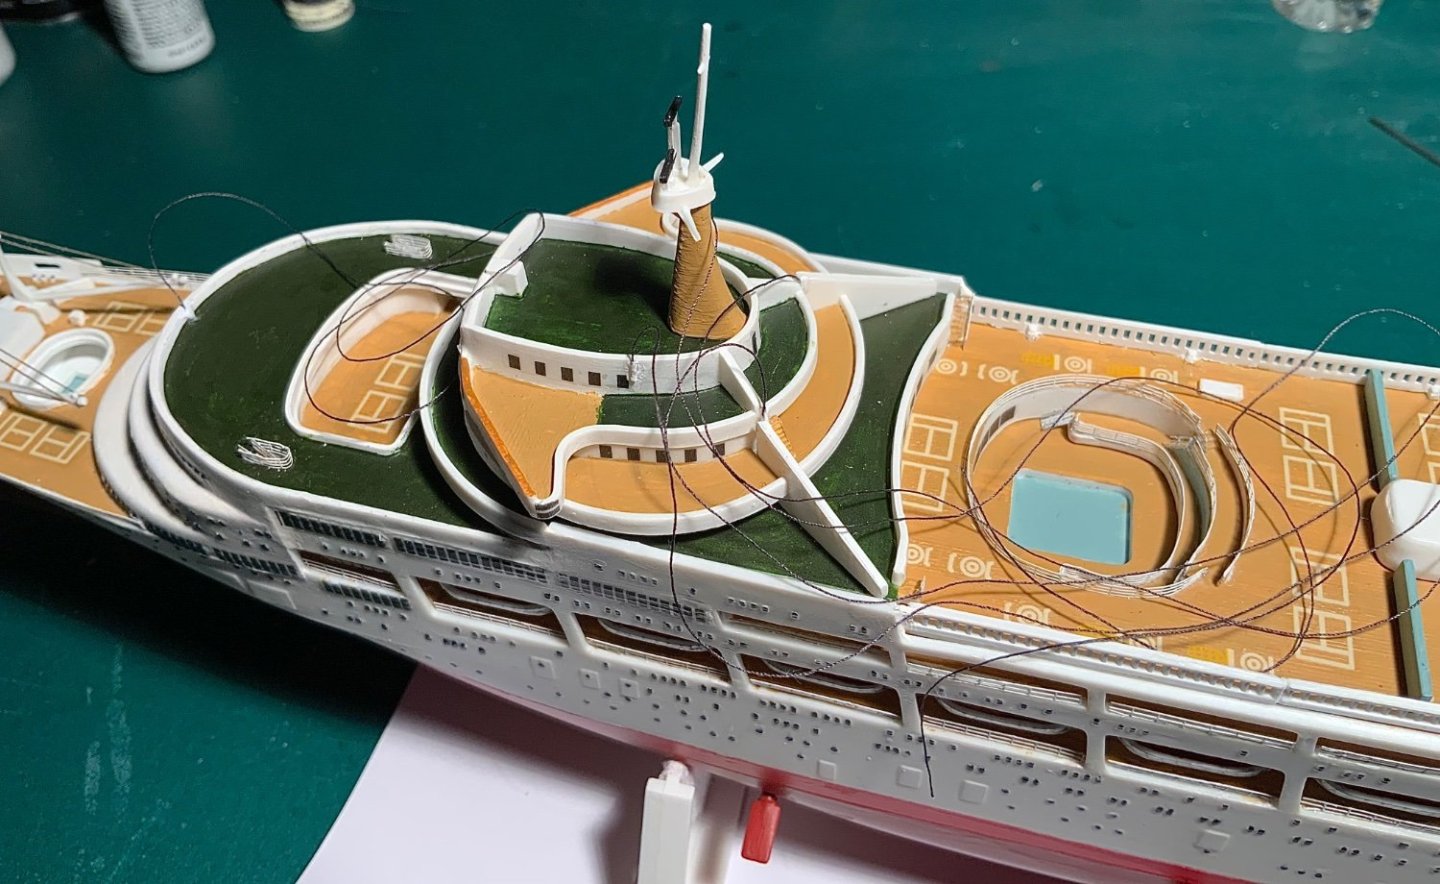
Thank you for your kind words and your encouragement. I measured the thread! Ten strands twisted were about 1mm. wide, so 600 would have been about 6cm. wide - maybe a little too thick for a real line? My lines should have been even thinner? These look much better. I can’t really clearly see where they should go on the real boat either though.
-
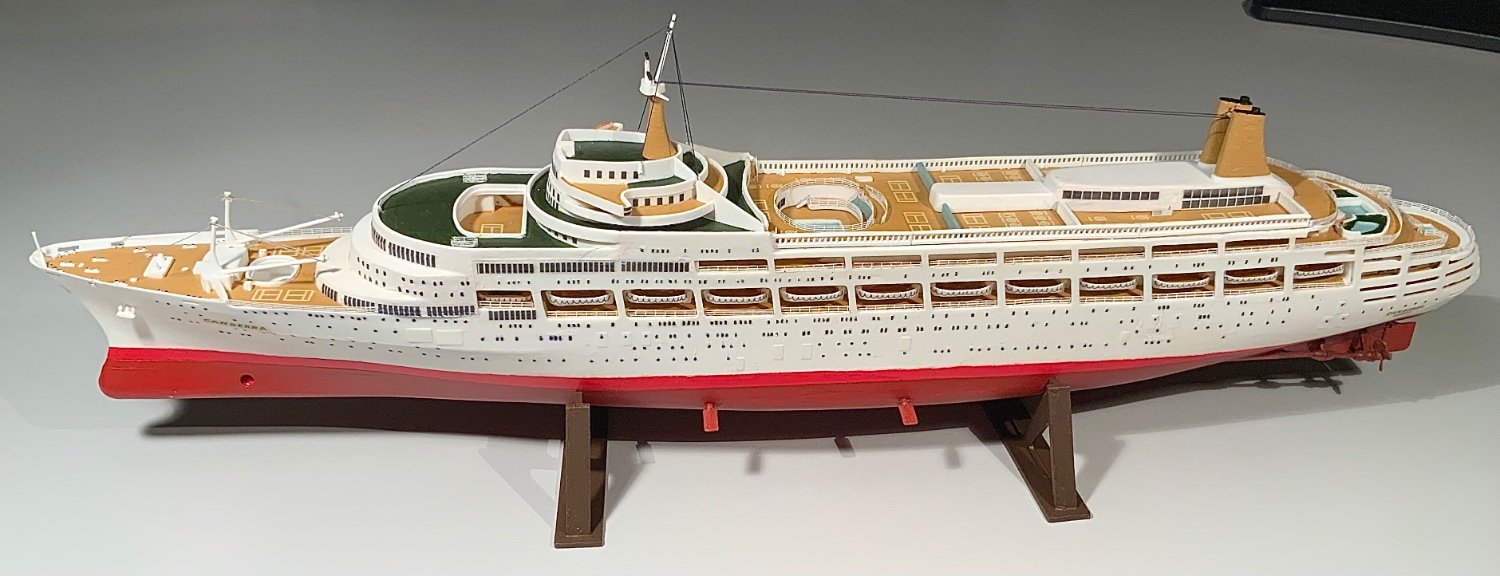
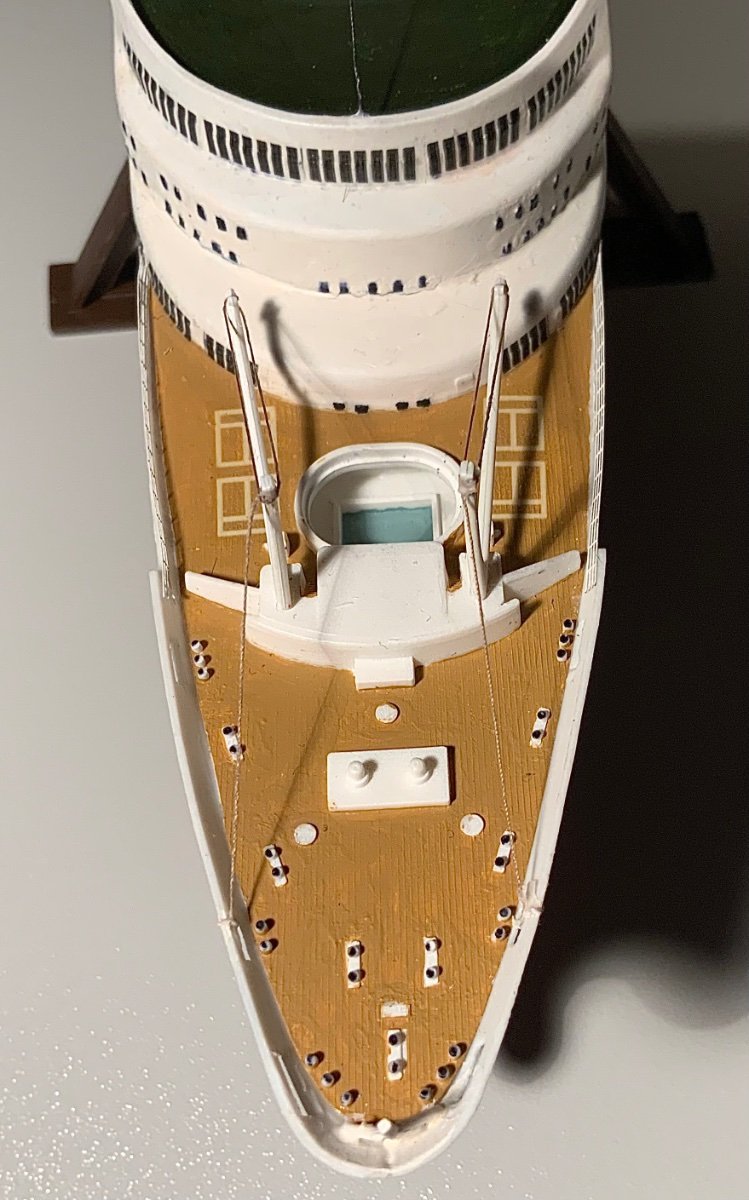
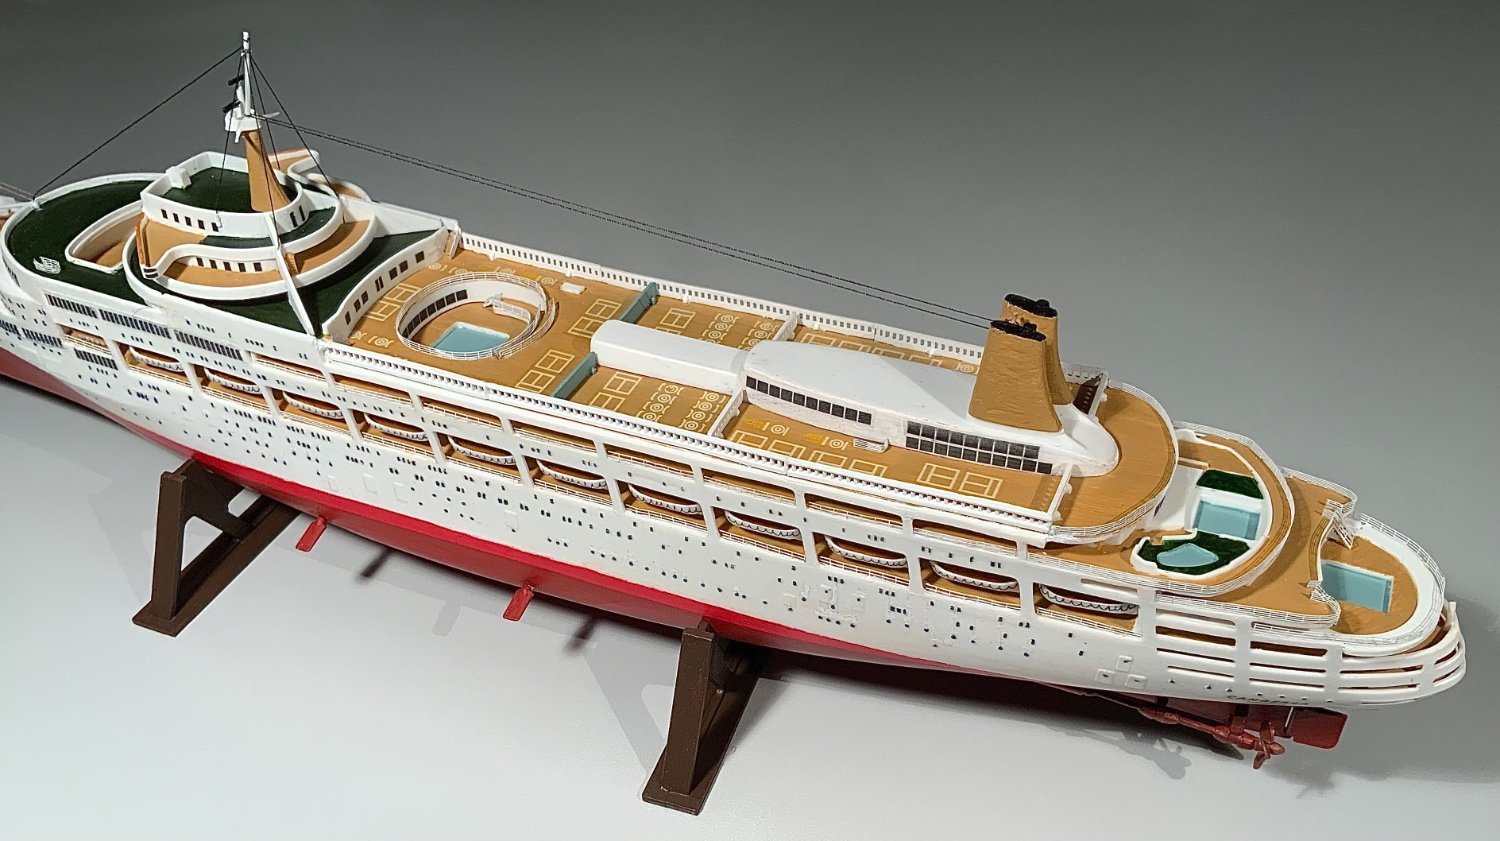
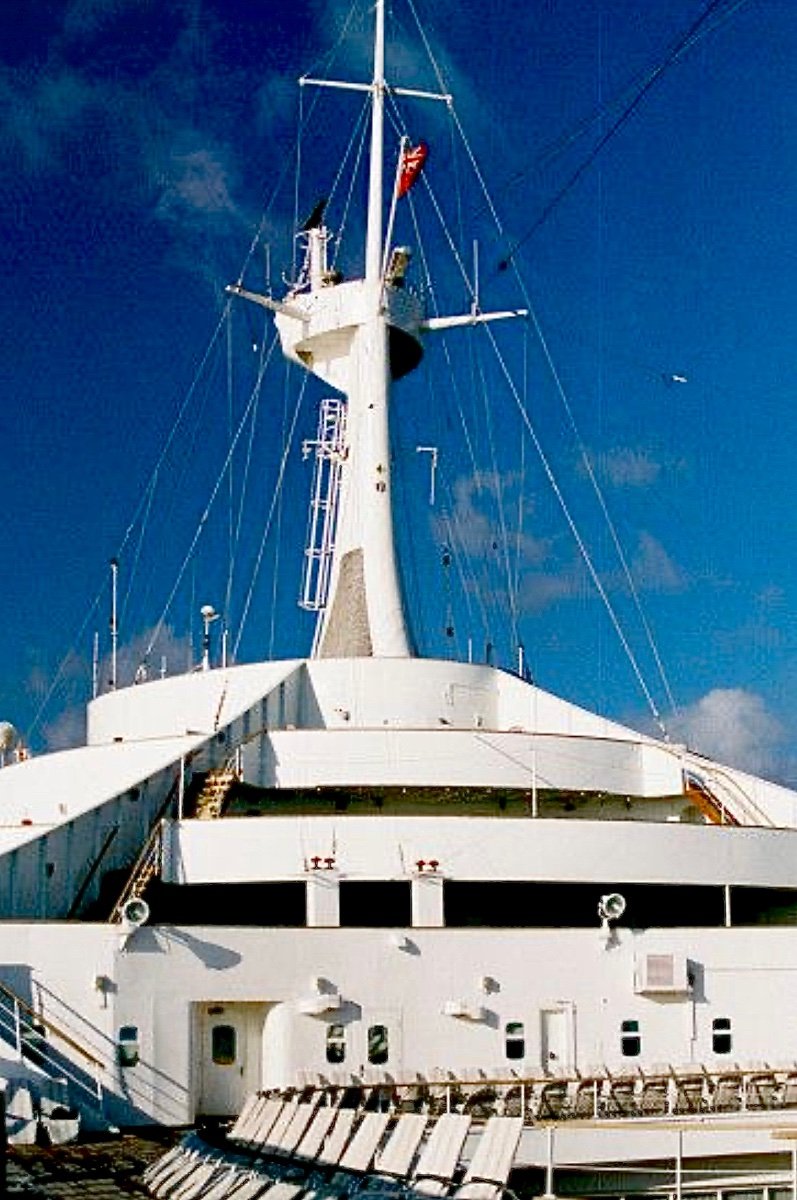
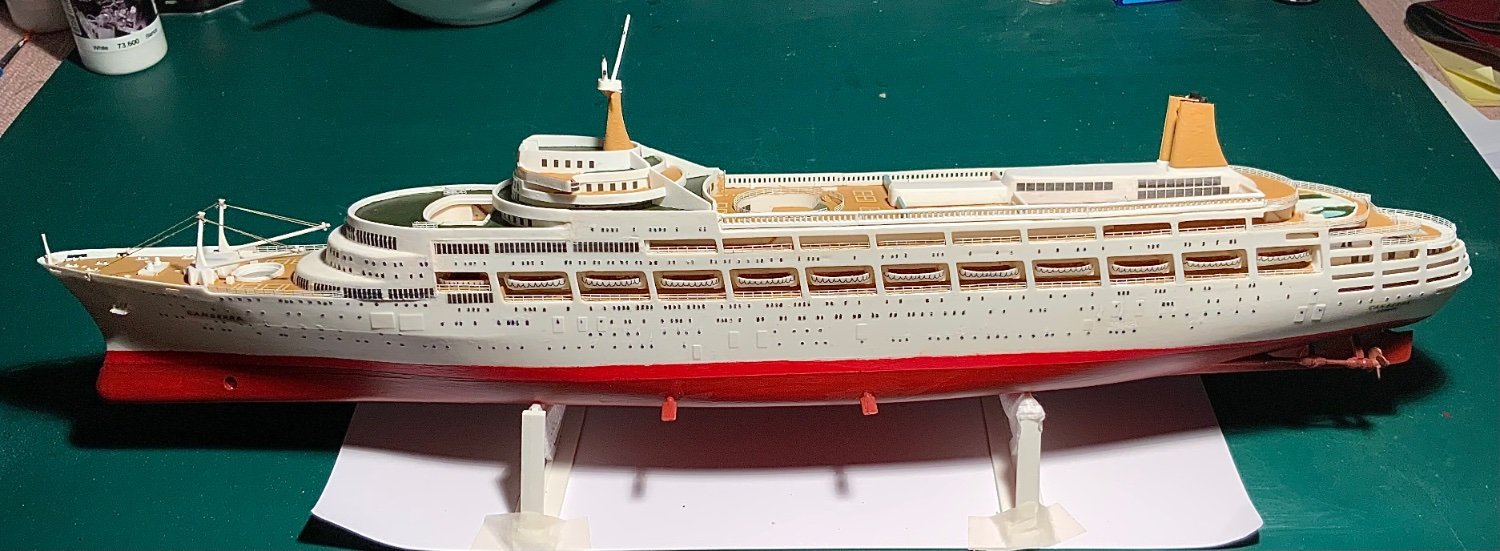
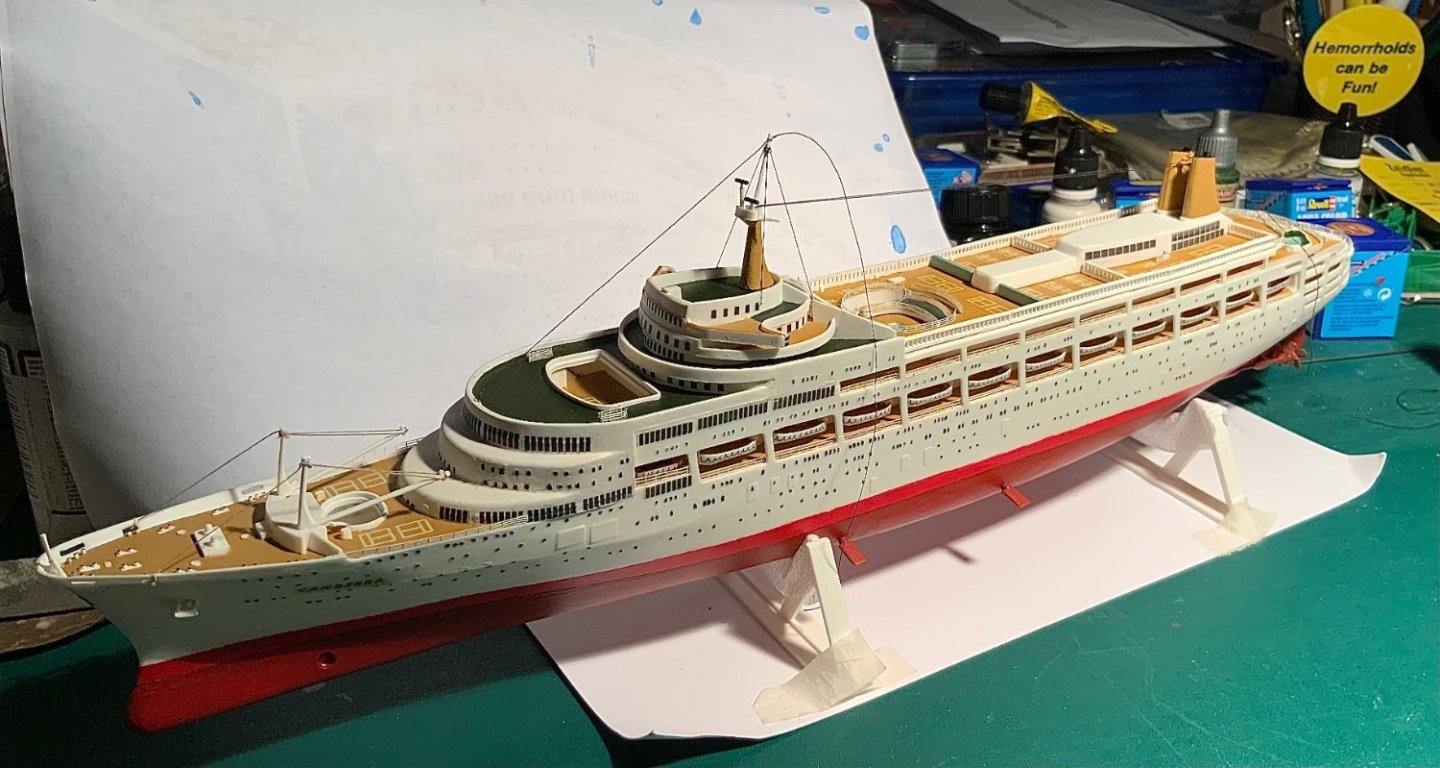
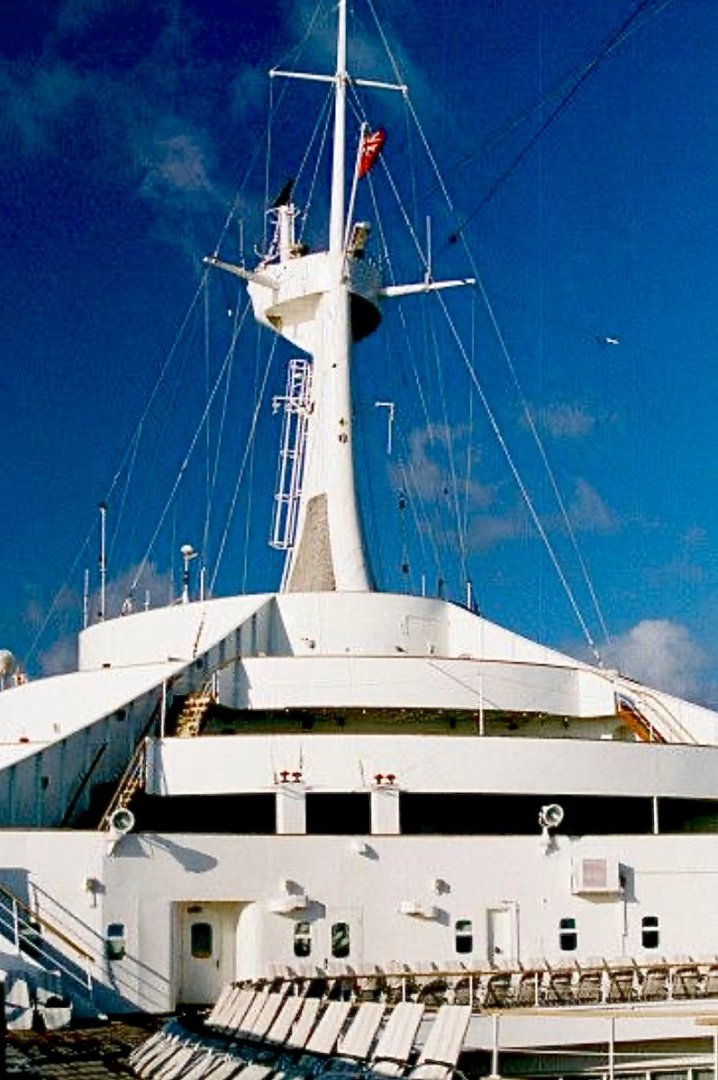
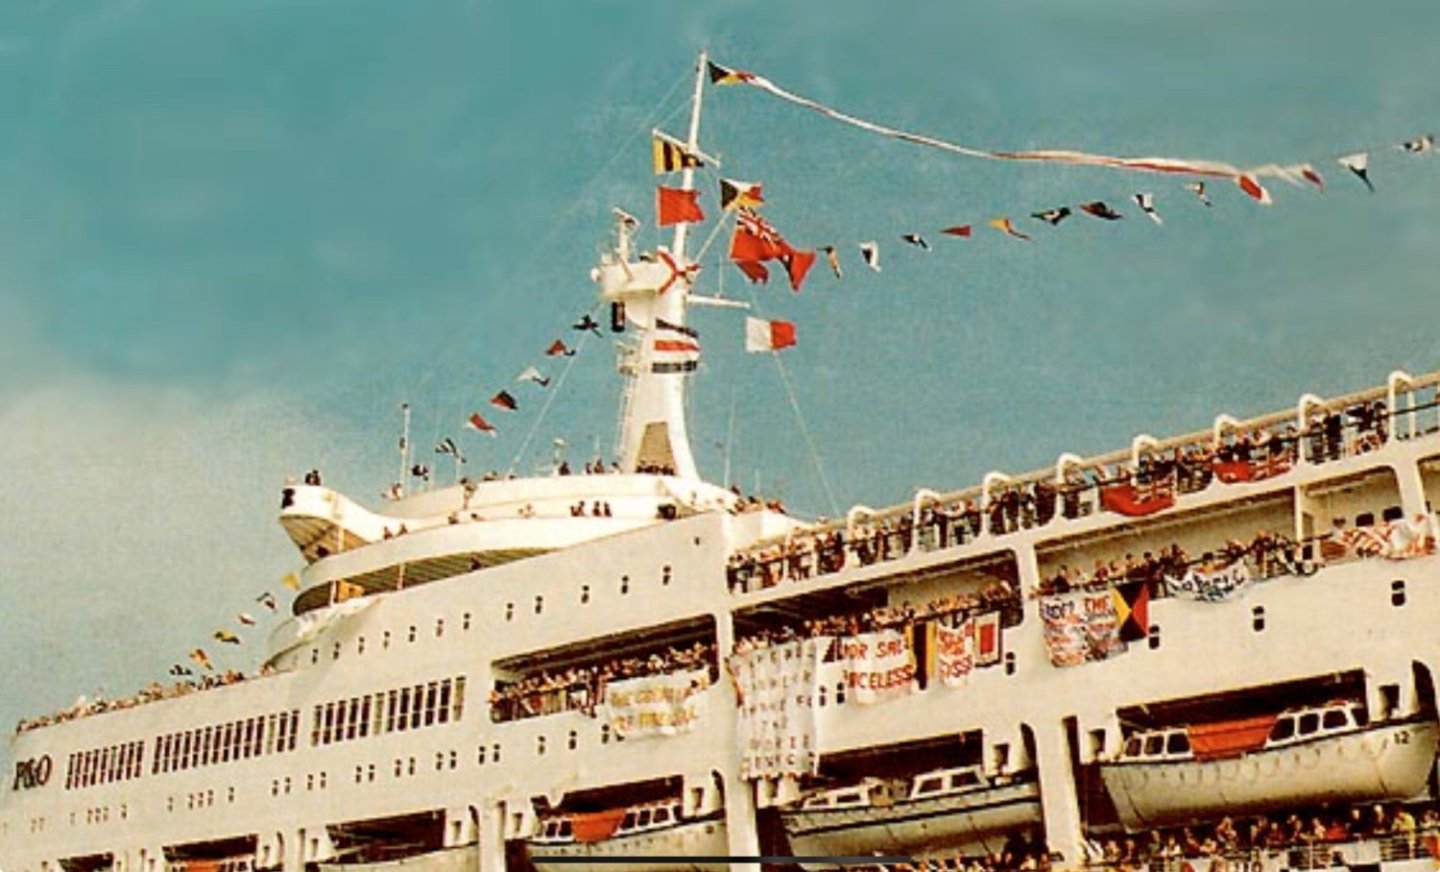
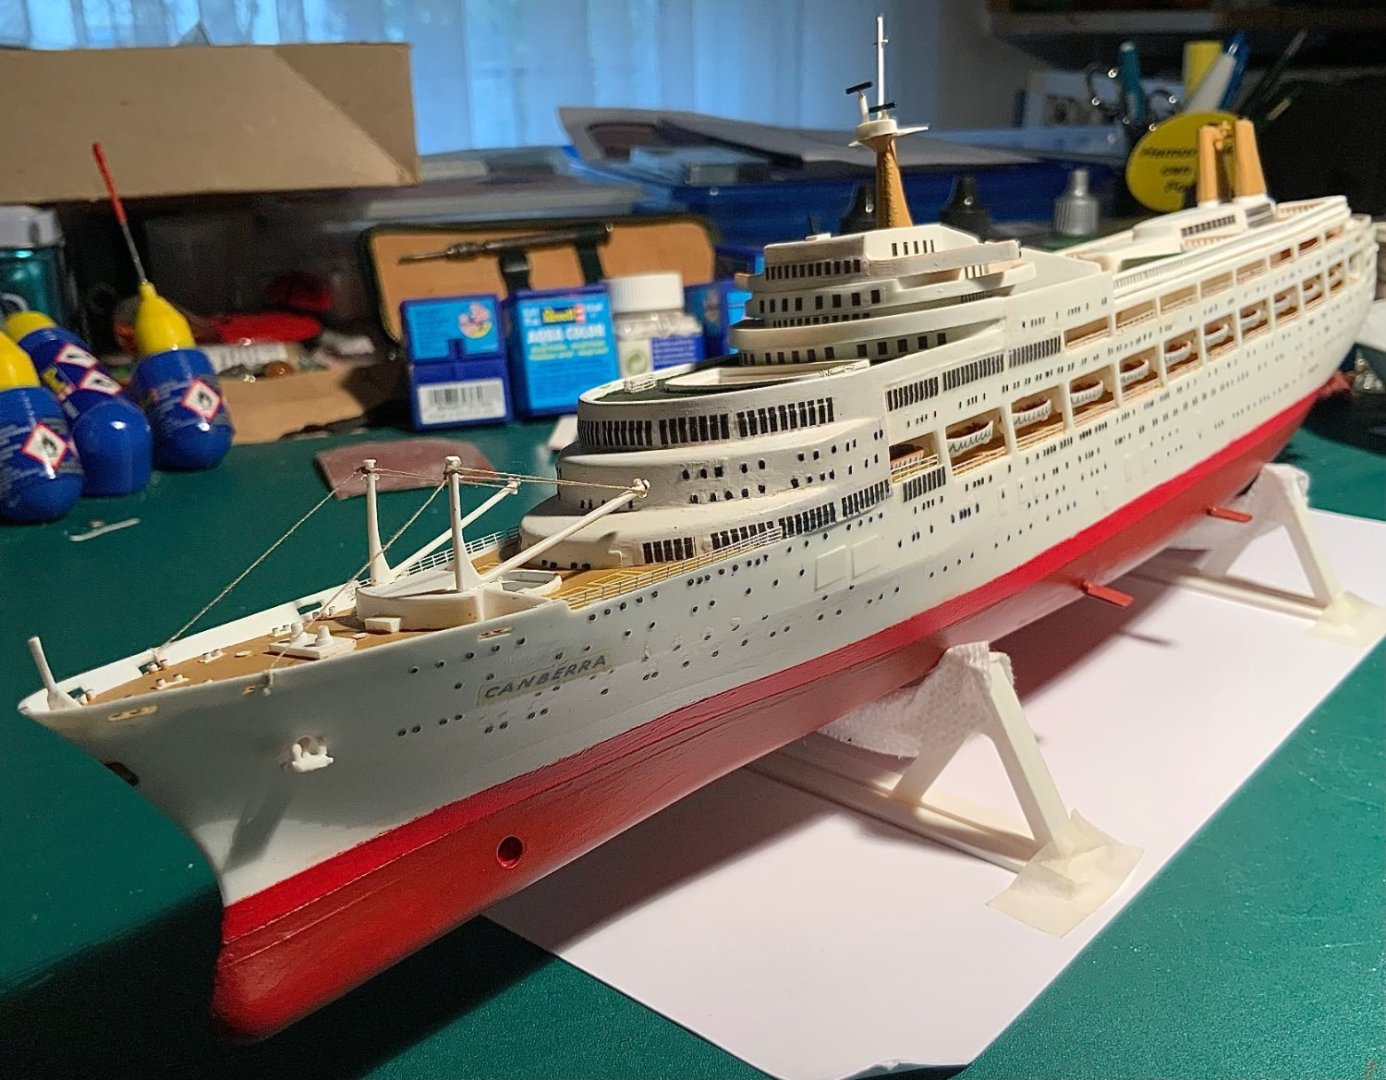
The ‘main’ mast lines in place - I decided not to even try to place the lines for flags etc - it all looks a bit pathetic compared to the real thing! Ends still to be cut off when the glue dries.
-
Superglue did not work for the lines! I was unable to hold the line still enough for the glue to stick. I needed an initially more sticky glue. After several tests I used a thick pva and then when dry covered it with a little UHU. I then painted over the glue and the lines seem pretty firm. I have no idea how others manage this problem?
-
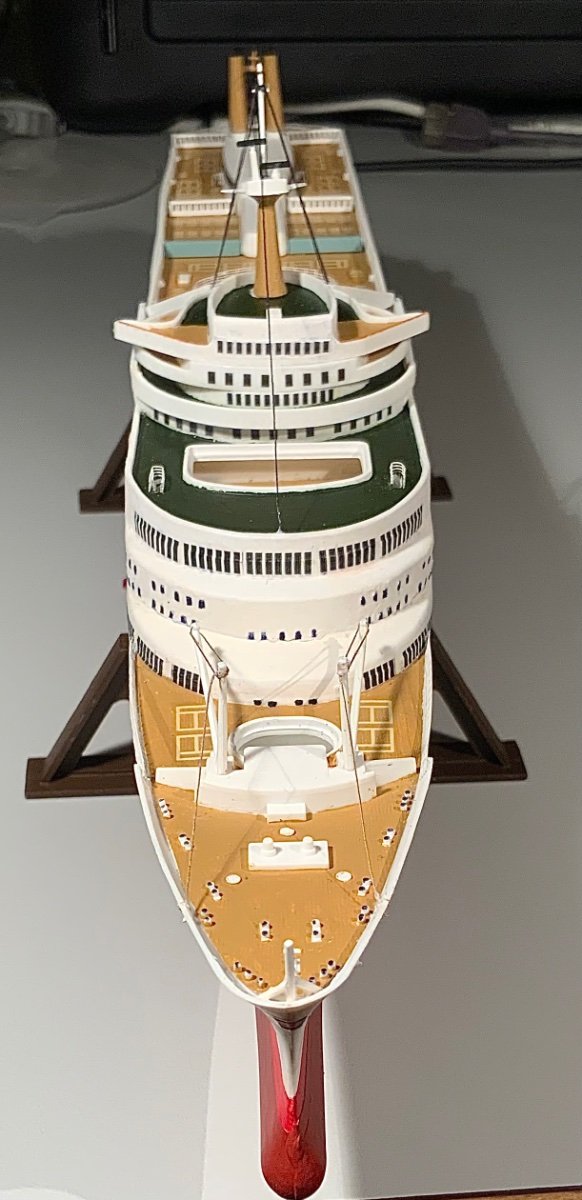
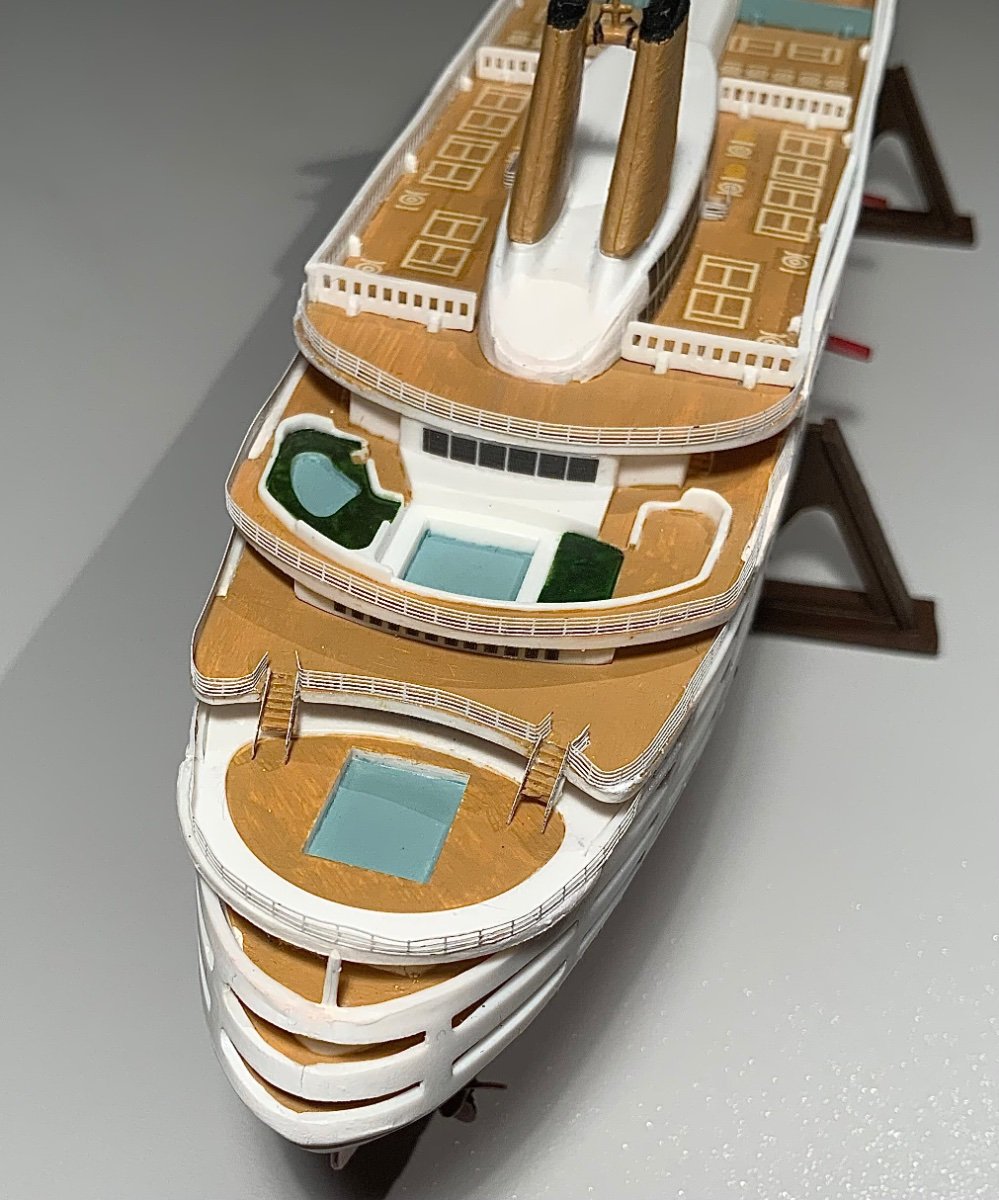
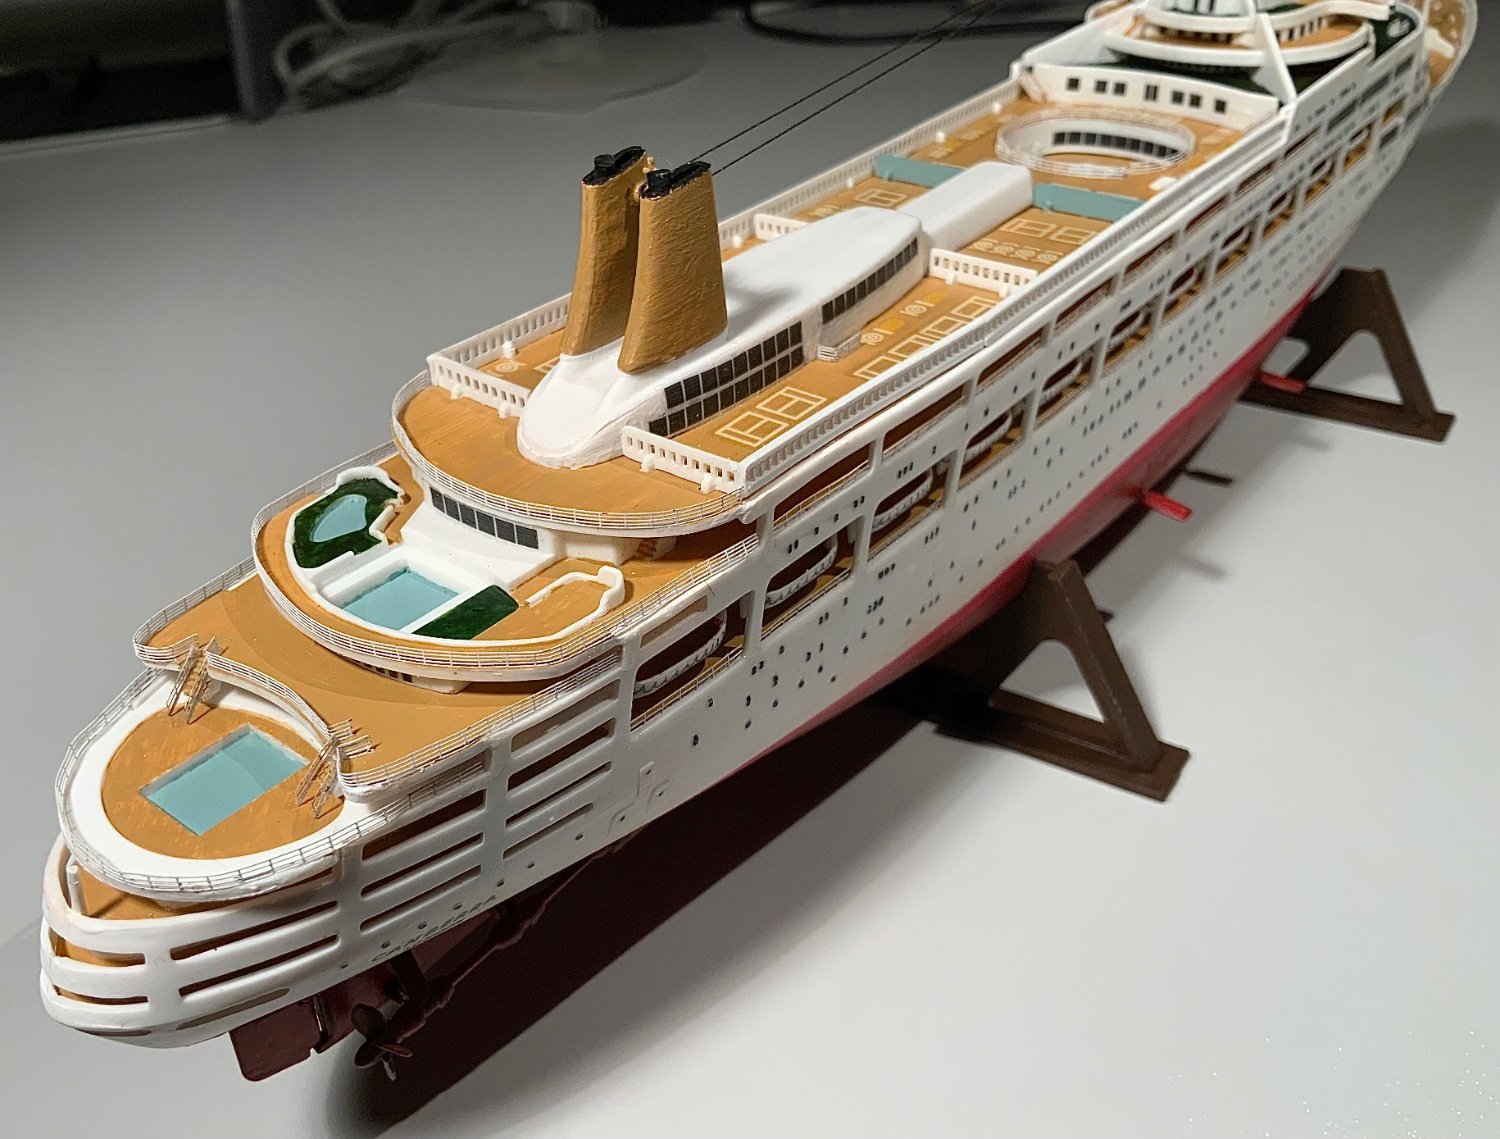
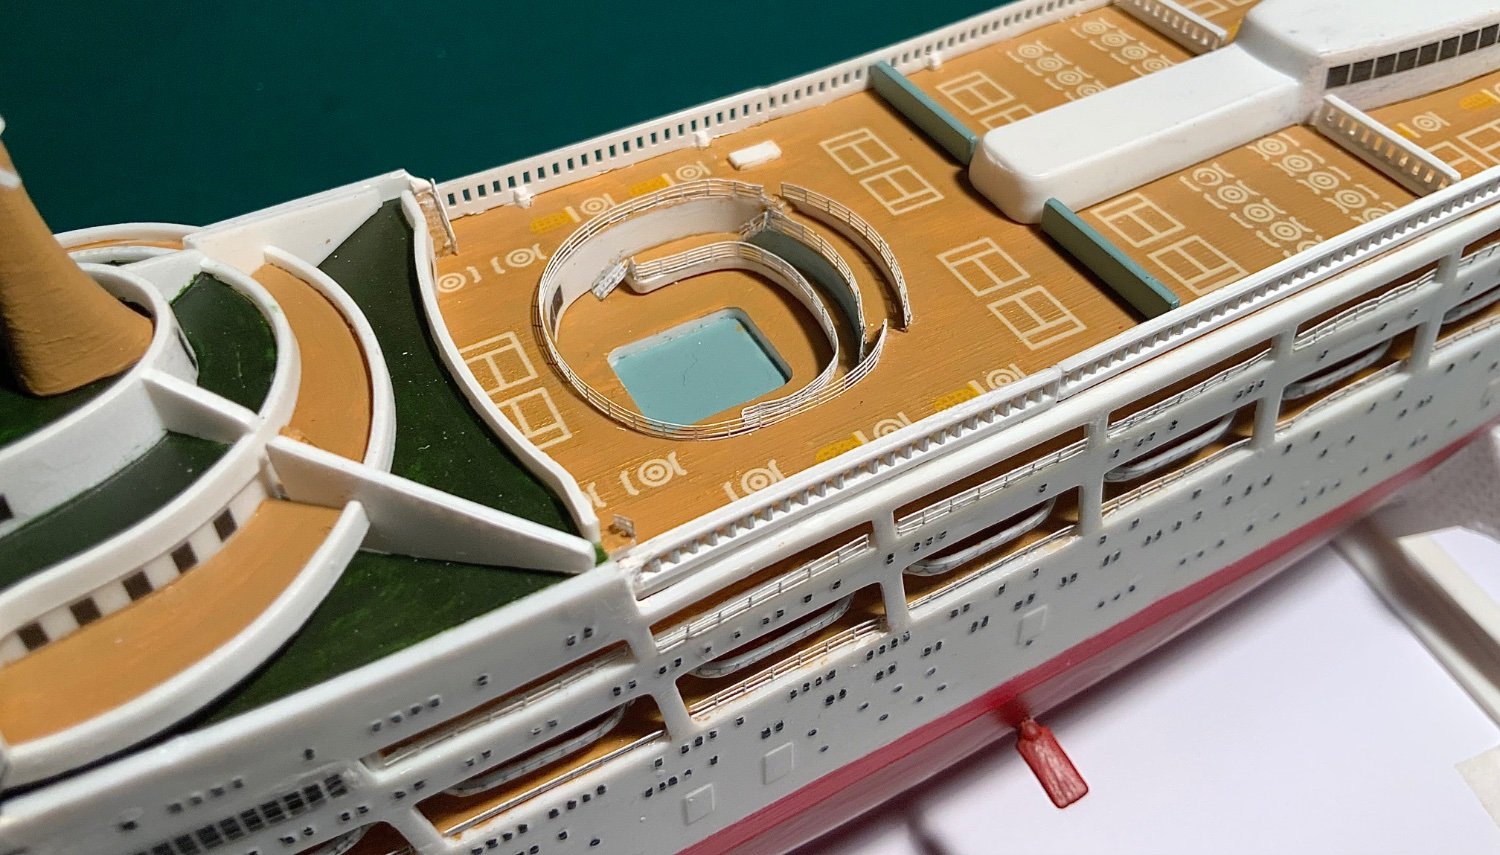
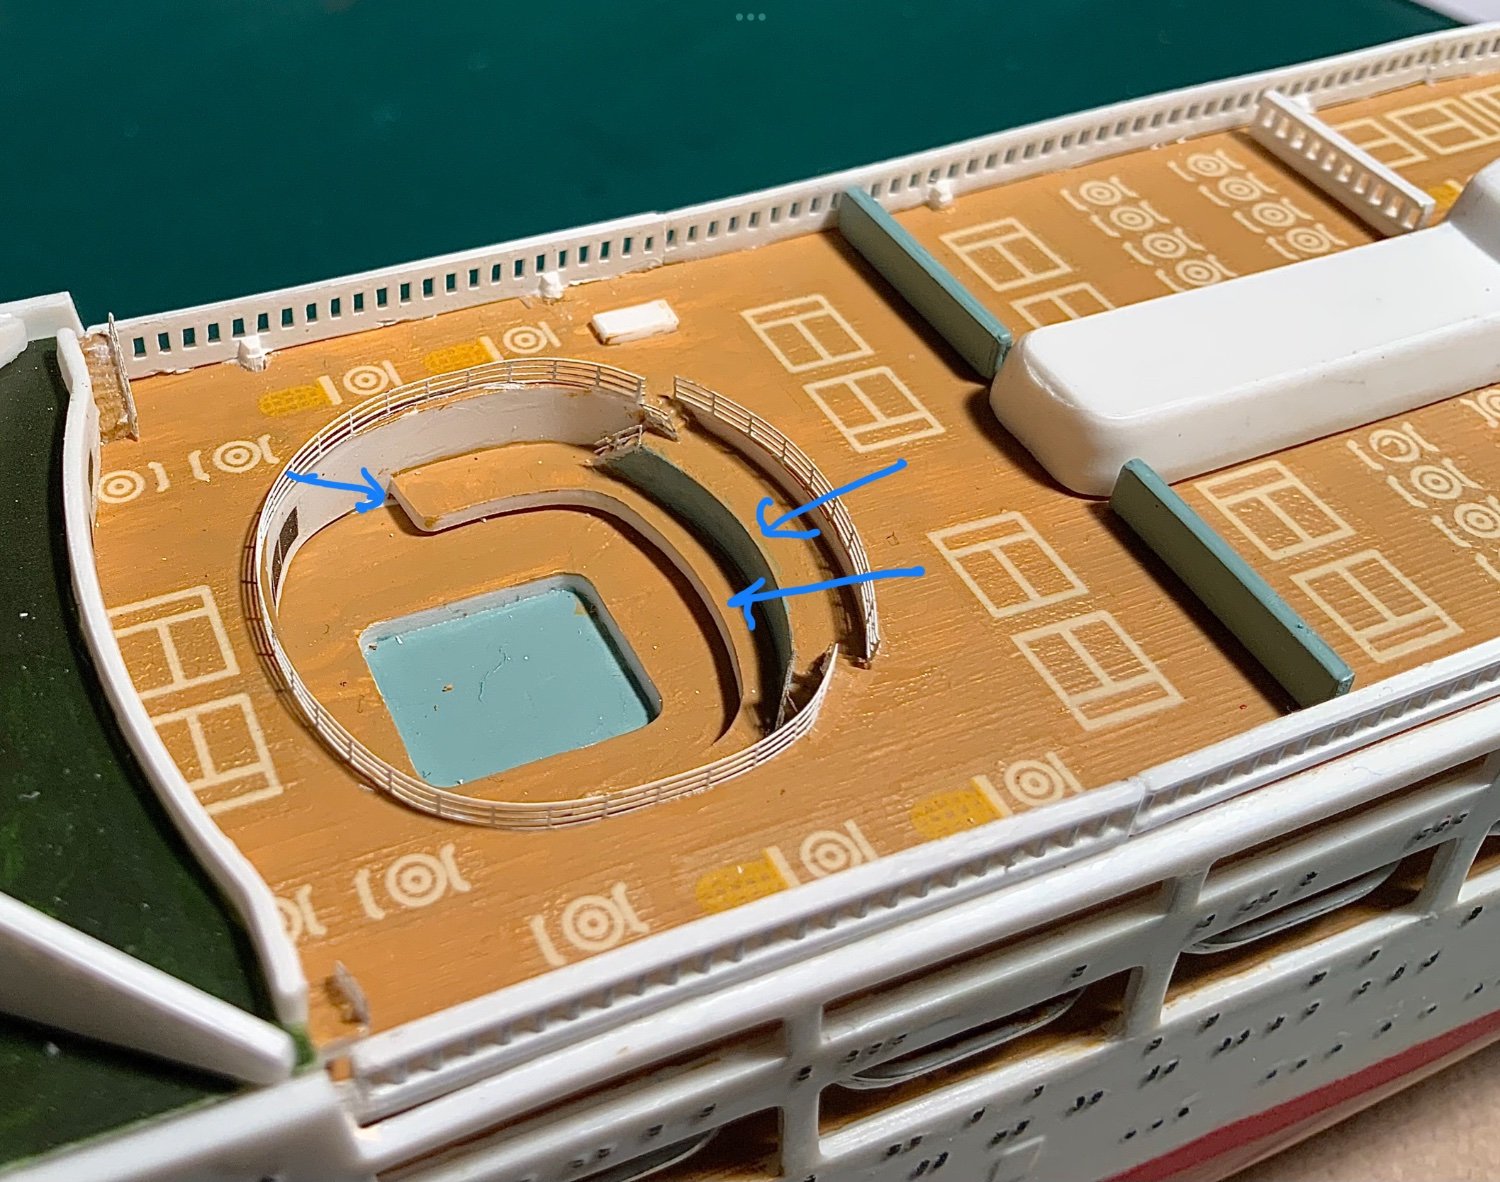
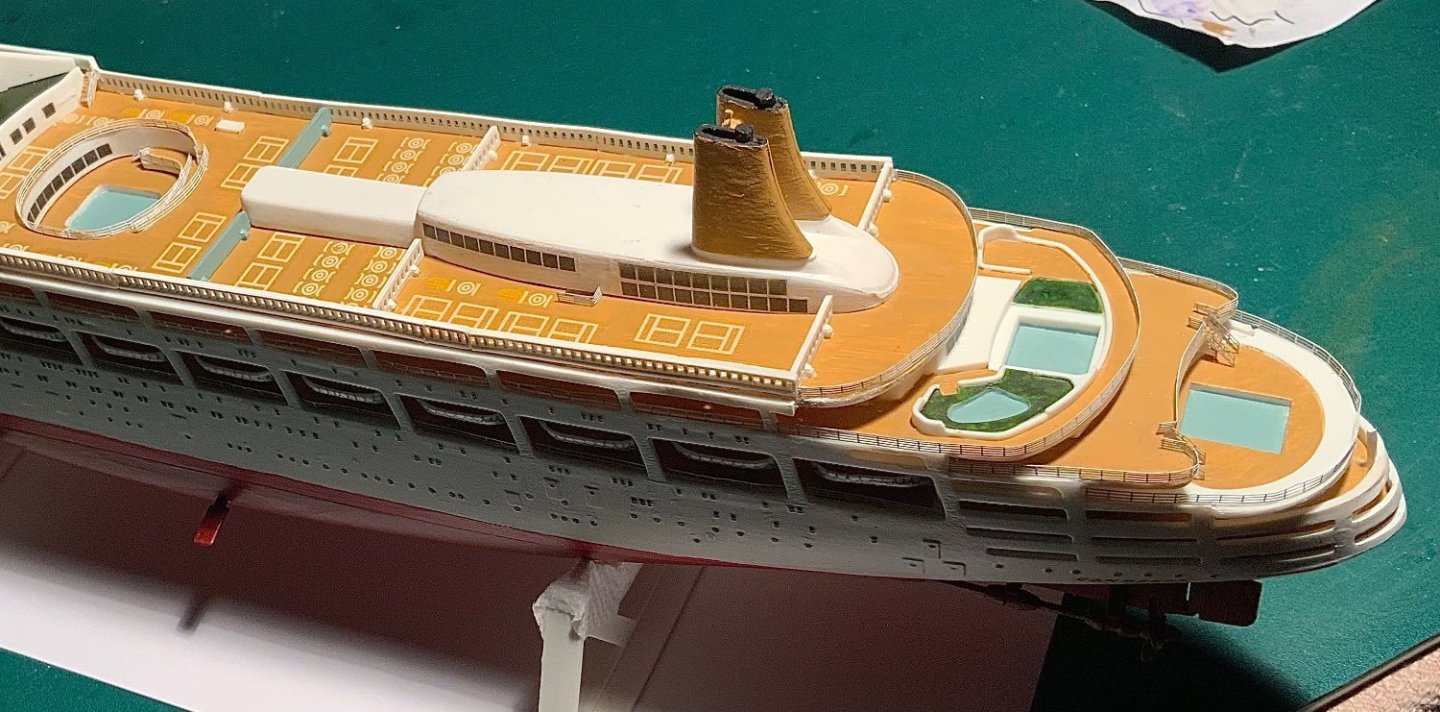
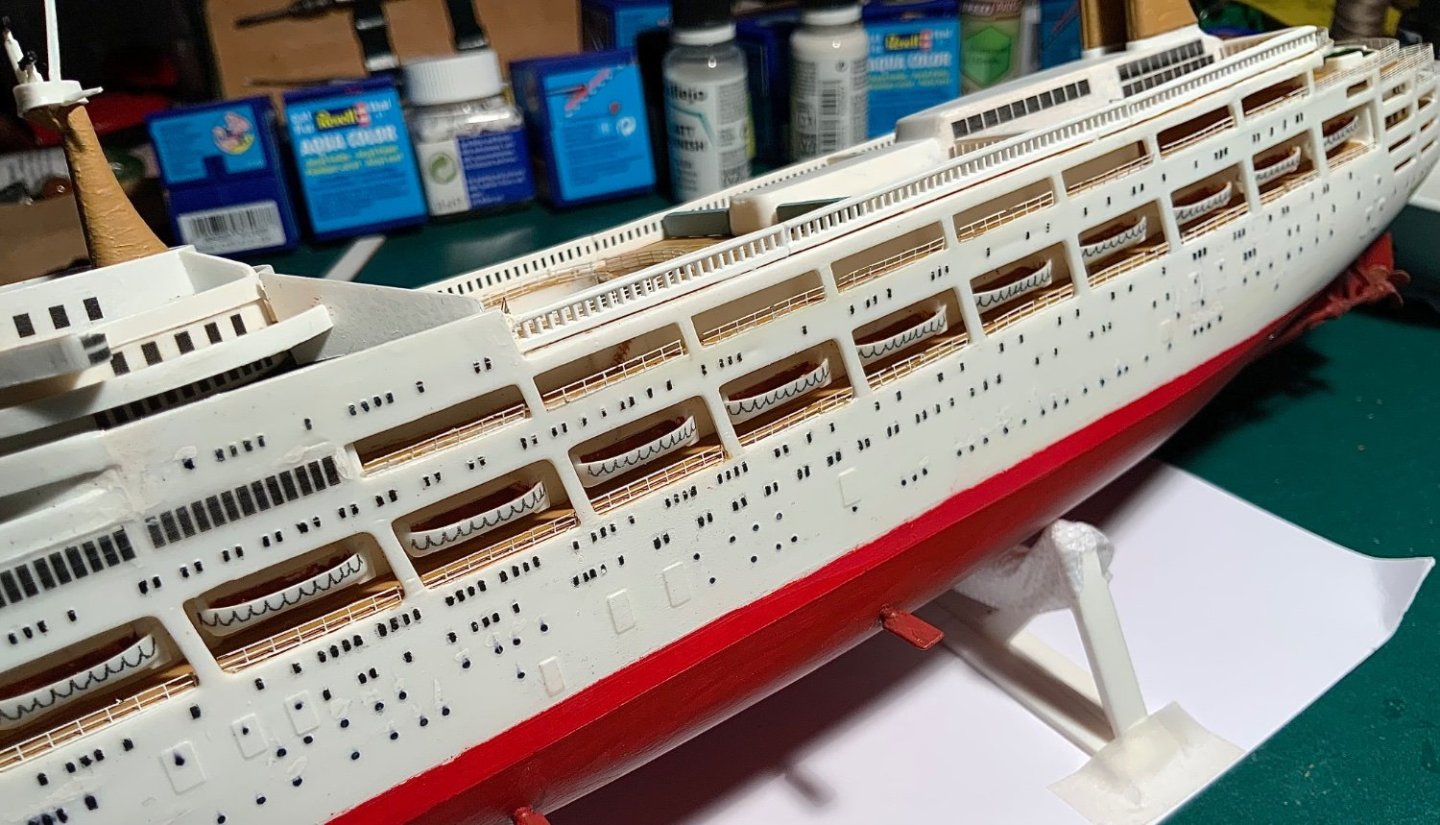
Finally, the pool railings are in place, now to address the radio/radar cables and rigging lines?

-
Just discovered more rails and stairs needed around first class pool! Oh dear I hoped to have finished with the superglue! What a mess!

-
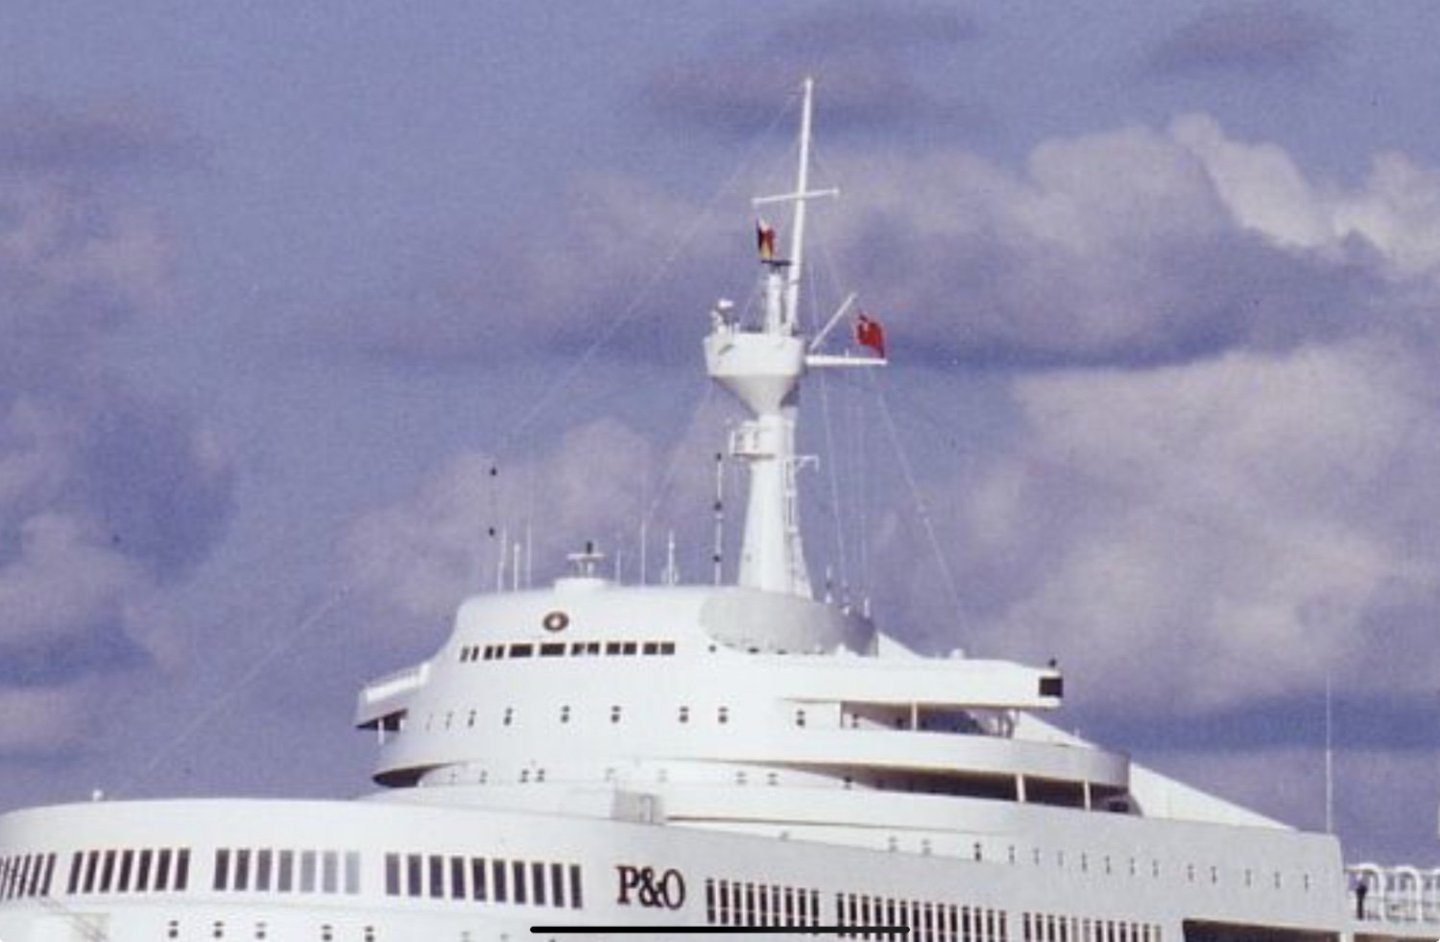
Touched up as well as possible, now the radio lines etc. but how to fix and keep tight at this scale? Any suggestions please? There are so many variations in different pictures of the boat - some are white others black, some seem to attach to different places even?


-
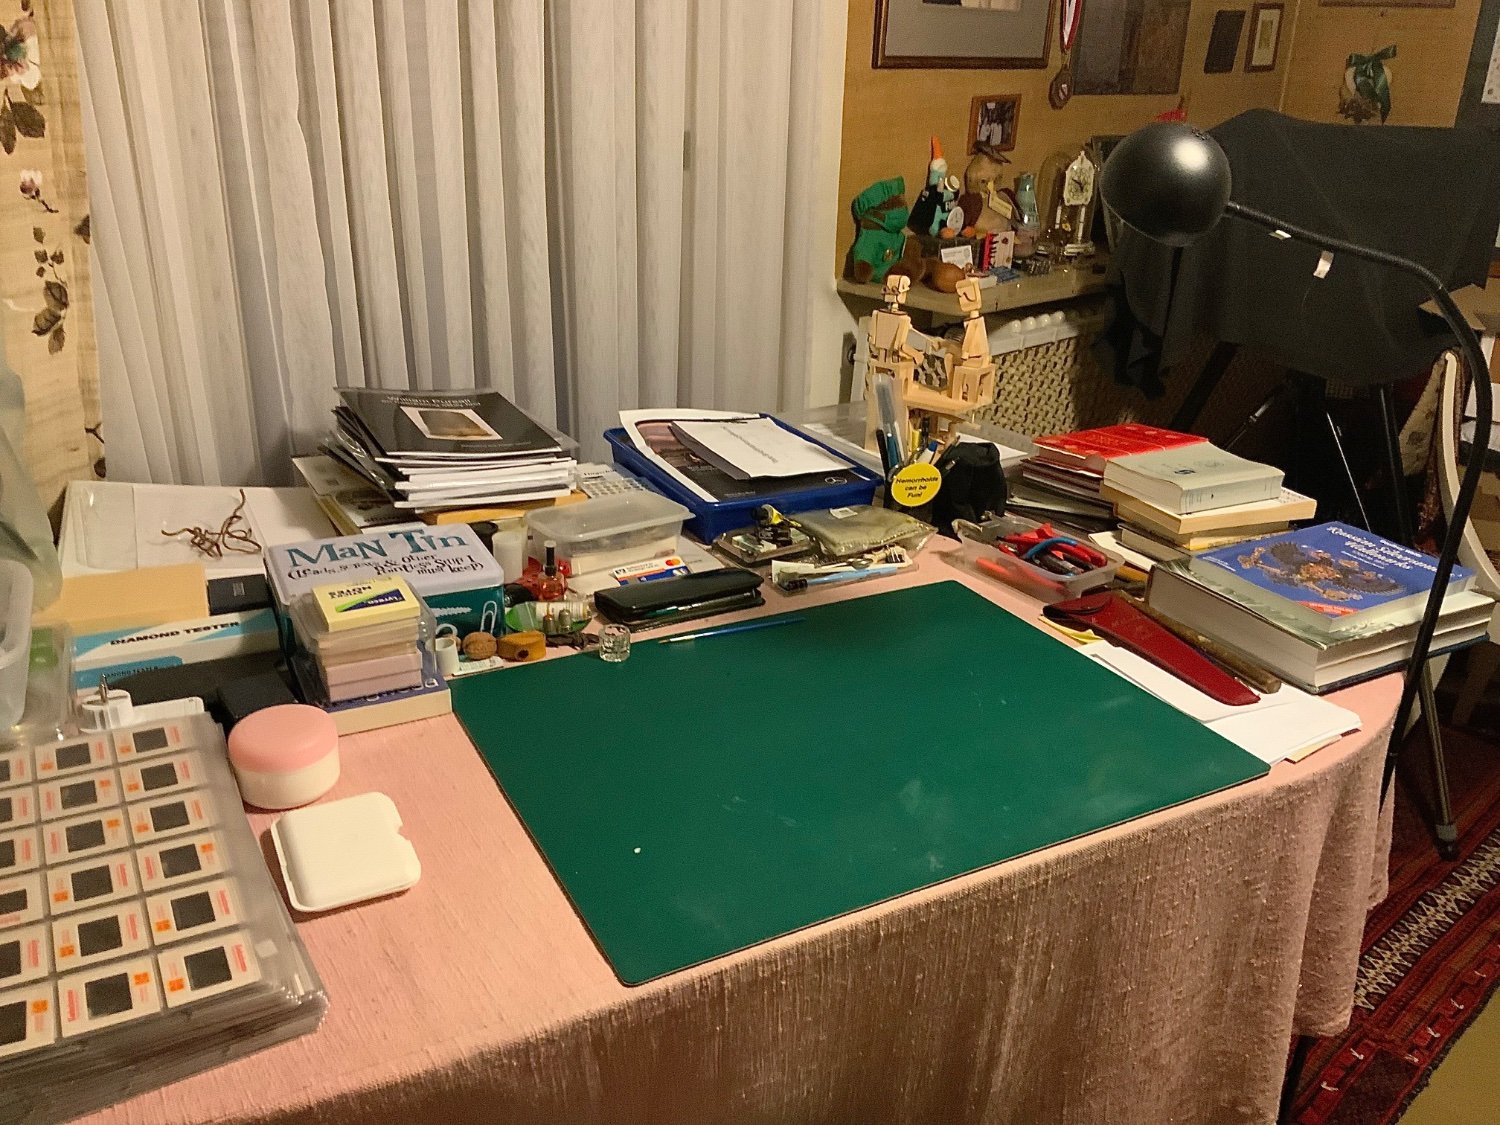
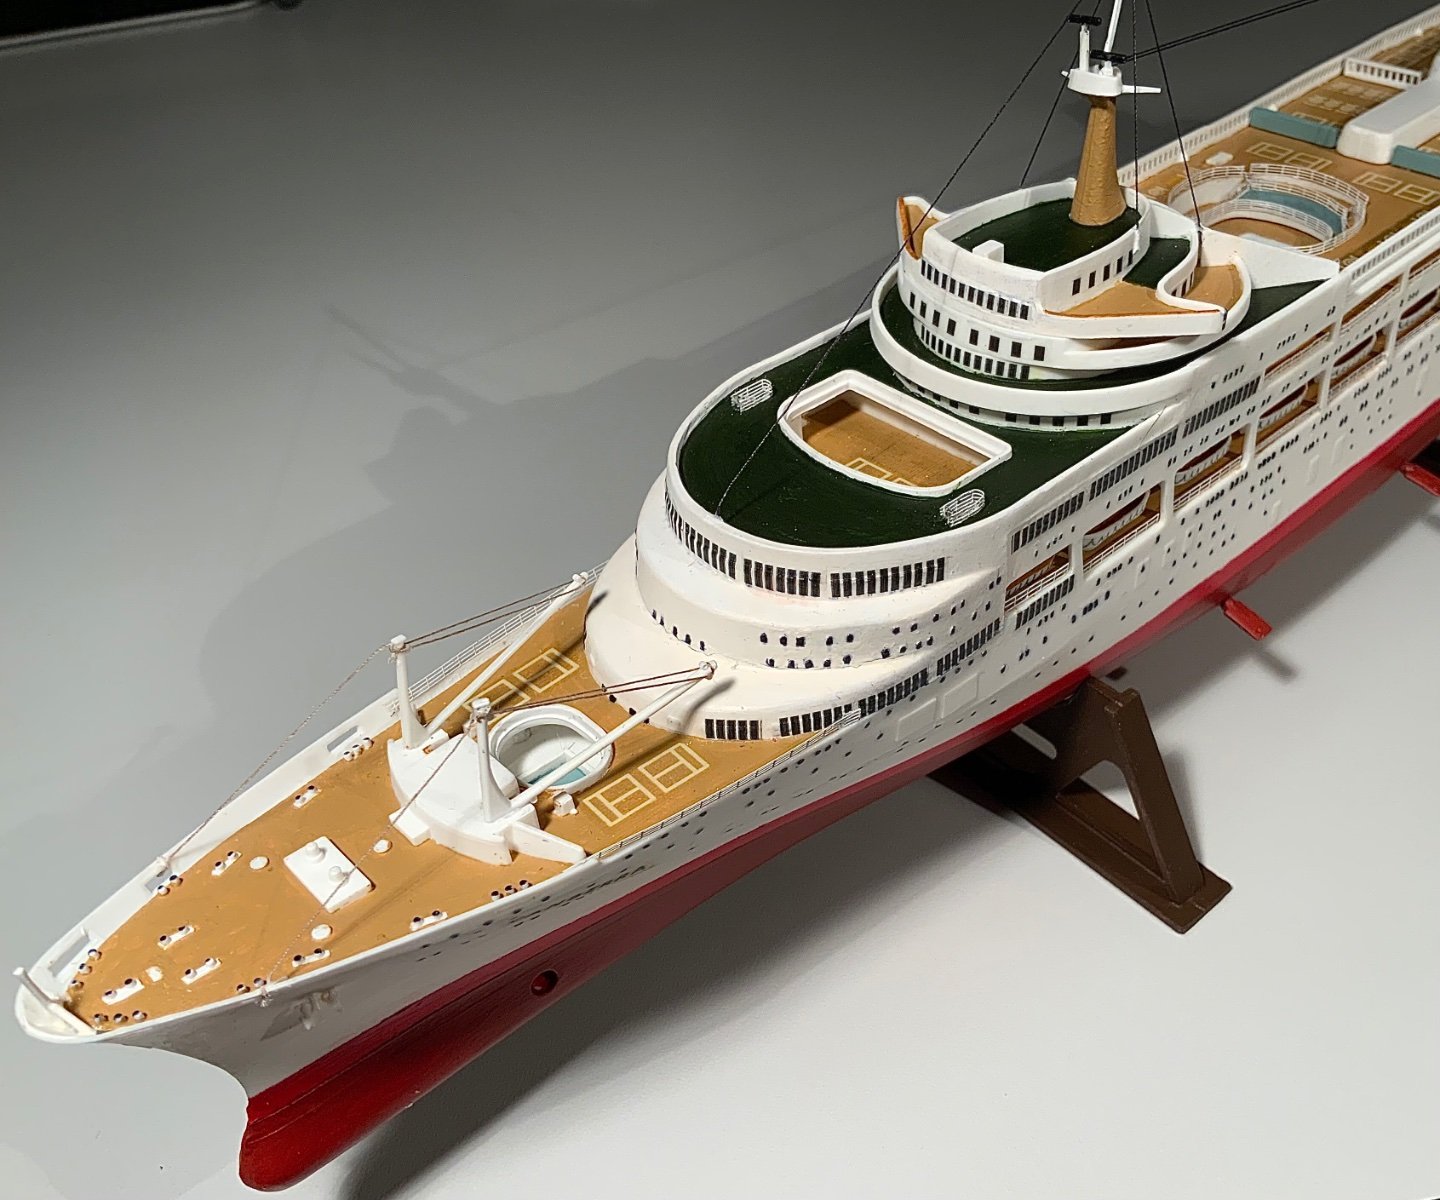
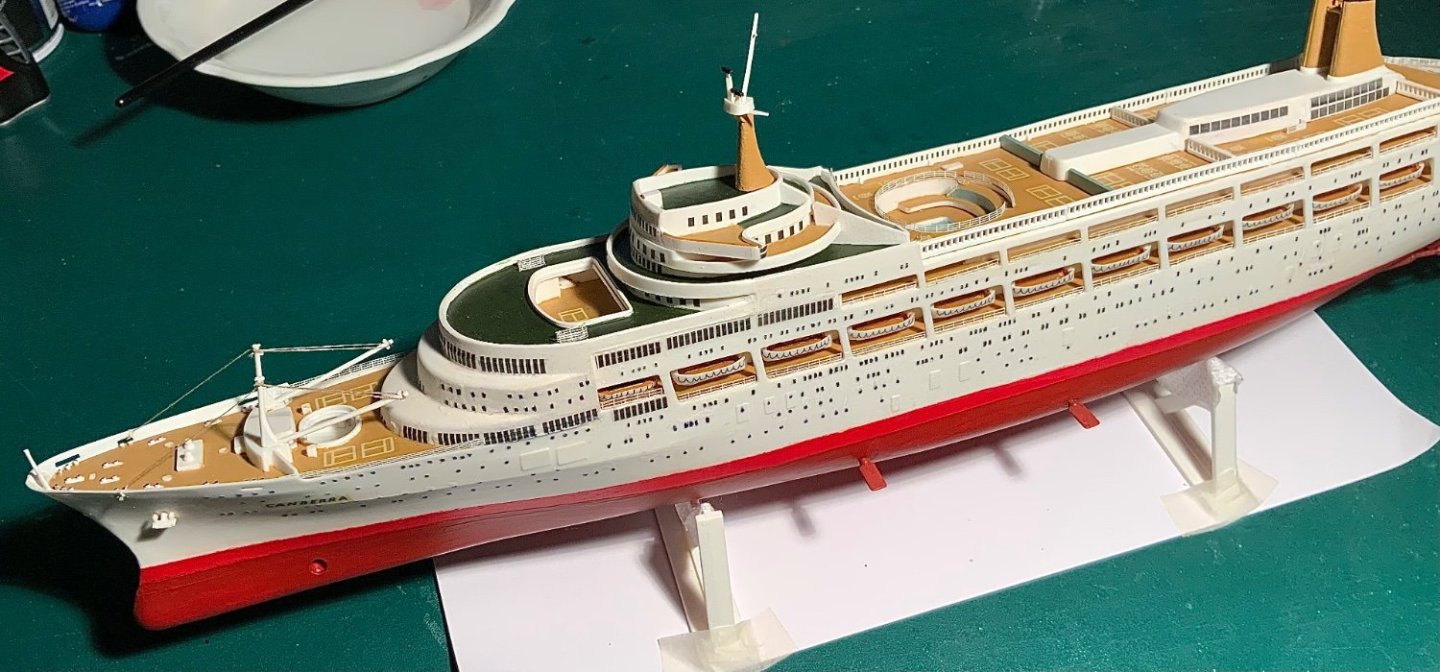
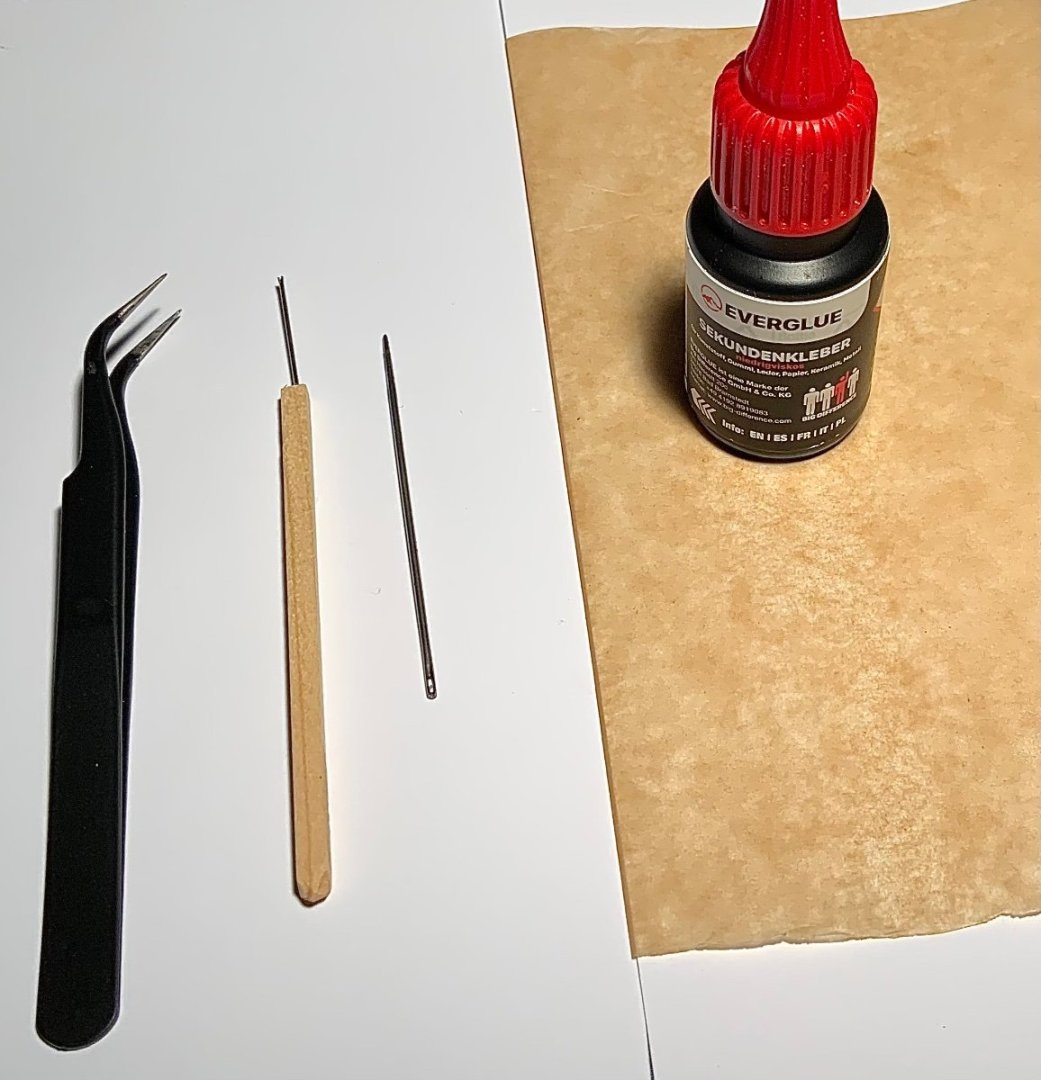
At last, 40 individual boat deck and upper deck railings glued in ‘place’. Sadly, they are not all as ‘squarely’ glued as they might be but my wobbly hands could not do better. Overall, the boat looks more realistic. During gluing some paint came off the rails so now it’s time for the mass ‘touch up’. After I’ll apply some clear matt varnish to help protect the paint on the rails which has not bonded very well to the PE brass. To glue the rails I used curved tweezers, a darning needle and a tool that I made by knocking a needle into a meat skewer and then cutting off 3/4 of the ‘eye’. I used the latter to spread glue where I wanted the rail, then applied glue to the bottom of the rail by drawing the rail through a drop of glue on a piece of baking paper(learnt from you tube), and then held the rail in place in till the glue was firm. When the glue was set I adjusted the angle of the rail to straighten it as well as I could. Now for the massive ‘touch up’!
-
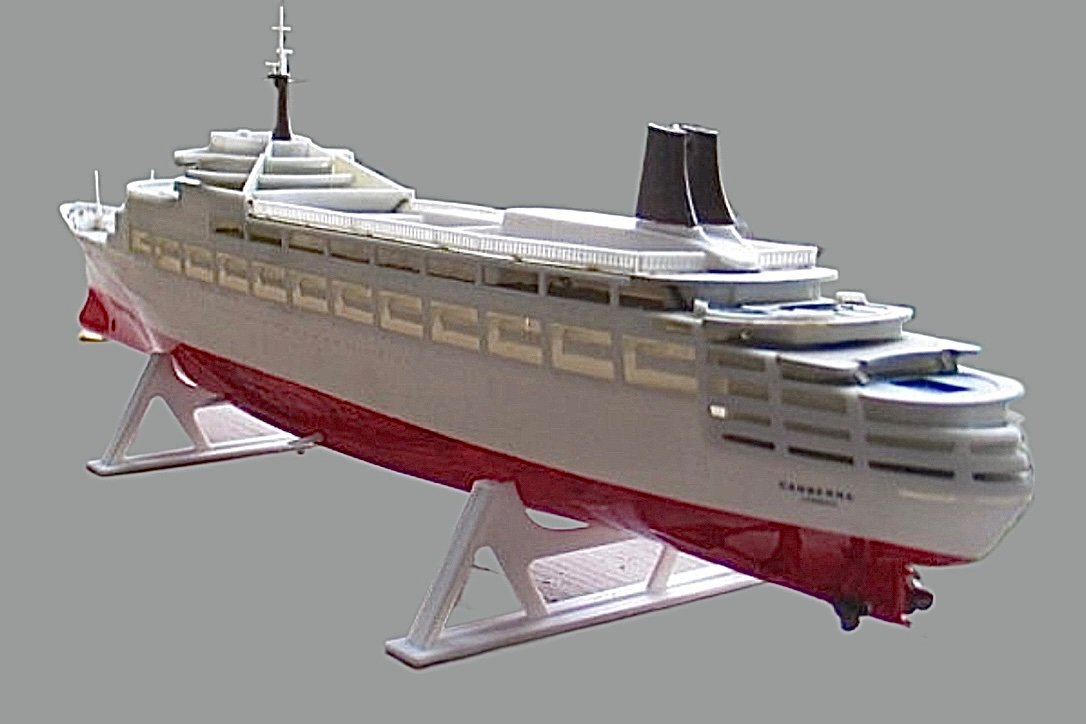
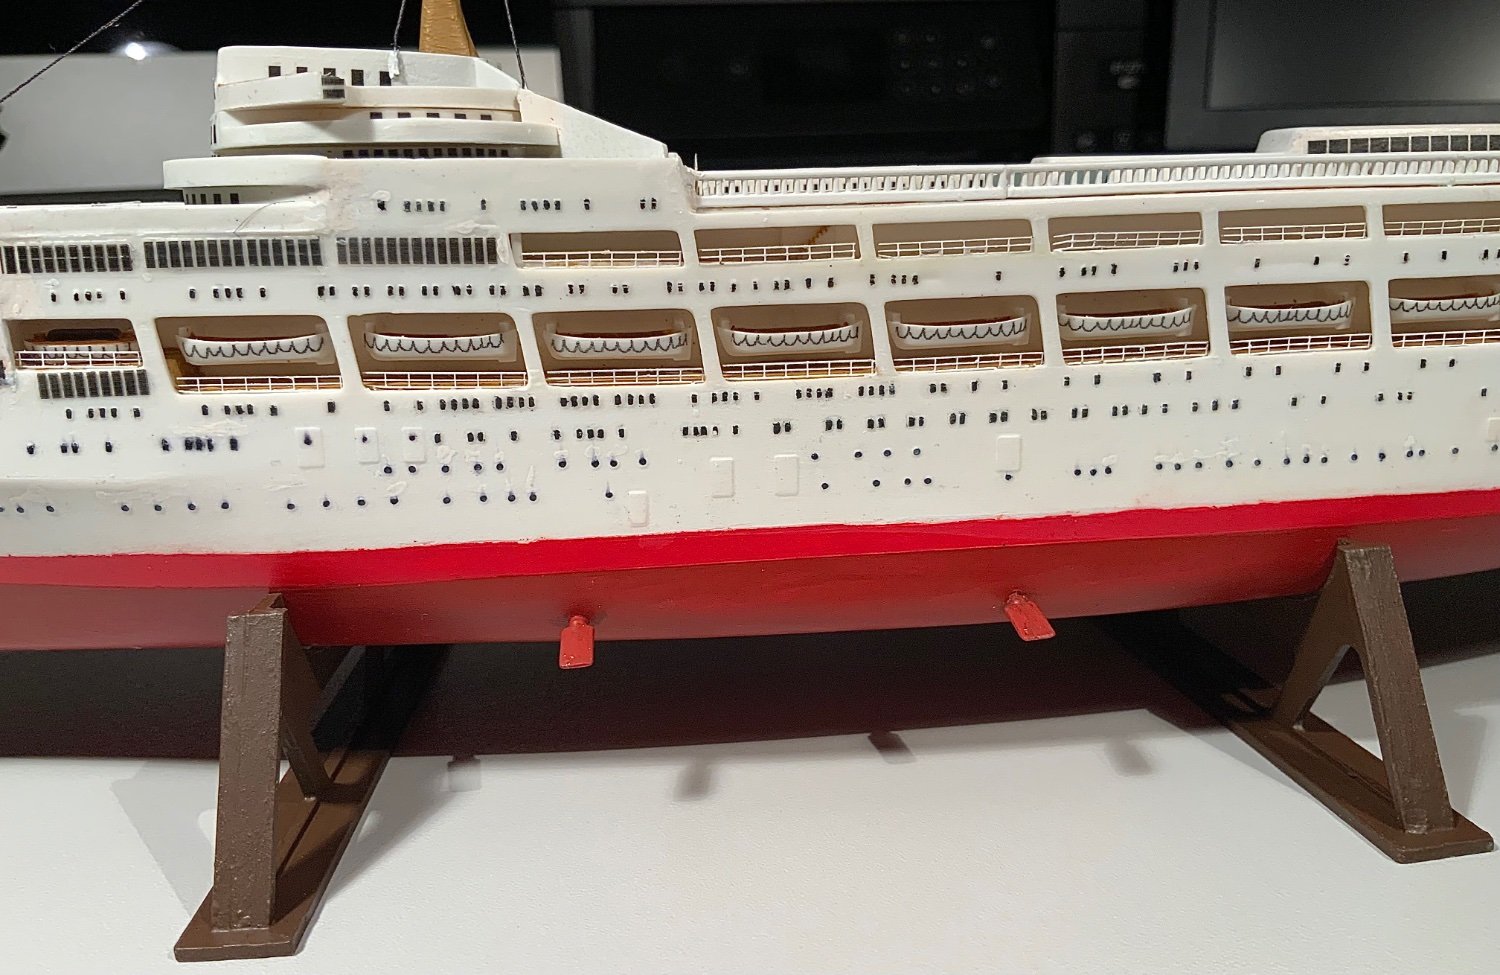
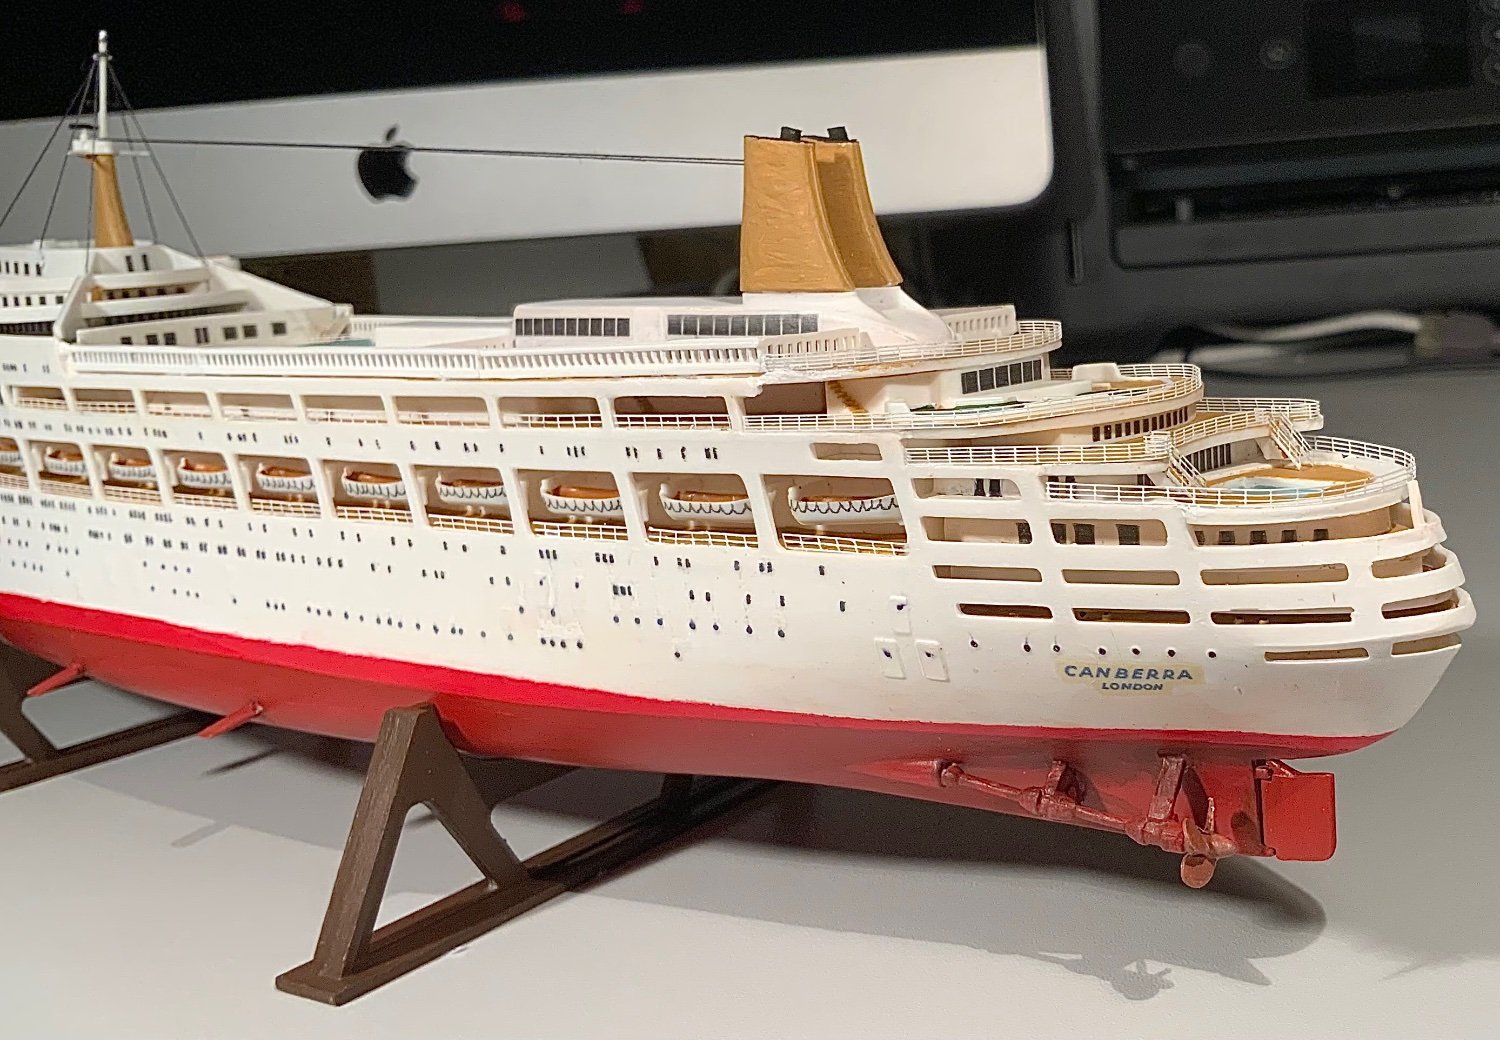
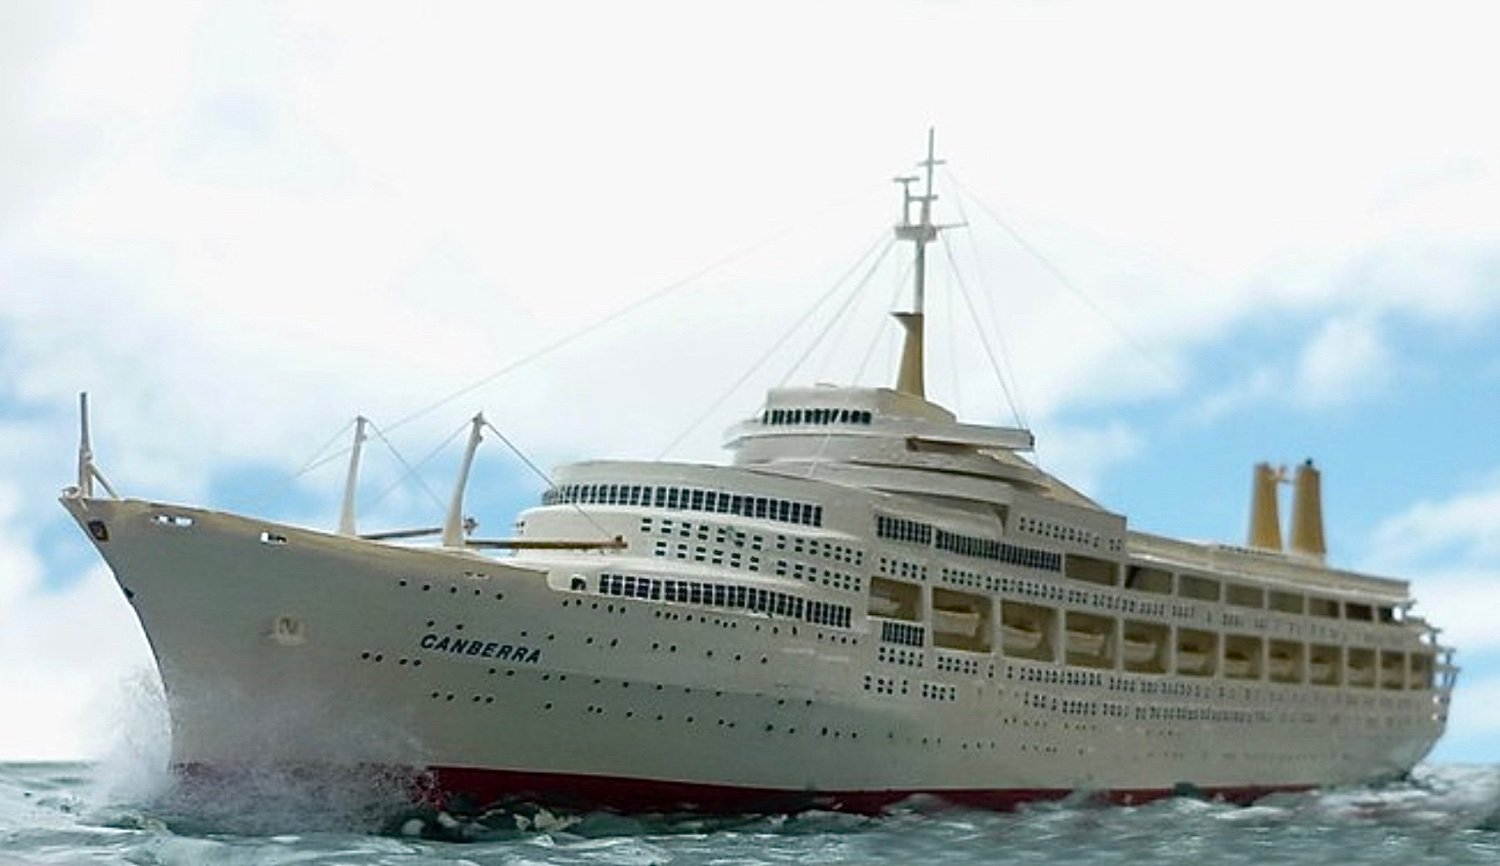
Yes, the kit as Airfix intended looks pretty ‘albino’-like. Thank you for your encouragement.