chris watton
-
Posts
2,205 -
Joined
-
Last visited
.jpg.d84ec4dad1d7791e855dca06210ab6f3.thumb.jpg.f45209242e851d4409eca1a09293165b.jpg)


About chris watton

- Birthday 11/21/1966
Recent Profile Visitors
25,838 profile views


-
 dafi reacted to a post in a topic:
HMS Adder Rudder/Tiller/wheel.
dafi reacted to a post in a topic:
HMS Adder Rudder/Tiller/wheel.
-
CiscoH reacted to a post in a topic:
Chris Watton and Vanguard Models news and updates Volume 2
-
gjdale reacted to a post in a topic:
Chris Watton and Vanguard Models news and updates Volume 2
-
DB789 reacted to a post in a topic:
Chris Watton and Vanguard Models news and updates Volume 2
-
Pitan reacted to a post in a topic:
Chris Watton and Vanguard Models news and updates Volume 2
-
Mike_H reacted to a post in a topic:
Chris Watton and Vanguard Models news and updates Volume 2
-
Canute reacted to a post in a topic:
Chris Watton and Vanguard Models news and updates Volume 2
-
PaddyO reacted to a post in a topic:
Chris Watton and Vanguard Models news and updates Volume 2
-
TJM reacted to a post in a topic:
Chris Watton and Vanguard Models news and updates Volume 2
-
 chris watton reacted to a post in a topic:
HMS Sphinx 1775 by Ronald-V - Vanguard Models - 1:64
chris watton reacted to a post in a topic:
HMS Sphinx 1775 by Ronald-V - Vanguard Models - 1:64
-
chris watton reacted to a post in a topic:
HMS Sphinx 1775 by Ronald-V - Vanguard Models - 1:64
-
chris watton reacted to a post in a topic:
HMS Harpy 1796 by Richard44 - Vanguard Models - 1:64
-
cotrecerf reacted to a post in a topic:
Chris Watton and Vanguard Models news and updates Volume 2
-
chris watton reacted to a post in a topic:
Chris Watton and Vanguard Models news and updates Volume 2
-
 It's going well! The more complex the designs, the longer these things take. A lot of CAD work, so nothing to show as yet. I can tell you the decal sheet is done and has been delivered, and most of the resin print production is done. It is quite a large and complex kit with many pre cut and pre engraved parts, the latter more than even Indy, and all of this takes time to develop. Once I start cutting my final designs and build it up, for Jim to follow, I can post pics of my final prototype build, but until then, it is all just on CAD, on my PC. This applies also to the photo etched files. I need to complete these at the same time the laser cut designs are more or less cooked, and those are 90% done. Rest assured though, this is all I am working on, although I do get side tracked a lot due to having to produce more stock for current kits....
- 817 replies
-
- 22
-
-

-
chris watton reacted to a post in a topic:
HMS Harpy 1796 by Richard44 - Vanguard Models - 1:64
-
chris watton reacted to a post in a topic:
Santìsima Trinidad by Kevin - Artesanía Latina - 1/84 - started June 2025
-
chris watton reacted to a post in a topic:
Duchess of Kingston by Pitan - Vanguard Models - 1:64
-
chris watton reacted to a post in a topic:
Duchess of Kingston by Pitan - Vanguard Models - 1:64
-
chris watton reacted to a post in a topic:
Gun Port Lids
-
chris watton reacted to a post in a topic:
HMS Harpy 1796 by dunnock - Vanguard Models - 1:64
-
My fault, I really should have added an explanation in the manual. The tiller that you see is auxiliary - there is another tiller arm a little further down the rudder. If you look at the rudder, you can see I simulated the start of the lower tiller arm (a little stub near the top, but lower than the deck tiller arm) If you also showed a picture of the actual rudder, the lower tiller stub would be seen.
-
Very beautiful job you have done. I have sad many times, I am always amazed at the very high quality of work I see on this forum, and your Alert is right up there!
- 38 replies
-
- 5
-
-
-
- Alert
- Vanguard Models
- (and 1 more)
-
I like pre cut timberheads for kits - the alternative is a very tedious job for the kit purchaser....
-
Very well done, Kevin, you should be proud!
- 443 replies
-
- 1
-
-
- Indefatigable
- Vanguard Models
- (and 1 more)
-
Those look fantastic!
-
Damn, I thought I put more than enough deadeyes in - I shall add a few extra for future kits.
-
Vanguard MDF
chris watton replied to hornet's topic in Building, Framing, Planking and plating a ships hull and deck
I did already email you with my answer, so here is a portion of that emial I have already sent you you: I have used MDF for the past 18 years, starting at Amati - I am very surprised you did not know this! As I have explained countless time now, for some of the more complex designs, ply was no good, why? Because the tolorances on the thicknesses are comical, they can be anything between 2.7-3.4mm for a 3mm thick sheet. This is OK with very simple kits (just a simple keel and a few bulkheads), but not when so many parts need to slot and interlock well - using ply would be a disaster, as batches can vary a lot in thickness. Also to add, when sanding the bulkheads, it is much easier as the material is all the same. -
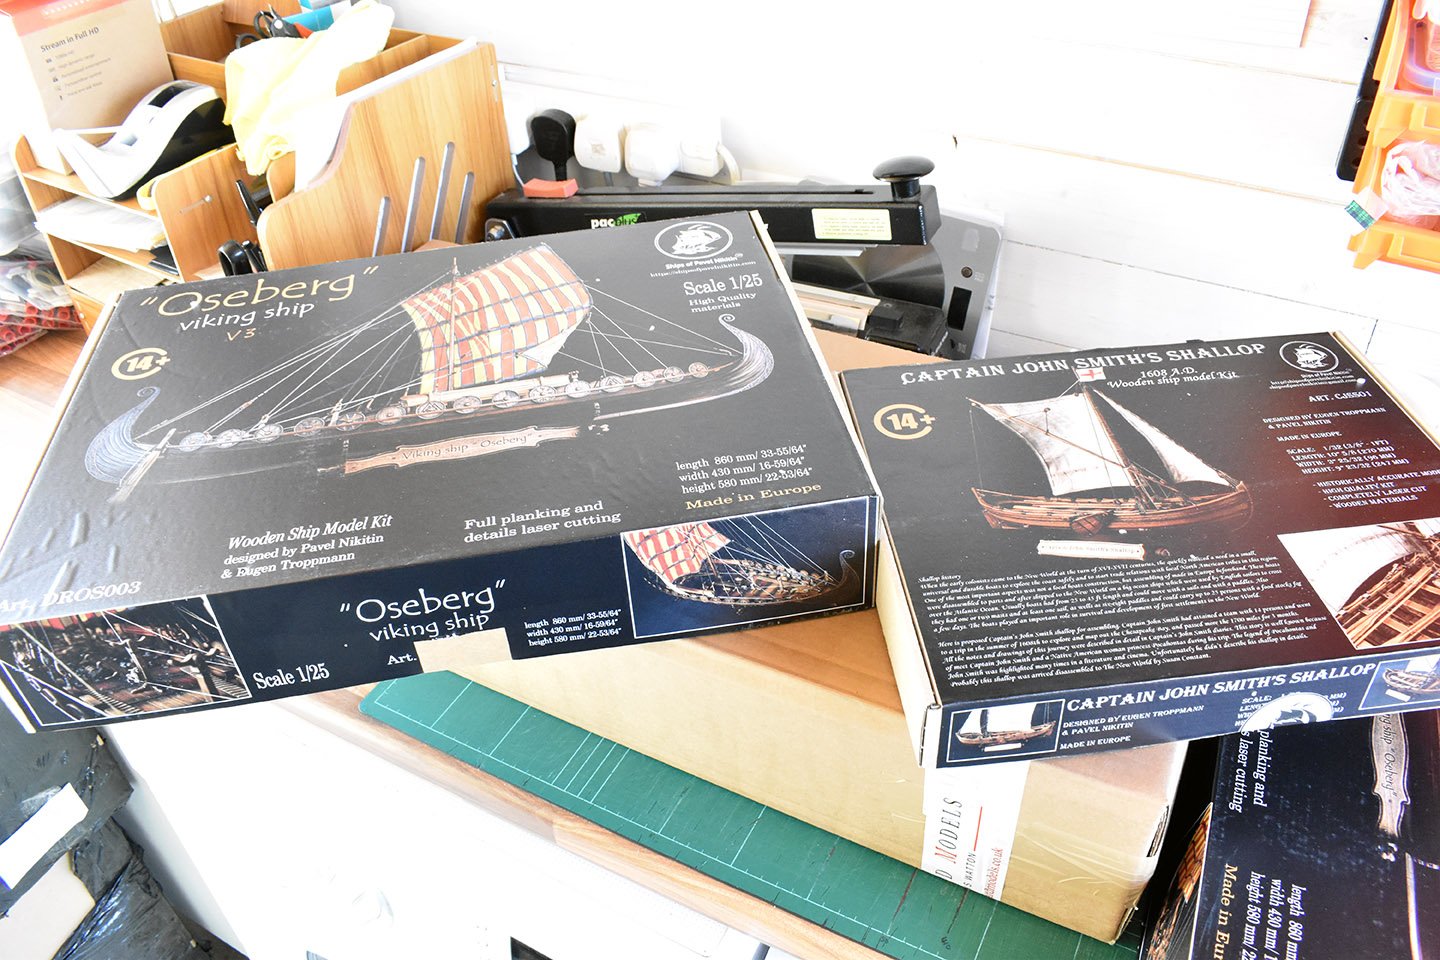
OK, now in stock (Finally...) The Viking ship "Oseberg" Version 3 (Ships of Pavel Nikitin) – Vanguard Models Captain John Smith's Shallop - Ships of Pavel Nikitin – Vanguard Models
-
On a separate note, I should have my shipments of Pavel Nitikin Viking ships and John Smiths Shallop kit arrive next week - I can tell you that the shipping costs were horrific...
-
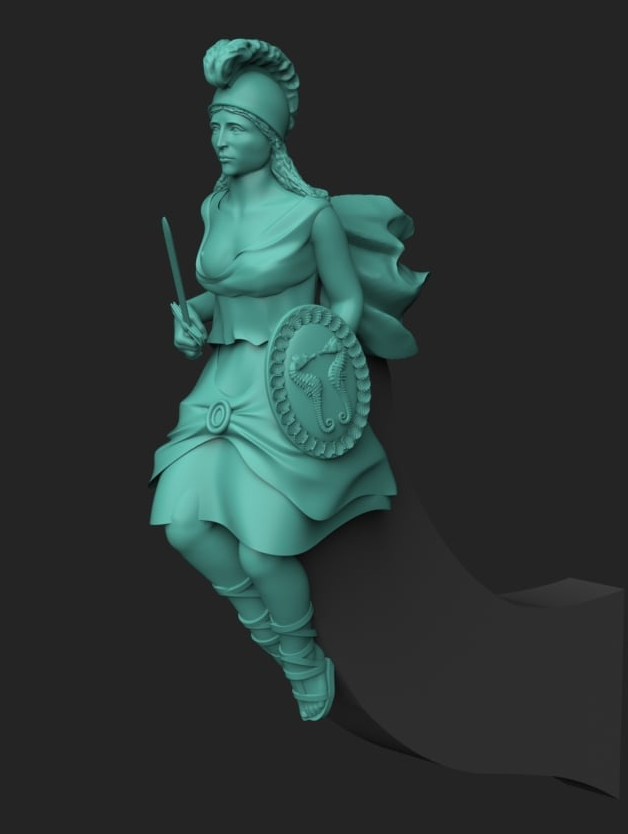
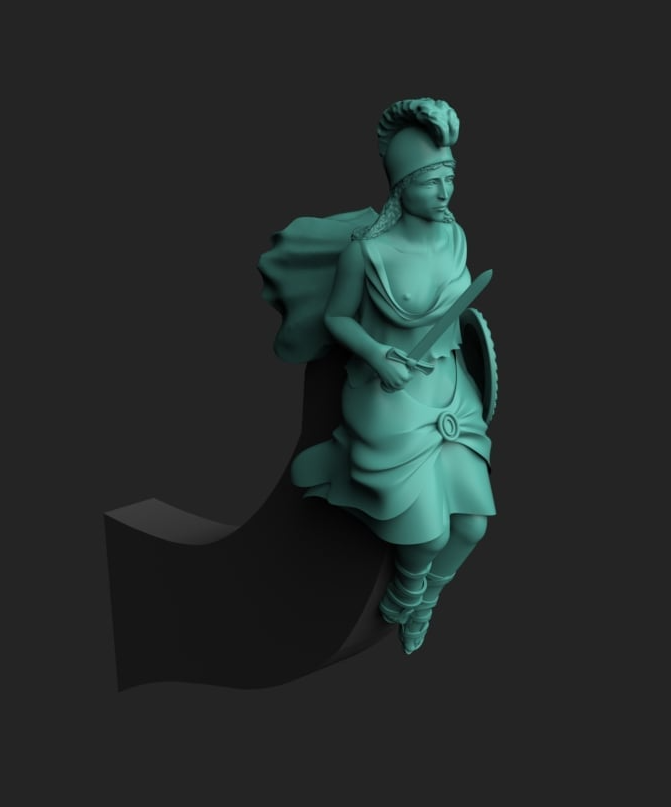
This morning I was sent the renders for the alternative figurehead for Surprise (and I suspect the one that most will use). Both versions will be included in the kit. Still have a lot of time to spend on this development...


- 817 replies
-
- 34
-
-
-
Yes, I use CA for the same thing, but that is never left on the model, it is just to make it easier to push the rope through the holes in the blocks.
-
Always best to glue as little as possible for masts and rig, because if something is accidentally broken, things are so much easier to repair. I do wince when I read that some use copious amounts of CA on their rigging, rather than a little dab of diluted PVA.. Harpy looking fantastic!
-
Well, being a wooden kit, there is nothing to stop you doing this and discarding the kit parts. I see this with the pre made decks, some plank their own. Nothing wrong with doing this at all. Indeed, I expect it from some modellers.
- 817 replies
-
- 11
-