-
Posts
132 -
Joined
-
Last visited
Content Type
Profiles
Forums
Gallery
Events
Everything posted by Johngr
-
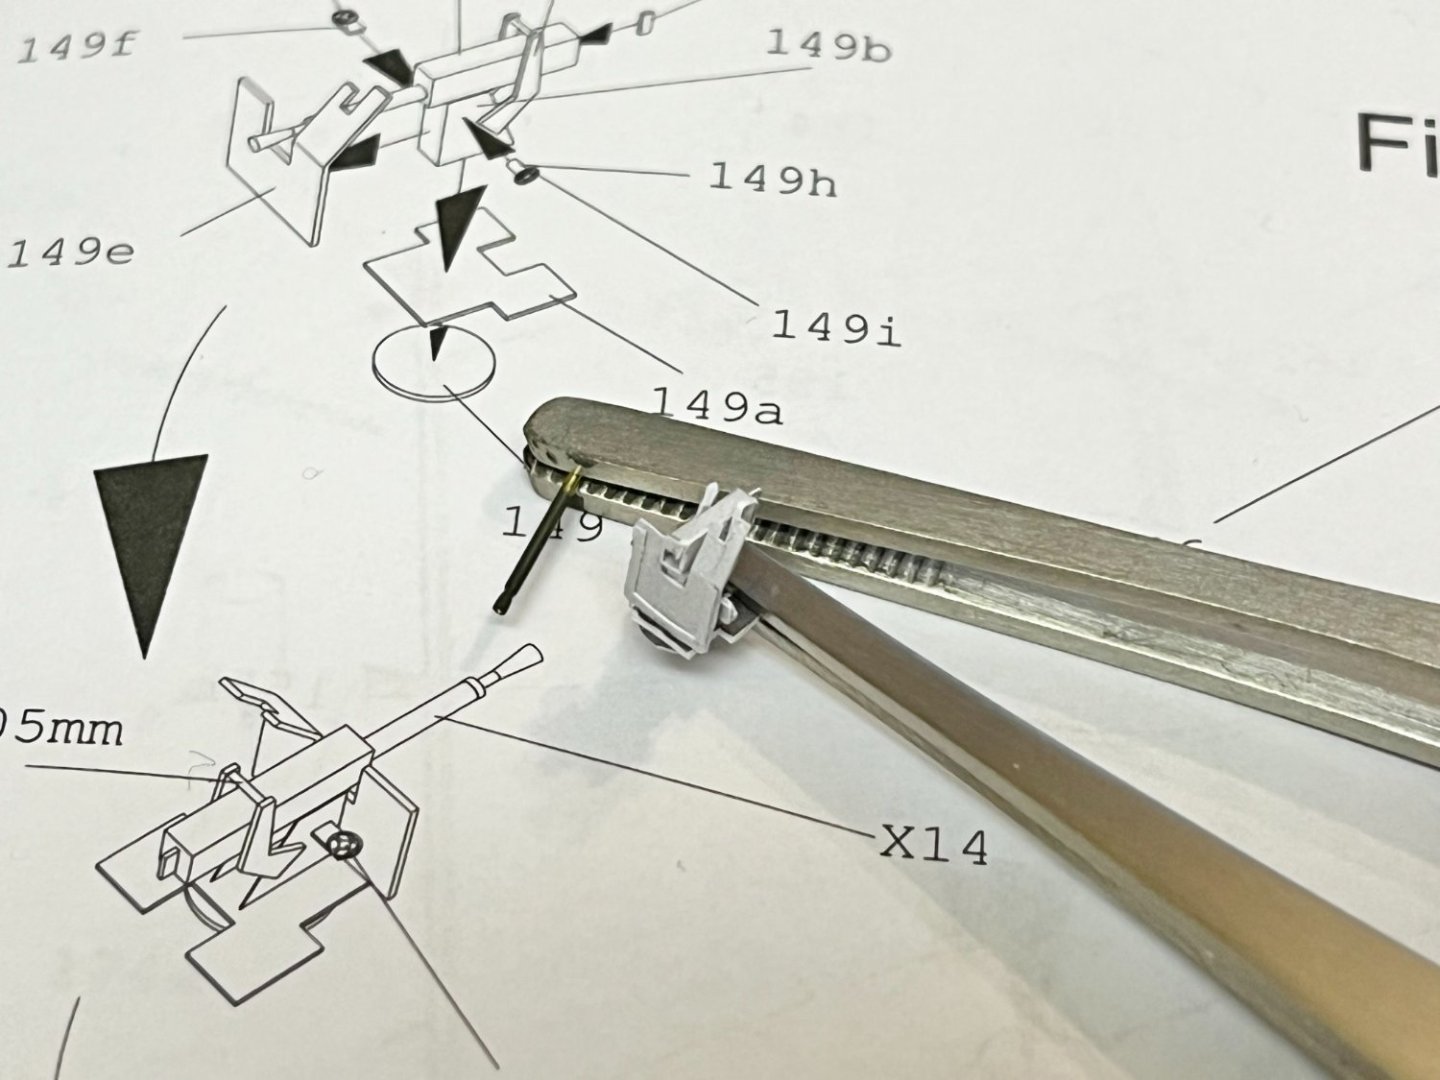
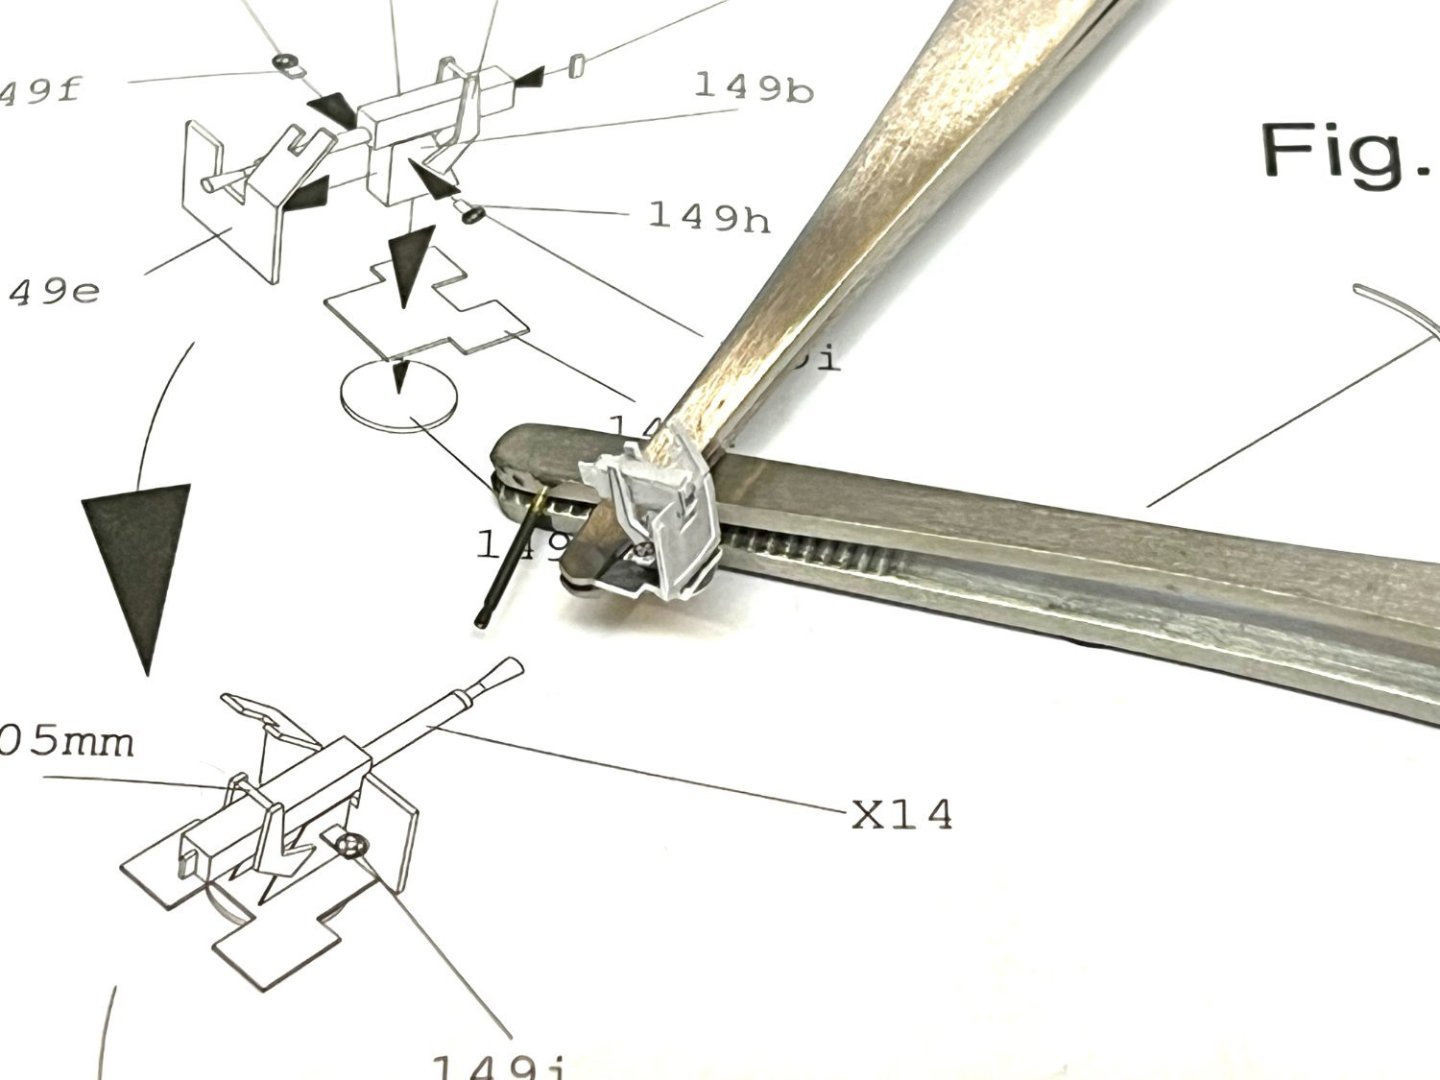
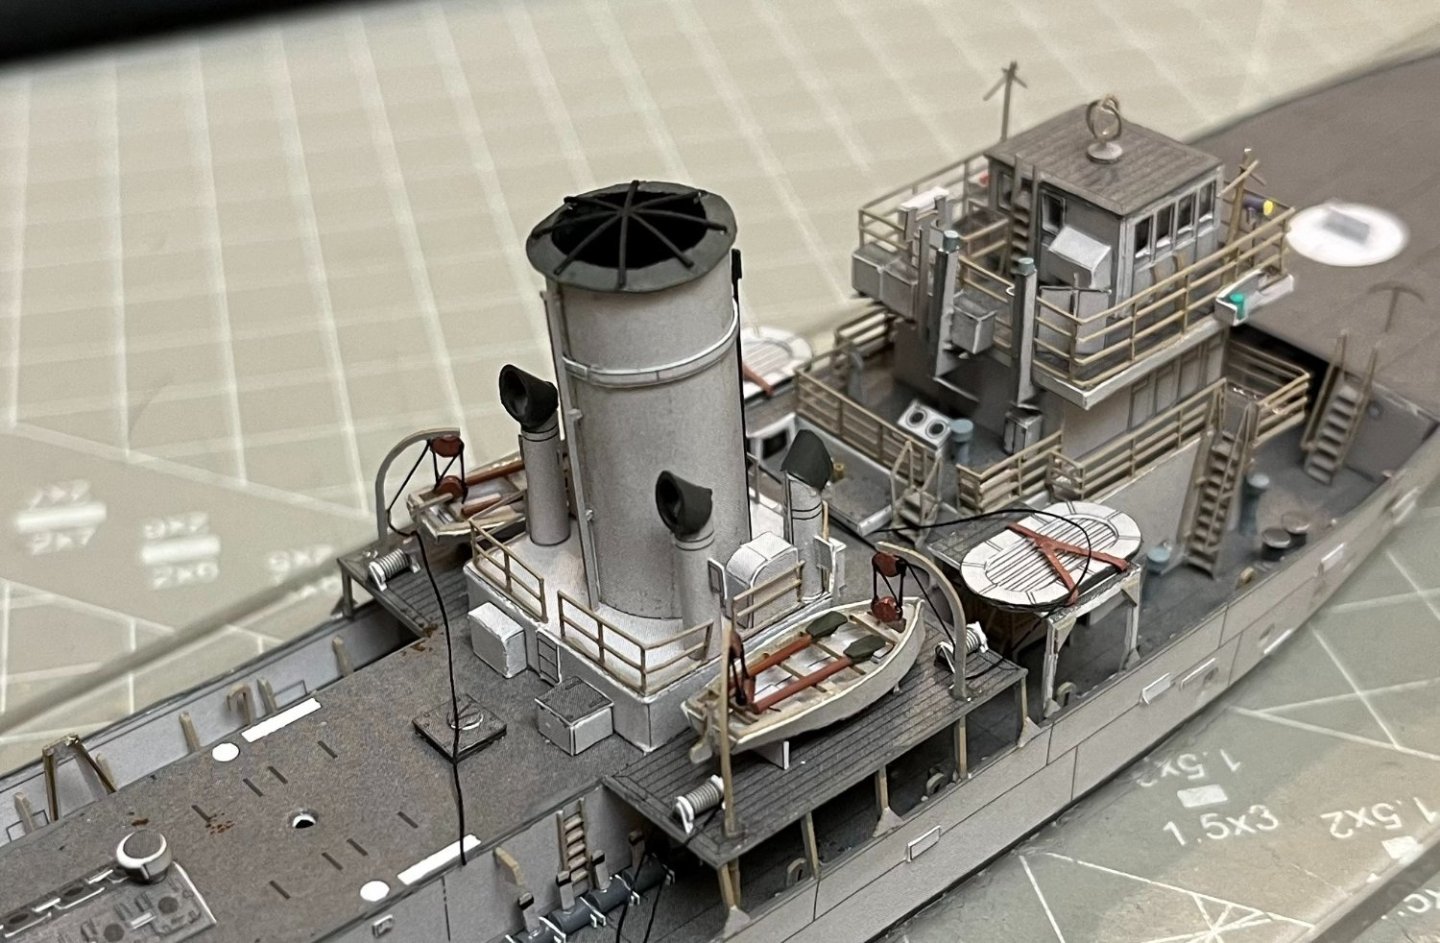
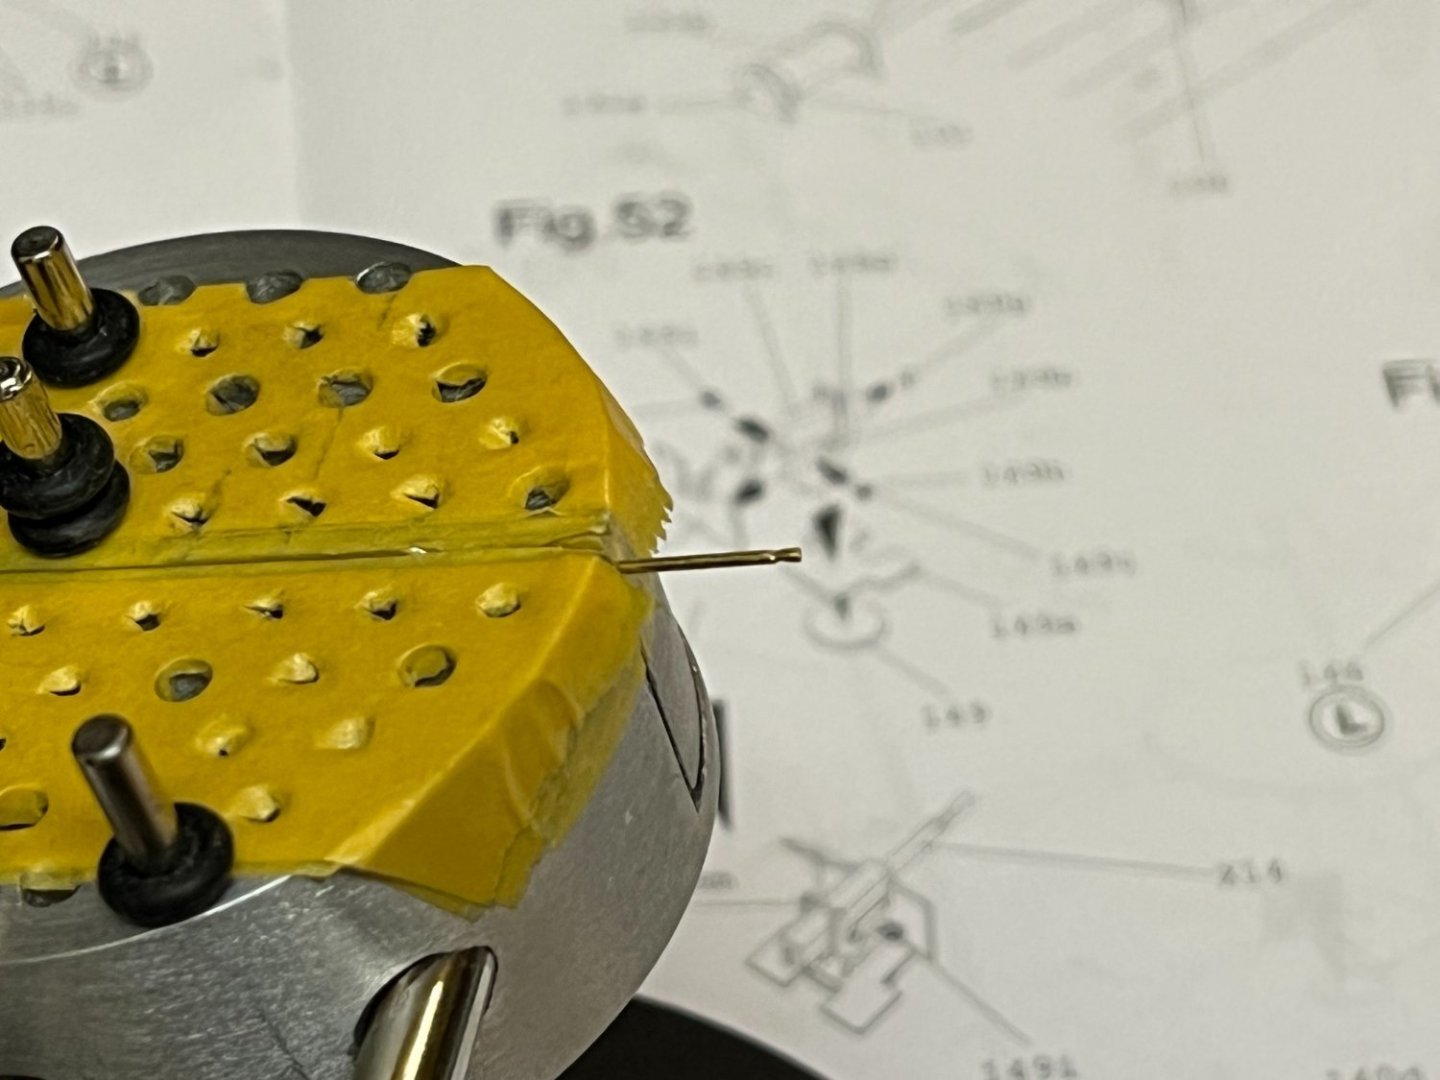
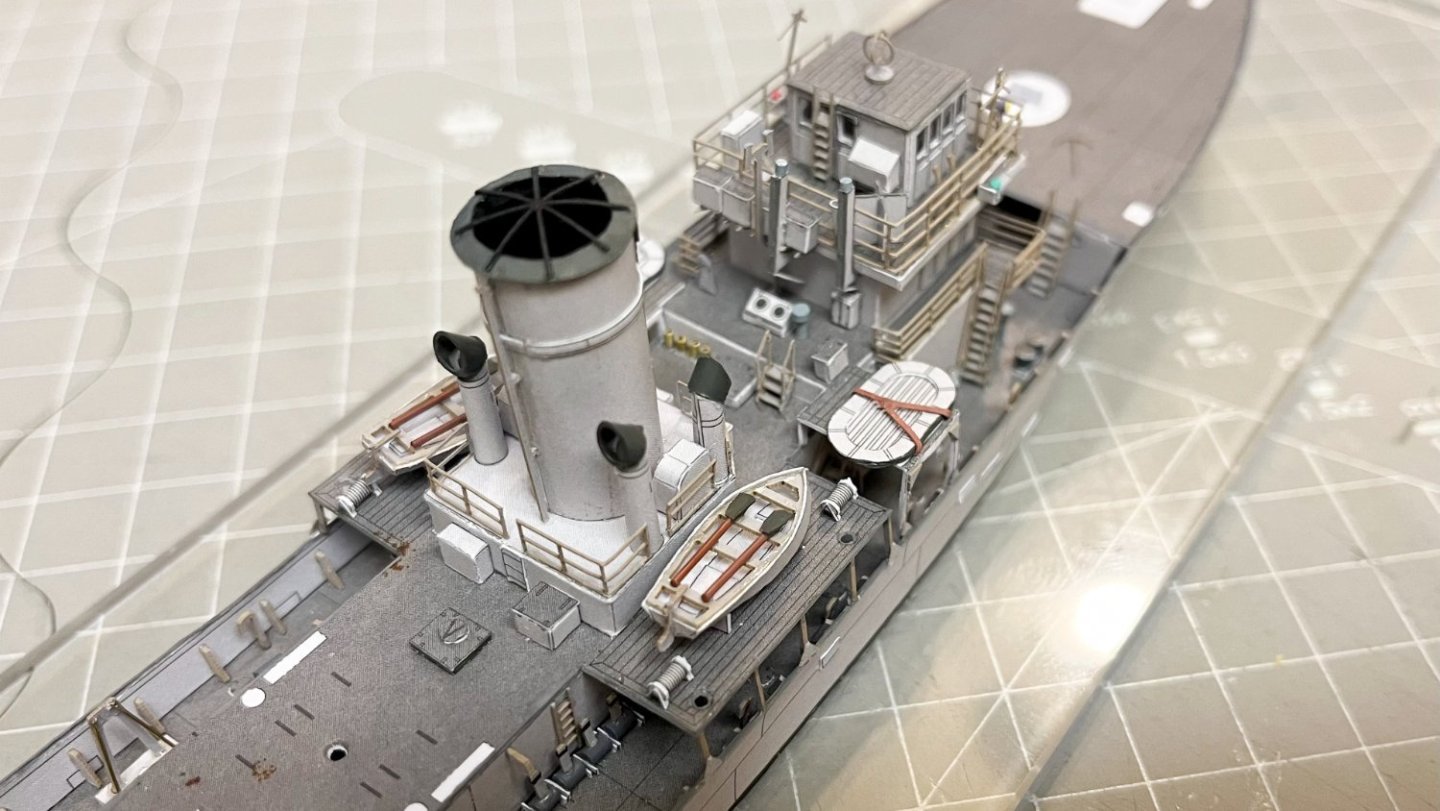
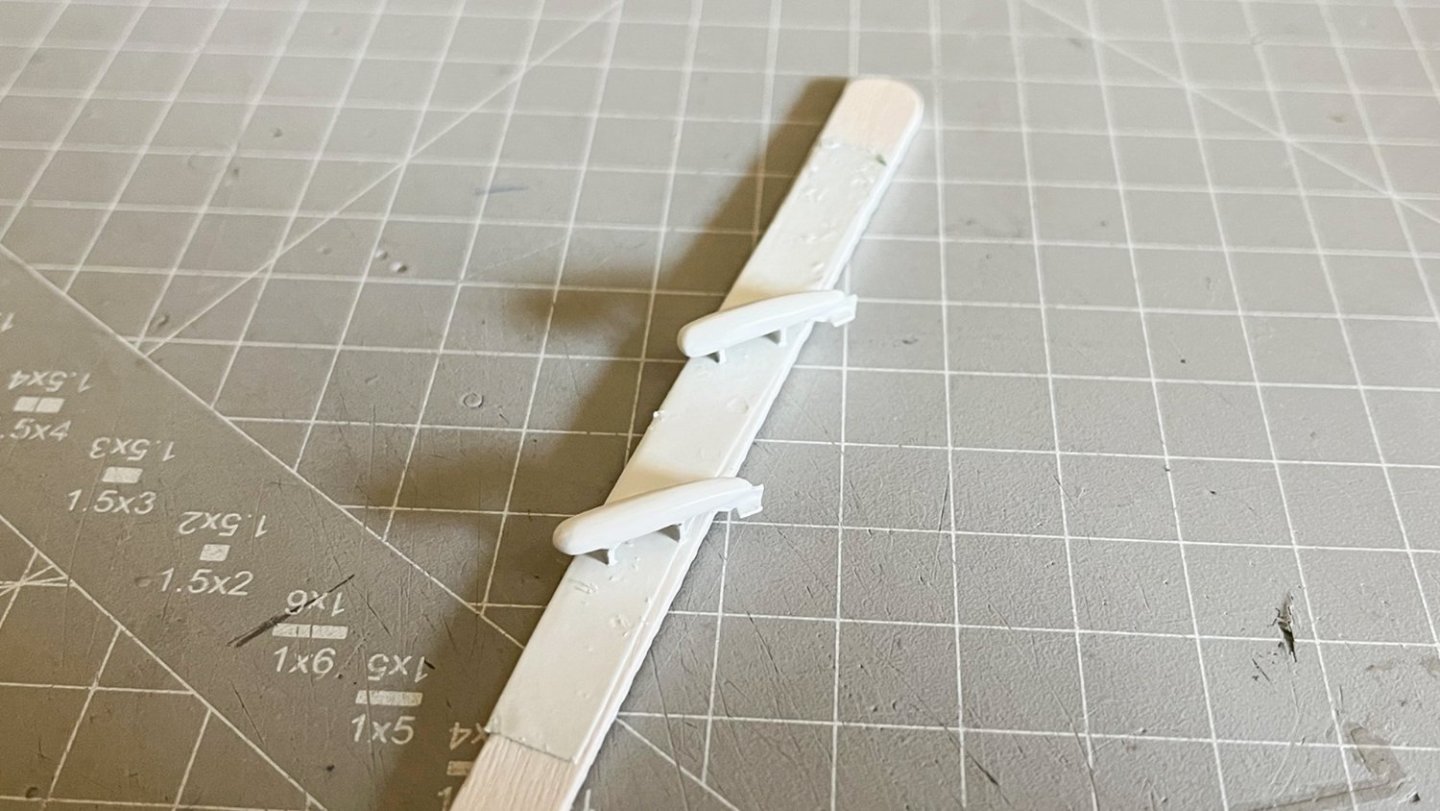
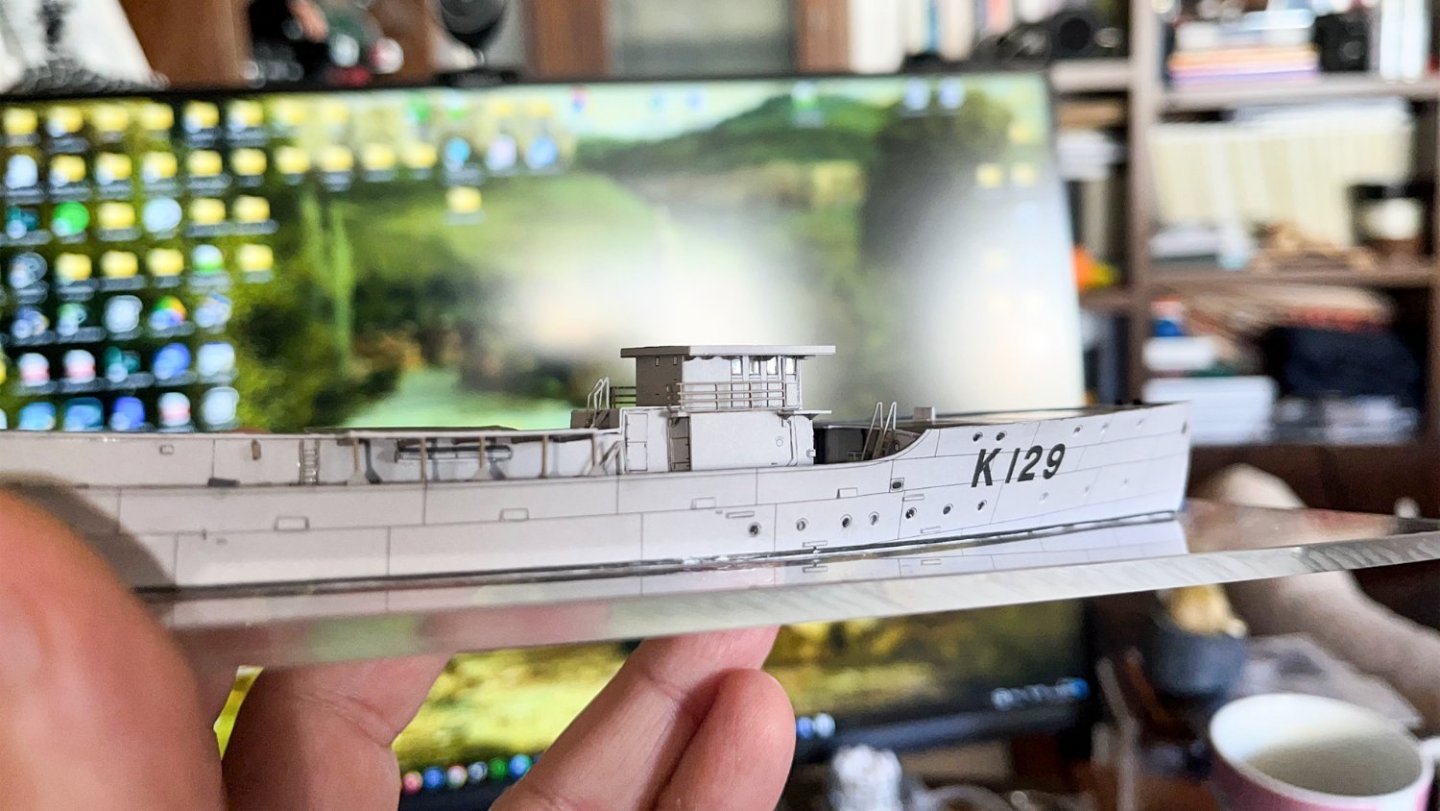
Very busy these days but I was able to partially fit the cranes and pulleys and shape one of the two main gun from brass tube.
-
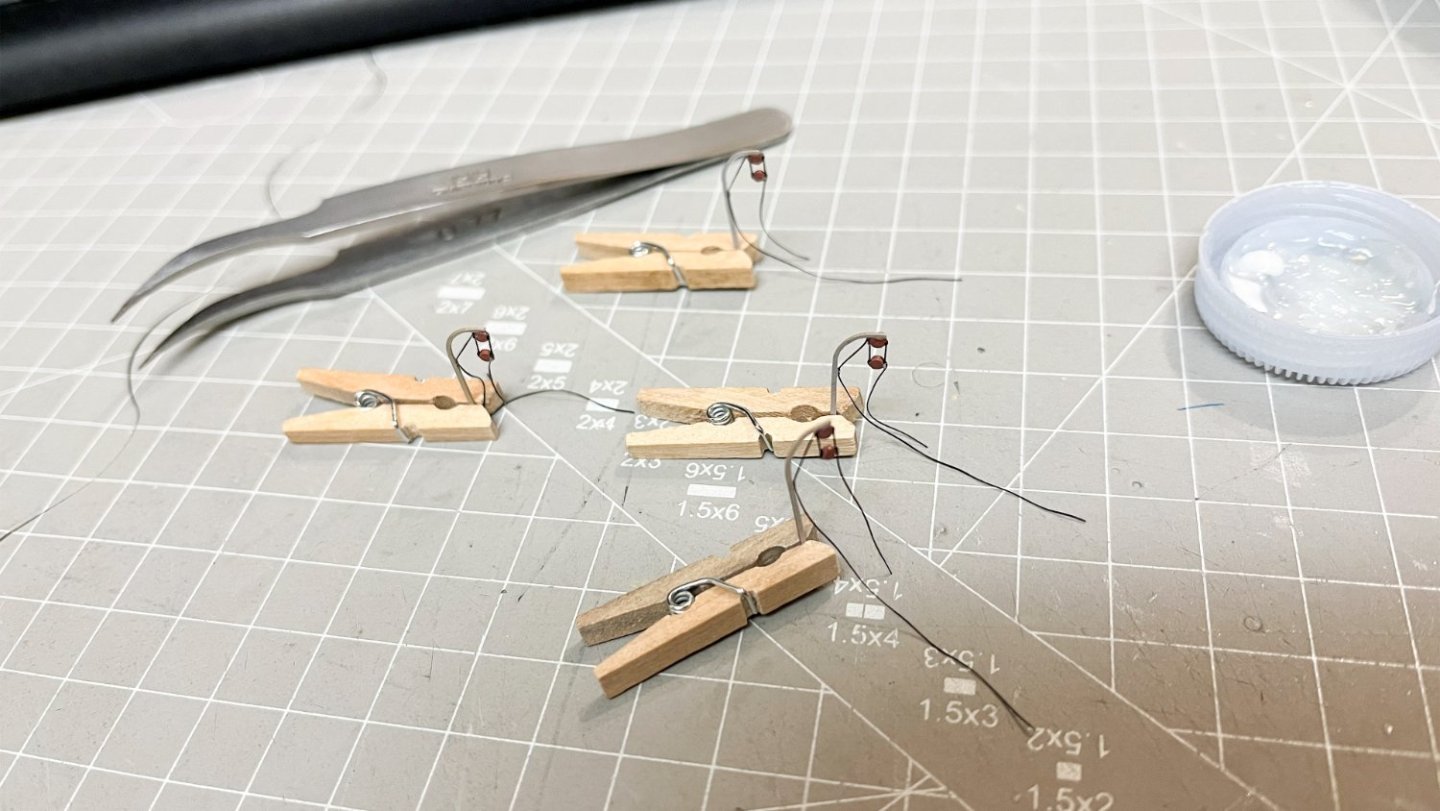
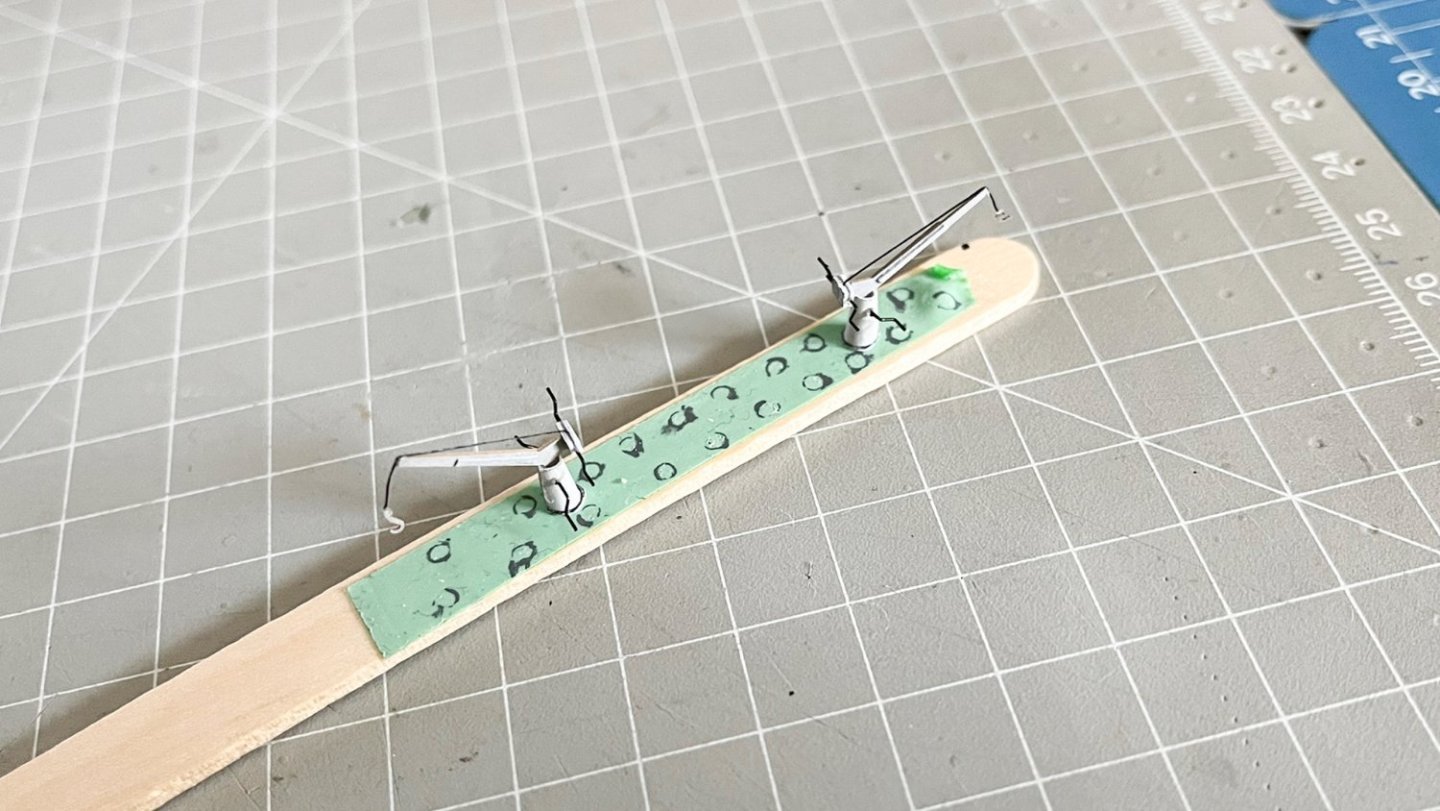
For today i prepared the cranes for the two boats adding some extra details as pulleys. I also uploaded a short video of the model in its current construction phase.
-
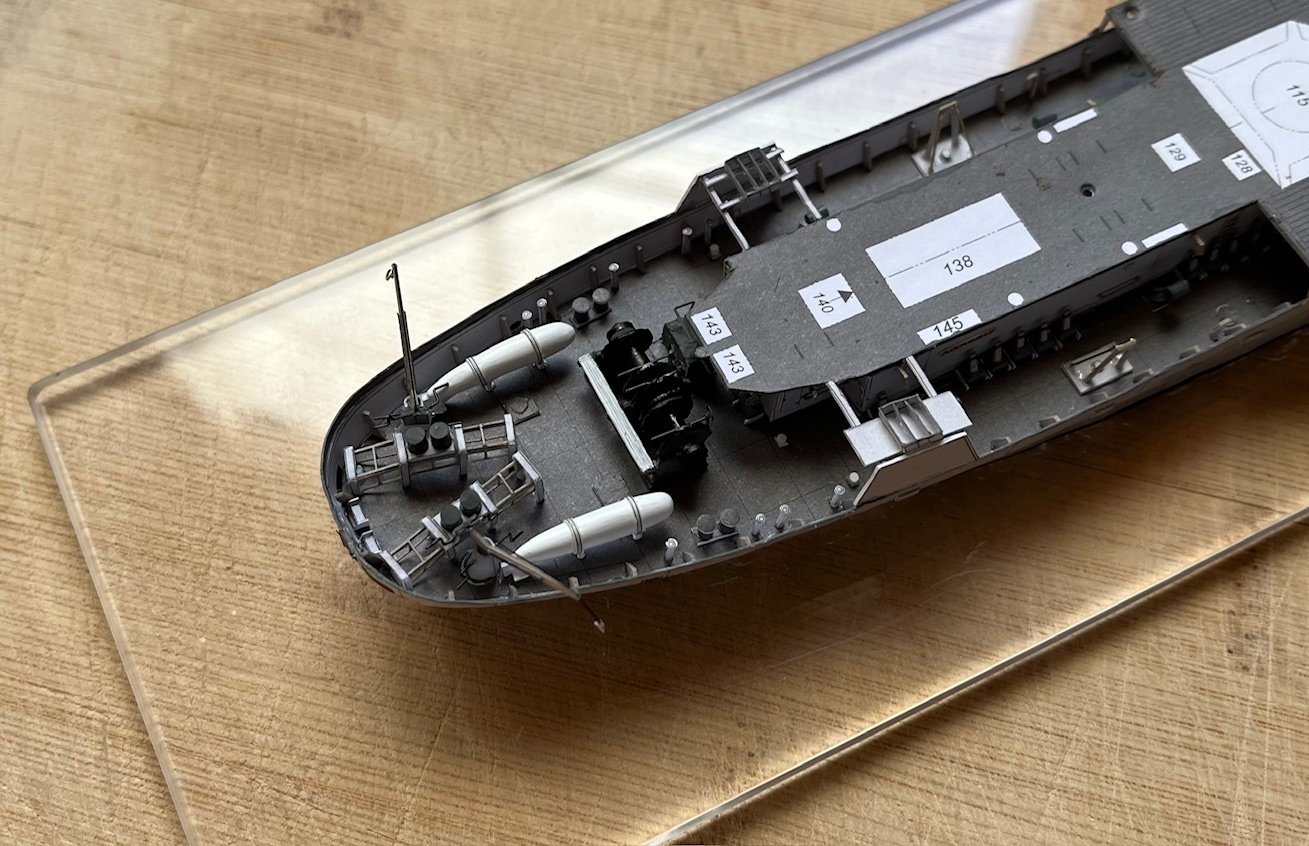
Various sub assembles made and glued in place on the stern. I preferred to place the cranes in an extension outside the hull with the prospect of hanging some smaller equipment later.
-
I recently bought the kit FlyHawk 1/700 - SMS Emden - Amazing detail on such a scale! One of the best I've ever seen. Probably be the next one I start..
-
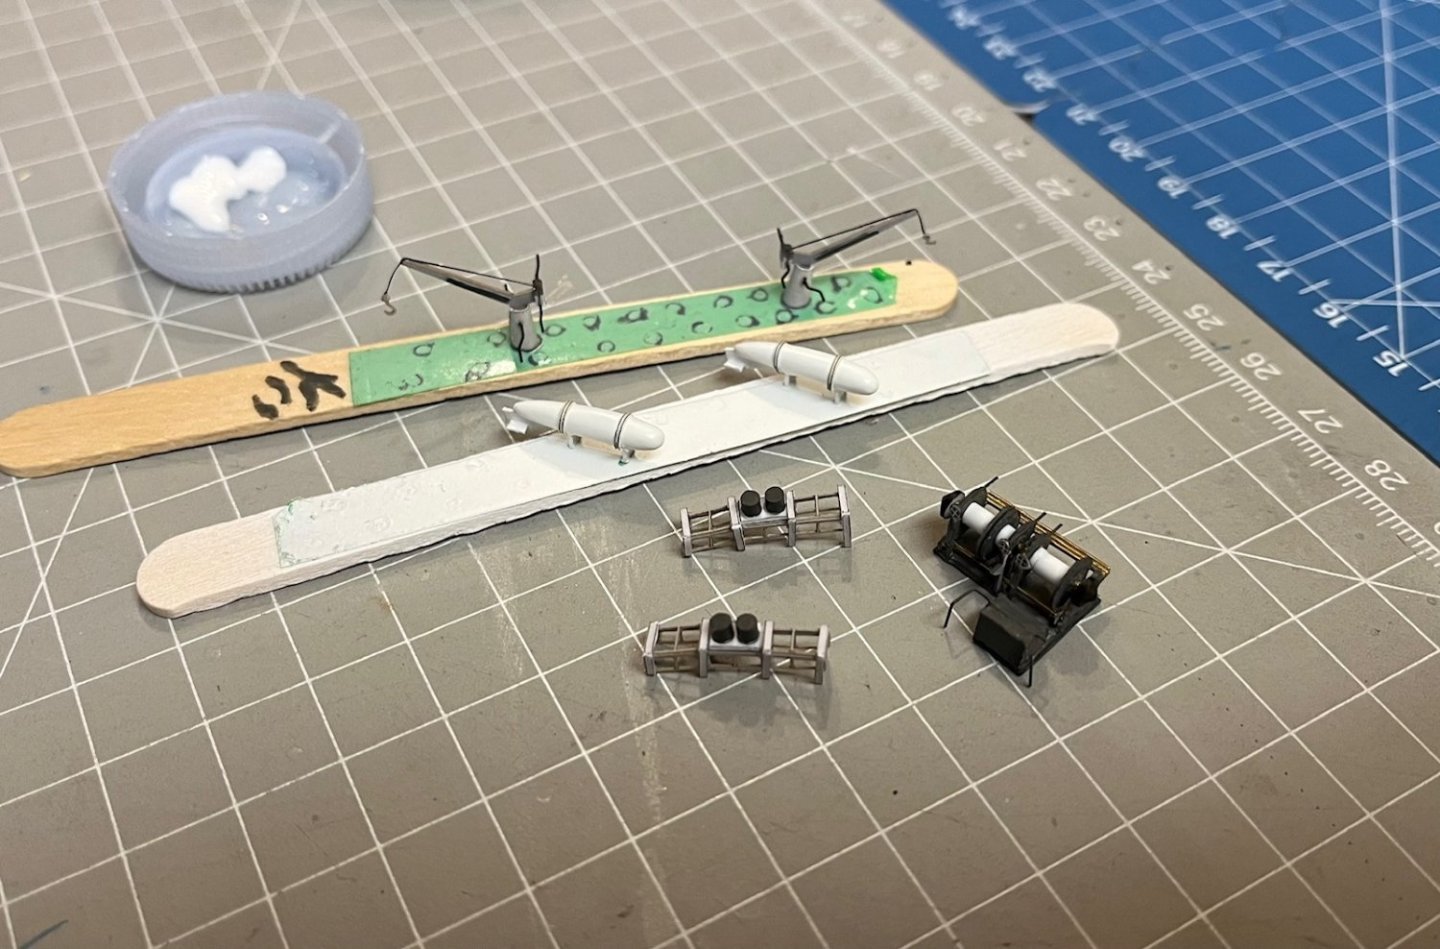
Primer first and sanding for the final step with the end result also i make the cranes ready for gluing
-

DE ZEVEN PROVINCIEN 1665 - SEAHORSE- 1:100 - CARD KIT UNBOXING
Johngr replied to Johngr's topic in REVIEWS: Model kits
The added extra are very well made , i think the premium is worth it. -
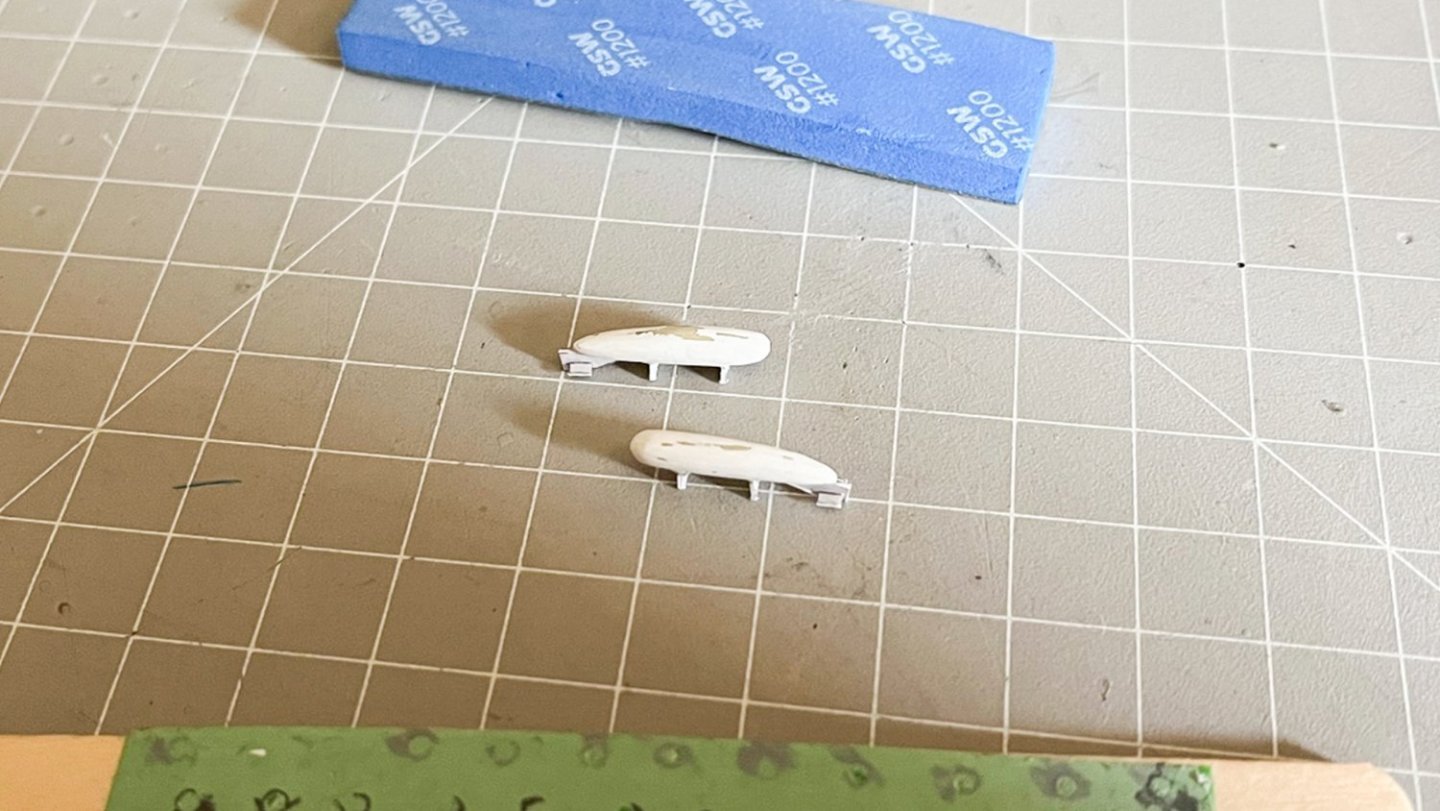
Thank you for the clarification. Your knowledge of the subject is impressive. I did a quick search to find out more and it brought up the name Oropesa. From wikipedia An Oropesa is a streamlined towed body used in the process of minesweeping. The role of the Oropesa is to keep the towed sweep at a determined depth and position from the sweeping shipOropesa are standard devices used on Avenger-class mine countermeasures ships. The device derives its name from the ship on which it was developed, HMS Oropesa, a converted British Steam trawler.
-
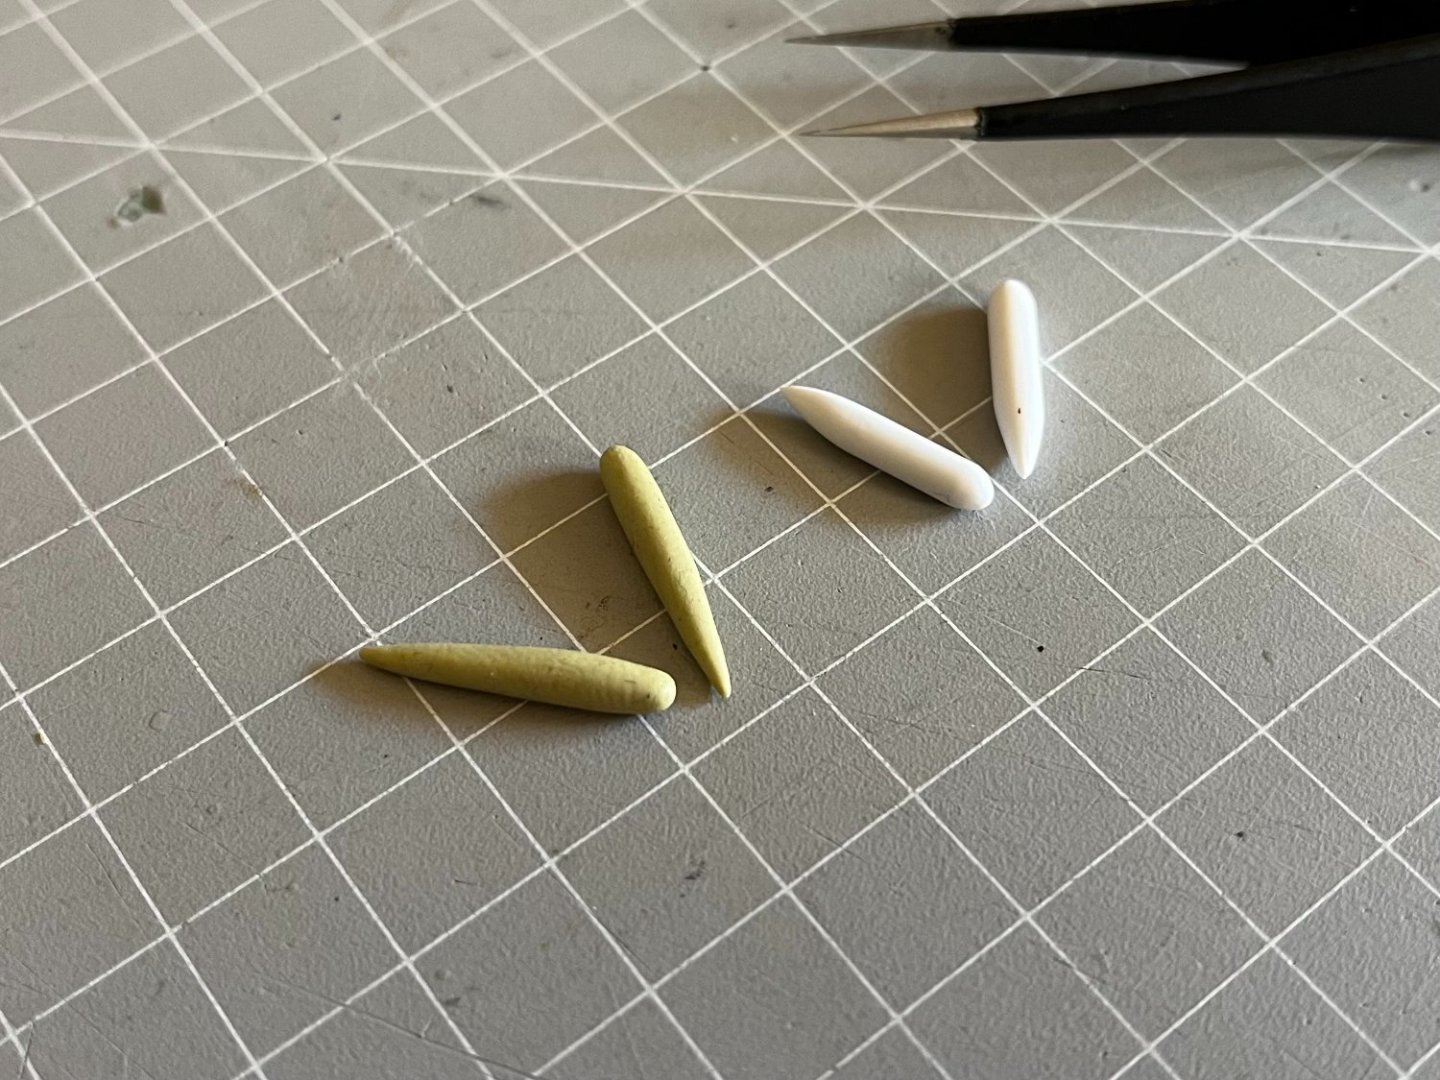
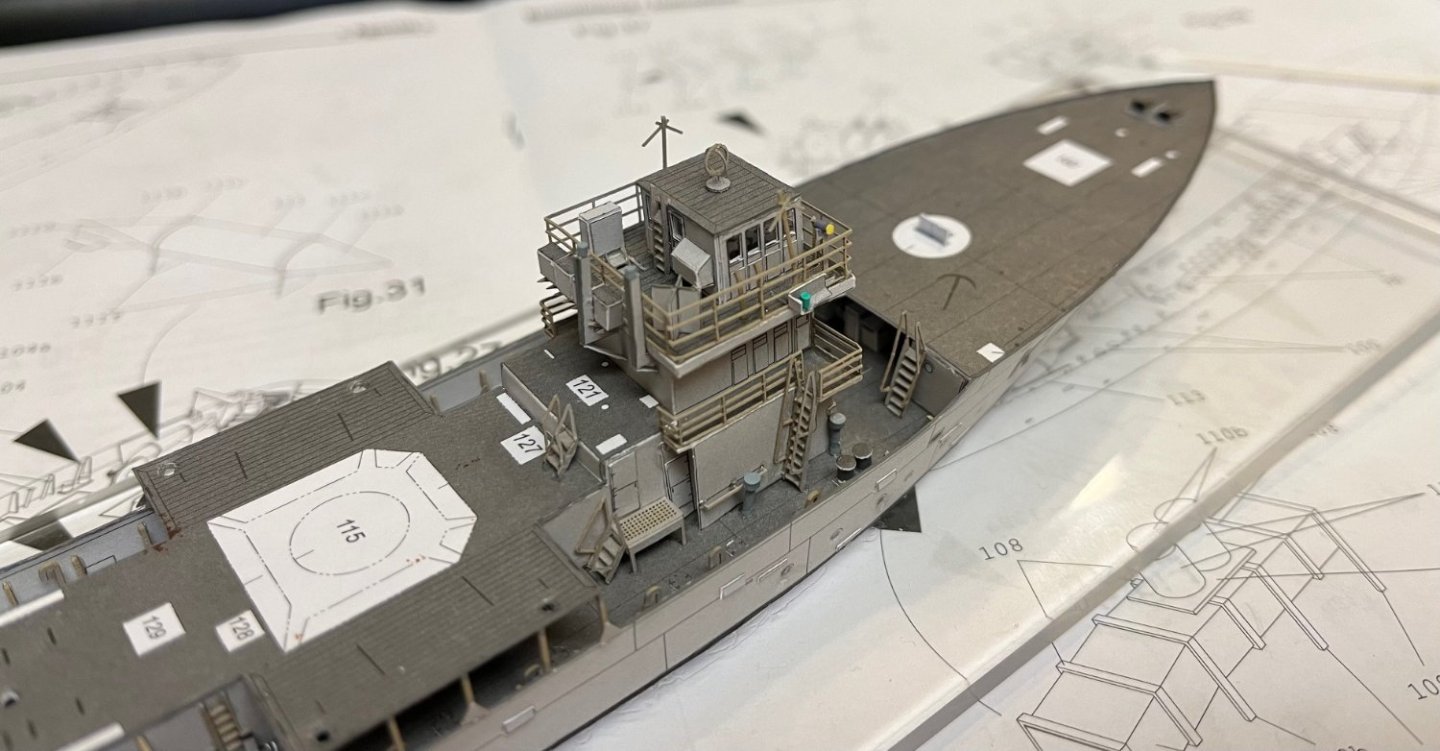
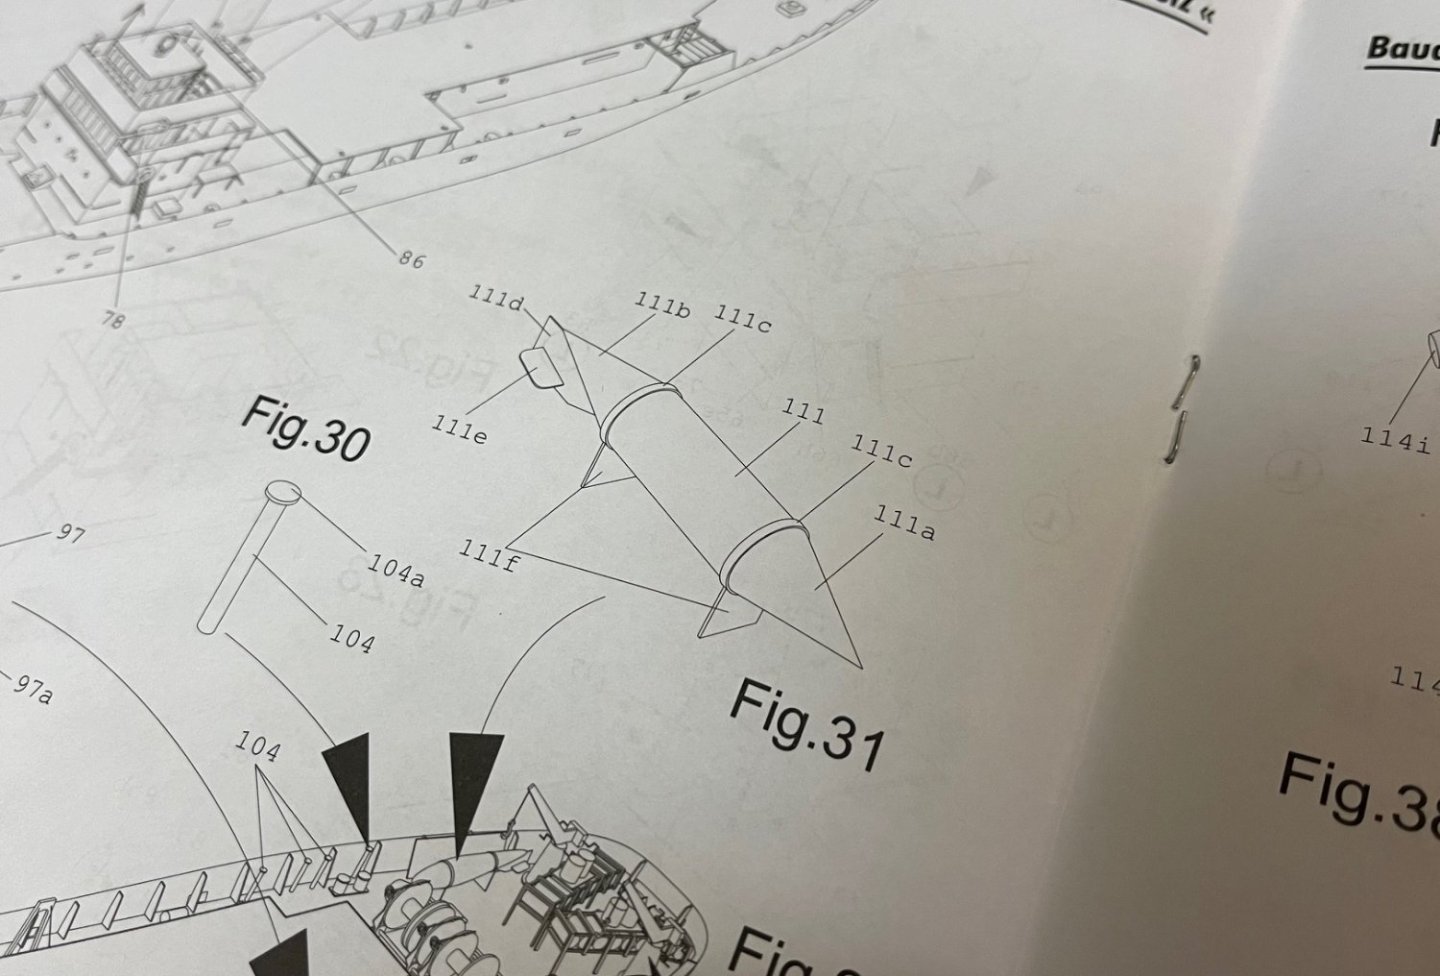
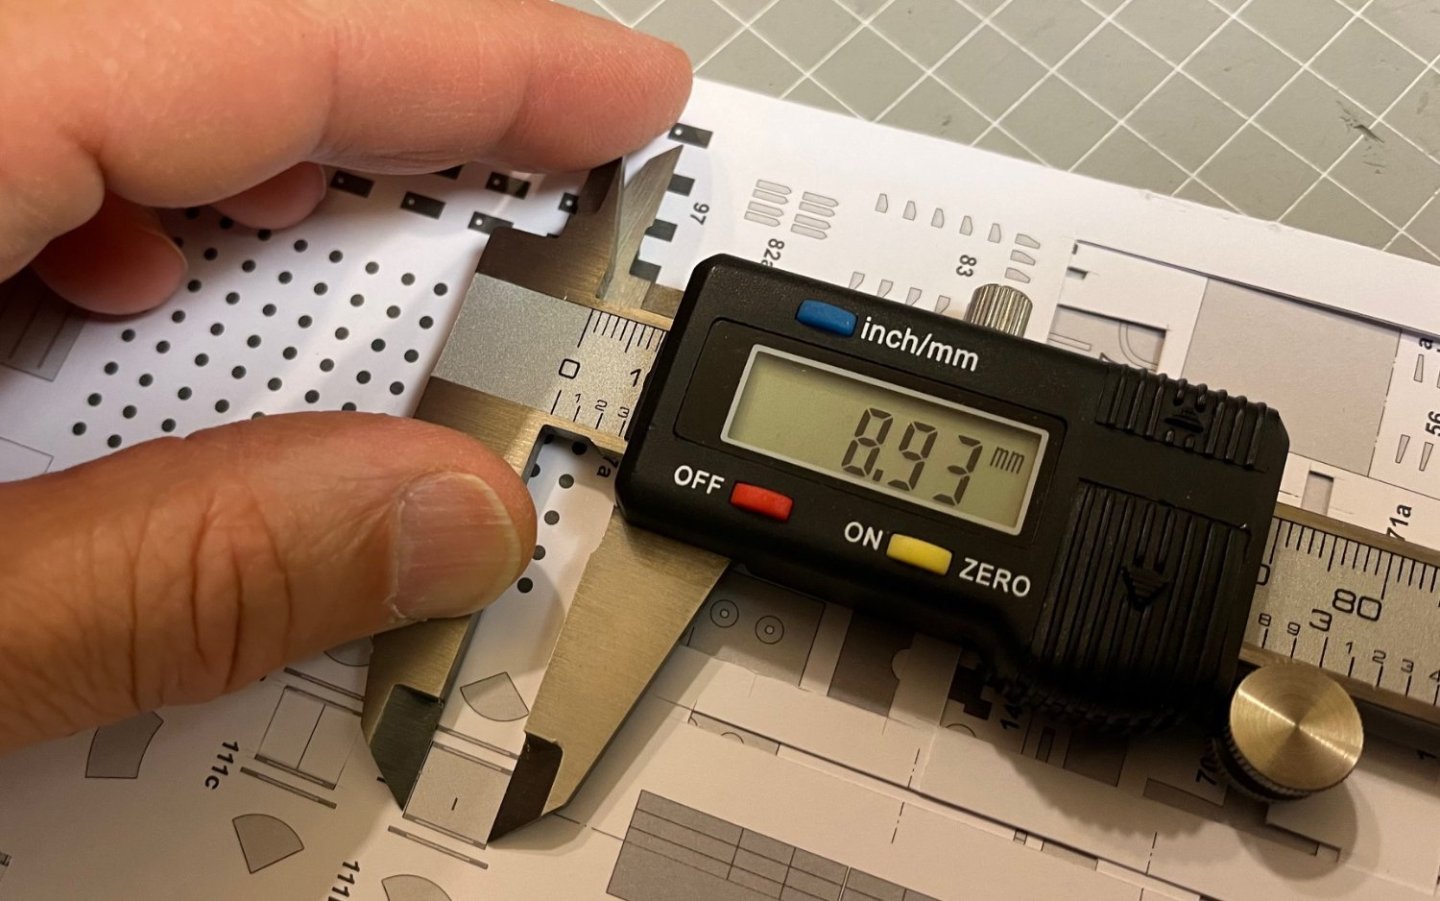
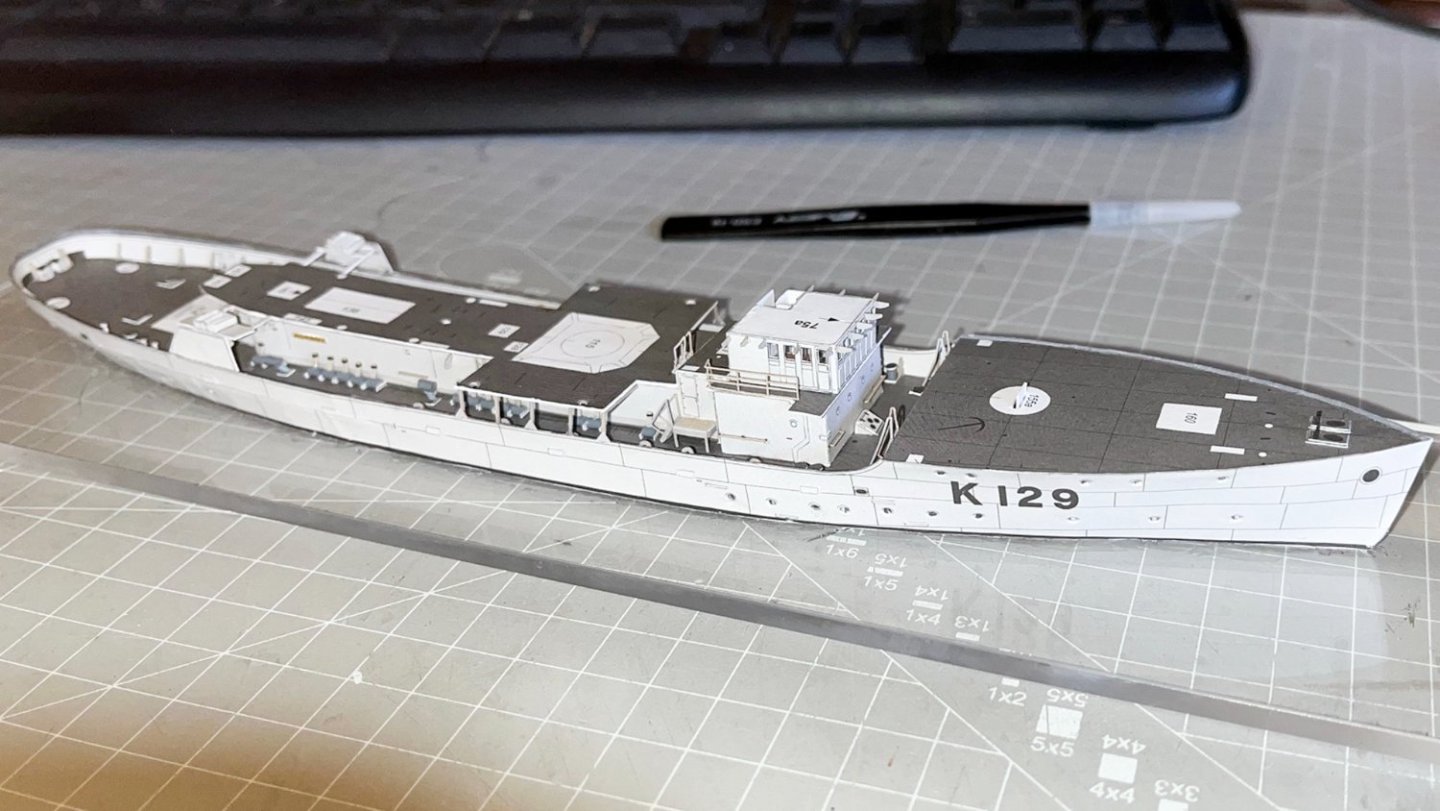
Over the weekend I prepared the second deck in the same way by cutting out the windows and installing clear sheeting. The rest of the bridge elements were also installed and I painted the edges in several parts of the deck. For the torpedoes I decided to use plastic rods but first I had to calculate their diameter. The circumference was measured close to 8.93 millimeters, so with the formula d= C / π (8.93 / 3.14159) the diameter = 2.84mm. I have 2.5mm and 3mm rods, and I will probably go to 2.5mm. I think it's closer to scale.
-
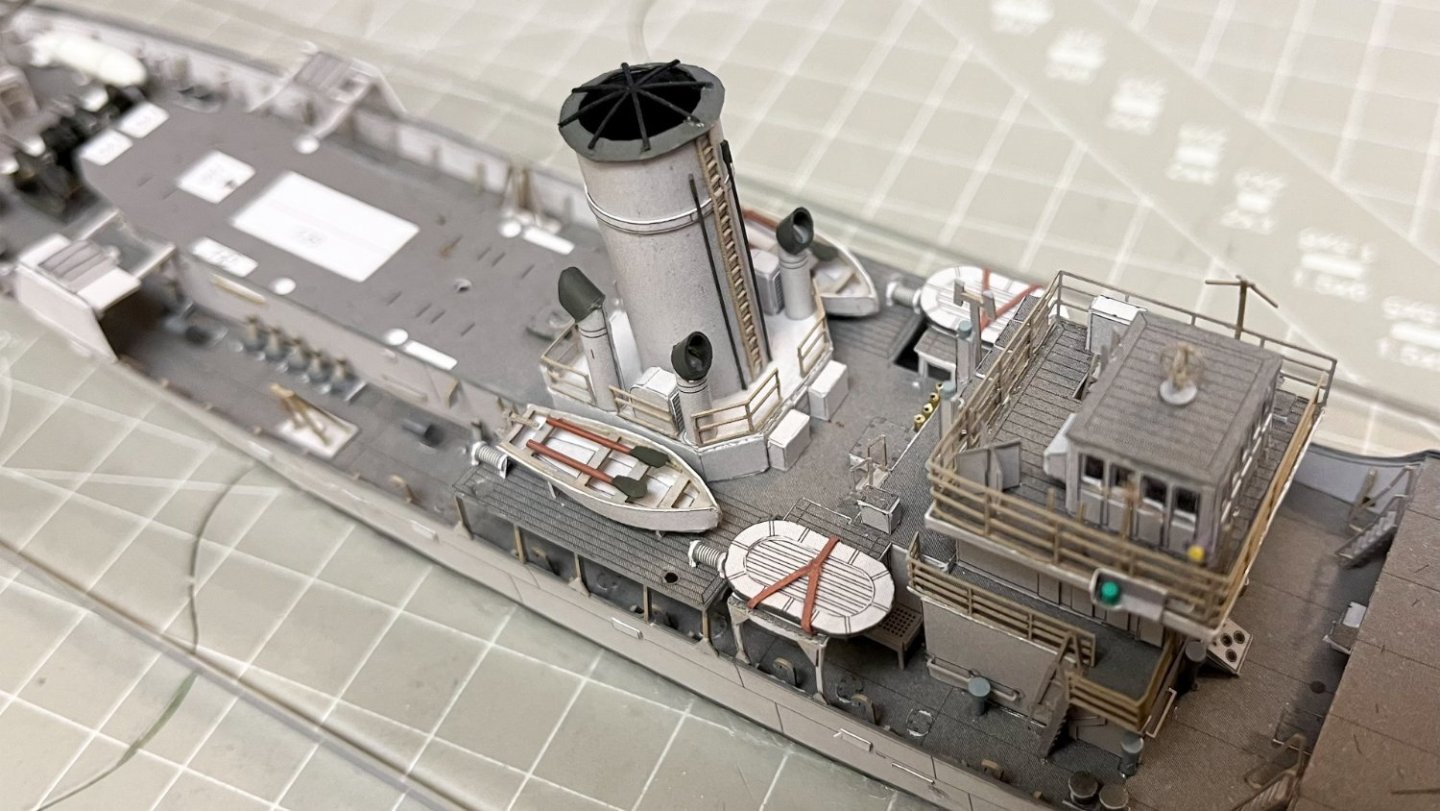
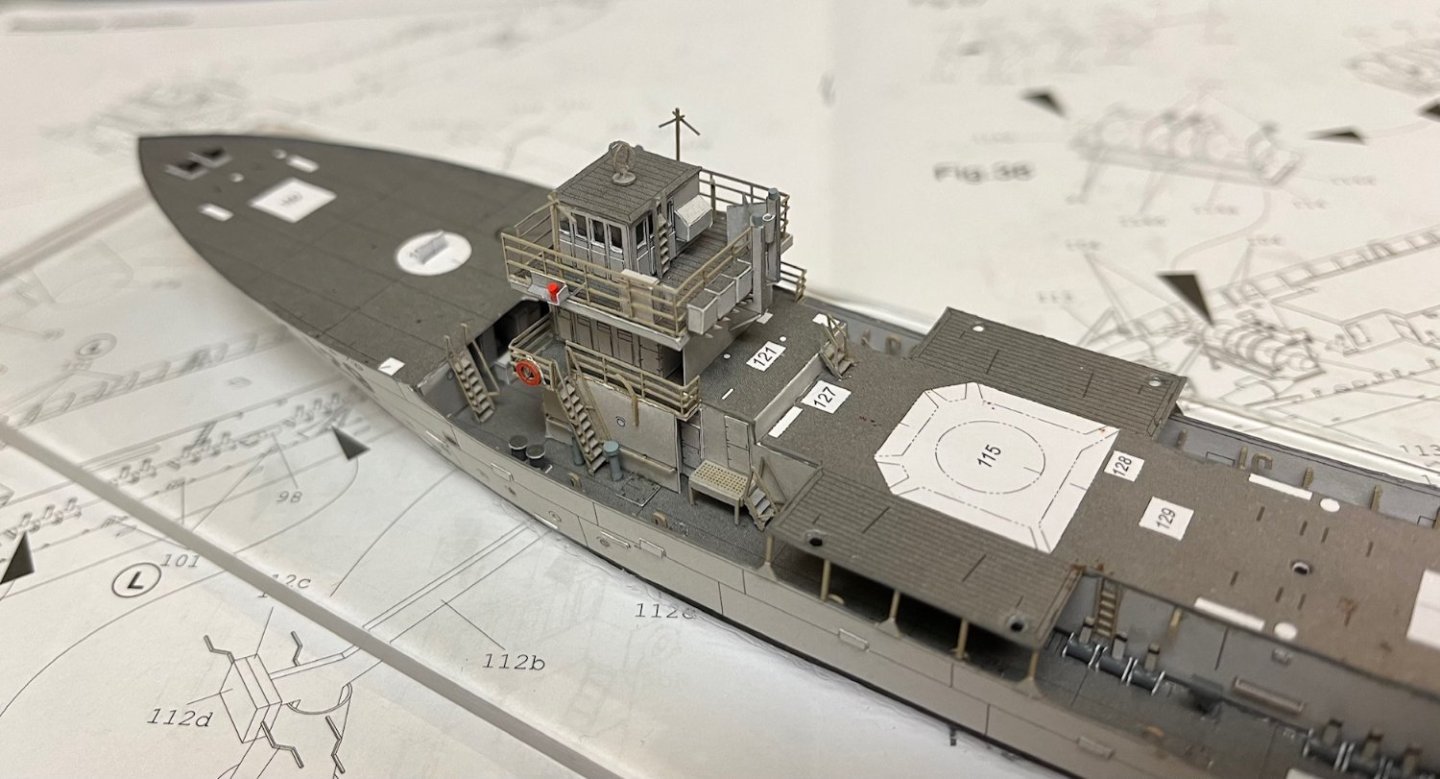
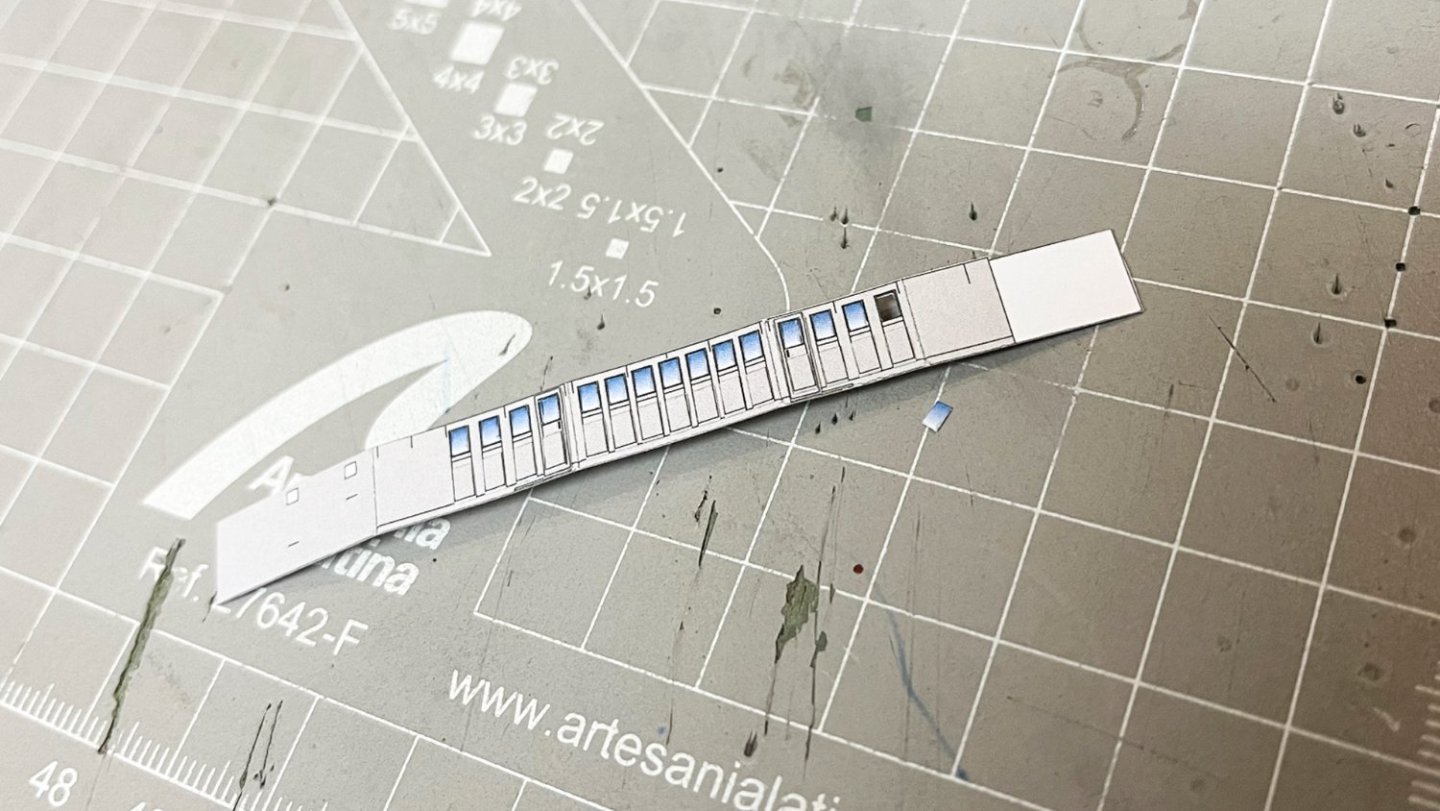
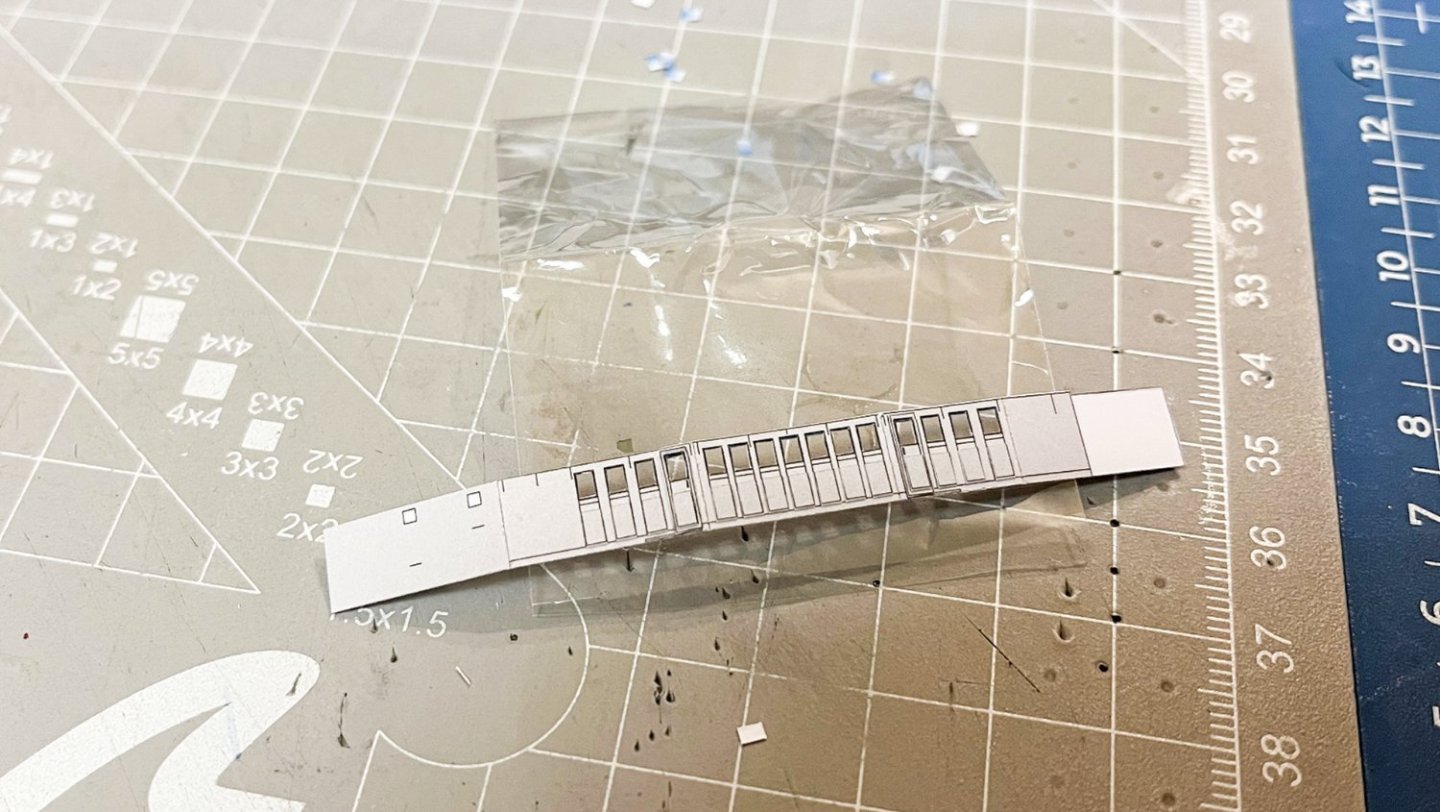
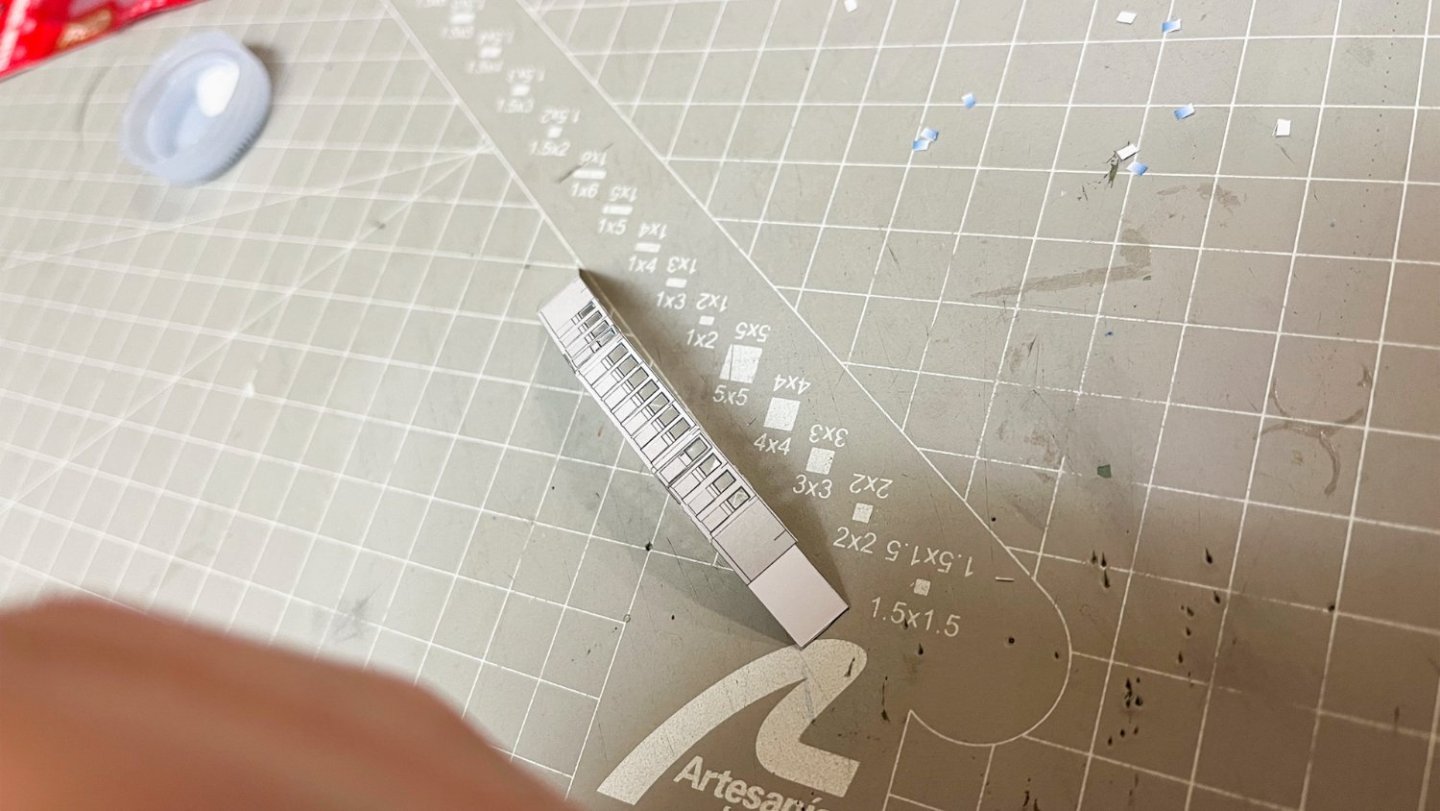
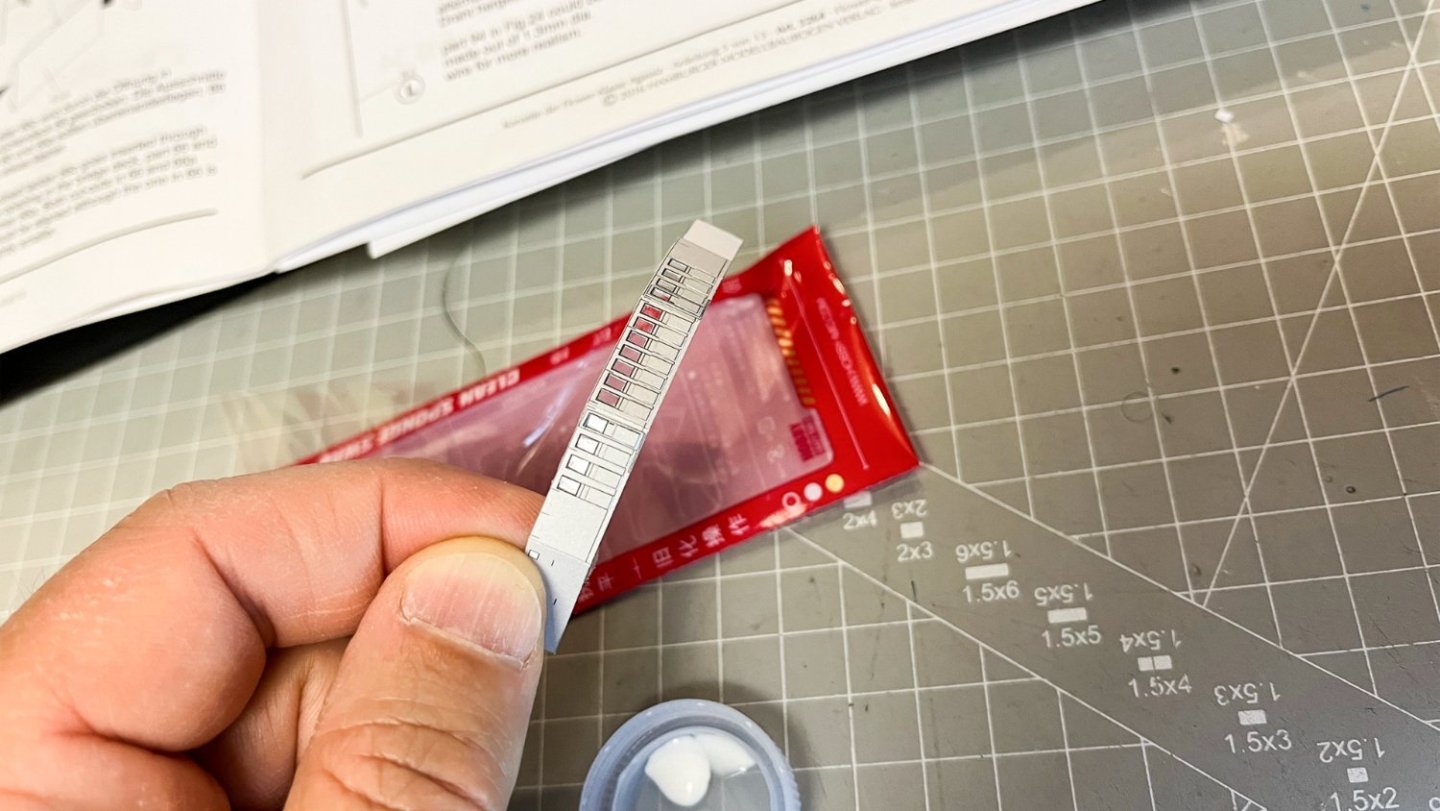
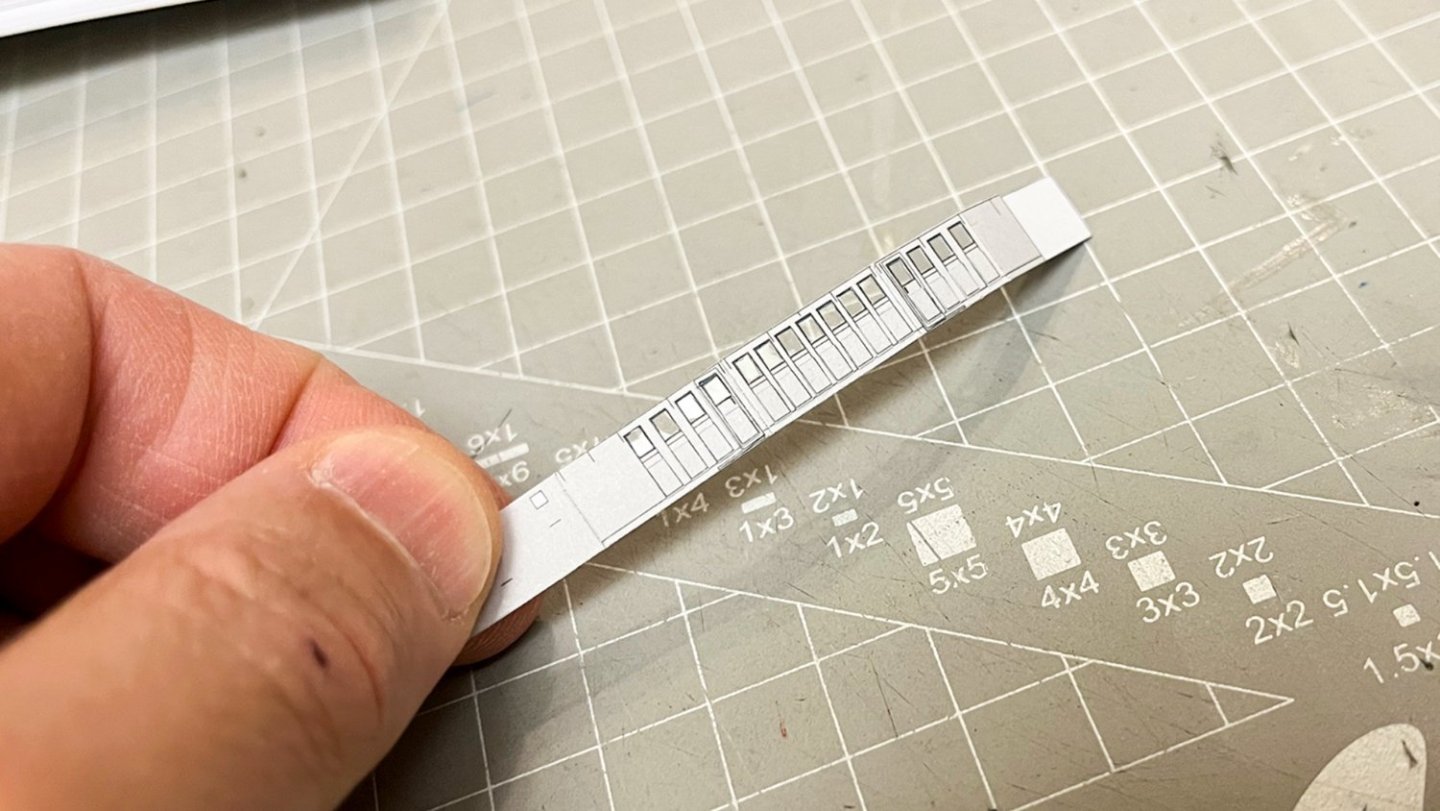
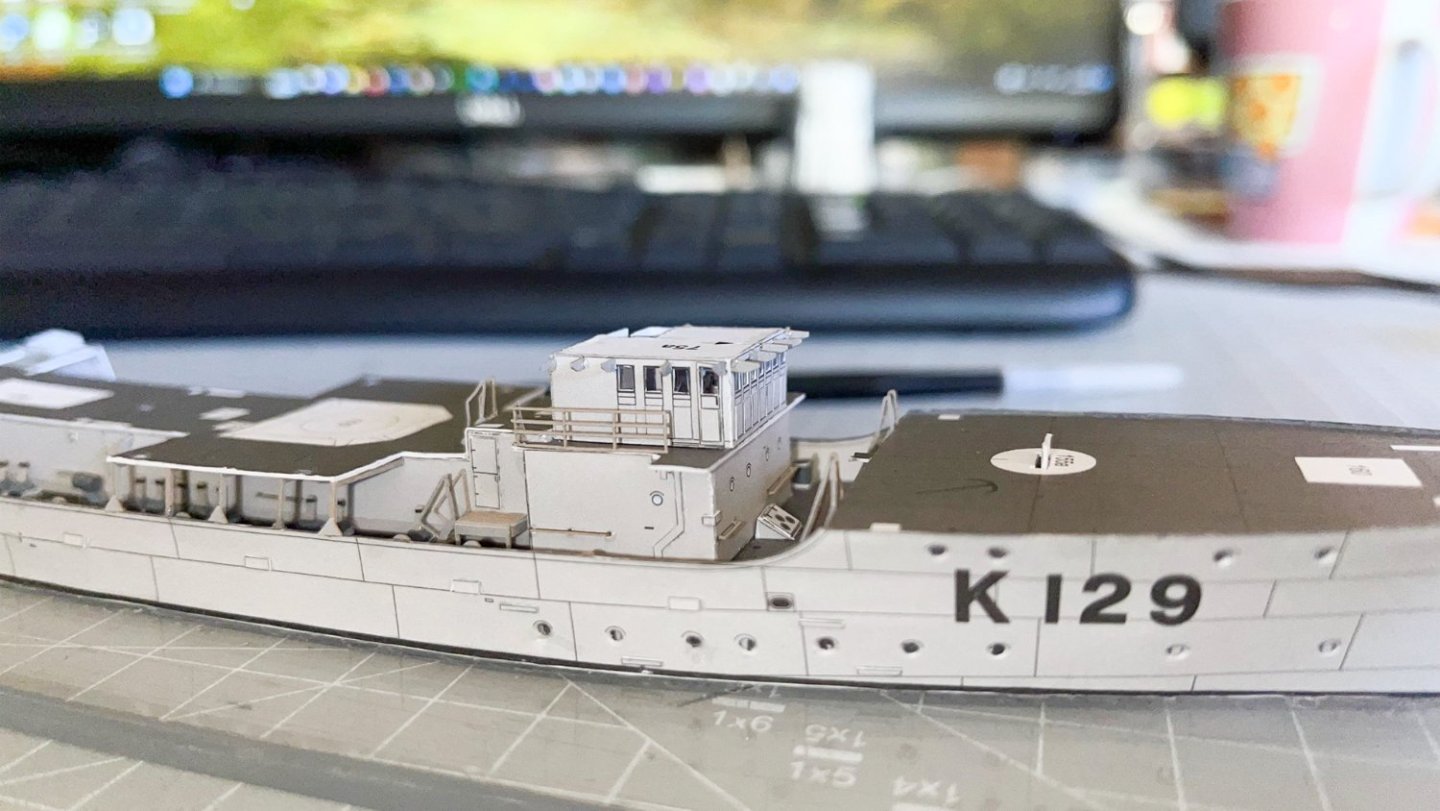
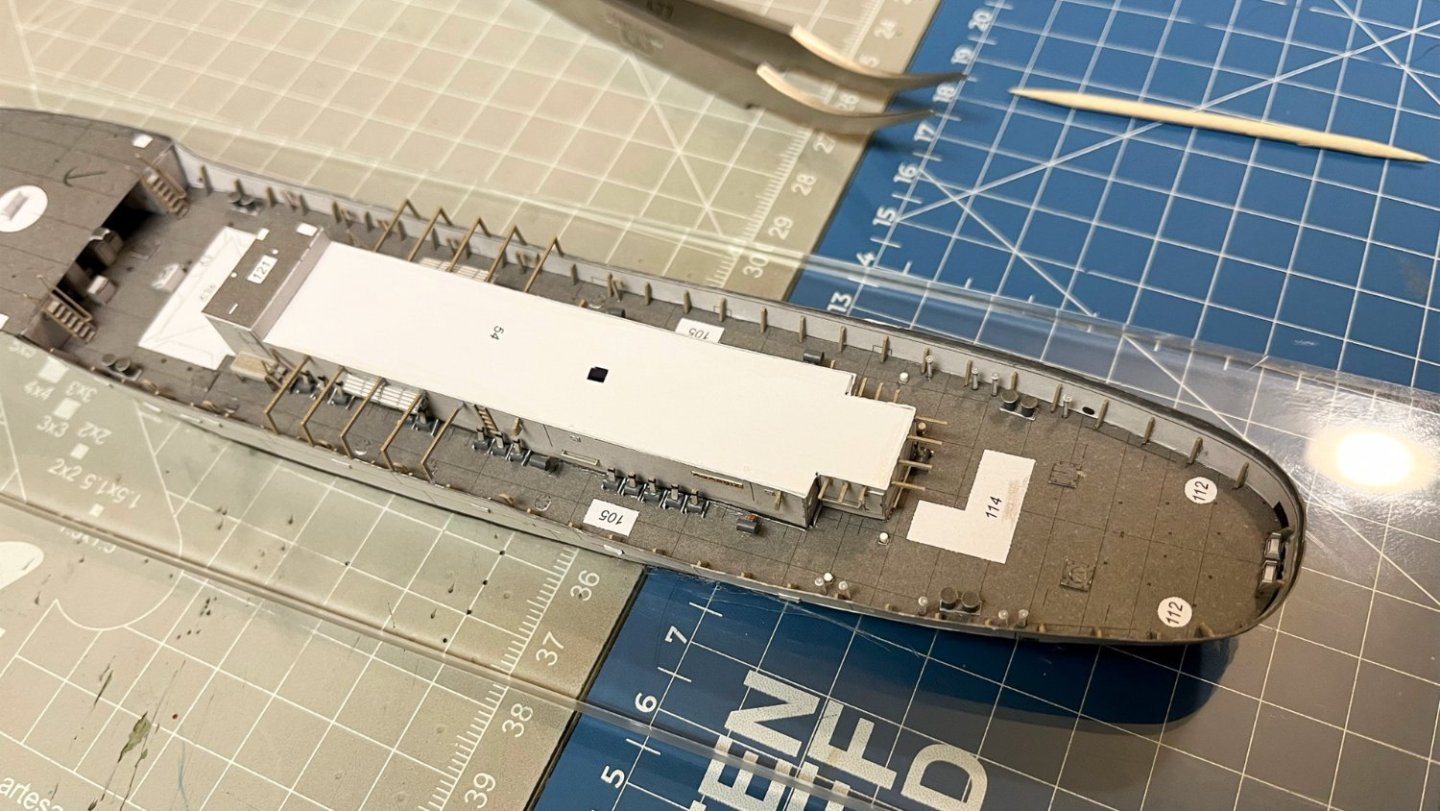
Some other parts prepared and glued. For the bridge i decided to cut the windows and replaced with transparent plastic form a package of one of my tools! I'll probably have to use another method for cutting , maybe a micro chisel. And the final result But before bridge installment i put some equipment and furniture. And the one of the deck in place.
-
I uploaded a short video of the unboxing. Very detail ship kit, amazing packaging !!
-
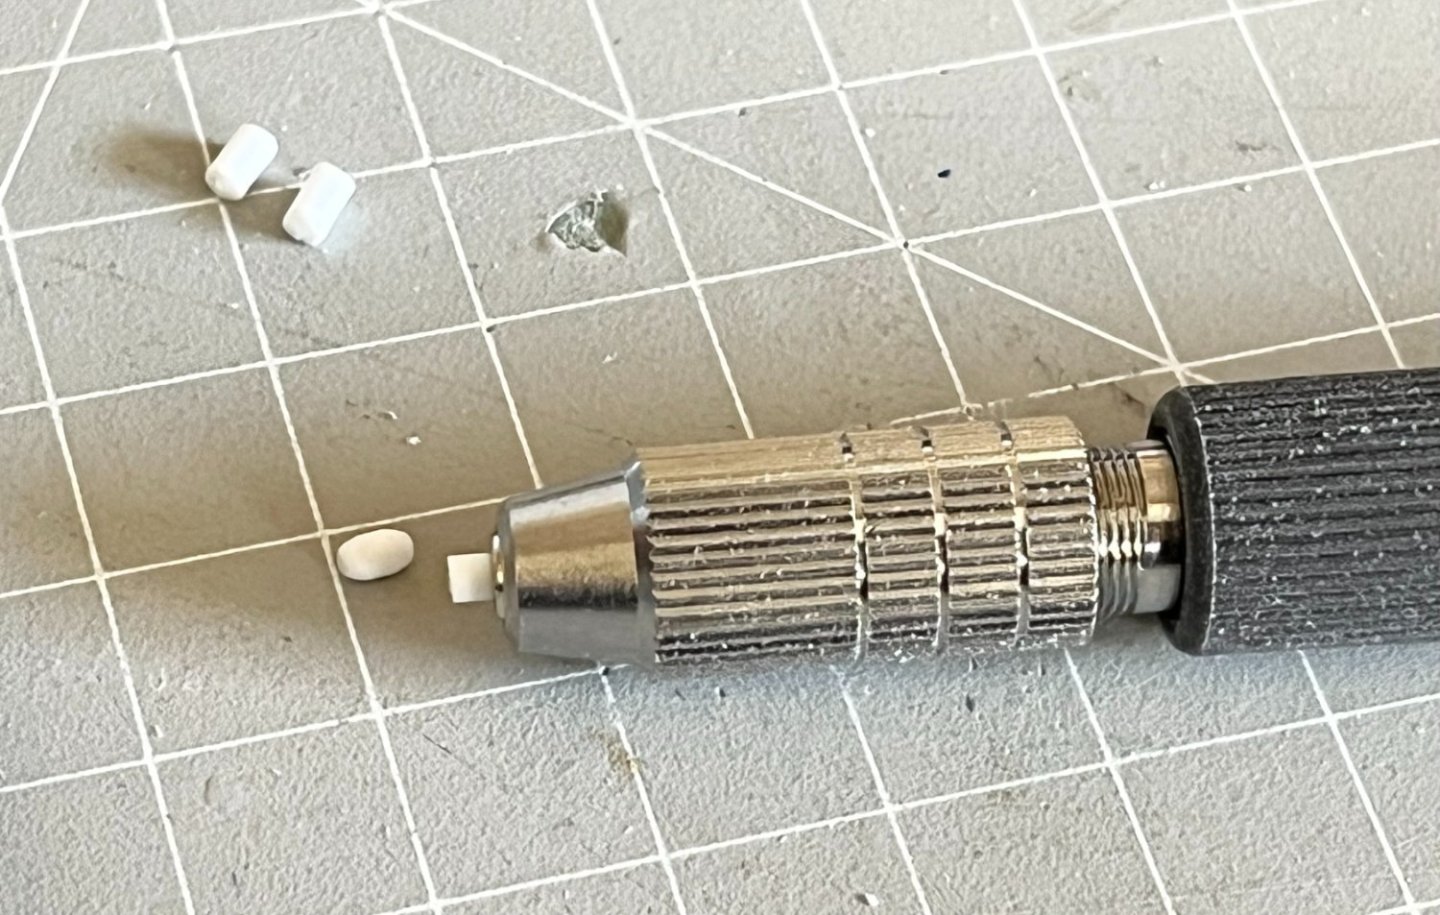
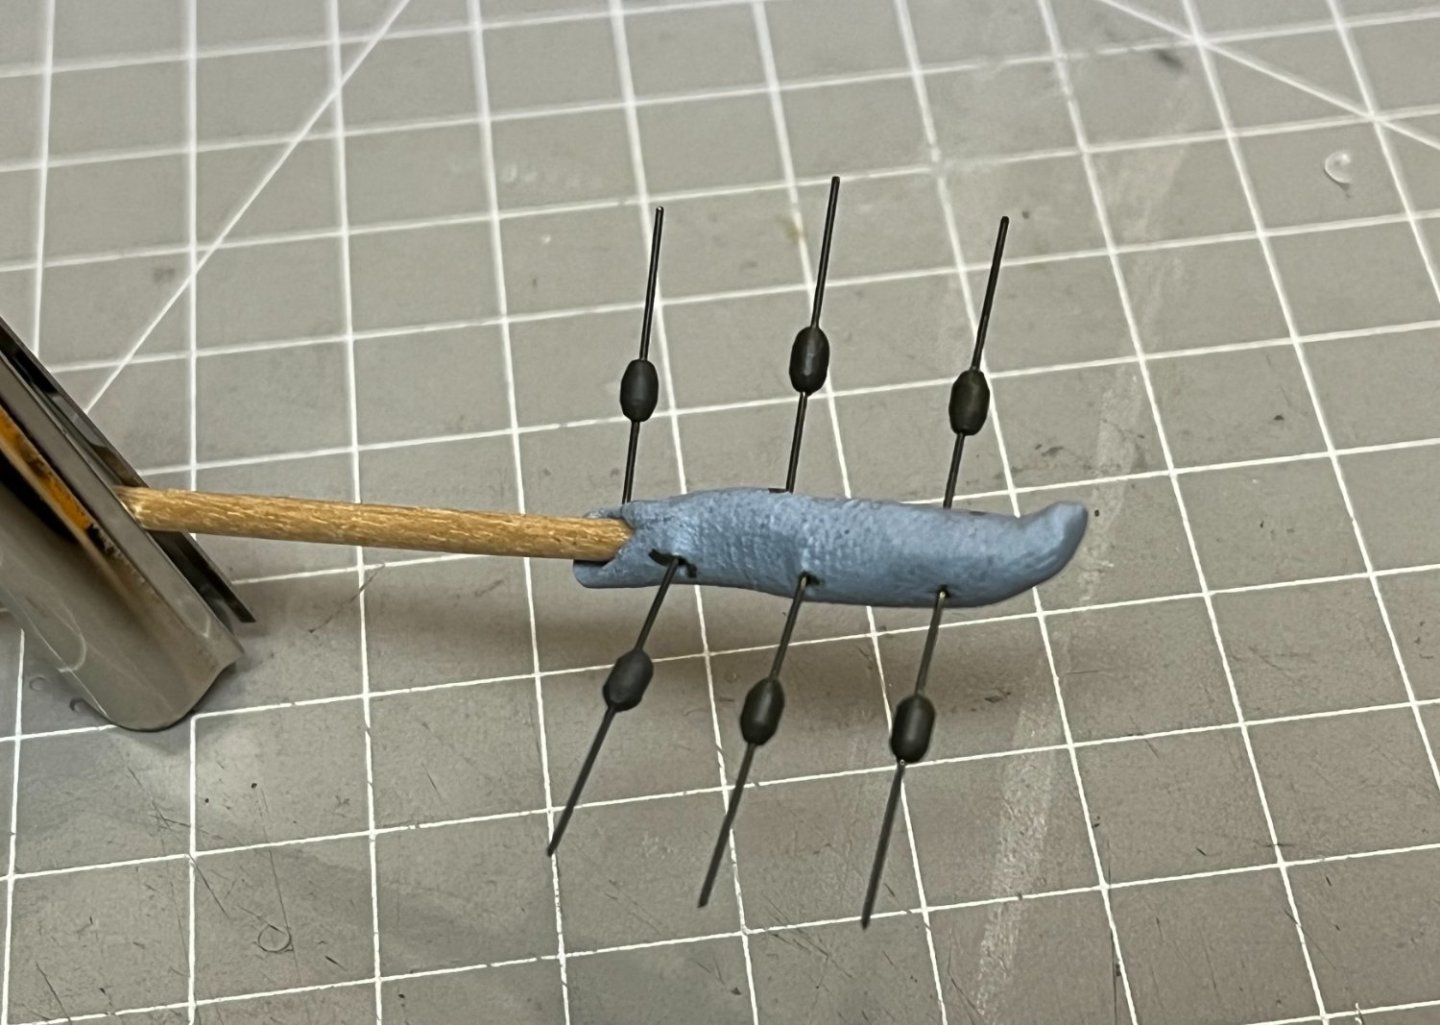
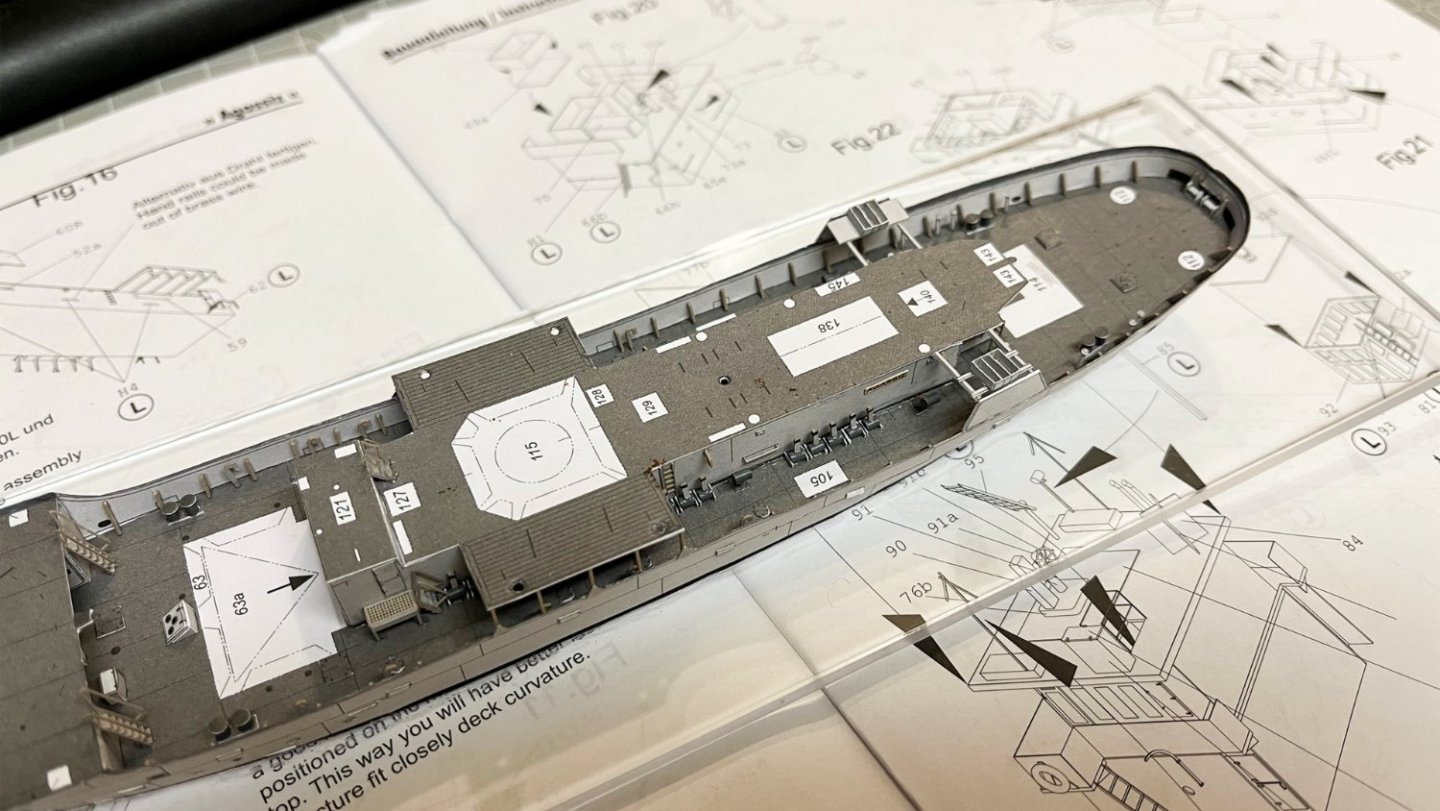
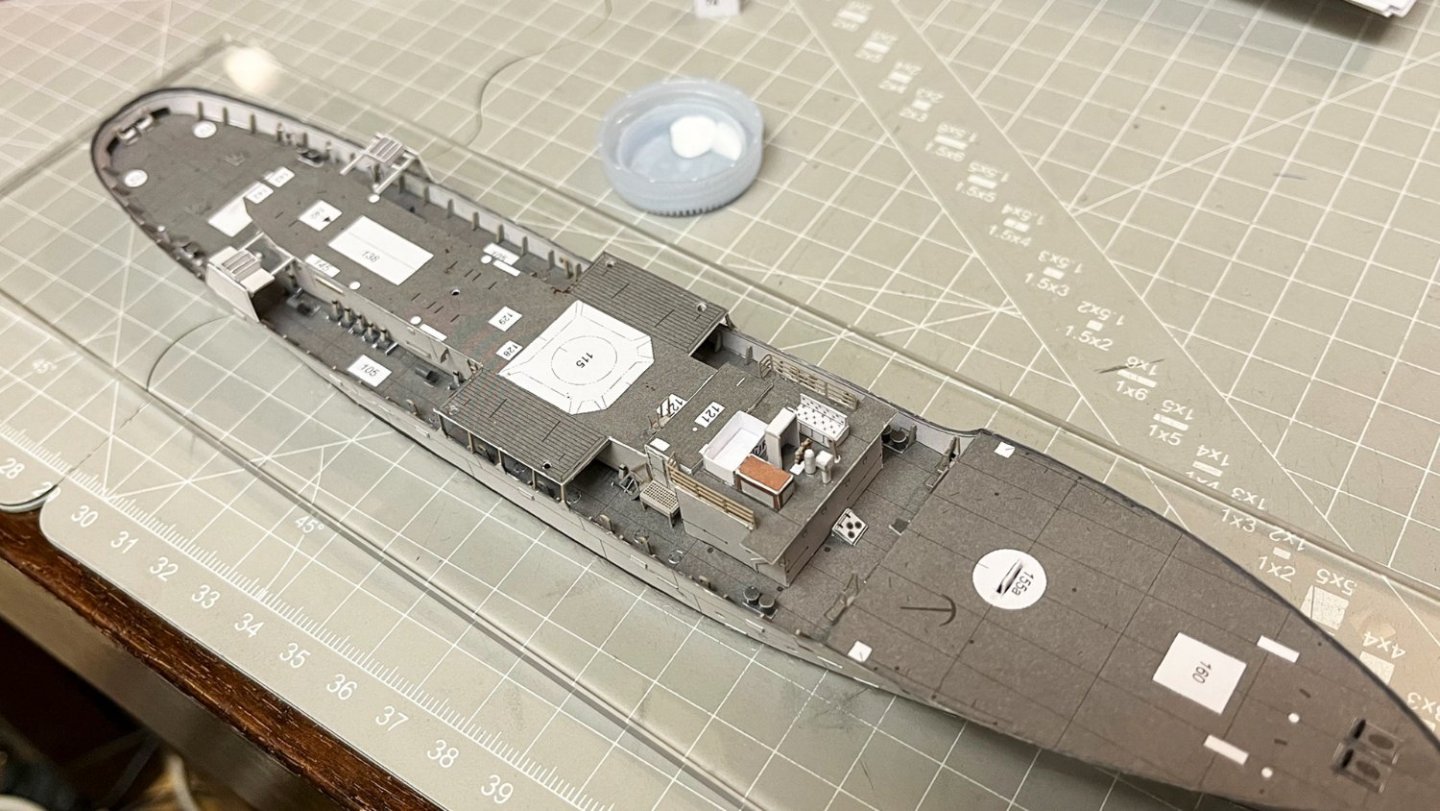
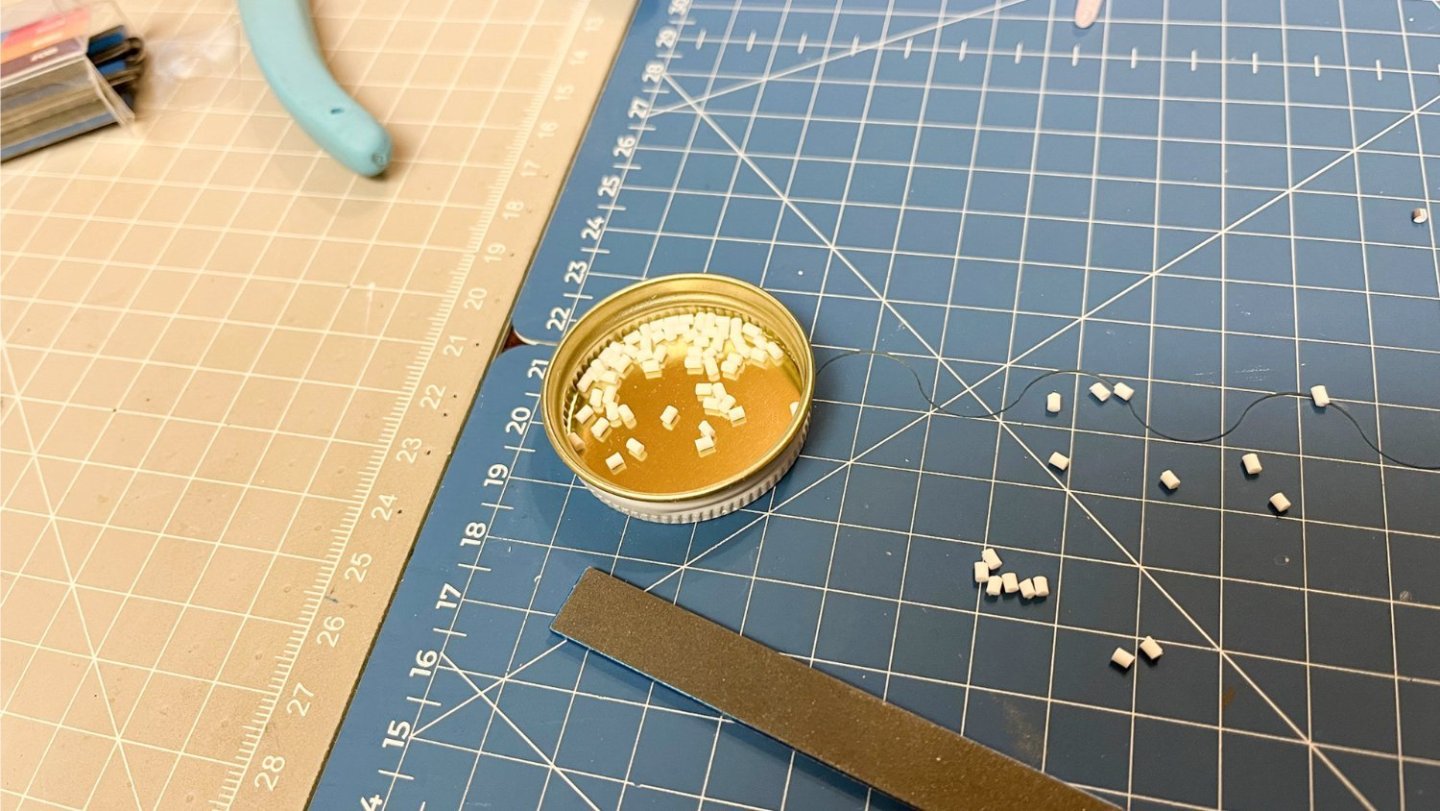
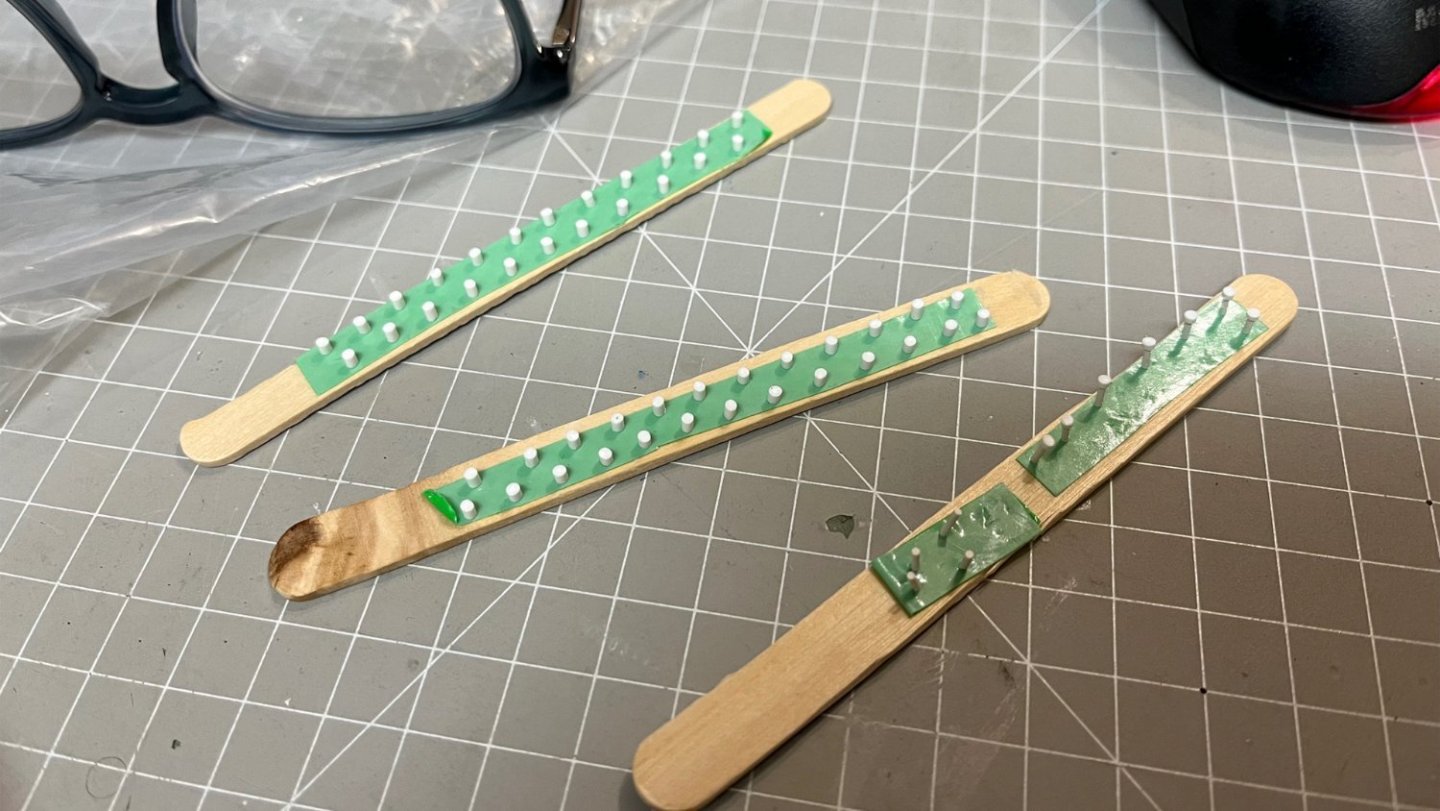
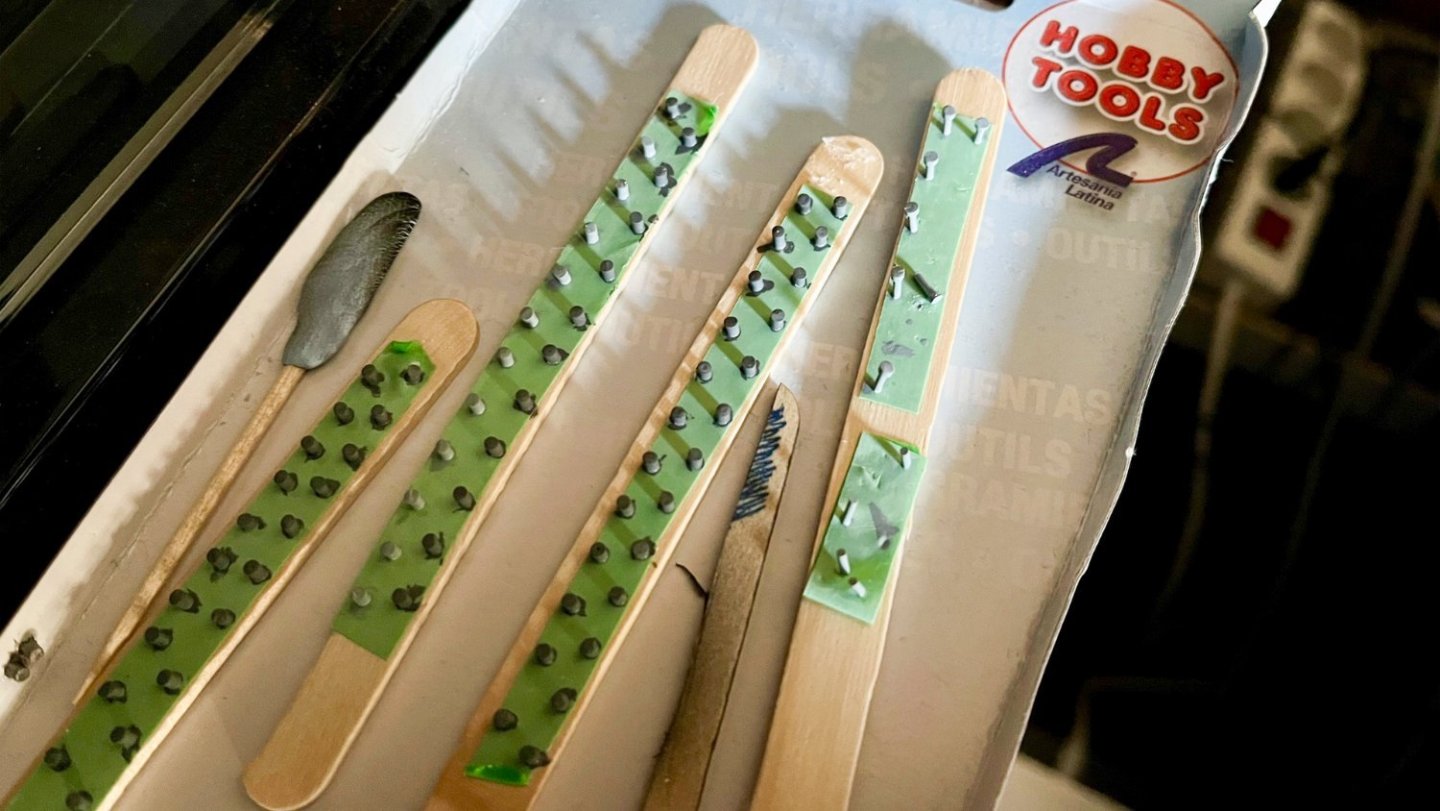
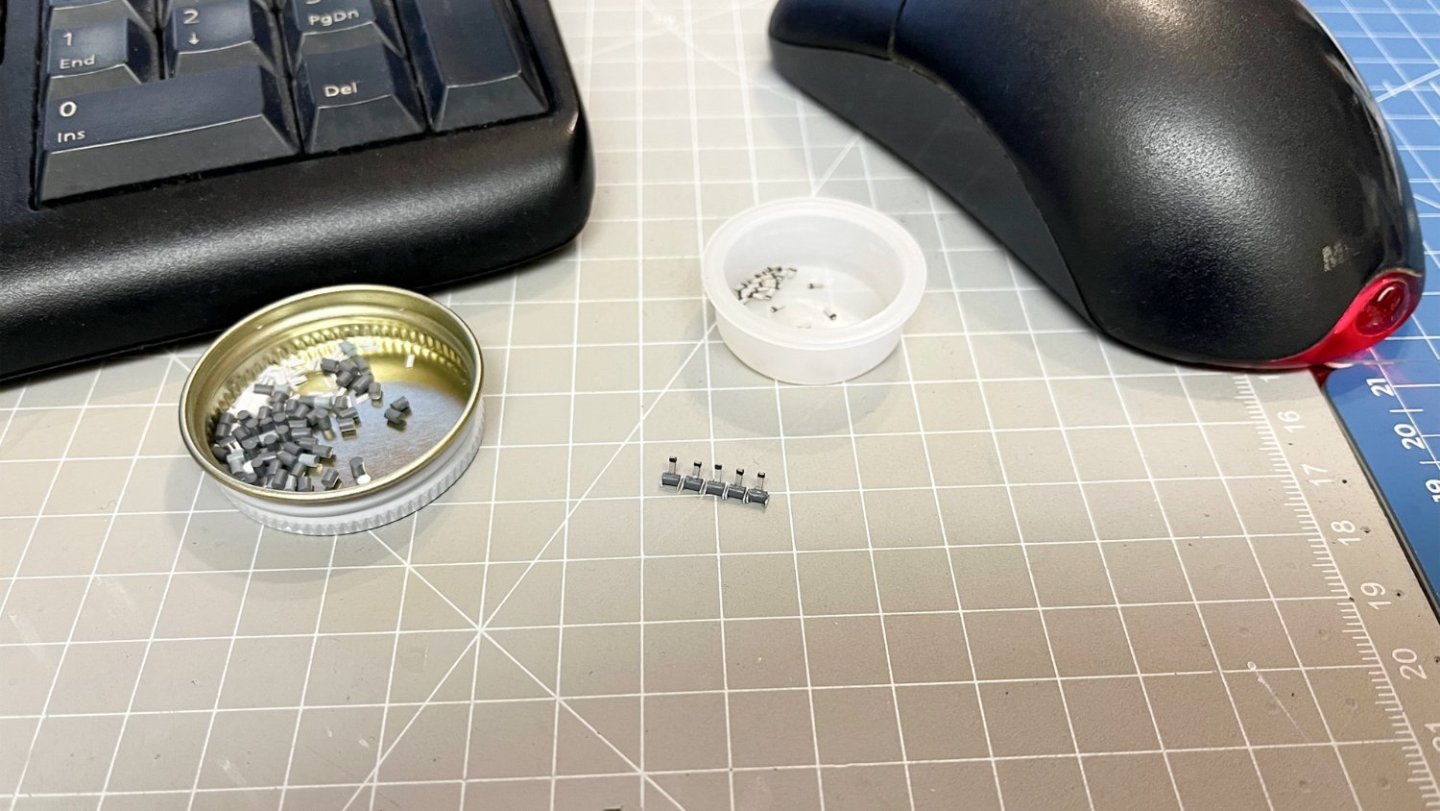
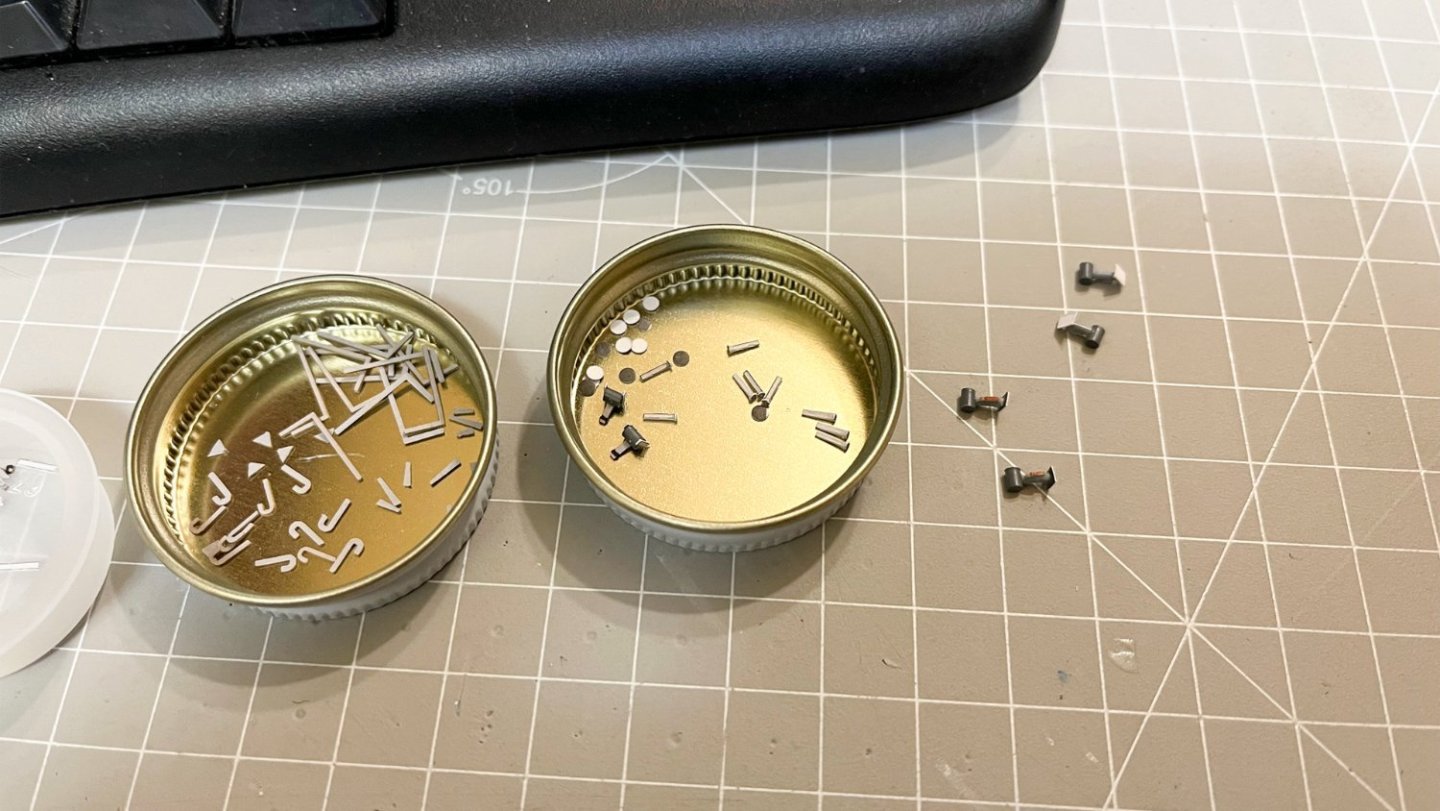
Hi, Back to the construction of the ship that stayed in the !shipyard! for so many days without any progress. At this stage many small objects had to be prepared and put in place. For some of these I used plastic rods. The problem with using other materials is that they have to be painted, which I try to avoid, but the ease of using such small objects outweighs it.
-
Little progress these days due to workload. Stairs from the sets were placed, as was parts et bulkhead.
-
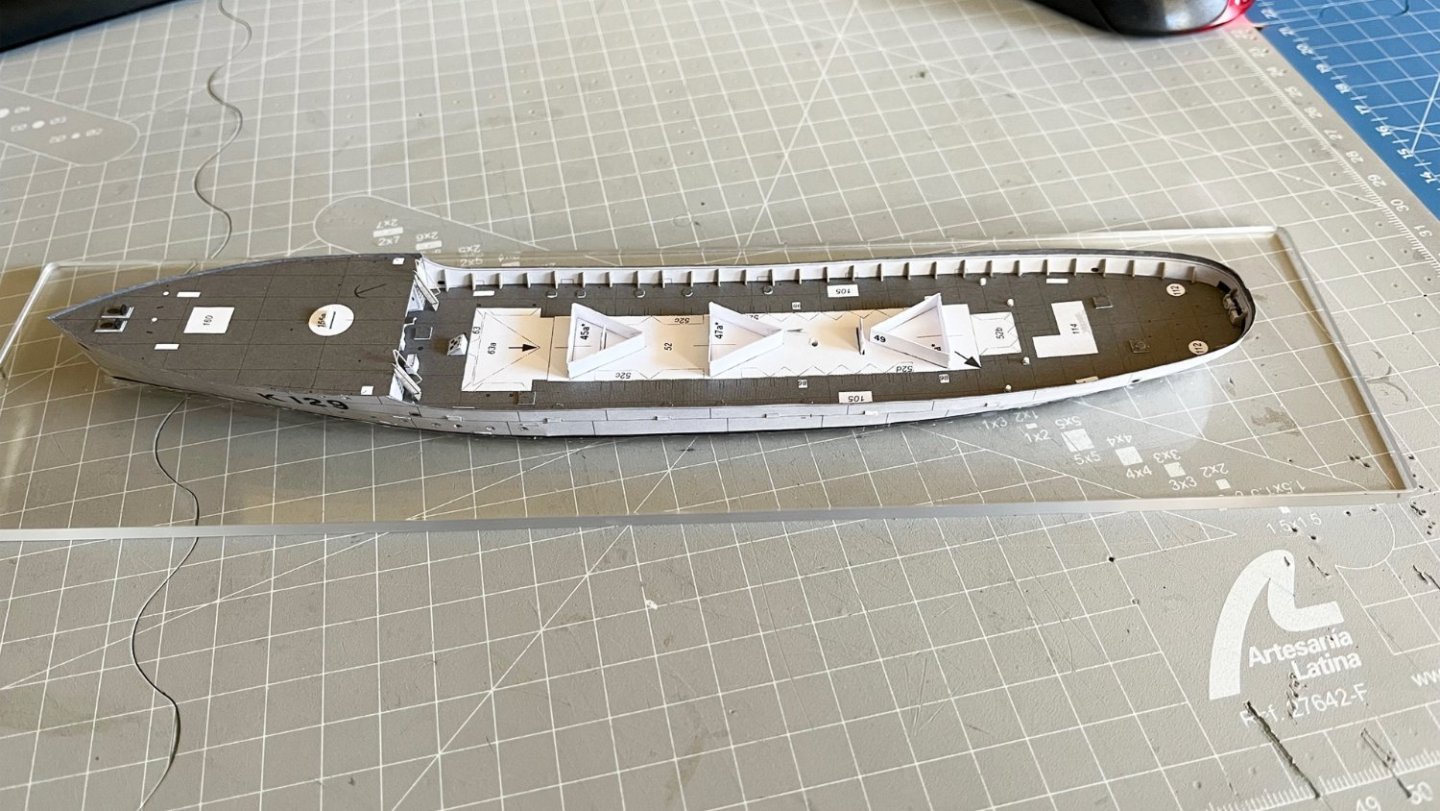
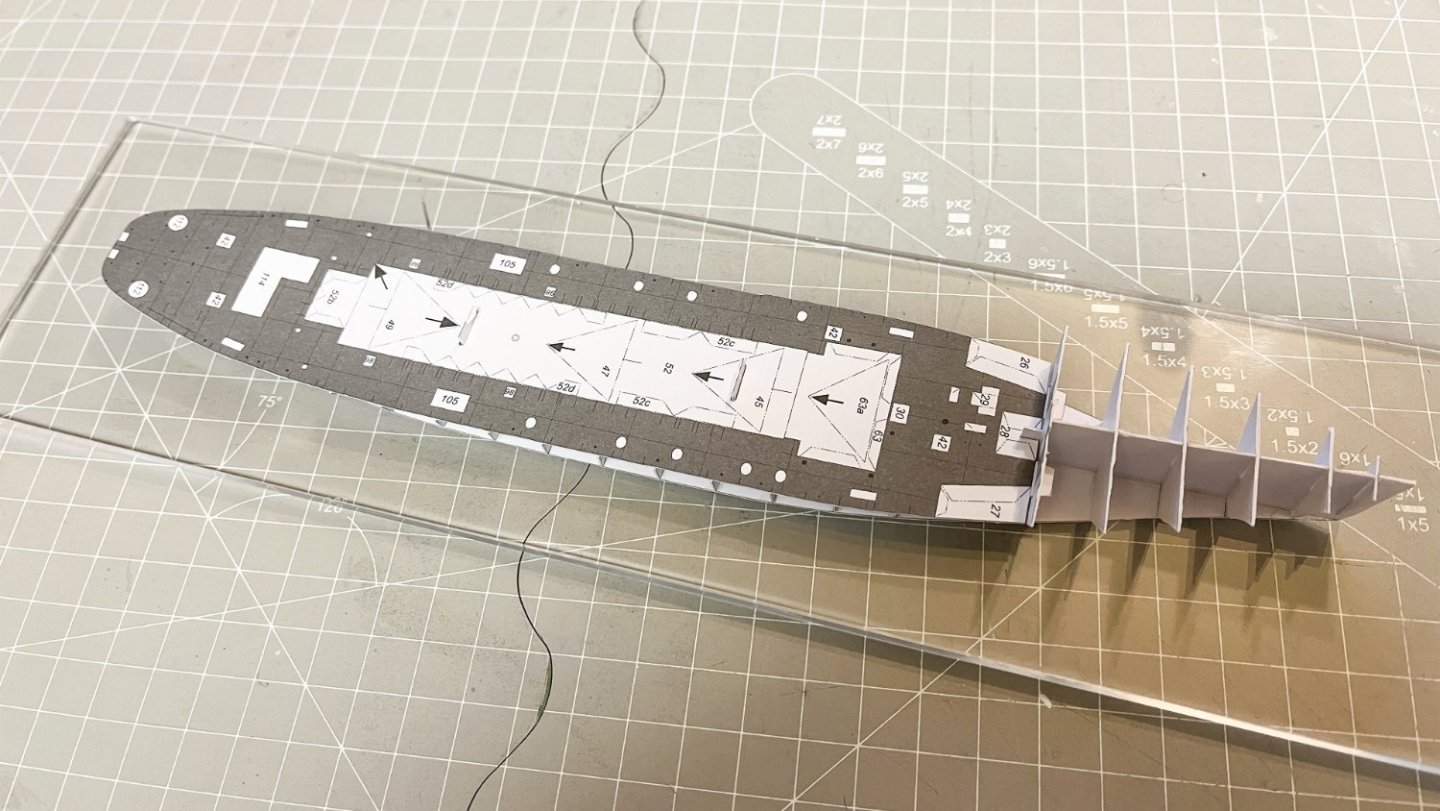
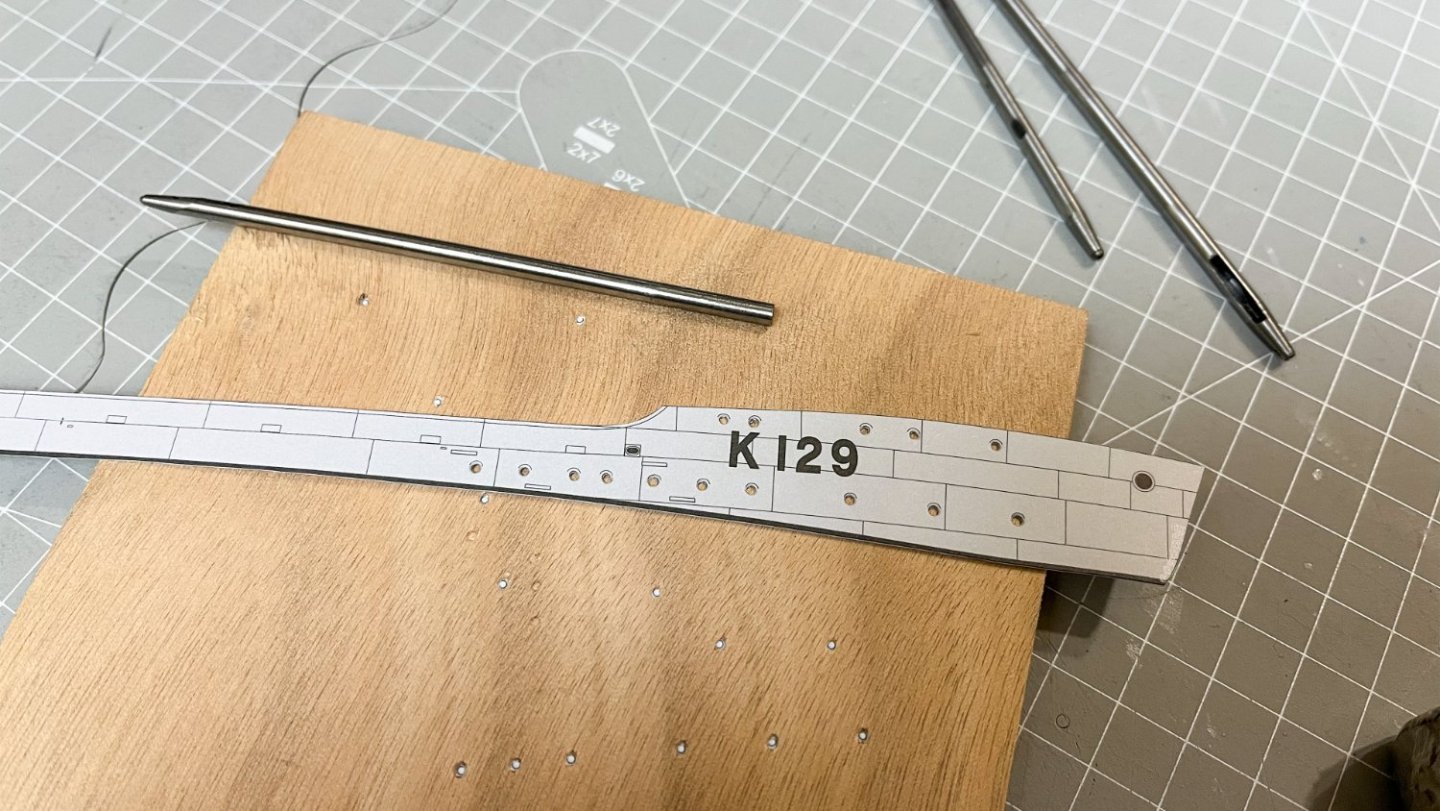
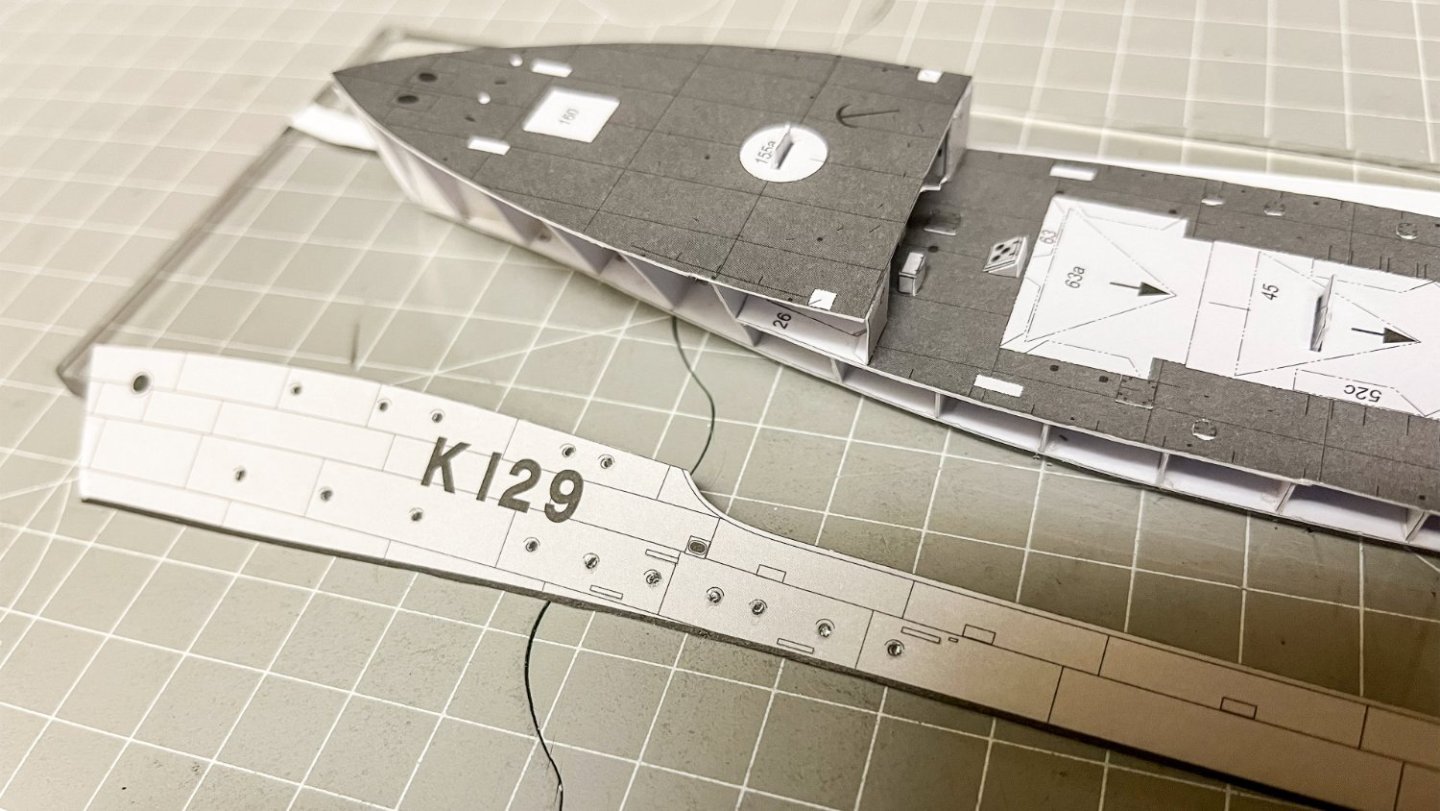
I made some progress today. The main part glued on 4mm acrylic base. The cross section were cut, glued as well as the decks. I also decided to modify all the portholes by drilling holes and creating the glazing with PVA glue. We'll see how it goes when they dry. Luckily the kit has two ships on board as option. 😄
-
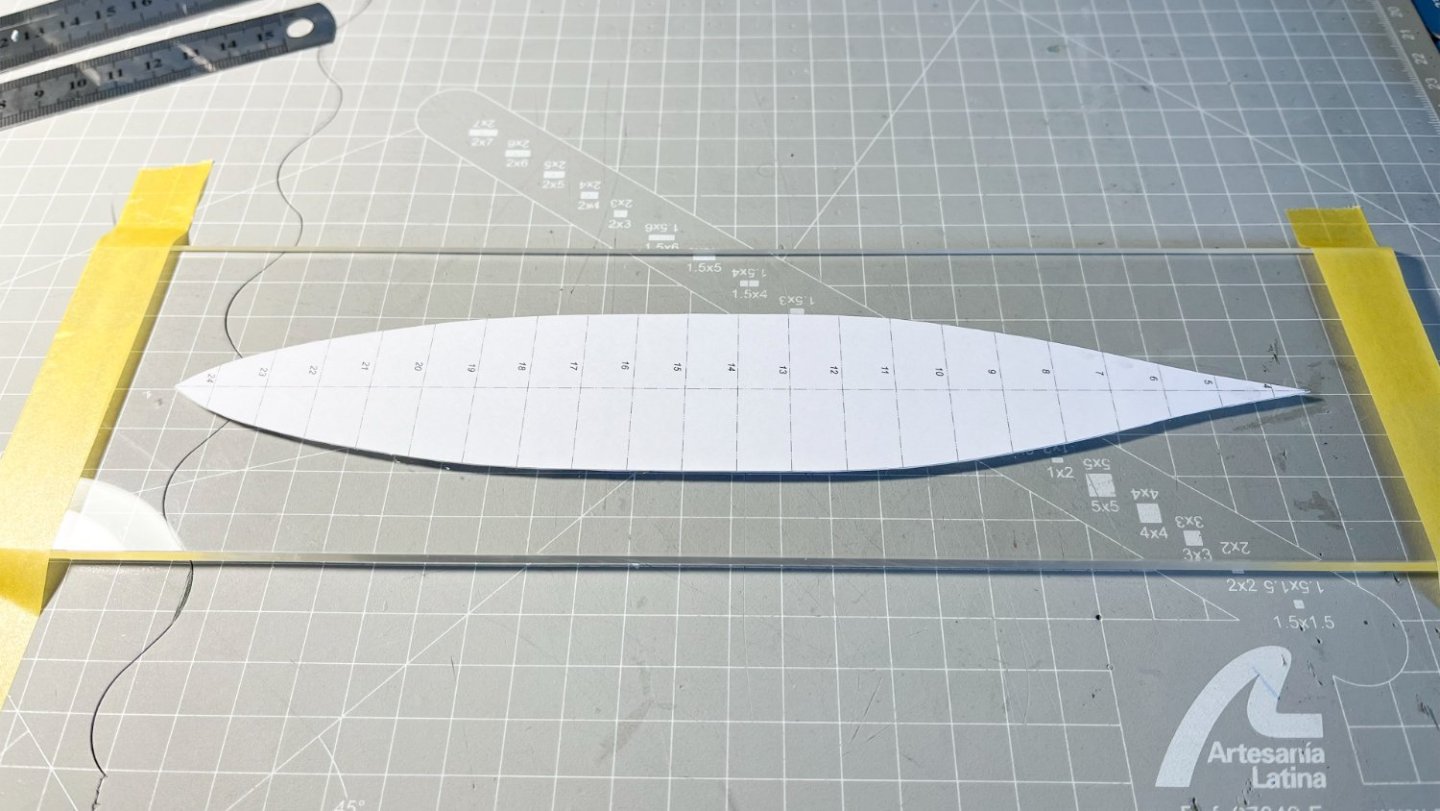
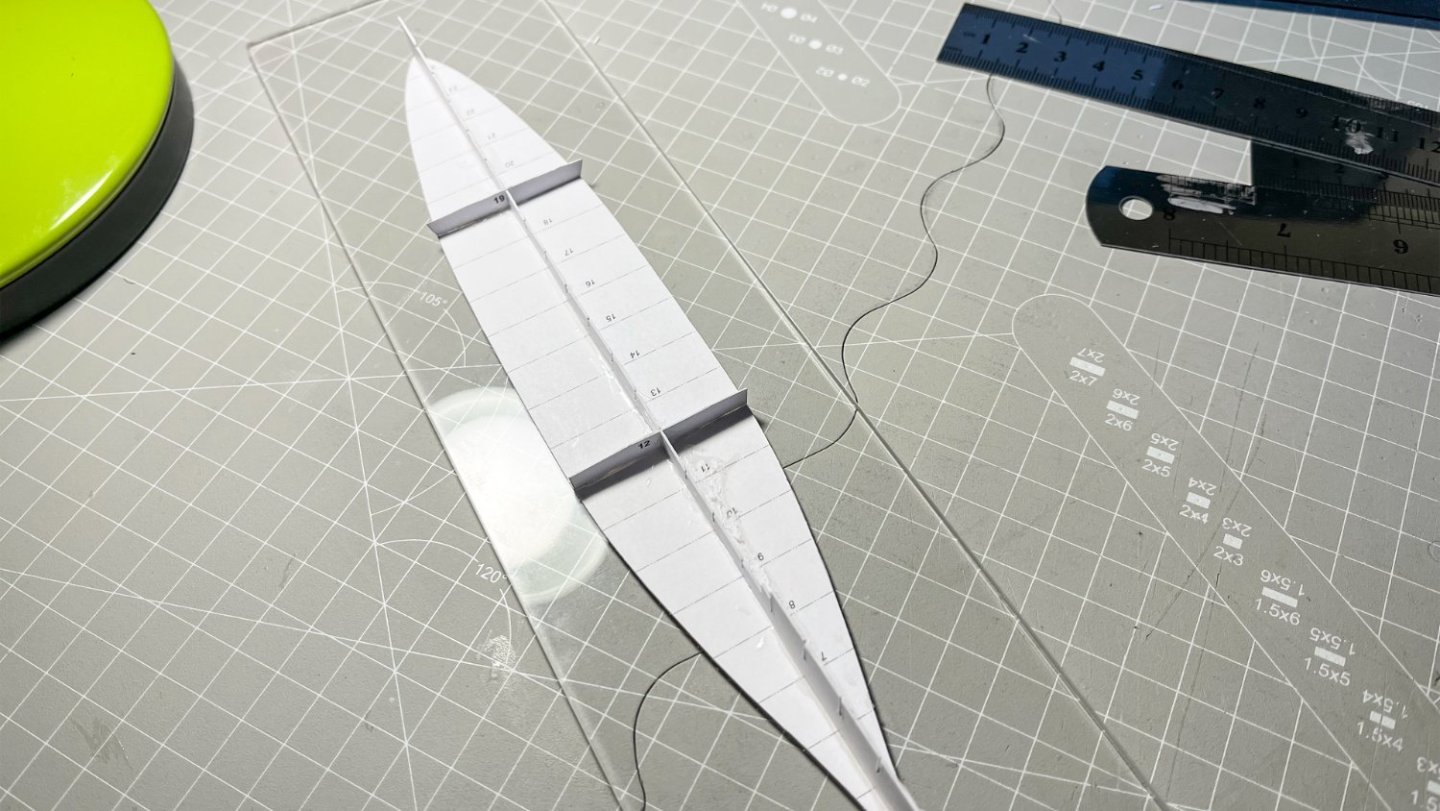
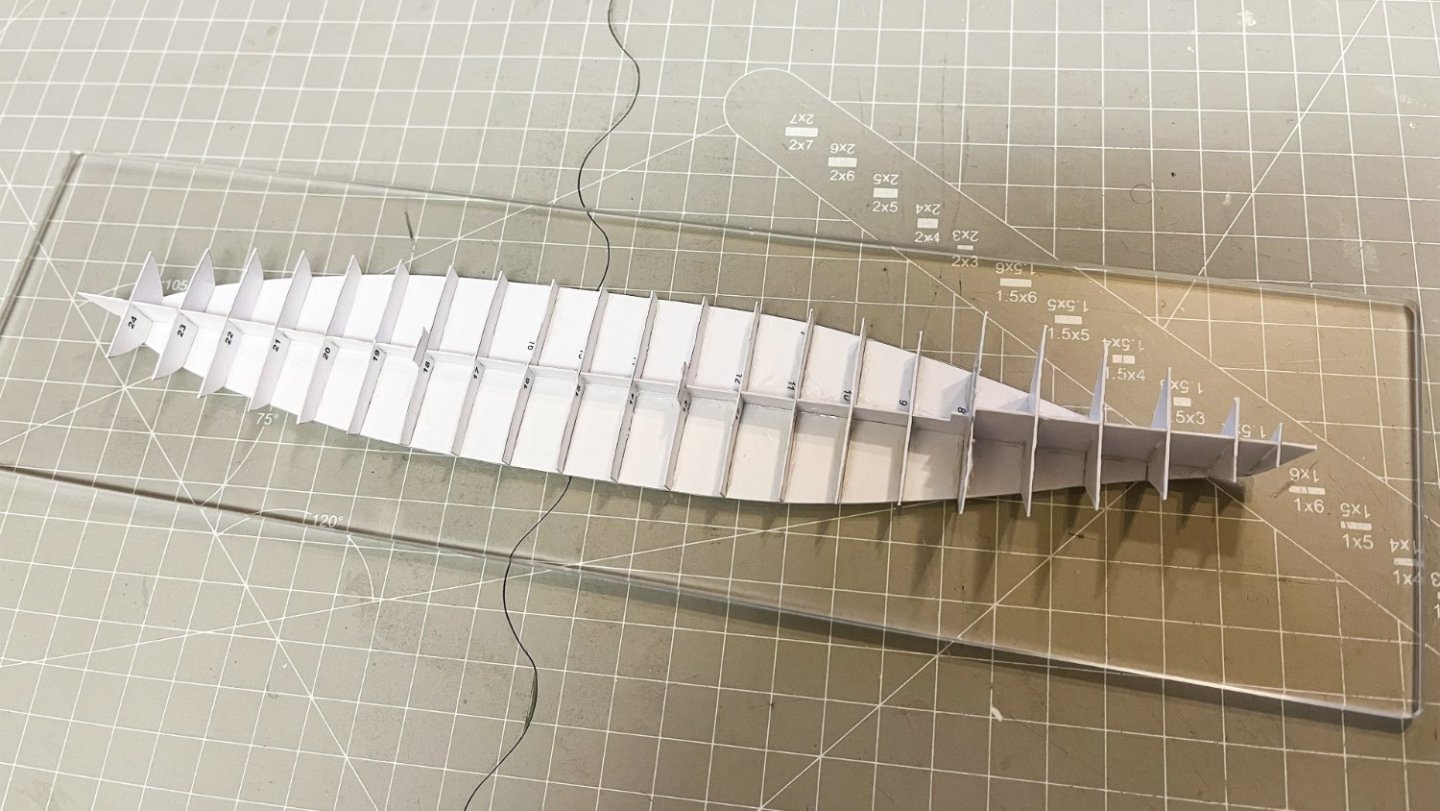
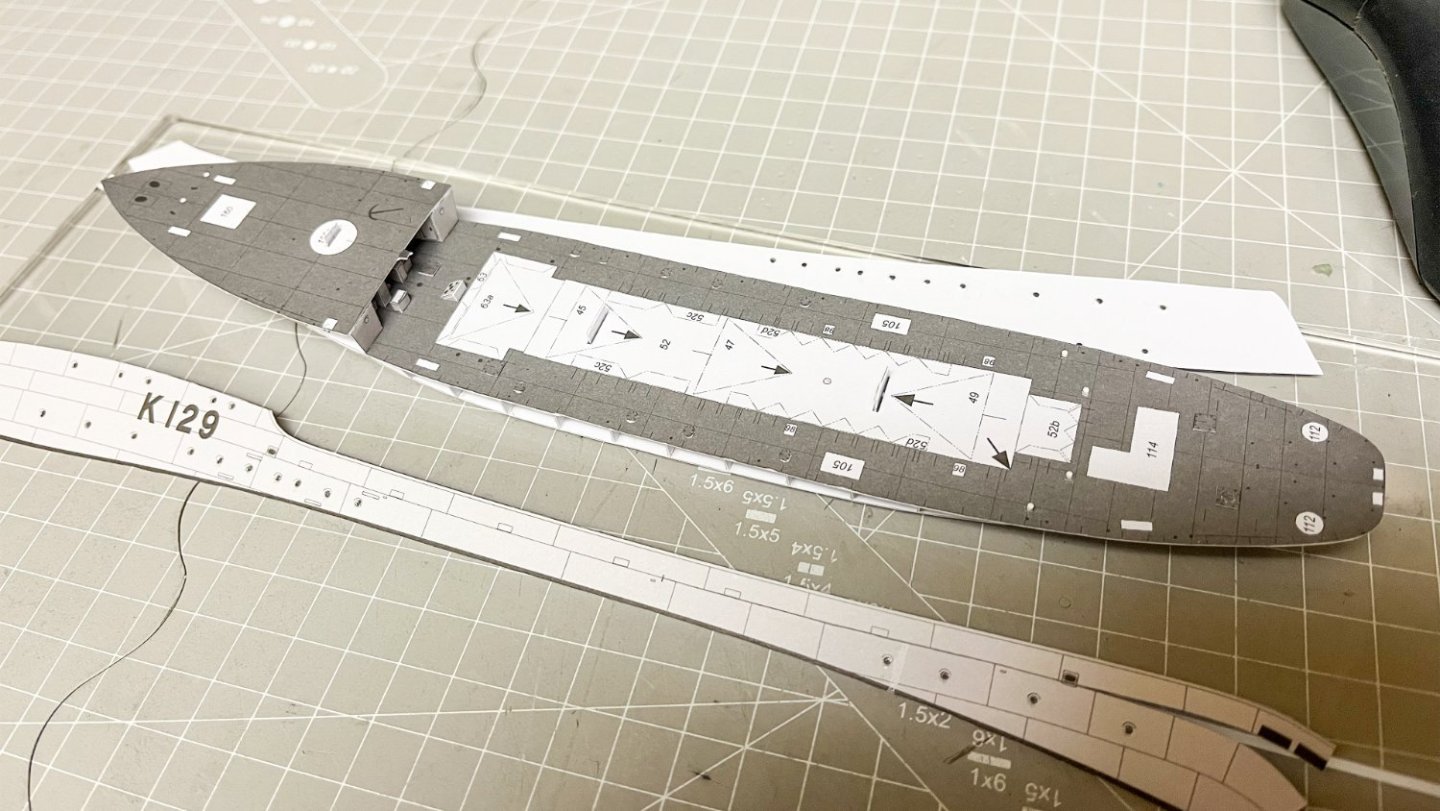
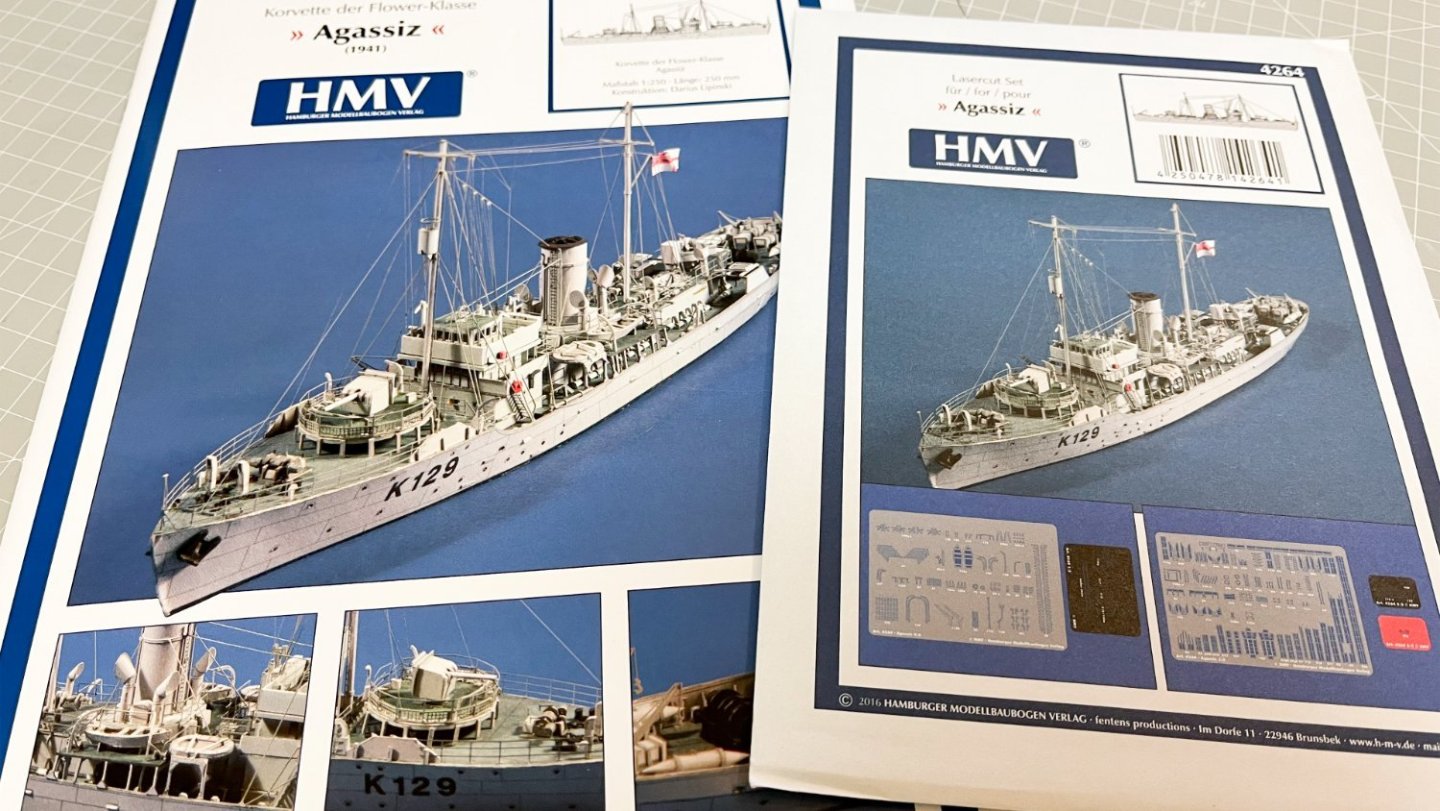
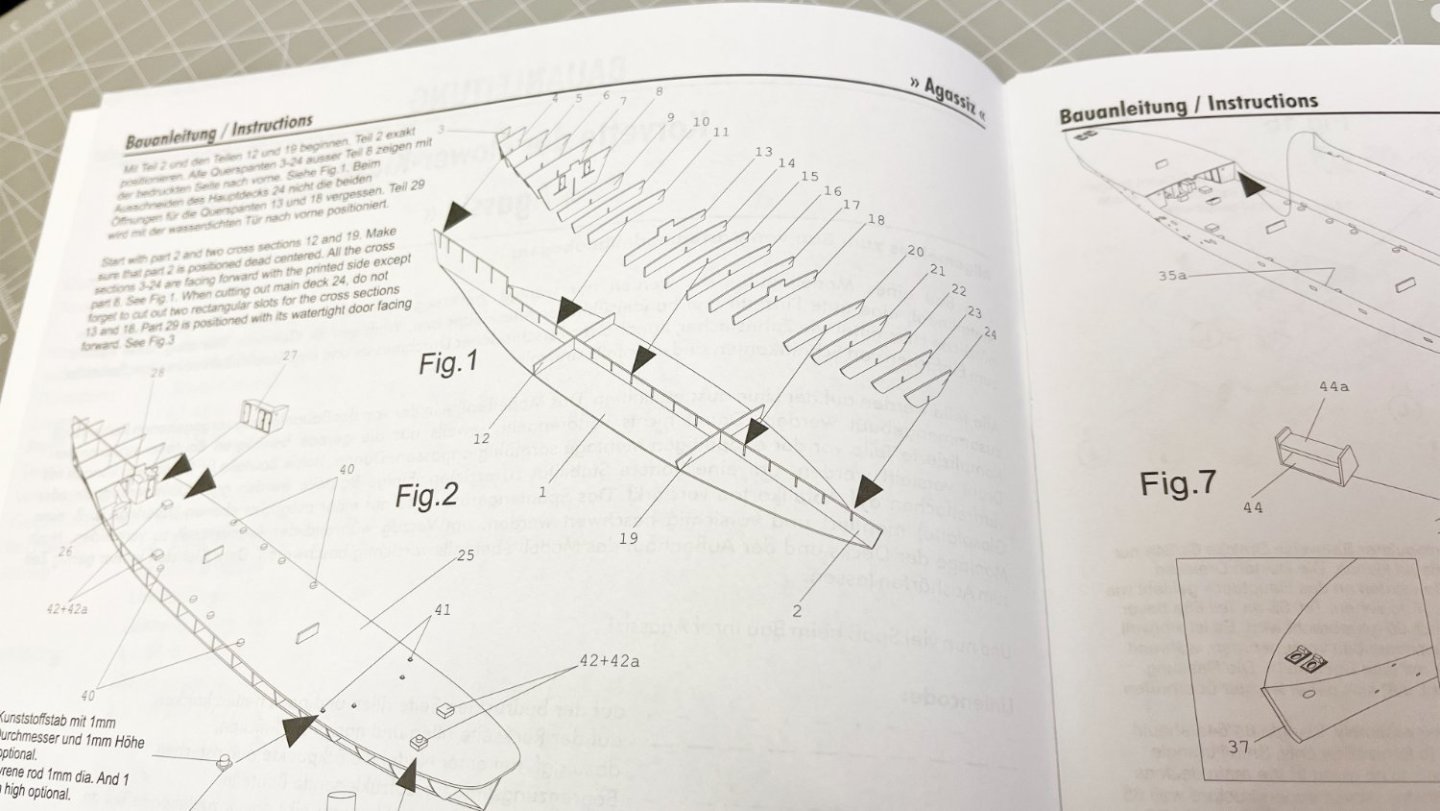
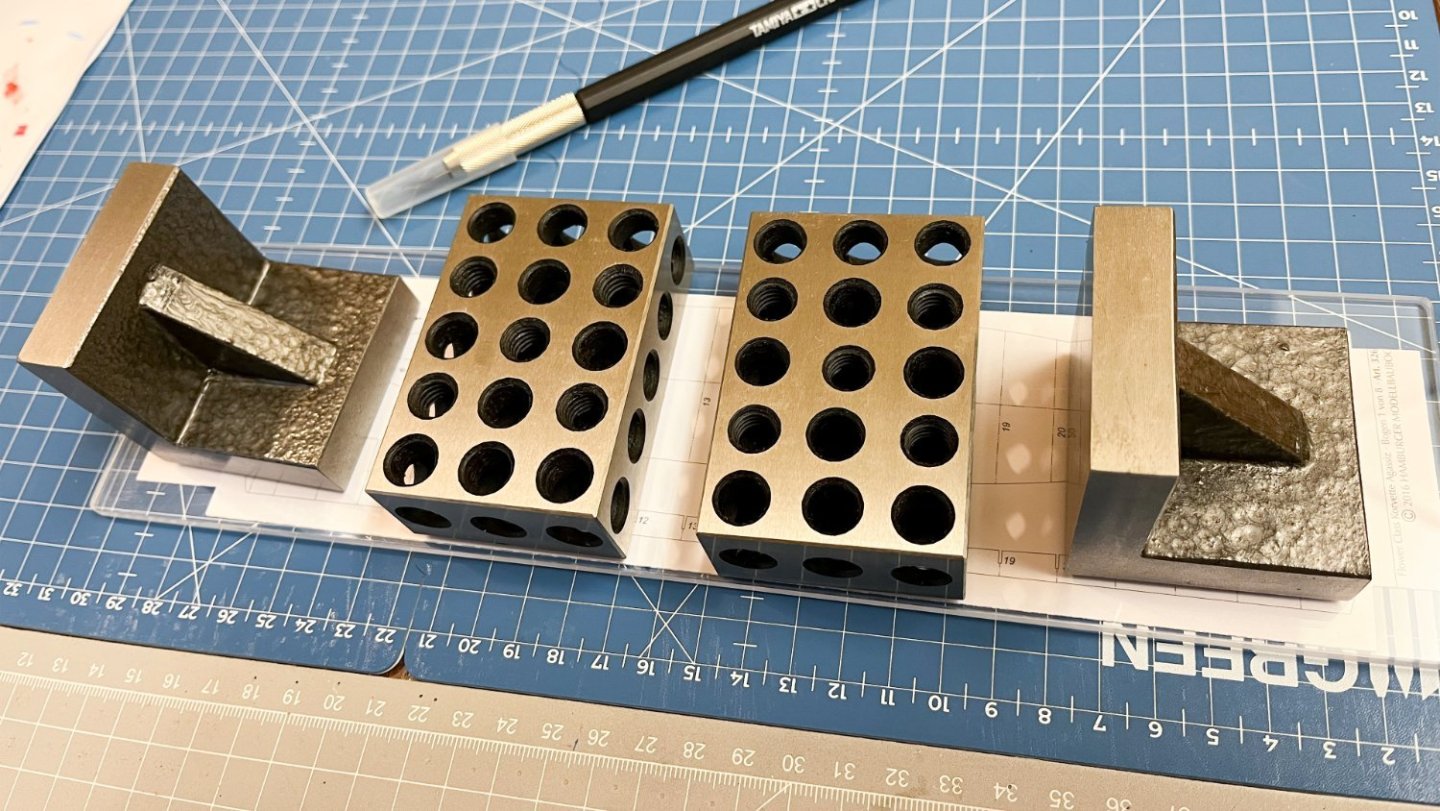
Hello, I decide to start another card ship kit, this time for the HMV, the Flower Class HMCS Corvette Agassiz 1941. The kit is very detailed with many parts and add the Laser cut detail set from same company. So for start I cut the main parts for the cross sections, glued and left under some weight to straighten out.
-
- 26 replies
-
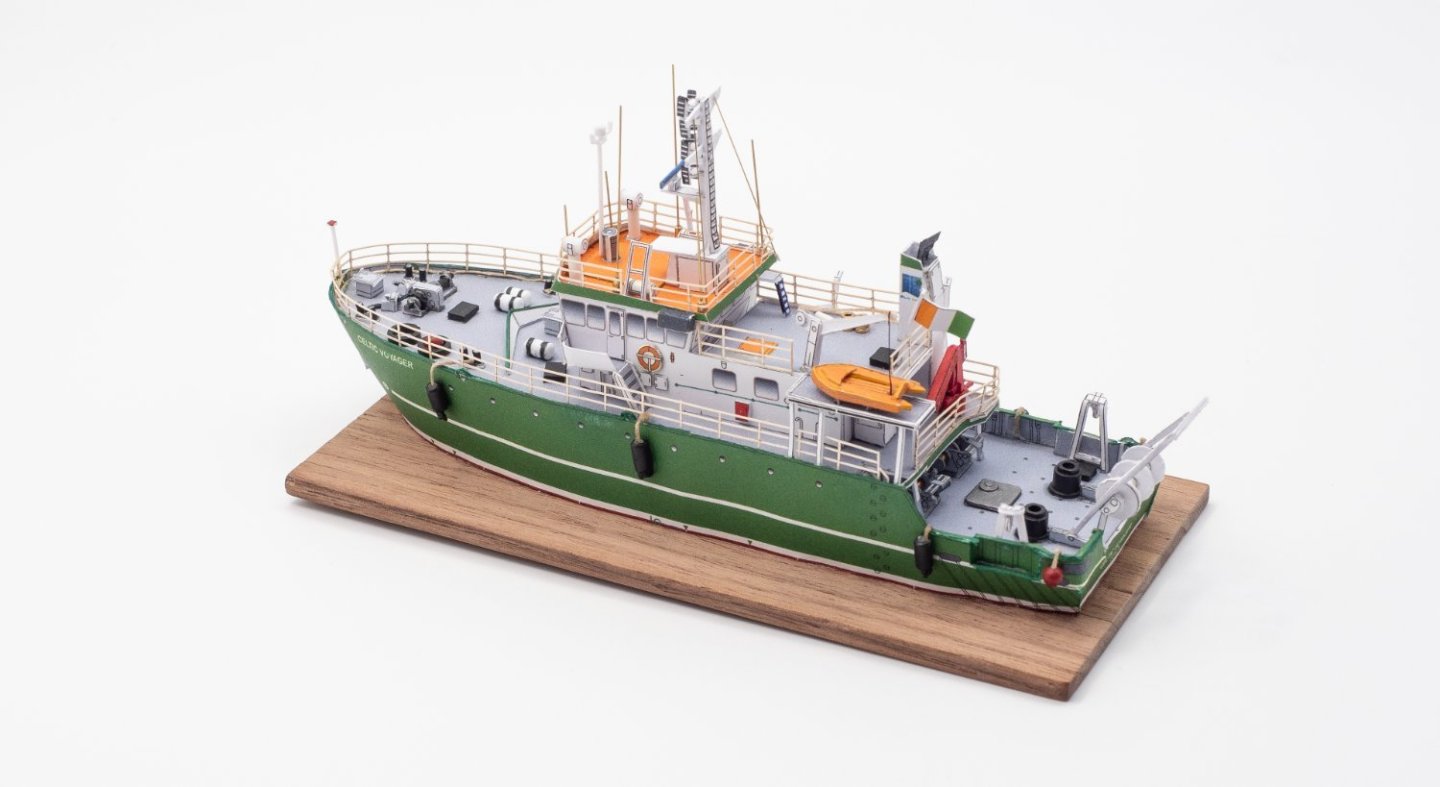
- Celtic Voyager
- Paper Shipwright
-
(and 2 more)
Tagged with:
-
- 26 replies
-
- Celtic Voyager
- Paper Shipwright
-
(and 2 more)
Tagged with:
-
- 26 replies
-
- Celtic Voyager
- Paper Shipwright
-
(and 2 more)
Tagged with:
About us
Modelshipworld - Advancing Ship Modeling through Research
SSL Secured
Your security is important for us so this Website is SSL-Secured
NRG Mailing Address
Nautical Research Guild
237 South Lincoln Street
Westmont IL, 60559-1917
Model Ship World ® and the MSW logo are Registered Trademarks, and belong to the Nautical Research Guild (United States Patent and Trademark Office: No. 6,929,264 & No. 6,929,274, registered Dec. 20, 2022)
Helpful Links
About the NRG
If you enjoy building ship models that are historically accurate as well as beautiful, then The Nautical Research Guild (NRG) is just right for you.
The Guild is a non-profit educational organization whose mission is to “Advance Ship Modeling Through Research”. We provide support to our members in their efforts to raise the quality of their model ships.
The Nautical Research Guild has published our world-renowned quarterly magazine, The Nautical Research Journal, since 1955. The pages of the Journal are full of articles by accomplished ship modelers who show you how they create those exquisite details on their models, and by maritime historians who show you the correct details to build. The Journal is available in both print and digital editions. Go to the NRG web site (www.thenrg.org) to download a complimentary digital copy of the Journal. The NRG also publishes plan sets, books and compilations of back issues of the Journal and the former Ships in Scale and Model Ship Builder magazines.


