HOLIDAY DONATION DRIVE - SUPPORT MSW - DO YOUR PART TO KEEP THIS GREAT FORUM GOING! (Only 20 donations so far - C'mon guys!)
×


Johngr
-
Posts
132 -
Joined
-
Last visited
Content Type
Profiles
Forums
Gallery
Events
Everything posted by Johngr
-
 Thank you Papa for your kind words. The good thing about this hobby is that there will always be room for each of us to improve. 🙂
- 26 replies
-
- 1
-

-
- Celtic Voyager
- Paper Shipwright
- (and 2 more)
-
I upload to youtube a video with progress and the final result. I hope to like it. https://youtu.be/NQCjz2zdB2c
- 26 replies
-
- 2
-
-
- Celtic Voyager
- Paper Shipwright
- (and 2 more)
-
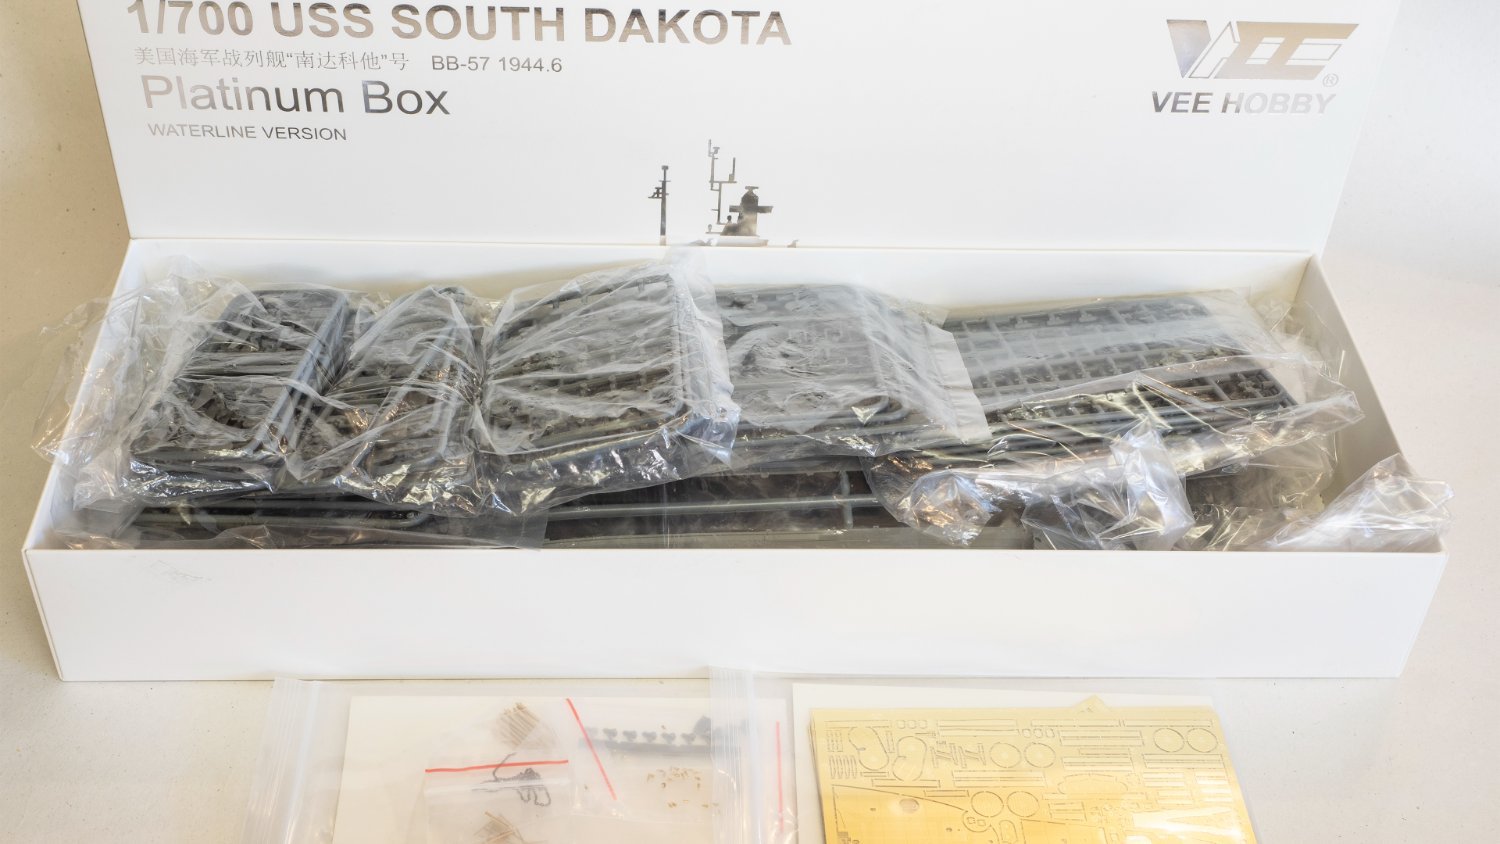
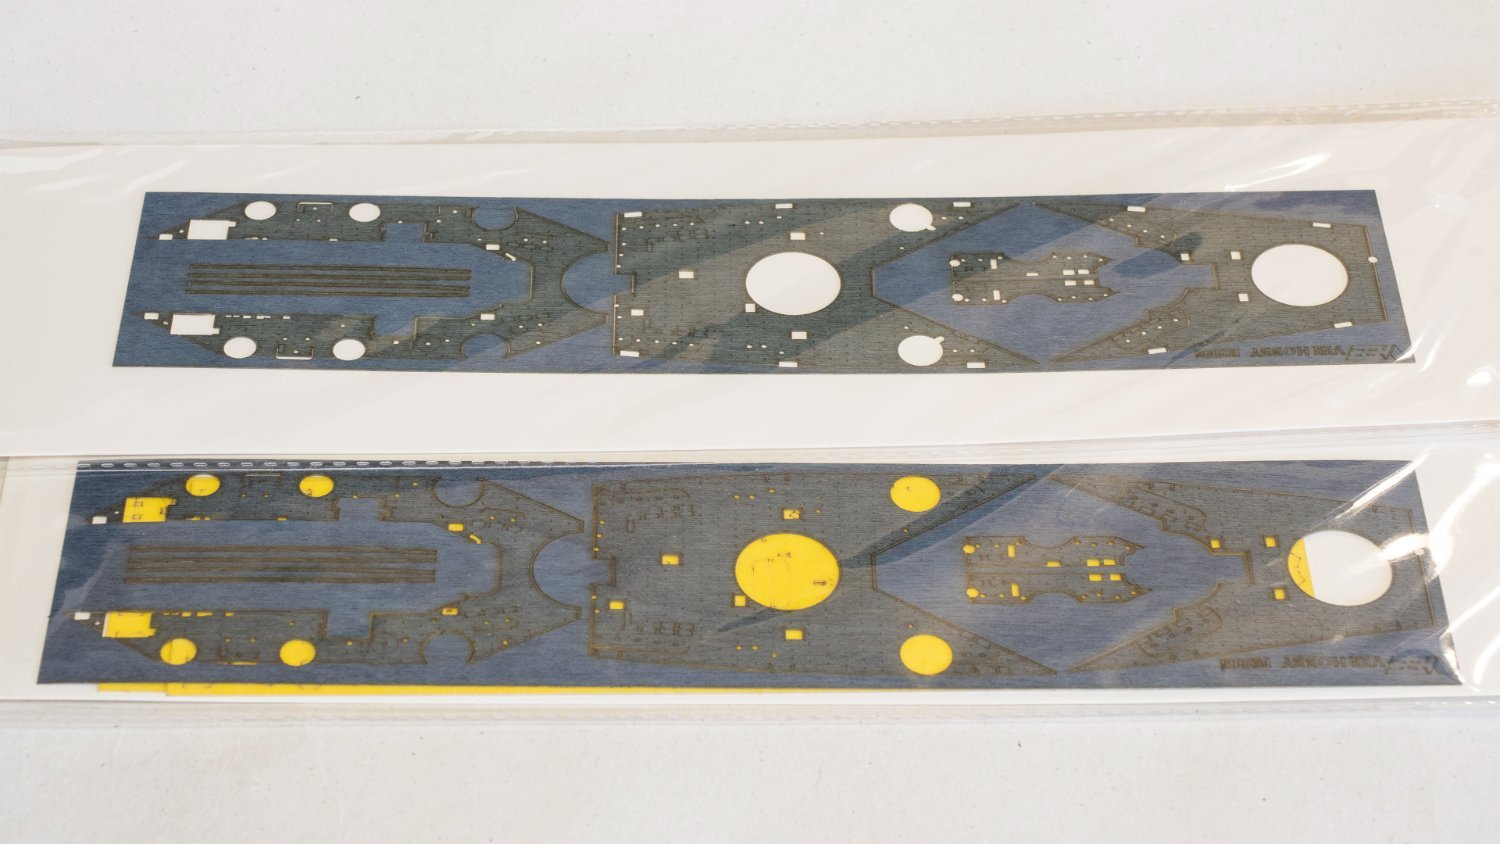
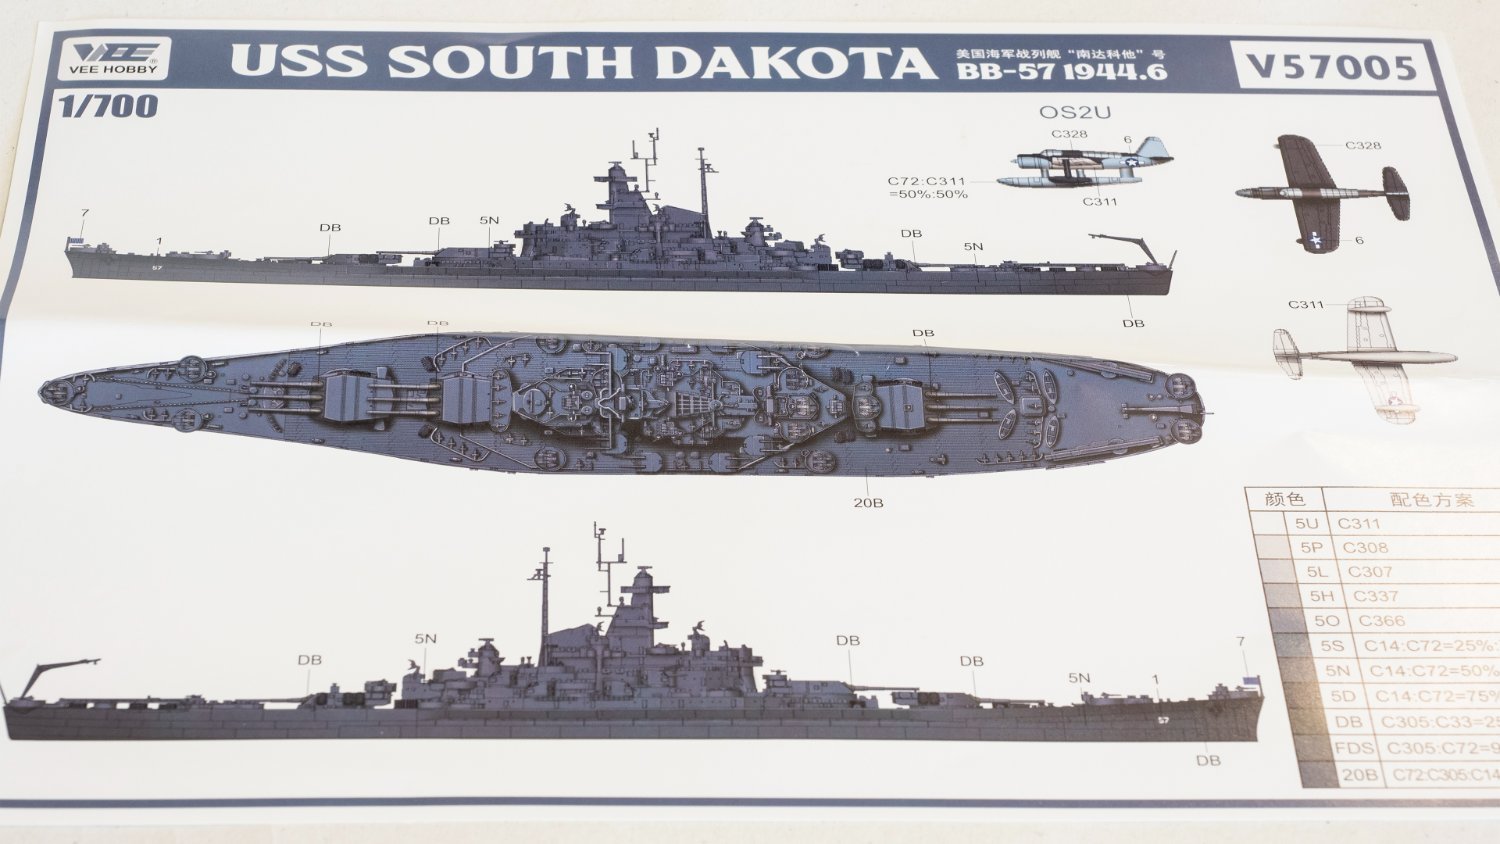
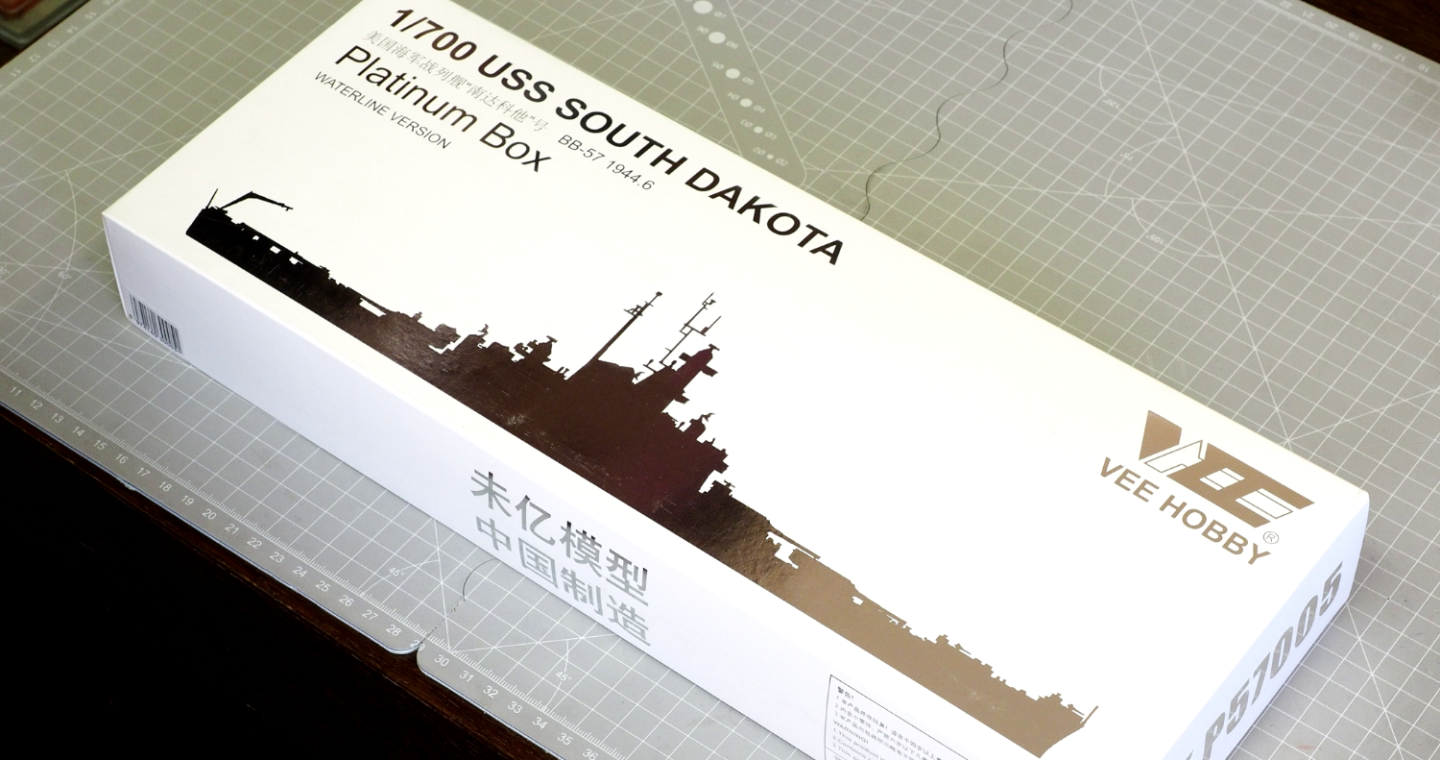
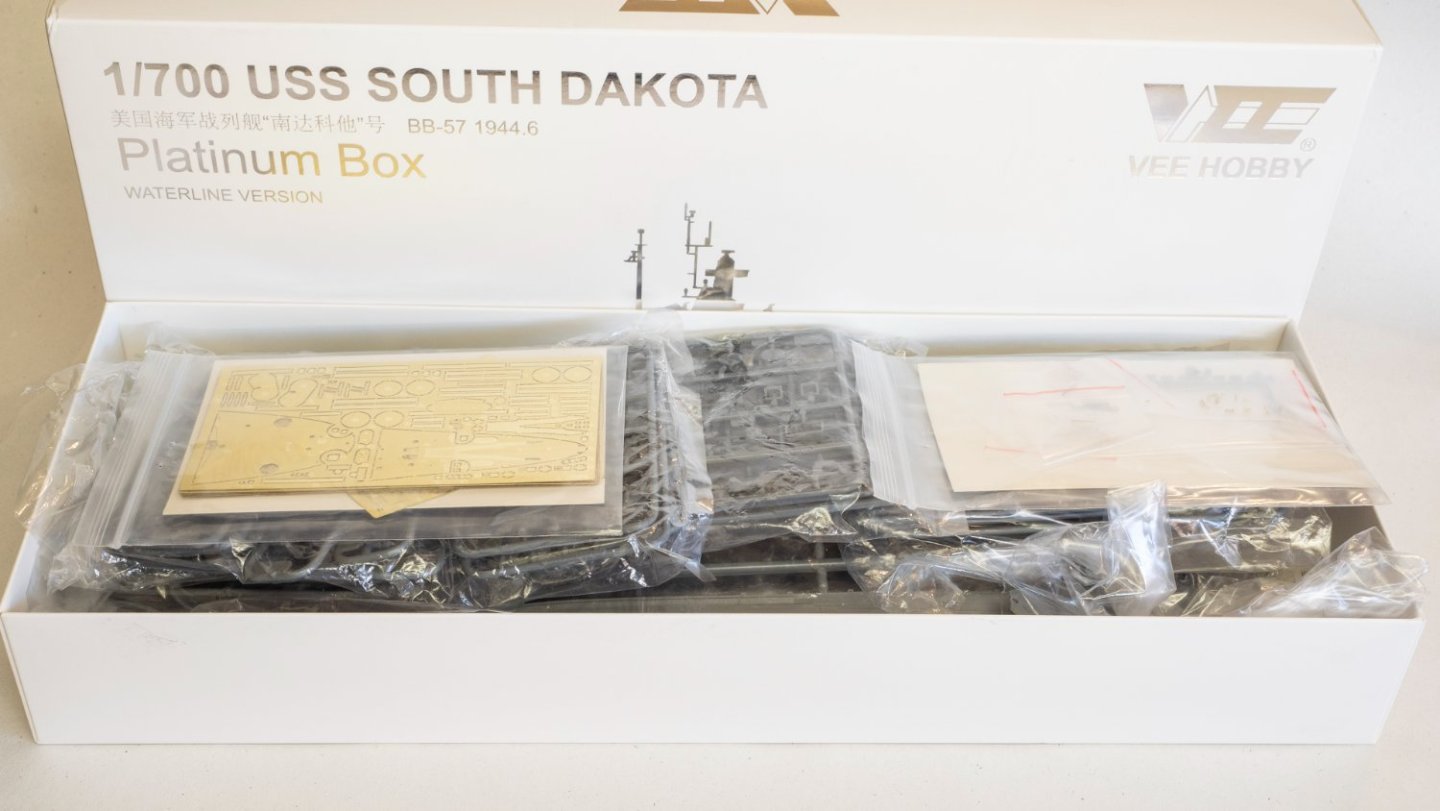
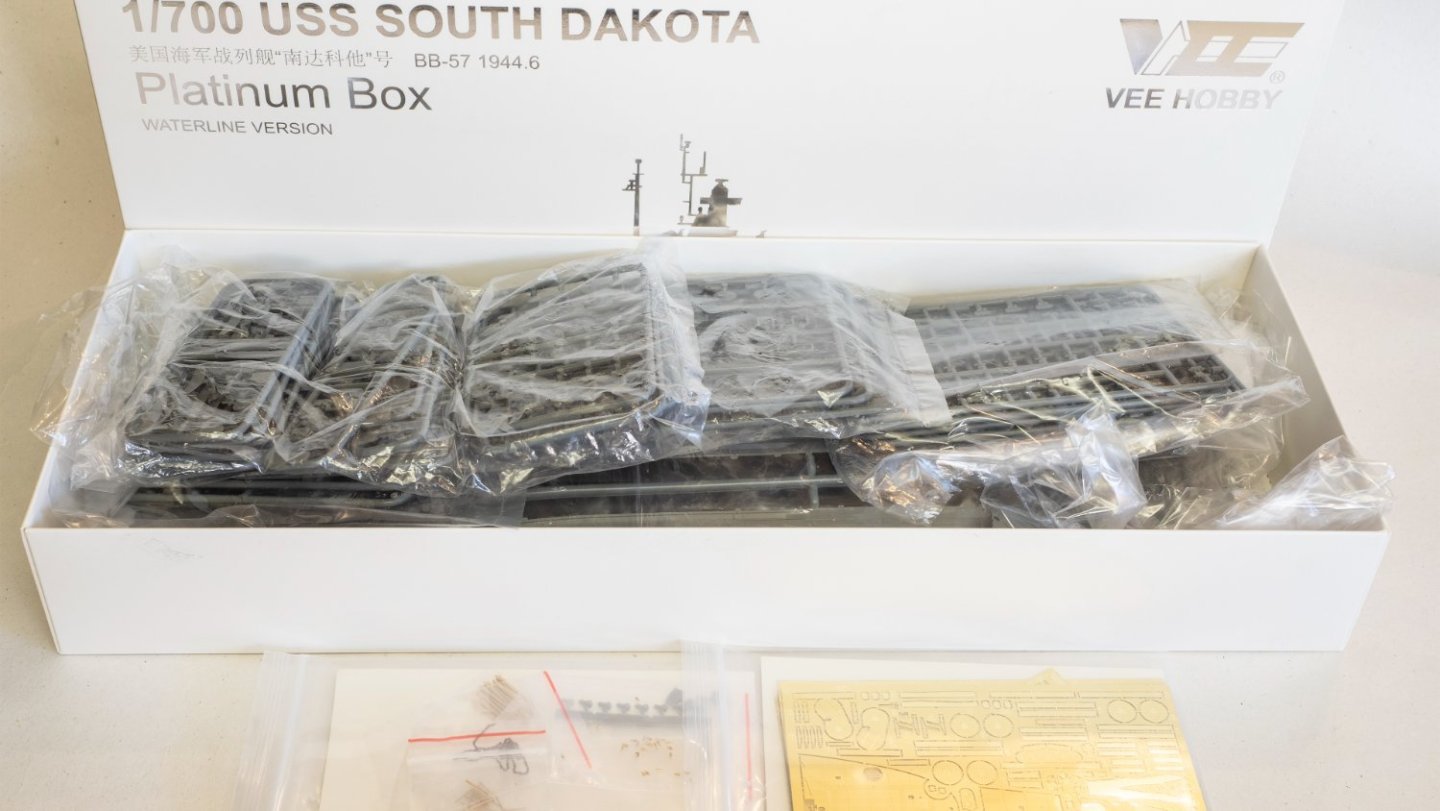
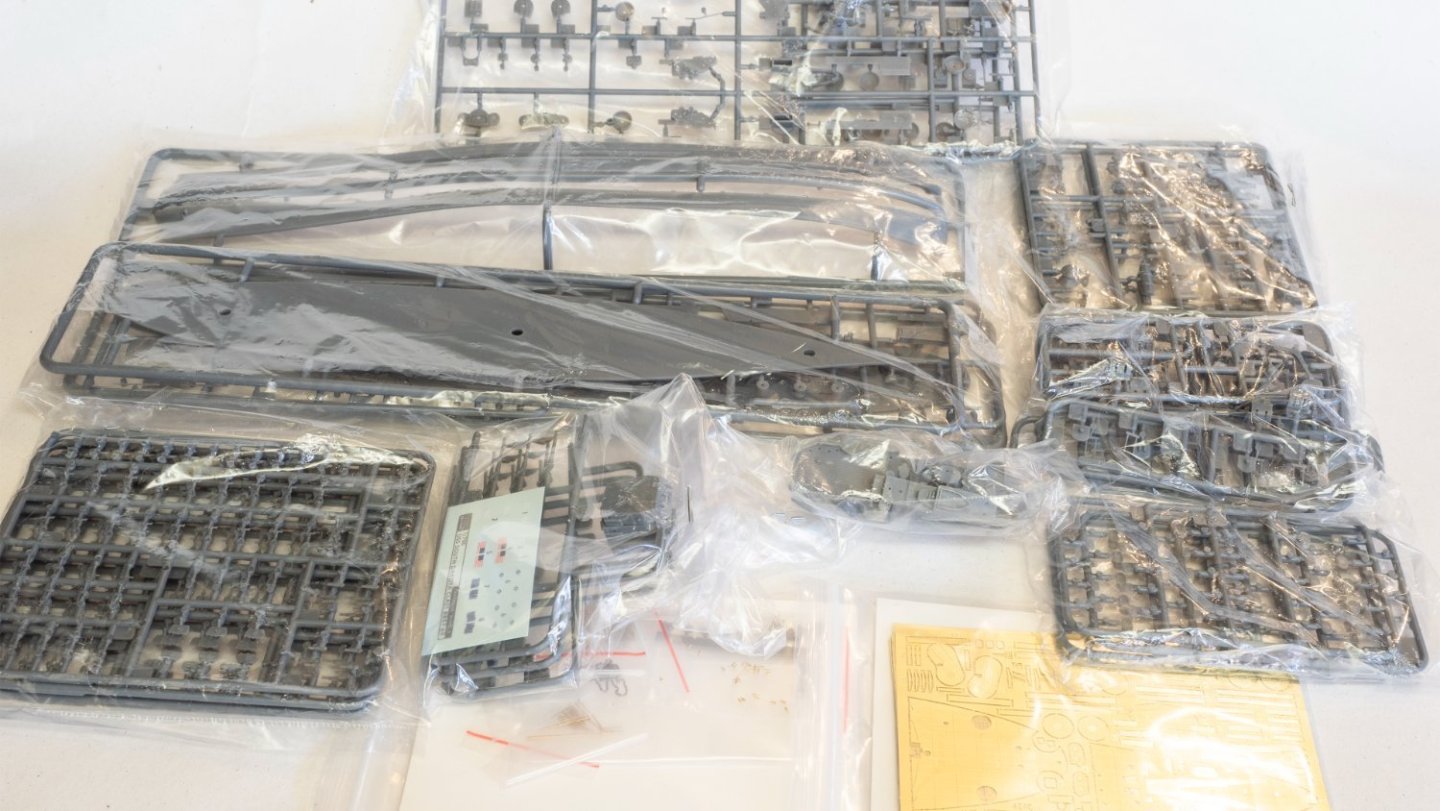
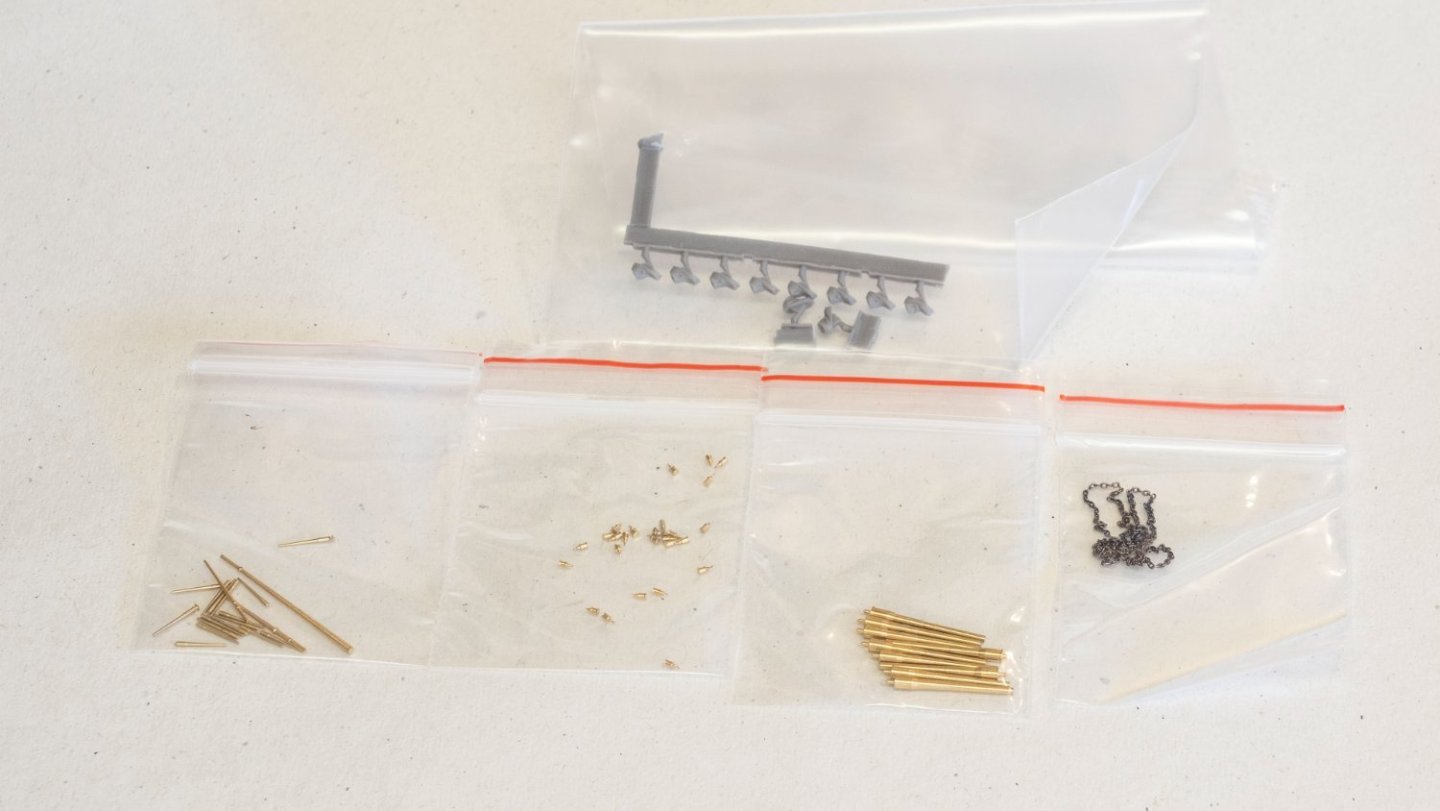
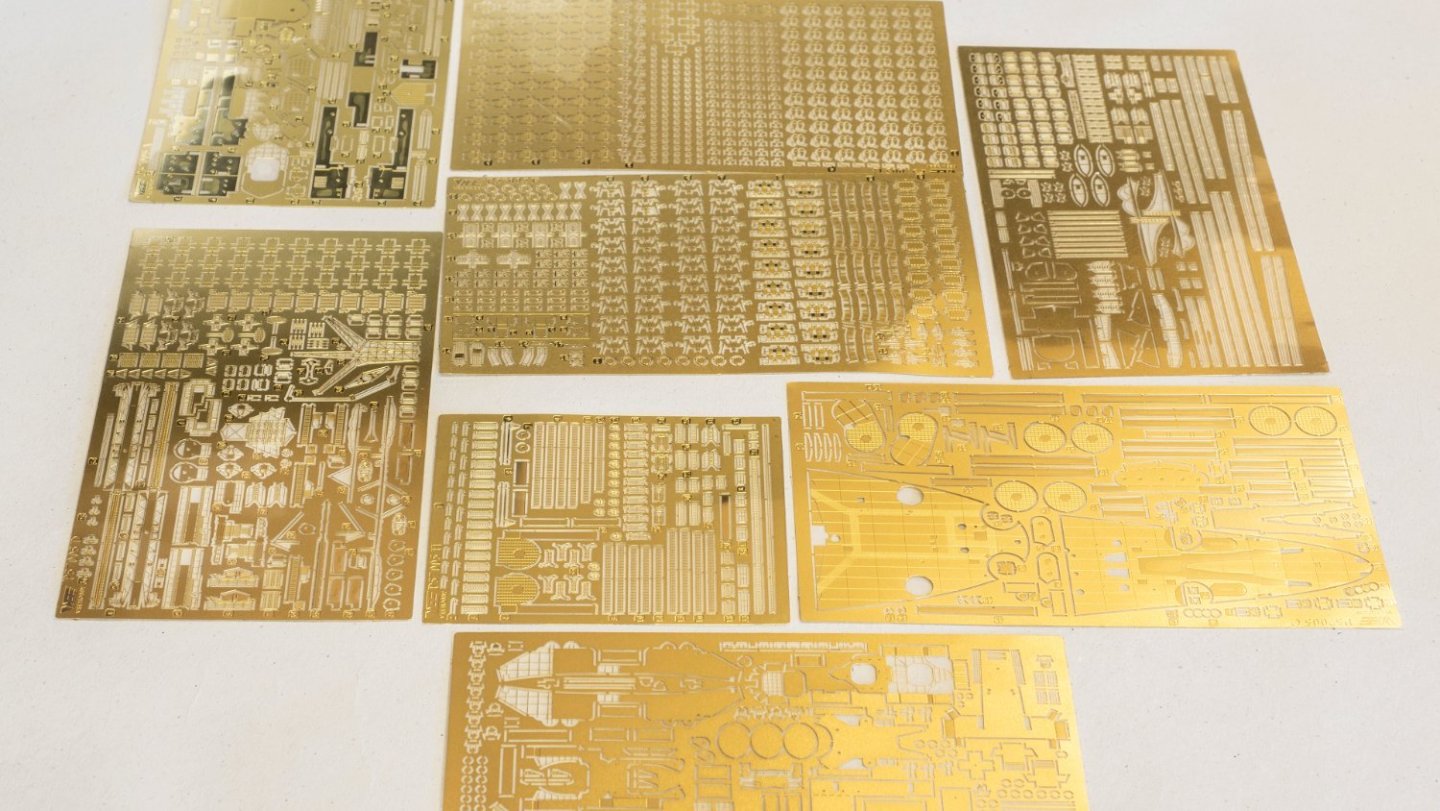
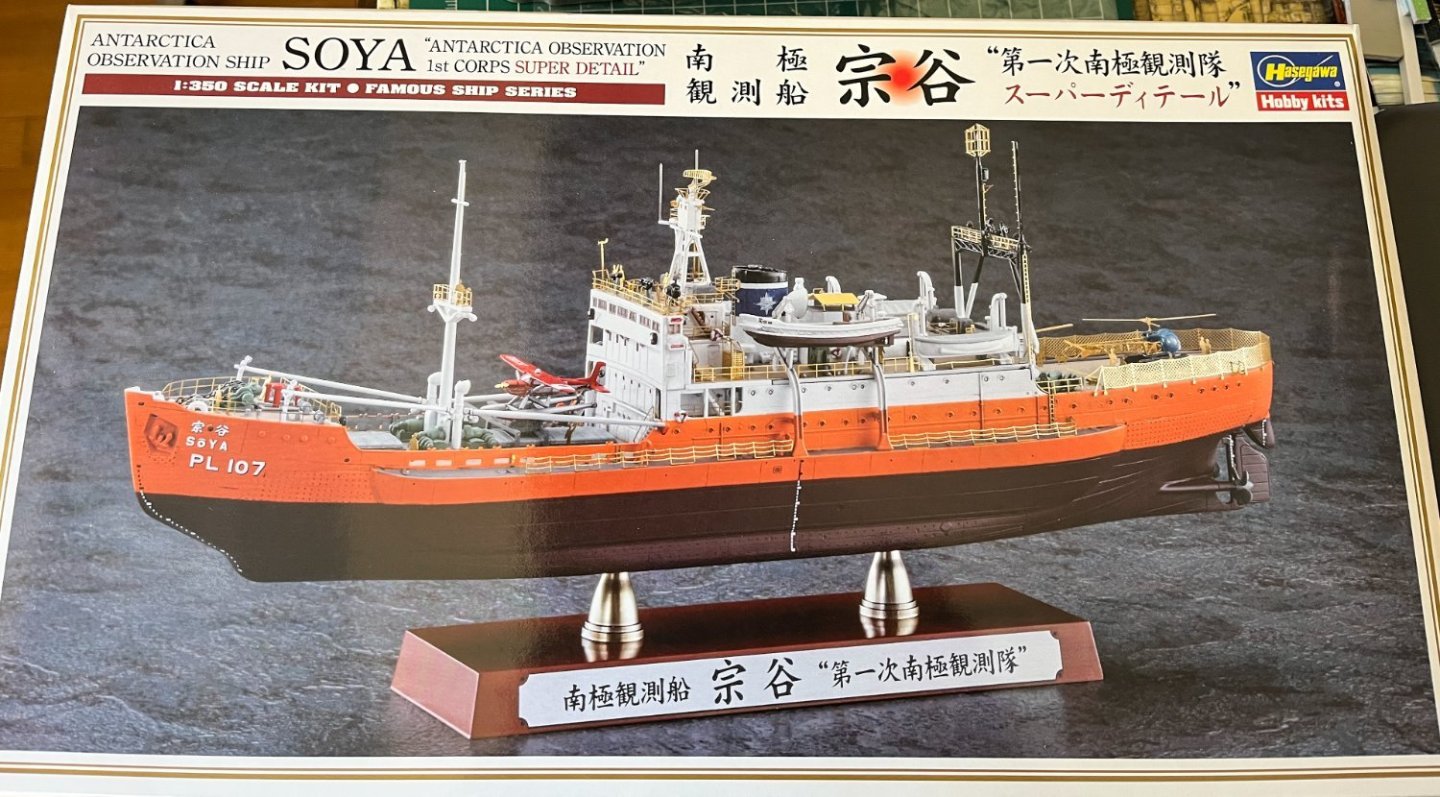
After the completion of the previous project it will be the next one. For now I uploaded a short video of the unboxing and the build log will follow.. https://youtu.be/lSmzpt2I3iY

-
- 6
-
-
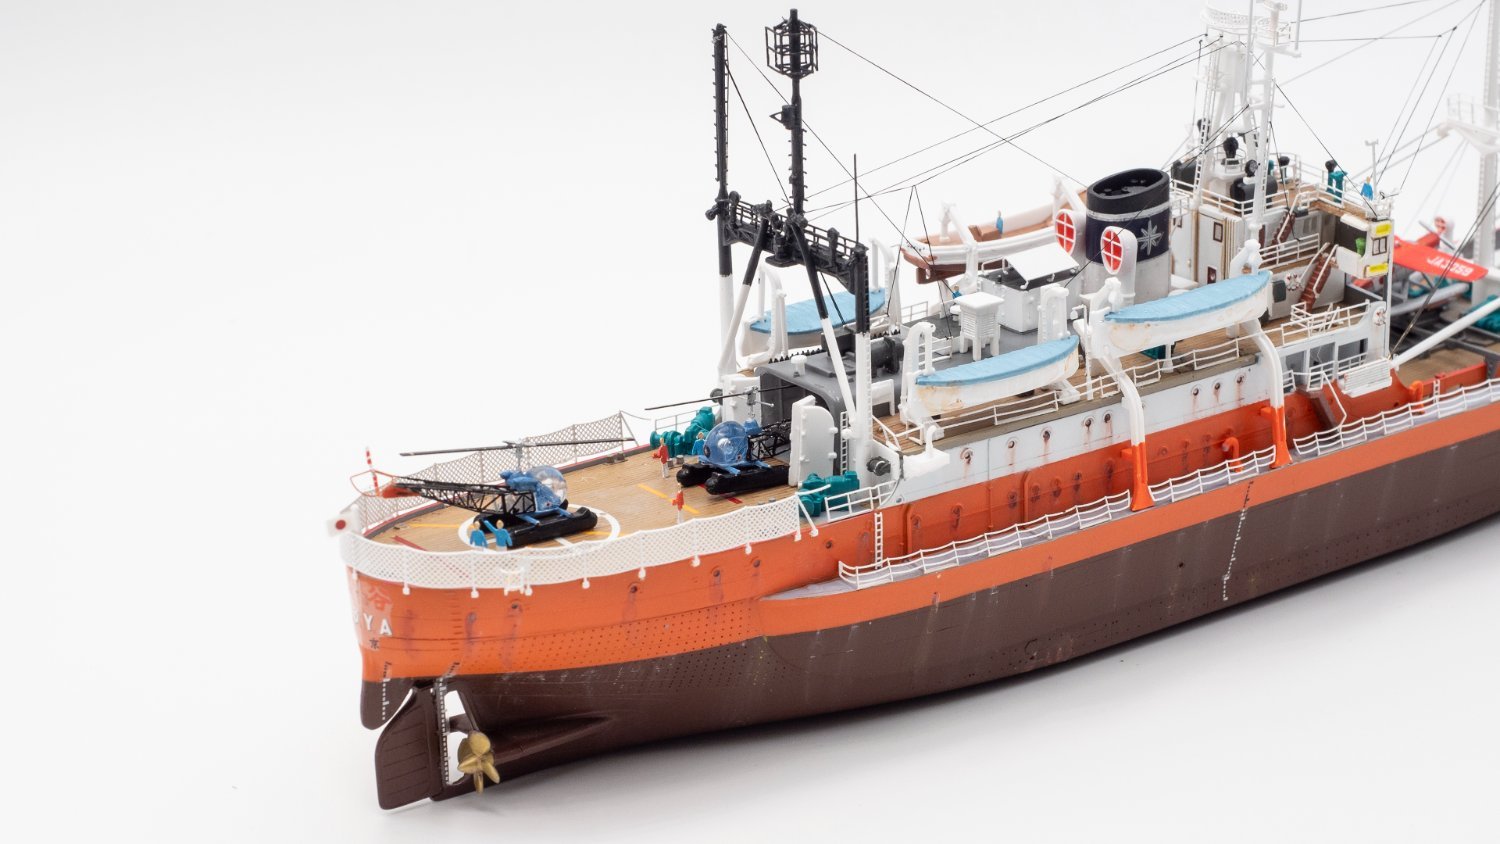
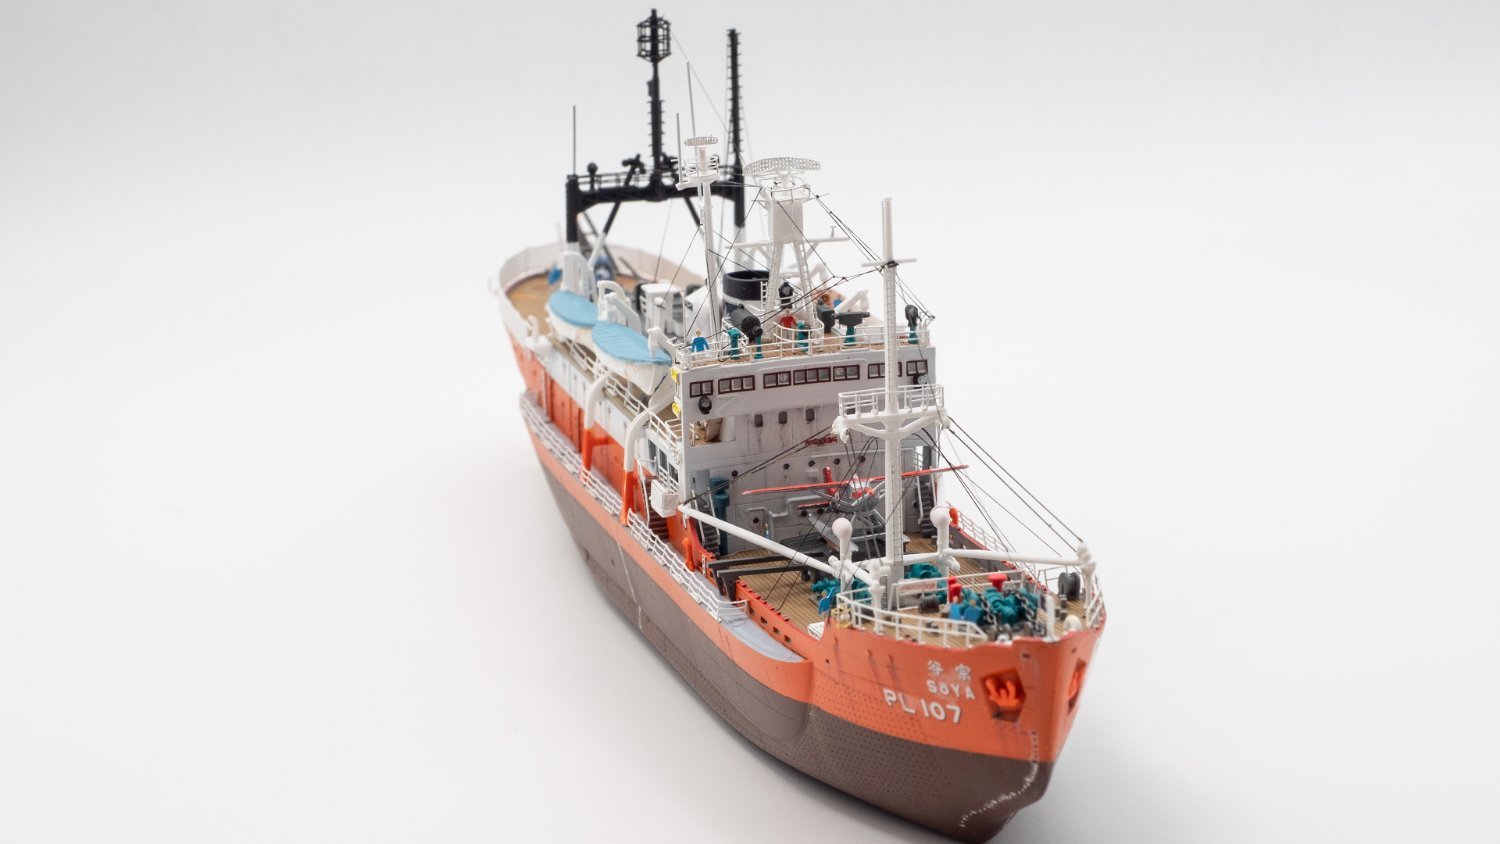
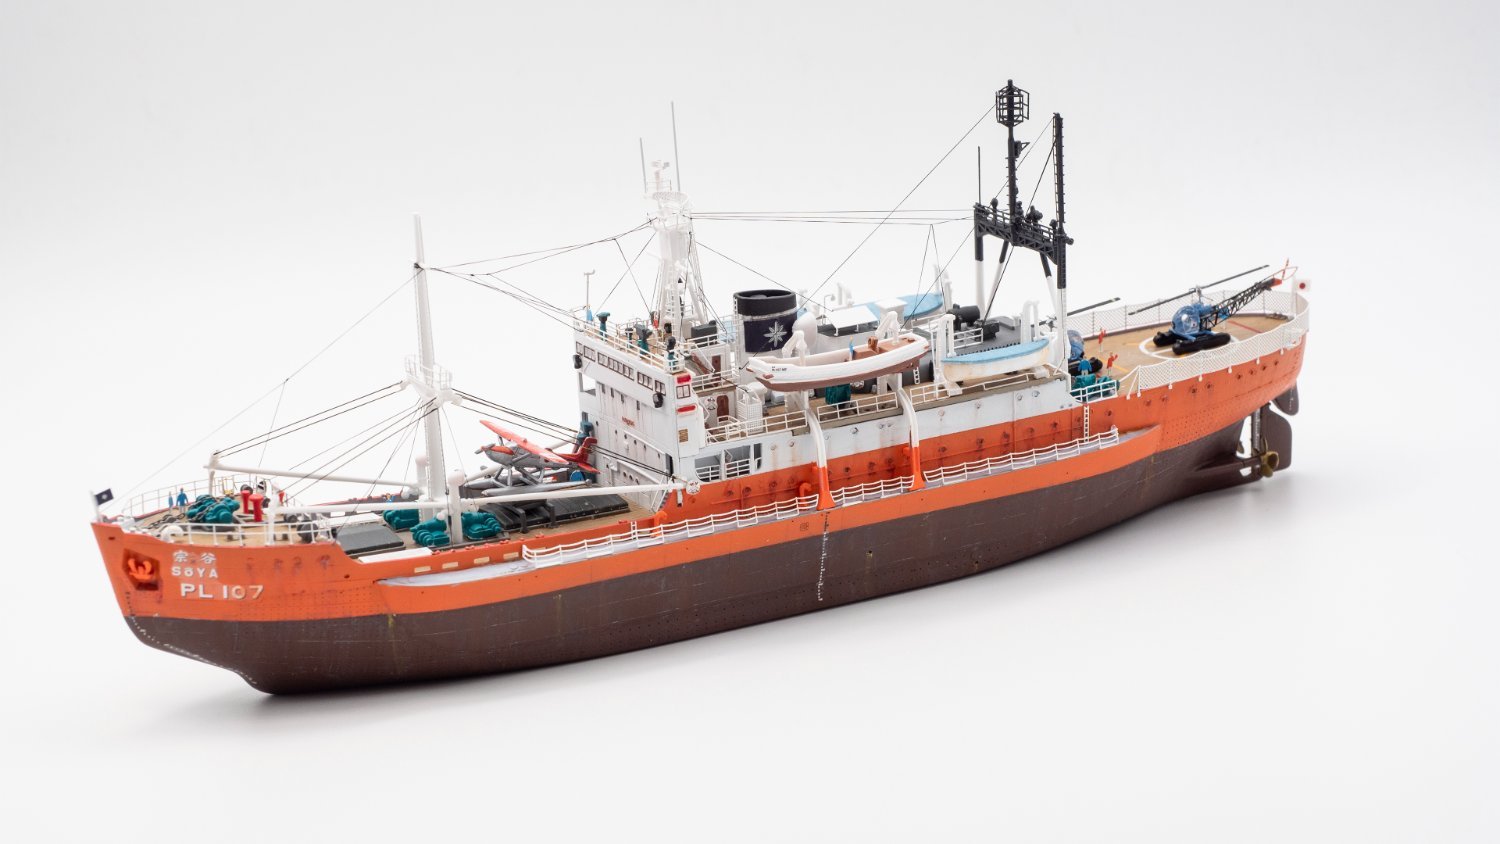
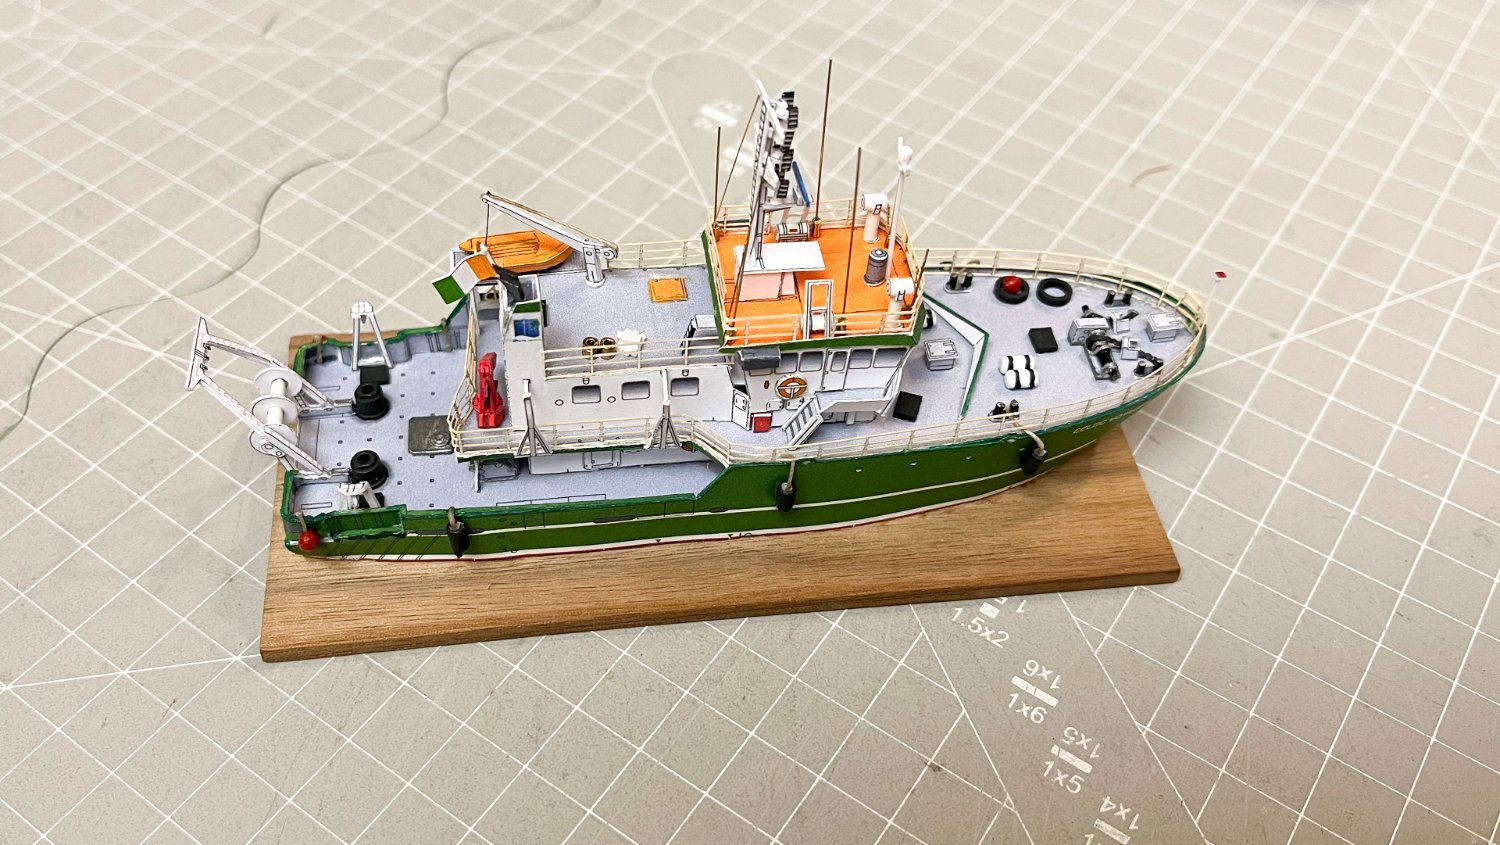
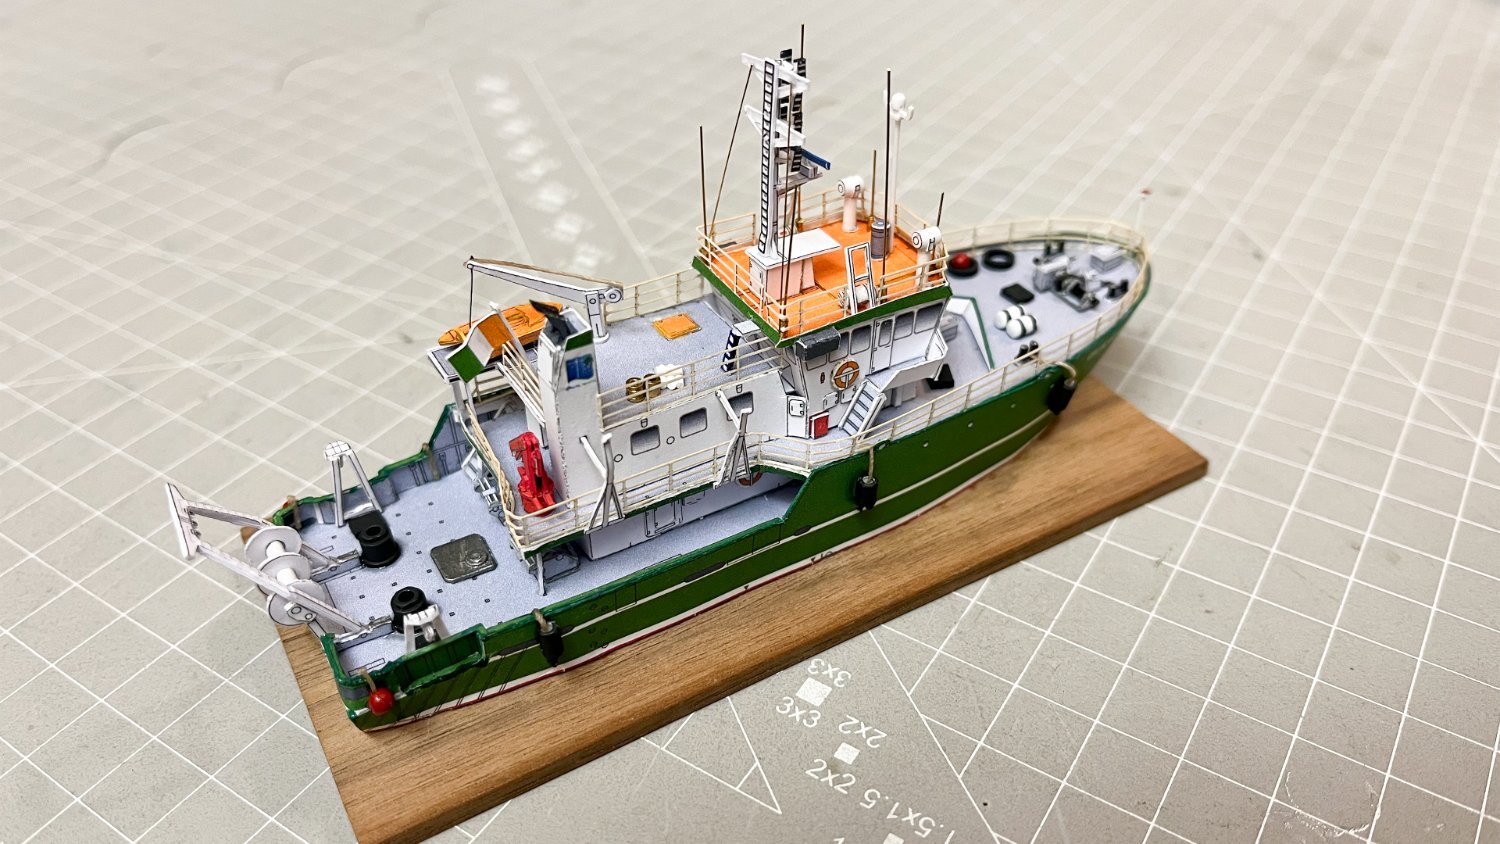
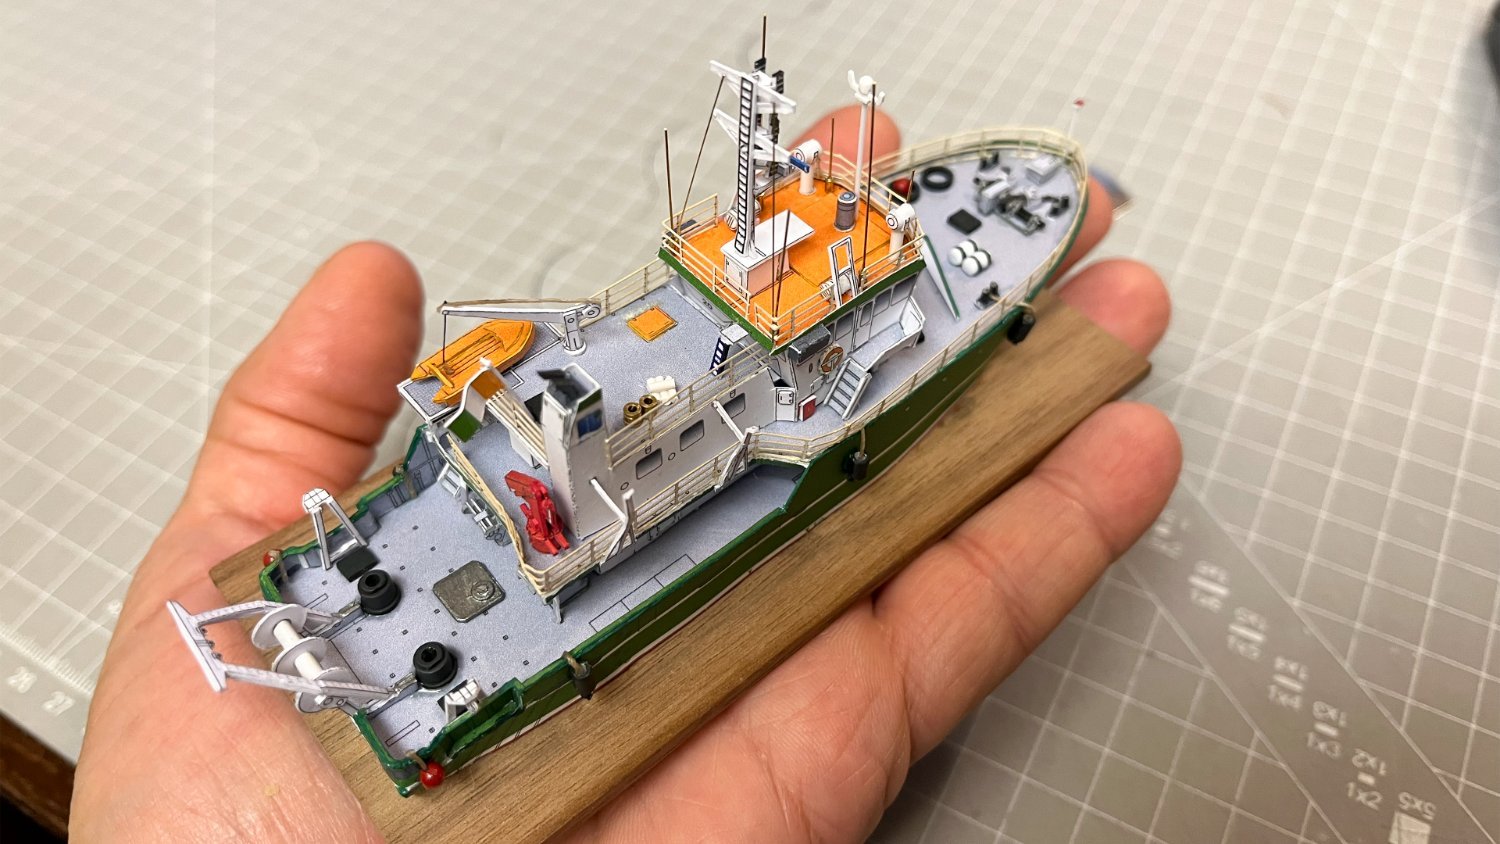
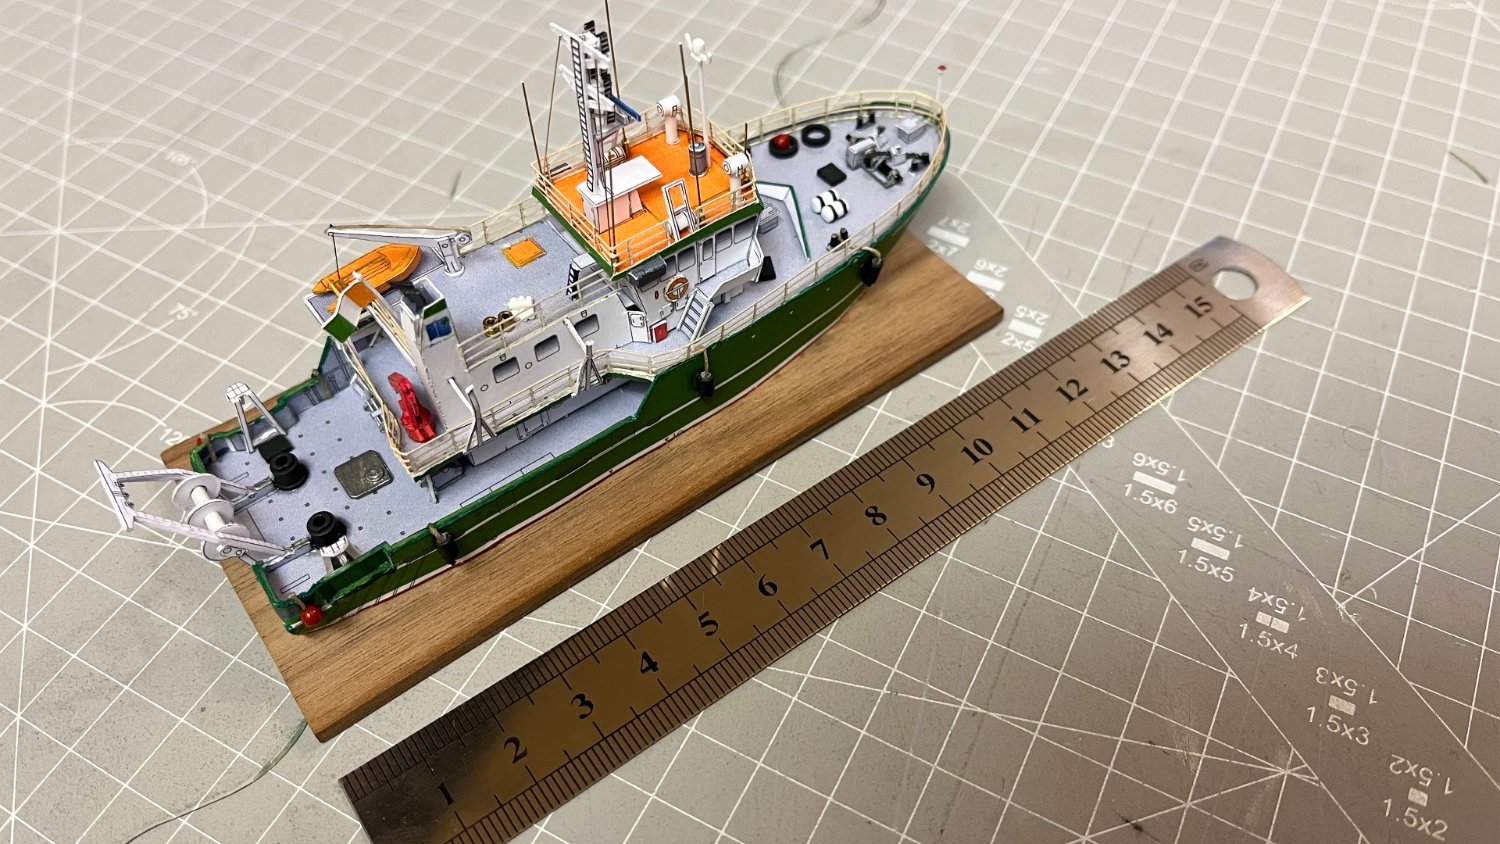
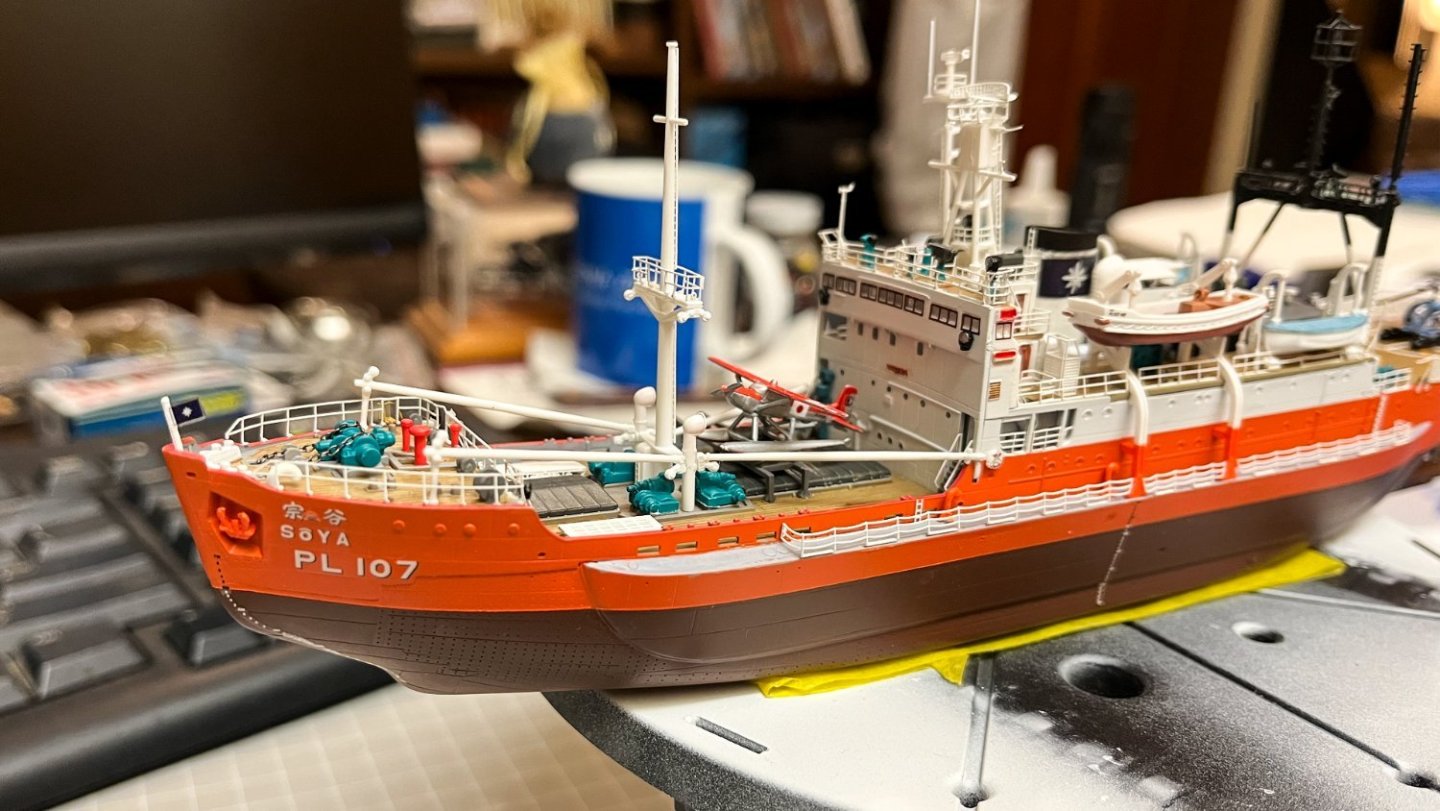
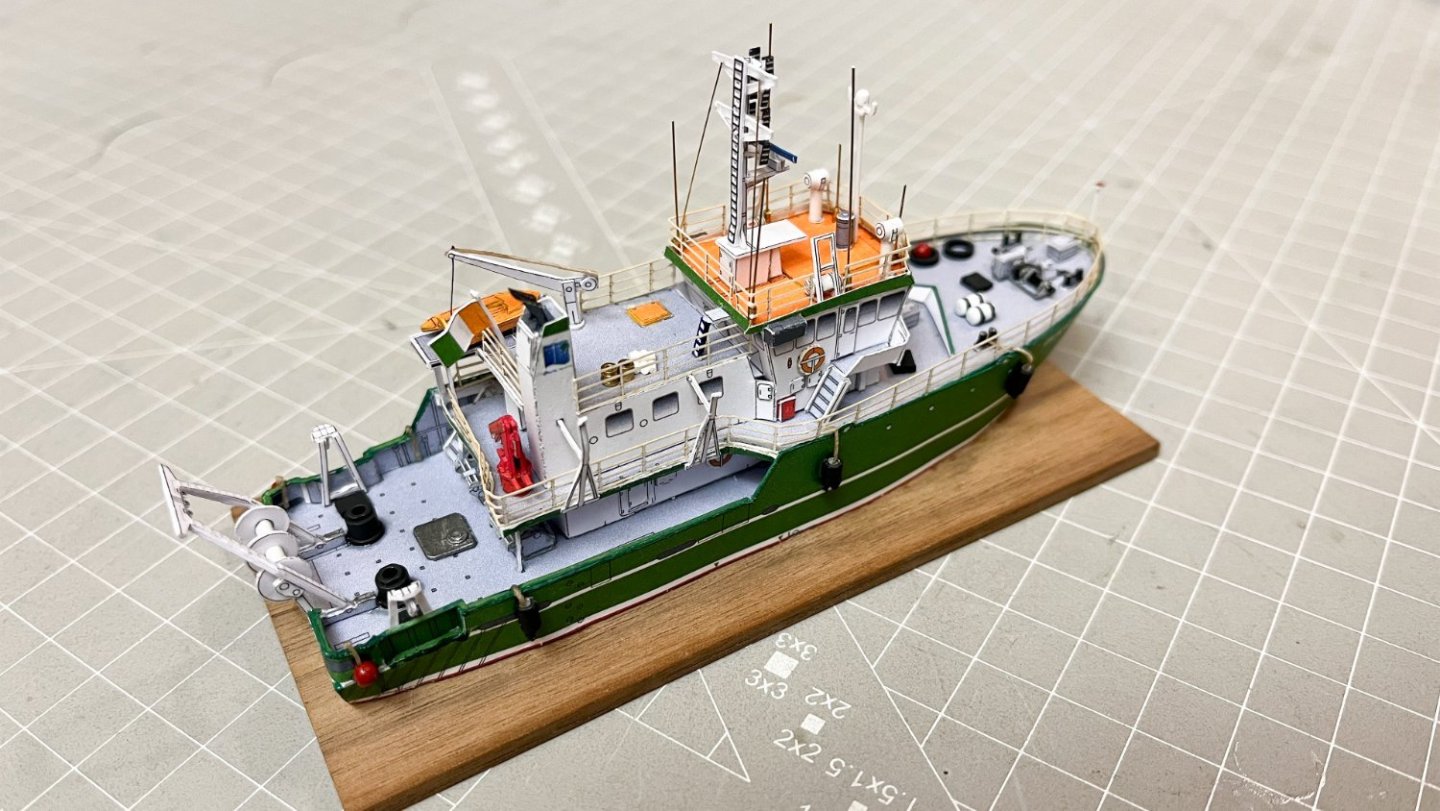
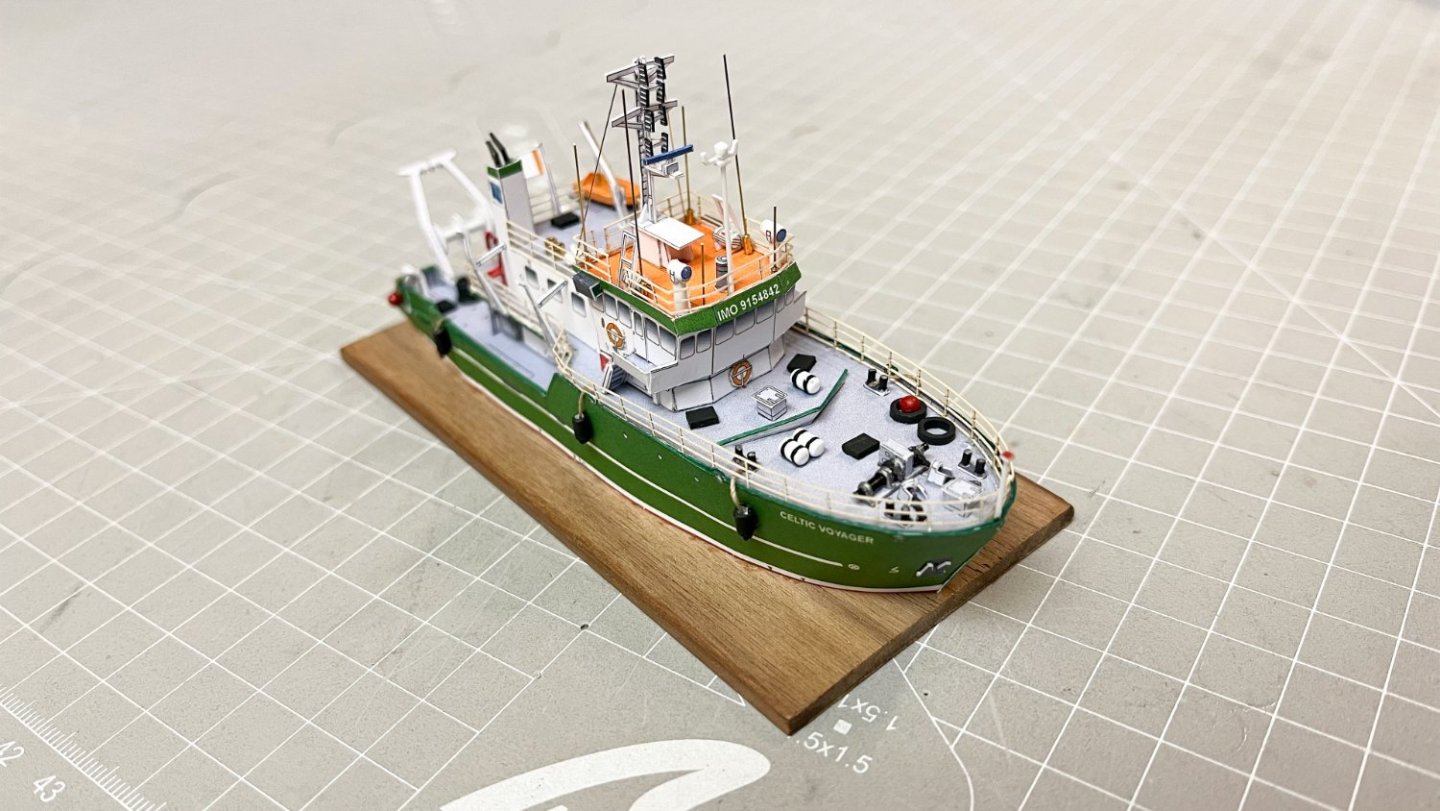
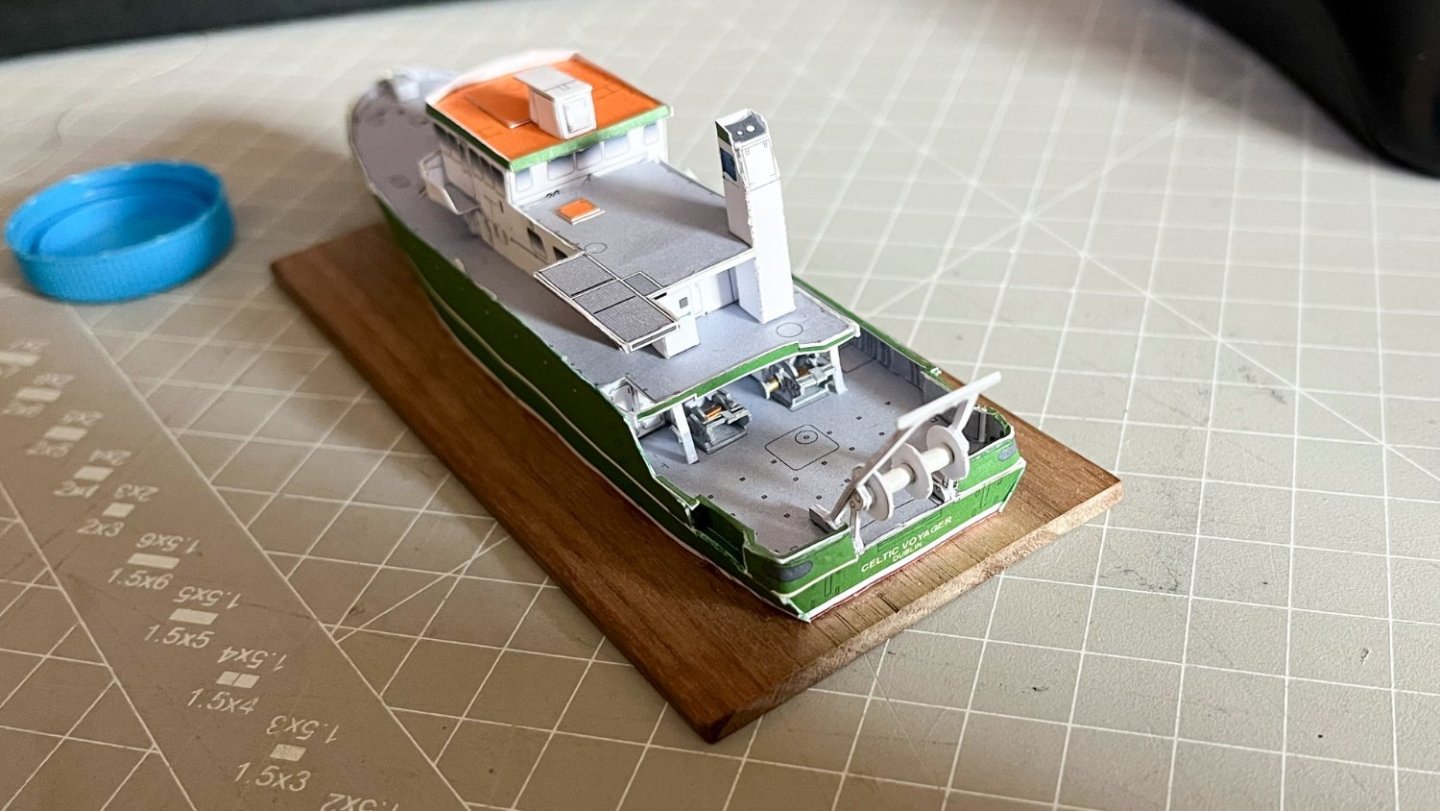
More photos of the finished model.


-
Thank you Chris.
-
A short video of the finished model. https://youtu.be/lSNQK2CAas8
-
Exactly. The Pontos Soya is probably my next plastic kit and maybe the most advanced model ship full kit.
-
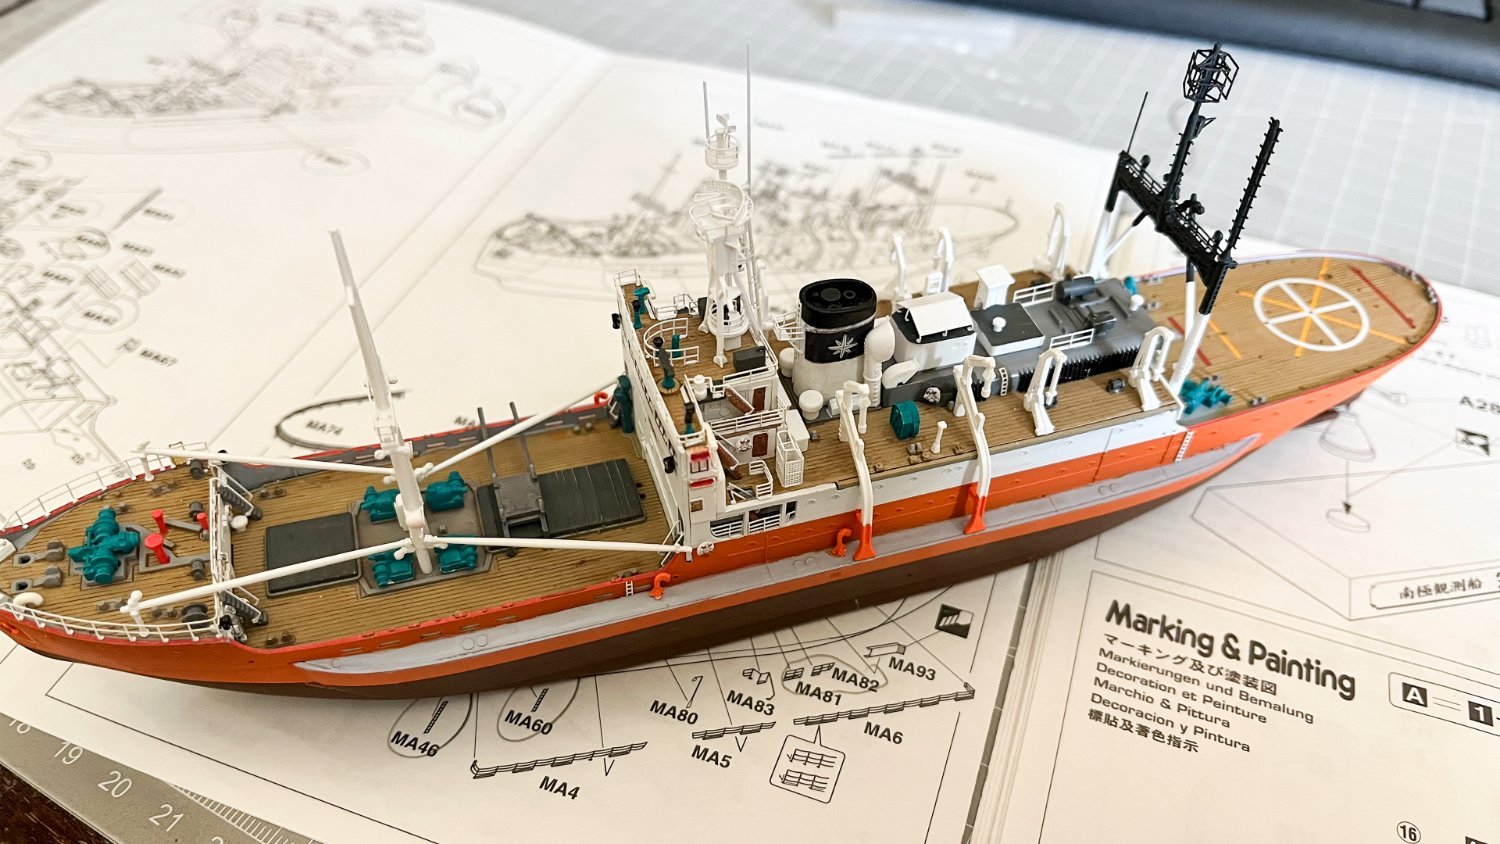
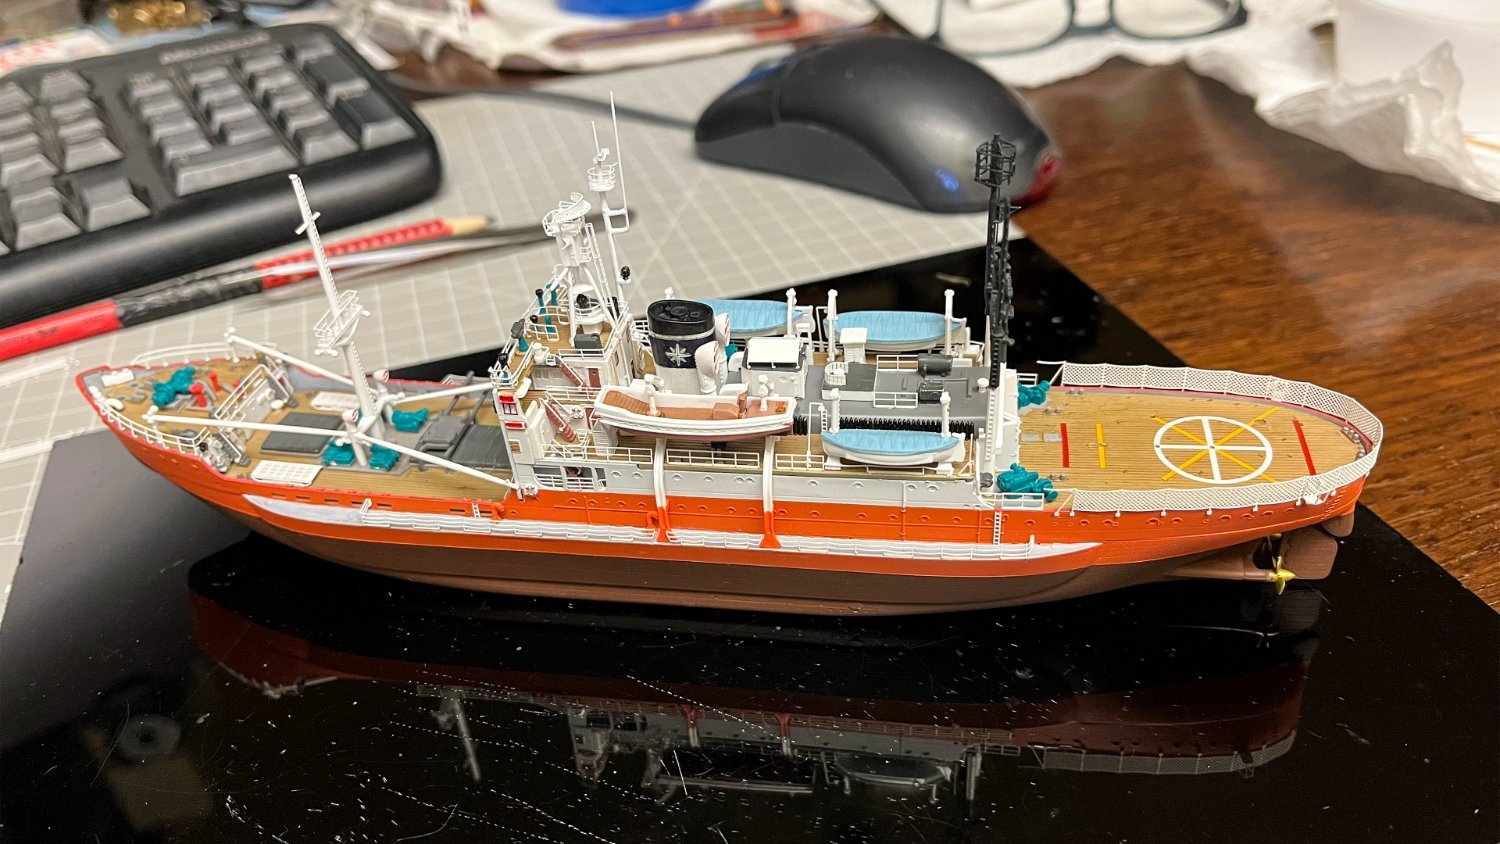
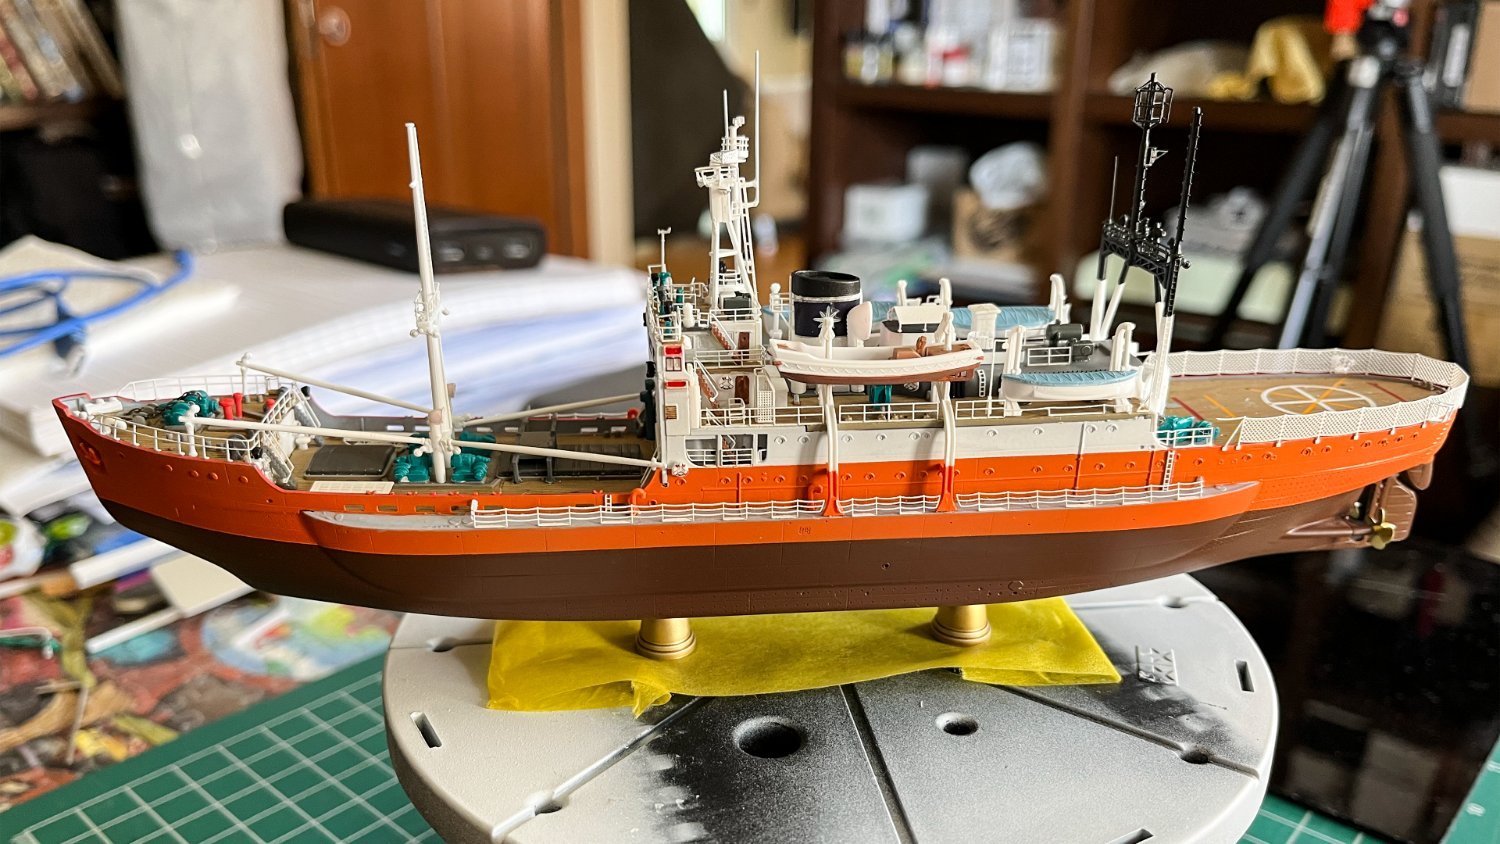
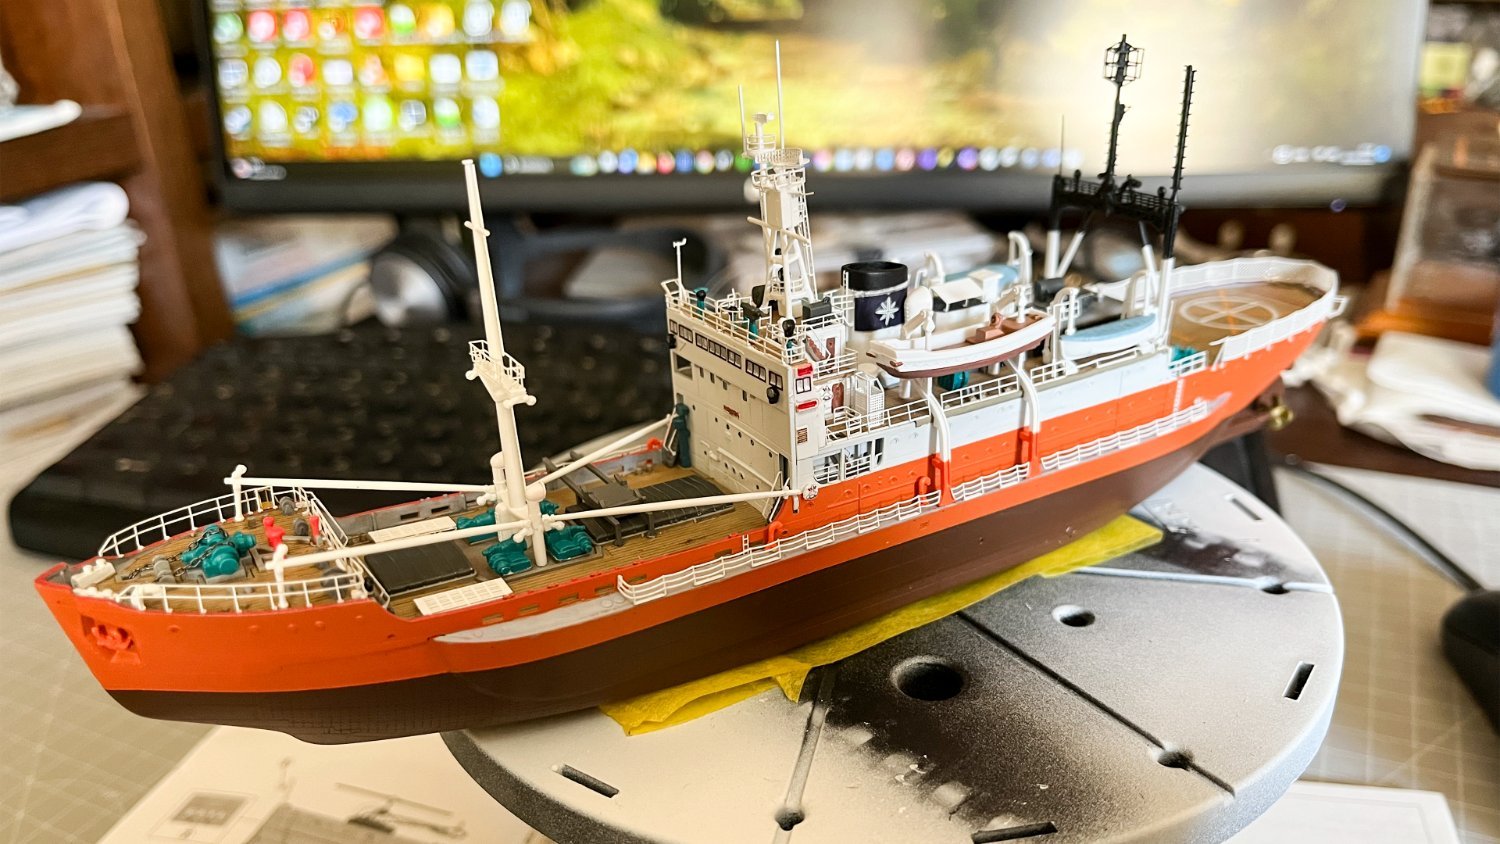
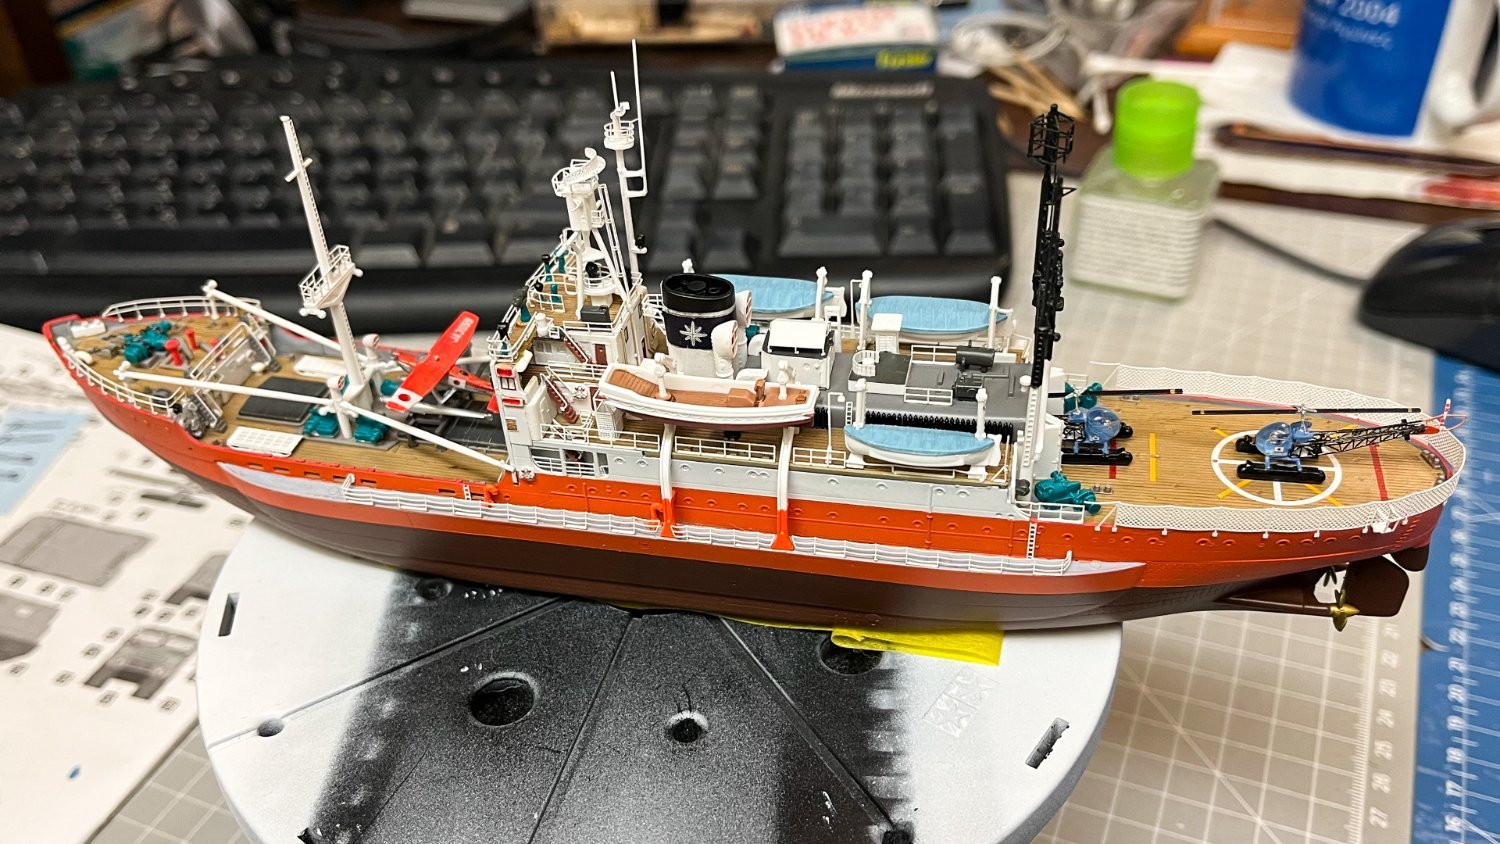
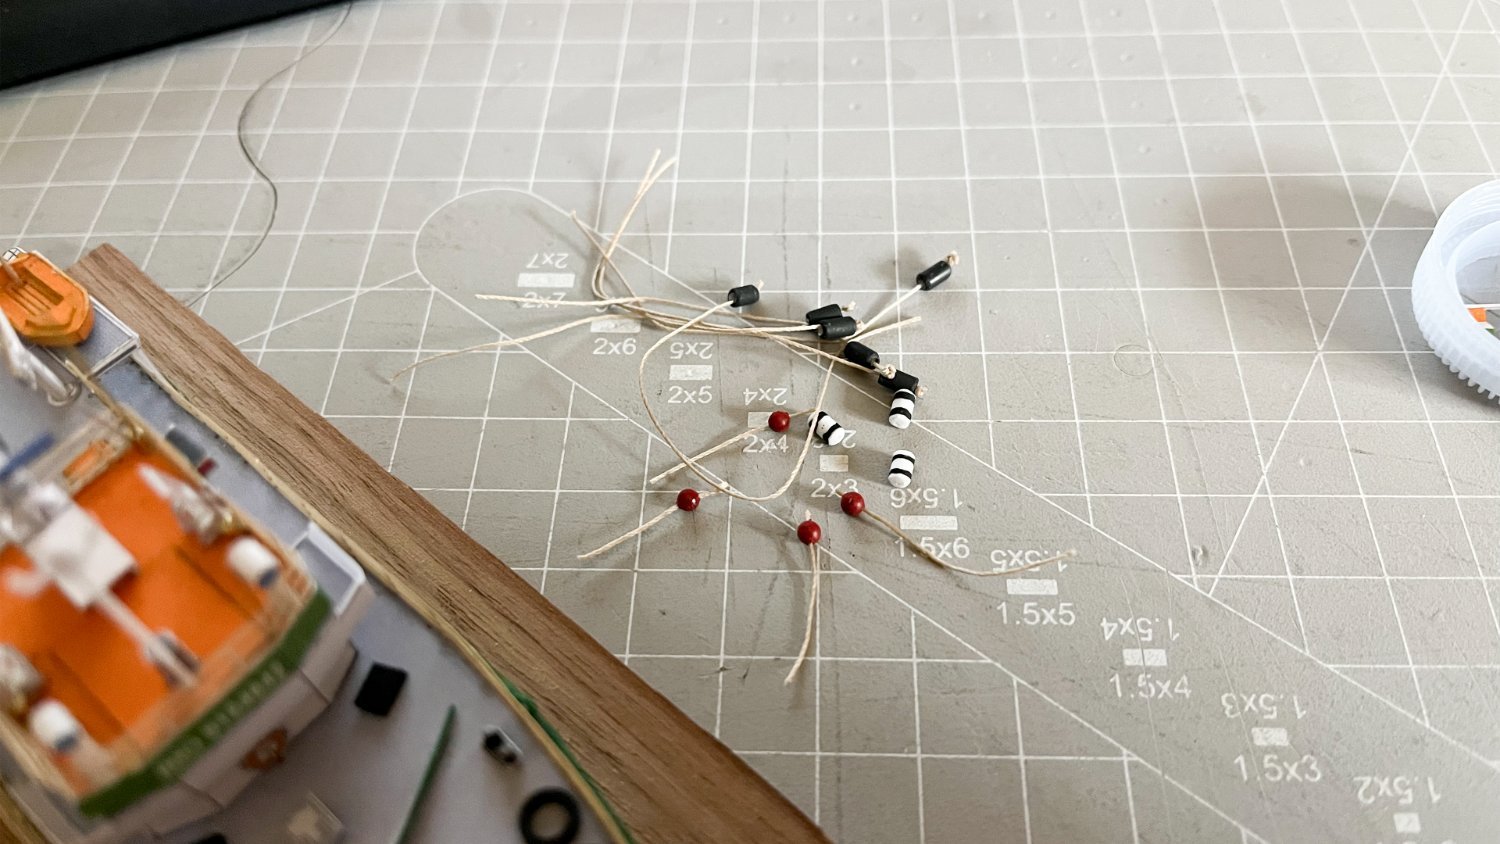
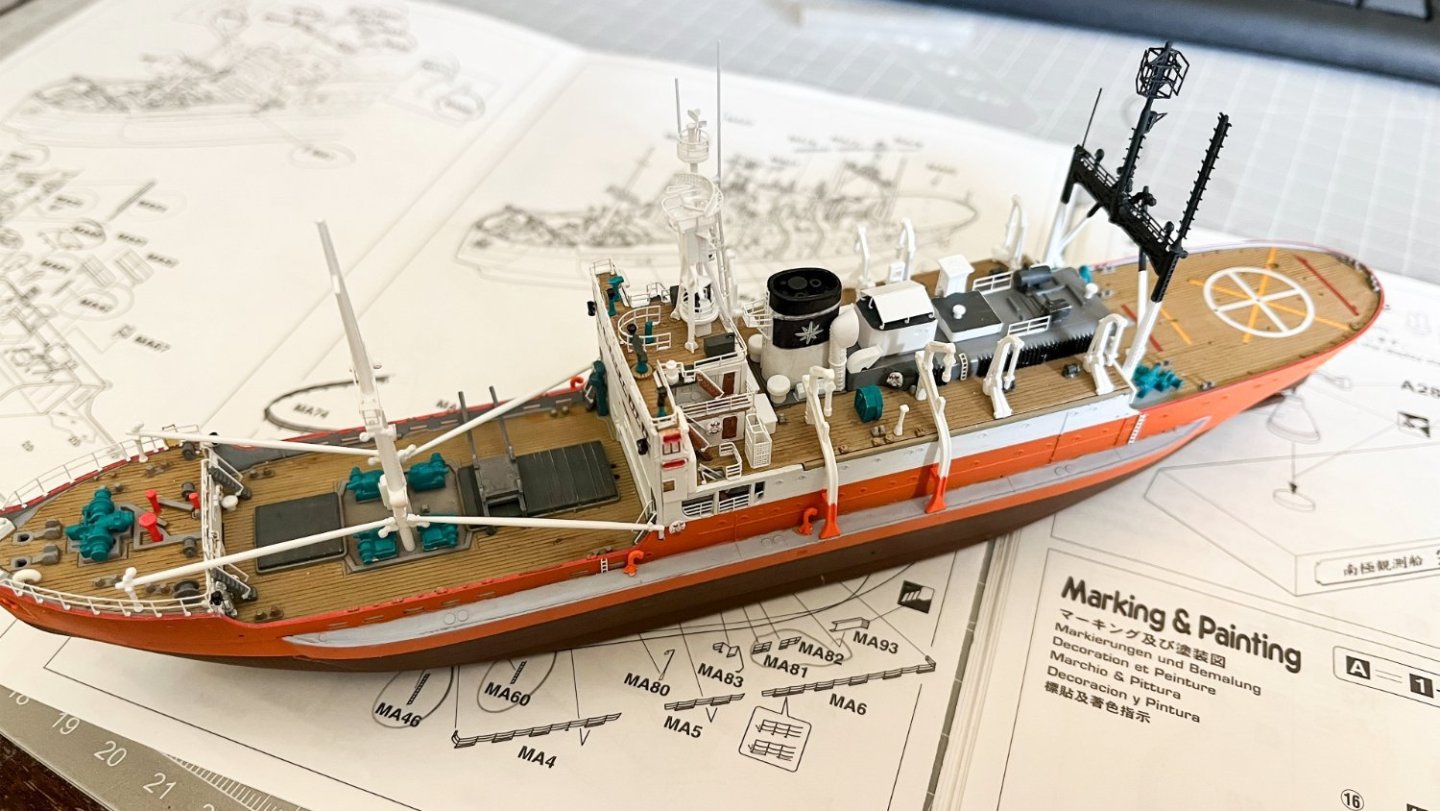
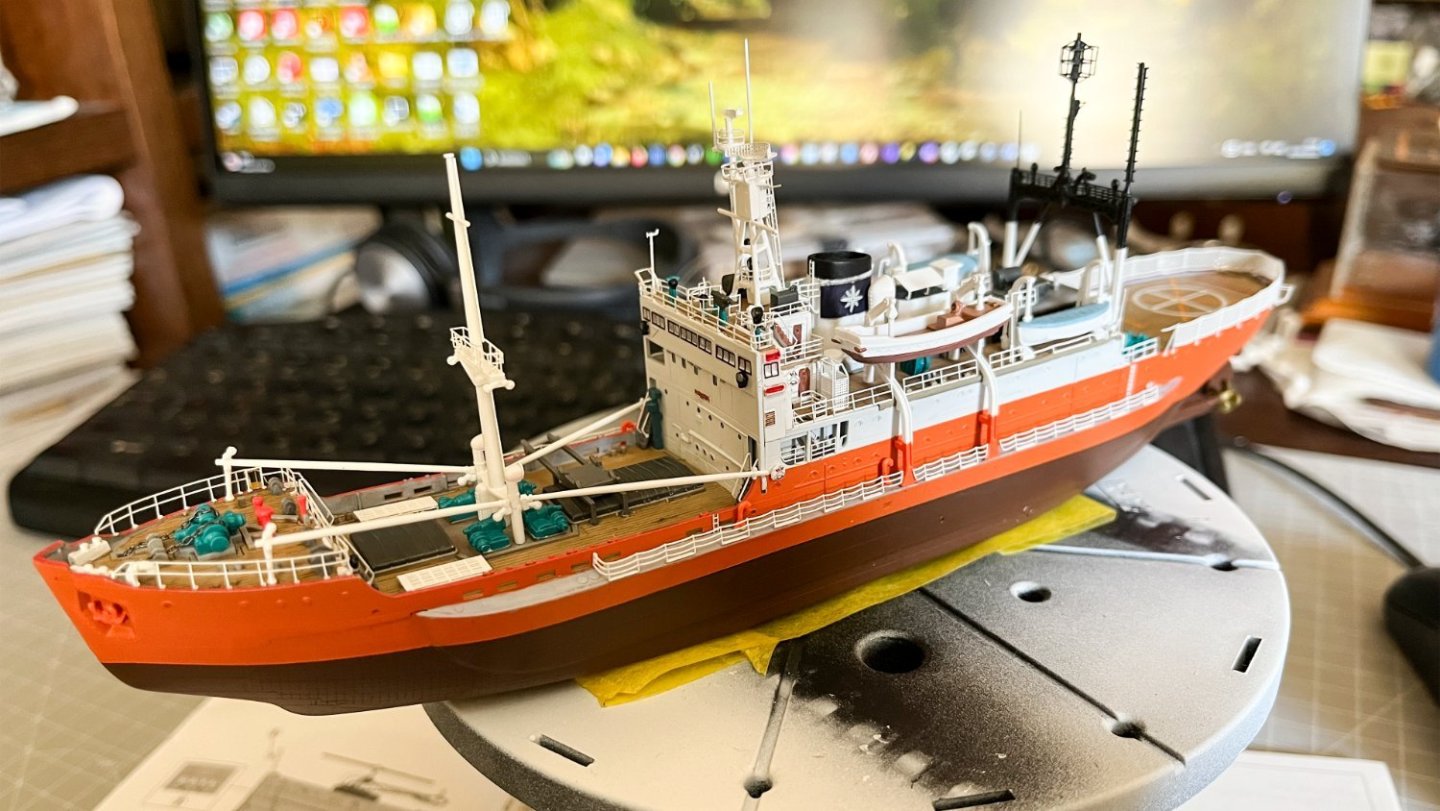
Today I finished the model, adding some extra details, some weathering and the rigging. I have to admit that the most challenging and rewarding part of the project was the rigging. Fortunately what helped a lot is the excellent rigigng material from Infini model (Fine lycra Rigging 70 denier - 0.091mm). Later I will also upload a short video once I have it ready.

-
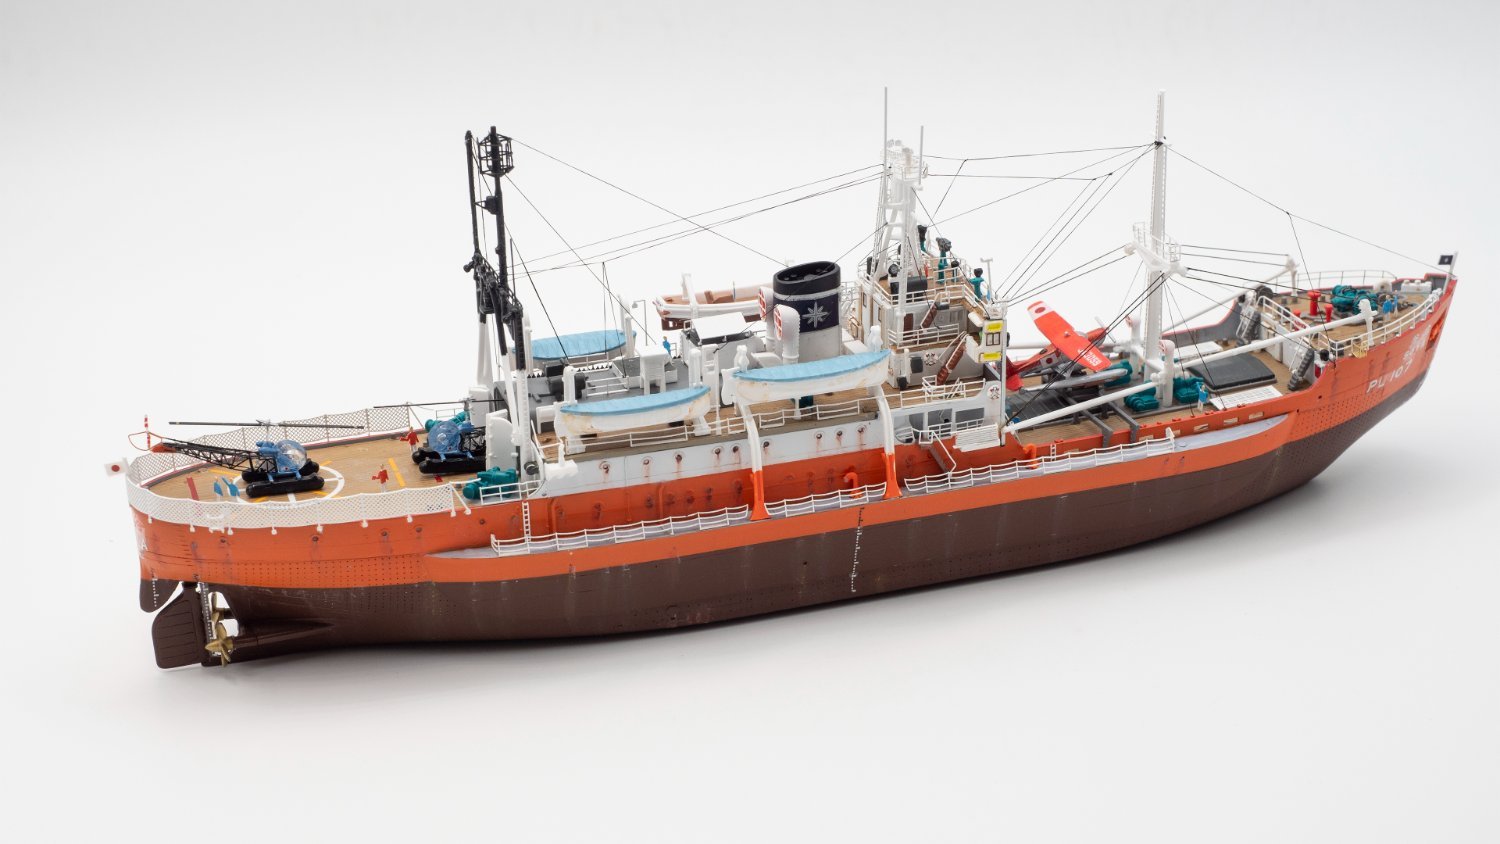
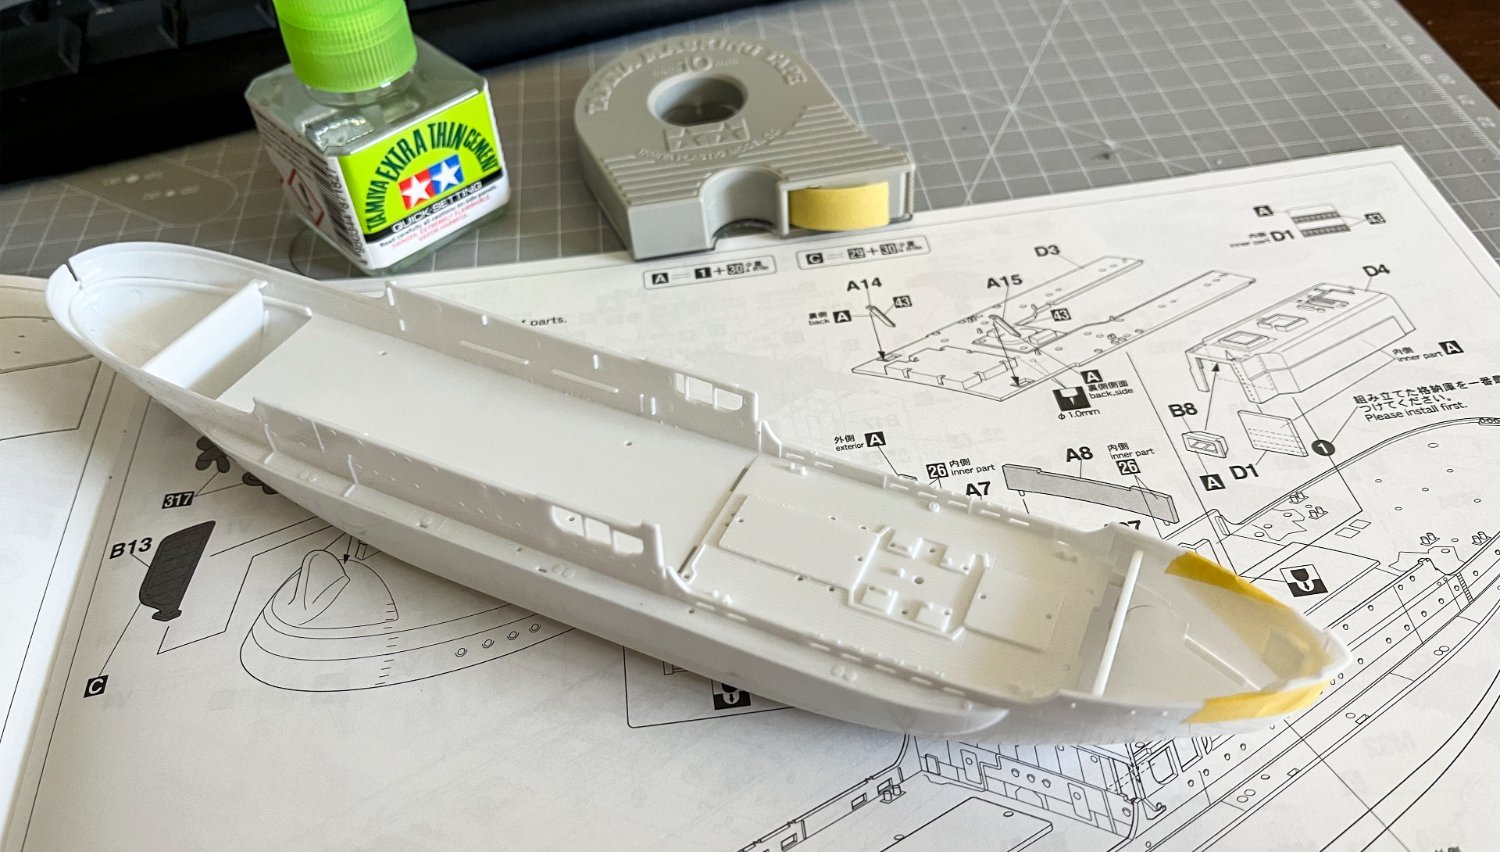
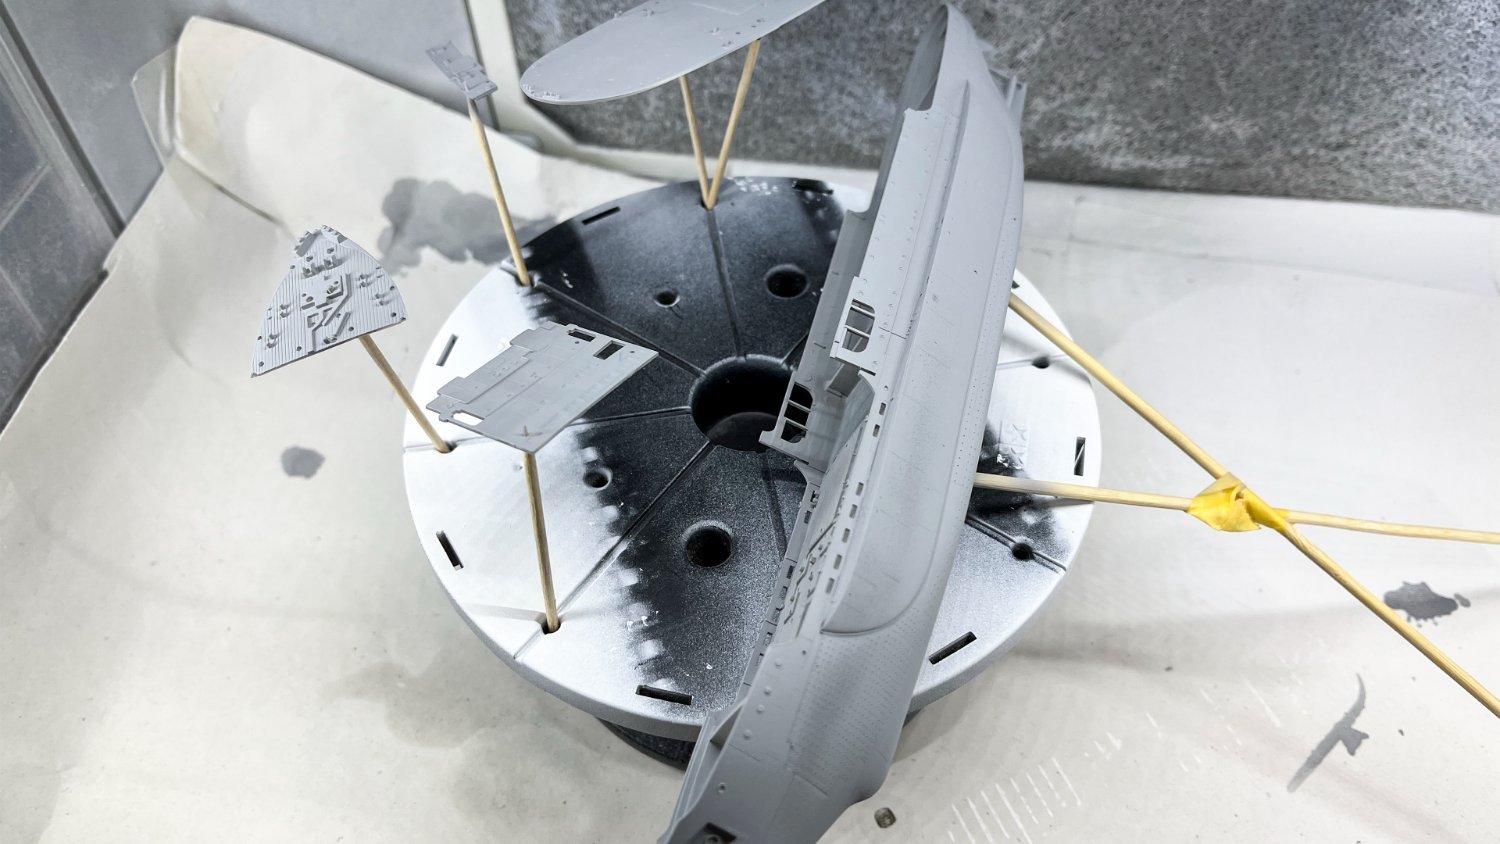
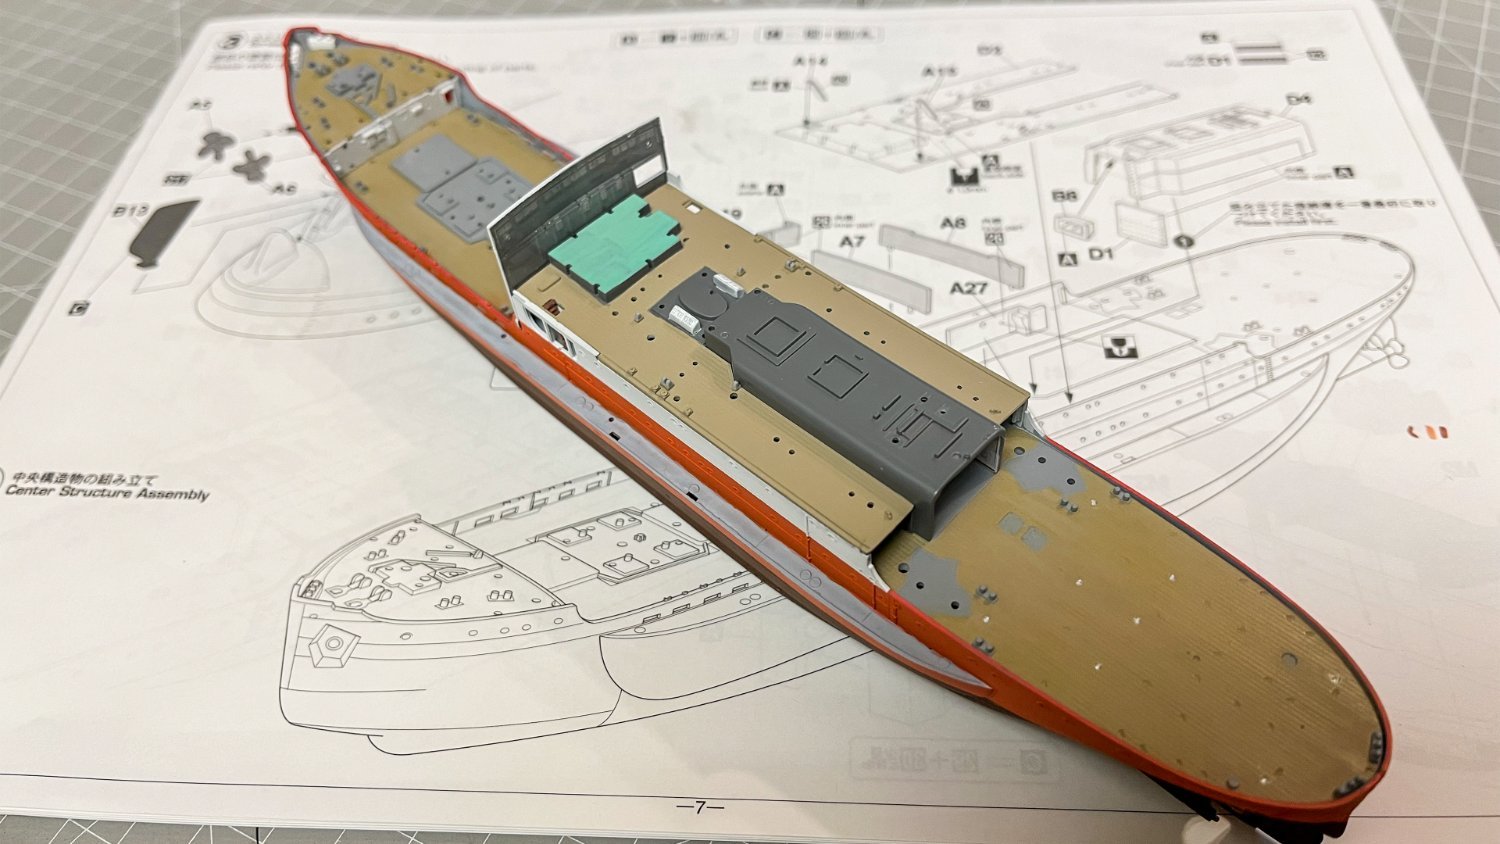
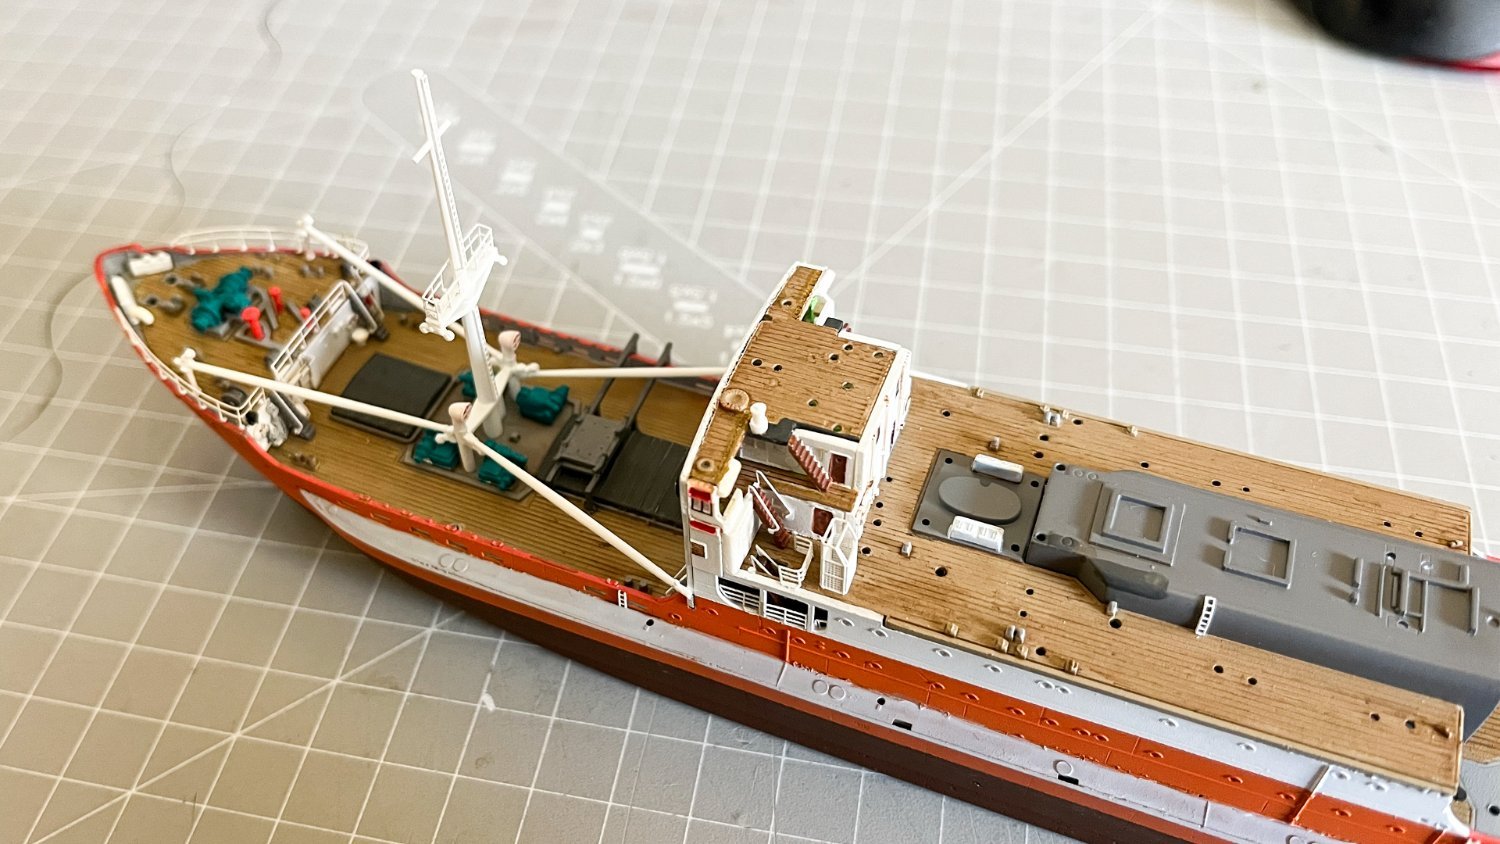
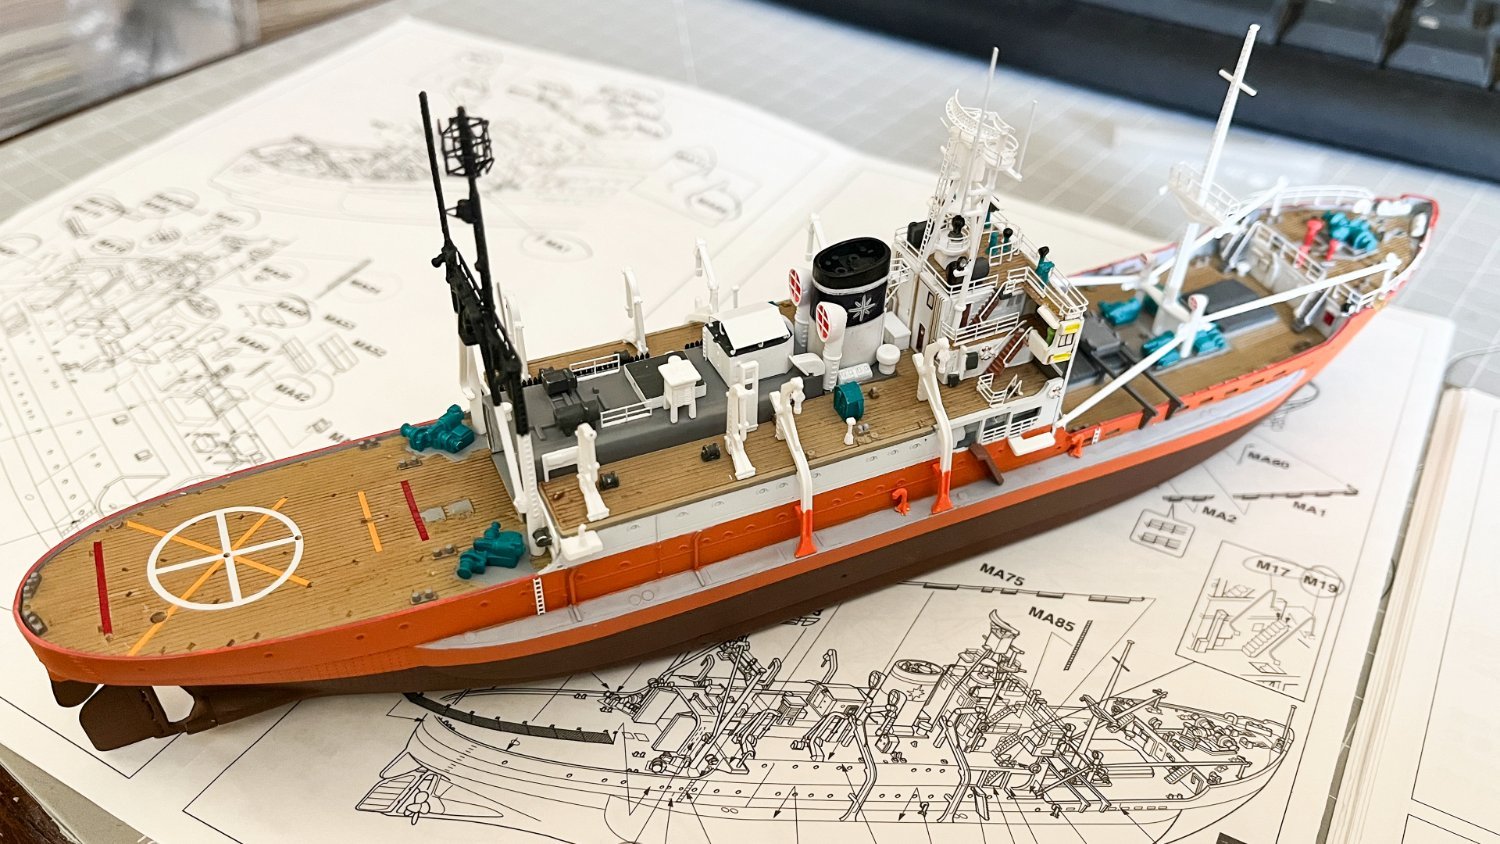
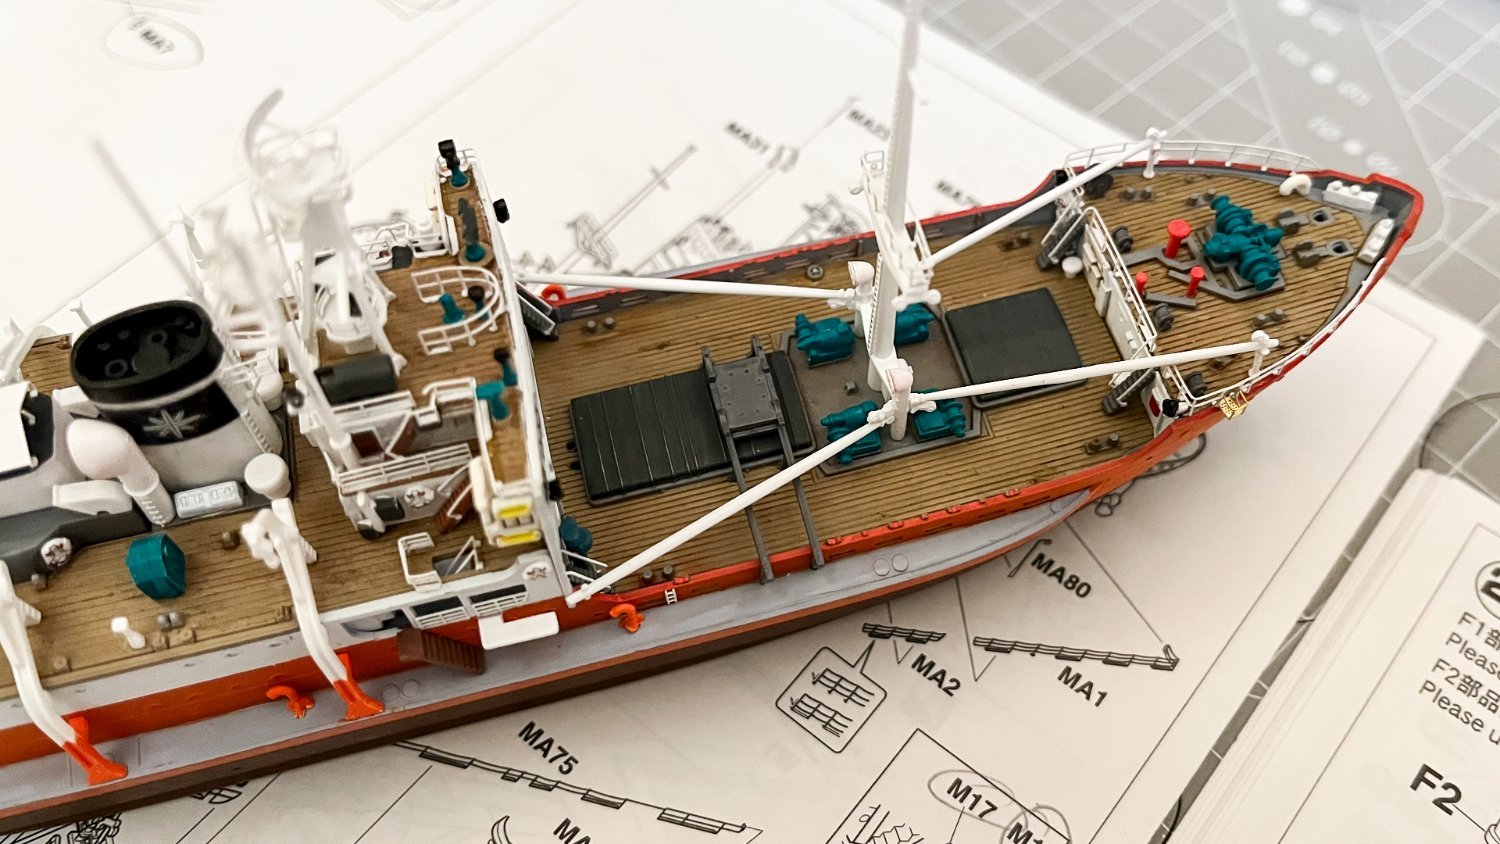
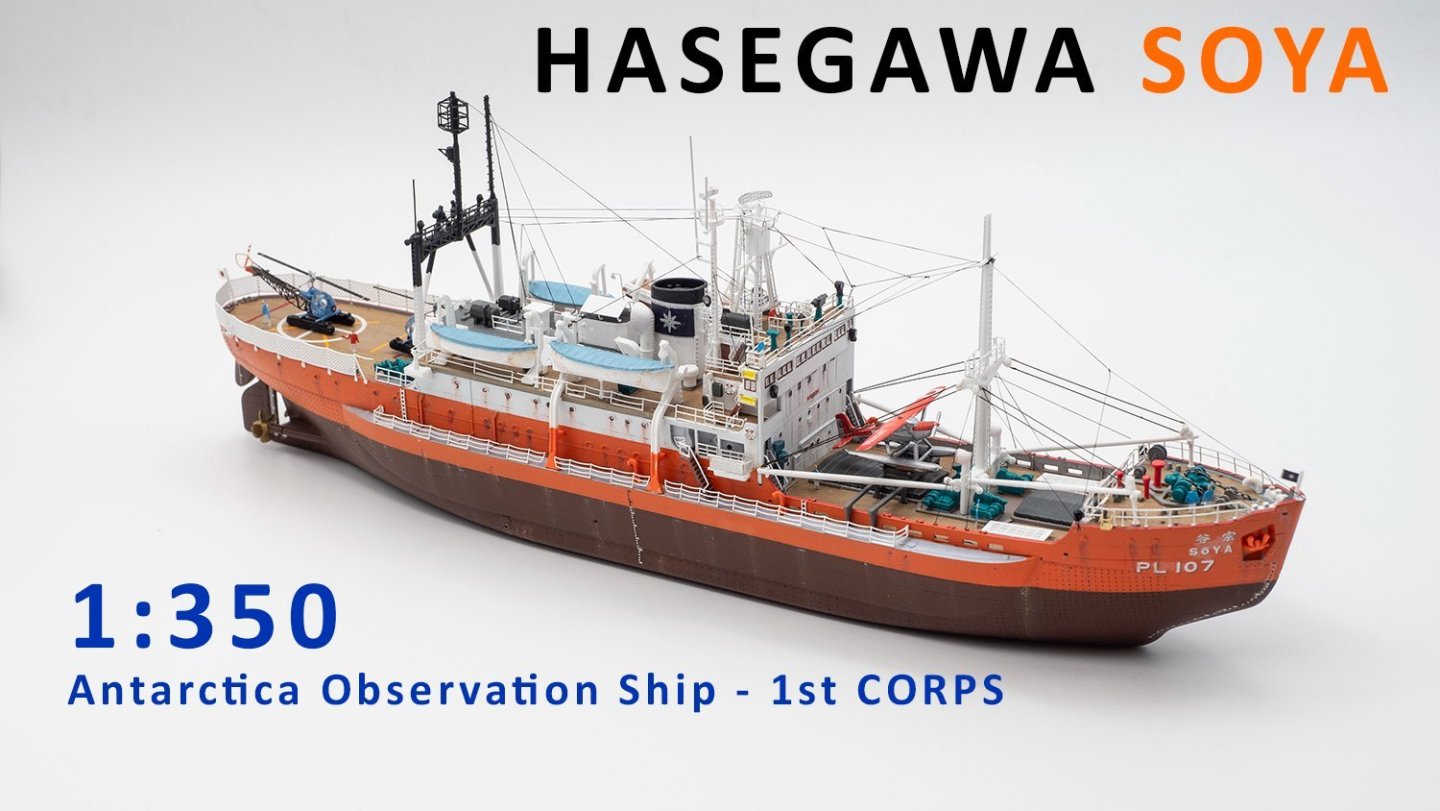
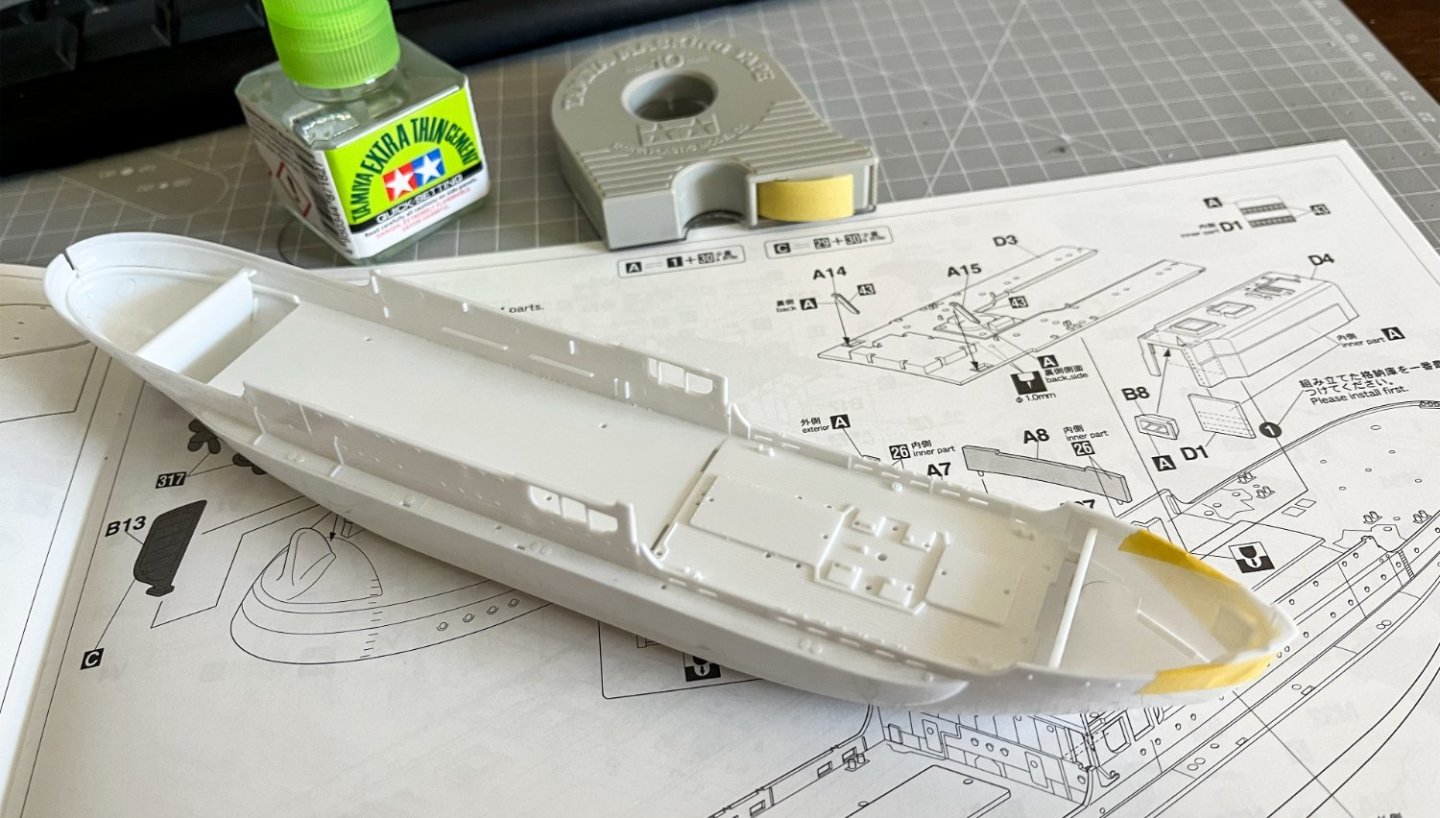
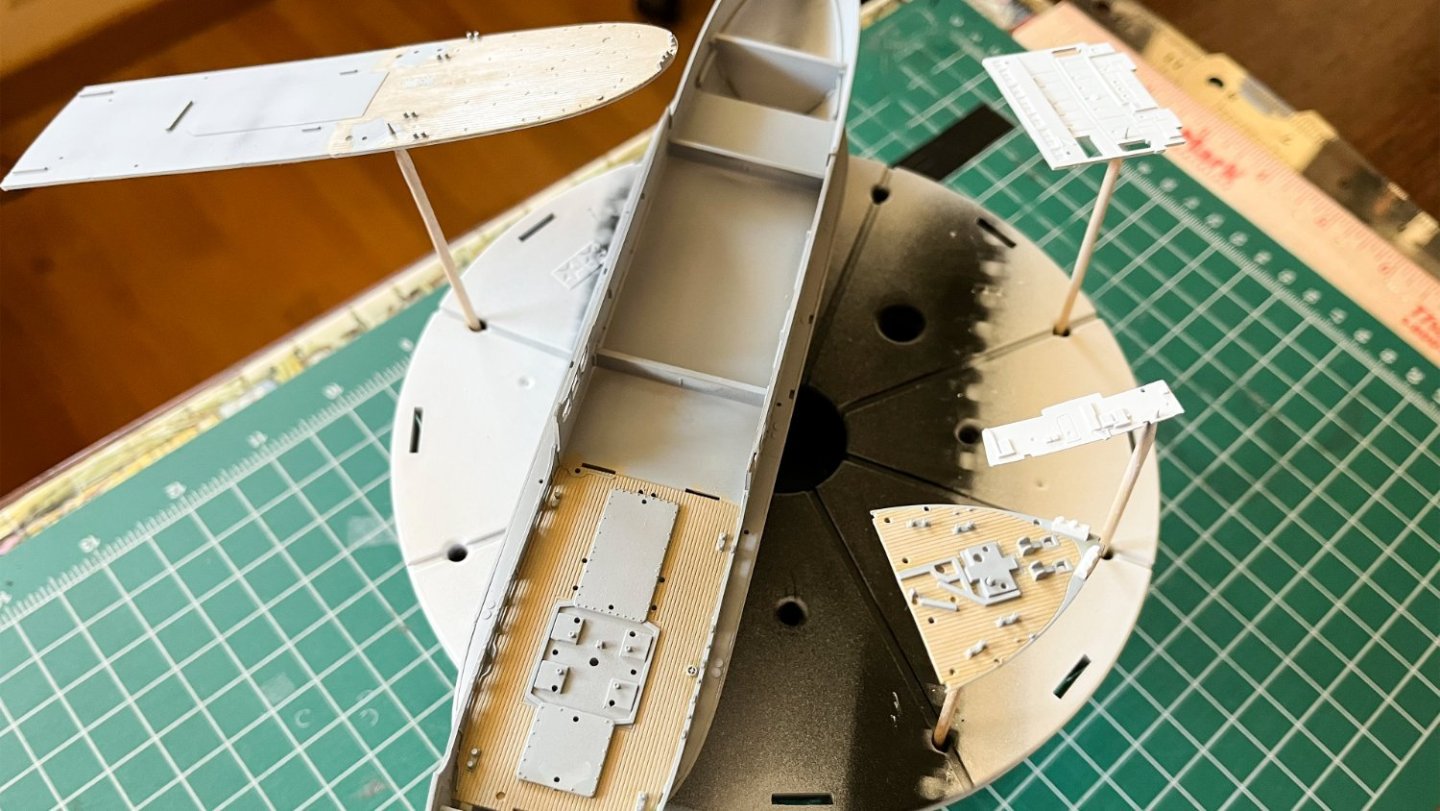
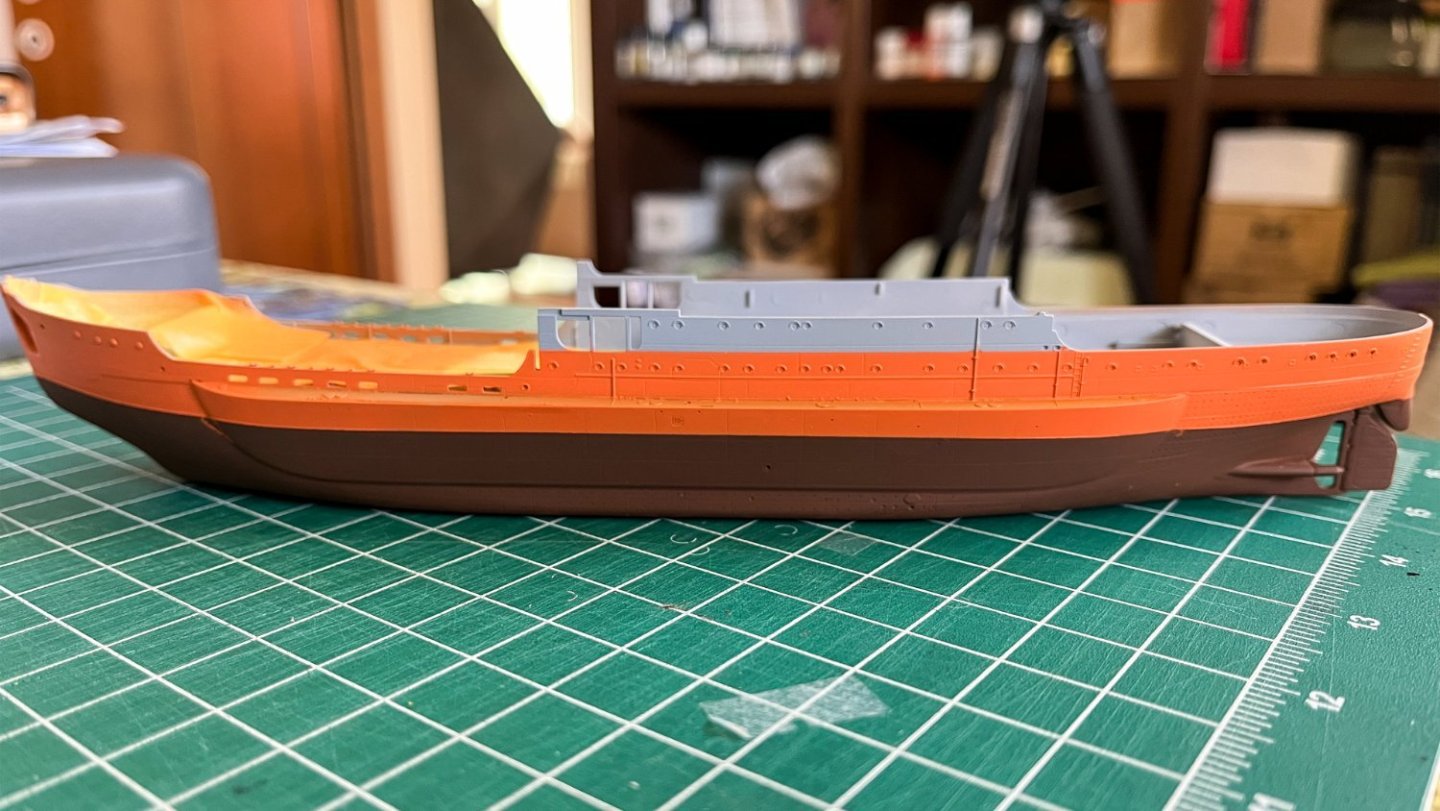
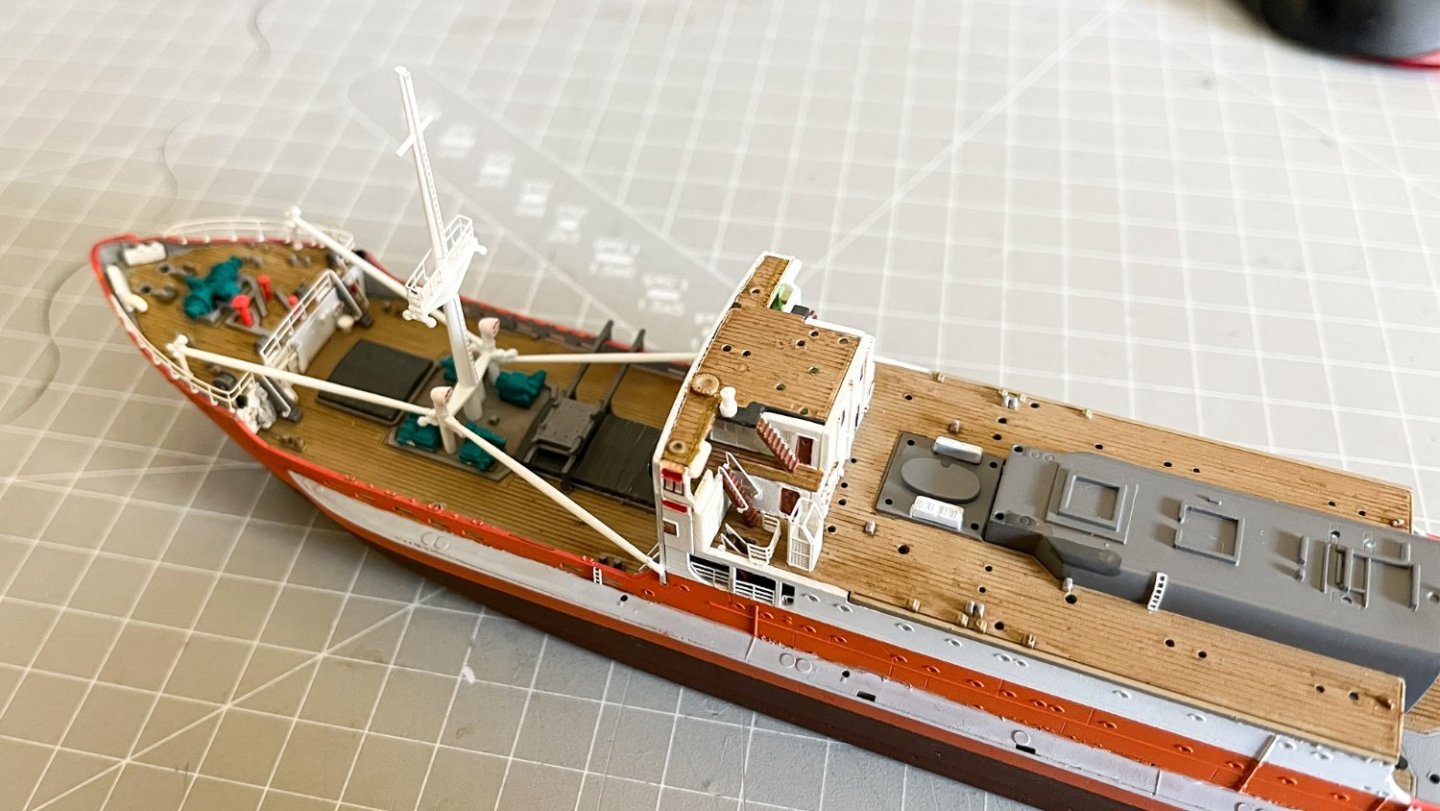
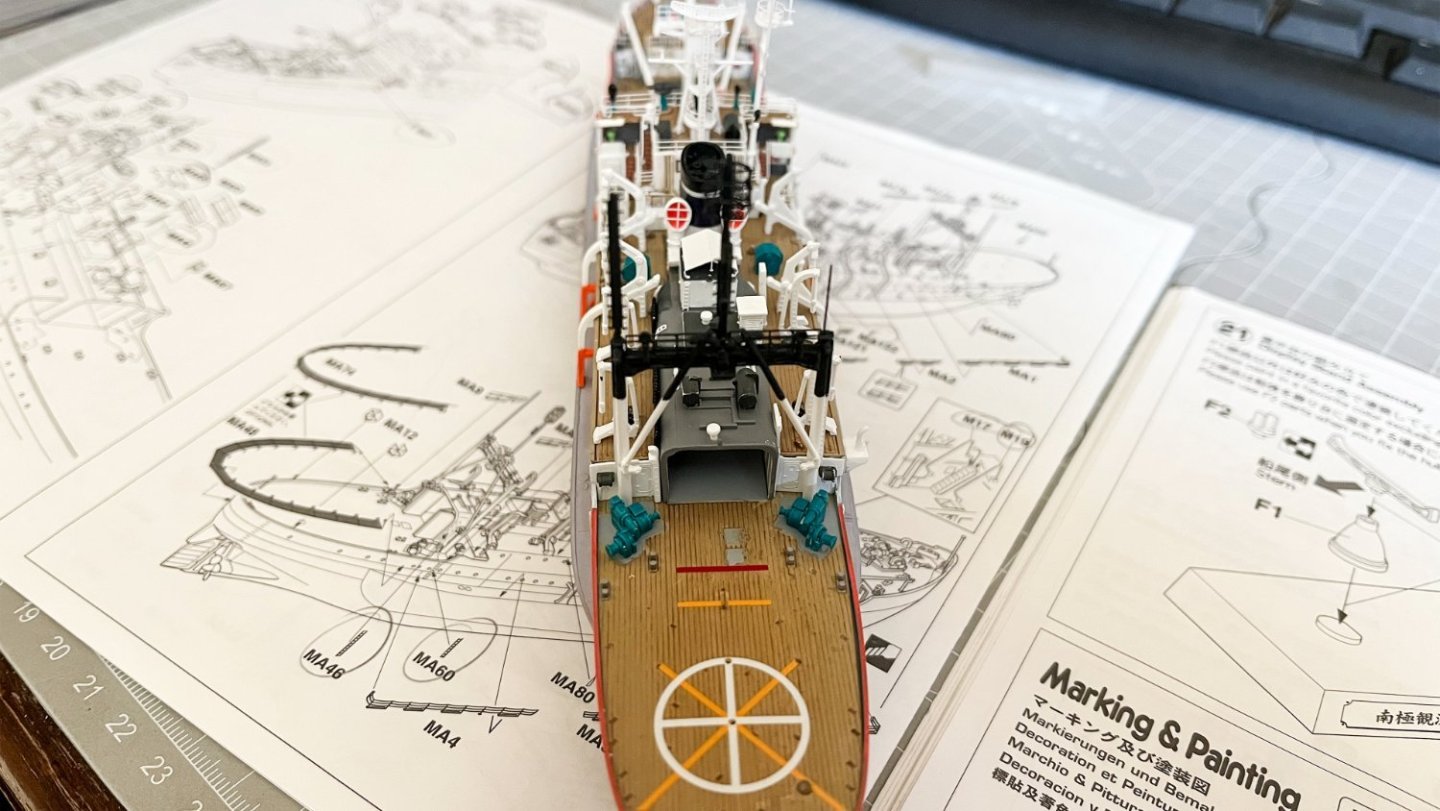
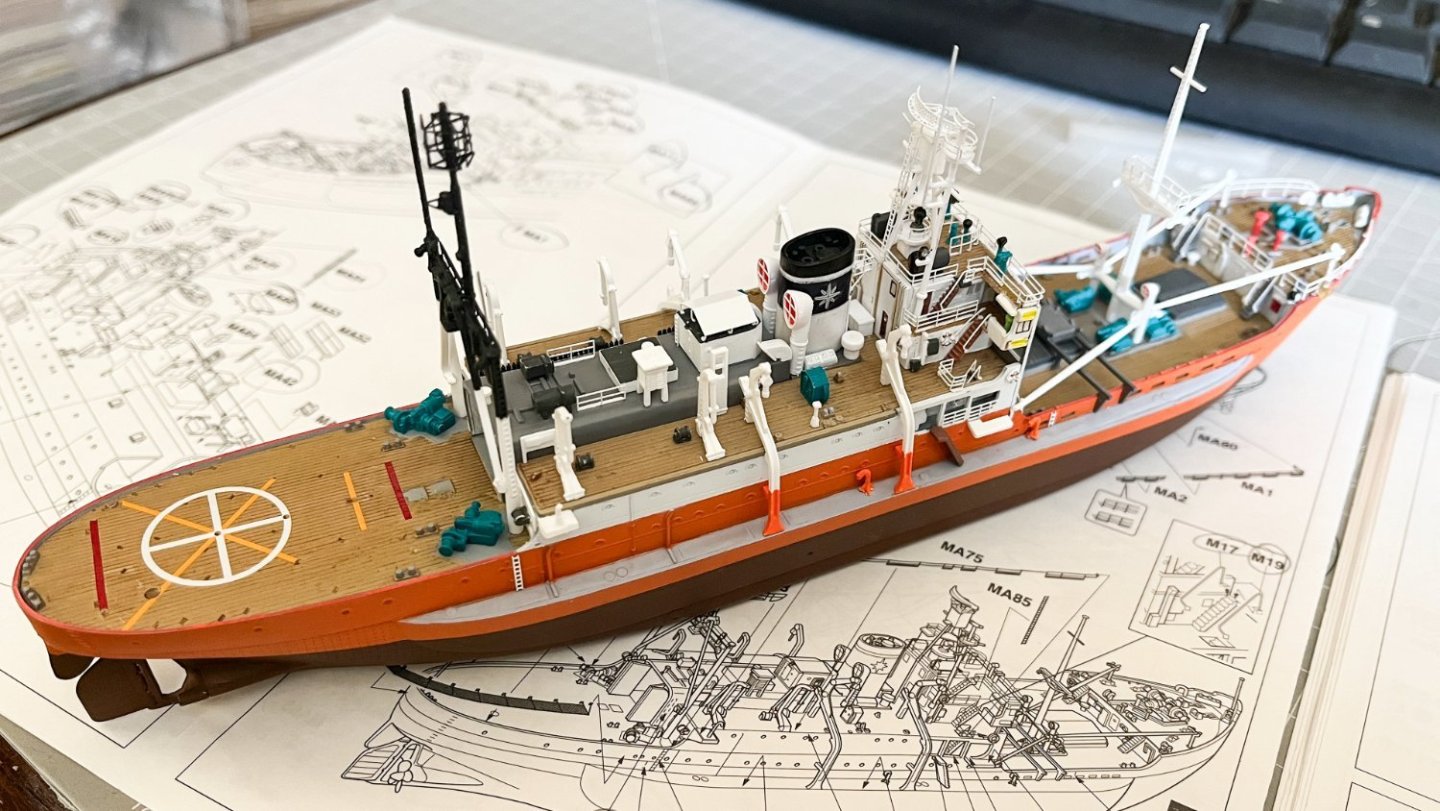
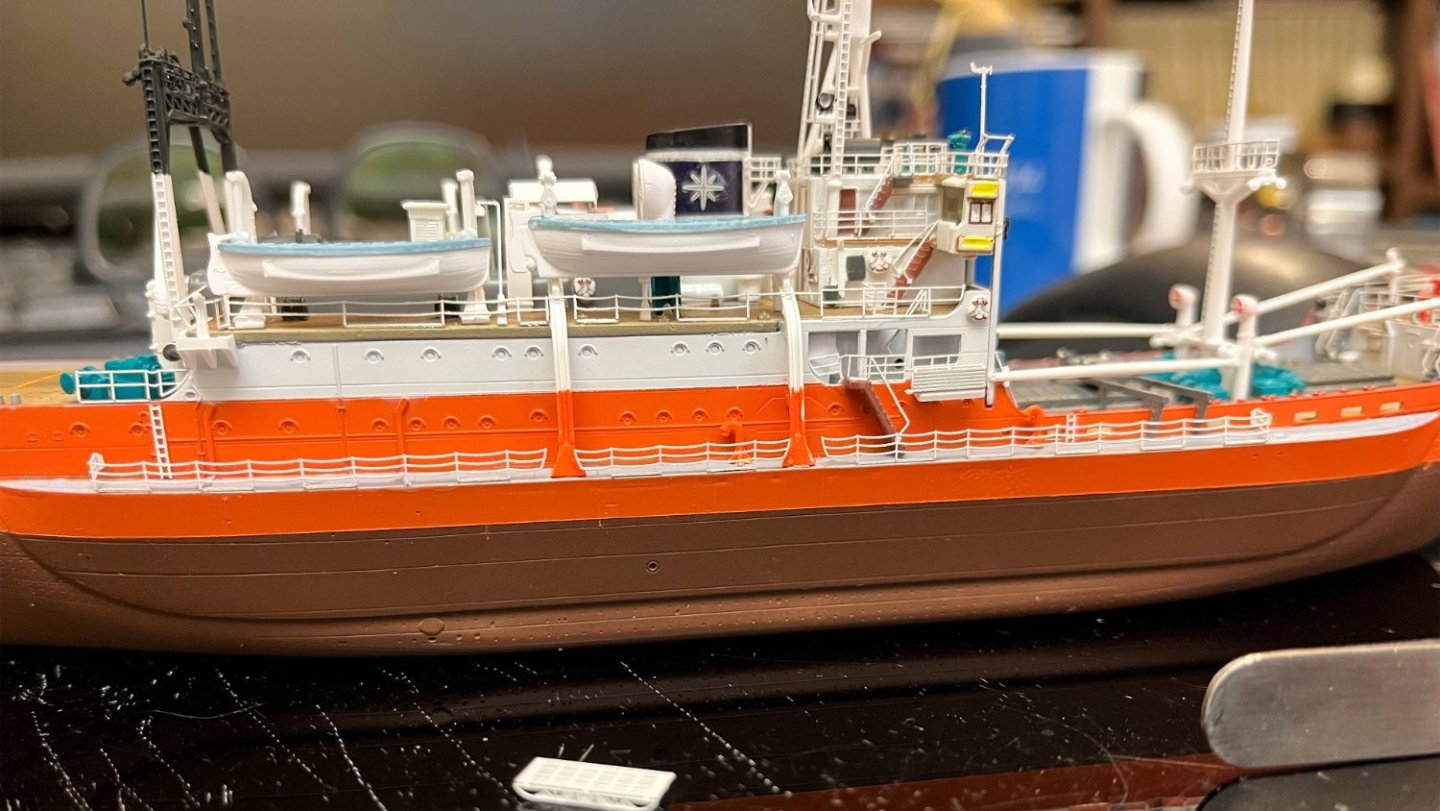
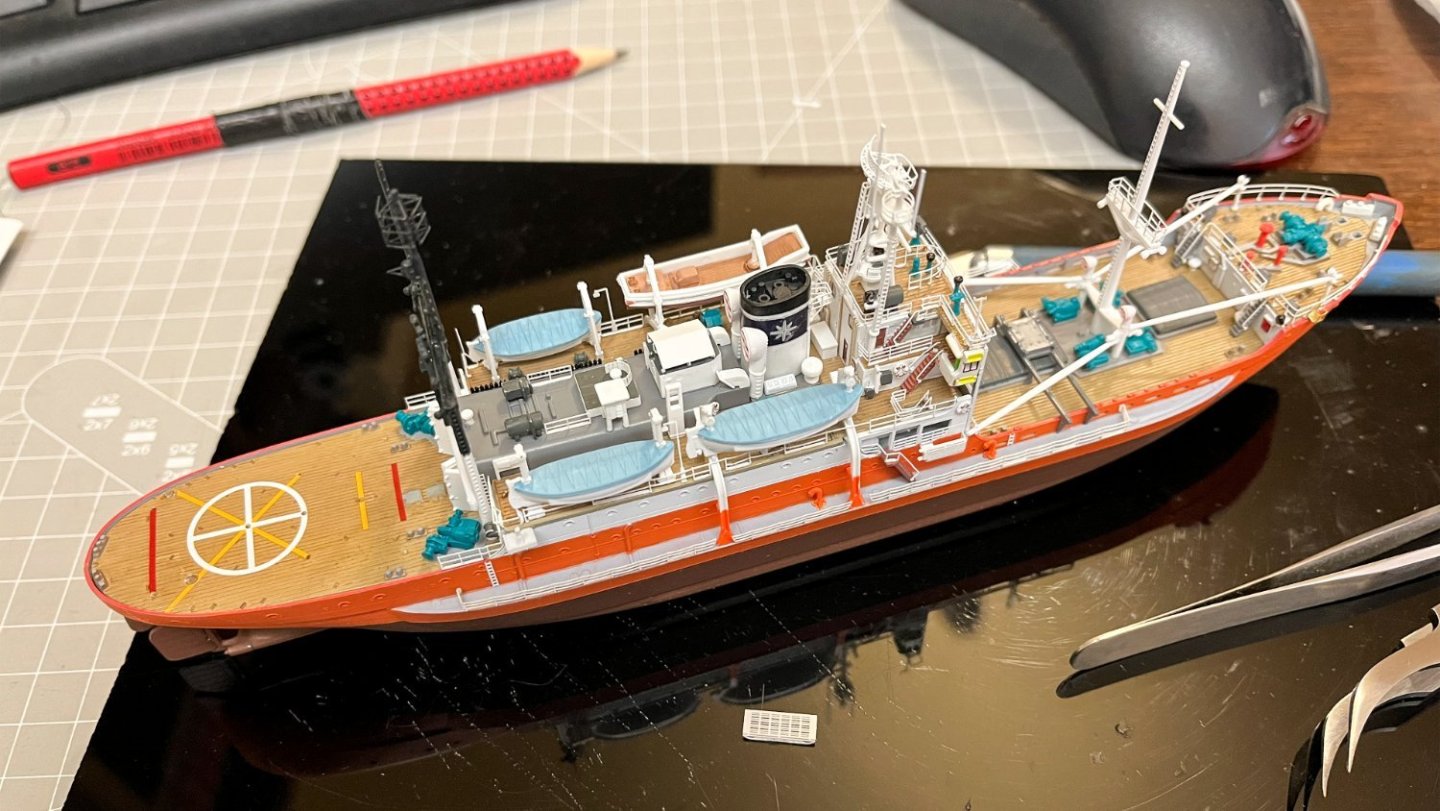
After the completion of Celtic Voyager and in the middle of other projects, I decided to take off the shelf a kit for the SOYA ship that I wanted to build for a long time. In general, the kit, despite its small scale, is very well made and with enough details, especially if someone decides to use the dedicated HASEGAWA photoetch set. For this time I will not go into details regarding the construction process, I will simply list the photos in chronological order. The model is almost done, all that remains is to put some weathering and the rigging. After that i will post and the photos of complete model. After that I think I will probably start the same ship this time from the Pontos models. I've had it on the shelf and admired it for a while . Yes I know wishful thinking but that's the cool thing about this hobby. I hope you find this interesting as a topic.


-
Thank you Chris, the railings is from HMV. Cheers
- 26 replies
-
- 1
-
-
- Celtic Voyager
- Paper Shipwright
- (and 2 more)
-
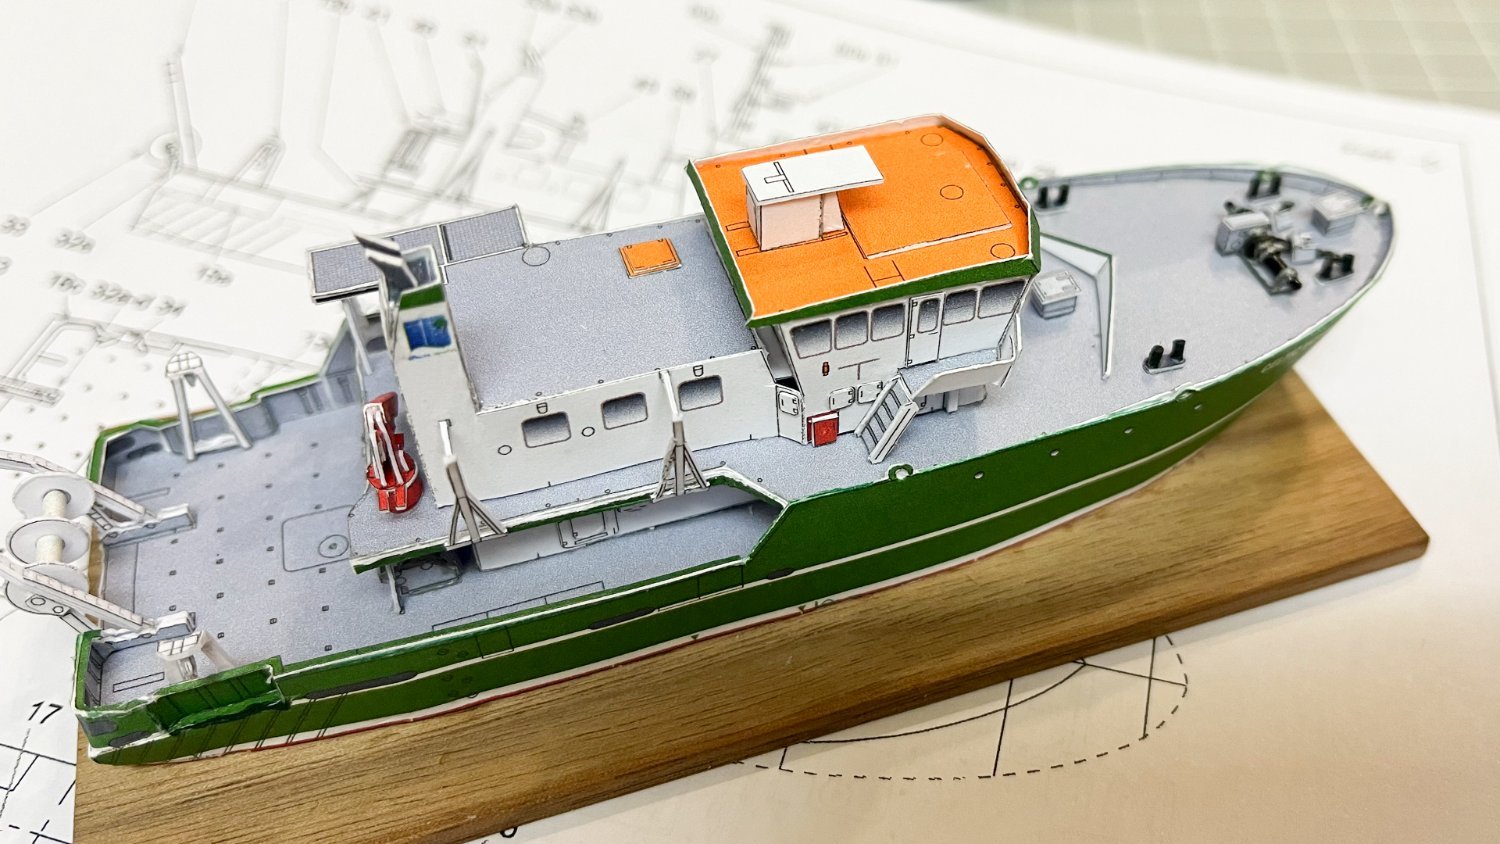
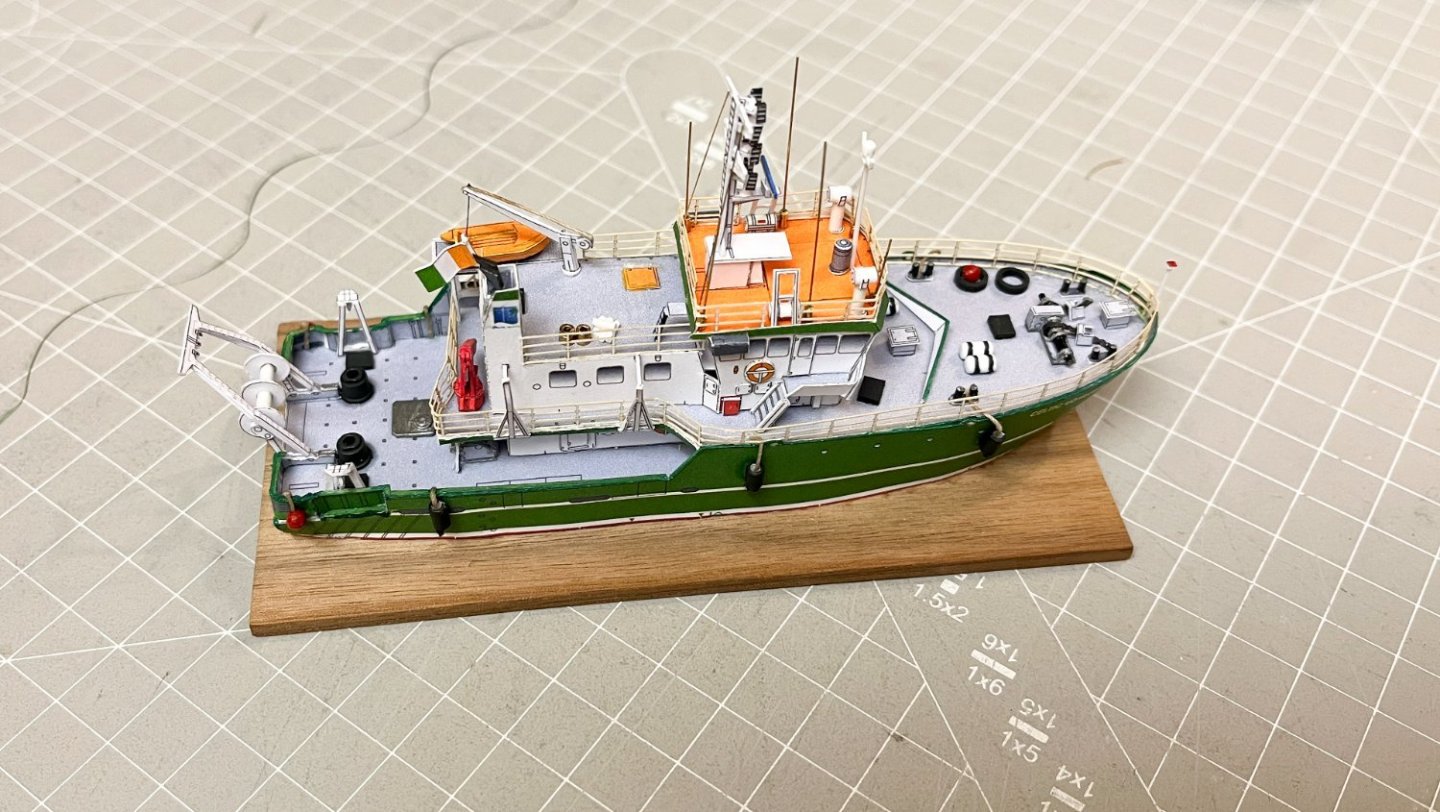
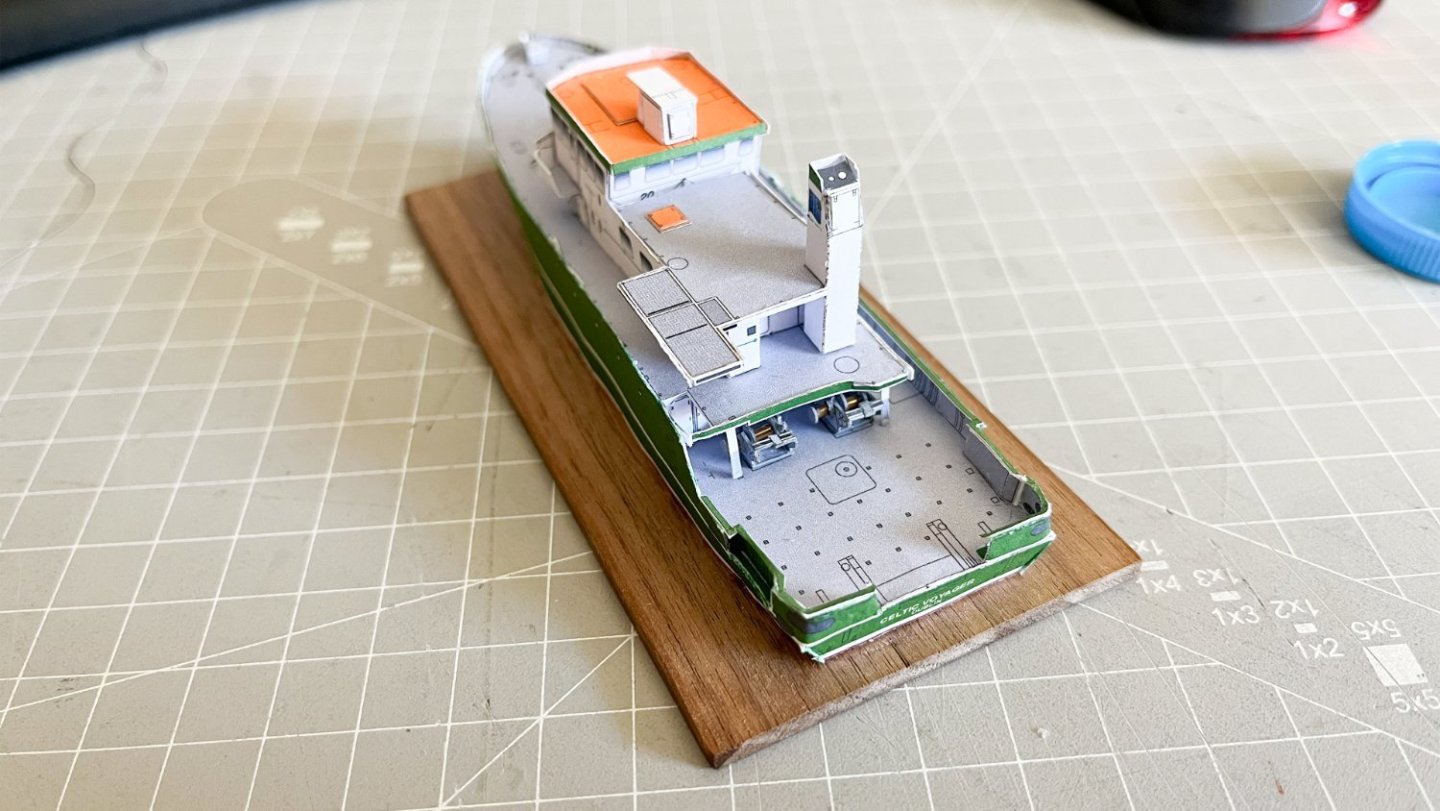
All construction stages completed. I also added some extra details although some of them are arbitrary. I really enjoyed this little kit.


- 26 replies
-
- 11
-
-
- Celtic Voyager
- Paper Shipwright
- (and 2 more)
-
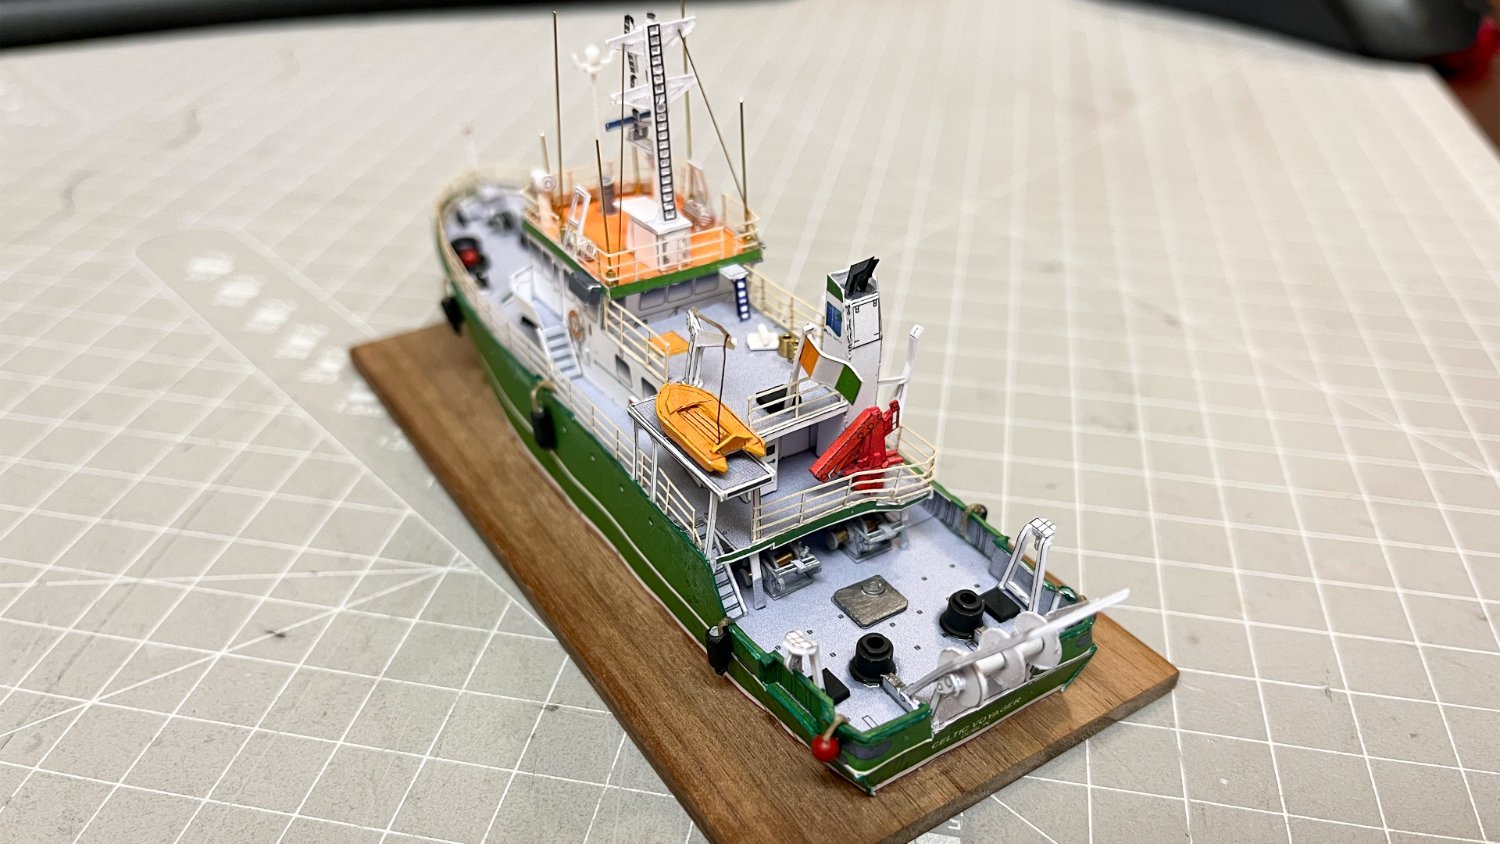
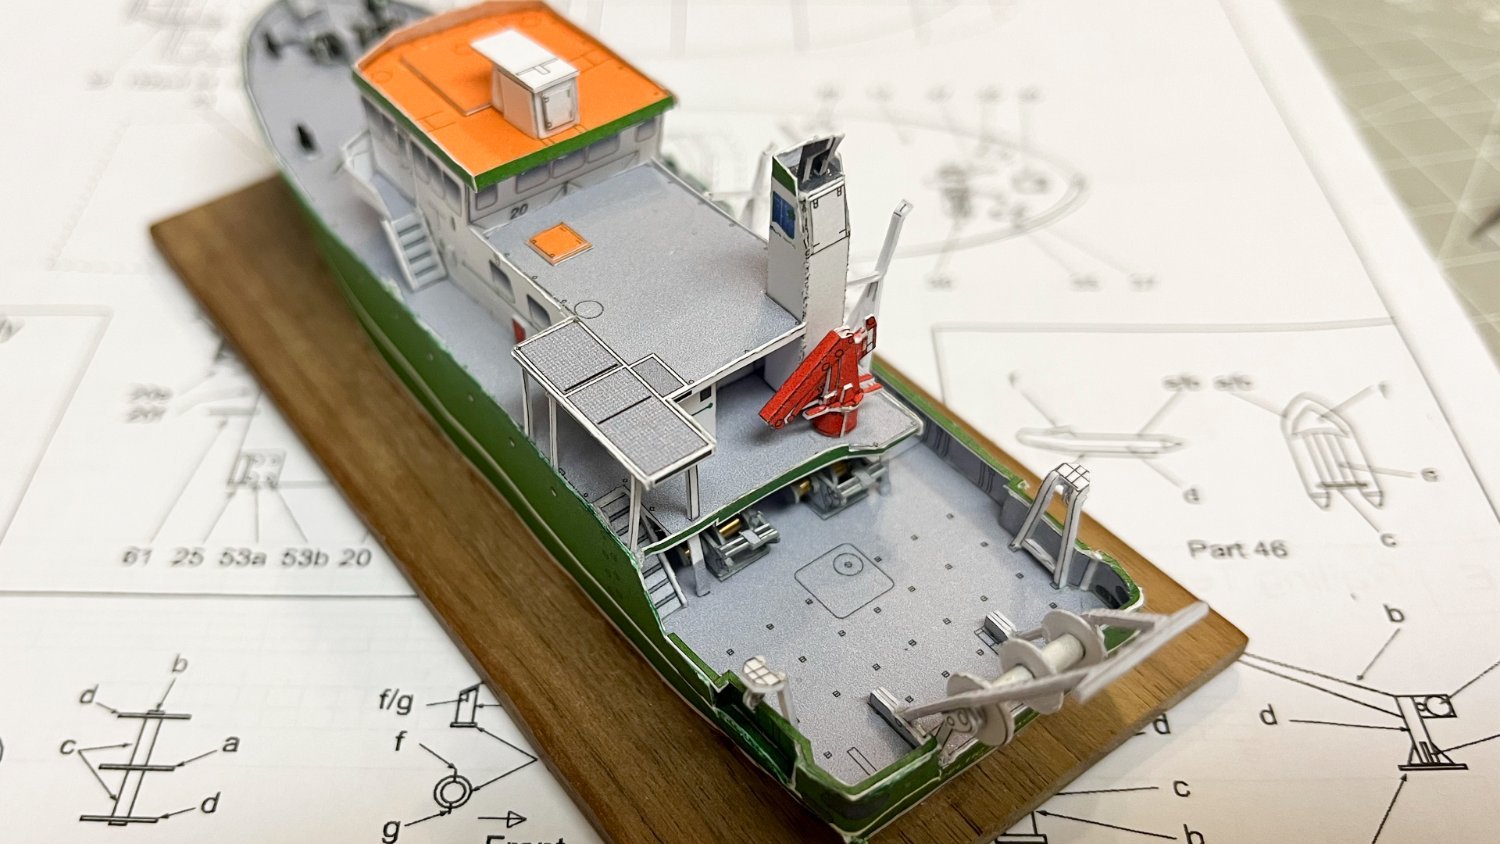
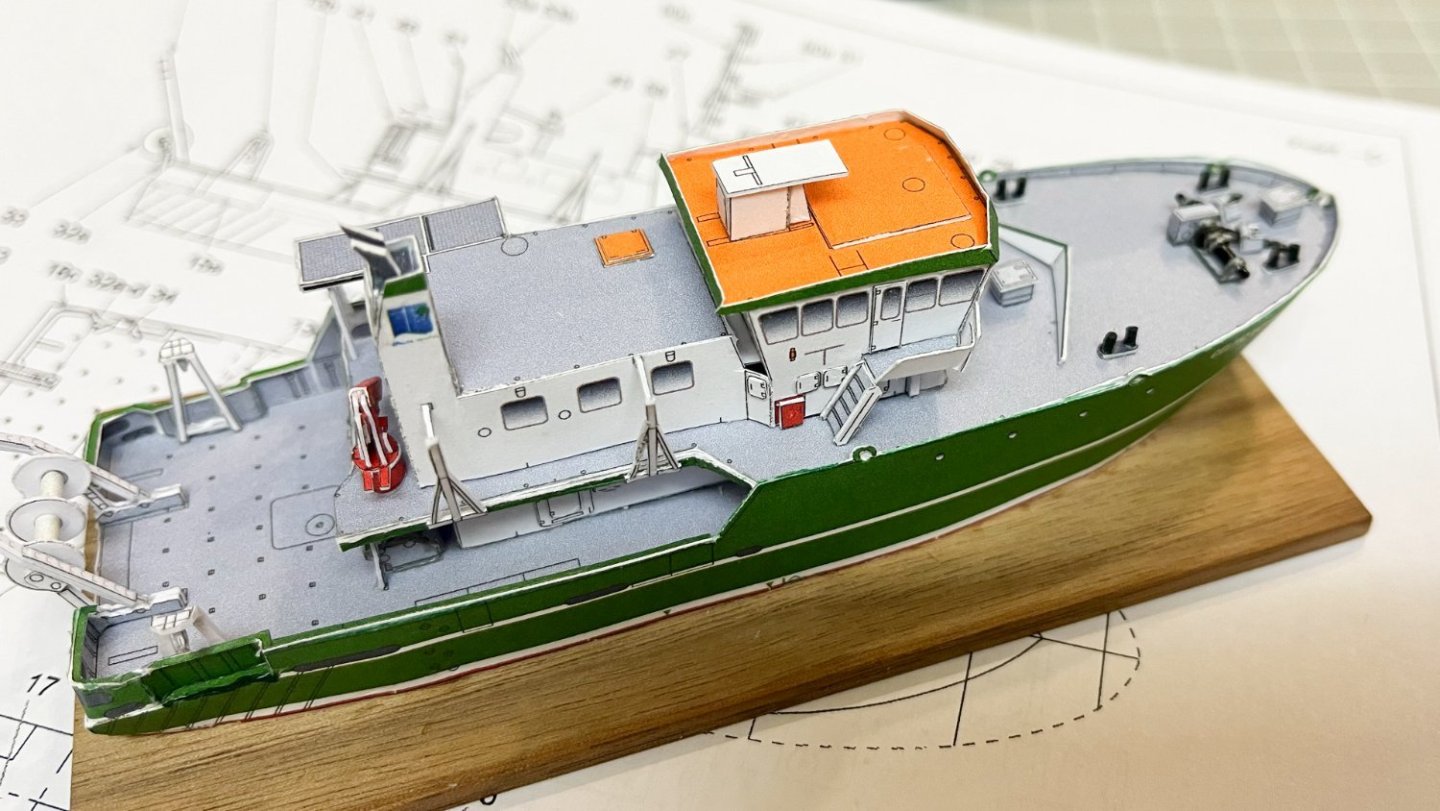
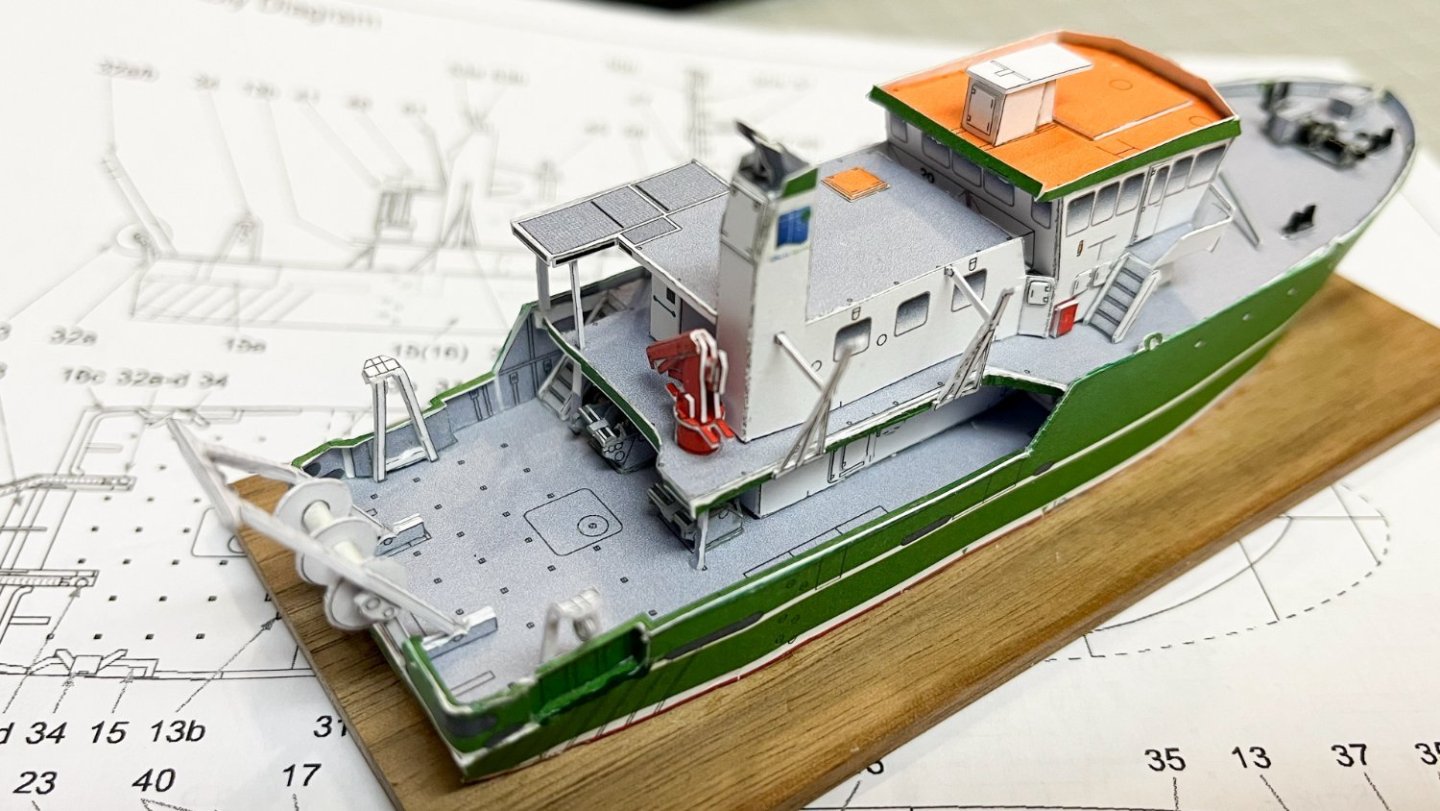
For the step 38,39,40,41,42,43 and 44 the pieces were cut and glued in place. 38 & 39 - scientific experiment cranes 40 - deck support 41 - multi-propose crane 42 - fire hose lockers 43 & 44 - bridge wing companionways My little friend is waiting for boarding!!


- 26 replies
-
- 6
-
-
- Celtic Voyager
- Paper Shipwright
- (and 2 more)
-
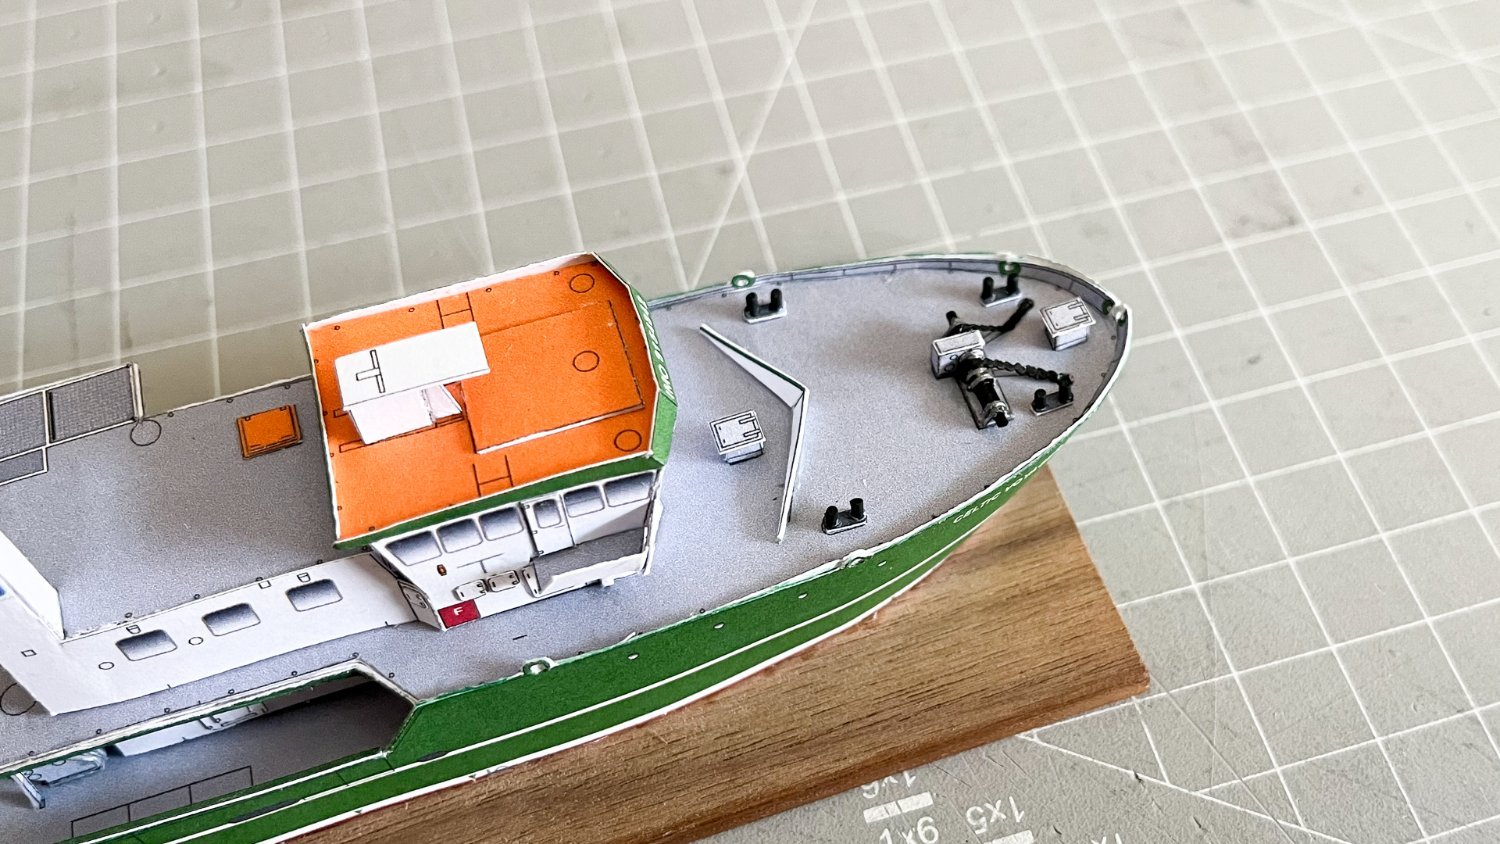
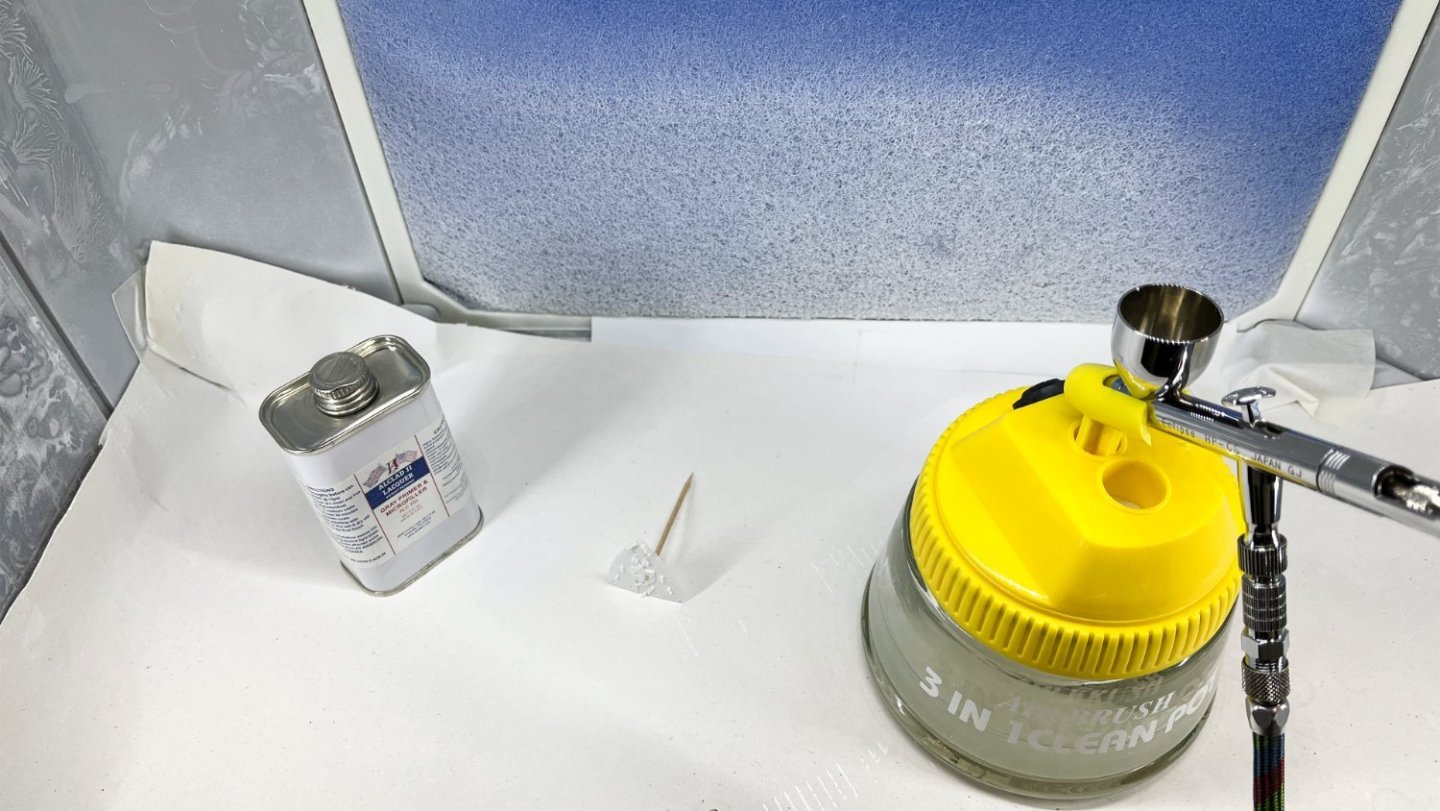
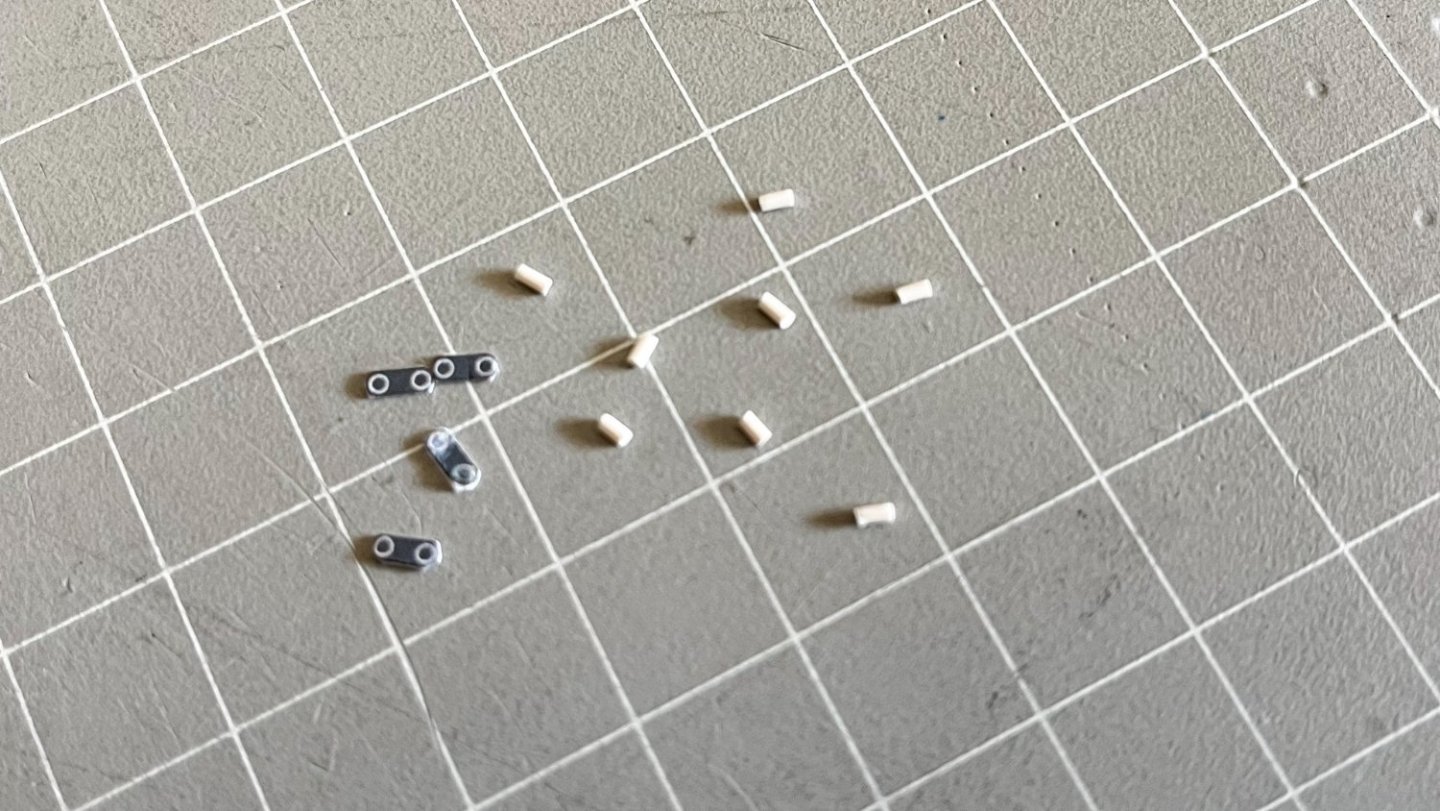
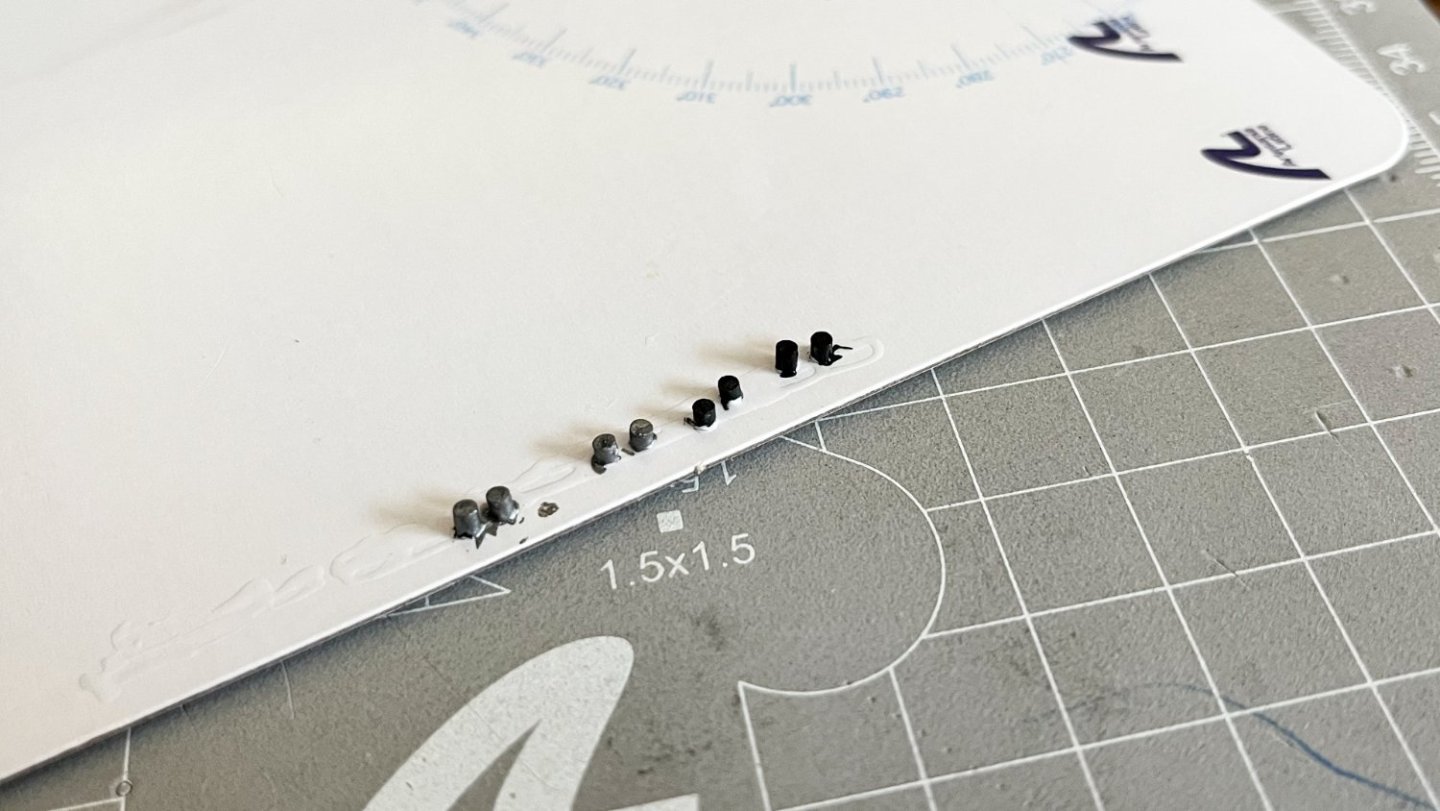
Next for the step 35, 36 & 37 I cut out the matching parts from styrene rod, did a paint test on leftover pieces, assembled the pieces for the windglass and bollard and cut and painted the chains. Finally all parts glued in place.

- 26 replies
-
- 7
-
-
- Celtic Voyager
- Paper Shipwright
- (and 2 more)
-
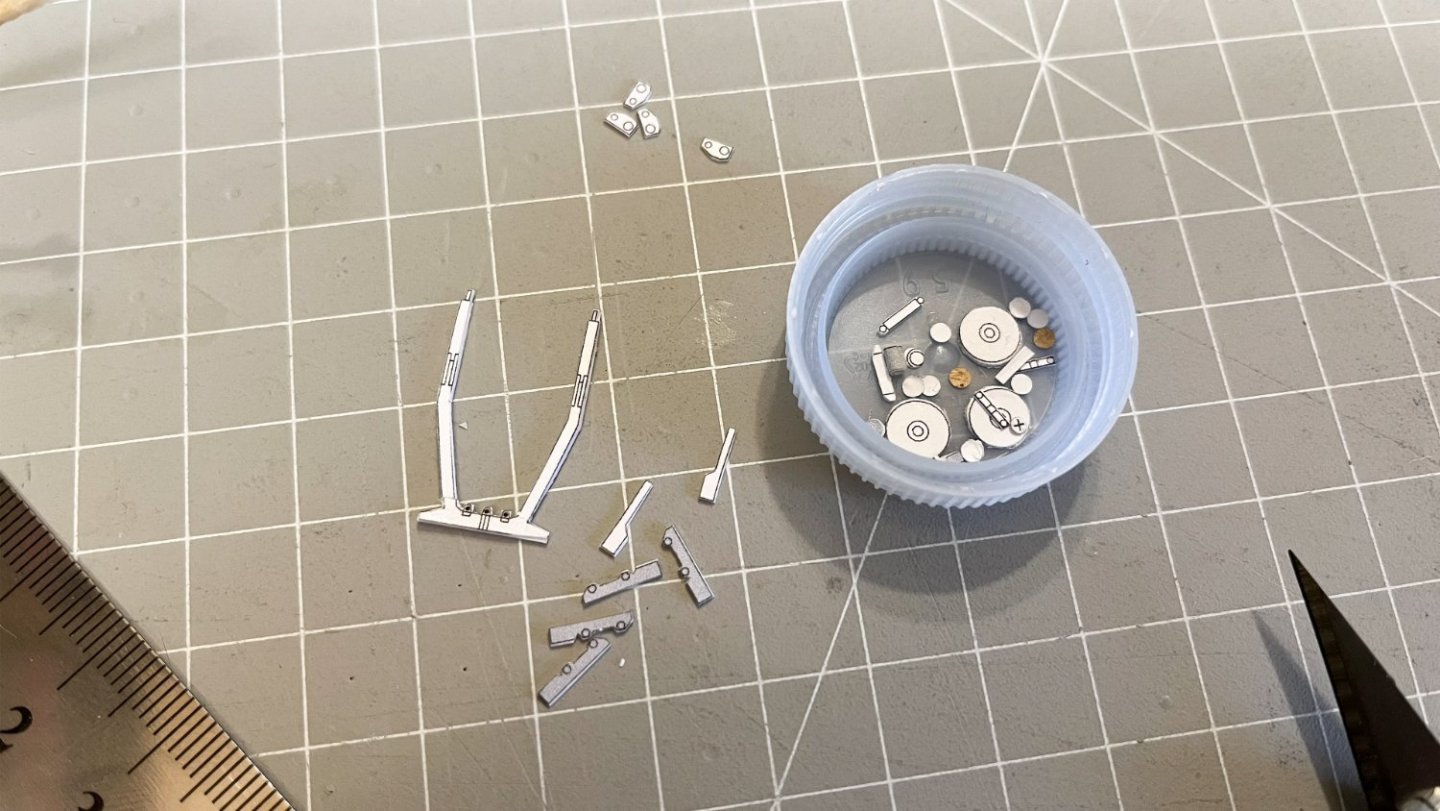
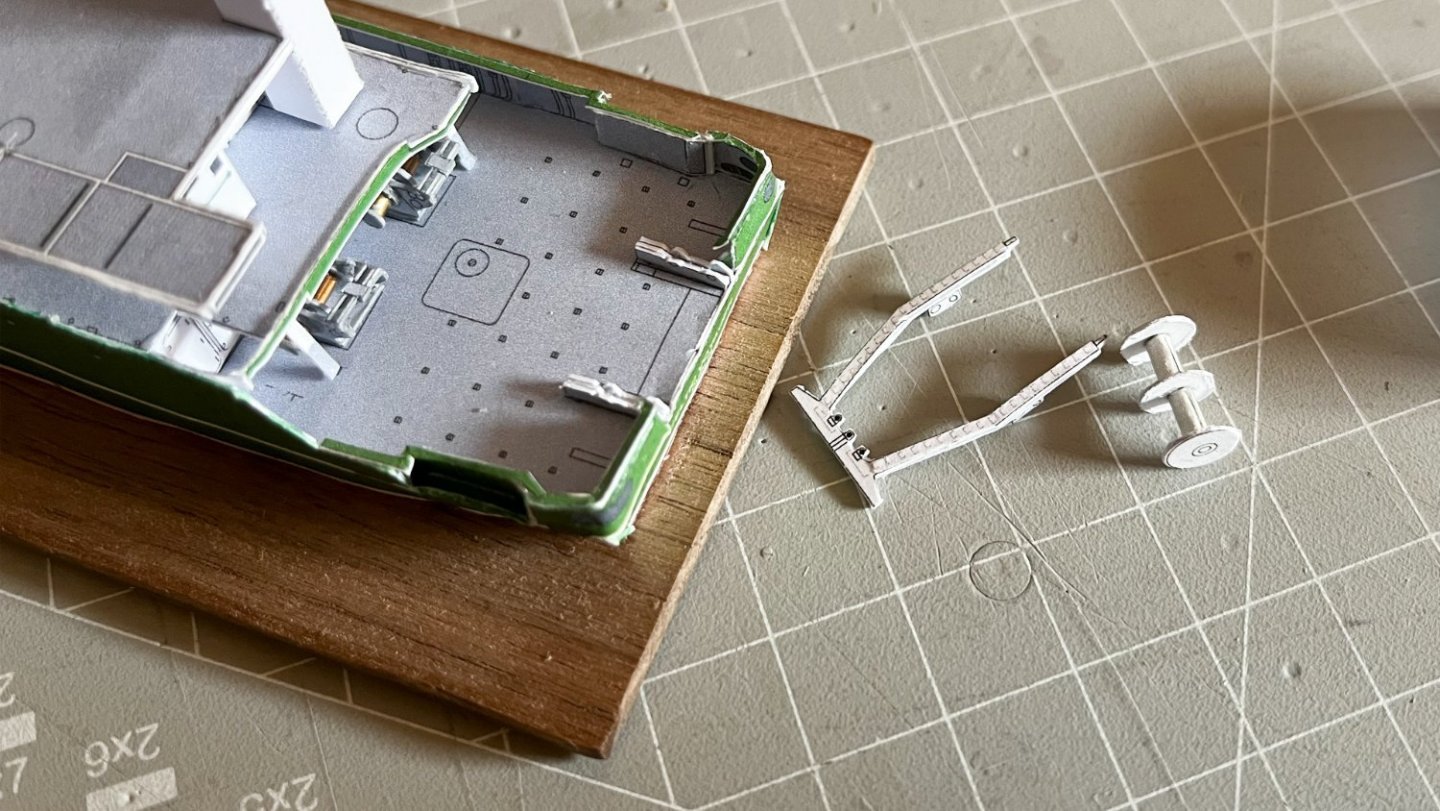
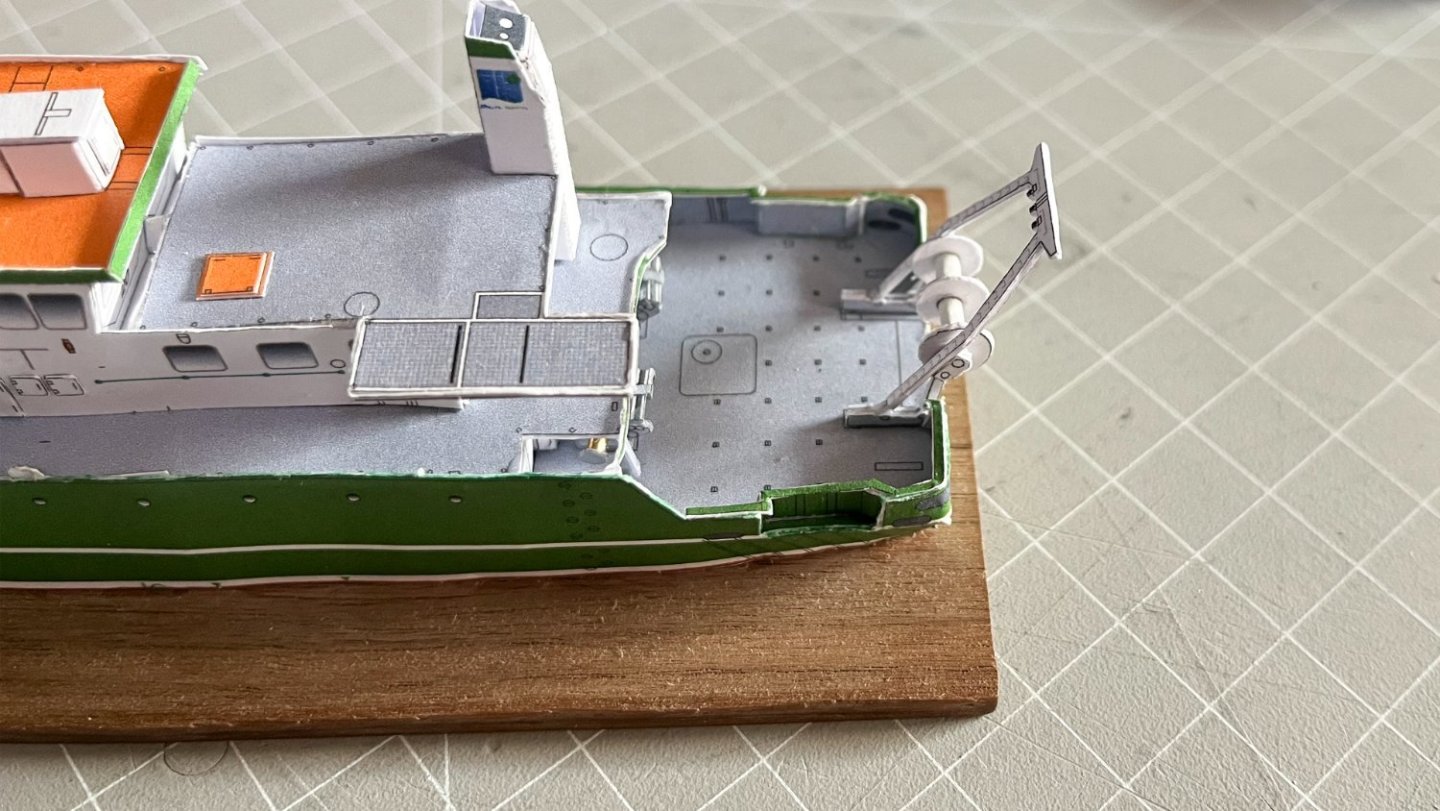
Assembly of Stern gantry / net reel. All parts cut and ready for glue. Parts assembled and glued in place.
- 26 replies
-
- 7
-
-
- Celtic Voyager
- Paper Shipwright
- (and 2 more)
-
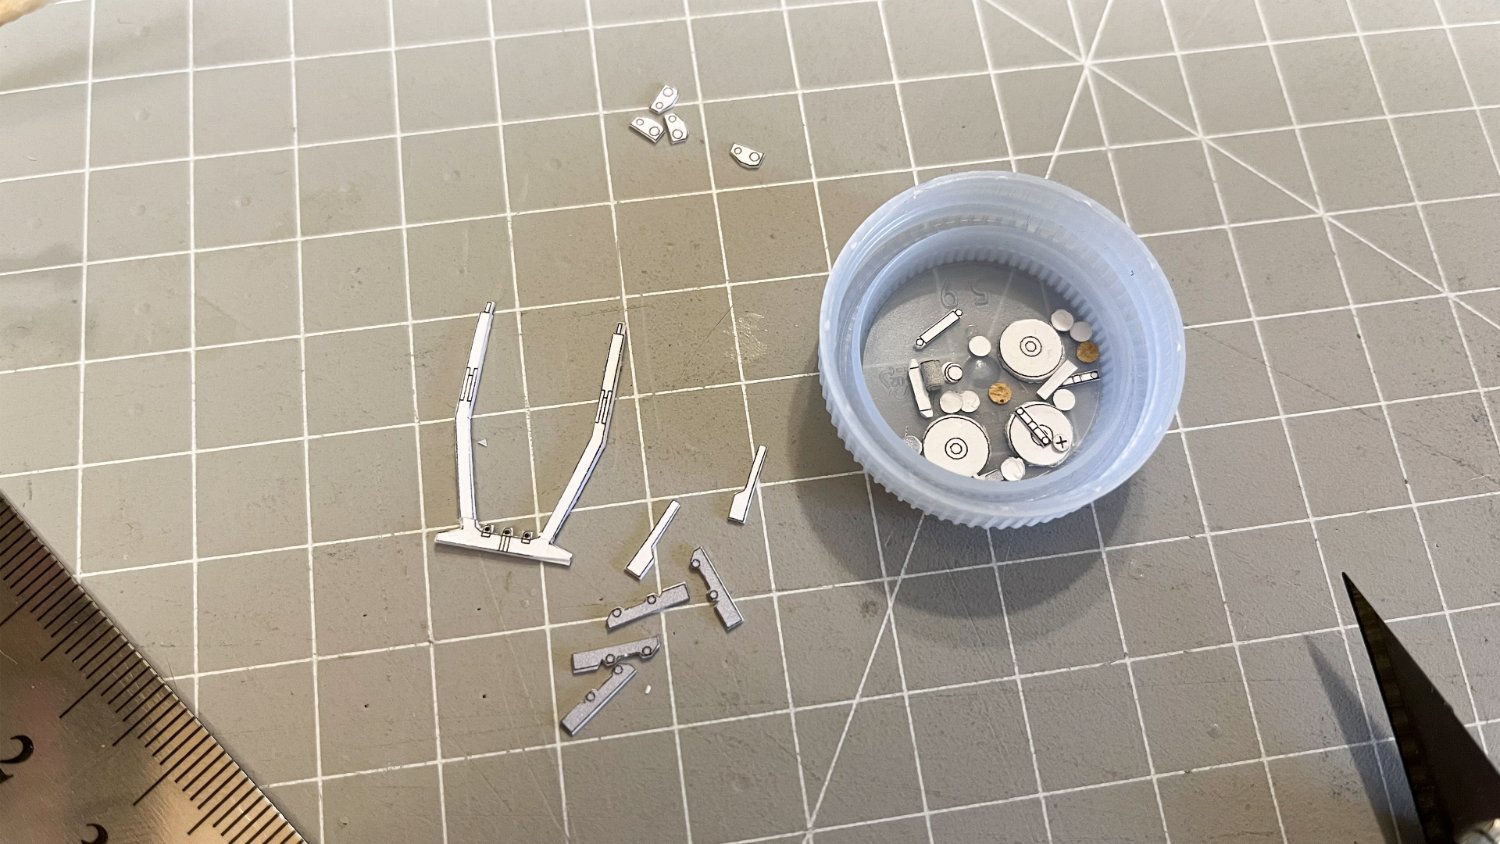
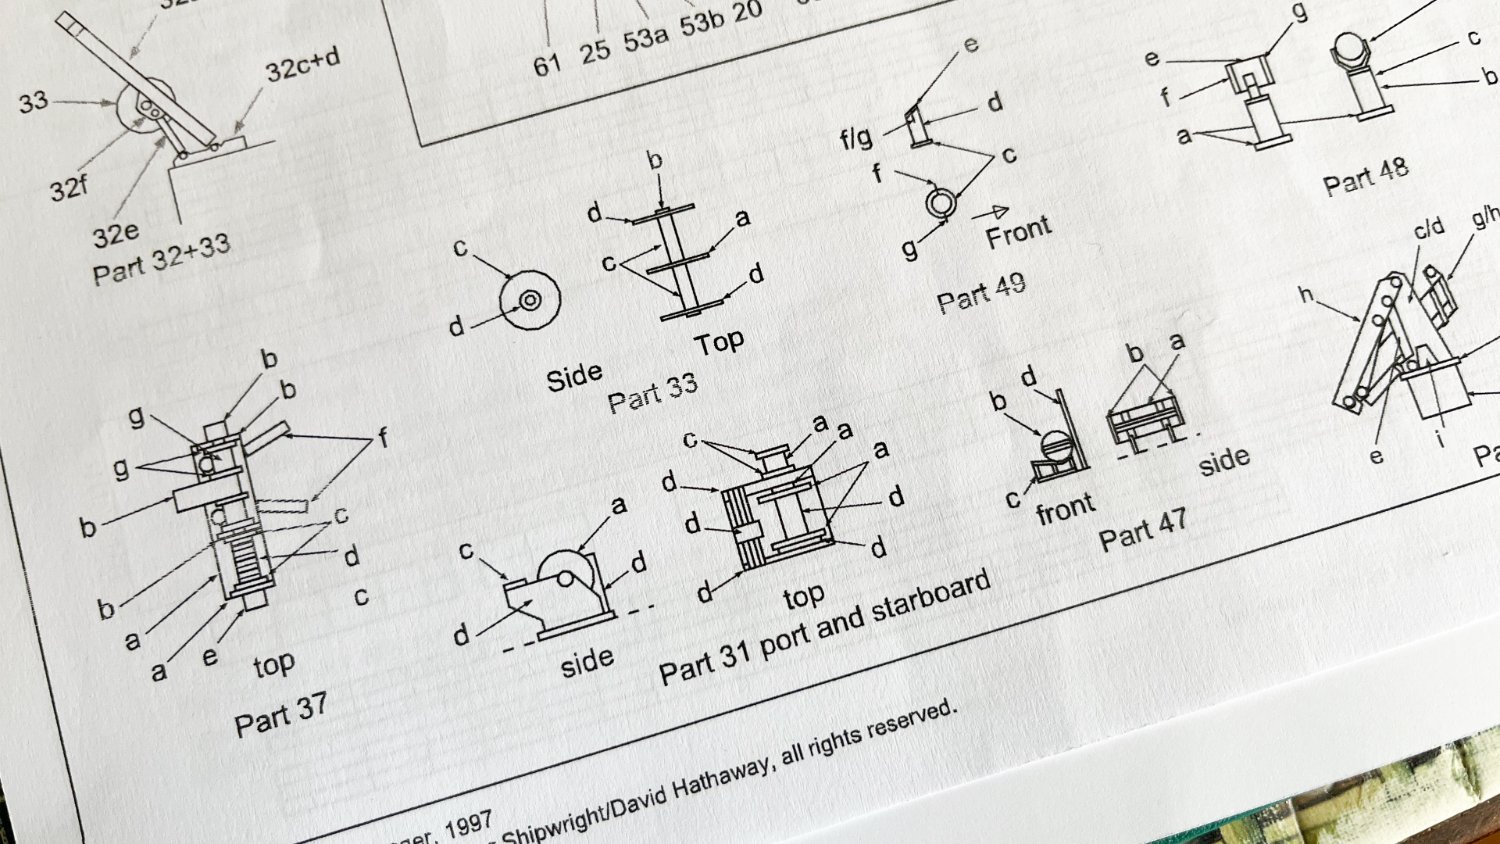
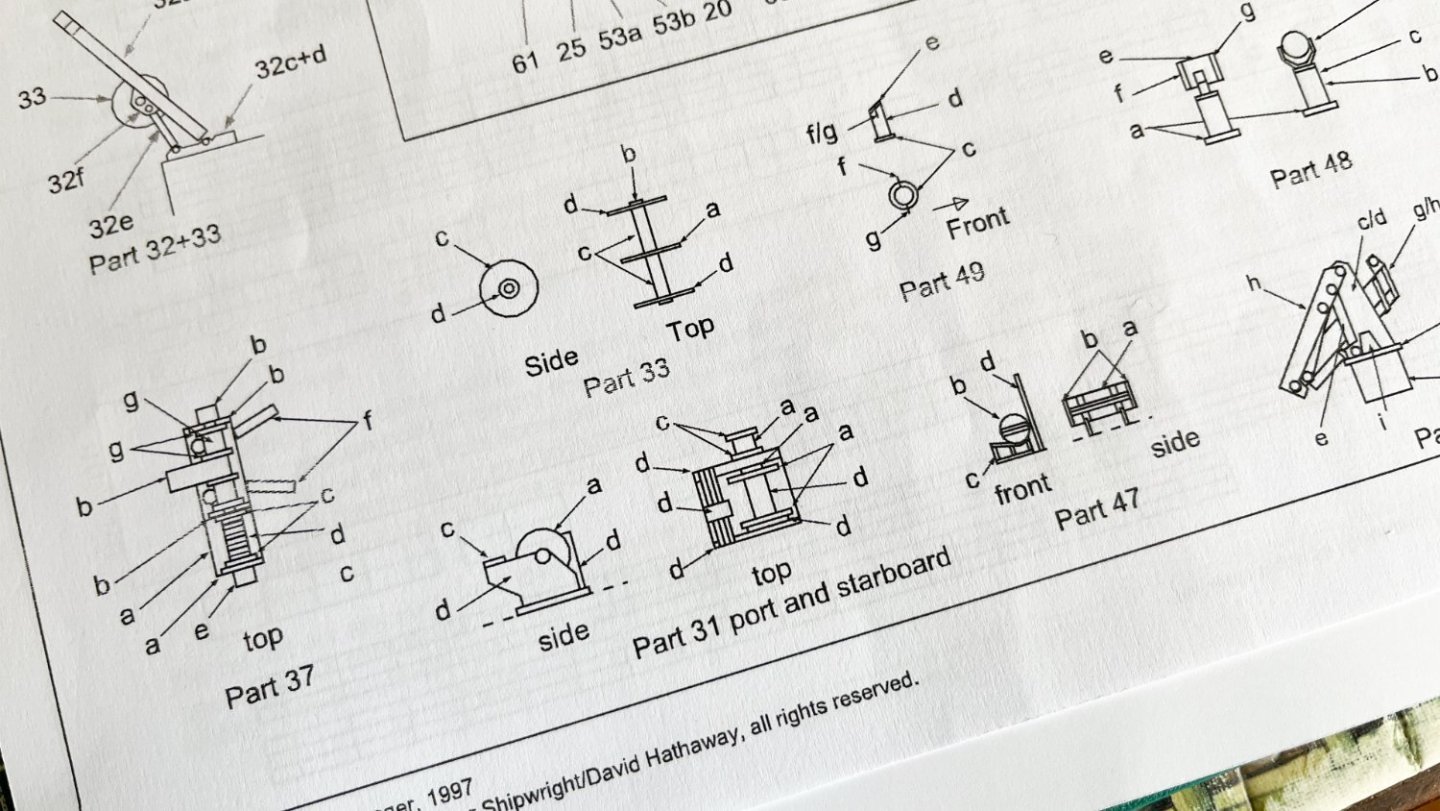
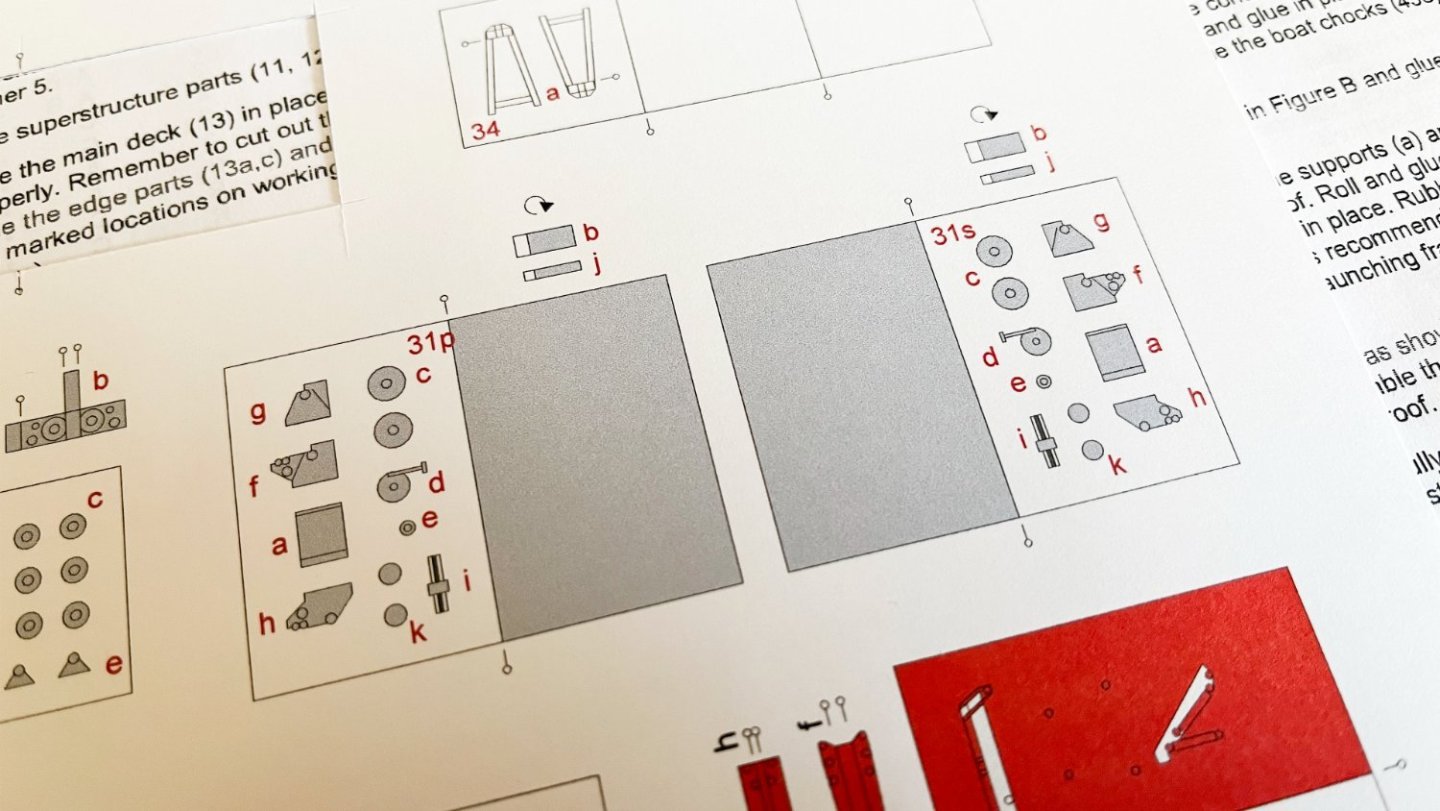
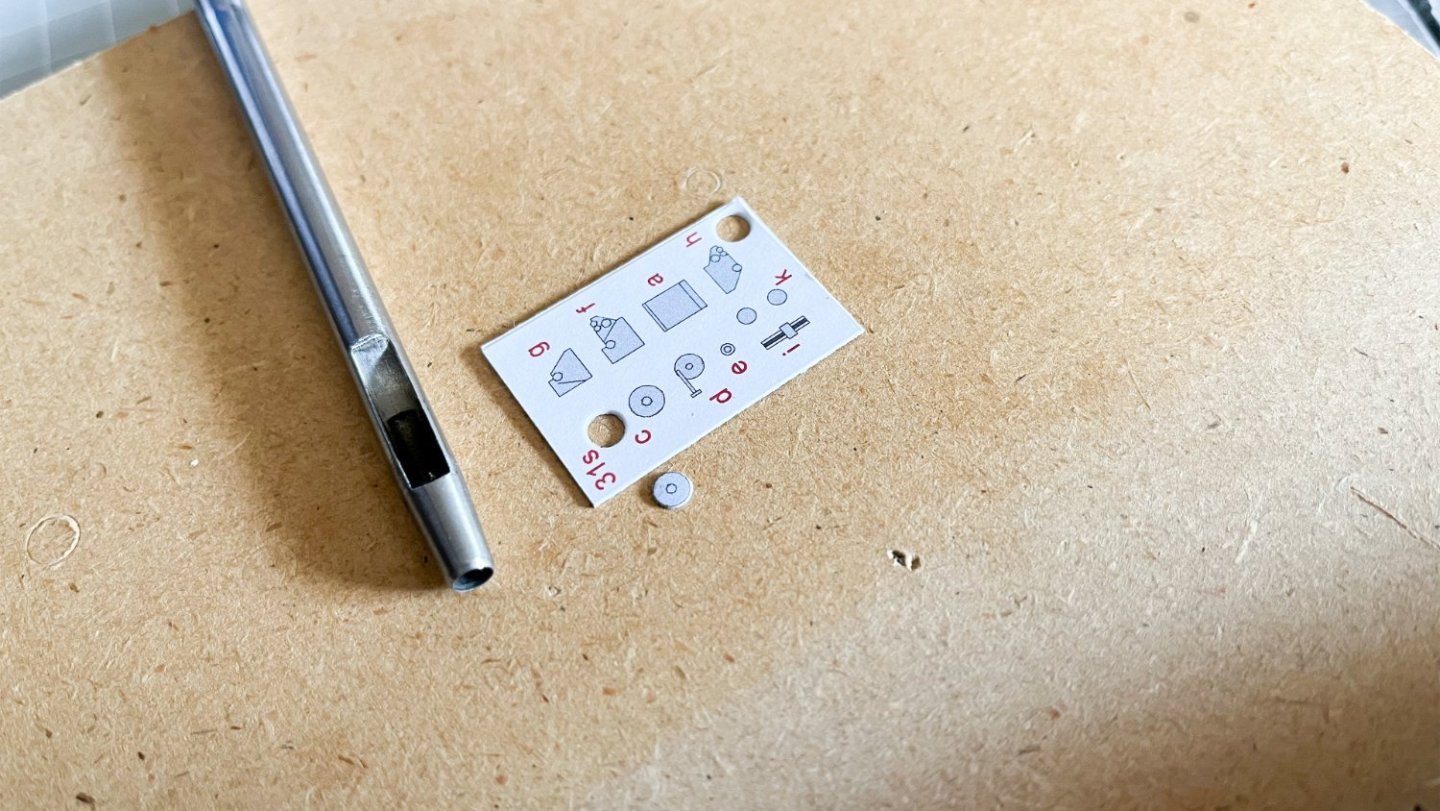
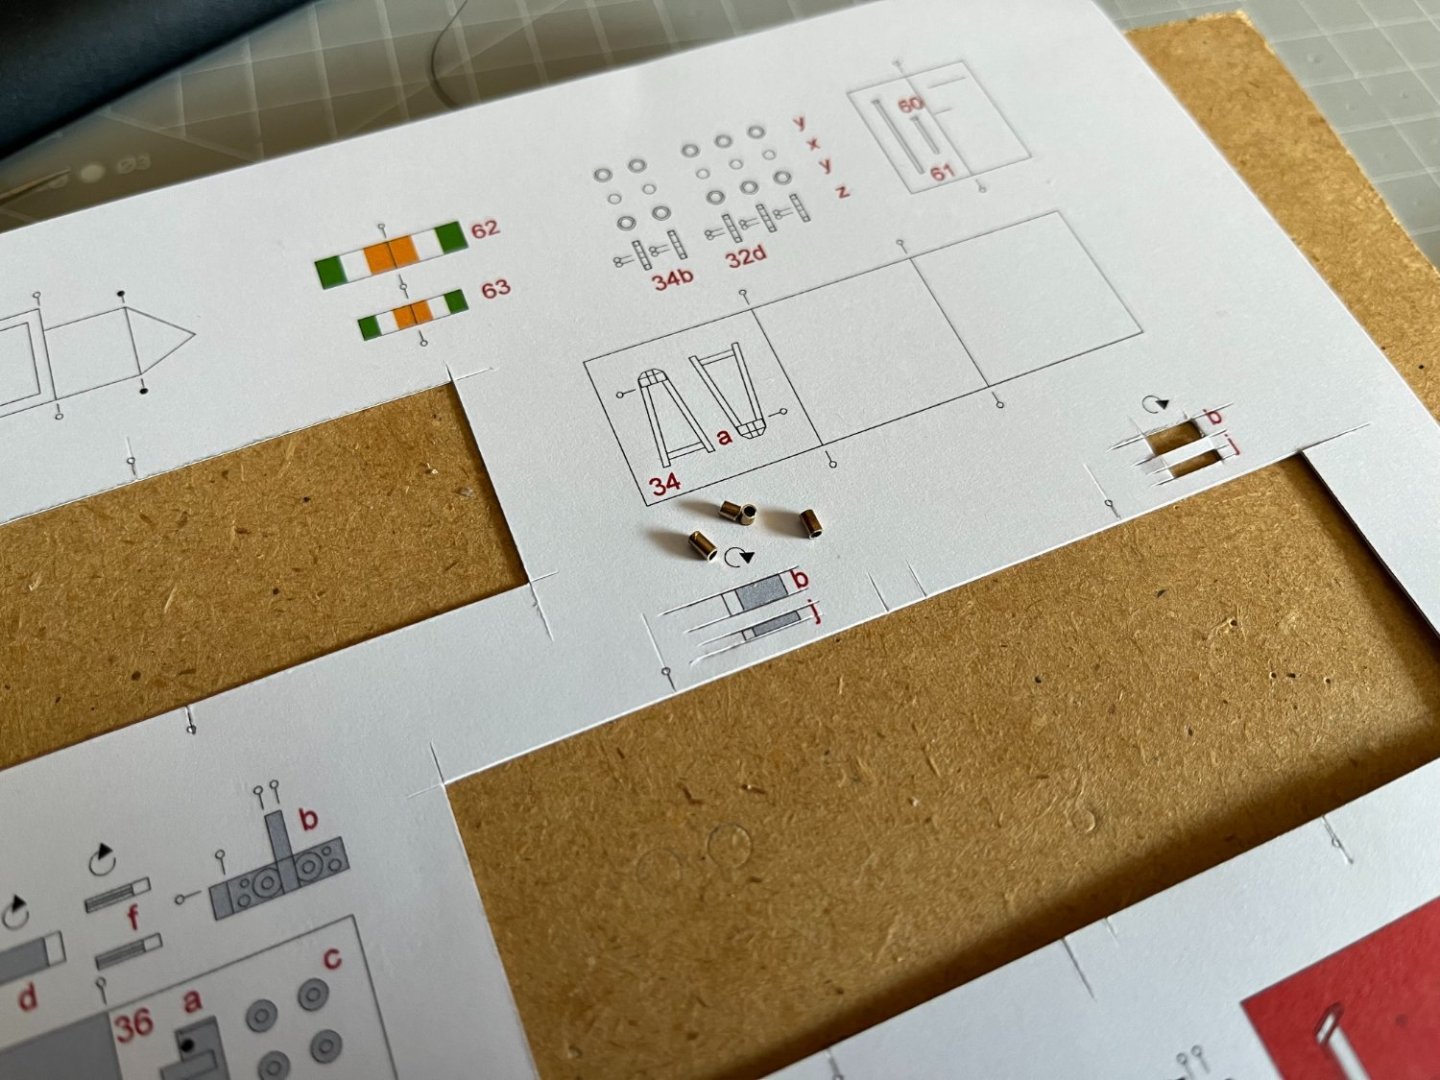
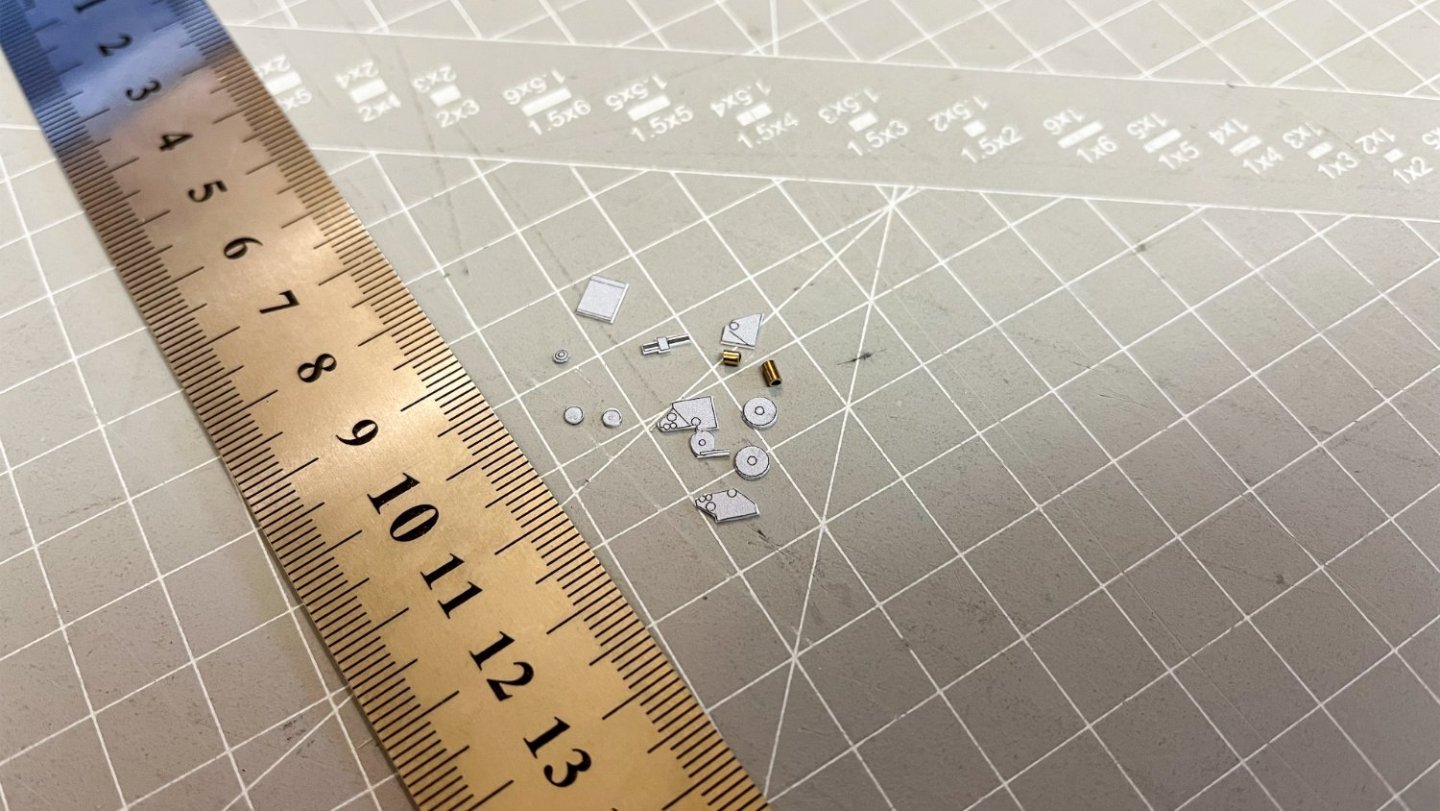
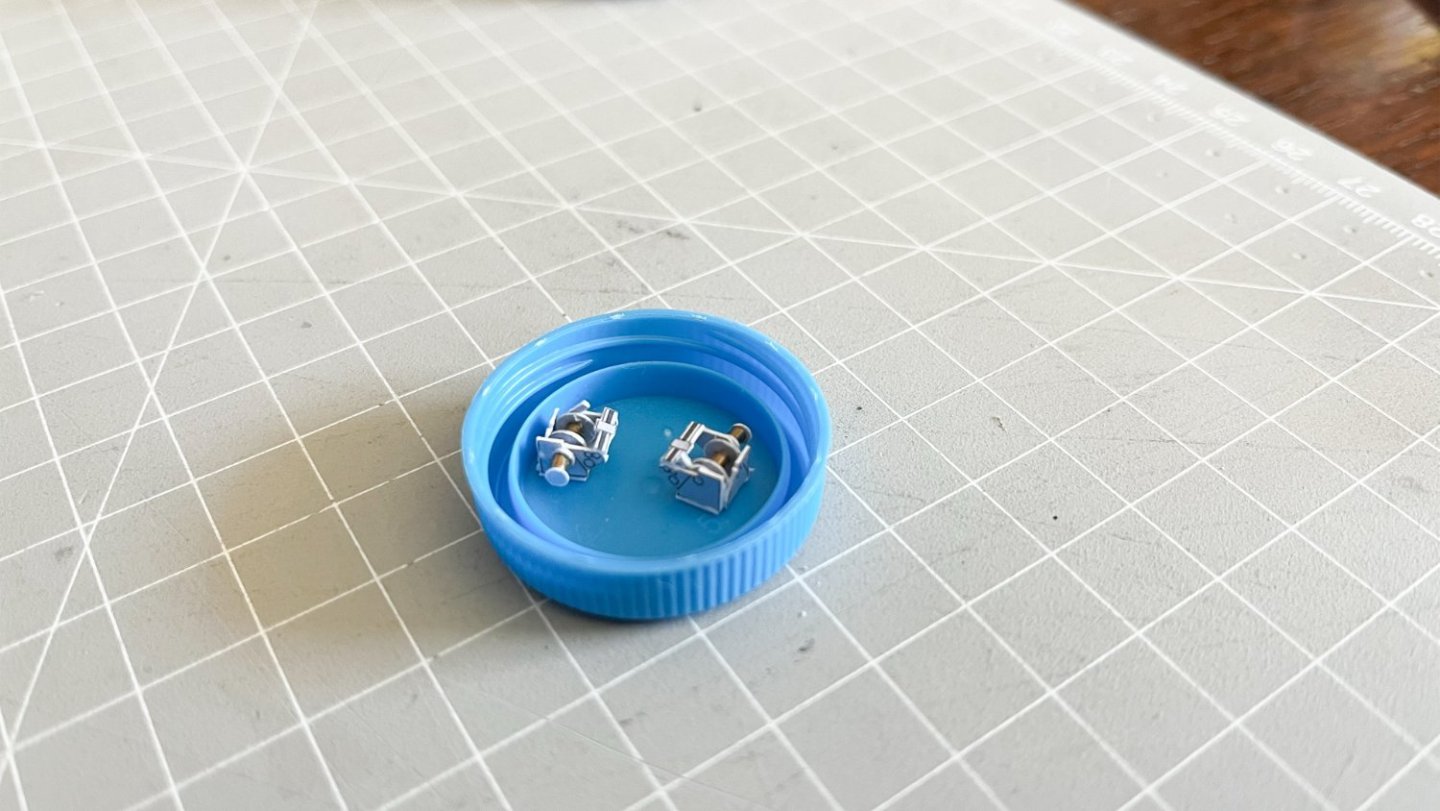
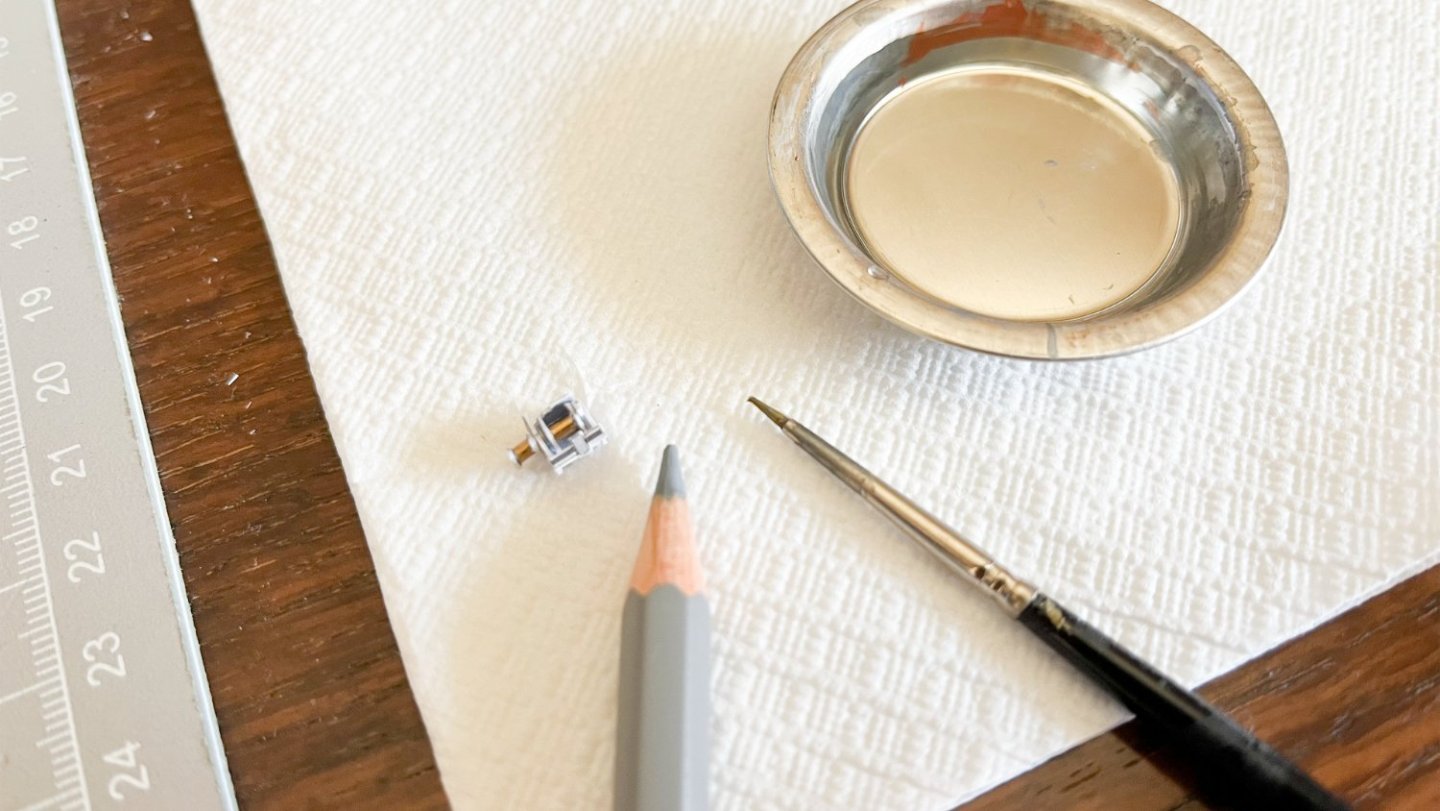
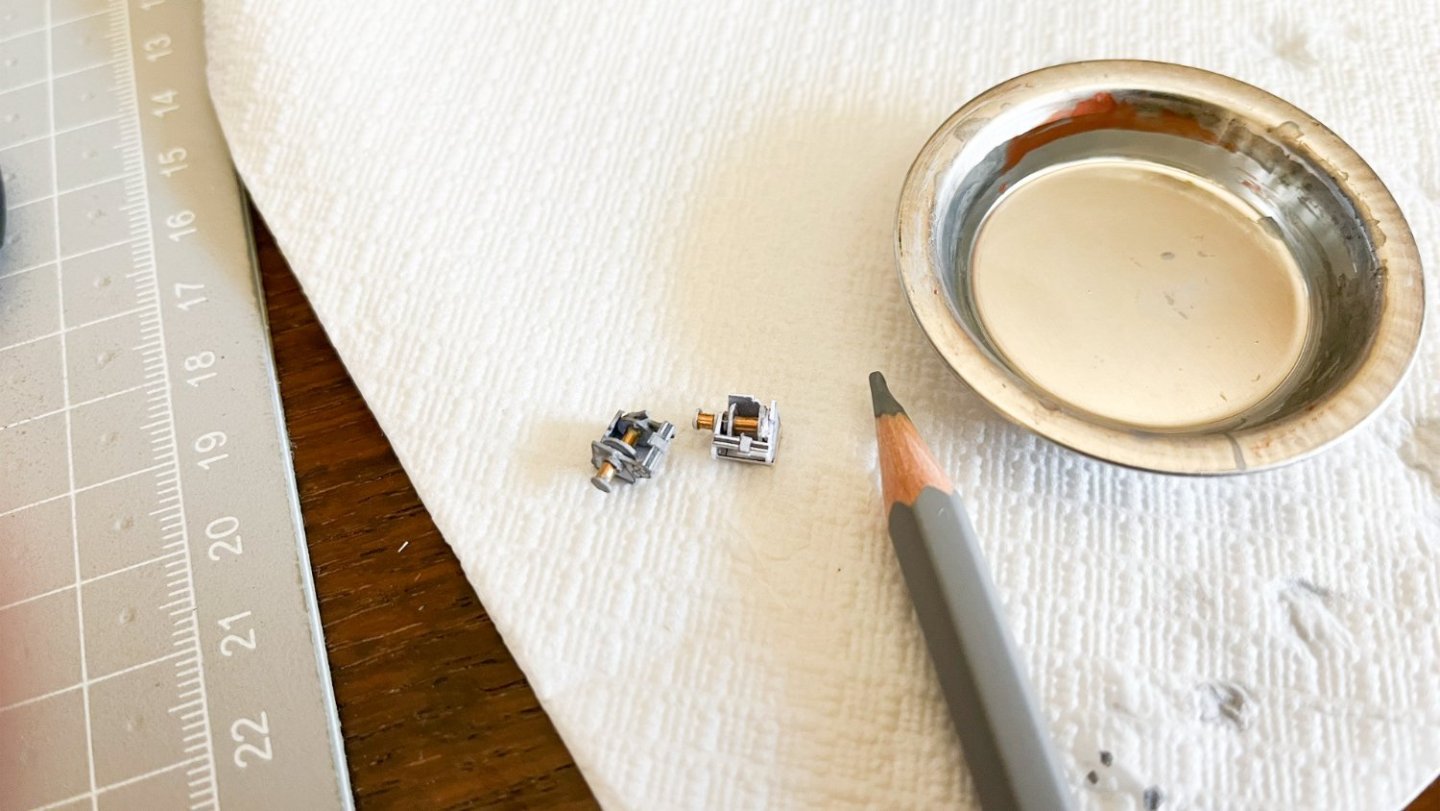
Next step are the assembly of the two net winch. I used a punching tool for cutting the circular shapes. I also preferred to cut from a metal pipe for these tubes. Here are all the parts for the assembly of net winch and the final result. I'm sure I made some mistakes in the assembly instead. I hope David will forgive me! Next i decide to paint the edges as the place where they will be placed does not allow them to be painted afterwards. I will paint the edges of the rest of the ship at a later stage. and glued in place.

- 26 replies
-
- 7
-
-
- Celtic Voyager
- Paper Shipwright
- (and 2 more)
-
For now put on my shelf. I will complete my other projects first !! I hope.
-
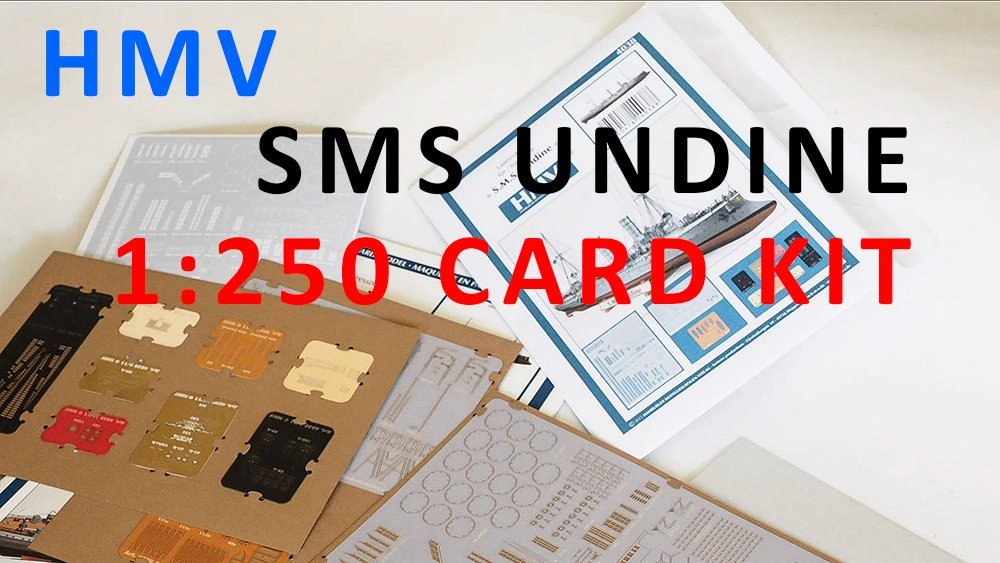
Hi, Just made a short video of "unboxing" the card kit 1:250 HMV SMS UNDIN. Included in the and of the video also, the Lasercut set from the same company. A quick look in the kit and it seems very detailed. https://youtu.be/tPKftt8peZs
-
Thank you Mark!
-
Thank you!
-
Thank you Jim!
-
Thank you!