-
Posts
43 -
Joined
-
Last visited
Content Type
Profiles
Forums
Gallery
Events
Everything posted by Helge Hafstad
-
Nice seeing this build! Nice to see the finished model. Have just got the kit, and contemplating it as my next build. Will try to make it into the now museum-owned RS-1, as there are good photographs of this that can be used as a basis.
- 17 replies
-
- colin archer
- billing boats
-
(and 2 more)
Tagged with:
-
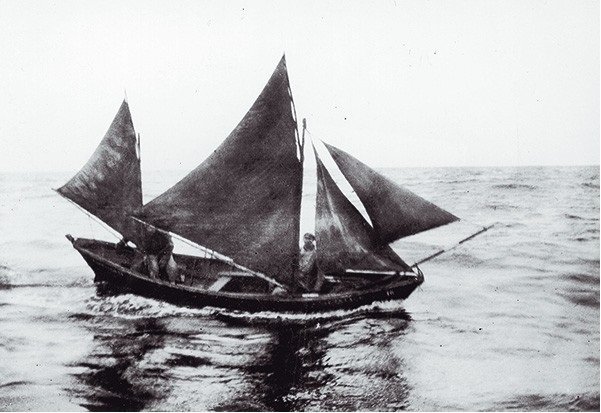
Been on the bench a bit this, have not had much time for it. Funny how real life seems to demand time. Would be good to spend a little time on the details and getting the hull finished and the rigging started. I'm not too happy with the supplied rig, as I think this was quite untypical - even if a picture of this rigging version exists. For a small 1-2 person boat like this, a simpler rig would be more normal.
- 32 replies
-
- Saint Malo
- Artesania Latina
-
(and 1 more)
Tagged with:
-
Interested, so will follow. Am building a dory myself, and am especially interested in various riggings.
- 32 replies
-
- Grand Banks Dory
- Model Shipways
-
(and 2 more)
Tagged with:
-
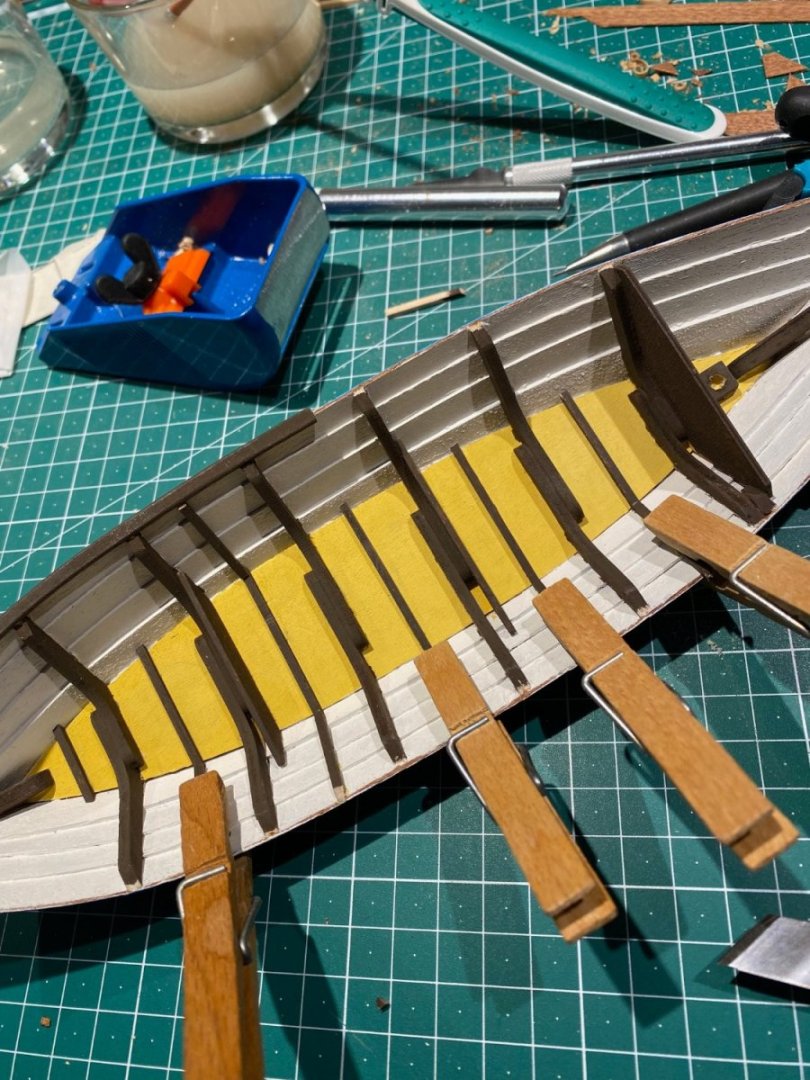
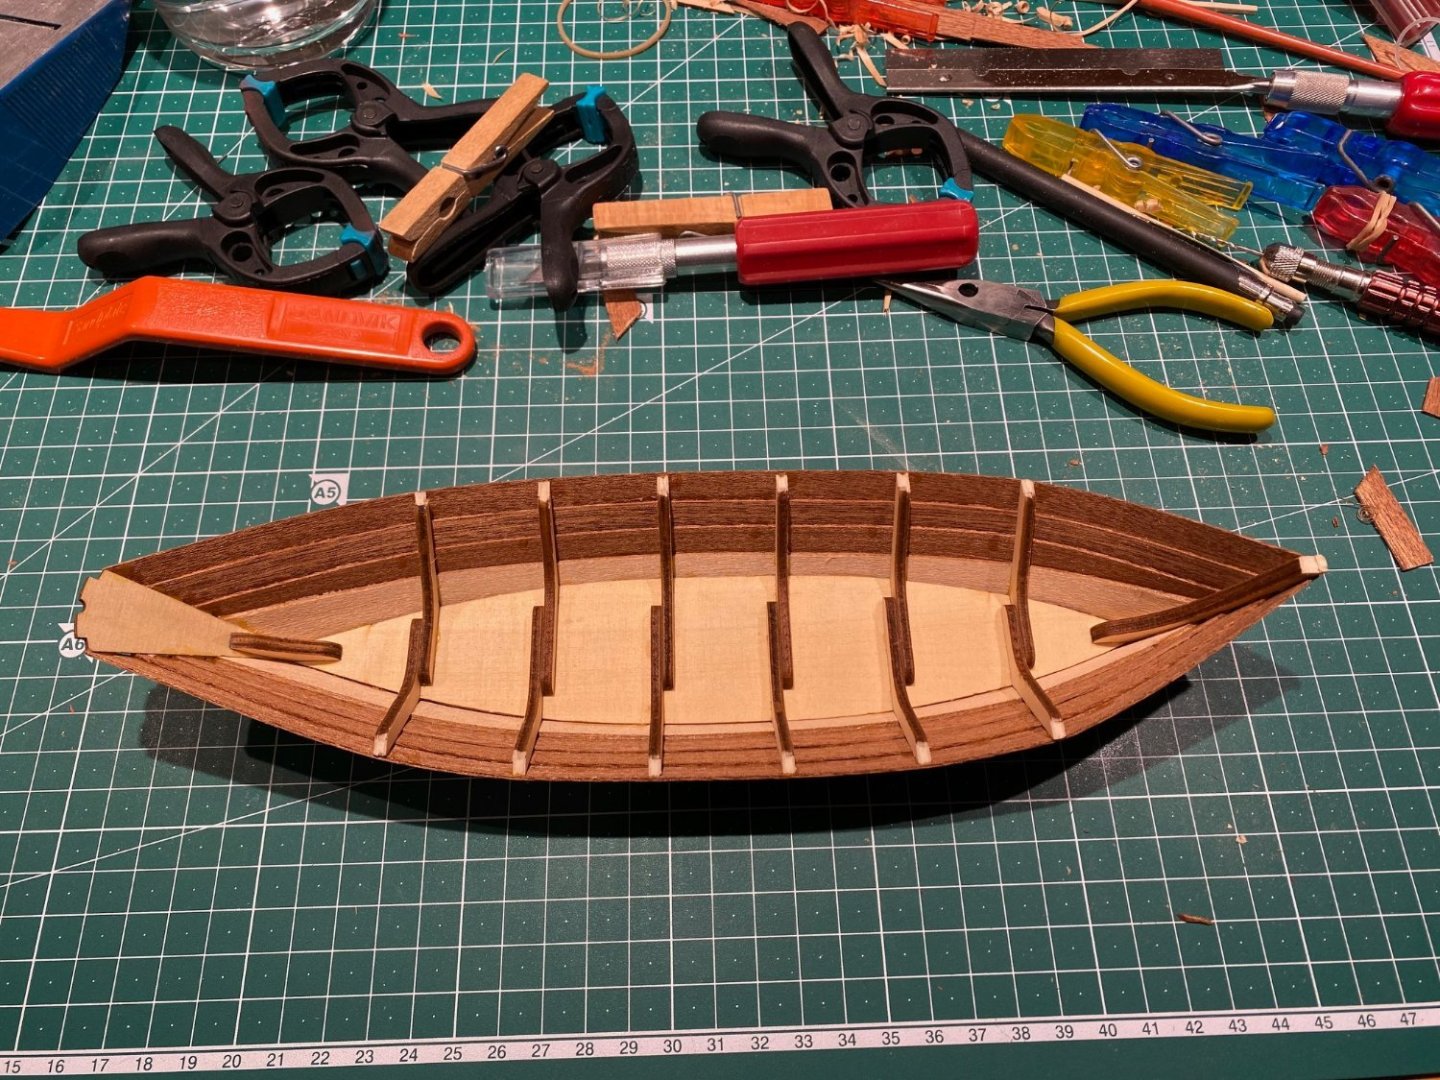
Detailing is on-going. Fitting in the stiffener between the frames is well underway. Also, the mizzen mast base is in place (upper right). Have mounted the starboard half of the gunwale, but this was premature and made fitting in the stiffeners more difficult. Recommend waiting until the stiffeners are finished. The gunwale is laser cut/pre-shaped and in four pieces. That will be the next step. Inside the thwarts and the support battens (unsure of the name) also need to be fitted.
- 32 replies
-
- Saint Malo
- Artesania Latina
-
(and 1 more)
Tagged with:
-
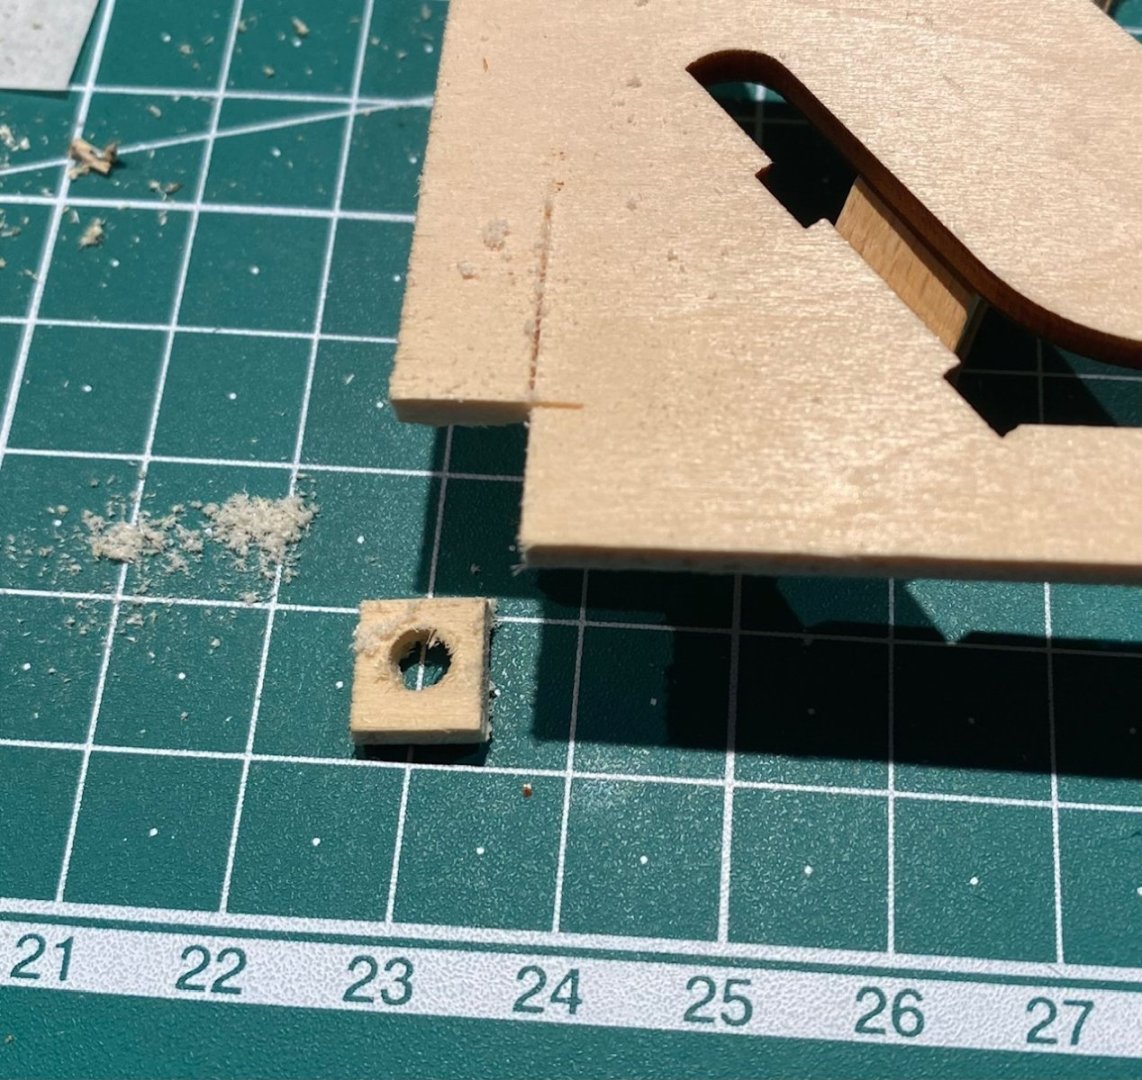
The base for the mizzen mast was not in the kit, but easy to make. This is shown in the build video, but not in the build plans. As this is the only support for the mizzen mast, it would be hard to do without it. Still think that when used some sort of stay would have been used, even for a mast only a couple of meters high. Have to think about how to rig that.
- 32 replies
-
- Saint Malo
- Artesania Latina
-
(and 1 more)
Tagged with:
-
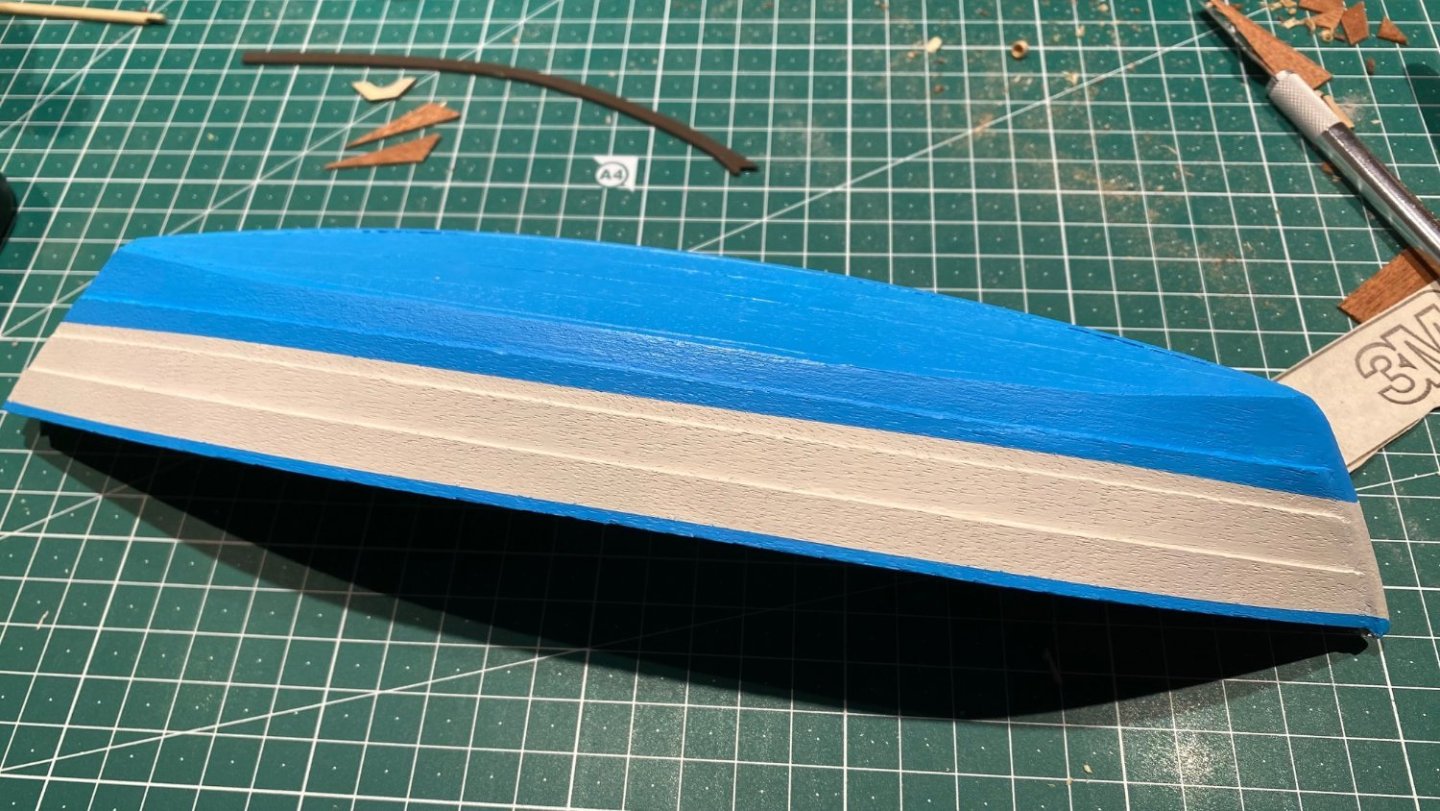
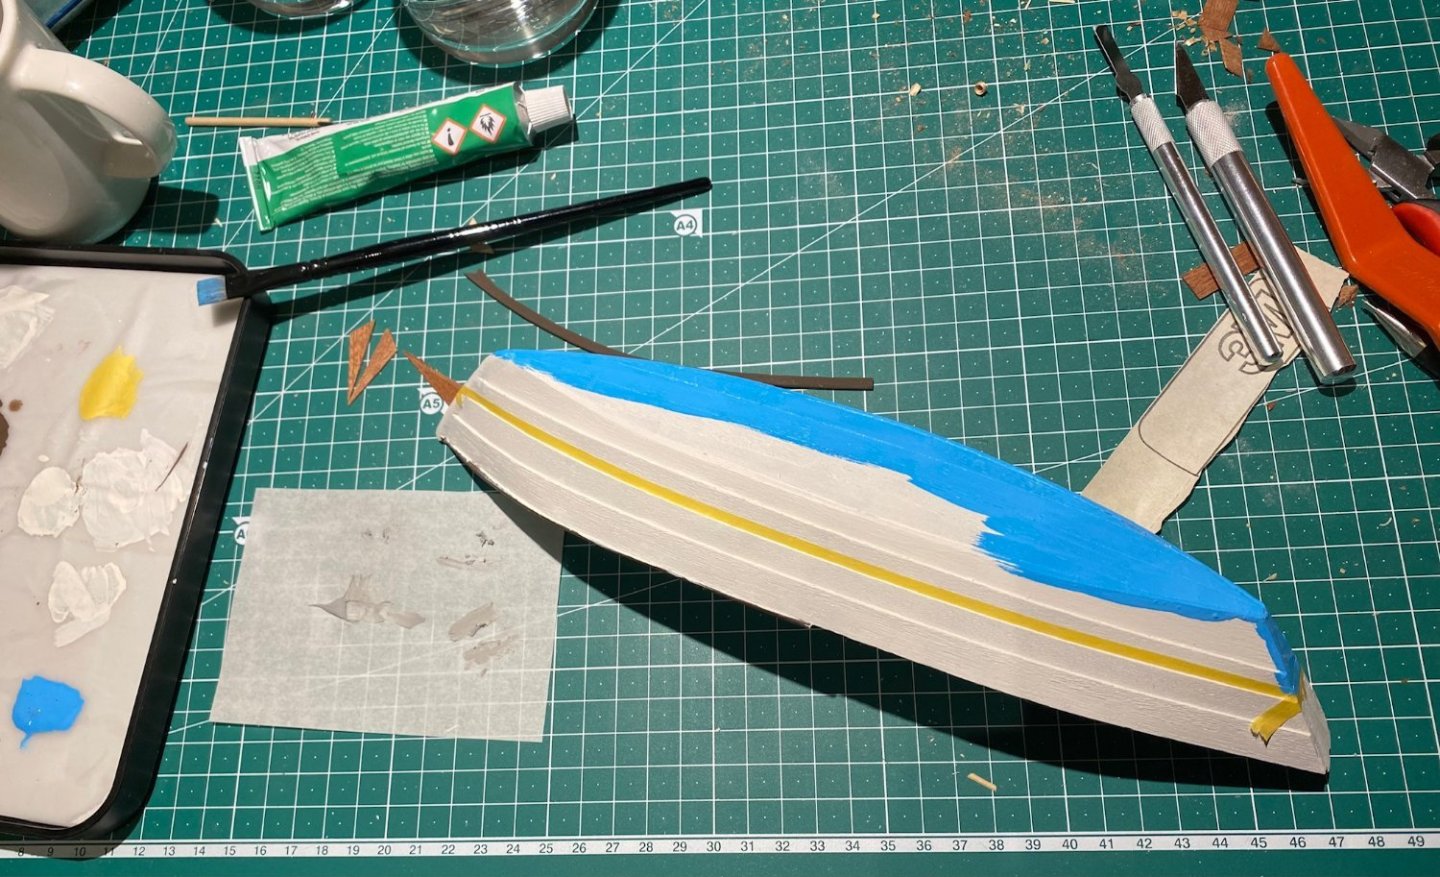
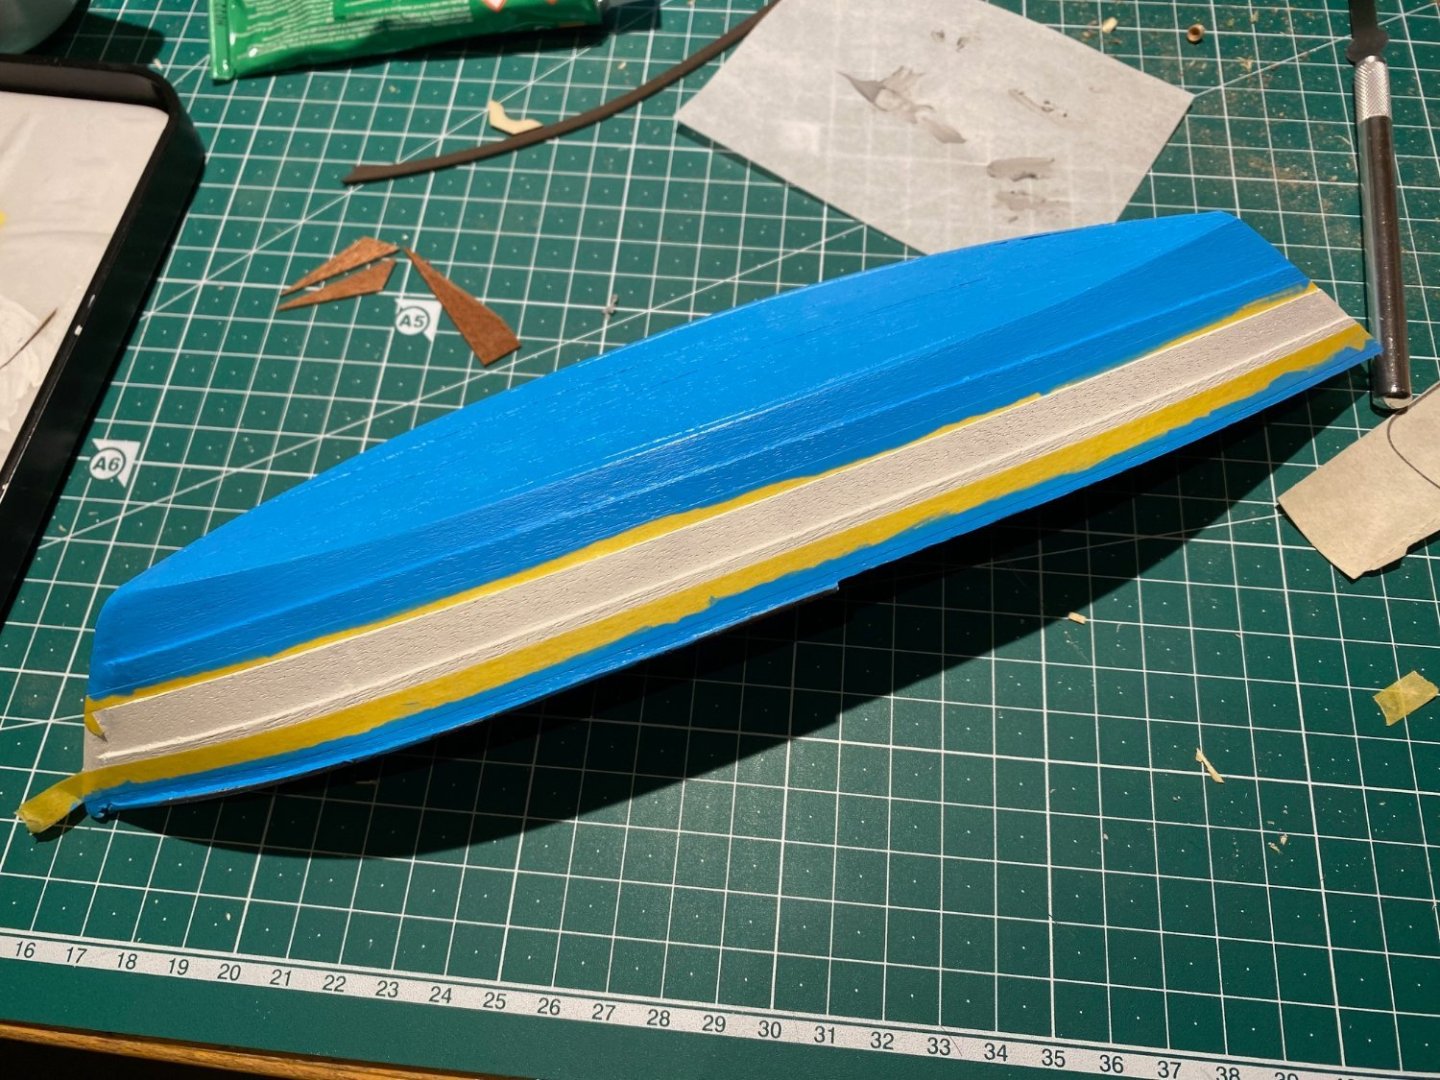
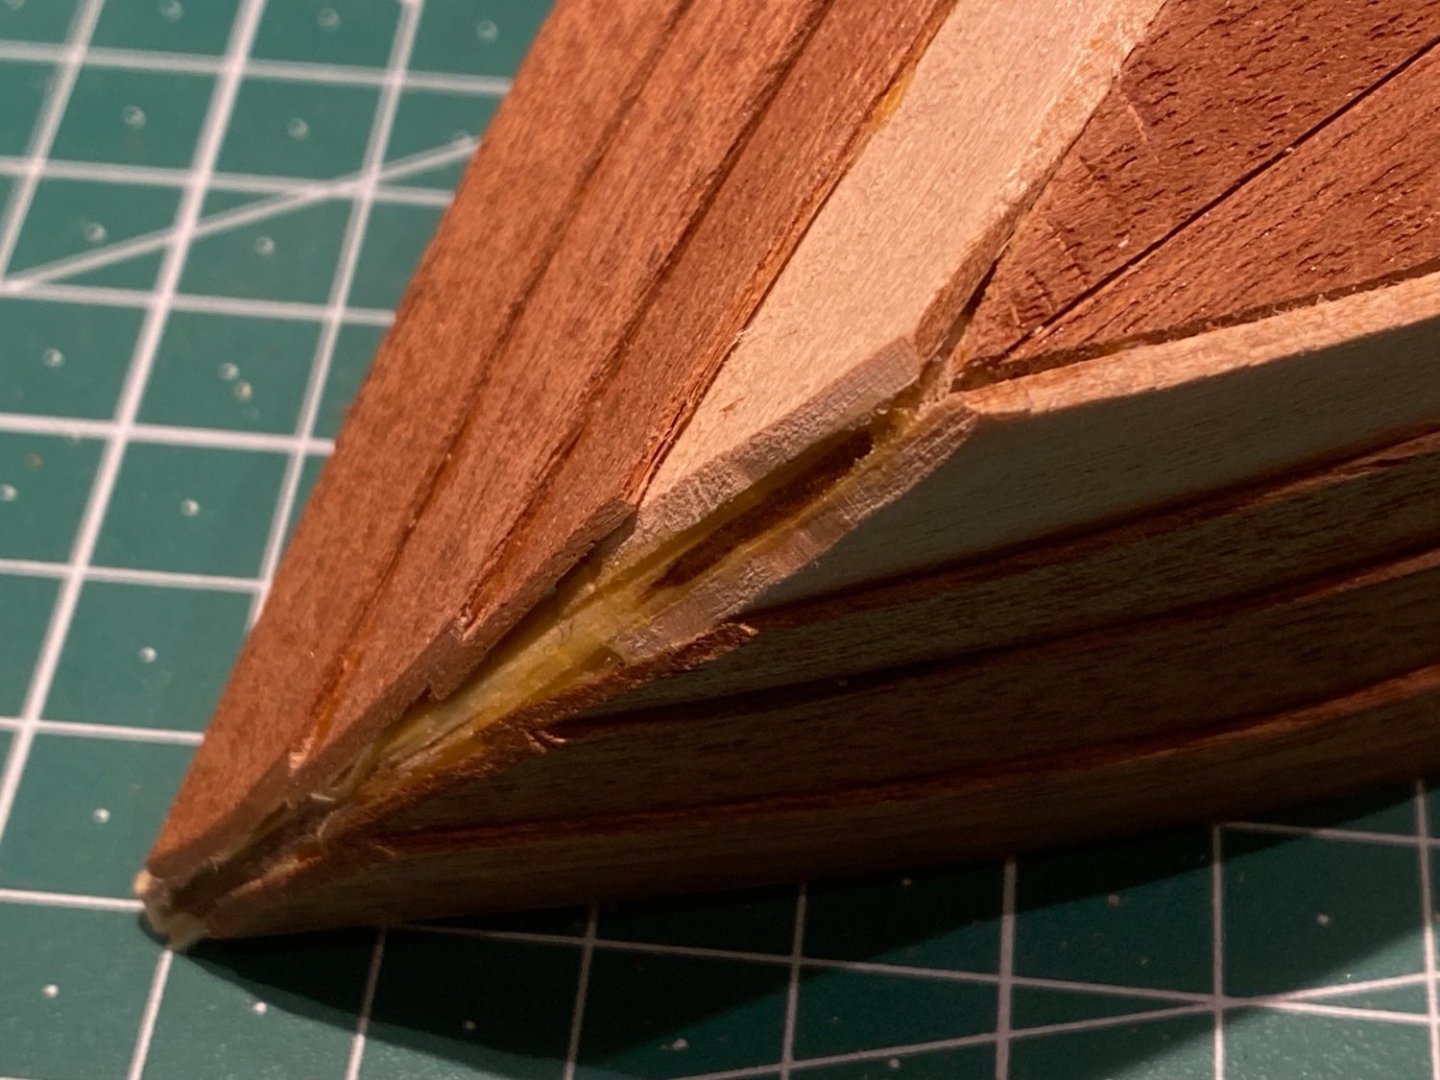
Blue done. Also, the bow after using putty and sanding a few times. I think this improved the planking transition into the stem a lot.
- 32 replies
-
- Saint Malo
- Artesania Latina
-
(and 1 more)
Tagged with:
-
- 32 replies
-
- Saint Malo
- Artesania Latina
-
(and 1 more)
Tagged with:
-
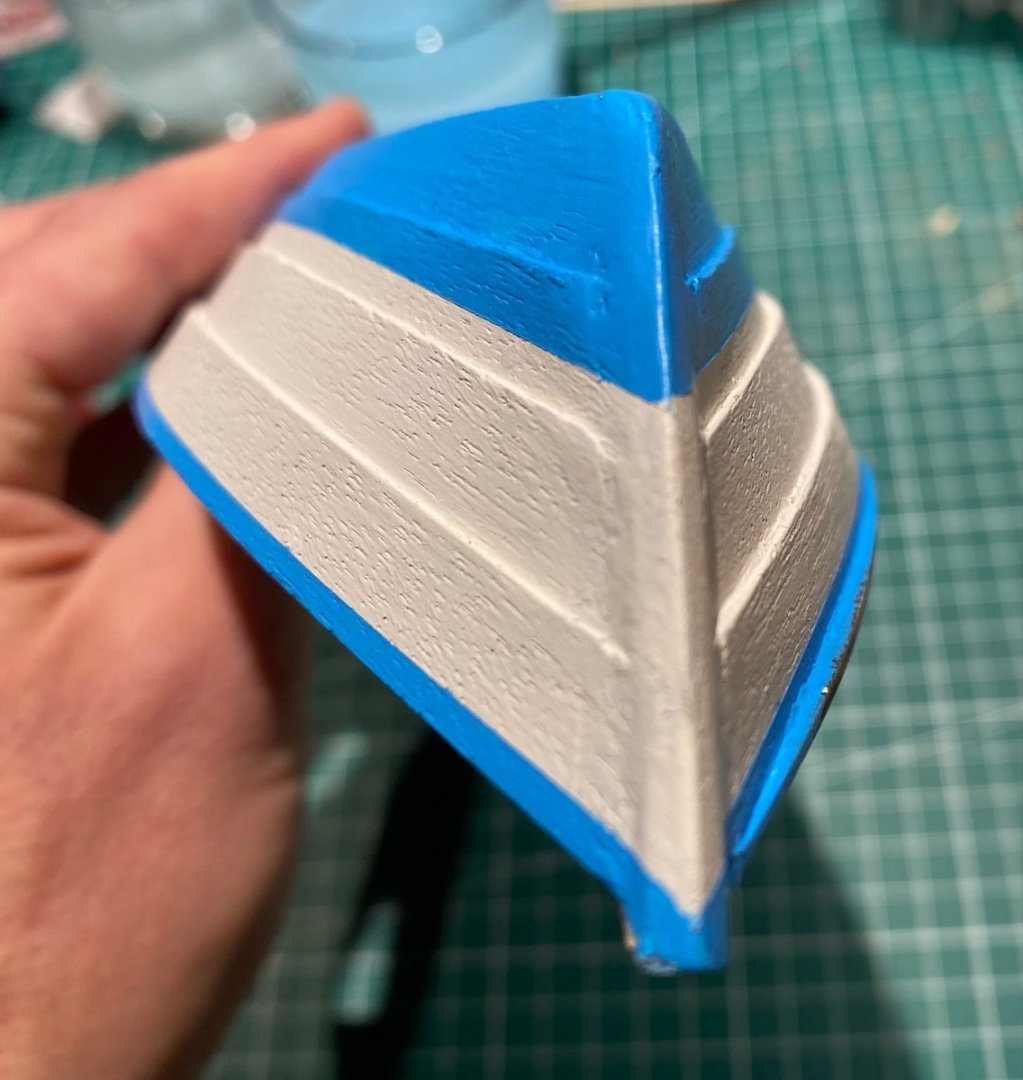
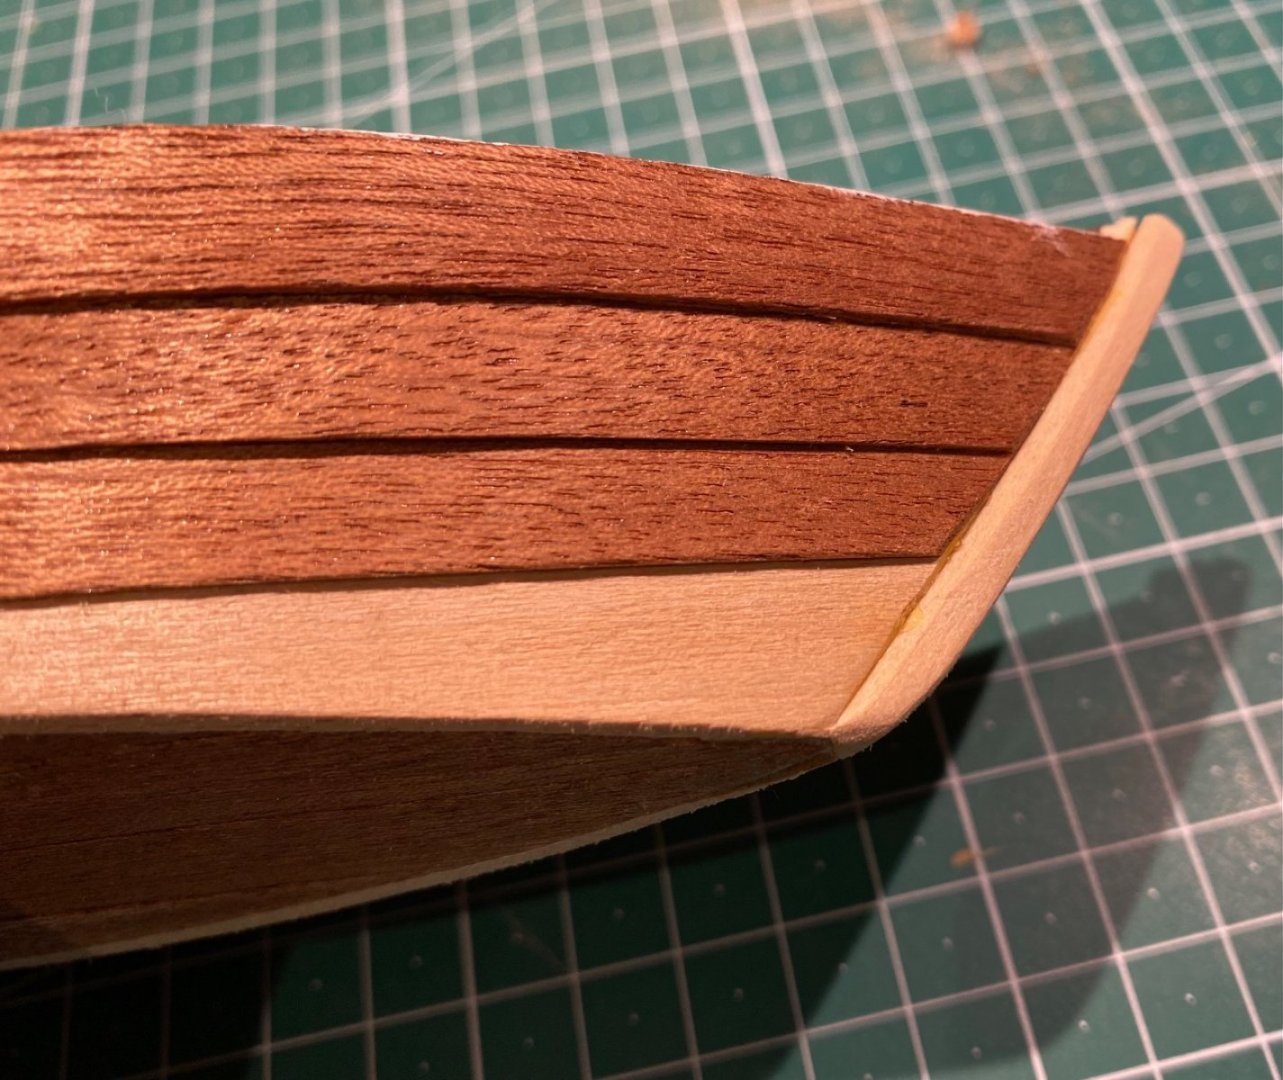
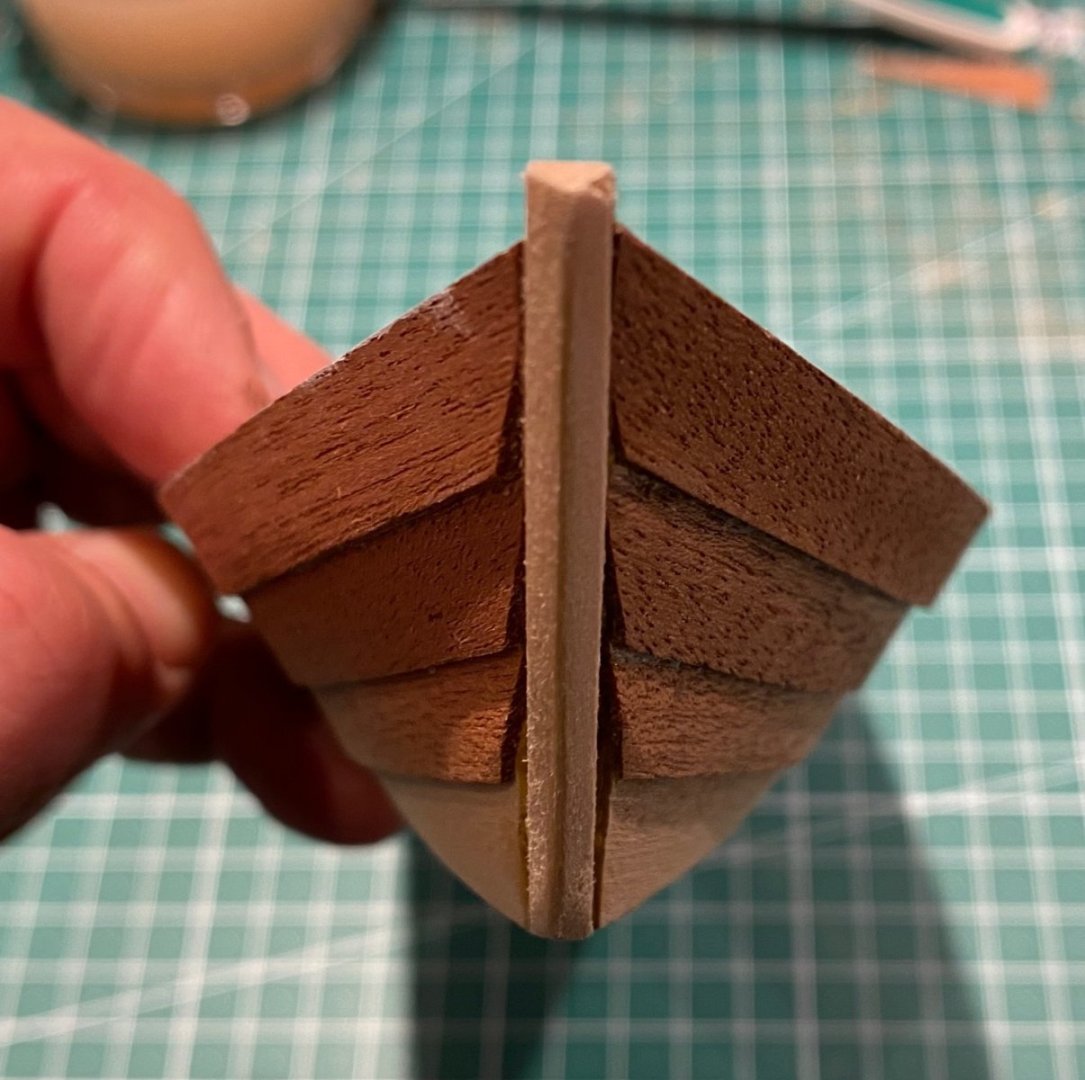
This is the bow when sanded. From the side it doesn't look too bad (it will be painted ...), but I'm not so sure about the front view. Let me know what you think!
- 32 replies
-
- Saint Malo
- Artesania Latina
-
(and 1 more)
Tagged with:
-
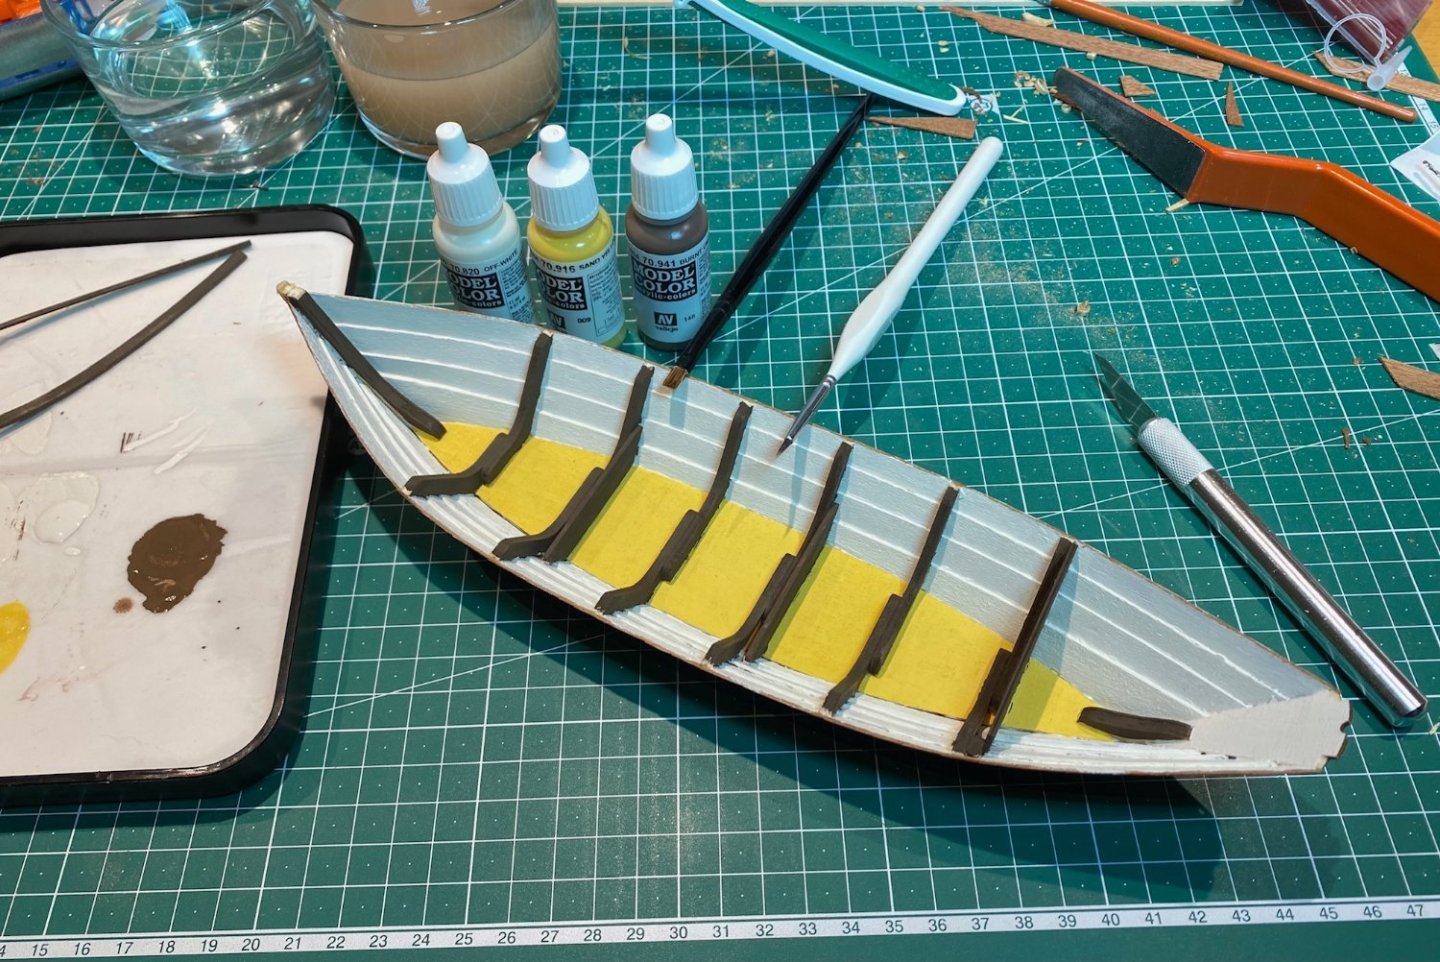
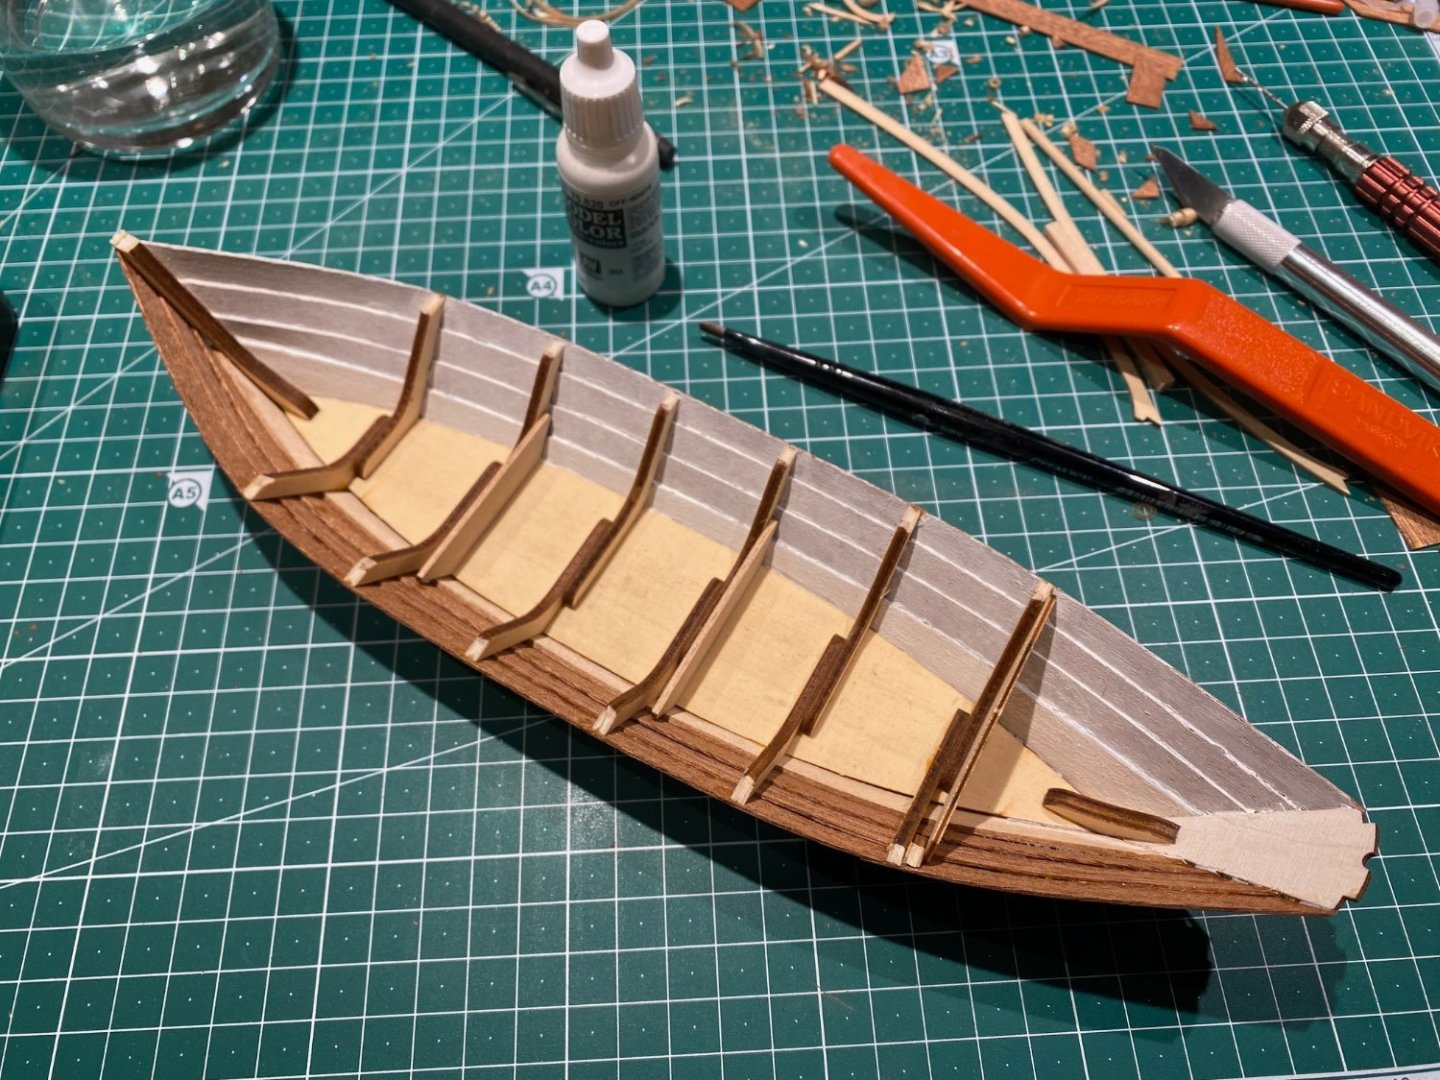
Inside the painting went well. A flat brush really meant for drybrushing had the stiffness and control I wanted, and a thin brush was used for small touch-ups where I was not precise enough.
- 32 replies
-
- Saint Malo
- Artesania Latina
-
(and 1 more)
Tagged with:
-
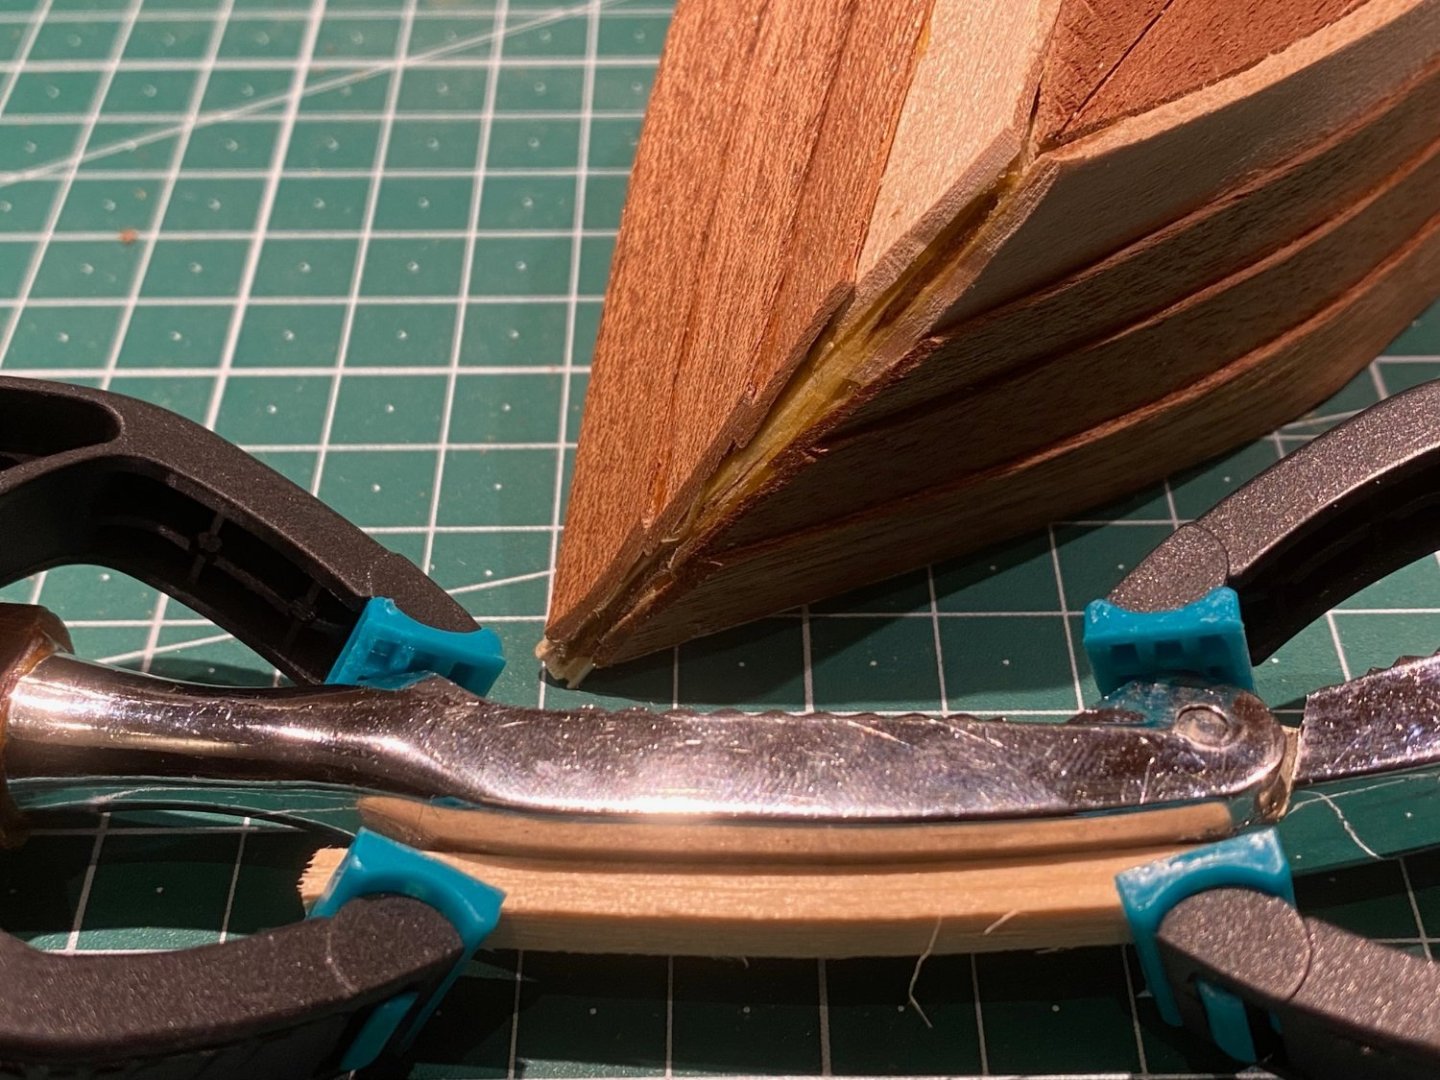
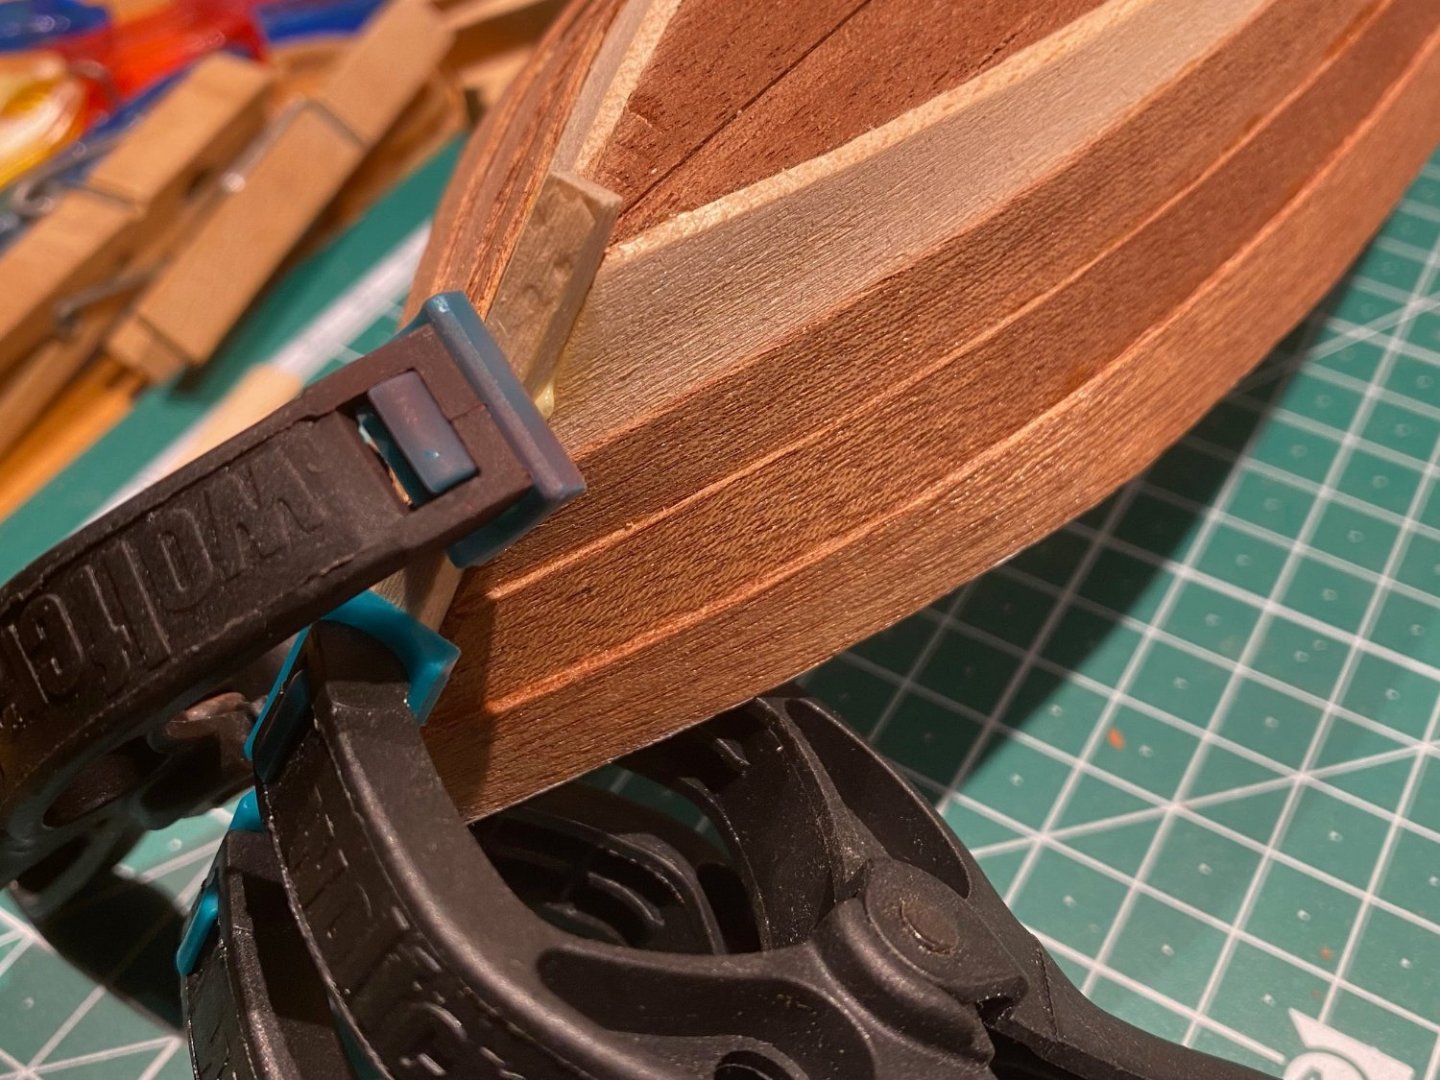
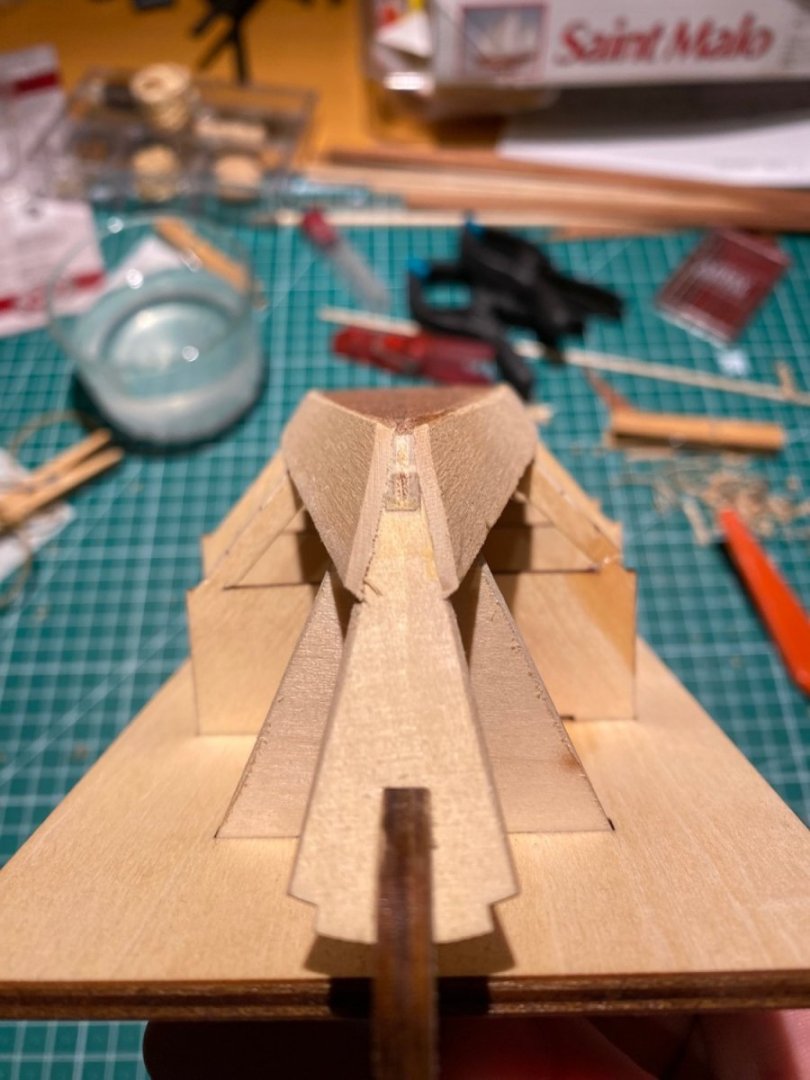
The bow. Not the best part of this model. I sanded flat - as per building instructions, but this is not how it would have been built in real life. Have to see what measures I can take when the stem is on. The stem is being fitted. Had a nutcracker with the right curvature. Boiled the piece and clamped it to the nutcracker. Let it dry, and fitted it. Only a little extra clamping was then required, in an area where clamping is difficult to do without damage.
- 32 replies
-
- Saint Malo
- Artesania Latina
-
(and 1 more)
Tagged with:
-
Painting is slowly getting underway. Off-white inside, with the bottom to be sand yellow and the frames to be burnt umber. My first wood model painting project. Have done old windows (full size), and the patience required for that comes in handy ... 😄
- 32 replies
-
- Saint Malo
- Artesania Latina
-
(and 1 more)
Tagged with:
-
Thank you! I have made a mistake though, on the stem - will cover that in a bit.
- 32 replies
-
- Saint Malo
- Artesania Latina
-
(and 1 more)
Tagged with:
-
- 32 replies
-
- Saint Malo
- Artesania Latina
-
(and 1 more)
Tagged with:
-
One question that I've had in mind since the start is; to paint or not to paint? The wood is pretty nice, and as such just a varnish could be nice. On the other hand, in all probability, no dory at that time was ever unpainted. Paint is easy to maintain. Also, I need practice in ship model painting... So, it will be painted. I have a range of Vallejo acrylics, so that is what I'll use.
- 32 replies
-
- Saint Malo
- Artesania Latina
-
(and 1 more)
Tagged with:
-
Sometimes, when one investigates enough - one finds. The French did sometimes rig their Dorys as the model plan is made - although one sail is missing in the kit. The rig was up to the owner, and a variety of rigs were used.
- 32 replies
-
- Saint Malo
- Artesania Latina
-
(and 1 more)
Tagged with:
-
I've had some mental reservations about the rig as well. The oar used as a bowspit for example, I see no point in it. You have a sturdy stem and a sail to the stay from there. So, why add complexity for little gain and lash fast an oar simply to have a stay further out? I've tried to see if I could find old pictures of a dory rig (two-masted if possible) to use - and modify based on that.
- 32 replies
-
- Saint Malo
- Artesania Latina
-
(and 1 more)
Tagged with:
-
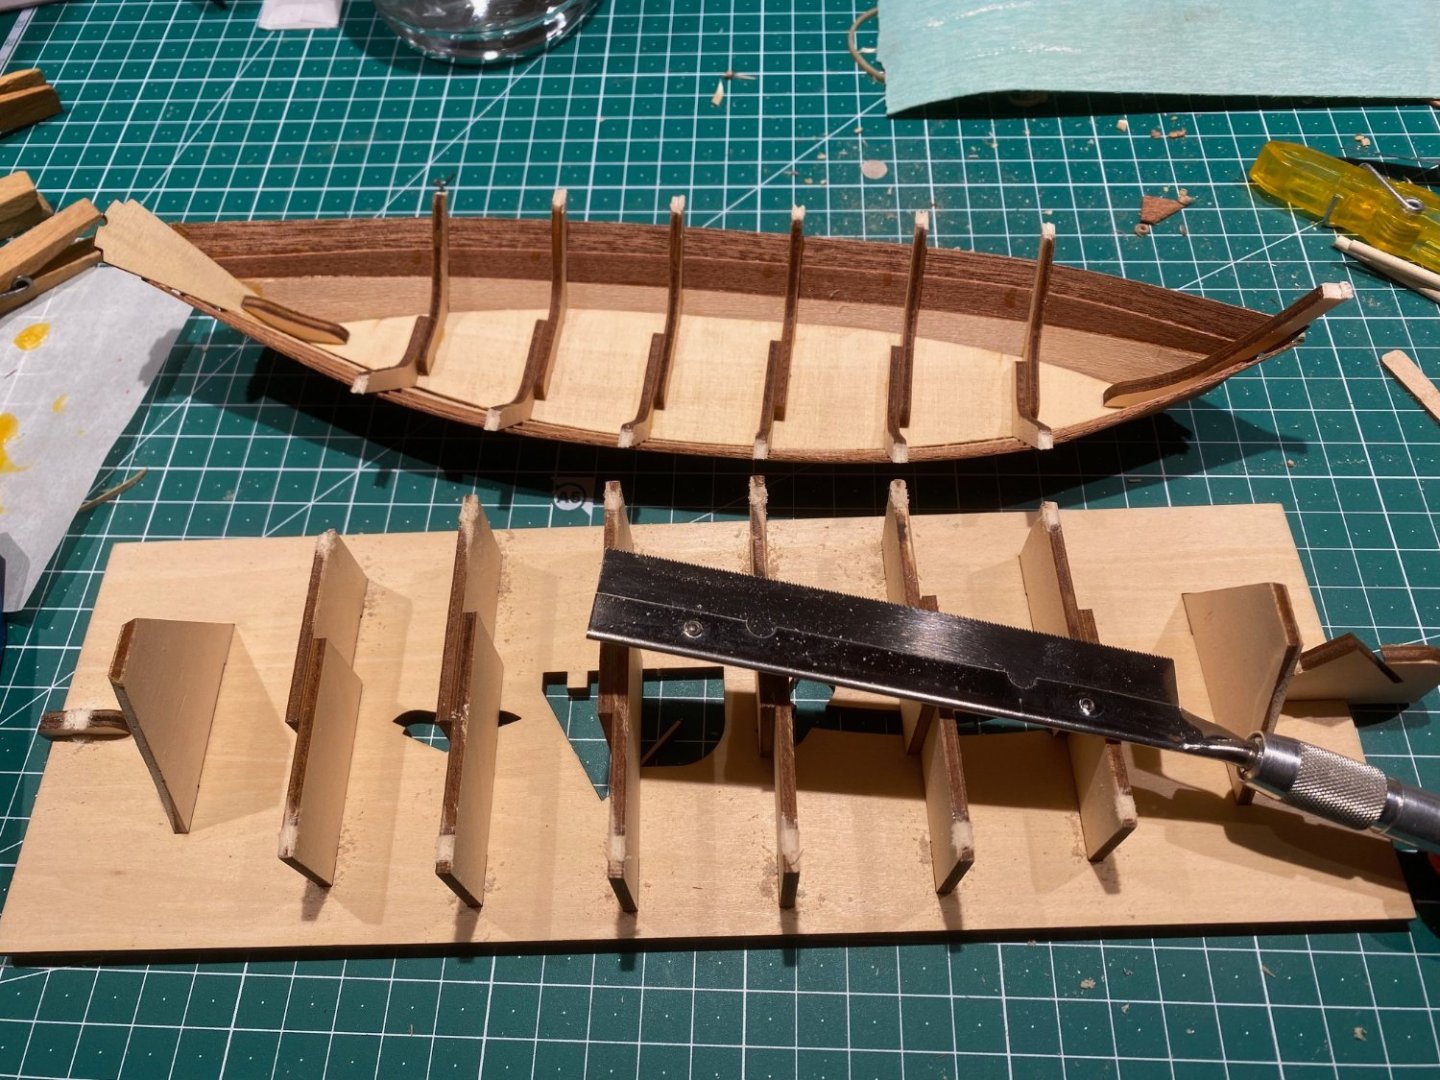
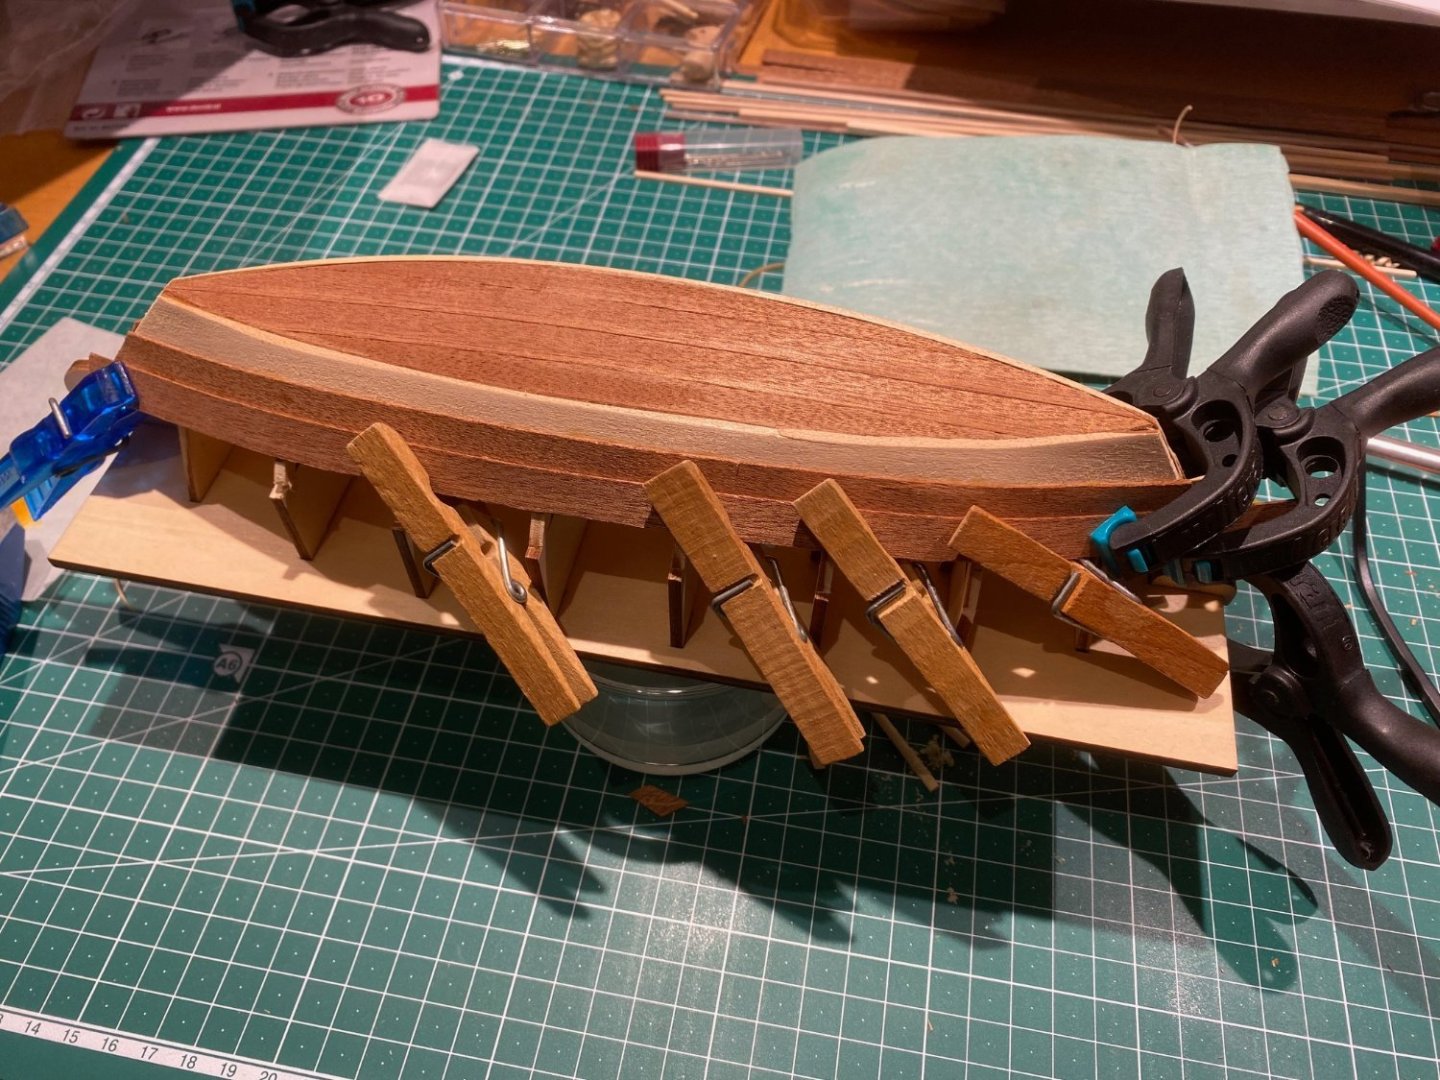
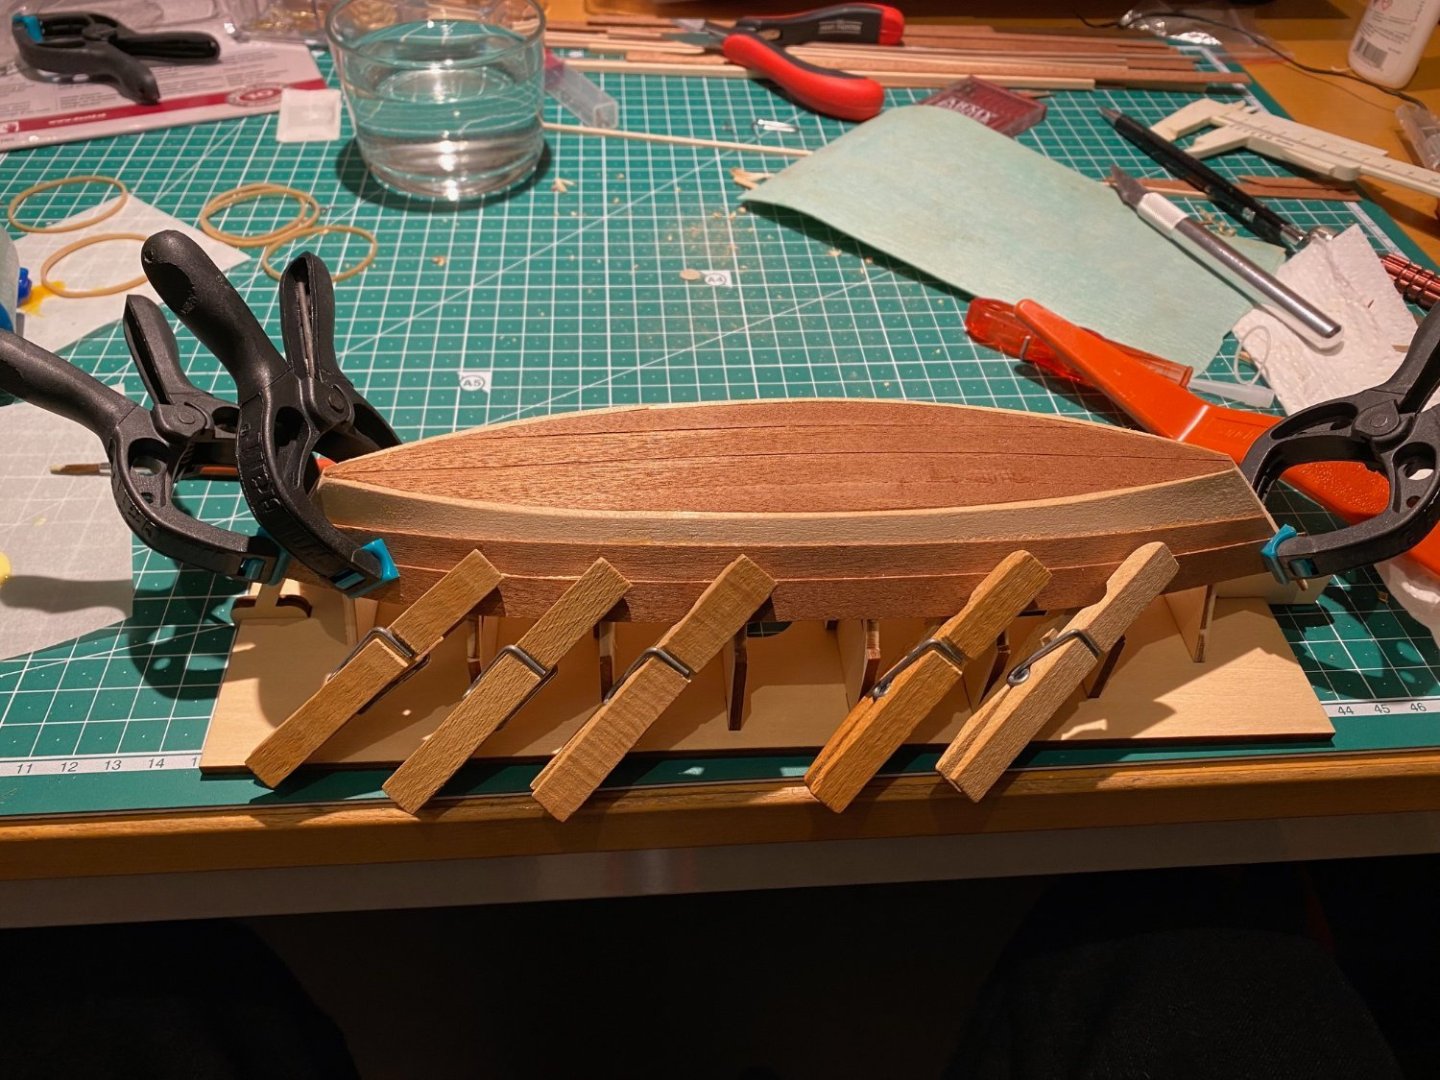
Deviated from the build direction, as I separated the hull from the jig after the 2nd plank and not after the 3rd. The reason for this is simply that I found there was no room for clamping the plank - not enough opening left. Now I have to take more care in the alignment of the plank, no help from the jig, but clamping is so much easier that (I hope) this counteracts that.
- 32 replies
-
- Saint Malo
- Artesania Latina
-
(and 1 more)
Tagged with:
-
2nd plank is now mounted on both sides. A small misalignment had to be corrected - and such things make for a good learning experience - which is why I started with this relatively small dory build.
- 32 replies
-
- Saint Malo
- Artesania Latina
-
(and 1 more)
Tagged with:
-
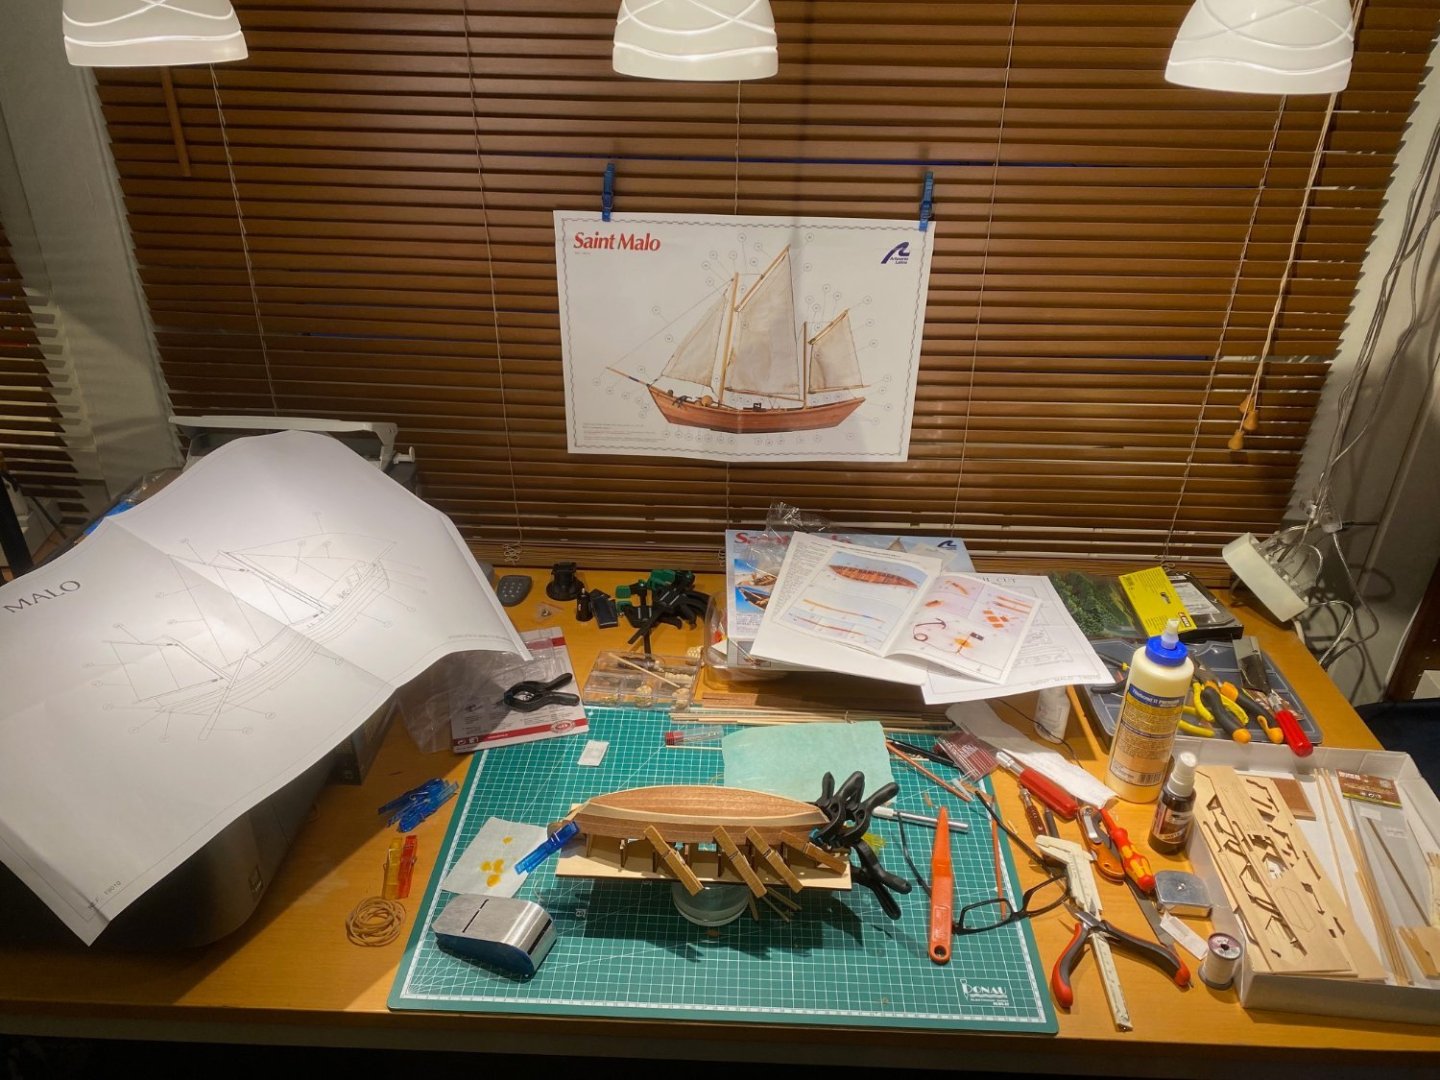
A little look at my small "shipyard". The three lights above give good building light, and everything is at hand.
- 32 replies
-
- Saint Malo
- Artesania Latina
-
(and 1 more)
Tagged with:
-
Welcome! New myself, from Norway. A Lego sailing ship model; sounds like it could be an interesting project!
-
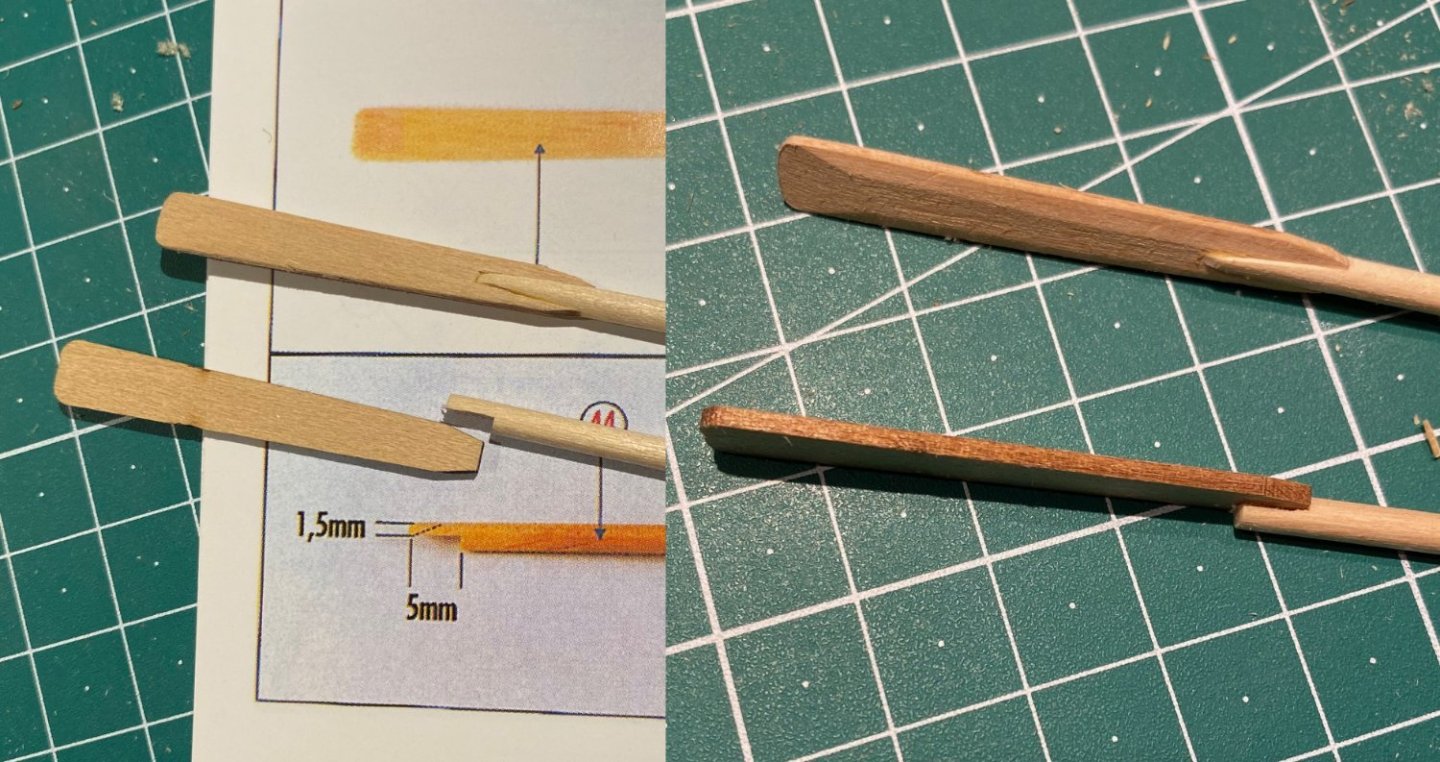
The kit has a very basic approach to making the oars. Just a square half-cut and glue. This does not look the least realistic, and I decided to try to improve this. First I tapered the blade to a shallow angle. Used sand paper and tried to make the angles the same. Then I tried to fell inn the shaft and the oar blade to look a lot more like a real oar would. Not unhappy with this as a first attempt, though like most things it could surely be improved.
- 32 replies
-
- Saint Malo
- Artesania Latina
-
(and 1 more)
Tagged with:
-
The next step is planking. Doing them one at a time with time between for the wood glue to dry. Am using Titebond II, a glue I also use for carpentry. Happy with it. Have measured the plank intervals and marked that on the frame. The twist makes it not quite possible to meet the marks, at least I didn't quite. However, as long as it is equal on both sides - that is not noticeable I think.
- 32 replies
-
- Saint Malo
- Artesania Latina
-
(and 1 more)
Tagged with:
-
- 32 replies
-
- Saint Malo
- Artesania Latina
-
(and 1 more)
Tagged with:
-
Yes I am, and the start is already posted!
-
Hi! You sound like you have about the same history of model building as I do, and are taking the same approach to starting wooden ships, except that I'm trying the Saint Milo, also a beginner's build. So, from another new member - Welcome!
About us
Modelshipworld - Advancing Ship Modeling through Research
SSL Secured
Your security is important for us so this Website is SSL-Secured
NRG Mailing Address
Nautical Research Guild
237 South Lincoln Street
Westmont IL, 60559-1917
Model Ship World ® and the MSW logo are Registered Trademarks, and belong to the Nautical Research Guild (United States Patent and Trademark Office: No. 6,929,264 & No. 6,929,274, registered Dec. 20, 2022)
Helpful Links
About the NRG
If you enjoy building ship models that are historically accurate as well as beautiful, then The Nautical Research Guild (NRG) is just right for you.
The Guild is a non-profit educational organization whose mission is to “Advance Ship Modeling Through Research”. We provide support to our members in their efforts to raise the quality of their model ships.
The Nautical Research Guild has published our world-renowned quarterly magazine, The Nautical Research Journal, since 1955. The pages of the Journal are full of articles by accomplished ship modelers who show you how they create those exquisite details on their models, and by maritime historians who show you the correct details to build. The Journal is available in both print and digital editions. Go to the NRG web site (www.thenrg.org) to download a complimentary digital copy of the Journal. The NRG also publishes plan sets, books and compilations of back issues of the Journal and the former Ships in Scale and Model Ship Builder magazines.


