Lost and Confused
-
Posts
54 -
Joined
-
Last visited
Content Type
Profiles
Forums
Gallery
Events
Everything posted by Lost and Confused
-

removing ca glued rigging
Lost and Confused replied to Lost and Confused's topic in Masting, rigging and sails
SUCCESS.....My 100% acetone was delivered today. Was watching for the Amazon truck all day. Well I kept applying a small amount to the misaligned fairleads. Then attempting to get them loose, either up or down with tweezers. Finally One came loose. I moved it down to the correct position. Then the next one came loose. I noticed a touch of white residue on the backstays the bullseyes were attached to. easily touched them up. Noticede that the bullseyes had whitened considerably. carefully touched them up as well. I couldnt be happier with the results. Perhaps the "goof off" solvent would have worked as well, but I didnt work on the loosening with it as long. Thanks all of you for your input and assistance. Happy modeling -
removing ca glued rigging
Lost and Confused replied to Lost and Confused's topic in Masting, rigging and sails
Appreciate the weaving suggestion. I may give it a try on my next build. Having the foremast shrouds done, its probably not a good idea to switch in the middle of a build. Same with going with cow hitches on the end shrouds {next time} I got a can of goof off super glue remover and applied it as directed...repeatedly and could not get the fairleads to budge. Getting some pure acetone tomorrow...Hope it works...otherwise I may have to live with this defect.(Its killin me.You know how it is). Will try the cowhitch on end shrouds as well...Cant change in the middle of a build. When i come to the final shroud, I end so the free end is extending outward from the shroud. After CA ing it I get a nice clean, close cut. Thanks again mates -
removing ca glued rigging
Lost and Confused replied to Lost and Confused's topic in Masting, rigging and sails
Just got back from walmart with some goof off. Will keep you advised. Thanks again -
removing ca glued rigging
Lost and Confused replied to Lost and Confused's topic in Masting, rigging and sails
Thanks Johnny, i can always rely on you for a helping hand I have acetone on the way. Will it hurt the shroud material? Using amati rigging cord. -
Ahoy there mates. Im still puttering away at my 1:96 Revelle Cutty Sark. I have completed the foremast standing rigging, and added the fairleads to the shrouds and backstays. I just noticed that the port and starbord fairleads are not in line with each other. I installed them by filing a notch on one side and attaching to the shroud/backstay with a small drop of CA glue. Then surrounding with a piece of thread. If I used acetone on the joint, would it loosen it up enough that I could move the part up or down to achieve alignment? Is there a danger of damaging the shrouds or backstays? Ive done the shrouds and ratlines twice already and really dont want to do them again. I ordered some 100% acetone. Need it anyway. Id appreciate any advice. Also I have tied on a few ratlines that could be better done. Tied with clove hitches, and the fore and aftmost ones ca glued.(Dont want that knot to untie}. Could I safely remove them with CA and not damage anything. If Im going to do this, now is the time as things only get hairier from here. Thanks mates
-
I once saw a page with a jig for making stirrups for footropes in a uniform manner. I have always just "winged it". Can do better. Could someone point me in the right direction? Thanks for any help!!
- 1 reply
-
- 1
-

-
Good idea....Ill give that some thought...still manually turning it....manually going over the top as well
-
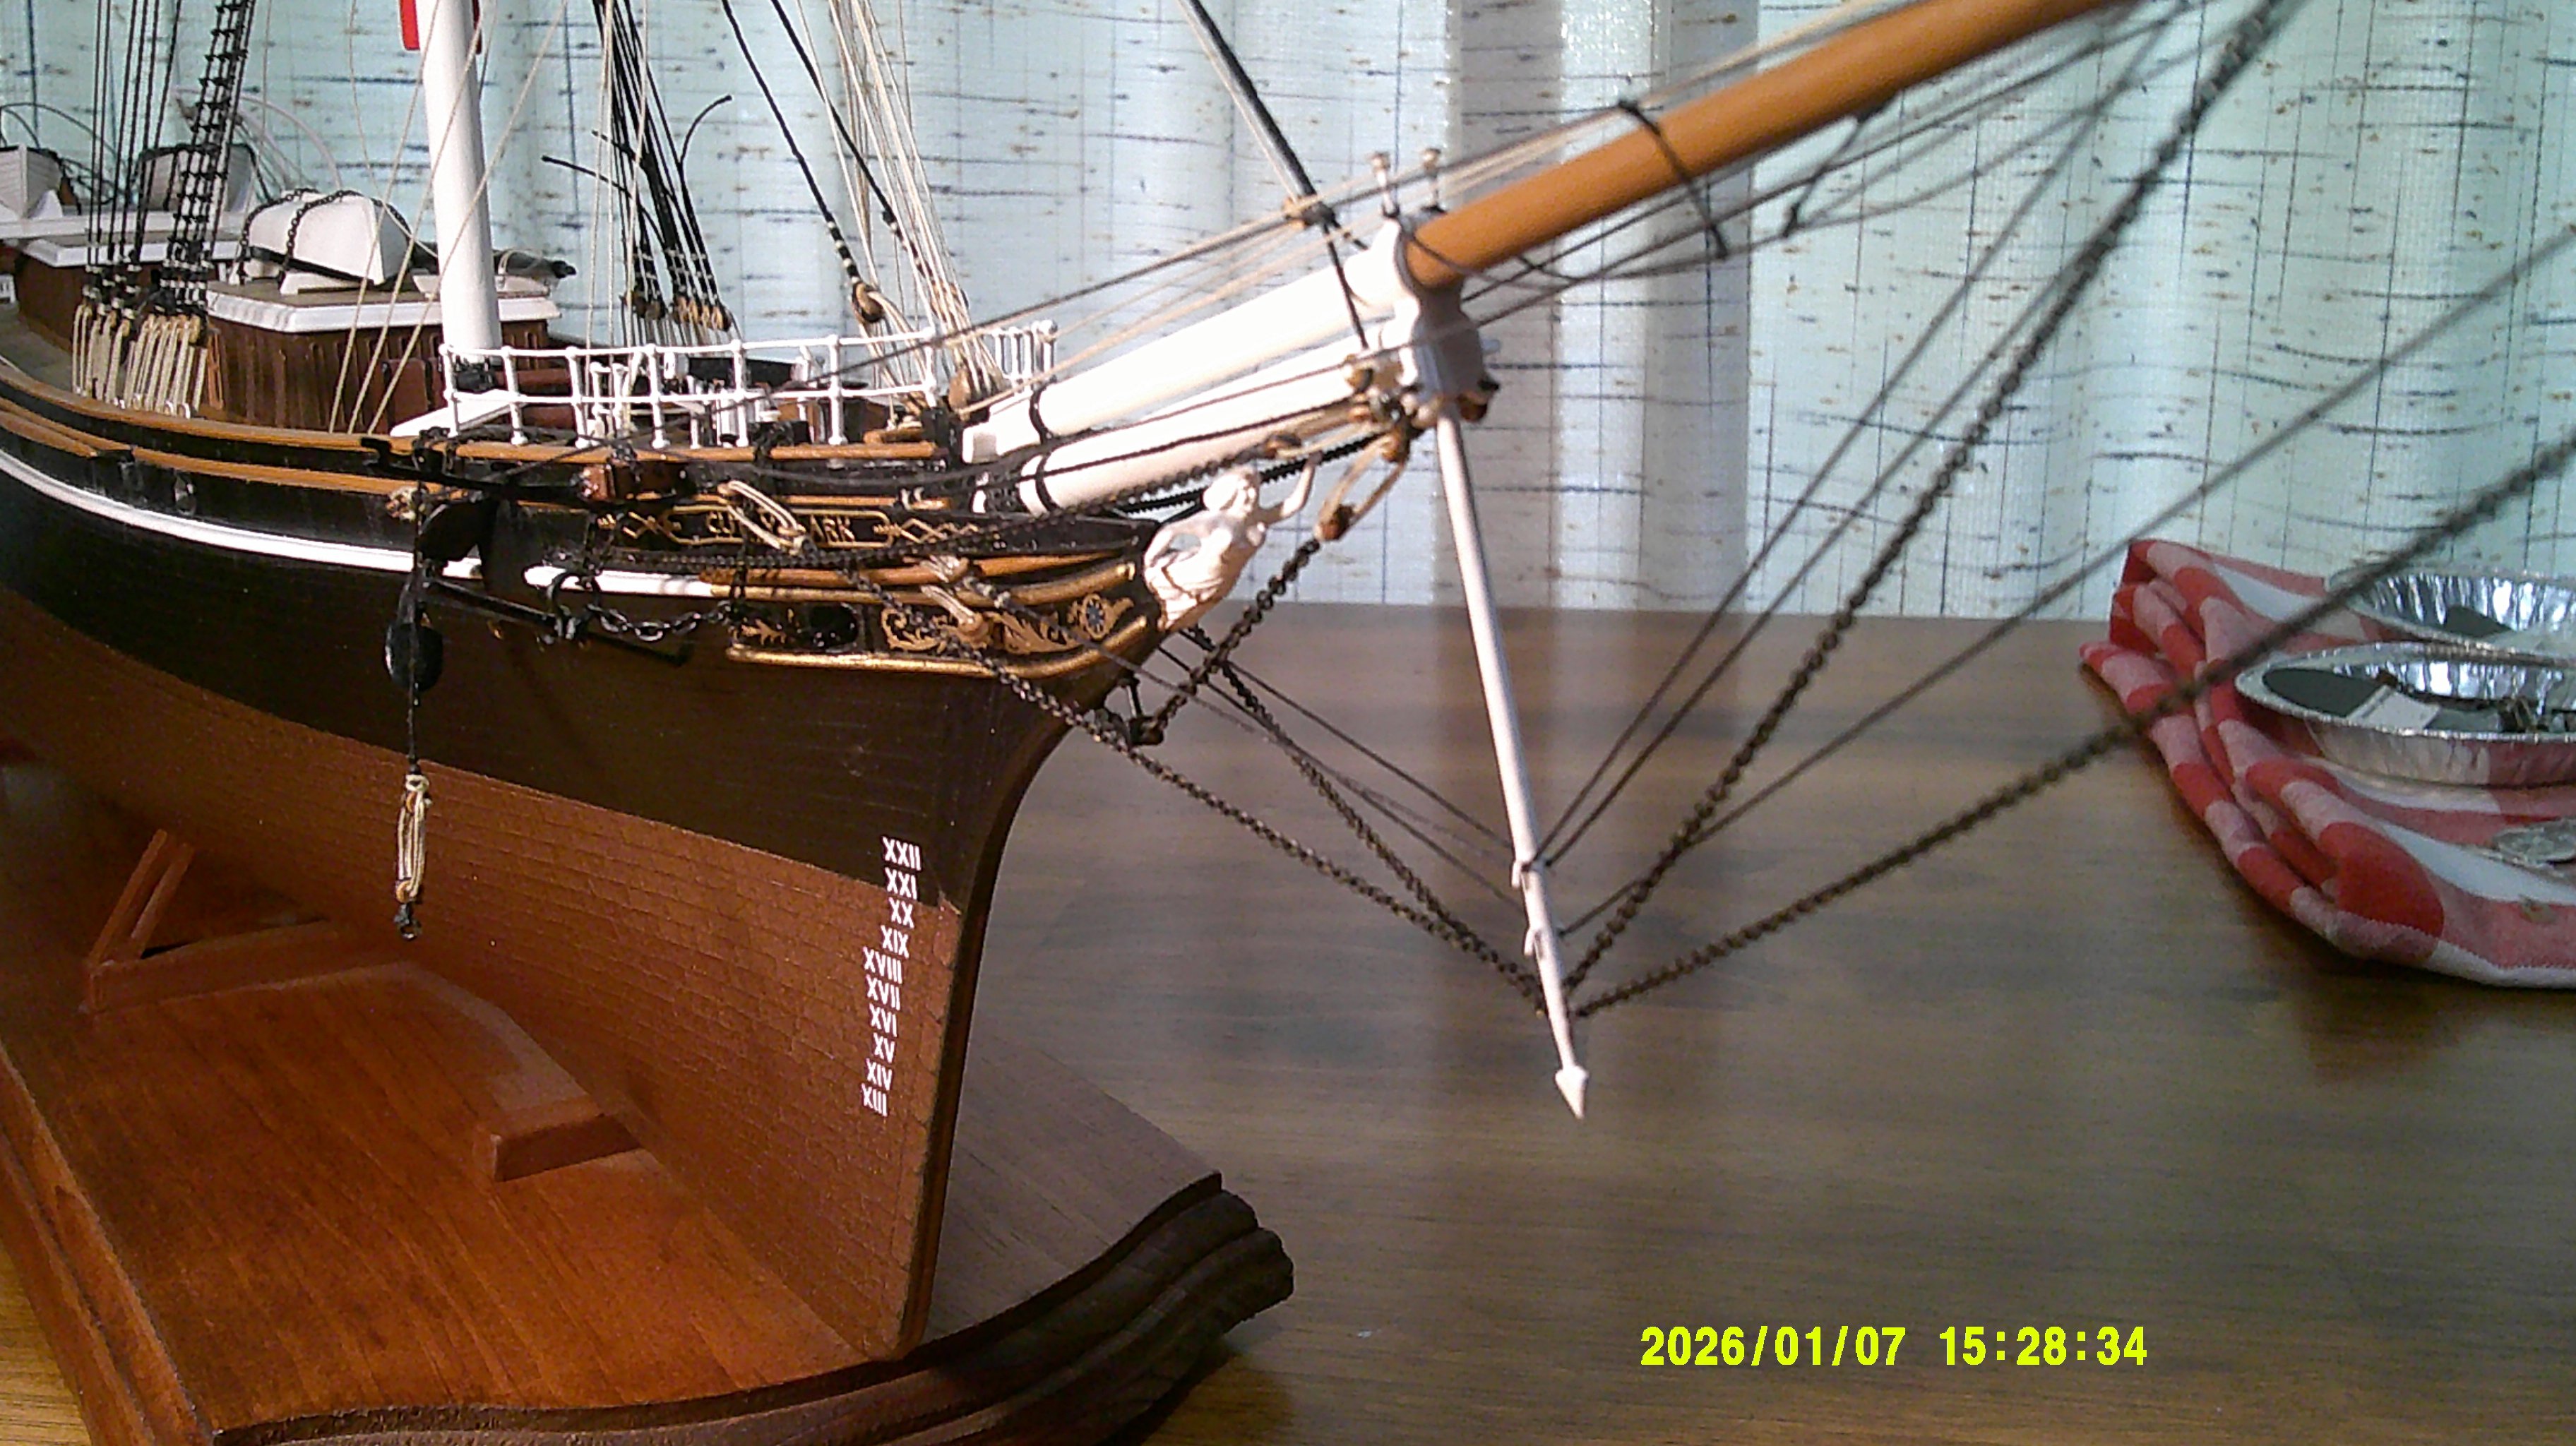
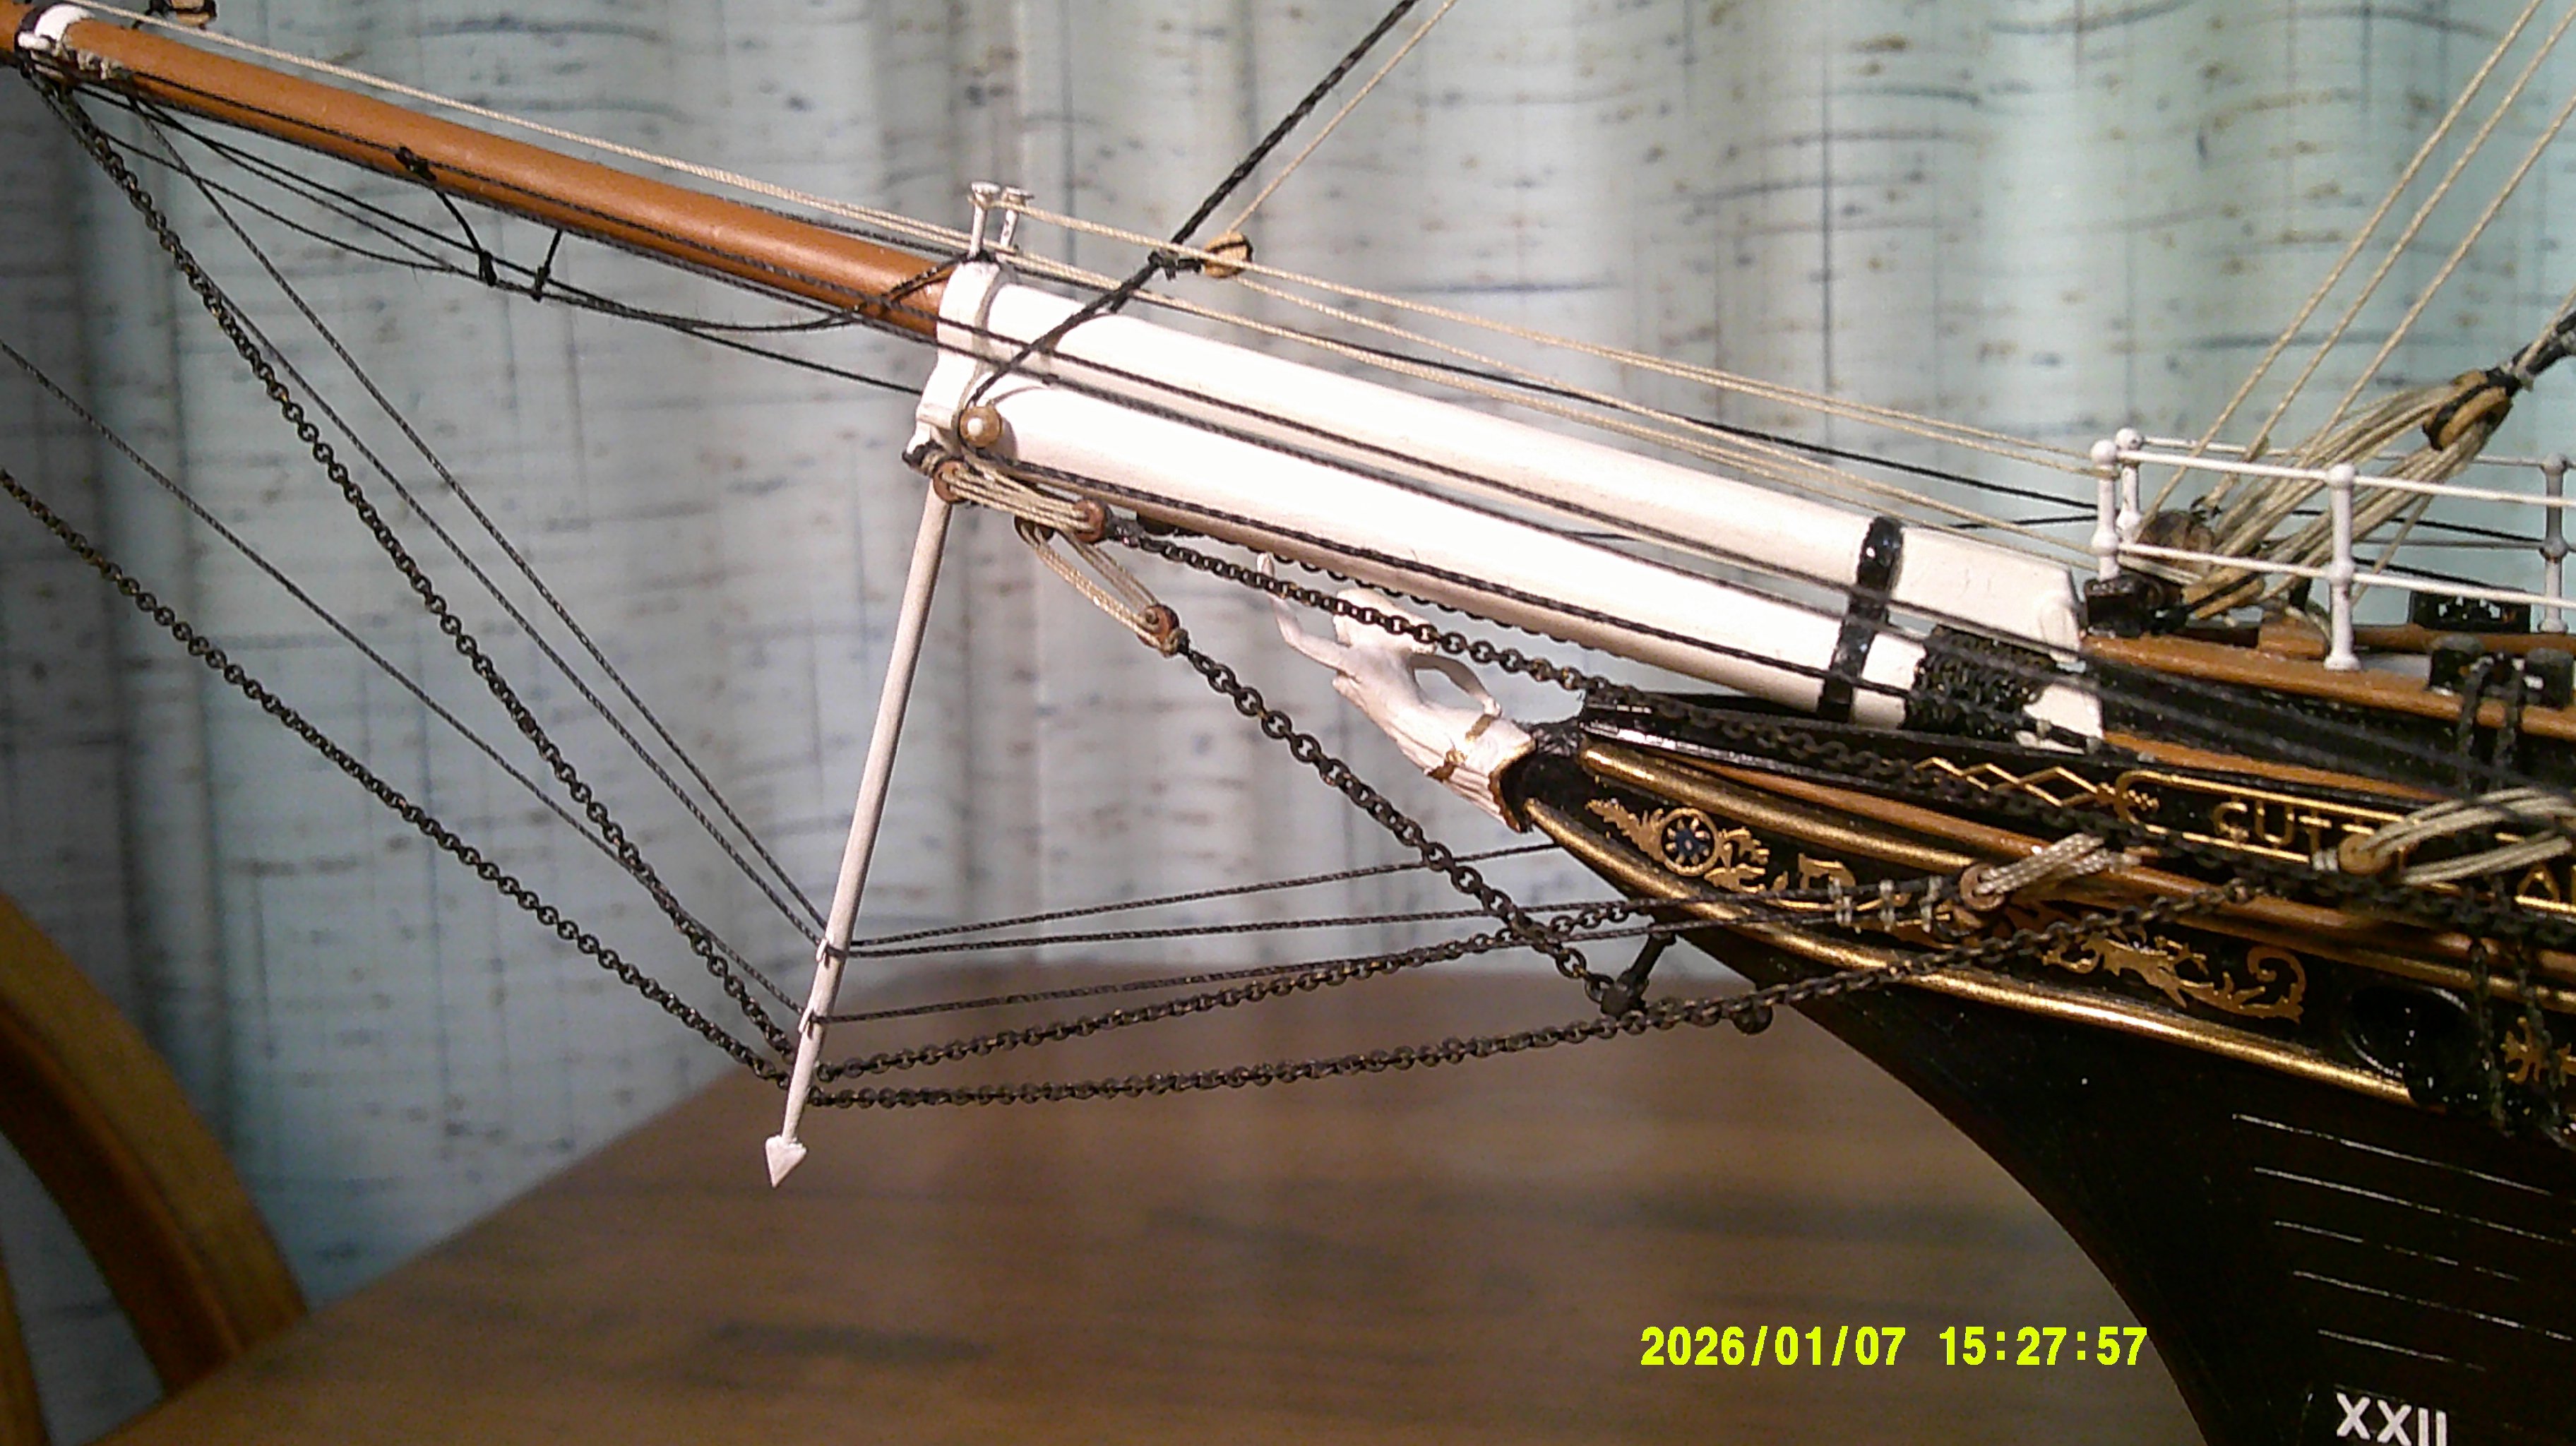
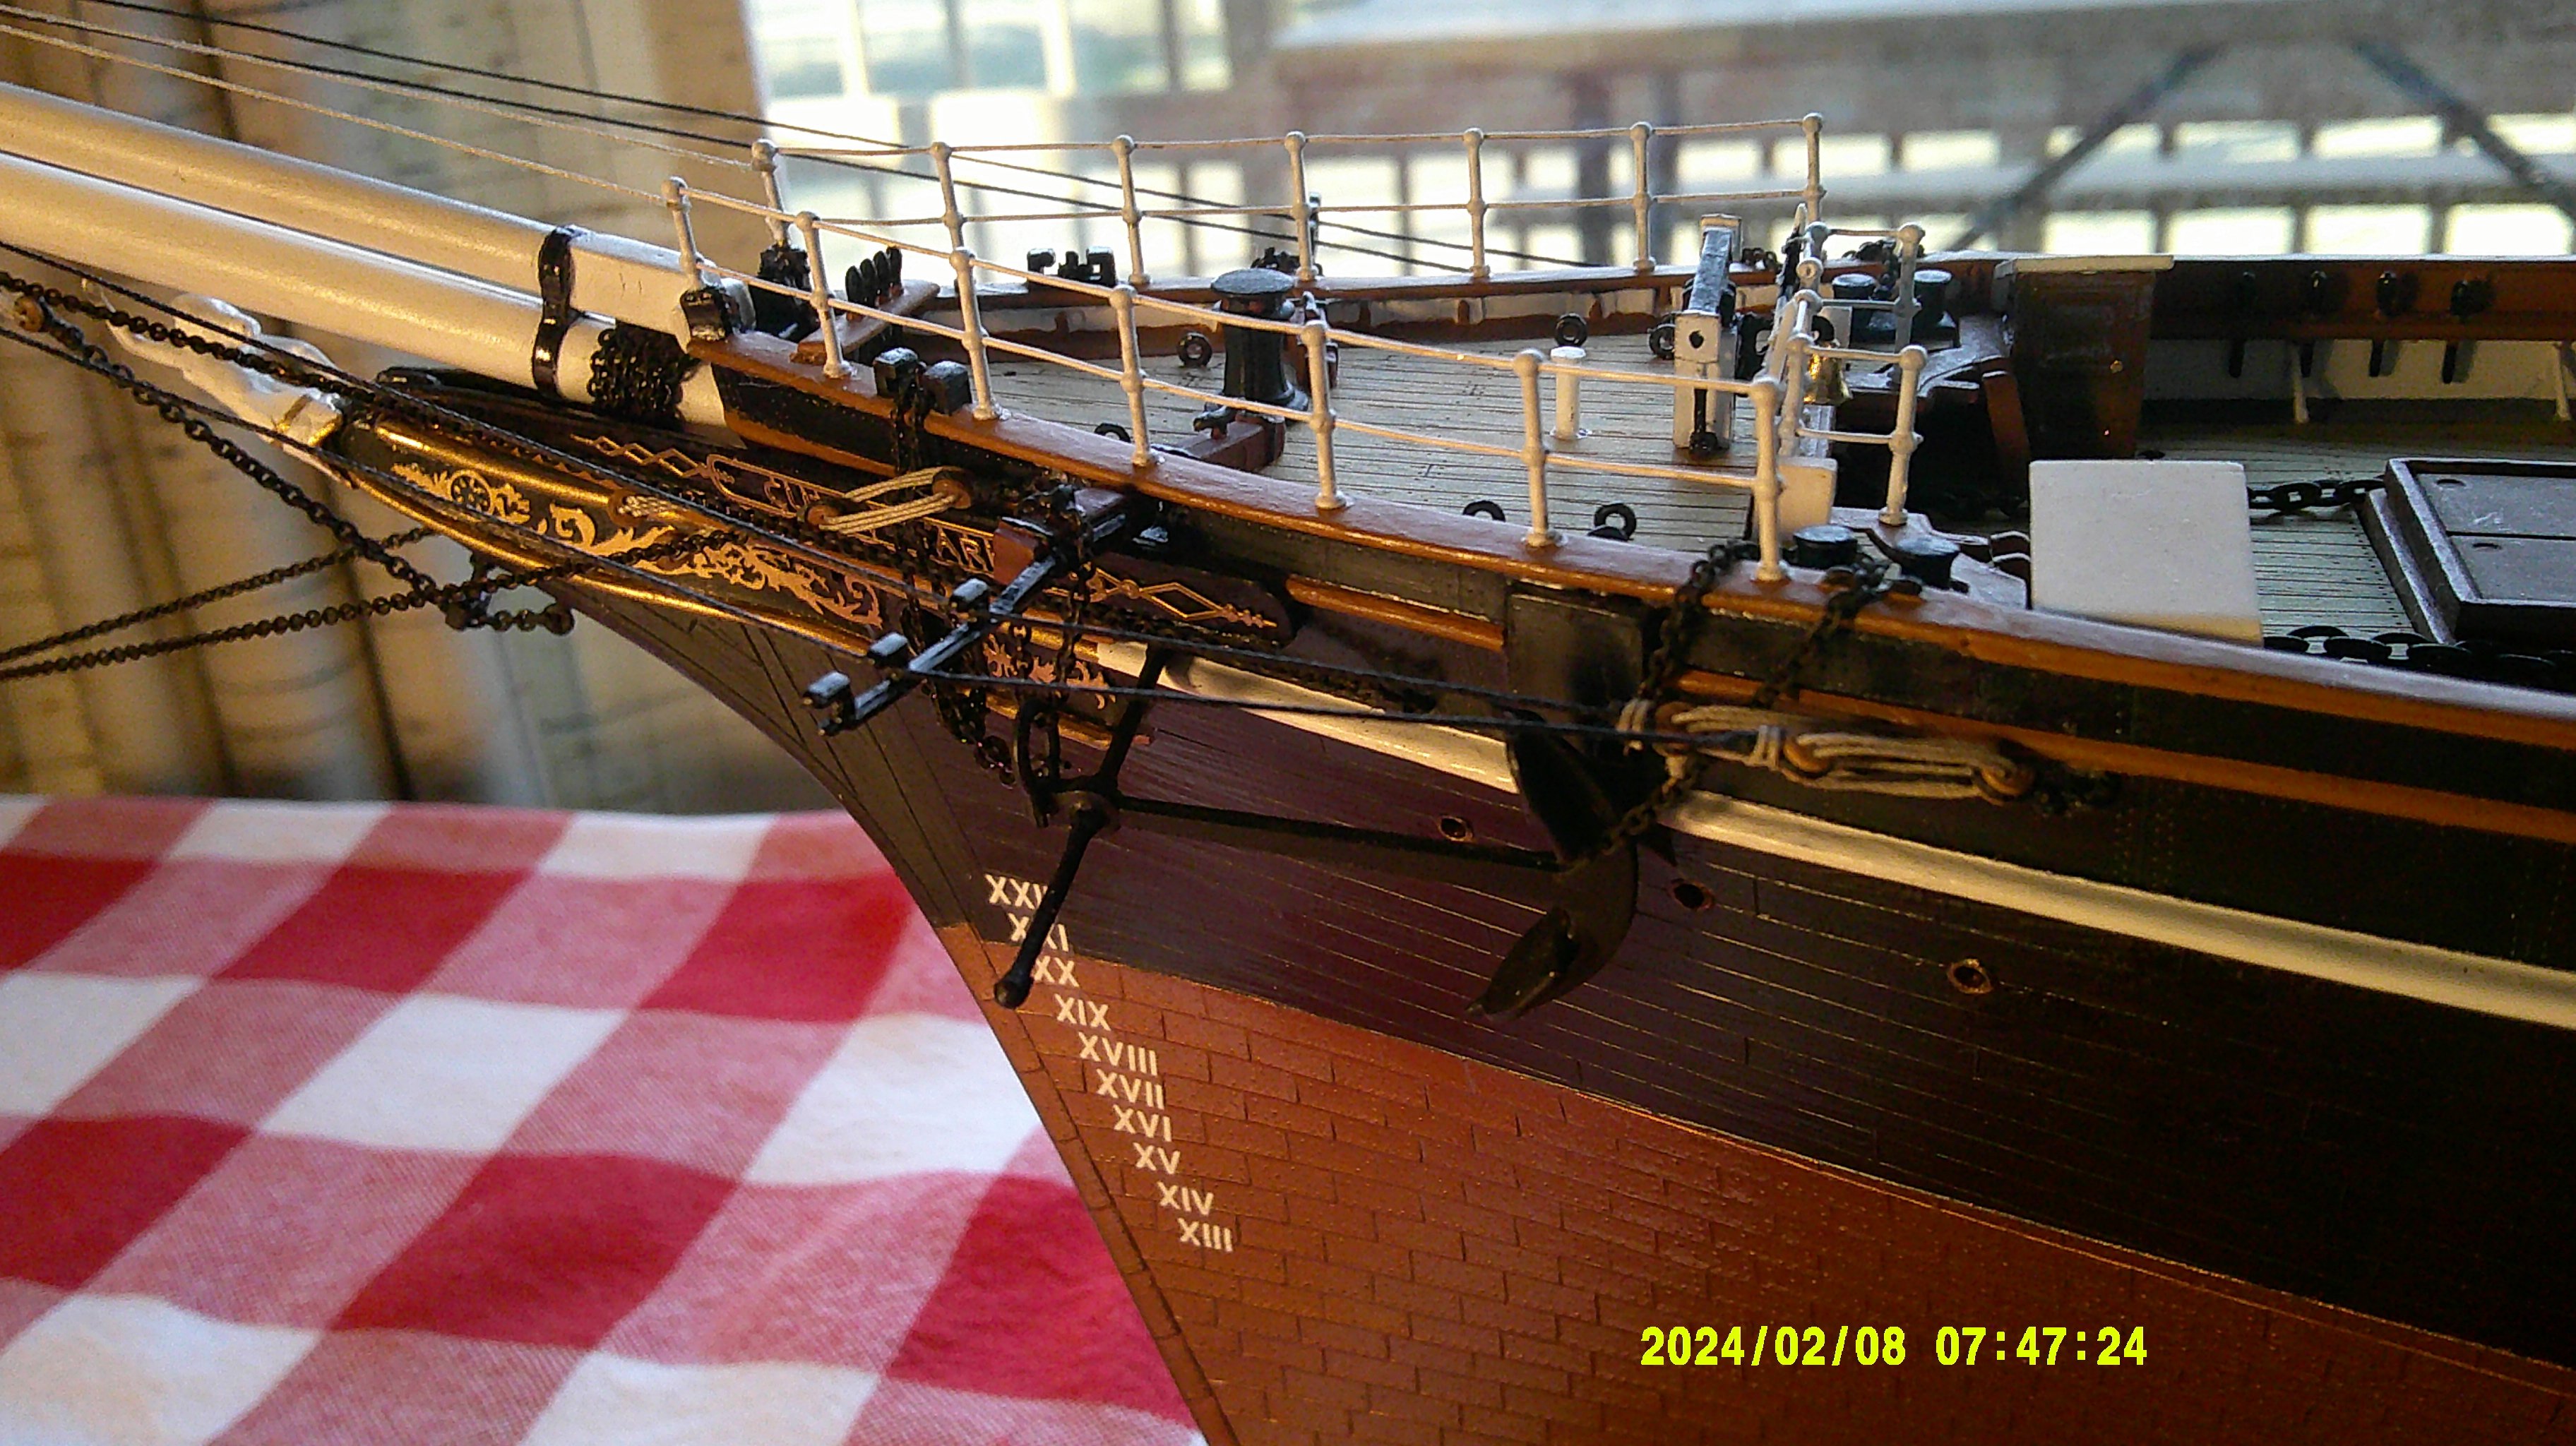
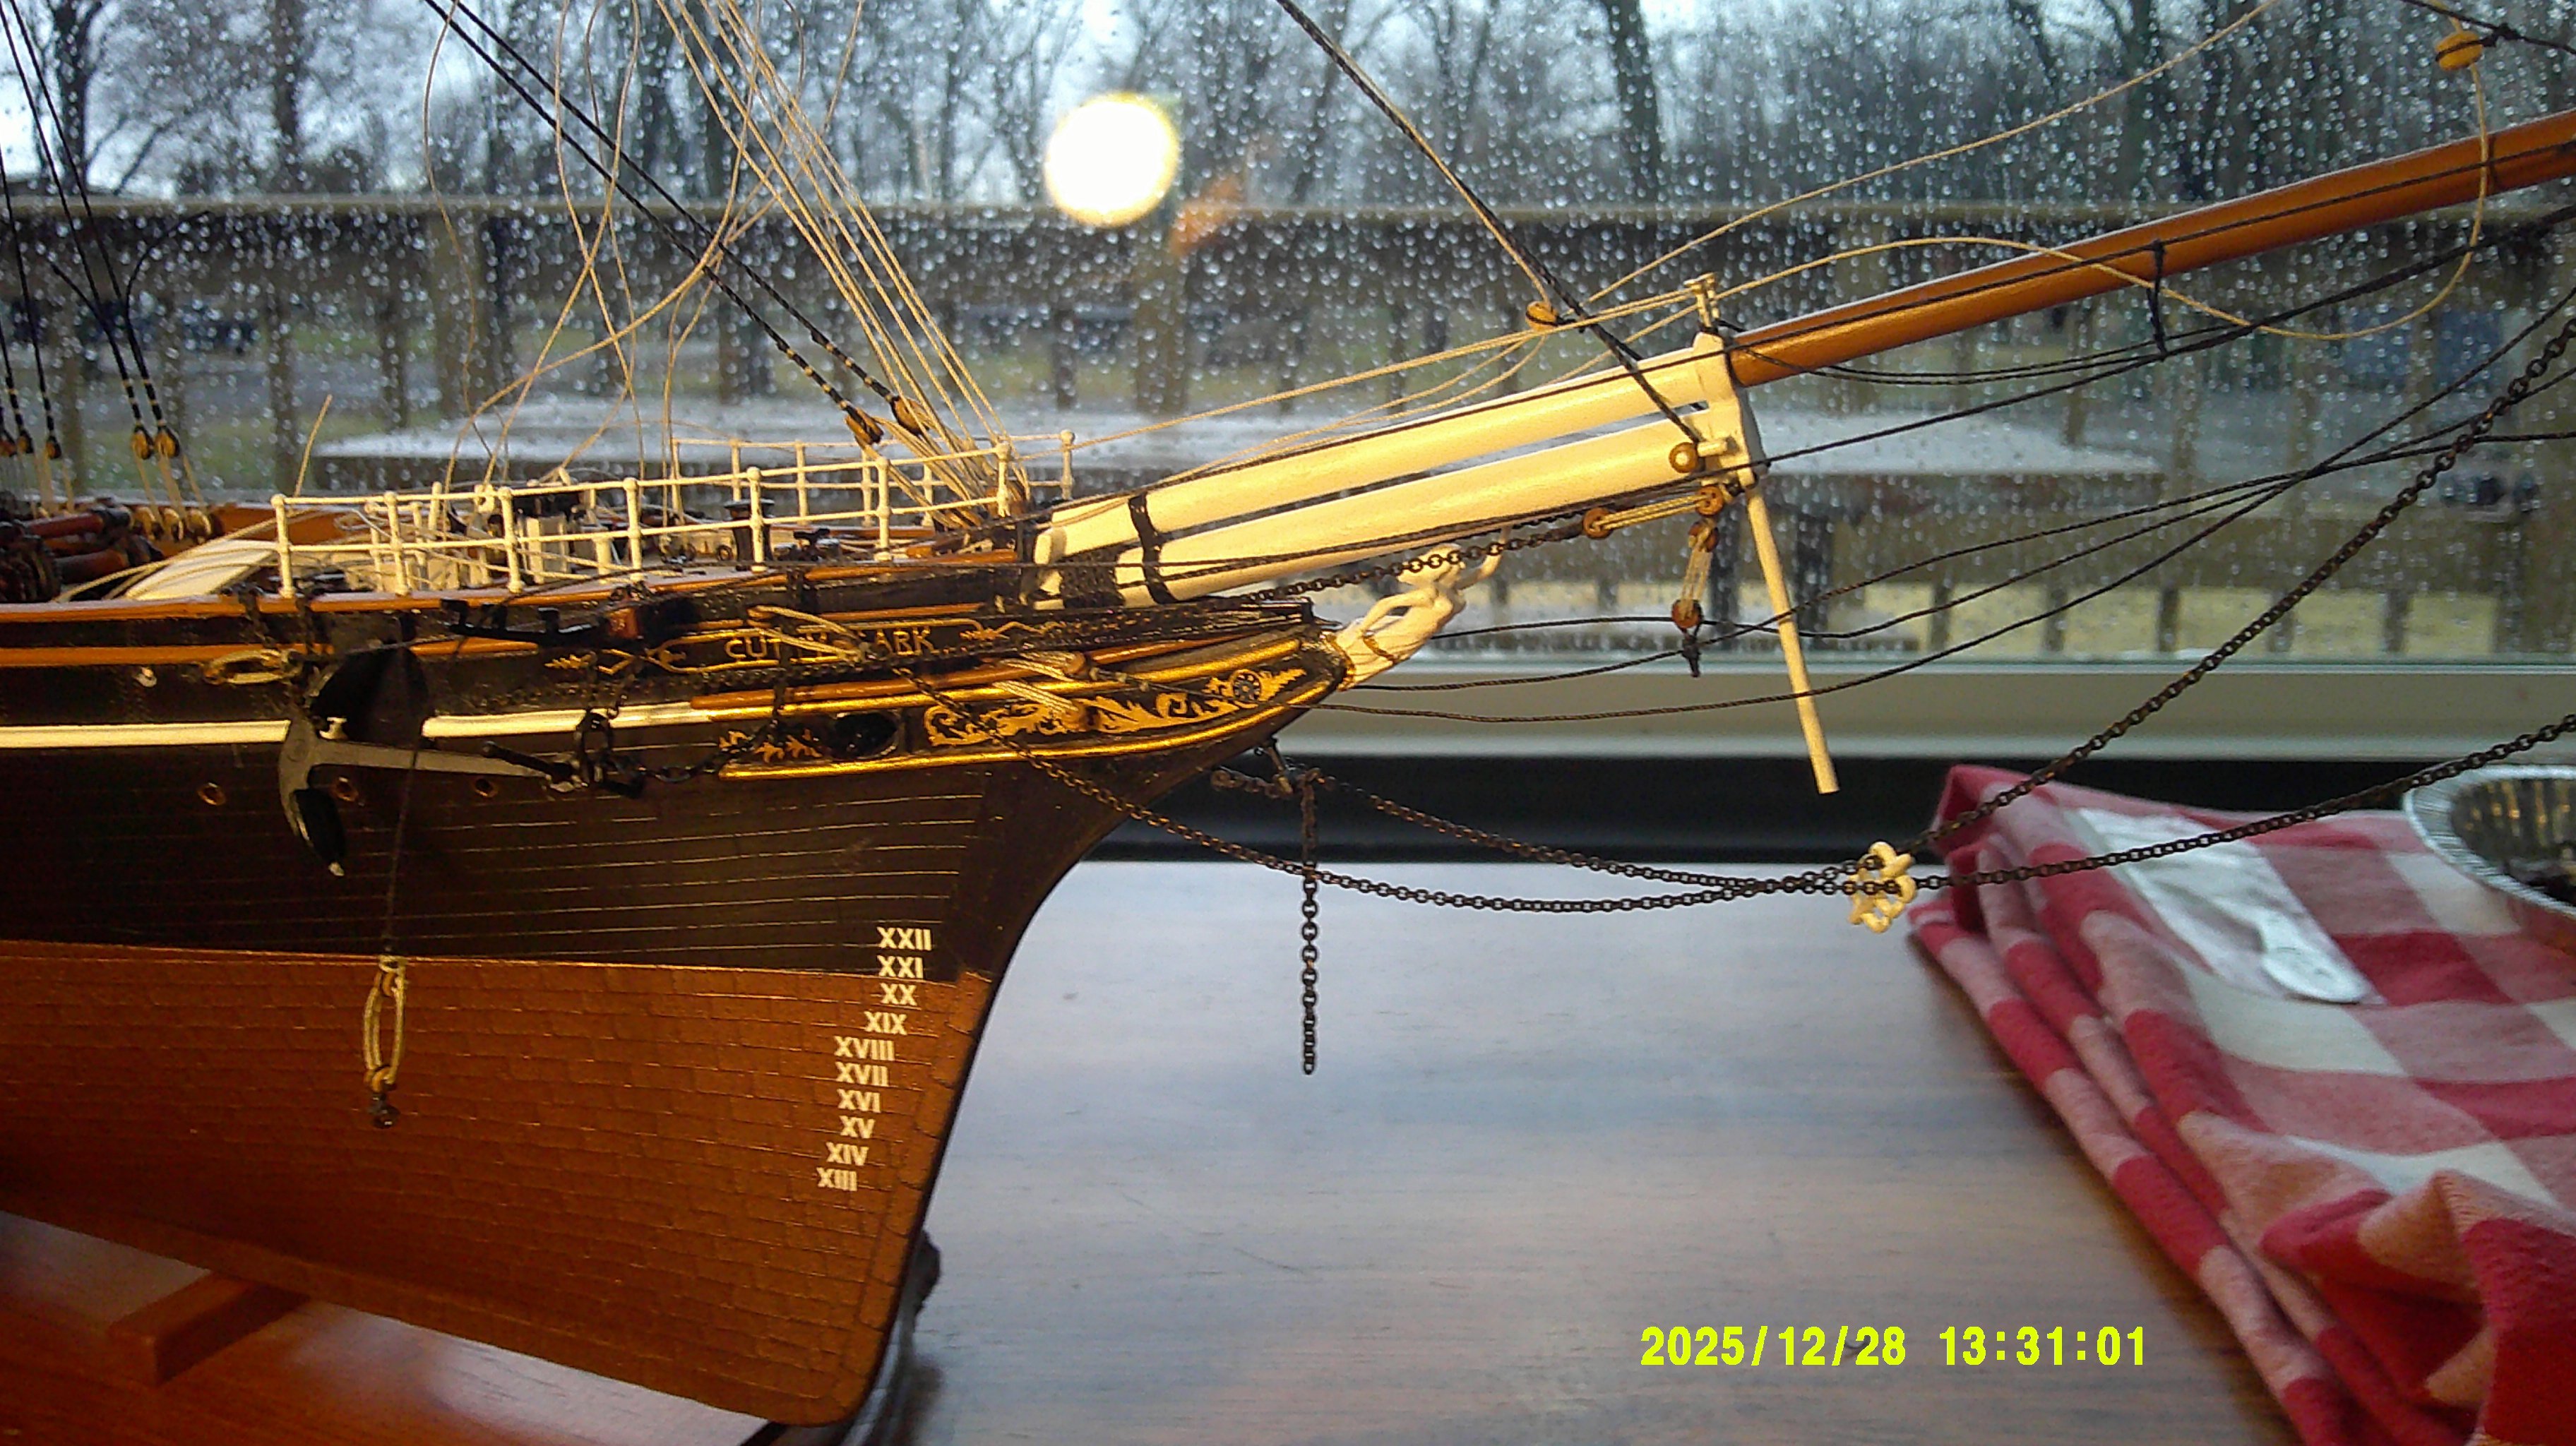
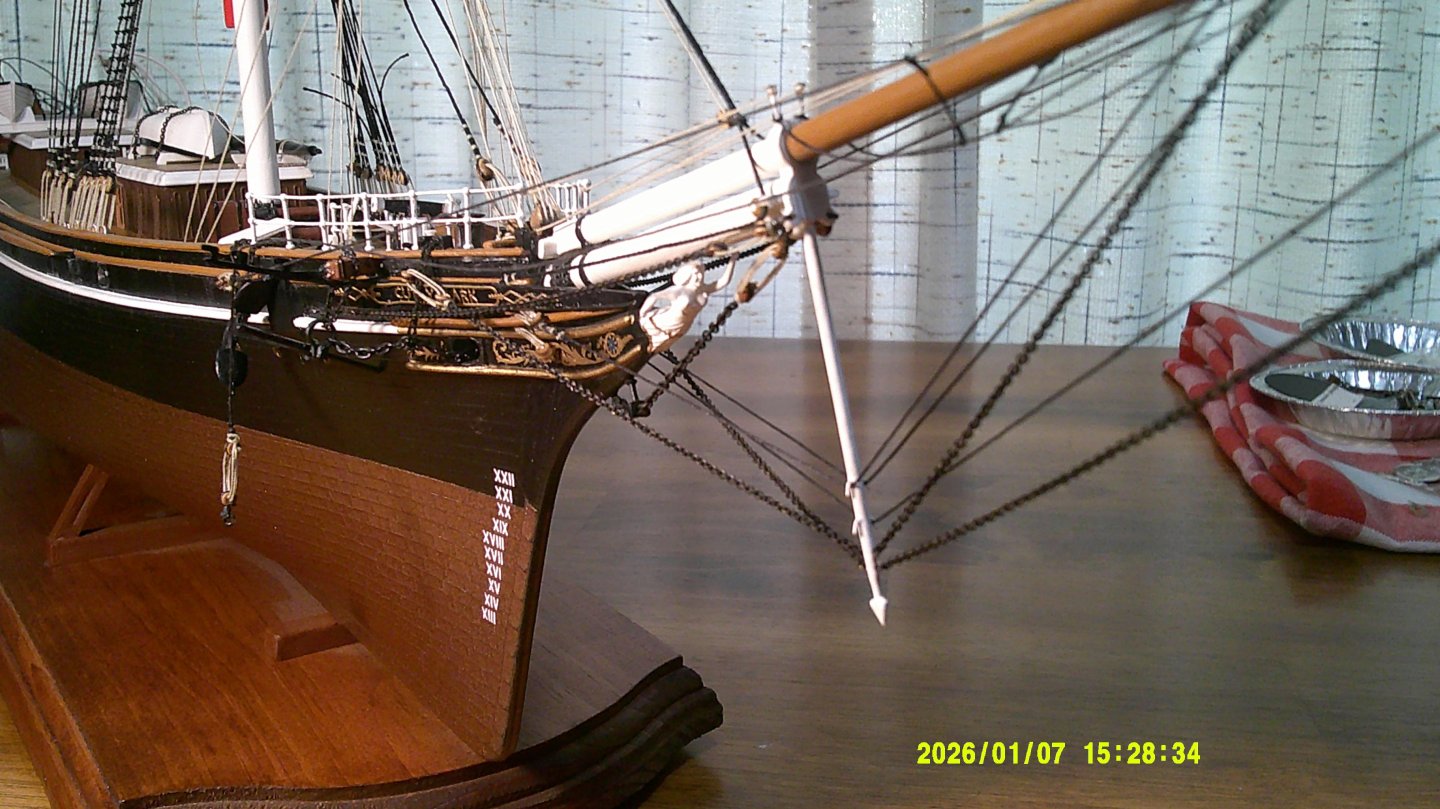
Thanks for the feedback mates. I have installed the repaired martingale and rerigged damaged rigging {most of it} and im happy with the results. I have yet to repair bent stbd. "whisker" as i am still thinking about it. Heres a couple of quick shots of my result. Paul Ron, I had reinforced inside of bowsprit, prior to install as suggested by several build logs. I cant think of anything further to make it stronger now, as it is in place. I guess i will have to slow down and avoid "kneejerk" moments. I NEVER wear long sleeves when modeling. The sleeves are a magnet for any possible thing to grab onto Thanks again.

-
I got a couple of suggestions for repairing my oops moment last week. Snug Harbor Johnny suggested an option made from brass, that he had done. Beautiful work, but out of my comfort zone, as I have done absolutely zero work with metal. I came up with a solution made from a wooden toothpick and a bit of wire and a few 1mm eyebolts. Here is the finished product. Originally the wire at the upper end was the toothpick itself, filed down to match hole in bowsprit I installed it after carefully ( I have handled explosives in the military with less care) drilling the hole under the bowsprit. Held nicely. Proceeded on model, until 3 or 4 days later, while moving the model, I heard(or felt) a mild "crunch". Broke it again. Right at point where the toothpick tapered to enter the sprit. After I recuperated, I drilled a wee hole in the end and installed a bit of steel strait pin. You think I should use a rigid wire, or a bendable brass one to attach to the sprit? If I thump it again perhaps it will bend rather than break. Also I wont use adhesive, as the tension of the forestays will hold it securely in place.(maybe a dab of white glue). Im afraid if I use the steel pin that the bowsprit could be damaged. Id appreciate any input. Thanks mateys

-
By the way, Snug Johnny, your scratch looking bowsprit is beautiful.
-
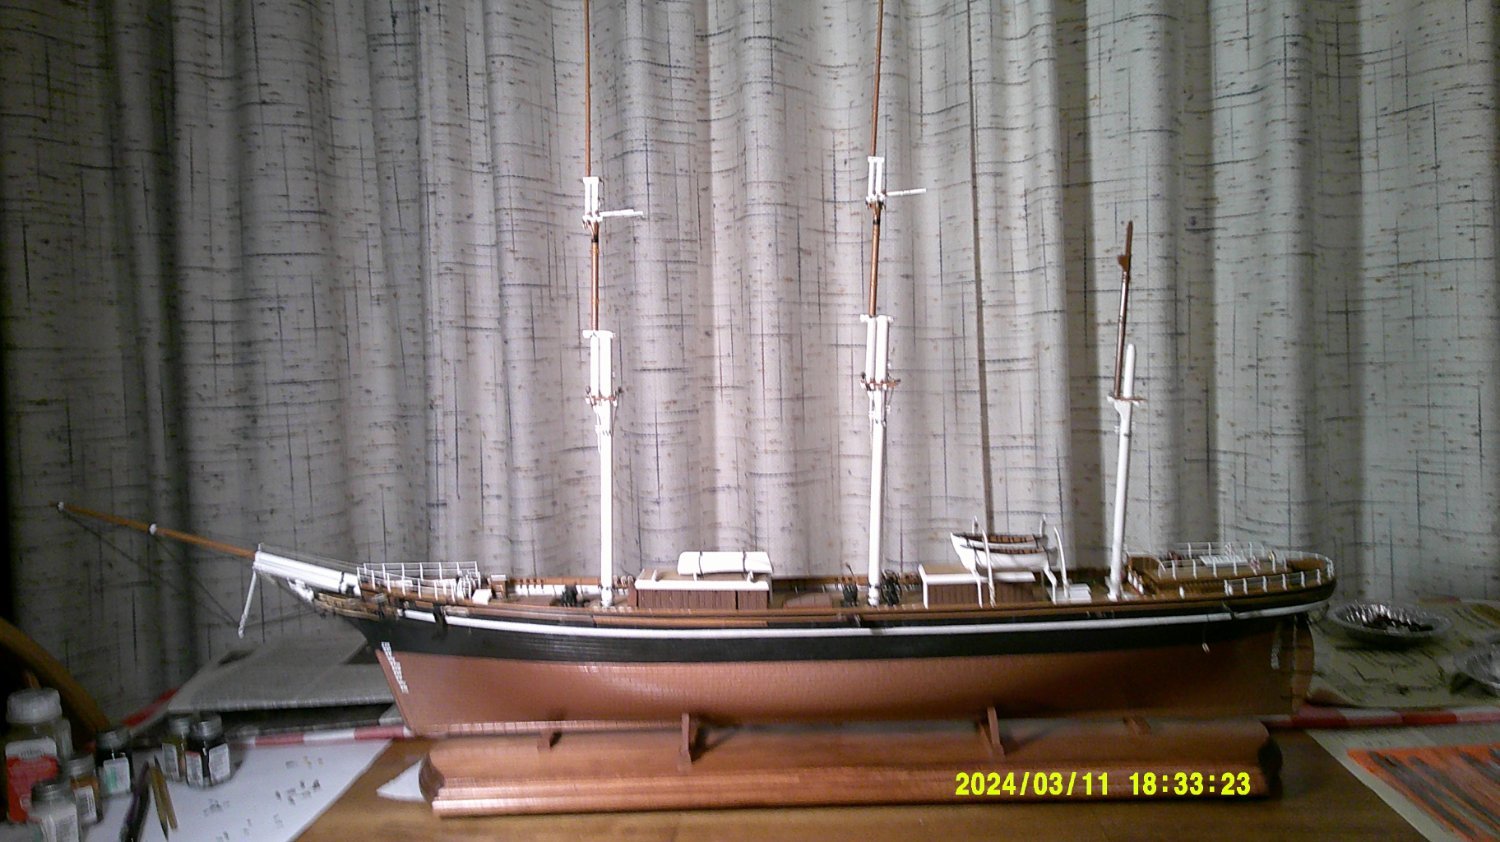
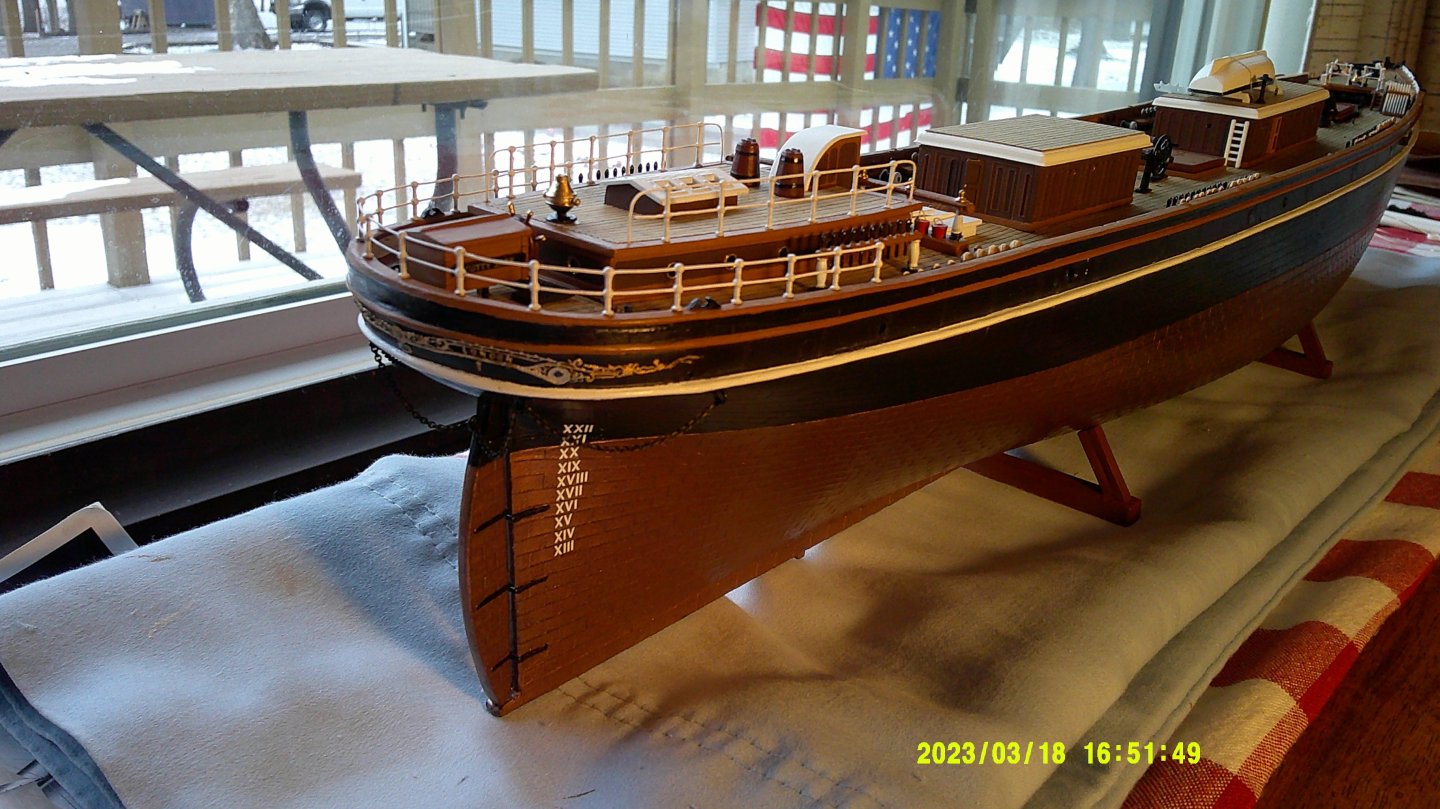
Thanks for the help guys. I have been working with sanding down a round wooden toothpick to the right diameter and drilling holes to accept 1mm eyebolts (from hismodel), and using fine steel wire to replicate the slots for the upper forestays on their journey to the head. Ive screrwed up 3 of them so far but, each is better than the one before. Am concerned about installation. Ill likely snip off the remnants of the dolphin striker and attempt to drill a hole for install. That will be my biggest worry as I may have to set the ship on its side to do so. I can do it at this point as only the foremast is stepped, and no yards. The hull is very firmly attached to a 24" base. But i see all kinds of dire consequences if I dont do my work well. I like your suggestion on a brass replacement Johnny, but that type of metal work is not practical for me at this time. I have already reinforced the bowsprit before assembly as you did, having done plenty of research beforehand. Lucky too, as it may have broke there, if I hadn't. Would have been more damage. I just ordered a bunch of stuff from Radimir, including 3mm hearts. I had originally rigged the bowsprit area using 2.5mm deadeyes, pre-whipped. It turned out wonderful, even if not historically correct (artistic license?). I have no problem with redoing bowsprit rigging. This is by far, my best work on a tall ship model. The cathead extension (whiskers) are another thing... broke the stbd. one off early on...repaired it with a touch of wire underneath and some ca glue. Worked ok, but I hit it again, not long after. It didnt break, but it bent to an unsatisfactory position, and loosened the rigging a bit. As I said, I can address that should I redo the bowsprit rigging, (I know I will). I attempted a couple of photos but I gotta get the book out on it. Photos forthcoming. Heres a couple of the earlier ones, before i mothballed her for a year

-
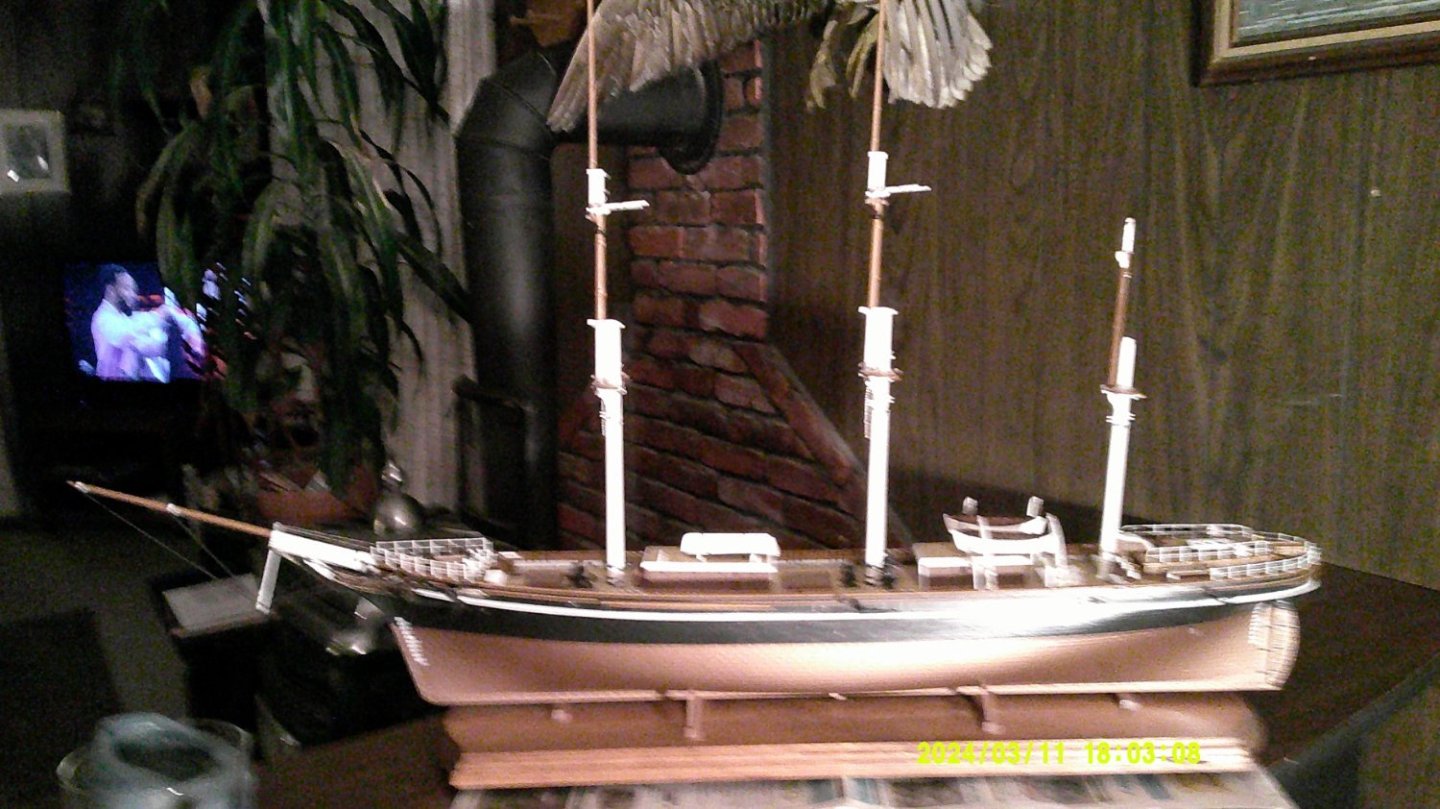
Well, after she sat all of last year, I got my Cutty out and continued work on her. Had subassembled and rigged the foremast and stepped it. Was proceeding with standing and running rigging with the intention of working fore to aft. I was pretty happy with my results until i installed the ratlines on the fore lower shrouds. I had made several errors ,each, not too bad yet accumulatively I was dissatisfied, so last evening I cut them away and started a do-over. It was going well when, checking to see if the new shrouds were in order, I looked too closely and hooked the bowsprit with my visor type magnifier/light. Oops, bummer, dagnabbit, and other comments that may not be appropriate. I broke off the dolphin striker?, and a few of the deadeye rigs securing the forestays. I had also broken off the starboard boomkin, which I was able to repair, but it had again been damaged. I been doing this long enough to know that if you're gonna make an omelet, you gotta break a few eggs. Pretty frustrating though. Looking at it, I know that when I did the bowsprit rigging I should have used hearts and lanyards as opposed to deadeyes. Looked cool though. I guess on the repair, I'll do it right. Am unsure how to repair the dolphin striker ( or whatever you call that object). Im looking at my round wooden toothpicks. Here's a kind of before and after photo, please forgive my photography, cant seem to do that right either. Will keep you advised if there is any interest. I look at this website every morning, part of my routine...happy holidays


-
The provided plastic sails can look just fine if carefully cut and installed
- 114 replies
-
- 2
-
-
- Cutty Sark
- plastic
- (and 4 more)
-
I would go for the older version as the plastic is likely of a higher quality, and hasnt been "nerfed" by Revell. Also the older shrouds made of black line are far superior to the molded plastic ones in todays kit. (In my humble opinion). Also Im sure that the rigging instructions are FAR more comprehensive than the ones in the '17 kit. These are barely useable. I am working on the 2017 Revell CS and I am using a lot of aftermarket parts , and so far she's lookinj pretty good. Good luck whatever you decide
-
Well mates, ill never see 60 again either but I find it to be an advantage. When i built models in my youth, I would go along for awhile and then run out of something :ie. paint, glue etc. Or need a tool that I could not improvise. Alas, i would have to wait for Friday to get my allowance. 5 bucks went a long way back then. Now if I want it, Im off to Hobby Lobby or on the web to Amazon or whoever has what i need. I also have muuuuuuch more patience which is (not too arguably) the most important ingredient to the hobby. Keep at it man, your CS is lookin good. My Cutty is kinda on the back burner now as its getting time to do my outdoor gardening and lawn work. Cant be having the neighbors complaining. keep those pics coming. ill post a few of mine when I take a few more.
- 114 replies
-
- 3
-
-
- Cutty Sark
- plastic
- (and 4 more)
-
Hello fellow modelers. I'm whittling away on my revell 1/96 Cutty Sark and have run into a problem. I have rigged the lower and topmast shrouds and am at a loss on how to install the upper deadeyes on them in a satisfactory way. I have made makeshift jigs from cardboard with some success but am not getting the uniformity I want. I saw a jig made from twisted wire and made one but it didnt work for me. I have come too far on a very (my very best) build to settle for low quality in this area. To me, a nice presentation of the shrouds, deadeyes and ratlines are very, very important to the overall quality of the build. Any photos of jigs or tips for this are greatly appreciated. The masts are not yet installed. Am doing the topmast and topgallant ones off-ship. Still having a time. Have cut them away twice now because they didnt meet my standard. Thanks again.
-
Nice looking job, David. My Cutty Sark kit came with 2 different sizes of chain, although I ended up not using either one. There are multitudes of markets for chain out there, easily learned about, just by reading these forums. Same with rigging line. Even going "stock" with this kit, as you intend to, it might be wise to download some more comprehensive rigging plans, as the ones provided by Revell are extremely vague at best. I downloaded the Campbell plans which are used by the majority of CS builders. If nothing else, with these you can figure out the grey areas in the Revell plans. You can find them hereabouts for free. I have found that I spend more time looking stuff up, than actual modeling. Check out other folkses build logs and many of your questions will be answered before you even ask them. These guys are here to help. Keep up the good work.
- 114 replies
-
- 2
-
-
- Cutty Sark
- plastic
- (and 4 more)
-
Thank you all for your helpful replies. I have decided to wax my rigging lines. I have a block of beeswax that I've used on several models...I don't know about my model lasting 100 years, but the wax can't hurt. Thanks again. Onward
-
Im using Amati rigging line from HIS model. Is that cotton, polyester, or what?
-
Im gettin ready to commence the standing rigging on my Cutty. I have waxed my rigging lines on all of my other builds. See here and there that many dont use wax. Which way is best??
-
Stepping masts on Revell Cutty Sark 1:96
Lost and Confused replied to Lost and Confused's topic in Masting, rigging and sails
mucho goosto matey. Thanks for the input -
Stepping masts on Revell Cutty Sark 1:96
Lost and Confused replied to Lost and Confused's topic in Masting, rigging and sails
You don't think the angle on the mizzen is excessive? -
Stepping masts on Revell Cutty Sark 1:96
Lost and Confused replied to Lost and Confused's topic in Masting, rigging and sails

-
Stepping masts on Revell Cutty Sark 1:96
Lost and Confused replied to Lost and Confused's topic in Masting, rigging and sails