-
Posts
35 -
Joined
-
Last visited
Content Type
Profiles
Forums
Gallery
Events
Everything posted by Dcox
-
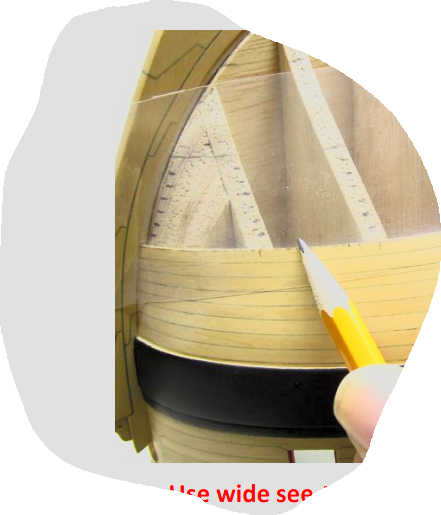
I understand how to mark off the bulkheads. it is the bow on the filler block that I am brain farting on. How does chuck get the marks on the filler block at the stem as in the attached photo? Where is the tic strip laid to measure the distance along the stem? I've watched many videos and read many articles but none actually show how to mark off the stem. Thanks In Advance Dave.
-

A little confused (probably a brain fart)
Dcox replied to Dcox's topic in How to use the MSW forum - **NO MODELING CONTENT**
Yea that makes sense now. I'm blaming it on getting older lol thanks -

3D-Presentation of the Victory
Dcox replied to Andreas's topic in CAD and 3D Modelling/Drafting Plans with Software
I enjoy watching his videos, quite the talented 3D modeler and YT creator, very dedicated to his craft and he does do a ton of research while he is making the model as shown in one of his (how I do it) videos. -
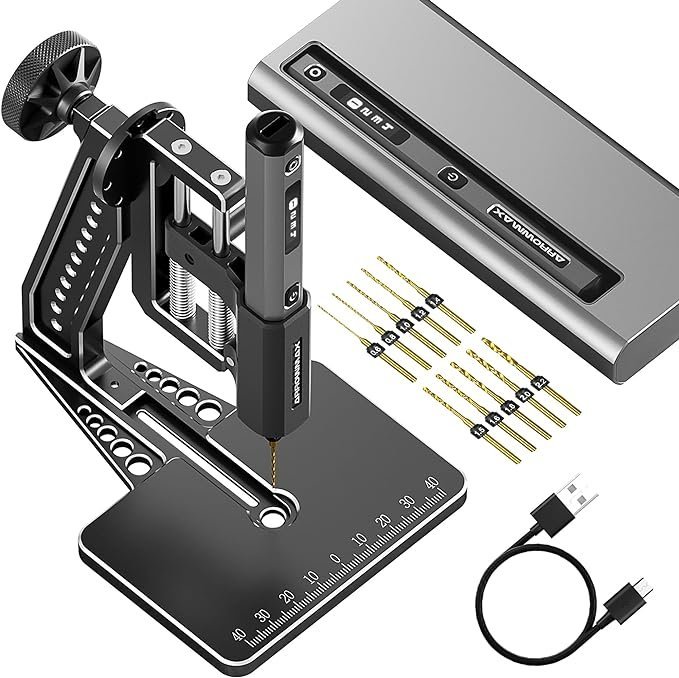
The thing with micro drills is the runout (wobble). How accurate is the chuck (how much play)?
-

Tiny "precision" drill press
Dcox replied to Ron Burns's topic in Modeling tools and Workshop Equipment
-
For smaller parts I just cut two long guides the thickness I need, use double sided tape to stick them down in parallel with my part in the middle and use a wood block to sand the part down. make sure the sandpaper is cut smaller than the guides are wide. I will say it is fun to make tools though and a small drum sander would be pretty cool to have, especially for longer strips of wood.
-
I've learned to cut things a little long and sand down to final length when using a chopper, especially when they are on the thicker side. That said, yea 4mm wood is a little thick at least for my DIY chopper.
-

Storage “box” for attachments and drill bits
Dcox replied to kgstakes's topic in Modeling tools and Workshop Equipment
Very nice! Some Johnston's paste wax where the drawer slides will surprise you. -

Bending tip for soldering iron
Dcox replied to Dcox's topic in Modeling tools and Workshop Equipment
I ended up just buying a plank bender kit, iron, tip and bending jig. It works well and wasn't very expensive. -
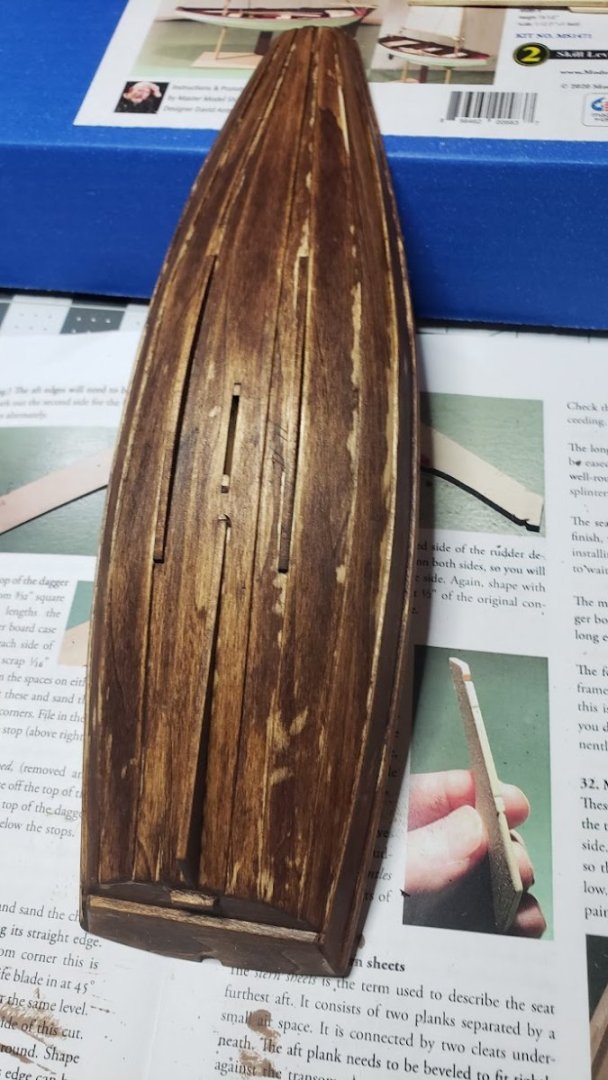
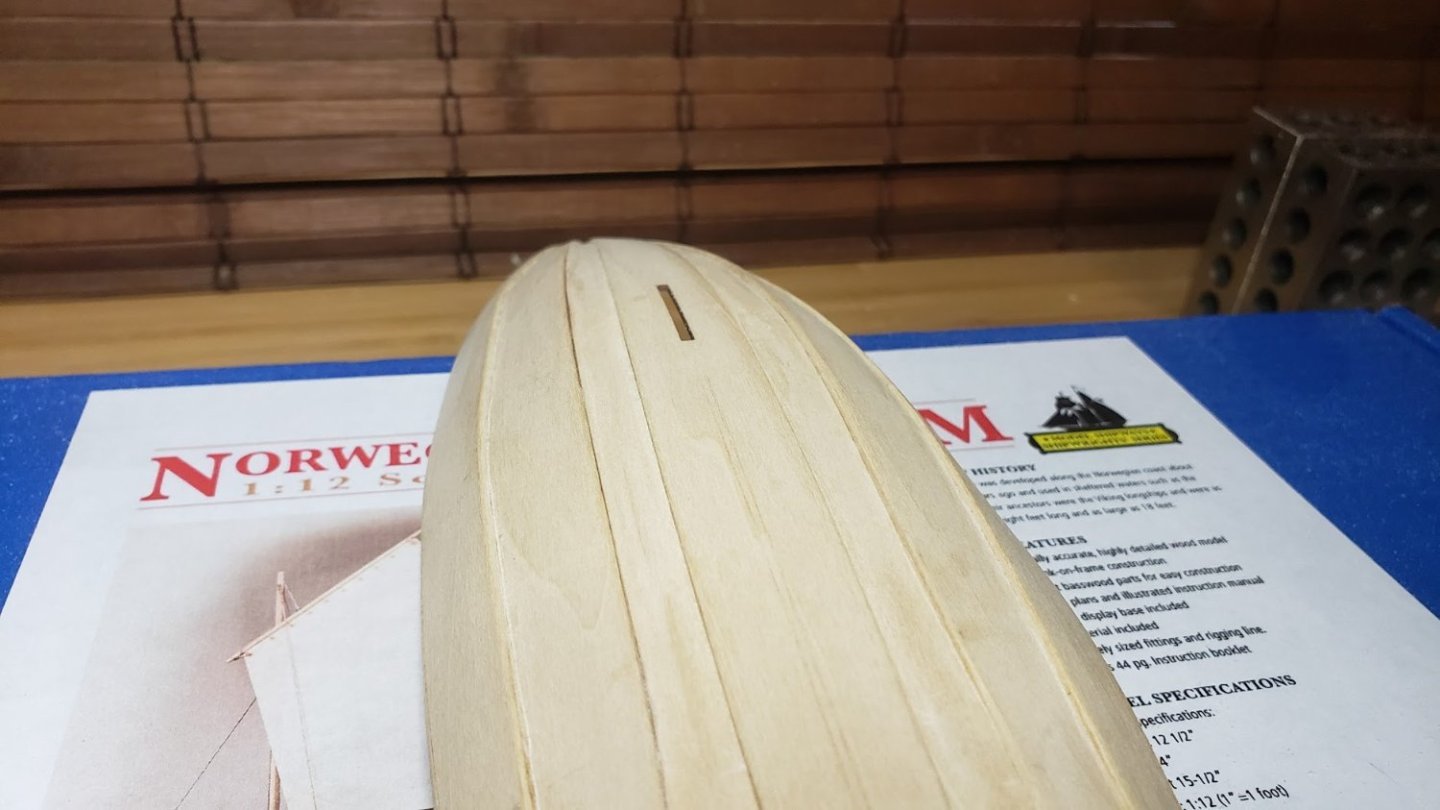
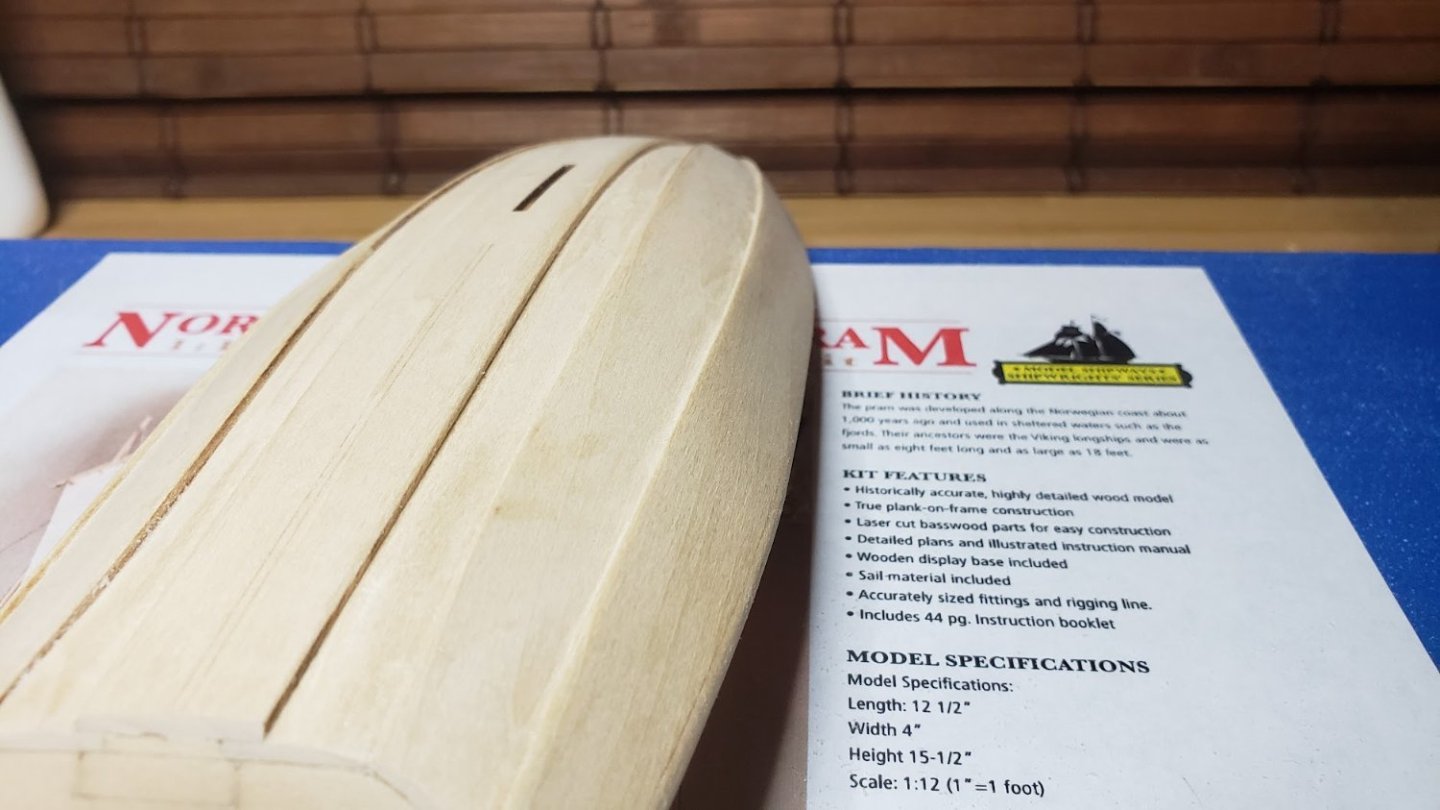
Even though I am going to be painting the hull I thought I'd take the time to check on a couple of things. 1st was to see how the basswood took a stain and check on grain scale which I knew wasn't going to work and 2nd was to see how bad my glue up was. I'm fairly competent when glueing up full size furniture and other items but I need a whole lot of practice at this scale.
-
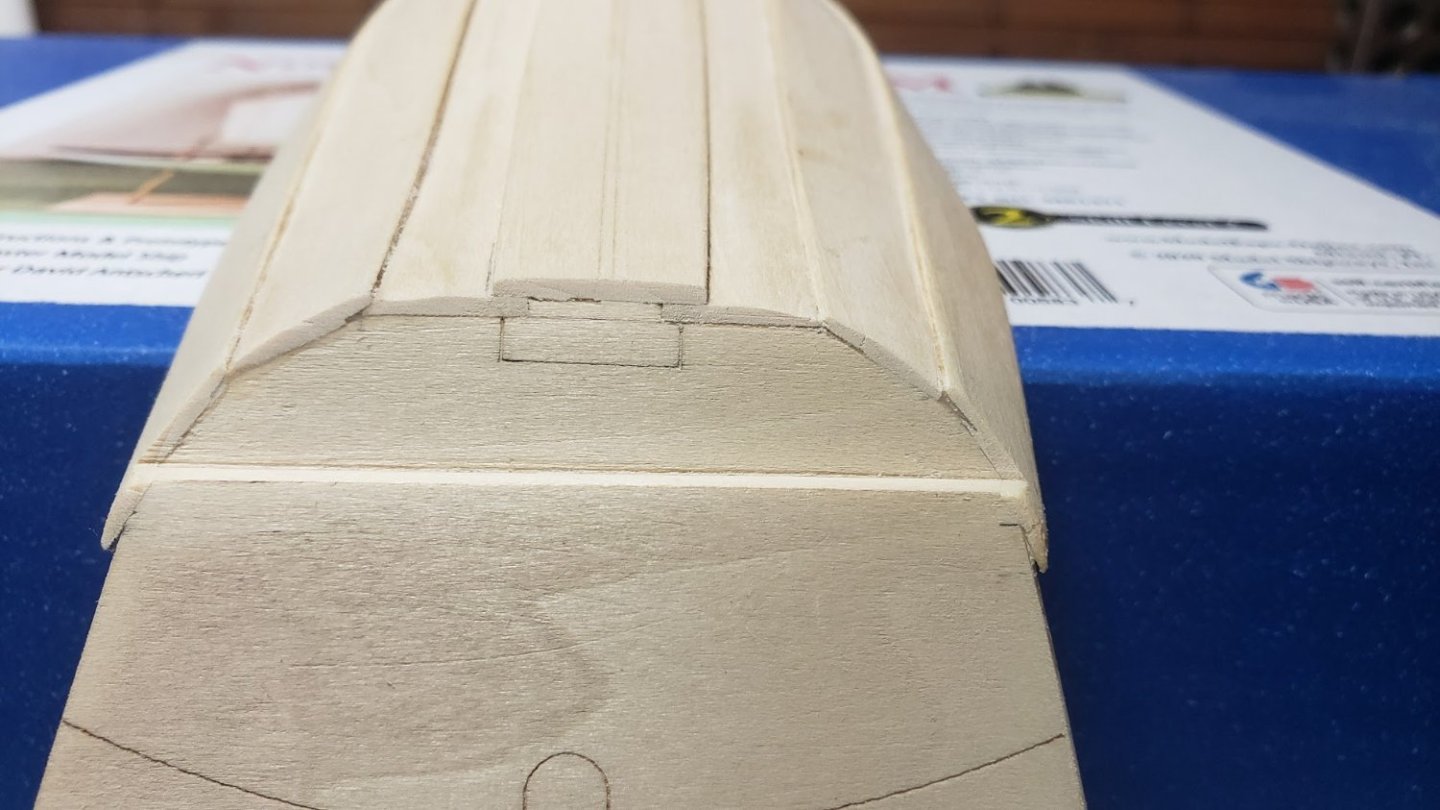
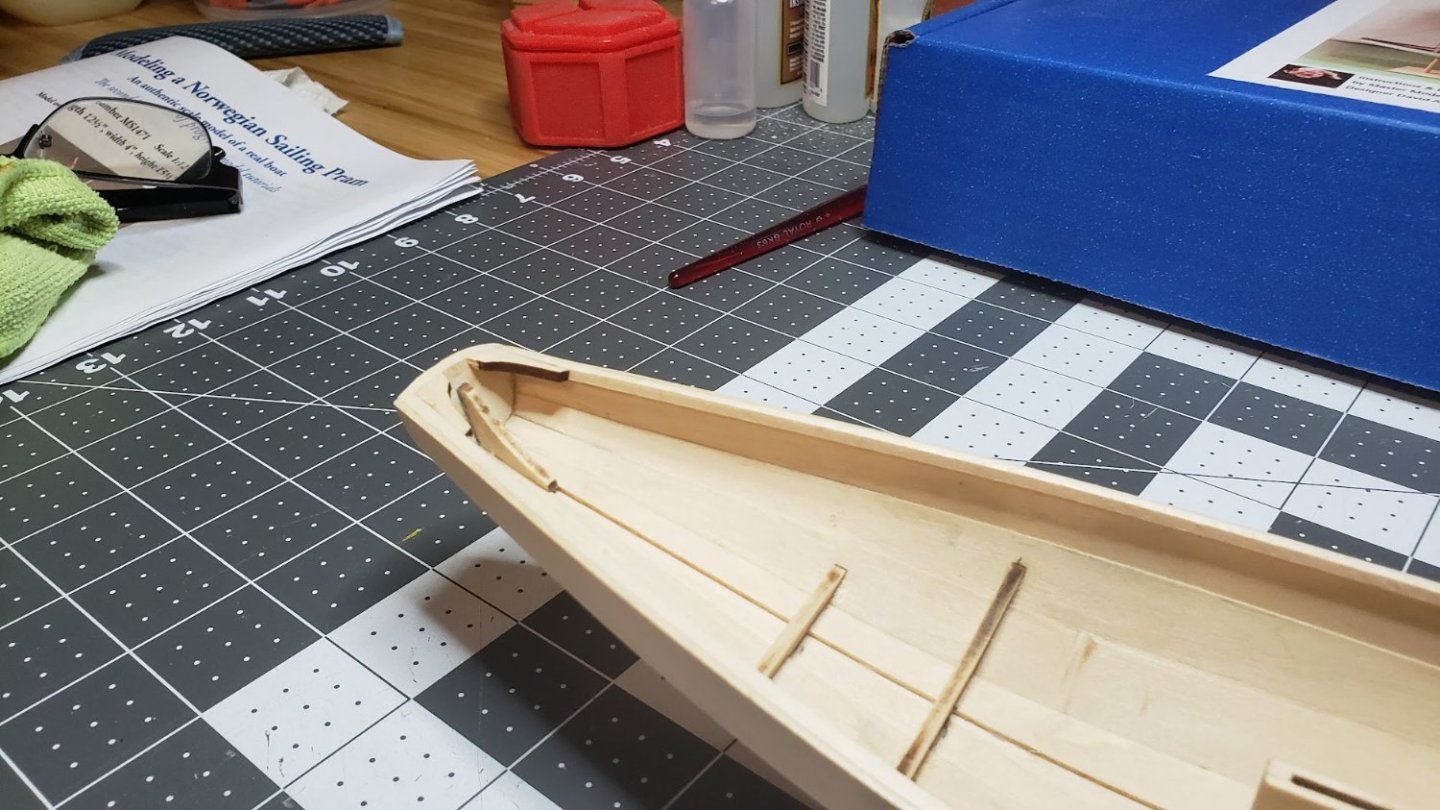
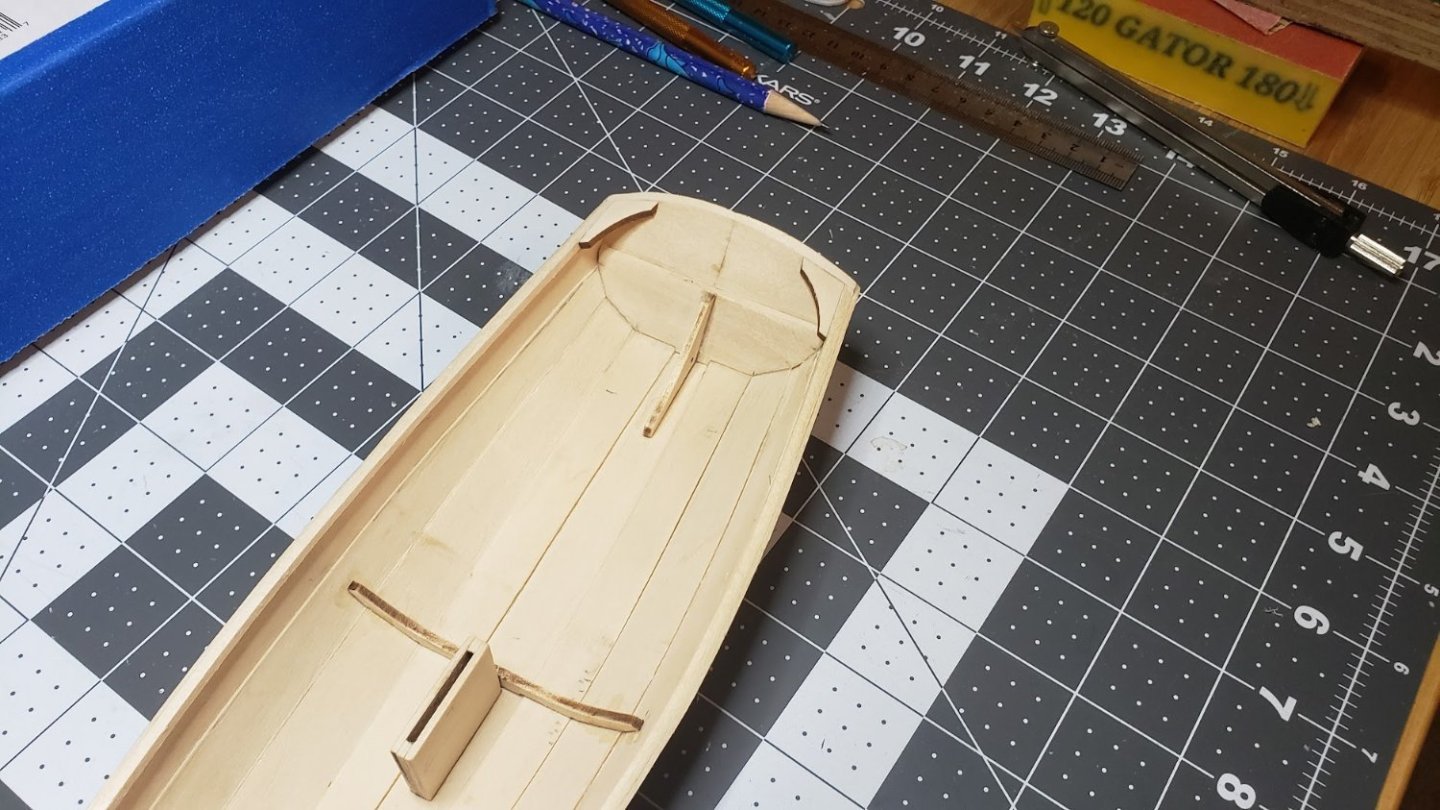
Moved along a little ways and made some changes that deviated me away from the plans. But for me I think they are much more pleasing to the eye. First one and the biggest change was how the second plank had to be notched at the stern transom step. So here I did some major changes so the sheer plank would run even with the transom step. I had to reshape the second plank for the change. Next, I didn't like the way either the bow or stern transom was above the inwales (top of sheer plank), There may be a real reason this is the case but I am taking artistic liberty on this and made the following changes. and Once I get the hull finished, I will be painting it after some filler, few coats of sanding sealer then primer to give a smooth finish. I'm sure I'll need to adjust the rudder length for my changes but that is no big deal.
-
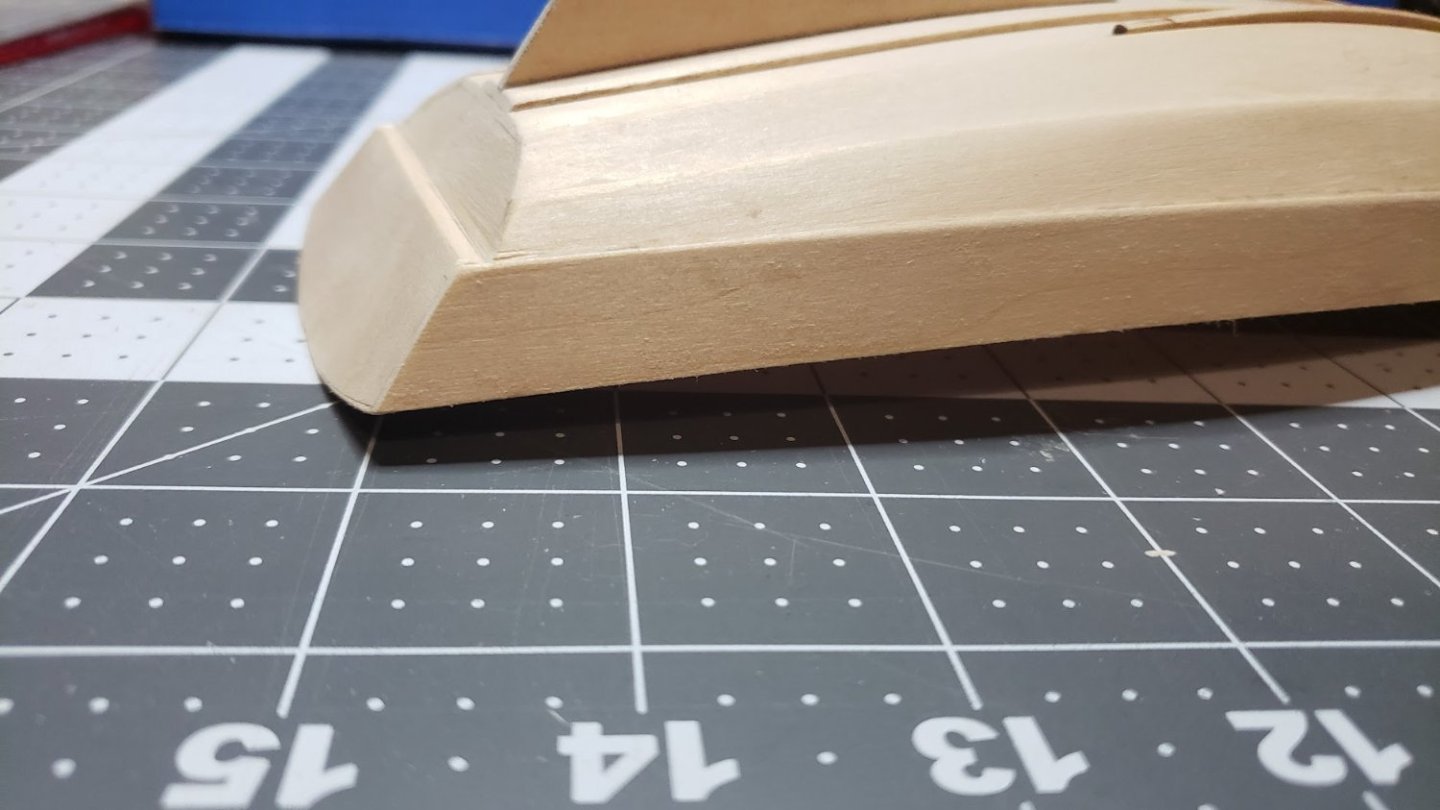
Any tips on smoothing out the hard angles along the garboard and second plank along the port side? Starboard side faired well and has a pleasing curve from stem to stern. These were caused from the planking jig and I didn't notice until I took the hull off and started to sand. I did prebend all the planks and they fit without force prior to glueing so I really don't know why this happened.
-
Thanks, it works great to hold a consistent 90 degree cut.
-
I know the blade well, cut my index finger down to the bone with it when I was a carpet installer. The gal I was looking at in a bikini poolside turned when I cussed, came over and took me to her apartment to fix me up. She asked how it happened and I told her I was checking her out. she smiled and well let's just say I left her apartment with more than a band aide,
-
Yes, single edge blades slide right in the slot.
-
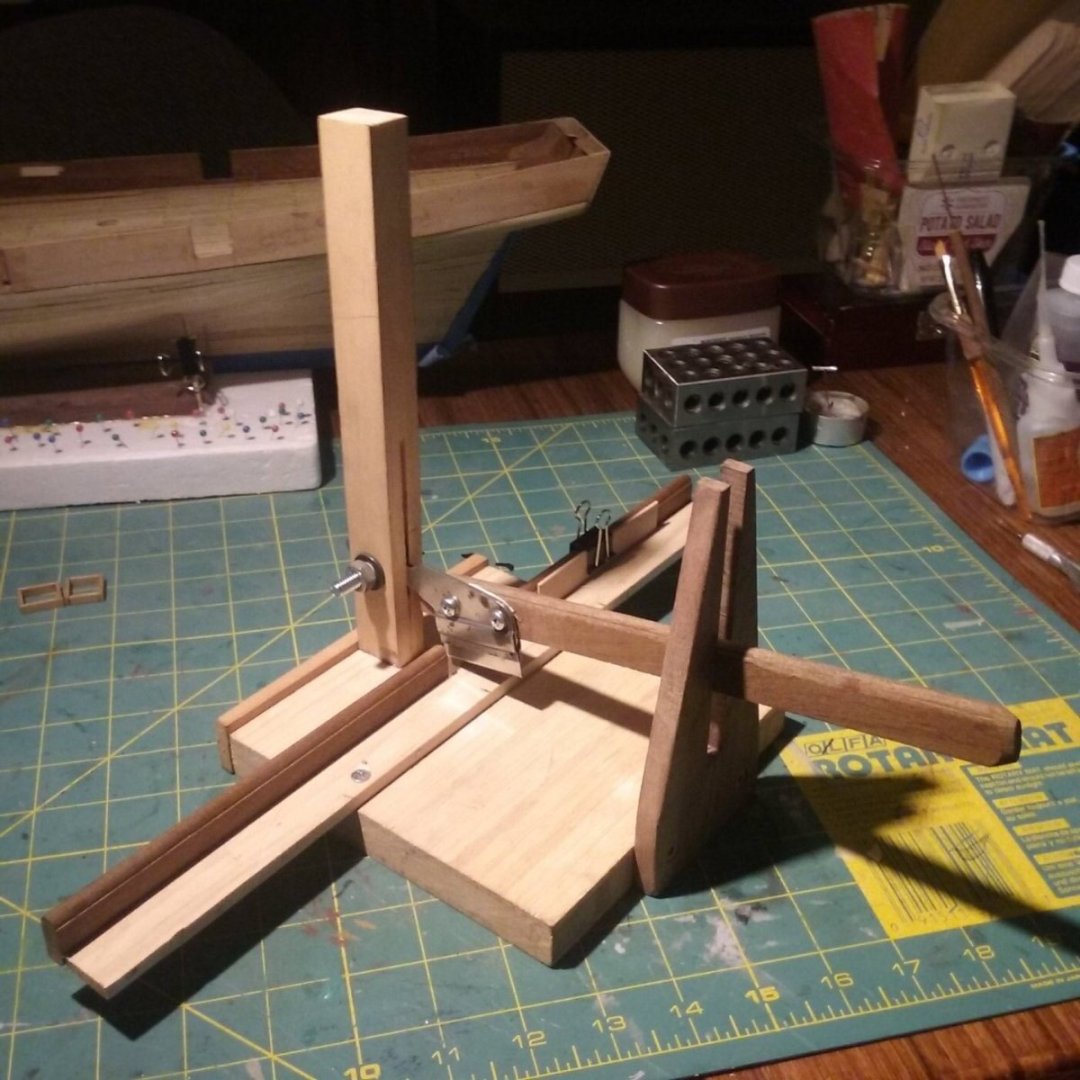
Thought I'd share my chopper I made when I was building my first model ship. The blade holder was made from an old gasket scraper I had in my junk drawer. It's crude but gets the job done with acceptable 90's in both directions.
-
Ok everyone I finally found what I was looking for, wish it went down to 1/16" though but, I can live with this and the best part it is cheap! Thank you all for your input. Whiteside 9810 Brass Set Up Gauges, 5 Piece Set - Router Bits - Amazon.com
-
Good idea. I'll ask around. I haven't thought of keyway stock material, thanks. I did post a new link to show exactly what I am looking in size range but square not round.
-
Amazon.com: Sutemribor Brass Round Rods Bar Assorted Diameter 2-8mm for DIY Craft (21 PCS) : Industrial & Scientific This is exactly what I am looki9ng for but square not round.
-
Thanks for the reply and time you took to look all that up. I had already searched all those prior to posting though. Maybe I should have said that in my OP. If I can't find any I may just take those round ones to a file. Maybe I can spin my want into a need to convince my wife on a mini mill purchase. lol Edit: I use the round ones for Metal Earth kits and want some square ones to add to my collection of tools.
-
I've seen those, unfortunately they are gradient. I am after a stepped version as shown in my attachment. I will use it for bending pieces into small square shapes for 3D metal model kits. I have other tools to do the job but, this would make things a lot easier.
About us
Modelshipworld - Advancing Ship Modeling through Research
SSL Secured
Your security is important for us so this Website is SSL-Secured
NRG Mailing Address
Nautical Research Guild
237 South Lincoln Street
Westmont IL, 60559-1917
Model Ship World ® and the MSW logo are Registered Trademarks, and belong to the Nautical Research Guild (United States Patent and Trademark Office: No. 6,929,264 & No. 6,929,274, registered Dec. 20, 2022)
Helpful Links
About the NRG
If you enjoy building ship models that are historically accurate as well as beautiful, then The Nautical Research Guild (NRG) is just right for you.
The Guild is a non-profit educational organization whose mission is to “Advance Ship Modeling Through Research”. We provide support to our members in their efforts to raise the quality of their model ships.
The Nautical Research Guild has published our world-renowned quarterly magazine, The Nautical Research Journal, since 1955. The pages of the Journal are full of articles by accomplished ship modelers who show you how they create those exquisite details on their models, and by maritime historians who show you the correct details to build. The Journal is available in both print and digital editions. Go to the NRG web site (www.thenrg.org) to download a complimentary digital copy of the Journal. The NRG also publishes plan sets, books and compilations of back issues of the Journal and the former Ships in Scale and Model Ship Builder magazines.


