
Dcox
-
Posts
35 -
Joined
-
Last visited
-
 Dcox reacted to a post in a topic:
Marking off the bow for planking
Dcox reacted to a post in a topic:
Marking off the bow for planking
-
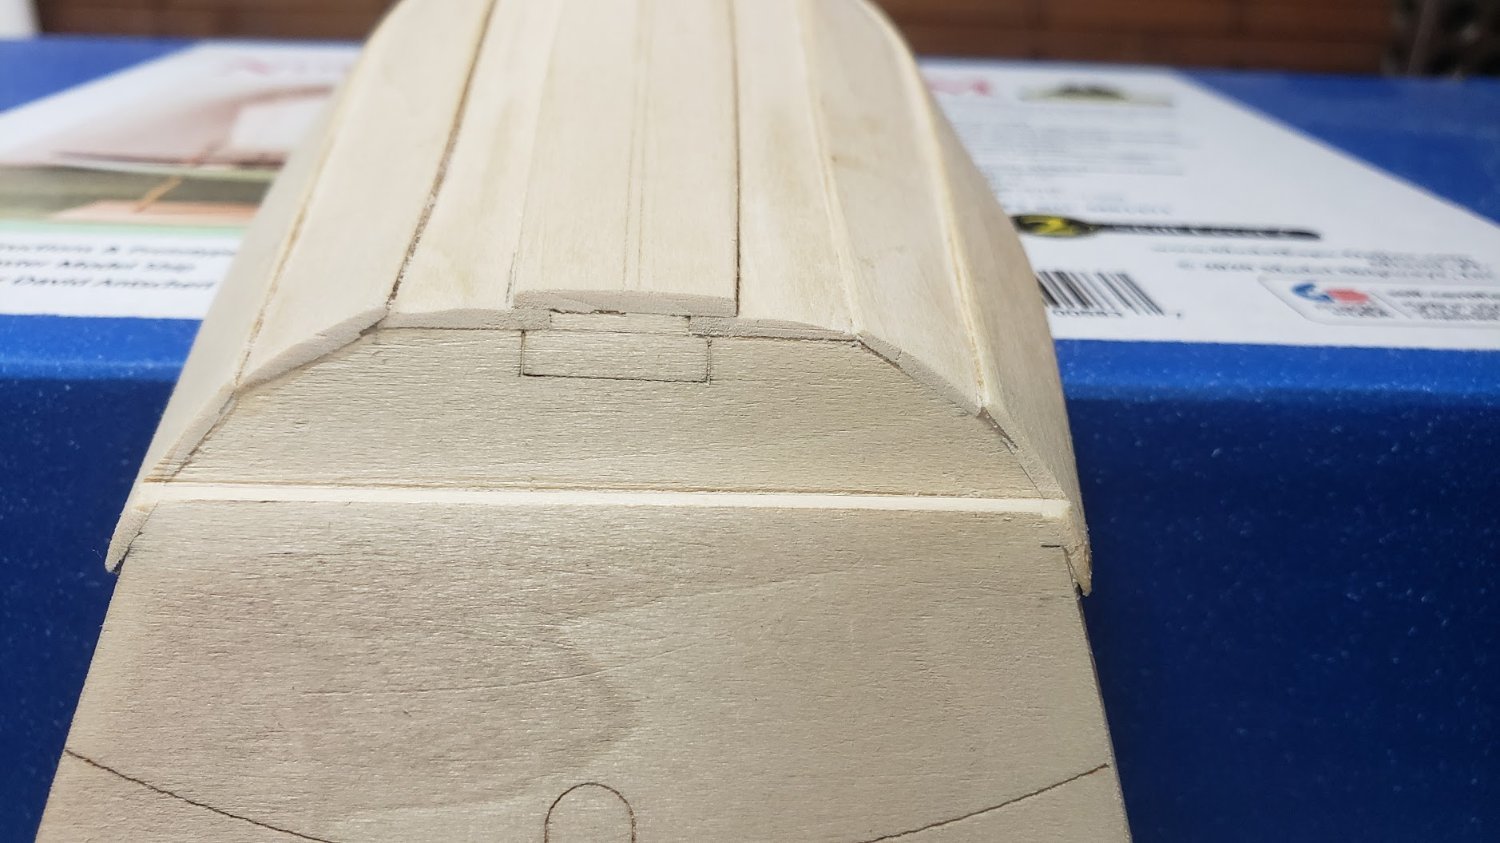
 I understand how to mark off the bulkheads. it is the bow on the filler block that I am brain farting on. How does chuck get the marks on the filler block at the stem as in the attached photo? Where is the tic strip laid to measure the distance along the stem? I've watched many videos and read many articles but none actually show how to mark off the stem. Thanks In Advance Dave.
-
Canute reacted to a post in a topic:
Mini Bench Drill Press
-
mtaylor reacted to a post in a topic:
A little confused (probably a brain fart)
-
mtaylor reacted to a post in a topic:
3D-Presentation of the Victory
-
mtaylor reacted to a post in a topic:
Mini Bench Drill Press
-
Dcox reacted to a post in a topic:
A little confused (probably a brain fart)
-
A little confused (probably a brain fart)
Dcox replied to Dcox's topic in How to use the MSW forum - **NO MODELING CONTENT**
Yea that makes sense now. I'm blaming it on getting older lol thanks -
Dcox reacted to a post in a topic:
A little confused (probably a brain fart)
-
***NO MODELING CONTENT*** Am I missing something here or are wood model ships not "models". Not trying to ruffle feathers but just curious.
-
thibaultron reacted to a post in a topic:
Looking for a 3D modeler
-
thibaultron reacted to a post in a topic:
3D-Presentation of the Victory
-
Dcox reacted to a post in a topic:
Mini Bench Drill Press
-
Dcox reacted to a post in a topic:
3D-Presentation of the Victory
-
3D-Presentation of the Victory
Dcox replied to Andreas's topic in CAD and 3D Modelling/Drafting Plans with Software
I enjoy watching his videos, quite the talented 3D modeler and YT creator, very dedicated to his craft and he does do a ton of research while he is making the model as shown in one of his (how I do it) videos.- 1 reply
-
- 2
-
-
The thing with micro drills is the runout (wobble). How accurate is the chuck (how much play)?
-
thibaultron reacted to a post in a topic:
Acrylic paint tips and techniques
-
mtaylor reacted to a post in a topic:
Acrylic paint tips and techniques
-
Canute reacted to a post in a topic:
Acrylic paint tips and techniques
-
Canute reacted to a post in a topic:
Acrylic paint tips and techniques
-
Dcox reacted to a post in a topic:
Acrylic paint tips and techniques
-
Correct. There are other paint retarders/flow control that are made specific for water-based acrylics though.
-
Dcox reacted to a post in a topic:
Acrylic paint tips and techniques
-
Just to add, there is a product called Mr. Color leveling thinner. It retards the drying time of acrylics so they can flow better which reduces brush strokes. There is a way to DIY the product which is quite cost effective, a simple YT search shows how.
-
Dcox reacted to a post in a topic:
Storage “box” for attachments and drill bits
-
Tiny "precision" drill press
Dcox replied to Ron Burns's topic in Modeling tools and Workshop Equipment
I've been considering this for some delicate work. Reviews have been mostly positive.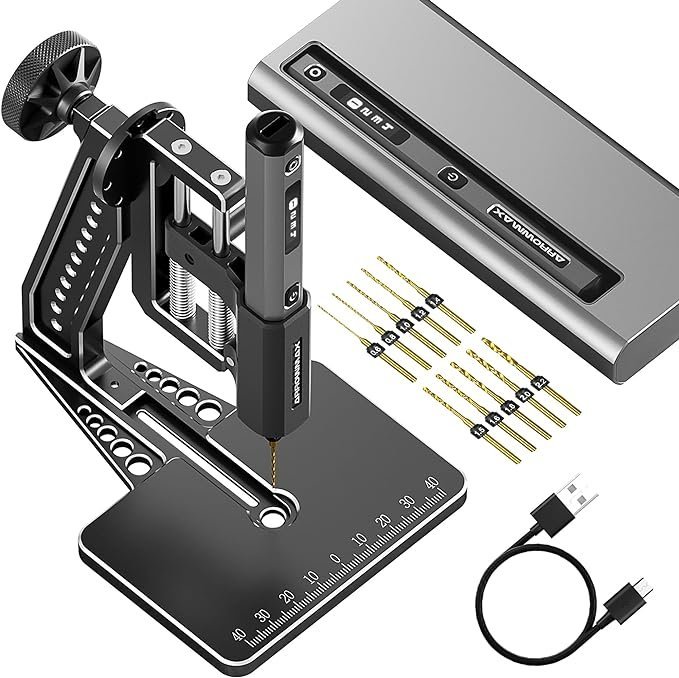
-
Dcox reacted to a post in a topic:
A DIY thickness sander
-
For smaller parts I just cut two long guides the thickness I need, use double sided tape to stick them down in parallel with my part in the middle and use a wood block to sand the part down. make sure the sandpaper is cut smaller than the guides are wide. I will say it is fun to make tools though and a small drum sander would be pretty cool to have, especially for longer strips of wood.
-
I've learned to cut things a little long and sand down to final length when using a chopper, especially when they are on the thicker side. That said, yea 4mm wood is a little thick at least for my DIY chopper.
-
Storage “box” for attachments and drill bits
Dcox replied to kgstakes's topic in Modeling tools and Workshop Equipment
Very nice! Some Johnston's paste wax where the drawer slides will surprise you. -
Bending tip for soldering iron
Dcox replied to Dcox's topic in Modeling tools and Workshop Equipment
I ended up just buying a plank bender kit, iron, tip and bending jig. It works well and wasn't very expensive. -
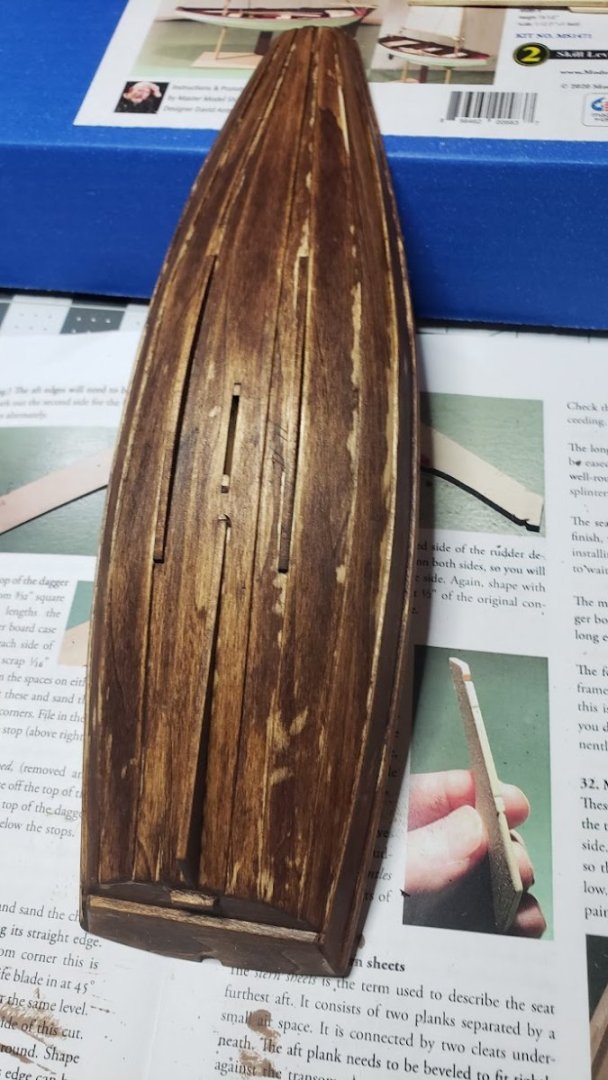
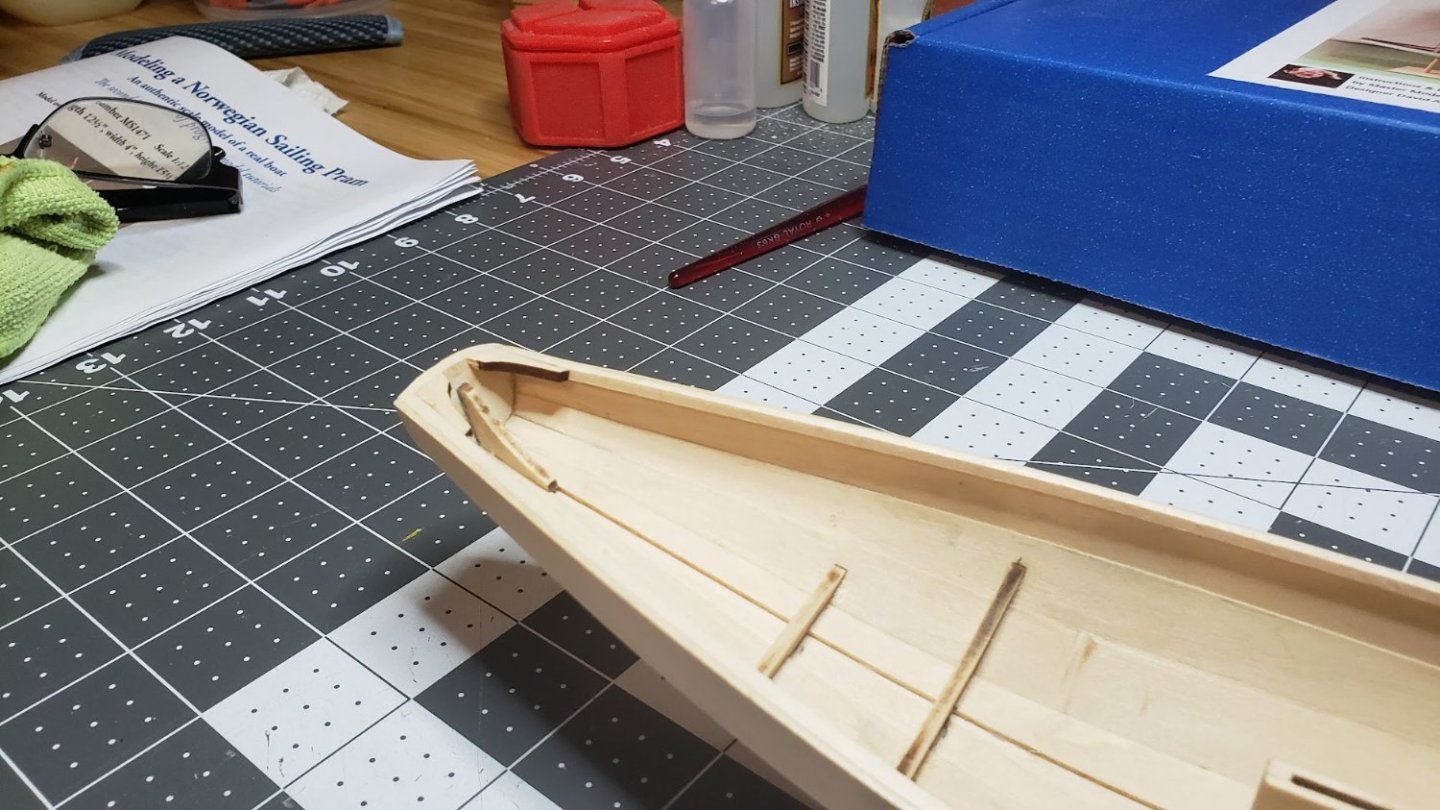
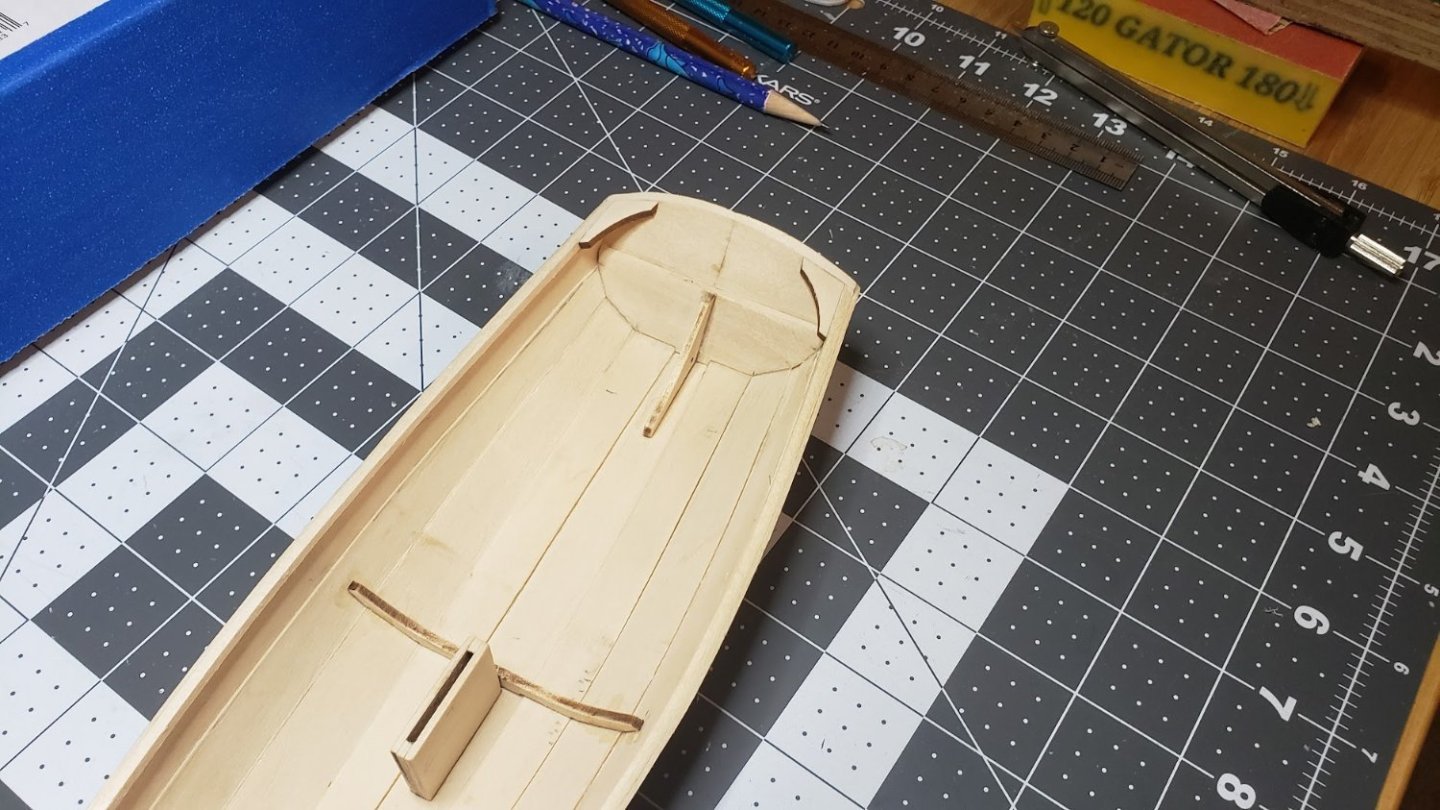
Even though I am going to be painting the hull I thought I'd take the time to check on a couple of things. 1st was to see how the basswood took a stain and check on grain scale which I knew wasn't going to work and 2nd was to see how bad my glue up was. I'm fairly competent when glueing up full size furniture and other items but I need a whole lot of practice at this scale.
-
Moved along a little ways and made some changes that deviated me away from the plans. But for me I think they are much more pleasing to the eye. First one and the biggest change was how the second plank had to be notched at the stern transom step. So here I did some major changes so the sheer plank would run even with the transom step. I had to reshape the second plank for the change. Next, I didn't like the way either the bow or stern transom was above the inwales (top of sheer plank), There may be a real reason this is the case but I am taking artistic liberty on this and made the following changes. and Once I get the hull finished, I will be painting it after some filler, few coats of sanding sealer then primer to give a smooth finish. I'm sure I'll need to adjust the rudder length for my changes but that is no big deal.


-
I understand no one else will probably see it or care, but I would like to know an easy way to fix it for me.