Ron Burns
-
Posts
176 -
Joined
-
Last visited
2 Followers


Recent Profile Visitors
1,155 profile views


-
 Belco reacted to a post in a topic:
Tiny "precision" drill press
Belco reacted to a post in a topic:
Tiny "precision" drill press
-
davyboy reacted to a post in a topic:
Tiny "precision" drill press
-
Canute reacted to a post in a topic:
Tiny "precision" drill press
-
Canute reacted to a post in a topic:
Tiny "precision" drill press
-
kuya reacted to a post in a topic:
Tiny "precision" drill press
-
grsjax reacted to a post in a topic:
Tiny "precision" drill press
-
Bob Cleek reacted to a post in a topic:
Tiny "precision" drill press
-
druxey reacted to a post in a topic:
Tiny "precision" drill press
-
davec reacted to a post in a topic:
Tiny "precision" drill press
-
FrankWouts reacted to a post in a topic:
HMS Winchelsea by Greg M - 1/48 scale
-

Tiny "precision" drill press
Ron Burns replied to Ron Burns's topic in Modeling tools and Workshop Equipment
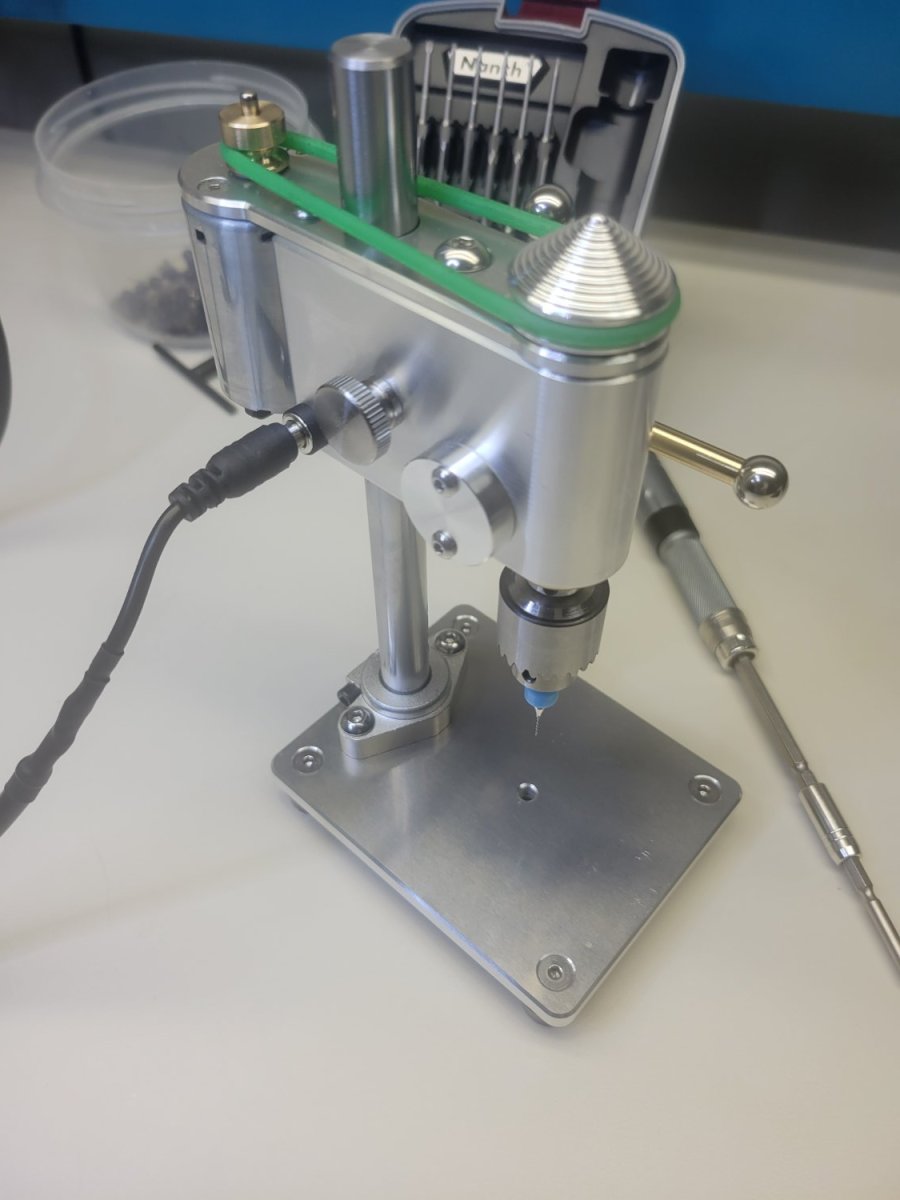
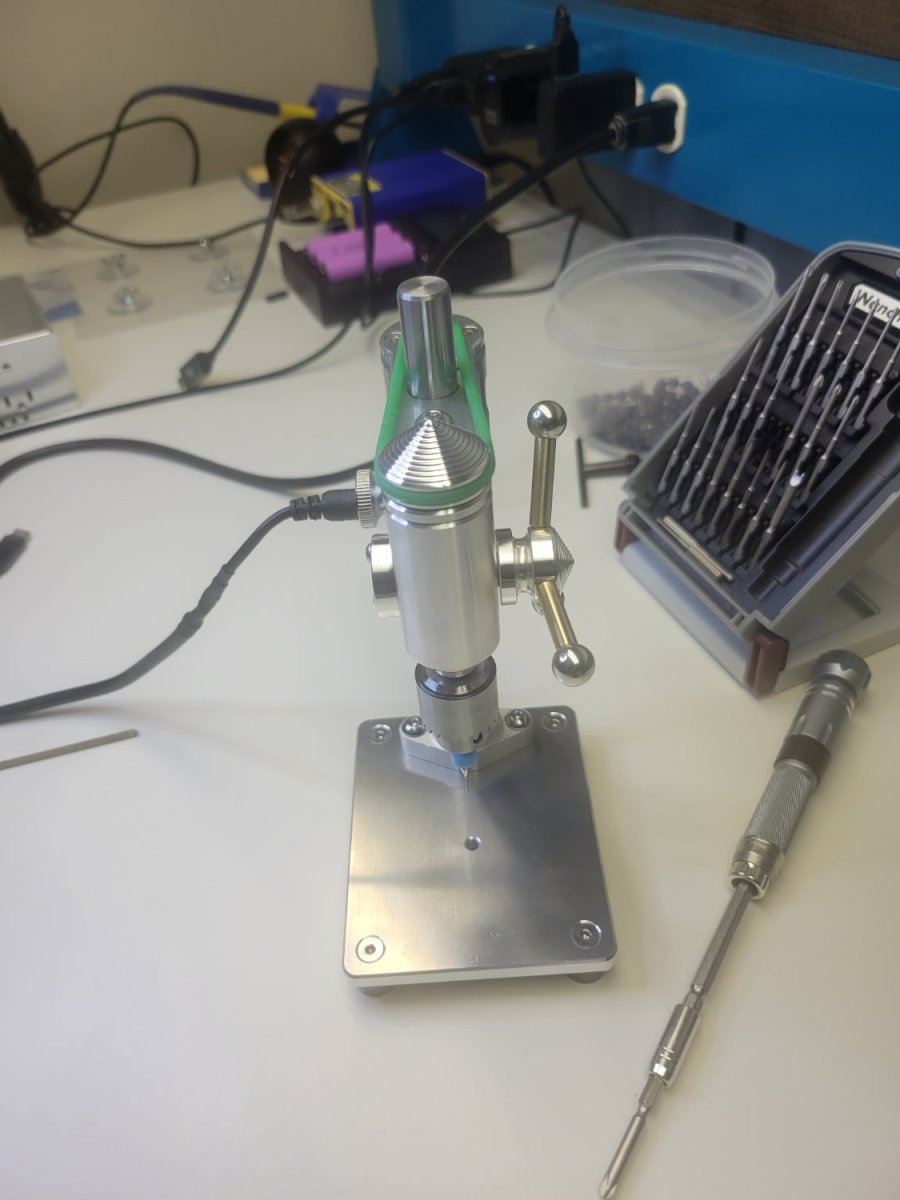
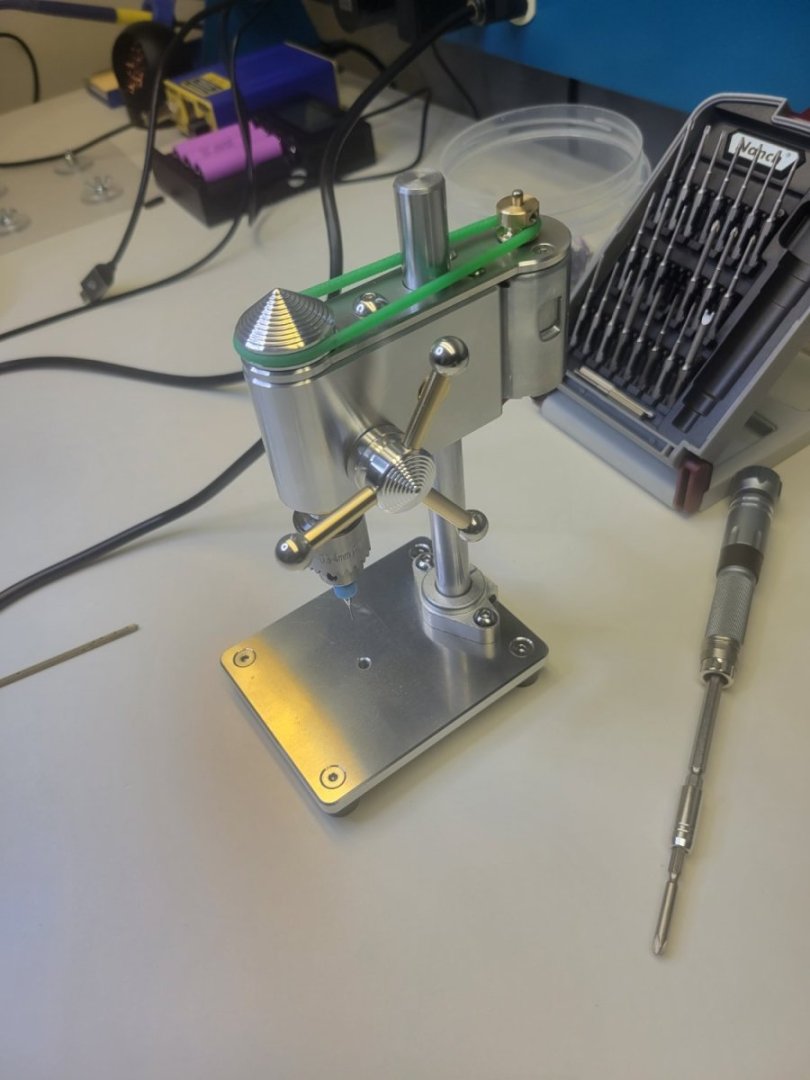
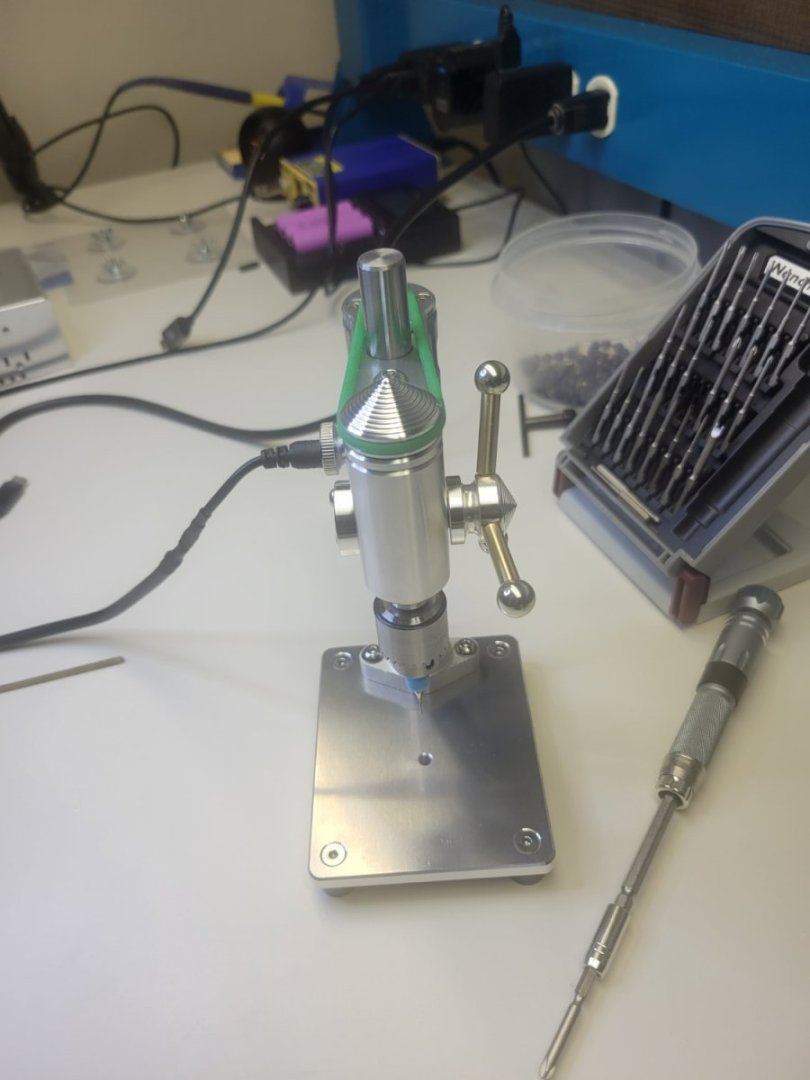
Hi Bob, no I didn't forget to post a link as I really didn't want to advertise for any one individual. As you found, it wasn't that hard to find. For what I need, more than 1.3 cm wasn't a requirement. Changing out the chuck to a collet wouldn't be a problem. Trusty Allen key to the rescue. Id have to check on the size adaptor needed. Believe it or not, no brand name and I bet there isn't more than 3 grams of plastic on the whole thing including the PU belt. It's construction is what attracted me. All aluminum, brass and steel. It really is a gem. .3mm bits should satisfy most with that chuck. It sure makes me happy 😊 A bigger base would be nice and I have a cute vice on the way too. As to runout, I don't have such a device to check it. Me not snapping carbide bits while drilling brass without a vice should be a good indicator. Passing wind around those stupid things will snap them! -
Hi everyone, it's been some time since I've been here on MSW. For the past few years I've been out for medical reasons and recently had the urge to get back to my Winnie. Drilling tiny holes in wood and soft metal has been my nemesis. I've wasted more money thinking I could 'shoemaker' something together rather than just dropping the coin. Anyways, I think I finally found a tiny press for under $100.00 that doesn't break carbide bits drilling aluminum, brass and wood. It runs on a dc supply anywhere between 6 and 14 volts with the tiny motor running between 1600 and 7500 rpm. The chuck holds from .3mm to 6mm. So far, I've experimented down to .6mm using a carbide pcb bit with no breakage into brass about 70 times. For me, that is a world record! Its small enough to almost fit in a pocket at aprox. 18.5 cm height, 13.5 cm depth and 8 cm width. I'm not sure what one calls the distance a spindle can travel but in this case it's about 1.3 cm. I found this wee guy on Ebay in case anyone is interested. I've never been so happy since I bought my Byrnes saw! It's really nice to be back! Ron

- 12 replies
-
- 14
-
-

-
Ron Burns reacted to a post in a topic:
Le Coureur 1776 by captain_hook - CAF - Scale 1:48
-
Ron Burns reacted to a post in a topic:
HMS Winchelsea - FINISHED - 1764 - by Chuck (1/4" scale)
-
Ron Burns reacted to a post in a topic:
HMS Winchelsea by rafine 1/48
-
Ron Burns reacted to a post in a topic:
La Volage - 1693 (English Edition)
-
Ron Burns reacted to a post in a topic:
Le Coureur 1776 by captain_hook - CAF - Scale 1:48
-
Ron Burns reacted to a post in a topic:
HMS PEGASUS by giampieroricci - Scale 1:36 - Swan-Class Sloop from plans by David Antscherl & Greg Herbert
-
Ron Burns reacted to a post in a topic:
HMS Leopard by toms10 - FINISHED - 1:85 scale POF/POB
-
Ron Burns reacted to a post in a topic:
Le Coureur 1776 by captain_hook - CAF - Scale 1:48
-
Ron Burns reacted to a post in a topic:
HMS Winchelsea by Beckmann 1/48
-
Ron Burns reacted to a post in a topic:
HMS Winchelsea 1:48 by Ron Burns
-
Matt, thank you many times over! Your Winnie looks awesome! That pic really helps get me on track again, especially with your confirmation of the tapering. A person can't beat a build-group when it comes to getting and giving support.
-
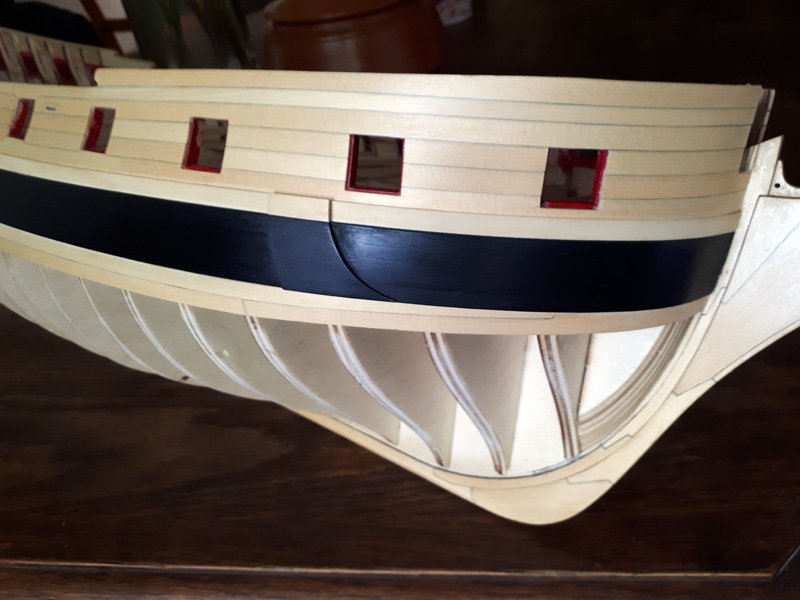
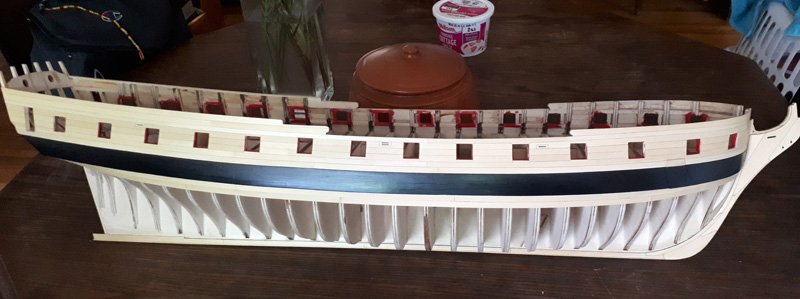
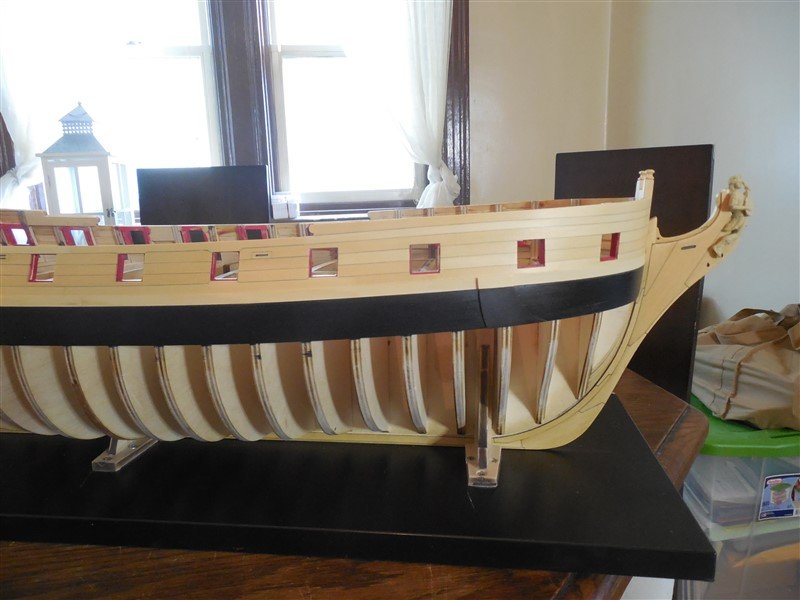
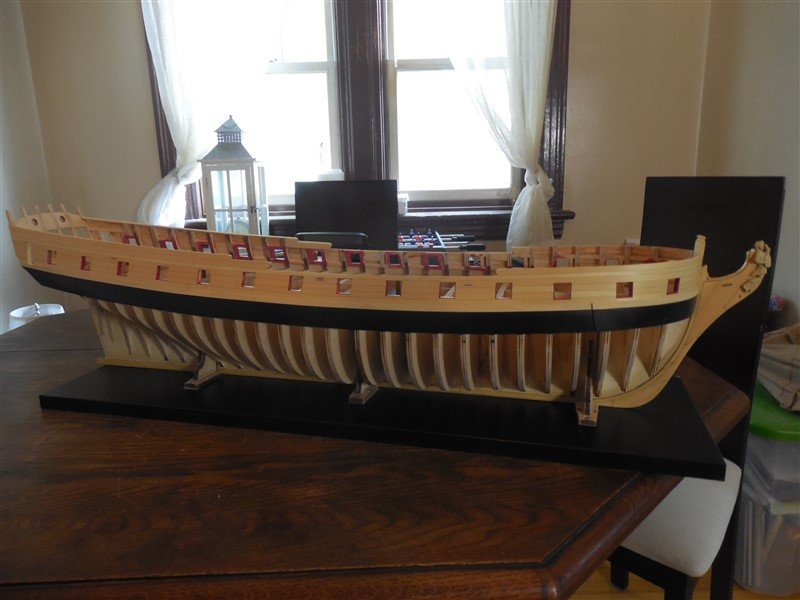
Silly questions plaguing this fragile mind..... I've finished the first 2 strakes below the wales and am going forth to plank off the rest of the hull. The tick strips seem pretty self explanatory except for the strip that sits along the lower counter. The first and second strake are 1/4inch wide pretty much the whole length right to the counter. The 3rd strake *appears* to me (if I have it right) to terminate at approx. 4mm width with a gentle taper from around mid ship . The 4th strake again gently tapers from 1/4" mid ship to 5mm at bulkhead 27. This then appears to widen up again to 5.5mm at the counter. Is this correct? Perhaps I'm messing up the counter tick strip position? Sorry about the convoluted problem description. I just need to know if i'm barking up the right tree....
-
JJ, Absolutely stunning work! What did you use for nails? You probably mentioned it already but these days I feel like I'm hiding my own Easter eggs The ports look great and look like they will match up perfectly. Can't wait to see how you deal with the hinges. Ron
-
Hi everyone! First thing, Thank you for the encouragement and likes. It feels good Minor little update. First 2 strakes below the wales are in. Chuck, your pre-made drop planks stole the show! They actually went in with very little refinement needed at all. Planking up to the counter brought out my Temporary Acquired Tourettes in a big way. My wife was making 'wash my mouth out with soap' cracks for a little while there but all ended up working out (even though I borrowed from Carlin's 7 dirty words). I imagine the tight bends will be less obnoxious as they are getting larger. Please excuse the photos. I'm stuck with the cell camera today. Next stop, tick strips!

-
I have a confession....I did exactly the same thing (only using *very* fine paper) and again when applying the W.O.P. It left a really nice burnished sheen if that can be a description. Now seeing yours and Chuck's in red, I think I will have to make another or paint over that finish. Beautiful capstan Greg! I'm assuming we'll be making the bars to go with it... Ron
-
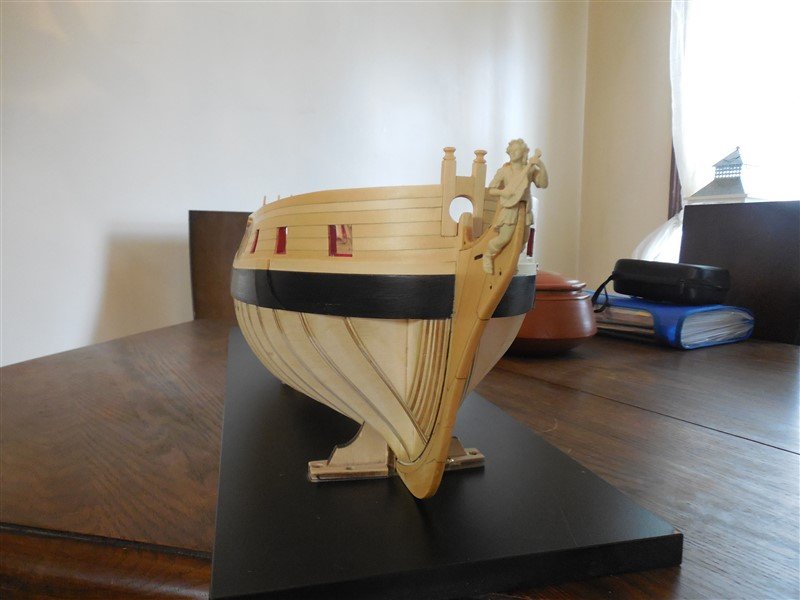
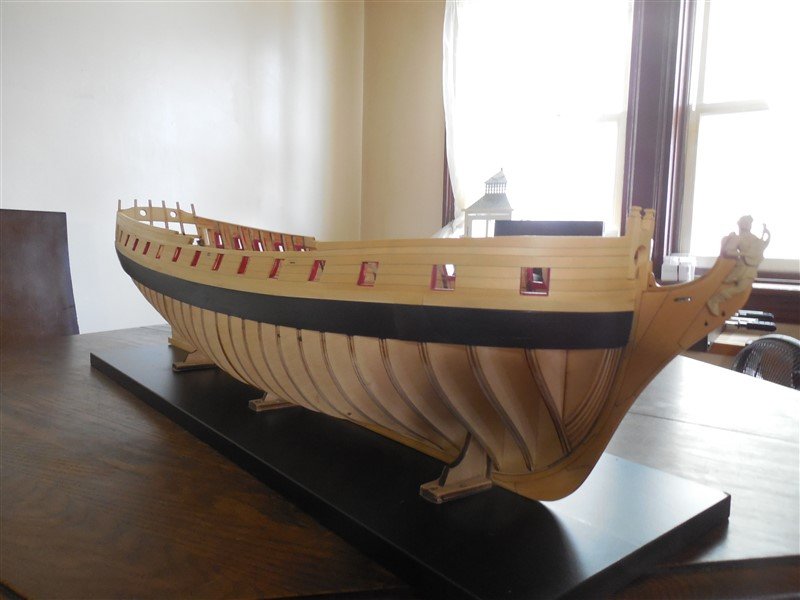
It is exactly what I used for my build board and it has held up really well so far. You can't beat them for being factory straight and flat. I'm at the point (finally) where I have flipped her over and have Winnie resting on some great chunks of pink construction styrofoam. I used the same stuff after I had all of the bulkheads glued into place in order to fair the girl. Next stop will be removing those wonderful support brackets and replacing them with a cradle. Nice job so far! Good call on using the ply factory edges as your straight edge Ron
-
Hi everyone, Just another post to say we're still afloat The new saw made things so much easier. This time around I didn't have to look so closely at plank thickness and just grabbed one and kept going. I must say that when I first saw Chuck's Winchelsea, my mind's eye said 'Hell yeah,I can do that! Well, one is never too old to A: be humbled and B: learn a whack of new tricks. Thank the Lord and you guys for all of your build logs because without them, I would have been screwed! Now it's time to flip her over and get going on the rest of the hull. I hope I don't regret not placing the first two strakes and drop plank prior to adding the second layer of the wales. I was out of 1/4 inch stock when I had done it as I wanted to keep going. Crossing my fingers! Please forgive my terrible photography skills!

-
I'm lifting my Pepsi to you and your amazing planking job! I wish I could raise a glass of the real stuff but it would P.O my docs and my wife Next to Chuck's planking videos, your log will see me through. Thanks again Greg for documenting it all. Simply brilliant Ron
-
Vlad, you cut those planks by hand? I'm so far away from where you are so I don't have any idea how to treat the deck. Perhaps making a small trial deck with a few planks glued to some stiff card. I like the idea of scraping as it doesn't lift up the fuzz. I love the look of your Winnie and really enjoy following along! Ron
-
Resistance Soldering Unit
Ron Burns replied to Roger Pellett's topic in Metal Work, Soldering and Metal Fittings
Gosh, was my guess wrong! Just looking, it resembles a 1/4 inch plug but like life, looks are deceiving I'm glad you got it solved Roger. I looked around a bit and found a DIY site that had a guy re-wiring his own secondary windings on a transformer to supply his device. 8 wraps of #6 AWG! The connectors were huge! Again I apologize for sending you down the wrong path Ron -
Resistance Soldering Unit
Ron Burns replied to Roger Pellett's topic in Metal Work, Soldering and Metal Fittings
That's awesome In regard to the plug, you're right, it's not a coaxial connector. Have a peek here..It's a standard 1/4 inch phone plug called such as a similar plug and jack was in use by the tel. co. for aeons!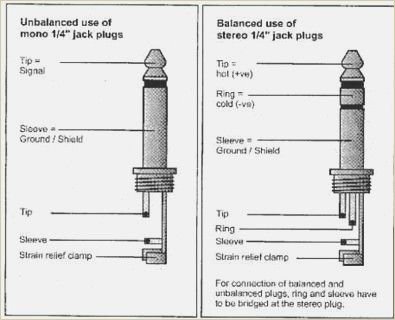

-
Resistance Soldering Unit
Ron Burns replied to Roger Pellett's topic in Metal Work, Soldering and Metal Fittings
I have a 12V DC supply rated for up to 15 amperes still sitting in it's box. Was wondering what I might do with it... -
Resistance Soldering Unit
Ron Burns replied to Roger Pellett's topic in Metal Work, Soldering and Metal Fittings
Looks like the same male plug that is referred to as a 'mono phone plug' . The center connector will be the tip or + and the barrel would be ground. Hope this helps keeping in mind that it's an experienced guess. Ron