OldDan
Members-
Posts
4 -
Joined
-
Last visited
Recent Profile Visitors
The recent visitors block is disabled and is not being shown to other users.
-
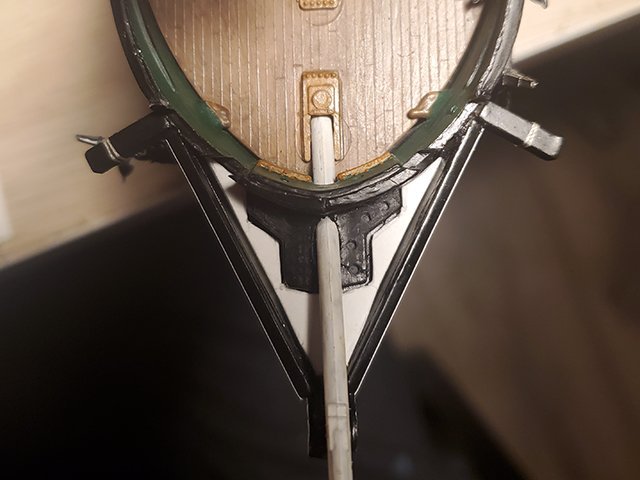
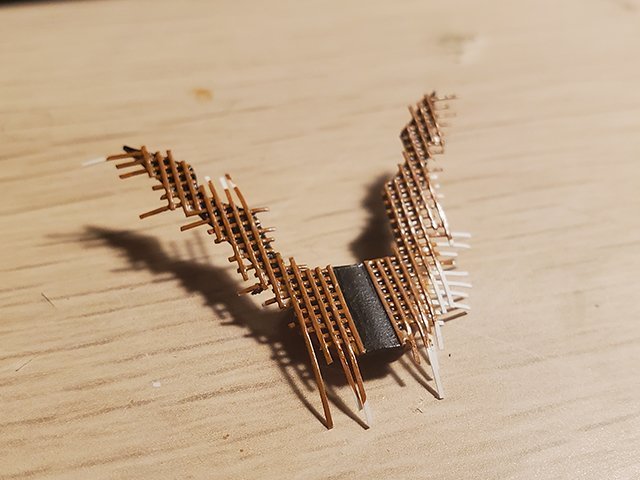
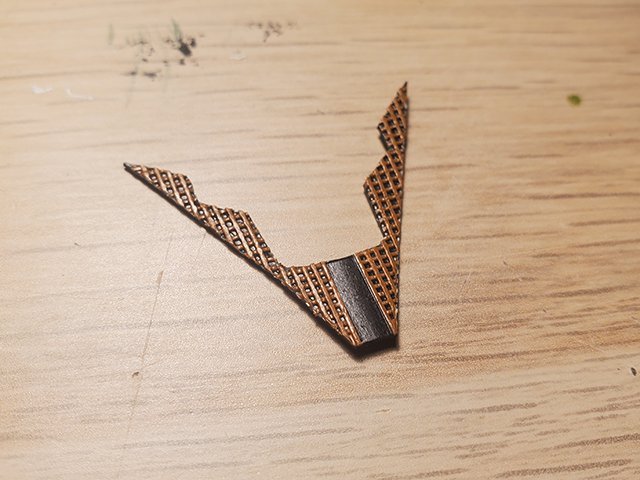
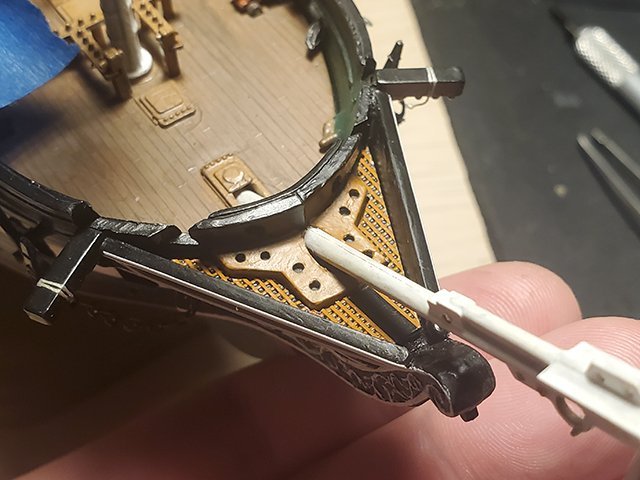
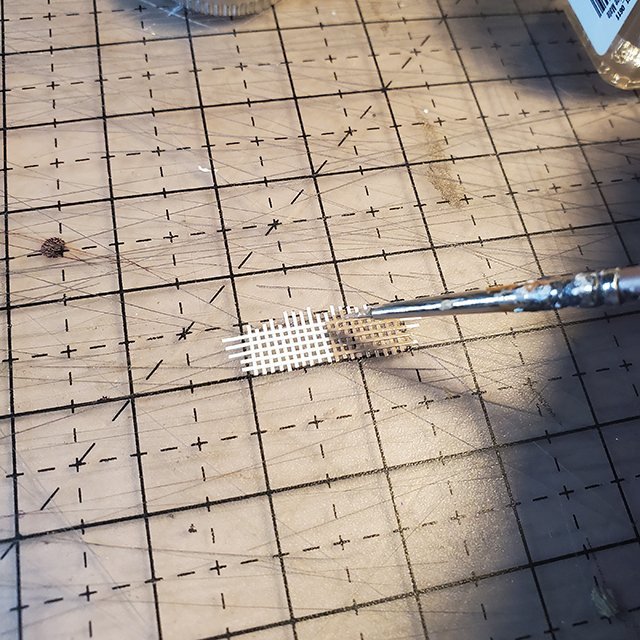
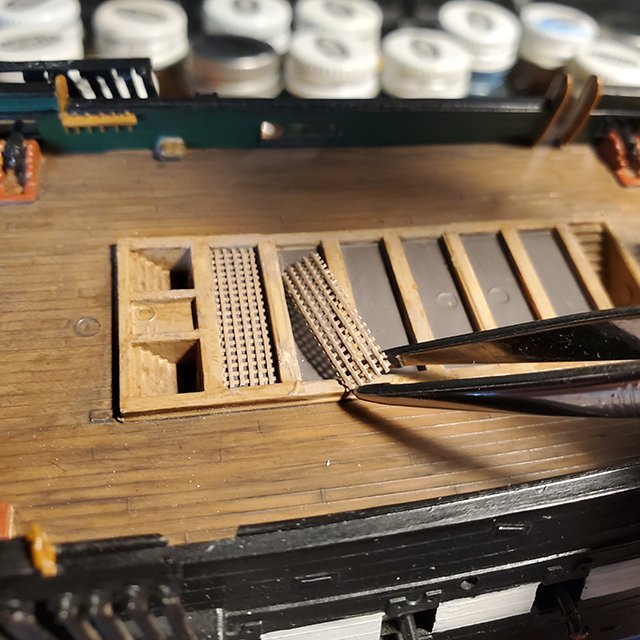
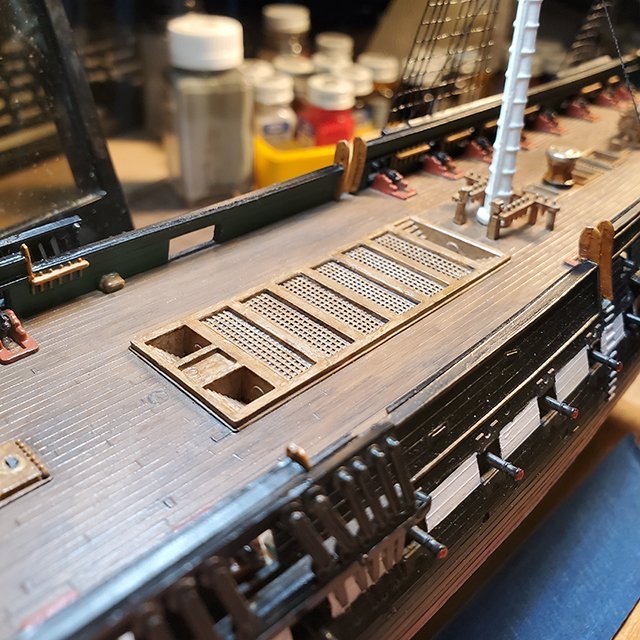
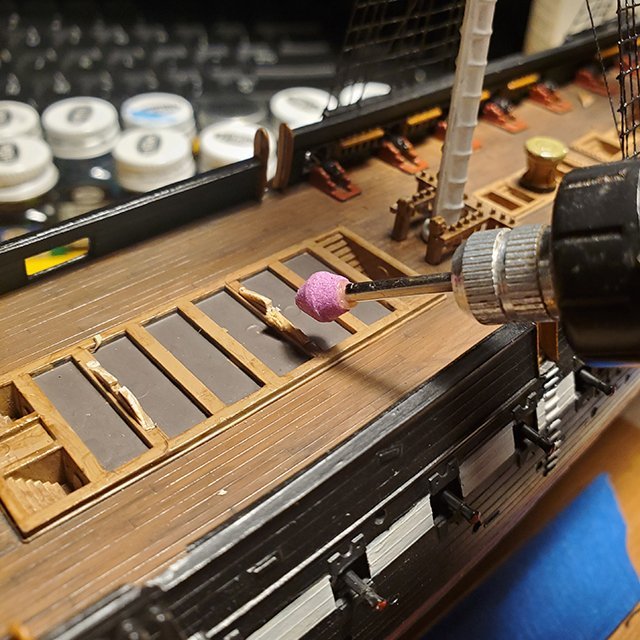
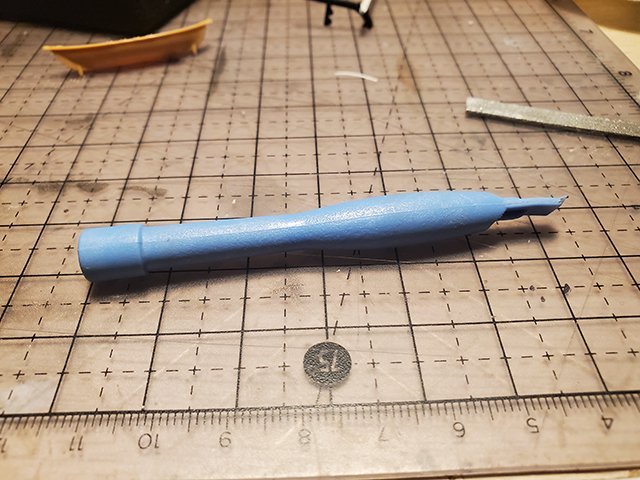
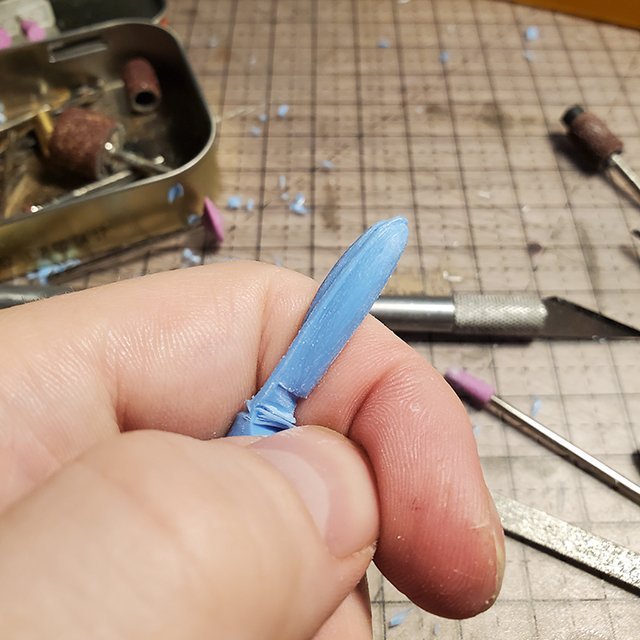
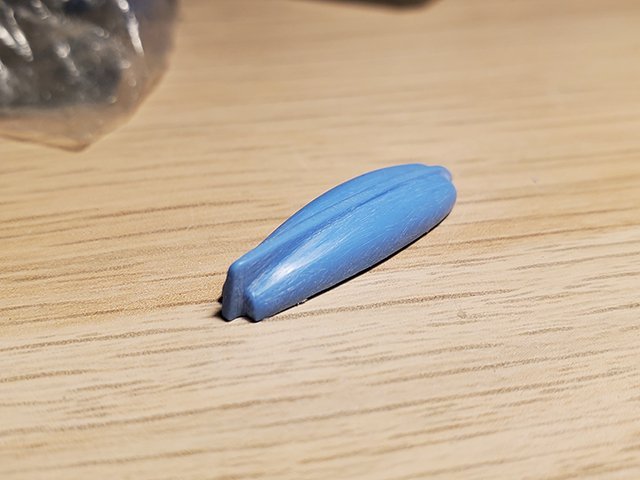
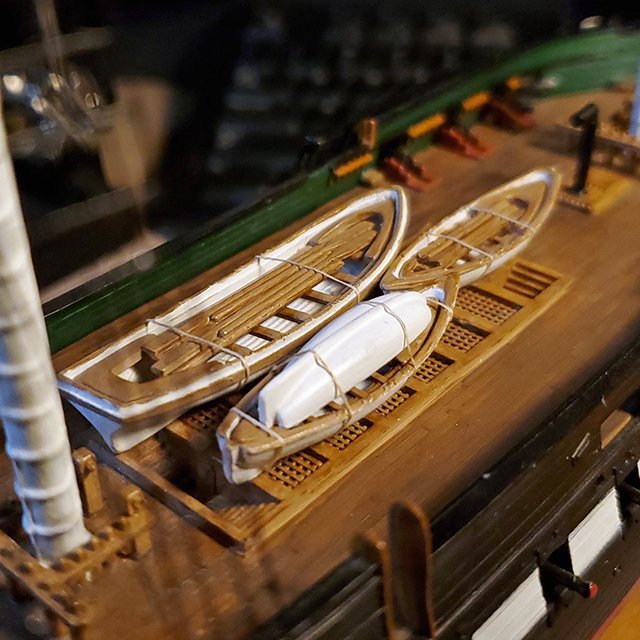
Here's some more progress: I always thought the head area of the model looked a little empty, but couldn't figure out what was supposed to go there. After some research, I was amused at the answer and decided to drill some holes. I also set about making some tiny grating. Through trial and error, I made a paper template that fit well enough, then used this to cut a thin piece of plastic to the same shape. Then, I covered the plastic piece with 1/64" tape. I'm sure there are way better methods/materials for this, but it's all I could come up with. I painted and sealed the whole piece, then cut off the excess and glued it in place. Being happy enough with the result, I wanted to repeat the process to add extra detail to the deck. This meant removing the single boat and its supports, which I had glued in place previously. I'm not sure what this area is called, but I made rectangular assemblies of tape to create more grating. It was more straightforward this time but also more tedious. Having done all that work, the logical next step was to obscure it with an inordinate number boats. Using the 1:96 kit's instructions as a guide, I slightly reshaped two of the whale boats from my spare 1:196 kit and offset the larger boat to one side. I also made a fourth, smaller boat out of a plastic pry tool to mimic the larger kit.
- 2 replies
-
- revell
- constitution
-
(and 1 more)
Tagged with:
-
 Chikpeas reacted to a post in a topic:
Howdy! From Wisconsin, USA!!
-
 mtaylor reacted to a post in a topic:
Howdy! From Wisconsin, USA!!
-
 ccoyle reacted to a post in a topic:
USS Constitution by OldDan - Revell - 1:196 - PLASTIC
-
 ccoyle reacted to a post in a topic:
USS Constitution by OldDan - Revell - 1:196 - PLASTIC
-
 Keith Black reacted to a post in a topic:
Howdy! From Wisconsin, USA!!
-
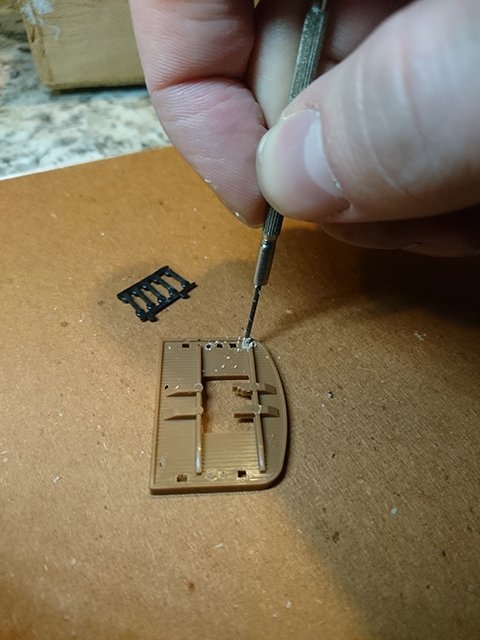
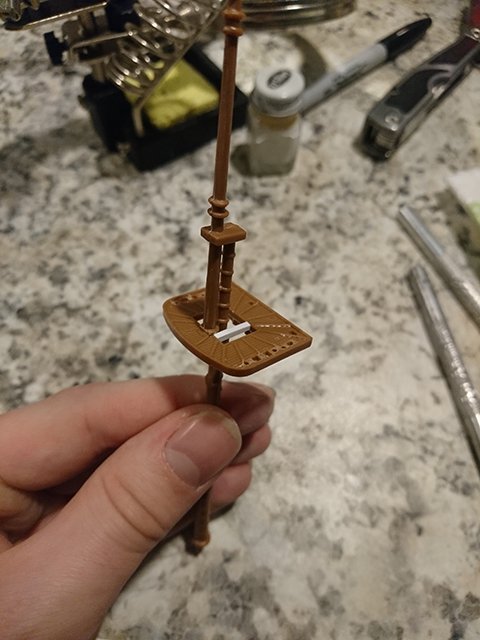
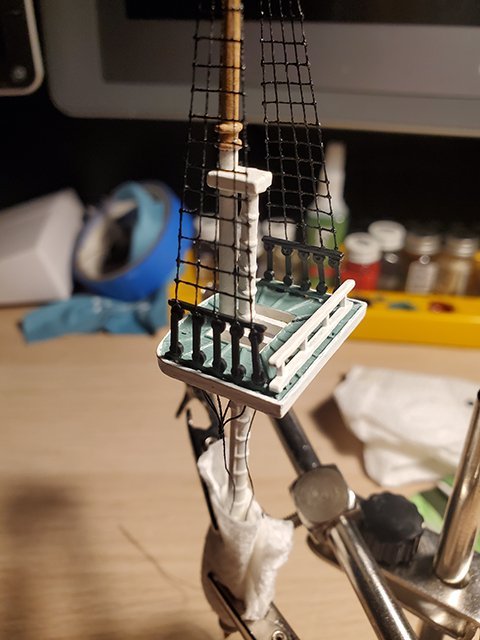
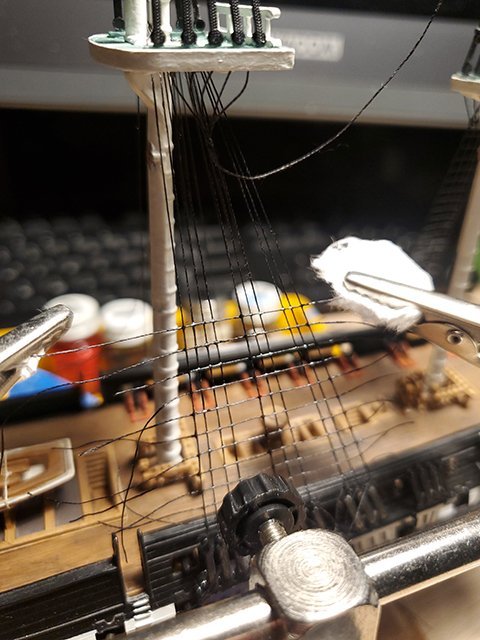
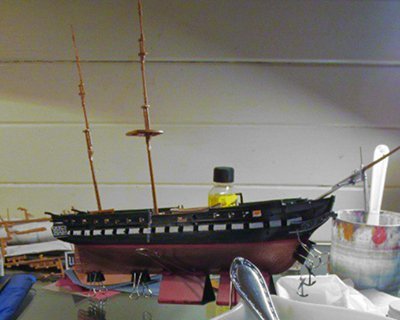
This brings us to this year, when I resumed working on the kit after shelving it for many years. One big issue was that I never painted the hull black and opted to leave it as plain plastic which I regret. What's more regretful is that I tried to make up for it by making even more modifications in a lipstick-on-a-pig situation. I drilled extra holes and modified the crosstree platforms to allow for thread to be passed through for simple futtock shrouds. This also meant abandoning the kit's plastic shrouds and making my own ratlines out of thin thread. I wish I used thicker thread for the shrouds. Actually, I wish I used the ones from the kit. I will post more later. Thank you for reading!!
- 2 replies
-
- revell
- constitution
-
(and 1 more)
Tagged with:
-
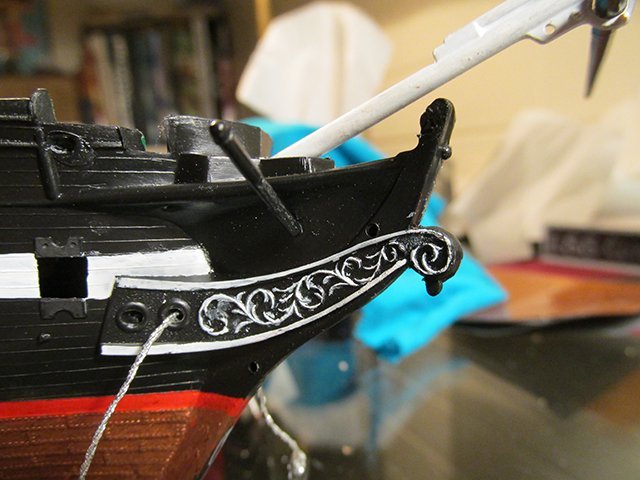
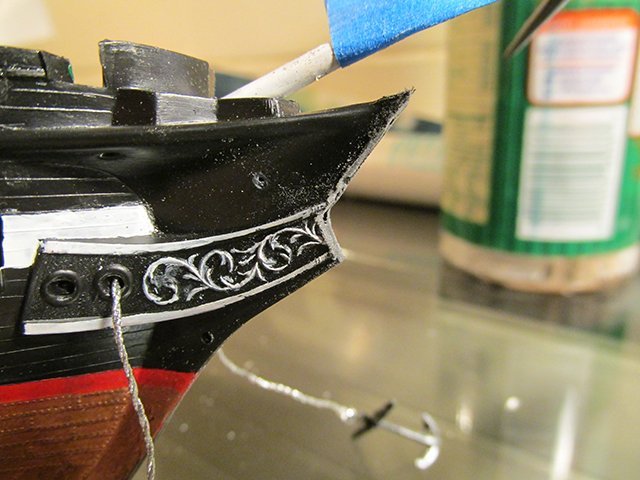
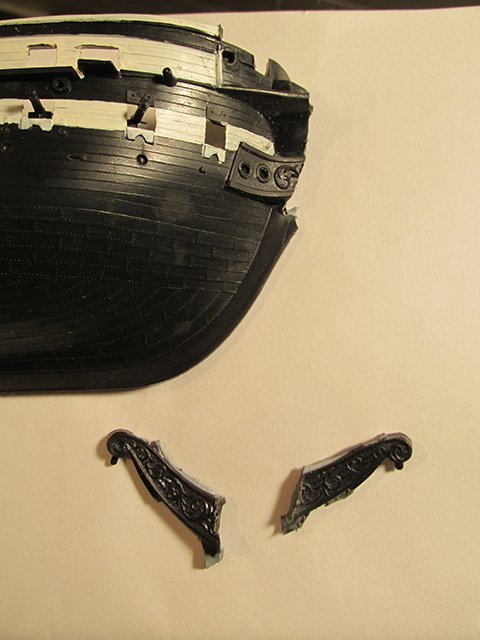
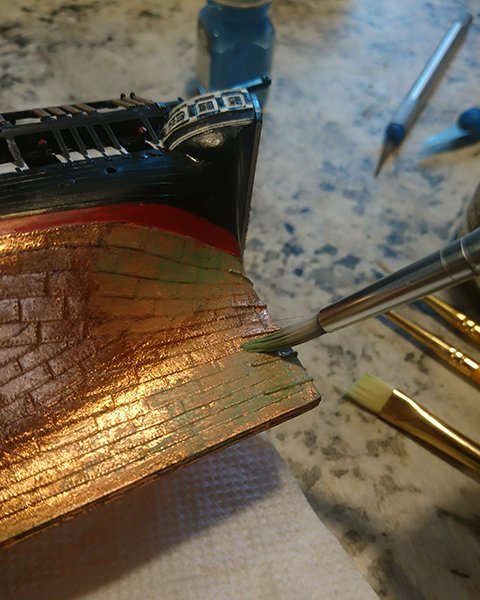
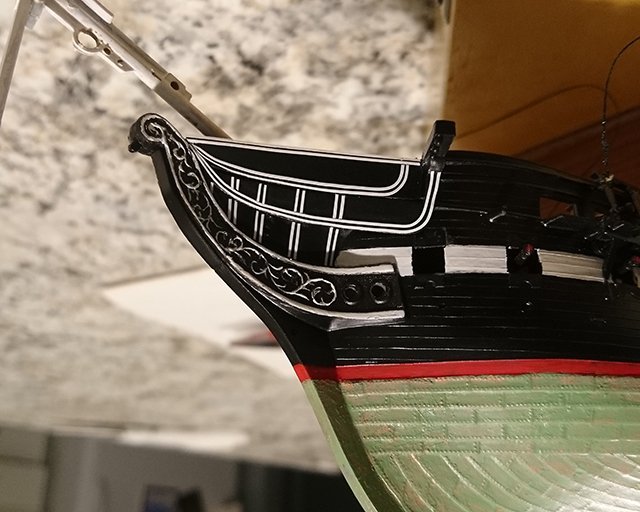
Hello, everyone! I've been quietly reading these forums for some time and finally decided to chime in with my own build. Others' build logs have been a huge source of information and encouragement for me during the build process, so I hope this log can be of some benefit to others. I worked on this kit for a week or so about nine years ago, and only picked it up again this year. It's my first model kit I've built as an adult and first ship of any kind (Although as a teenager, I painted the hull of the larger 1:96 kit from Revell, then immediately gave up). I also started with zero knowledge of ships, so this whole thing is a learning experience. Much of the work I've done recently has aimed to undo or improve mistakes I made when I first started. One of my biggest mistakes was choosing to modify anything at all, as this slowed the process and made me feel daunted at various points. As a beginner, I regret spending so much time tweaking this kit instead of progressing through multiple kits over the years. Still, I'll mostly focus on modifications here because that's what I've most closely documented. These first photos are from 2015, so some of this is more retrospective. My earliest record is of hastily assembling the hull and deck and painting various details. I tried replicating the paint of the real ship, which lead me to notice differences in the bow and other details. I couldn't figure out why the model had a figurehead, which lead me to research that interesting history. At this point, I should mention that I had two of these kits to work with. Both were purchased at Goodwill totaling less than $5, so I recklessly decided to sacrifice one in an effort to make the bow section more closely resemble the real ship in its current state. Even though I had already installed the boomkins and metallic anchor thread, I ripped everything apart and temporarily ruined both kits. I cut off part of the stem from the donor ship far enough down so that it would extend to roughly the correct height when reshaped and attached to the working model. A bit of jump, but here's the result. I tried filling the gaps with Tamiya putty but you can still see the seam where the two pieces meet and the decorative relief doesn't match up. The other white details were made using thin strips of masking tape for curves and covered with acrylic sealant. The whole endeavor still misses the mark for accuracy, but it makes the bow more recognizable in profile, which I count as a success. At some point, I also lined the hull with real copper leaf but didn't like the look of it and painted over it with green. I think this was because most of my reference photos showed the ship in dry dock.
- 2 replies
-
- revell
- constitution
-
(and 1 more)
Tagged with:
-
Welcome! Good to see your Constitution build as I've been working on the same kit. You've done a fine job.
About us
Modelshipworld - Advancing Ship Modeling through Research
SSL Secured
Your security is important for us so this Website is SSL-Secured
NRG Mailing Address
Nautical Research Guild
237 South Lincoln Street
Westmont IL, 60559-1917
Model Ship World ® and the MSW logo are Registered Trademarks, and belong to the Nautical Research Guild (United States Patent and Trademark Office: No. 6,929,264 & No. 6,929,274, registered Dec. 20, 2022)
Helpful Links
About the NRG
If you enjoy building ship models that are historically accurate as well as beautiful, then The Nautical Research Guild (NRG) is just right for you.
The Guild is a non-profit educational organization whose mission is to “Advance Ship Modeling Through Research”. We provide support to our members in their efforts to raise the quality of their model ships.
The Nautical Research Guild has published our world-renowned quarterly magazine, The Nautical Research Journal, since 1955. The pages of the Journal are full of articles by accomplished ship modelers who show you how they create those exquisite details on their models, and by maritime historians who show you the correct details to build. The Journal is available in both print and digital editions. Go to the NRG web site (www.thenrg.org) to download a complimentary digital copy of the Journal. The NRG also publishes plan sets, books and compilations of back issues of the Journal and the former Ships in Scale and Model Ship Builder magazines.

