cdrusn89
-
Posts
1,578 -
Joined
-
Last visited
Content Type
Profiles
Forums
Gallery
Events
Everything posted by cdrusn89
-
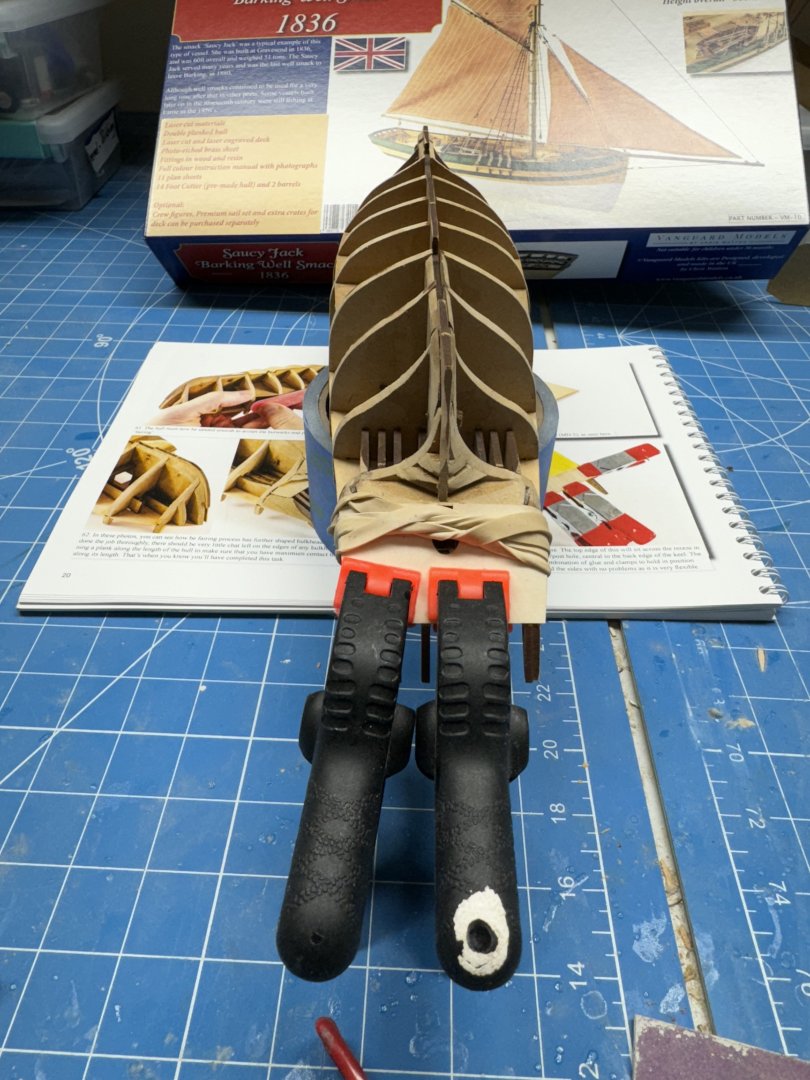
 One of the things I really like about the Vanguard kits is how quickly the hull structure goes together. Here after less than two days efforts I am almost ready to start planking. Once the lower counter dries (I used full strength PVA since you have to get the forward corners to wrap around the structure) I add the keel and stem and then "let the planking (first layer) begin!
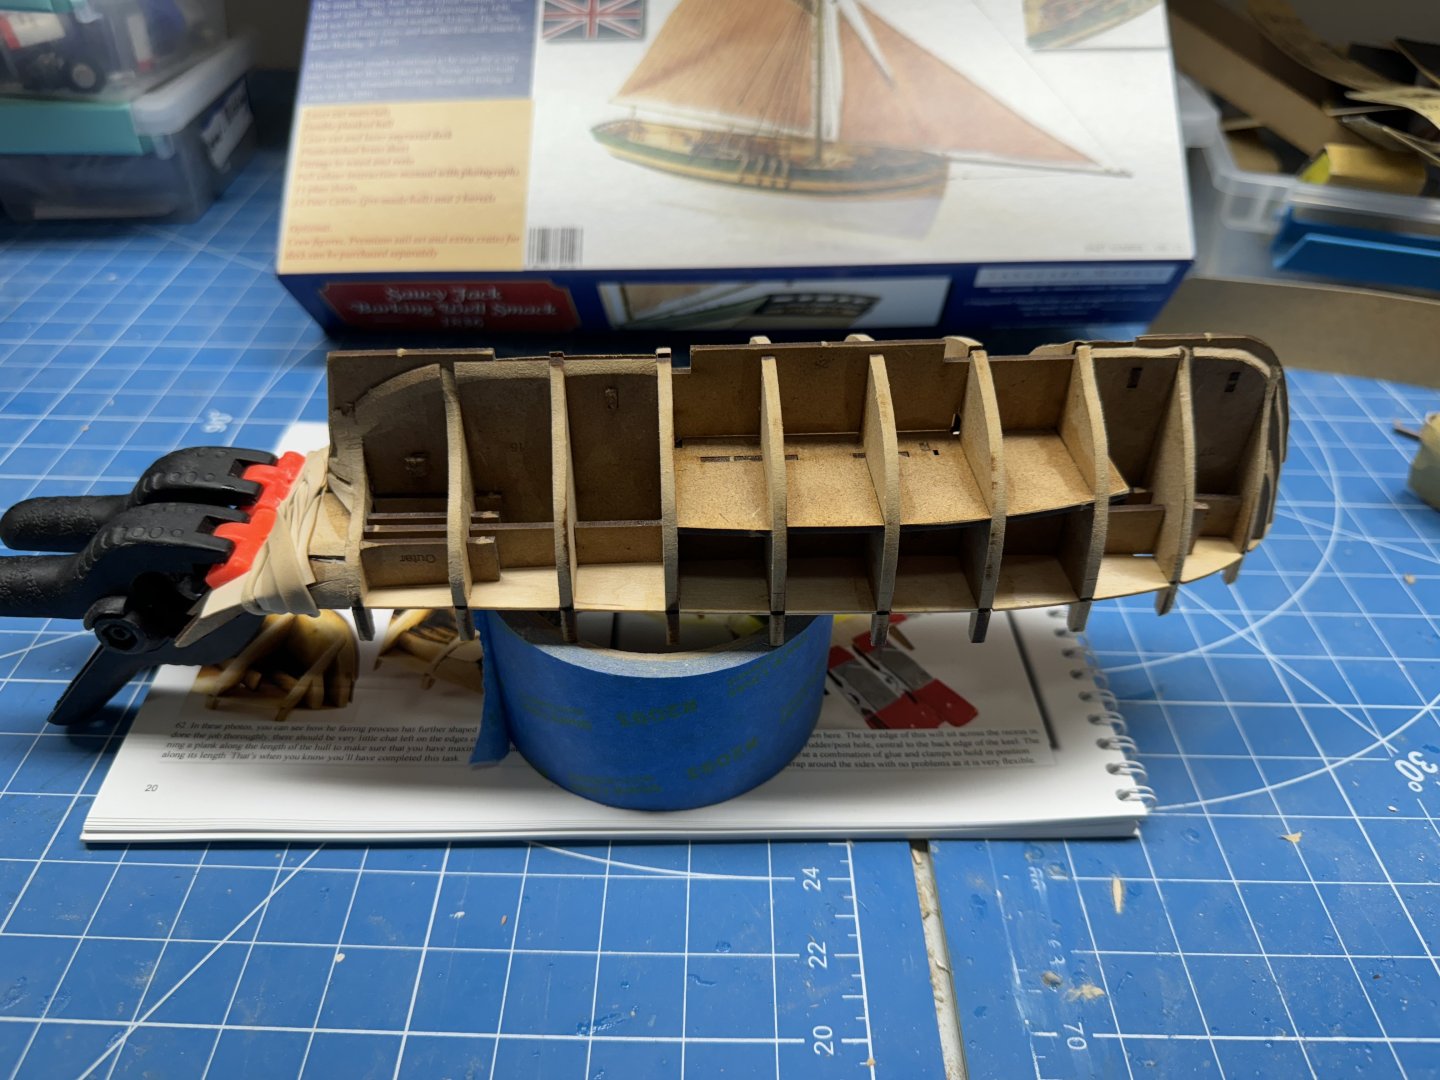
-
Girlfriend wanted a ship model to fit in a specific space, constrained both horizontally and vertically. This one fits the requirements so her we go. I have some experience with vanguard kits so think I know what to expect, more or less.
-
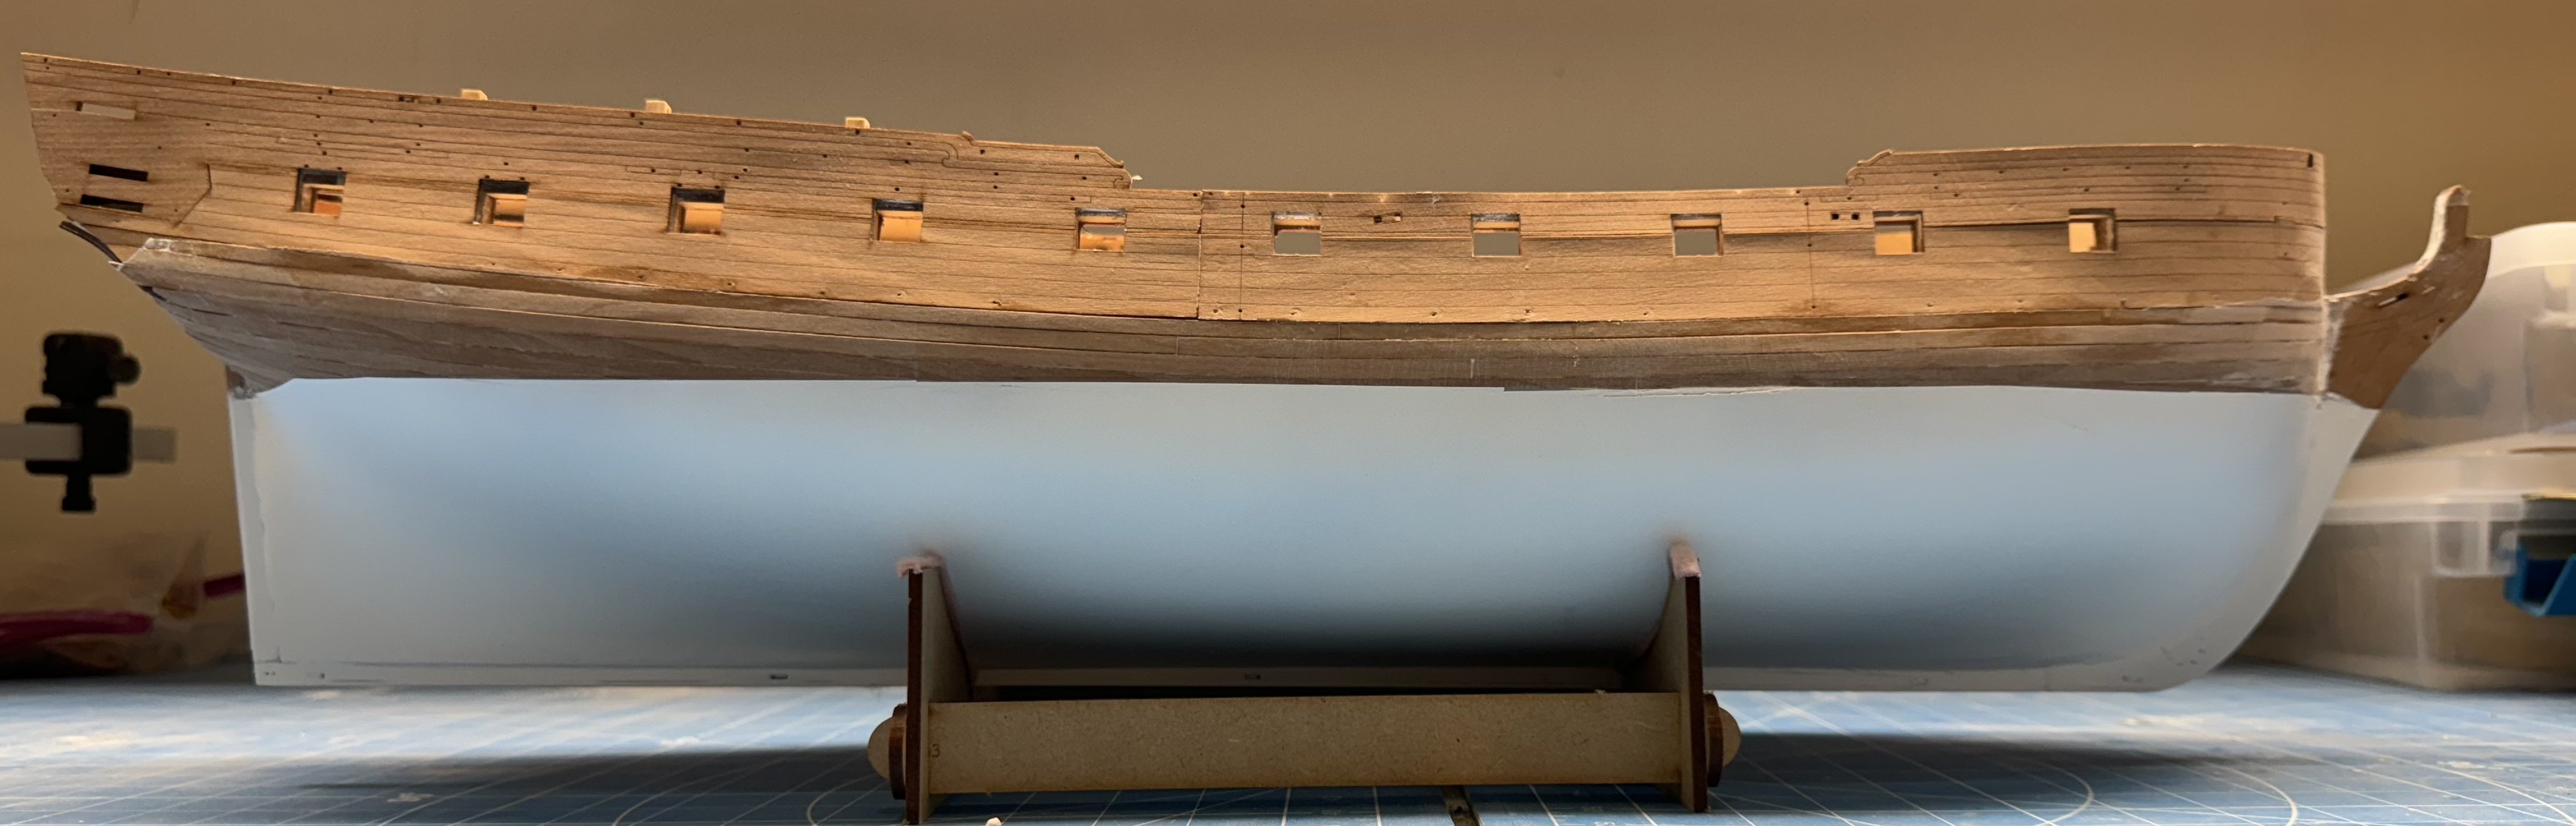
When I started to enlarge the gun ports I realized that one of the "unintended consequences" was that the gun ports (at least the aft four or five on the starboard side are now going too be to large and the provided covers will no longer fit. And when I trimmed the out bulwark I had to remove a goodly number of the pre-drilled holes which I am sure will cause a problem later. Soooo - I am going to pause the Sphinx hull construction and work on the spars, rudder, stove, capstan etc. and hope for an inspiration to strike or "she who must be obeyed" approves another Sphinx kit.
-
So the "plan" as far as I have thought it through so far: Finish adding the pieces to the stern. Cut out the interfering pieces at the top of the gun ports - otherwise some of the aft cannon will not fit. Adjust the top of the starboard bulwark so it meets the top of the stern fascia; tapering so that nothing is removed from the front section. Cut the bottom of the locating "tab" on the upper part number 45 so the tab is only 1mm thick (versus 2mm unaltered). This will have the part 45 sit 1mm lower than "normal". Thin from the top the upper part 45 to 1.5mm (versus 2mm) which will lower the top of the upper part 45 by another .5mm. Repeat these actions on the other part 45 and part 45a. Assume that a 1.5mm adjustment will be sufficient to bring the two sides into a least much better alignment. I have not yet figured out what the "unintended consequences" of these actions will but I highly suspect there will be some.

-
Thanks for the posts guys - it helps to have more than one set of eyes on the problem. I decided to proceed with the lower transom installation and then see how the windows look before taking any other action. In the meantime I am finishing up the yard arms - only four more to go.
-
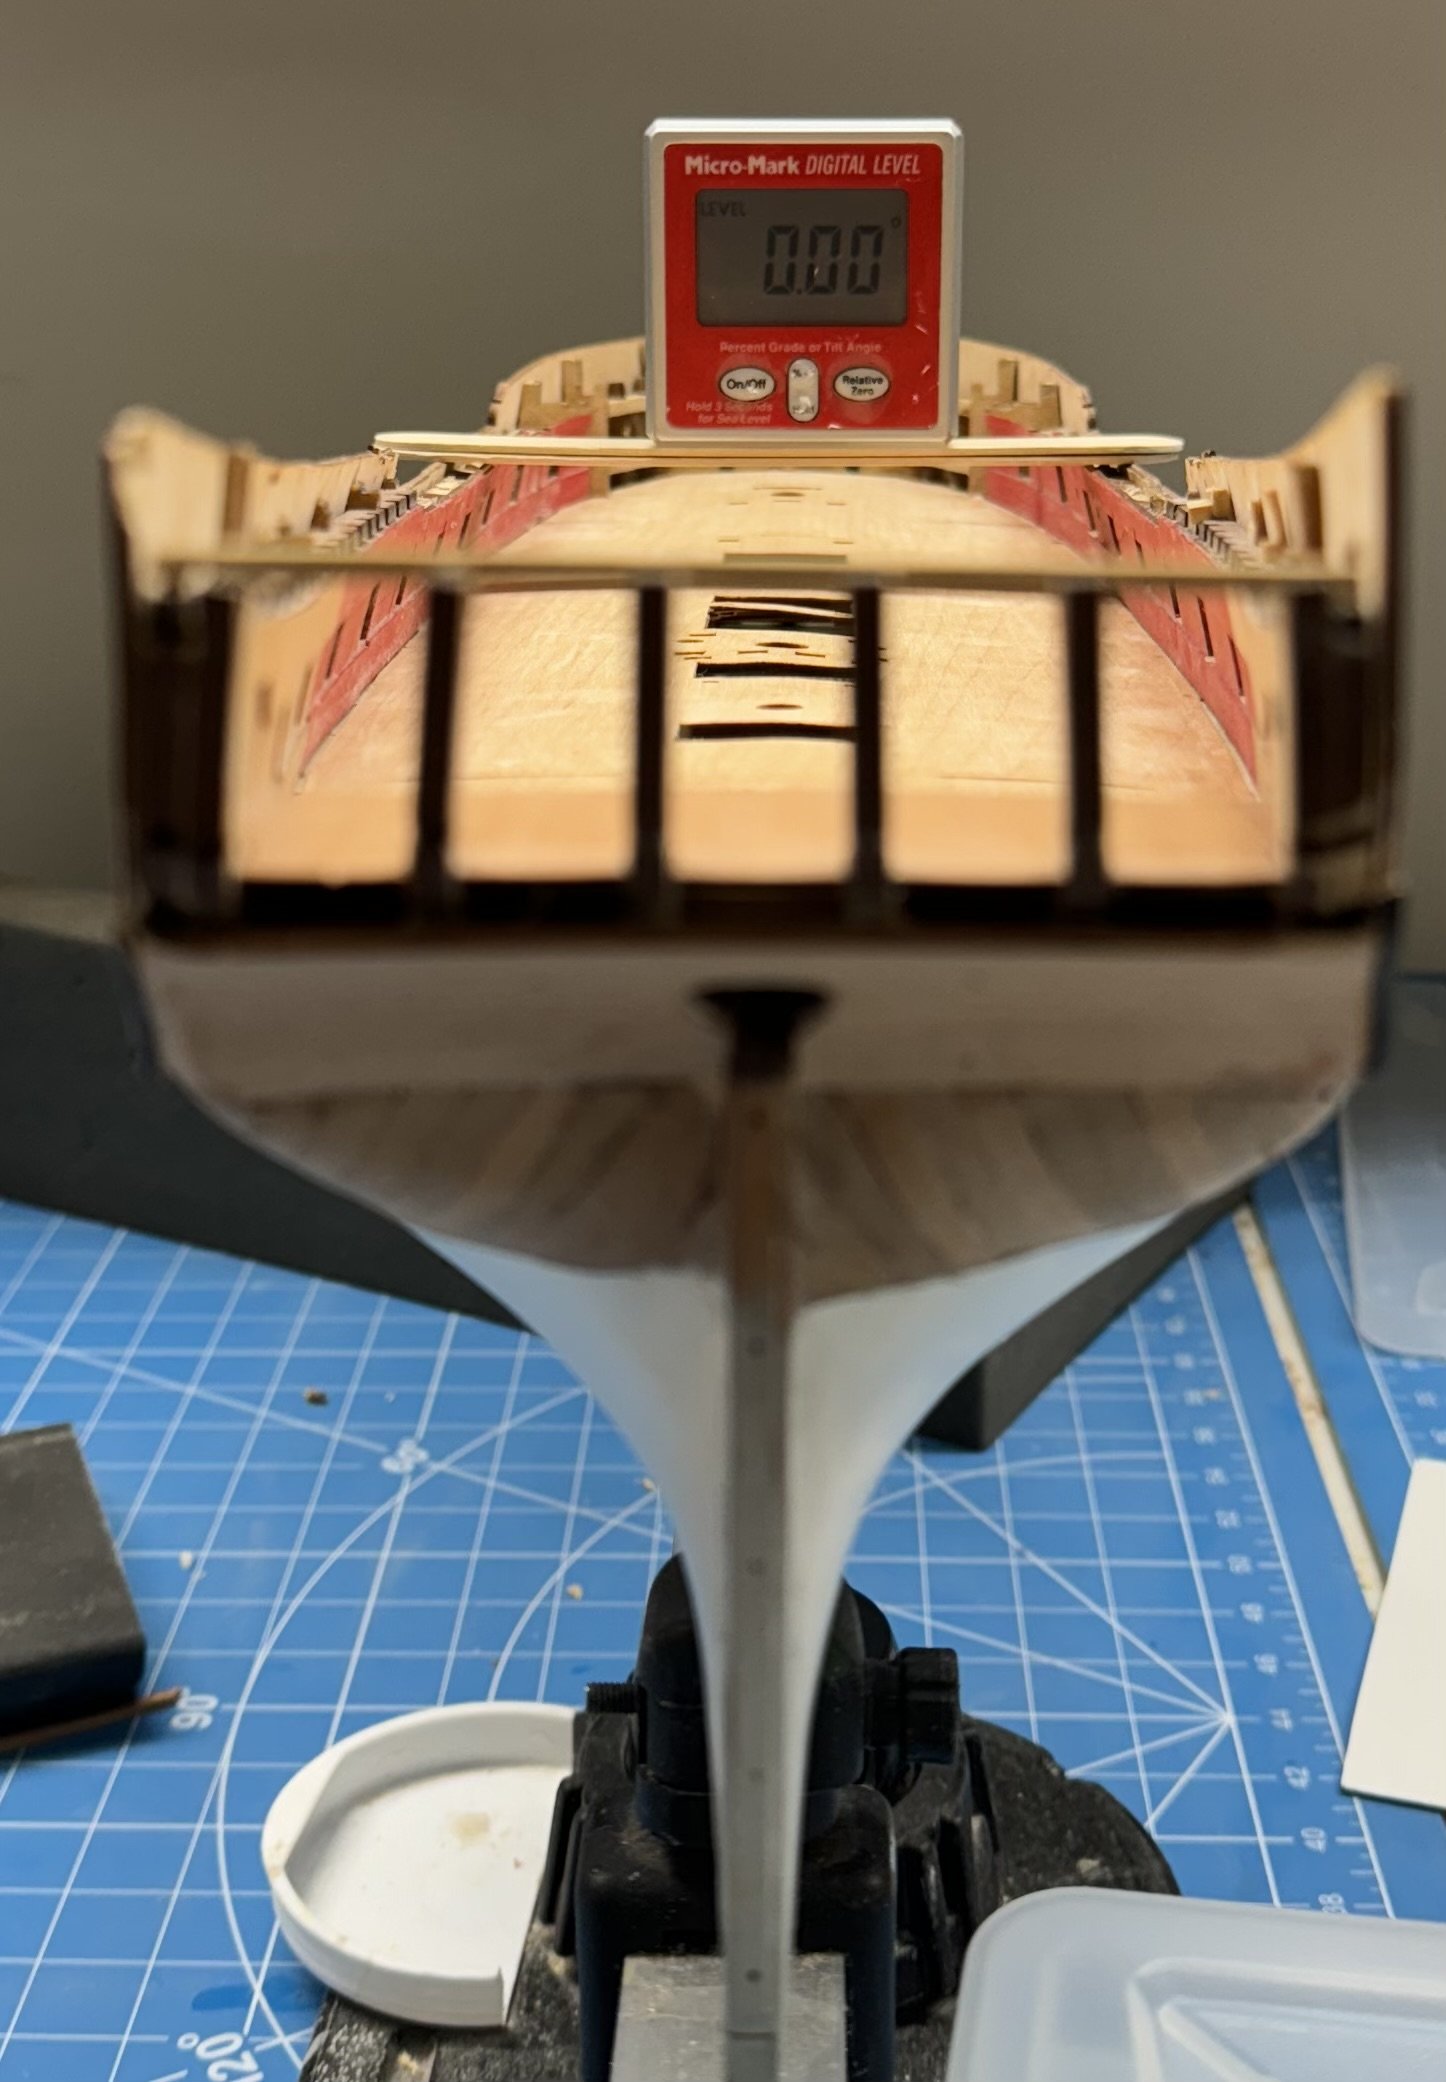
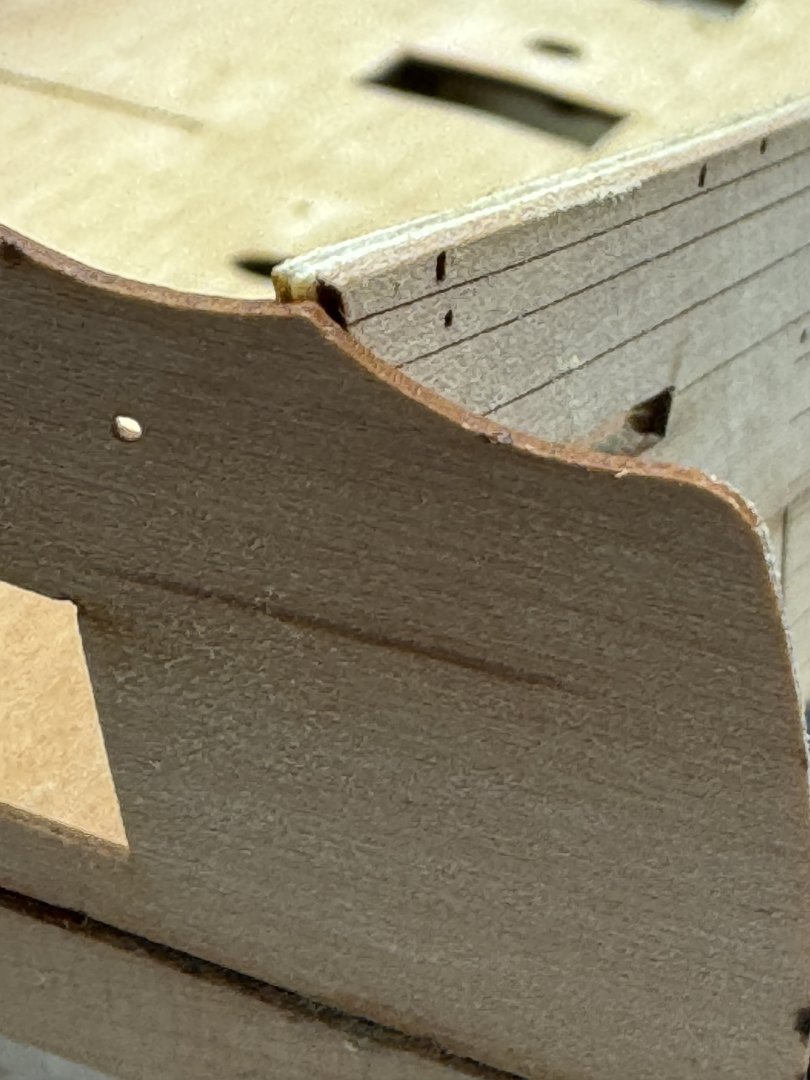
Well, not being able to leave well enough alone I decided to see what the impact of the misaligned sides might be. My first thought was one side of the qdeck beams would be higher than the other but I measured all 18 beam slots and they were less than 1mm different from one side to the other so it appears that will not be a bigger issue than it would otherwise (on Wincheslea it took me quite a bit of effort to get the qdeck beams to fair correctly). So I decided to check the locations of the qgallery slots - If I am correct then the starboard side should be 2mm (+ or -) higher than the port. So I put the hull back in the Amati holder and adjusted to get it as level as I could. It appears the mis-match is only on the after piece of the lower bulwark so I put the digital level across the hull amidships. And using my digital height gauge confirmed that the starboard side slots for the qgallery is 2mm higher than the port. So the qgalleries will be misaligned by that much unless I take measures (not sure what those might be at this point) to correct it. And yes, I still have to fix the waterline issue at the stern.

-
Thanks Kurt - I am going to put Sphinx on the shelf for now. I have another small Vanguard kit that I am going to work on while I consider my options here other than starting over with a new kit and throwing out all the stuff I won't need/use (although having a second set of parts is not necessarily a bad thing).
-
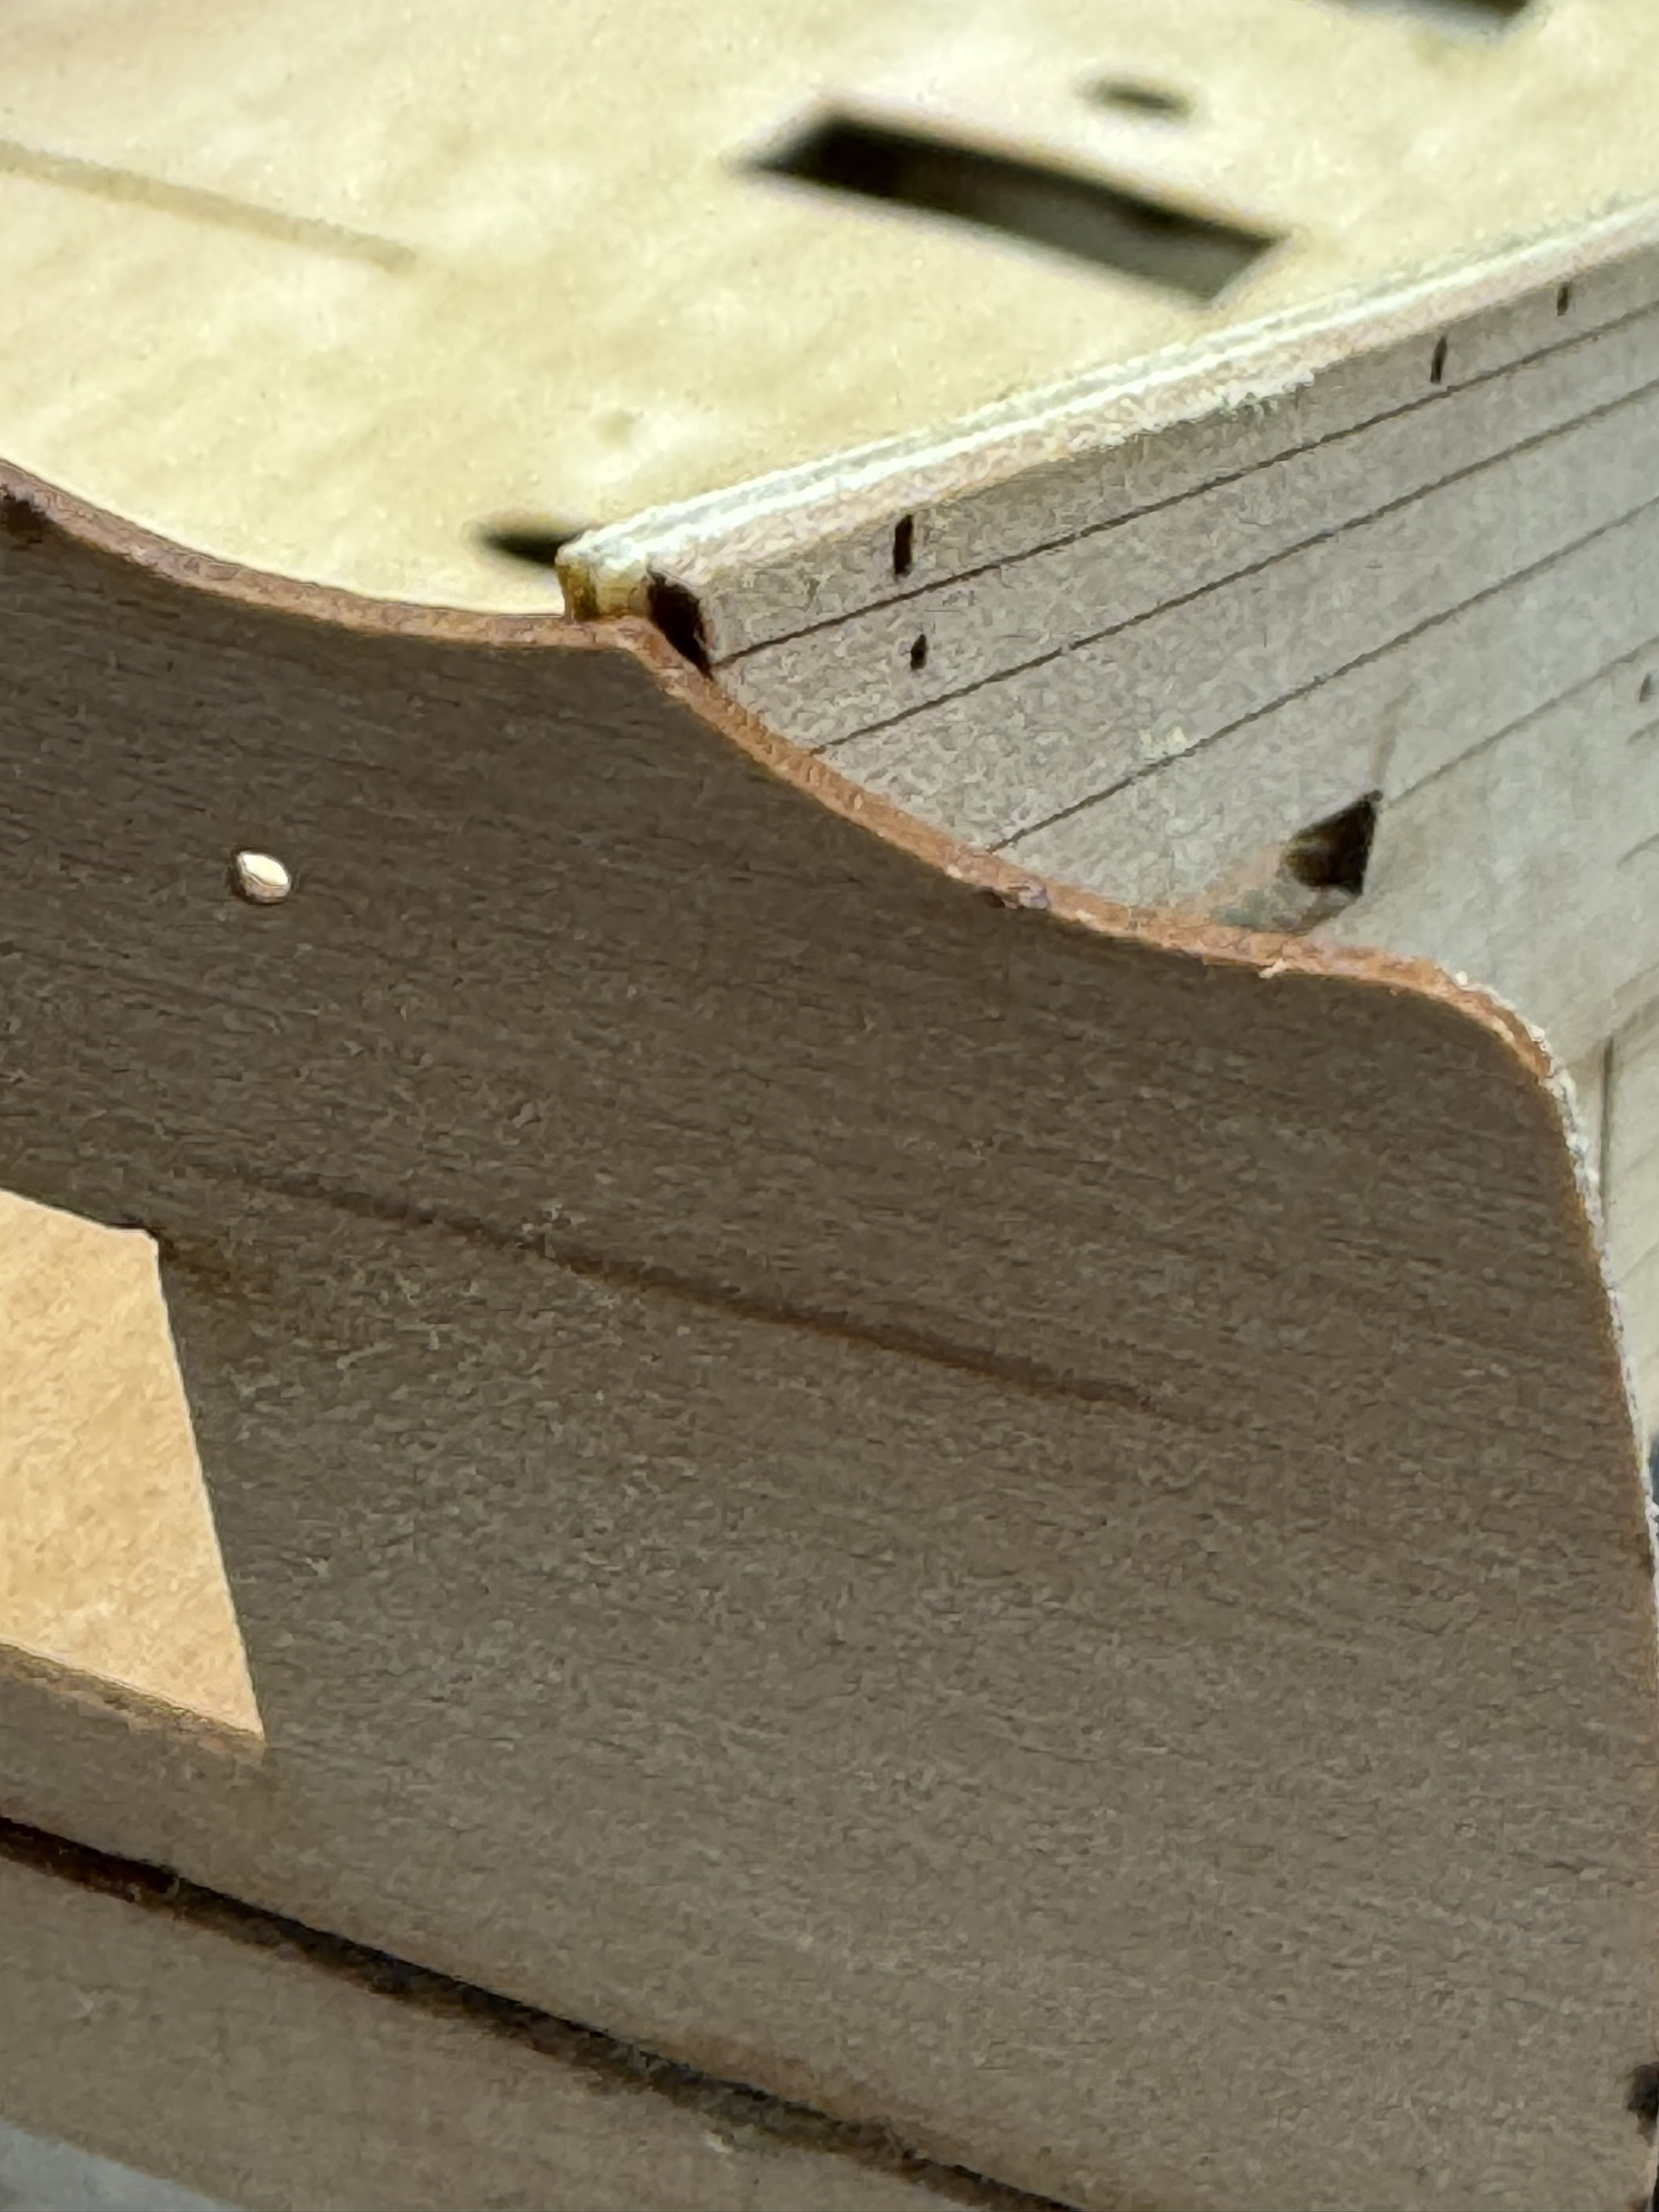
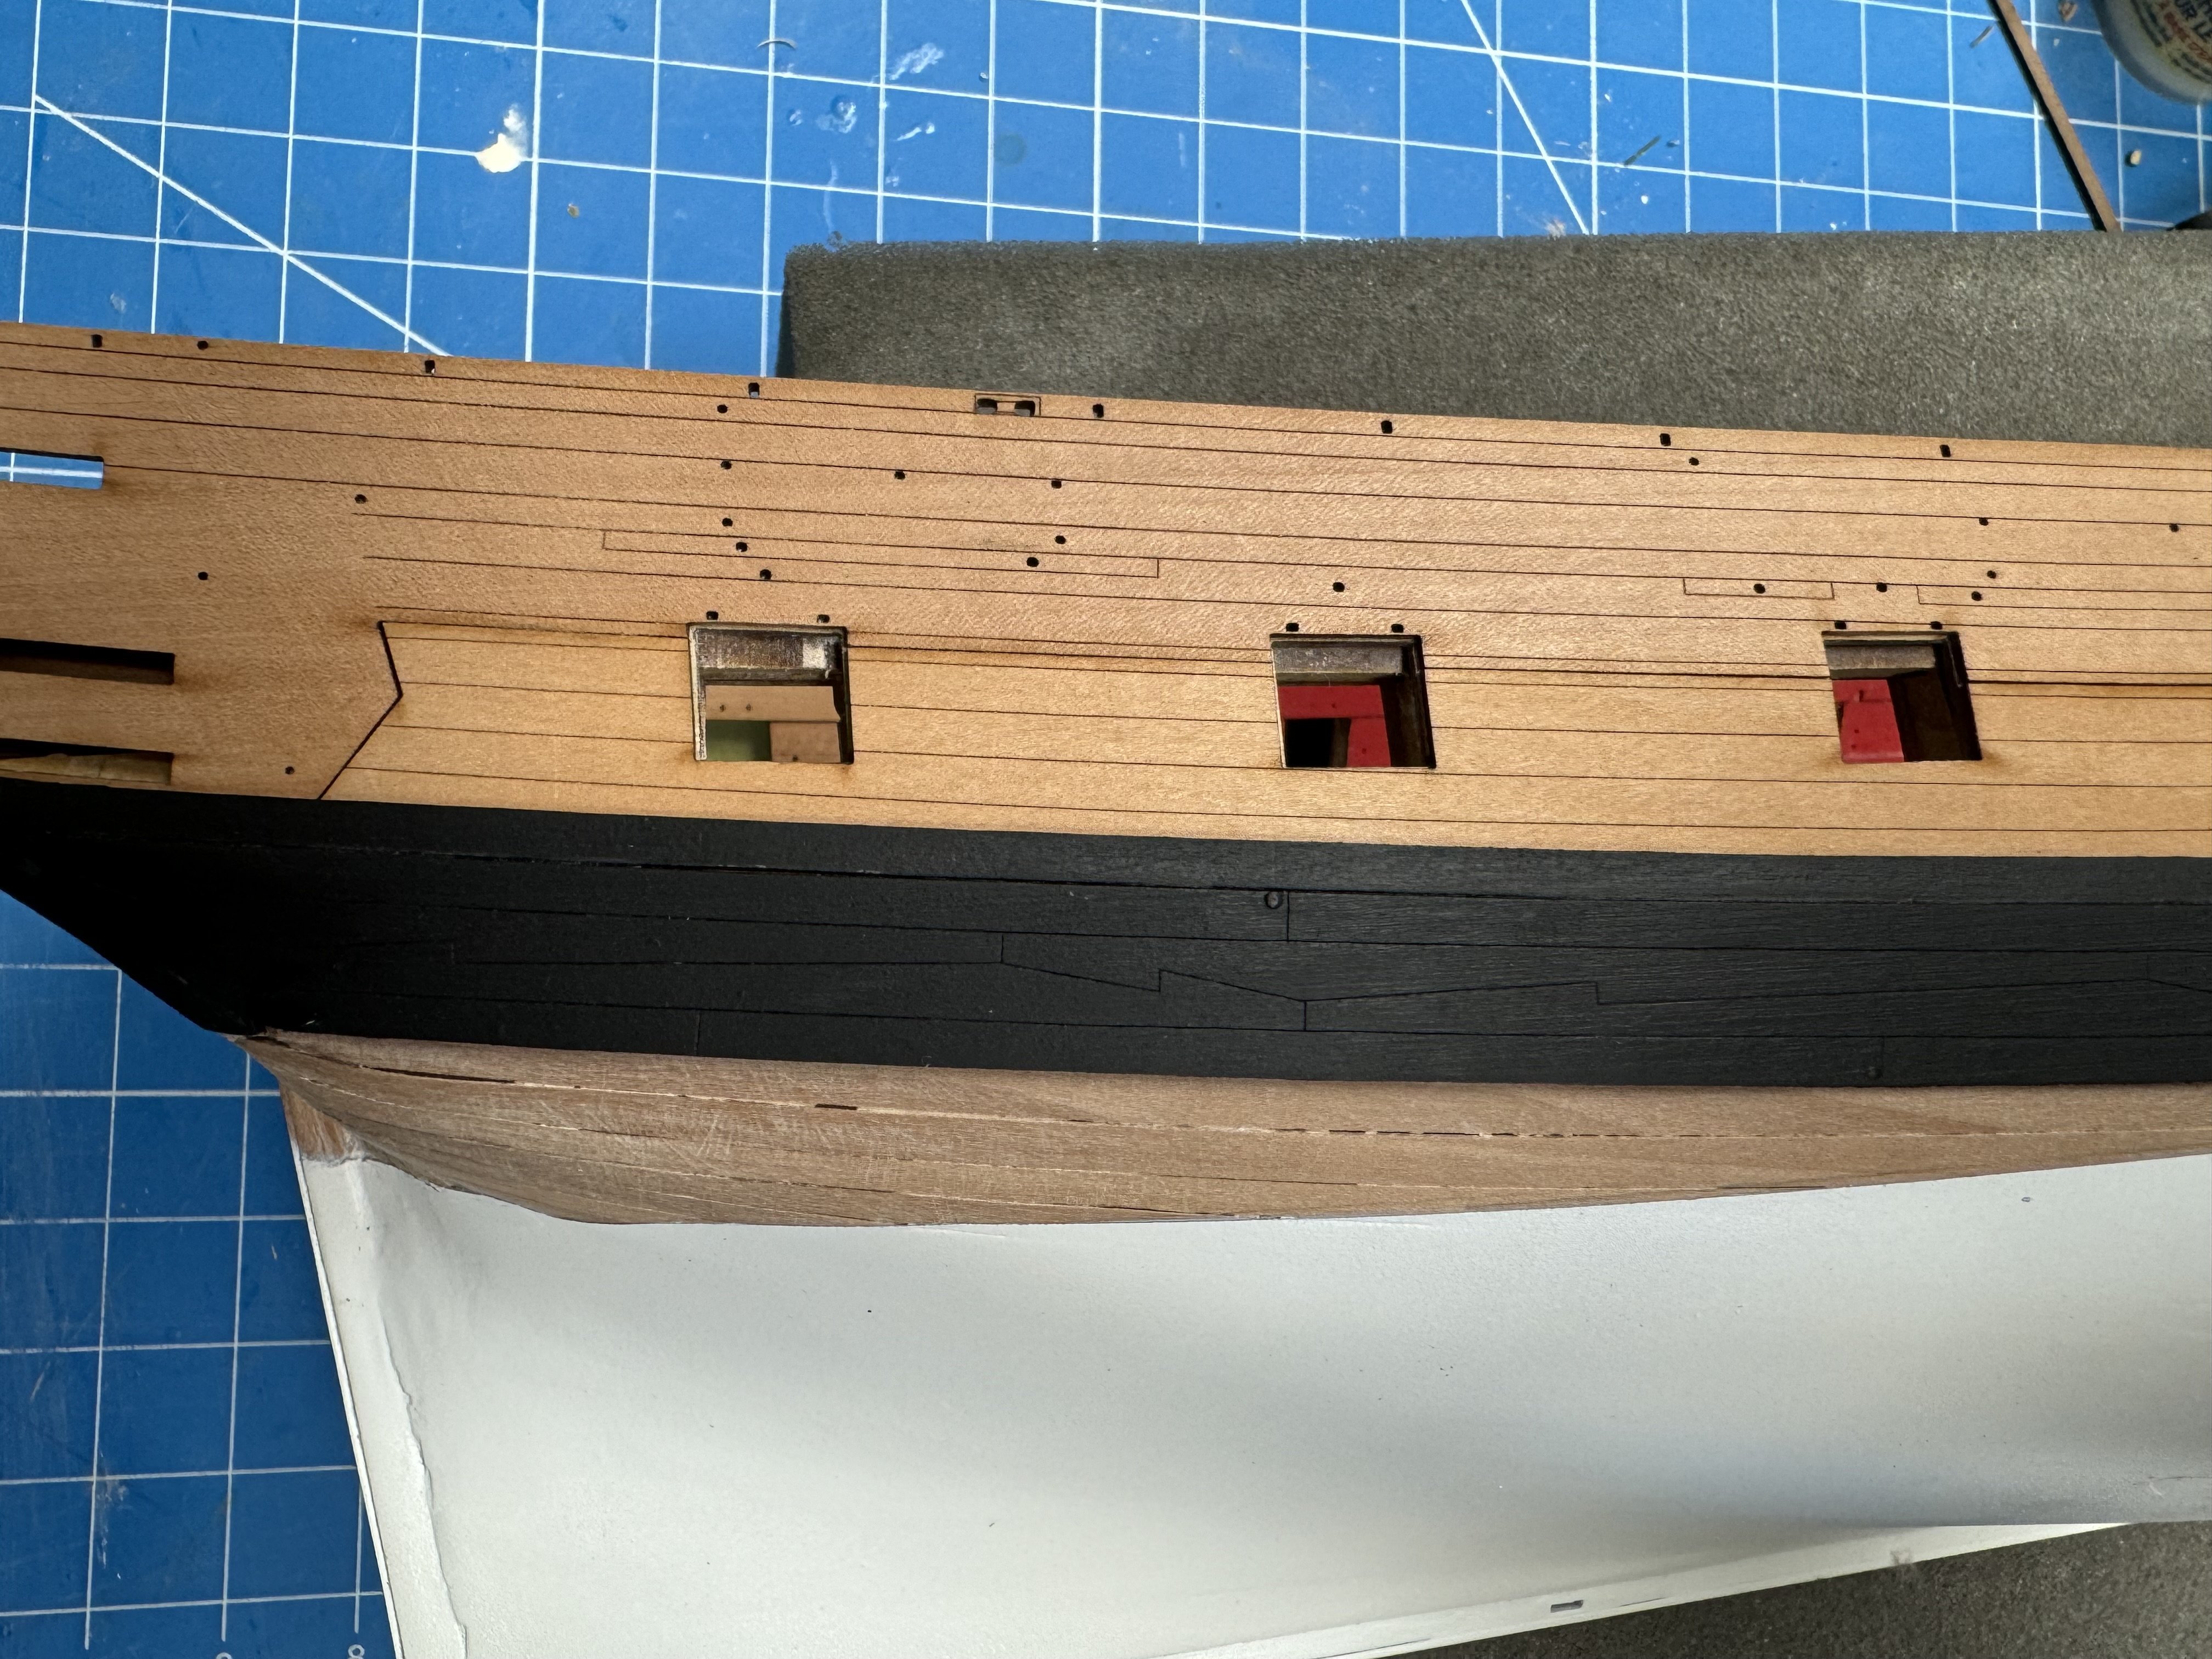
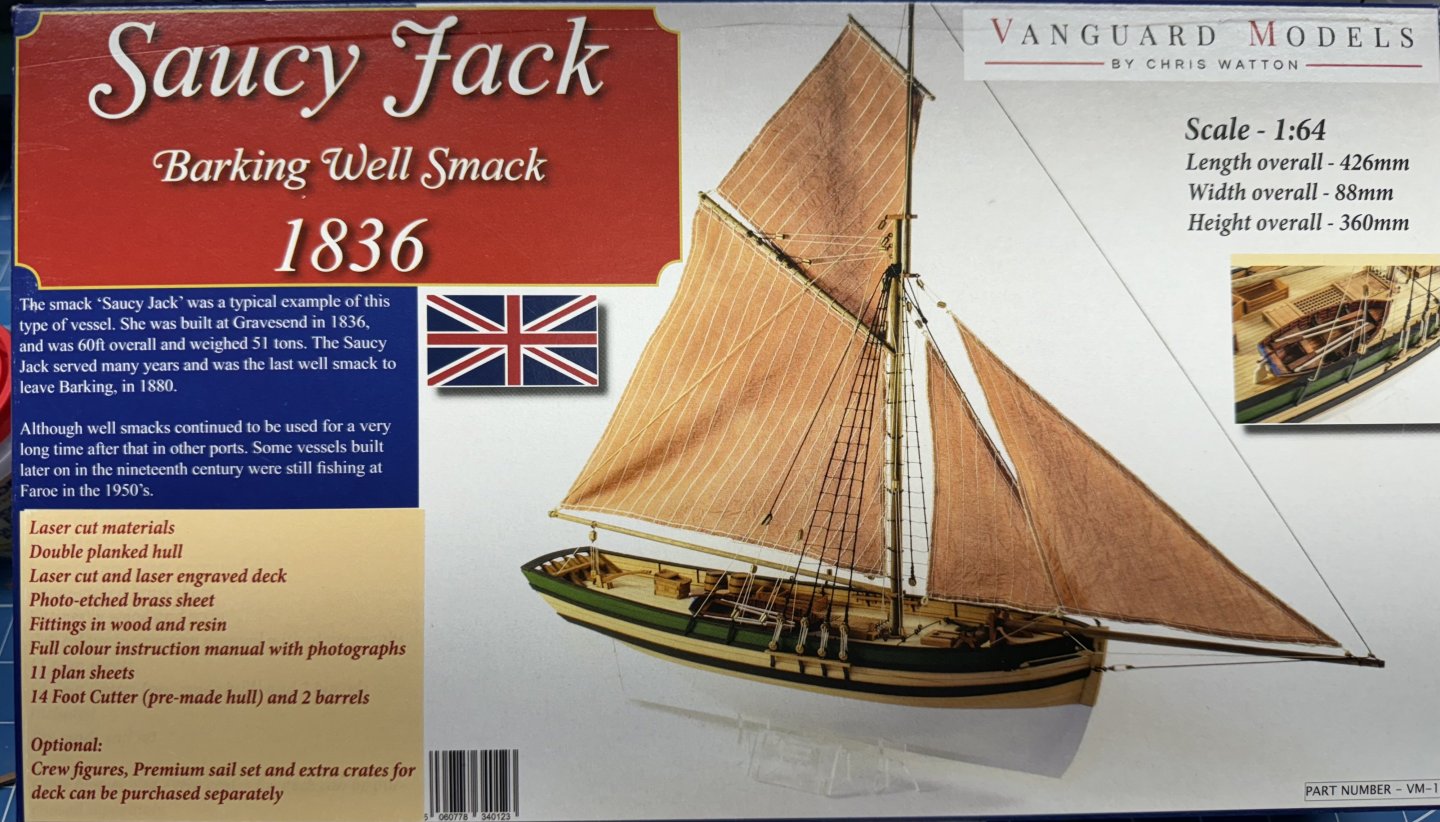
Just when I thought things might be going as planned I noticed this: It would appear that I got the outer bulwark on the starboard side on with the stern higher than it should be. I guess it was the lower, outer bulkhead that is too high but I just noticed it now. As you can see the inner bulwark is about 2mm lower than the outer at the rearmost gun port. The gap gets progressively smaller until at gun port 6 it is "gone". Clearly this is going to cause a problem fitting the stern transoms, windows et al. Not sure what to do at the moment but am trying to figure out what my options might be.
-
Allan, I can take no credit for simply adding the parts provided in the kit. I did deviate from what was provided in the kit and made the masts starting with rectangular stock instead of the provided dowels. Same with the yards arms as many of them are octagonal in the center section. I find it easier to make something octagonal round than something round octagonal.
-
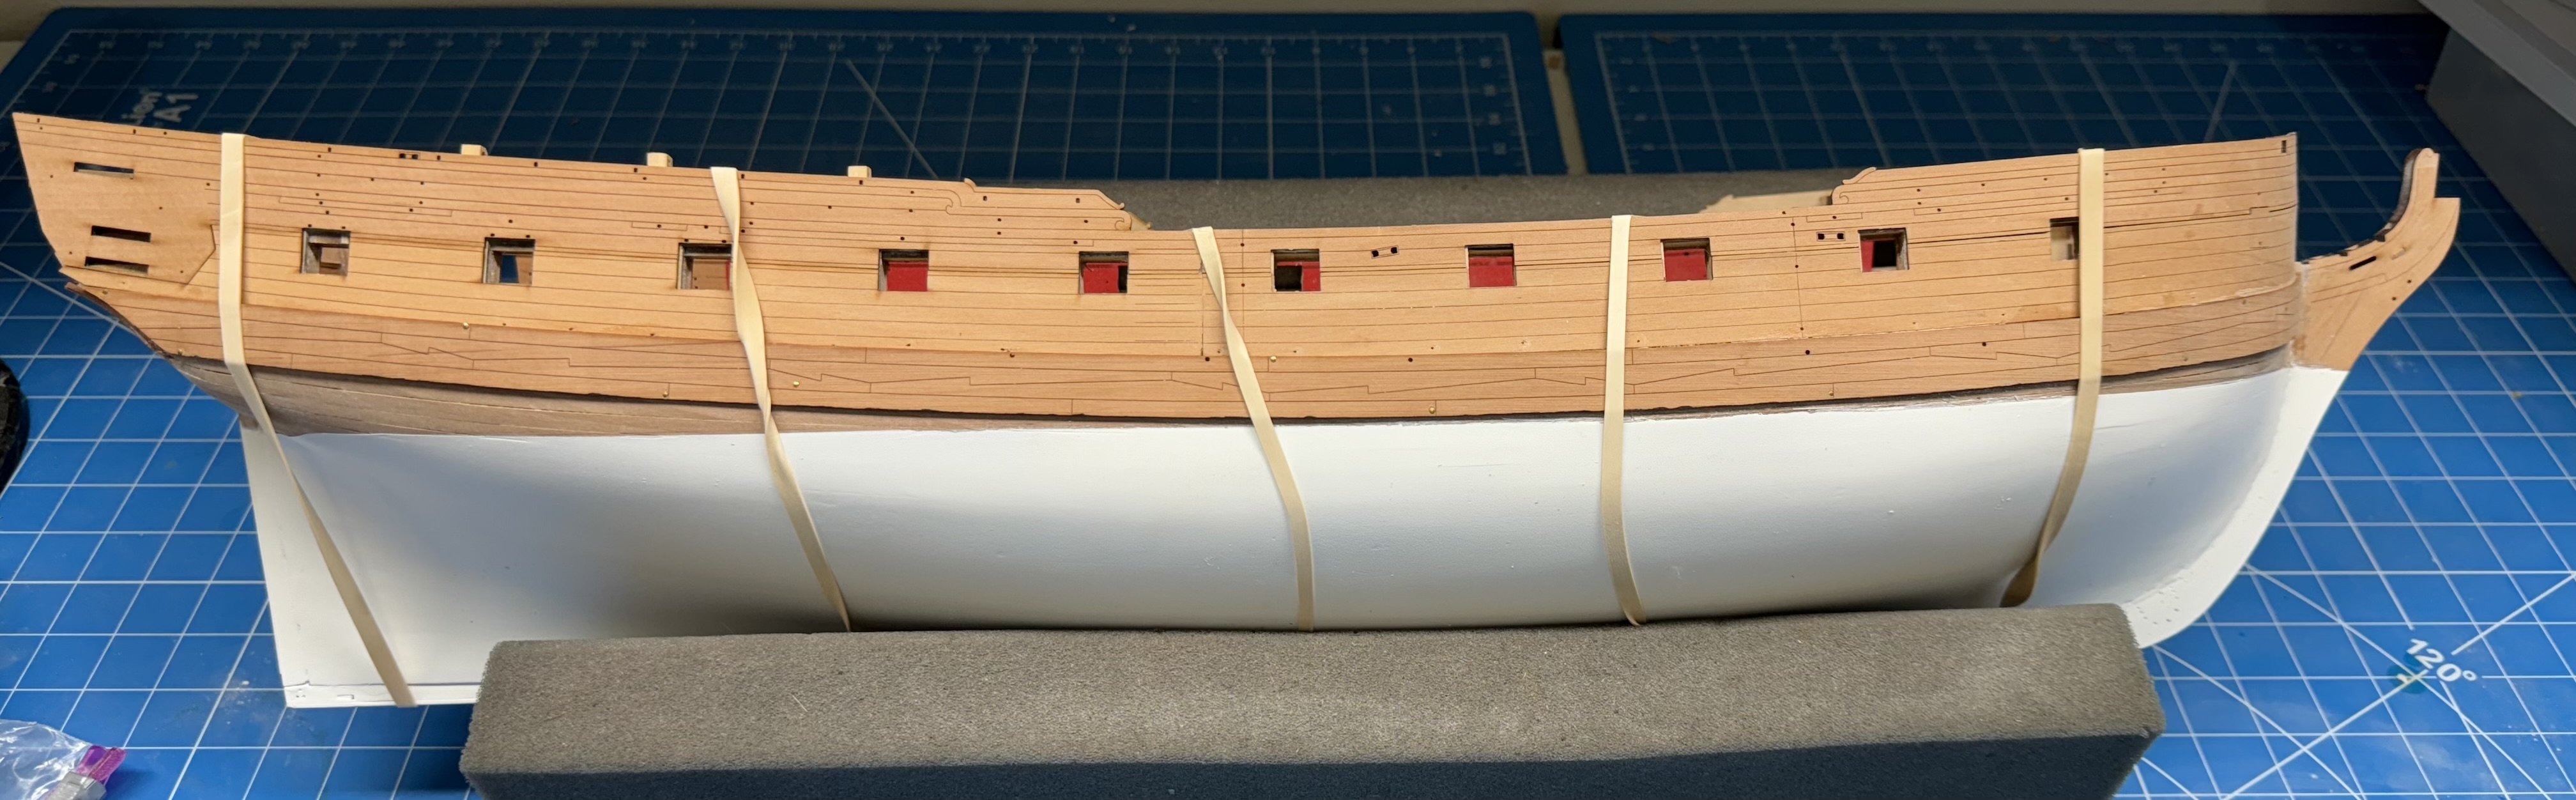
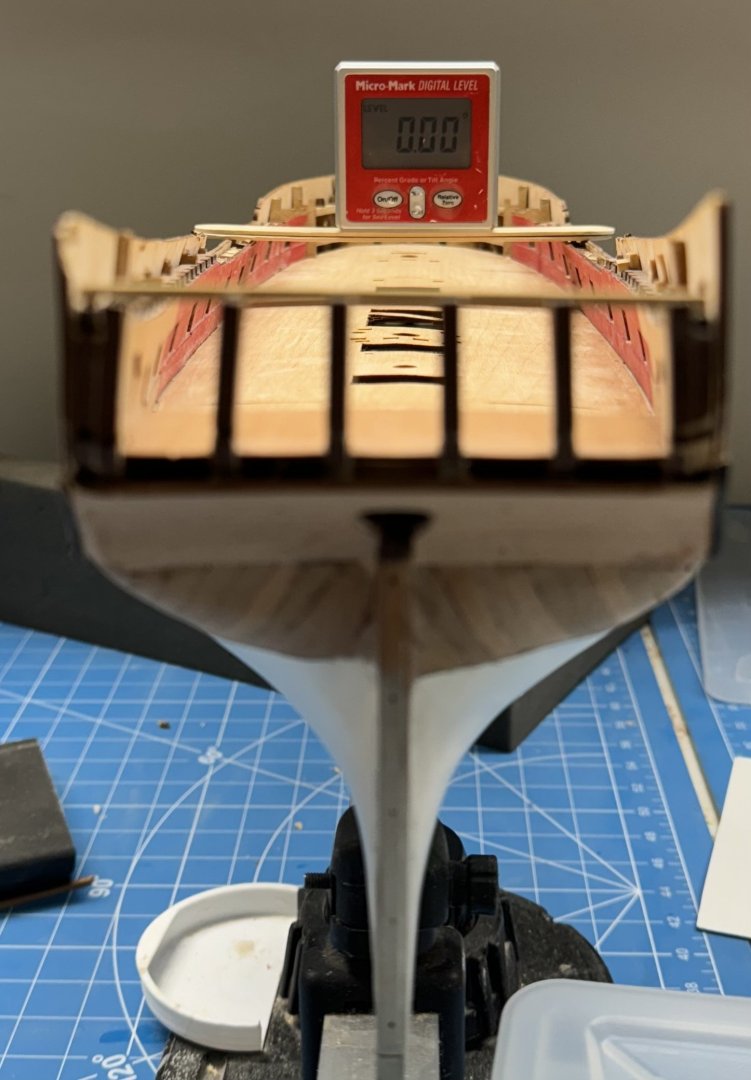
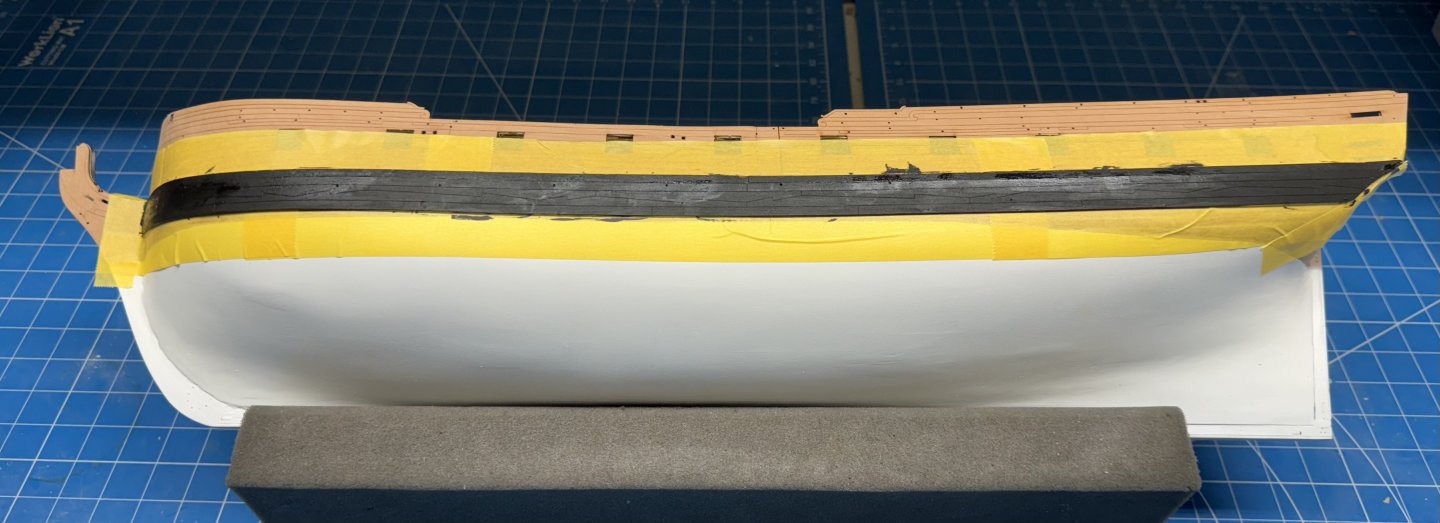
I installed the pre-bent wales on the hull using a combination of dilute white glue and pins. I used a combination of 60/40 PVA and a drop or two of medium CA to add the " Strip Above Main Wales" on the port side. I had originally intended to paint these pieces completely black before installing but given they are only half as thick as the wales thought better of that remembering how the liquid in the dilute PVA caused various other thin parts to curl I opted to just paint the upper edge before installing. That limited painting did not cause any twisting/curling and the two port side pieces were glued on without incident. Not trusting my less than steady hand I decided to mask off the area above and below the wales before painting by hand. I recognize that the instructions paint this and the quarter gallery backgrounds at the same time but since I am not spraying these it does not (IMHO) make any difference when the painting is done. So here is the port side after painting before the masking tape is removed. I did not remove the pins but just painted over the heads. probably less unsightly than the empty holes but then maybe they would be mistaken for small scuppers.
-
Mugie - Thanks Paint had no effect on the wood - other than turning it black. I thought about doing both edges but the upper edge will be mostly covered by the "Strip Above Main Wales" parts numbers 71 - 74 - which I will paint black before installing.
-
Starboard side wales in place a glue setting. I put a pin in all the holes that were not scuppers. I painted to bottom edge black before gluing it on so I won't have to try and get a clean edge at the bottom - not that it being unpainted would be all that noticeable - it does still have the laser char on it. I am not sure what is going to happen at the stern as the wales seem to be a bit short of covering the transom. Maybe a "fashion piece" is included with the kit or I may have to make my own.


-
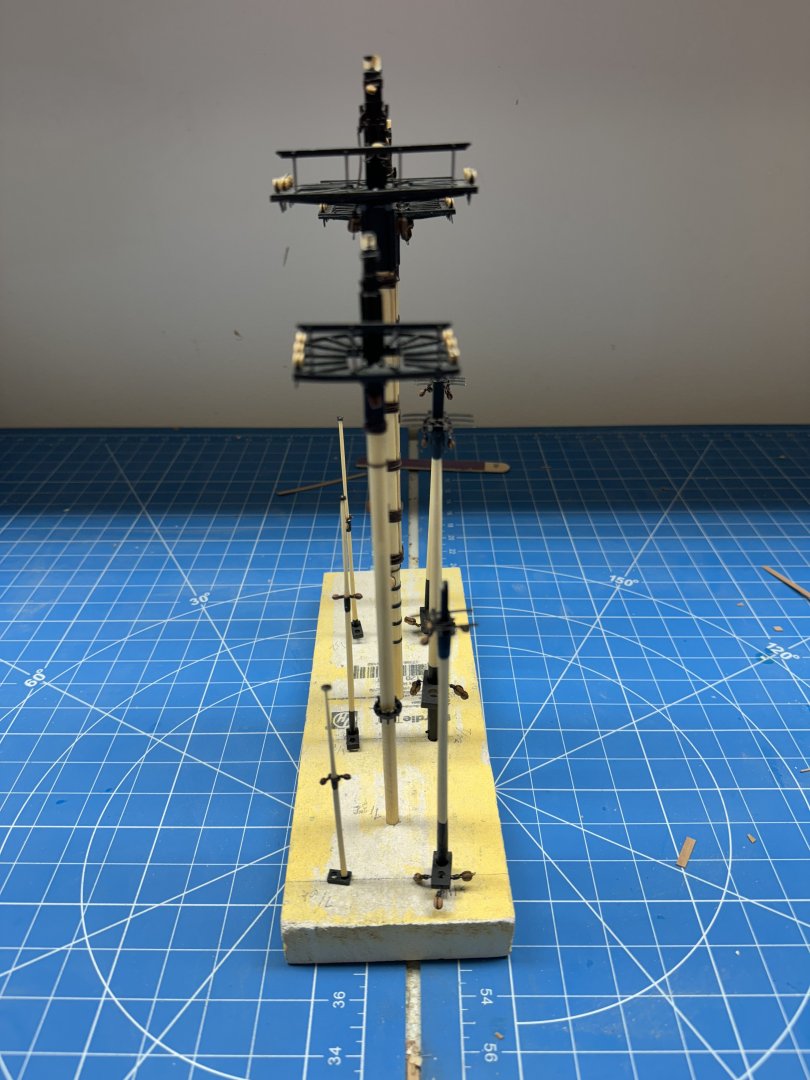
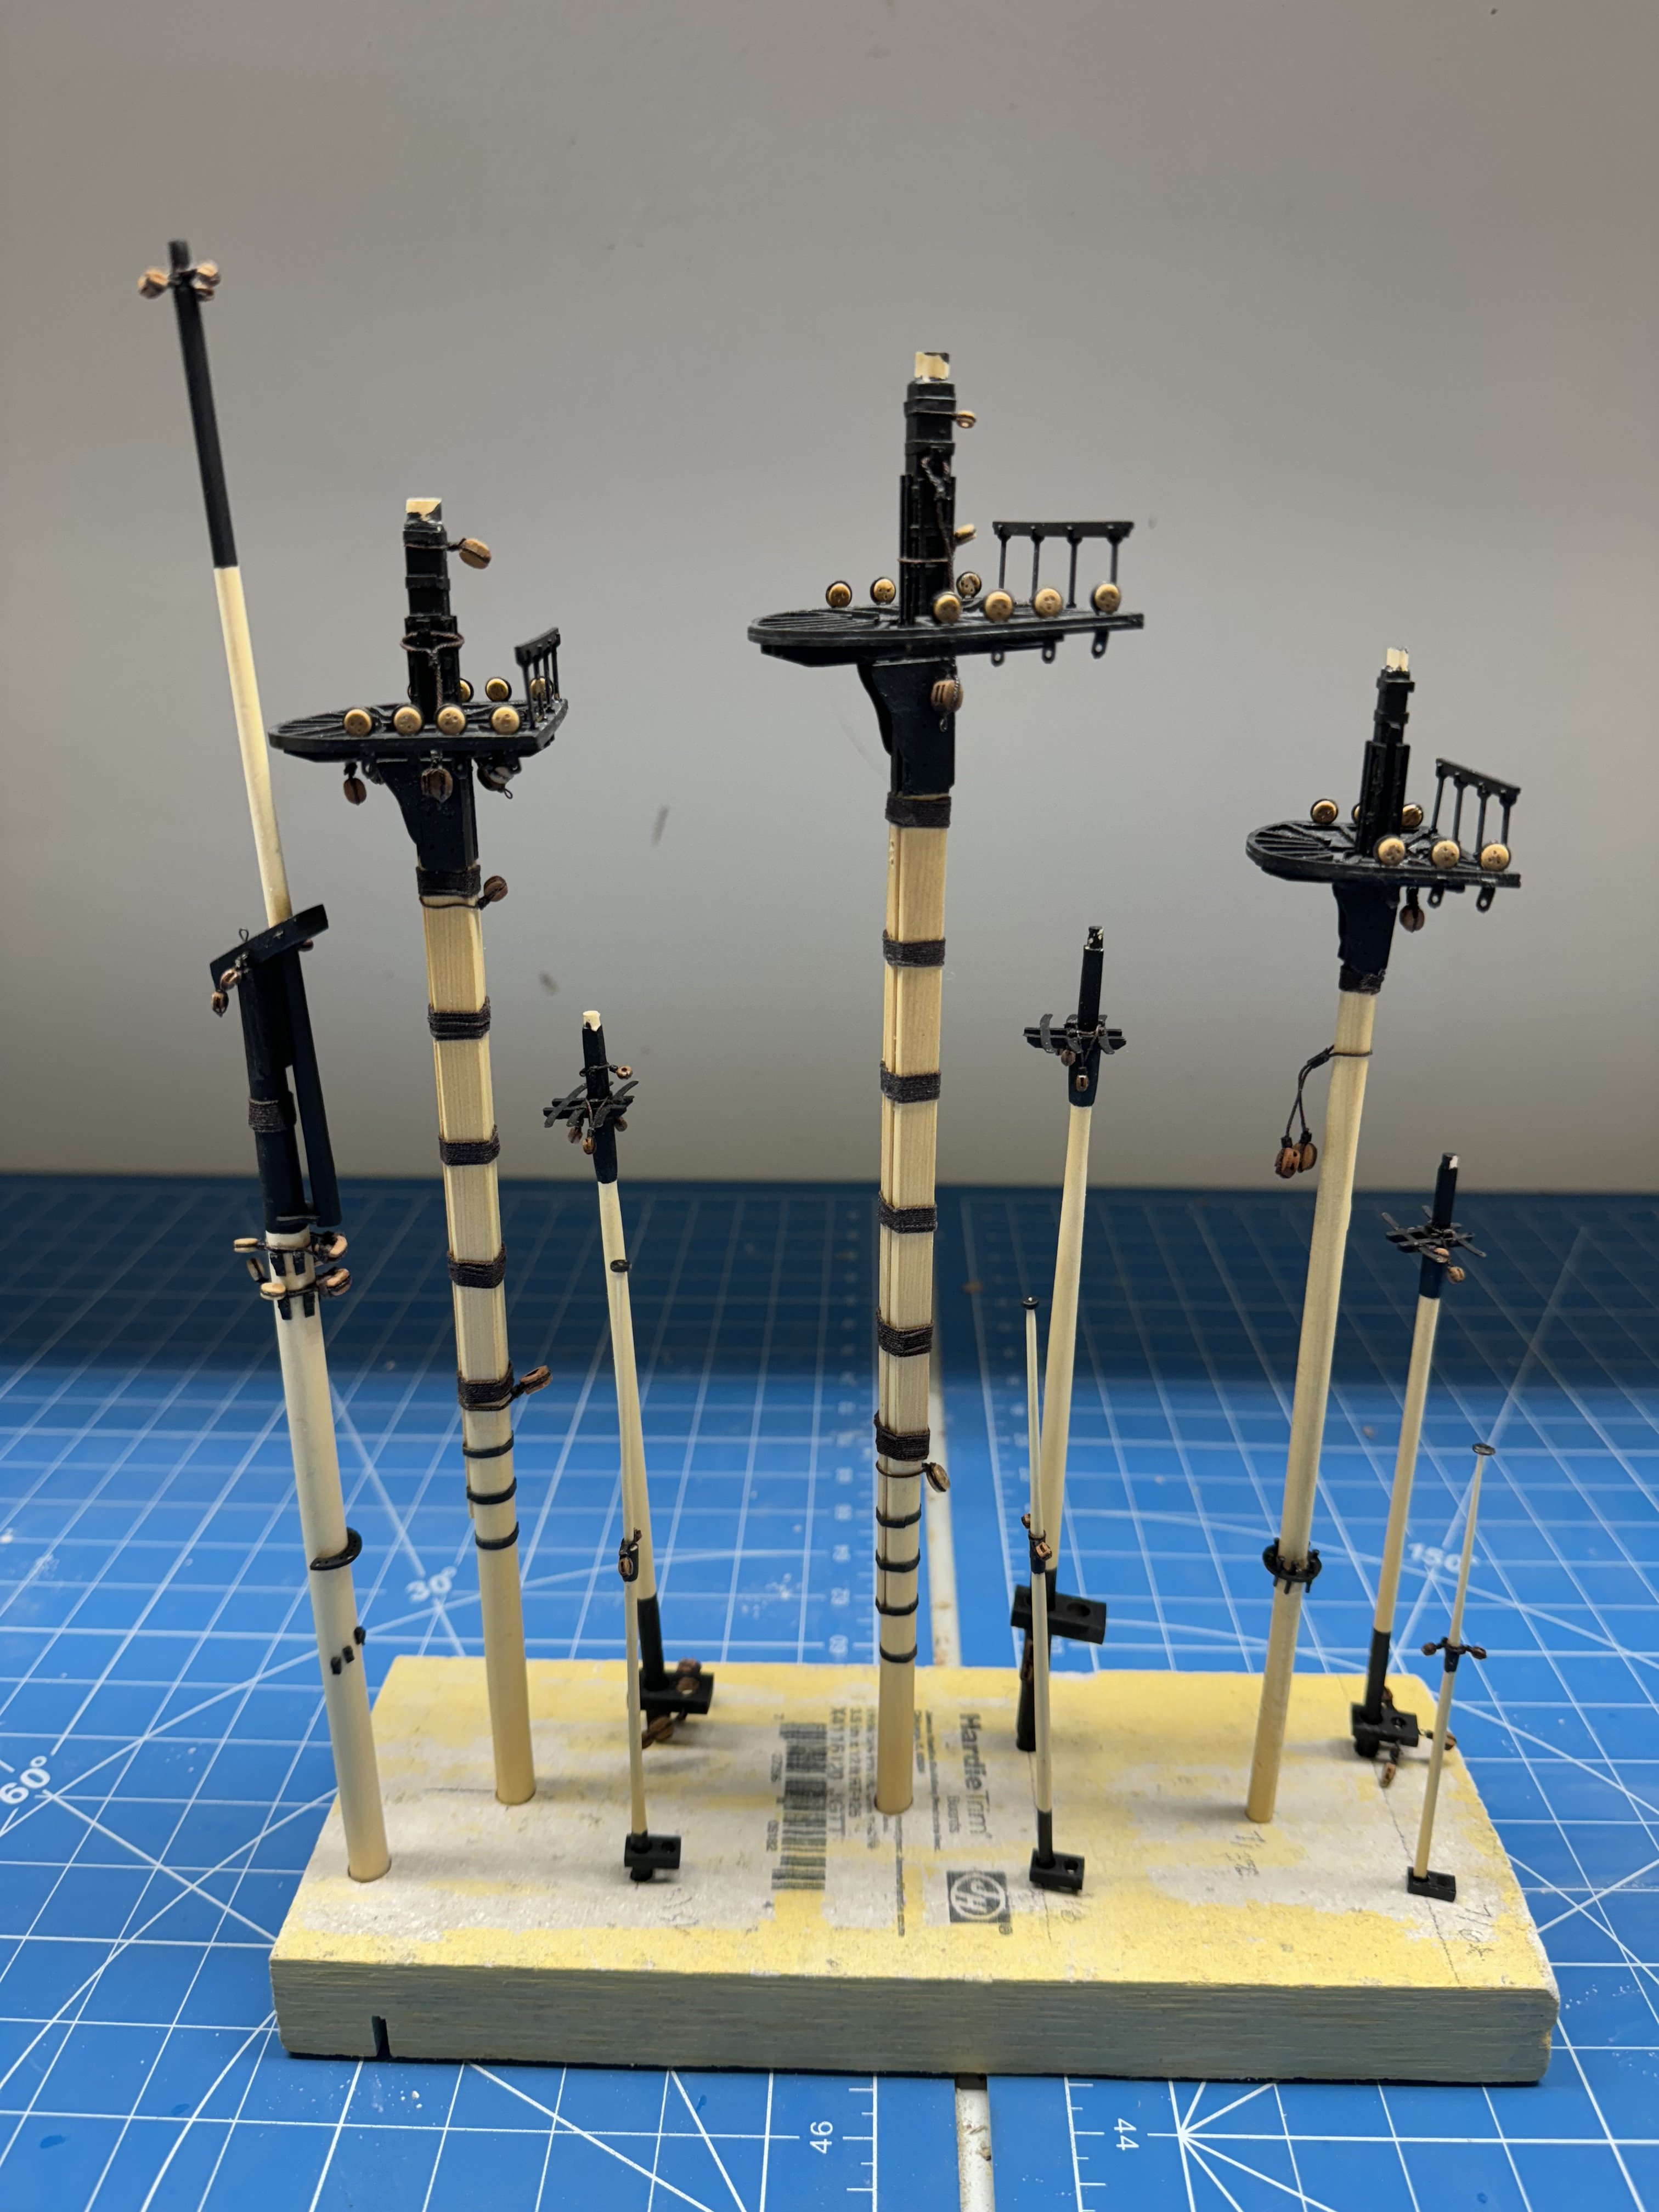
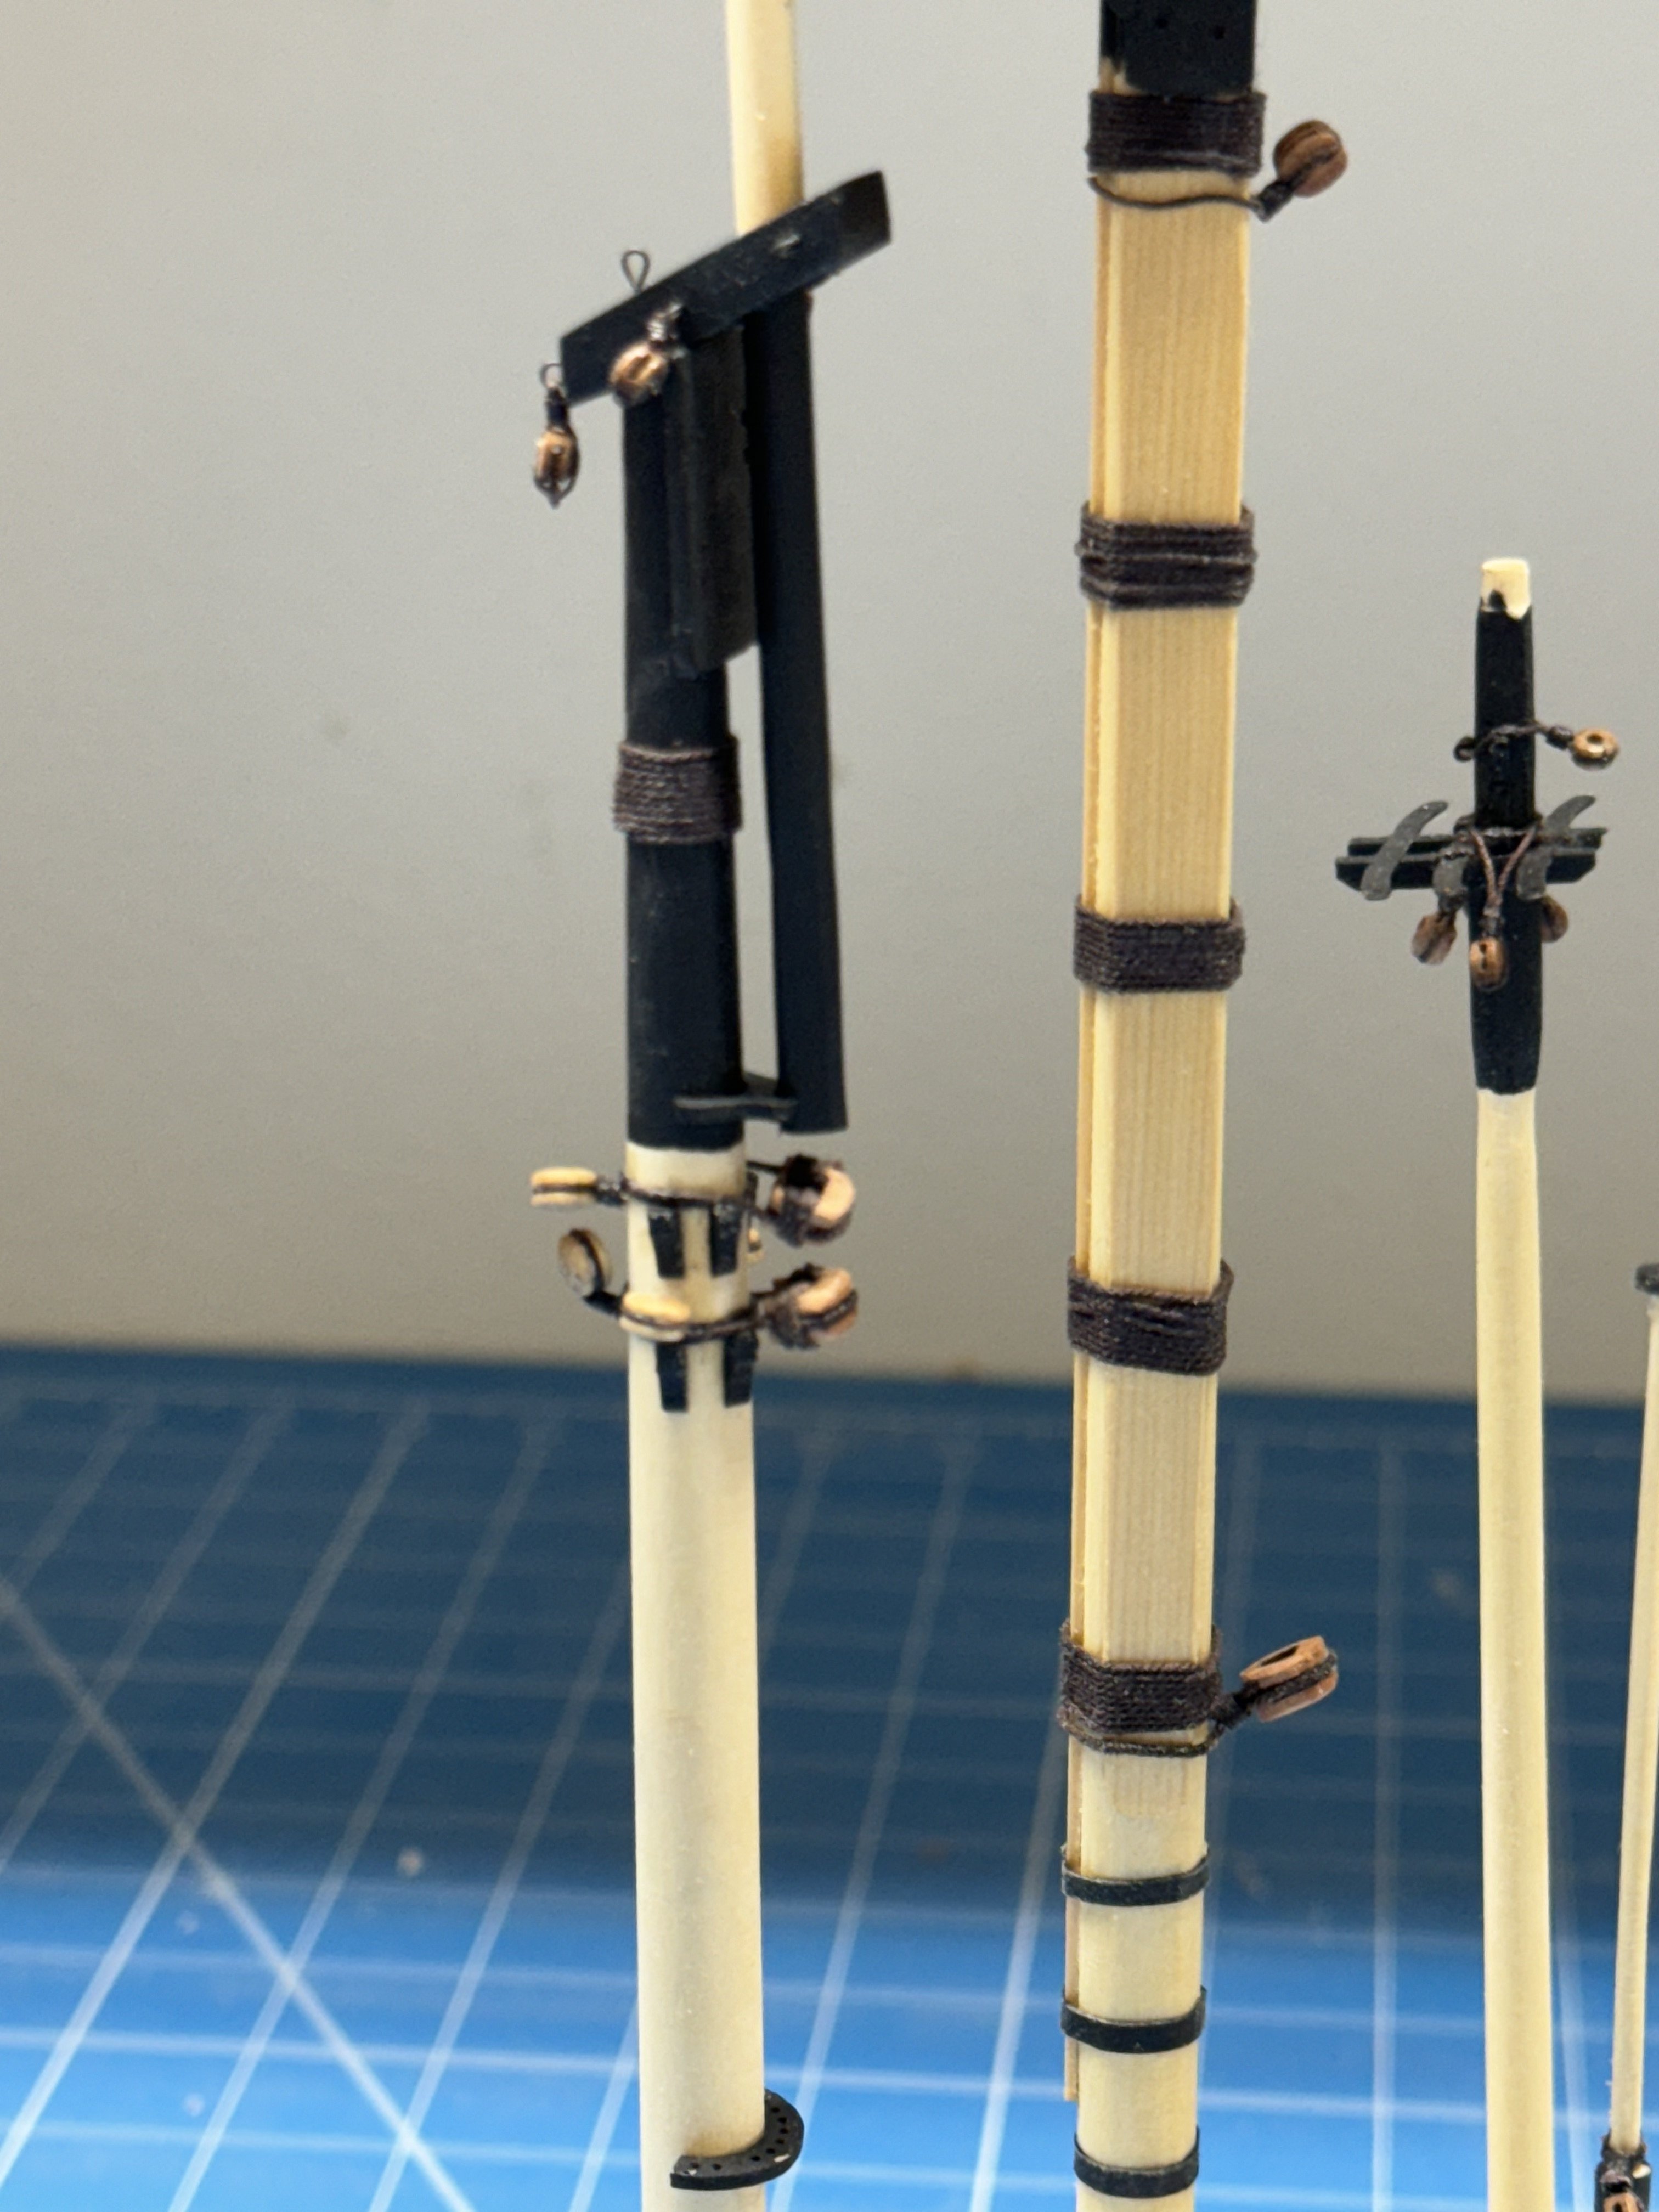
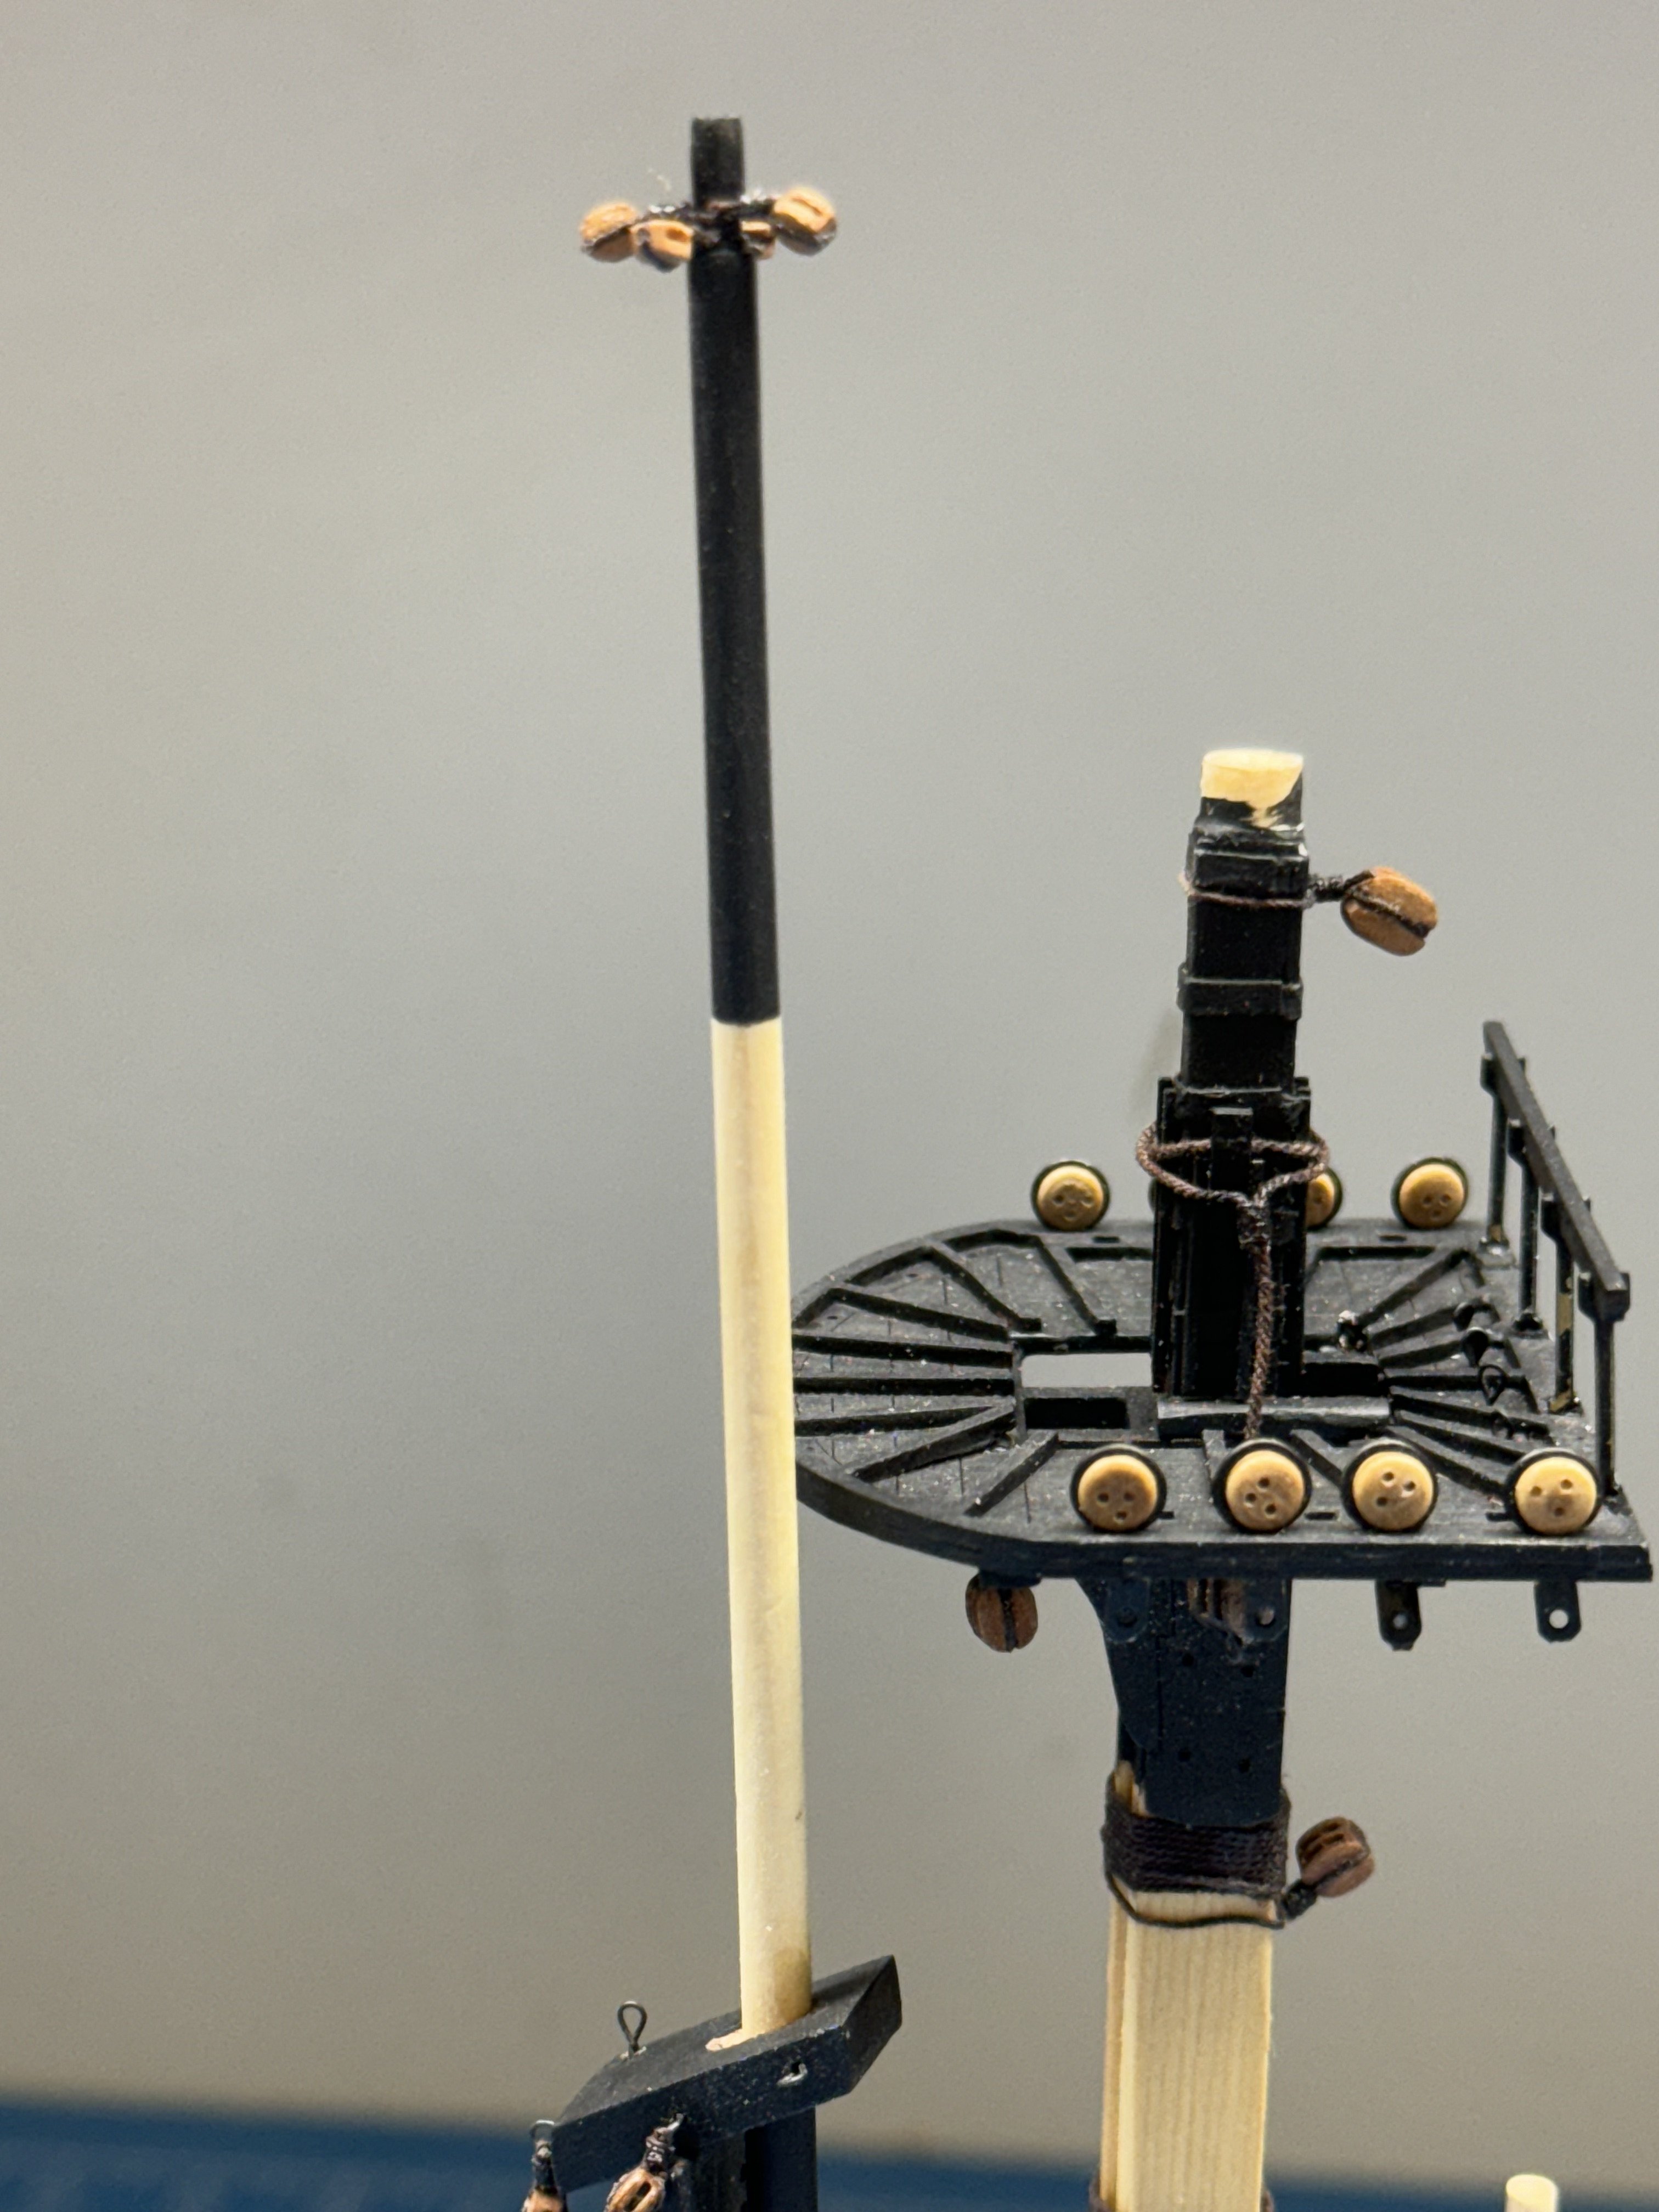
While waiting for paint and pear wood to dry I completed assembly and outfitting of the Fore, Fore Topsail and Fore Topgallant yard arms.

-
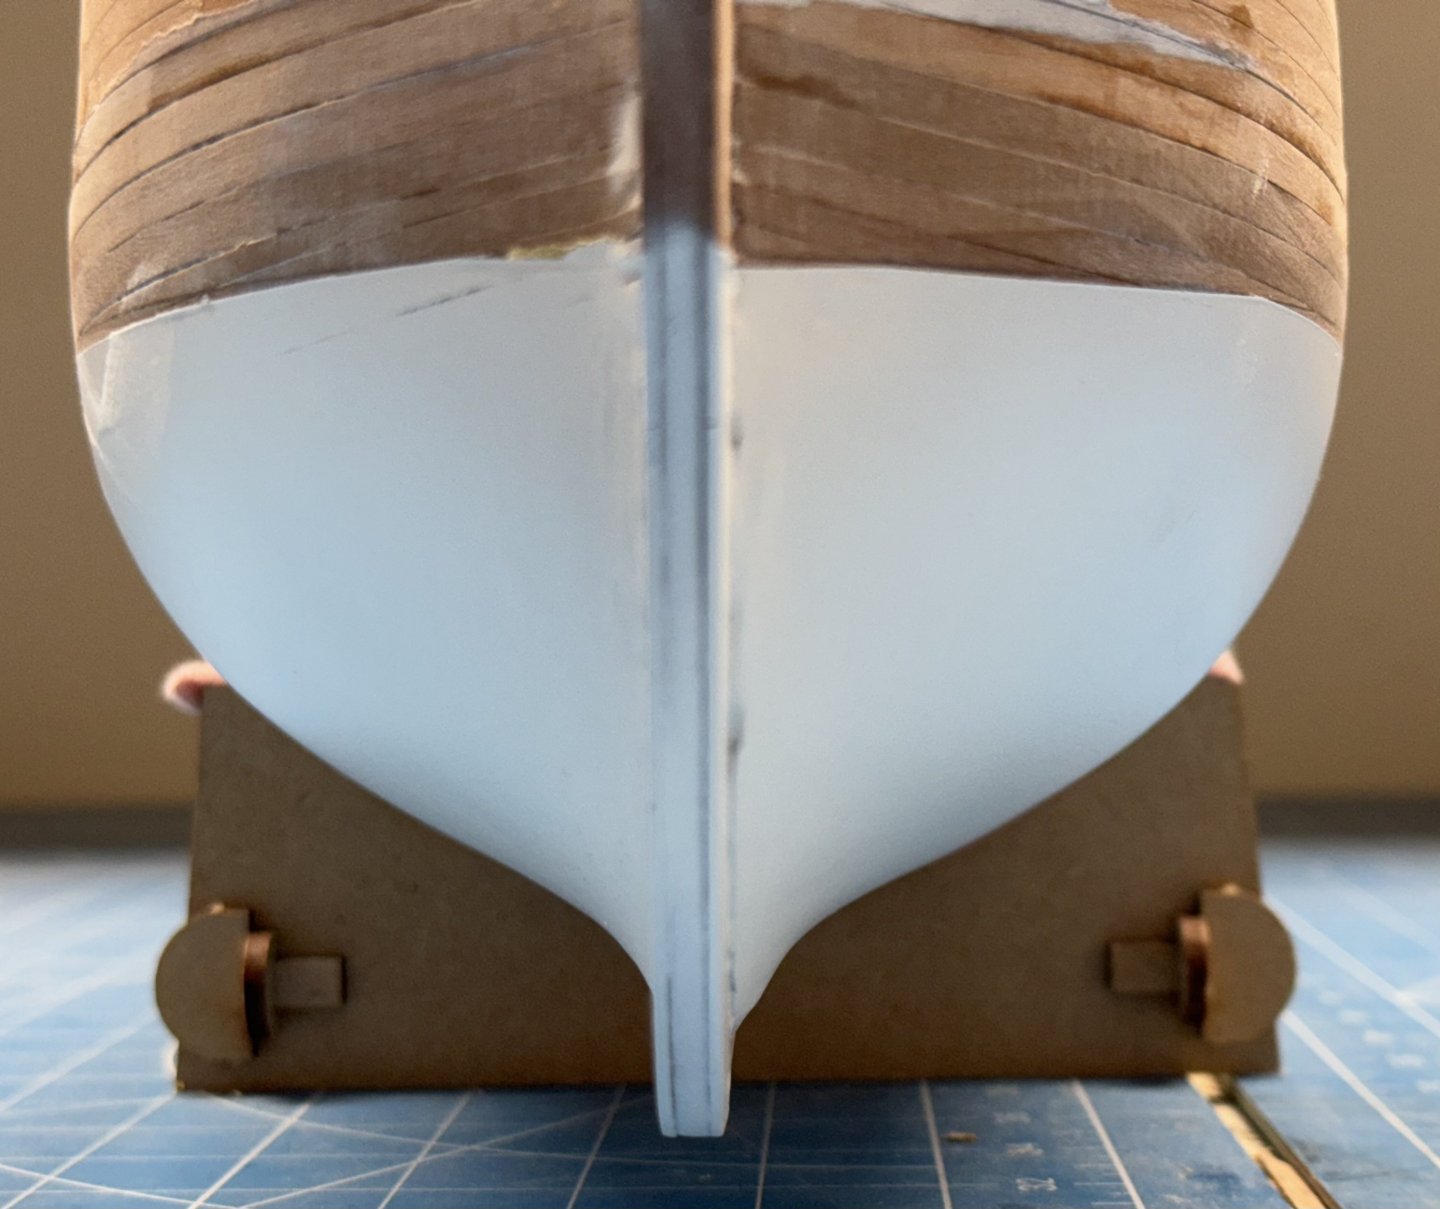
With the lower hull paint now dry completely (it takes much longer than it says on the can) I need to add the Wales. I decided it would probably be easier to secure the piece to the hull with rubber bands and then pin it only where really necessary. I plan on doing one side at a time with 24 hours to dry between sides and then another 24 hours before gluing them on; also one at a time. After looking at the drawing and my hull it would seem that I have the waterline a bit too high, at least amidships since there is supposed to be a 1.5mm gap between the bottom of the wales and the top of the waterline. I have less than .5mm. Nothing I can (or am willing) to do about that now. Trying to scrape off 1mm of the white paint, in a straight line is more than I am capable of. I will see what it looks like on the other side - maybe that will determine which side faces the wall when displayed.
-
Hull painting completed. I did not do a very good job getting the two sides to match at the stern - may have a bit more to do there. Bow needs a bit of touch up too but overall i think I finally got more of the glaring gaps filled and fared. While the spray can says to wait two hours between coats I am going to give this 48 hours to "set" before I start working the wales and quarter galleries.

-
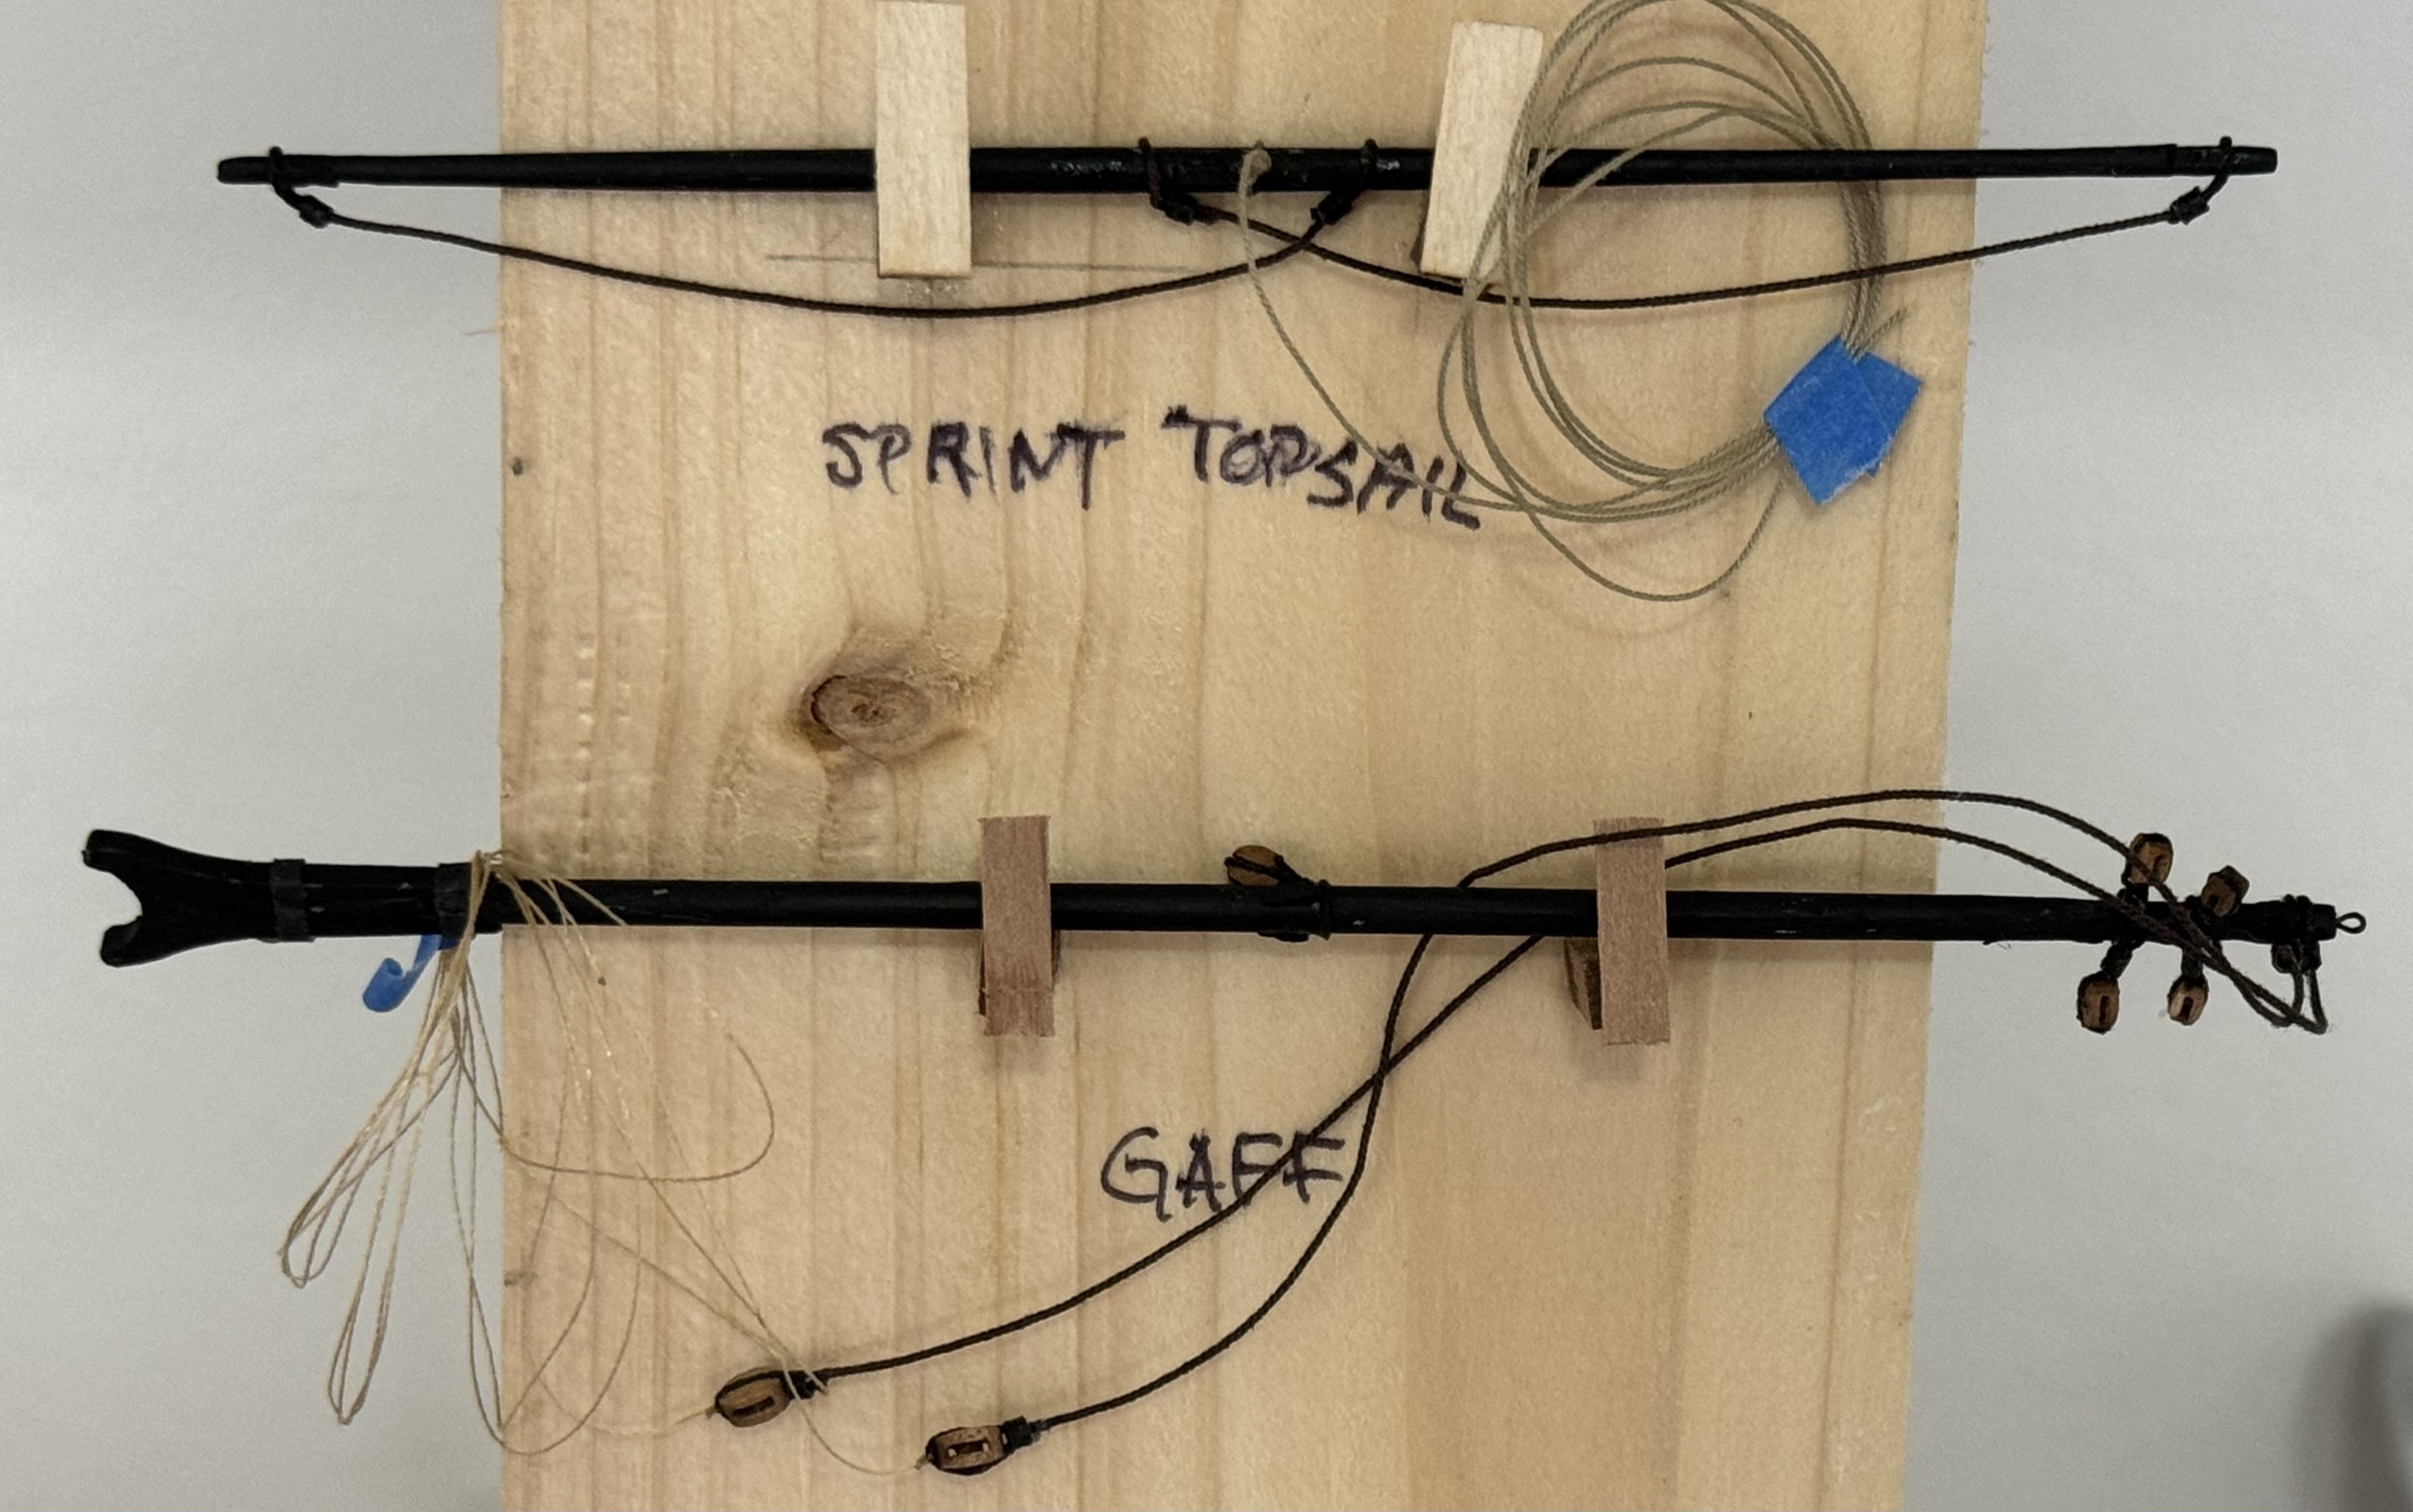
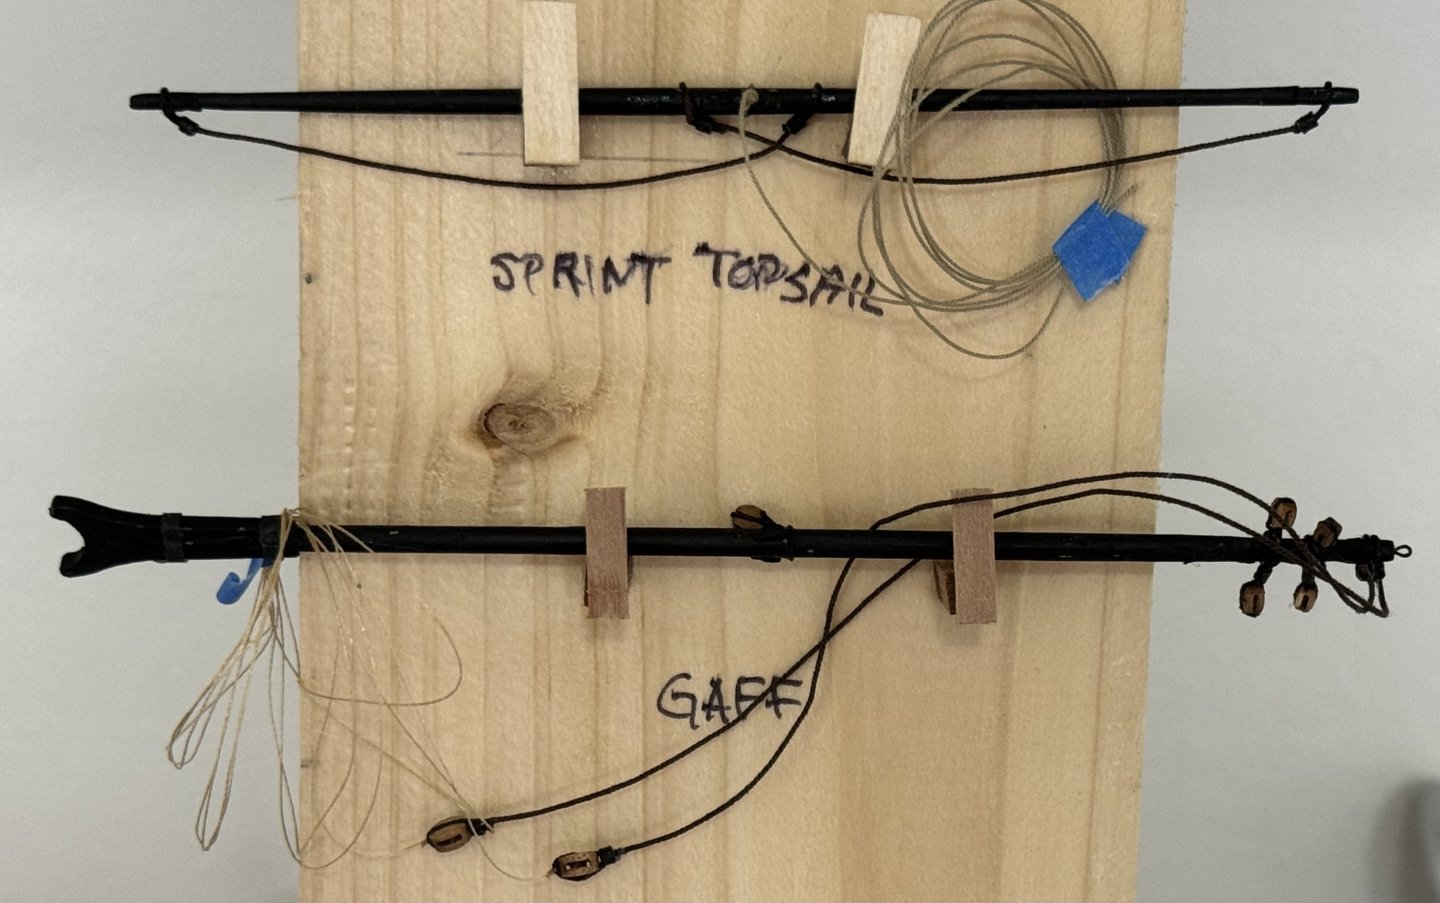
Considerably fewer areas needing attention this time - other side is similar. Hopefully when these are "fixed" and the masking is modified to uncover the keel, stem, etc. we can "get on" with the final hull painting. In my "spare" time I managed to get the Sprint Topsail and Mizzen Gaff spars completed. I was glad to see the blocks that held the standing end of the tackles identified. I would not want to try and add these with the yards on the model.
-
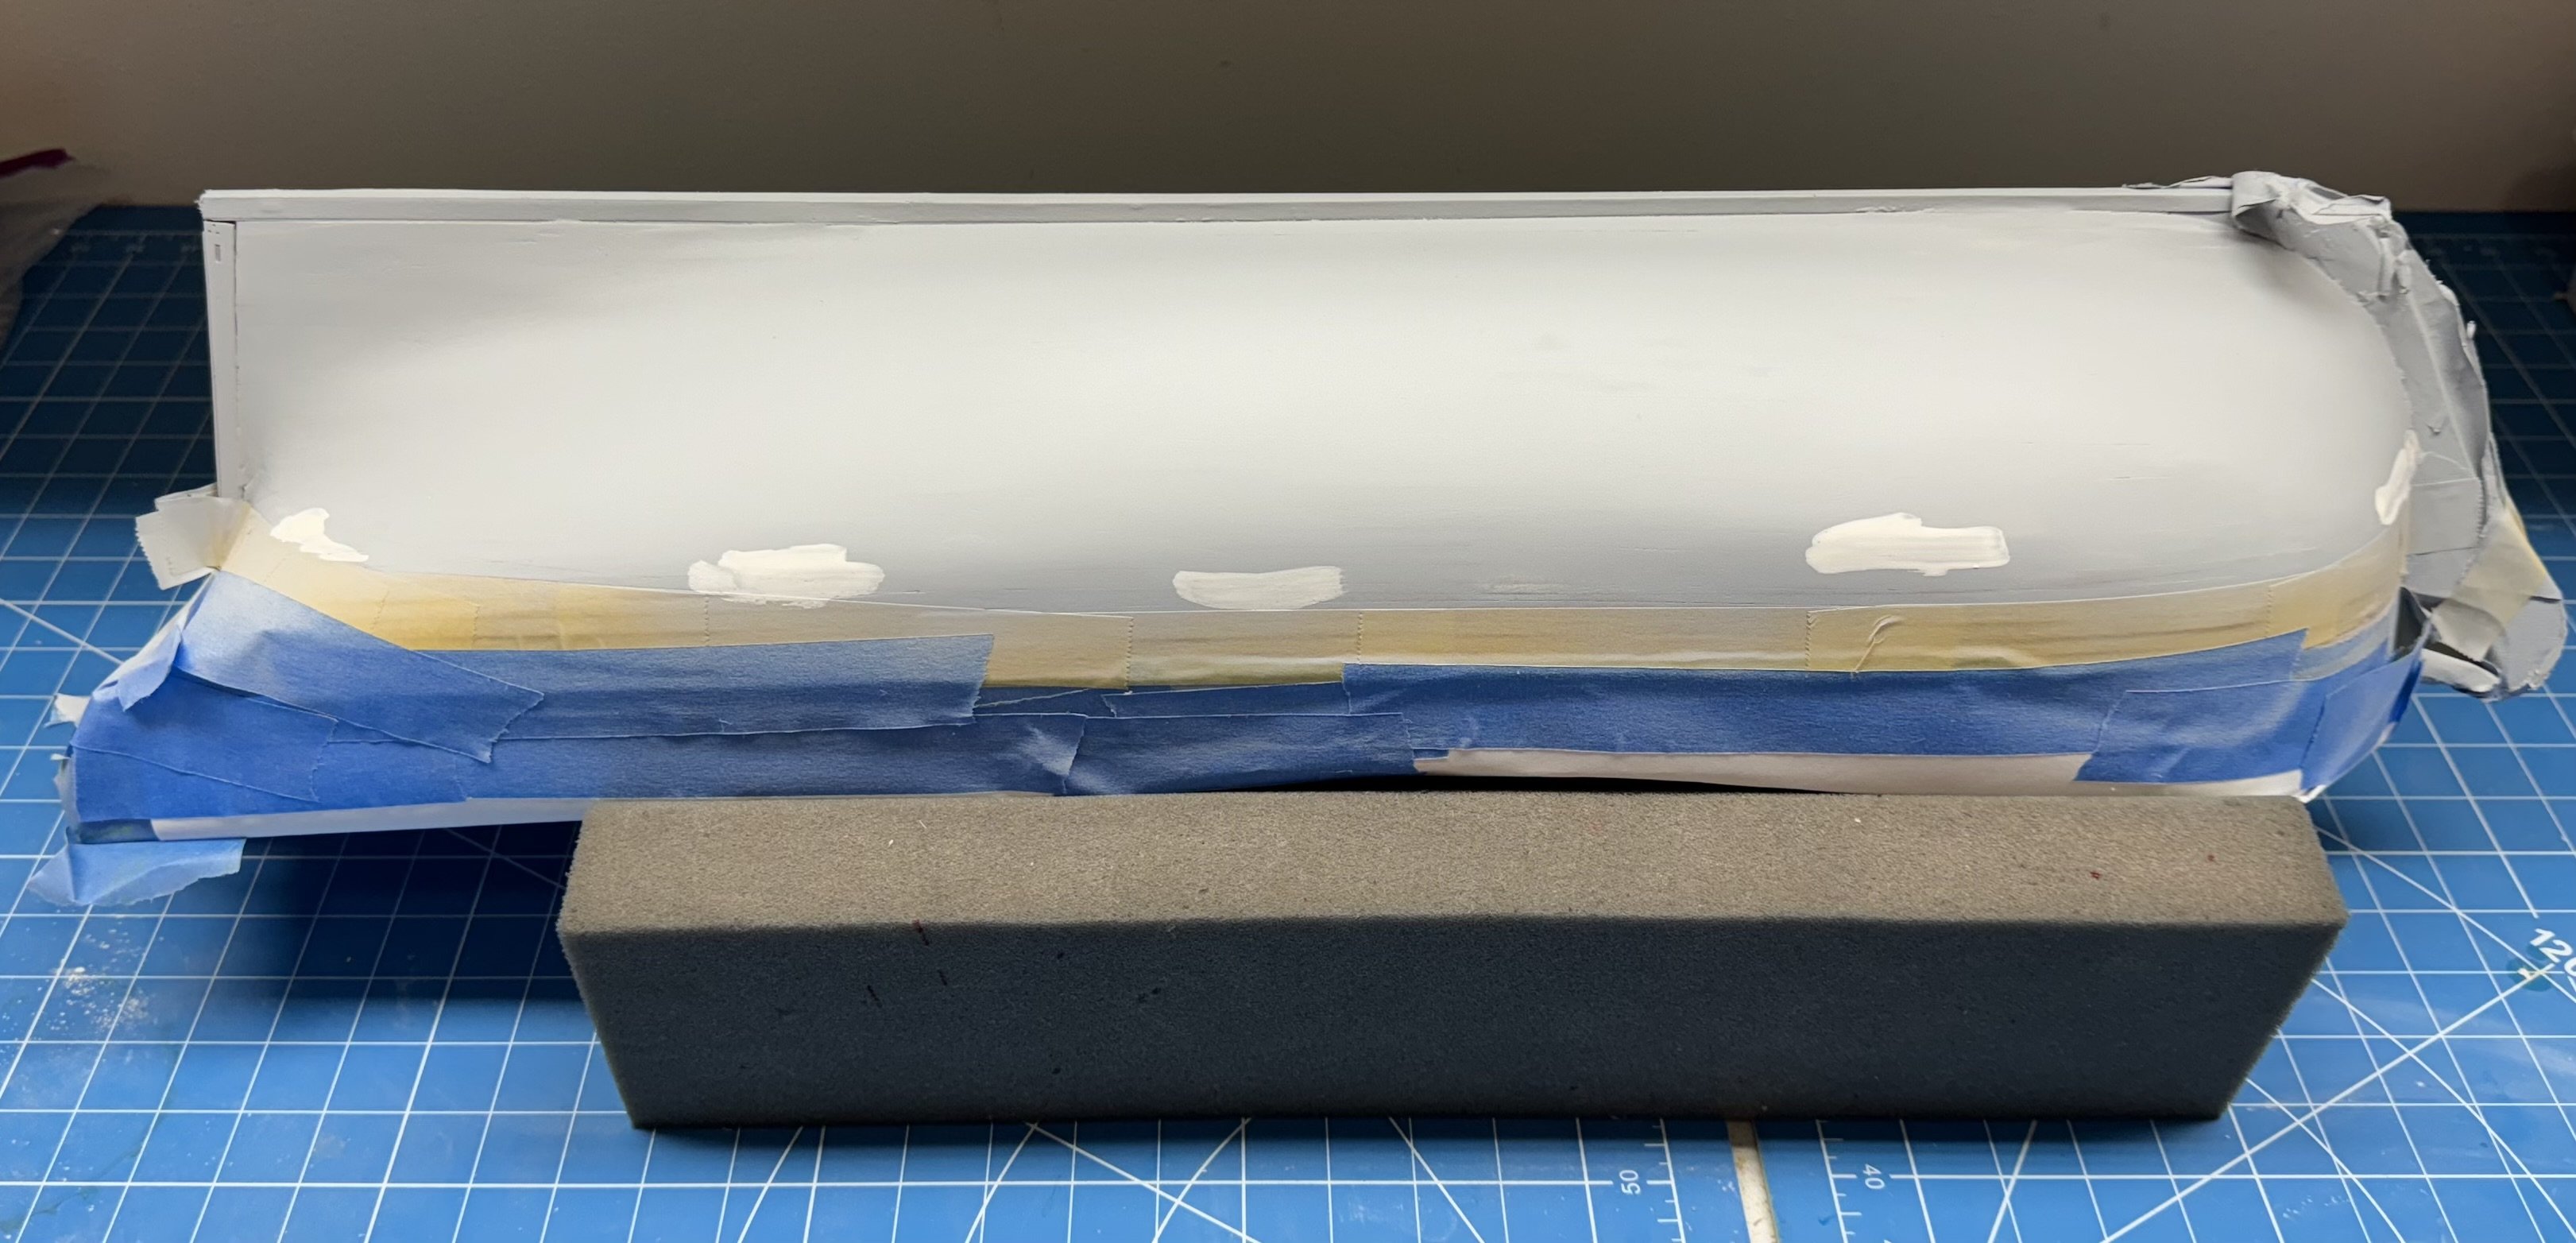
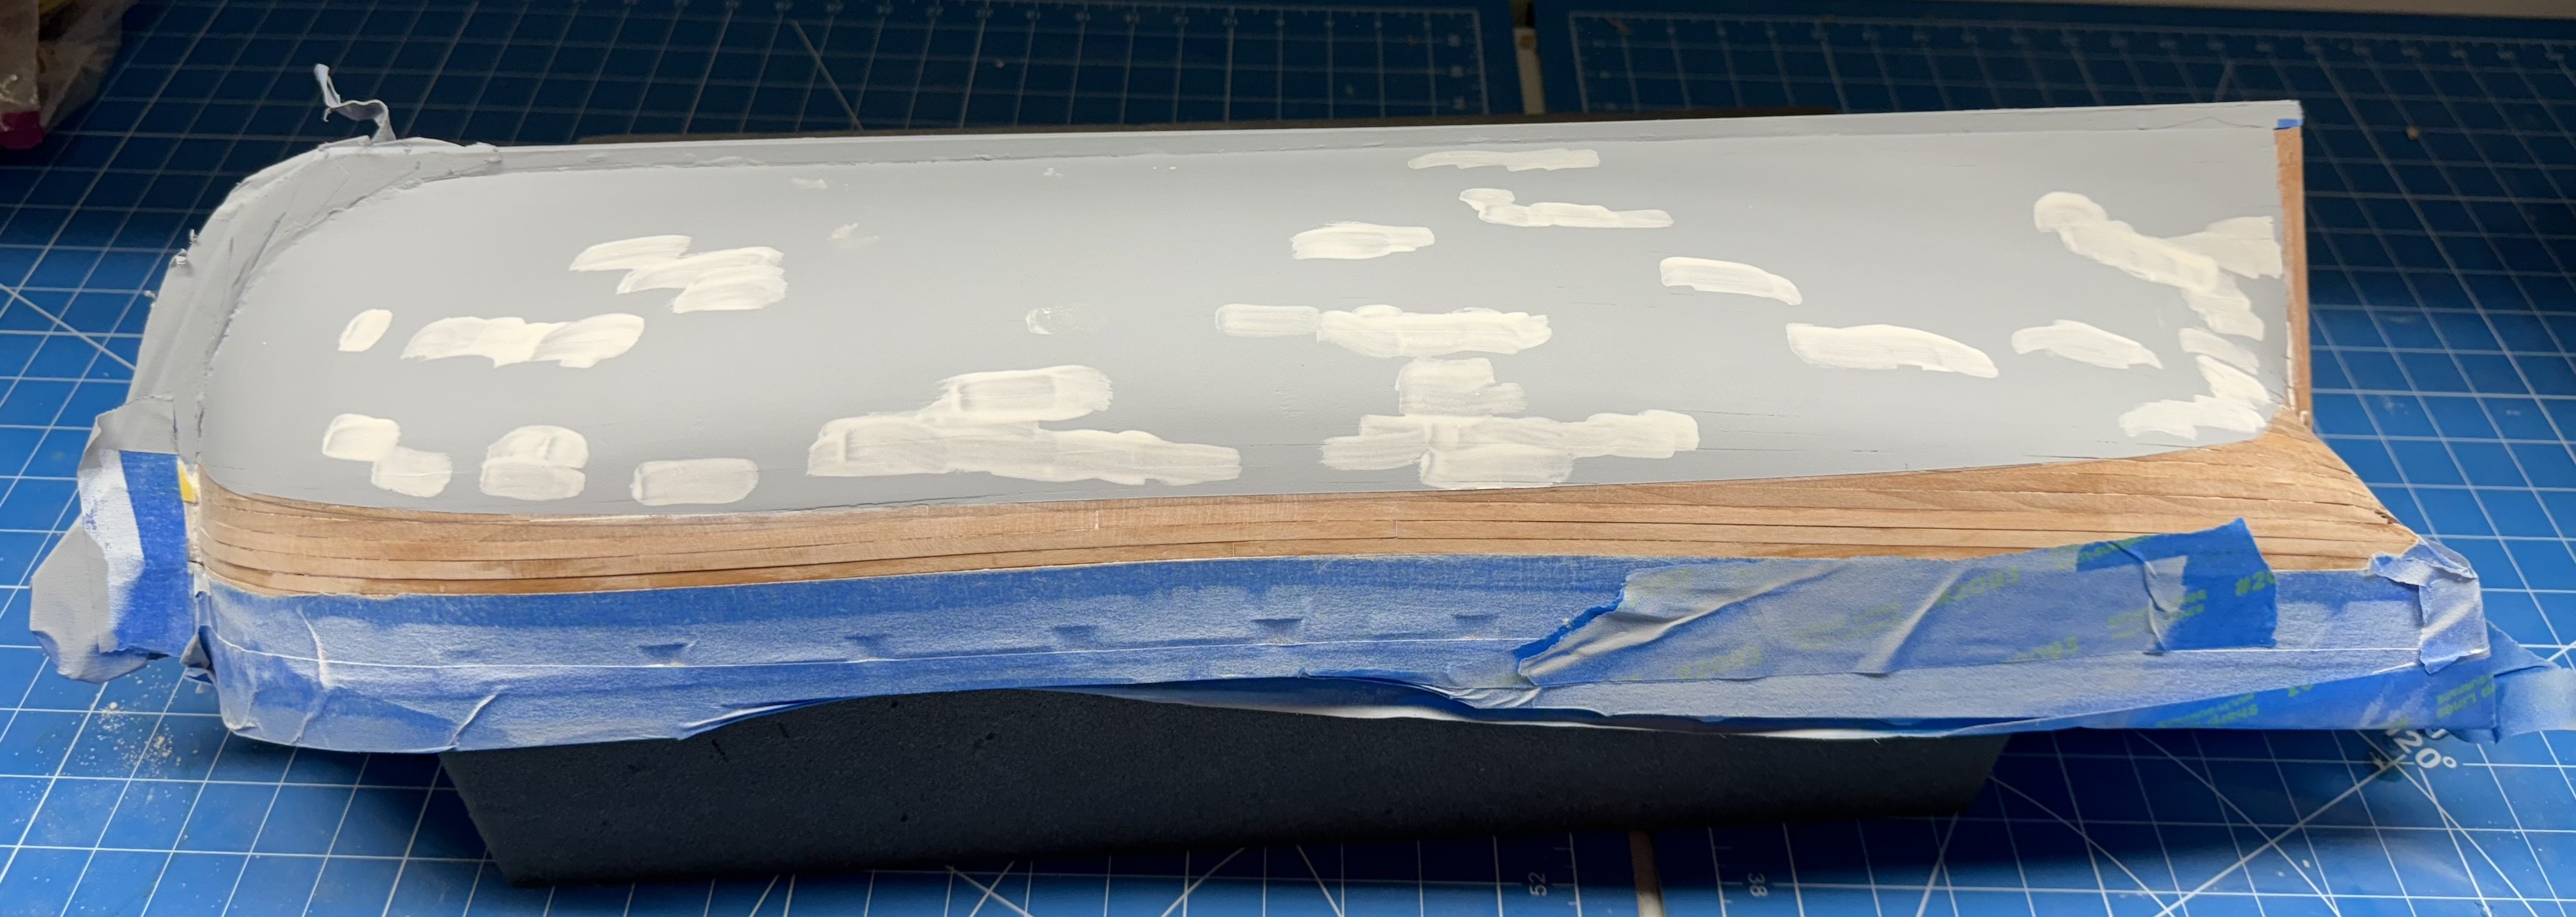
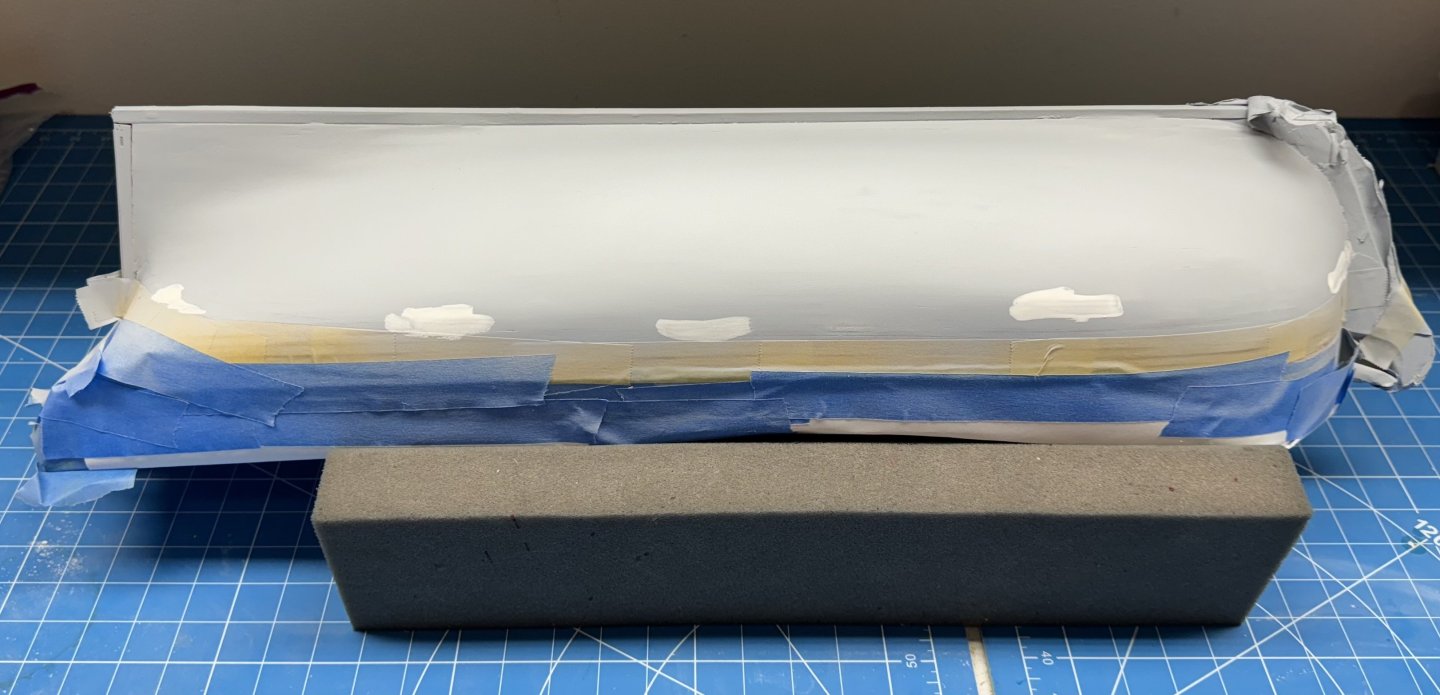
Although it has been ten days since I posted last I have not been completely idle. The contractor just finished converting one bay of the garage to an air conditioned space so I have been busy out there trying to bring order to the resulting chaos. I was able to set up the paint station and make a pass over the hull using automotive gray primer with filler. I believe it a better choice than the flat white primer I started with. As expected (by me) the gray showed more than a few areas that still needed attention. This time I added more water to the filler and "really" painted it onto the cracks and gaps that showed through the primer. Here one side after the filler was applied. The other side is similar. Now to sand this down (using 320 grit paper) and than back to the paint booth. This time I am going to mask at the waterline and hope this is the final pass before going with the final paint coats.

-
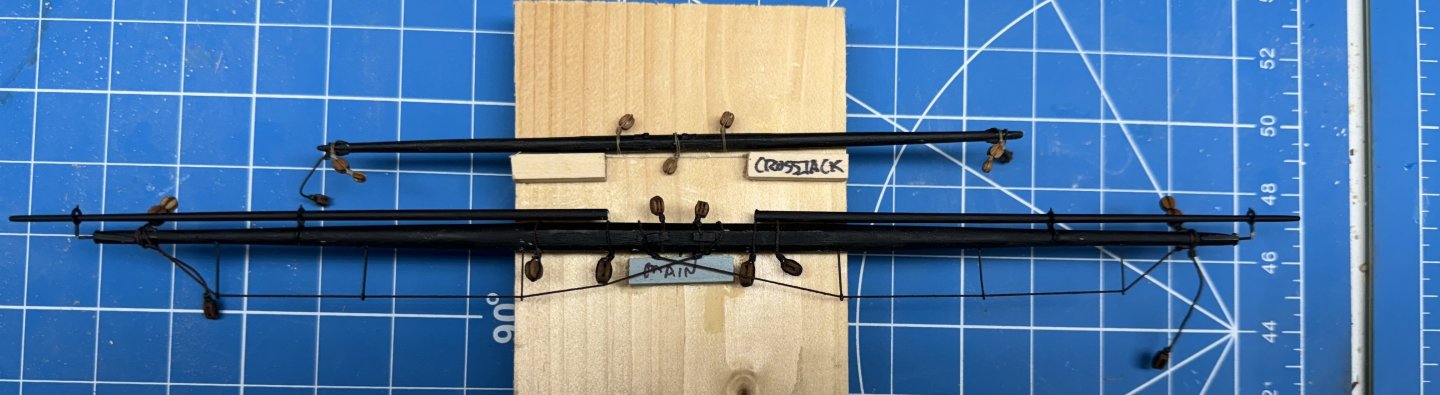
Main and Crossjaclk yards completed and mounted on my "storage board" so they are out of "harms way" more or less. I did the Crossjack as sort of a test case for starting with a square billet. I am not sure in what order to work the yards - probably does not matter since they all have to be done and are very similar. Probably should keep going once I start again since I think I learn a new "trick" with each one.
-
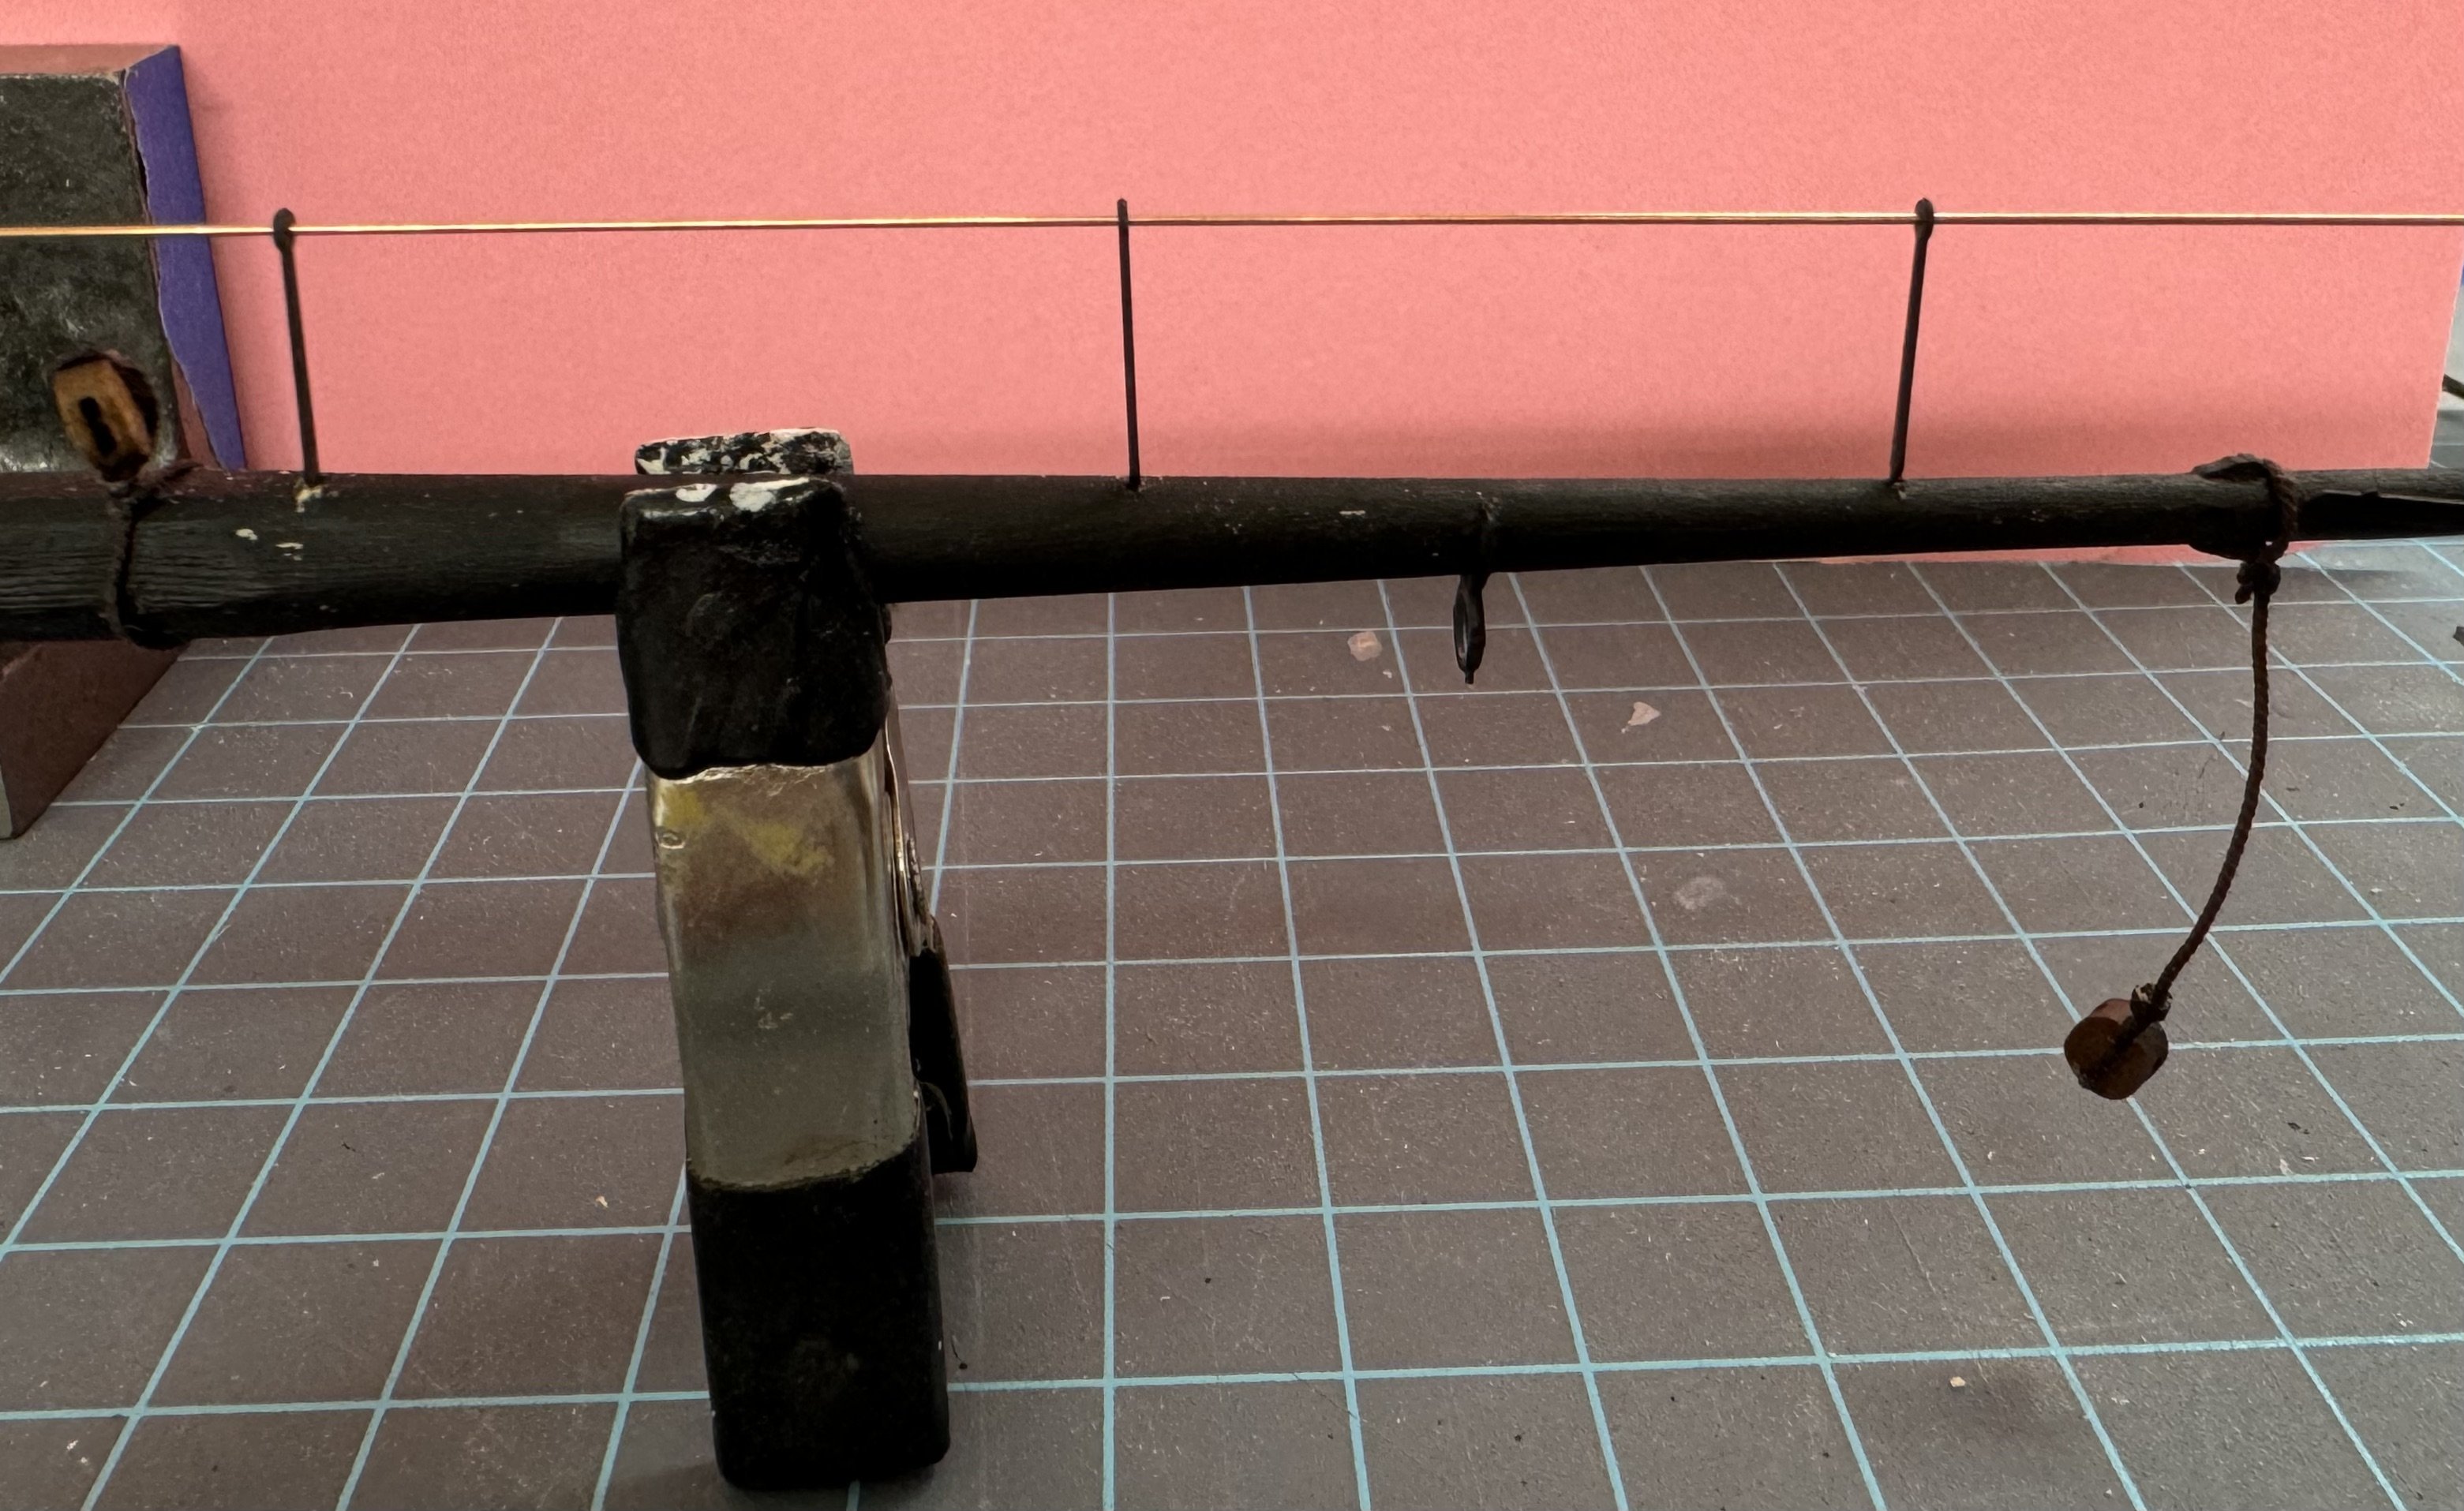
Speaking of yards - I had previously completed the Main Yard except for the foot ropes and connection to the mast. I have glued in a .049" piece of music wire to hold the yard to the mast and will add the rope connection once the yard is glued to the mast - or at least that is my plan subject to extensive modification once the battle has been joined. So I decided to add the foot ropes but was having a difficult time getting the stanchions lined up along the mast and standing vertically. Once I got the three stanchions for one side glued in place I used a piece of .020" phosphor-bronze wire passing through the stanchion loops to given me a better reference for how the lined up and the verticality. Now to get the line through and secured. One thing I might add is about the foot rope stanchions. I had to drill out the eyelet to get the rope through even though I am using a somewhat small diameter rope than the instructions call for (.018" vs .020"). Perhaps the paint (I sprayed them flat black using an "etching primer") was on so thick it partially obstructed the opening. So now I know to drill out (#74) the stanchions before I glue them to the yard.


-
The spray job with the flat white primer did not go well. You could virtually see almost every seam between the planks in spite of they being undetectable by sight or touch before the paint. Maybe the liquid in the paint caused the grain in the wood to raise up or something. This is what it looked like after a brief sanding with 320 grit paper. You can see where the seam showed in the upper center which was not sanded. Next pass I will use the automotive gray primer with embedded filler as I have had some success with this on previous projects. It may take more coats of the flat white to cover but I think that is a price I am will to pay to get the hull closer to smooth. Anyway, back to the drawing board and another layer of diluted filler. In the meantime I will work on the yards. This time I will bore you with the picture.
-
While waiting for things to dry and to take a break from planking I completed the bowsprit and jib boom except for the gammoning between the two (paint is still wet). I'll get to that sometime "real soon now". I did depart from the recommended paint scheme on the jib boom. When I fabbed the piece (from Alaskan Yellow Cedar as you may remember) it developed a dark strip on both sides of the piece out toward the end. Since I thought this somewhat unsightly especially out in front of everything I painted the forward end of the jib boom black for the first third or so. You can see that is the pictures below. I have sprayed the hull with the white primer and will wait until tomorrow to decide what to do next.


-
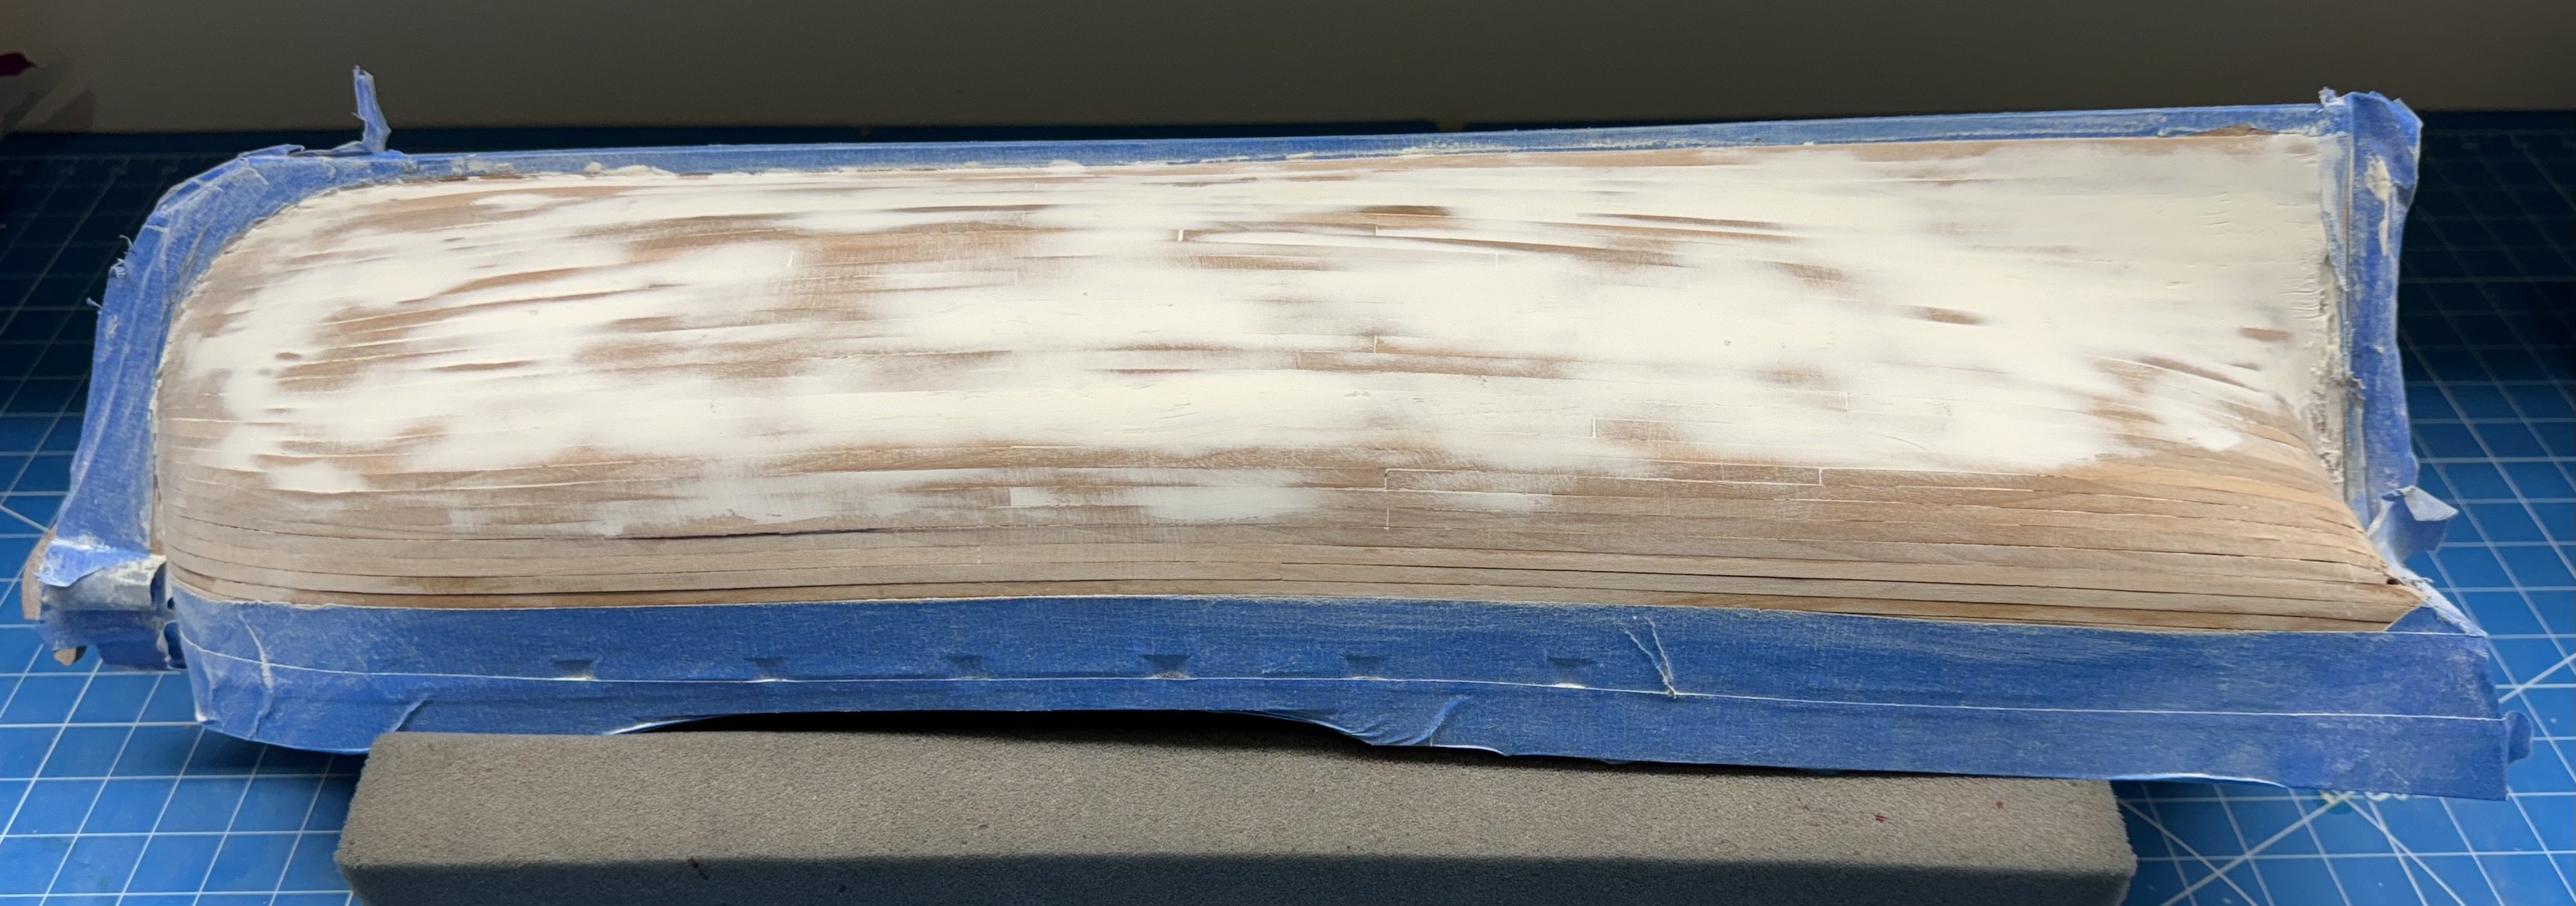
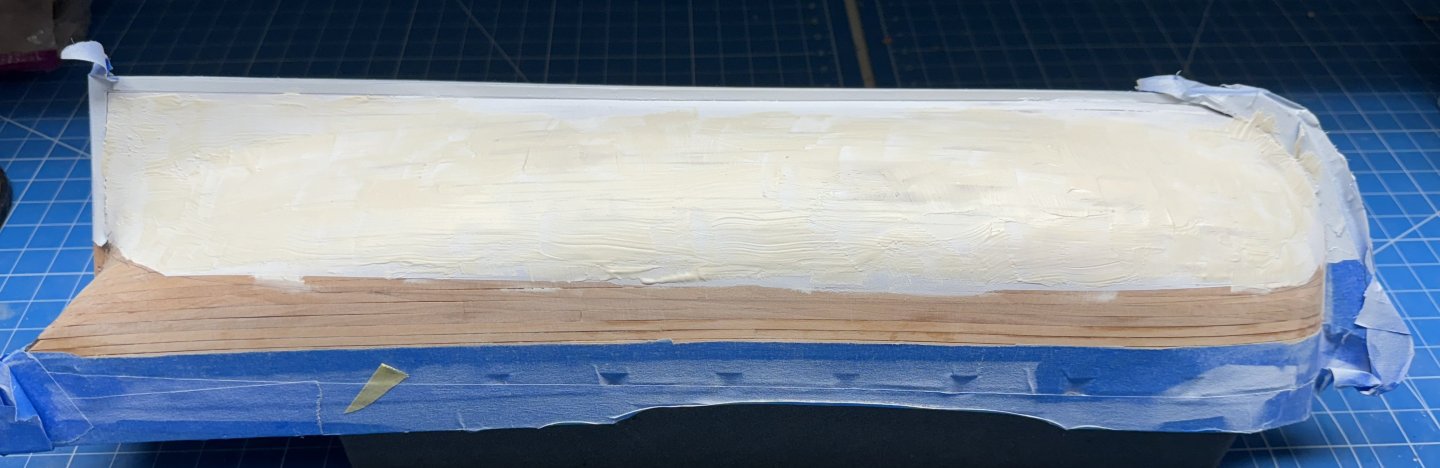
Tanks TJ So I took some Goodfilla natural wood filler and added water to about a 4 parts filler, 1 part water to get to a point where I could spread the filler on with a stiff brush and hopefully get the filler in all the "nooks and crannies" of the surface. I will not bore you with a picture, just imagine the entire hull below the waterline covered with a more or less solid layer of filler - both sides. I used a sanding pad and 220 grit paper to attack the dried (overnight just to be sure) filler. I used (where possible) a rotary motion - like polishing your car (if you can remember the last time you did that - I can't). That suggestion was made in the instructions of the Model Expo Muscongus Bay lobster smack which were written by David Antscherl who ought to know a thing or two on the subject. I is hard (for me) to resist the temptation to sand in the direction of the planking but... Anyway I sanded the filler down to what I think, based on sight and feel is a mostly smooth surface. My next step is to mask off above the waterline (with a generous (1/4" or so) margin and use some flat white primer (spray paint) to see what the surface "really" looks like. Here is what the hull looks like now - based on the amount of filler left I guess my second layer wasn't all that much better than the first.


-
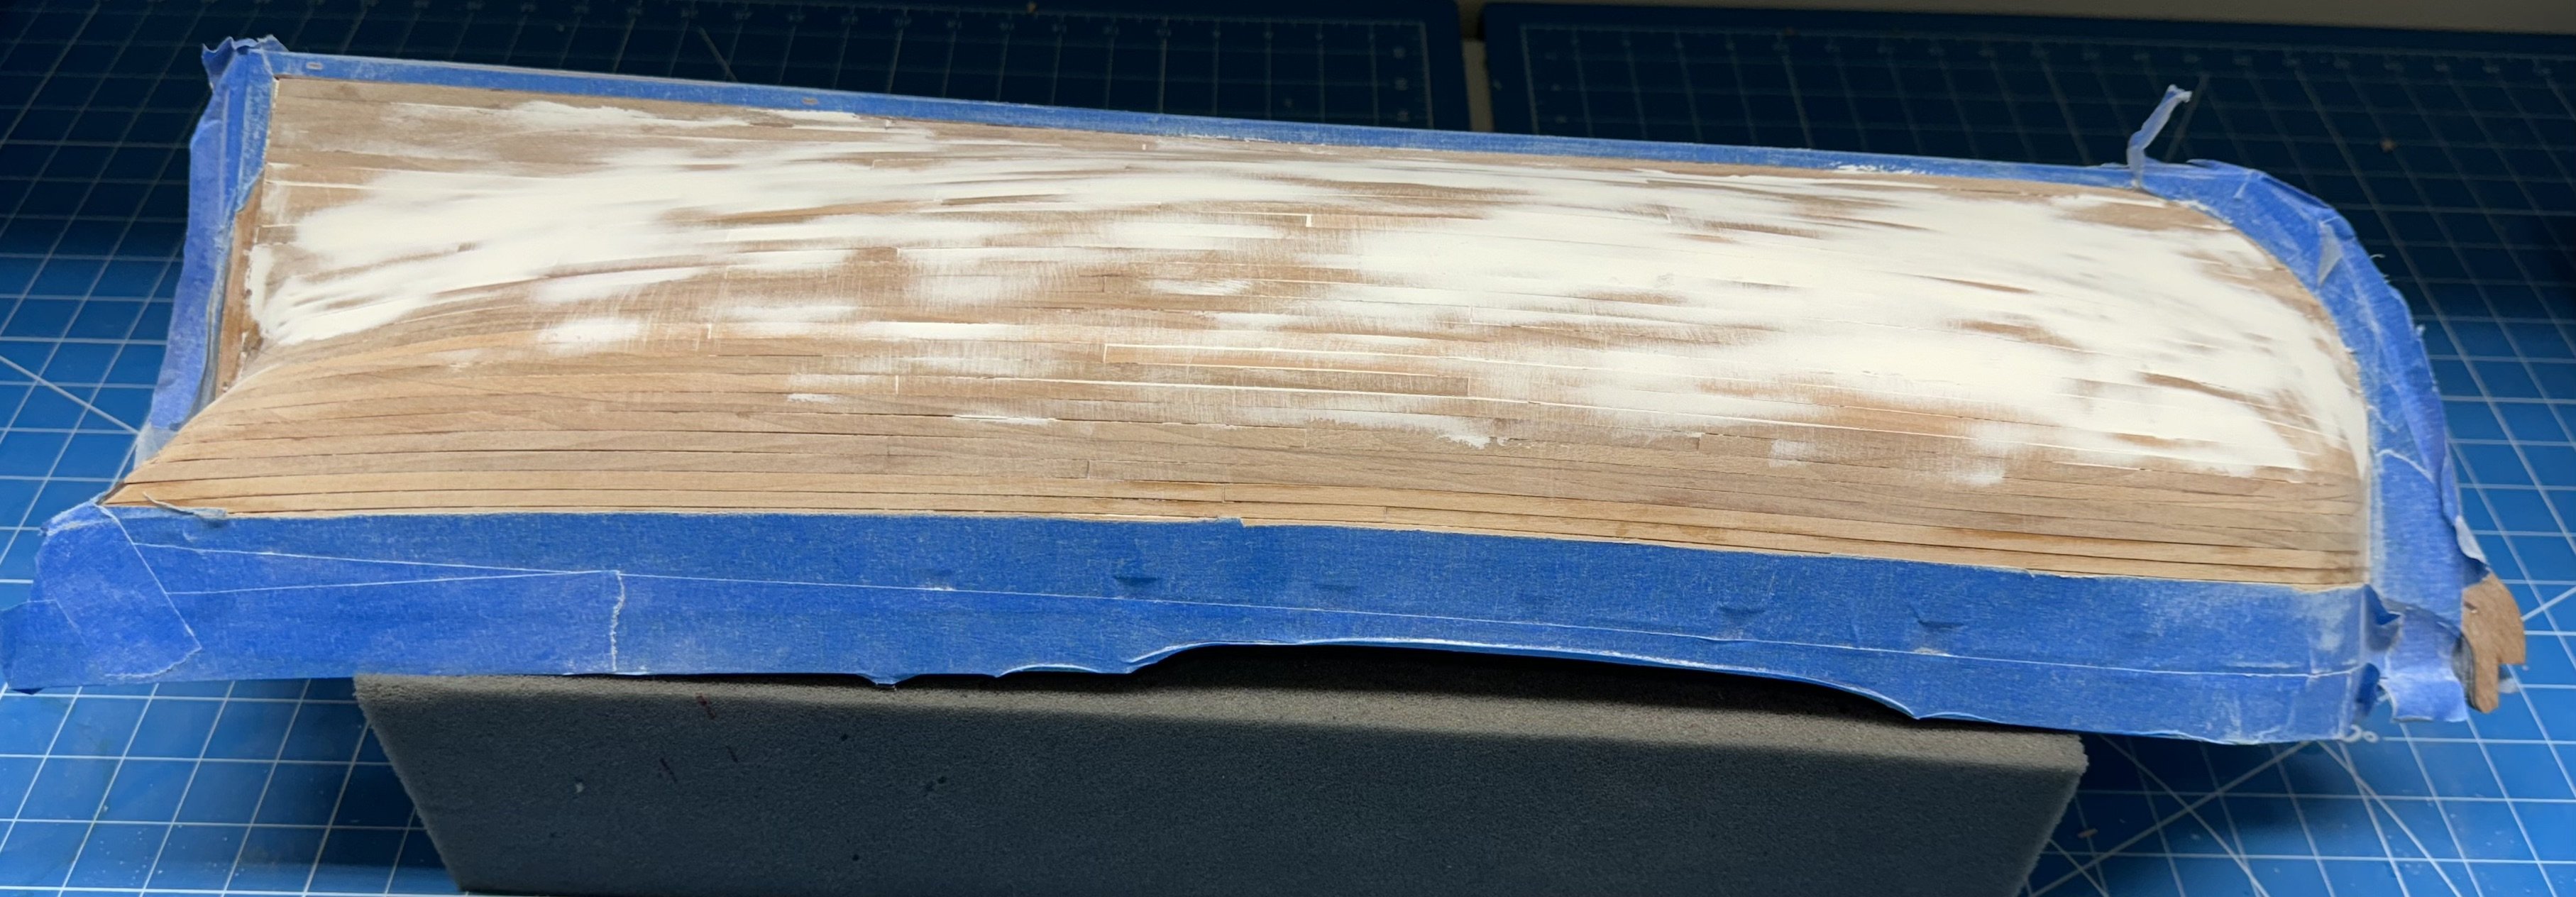
Thanks mugie - it doesn't look quite so good closeup and without the thinner but it certainly is a better job than the first layer.
-
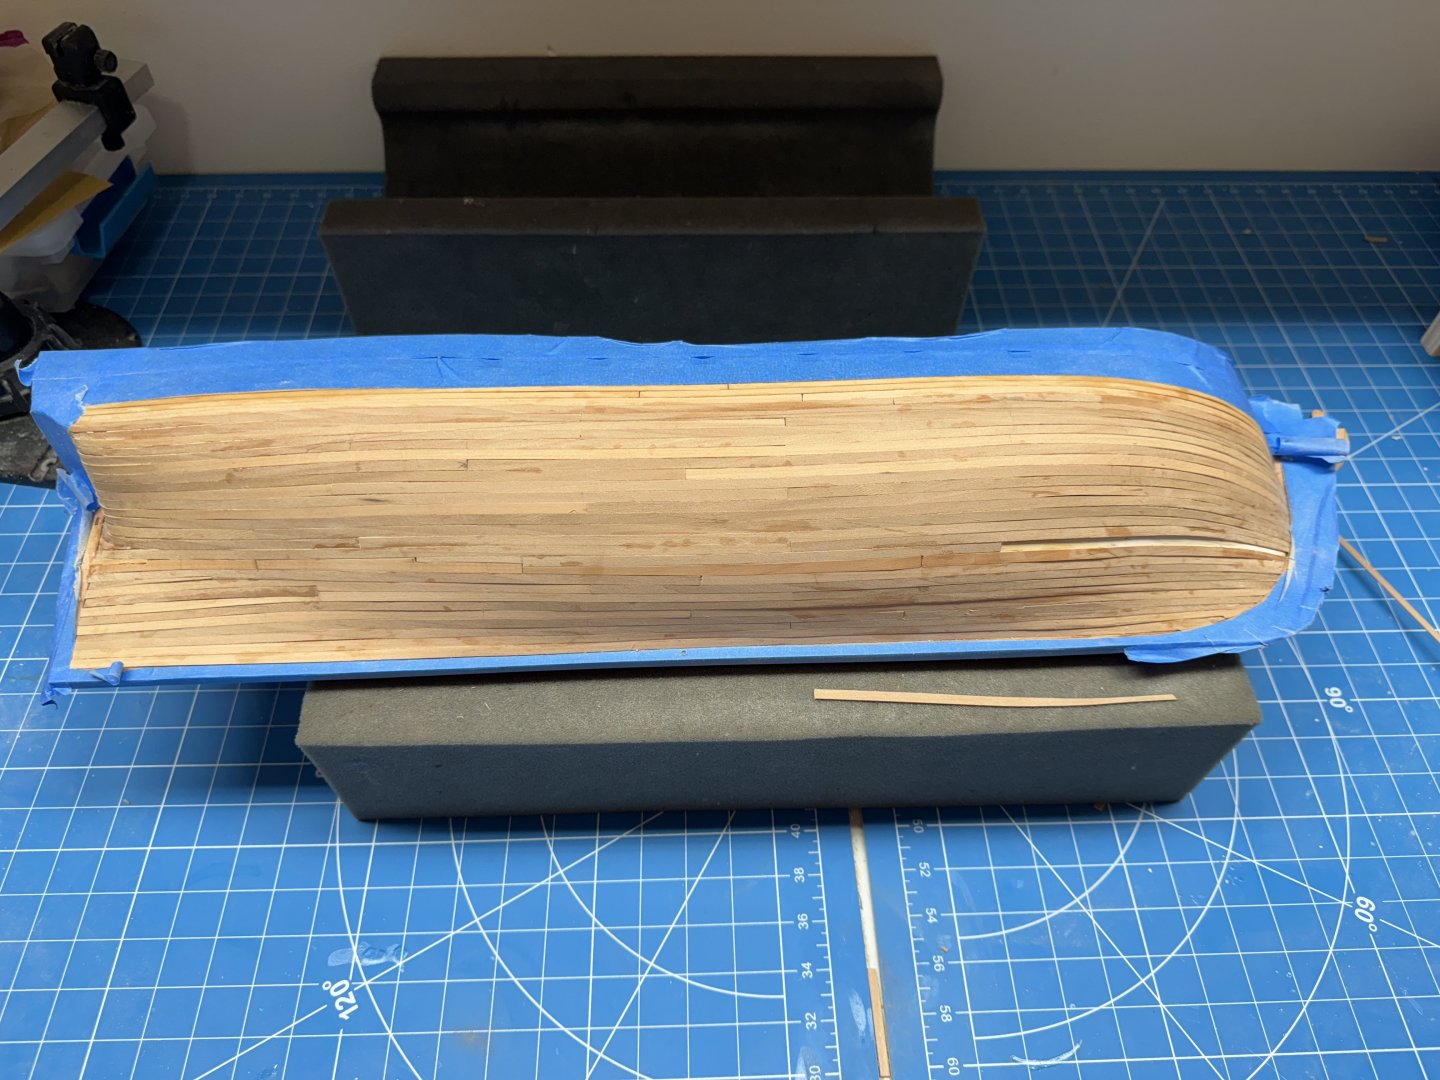
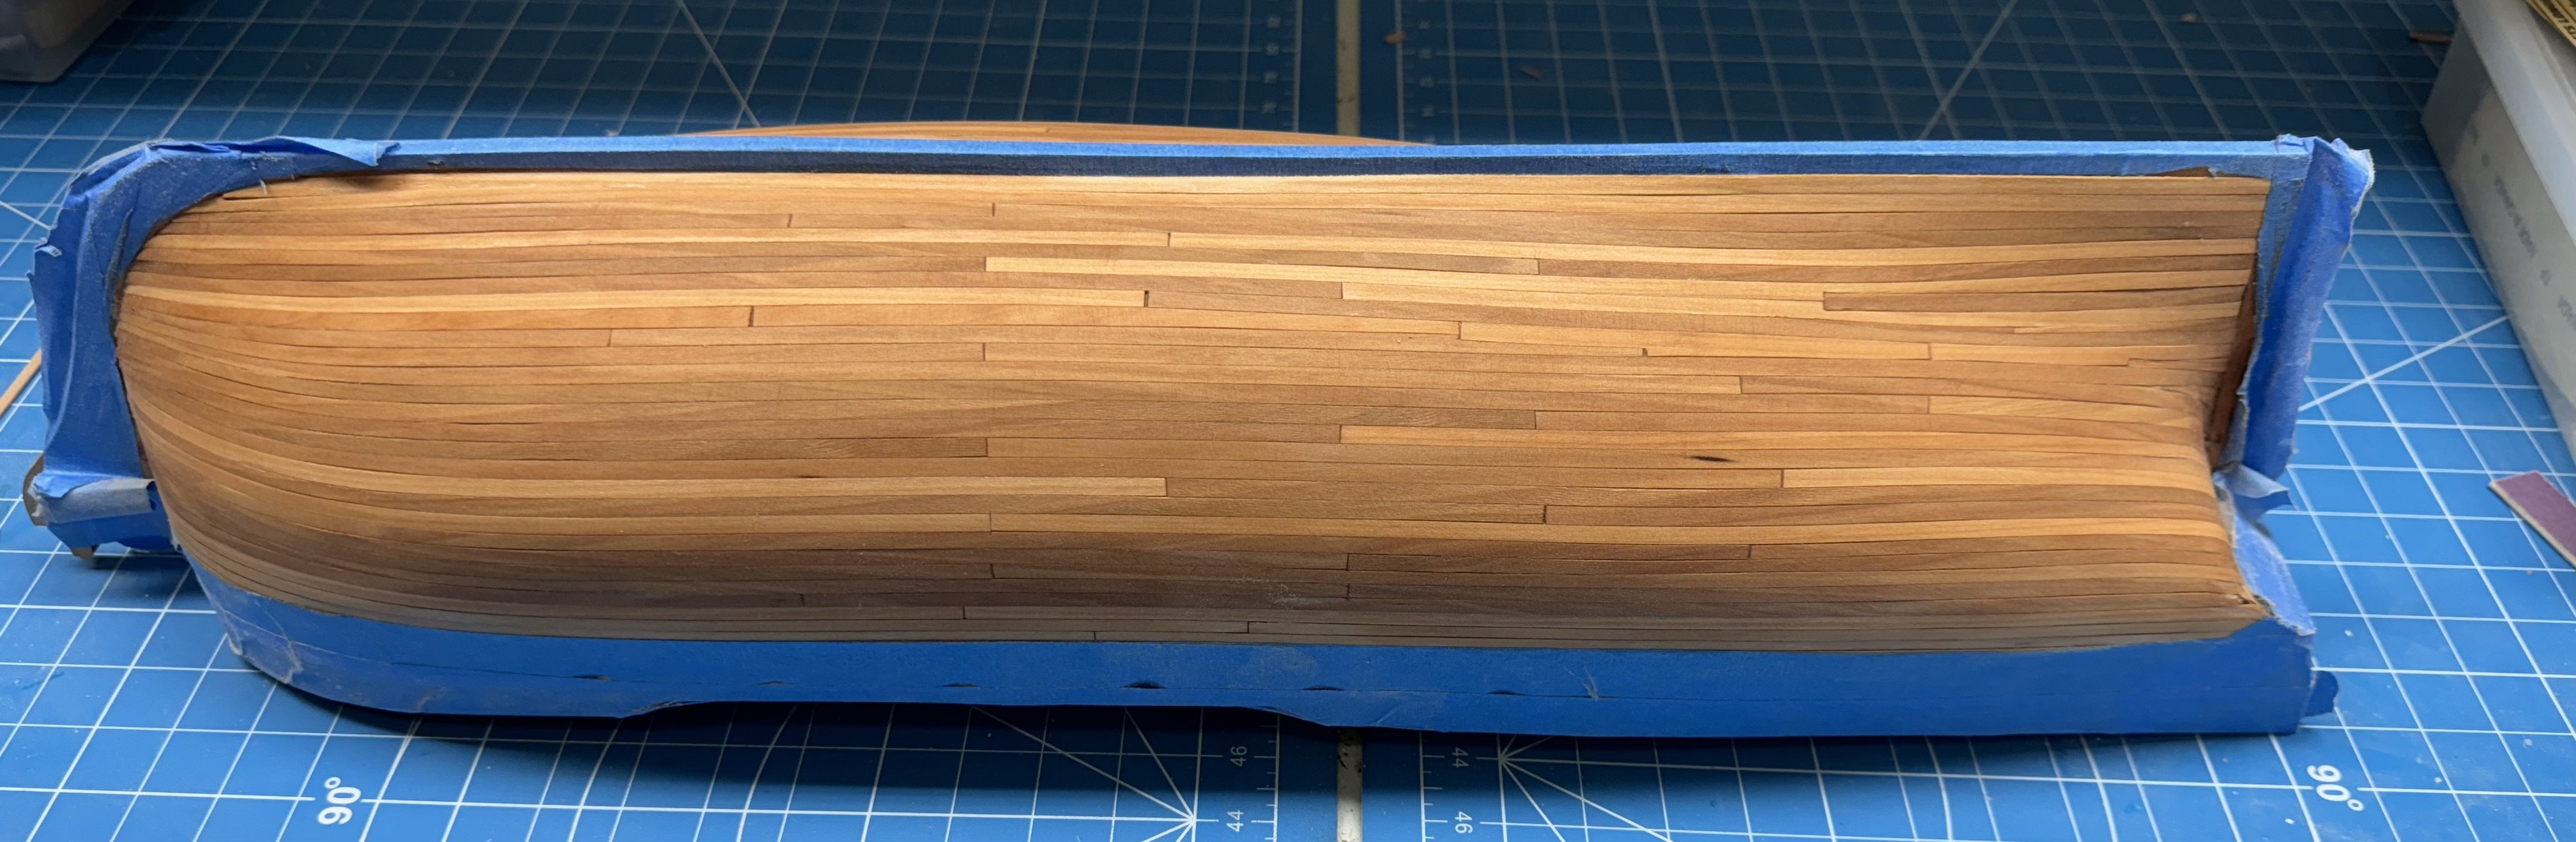
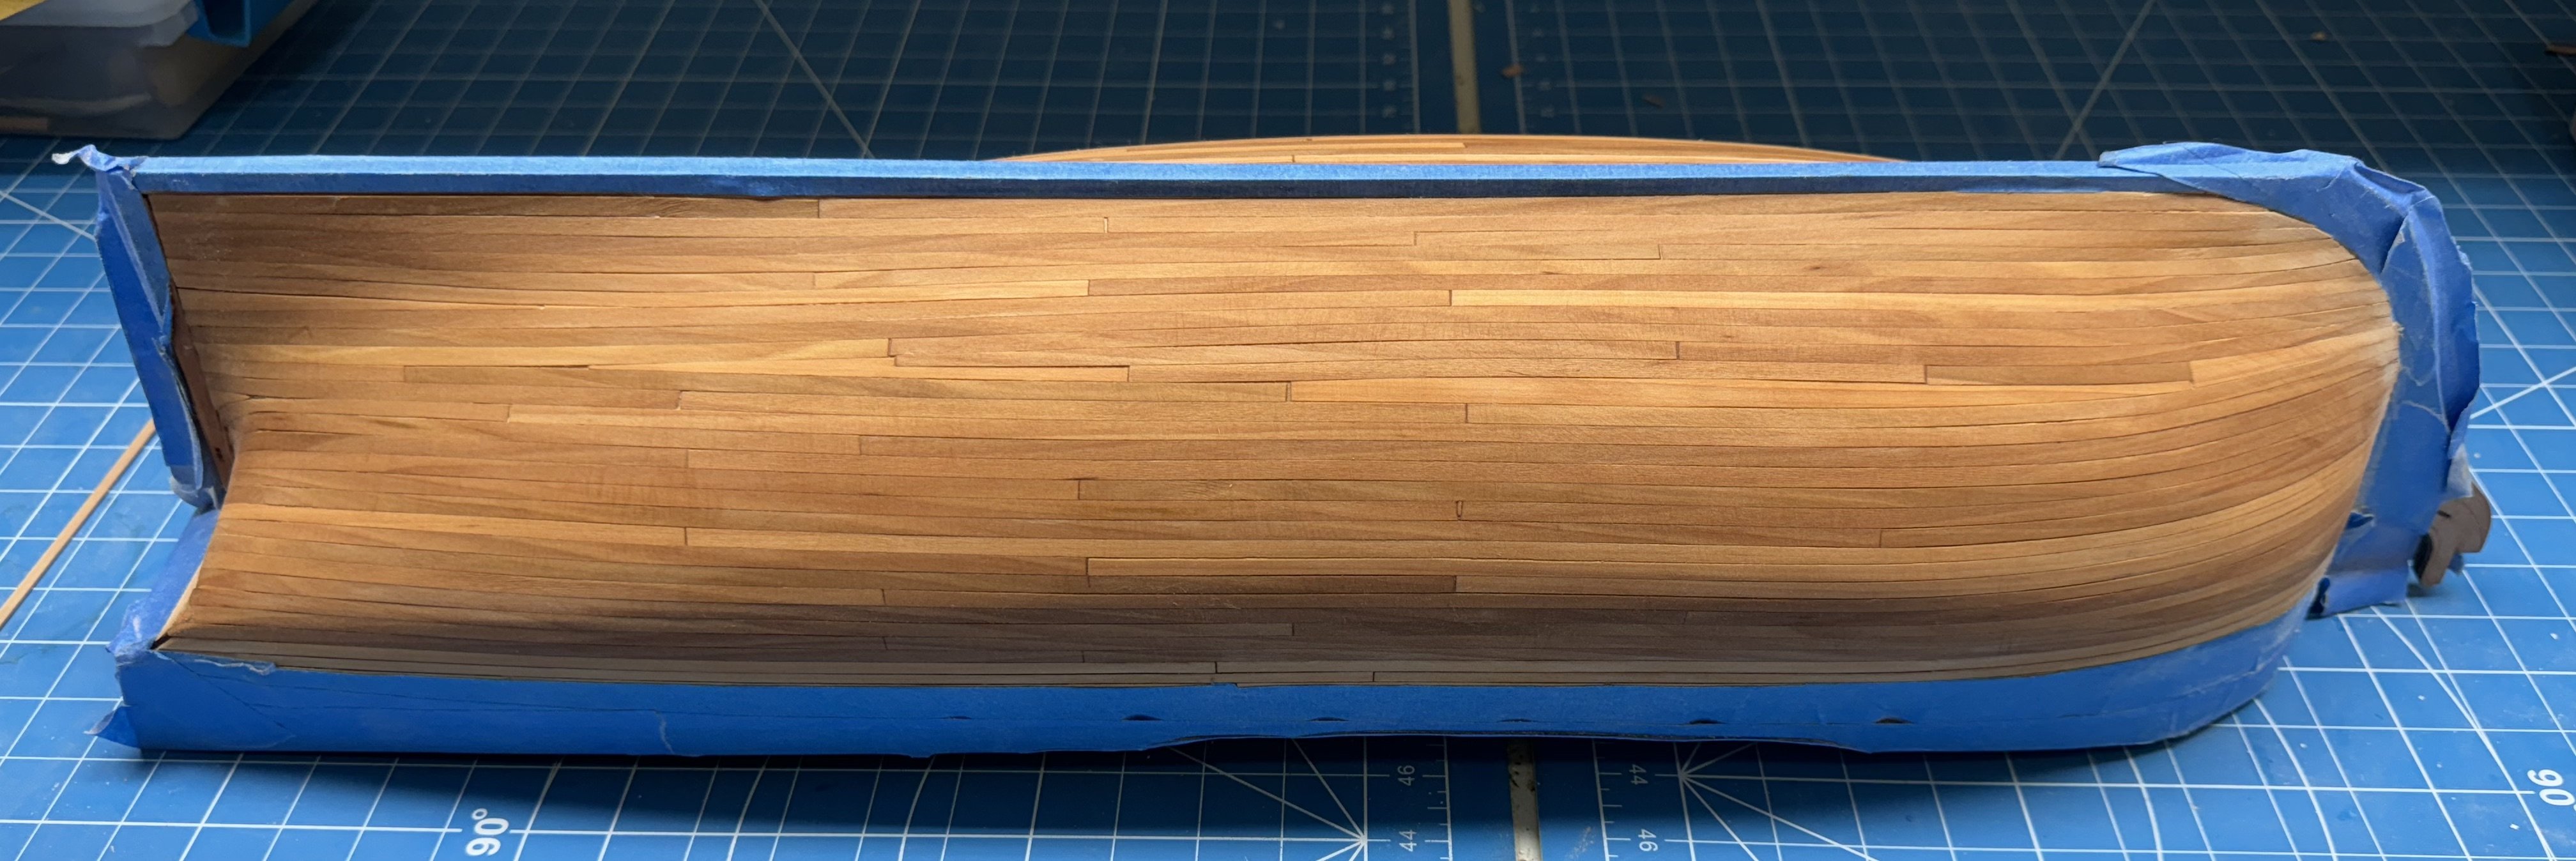
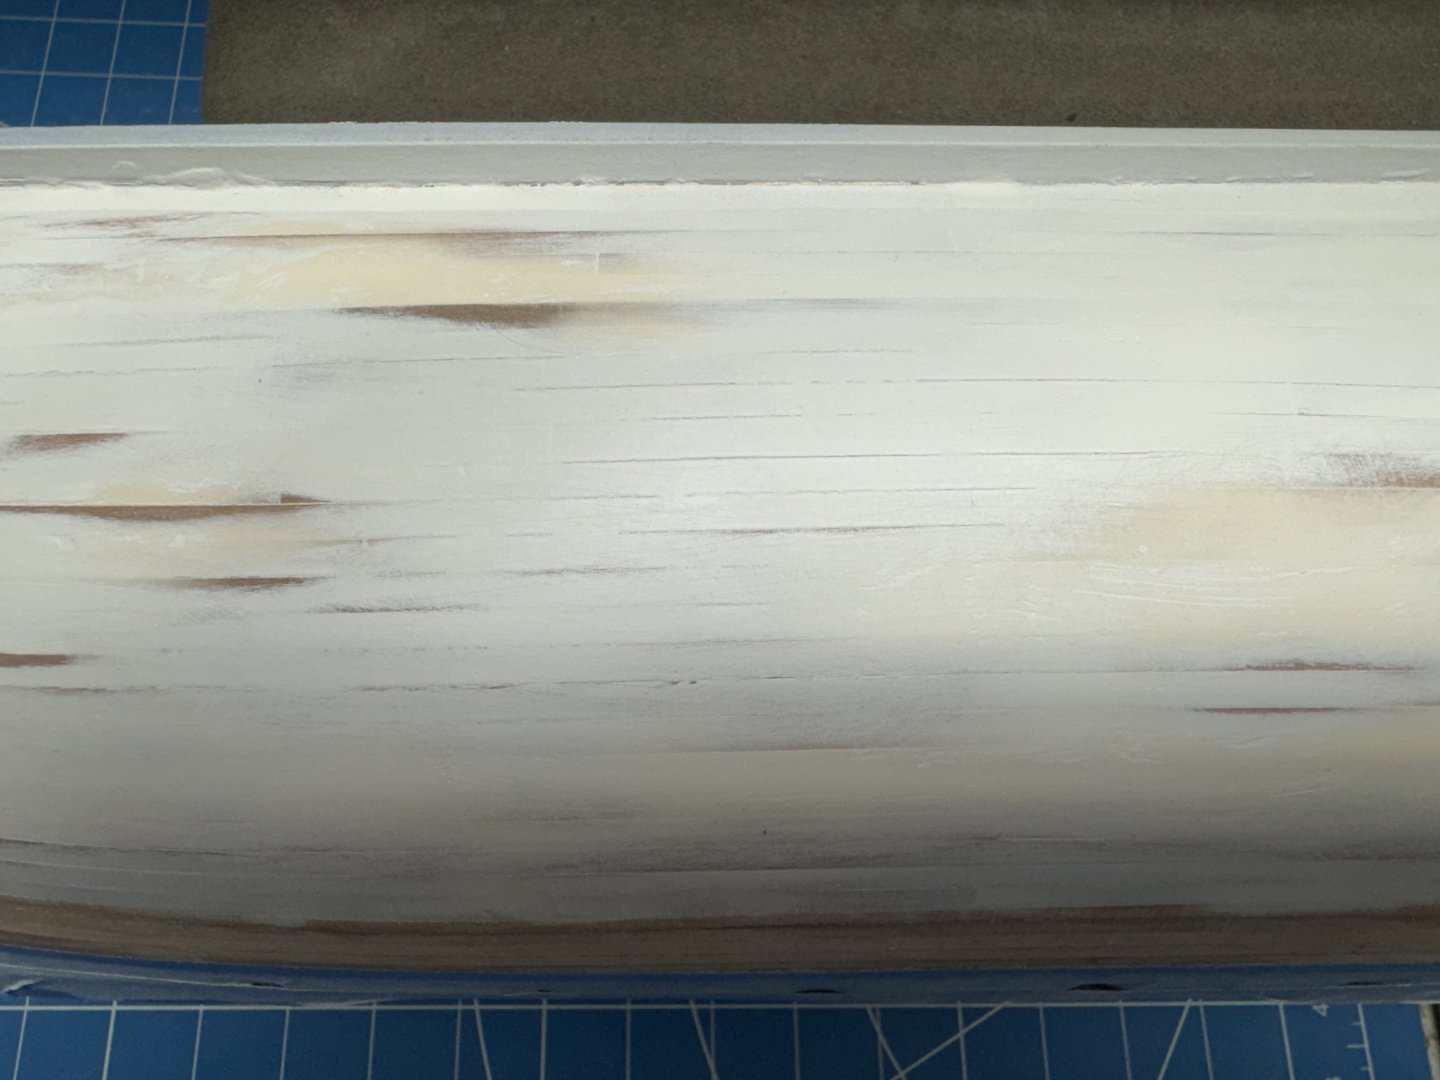
The first pass sanding the planking with 120 grit. Hull has been wiped down with paint thinner so it looks much darker than its "natural" state. I could probably done a better job matching plank color but since most of it is "under paint" I thought it not worth a great deal of effort and it is not nearly as noticeable when the paint thinner evaporates.. Mixing up my thinner filler now. Will apply after the thinner is gone and I remark the waterline.


-
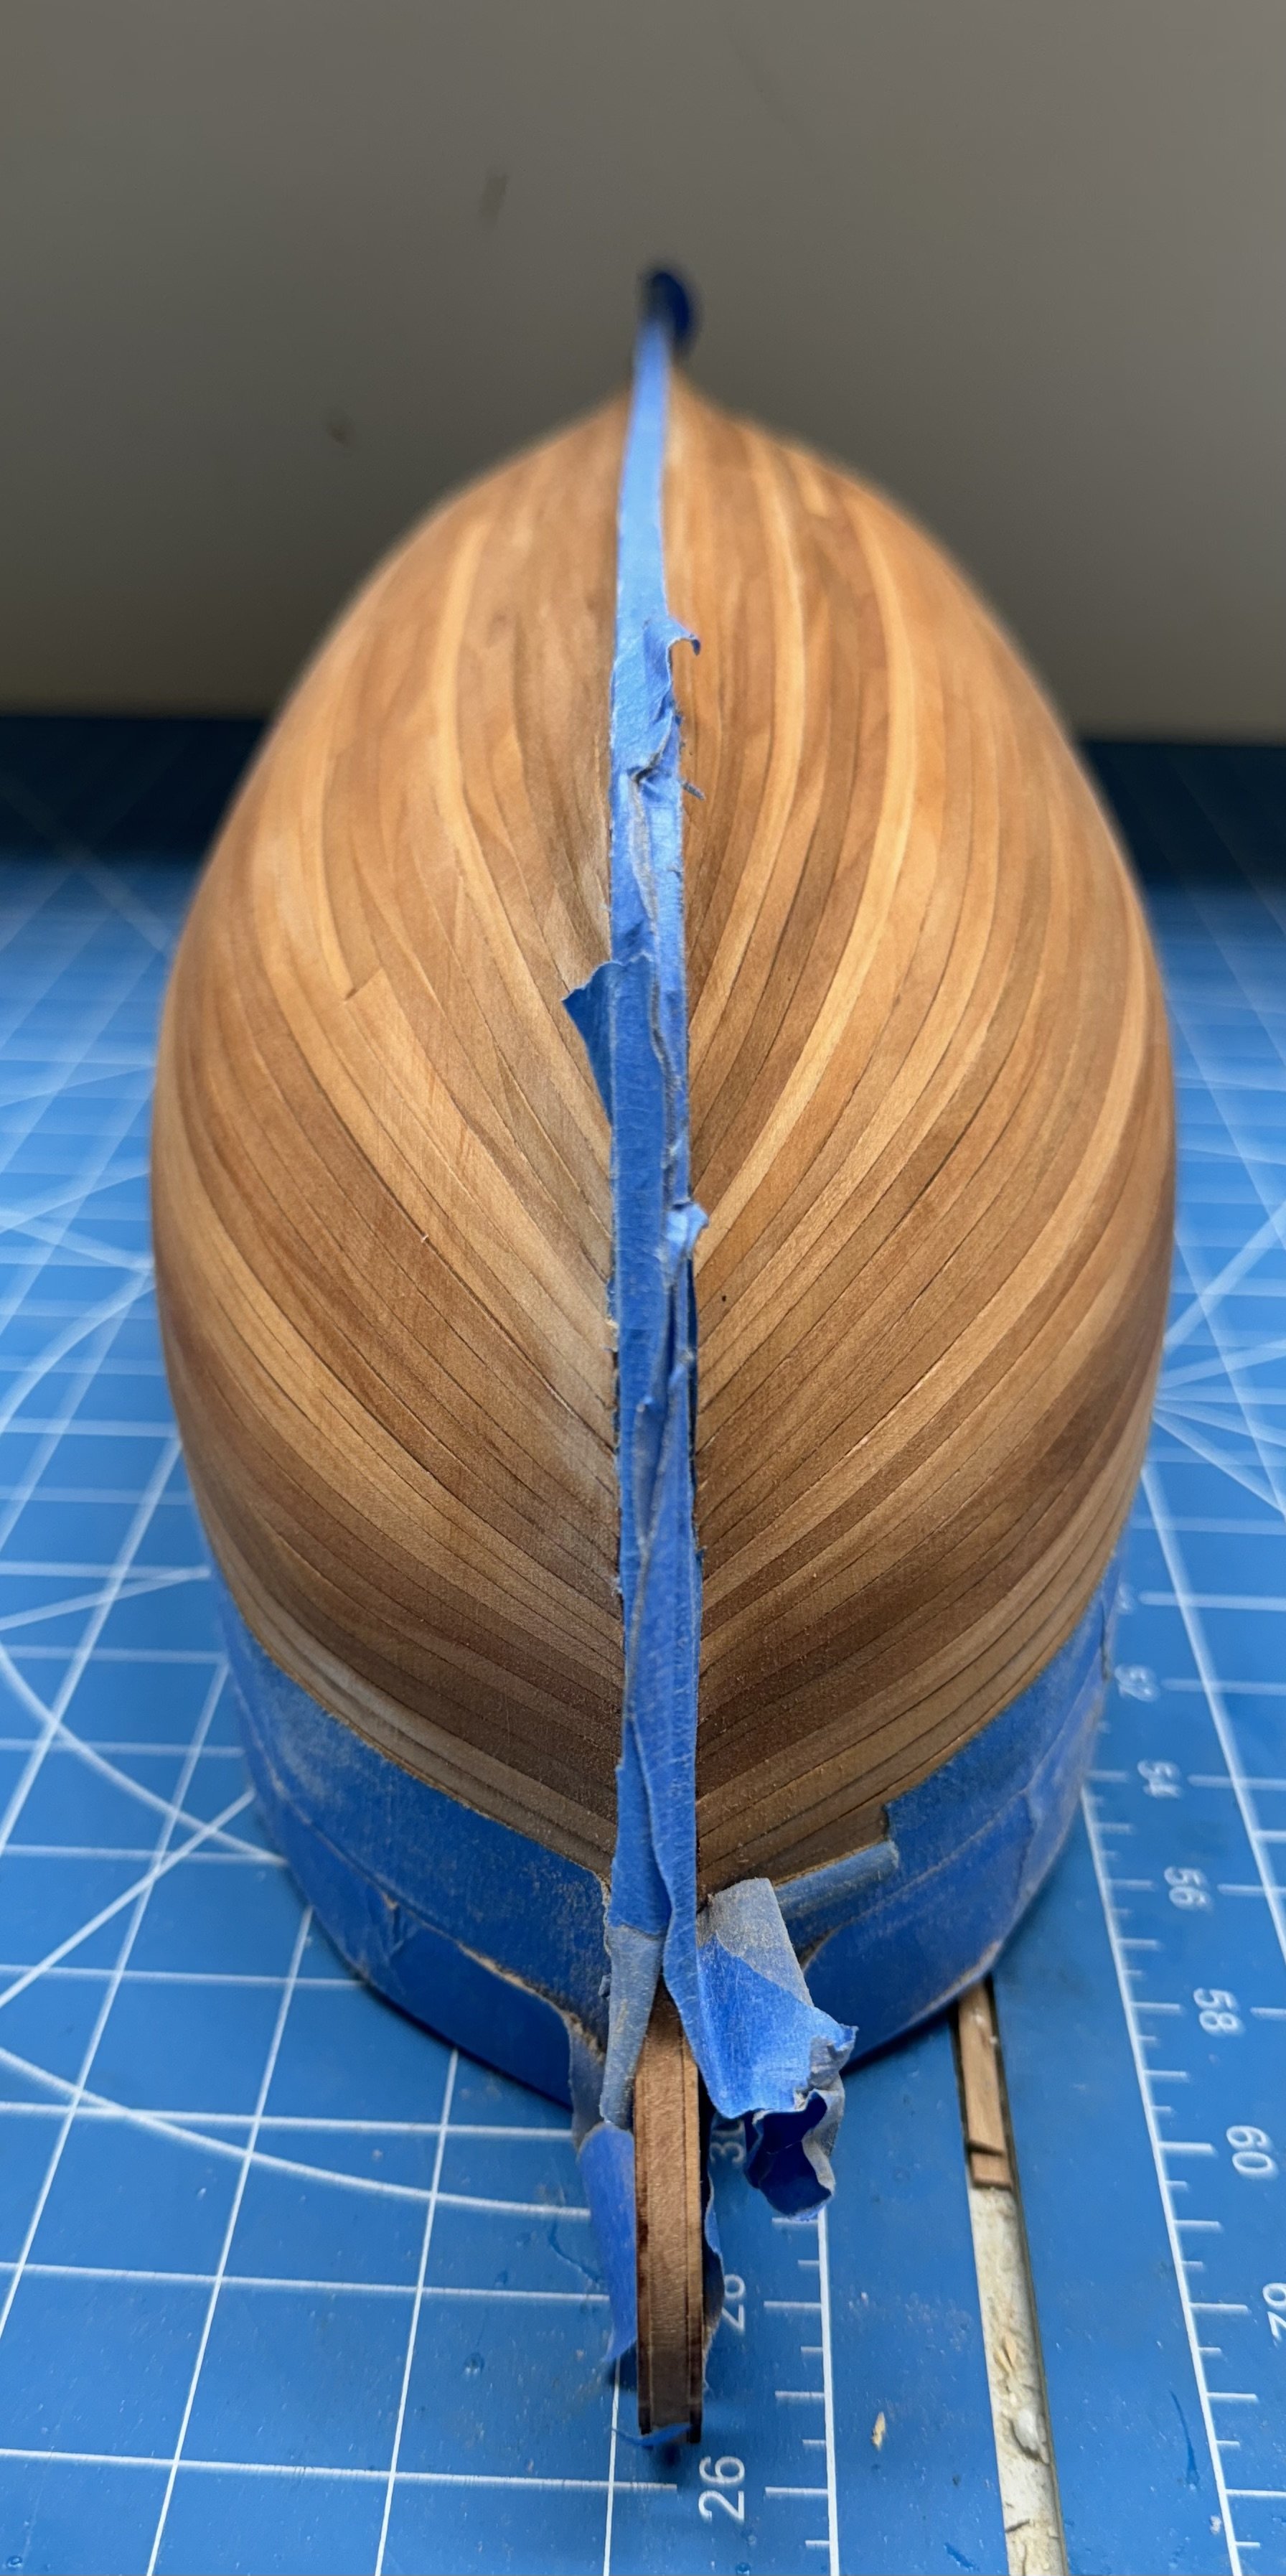
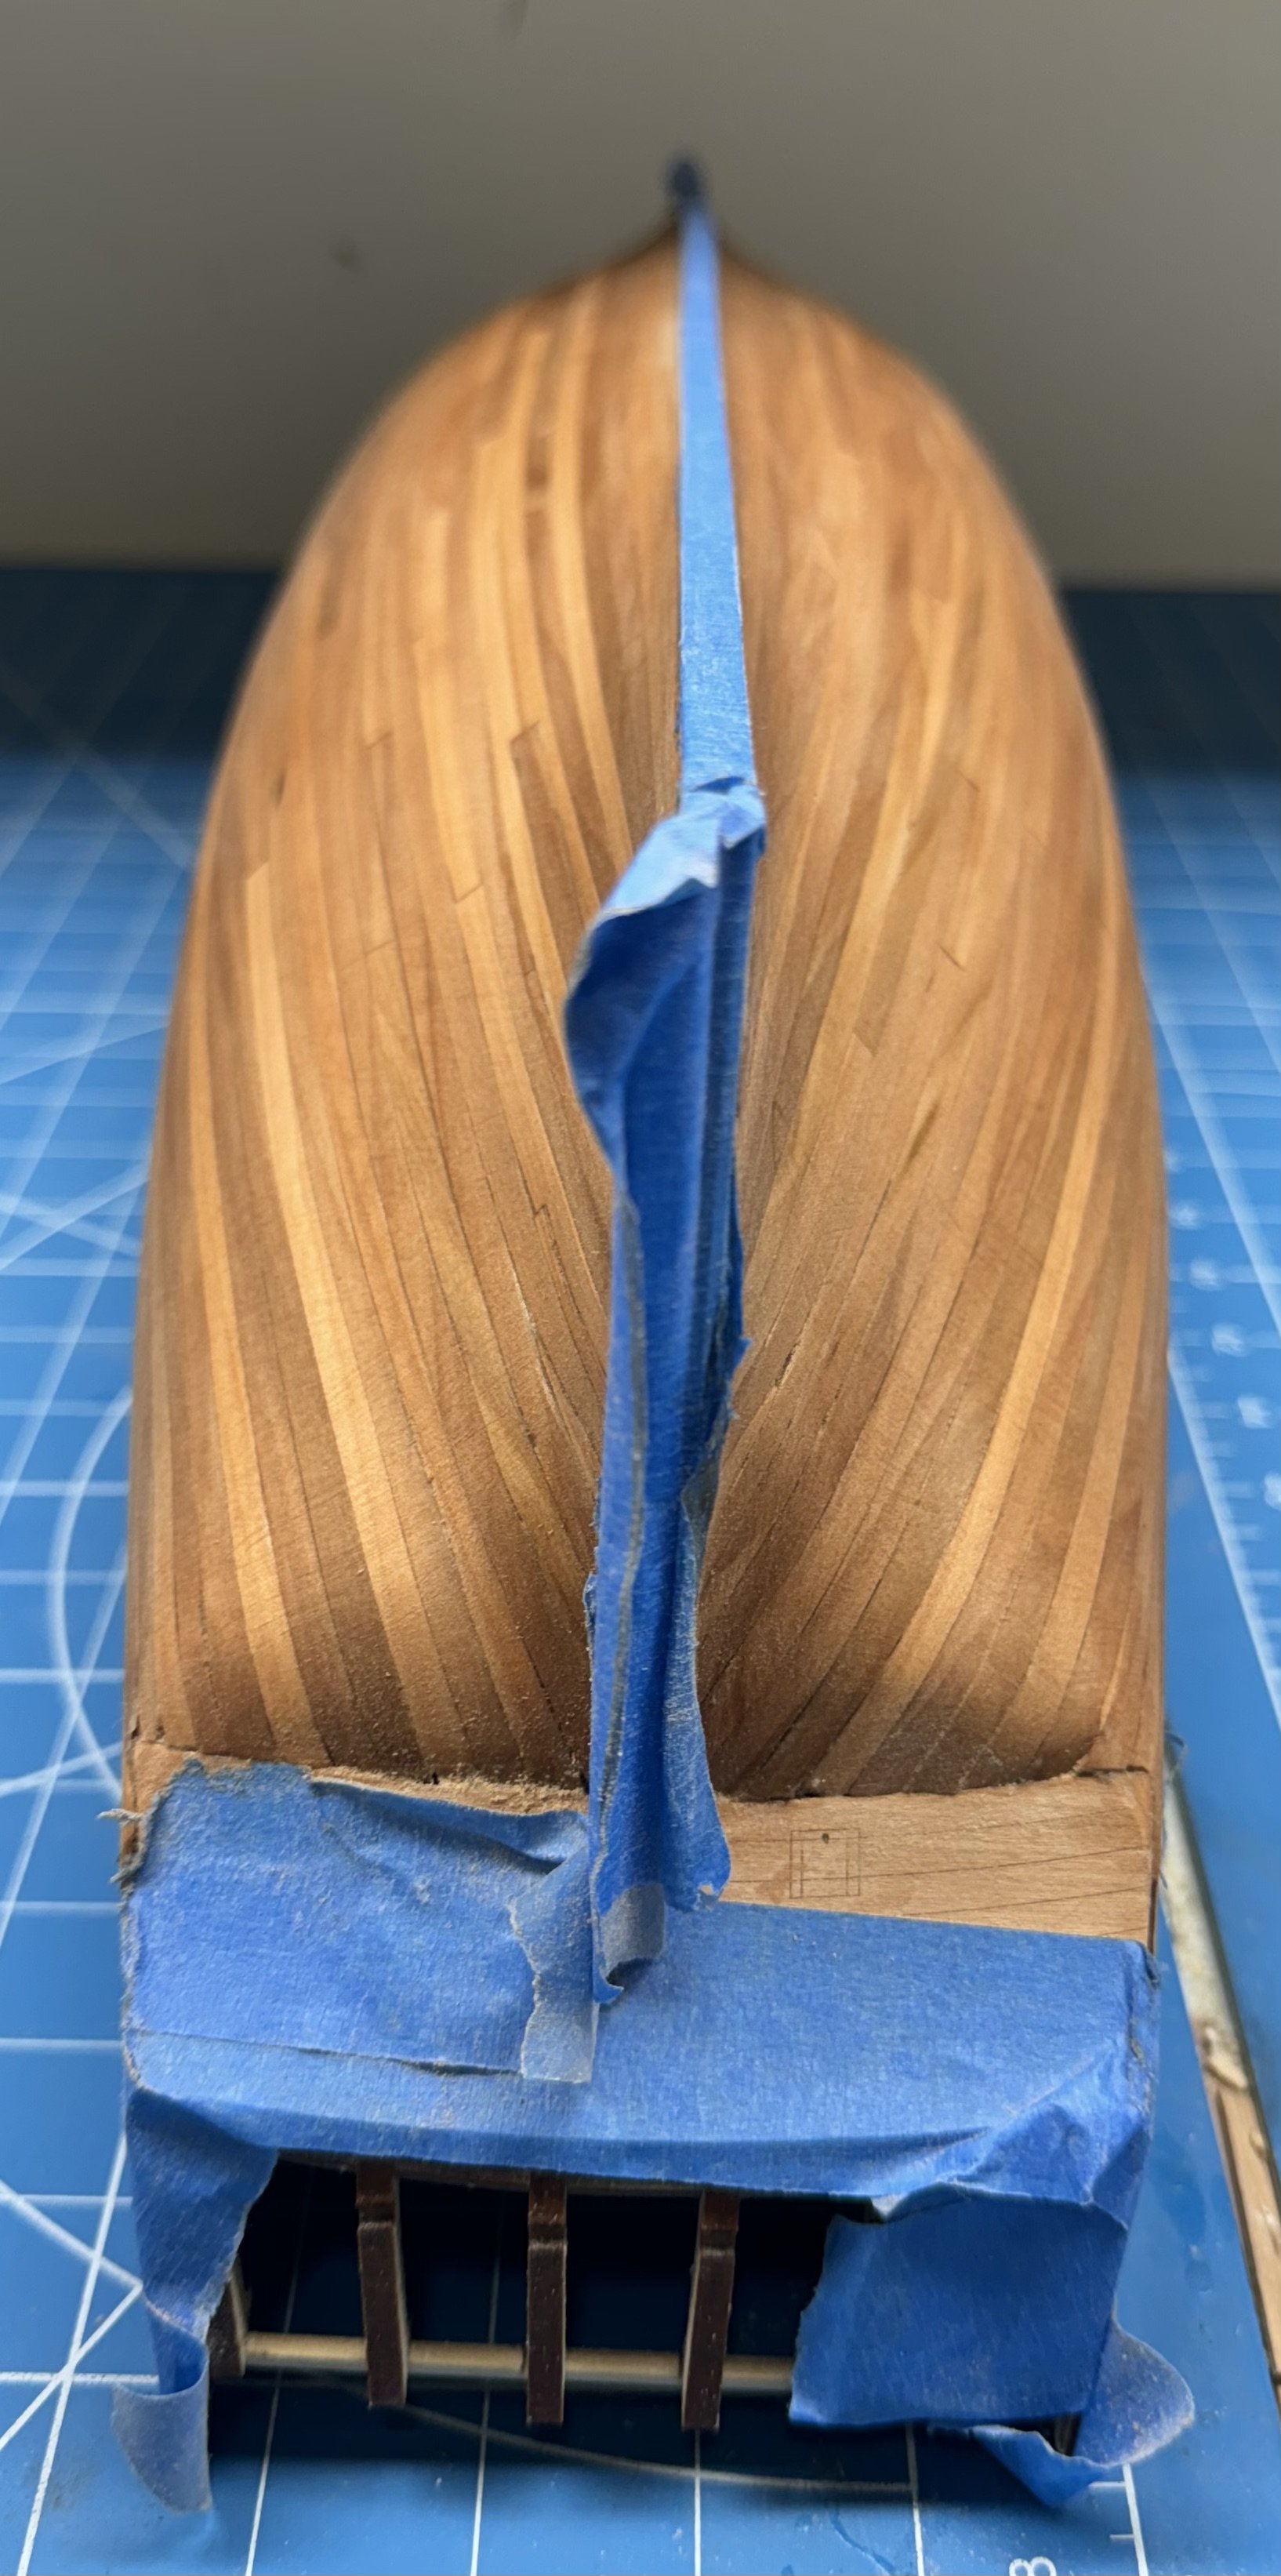
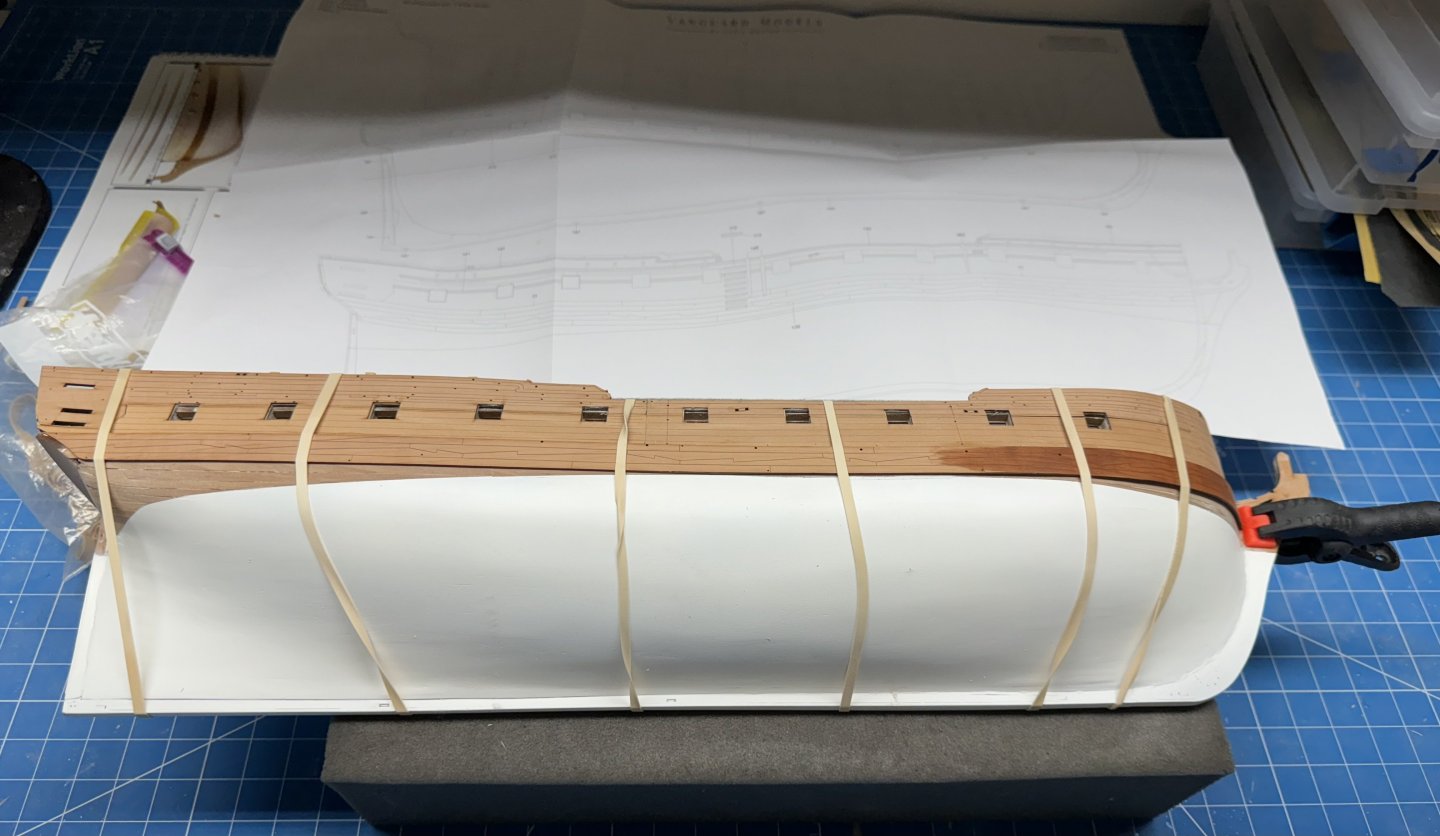
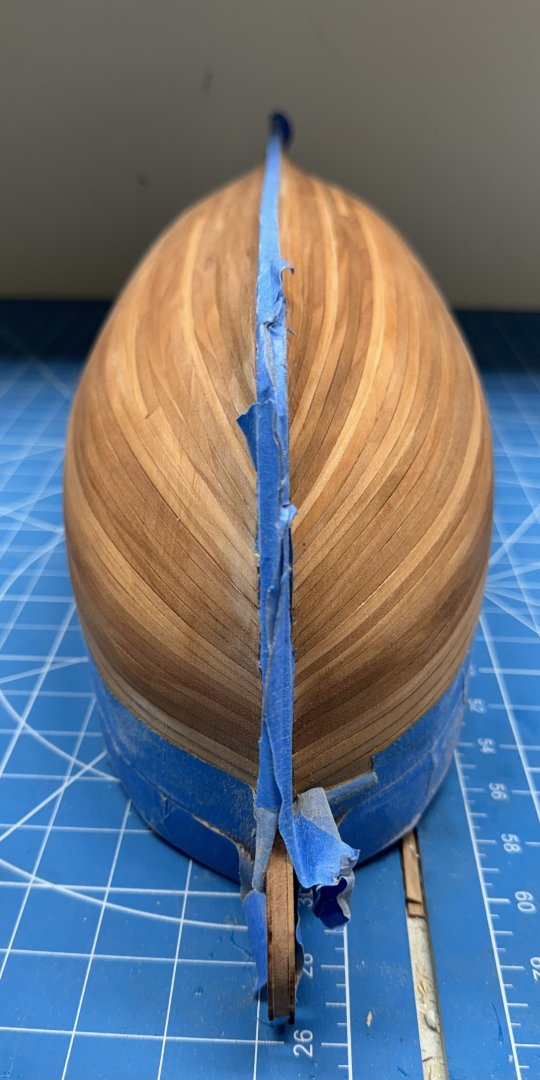
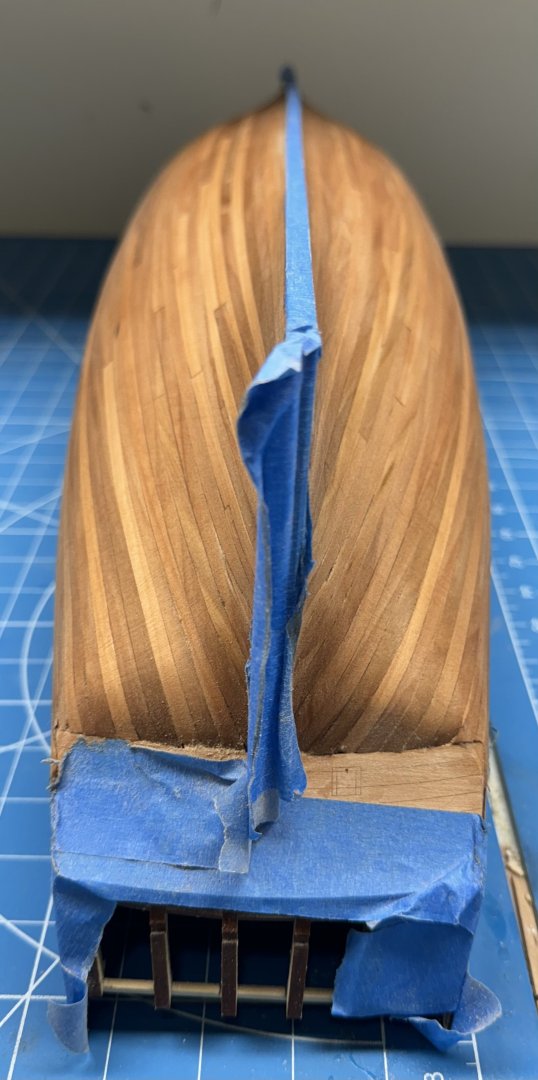
Starboard side 2nd planking completed except for the final plank. On this side I did not have to resort to using "alternative methods" to fit the final plank. But it did take awhile to get it to fit. Also while planking I could not resist and fabbed (refabbed actually) the Mizzen Mast. Here are all three masts awaiting "further developments. I need to do the bowsprit and jib boom and then go back to the yards.