-
Posts
165 -
Joined
-
Last visited
Content Type
Profiles
Forums
Gallery
Events
Everything posted by Jim M
-
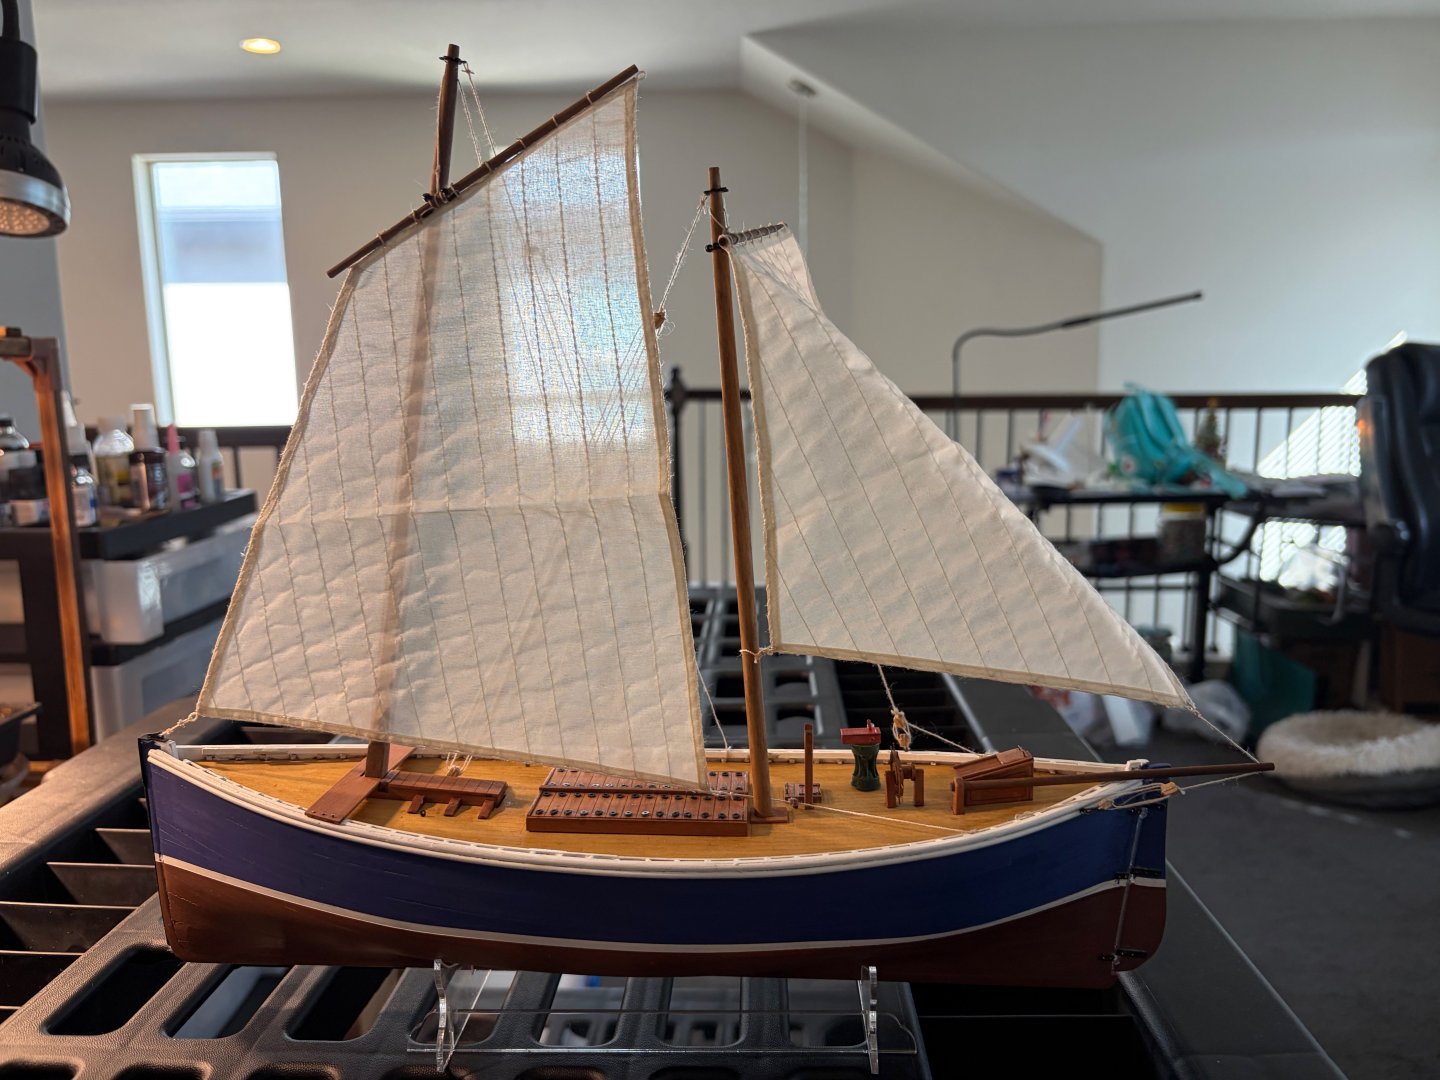
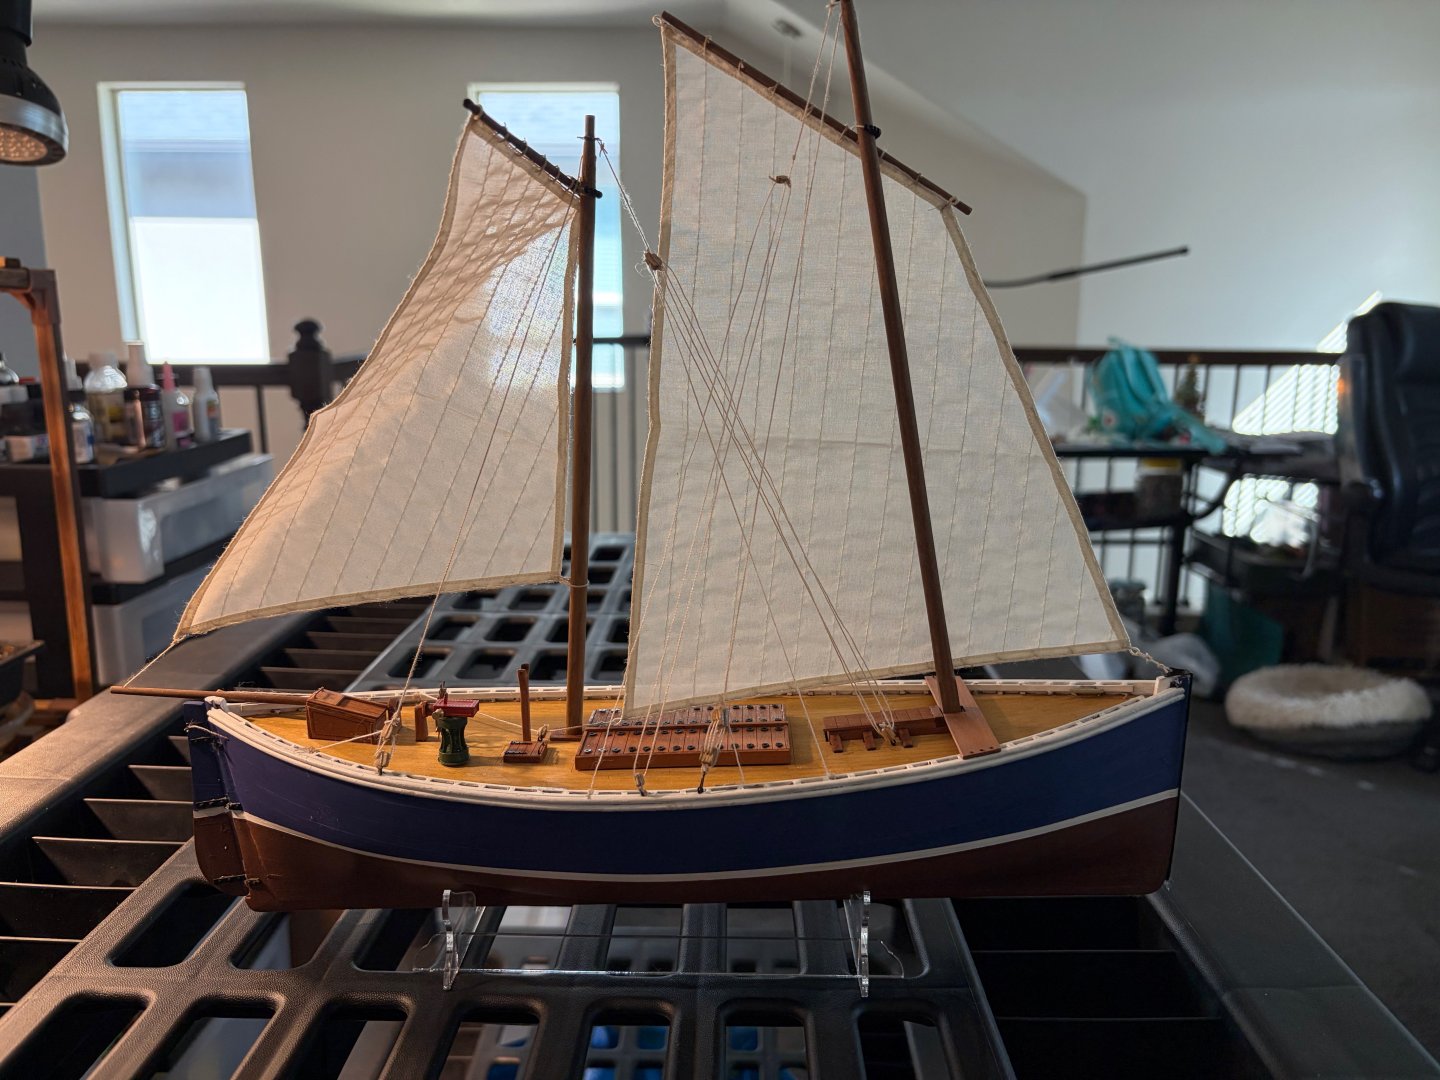
Good afternoon, sorry for the tardy response, but last weekend was our ipms club show. With that in mind Lady Eleanor is now complete. I also won third place in the show for the Sailing group. The rigging was interesting, and a little confusing, but I did muddle through it. The area where I was confused was on when to tie a becket vs not. I also had to drill out the blocks with a 0.8mm drill to make sure the thread would go through it. Overall this is a great kit especially to a newcomer. The directions where clear, and @chris watton design make it enjoyable. Jim
- 27 replies
-
- fifie
- vanguard models
-
(and 2 more)
Tagged with:
-
It's a good kit. This is an older kit that I ended up with. It has some challenges but it has been a source of a lot of entertainment. My next build will be the Sherborne once I am finished with this kit. I am hoping to be done by Thanksgiving.
- 27 replies
-
- fifie
- vanguard models
-
(and 2 more)
Tagged with:
-
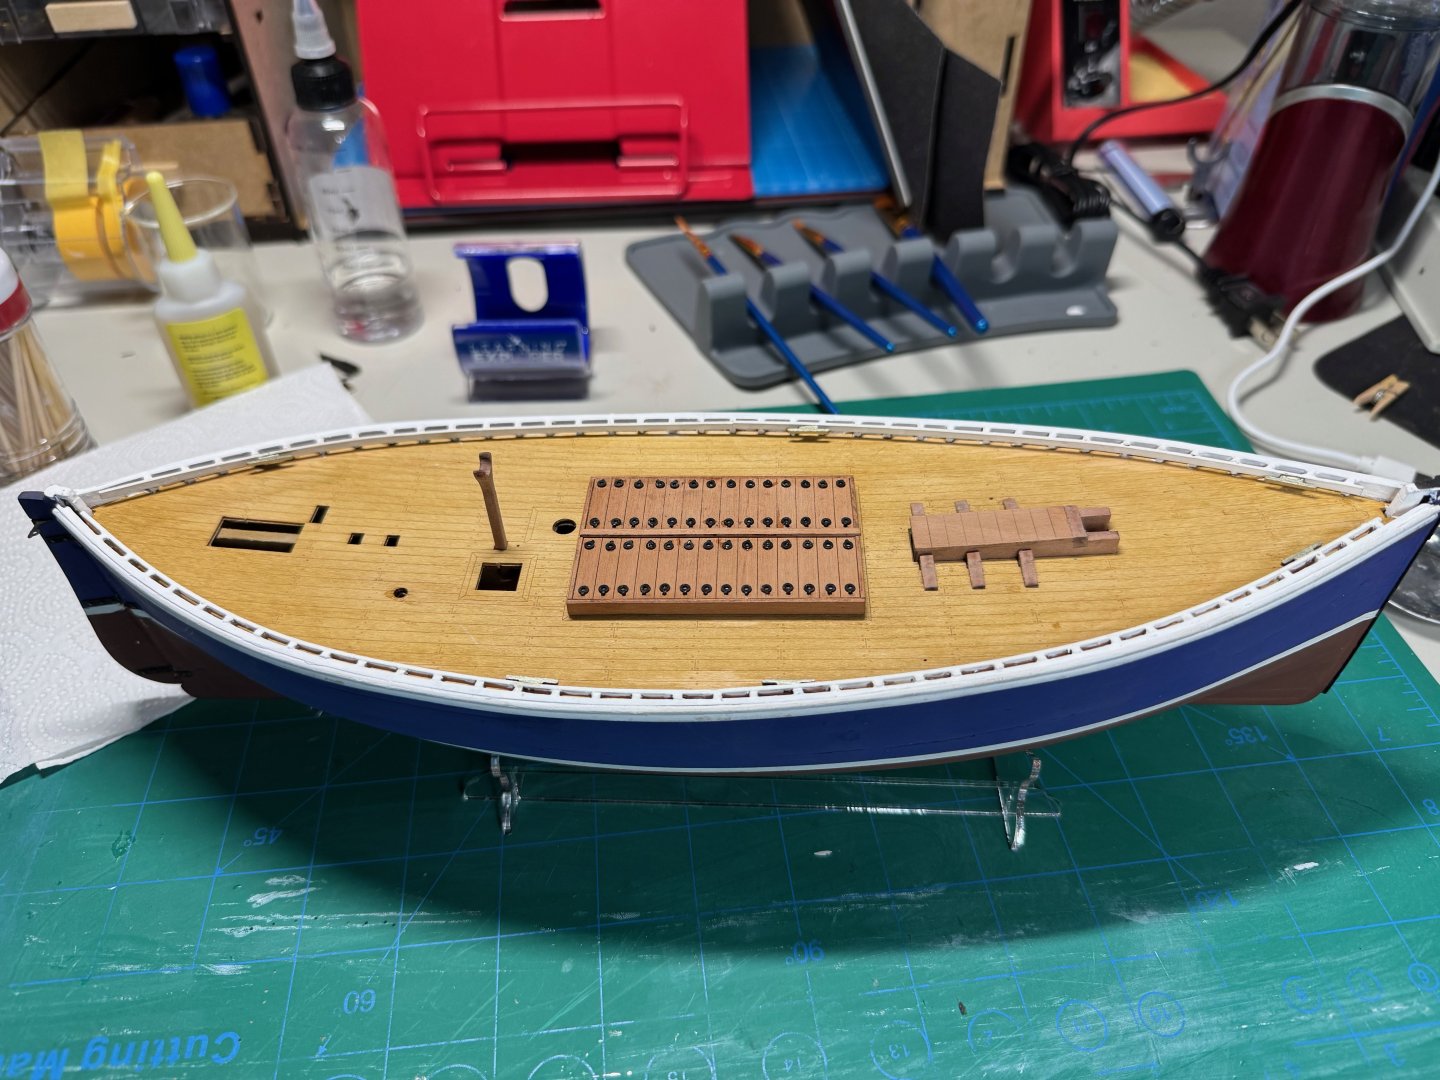
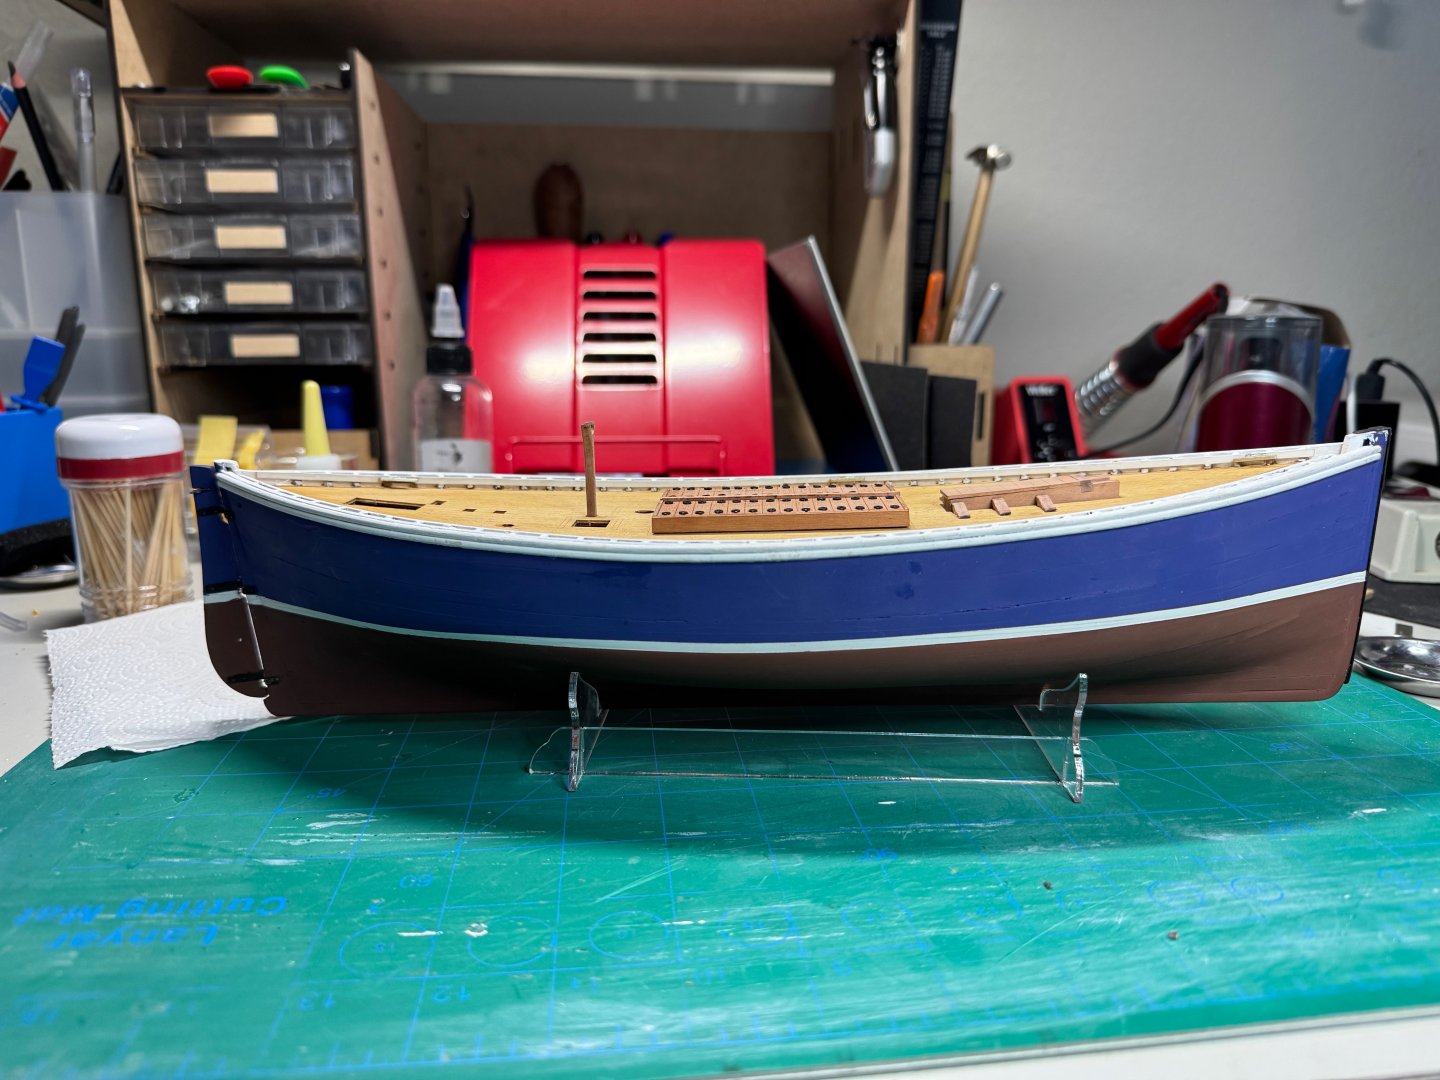
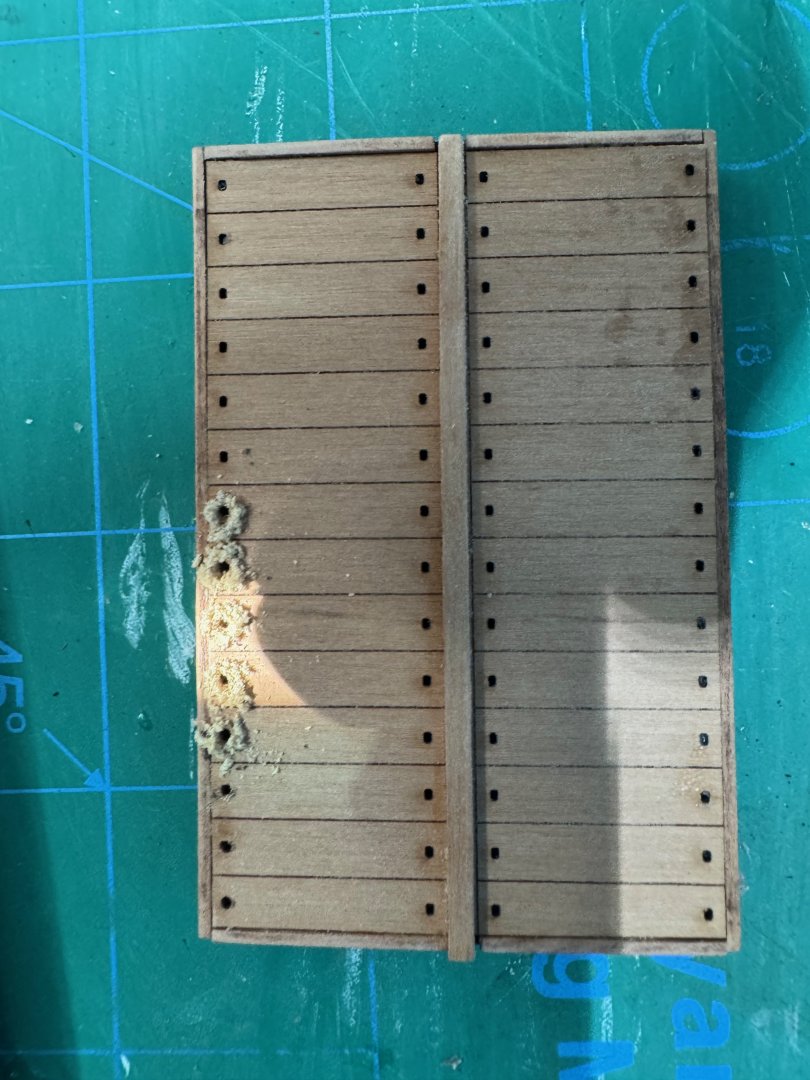
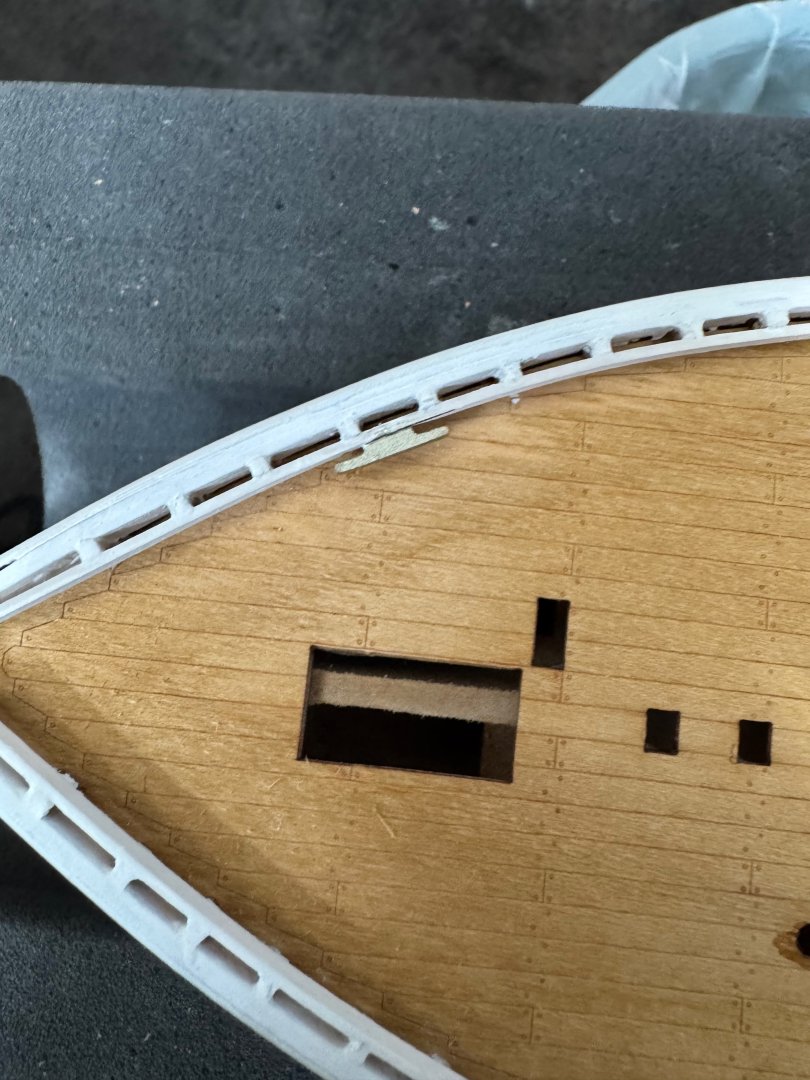
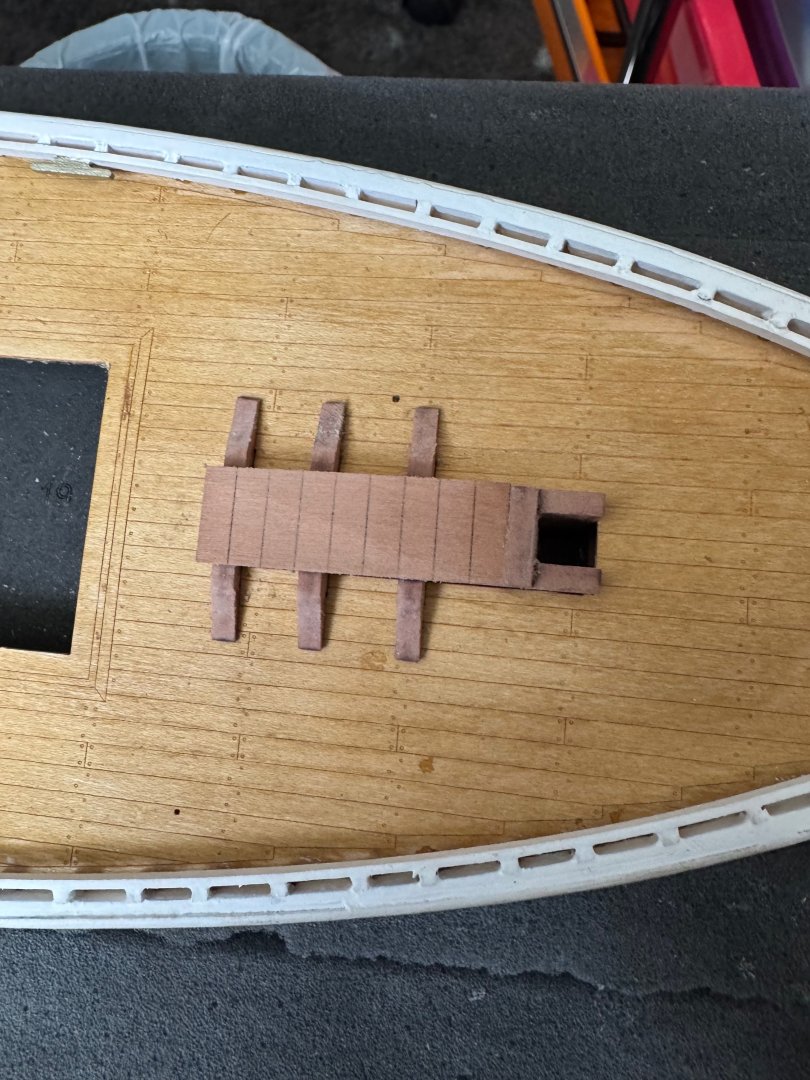
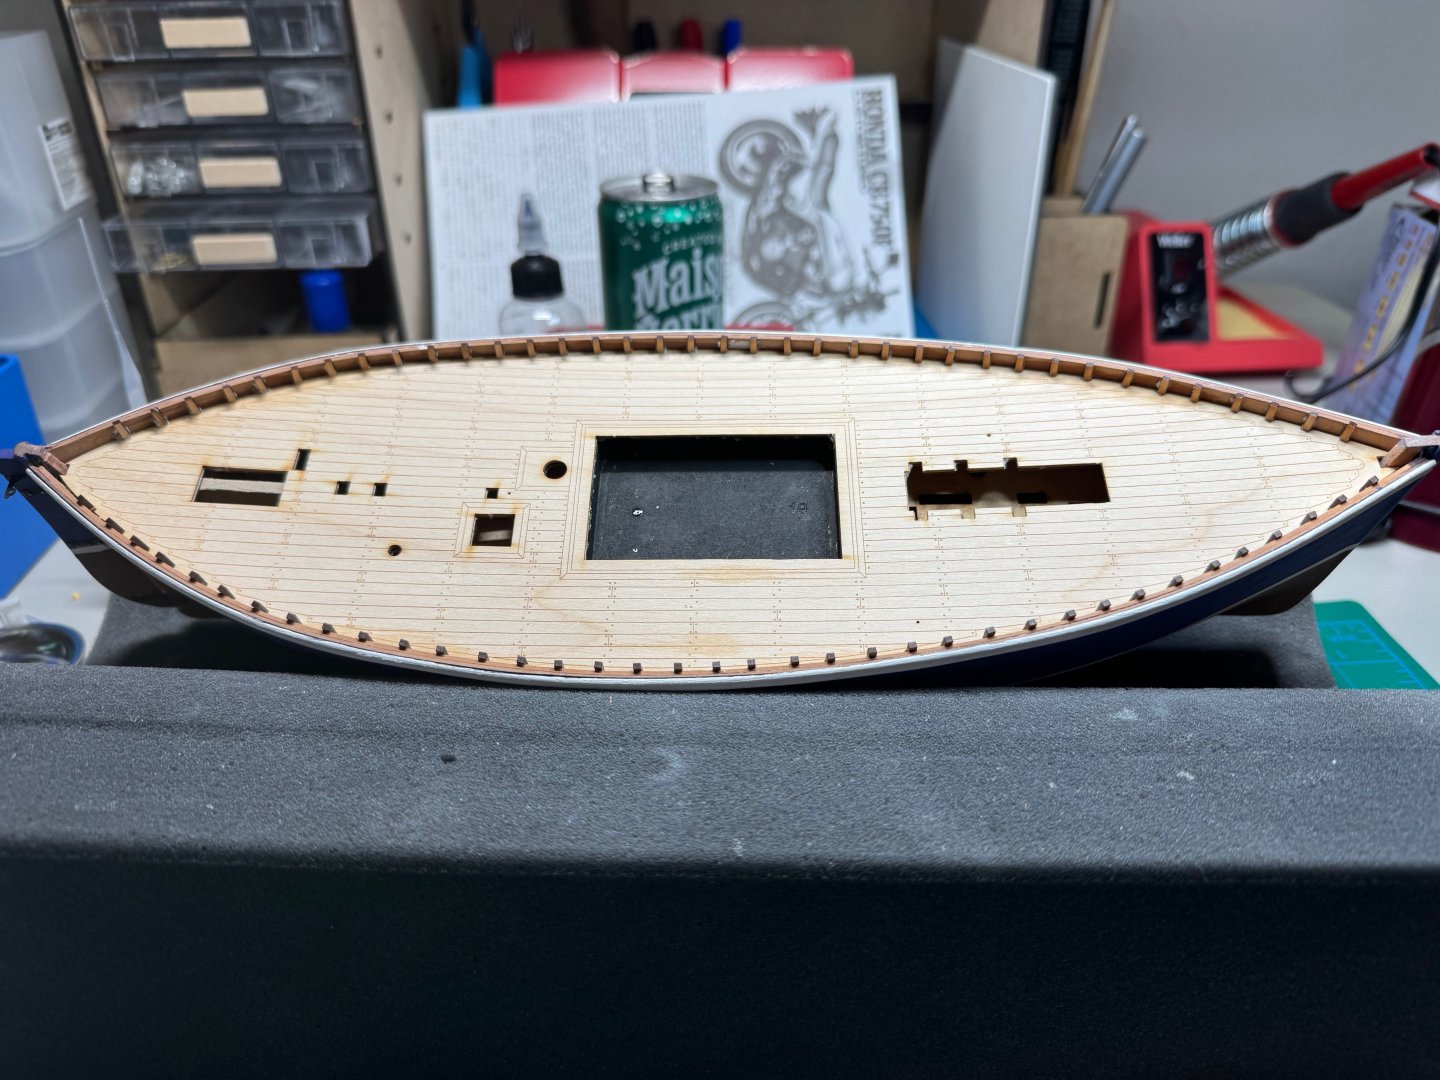
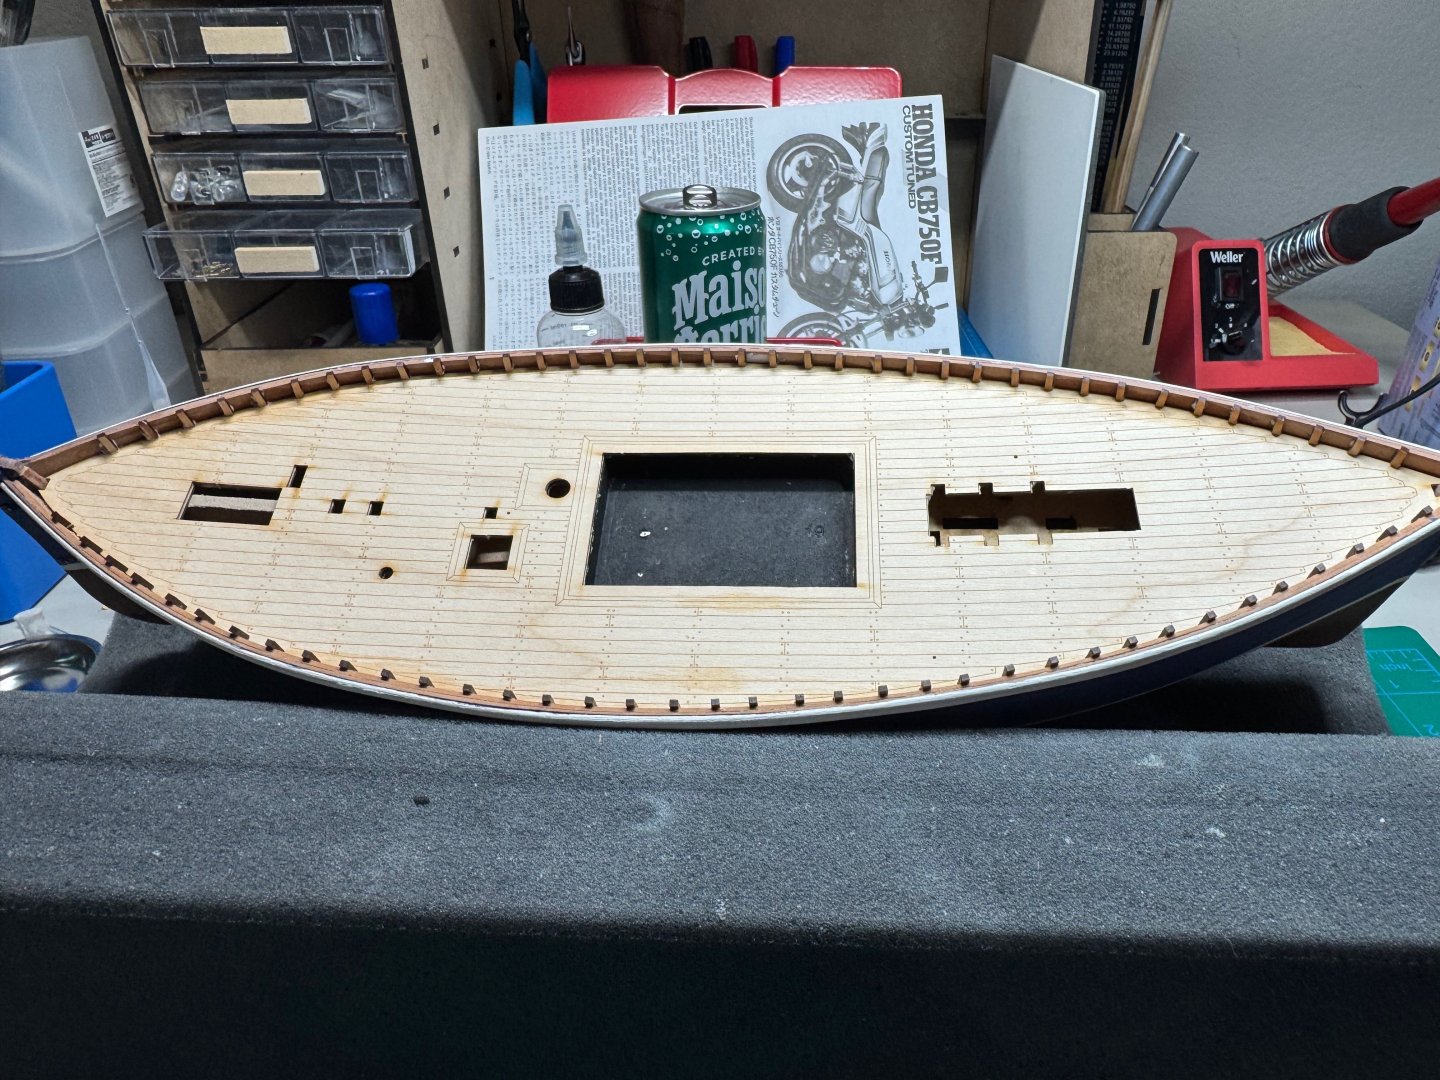
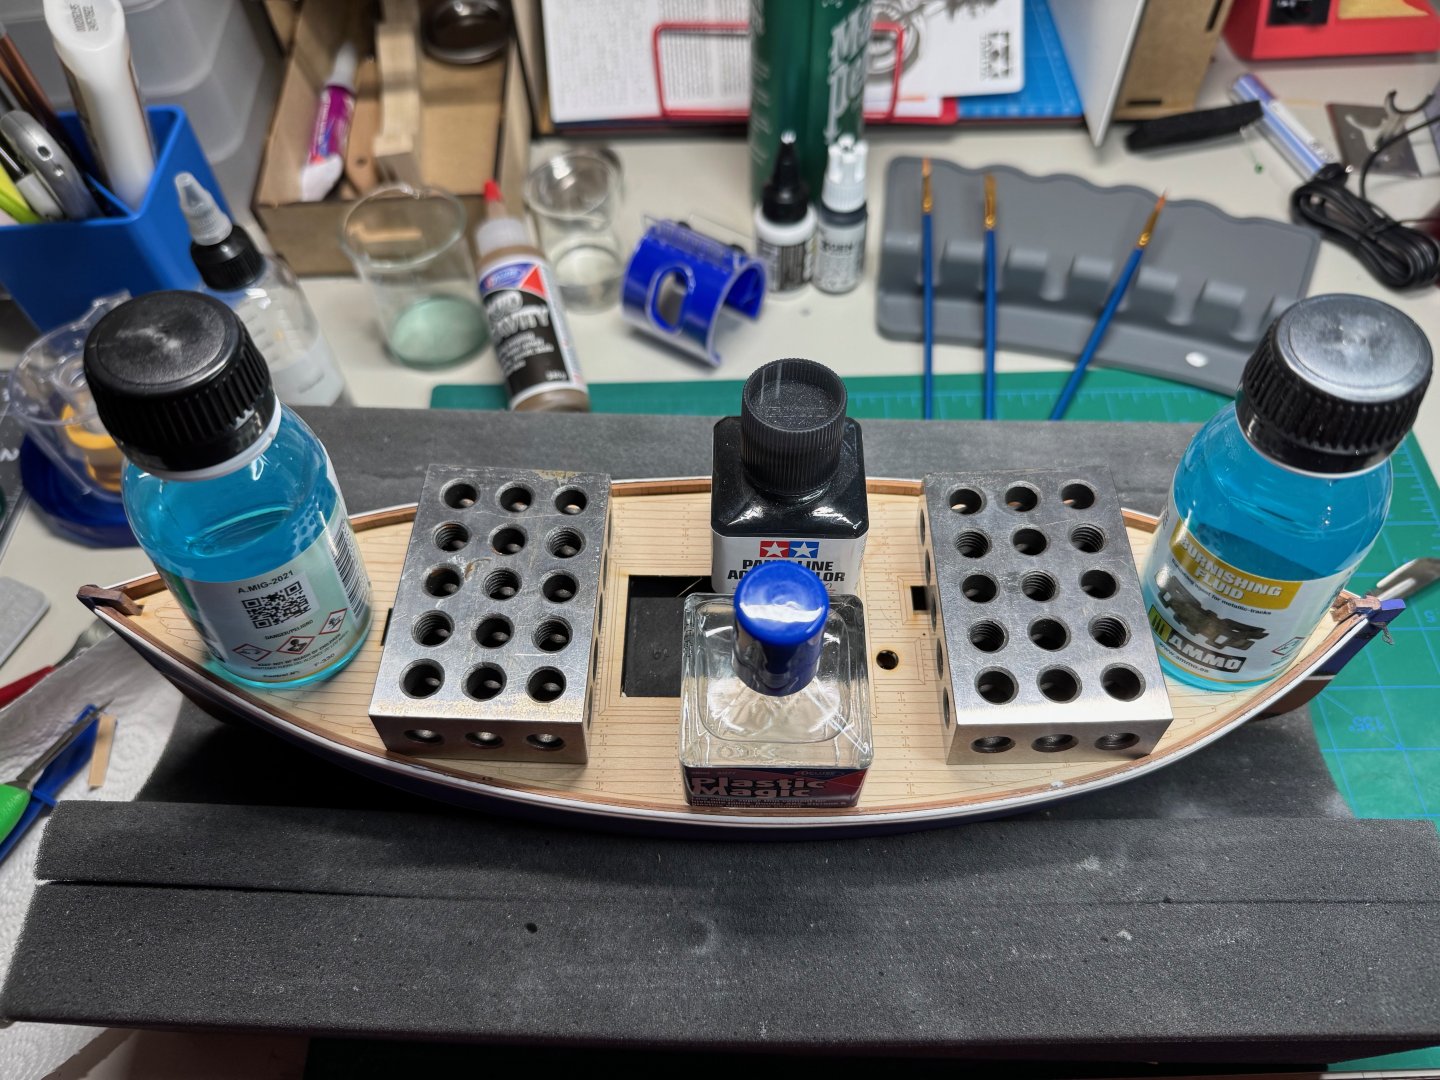
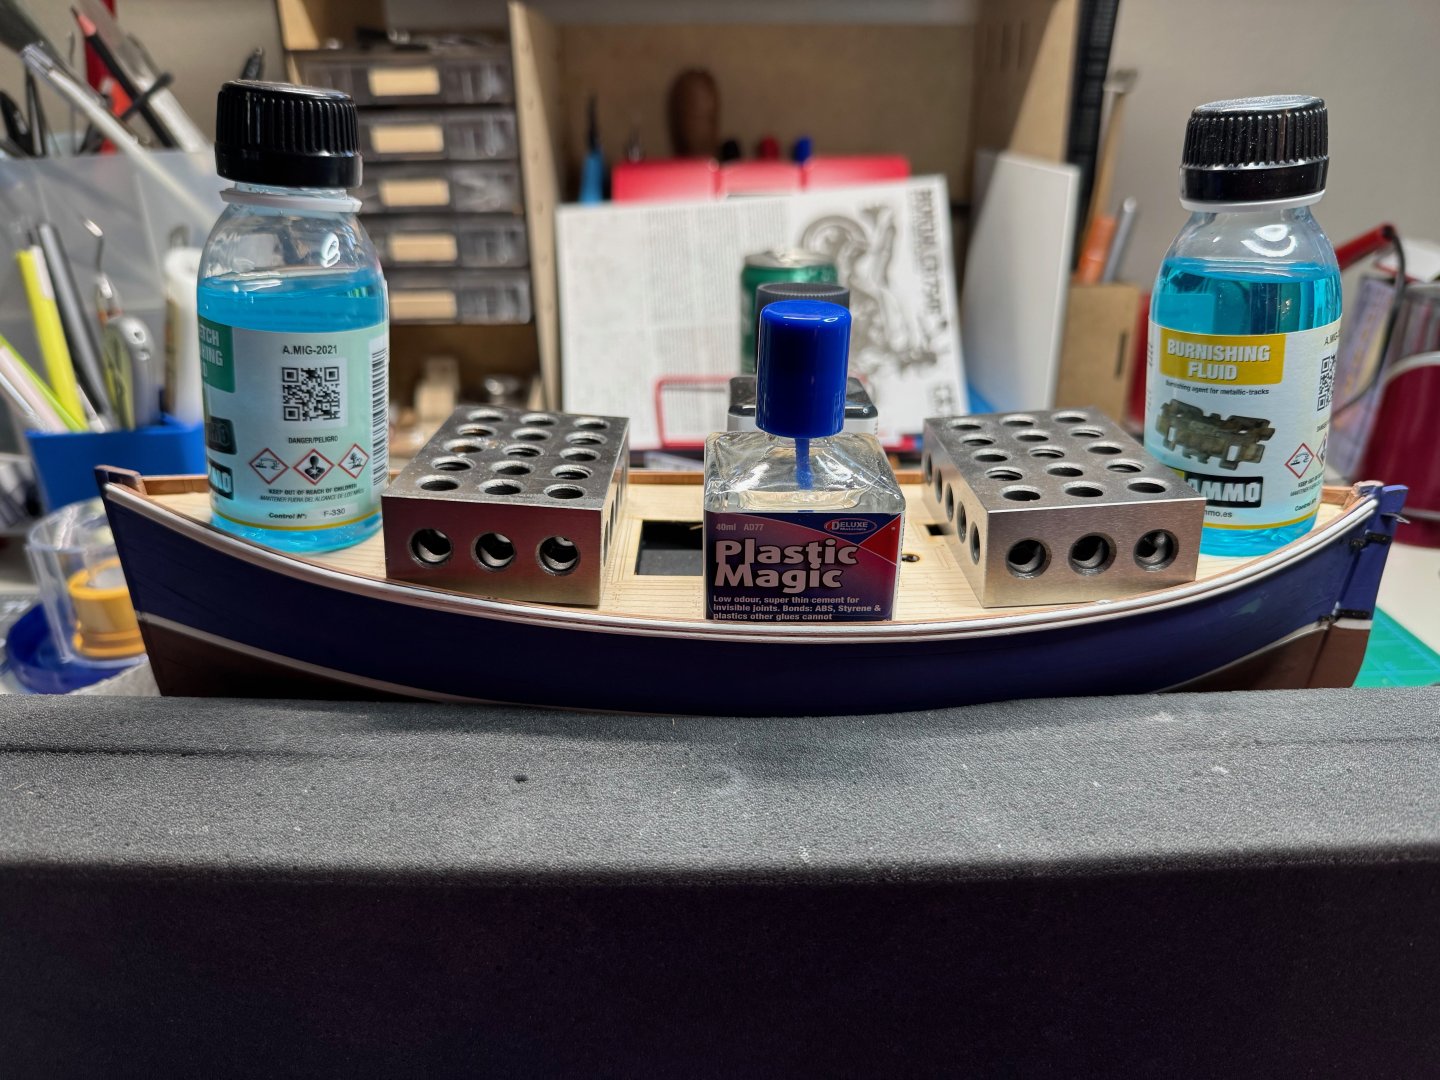
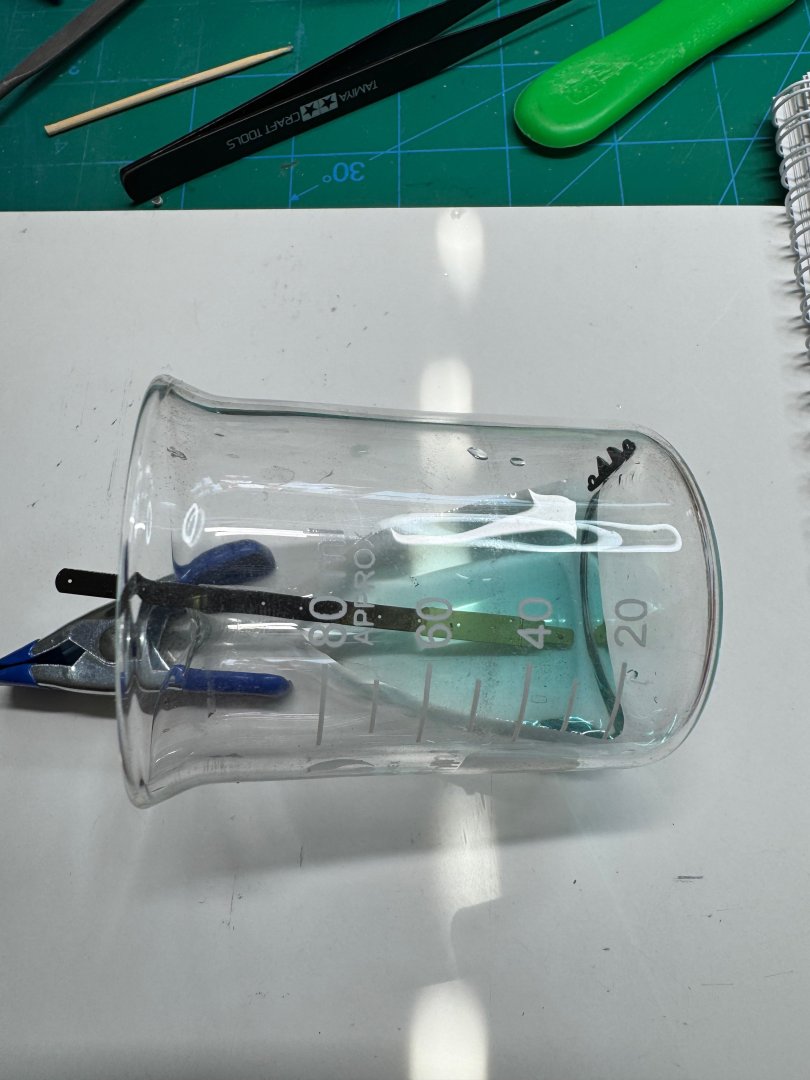
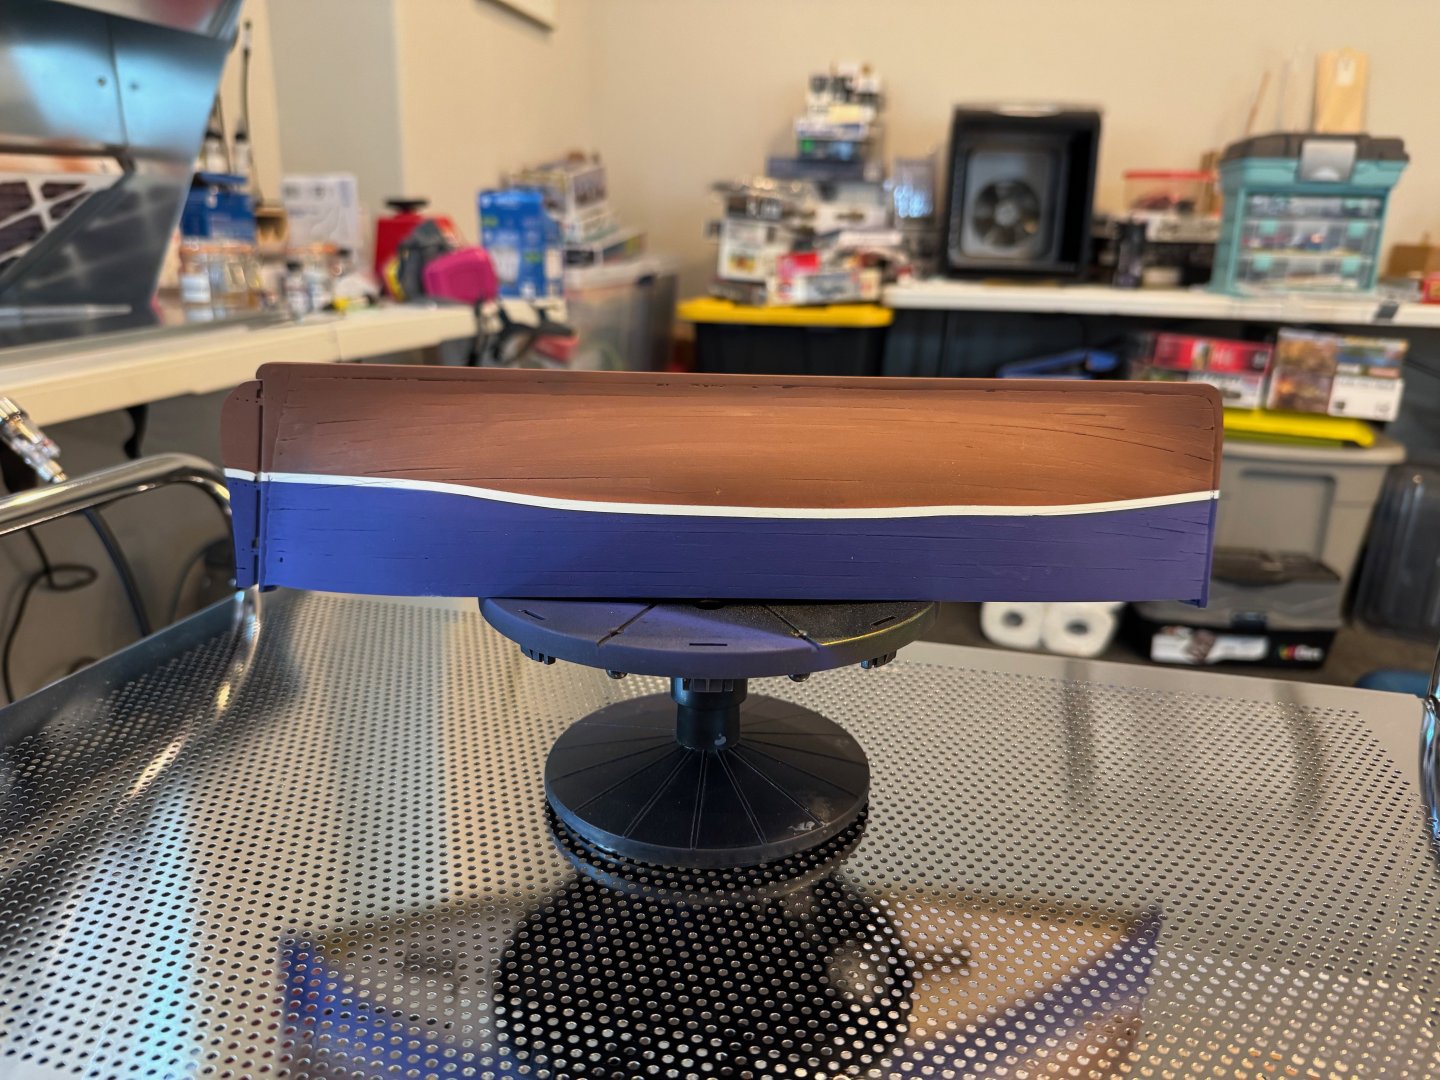
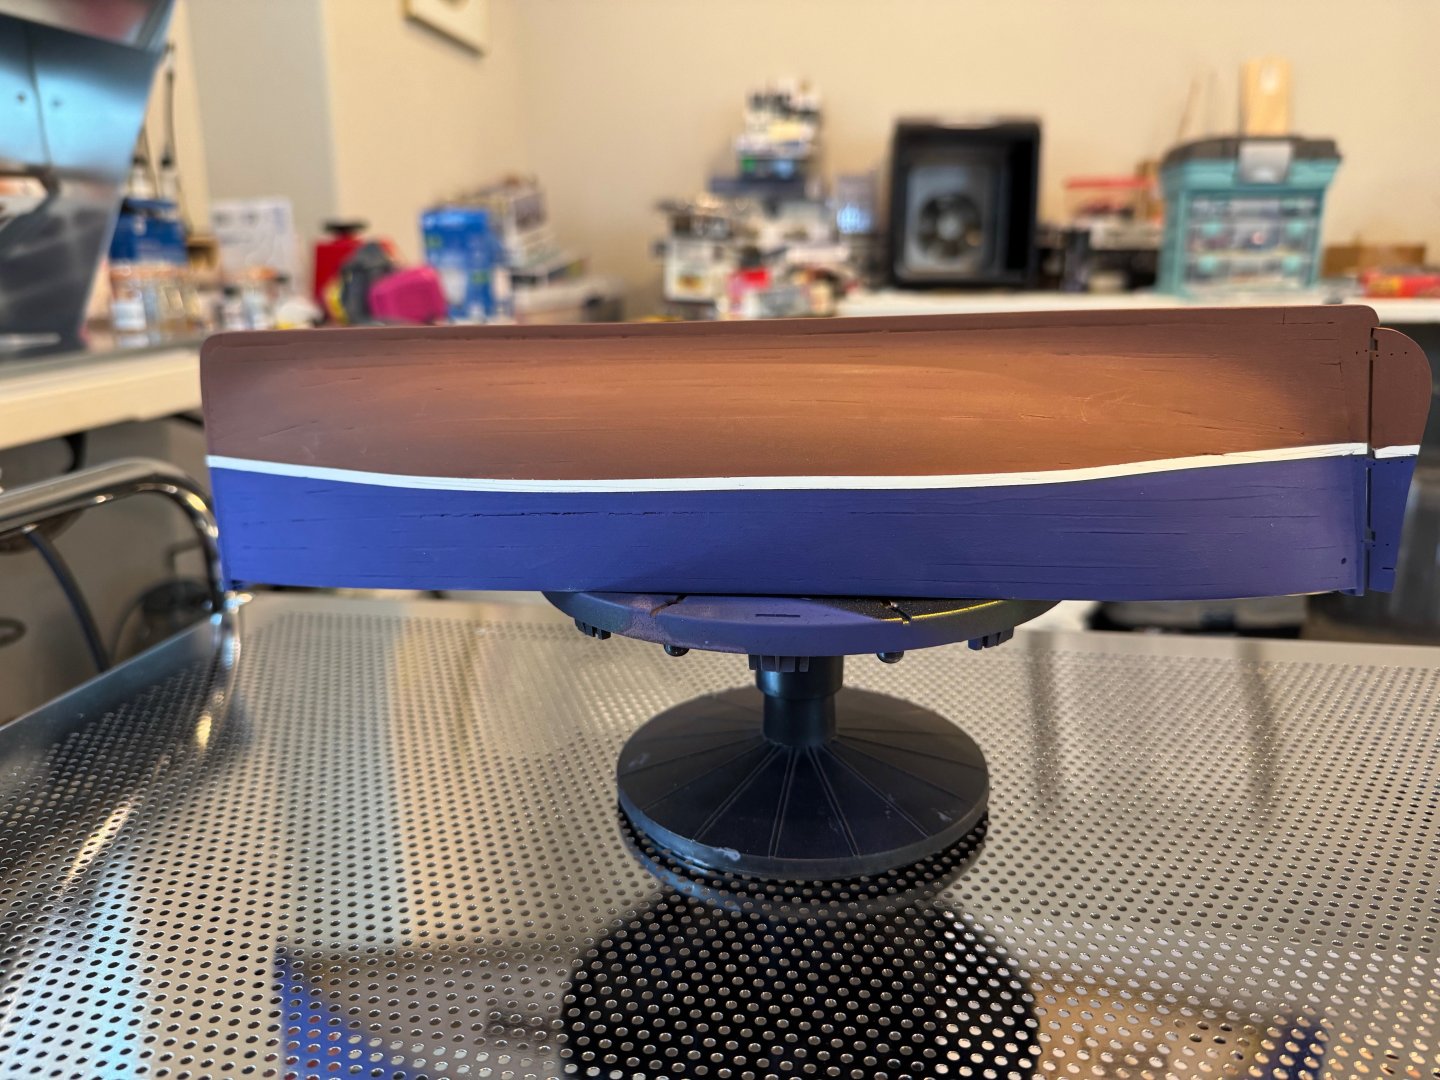
I apologize for the long abcense. Been very hectic over the summer but I have been making some progress on the LE. The hull is painted, and more or less completed including the photo etch. I decided not to add the 1x1 strips on the hull as it would make it to busy. I initially was planning on having them white to contrast the blue. I did paint the hull using Humbrol enamels. Never ever again. I am coming around to using acrylics for wood ships. Just much easier to work with. Requires a quick sand after the first coat to reduce the wood having fur. I do though still seal the wood with a light shellac prior to painting. I used burnishing fluid to darken the photo etch, and here I needed to be creative for the bow photo etch. Next I installed the deck. I think the deck looked nice. Had a couple places where the deck was not weighted down correctly so the PVA did not hold it. I fixed it buy using some medium CA. I then added the faux bulwarks, inner gunwale and cleats. I painted the gunwales white, and the cheats a mixture of brass, and metallic black. You also can see the staining of the deck. I used the Vereto Solutions Oak as the stain. Once the deck is complete I will add a shellac coat for protection, and to add some more yellow to deepen the oak. Next I added the fore mast station. Followed by the fish hatchery. This results in to my current state, which includes the mast holder. Jim
- 27 replies
-
- fifie
- vanguard models
-
(and 2 more)
Tagged with:
-
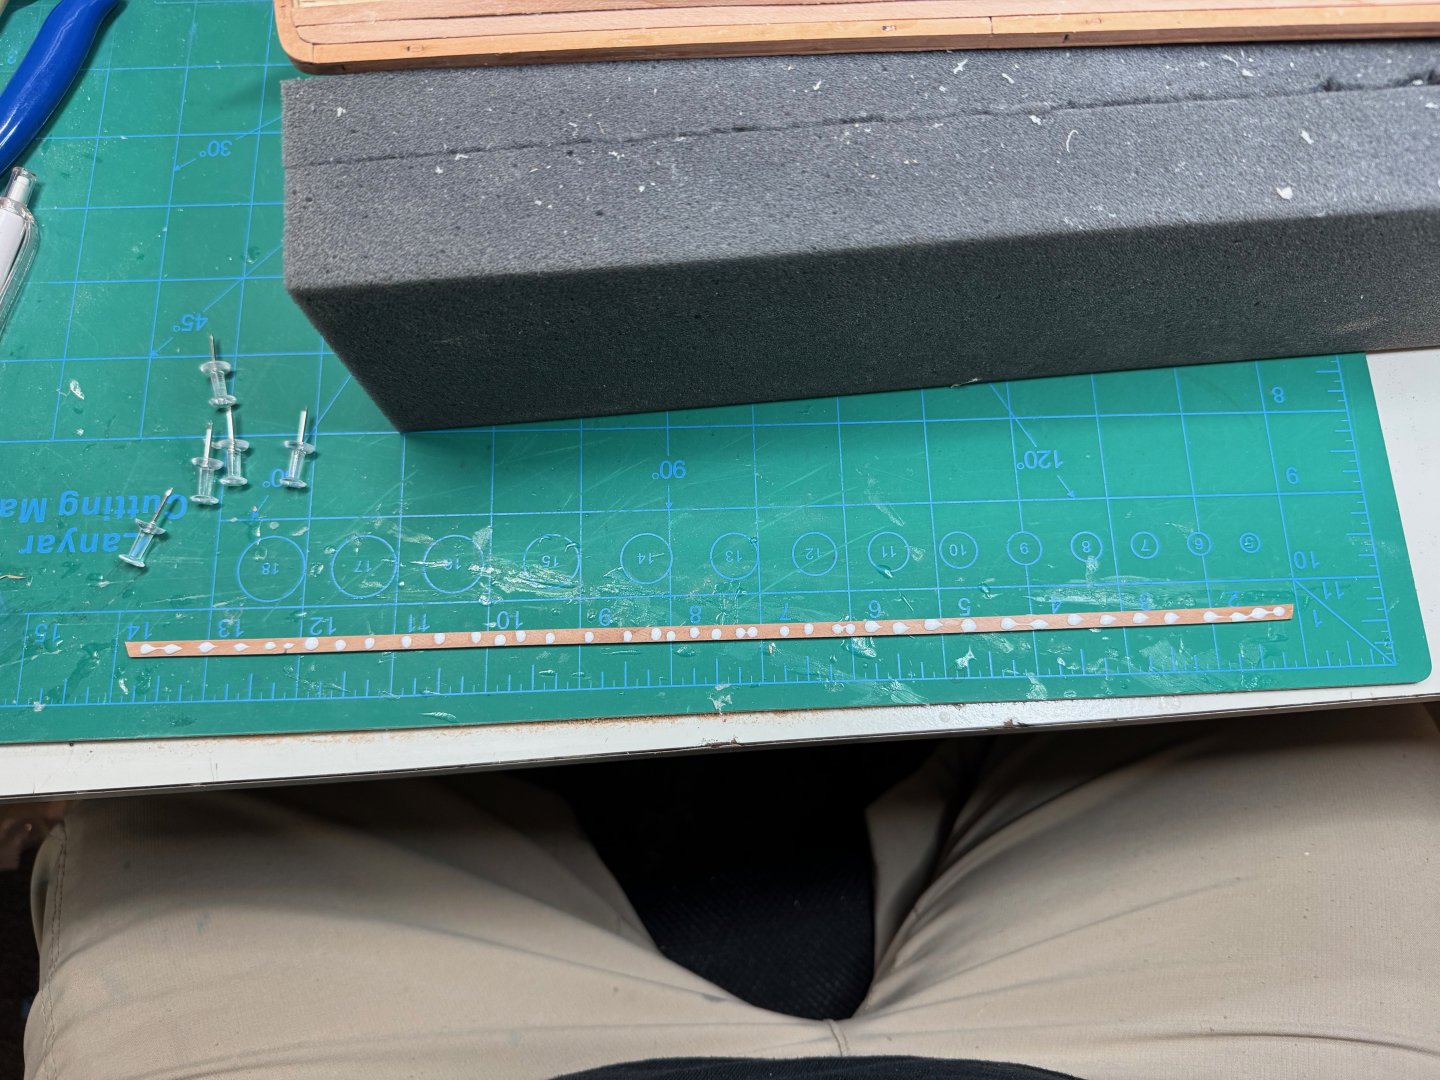
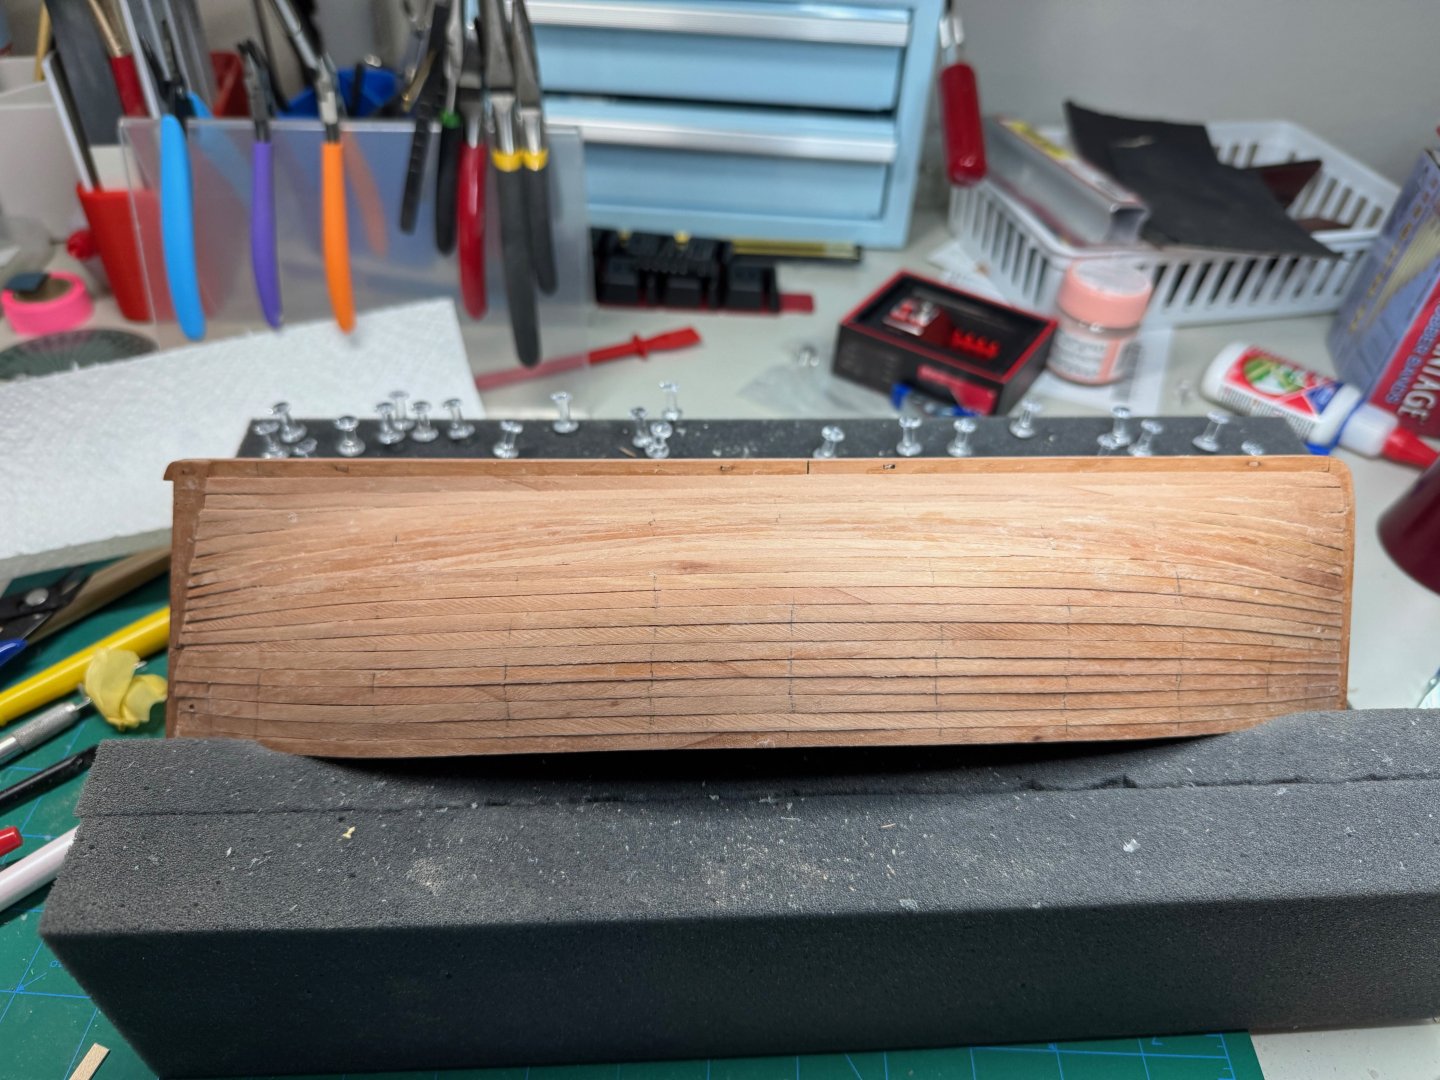
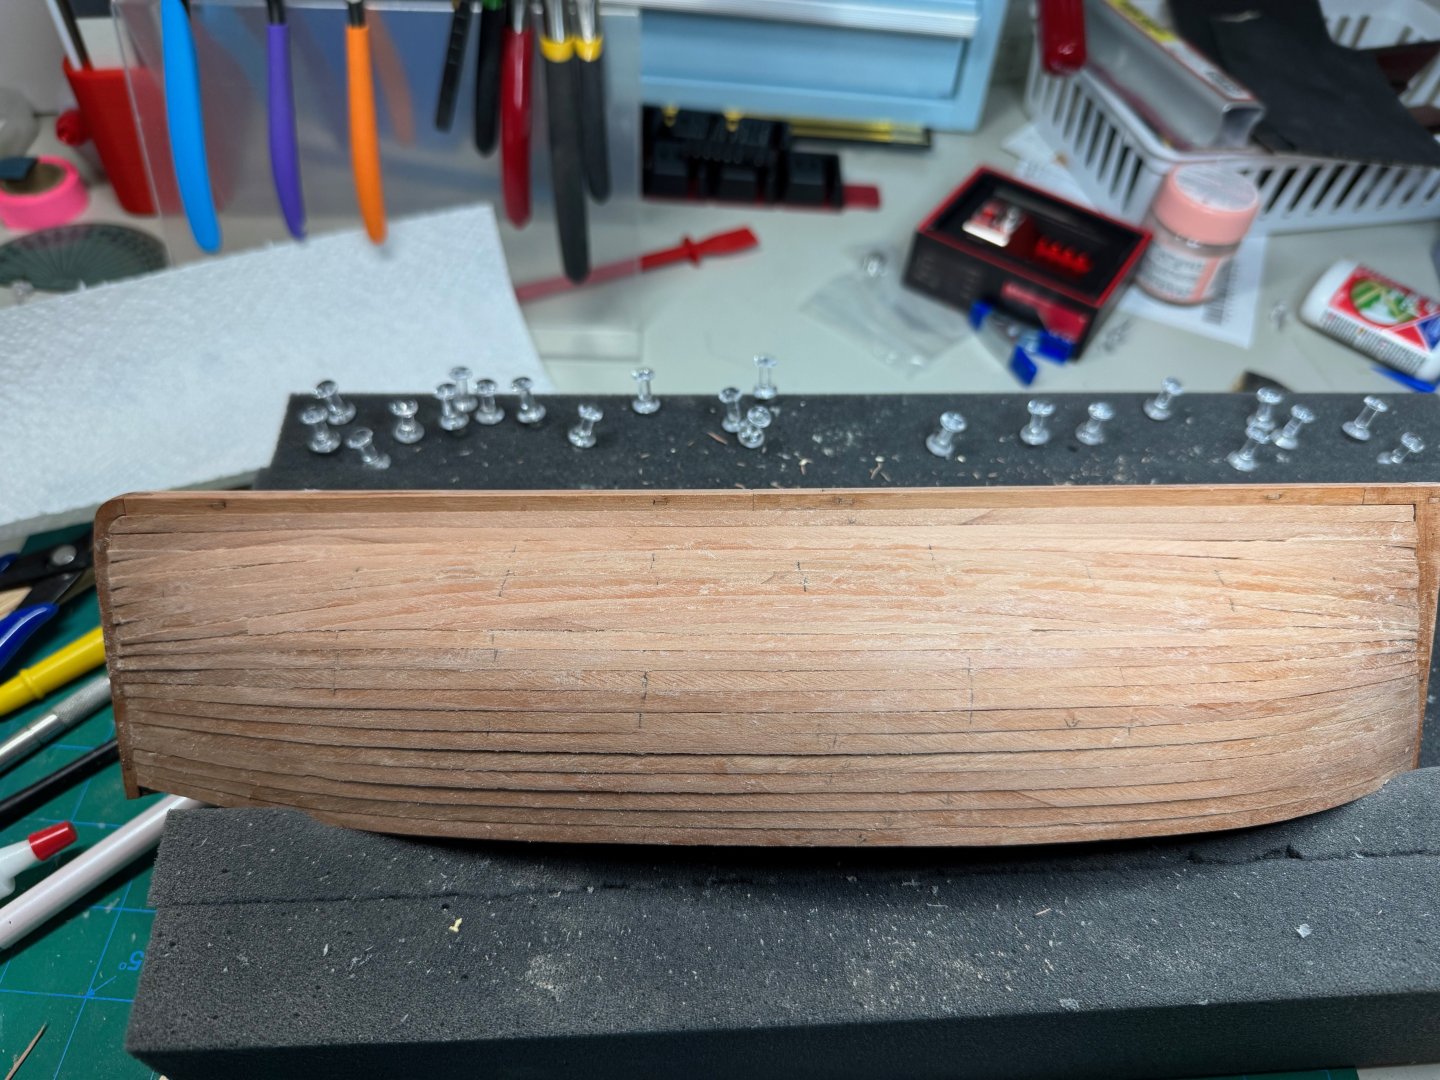
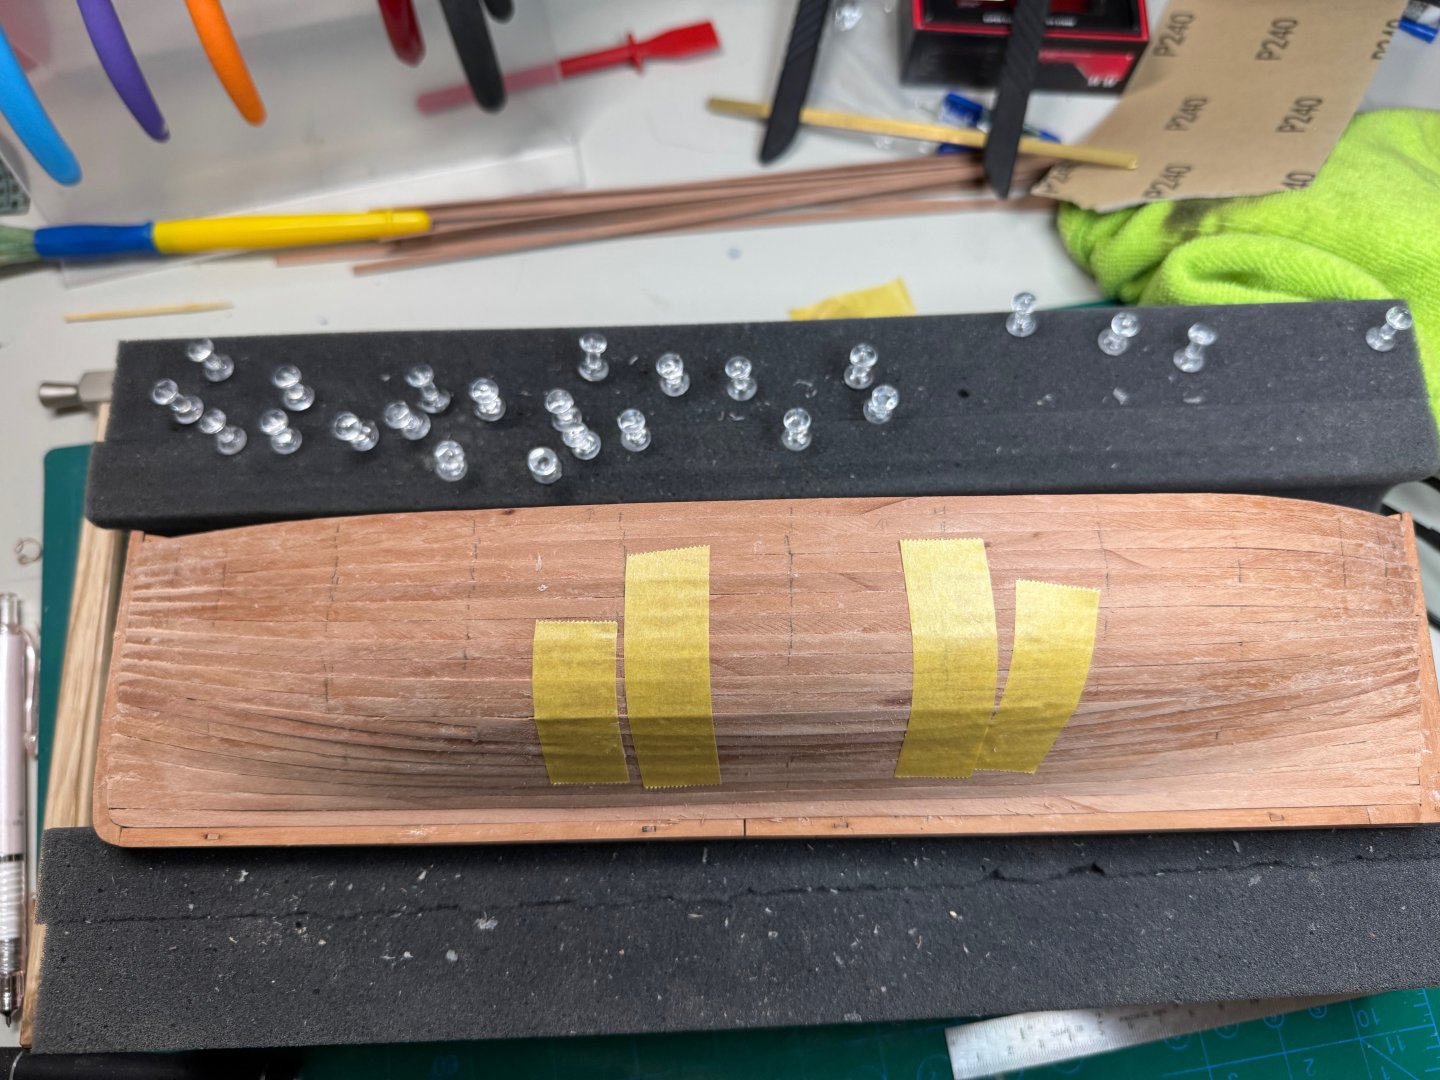
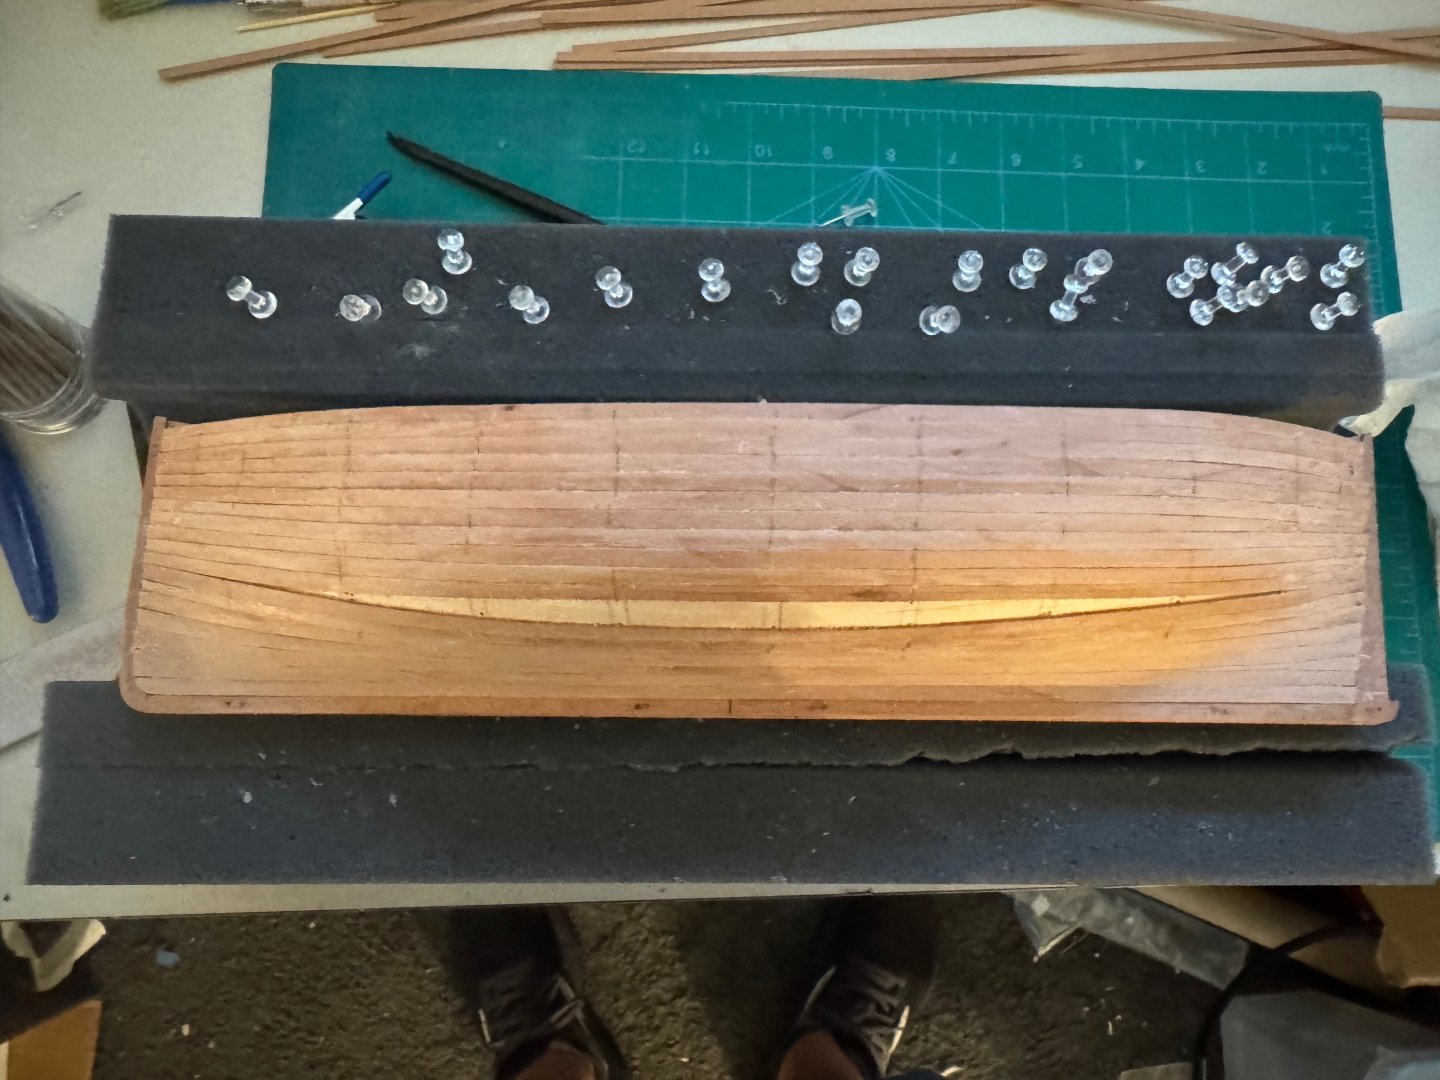
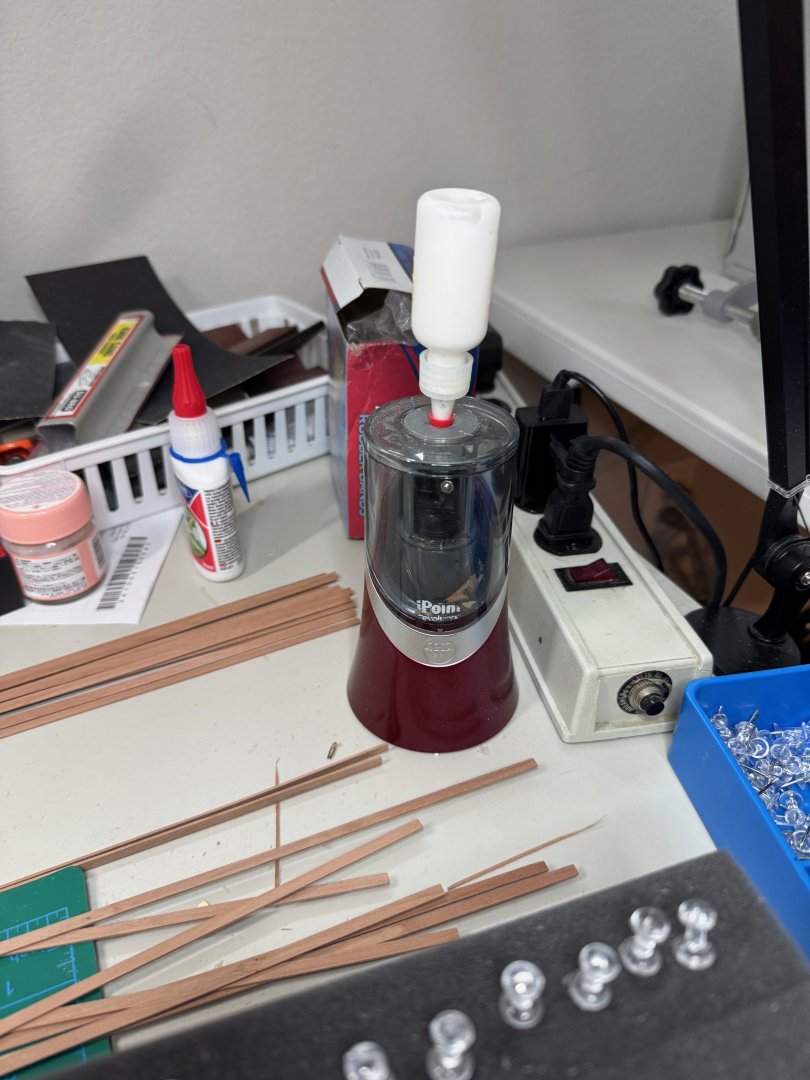
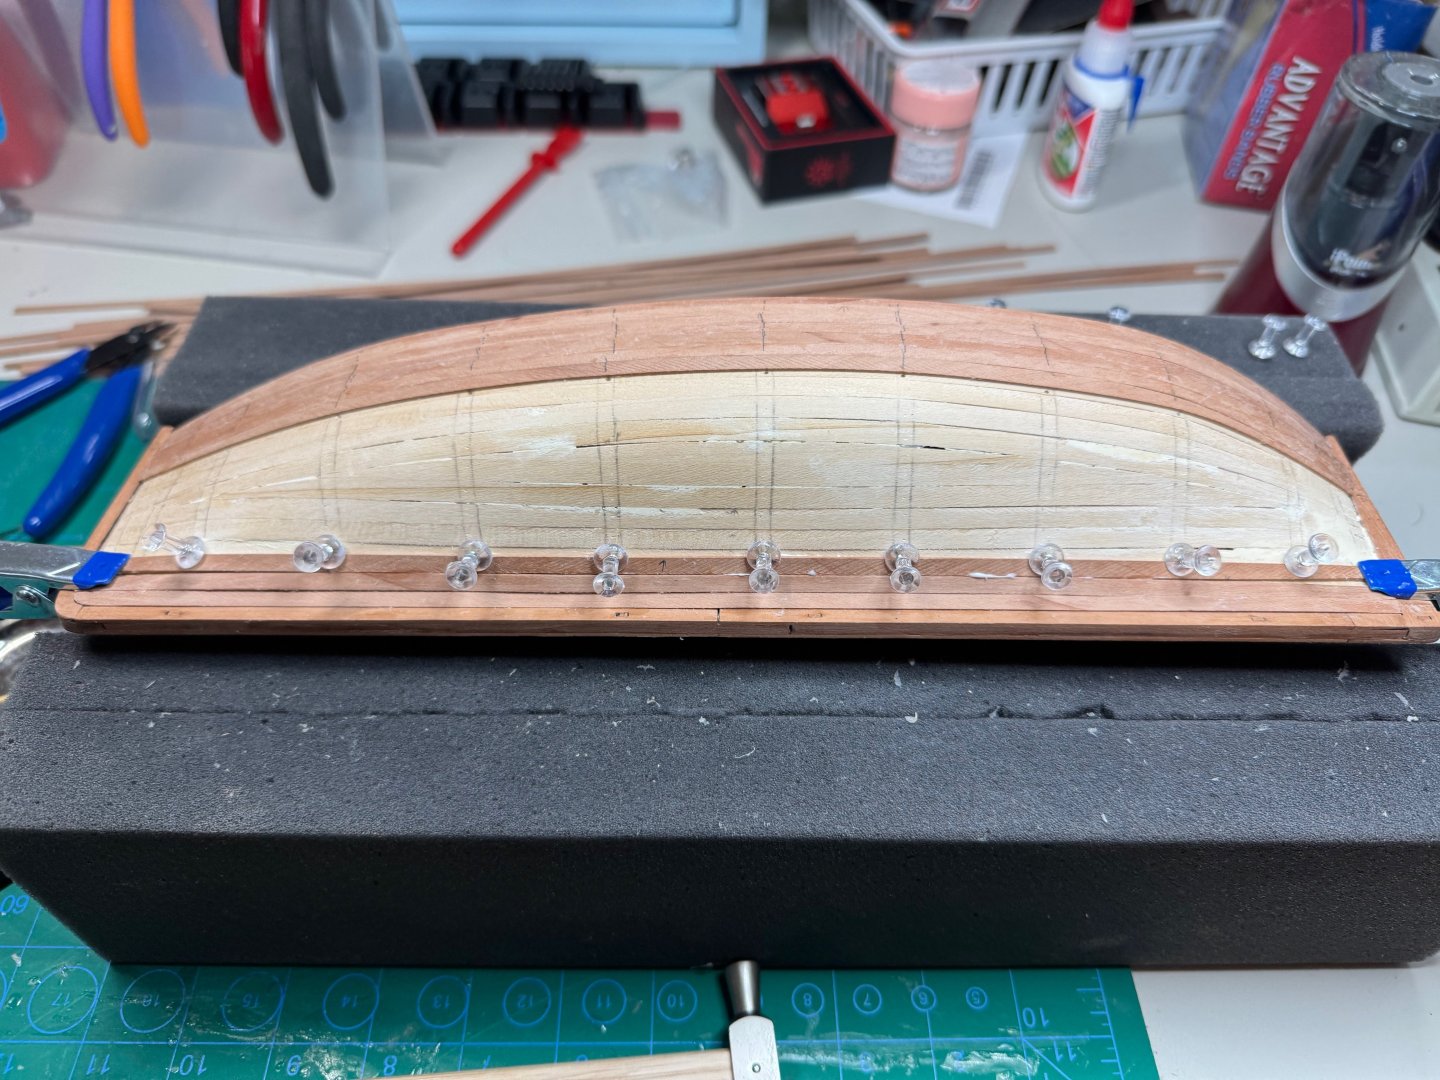
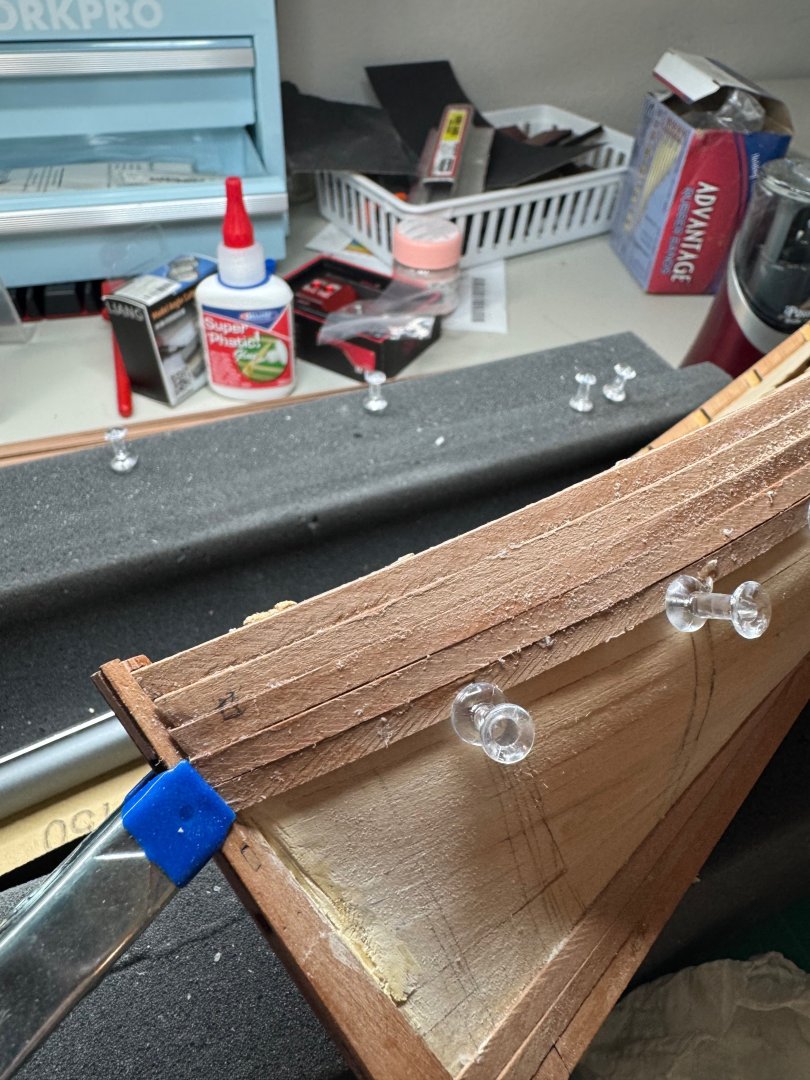
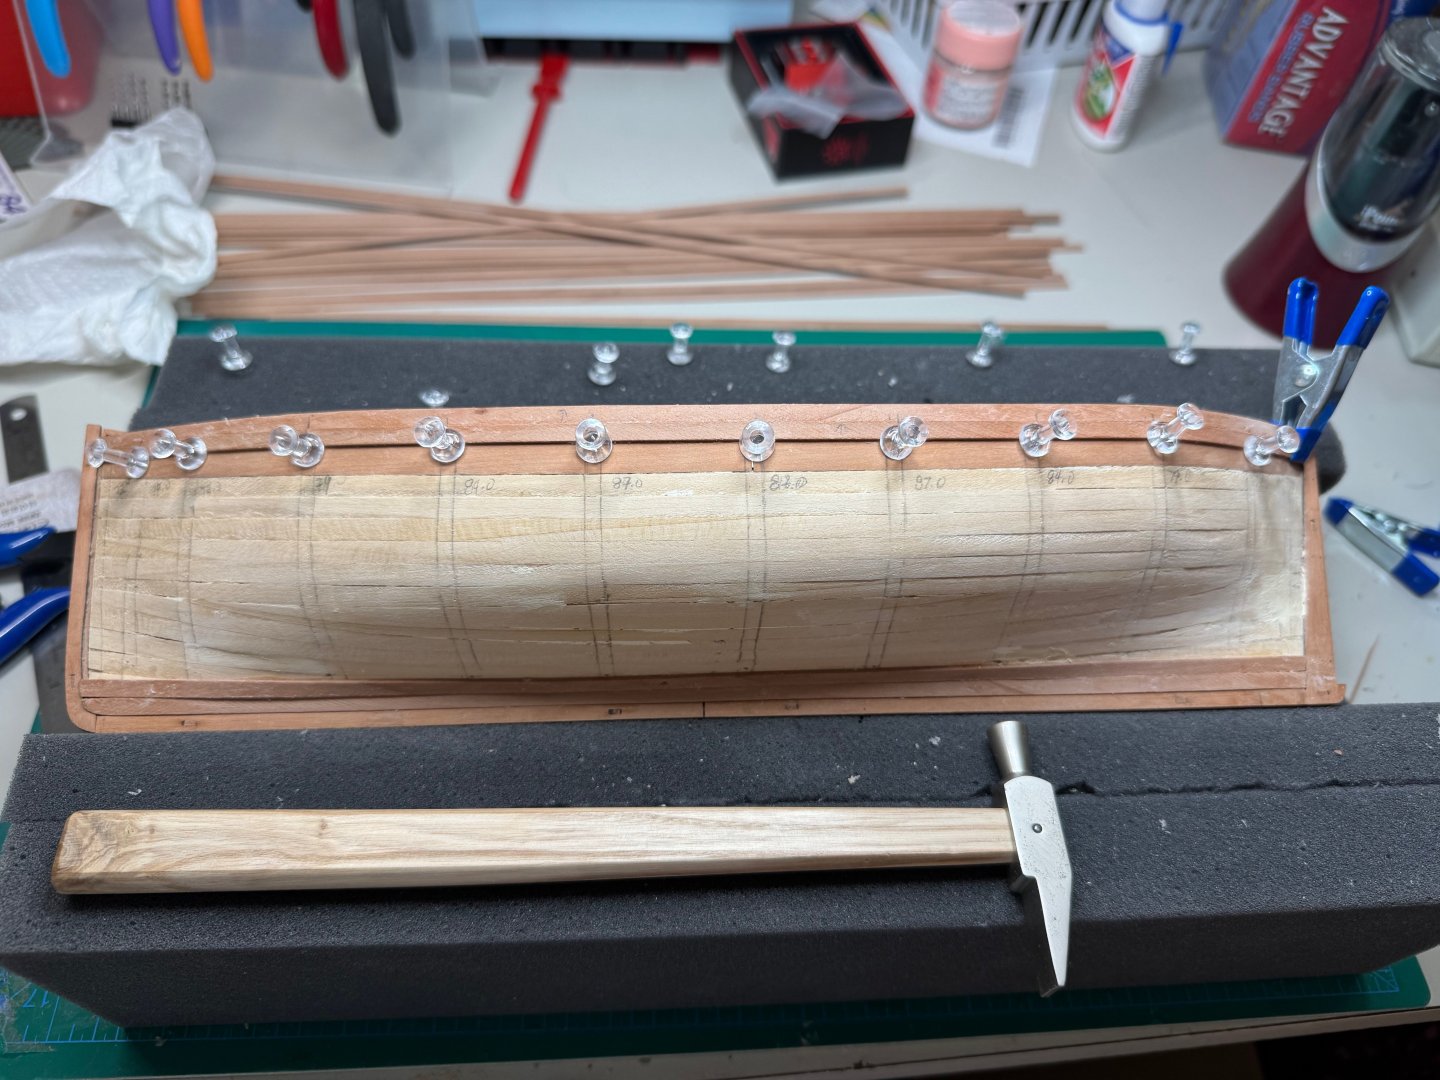
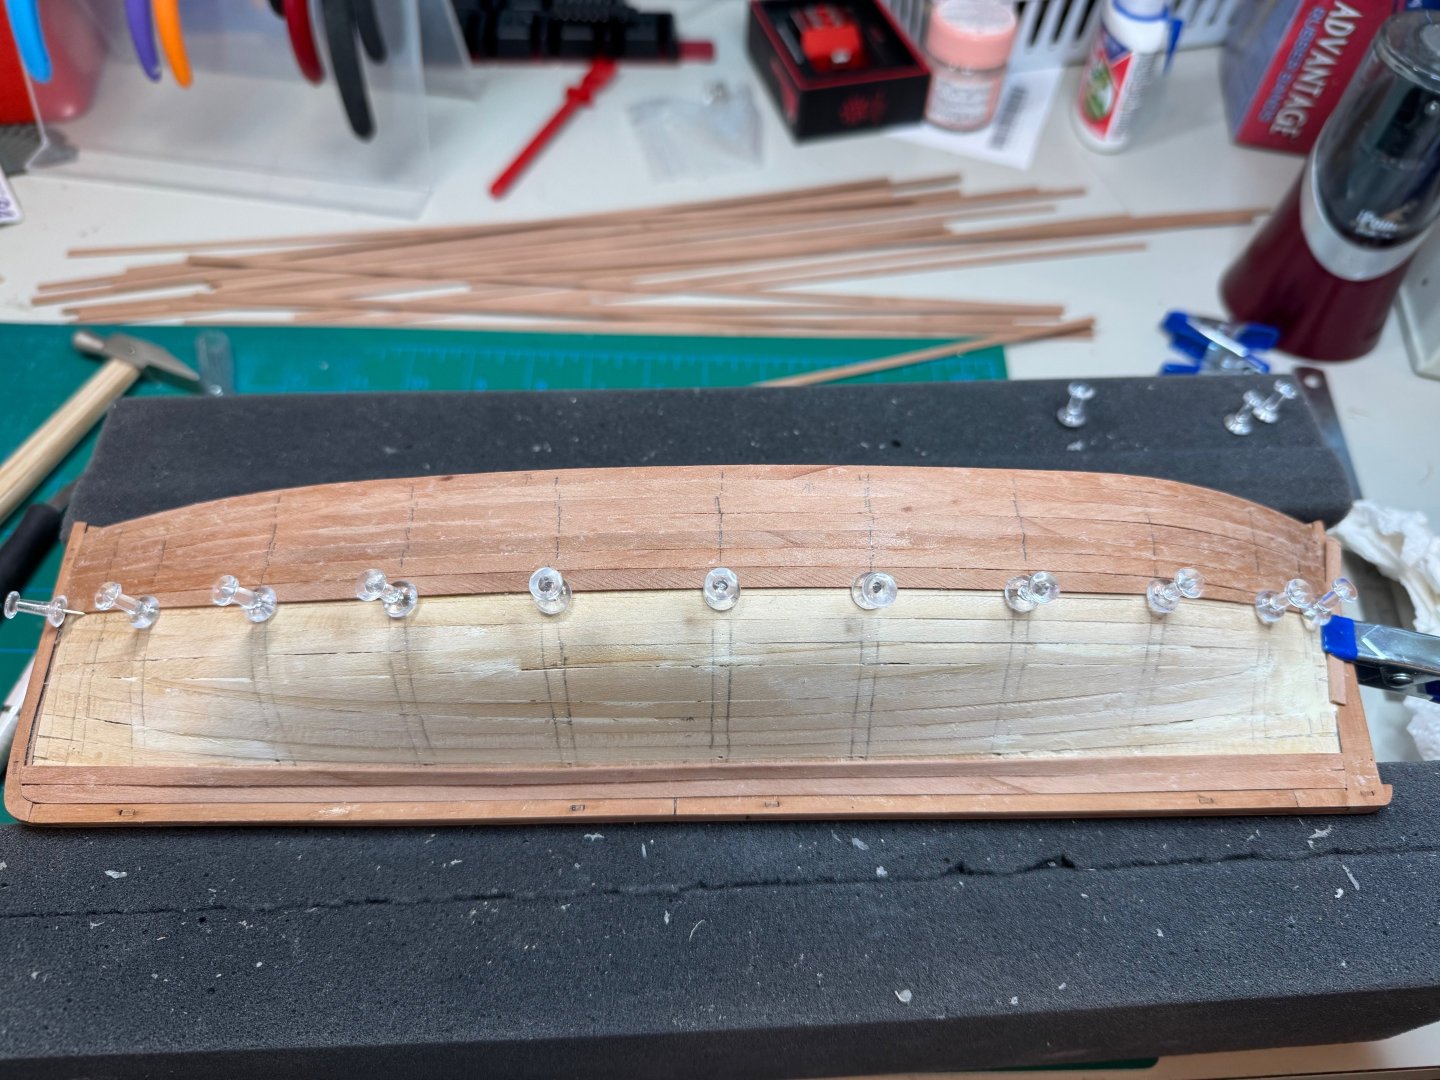
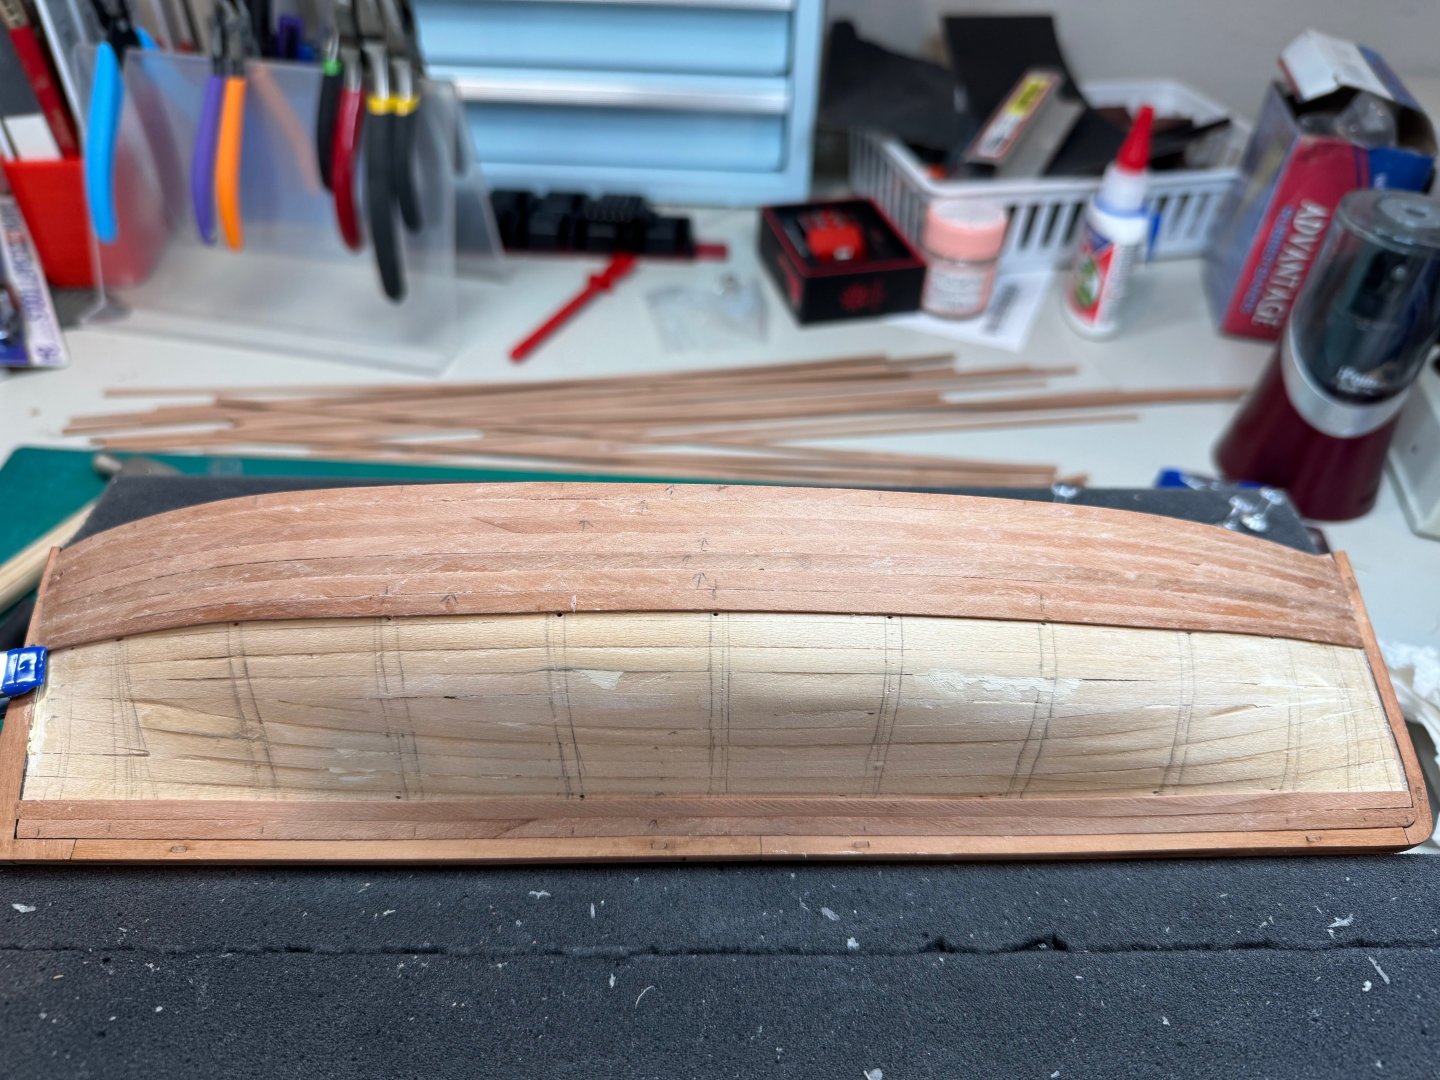
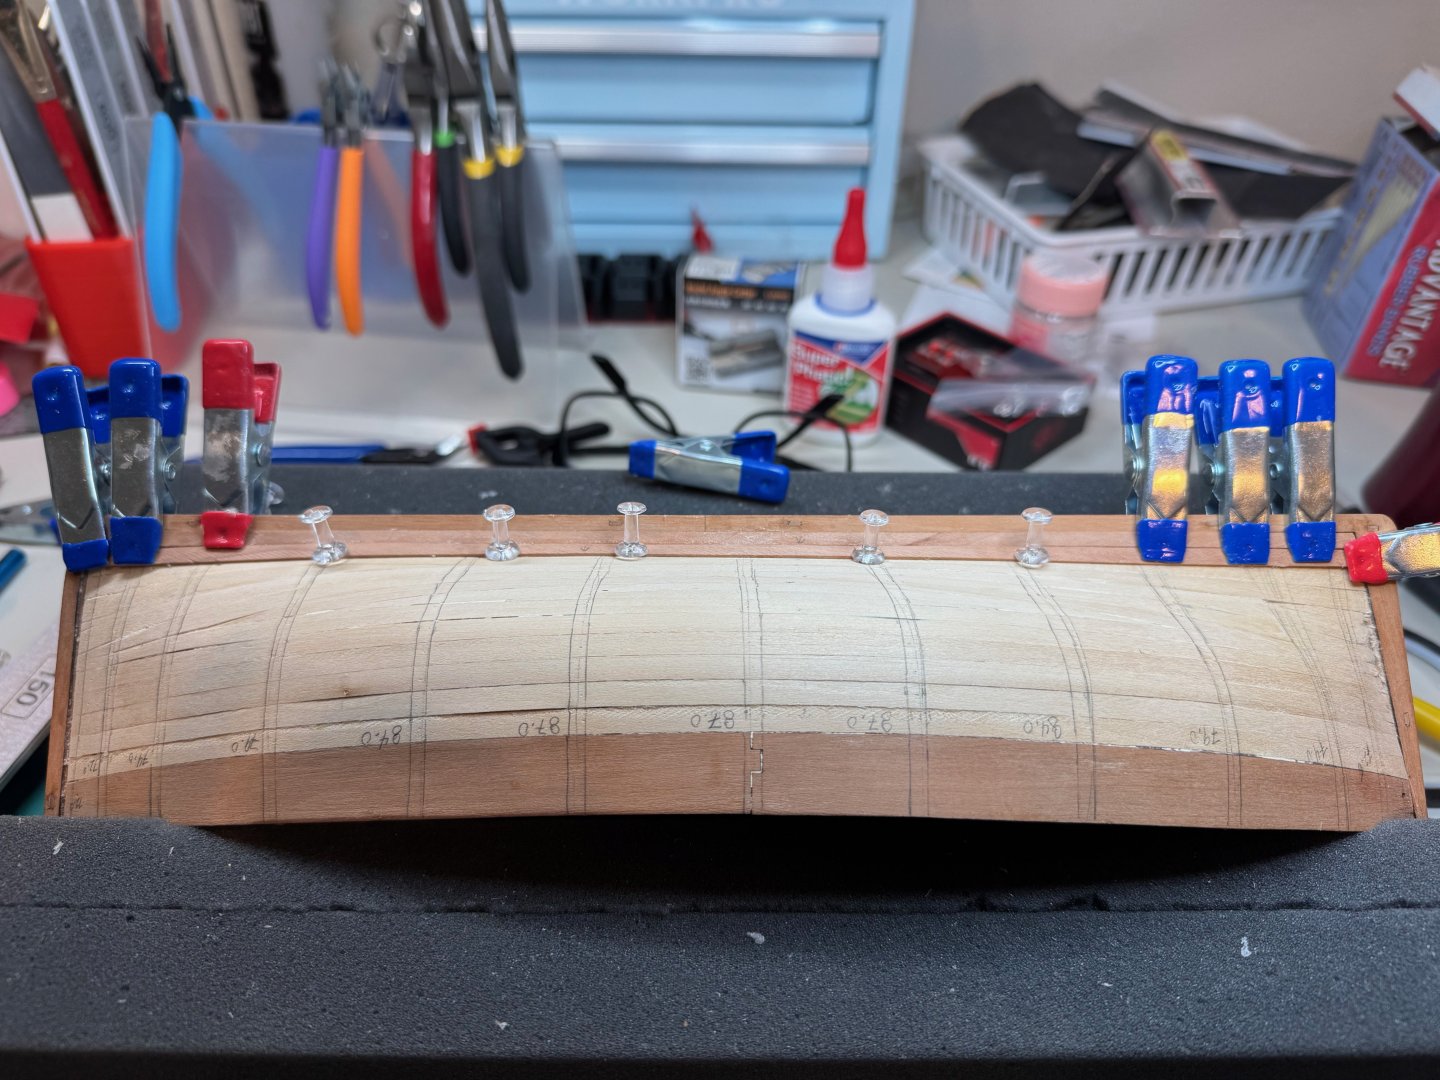
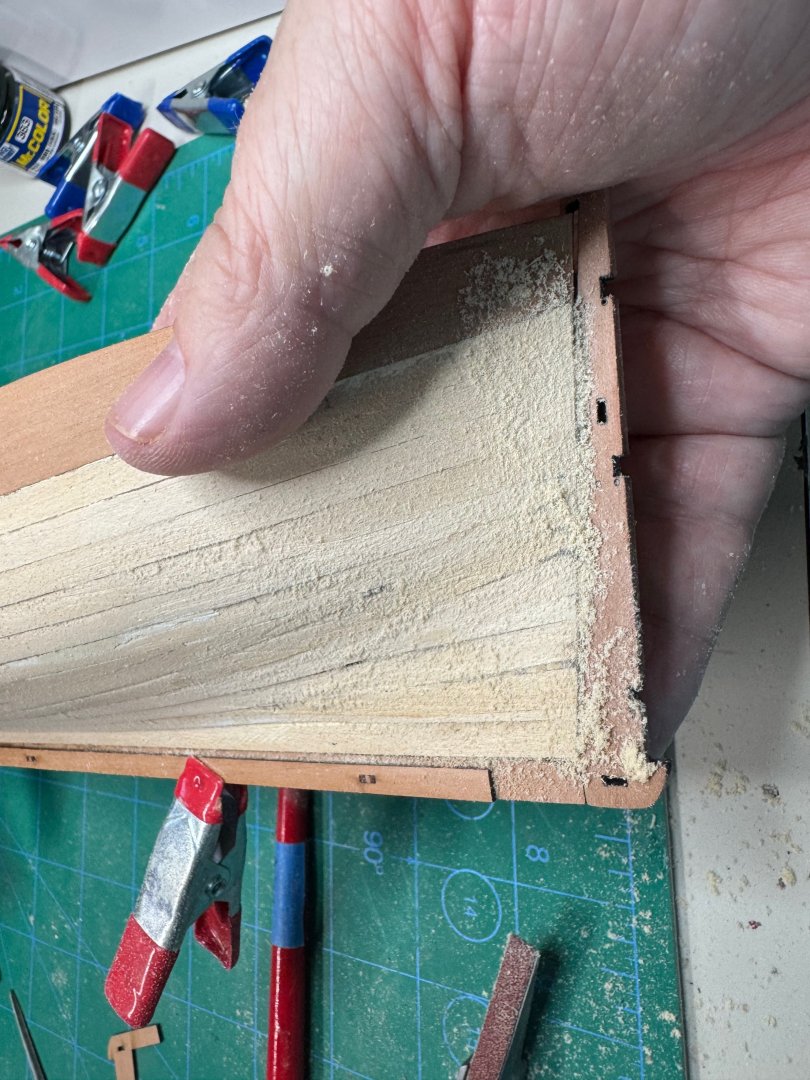
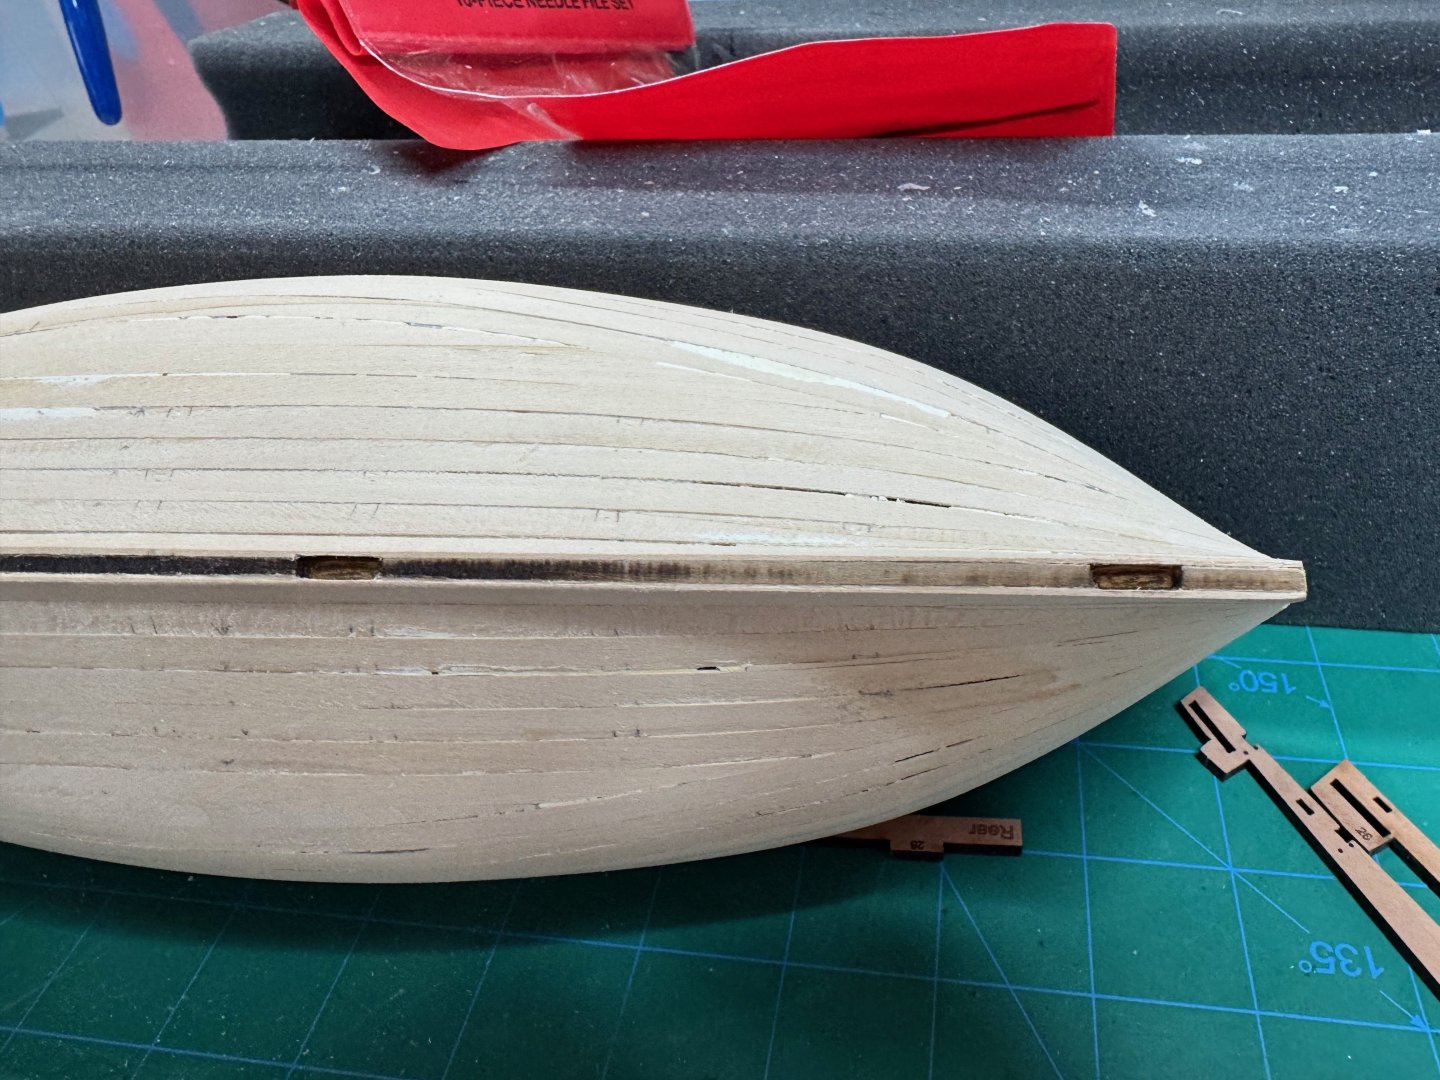
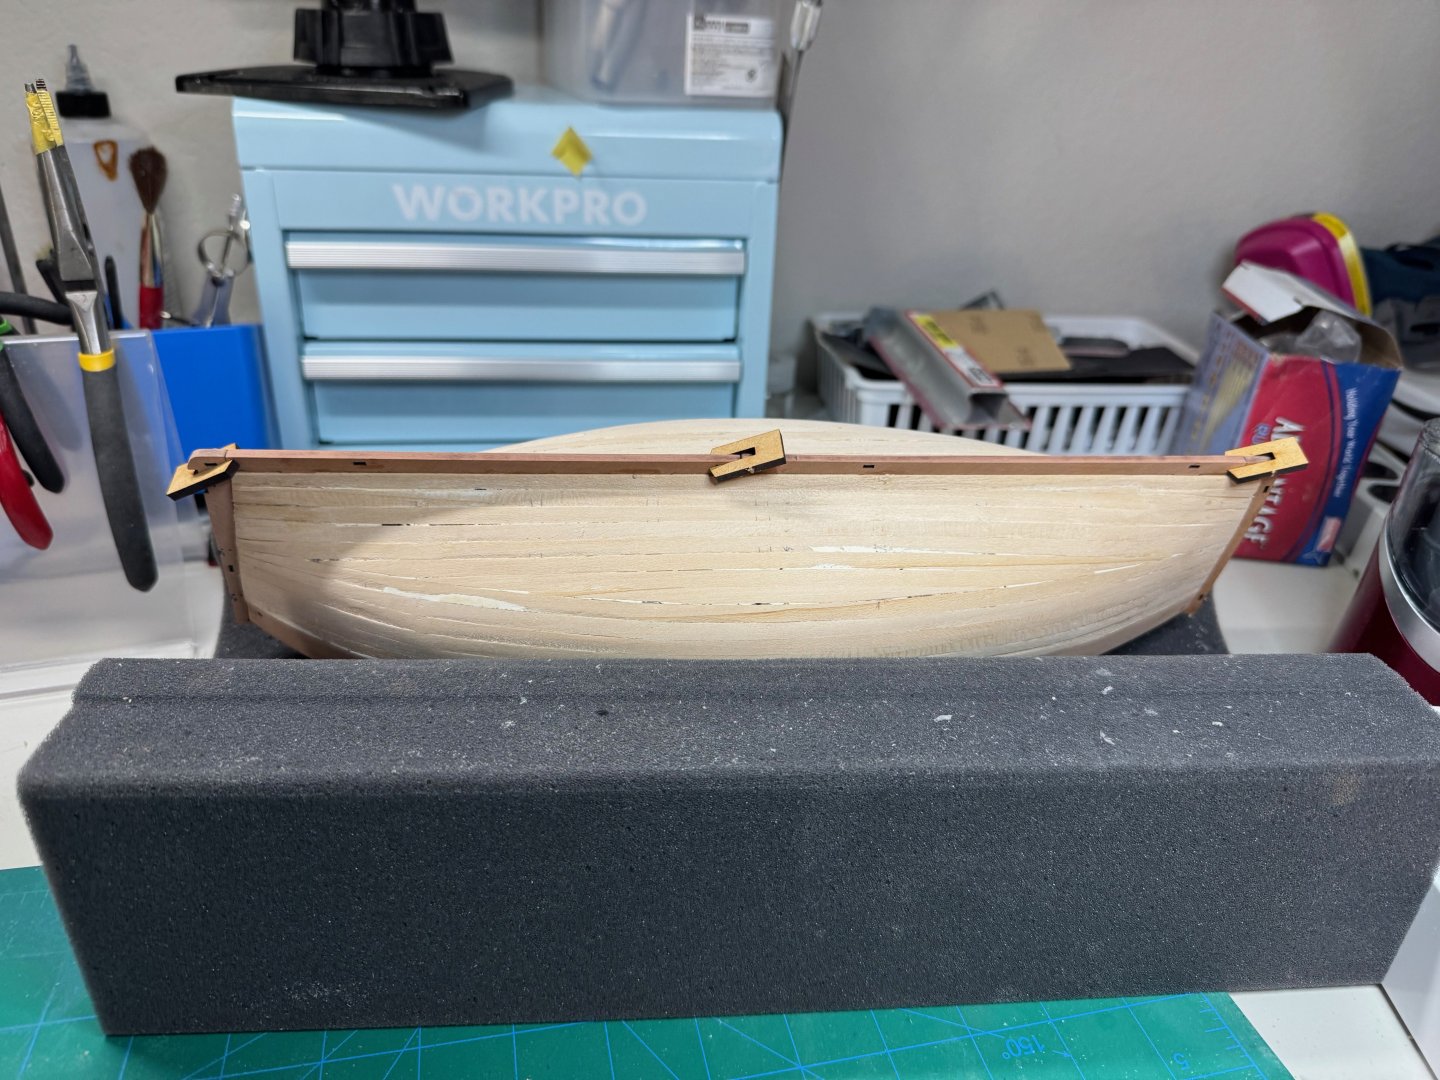
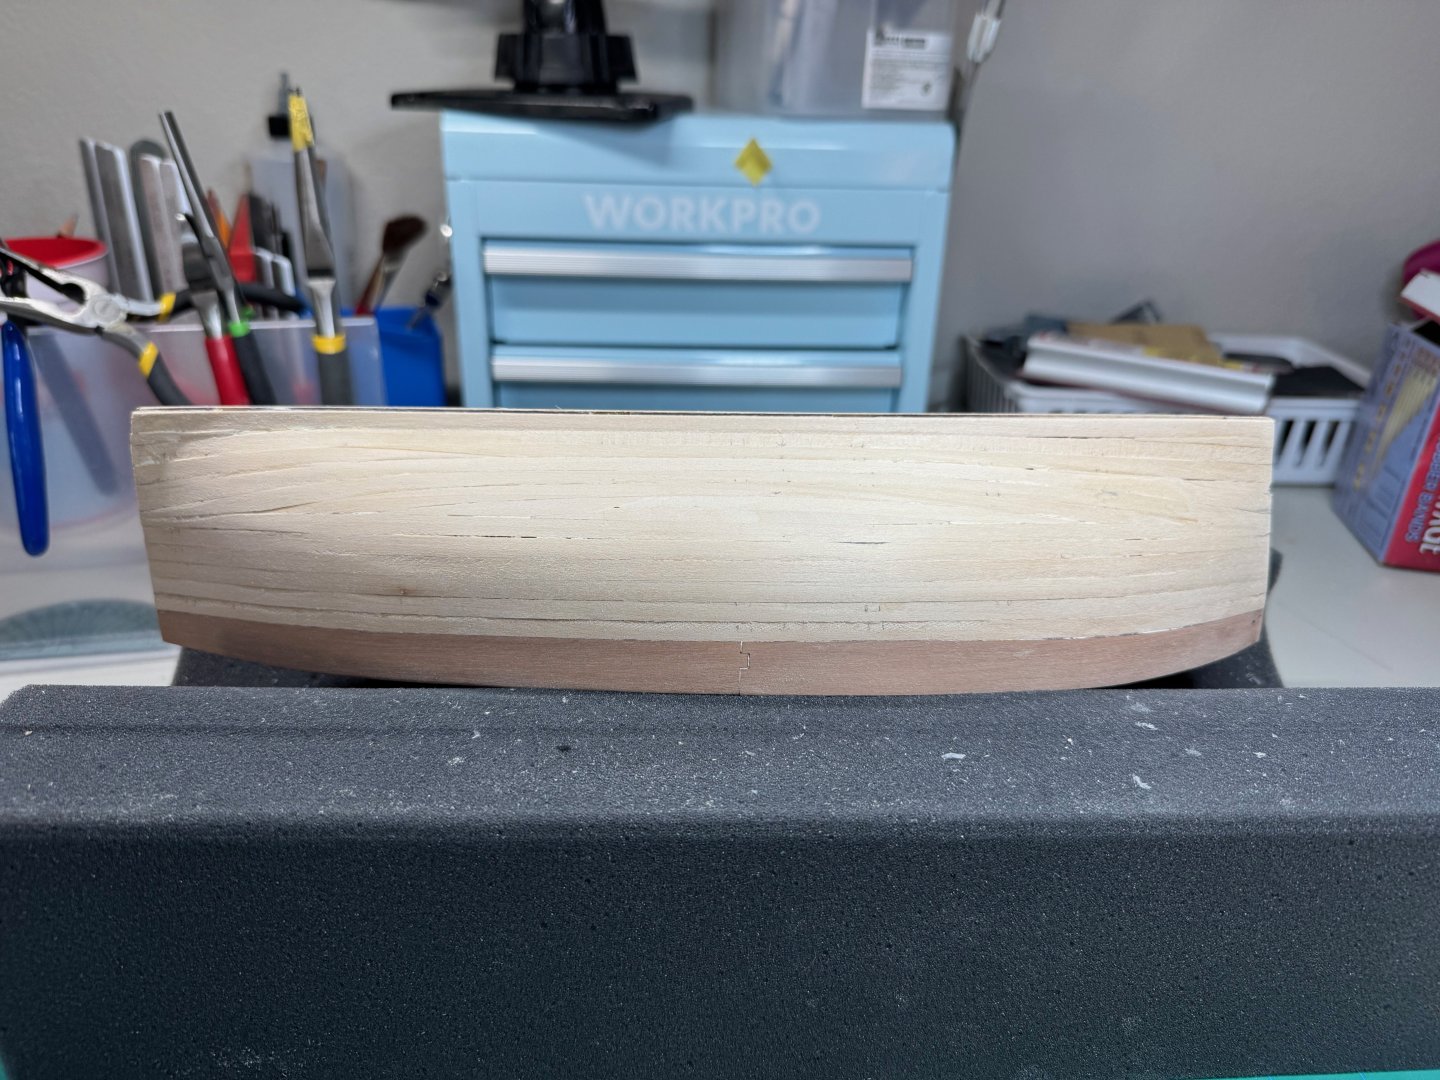
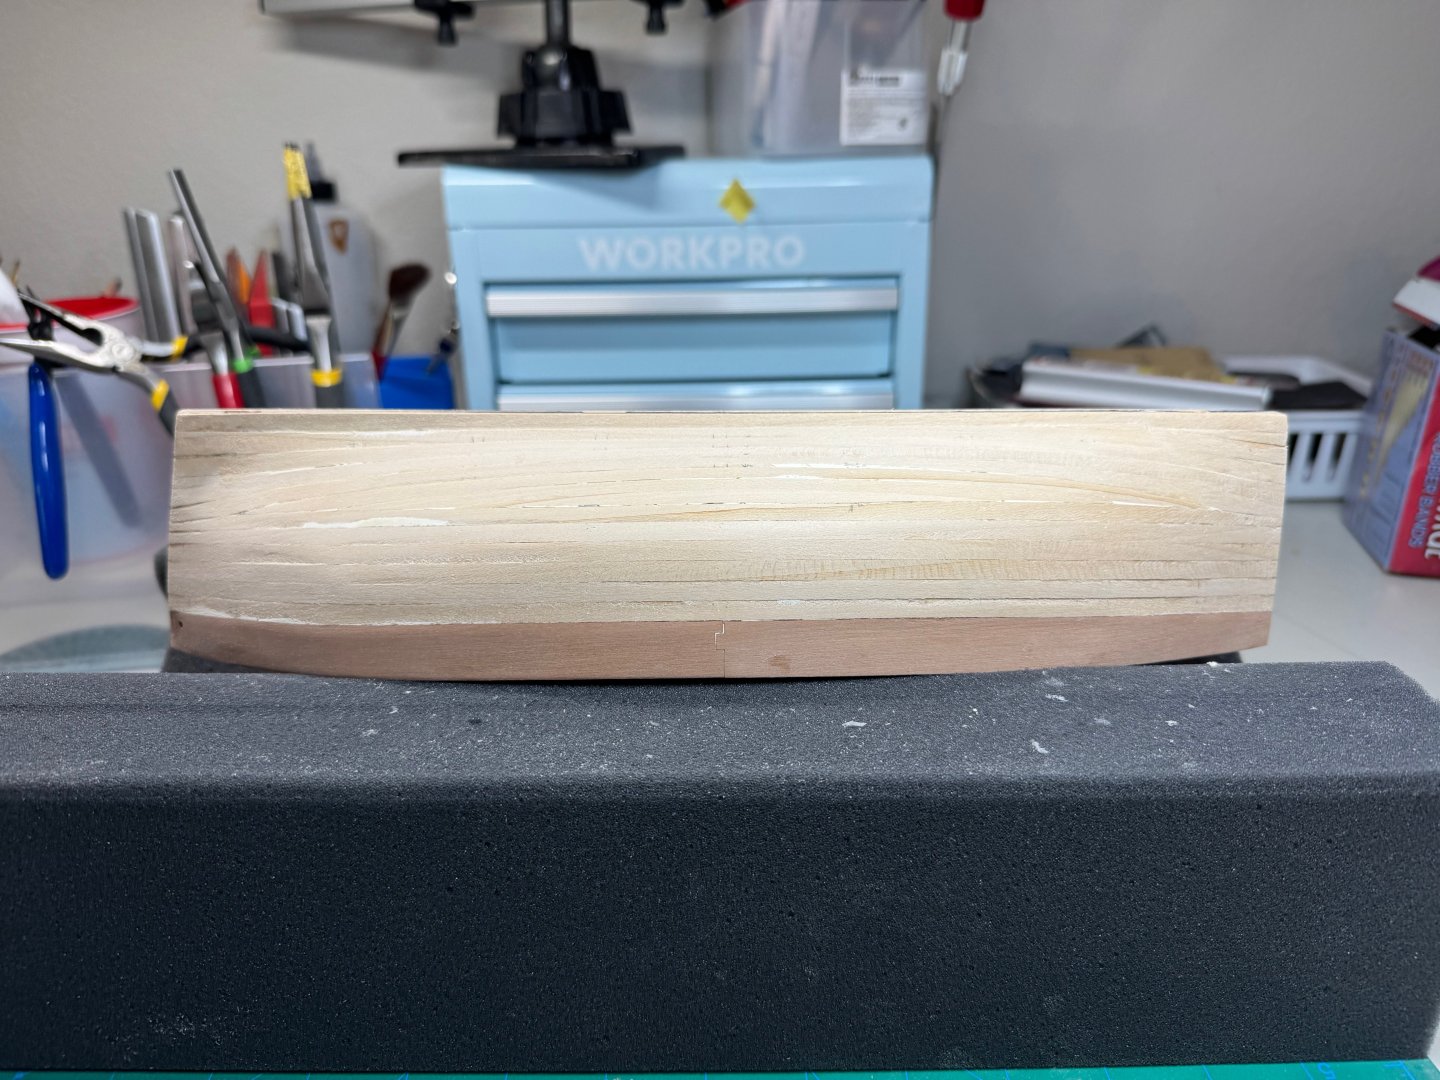
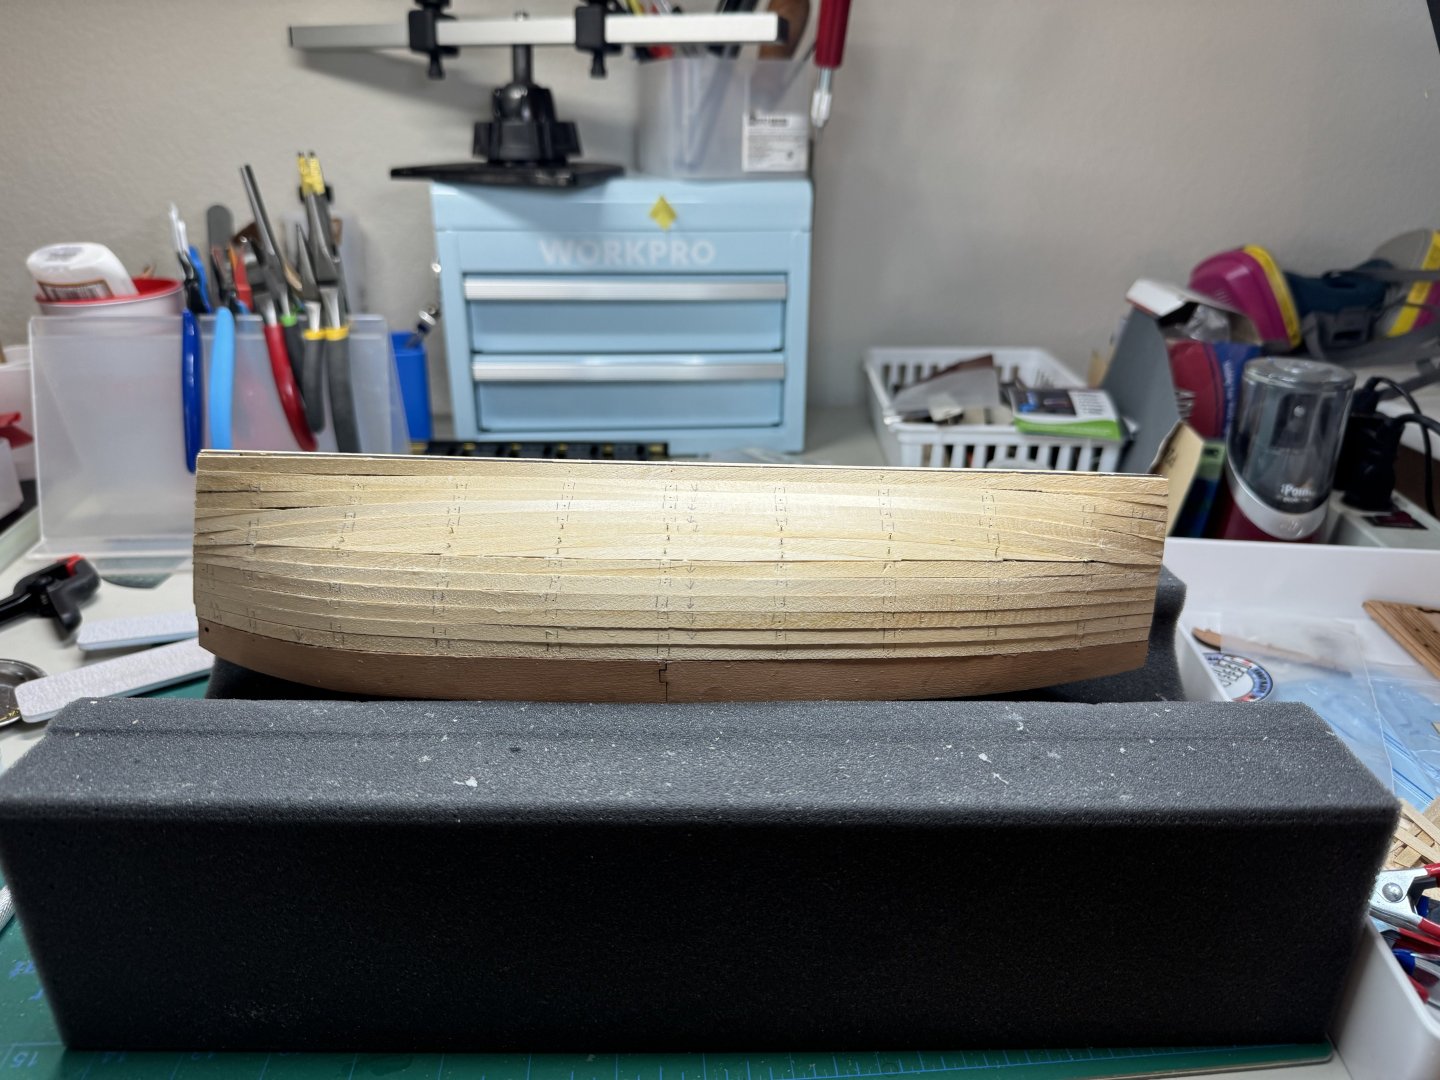
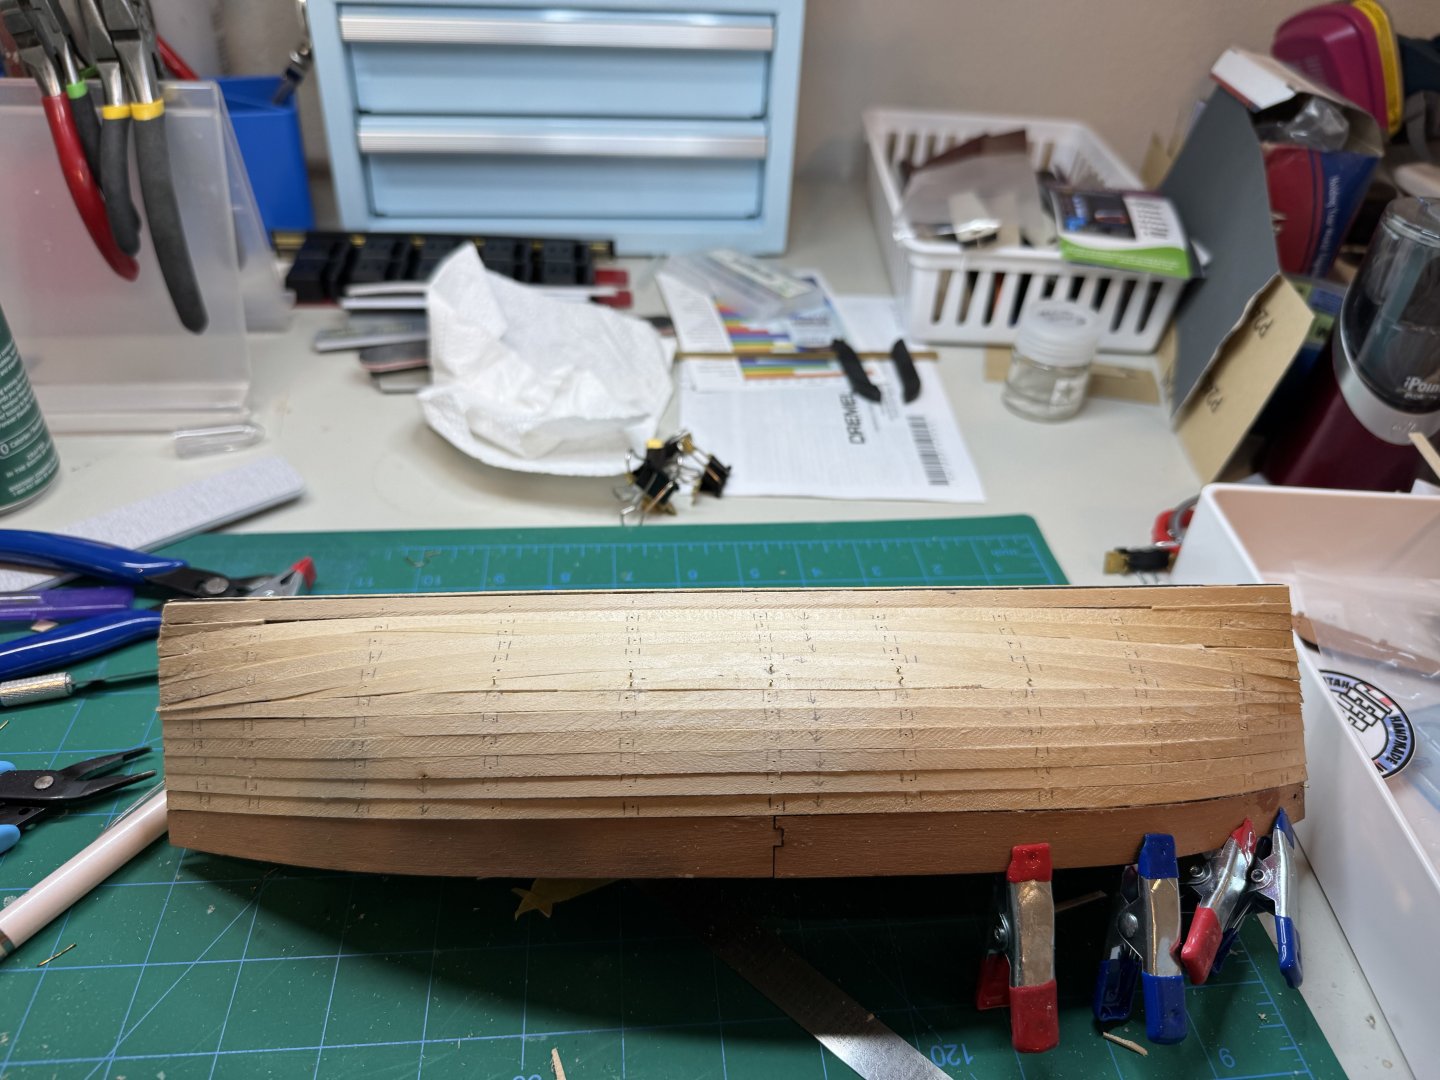
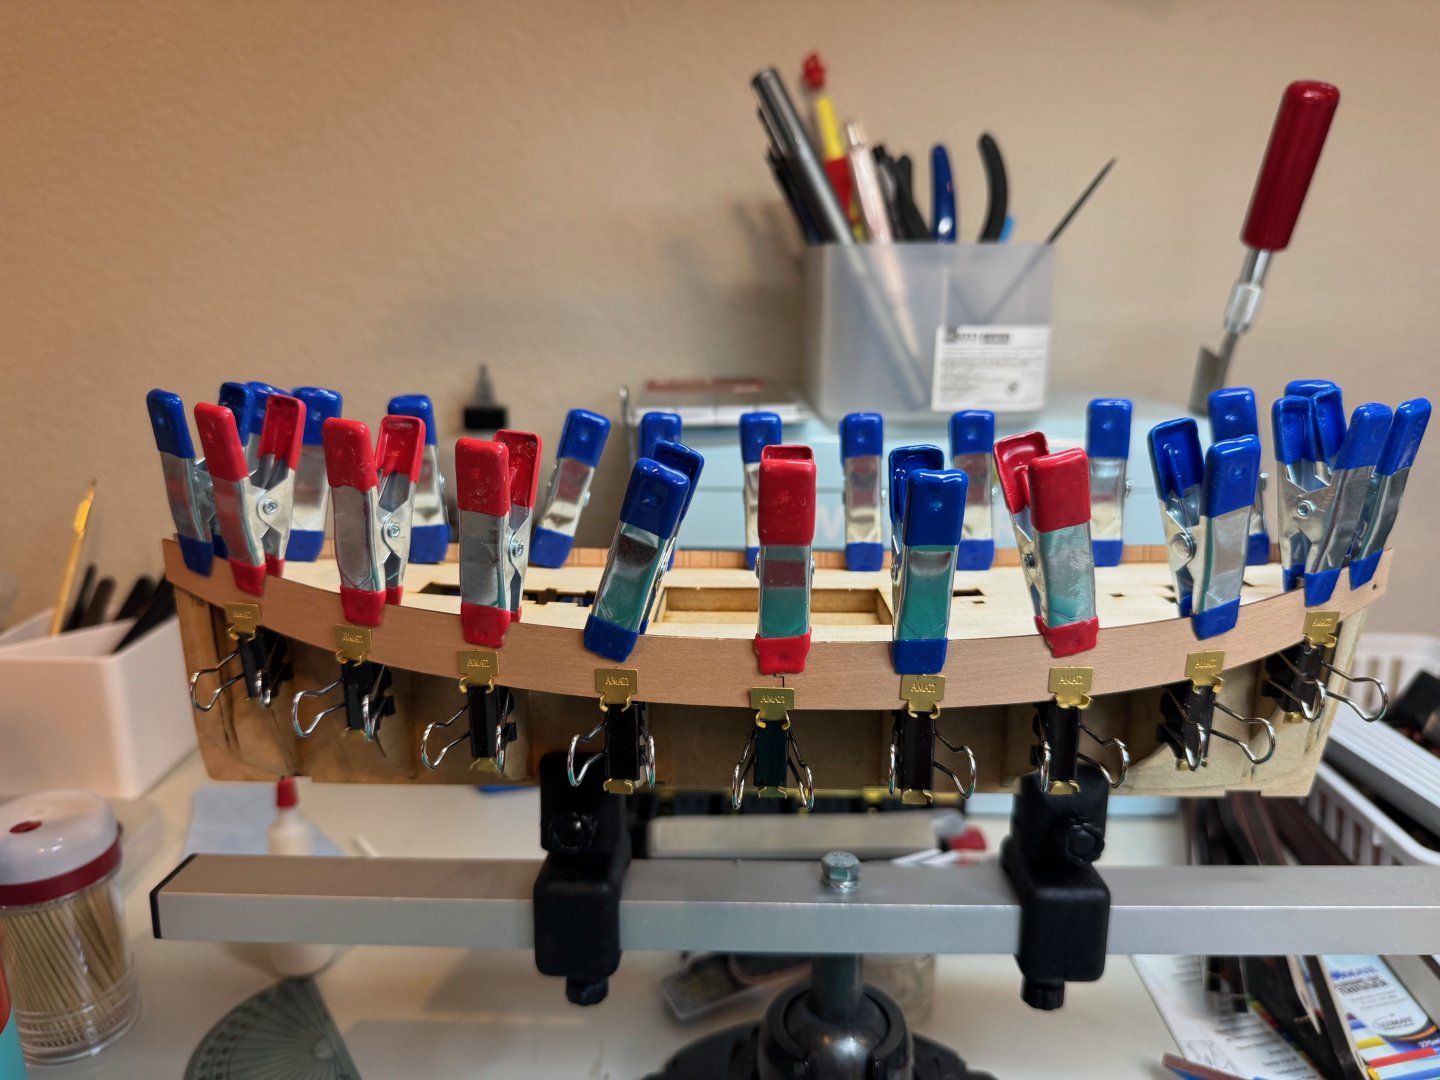
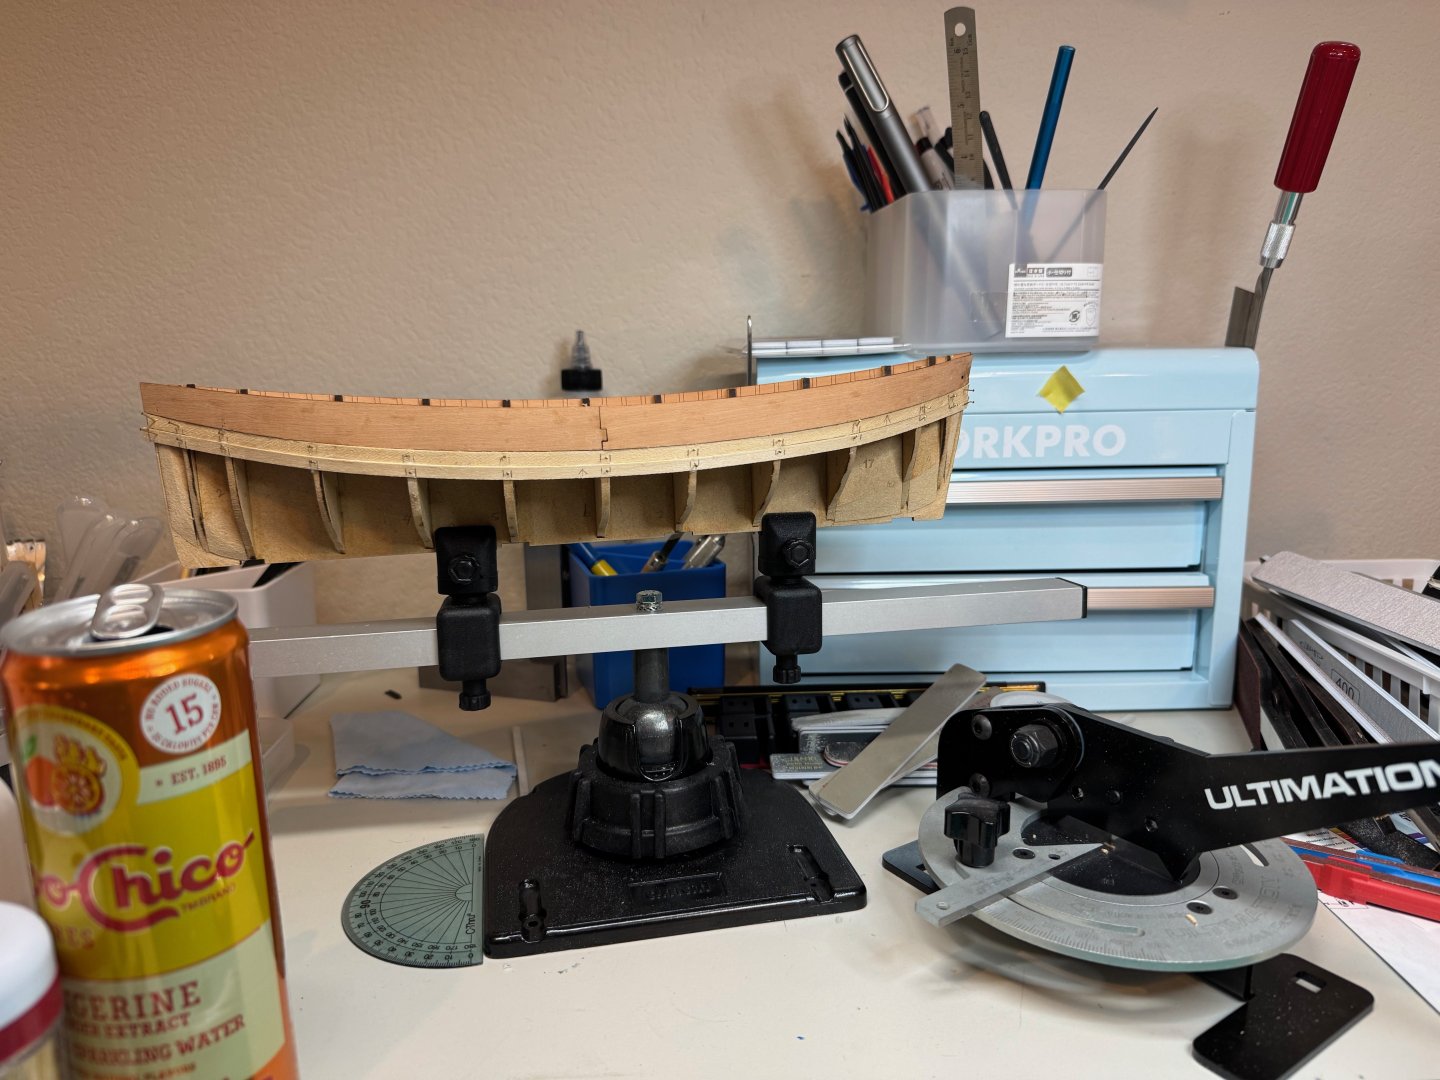
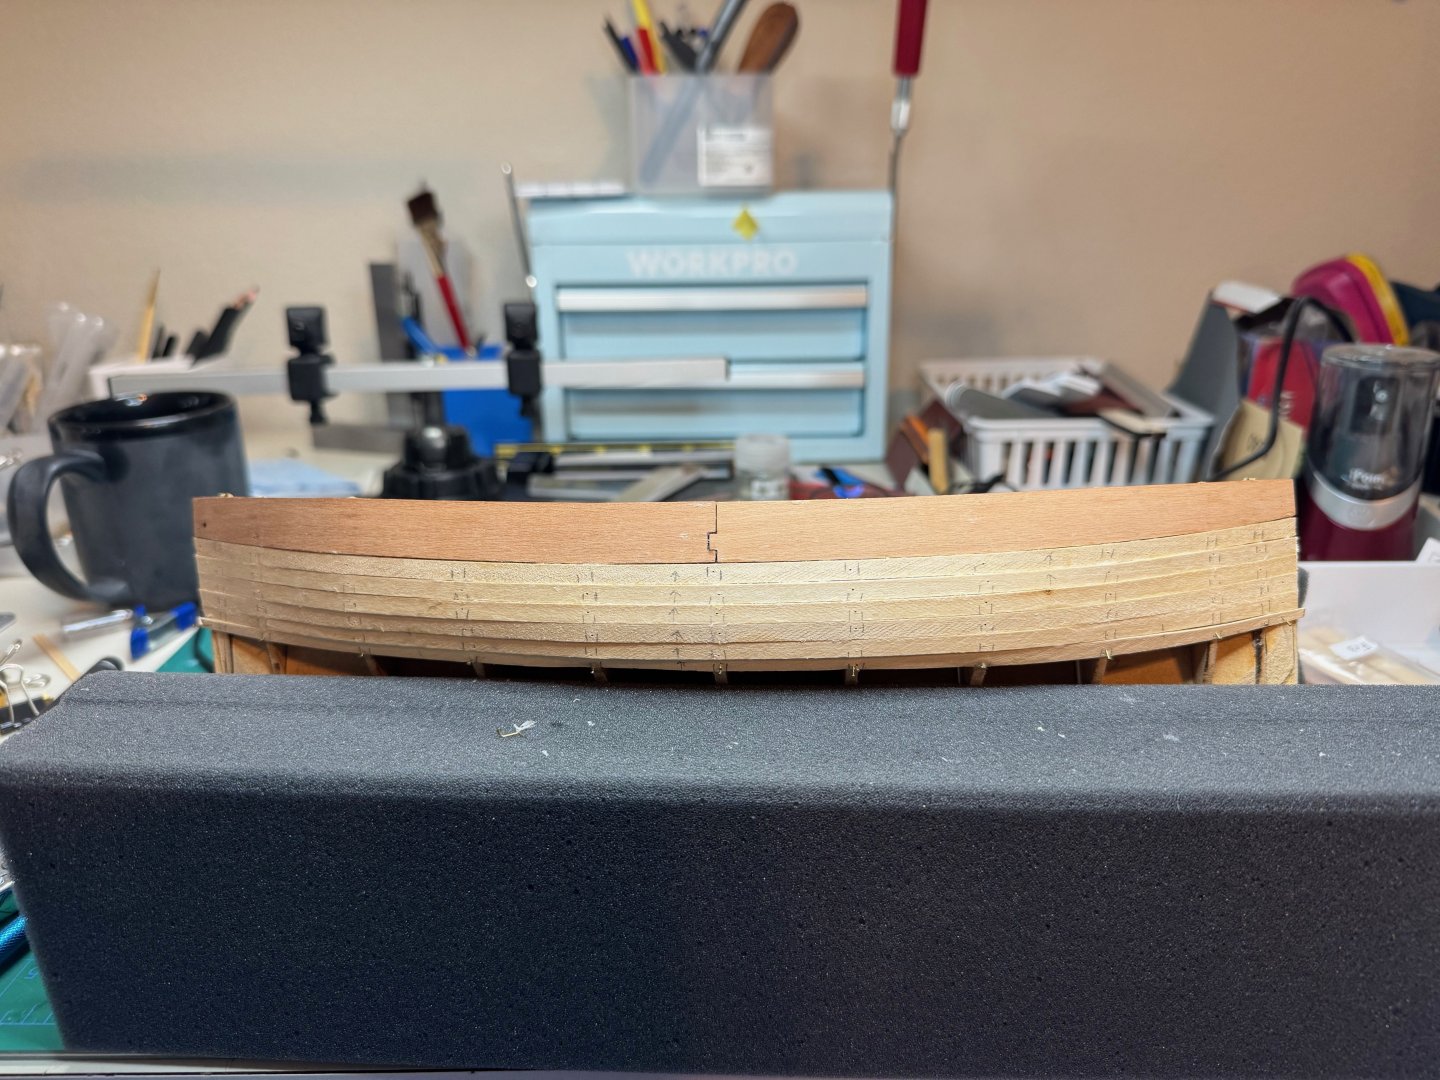
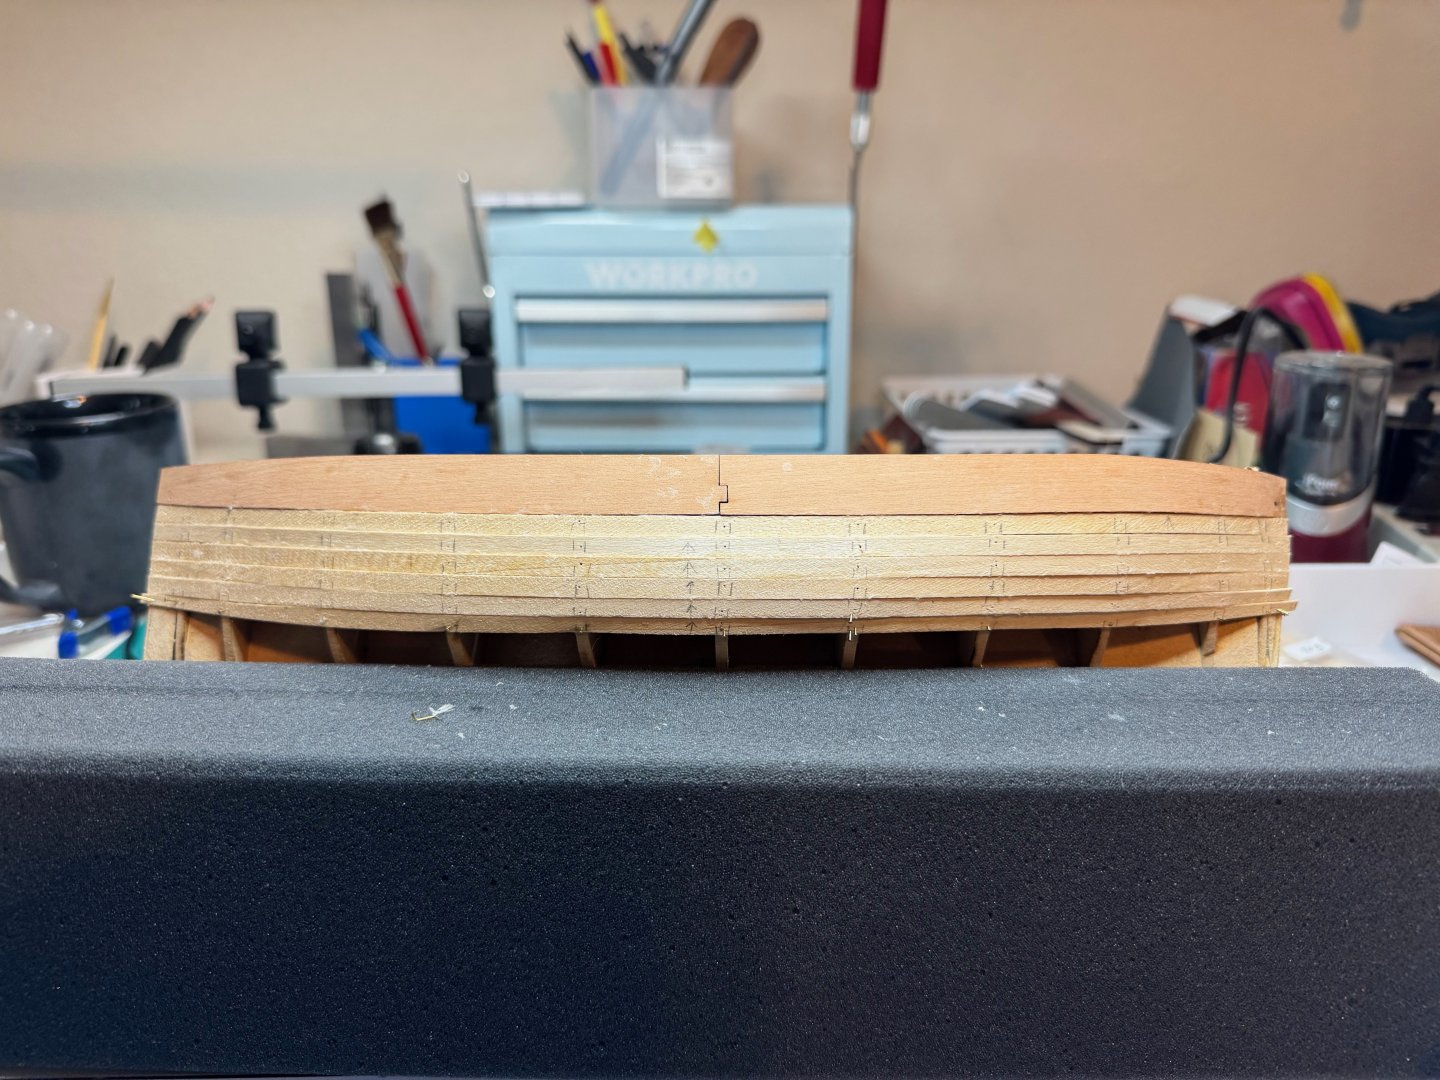
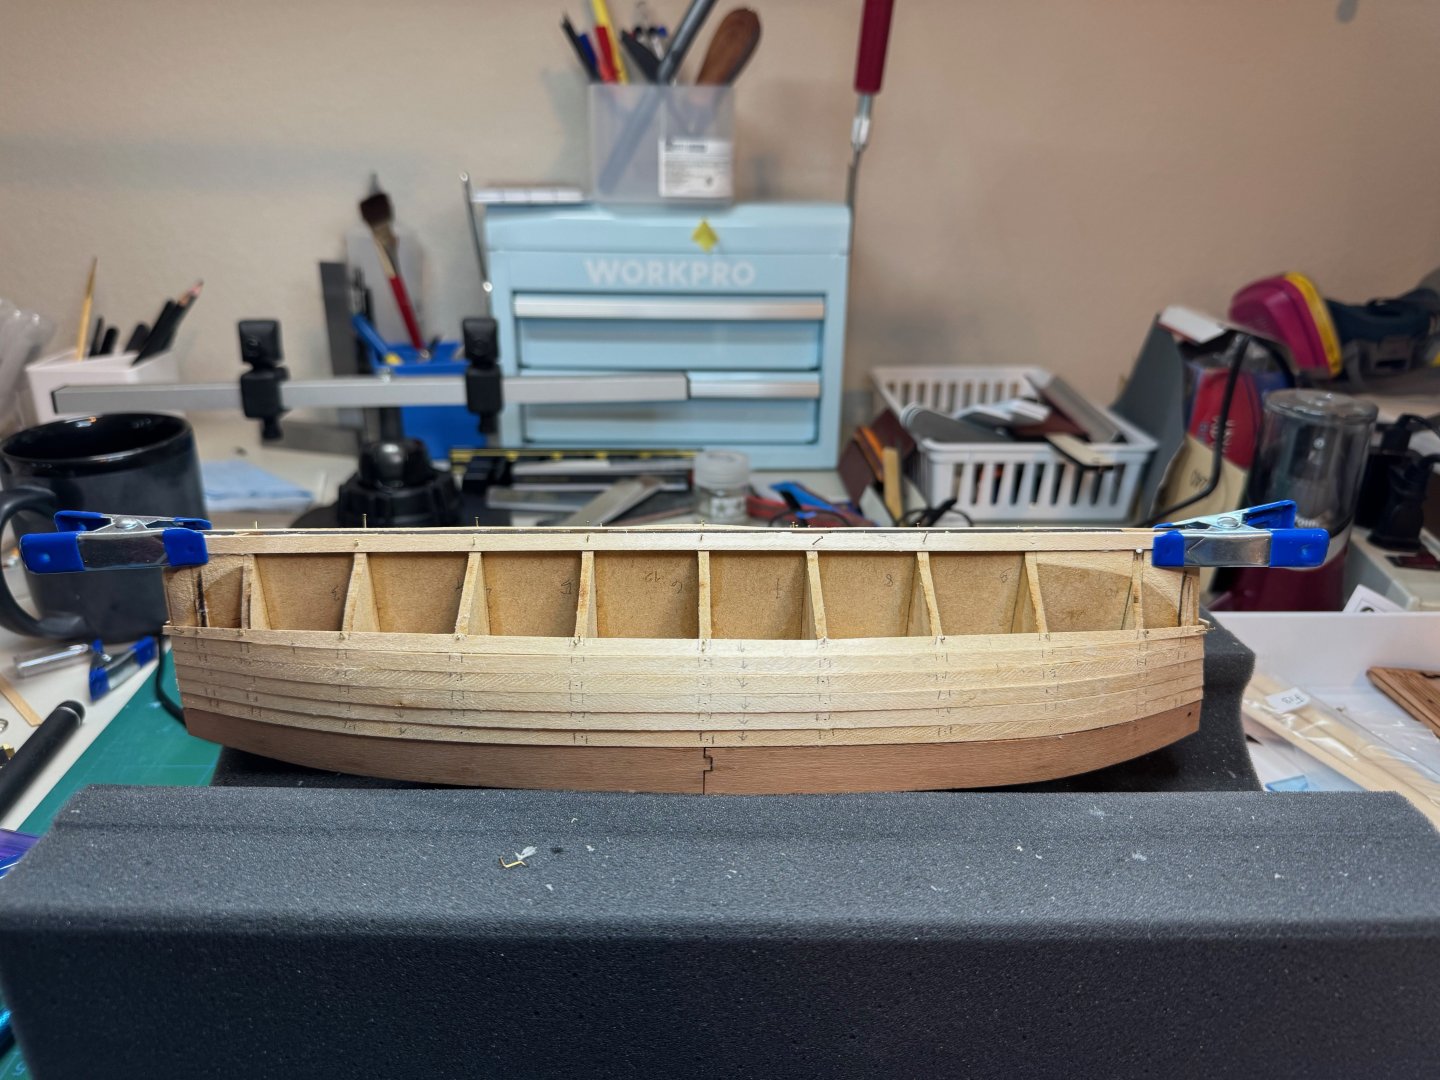
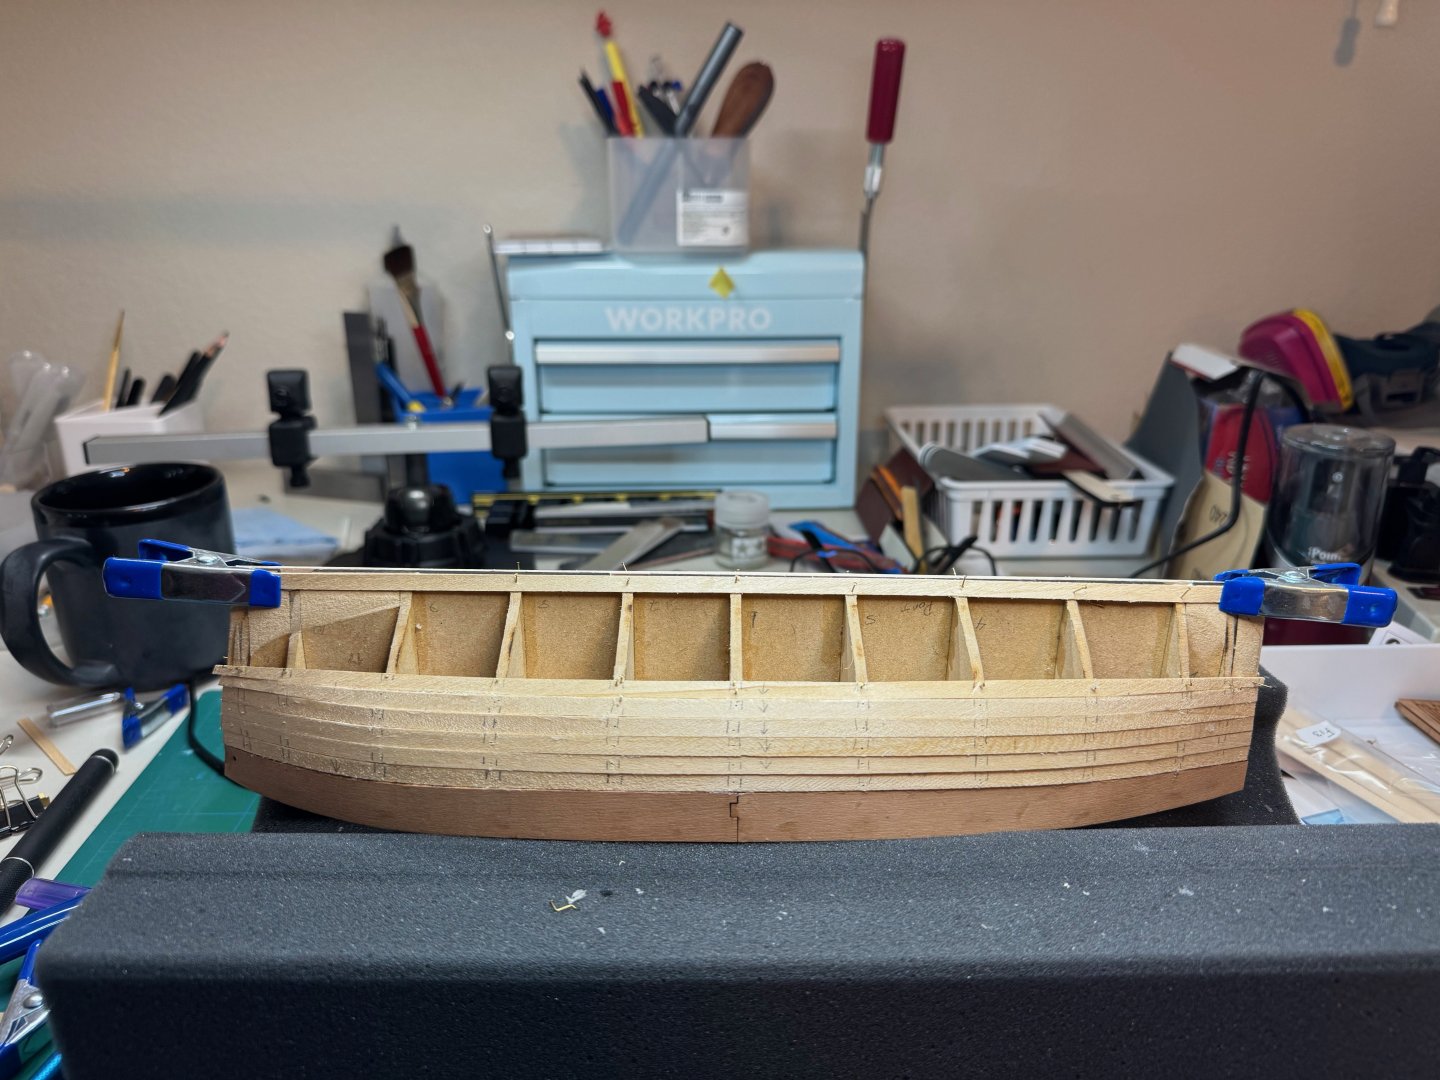
Good afternoon I have completed a milestone. Step 70 is now complete -- planking the hull. With my planking process I would will apply the glue to the plank. But I found it became more tedious that necessary. Instead I ended up running a bead close to the adjoining plank, and then use a toothpick to spread it out. I also ended up using push pins to apply pressure to the planks while the glue setup. From there I would sand along the join lightly to generate some dust to help fill in the gabs. I also found that I was able to from the top down and bottom up to speed it along. As a side note. I realized my glue fits in my pencil sharpener so I could keep it primed all the time. As I closed the gap I ended up using a template to fill in the last plank. I used tamyia tape to help hold down the final plank. I also sanded to improve the gaps. The finished product is as follows Next step is to add some filler, and let it cure over night. Then the sanding begins.
- 27 replies
-
- fifie
- vanguard models
-
(and 2 more)
Tagged with:
-
Good morning. I am progressing nicely with the second planking of Lady Eleanor. I did mark and drill the holes once I finished the planks. I used a 1 mm as a pilot then extended to the 2 mm bit. Starboard and port are complete to the same number of planks.
- 27 replies
-
- fifie
- vanguard models
-
(and 2 more)
Tagged with:
-
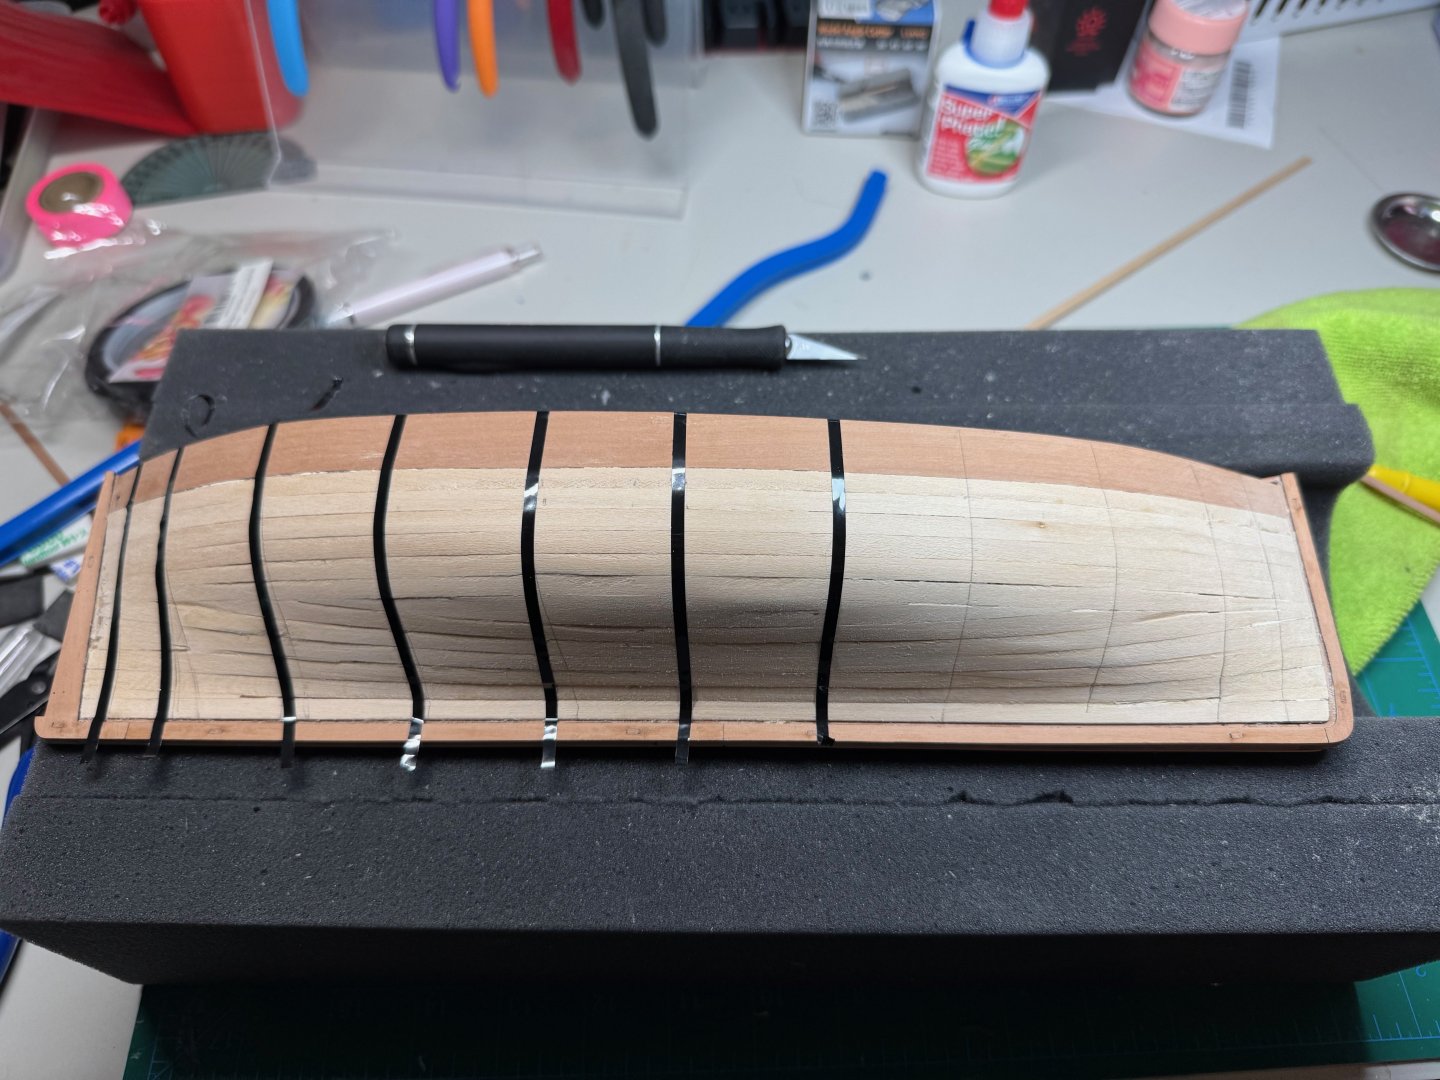
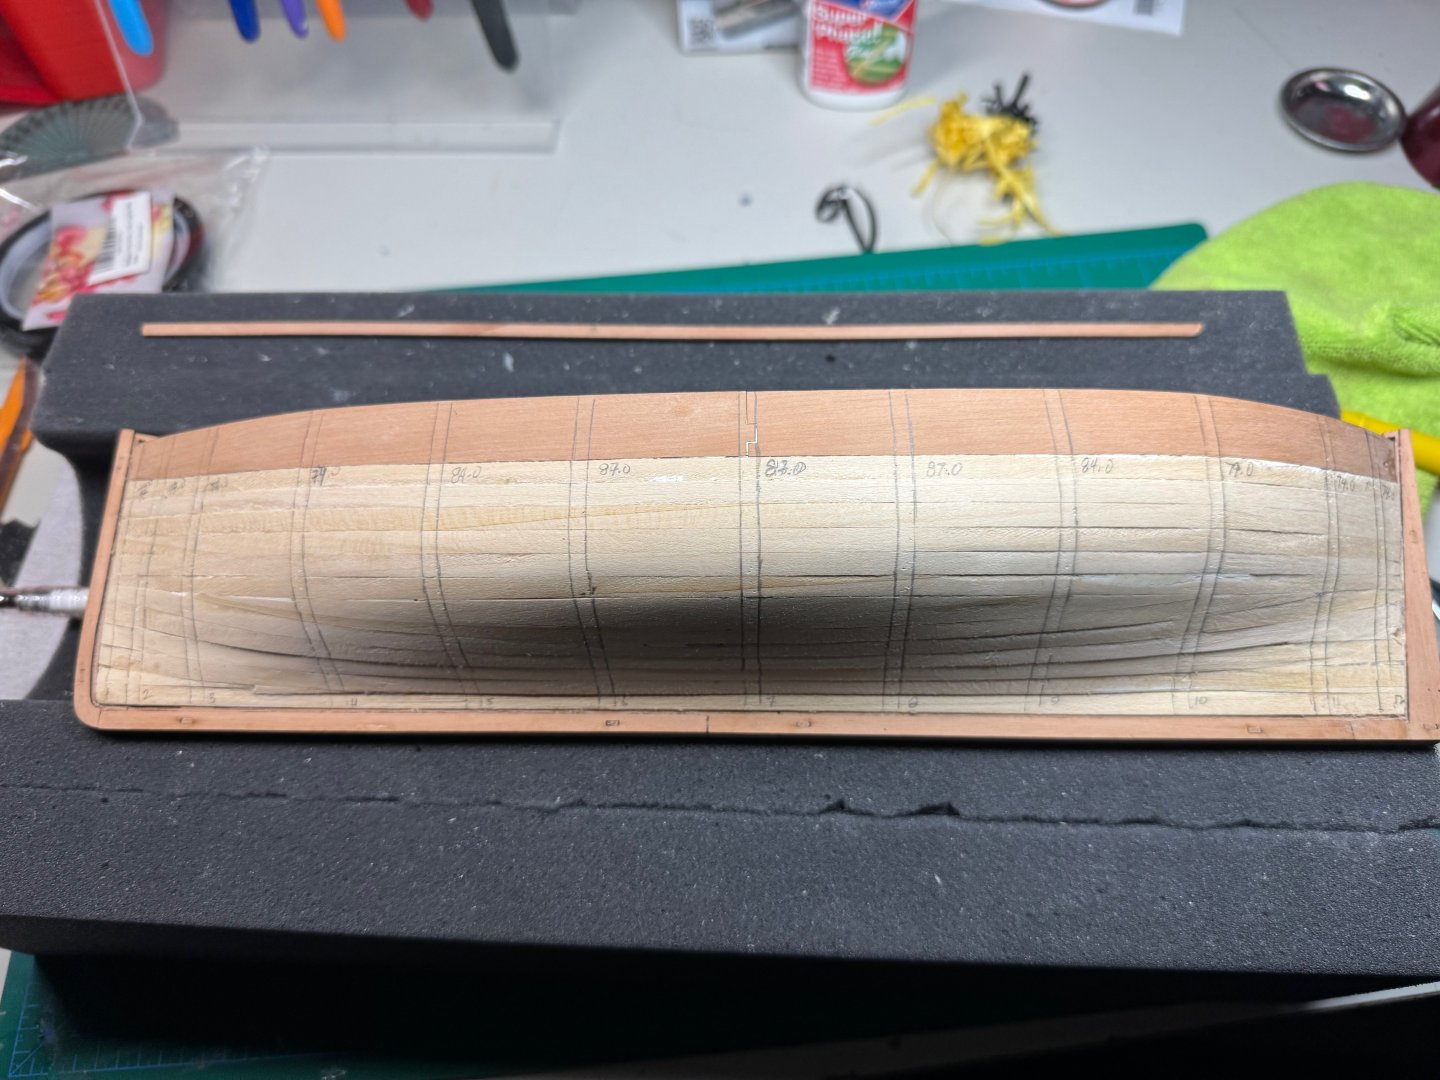
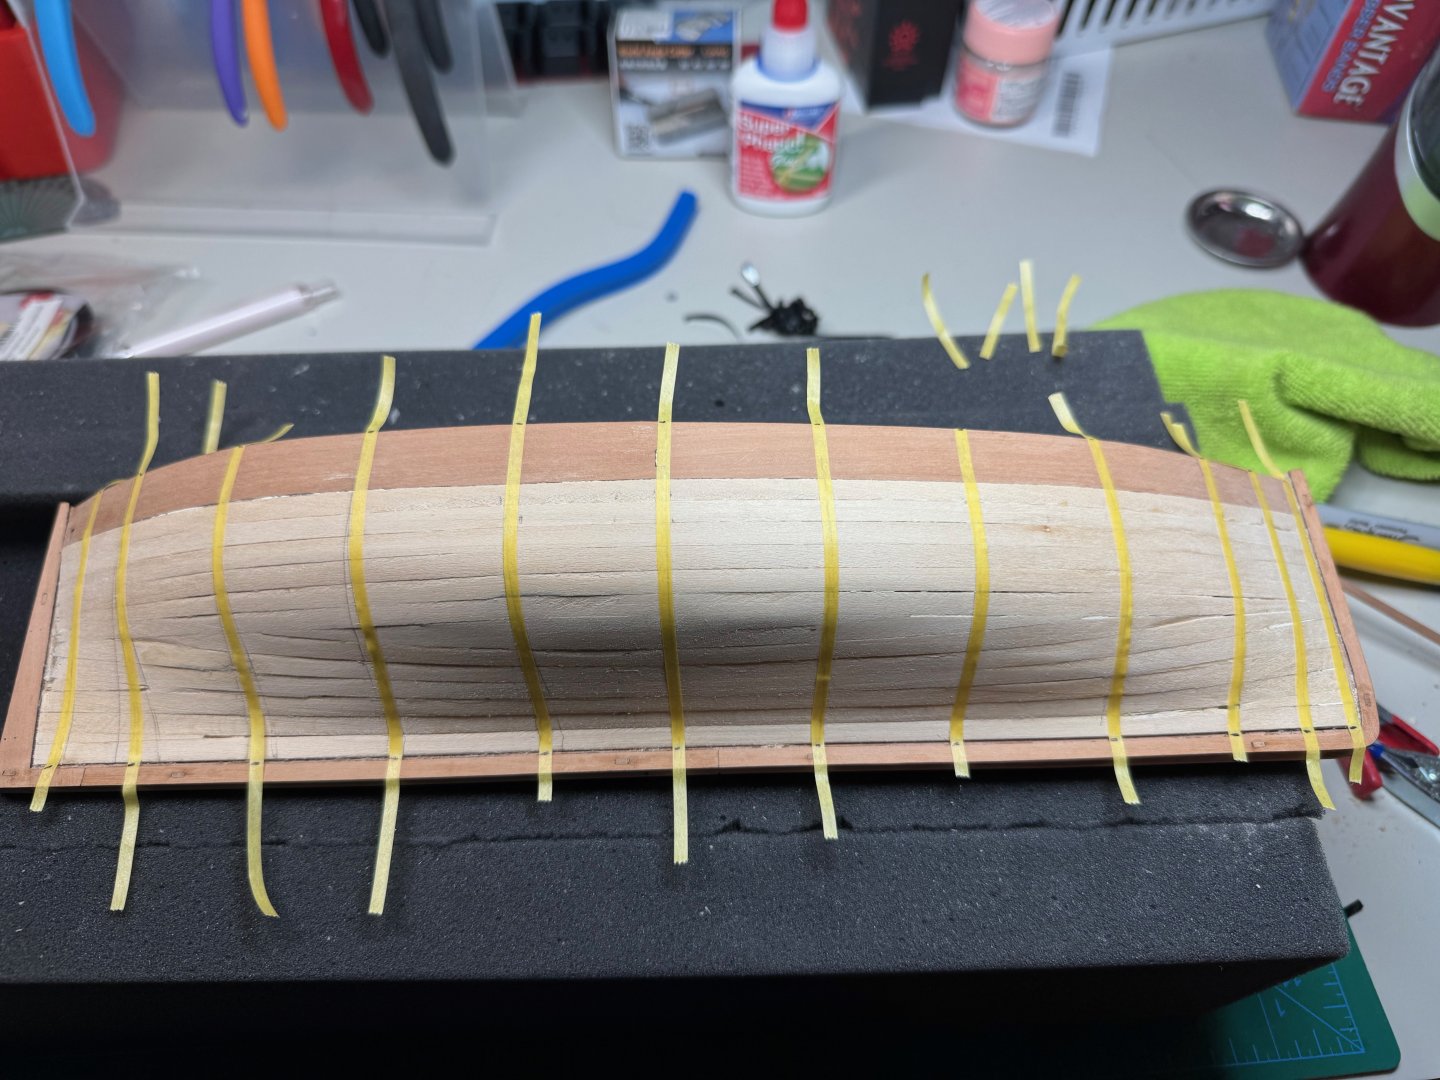
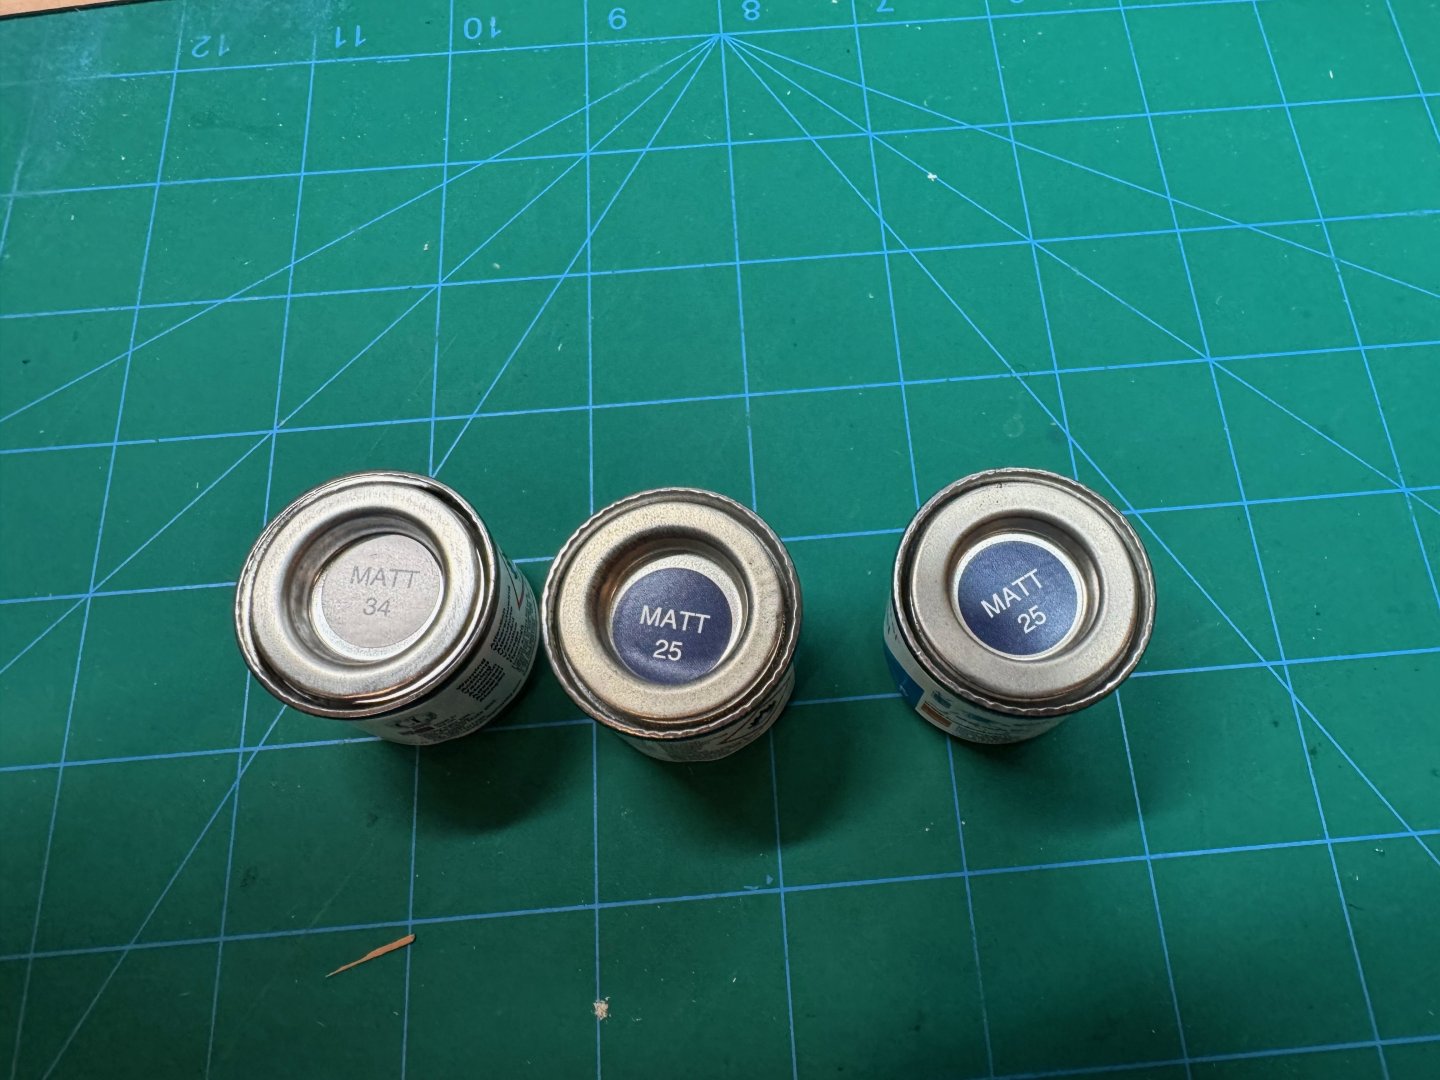
Finally I am now starting the planking process which is steps 64 - 72. First I wanted to make the bulk heads after my sanding so that I could create a planking fan. I initially started with chart tape. This did not go that well as I could not keep the tape down well enough to adjust. So I moved to 1 mm masking tape. Once I was satisfied with the placements, I think marked the top and bottom of the bulk heads. I was then able to take the measurement accordingly. I also drew lines that showed me where the bulk head should be. Next I created my planking fan. LE Planking Fan.xlsx Finally I was able to add the first two planks. One last thing I decided I am going to paint my hull and I wanted to bring some color to the model. So I am going to go with Blue and White to mimic the Scottish flag. Yes I know its not the right blue, but I am not going to mix it. So I purchased some Humbrol paints to try out. I will spray the pieces accordingly. I have decided to paint the inner bulwarks white, and the gunwales will be the blue. Other features will use the same pattern. If my planking is shoddy then I will paint the non red part in the blue.
- 27 replies
-
- fifie
- vanguard models
-
(and 2 more)
Tagged with:
-
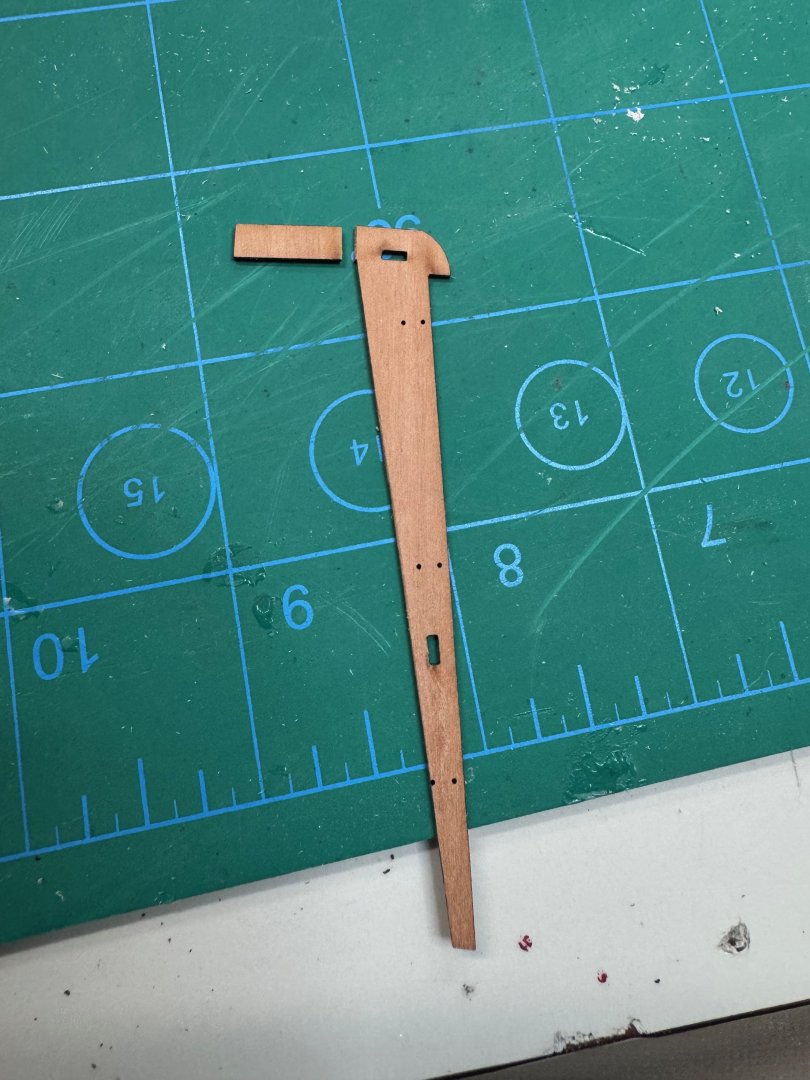
Next completed steps 56 - 63 which installs the rabbets. The tabs are a nice feature to in keeping the facades nicely aligned. I did notice the stern post rabbet is not deep enough. As you can tell I had to thin the planks even further at the stern so that I could get the second planking a little more even. Even though I did think the planks near the gunwales the planks would not insert into the rabbet. I ended up adjusting that by manually creating a rabbet along the stern post. Finally after all the trial and fitting. Just as I was putting glue on once of the rabbets for the bow, it broke... I ended up fixing it when I attached the post to the keel.
- 27 replies
-
- fifie
- vanguard models
-
(and 2 more)
Tagged with:
-
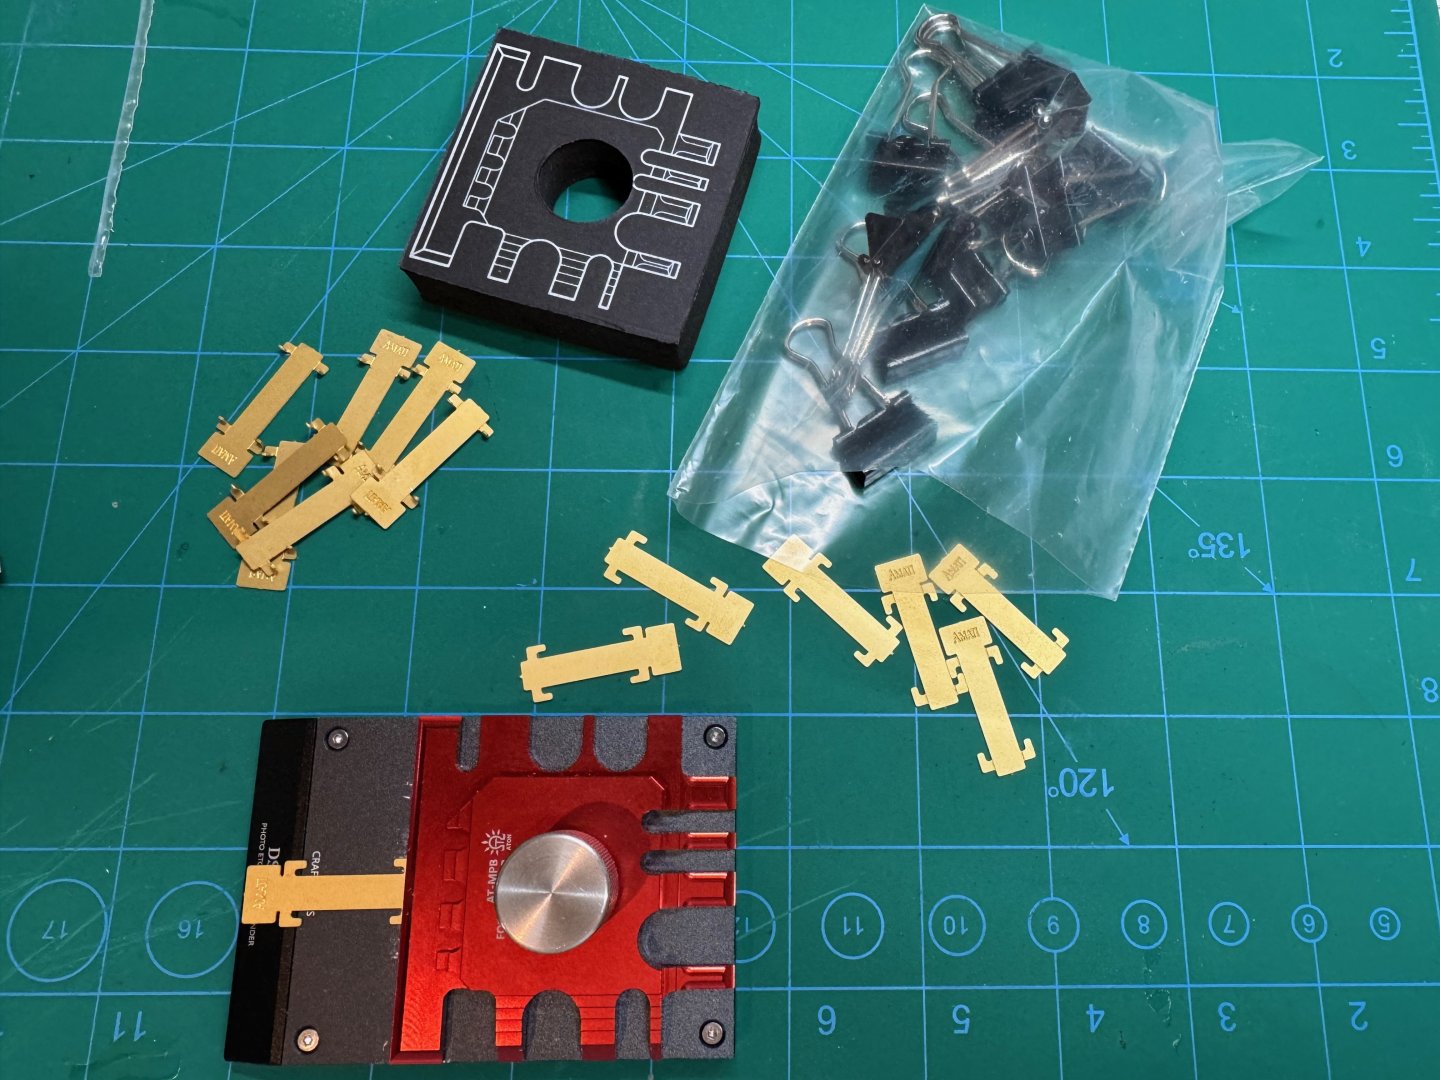
Steps 48 - 55 we add the stern post and keel. First I had to clean up the joints so that they keel would sit correctly. Then after some dry fitting I was able to glue in the stern post, and keel pieces, including the bow keel. Having the alignment clips is a brilliant idea. Thank you @chris watton. These clips made it easy to keep the pieces in place and even.
- 27 replies
-
- fifie
- vanguard models
-
(and 2 more)
Tagged with:
-
Good afternoon. A long awaited updated. As noted in my last post, I completed step 47. Step 48 is sanding of the first planking. I filled the gaps with some putty and then sanded up to 150 grit.
- 27 replies
-
- fifie
- vanguard models
-
(and 2 more)
Tagged with:
-
Thanks @JC1945. I am now entering the second planking phase but an update is coming here shortly.
- 27 replies
-
- fifie
- vanguard models
-
(and 2 more)
Tagged with:
-
Good evening Today’s update: the first layer of planking is complete. Next step is to add filler and sand.
- 27 replies
-
- fifie
- vanguard models
-
(and 2 more)
Tagged with:
-
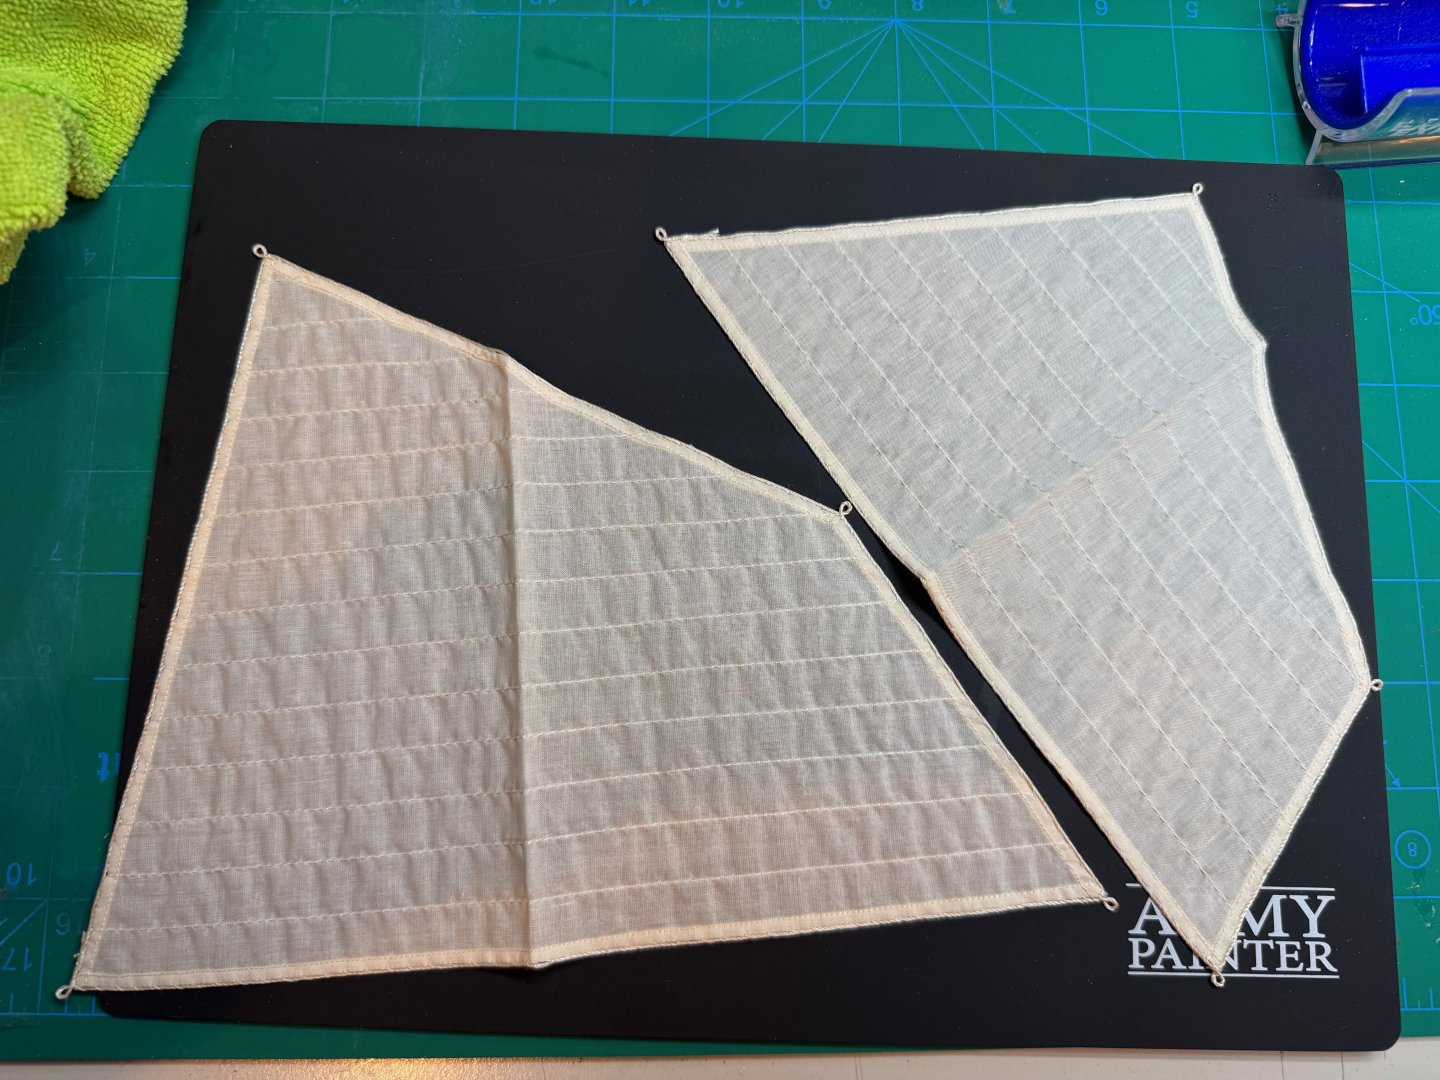
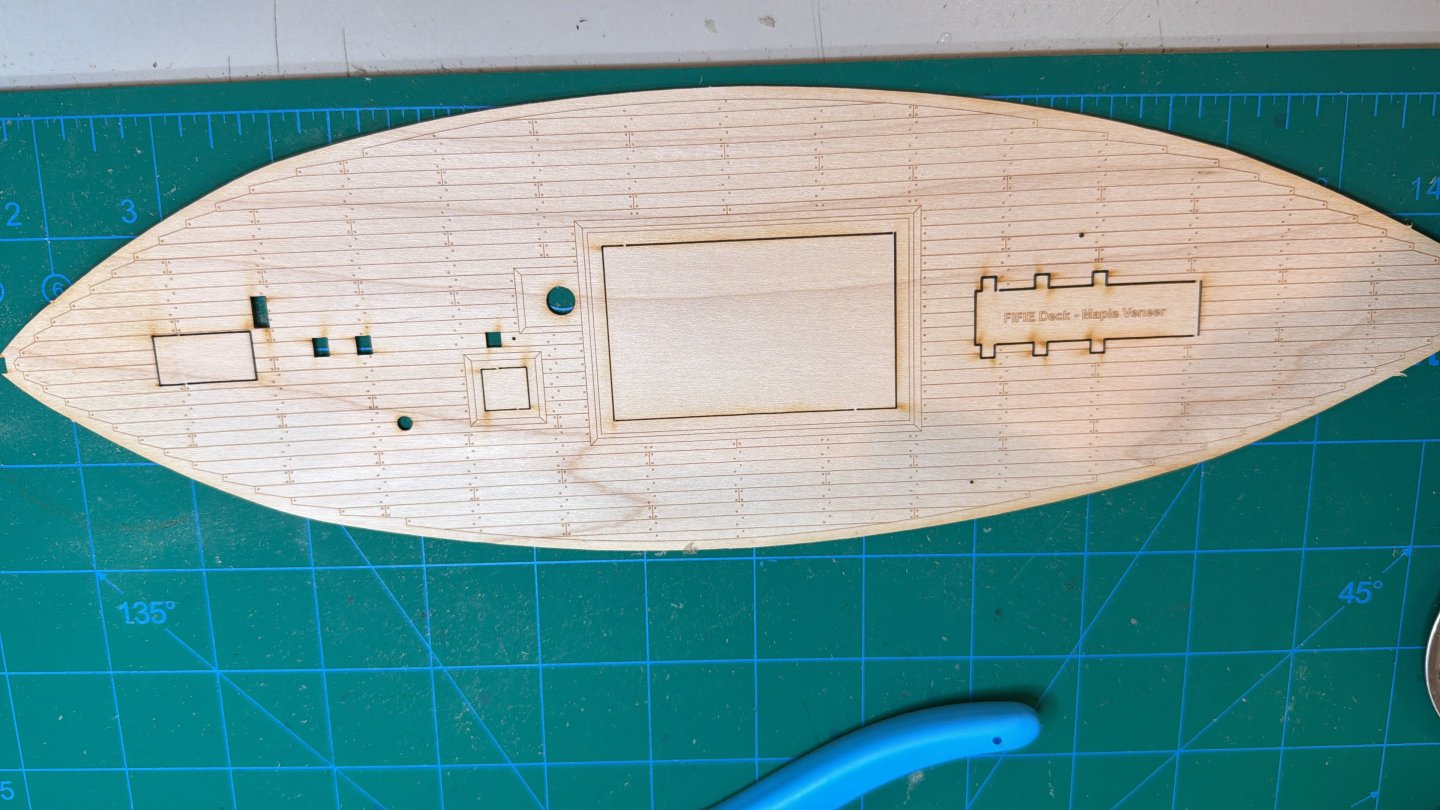
This week the premium sails arrived and they look really nice. Secondly, I understand now why I did not receive the sales in the kit as I was expecting. I found out that my kit is older stock that has not been produced since 2019 as I have the maple veneer for the deck. I did purchase it from Ages of Sail, so I probably will order directly from Vanguard directly.
- 27 replies
-
- fifie
- vanguard models
-
(and 2 more)
Tagged with:
-
Good afternoon, I made some significant progress on Lady Eleanor this week. On Tuesday I soaked the bulwarks in warm water and pre-formed into their final resting place. Wednesday I then glued the bulwarks on in which step 37 is completed. Starting on Friday, I stated on the first layer of planking and I completed the first two rows below the bulkhead, step 39. Today, I was able to complete four more rows of planking, which completes step 42. Finally I ended the day with adding the garboard completing step 44.
- 27 replies
-
- fifie
- vanguard models
-
(and 2 more)
Tagged with:
-
Good afternoon, some minor progress on the Lady Eleanor today. I completed steps 28-31. This includes gluing the deck down, supports for the bulwarks, and fairing the hull. Finally I started to make some clamps for planking.
- 27 replies
-
- fifie
- vanguard models
-
(and 2 more)
Tagged with:
-
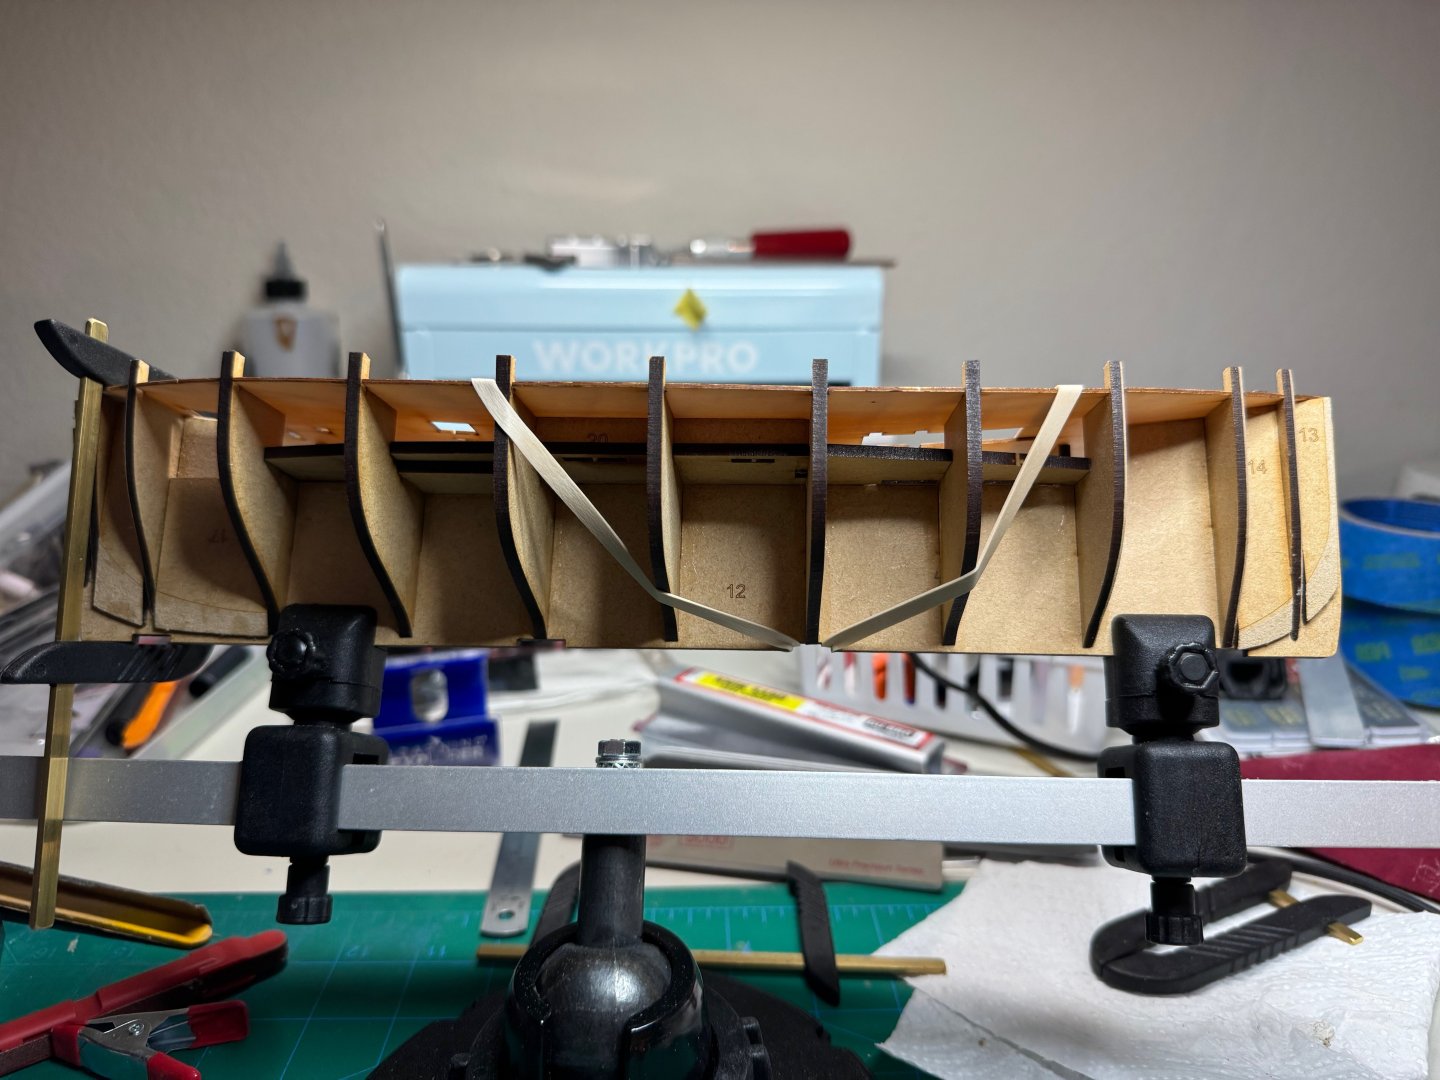
Good evening a small update on the Lady Eleanor tonight. I was able to complete steps 12-27 which end up with installing the fillers, and deck. Here I am adding the fillers to the stern. After dry fitting multiple times. I was able to get the deck to fit no gaps except on two bulk heads where it would not snap in correctly. The deck was in the right position and in the groove, however there was a bit of a curve on the deck from all the times I dry fitted the deck. I did use two rubber bands to help hold it down whilst the glue drys. That is it for now.
- 27 replies
-
- fifie
- vanguard models
-
(and 2 more)
Tagged with:
-
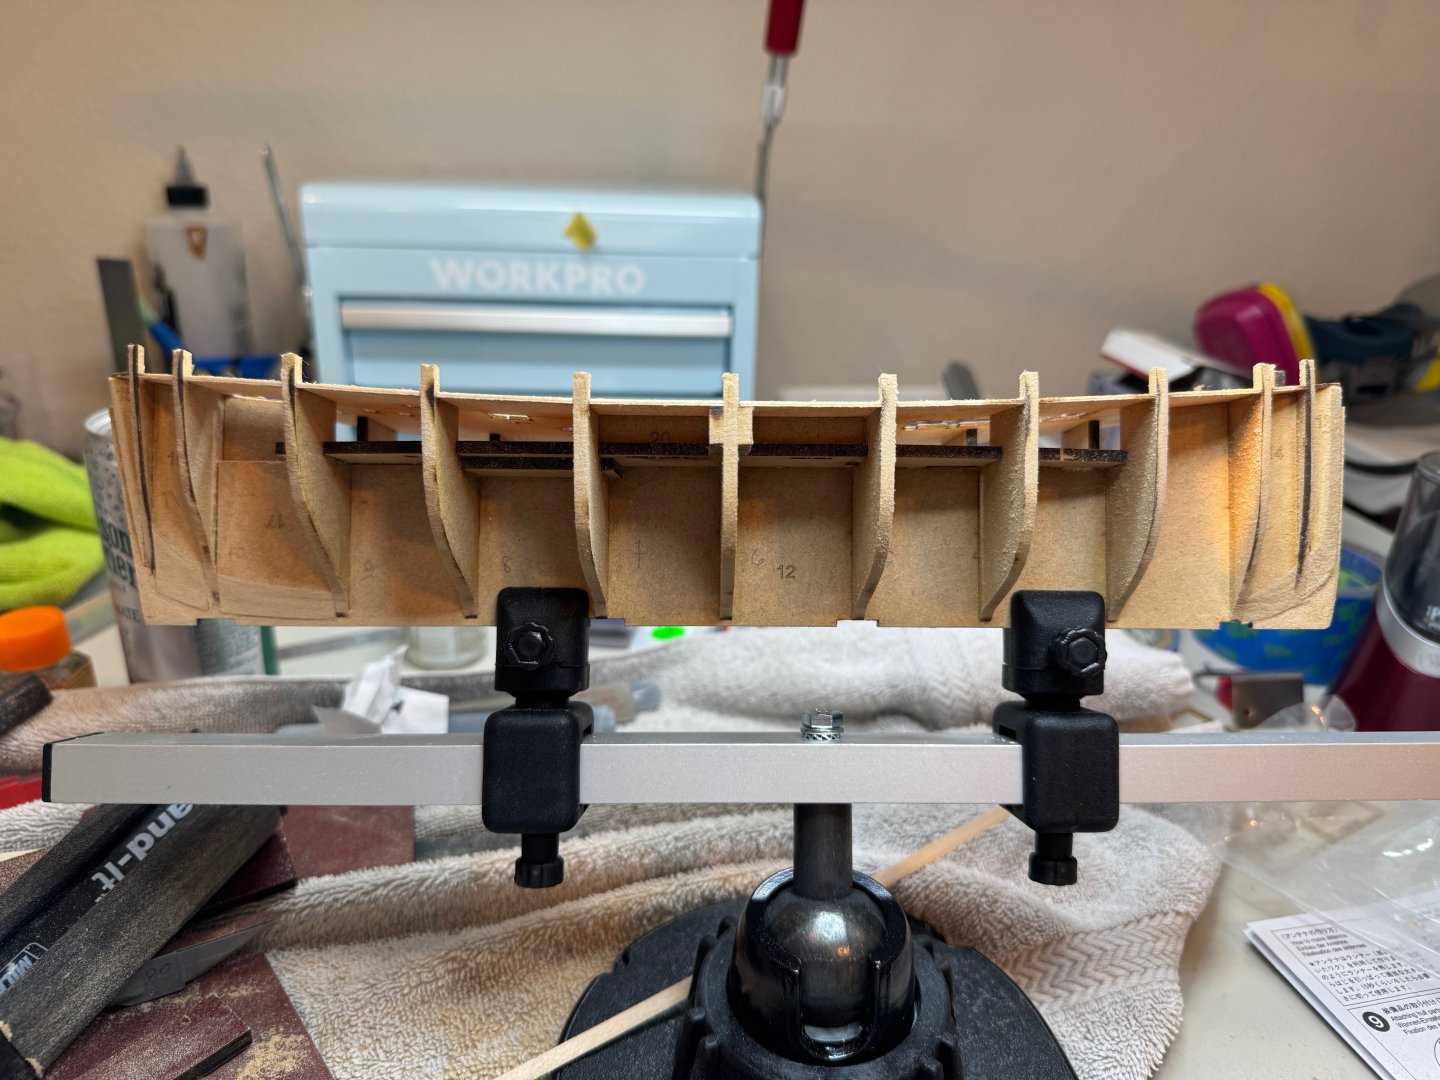
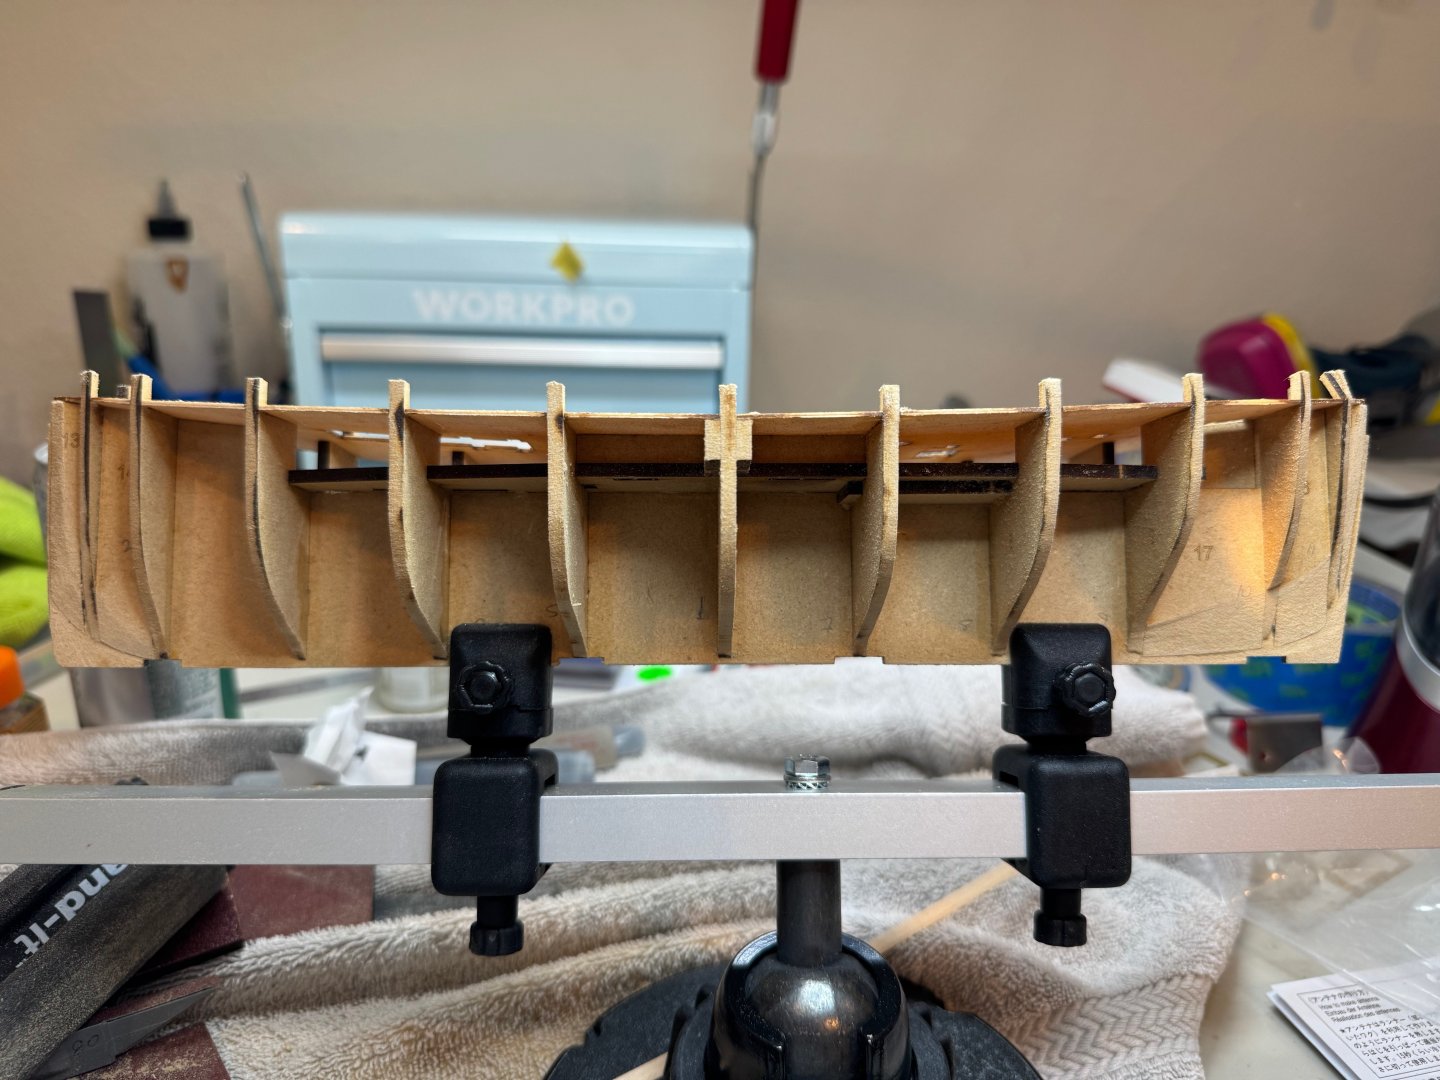
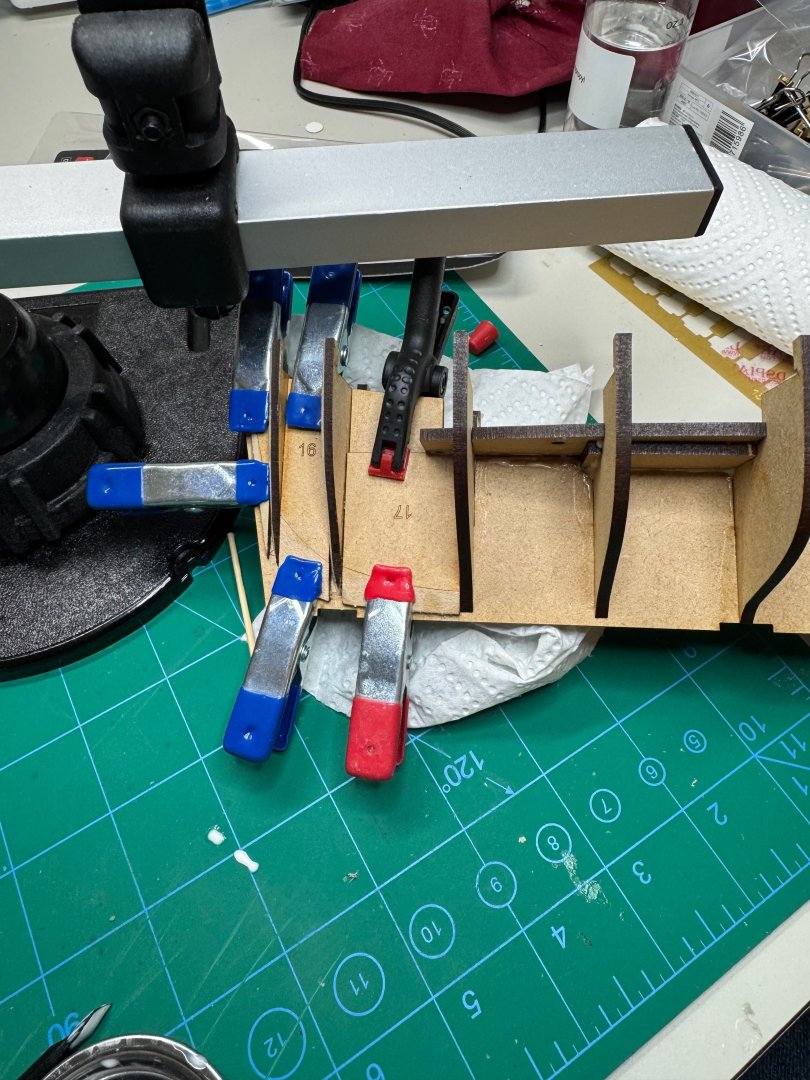
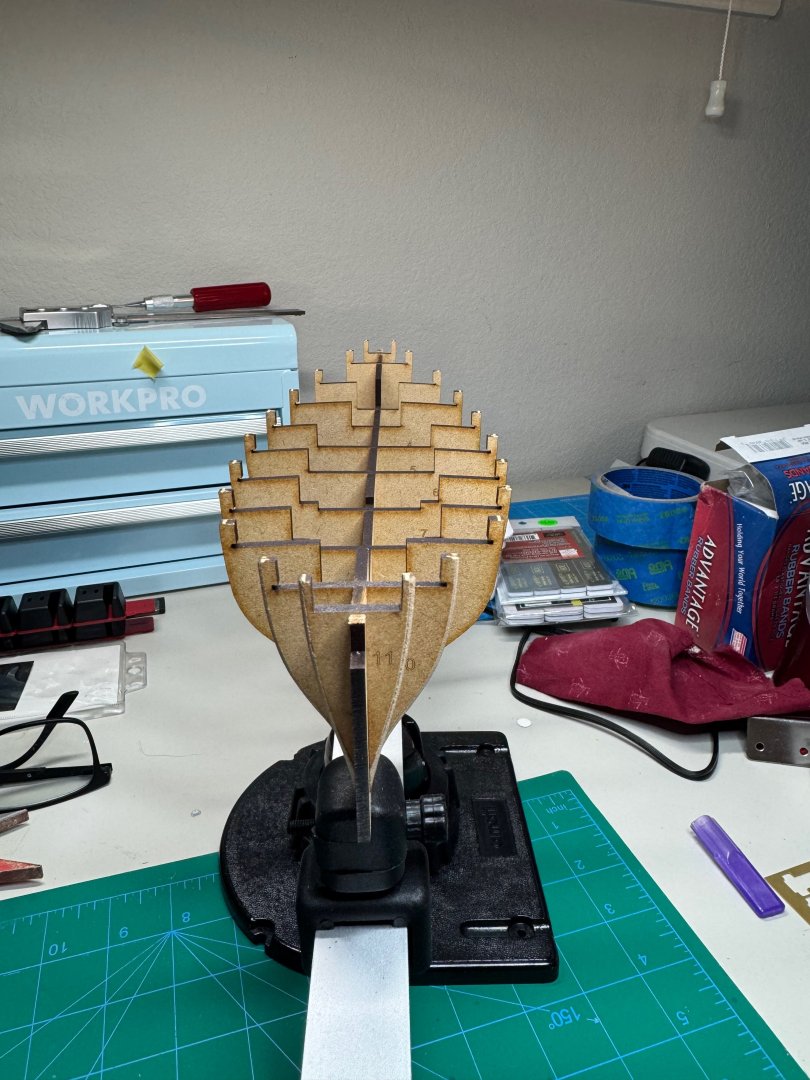
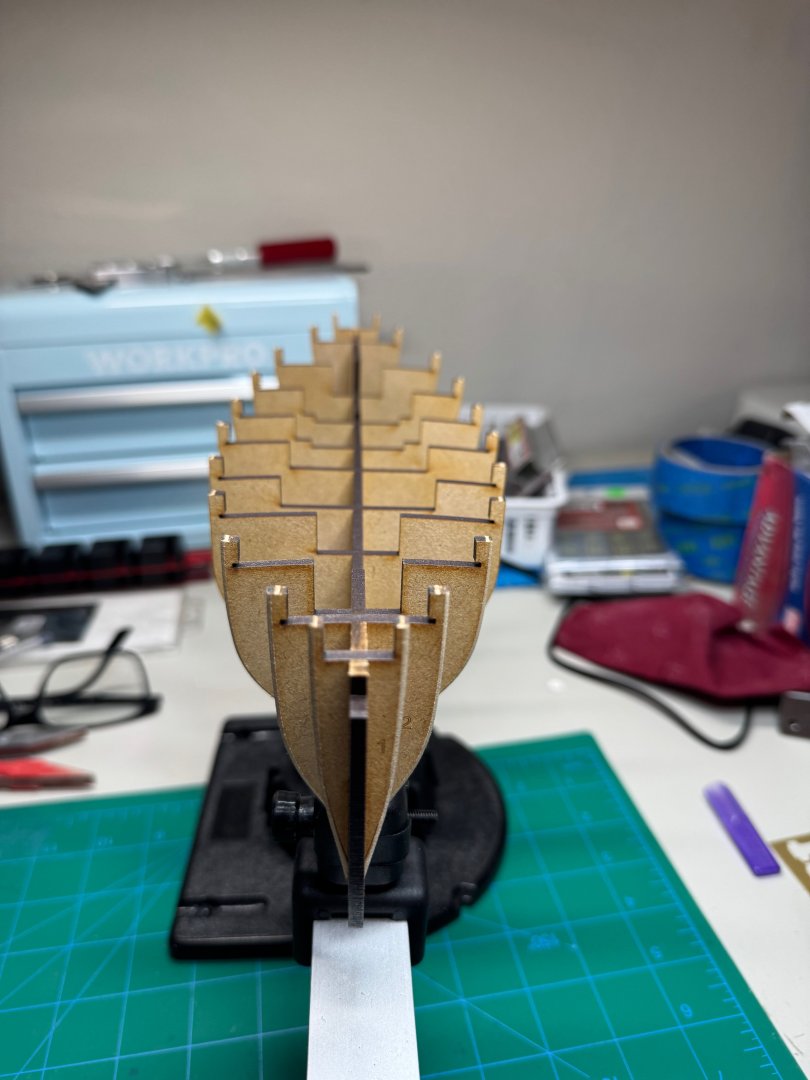
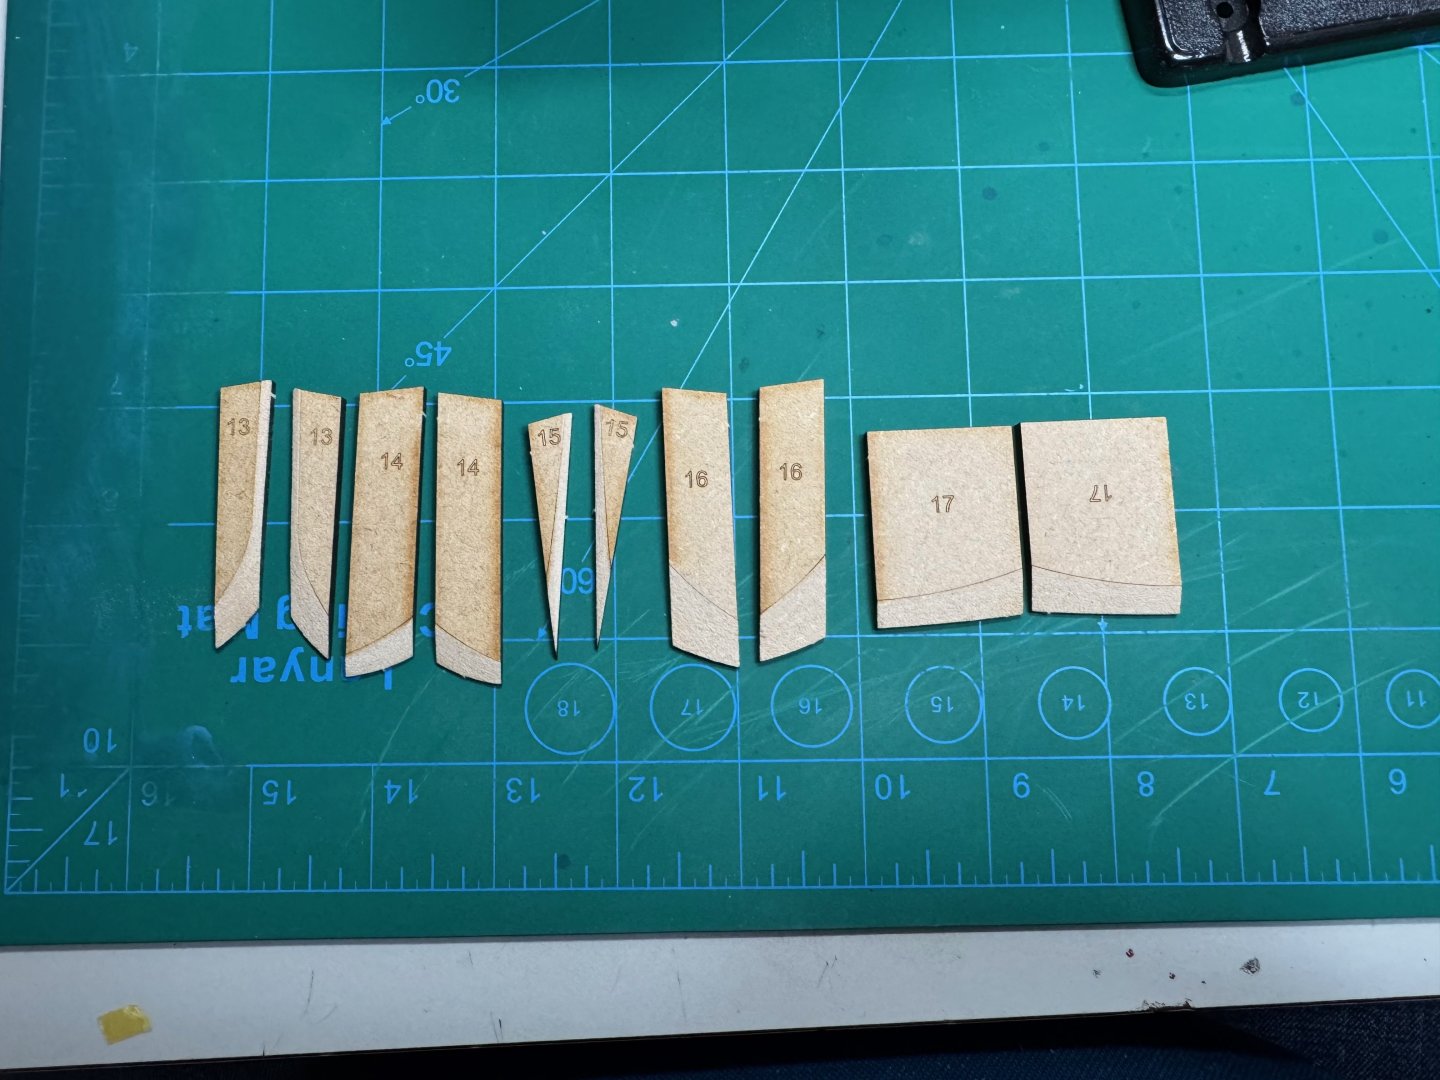
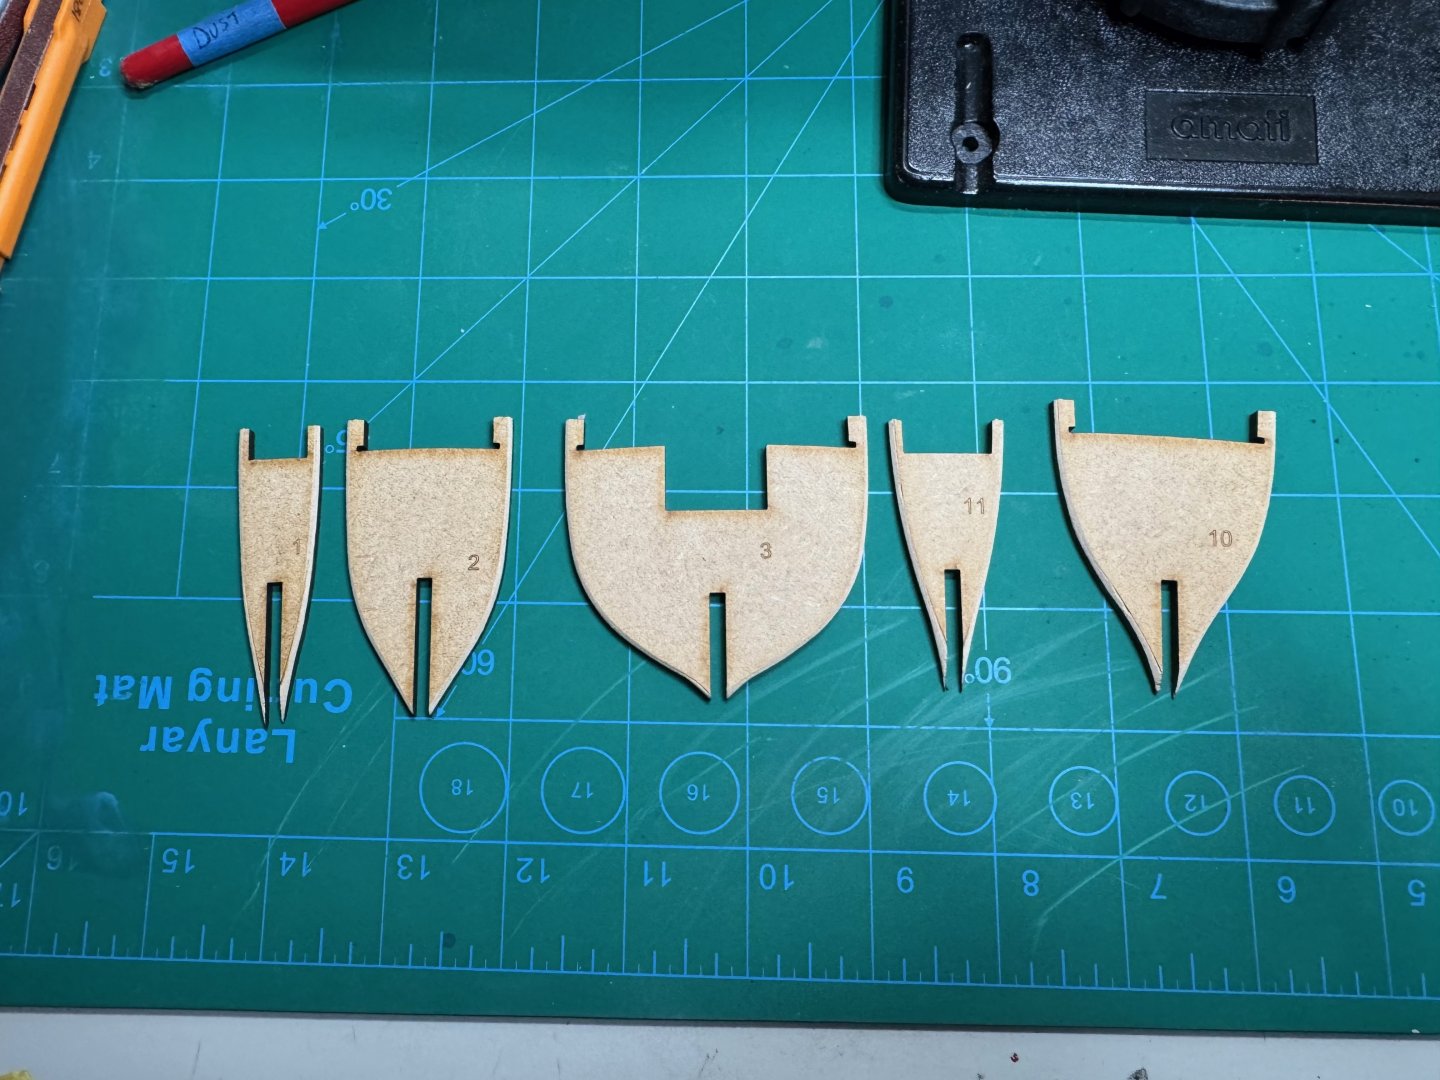
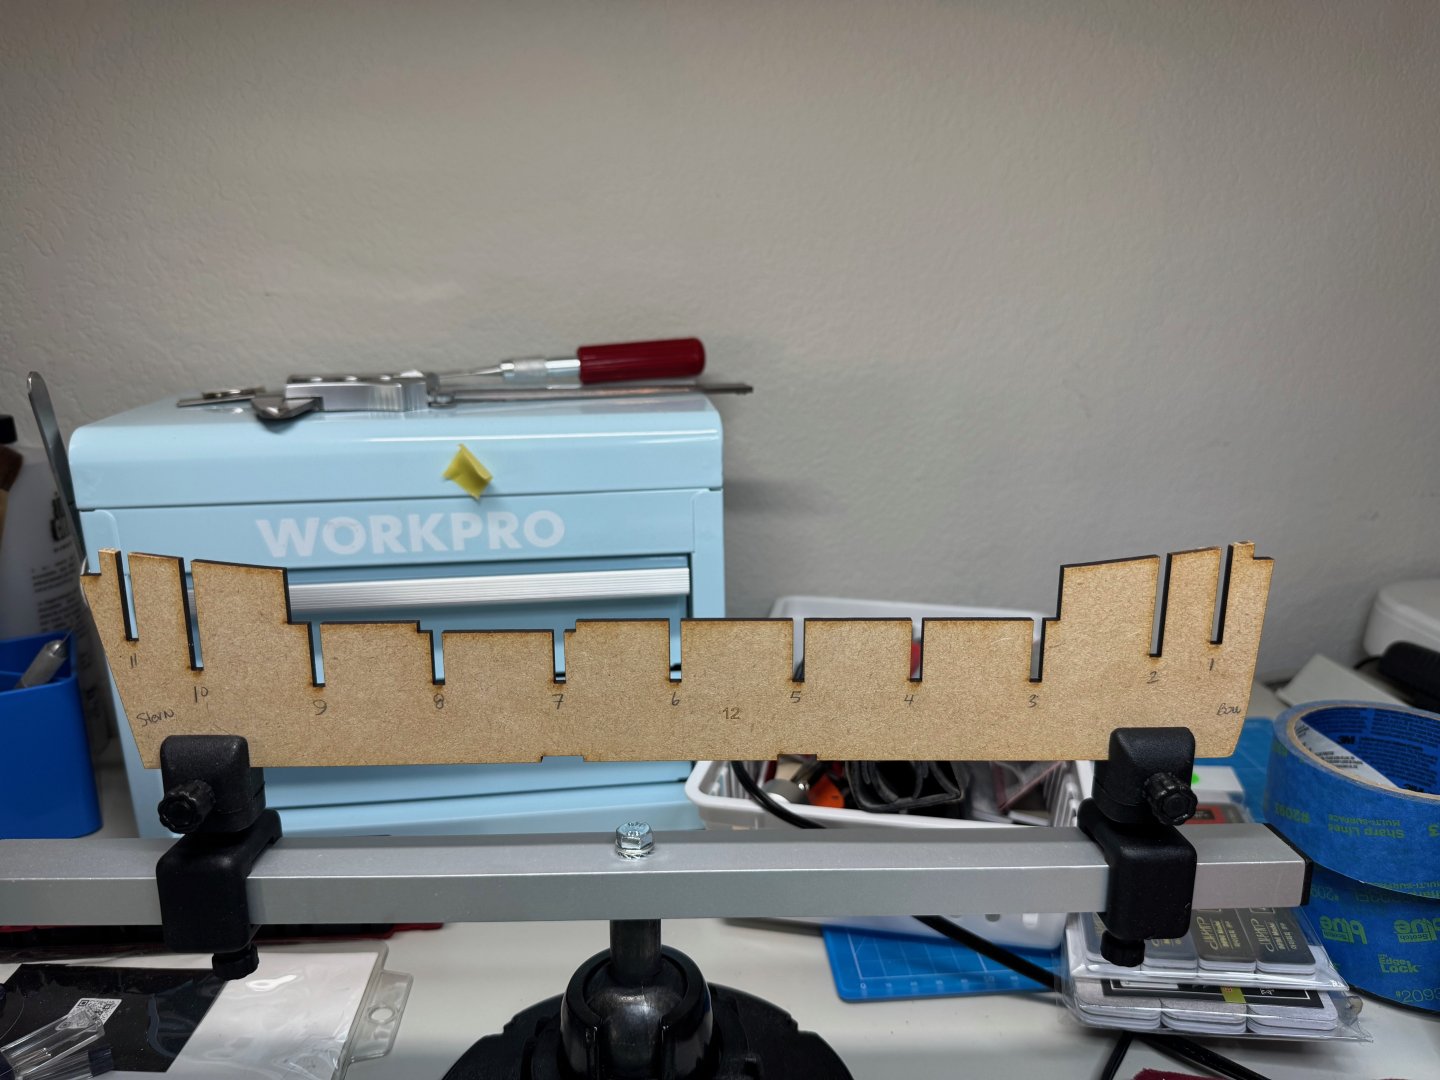
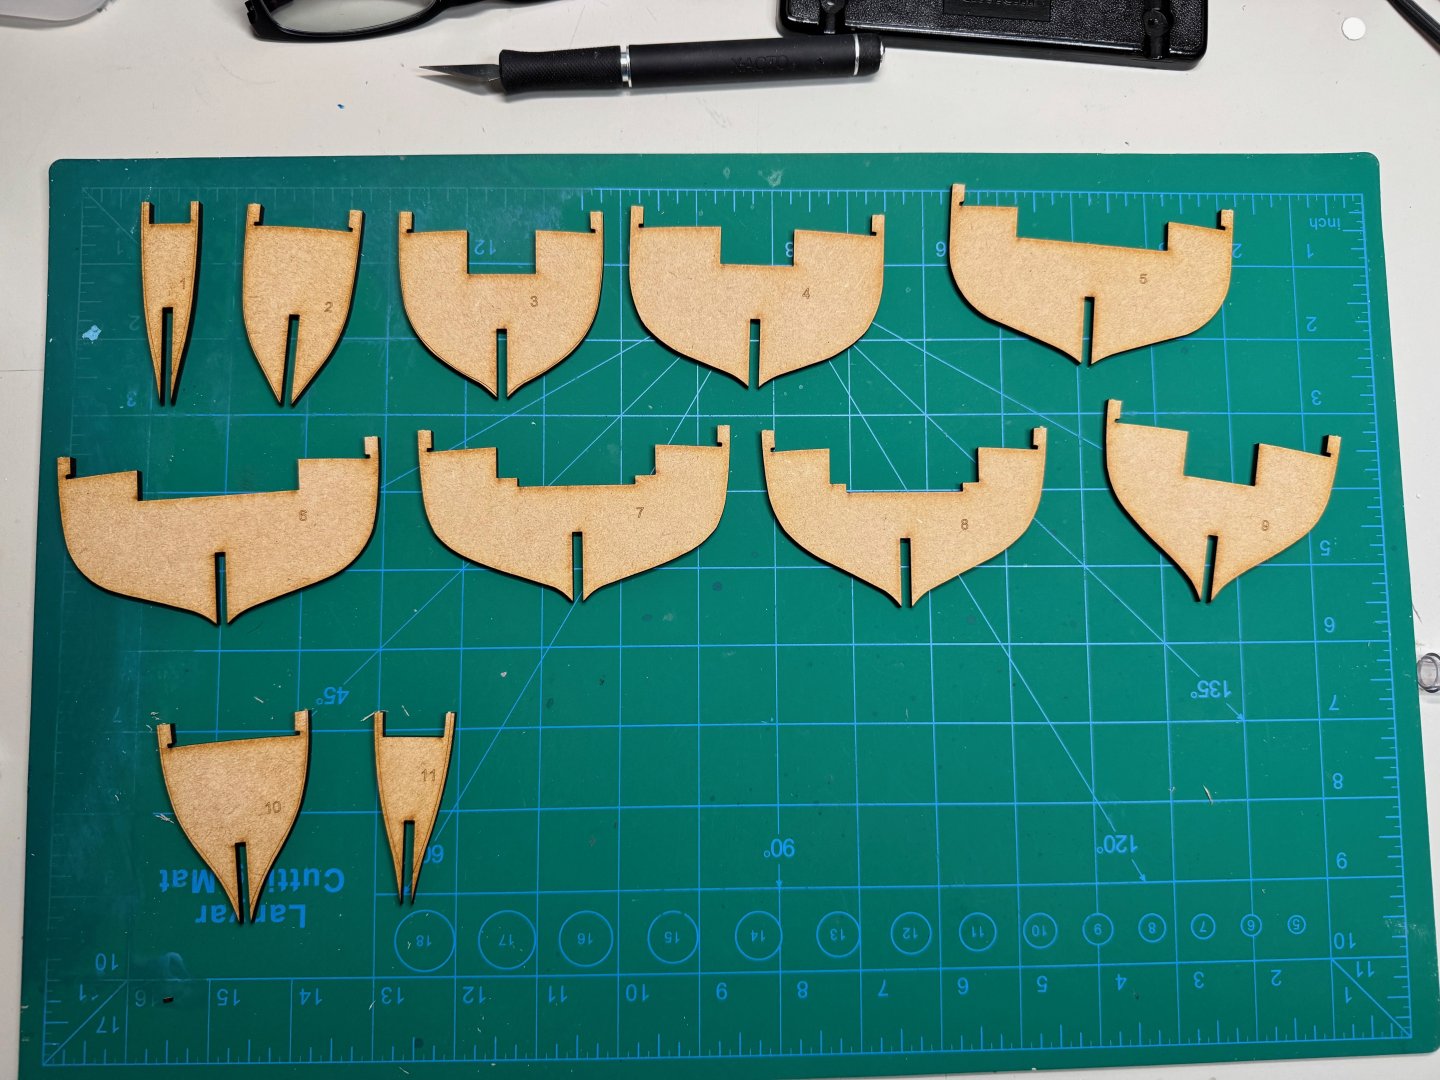
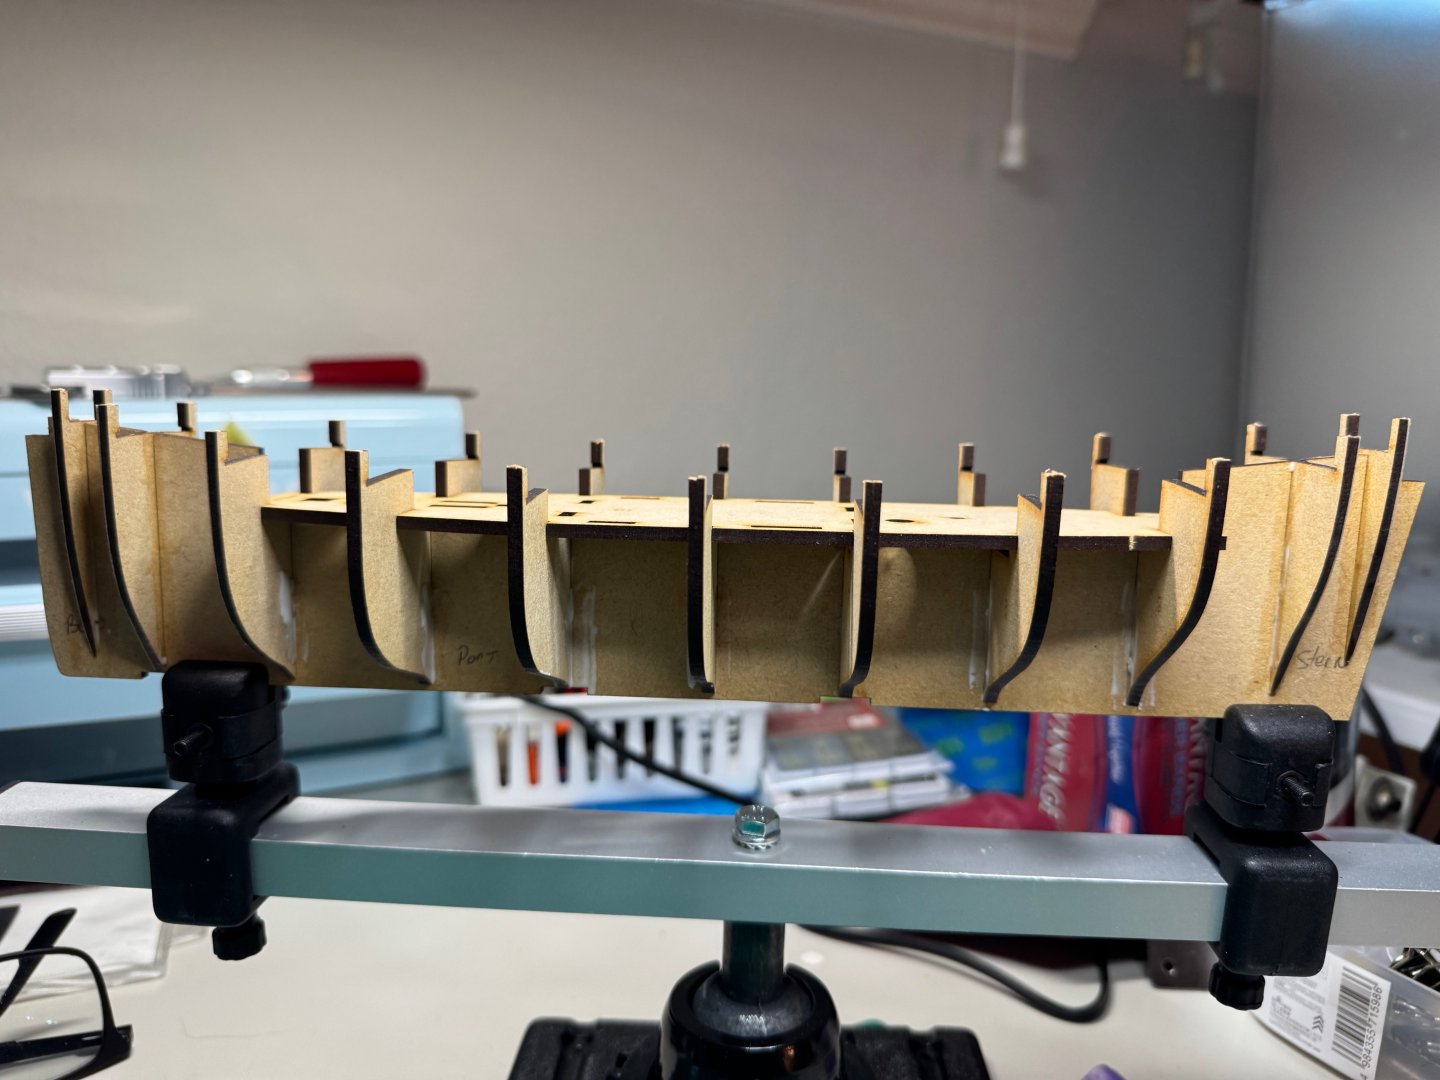
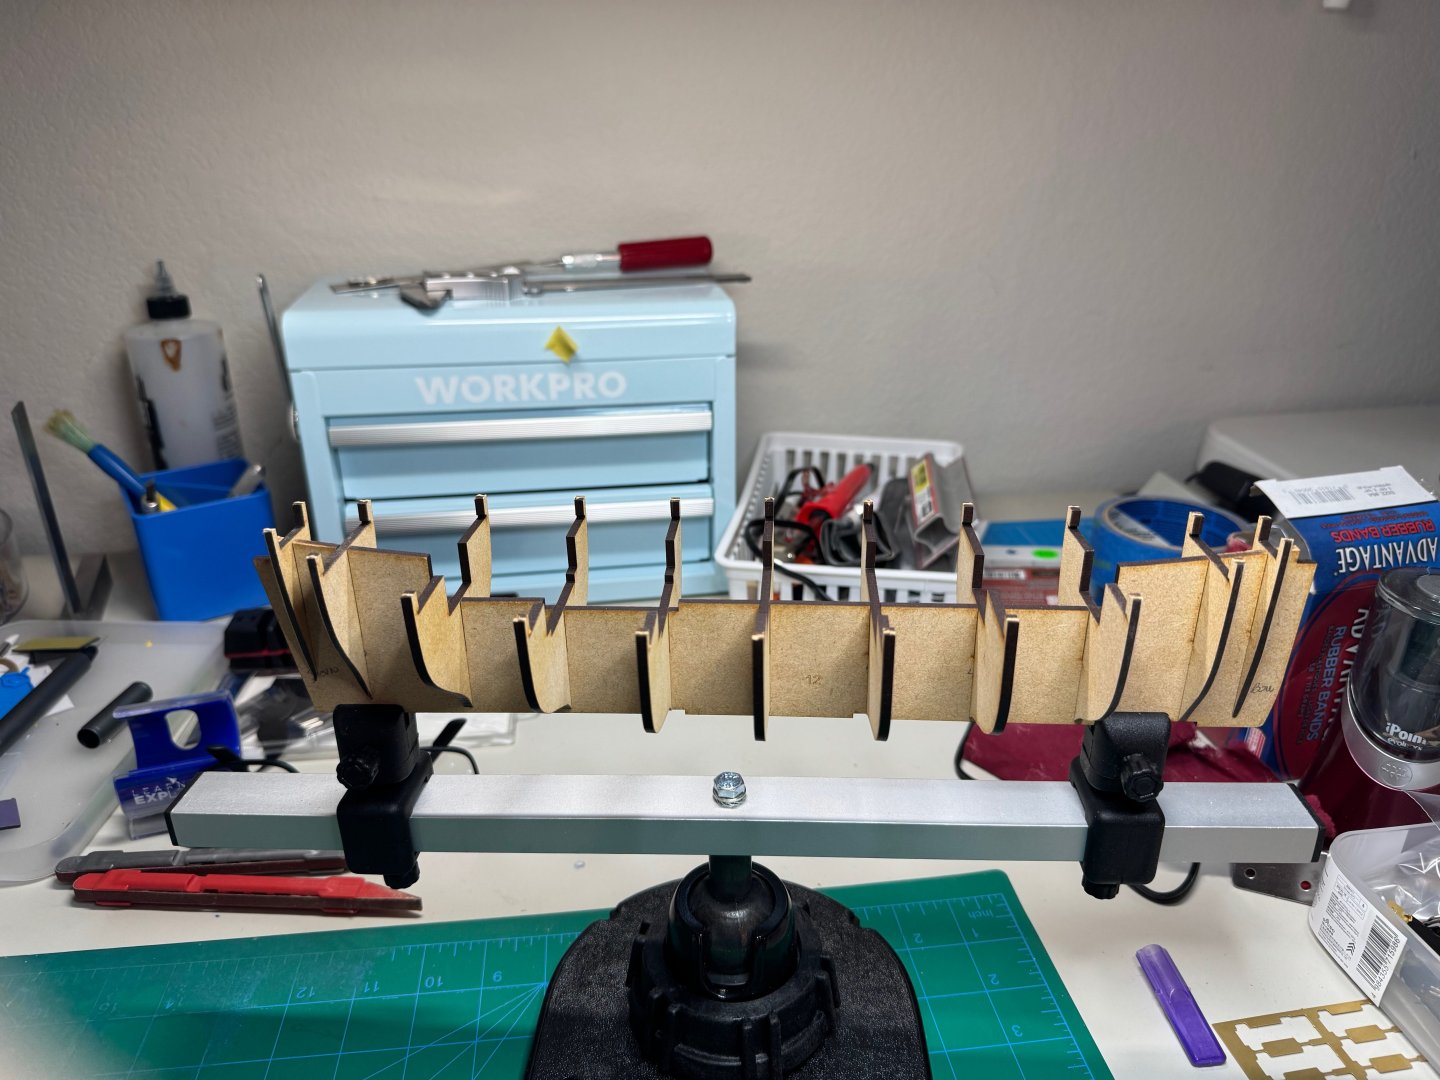
Good evening I completed the first 11 steps for the build. First I cut out the bulk heads. Next I removed the false keel. Then I marked the bow and stern, and the bulk head number. Finally I mounted it to my frame holder, after removing the tabs from the laser cutting. I the bevelled frames 1, 2, 3, 10 and 11. I was conservative on the beveling as I think the faring will require more. Next I removed 13, 14, 15, 16, and 17. Followed by pre beveling. Next I did a pre-fit of the bulkheads. Next I glued in frames, 1, 2, 10 and 11. I used a square to make sure they where perpendicular to the frame. Finally the instructions suggested to use the first deck (part 19) without glue to square up the remainder of the frames. I then glued them to about 70 percent up from the bottom to the top. I will solidify them after this part sets and I add part 18 and then 19. That is it for now.
- 27 replies
-
- fifie
- vanguard models
-
(and 2 more)
Tagged with:
-
@palmerit I agree. I definitely learned a lot from my attempts in which I will apply going forward. I think what I found hard on that project was the cutting of the planks I could not get it correct at all and I think it is well beyond my skill level at this point of time. I am really looking forward to this project that is more at my skill level.
-
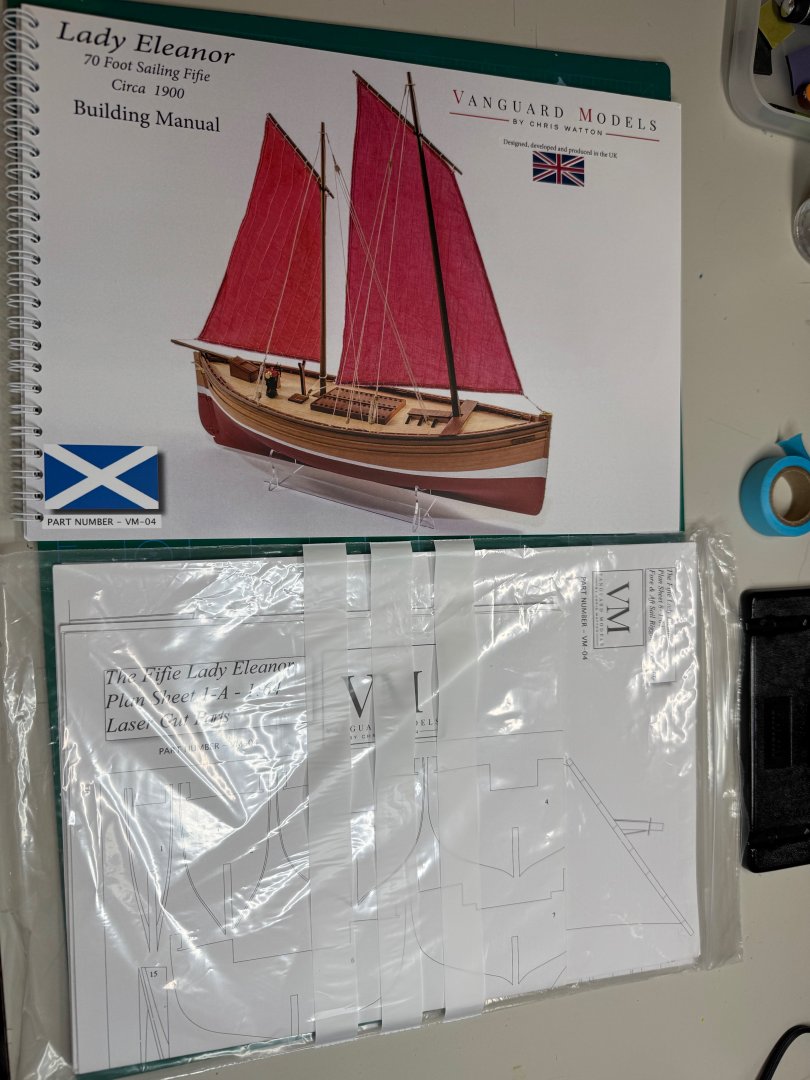
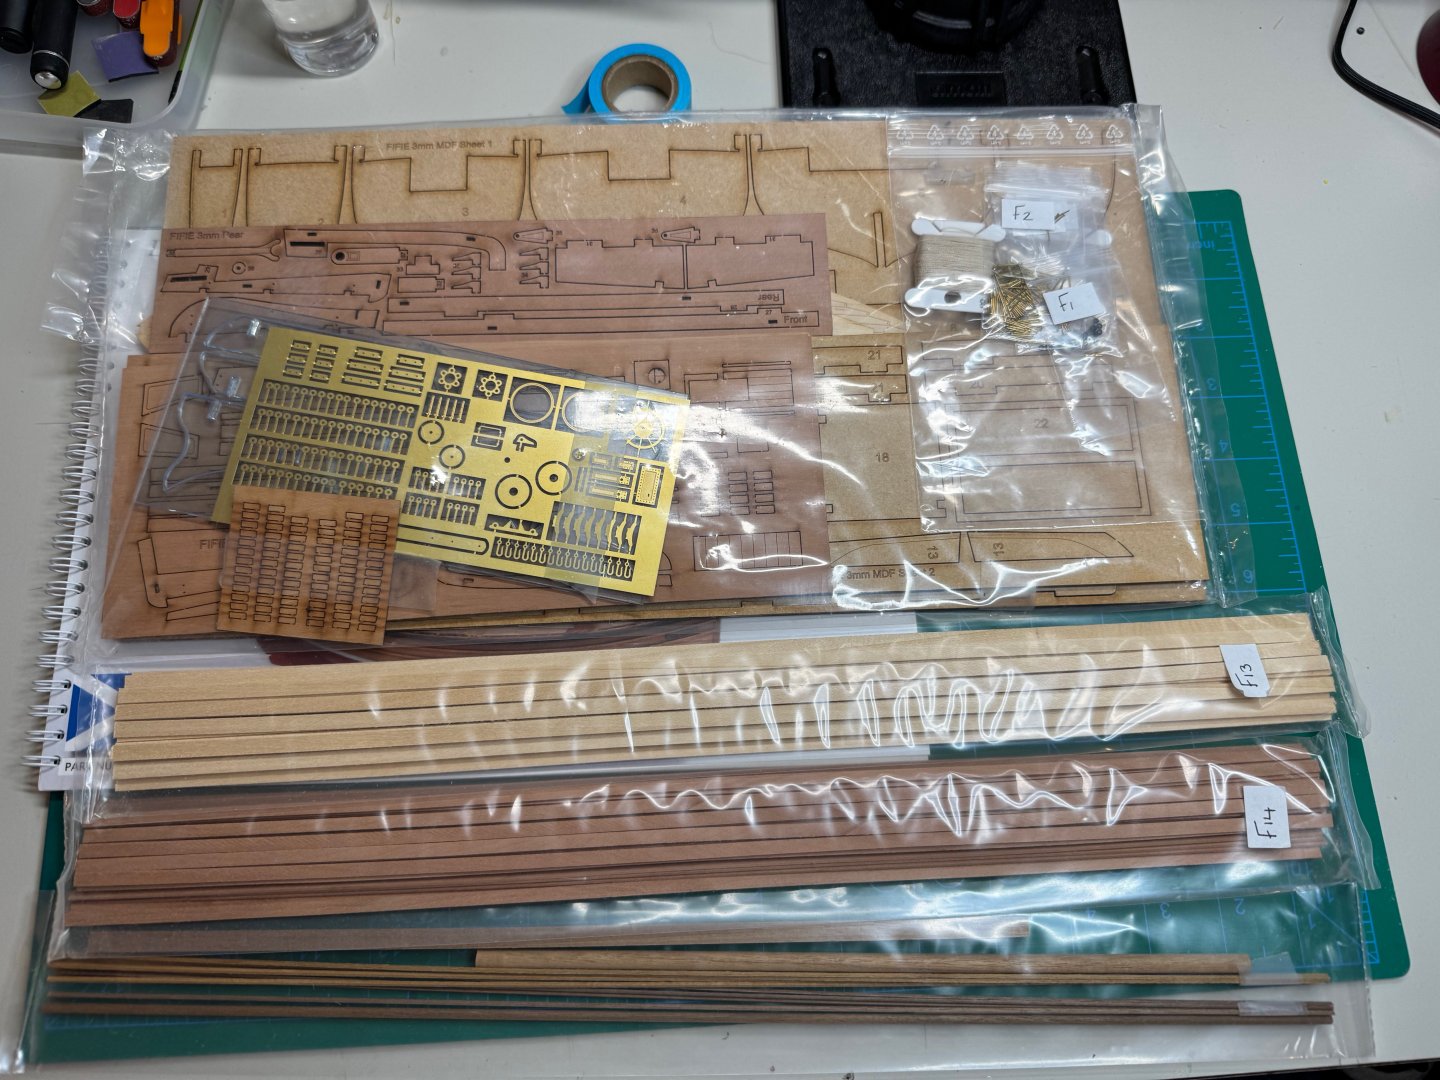
Good afternoon, yesterday was my birthday and my wife got me a new project to start. The Lady Eleanor by Vanguard Models. It was purchased from Ages of Sail. However the kit did not come with the now included sails that are on Vanguard's website in which I was a little disappointed. However I am planning on getting the nicer sails that are offered, and will order later this month. Below are a couple of images from the initial unboxing:
- 27 replies
-
- fifie
- vanguard models
-
(and 2 more)
Tagged with:
About us
Modelshipworld - Advancing Ship Modeling through Research
SSL Secured
Your security is important for us so this Website is SSL-Secured
NRG Mailing Address
Nautical Research Guild
237 South Lincoln Street
Westmont IL, 60559-1917
Model Ship World ® and the MSW logo are Registered Trademarks, and belong to the Nautical Research Guild (United States Patent and Trademark Office: No. 6,929,264 & No. 6,929,274, registered Dec. 20, 2022)
Helpful Links
About the NRG
If you enjoy building ship models that are historically accurate as well as beautiful, then The Nautical Research Guild (NRG) is just right for you.
The Guild is a non-profit educational organization whose mission is to “Advance Ship Modeling Through Research”. We provide support to our members in their efforts to raise the quality of their model ships.
The Nautical Research Guild has published our world-renowned quarterly magazine, The Nautical Research Journal, since 1955. The pages of the Journal are full of articles by accomplished ship modelers who show you how they create those exquisite details on their models, and by maritime historians who show you the correct details to build. The Journal is available in both print and digital editions. Go to the NRG web site (www.thenrg.org) to download a complimentary digital copy of the Journal. The NRG also publishes plan sets, books and compilations of back issues of the Journal and the former Ships in Scale and Model Ship Builder magazines.


