
halvoric
-
Posts
84 -
Joined
-
Last visited
1 Follower

About halvoric

-
 Tim Moore reacted to a post in a topic:
Canadian Canoe by halvoric - Midwest Products - 1:8
Tim Moore reacted to a post in a topic:
Canadian Canoe by halvoric - Midwest Products - 1:8
-
yvesvidal reacted to a post in a topic:
Canadian Canoe by halvoric - Midwest Products - 1:8
-
 halvoric reacted to a post in a topic:
Canadian Canoe by halvoric - Midwest Products - 1:8
halvoric reacted to a post in a topic:
Canadian Canoe by halvoric - Midwest Products - 1:8
-
halvoric reacted to a post in a topic:
Canadian Canoe by halvoric - Midwest Products - 1:8
-
Thank you Tim! High praise indeed!
-
ccoyle reacted to a post in a topic:
Canadian Canoe by halvoric - Midwest Products - 1:8
-
Paul Jarman reacted to a post in a topic:
Canadian Canoe by halvoric - Midwest Products - 1:8
-
 Ryland Craze reacted to a post in a topic:
Canadian Canoe by halvoric - Midwest Products - 1:8
Ryland Craze reacted to a post in a topic:
Canadian Canoe by halvoric - Midwest Products - 1:8
-
druxey reacted to a post in a topic:
Canadian Canoe by halvoric - Midwest Products - 1:8
-
druxey reacted to a post in a topic:
Canadian Canoe by halvoric - Midwest Products - 1:8
-
druxey reacted to a post in a topic:
Canadian Canoe by halvoric - Midwest Products - 1:8
-
Timmo reacted to a post in a topic:
Canadian Canoe by halvoric - Midwest Products - 1:8
-
king derelict reacted to a post in a topic:
Canadian Canoe by halvoric - Midwest Products - 1:8
-
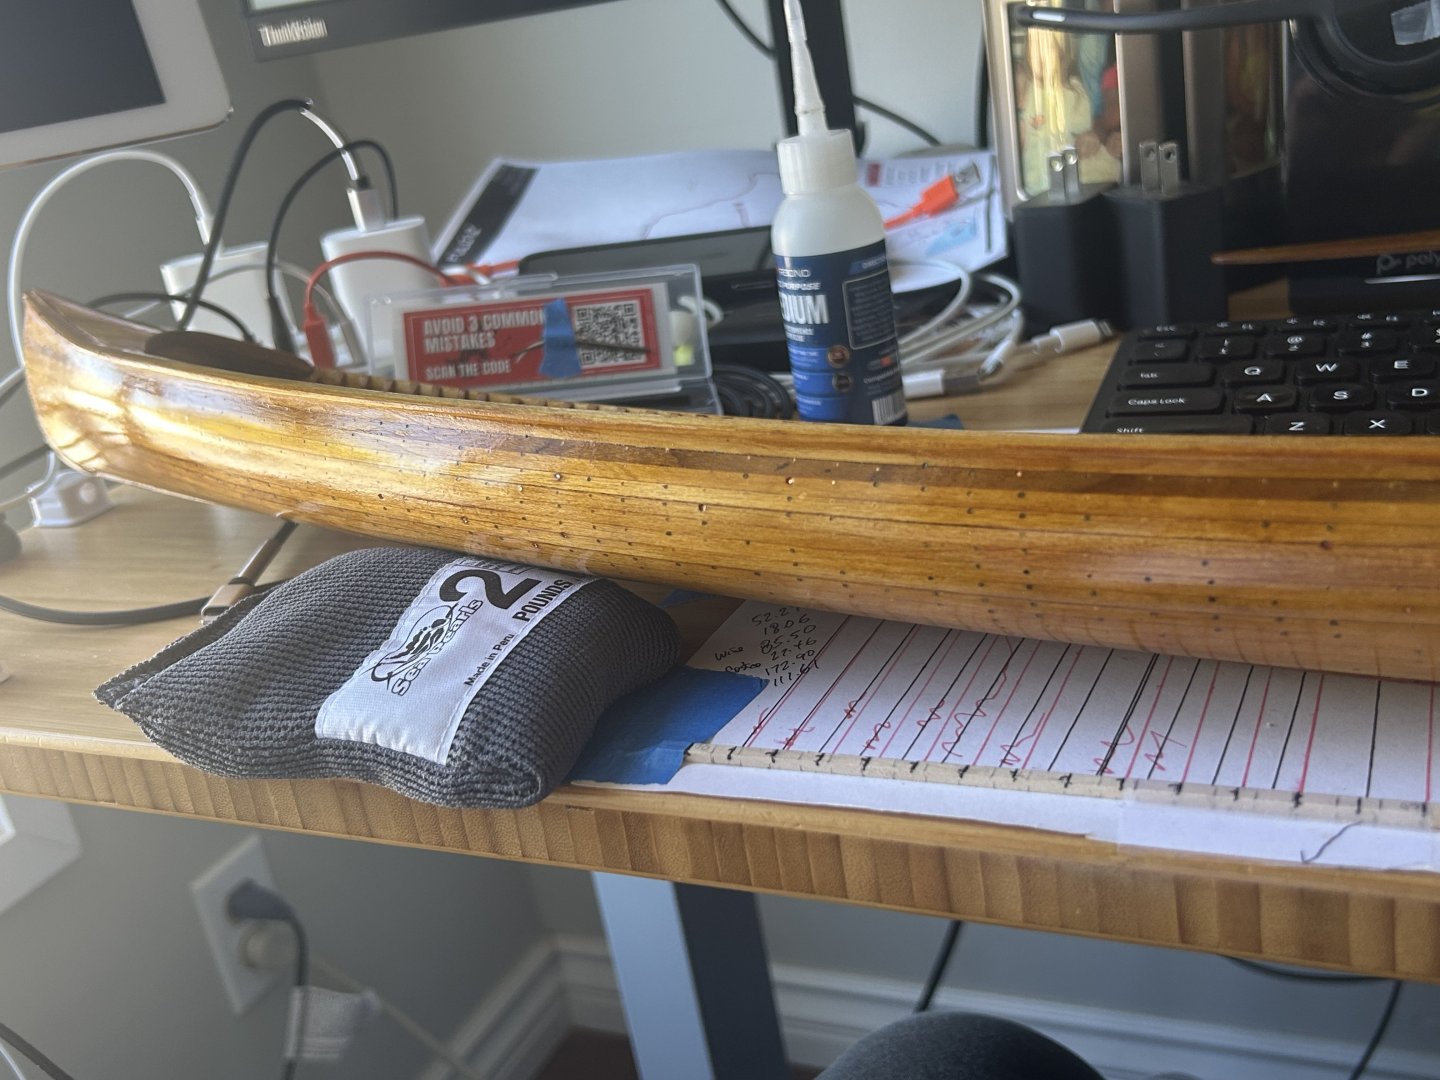
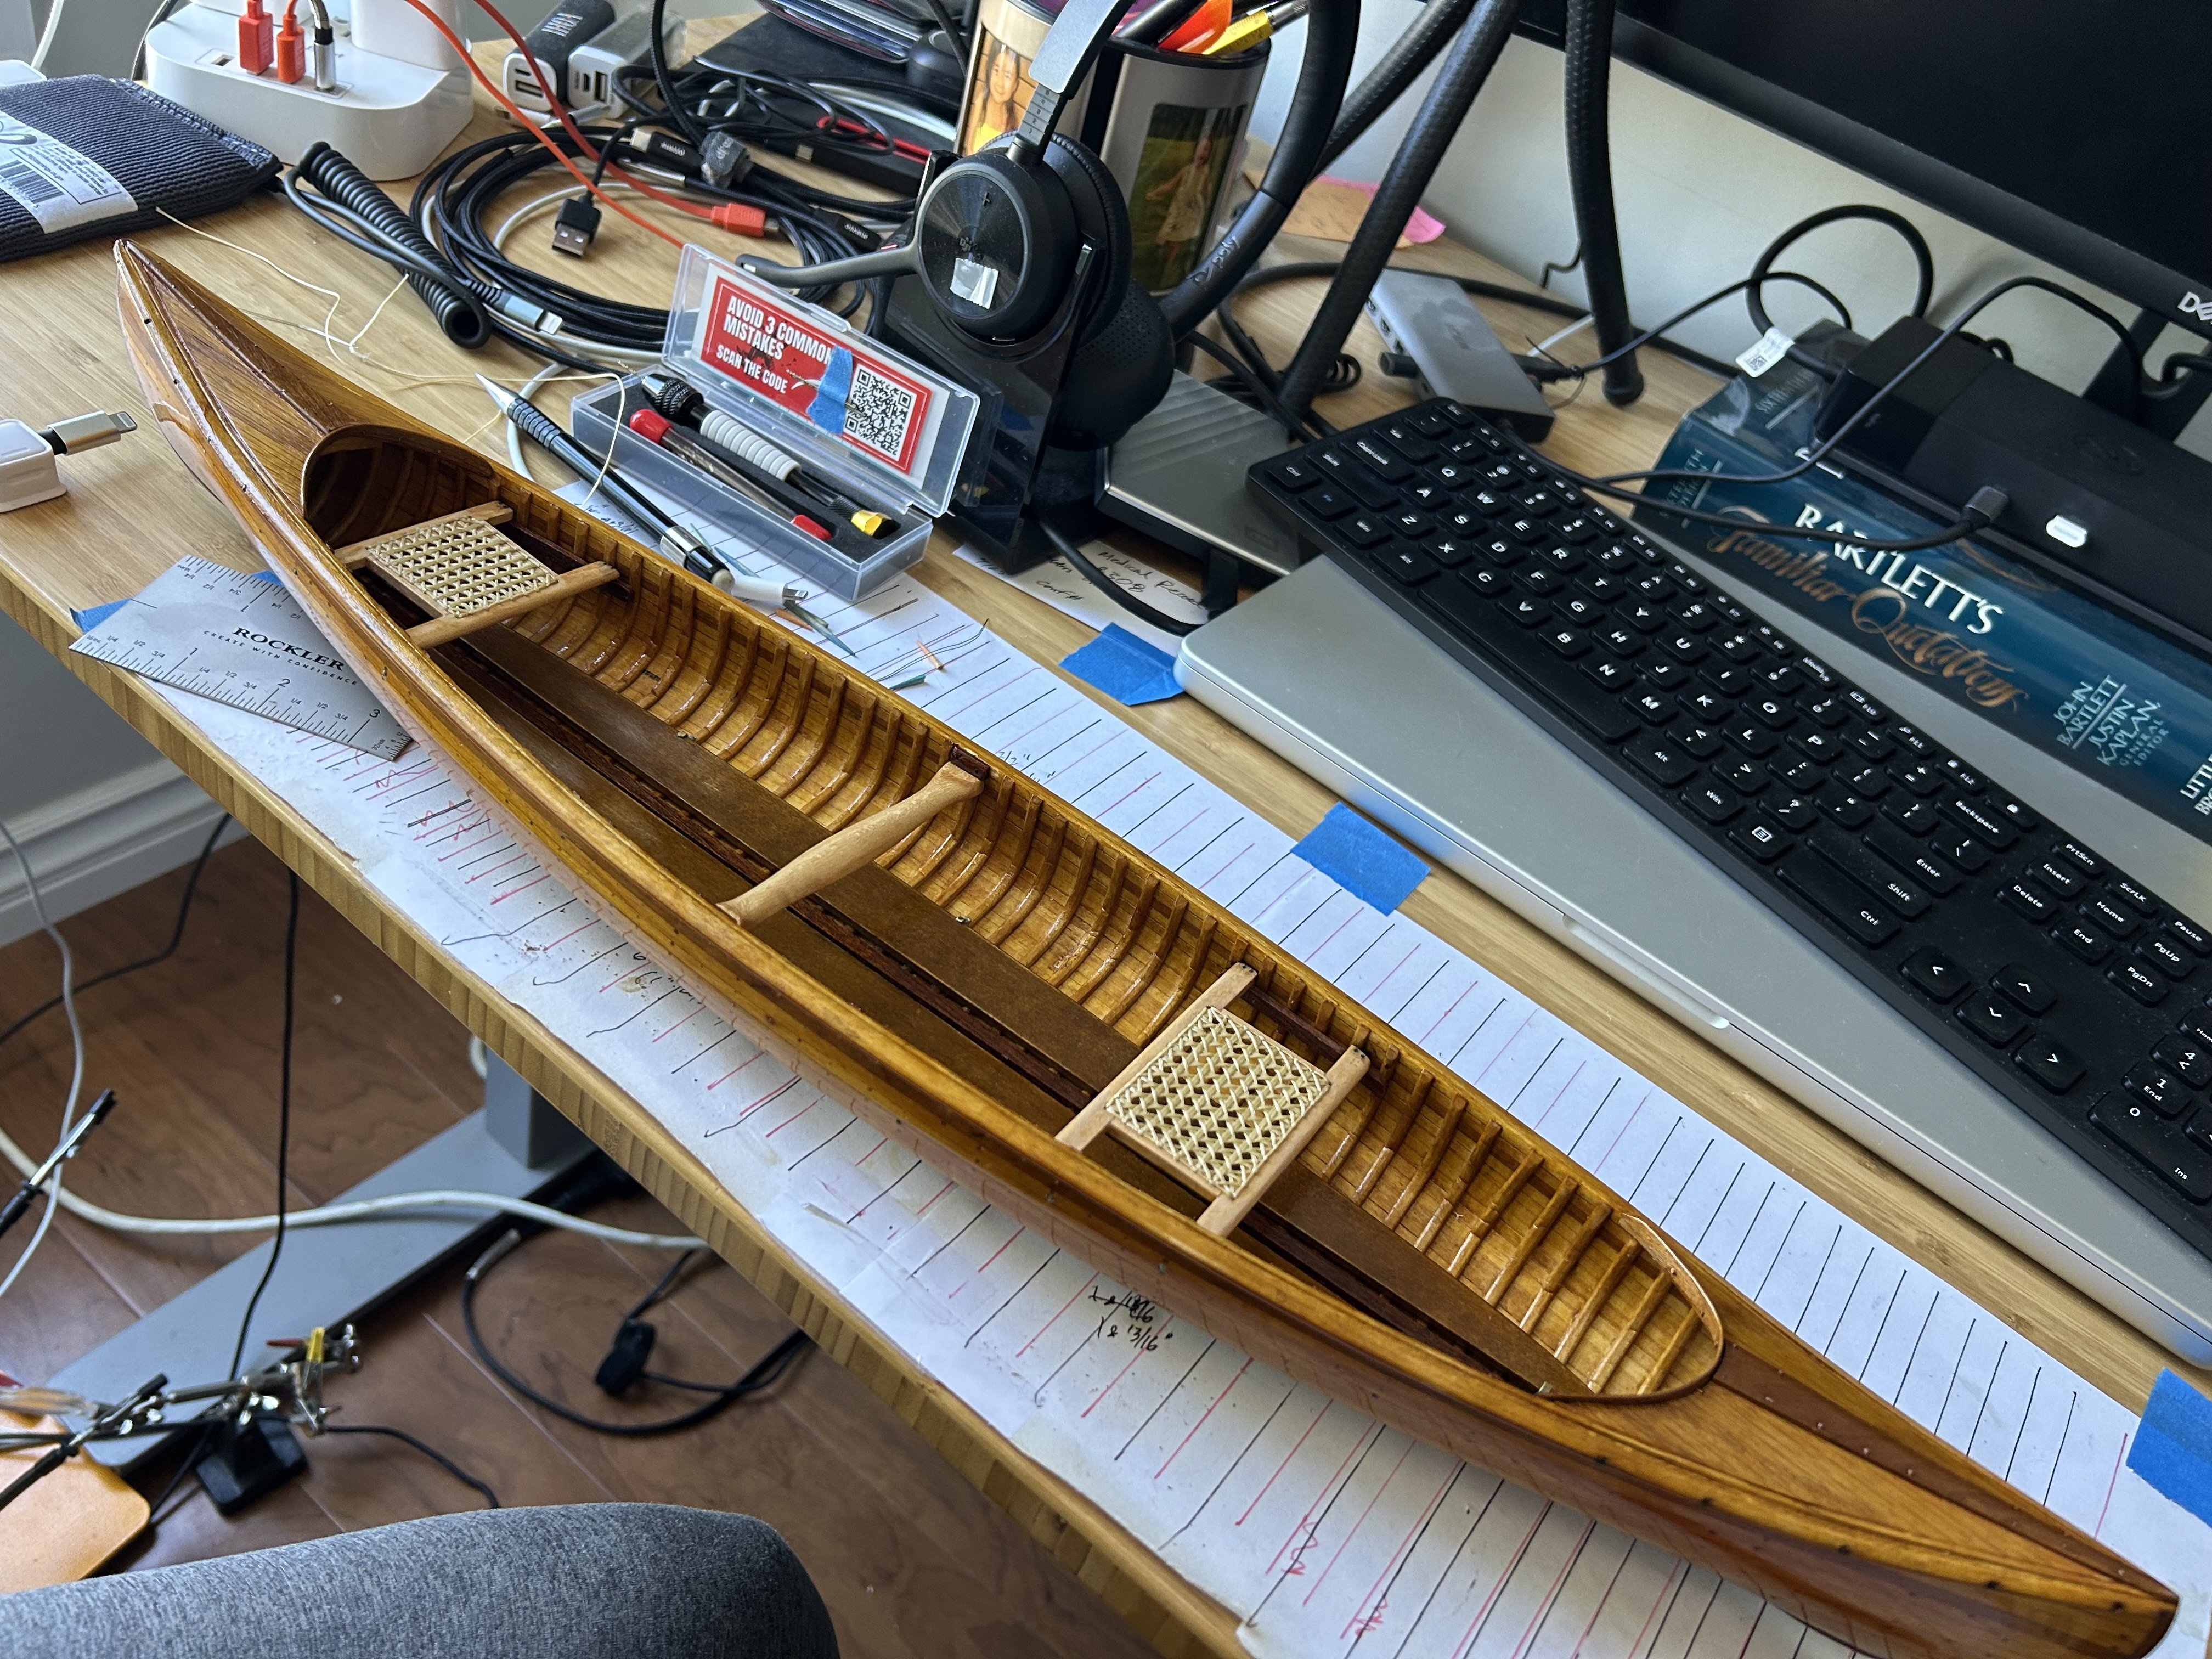
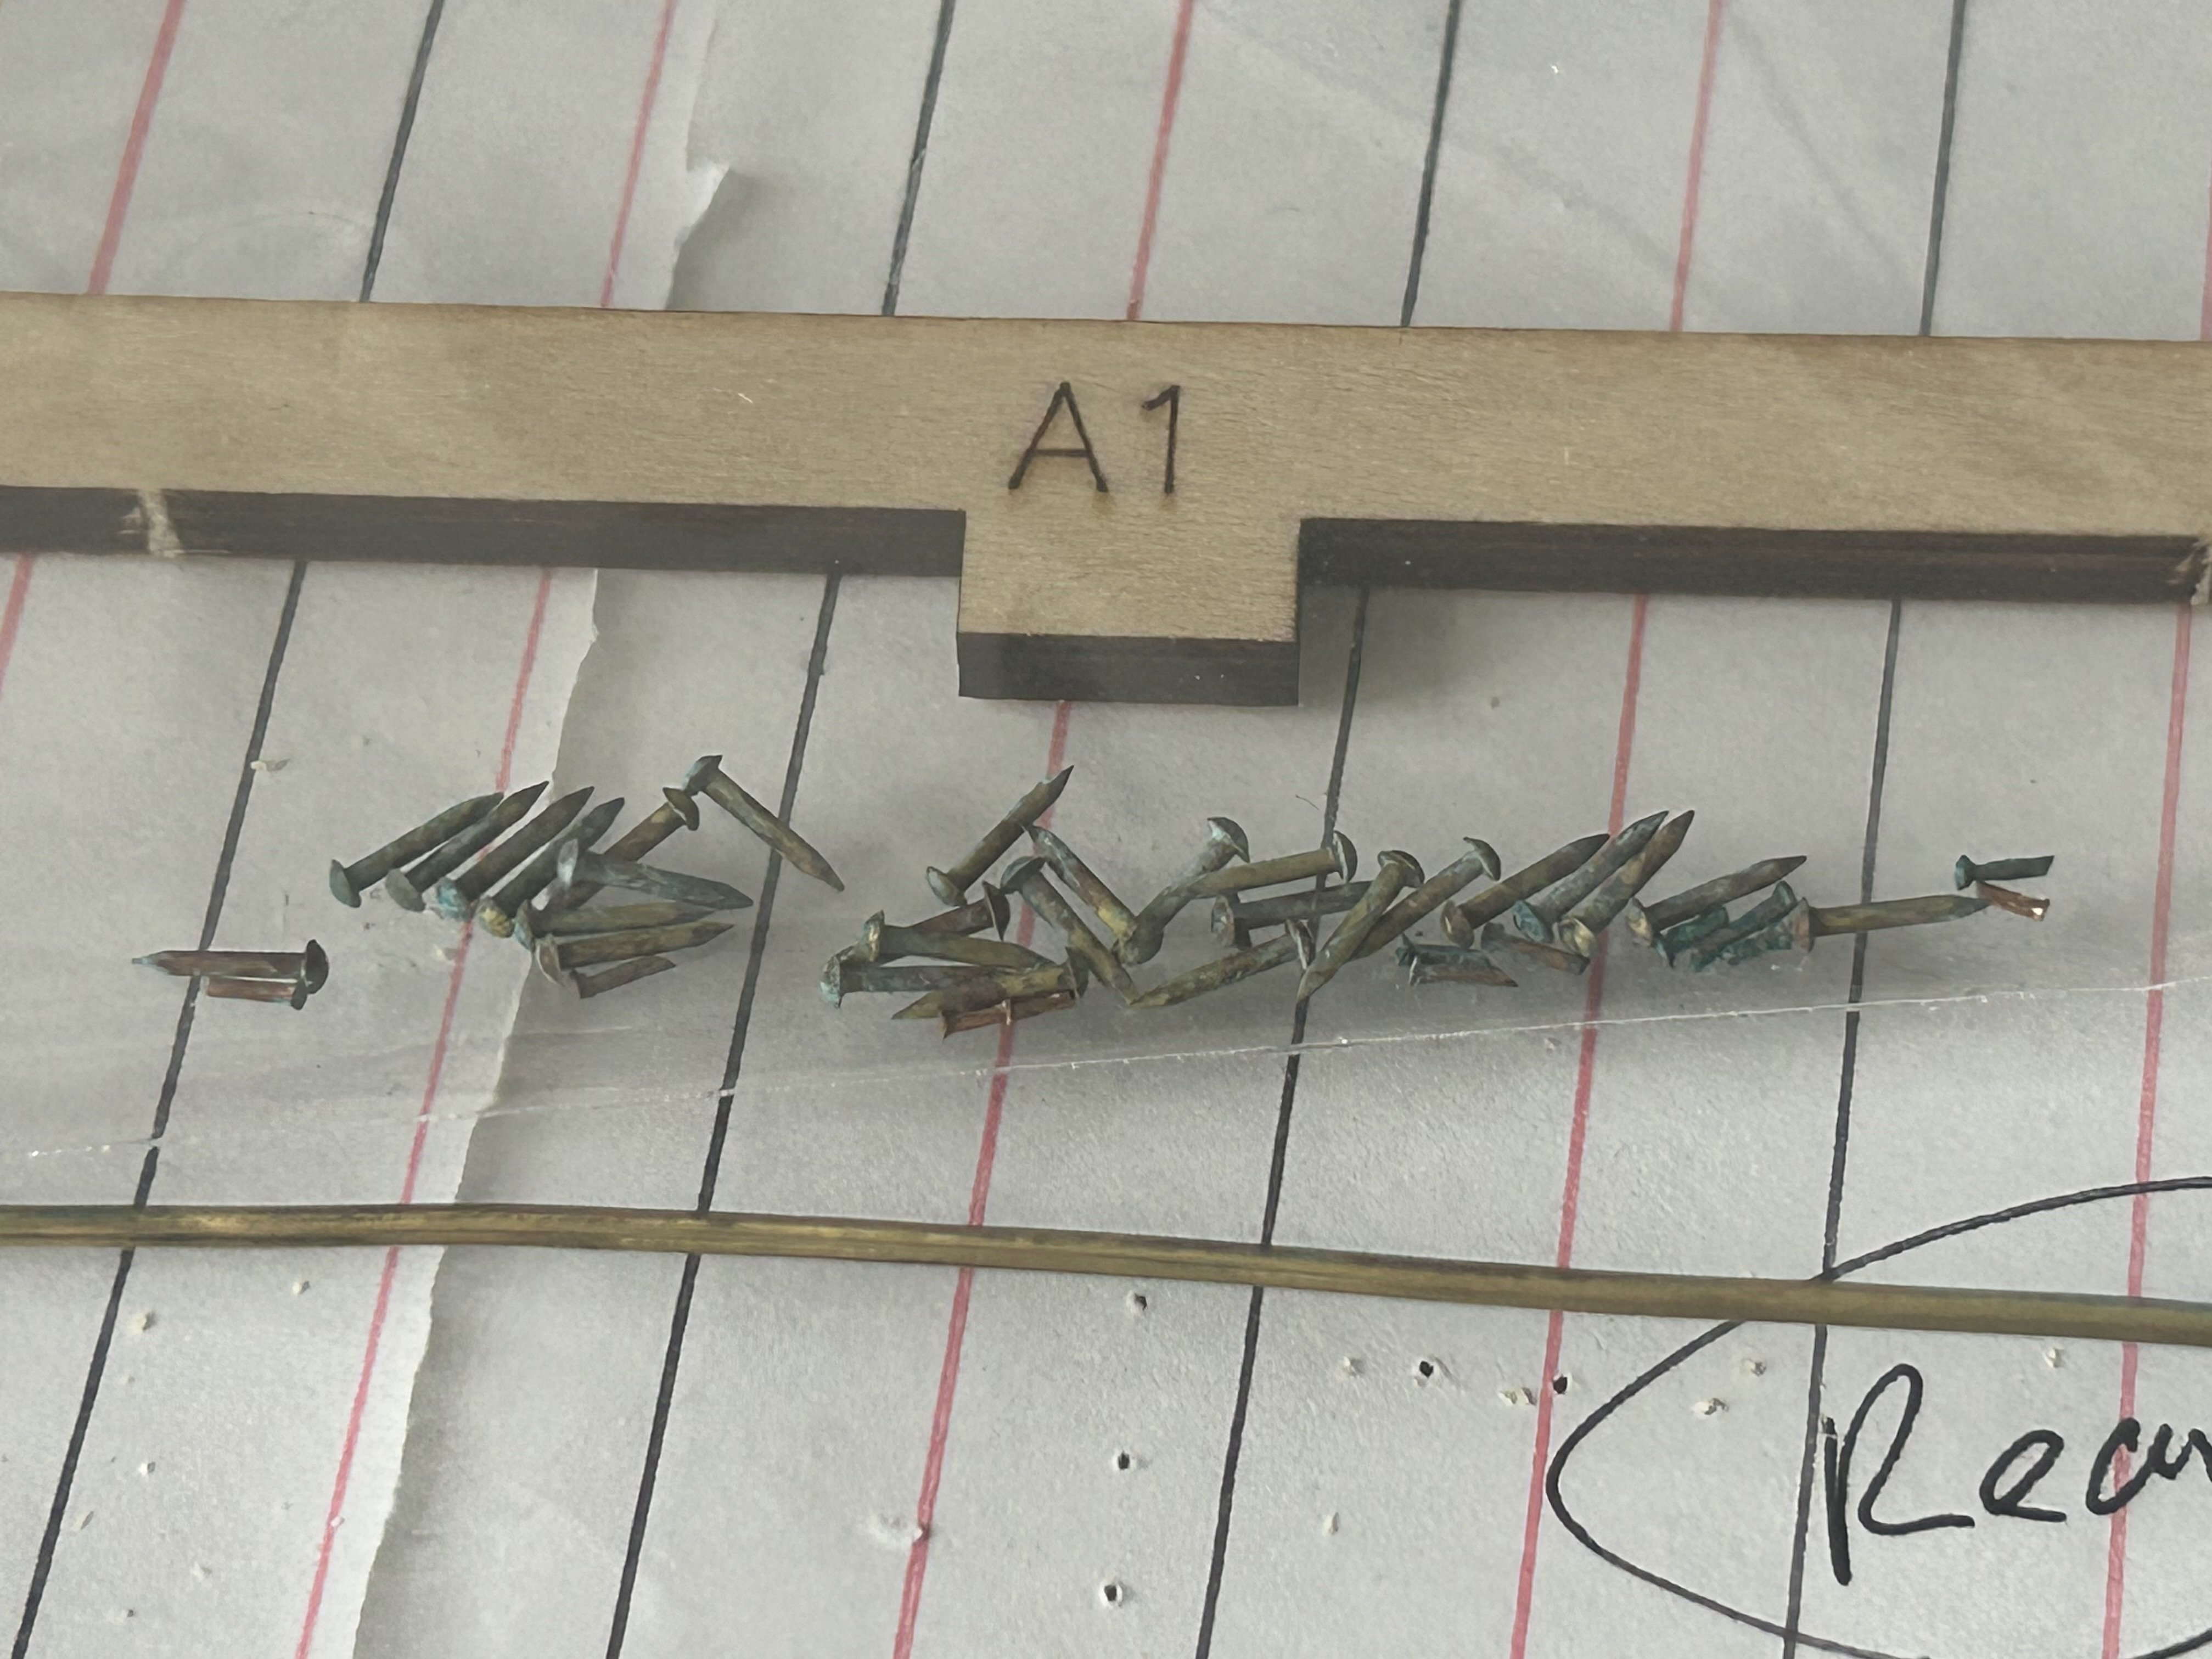
Stern seat and thwart now finished and installed. Now time to drill some tiny screw holes in the 1/16” wide patinaed brass rubbing strip for the stems/keel.


-
Stern seat is complete but for clear lacquer coats. Thwart is carved and still finish sanding.
-
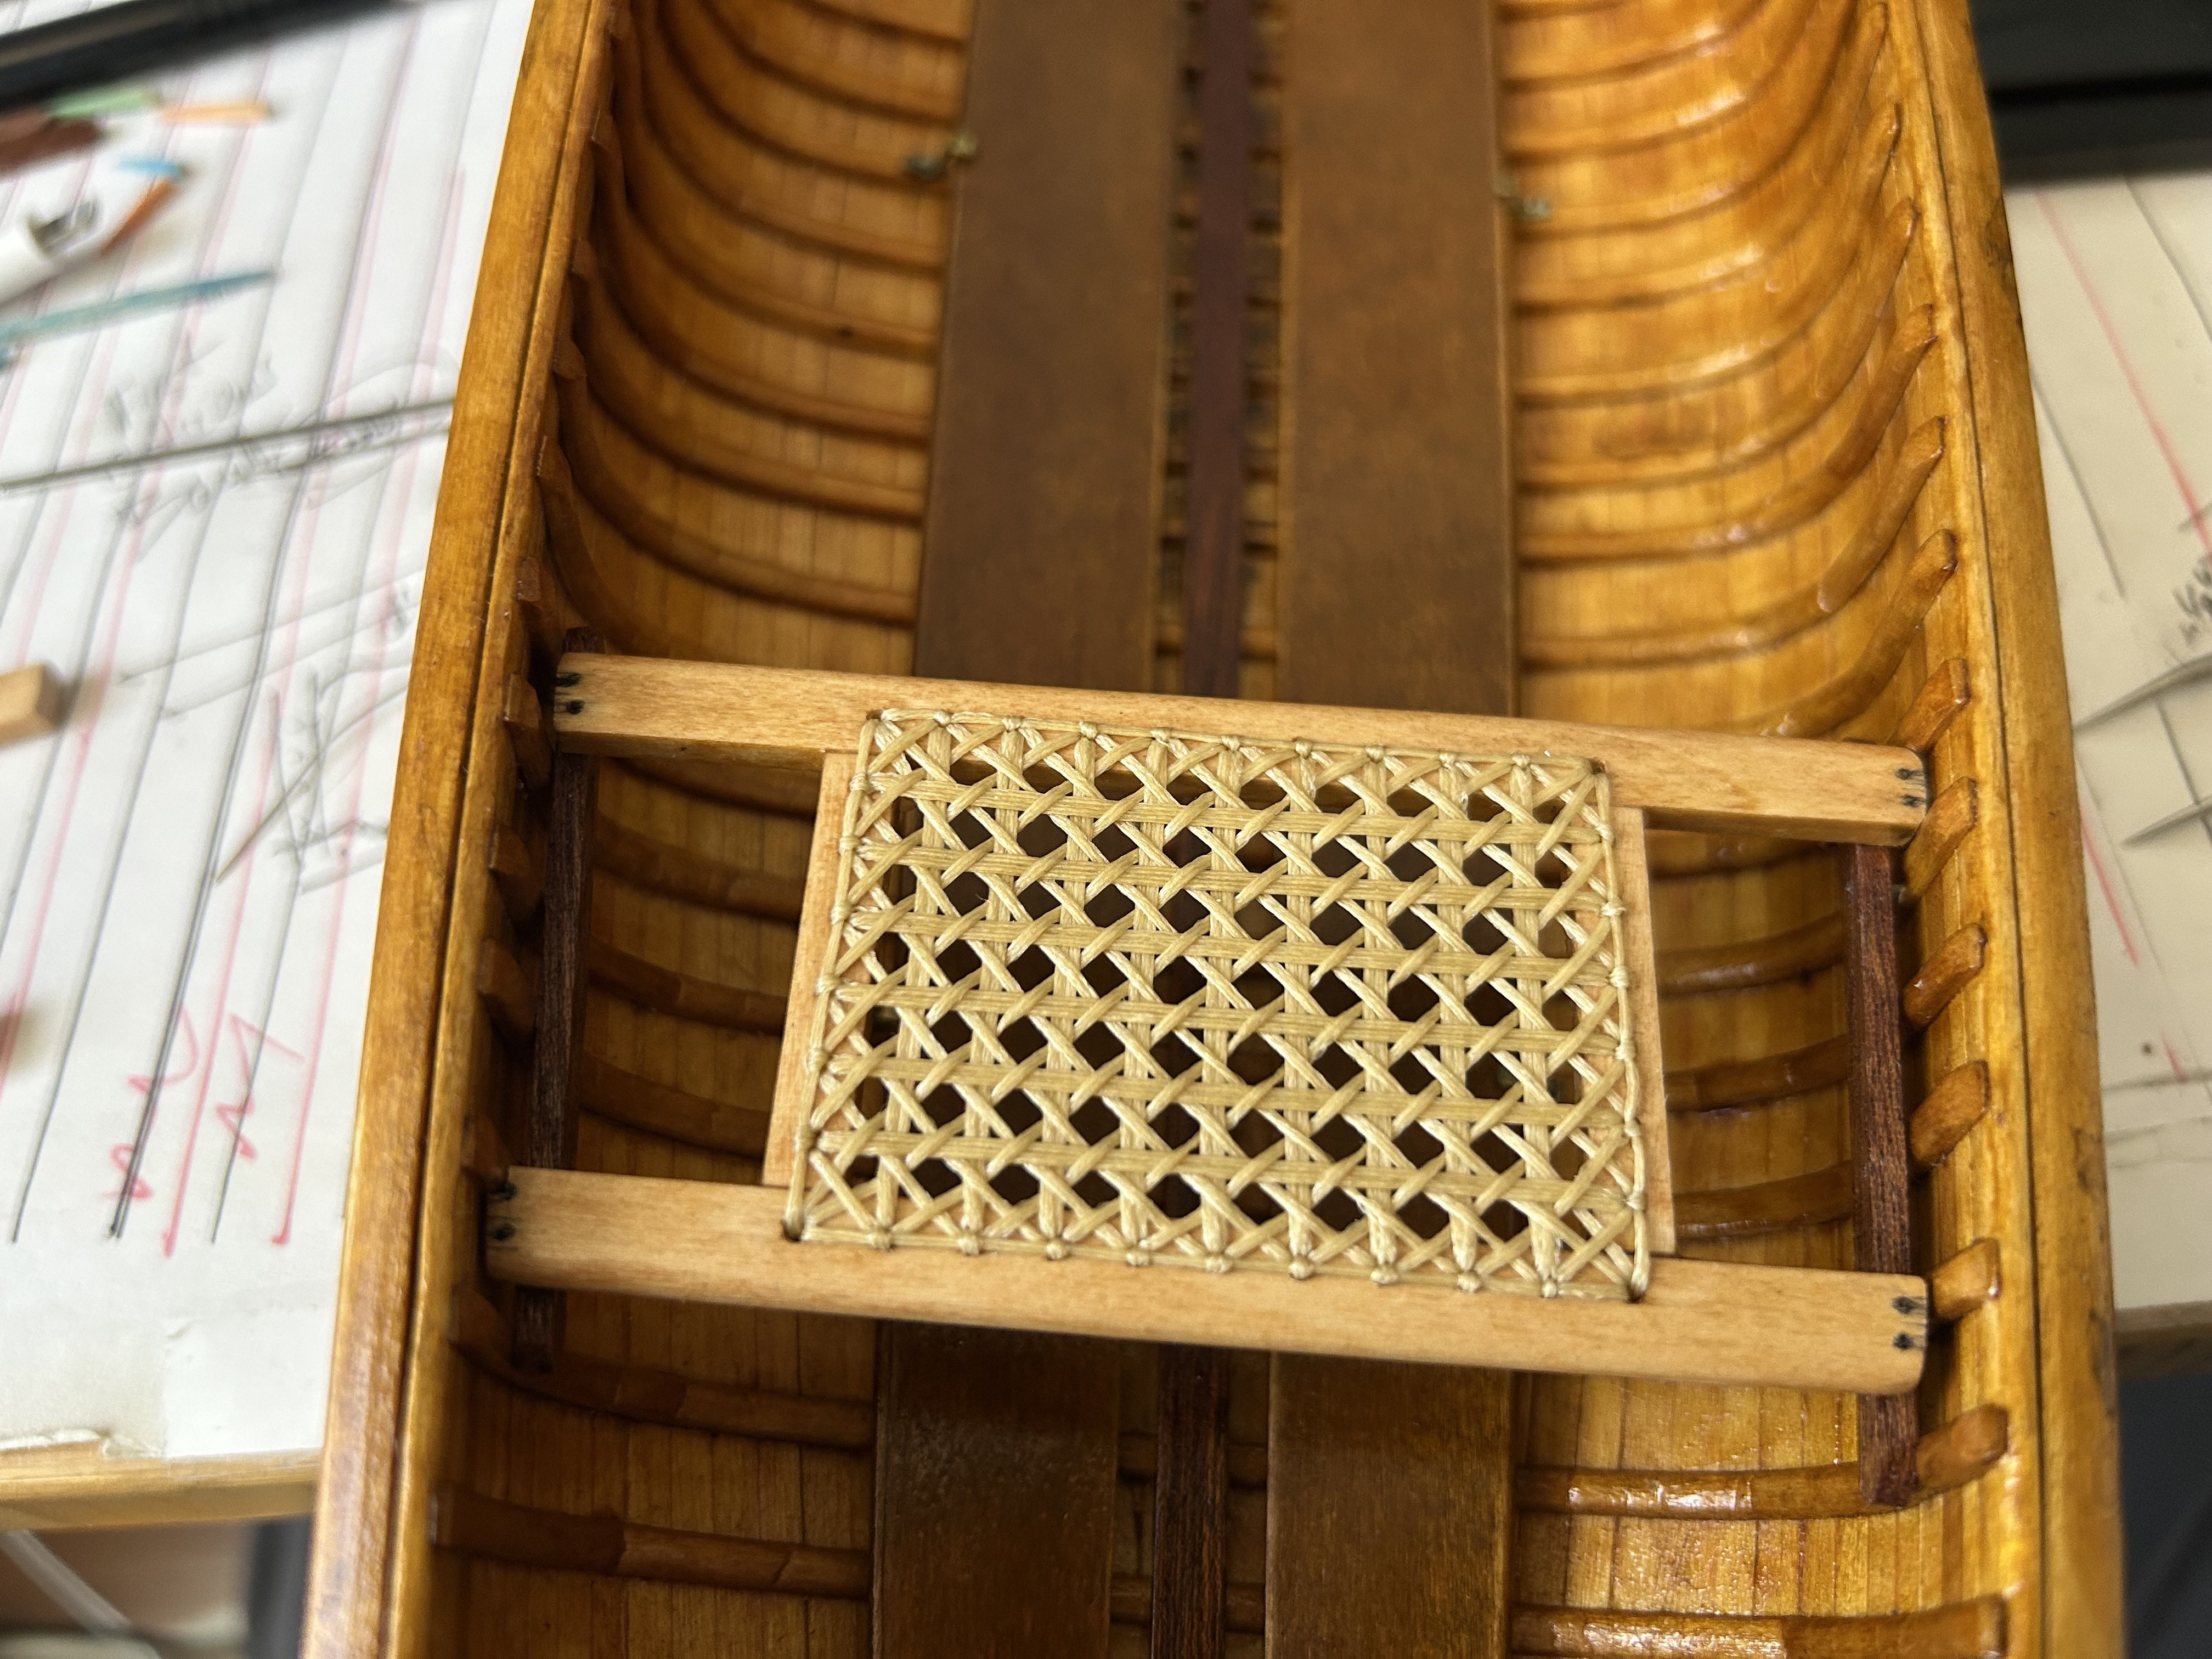
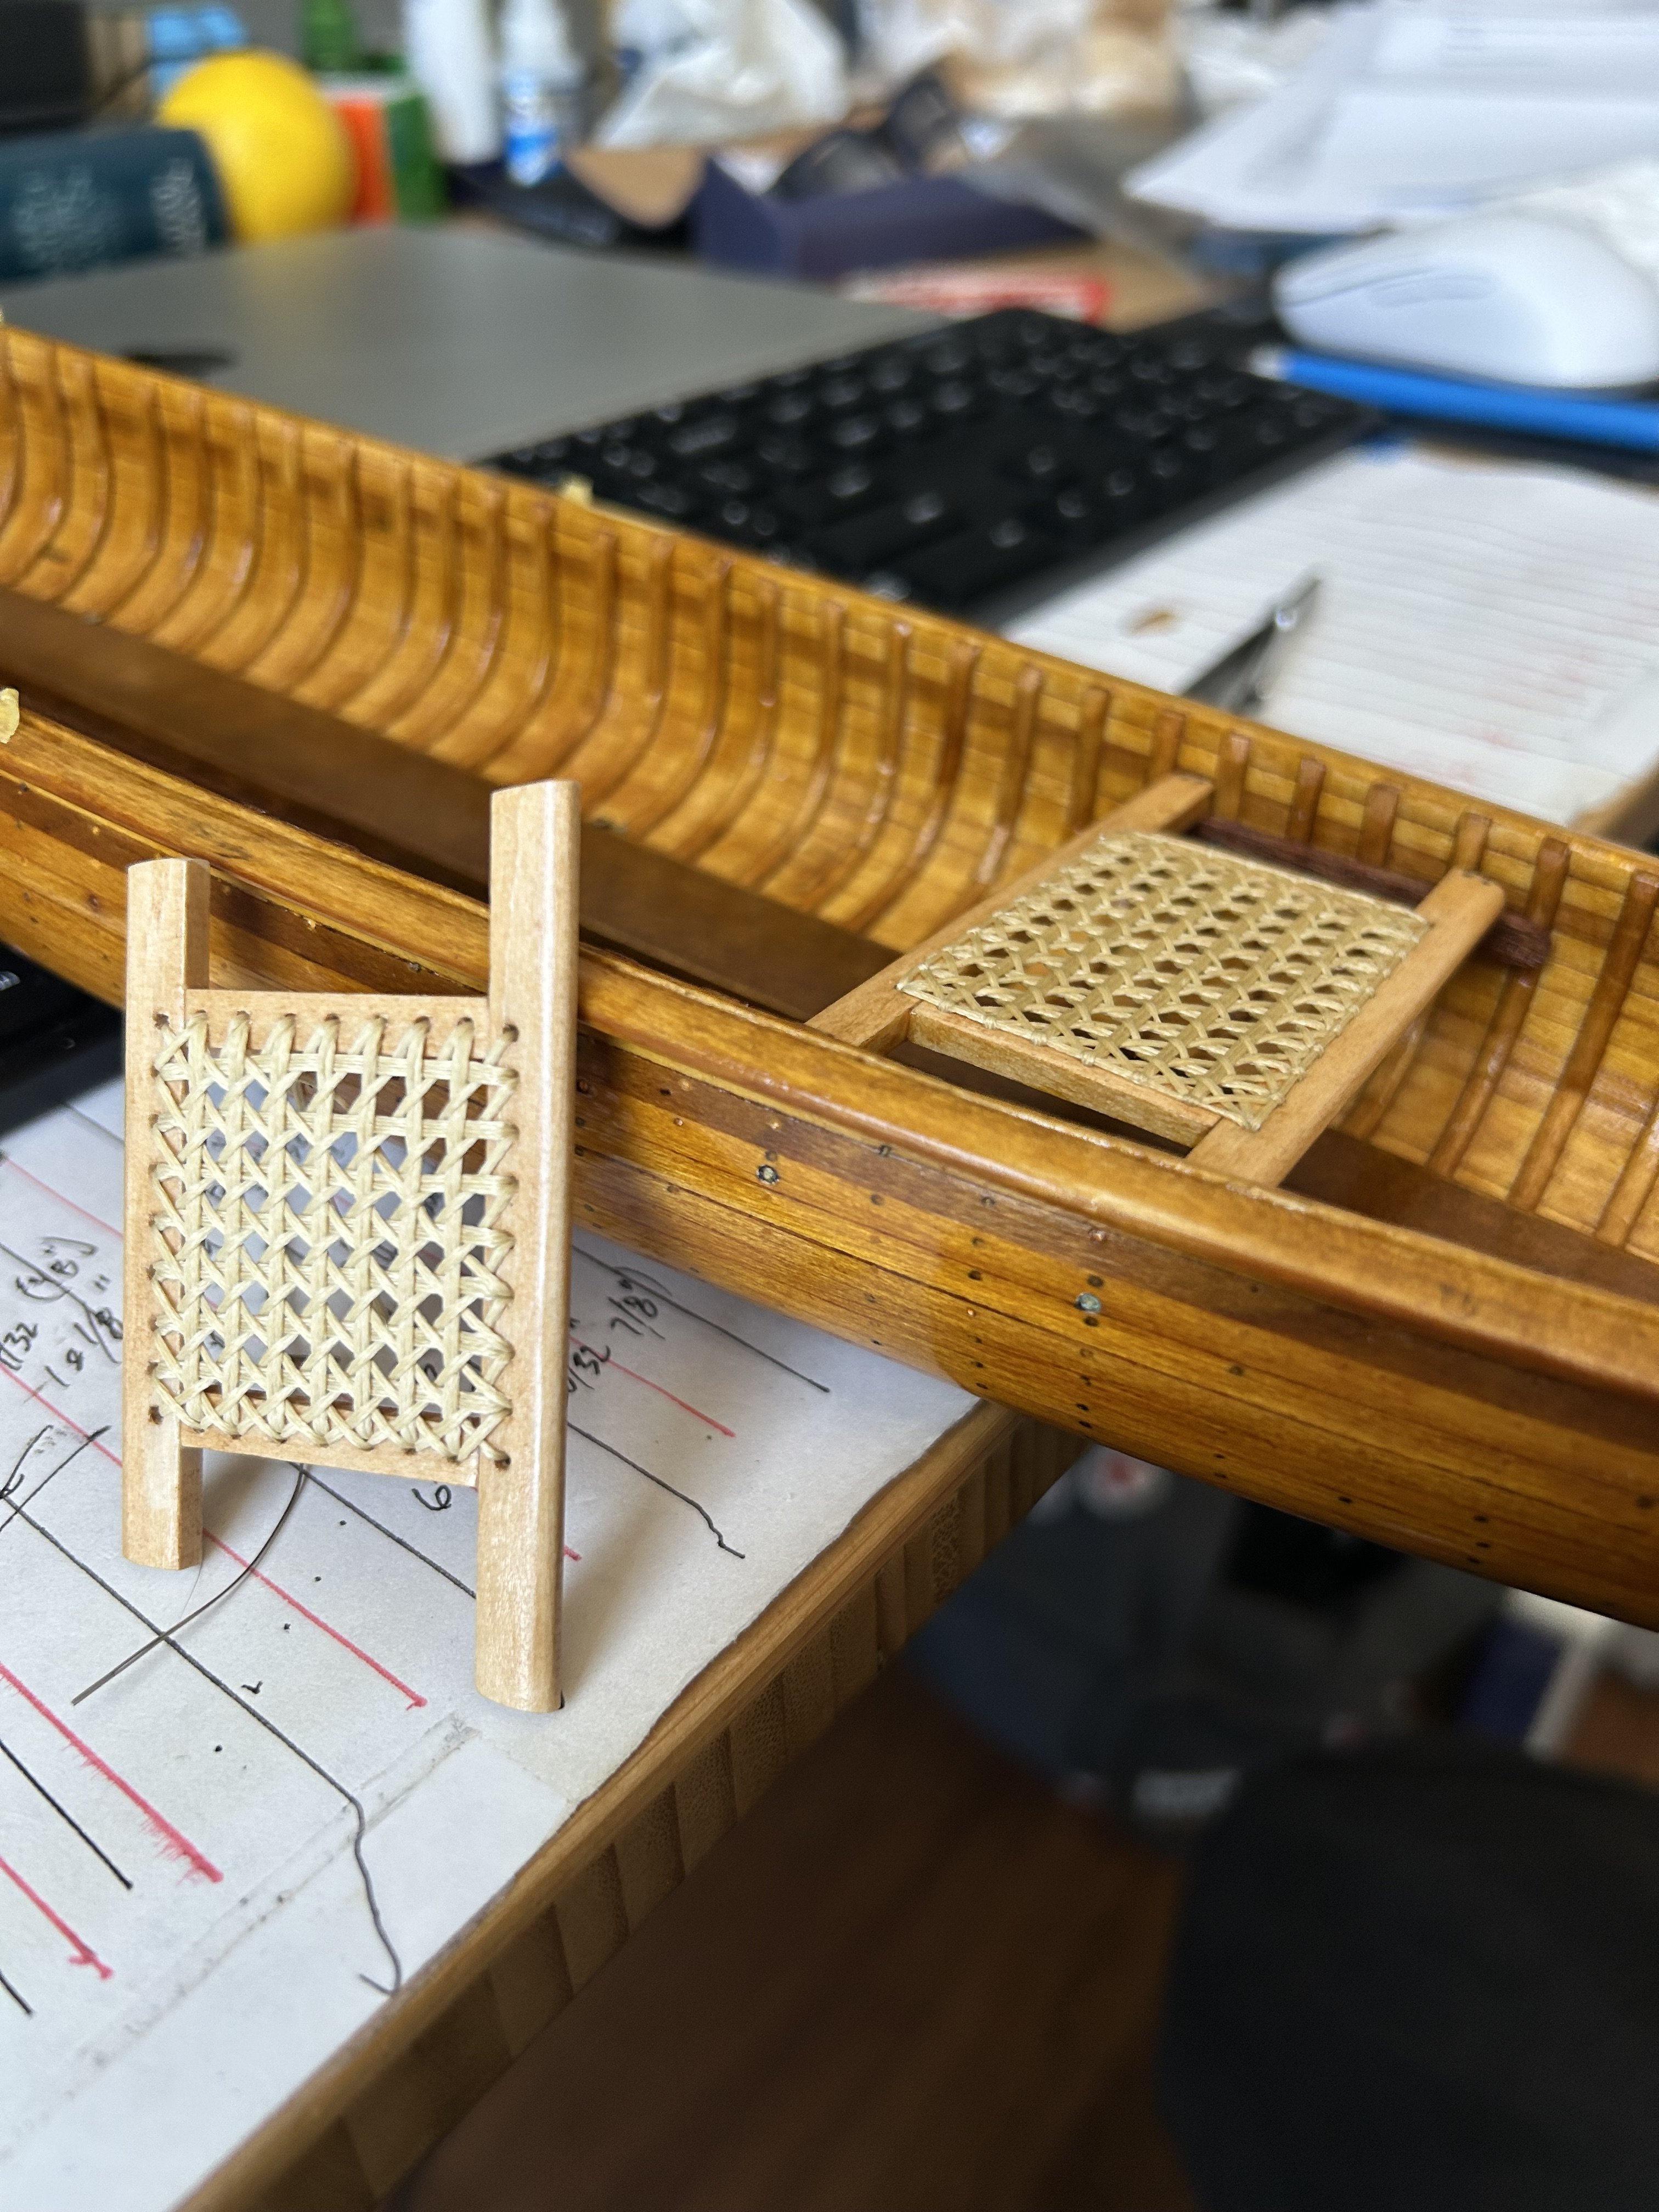
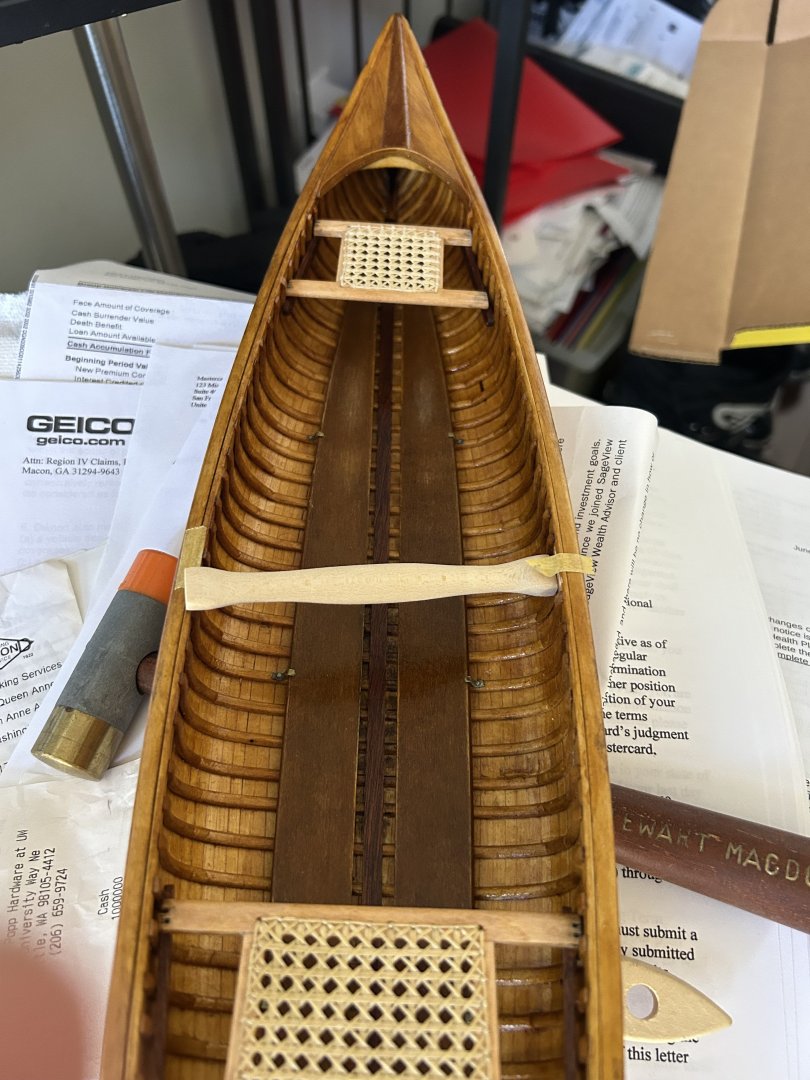
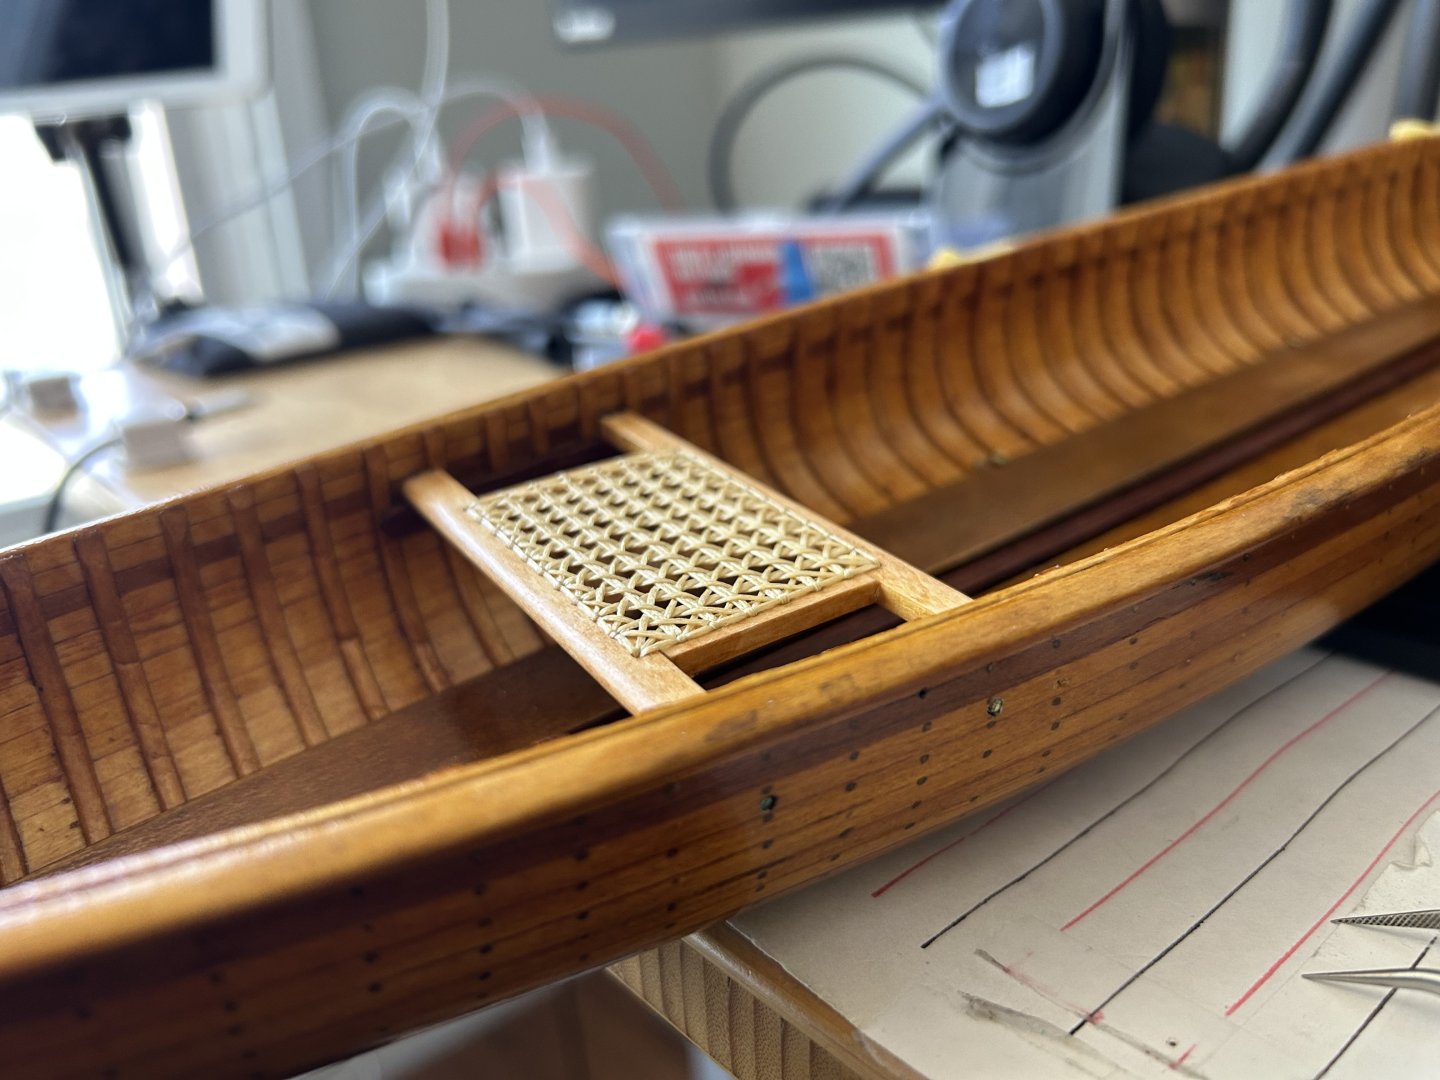
Bow seat supports and seat now installed; stern seat almost done with the “cane”.


-
halvoric reacted to a post in a topic:
Norwegian Sailing Pram by Venti - FINISHED - Model Shipways - 1:12
-
halvoric reacted to a post in a topic:
Canadian Canoe by halvoric - Midwest Products - 1:8
-
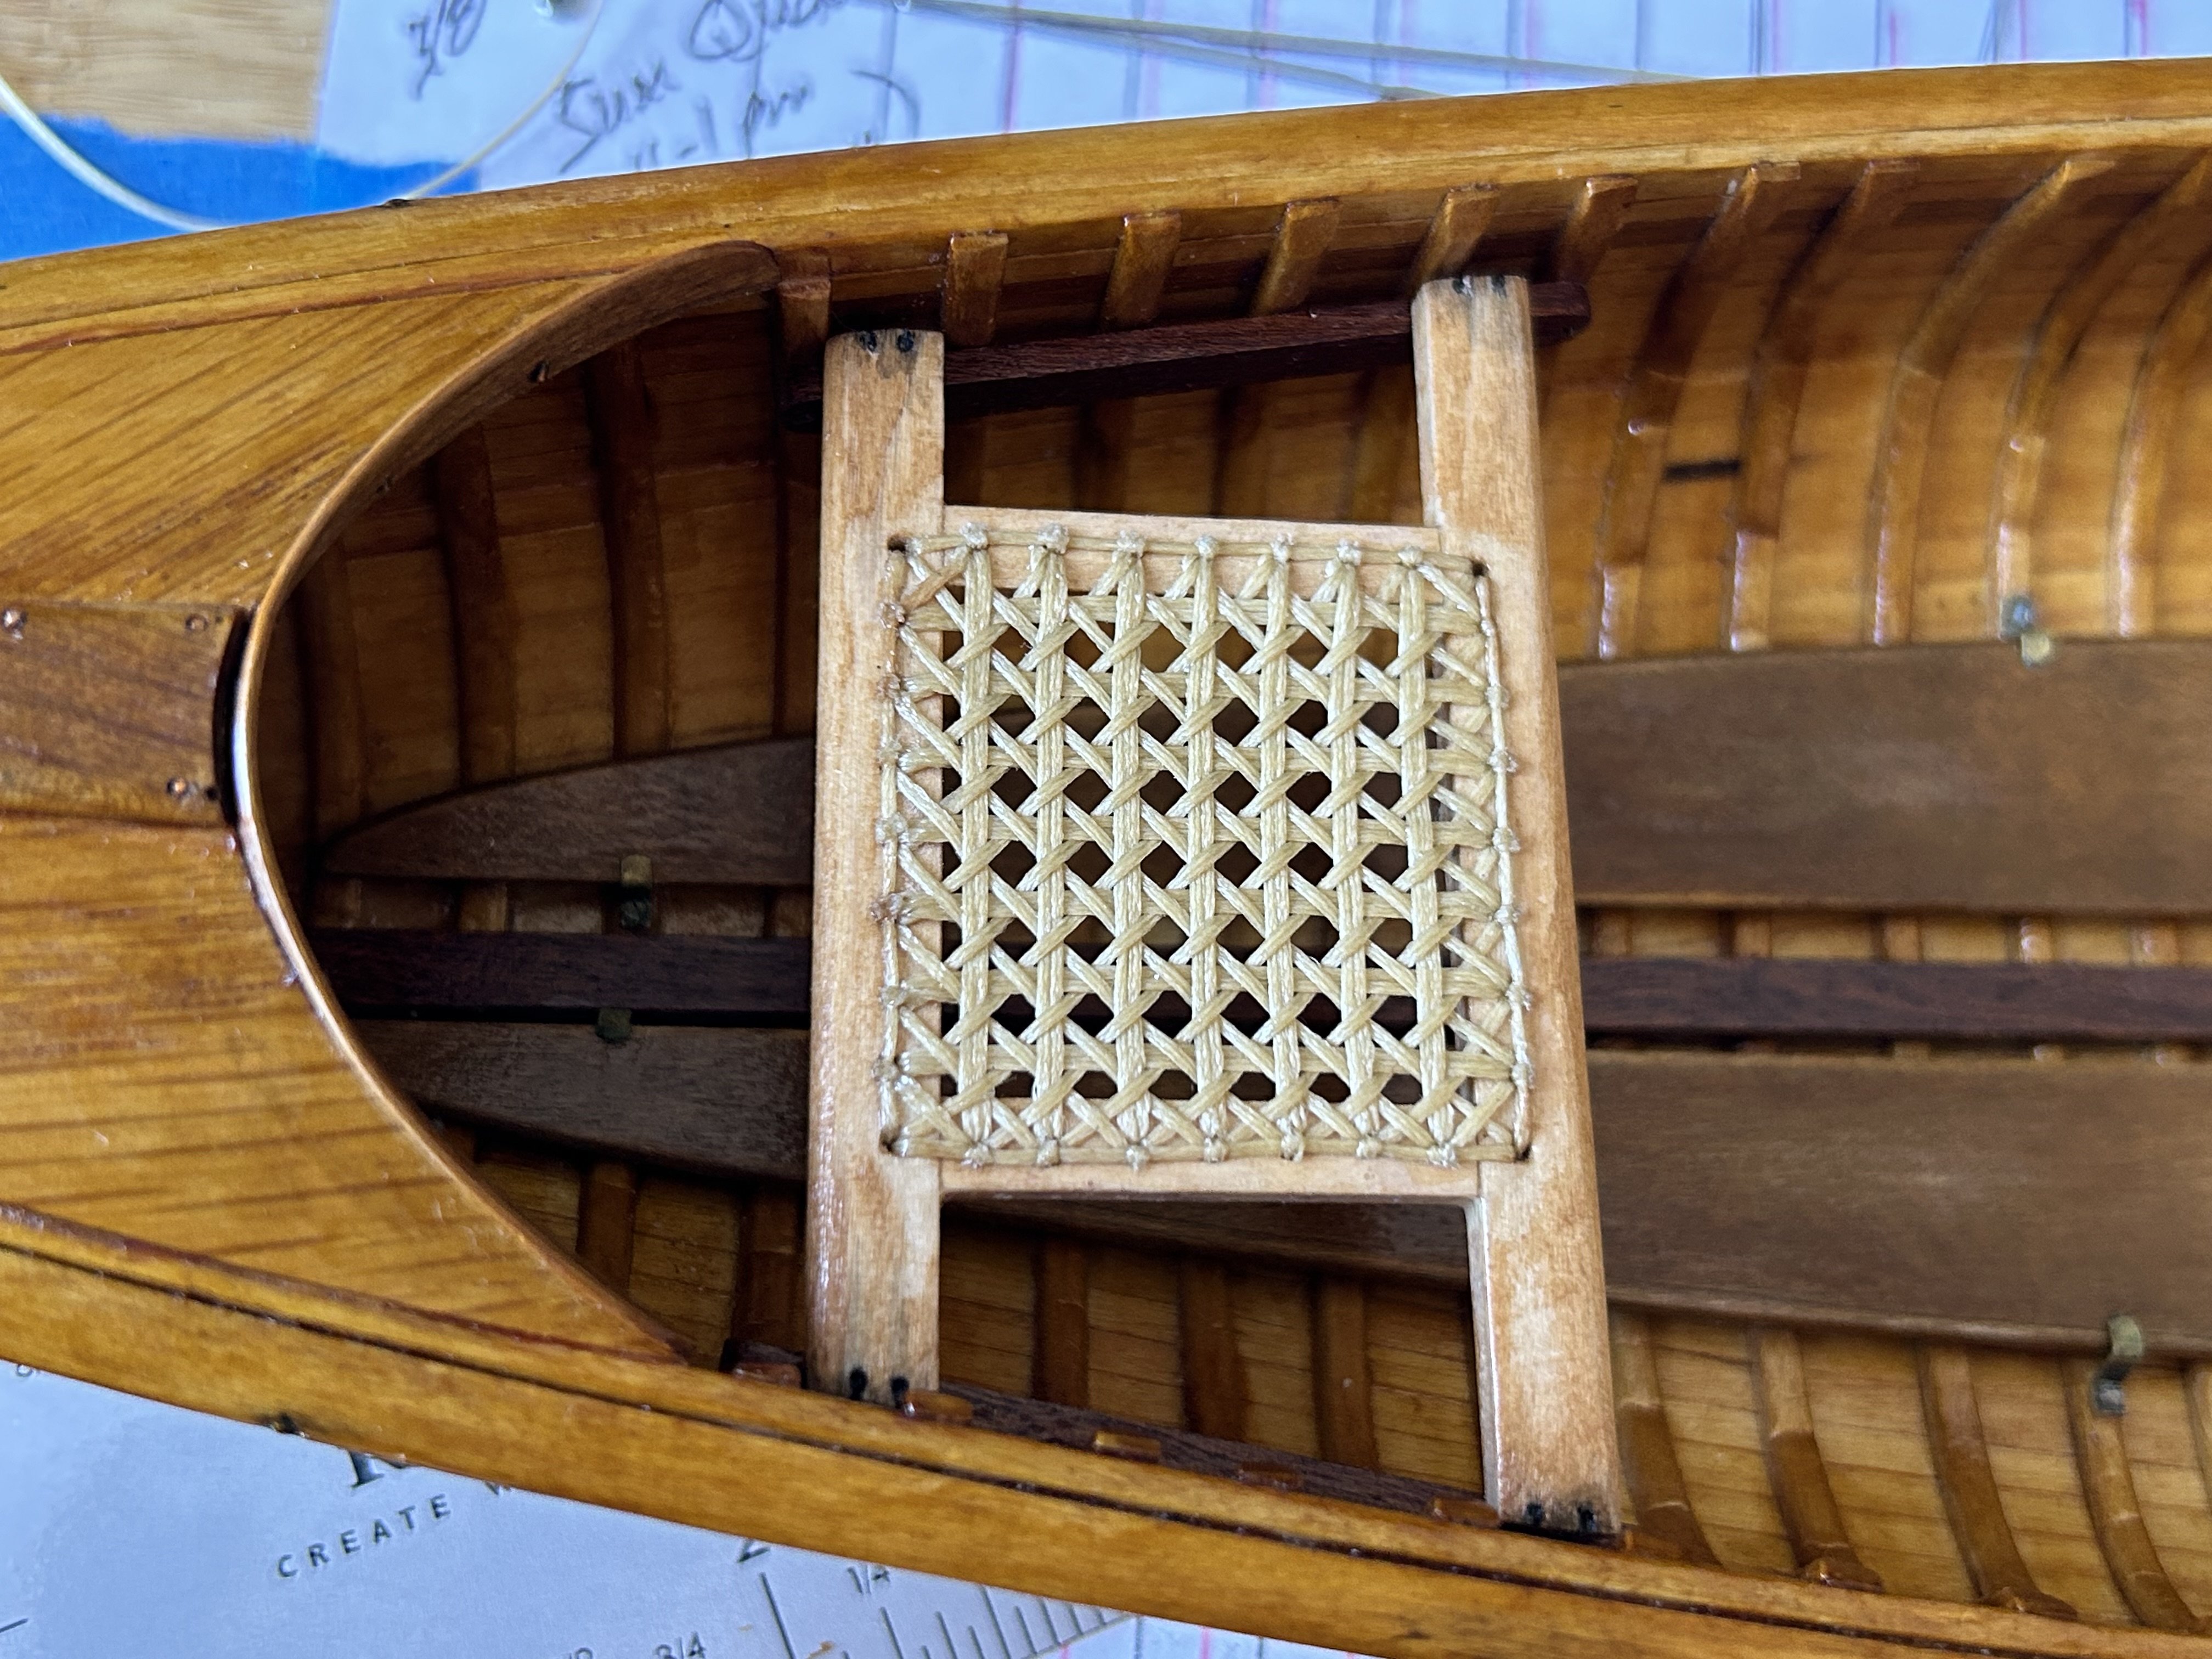
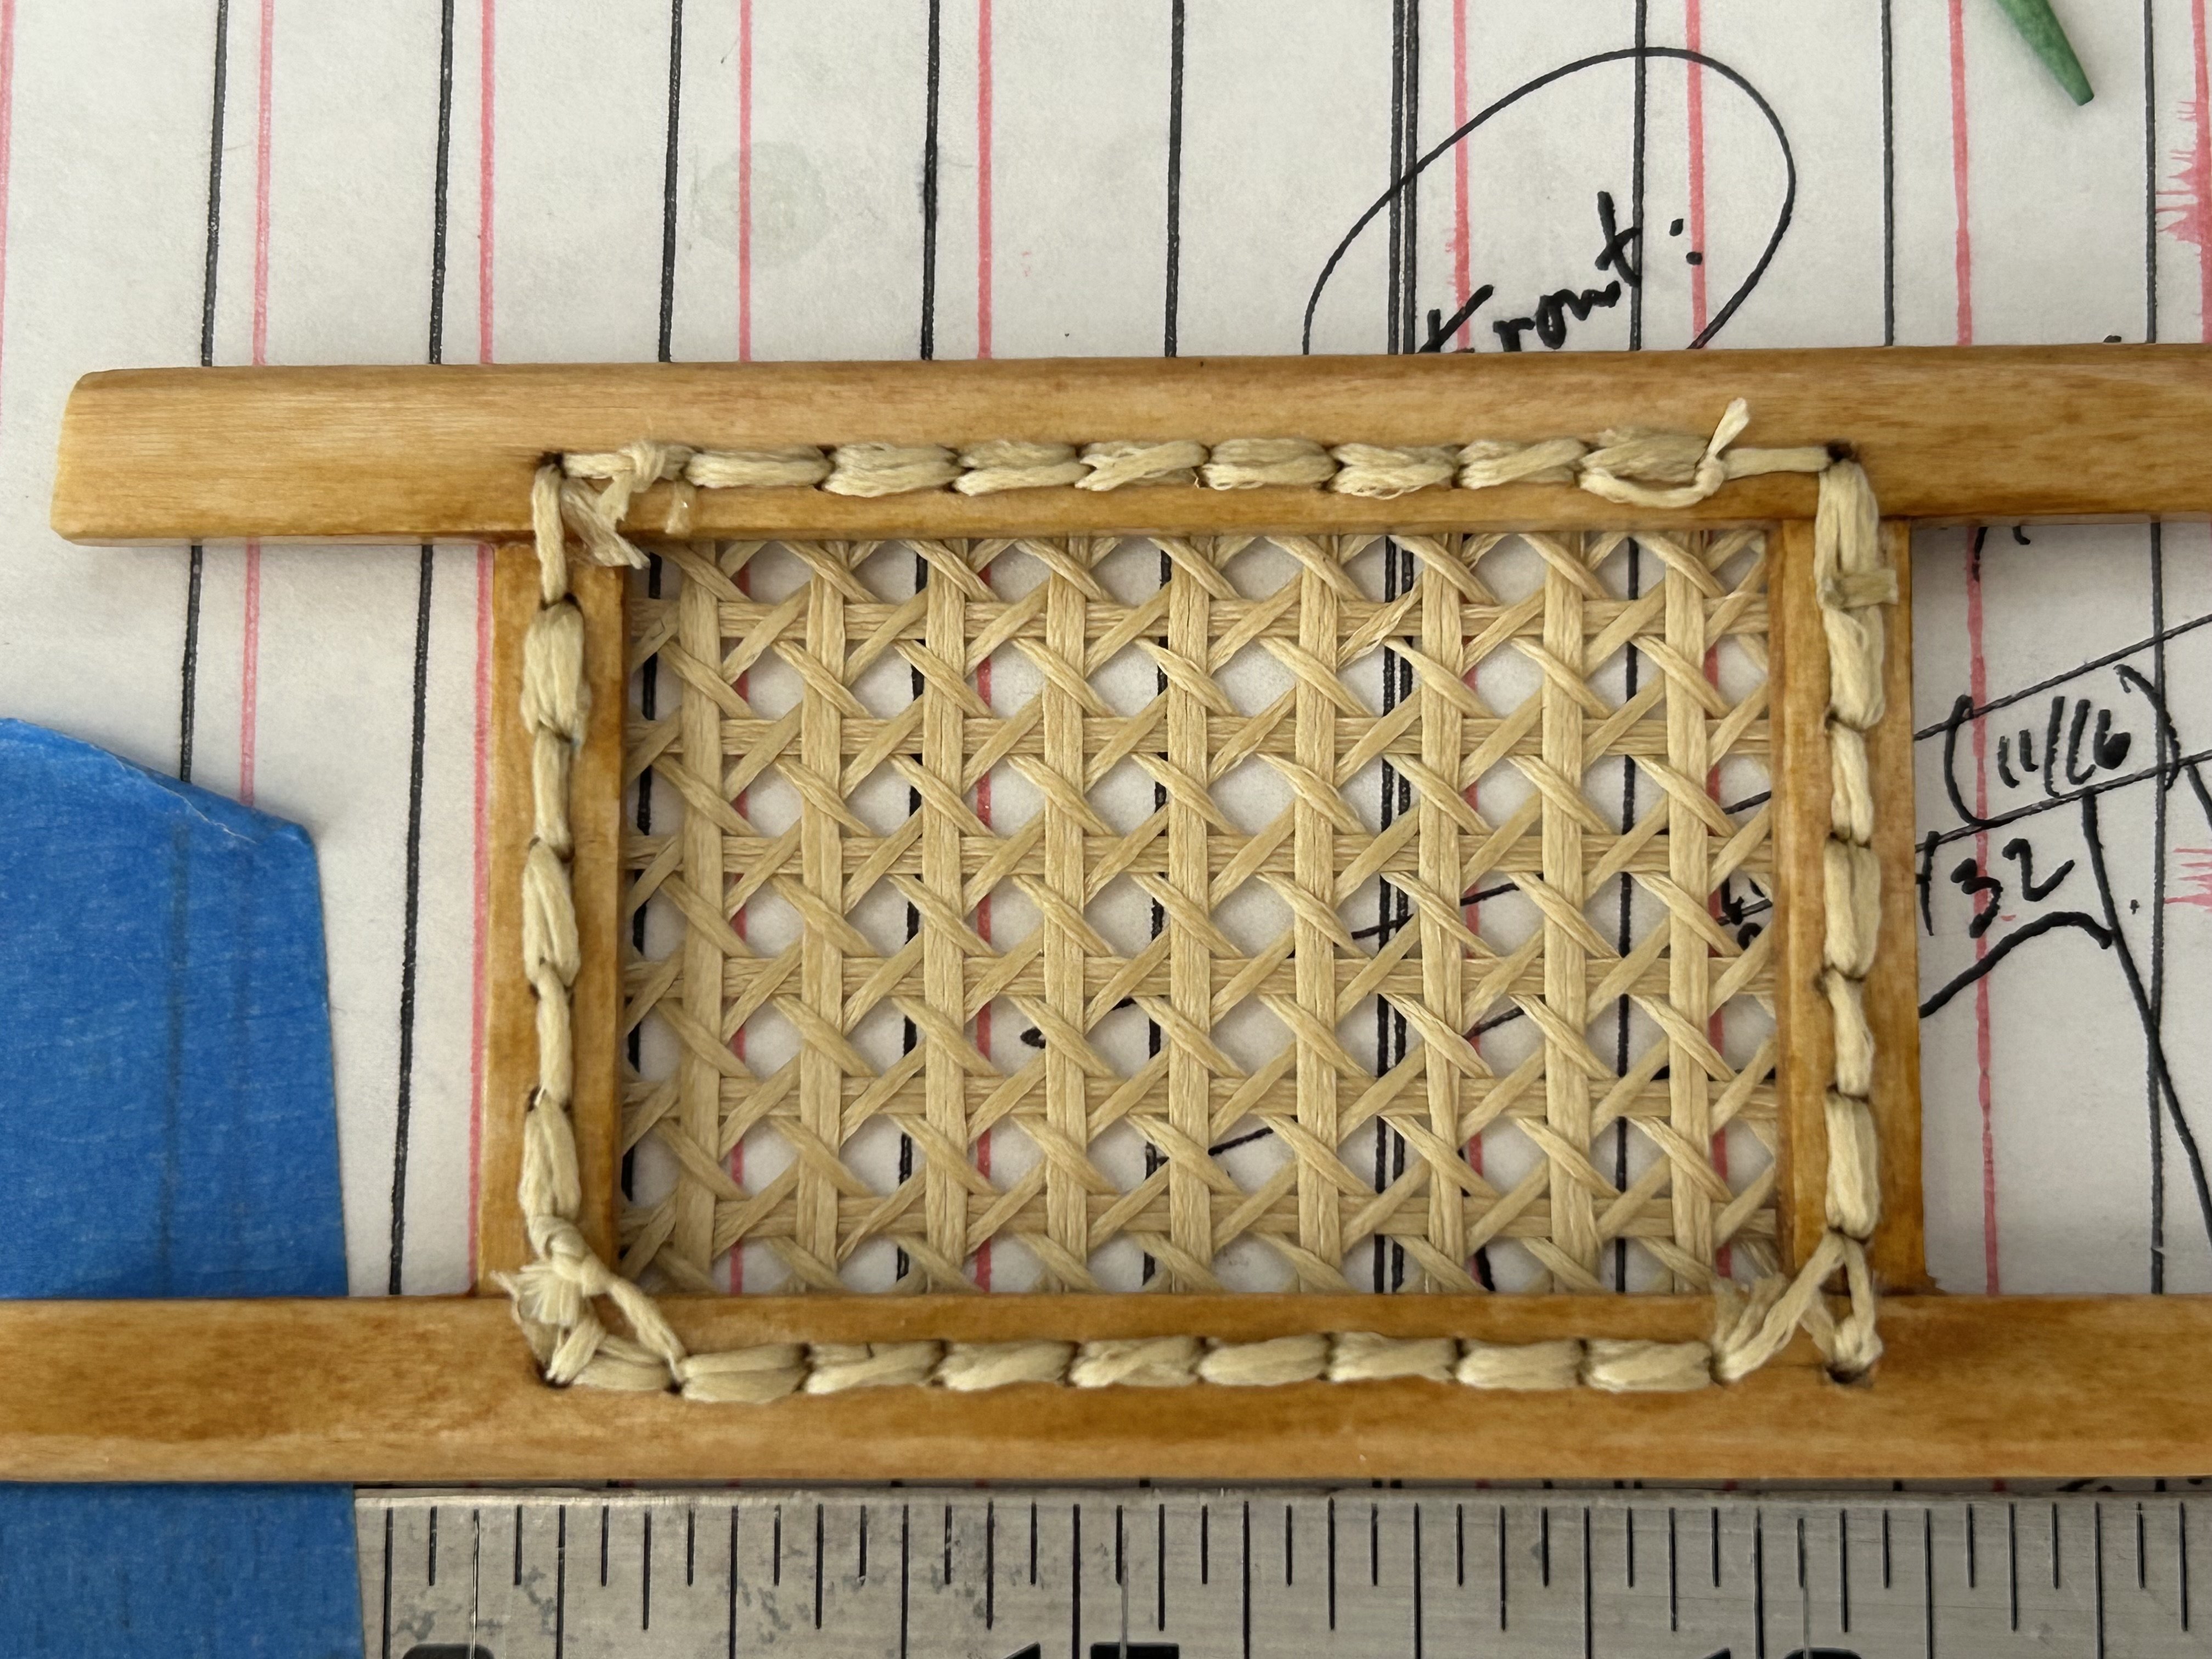
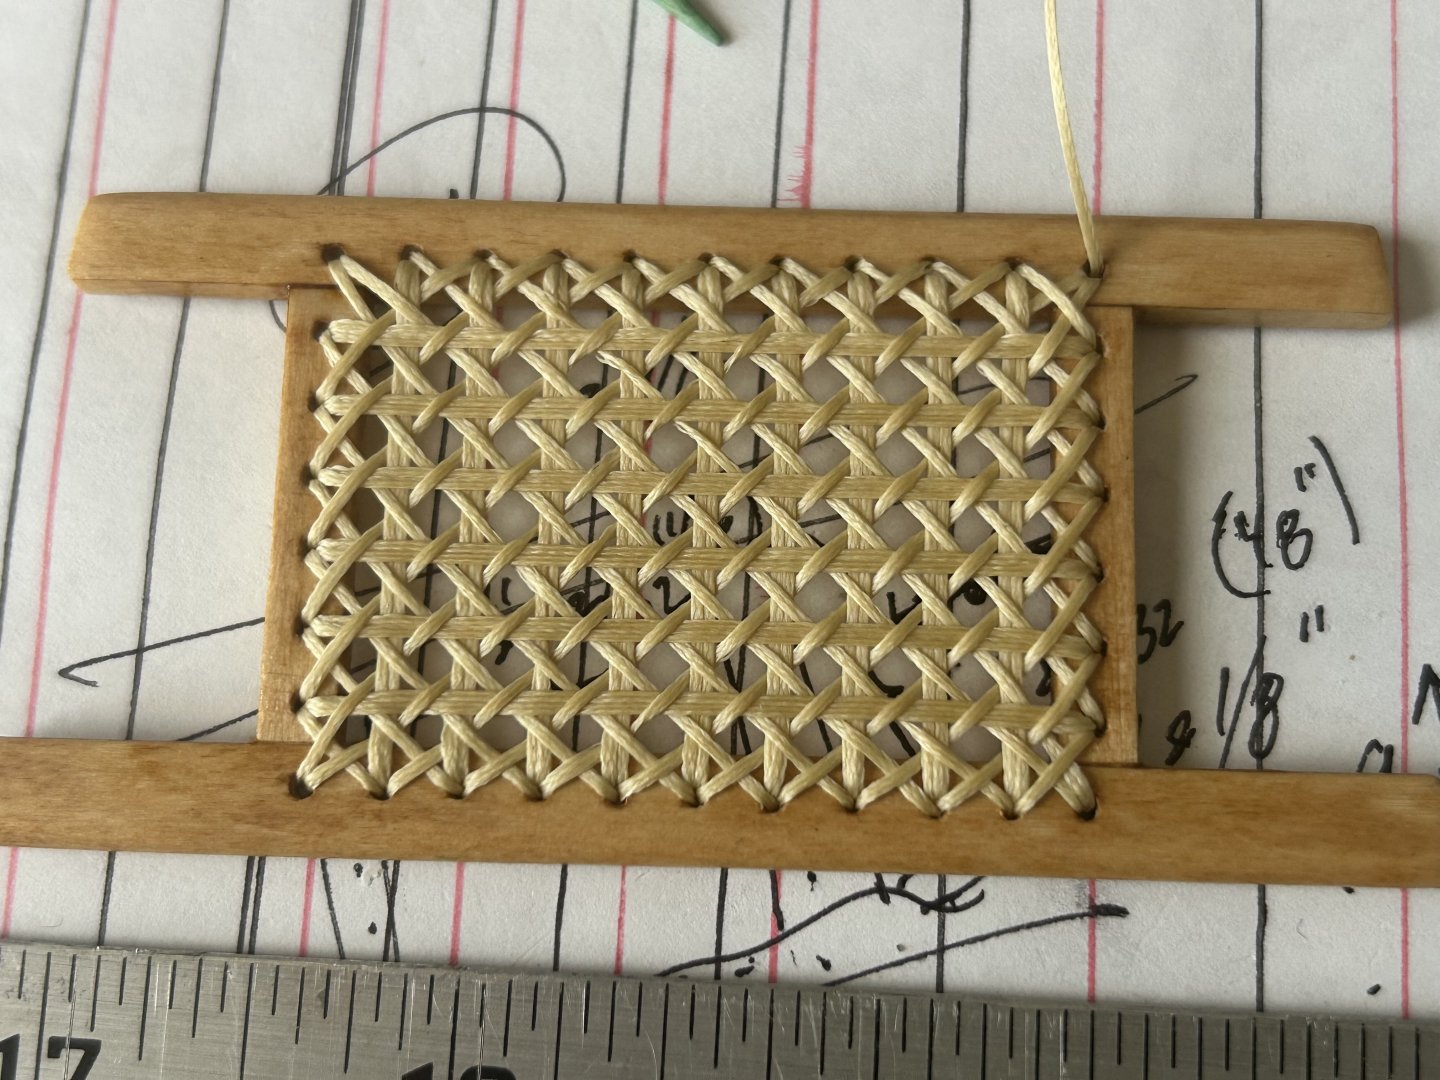
Here is the finished seat, along with a couple of the threading needles used to weave/lace the linen thread. And the backside. Stayed relatively neat & tidy. Next is a light coat of clear lacquer to give the thread that shiny cane look (I hope!).


-
Here is the seat with the second diagonal step completed. Notice there is a missing strand in the upper left corner—I will pick that up when I string the “couching” strands that are to cover the holes and make a nice border. And here I have run the couching strands and corrected the missing corner. All that remains is to run tie-down loops through every (or every other) border hole. Hopefully I can do that without too much drama.

-
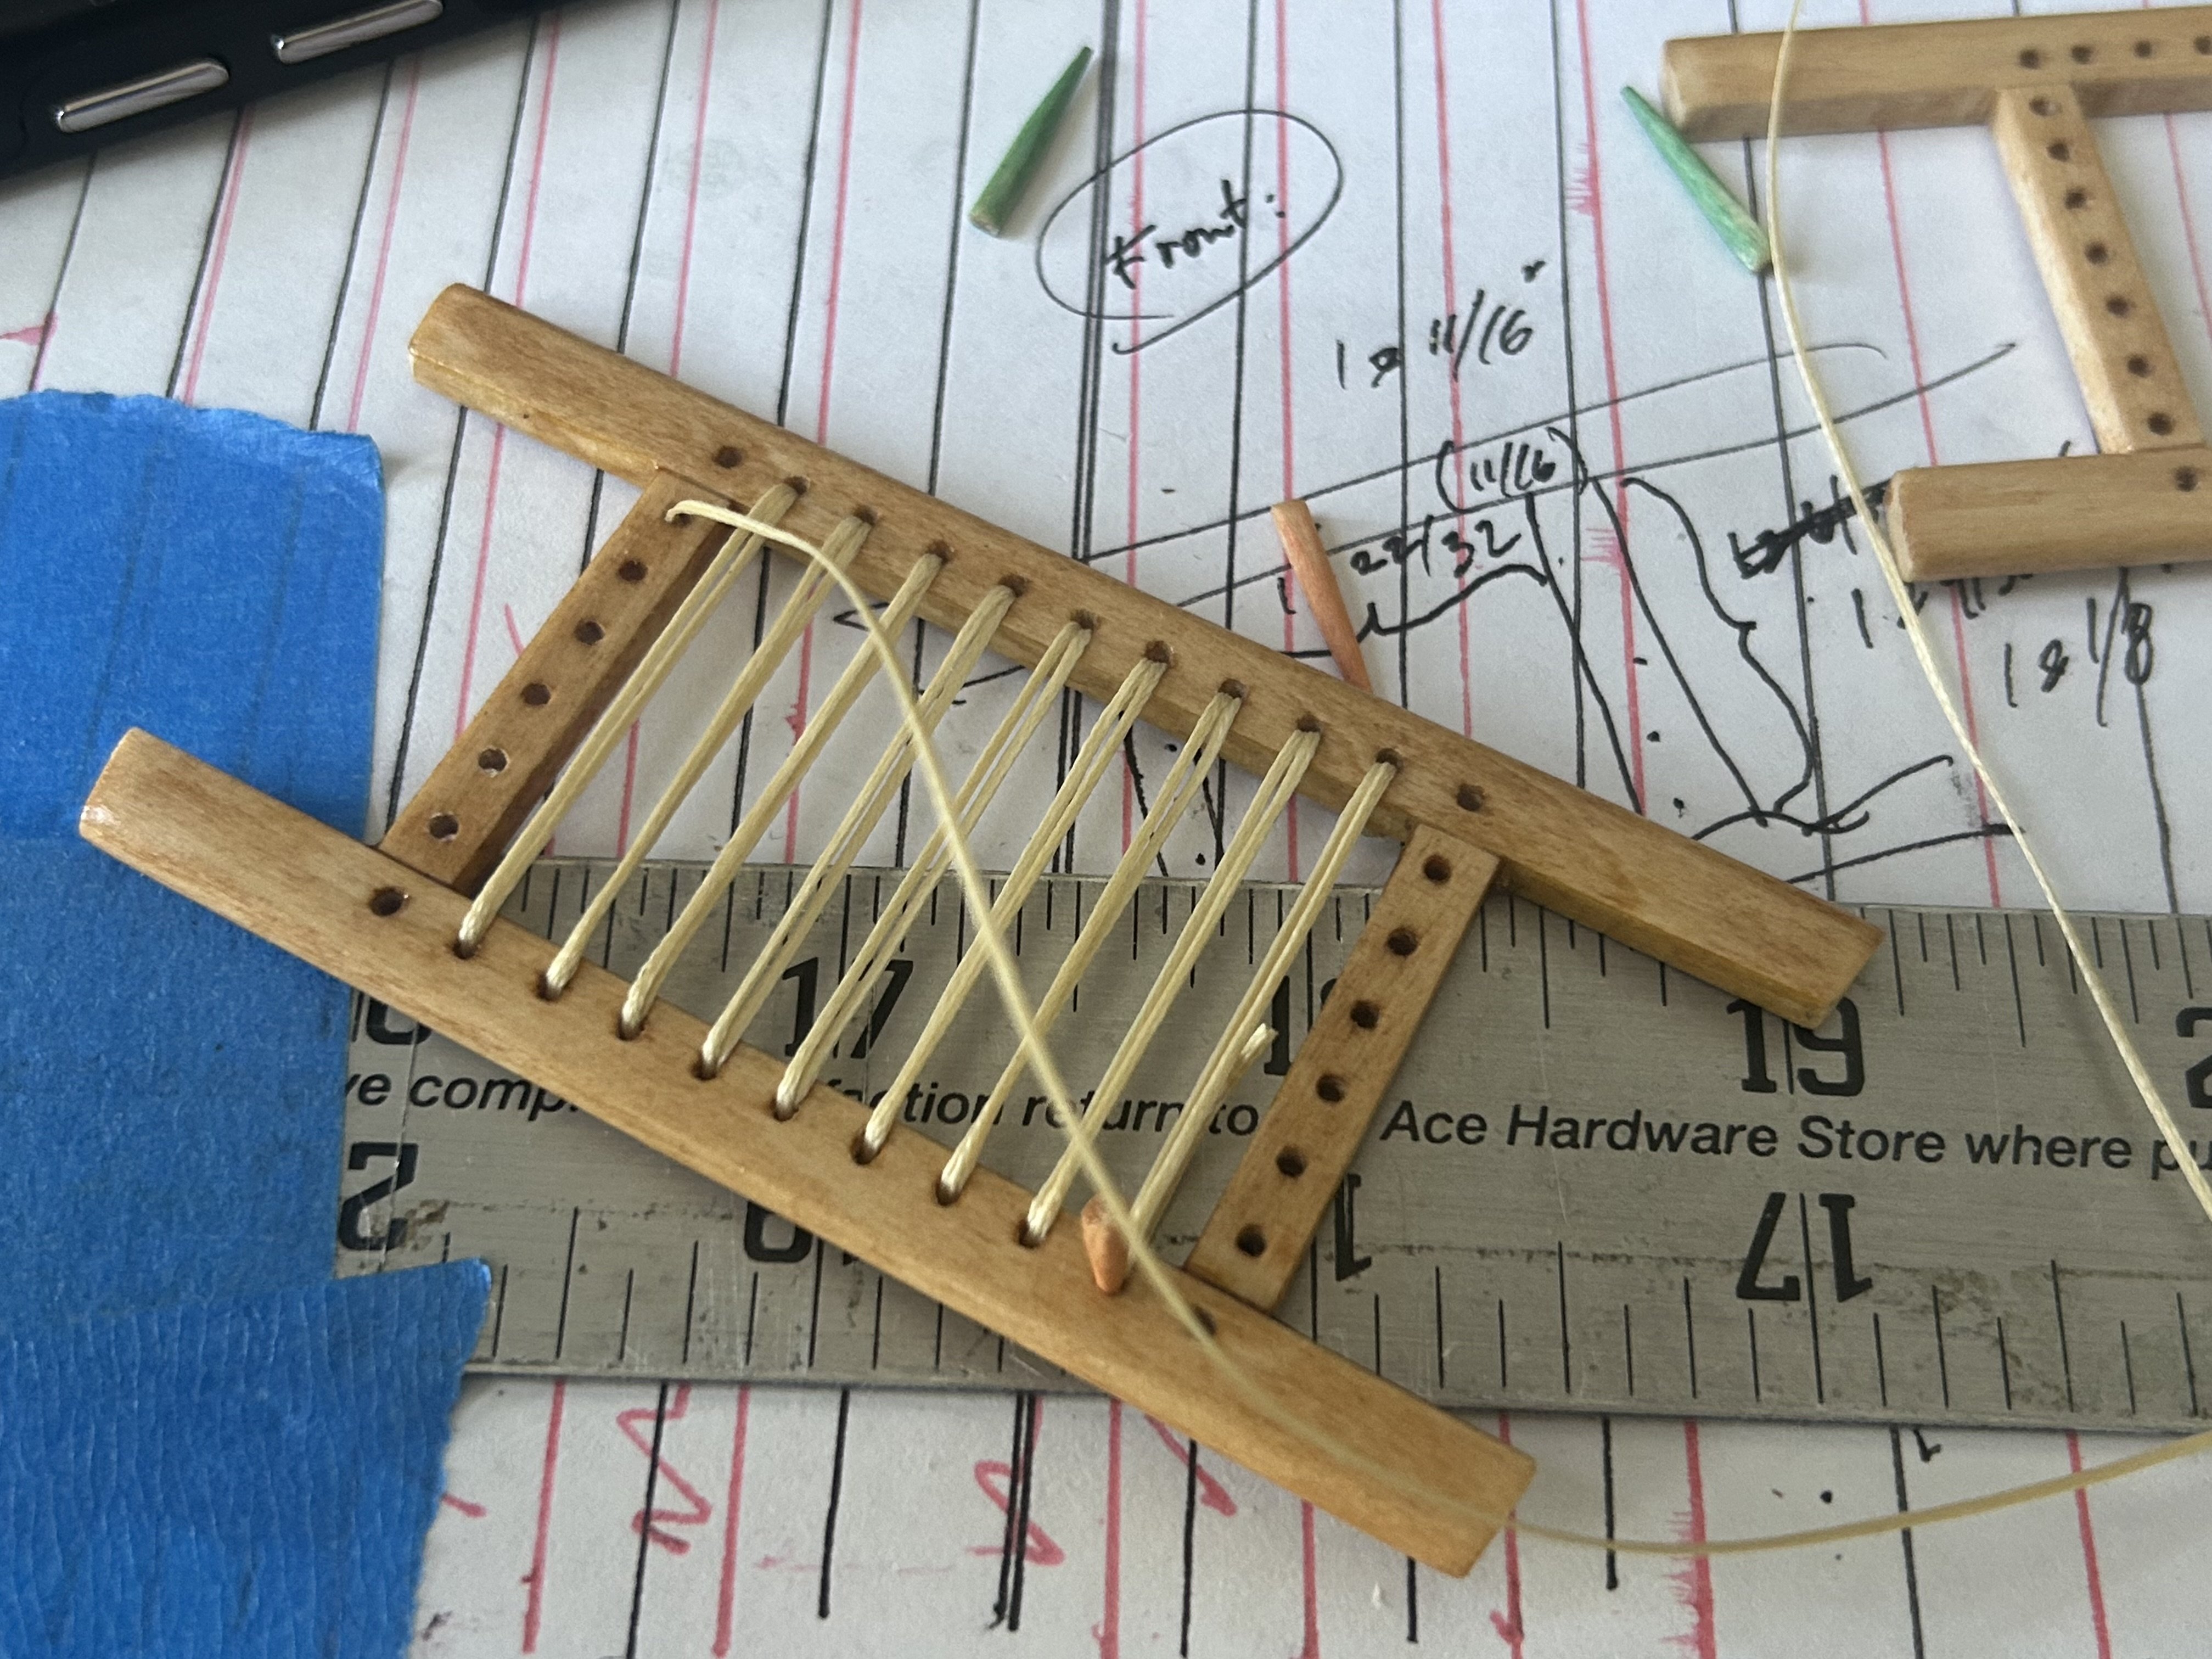
One diagonal completed: Starting the sixth & final step, the second set of diagonal strands. You can see the flaws—where I failed to get the twists out of the linen thread. Hoping this will not be obvious in the finished model.


-
halvoric reacted to a post in a topic:
Annapolis Wherry by Landlubber Mike - FINISHED - Chesapeake Light Craft - 1:8
-
halvoric reacted to a post in a topic:
Canadian Canoe by halvoric - Midwest Products - 1:8
-
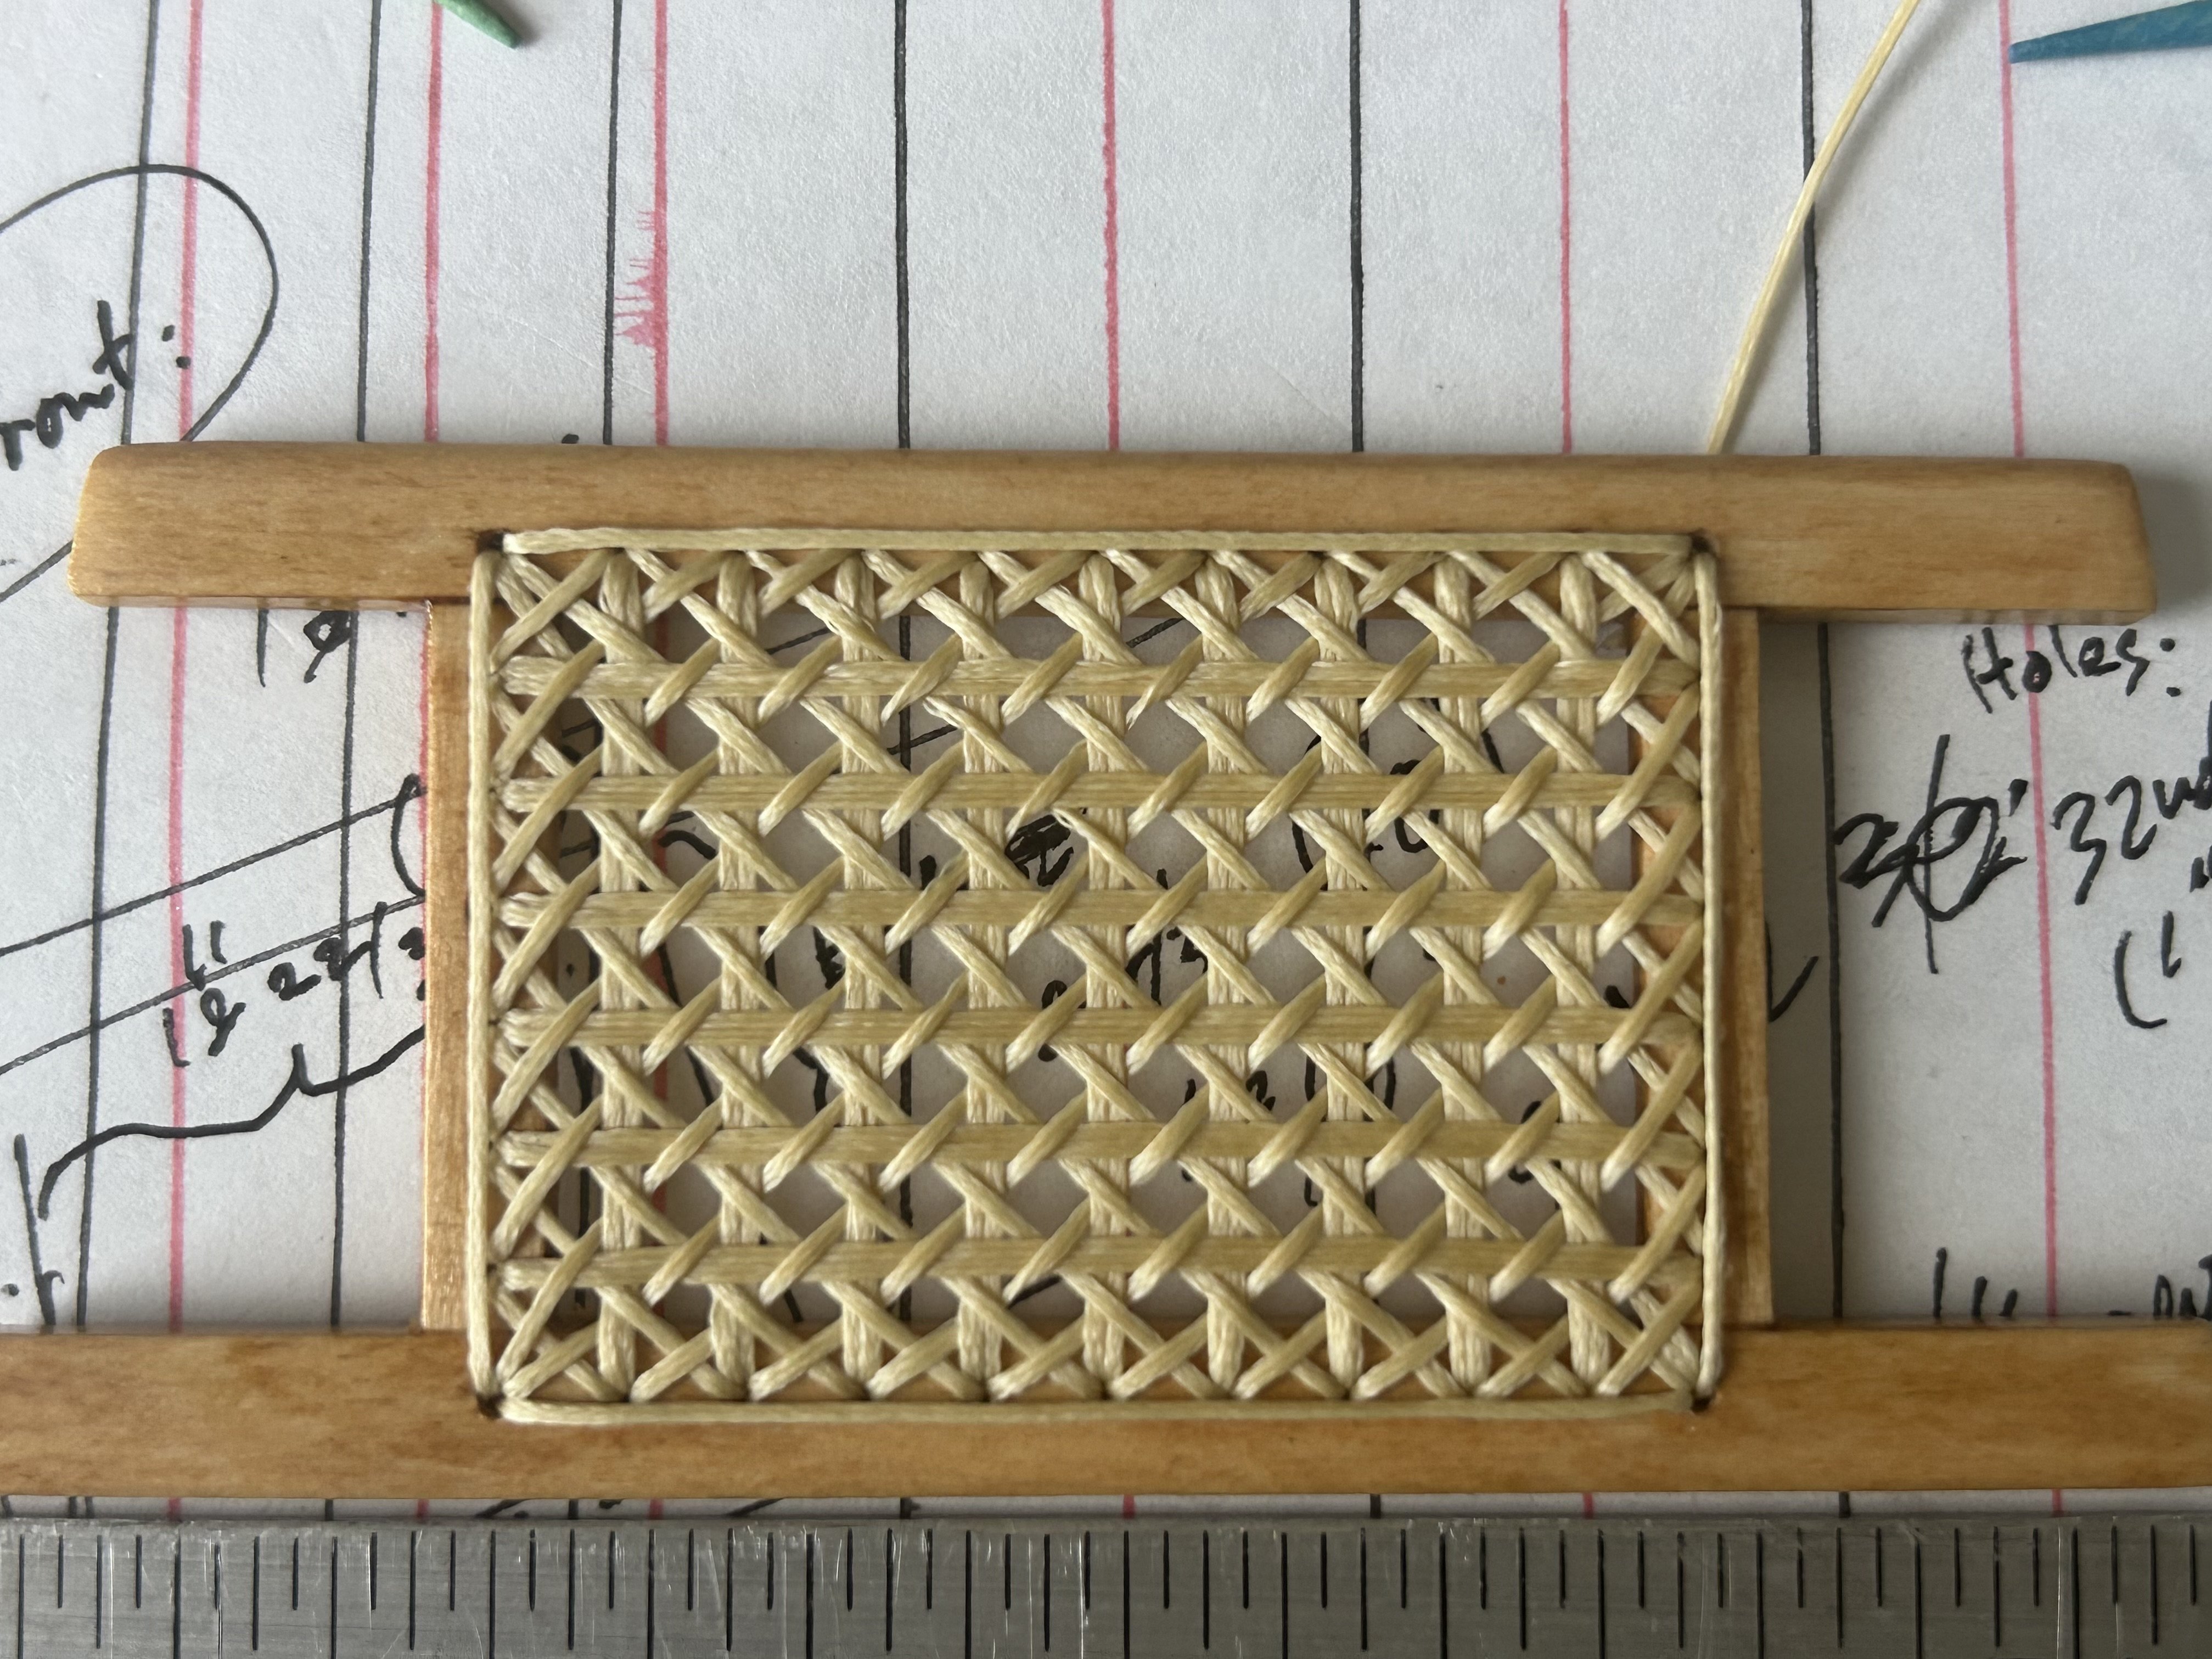
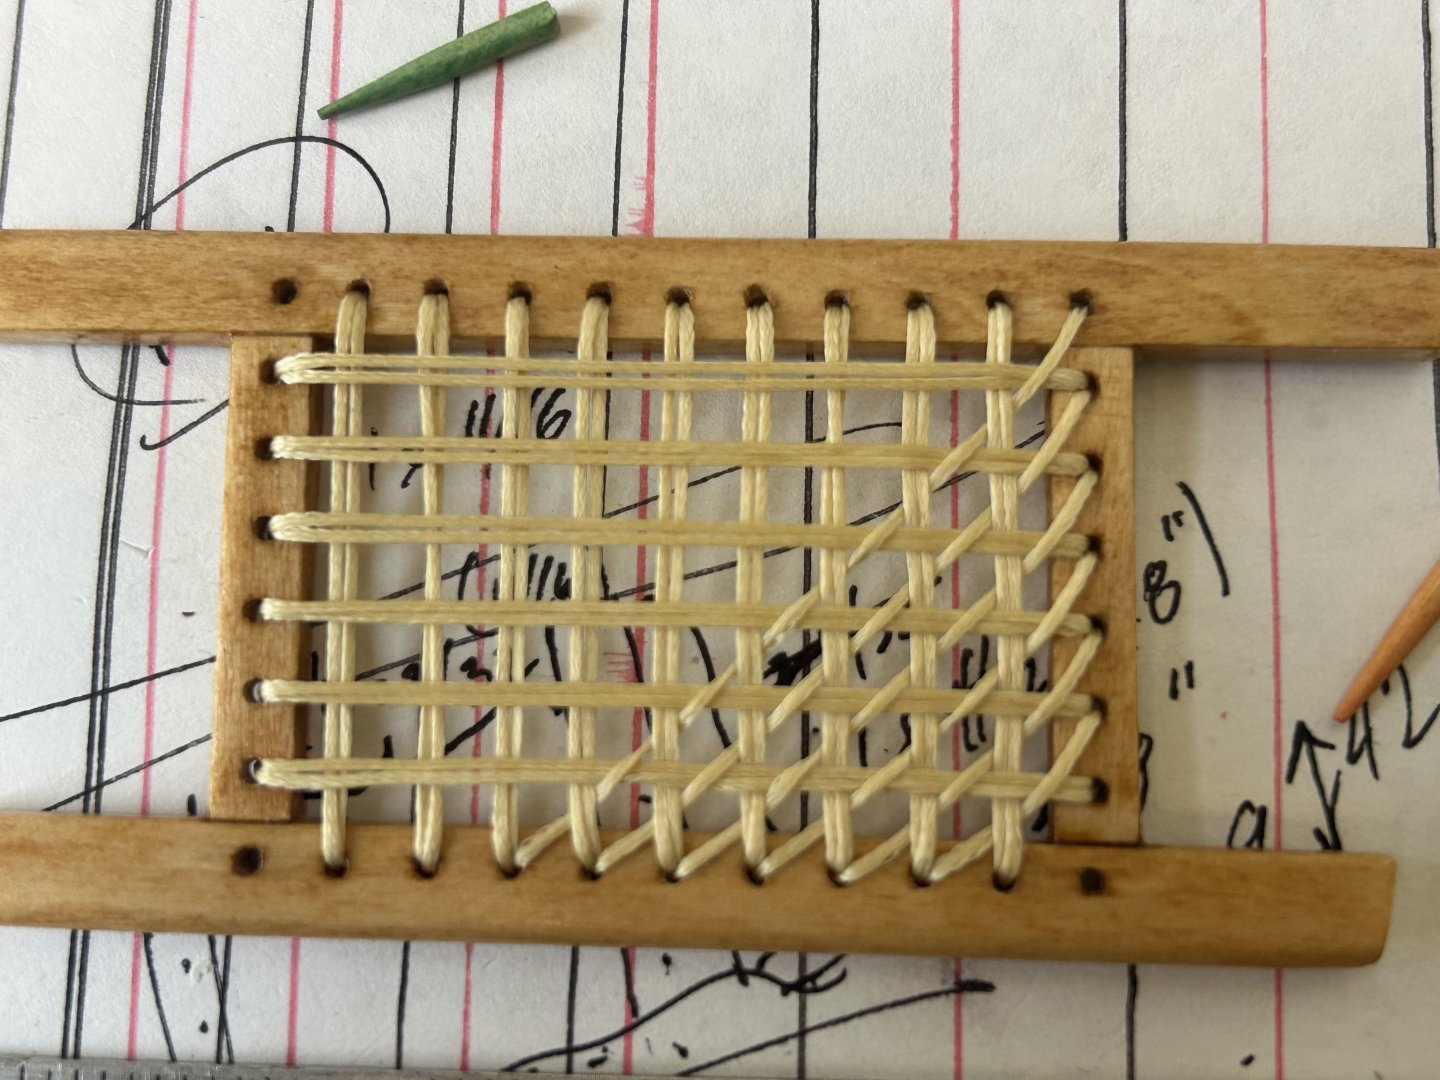
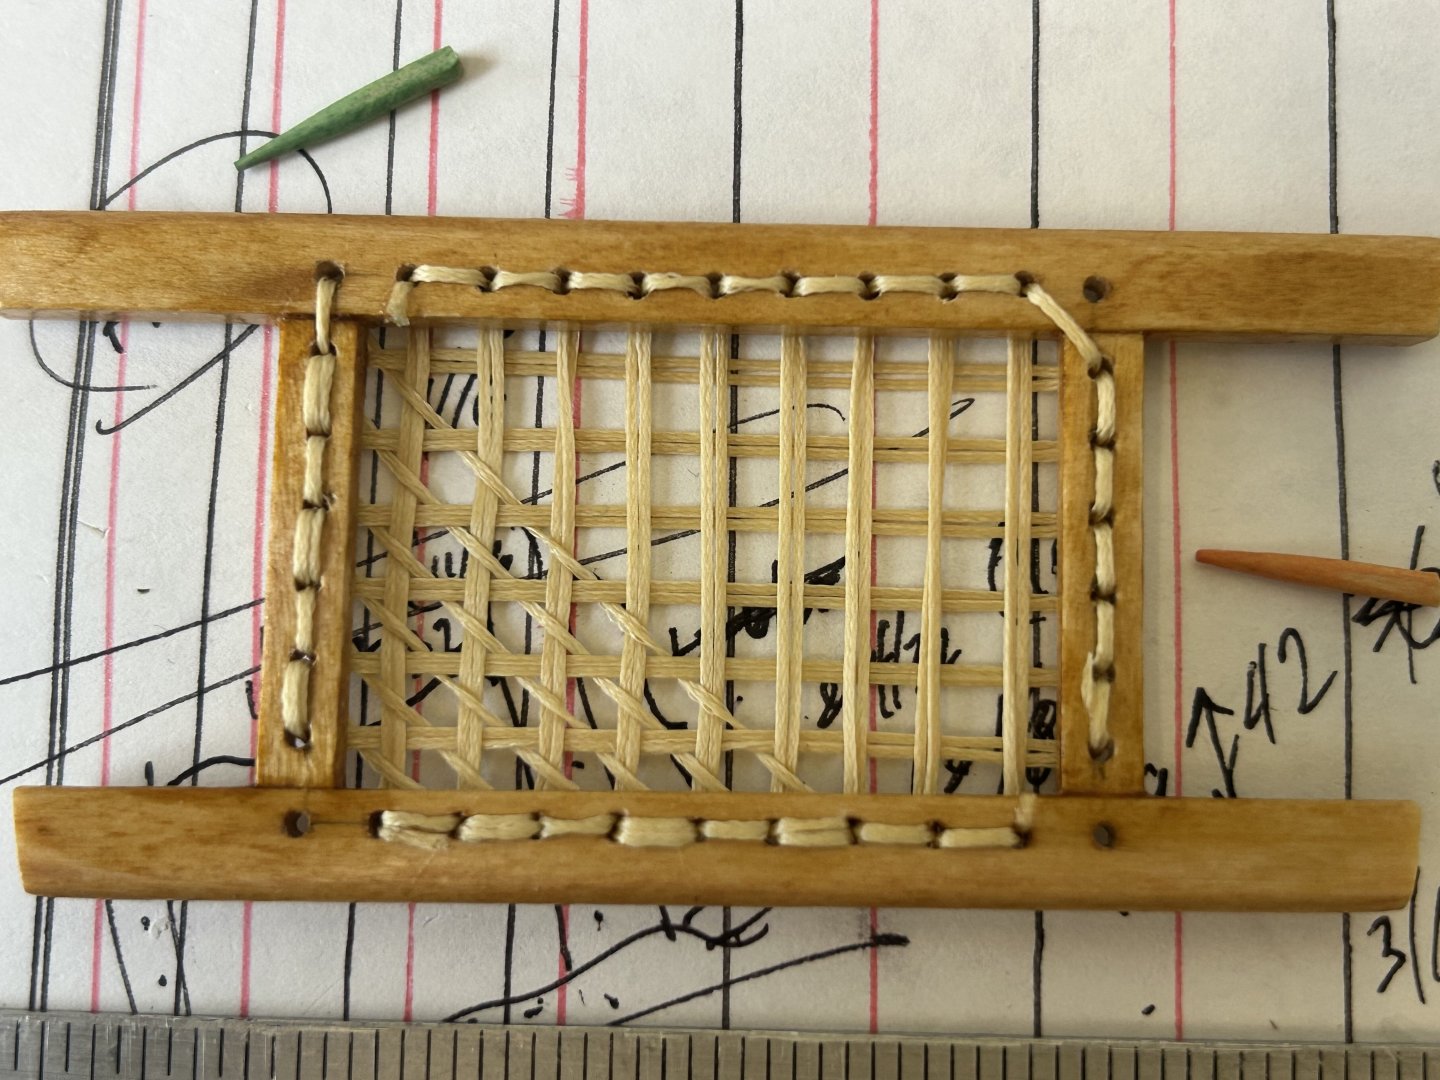
Doing the (larger) front seat first: Verticals and horizontals completed, diagonals about 20% complete: Trying to keep it neat on the underside: See lessons learned from the underside of my test weave: The sharp-eyed may notice a subtle difference in the pattern between the test (traditional warp-and-weft pattern) and the current seat weave (the Peterborough “quick” pattern). This is intentional and based on my research (and great debt owed to Mike Elliott’s “This Old Canoe” books). There was also a Chestnut Canoe Co. version of the “quick” pattern. What the two quick patterns have in common, and in contrast to the traditional pattern, is that they skip the weaving that normally happens in the fourth step of the vertical/horizontal matrix. The difference between the Chestnut and Peterborough quick patterns is quite subtle and is just in the last diagonal step (which strands the diagonal goes over versus under). And now you know more than you will ever need to (or wanted to) about canoe seat caning patterns. 😆

-
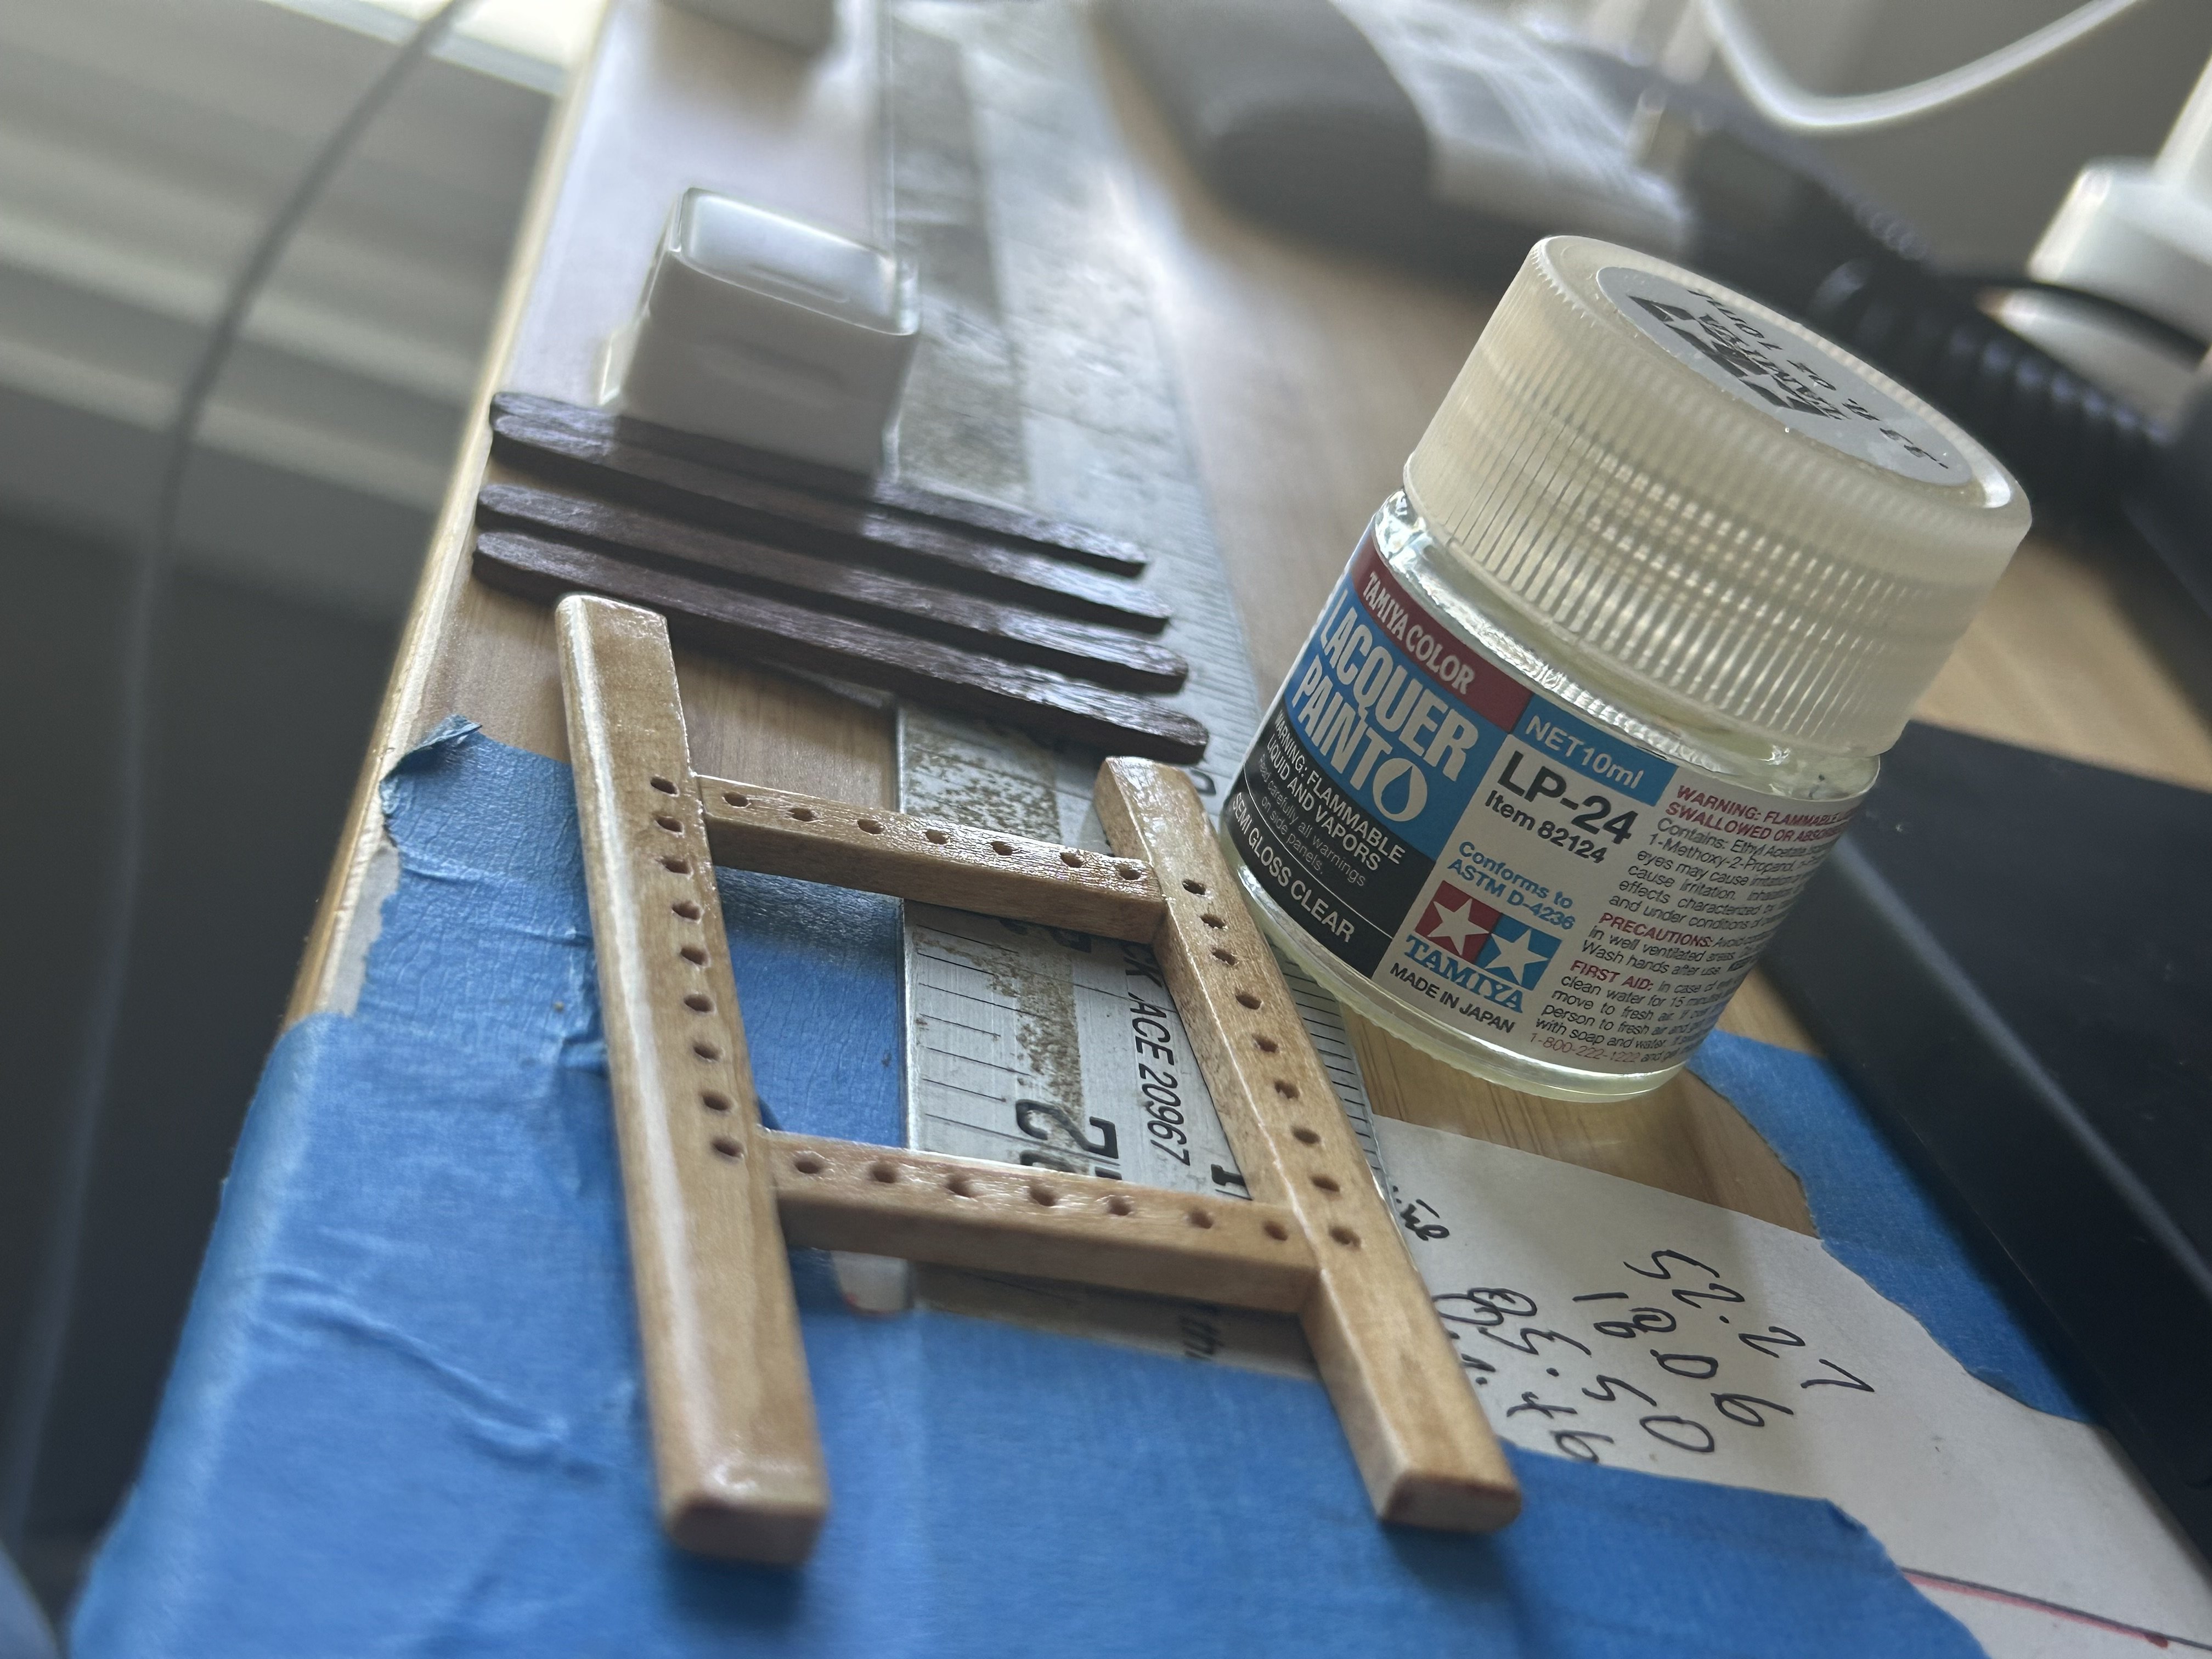
The seats frames are finished along with the mahogany supports. So now begins the tedious caning process. Have to take care to keep twists out of the visible linen thread, to maintain the flat “cane” effect. I like that my miniature “caning pegs” are just cutoff toothpick ends. 🤓


-
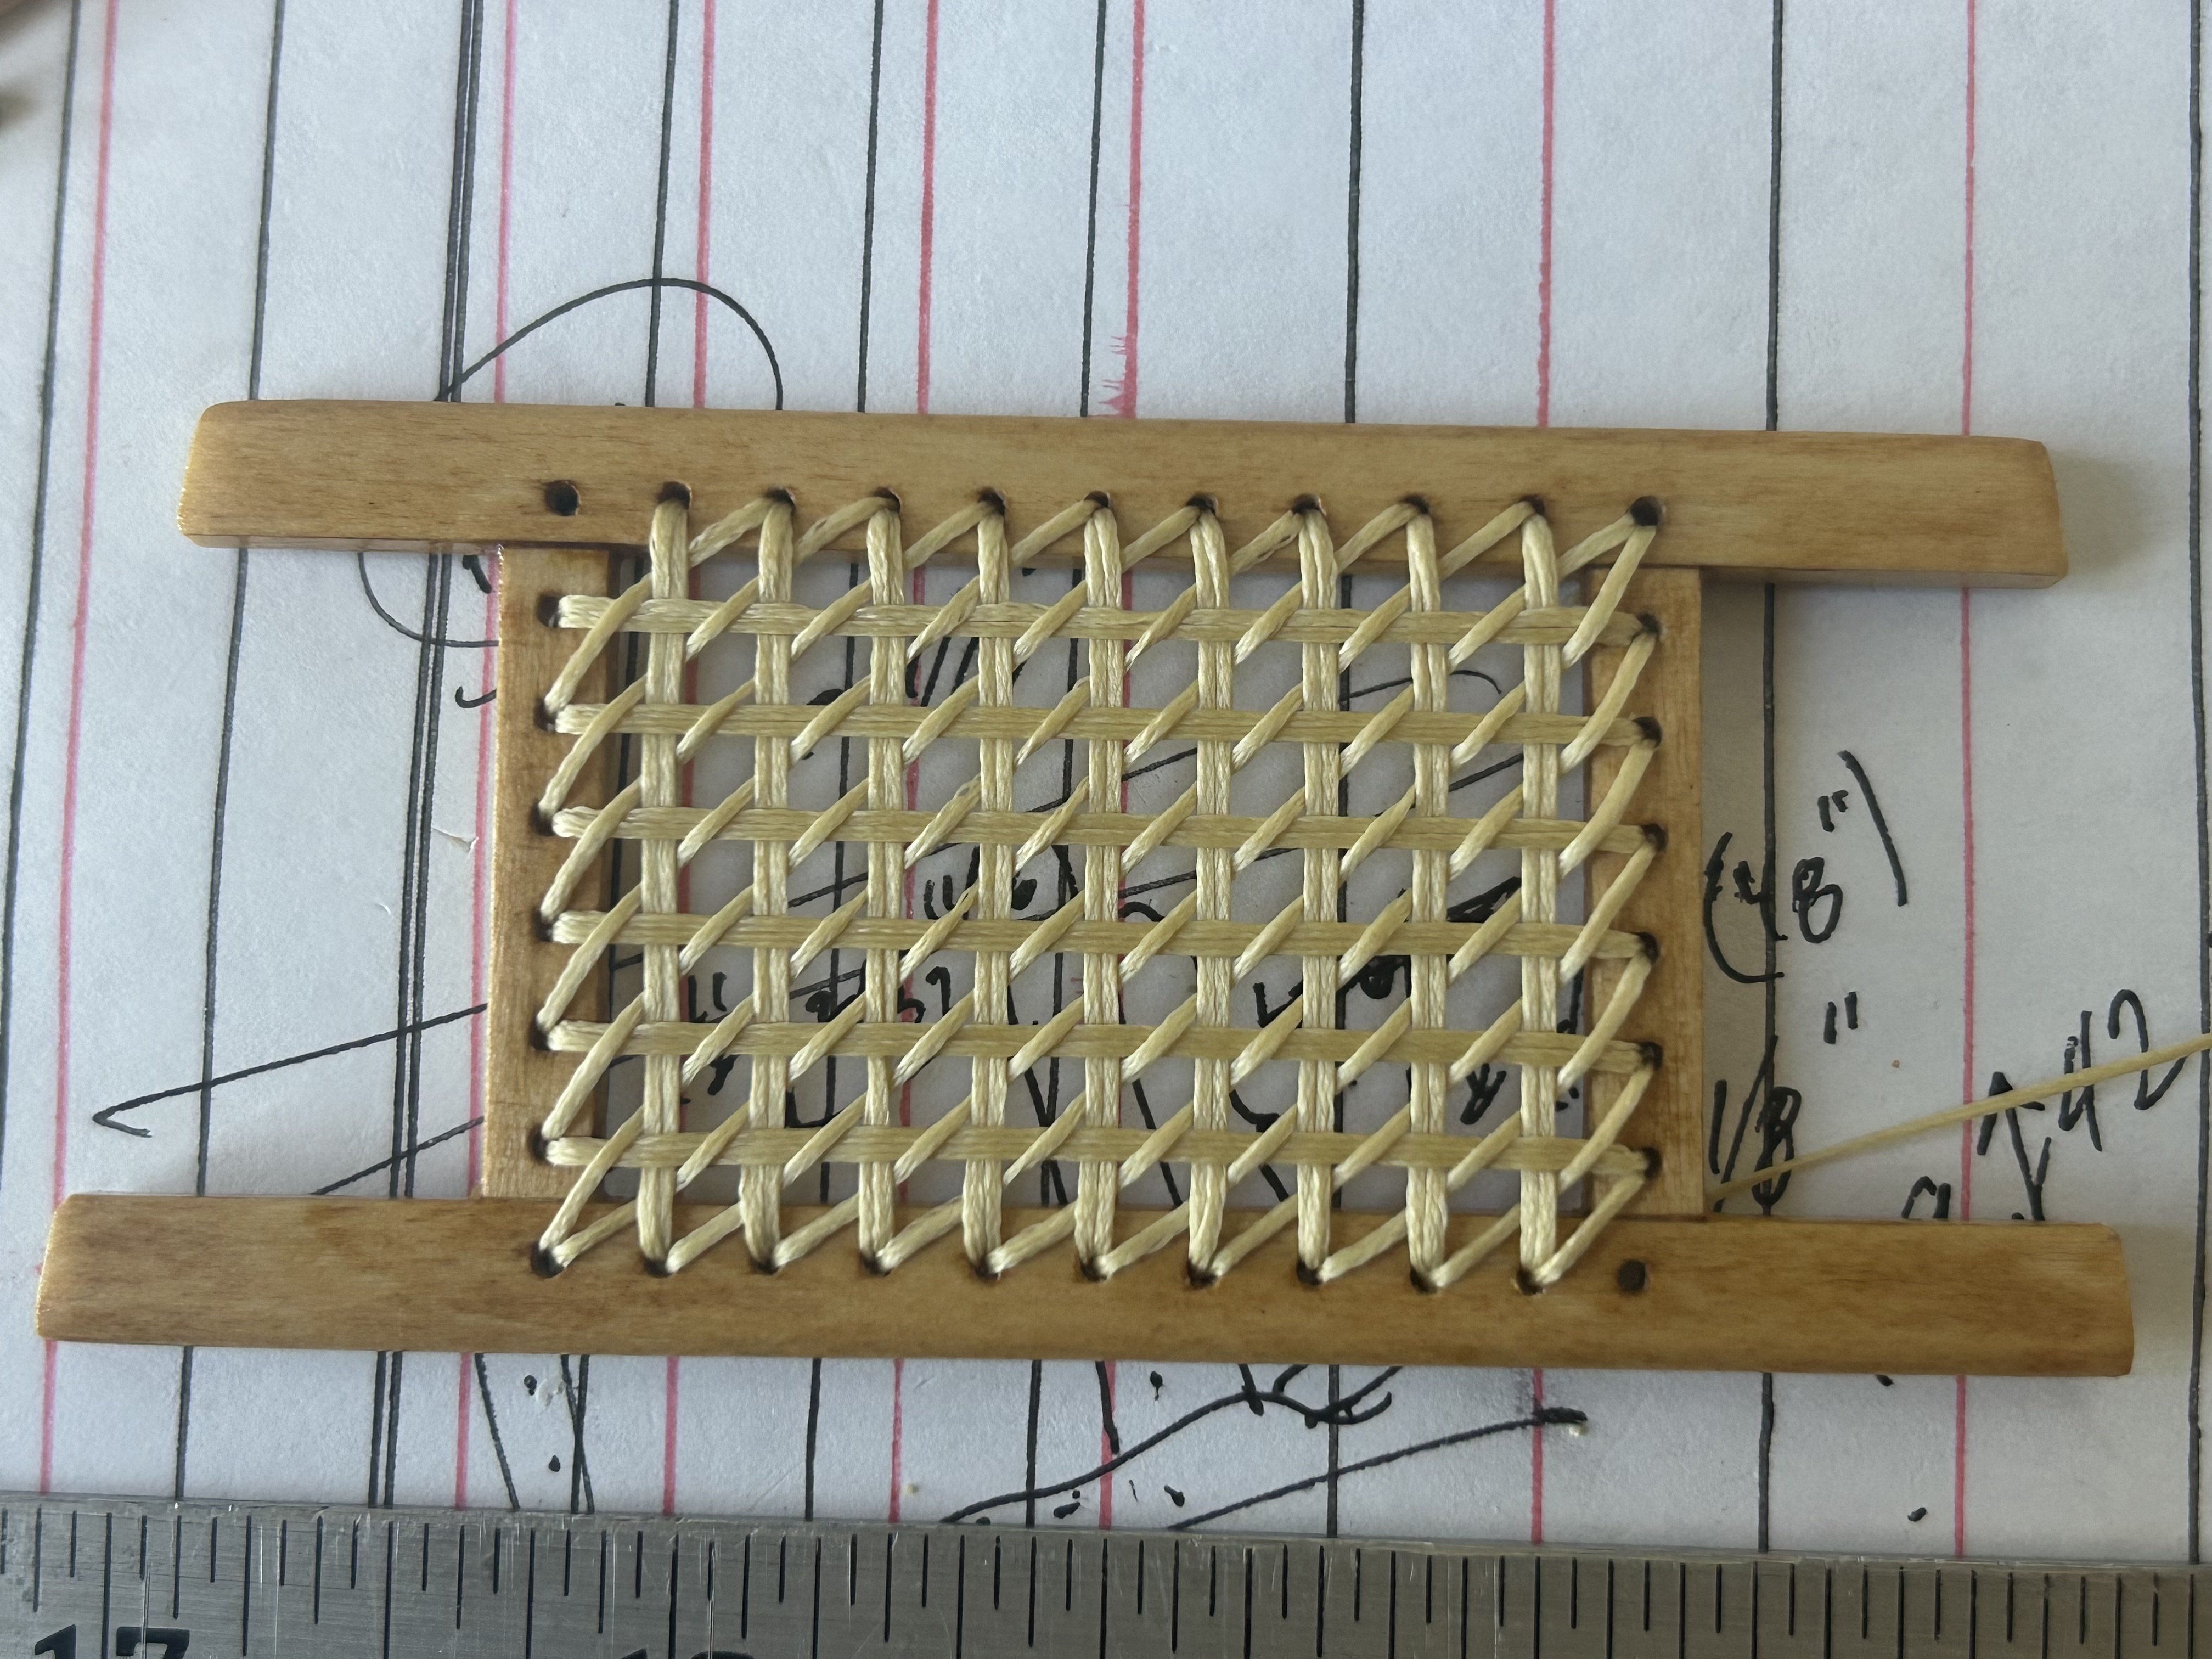
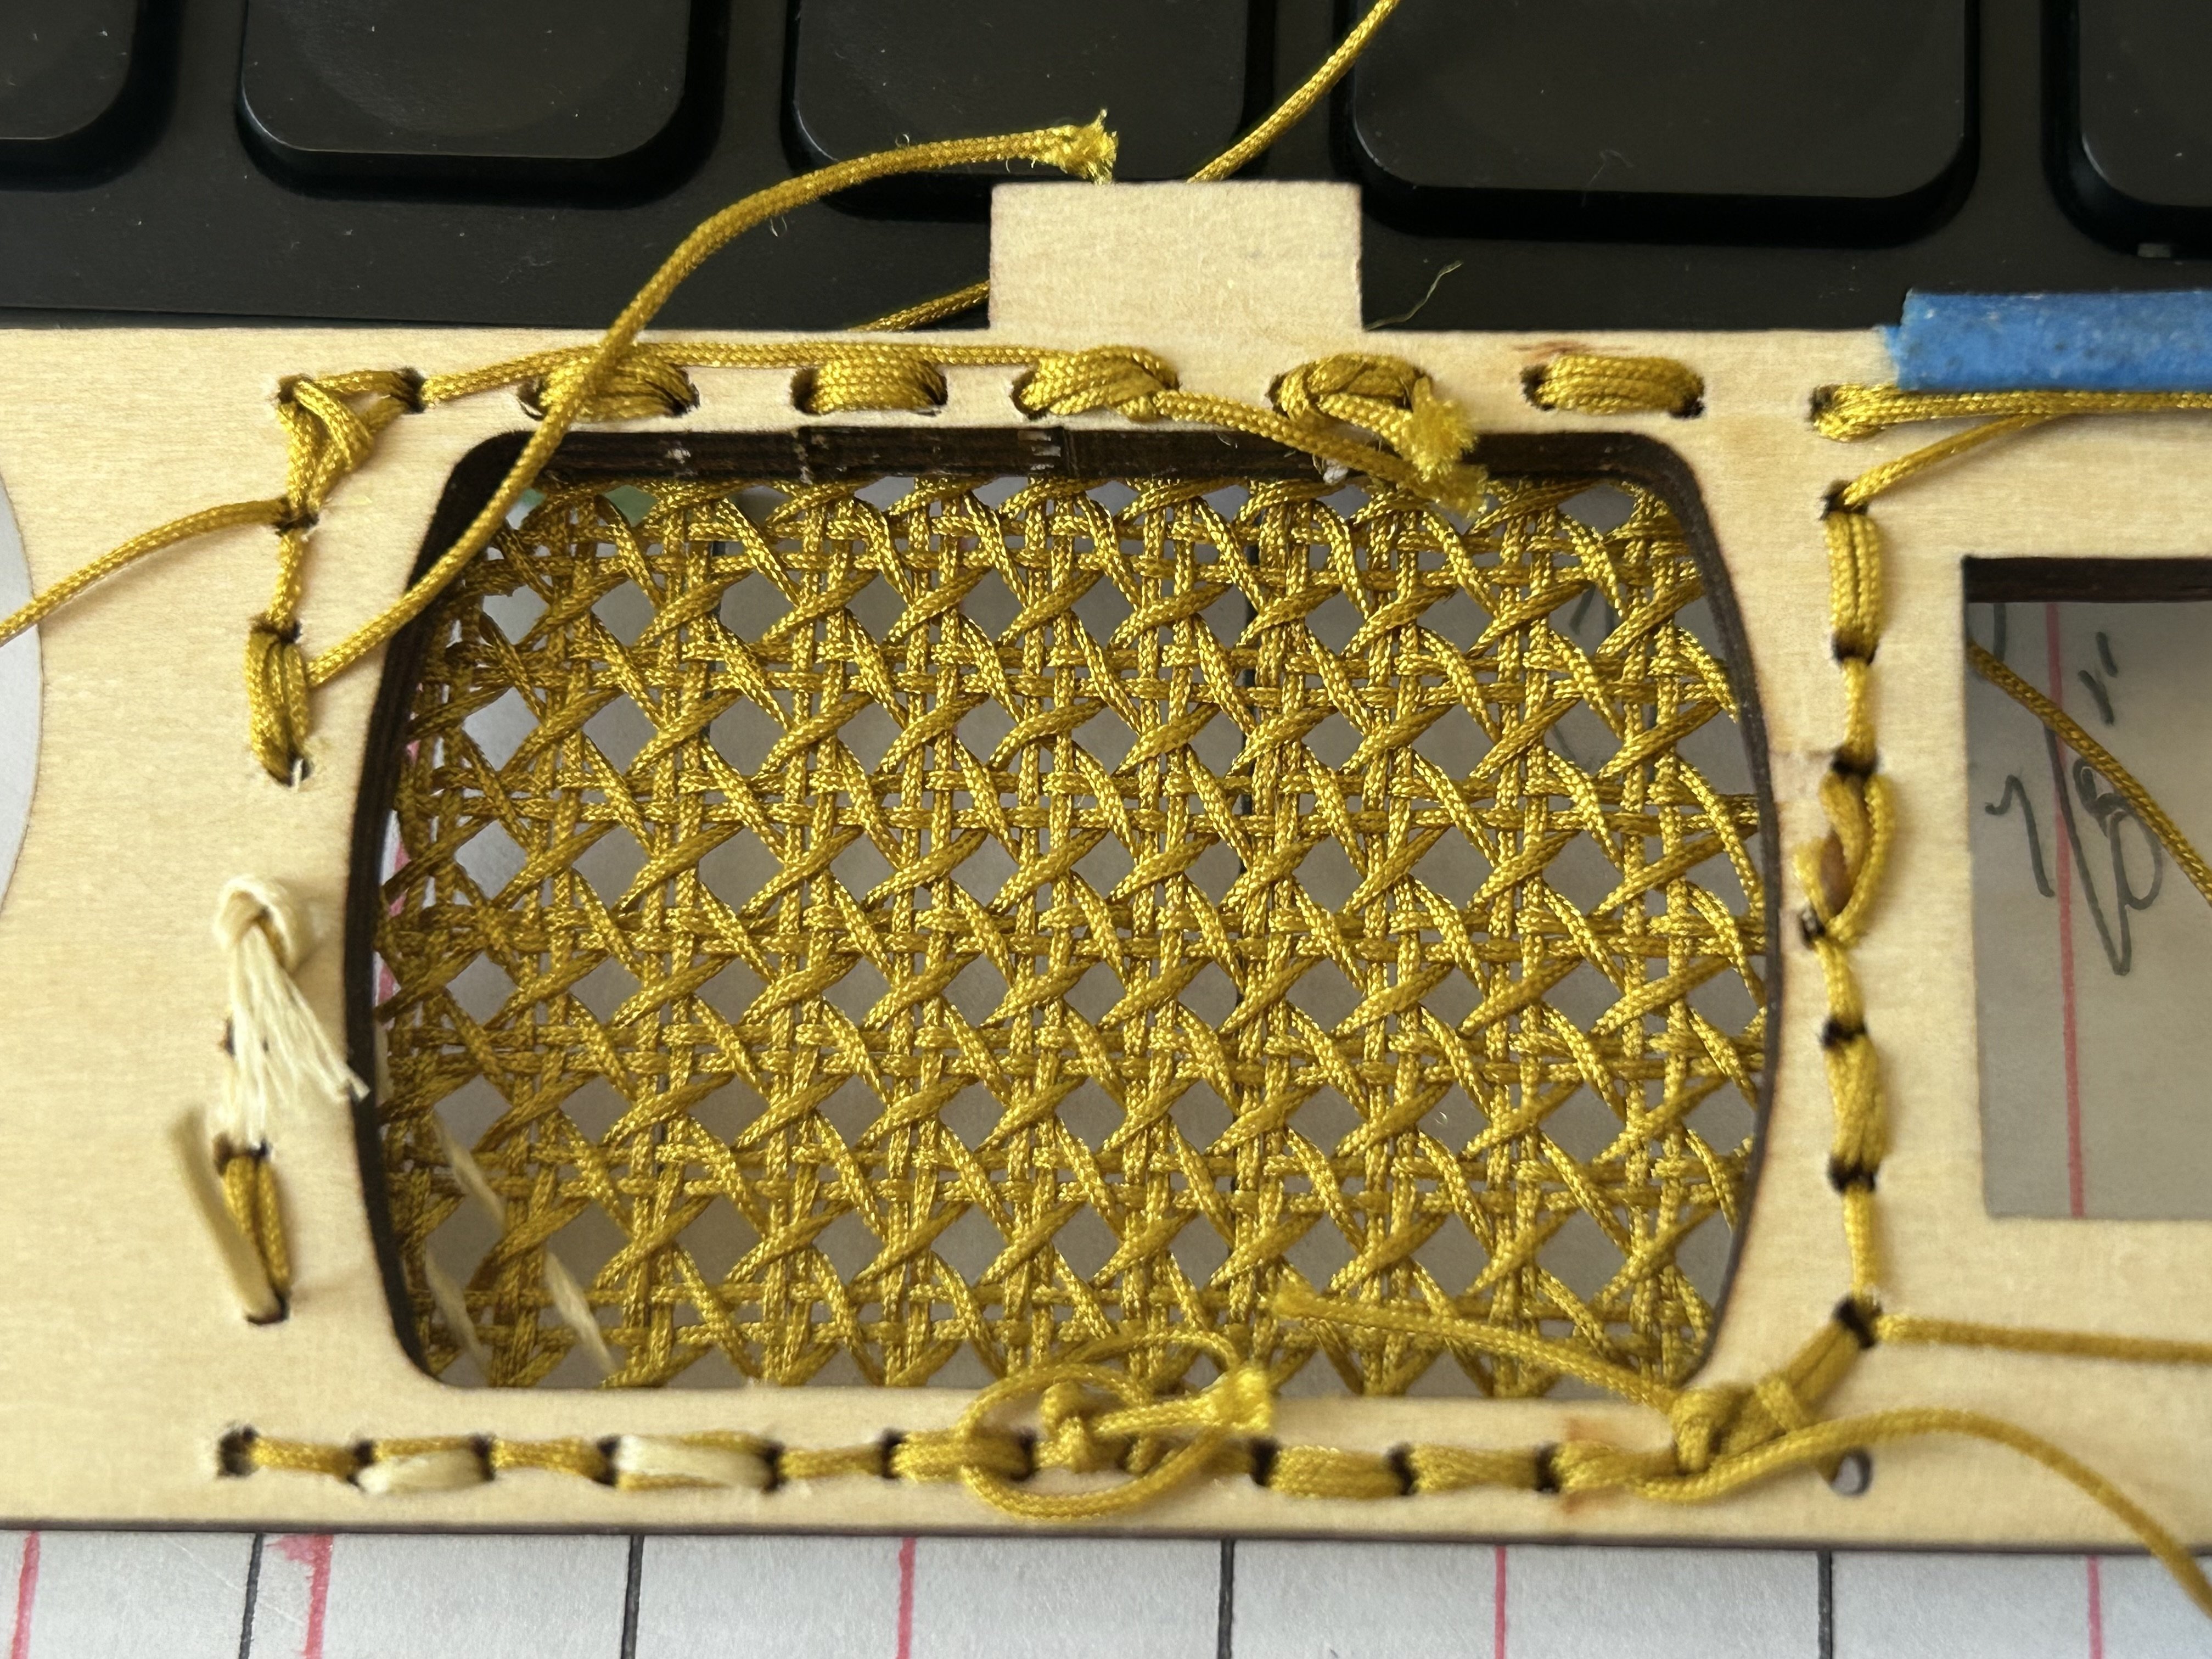
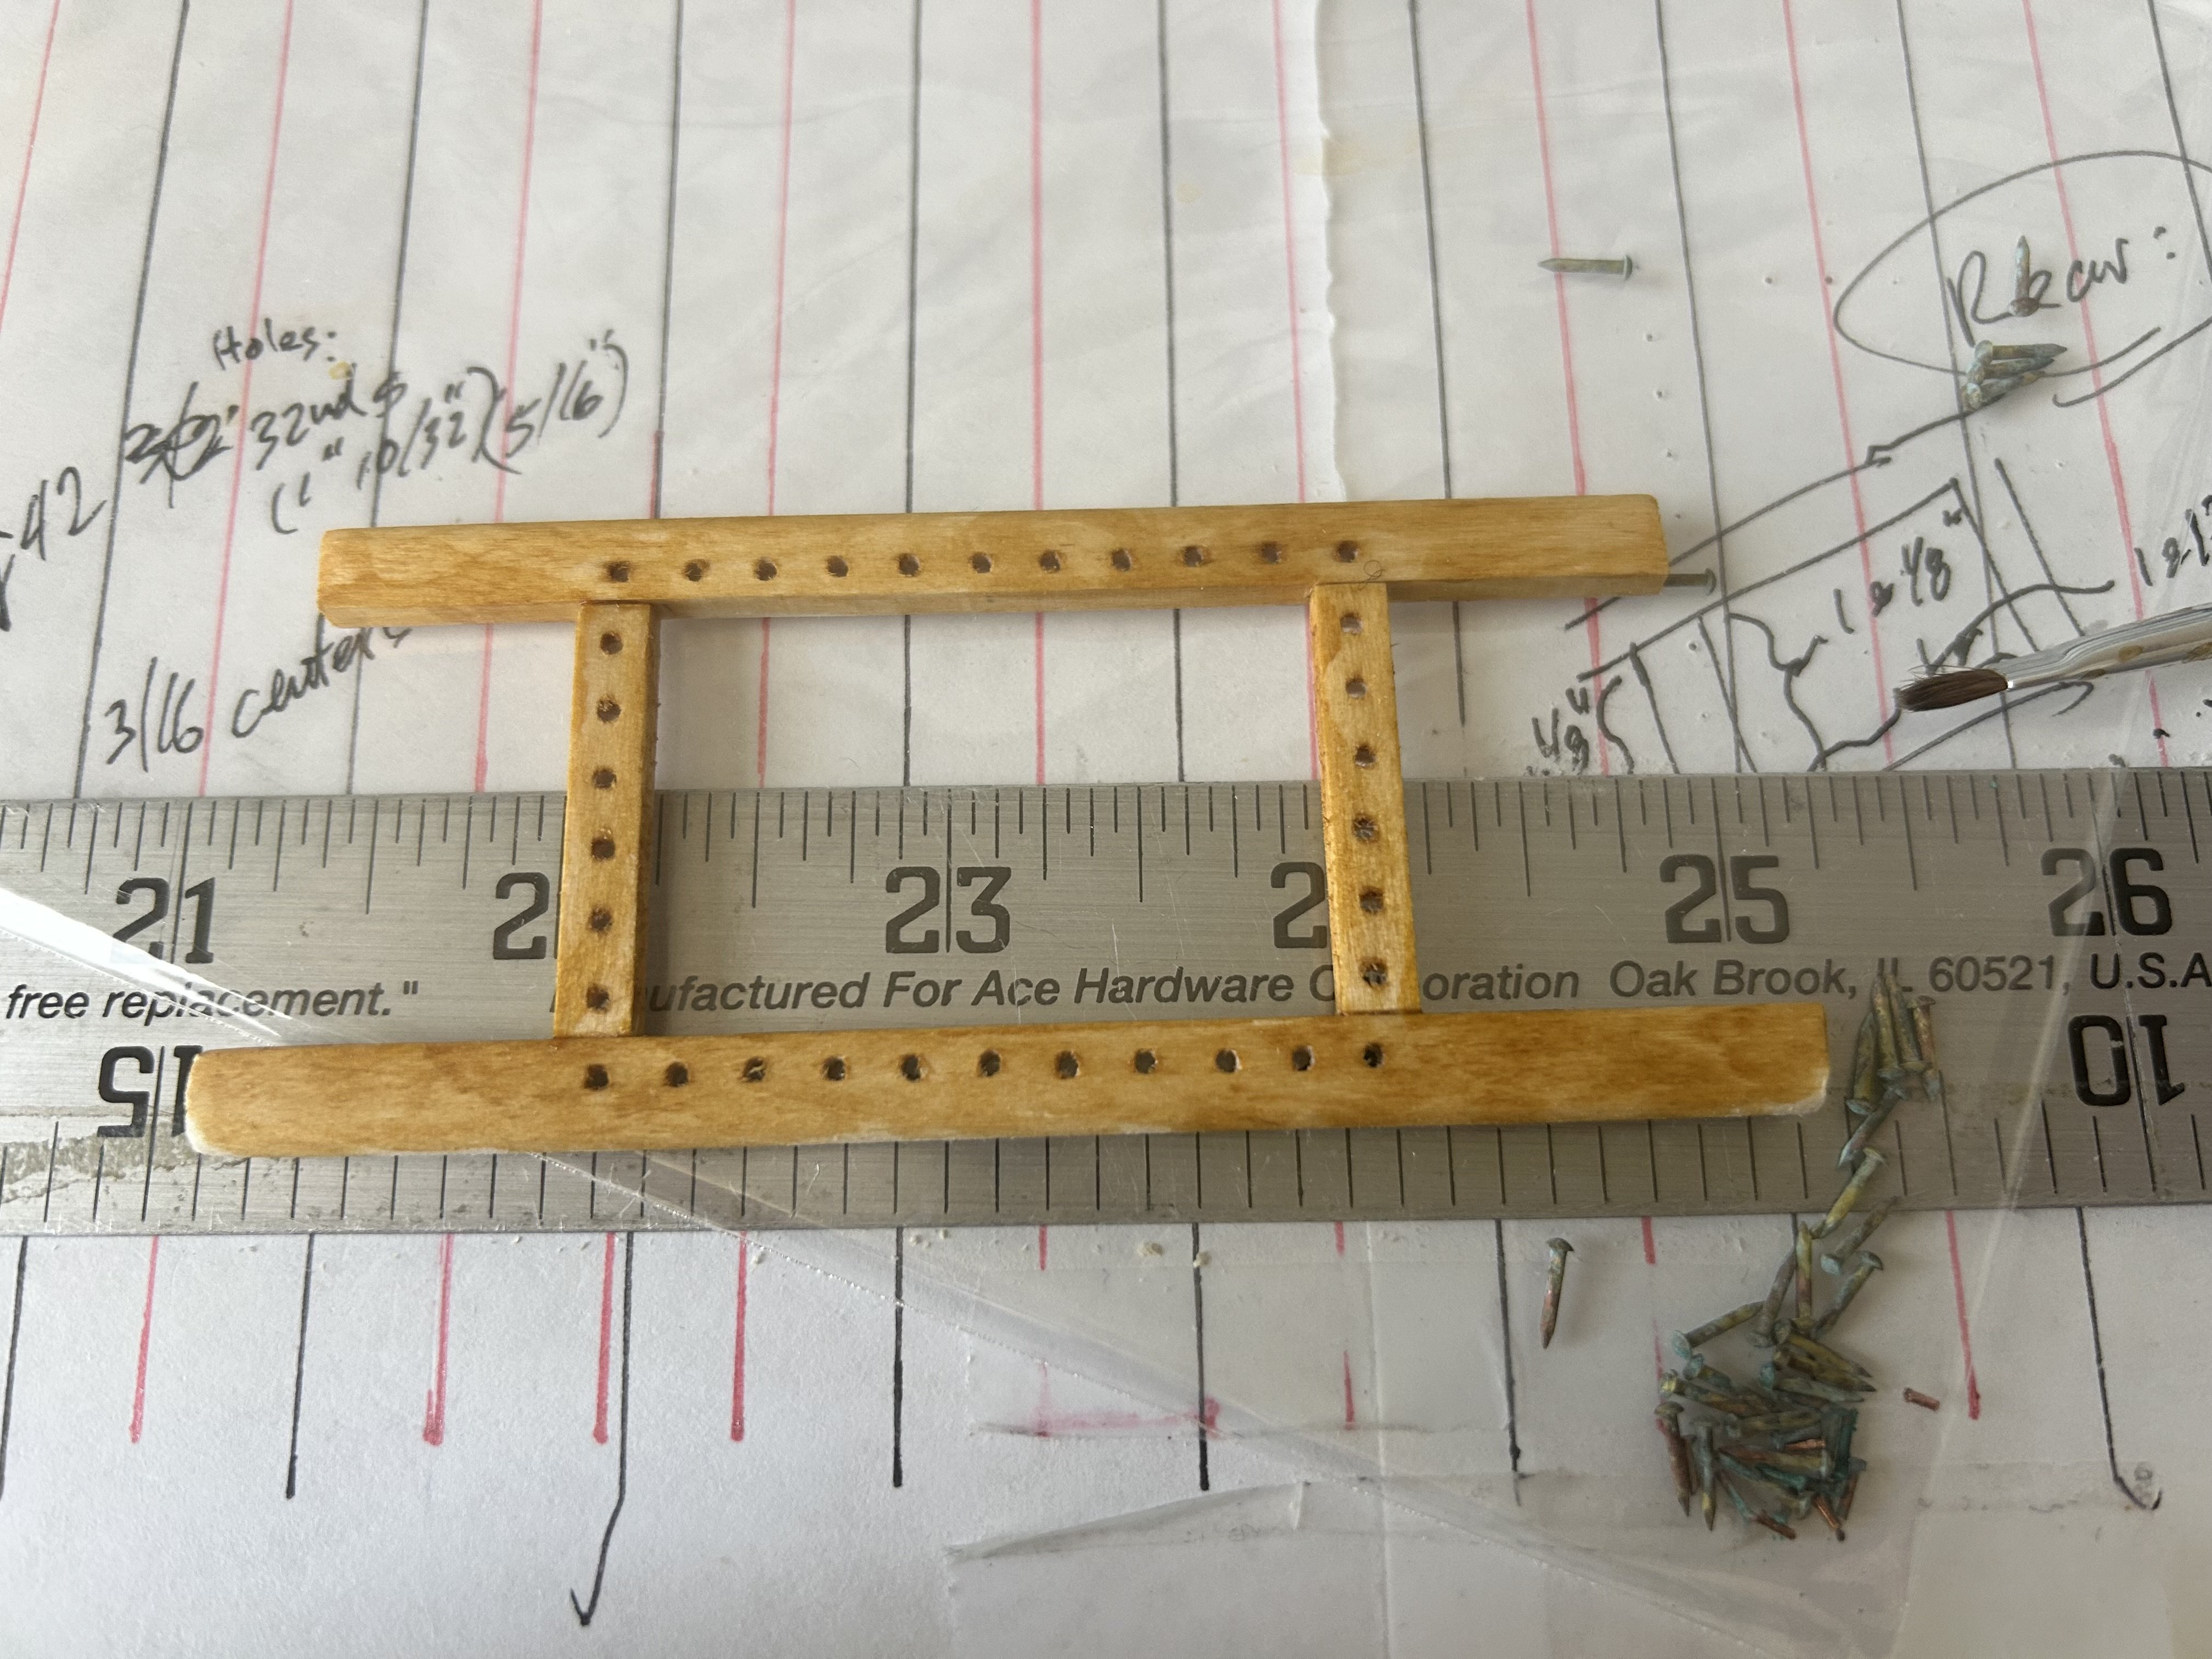
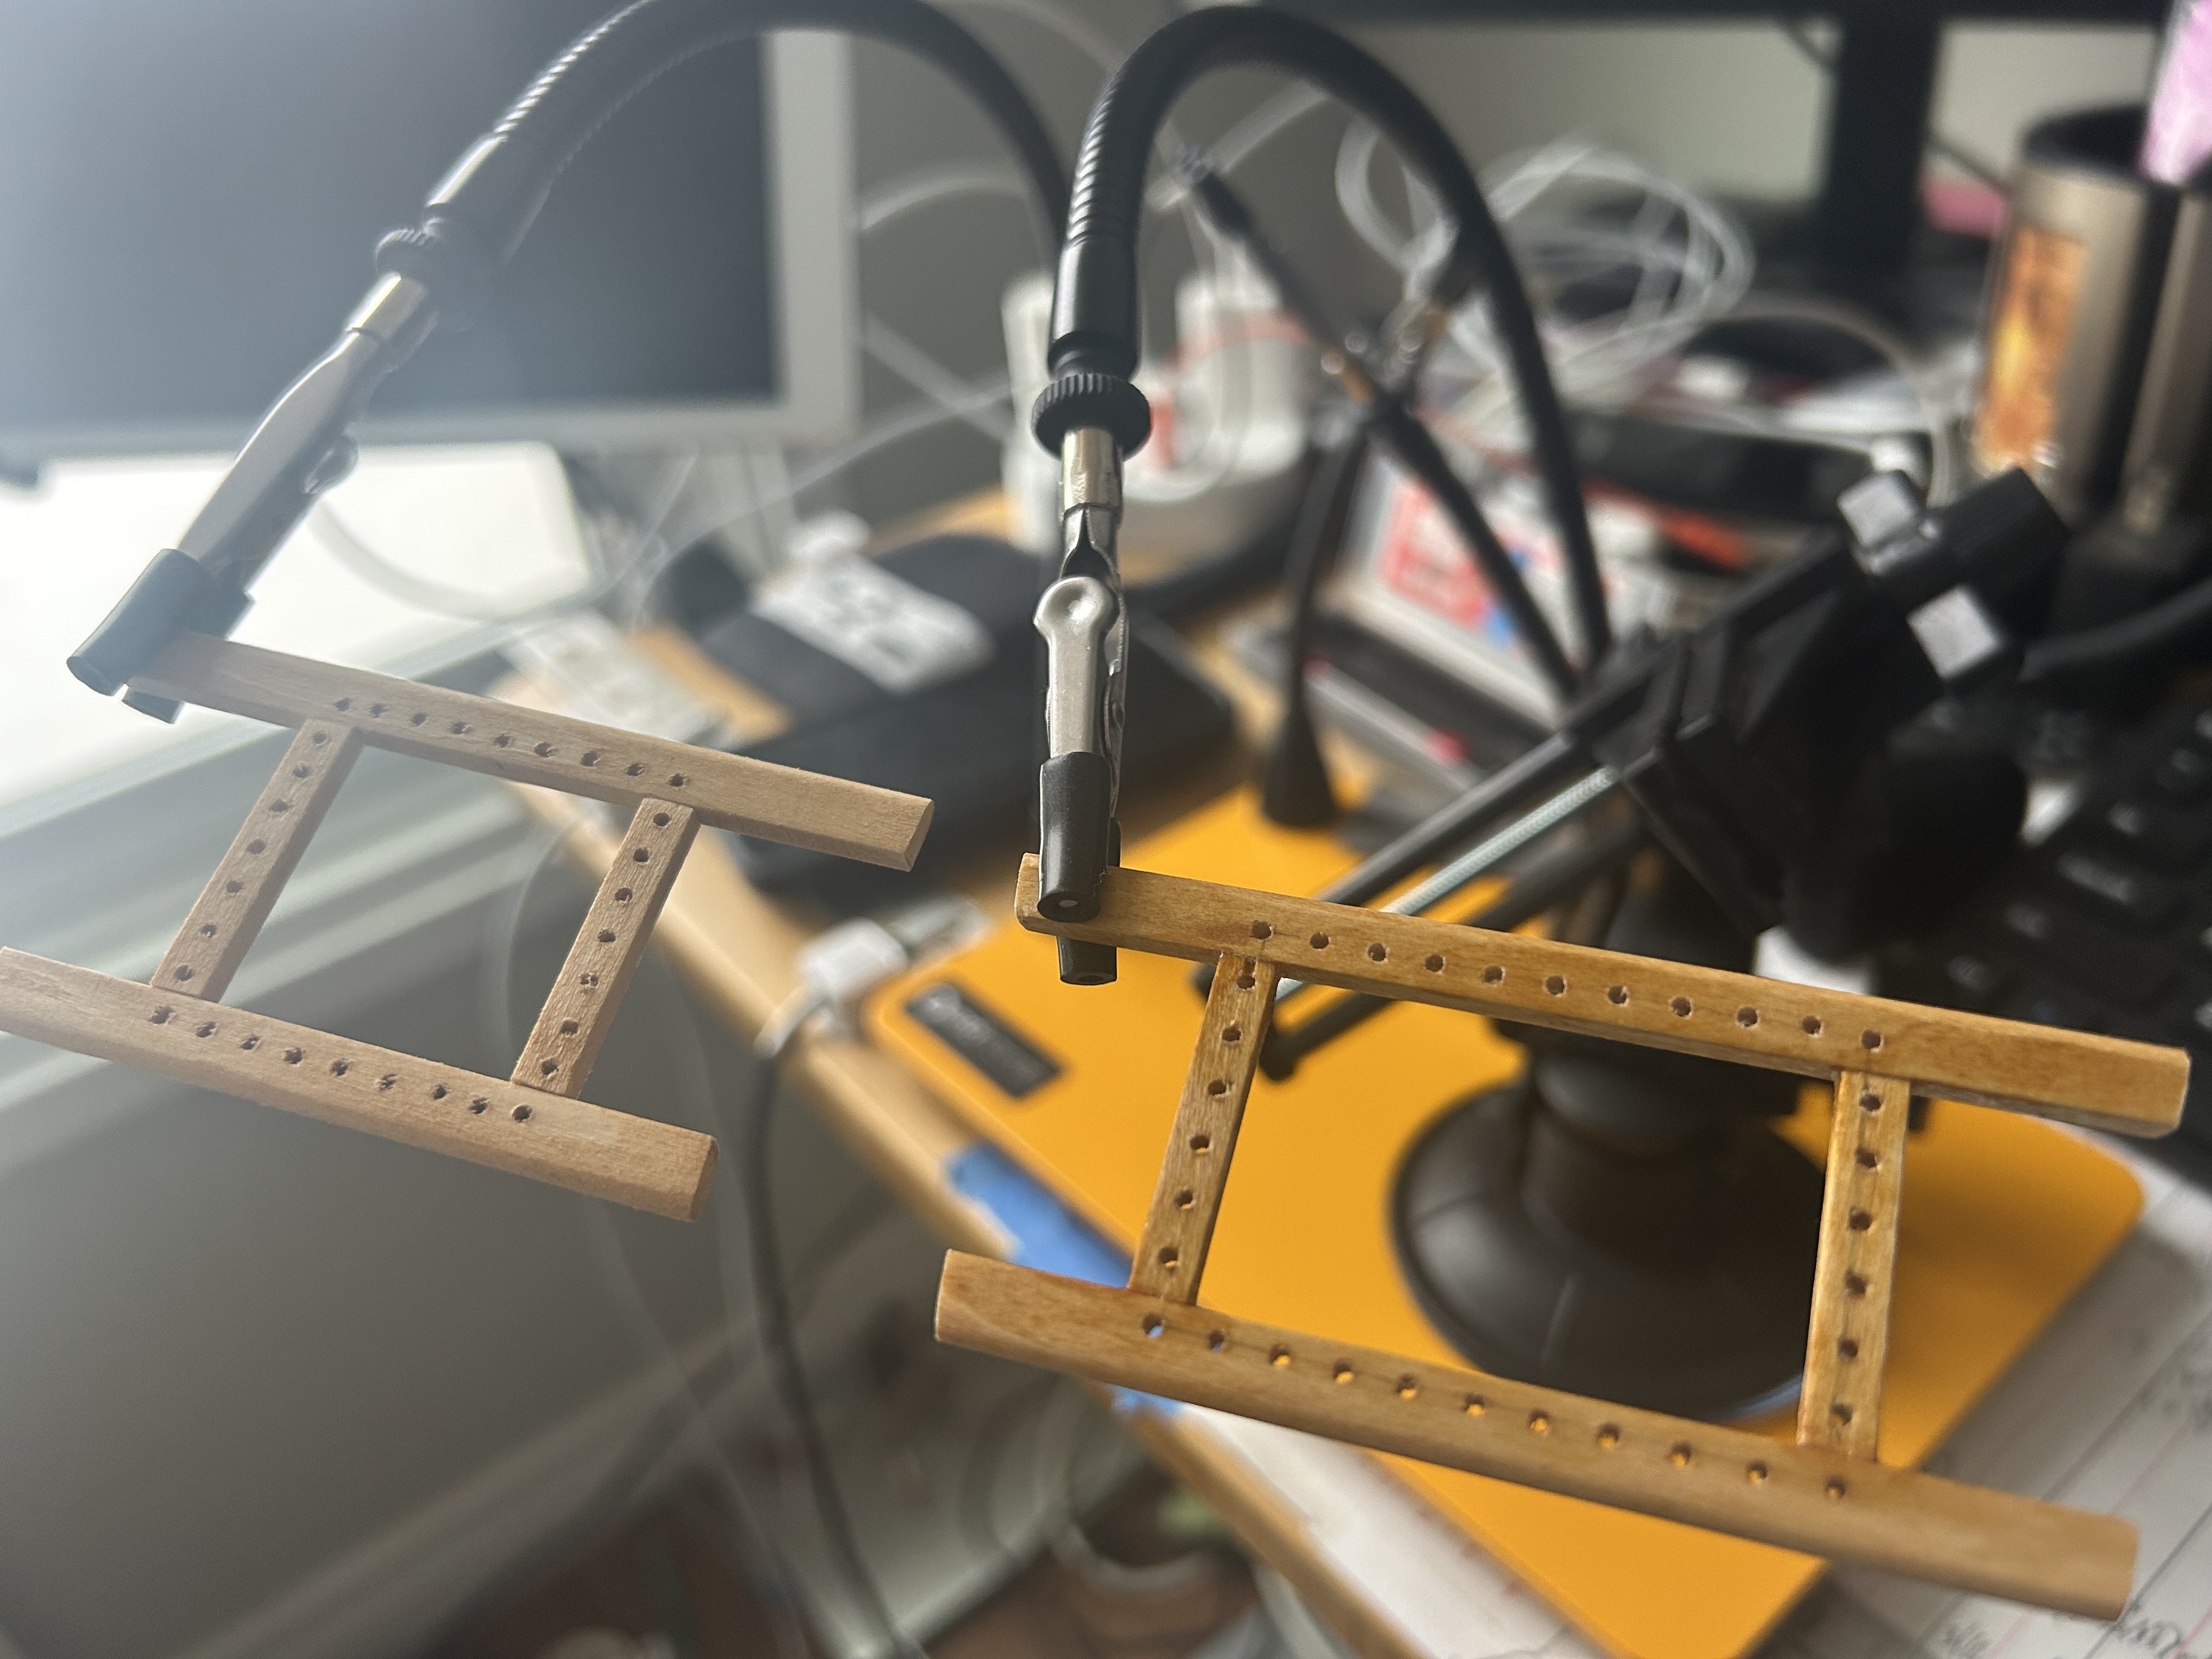
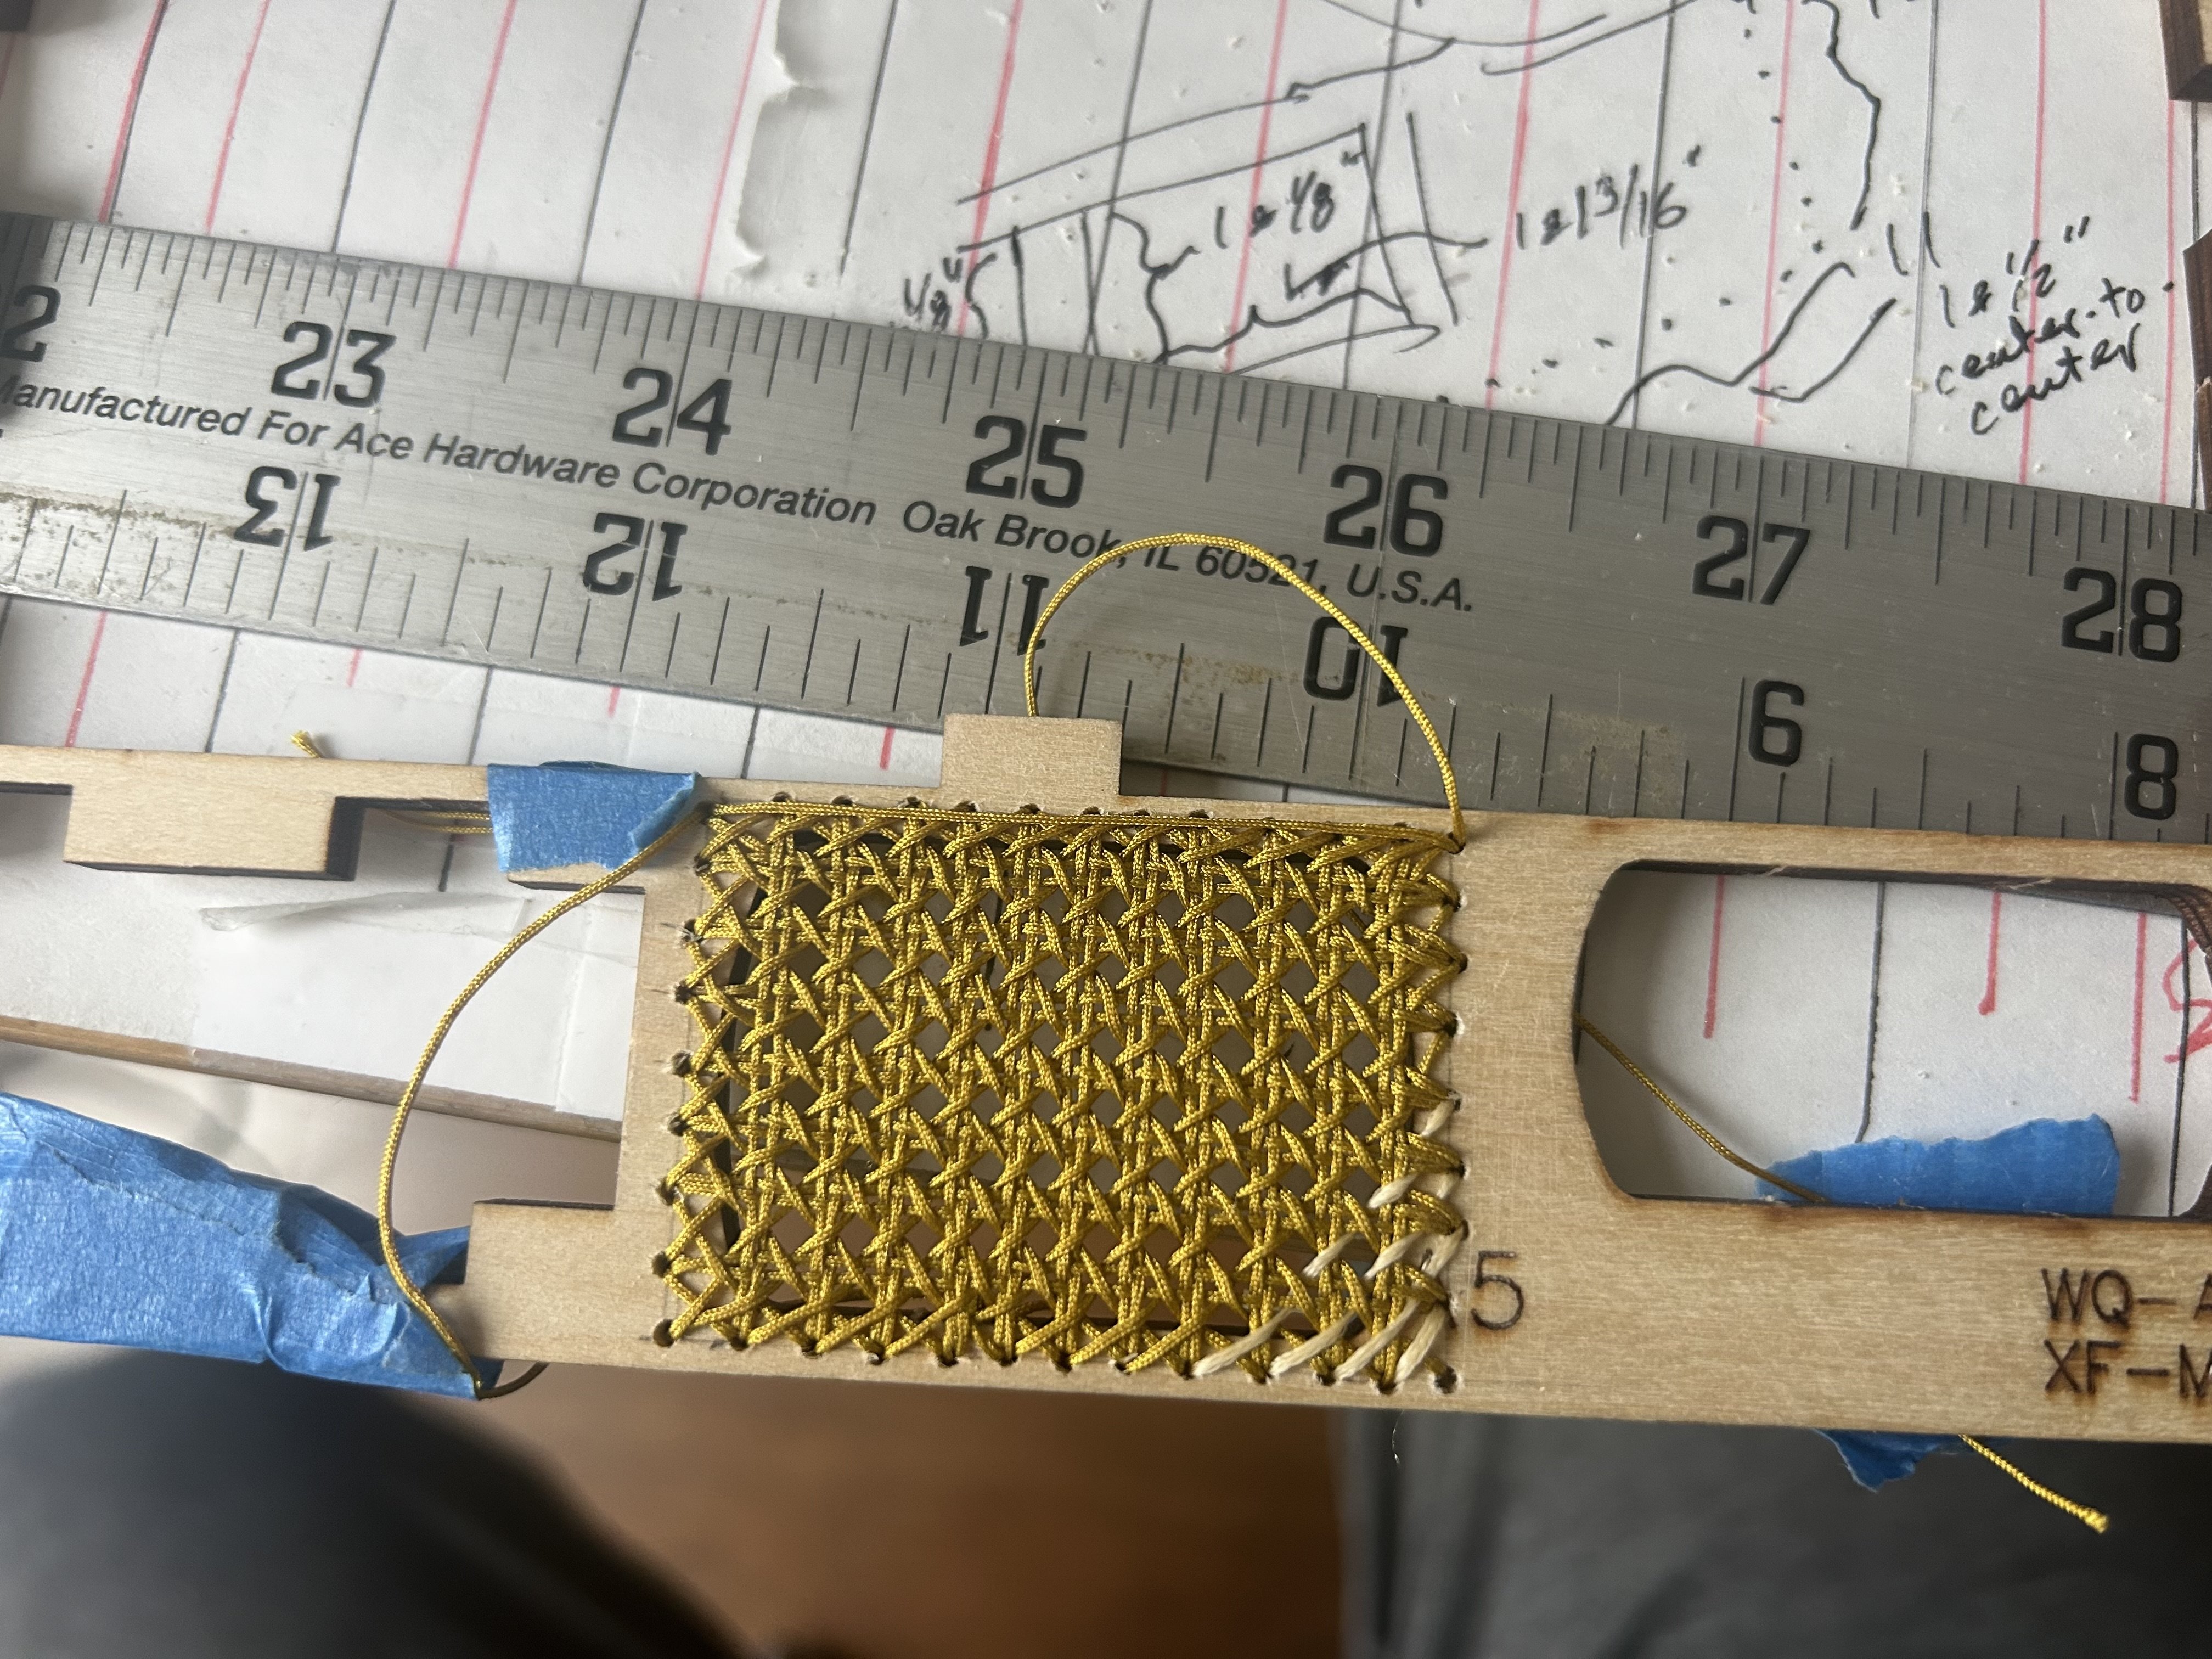
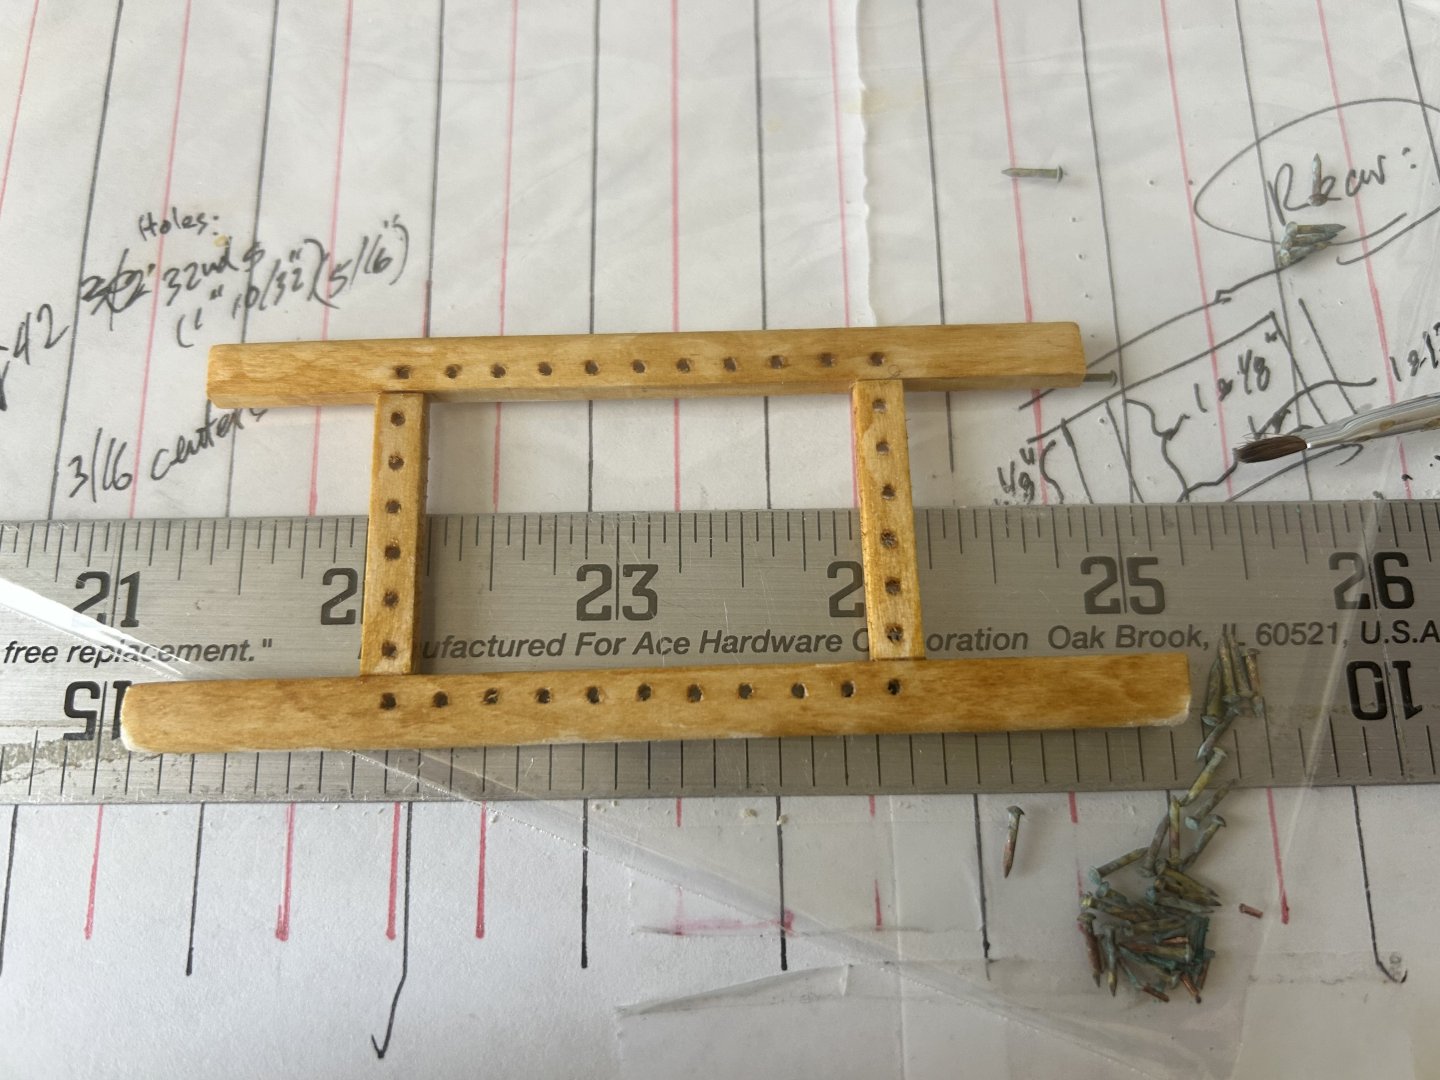
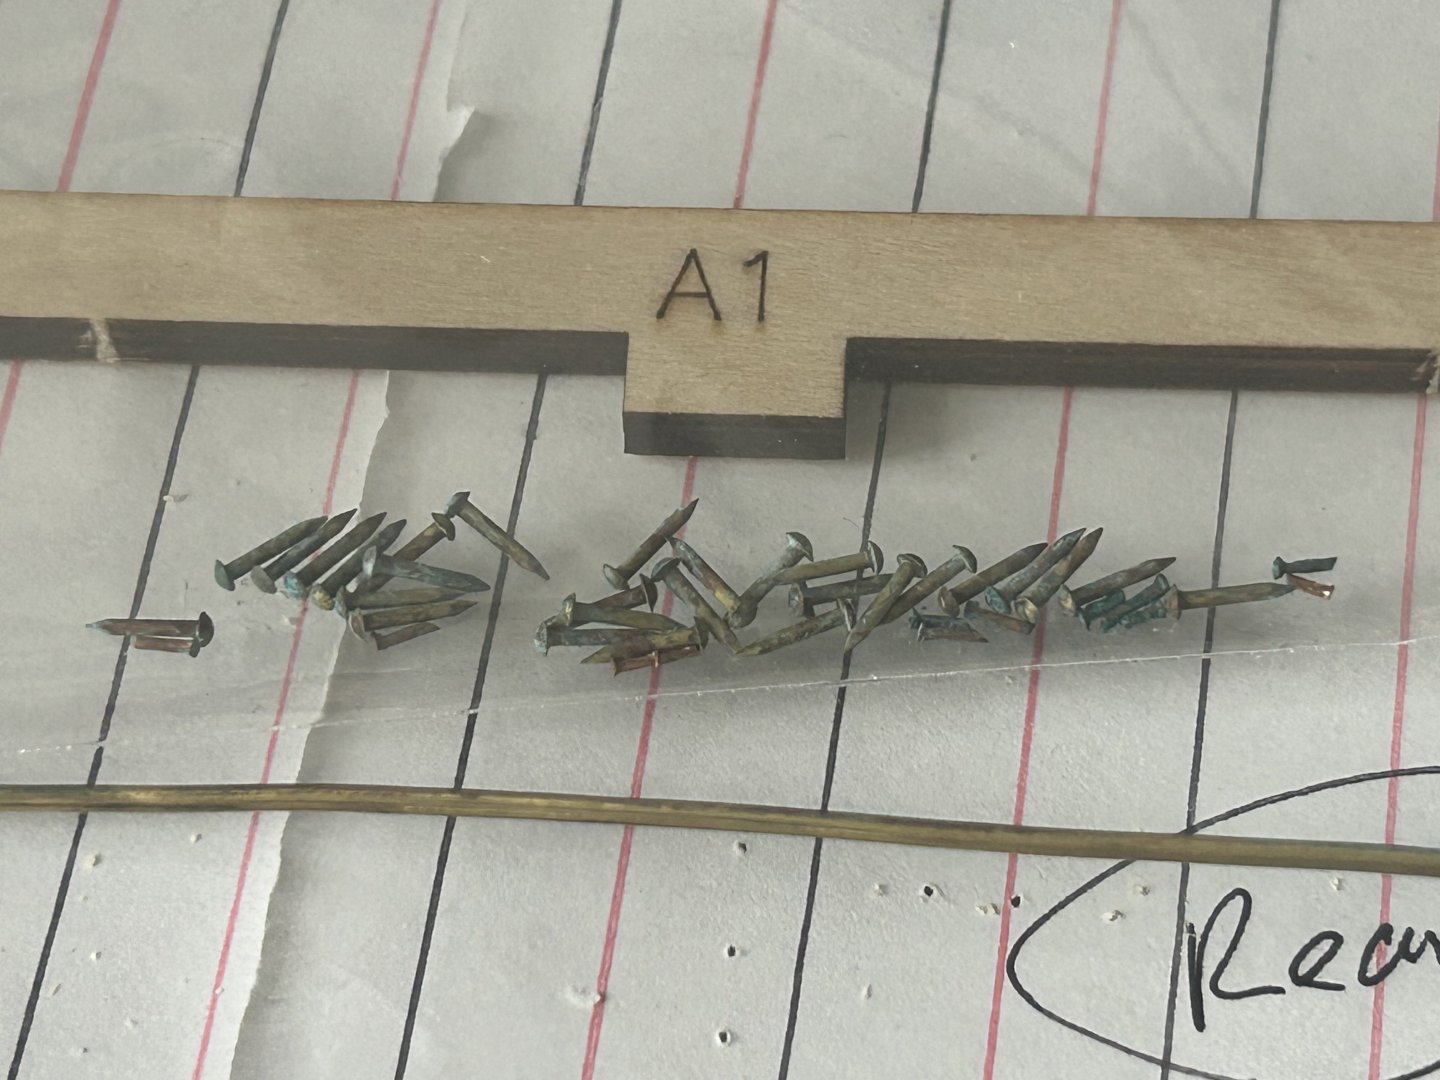
It’s taken me a while to plan out exactly how to manage the seats (basswood, with a light stain, and a semi-gloss clear lacquer varnish) and seat supports (3/32 x 3/16 mahogany), and to settle on the sizes and hole patterns for the caning. Still not sure if I’ll be happy with the scale (thinking they may read as a bit oversized), but if not perfect I can always re-make them with another 30 hours of meticulous labor (😆). Another batch of screws/bolts will be needed for the seat supports, and some tiny screws for the brass keel strip, which has been weathered/patinated, just needs straightening. Here is the test warp & weave caning job at scale, although I will be using the flat waxed linen thread (visible in lower right corner) rather than the gold woven thread. Already screwed up the front seat (was supposed to be 9 rows high by 11 wide, somehow I only made 8 rows high).


-
halvoric reacted to a post in a topic:
Norwegian Sailing Pram by MBerg - FINISHED - Model Shipways - 1:12
-
halvoric reacted to a post in a topic:
Norwegian Sailing Pram by MBerg - FINISHED - Model Shipways - 1:12
-
halvoric reacted to a post in a topic:
Norwegian Sailing Pram by MBerg - FINISHED - Model Shipways - 1:12
-
halvoric reacted to a post in a topic:
Canadian Canoe by halvoric - Midwest Products - 1:8
-
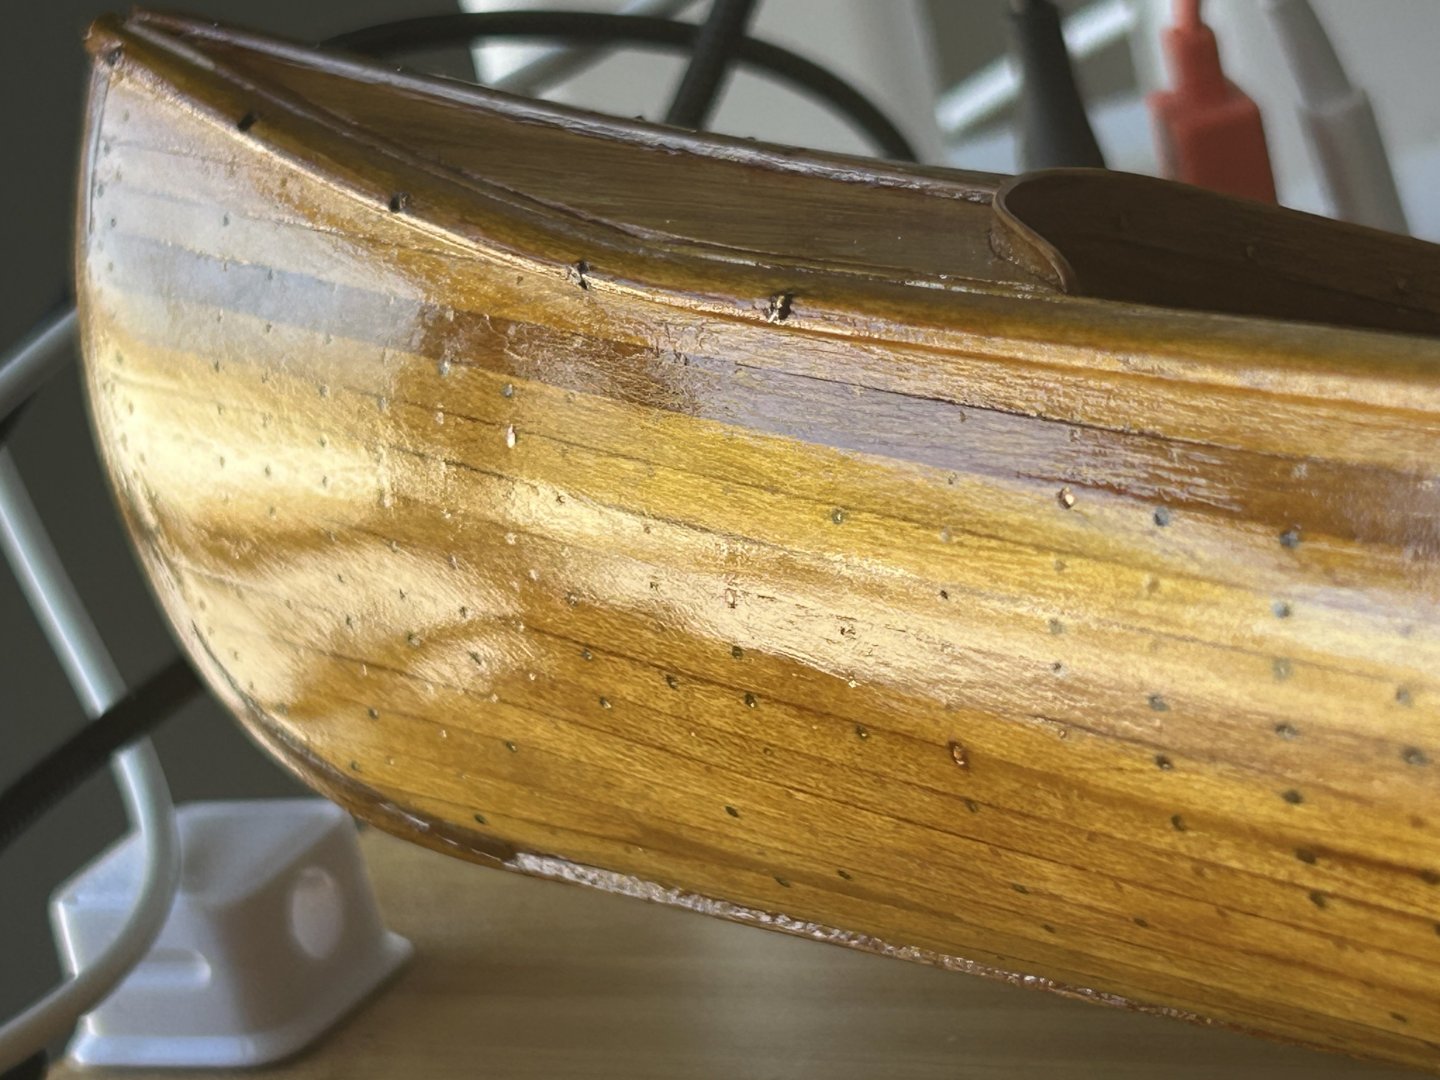
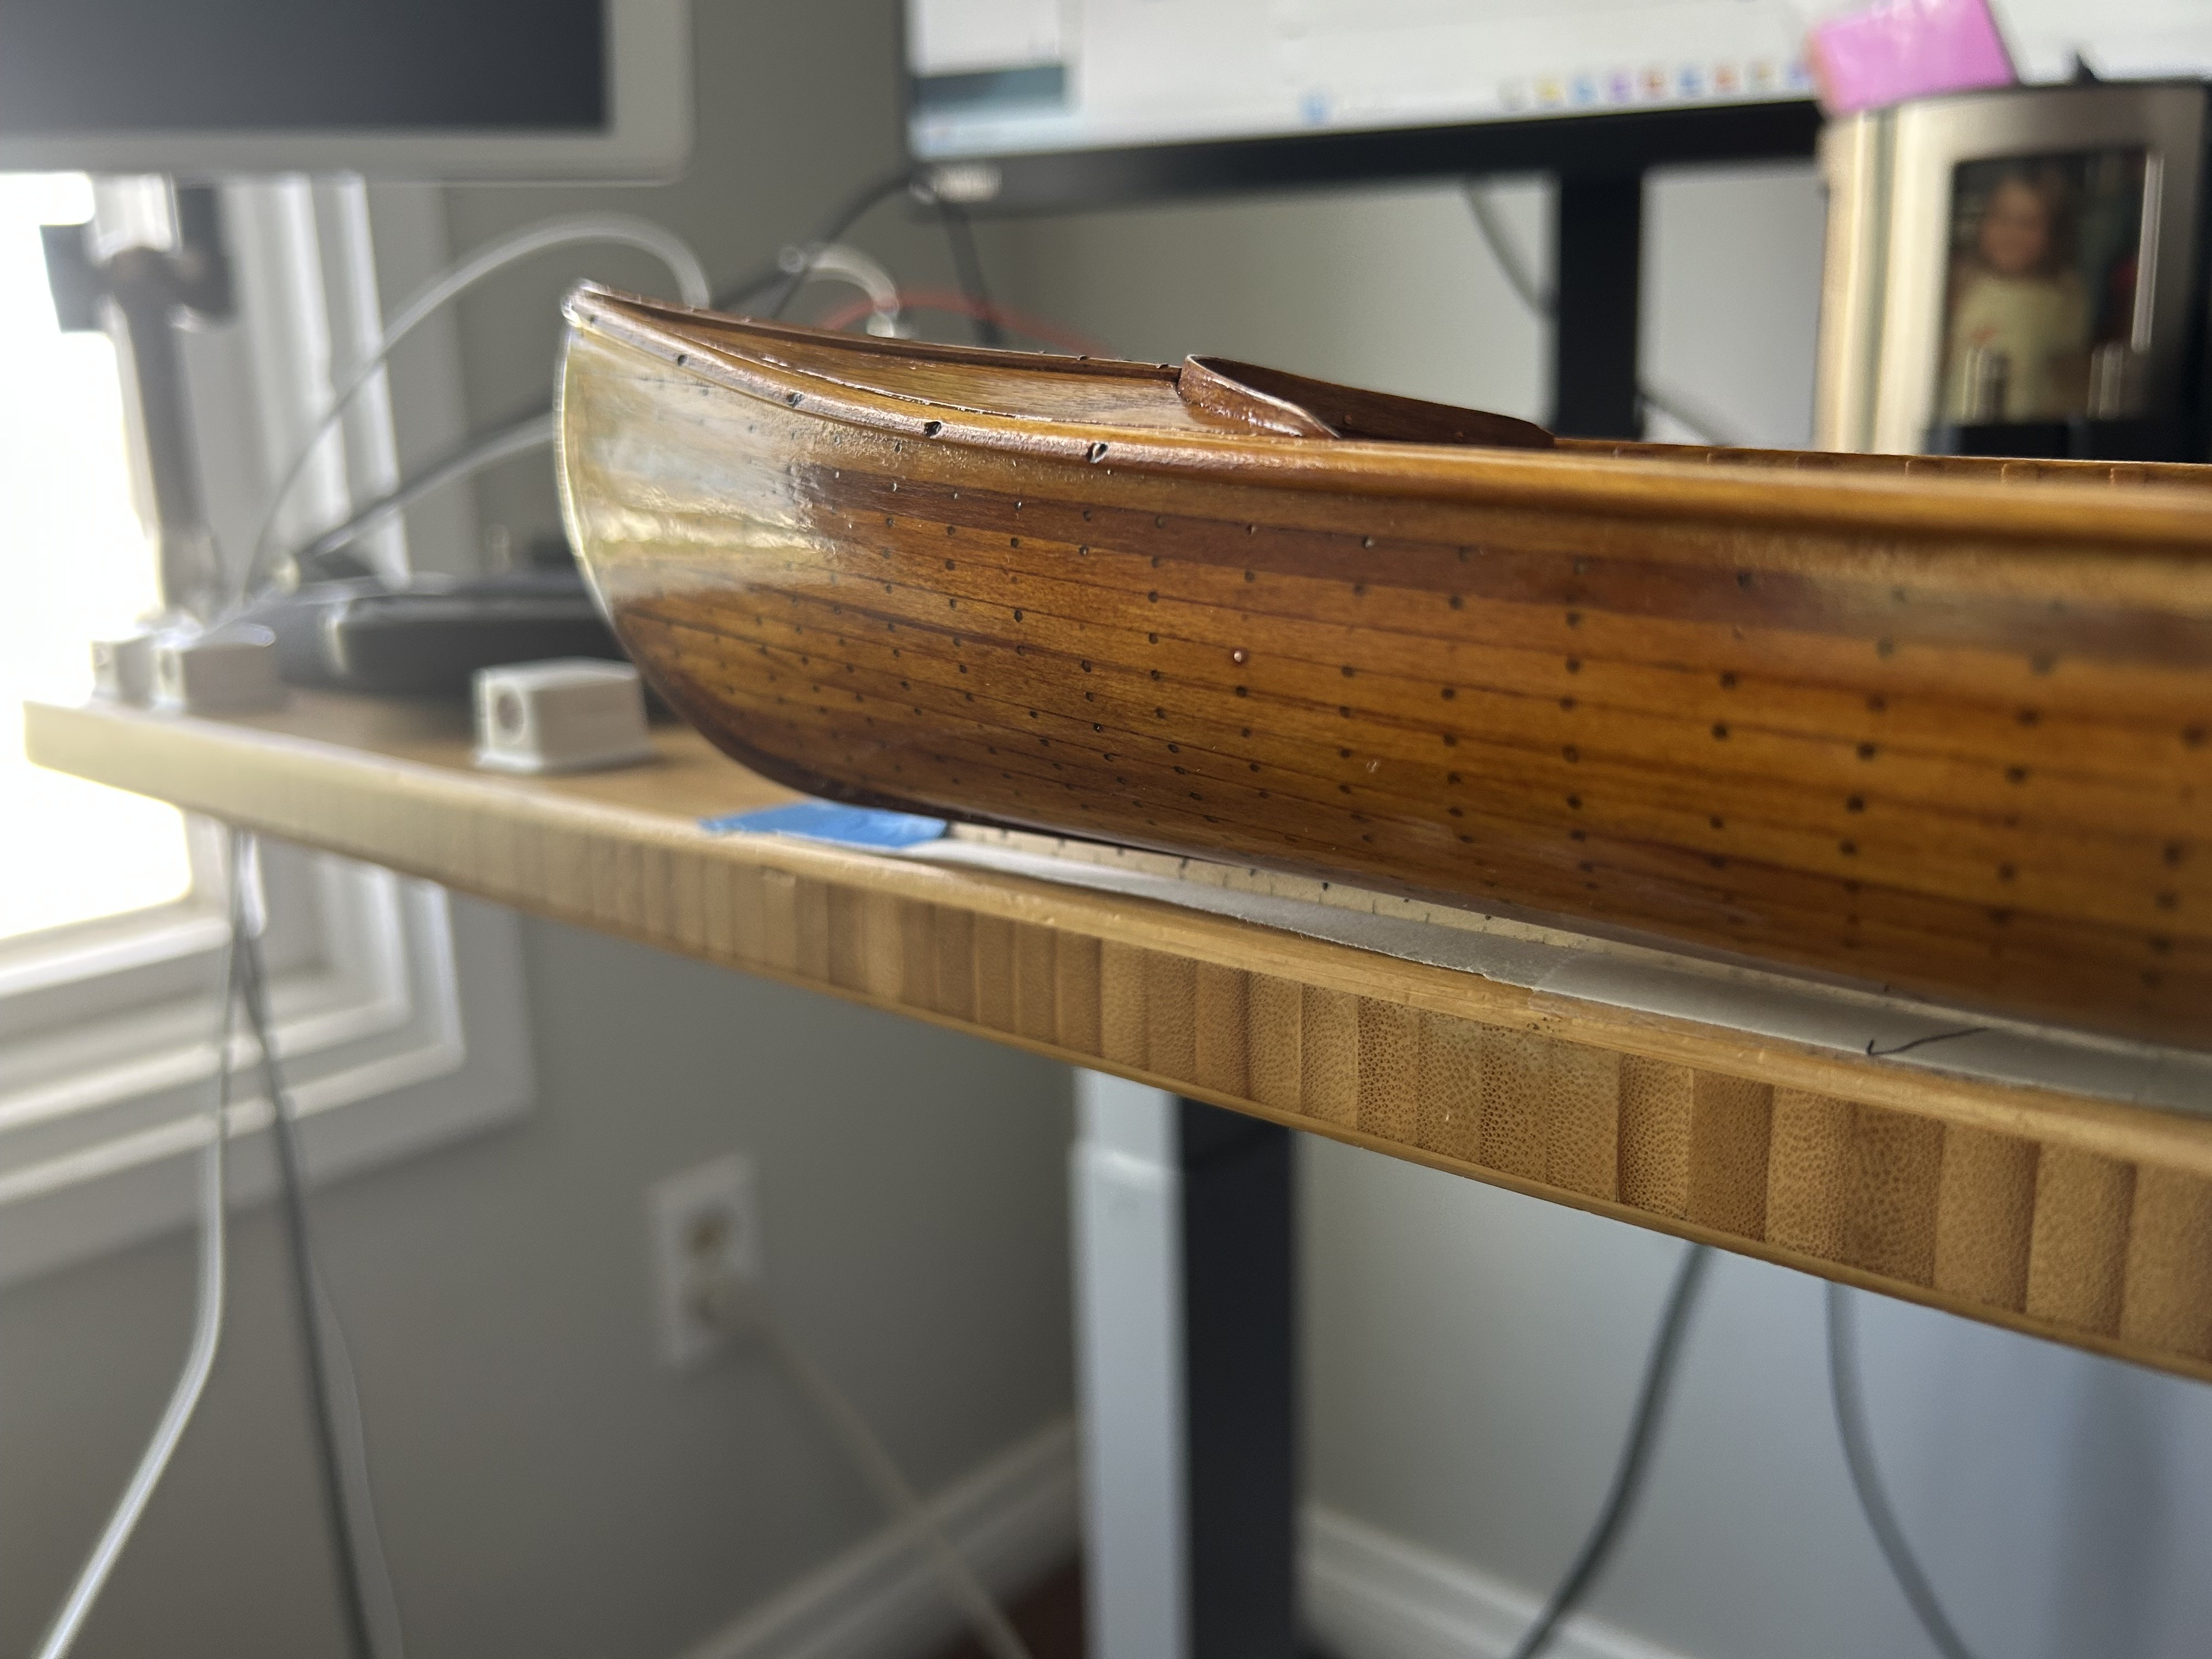
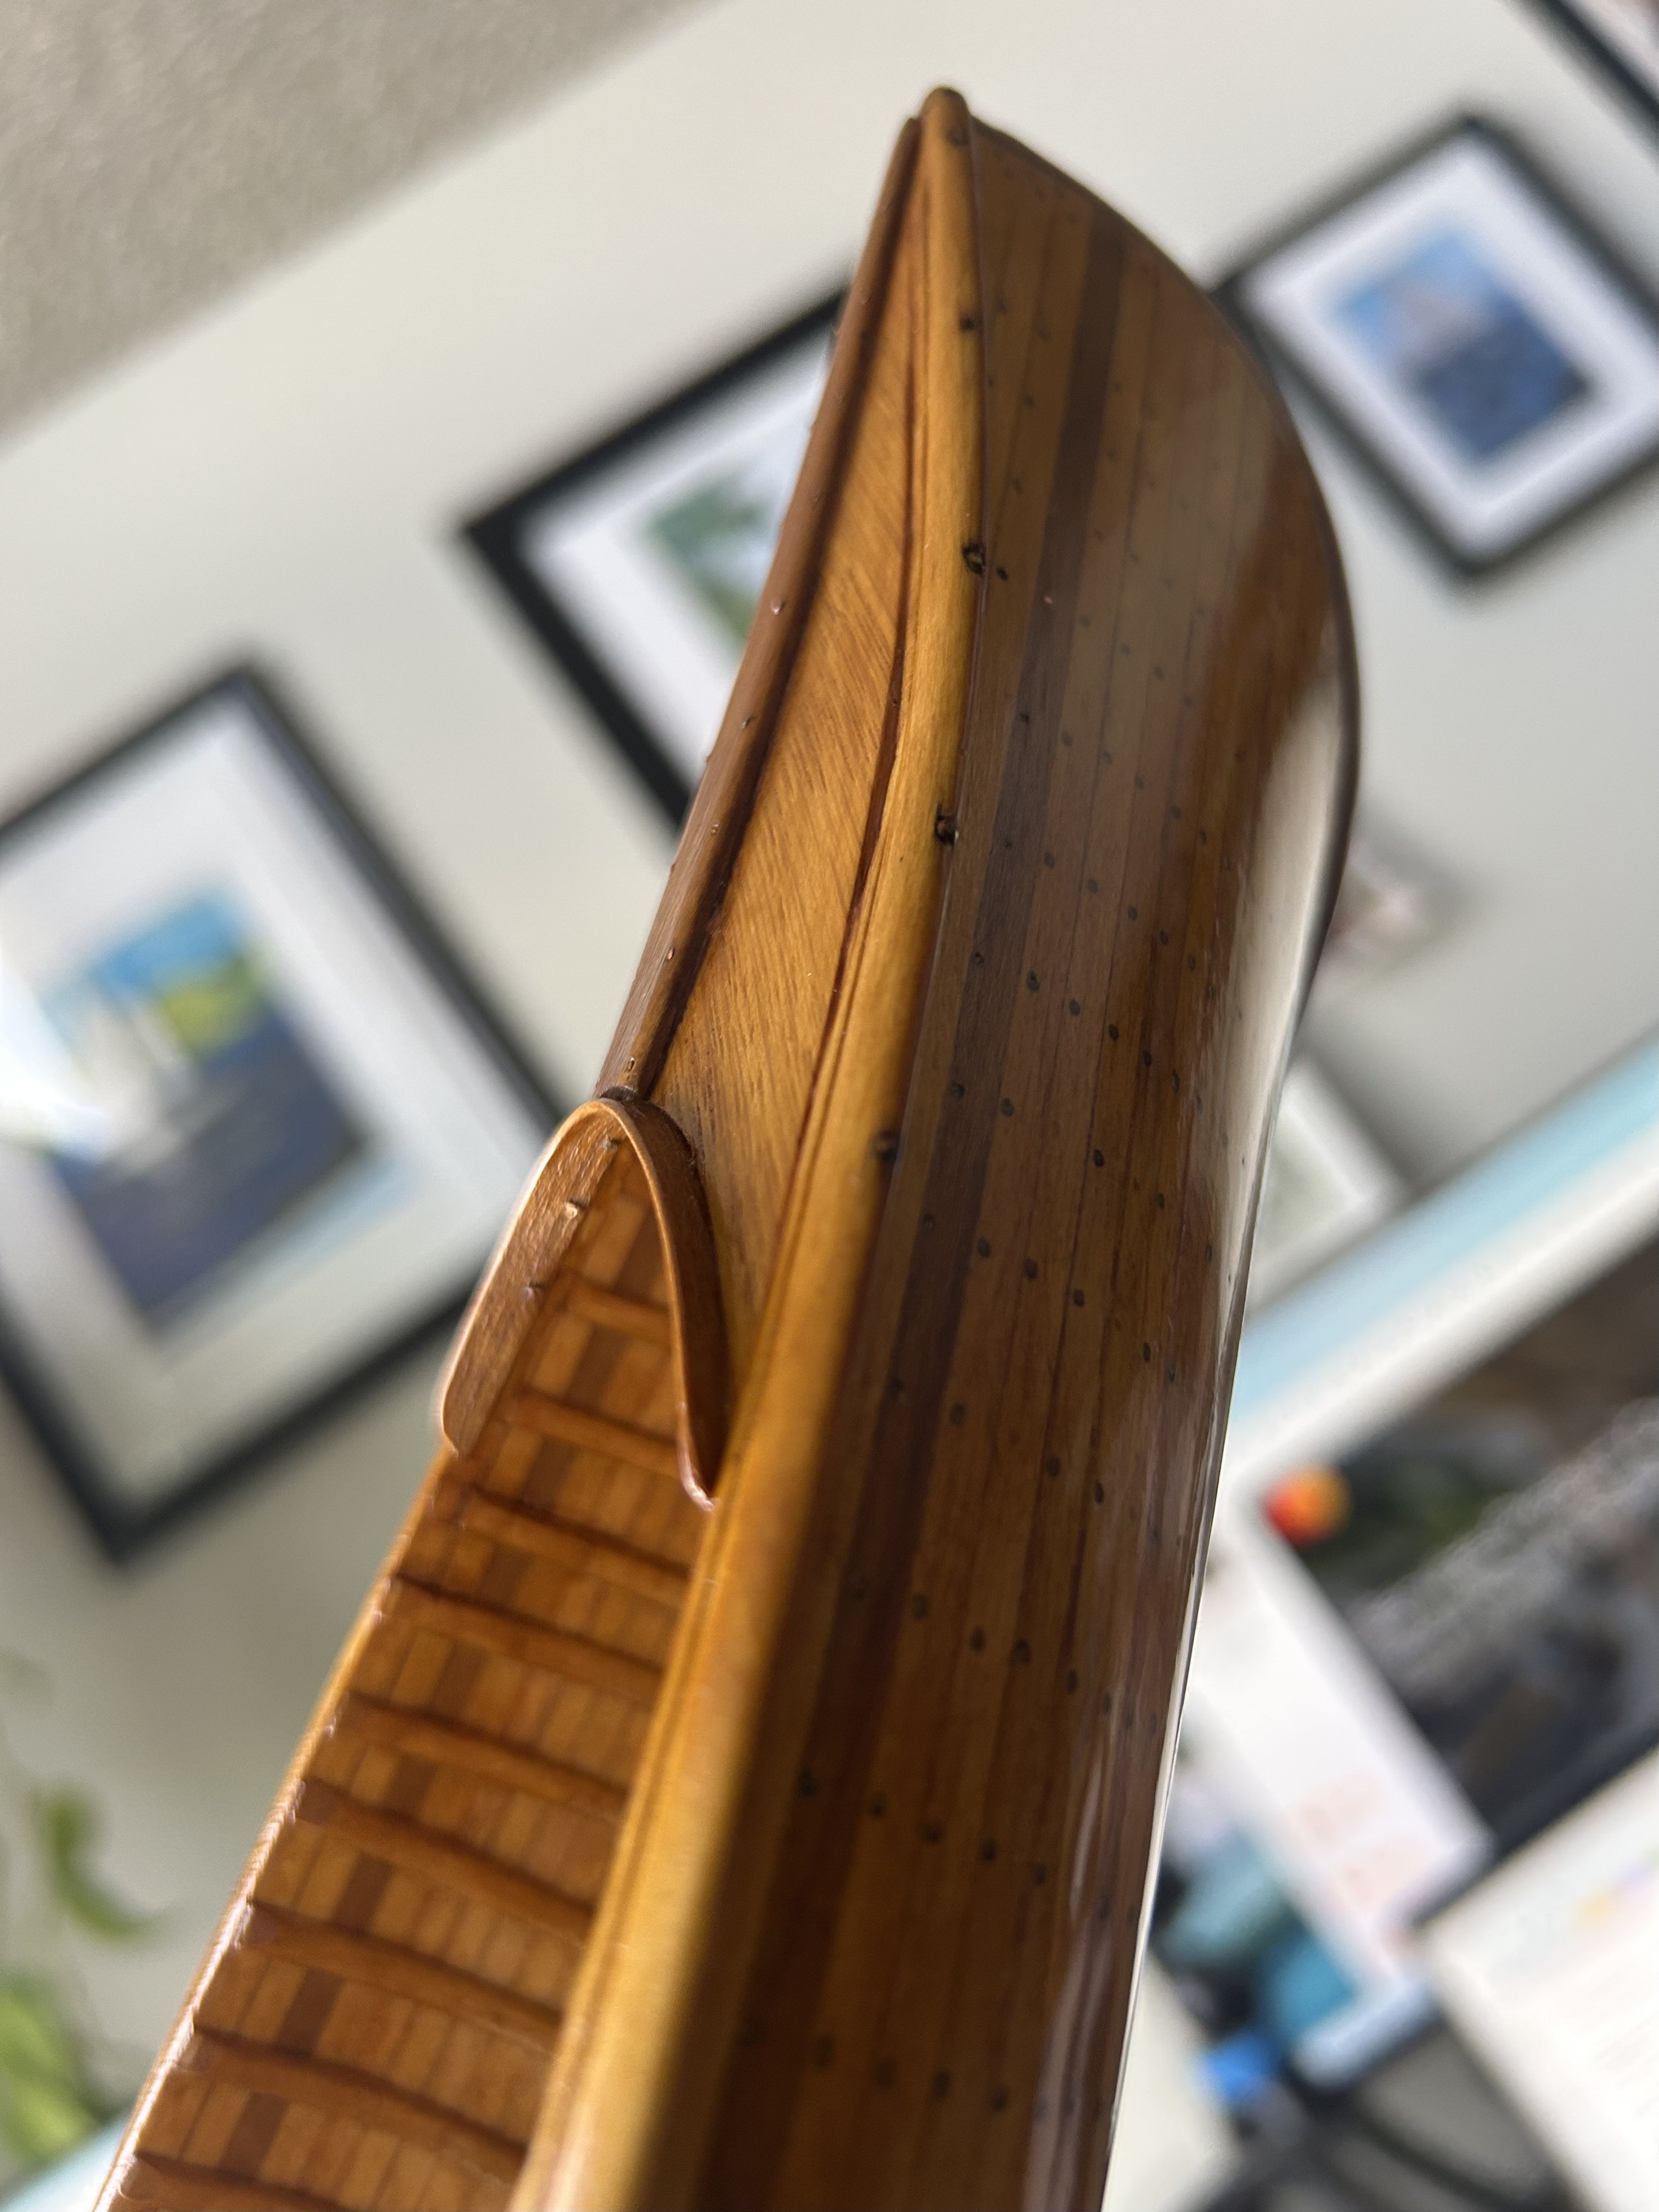
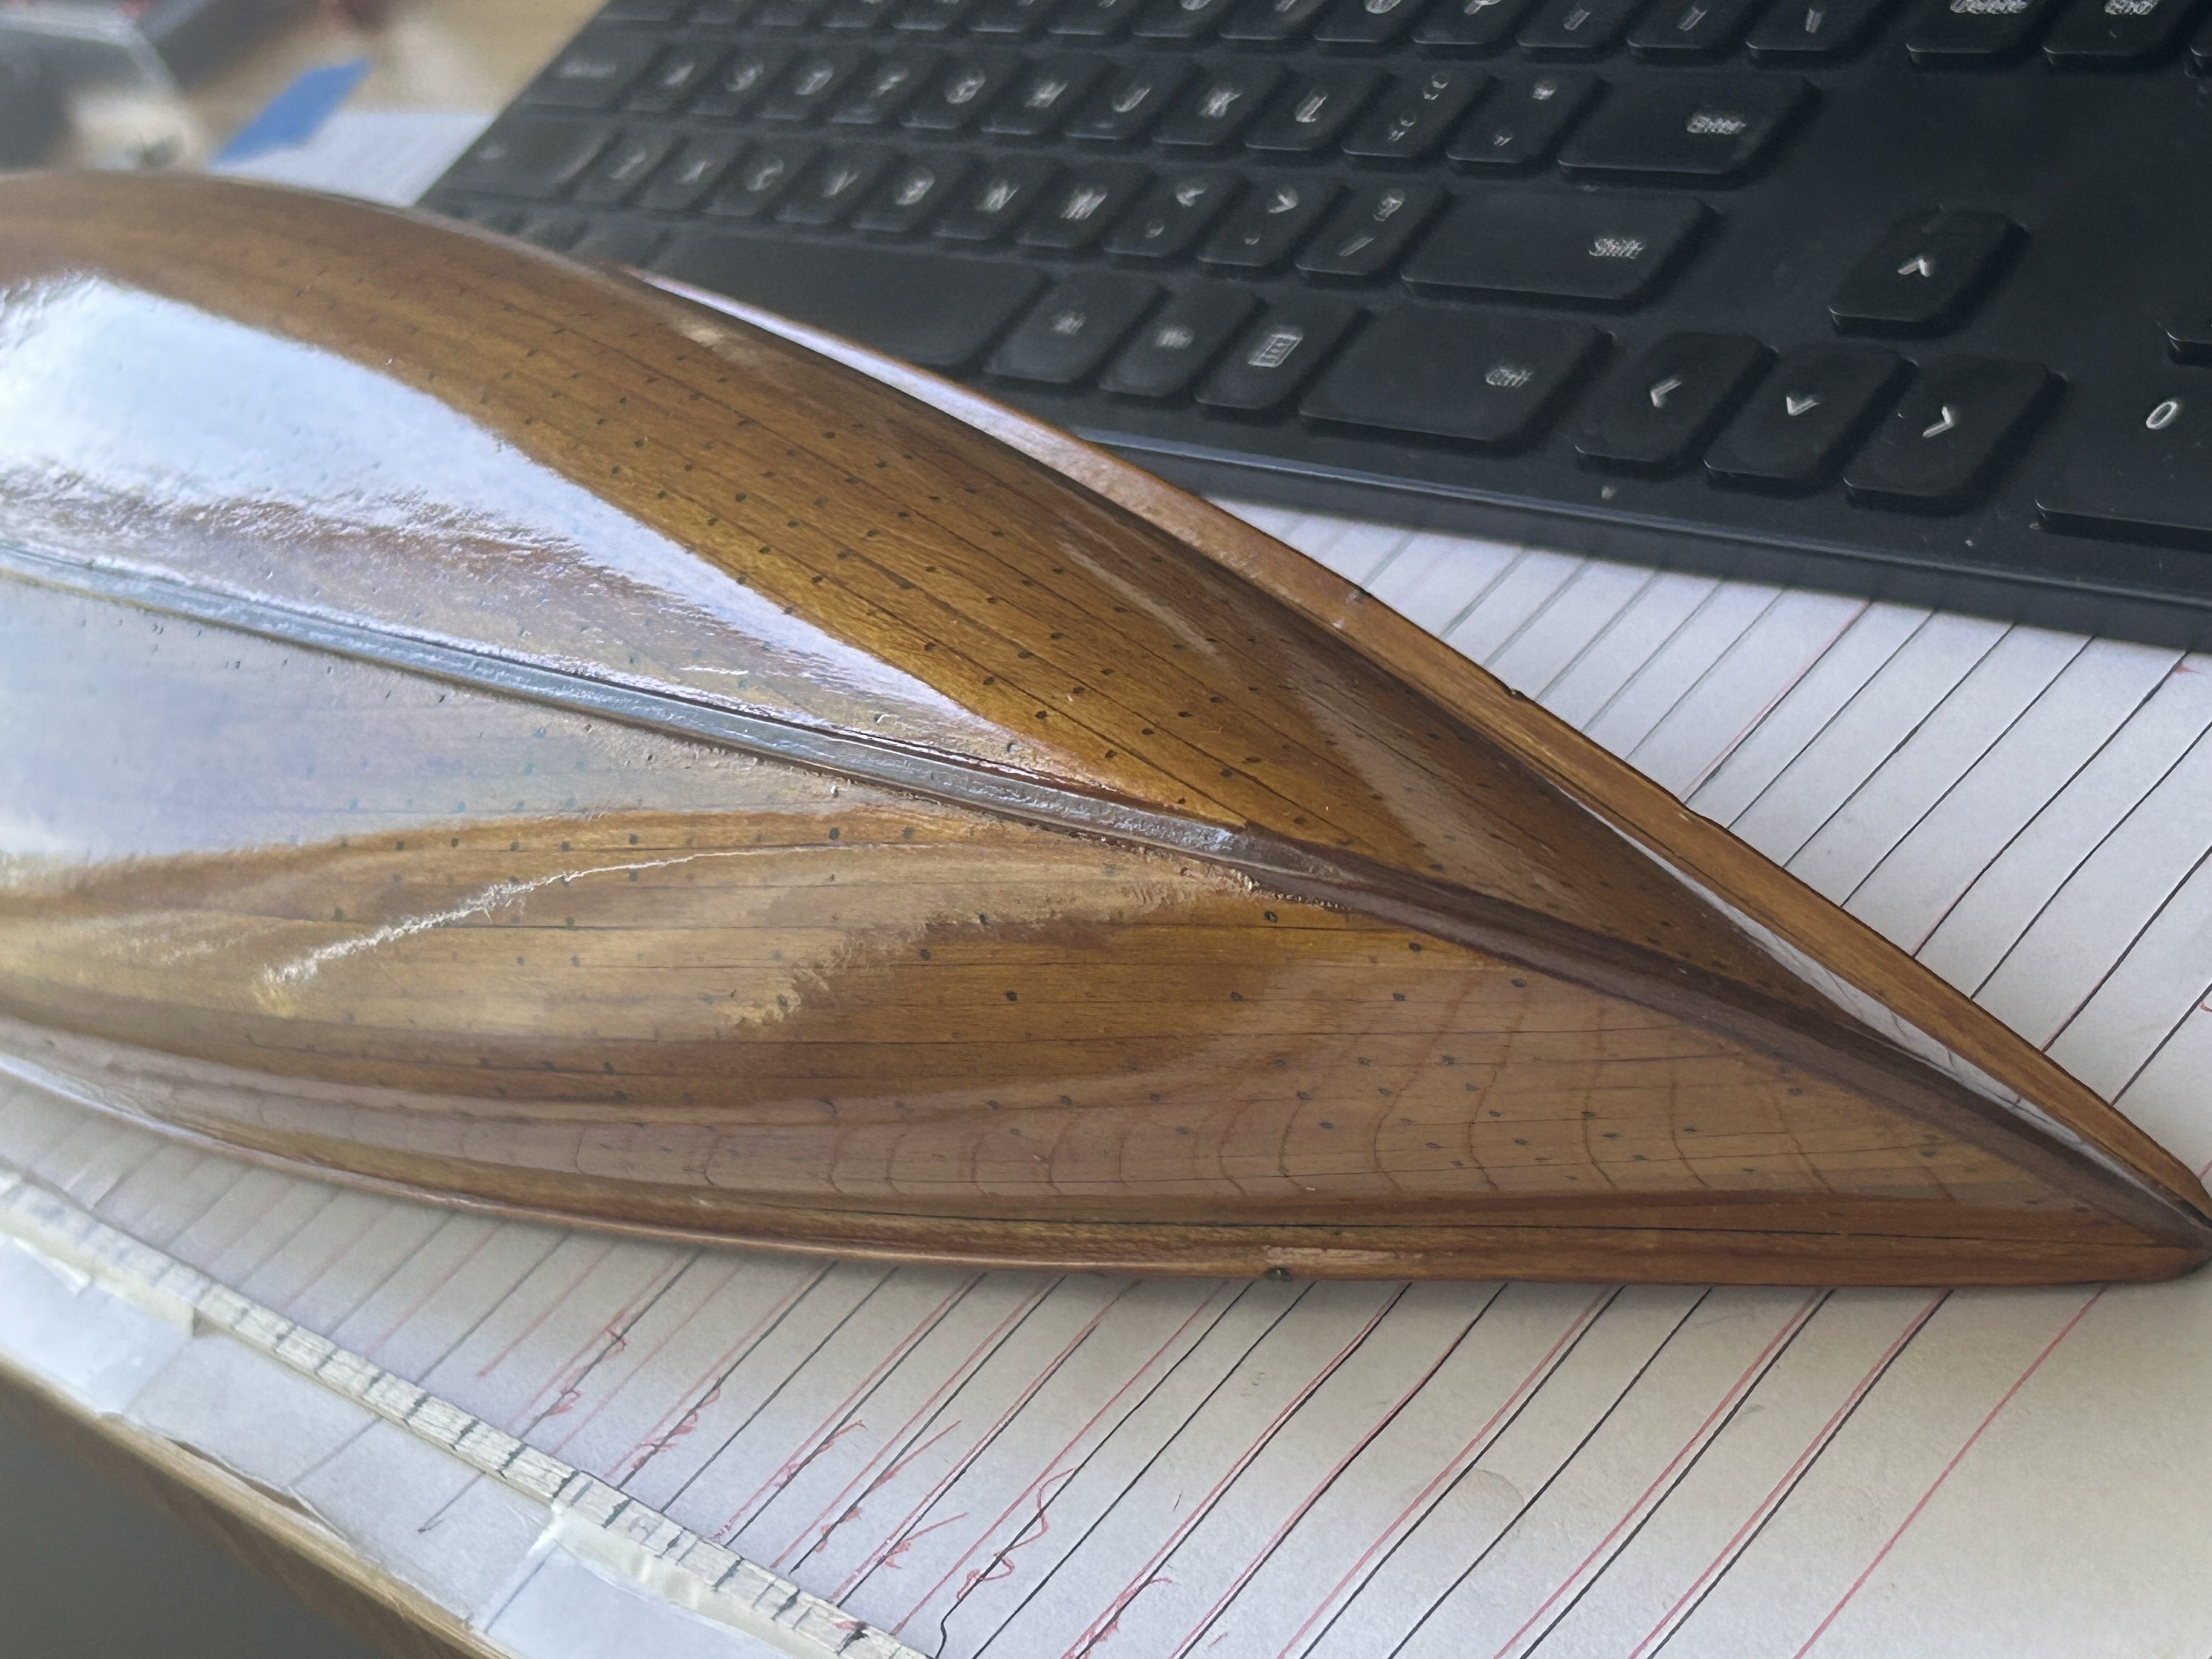
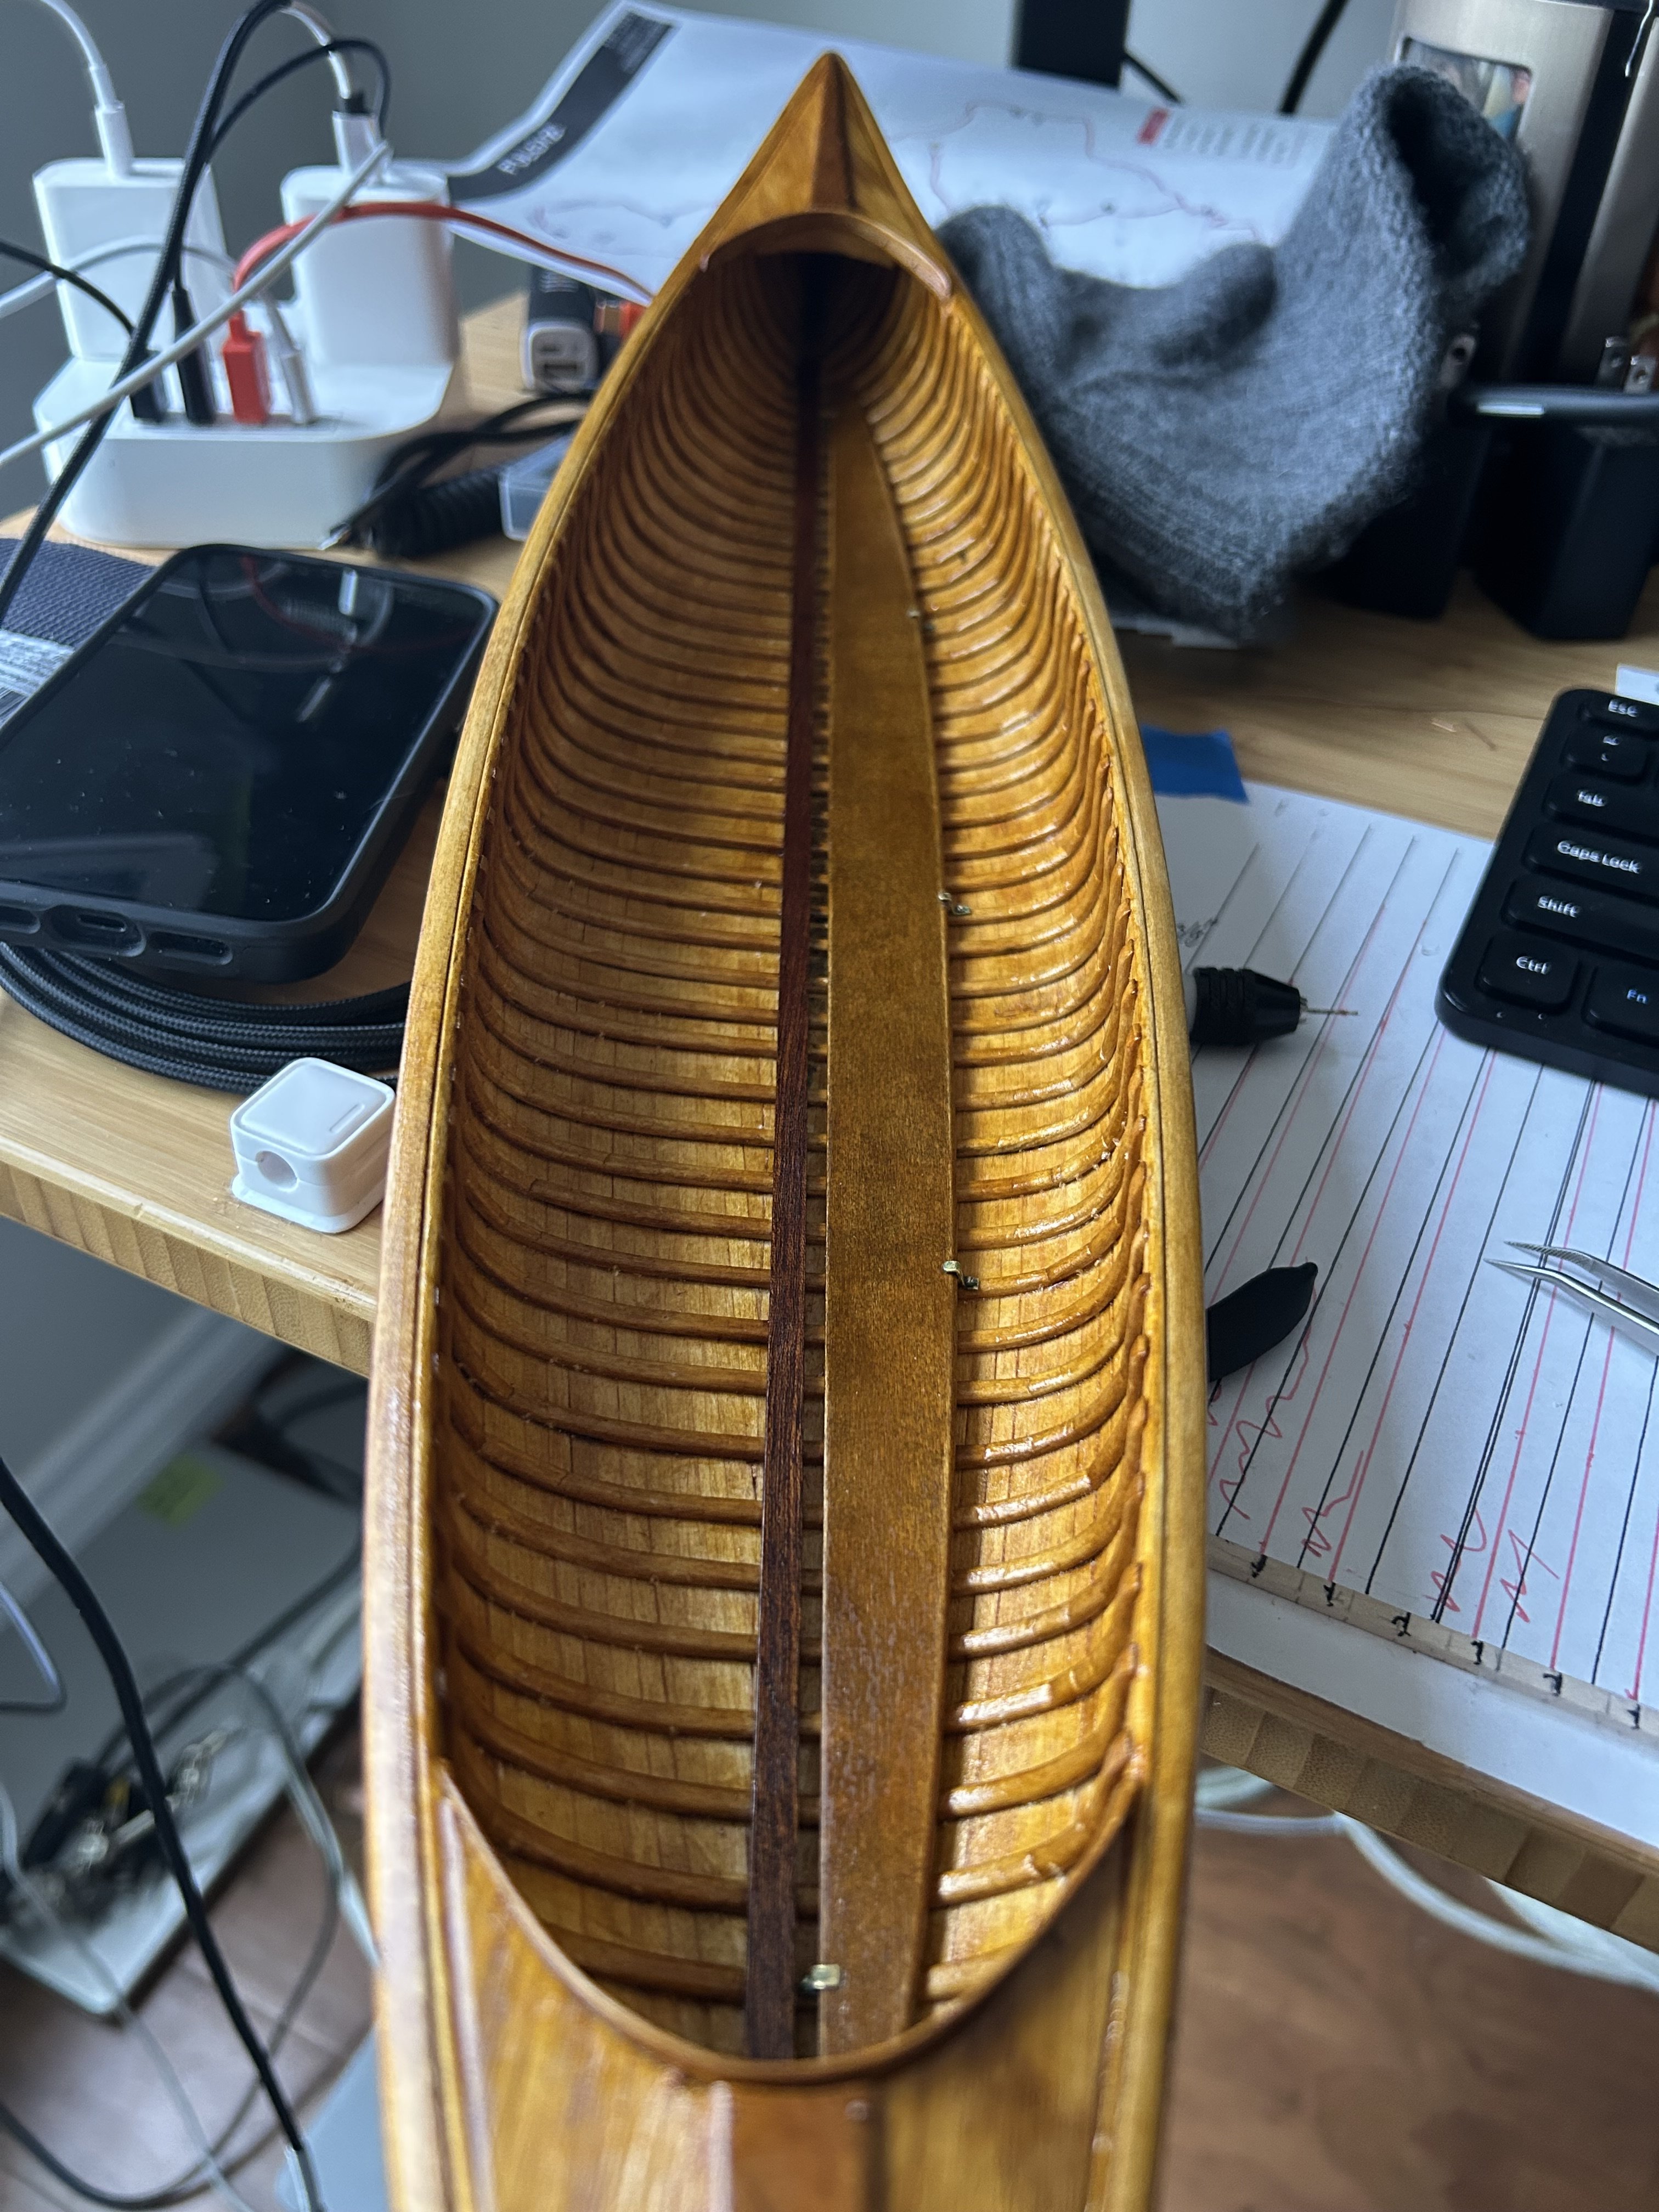
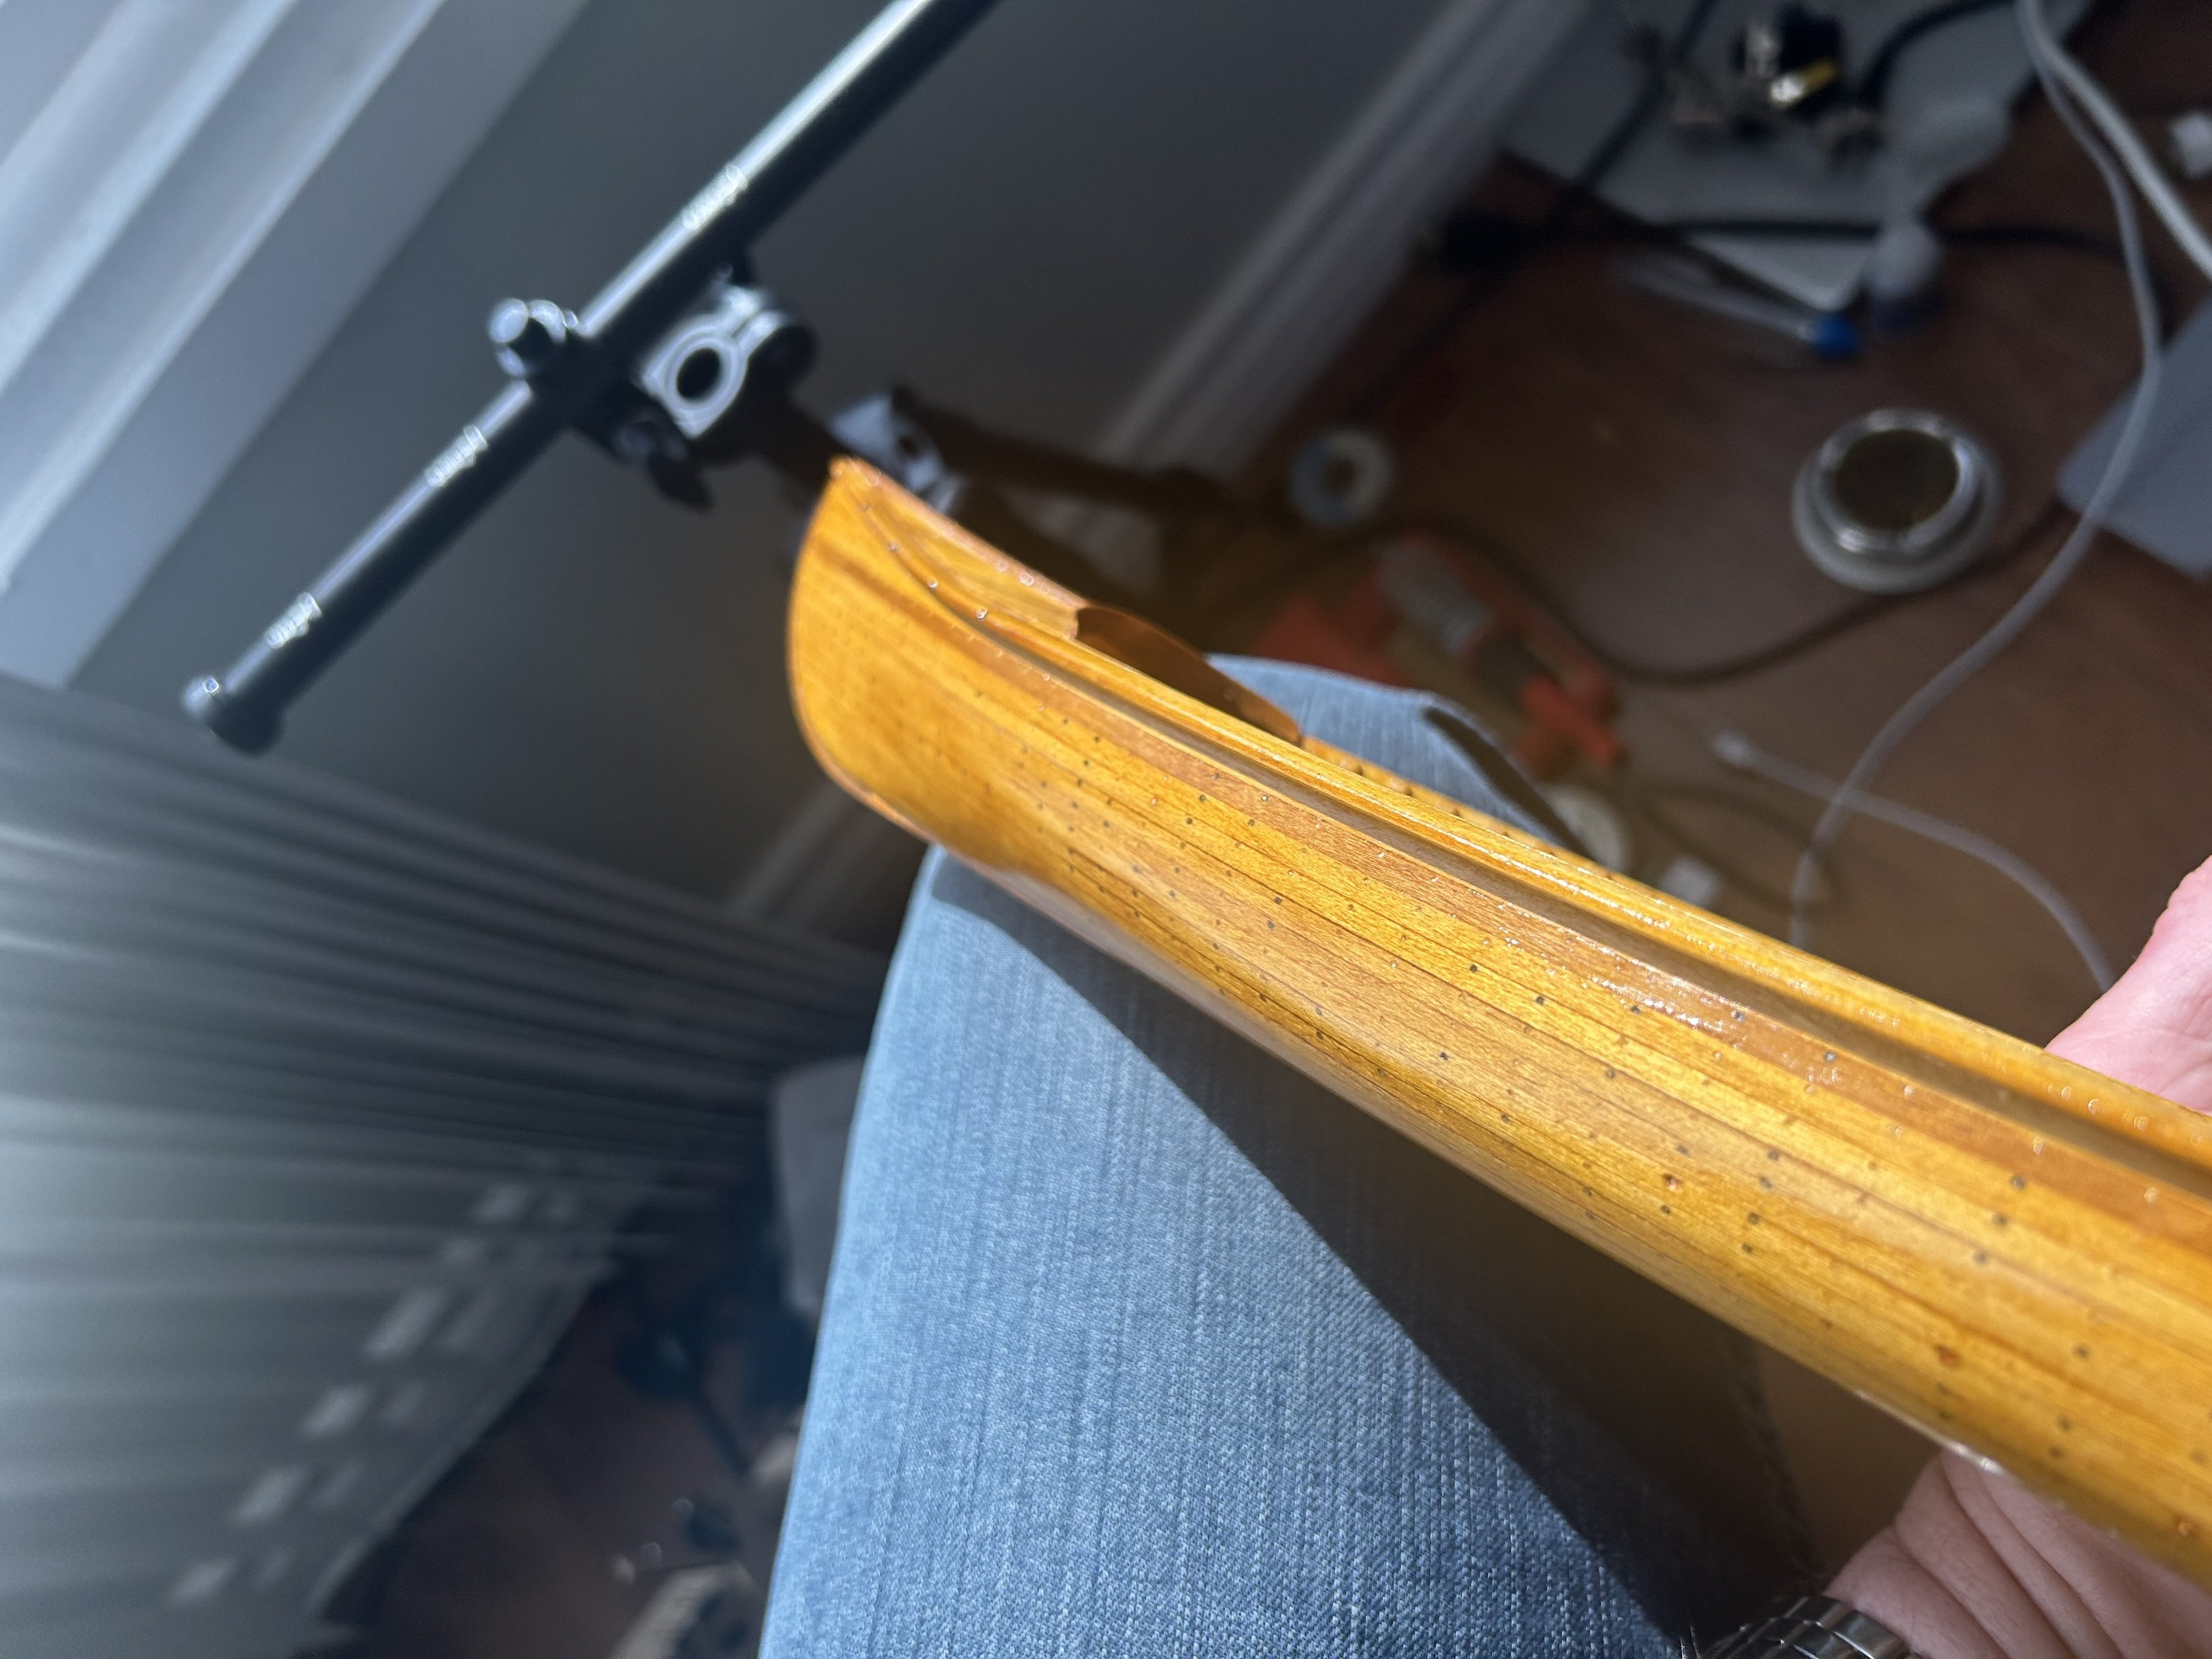
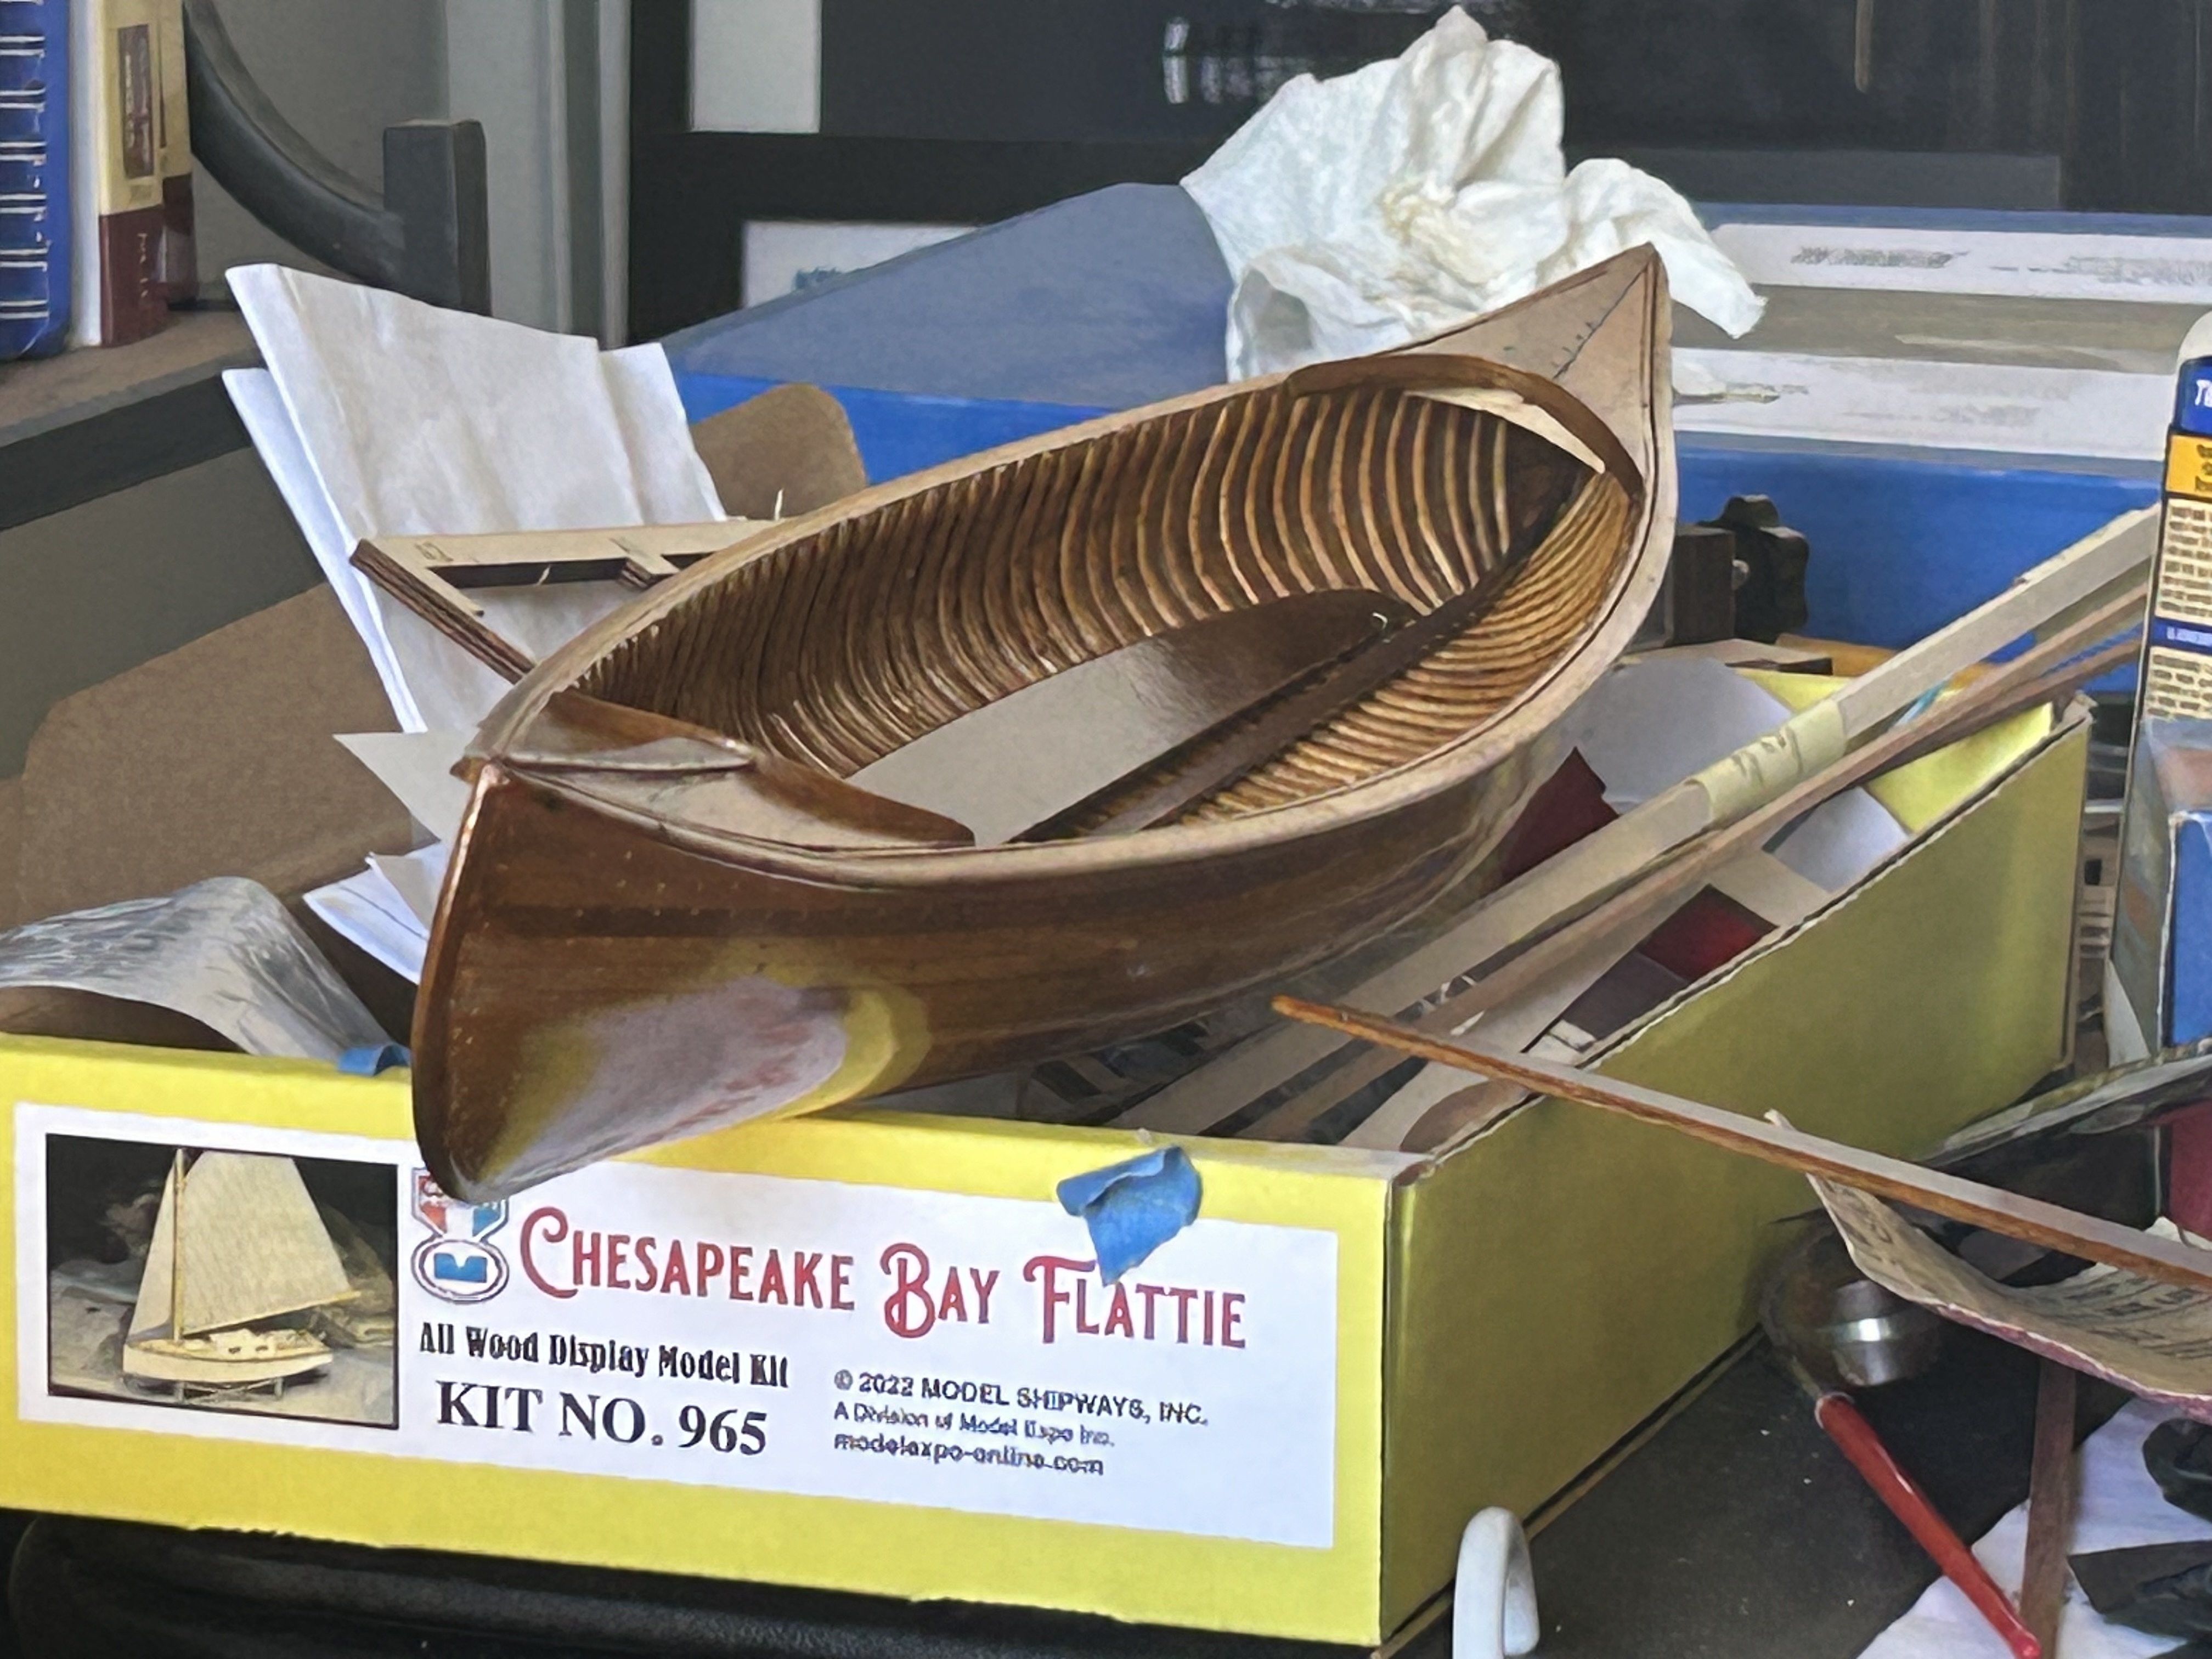
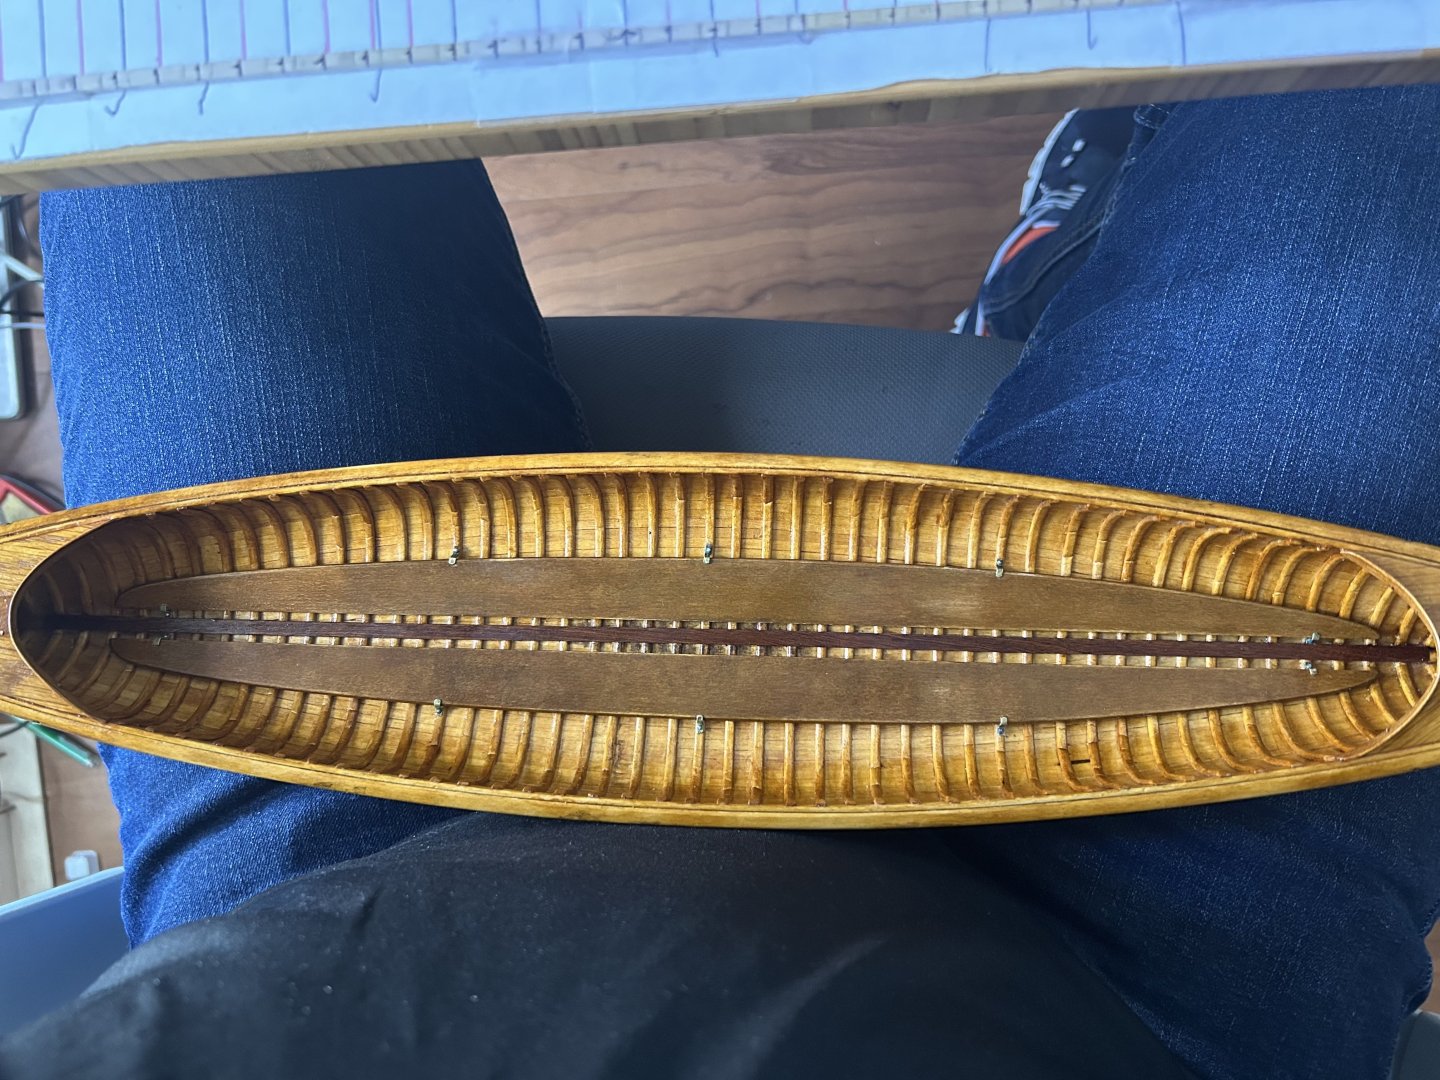
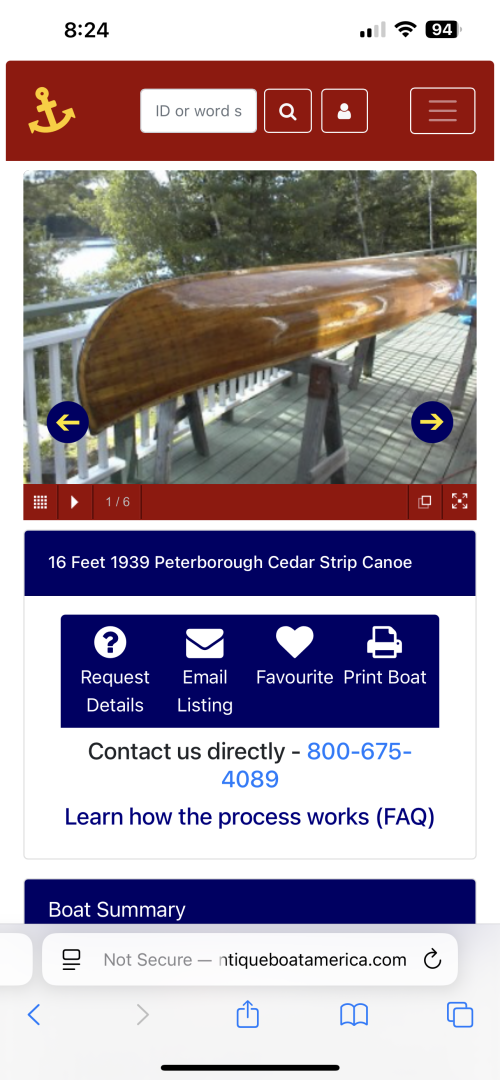
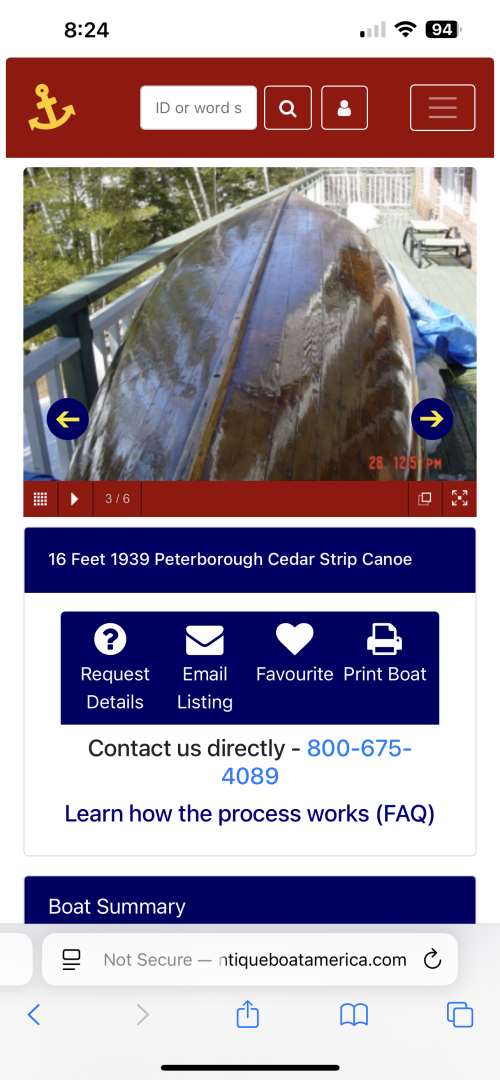
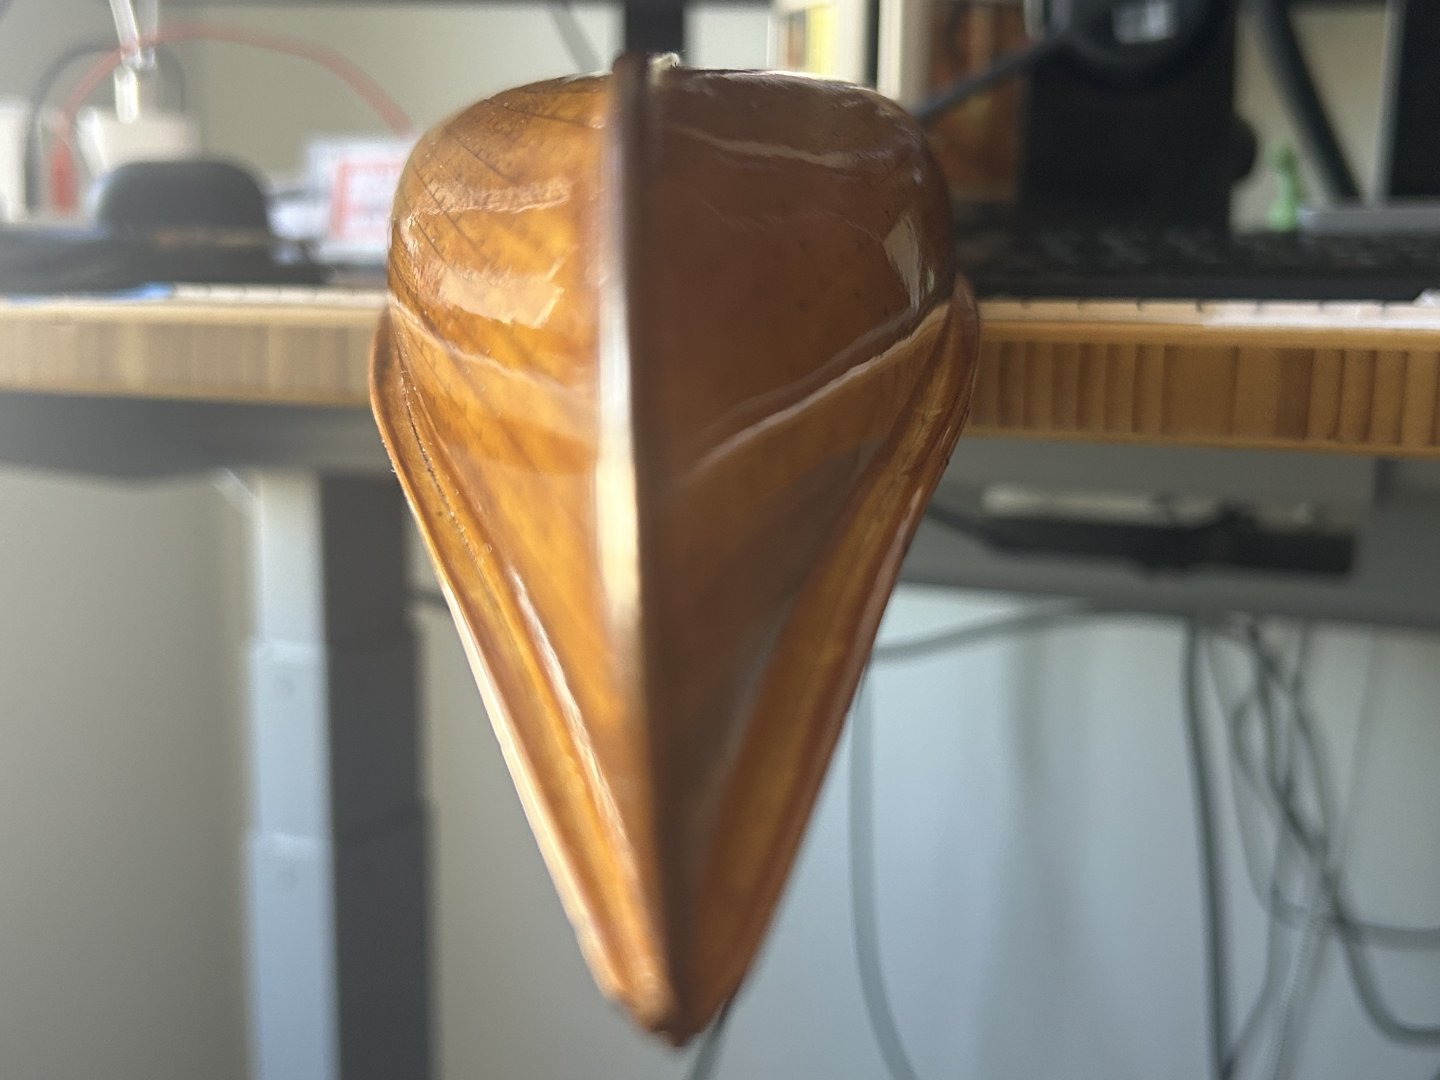
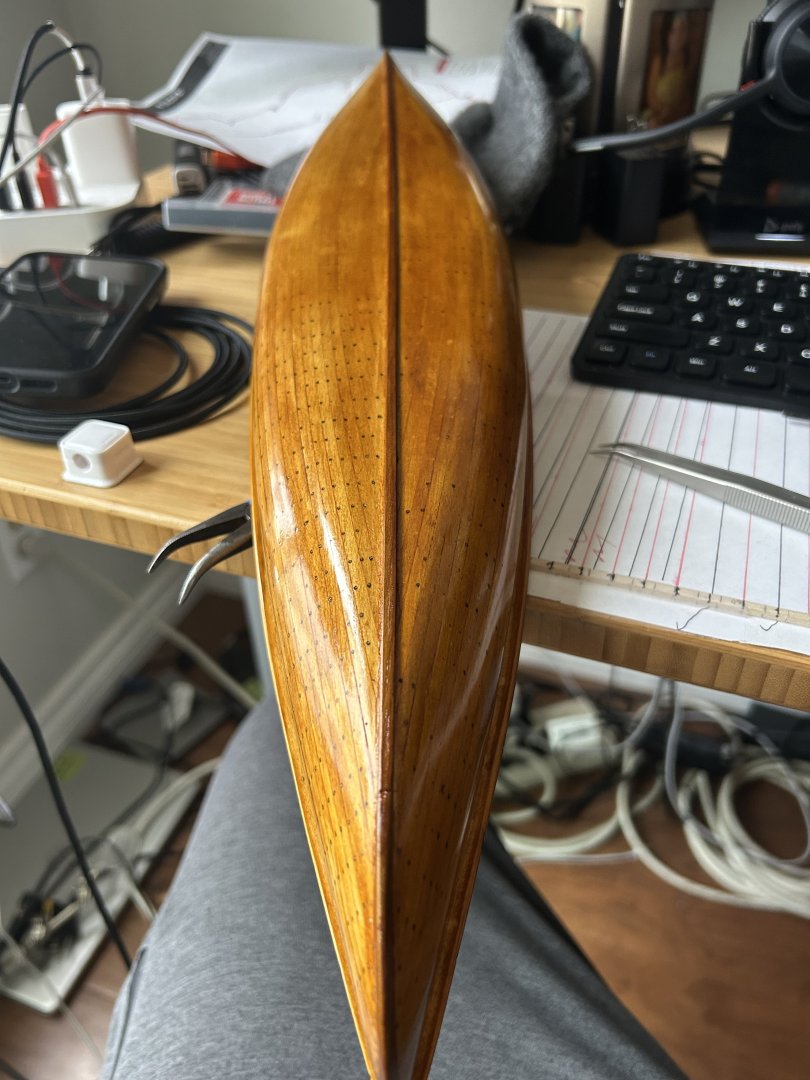
Now both floorboards are in and the hull polish is “done” (it’s hard to resist adding a micron or two more and then buffing it out again). Had to add a few coats to one side as my very last floorboard bracket screw hole popped all the way through. Oops. And I’ve found one more reference canoe online, this one with the glossiest finish I’ve seen yet. Makes me feel a bit more “scale”. Now for a lot of measuring twice and cutting once as I decide where the two seats and single thwart and their mounting pieces need to go. Not really looking forward to caning the seats as it is remarkably tedious work. But worth it I hope.

-
The French polish magic is pretty much complete. Now it’s on to the second floorboard. Then seats and center thwart.

-
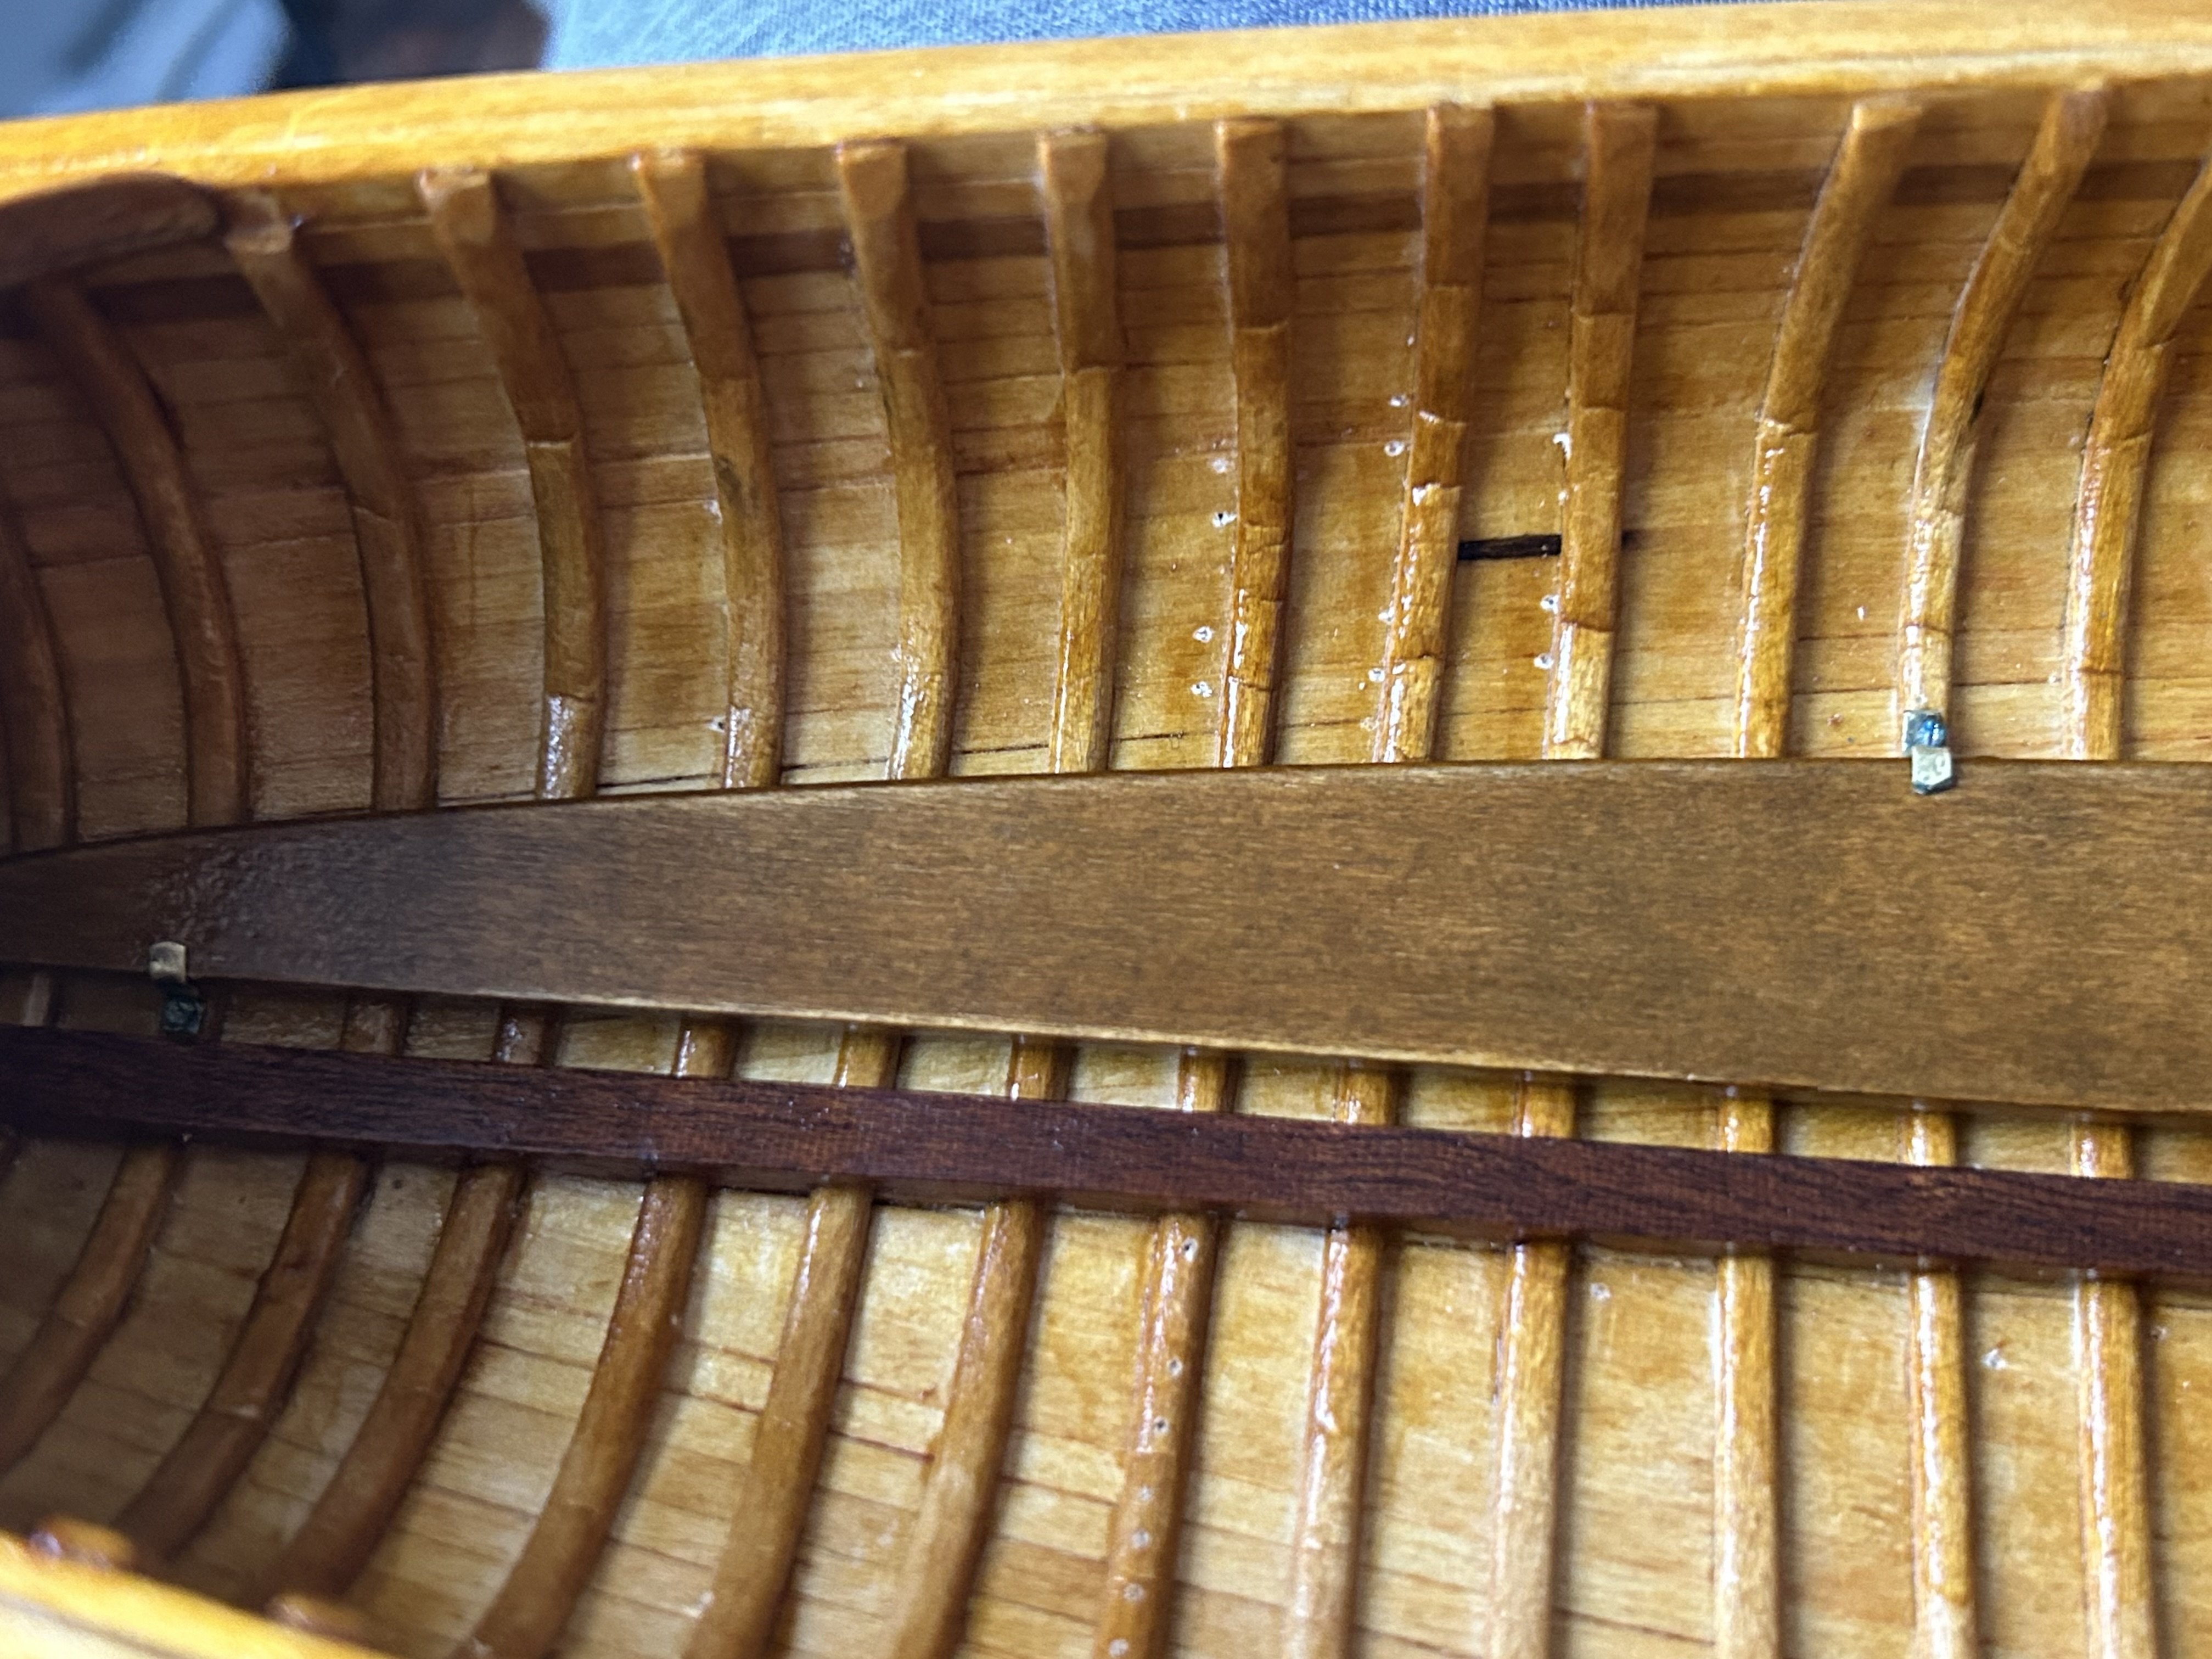
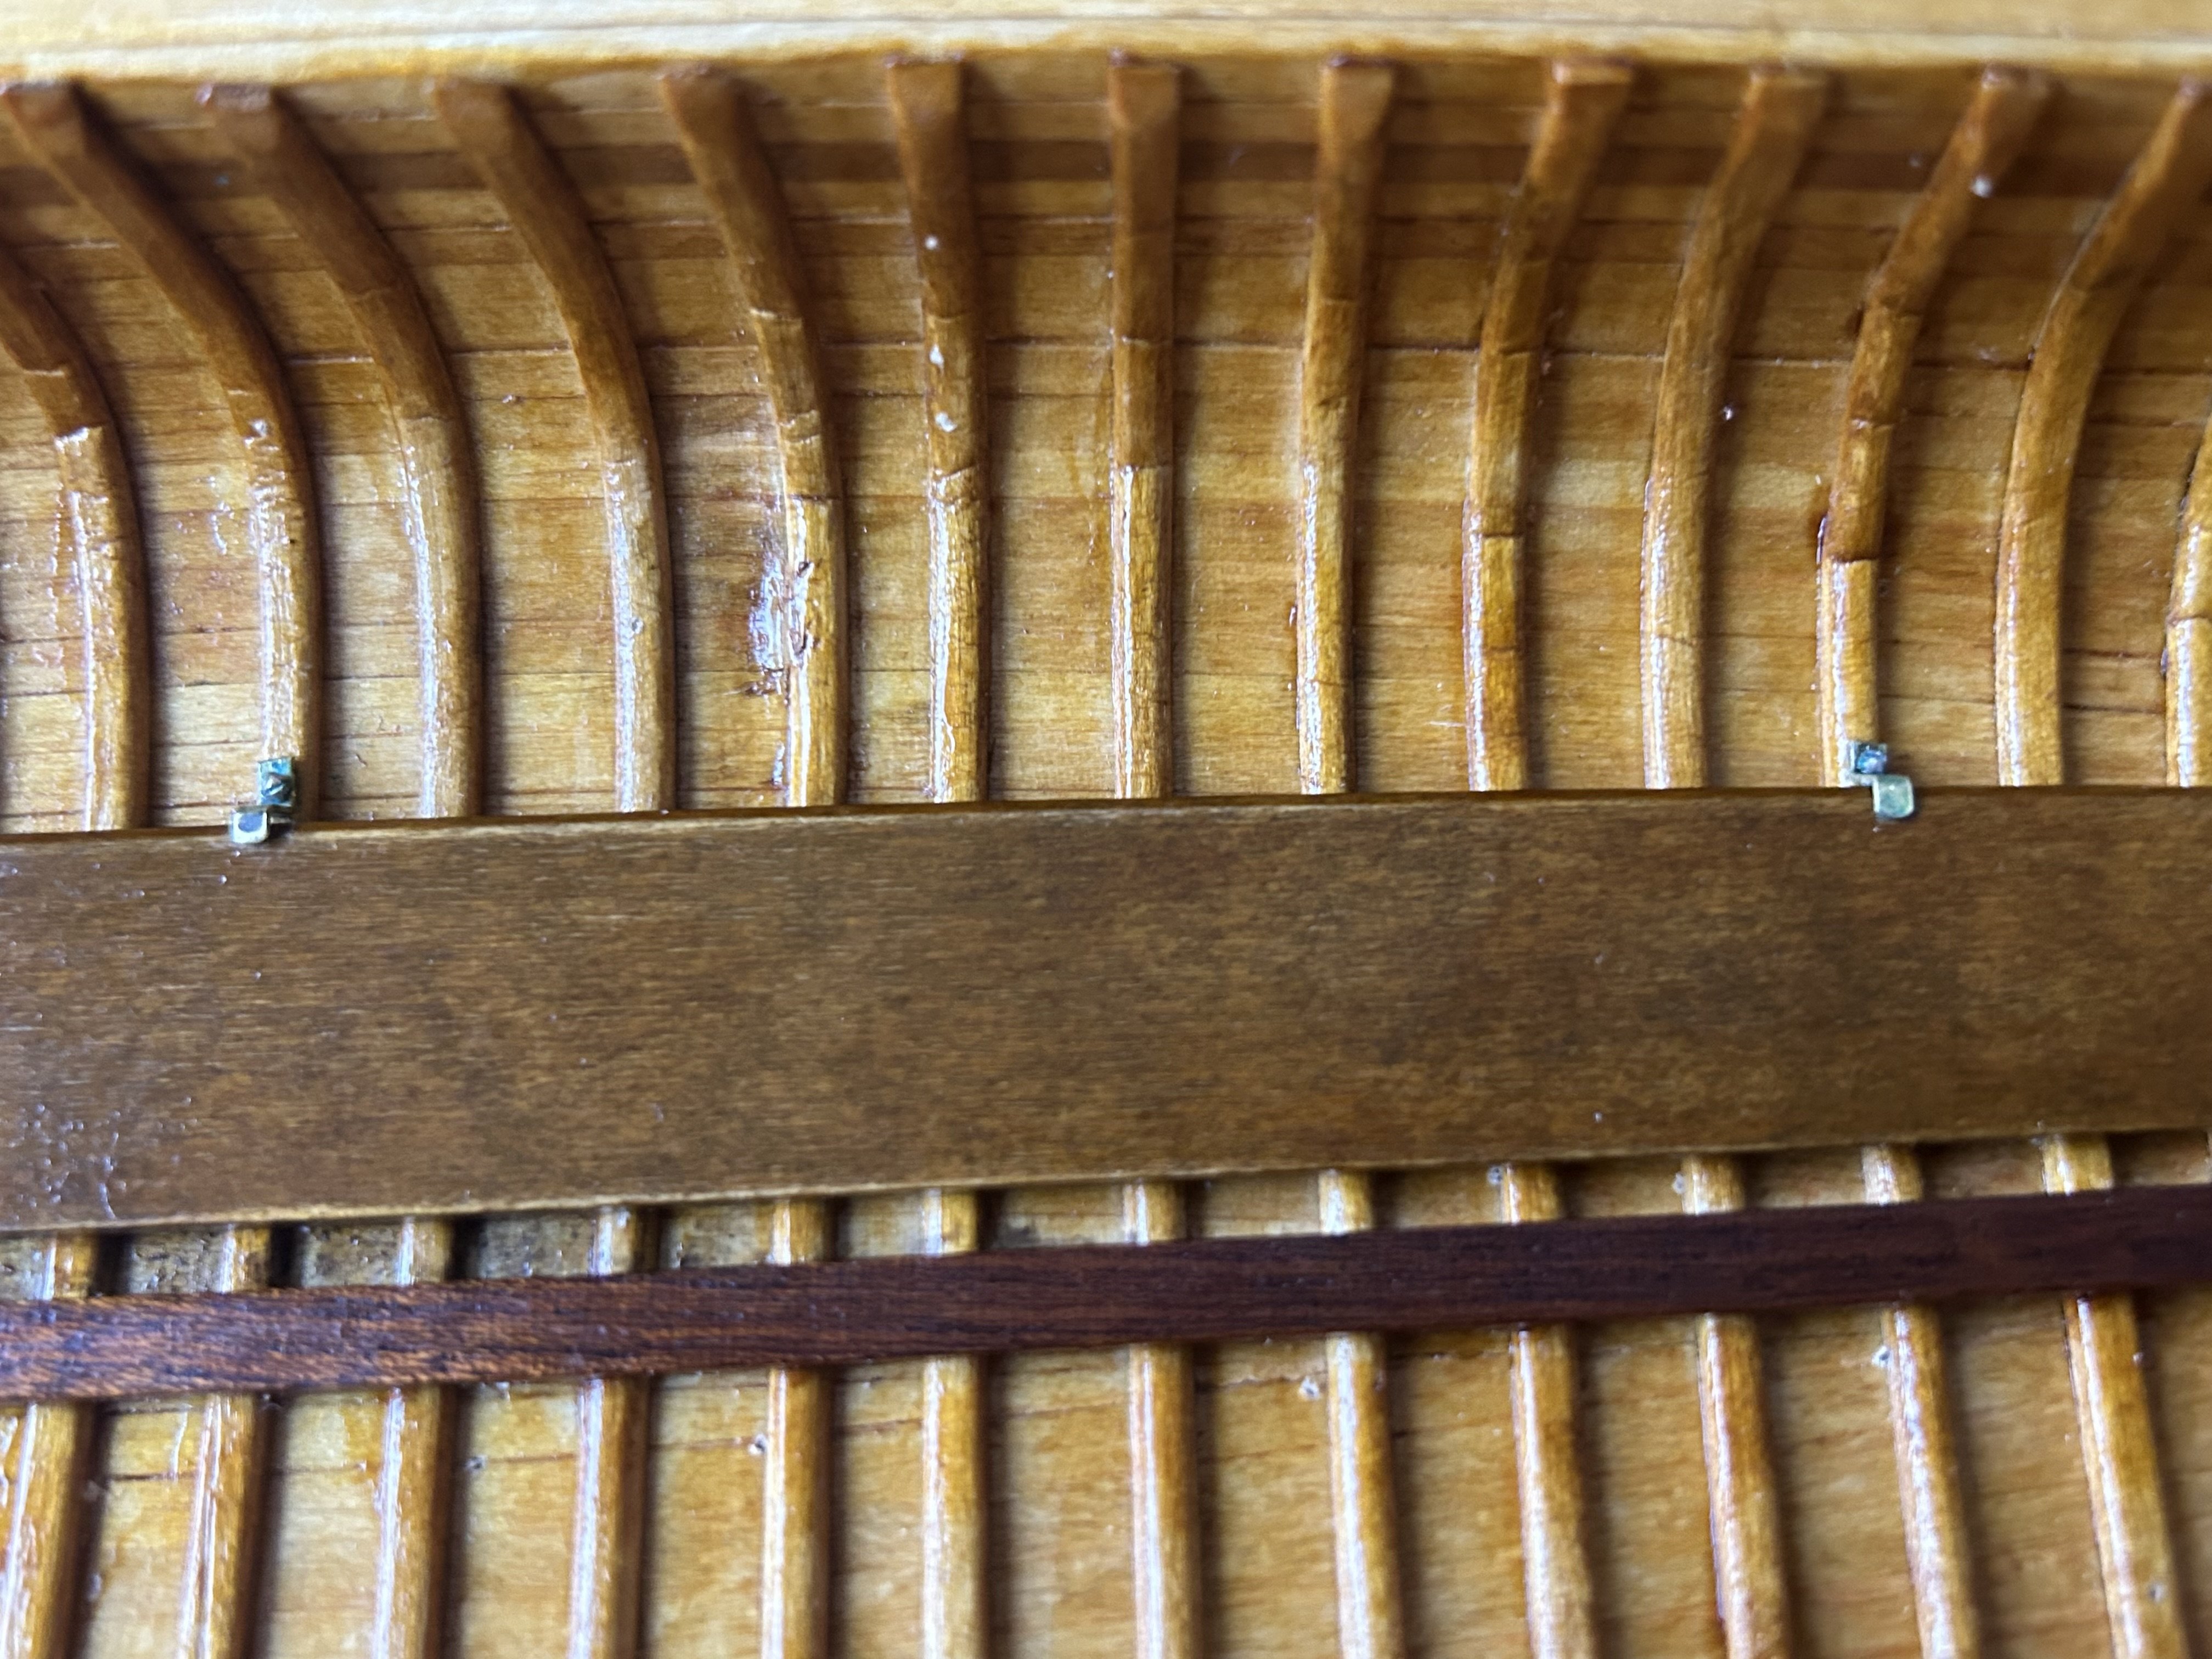
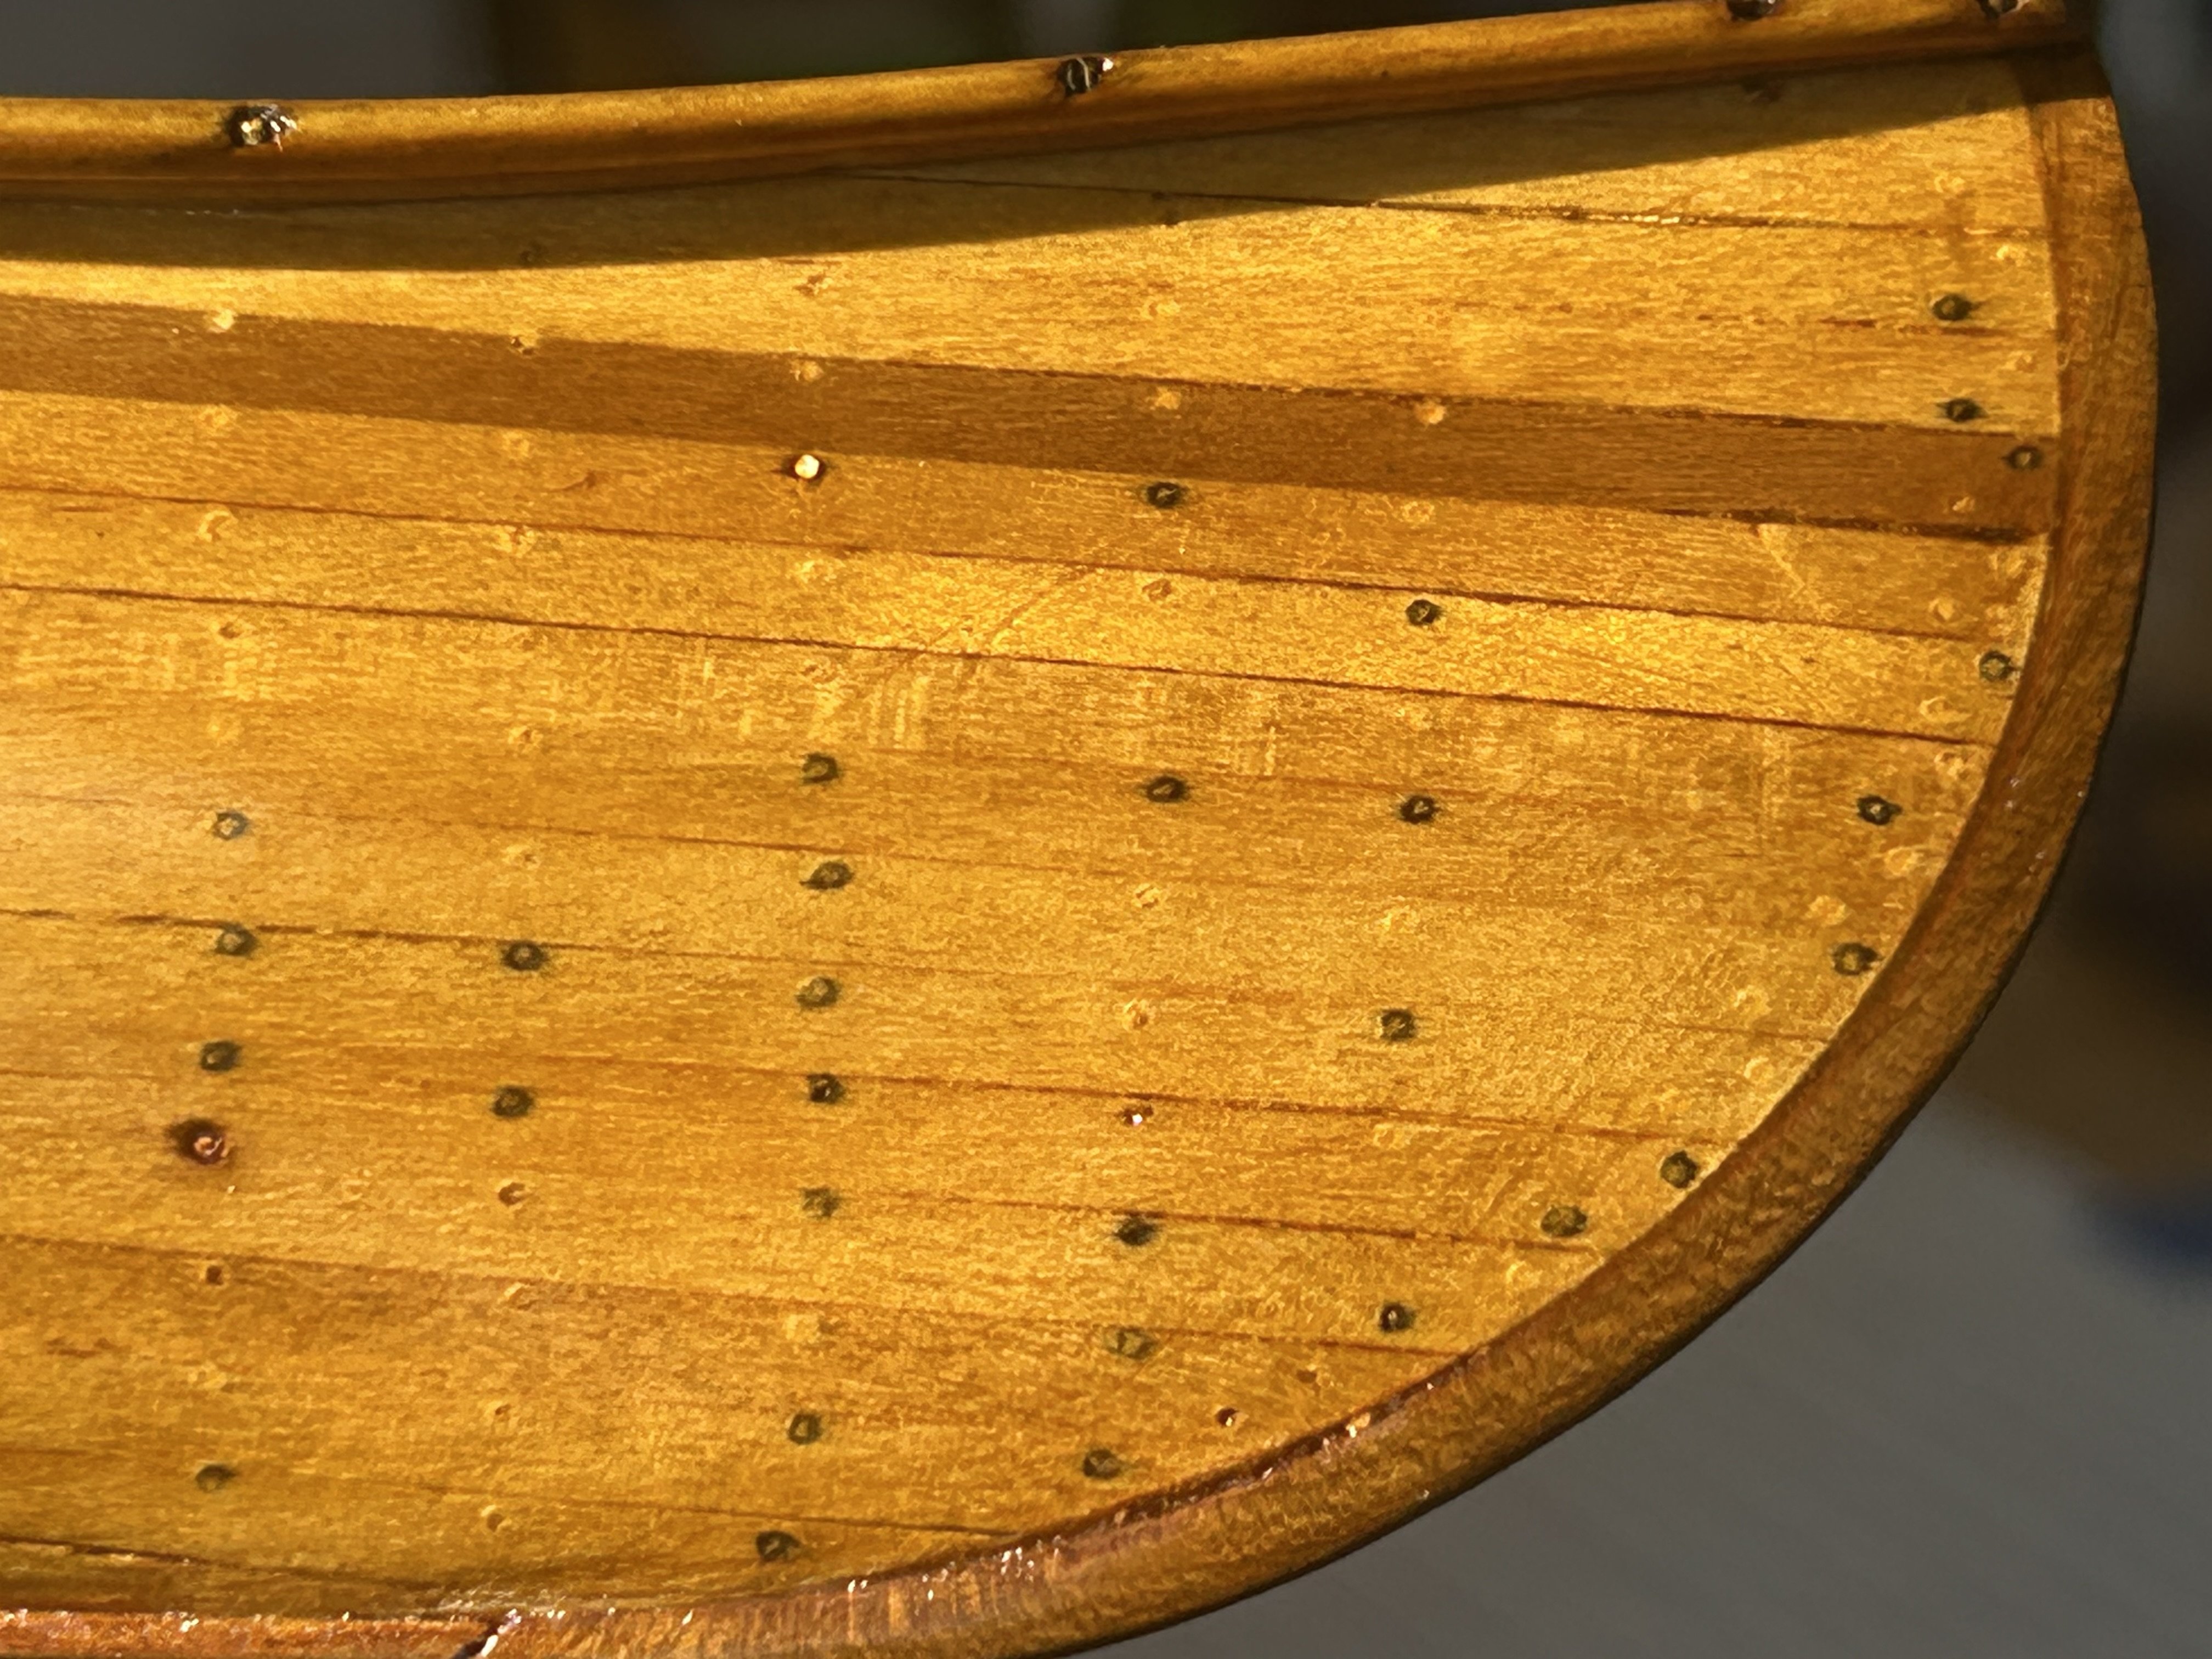
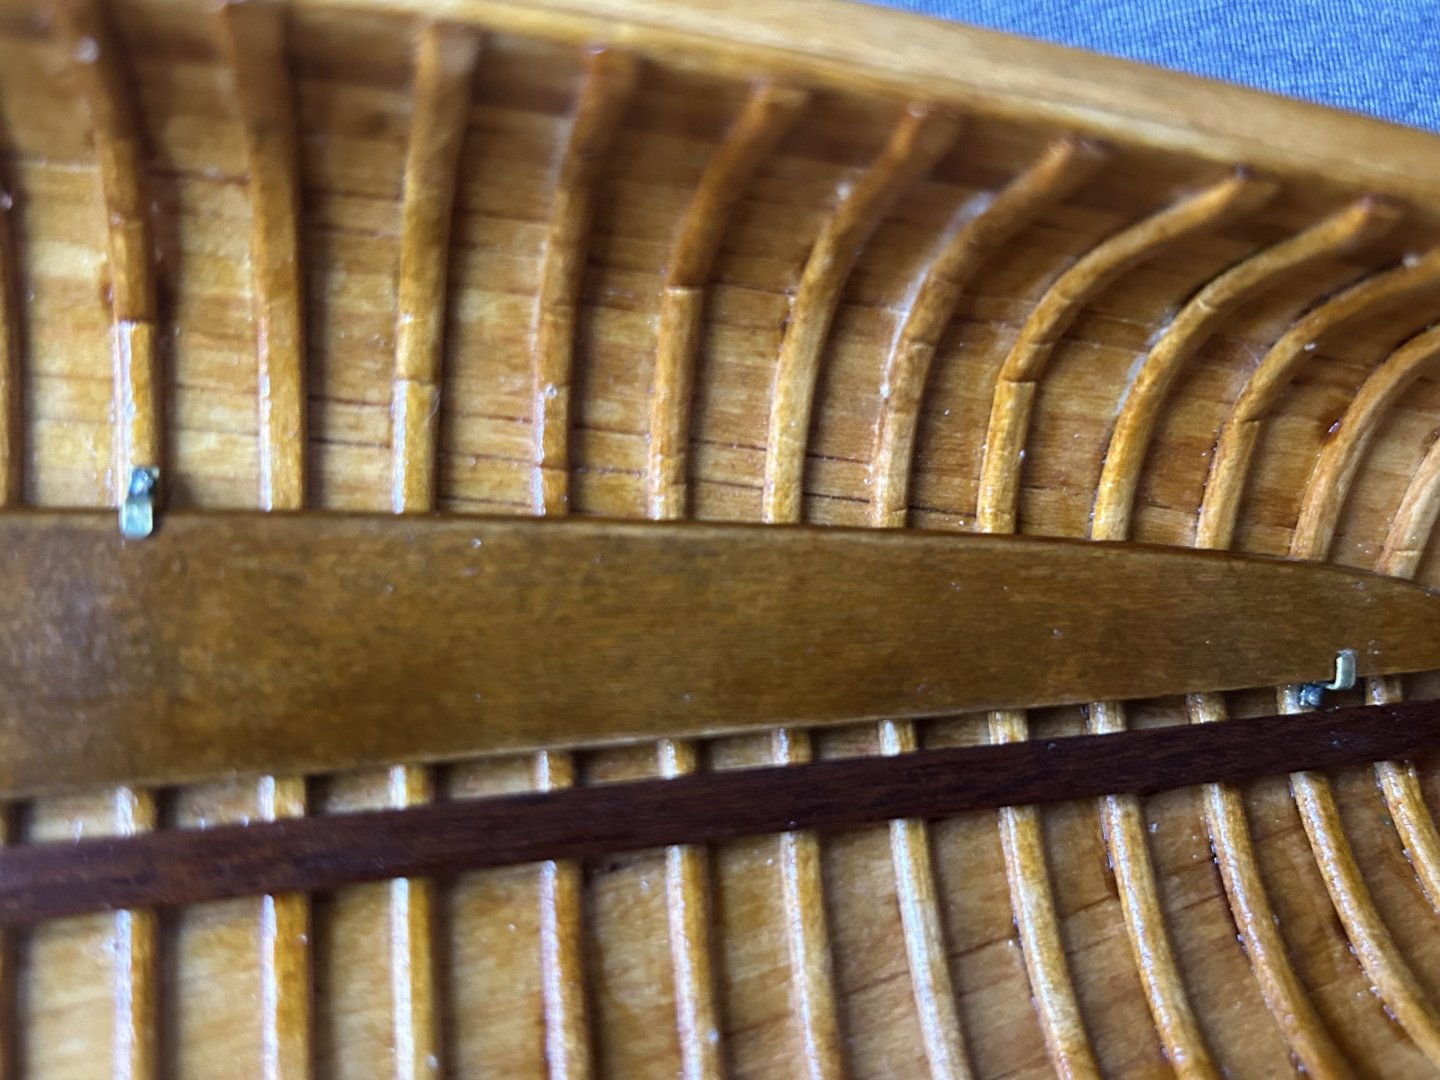
One floorboard fully installed. I will be touching up the shellac on the ribs/interior to hide the nail holes. and the hull finishing is coming along slowly but surely


-
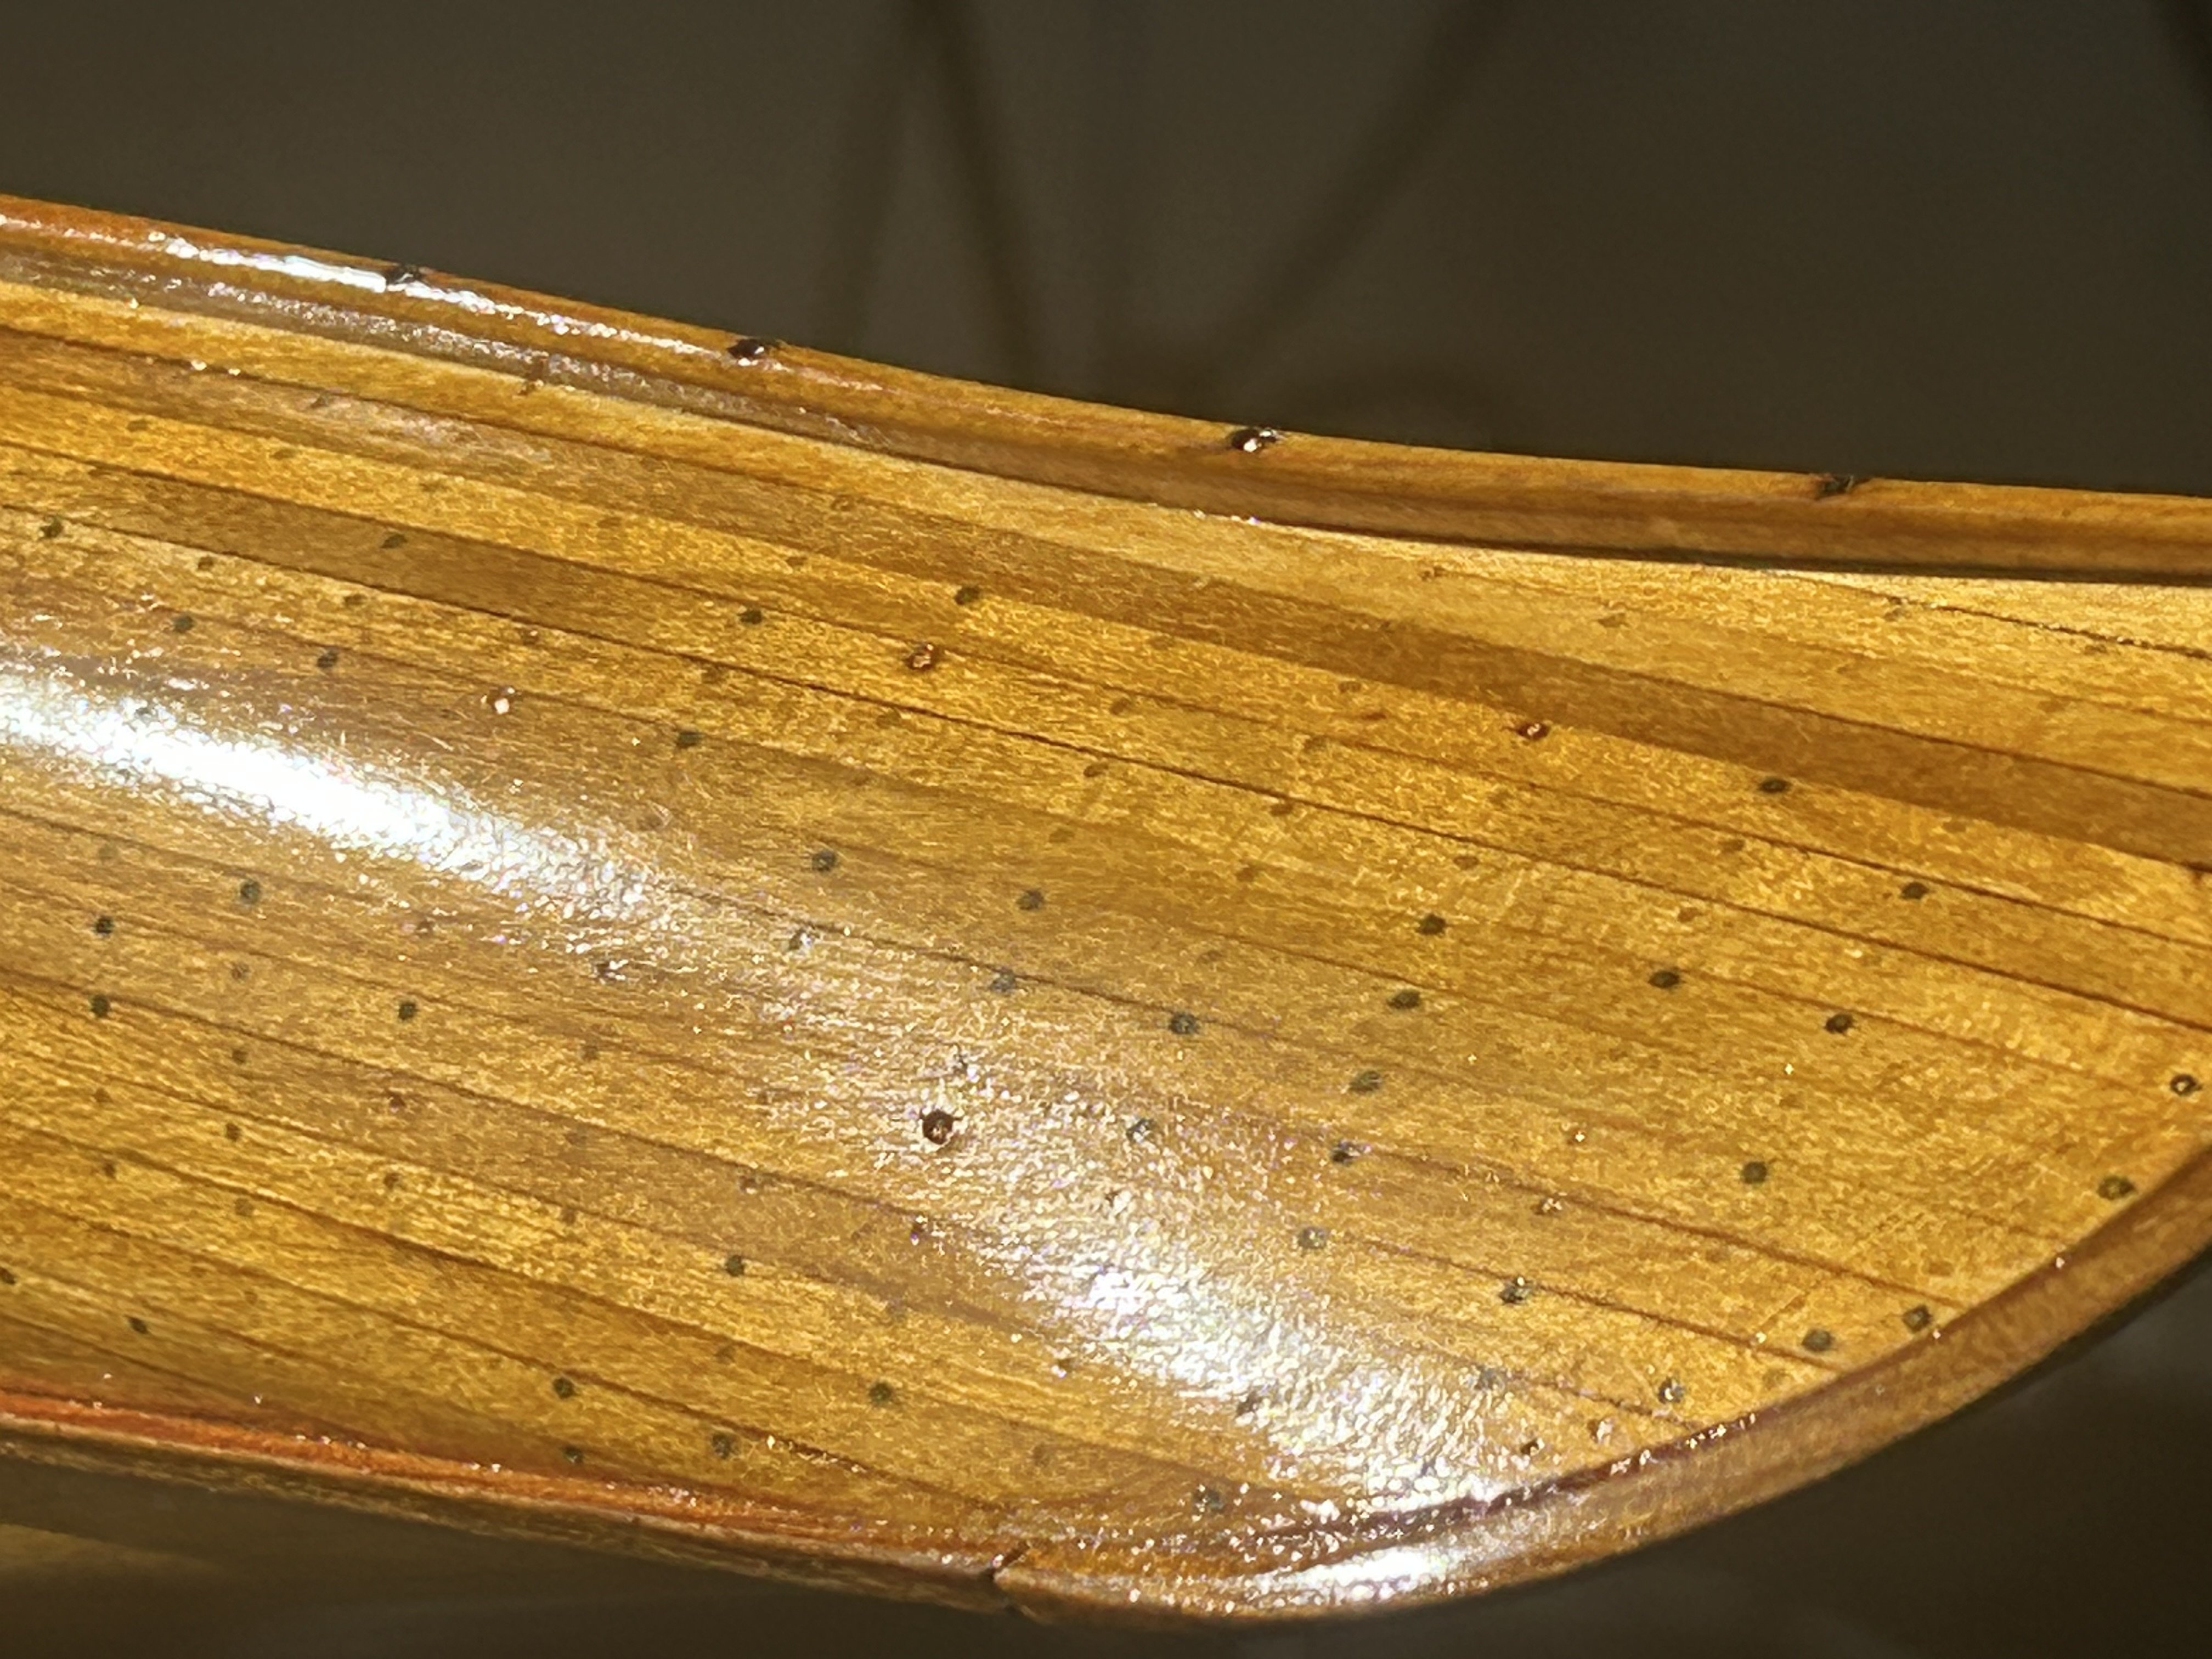
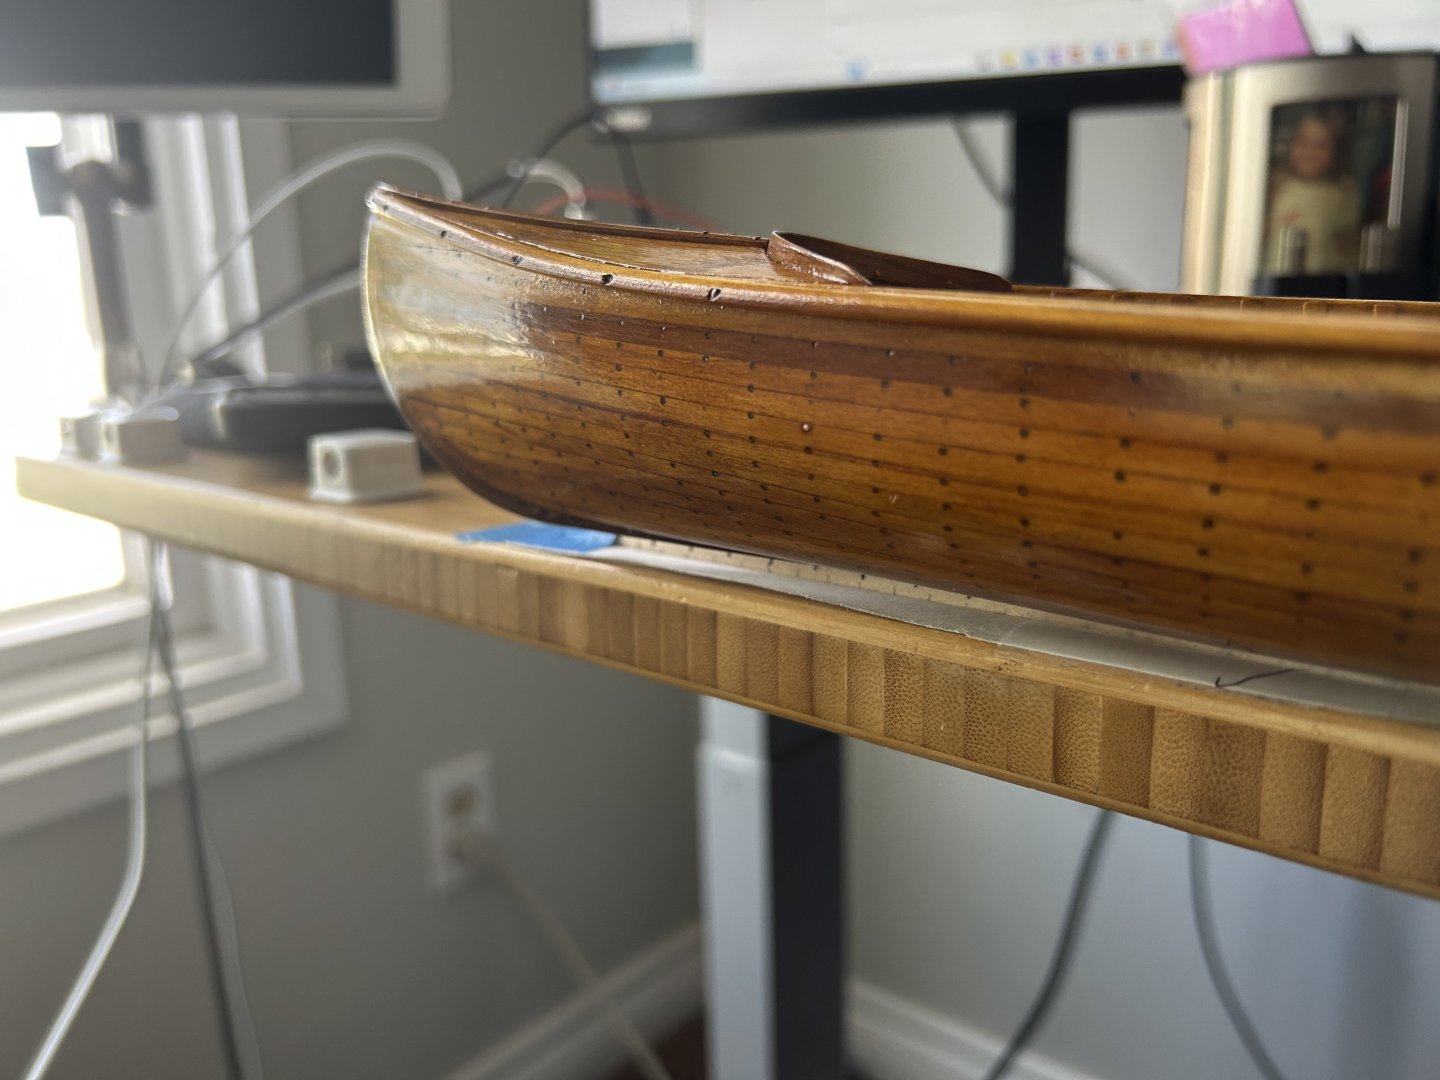
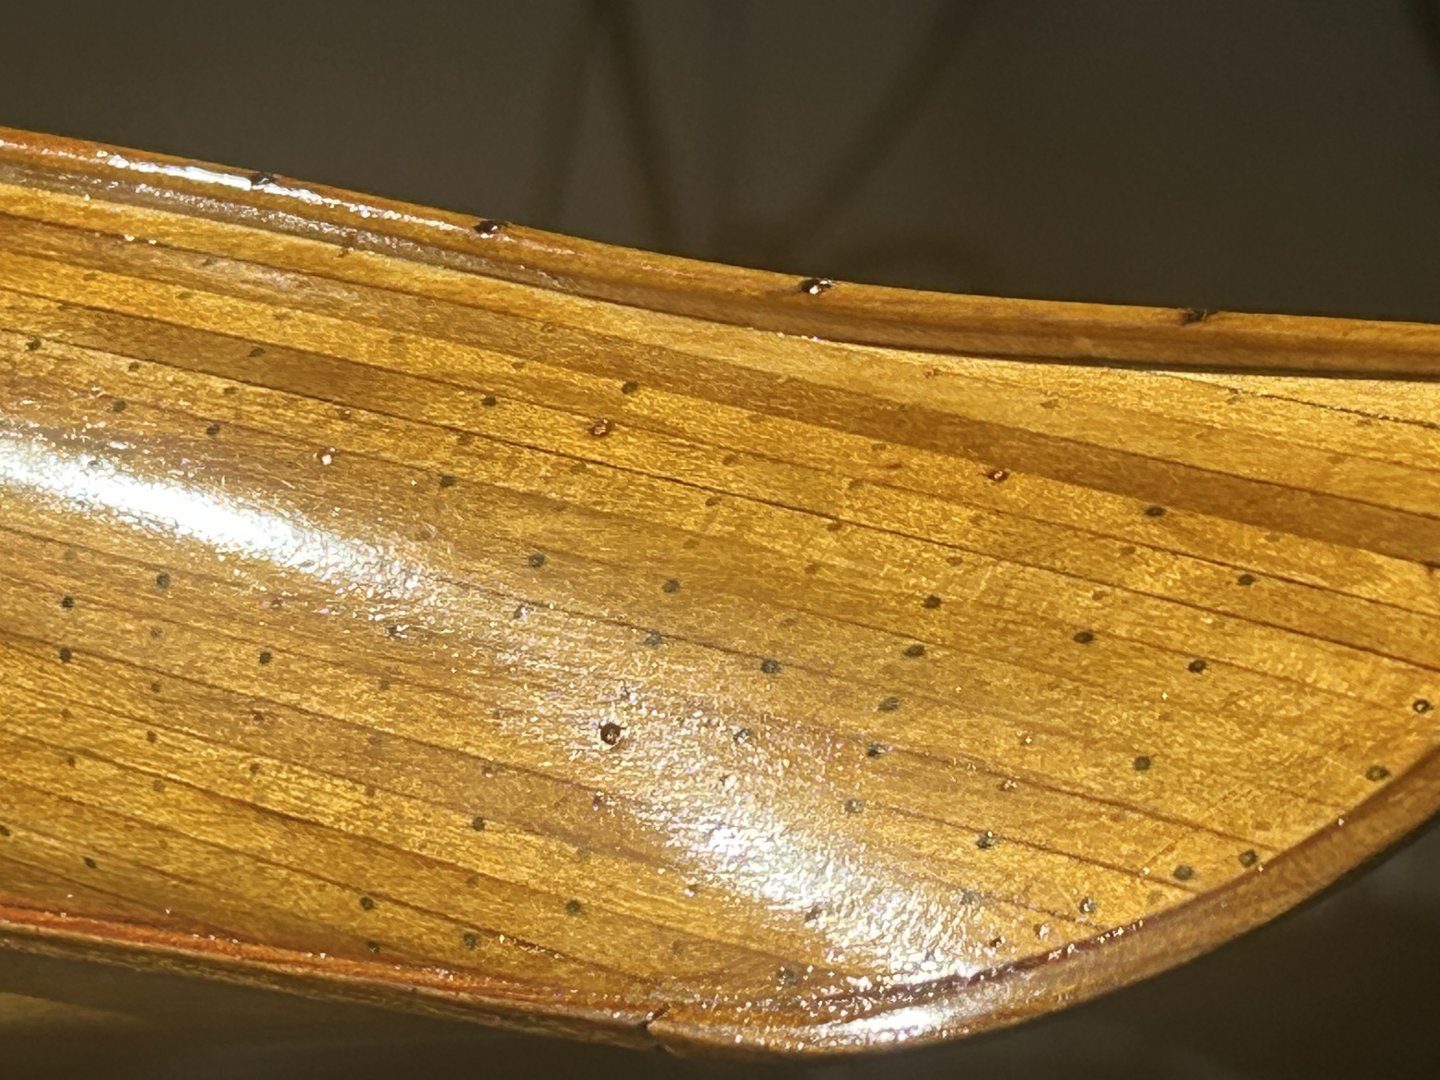
More detail shots of the finish (about half done). The surface is a bit pebbly right now bc I am laying some thicker coats down. Will be smoothed at later stages with a lighter charge of alcohol/shellac in the pad.


-
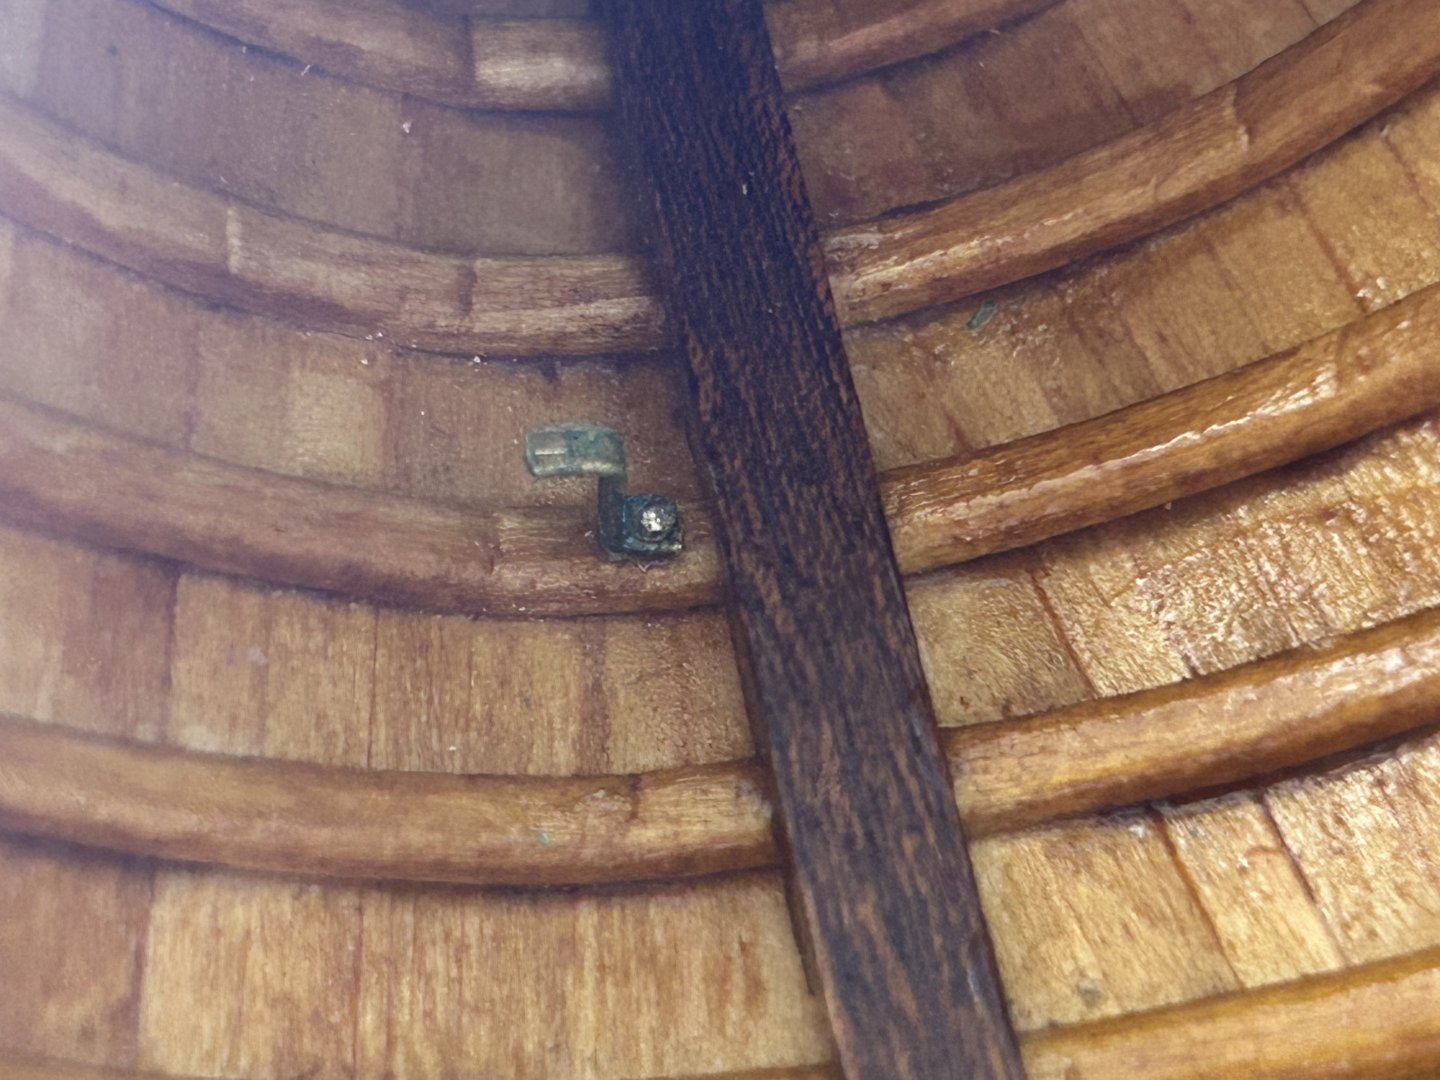
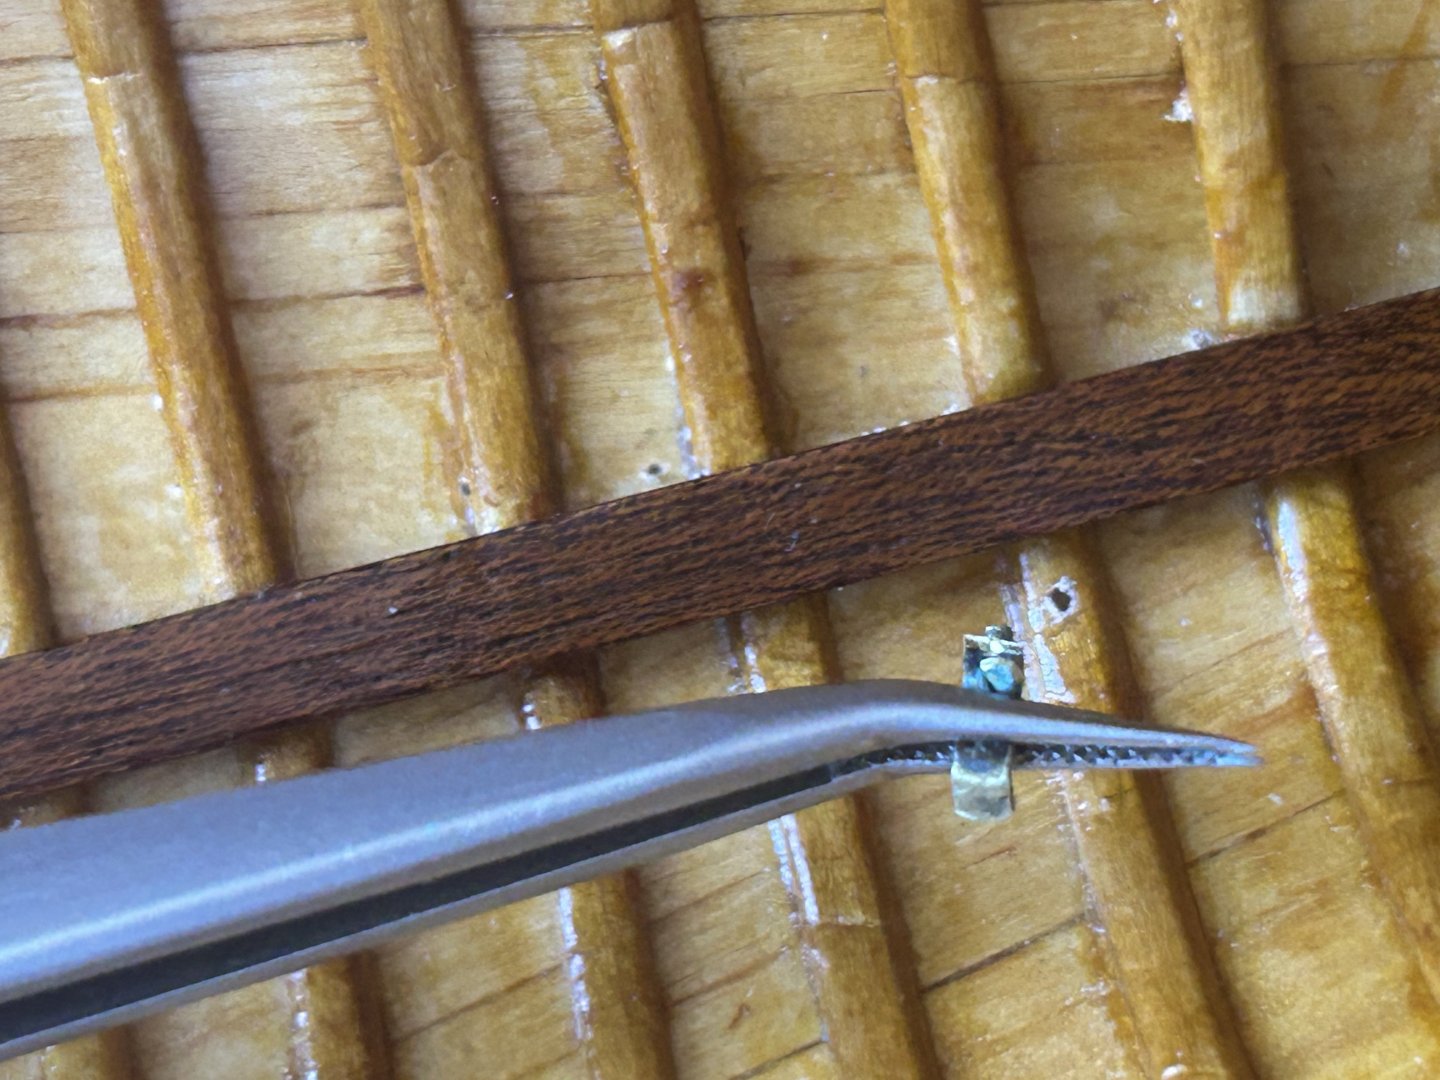
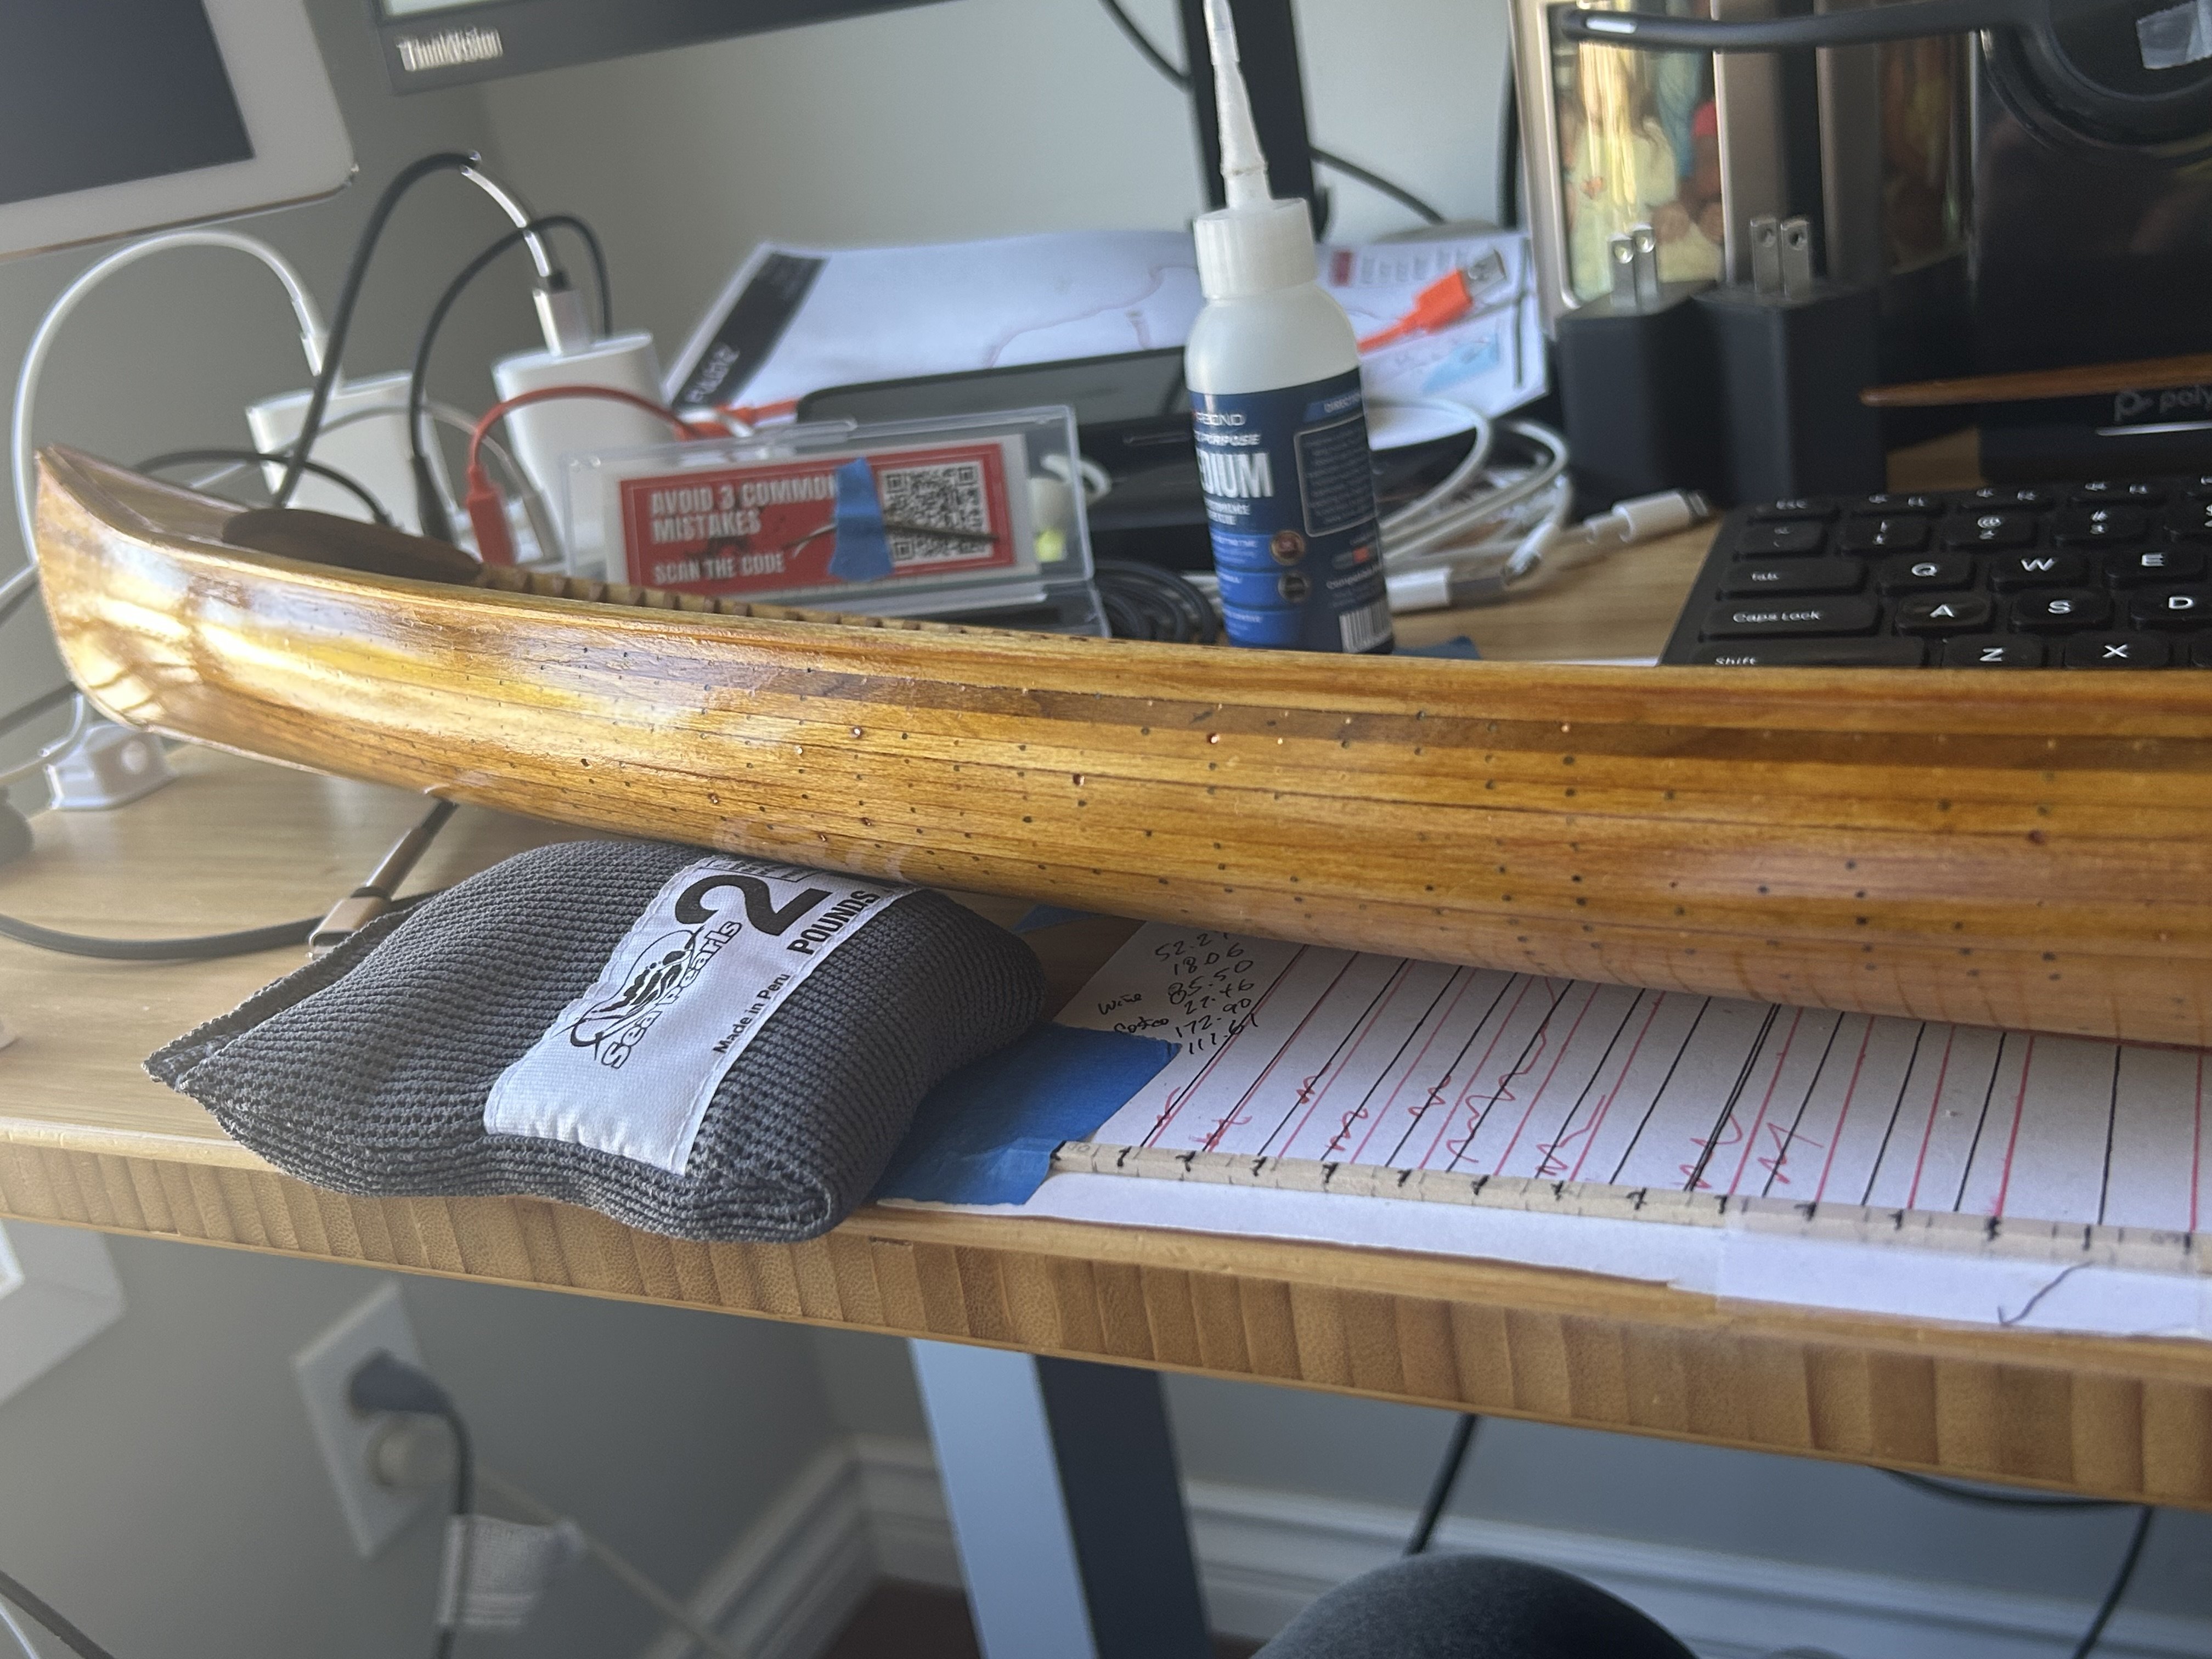
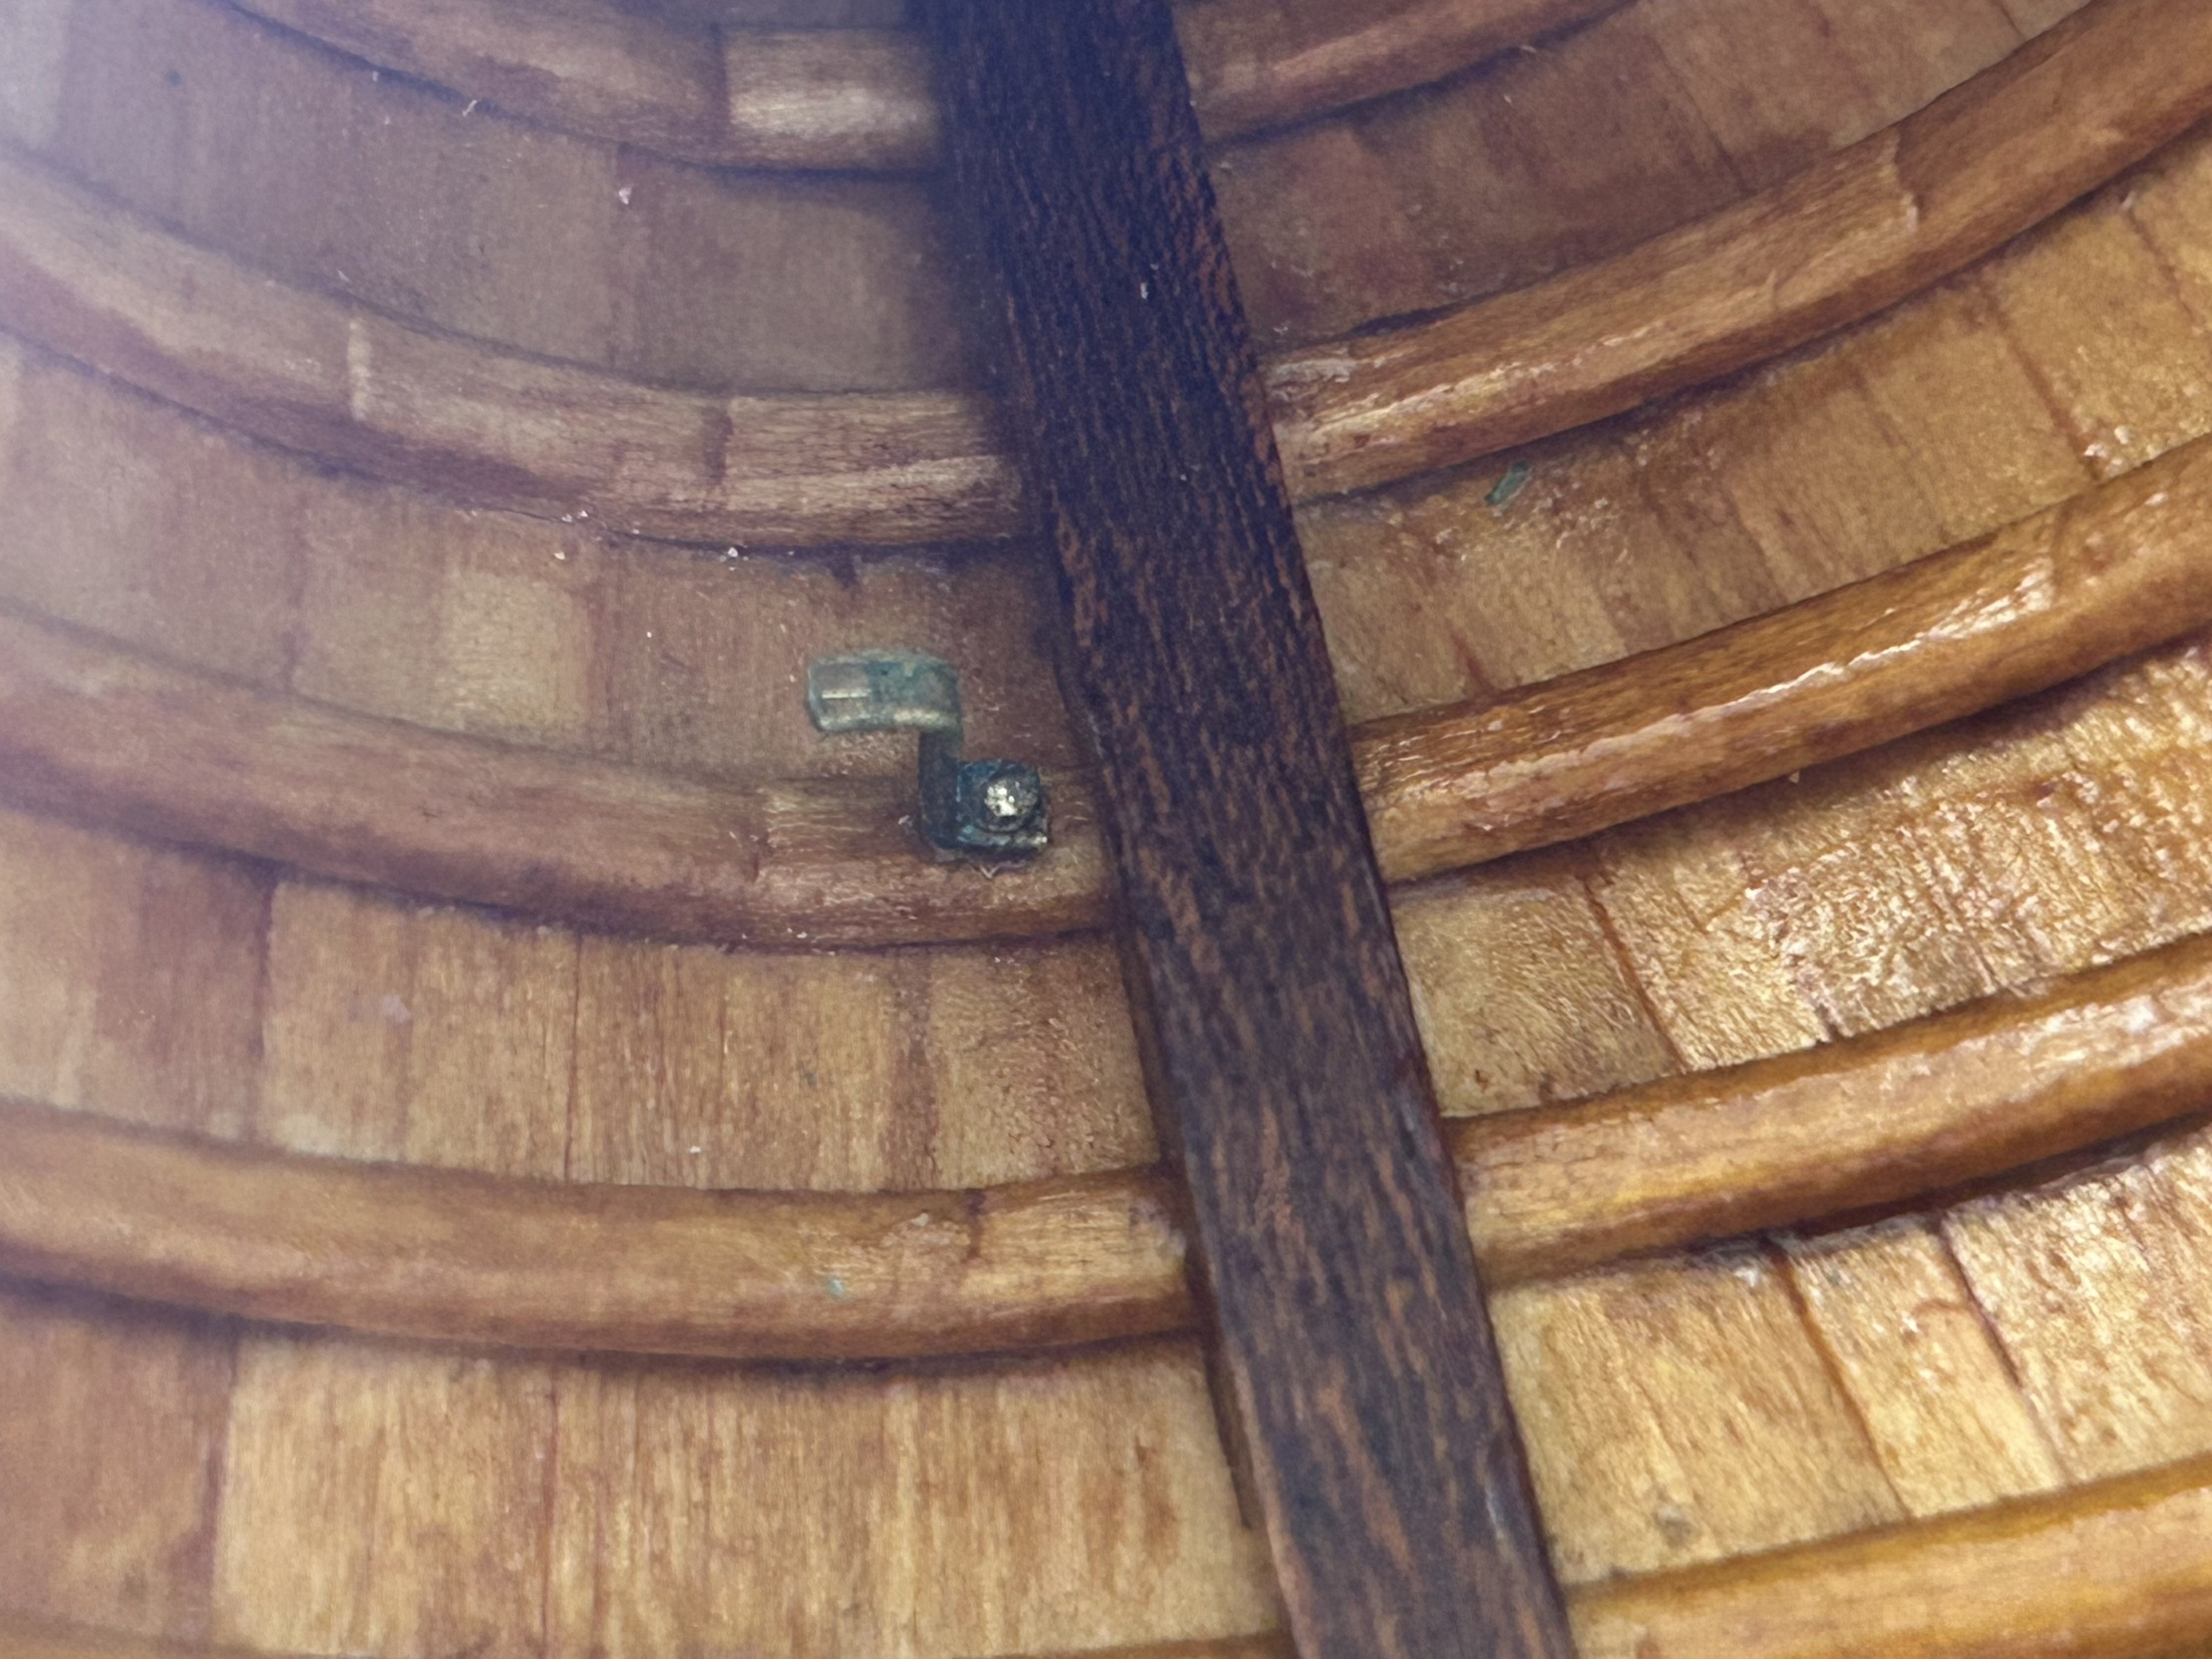
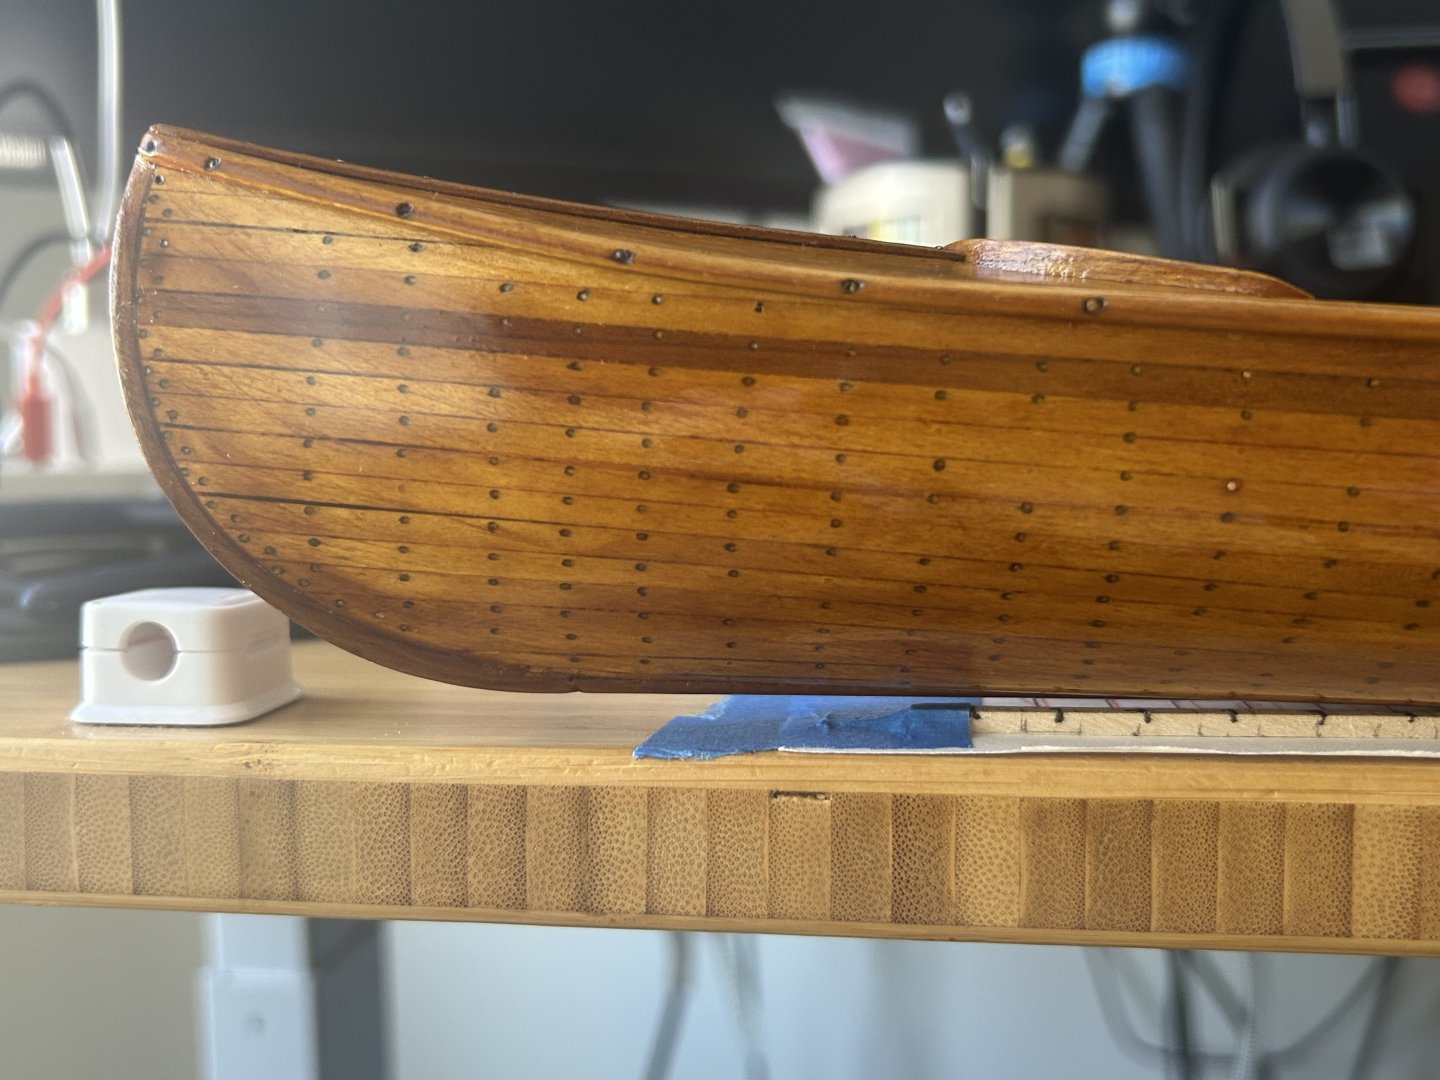
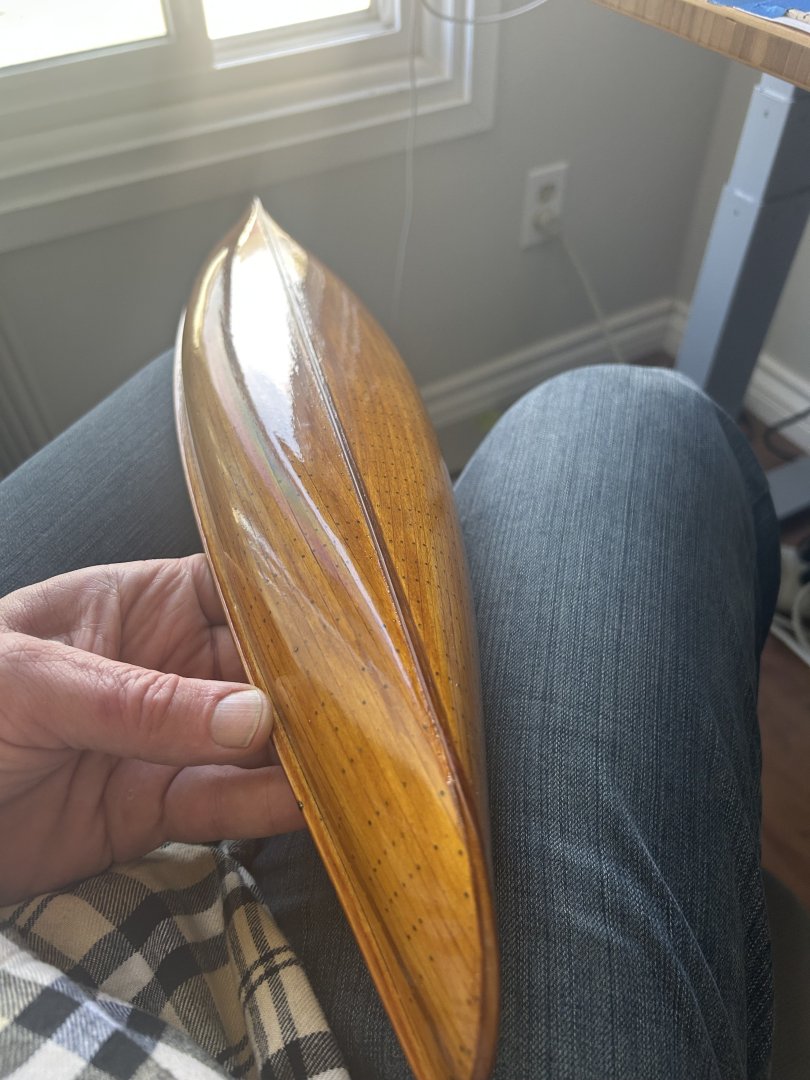
Building up to about 8 coats on the french polish so far. Sheen is getting deeper. French polish really can give a mirror finish: And here’s some incredibly fiddly work: installing the brass brackets for the floorboards: