
Paul Jarman
-
Posts
360 -
Joined
-
Last visited
1 Follower

Recent Profile Visitors
2,497 profile views


-
 Scottish Guy reacted to a post in a topic:
Type of glue to use planking a hull
Scottish Guy reacted to a post in a topic:
Type of glue to use planking a hull
-
Seventynet reacted to a post in a topic:
Type of glue to use planking a hull
-
Canute reacted to a post in a topic:
RMS Titanic 1912 by Paul Jarman - Amati - 1/250
-
king derelict reacted to a post in a topic:
RMS Titanic 1912 by Paul Jarman - Amati - 1/250
-
Haliburton reacted to a post in a topic:
RMS Titanic 1912 by Paul Jarman - Amati - 1/250
-
ccoyle reacted to a post in a topic:
RMS Titanic 1912 by Paul Jarman - Amati - 1/250
-
 Not actually Titanic related. Just wanted show my next project when I finish Titanic. Wanted this for ages. Over 900 parts and photo etch to replace all the railings and other bits.maybe before the end of this year I may finish Titanic and start a build log for this. I'm working on Titanic's stern at the moment. Most of the poop deck and we'll deck fittings are painted and ready to install. I have reverted to the plastic benches supplied with the kit. I built 8 of the photo etch benches and they where just to large. once again should have taken a photo to show how They looked.They dominated the deck and the various fittings. They looked so out of scale with everything else on the model. I did try cutting them down but it didn't work. I am building the 6 cranes that go on the stern. They are a pain. Gluing the small sides to the crane jibs is a chore.
-
Paul Jarman reacted to a post in a topic:
Are you an NRG Member???
-
yvesvidal reacted to a post in a topic:
RMS Titanic 1912 by Paul Jarman - Amati - 1/250
-
yvesvidal reacted to a post in a topic:
RMS Titanic 1912 by Paul Jarman - Amati - 1/250
-
Canute reacted to a post in a topic:
RMS Titanic 1912 by Paul Jarman - Amati - 1/250
-
Canute reacted to a post in a topic:
RMS Titanic 1912 by Paul Jarman - Amati - 1/250
-
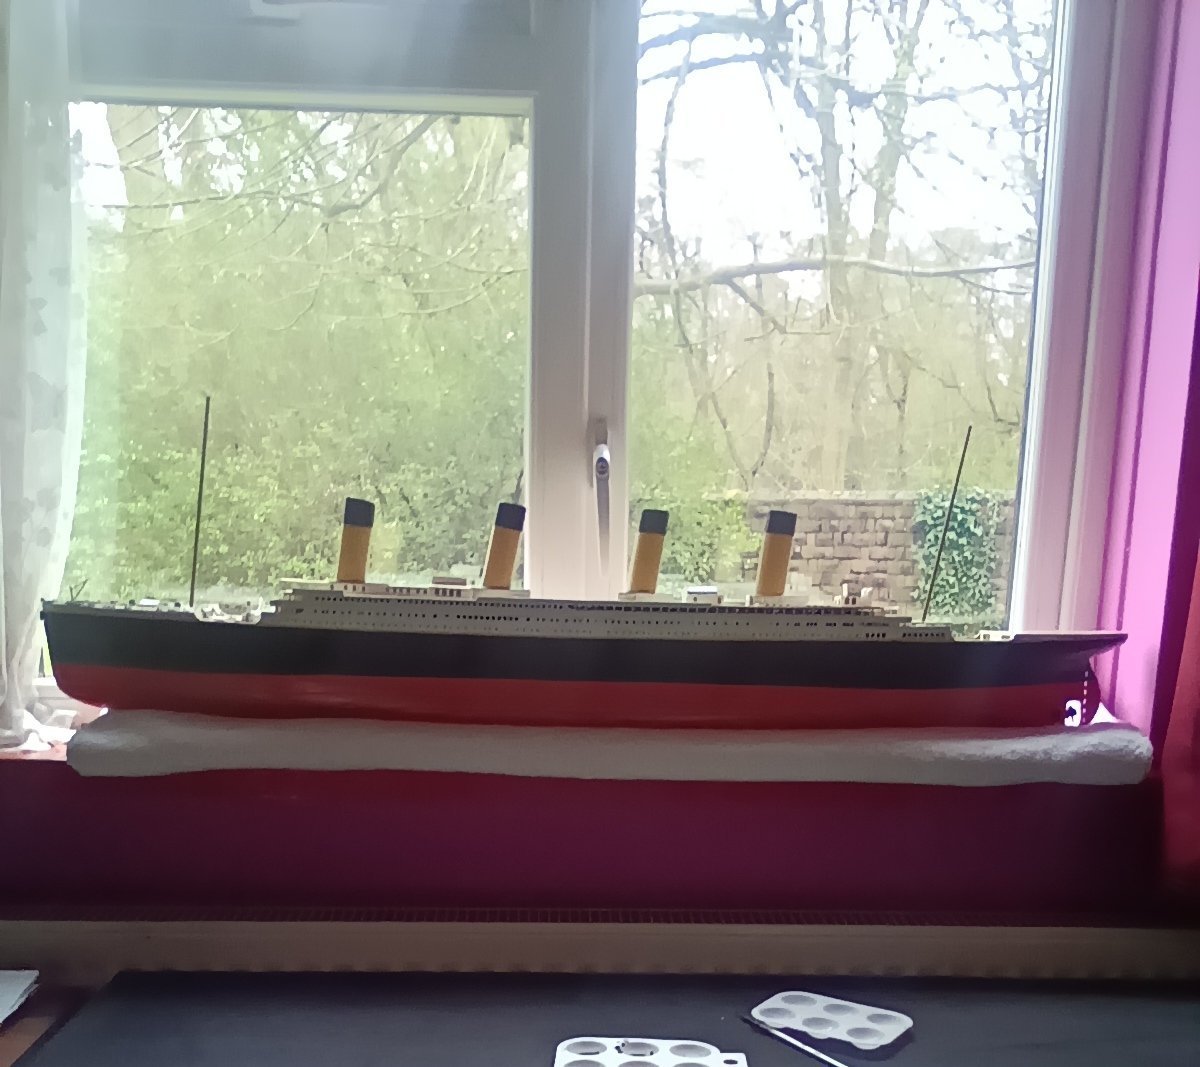
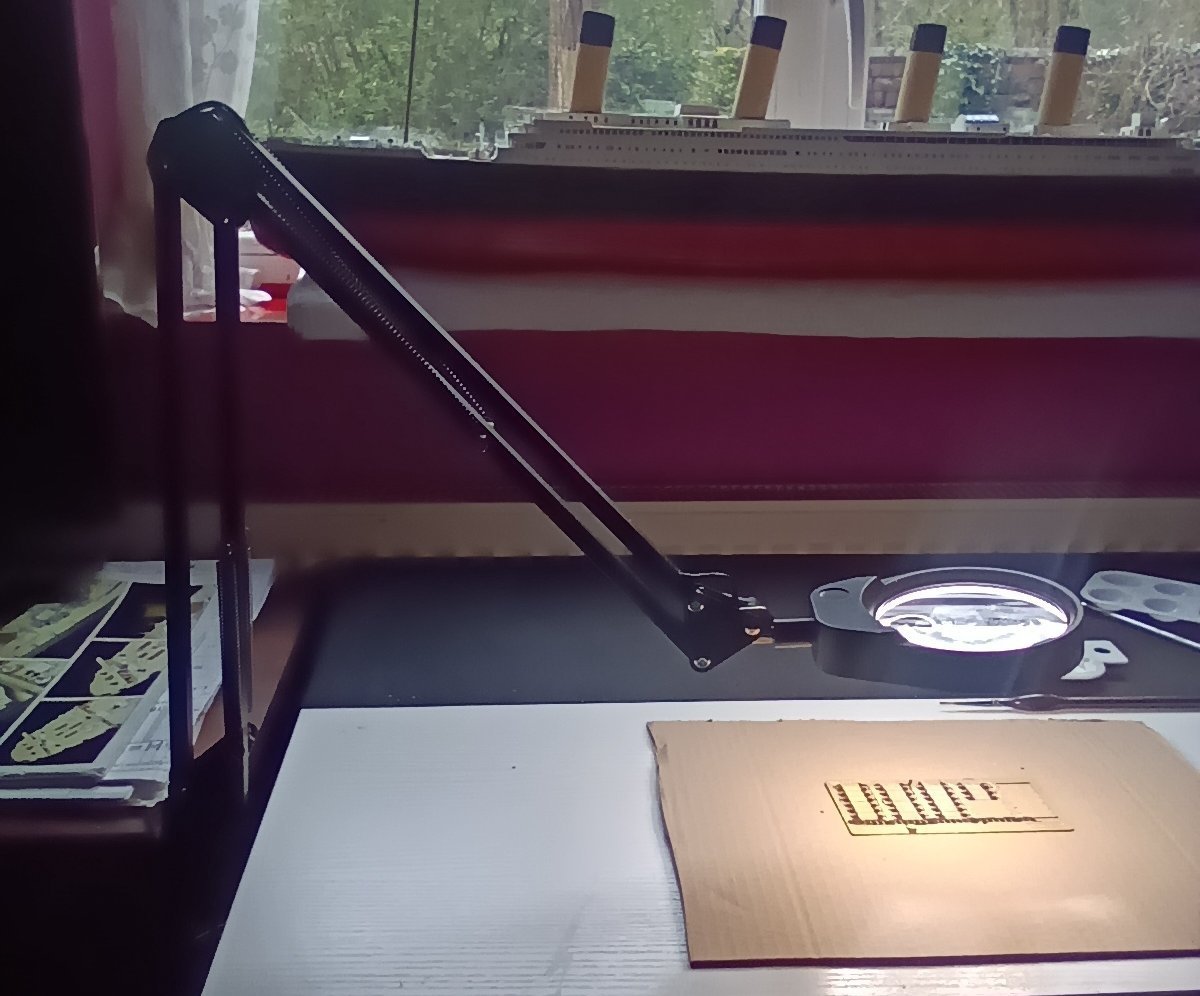
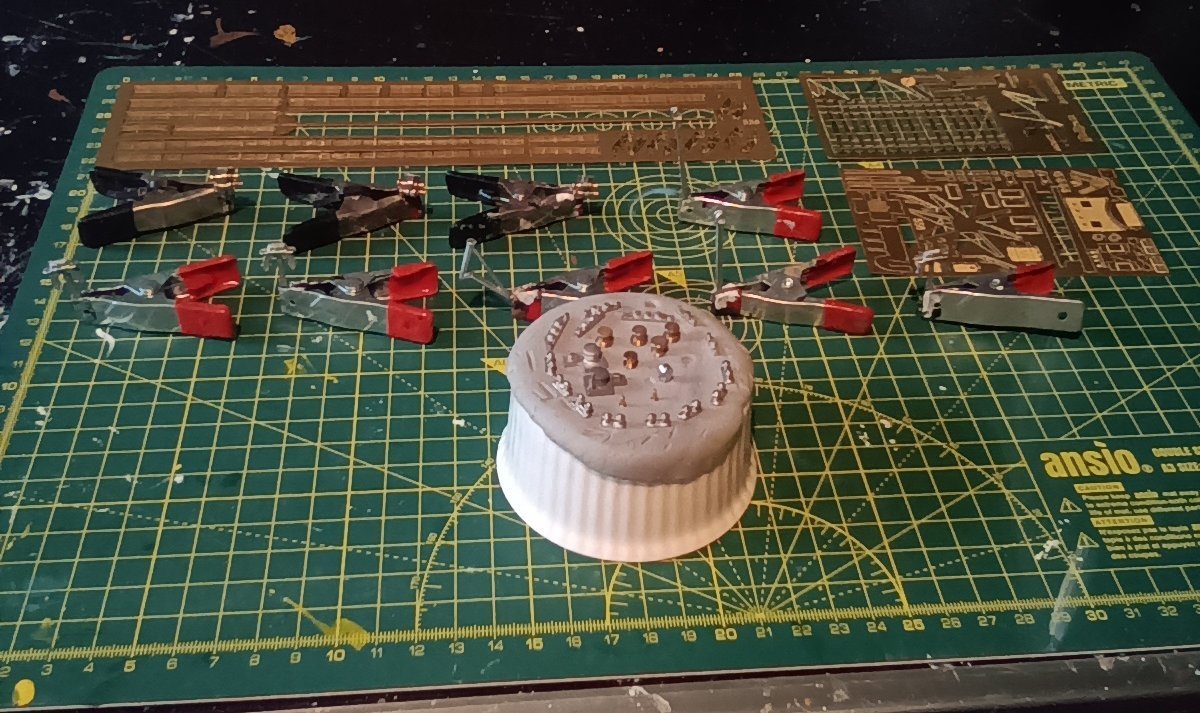
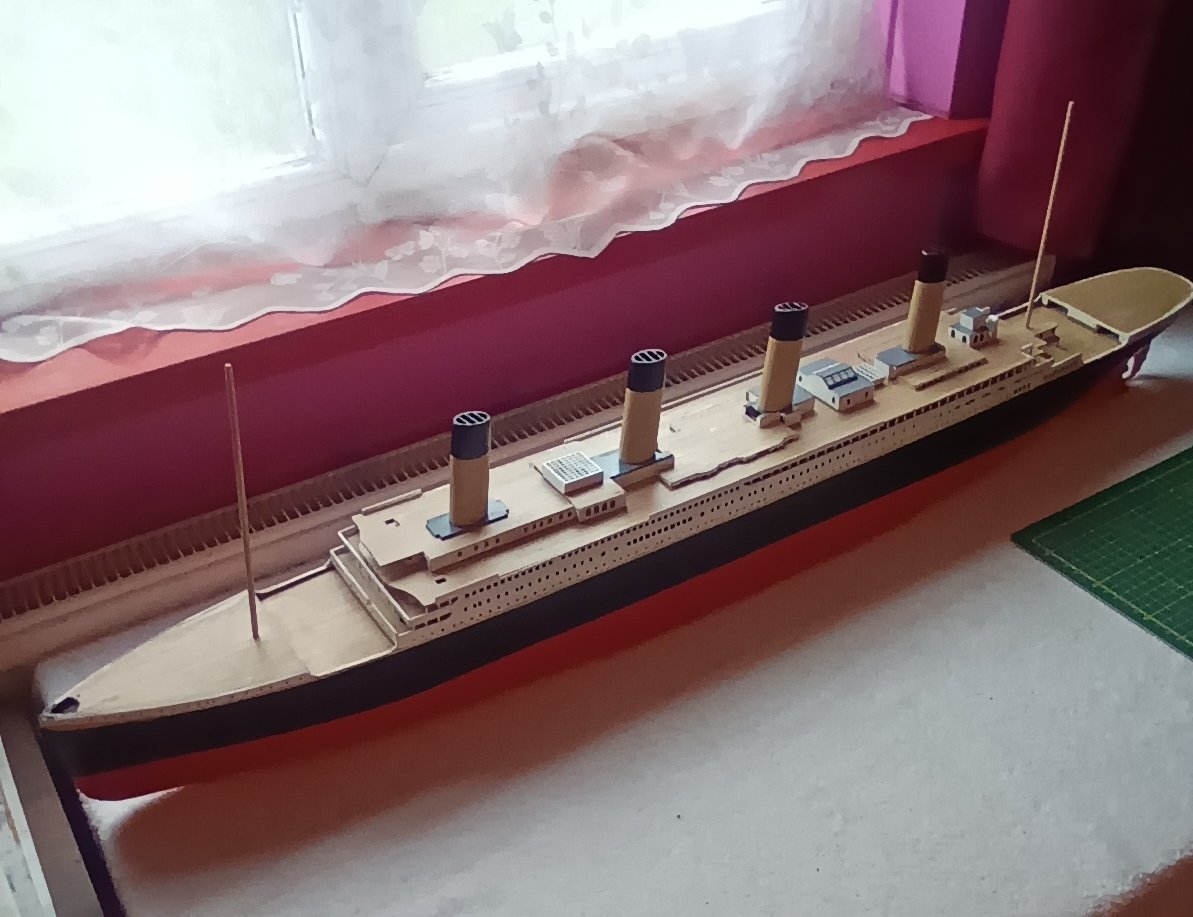
This is where I have the model sitting when working on the parts that need painting. Sometimes in this hobby things work out in your favour. I was struggling to open a container with a screw on lid to start painting the ladders,which are a dark brown. Couldn't get the lid to move at all. Wether there was a slight build up of fumes in the container or not I don't know. But the lid suddenly without warning burst off. And the paint literally exploded out of the container. I should have taken a picture. Somehow the paint had splattered all over the windows. And underneath the window sill. The wall and radiator where covered in thick paint. And somehow as if there was a shield around the model only a few tiny spots hit the ship.Can't explain how the model was not covered in paint. Or what I would have done had it been.
-
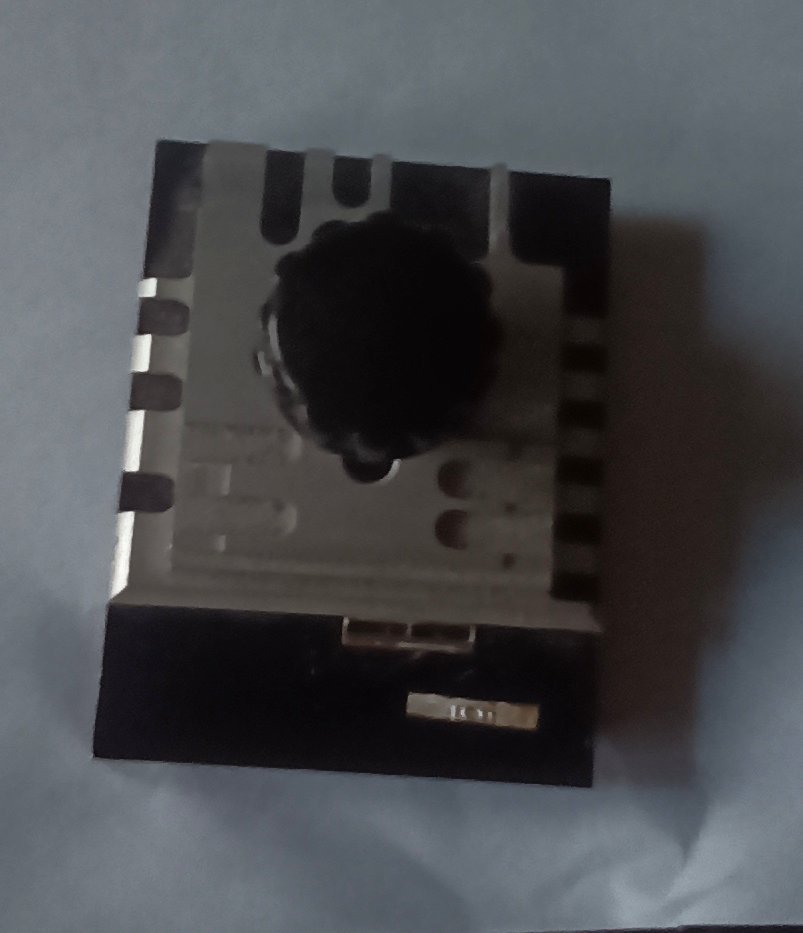
I can't believe I have not invested in one of these before. They are so much better then the headband magnifier I have been using. This one is 10x. Can't find one with higher magnification.
-
The part numbers are on plan sheet 4. Along with the building instructions.
-
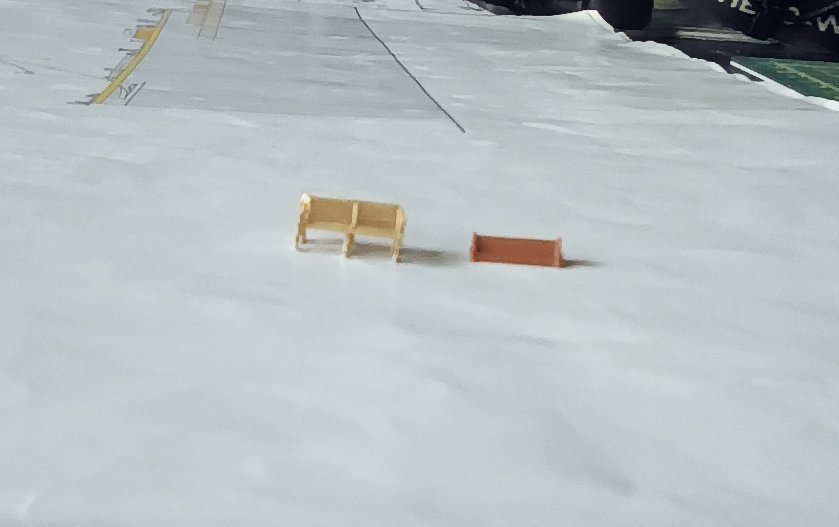
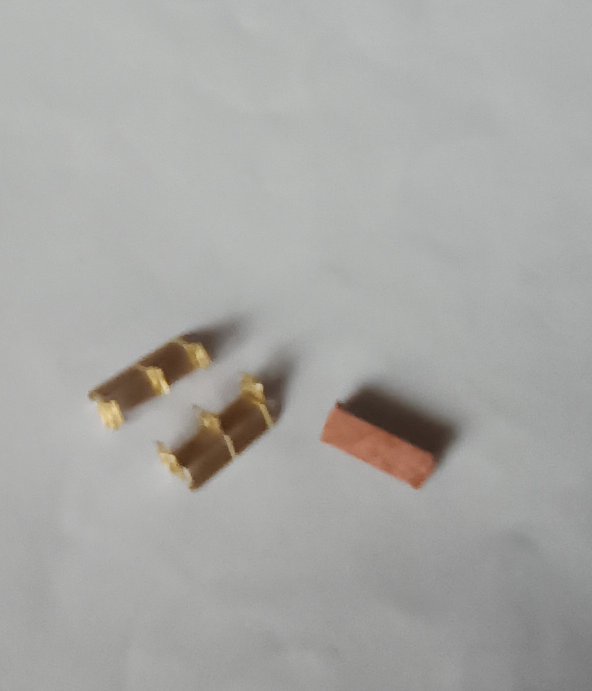
Starting on the Poop deck detailing. Photo etch benches as opposed to the plastic benches supplied with the kit. They look better with the naked eye. The tablet doesn't get as clear a picture as a good camera would. They are at least slatted The third picture shows the bottom of the benches. They are slightly larger and will take up more room on the deck,but look so much better.

-
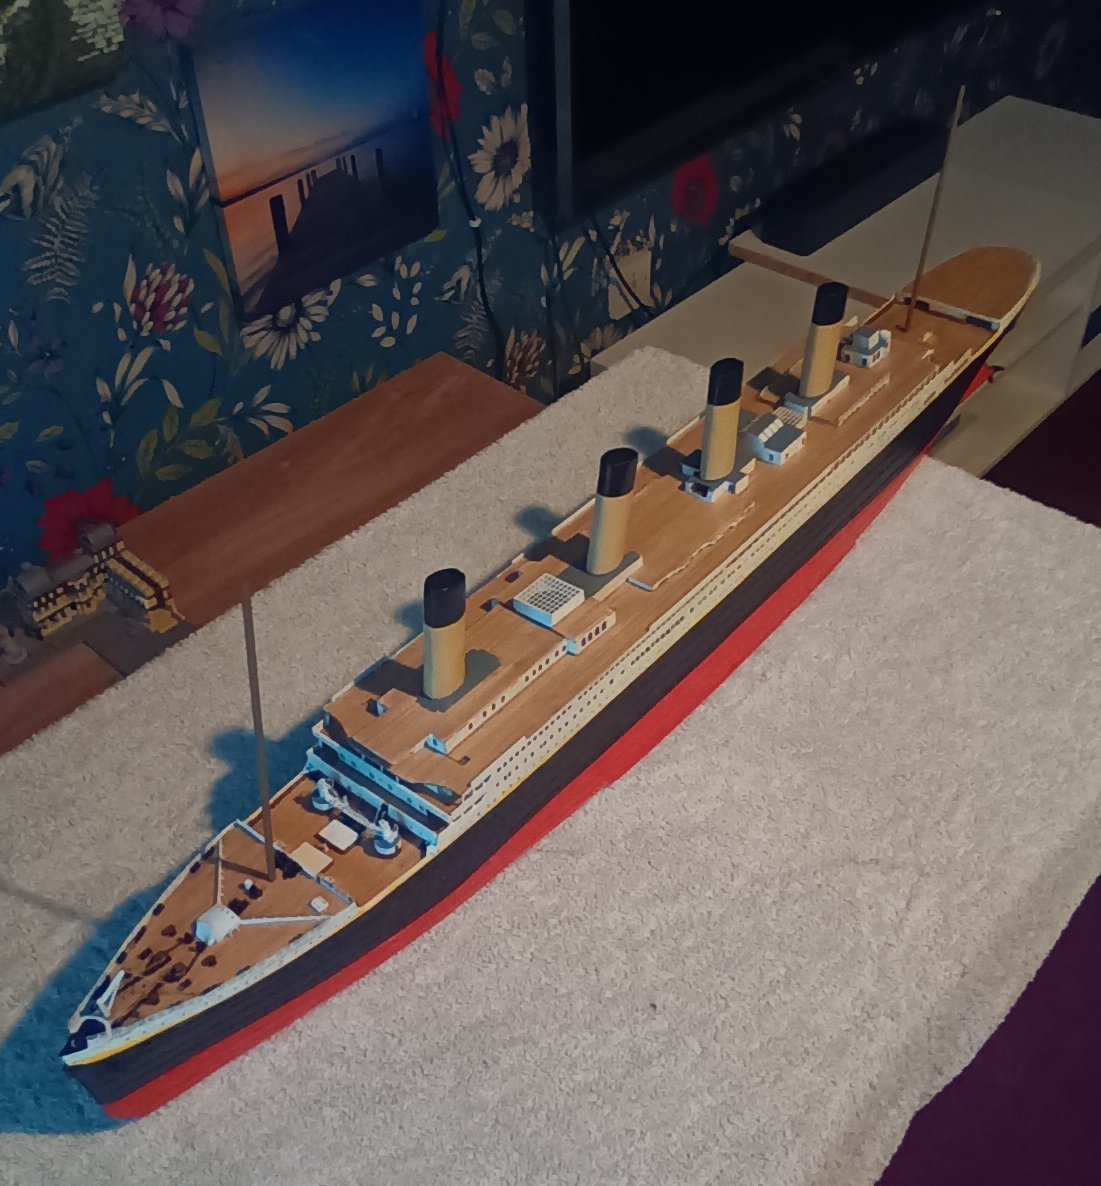
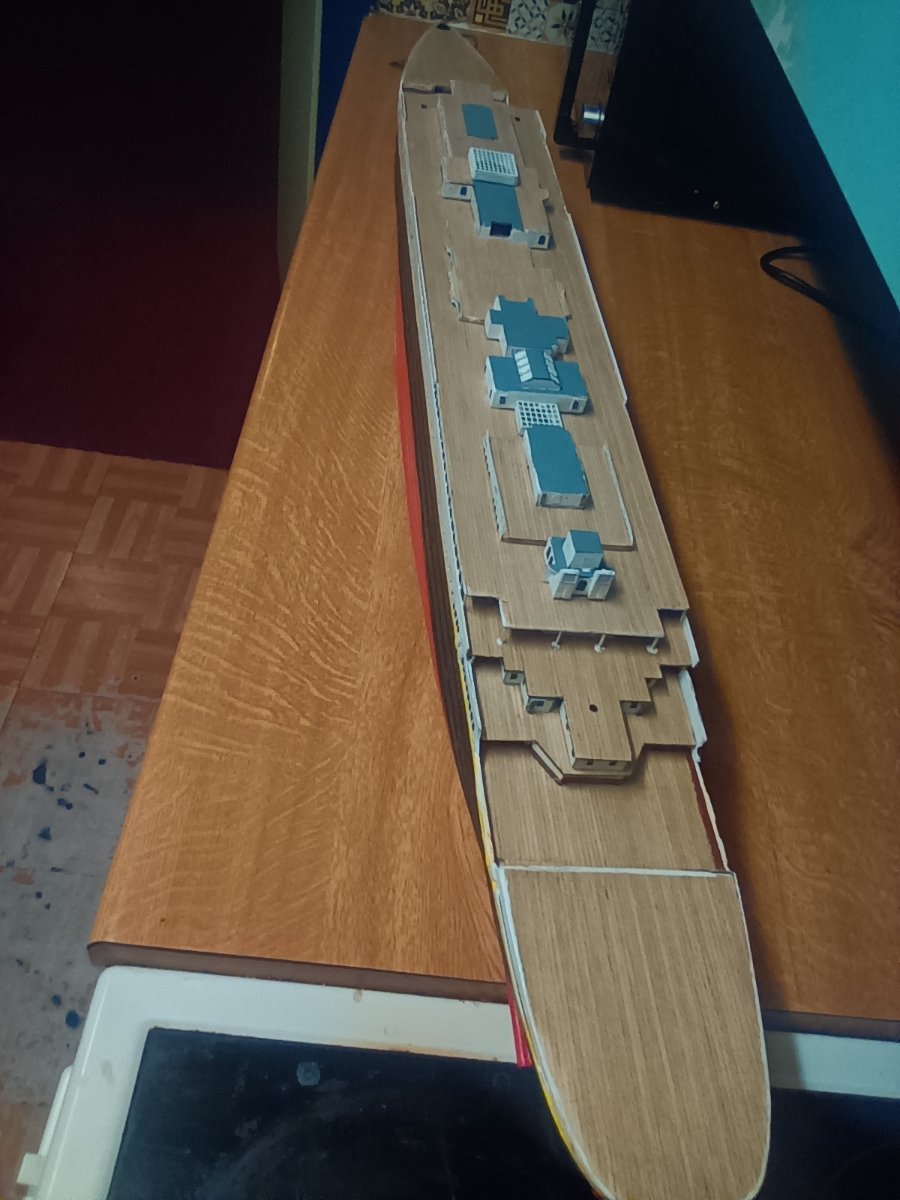
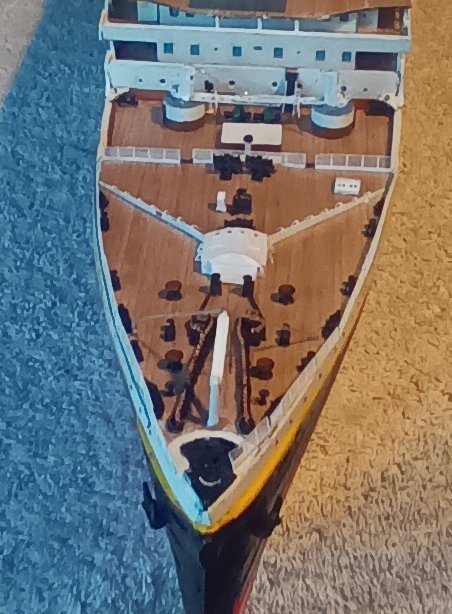
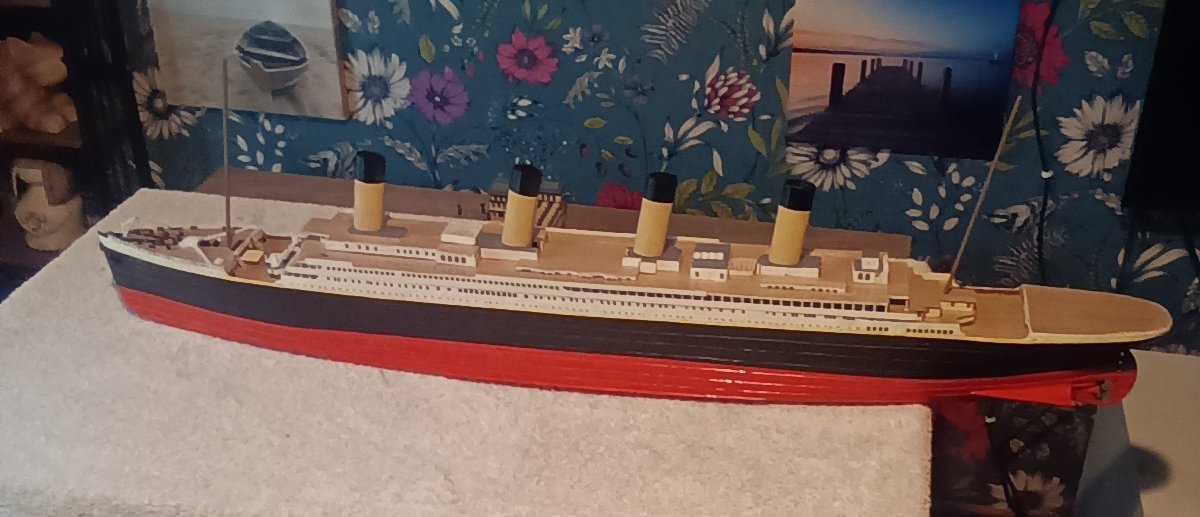
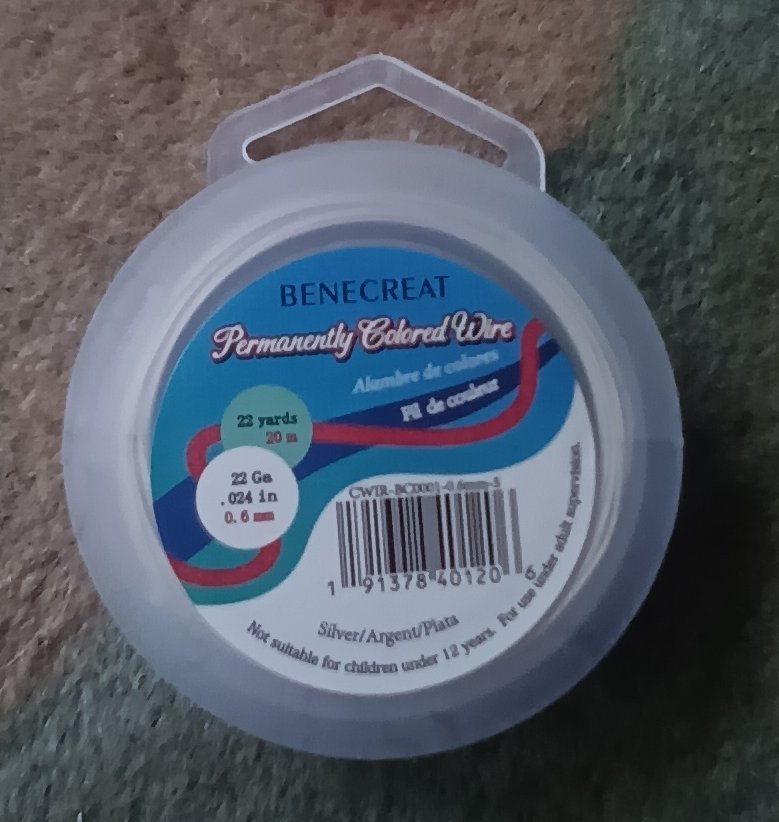
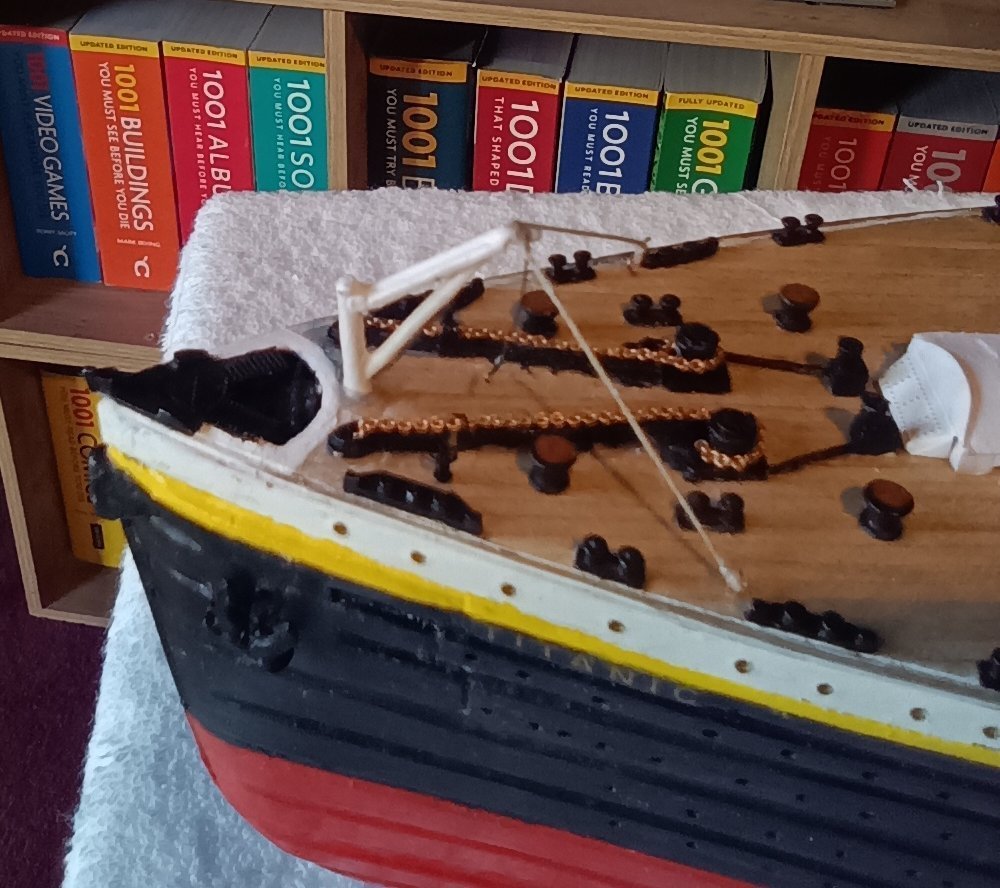
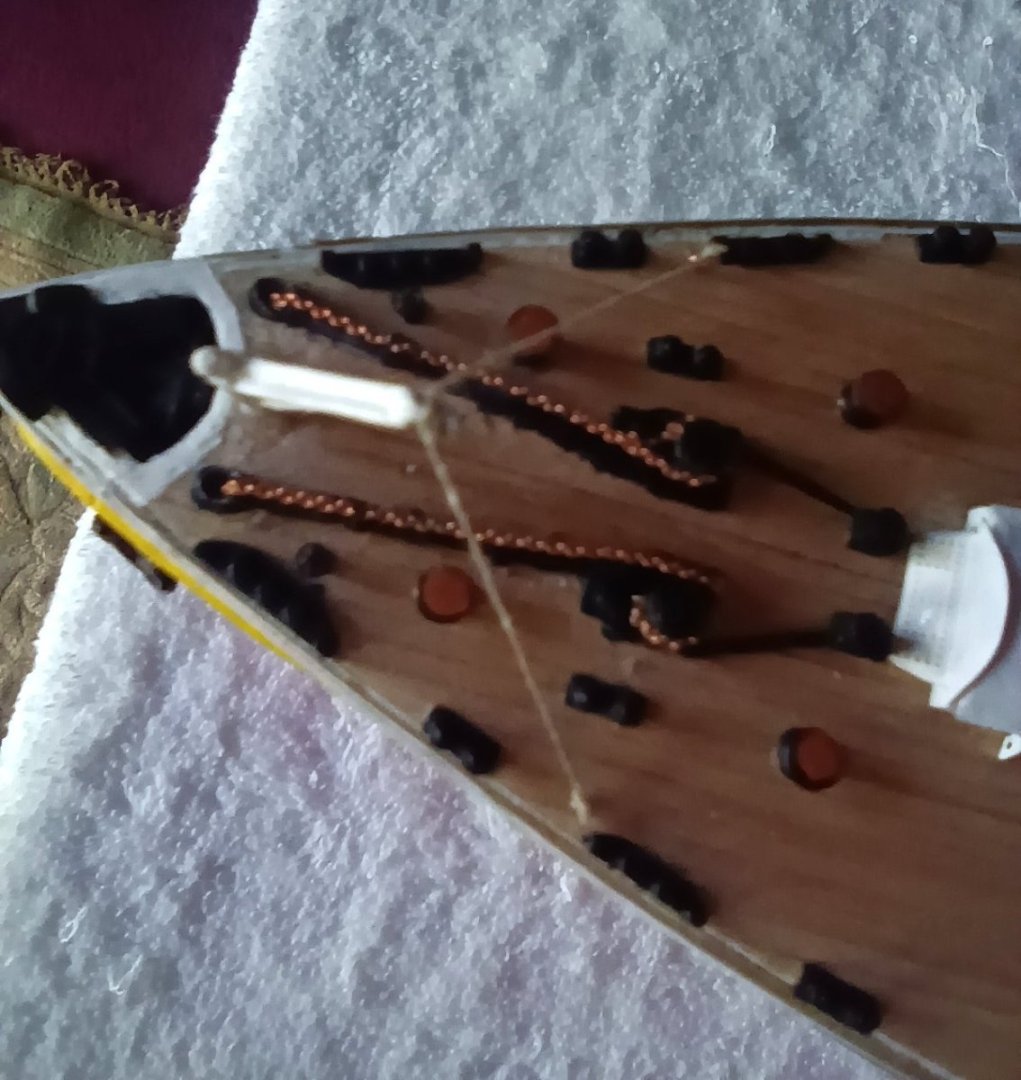
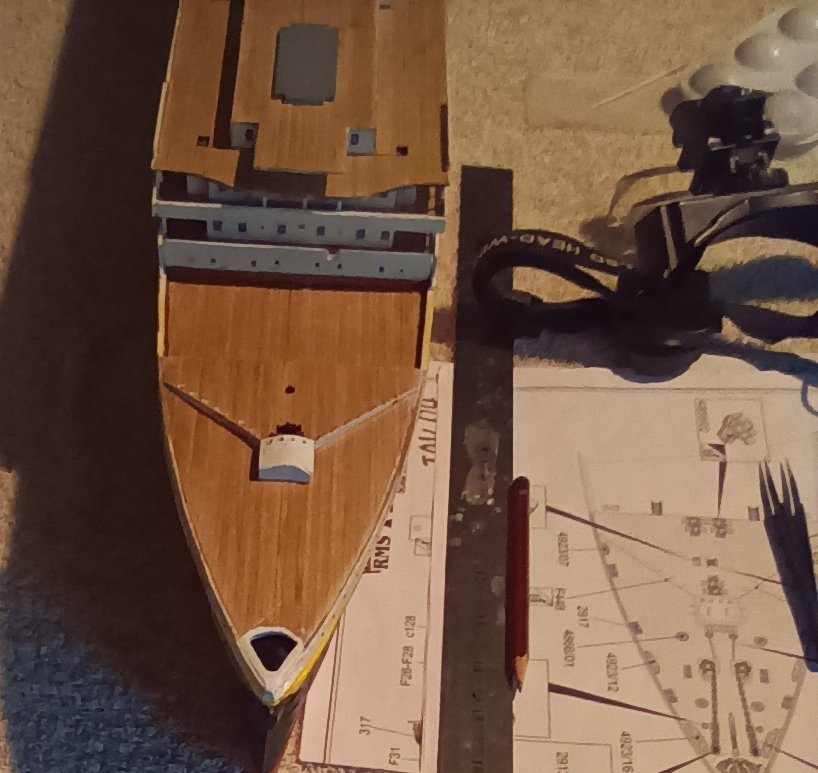
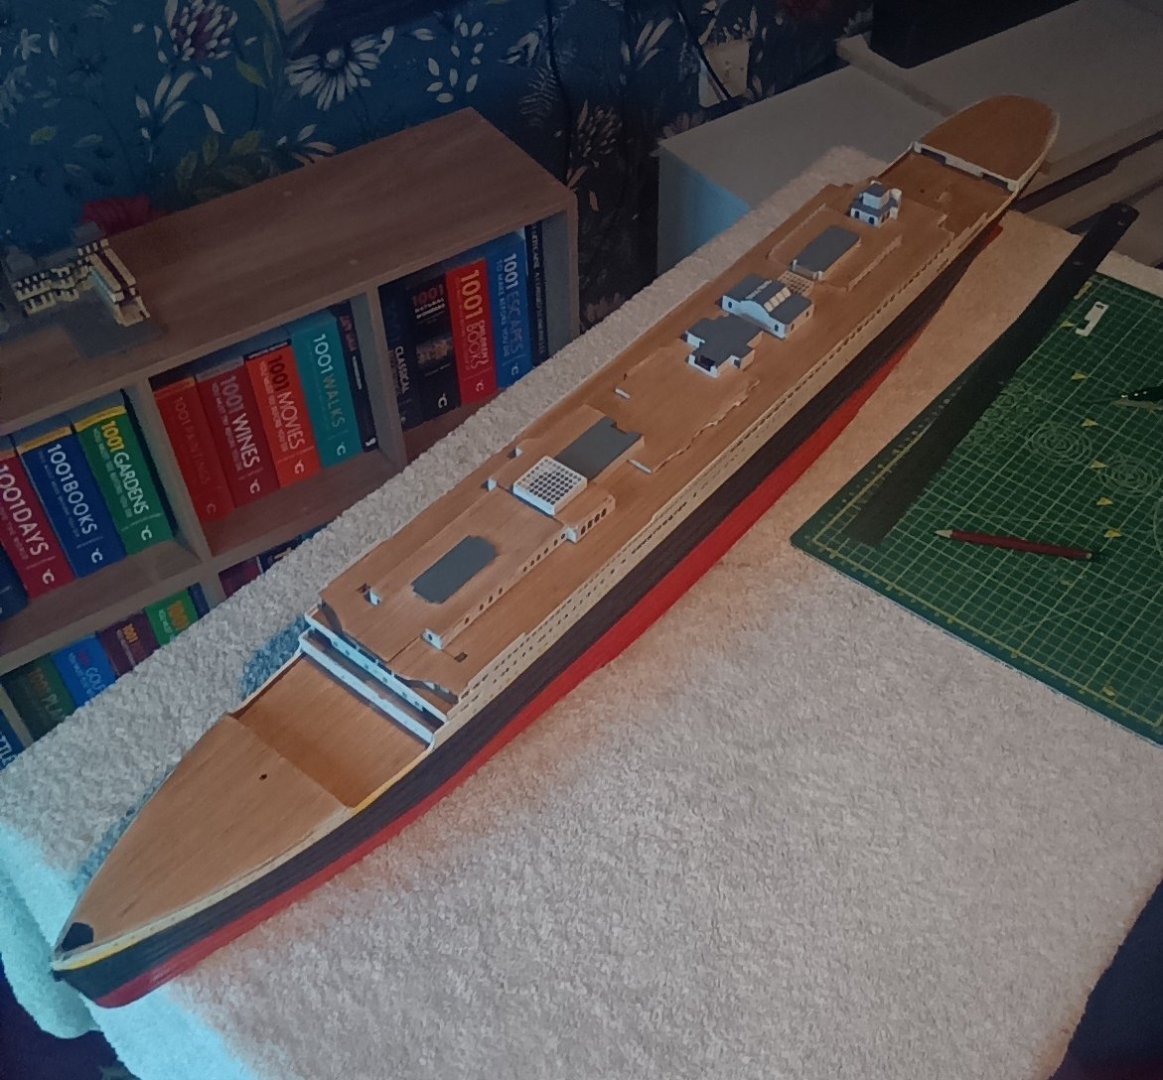
Forward well deck completed. I decided to have the cranes in their storage position. I have added two of the cranes jib crutches. These where tripods. There where actually three but at this scale the centre one didn't look right. I have also replaced the cotton thread with jewellery makers wire. see bottom picture. Most of the rigging on Titanic was steel wire rope,including the cranes hoist cable. I think it looks more realistic then cotton thread. The ladders are the replacement photo etch ones from Mini Brass. They look so much better then the plastic ones. My plan was to work along the boat deck and finish at the stern with the Poop deck and Aft well deck. But whilst working on the bow section it helped that there was nothing to knock off on the boat deck. This allowed me to use that deck as an arm rest when placing parts. So will do the same when working on the stern section. I will then work along the boat deck as part three of the build. How she looks at this stage. Looking a lot like Titanic now. The photos don't do it justice. They make it look like the bow section is somehow warped. It doesn't look like that when seen normally.


-
Paul Jarman reacted to a post in a topic:
OcCre HMS Victory Limited edition
-
Paul Jarman reacted to a post in a topic:
OcCre HMS Victory Limited edition
-
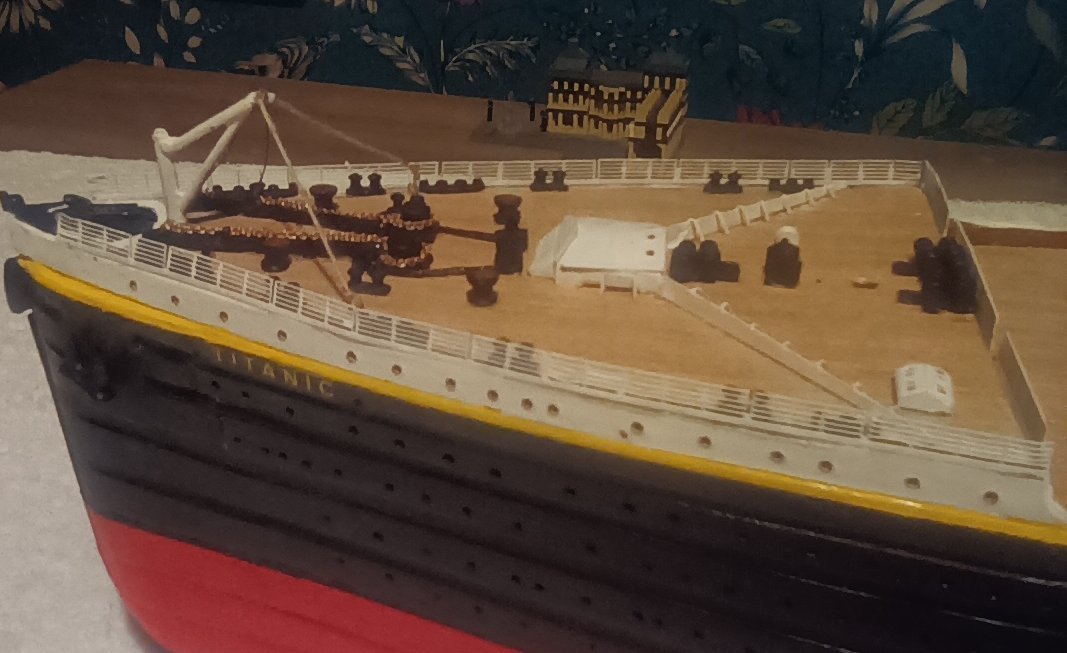
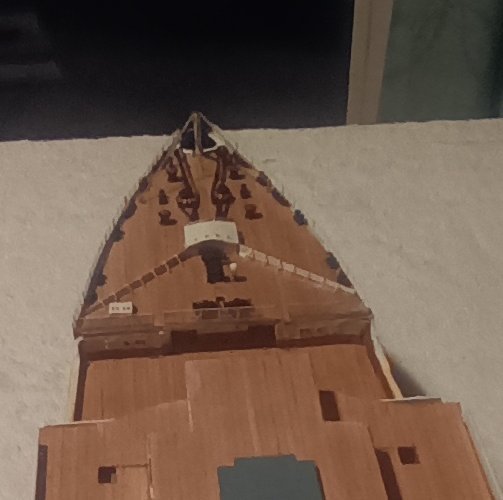
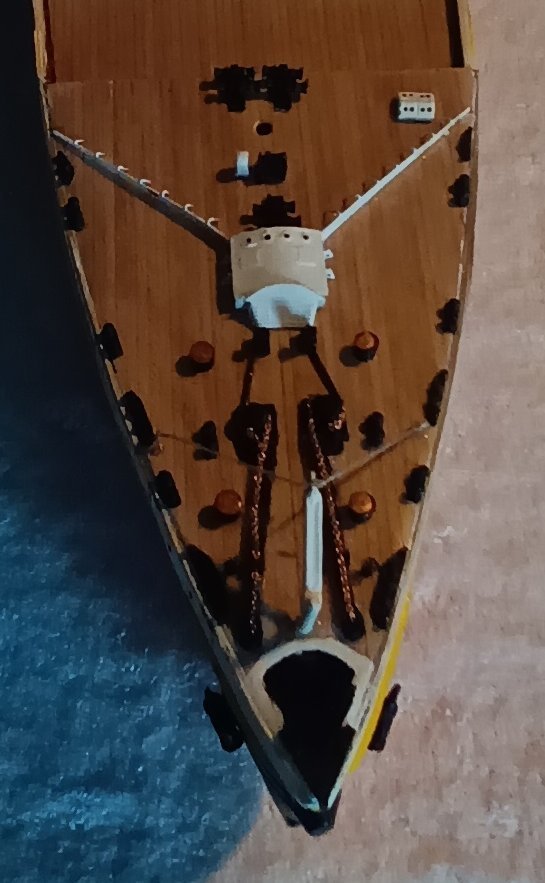
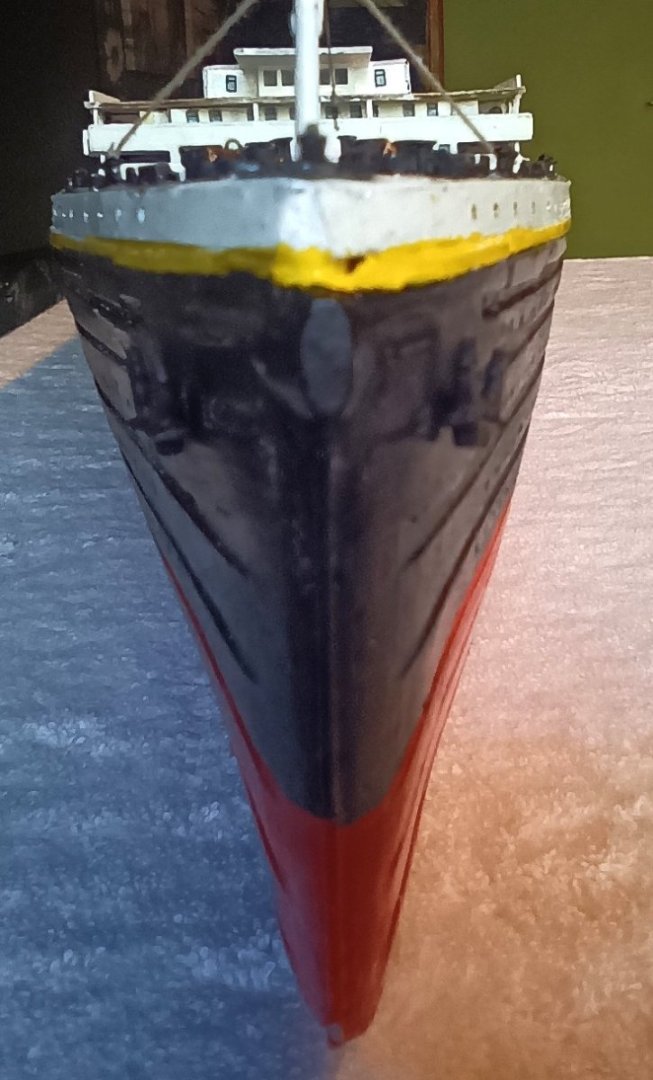
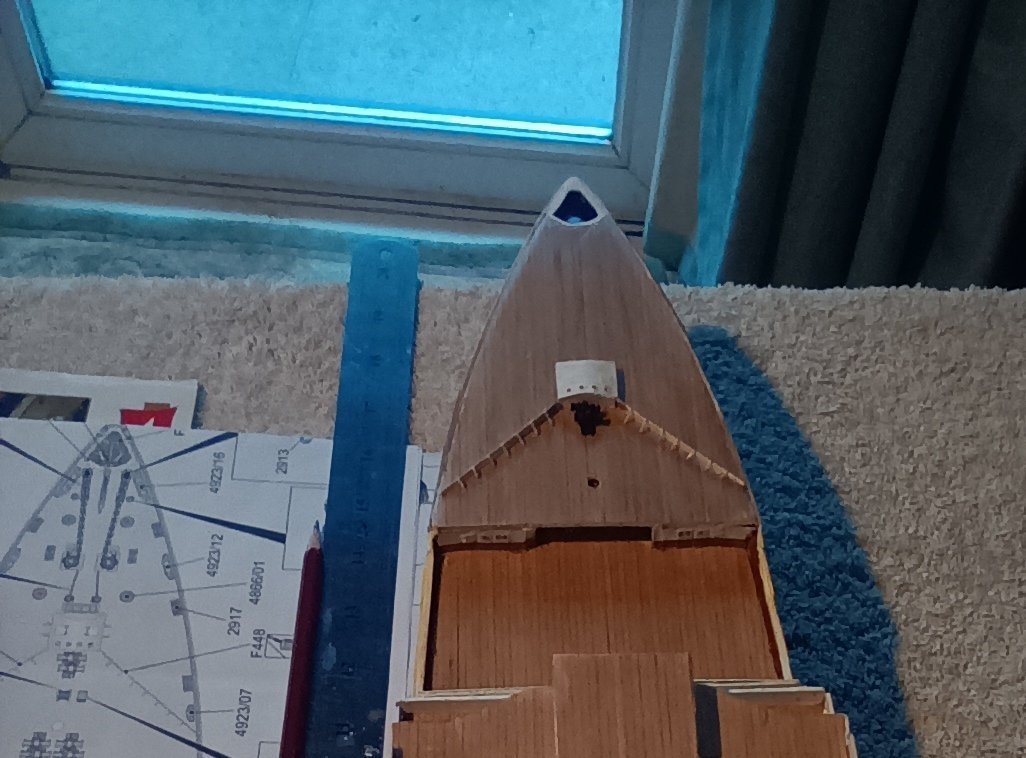
Bow deck completed. Handrails installed. The one part of photo etch detail I don't like.. They are so fragile. The piece that is supposed to fill in the very front of the bow has gotten out of shape and is pretty much useless. I will just have to hope there are some leftovers I can use once all the others are added. I also don't like the thread that is supplied with the kit. At 0.5mm it may work with the stays on the funnels and bottom half of the masts. But the diameters where different in other areas. So the part with the extremely small hook has been reduced to 0.3mm. I have also added a representation of the drag wires to the anchor crane.And drilled a hole through the top part of the crane to run the thread with The hook on through. This is better than gluing The thread over the top of the crane. The anchors have been added as well.
-
Starting to add the fittings.
-
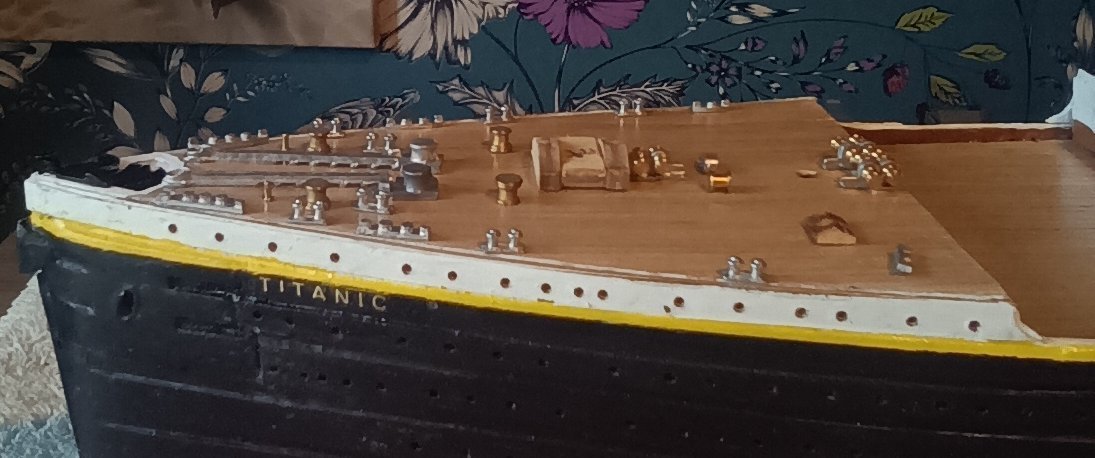
All of the fittings roughly in place on the bow deck. And ready for painting up. A ramekin and rolled out blue tack works well to hold all those tiny parts. And the photo etch and railings to be painted before fixing in place.

-
Everything glued back in place. It turned out to be a good mistake to make. After checking and double checking the instructions to make sure I had put each part together properly, I found out I had missed the instruction for 4 ladders. Could probably have fitted them once everything was glued in place but it would have been a very tight for to get them right. I have also painted the decks and structures with a Satin finish rather then clear gloss varnish. Might be me,but it seems to have very slightly darkened the decks.


-
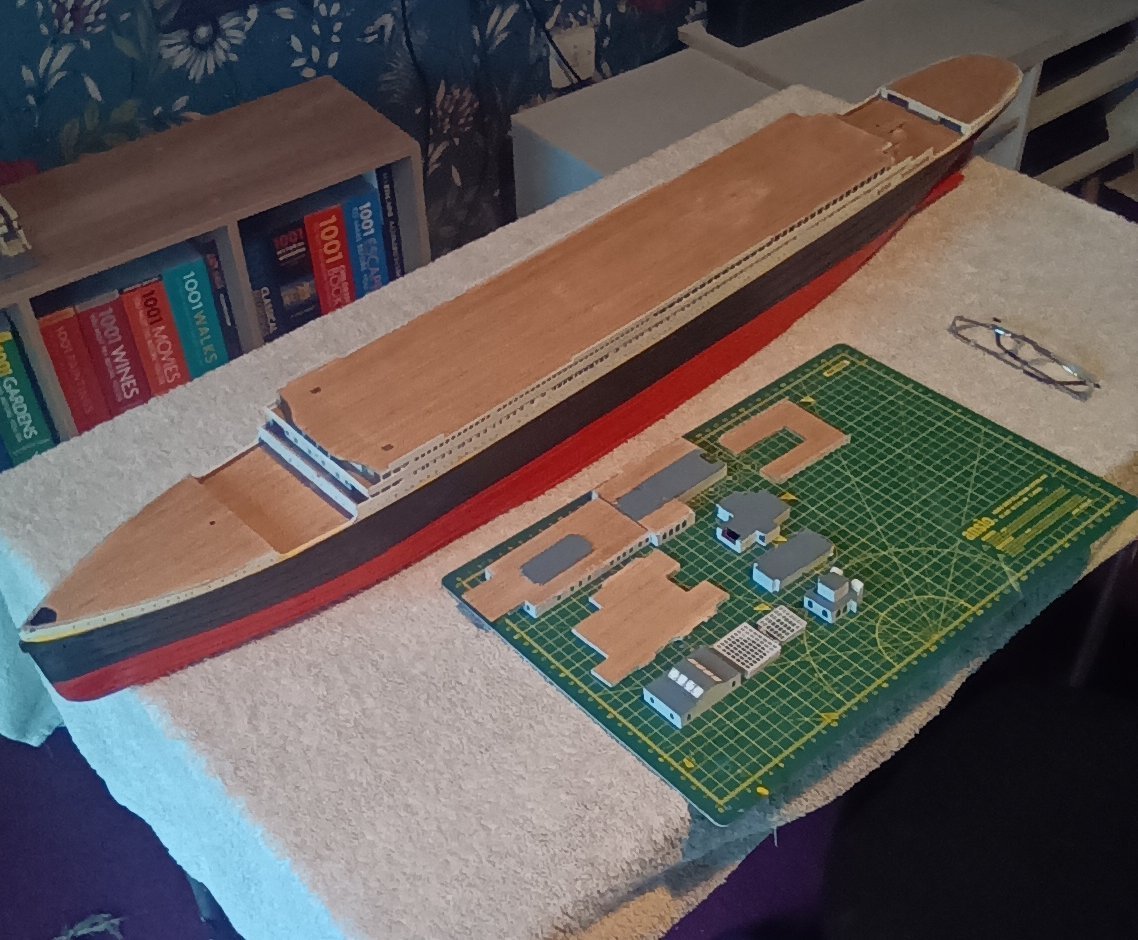
All the housings reworked and dry fitted. Which is what I should have done in the first place. And the gap at the stern end as it should be. The fault was the PE I added from Mini Brass. It works just fine on the side walls. But I had added 6 pieces to various end walls. The PE is approximately 1mm thick. Doesn't seen much but once removed and the walls sanded down the measurements all fall into place. So will use the kit PE for these sections. It's just a couple of Windows and doors.

-
How many times as a modeller, especially building wooden ship models do you get to a stage in the build when you are only a few centimetres out that you have to start again? I spent the Weekend deciding wether or not I was happy with the end of the deck being a couple of centimetres out. I was not. Luckily I had glued all the structures onto the deck using a light coating of wood glue. Usually I use CA glue so there is no chance of movement when working around them. This meant they where easy to lift off. It also gave me the opportunity to do some tidying up of the edges. There are a few areas on the deck looking a bit iffy, but they will be covered once everything is put back in place. Had I used CA glue I would almost certainly have torn some of the planking off and would have had to strip it down and replank. And where I had measured the length of the deck, I had not taken into account the slight curve at the bow section. Now that I have measured it with nothing in the way, it is the correct length. Now I just have to go through all the plans and instructions for building all those structures and work out how I ended up with the stern section being out by the amount it was.
-
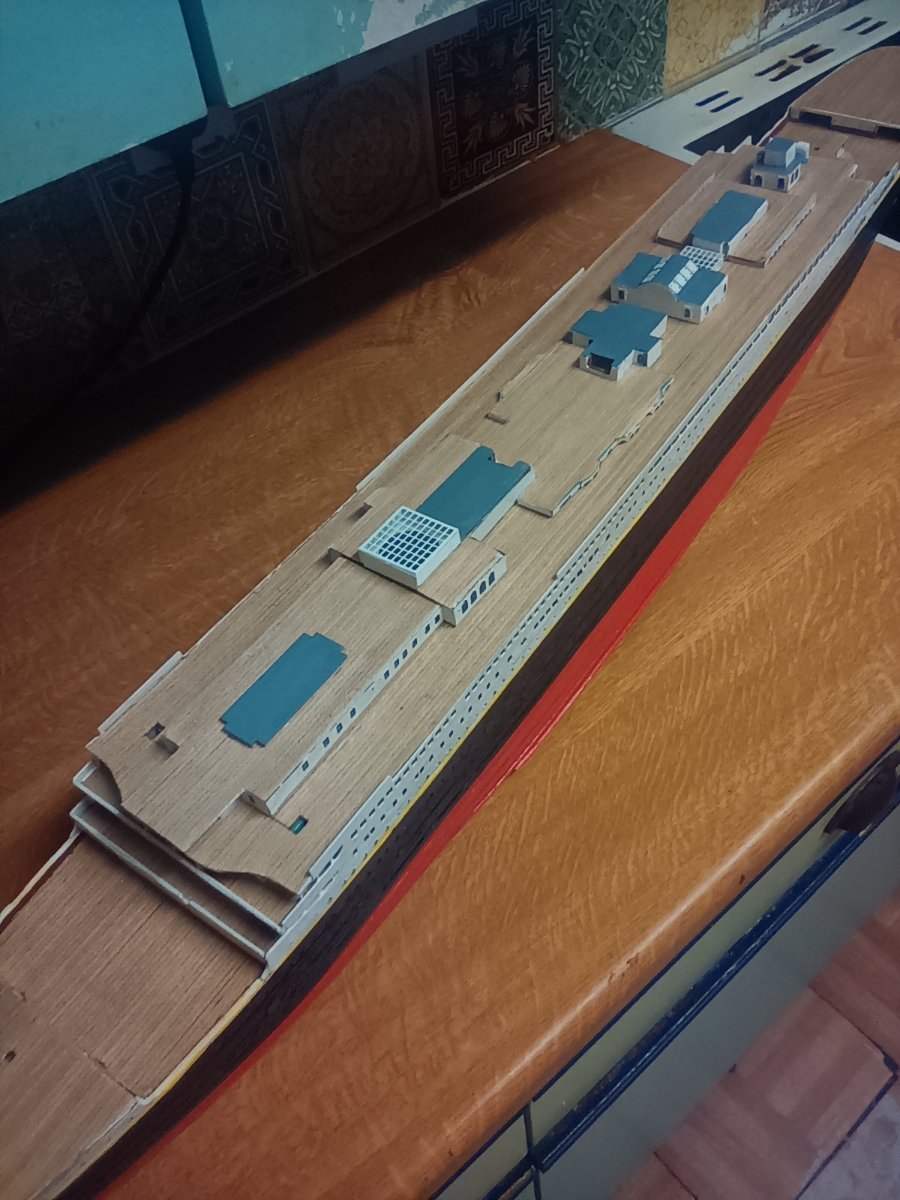
All of the main boat deck structures glued in place. I have measured each one and the gaps between based on the full size plans. I have then ended up with the change deck house structure at the stern being 2 cm short. Leaving a smaller area then there should be behind it. Luckily there is only the handrails and two benches that occupy that space. I considered stripping all the structures down and restarting, but soon realised that I would still have the same problem. After measuring everything it turns out that the fault is with the deck. It is 4 cm smaller in length then the plans suggest creating the 2 cm discrepancy. I have decided that rather then strip everything down, I will except it the way it is as it doesn't look to bad. The pictures show the state of the model at the moment. All the structures have had the Mini Brass PE added. It makes everything look so much better and gives nice smooth walls rather then painting bare wood and adding the kit PE. I will now start adding all the various fittings to the decks starting from the bow. The handrails,funnels and ships boats will be added last.


-
Paul Jarman reacted to a post in a topic:
Type of glue to use planking a hull
-
Personality I would never use CA glue for planking.I have used Vitalbond Aliphatic professional wood glue for all my models.It's essentially a wood super glue. And holds the plank to the bulkhead just fine. I then use a normal white PVA wood glue for second planking as there is more area fror the glue to grab. The only time I've used CA glue for planking is on occasional areas that have a lot of spring in them Paul
-
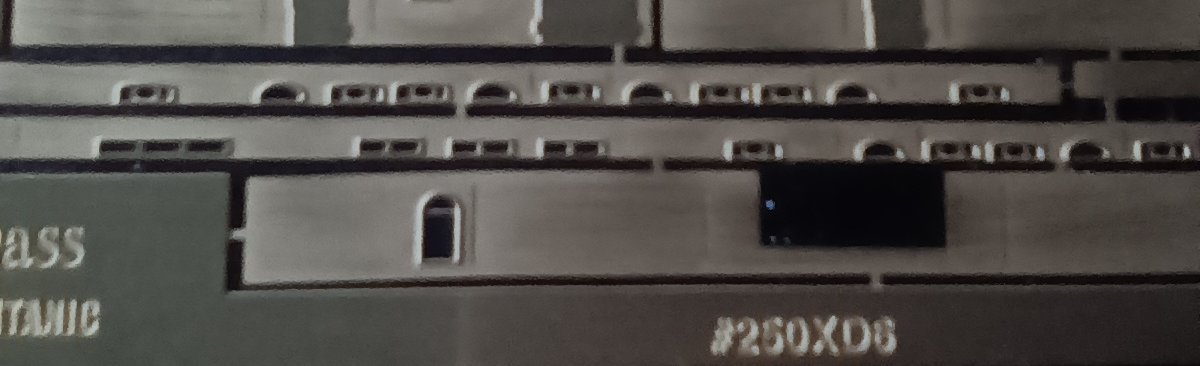
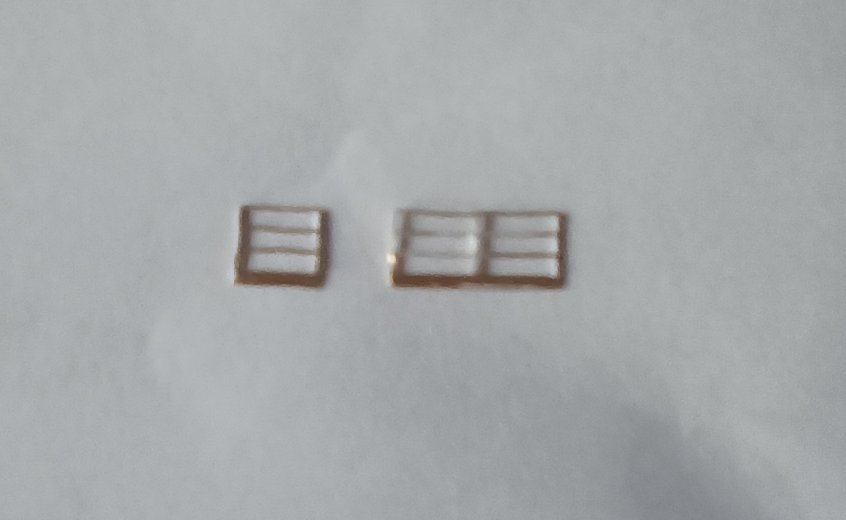
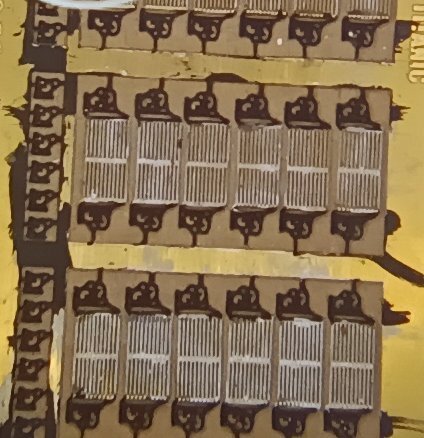
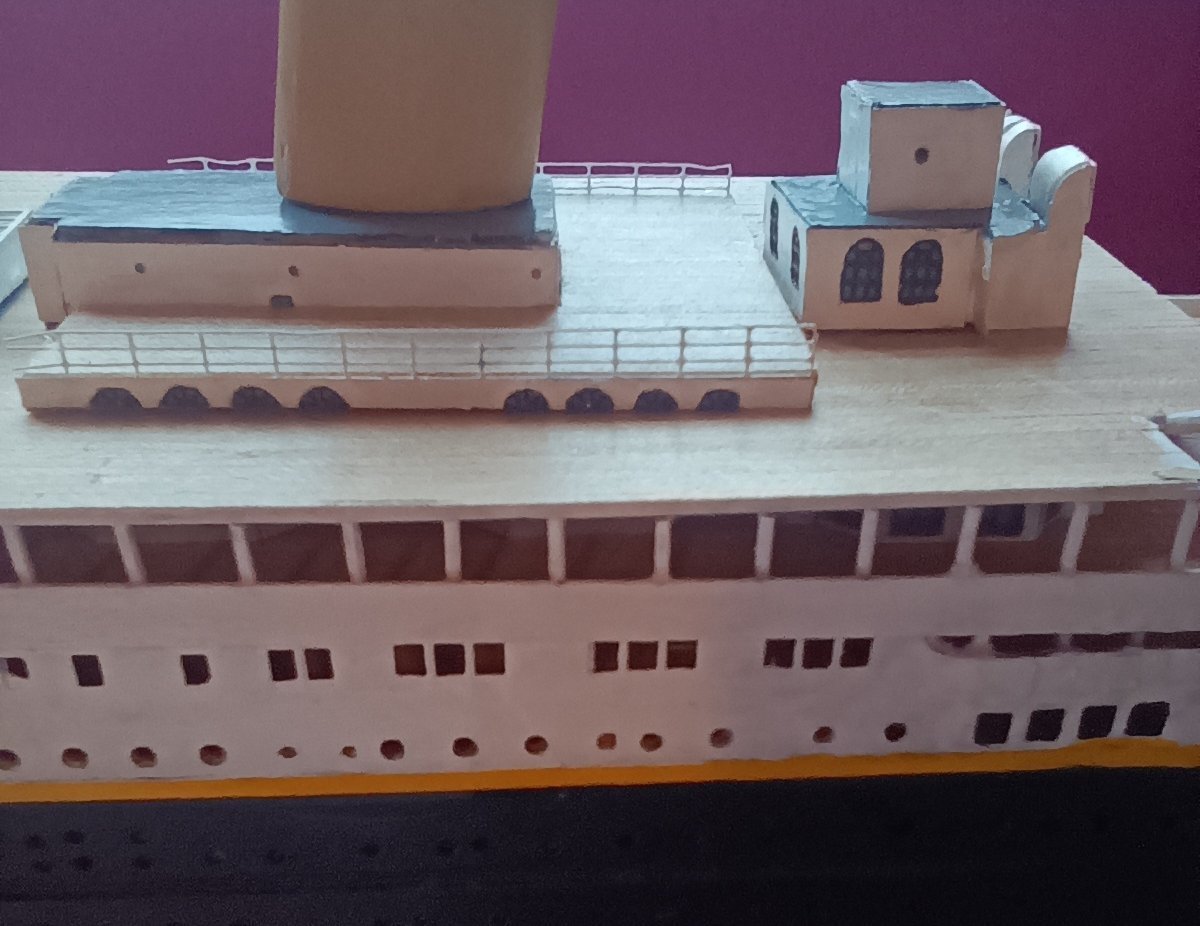
Starting the first class lounge roof. The photos show the original photo etch that comes with the kit which has very tiny Windows And frames . Which makes it hard to paint the frames. And trying to get a very small amount of paint into the recess to represent the glass would be difficult. And the Mini Brass replacement. The Mini Brass photo etch is far better than the one supplied with the kit. And has open frames so The background can be painted to represent the glass.The only downside is that Mini Brass don't supply railings. The kit supplied photo etch has the railings attached to the walls. I did think about placing the Mini Brass etch over the original ,but it would have meant the wall protruding to much. But by carefully scouring along the bottom of the frame and then using the photo etch bender and bending the bottom part up and down very carefully I should be able to remove the railings. Just makes a lot more work.