Boeing774
-
Posts
48 -
Joined
-
Last visited
-
 yvesvidal reacted to a post in a topic:
USS Alaska by Boeing774 - Hobby Boss - 1:350 - PLASTIC
yvesvidal reacted to a post in a topic:
USS Alaska by Boeing774 - Hobby Boss - 1:350 - PLASTIC
-
Coyote_6 reacted to a post in a topic:
USS Alaska by Boeing774 - Hobby Boss - 1:350 - PLASTIC
-
ccoyle reacted to a post in a topic:
USS Alaska by Boeing774 - Hobby Boss - 1:350 - PLASTIC
-
Canute reacted to a post in a topic:
USS Alaska by Boeing774 - Hobby Boss - 1:350 - PLASTIC
-
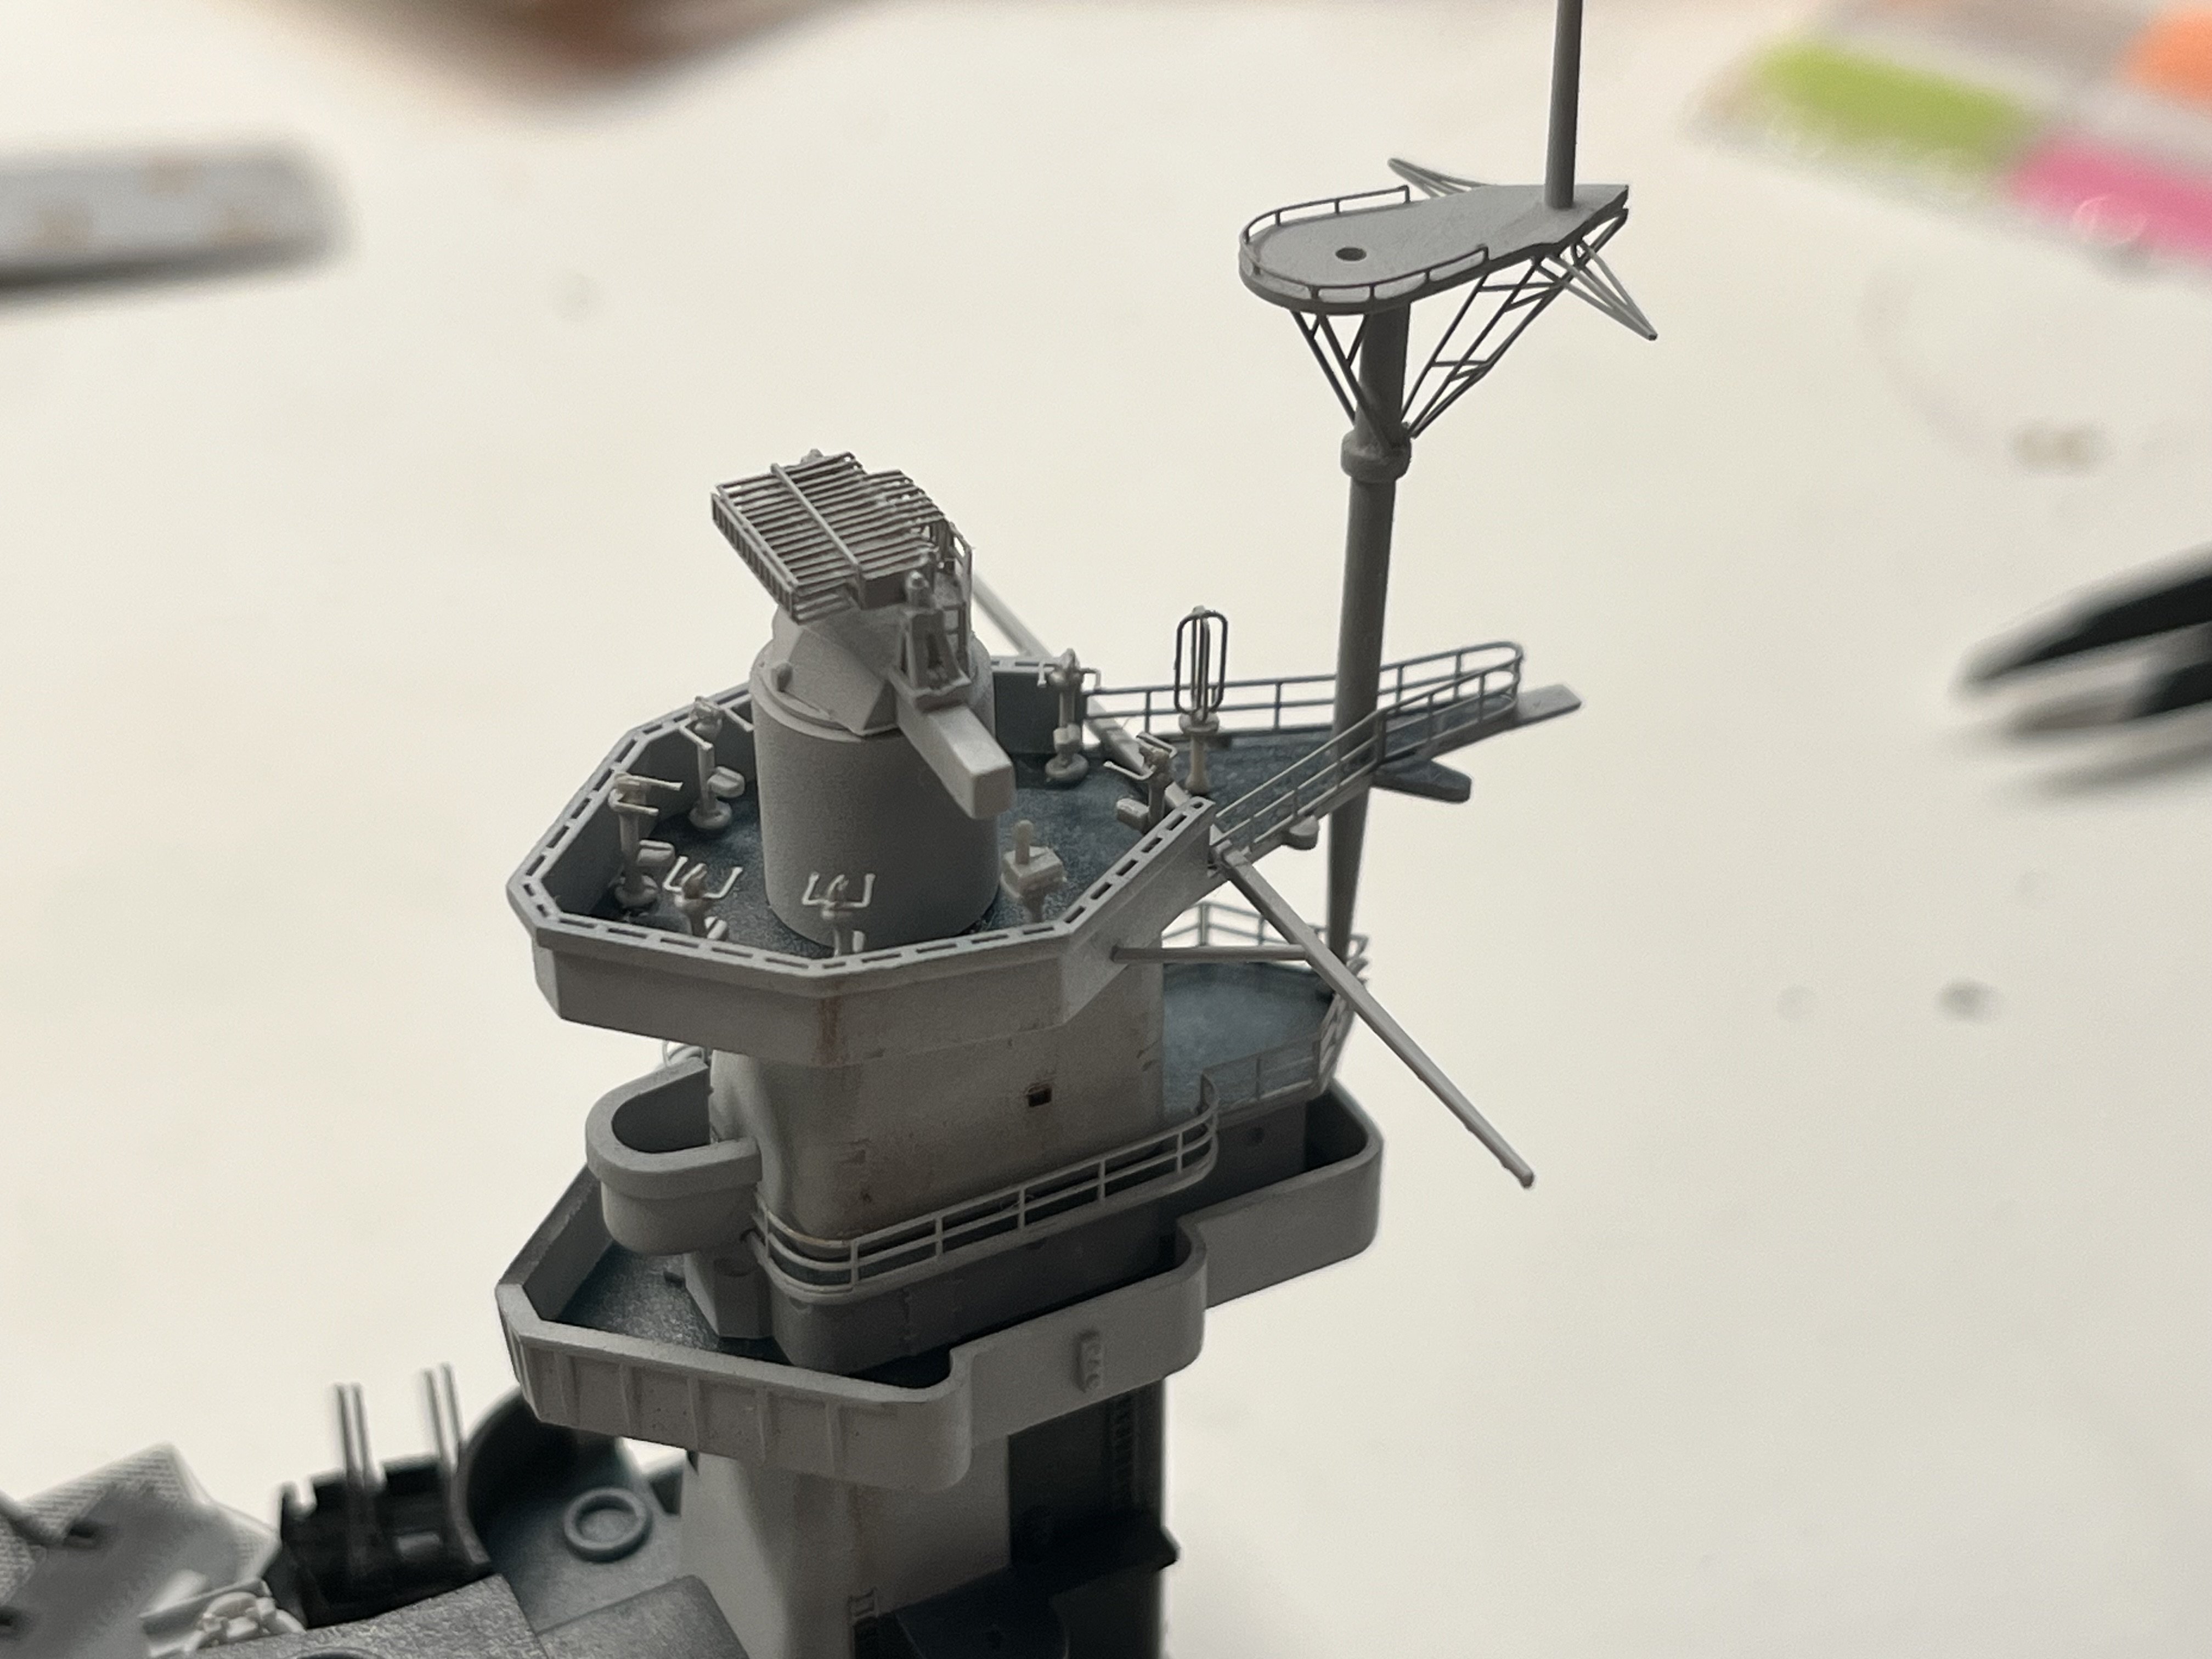
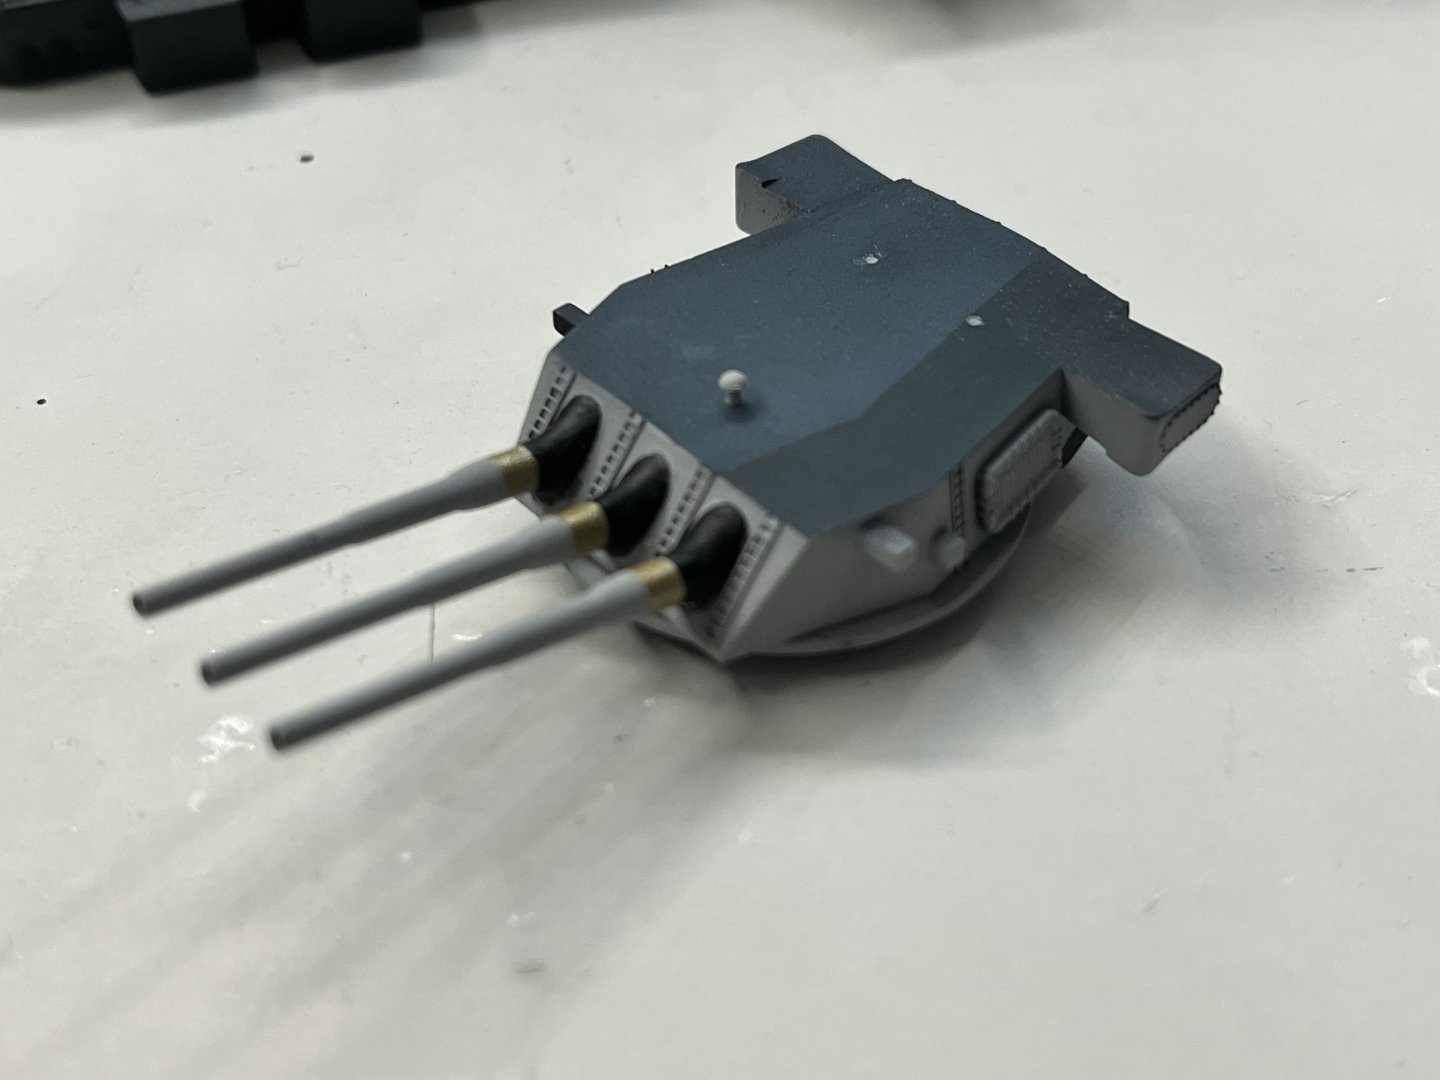
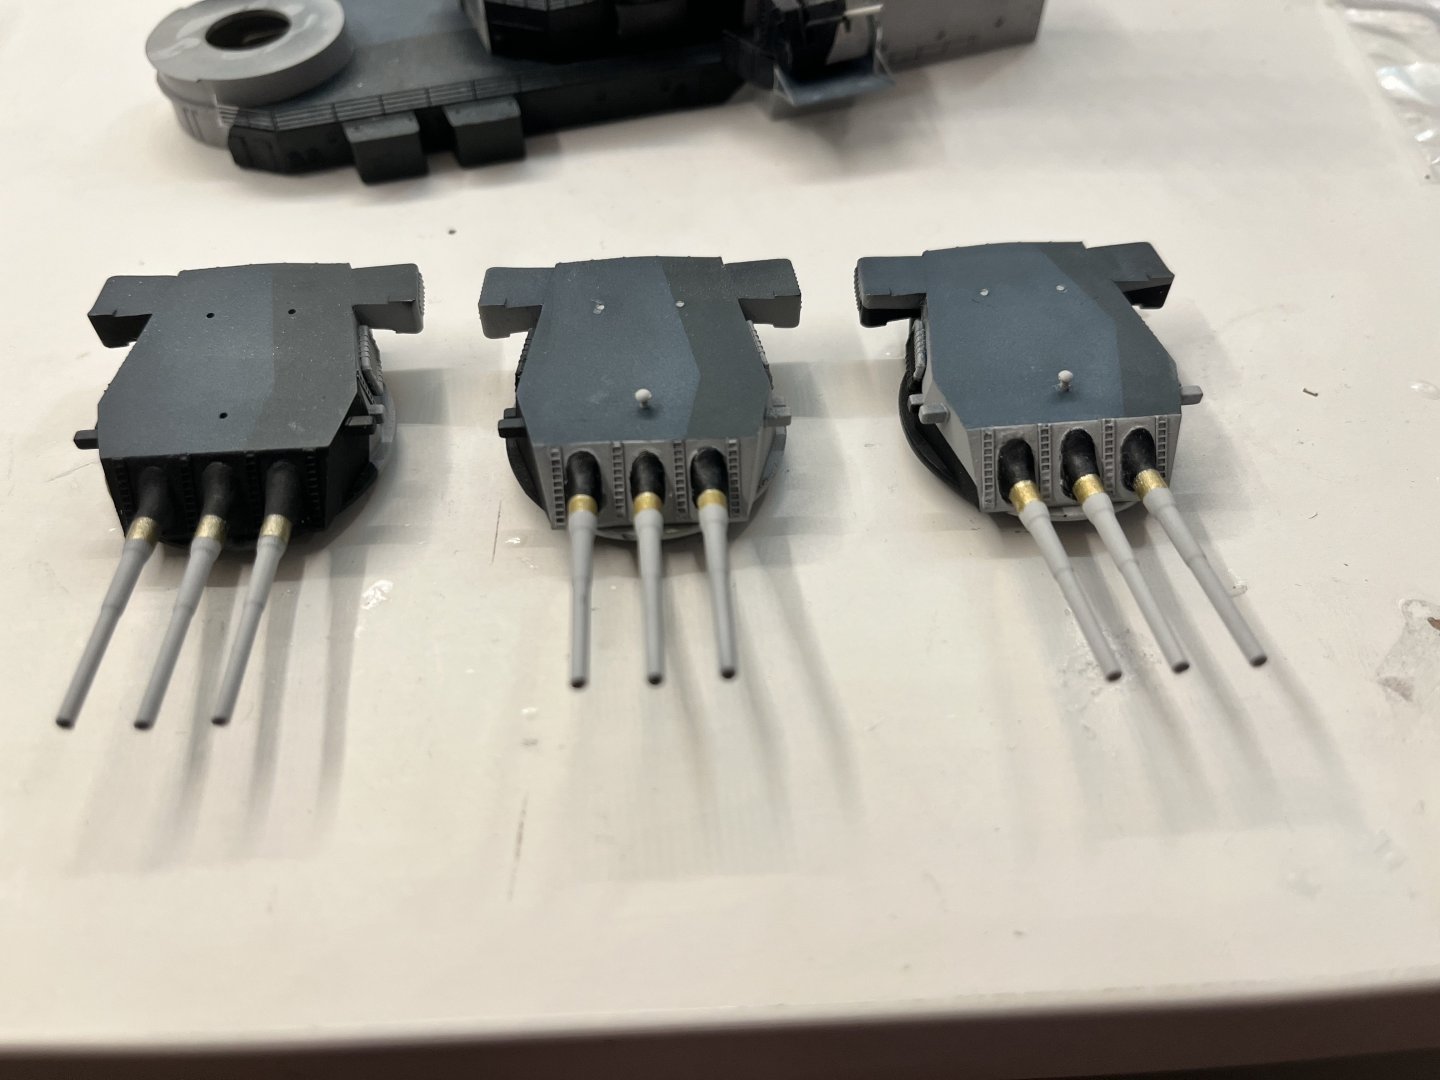
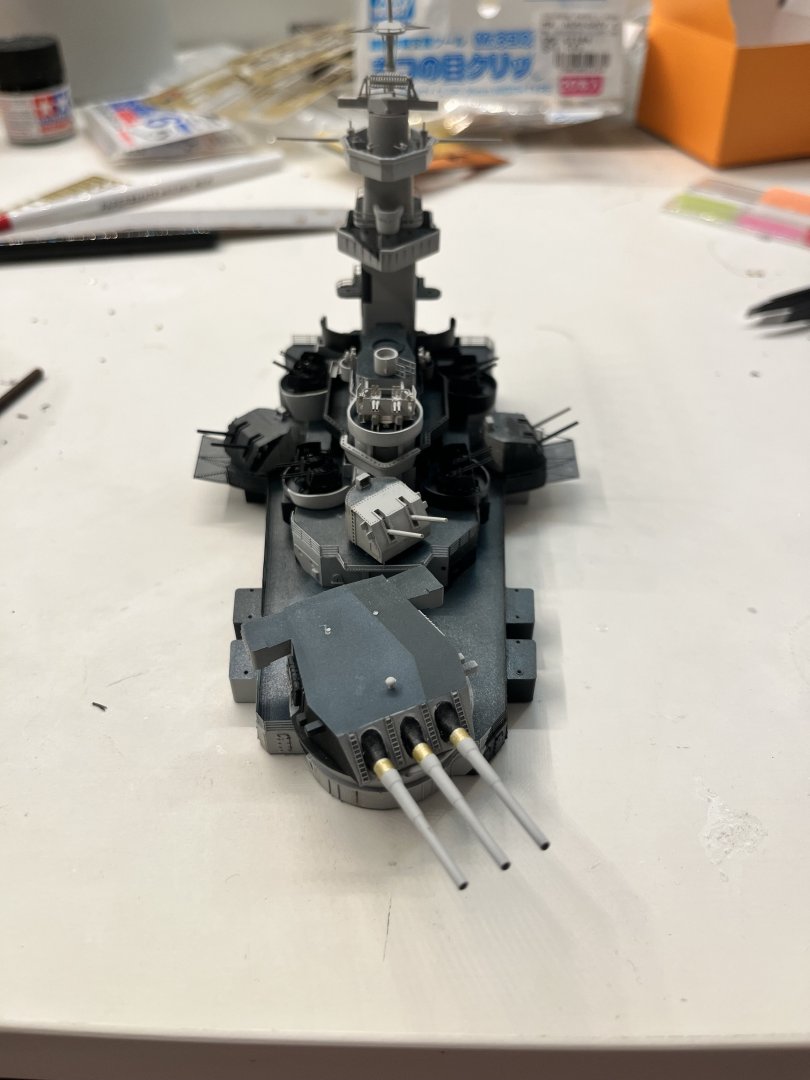
I finally finished the main 12 in guns, so I’ll weather it over the weekend. Also couldn't stop myself from putting everything together again:

-
Coyote_6 reacted to a post in a topic:
USS Alaska by Boeing774 - Hobby Boss - 1:350 - PLASTIC
-
Canute reacted to a post in a topic:
USS Alaska by Boeing774 - Hobby Boss - 1:350 - PLASTIC
-
mikegr reacted to a post in a topic:
USS Alaska by Boeing774 - Hobby Boss - 1:350 - PLASTIC
-
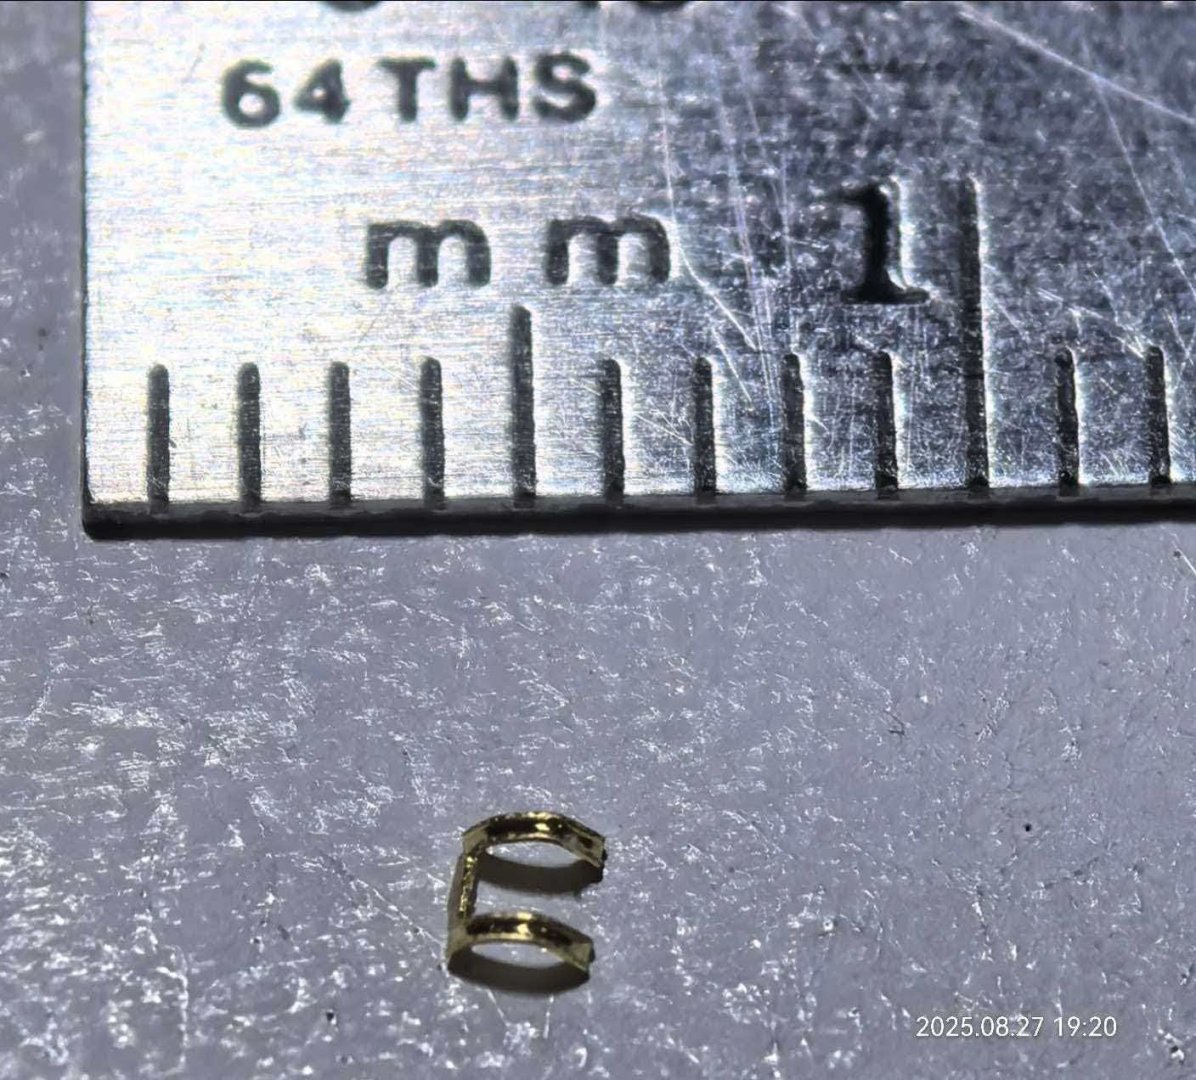
Thanks! I’m finally getting towards the final home stretch after finishing all the guns. Put everything together for the first time on the ship and looks really busy and wonderful. Only issue is that it seems like the closer you are to finishing l, the more things you lose lost two deck vent already, which I’ll have to 3D print or something.
-
 Boeing774 reacted to a post in a topic:
USS Alaska by Boeing774 - Hobby Boss - 1:350 - PLASTIC
Boeing774 reacted to a post in a topic:
USS Alaska by Boeing774 - Hobby Boss - 1:350 - PLASTIC
-
yvesvidal reacted to a post in a topic:
USS Alaska by Boeing774 - Hobby Boss - 1:350 - PLASTIC
-
Landlubber Mike reacted to a post in a topic:
USS Alaska by Boeing774 - Hobby Boss - 1:350 - PLASTIC
-
Landlubber Mike reacted to a post in a topic:
USS Alaska by Boeing774 - Hobby Boss - 1:350 - PLASTIC
-
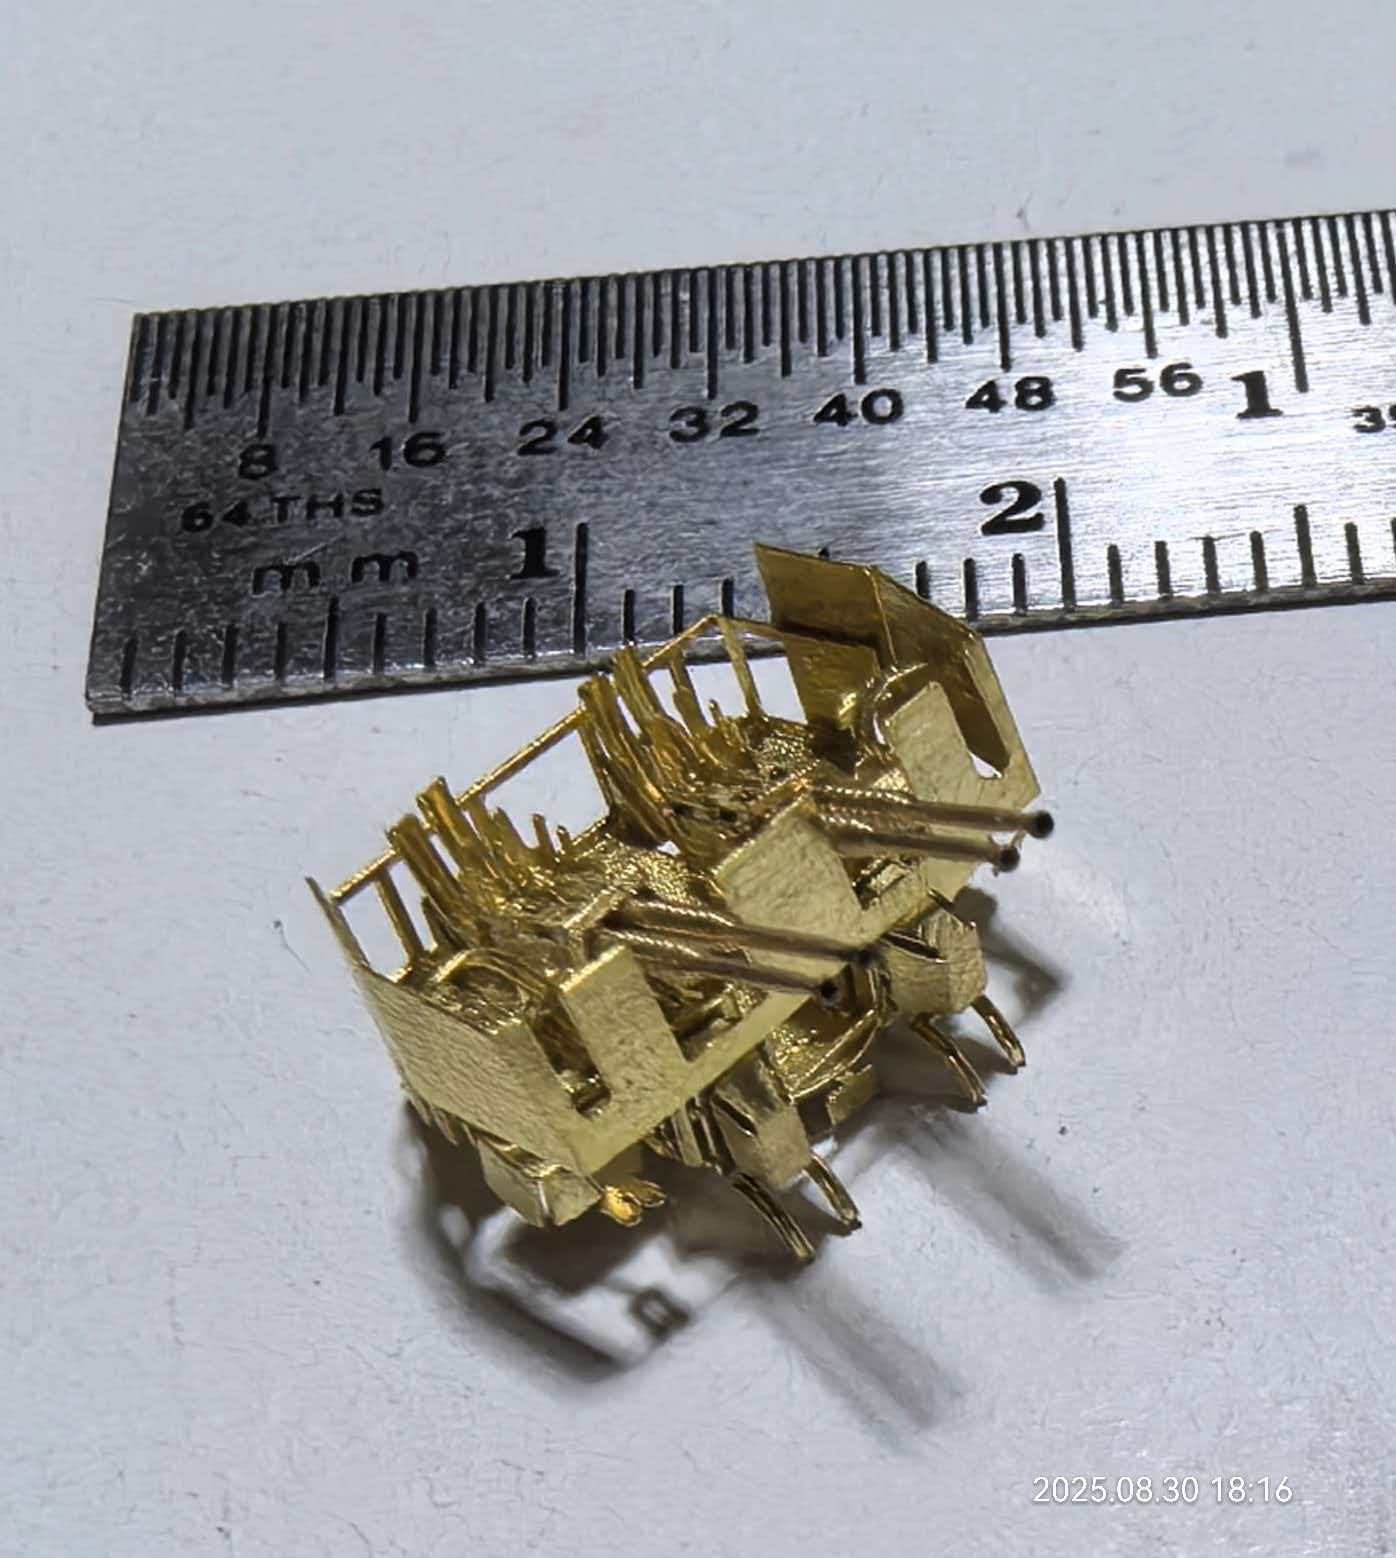
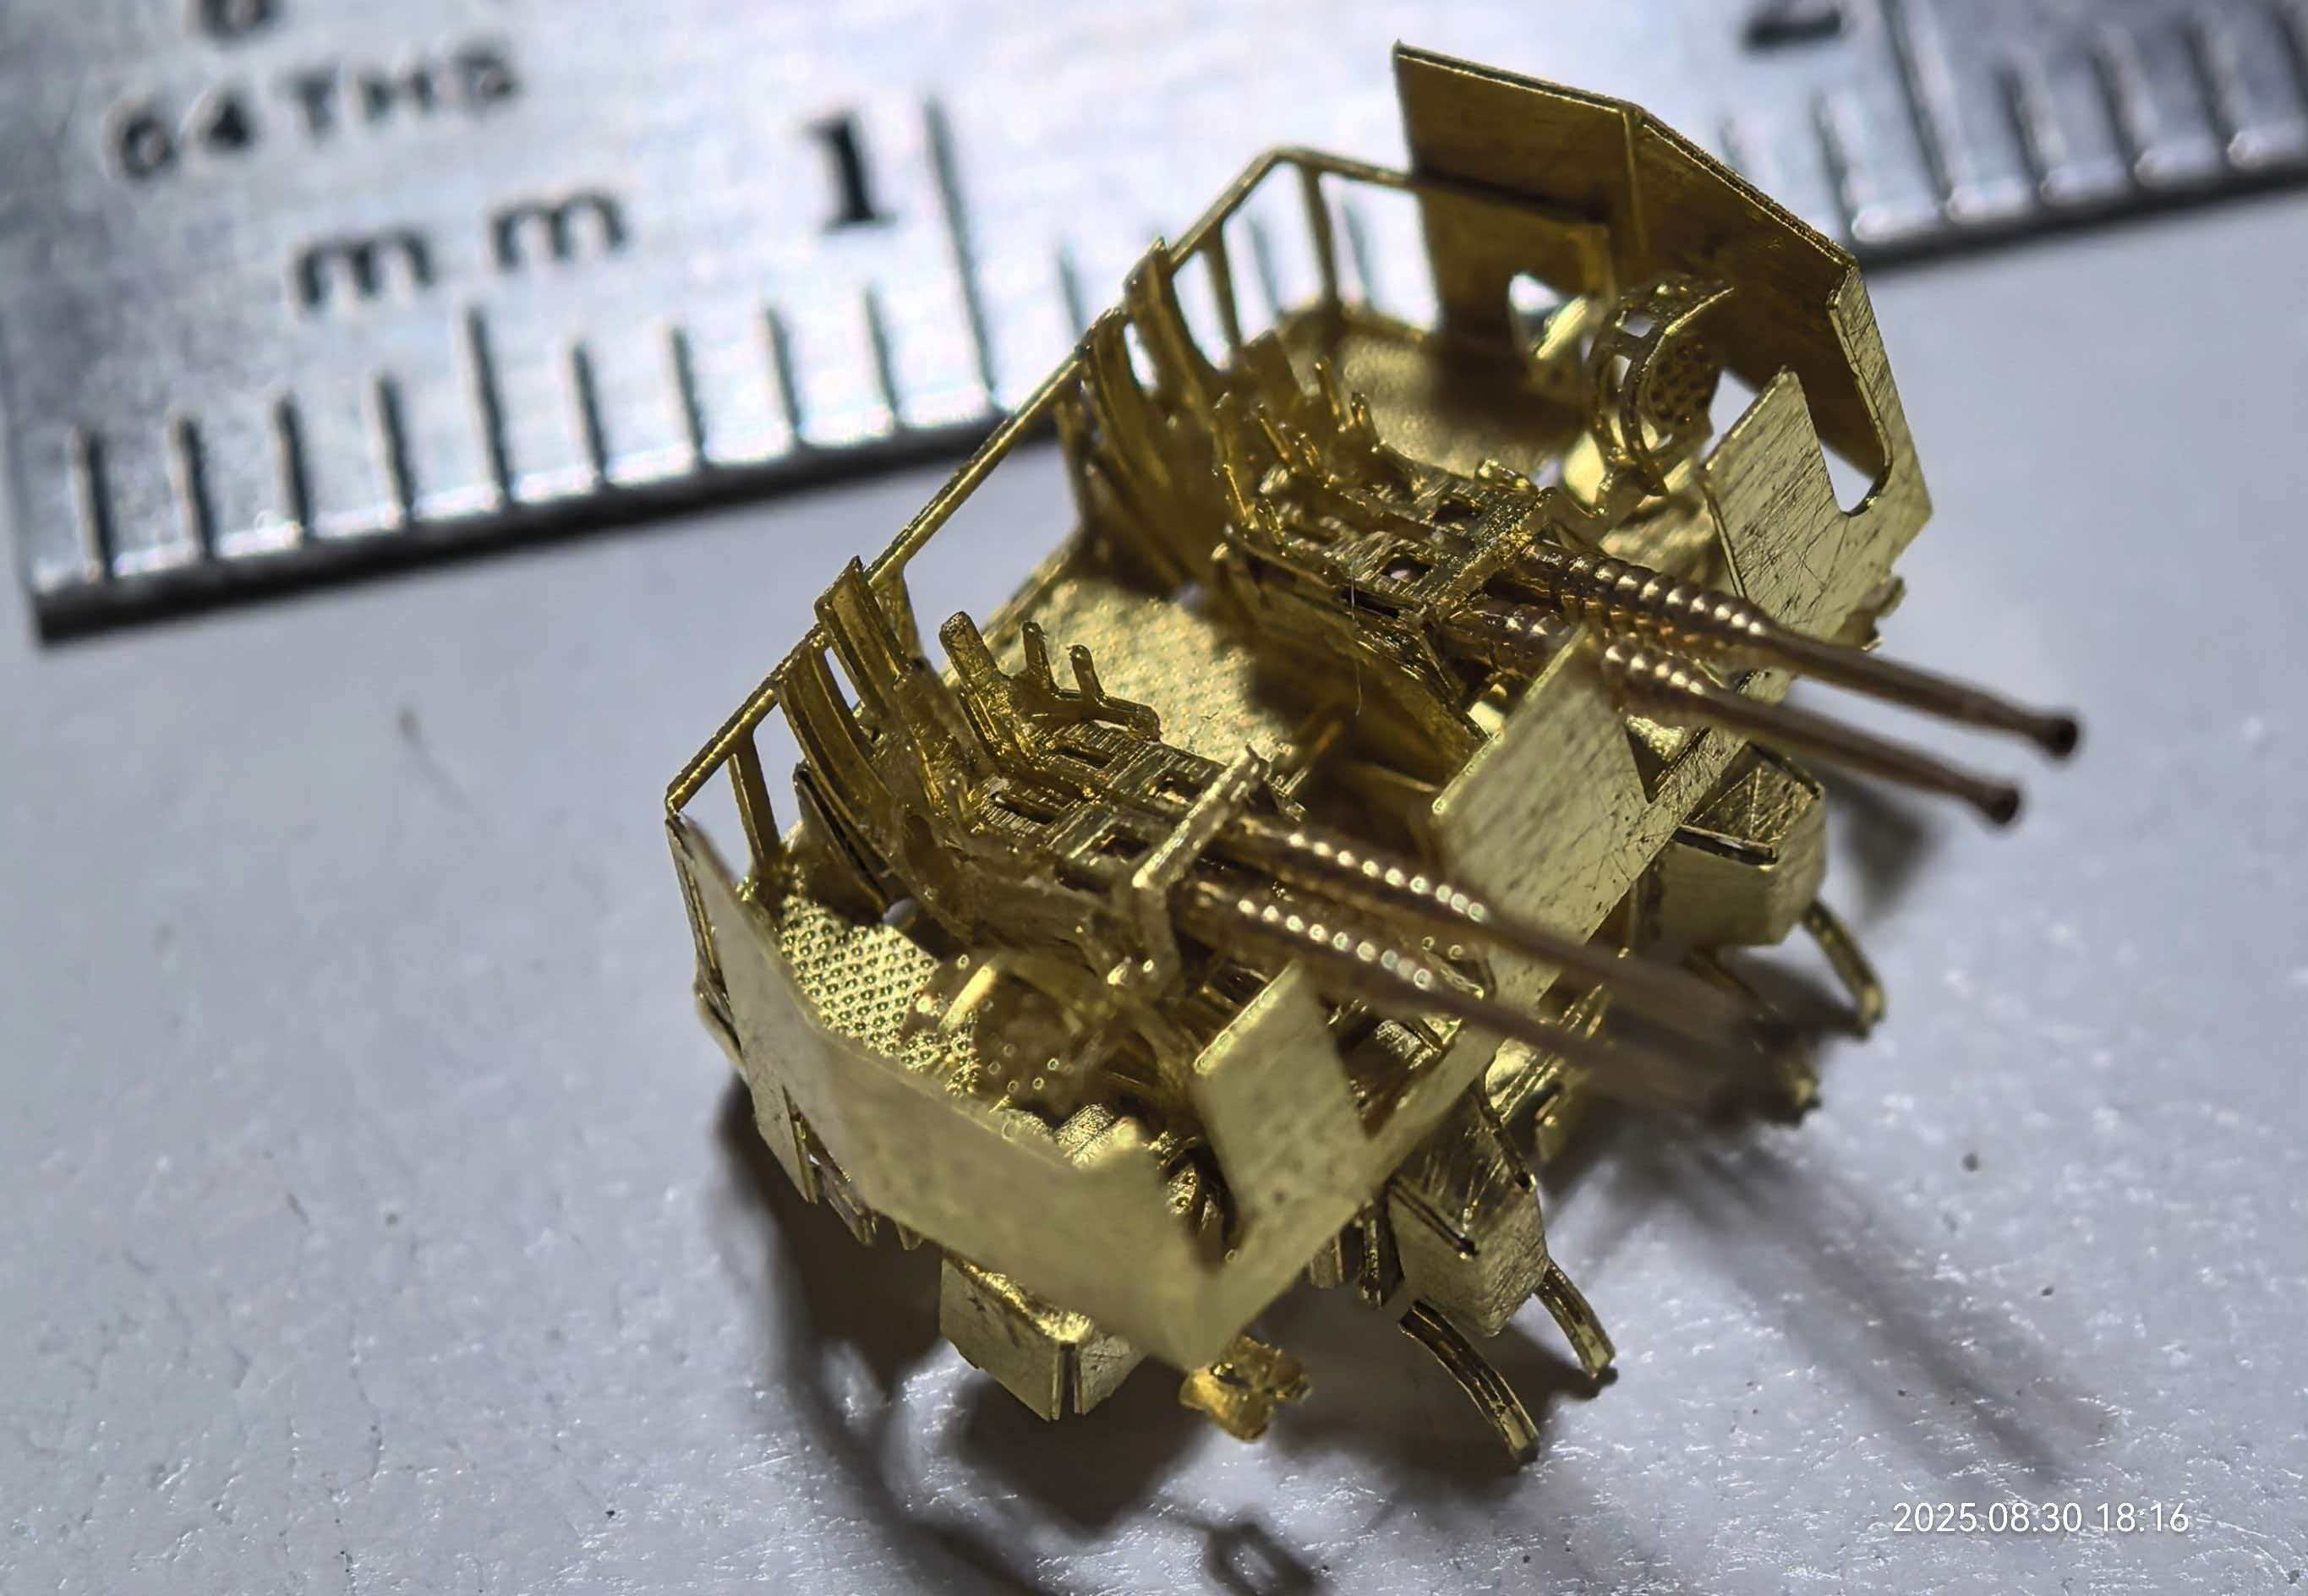
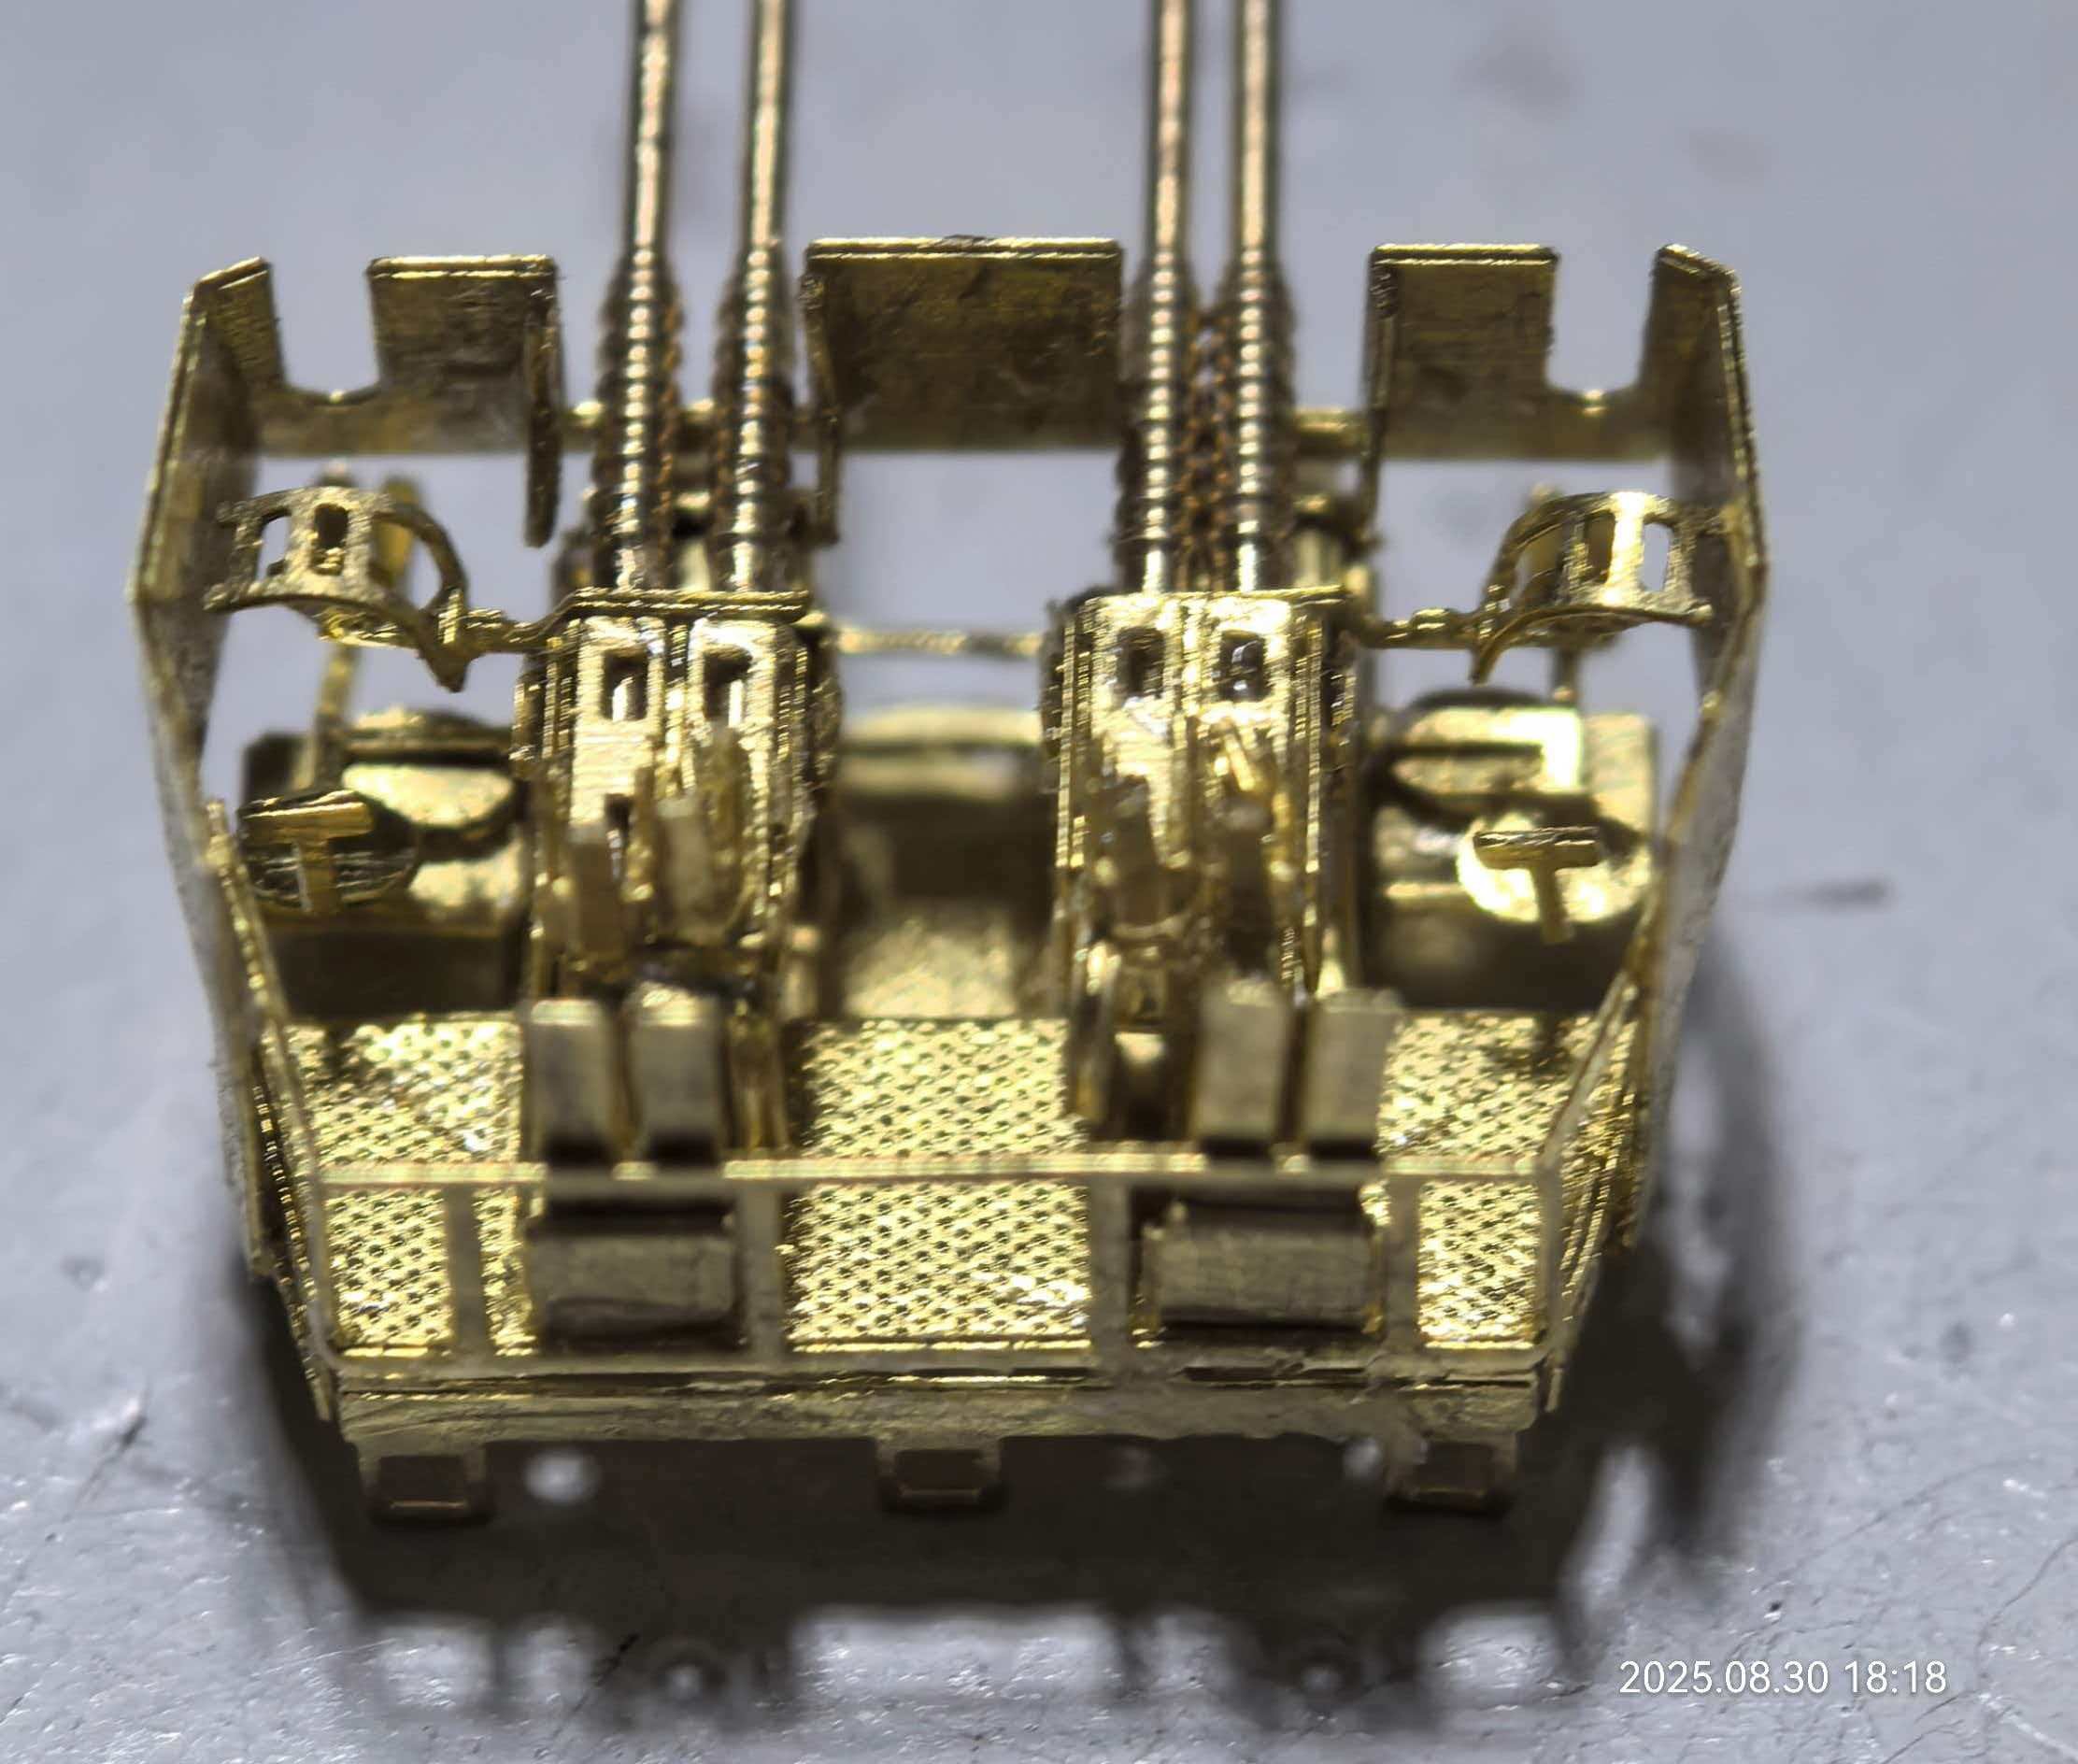
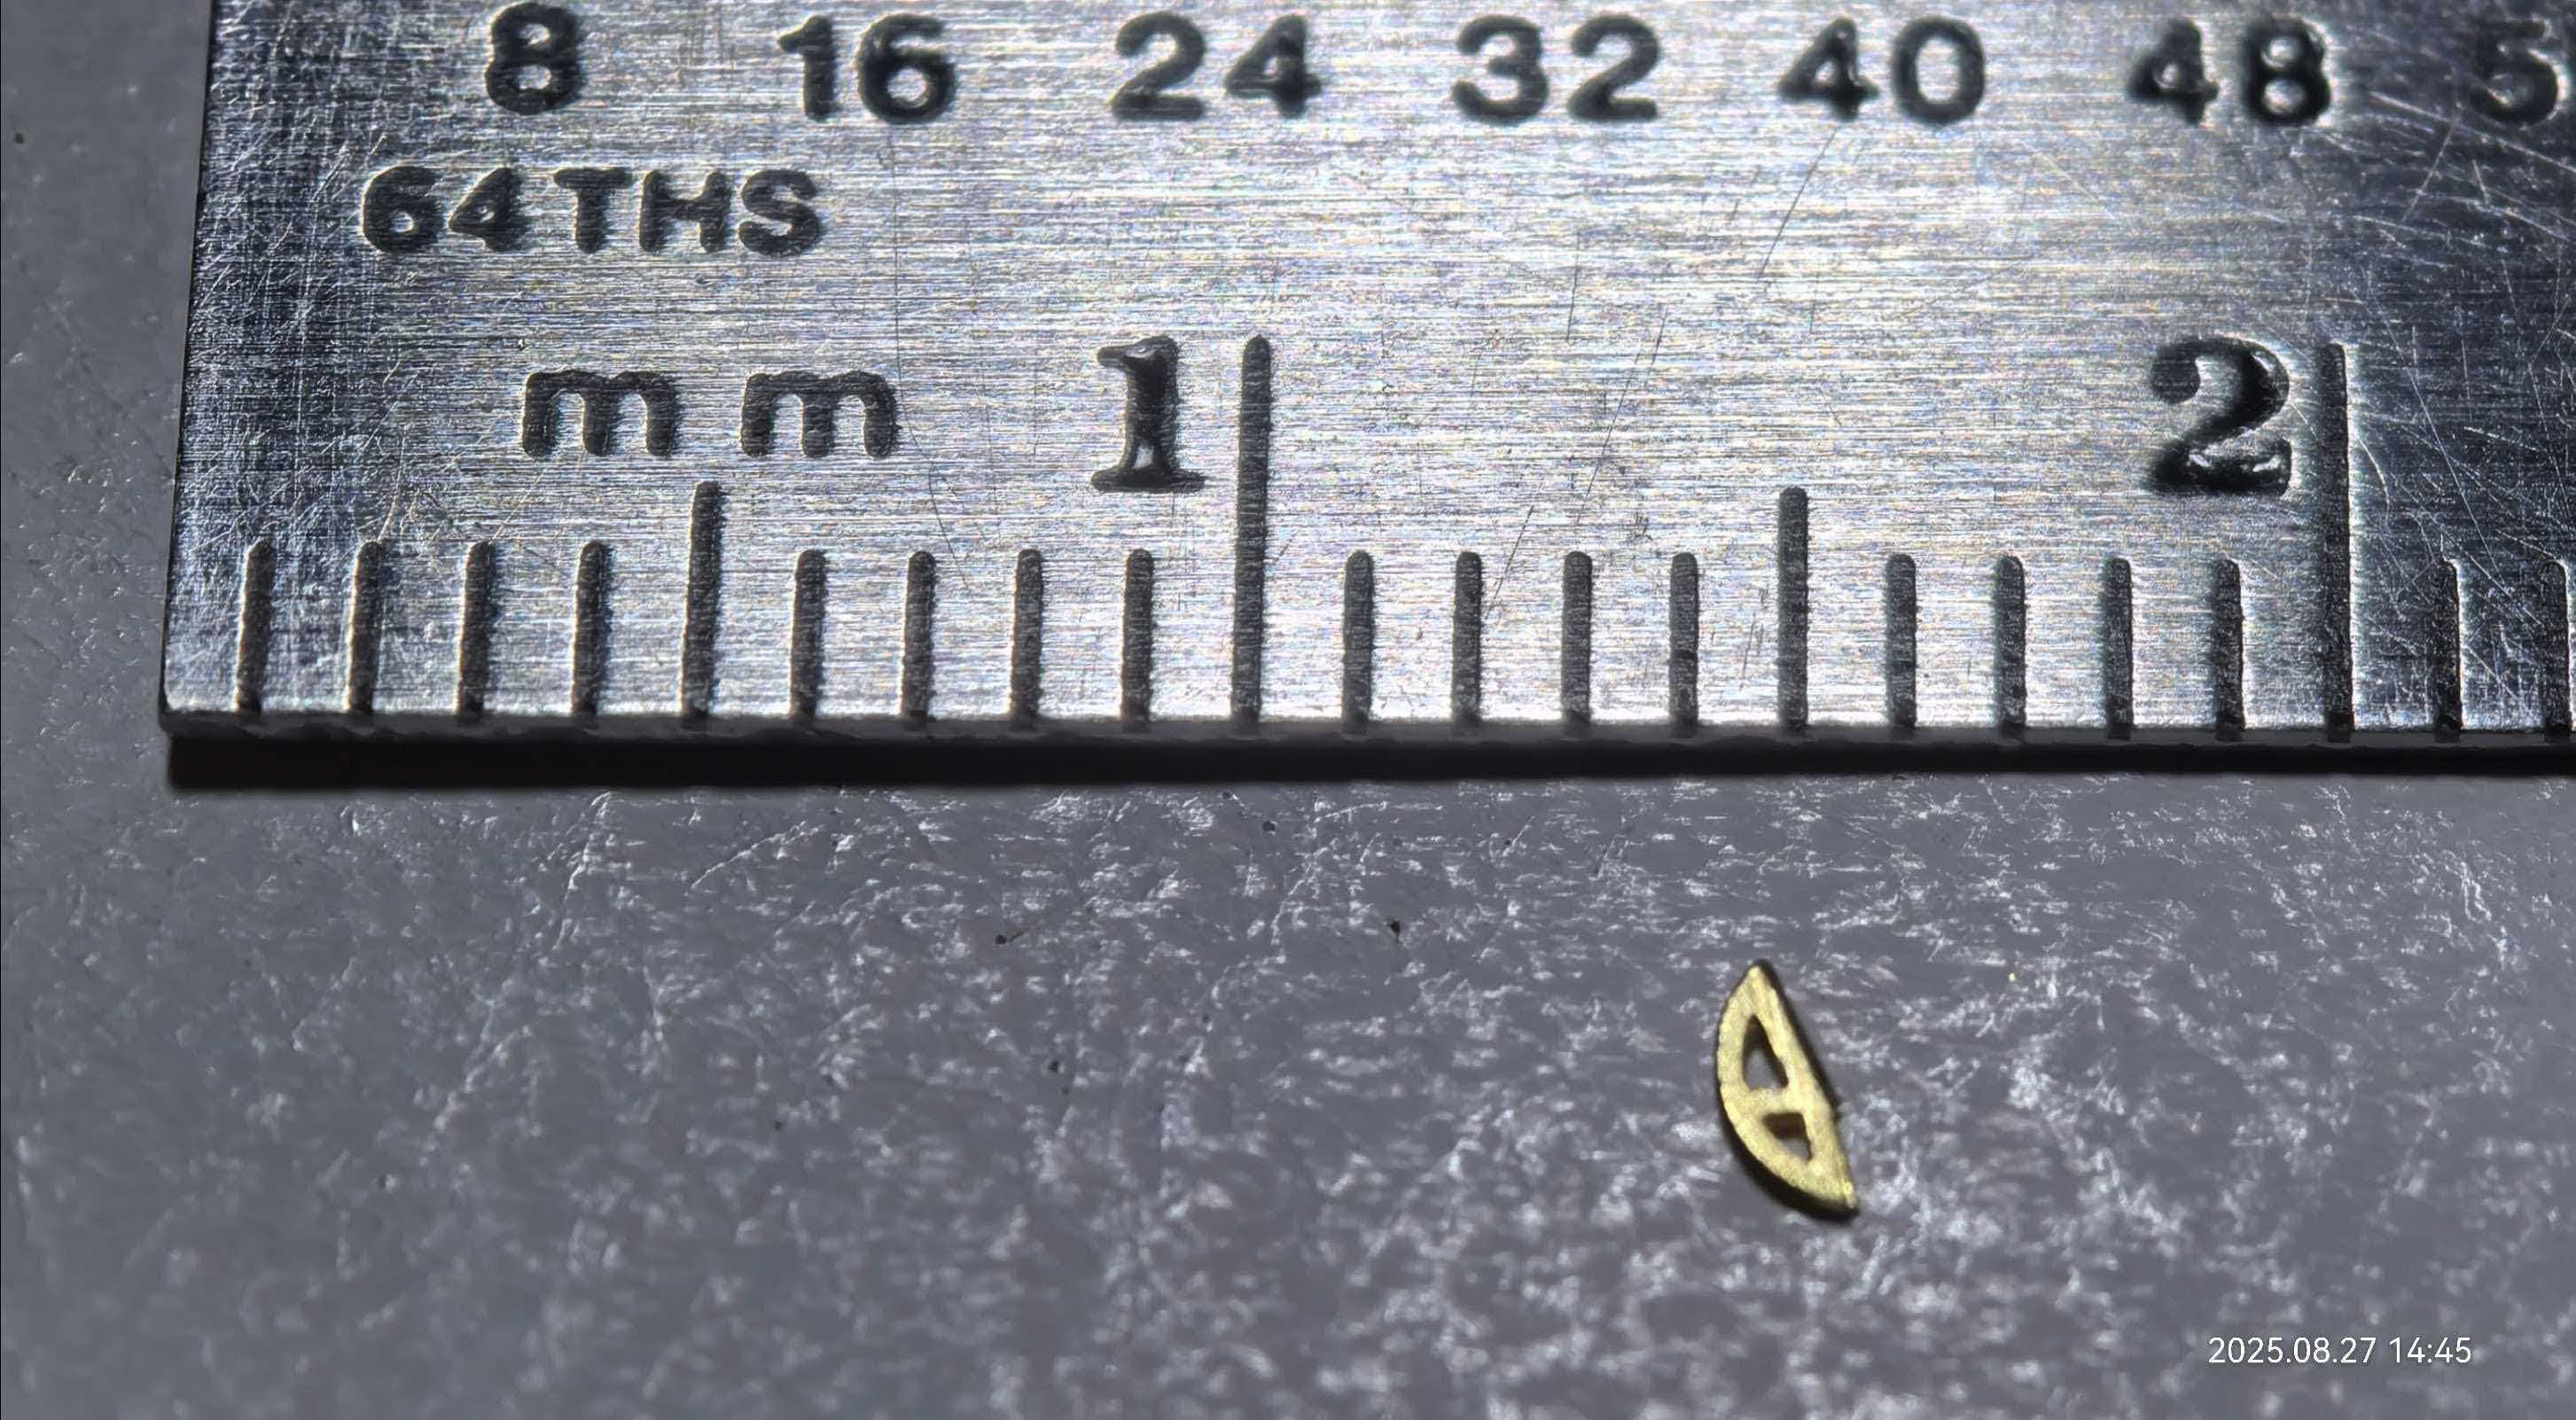
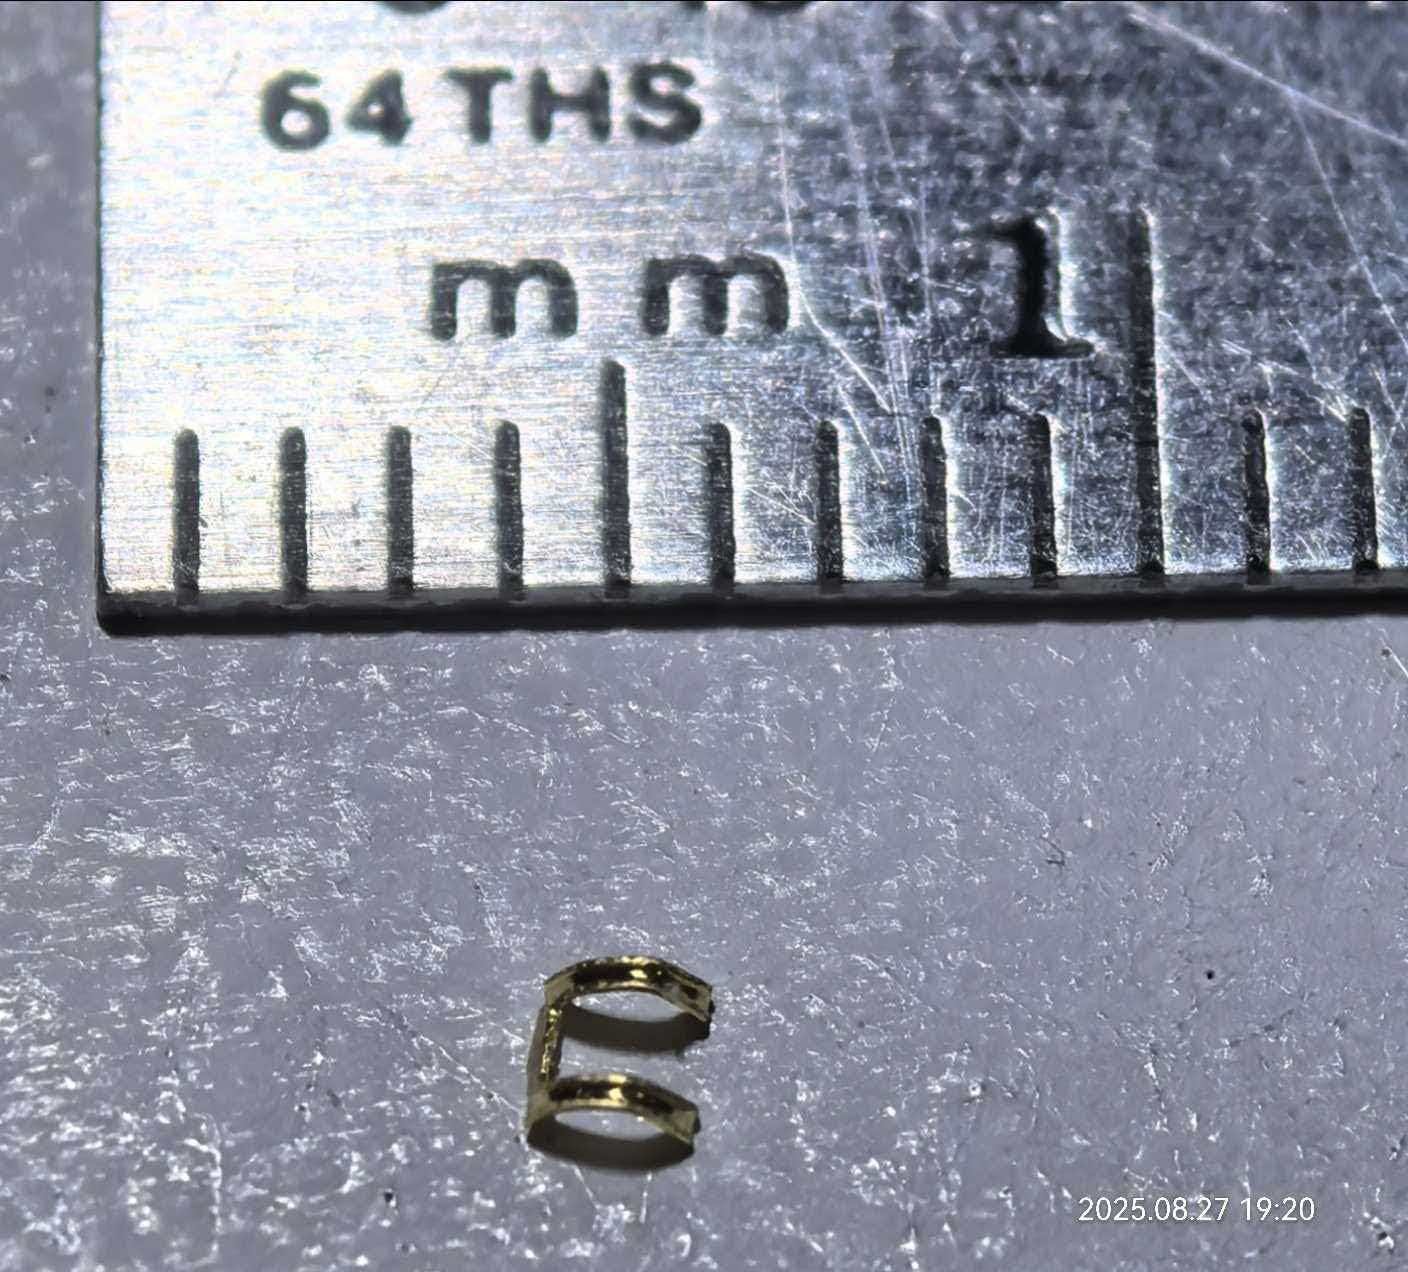
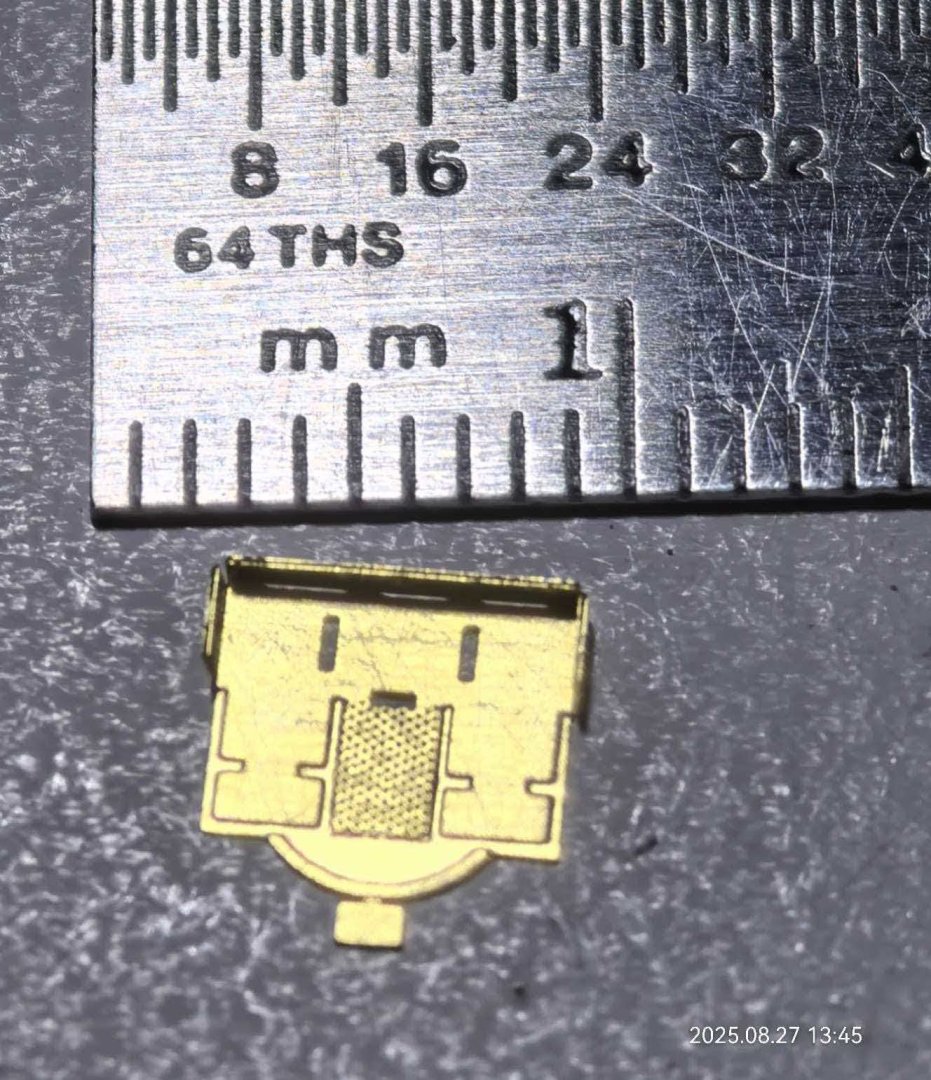
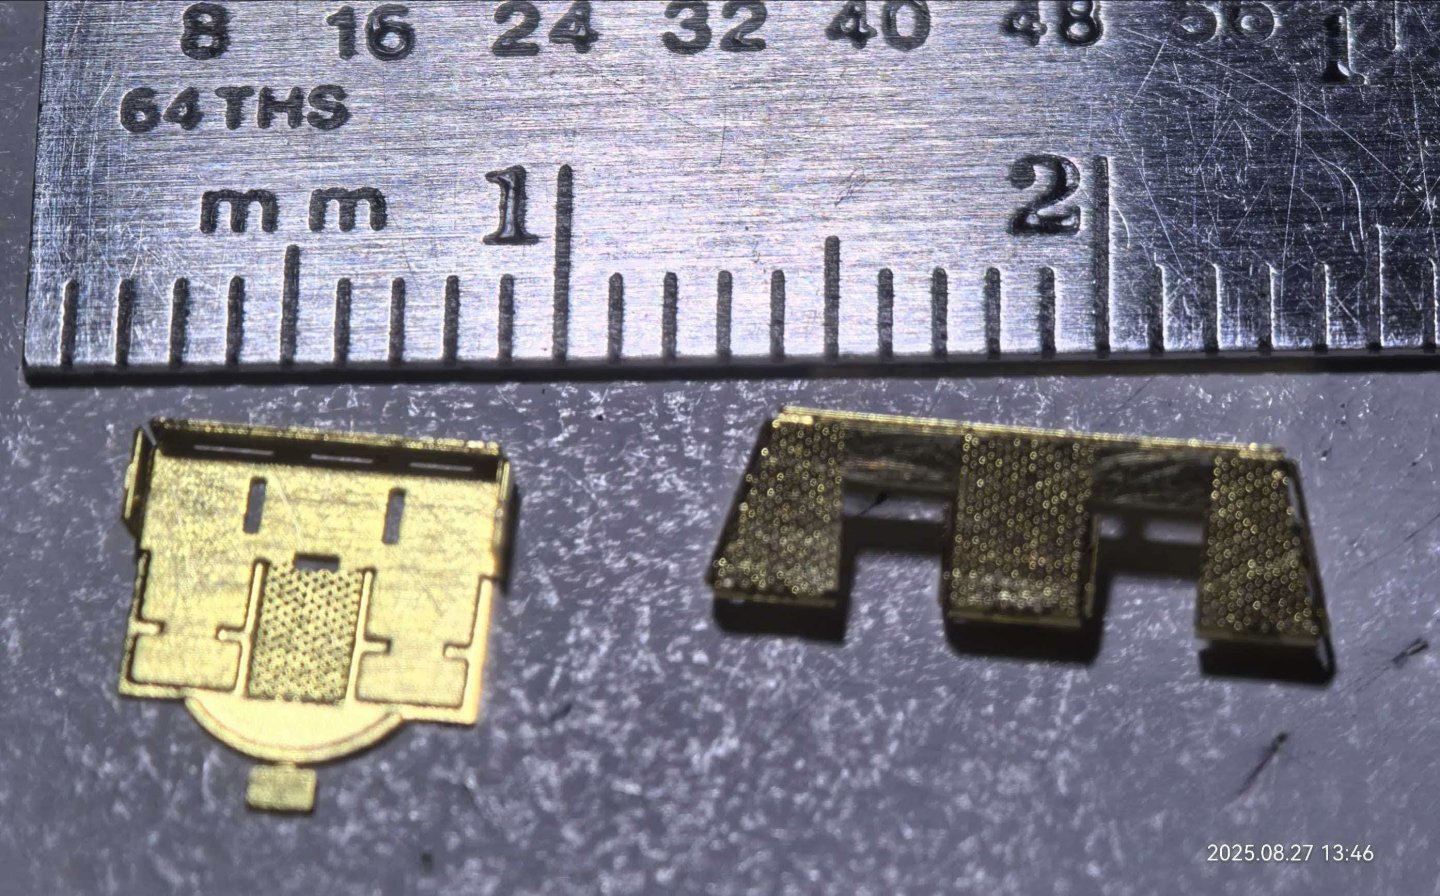
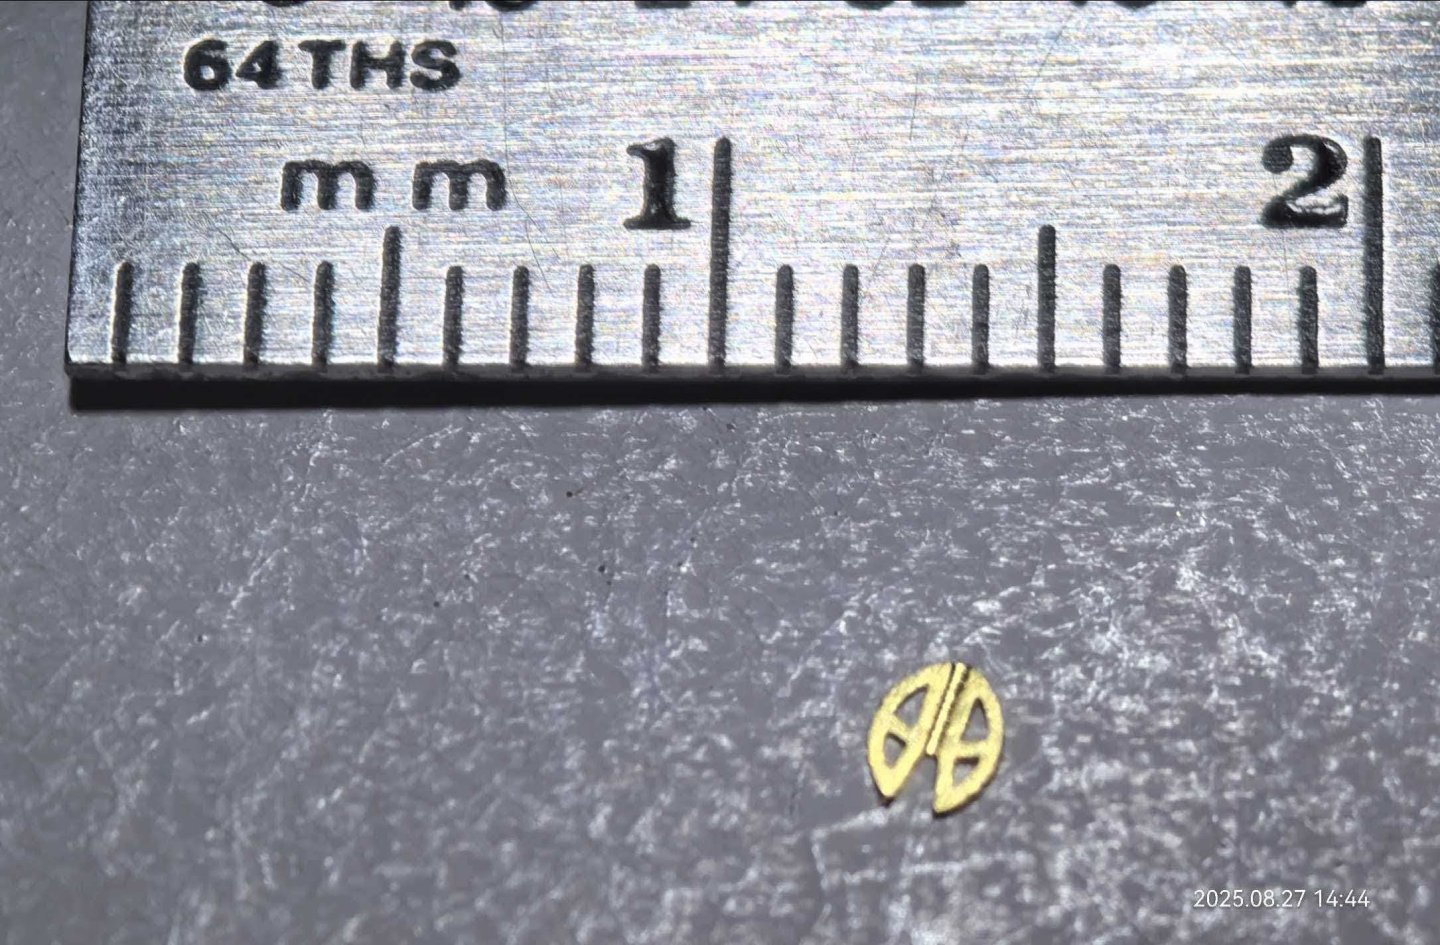
Happy New Year! I made a lot of progress since last time, but forgot to take some photos before I left on my trip, so I figured I might share some photos of some PE work I did over the summer: Stay warm and enjoy the holidays!


-
A minor (ish) hiccup today: Spent most of the day outside but came home and tried to do a bit of panel lining but the stuff didn’t come off: Thankfully I only tried it on the aft superstructure, so I can get it repainted in no time tomorrow and so I already started remasking Take care and good night

-
Here’s some streaking I did today, unfortunately no chipping, I might hold off on that and do panel liner or the superstructure tomorrow: Good night and take care


-
Happy Thanksgiving! Heres some work I did: Salt weathering on the hull As well as some weathering I did before on the forward superstructure: The salt on the black parts of the camo is really annoying, it stands out way too much and is hard to remove even with a proper coat of varnish. Hopefully the panel liner will tone it down. Tomorrow I’ll put on another coat and add some rust streaking and chipping. Also what are some techniques for weathering the underwater hull, it’s looking a little bland and even with chipping it’ll probably look empty. Good night


-
Finally back with some free time with Thanksgiving break. I've worked on and off for the past couple of months, but nothing much. Recently I tried to begin weathering with applying a layer of gloss varnish, but the varnish sprayed in specks and so the final layer was not smooth at all but I think any pigment that gets on won't come off easily. Are there some airbrush settings (too low pressure?) or thinning that I need to look out for? I'll post some updates and pictures of what I mean tomorrow morning. Happy Thanksgiving 🦃
-
I also plan to knock out the two Seahawks either this or next weekend. I managed to buy some 3D printed ones and I am very happy with them. What colors (preferably Tamiya's) should I use for them?
-
They also sell a "slo" (yellow?) version, which I haven't bought, but I may buy to use for gluing down wooden decks in the future or glue the superstructure onto the hull. https://www.amazon.com/Pacer-Technology-Zap-Slo-Zap-Adhesives/dp/B0006O8EQM
-
Boeing774 reacted to a post in a topic:
USS Alaska by Boeing774 - Hobby Boss - 1:350 - PLASTIC
-
One more thing, I'm the process of making tarps that will cover the ship's launches (launches? whalers?) since they are much too boring and I have no PE for them. I currently have painted the tarps a tan/khaki sort of color, but when I put them on the model, they stand out way too much. Should they be the color of the deck below them?
-
Boeing774 reacted to a post in a topic:
USS Alaska by Boeing774 - Hobby Boss - 1:350 - PLASTIC
-
Boeing774 reacted to a post in a topic:
USS Alaska by Boeing774 - Hobby Boss - 1:350 - PLASTIC
-
Boeing774 reacted to a post in a topic:
USS Alaska by Boeing774 - Hobby Boss - 1:350 - PLASTIC
-
Boeing774 reacted to a post in a topic:
USS Missouri by Amphibious0311 - Very Fire - 1/350 - PLASTIC
-
I use Zap-a-gap glues, the green and purple versions. I think the way I try to reduce the amount of excess is by sanding it down afterwards. For instance, with some PE ladders on my ship, I'll first set them in place with tape, use the thin, purple version (which will naturally run along the entire length of the ladder), and then sand down whatever excess there is. I think this works for most things, but I've seen some models where the ladders stick out and have tiny contact points, so the glue won't stick as well. Here I think sanding would be trickier since you'd have to sand under the ladders. I haven't encountered these, but maybe an accelerator would work. As for control, something I find works very well for me is "stabilizing" my hand with other things. I'll put be ring and pinky fingers on the table or rest it on my other hand hold the model. It may or may not work well for you, but have a go with it I suppose .
-
About the tape residue on the model, can I use a towel soaked in the warm water to wipe off the tape stuff?