


Jasseji
-
Posts
604 -
Joined
-
Last visited
Content Type
Profiles
Forums
Gallery
Events
Posts posted by Jasseji
-
-
these are boxwood pins i have - i just used a small drill and did it by hand (turning the drill-bit in my fingers) - it works and allows control without vibration danger from a dremel or so

The plastic is not too hard to drill through - took me less than half an hour each rail for all holes
i did screw up the position on one of them tho and busted the short rail because it is very thin
-
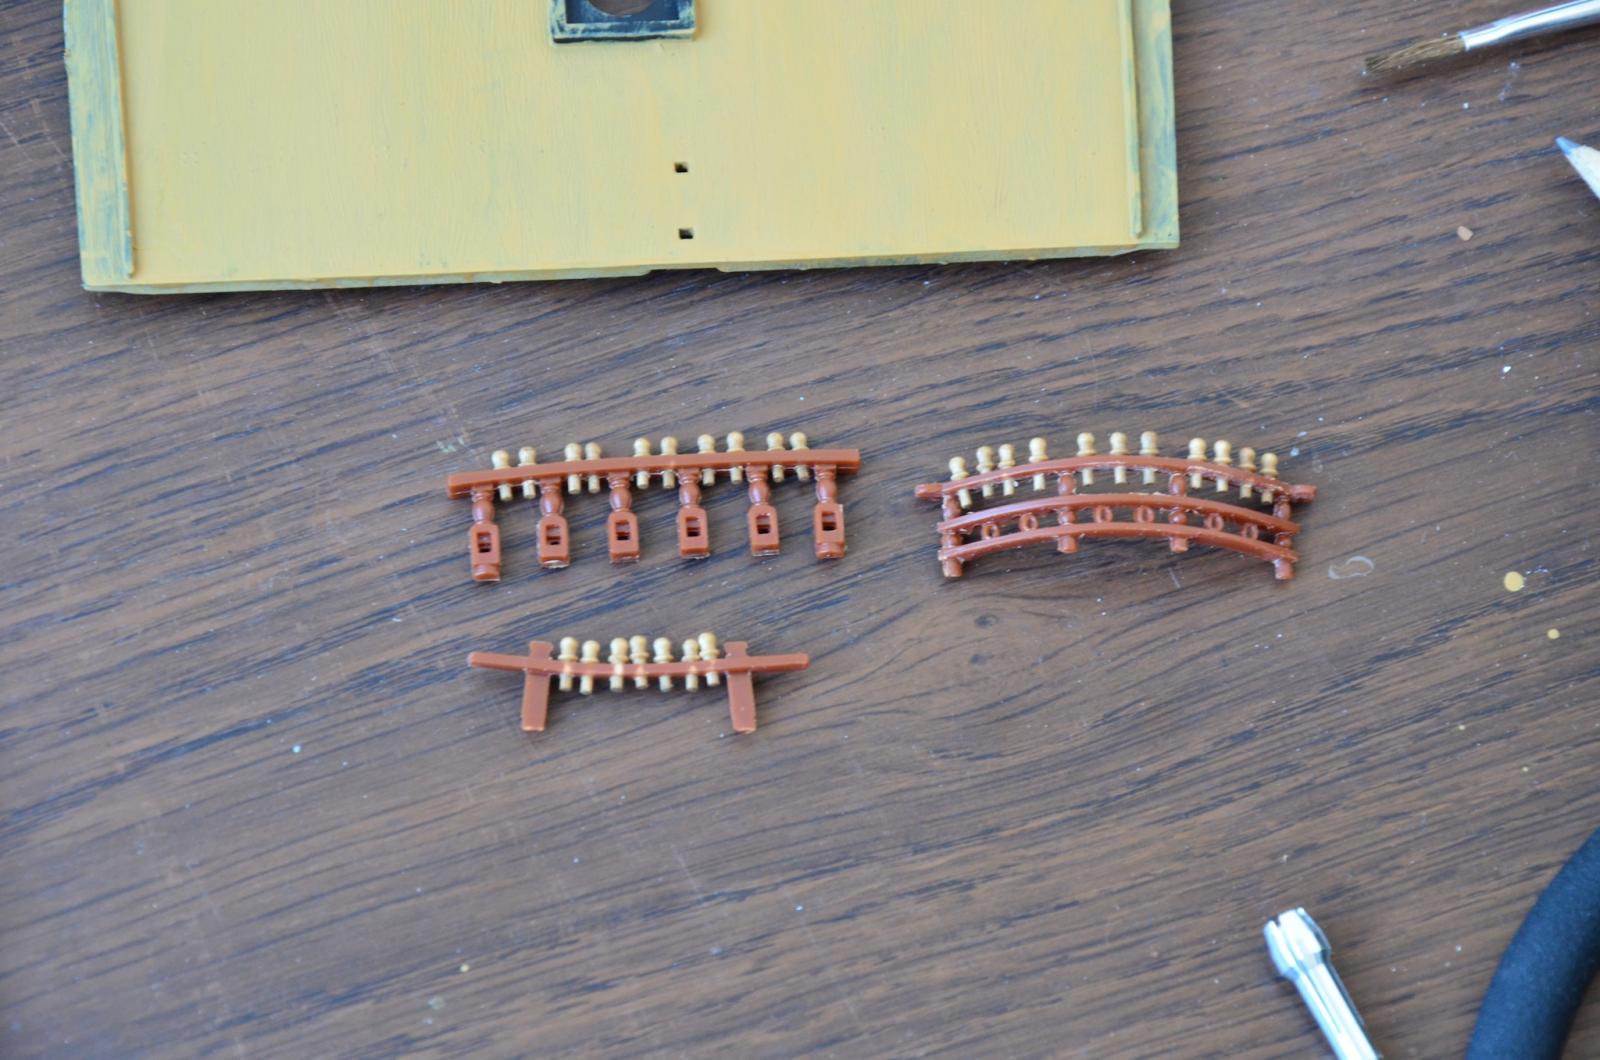
In the meantime i fitted new belaying pins to the pinrails (the short one got warped, will have to redo it from styrene):

Also, i am wondering if the pins arent a bit too thick...
I have finished painting the gundeck, just some minor touchups and i can start lining up the clutter
-
i want to add some detail to the side gun tackles just nothing too fancy - maybe just adding 2 short lines on each side which will be seized will be enough
-
@lambsk: i know about the armament, although here is the question of authenticity vs sanity (as in: it would be insane for me to spend so much on carronades vs loosing authenticity and have nice looking long guns on the upper deck)
I still havent decided on the "clutter" placement for the gundeck, propably will follow your pic and place some stuff in the "galley area", i have already some 2mm steel balls to act as cannonballs, so have to make some rails for them too, also there will be a capstan on the gundeck which will be (hopefully) connected to the upper capstan, some buckets (ordered), maybe i will build pumps too
Before i come to that though, i still need to line the starboard bulwarks as i did on the port side, then finish the gundeck itself (re-scribe planks, apply drybrush or wash, paint the grating), drill holes for gun rigging (placing 3 eyebolts between each gun, one to hold the main tackle line of 2 guns as per original model plans, 2 for some additional rigging to add a bit of detail), build a stove, rider bitt and of course glue the gunport lids so it's still some stuff to do before i start placing them
-
Was thinking about it but while the cannons cost would be ~3,50$ per piece, the carronades would be over 12$ each.
Another option i was thinking about was to replace all carronades with long guns (perhaps a bit shorter barrels to simulate 12pdrs)
-
Sorry for lack of updates lately, weather is perfect so GF pushes me for walks, bike trips etc
Some new stuff:
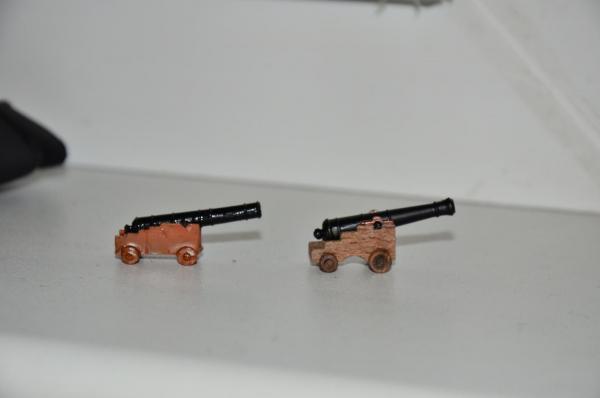
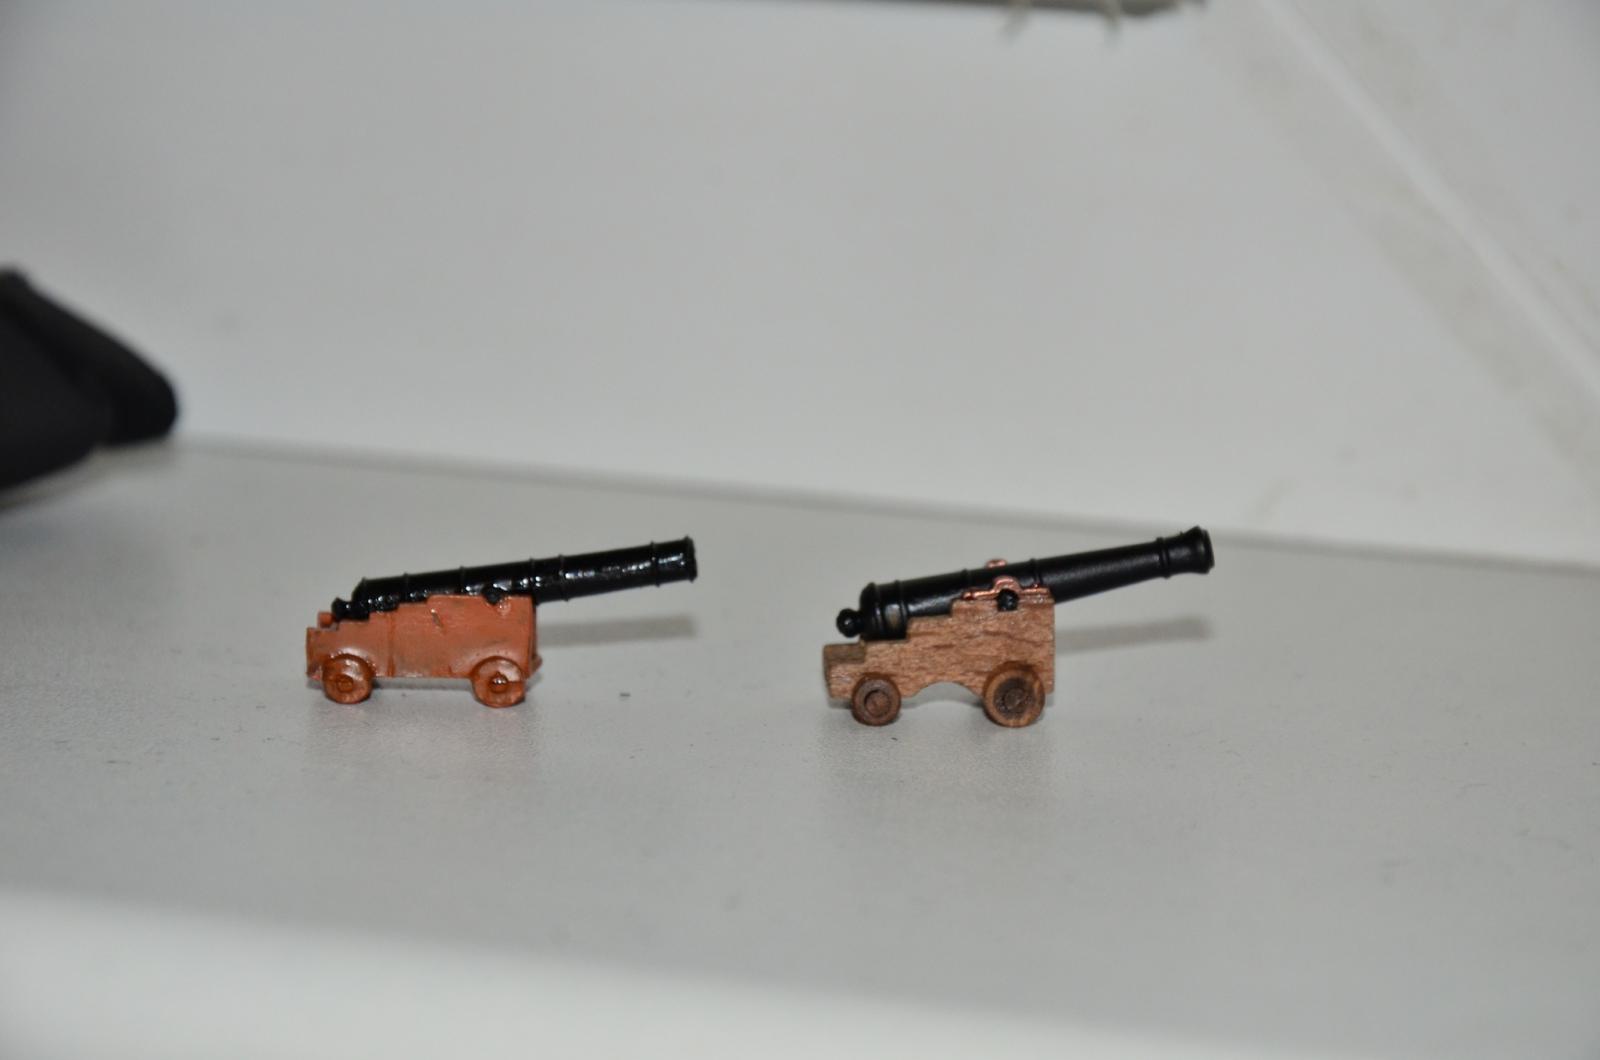
Amati carriages with brass barrels from Model Dockyard UK next to original Revell long gun:
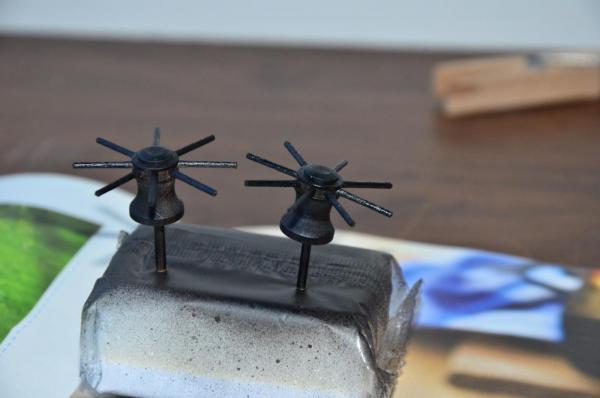
New Capstans:
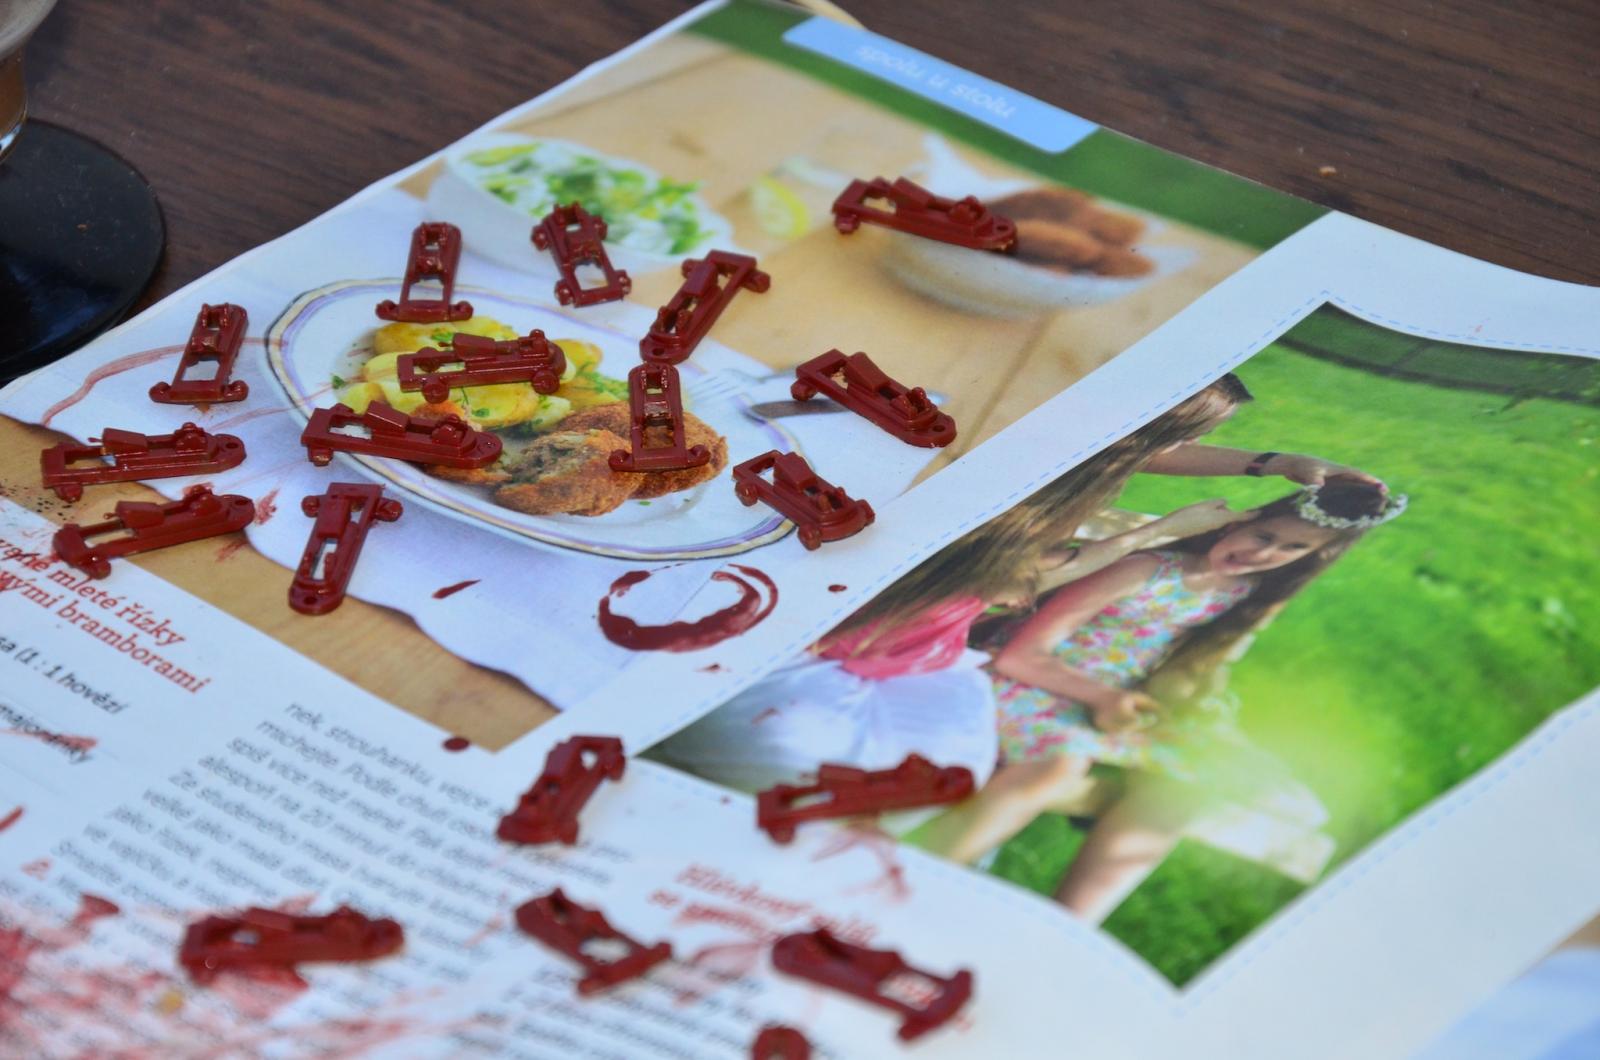
Carronade Carriages primed and painted:

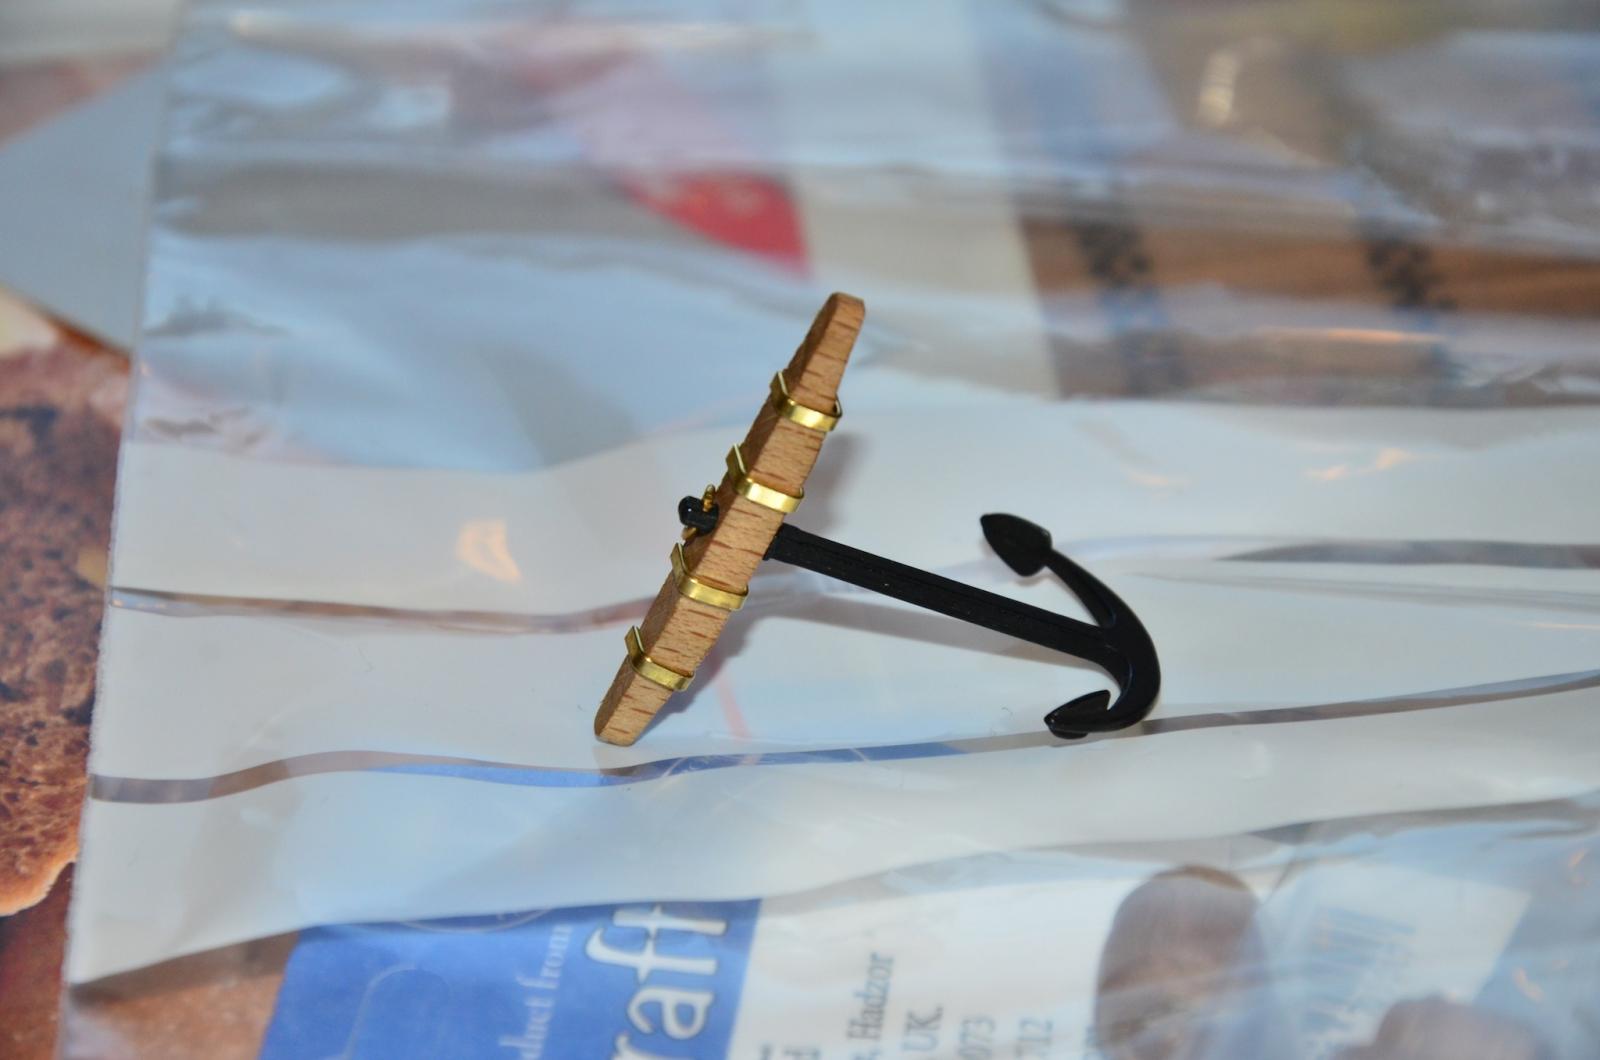
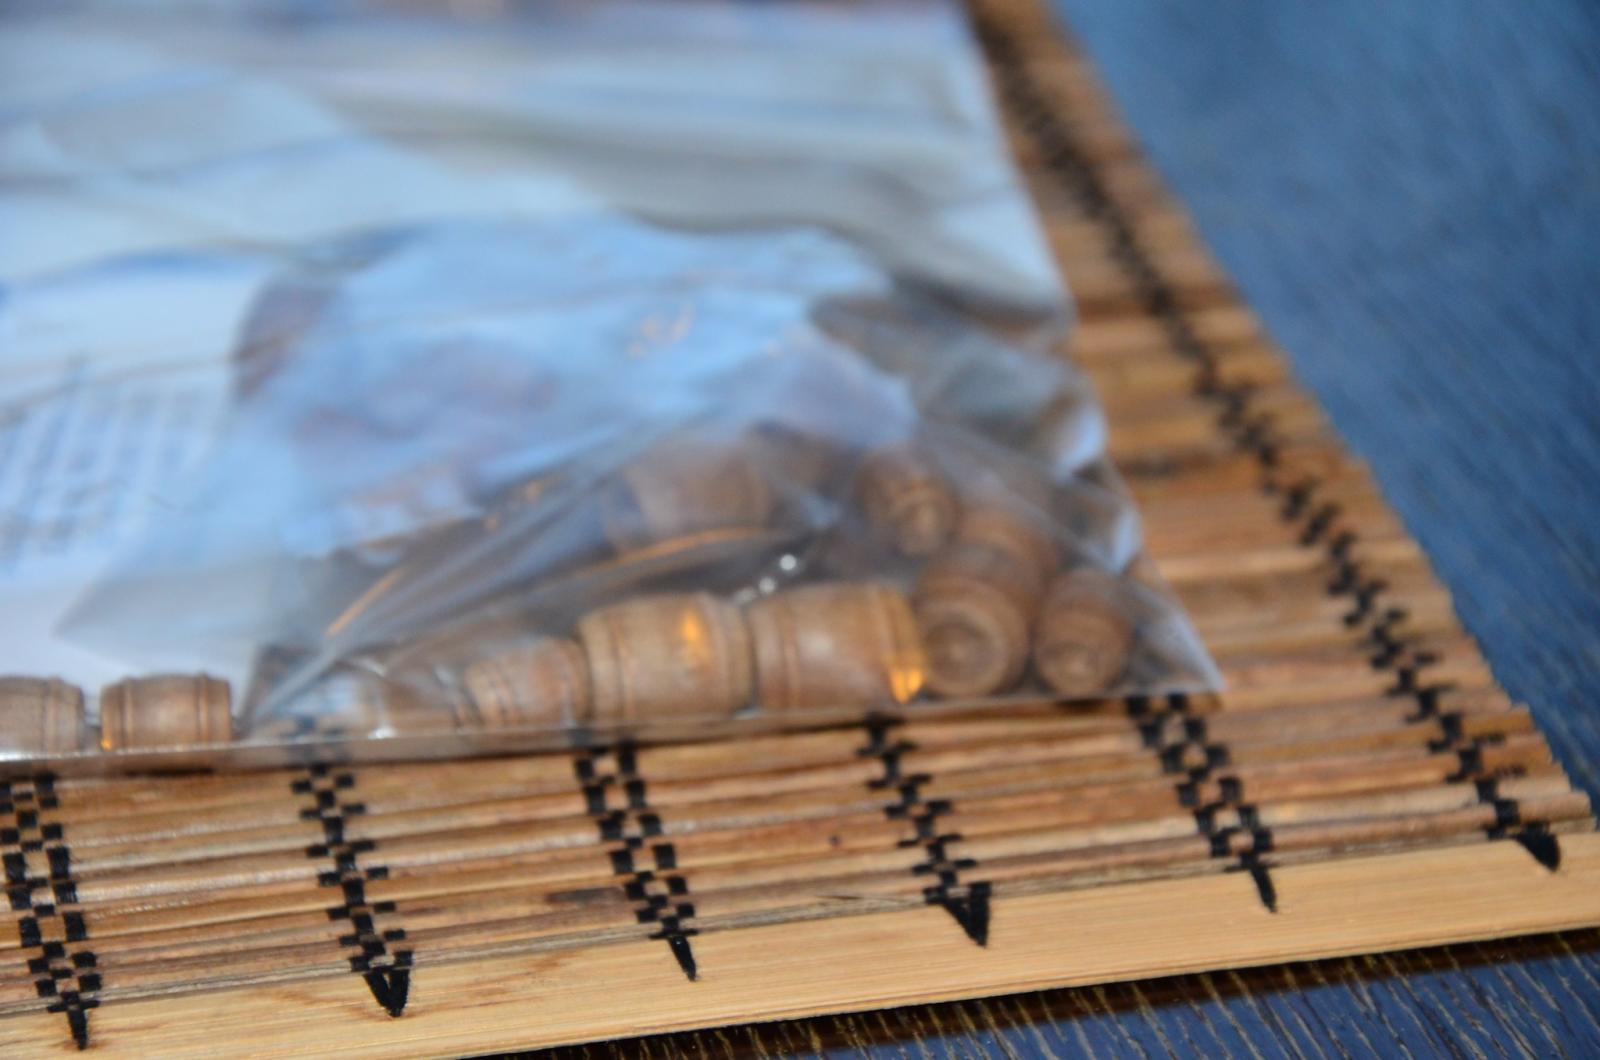
Anchor and different Barrels for Gundeck Clutter:


Still havent decided but i believe i will order the guns for the whole gundeck - they do look nice.
Capstans will be mounted on Gundeck and on Spar deck and connected together.
-
Christian, ye, i know how you feel, i am myself starting "The House Project" soon so discussions ongoing as well
-
Surely a nice project (both the Diana and the house
 )
)I am also close to starting the "house project"
Maybe you should post a build log of it as well ?
-
Spar deck bulwarks lined:
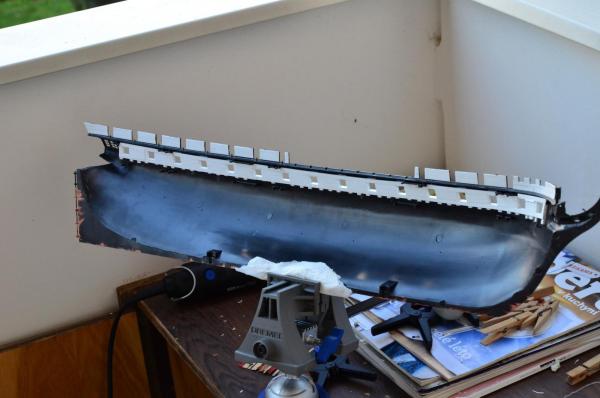
Test-Fit with one cannon in place (i will fit the last strips of bulwark lining when i'll be installing the gundeck):

Also, i ordered some clutter-ups from Model Dockyard UK:
Gunpowder Barrels, gundeck capstan, Metal Anchors, cannonballs, belaying pins plus 2 different cannons (metal&wood + brass&wood).
one of them will go as the chaser (want something nice-looking there).
-
Port side bulwark lining complete:


Used up 5,5 Strips of .040 x .156 Evergreen Styrene - still have to line the waterways and some fillings up to the spar deck but one should calculate 1 pack of .040 x .156 Evergreen per hull half.
Bit of cleanup to do and will start with second hull half
-
-
Hey Force9,
Do you have maybe a picture of the bow section of your gun deck ?
I wonder how you finished off that styrene planking - i am starting with it tomorrow and wonder how i should do the bow part
-
Progress on Gunport linings and bulwark supports:

Sure looks better from the outside now:

Little Test-Fit on the shelf:

The black paint looks bad now after the attempted fix - might need to re-spray somehow:

Styrene used for Gunports and bulwark supports: Evergreen .080 x .156 - 3,5 strips used for one hull half (pack contains 8).
Cutitng the styrene is a pain in the hands literally but after all is cut, rest goes fast
-
Both Hull halves ready and drying:

Had to repaint here by hand because of the "copper paint accident".
Hope it will dry evenly:

Starboard hull half requires only minor touchups (technique improved
)Now waiting for it to dry and will start with the gunport linings.
-
Thank you runner63, this is my first tall ship model build ever and first model since some 8 years so i appreciate the comments
-
I think i'm gonna order the guns separately (model dockyard in UK have metal barrel + wooden carriage) because the quality of the carriage cast is horrible (no wheel is round)
Just finished the second coat of copper on the port hull half and removed the masking:

(if you have to ask, my car is the black volvo between the red and white cars
)Here on the shelf where she will be placed when finished:

Some touch-ups required and another coat of black paint needed too (little accident with the copper paint in between
):


I didnt think about the stand yet, maybe will use the one supplied, i am planning a diorama anyway (with the hull submerged in some gel-like stuff) so the bits wont be visible anyway.
Before i glue the hull together i have to thicken the bulwarks still so have until sunday propably (GF is out for the weekend now so have time to work on the model)
-
nice indeed, giwing me ideas on cluttering up the deck too
-
Figure he still didnt sober up after that party
-
-
Sorry for posting only minor steps but the GF/Wife figure (well, future wife) is forcing me out of the house due to sunny weather - sunbath and swimming in the lake
Second coat of white on the gunport strip, some touchups after removing tape and first coat of copper:


And this is what was happening a few weeks back on the lake:


Yesterday some guys in those "Dragon Boats" were there as well but i didnt have any camera with me
Edit: Painted first layer of white and copper onto the starboard hull half now as well, waiting now to dry
-
So, got back home and started some work on the model.
I might say that switching from Wargames painting to this proves challenging, the paint behaves completely different than that used for table-top wargaming figures (or maybe it's just the Revell paint ? Hobbyshop didnt have another).
1st i took a long gun for test, cleaned it up, painted the carriage and barrel:

As you can see, the result is crap so will try a different approach with the rest.
Previously i cleaned up the hull halves and applied a coat of Primer (using Vallejo Model Spray).
Next i masked the gunport strip and applied the first coat of white paint:

The stains on the hull are only visible on the pictures, you can barely see them when pointing a flashlight at a specific angle

The masking tape i got seems to suck a lot, i can already see bleeding but i will touch it up when i'll do a second coat of black onto the hull.
tomorrow i will apply a second coat of white on the strip and see how it will look and much bleeding i have - i am painting only one hull half at once so i dont have to correct both and any lessons learned with one half will be applied to the other.
Next actions:
- paint second coat of white
- after drying start with gunports lining
Things to get:
- GLASSES (i am getting blind
) -
Found the Evergreen strips at a local hobby store, got all paints, primers, putty and cement (although forgot to buy copper paint).
Didnt make anything yet tho - the weather over here is crazy, sweat is pouring everywhere, degress around 35 Celsius (95F), not even the slightest wind...
Thank goodness i have a lake close by - takes 5mins by bike
EDIT: No, i am not living in any tropical climate - just mid-east europe
-
So, she finally arrived so tomorrow it's off to the hobby store to get paints, primer, glue etc.
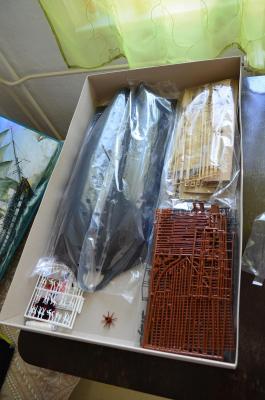
After inspecting the parts, i realised how much pain it will be to clean the pinrails etc. so propably will try to order at least the pins somewhere.
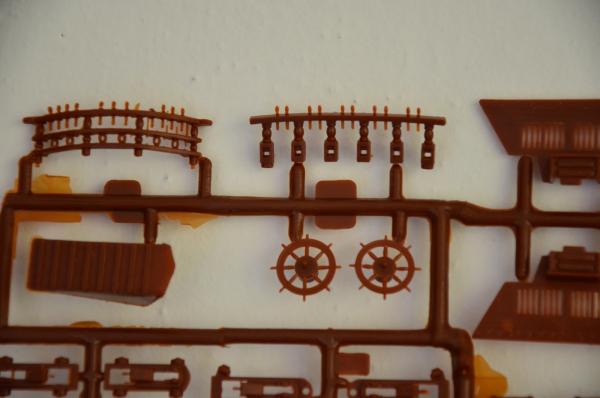
I was surprised that the eyebolts, deadeyes and bullseyes look cleaner than the pins
She's definitely getting a new wheel and capstan tho
Plan for tomorrow:
- Clean and Prime the Hull
-
it will be a ship which "follows a snake's path" - "Following a snake's path" in Polish is "Being Drunk" as in walking side-to-side like a snake would


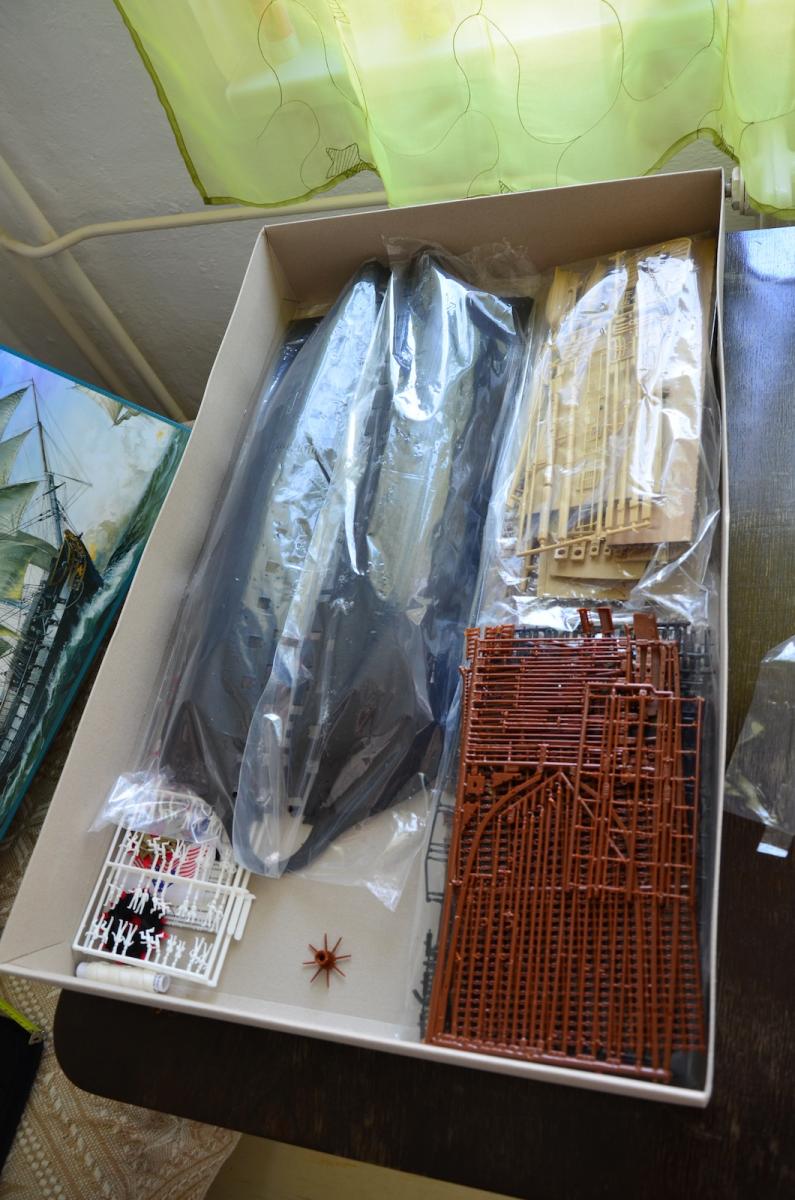

USS Constitution by Jasseji - Revell - 1/96 - PLASTIC - ON HOLD - Most Parts Destroyed/Damaged
in - Kit build logs for subjects built from 1751 - 1800
Posted
Hi, sorry for lack of progress guys, it's "GF wants to go out in the afternoon" season and the weather here is so nice that we spend each day on the bike or in the lake
Also i got a new car so a bit of expenses and free time are invested in it now (repairing front grille using modelling putty and evergreen strips )
)
@RadMan: i just used the copper paint from Revell + No. 3 brush, but i thinned it down quite a bit so applying it was easier.
It took me 3 layers i believe + of course black primer (thin single layer)