Sjors
-
Posts
5,536 -
Joined
-
Last visited
Content Type
Profiles
Forums
Gallery
Events
Everything posted by Sjors
-
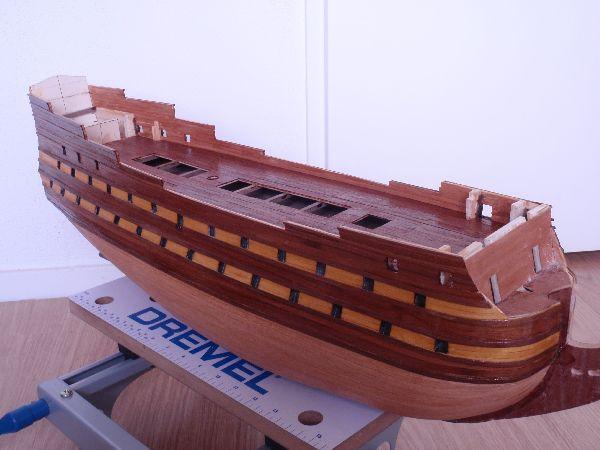
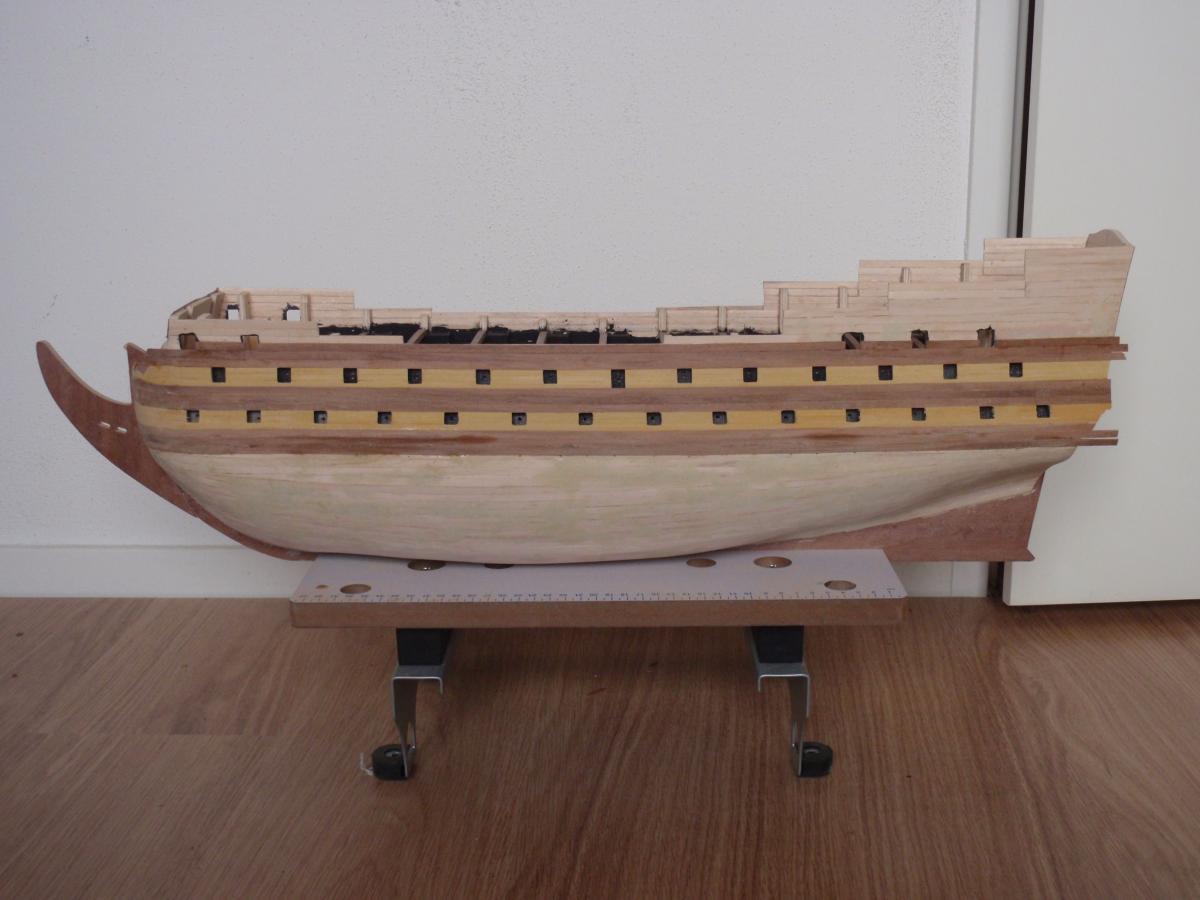
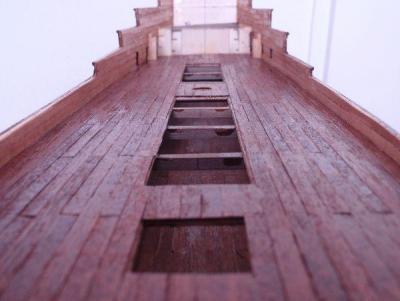
 Here are a few pictures of the deck and bulwark planking. I also varnish the hull for an second time I'm now going to plank the keel and stem and then I can make 4 canons before I can plank the last 4 decks... Otherwise there is no room for placing the canons.
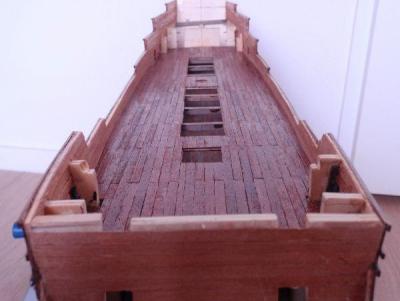

-
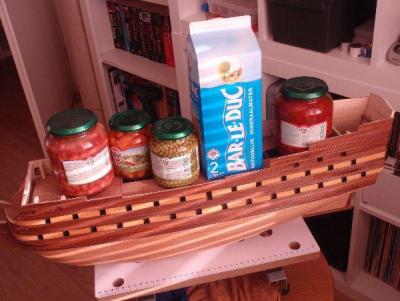
After a week with long hours of work I have only glued the deck to the hull. Because we don't have clamps that fit , we had an other solution. Now you also known what we have for dinner the rest of the week..... And you can also see what we are drinking. And I have remove the top of the frames. I was thinking what I want to use, a knife.....saw....or dynamite? So dynamite was not allowed by Anja so I use a saw. I was to fanatic that I cut one to many....... No problem, I scratch a new one It only holds a deck beam.
-
More time to do something. The varnish is on the Mirage. It is still wet but I want to show the pictures to you. Maybe there is coming an other layer of varnish. But first I want to see how it looks when it is dry.

-
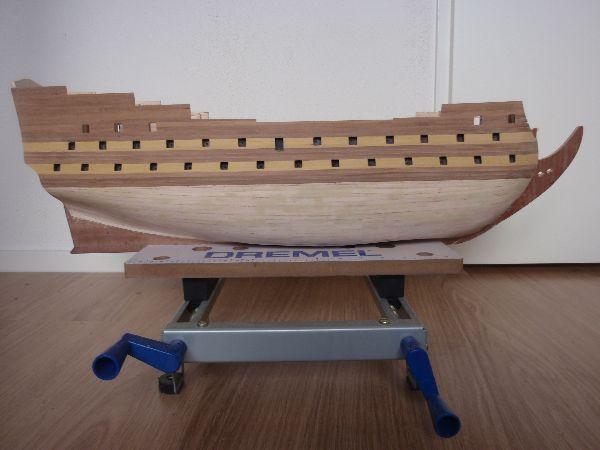
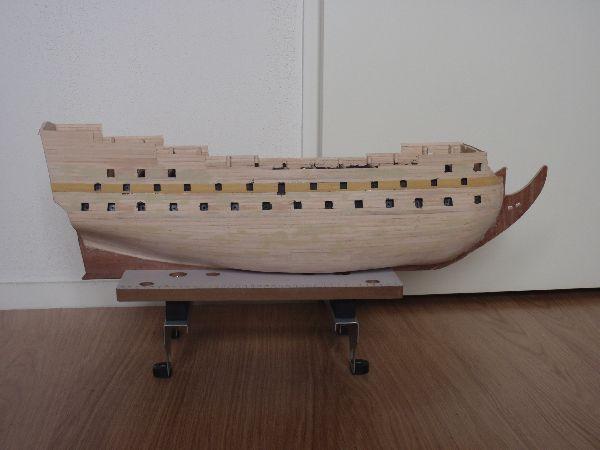
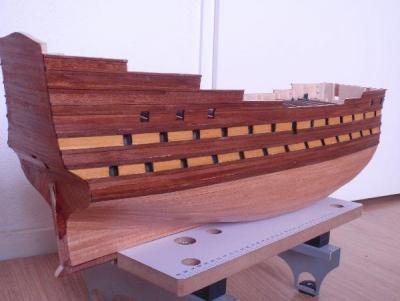
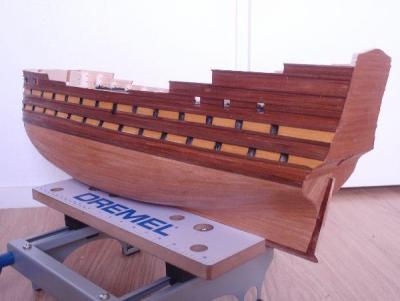
Finally the second planking is done! I know I did it not the right way, but I like it. It looks good, so you can now look for your self. The last picture shows you how it's gonna look like when there is varnish over it.

-
I found out that I came 2 planks to short. So I take other planks and hoping that they match. As you can see, I'm at the top. Now I can begin to the lower part of the hull. But still no varnish on it. When I'm finish double planking, she get her varnish.

-
So, again a few picture of my progress. The dark spot that you see on picture 3 is not glue but water...... I clean a little


-
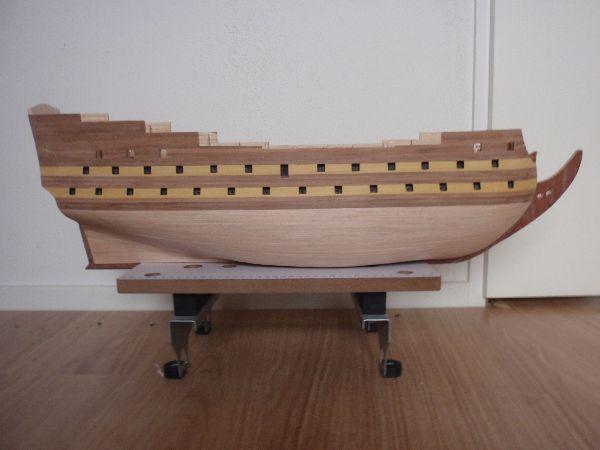
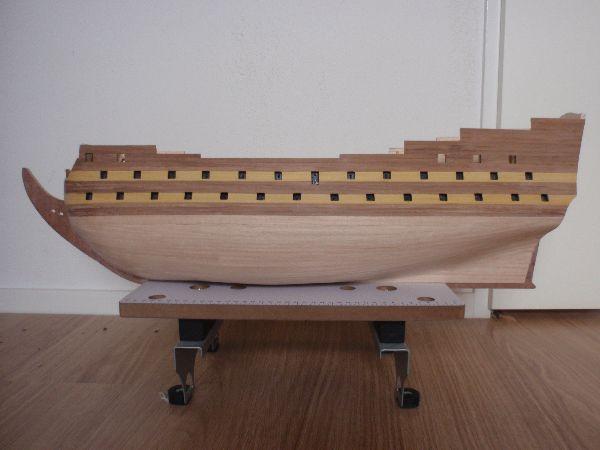
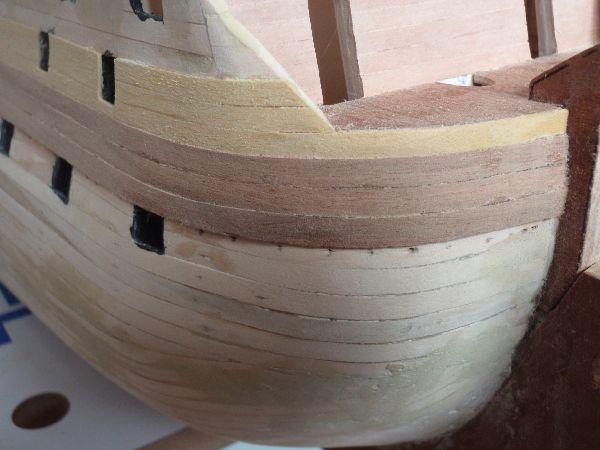
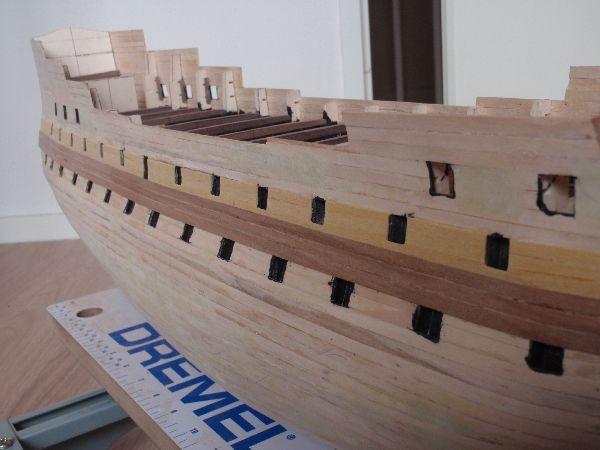
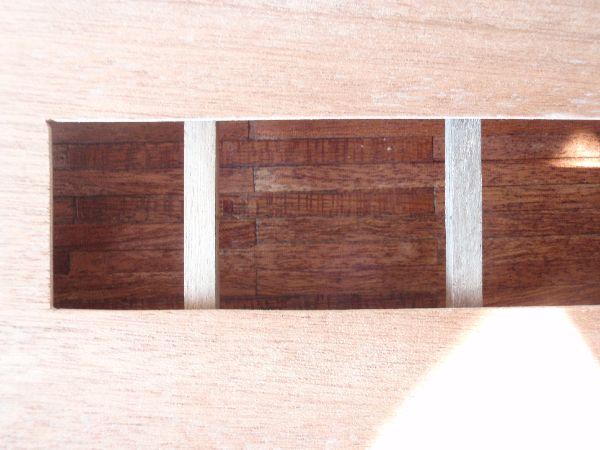
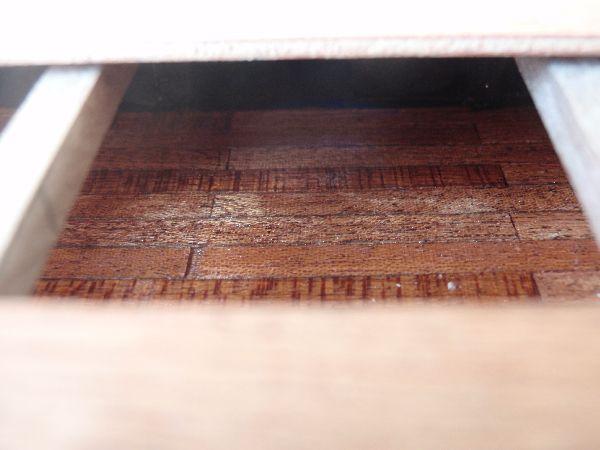
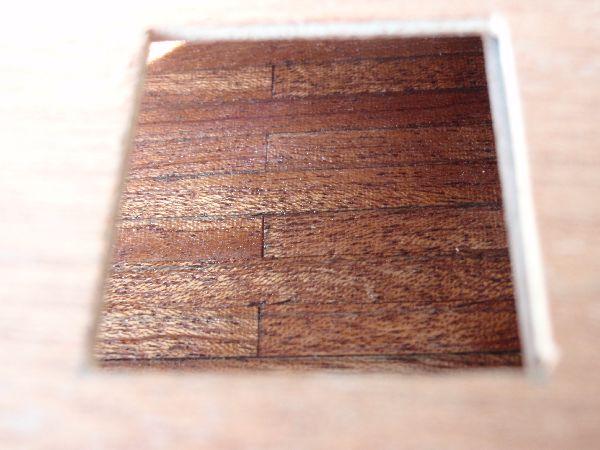
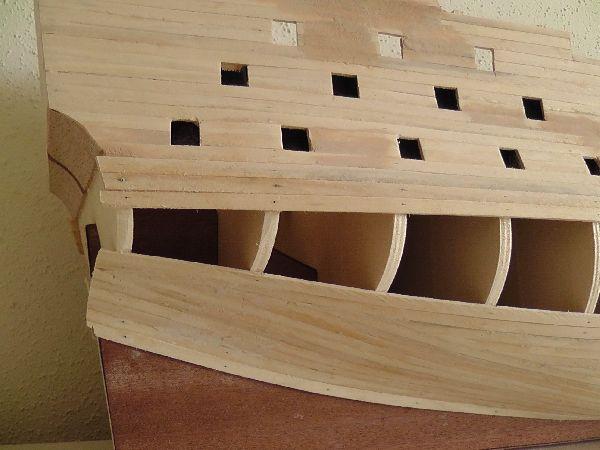
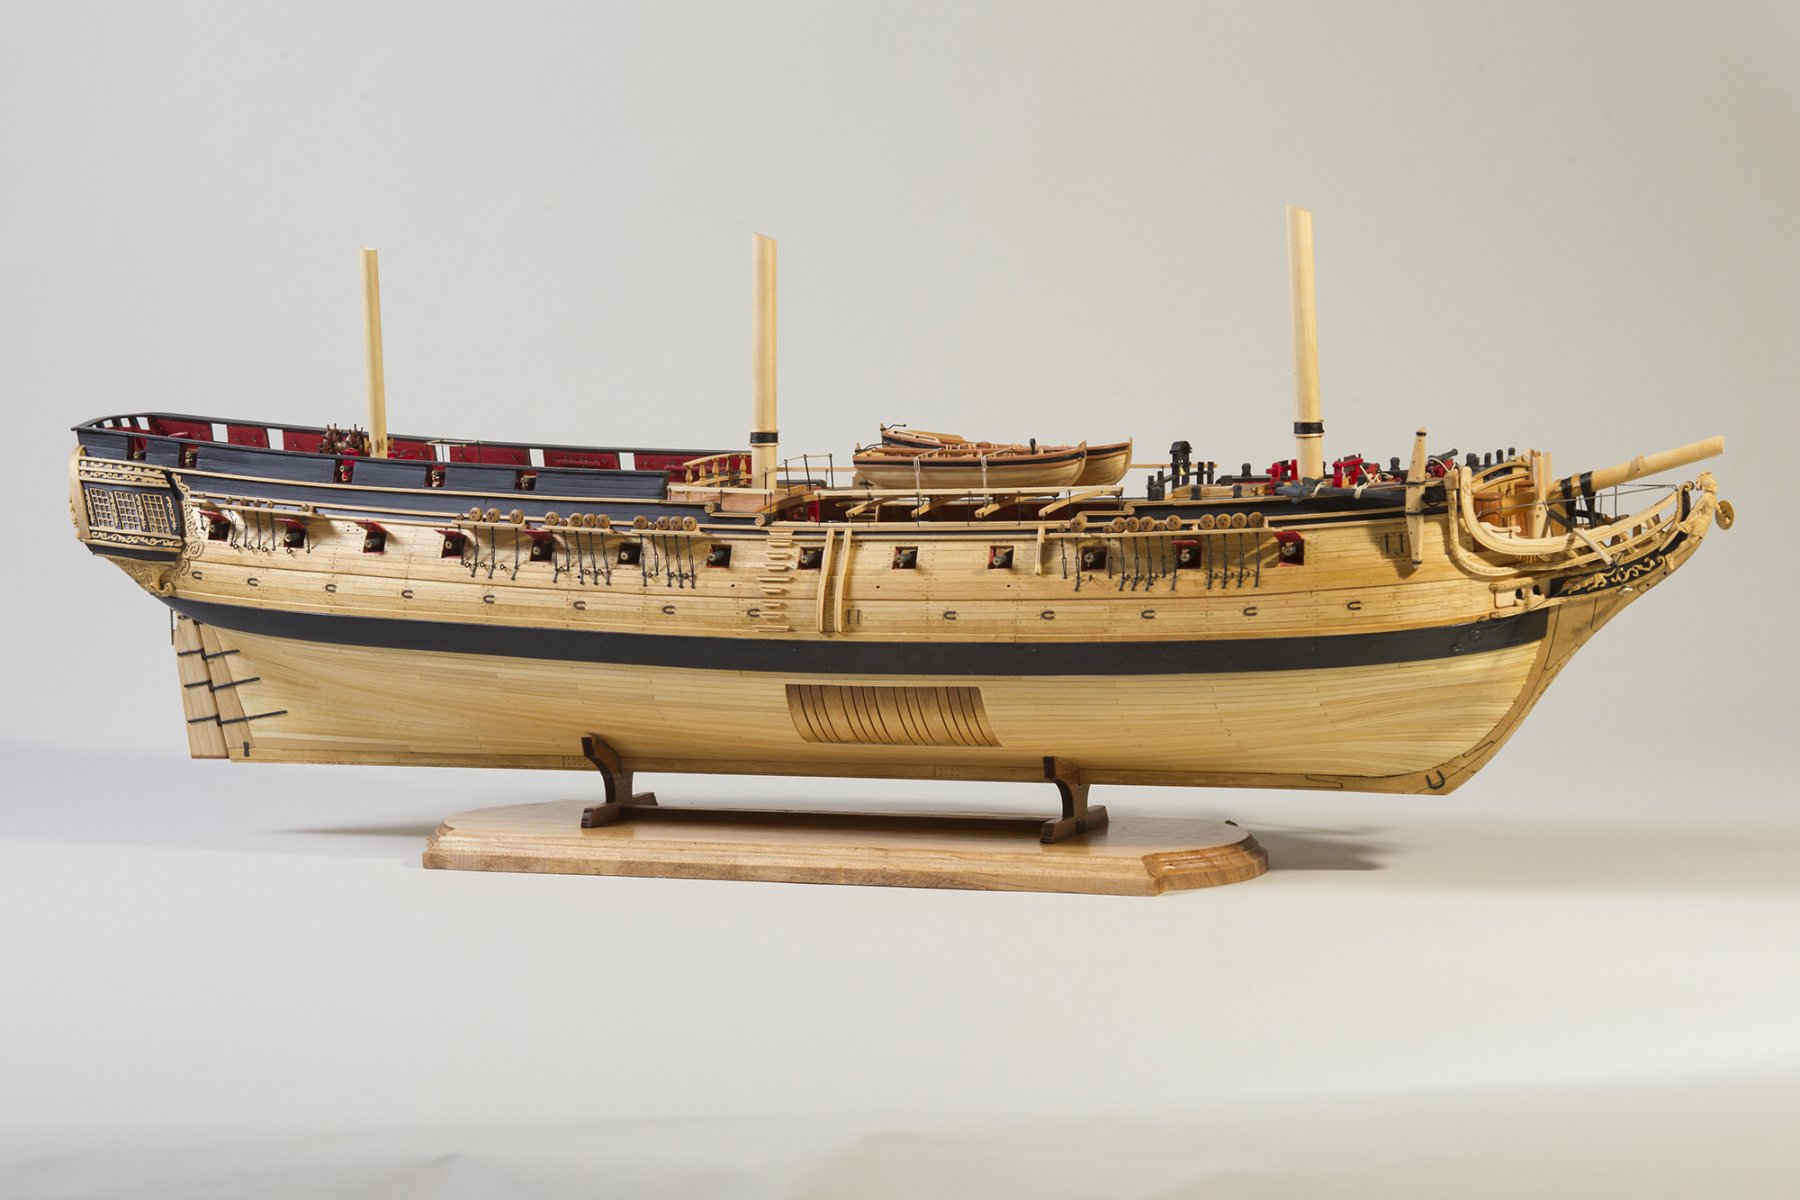
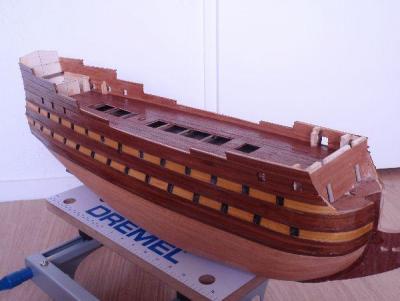
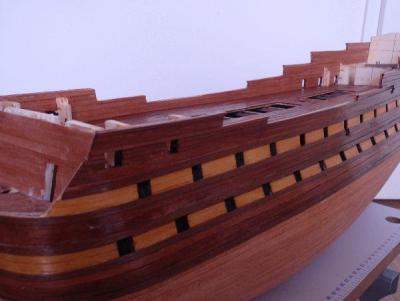
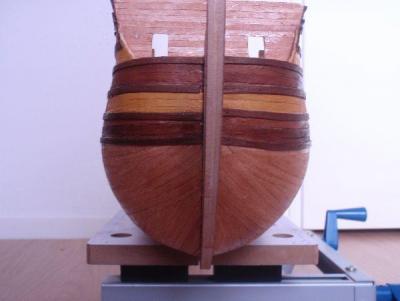
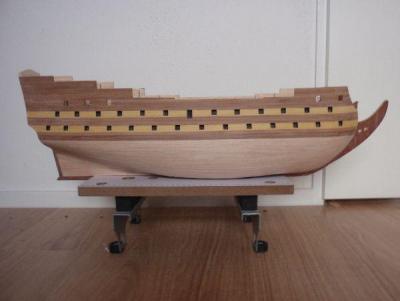
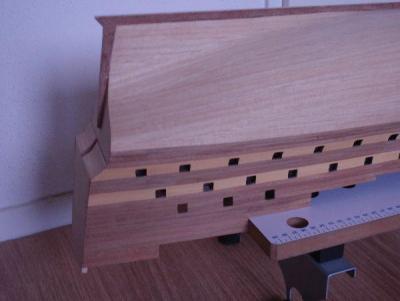
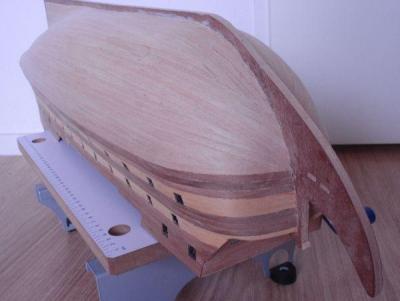
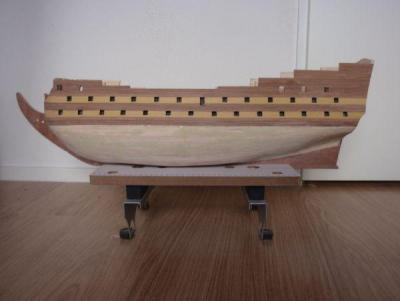
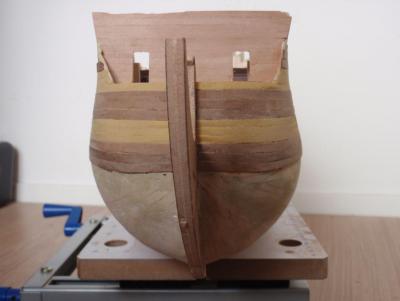
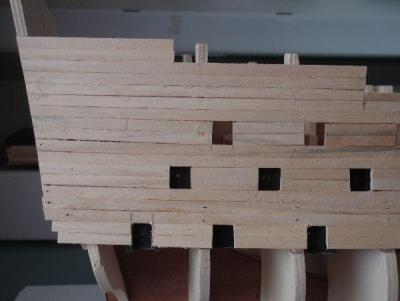
Around the gun ports there is Palm wood. So that's the only tropical in this area.... The hull is gonna have 3 colors. Below the 3 planks of Palm there is coming 3 planks dark nuts wood, then 4 planks Palm wood, 4 planks dark nuts wood and then to the keel with light nuts wood. Then to the top again with dark nuts wood...... So it's gonna be colorful. The picture are from the starboard side. First I have to go to the port side and plank there.


-
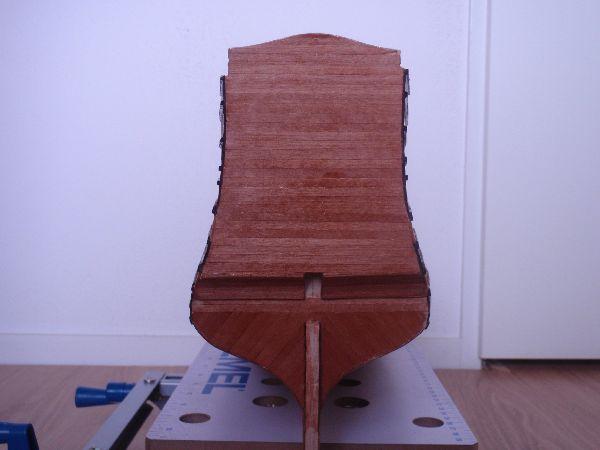
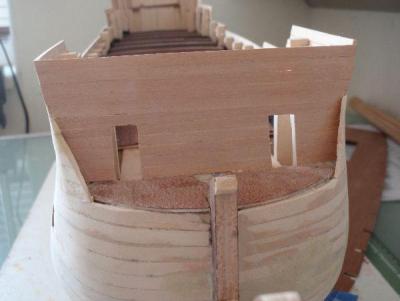
The stern is planked but no varnish yet. I'll will be doing that when the double planking is also finished. That's my next step in this build.
-
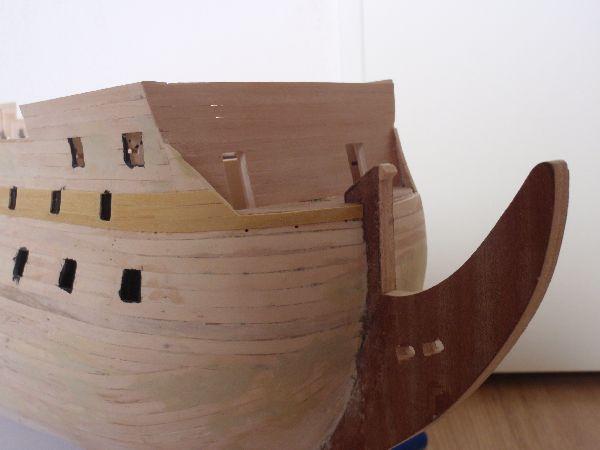
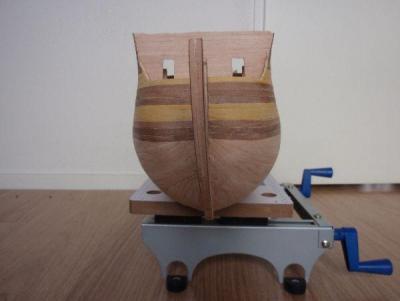
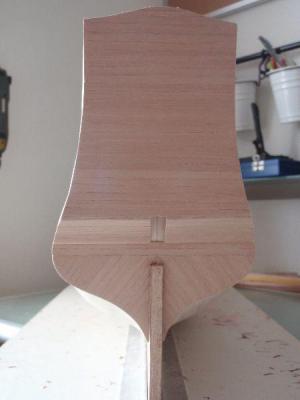
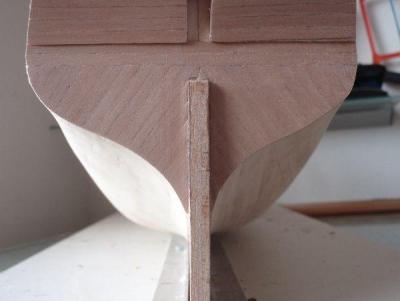
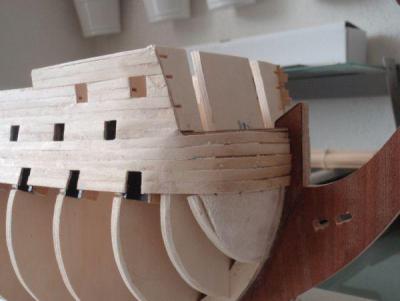
The planking of the bow transom is done. Only a little varnish. The doors are from......cardboard! I think they had no wood left . I don't like it at all. I have to scratch new ones......and I need only 4 of them

-
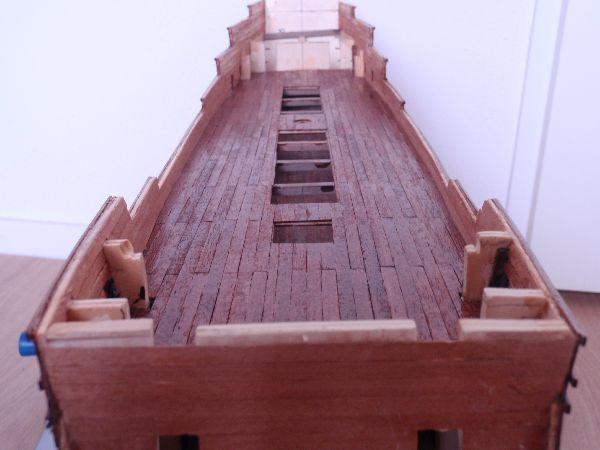
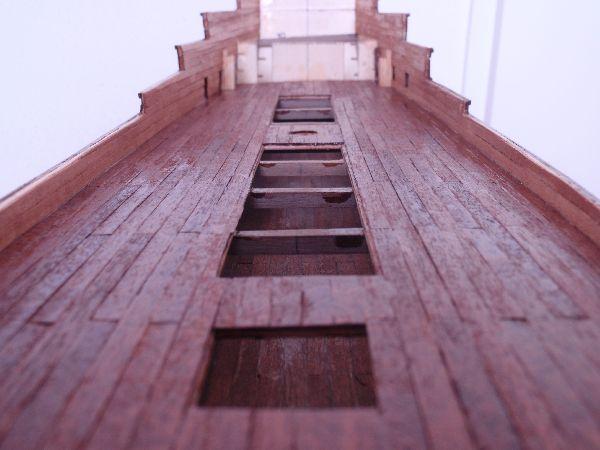
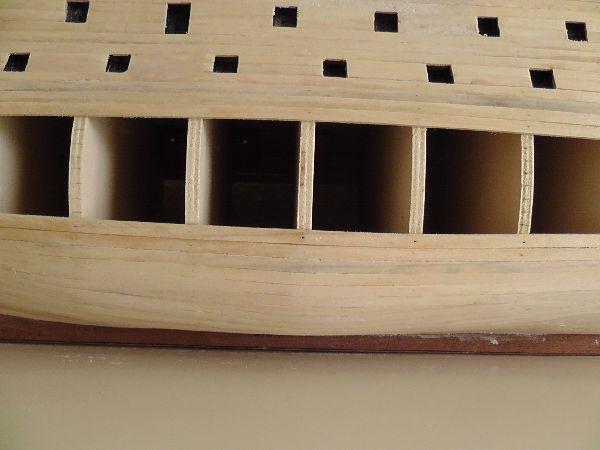
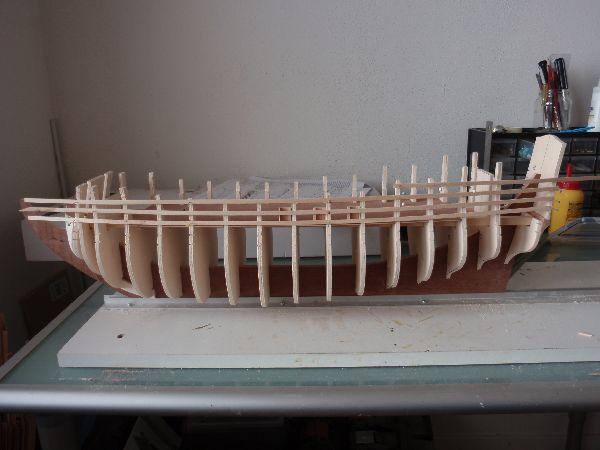
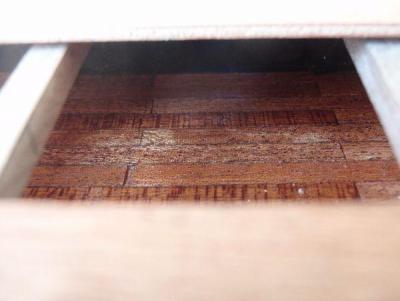
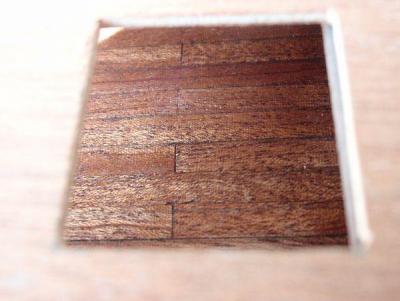
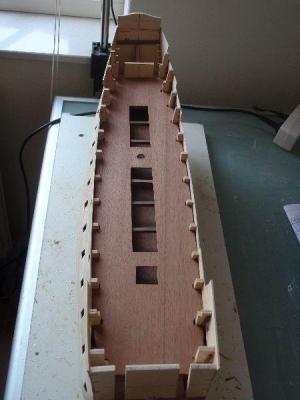
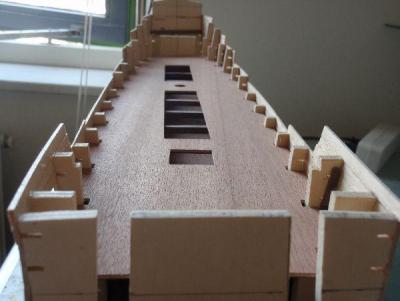
I plank the lower deck with leftovers..... I glued the beams and dry fit the main deck. Just how it looks when you are looking true the hatches. I plank the hole deck.


-
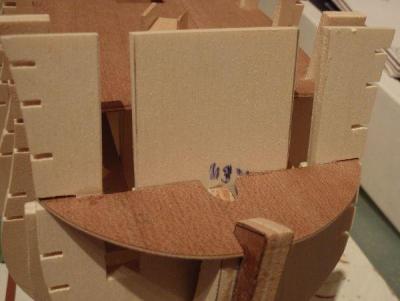
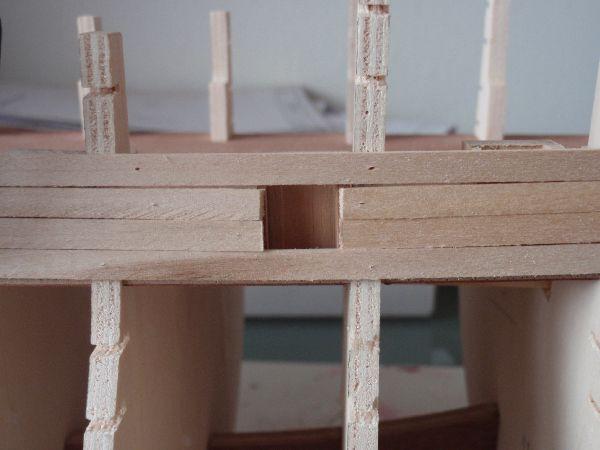
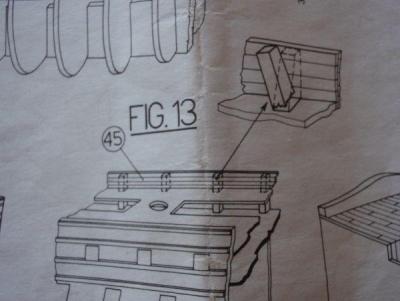
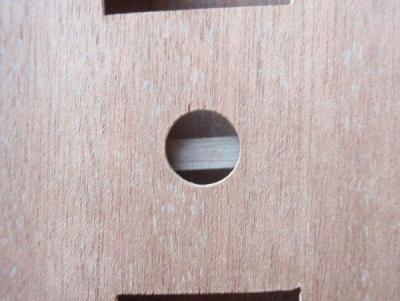
I found out something ........ The deck beam that was going through the mast hole to the deckis also the support for the mast You can see it at picture 2 at the bottom. First I cut the beam as you can see at picture 1. And that was wrong. So I made a new beam It's always nice when something is clear..... Or I can keep saying to myself, look forward!

-
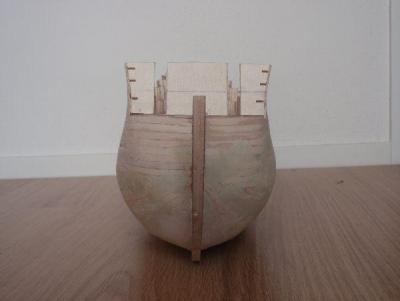
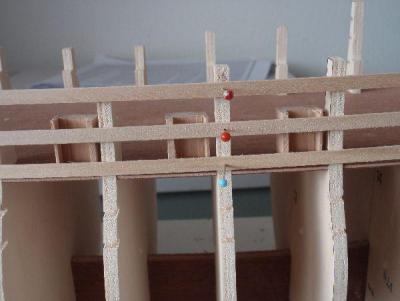
Notice the mast hole. There is a beam under it that I have to remove a bit.

-
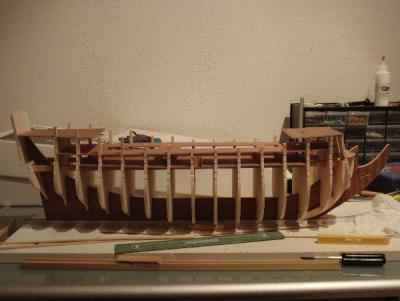
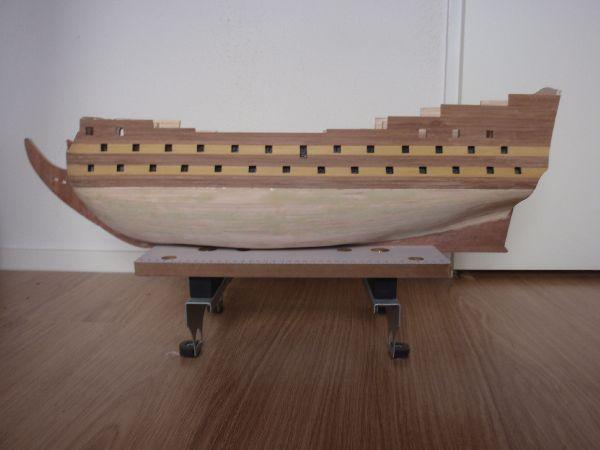
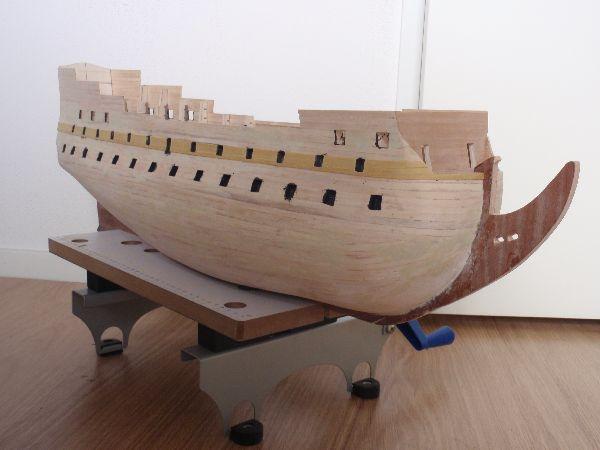
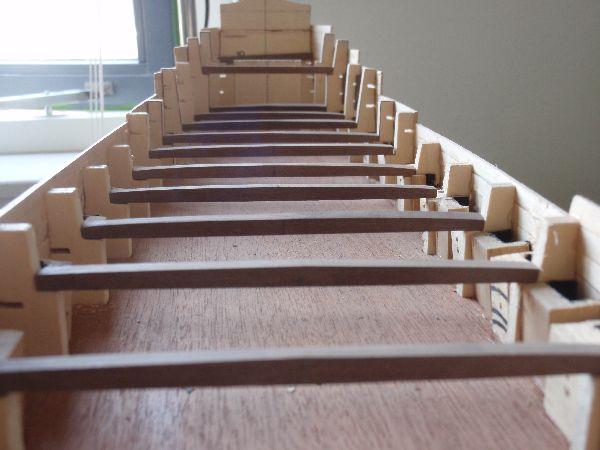
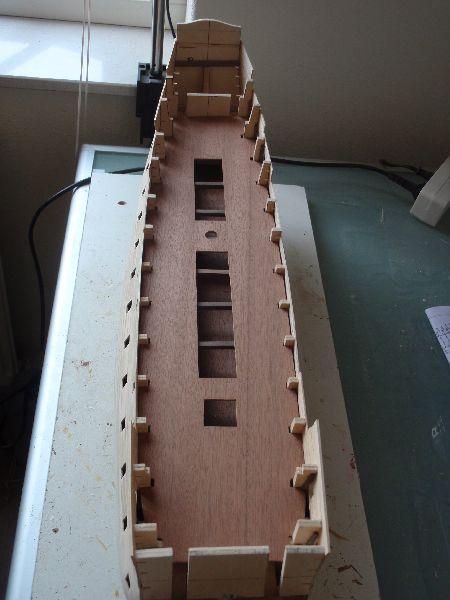
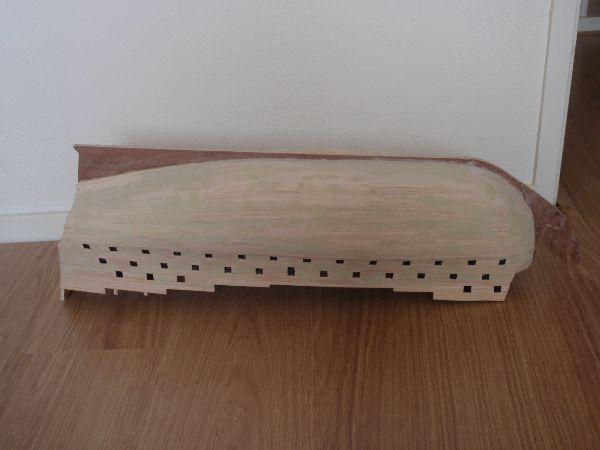
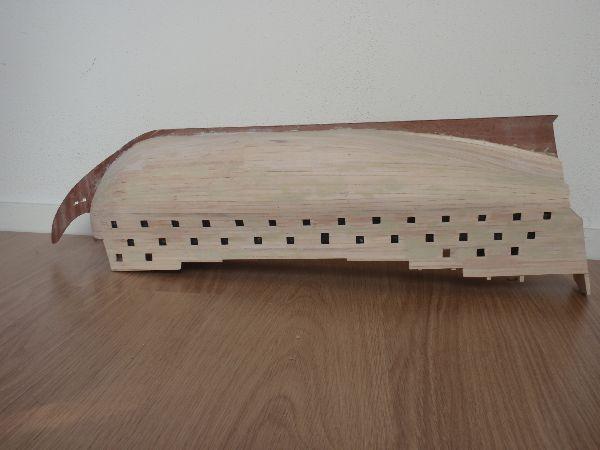
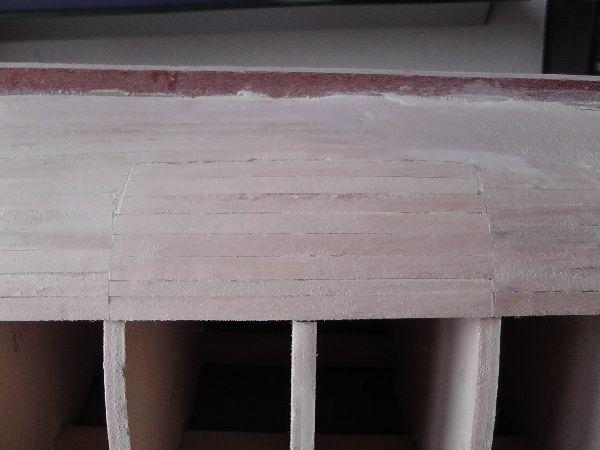
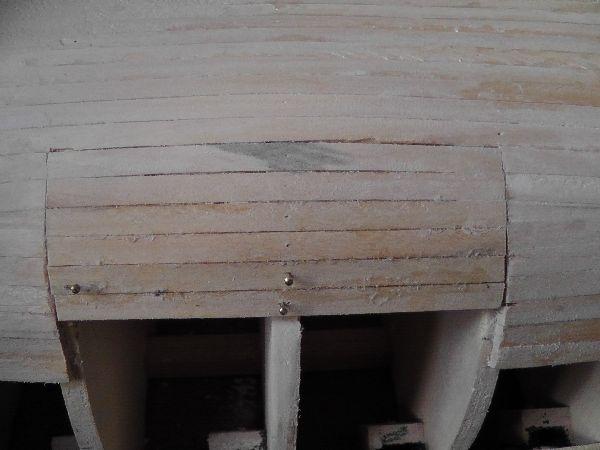
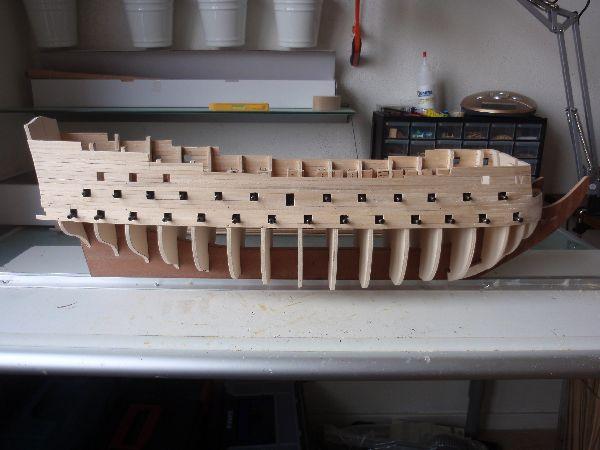
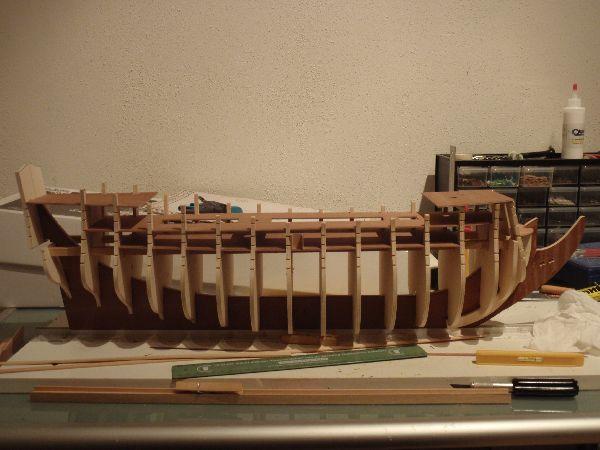
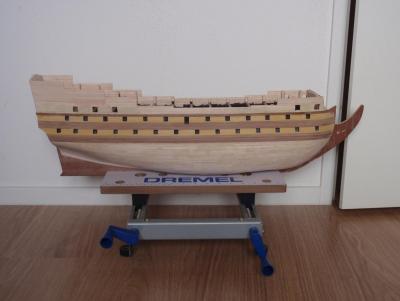
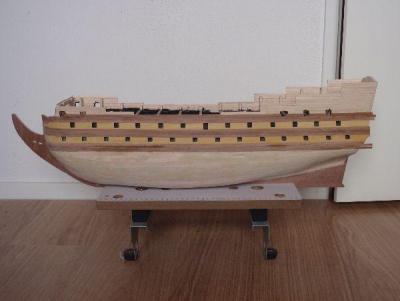
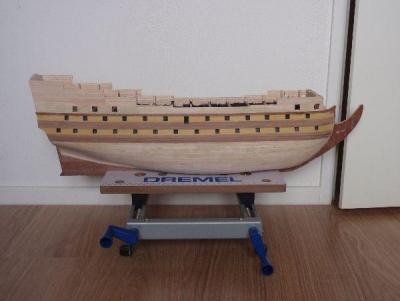
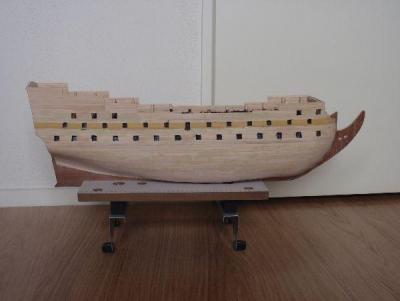
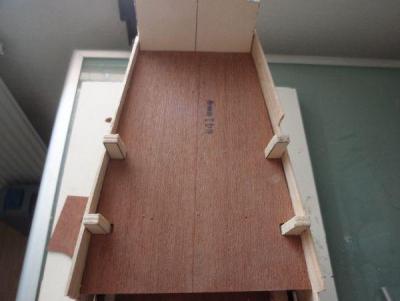
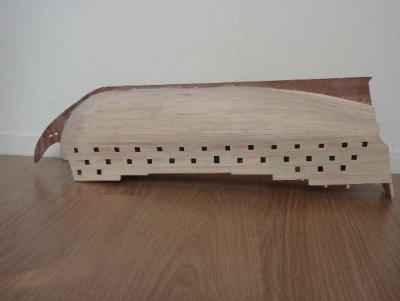
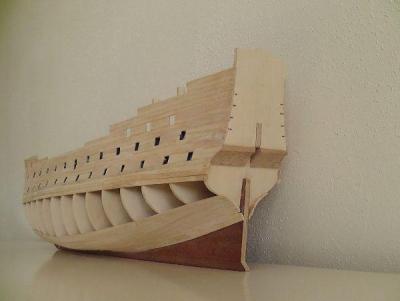
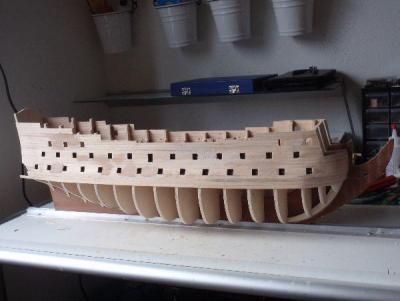
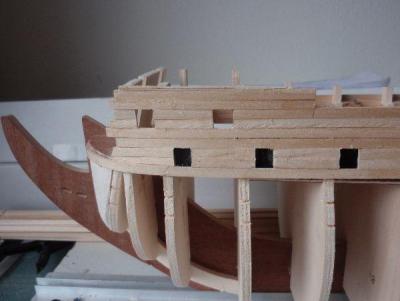
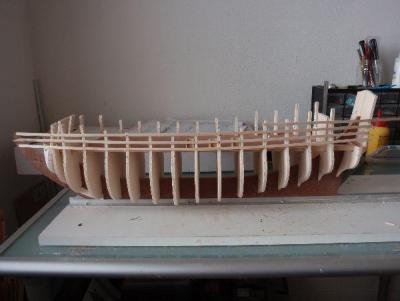
Here are the pictures of the closed hull. As you can see I used a lot of wood filler. After a lot of sanding the hull is now smooth and ready for the second planking. The stern deck is fitted in place, but not glued yet. First I have to make the deck beams. The forecastle deck isn't straight so I have do do some adjusting to make it fit right.

-
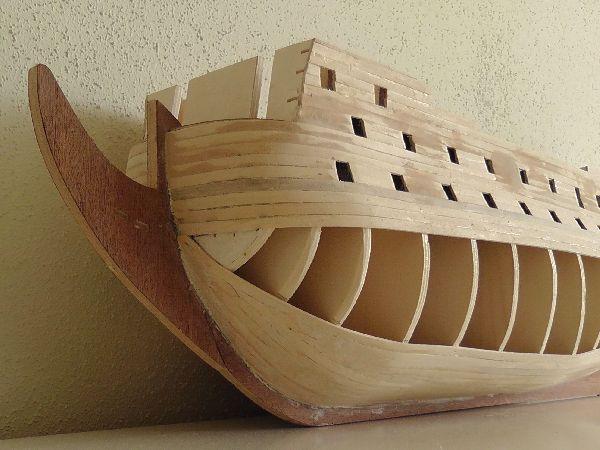
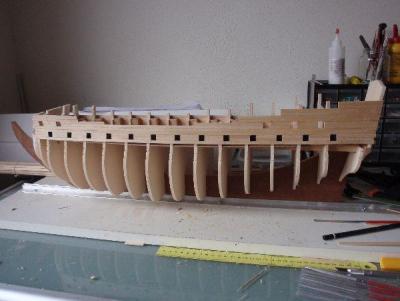
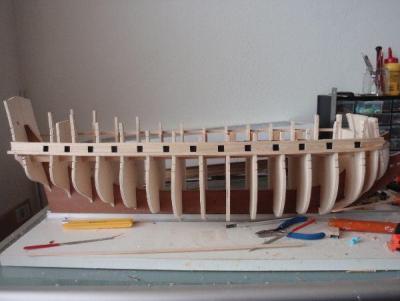
The second layer of planks are going on the right direction. I love double planking. I don't like the bump in the hull because frame 7 was to big. So, I removed a few pieces of planks, sanded the frame and put new planks in it. What I can see now it is much better.


-
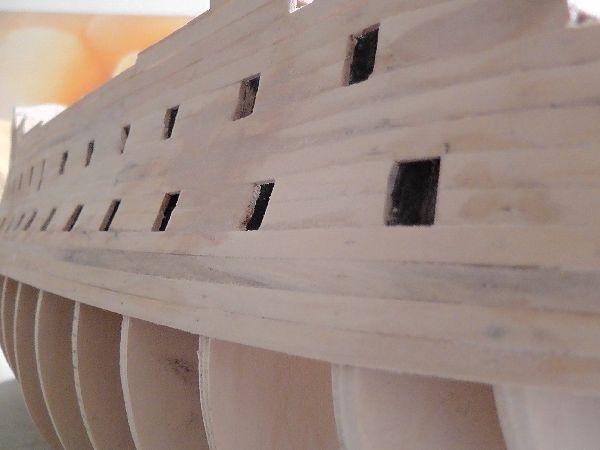
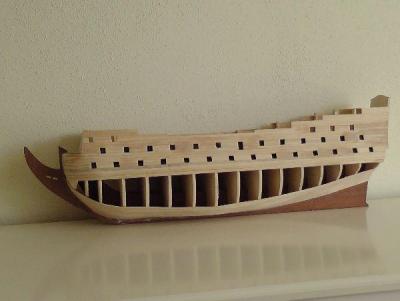
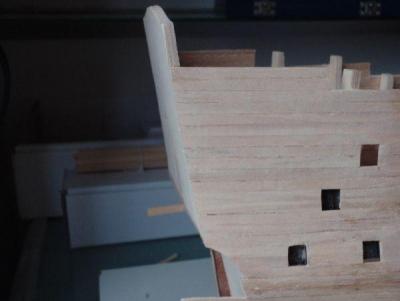
I use the camera from my HD cam so you really see everything..... I even think to much For some reason at the bottom it looks if I was seasick. I have no idea why, maybe one frame is to high or the others are to low? Or is this the normal way for a French ship? I really don't know. If somebody has an answer, please tell me. And don't say that I'm an I....... Watch the pictures and don't run away.

-
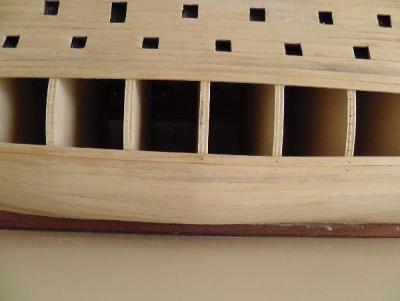
Because I have not faired frame 3 enough, I have to try to sanding it at much as possible. I think it works out .
-
A little update......

-
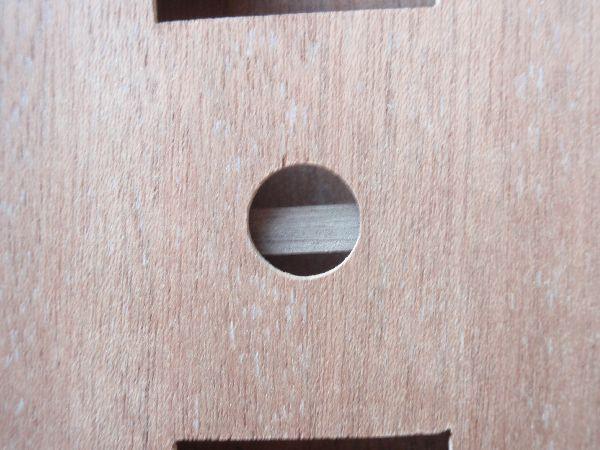
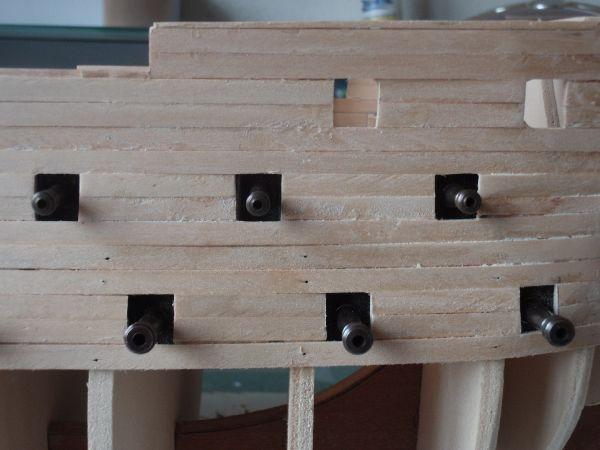
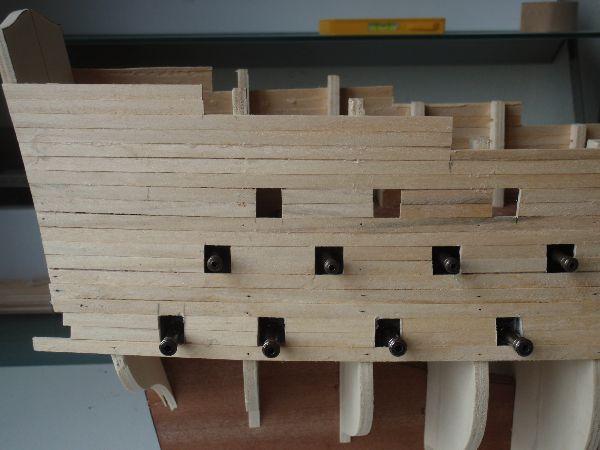
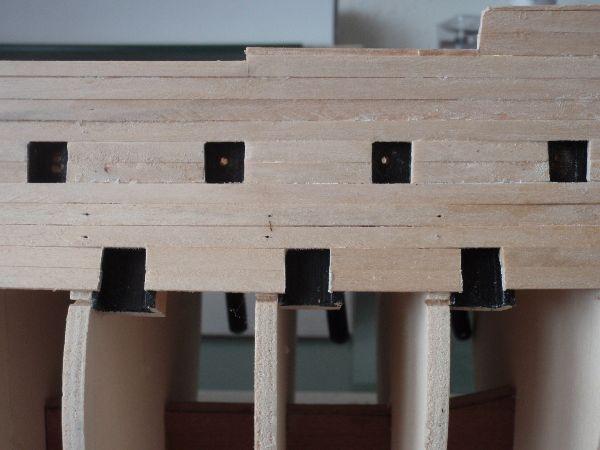
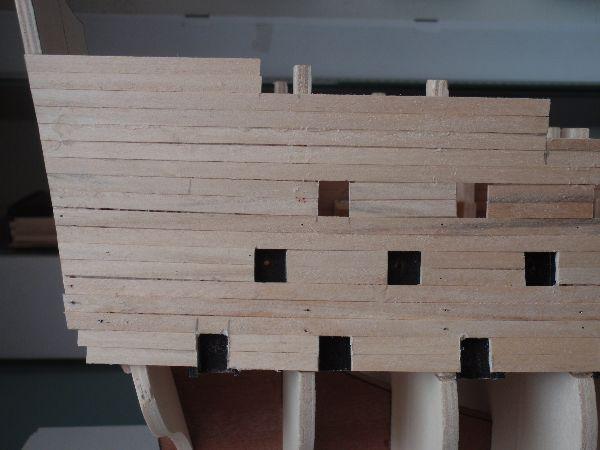
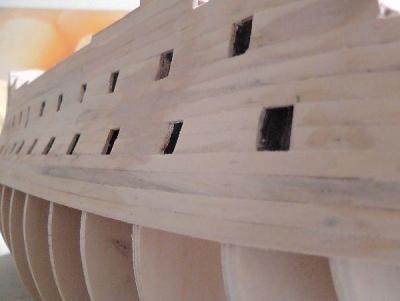
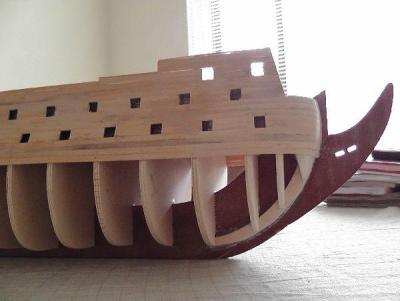
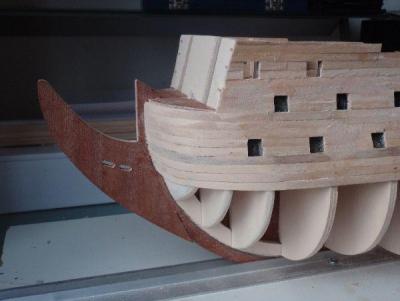
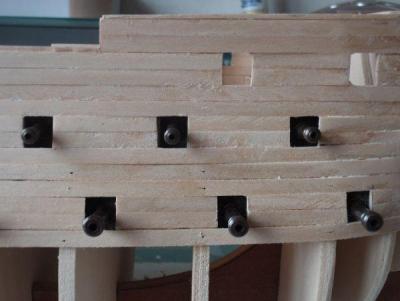
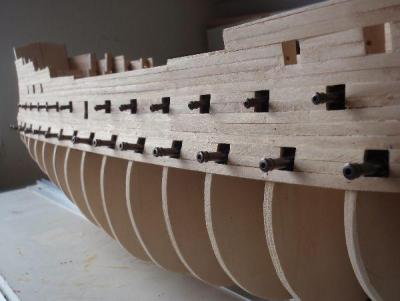
I drill the holes for the guns and for the picture I place them. It look on the picture that they are not straight, but that is the angle of the camera. When I look closely, they are good.

-
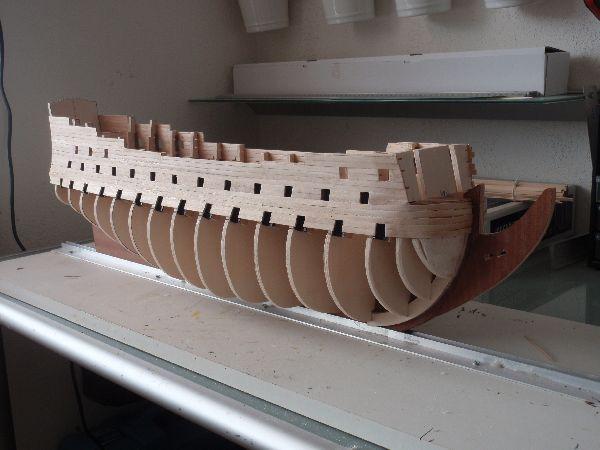
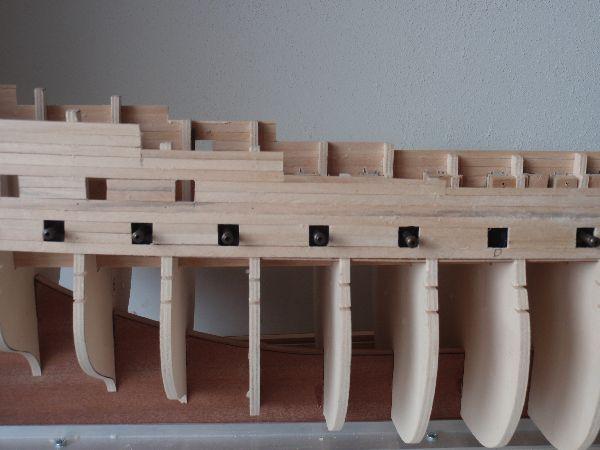
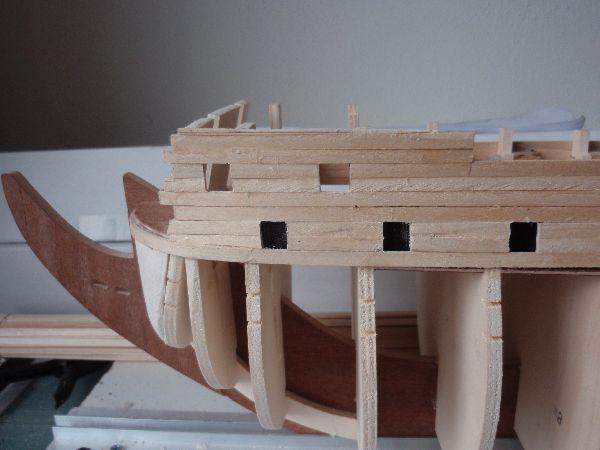
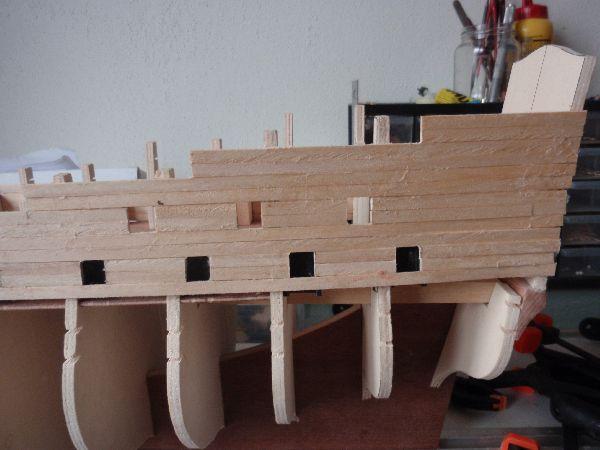
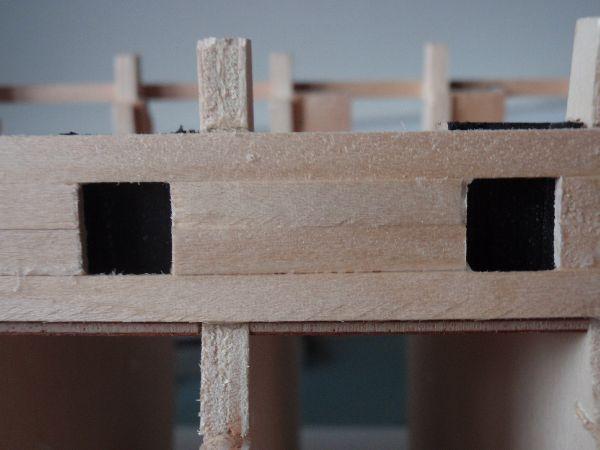
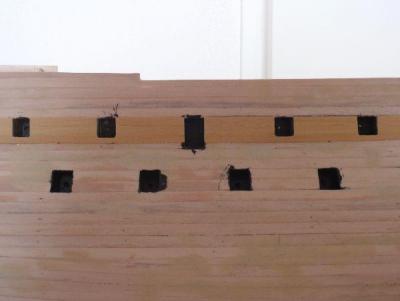
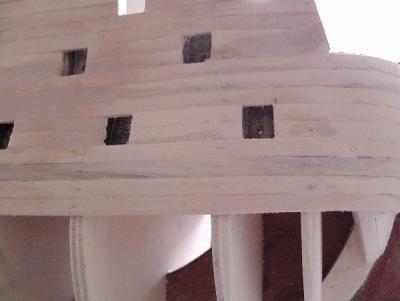
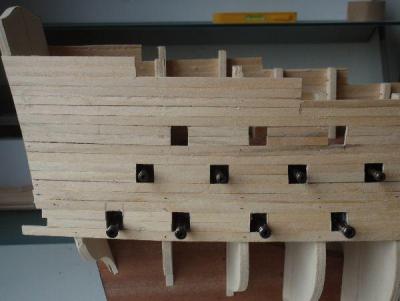
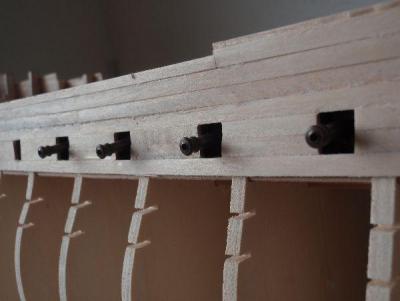
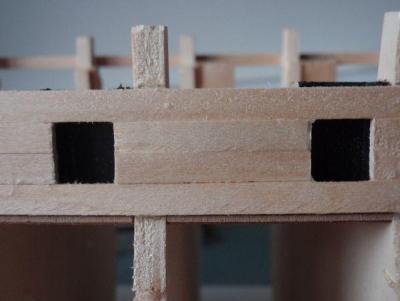
The false gun ports are in place. I let everything dry and then the plank that goes under it. After that I can go on with the rest of the planking. And then.......sanding. a lot! But that's part of the business.


-
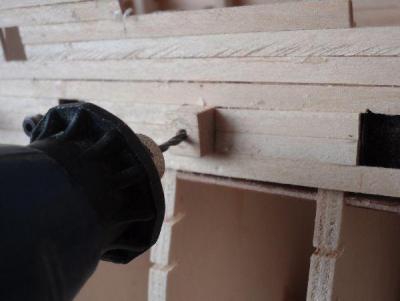
Someone give me the hint to drill the holes for the false canons with a block. I'll make a block by 10x10 mm and then drill the holes. Here are the result.

-
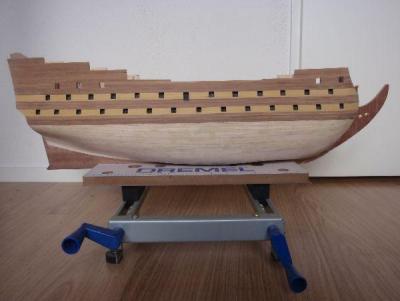
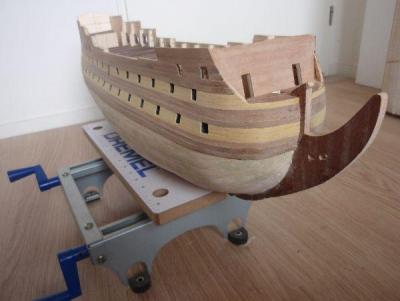
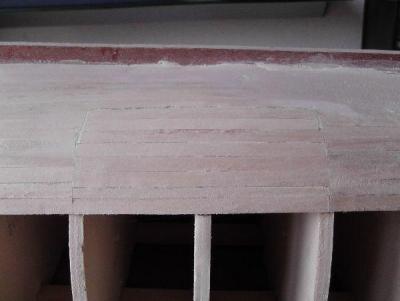
When the planking is finished, the frames will be higher than the planking and according to the manual I have to ' break them off But I will not do that. I will neatly cut them to size. And by the looks of it, a lot of sanding will be needed.

-
Just a little update. I grabbed the proverbial bull by the horns and this isthe result!
-
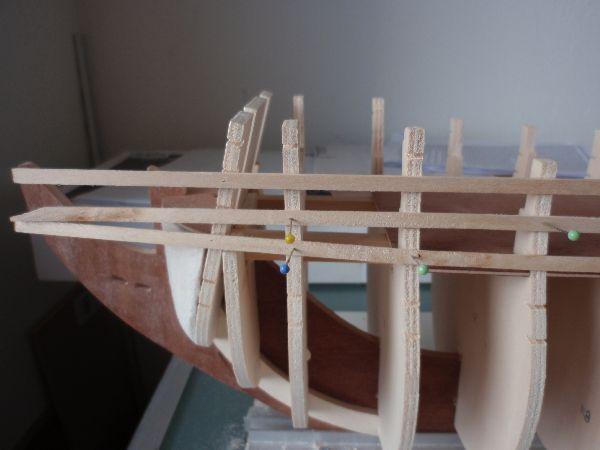
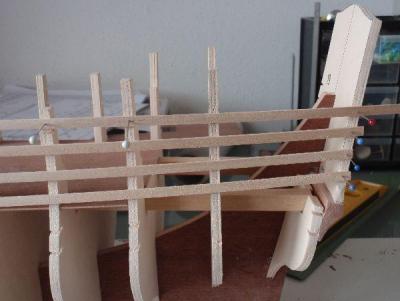
Ok, there we go again. The planks are following the slots Everything is still dry fit.


-
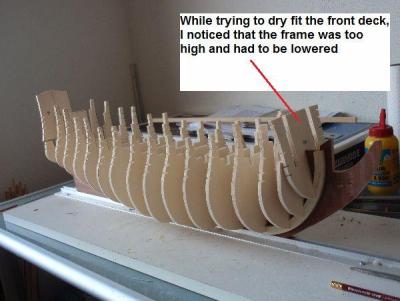
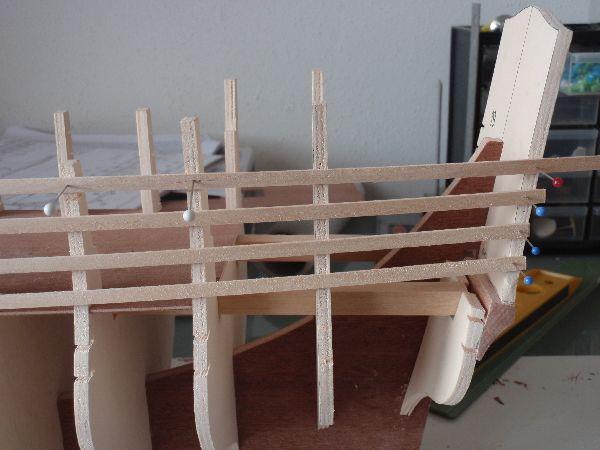
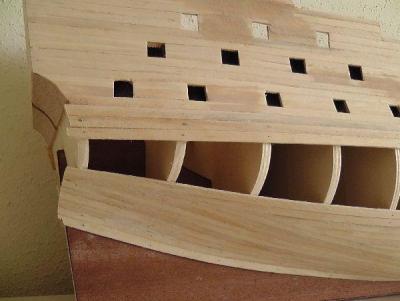
While trying to dry fit the front deck, I noticed that the frame was to high and had to be lowered. Now all the decks are dry fit into place. More than in my previous build, I need to look far ahead before I'm going to do anything. And also having the written manual in Dutch and in English is a real challenge.