Sjors
-
Posts
5,536 -
Joined
-
Last visited
Content Type
Profiles
Forums
Gallery
Events
Everything posted by Sjors
-
 He Augie, Come on, let's make some fun. Glad you are back mate! Very nice build you have over there. And you do a lot is a short time…. Sjors
 -
Hi Sarah, I'm also glad that you are back! Now we can go further where we left. Sjors
-
Hi Andy, And you are telling me that I goes quick with my build…. I think we all have eat turbo's at breakfast I'm glad that you are also back! Sjors
-
Hi Frank, Great that you also post again. Can I sit next to Anja? Sjors
- 389 replies
-
- 1
-

-
- supply
- caldercraft
- (and 1 more)
-
Montanes by pnevrin - OcCre
Sjors replied to pnevrin's topic in - Kit build logs for subjects built from 1751 - 1800
Hi Per, From me also welcome back. I can follow you again Sjors -
MONTANES by Garward - OcCre
Sjors replied to Garward's topic in - Kit build logs for subjects built from 1751 - 1800
Welcome back Garward, I will follow you closely again! Sjors -
Nice to see you back at it Grant. I missed this….. Keep on going. Sjors
-
That's it When there is an other update you see it when the time is there. Thanks, Sjors
-
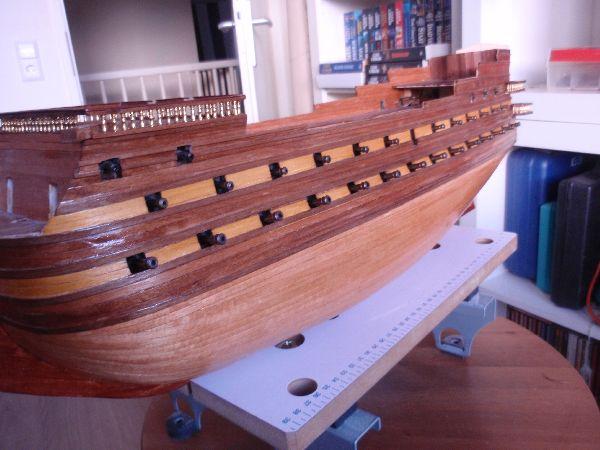
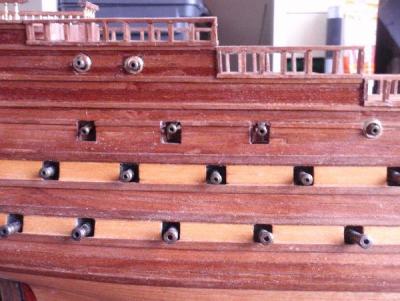
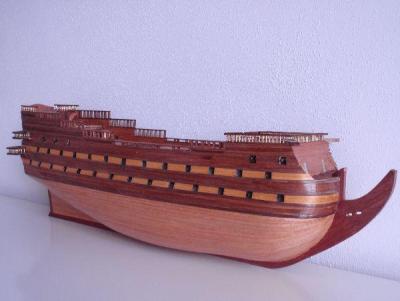
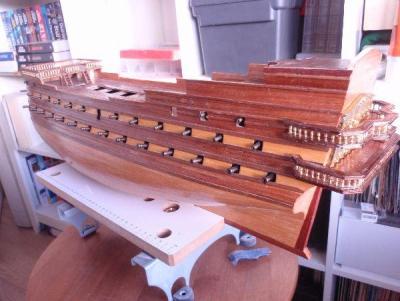
All the canons are in place. I know that the first picture looks dirty and it is! I have to clean it but not now.
-
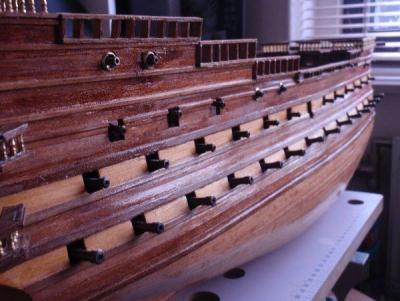
Have take a picture from the wrong side Here are the good side. I'm not totally happy and have to see what I'm doing with it. Maybe sanding or cut a little piece away.


-
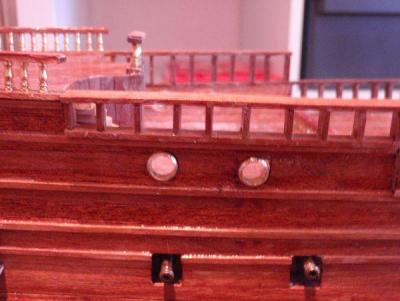
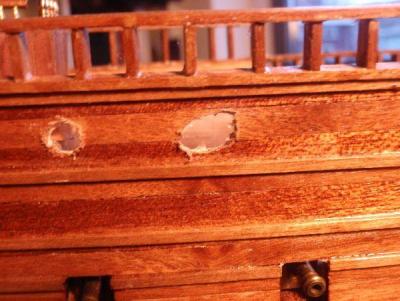
Here are an picture of my fixed egg hole.... Remove an planck and placed a new one.

-
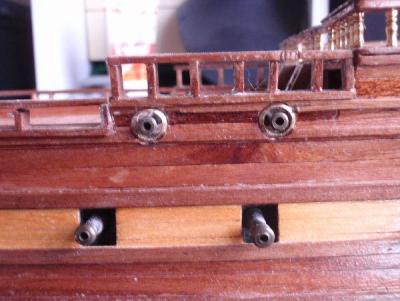
I was drilling hole into the bulwark for the deck cannons, and it goes wrong with one hole. It looks like an egg now....... I have to fix that.
-
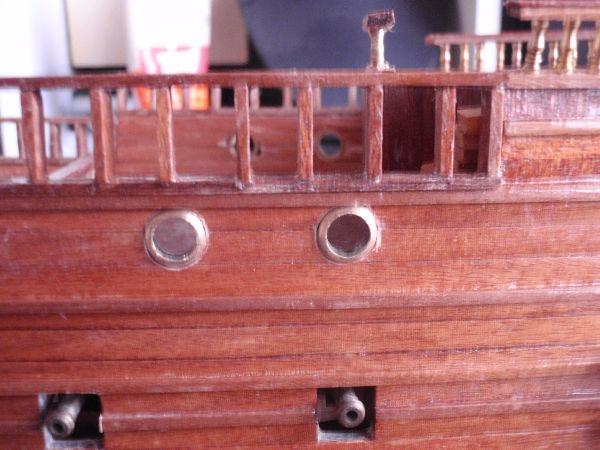
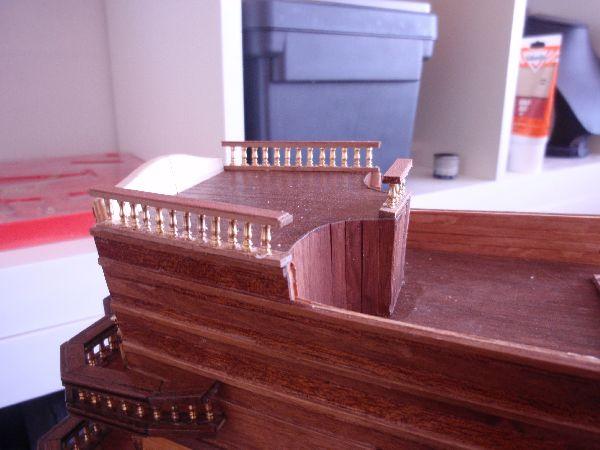
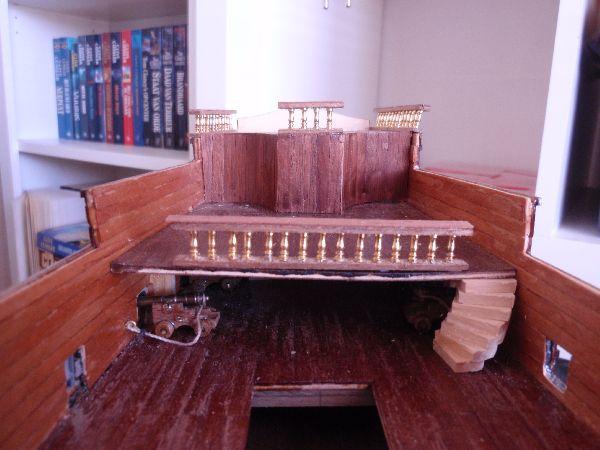
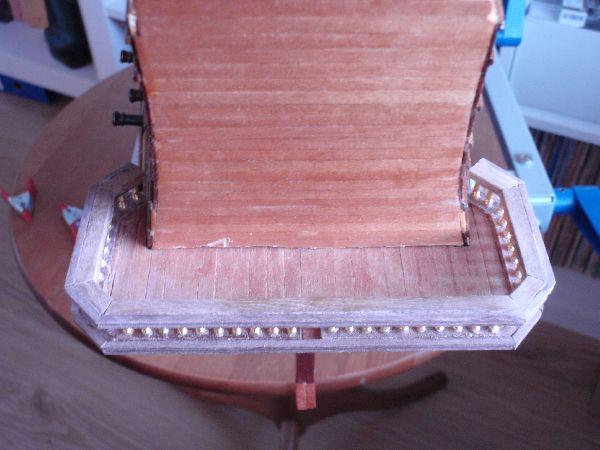
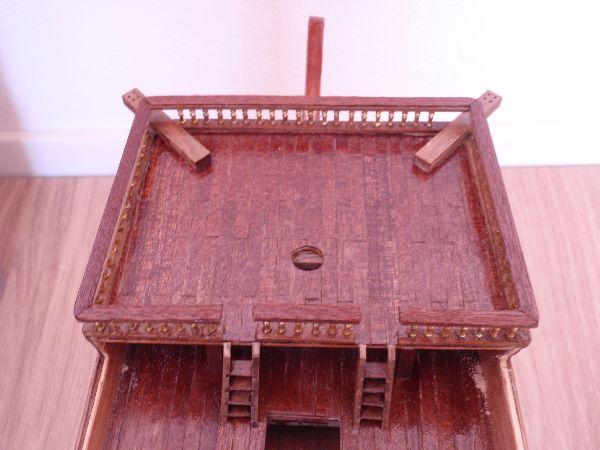
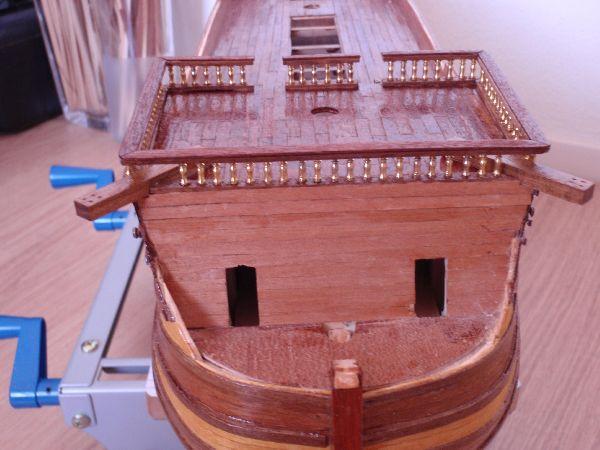
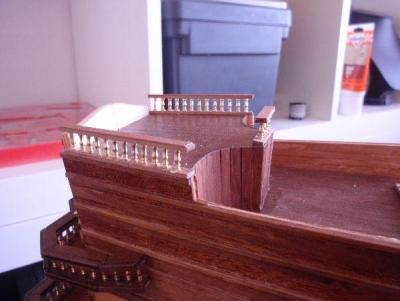
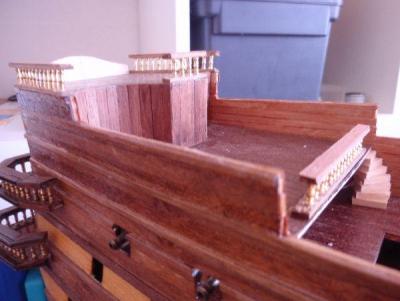
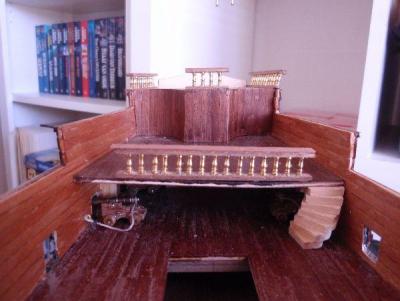
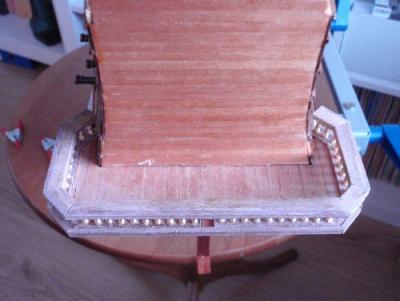
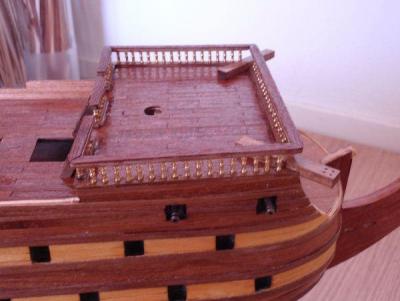
The railing are in place and also the spiral stairs. The pictures are not very clear because it is an dark and rainy day. But you can see what I have done.

-
Railing for the stern deck and the first stair are almost ready. The picture looks dusty and that's correct.......
-
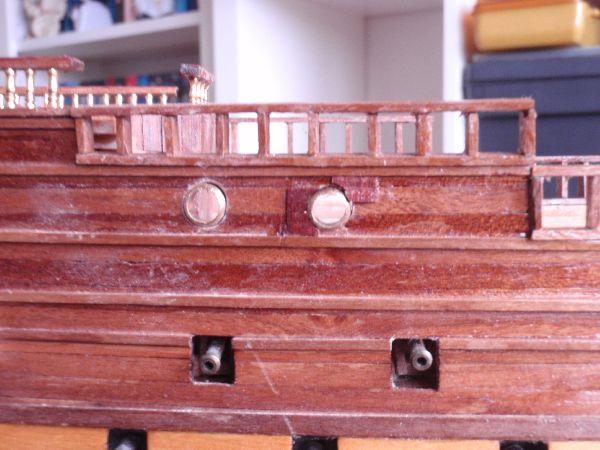
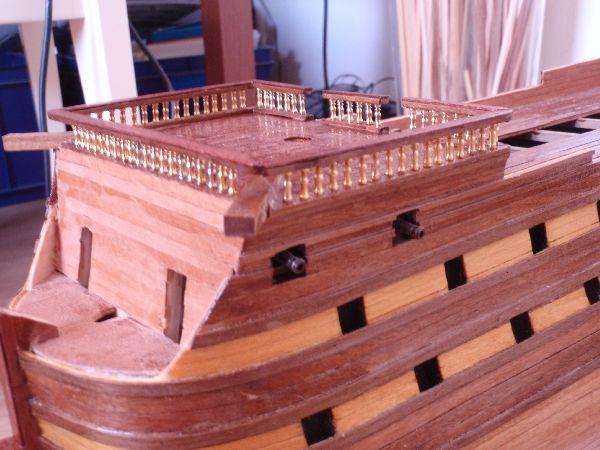
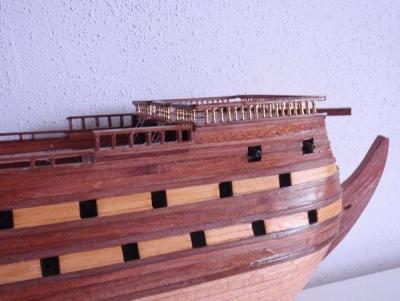
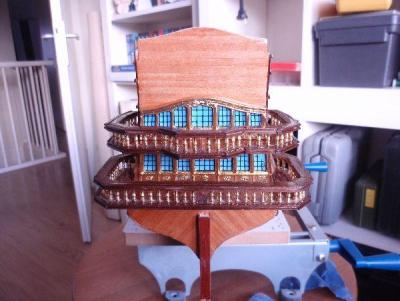
I finished the second balcony and placed the canons on the port side.

-
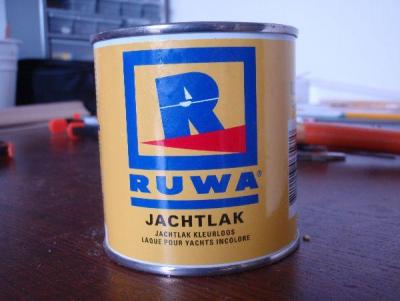
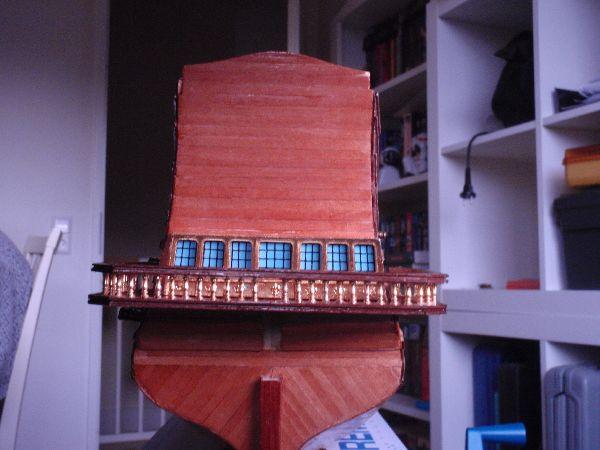
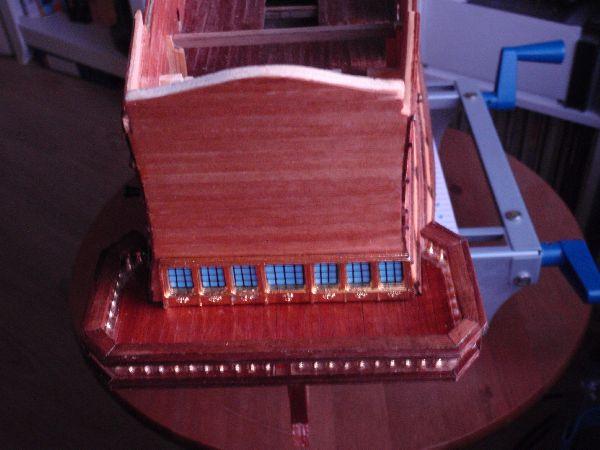
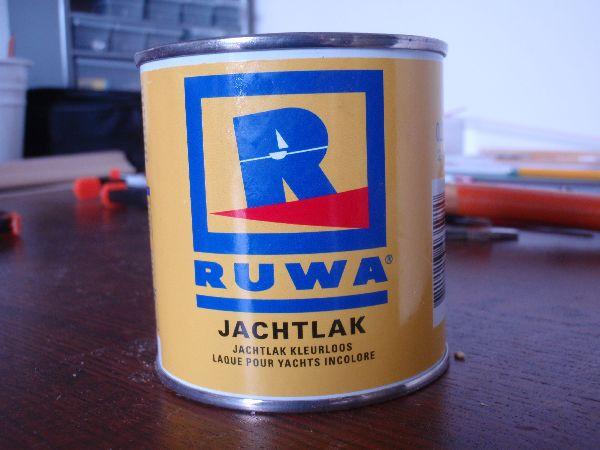
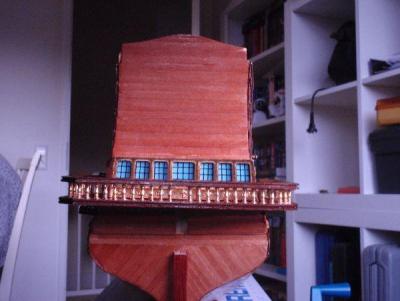
The balcony is varnished and I have put some windows on it. There is another balcony coming above it, but that's for later. I know it looks just not level but the ship is also not standing level.

-
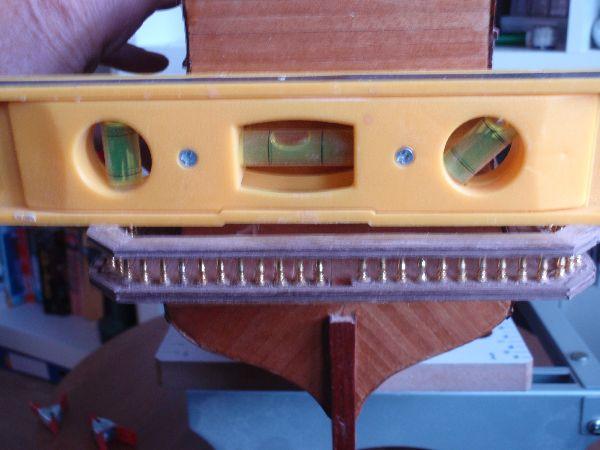
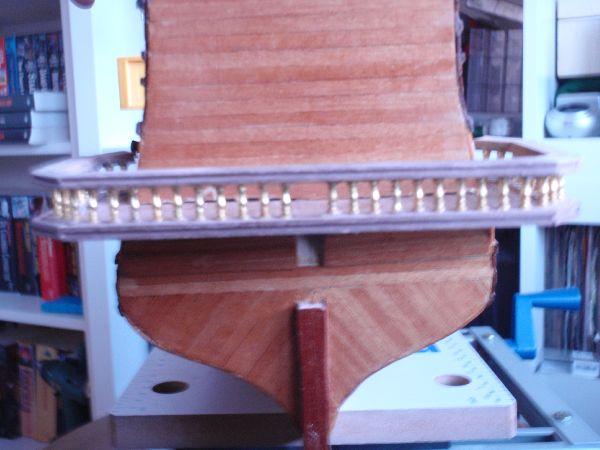
The balcony is finished ! I only have to put varnish on it. But I want to show you the result. It goes step by step.


-
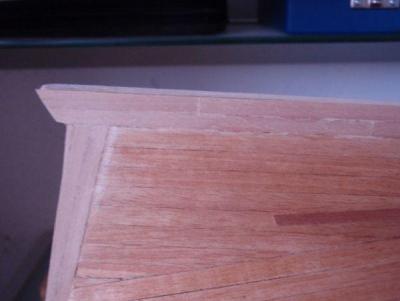
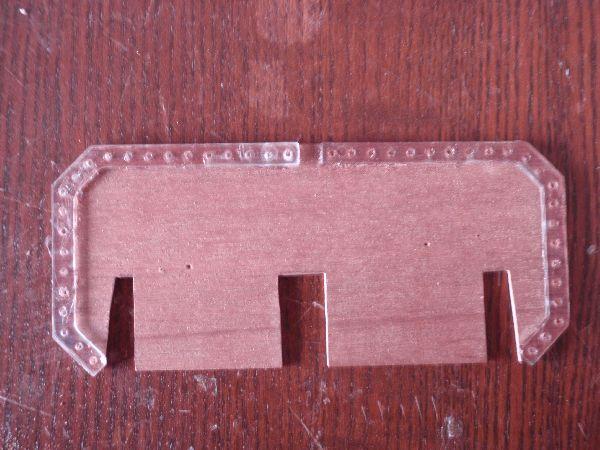
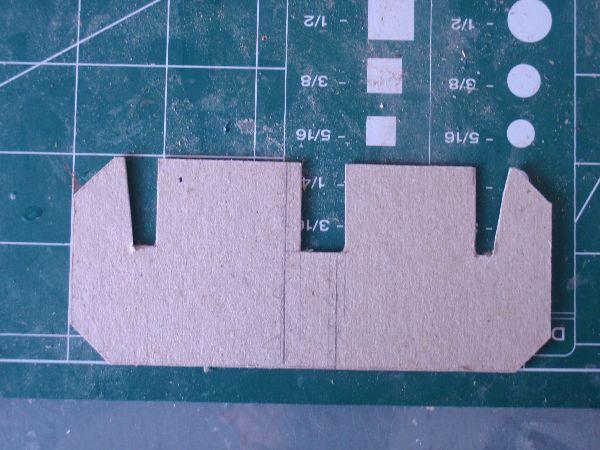
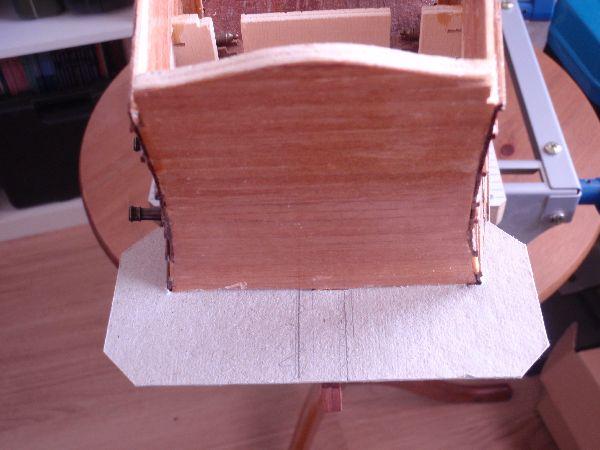
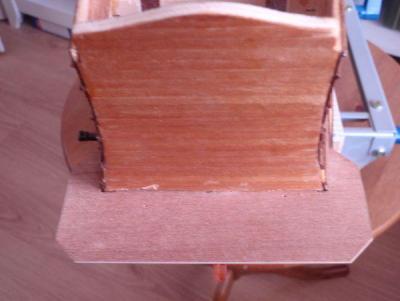
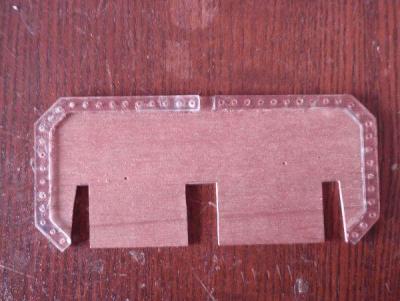
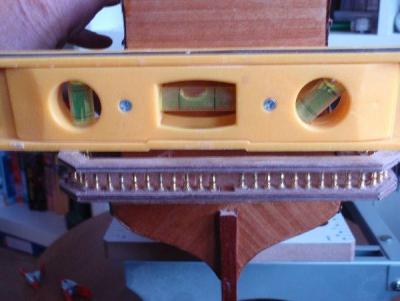
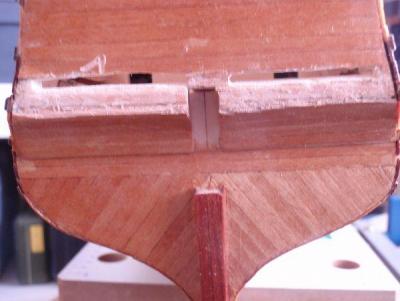
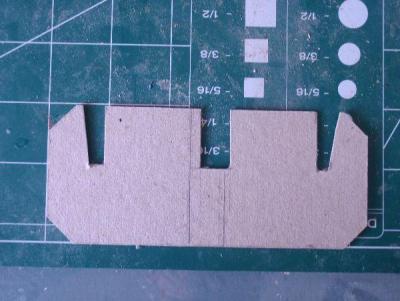
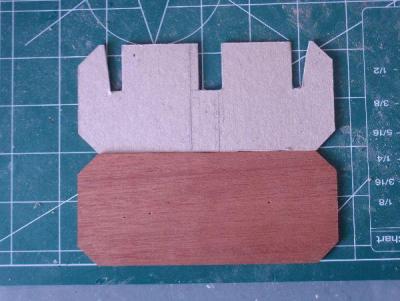
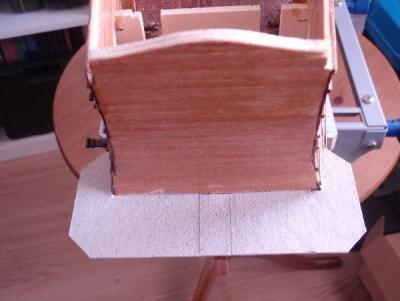
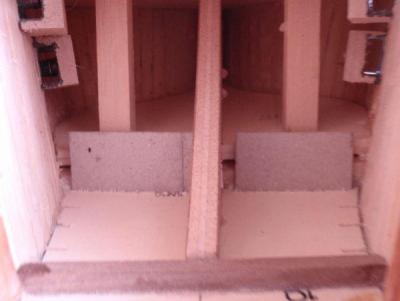
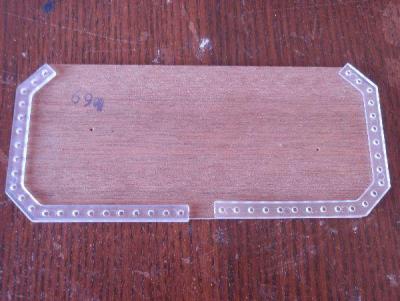
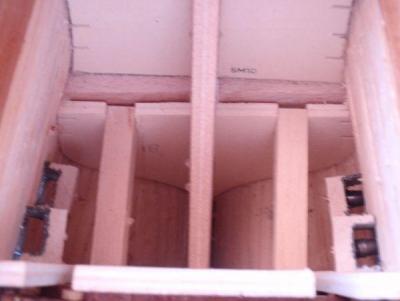
On picture one you see the slots. I have drilled a few holes and then sand it out with a wood file. Then we have make from cardboard an example how the floor of the balcony goes. Dry fit into the slot and I must say, I'm pleased! The next step is cut out the wood ,so the floor of the balcony can go inside. I have behind the stern place to glue the balcony. Before everything goes inside, I finished the hole balcony, and then in one piece, it goes inside.
-
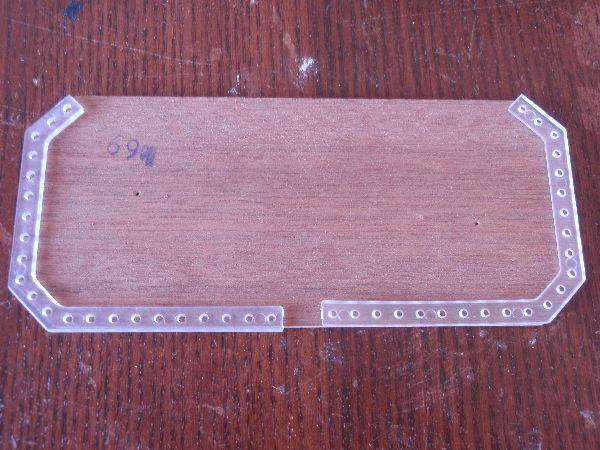
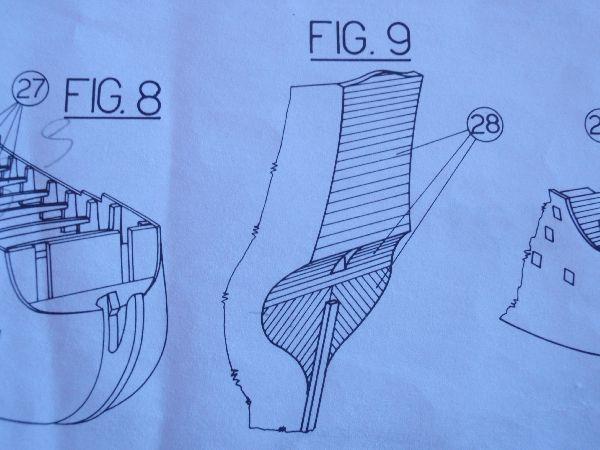
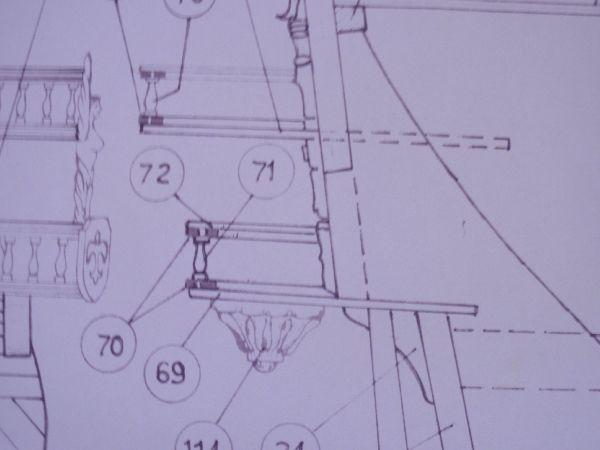
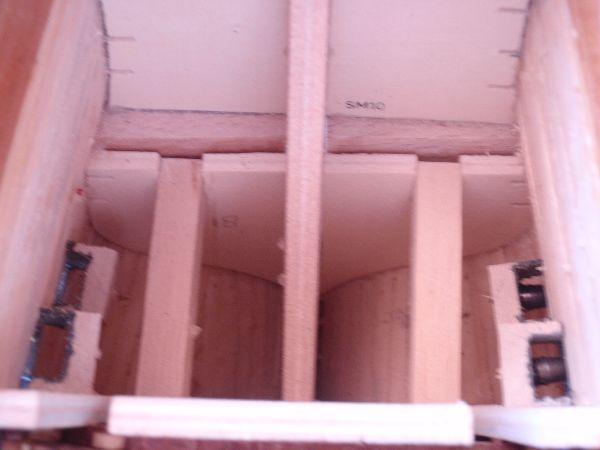
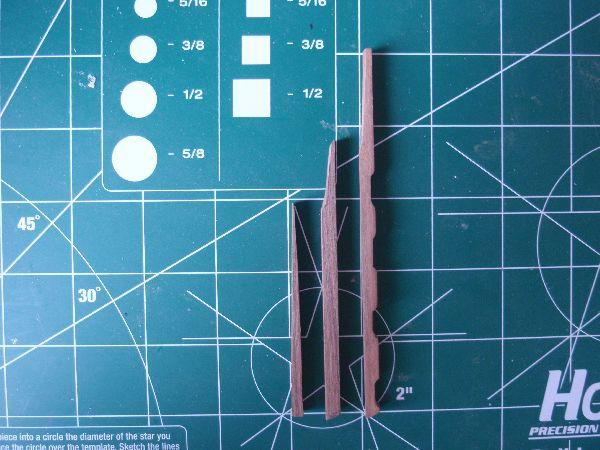
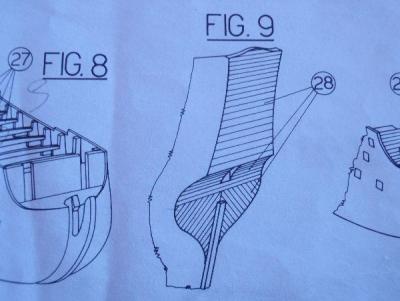
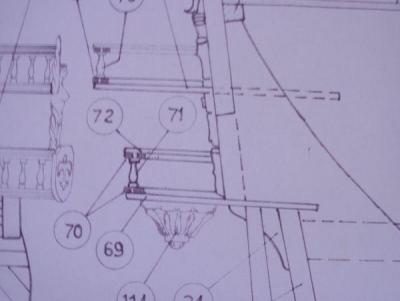
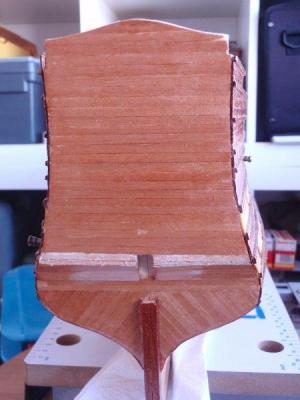
I wanted to assemble the balcony, but found that the plastic parts where the railings will be placed are not connected / joined as shown in picture #1 To mount the balcony on the ship, it first has to be assembled and then pushed into a slot at the stern between frames 18 and 19. in the drawing, this slot is not specified (#2) How deep the slot should be and how far the balcony should be pushed in, is also not specified. In the 1:1 drawing you see that the balcony is pushed into the slot (#3). I removed one plank from the stern where the slot supposed to be (#4). But as you can see in picture #5, if I cut out the slot accordingly, I will also have to cut away part of the keel. I can not assess if I'm getting problems with placing the rudder There also should have been openings in the stern for gun ports. but for that purpose there are no guns supplied. I will only place the shutters for the gun ports On the Italian forum http://www.modellismo.net I have found another buildlog of Le Mirage. This builder has, instead of making a slot for the balcony, placed the balcony around the hull with two support bars placed at the bottom of the balcony. Personally I think that that is the best option to mount the balcony, without having to cut away part of the stern and the keel to make a slot.
-
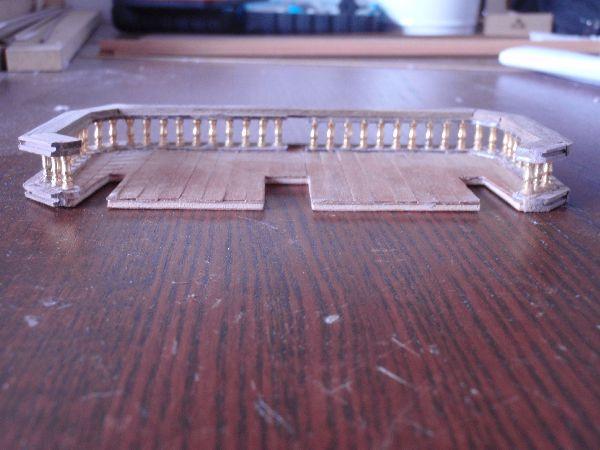
It looks like if the stairs are not straight but that's an angle off the camera. When I see the pictures I run upstairs to watch it. The railing with the balusters are in place. Also the catheads, On the manuel they tell me I place them later and I have to cut out a little piece of wood because they go straight on the deck. I think that this is the easy way.


-
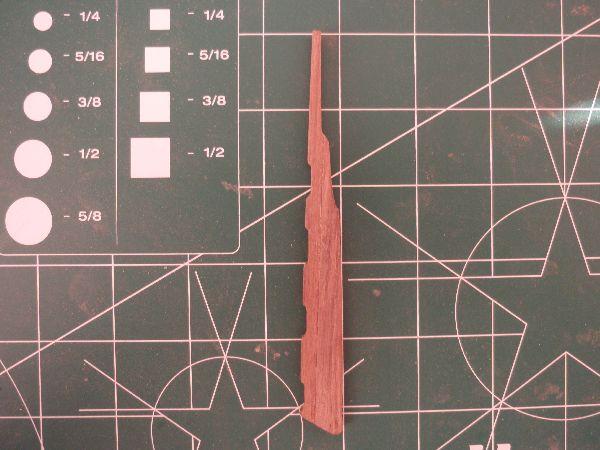
I finished the rudder. I make pictures of each stage..... I don't know if I can attach him now or later because there is also a balcony on the stern.. At the plans it is coming after the balcony but I found out that sometimes it is better to do it another way.
-
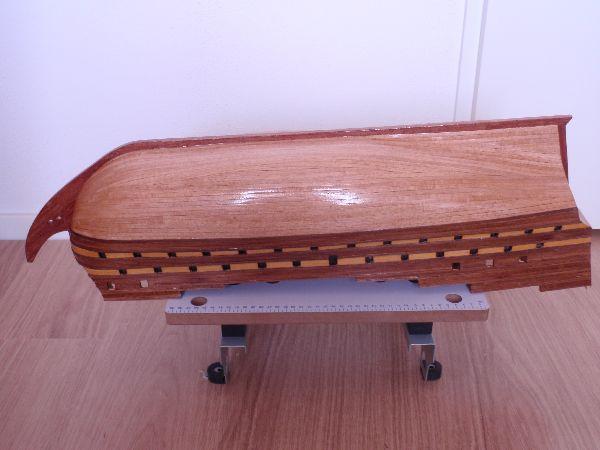
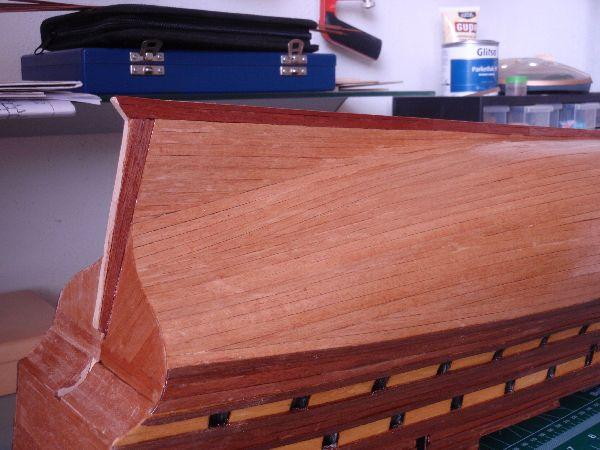
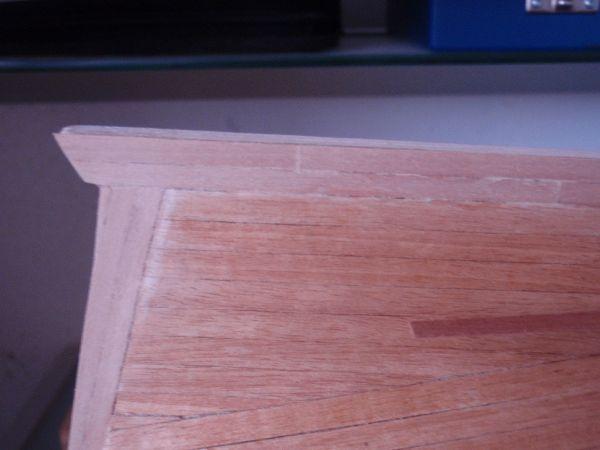
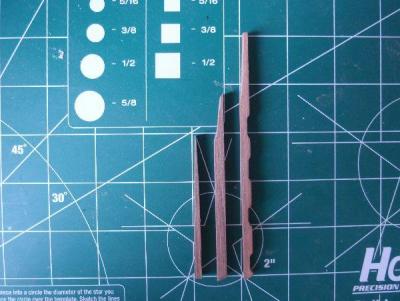
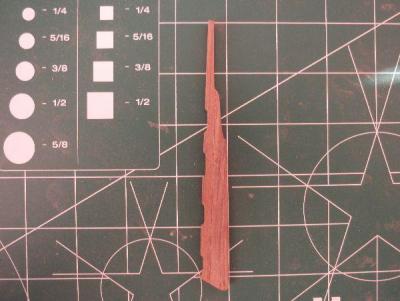
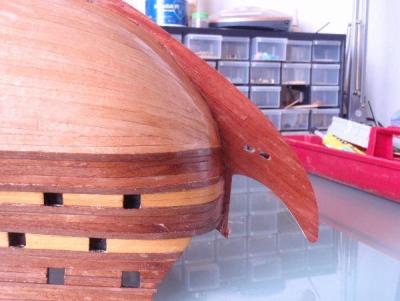
I finished the planking of the Stem and the Keel. 4 more decks to go. But before I started with that I want to do something else. So I gonna assemble the rudder. Otherwise I can not see a plank anymore! 2 pictures of the finished Stem and Keel.

-
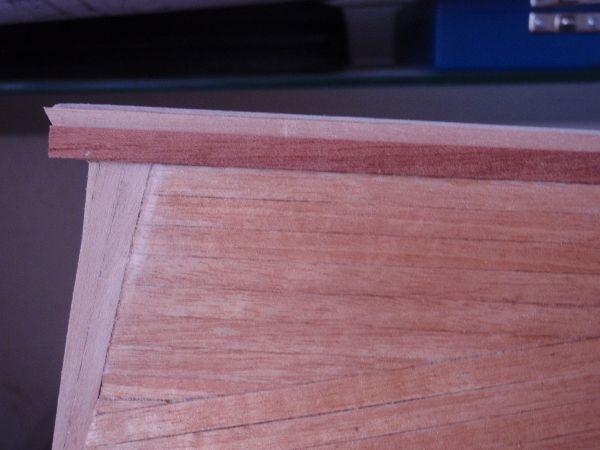
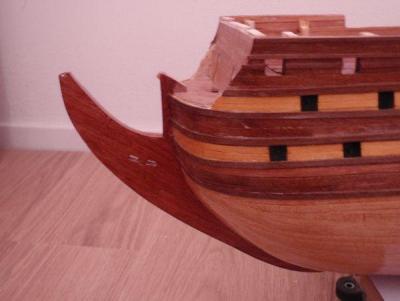
Have planking the keel on one side I have listen to Anja and Børge. I put varnish over it, so you see a difference between the hull and the keel. It turns out better then I thought.

-
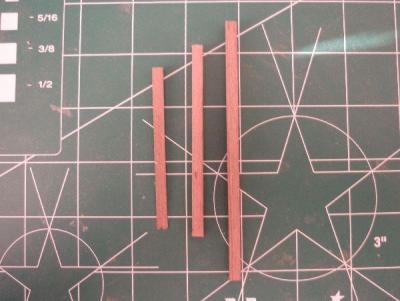
I was planking the keel with light walnut. It not looks good , so I remove it and change it with darker wood. See the pictures.