DONATION DRIVE - SUPPORT MSW - DO YOUR PART TO KEEP THIS GREAT FORUM GOING! (91 donations so far out of 49,000 members - C'mon guys!)
×


Willi
-
Posts
79 -
Joined
-
Last visited
Recent Profile Visitors
480 profile views
.thumb.JPG.4d3261ccae06041fa7cc2933fb43d577.JPG)


-
 Willi reacted to a post in a topic:
Le Fleuron 1729 by RobinB87 - Scale 1:48 - POB - Body method M. Bezverhny
Willi reacted to a post in a topic:
Le Fleuron 1729 by RobinB87 - Scale 1:48 - POB - Body method M. Bezverhny
-
Willi reacted to a post in a topic:
USS Cape (MSI-2) by Dr PR - 1:48 - Inshore Minesweeper
-
Willi reacted to a post in a topic:
L'Amarante by marsalv - 1:36 - POF
-
Willi reacted to a post in a topic:
Speedwell 1752 by giampieroricci - Scale 1:96 - from Antscherl & Herbert monograph
-
Willi reacted to a post in a topic:
L'Amarante by marsalv - 1:36 - POF
-
Willi reacted to a post in a topic:
L'Amarante by marsalv - 1:36 - POF
-
 tmj reacted to a post in a topic:
L'Anémone 1747 by Willi - FINISHED - 1:48 - French corvette
tmj reacted to a post in a topic:
L'Anémone 1747 by Willi - FINISHED - 1:48 - French corvette
-
cotrecerf reacted to a post in a topic:
L'Anémone 1747 by Willi - FINISHED - 1:48 - French corvette
-
albert reacted to a post in a topic:
L'Anémone 1747 by Willi - FINISHED - 1:48 - French corvette
-
ccoyle reacted to a post in a topic:
L'Anémone 1747 by Willi - FINISHED - 1:48 - French corvette
-
druxey reacted to a post in a topic:
L'Anémone 1747 by Willi - FINISHED - 1:48 - French corvette
-
Some Idea reacted to a post in a topic:
L'Amarante by marsalv - 1:36 - POF
-

L'Amarante by marsalv - 1:36 - POF
Willi replied to marsalv's topic in - Build logs for subjects built 1501 - 1750
What precision! You search in vain for gaps or inaccuracies, even with such complicated parts which are curved in all directions👍 -
I just discovered your building log. Very impressive what you're showing here. Herzliche Grüße Willi
-
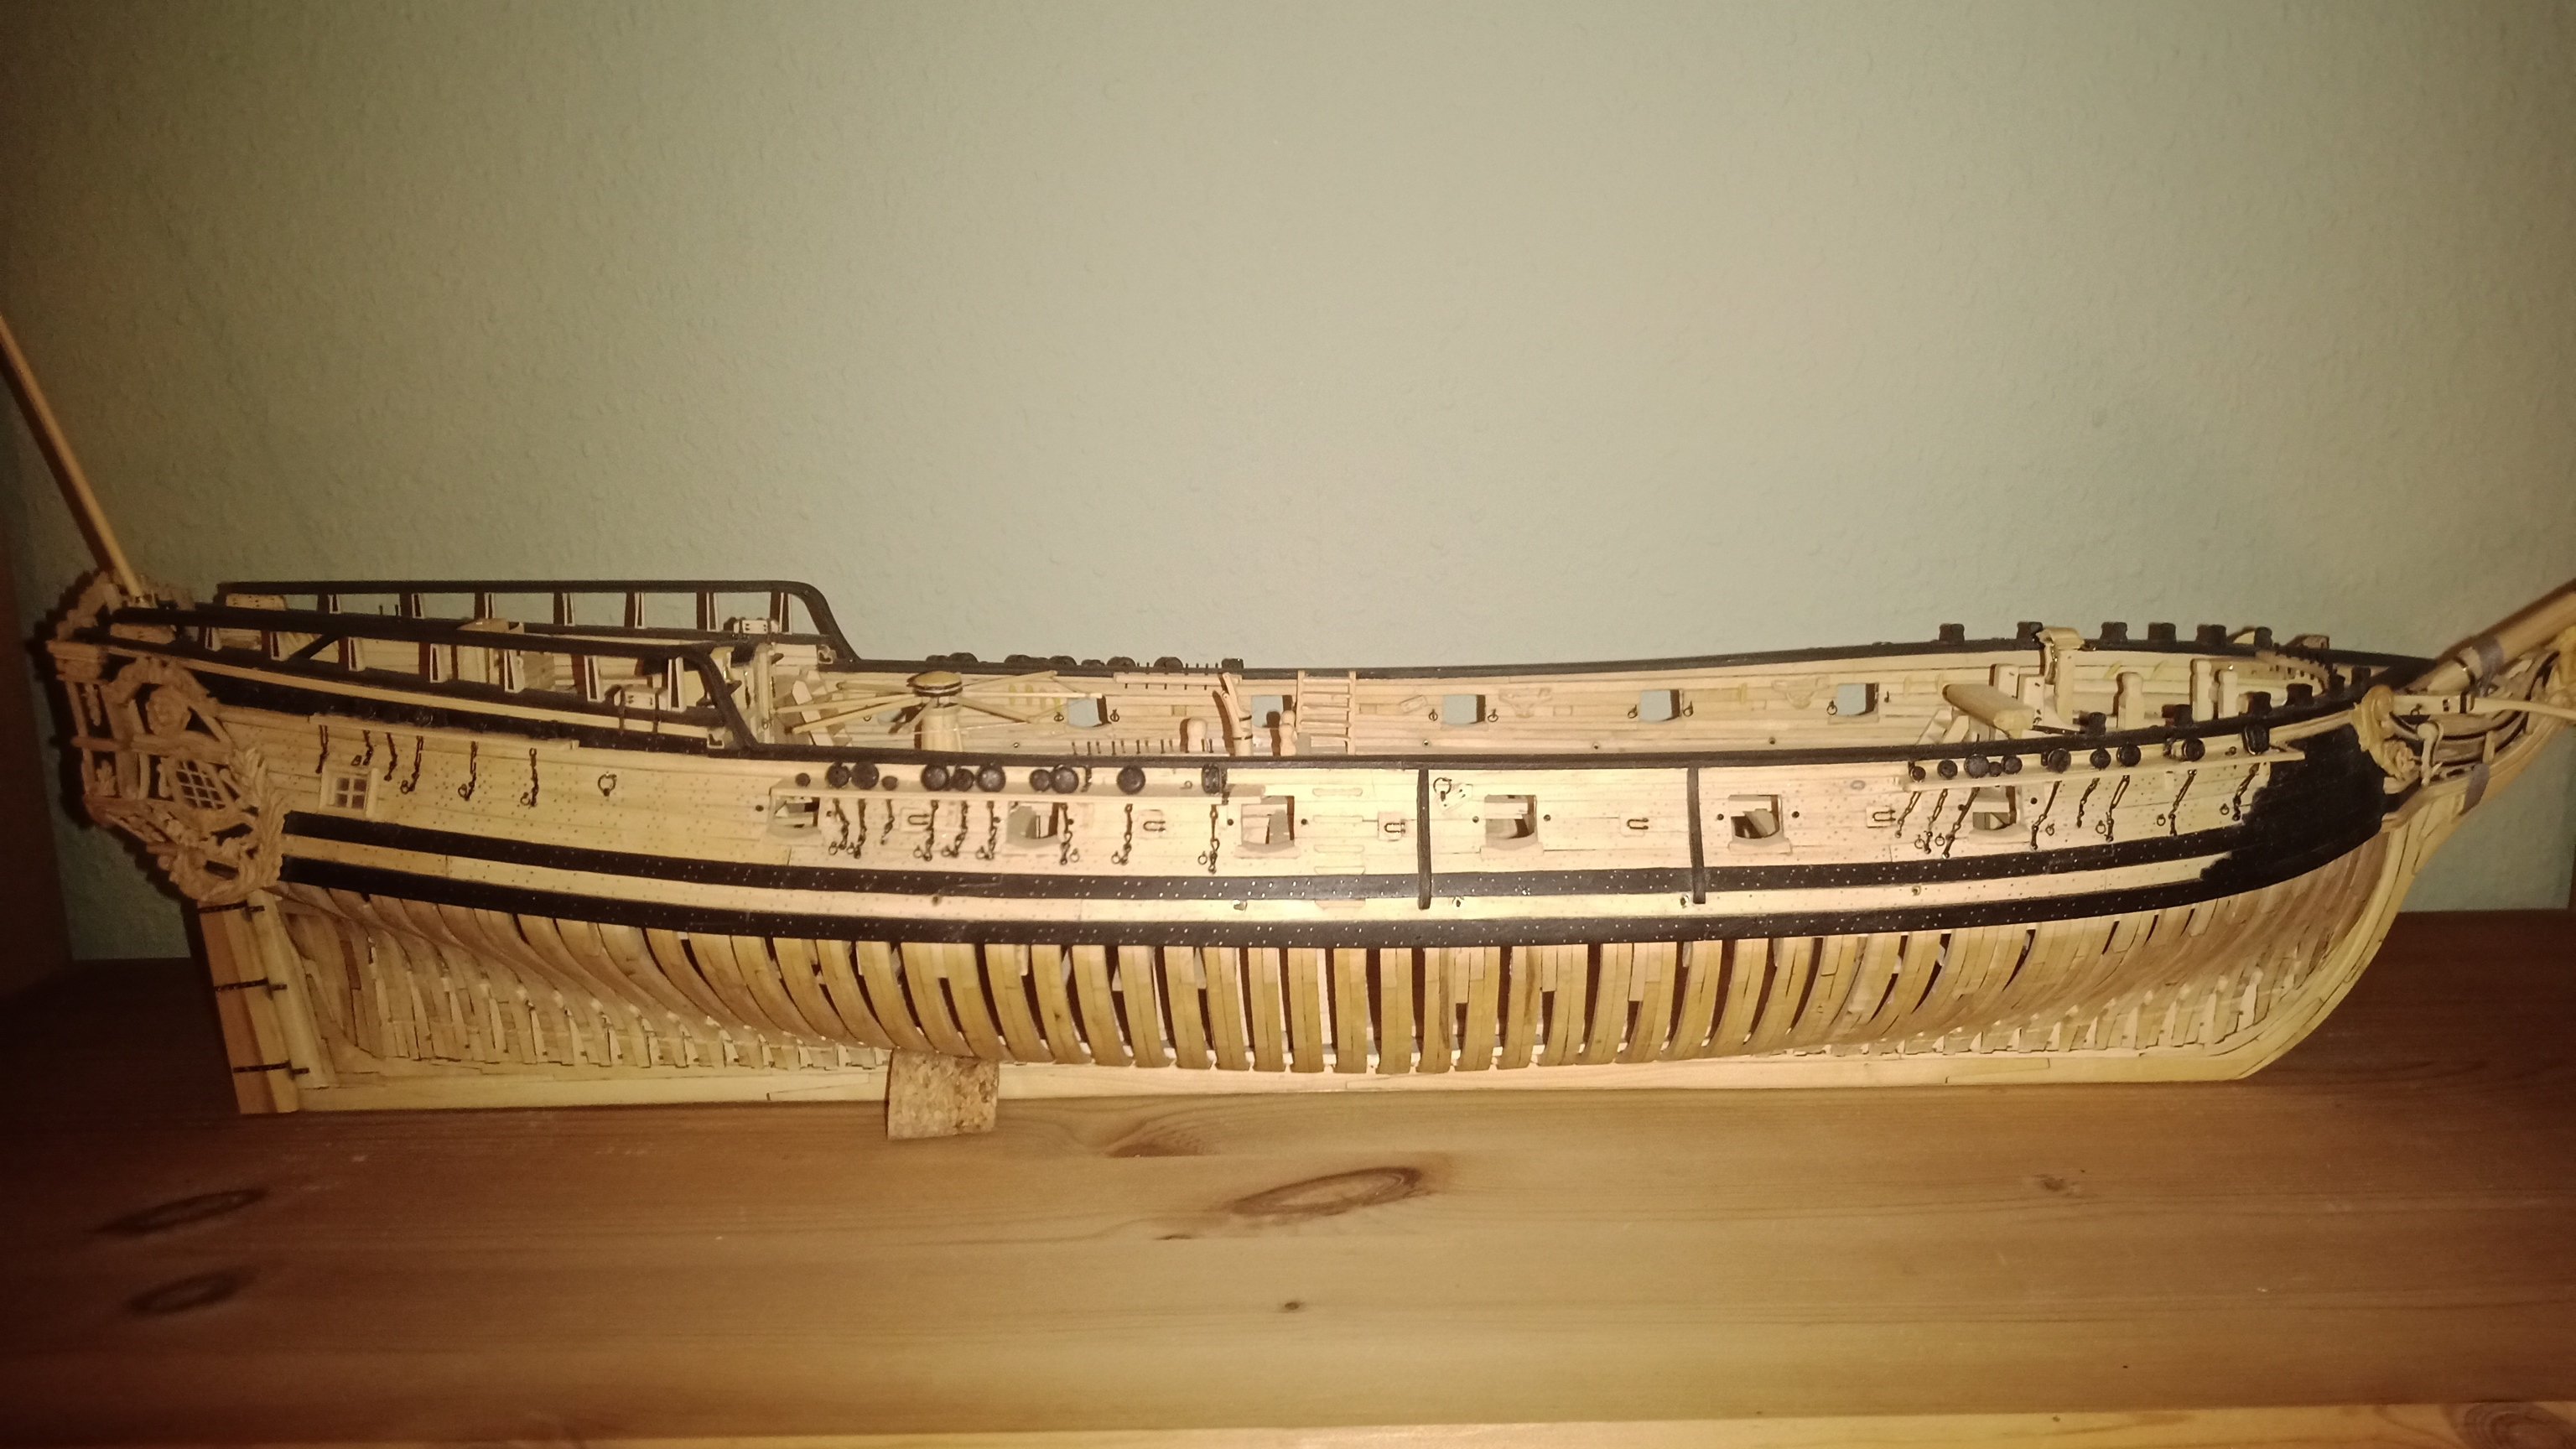
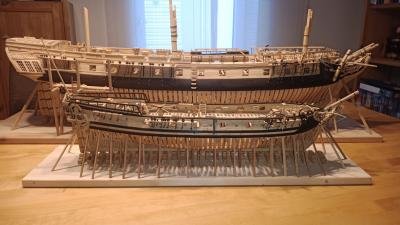
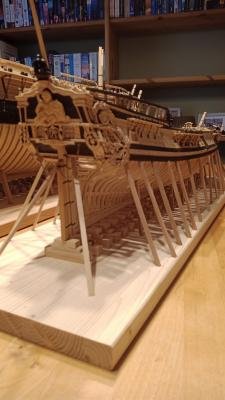
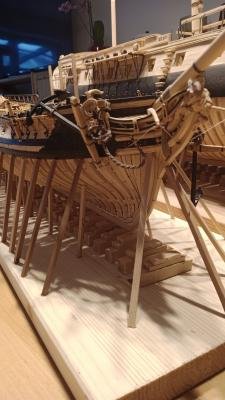
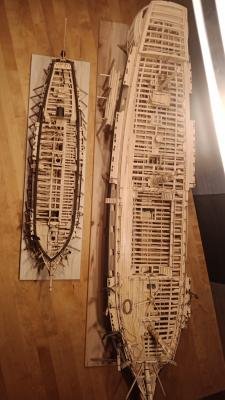
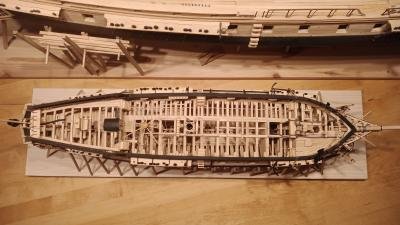
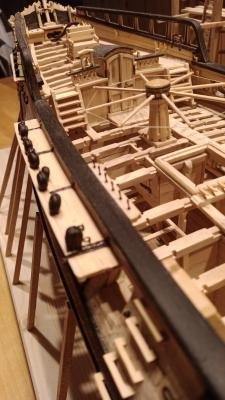
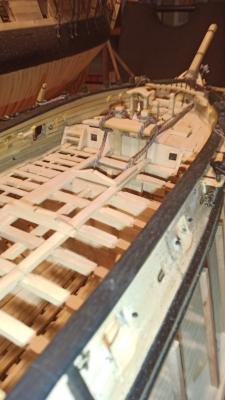
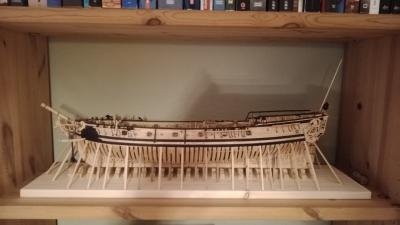
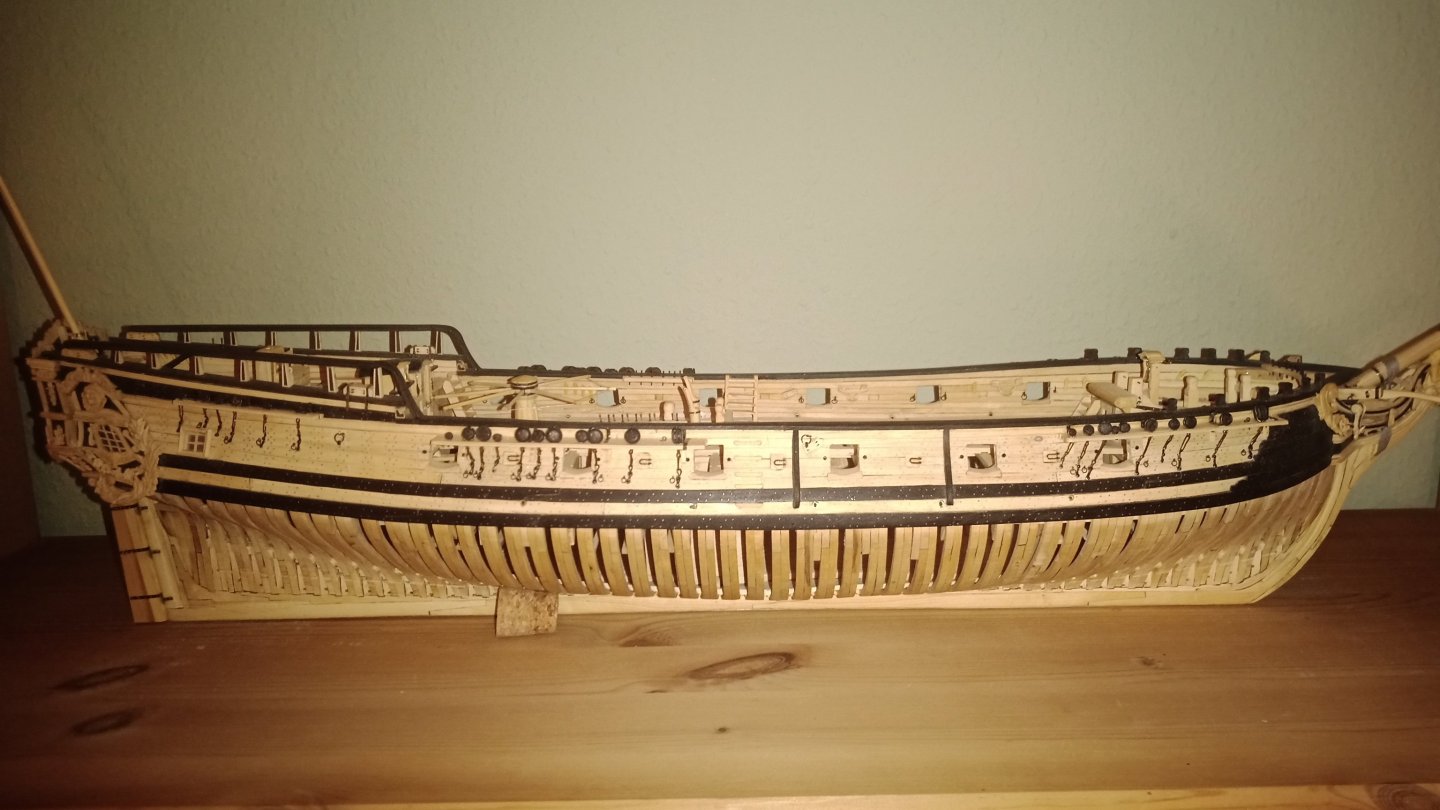
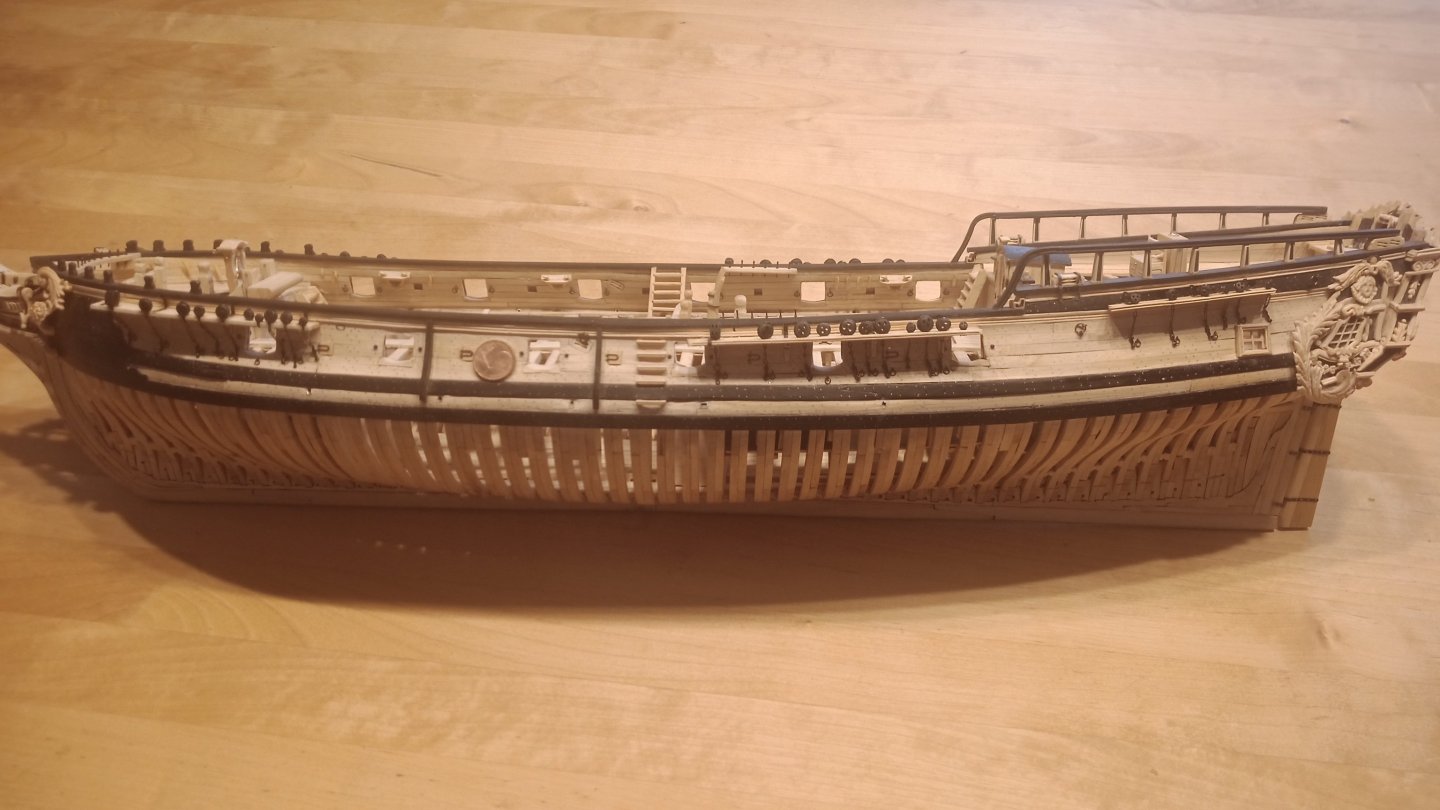
Hello everyone After (only) 17 months of construction, I'm now presenting the model of my small corvette, complete with a display stand. Designed by Joseph-Louis Ollivier, she and her sister ships, L'Amarante and La Palme, were built to the same plans. She was 64'6" (27.44 m) long, 22' (7.15 m) wide, and had a draft of 10'1" (3.27 m). Her displacement was 232 tons. The carvings were designed by Caffierie. The model was built to a scale of 1:48 based on the plans for L'Amarante by Gérard Delacroix (published by A.N.C.R.E.). To give an impression of its size, or rather its smallness (L/W/H = 68/15/19cm (without flagstaff)), I show it here with the frigate "La Vénus" in the background, which was built to the same scale (it seems that a small shipyard diorama could be created in modular construction with only a relatively manageable amount of effort...). Here it is, moored on the bookshelf. That concludes the "L'Anémone" project. What's that Kevin Kenny always saying? Keep modeling. Well, we'll see if I follow his advice. Herzliche Grüße Willi
- 39 replies
-
- 16
-
-
-

-

-
Hello everyone The three missing anchors have been made and installed in their designated locations. Finally, the stays of the bumpkins were also made. However, I had to modify them. The stay tackles were so tiny that I had to simulate them with two knots. Now all that's missing is the stern light and the display stand. Herzliche Grüße Willi


-
L'Amarante by marsalv - 1:36 - POF
Willi replied to marsalv's topic in - Build logs for subjects built 1501 - 1750
When I see this artwork, I am inclined to consign my anemone to the fireplace. Herzliche Grüße Willi -
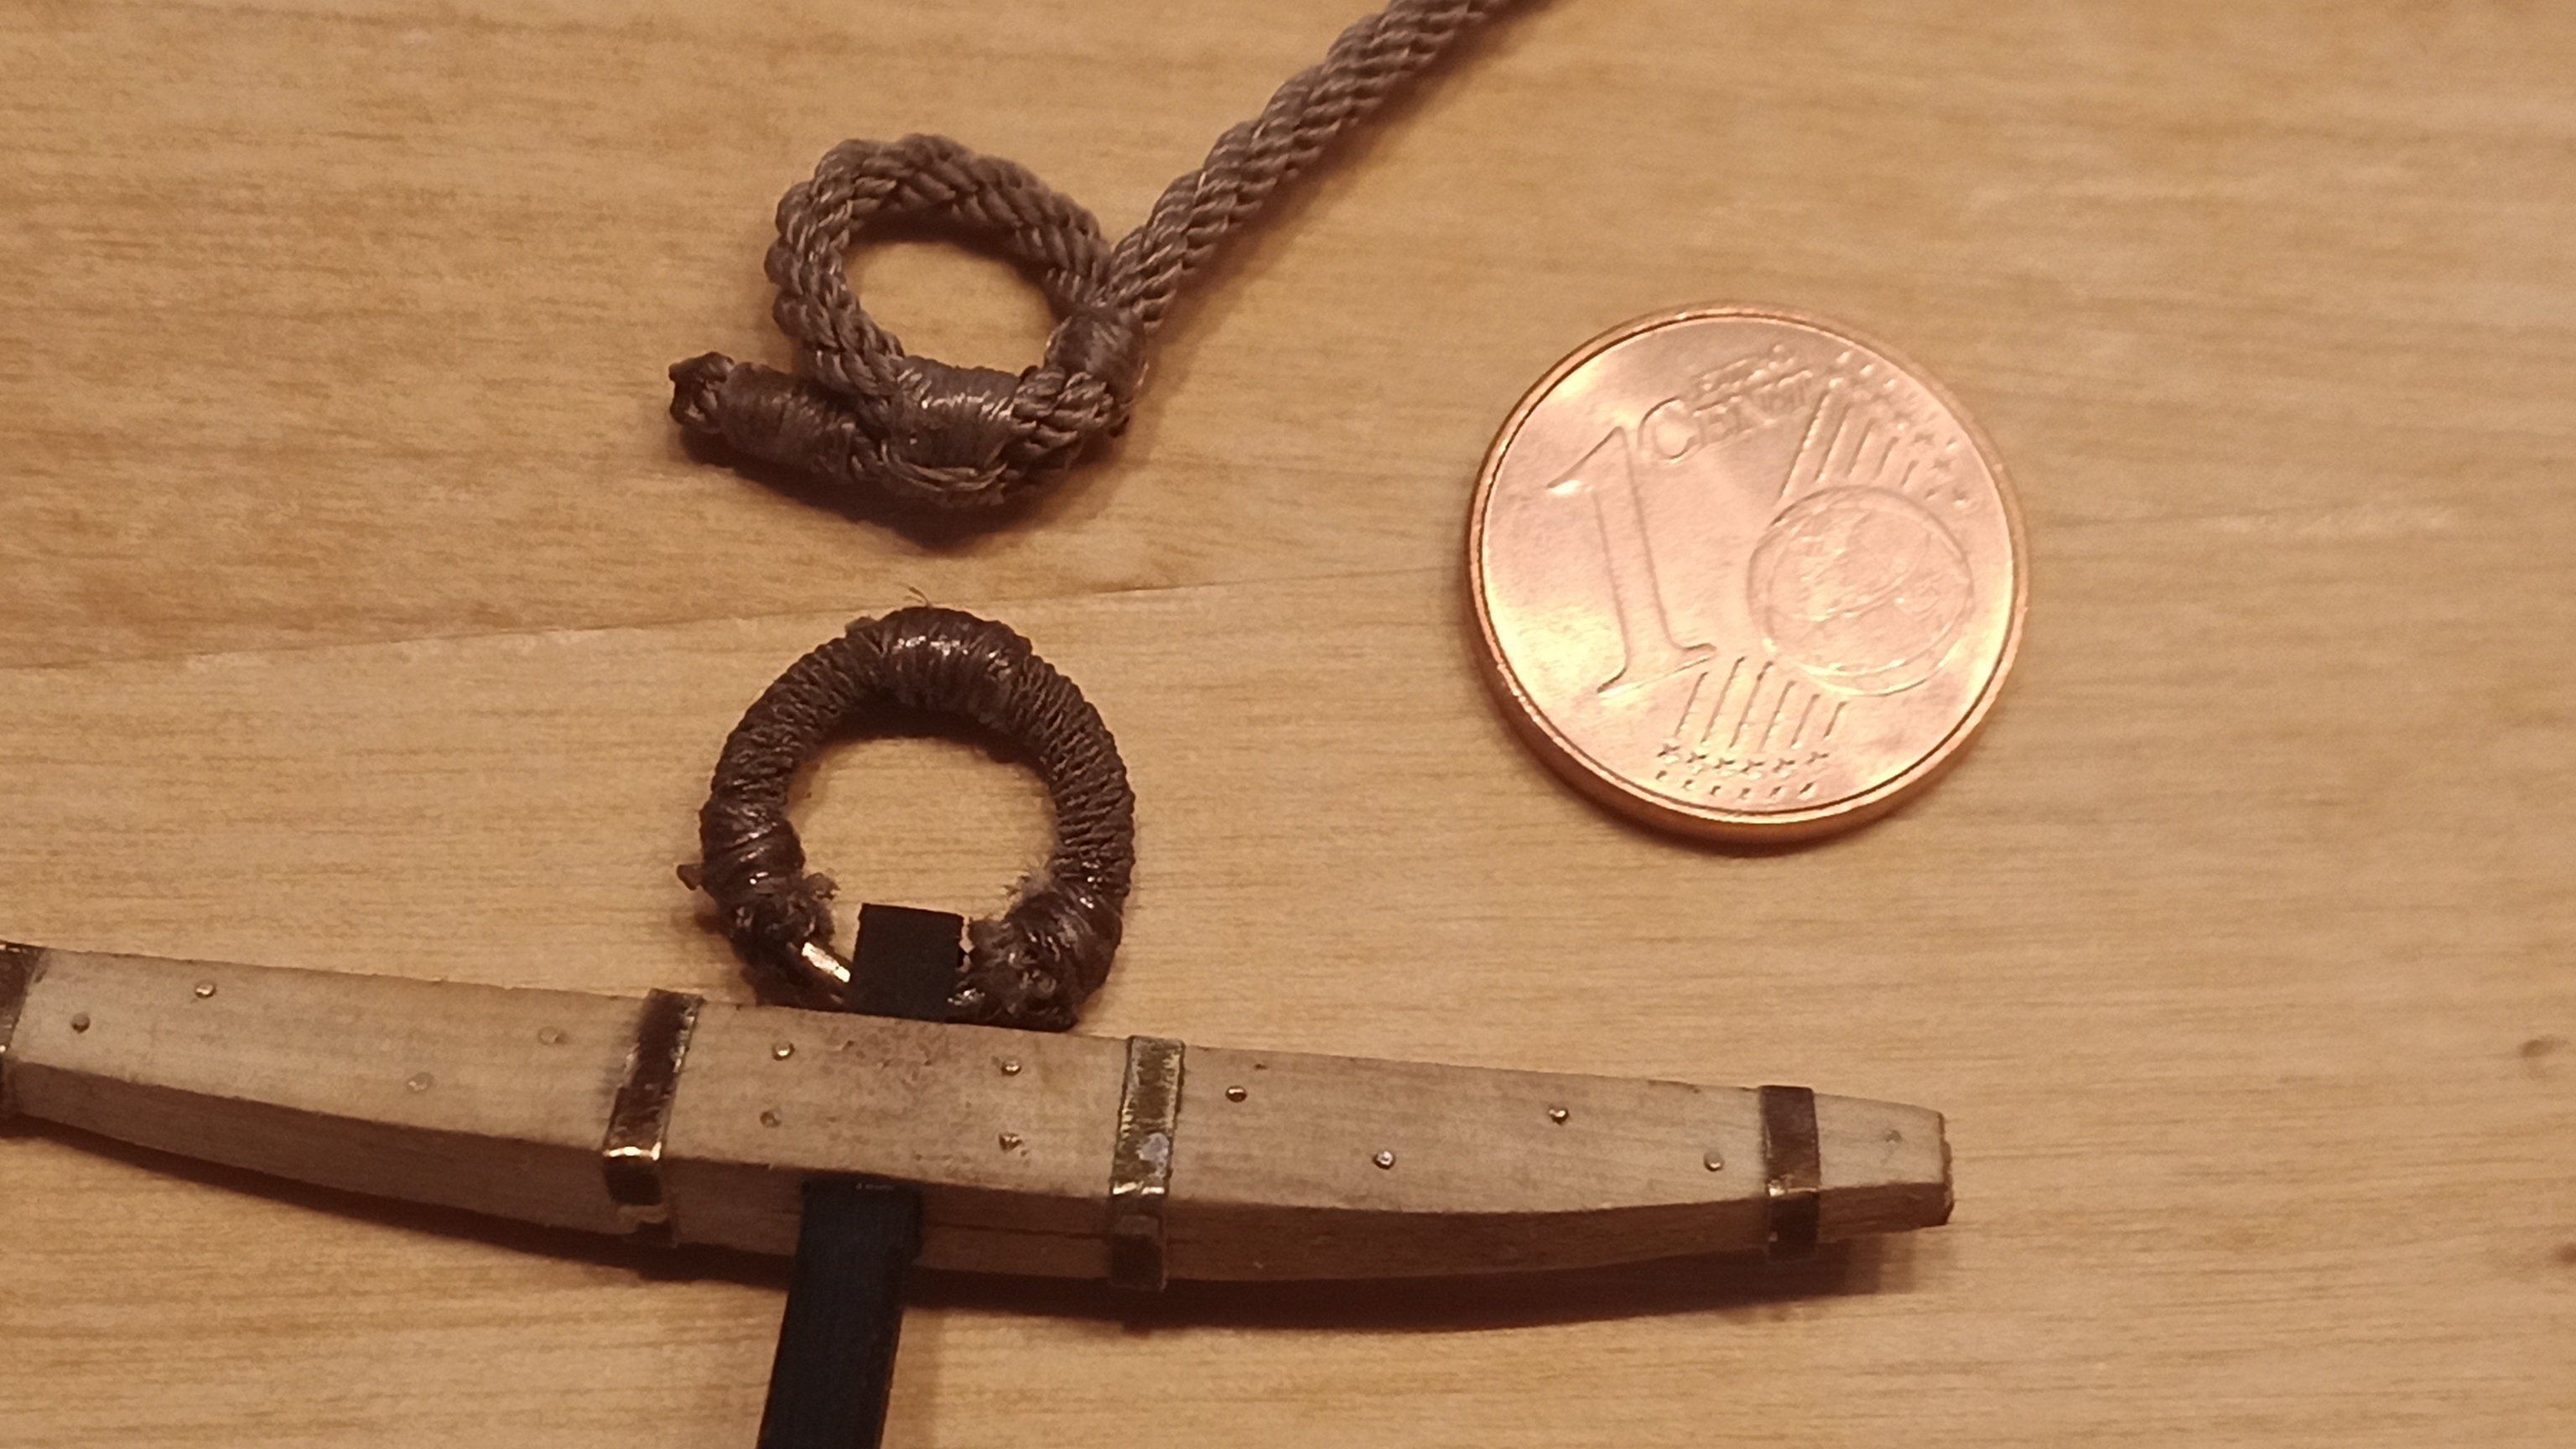
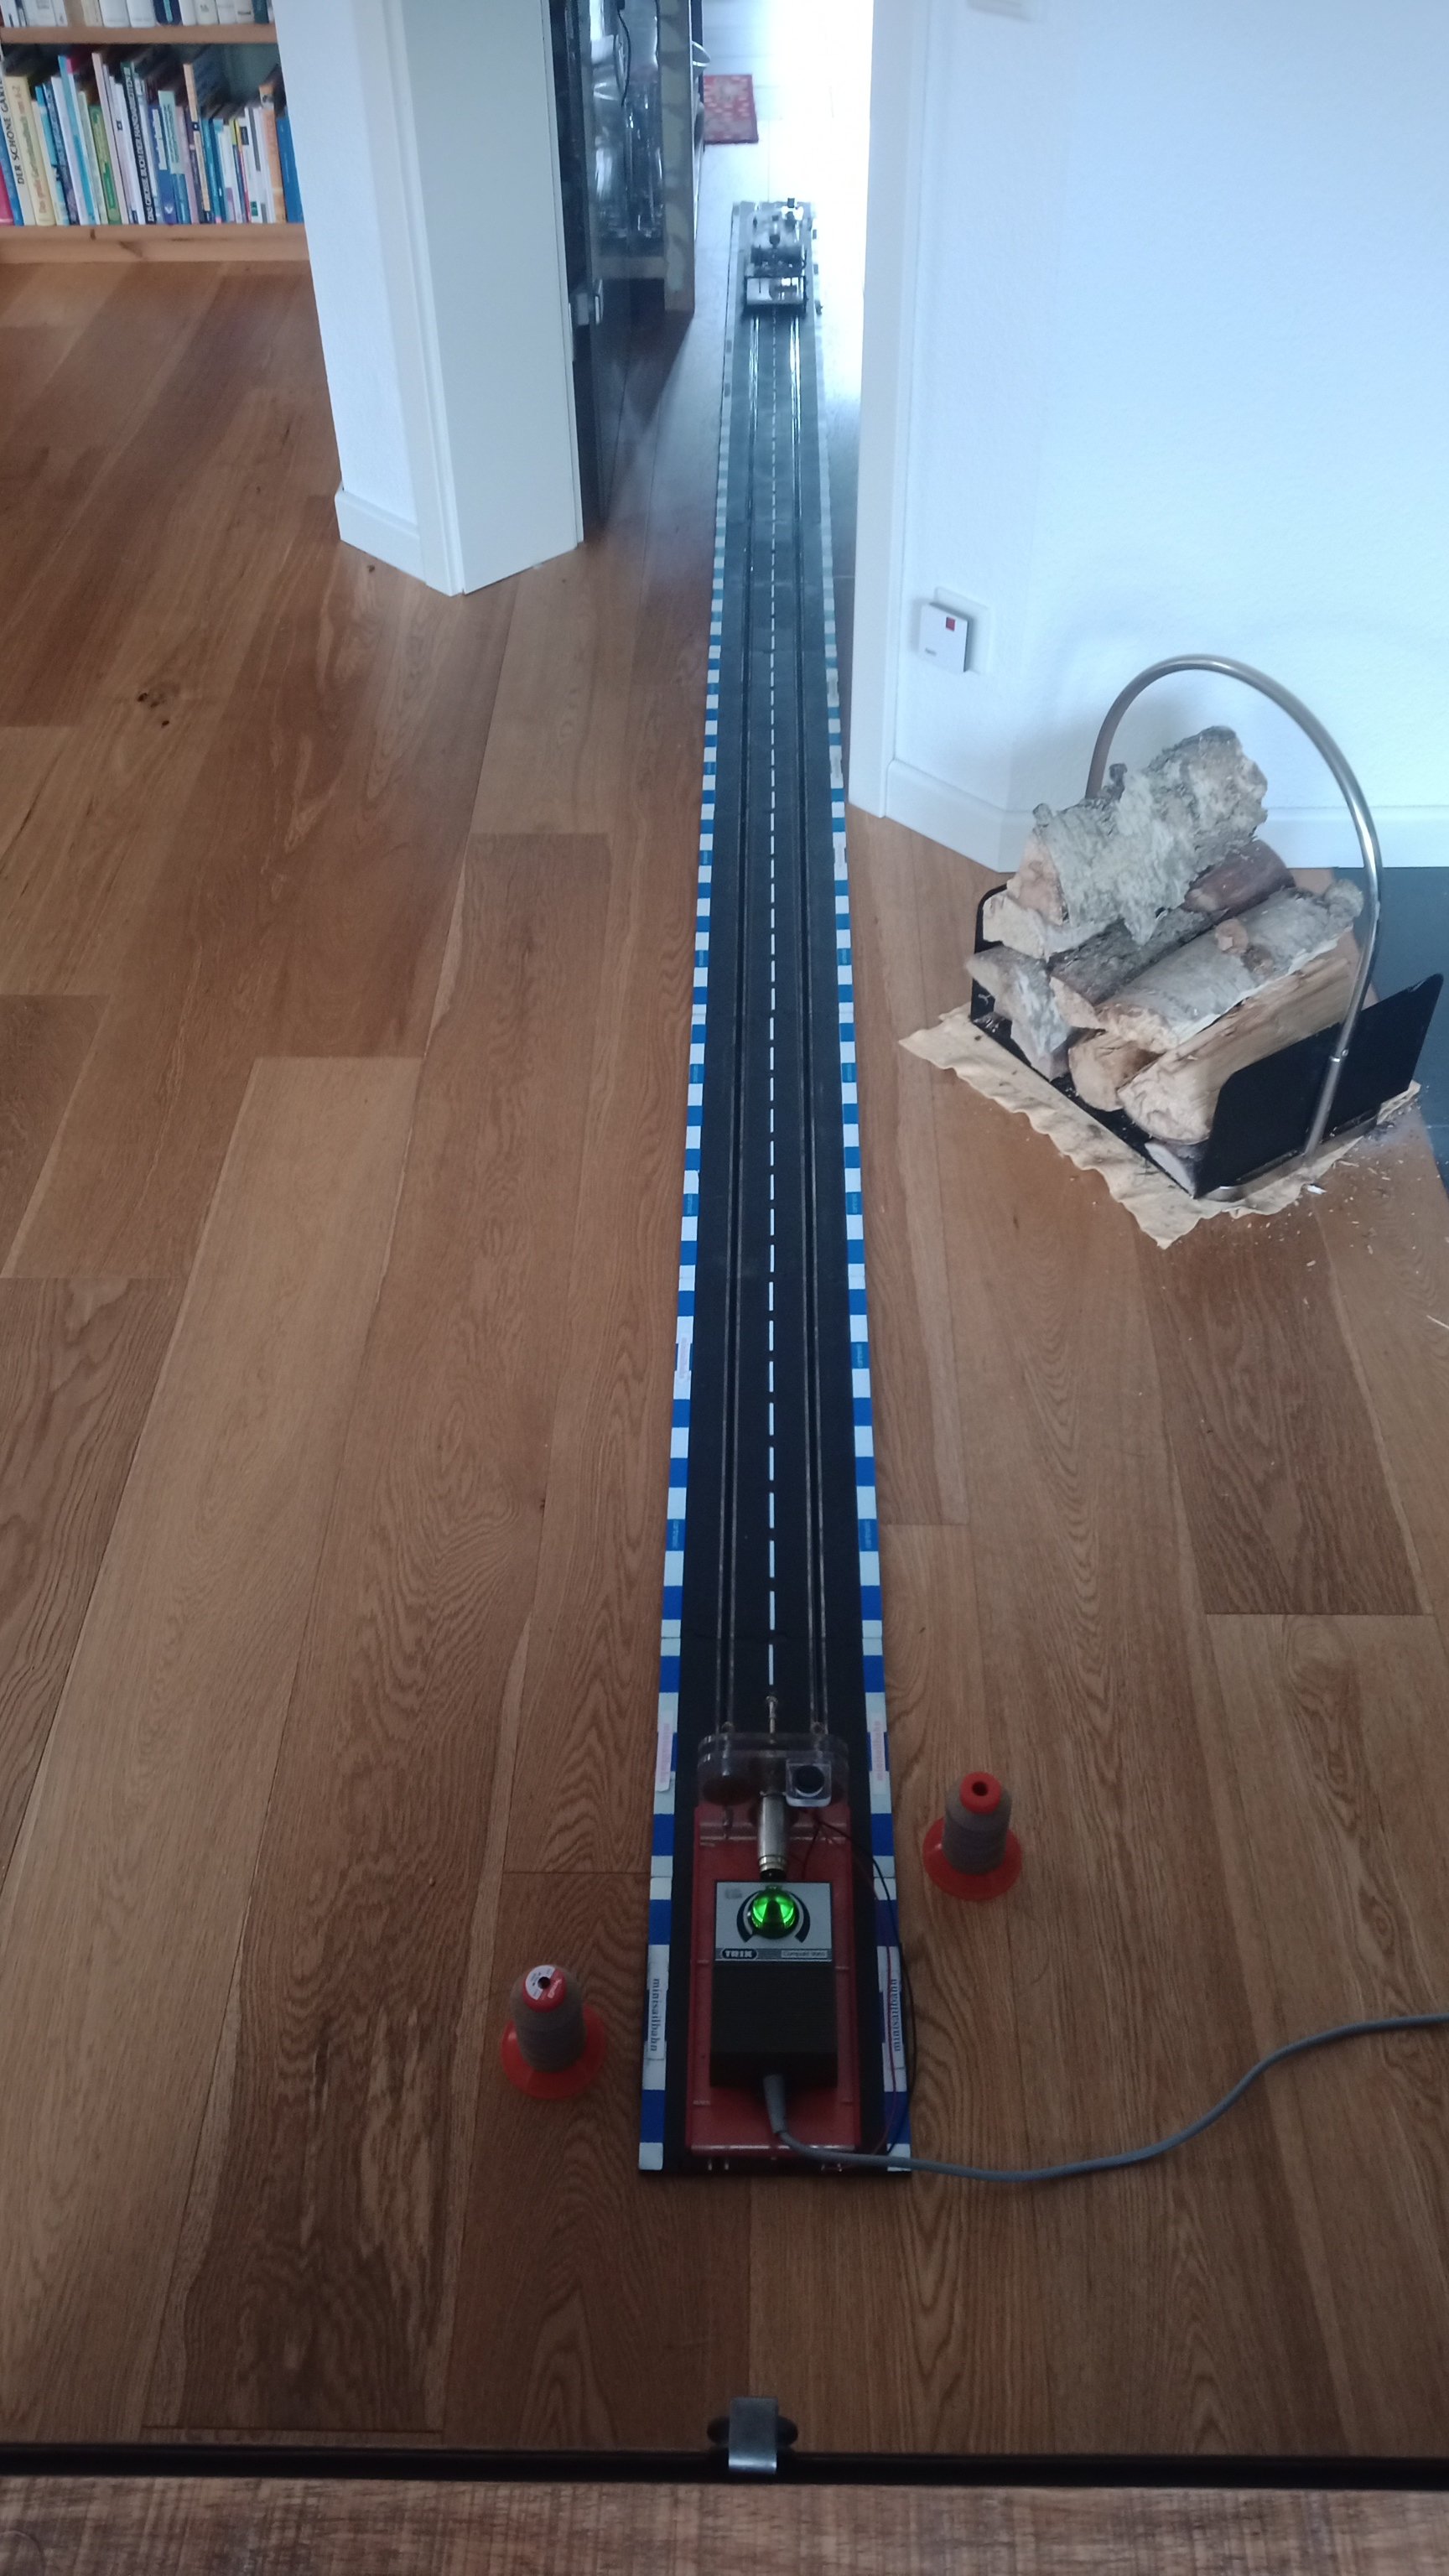
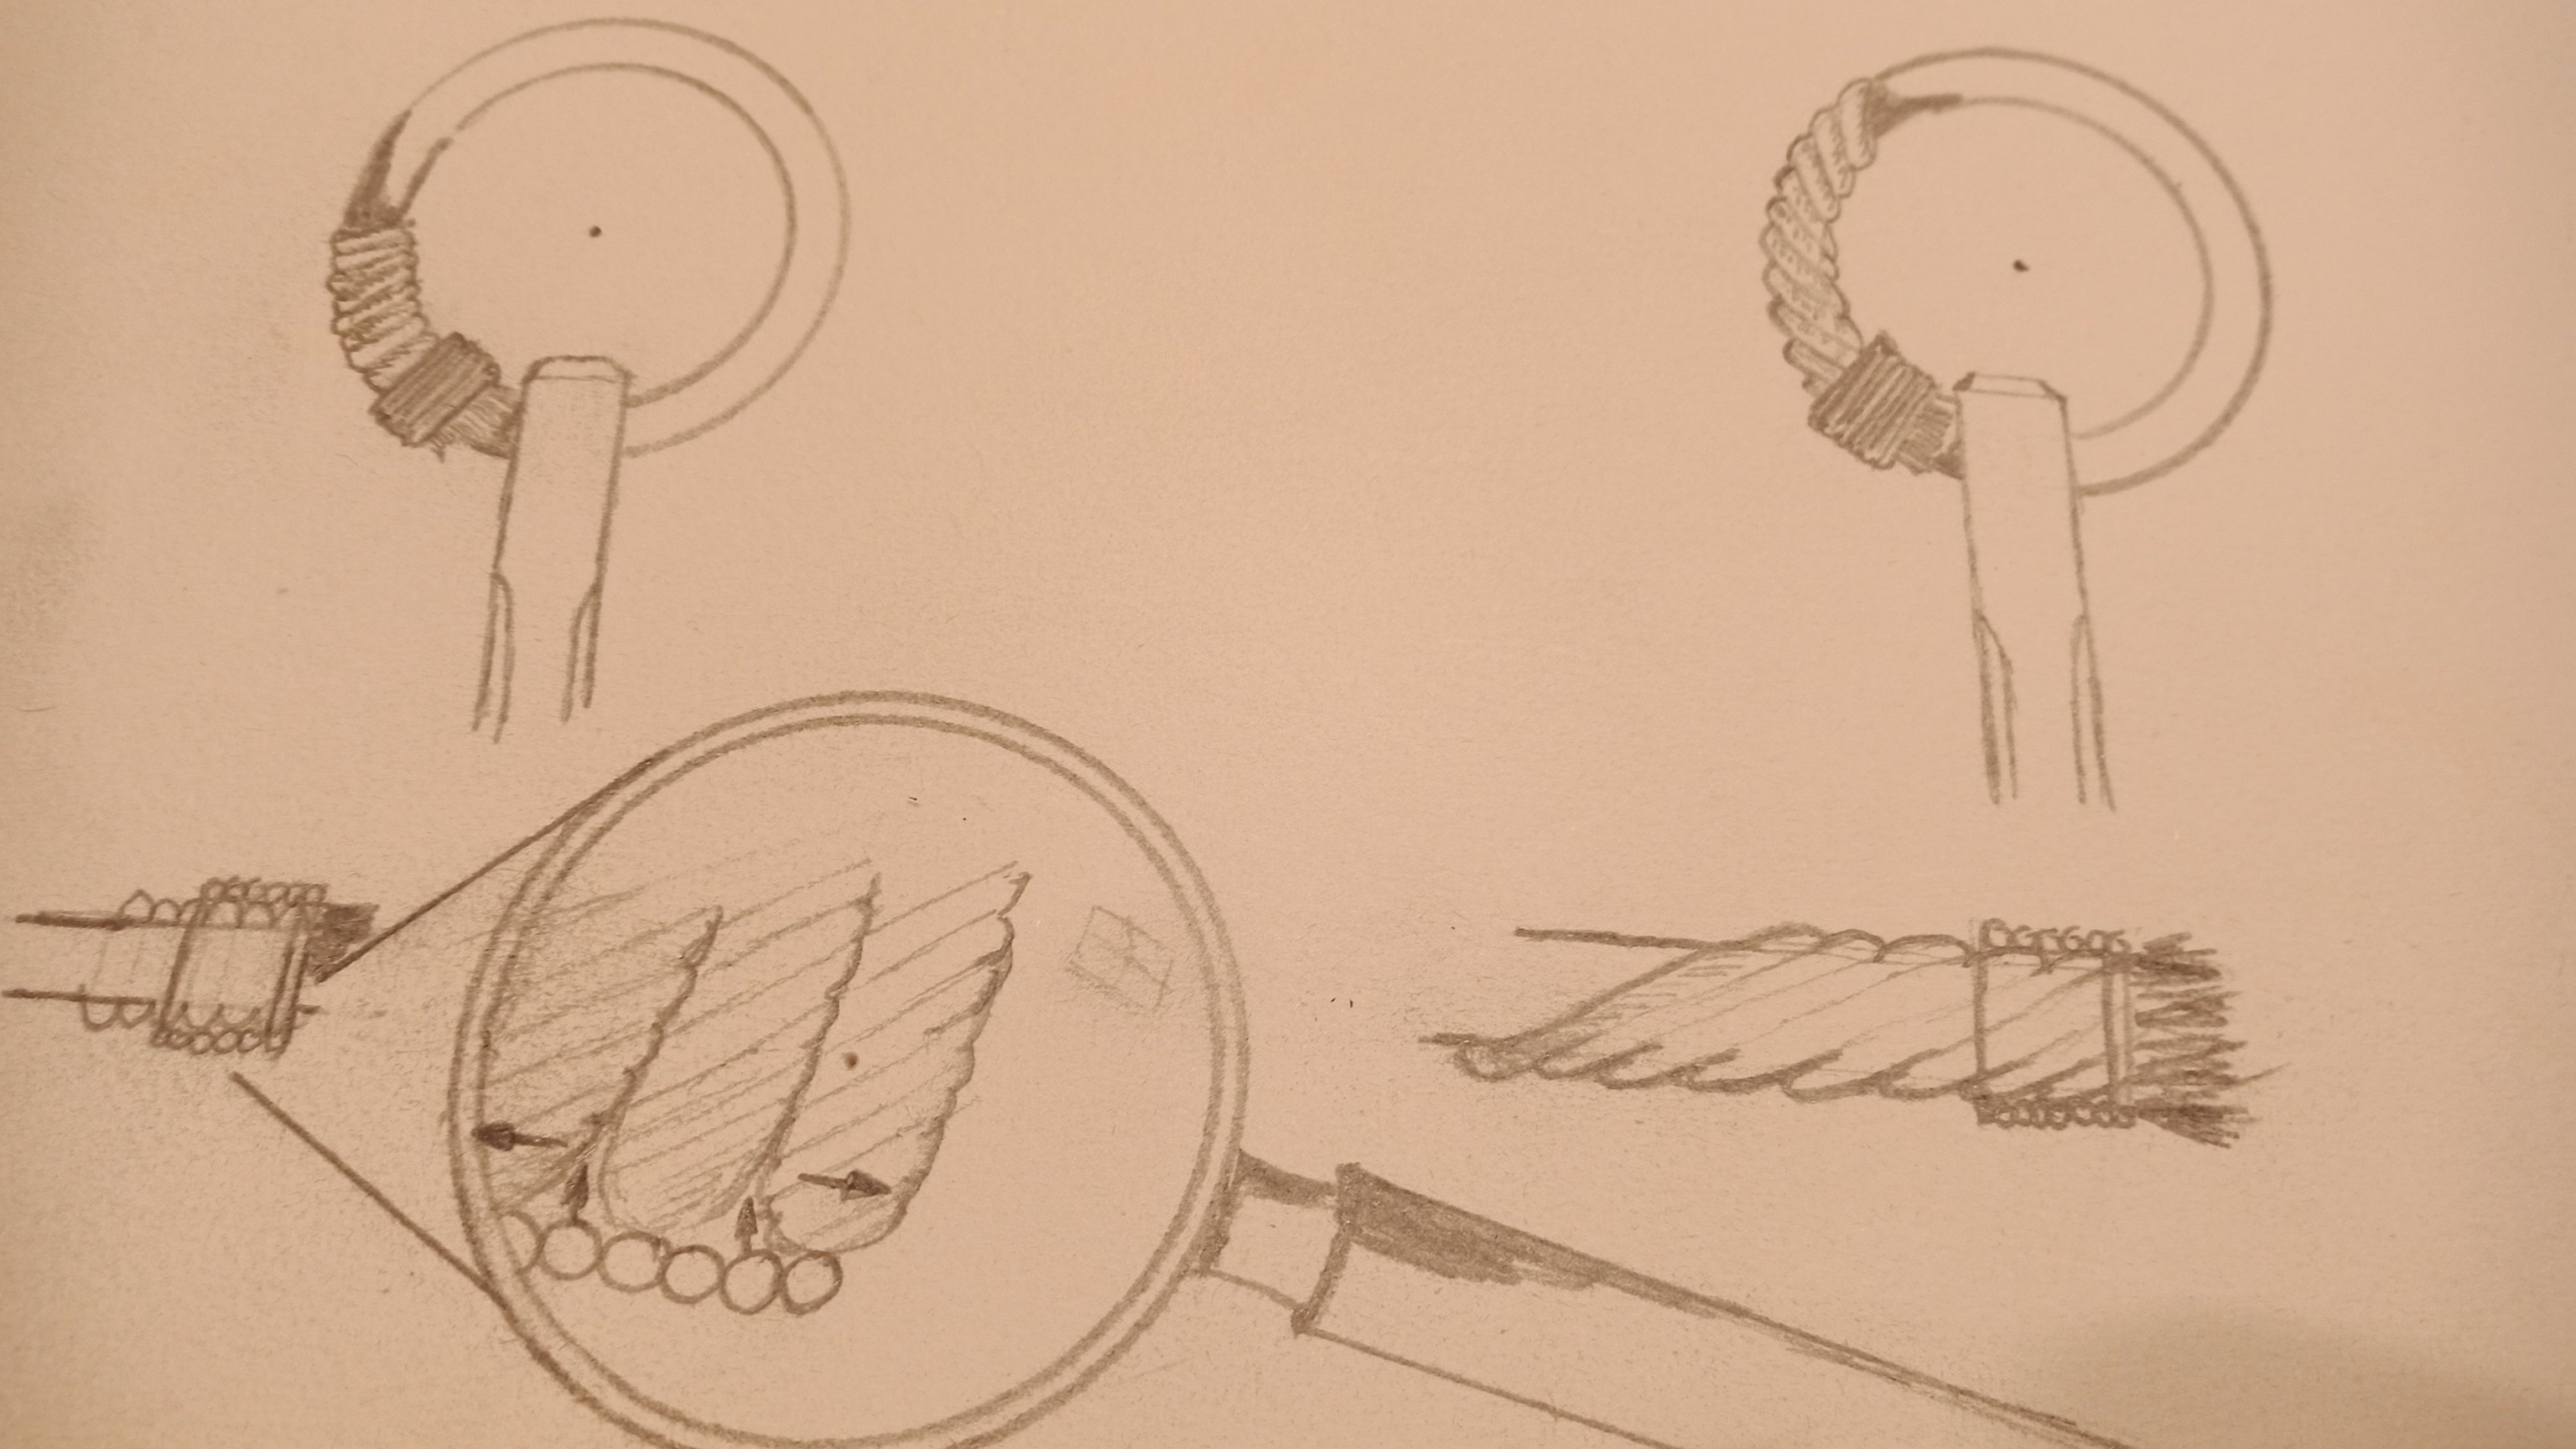
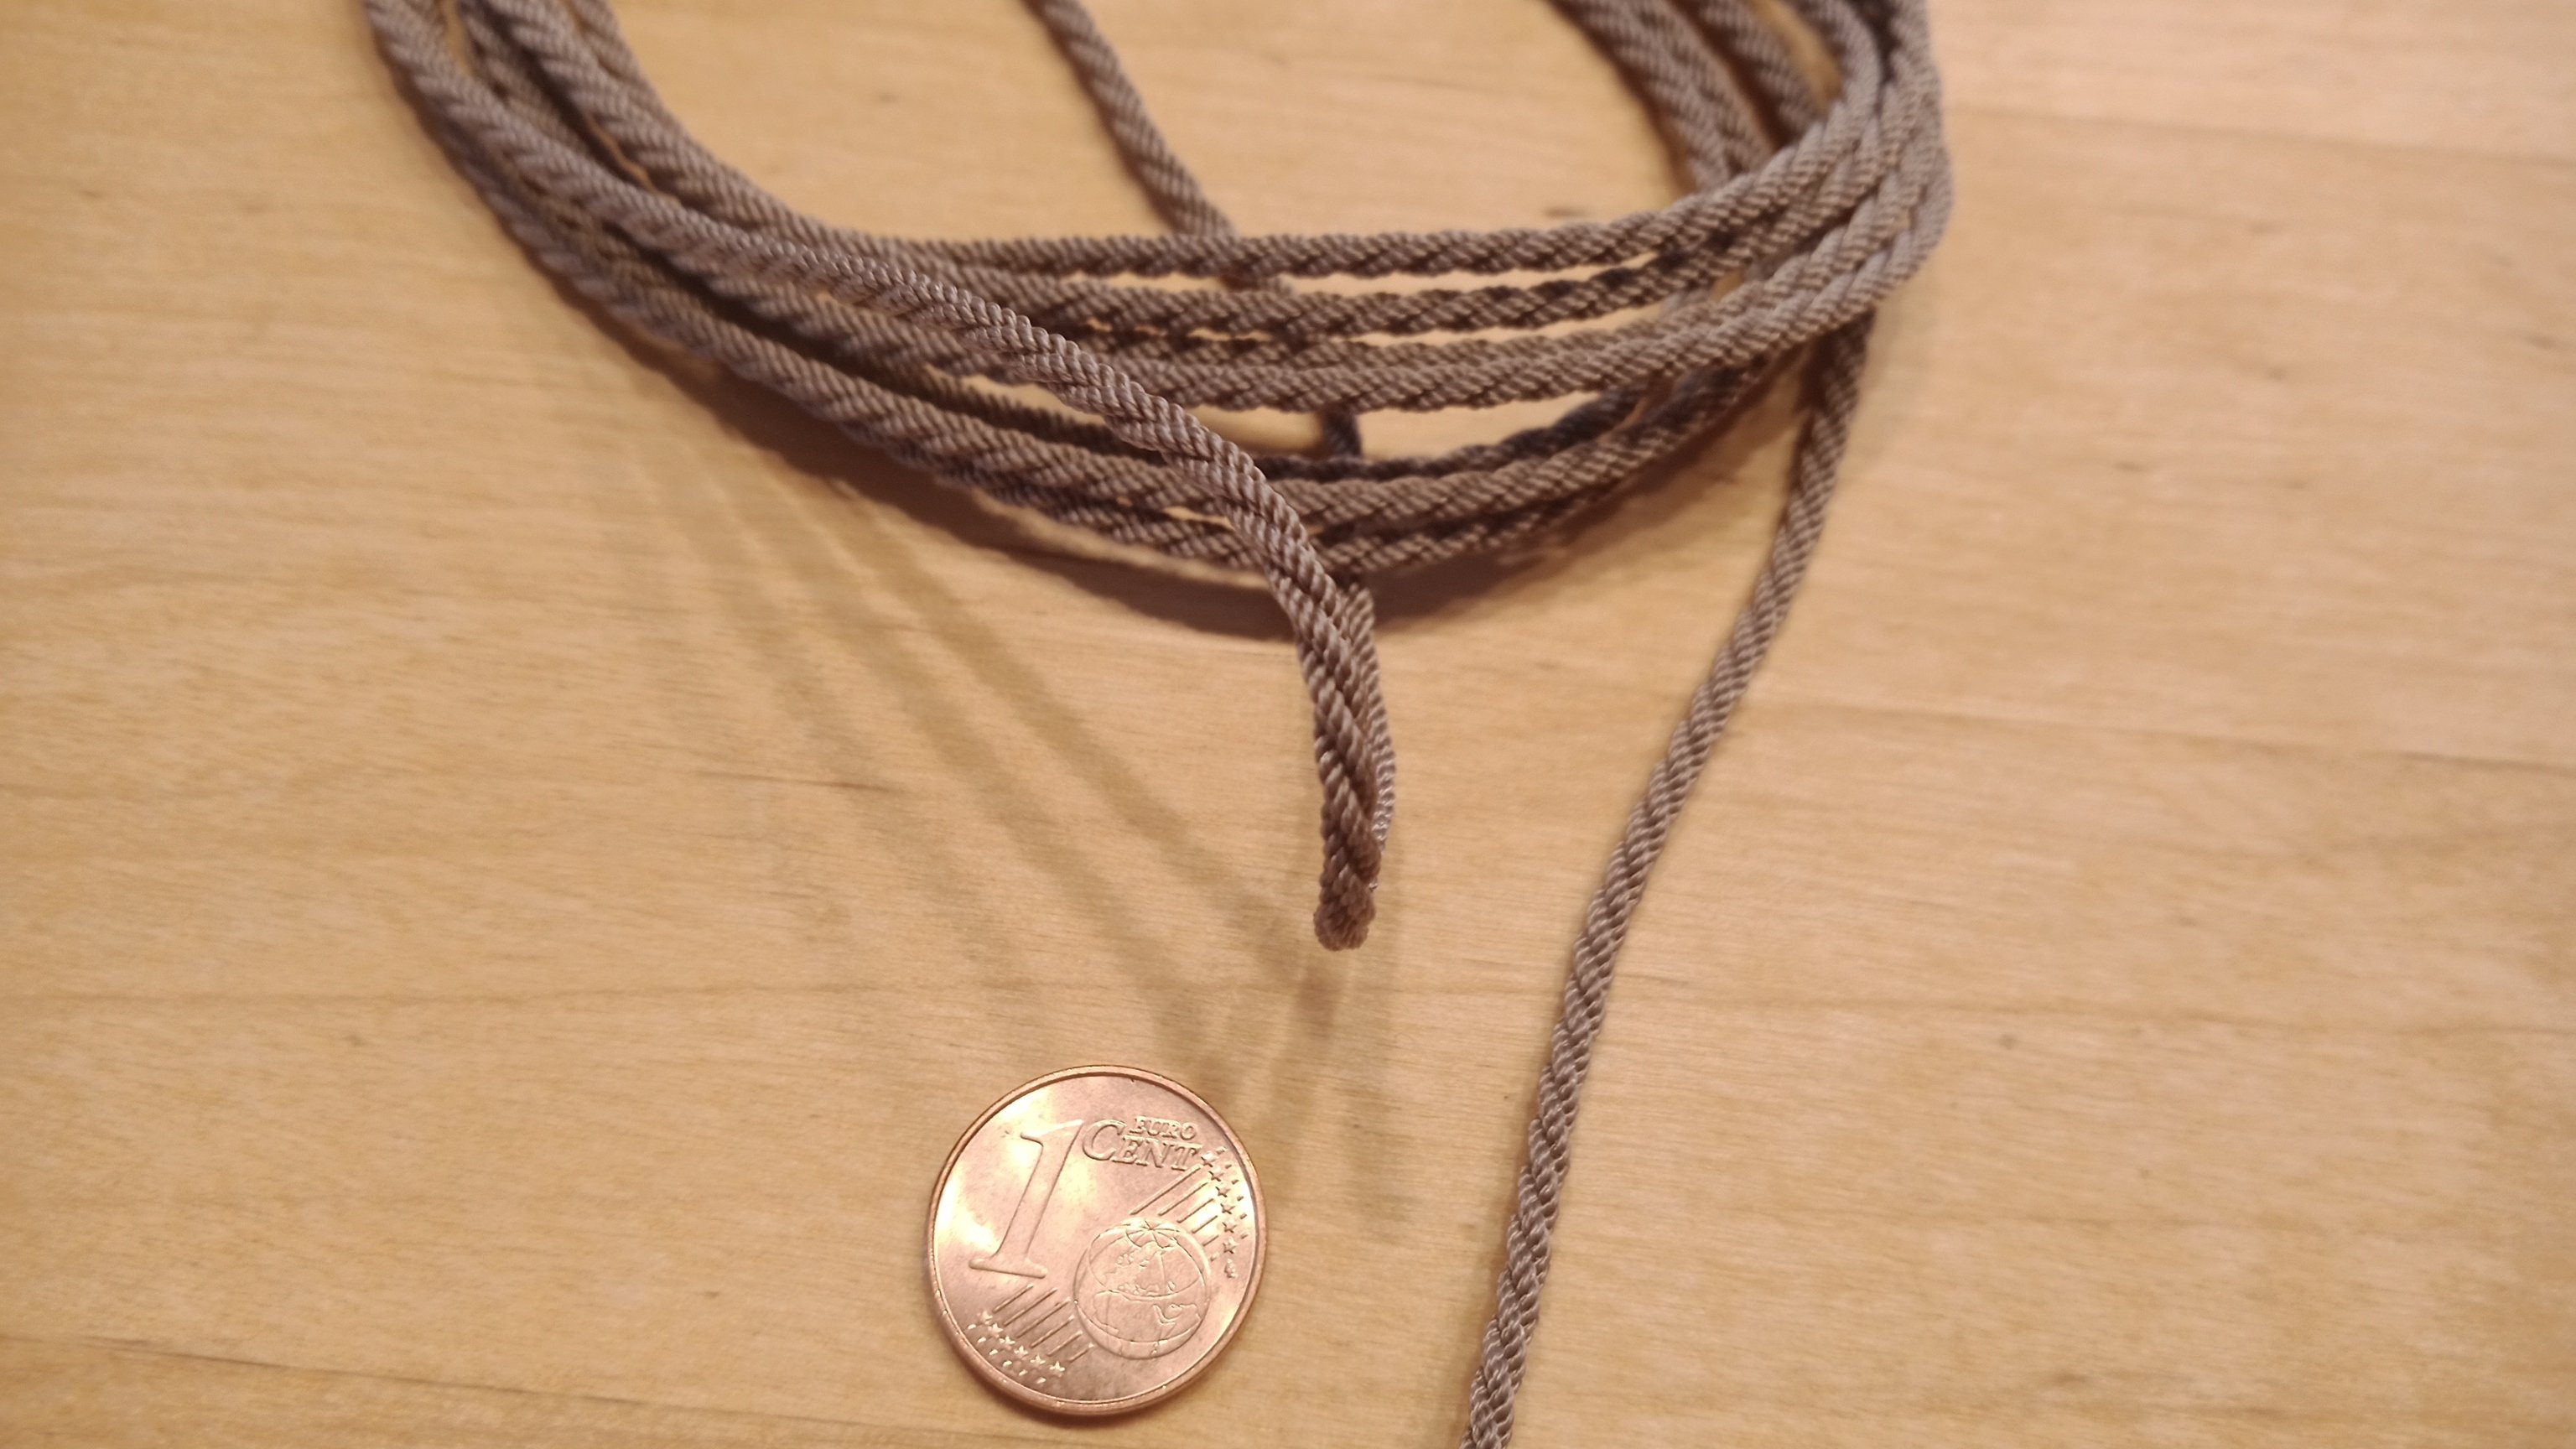
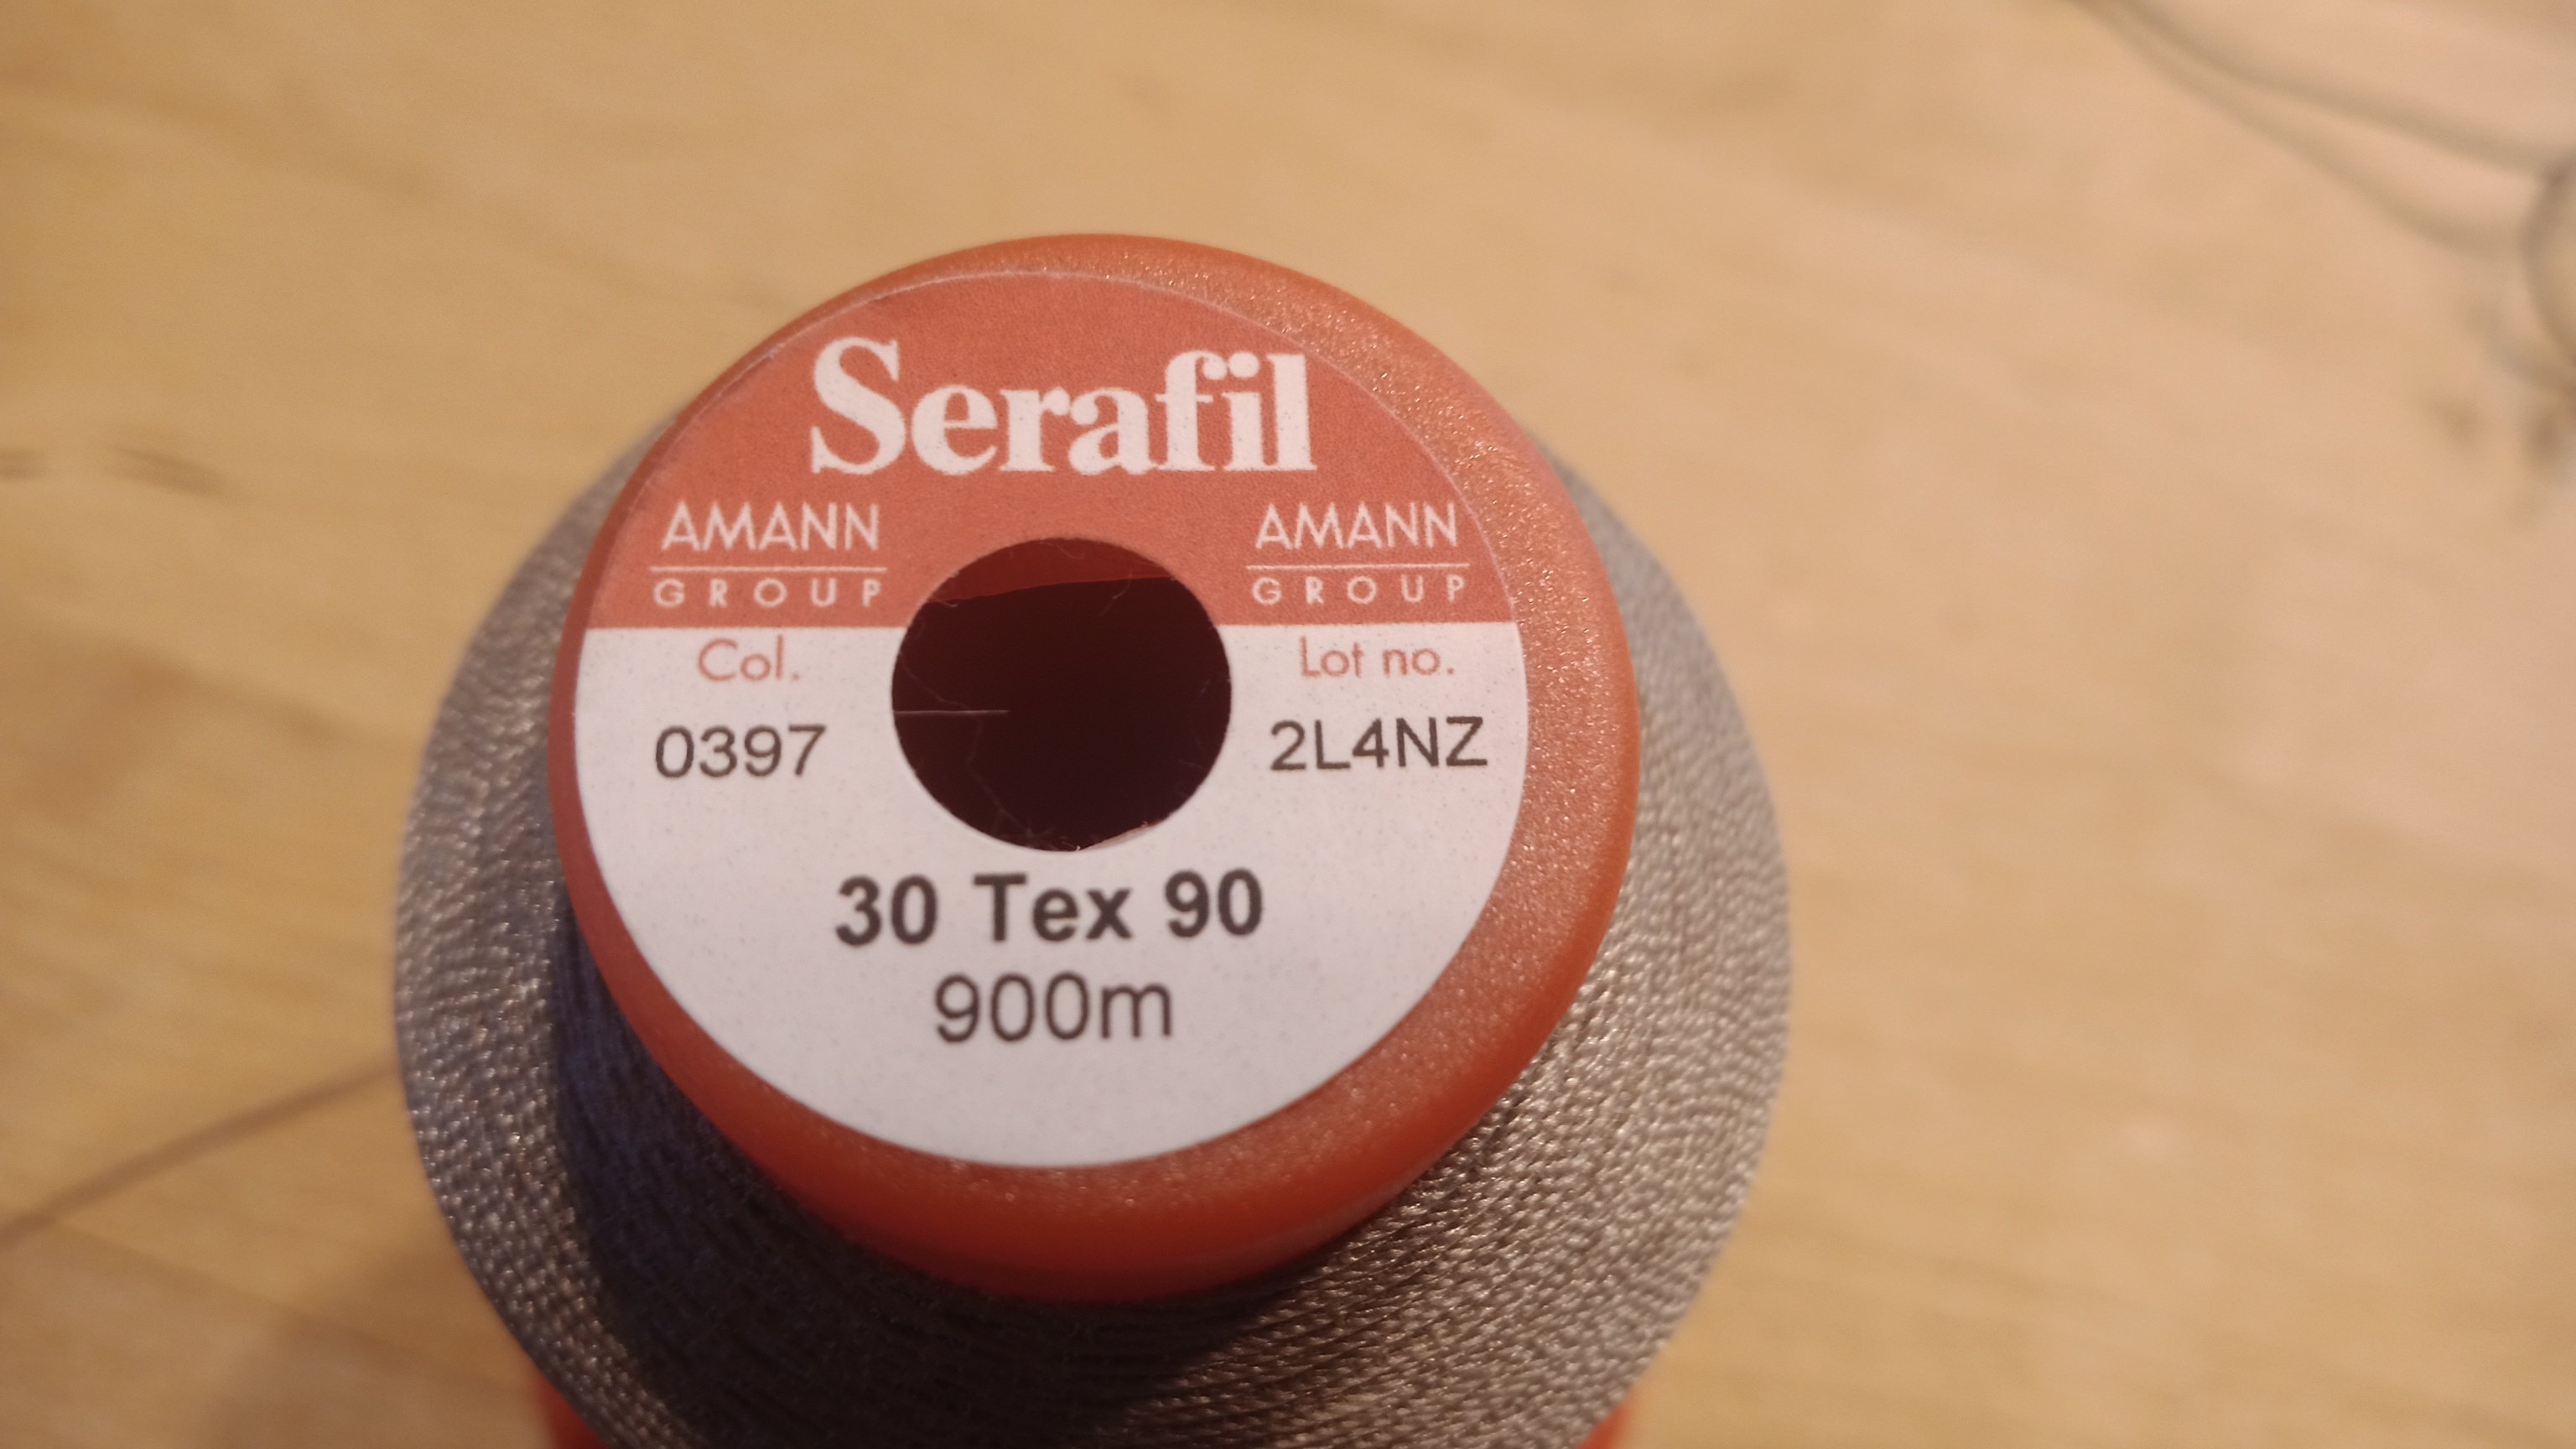
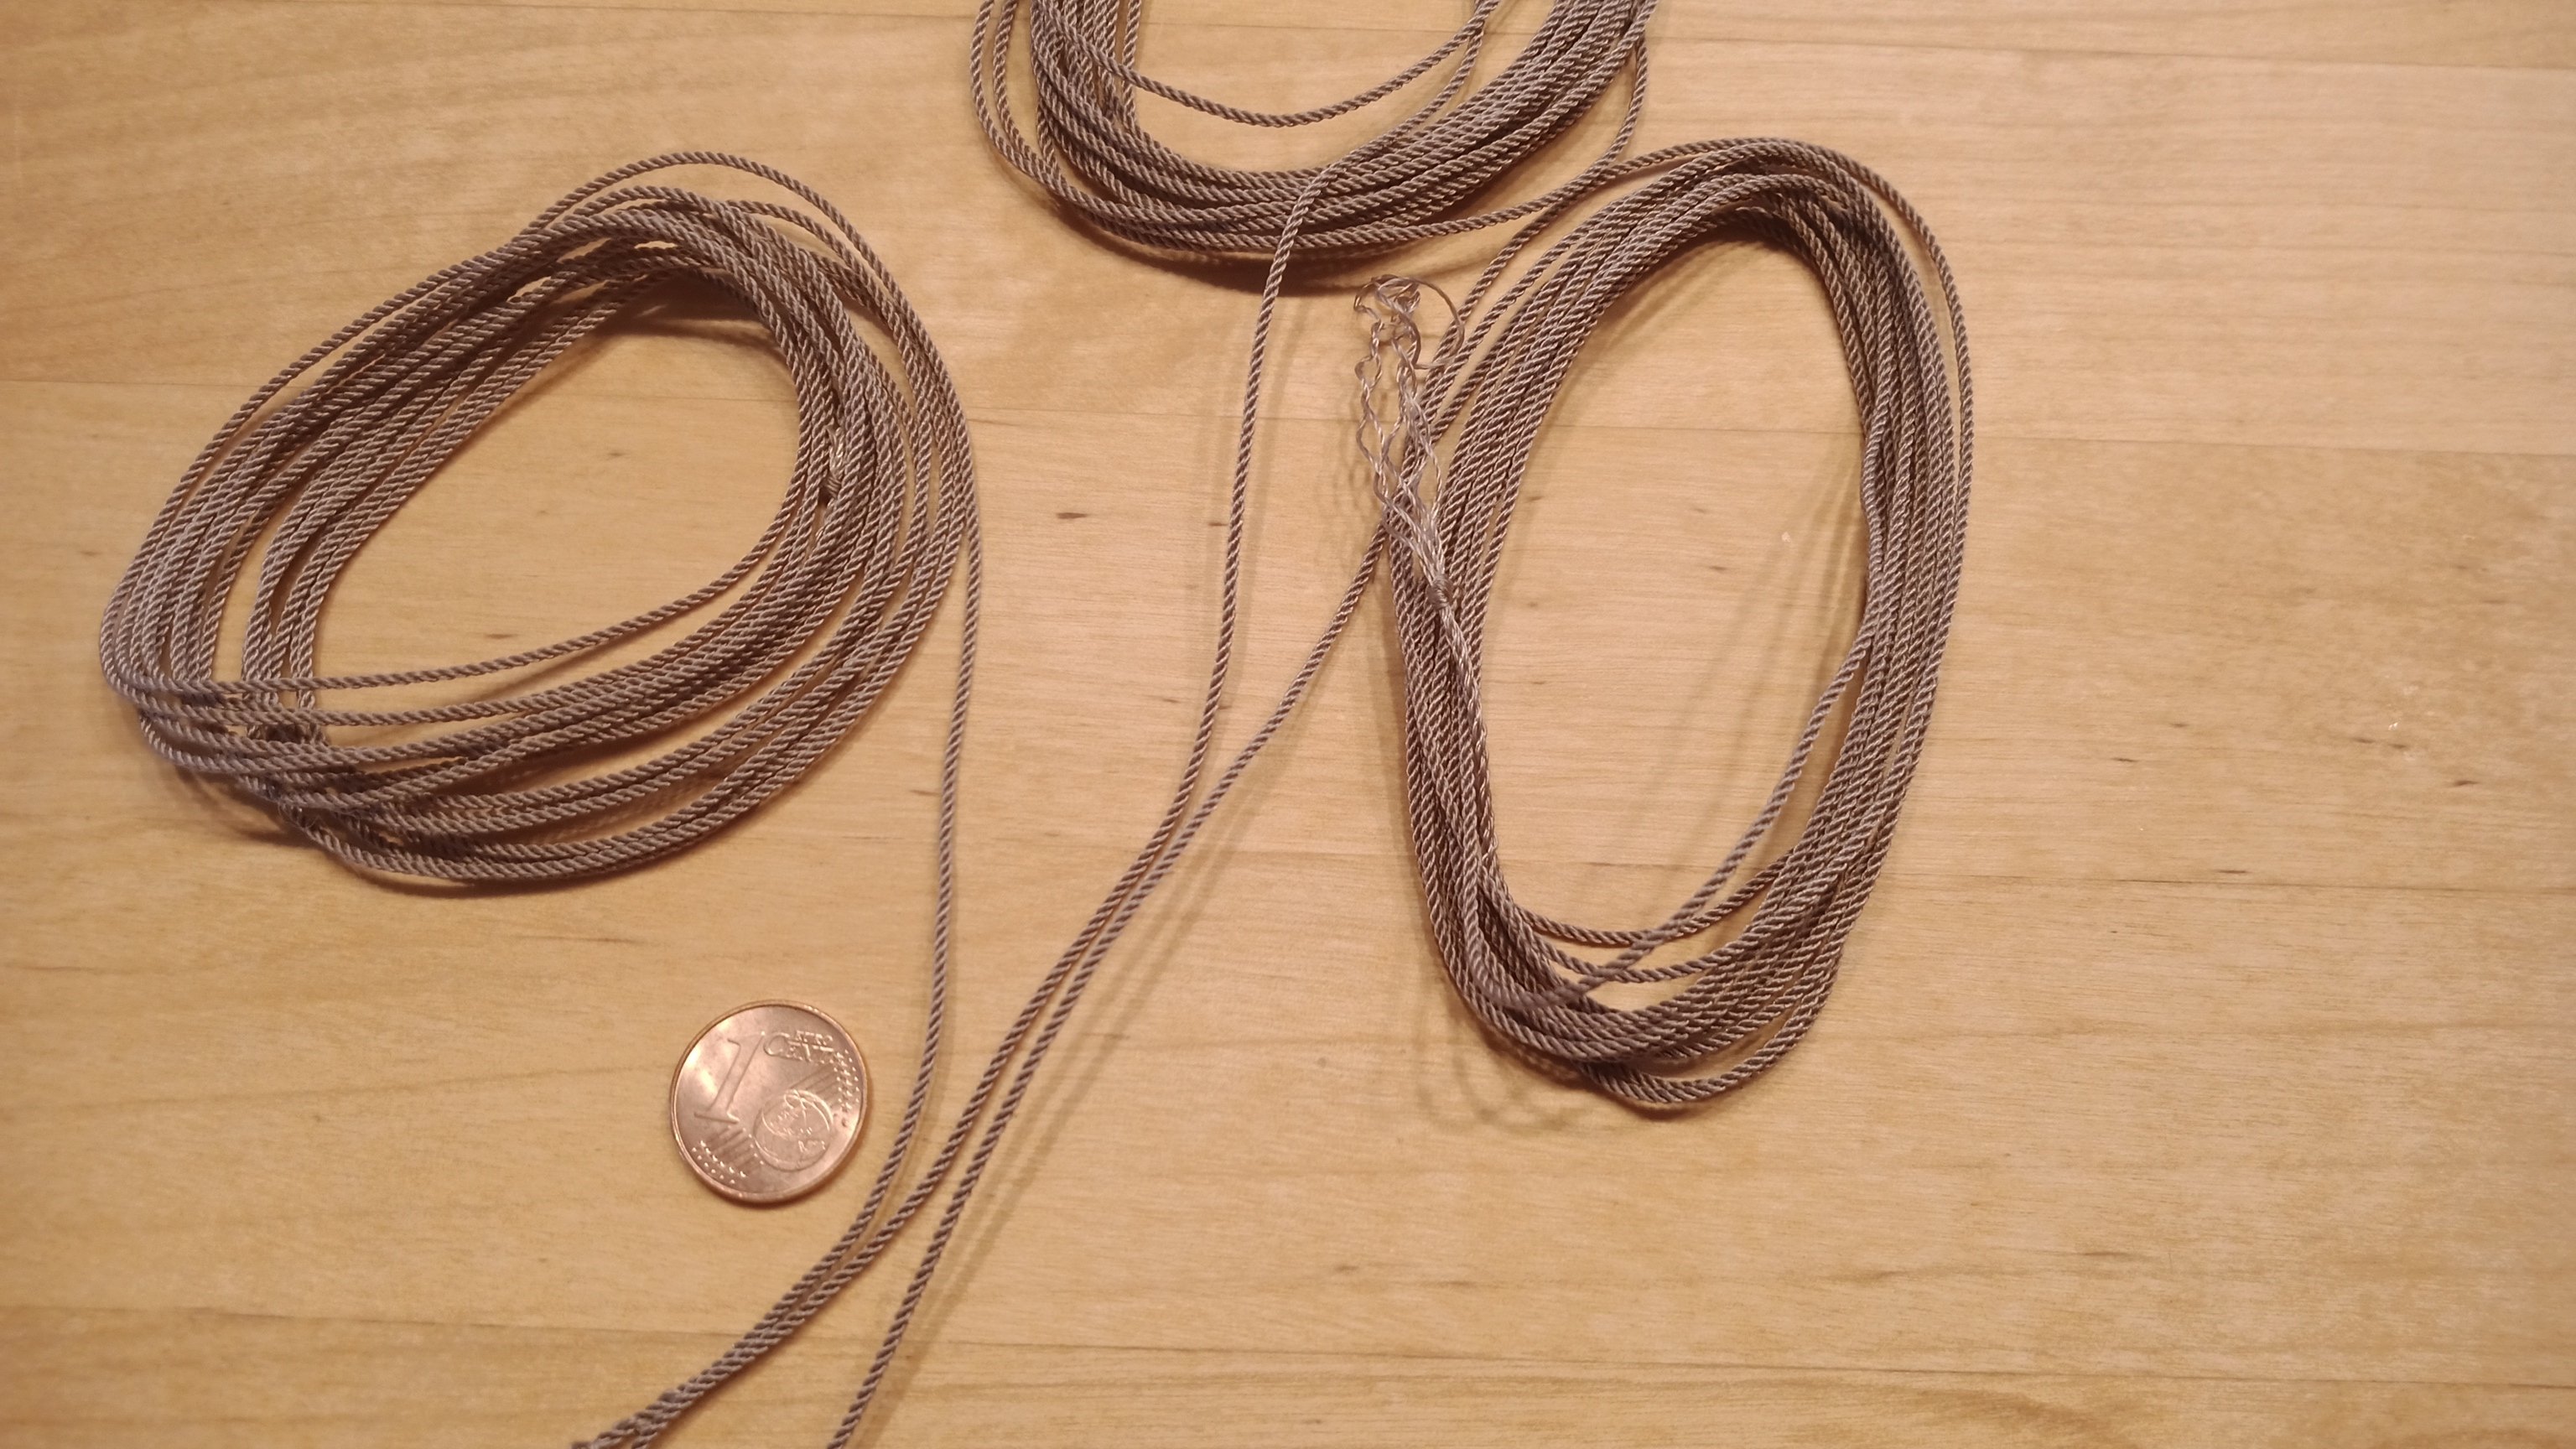
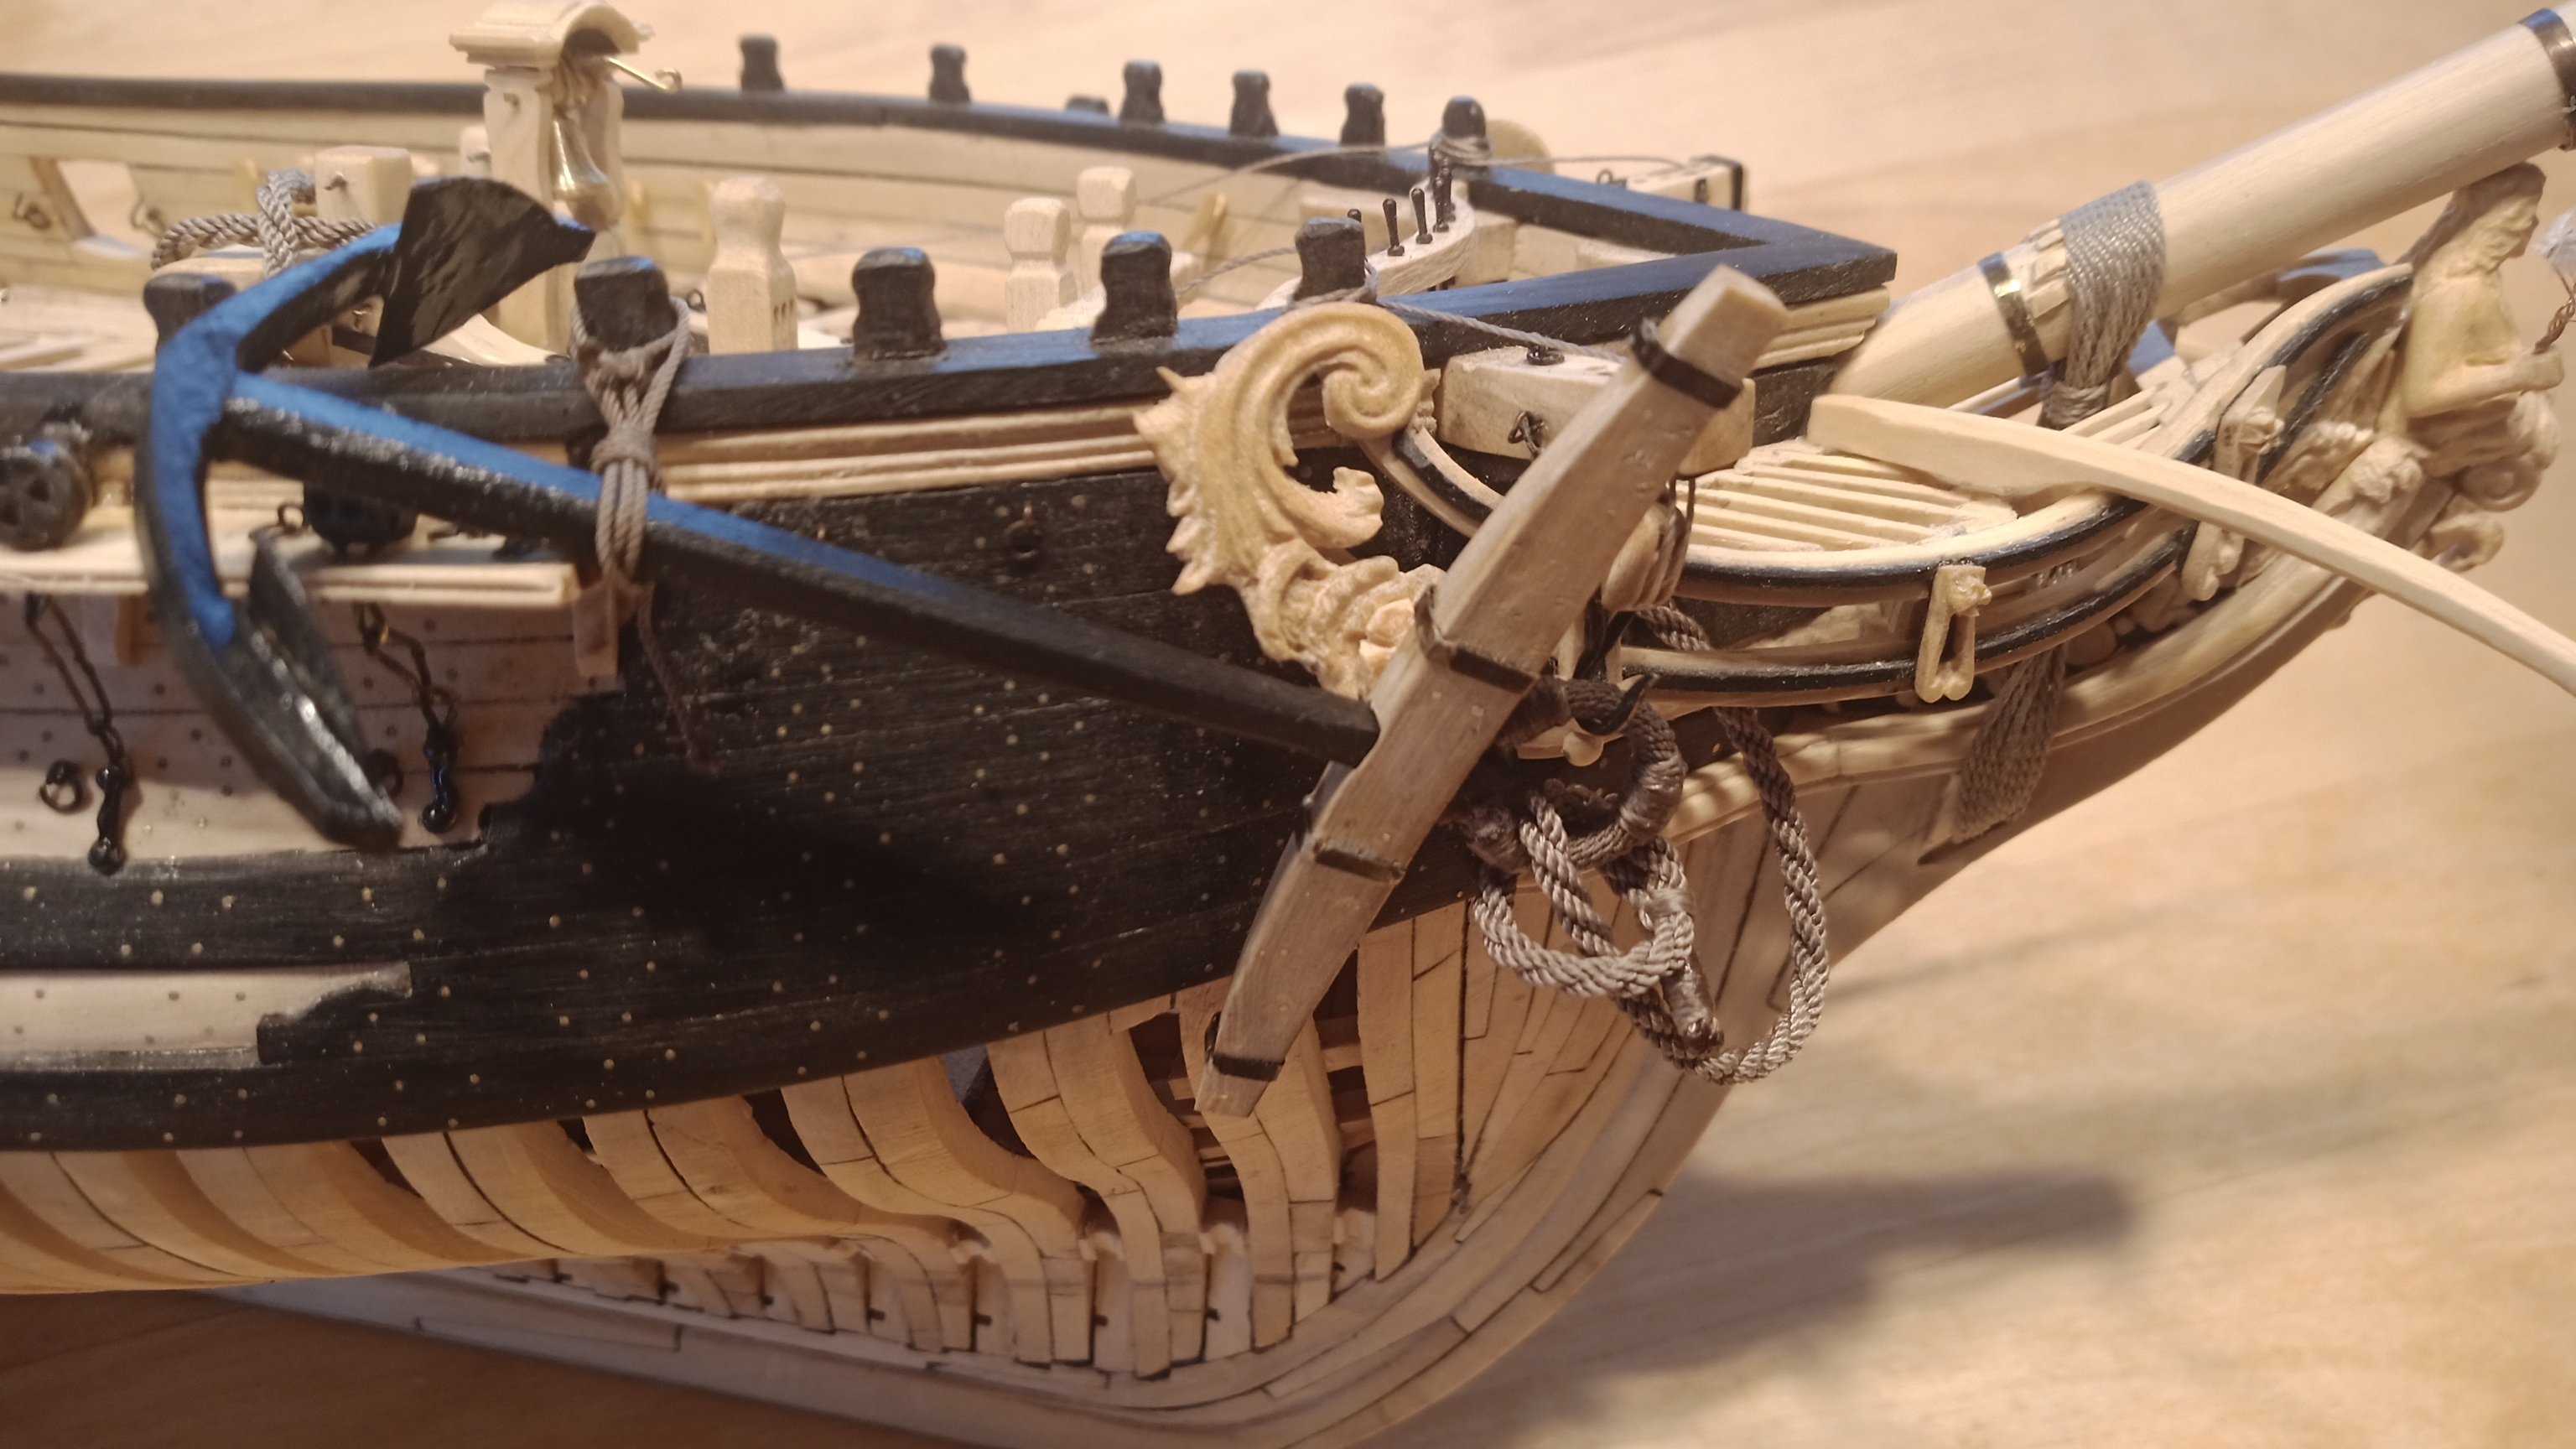
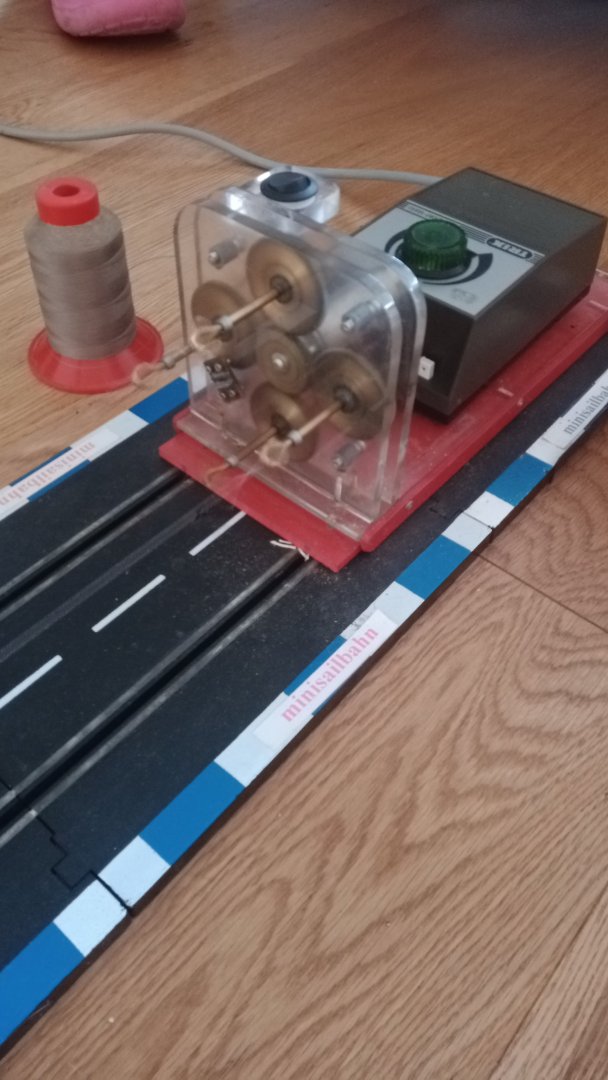
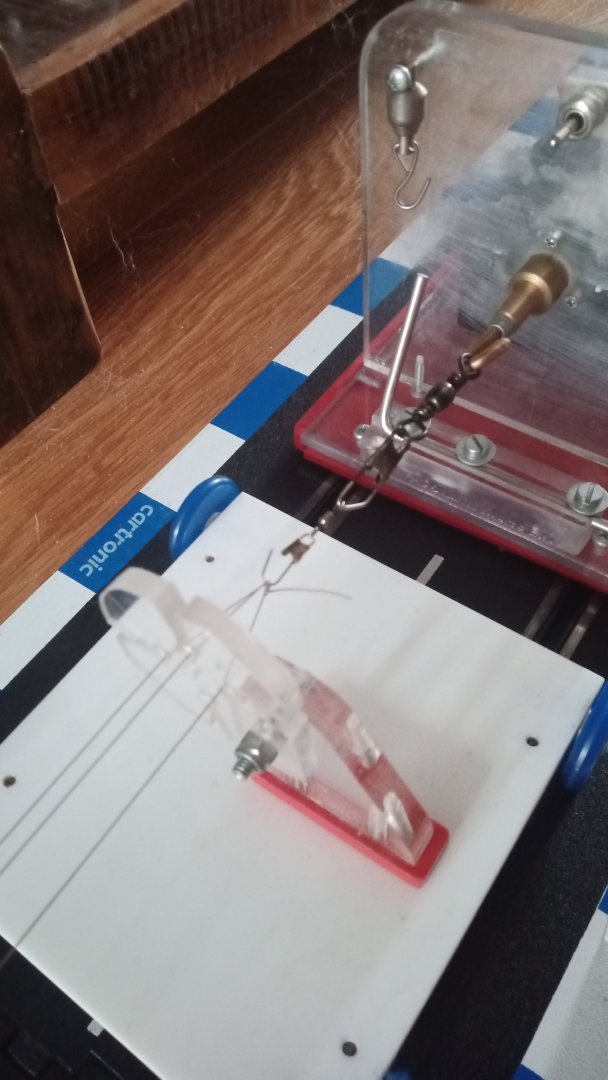
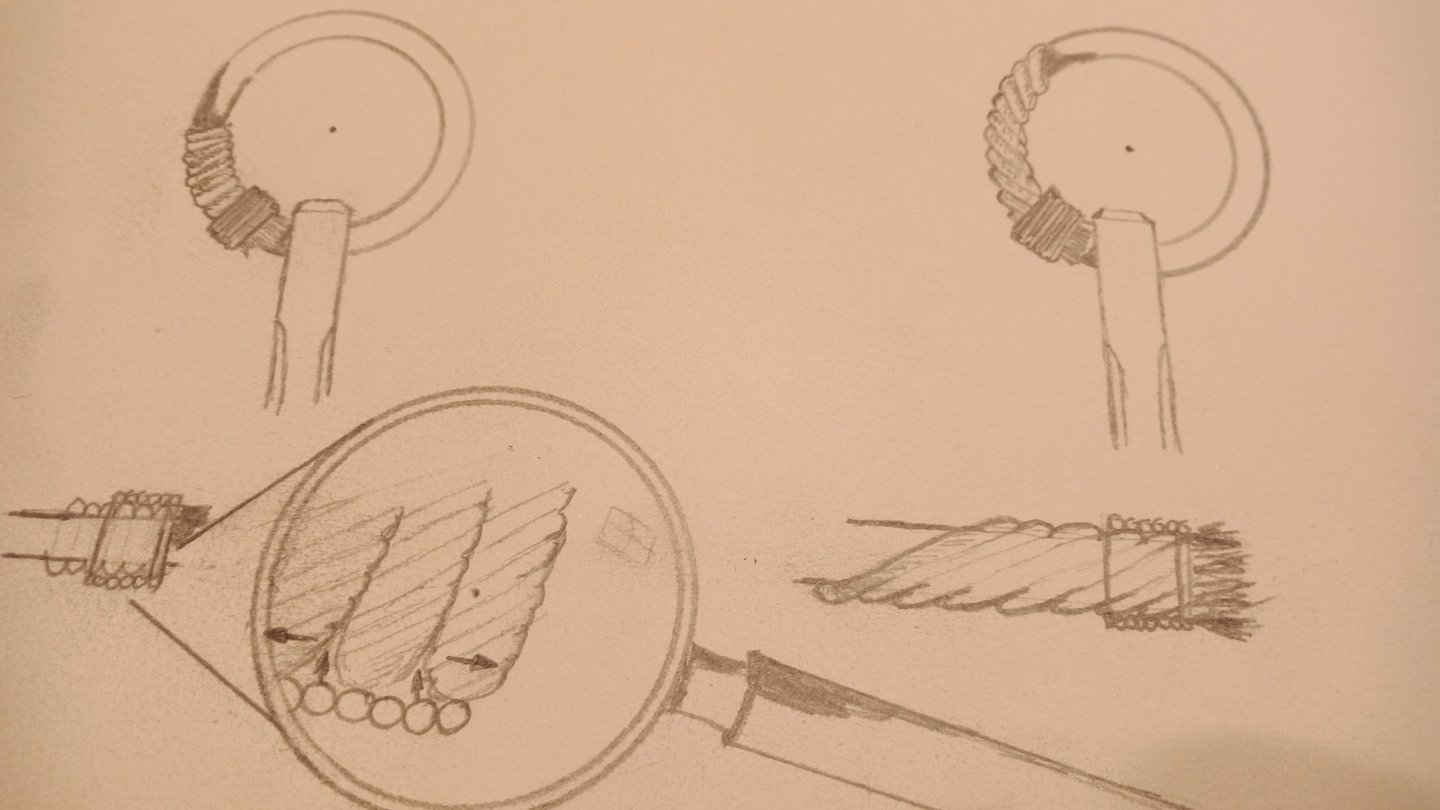
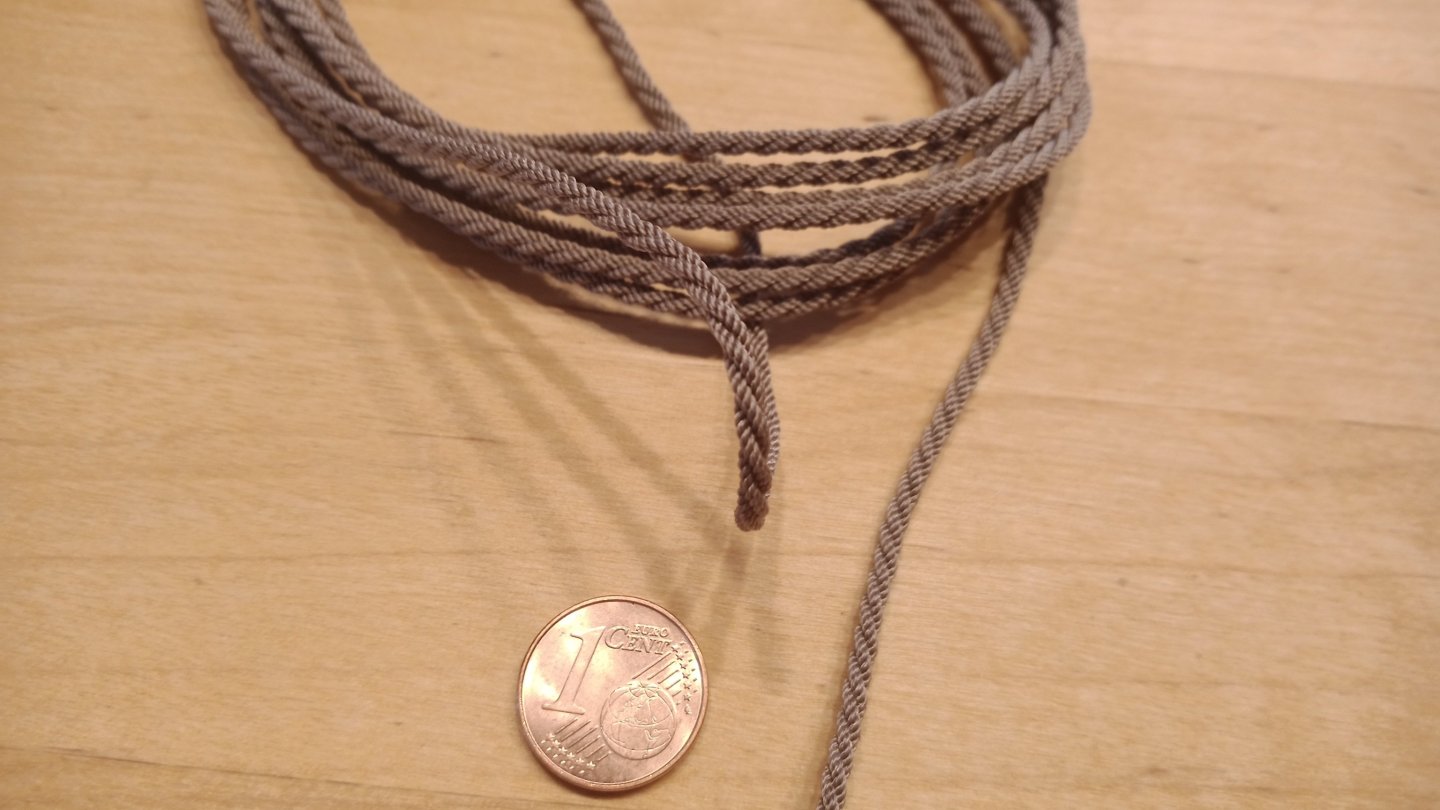
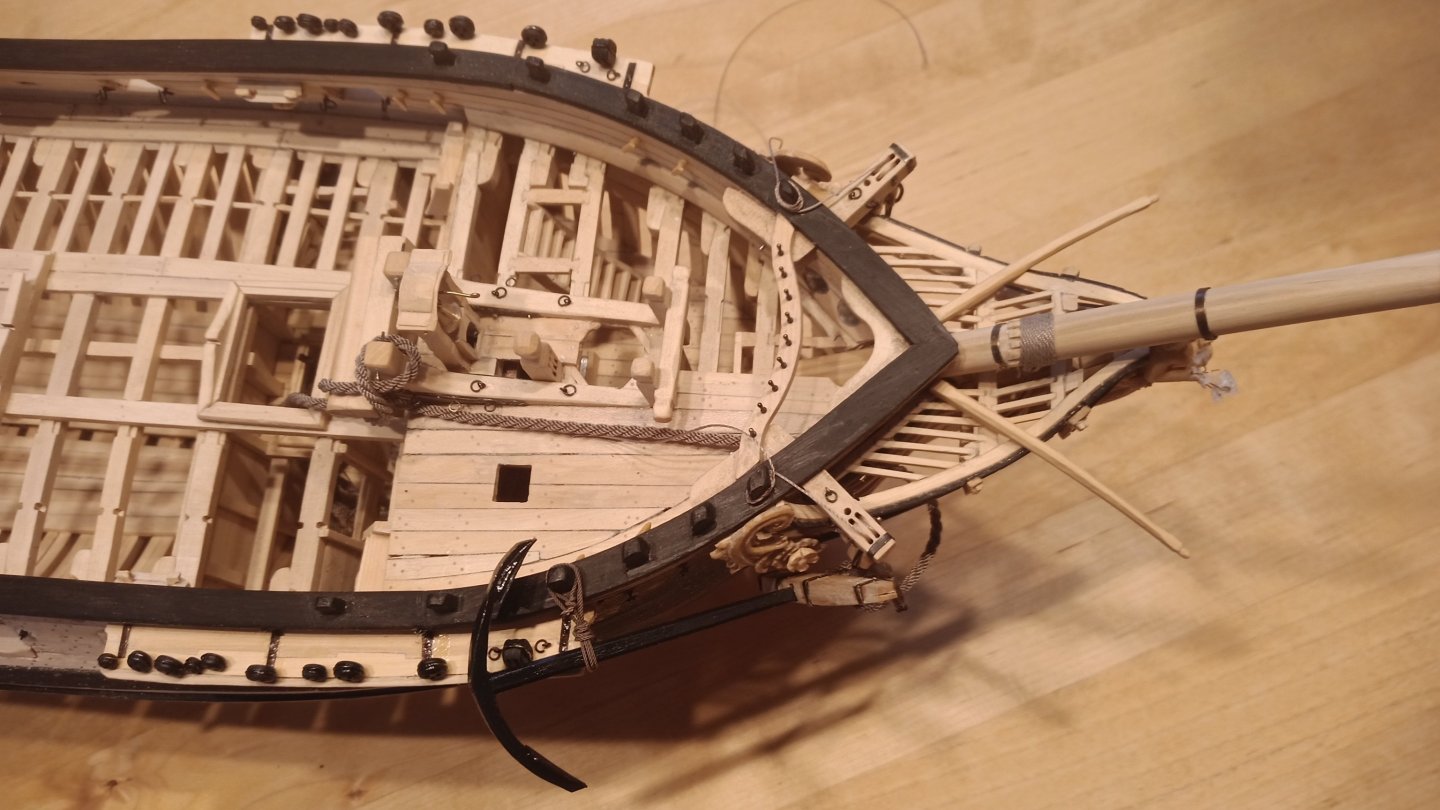
Hello everyone After a short vacation, I continued with the anchors for my small corvette. These were made of ebony and boxwood. Only the anchor flukes and the ring are made of brass. The correct covering of the anchor ring (called: puddening) was particularly important to me. It was already discussed here (page 8 of the document): anchor ring Often it is done as shown in the following picture on the left. However, this leads to the covering being pushed apart by the lashing ring. So I tried to do it as shown in the picture on the right. Here, the ropes of the covering are at a better angle to the lashing ring and are held better by it. I'm not entirely satisfied with the result, but at these sizes I'm reaching the limits of my abilities even though this is the corvette's largest anchor. I'll probably use the simpler method (as shown in the sketch on the left) for covering the rings of the smaller anchors. In this picture, you can see the pattern of the clothing a little better. Sorry, but photography isn't my strong suit. Here you can see the smaller anchor: Next, it was time to make the anchor rope. It had to be a left turned cable 2mm in diameter. To do this, I first used my rope-walk.... ...to make three right-twisted ropes with a diameter of 1 mm. These were then clamped back into the rope-walk and processed into the anchor cable. The starting material is this yarn: On the model it looks like this: Herzliche Grüße Willi


- 39 replies
-
- 12
-
-
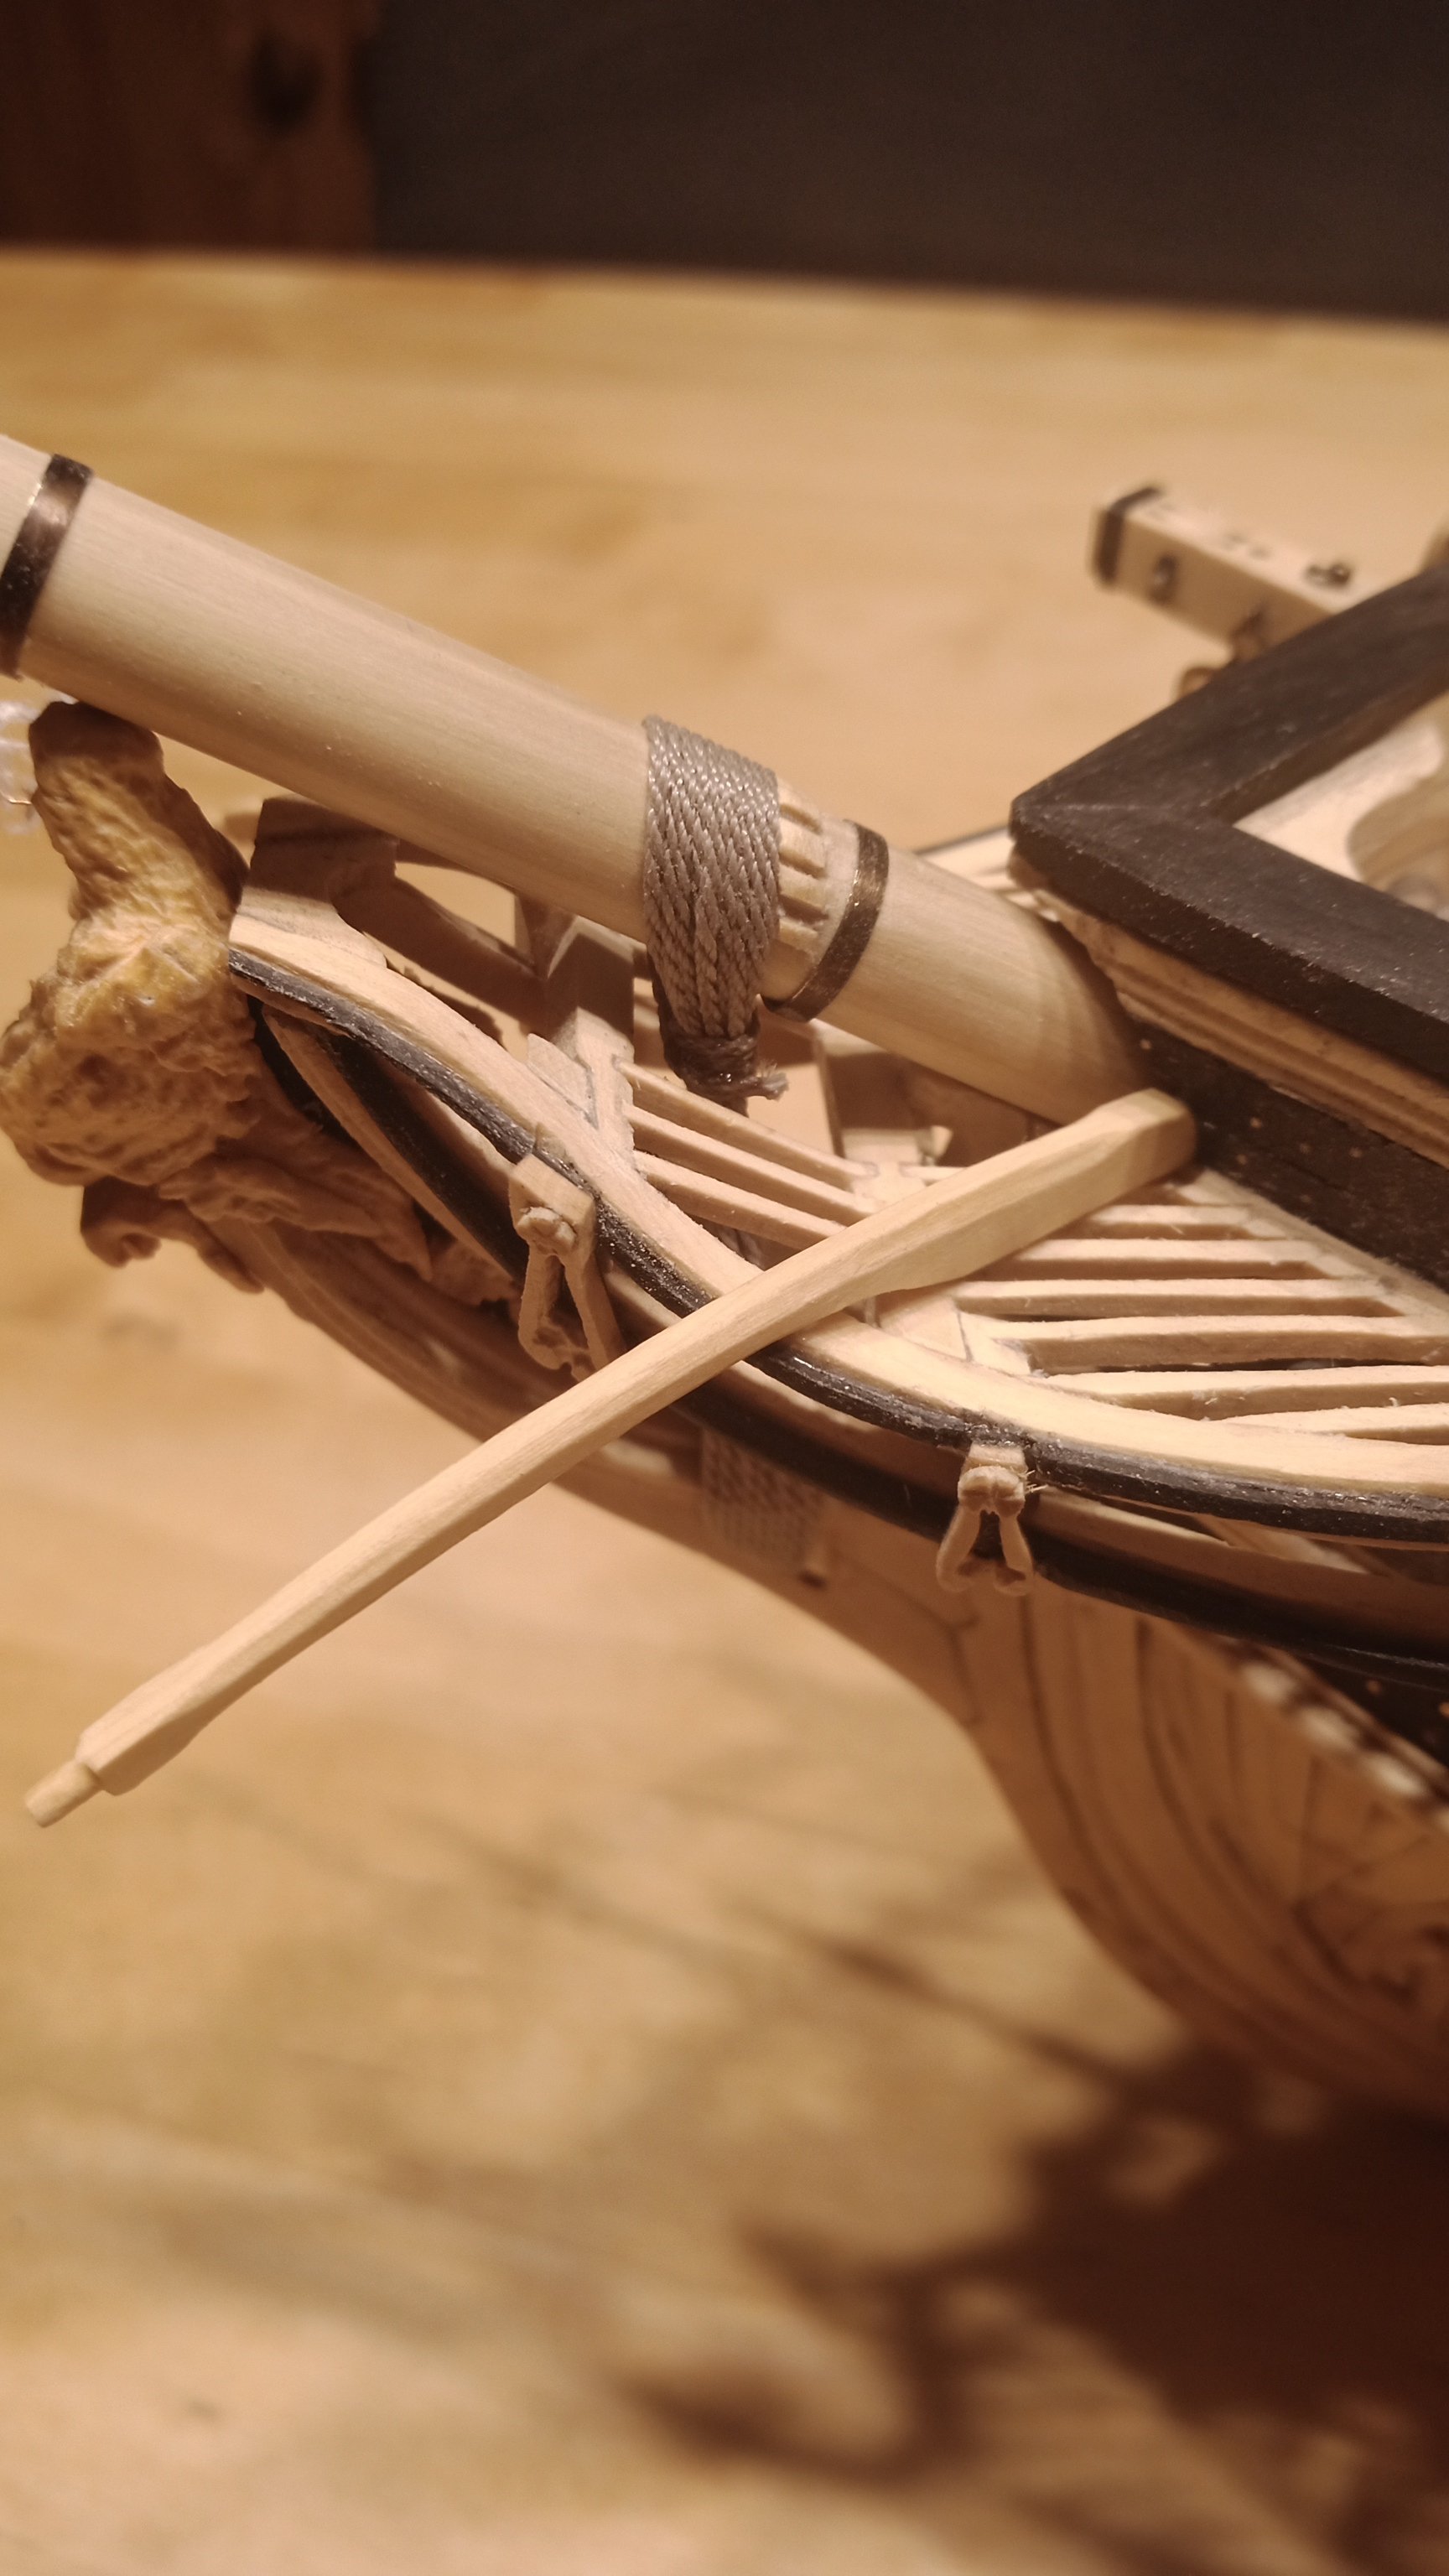
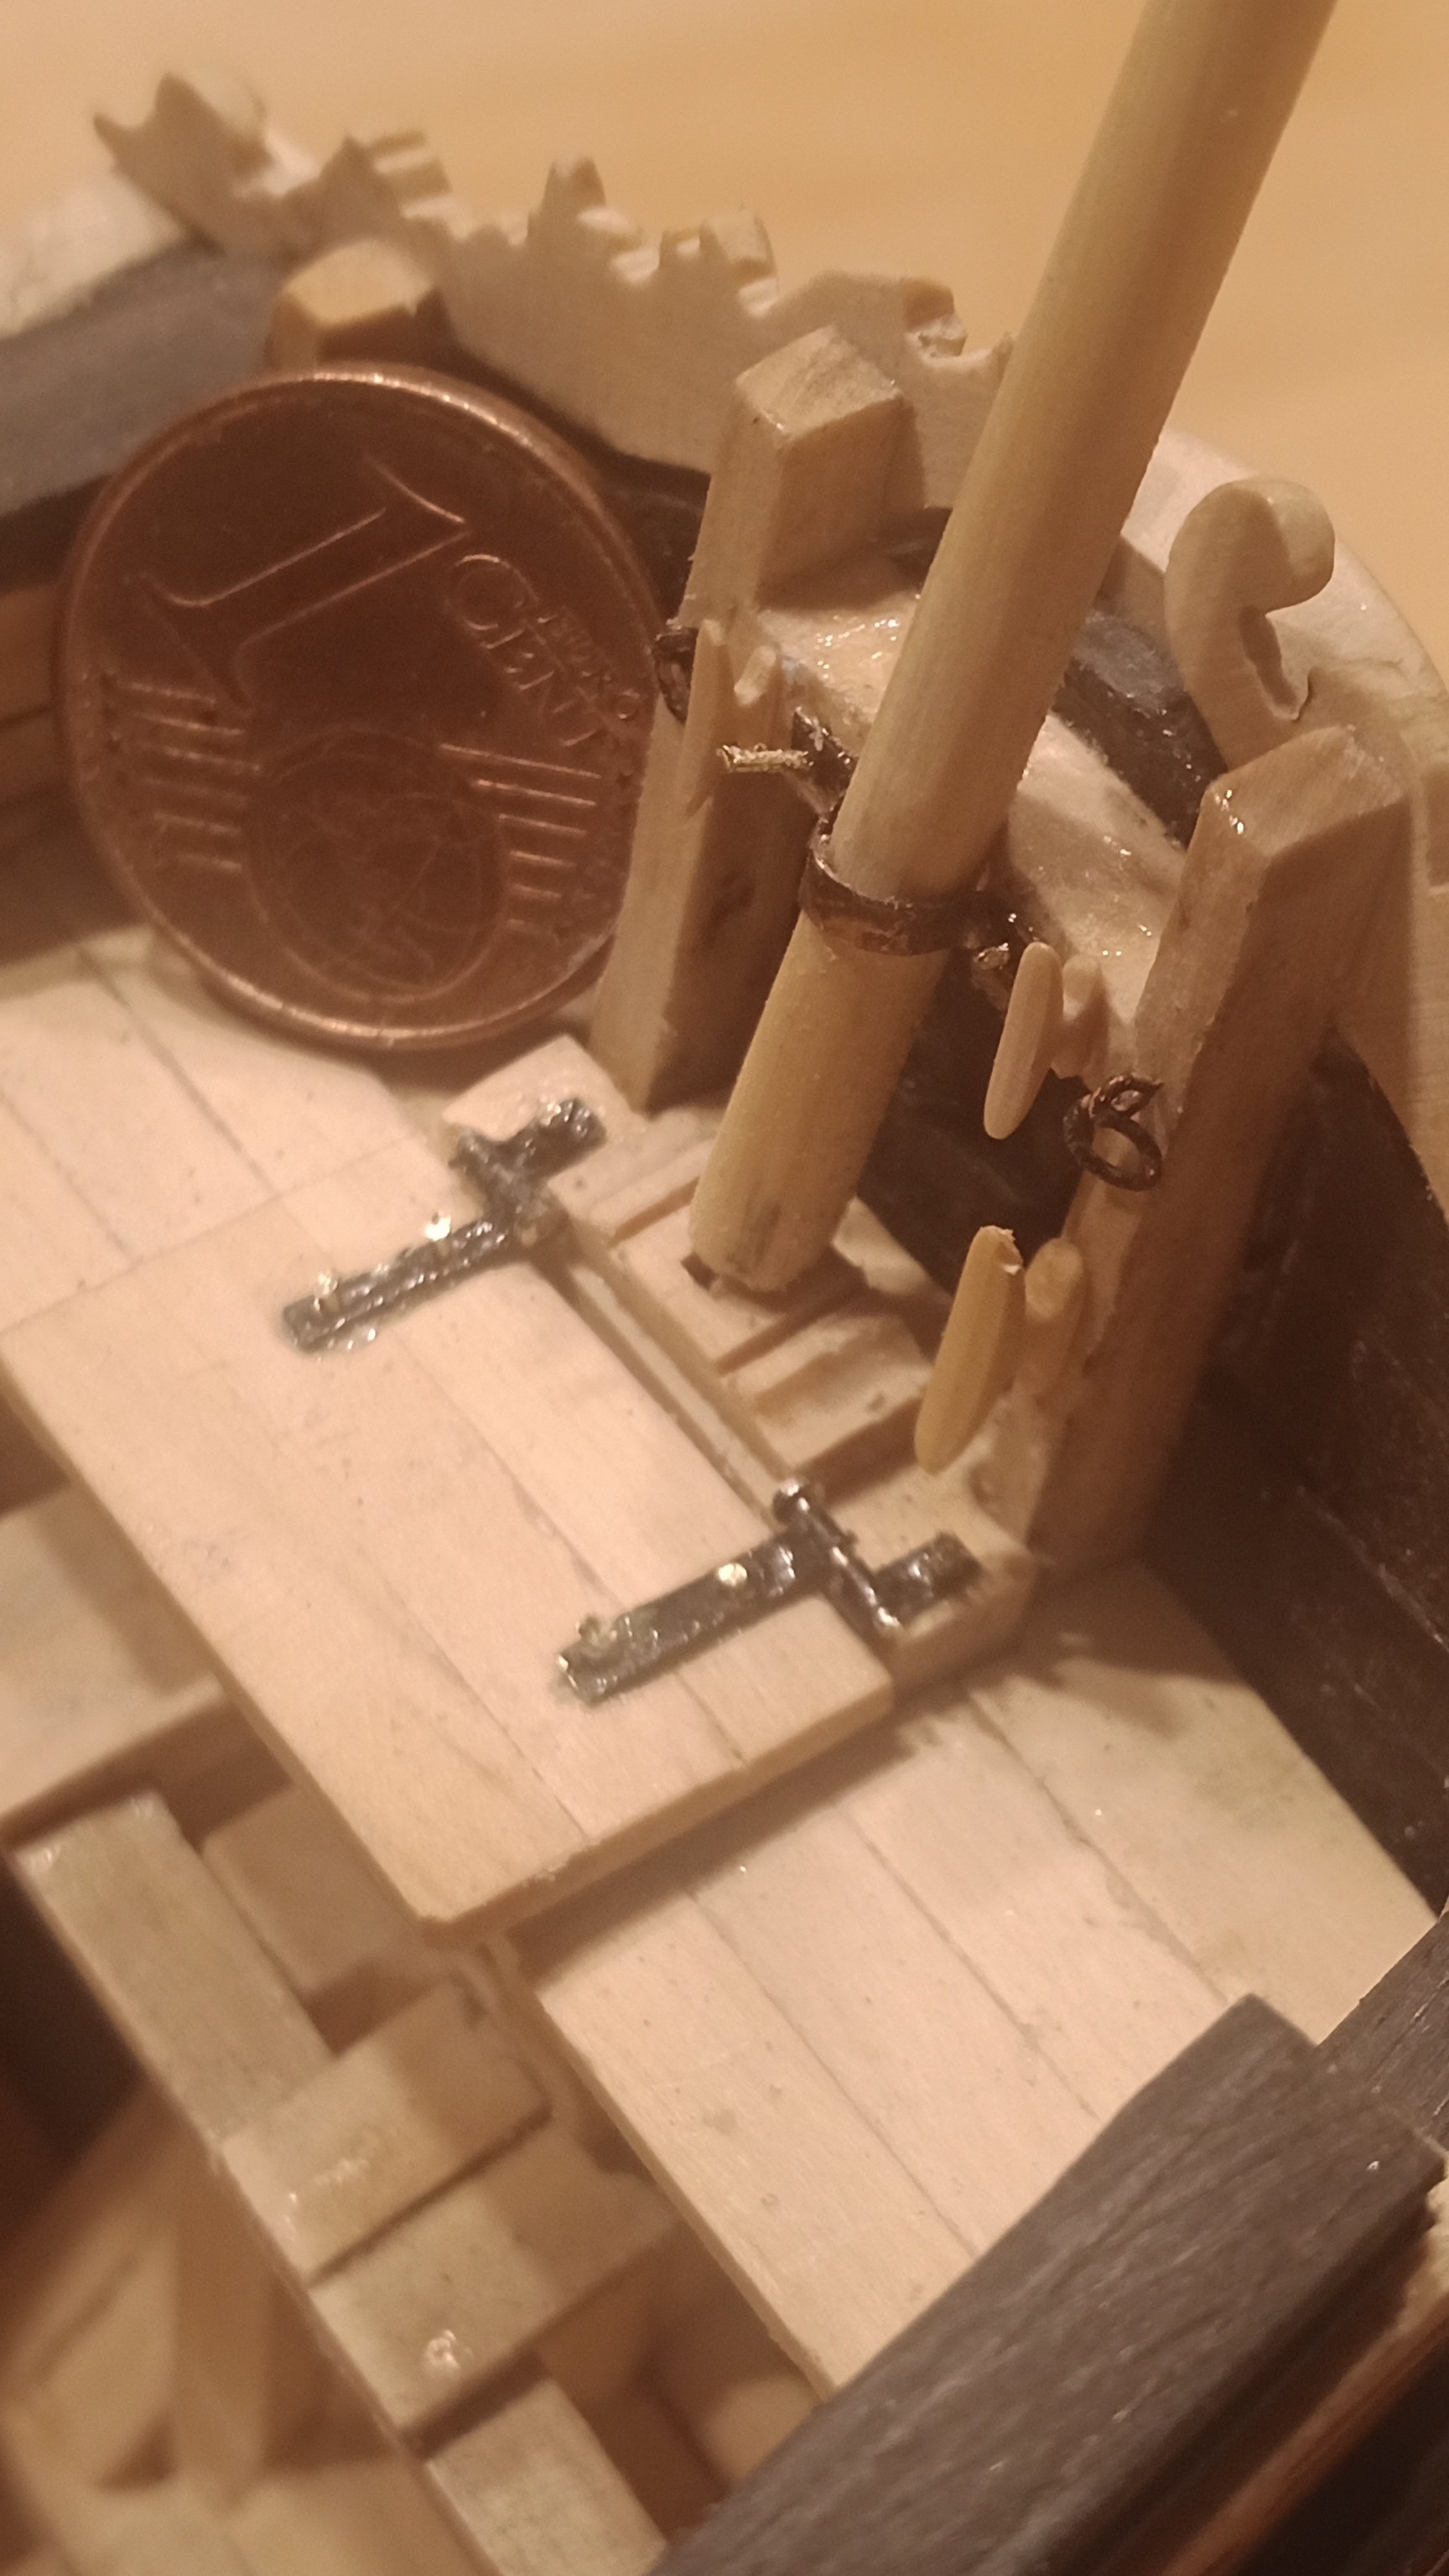
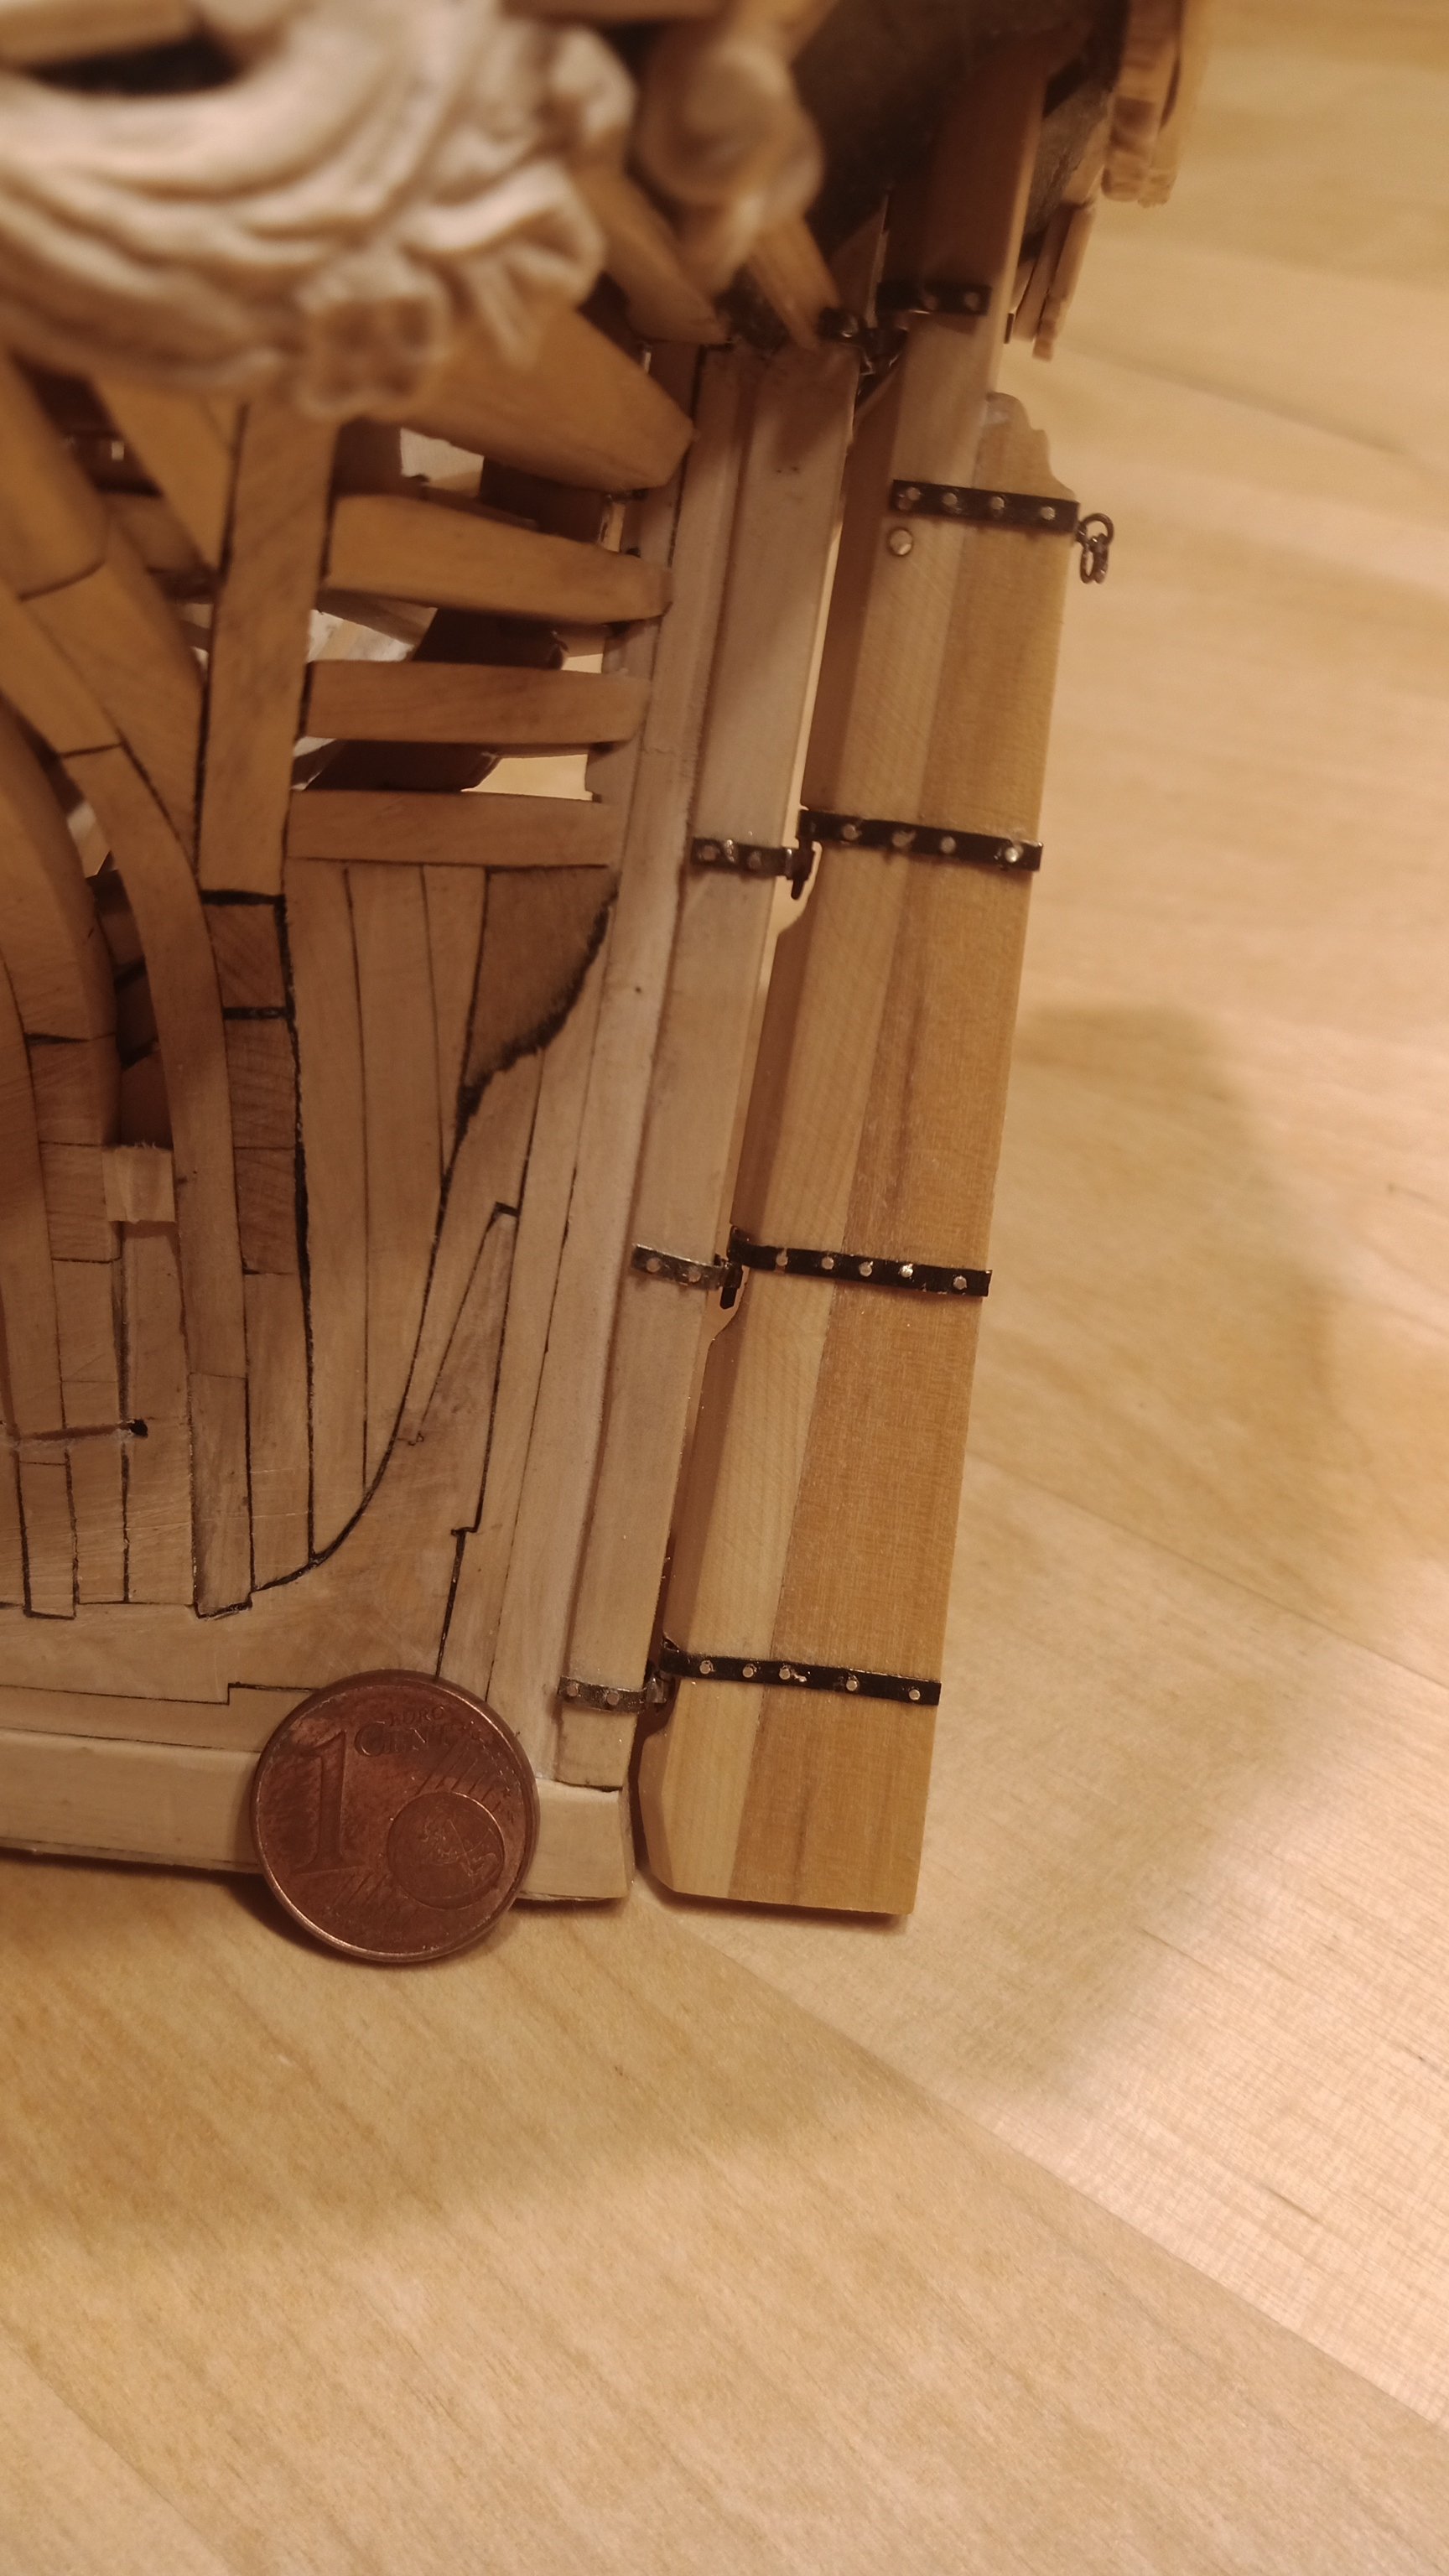
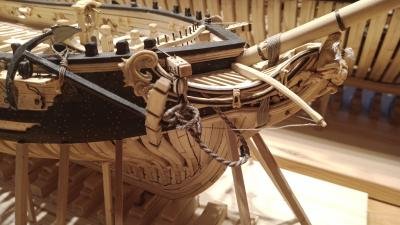
Hello everyone Some progress... The gammoning with it's cleats, iron hoops of the bowsprit and the bumpkins are installed. Herzliche Grüße Willi

- 39 replies
-
- 13
-
-
-
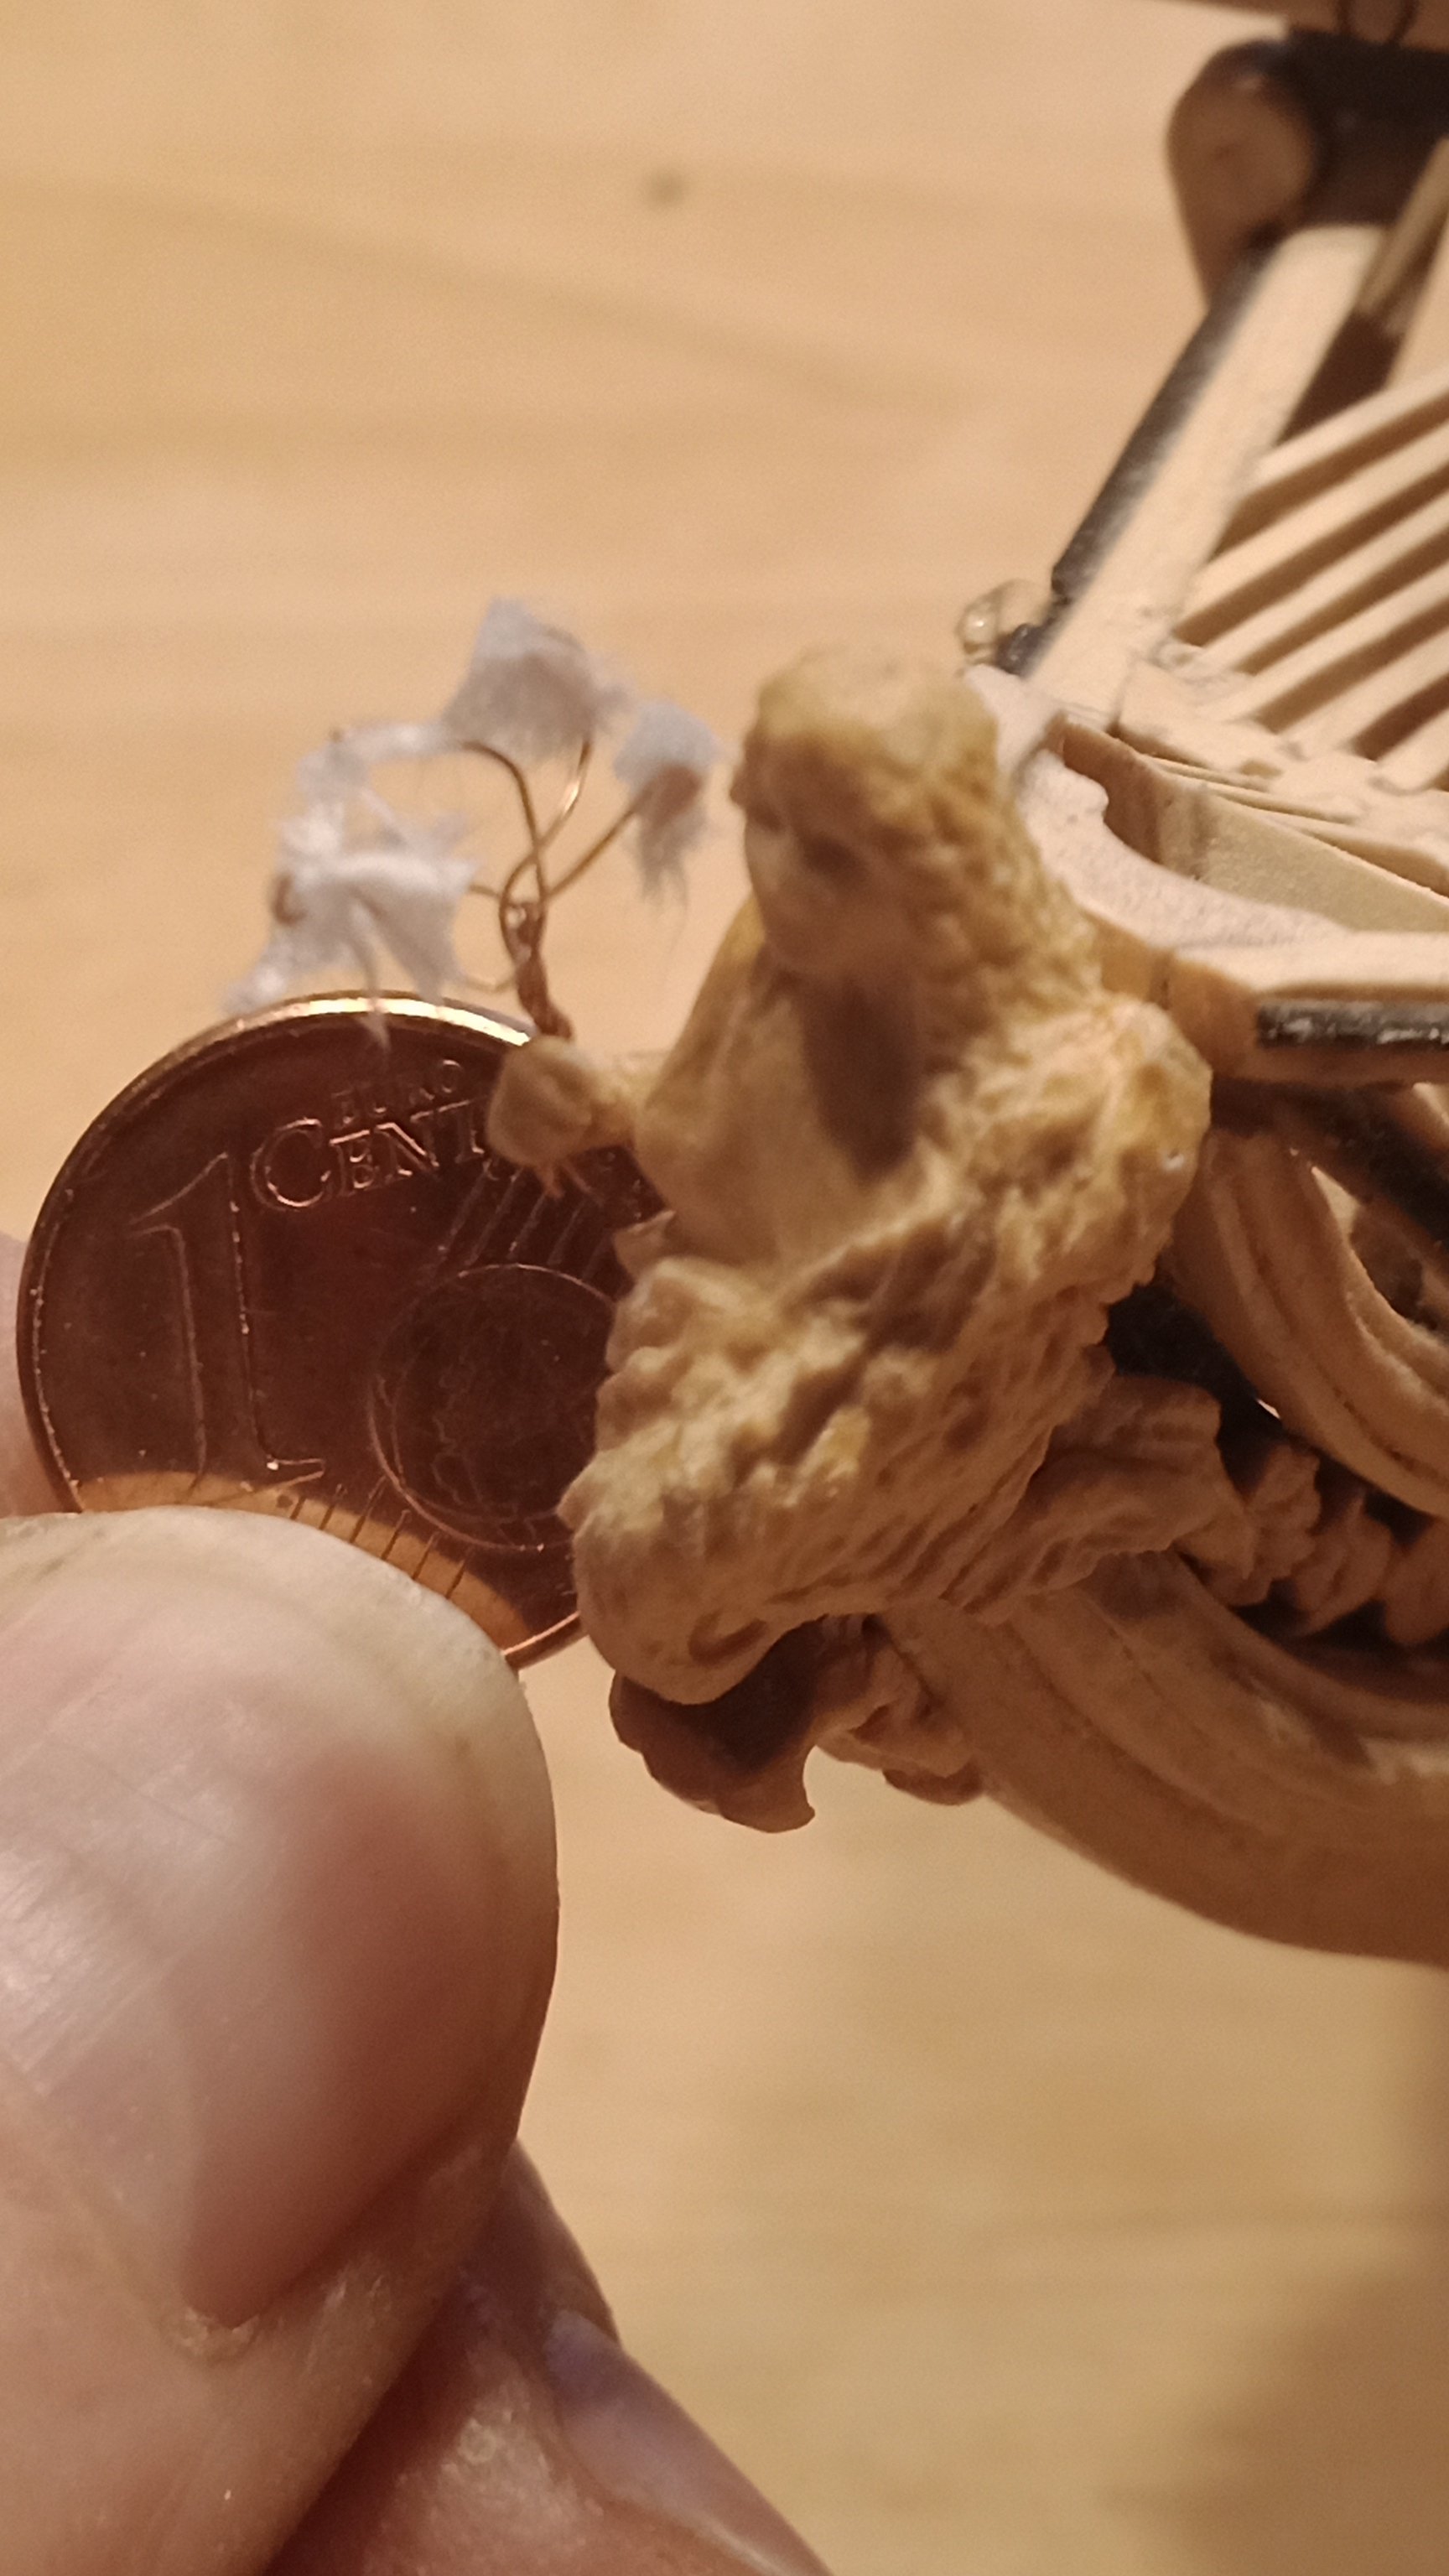
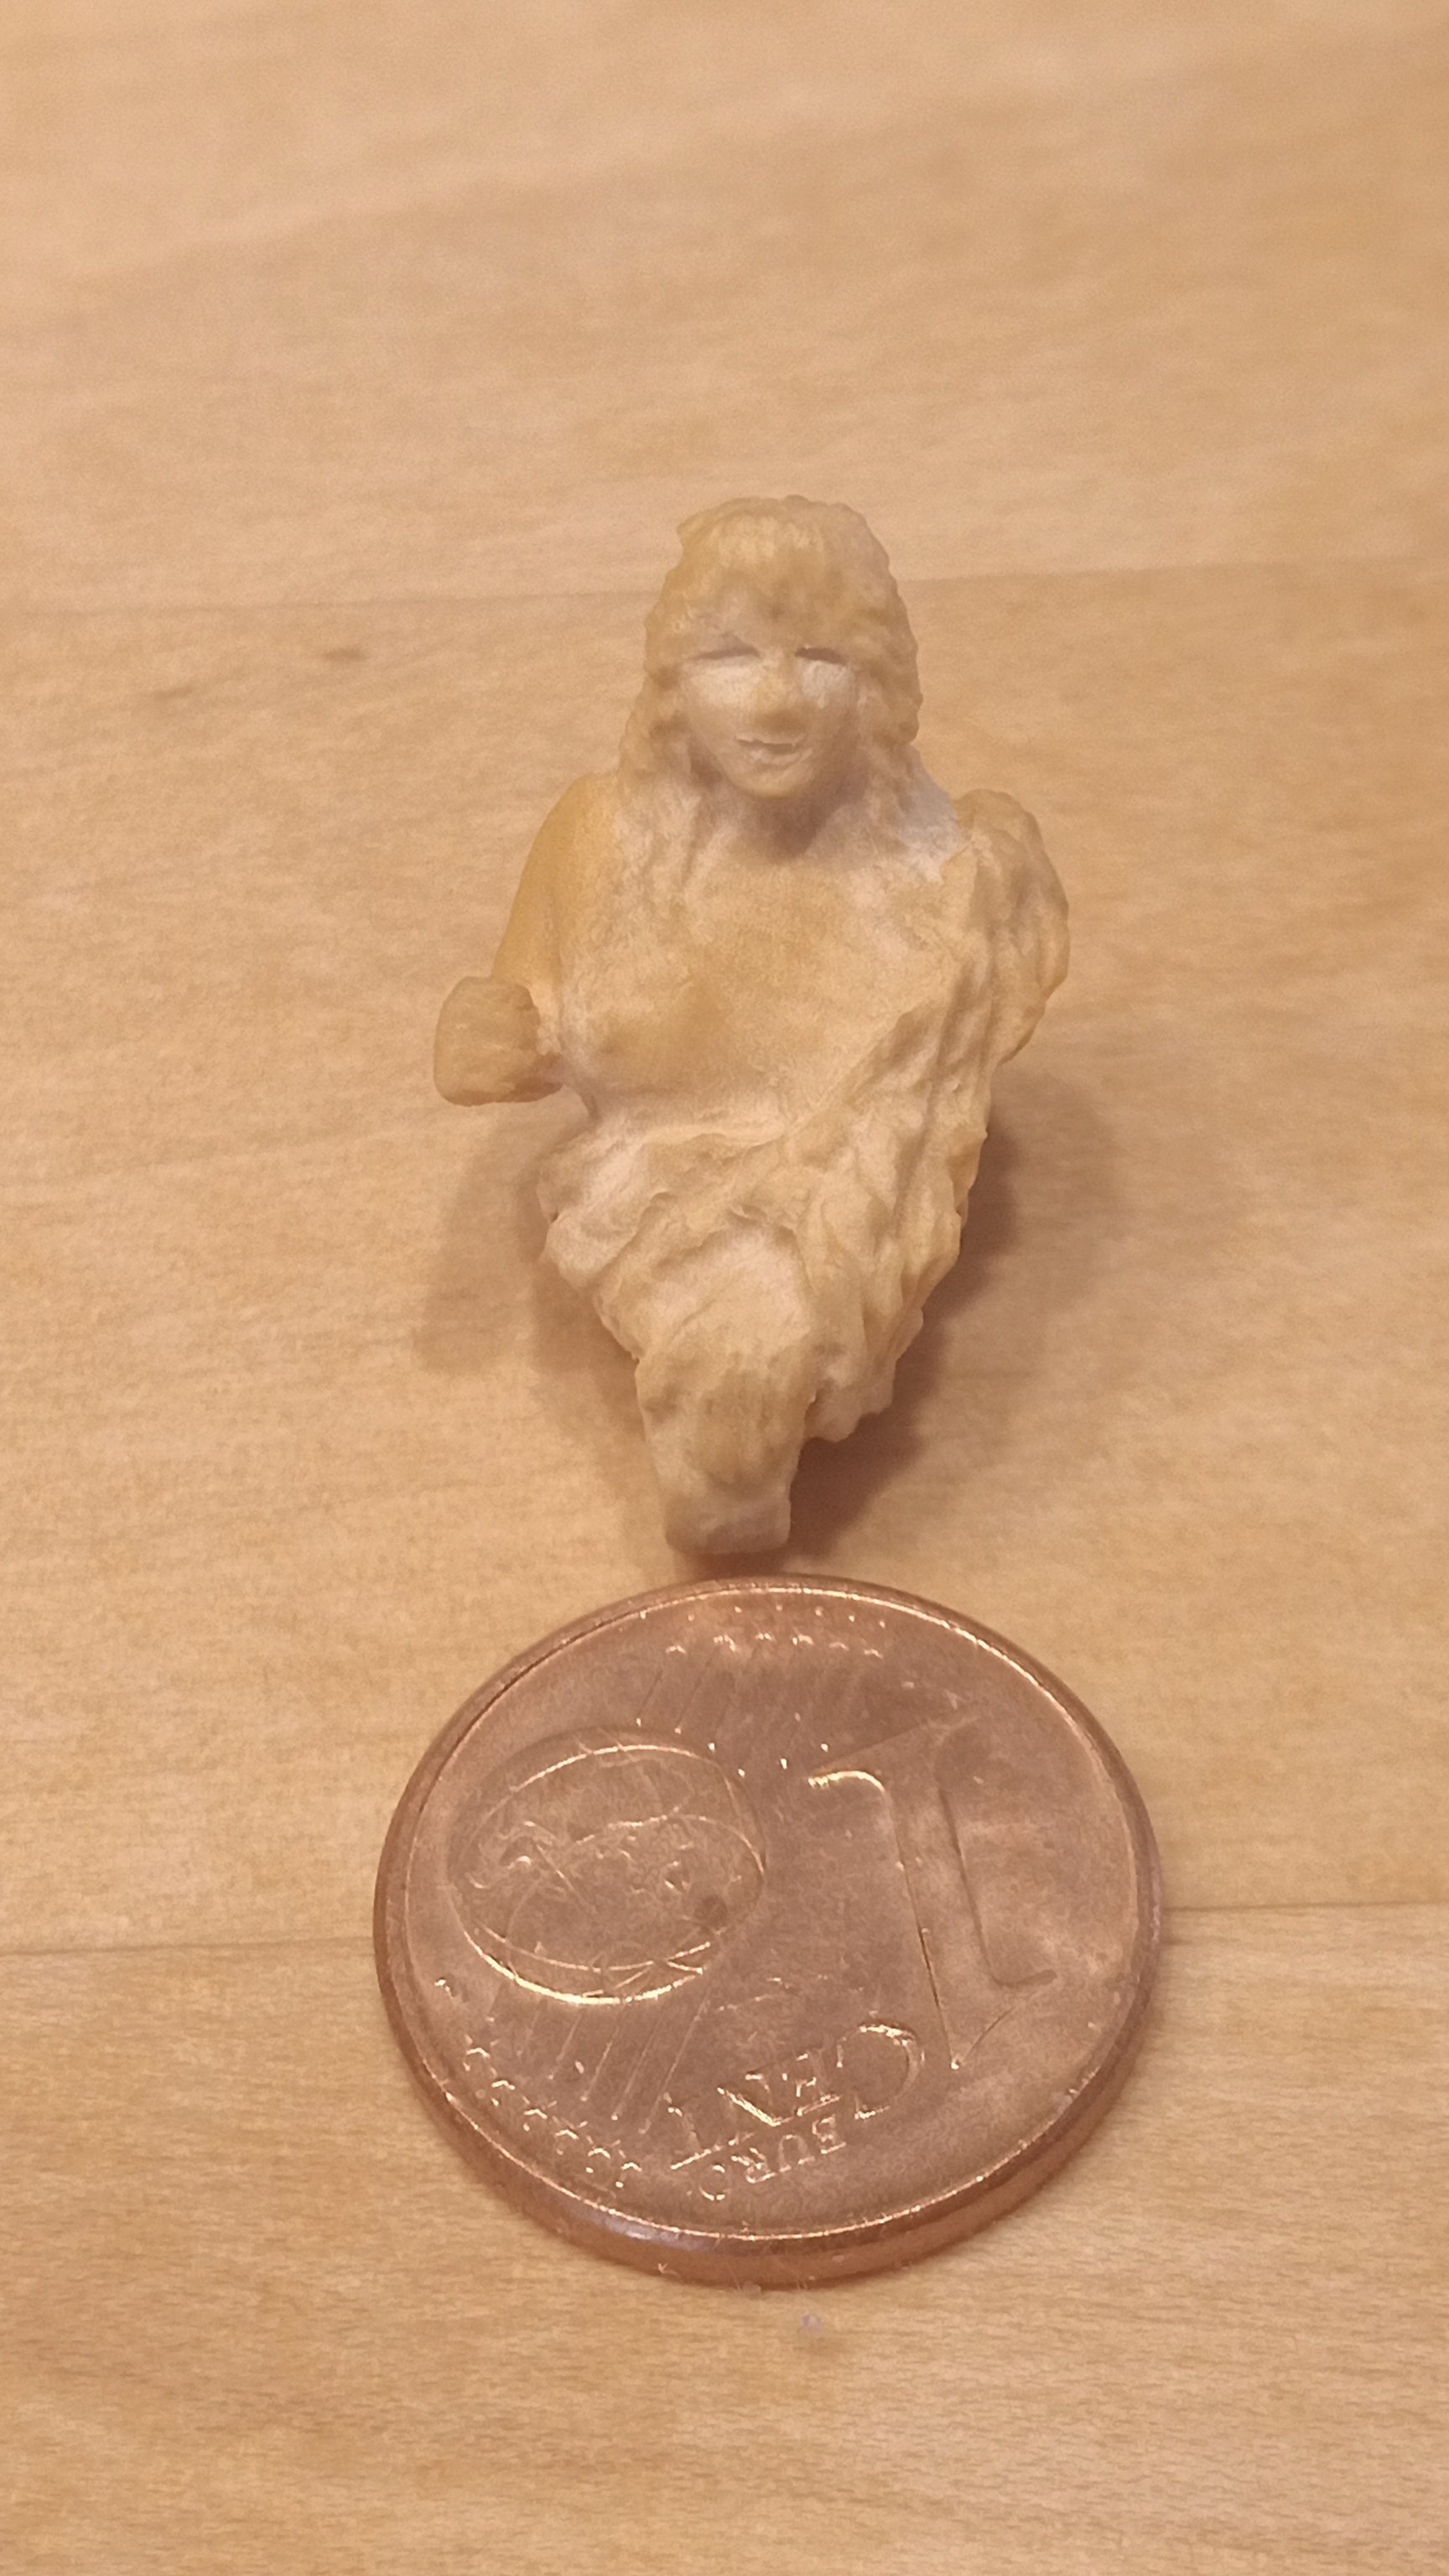
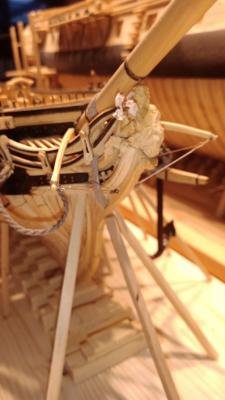
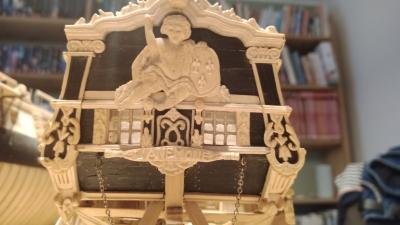
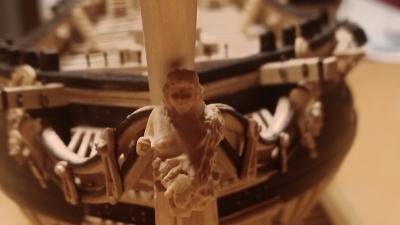
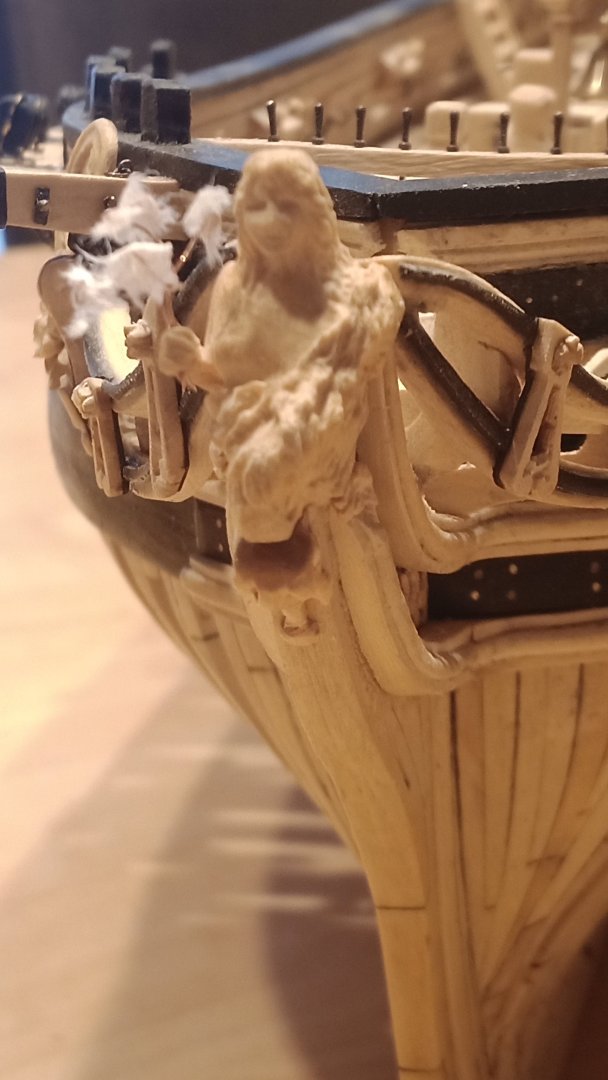
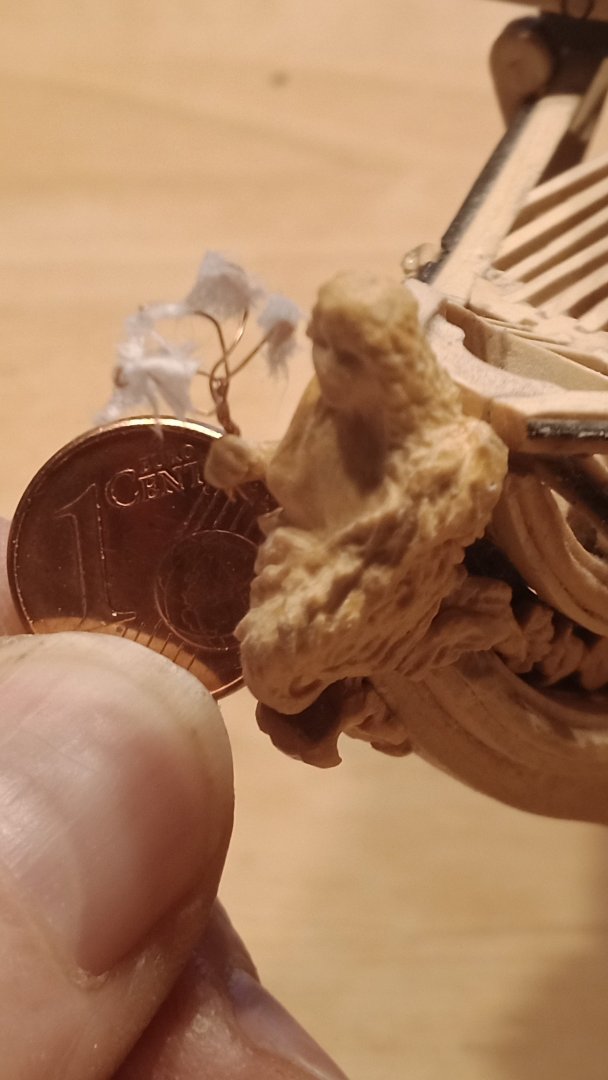
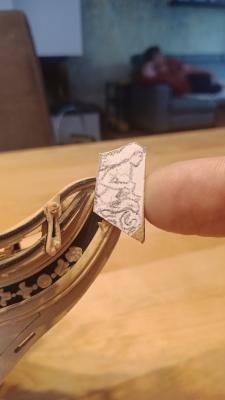
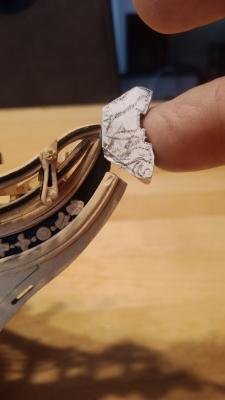
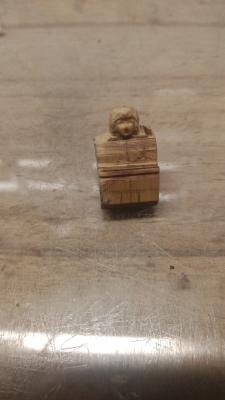
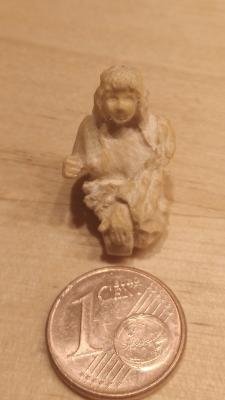
Hello everyone For the bouquet, I stripped a low-voltage stranded wire, twisted one end together, unraveled the other, and bent the ends over, then glued pieces of tissue paper over them. Maybe I'll come up with something better, but for now, I'll leave it as it is. I'm not entirely happy with the lady's eye area yet, but that's the case with almost all my figures of this type and size: they're too deeply hollowed out. This creates very dark shadows, which, if you look closely, create a zombie-like expression. This happens when I try too often to correct the facial expression, because this can only be done by removing material. If the light falls correctly, i.e., without casting shadows, the result is quite okay. Besides, these strong shadows make the eyes recognizable at normal viewing distances, so they're okay. Herzliche Grüße Willi


- 39 replies
-
- 11
-
-
-
Hi Frank @g8rfan Thank you for your kind words. Regarding your question: I work with a Proxxon drill with a flexible shaft, but also with small chisels and knives. Herzliche Grüße Willi
-
I felt like I was looking into the face of a dead person. So I reworked the figure, just a few tiny cuts....

-
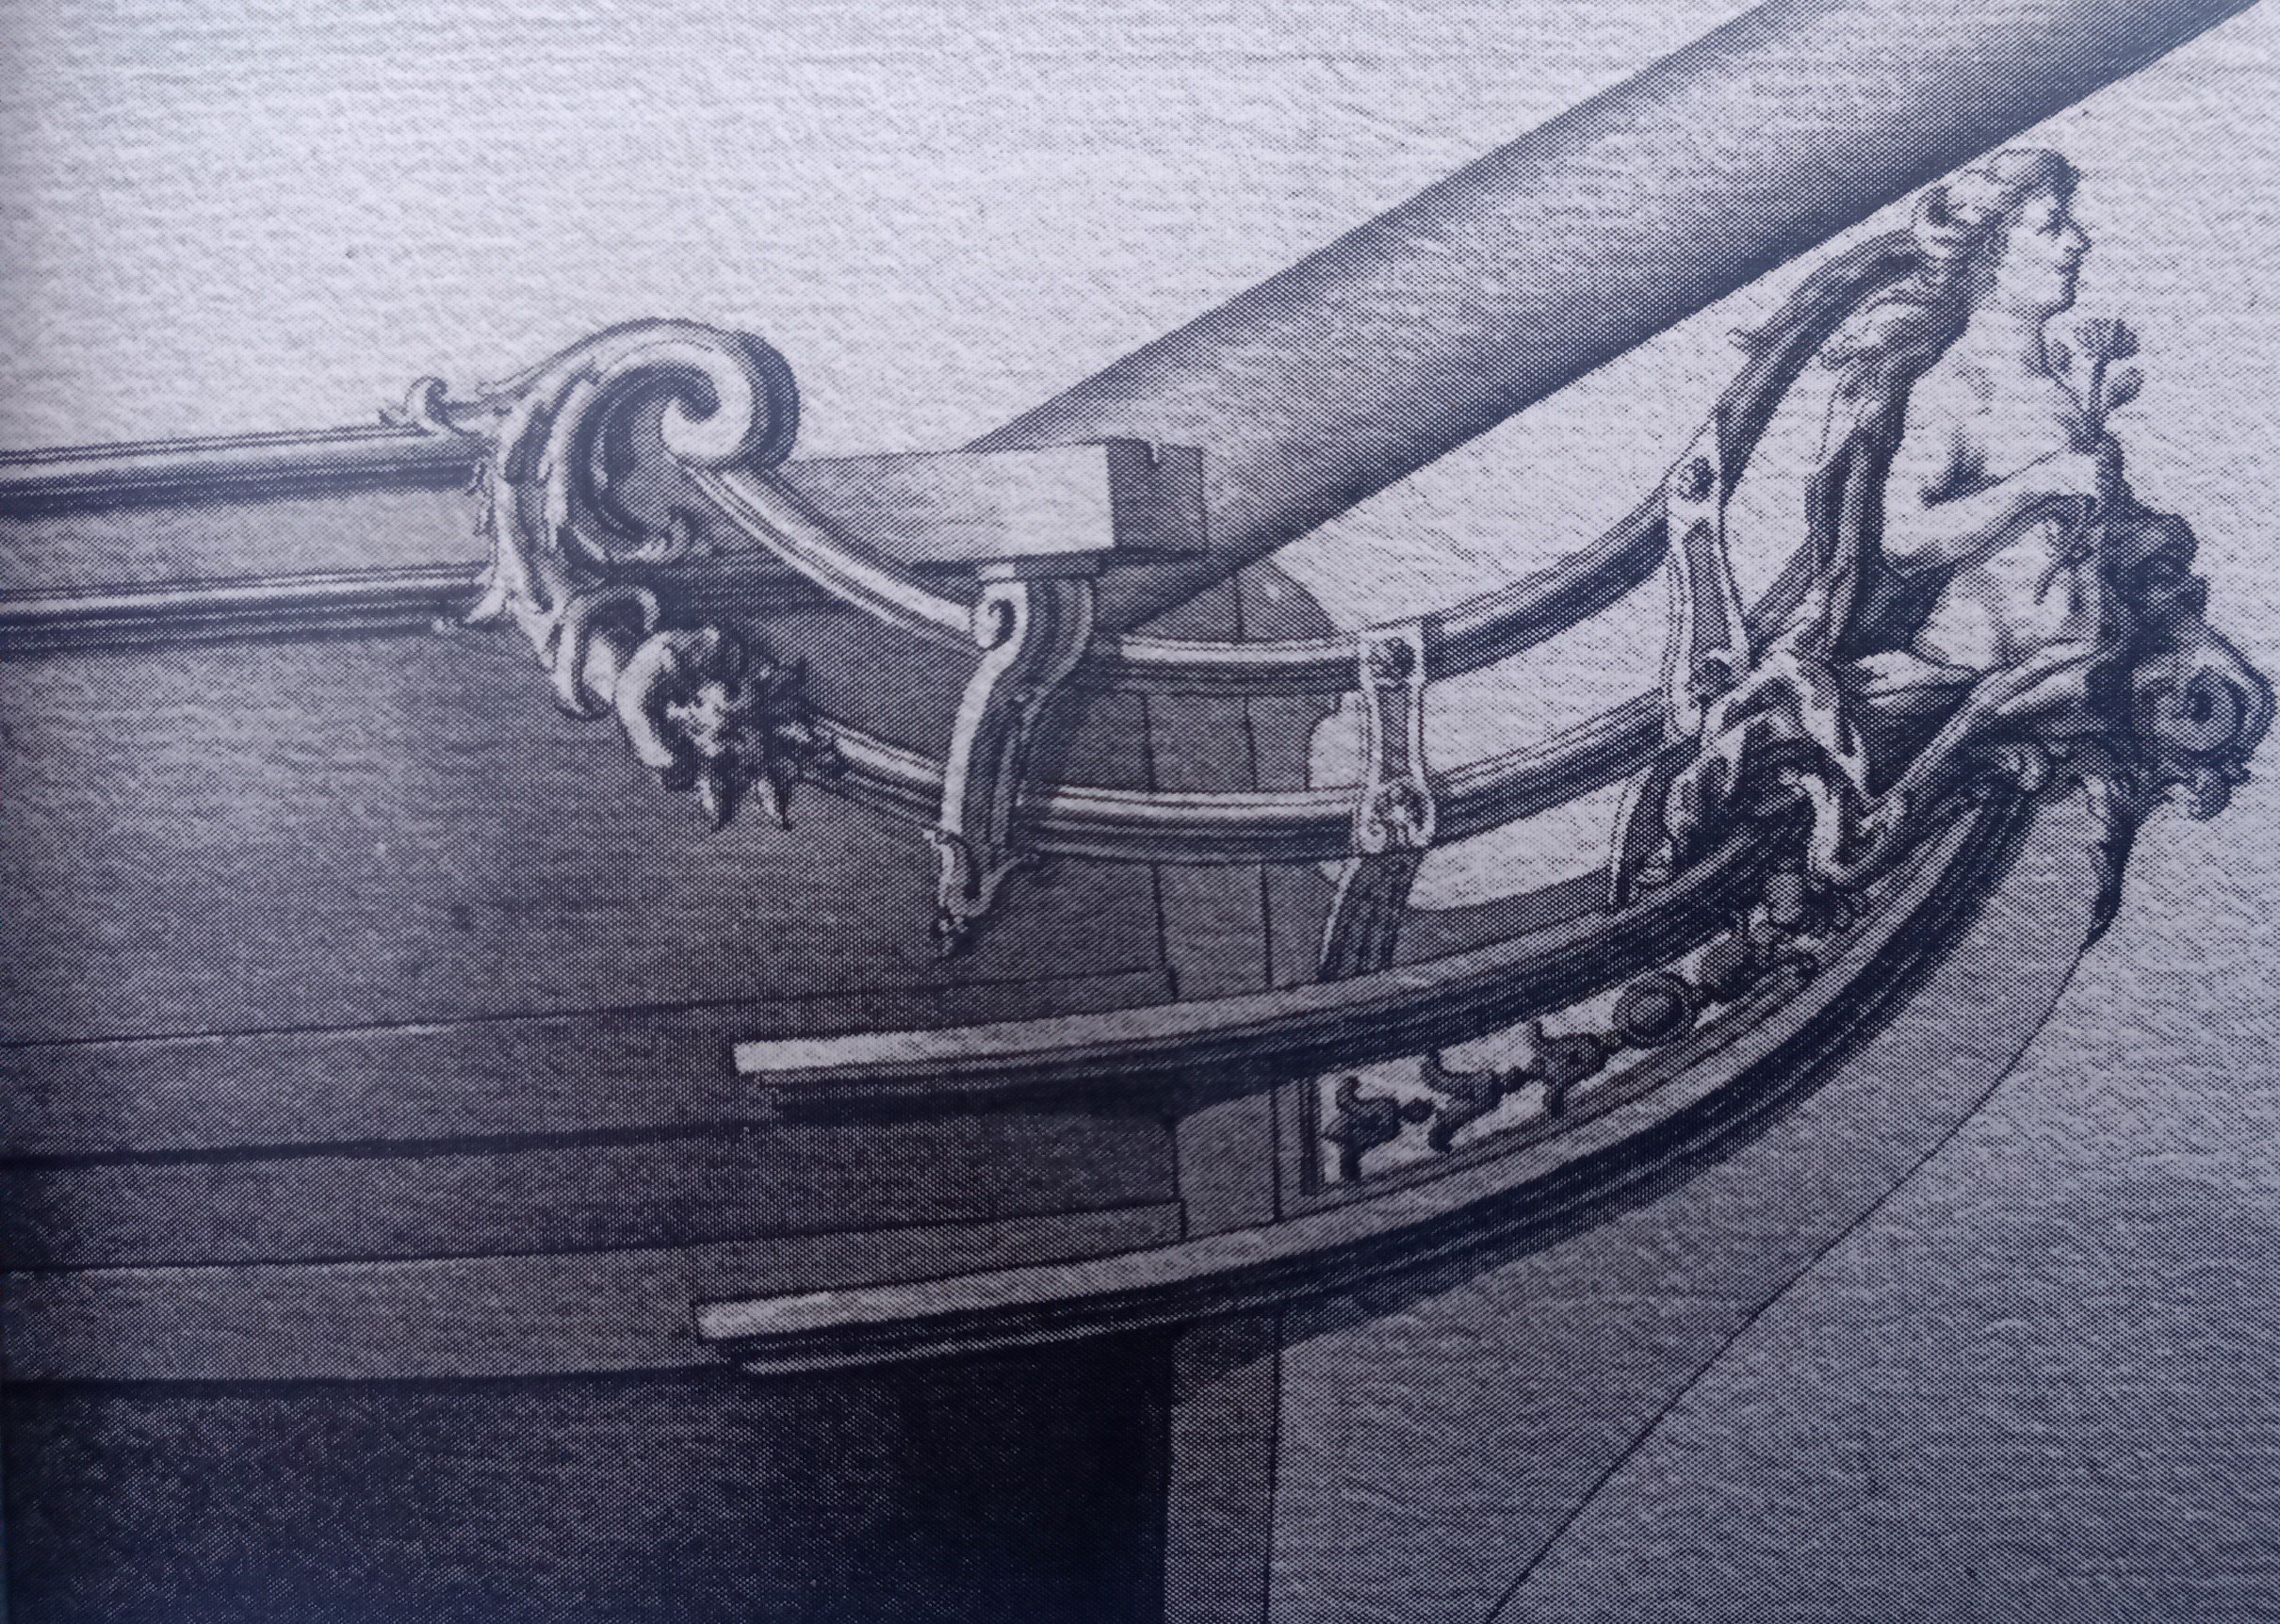
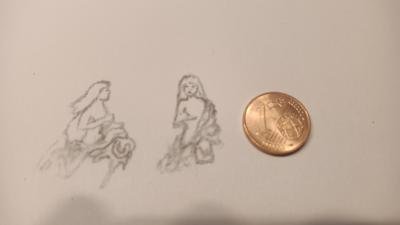
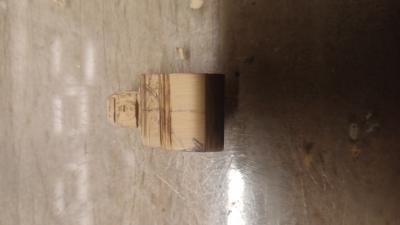
Hello everyone The figurehead: First, I tried to draw the figure to fit its size and shape. Here, it fits quite well, but it's looking too downward. The direction of view is now correct, but a piece is missing at the bottom. This is ok. Carving: still a bit too strong, the lady, too many workouts I guess I'm still missing a few pieces of cloth that will extend the figure aft, and of course, the little flower it's supposed to hold in its right hand. I'm not sure how to do that yet. Herzliche Grüße Willi


-
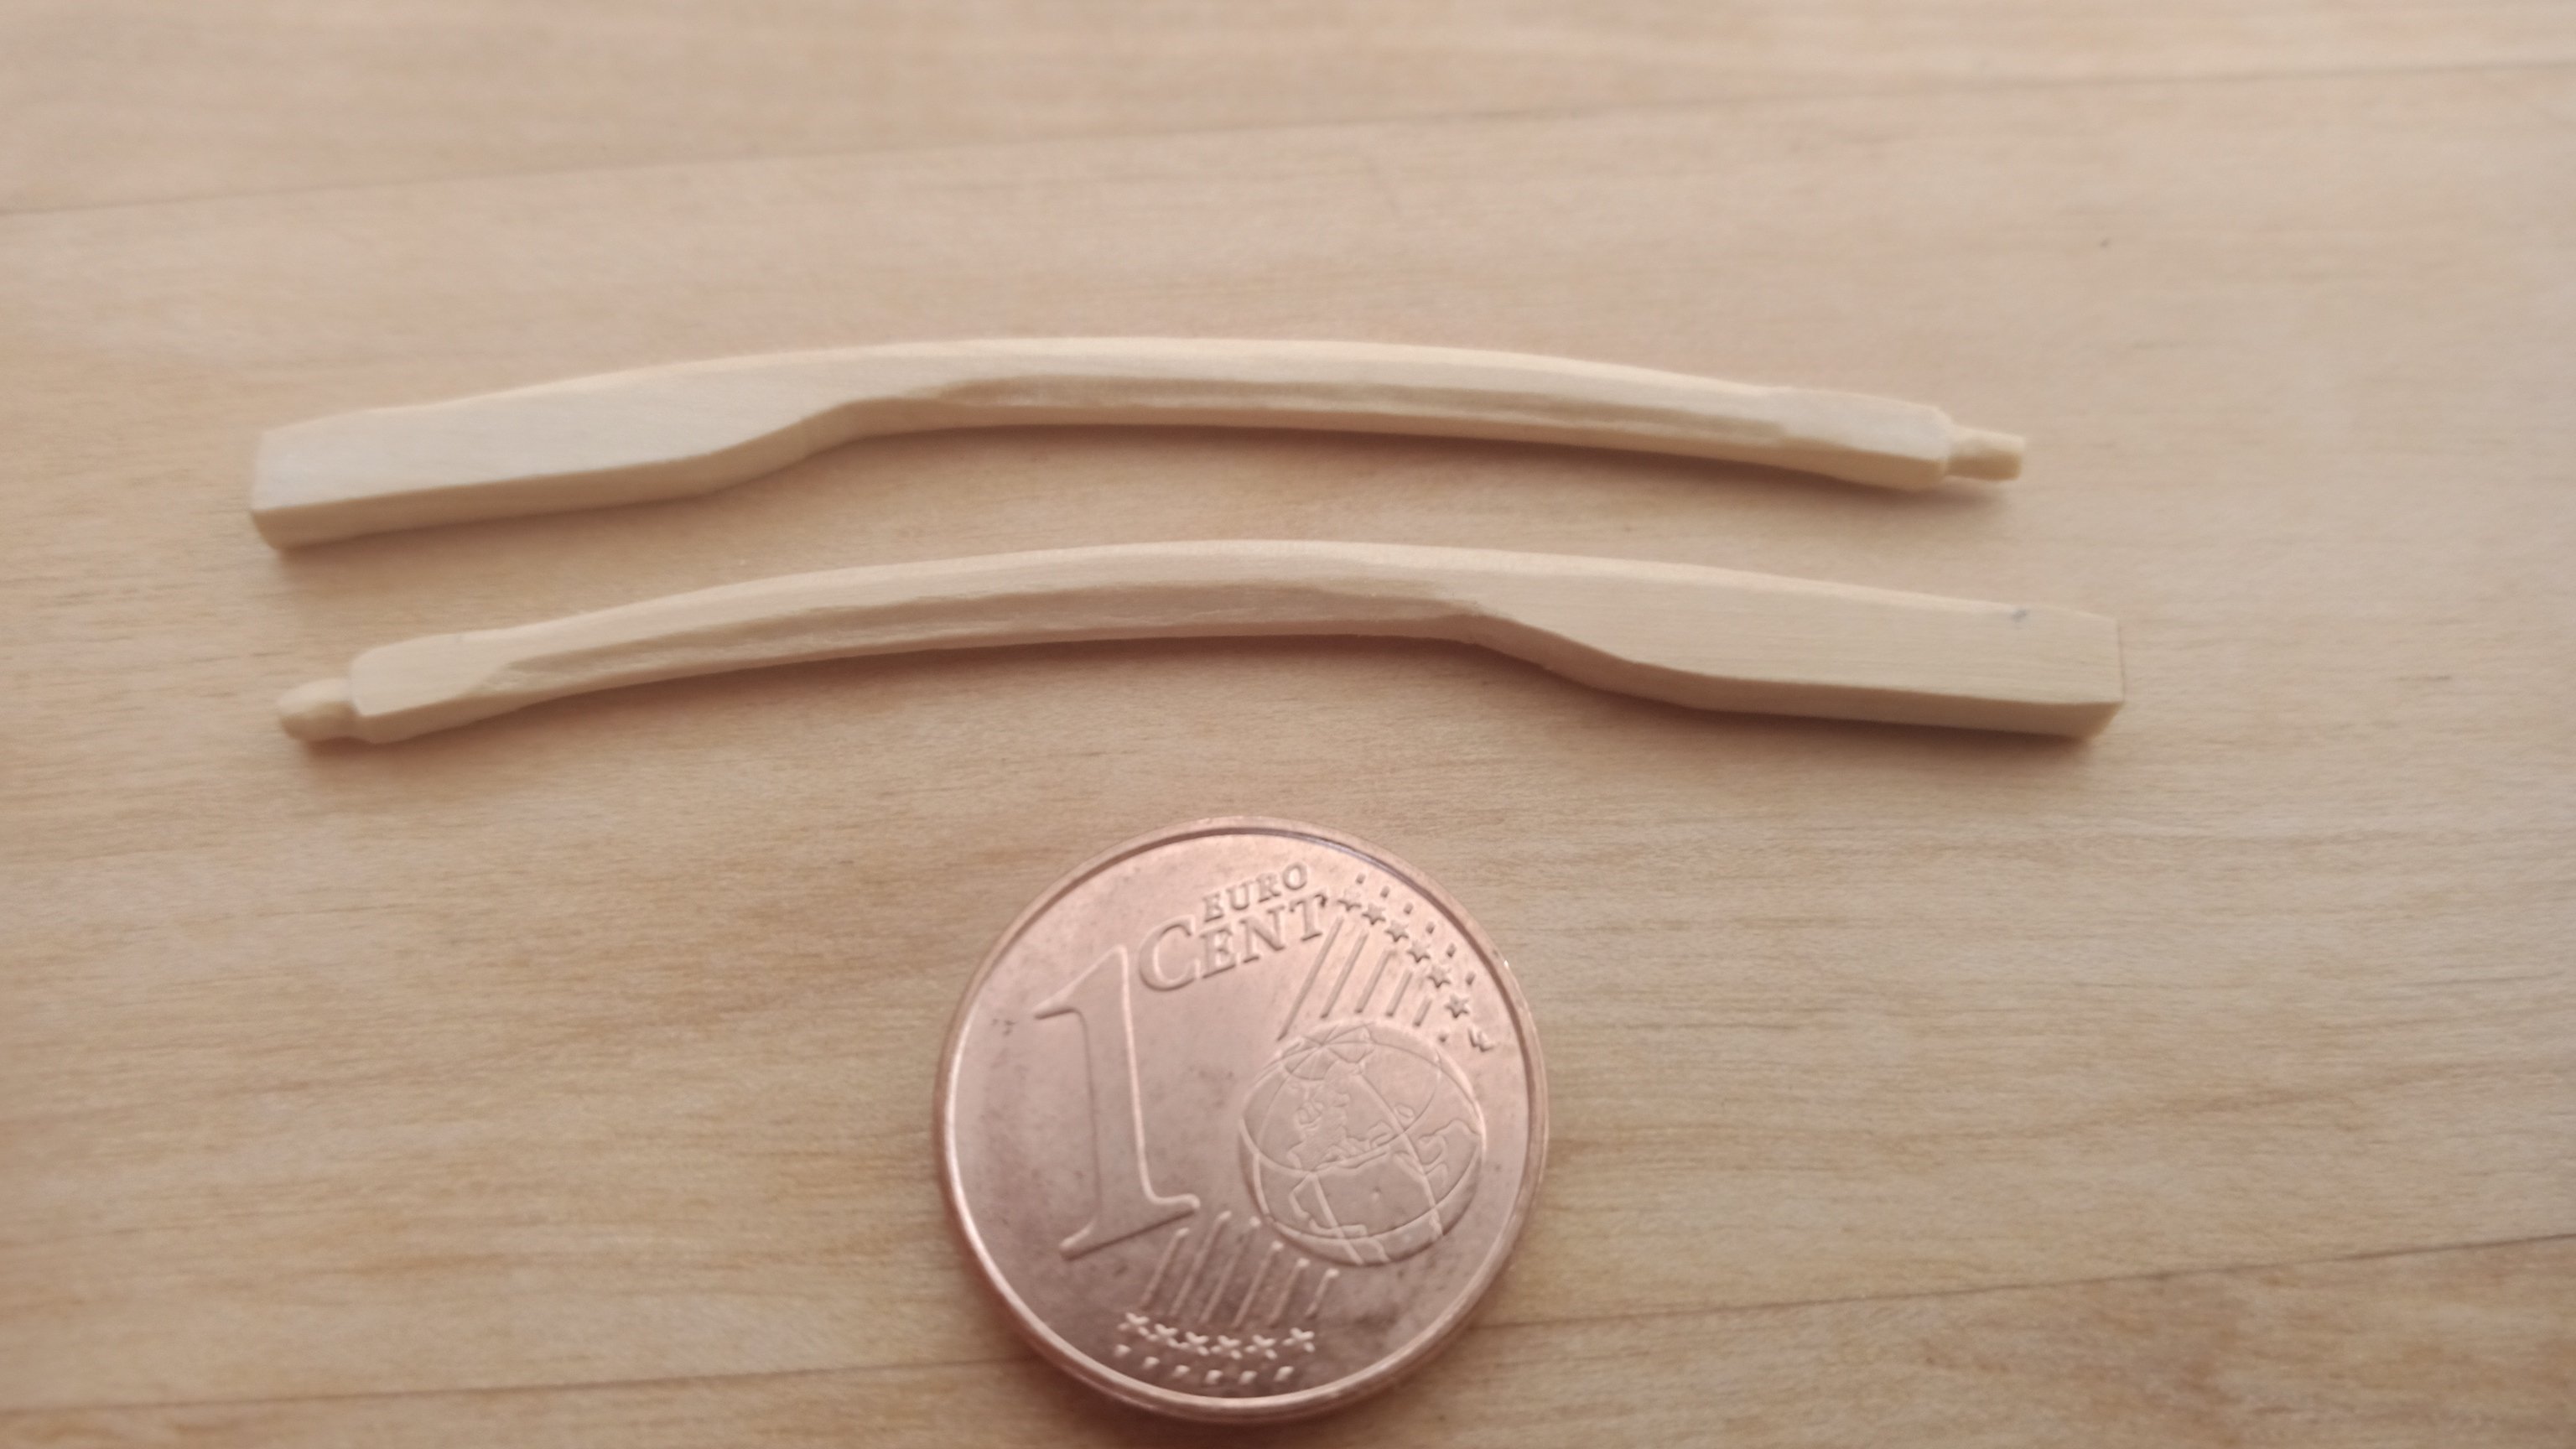
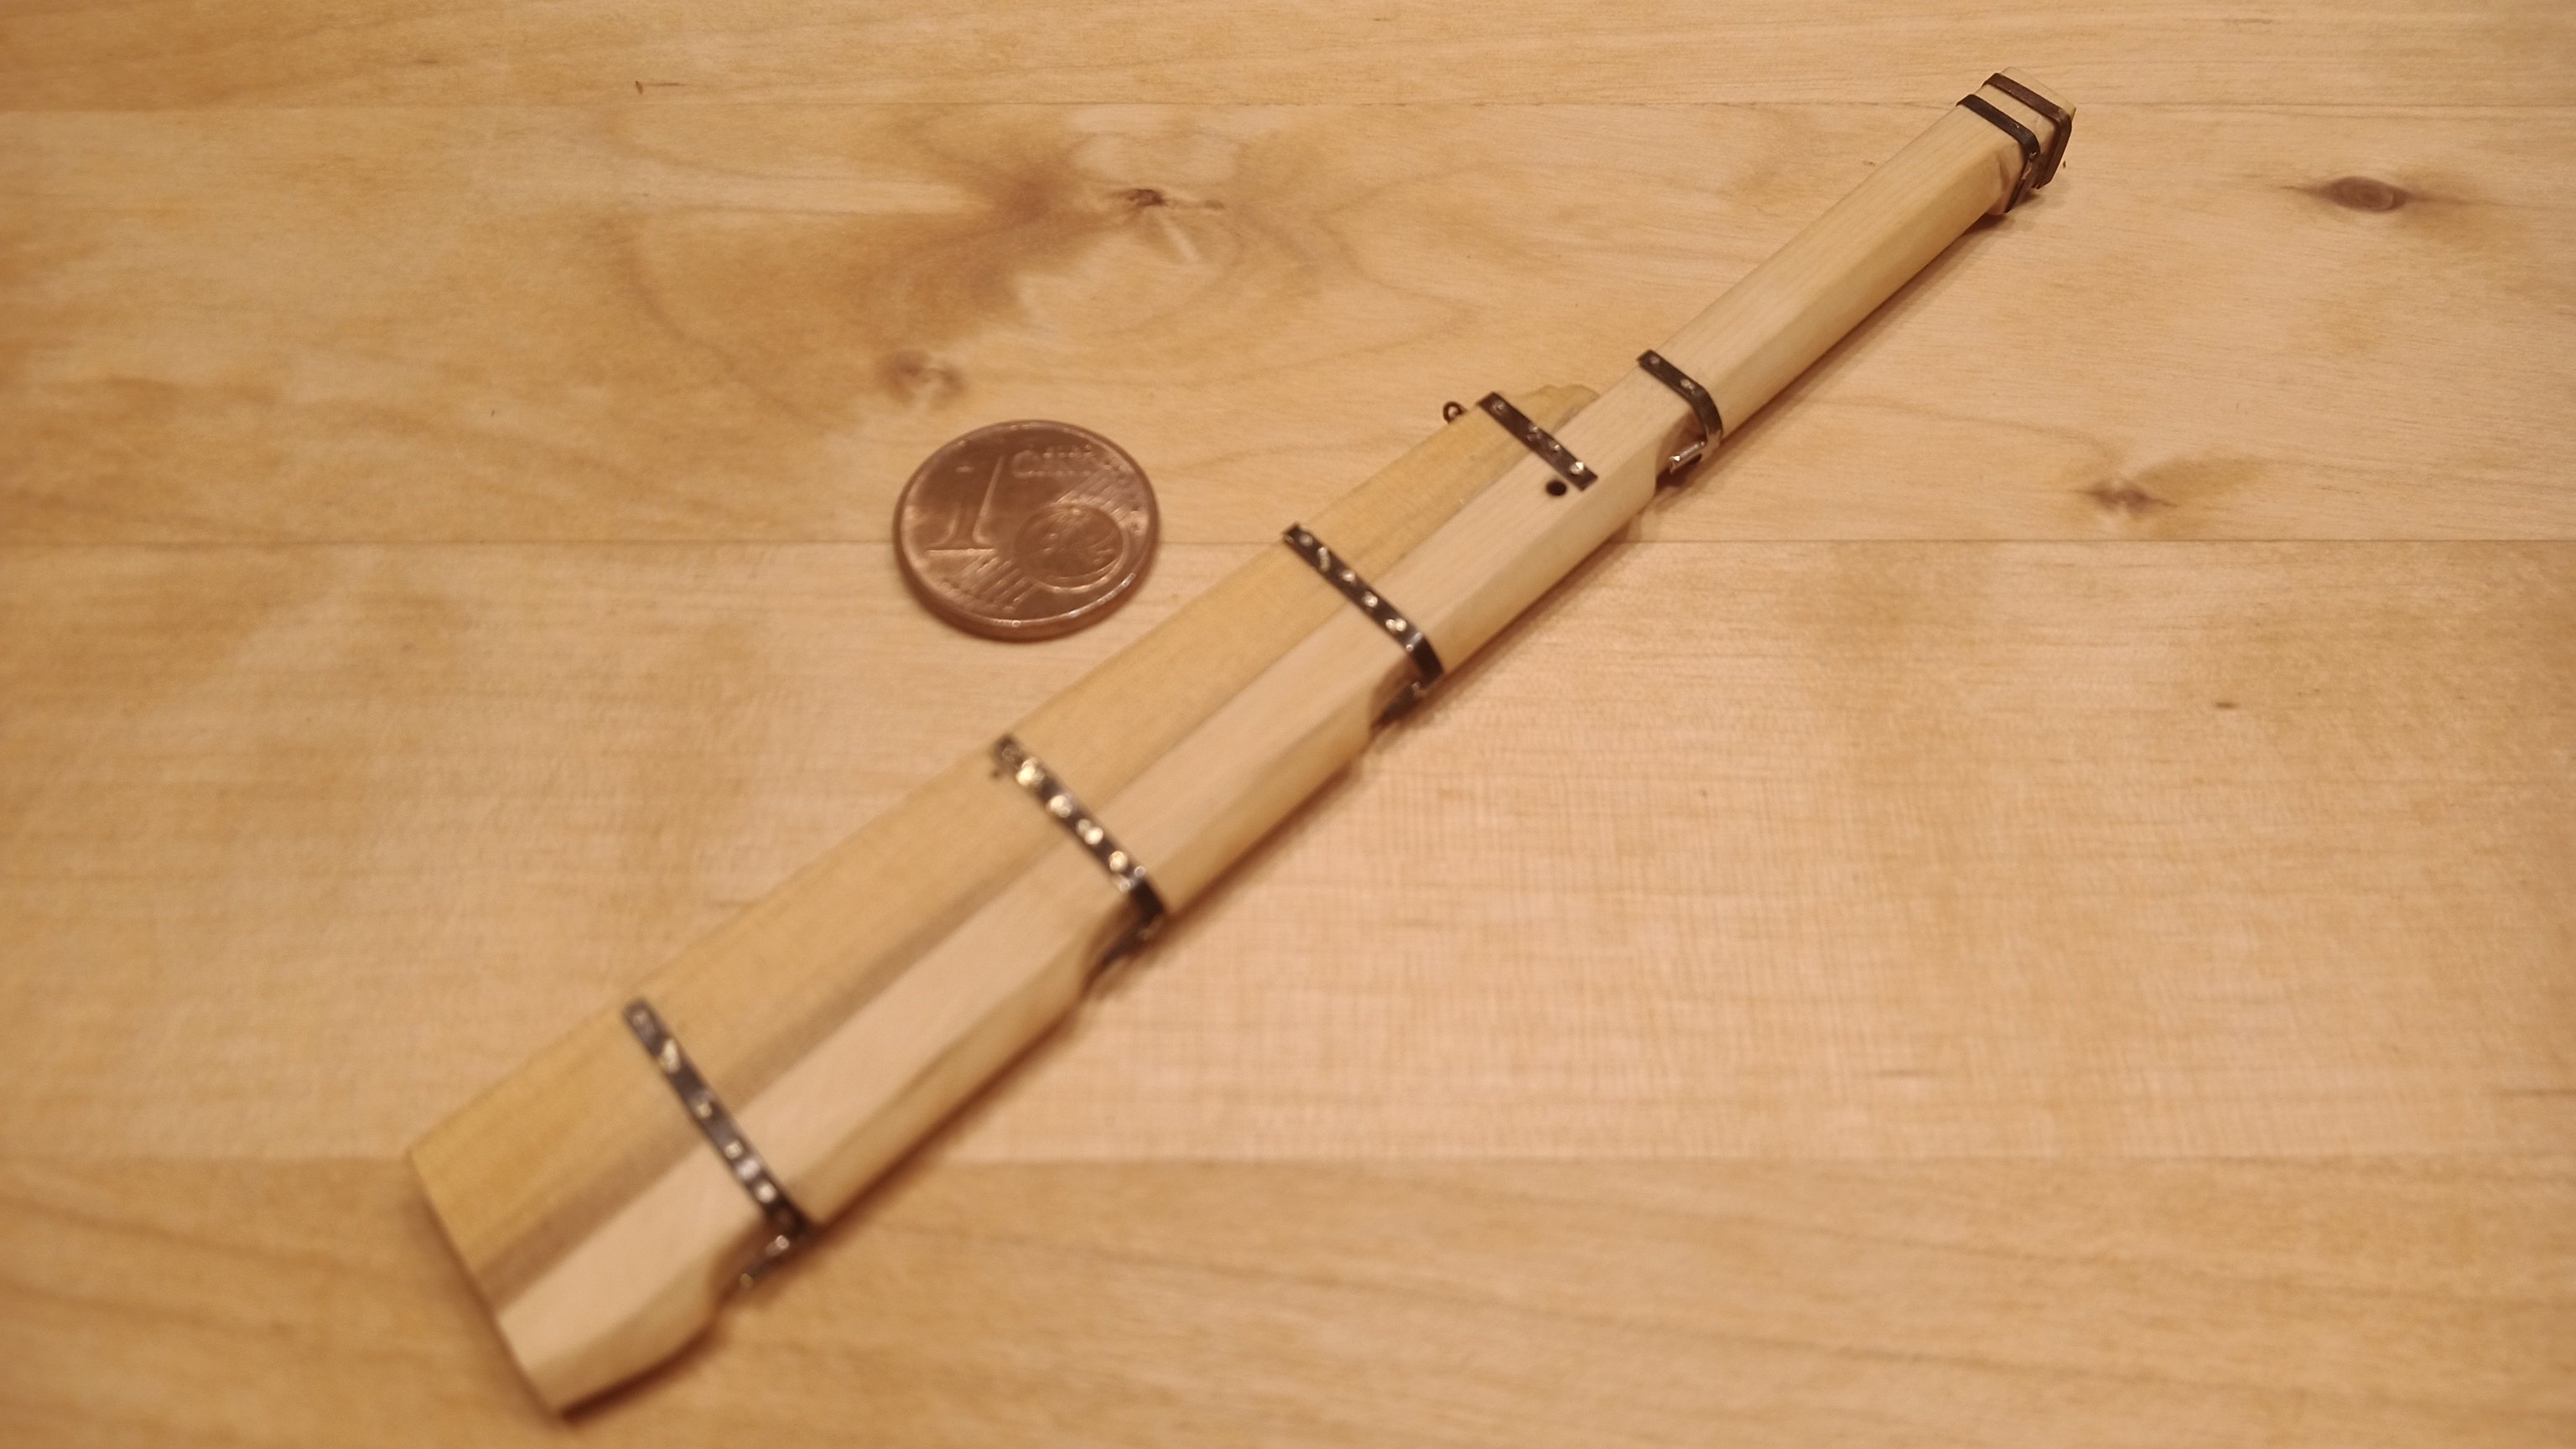
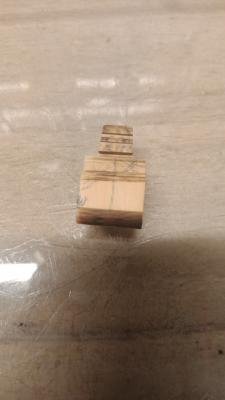
Small progress: The bumpkins have been made. Part of the length has an octagonal cross-section. Because these things are very small and curved, and taper towards the end, I couldn't think of a sensible way to machine them precisely and with sharp edges. The first attempt resulted in the area being perceived as more round. I then used a visual trick by giving the beveled surfaces a slightly concave shape with a ball-end milling cutter. We'll see if I leave it at that or if I can think of something else to improve them. I can't install them yet; they would get in the way when lashing down the bowsprit and adjusting the figurehead. Herzliche Grüße Willi

-
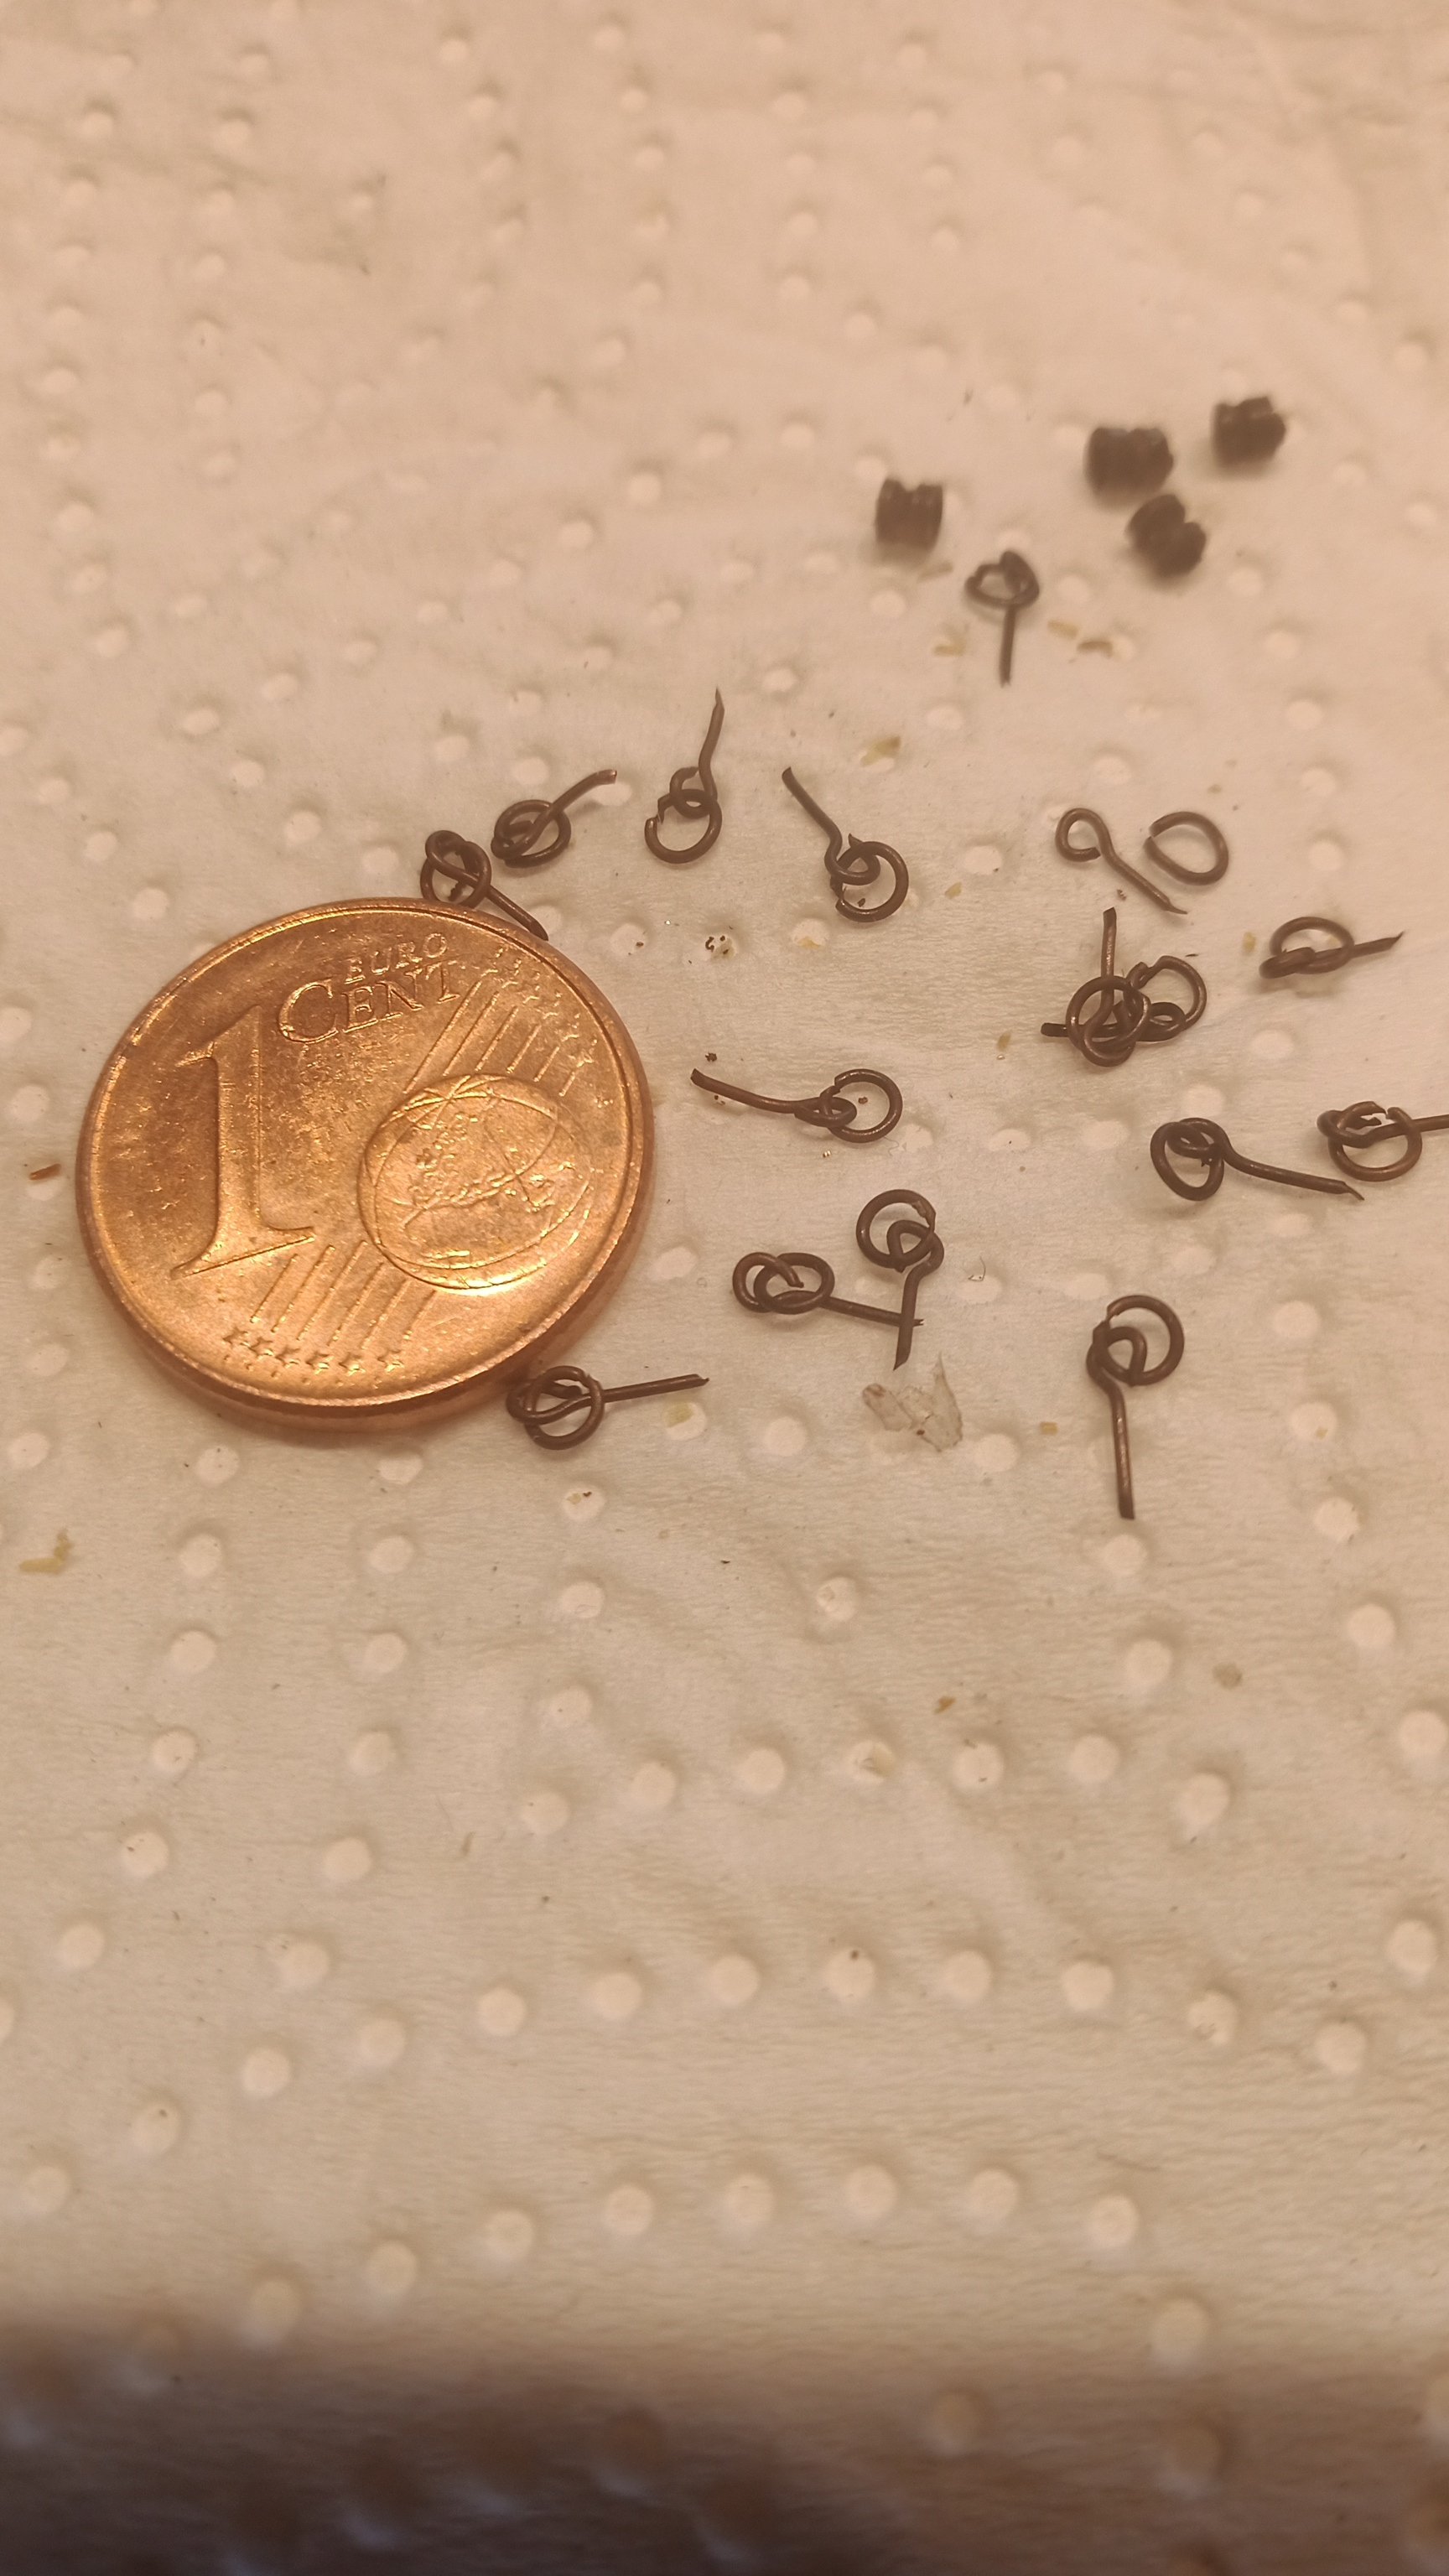
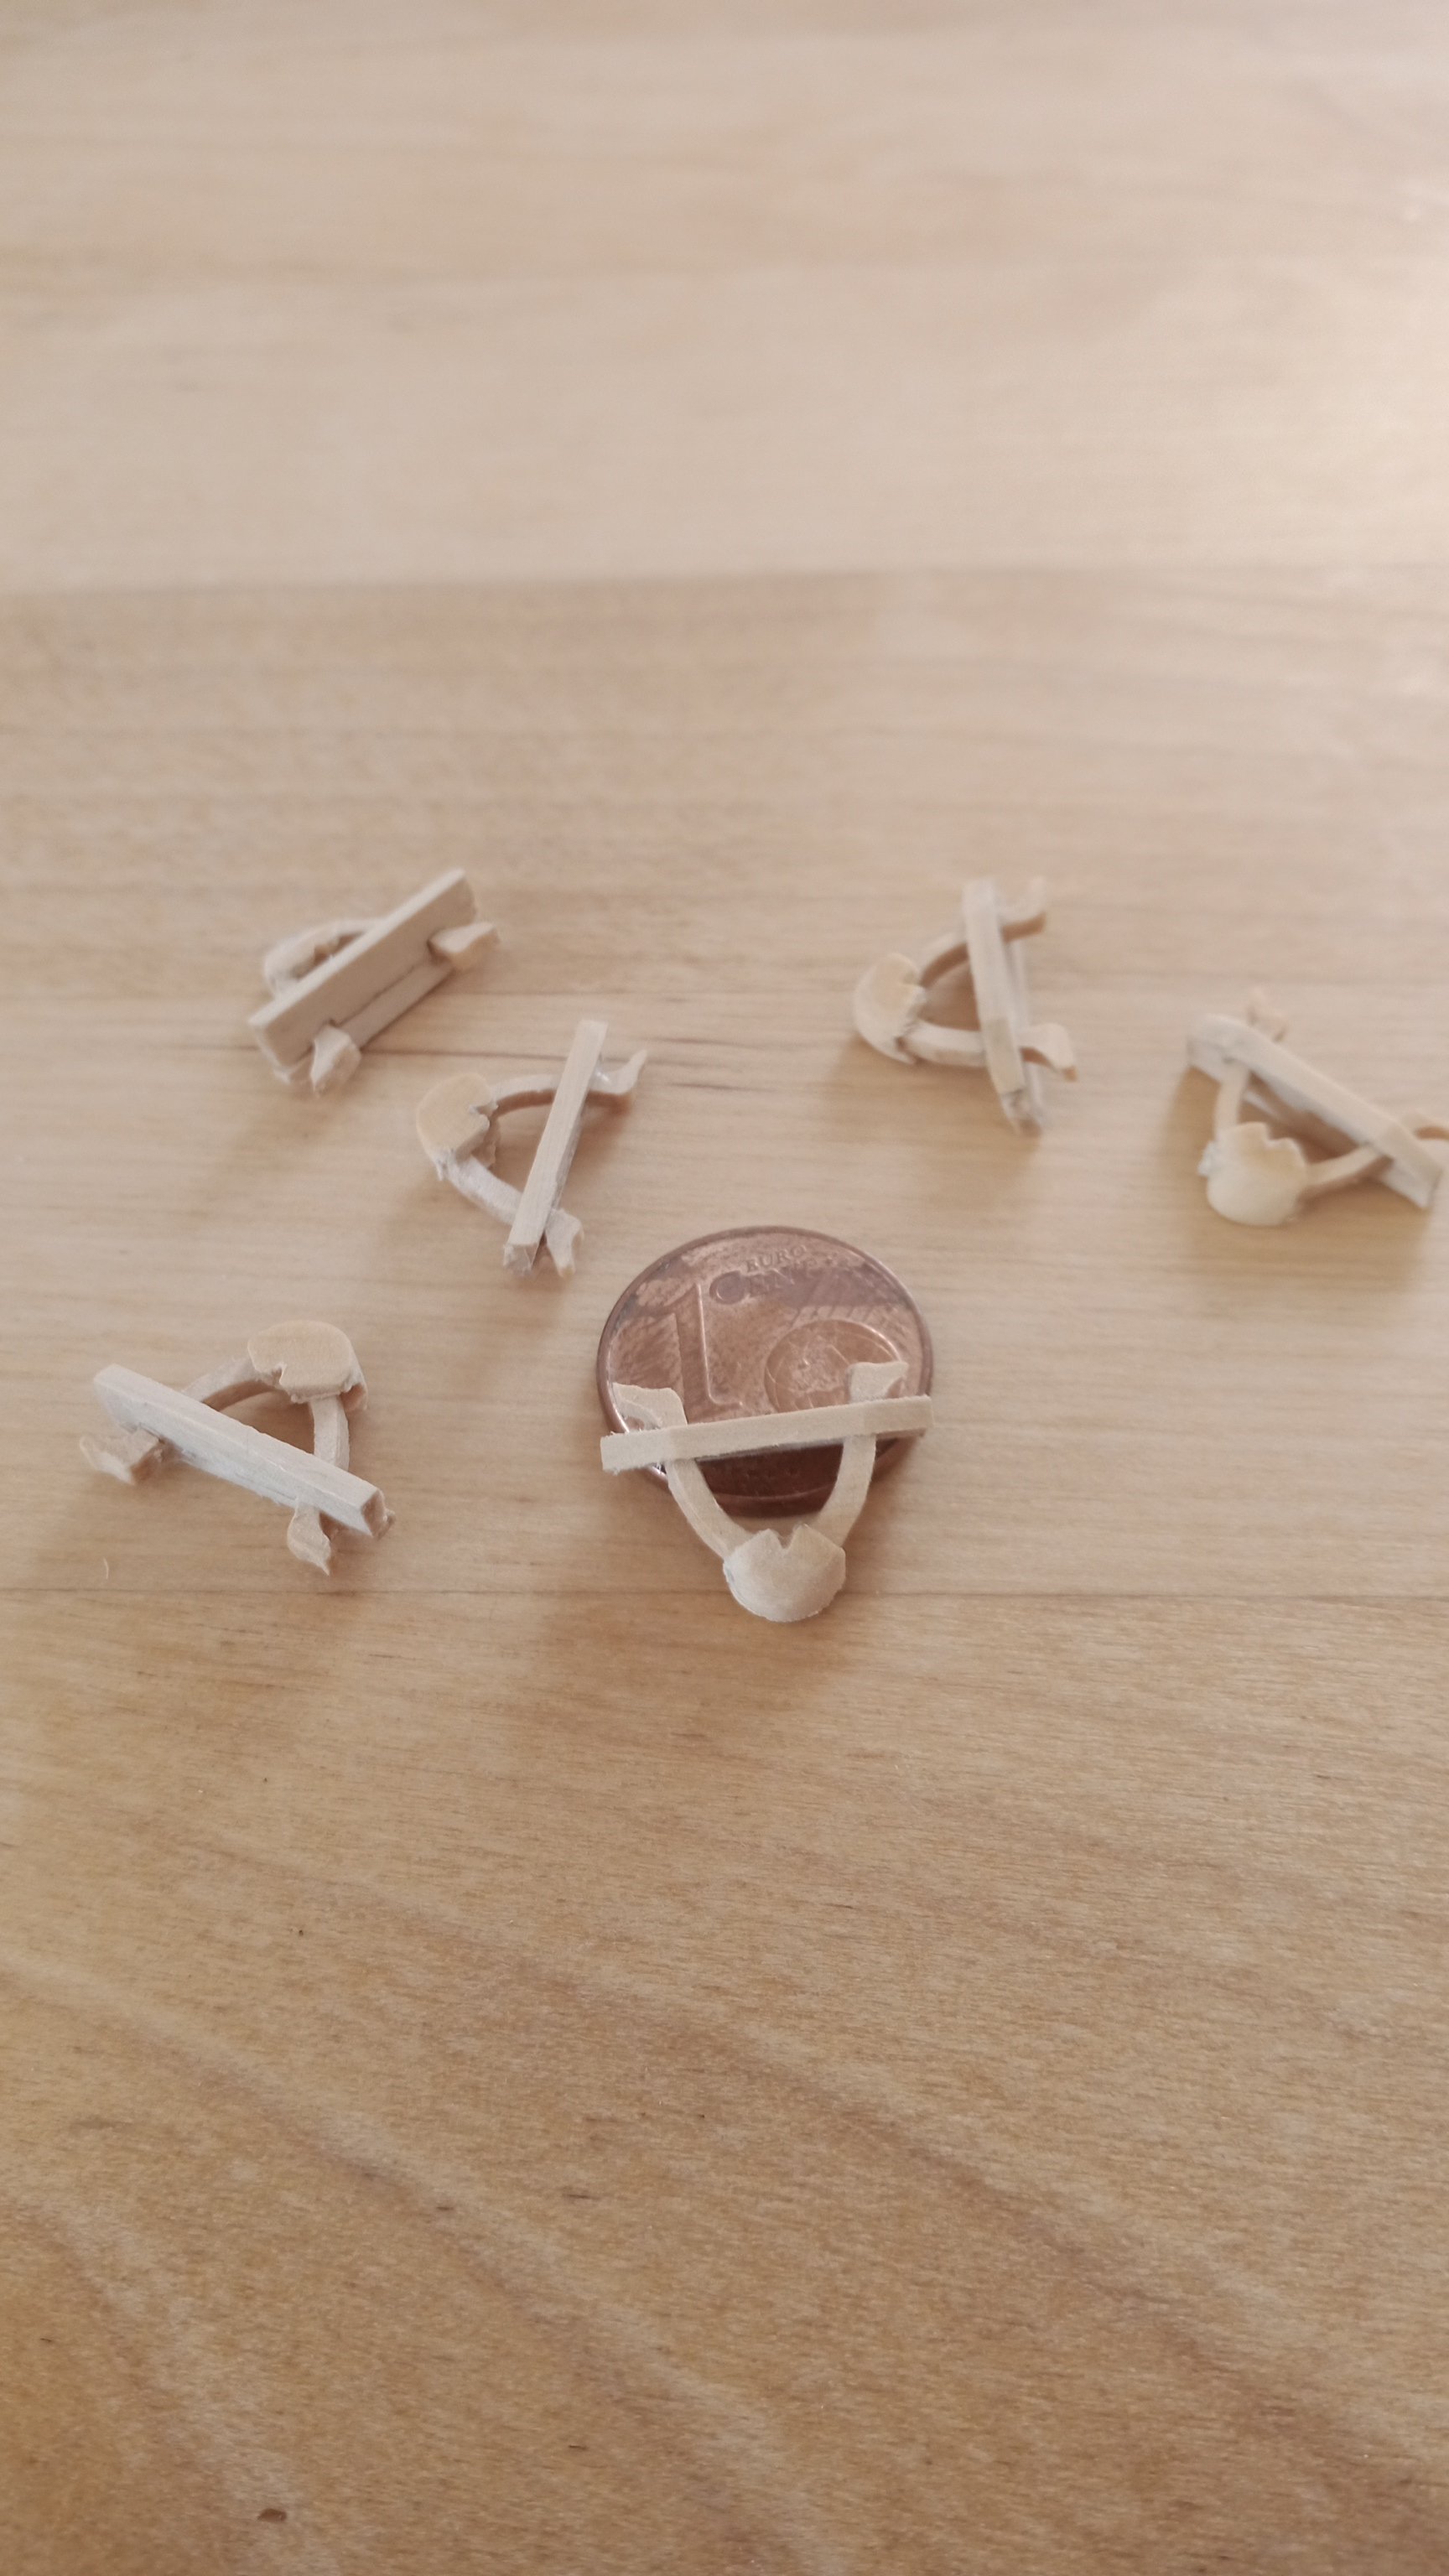
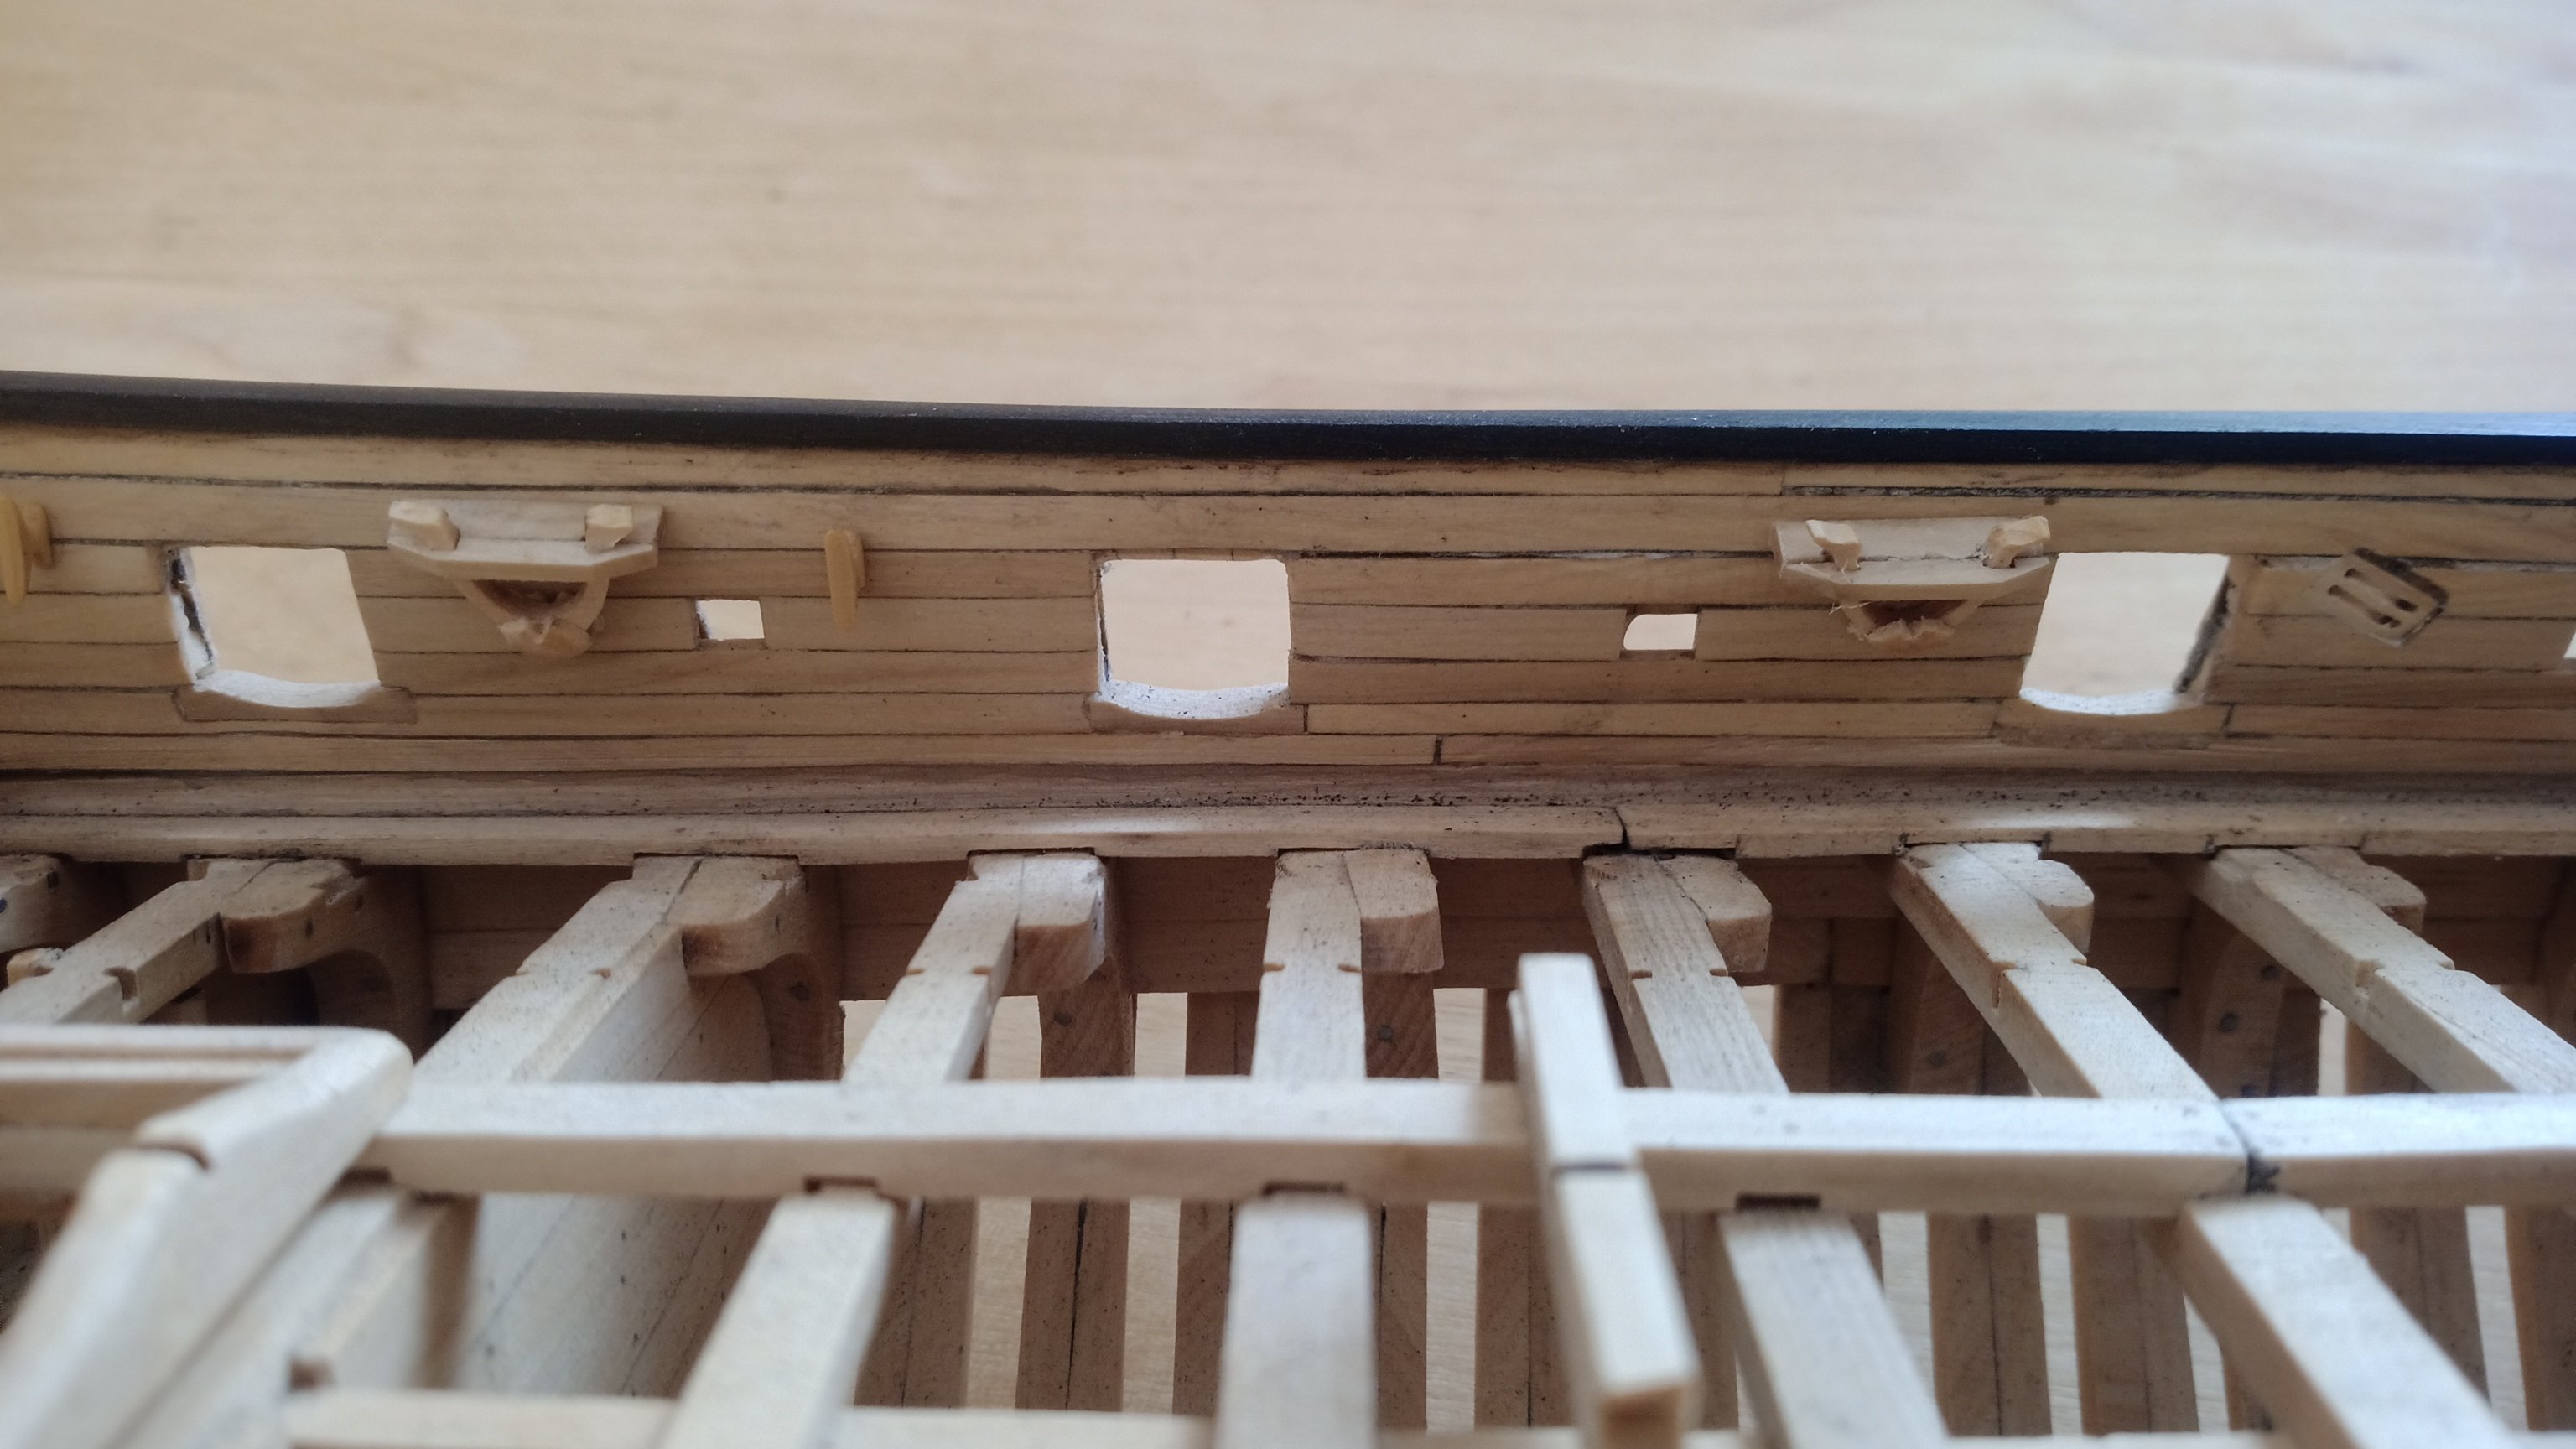
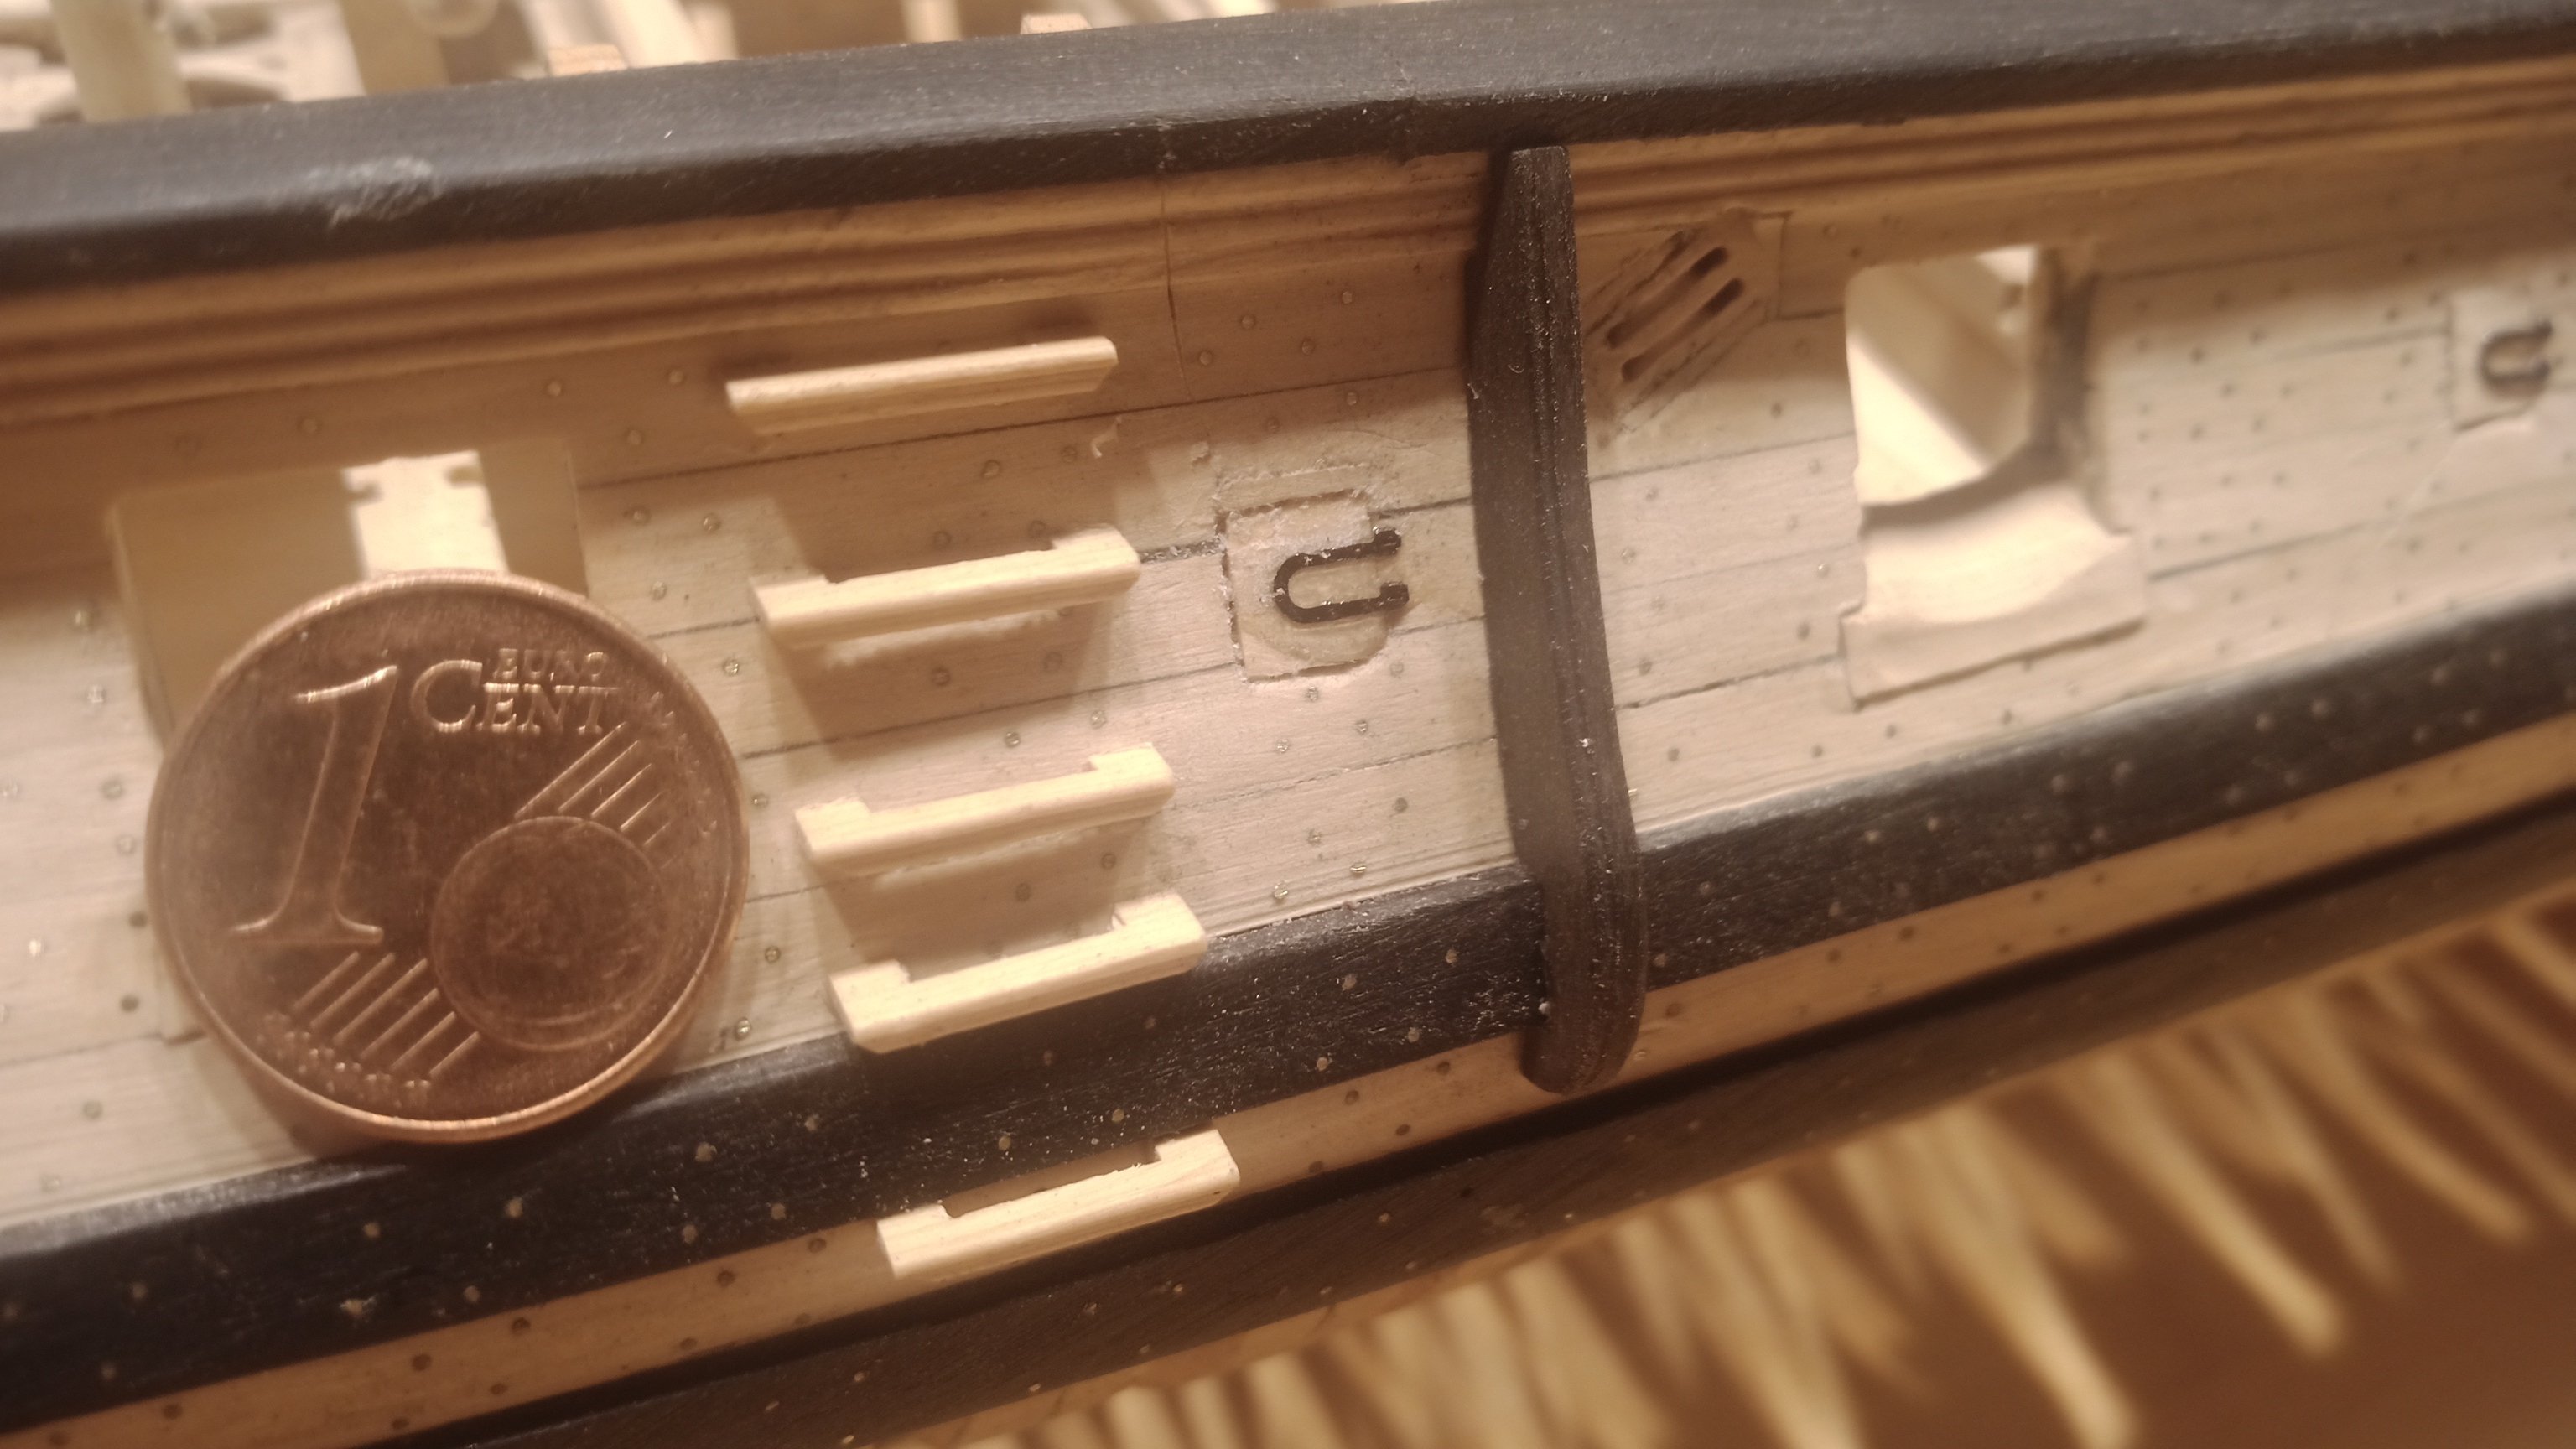
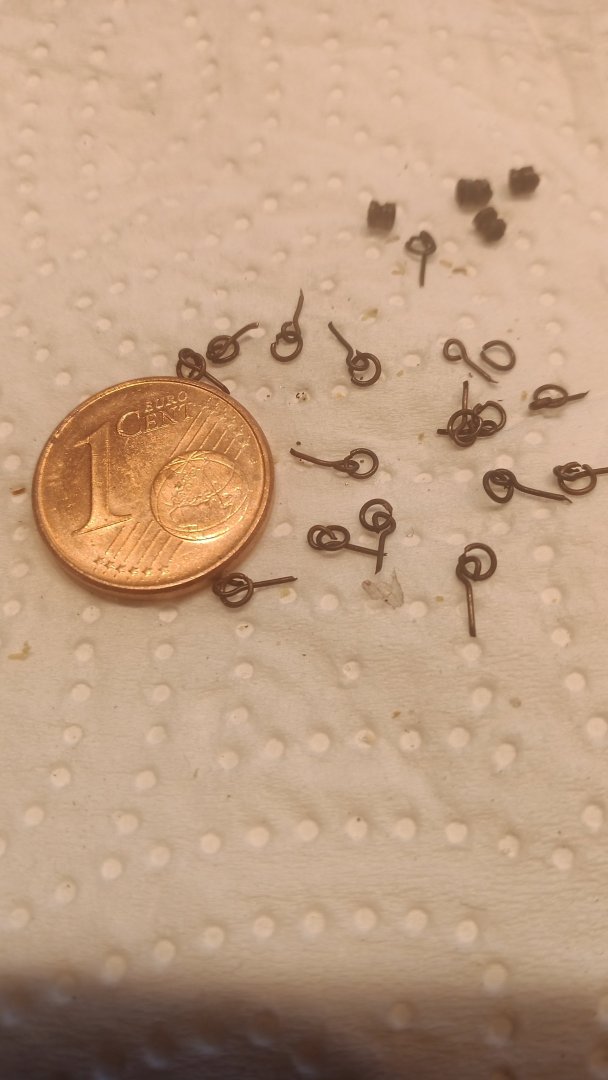
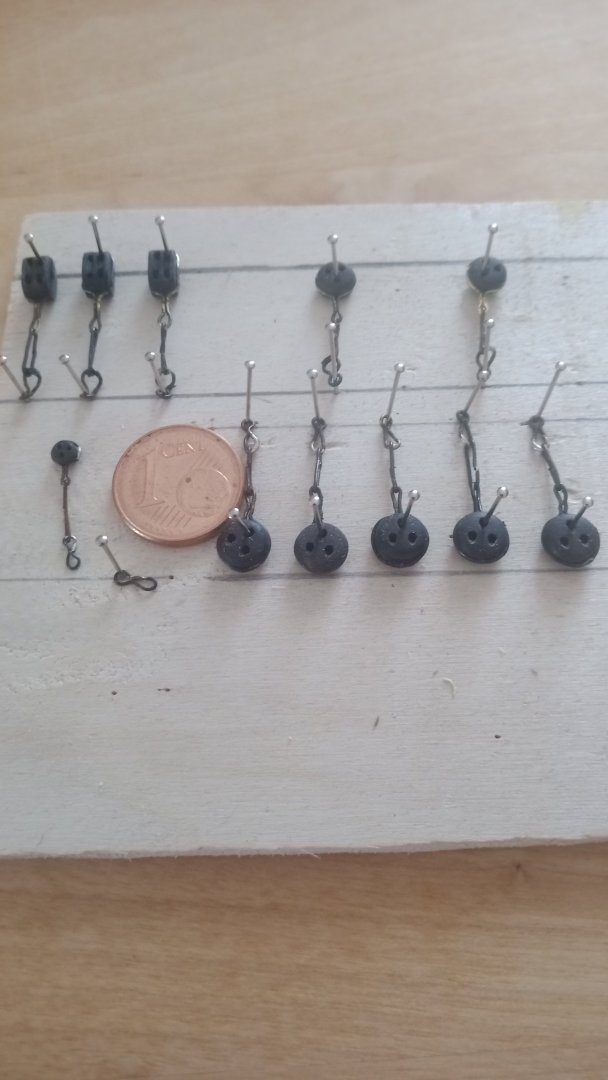
Hello everyone There's been a little progress, as small as its parts. There are probably around 60 eyebolts with rings that had to be made and installed. In the first photo, you can see four thimbles at the top. I didn't use them, though; they were too big. A lot of work for a barely visible result. Herzliche Grüße Willi

-
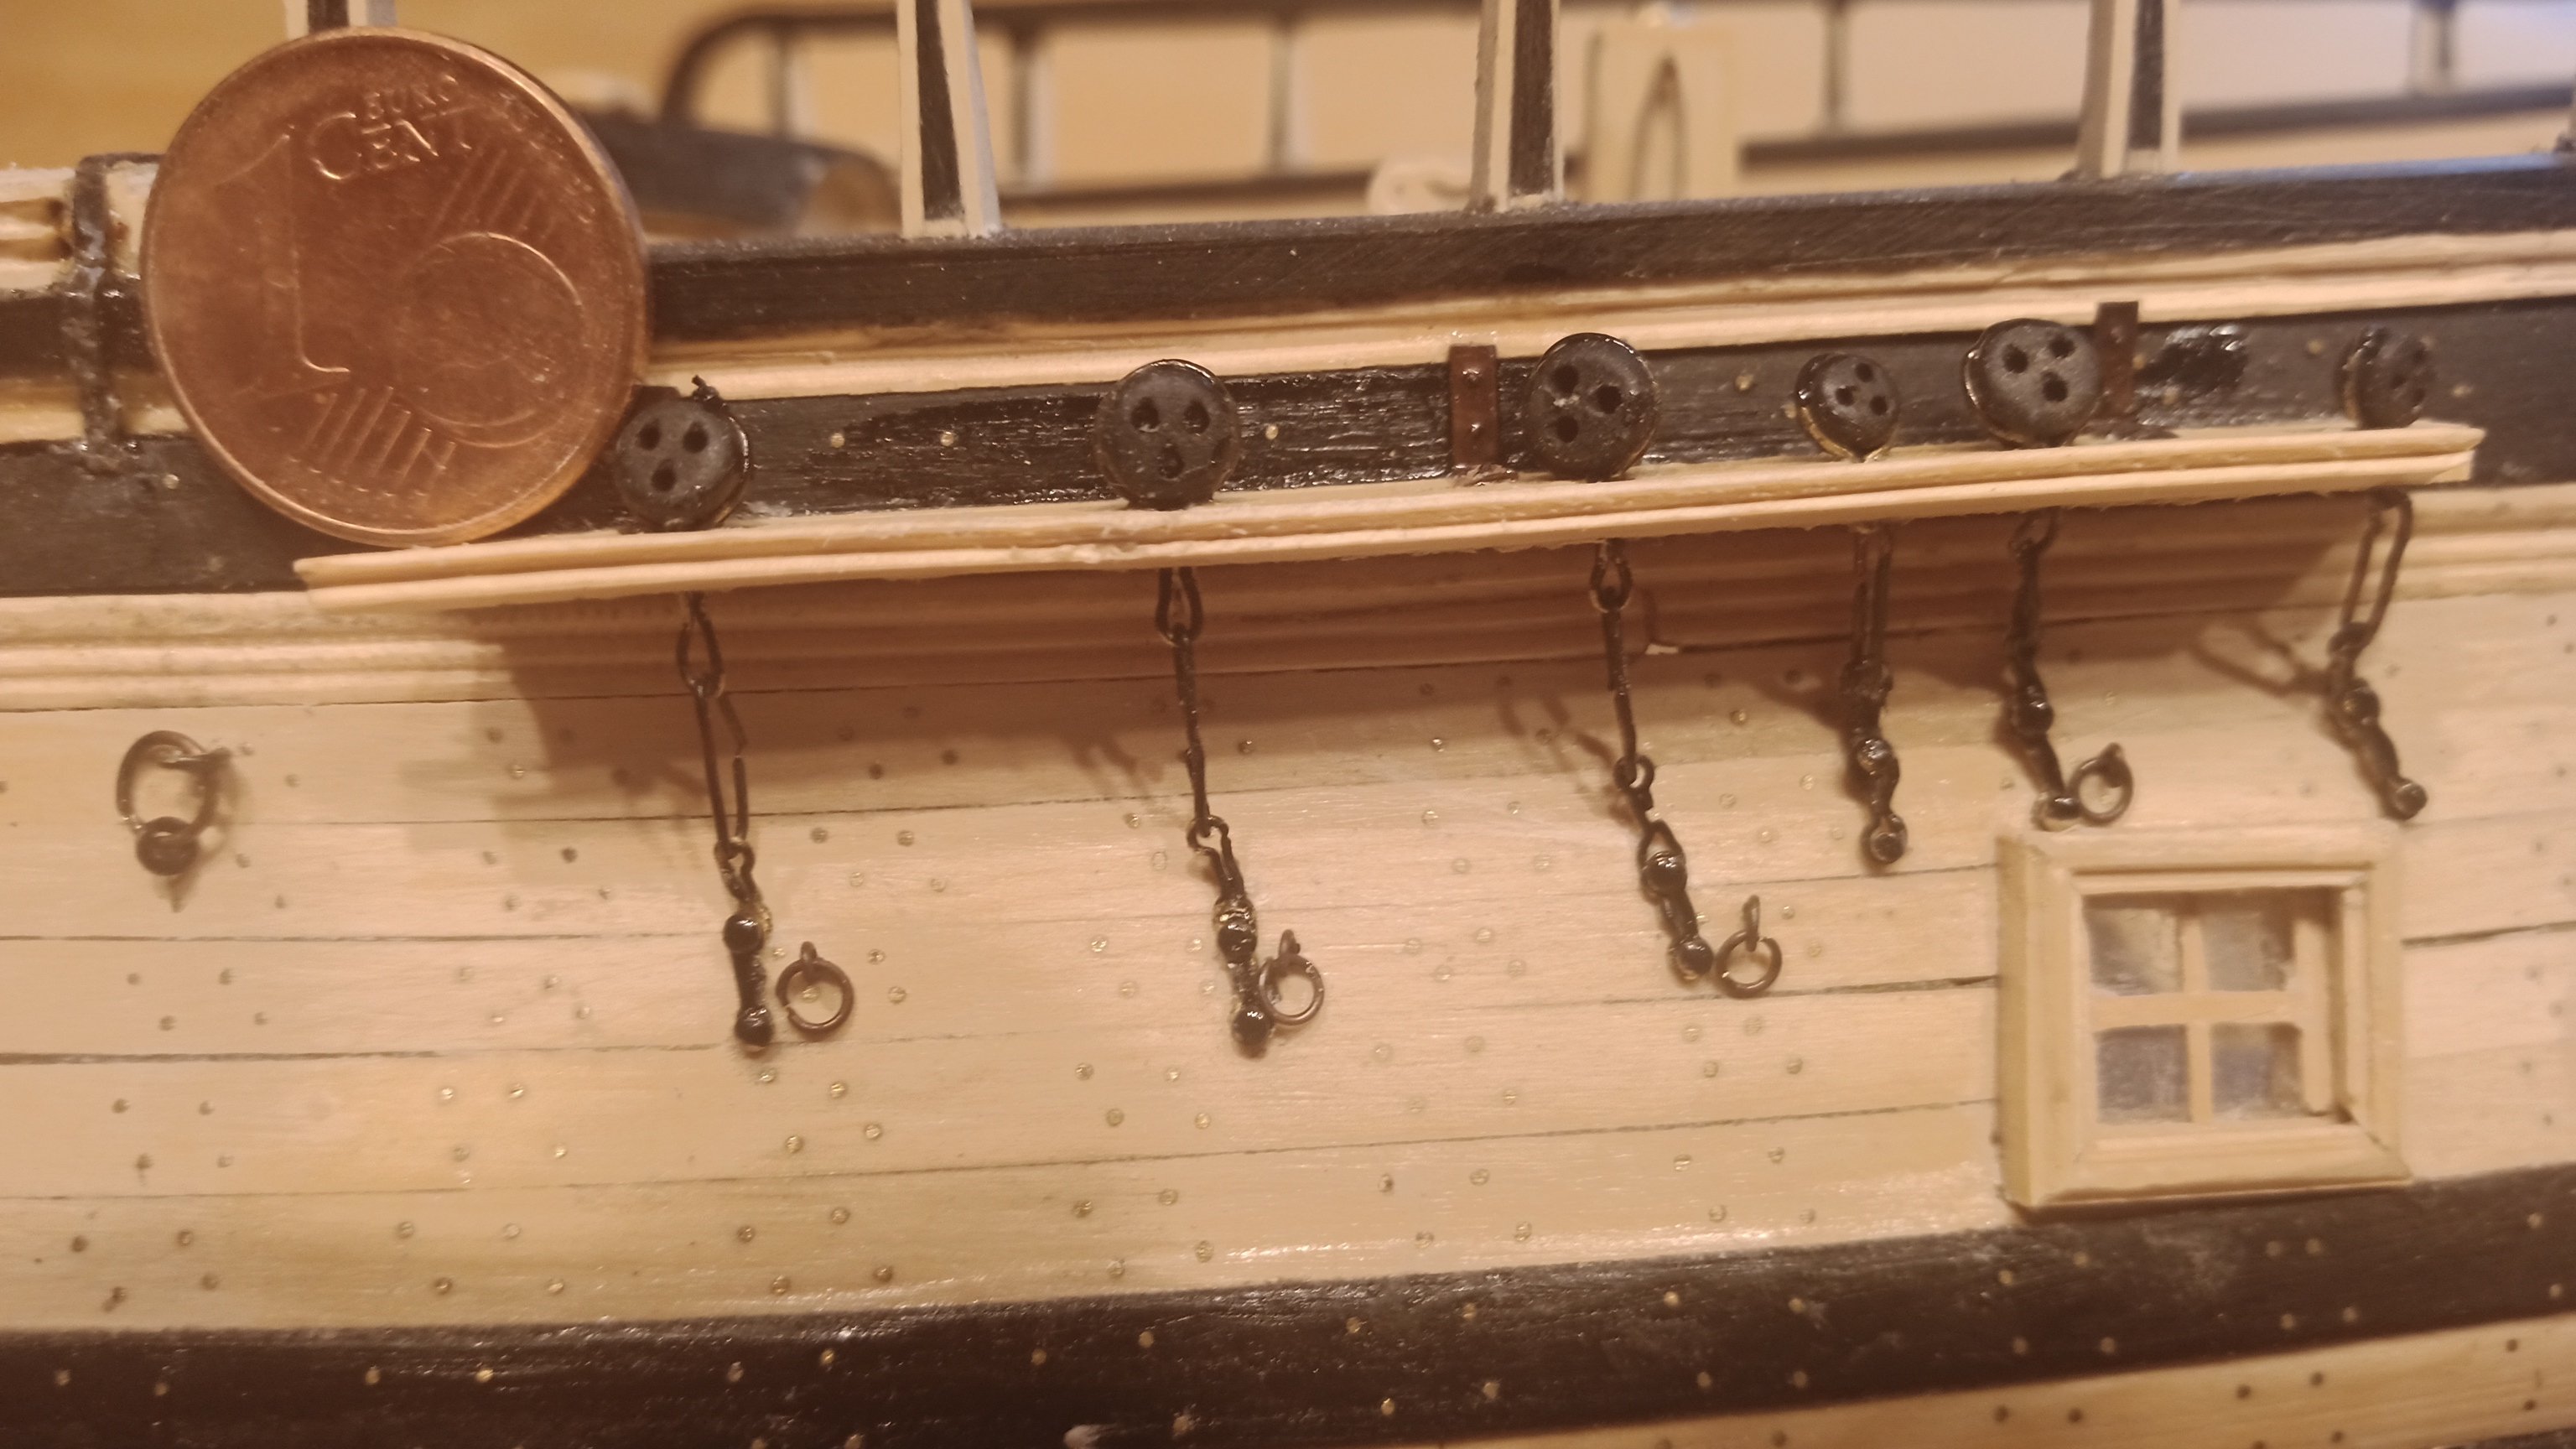
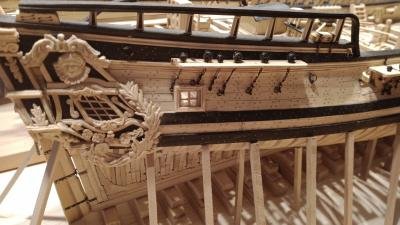
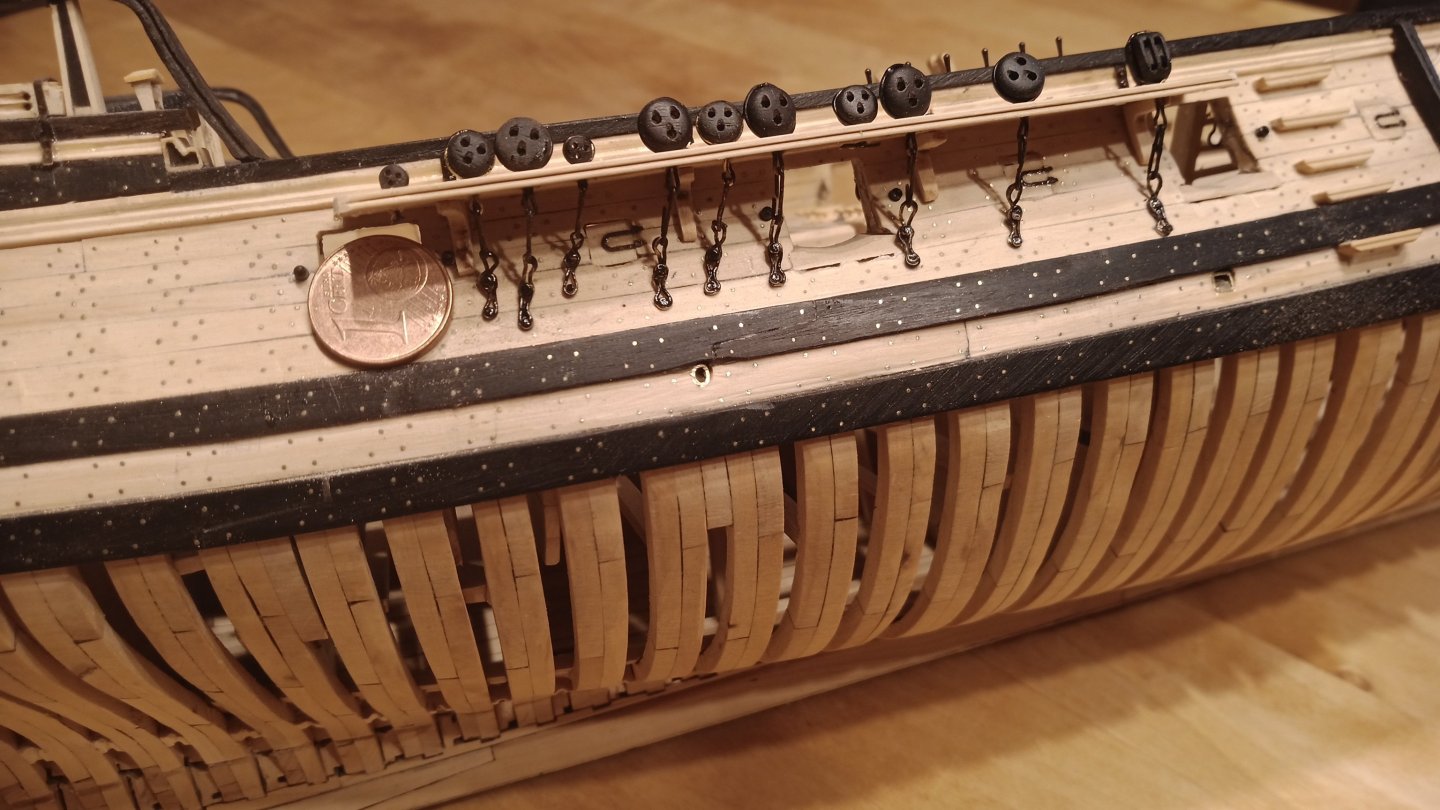
Hello everyone The channels an their chains: That brings me to the current status of the work. I'm not satisfied with everything. There's a gap between my expectations of myself and my abilities. Even though I hope you enjoyed the little journey so far. to be continued... Herzliche Grüße Willi

- 39 replies
-
- 15
-
-