

Sailcat
-
Posts
157 -
Joined
-
Last visited
Content Type
Profiles
Forums
Gallery
Events
Posts posted by Sailcat
-
-
The kit blocks ... yeah I ordered a bunch of wood ones from Model Shipways, lol.
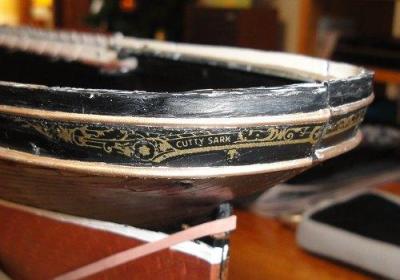
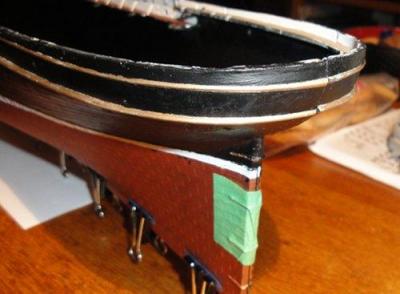
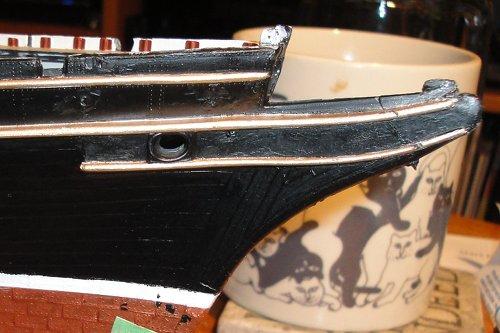
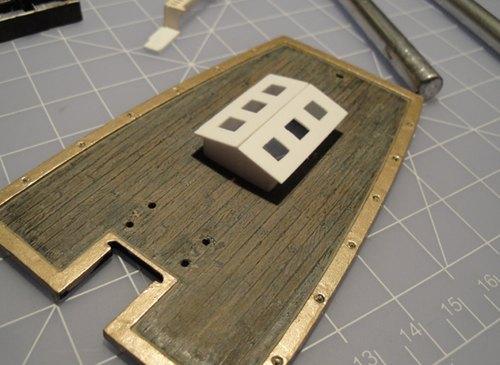
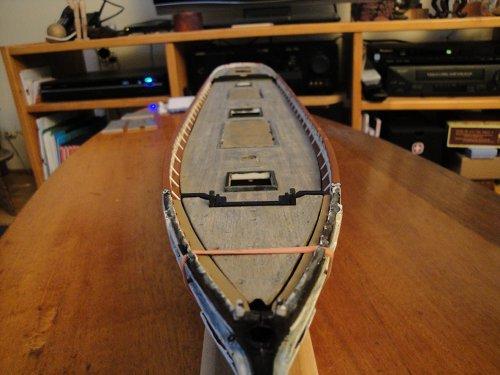
Detailing the Hull begins. Historical note: the original Cutty Sark would not have had gold trim - something I learned from a link provided by, who else, an MSW member. But as the Dame Tisane had different 'owners' she could wear gold.


And the tough part - dealing with the decals. I'd chosen the path of re-imagining her as a different ship and so the kit decals had to go. But I liked them a lot and kept them on for as long as I could. I had thought of 'making' decals at this point but I hadn't started playing around. Needless to say, what I came up with was simple and clean ... but having that wonderful scrollwork would have been cool. Maybe on the next build ...

- Dimitris71 and 3qq
-
 2
2
-
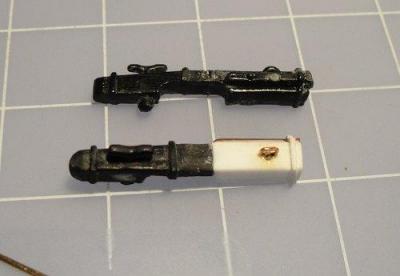
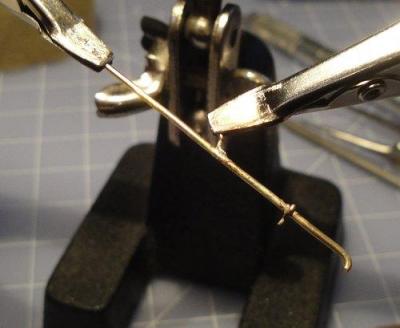
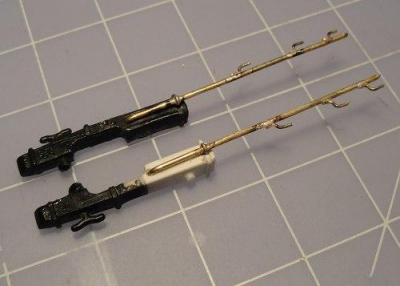
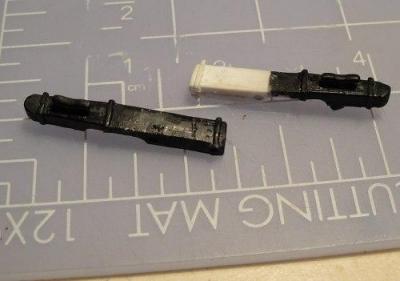
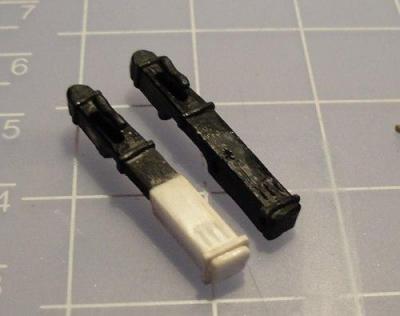
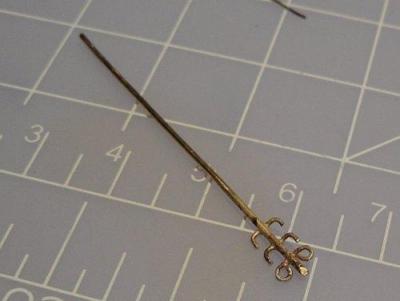
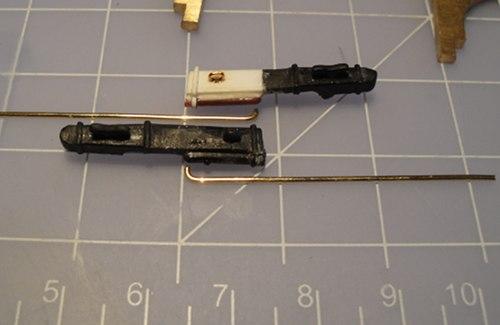
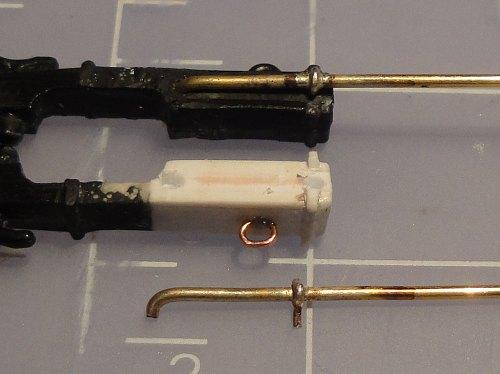
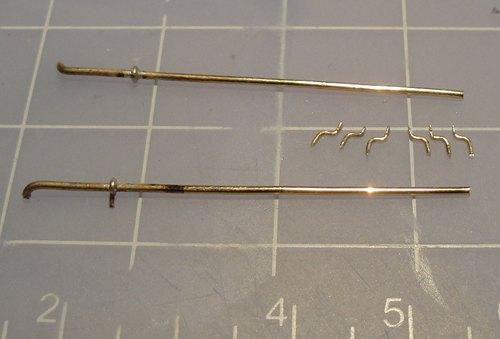
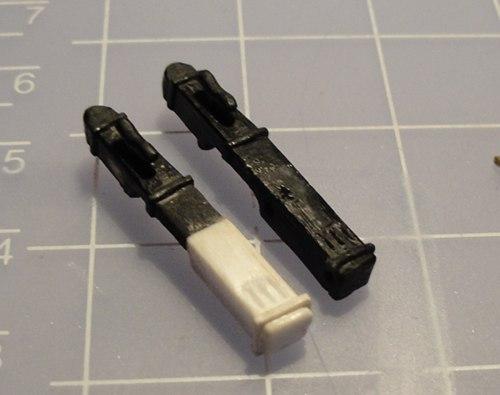
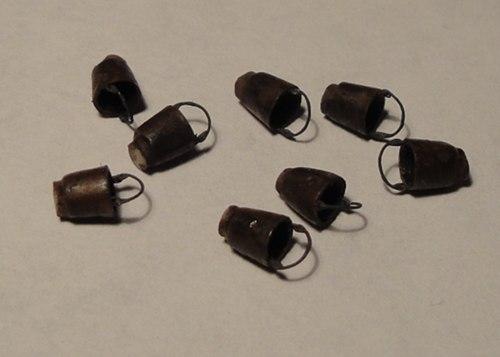
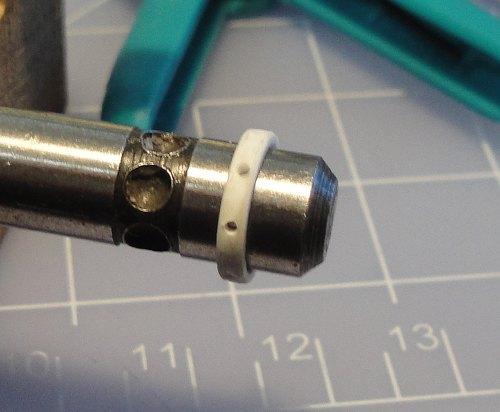
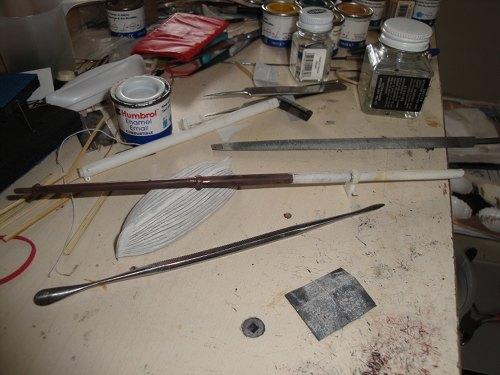
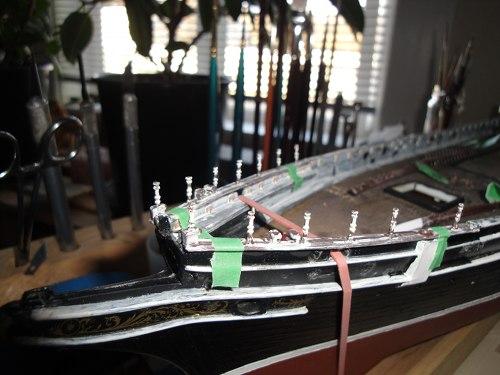
Here begins the repair/fabrication of the Catheads and their Whiskers. The original kit parts had the whiskers moulded with the catheads. These had been carried away, actually I was missing the front half of one of the catheads, so out came the newly acquired silver soldering skills and I took the opportunity to try and adjust the detailing. This led to adding even more details once other members commented, lol.
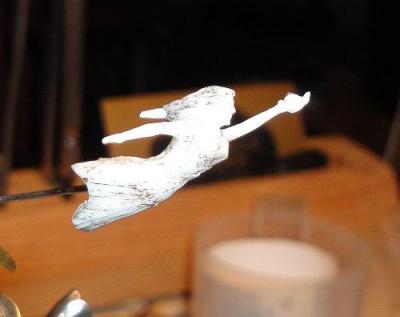
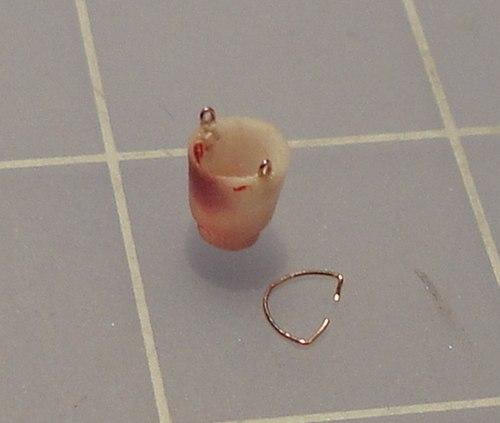
The catheads. The eyebolt (and corresponding kit original) disappear at some point.
Then they were prepped for the whiskers - holes drilled, path cleared, that sort of thing.

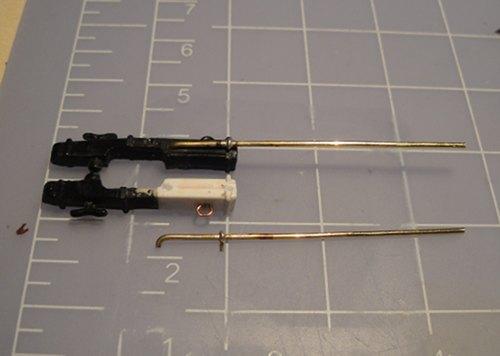
Now it's time to affix the 'tines.'
Test fit looks promising.
Ringbolts disappear.
And after some posts on the topic I added sheaves ... or at least I faked them

-
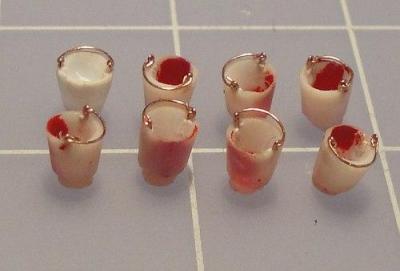
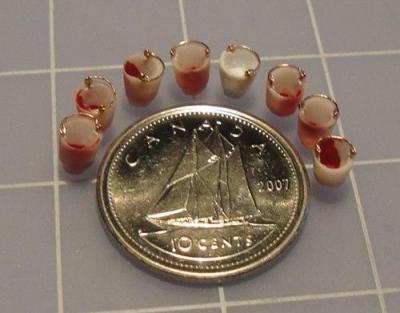
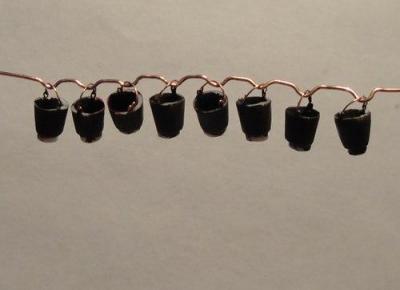
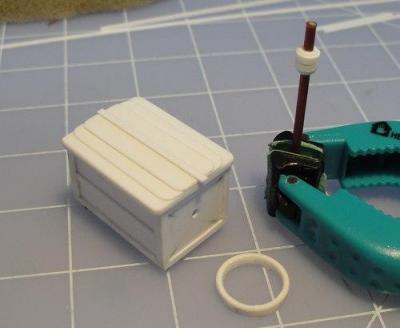
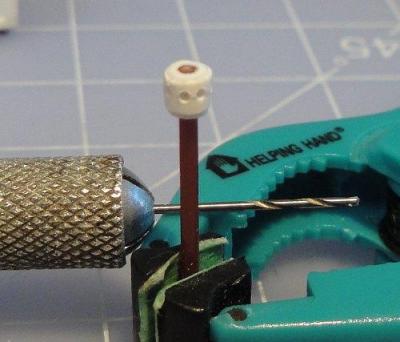
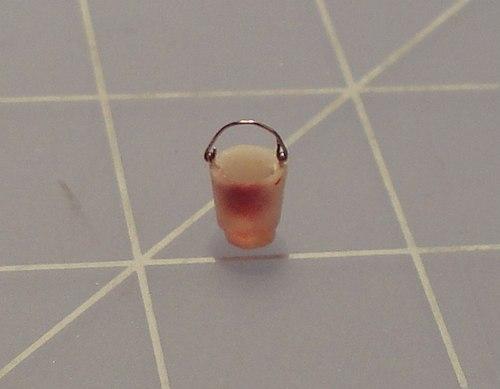
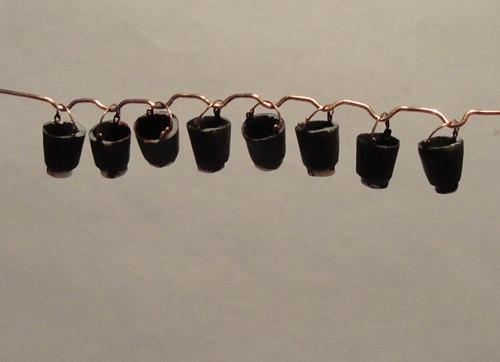
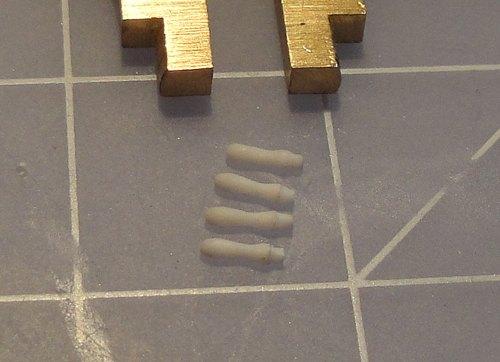
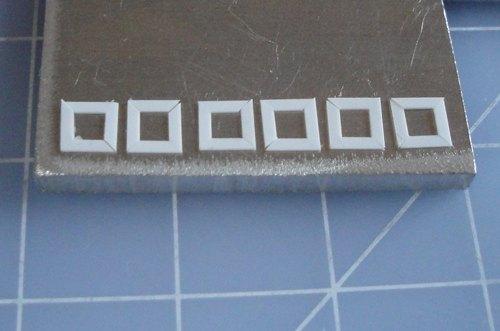
Continuing the saga of little tiny handles for little tiny Buckets ...
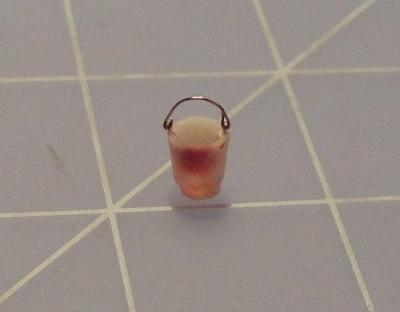

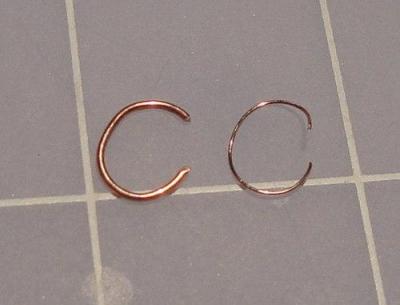
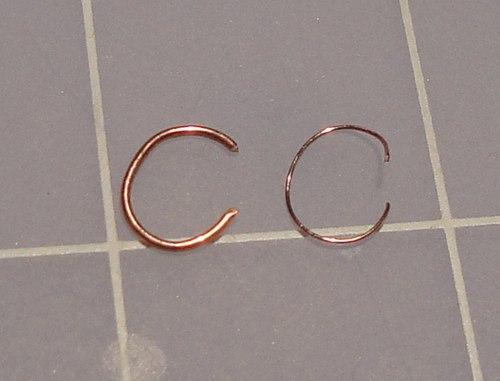
A comparison of the wire I chose first then the thinner one I wound up using.
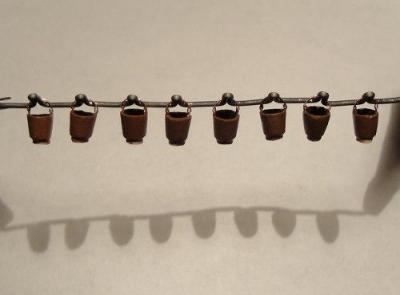
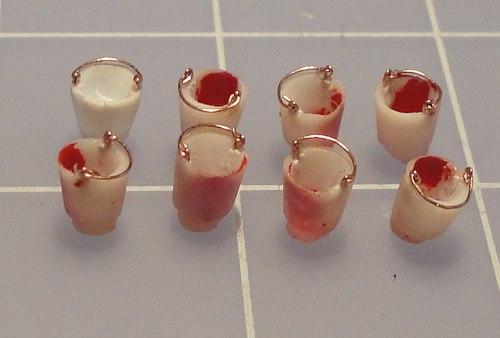
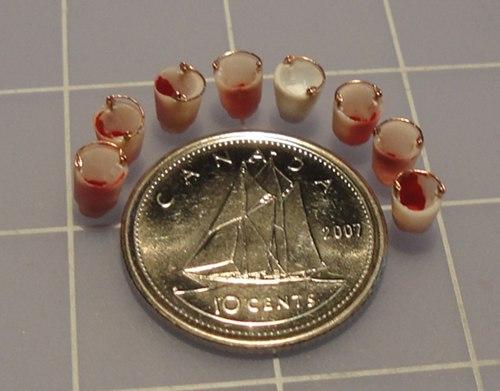
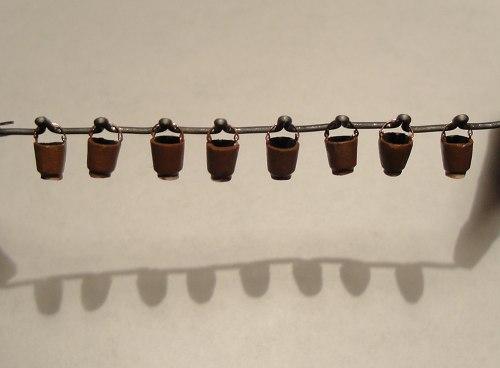
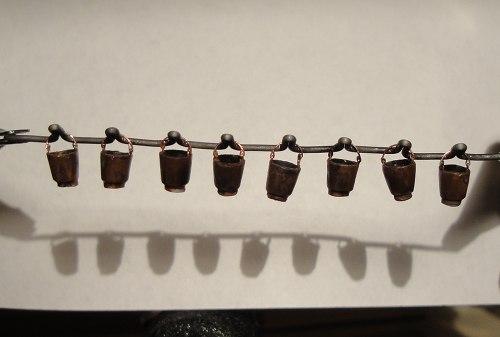
Painting the Buckets.
- Dimitris71 and 3qq
-
2
-
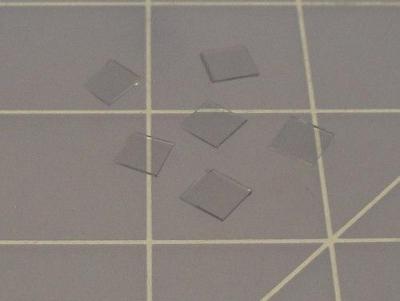
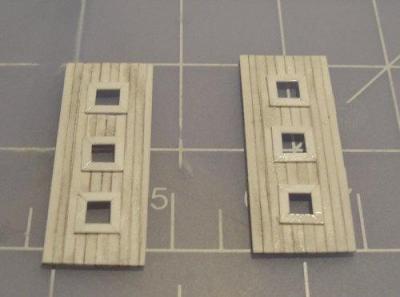
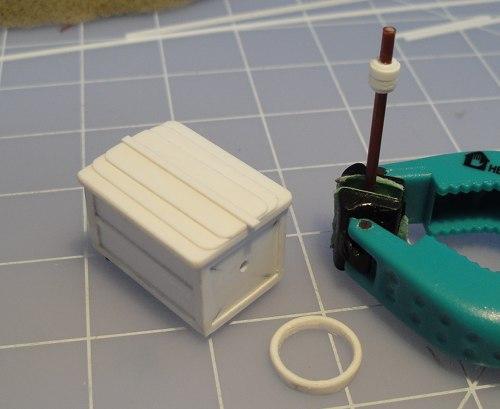
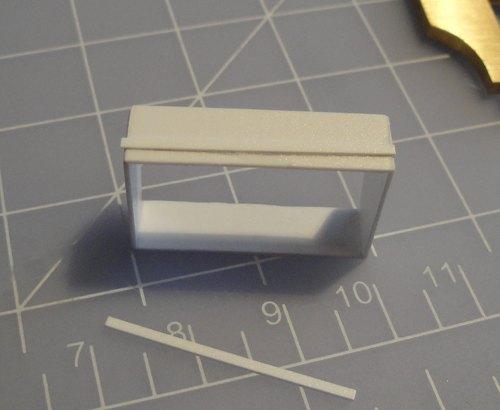
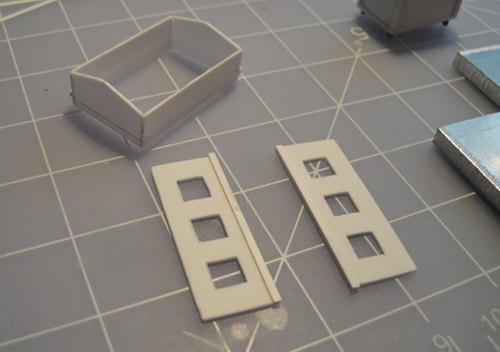
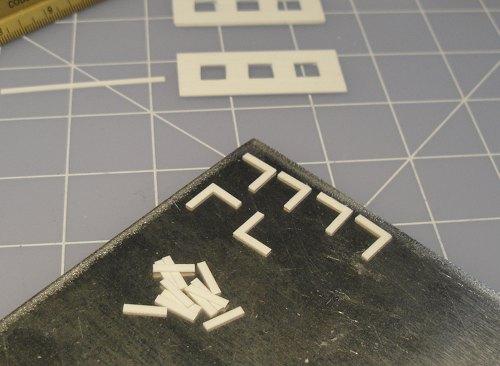
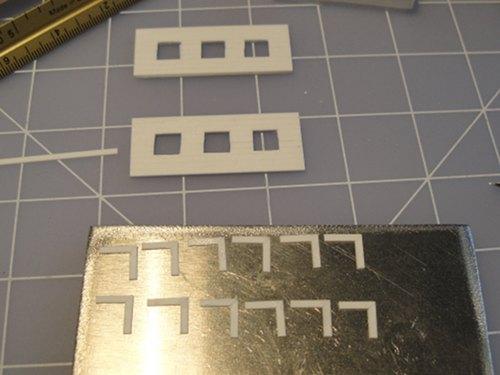
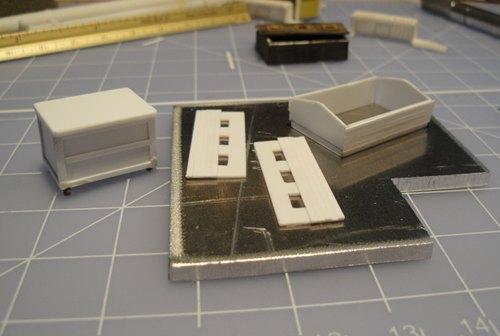
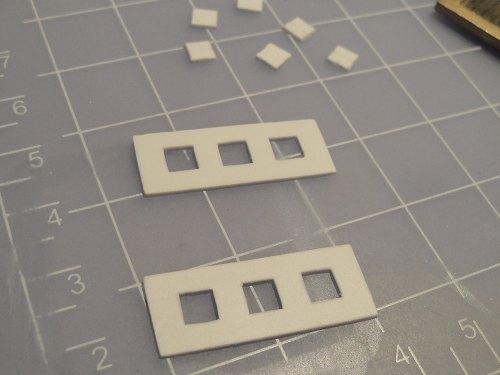
Thanks to other members of MSW I was able to figure out how to do windows for the Skylight.
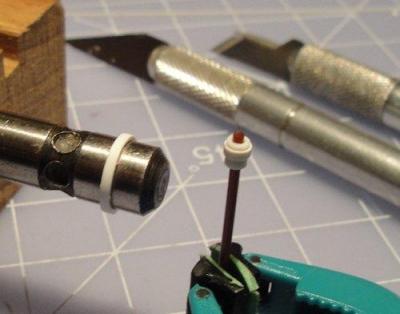
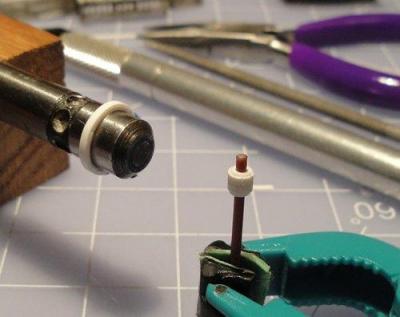
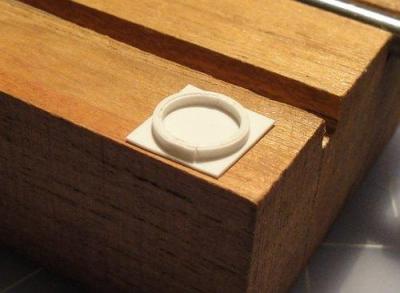
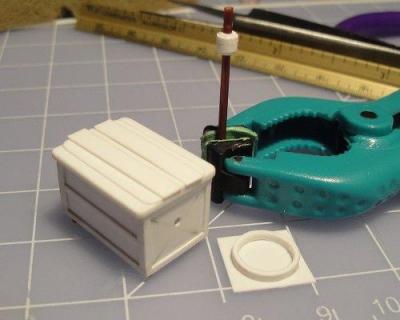
Adding tiny, little details to the Bowsprit.
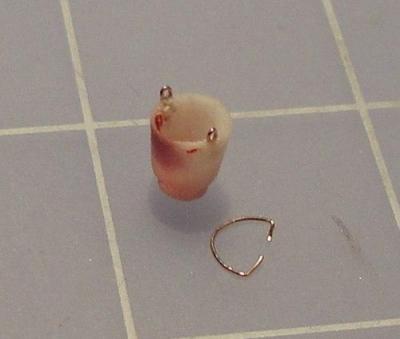
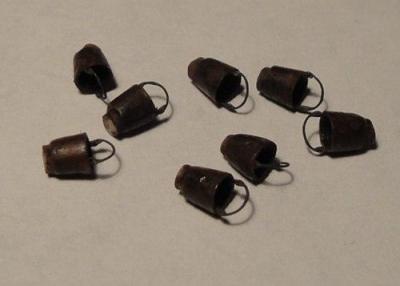
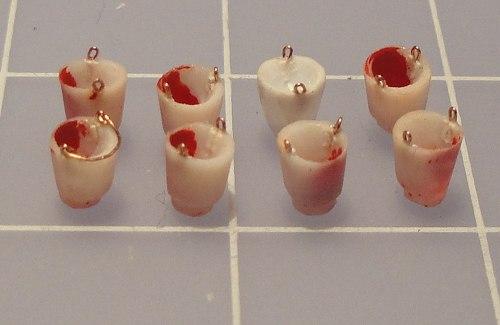
Hand carving a replacement Bucket as one was missing.
Here's one of the kit Buckets and the one I made.
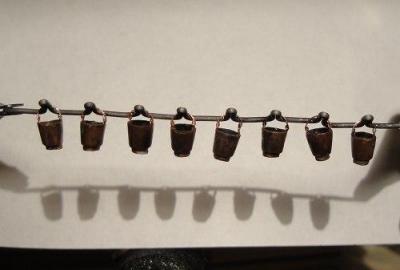
Re-working the remaining Buckets, the kit moulded handles looked really clunky so I cut them off and made some from thin wire.

- Dimitris71 and avsjerome2003
-
2
-
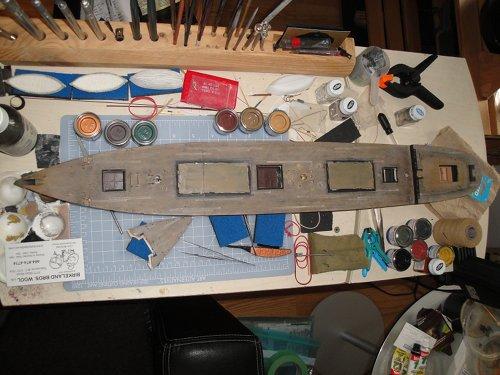
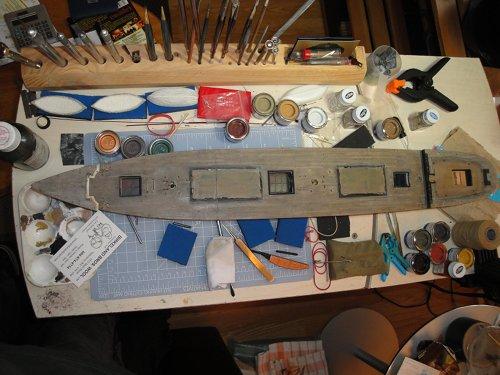
More painting and detailing - now we're at the 'staining from use' portion.
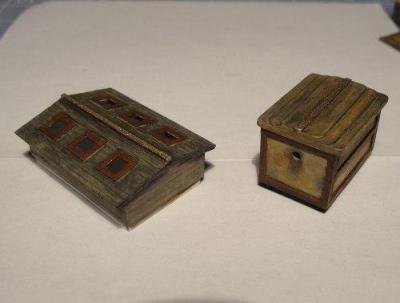
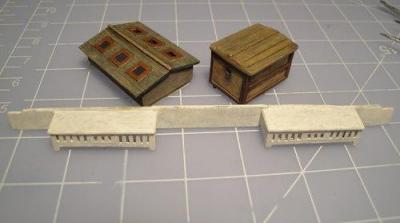
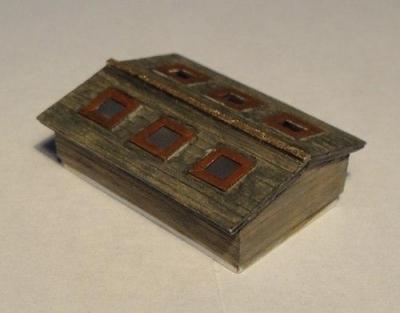
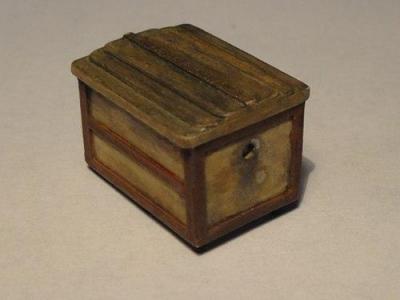
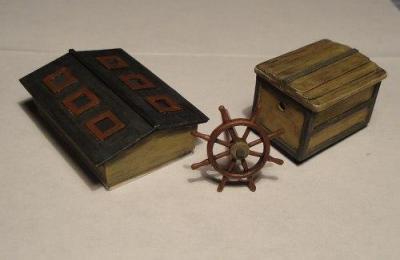
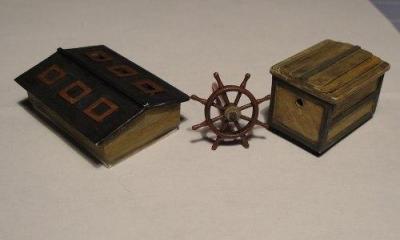
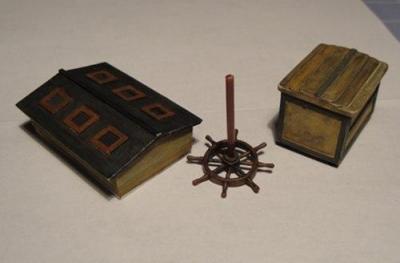
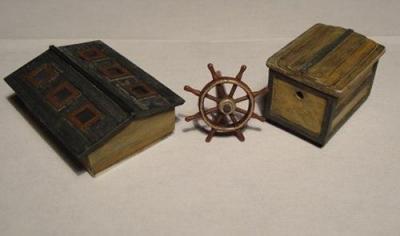
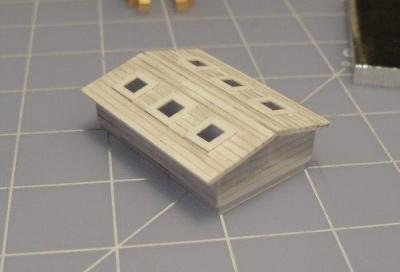
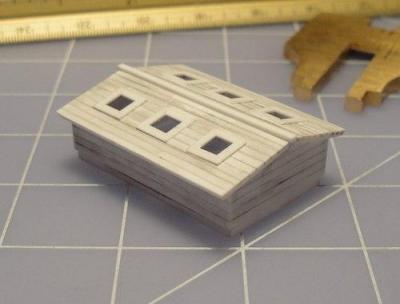
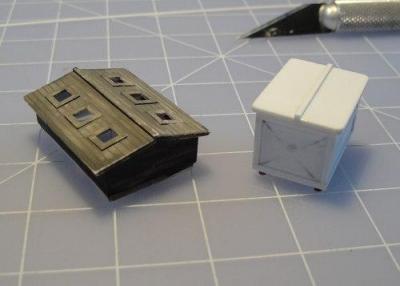
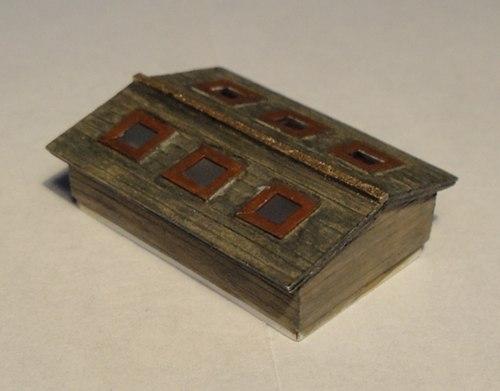
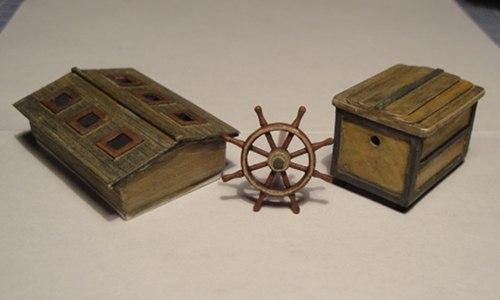
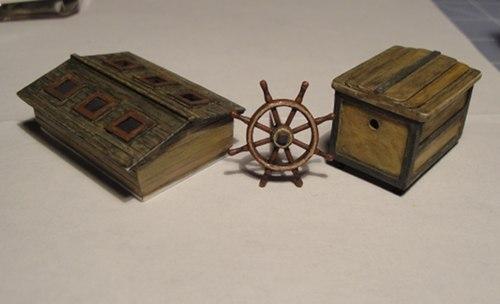
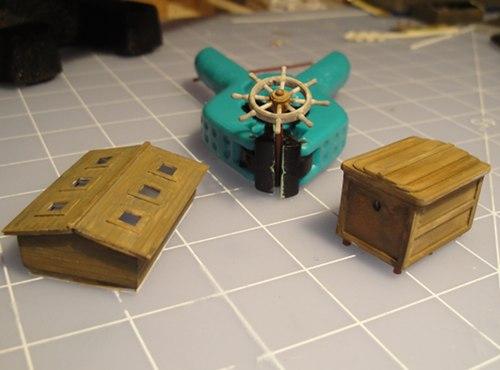
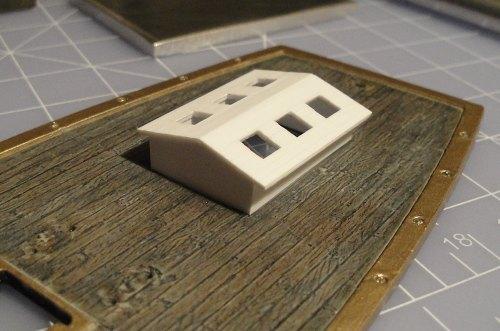
The Coop final.
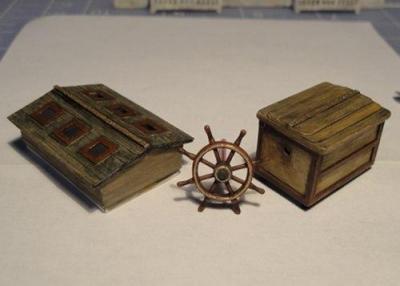
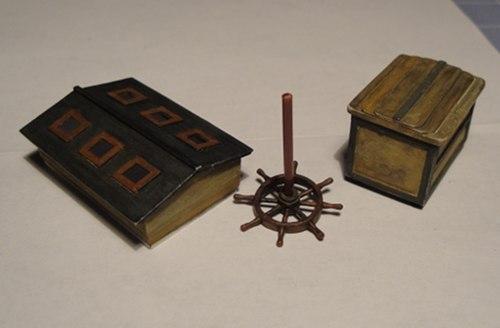
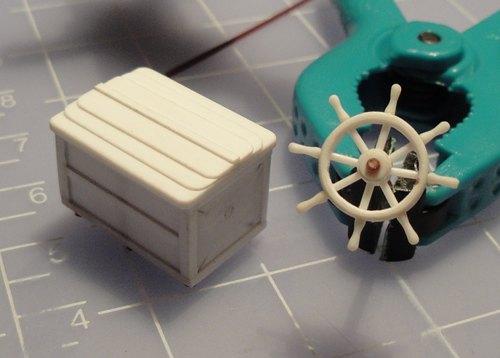
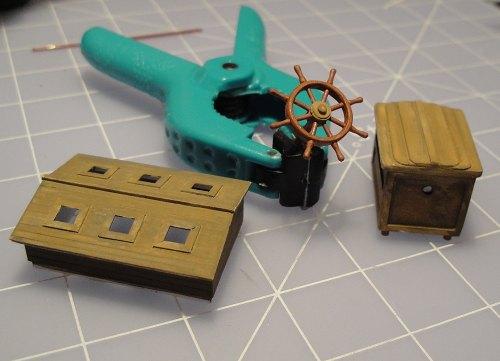
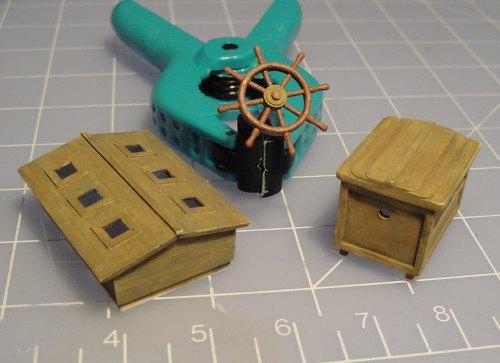
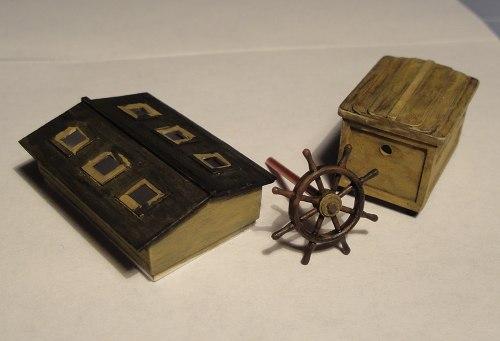
The Wheel 'almost' final.

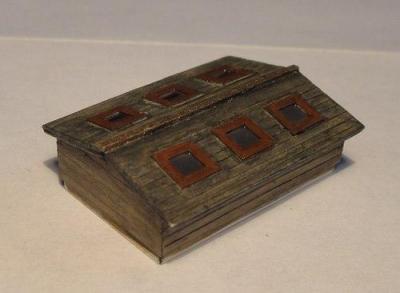
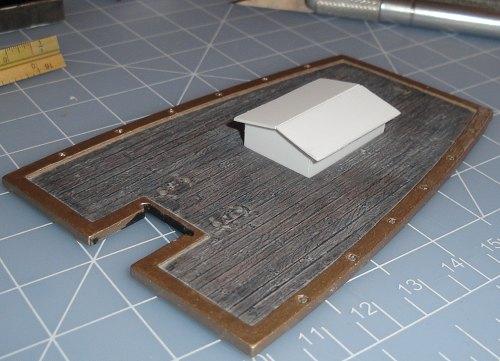
Cabin Skylight 'almost' final.
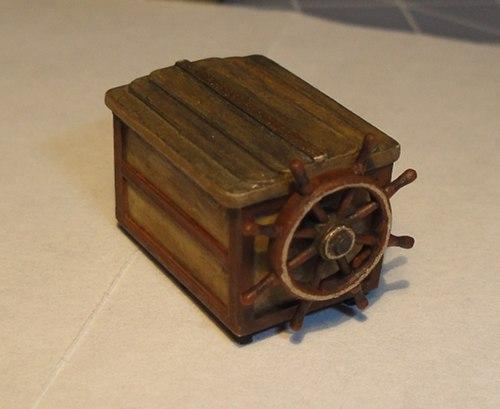
Wheelbox final and with Wheel.

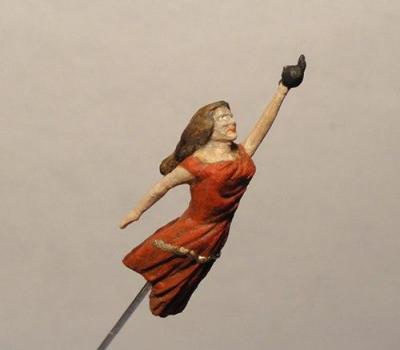
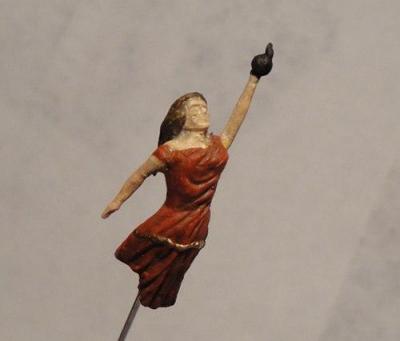
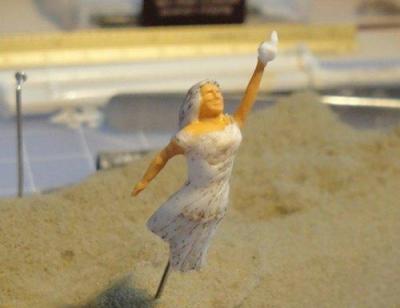
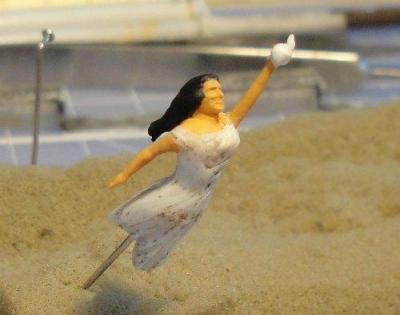
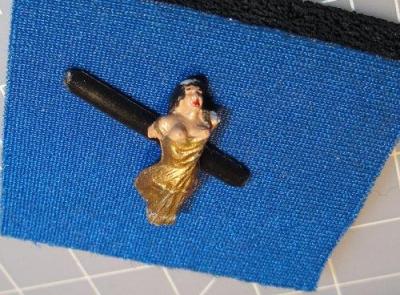
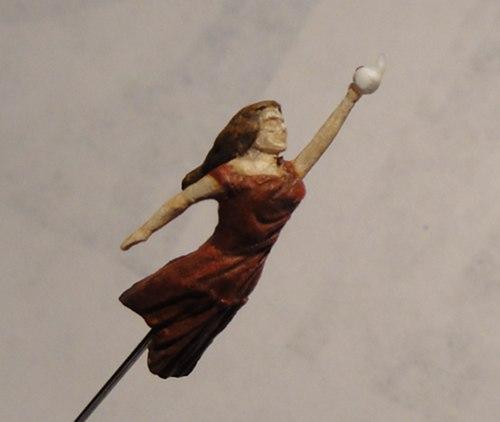
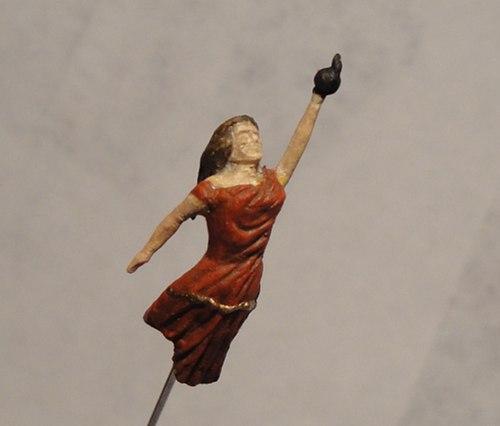
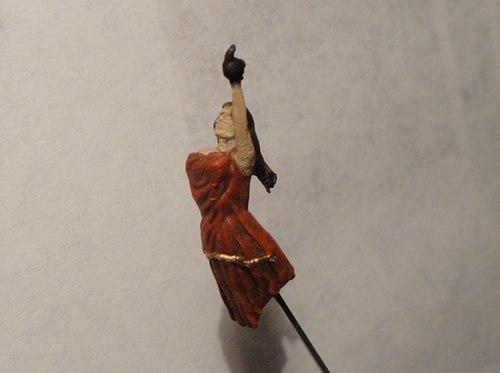
The Dame 'almost' final. Painting her pupils was something I didn't think I'd be able to do.
- Dimitris71, avsjerome2003 and 3qq
-
3
-
The various stages of painting - repetitive images but the colour changes with each successive one, really ...

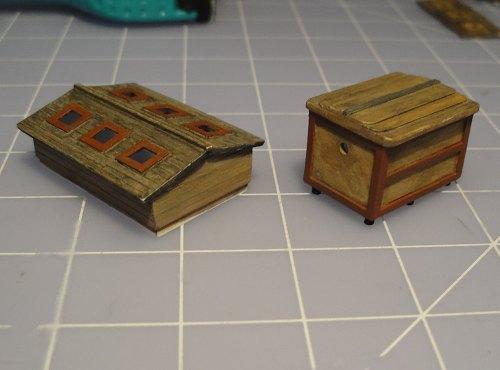
The Coops start to finalize.

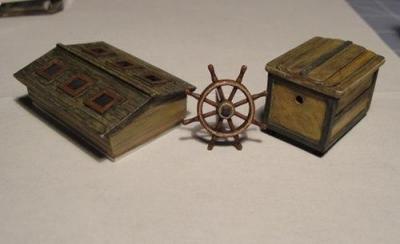
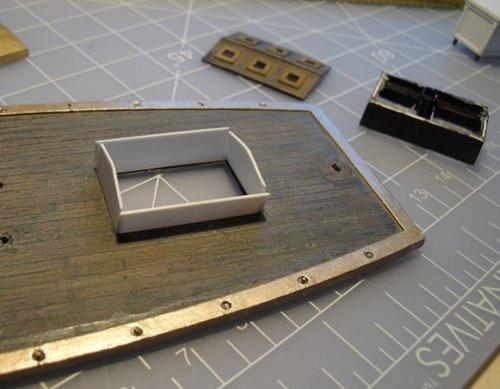
The Skylight and Wheelbox getting close to completion.

-
-
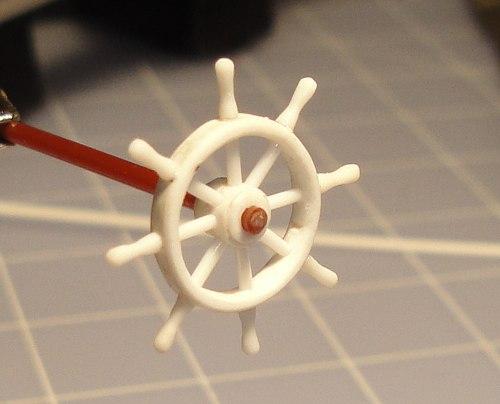
I was surprised and hugely relieved that the first try worked out symmetrically. I dreaded the whole 'spoke alignment' situation.
Back in the day as a budding 'artist' I learned a lot about colour, tone and mixing. But it had been so long since I had done any practical work it took me some time to dredge the information out of my archival memory. If anyone tries to tell you it's easy to paint skin tones, laugh at them.
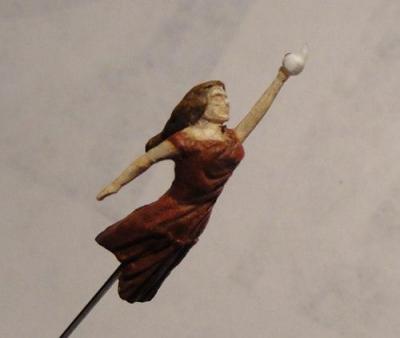
Darkened the dress a touch and highlighted the skin. Most of the work from here on is dry brush or very carefully applied wash.

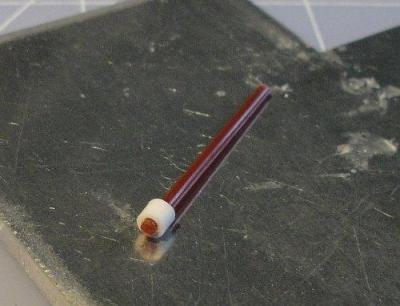
Here are the 'handles' for the Wheel - possible alternate methods discussed included using properly scaled belaying pins which would have been much easier. I fabricated these from plastic rod using the 'rolling finger lathe' method - not so much difficult but it requires much patience. And I used a long piece and carved off the end, then cut off the part once complete (no photo of that part of the process, sorry).


-
The base coats for the Dame applied. Now to let it dry and then start adding details ...
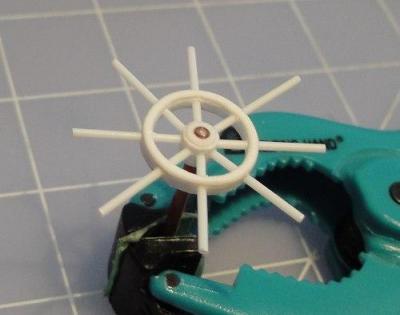
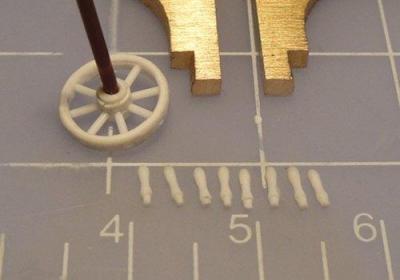
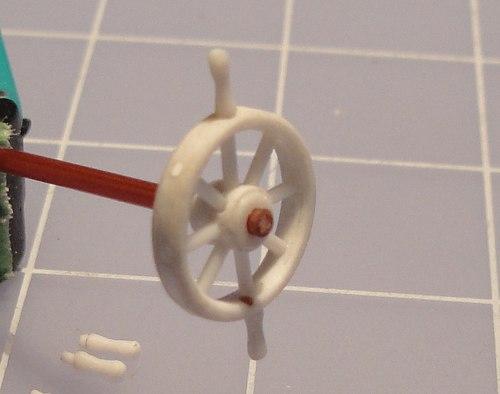
Thankfully I found a drill bit whose base was the right size for me to form the Wheel. I did this by laminating thin strips of plastic with Super Thin plastic cement.


And here's how I added a bit more 'depth' to the Wheel.
The Wheelbox parts at this stage.
Drilling small holes, very carefully ...

-
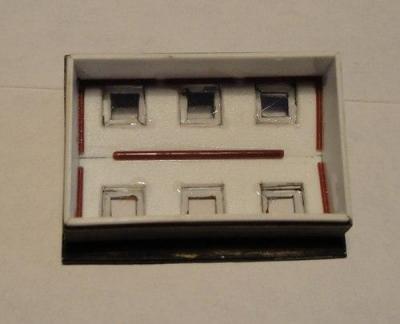
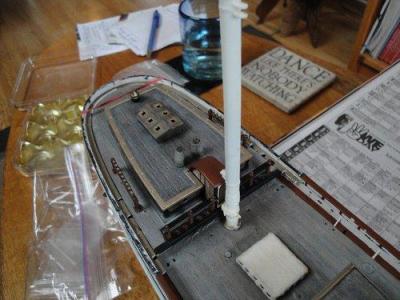
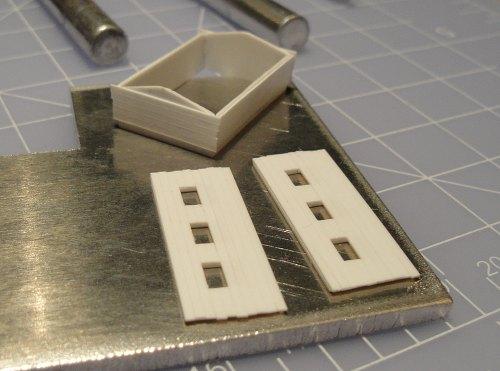
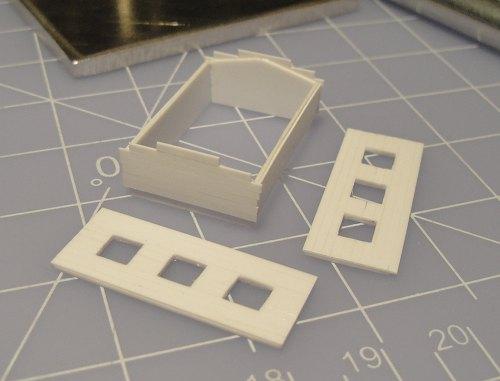
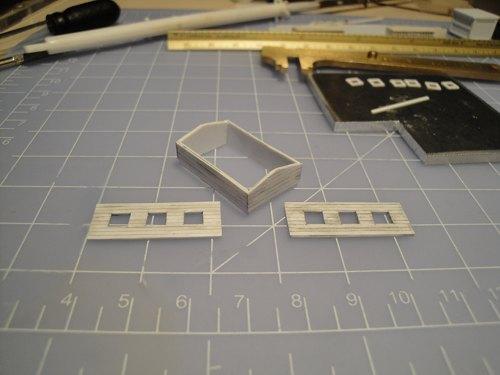
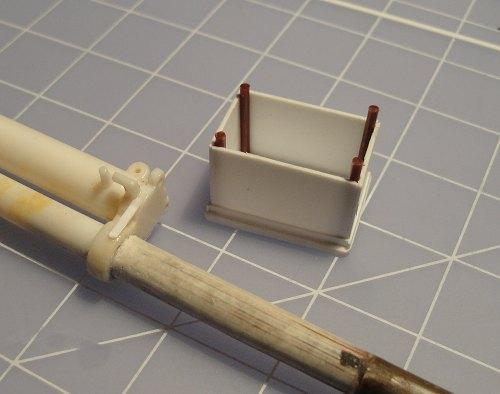
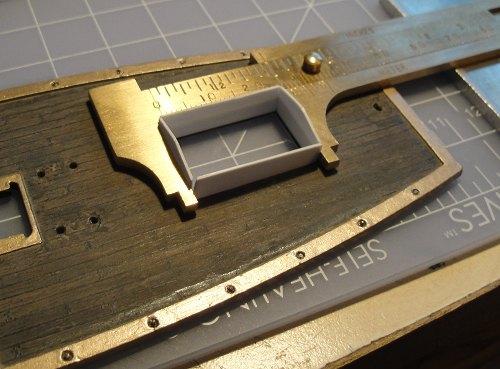
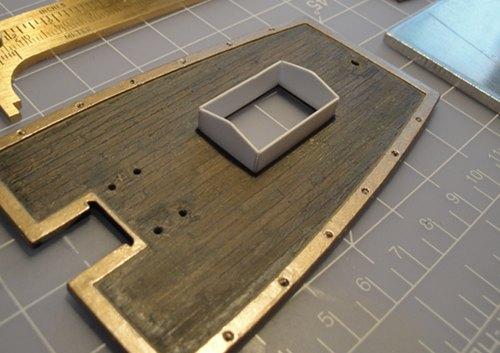
With the Cabin Skylight assembled here begins the painting process.
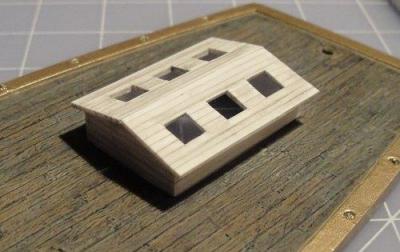
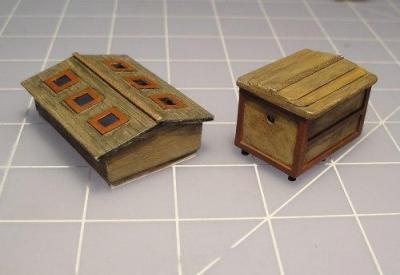
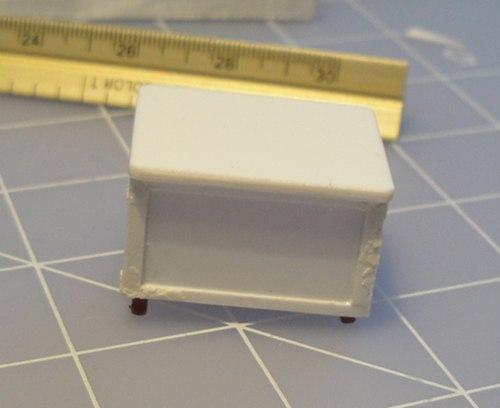
The painted (but not finished) Cabin Skylight with the unpainted Wheelbox.
The Coop in process - this is the 'weathering undertone' over which I dry brush matte white.
After having no luck in trying to find a scale Ship's Wheel I took the dive and started scratch building one. I was inspired by another MSW member who posted a 'tutorial' on how they scratch built a Wheel out of wood, I just adapted the techniques as best I could to plastic. Here's the 'hub.'
And with the Dame's hair-do looking proper I started the process of painting her.
-
-
-
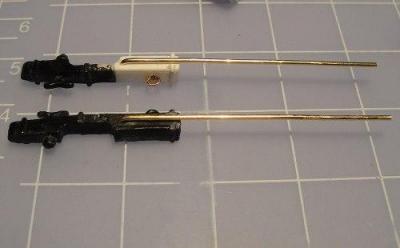
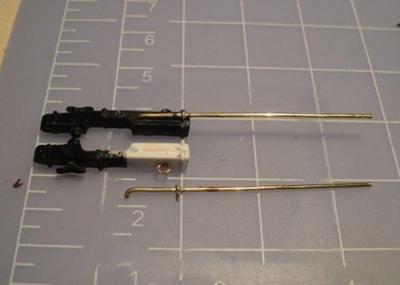
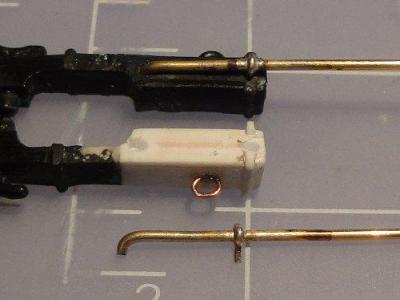
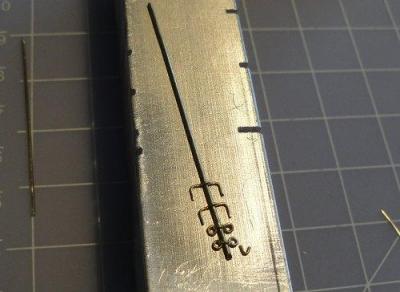
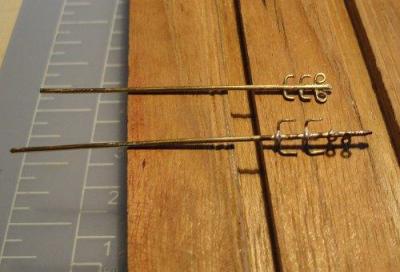
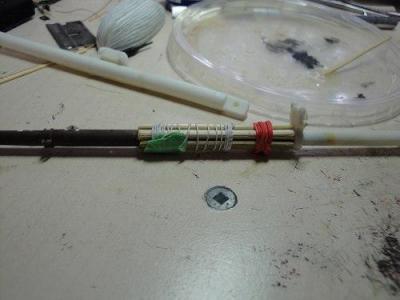
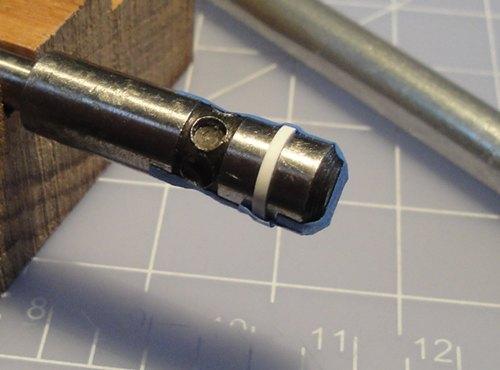
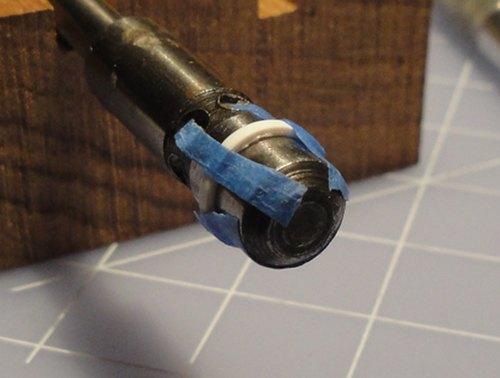
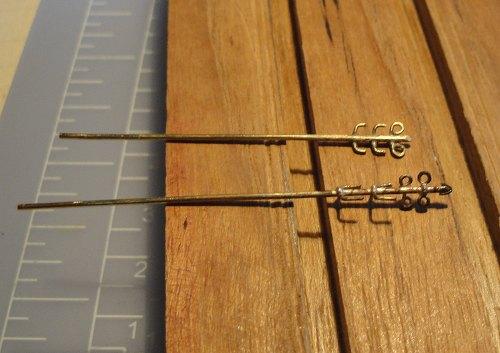
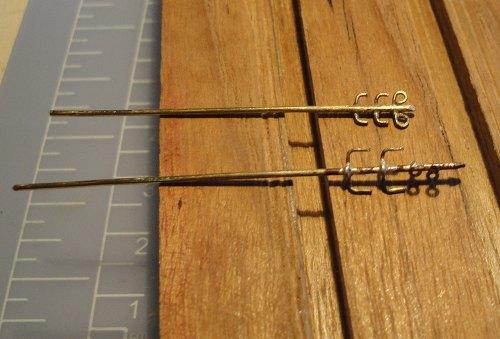
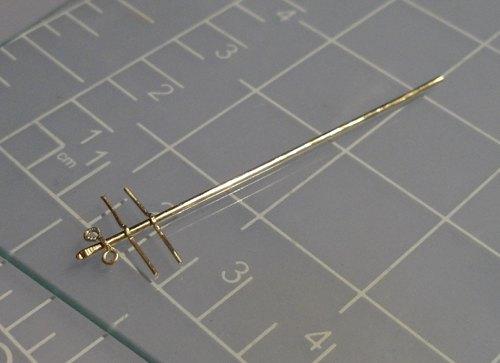
So, with additional information and photos provided by MSW members (likely either John/Jim Lad or Dan/Dan Vad at this time) I decided to make another Dolphin striker which more closely matched the 'real thing.'
What this meant was that I'd be soldering parts in two planes onto the central post. A bit more finicky but not excessively difficult (thankfully).

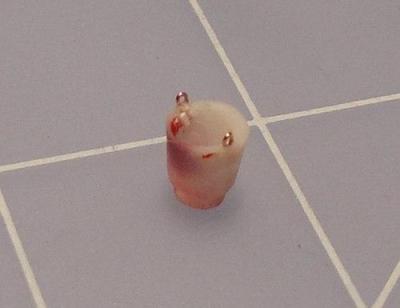
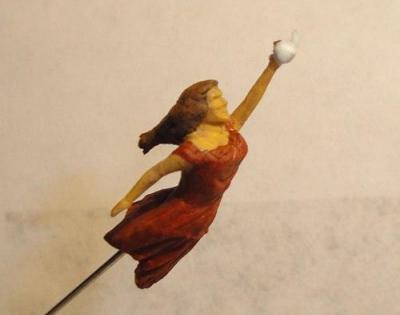
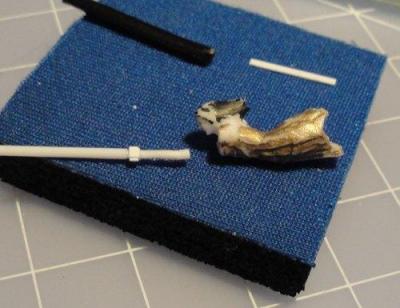
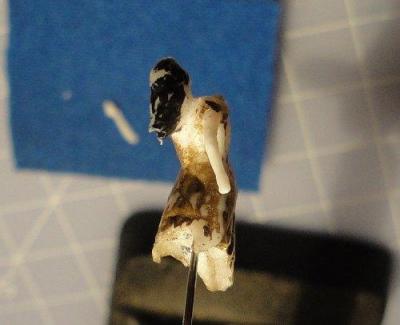
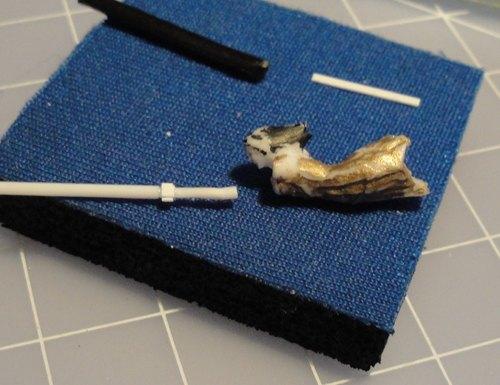
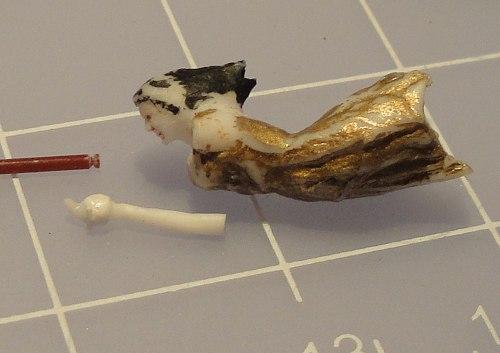
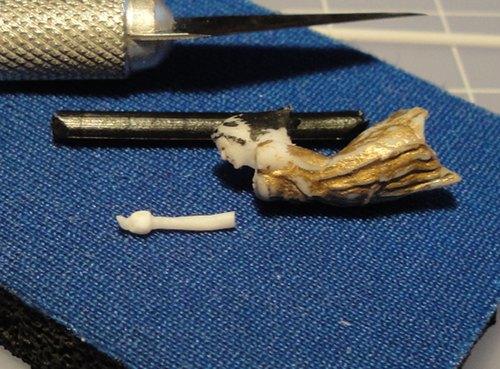
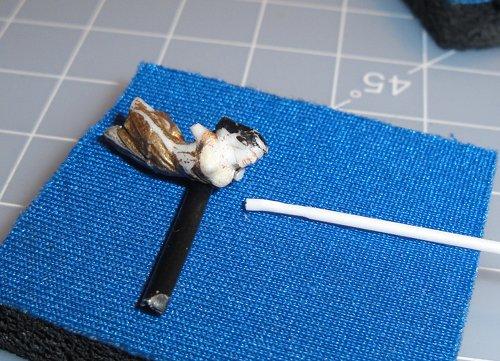
Here's where I repaired the Dame's hairdo, her flowing locks had been snapped off so I added 'extensions' like a good beautician.
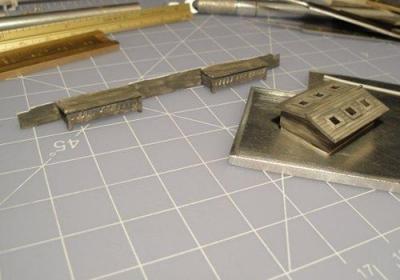
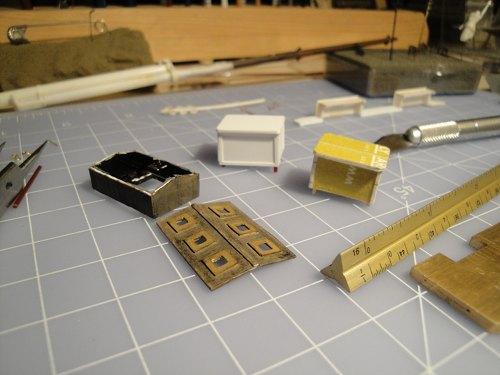
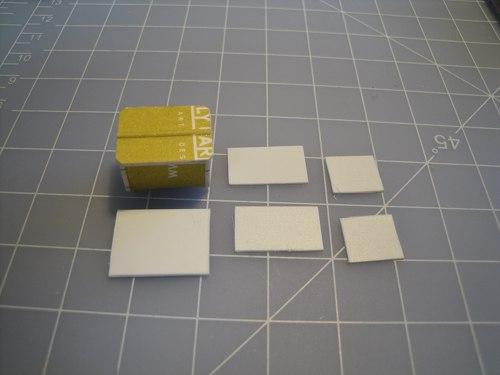
At this point I chose to re-think my ideas for the Wheelbox (and later the Cabin Skylight) and chose to fabricate them with plastic instead of card/paper. As well I repaired the 'coops' at the rear of the ship.
-
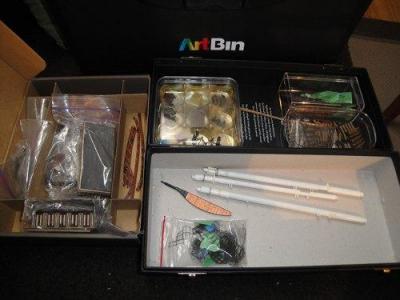
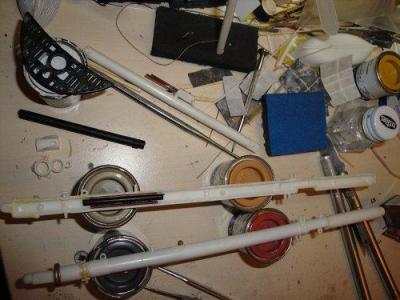
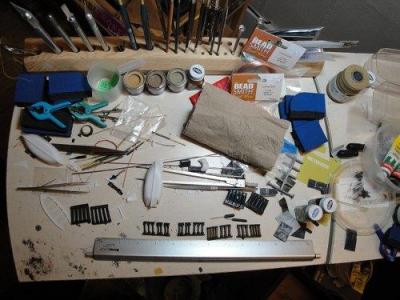
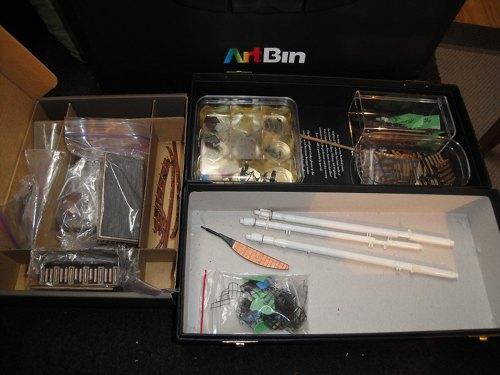
A little shot of the organization of parts - lots of clear baggies.
Painting the Dame in preparation for her 'new look.'
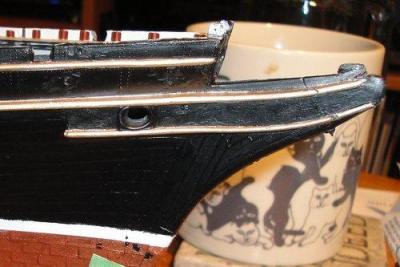
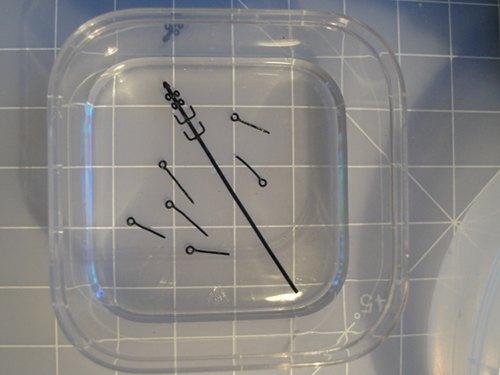
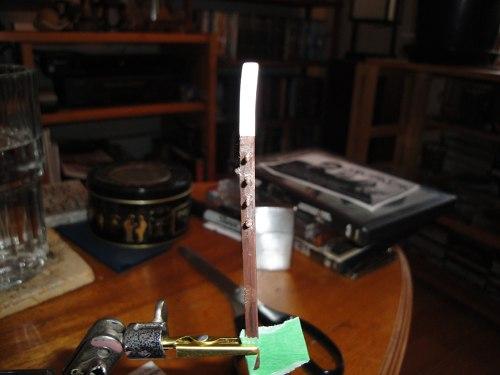
Here's where I started working on the Dolphin Striker/Martingale for the Bowsprit. I miss the posts on this specific topic, lots of info and photos of the Cutty's bowsprit and more than a few humorous comments ...
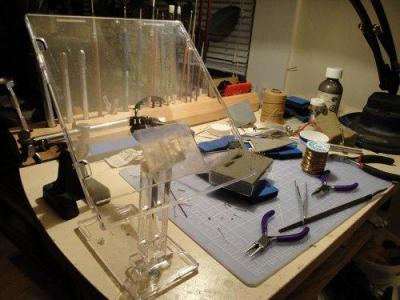
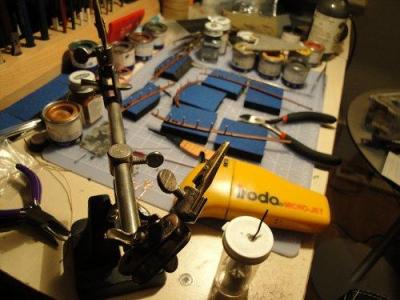
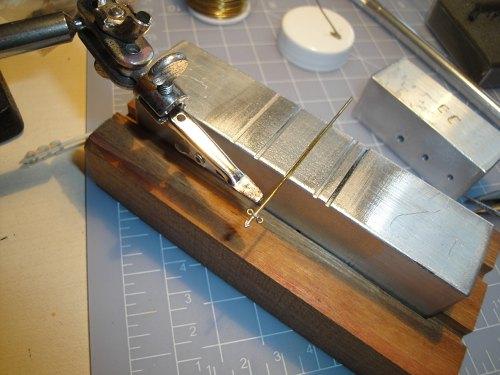
The set up I had for soldering and aligning the parts.

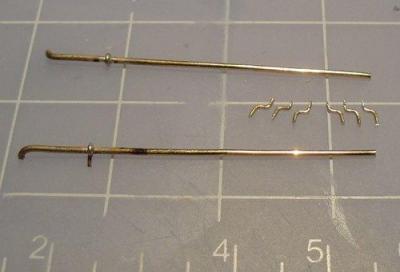
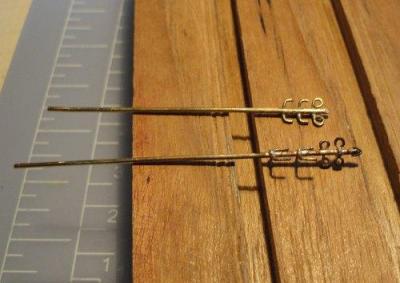
The first test with plastic rod convinced me that brass wire was the way to go.
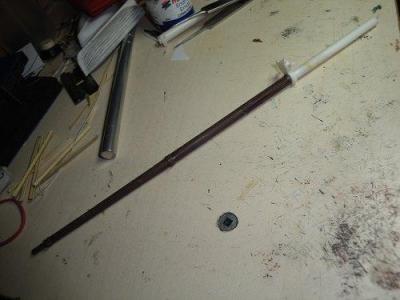
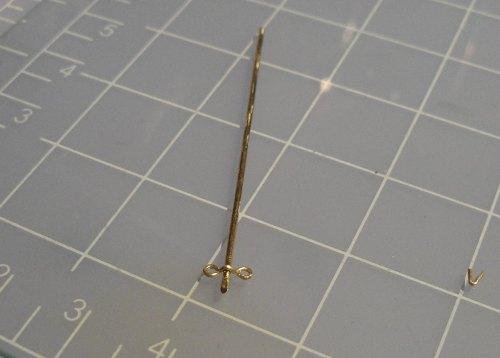
And here's the first attempt to replicate the kit supplied Dolphin Striker ... note that it's all in the same 'plane.'

-
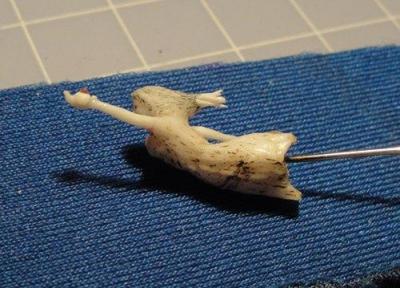
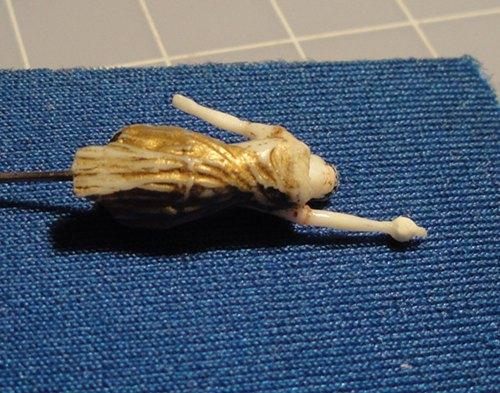
I would have thought that making very tiny little arms from plastic rod would have been more difficult. But with magnification, squinting and very careful 'scrape carving' I managed to do a not bad job of it.

Here's where my own weird idea started taking shape ...


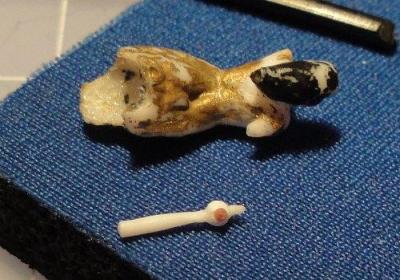


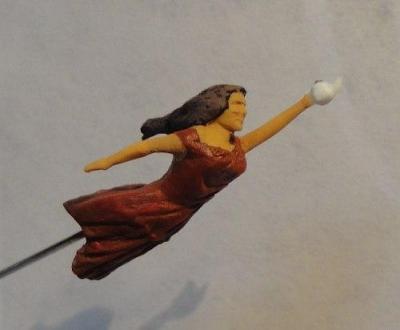
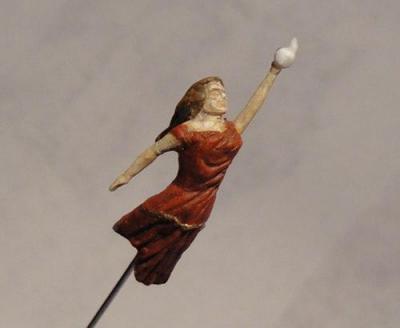
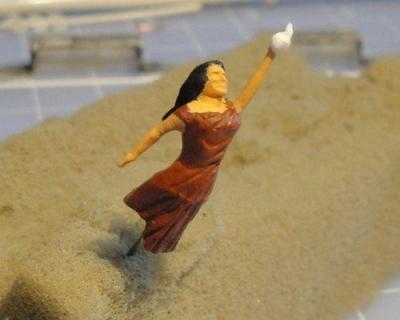
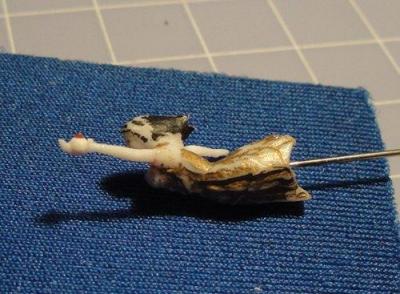
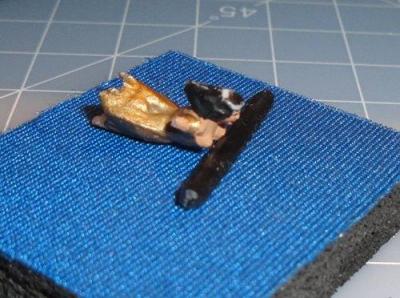
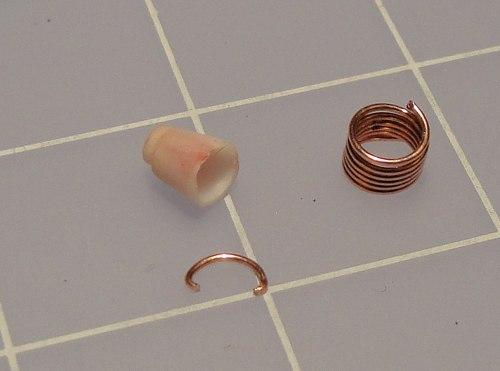
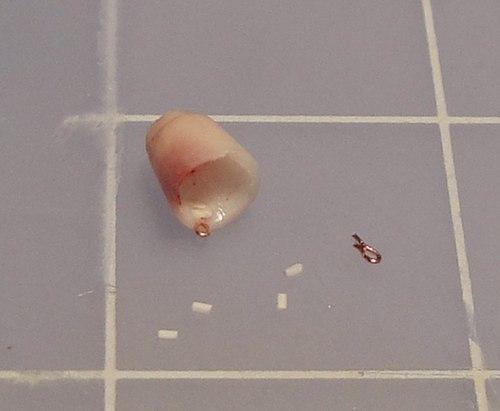
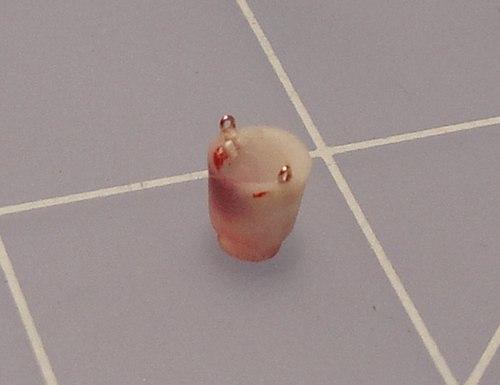
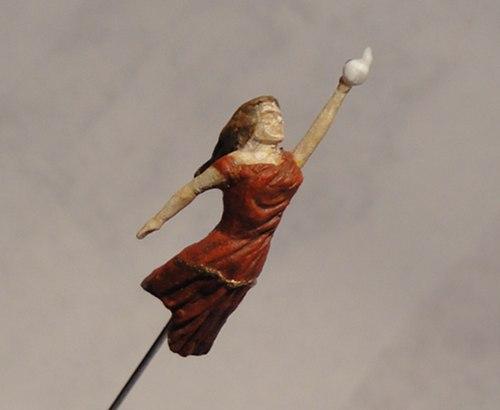
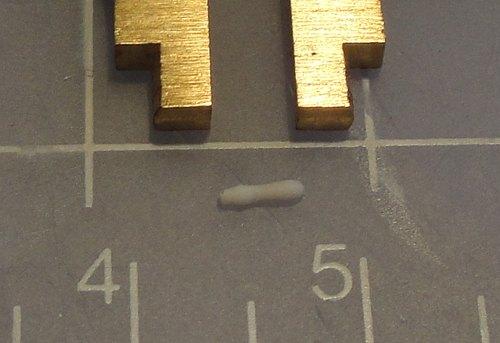
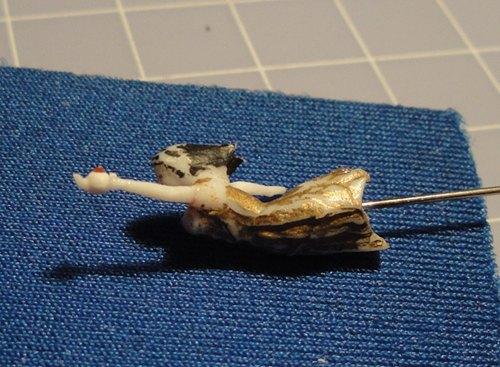
And after a successful re-attachment procedure, the Dame is wielding ... a Teapot

-
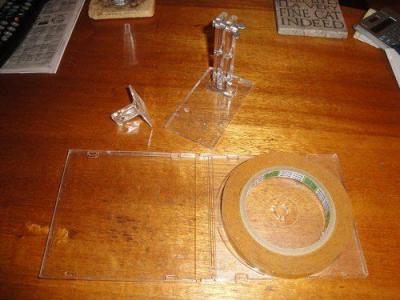
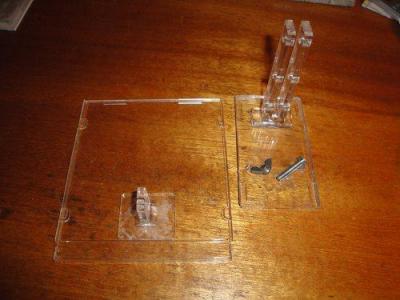
I'd been informed that Silver Solder can sometimes 'spit' when heated so for safety's sake I fabricated a 'blast shield' from some bits I had lying around and old gem case (or CD/DVD) covers.

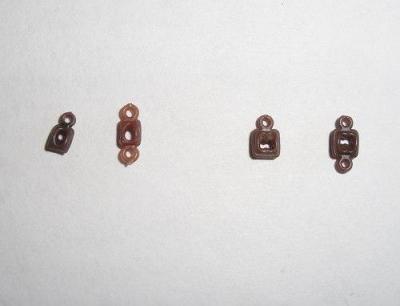
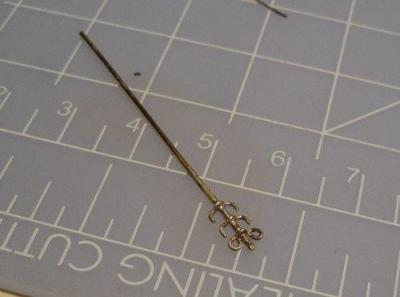
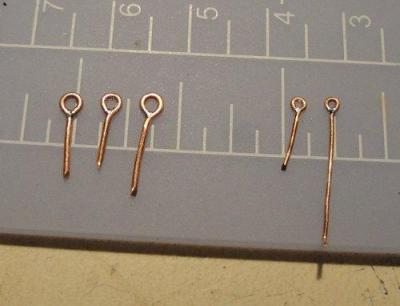
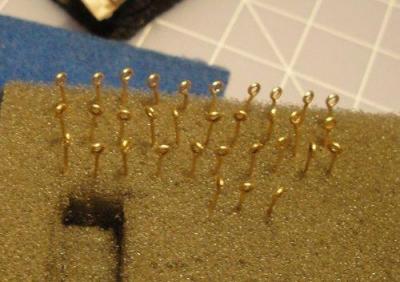
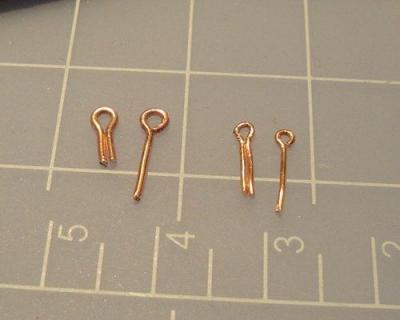
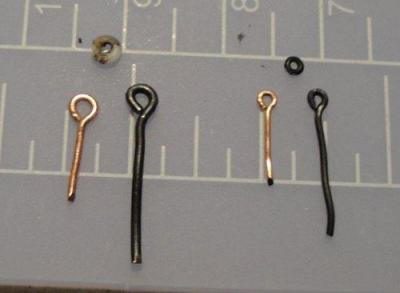
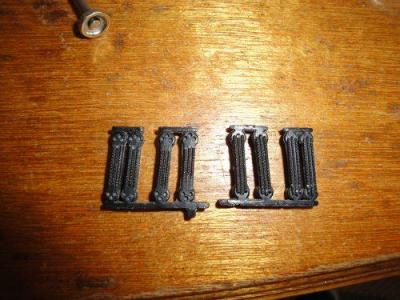
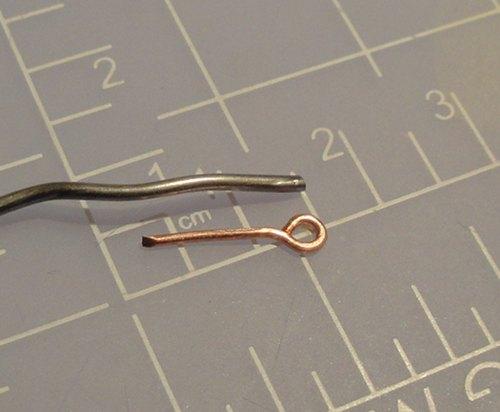
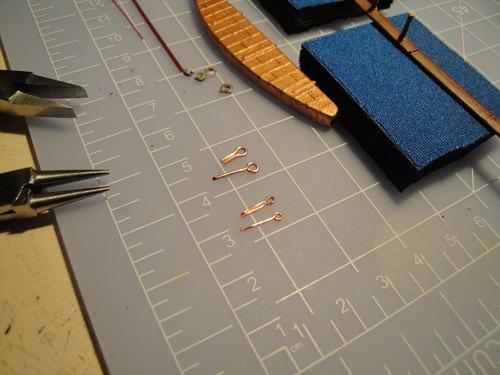
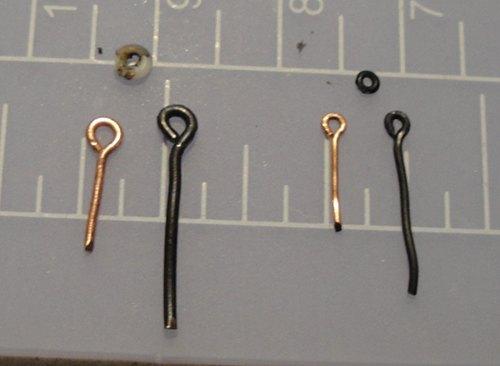
Some completed and blackened eyebolts and affixing them in the Foc'sle. I used JAX brand blackening, diluted, and let the pieces sit in the solution overnight.
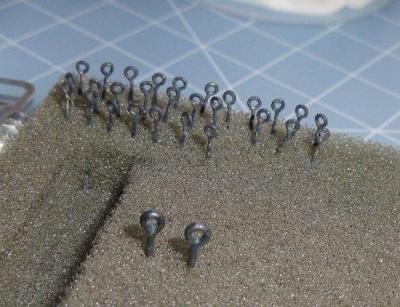

These are the eyebolts for the Stays immediately forward of the foremast.
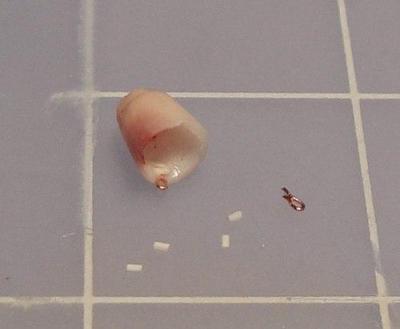
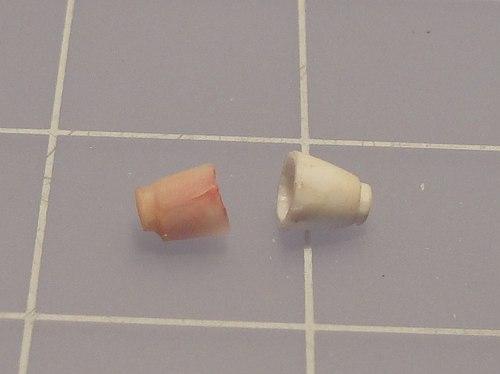
Here begins the process of modifying the Nanny Dee to the Dame Tisane. This involved making her more 'demure', which meant I had to use putty to raise the neckline of her dress. And since I had to rebuild her arms I chose to do something which I didn't think I'd be able to pull off ...

-
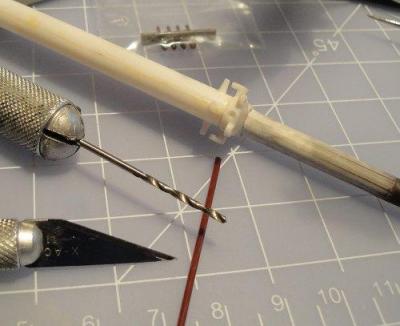
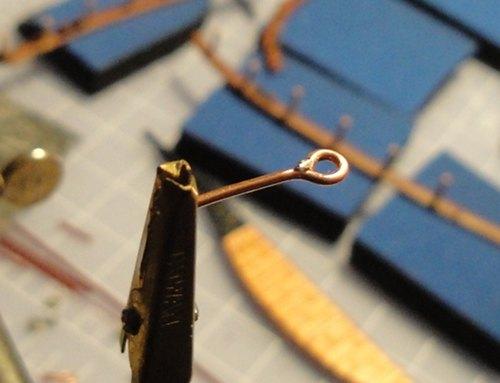
During the process of posting progress and asking questions I was 'turned on' to the Silver Soldering process, here begins the shift over to something I hadn't tried before. The first shot shows the clutter and equipment.
And here's a few of the process using 'regular' solder.
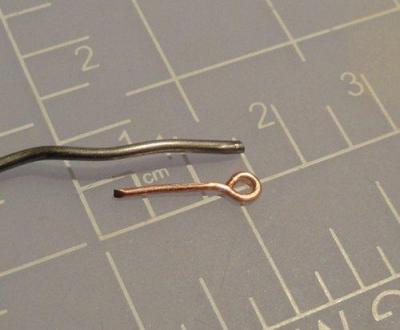
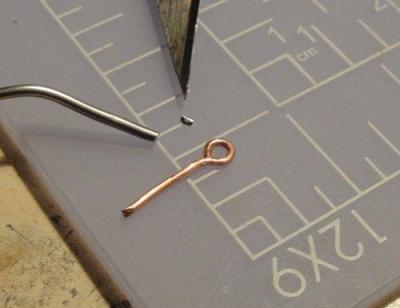

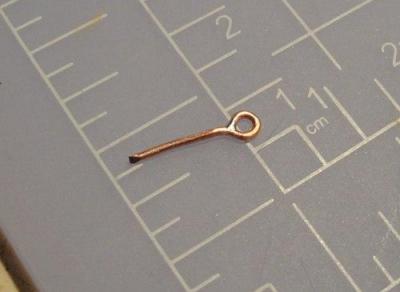
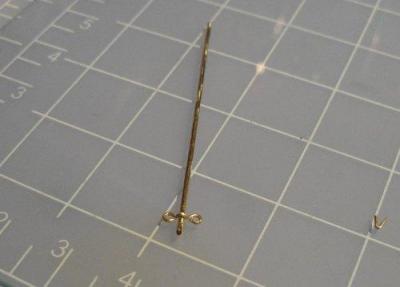
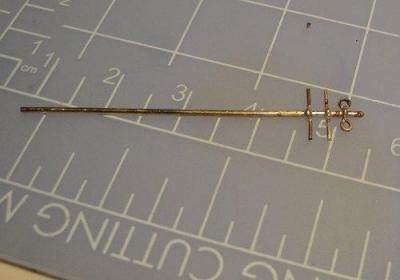
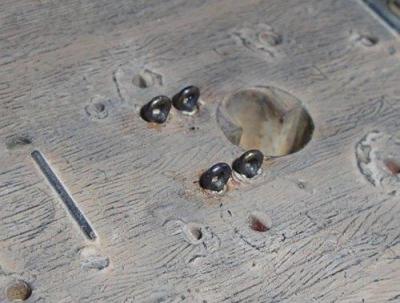
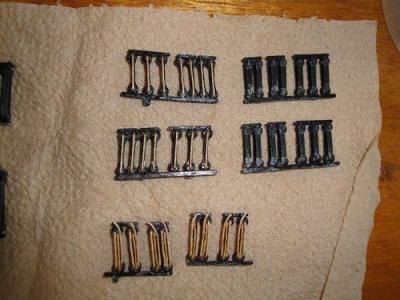
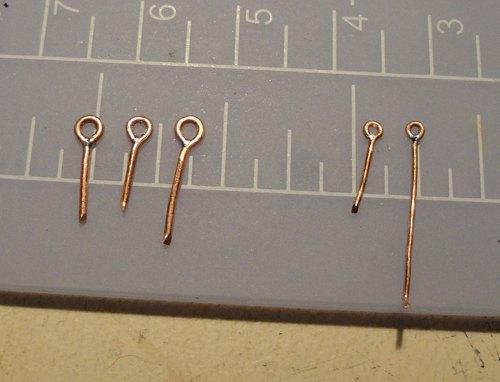
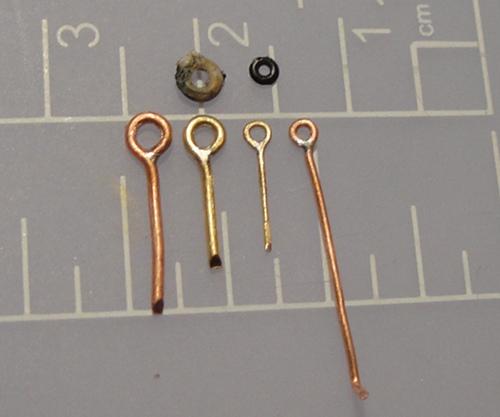
A comparison of my fabricated eyebolts and the plastic ones from the kit.

Around here I shifted from Copper to Brass wire for the eyebolts.
-
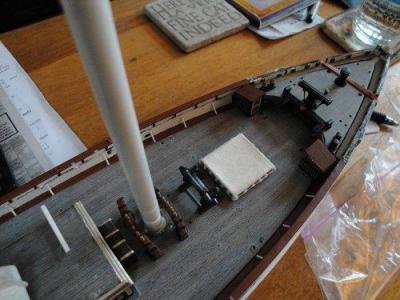
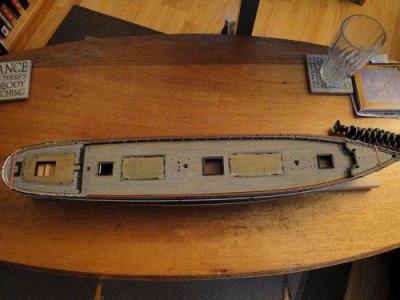
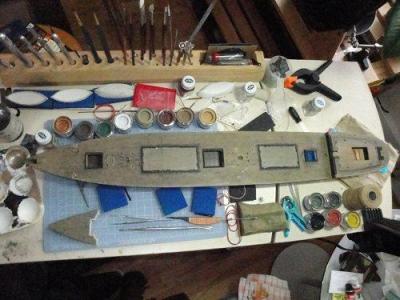
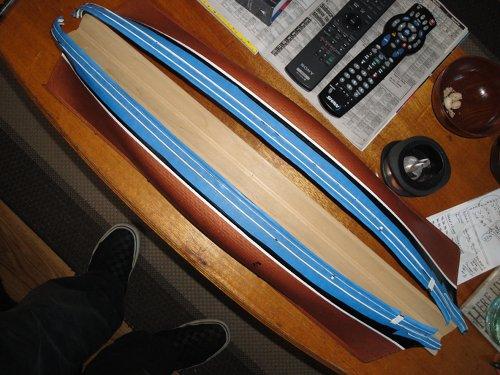
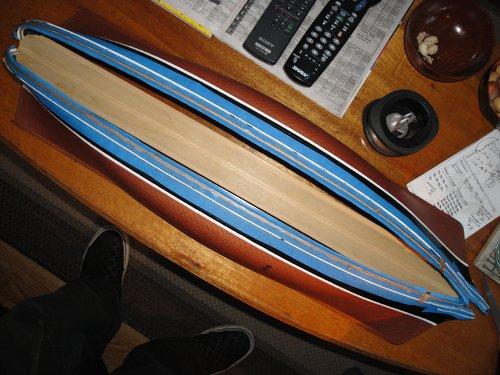
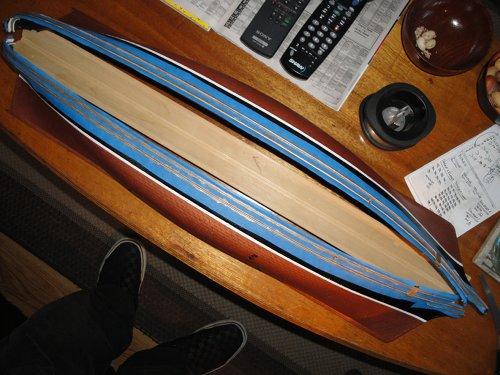
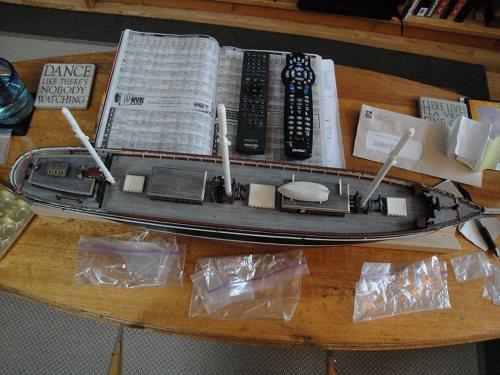
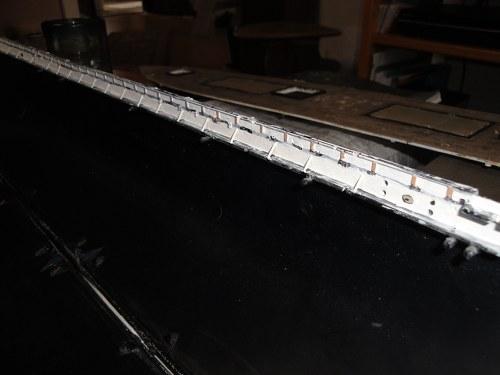
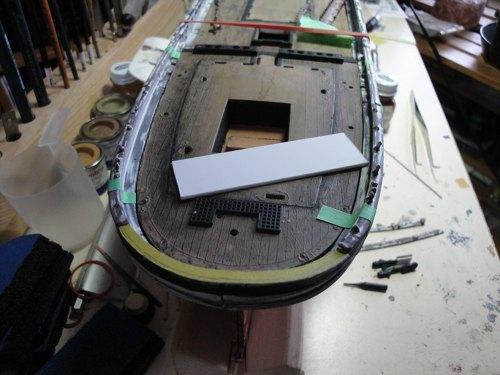
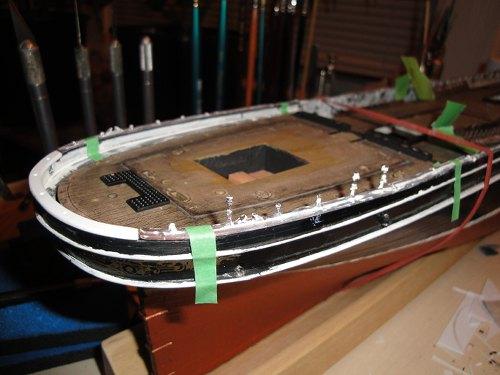
So the dry fit check of the deck and hull inspired me ...
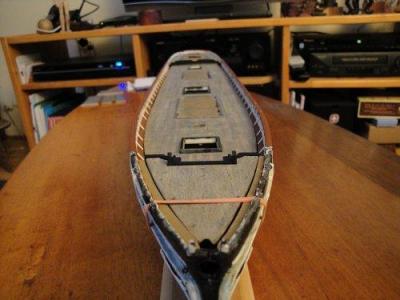
... thus I dry fit the lower masts just to get an idea of what she'd look like.

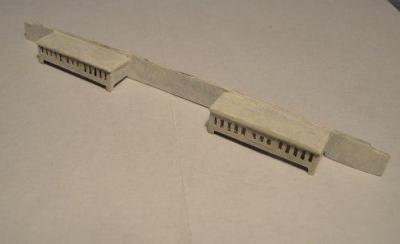
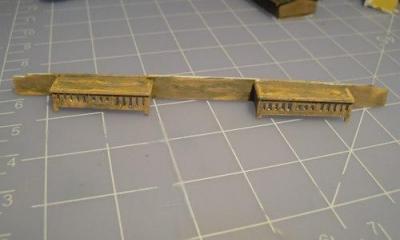
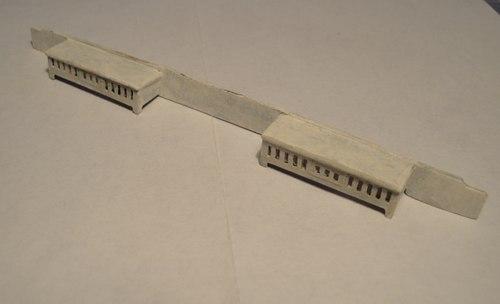
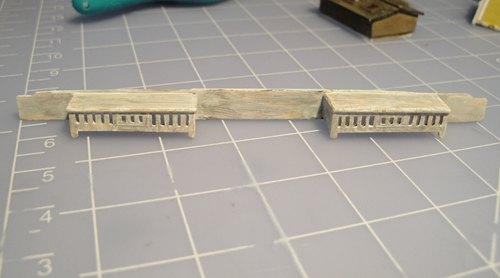
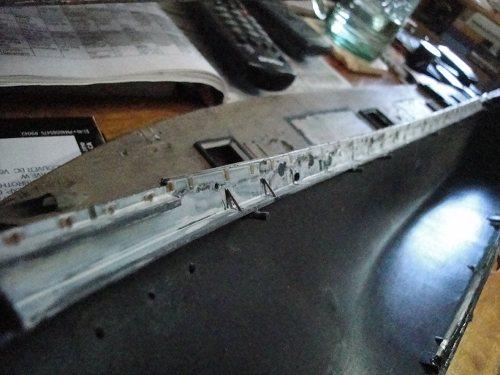
Painting the 'post rails' along the lines of my chosen colour scheme.

Here begins the Learning Curve - figuring out how to make eyebolts before the advent of silver soldering.

-
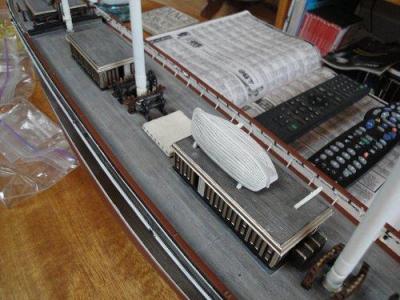
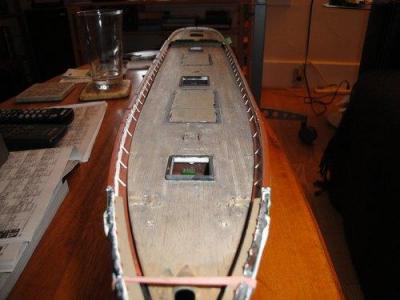
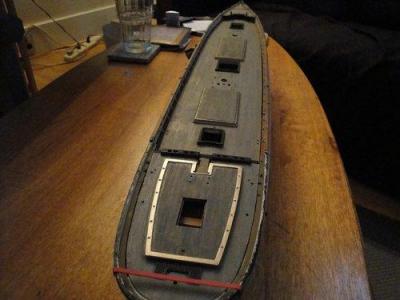
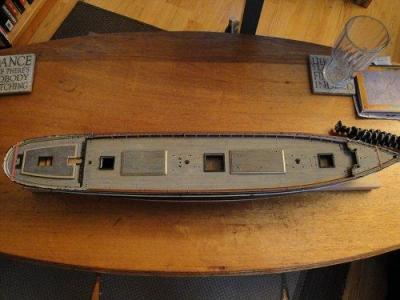
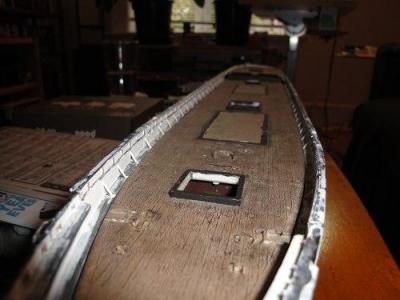
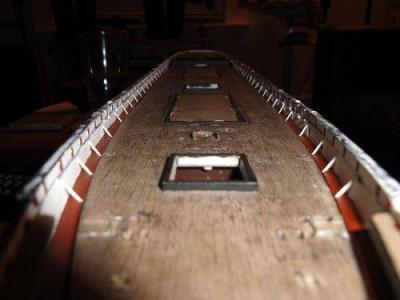
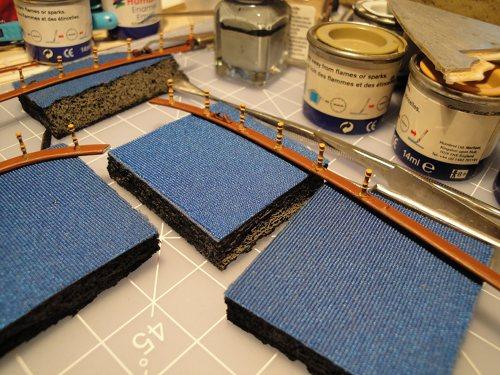
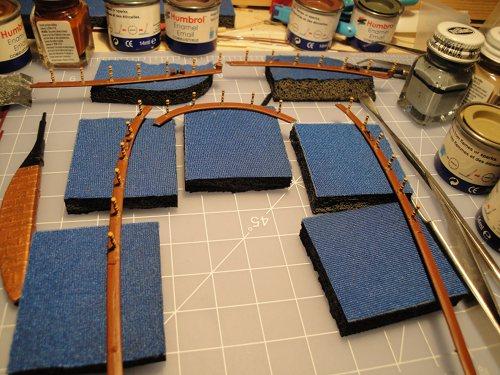
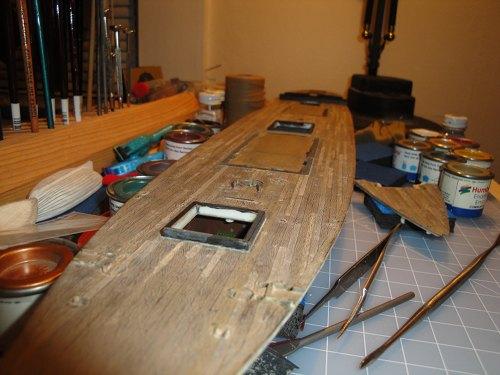
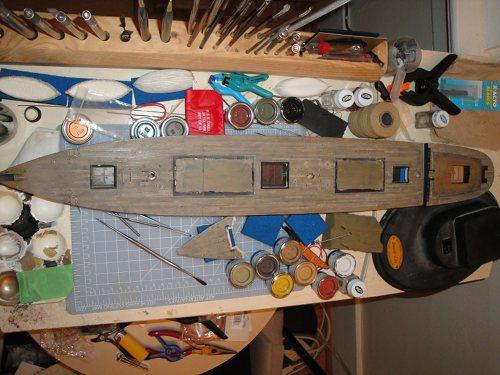
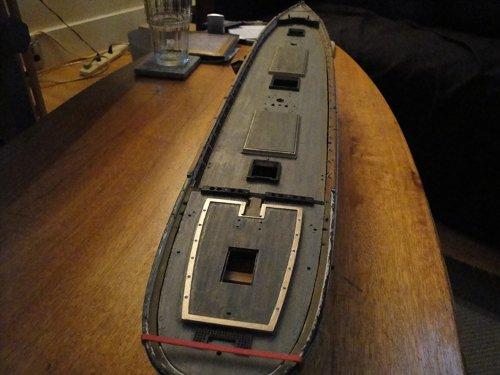
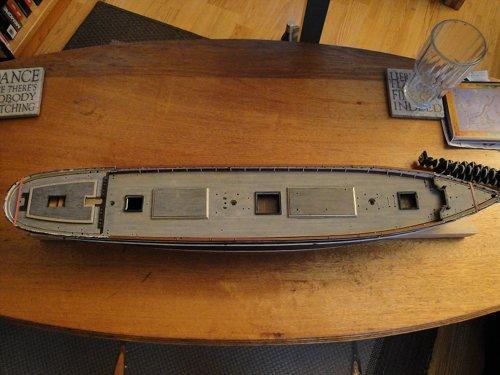
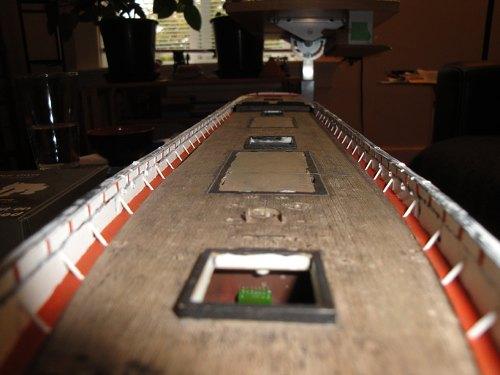
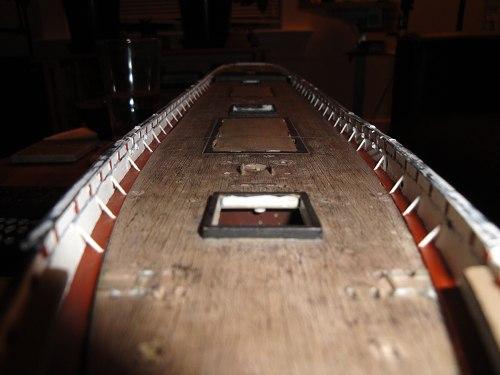
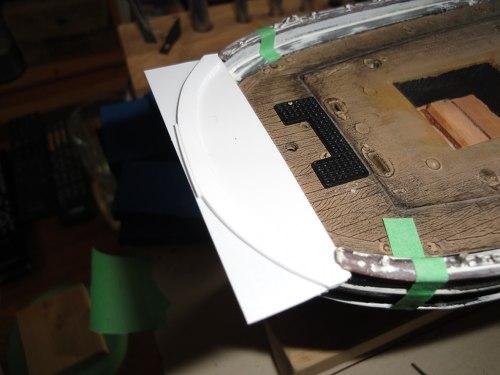
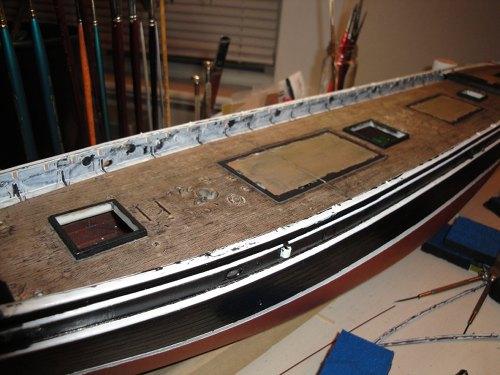
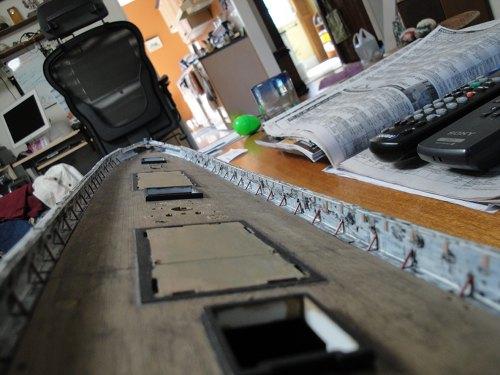
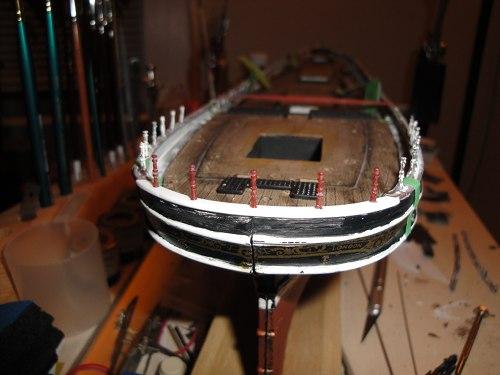
Continuing with the deck weathering process, here's a sequence of the 'evolution' of the paint effect achieved with multiple wash coats. You'll notice the Foc'sle in some of them, I used it as the 'tester' for some of the ideas I had.

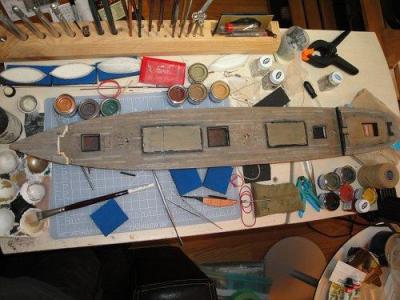
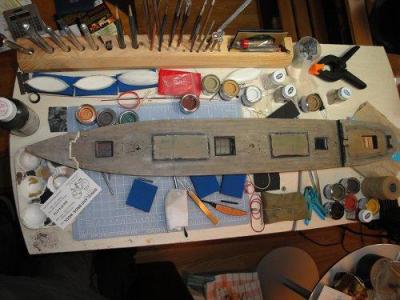

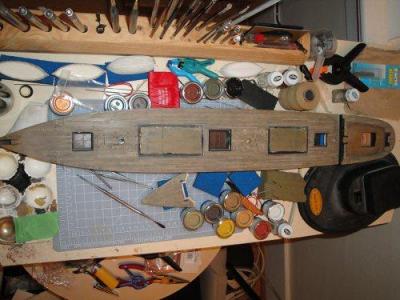
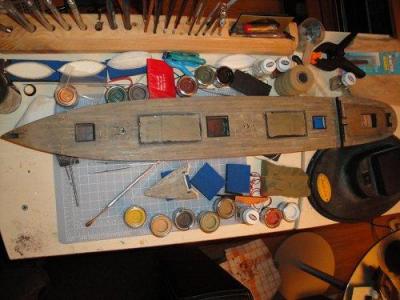
And here's some of my 'test fitting' of the deck and hull to check the 'colour scheme' was working. You can see the roofs of the cabins with their gold trim in some of these.
-
Slogging along. The first photo is out of sequence and shows the repaired bowsprit before the base coat of 'unifying' colour. The last photo in the previous post is how it looked after.

Painting where I replaced the 'wedges' on the sides with 'posts.'

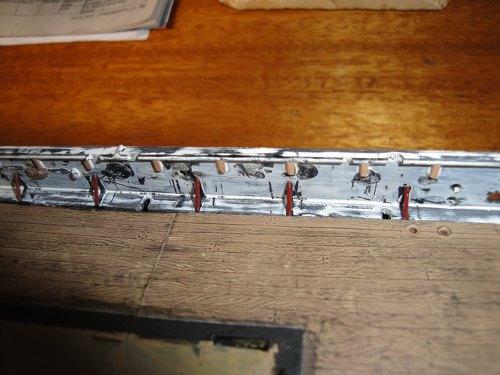
Adding the base for the deep maroon colour.

Repairing the lower masts - all three were snapped so this involved reinforcing the hollow with plastic rod.


Another stage of the deck weathering - this process was ongoing for many weeks as I kept having 'good ideas' and such.
-
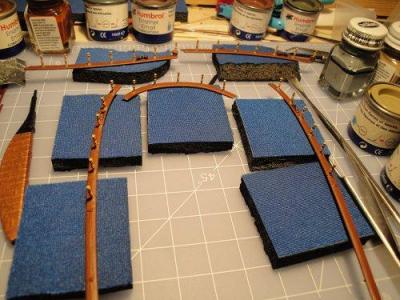
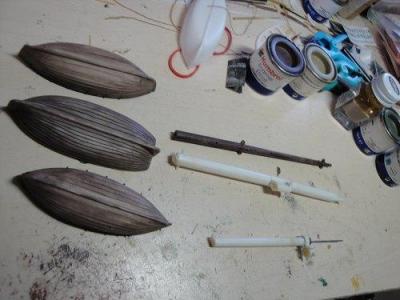
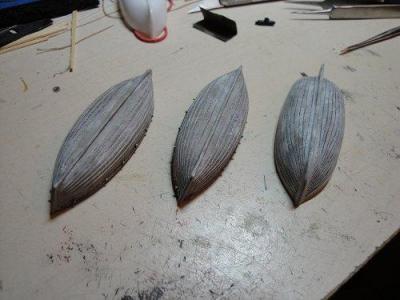
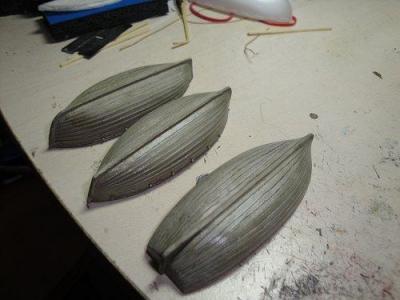
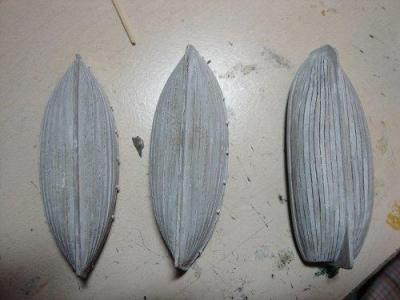
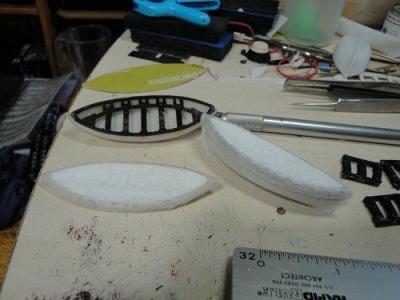
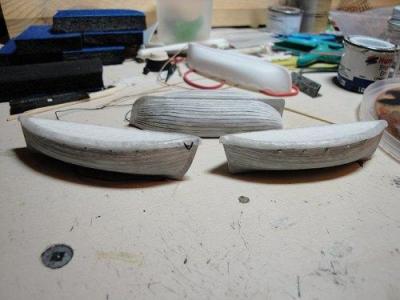
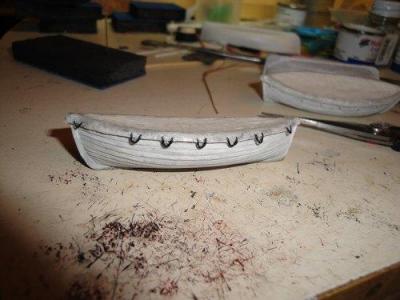
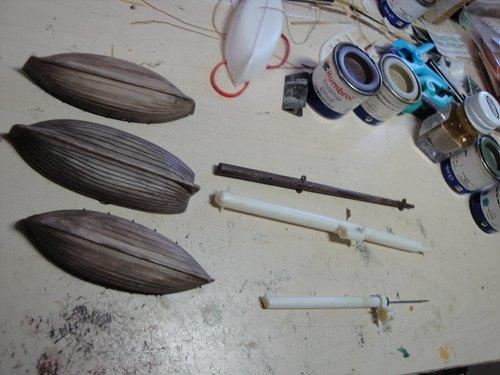
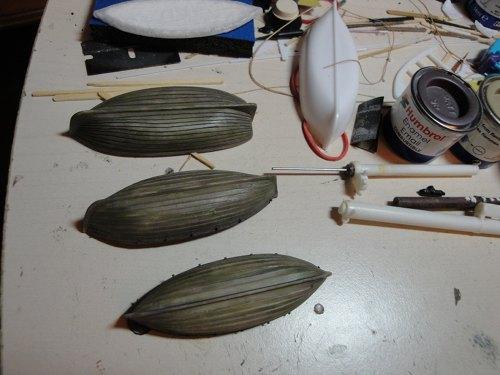
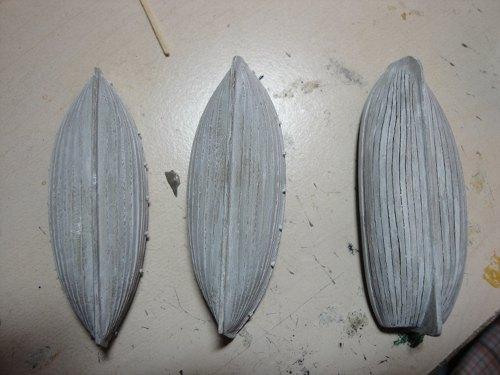
Continuing with the ship's boats ...

Paint Effects - the stages of creating a 'weathered whitewash' look achieved through trial, multiple errors and persistence.

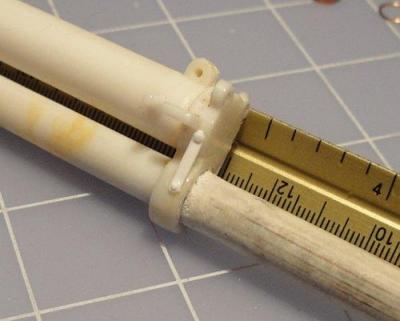
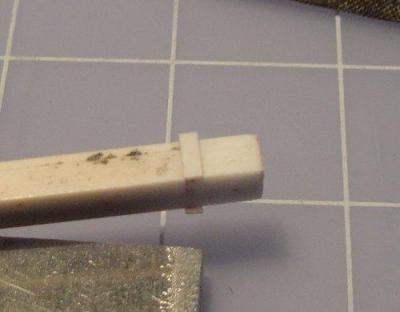
Bowsprit repair - I had to 'restore' a missing chunk of it. For this I used 2 part epoxy to affix a metal 'spine' around which I built up thickness using plastic rods. This requires layering and a lot of 'curing time' between layers.
To insure straightness I used 'splints' of cut chunks of bamboo skewers.
-
Popeye, John, Frank, Hakan, Mark & Daniel - Thanks for the kind words and encouragement

It occurred to me that re-building a Build Log at this stage is like another analogy, or metaphor, for the re-building of the Cutty Herself. First I was 'following the wake' with my own re-build and now I'm brushing off the debris from the 2013 Crash and engaging in a 'virtual' version of the same.
And now to continue the re-construction ...
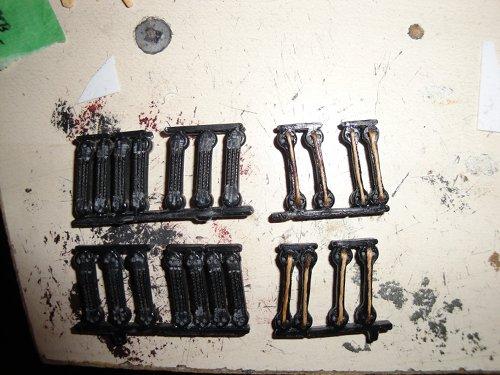
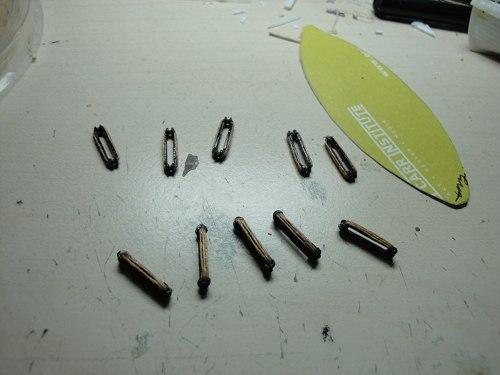
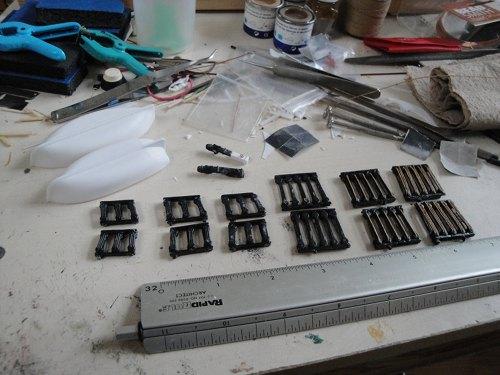
The modification of the kit Deadeyes - if I were doing this now I'd just scratch build them but at the time I was still treading water, so to speak.

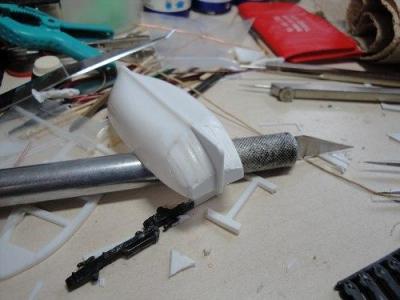
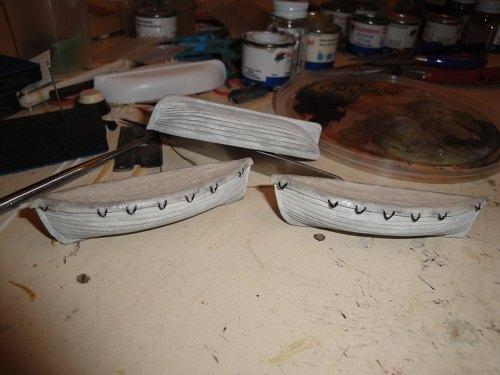
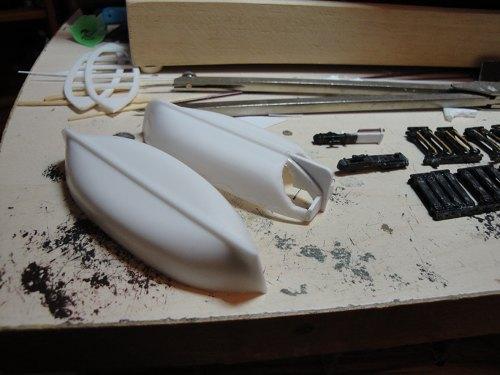
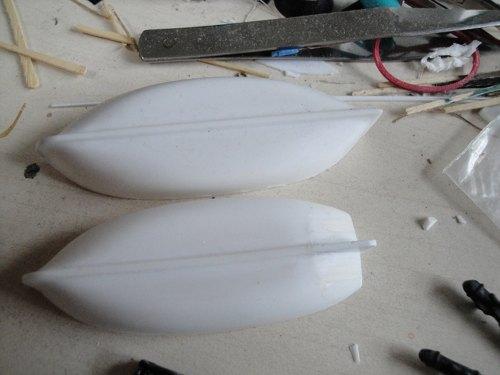
Ship's boats - I was missing the 'longboat' so I found some close to scale ones at my hobby shop and proceeded to modify one to more closely match the kit original.


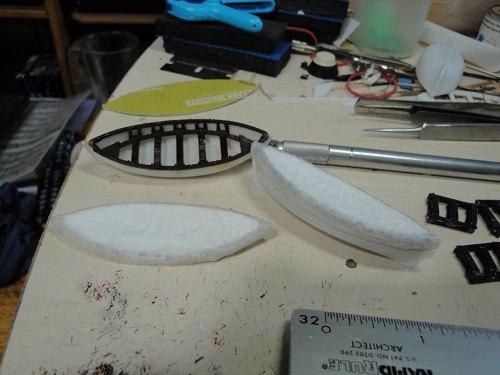
And a shot of the first attempt at canvas boat covers. These were fabricated in the same way as the 'hatch covers' shown previously. Basically, a 'flat frame' of card stock covered with tissue paper soaked in diluted PVA.
-
-


Cutty Sark by Sailcat - FINISHED - Revell - 1/96 - PLASTIC - Rescue kit bash morphed to Dame Tisane
in - Kit build logs for subjects built from 1851 - 1900
Posted · Edited by Sailcat
More work on the catheads.
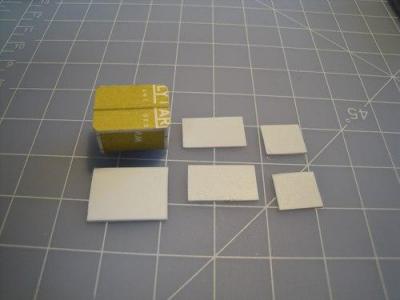
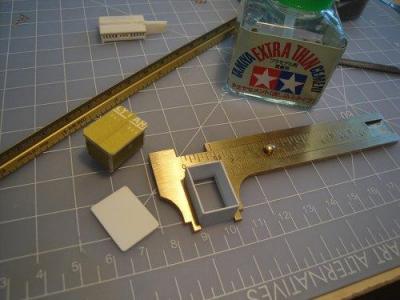
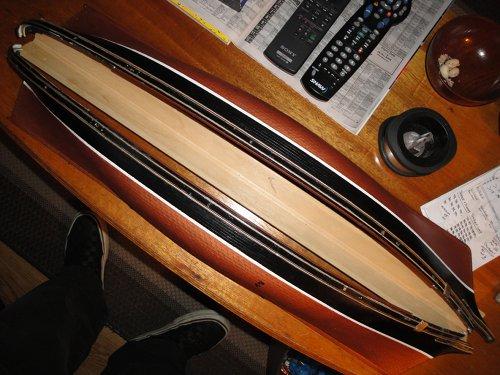
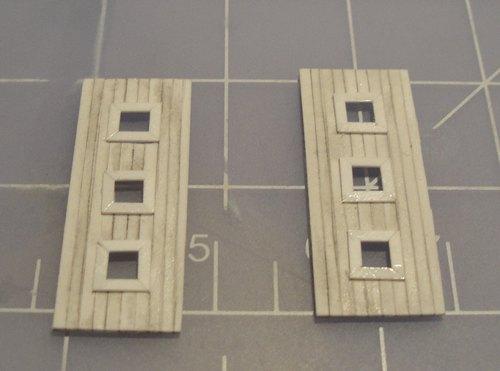
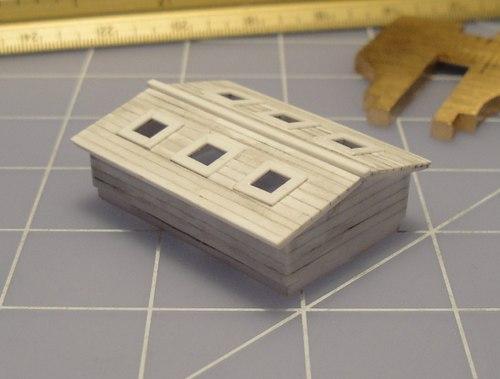
Breadboards and removing the old decals.
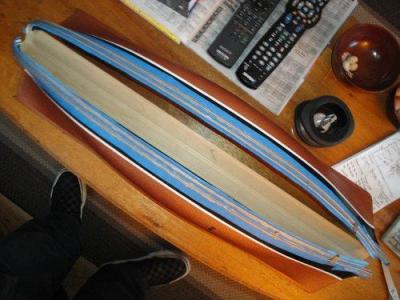
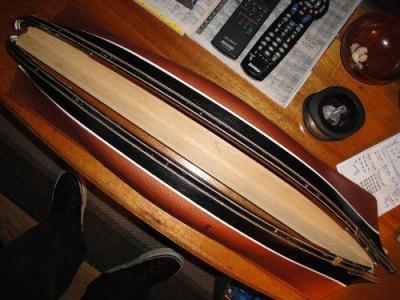
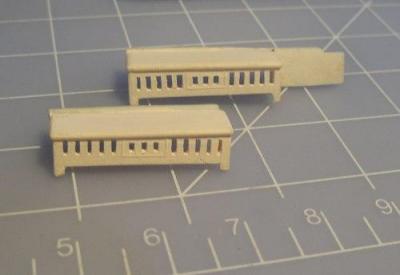
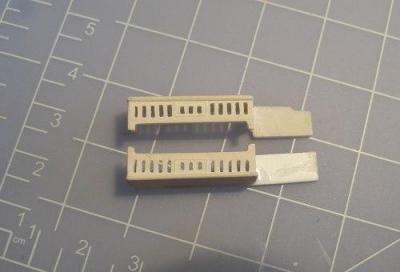
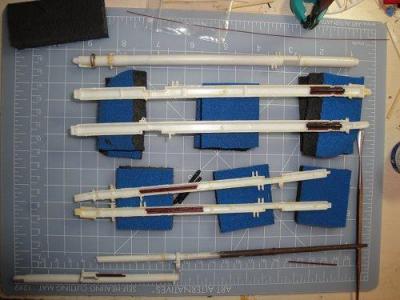
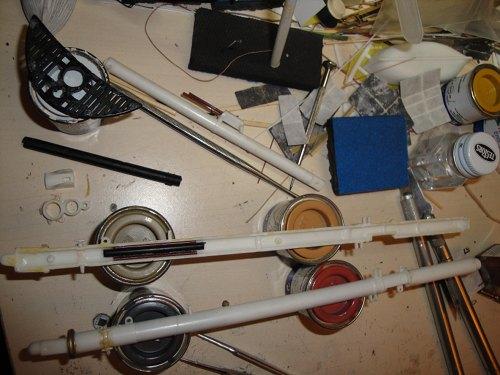
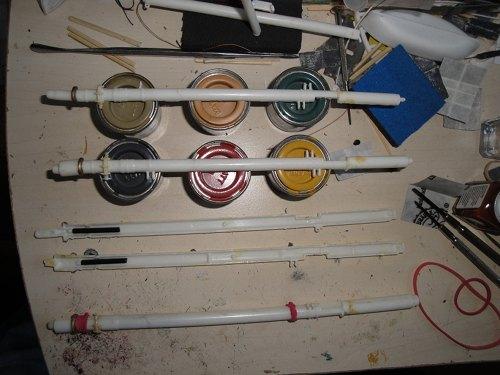
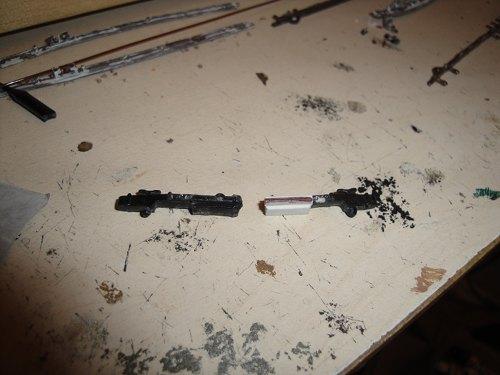
Spencer gaff, Spanker gaff and boom and the booms for the stuns'ls.
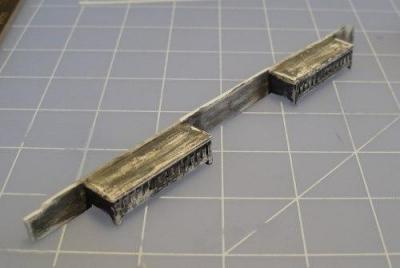
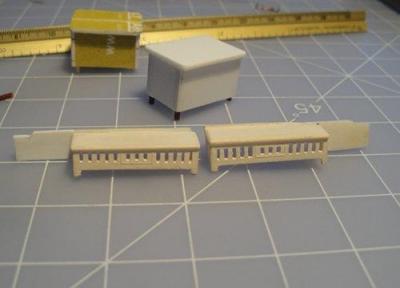
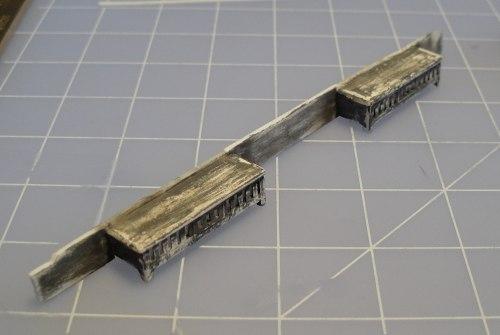
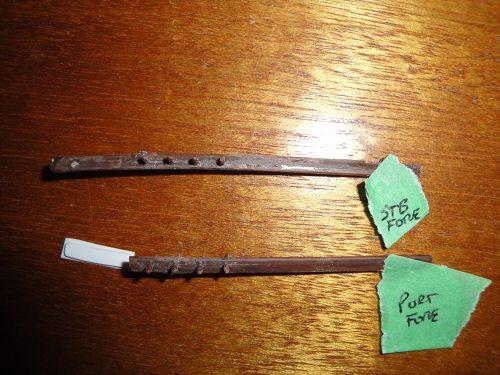
Bumkins.
Repairing the boat davits ... in hindsight I should have just fabricated ones out of thick wire, lol.