pirozzi
-
Posts
843 -
Joined
-
Last visited
3 Followers


Recent Profile Visitors
2,776 profile views

.jpg.d84ec4dad1d7791e855dca06210ab6f3.thumb.jpg.f45209242e851d4409eca1a09293165b.jpg)


-
 catopower reacted to a post in a topic:
HMS PRINCE by AMATI
catopower reacted to a post in a topic:
HMS PRINCE by AMATI
-
catopower reacted to a post in a topic:
HMS PRINCE by AMATI
-
catopower reacted to a post in a topic:
HMS PRINCE by AMATI
-
catopower reacted to a post in a topic:
HMS PRINCE by AMATI
-
catopower reacted to a post in a topic:
HMS Prince by pirozzi - Amati - 1:64 - Original 1978 Kit by Vince P.
-
AgesOfSail reacted to a post in a topic:
HMS Prince by pirozzi - Amati - 1:64 - Original 1978 Kit by Vince P.
-
AgesOfSail reacted to a post in a topic:
HMS Prince by pirozzi - Amati - 1:64 - Original 1978 Kit by Vince P.
-
AgesOfSail reacted to a post in a topic:
HMS Prince by pirozzi - Amati - 1:64 - Original 1978 Kit by Vince P.
-
AgesOfSail reacted to a post in a topic:
HMS Prince by pirozzi - Amati - 1:64 - Original 1978 Kit by Vince P.
-
 AgesOfSail reacted to a post in a topic:
HMS Prince by pirozzi - Amati - 1:64 - Original 1978 Kit by Vince P.
AgesOfSail reacted to a post in a topic:
HMS Prince by pirozzi - Amati - 1:64 - Original 1978 Kit by Vince P.
-
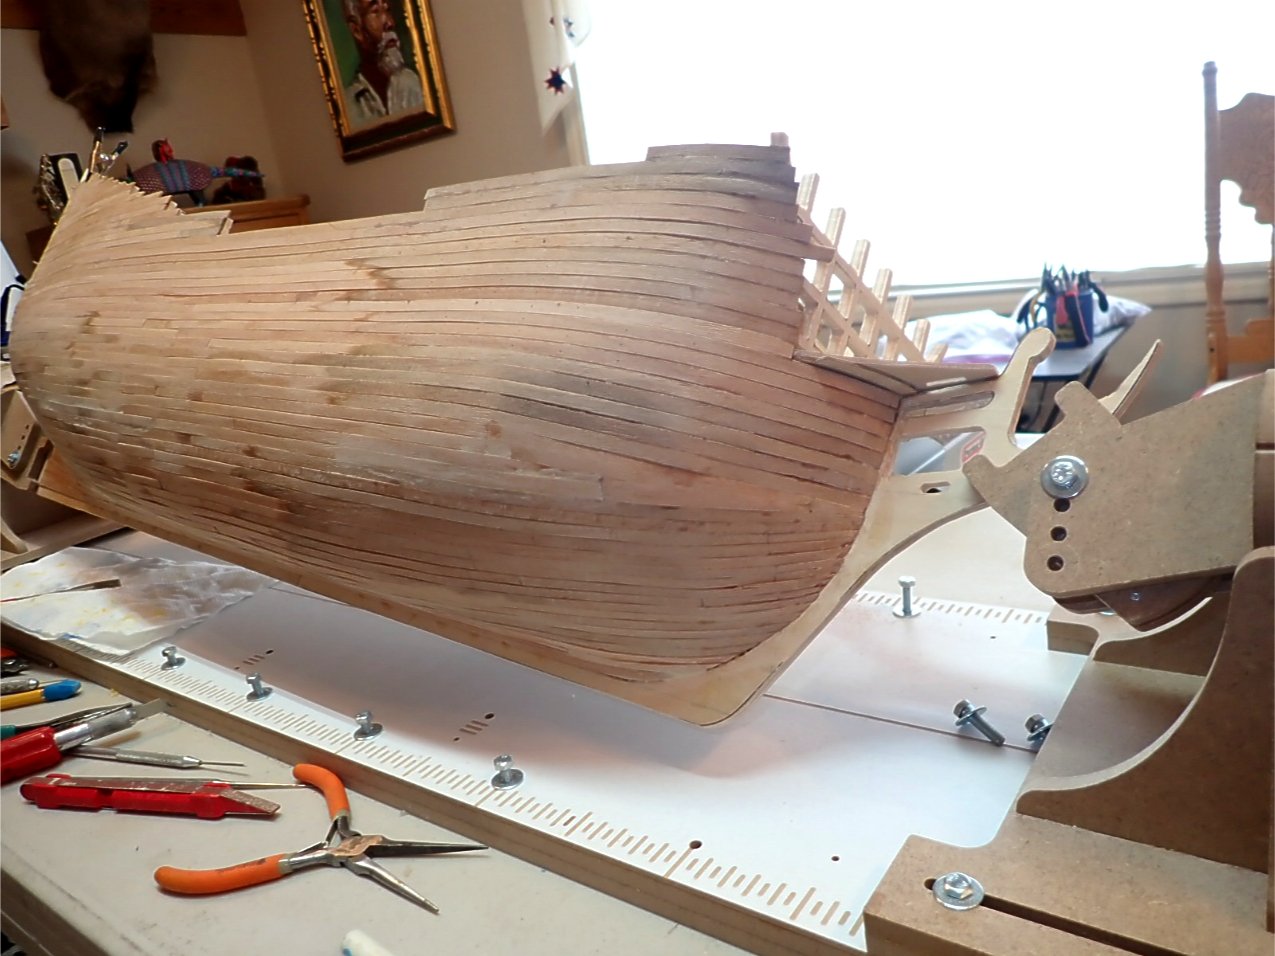
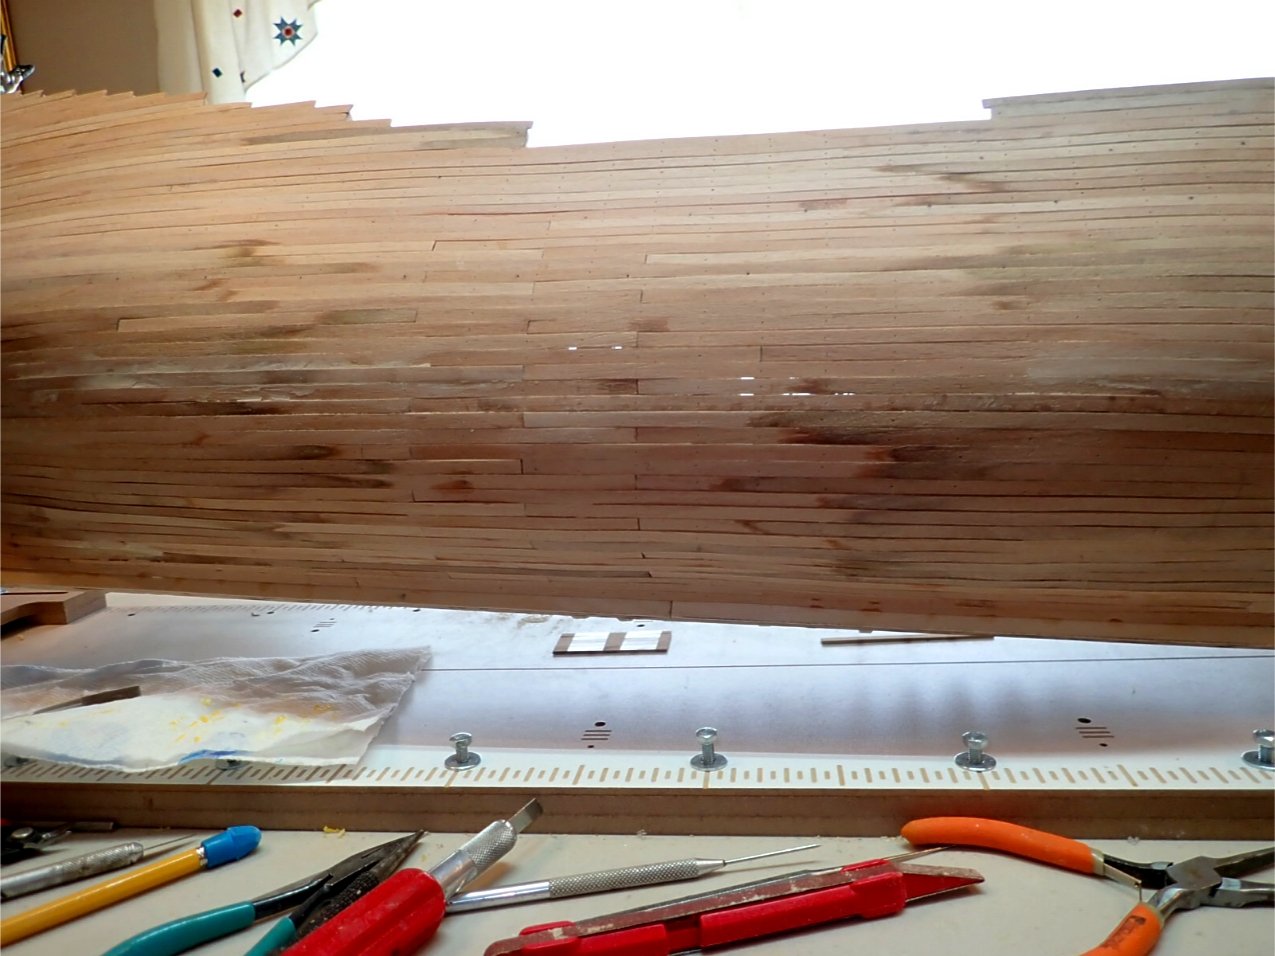
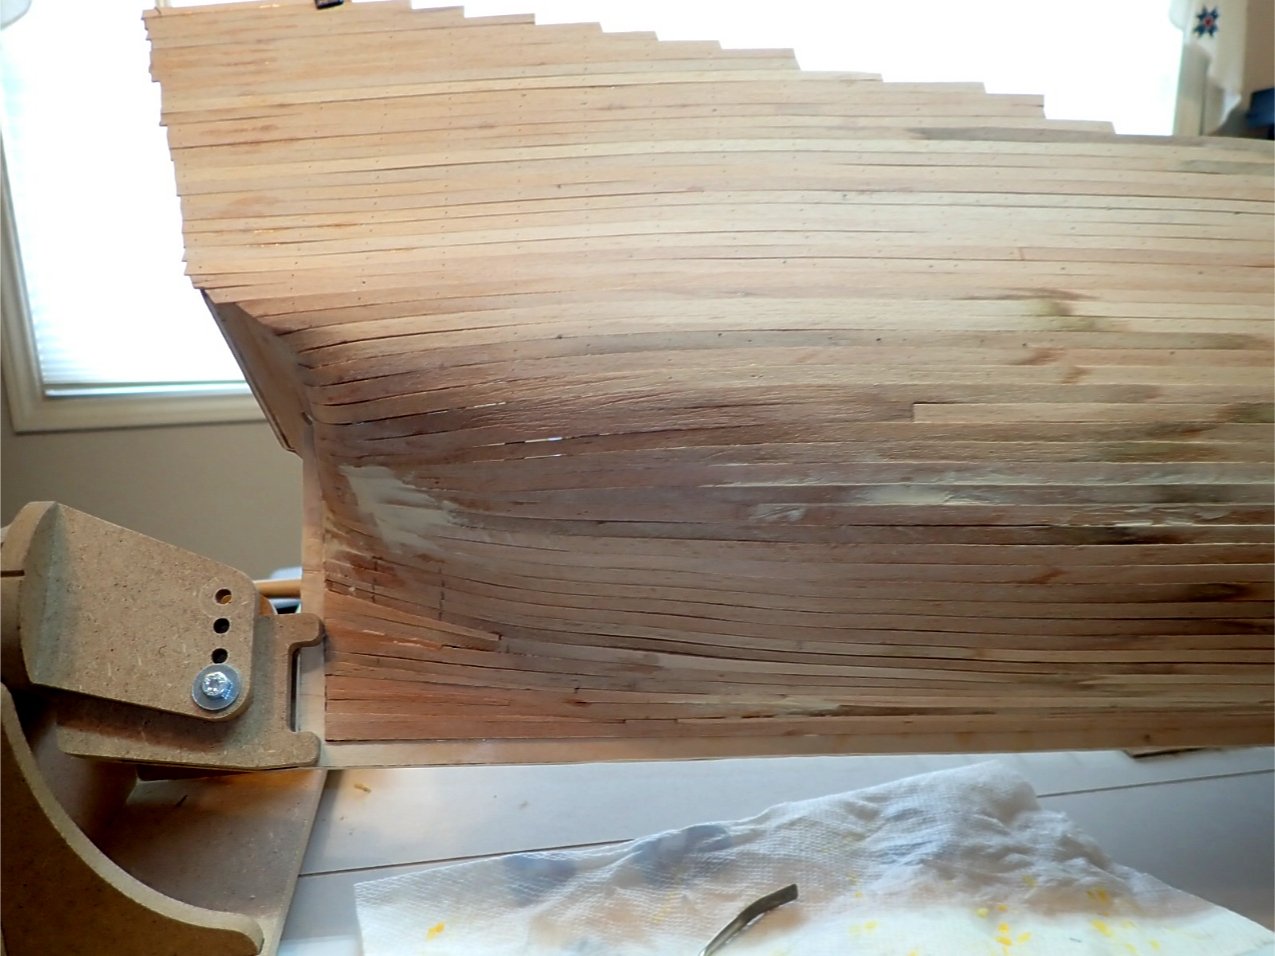
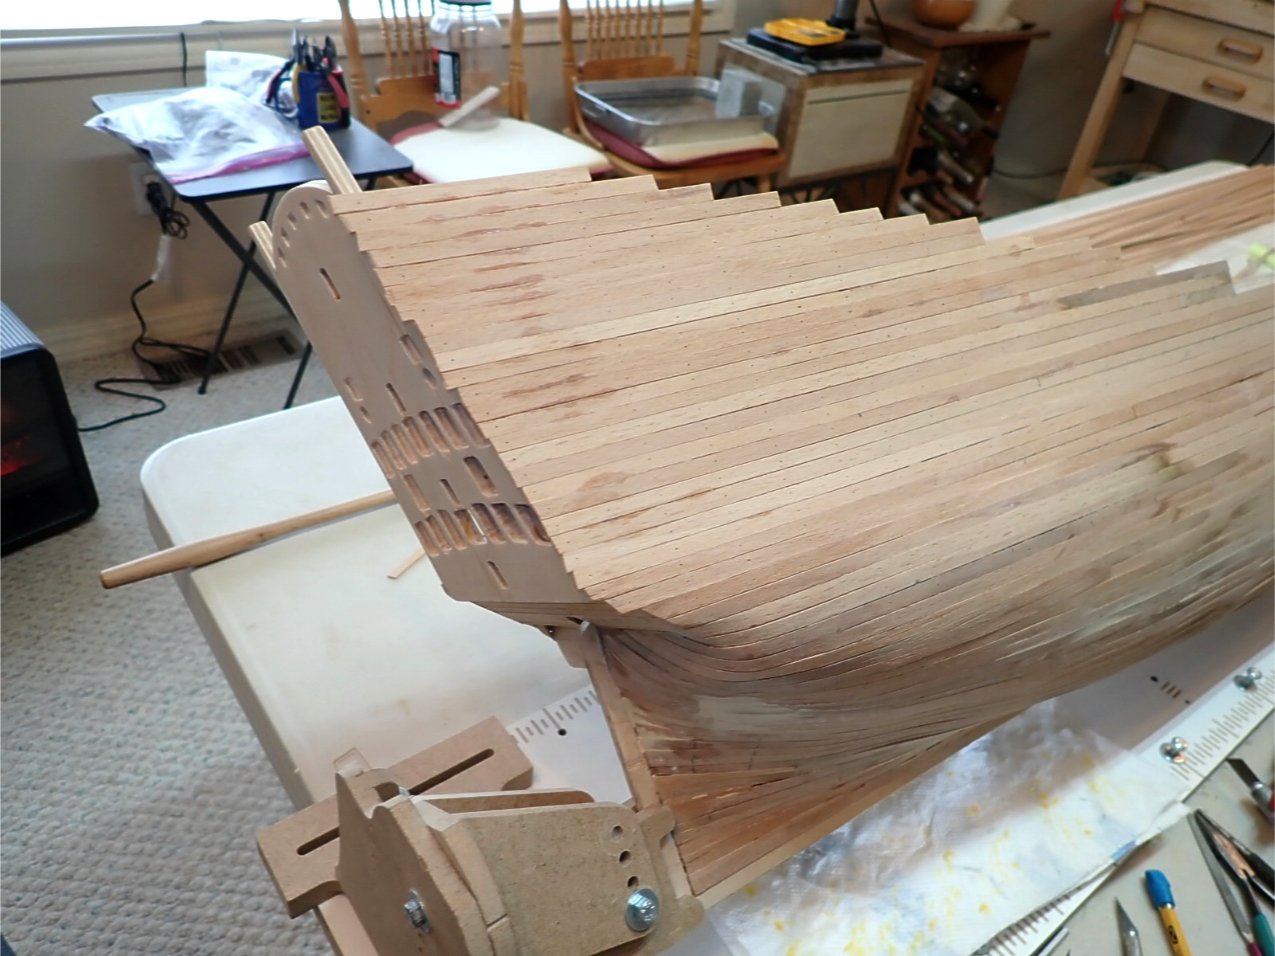
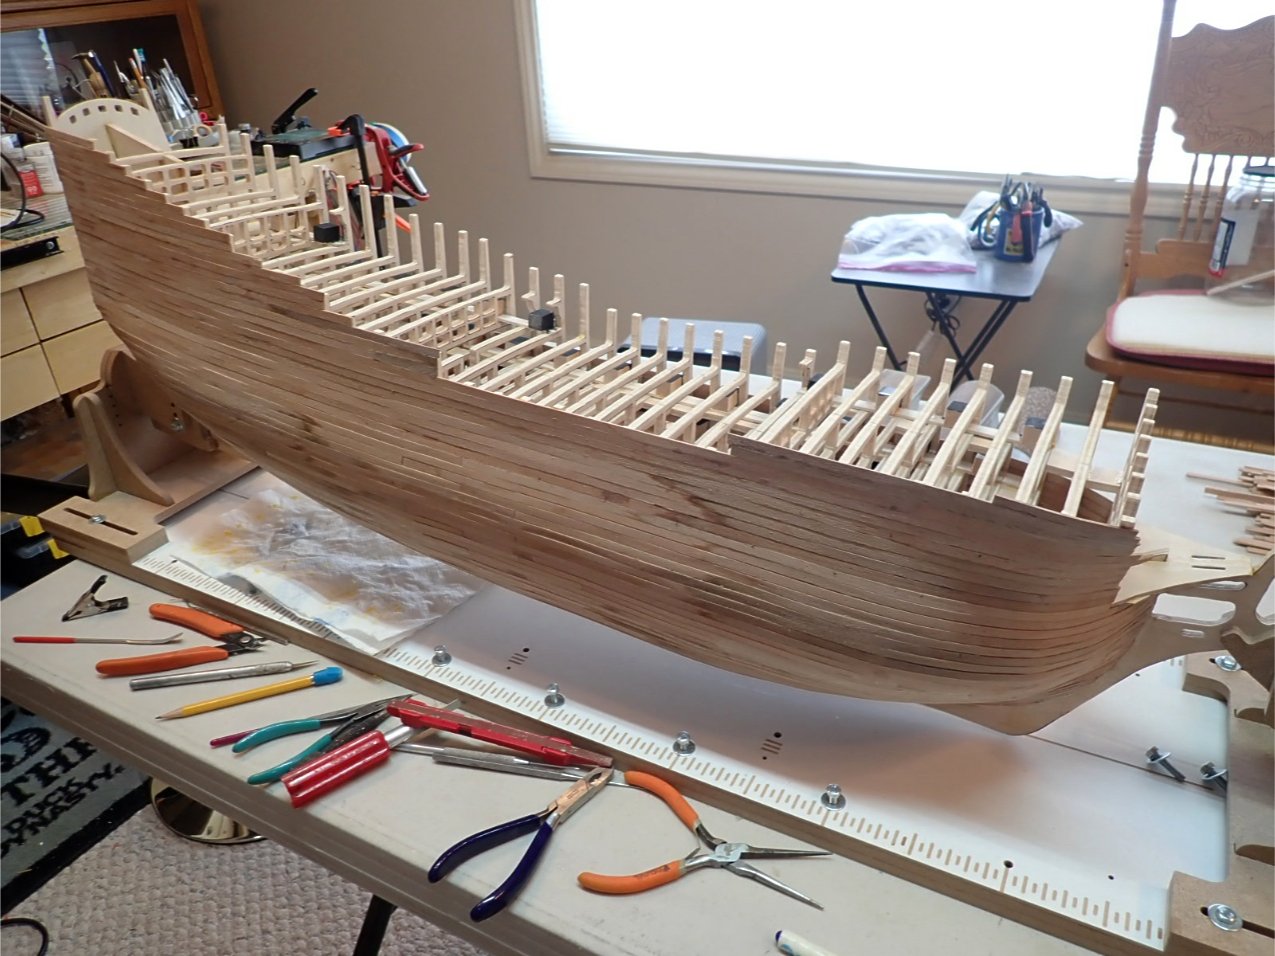
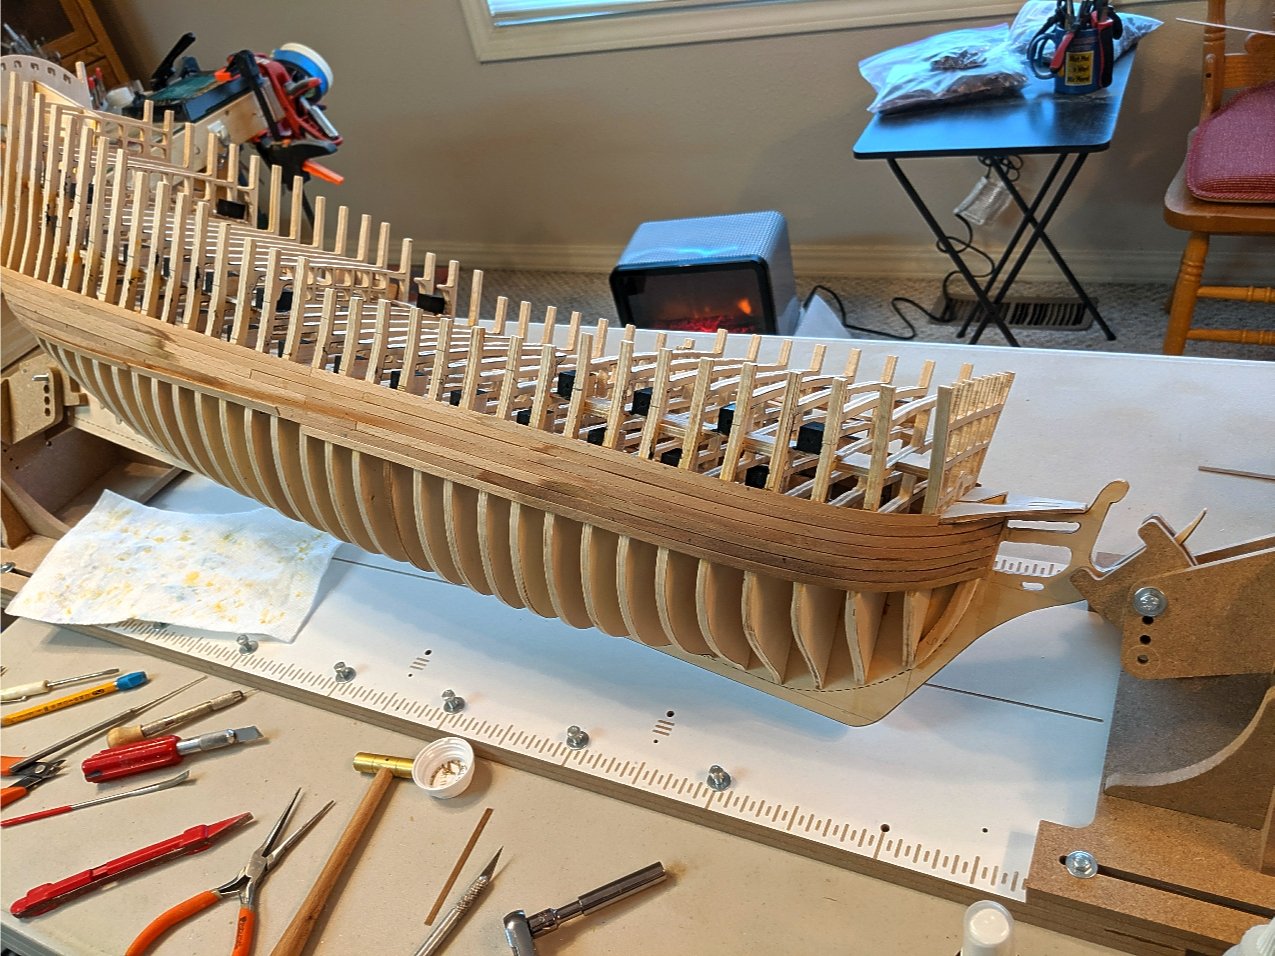
 Hi Mates, Long time no see. Now that I am pretty much confined to the house because of this Corona virus epidemic, I have been putting more time into my build. I have finally finished the starboard side of the first planking layer. It was a monstrous job. Besides being a very large hull, the enormous amount of bulkheads requires constant adjustments of just about every bulkhead to get a fairly even and smooth run of the strakes. Even so, there are a few rough spots that will have to be smoothed out when placing the second finish layer of planking. I used little nails throughout to hold the planks until the glue dried and then pulled them out. For the second layer I will not have to use them because there will be a solid layer underneath to glue them to. I used PVA glue for most of the planking, except where the curves in the hull required holding. In those places I used medium thick CA glue and fast drying spray. I did not cut off the ends of the planks that hang over because I might need some extra when placing the decorations and strips to the bow and stern. Although you can't them, I did mark the locations of the gunports with little holes for cutting them out later. Hopefully I will post more quickly now. Vince P.
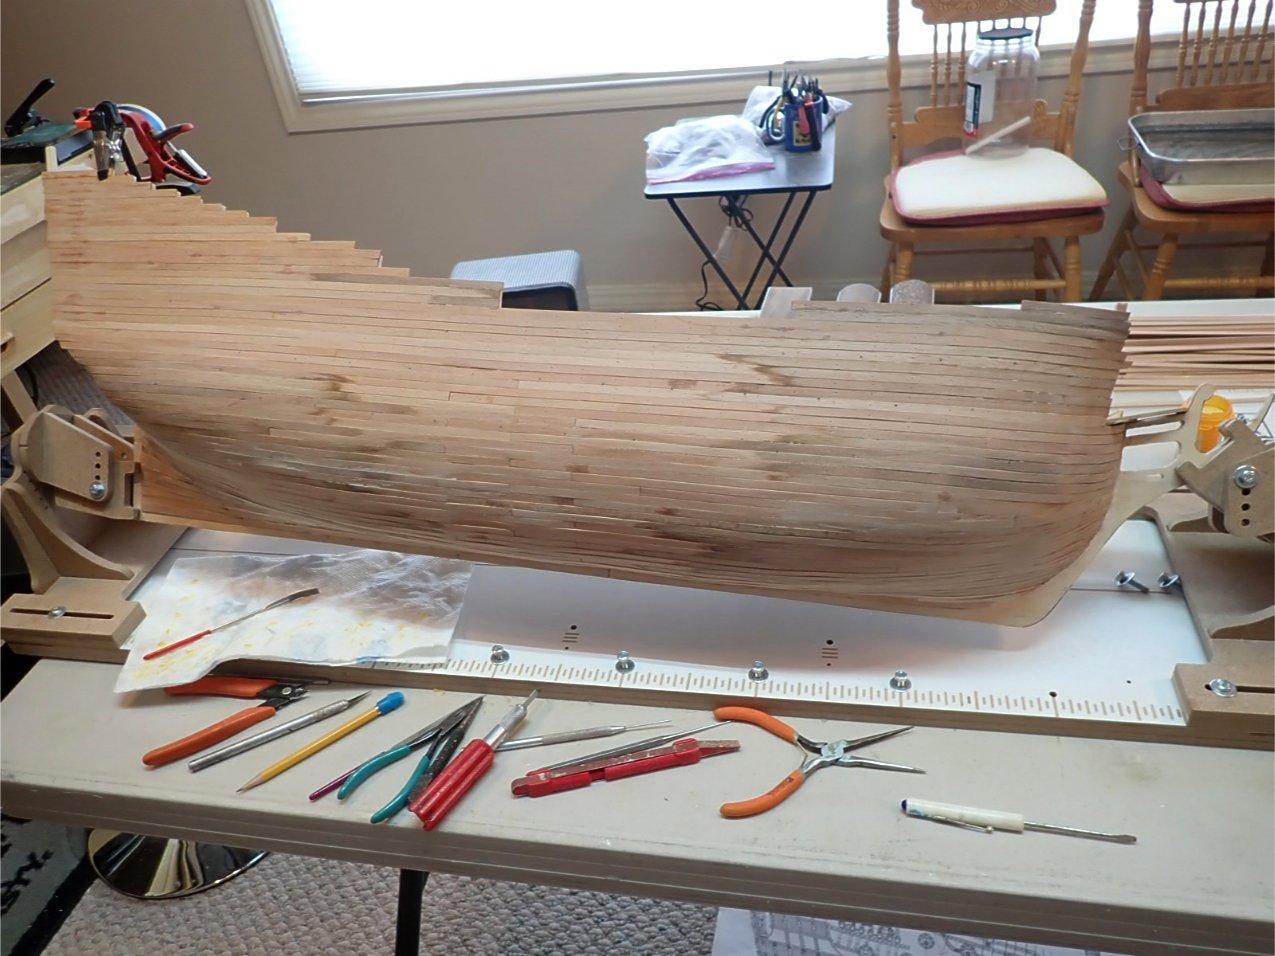
-
Captain, A kit is only a platform. You can take it as far as you want. I have seen that Constructo kit completed by a builder who bashed it considerably. It was outstanding. Vince
-
I have to ask! What is your ship resting on in these photos? Vince
-
You have a valid point. The Royal William I built has a straighter prow. I will look into this. Thanks, Vince
-
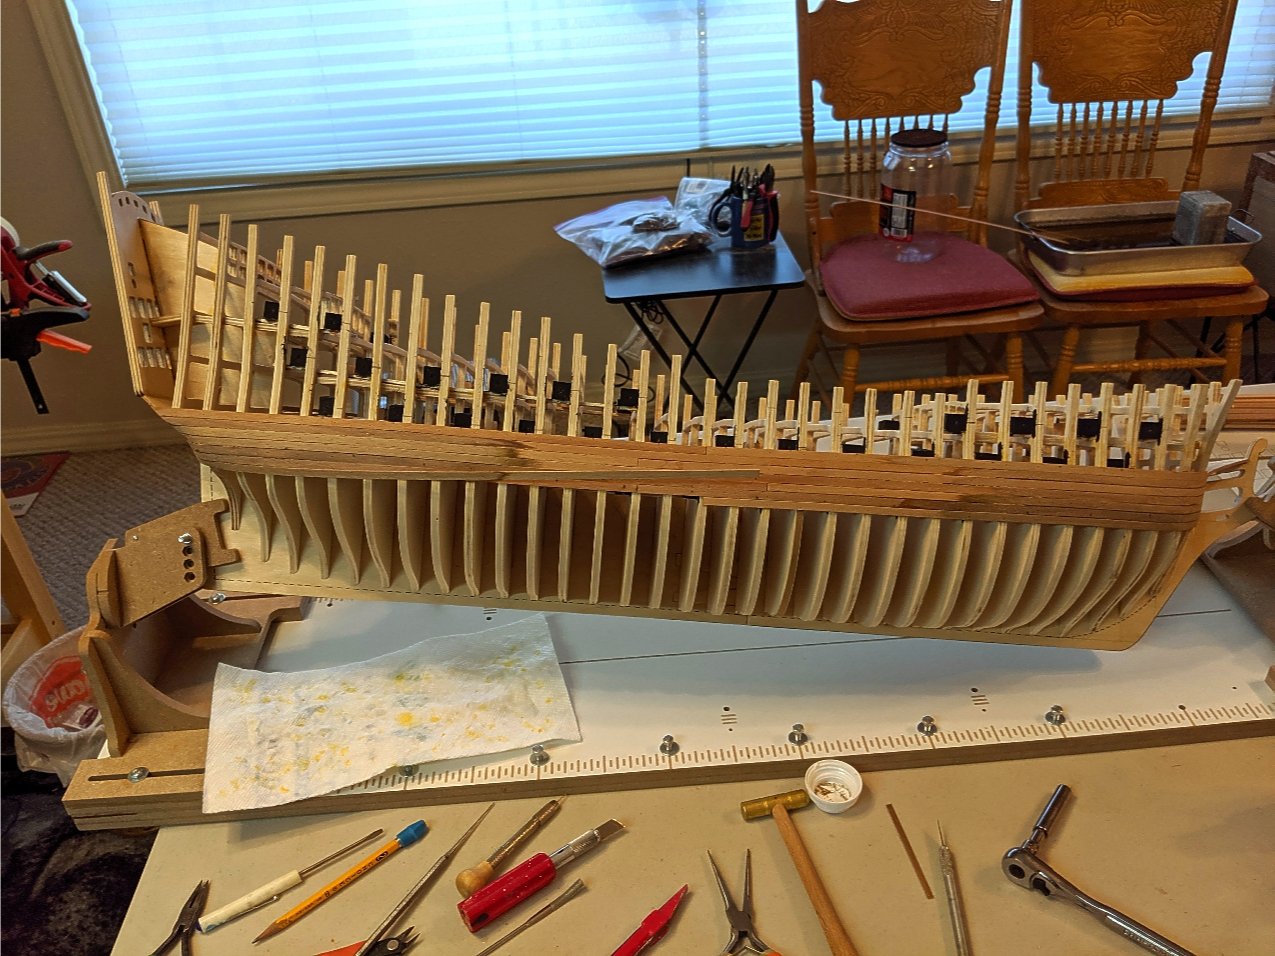
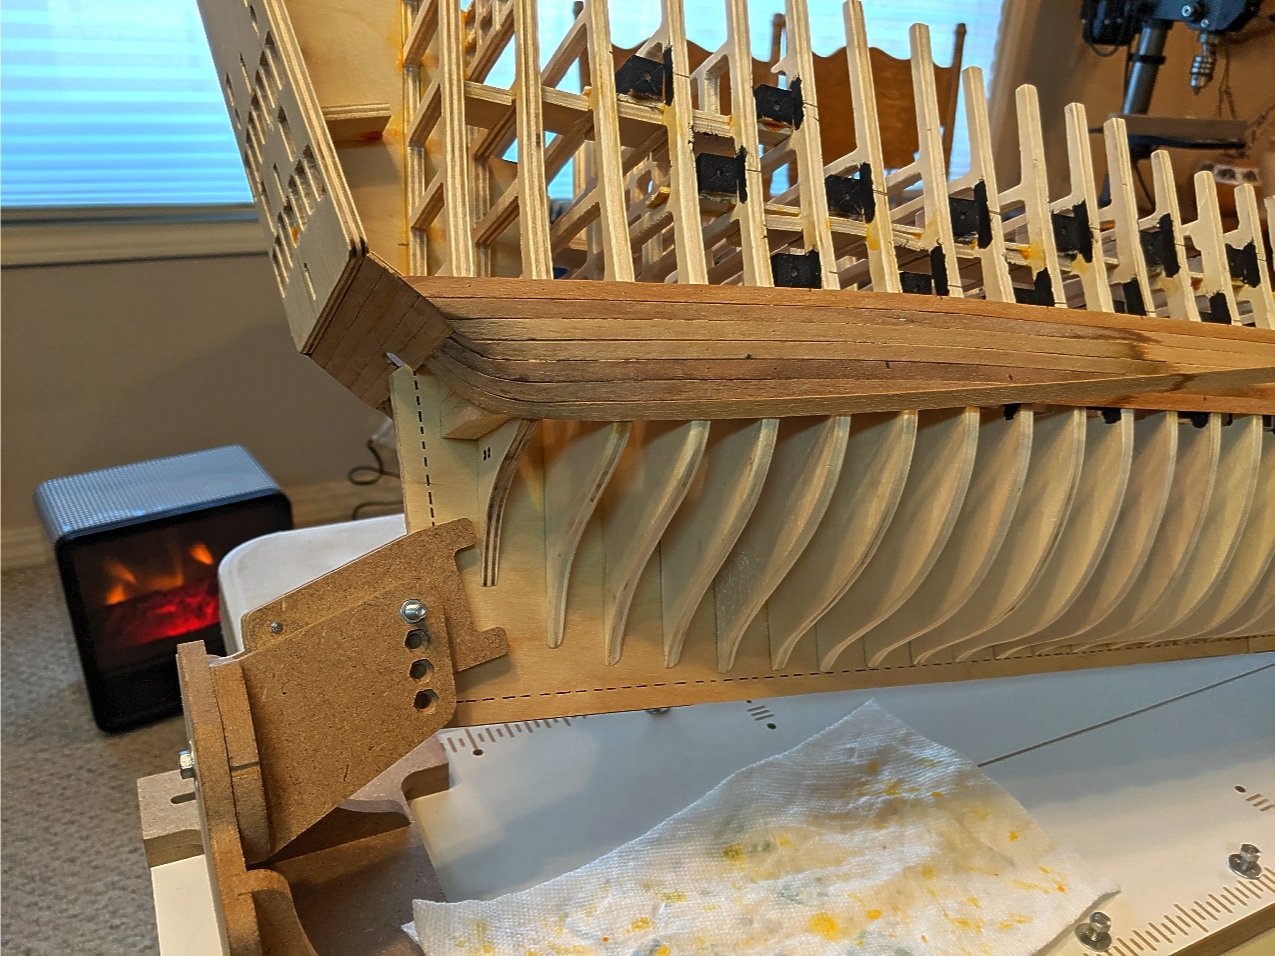
Started the first layer of planking. It is very slow going. Because of the large number of bulkheads, many have to be adjusted along the way to keep the flow of the planking as smooth as possible. There are still ripples that show and those will have to be corrected after the entire hull is planked and before the second layer is applied. Vince P.
-
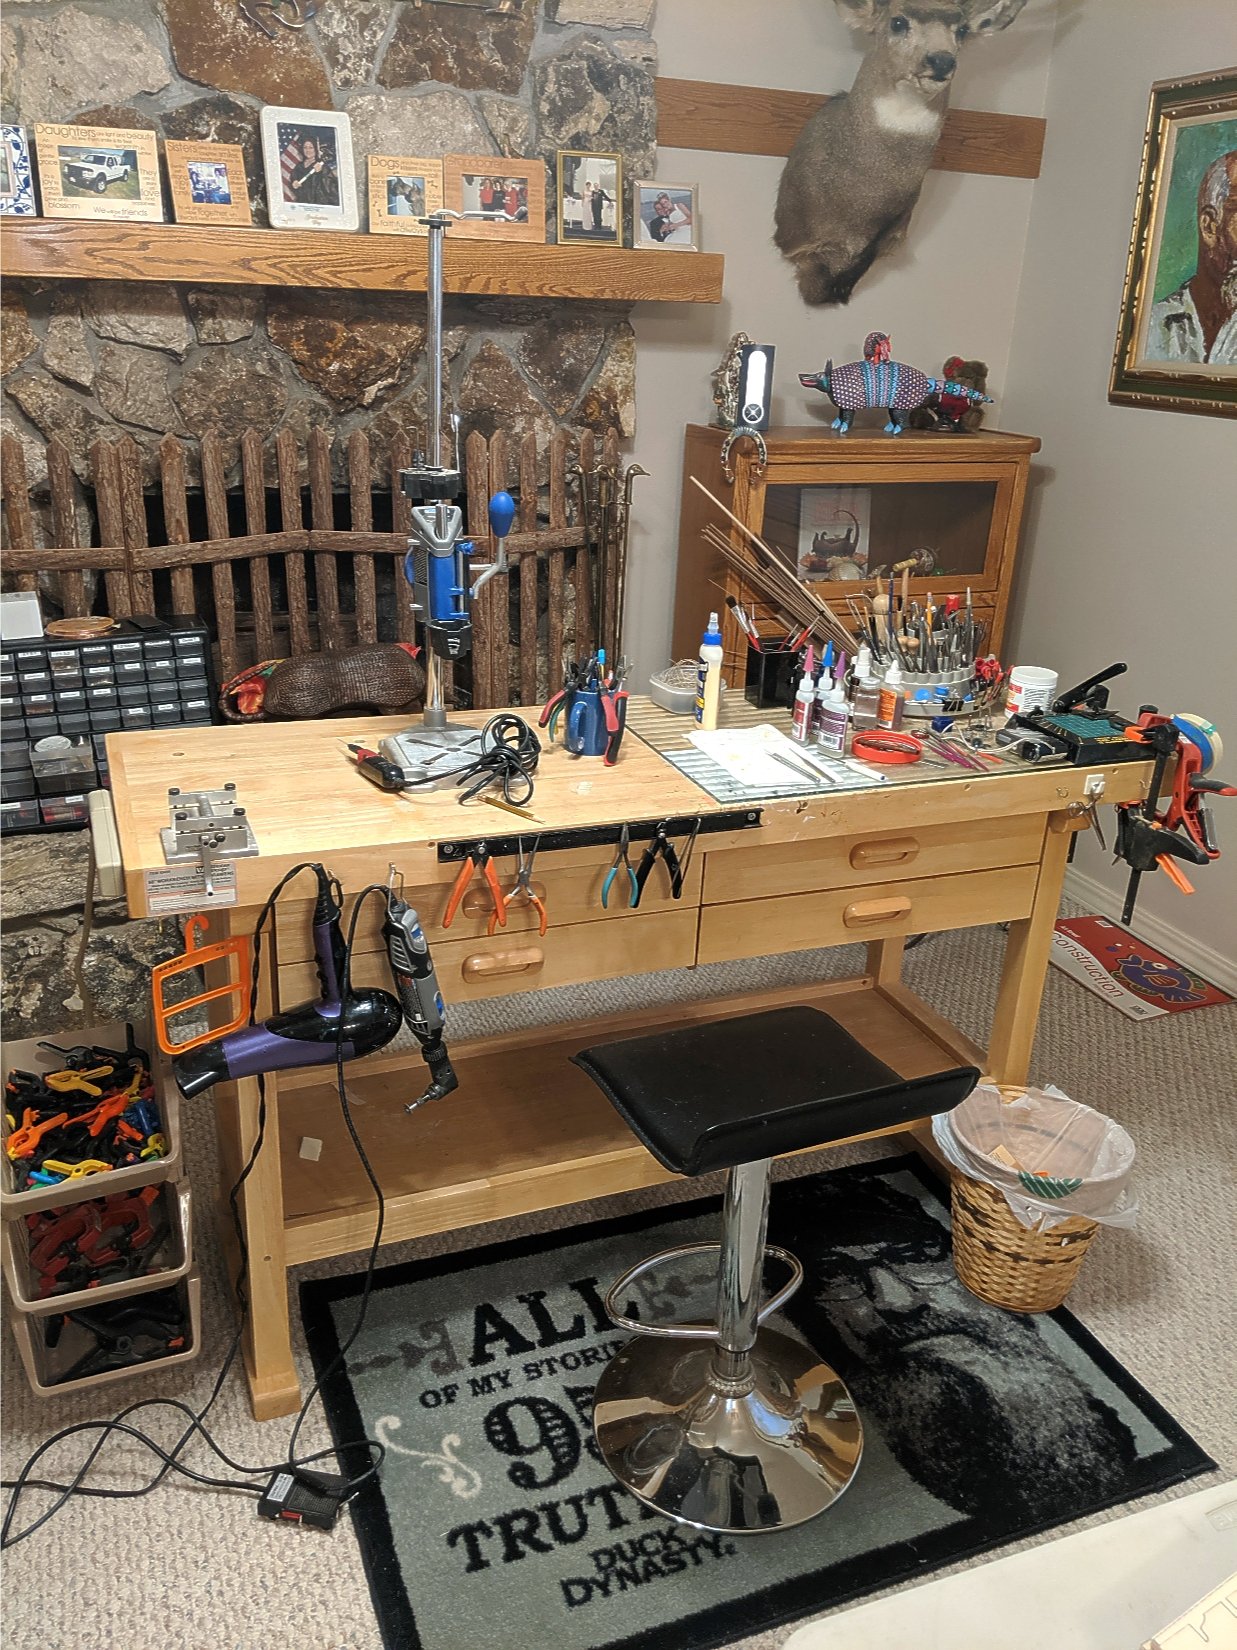
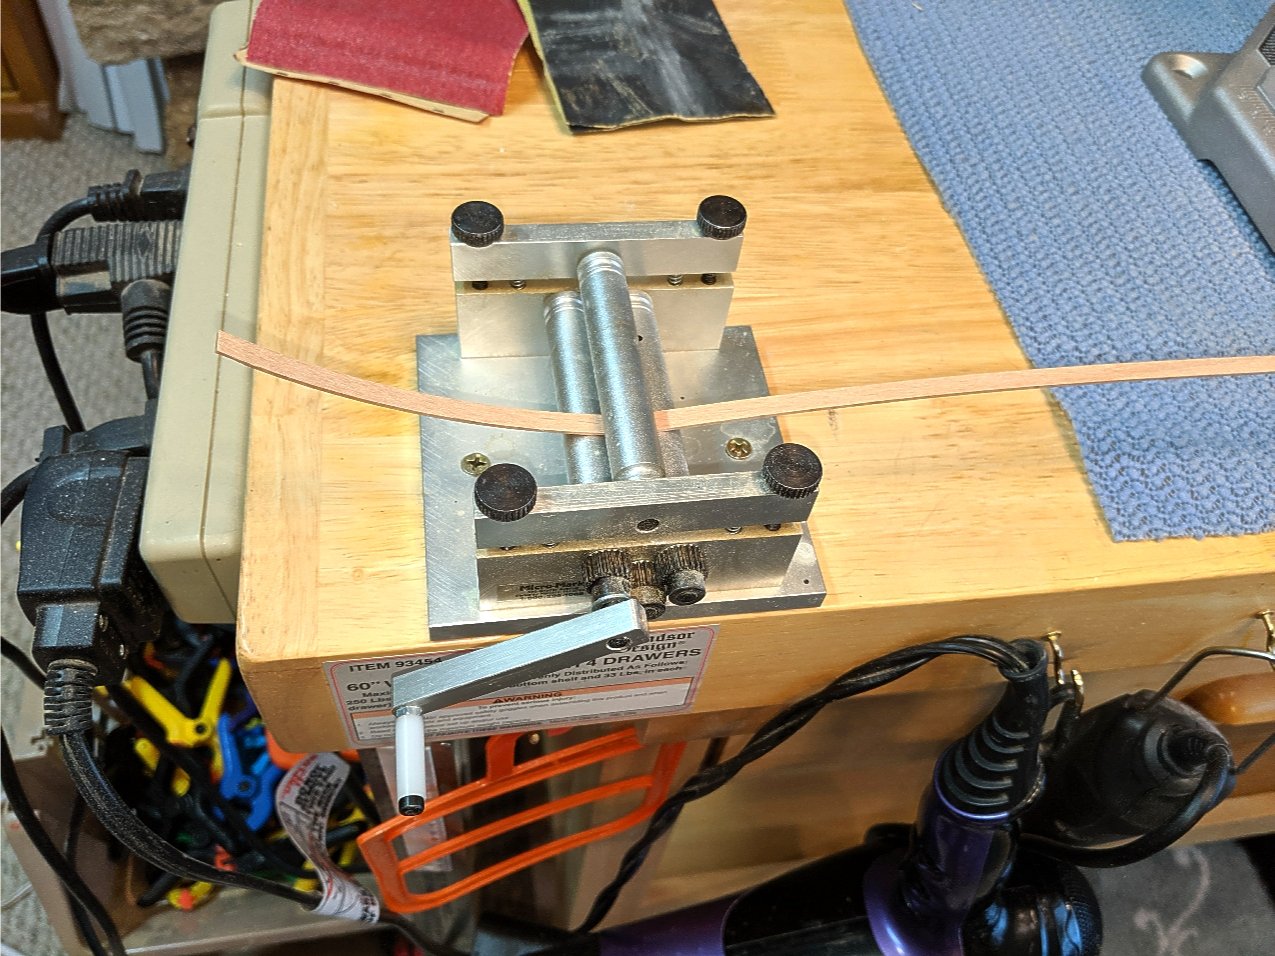
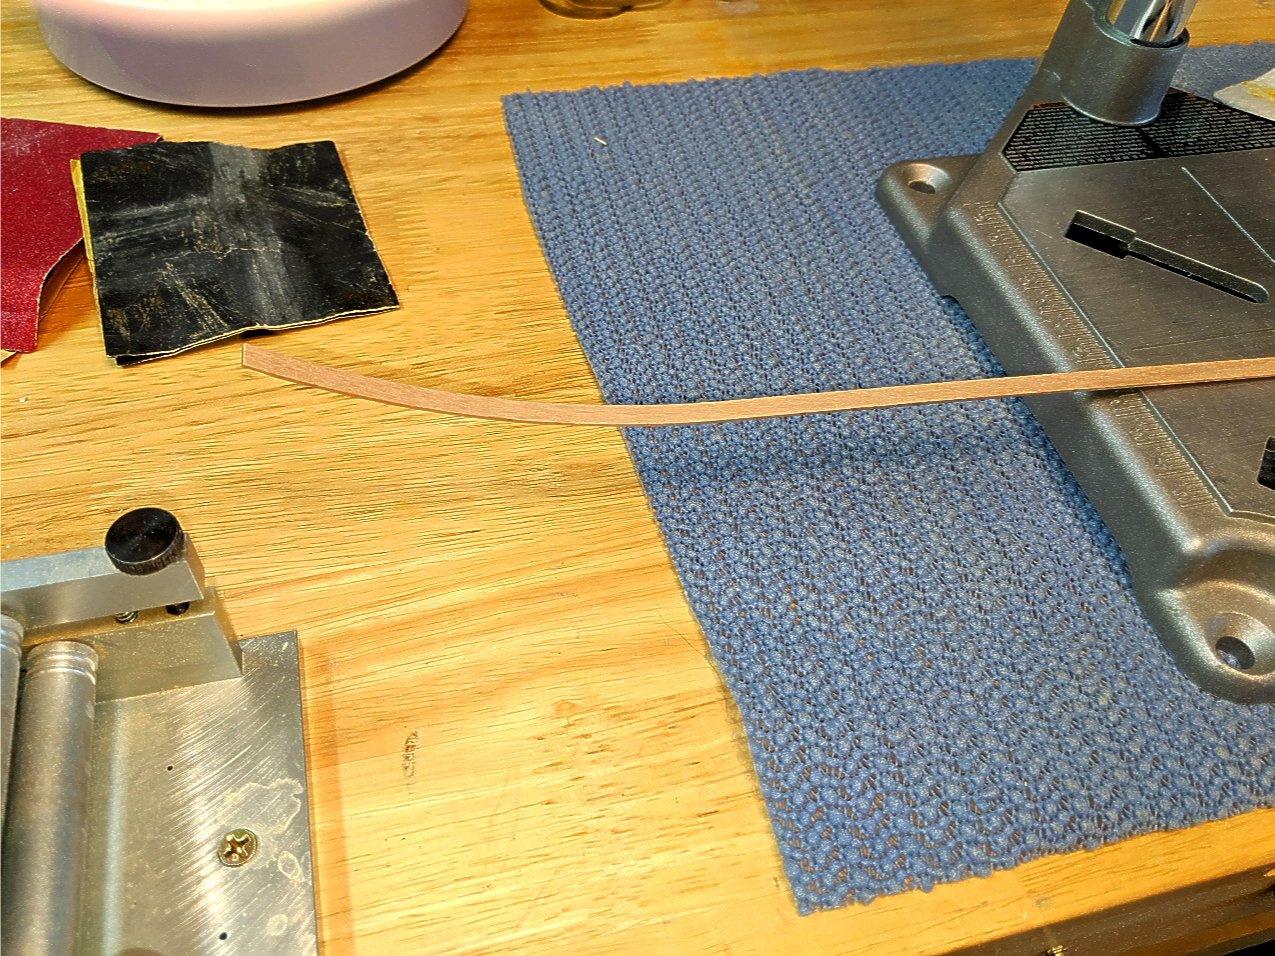
This little plank bender I bought years ago from MicroMark is one of the best tools ever. You can bend wood up to 3mm thick. The wood can be dry and cold. You just adjust the rollers to accommodate the thickness and the amount of arc you need. Just crank the handle. I have planked an entire ship with this. Vince P.
-
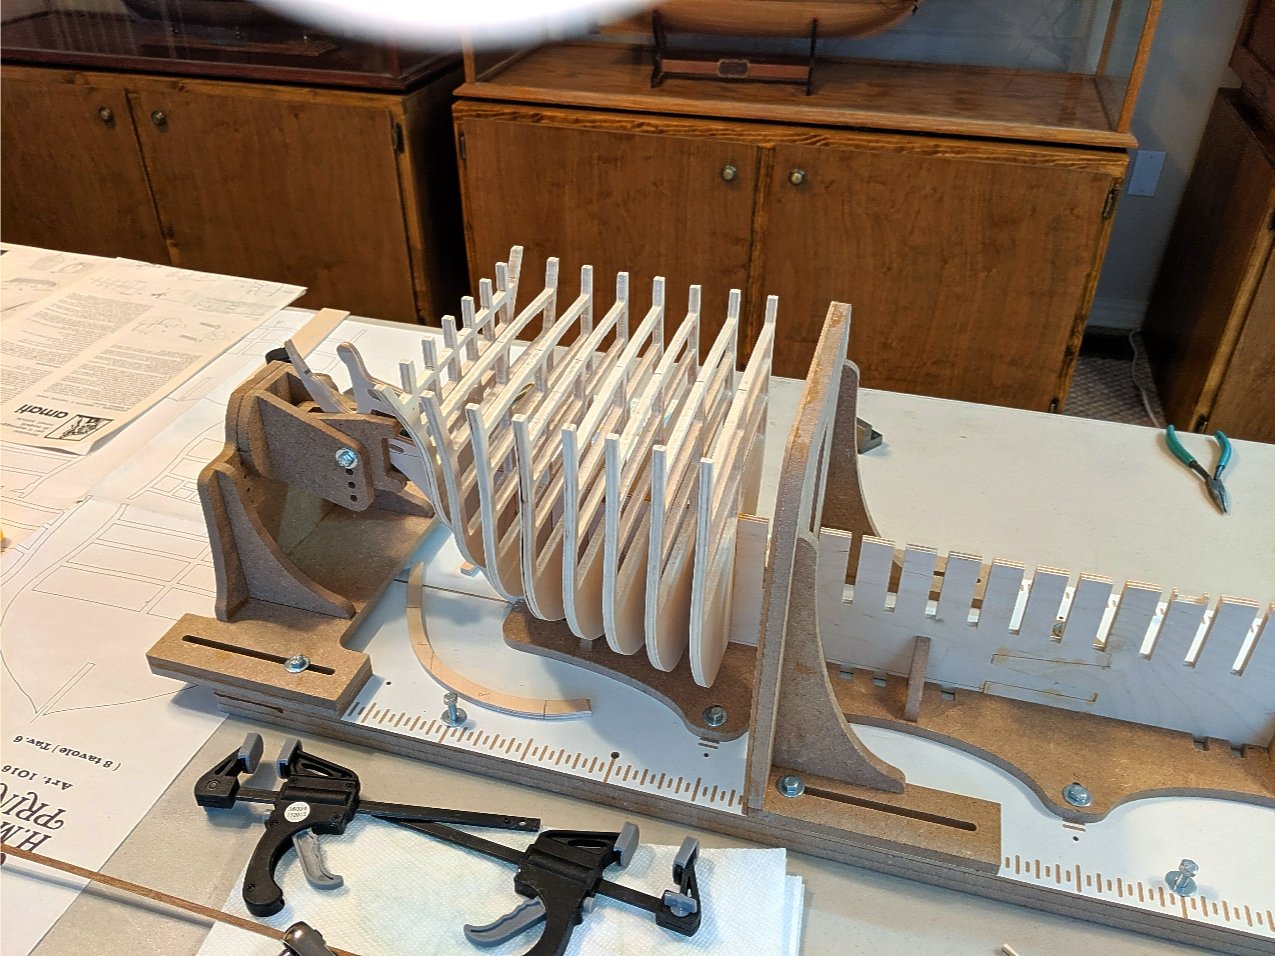
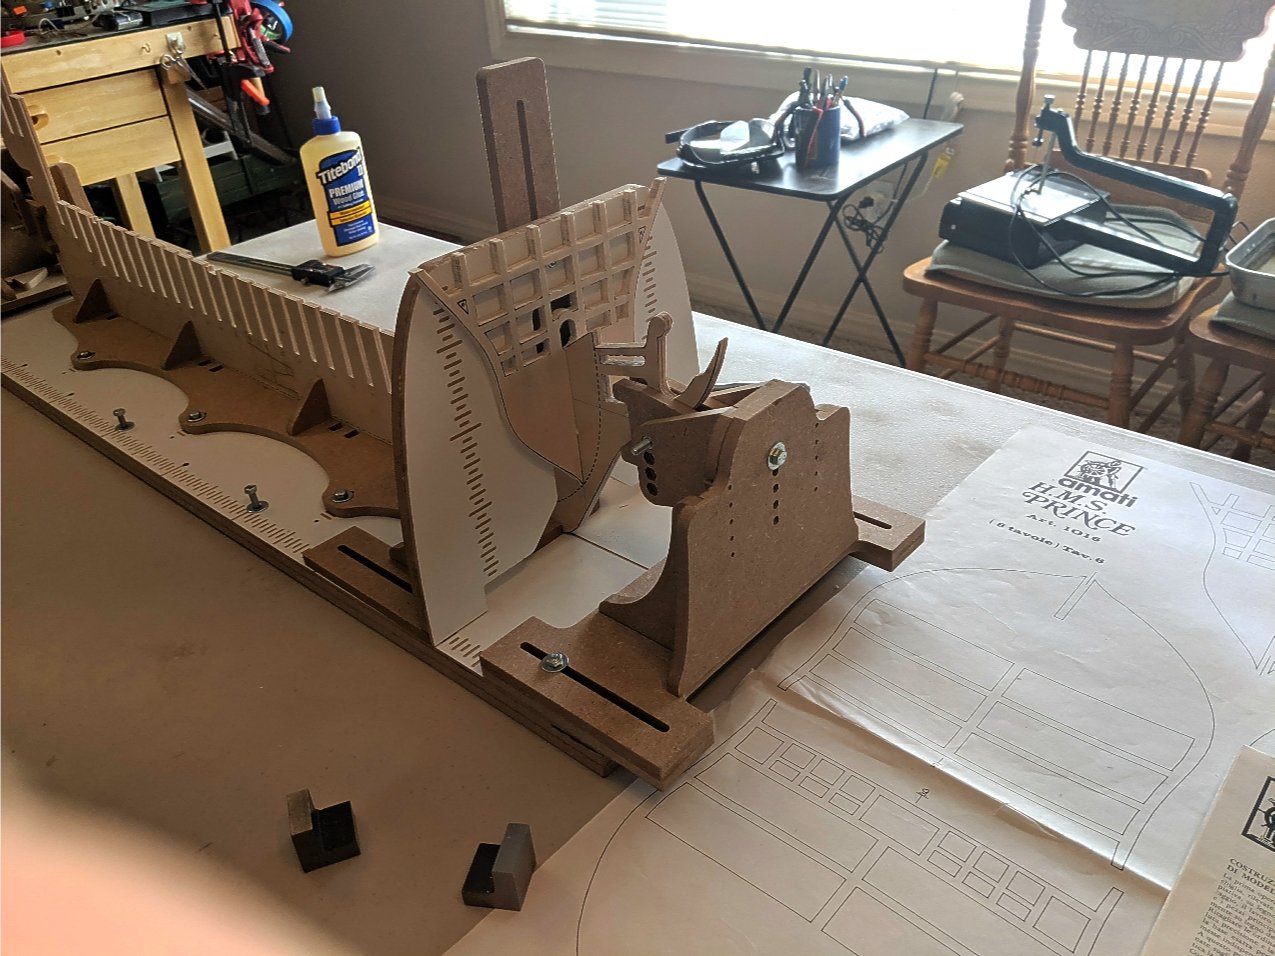
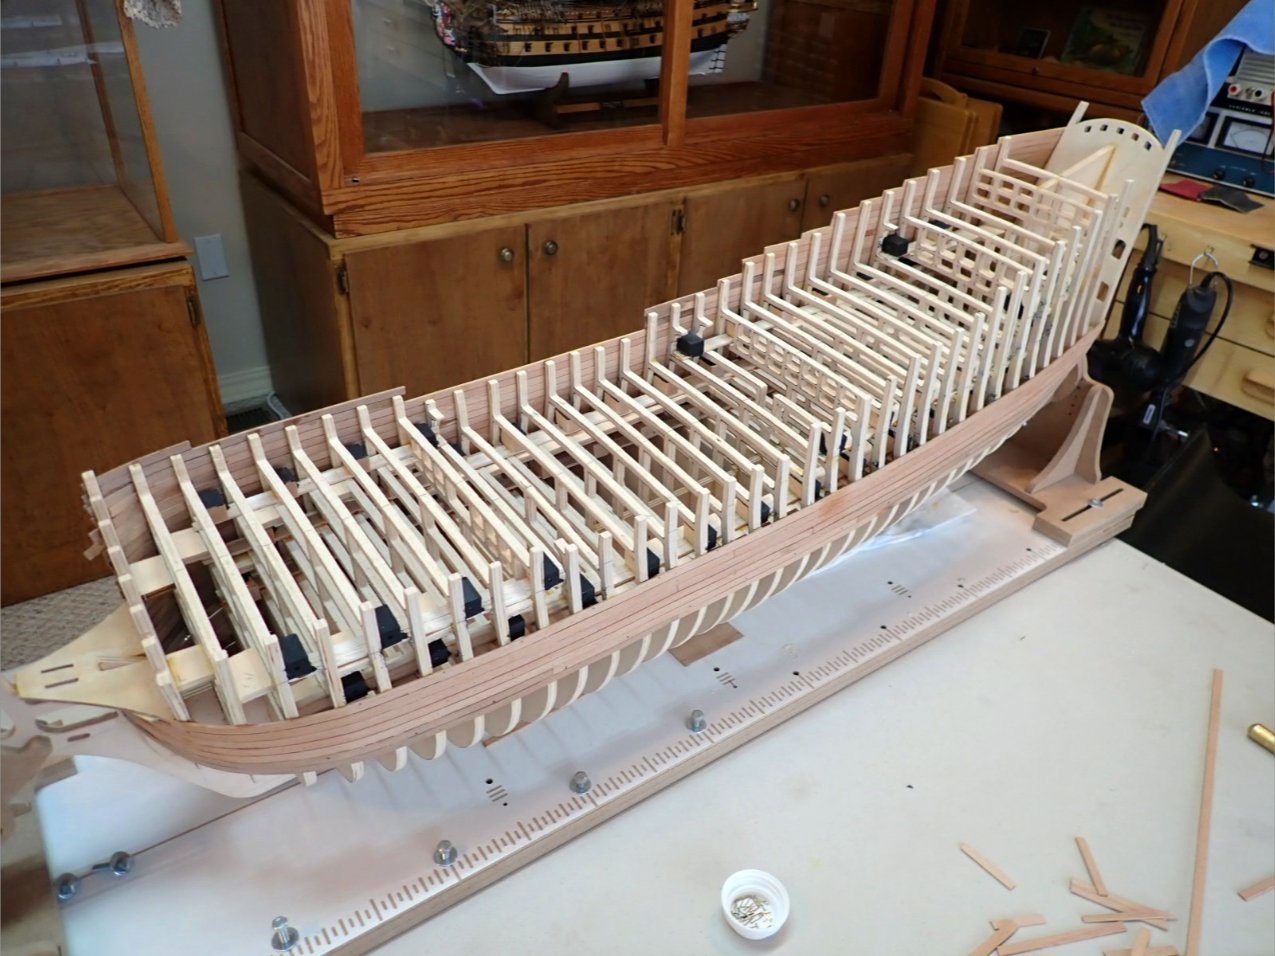
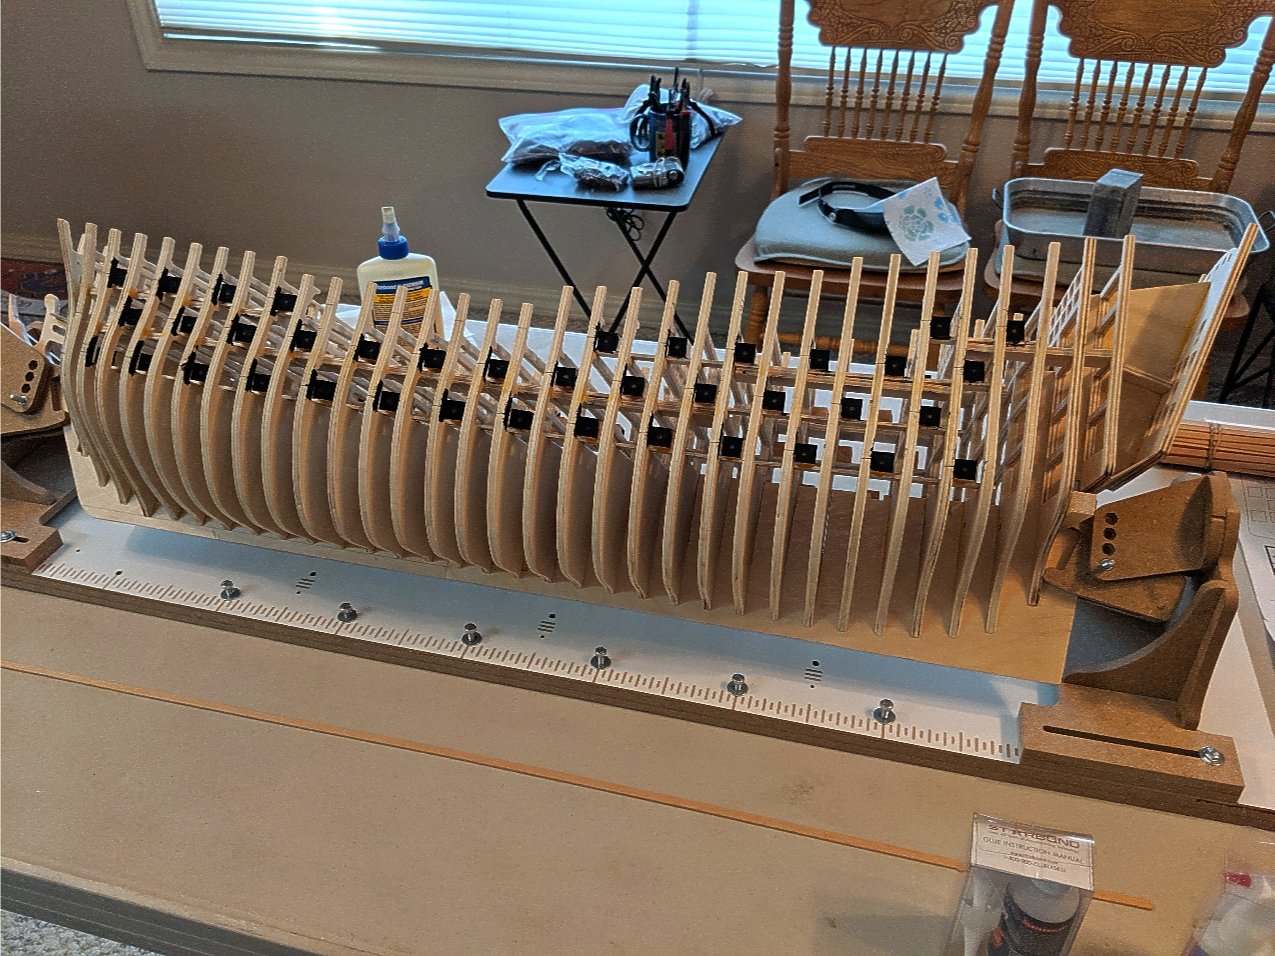
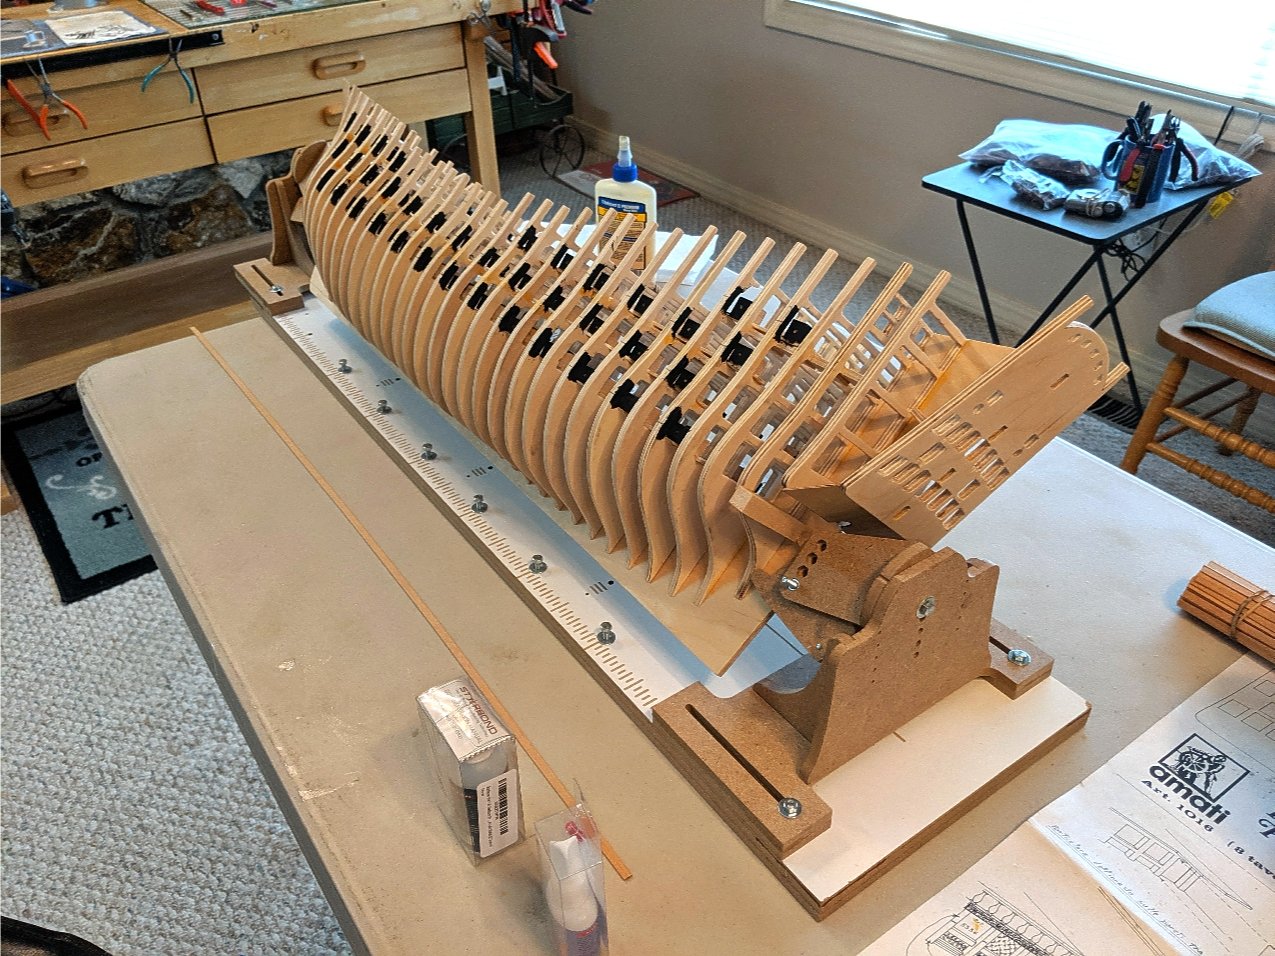
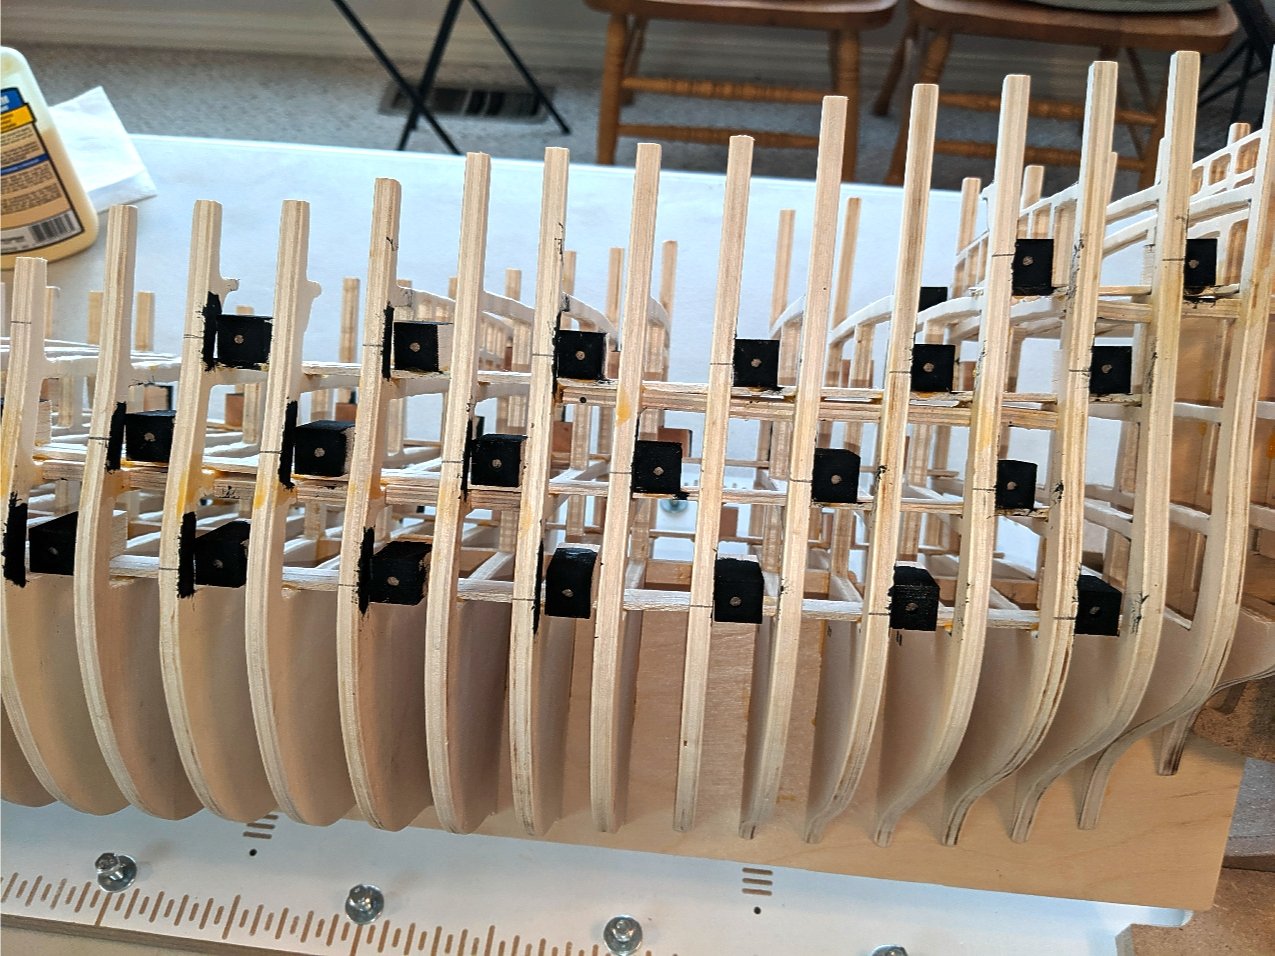
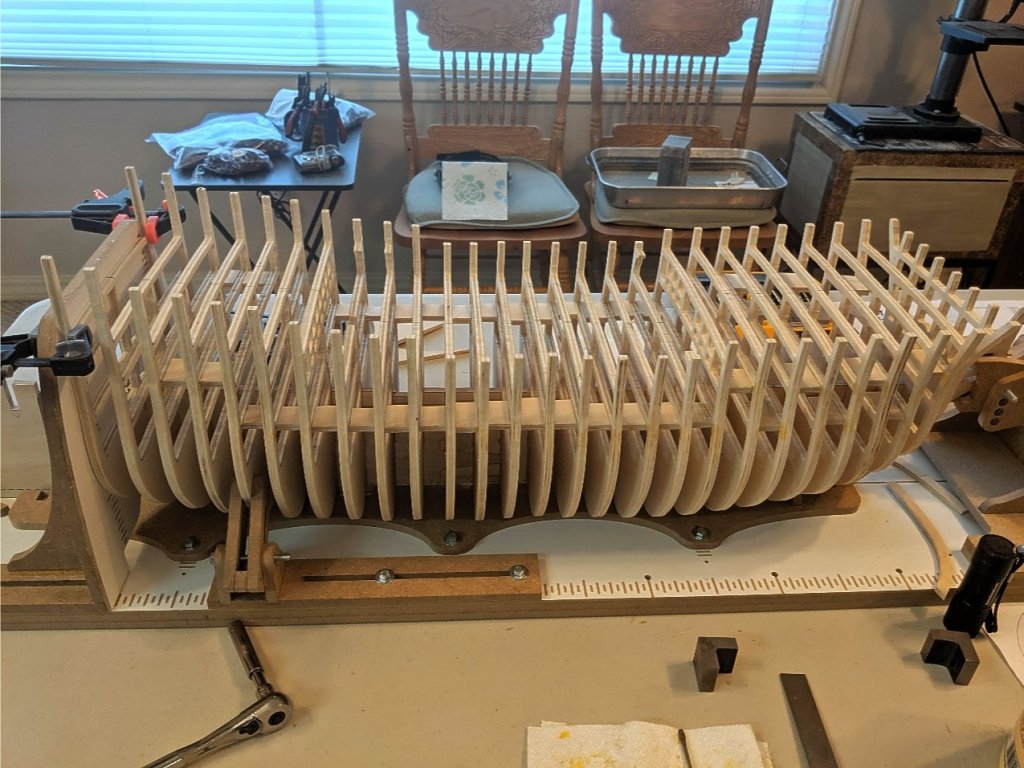
All of the gunports are located and the dummy gun blocks are placed. Locating the ports was fairly easy since they all butt up against a bulkhead. I added planks that follow the deck lines to mount the blocks to. I also noticed that if I want to keep most of the ports open with protruding gun barrels, there are not enough guns supplied. They figure on only having about half of them open. I do have a good supply of gun barrels that are similar in my stash. I will use those. Next up is to bevel the fore and aft bulkhead ends and begin the first layer of hull planking. A hull this size that also has a complex curved stern and a bluff bow will take a considerable time to plank. Vince P.

-
pirozzi reacted to a post in a topic:
USS Constitution by usedtosail - FINISHED - Model Shipways - scale 1/76
-
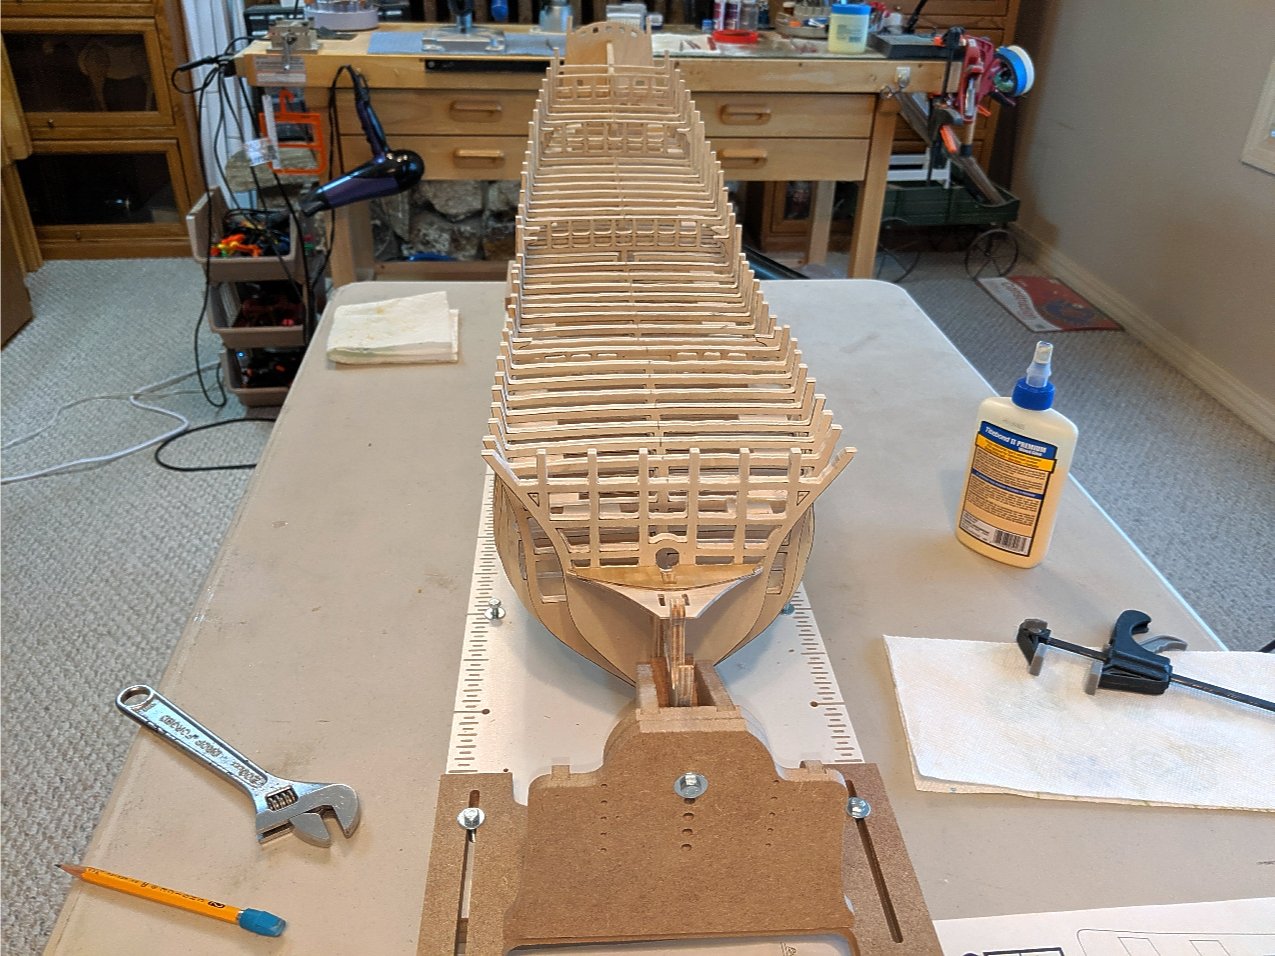
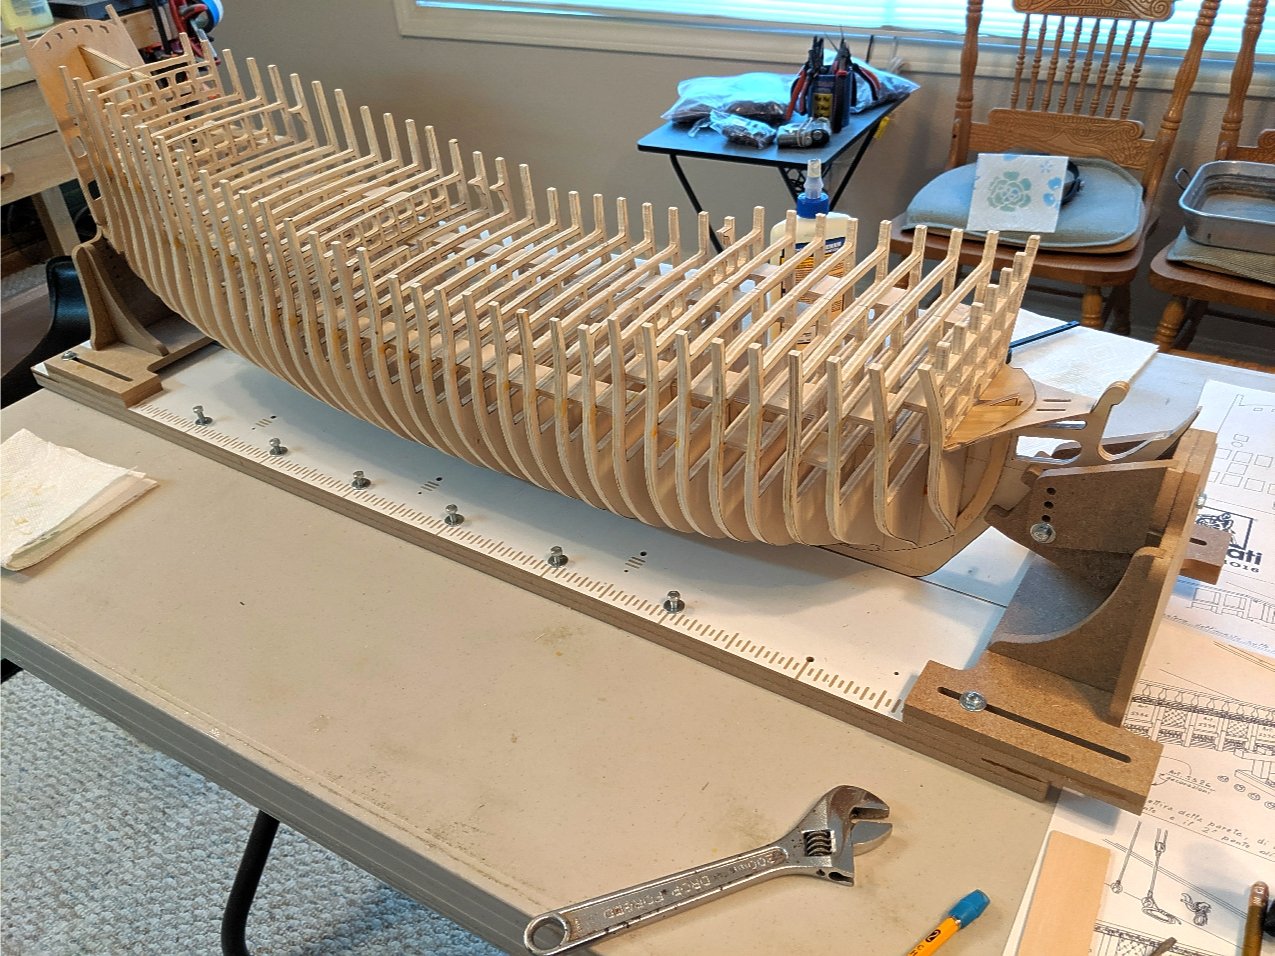
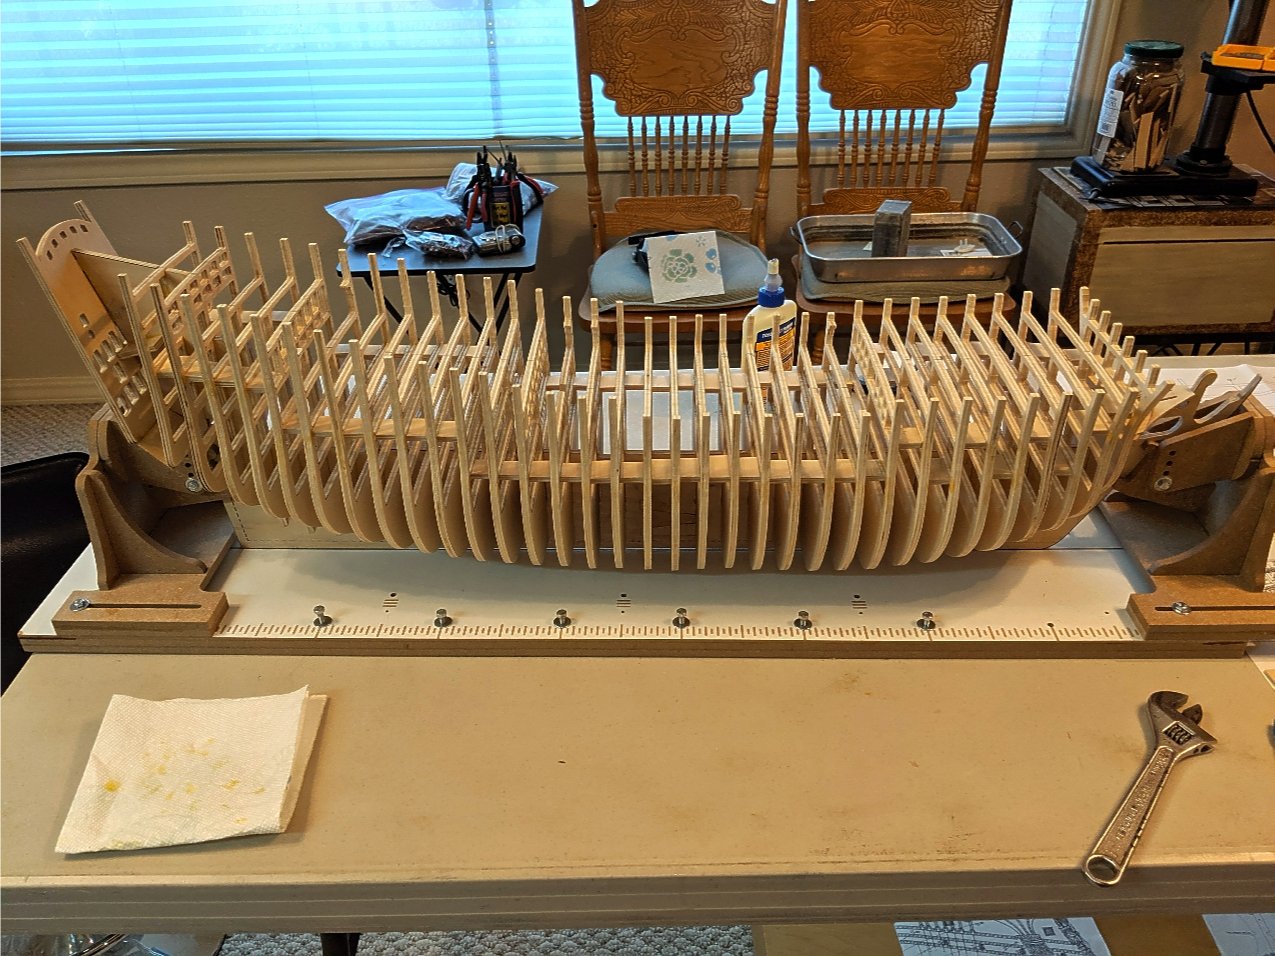
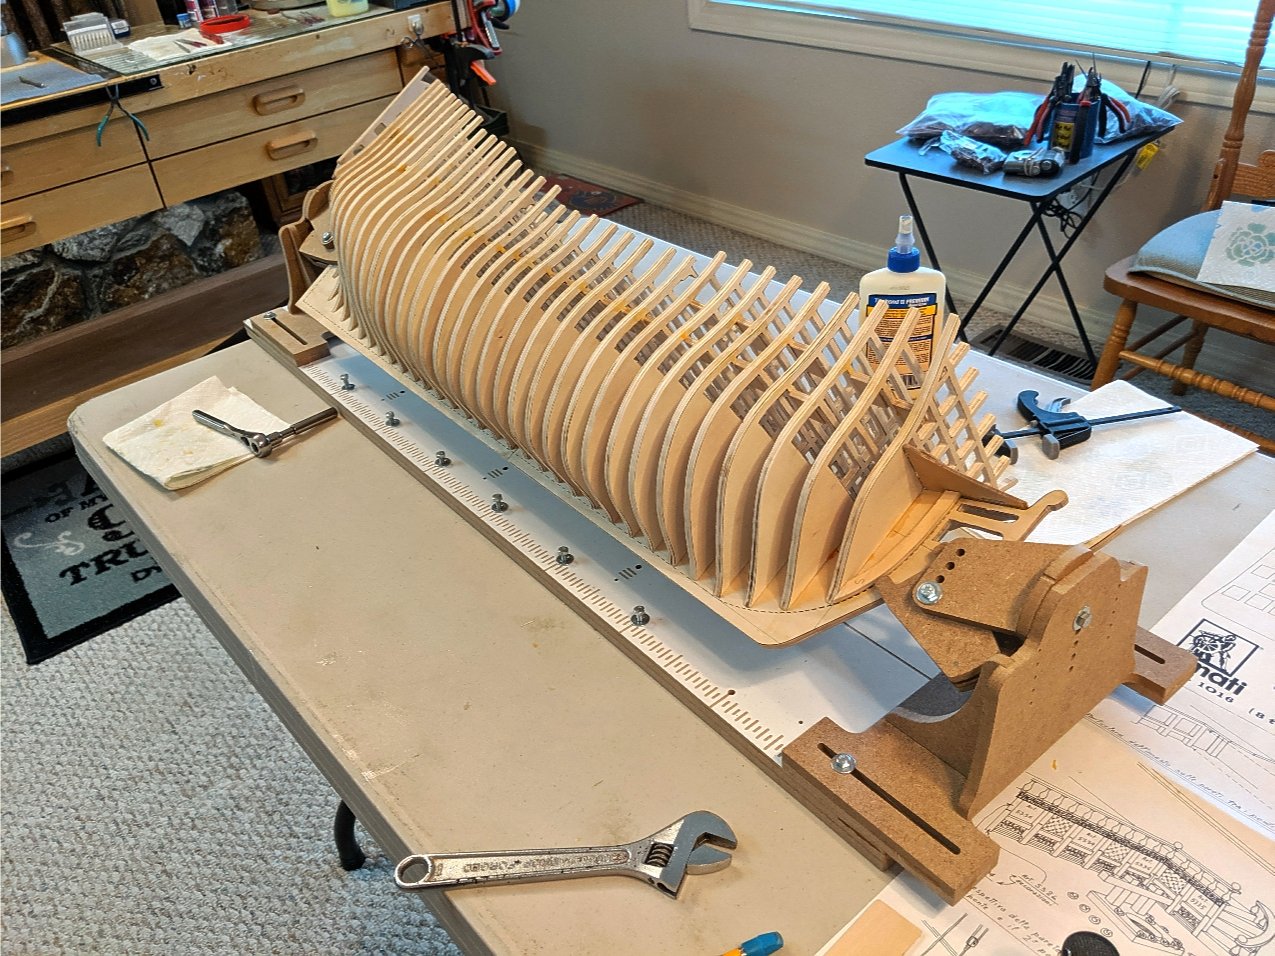
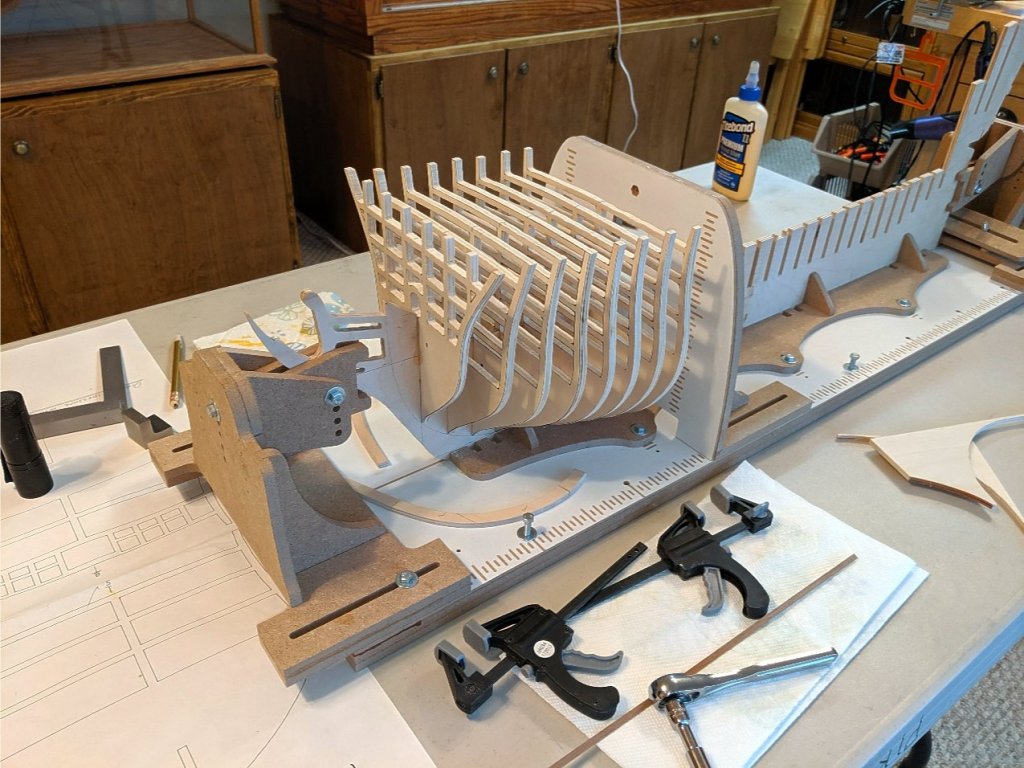
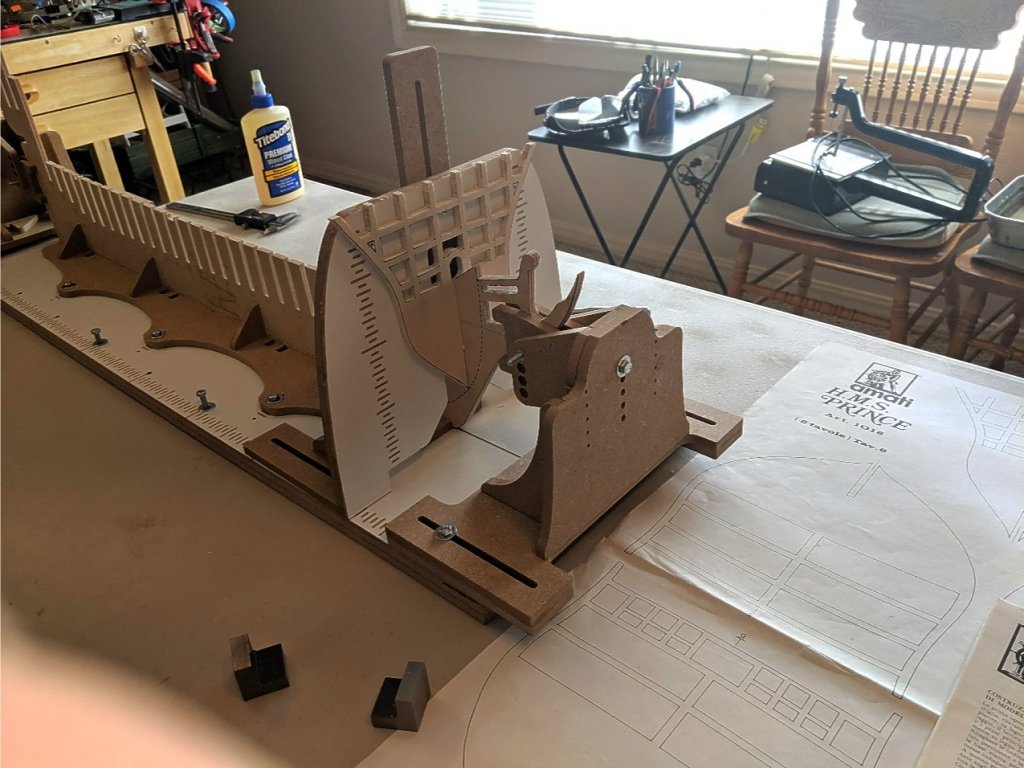
The framing is completed. The Birch plywood is pretty tough stuff. In making all of those cutouts I dulled 6 router blades and wore out a couple of collets. This building slip I am using is fantastic. The last photo shows that the whole hull can be rotated to facilitate planking and all of the hull construction without removing it from the slip. It appears that the entire model can be constructed while in the slip. I am contemplating on what is next. I think that the lower deck gun blocks must be created and inserted after marking the location of the gun ports. Since this model does not have actual lower decks, it would be impossible to place these blocks once the hull was planked. I am only guessing here, but I think this is the way to go. Vince P.


-
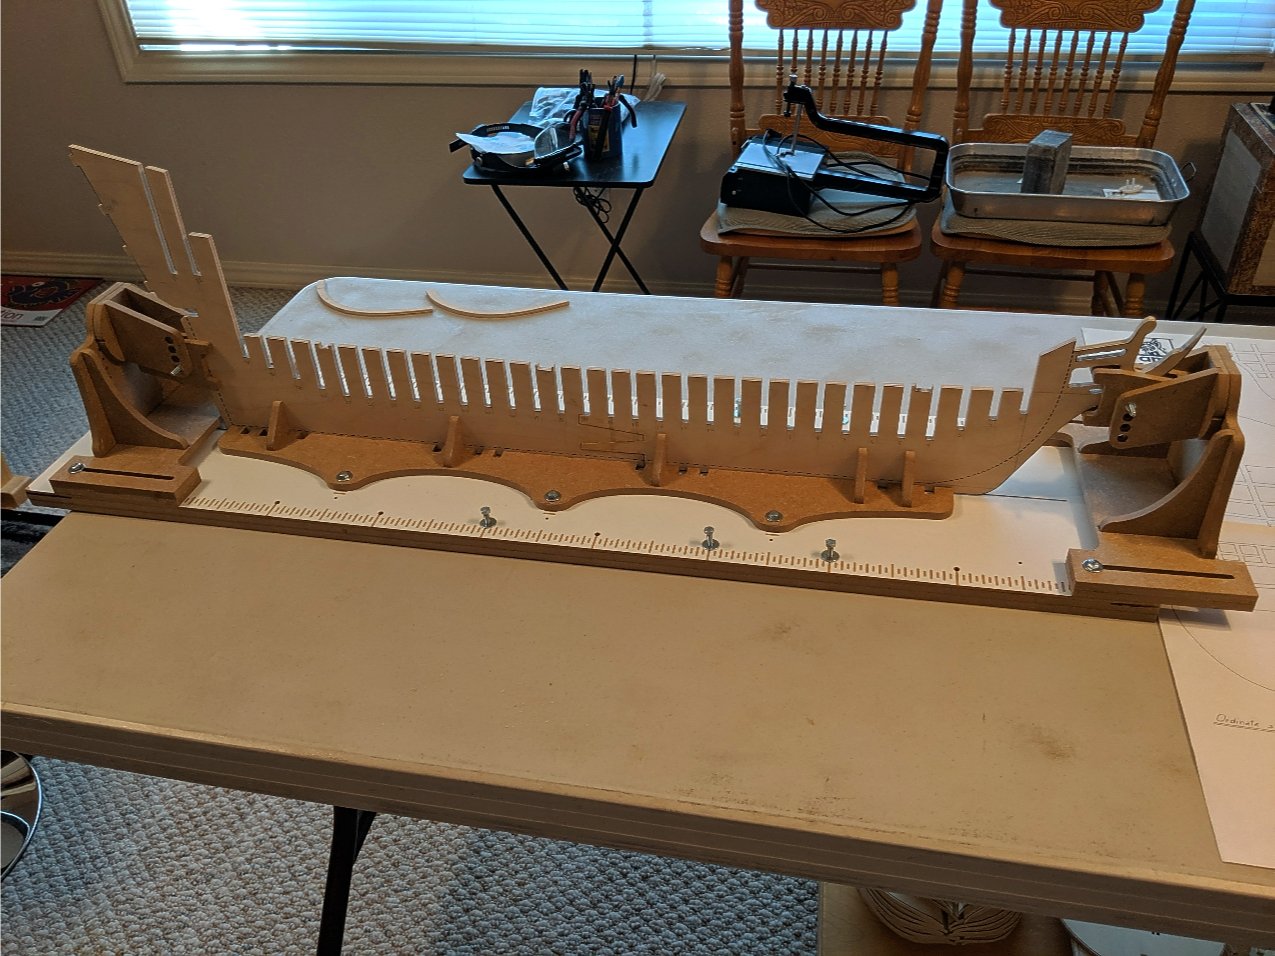
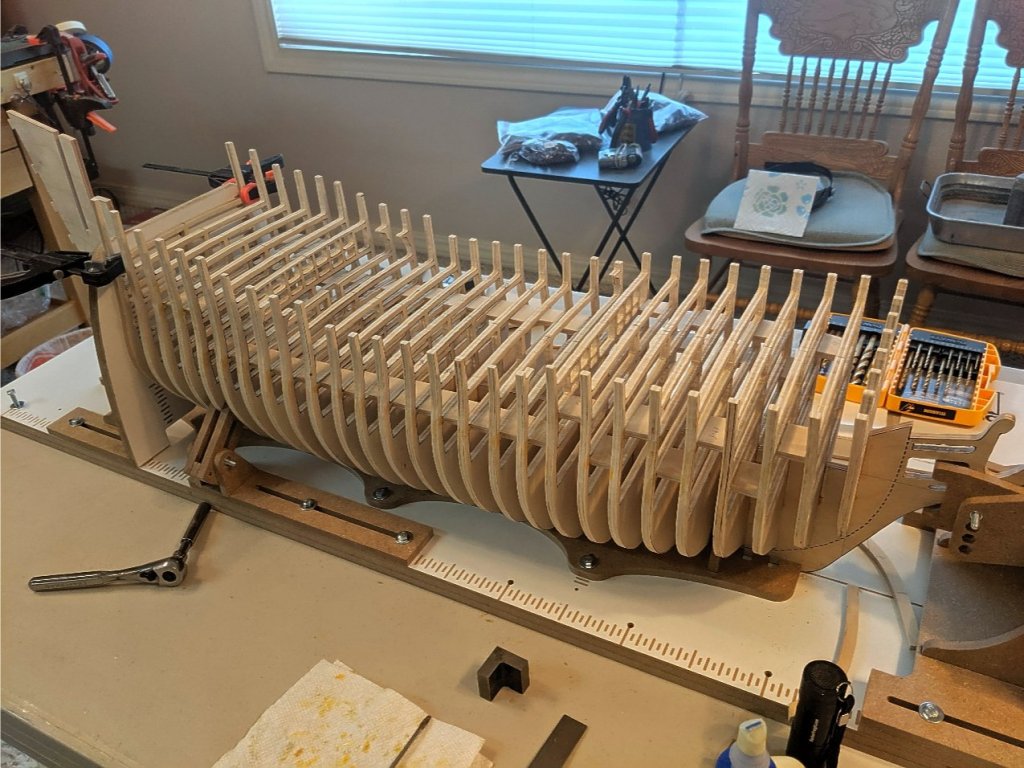
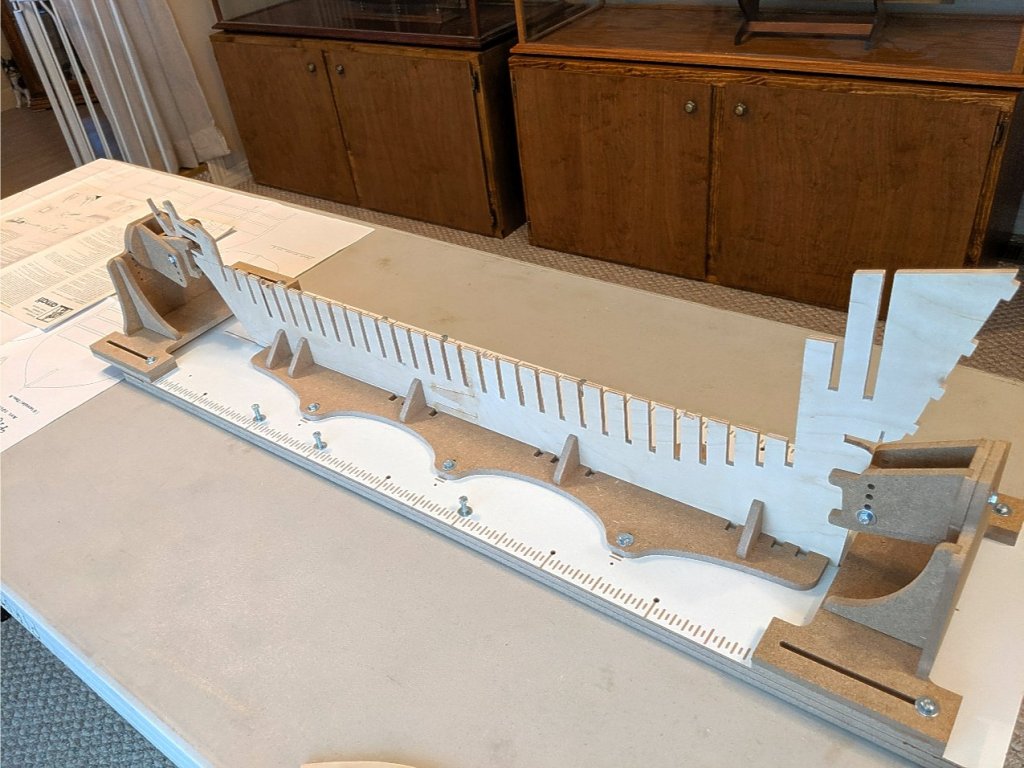
I am still working on the bulkheads. I have about 6 more to go. I found out the reason this kit has so many bulkheads which is about double of most kits. Since this kit will not have the lower decks installed even as false decks. The lower deck gun ports are located to butt up against each pair of bulkheads. This make locating them much easier and you don't have the problem of gunports locating right in the middle of a bulkhead. This problem was frequent in building the Royal William and resulted in closing those ports in order to not have to cut away some bulkheads. I am also placing some stabilizing boards between each pair of bulkheads both port and starboard to make the frame more rigid. It is so long and heavy that it flexes way too much. Once the upper decks are placed and the planking is done, that will also help. Vince P.
-
pirozzi reacted to a post in a topic:
HMS Prince 1670 by Captainhash - Constructo - Scale 1:61 - First wooden ship build
-
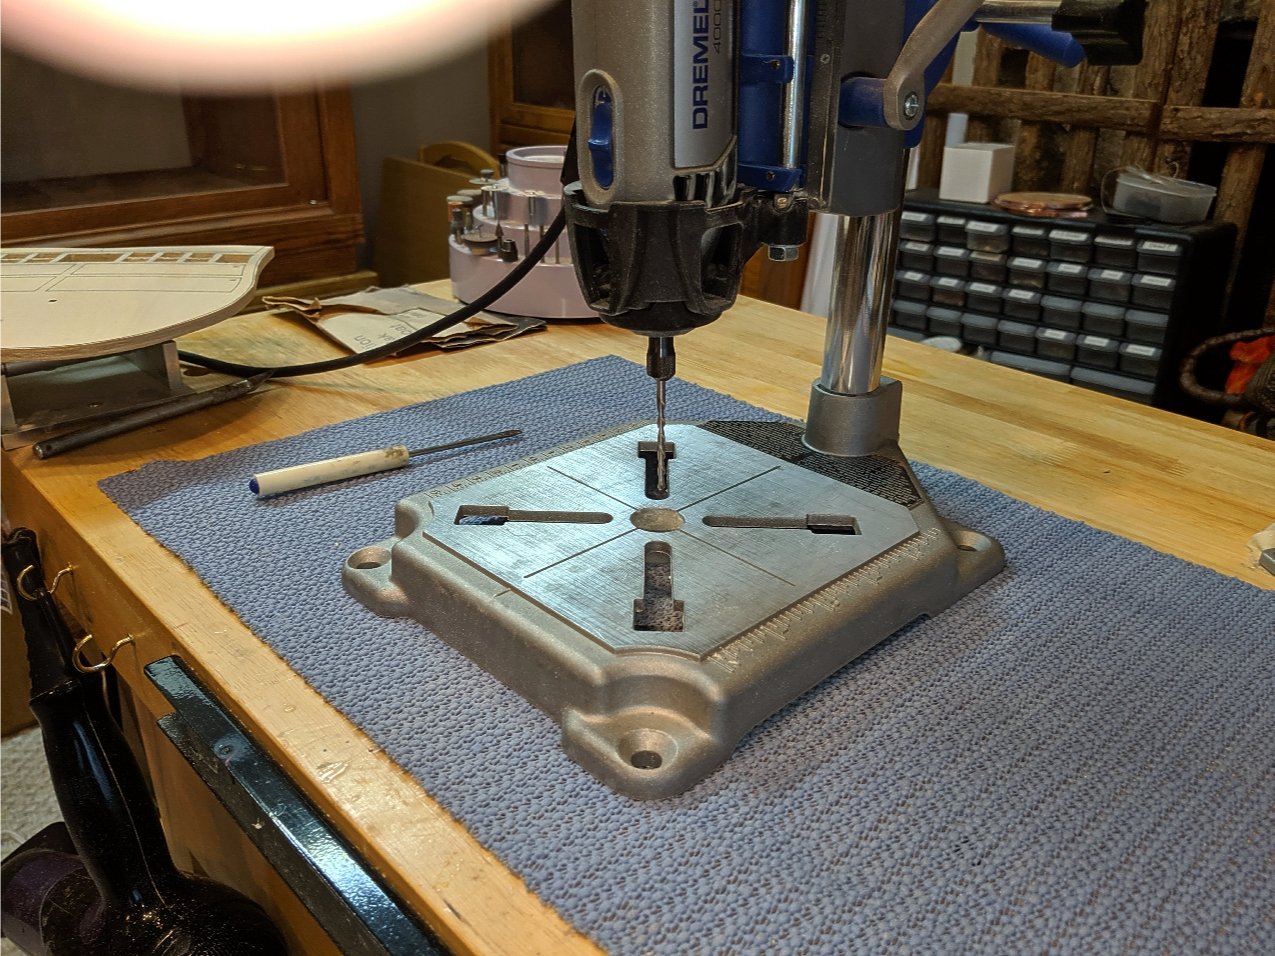
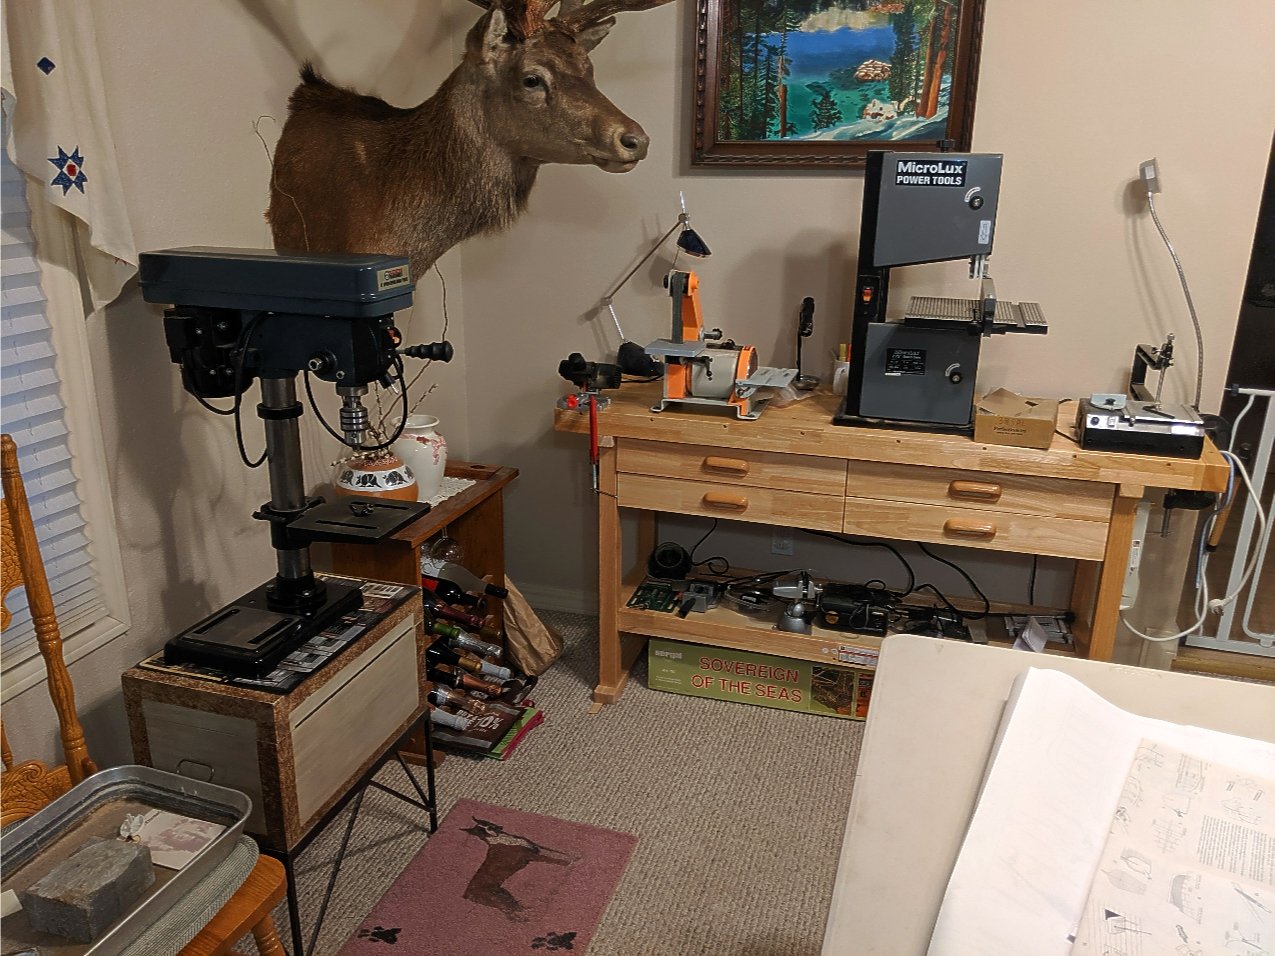
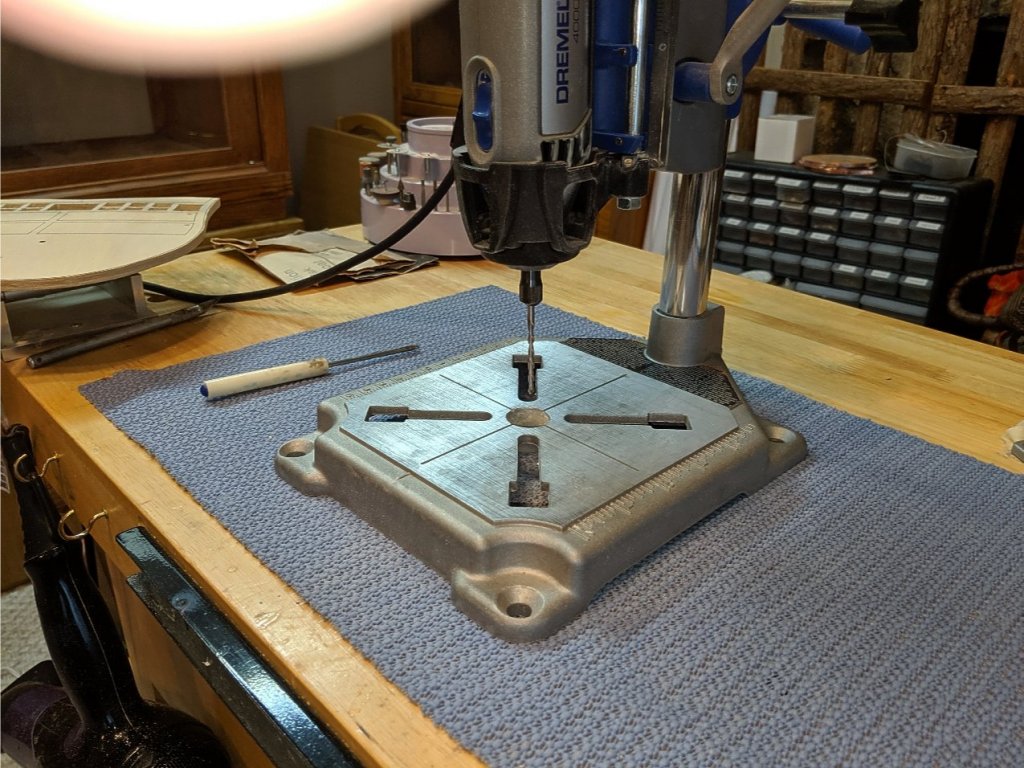
Working on the framing. I decided to make all of the little cutouts in each of the bulkheads even though they are not really needed for the build. It will reduce the weight of the finished model. With all of the metal decorations, this model will be quite heavy. Making all of these cutouts will take considerable time. I made a little milling machine for making the cutouts. I mounted my Dremel Tool in the stand and am using a milling bit. It makes the cuts clean and accurate. My Dremel Tool died after the first 8 bulkheads though. I have had it for about 8 years and used it heavily while working on my models. I just bought the same model as I like the feel of it and it does a good job. Vince P.

-
Pretty impressive for a first build. I will follow your log, as I am also building the Prince. Mine is the original kit from Amati from 1978. I have started a build log here as well. Vince P.
-
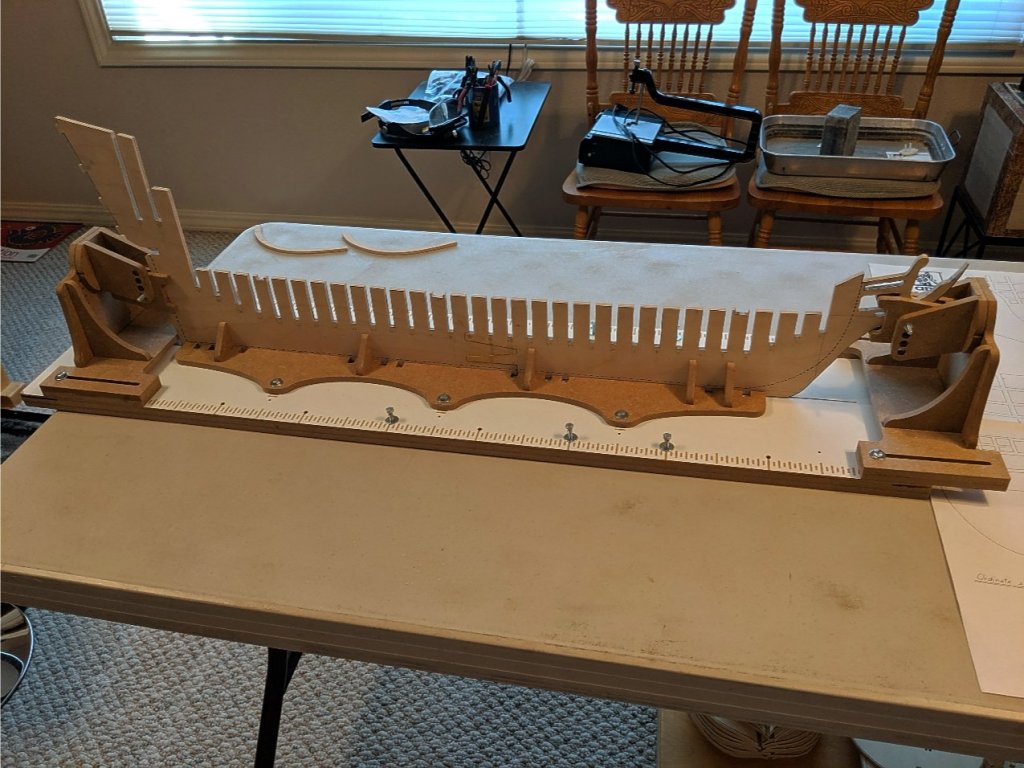
Started construction. False keel is placed on the slip and first of 34 bulkheads in place. On the first bulkhead I cut out all of the marked spaces because some of the decorative panels might need to be placed there. Since there are no actual decks below the main deck, it is really not necessary to cut out all of the spaces. I may decide not to do that which will save a large amount of cutting and routing. Vince P.
-
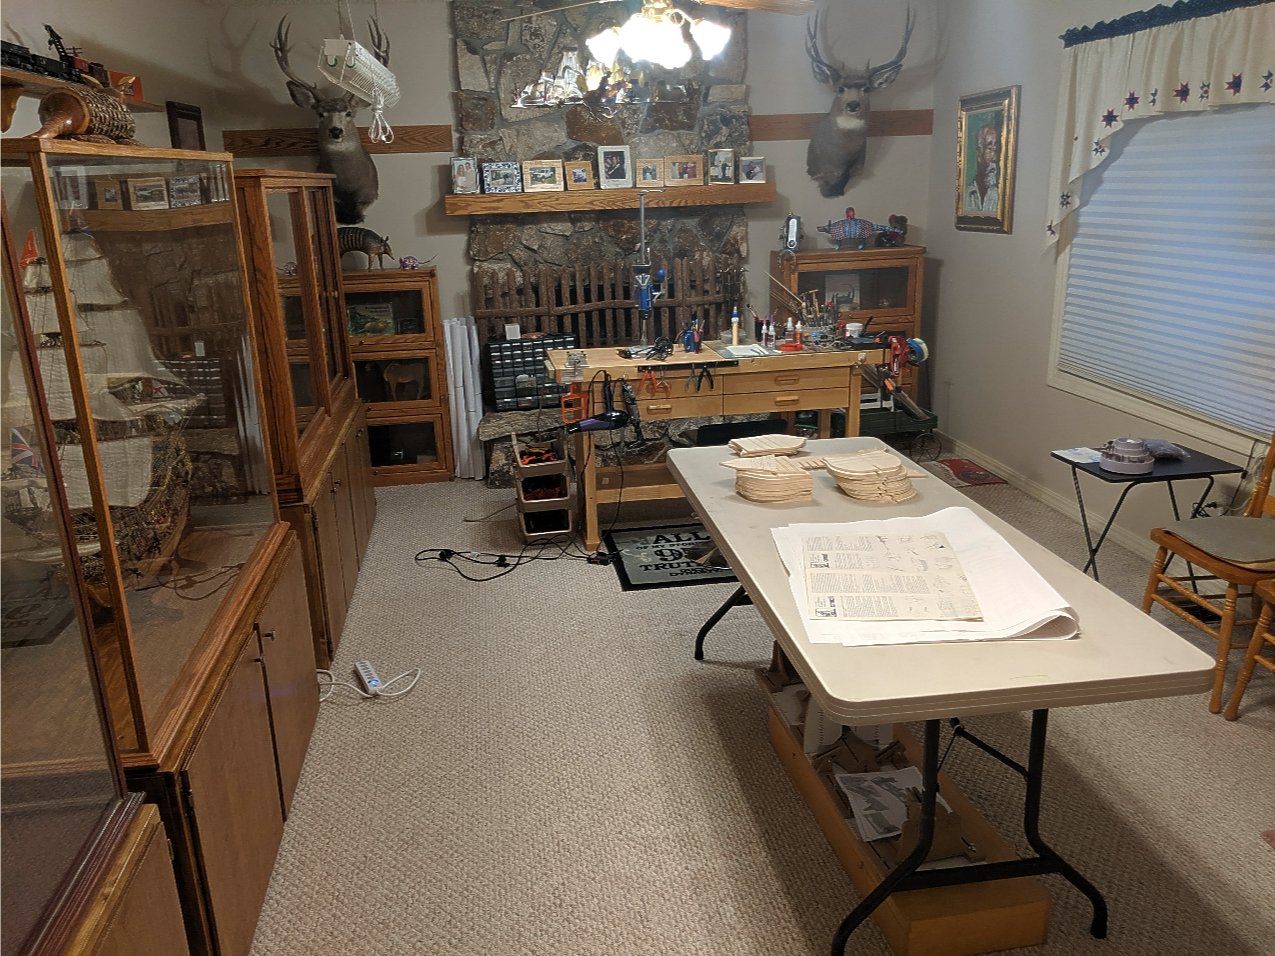
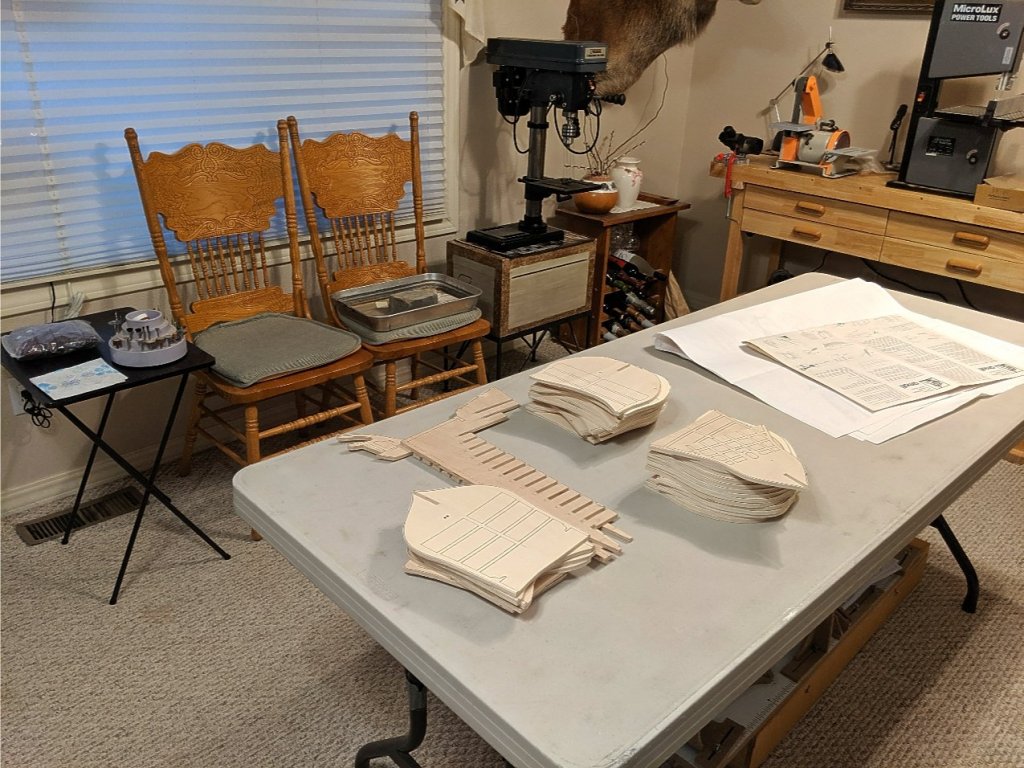
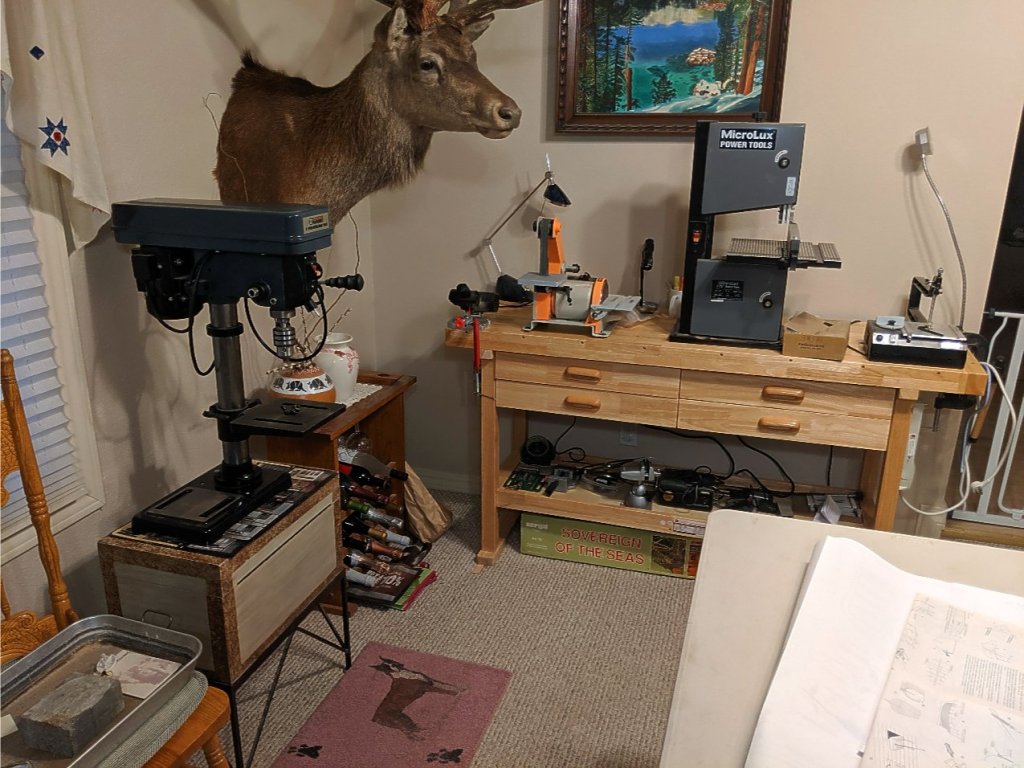
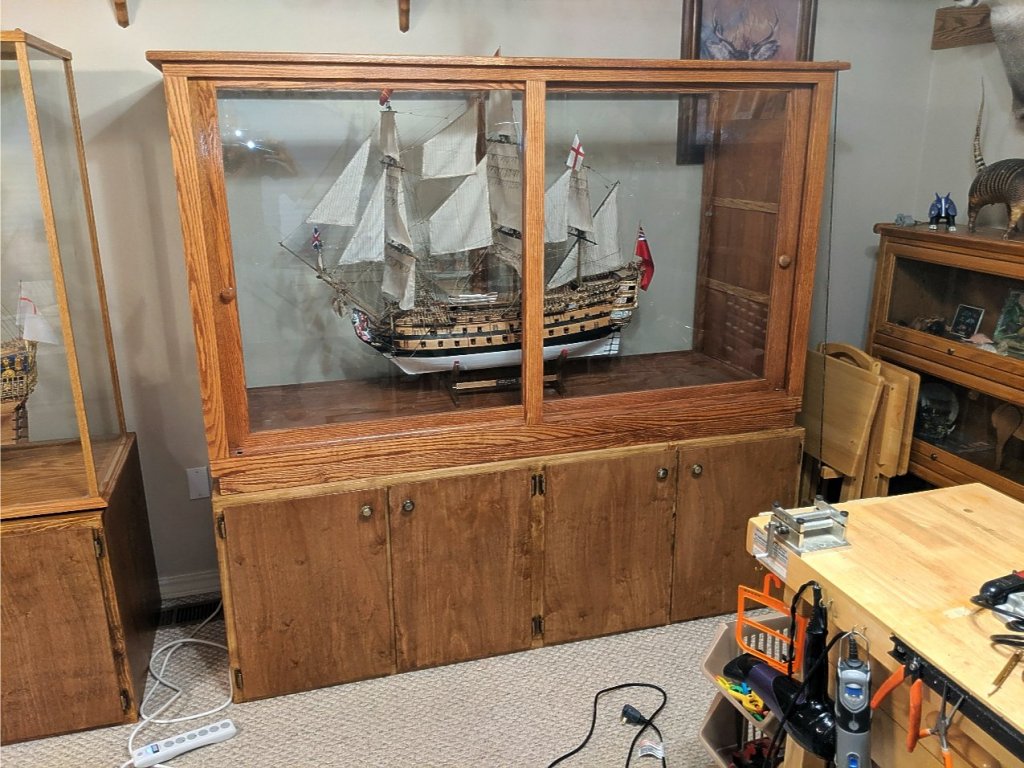
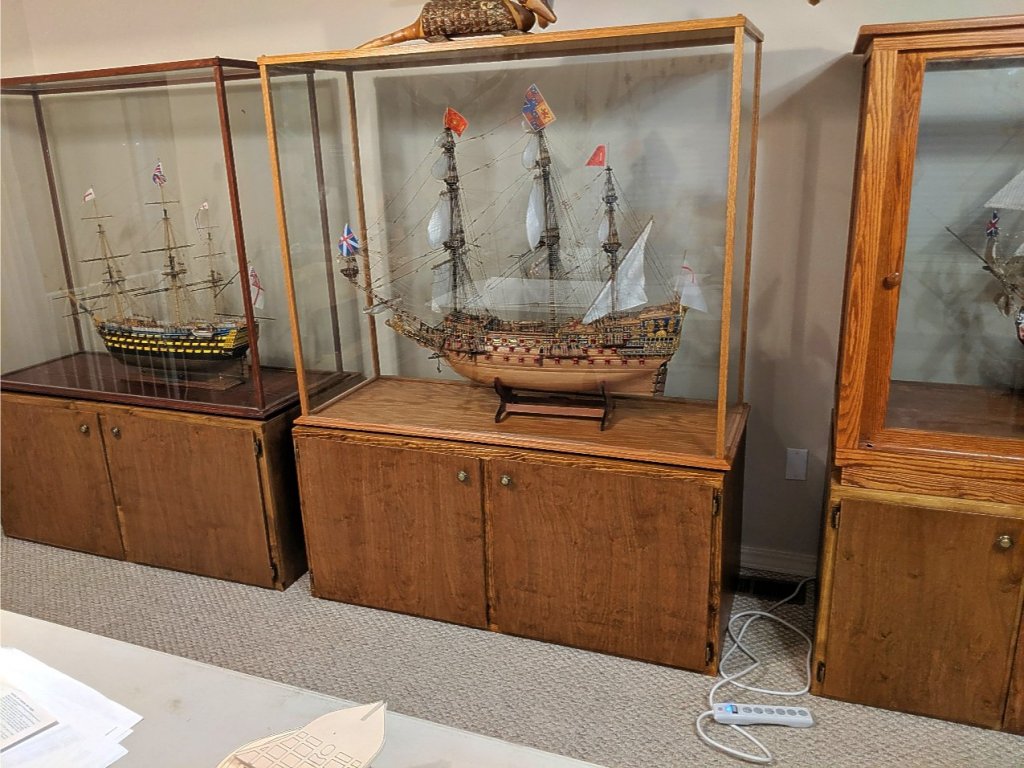
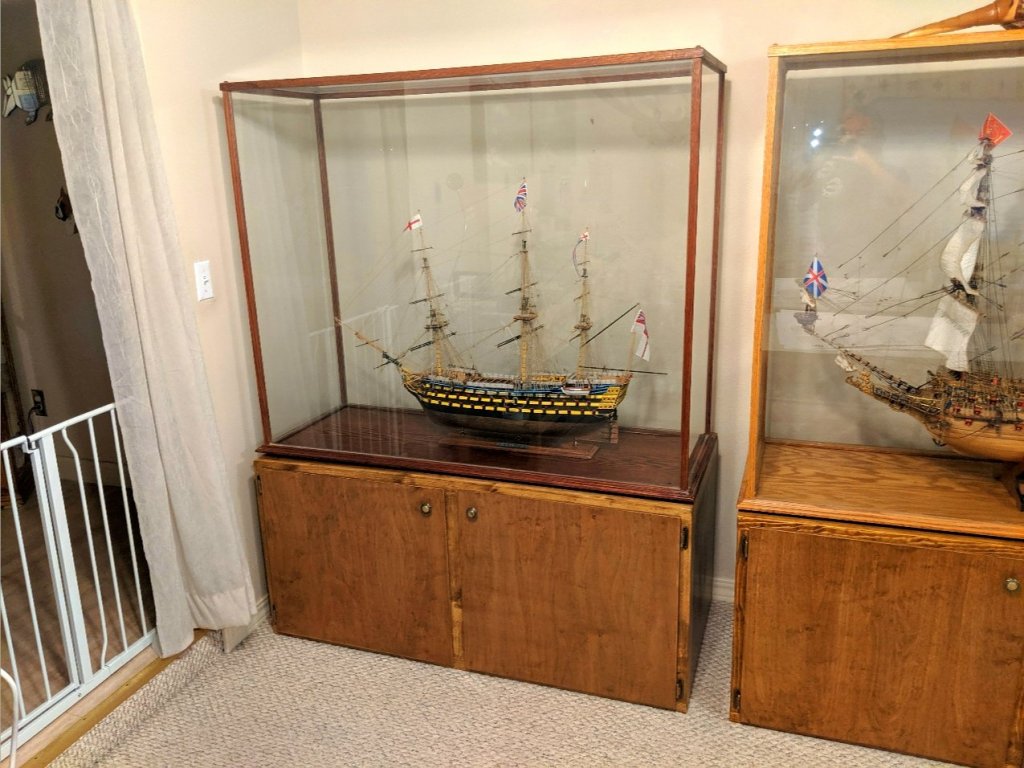
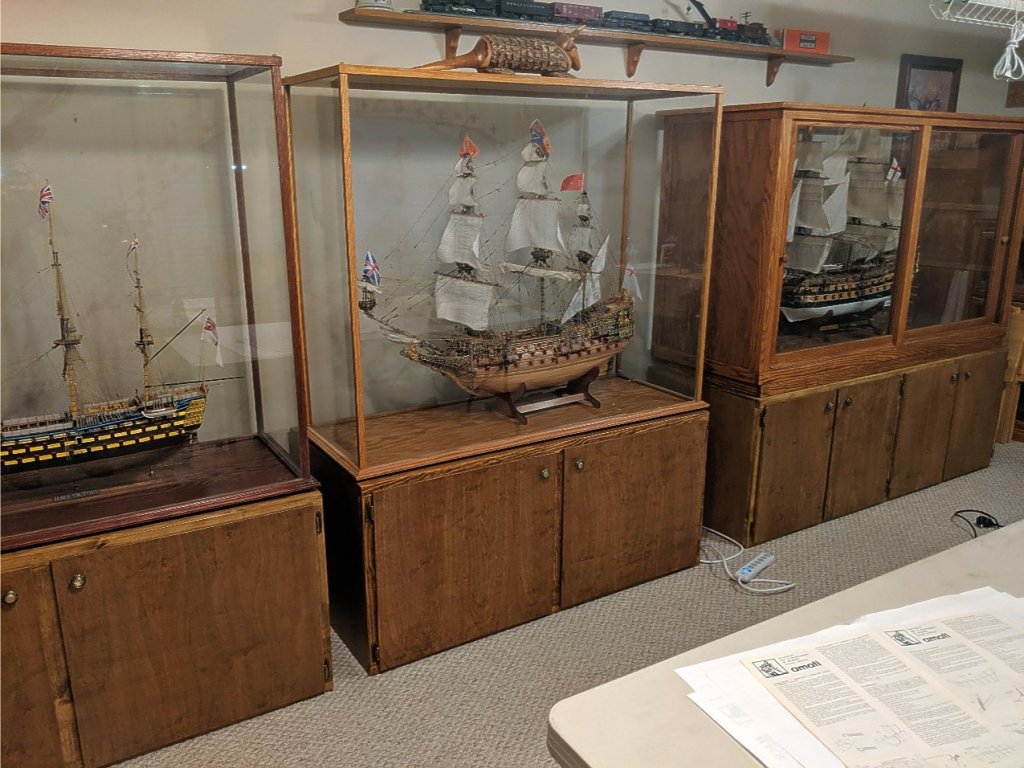
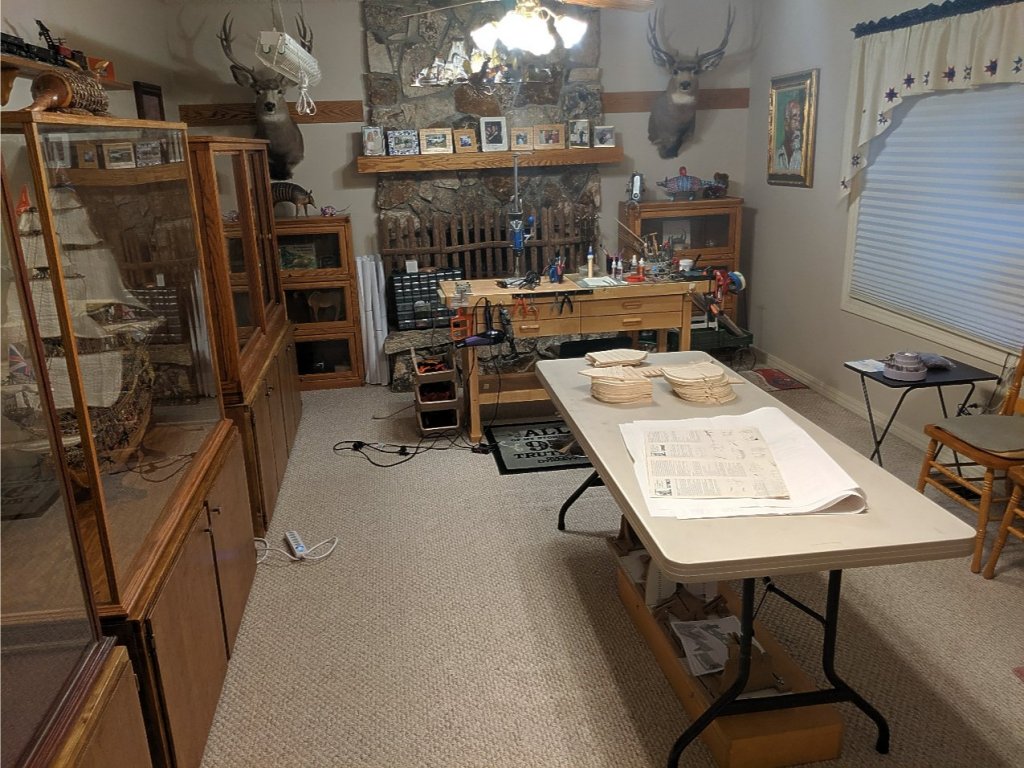
So, I completely re-arranged my workshop to prepare for building the Prince. I had my friend who is a carpenter, build cabinets to place my ship cases on and get them off the floor. Everything came out perfect and looks great. Now on to building the Prince. First up will be to cut out the false keel and all of the 34 bulkheads. Vince P.

-
pirozzi reacted to a post in a topic:
HMS Prince by pirozzi - Amati - 1:64 - Original 1978 Kit by Vince P.
-
I looks like birch plywood. Can't say for sure but it is strong stuff.
-
pirozzi reacted to a post in a topic:
HMS Prince by pirozzi - Amati - 1:64 - Original 1978 Kit by Vince P.
-
Hi Mark, They don't list a length but the false keel alone is 37 inches, so I would imagine with the bowsprit added and such it will go over 40 inches. Vince