
paul carruthers
-
Posts
134 -
Joined
-
Last visited
Content Type
Profiles
Forums
Gallery
Events
Everything posted by paul carruthers
-
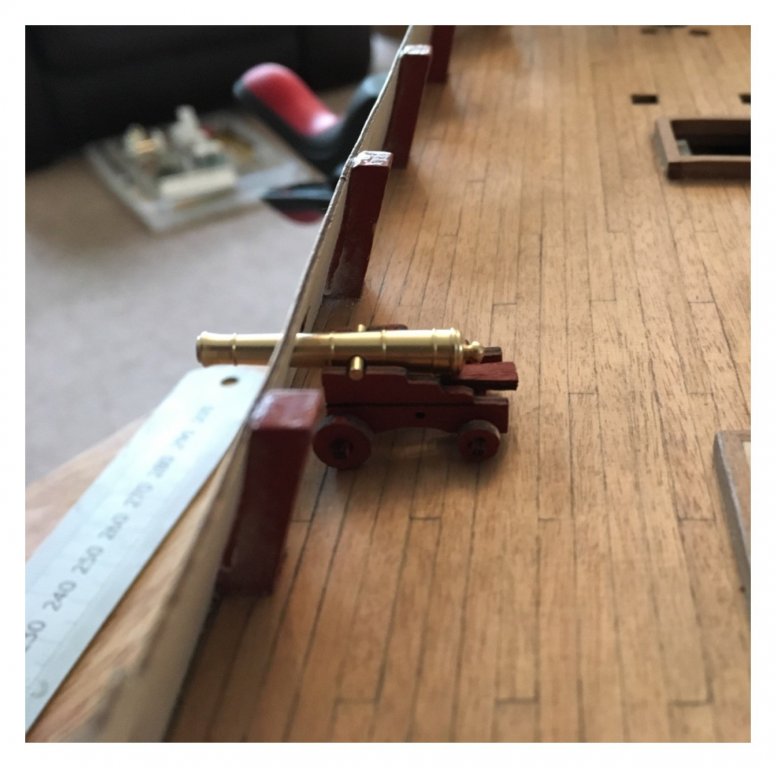
Thanks for the comment, when the 32 are available I'm going to get them as it's low cost and then I can decide. will finish second planking and make up the carriages proper with eyelets etc. did you line the gun Ports? What were the final dimensions of your finished ports?
-
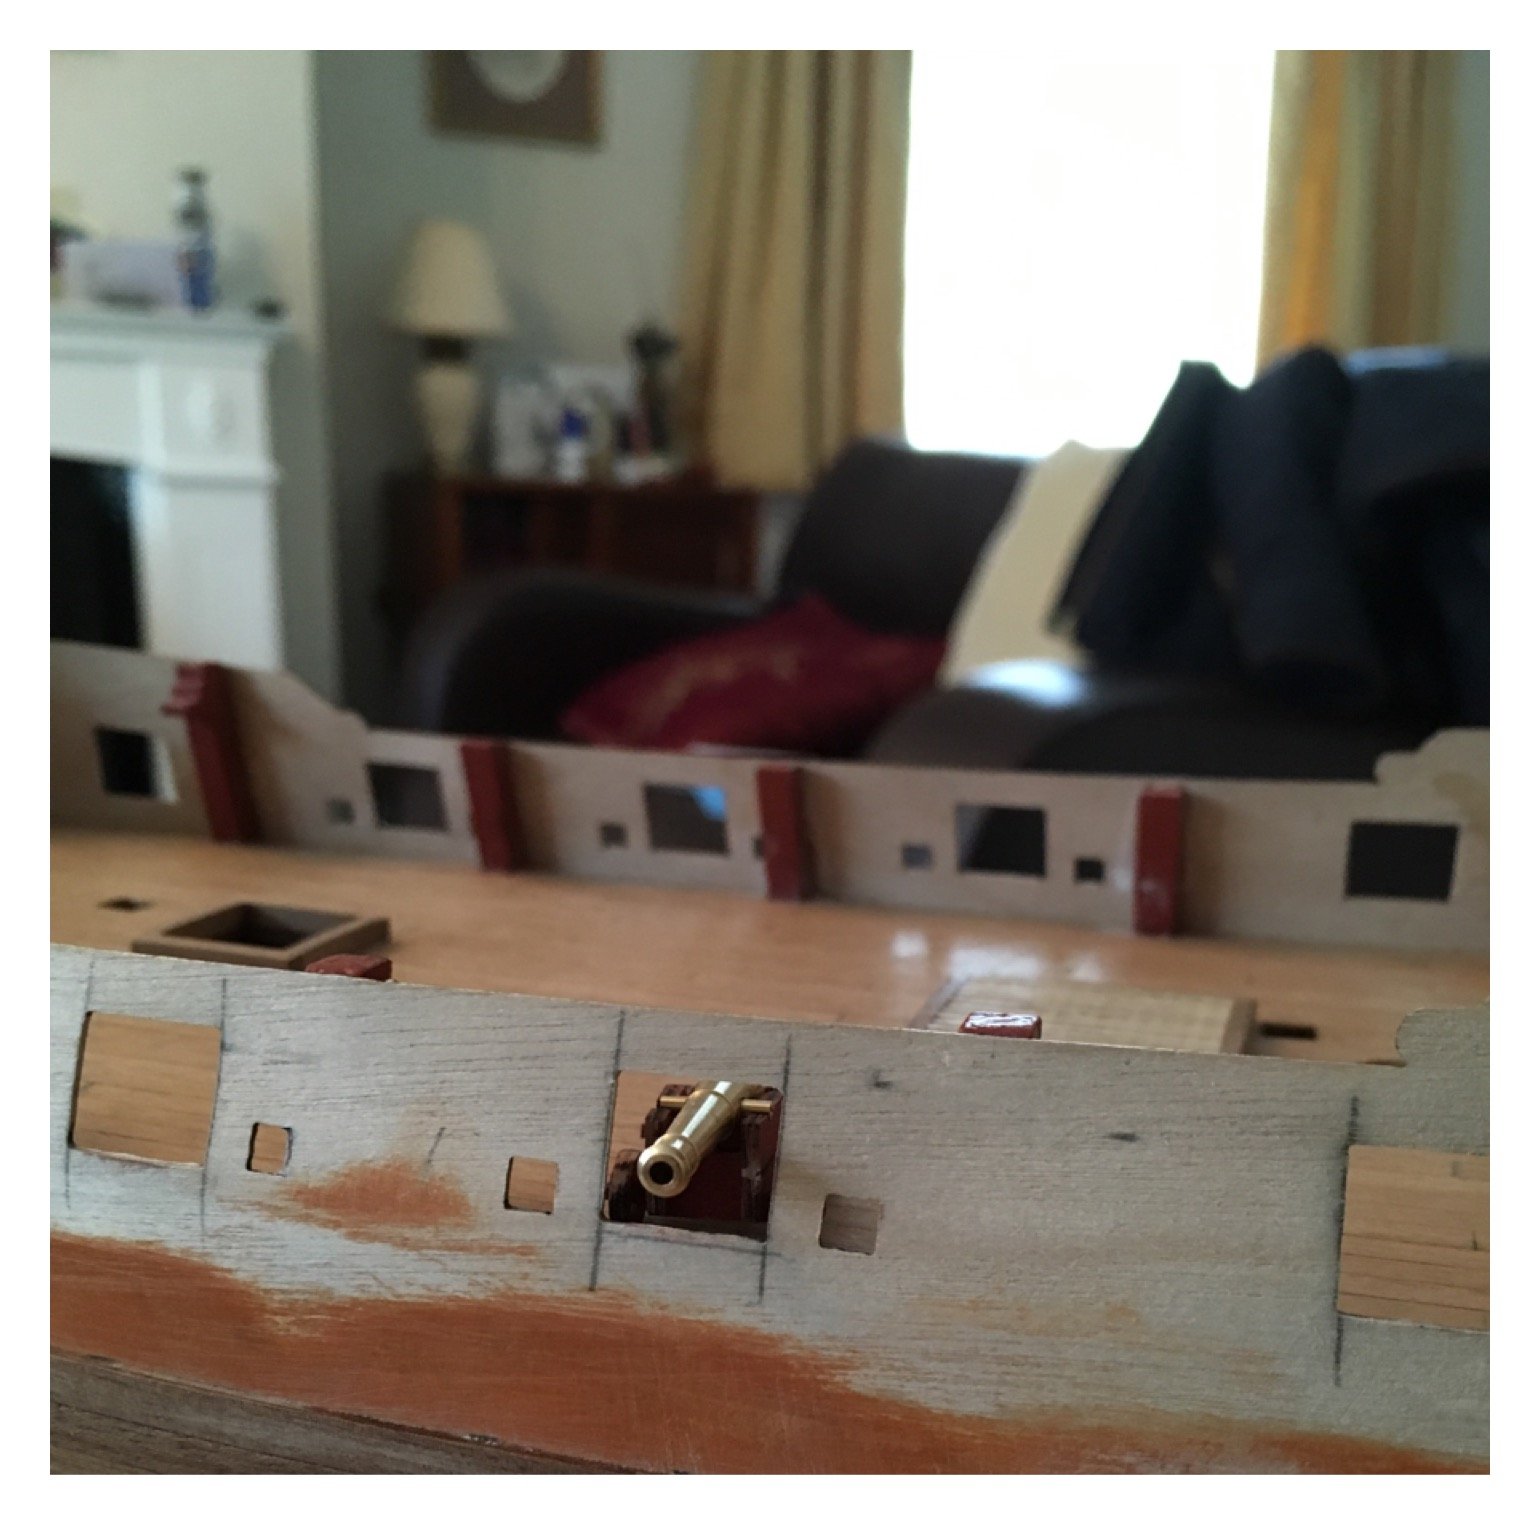
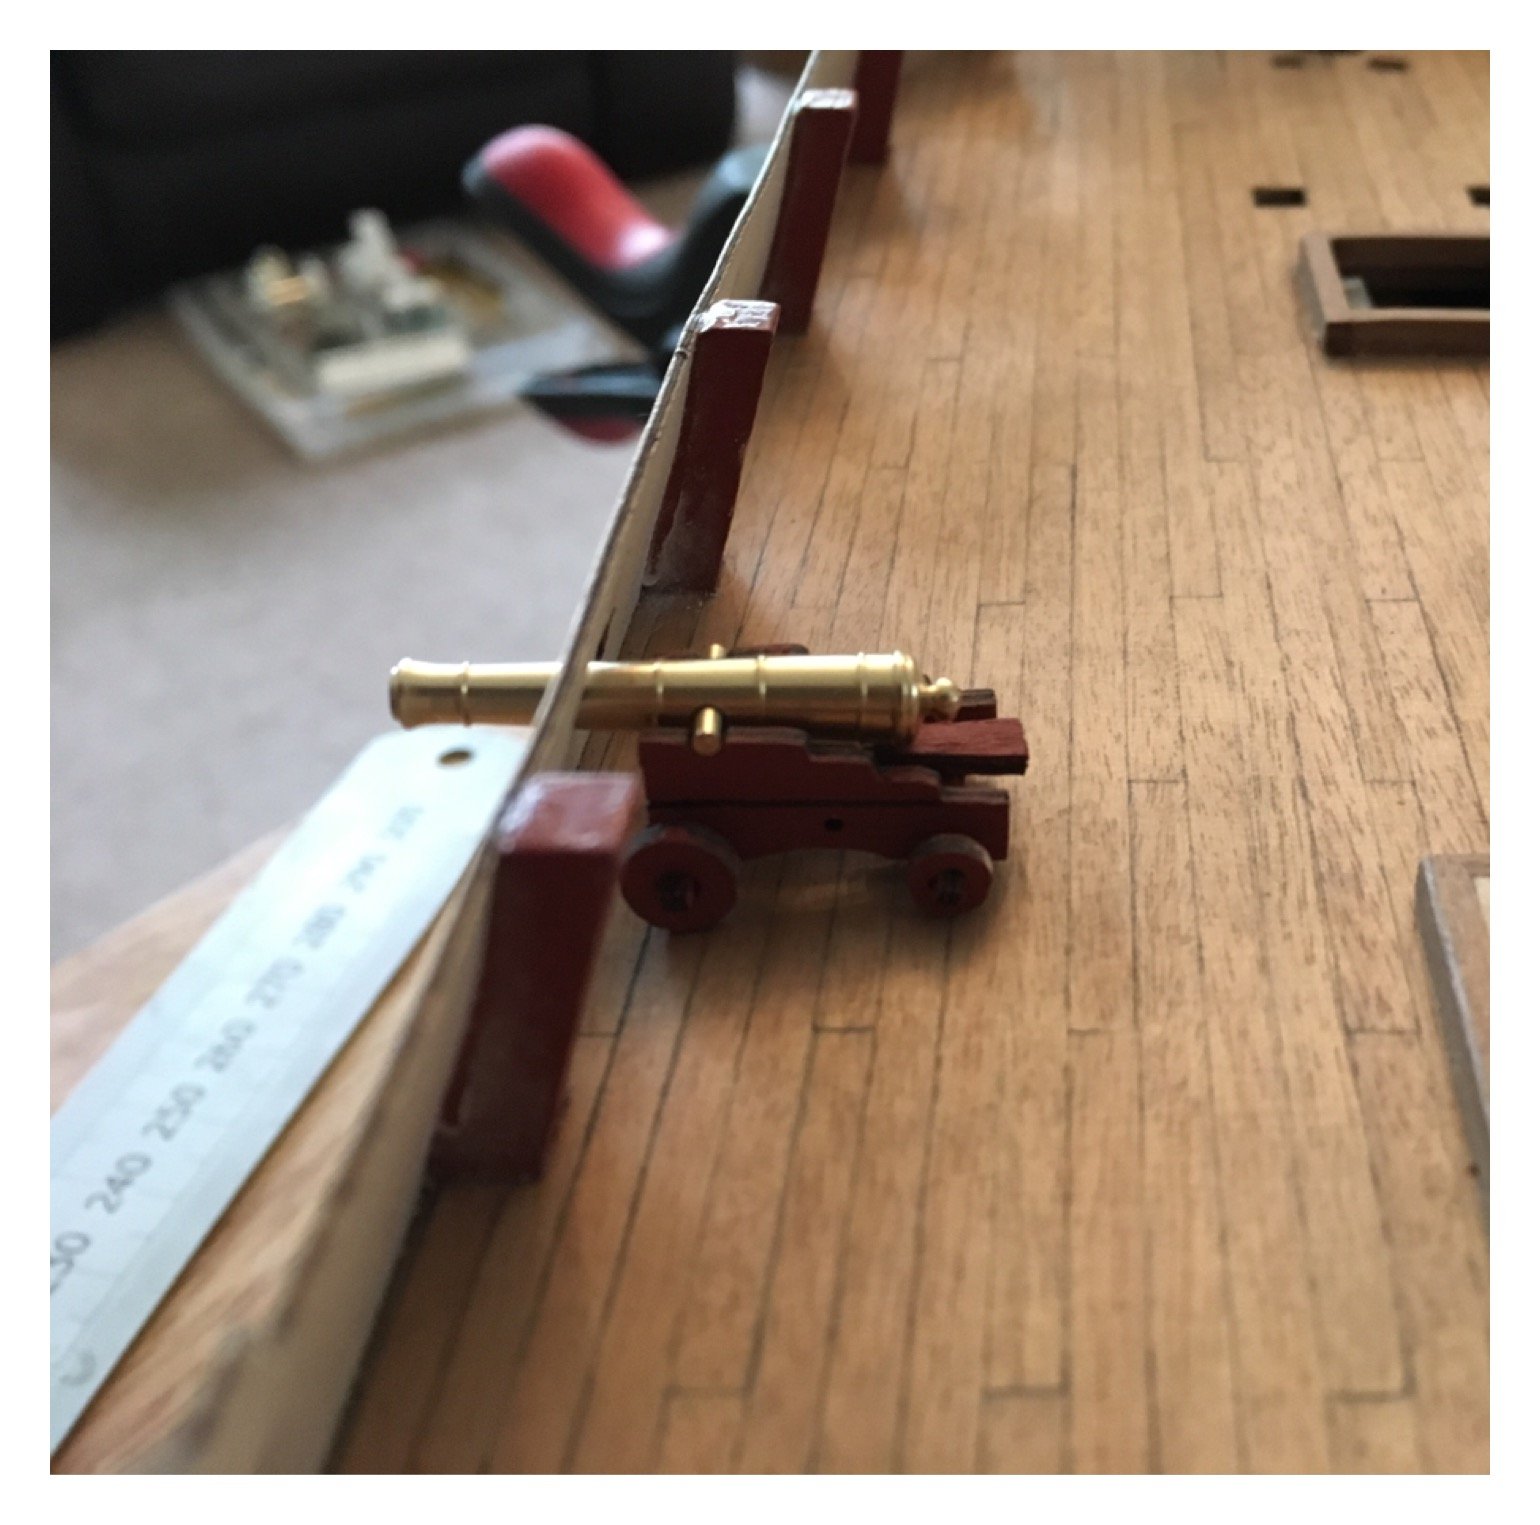
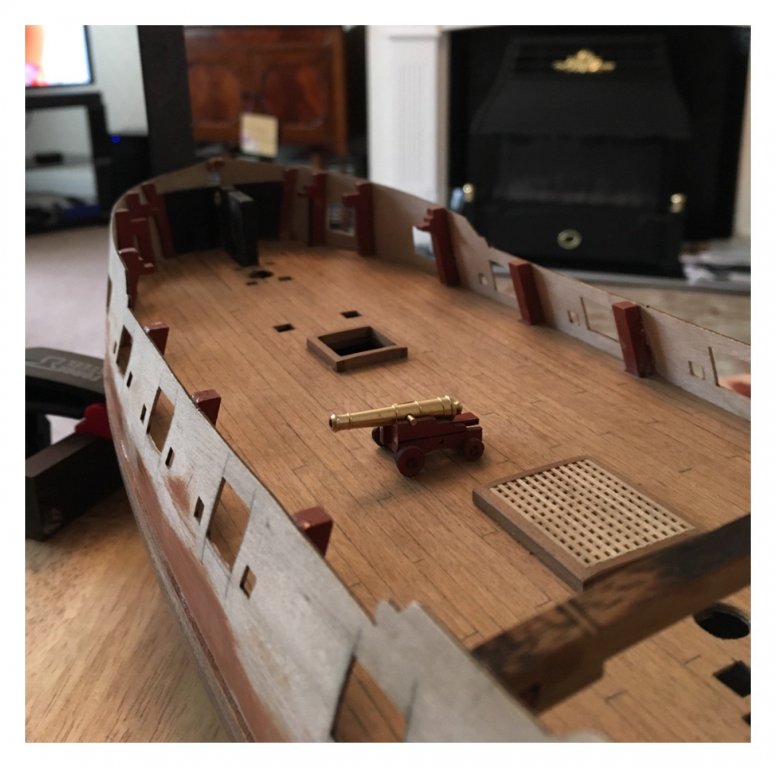
This is the RB 29mm cannon on the kit carriage, I think it looks OK, would appreciate any thoughts/advice.

-
Thanks, that's hard work not being confident of the turnout. One coat of sand and sealer to go to protect from dings to come before moving up the hull.
-
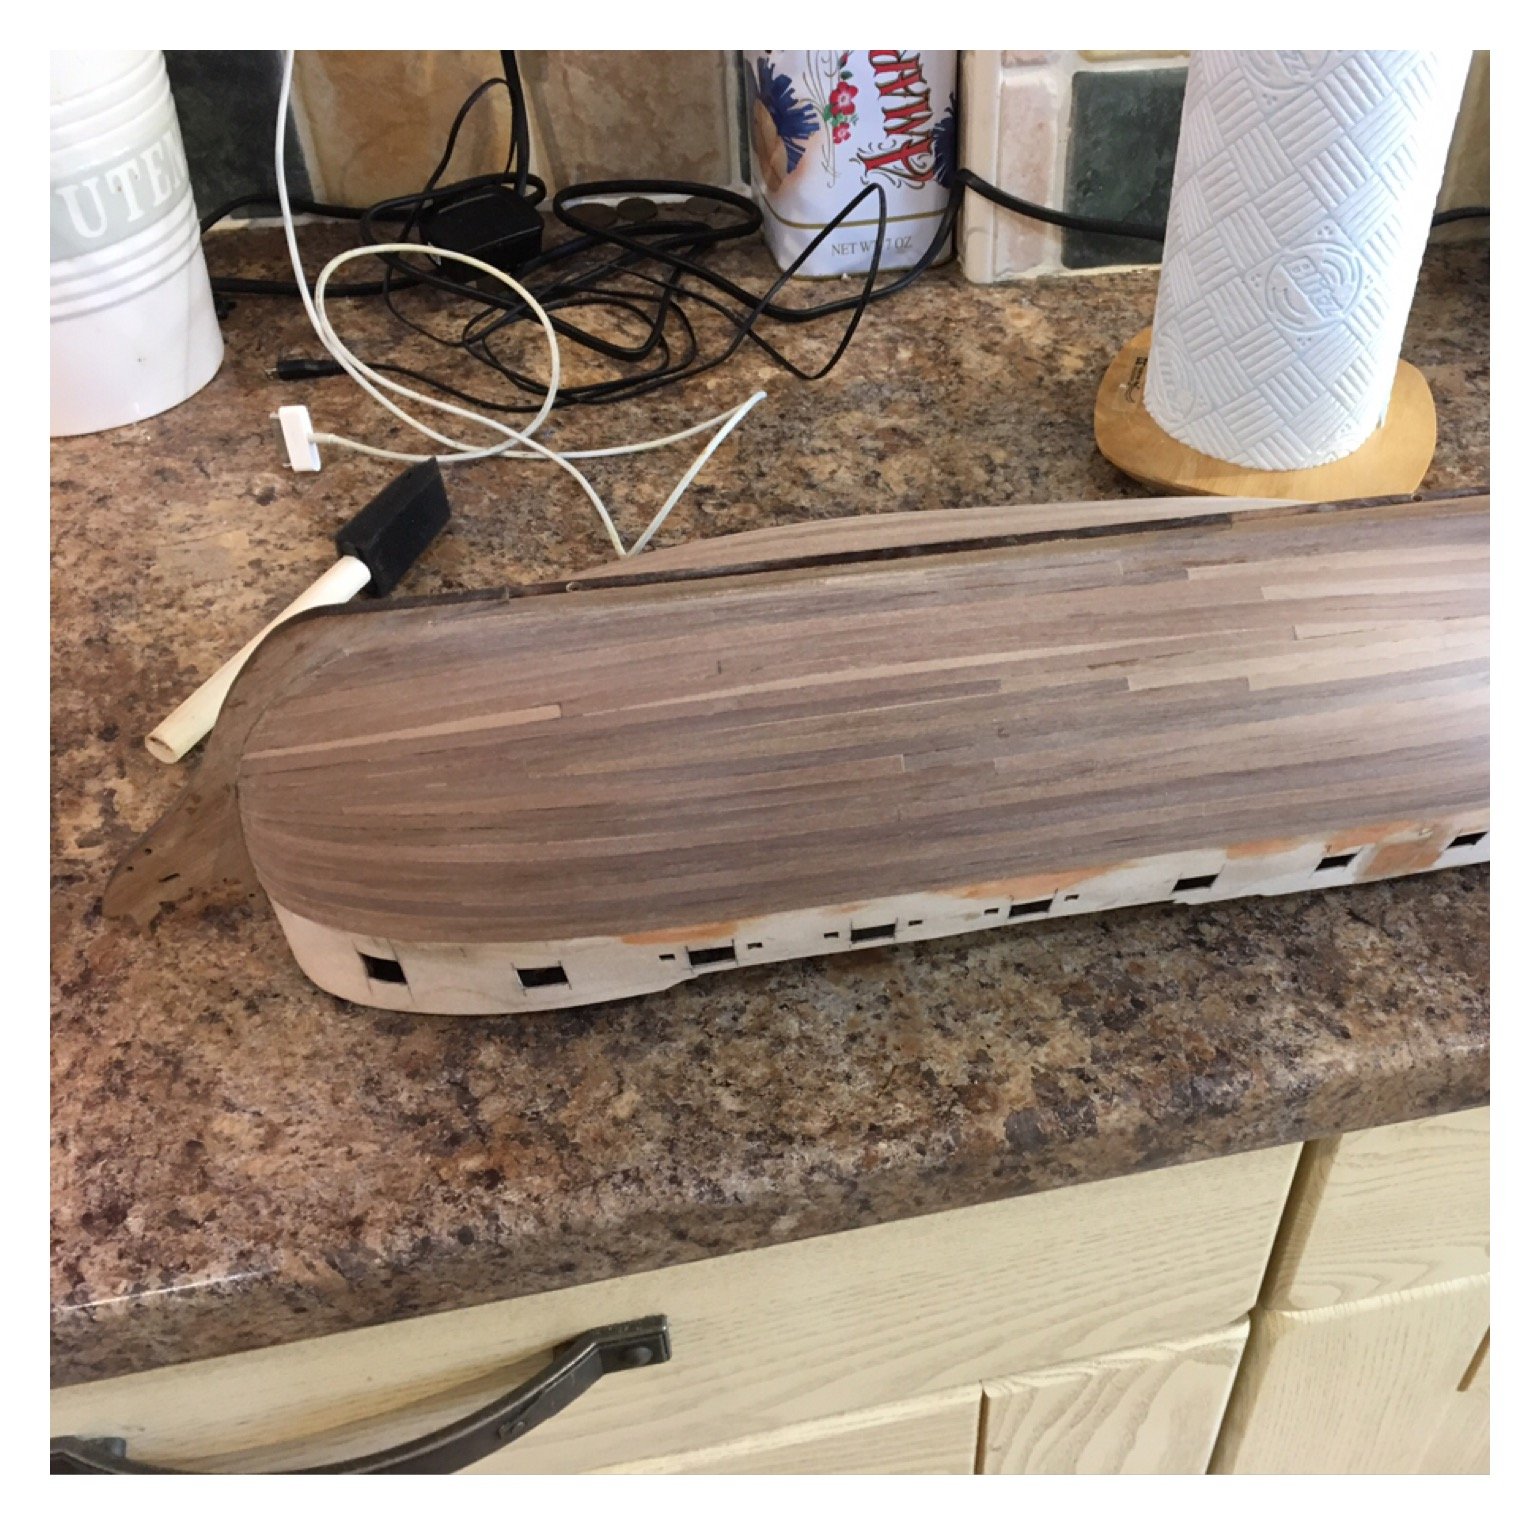
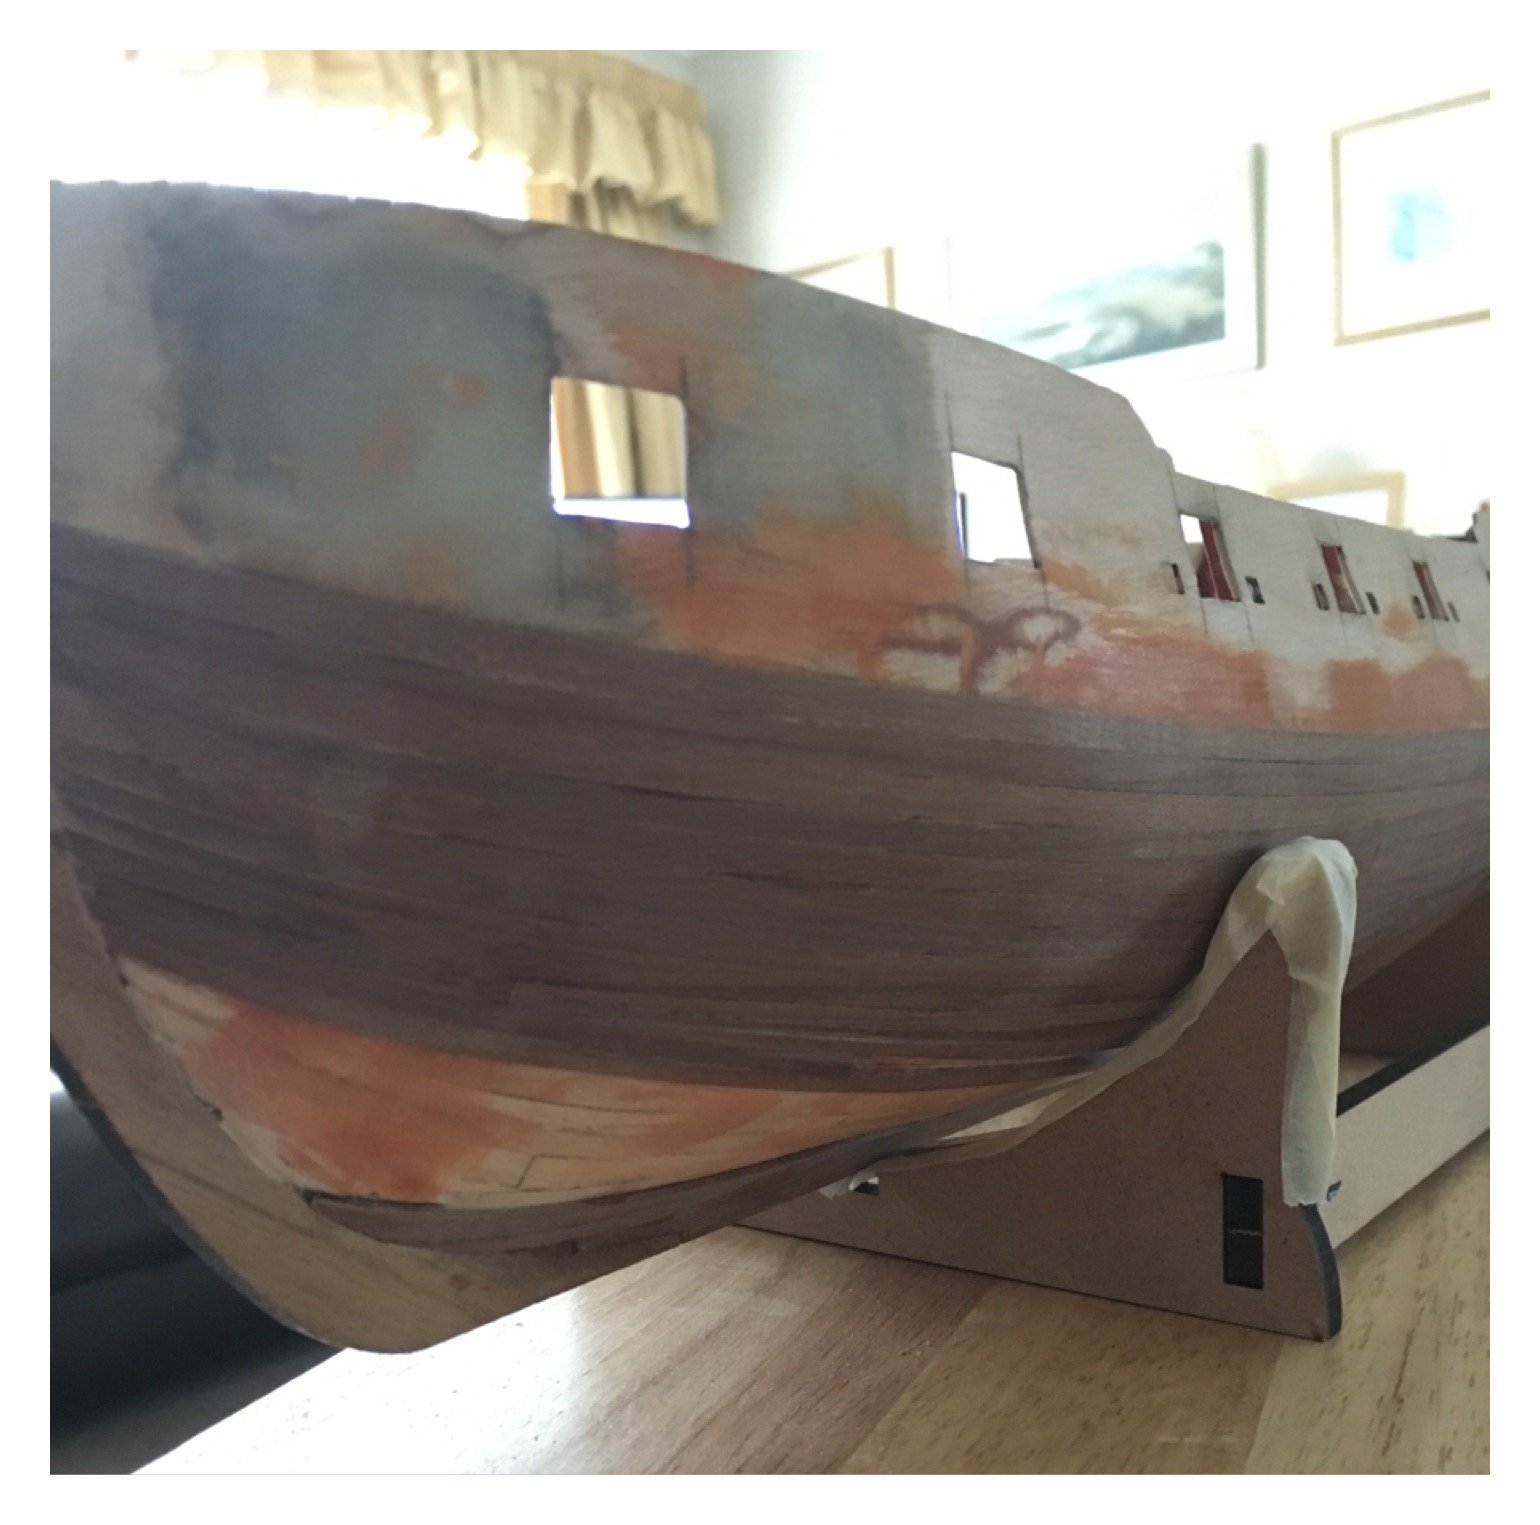
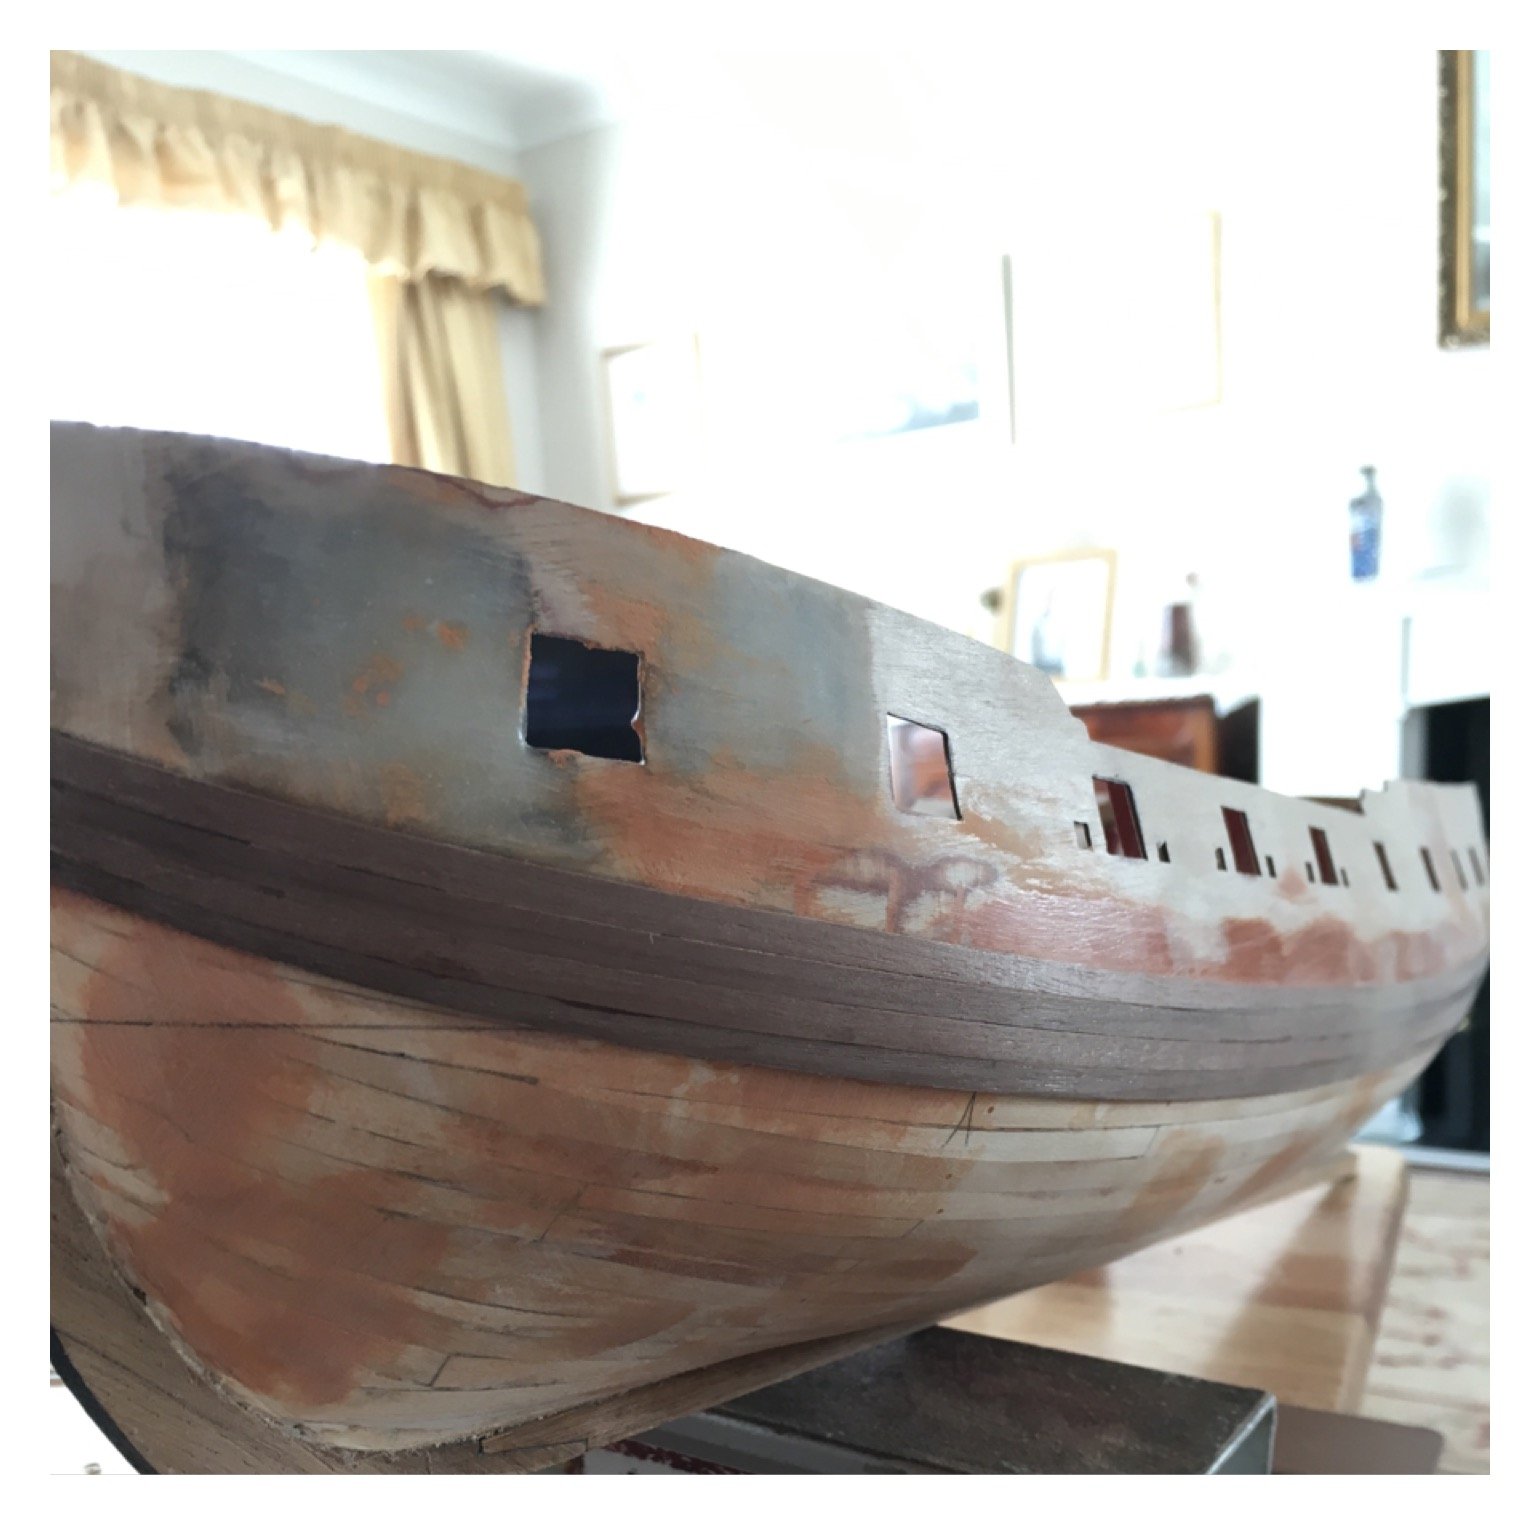
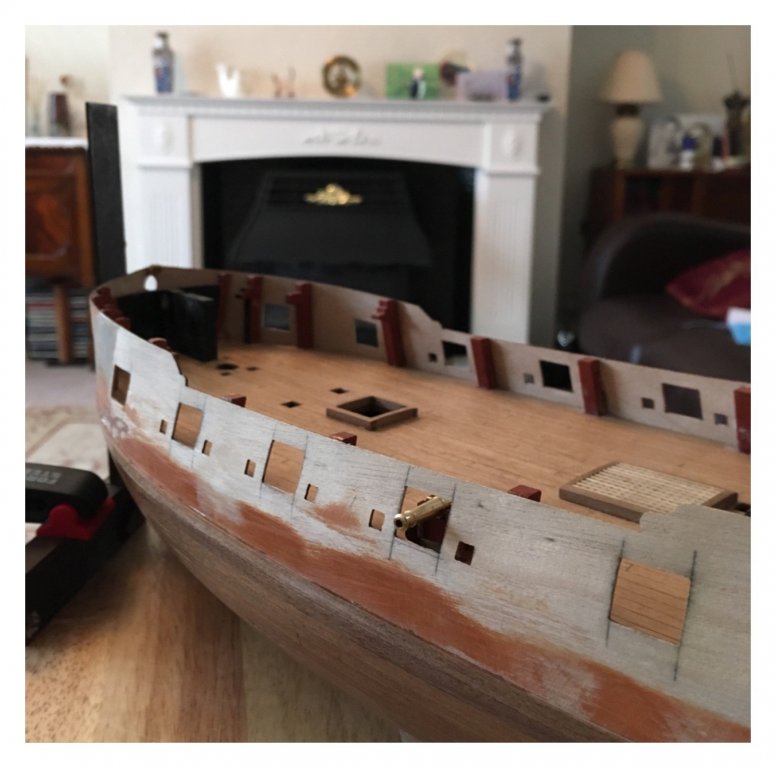
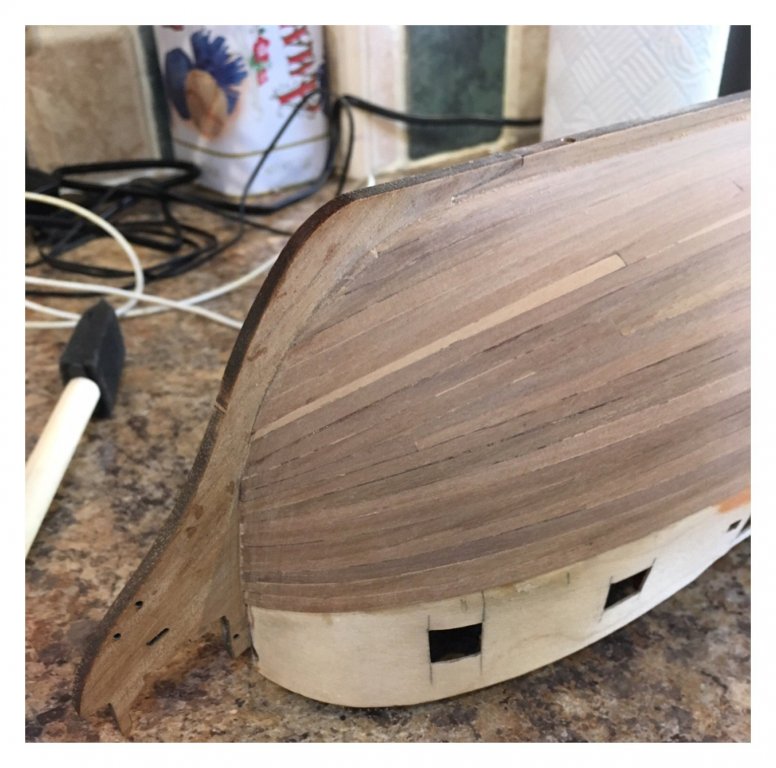
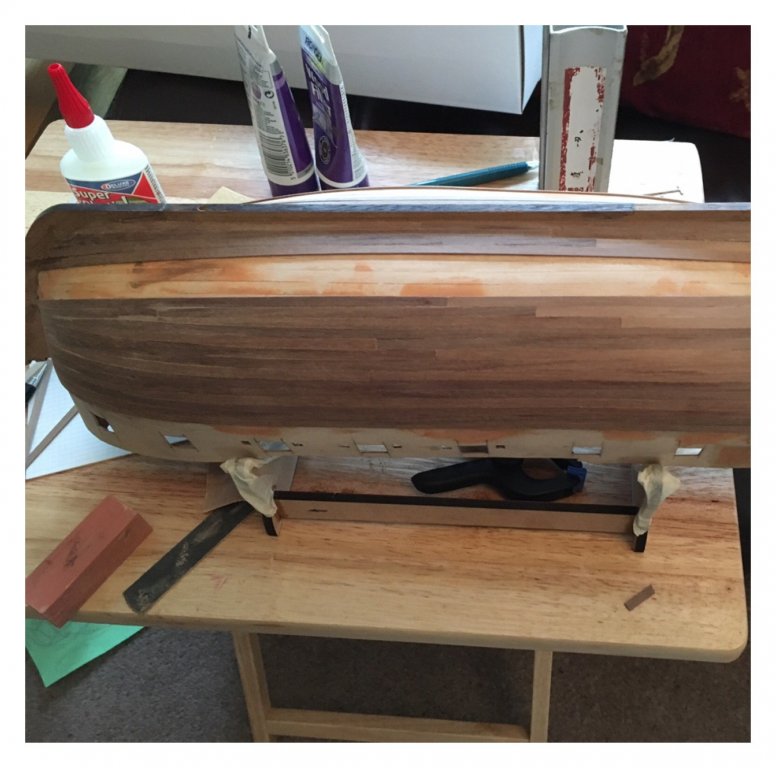
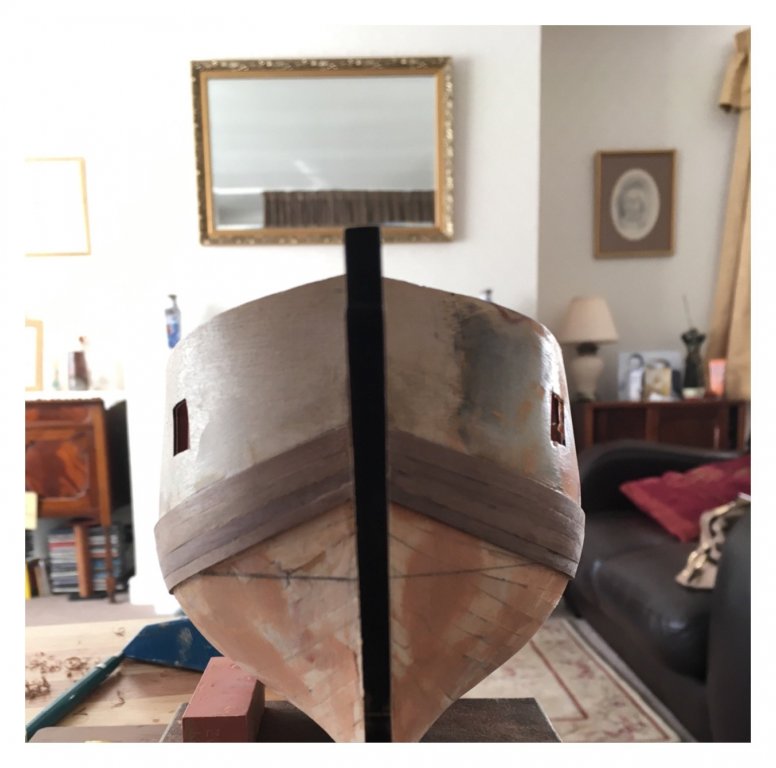
Second planking so far with a bit of sanding. Tried to keep same tones above the waterline.

-
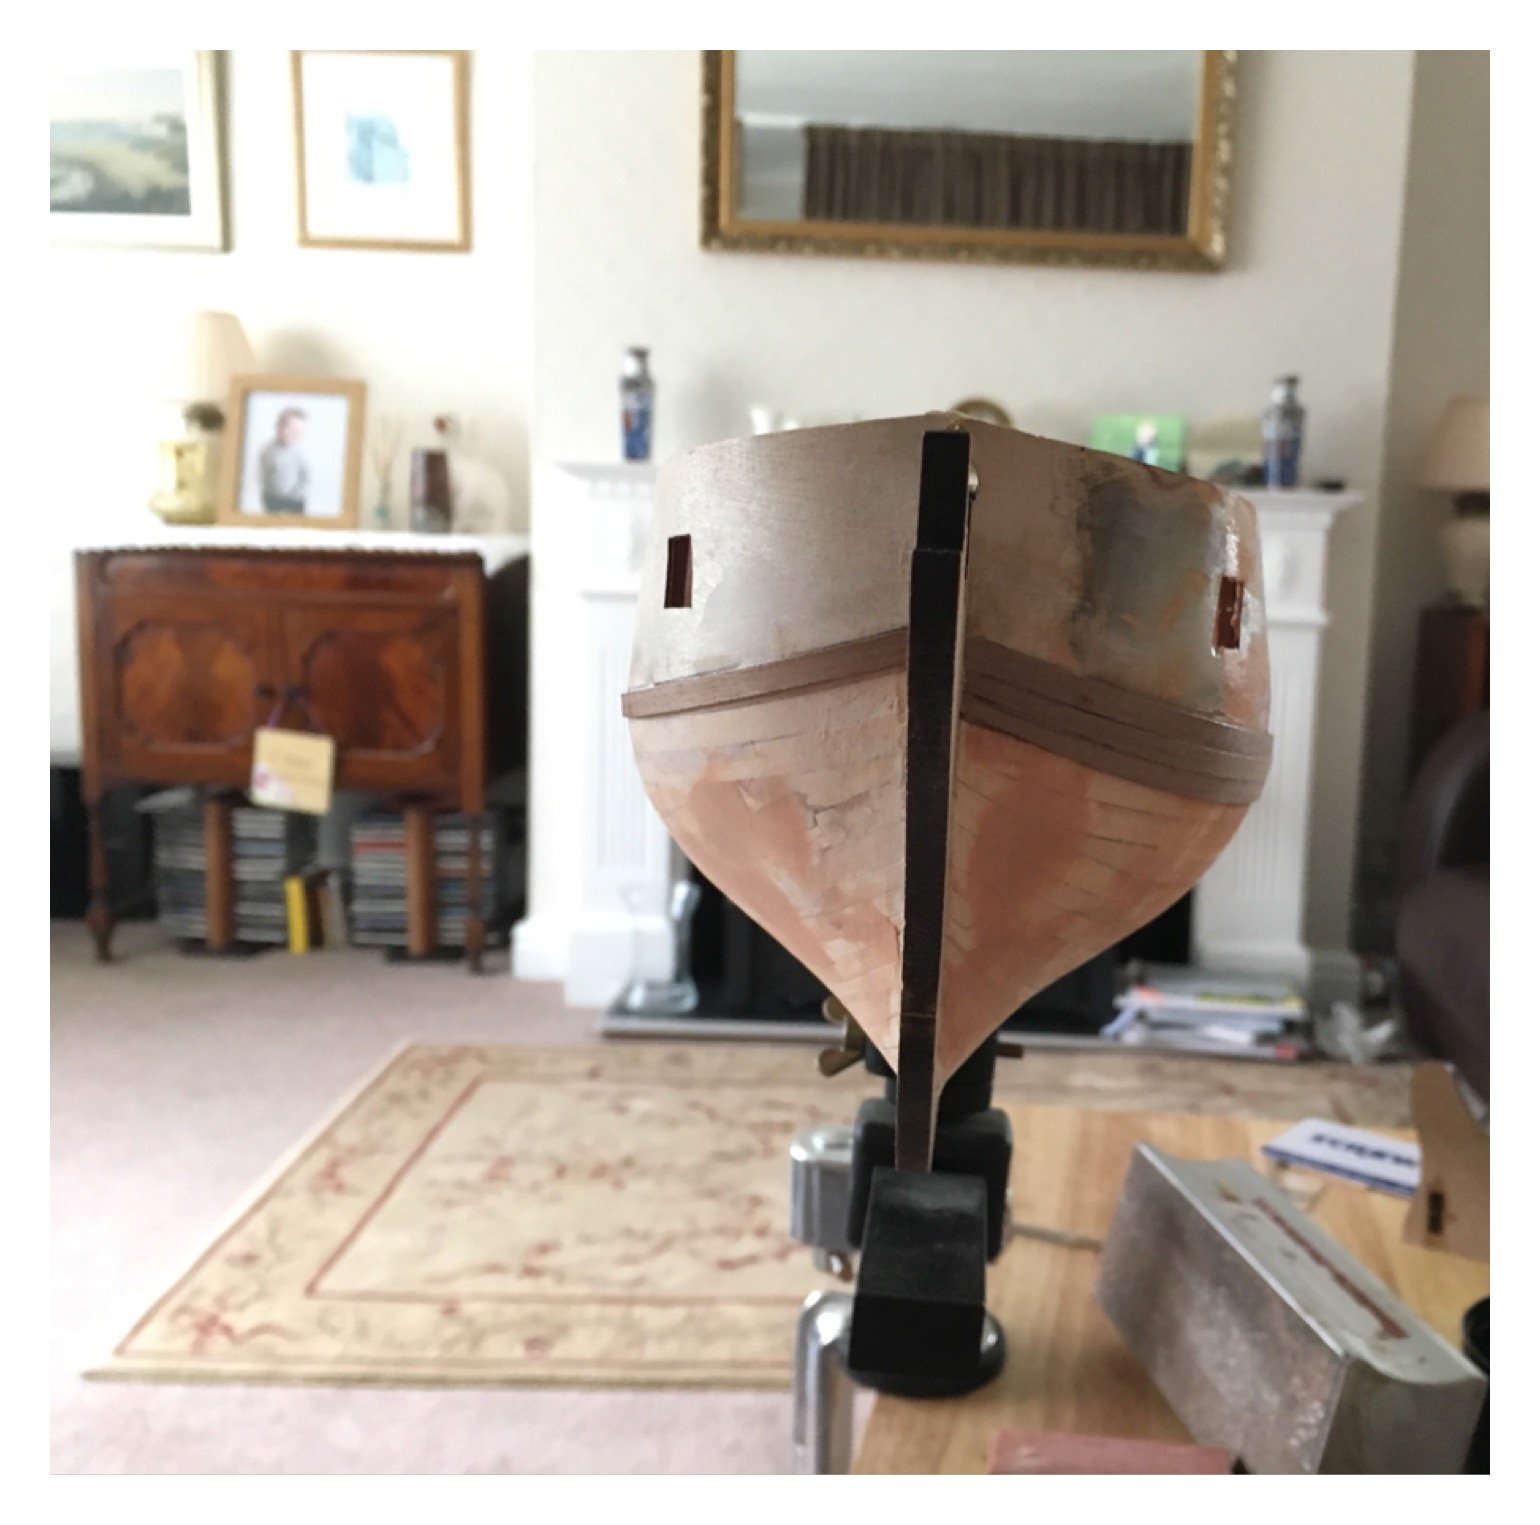
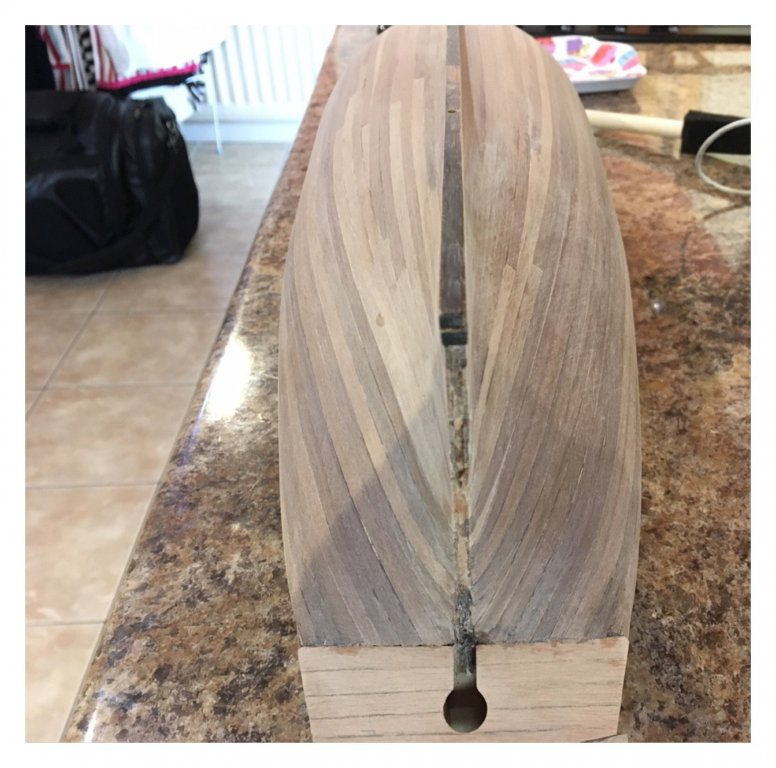
Well on with second planking, stressful.

-
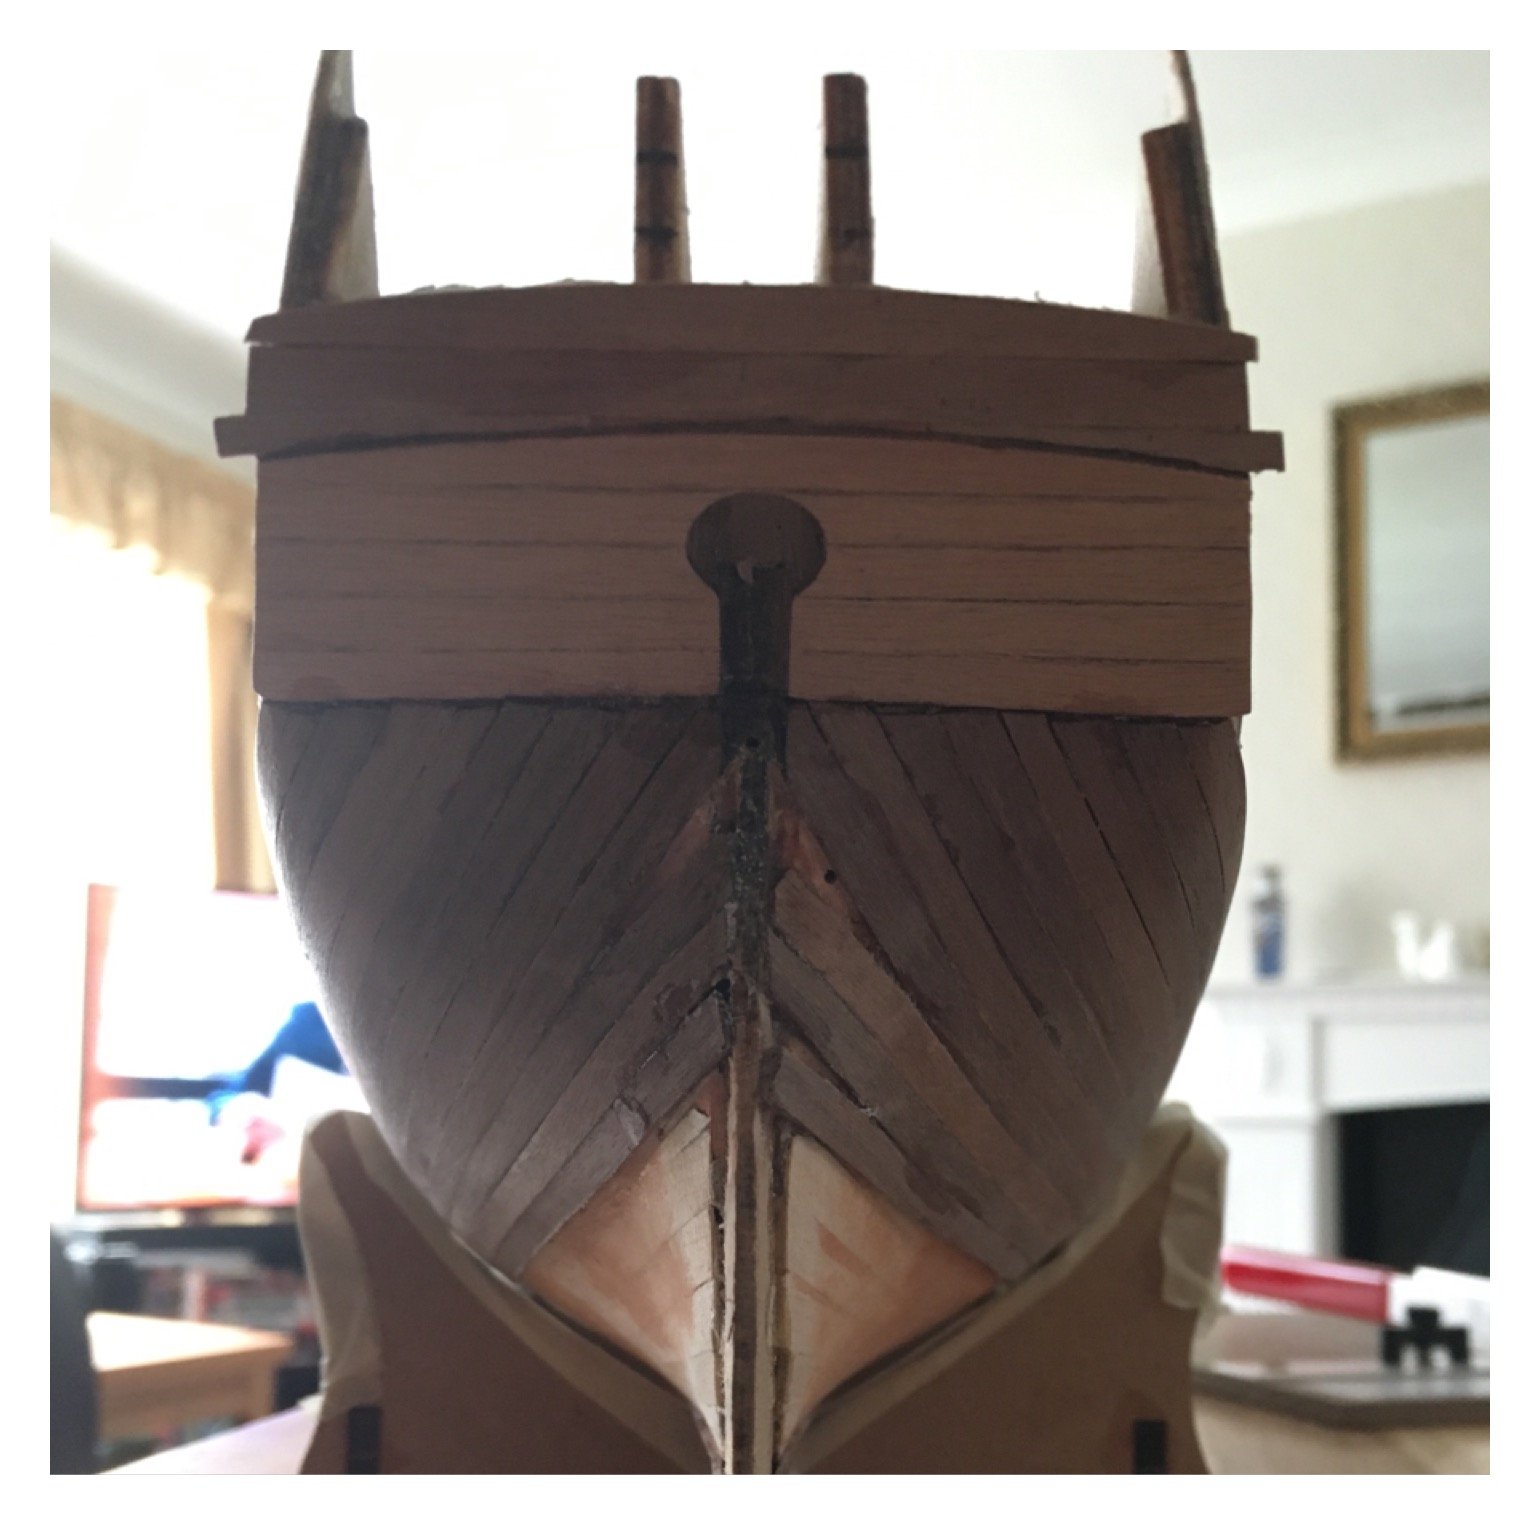
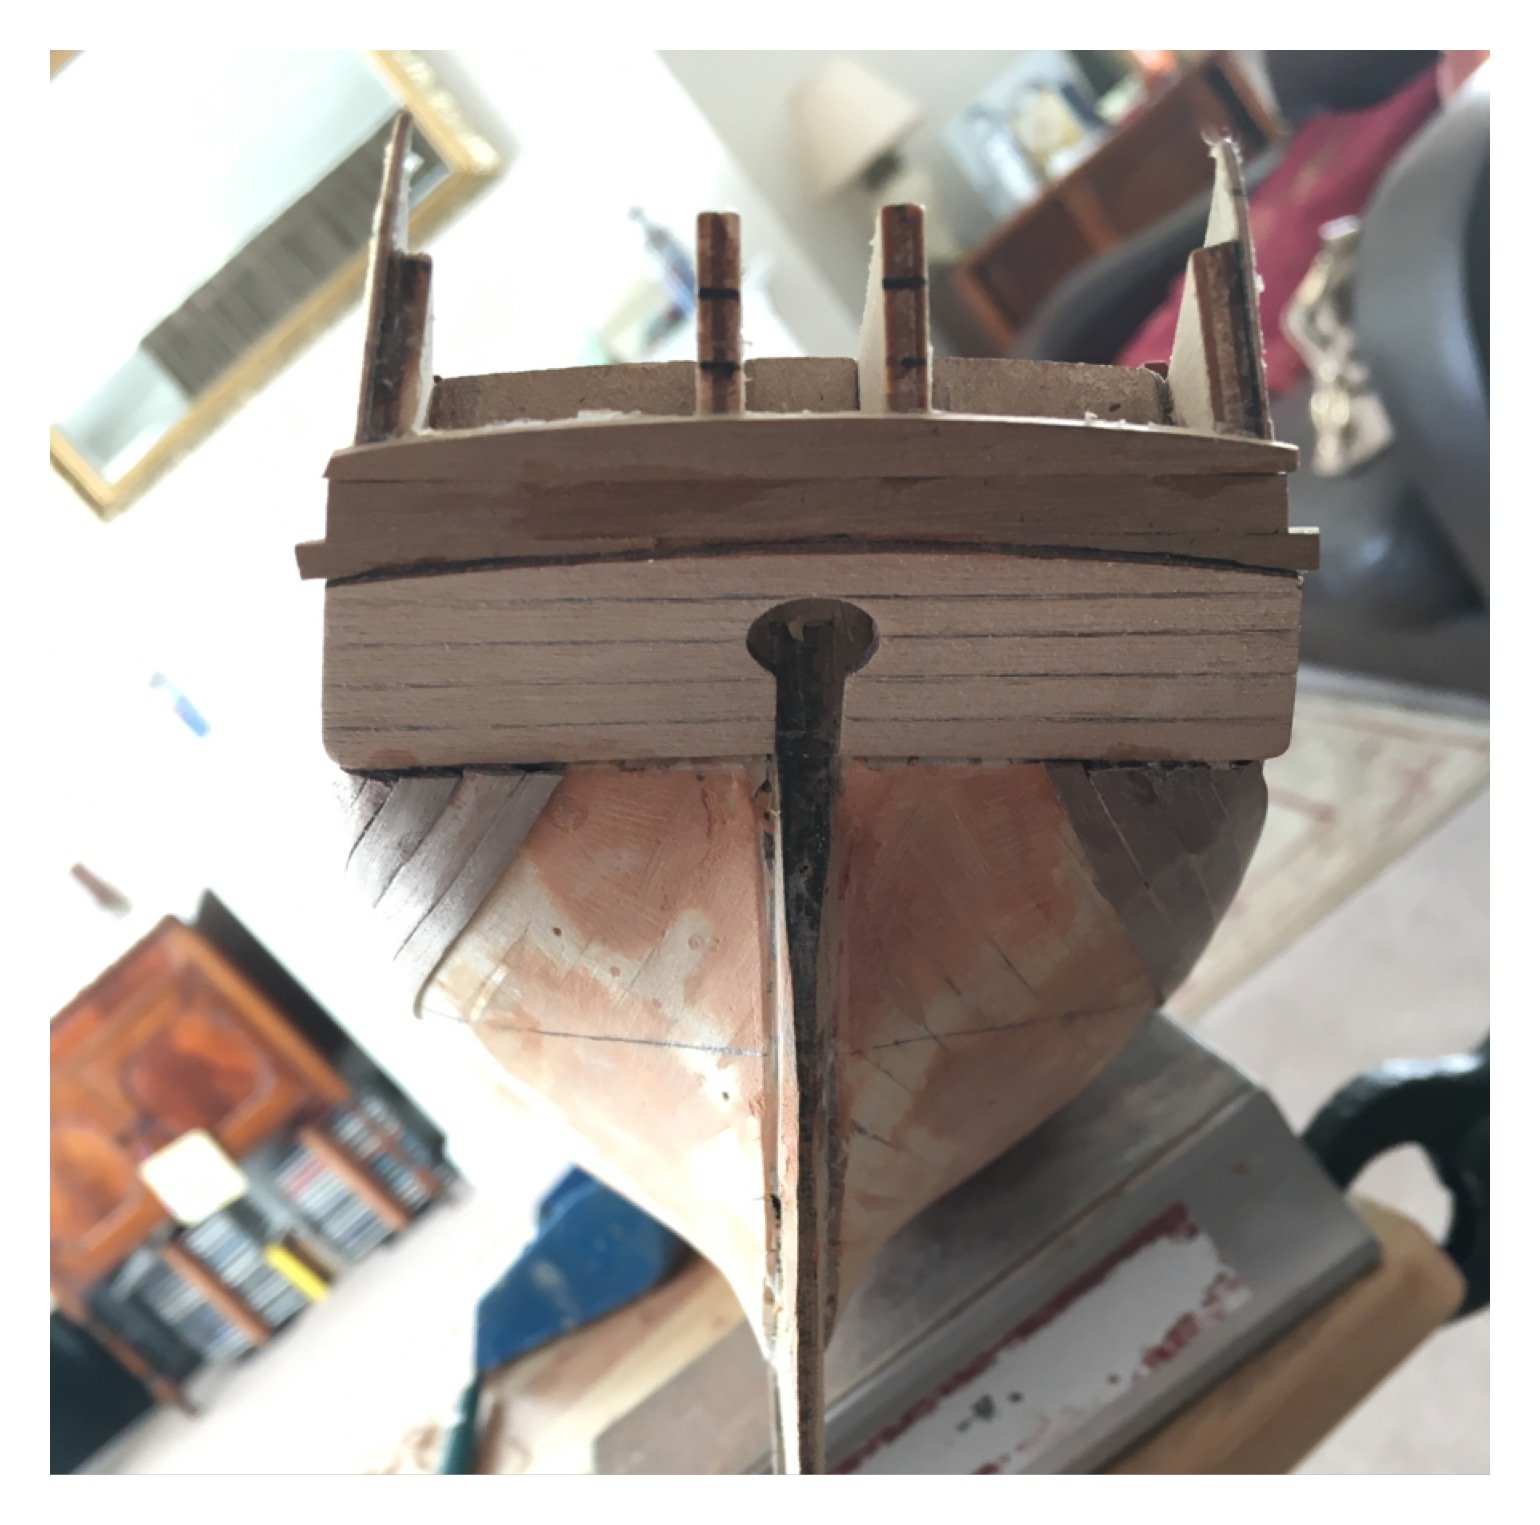
Second planking ongoing, rear looks bad in the pics but in hand it's no too bad, hoping it looks much better after sanding.


-
Not every bulkhead will go to the bottom of the false keel, perhaps it only goes to the level of the shown beard line, try matching that and see if it corrects the height
-
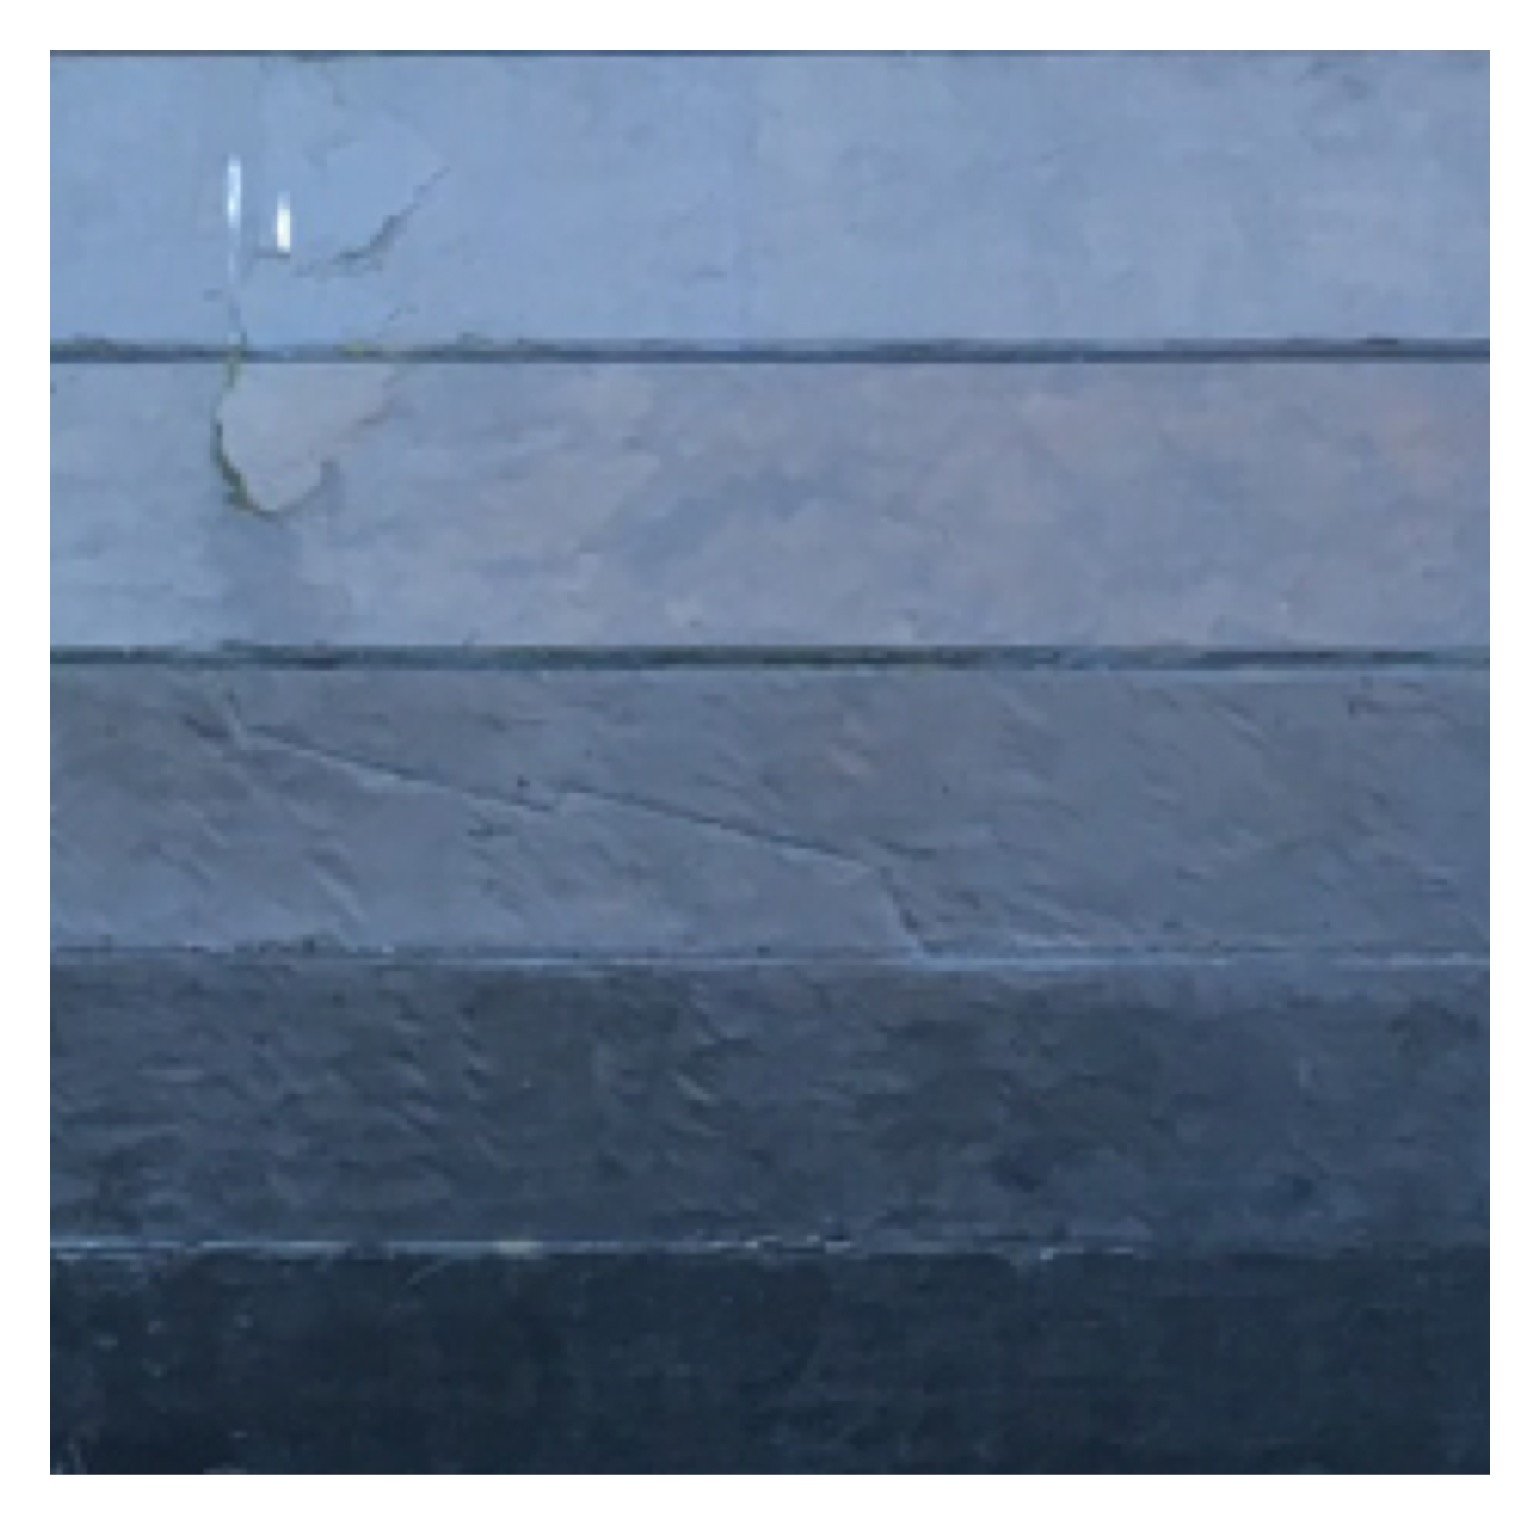
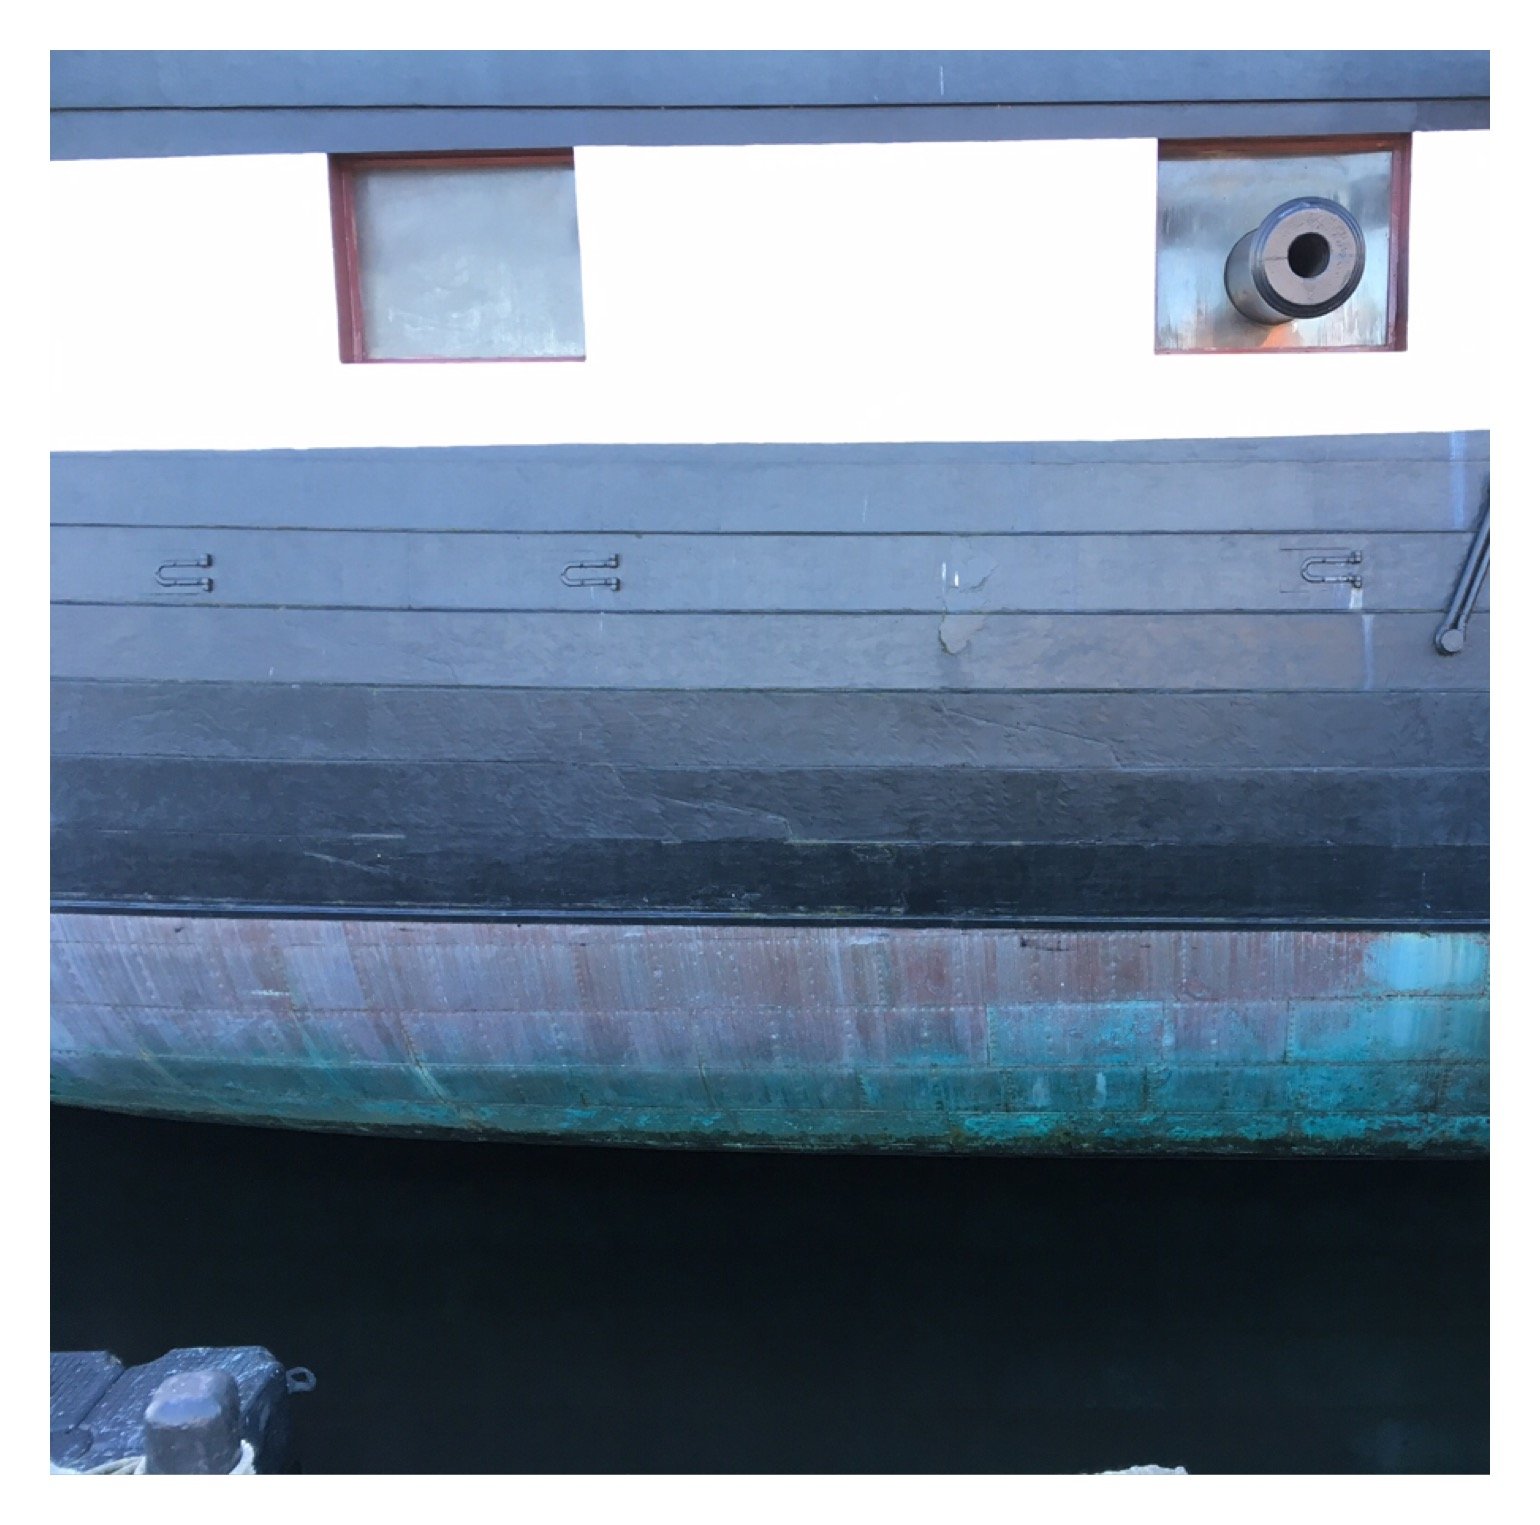
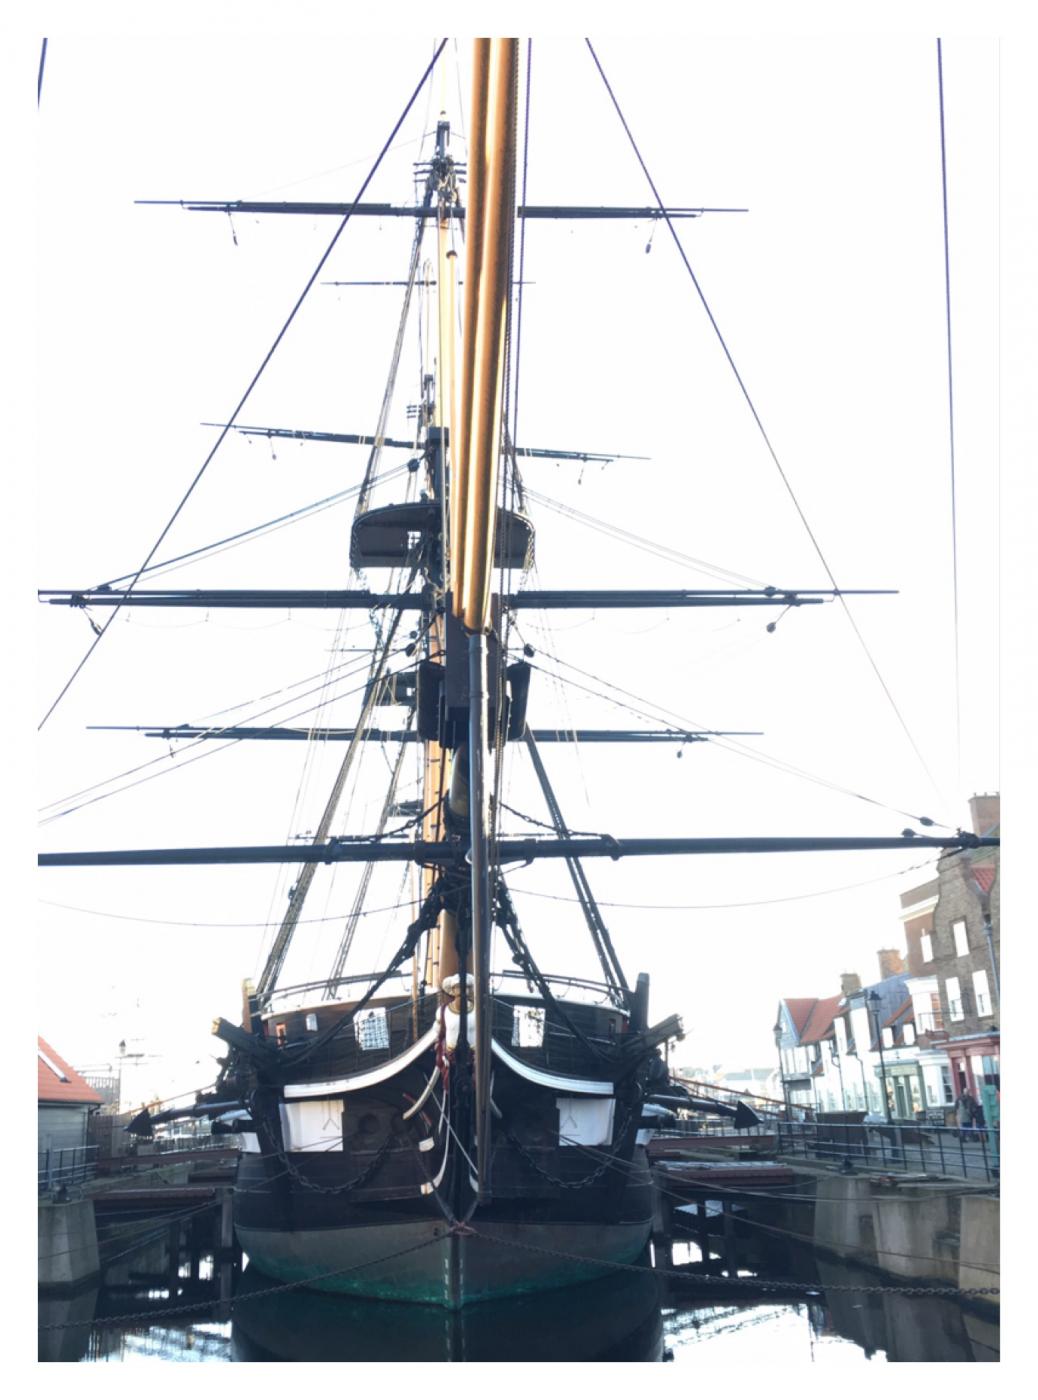
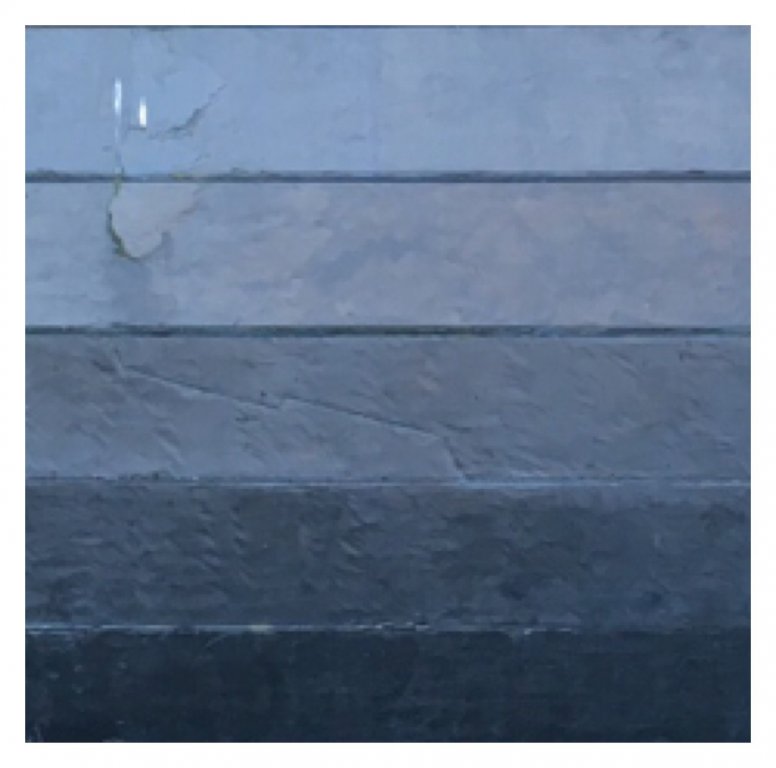
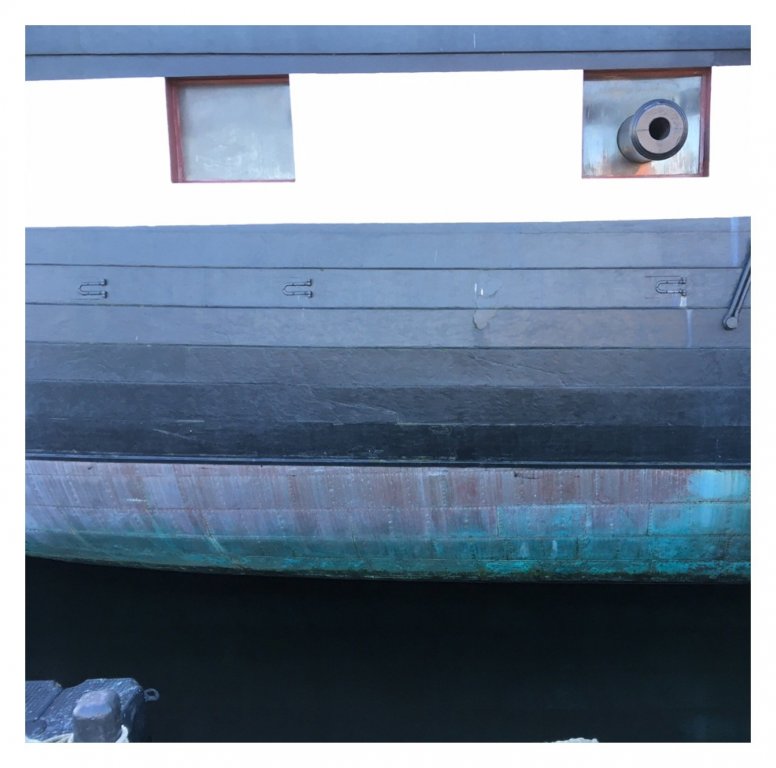
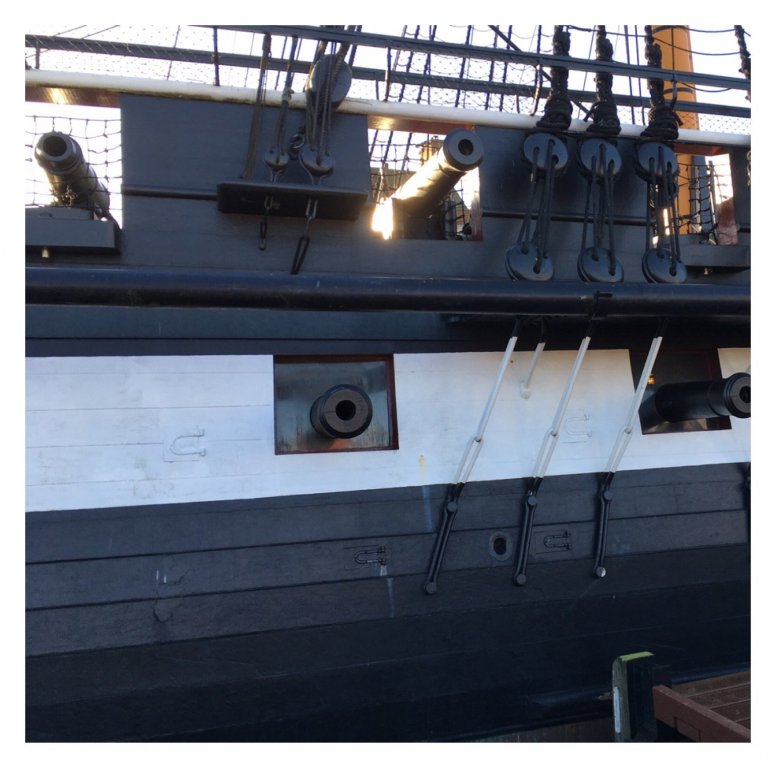
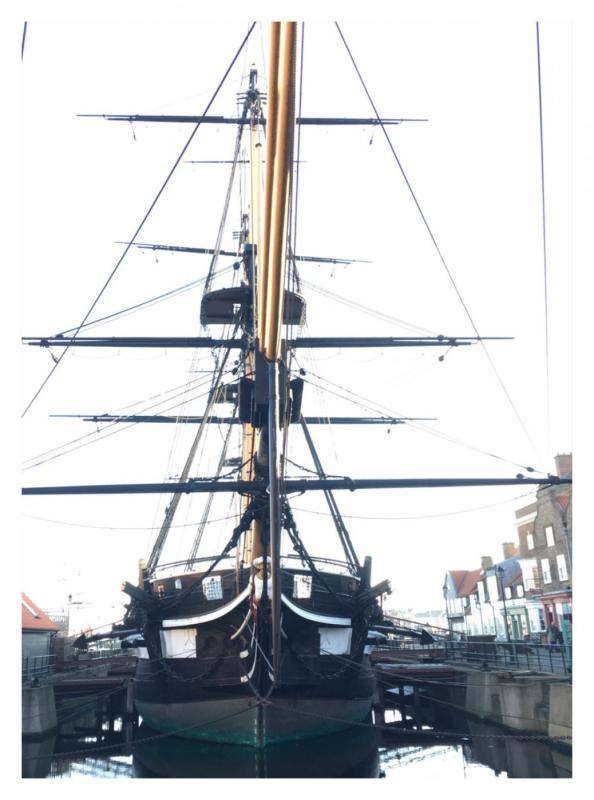
3 detail shots of HMS Trincomalee, note plank joint detail.
-
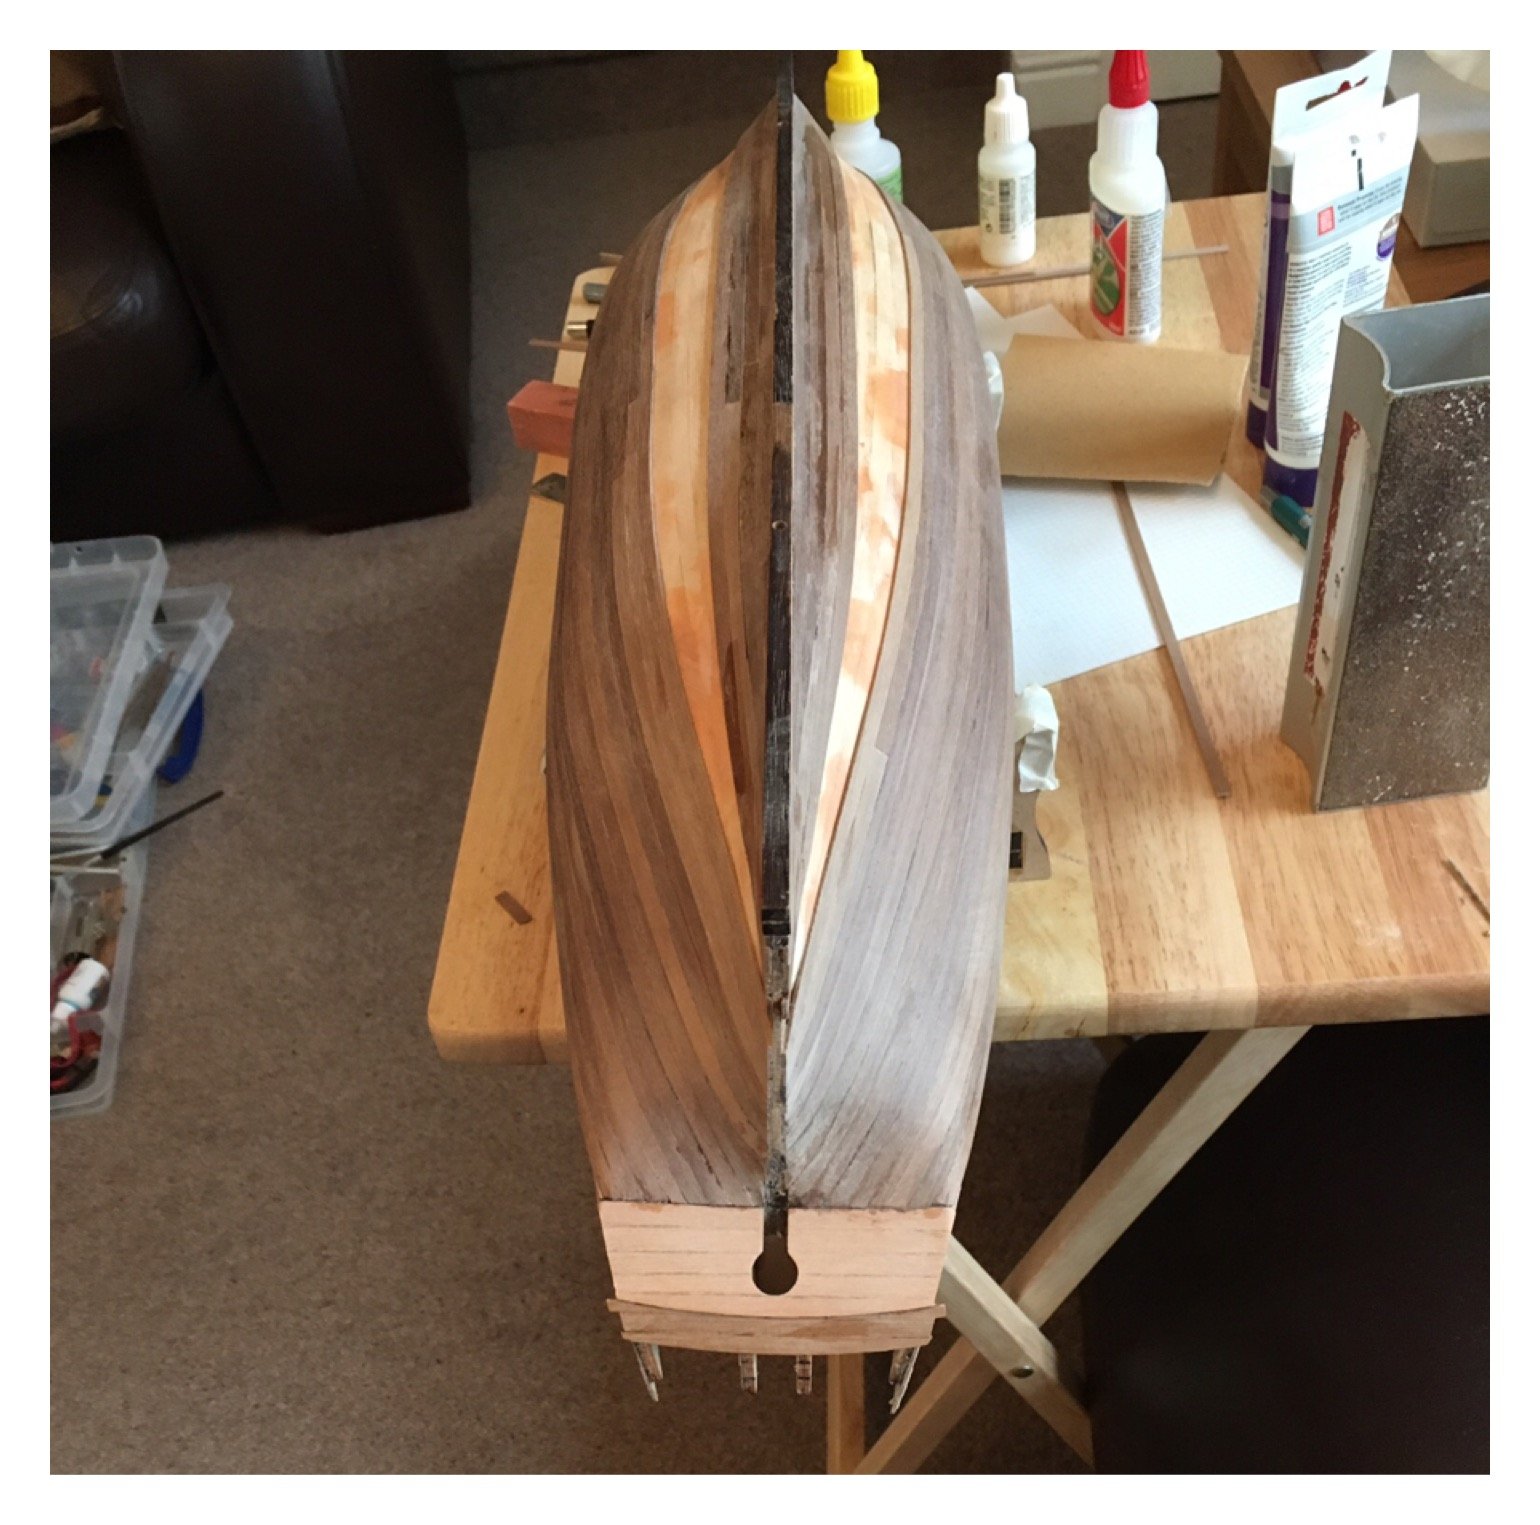
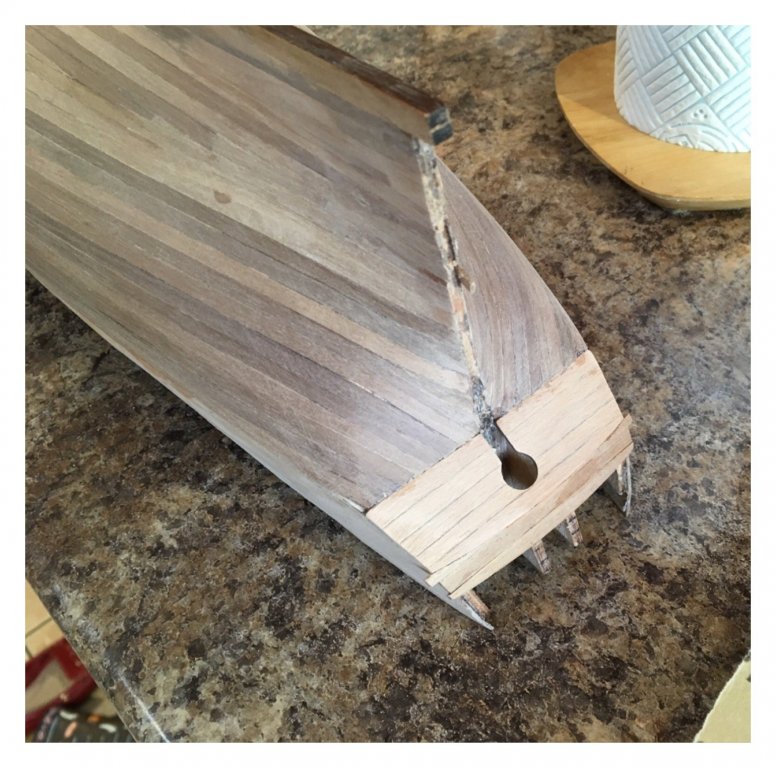
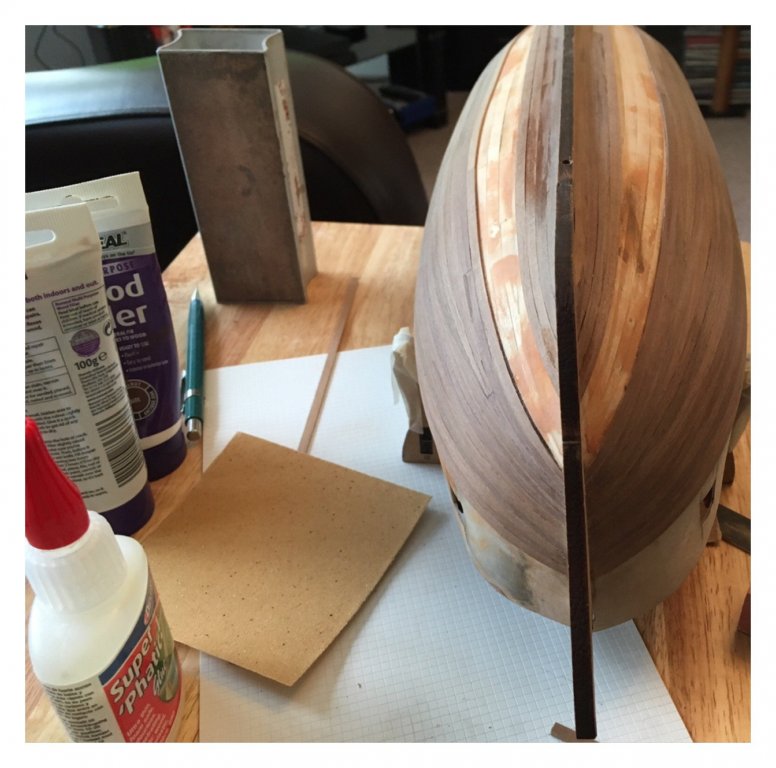
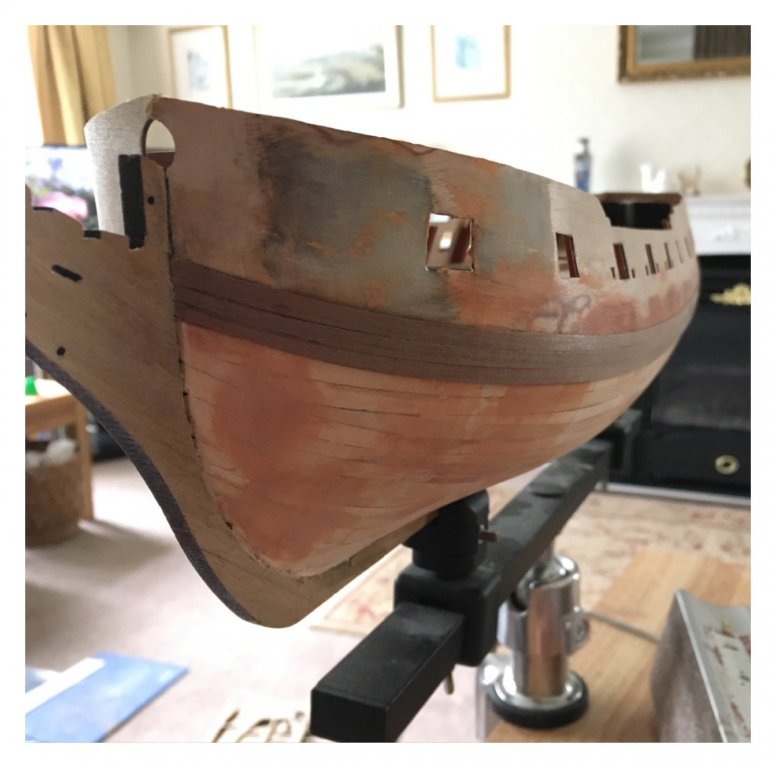
More secondary planking, rear was scribed instead of planking , still not sure why pics always look worse than the hand view.


-
Hi, follow by all means, but I'm a novice too. I've been trawling through all Pegasus and Fly builds too tomtry and pick up tips. Look forward to your posts.
-
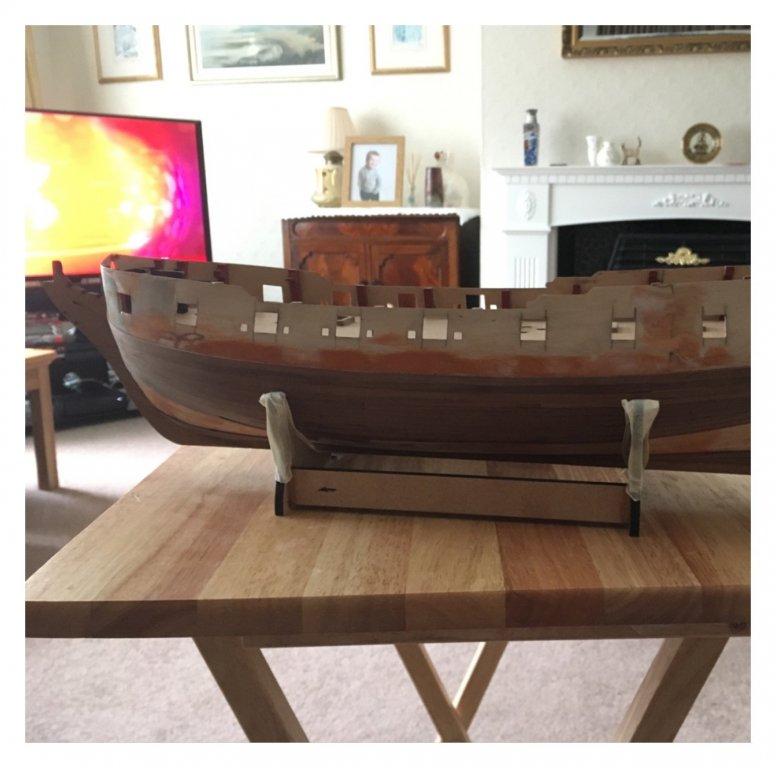
Went a bit anal with filler, probably the aero modeller in me. Second planking commenced, gaps not as prominent in hand, I'm taking my time to do a real tidy finish above the coppering area.

-
Pic of Trincomalee
-
Query, the rabbet created along the false keel will be taken up by the first layer of planking, how do you fit the second? Answers on a postcard please, any pics appreciated
-
Yes just an example of the start, I'm using a flat permagrit tool
-
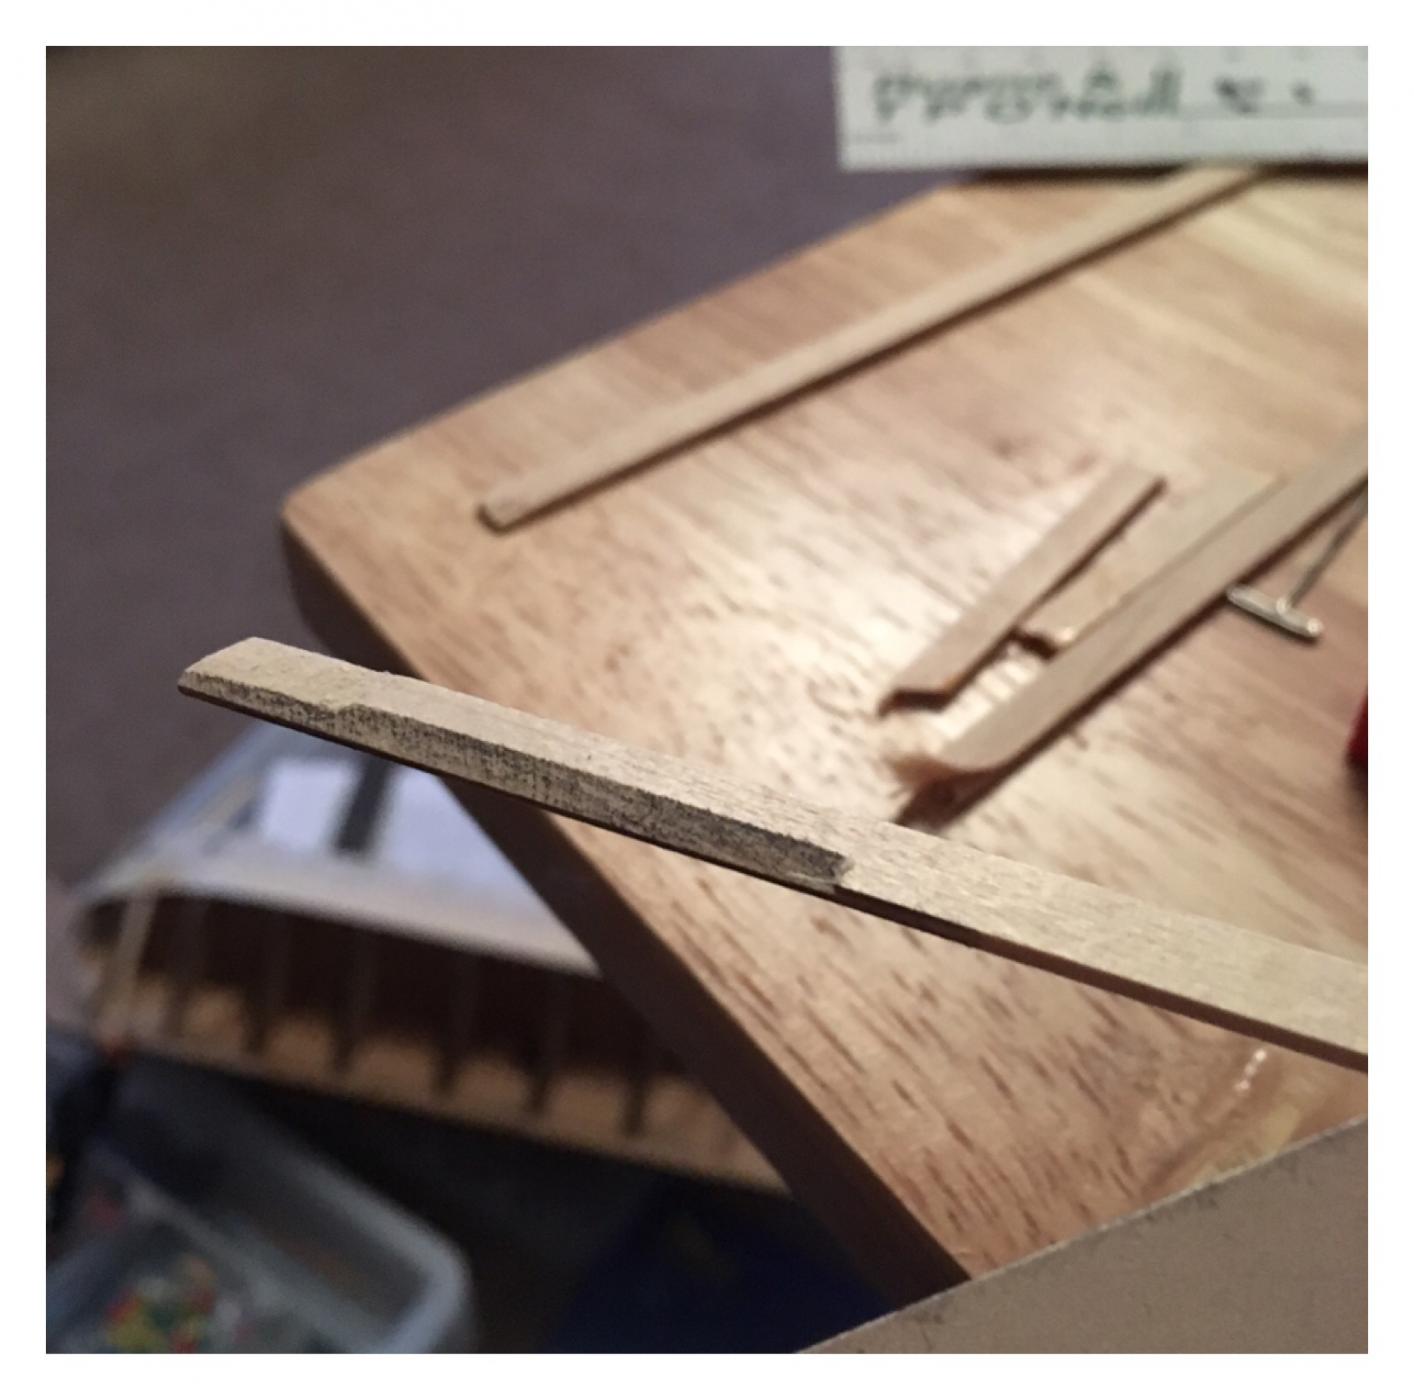
Not up to this stage as it's well documented in other posts, I'll show the chamfering , I'm probably stating the obvious, the chamfer allows the plank to butt up tight to the last plank laid

-
Gun strips on, wasn't as bad as I thought, commenced first planking, tedious. This time I've chamfered the top edge to avoid too much of a clinker effect
-
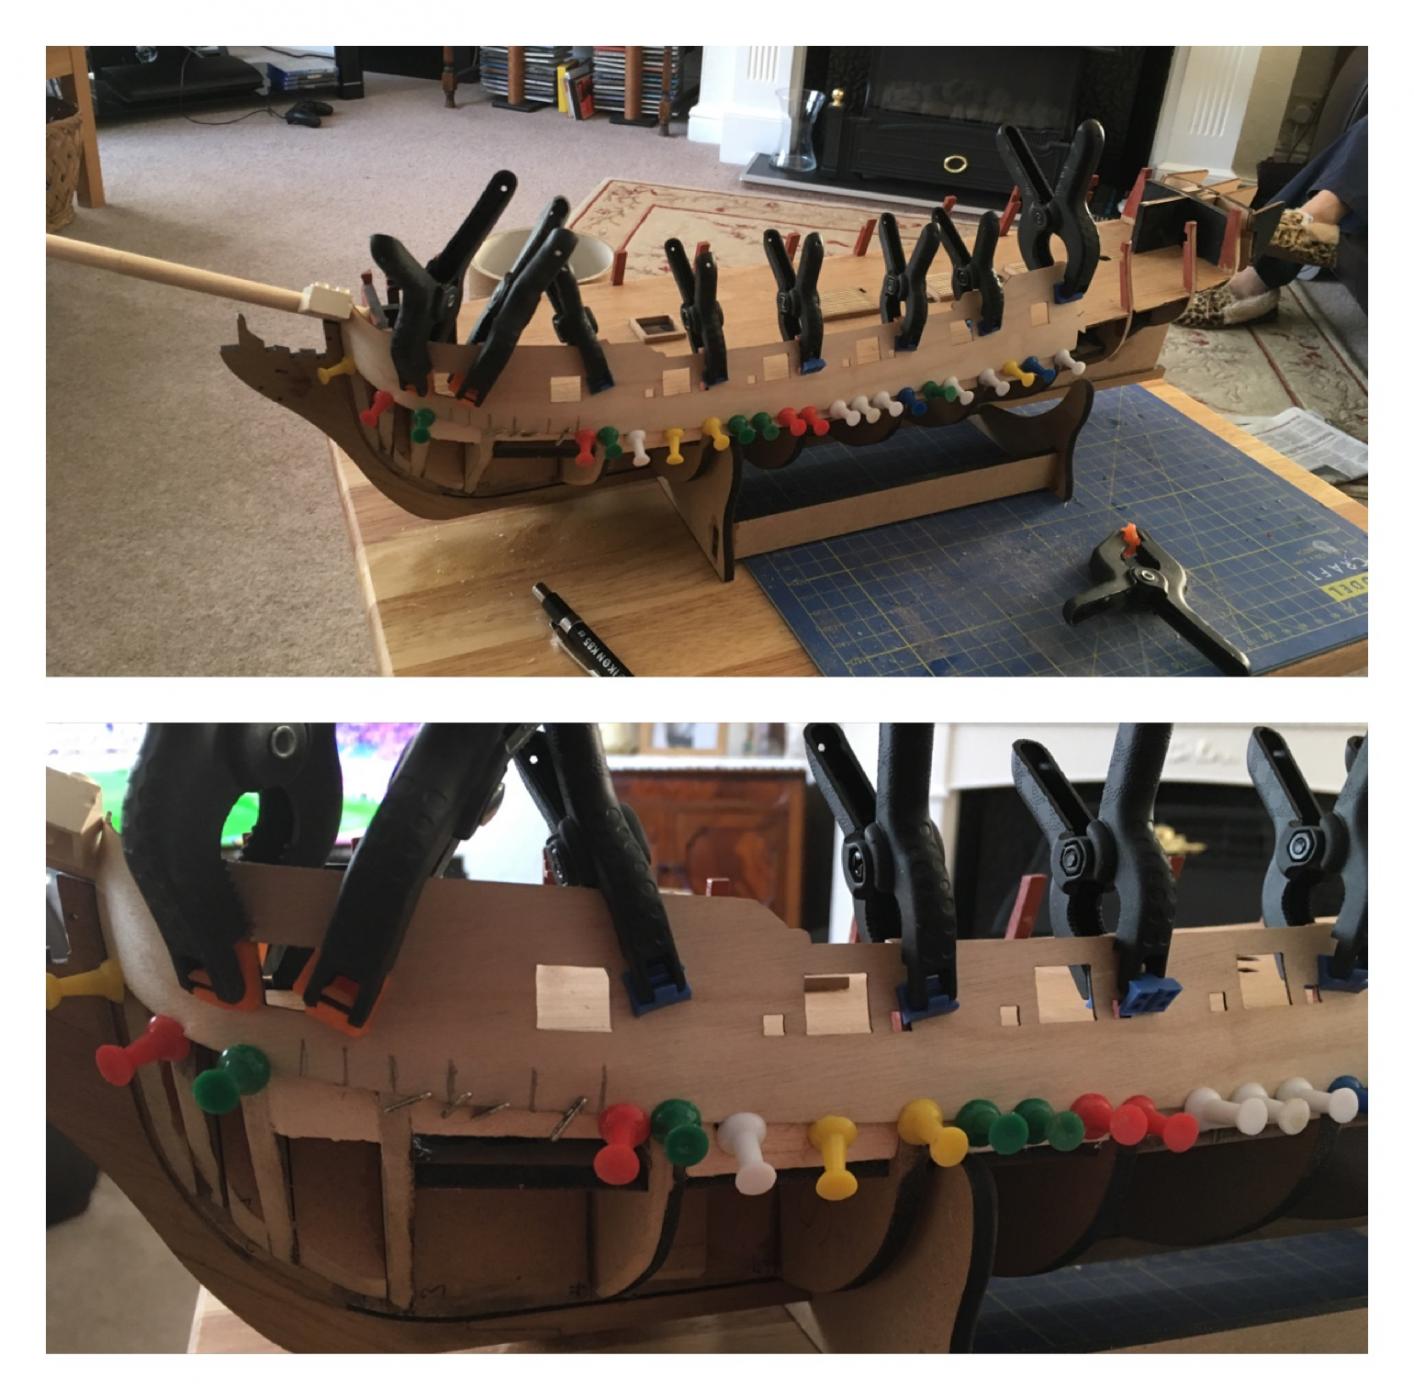
Just bought a few extra clamps, first one being glued up today after dry fitting and matching port and stbrd . Fingers crossed the good advice and prep wins the day. Pics to follow as I've my 4 year old grandson until the weekend
-
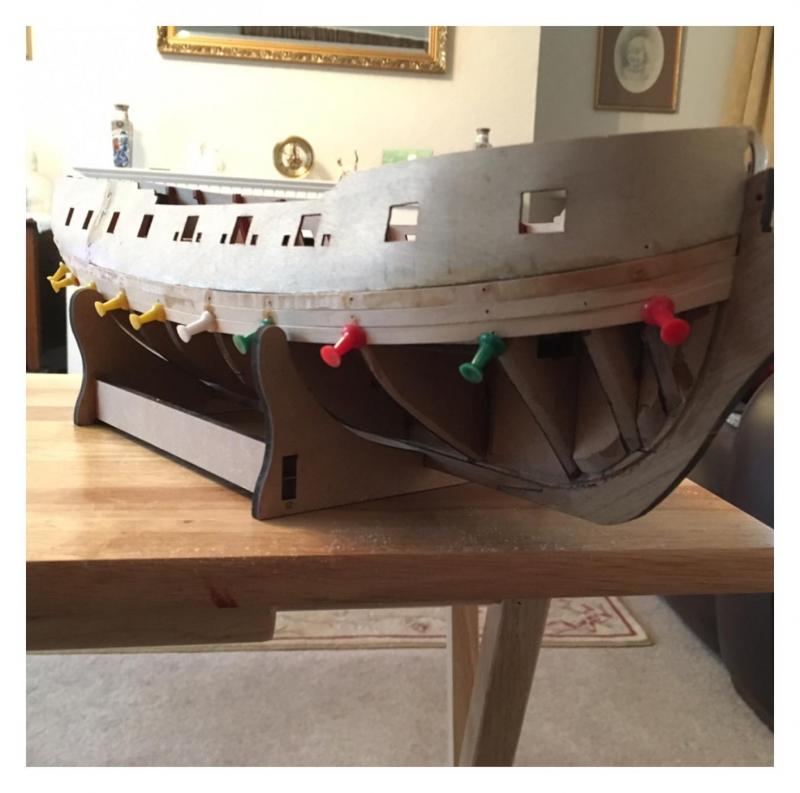
I saw the waves and have fitted balsa blocks between the BH's to keep them straight.
-
First wet lay up, considering relief cuts where marked as no matter how much you soak, the fibre lay up in ply is always going to distort rather than follow form, anybody tried this? Oh and Poundland sells clamps, cheapest set I've seen anywhere.

-
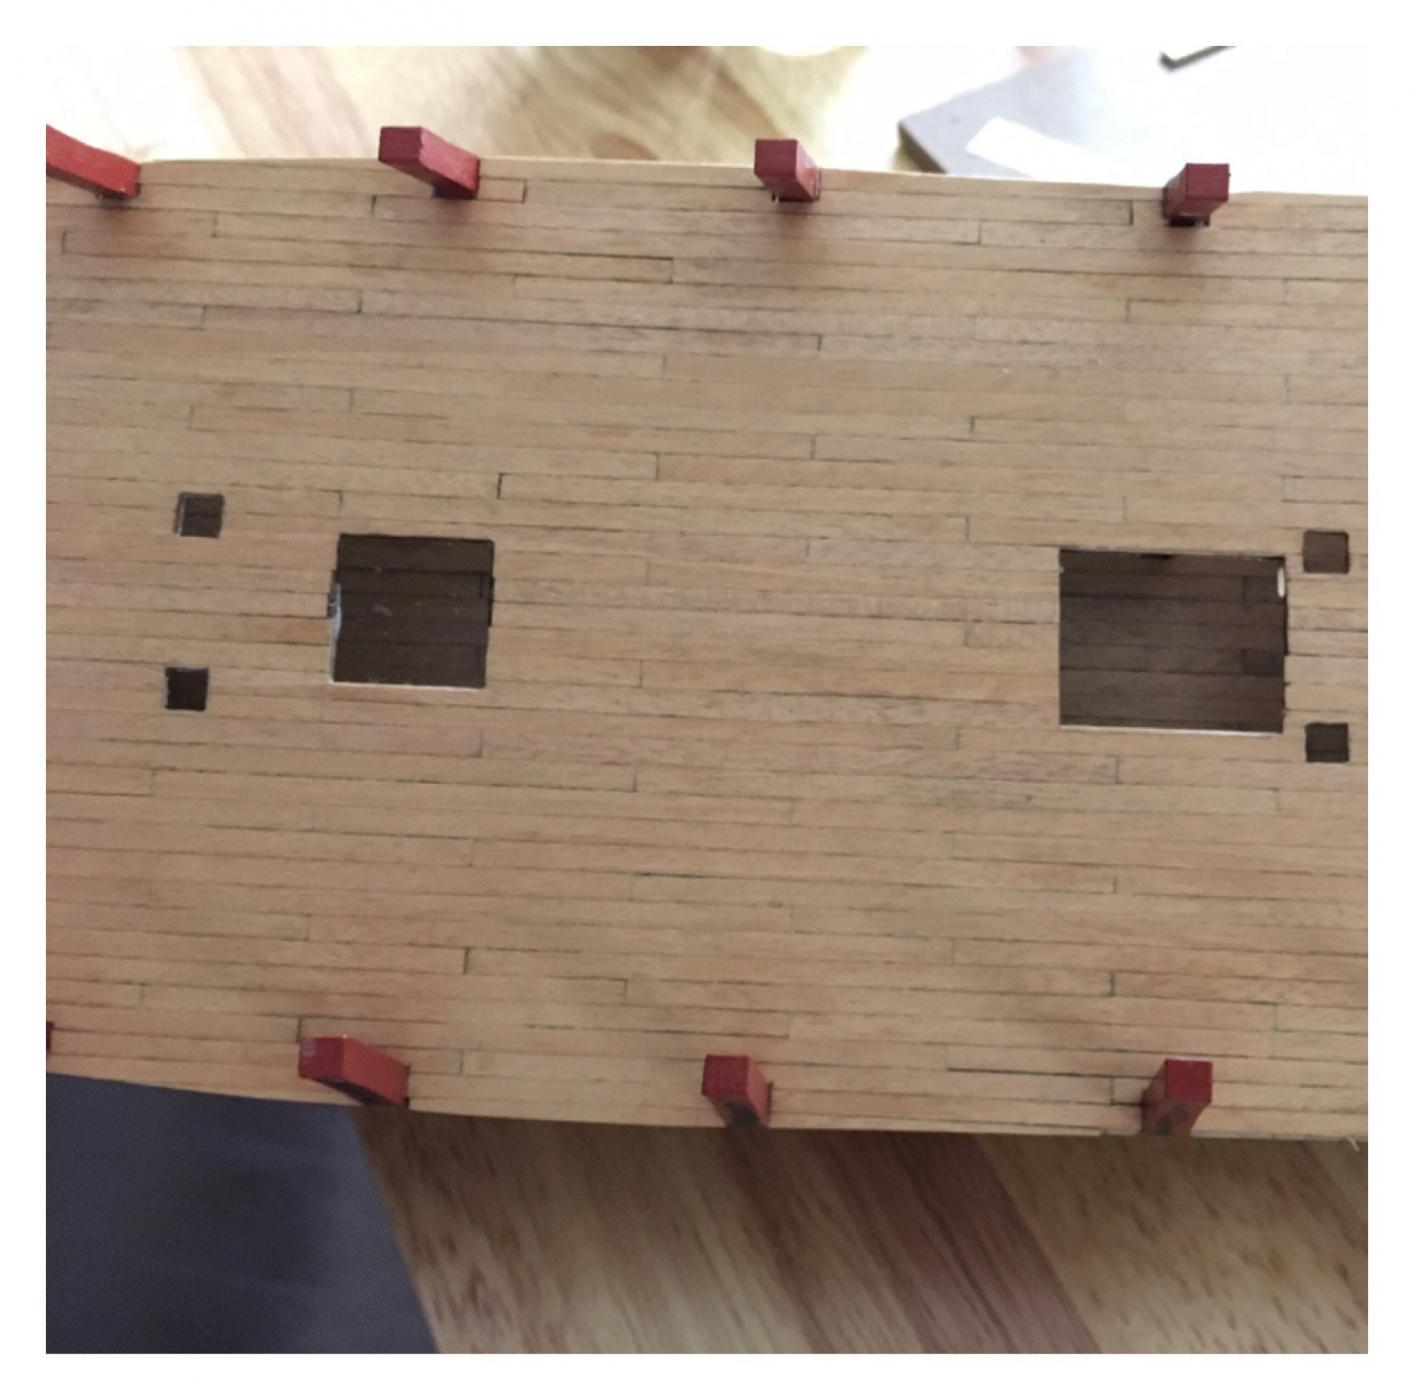
Now for the bit I'm dreading, the ply gun ports.
-
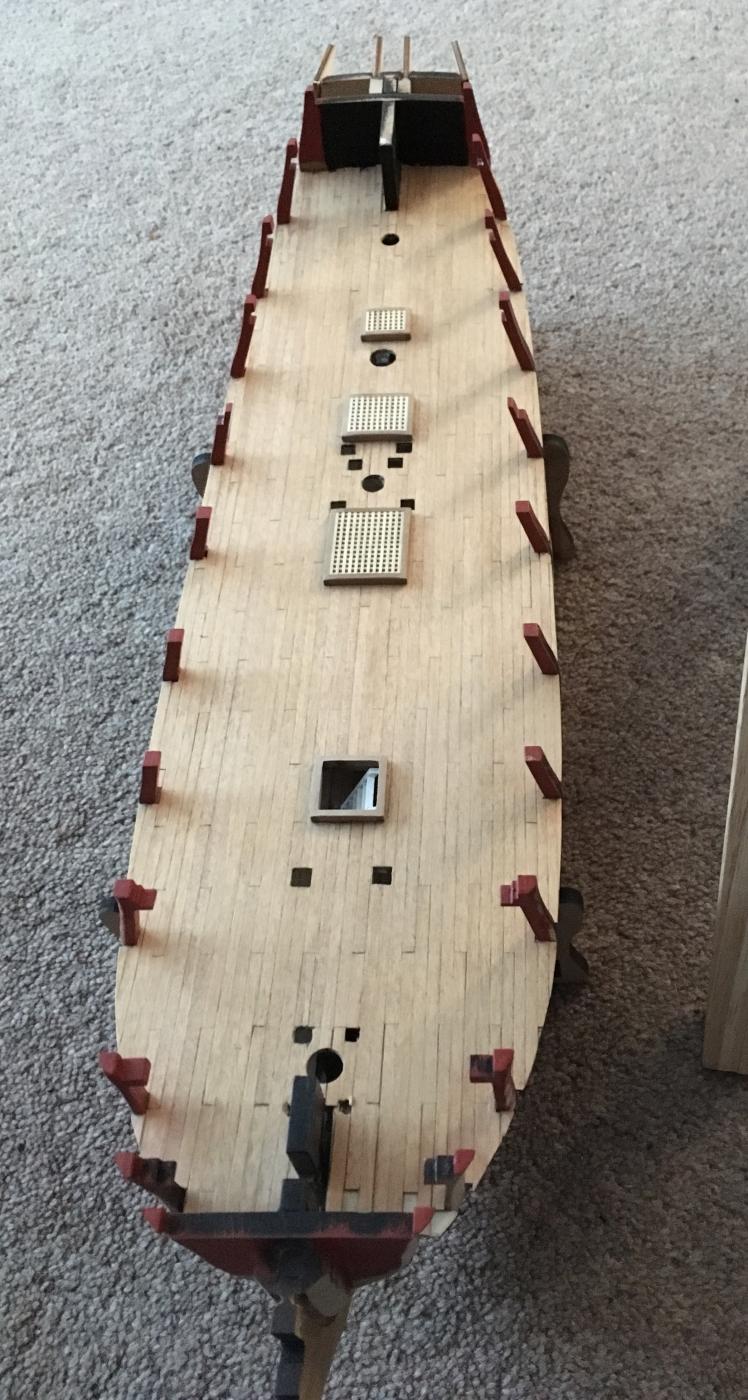
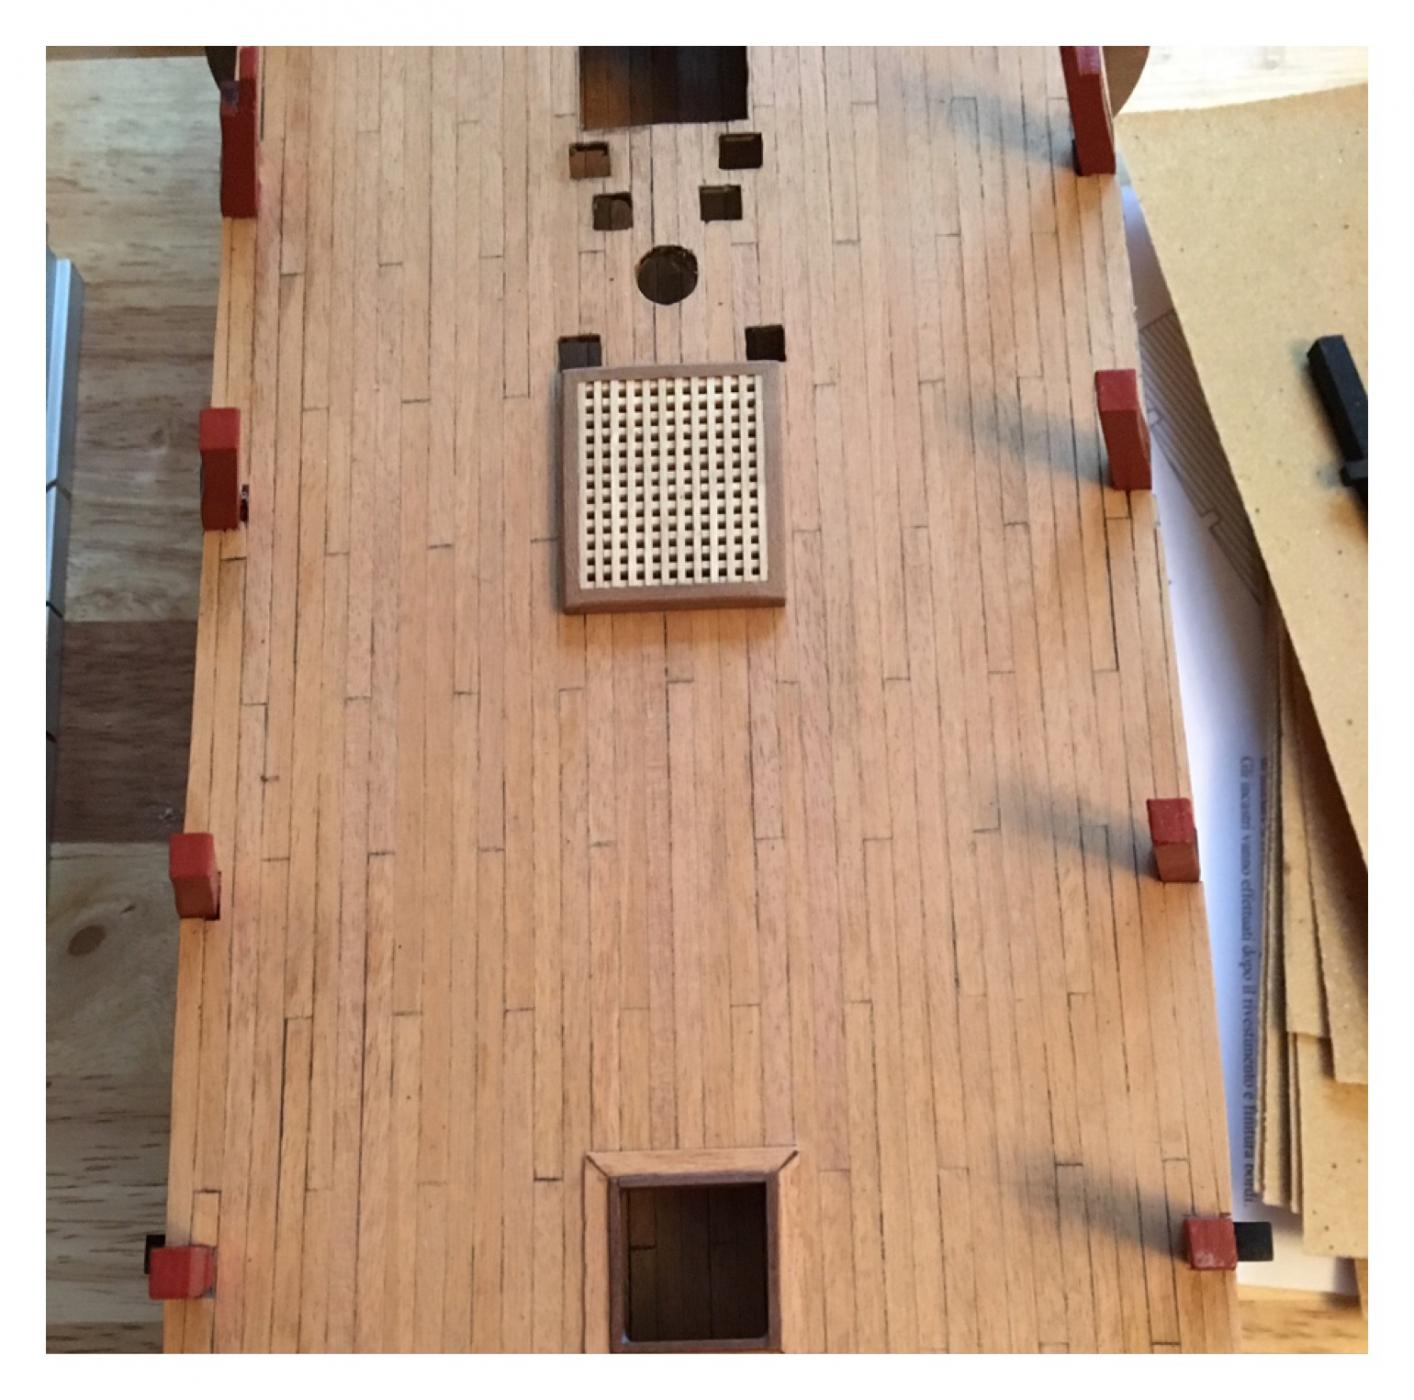
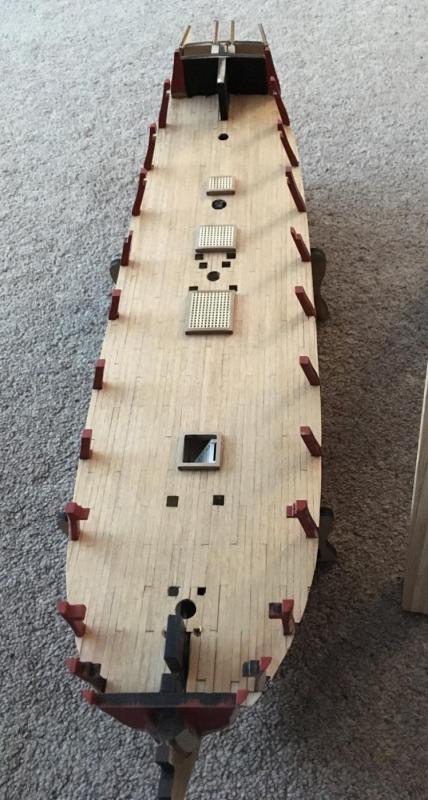
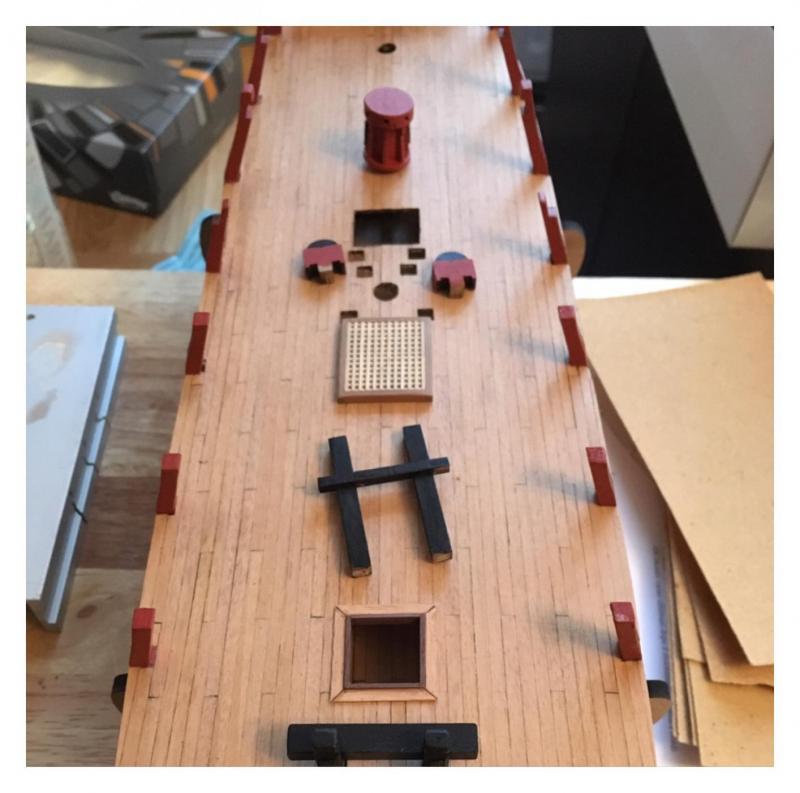
Changed front hatch as it was just wrong
-
The planking was done to maintain spacing, it will be removed and full lengths replaced. A bit of artistic license, the other wood supplied looked out of scale so I improvised with some decking.
-
A few small bits completed as I've been otherwise engaged, won't get much done this week.

-
It actually looks worse in the picture than in hand, I'll sleep on it
-
Lower gun deck planked, I edged in pencil, however I'm not happy with the definition in some areas, may try pencil definition between coats of varnish.